Notice: Function _load_textdomain_just_in_time was called incorrectly. Translation loading for the wp-ultimate-recipe domain was triggered too early. This is usually an indicator for some code in the plugin or theme running too early. Translations should be loaded at the init action or later. Please see Debugging in WordPress for more information. (This message was added in version 6.7.0.) in /home/maryzahc/public_html/adultfoodallergies.com/wp-includes/functions.php on line 6131 MaryKate – Page 7 – surviving the food allergy apocalypse (archive)
When we were working on our editorial calendar, Denise said she was working on ham steaks, which you saw last week. We thought that ham seemed like a traditional Easter dish, so maybe we should also consider a side dish for it. I LOVE side dishes. The first thing that came to mind was scalloped potatoes, as that goes with ham. Actually, it’s what my mother used to make with leftover ham.
But I realized that I hated ham and scalloped potatoes! Until my 30s, I didn’t like ham at all. And I know it’s surprising, but scalloped potatoes are my least favorite preparation of potatoes. I tried to figure out why. I’m not opposed to creamy sauces, and potatoes are my favorite food by far, but I realized that the texture of the potatoes just isn’t to my liking. So I fixed it.
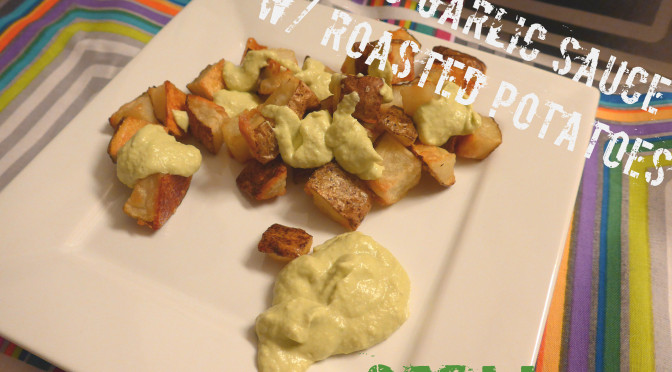
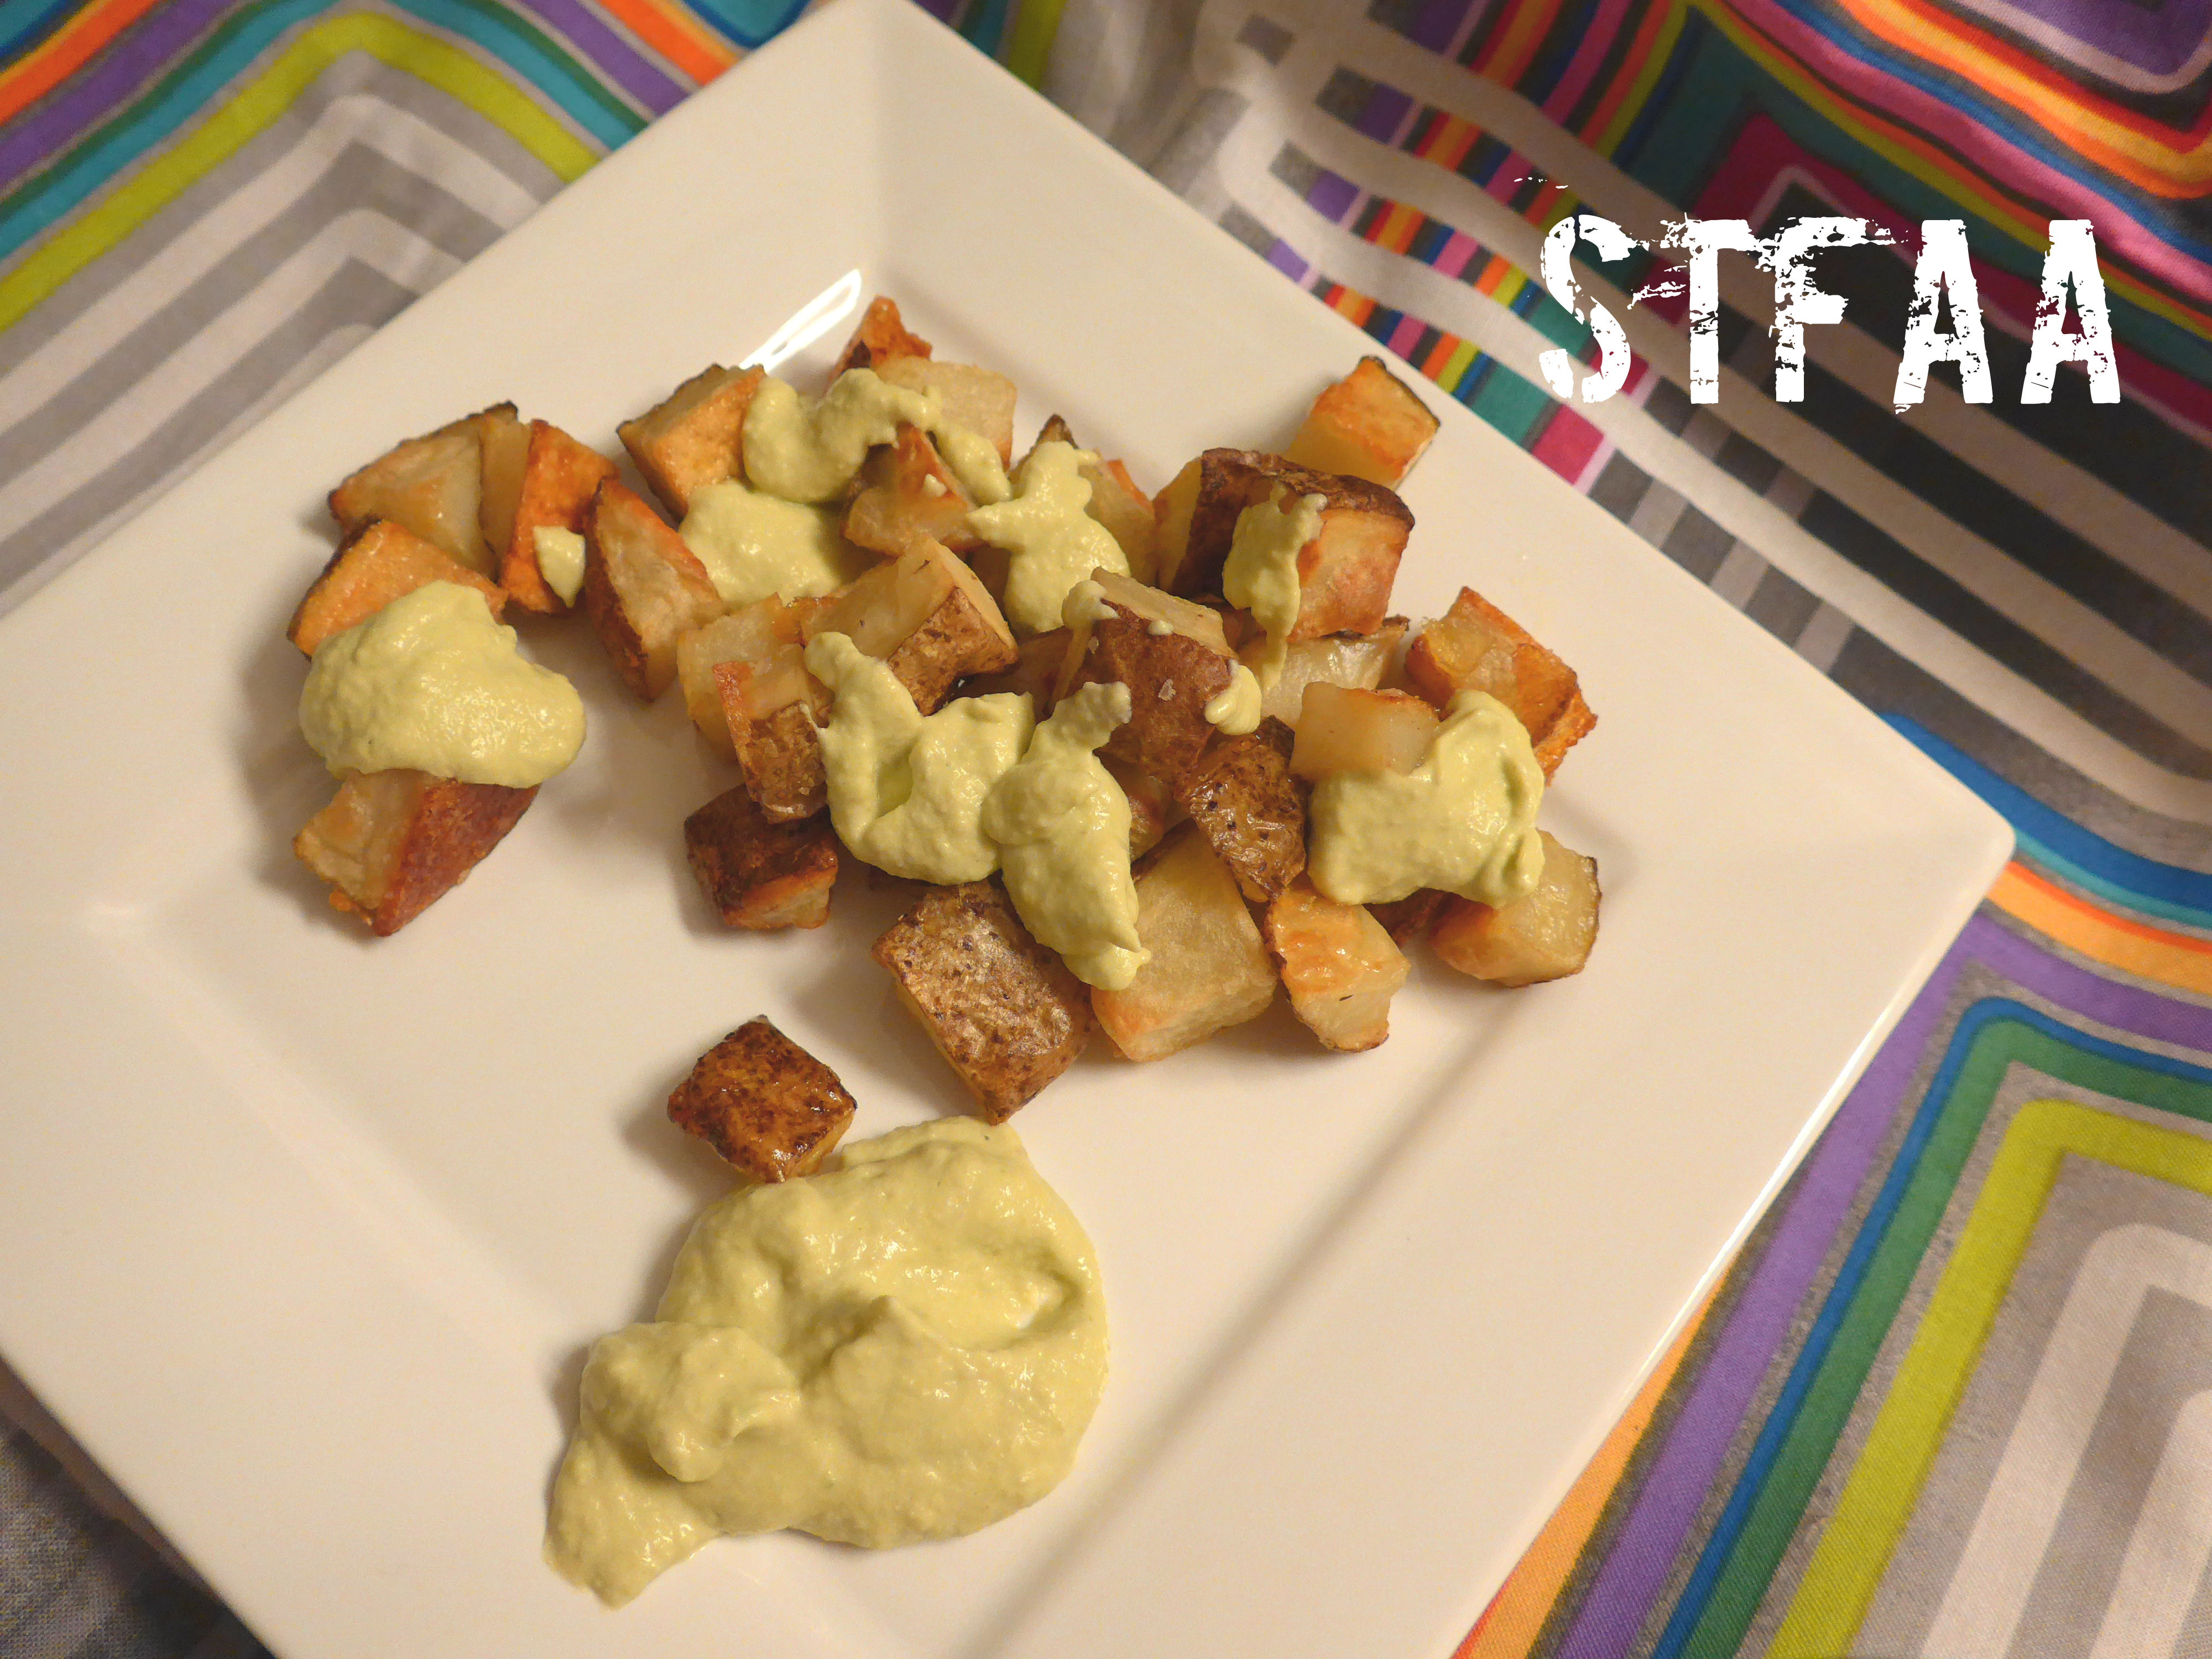
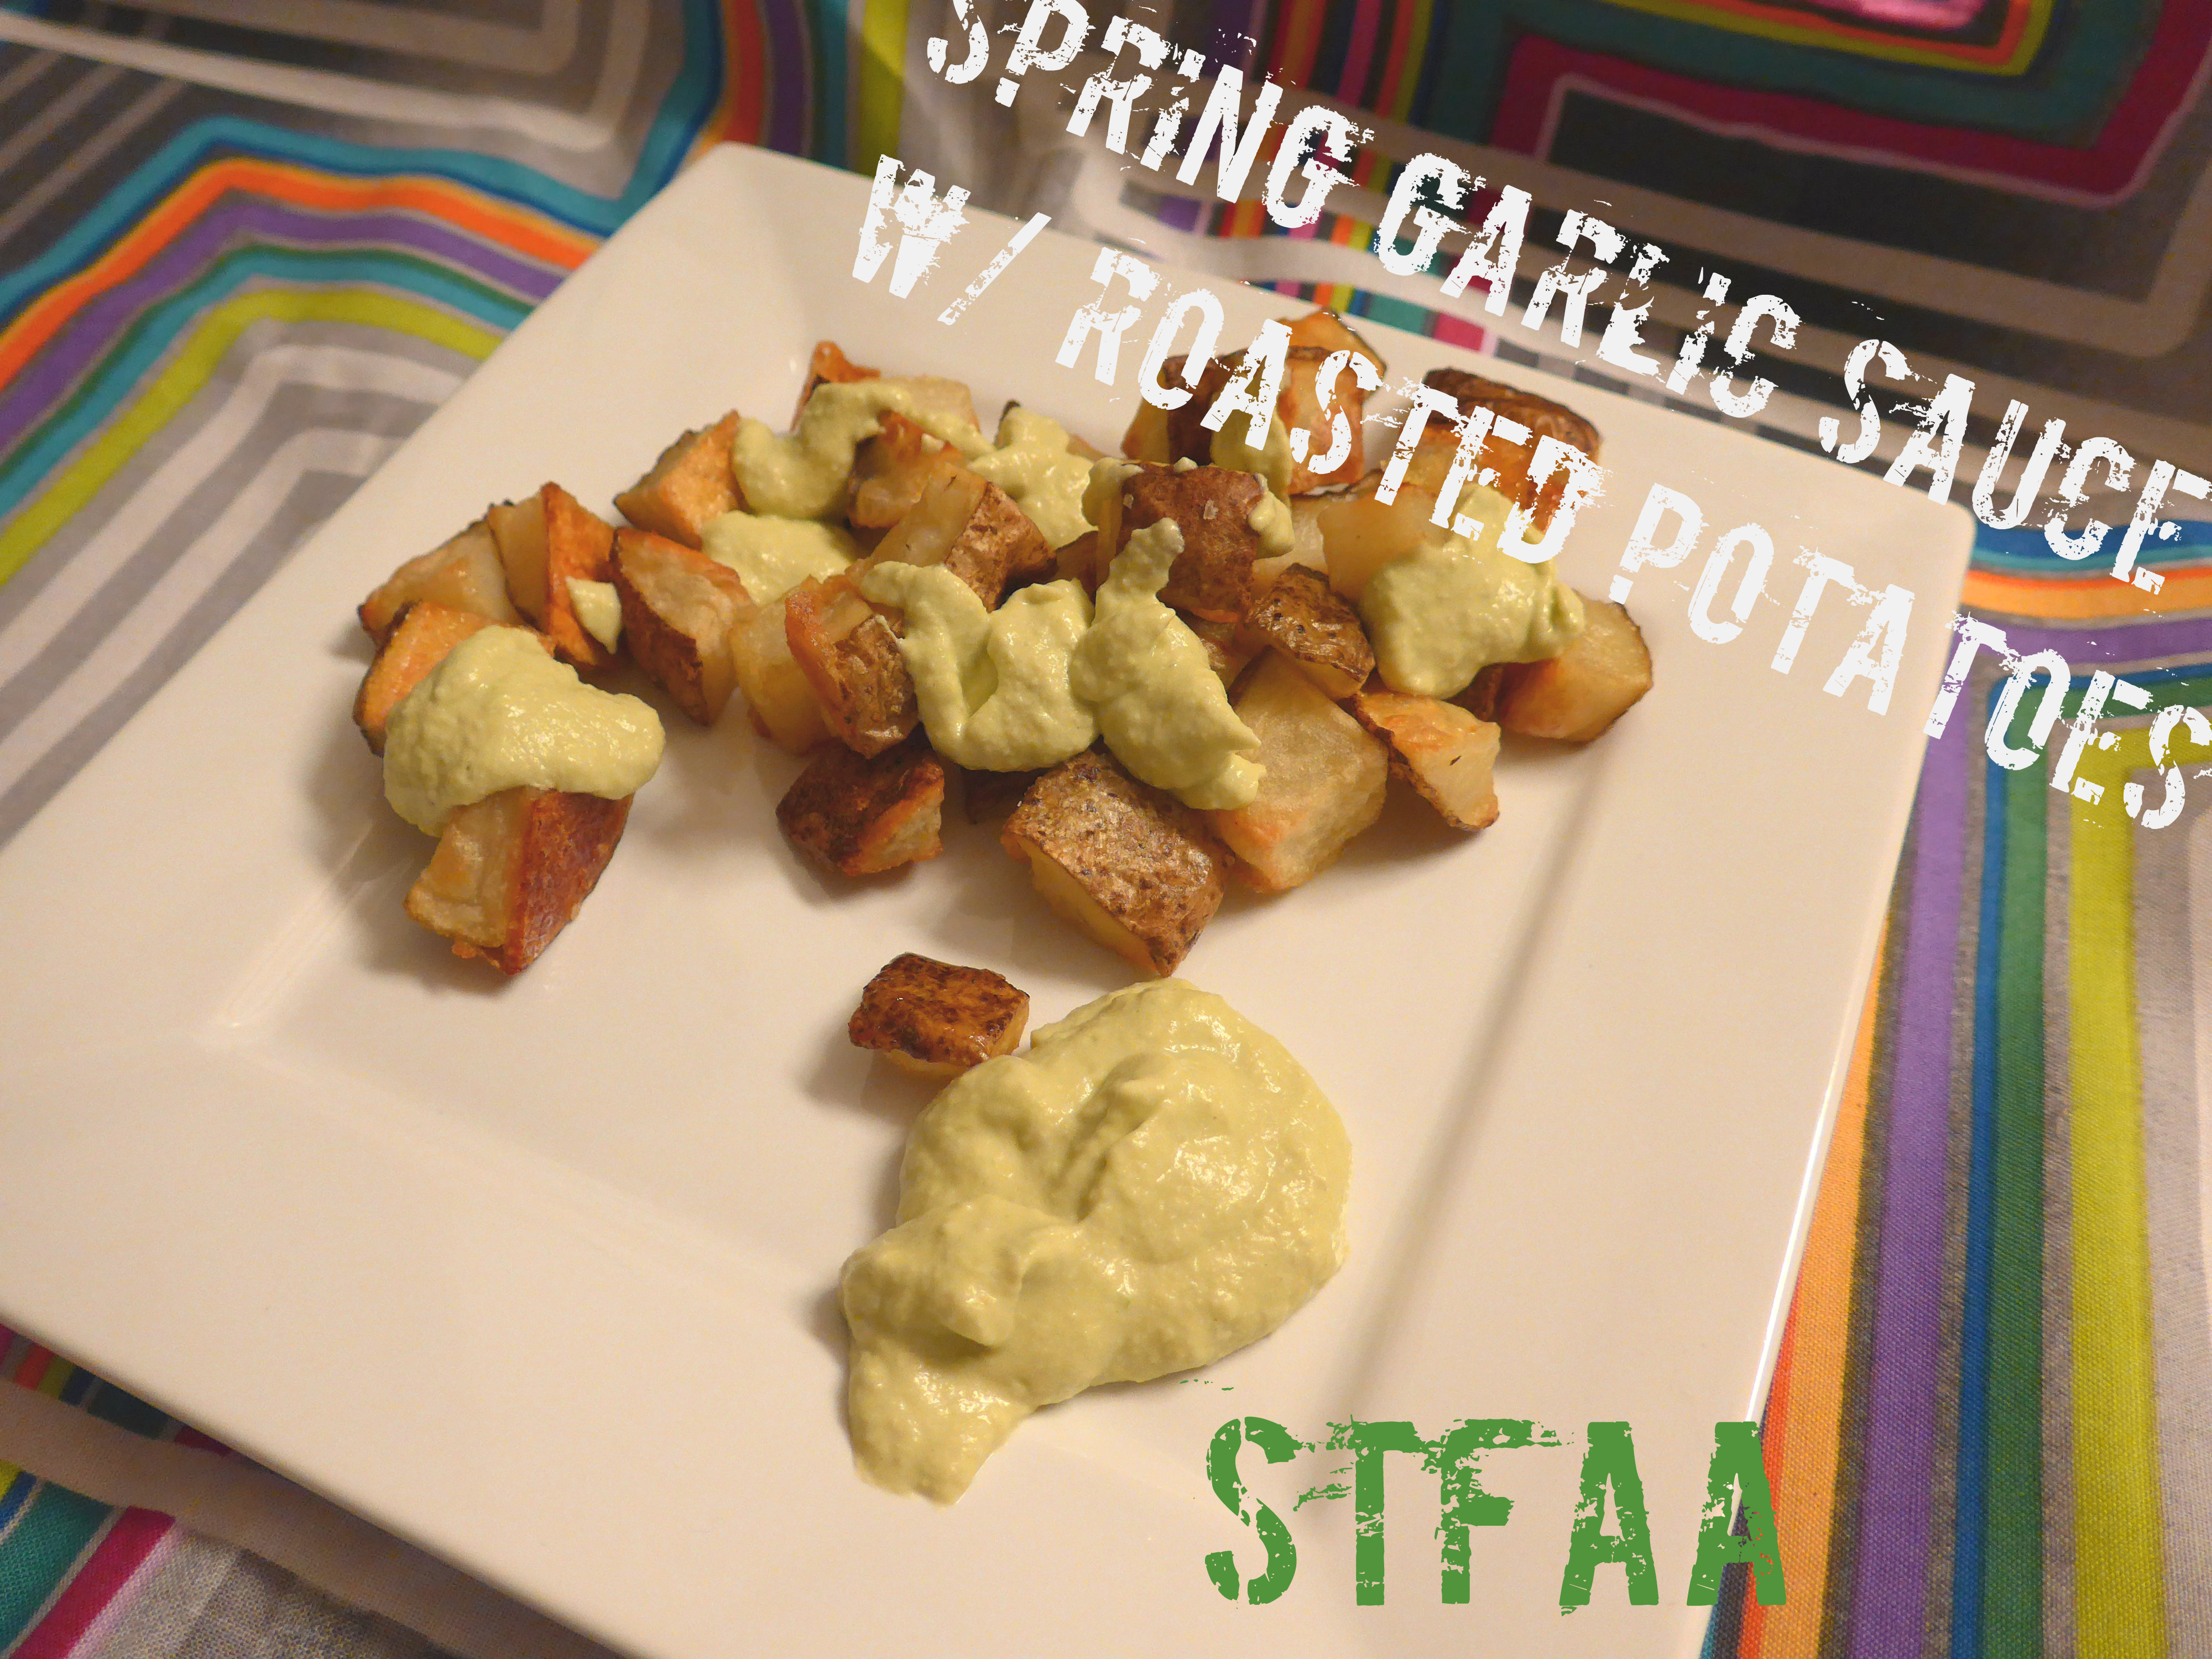
I fixed it by cooking the potatoes separately from the sauce. This dish is made of perfectly roasted potatoes, crisp on the outside, fluffy inside, topped with a creamy sauce made from cashews and white beans flavored with rich roasted garlic and fresh, green scallion tops. It’s a light spring green sauce that goes well with the roasted potatoes but is also good on other vegetables, chicken, and maybe even pasta (I didn’t try that, but I think it would work as a basis for a spring vegetable pasta sauce).
Spring Garlic Sauce with Roasted Potatoes
Notice: Trying to access array offset on value of type bool in /home/maryzahc/public_html/adultfoodallergies.com/wp-content/plugins/wp-ultimate-recipe/helpers/models/recipe.php on line 254
Spring Garlic Sauce with Roasted Potatoes
Print Recipe
This is a substitute for scalloped potatoes — roasted potatoes are fluffy inside, and are covered with a creamy garlic sauce made of cashews and white beans.
Servings
Prep Time
2servings
15minutes
Cook Time
Passive Time
40minutes
35minutes
Servings
Prep Time
2servings
15minutes
Cook Time
Passive Time
40minutes
35minutes
Ingredients
Roasted Potatoes
3cupsraw potatoes,cubed (2-4 potatoes, depending on size)
1-2Tablespoonsolive oil
1/2-1 teaspoonkosher salt
Spring Garlic Sauce
1/2 cupwhite beans
1/2cupraw cashews,soaked 8 hours or overnight
2clovesroasted garlic(taste and add more if you want more. Garlic varies greatly in intensity.)
1/4cupolive oil
1/3cupwater(you may need more — see the recipe itself)
1/2teaspoonsalt
1teaspoonlemon juice or mild vinegar
1bunchscallions, green tops only(4-6 scallions in a bunch, depending on size)
Servings: servings
Instructions
Preheat oven to 450F.
Scrub potatoes. Peel if desired. Cut into approximately 1/2-inch cubes. Toss with olive oil and salt — start with 1 tablespoon, and add more if needed. You don’t want to waste oil, but you do want everything decently coated to help the potatoes brown. Throw them into the oven and set a timer for 20 minutes.
While the potatoes are cooking, make the sauce. Throw all the ingredients except the scallions into a blender or food processor and pulse. Add more water, 1 tablespoon at a time, only if needed! You want this sauce to be thick. When the sauce is mostly smooth, add the scallion tops and blend until smooth.
Toss the hot potatoes with sauce to coat. Yes, this is different than the photos — I was aiming for “artistic arrangement of food,” though it didn’t really work.
Recipe Notes
You do need to roast garlic for this recipe. You could do this at the same time as the potatoes, but you will have to wait for it to cool off to get out the cloves, so this will take longer than estimated. I always roast extra garlic and keep it on hand in the freezer.
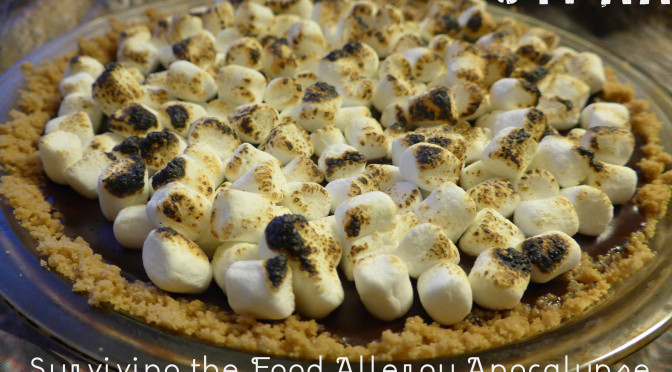
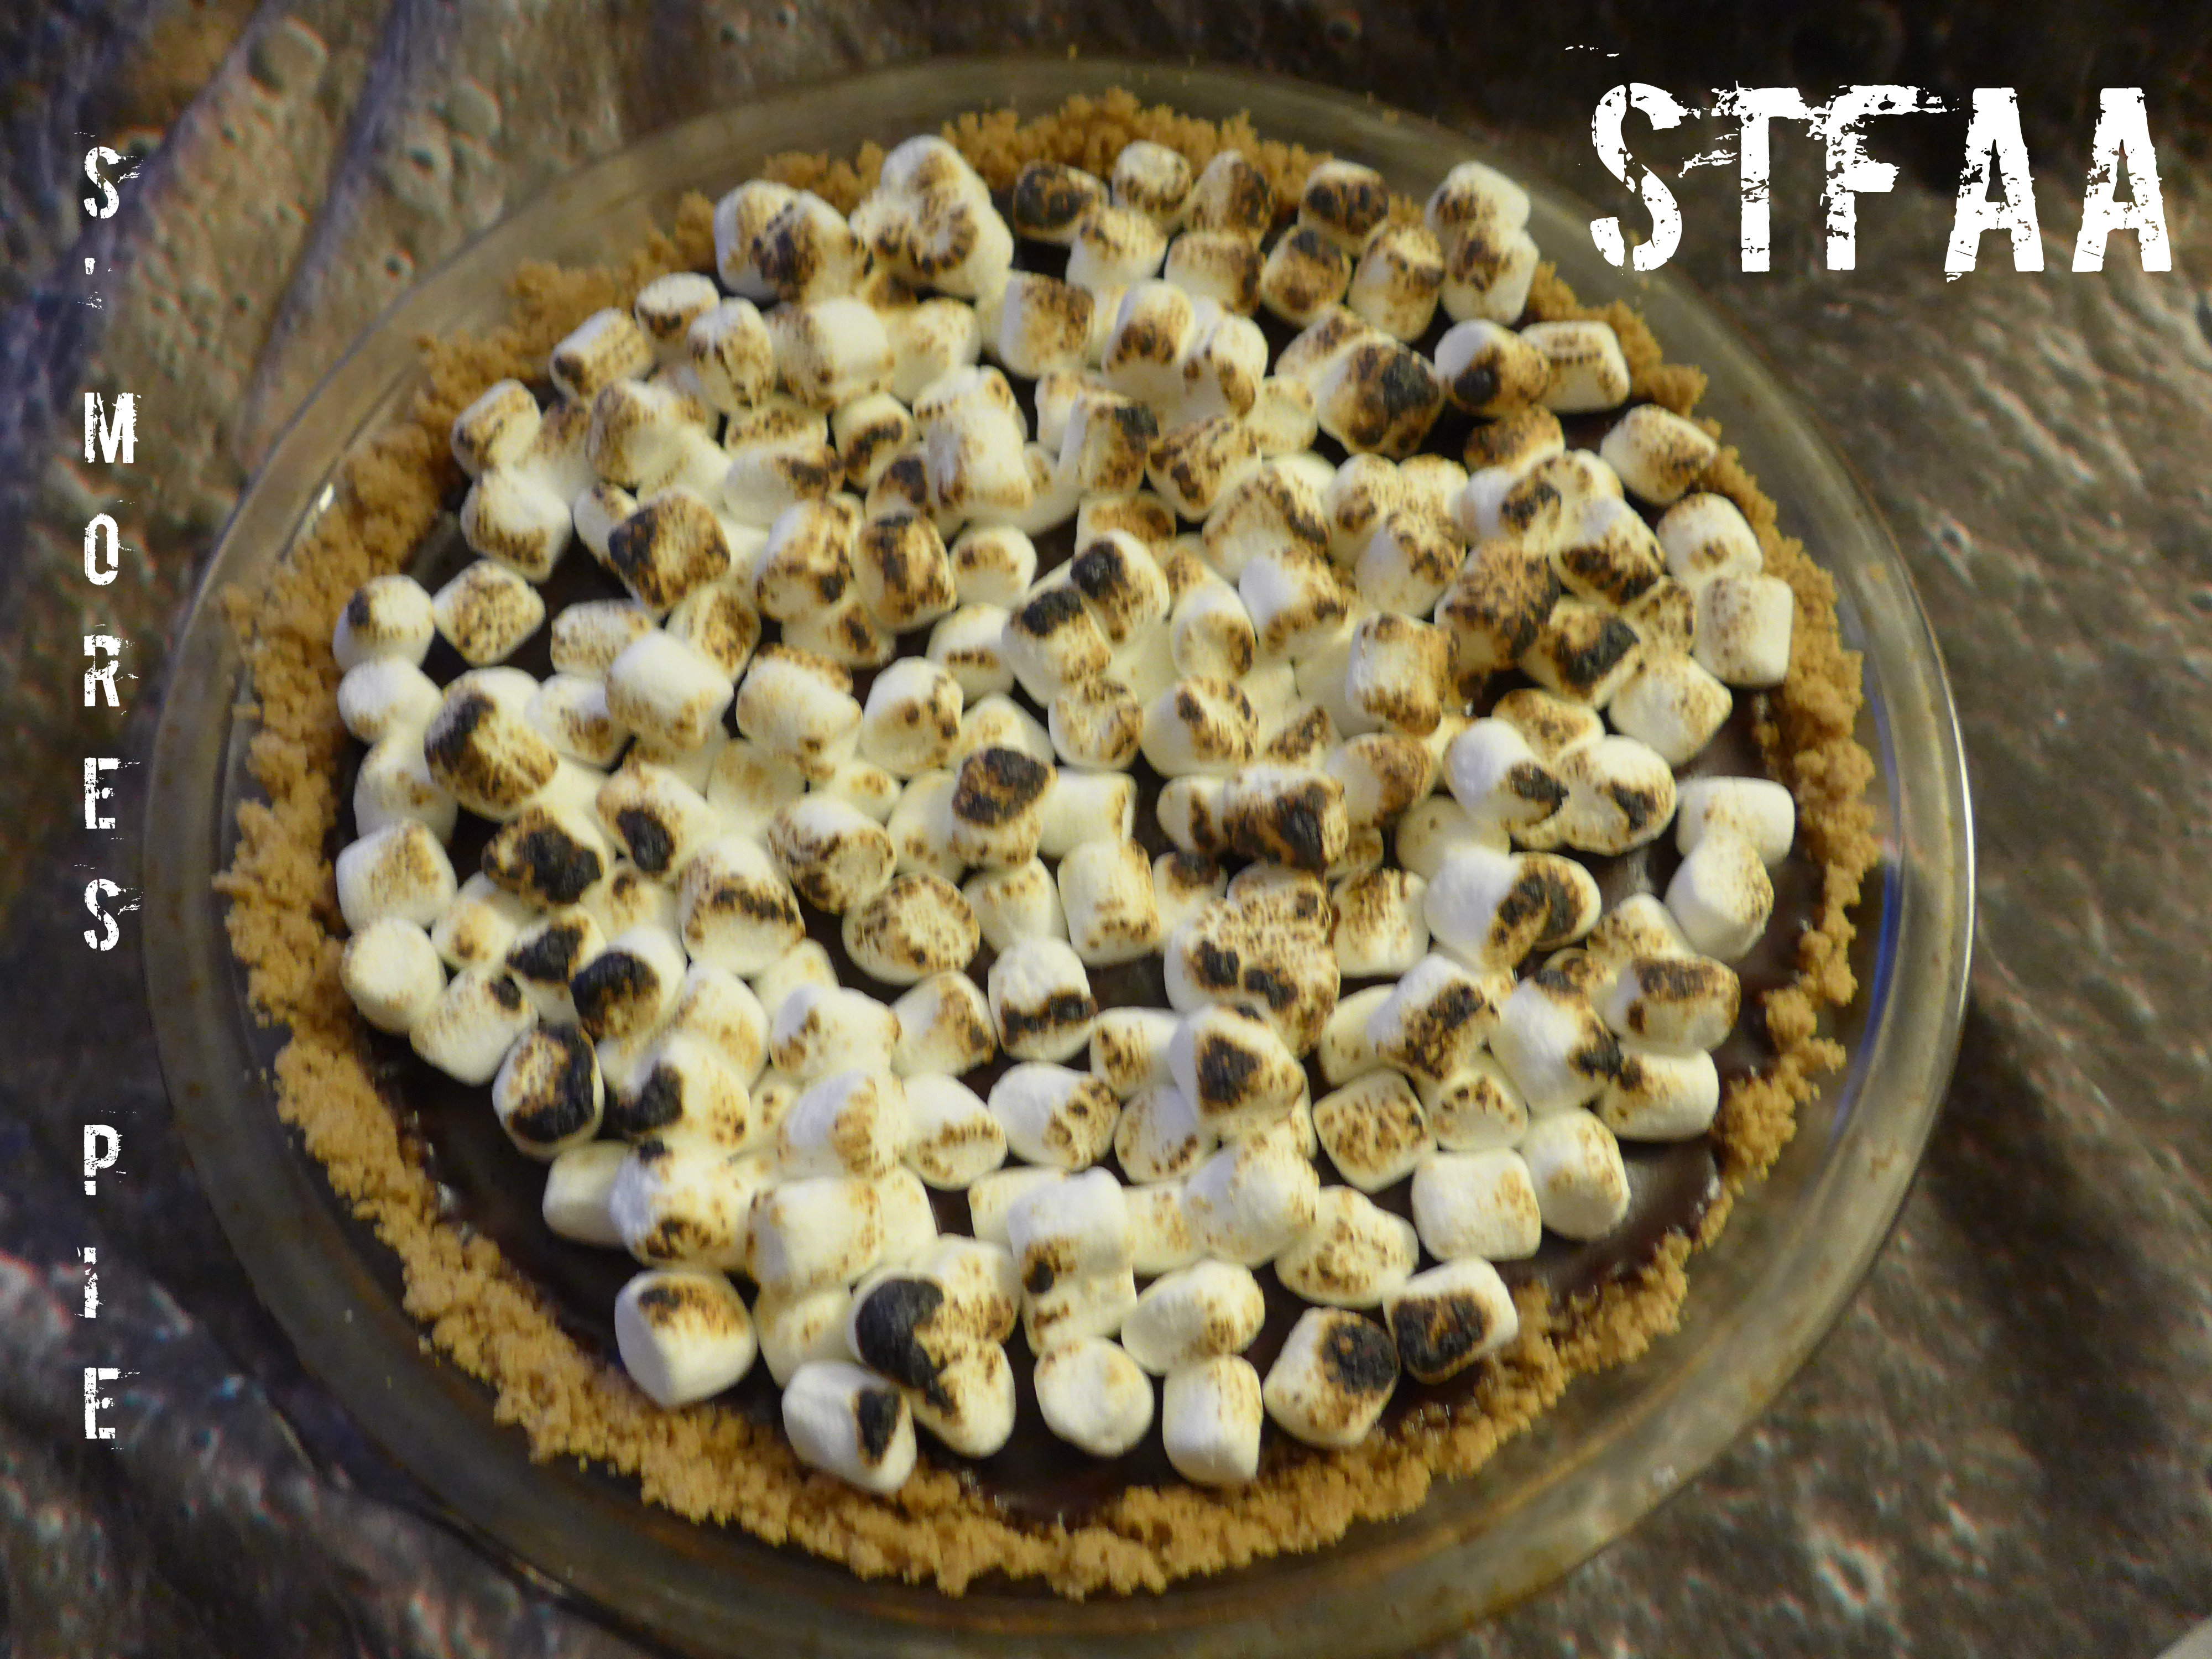
This is the post for the chocolate lovers. I know. Today, you’re buying Valentine’s Day chocolate on sale, but here’s a classy way to do chocolate. PIE. Chocolate pie. Make this pie for a video games party (if that’s a thing you might do), for a Primary watching party, for Thanksgiving, for Pi Day (coming up!)
Basically, I’m saying that it’s a pie for almost all occasions. Lovely graham cracker crust, rich, creamy chocolate filling, and toasted marshmallows on top. This pie should be served at least slightly chilled, so keep that in mind (but in winter, that means it’s good in the car for a bit).
I’ve used pre-made gluten-free graham crackers, which I keep around as a snack, and regular mini-marshmallows, which are safe for me. If you need to make graham crackers or marshmallows, we’ve got you covered (see the links in the recipe!), but plan ahead for the extra time.
Enjoy the whole pie.
S’mores Pie Notice: Trying to access array offset on value of type bool in /home/maryzahc/public_html/adultfoodallergies.com/wp-content/plugins/wp-ultimate-recipe/helpers/models/recipe.php on line 254
S’mores Pie
Print Recipe
Graham cracker crust, rich chocolate filling, and toasted marshmallows on top
Servings
Prep Time
8-16slices
5minutes
Cook Time
Passive Time
10minutes
2hours
Servings
Prep Time
8-16slices
5minutes
Cook Time
Passive Time
10minutes
2hours
S’mores Pie
Print Recipe
Graham cracker crust, rich chocolate filling, and toasted marshmallows on top
Servings
Prep Time
8-16slices
5minutes
Cook Time
Passive Time
10minutes
2hours
Servings
Prep Time
8-16slices
5minutes
Cook Time
Passive Time
10minutes
2hours
Ingredients
Graham Cracker Crust
1 1/2cupsgraham cracker crumbsI like Kinnikinnick brand, but use regular if you don’t need gluten-free, and make your own if you need full control of ingredients
1/3cupbrown sugar
5Tablespoonscoconut oilcan use other fat that works for you, but coconut oil sets nicely
Chocolate Filling
1can (15 oz)full-fat coconut milkdo not use “light”! It won’t set.
1 bag (10 oz) safe-for-you chocolate chips(or chop 10 oz of your safe chocolate into small pieces)
1teaspoonvanilla extract
Marshmallows
1 1/2cups mini marshmallowsuse what is safe for you — regular, vegan, or make our marshmallow recipe
Servings: slices
Instructions
Crust
Crush graham crackers. If you’ve had a bad day, put them in a bag and beat them with a rolling pin. That’s how I was taught to do it growing up, and it’s a good stress-reliever. But you can also use a food processor or blender for a quicker and smoother crumb.
In a bowl, combine the graham cracker crumbs, sugar, and melted coconut oil. Do not try to do this in the pie plate! I always think this is going to be an excellent idea — why get two things dirty? But it NEVER works out well. With the higher sides of a bowl, you can quickly and completely mix all the crust ingredients using a fork, without scattering them all across the kitchen.
Press crumb mixture into pie plate. This will not form up quite as well as a gluten-containing version does, so it really helps to start out with your greased hands to evenly spread the crust mix over the pie plate. If you need extra compacting, the bottom of a glass works well. Try to even out the top edges of the crust — this will help it hold together when it comes out of the pan.
Chill the pie crust in the fridge for at least half an hour, but better 45 minutes. This is why coconut oil works better to keep the crust intact — it’s solidity when chilled is a benefit here.
Filling
Pour one can of coconut milk into a sauce pan. Heat over medium low until it begins to boil, stirring frequently. If the solids have somewhat separated, stir them back in to the coconut milk.
When you have the coconut milk at a low boil, remove the pan from the heat. Add the chocolate and stir until it is completely combined with the coconut milk.
Add the vanilla and stir well.
Pour the prepared filling into the chilled pie crust, and put the pie in the freezer to set.
Set your timer for 40 minutes. You want the pie to be mostly but not completely set when you top it with the marshmallows, as you want them to stick. Add the marshmallows and chill for another half an hour.
Toast the marshmallows with your kitchen torch.
Alternately, you can use your broiler for this — but set aside extra time to re-chill the entire pie before serving! The broiler will make the entire pie hot and it is easier to burn the marshmallows.
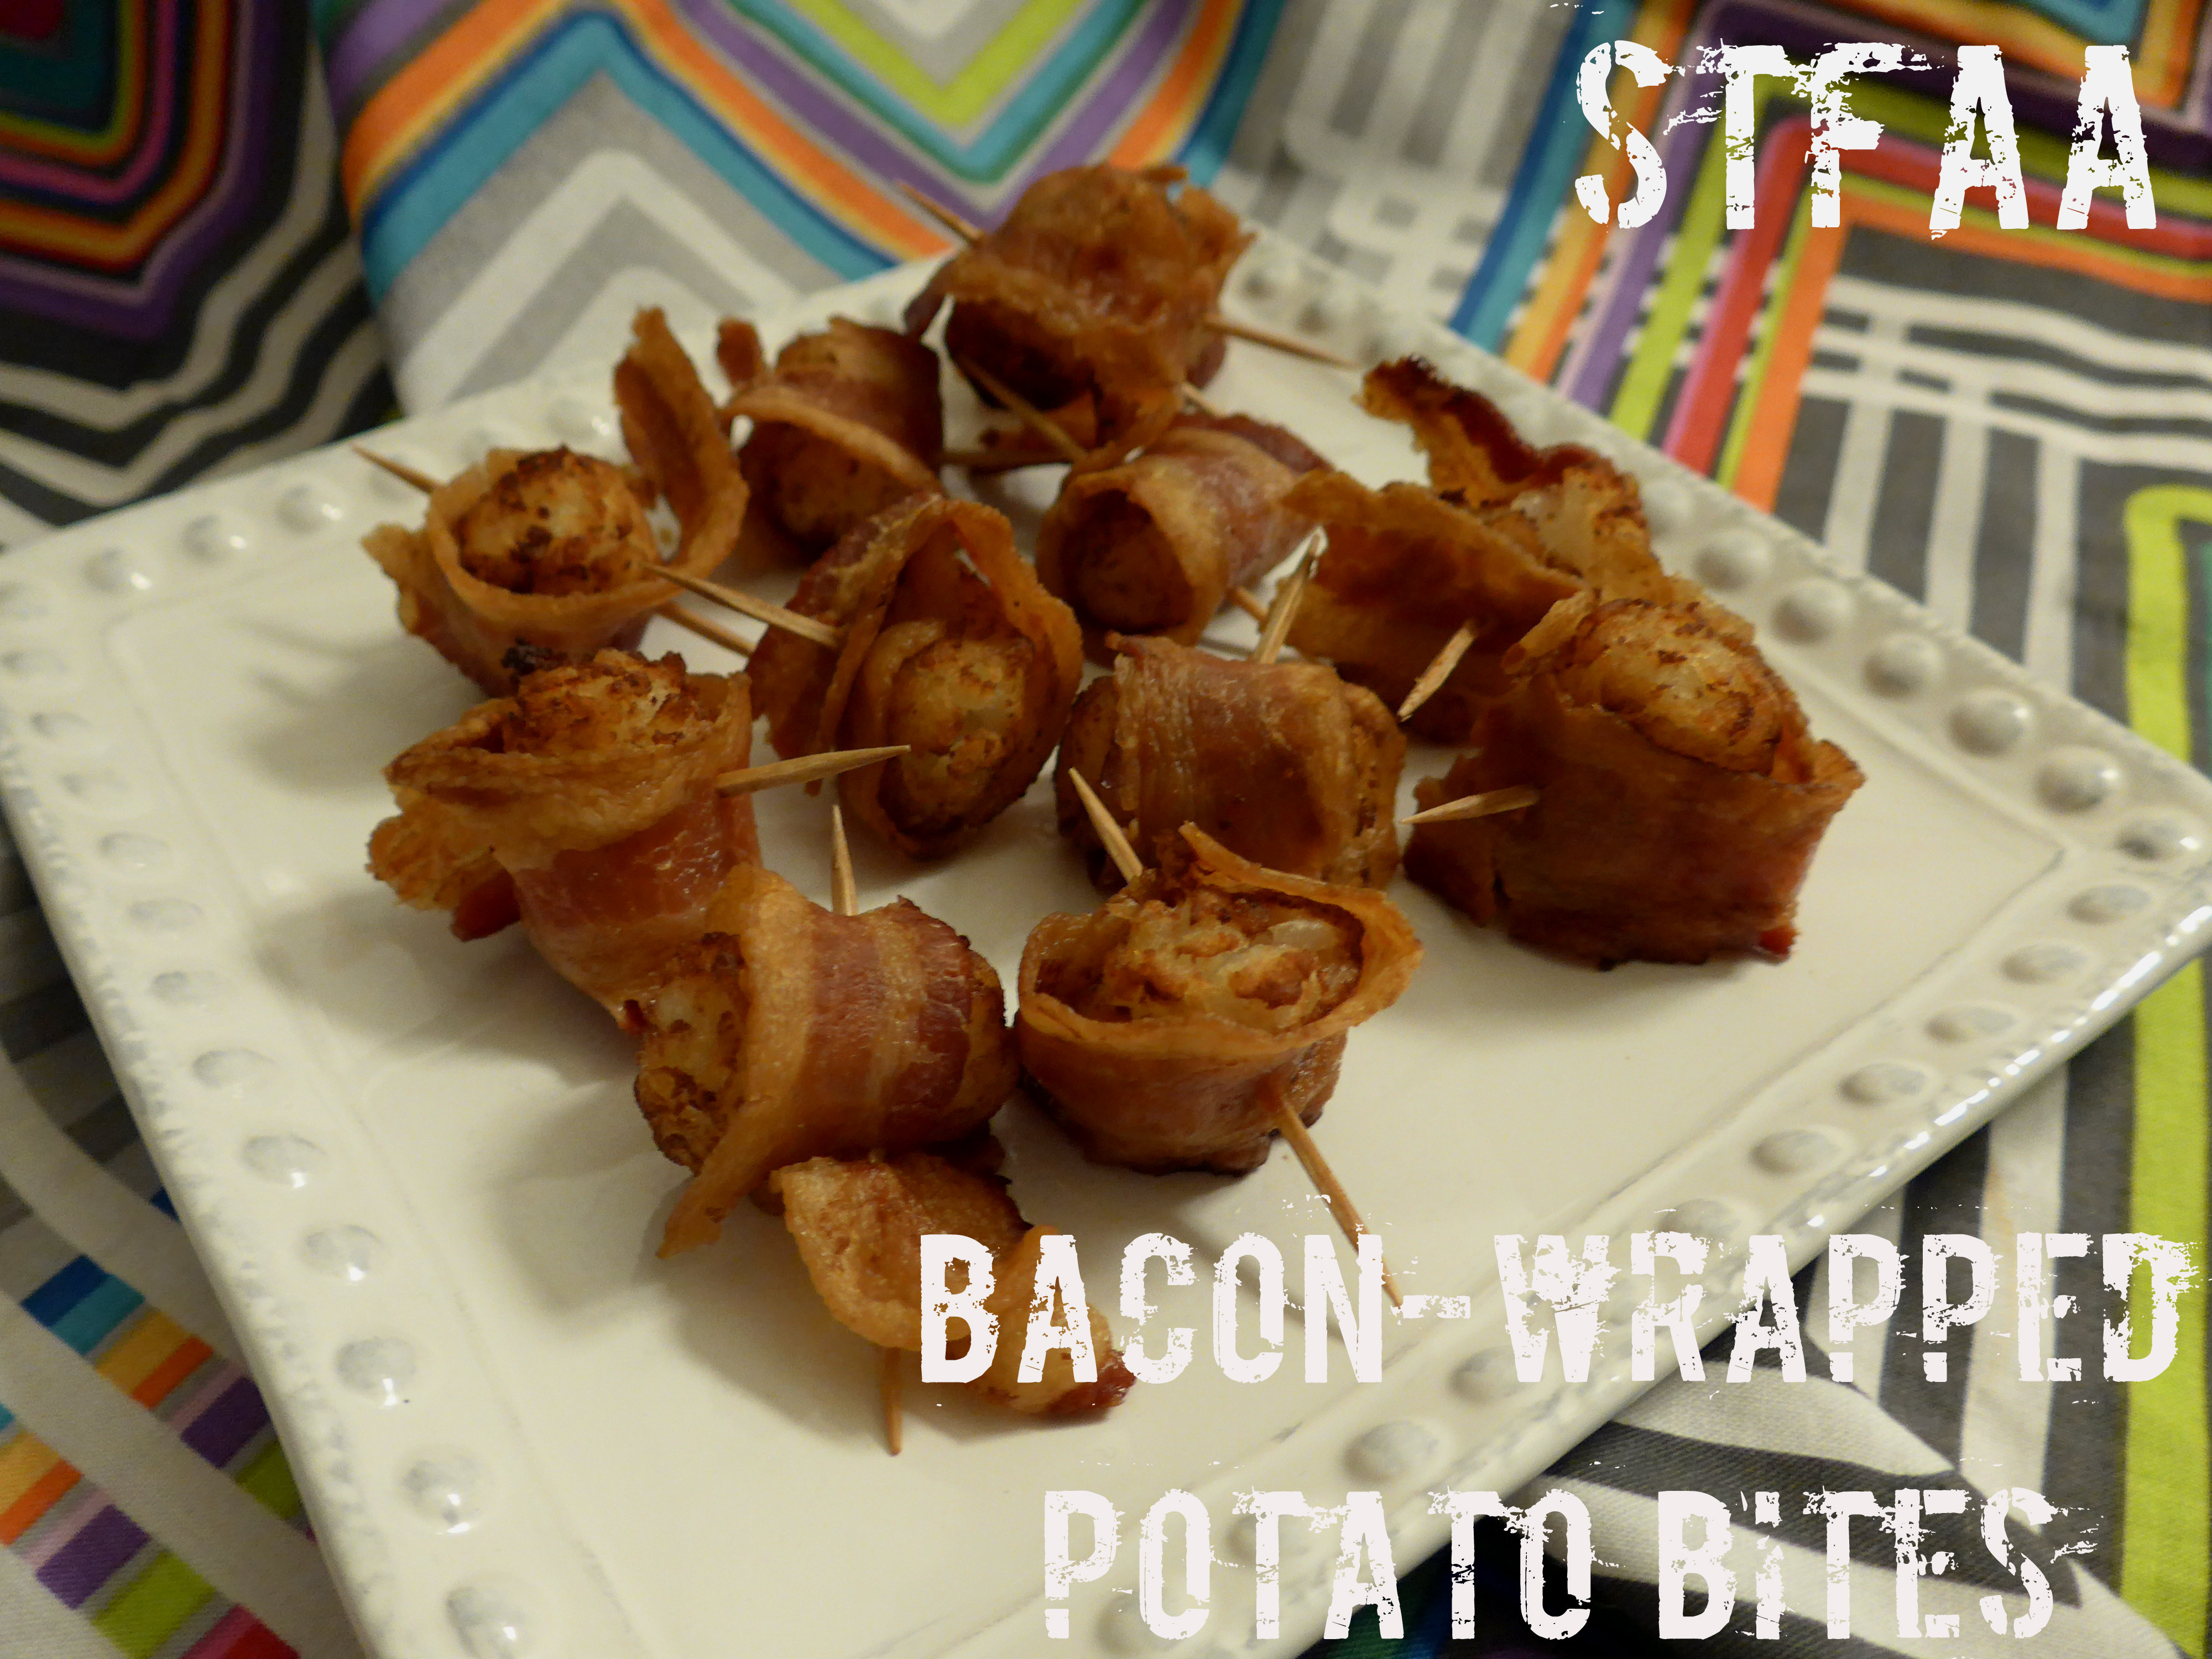
I’d write something eloquent about this, but doesn’t the recipe title tell you everything? My friend Corinne of spare cake made these for me a few years ago, and my guess is that she didn’t make the recipe up. It’s not even much of a recipe — just an amazing technique that you need to know for your next gathering (or blizzard day in).
If your allergies prevent you from eating commercial bacon or frozen tater tots, fear not. We have you covered with DIY bacon and a few versions of potato bites. (If you are making your own, I’d suggest cooking the tots about half way through before wrapping them in bacon).
Enjoy.
Notice: Trying to access array offset on value of type bool in /home/maryzahc/public_html/adultfoodallergies.com/wp-content/plugins/wp-ultimate-recipe/helpers/models/recipe.php on line 254
Bacon-Wrapped Potato Bites
Print Recipe
This is a great appetizer for the next sporting event or movie night or other gathering where clean fingers aren’t a priority (so do not make this for a gaming night!). Plan on maybe a half-dozen potato bites per person, fewer if you have other hearty appetizers. I always cook some extra potatoes just because you can never have extra potatoes.
This is a great appetizer for the next sporting event or movie night or other gathering where clean fingers aren’t a priority (so do not make this for a gaming night!). Plan on maybe a half-dozen potato bites per person, fewer if you have other hearty appetizers. I always cook some extra potatoes just because you can never have extra potatoes.
Take frozen tots out of oven OR make and pre-bake DIY tater tots (bake for half the time in the recipe linked above).
Line a sheet pan with slightly crumpled foil (this will act as a bit of a “rack” for the bacon). Lay strips of bacon out, close, but not touching or overlapping. Bake for about 10 minutes — bacon should start getting some color, but will not yet be crispy. Remove from oven and cool slightly.
If using frozen tots that aren’t thawed yet (and most won’t in 10 minutes), bake for 10 minutes.
When tots are cool enough to touch, wrap each tot in half a strip of bacon, overlapping on one side and stick a toothpick through the overlapped part and out the other side.
Place back on baking sheet (not the greasy foil one!) and bake for another 10-15 minutes, until bacon is crisp and potatoes are cooked through (usually brown on the ends).
Eat with dipping sauce of your choice. Ketchup is good, but cashew ranch would also be a good choice.
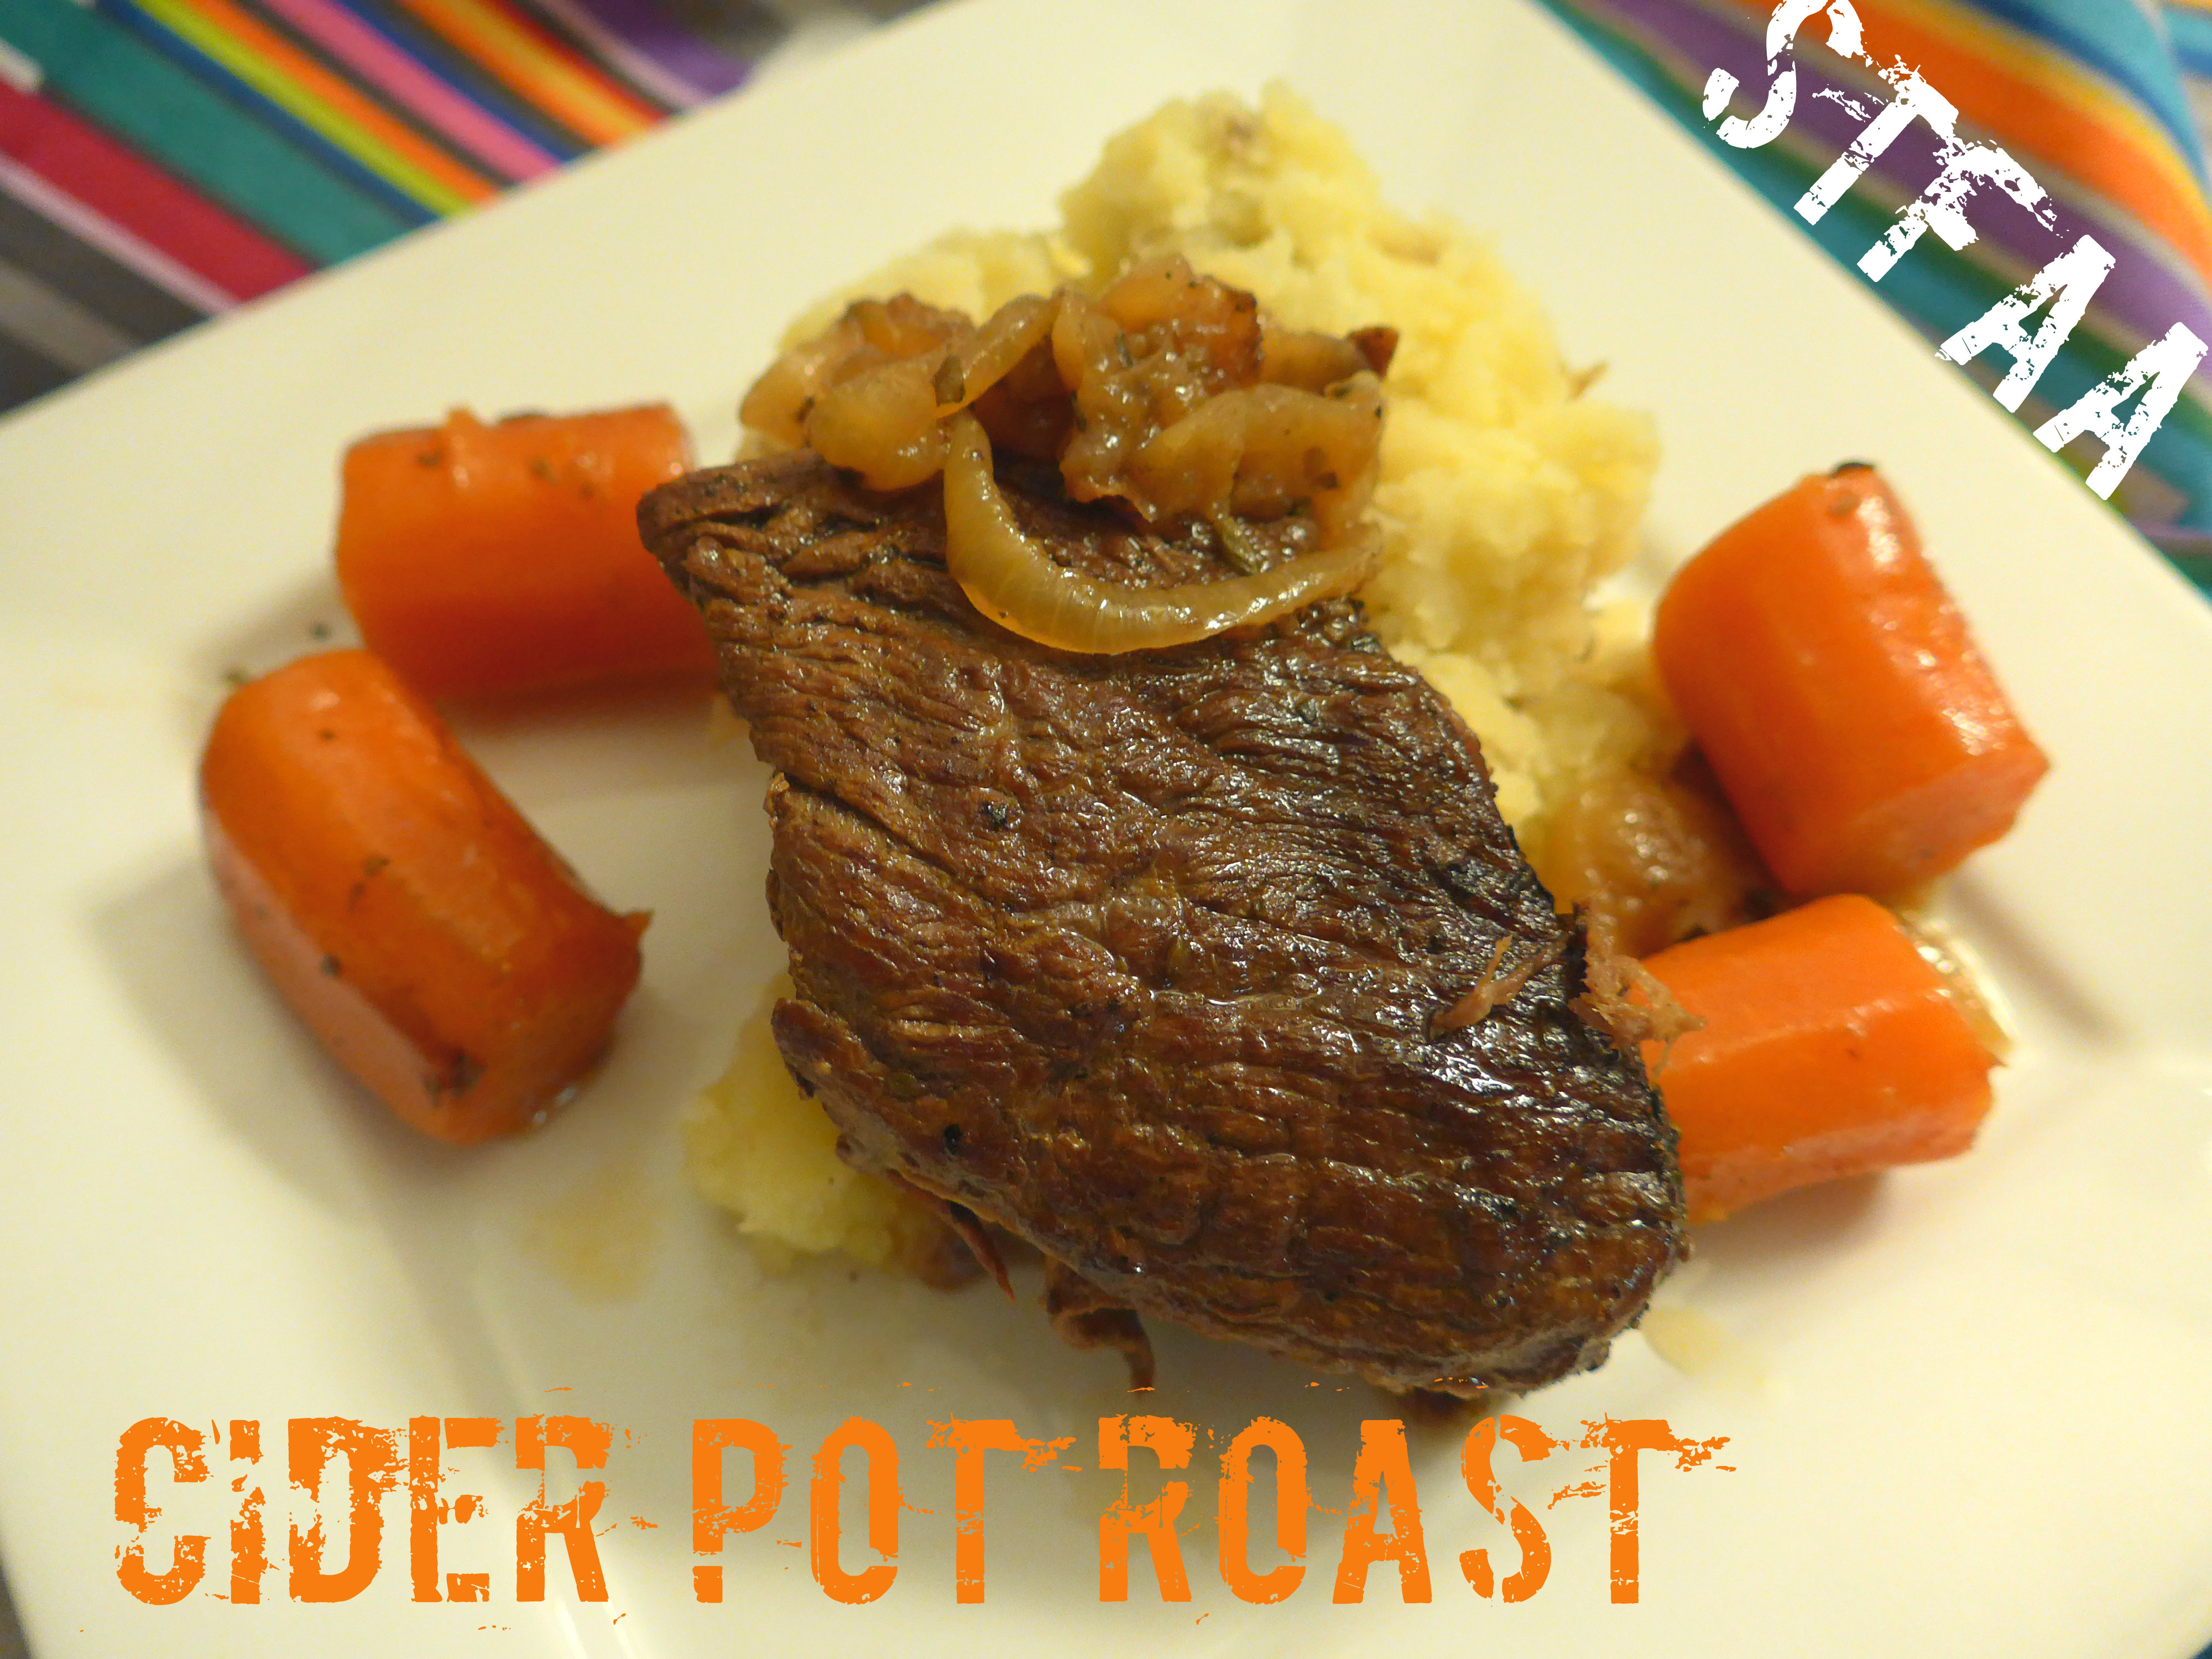
While I know there are people out there who dream of steak dinners, prime rib, or some other fancy cut of cow, my all-time favorite beef dinner is a good pot roast. I’ve been wanting to post a pot roast dinner to the blog for years now, but I hadn’t figured out how to get the right flavor and texture.
Pot roast should be falling apart, fork-tender meat. The onions and carrots should be flavorful, and the braising liquid should be able to be a gravy with no added flavor, only thickening (and I almost never bother). I have made countless pot roasts that have not met this bar. I’ve tried gluten-free beer, wines, beef and chicken broth, and seasoned water. Eh. Everything was edible, but nothing was great.
This time, I tried hard apple cider, Farnum Hill Dooryard Cider, in fact, which is local to New Hampshire. I’m not sure how easy it might be to find elsewhere, but it is gluten-free and safe for me. This cider tends towards dryness, rather than sweetness, which is ideal for this application. See what you can find, and make sure you taste it before cooking with it.
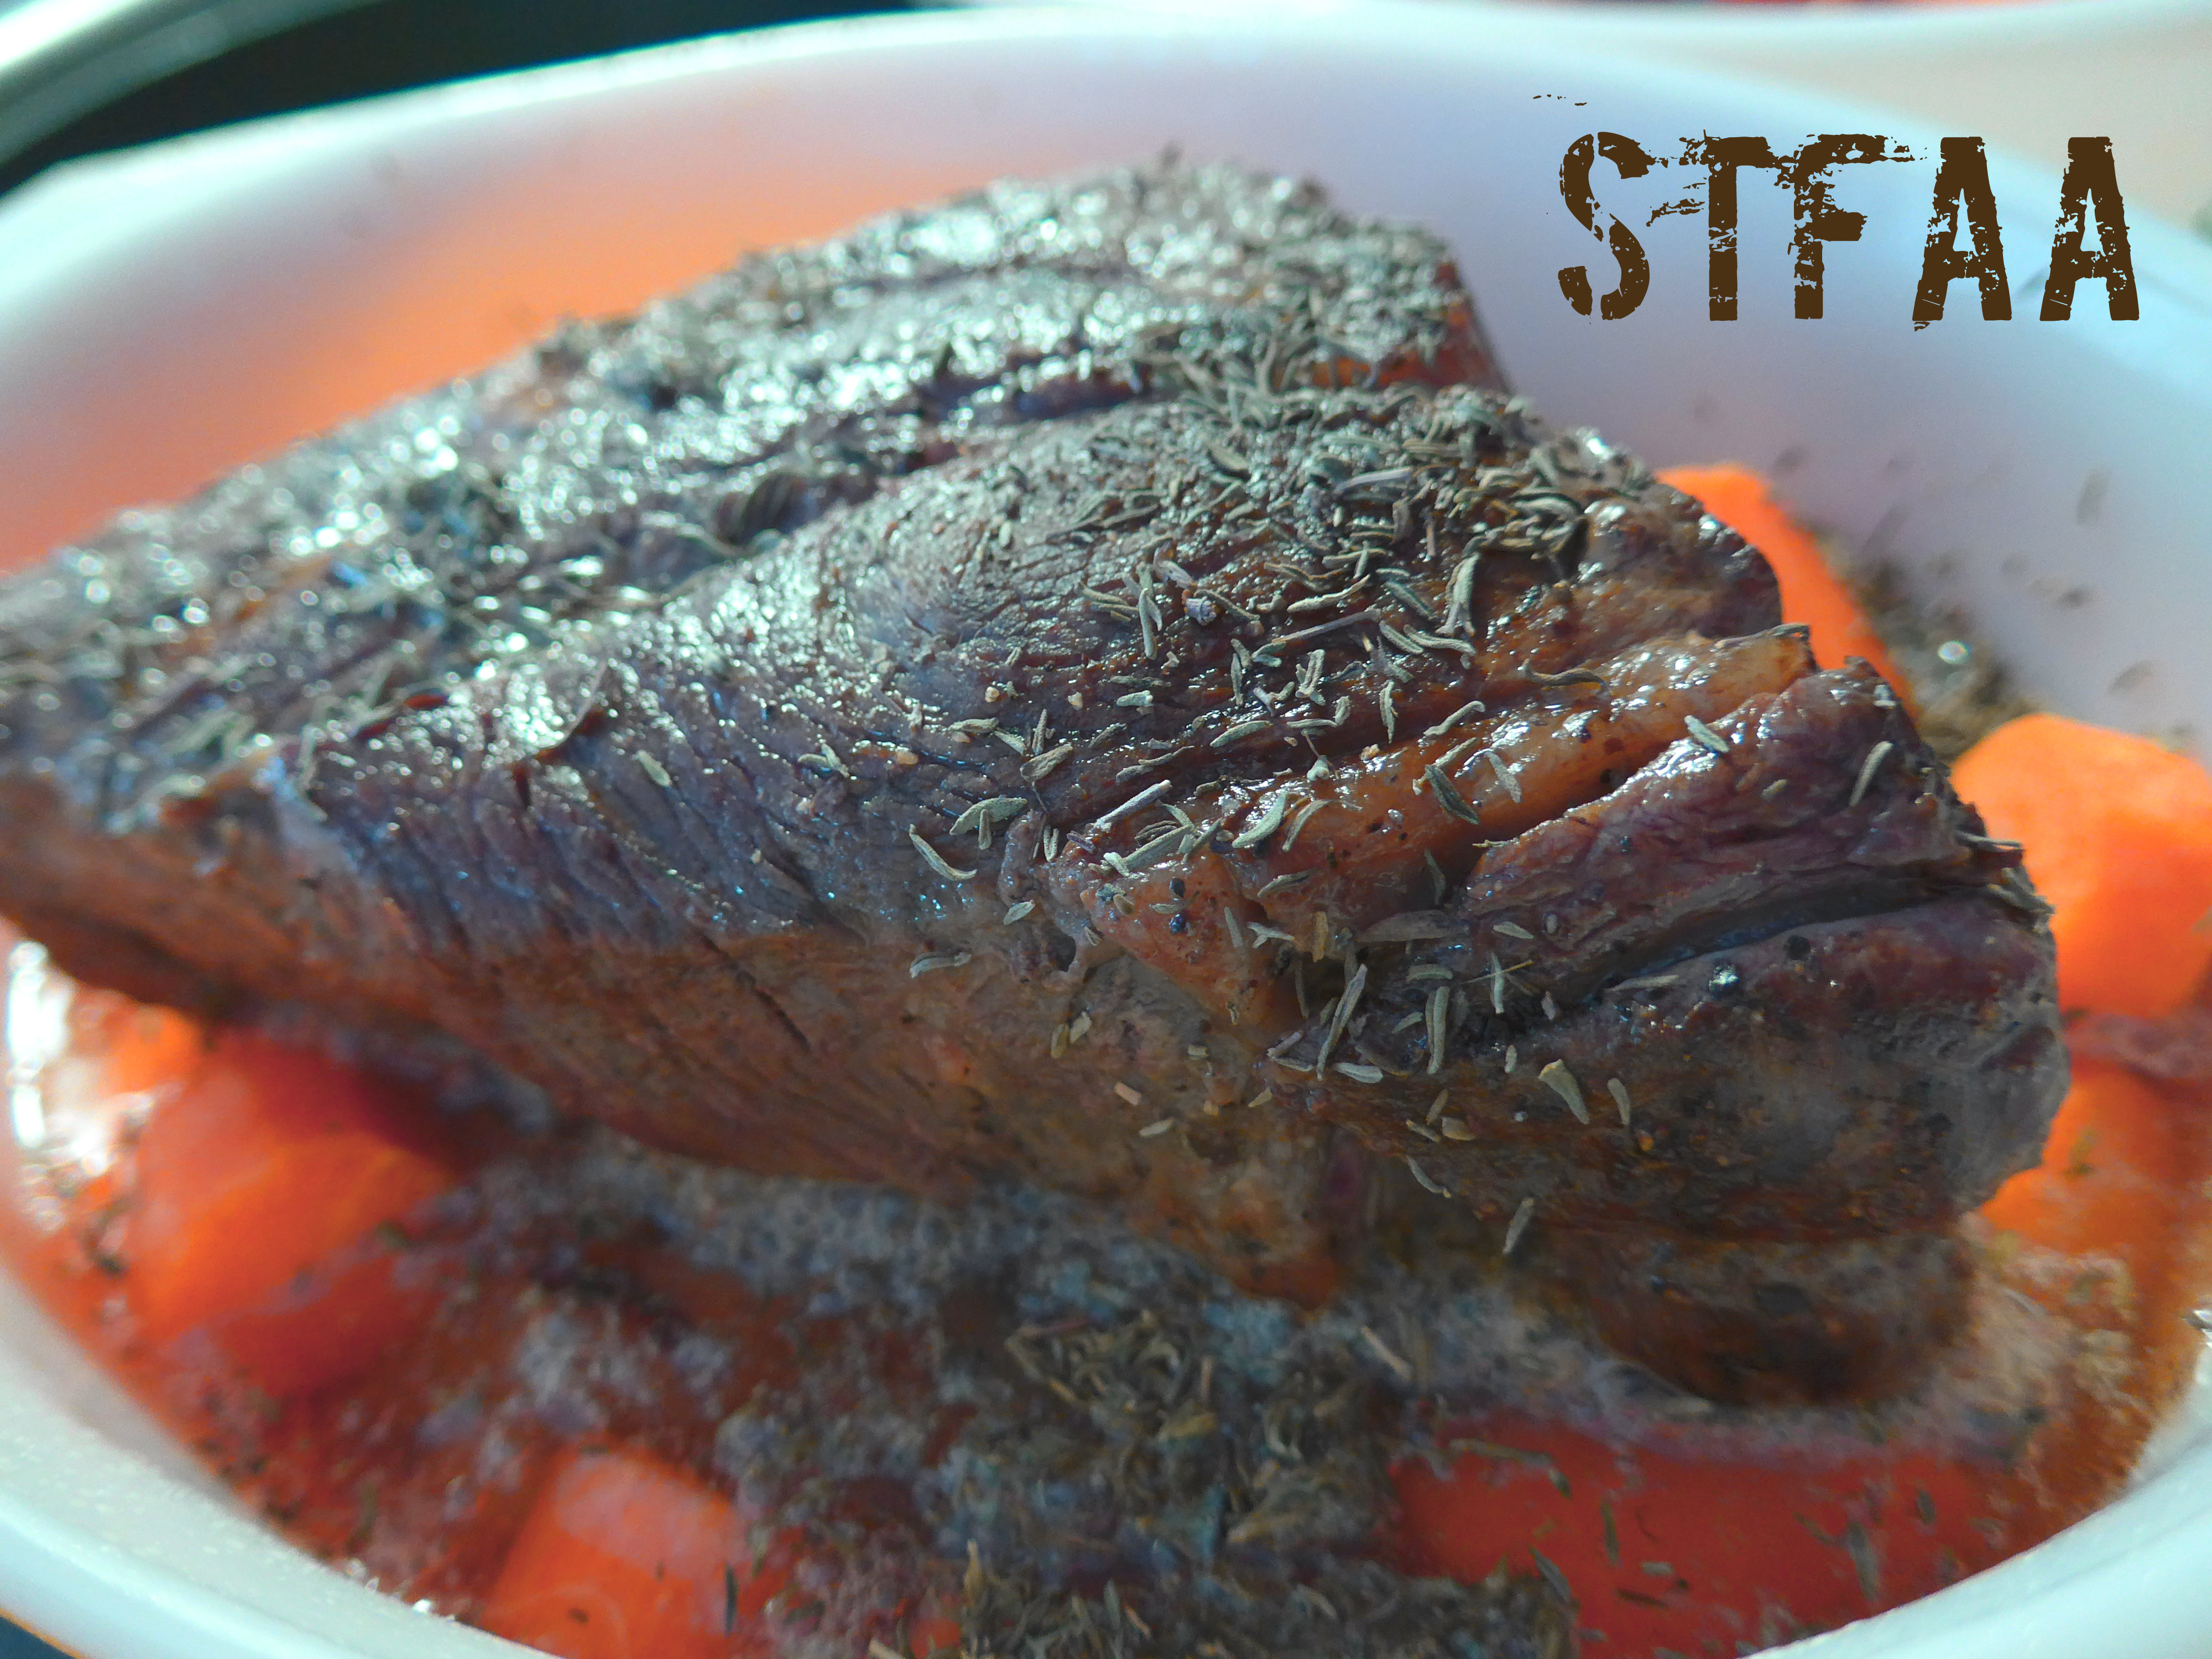
When I tasted this, I ended up going in a slightly different direction with herbs. I did try this with the more traditional thyme, and it was good, but oregano and apple cider was the winning combination for me. Another good reason to taste your ingredients!
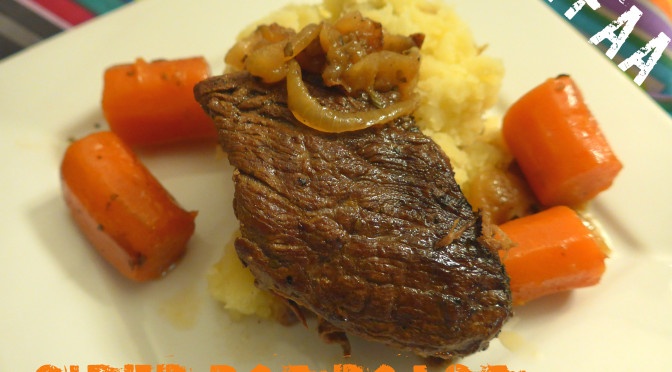
Preparing pot roast for baking. Keen eyes may pick up that this is the thyme-covered roast, not the oregano in the recipe. You’d be correct — this photo just turned out much better.
The beef is browned before baking, and it’s cooked with browned onions and carrots, and served over simple smashed potatoes. The recipe lists 3 carrots, but honestly, add as many as your casserole or Dutch oven will hold, as they are amazing. If you prefer to enrich your potatoes with safe margarine and non-dairy milk, feel free — I think they soak up more pan juices without those, though. Anyway, I hope you enjoy this recipe as much as I do.
Notice: Trying to access array offset on value of type bool in /home/maryzahc/public_html/adultfoodallergies.com/wp-content/plugins/wp-ultimate-recipe/helpers/models/recipe.php on line 254
Cider Pot Roast
Print Recipe
This is the pot roast of my childhood — tender meat that you don’t need a knife to eat, slathered in onions, best served over mashed potatoes. In this recipe, I found that hard cider made a good gluten-free substitution for beer.
This is the pot roast of my childhood — tender meat that you don’t need a knife to eat, slathered in onions, best served over mashed potatoes. In this recipe, I found that hard cider made a good gluten-free substitution for beer.
1Tablespoonfatolive oil, bacon fat, whatever you want to use is good here
1.5 lbs.boneless chuck roast
salt and pepperto taste, but be generous
3carrots(actually,I’d add as many as your pot will hold, cut into large chunks)
1teaspoonoregano
1cup hard apple cidermake sure your brand is safe for you
1/4cup water
1lb.potatoes, mashedmake them however you like them
Servings: people
Instructions
Turn your oven on at 325 degrees Fahrenheit.
If you have a stove-top to oven-safe dutch oven or other casserole, this is a good recipe to use it. I do not, so I start out in a skillet, and then transfer to a lidded casserole dish. Either way, heat your pan over medium heat, and add the oil or fat.
When the oil is hot, add the onions, frying until they start to brown. When they are all translucent and/or browning (15-20 minutes, stir regularly), remove from the pan. If you’re using a casserole for the baking, transfer them directly there (I advise you lightly grease the dish AND lid).
Turn up the heat just a bit (medium-high). Salt and pepper all sides of your roast liberally, and use freshly ground pepper if you can. Then brown each side. You don’t have to brown the short sides, but it tastes better if you do. Plan on 3-5 minutes per side.
Now either add the browned beef to your greased casserole dish that has onions at the bottom, or add the onions back to the pot (but not on top of the beef). Add your carrots around the sides of the beef.
Sprinkle the oregano over the top of the dish. Then add the cider and water along the side. I like to have the herbs bake to the top of the meat, so don’t wash them off with the cider.
Cover and bake the pot roast for 2-3 hours. Two and a half is a good estimate, as it gives the meat time to braise and for all the fibers in the meat to break apart. Check on it at 2 hours for two things — using a meat thermometer, see if it’s done (170F/77C for well done, and this is pot roast), and then see if the meat is tender. Cook longer if needed. You can definitely turn off the oven and let the casserole continue in the pre-heated oven for the last 30 minutes, provided that the meat has reached its internal temperature.
For the potatoes, I prefer the simplest preparation — cook whole potatoes in salted water until a knife stuck through the center shows they are done. Then drain and smash, adding nothing. These are the perfect potatoes for absorbing other flavors, as the texture is a bit fluffier than traditional mashed potatoes. But make the potatoes you love.
Serve meat and onions and carrots over potatoes, with plenty of the juice from the pan.
I’m not a big holiday celebration person, but I do like cooking special food for special occasions. Christmas, growing up, was always a special meal, but it wasn’t one specific thing. For years, Christmas Eve was Welsh Rarebit (something like this recipe — completely not allergy-friendly beer cheese sauce over toast), and then it was stir fry.
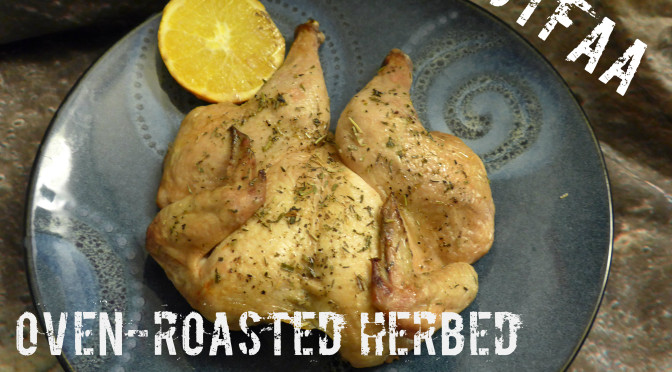
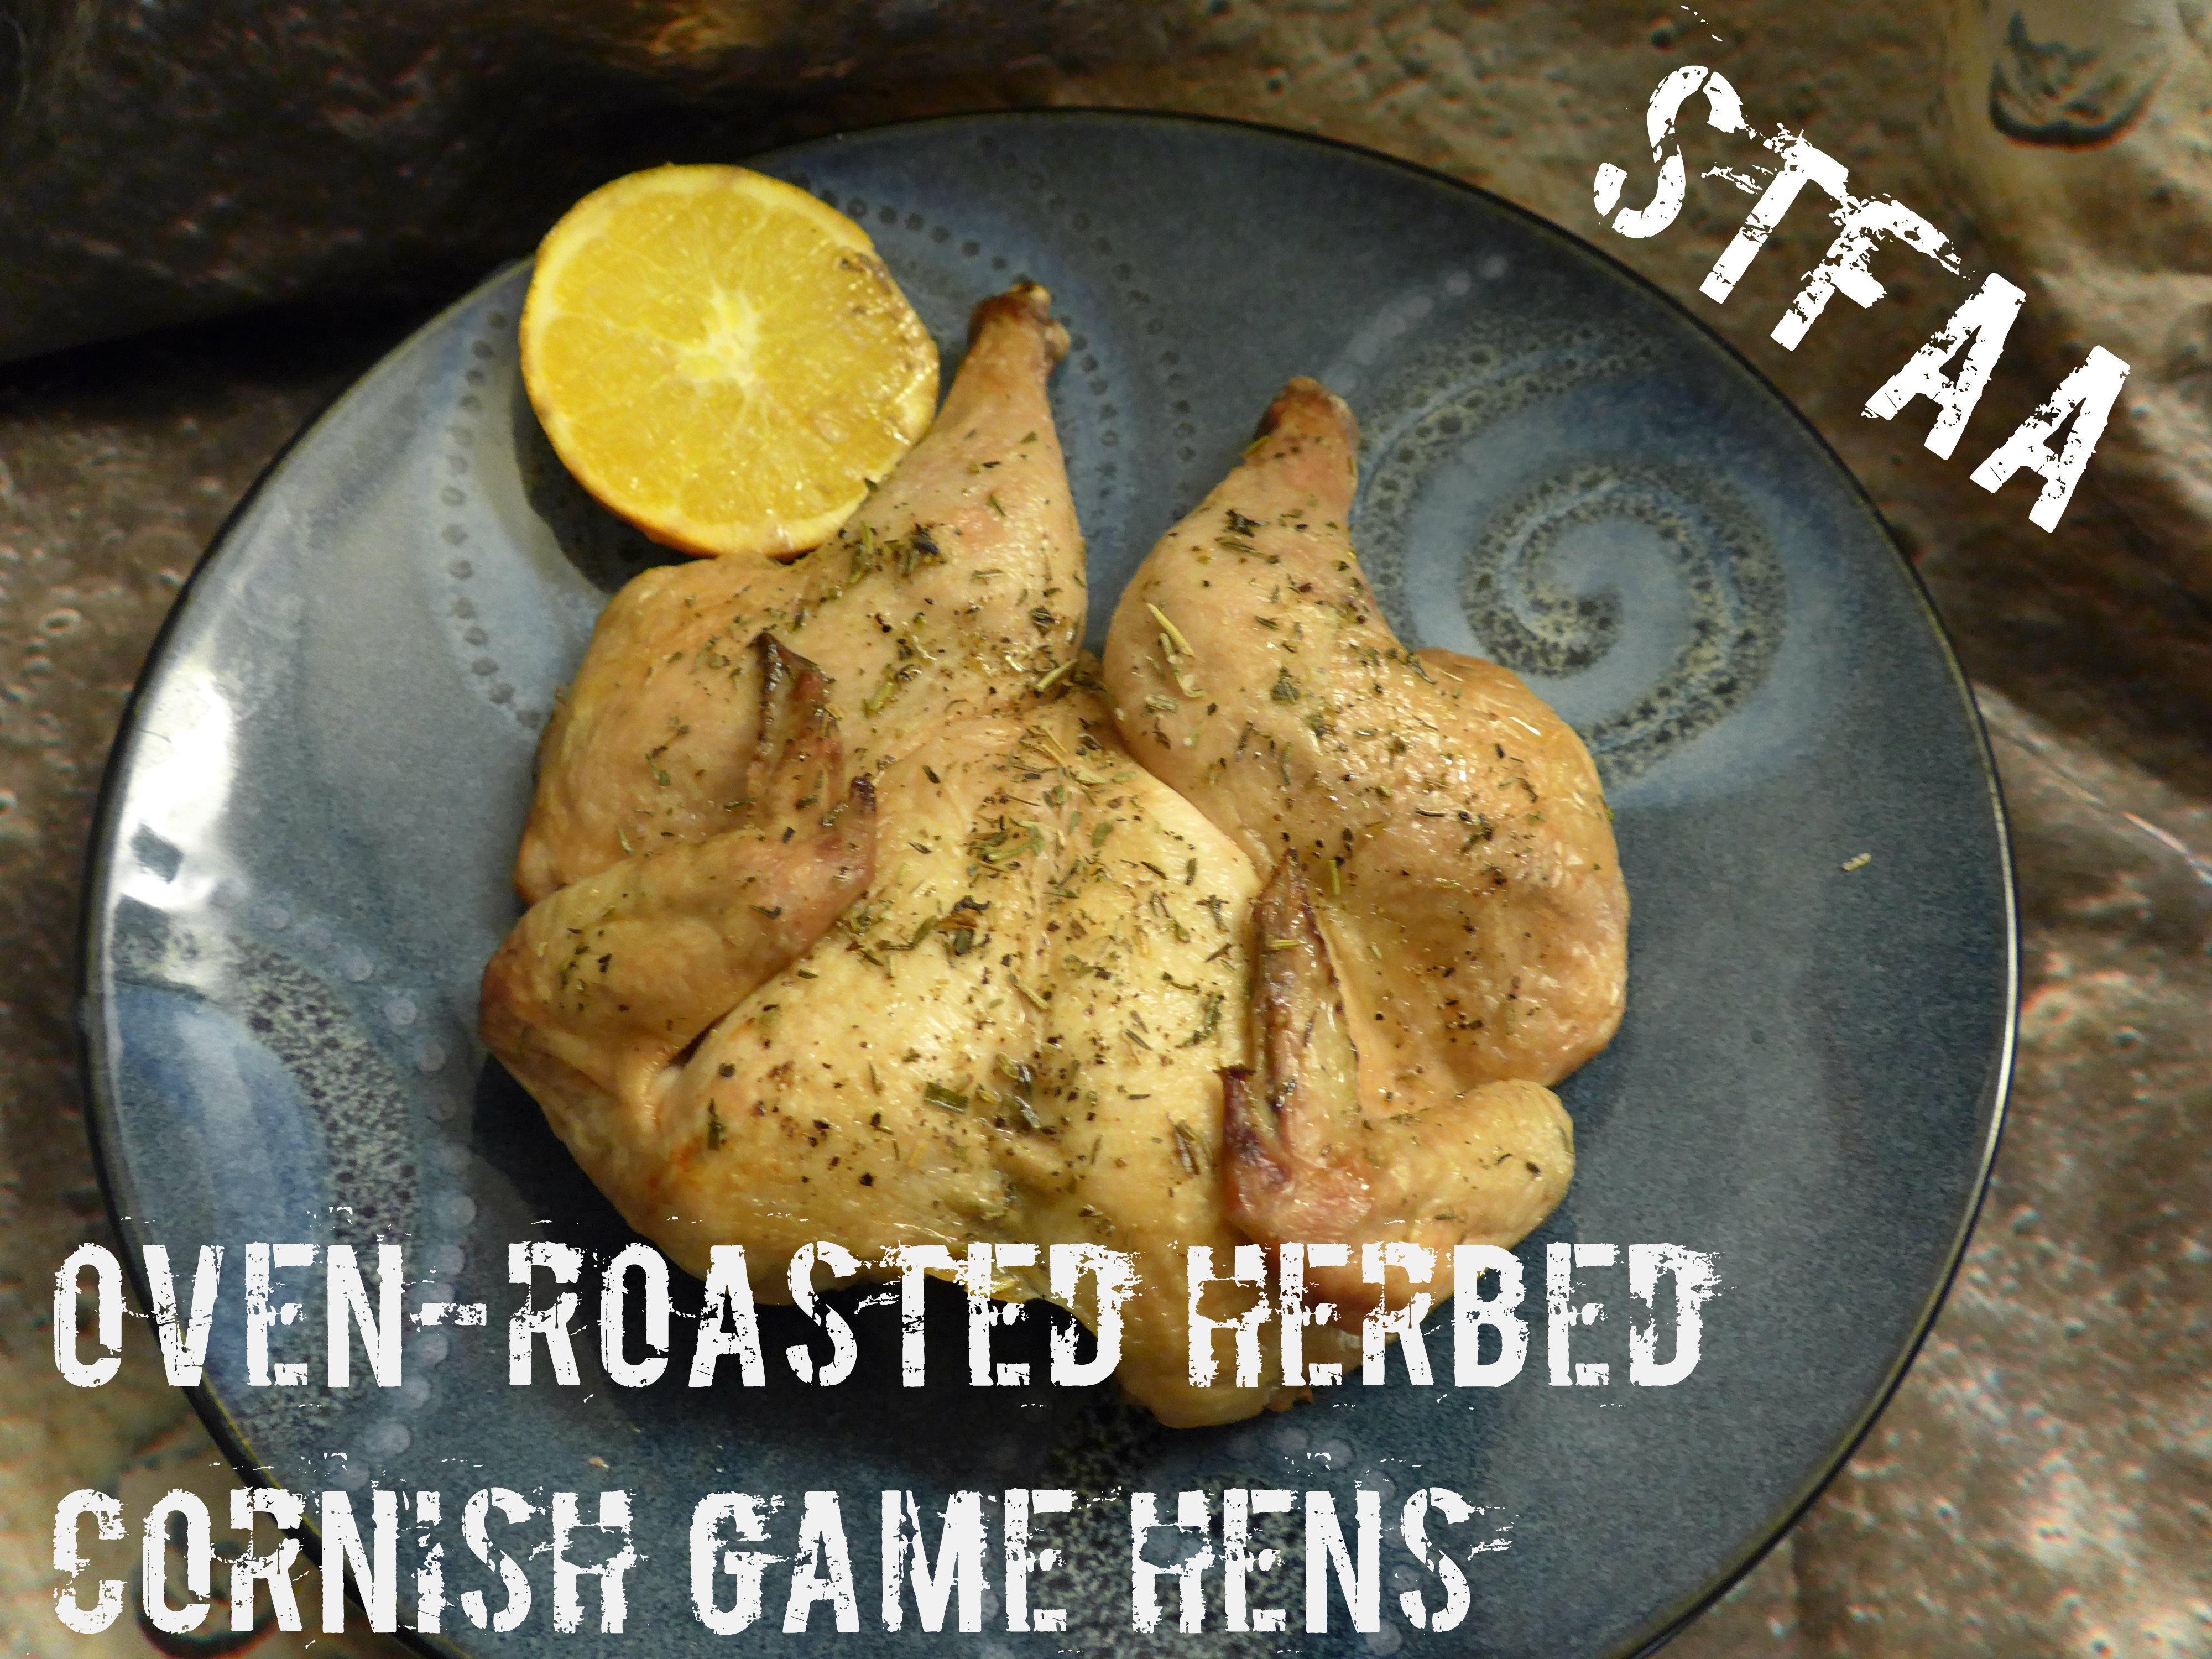
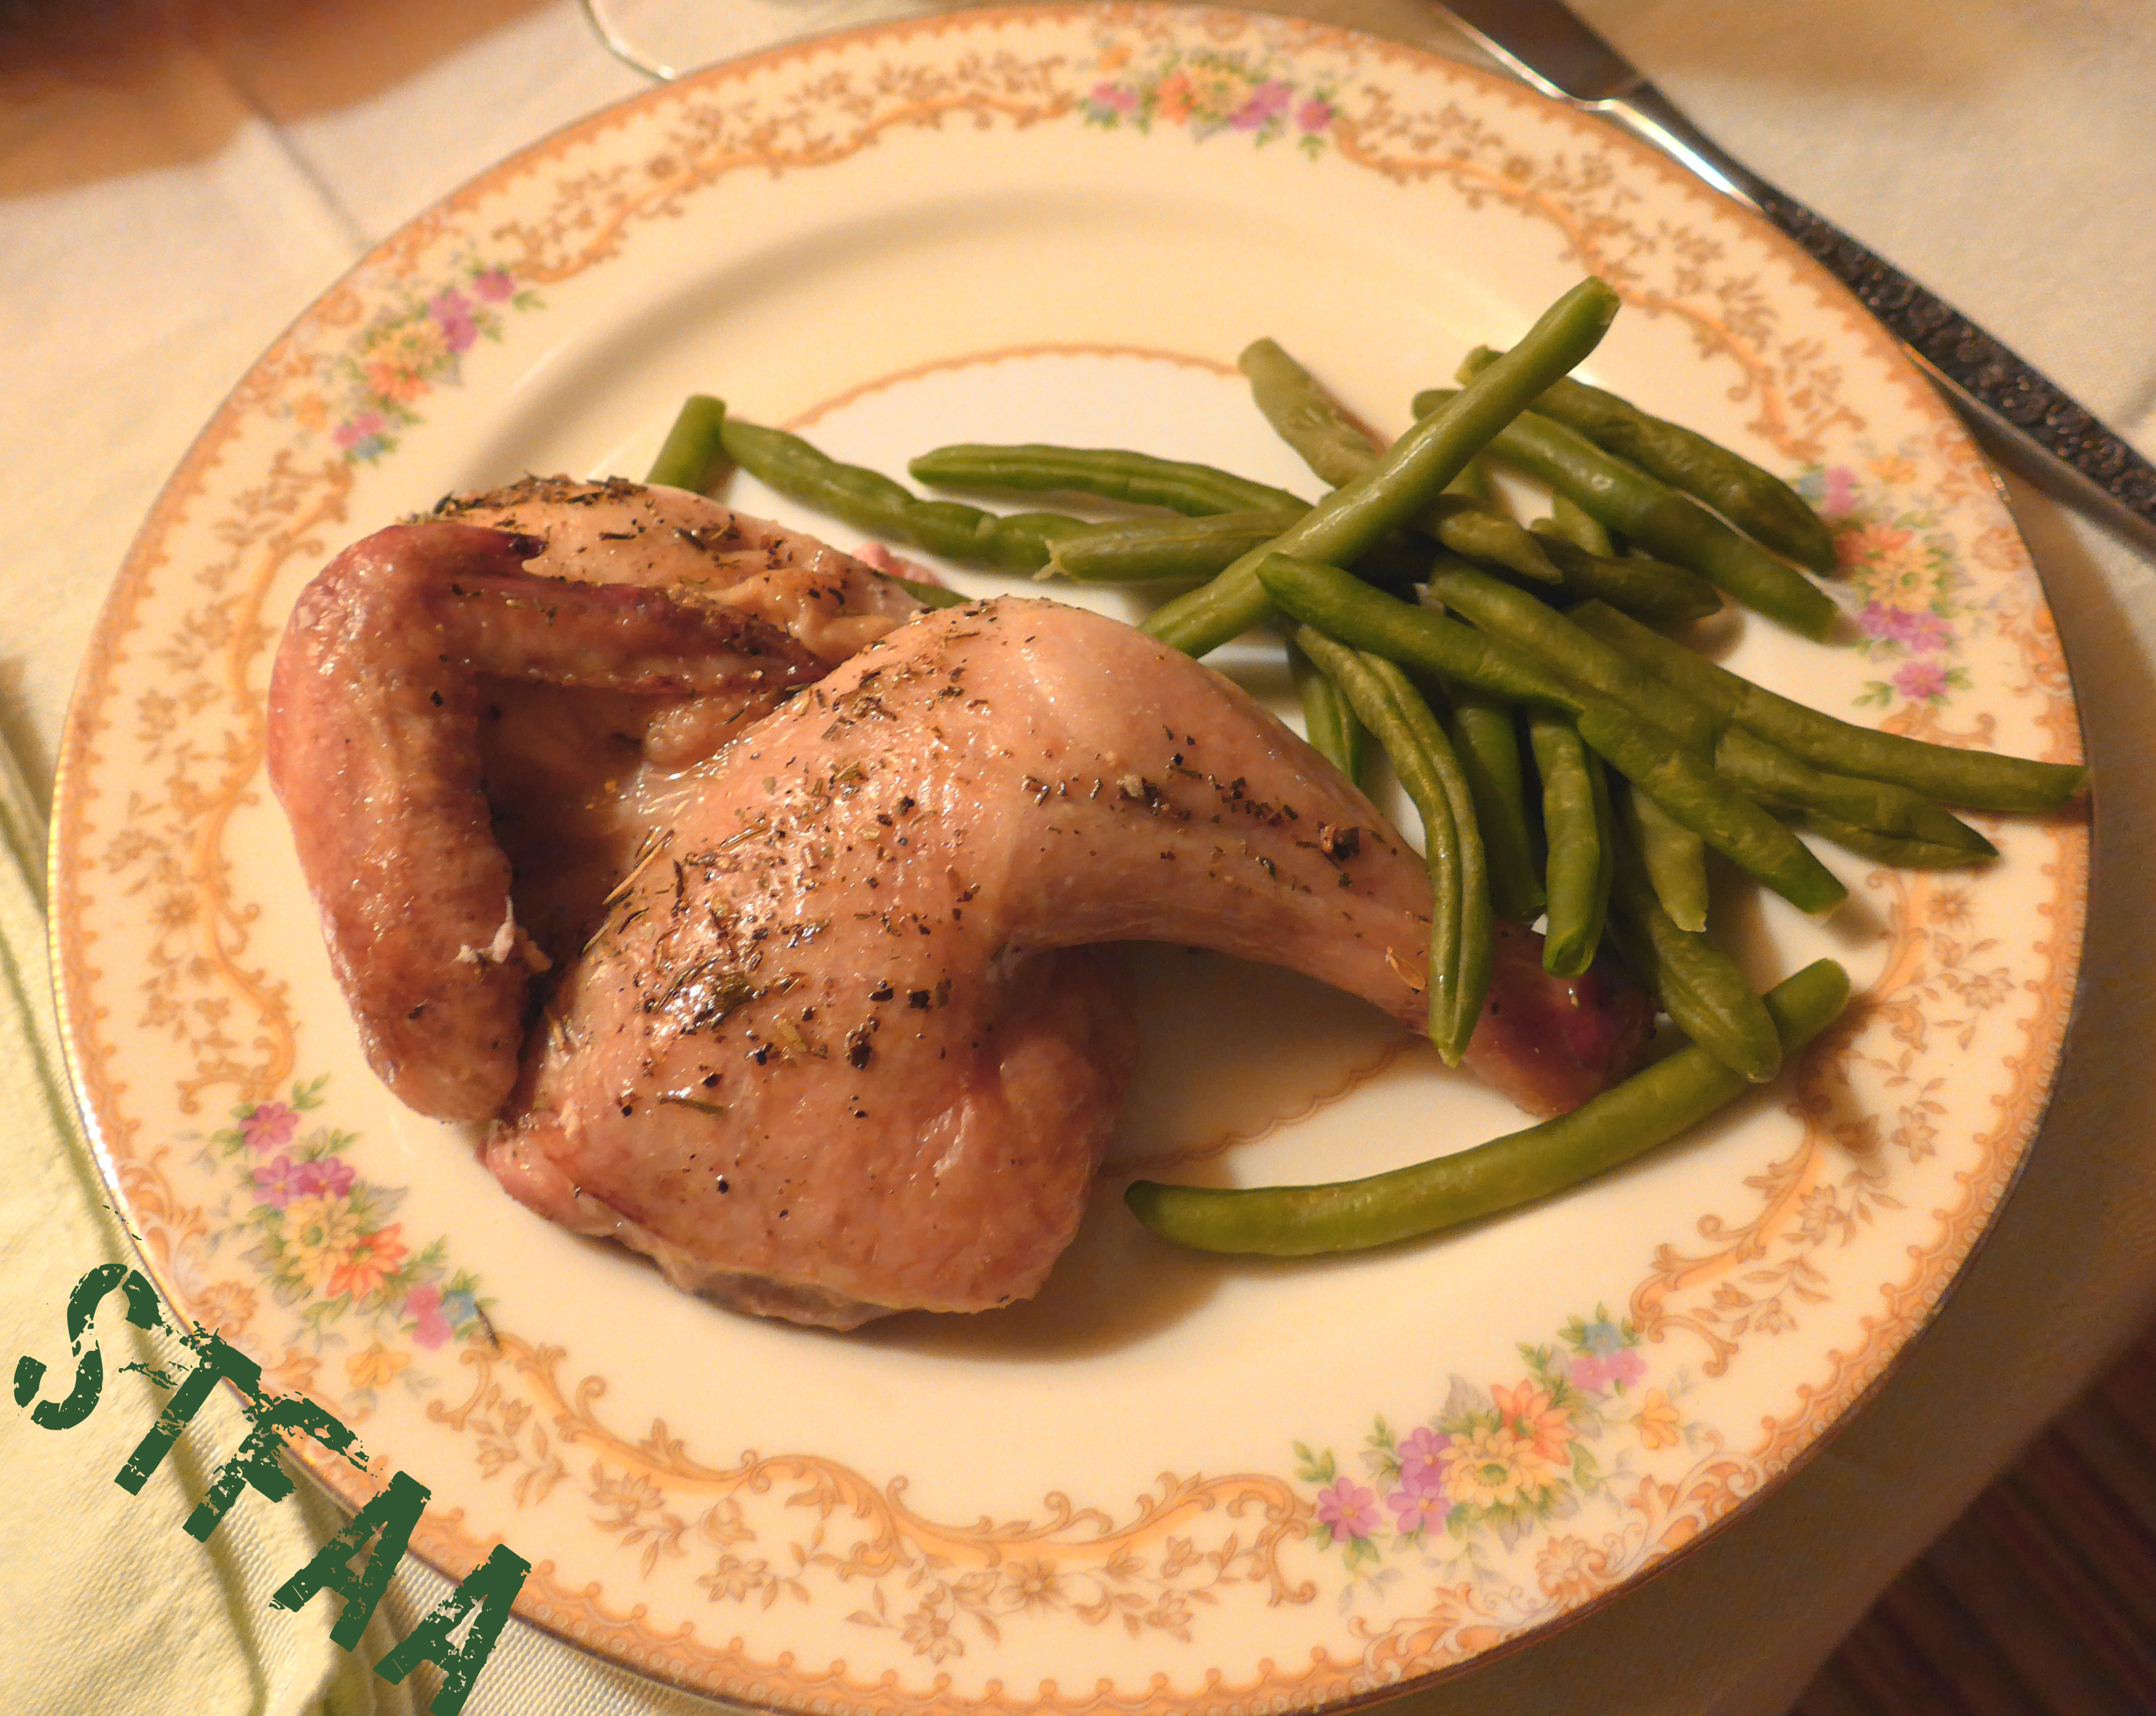
This year, I wanted something special but not large, and when Cornish game hens were on sale at the grocery store, I decided that this would be perfect for Christmas Eve. There were two birds in my package, but it turns out that about half a bird is a single serving. I knew I wanted to spatchcock the birds (although it doesn’t cut the cooking time down much here) so that they might stay juicy, and also so that I didn’t have to worry about stuffing them. I cooked them over thick slices of orange, coated in herbes d’provence, and served them with dressing, mashed potatoes, green beans, and a mushroom gravy. The dressing and gravy can be found as part of an previous post, my Thanksgiving casserole.
This is what the bird looked like “carved” and plated with lovely green beans on my china (of which I own four whole pieces).
This bird did look elegant for dinner, but eating the parts is a little fussy. Maybe don’t make this for when you need your table manners to be most impressive? Unless you’re really good eating a tiny drumstick with a knife and fork? Cornish game hens are a nice change from chicken, but they are also a little fussy to eat.
Notice: Trying to access array offset on value of type bool in /home/maryzahc/public_html/adultfoodallergies.com/wp-content/plugins/wp-ultimate-recipe/helpers/models/recipe.php on line 254
Baked Herbed Spatchcocked Cornish Game Hens
Print Recipe
That is a LOT of qualifiers! But this recipe is really straightforward and requires only one sort of specialized piece of equipment — kitchen shears. Otherwise, use your oven just go.
I am NOT going to talk you through spatchcocking. Try our turkey post here, or this post, which has tons of photos.
Servings
Prep Time
4people (with sides)
10 minutes
Cook Time
Passive Time
45minutes, approximately
45minutes
Servings
Prep Time
4people (with sides)
10 minutes
Cook Time
Passive Time
45minutes, approximately
45minutes
Ingredients
2wholeCornish game hens
1whole orange, cut into 1/2 inch slices
2teaspoonsherbes d’provence blend
1teaspoon olive oil
Servings: people (with sides)
Instructions
Spatchcock and wash your hens.
Place hens over a thick slice of orange on a rimmed baking tray with a rack.
Pat the skin dry, then rub with olive oil and sprinkle on herb blend.
Bake at 325ºF for 30-45 minutes, or until a meat thermometer reaches 160ºF. You are aiming for a final temperature of 165ºF, but when you rest the birds for a few minutes outside the oven, it will keep climbing. Rest meat, and then carve.
Cake. I adore cake. Cake is the whole point of birthdays, right? But allergies, man, they make cake harder. Gluten, dairy, eggs — all of these have structural properties in baking, and while it’s very possible to make cake without these things, when you take them all out, there are a lot of adjustments.
If you’re new to gluten-free baking, or new to gluten-free vegan baking, or even if you’ve been doing gluten-free baking for a long time, sometimes things will fall apart. You will fail. You will try a new recipe, or you will alter a recipe, or the stars will not be aligned.
Wait! Failure doesn’t have to ruin dessert! This is more of a process or an idea than a recipe, but it will save dessert, so it’s important.
This method of dessert preservation came about this past summer, when Jack made me a birthday cake. Well, he tried. I sometimes buy Cherrybrook Kitchen cake mixes, which are safe for me and formulated to be made without eggs. Jack found another cake mix that was safe, but it called for three eggs, which are not. He tried a sub, but here’s a GF vegan baking tip : Don’t try to substitute more than 2 eggs. It’s not that it is always impossible, but it’s an advanced baking move. Don’t try it when you really want a recipe to work the first time.
That cake had no structural integrity. It came out of the pan a nice tasty pile of cake crumbs. We “fixed” it by sandwiching layers of cake crumbs between layers of ice cream, freezing it and frosting the whole thing. It wasn’t pretty, but it tasted amazing. So, see, he did make me a cake. Just not the one originally intended.
What’s funny is that I never associate ice cream cake with my summer birthday. Ice cream cake is for winter — for my brother’s birthday, mostly, which is in a week and a half. I was working on an ice cream cake that would replicate those Baskin Robbins roll cakes — you know, the ones that either look like a train or a plane? Do you remember those? The thing is that, so far, I don’t yet have a cake that survives the jelly rolling process of bending and being flexible and round. So I saved this cake the same way we saved my own birthday cake — and this is officially now the amazing decadent failure cake. It is SO GOOD that I’ll be planning to fail on purpose going forward.
So pick a recipe. Make a cake. If it doesn’t hold up, make an ice cream cake (note: you will need a safe-for-you ice cream, so consider that in advance. Lucky for me, coconut milk is not an issue, and I like the options that exist. Cashew milk and soy milk are also commercially available options. But I’m thinking that this strawberry ice cream would also be awesome, with chocolate or vanilla cake!)
Notice: Trying to access array offset on value of type bool in /home/maryzahc/public_html/adultfoodallergies.com/wp-content/plugins/wp-ultimate-recipe/helpers/models/recipe.php on line 254
1recipefrosting(Most Duncan Hines flavors are gluten and dairy-free)
Sprinkles or other decorations
Servings: (ish)
Instructions
Slightly soften ice cream by leaving it out while your failed cake cools.
Crumble cake slightly, if it needs help.
Mix ice cream to a consistently soft consistency.
In a cake pan lined with parchment (a 9-inch round works, as does an 8×8 square pan, but this will depend on what your original cake was intended to be)
Two options —
Either mix cake and ice cream (works best if cake pieces are really small or you want one texture throughout)
OR
Layer cake and ice cream in thin layers, beginning and ending with cake.
Freeze ice cream cake until solid at least on the outside (45 minutes or so).
Add frosting over entire cake OR just on top. Add sprinkles if using. Re-freeze, another hour is good, or overnight. Really, just go distract yourself while the cake freezes. Watch a movie or do something fun.
Let thaw enough to cut (how long that is will depend on many things, from weather to how you layered the cake and what ice cream you used). Enjoy the salvation of your baking failure enough that you purposely make cakes that don’t work just to have an excuse to make ice cream cake again.
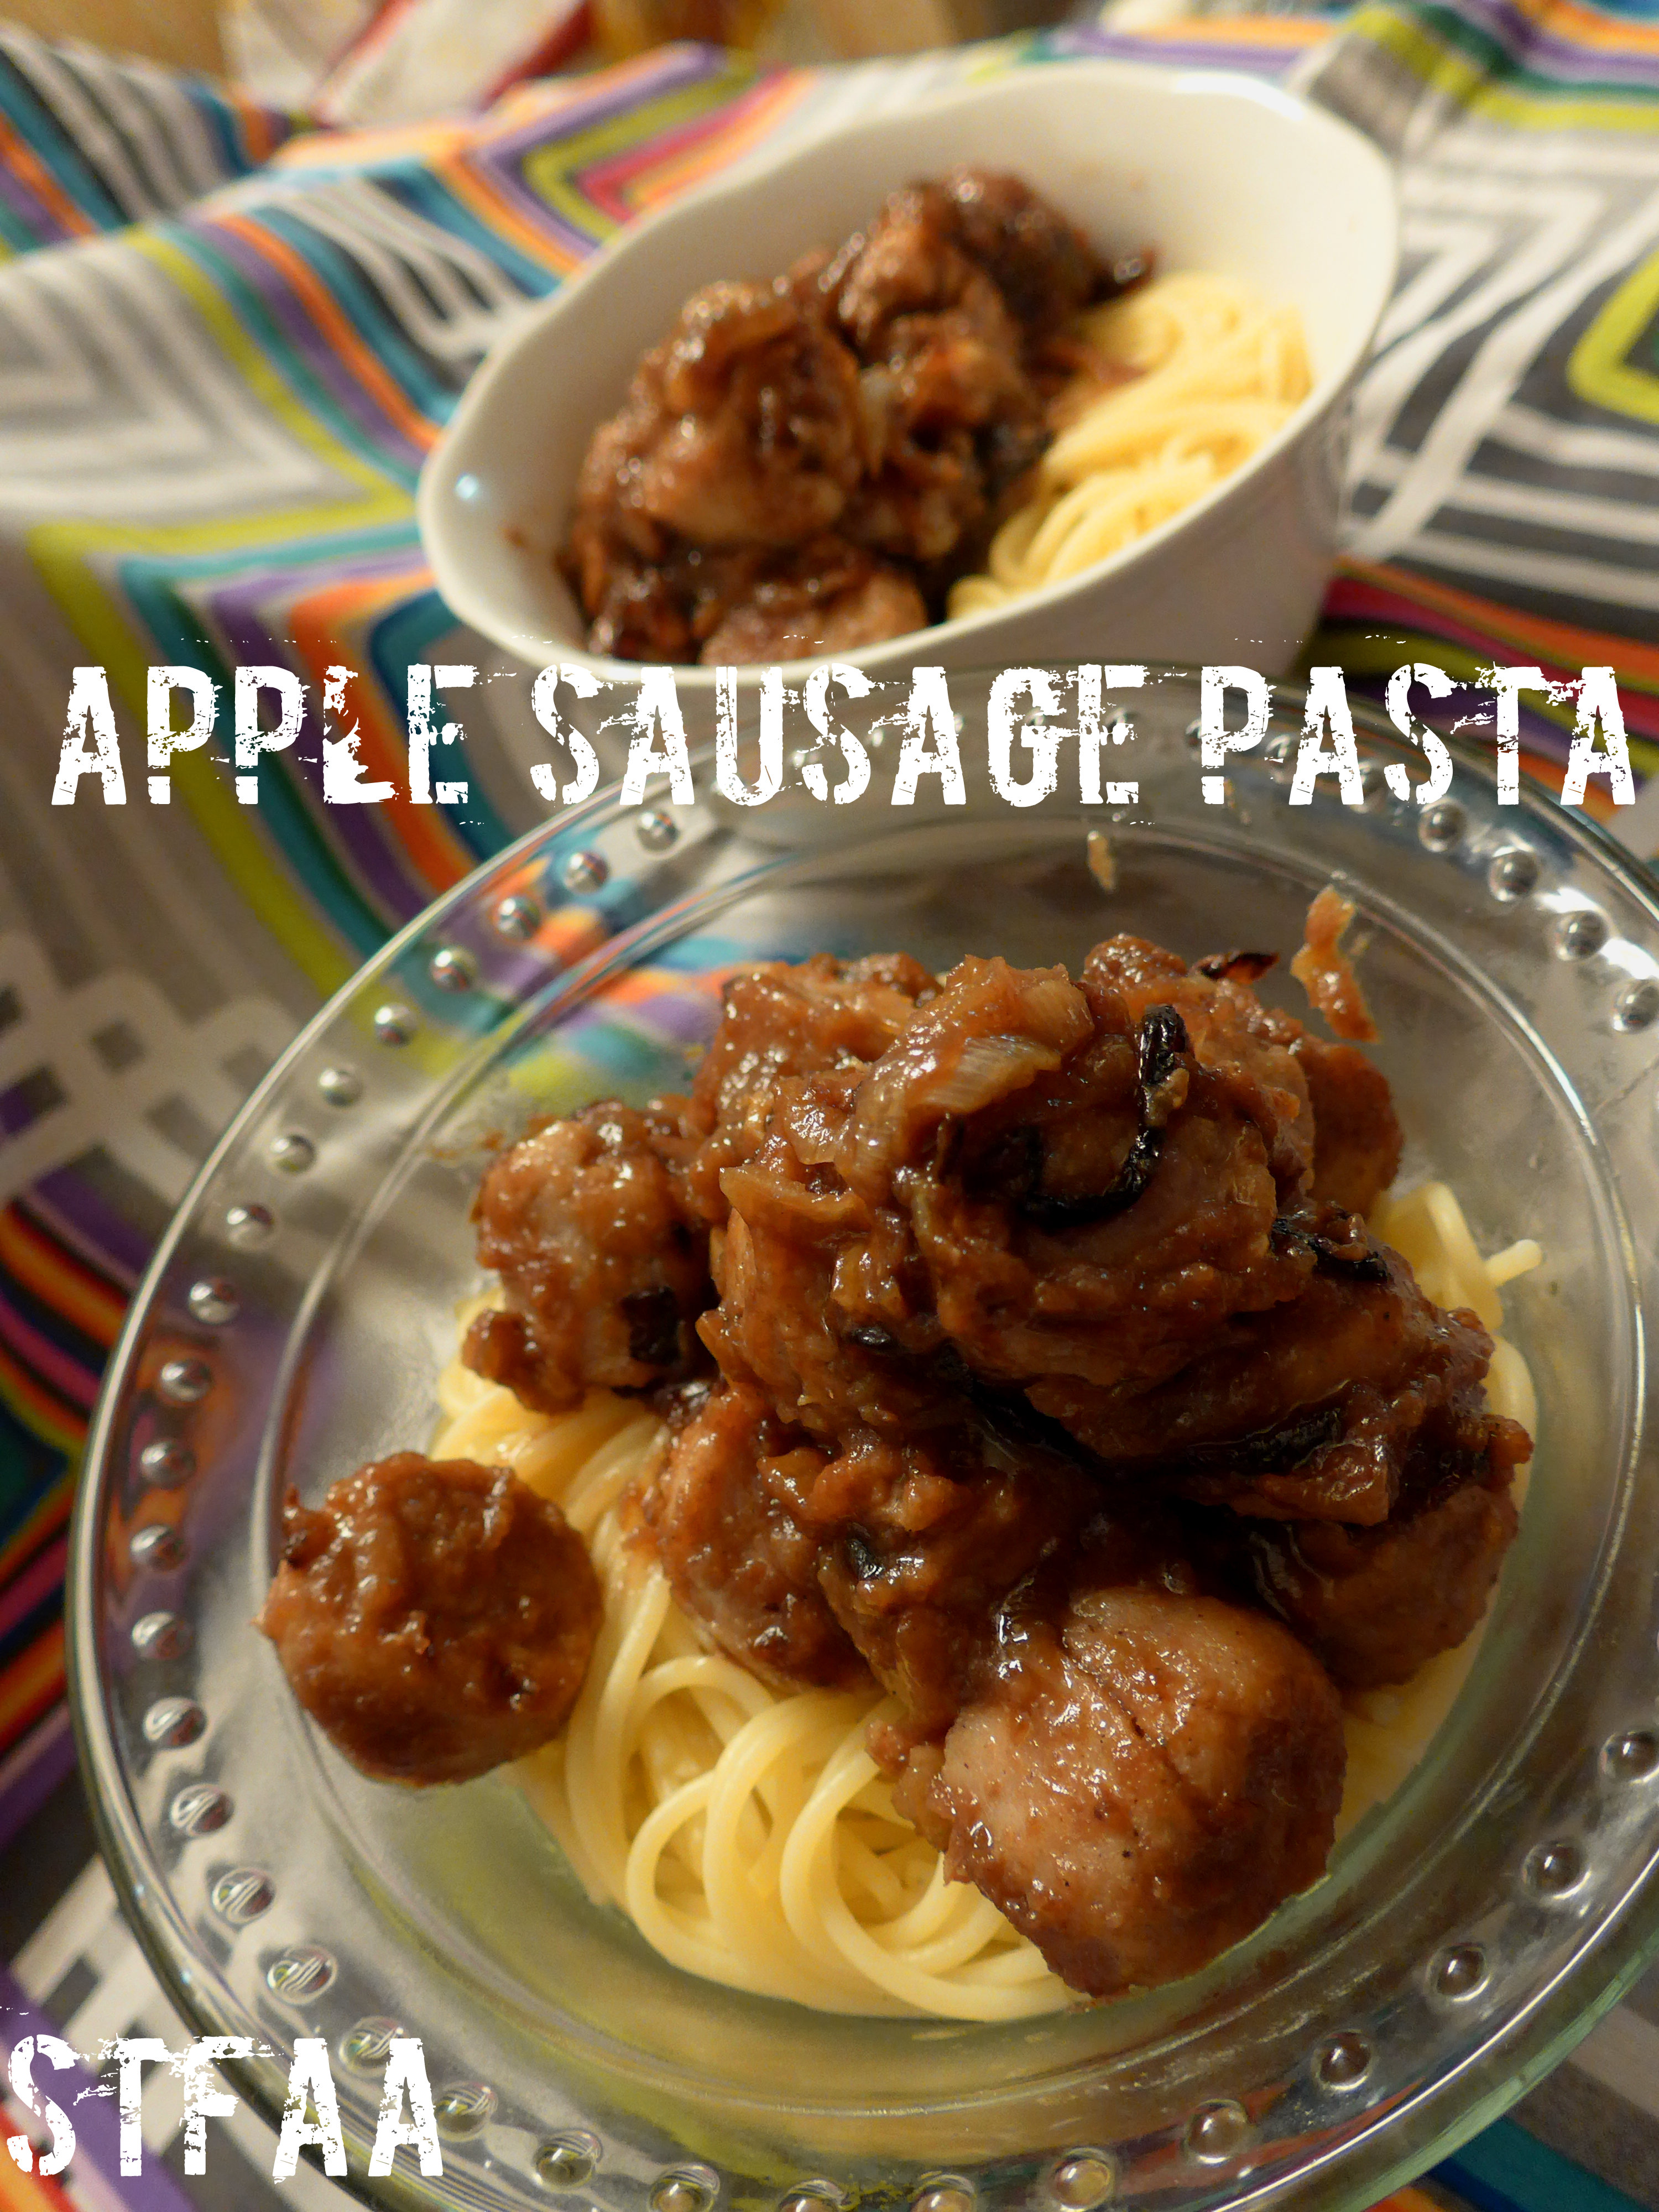
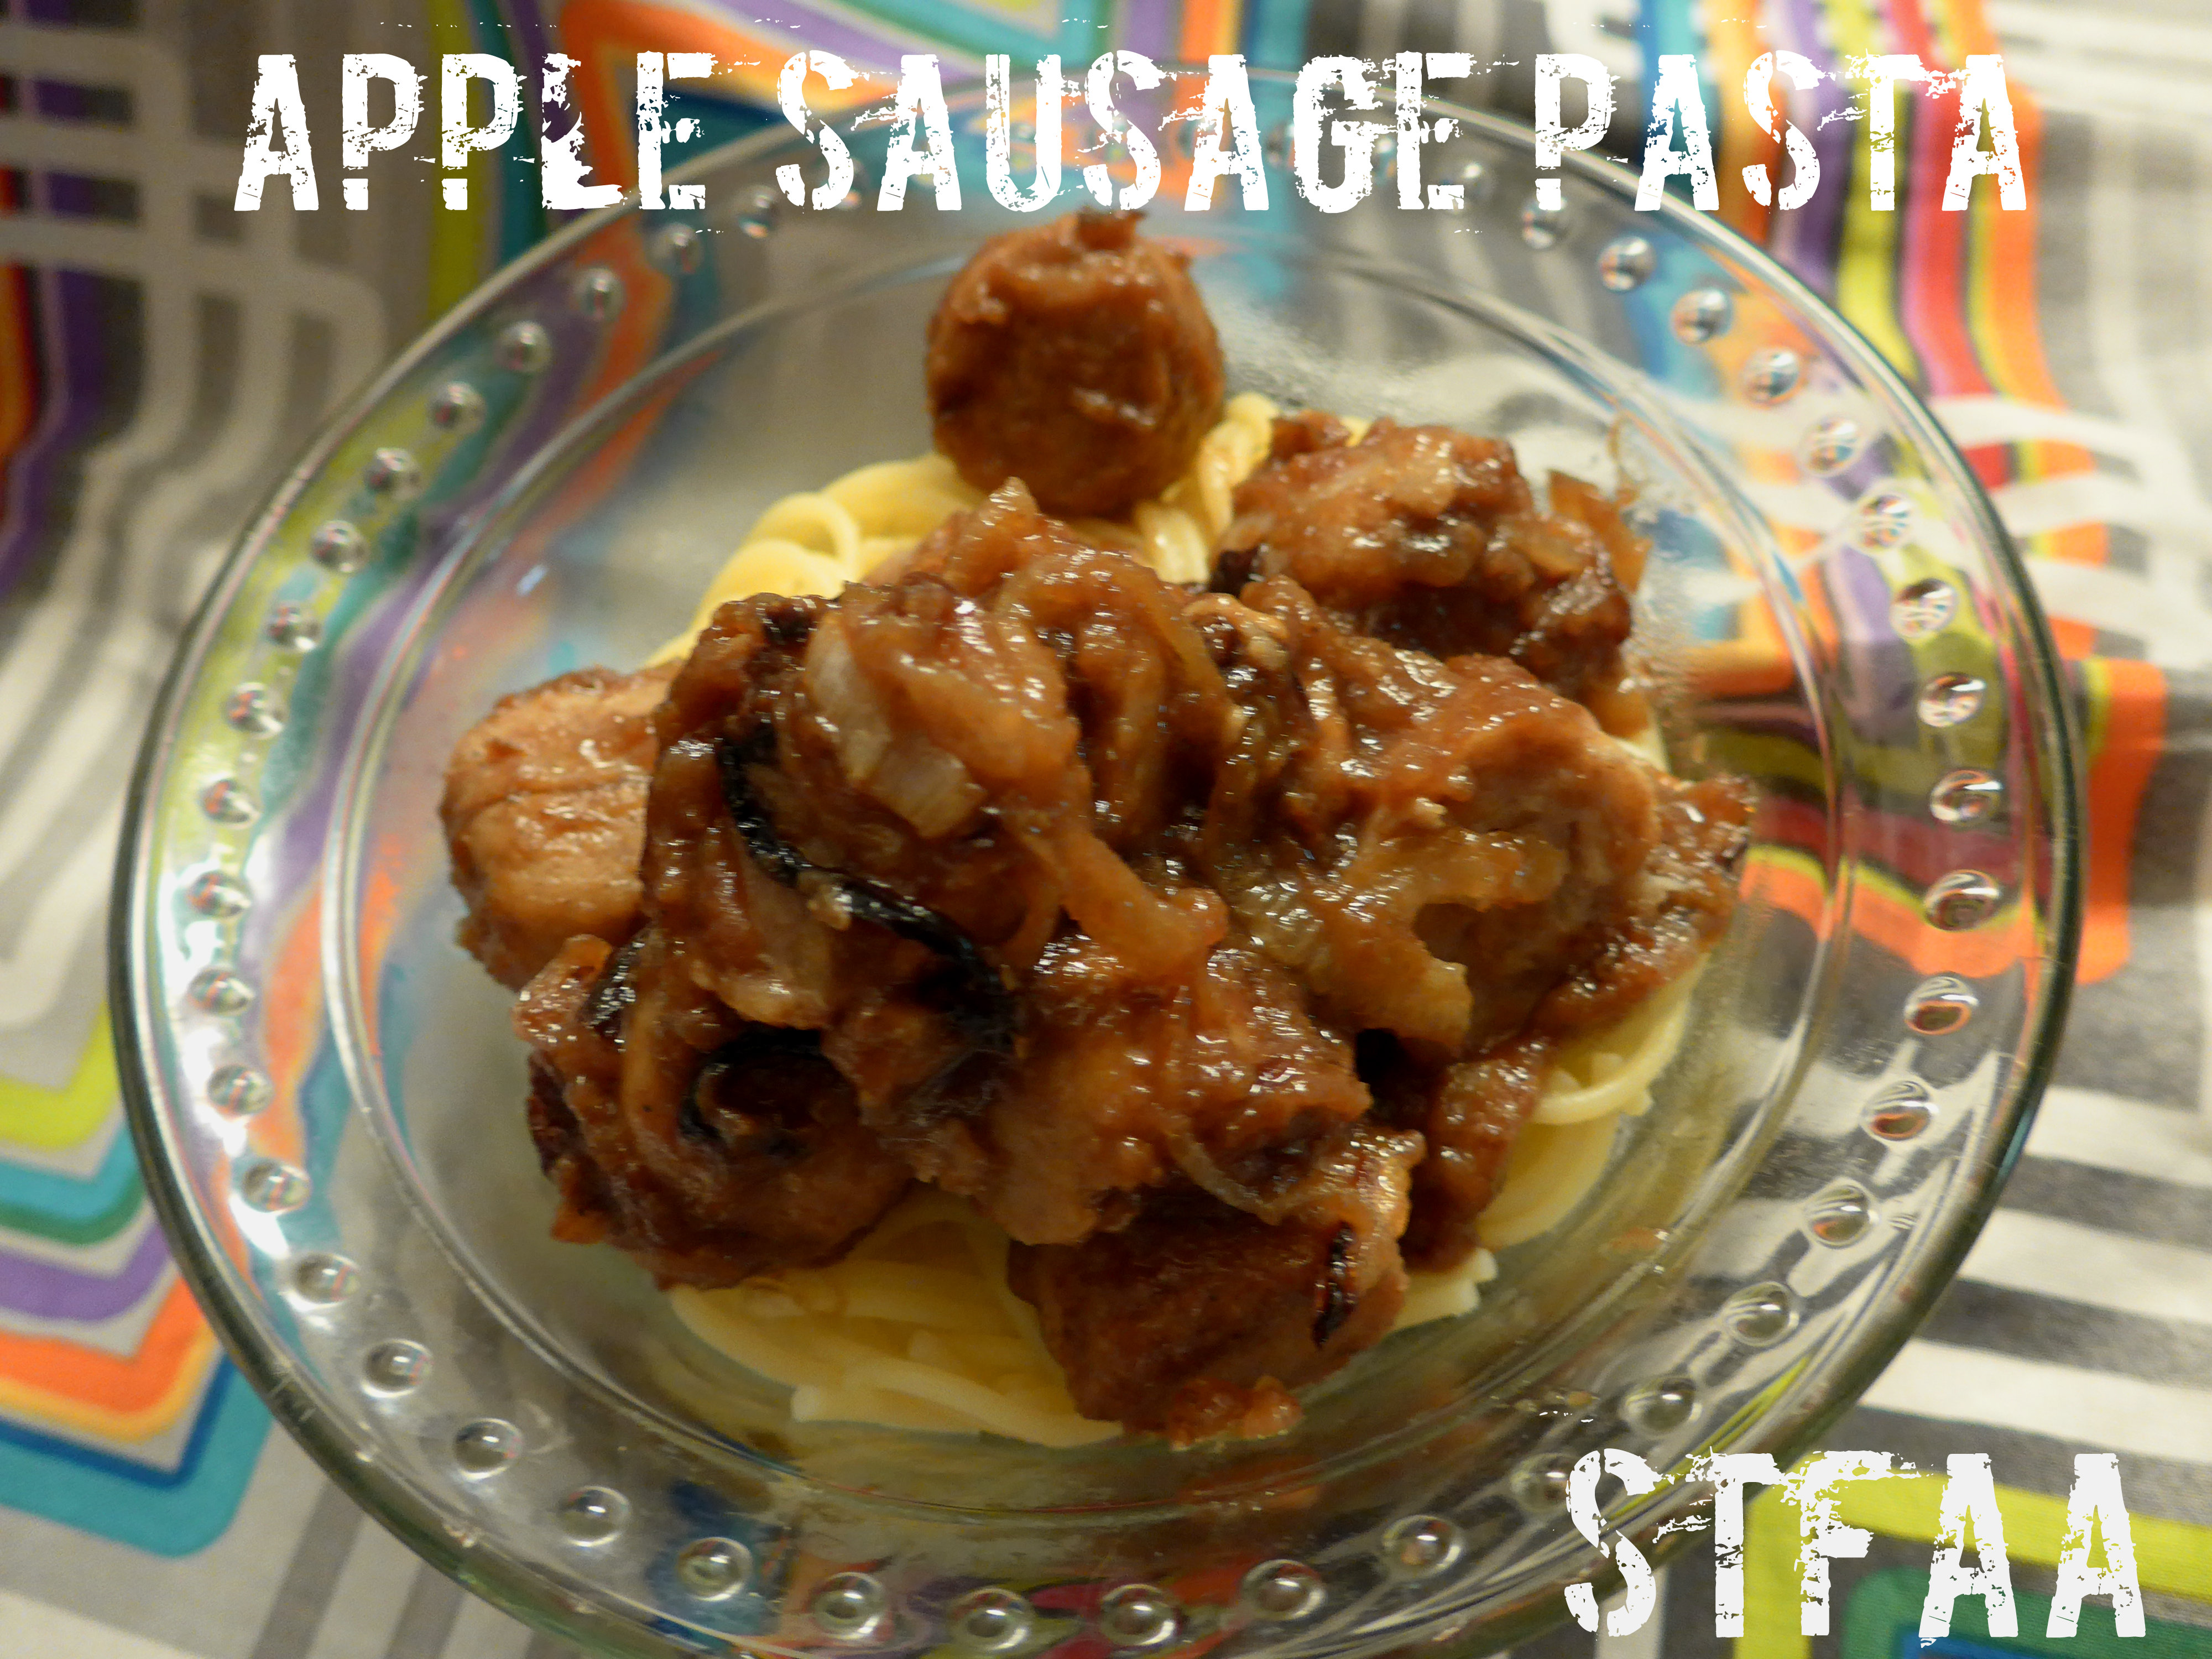
This dish is kind of an accident. I like to keep chicken sausages around as they are quick and easy for nights where I don’t really want to cook but want hot food. I started buying the apple sausages recently just for something different, and they seemed to beg for a different treatment than my normal sausages and caramelized onions. Because I had apple butter from Denise’s huge apple tree stash, I figured if I could balance the sweetness, I might have a winner. Caramelized onions, a hit of garlic and a bit of vinegar, and we have a winner. This is a really different dish — it’s not overly sweet, but it’s a different tenor from anything else I make regularly, and I like the break.
Apple Sausage Pasta Notice: Trying to access array offset on value of type bool in /home/maryzahc/public_html/adultfoodallergies.com/wp-content/plugins/wp-ultimate-recipe/helpers/models/recipe.php on line 254
Apple Sausage Pasta
Print Recipe
This sweet and savory apple-based pasta sauce is good over whatever pasta you may enjoy. Make it gluten-free by using the gluten-free pasta of your choice. This works best with a chicken and apple sausage, but would likely work great with a straightforward pork sausage as well.
This sweet and savory apple-based pasta sauce is good over whatever pasta you may enjoy. Make it gluten-free by using the gluten-free pasta of your choice. This works best with a chicken and apple sausage, but would likely work great with a straightforward pork sausage as well.
2servingspasta of your choicecooked according to package directions
Servings: large servings
Instructions
Heat olive oil in a heavy skillet over medium heat.
Add onions and stir well to coat with oil. Sprinkle with salt. Cook until caramelized, about 40 minutes, stirring about every 10 minutes. You’re looking for golden brown.
Add sliced sausages and cook for about 5 minutes until browned on one side, stir to flip around. If you need to cook your pasta and it takes about 10 minutes, start it now while the sausage browns.
Add garlic powder, apple cider vinegar, apple butter, and applesauce. Stir well until all incorporated, and turn heat down to low.
When the pasta is done, decide if you need to thin down your sauce a bit and reserve a bit of pasta water to do so. Drain your pasta and scoop the sauce over top. Mix well and enjoy.
Recipe Notes
This dish reheats pretty well, so if there’s just one of you, you now have lunch.
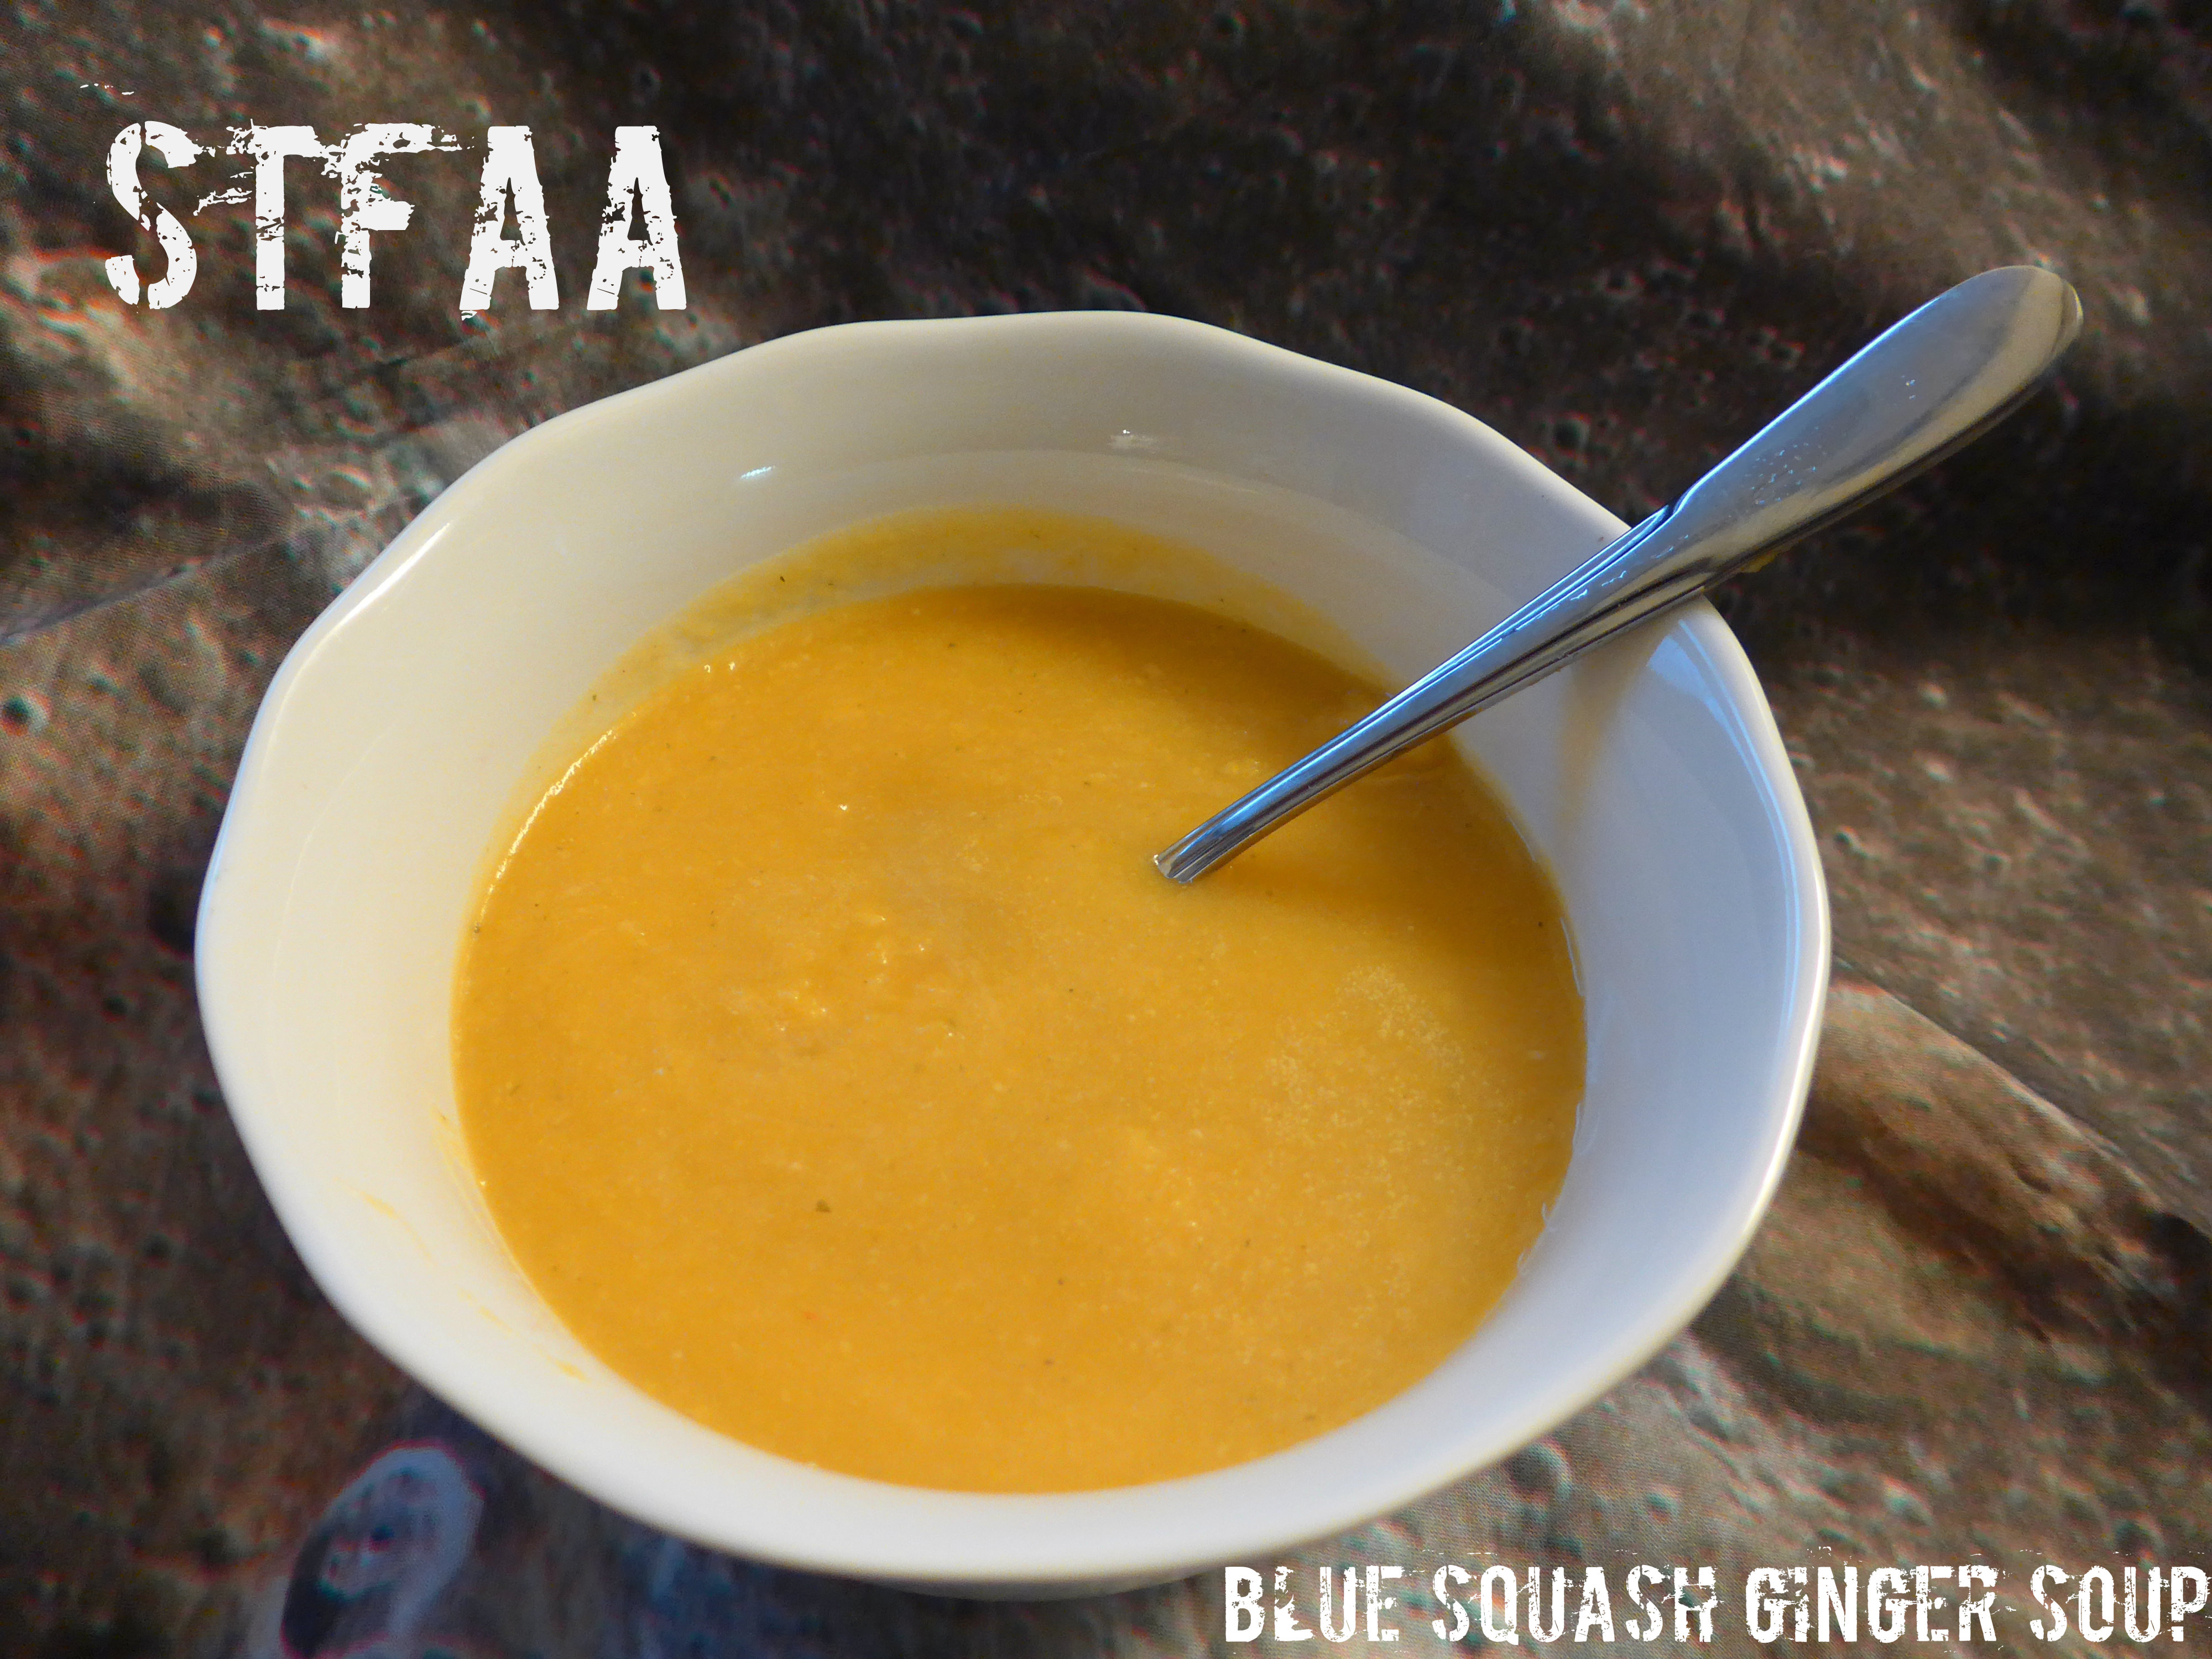
This soup was inspired by the huge fragment of a Blue Hubbard Squash I bought because I wanted to try one. But then I had to figure out what to do with 3.5 lbs of squash. That’s too much roasted squash to be reasonable, so I figured why not soup.
Blue hubbard is weirdly blue-ish on the outside, and lighter and yellower than butternut squash on the inside. It’s a subtler flavor than butternut, in the best way possible. For lack of a better description, it’s a “cleaner” squash taste. It’s really good. I really liked the blue hubbard, and despite the fact that hacking it up is a bit of a chore, I will definitely buy more of it.
Because it’s chock full of ginger, I think this would also be a soothing soup if you weren’t feeling well. It’s a pretty straightforward recipe, but plan a little time for hacking at the squash with your biggest, sharpest knife. It’s light enough that it might make a good opener for Thanksgiving if soup or squash are on the menu, but a big bowl with a salad would also make a decent lunch.
Notice: Trying to access array offset on value of type bool in /home/maryzahc/public_html/adultfoodallergies.com/wp-content/plugins/wp-ultimate-recipe/helpers/models/recipe.php on line 254
Ginger Squash Soup
Print Recipe
A nice soup for a first course (if you are inclined to serve first courses) or any cold winter day. The coconut milk is nice, but completely optional, so feel free to omit it.
A nice soup for a first course (if you are inclined to serve first courses) or any cold winter day. The coconut milk is nice, but completely optional, so feel free to omit it.
6cupsvegetable stockcheck for allergens if using commercial stock
3.5poundsblue hubbard squash(weight prior to removing rind)
2Tablespoonsolive oil
2mediumonionssliced thin for quicker cooking, about 2 cups
2inchesfresh gingerpeeled and grated
1Tablespoongarlicminced
2Tablespoons coconut milkOR other non-dairy milk, optional
Servings: quarts
Recipe Notes
Cut large squash chunk into smaller chunks. Then cut rind off and cut remaining squash into large — 2 inch cube — chunks.
Bring 6 cups of vegetable stock (or water and bouillon) to a boil in a large soup or stock pot. Add squash and cook until tender, about 20-30 minutes, but could vary based on the size of your chunks.
Drain the squash, but reserve the liquid. Either scoop out the squash with a slotted spoon, or put a colander into a large heat-safe bowl and dump. You will use most, but not all, of the stock to make the soup.
Saute the onions in the olive oil. When the onions are translucent and beginning to brown, add the ginger, stirring well, and the garlic, also stirring well. When these are fragrant, add the squash; stir well.
Add about 4 cups of the reserved stock, more if needed to cover all the squash, and bring the entire pot to a boil. Simmer for about 20 minutes.
Puree the soup, preferably using an immersion blender, but carefully in a blender or food processor if you need to. Add the soup back to the pot if you removed it, and add the coconut milk or other non-dairy milk if using. Taste, and add salt or pepper if needed. Allow to simmer a few more minutes to blend in the milks, and serve hot.
 Spring Garlic Sauce with Roasted Potatoes