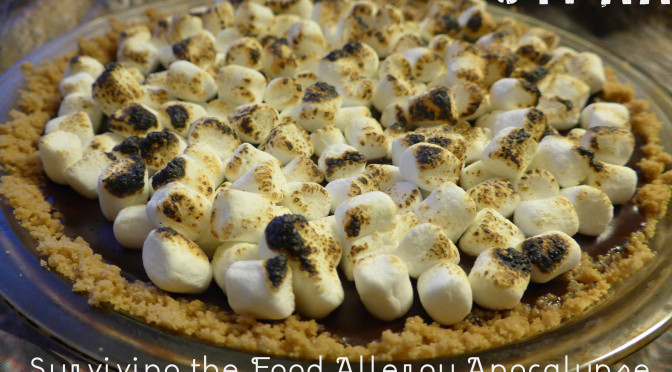

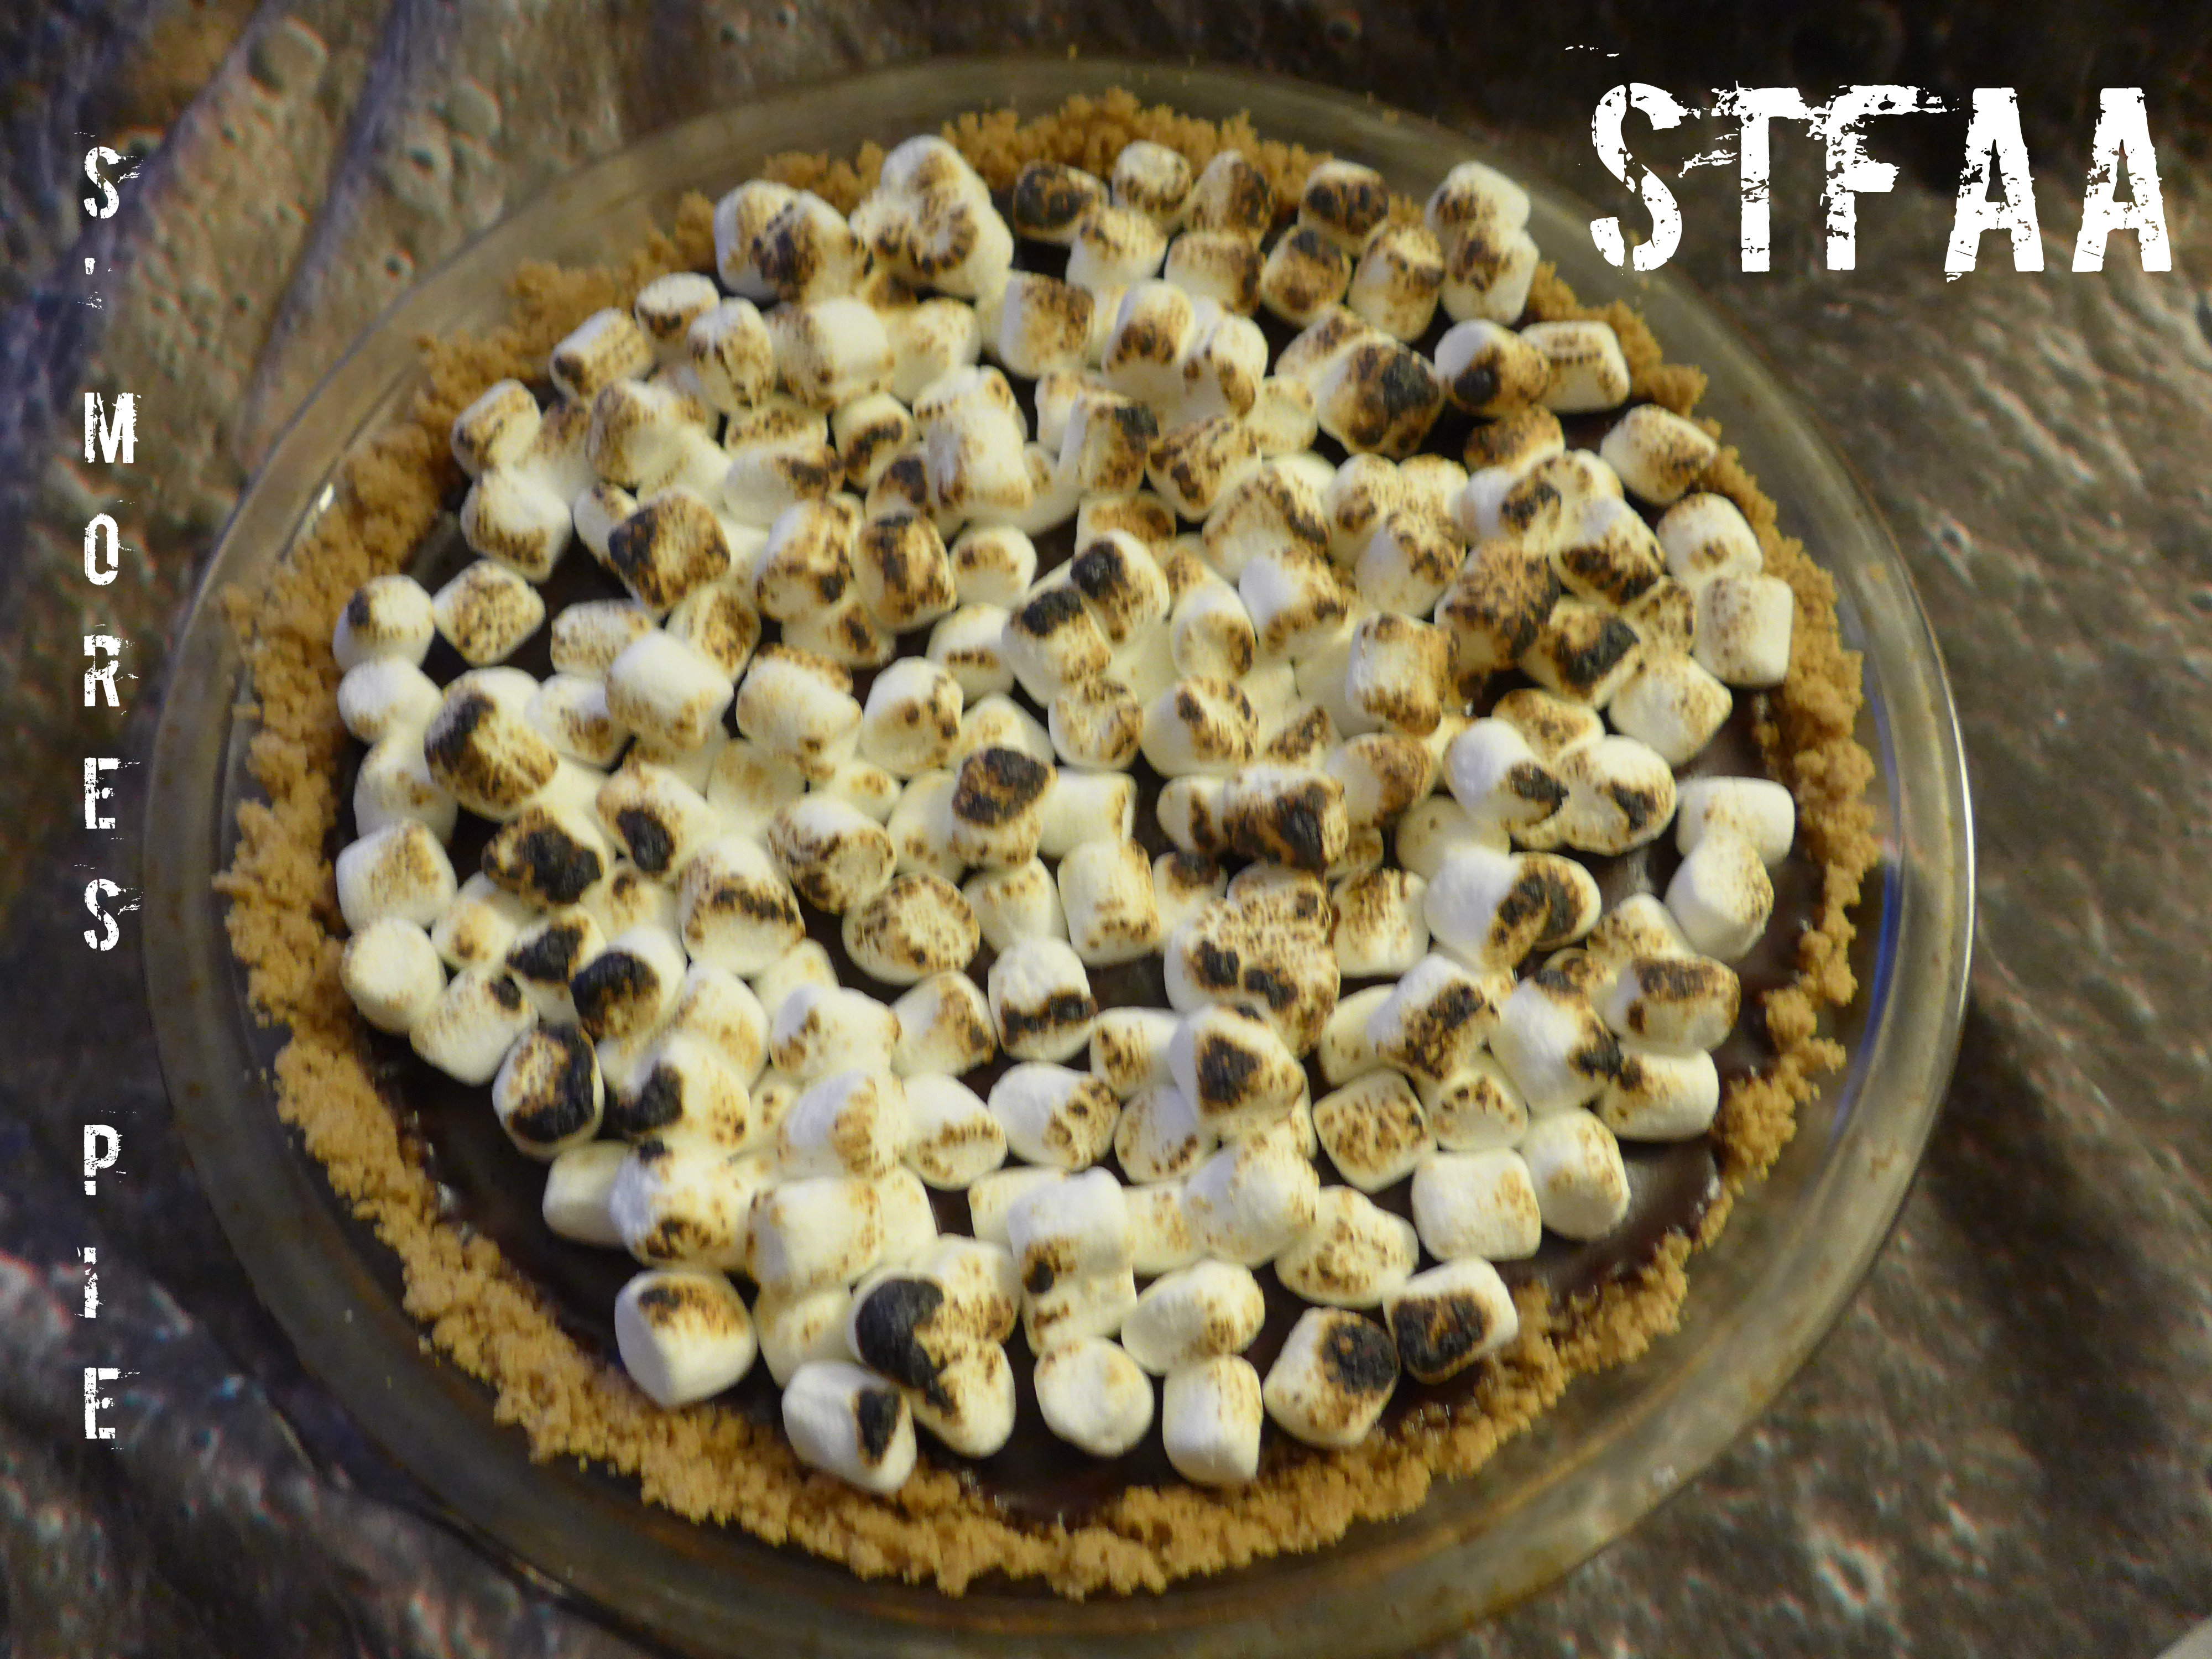
This is the post for the chocolate lovers. I know. Today, you’re buying Valentine’s Day chocolate on sale, but here’s a classy way to do chocolate. PIE. Chocolate pie. Make this pie for a video games party (if that’s a thing you might do), for a Primary watching party, for Thanksgiving, for Pi Day (coming up!)
Basically, I’m saying that it’s a pie for almost all occasions. Lovely graham cracker crust, rich, creamy chocolate filling, and toasted marshmallows on top. This pie should be served at least slightly chilled, so keep that in mind (but in winter, that means it’s good in the car for a bit).
I’ve used pre-made gluten-free graham crackers, which I keep around as a snack, and regular mini-marshmallows, which are safe for me. If you need to make graham crackers or marshmallows, we’ve got you covered (see the links in the recipe!), but plan ahead for the extra time.
Enjoy the whole pie.
Notice: Trying to access array offset on value of type bool in /home/maryzahc/public_html/adultfoodallergies.com/wp-content/plugins/wp-ultimate-recipe/helpers/models/recipe.php on line 254
- 1 1/2 cups graham cracker crumbs I like Kinnikinnick brand, but use regular if you don’t need gluten-free, and make your own if you need full control of ingredients
- 1/3 cup brown sugar
- 5 Tablespoons coconut oil can use other fat that works for you, but coconut oil sets nicely
- 1 can (15 oz) full-fat coconut milk do not use “light”! It won’t set.
- 1 bag (10 oz) safe-for-you chocolate chips (or chop 10 oz of your safe chocolate into small pieces)
- 1 teaspoon vanilla extract
- 1 1/2 cups mini marshmallows use what is safe for you — regular, vegan, or make our marshmallow recipe
- Crush graham crackers. If you’ve had a bad day, put them in a bag and beat them with a rolling pin. That’s how I was taught to do it growing up, and it’s a good stress-reliever. But you can also use a food processor or blender for a quicker and smoother crumb.
- In a bowl, combine the graham cracker crumbs, sugar, and melted coconut oil. Do not try to do this in the pie plate! I always think this is going to be an excellent idea — why get two things dirty? But it NEVER works out well. With the higher sides of a bowl, you can quickly and completely mix all the crust ingredients using a fork, without scattering them all across the kitchen.
- Press crumb mixture into pie plate. This will not form up quite as well as a gluten-containing version does, so it really helps to start out with your greased hands to evenly spread the crust mix over the pie plate. If you need extra compacting, the bottom of a glass works well. Try to even out the top edges of the crust — this will help it hold together when it comes out of the pan.
- Chill the pie crust in the fridge for at least half an hour, but better 45 minutes. This is why coconut oil works better to keep the crust intact — it’s solidity when chilled is a benefit here.
- Pour one can of coconut milk into a sauce pan. Heat over medium low until it begins to boil, stirring frequently. If the solids have somewhat separated, stir them back in to the coconut milk.
- When you have the coconut milk at a low boil, remove the pan from the heat. Add the chocolate and stir until it is completely combined with the coconut milk.
- Add the vanilla and stir well.
- Pour the prepared filling into the chilled pie crust, and put the pie in the freezer to set.
- Set your timer for 40 minutes. You want the pie to be mostly but not completely set when you top it with the marshmallows, as you want them to stick. Add the marshmallows and chill for another half an hour.
- Toast the marshmallows with your kitchen torch. Alternately, you can use your broiler for this — but set aside extra time to re-chill the entire pie before serving! The broiler will make the entire pie hot and it is easier to burn the marshmallows.