Notice: Function _load_textdomain_just_in_time was called incorrectly. Translation loading for the wp-ultimate-recipe domain was triggered too early. This is usually an indicator for some code in the plugin or theme running too early. Translations should be loaded at the init action or later. Please see Debugging in WordPress for more information. (This message was added in version 6.7.0.) in /home/maryzahc/public_html/adultfoodallergies.com/wp-includes/functions.php on line 6170 Gluten-free No-Toaster Pastries with Frosting – surviving the food allergy apocalypse (archive)Skip to content
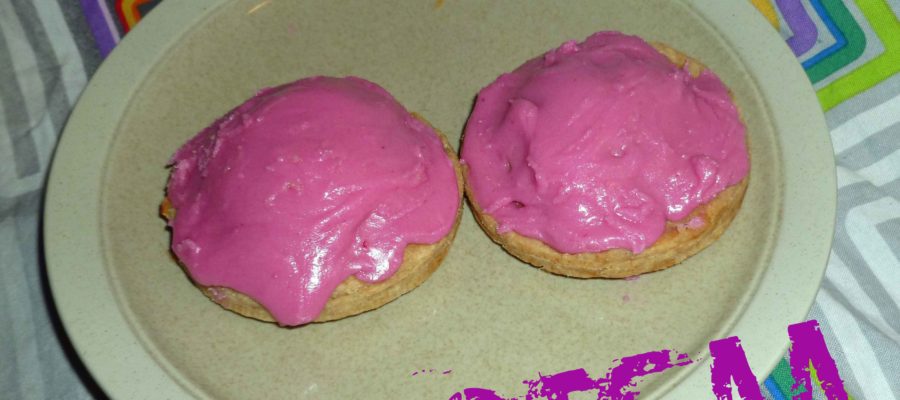
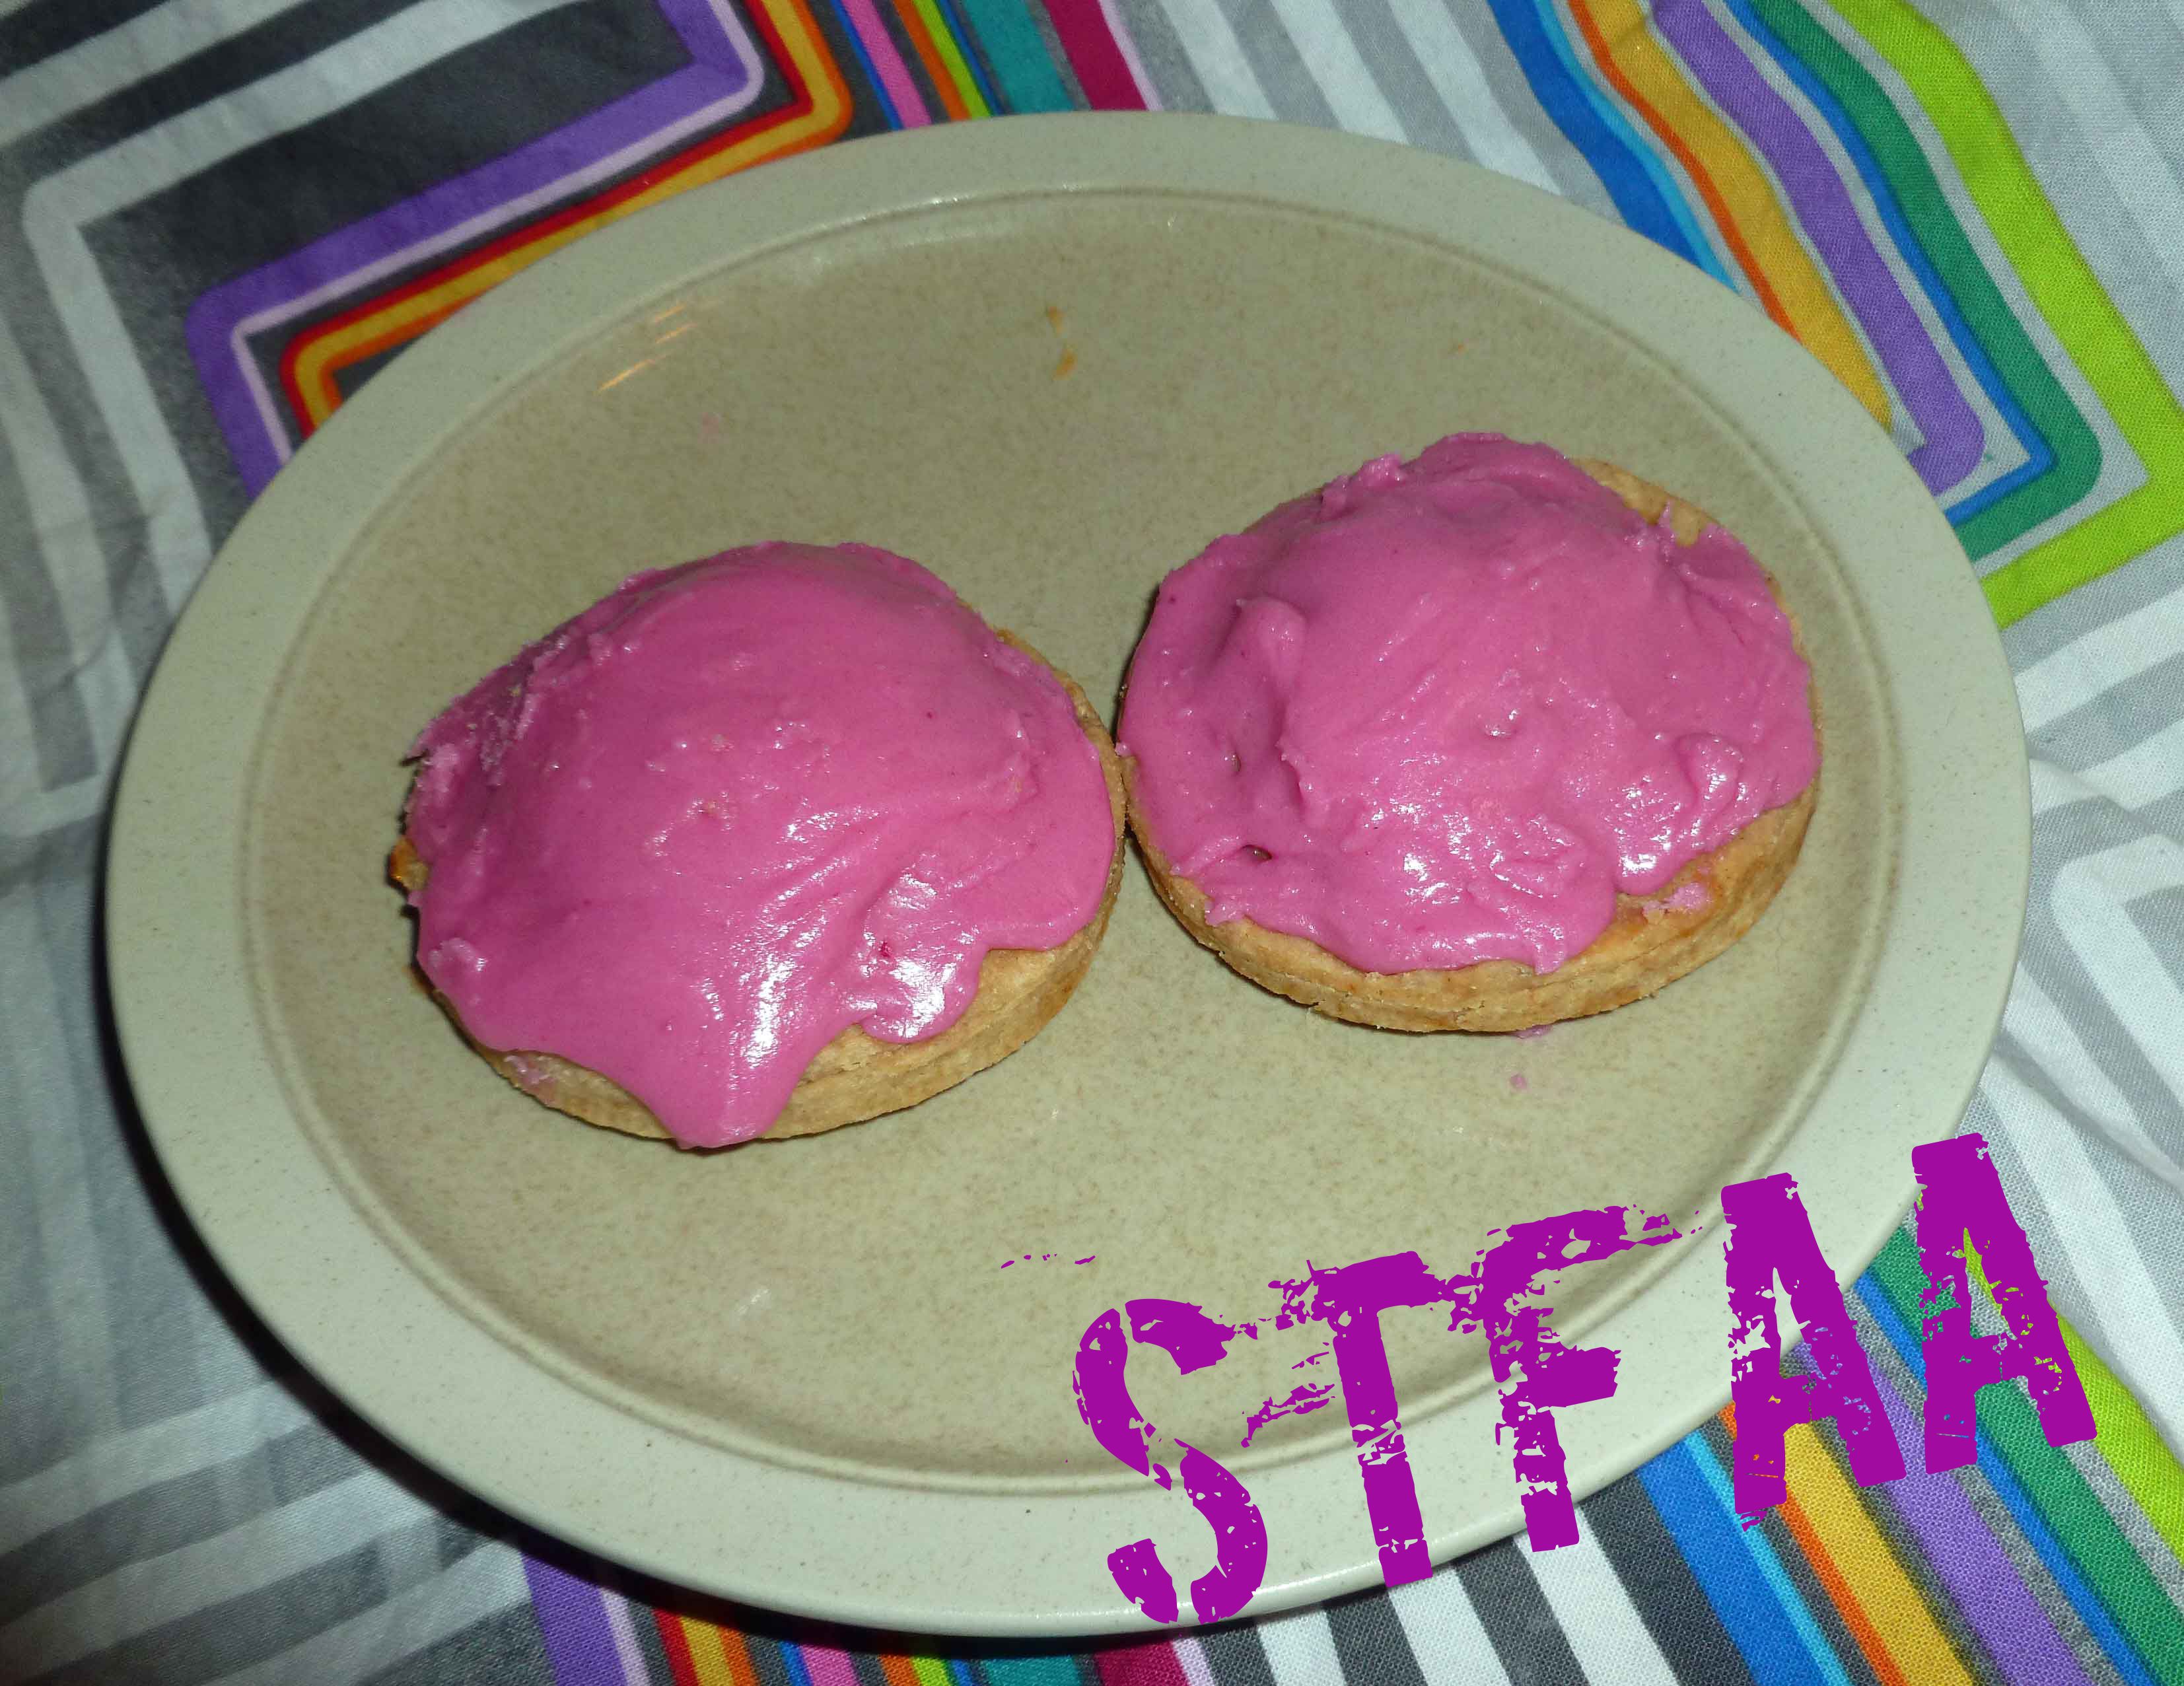
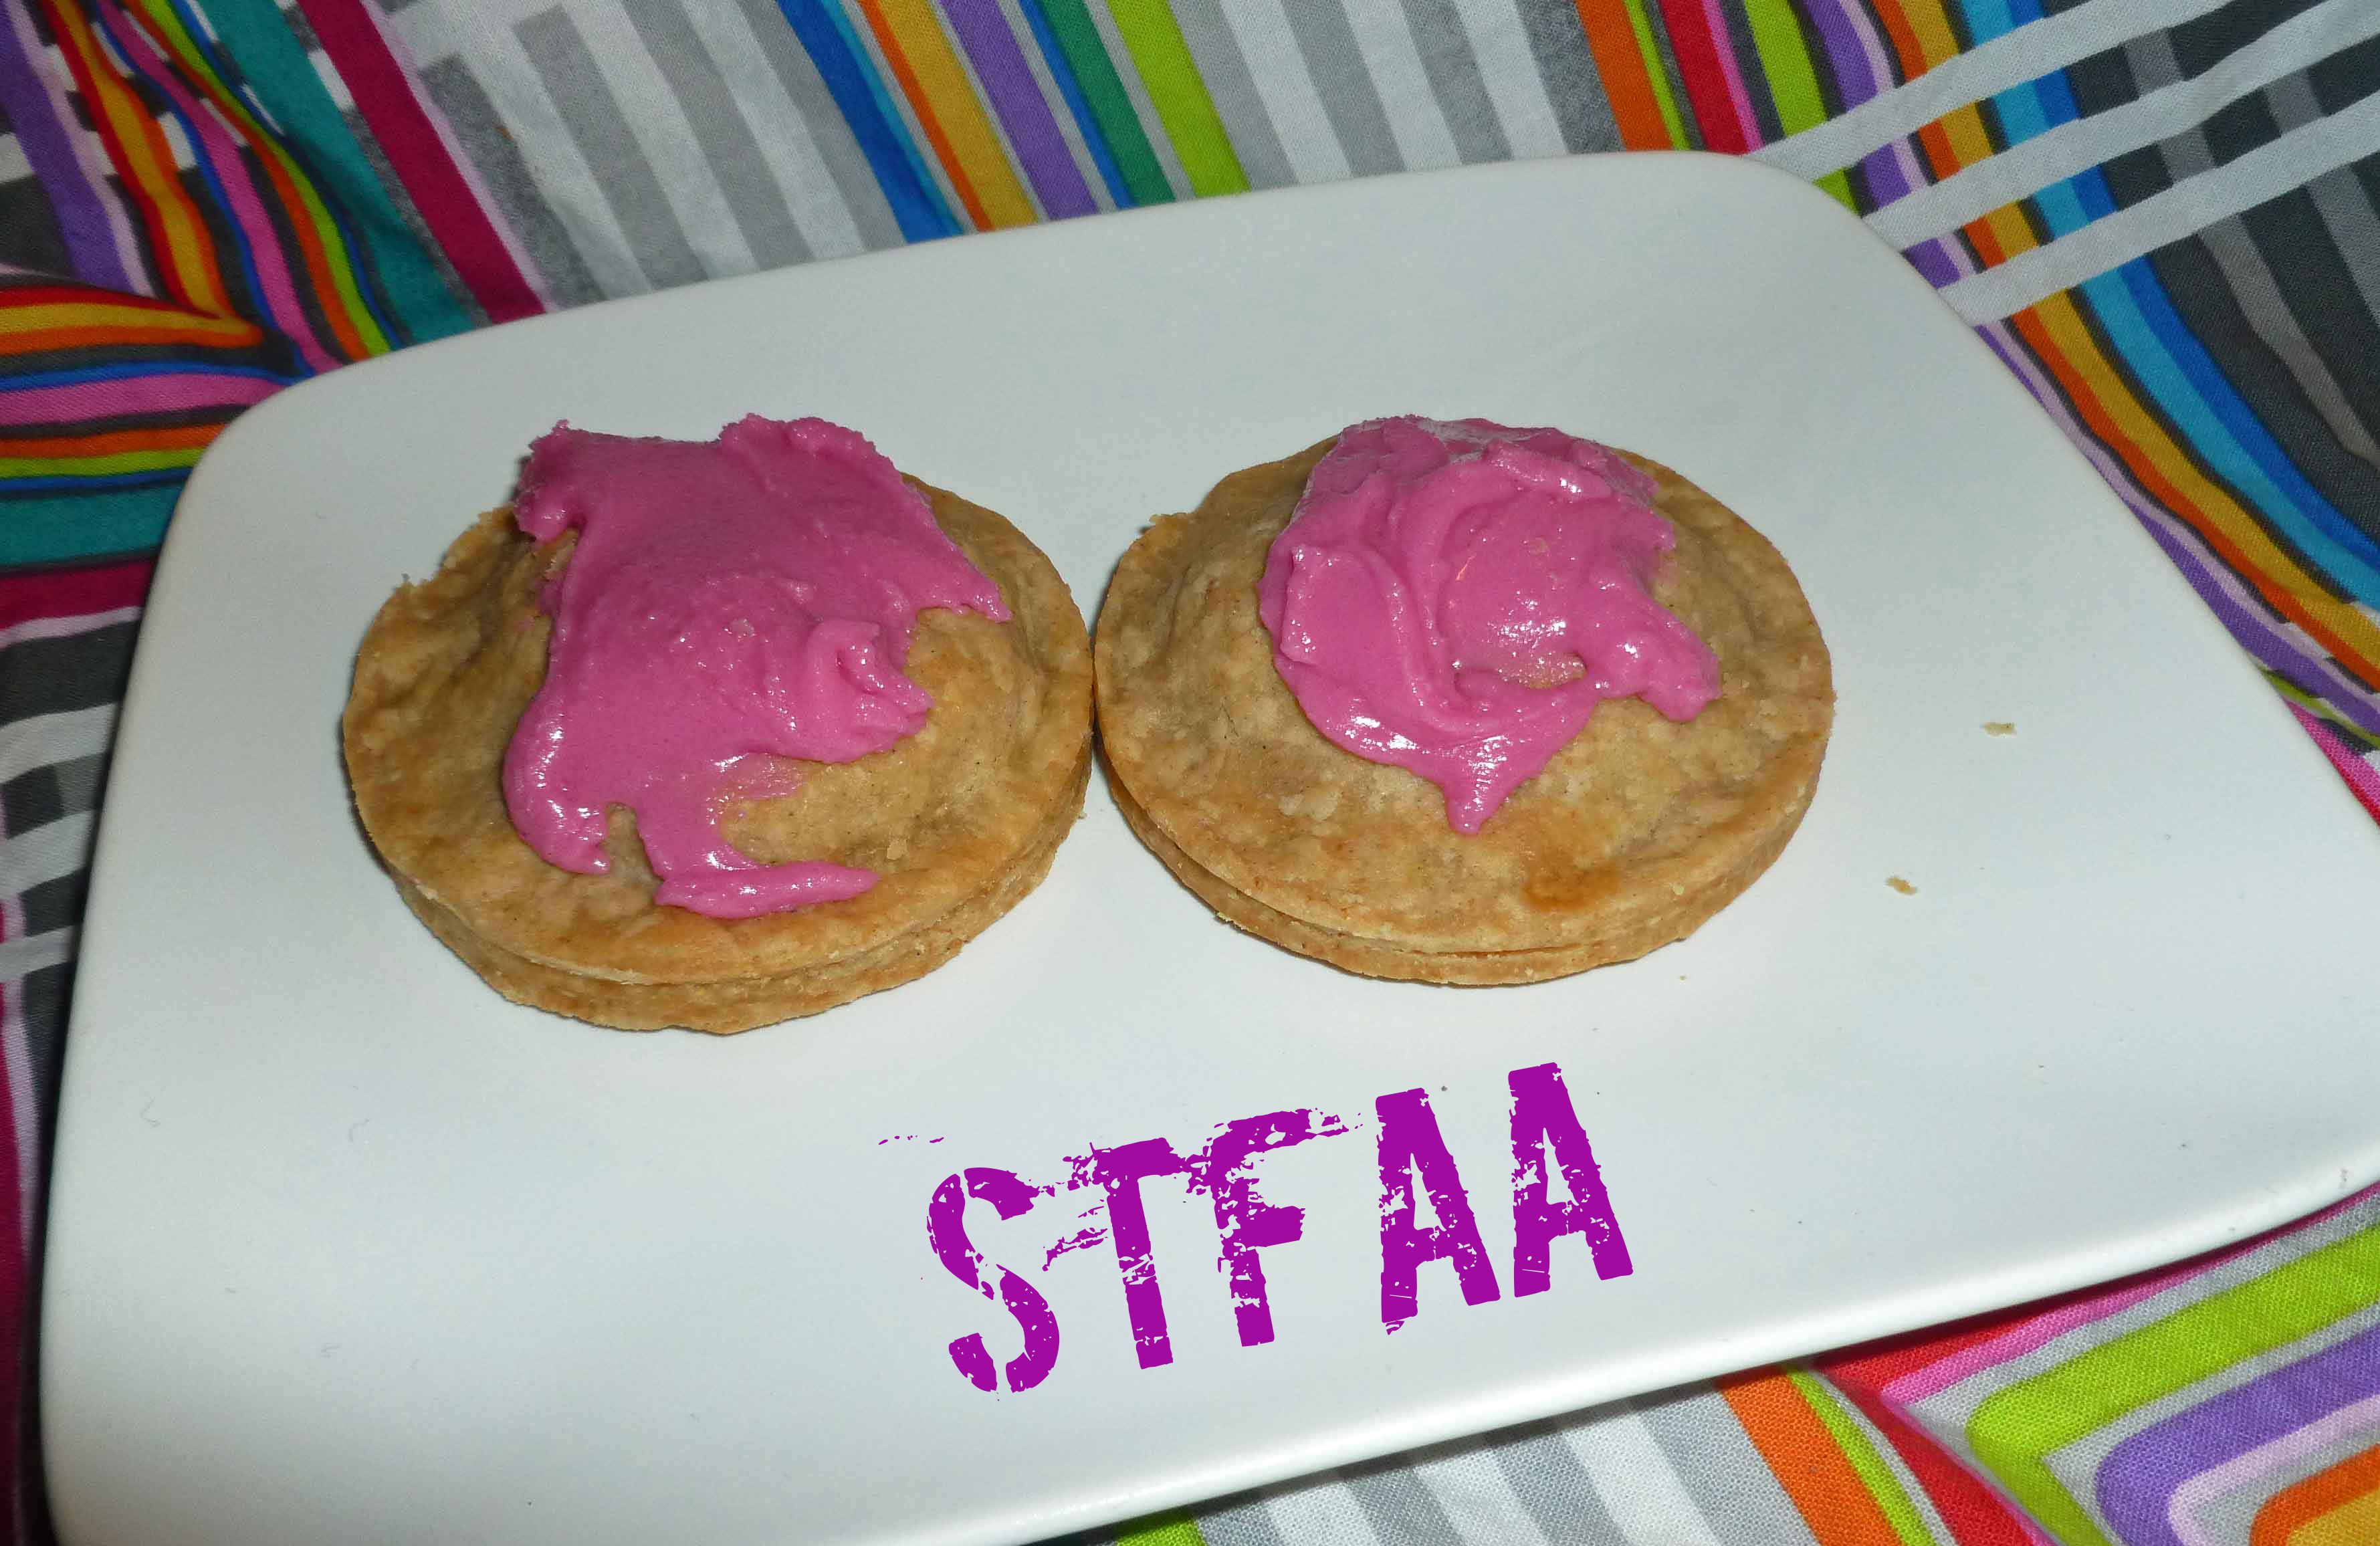
Gluten-Free No-Toaster Pastries with Frosting (decorated by my father-in-law)
It’s still comfort food month. Trying to find foods that are comforting that are safe is kind of hard. In the long, long ago before food allergies, I ate a lot of PopTarts. I ate them when I was too tired, too sick or too aggravated to cook. I ate them for breakfast frequently so that I didn’t have to get up early enough to plan or deal with breakfast. Half the time I didn’t even toast them, but just nuked them in the microwave on a paper towel. And I pretty much only ate the strawberry with frosting PopTarts, which are pretty much the devil for me now, given the wheat and the number of corn ingredients in them. Since I made a lot of jams and preserves during the apple apocalypse harvest here, I decided to use some to make a No-Toaster Pastry, as I has already worked out frosting and pie crust in earlier posts. I picked out some jams and fruit butters, made pie crust, rolled everything out and got them stuffed and ready, and then my oven died. So we ended up at Shawn’s parents to use their oven and I got help from my father-in-law with decorating.
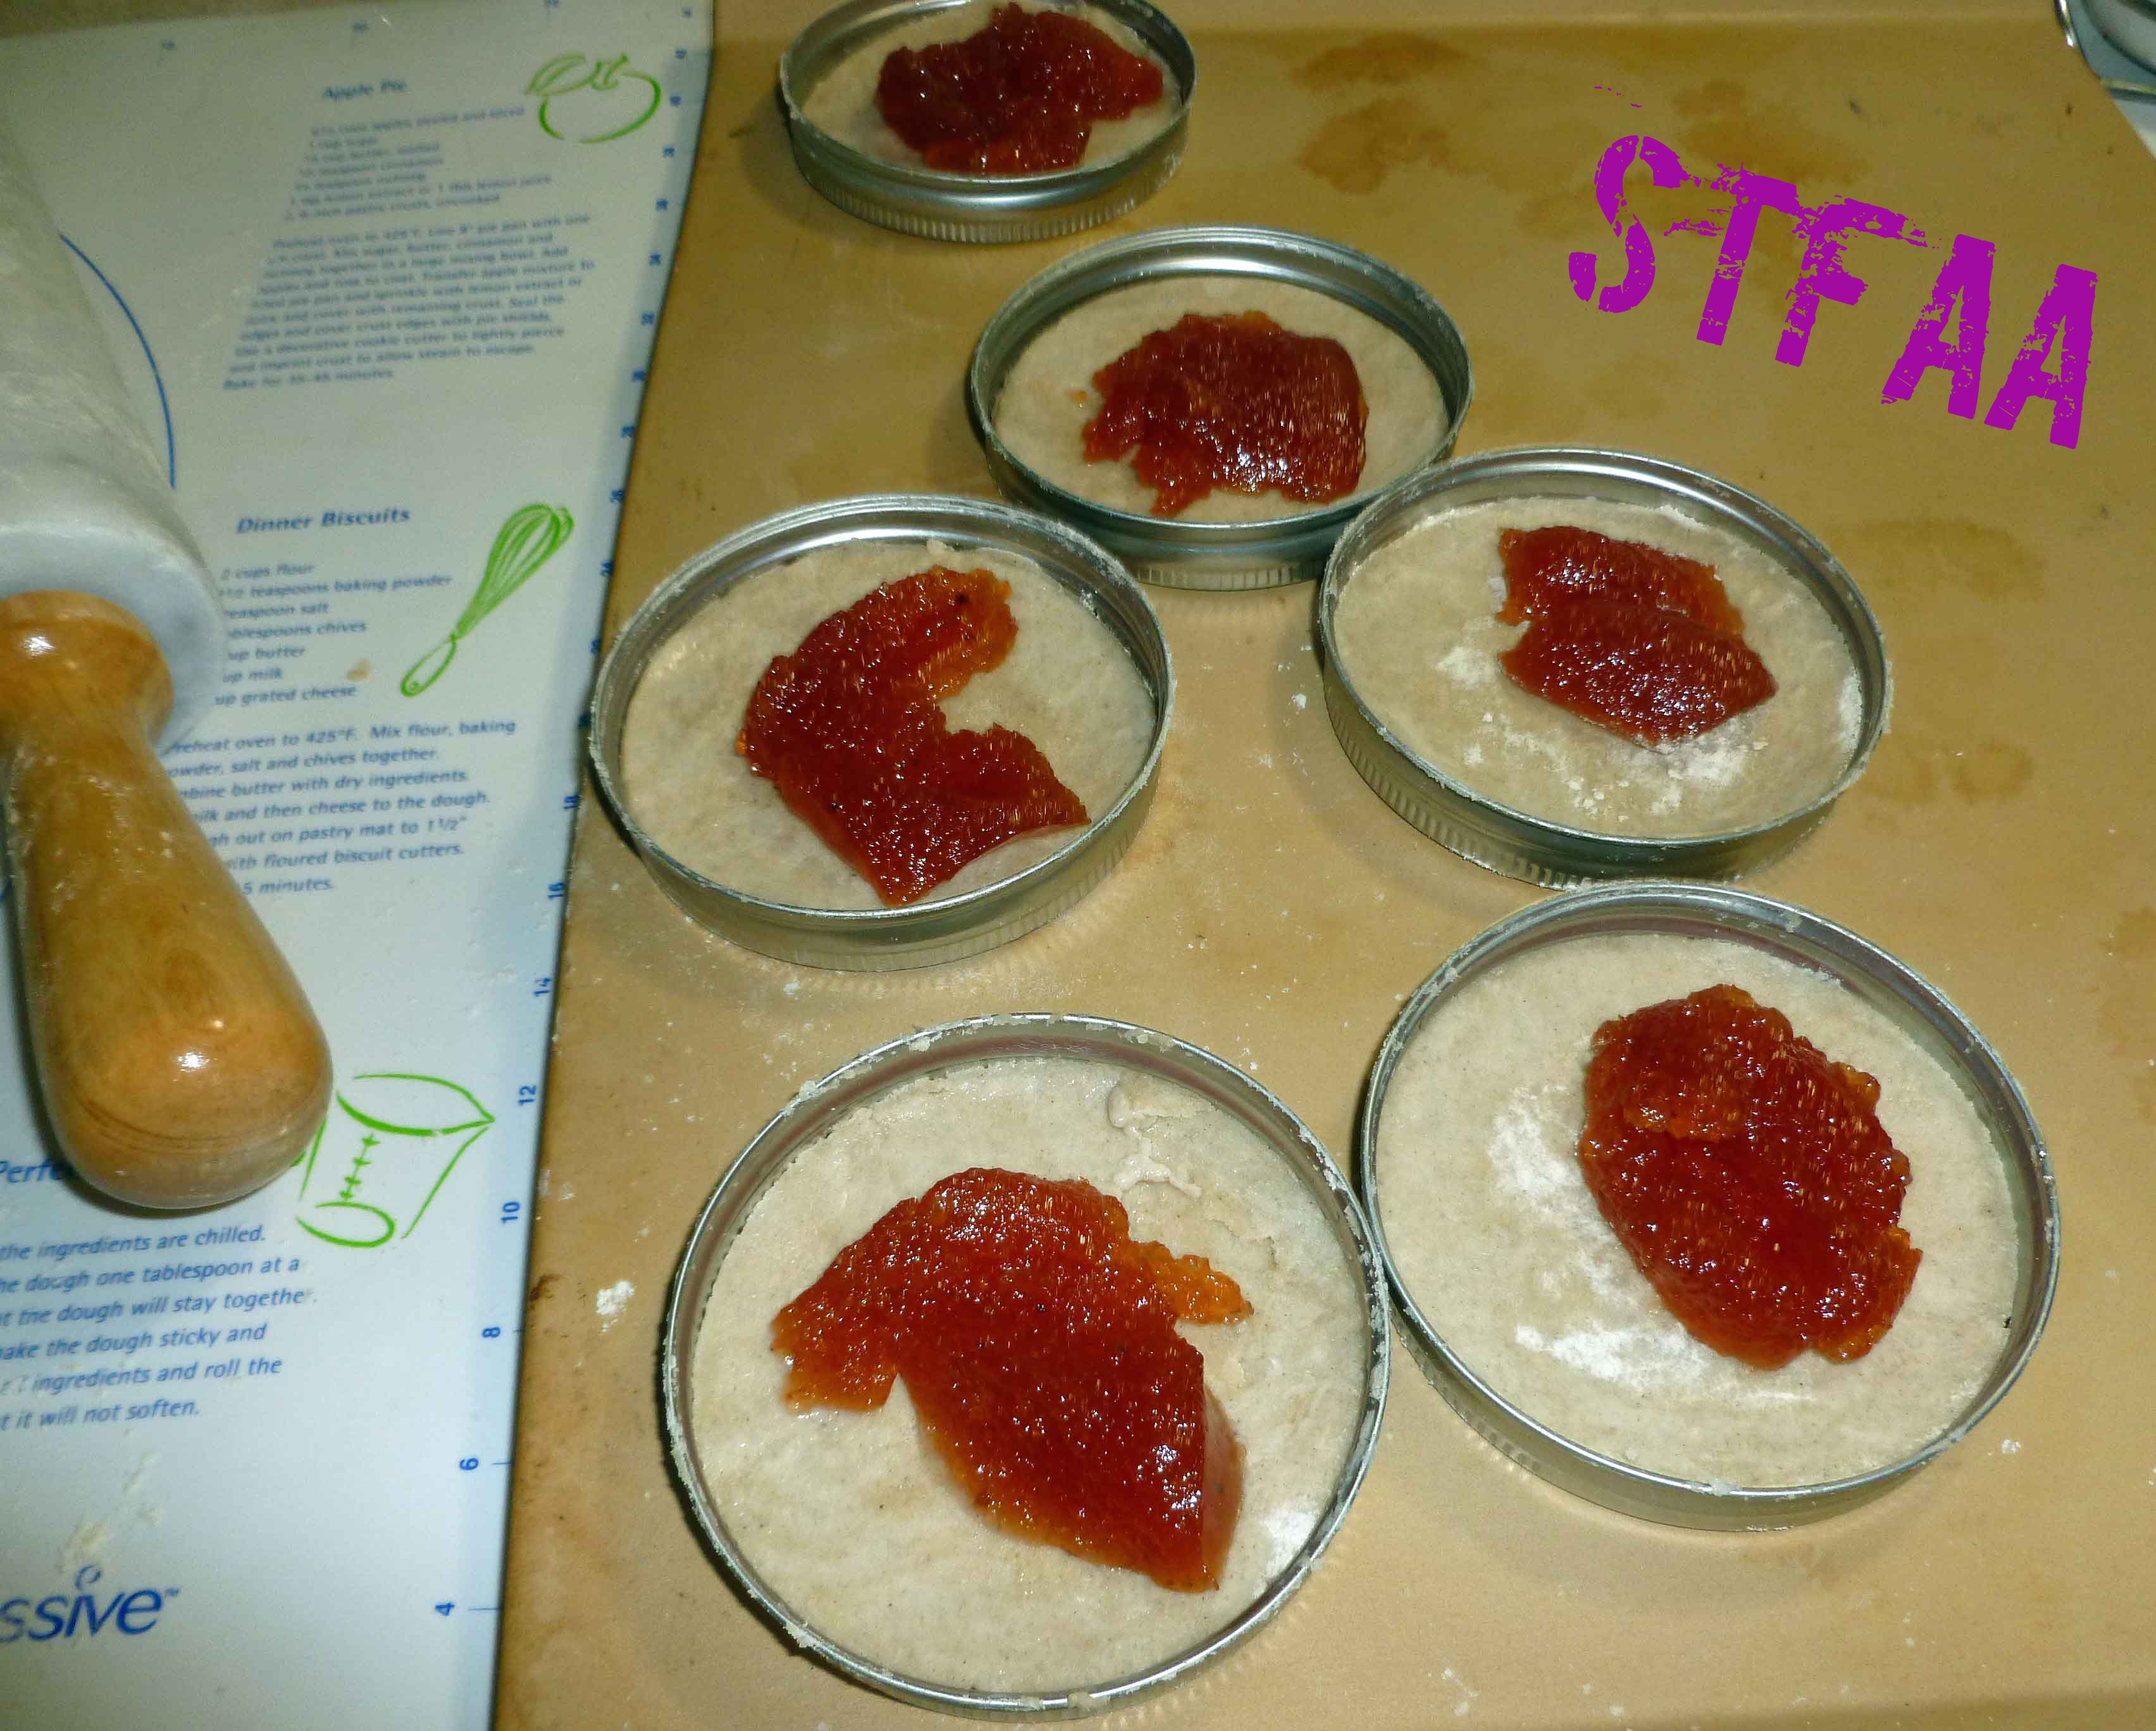
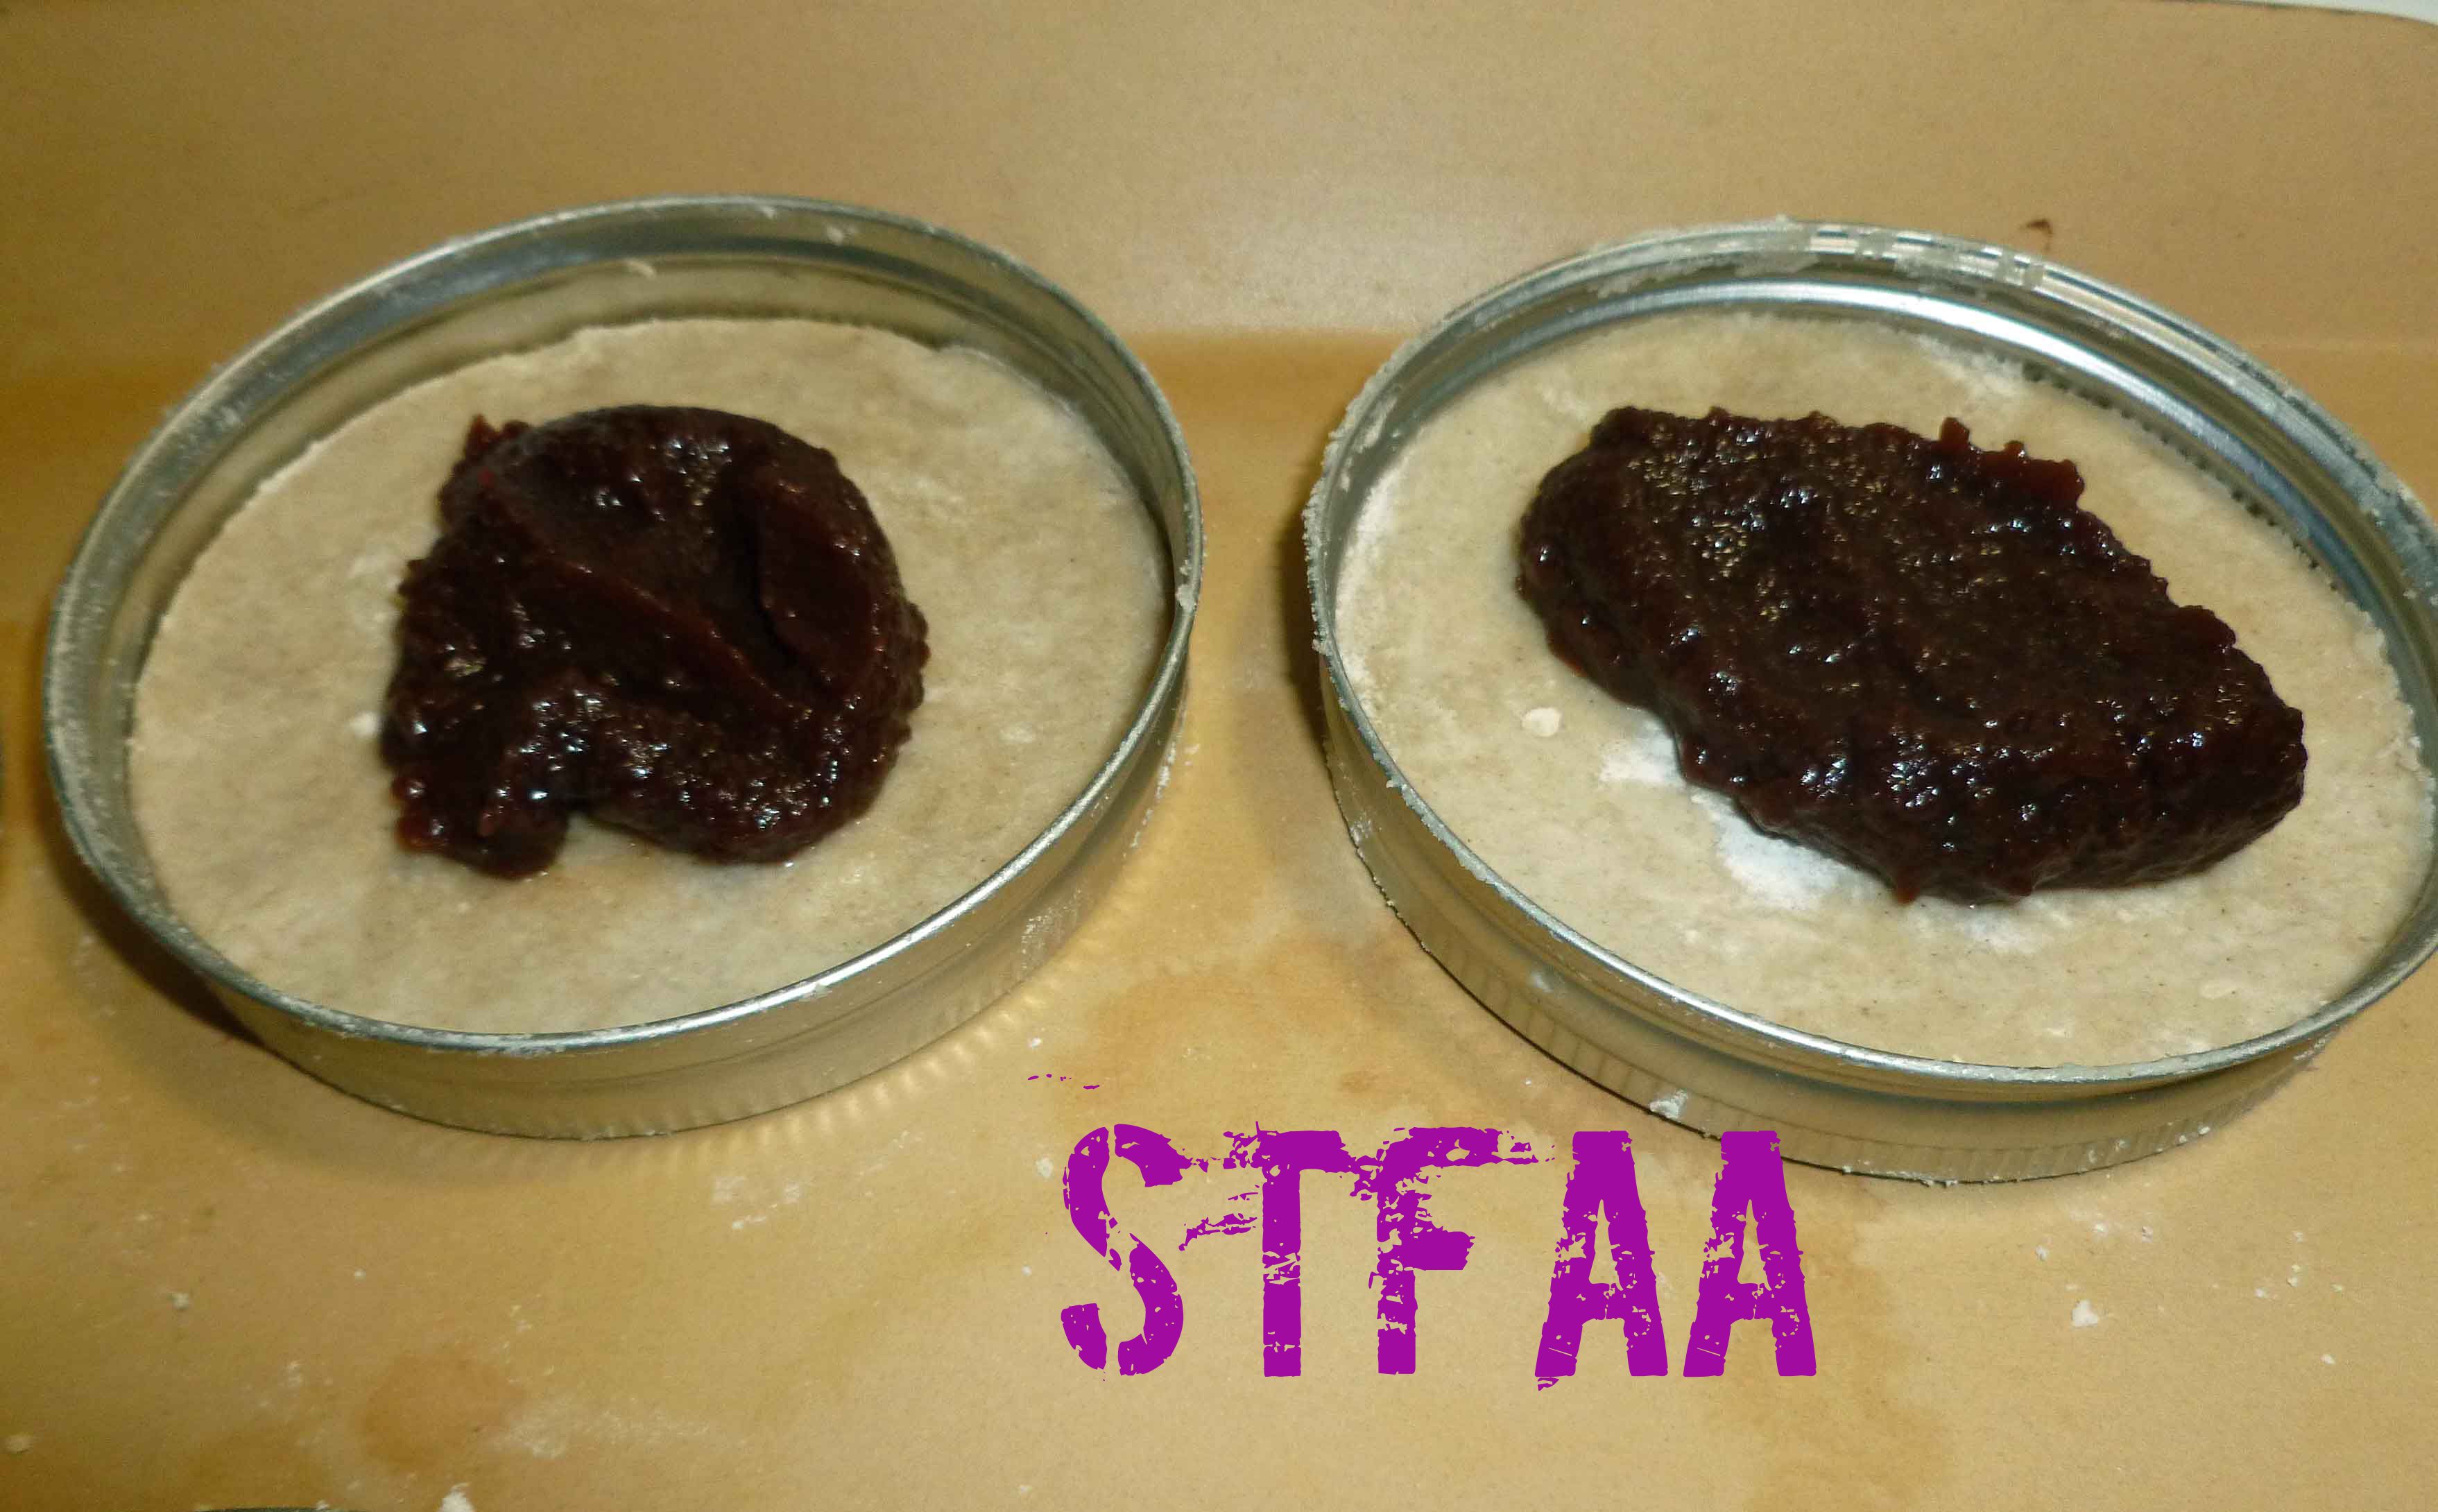
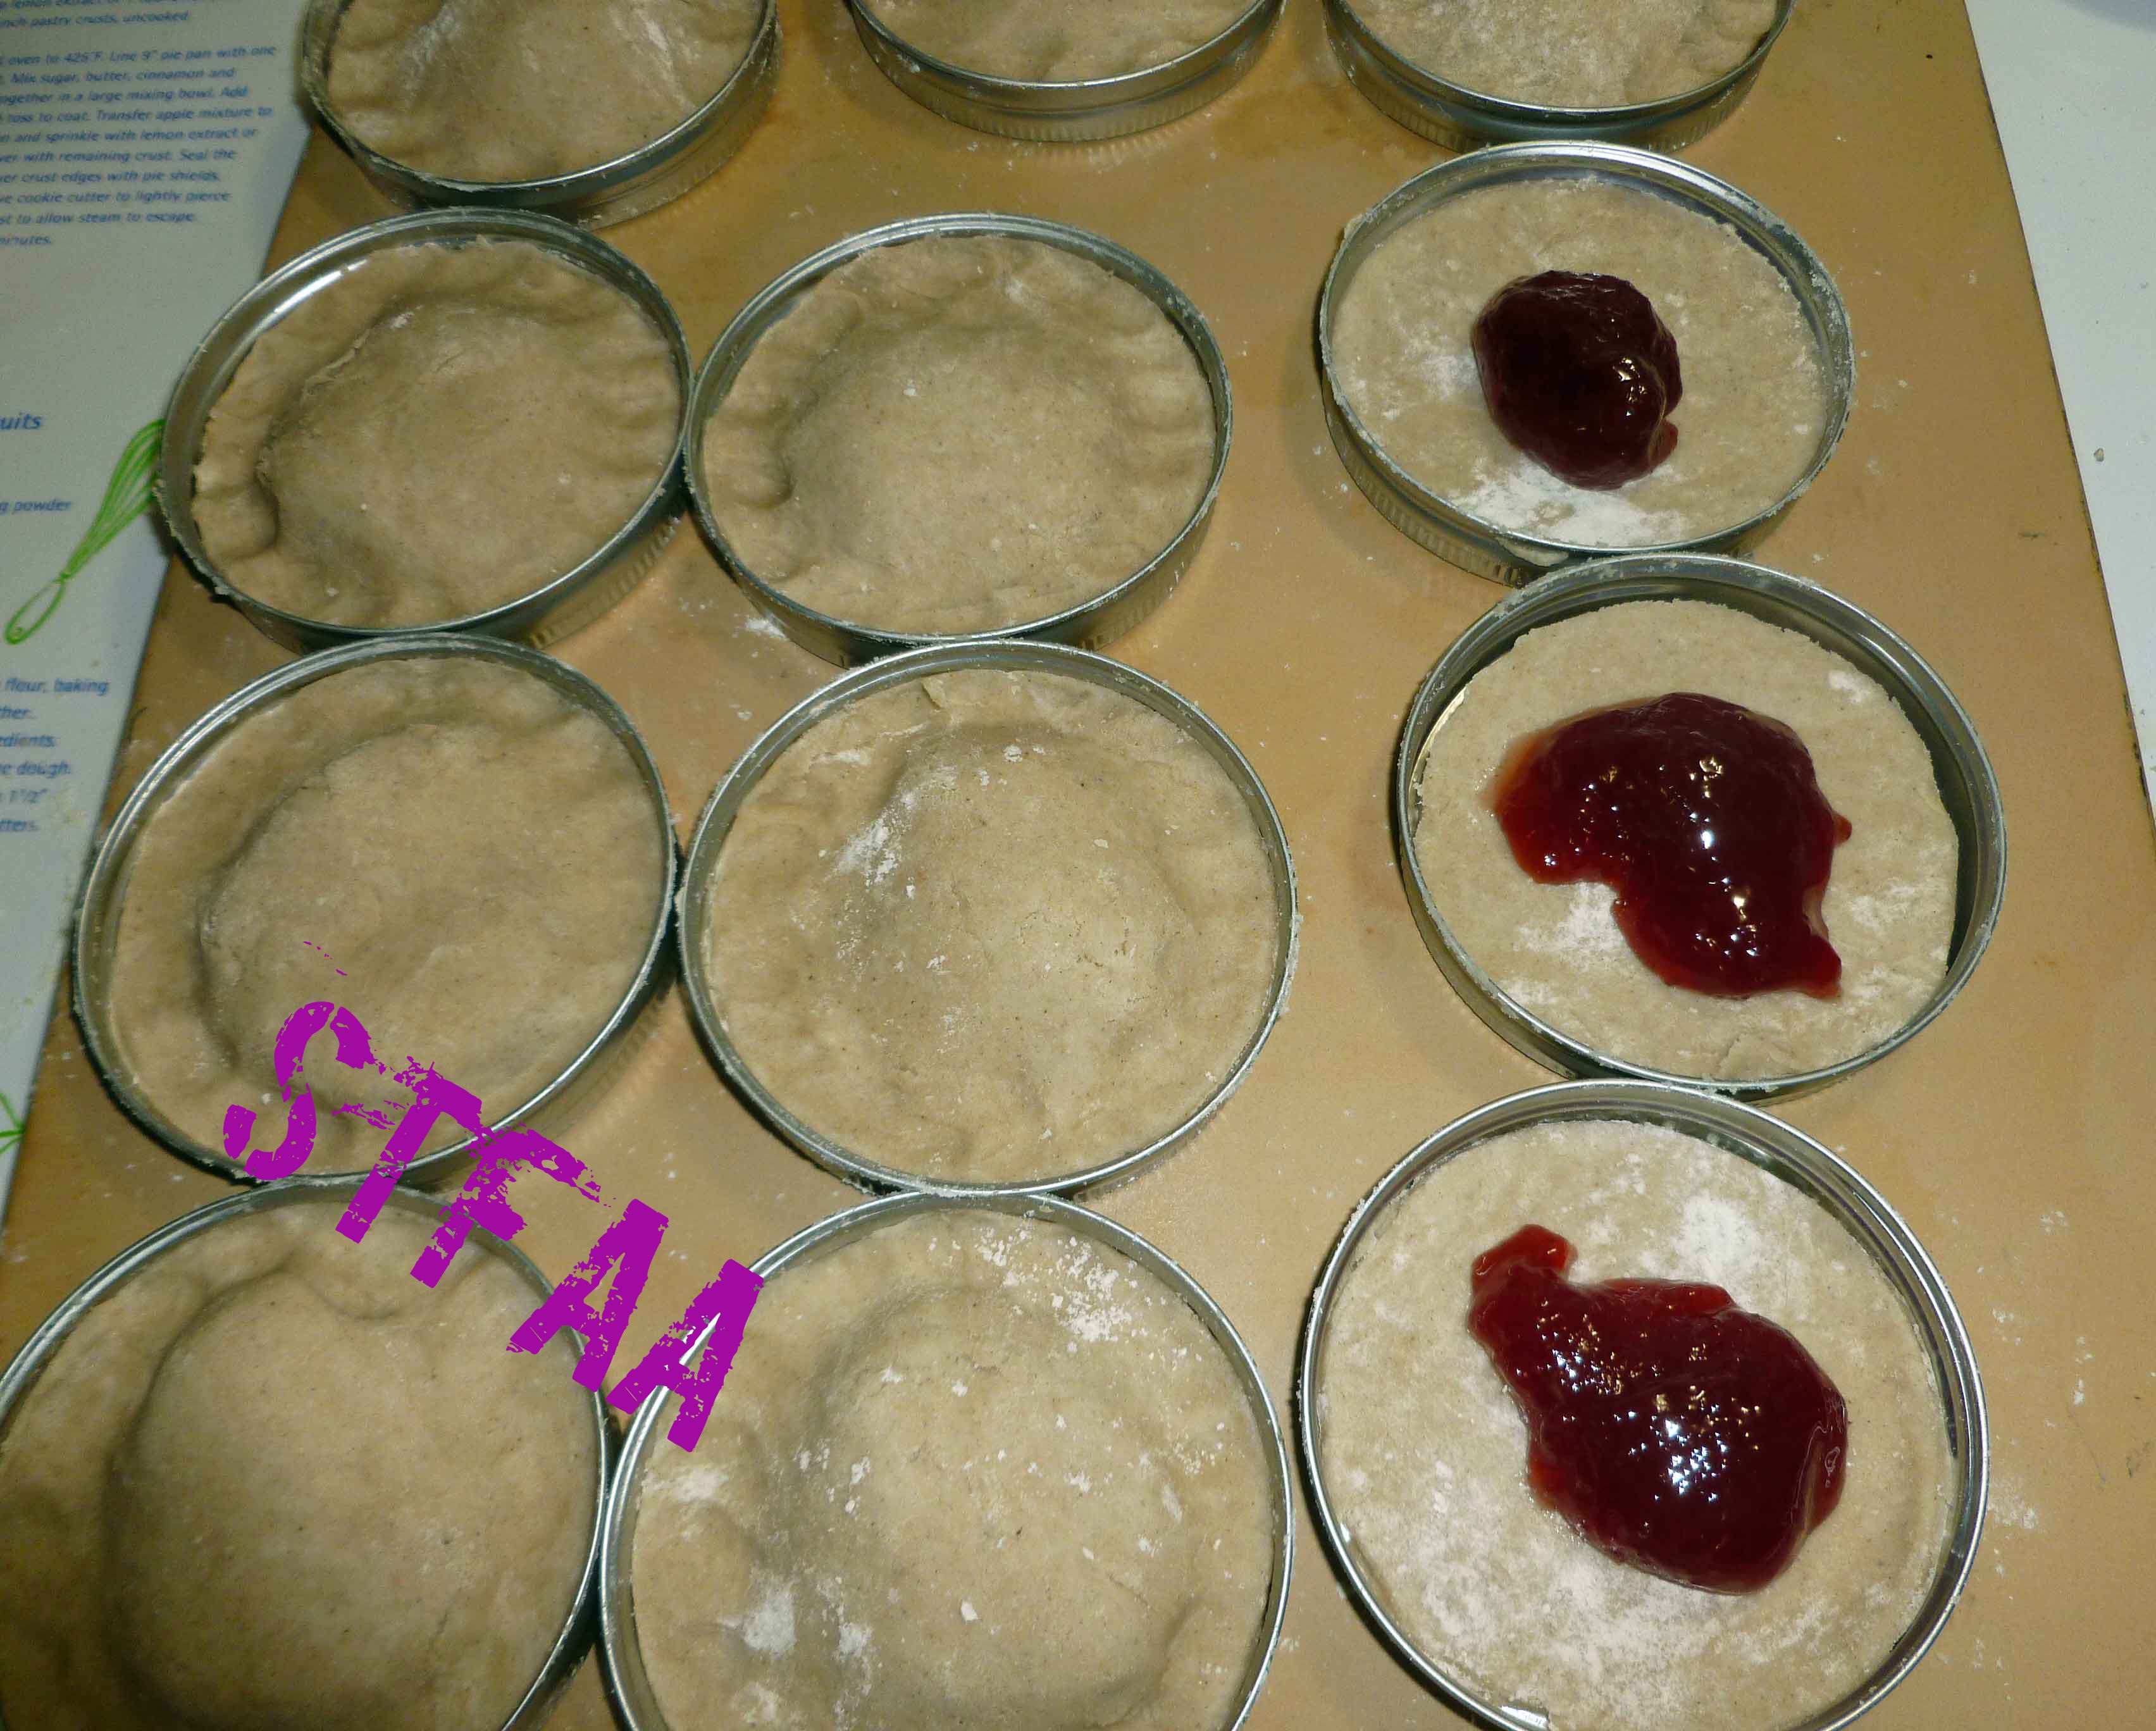
You need to make them in the oven, hence the name, as the generic version of PopTart is toaster pastry, and that doesn’t work because you can’t warm them up in the toaster because of the frosting. So yeah, a bit of a misnomer, so I fixed it. You can use whatever jam or fruit butter you prefer. We used apple butter, apple plum butter, and Nankin cherry jam that I had made.
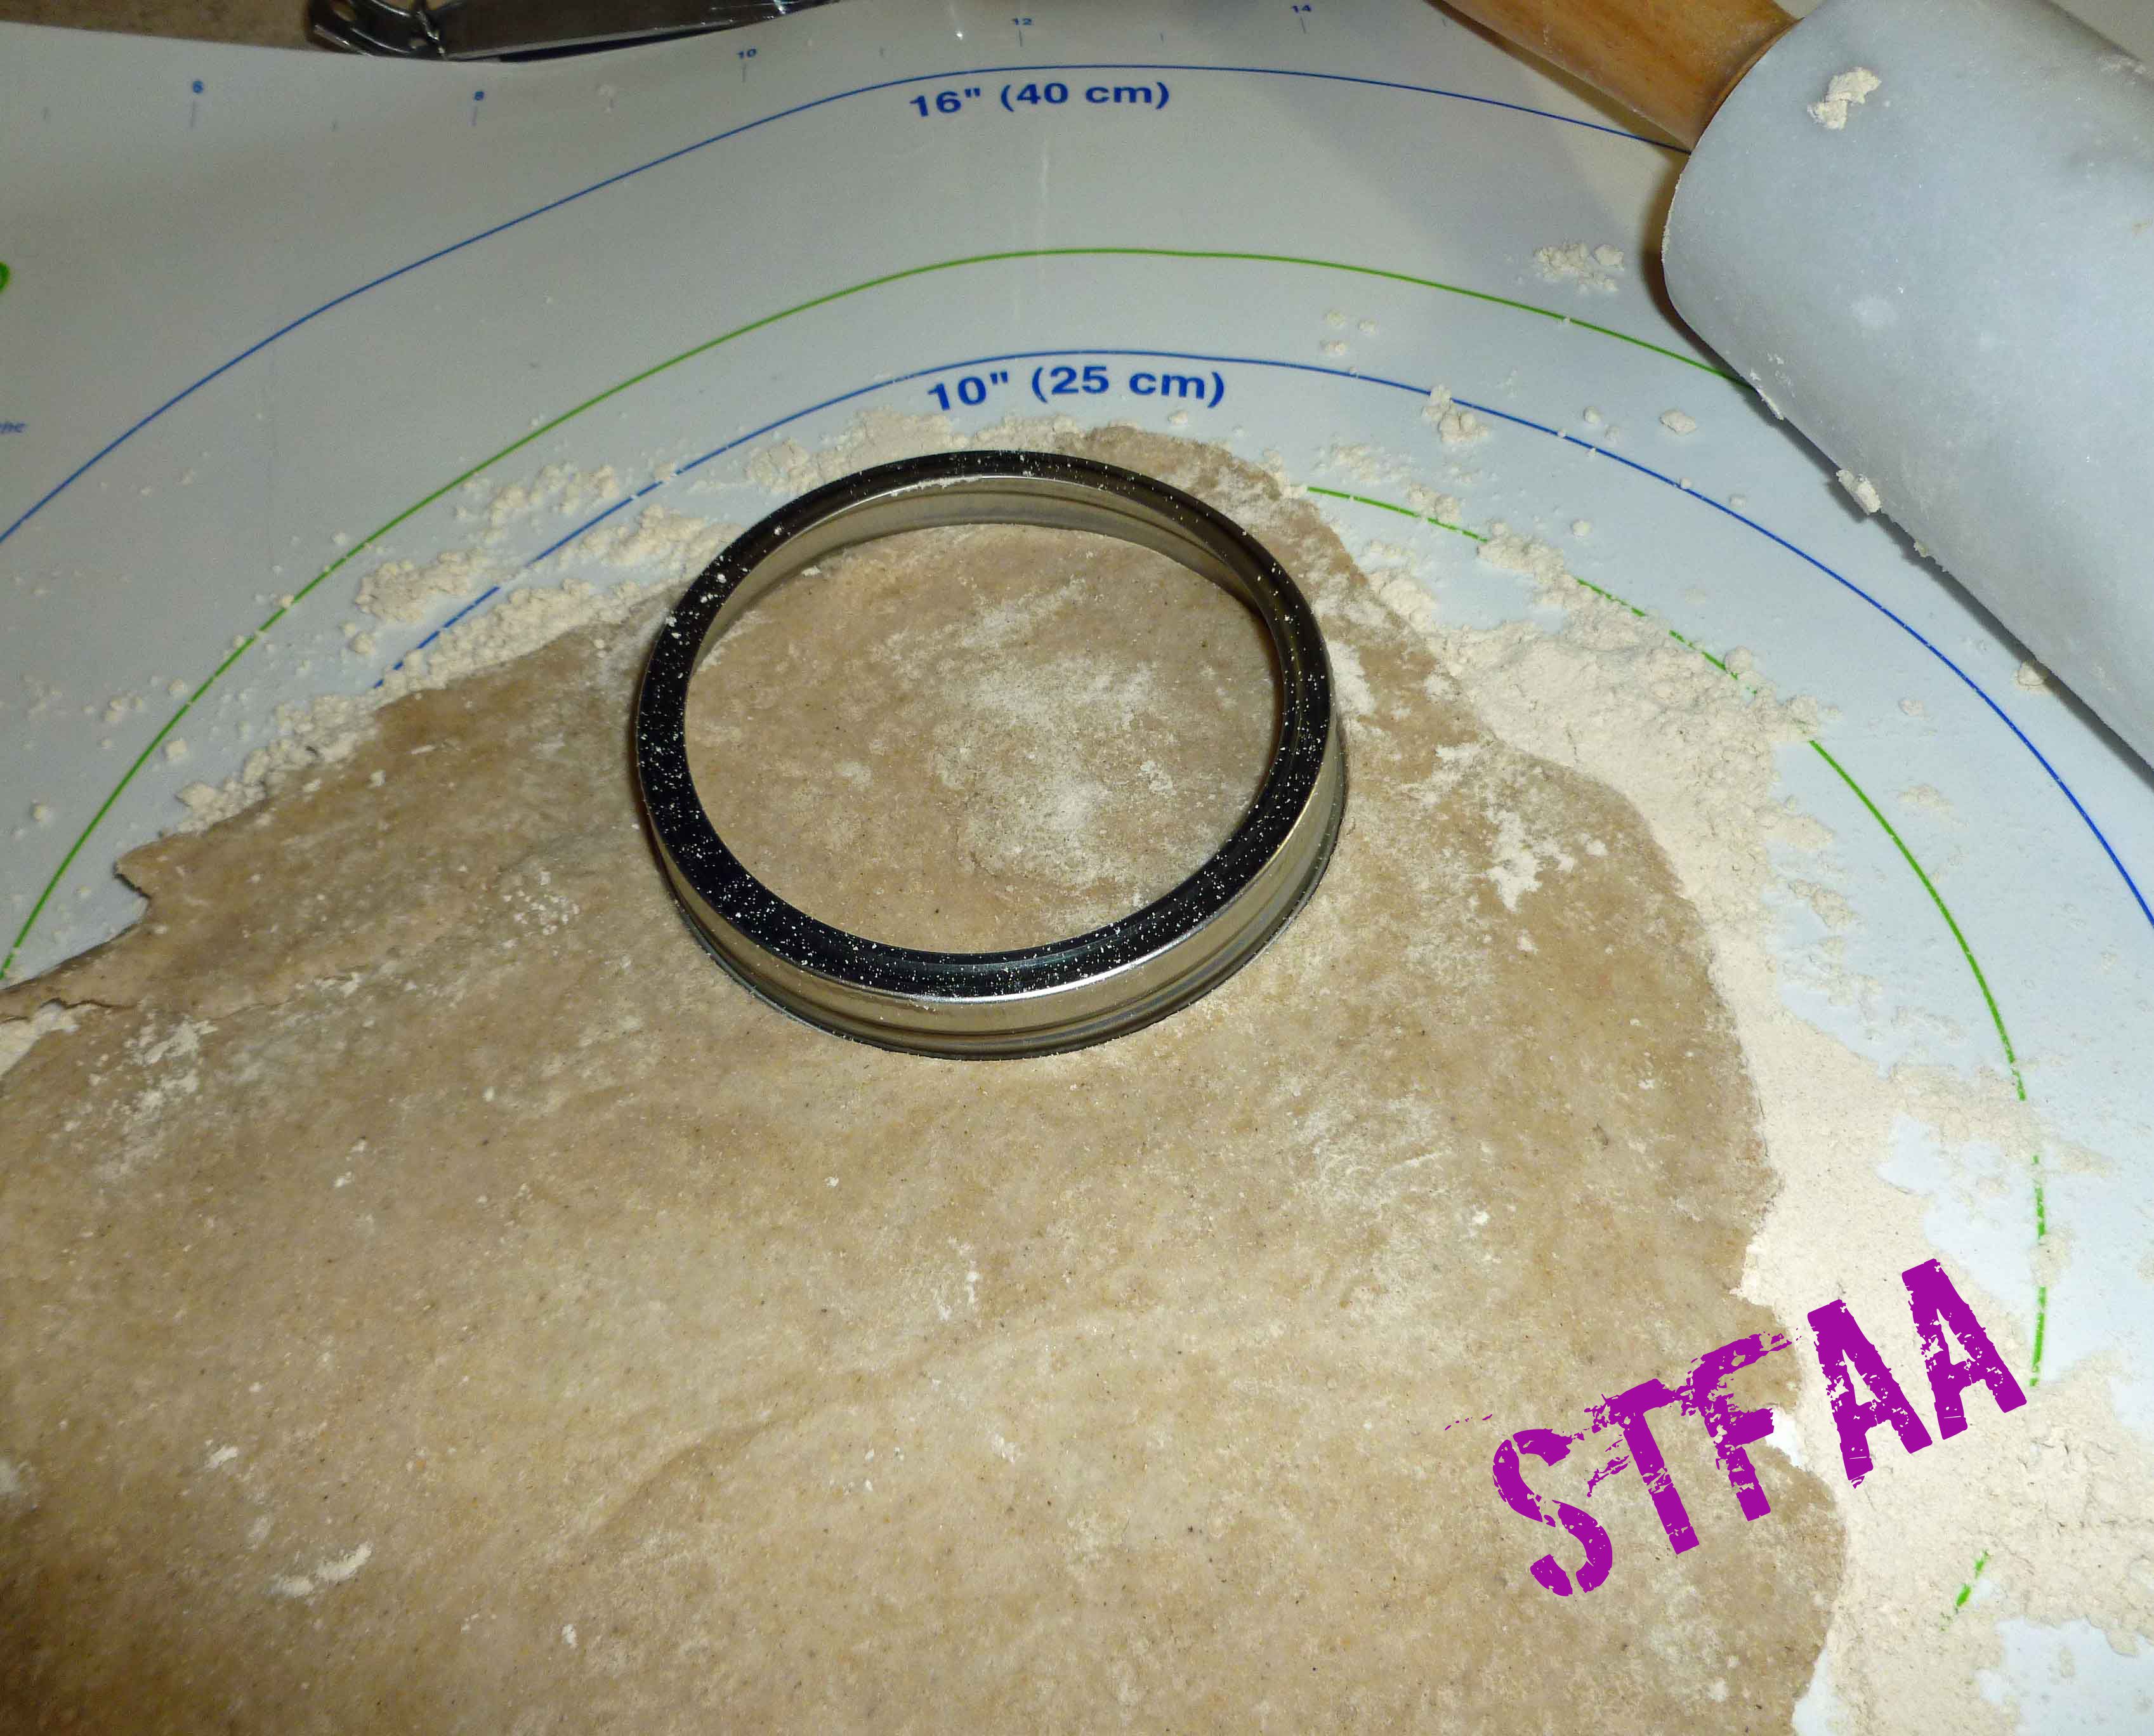
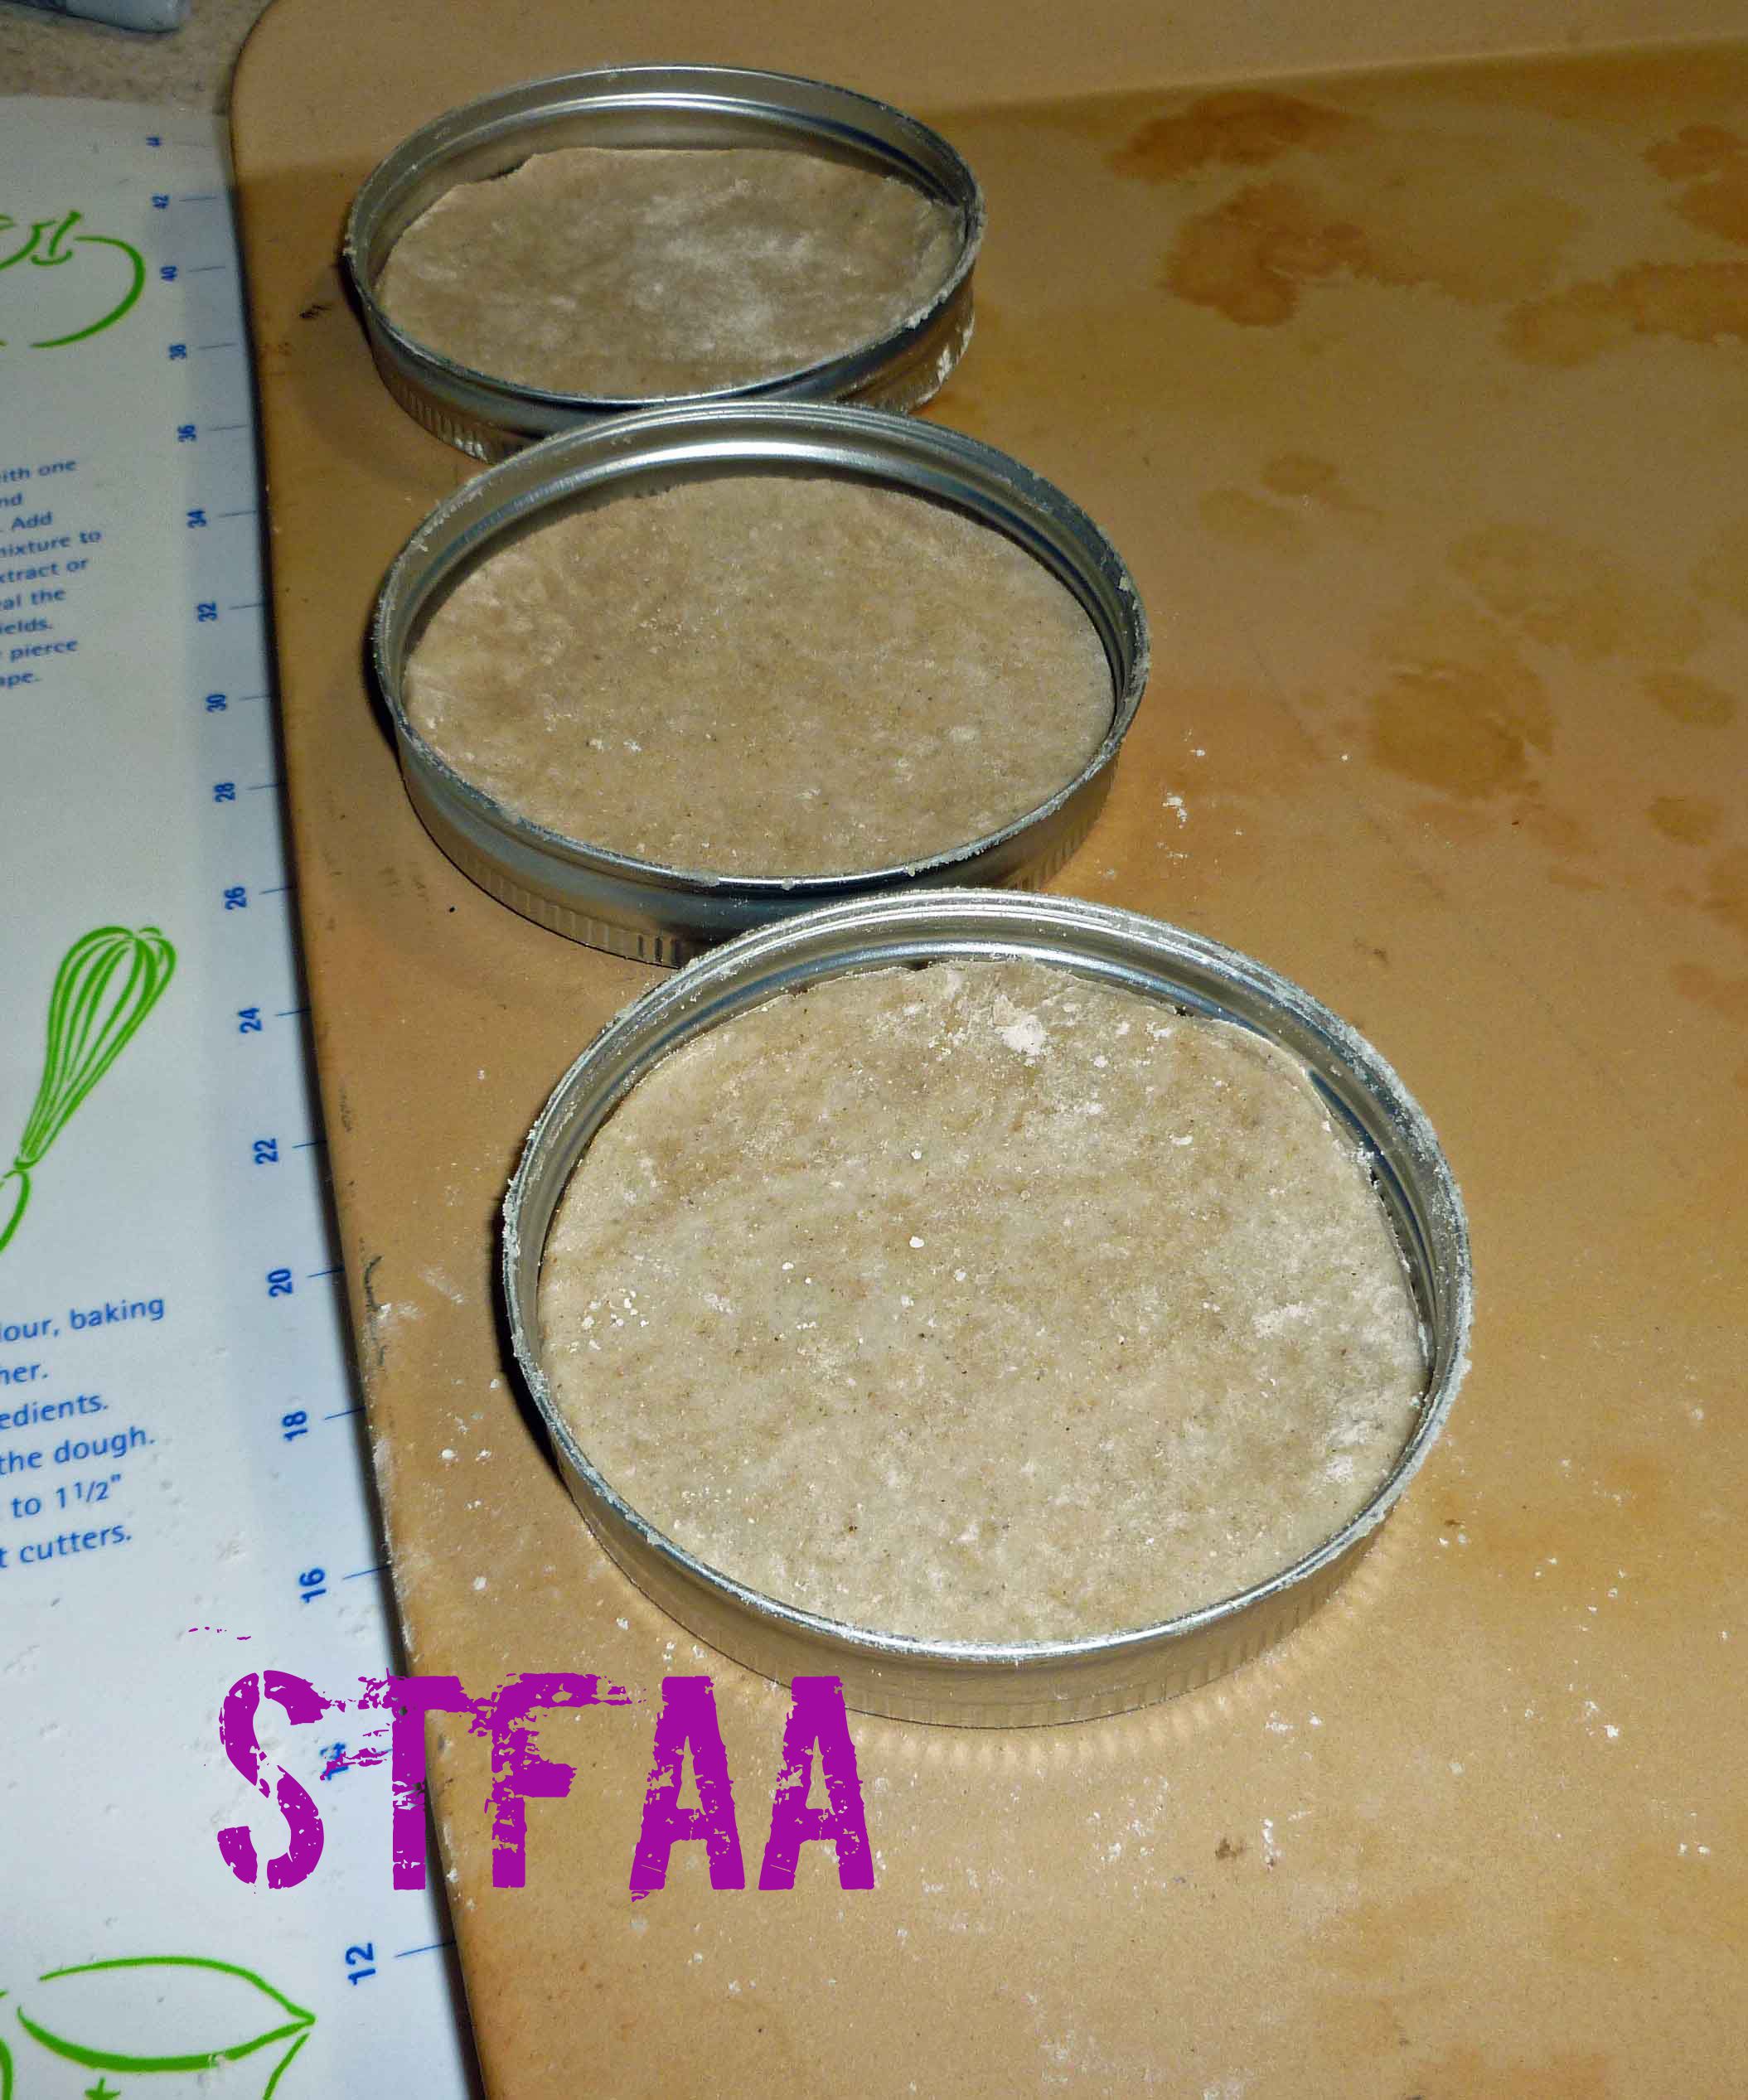
Using a canning ring to cut the bottom crustThe bottom crust in the canning ring as a tart panAdding the filling (apple plum butter)Adding the filling (apple butter)Some completed pastries and adding the filling (Nankin cherry jam)Gluten-free No-Toaster Pastries ready to bakeGluten-free No-Toaster Pastries with Frosting (frosted by Denise)Our new chief decorator, Brian, Denise’s father-in-lawGluten-Free No-Toaster Pastries with Frosting
Gluten-free No-Toaster Pastries with Frosting
Print Recipe
A homemade version of the ubiquitous toaster pastry, except not using the toaster.
8ounce jarjam, preserve, or fruit butter of your choice(jellies don’t work as they leak out)
Pink Royal Frosting
1 1/4cups powdered sugar(if you are allergic to corn, you can make your own with 2 cups of sugar, a tablespoon of tapioca starch, and a blender)
1/2teaspoon vanilla extract(I make my own with vanilla beans and vodka made from potatoes, as most commercial extract contains corn)
1Tablespoonaquafaba
1teaspoonbeet puree(To make puree, either use canned or fresh cooked beets and puree them in a blender with a bit of cooking liquid)
Equipment
12wide mouth canning rings
Servings: pastries
Instructions
Making Crust Dough
In a large bowl, whisk together the sorghum flour, the cassava flour, arrowroot starch, millet flour, and salt, until they are thoroughly mixed.
Using a pastry blender or a fork, cut in the lard or vegetable shortening until the mixture looks like crumbs.
In a small bowl or glass measuring cup, mix the aquafaba (1/2 cup and 1 Tablespoon), apple cider vinegar, and psyllium powder together until it is well blended. Add the liquid mixture to your flour mixture and stir until it comes together to form a dough.
Shape the dough into a smooth ball, and put the dough ball into the freezer to chill for 30 minutes before rolling it out.
Preheat your oven to 400°F.
Using some of your other flours (I used sorghum) dust the surface of your rolling space. Roll out the crust to about a quarter of an inch thick on a rolling mat. Make sure you use plenty of dusting flour so that it doesn’t stick to the rolling surface or parchment paper.
Making the Pastries
Once you have rolled out your crust, use a wide mouth canning ring to cut a round of crust out, and flip it over to so that it the pastry forms the bottom of the ring, and place it on your cookie sheet. Using a bit of water and your finger, wet the outside edge of the bottom of the crust to promote sealing.
Place a tablespoon of the jam, preserve, or fruit butter of your choice in the center of the ring.
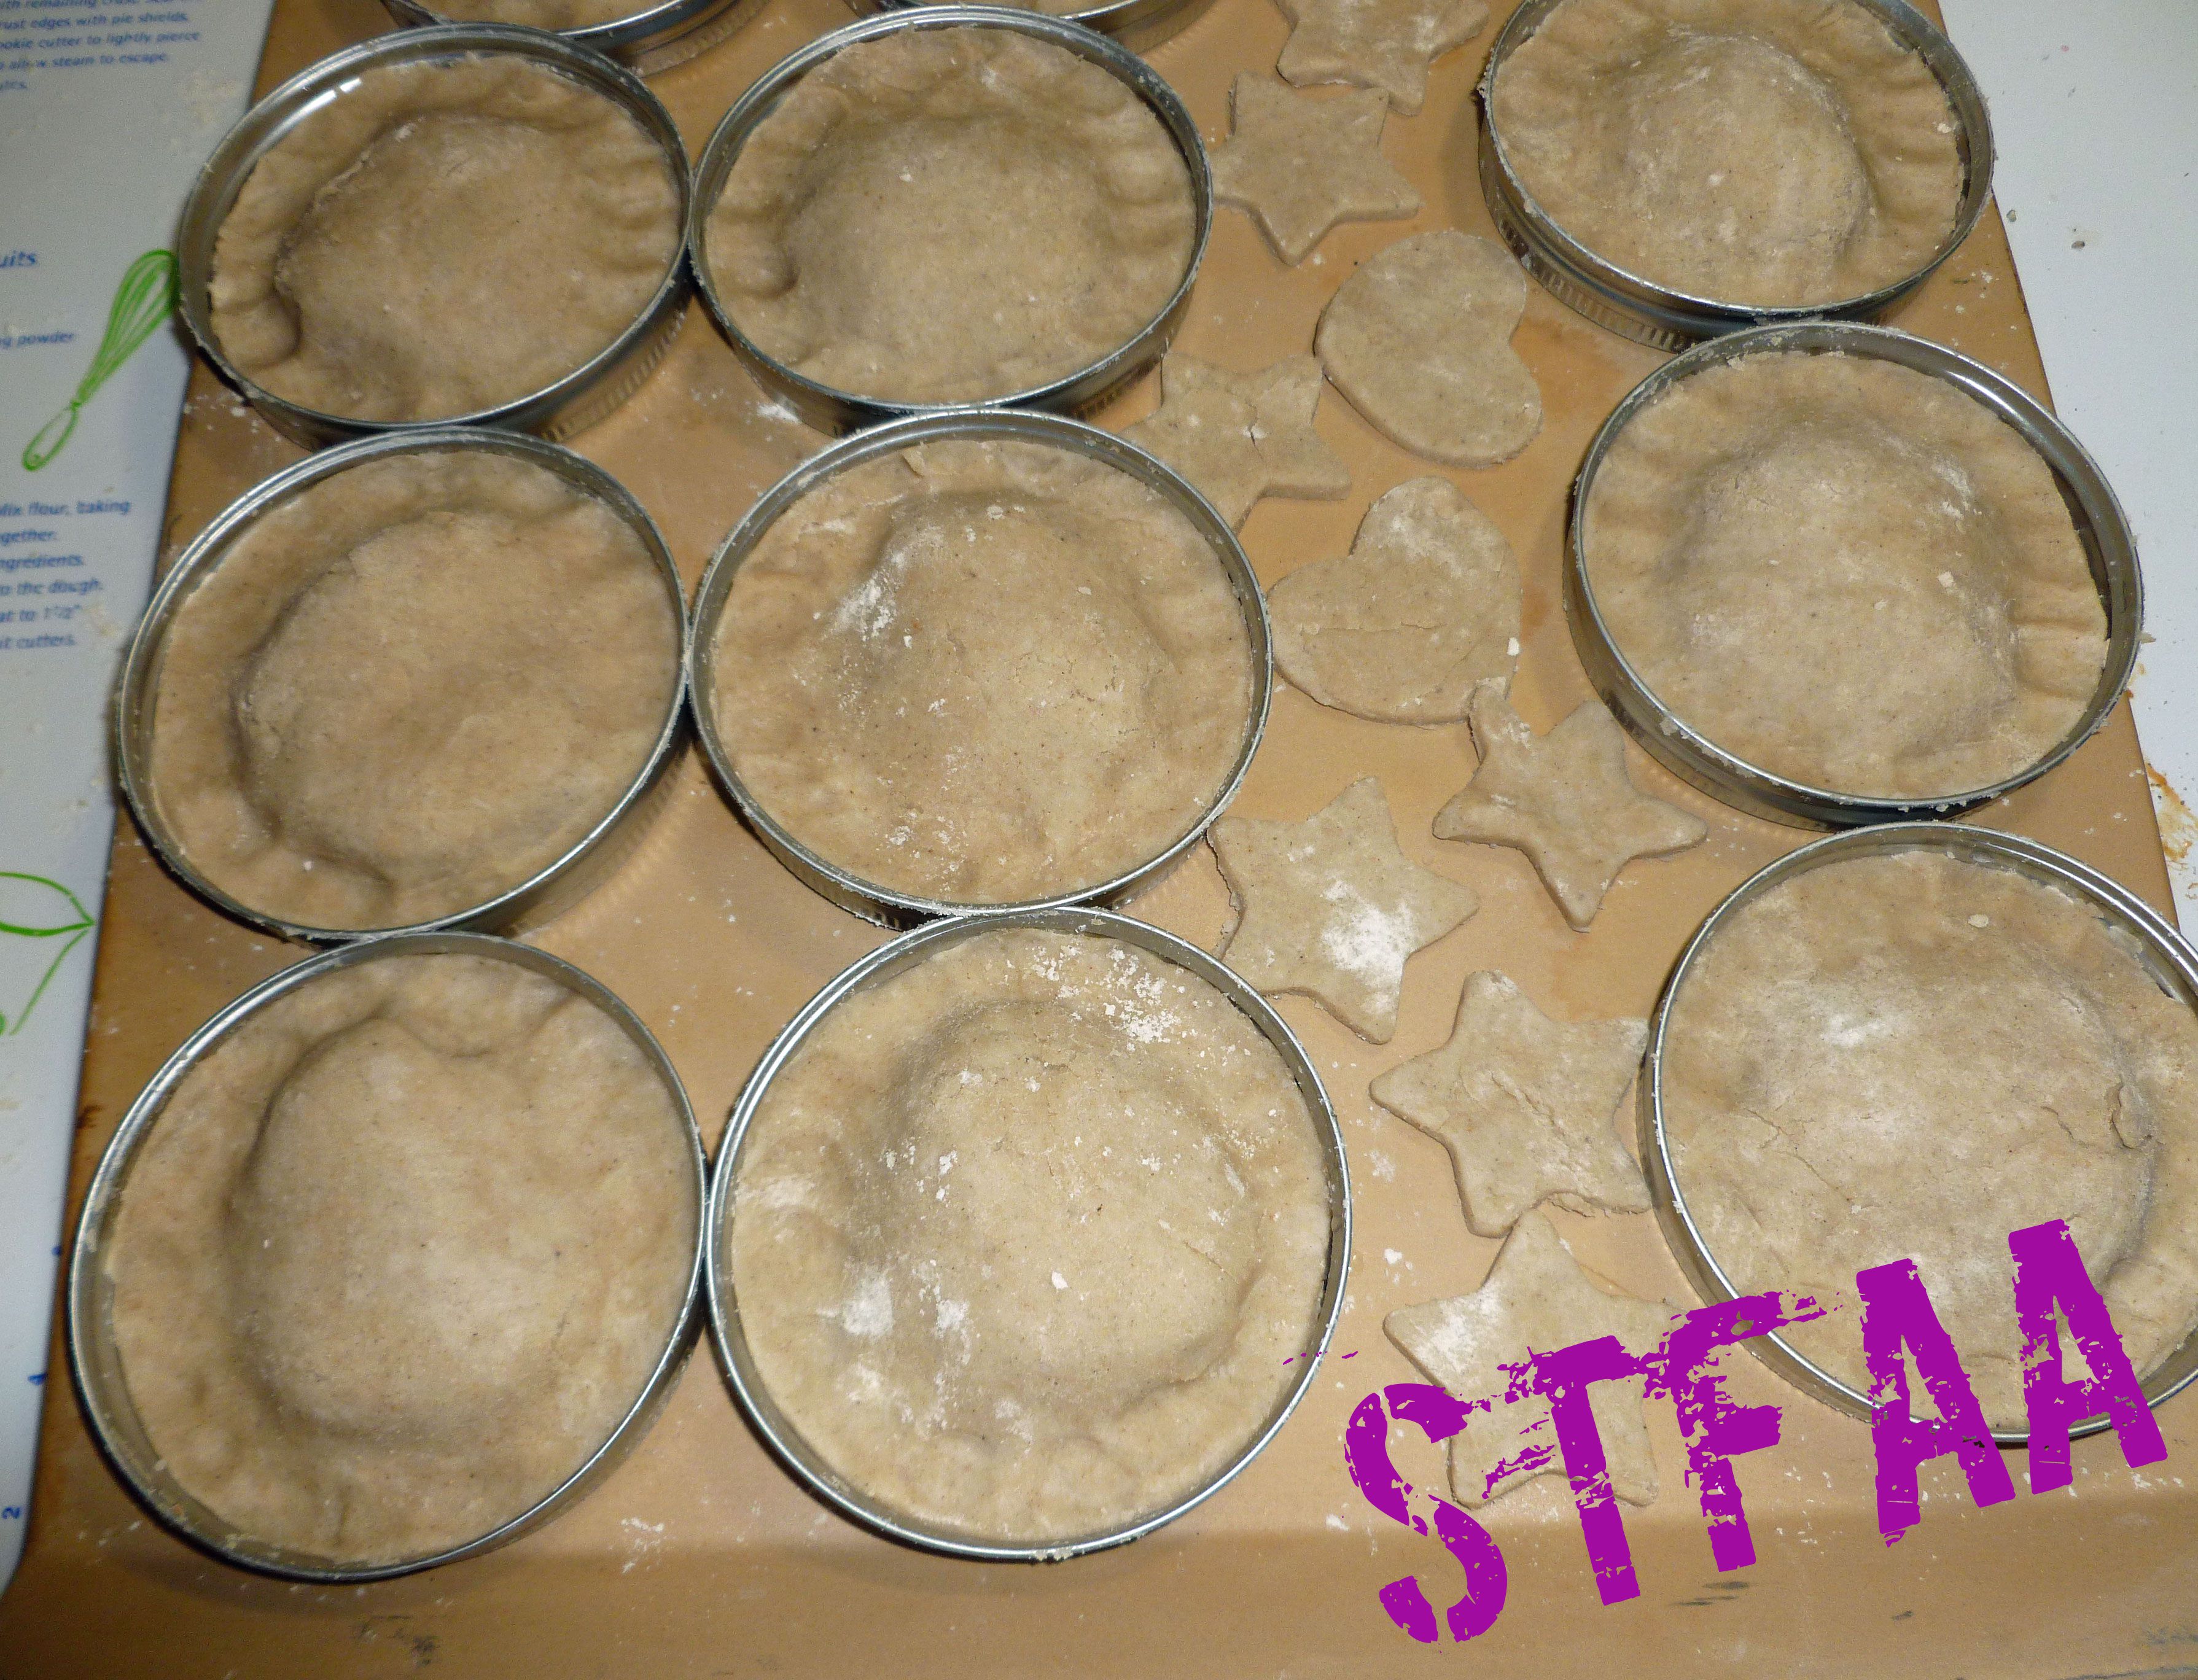
Using another wide mouth canning ring cut another round of crust out, and place it over the top of the bottom crust in the first wide mouth canning ring, pressing down around the edges to seal. Repeat these steps until all pastries have been made.
Bake at 400°F for 30-40 minutes. Wait until cool and then frost, after making the frosting below.
Making Frosting
Place powdered sugar, vanilla extract, aquafaba, and beet puree in a bowl and using a stand or electric mixer, beat ingredients until completely combined. If frosting is not firm enough, add additional powdered sugar by the teaspoon until it is.