Notice: Function _load_textdomain_just_in_time was called incorrectly. Translation loading for the wp-ultimate-recipe domain was triggered too early. This is usually an indicator for some code in the plugin or theme running too early. Translations should be loaded at the init action or later. Please see Debugging in WordPress for more information. (This message was added in version 6.7.0.) in /home/maryzahc/public_html/adultfoodallergies.com/wp-includes/functions.php on line 6121
MaryKate – Page 3 – surviving the food allergy apocalypse (archive)

Author: MaryKate

  • Basil Plum Sauce

    Basil Plum Sauce

    Basil-Plum Sauce
    Basil_Plum Sauce

    This month, we were aiming to be inspired by what’s growing where we live. For Denise, this means what her garden is producing. For me, it means actually making time to go to the farmer’s market. I love the farmer’s market, but I’m rather lousy at managing to go shopping at a specific time every week. I’ve managed to make it about once a month so far this summer.

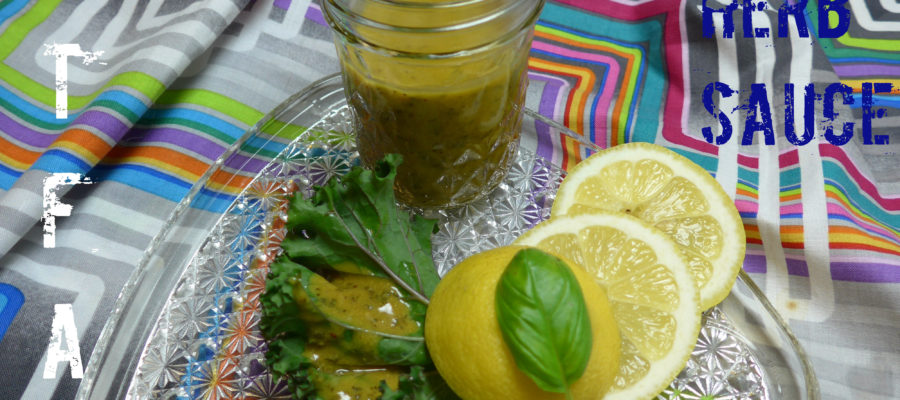
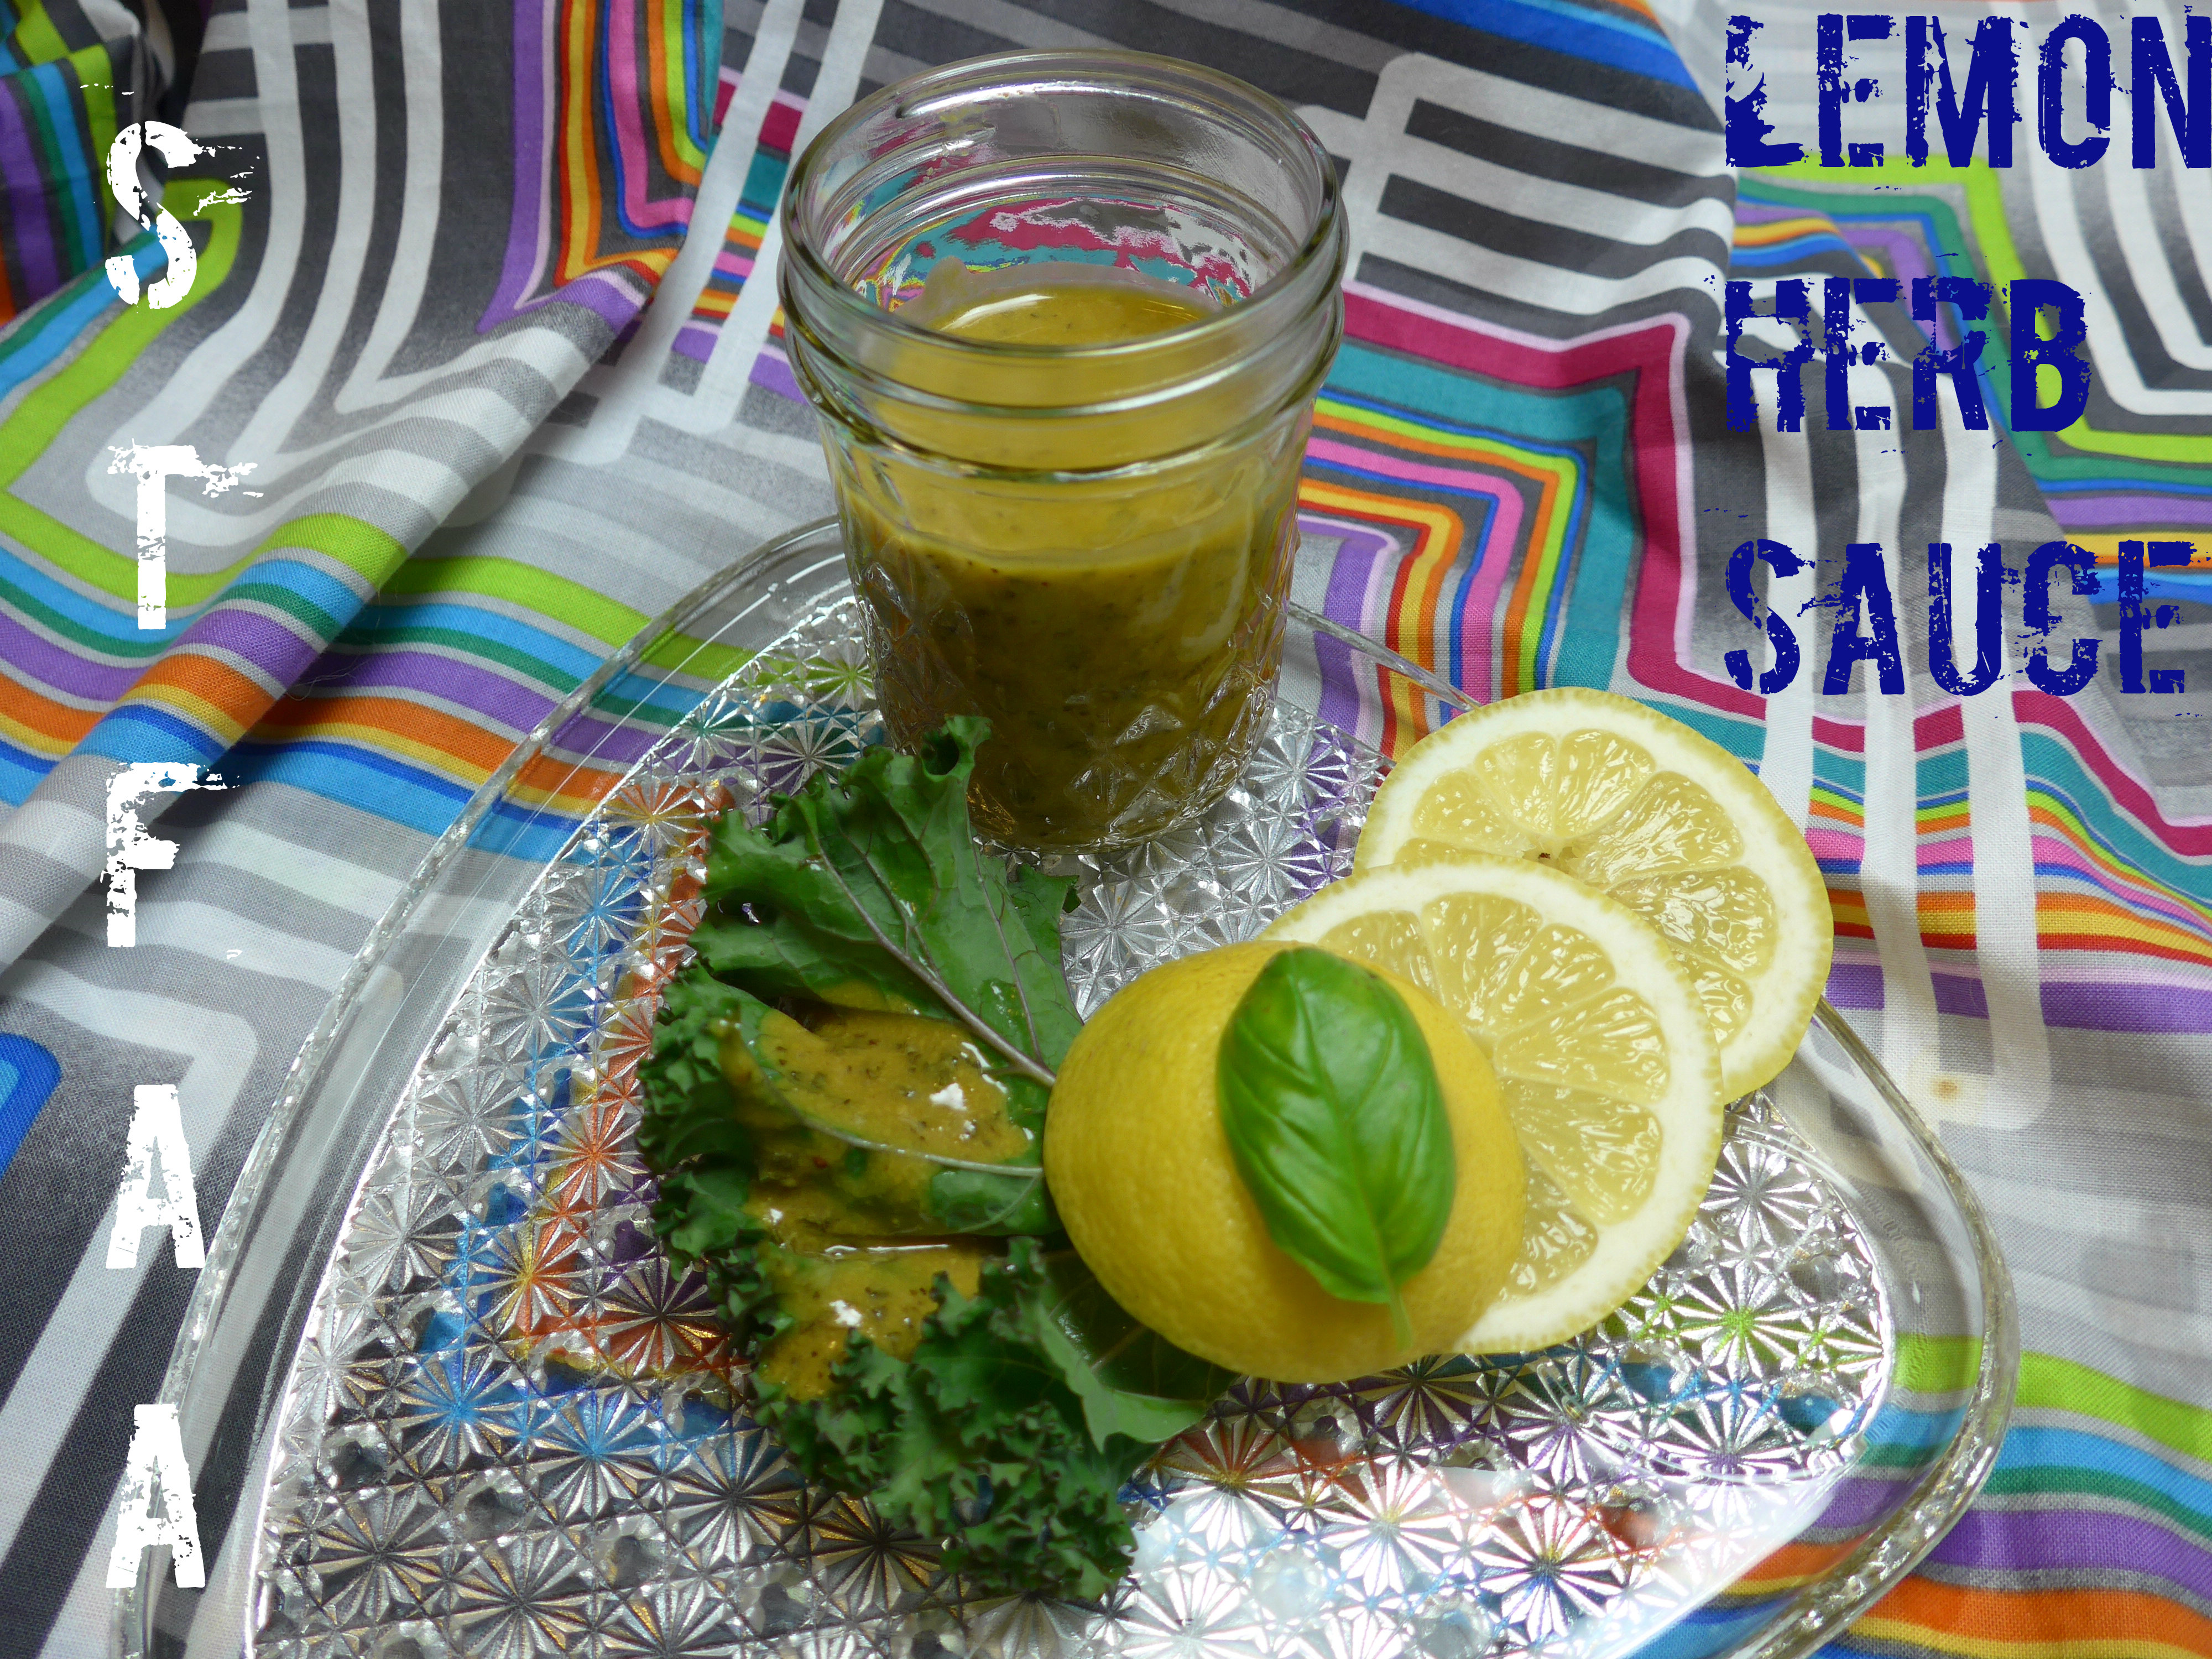
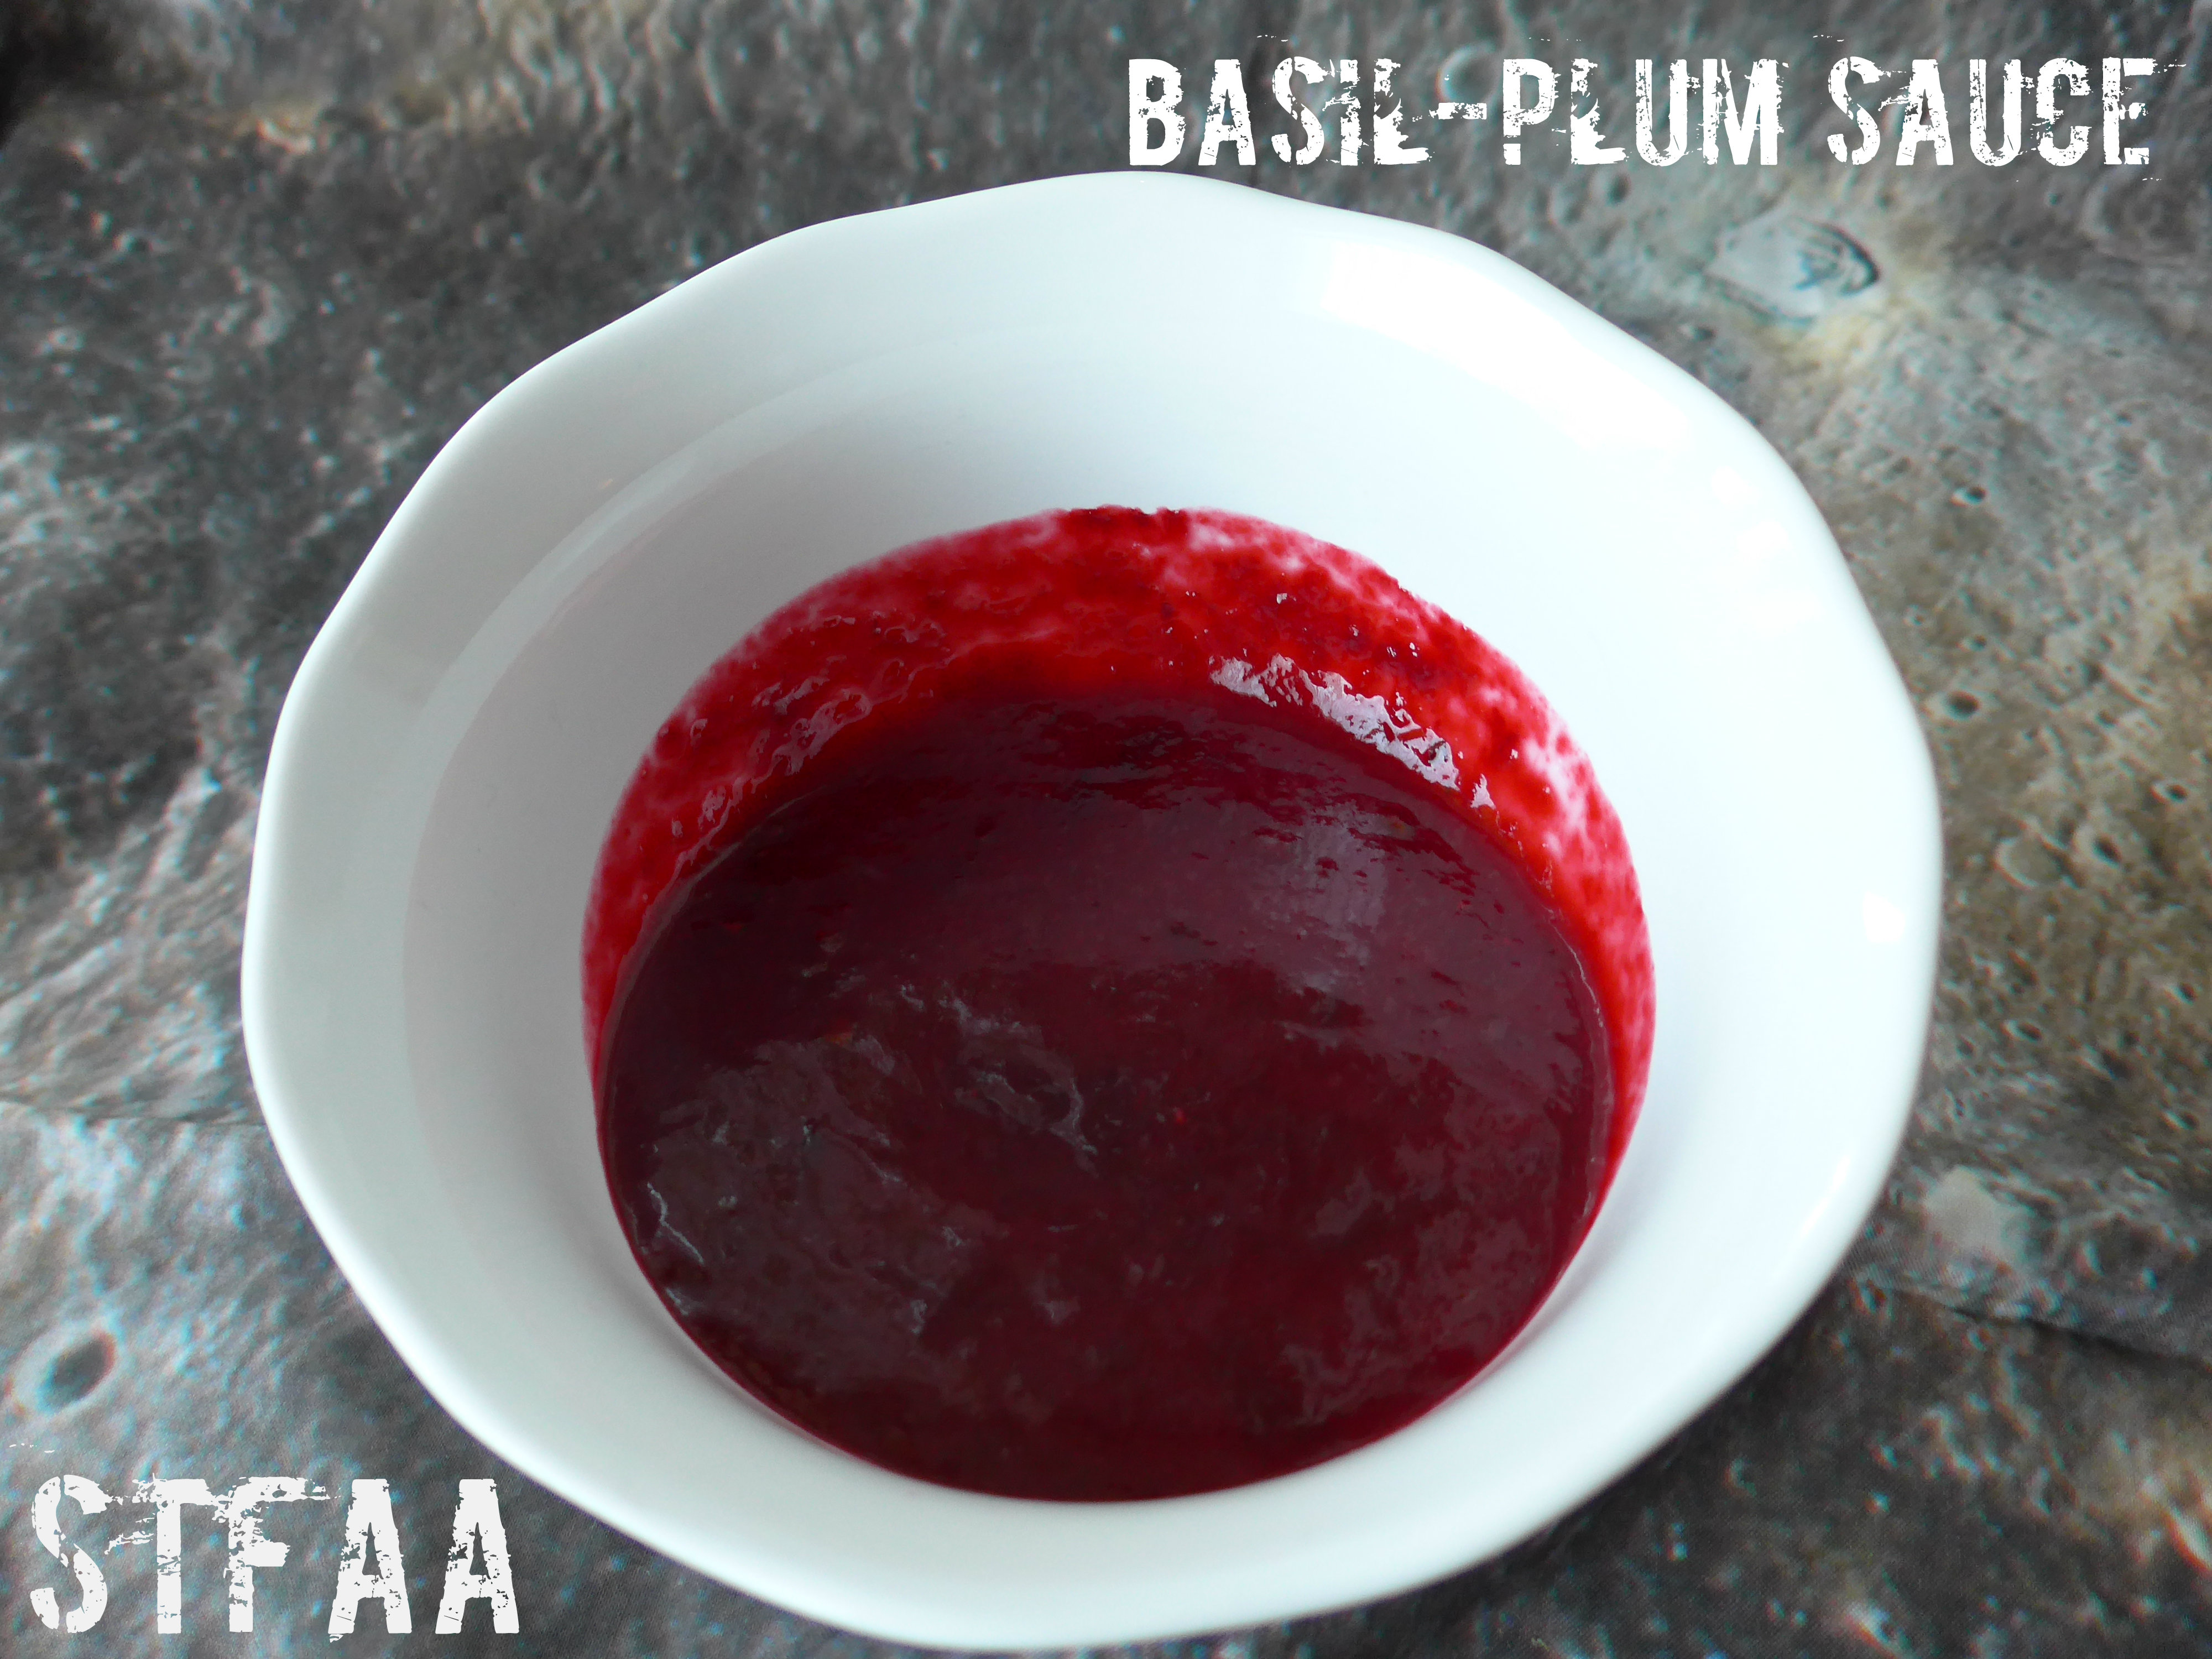
    At the end of August, we have everything up here. The first thing that drew me in was basil, which I love, but most often ends up in pesto, which I don’t like much. Since we also have amazing stone fruits, I decided to pair basil with late summer plums and make a sauce. This sauce tastes like summer to me, and while it’s not a flavor that would pair with most vegetables perfectly, it seems to pair perfectly with pork and chicken, if you eat meat, and would likely be great on tofu and tempeh as well, if you eat soy products. It might also be good on sweet potatoes, but I haven’t tried it. I appreciate how fabulously easy it is to make dinner more interesting with a good sauce.

    Straining the basil-plum sauce
    Straining the basil-plum sauce

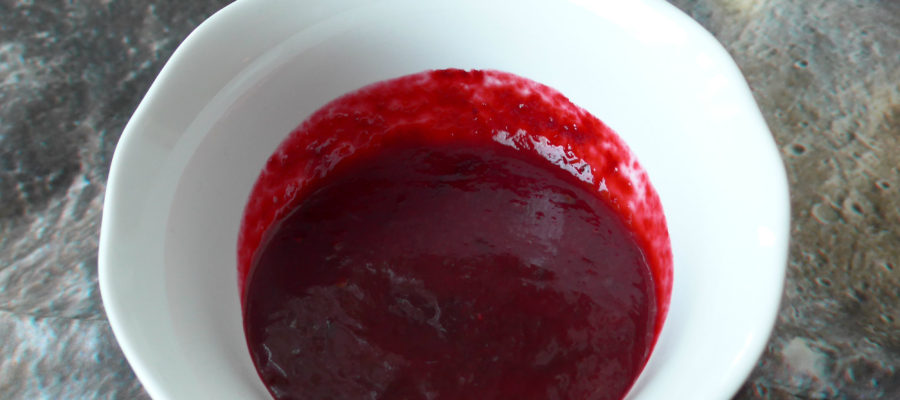
    The sauce takes about 40 minutes to make, but most of that is just cooking over low heat. You’ll end up with something of a consistency of a thin ketchup, a fruity acidity and very lightly floral (basil) flavor.


    Notice: Trying to access array offset on value of type bool in /home/maryzahc/public_html/adultfoodallergies.com/wp-content/plugins/wp-ultimate-recipe/helpers/models/recipe.php on line 254
    Basil Plum Sauce
    Print Recipe
    Servings Prep Time
    5 servings 50 minutes
    Cook Time
    40 minutes
    Servings Prep Time
    5 servings 50 minutes
    Cook Time
    40 minutes
    Basil Plum Sauce
    Print Recipe
    Servings Prep Time
    5 servings 50 minutes
    Cook Time
    40 minutes
    Servings Prep Time
    5 servings 50 minutes
    Cook Time
    40 minutes
    Ingredients
    • 10 ounces plums pitted and cut into 8ths
    • 1 Tablespoon water
    • 1 teaspoon oil
    • 2 Tablespoons fresh basil chopped, separated
    • 1 pinch salt (less than 1/4 teaspoon)
    • 1 Tablespoon honey or agave syrup
    Servings: servings
    Instructions
    1. Mix plums, water, and oil in a saucepan, cover and heat over low heat for 10 minutes.
    2. Stir well, and cover and cook for 10 more minutes.
    3. Partially cover (leave the saucepan lid ajar) and cook for 5 more minutes.
    4. Add 1 Tablespoon of basil, stir well, and cook uncovered for 5 more minutes, smashing the plum flesh down a bit if it’s still not saucy enough.
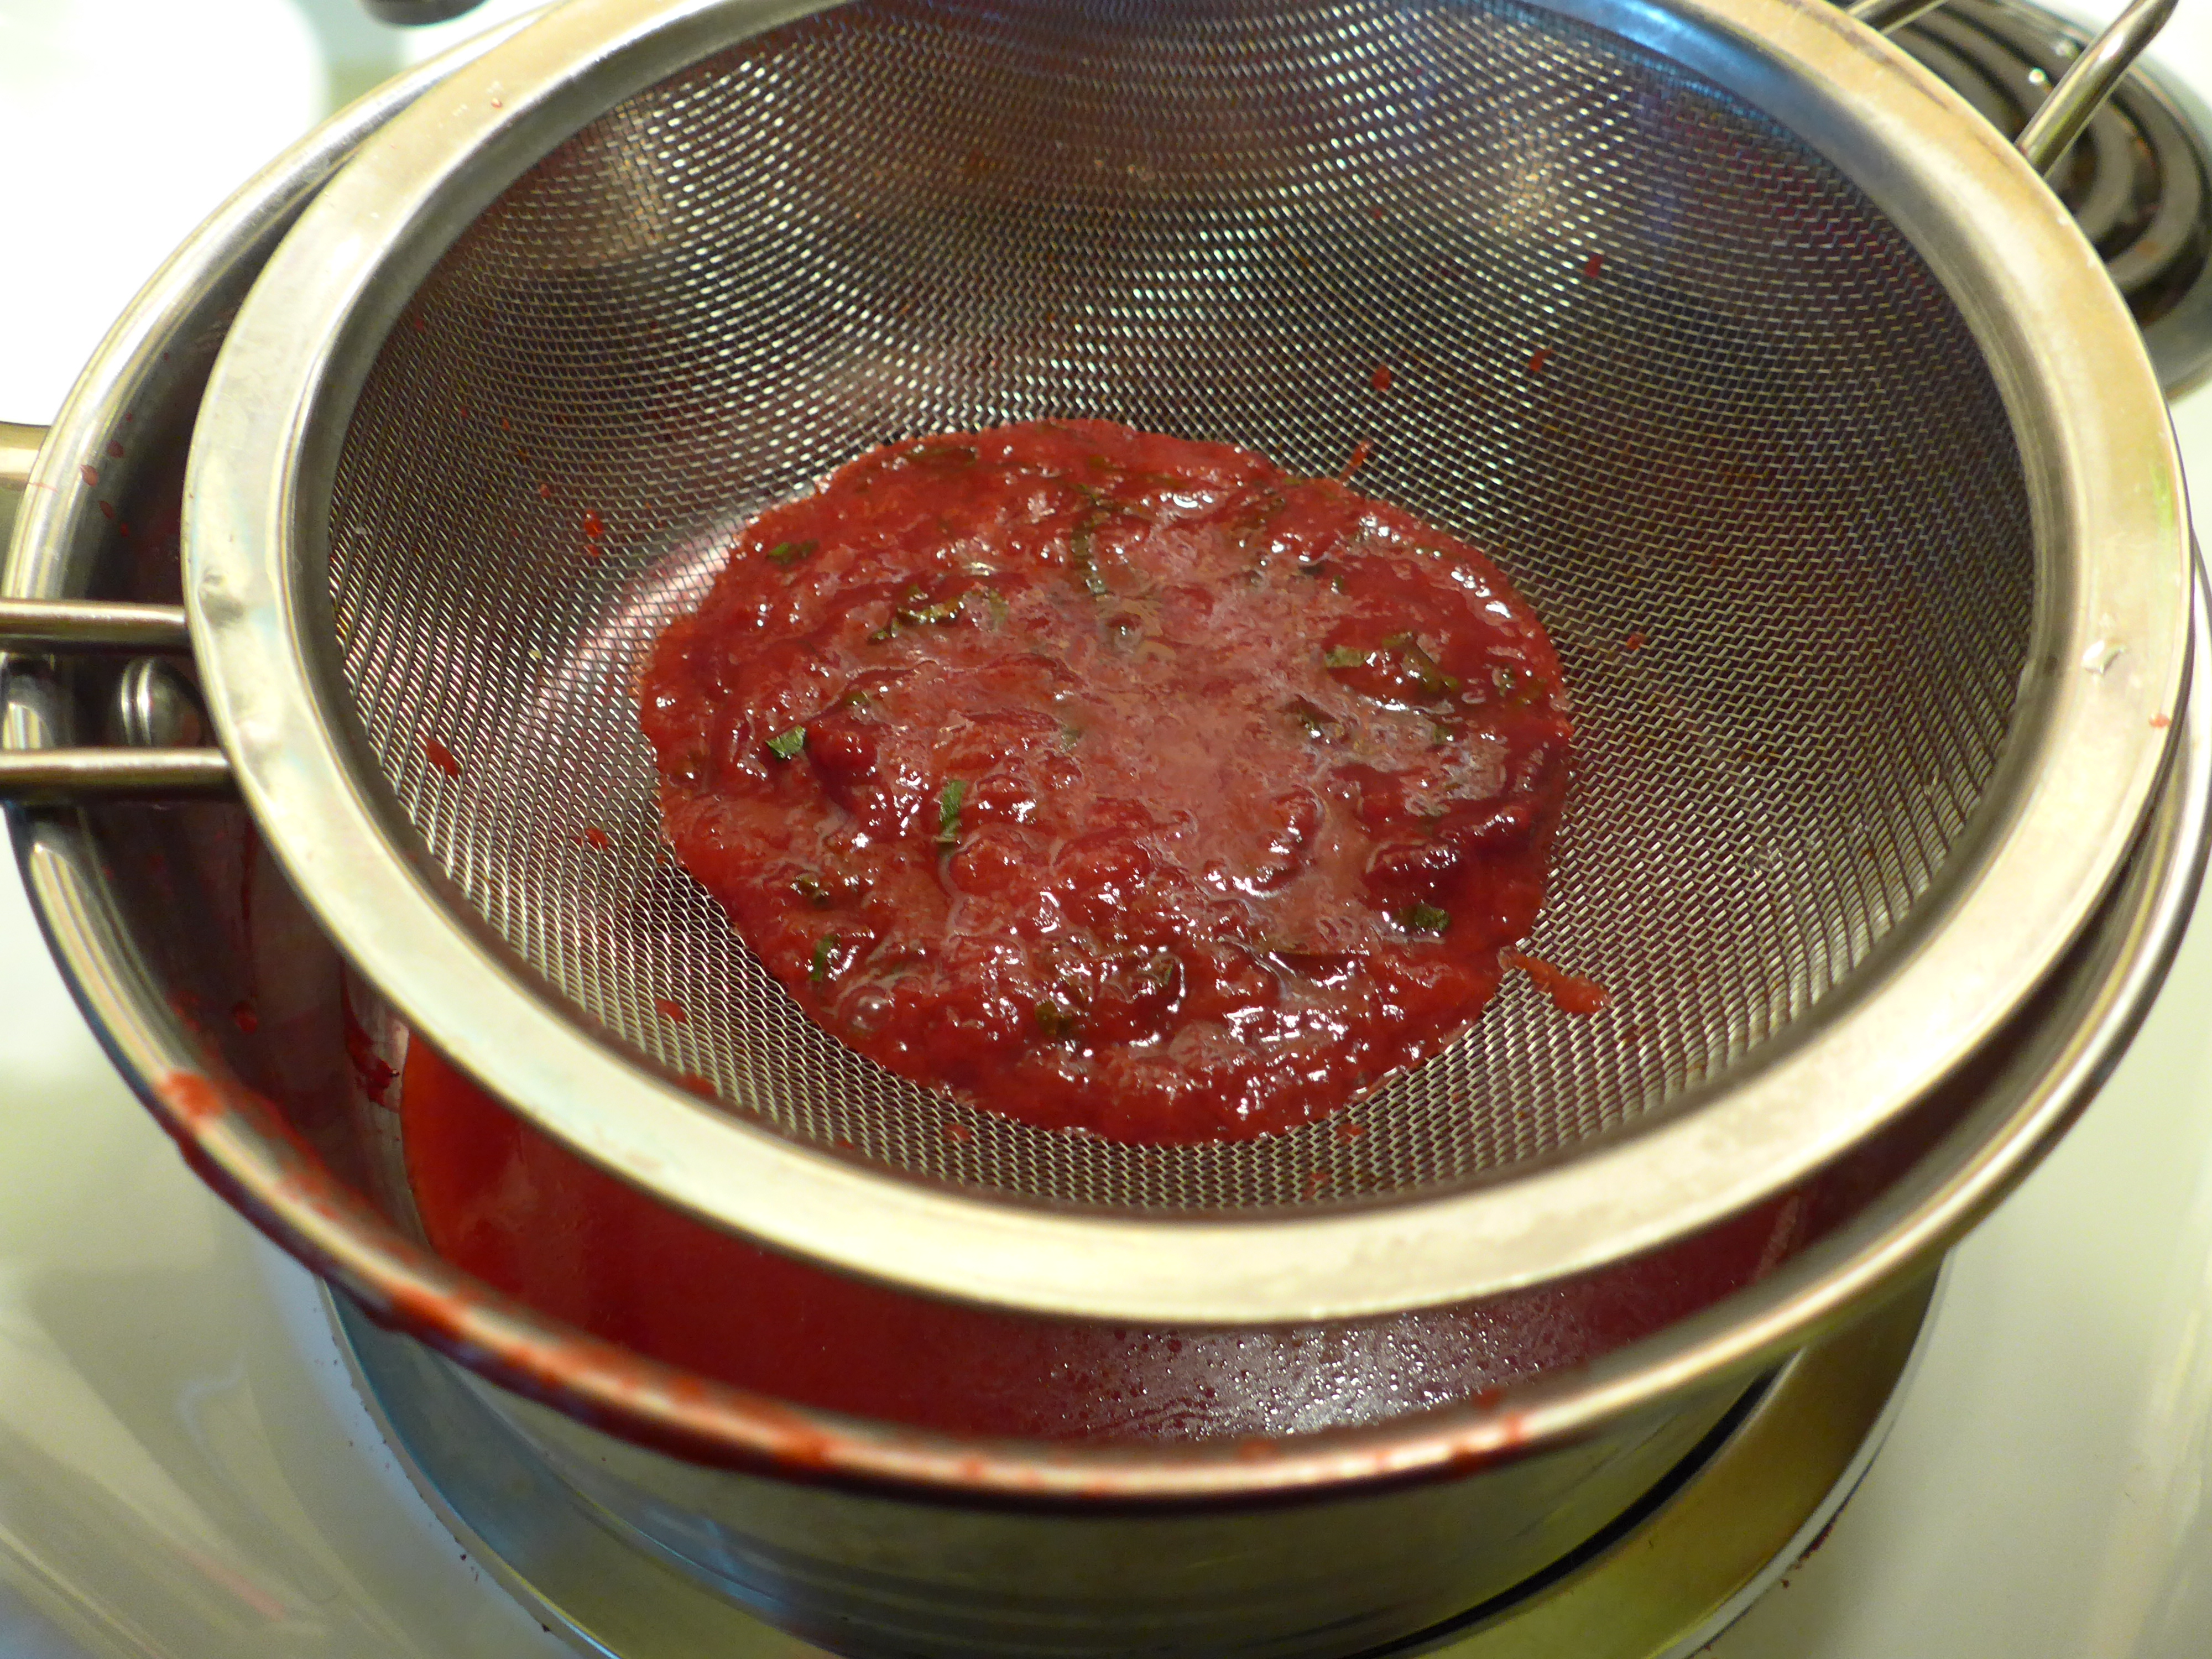
    5. Remove the sauce from the pan to a large measuring cup or heat-safe bowl, and then strain it back into the sauce pan. This will remove the basil you just added, though it’s infused flavor, but it will also remove the plum skins and a bit of the fiber.
    6. Add in the last 1T of basil, the pinch of salt, and the liquid sweetener. Stir well.
    7. On the lowest setting, reduce the sauce by about 1/3 of the volume, letting it thicken up a bit. Now’s the time to taste it and see if the salt level is right — if you need to add more, cook it just long enough to dissolve the salt.
    8. Should keep for about a week in the fridge, longer in the freezer (but I’m not sure how long).
    Share this Recipe
     
    Powered byWP Ultimate Recipe
  • Kale, Cranberry, and Ginger Salad

    Kale, Cranberry, and Ginger Salad

    A white plate on a multicolored background holds a pile of green shredded kale with dried cranberries and some drops of dressing
    Kale, Cranberry, & Ginger Salad

    Last week was really not my week. I was in a bad mood and things kept happening to reinforce that, plus I was super busy and not sleeping well, and all around, it did not go well. I need my sleep, people. I am not a nice person without it. So I don’t know why I thought last minute tweaks to this recipe would work. They did not. It was disgusting. Jack ate some of it, but… nope. No more excuses — you want recipes, right?

    I went back to my original recipe and this is much better. This is not a fancy recipe — it’s a pretty simple kale salad with an easy vinaigrette dressing that plays up kale’s intense flavor and texture and dressed up with some dried cranberries. Now, I know kale’s had its day in the sun, but I love it and will keep eating it. I don’t really love how chewy raw kale is, so when I make salads, I microwave the kale really briefly just to soften it up. That’s perfect for me — let me know how it works for you. The dressing is super thick and intended to really stick to the kale leaves. The cranberries will sink to the bottom, though, so scoop up.


    Notice: Trying to access array offset on value of type bool in /home/maryzahc/public_html/adultfoodallergies.com/wp-content/plugins/wp-ultimate-recipe/helpers/models/recipe.php on line 254
    Kale, Cranberry, and Ginger Salad
    Print Recipe
    Servings Prep Time
    2 people 15 minutes
    Cook Time
    35 seconds
    Servings Prep Time
    2 people 15 minutes
    Cook Time
    35 seconds
    Kale, Cranberry, and Ginger Salad
    Print Recipe
    Servings Prep Time
    2 people 15 minutes
    Cook Time
    35 seconds
    Servings Prep Time
    2 people 15 minutes
    Cook Time
    35 seconds
    Ingredients
    • 1/4 cup dried cranberries, rehydrated
    • 2 cups kale destemmed and chopped
    • 2 teaspoons Dijon mustard
    • 2 Tablespoons balsamic vinegar
    • 1/4 teaspoon ginger grated
    • 1/4 cup olive oil
    • pinch salt
    • pinch sugar
    Servings: people
    Instructions
    1. First, rehydrate the cranberries by just covering them with boiling water and letting them sit for 10 minutes.
    2. Chop the kale. I tend to destem the whole bunch after washing and spin it through my salad spinner to dry it. Then I grab handsful and do a really rough chiffonade (slice thin). If the leaves were big, I then chop perpendicular to the original cuts a few times. About 1.5 leaves per person seems perfect for a side salad.
    3. In a microwave-safe bowl, heat the kale on high for 10 seconds. Stir and do it again. In 20 seconds, your kale should be a bit brighter green and much more tender, but if not, do a few more seconds — microwave intensity varies widely.
    4. Mix the dressing ingredients, except the oil, well. Then drizzle in the oil. Taste and adjust the seasonings — you might want more sugar if your balsamic is particularly intense.
    5. Drain the cranberries, and toss the cranberries and lightly cooked kale with the dressing.
    6. If you eat tree nuts, walnuts or almonds are a nice addition to this salad, but are totally optional.
    Recipe Notes

    [contact-form][contact-field label=”Name” type=”name” required=”true” /][contact-field label=”Email” type=”email” required=”true” /][contact-field label=”Website” type=”url” /][contact-field label=”Message” type=”textarea” /][/contact-form]

    Share this Recipe
     
    Powered byWP Ultimate Recipe
  • Gluten-free Vegan Sprinkle Cookies

    Gluten-free Vegan Sprinkle Cookies

    Gluten-free Vegan Sprinkle Cookies
    Gluten-free Vegan Sprinkle Cookies

    We were supposed to rework recipes this month, but nothing I want to work with  is actually lending itself to rehabilitation. I was stuck. Then my friends at Treehouse Bakery in Phoenix posted this amazing photo of stacks of sprinkle cookies (see July 28th) and I was obsessed. The bakery is vegan, but I don’t think this recipe was gluten-free, so I started digging. And baking. And running out of sprinkles.* ALL THE SPRINKLES. Which is kind of the whole point of this whole recipe.

    I modified this not allergy-safe/friendly recipe to make it gluten-free, dairy-free, and egg-free. To make this easier, I’ve used a commercial baking mix from Bob’s Red Mill (the 1-to-1 rather than their original bean-based recipe, and this one contains xanthan), psyllium as the egg replacer, and Earth Balance margarine.

    This results in a thick crispy cookie that is also light and airy. I’m not sure that’s the traditional texture (I’m not sure I ever had a sprinkle cookie?), but I quite liked it. If you make a lot of cookies, I can highly recommend getting a 1 tablespoon serving scooper — it makes the fussy part of making cookies much less finicky. Any restaurant supply store has every possible size serving scoop you could ever want.

    Gluten-free Vegan Sprinkle Cookies
    Gluten-free Vegan Sprinkle Cookies

    Notice: Trying to access array offset on value of type bool in /home/maryzahc/public_html/adultfoodallergies.com/wp-content/plugins/wp-ultimate-recipe/helpers/models/recipe.php on line 254
    Gluten-free Vegan Sprinkle Cookies
    Print Recipe
    Gluten-free Vegan Sprinkle Cookies
    Print Recipe
    Ingredients
    • 3/4 cup Earth Balance soy-free margarine
    • 1/2 cup sugar
    • 1/2 cup confectioners sugar
    • 1/4 cup oil
    • 2 teaspoons vanilla
    • 2 cups gluten-free flour mix (I used Bob’s 1-to-1 Mix, which contains xanthan gum)
    • 1/2 teaspoon baking soda
    • 1/2 teaspoon salt
    • 1 Tablespoon psyllium husk ground
    • rainbow sprinkles check that they are safe for you!
    • cup About 1rainbow sprinkles
    Servings:
    Instructions
    1. Pre-heat oven to 350°F.
    2. Mix together the margarine and sugars until well-blended. Don’t soften the margarine — it is soft enough!
    3. Add oil and vanilla and mix well.
    4. In a separate bowl, mix together the dry ingredients EXCEPT sprinkles. Add to the margarine/sugar mix in two batches, mixing well. You should have a relatively stiff dough, but very malleable.
    5. In 1 Tablespoon lumps, make round balls and roll in sprinkles. Flatten slightly and space evenly on a cookie sheet lined with parchment or silicone mats.
    6. Bake at 350F for 25-30 minutes. Cookies *will not* brown. Do not overbake — they will look slightly dry on top, but still be soft.
    Share this Recipe
     
    Powered byWP Ultimate Recipe

    *I did not use up all the sprinkles, but dinosaur sprinkles weren’t what I was going for.

  • Gluten-free Vegan Almond or Cashew Brownie Cookies

    Gluten-free Vegan Almond or Cashew Brownie Cookies

    Gluten-free vegan brownie cookies -- cashew cookies on the left, almond cookies on the right
    Gluten-free vegan brownie cookies — cashew cookies on the left, almond cookies on the right

    So, back in 2012, I thought I’d achieved brownie nirvana with my At Last Brownies recipe. I’d perfected a “normal” baking brownie in the year before, and this was my great gluten-free version. Then Denise posted her Killer Brownies recipe, adjusted for her then-allergies.

    Lately, neither of these versions is working great for me. I find the flour mix in the At Last brownies no longer to my tastes, and Denise likes a more fudgy texture than I do. So for our update/re-do month, I thought I’d take on brownies again. Why not? Can you ever have too many brownie recipes?

    Changes from the original recipe include omitting the coconut, simplifying the flour mix, deciding not to measure the chocolate chips precisely, oh, and making cookies out of the mix. I kept the nut flour, as I like the richness and I’m not allergic to most tree nuts, but I’ve done two versions — one with almond, one with cashew. If you can’t do nuts, check out Denise’s prior recipe.

    On the cookies — this was more of a practical concern. Either my 8×8 brownie pan was gross and I got rid of when I moved, or it ended up in Oregon with a different family (our movers were… not great.) So I don’t have one. I did, however, have all the ingredients I wanted to work with, and I was too lazy to go out and buy one. So, cookies. On the upside, this gives you very portable and non-crumbly brownie-like food. On the downside, you don’t get the edges (which I love). I still love this recipe, but if you try it out in a brownie pan, please let me know how it went (and how long you baked it!).

    If you can eat both almond and cashews, how do you choose? Depends on what you want! The cashew brownie cookies will be thinner and more cookie-like. The almond brownie cookies will be thicker and more cake-like. They are both incredibly tasty. Maybe try both and tell me which you prefer.


    Notice: Trying to access array offset on value of type bool in /home/maryzahc/public_html/adultfoodallergies.com/wp-content/plugins/wp-ultimate-recipe/helpers/models/recipe.php on line 254
    Gluten-free Almond or Cashew Brownie Cookies
    Print Recipe
    Servings
    24-25 cookies
    Cook Time
    20 minutes
    Servings
    24-25 cookies
    Cook Time
    20 minutes
    Gluten-free Almond or Cashew Brownie Cookies
    Print Recipe
    Servings
    24-25 cookies
    Cook Time
    20 minutes
    Servings
    24-25 cookies
    Cook Time
    20 minutes
    Ingredients
    • 1 Tablespoon ground chia seeds
    • 4 Tablespoons water
    • 1.5 cups almond or cashew flour (ground nuts — Trader Joe’s sells both, and Bob’s Red Mill sells almond flour)
    • 1/2 cup sorghum flour
    • 1/2 cup + tapioca starch ADD ADDITIONAL 2 TABLESPOONS IF USING CASHEW (can sub with another starch if you don’t have tapioca, but this is one of the cheapest)
    • 1/2 cup cocoa powder
    • 1/2 teaspoon salt
    • 1/4 teaspoon baking soda
    • 1 cup brown sugar packed
    • 1/3 cup non-dairy milk (does not matter what kind — use what you like)
    • 1/4 cup oil (use a neutral-flavored oil. I’m playing with rice bran oil these days and I love it. Safflower or vegetable oil should also work fine)
    • 1 Tablespoon vanilla extract safe-for-you
    • 1/4-1 cup chocolate chips mini-chips work best, dark chocolate taste best, use whatever you have, is safe for you, and you like
    Servings: cookies
    Instructions
    1. Pre-heat oven to 350°F
    2. Mix the chia seeds and water together and set aside to gel.
    3. Mix dry ingredients — almond or cashew flour through sugar (REMEMBER TO ADD 2 TABLESPOONS OF STARCH IF USING CASHE FLOUR).
    4. Add the milk, oil, vanilla, and chia gel to the dry ingredients and mix until well-incorporated. Love the fact that you can’t over-mix gluten free batters. Add in the chocolate chips and mix well. This recipe is pretty forgiving for how many. I usually go for a generous 1/2 cup, plus a bit for luck.
    5. Portion out cookies — I use a 1 Tablespoon cookie scoop to make it as easy as possible — onto a cookie sheet lined with a silicon sheet or parchment paper. You will get 24-25 cookies, so two half sheets.
    6. Bake both sheets at once using two oven racks. Bake for 10 minutes, then switch the sheets (move the middle one to the top and top one down) and also spin them around at the same time. Bake for another 10 minutes.
    7. Remove from the oven and let them cool for 3-5 minutes before putting the cookies on a rack to cool completely.
    8. (Goes really well with ice cream.)
    Share this Recipe
     
    Powered byWP Ultimate Recipe


  • Vichyssoise — dairy-free

    Vichyssoise — dairy-free

    Photo shows two bowls of soup
    Vichyssoise — cold potato cream soup with cashew cream, dill, and scallions on top

    I am cheating here. You should know that up front. It is still condiment month around here, but rules that we make for ourselves are made to be broken, right? I could work out a long reason to connect cold potato soup, Memorial Day observances, and condiments, but let’s not. Let’s say that it’s getting hot here — into the 80s (F), and I didn’t feel like any more tests of sweet and sour sauce, which heats up the kitchen cooking and isn’t even a meal when you’re done!

    So! Cold soup. I have tried a variety of cold soups over the years (avocado soup, gazpacho) and never been thrilled — I had an excellent gazpacho in Spain, but I’ve never been able to reproduce it. I think missing the Spanish heat, the low latitude sun, the glass of wine, and the cool dark bar might be the problem there! But this is potatoes, my raison de cuisiner, and I thought it would be a great way to supplement the spinach salads that are becoming a staple dinner around here. This is a smooth, velvety soup.

    I used the really great run down of vichyssoise at the Cafe Luna site as a starting place. I’ve made the soup dairy-free. It seems like it’s naturally gluten-free, but neither my version nor the inspiration are vegan, as chicken broth seems the common broth choice, and I had homemade broth to use. I think you could use a veggie broth, but I wouldn’t recommend a boxed one, as most are a bit bland, and you’d want to adjust the oil to add more fat for a smoother soup, I think. I’ve made a cashew cream for the milk substitute, as I find it the richest and most neutral milk substitute for cooking. Again, I think you could substitute other non-dairy milks — soy would work fine, I think. If you used almond milk, I’d add a bit of apple cider vinegar, which I often use to “cancel” the sweetness; this might also work for coconut milk. If you used rice milk, make your own with less water and add more olive oil.

    I strongly believe in garnish, and I really look forward to trying some of the fancier combinations in the link above. For this iteration, I’ve just used scallions and a sprinkle of dill on top.


    Notice: Trying to access array offset on value of type bool in /home/maryzahc/public_html/adultfoodallergies.com/wp-content/plugins/wp-ultimate-recipe/helpers/models/recipe.php on line 254
    Vichyssoise (dairy-free)
    Print Recipe
    Vichyssoise (dairy-free)
    Print Recipe
    Ingredients
    Cashew Cream
    • 3/4 cup raw cashew pieces (pieces are cheaper than whole), soaked overnight
    • 3/4 cup water
    • 1 teaspoon olive oil
    • 2 pinches kosher salt
    Soup
    • 1 medium onion about baseball sized, chopped
    • 2 Tablespoons olive oil
    • 1 1/2 teaspoons kosher salt
    • 1/2 teaspoon garlic powder
    • 2 lbs yellow potatoes, peeled and chopped
    • 6 cups chicken stock
    • soup toppings of choice
    Servings:
    Instructions
    1. Drain soaked cashews, and add to blender or food processor with water, olive oil, and salt. Blend until very smooth, then refrigerate.
    2. Add olive oil to soup pot and heat over medium heat. Add onions to hot oil along with salt. Cook, stirring often, until translucent but not yet browned.
    3. Add garlic and stir well. Then add potatoes, stir, and add broth. Cover pot and bring to a boil. Lower heat to simmer until potatoes are falling apart. The time for this will vary depending on the size of your potatoes, but plan 20-40 minutes for the average cubing sizes.
    4. Remove pot from heat and puree with a stick blender. If you don’t have a stick blender, cool the soup and then transfer to a regular blender, carefully, in batches if needed.
    5. Puree soup until smooth, and then add cashew cream and blend thoroughly.
    6. Chill until cold, and serve topped with whatever strikes your fancy. The photos here are a sprinkle of dill, a drizzle of cashew cream, and some chopped scallions.
    Share this Recipe
     
    Powered byWP Ultimate Recipe

    I do think that, in a pinch, vichyssoise might make an interesting sauce on a grain bowl — and therefore would be a condiment? If you try it, let me know!


  • Onion Barbecue Sauce

    Onion Barbecue Sauce

    For condiment month, I really wanted to make a barbecue sauce. I’ve tried a handful out here on the west coast, but nothing I’ve loved. In fact, I’m not sure I’ve had a favorite in years, except for the family secret sauce of my old neighbor. And since he isn’t giving it up, I was thinking maybe I don’t need one favorite. Maybe I need that six pack of possibilities you get at a BBQ restaurant. This is one of that six pack.

    I’d set out to make a mustard-y sauce, though I ended up at a different destination. That’s how sauce works! I made a crock pot of caramelized onions (if you like onions and you’re not doing this, you really should!), and before I could freeze the extras, I realized that they would be an excellent base for a sauce. We used this on pulled pork (also done in the crockpot) and it was an excellent match. I think this sauce would also be good on chicken, though I haven’t yet tried it. I would personally want a more tomato-based and acidic sauce for beef.

    Basically you puree this sauce and then thin it down to your desired consistency. My onions had only olive oil and salt in them. I did use prepared mustard and ketchup — Maille Dijon is my go-to mustard (mainly because I visited one of their stores in Paris in 2010, where they have mustard on tap and it was amazing. I find mine at most grocery stores, both here in Seattle and back in New Hampshire.) For ketchup, we just buy one of the organic lines that uses sugar rather than corn syrup. If corn is one of your allergens, likely you haven’t found safe ketchup or mustard, but you likely have learned to make them. As with all recipes, make sure your ingredients are safe-for-you.

    The only other interesting ingredient in here is the michiu, a Chinese cooking wine that’s close to 20% alcohol, but more importantly, about 15% salt. You can replace this with any rice wine, or even a rice vinegar, but then taste it and add salt to your taste. This is the primary salt in of this sauce.

    Jam jar of onion bbq sauce with a dollop of sauce on a cabbage leaf anchored by a whole yellow onion.
    Onion Barbecue Sauce

    Notice: Trying to access array offset on value of type bool in /home/maryzahc/public_html/adultfoodallergies.com/wp-content/plugins/wp-ultimate-recipe/helpers/models/recipe.php on line 254
    Onion Barbecue Sauce
    Print Recipe
    Prep Time
    10 minutes
    Prep Time
    10 minutes
    Onion Barbecue Sauce
    Print Recipe
    Prep Time
    10 minutes
    Prep Time
    10 minutes
    Ingredients
    • 1 cup caramelized onions
    • 2 Tablespoons balsamic vinegar make sure this is gluten-free if that’s important for you
    • 2 Tablespoons michiu
    • 2 Tablespoons mustard Dijon preferred
    • 2 Tablespoons molasses
    • 3 Tablespoons olive oil
    • 3 Tablespoons ketchup
    • 1 Tablespoon vegetable broth
    • 1/4 teaspoon ancho chili powder
    Servings:
    Instructions
    1. Puree onions and mix all ingredients in a food processor. Process until smooth. Taste, and add more broth if you want a thinner sauce. Adjust salt and chili powder if needed.
    Share this Recipe
     
    Powered byWP Ultimate Recipe
  • Lemon Herb Sauce

    Lemon Herb Sauce

    Welcome to May! Here at Surviving the Food Allergy Apocalypse, it is condiment month. A great condiment be tailored to your food allergy needs and can make the difference between an okay meal and an awesome meal. Check out our condiment category to see what we’ve posted before (a personal favorite of mine is the Thai dipping sauce — it’s amazing), and stick around this month for some great new flavors.

    There’s a place in Massachusetts — Life Alive! — an old-school vegetarian restaurant that Jack and I discovered back a few years ago. It was a great place to go with food allergies, as everything was made in house, everyone who worked there knew what was in each sauce, everything was made to order and modifiable. What I loved about it, though, was that it was a ton of veggies over grains with a sauce and the bowls were terrific.

    Grain bowls are the ultimate easy meal. They can be modified no matter what you have in the house — so long as you have vegetables. When I lived alone, I used the grain bowl meal at the end of the week to use up leftovers, bits of veg, everything left in the fridge. Jack and I make them on purpose now, though, and make extras for leftovers.

    There are two keys to a great grain bowl — a combination of warm and cool/raw ingredients (e.g. cook the sweet potatoes, lightly steam the kale, leave the celery raw) and a great sauce. You can use commercial dressings, if you have safe-for-you dressing. But a good sauce really takes it over the top, and it is easy. This version is based on my vague memories of the lemon sauce at Life Alive, as well as being a finally-measured version of the sauce I’ve been making for a few months. You can definitely mess with this — mix up the nut or seed butters, play around with the herbs, even change up the citrus if you’re feeling bold! But mostly, enjoy.

    lemon herb sauce drizzled over a kale leaf propped up on lemon slices and basil
    lemon herb sauce

    Notice: Trying to access array offset on value of type bool in /home/maryzahc/public_html/adultfoodallergies.com/wp-content/plugins/wp-ultimate-recipe/helpers/models/recipe.php on line 254
    Lemon Herb Sauce
    Print Recipe
    This sauce gets a richness and depth of flavor from a seed (or nut) butter and nutritional yeast, an odd but tasty ingredient that’s worth seeking out — most grocery stores have it, but you often have to ask. Red Star is the most common brand, but is not safe for the corn allergic. Do NOT get brewer’s yeast. It’s not the same thing.
    Servings Prep Time
    6 servings 10 min
    Servings Prep Time
    6 servings 10 min
    Ingredients
    • 1/4 cup nutritional yeast
    • 1 Tablespoon seed or nut butter I used sunflower seed butter
    • 3 Tablespoons lemon juice
    • 6 Tablespoons olive oil
    • 1 Tablespoon dried chives
    • 1/4 teaspoons celery salt
    • 1 Tablespoon dried basil
    Servings: servings
    Instructions
    1. Mix all ingredients well — a whisk or fork works best.
    Share this Recipe
     
    Powered byWP Ultimate Recipe

    One note — if you want this to be a salad dressing instead of a sauce for a grain bowl, consider adding a bit more lemon juice and olive oil to thin it out some. Also keep in mind that if you make this ahead of time, it’ll need to come to room temperature so the olive oil isn’t solid. (Okay, so maybe that was two notes.)


  • Rice and Peaches Breakfast Porridge

    Rice and Peaches Breakfast Porridge

    Originally, my plan for this week had been to post a granola recipe, but I’m still fighting with it. I’ve made granola! It’s perfectly edible. It’s cheaper than the stuff at the store. But it’s still rather boring. So instead, while I perfect that, I’ve made a porridge that you can top with rather uninspired granola. This porridge is based on things I normally have in the house — for some reason, I almost always have frozen peaches. I also frequently have leftover rice. Ta-da! Rice porridge — with a hint of vanilla, and some granola on top for crunch. Bonus for tax day — this is a cheap breakfast.

    I imagine most types of fruit would work well in this, and any type of milk (even cow’s milk, if that’s your thing). The only key is to cook the whole thing slowly, over lower heat, for slightly longer time. That way, the milk doesn’t burn, the rice breaks down, and the fruit retains its texture. Top this with your granola, nuts if you eat them, different fresh fruit, or anything else that excites you. It’s morning — may as well do whatever will make you happy, right? Enjoy a slightly different take on breakfast.

    rice and peaches breakfast porridge
    rice and peaches breakfast porridge

    Notice: Trying to access array offset on value of type bool in /home/maryzahc/public_html/adultfoodallergies.com/wp-content/plugins/wp-ultimate-recipe/helpers/models/recipe.php on line 254
    Rice and Peaches Breakfast Porridge
    Print Recipe
    Servings
    2 servings
    Cook Time
    30 minutes
    Servings
    2 servings
    Cook Time
    30 minutes
    Rice and Peaches Breakfast Porridge
    Print Recipe
    Servings
    2 servings
    Cook Time
    30 minutes
    Servings
    2 servings
    Cook Time
    30 minutes
    Ingredients
    • 2 cups peaches fresh or frozen
    • 1 teaspoon vanilla extract
    • 1/2-3/4 cups non-dairy milk I used almond
    • 1 cup cooked rice
    Servings: servings
    Instructions
    1. Mix all ingredients in a medium saucepan over medium low heat. Cook, stirring frequently, until fruit is cooked and rice has thickened the non-dairy milk.
    2. Top with granola, nuts, or more fruit, and serve warm. Also great reheated.
    Share this Recipe
     
    Powered byWP Ultimate Recipe