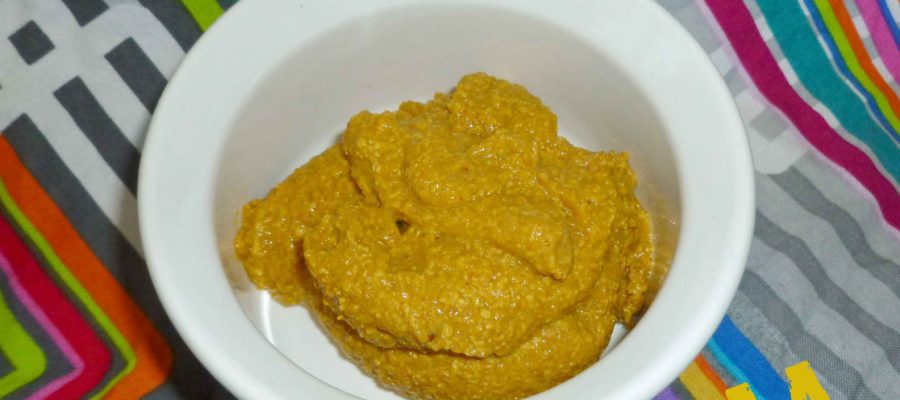
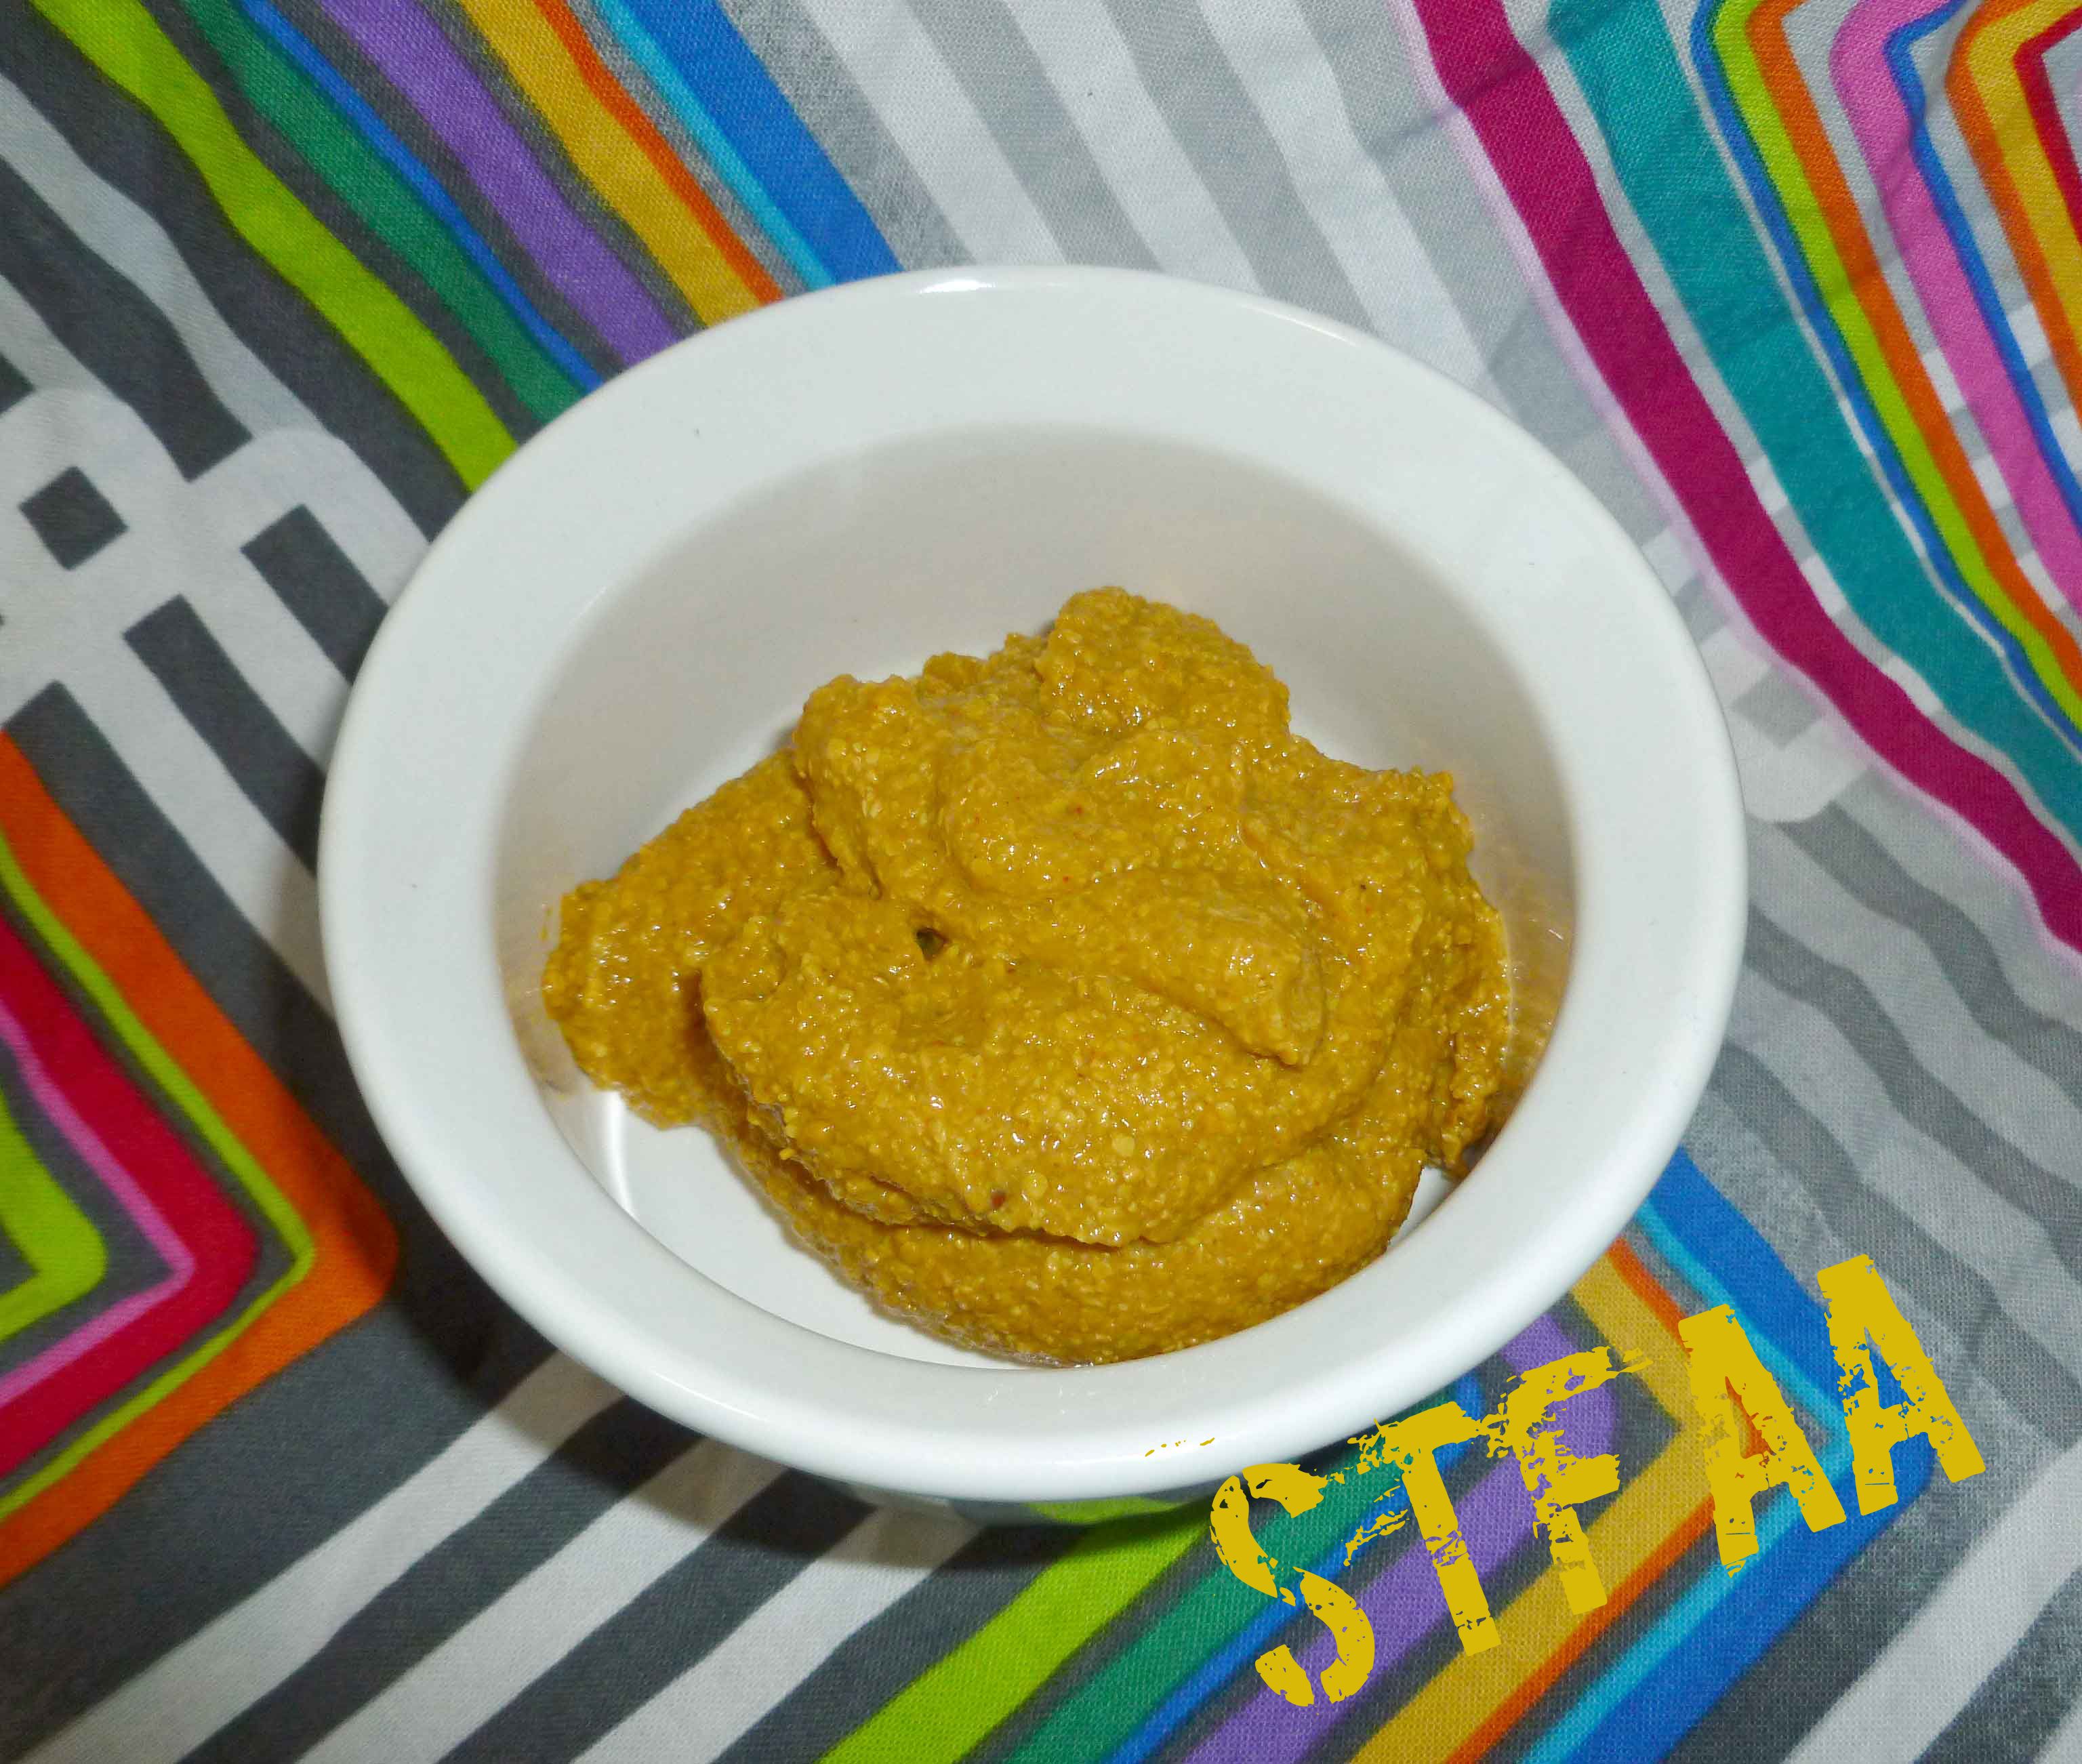
Yellow Hot Dog Mustard
It’s summer. It’s grilling season finally in New Hampshire – Shawn hauled the grill out of the garage and the patio furniture out of the shed yesterday. We need condiments. This is a pretty basic and easy mustard recipe. I’ve modified it from a canning recipe and made it allergy safe for me, but it’s small enough that you can just throw it in a jar and put it in your fridge to use as you wish. However, you need to make this recipe 24 to 48 hours in advance, as freshly made mustard is awful and bitter, you have to wait for the flavors to mellow out. If you take out the turmeric, which is mostly there for coloring, you can also play around with the recipe to make more flavors. Try adding other spices like wasabi or chipotle peppers, some cranberries or raspberries, sundried tomatoes or roasted garlic, or hot sauces. Let us know what fabulousness you come up with.
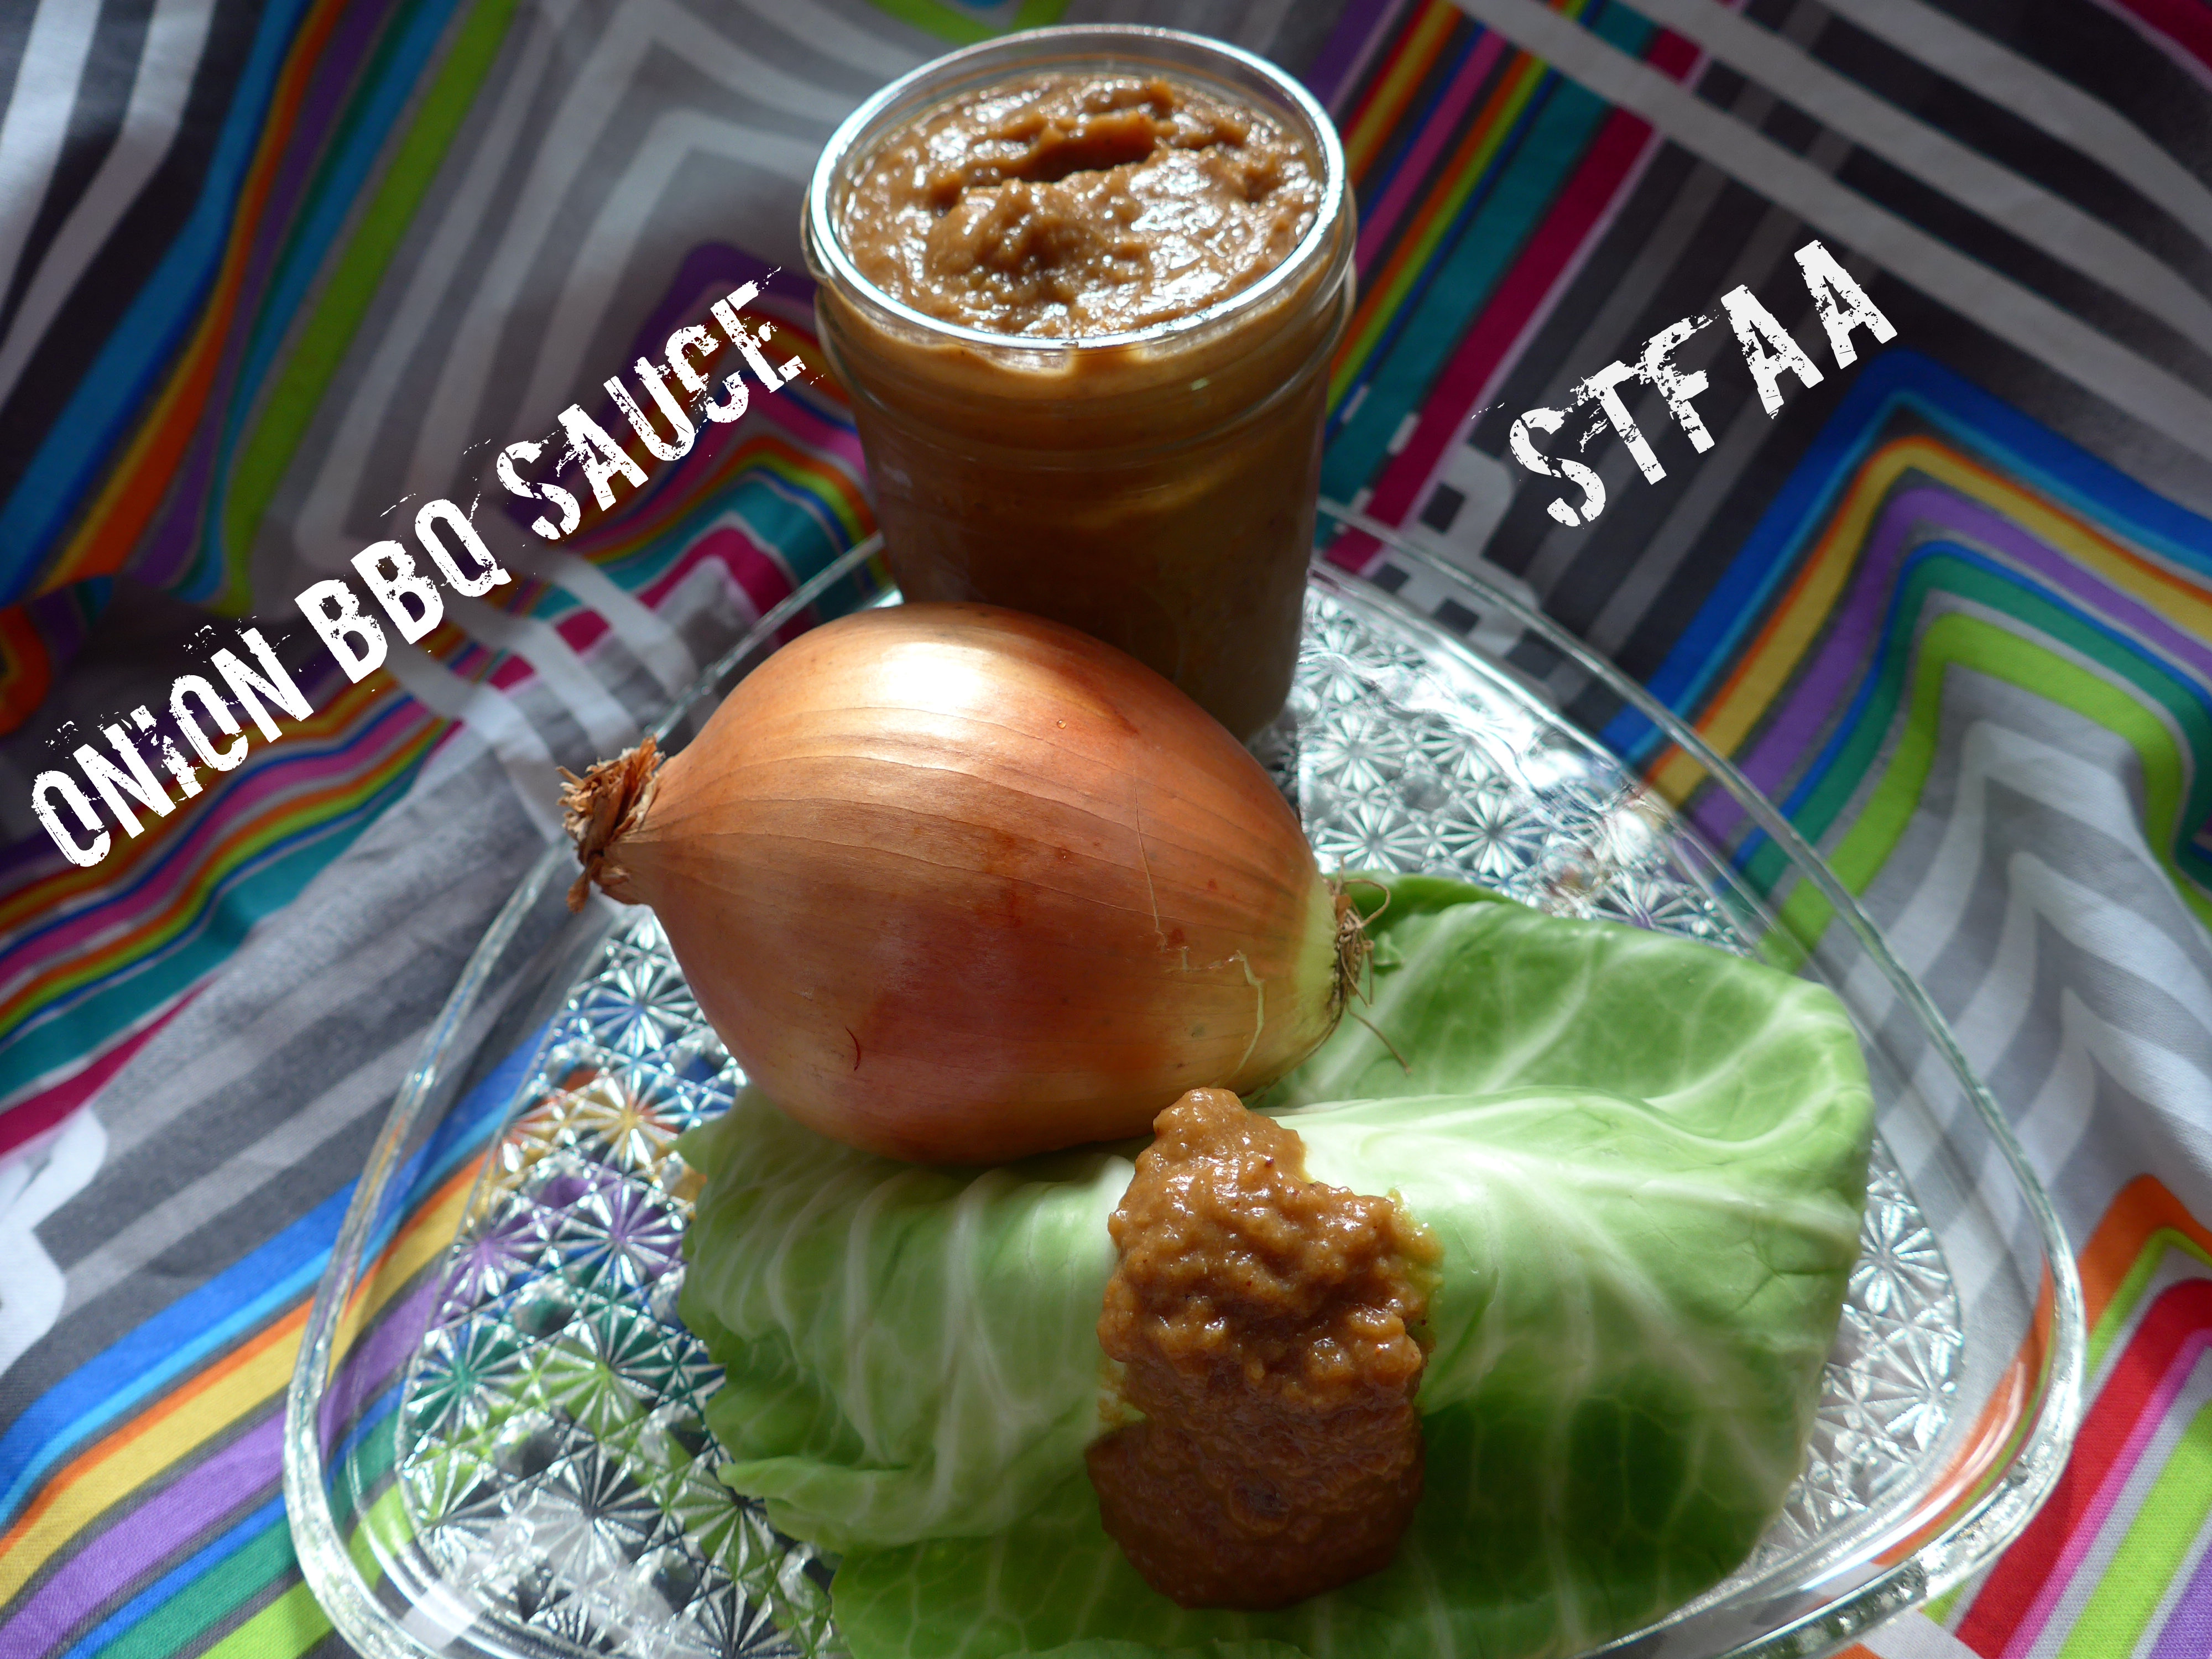
You’ll need to sterilize your jar and keep it warm so that the glass doesn’t break when you put the hot mustard into it. Here are directions from the National Center for Home Food Preservation. If you don’t have a canning pot with a rack, use a large enough pot that you can place the jar in it with enough water to cover it by an inch, and place a folded tea towel in the bottom of the pot. The tea towel will prevent the direct heat from the bottom of the pot from weakening or breaking the jar while you sterilize it. The picture shows a 4 ounce jar because I canned a bunch of it, but if you use 4 ounce jars you’ll need two.
Enjoy!

- 1/2 cup ground yellow mustard seed (I grind my own to prevent issues with anti-caking agents)
- 1/2 cup water
- 1/2 cup apple cider vinegar (Bragg’s is safest for those with a corn allergy)
- 3/4 teaspoon sea salt
- 1/4 teaspoon ground turmeric
- 1/8 teaspoon garlic powder
- 1/8 teaspoon ground paprika
- 8 ounce jar
- Sterilize your jar and keep it warm.
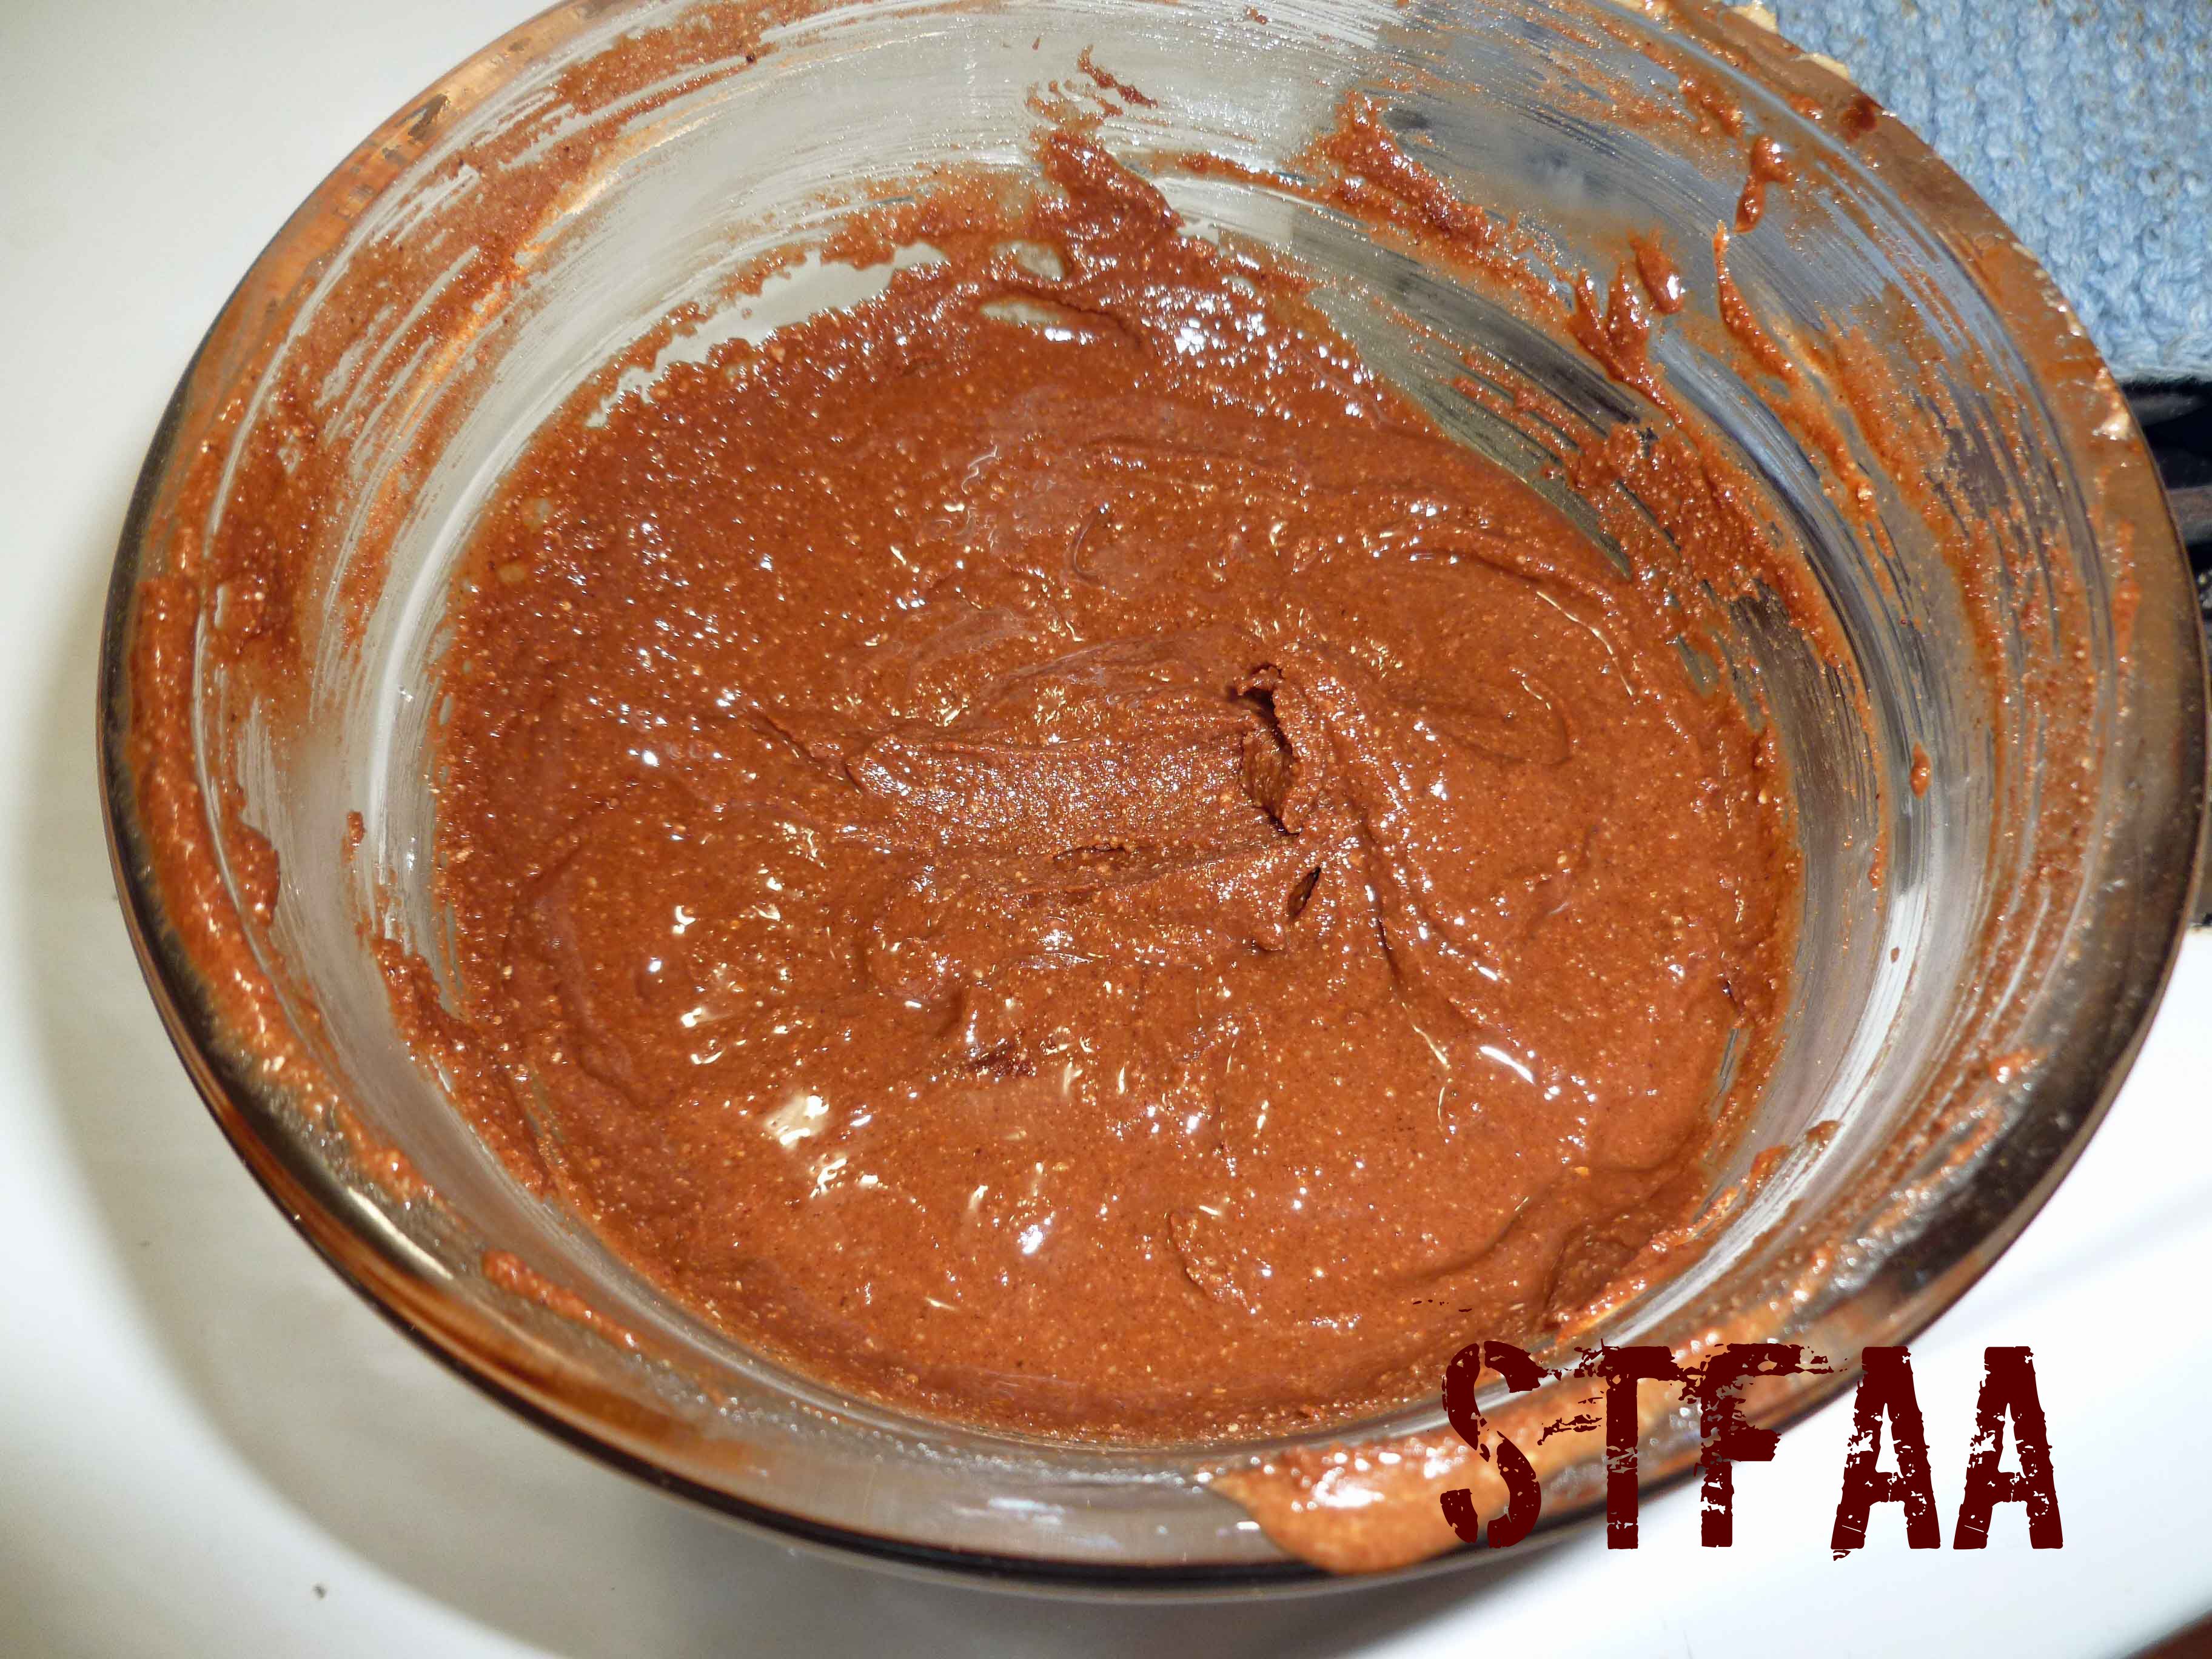
- Place all the ingredients in a small sauce pan, and whisk together until smooth. The mustard mixture will be very watery at this point.
- Bring the mustard mixture to boil over medium-high heat. Boil for 7-8 minutes, stirring occasionally.
- Remove the saucepan from the heat and let the mustard cool for 5 minutes. The mustard will thicken slightly during this time, but will probably not be as thick as you want it to be. It will continue to thicken over the the next 24 hours, so don’t worry.
- Place the mustard in the sterilized jar. Place the lid on the jar and let it cool to room temperature before storing your mustard in the refrigerator.