
Welcome to another segment of our Hangover Breakfast series! Again, I used the method that the Gluten Free Girl and the Chef have provided on their blog to make an all-purpose flour mix, to choose flours with waffles and pancakes in mind, which I posted previously (see link below). Waffles were one of my favorite go to breakfasts after a night where I knocked a few too many back. So it seemed natural to try to recreate a waffle worthy of a morning after, or one of those lazy Sundays where you go to the diner and luxuriate in crispy waffles and way too much coffee.
Just word to the wise, the pictures show me doing a half recipe than the one written out here. There’s only two of us, and I was testing several other recipes at the same time, and we just couldn’t eat that much by ourselves. So if you’re concerned that your attempt doesn’t look like mine, that’s why. Also, you can let the waffles cool room temperature, put wax paper in between them and put them in a container in the freezer and toast them when you want some. They’re a lot cheaper than store bought instant waffles and taste better too!
Gluten Free and Dairy Free Buttermilk Waffles
Makes about 6 waffles.
- 280 grams of Gluten Free Flour Mix for Waffles & Pancakes (or you can try your normal gluten free flour mix)
- 1 teaspoon salt
- 3 teaspoons of baking powder
- 2 Tablespoons brown sugar
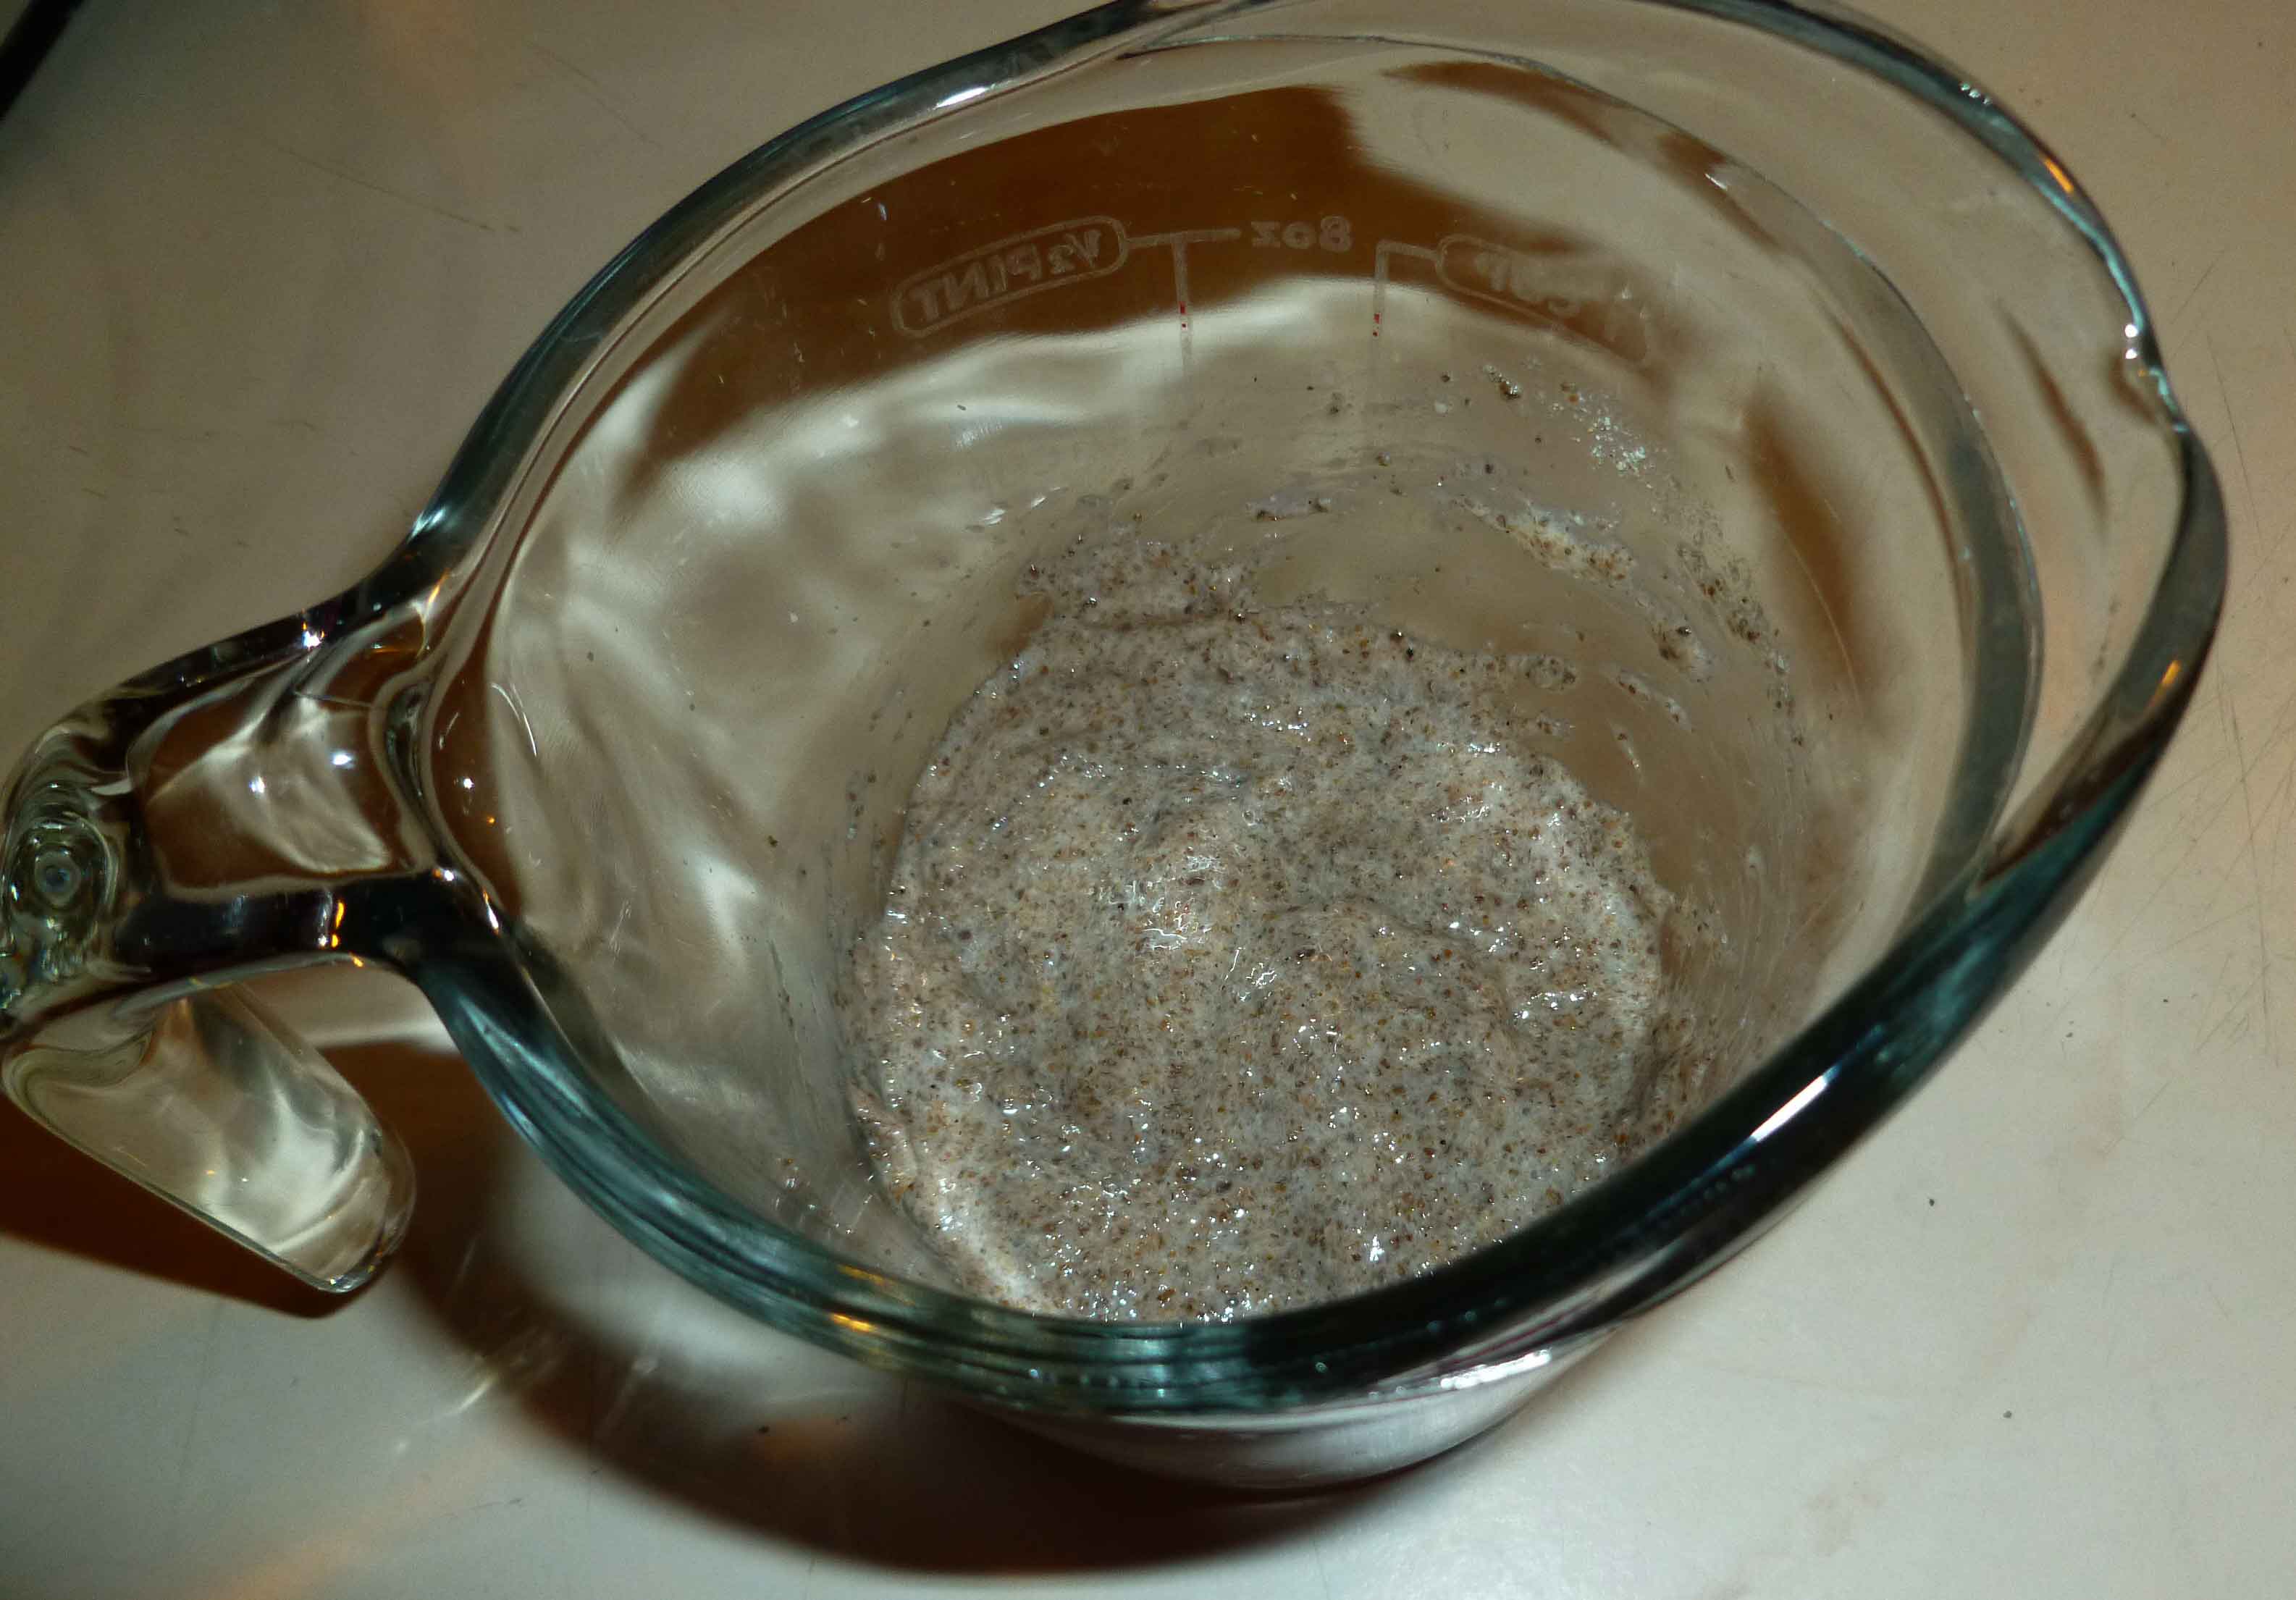
- 2 Tablespoons of ground chia seed meal
- 6 Tablespoons of water
- 2 teaspoons of vanilla
- 1 1/2 cups of rice milk (or other alternative milk of your choice)
- 2 Tablespoons apple cider vinegar
- some canola oil to grease the waffle maker (I use an oil spray bottle like these, but I use the Pampered Chef version. Any spray bottle would be much better for the environment and you don’t have to try to find a soy or dairy free version of Pam, etc.)
Plug in waffle maker and set to highest temperature setting. Measure out flour, salt, baking powder and brown sugar and place in a bowl. Whisk ingredients together until they are well incorporated into each other.

Mix ground chia seed meal and water in a container to form a chia egg, setting it aside to let it gel.
(Okay here’s where I forgot to take pictures of the next several steps. You’d be amazed how hard it is to remember to stop to take pictures.) Mix rice milk, vanilla, and vinegar together in a container large enough to add the chia egg. Once the rice milk, vanilla and vinegar are well mixed, add the chia egg and whisk it together so that chia is well incorporated into the rice milk and vinegar.
Pour chia and rice milk mixture into the flour mixture and whisk them together until most of the lumps are gone. If your waffle maker has reached the correct heat, spray some oil on the top and bottom waffle plates, and pour some of the batter on your waffle maker. You know your waffle maker and you’re the best judge of how much to use, but go ahead and start with half a cup and see how that goes. Even on the highest setting, I found that these waffles still needed a little extra time to cook. If the top and the bottom of the waffle started to separate as I very slowly tried to pull the waffle maker lid up, I closed it back up and let them cook a little more, and then I had no problem and no mess.
Enjoy with some maple syrup and Earth Balance Soy Free buttery spread!
Leave a Reply