Notice: Function _load_textdomain_just_in_time was called incorrectly. Translation loading for the wp-ultimate-recipe domain was triggered too early. This is usually an indicator for some code in the plugin or theme running too early. Translations should be loaded at the init action or later. Please see Debugging in WordPress for more information. (This message was added in version 6.7.0.) in /home/maryzahc/public_html/adultfoodallergies.com/wp-includes/functions.php on line 6121
DIY Allergy-Friendly Ingredients – Page 2 – surviving the food allergy apocalypse (archive)

Category: DIY Allergy-Friendly Ingredients

DIY Allergy-Friendly Ingredients – Do-It-Yourself versions of processed foods normally bought at a grocery store, such as bacon, margarine, or spice mixes, but for which a commercial version can no longer be safely purchased due to food allergies. Most people with top 8 allergies won’t have to go to this extent, but some of you may want to try or find it useful. Some of these recipes will take days or longer to complete. These recipes will not contain dairy, eggs, gluten, wheat or hazelnuts. If we use a top 8 allergen, we will use a tag warning of its use.

  • Frozen Pesto Starter

    Frozen Pesto Starter

    Frozen Pesto Starter
    Frozen Pesto Starter

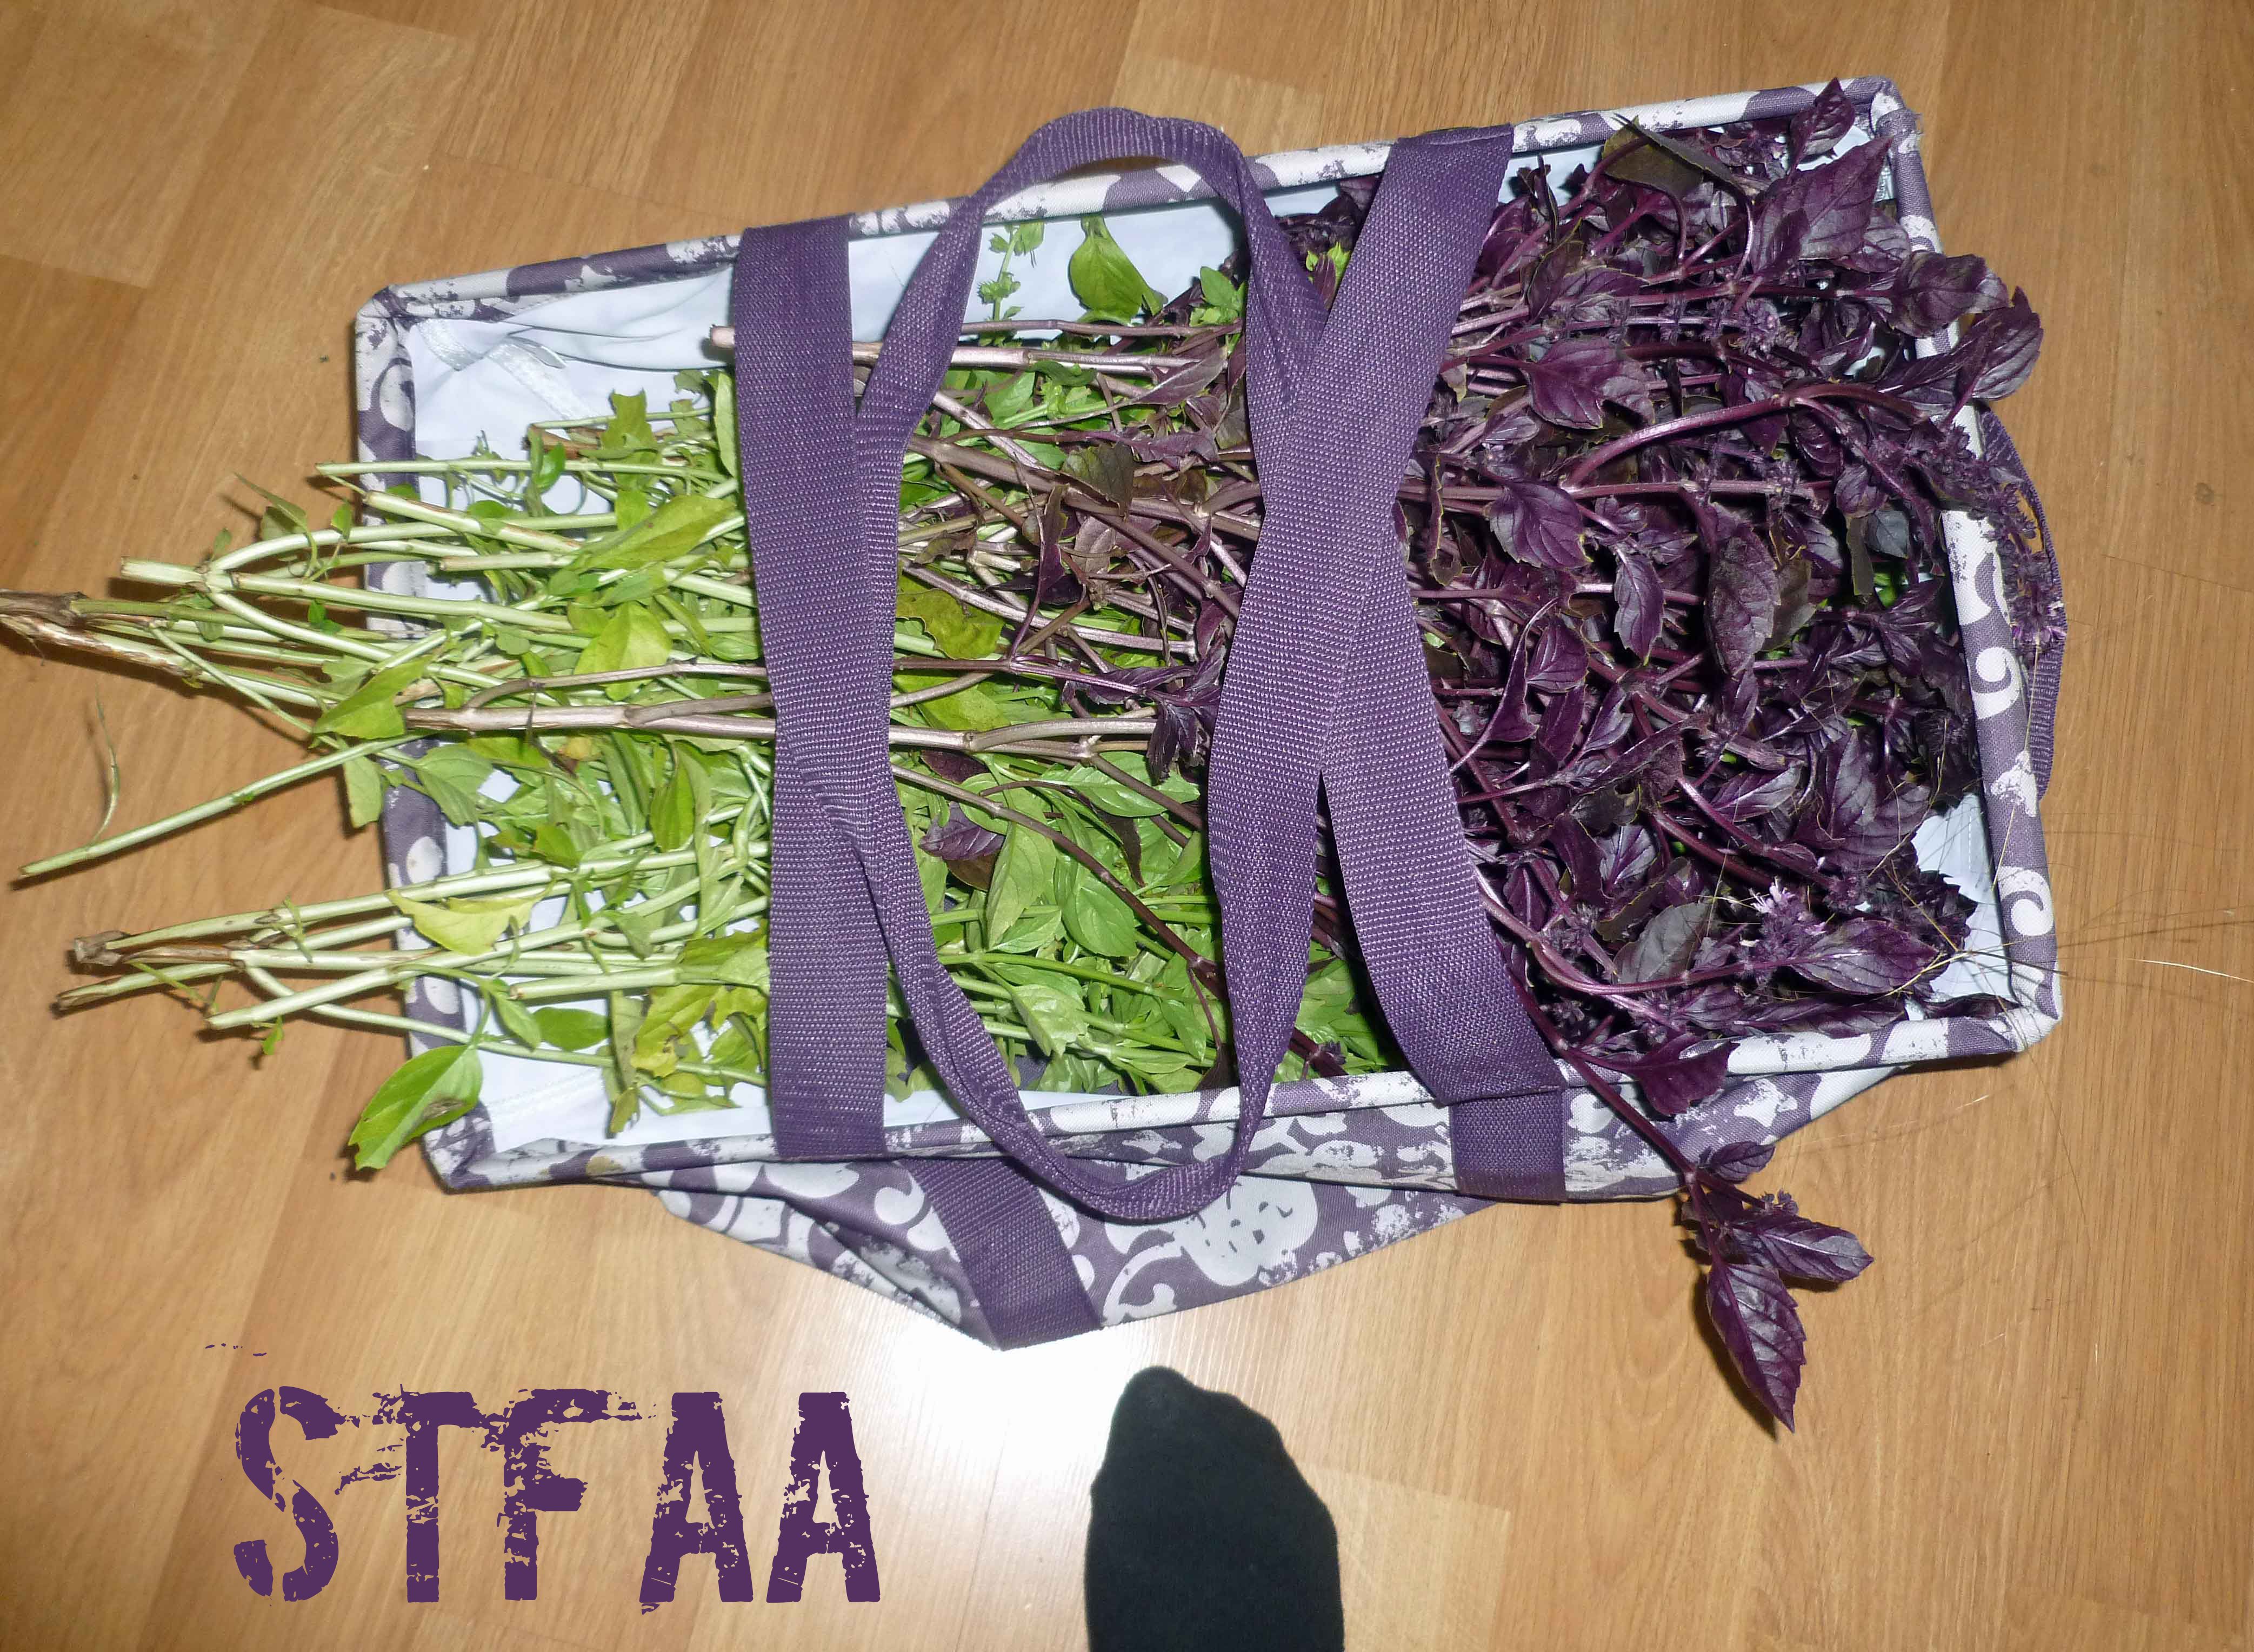
    Say that it’s the end of summer and you have unwisely planted roughly 30 green basil plants and 30 purple basil plants in your garden.  Now some of them didn’t make it because of transplant shock, the drought, or they got eaten by voles, slugs, or Japanese beetles, but that’s still a crap ton of basil. And say you didn’t make it any better by pinching diligently this year so that some of the plants are two to three feet high. What do you do? You don’t want to waste this basil. The basil I froze last year in oil turned dark and icky looking. So I went poking about the internet and found this post about preserving your basil and how to keep it green, including making pesto to freeze. I thought I could make pesto and freeze it, but then it’s pesto forever, and given my propensity for developing new allergies, I figured two ingredients in the freezer is safer. Then later on I can add garlic or cashew nuts when I’m ready to use it.  Or I can use in it applications where you just want some basil, but not necessarily pesto. So basically what I’ve made is a basil and olive oil paste that will store in the freezer easily and not turn black and icky looking.

    Yeah, this isn’t necessarily a normal recipe for us, but I’m pressed for time with harvest stuff, and some of you might be wanting to save a bit of summer for later if you’ve got an overabundance of basil in your garden or if you see some at a farmer’s market. I’ve got a step by step recipe card below, but here’s the photo play by play first.

    This is the basil I picked yesterday (there is so much more in the garden, and I've included my foot for scale, ha)
    This is the basil I picked yesterday (there is so much more in the garden, and I’ve included my foot for scale, ha)
    Green basil after trimming out woody stems and discolored leaves
    Green basil after trimming out woody stems and discolored leaves
    Pot of boiling water for me to dip the basil in
    Pot of boiling water for me to dip the basil in
    Container of ice water to cool basil in
    Container of ice water to cool basil in
    Basil after dipping in boiling water just to the point that the leaves wilt
    Basil after dipping in boiling water just to the point that the leaves wilt
    Basil being cooled off in ice water (submerge it fully though)
    Basil being cooled off in ice water (submerge it fully though)
    All green basil after blanching and cooling
    All green basil after blanching and cooling
    Basil leaves in blender after being stripped from stems
    Basil leaves in blender after being stripped from stems
    Pesto starter (basil leaves with olive oil) after blending
    Pesto starter (basil leaves with olive oil) after blending
    Pesto started placed in zip top freezer bag ready to freeze
    Pesto started placed in zip top freezer bag ready to freeze
    Frozen Pesto Starter using purple basil
    Frozen Pesto Starter using purple basil
    Frozen Pesto Starter
    Frozen Pesto Starter
    Print Recipe
    Frozen fresh basil and olive oil paste to preserve the flavors of summer
    Frozen Pesto Starter
    Frozen Pesto Starter
    Print Recipe
    Frozen fresh basil and olive oil paste to preserve the flavors of summer
    Ingredients
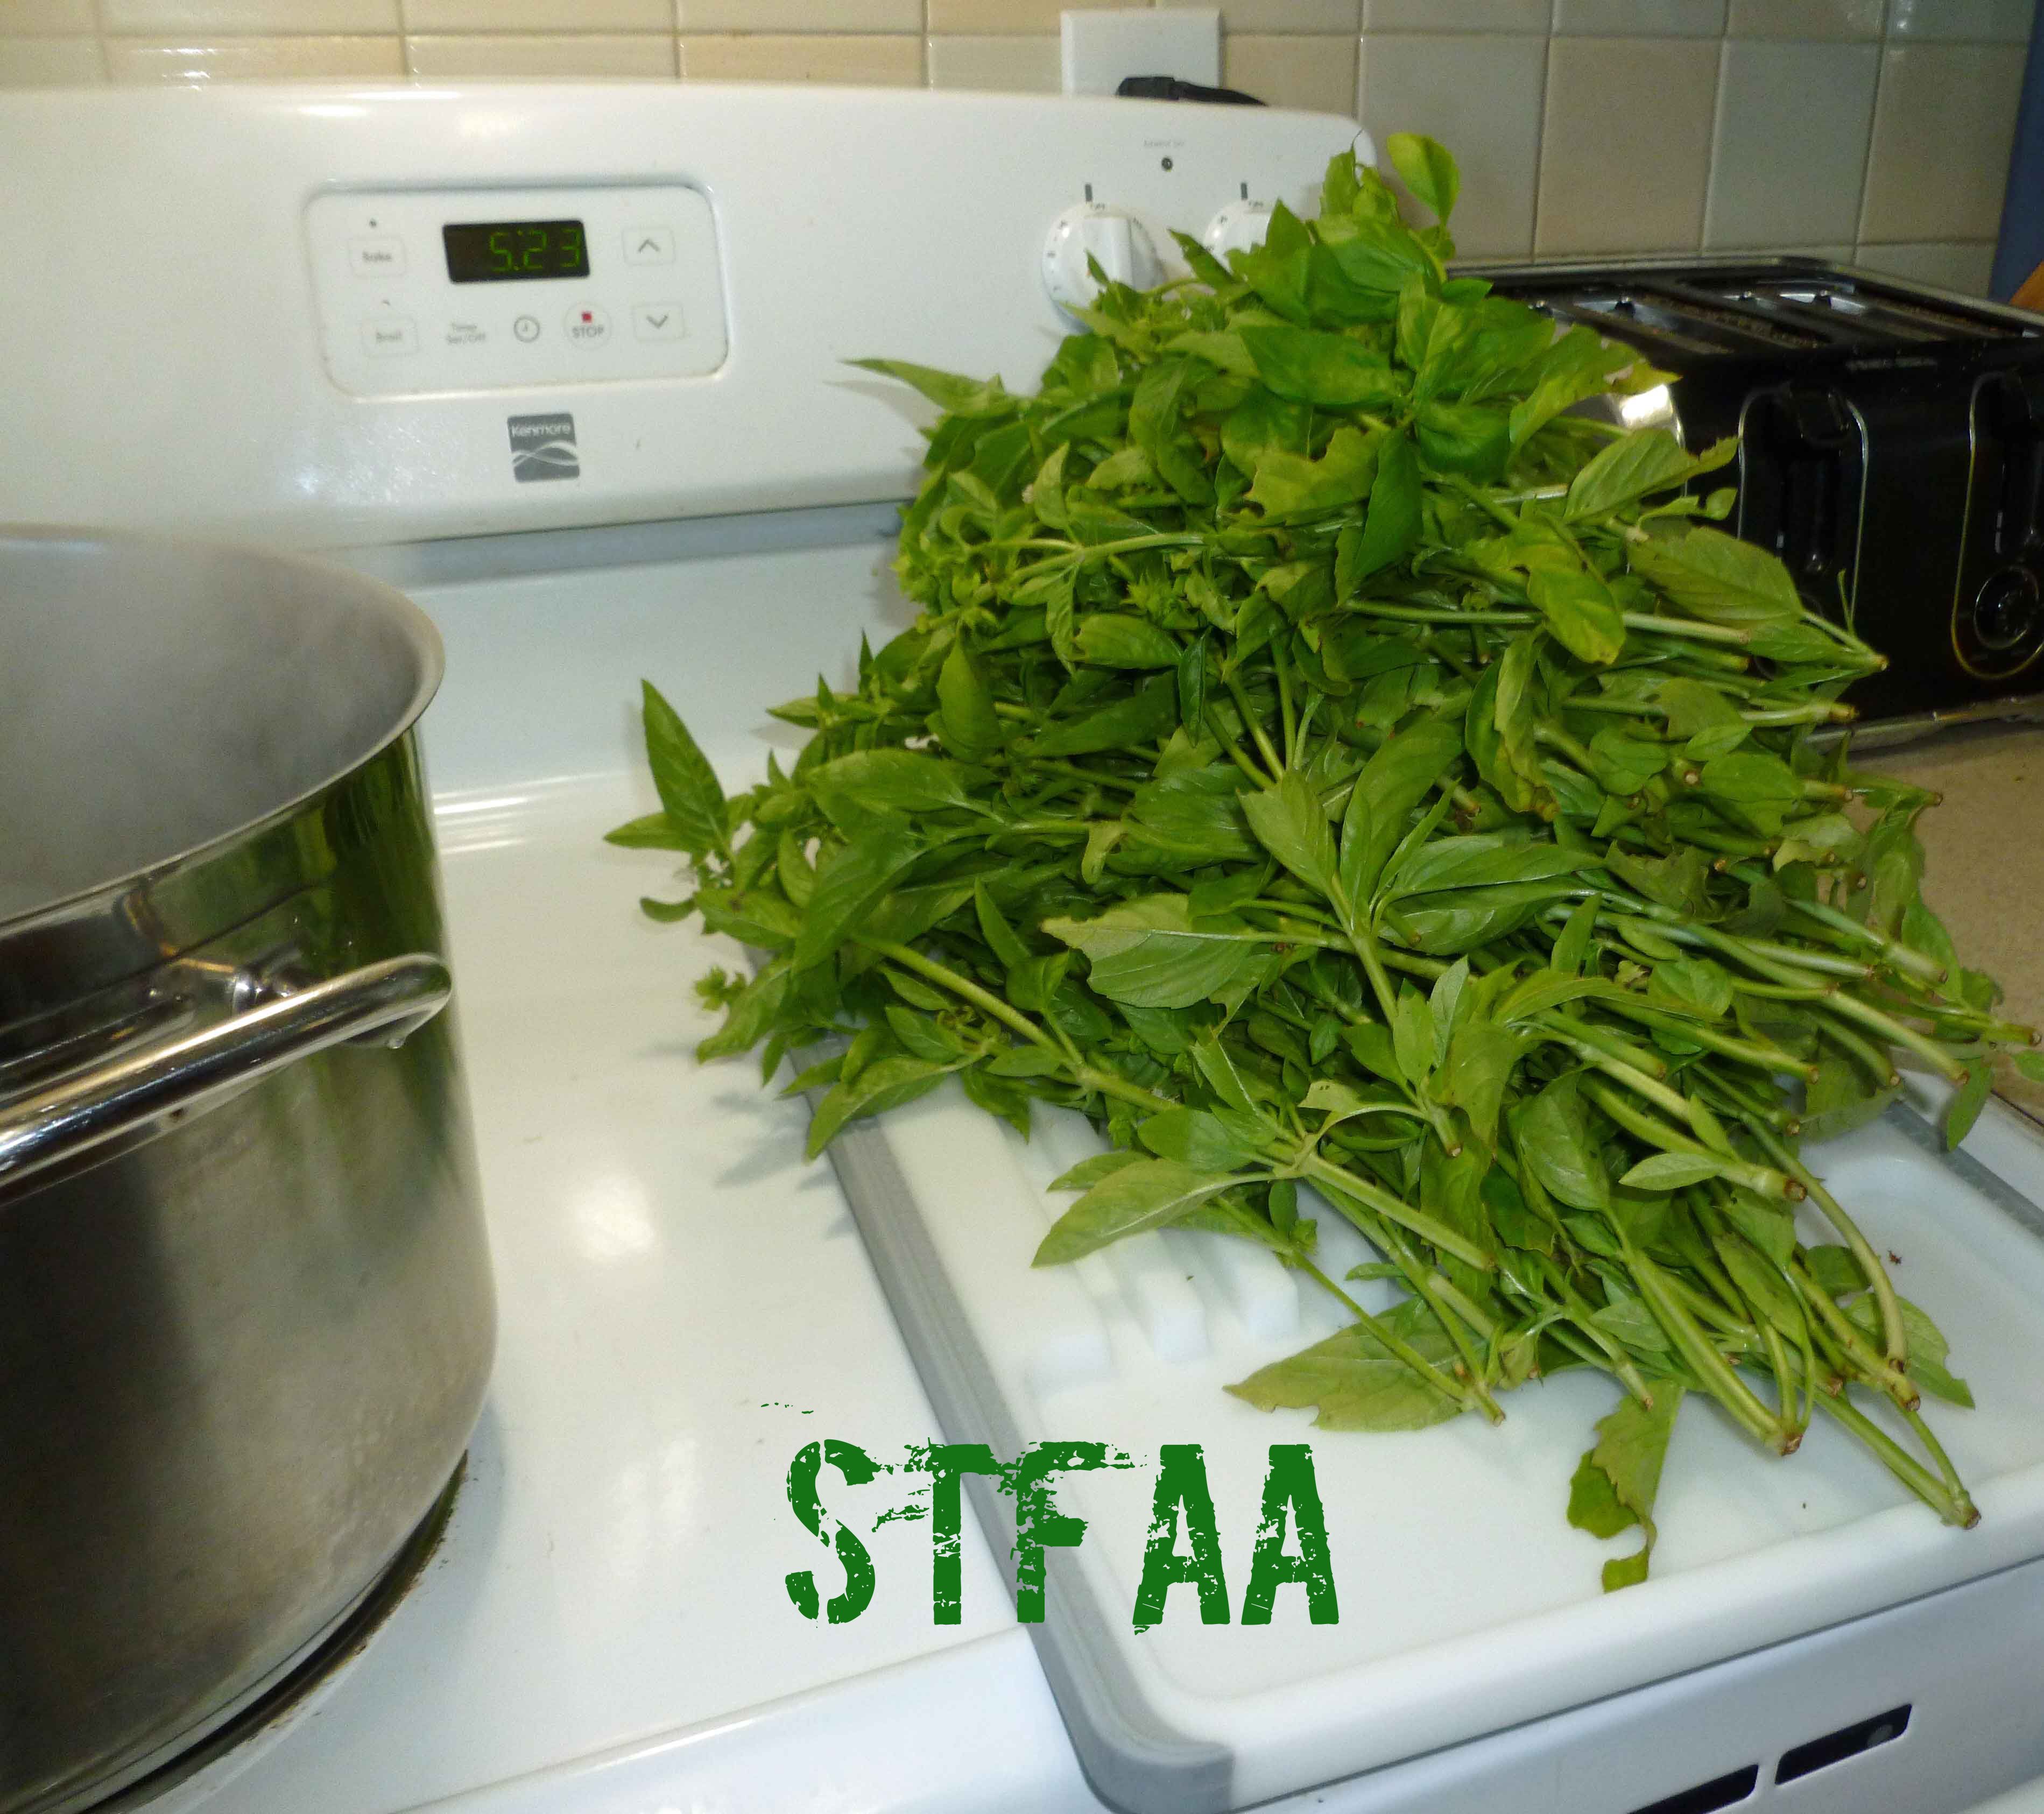
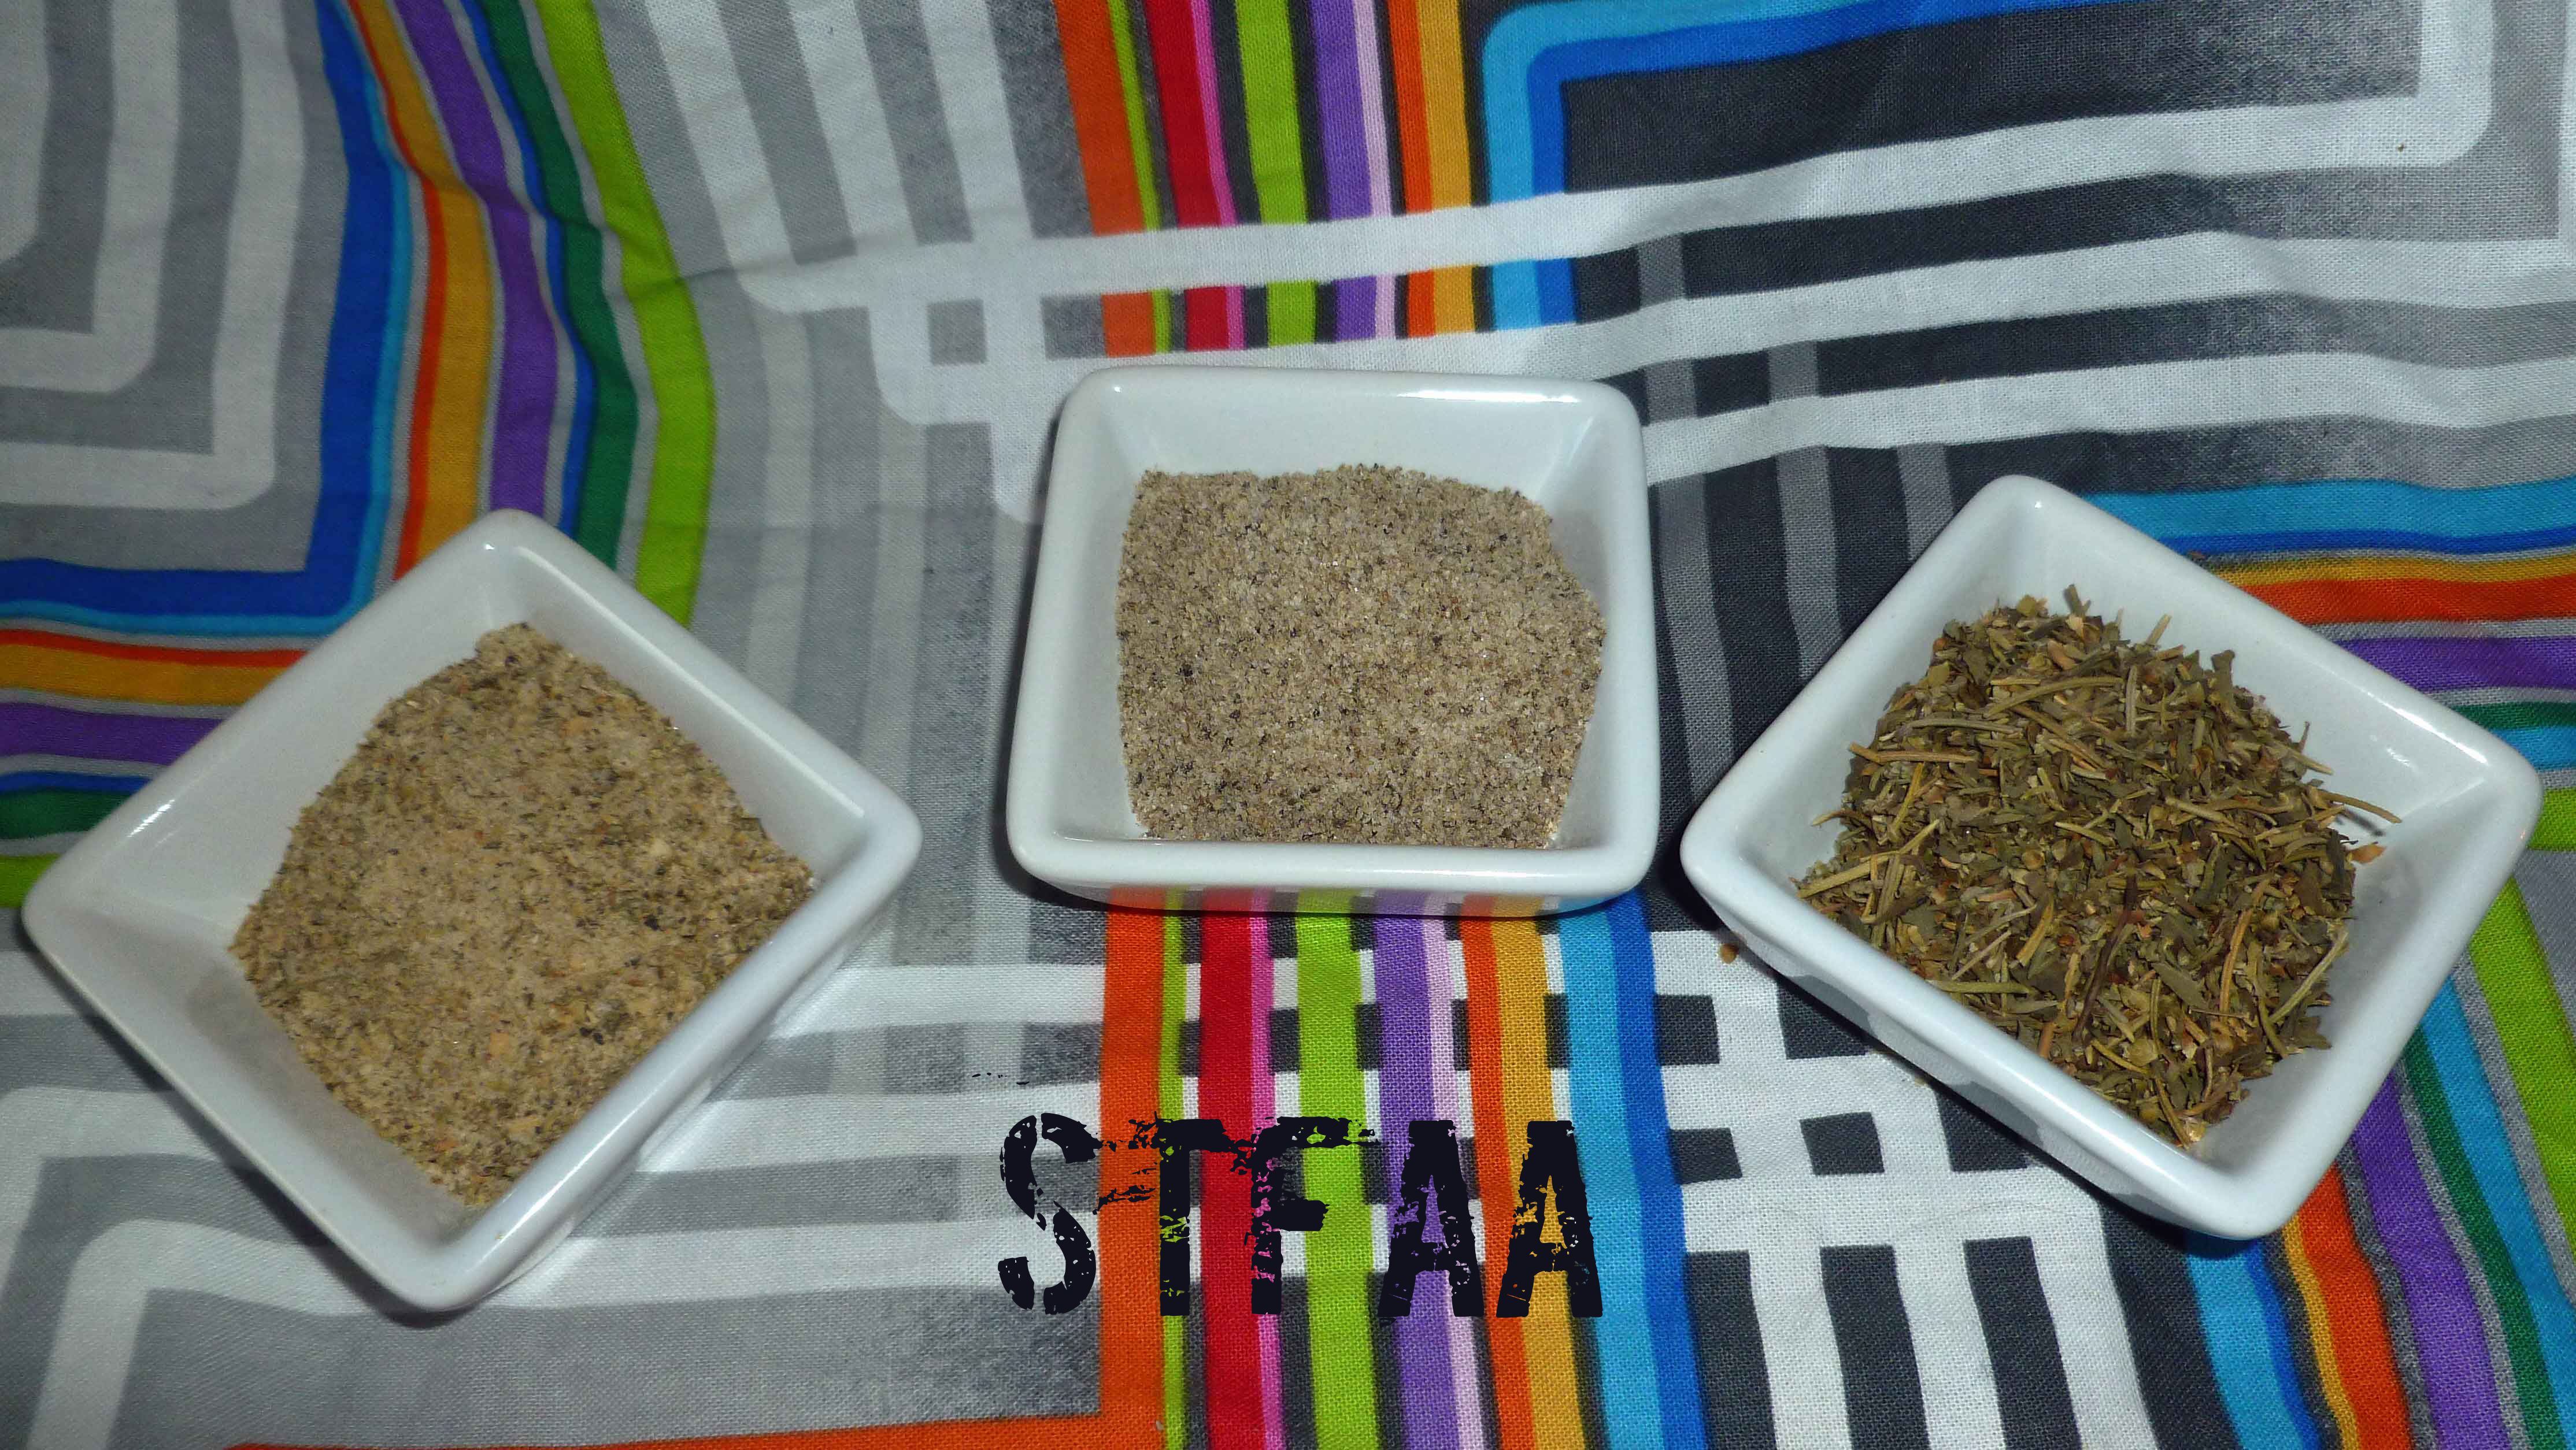
    • fresh basil (you need enough that the leaves will blend in the blender)
    • olive oil (just enough to blend with the basil to form a paste)
    Servings:
    Instructions
    1. Rinse fresh basil and trim off any discolored leaves. Make sure remaining stems will fit the diameter of your pot.
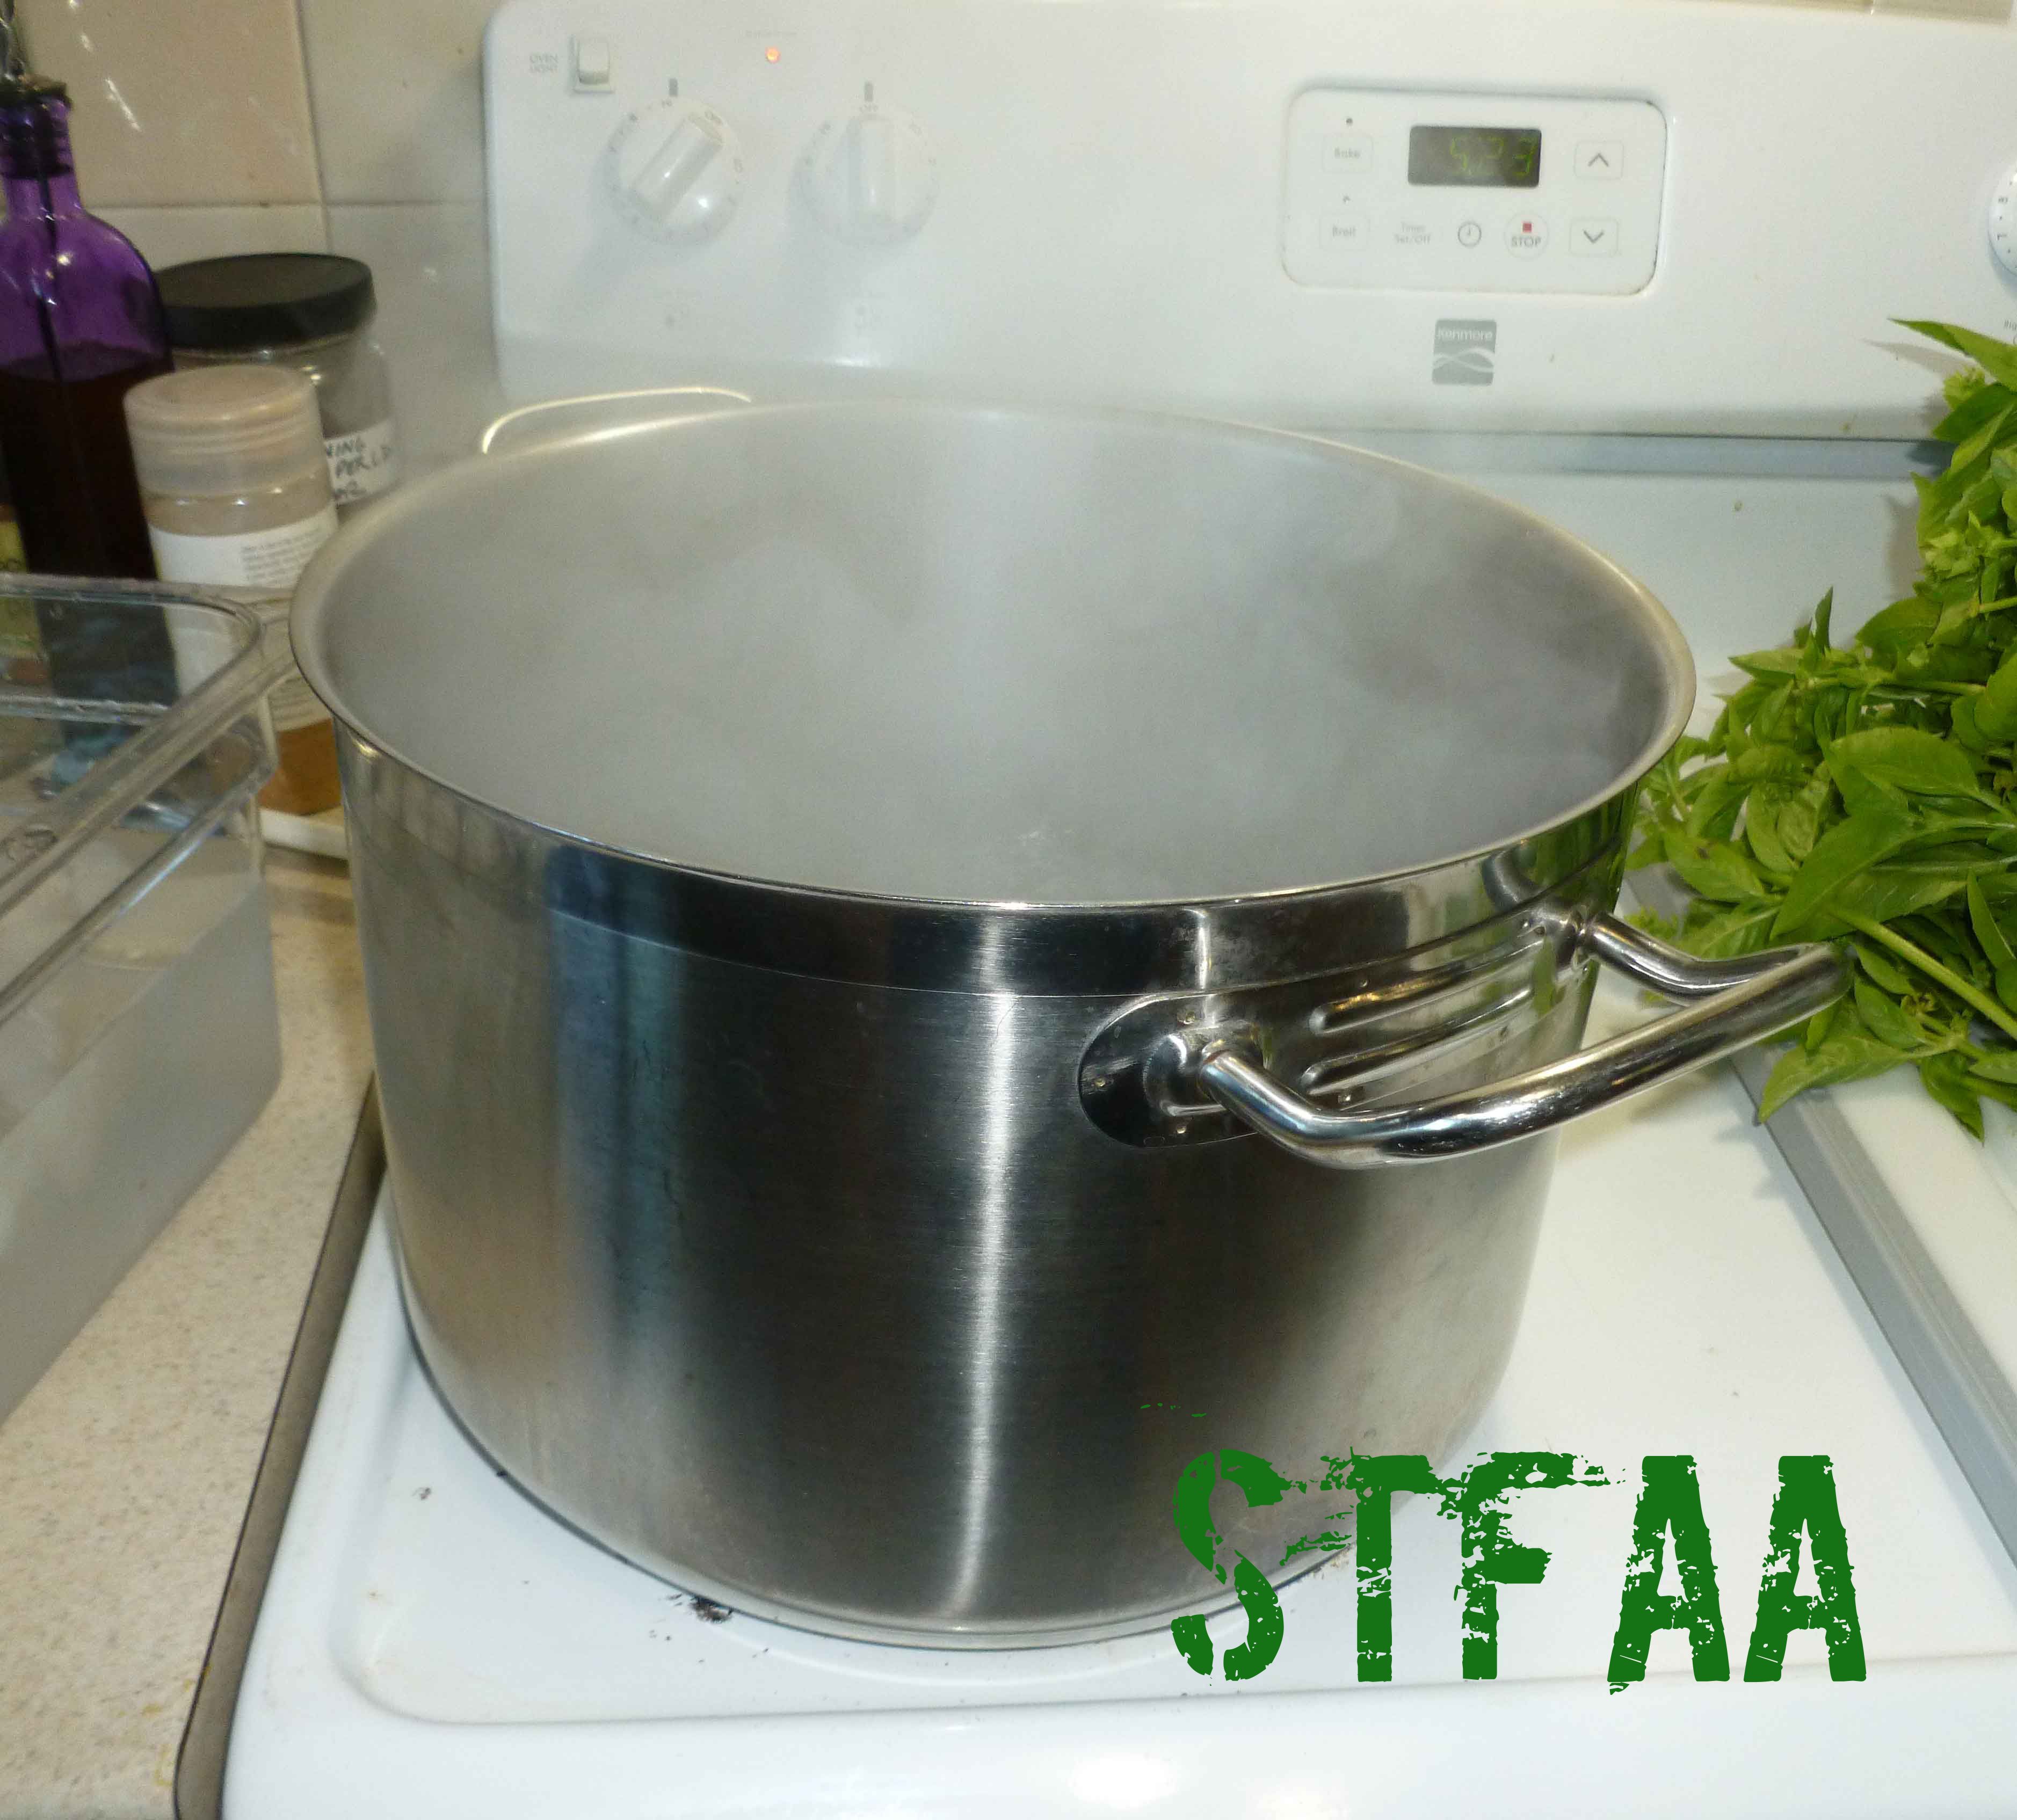
    2. Place enough water in a pot, so that the water is three inches deep. Bring water to a boil.
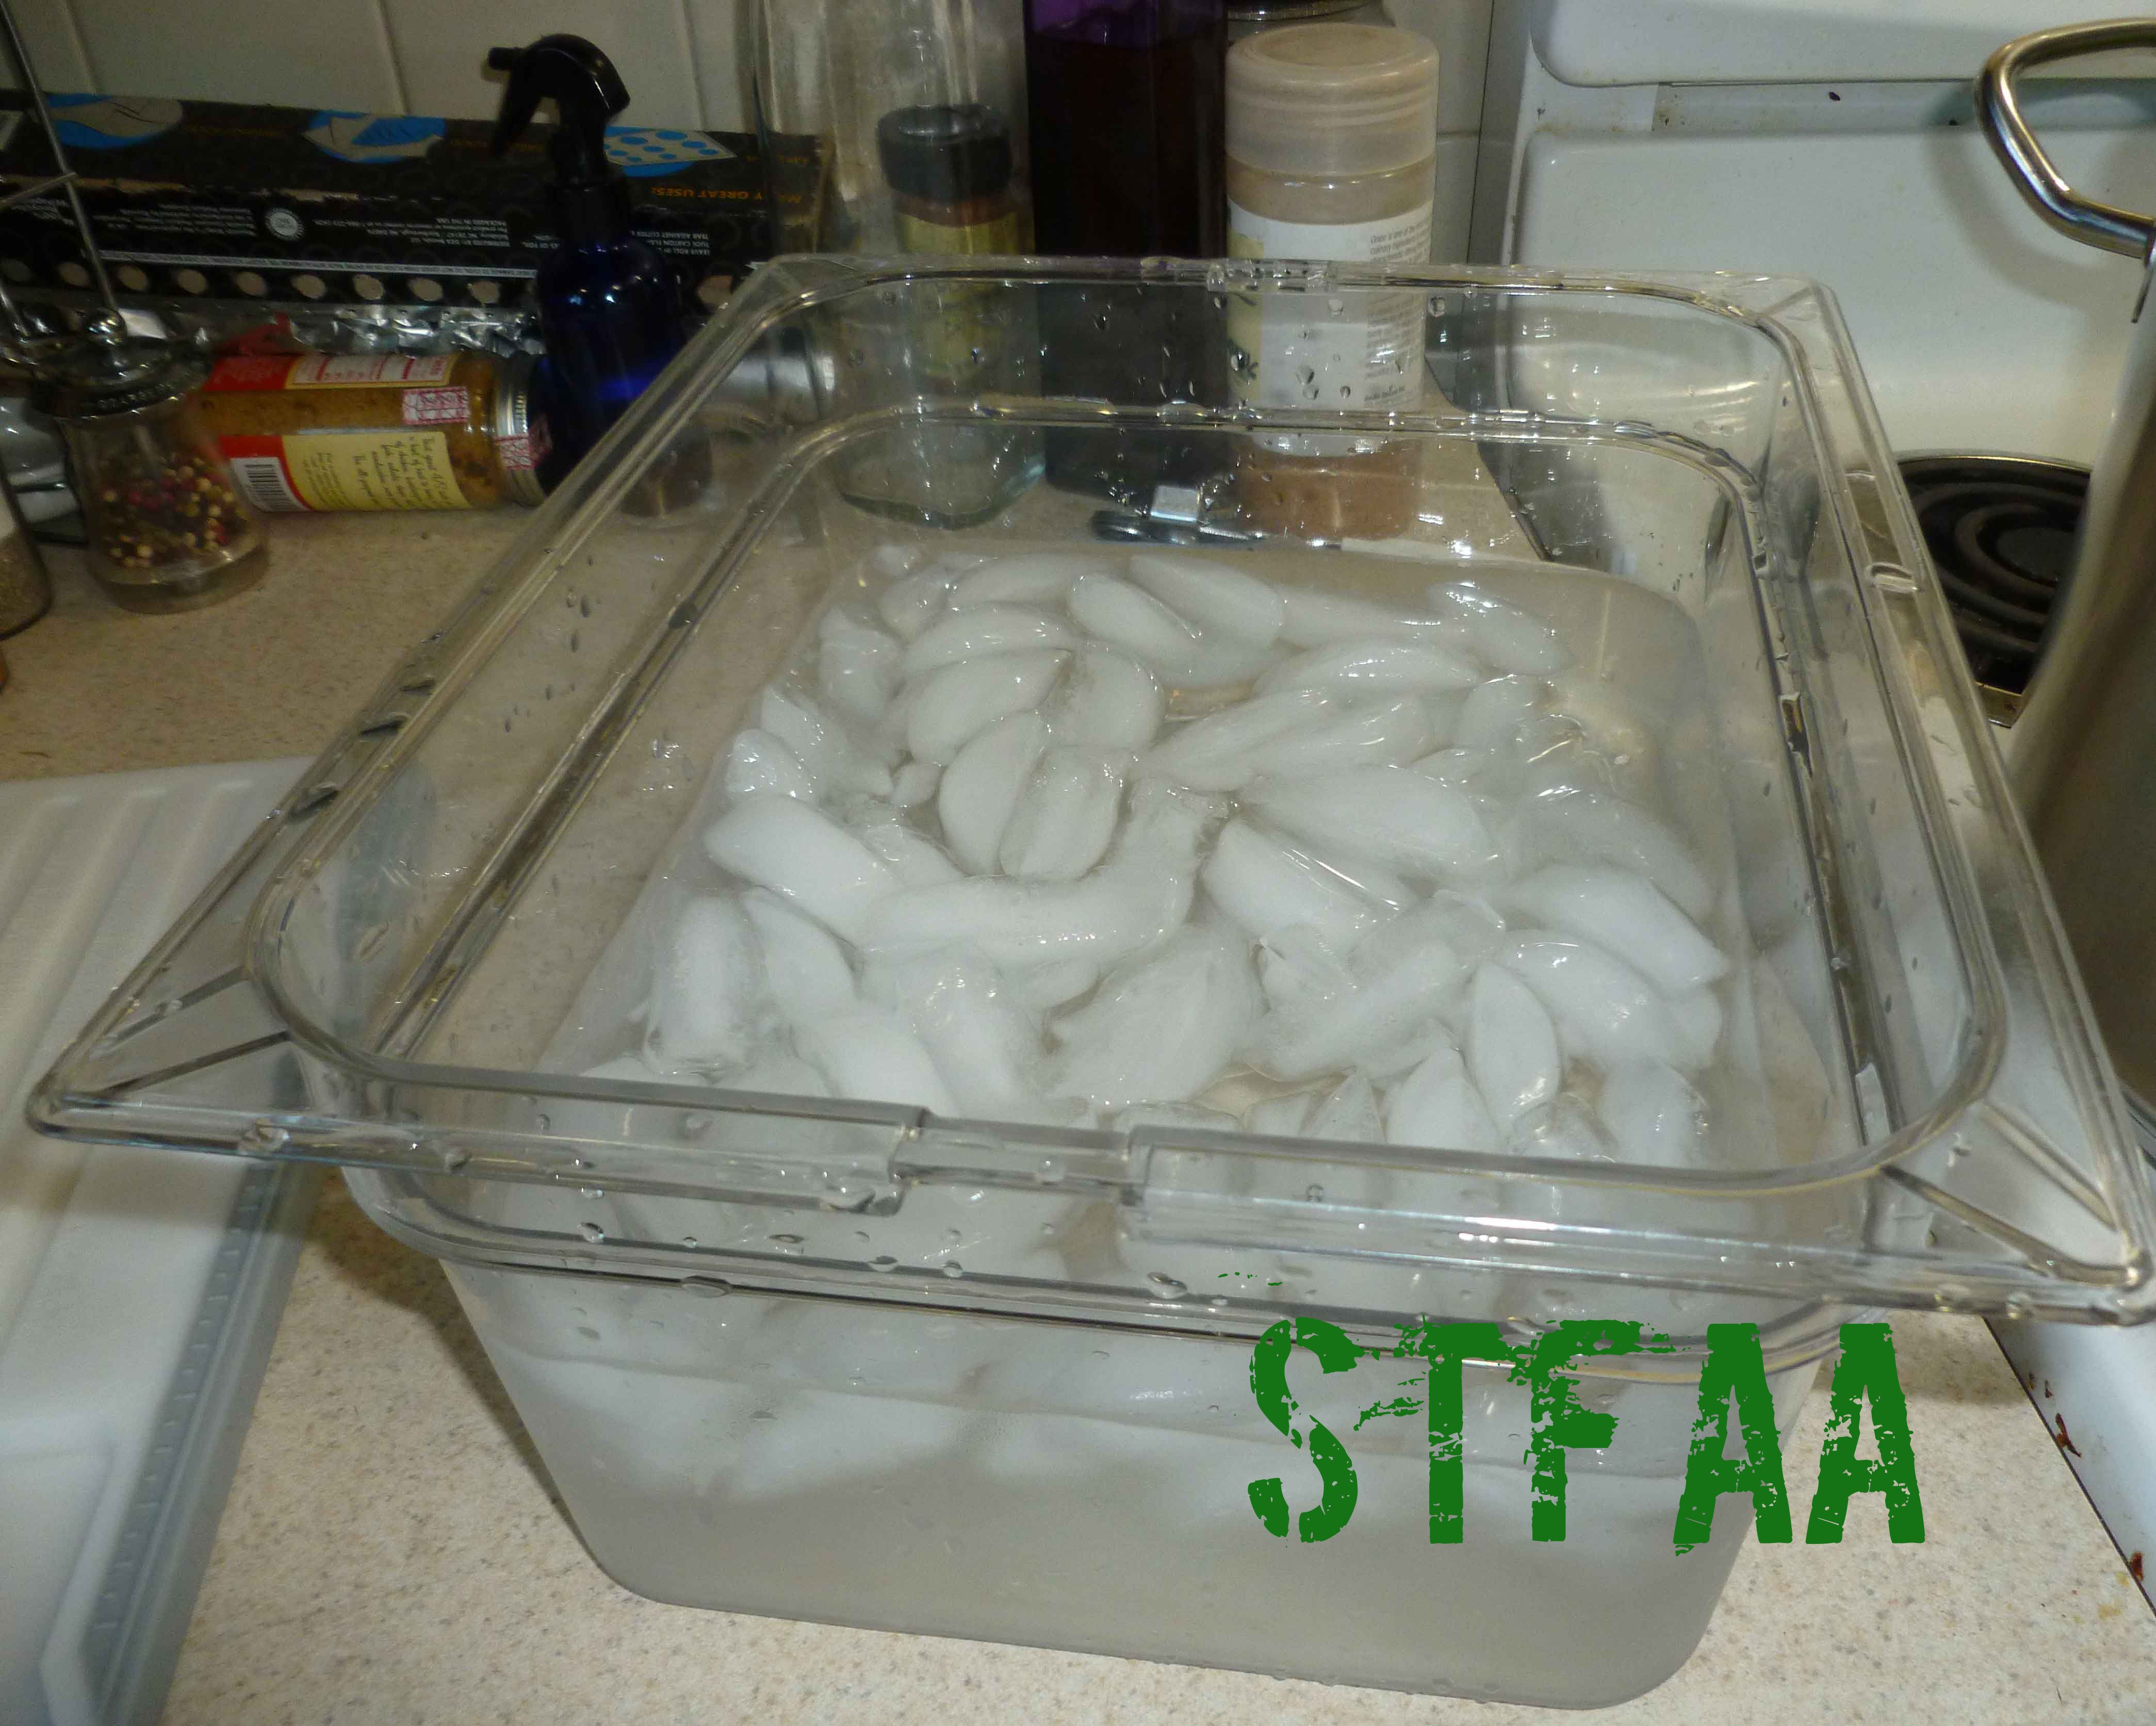
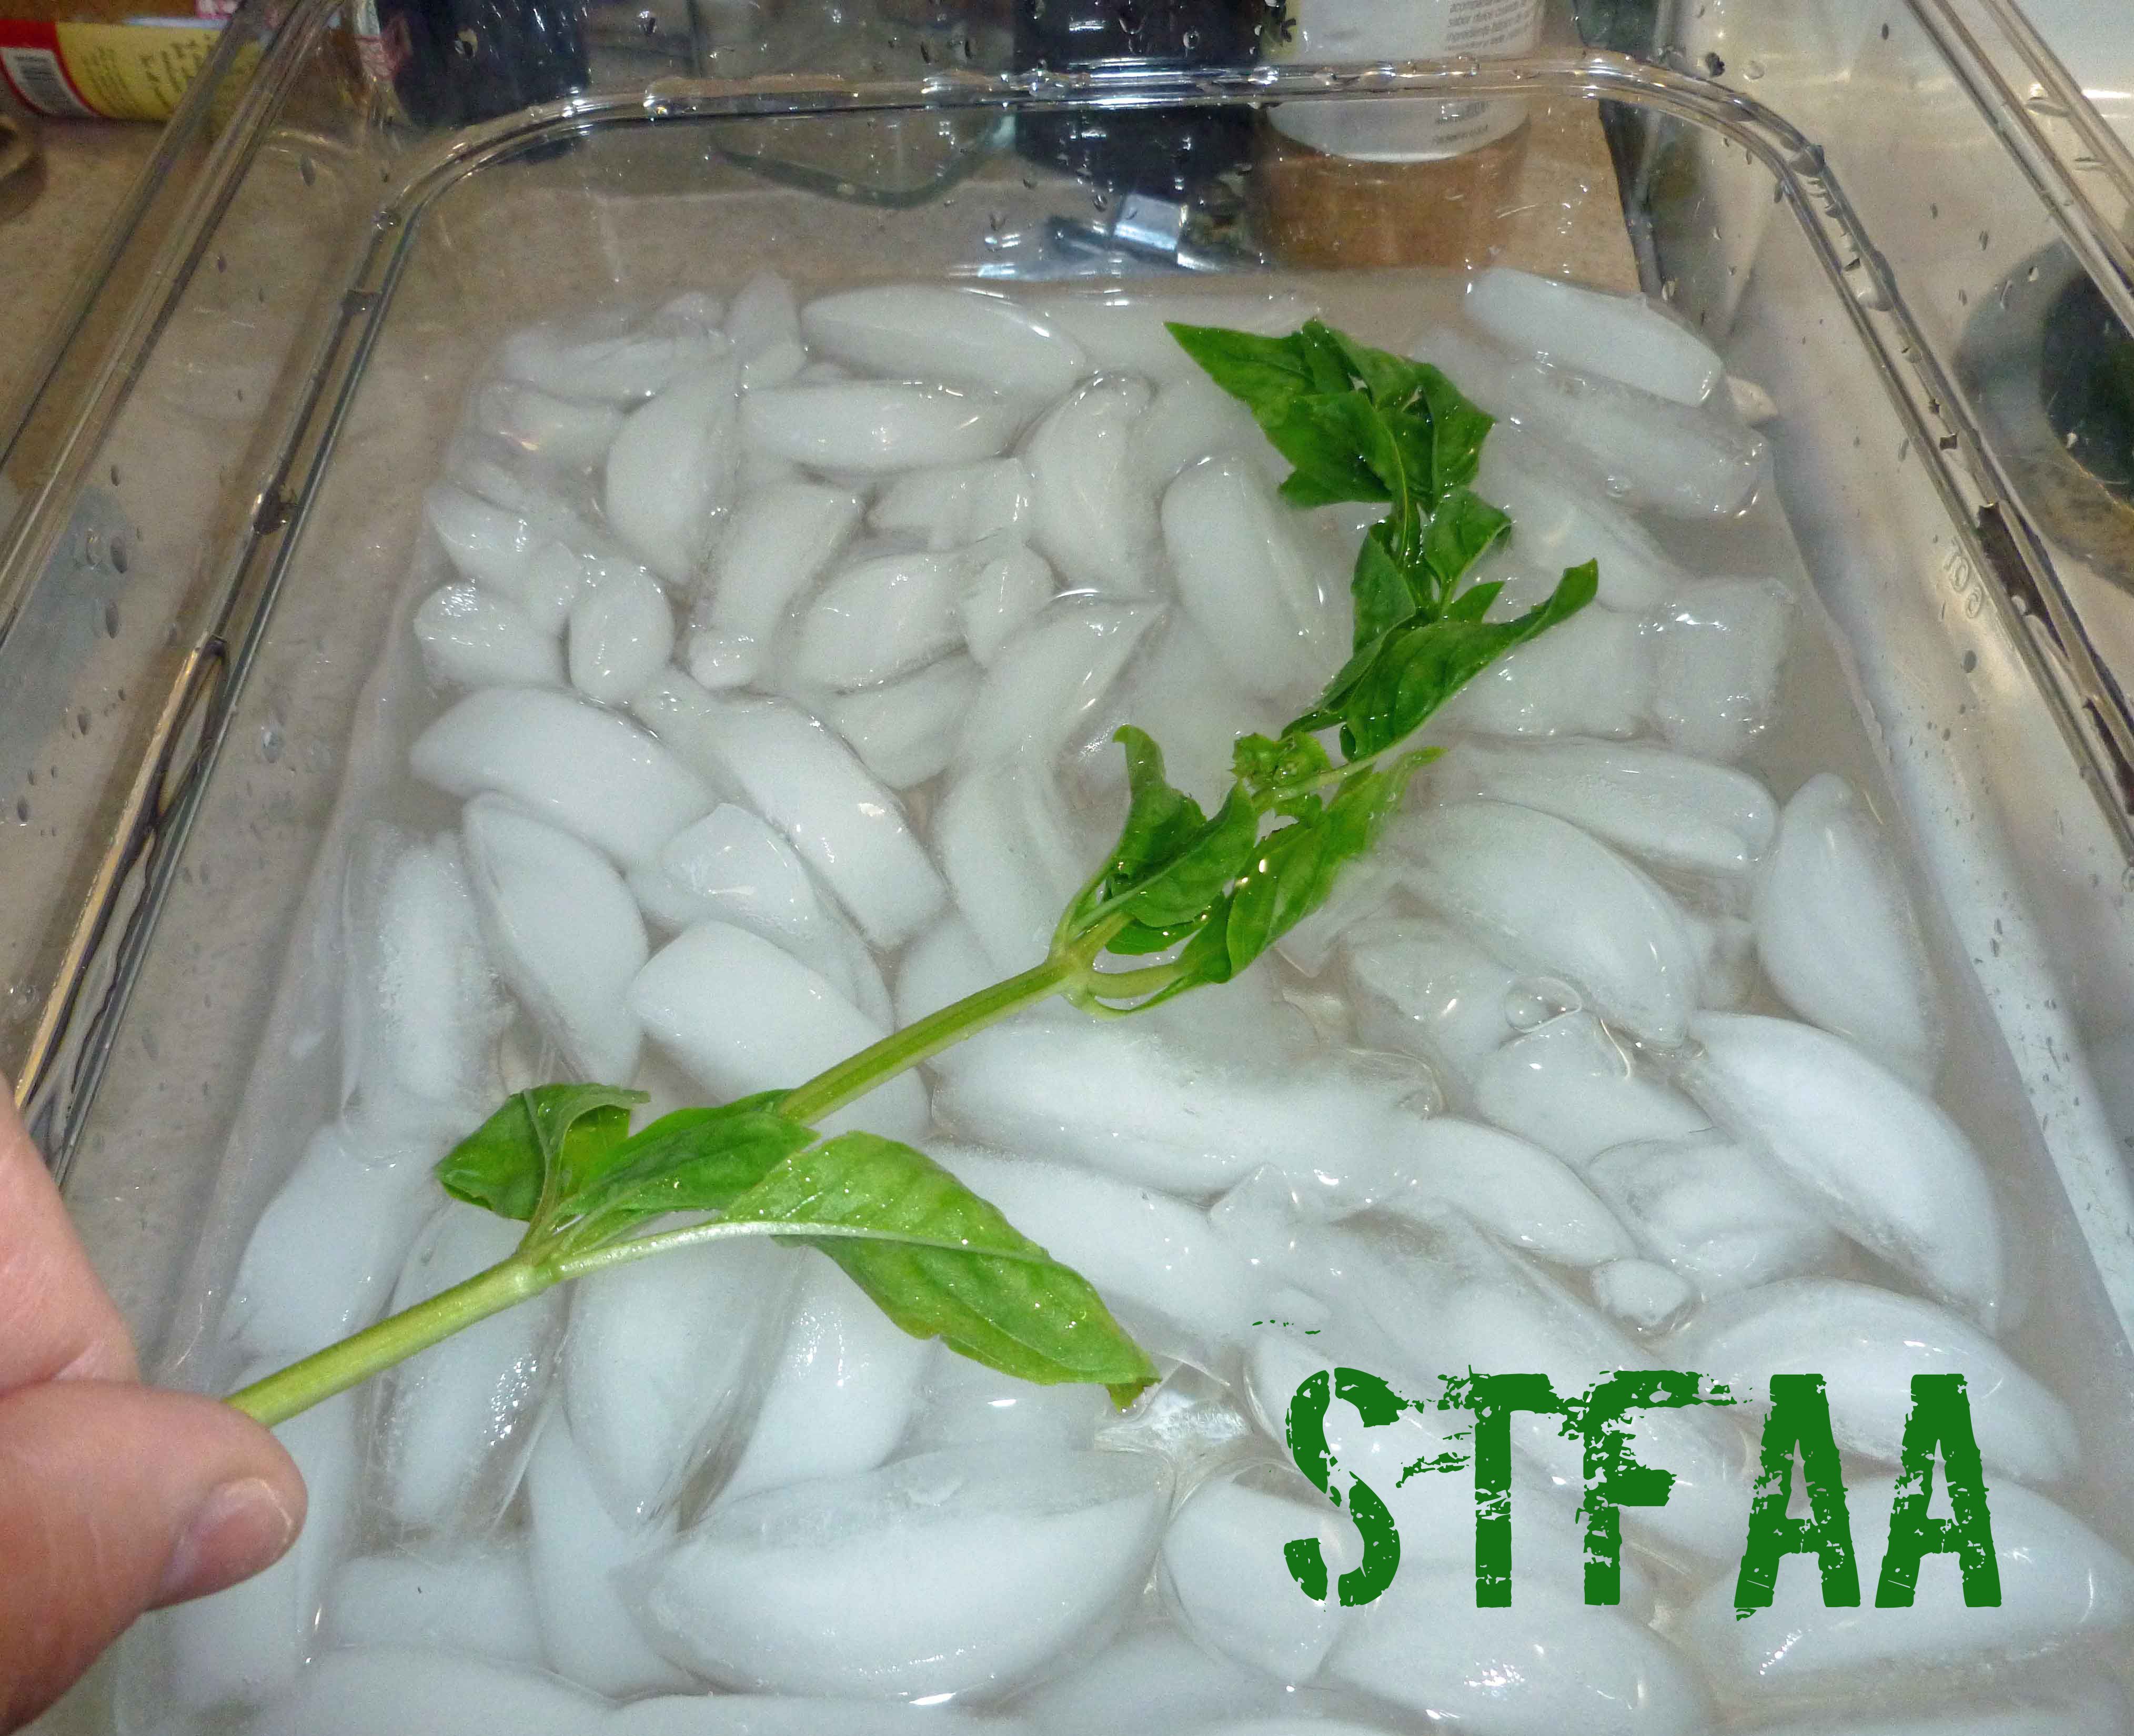
    3. In another container, bowl or pot, add cold water and plenty of ice, making sure you can fit the stems of the basil it in submerged.
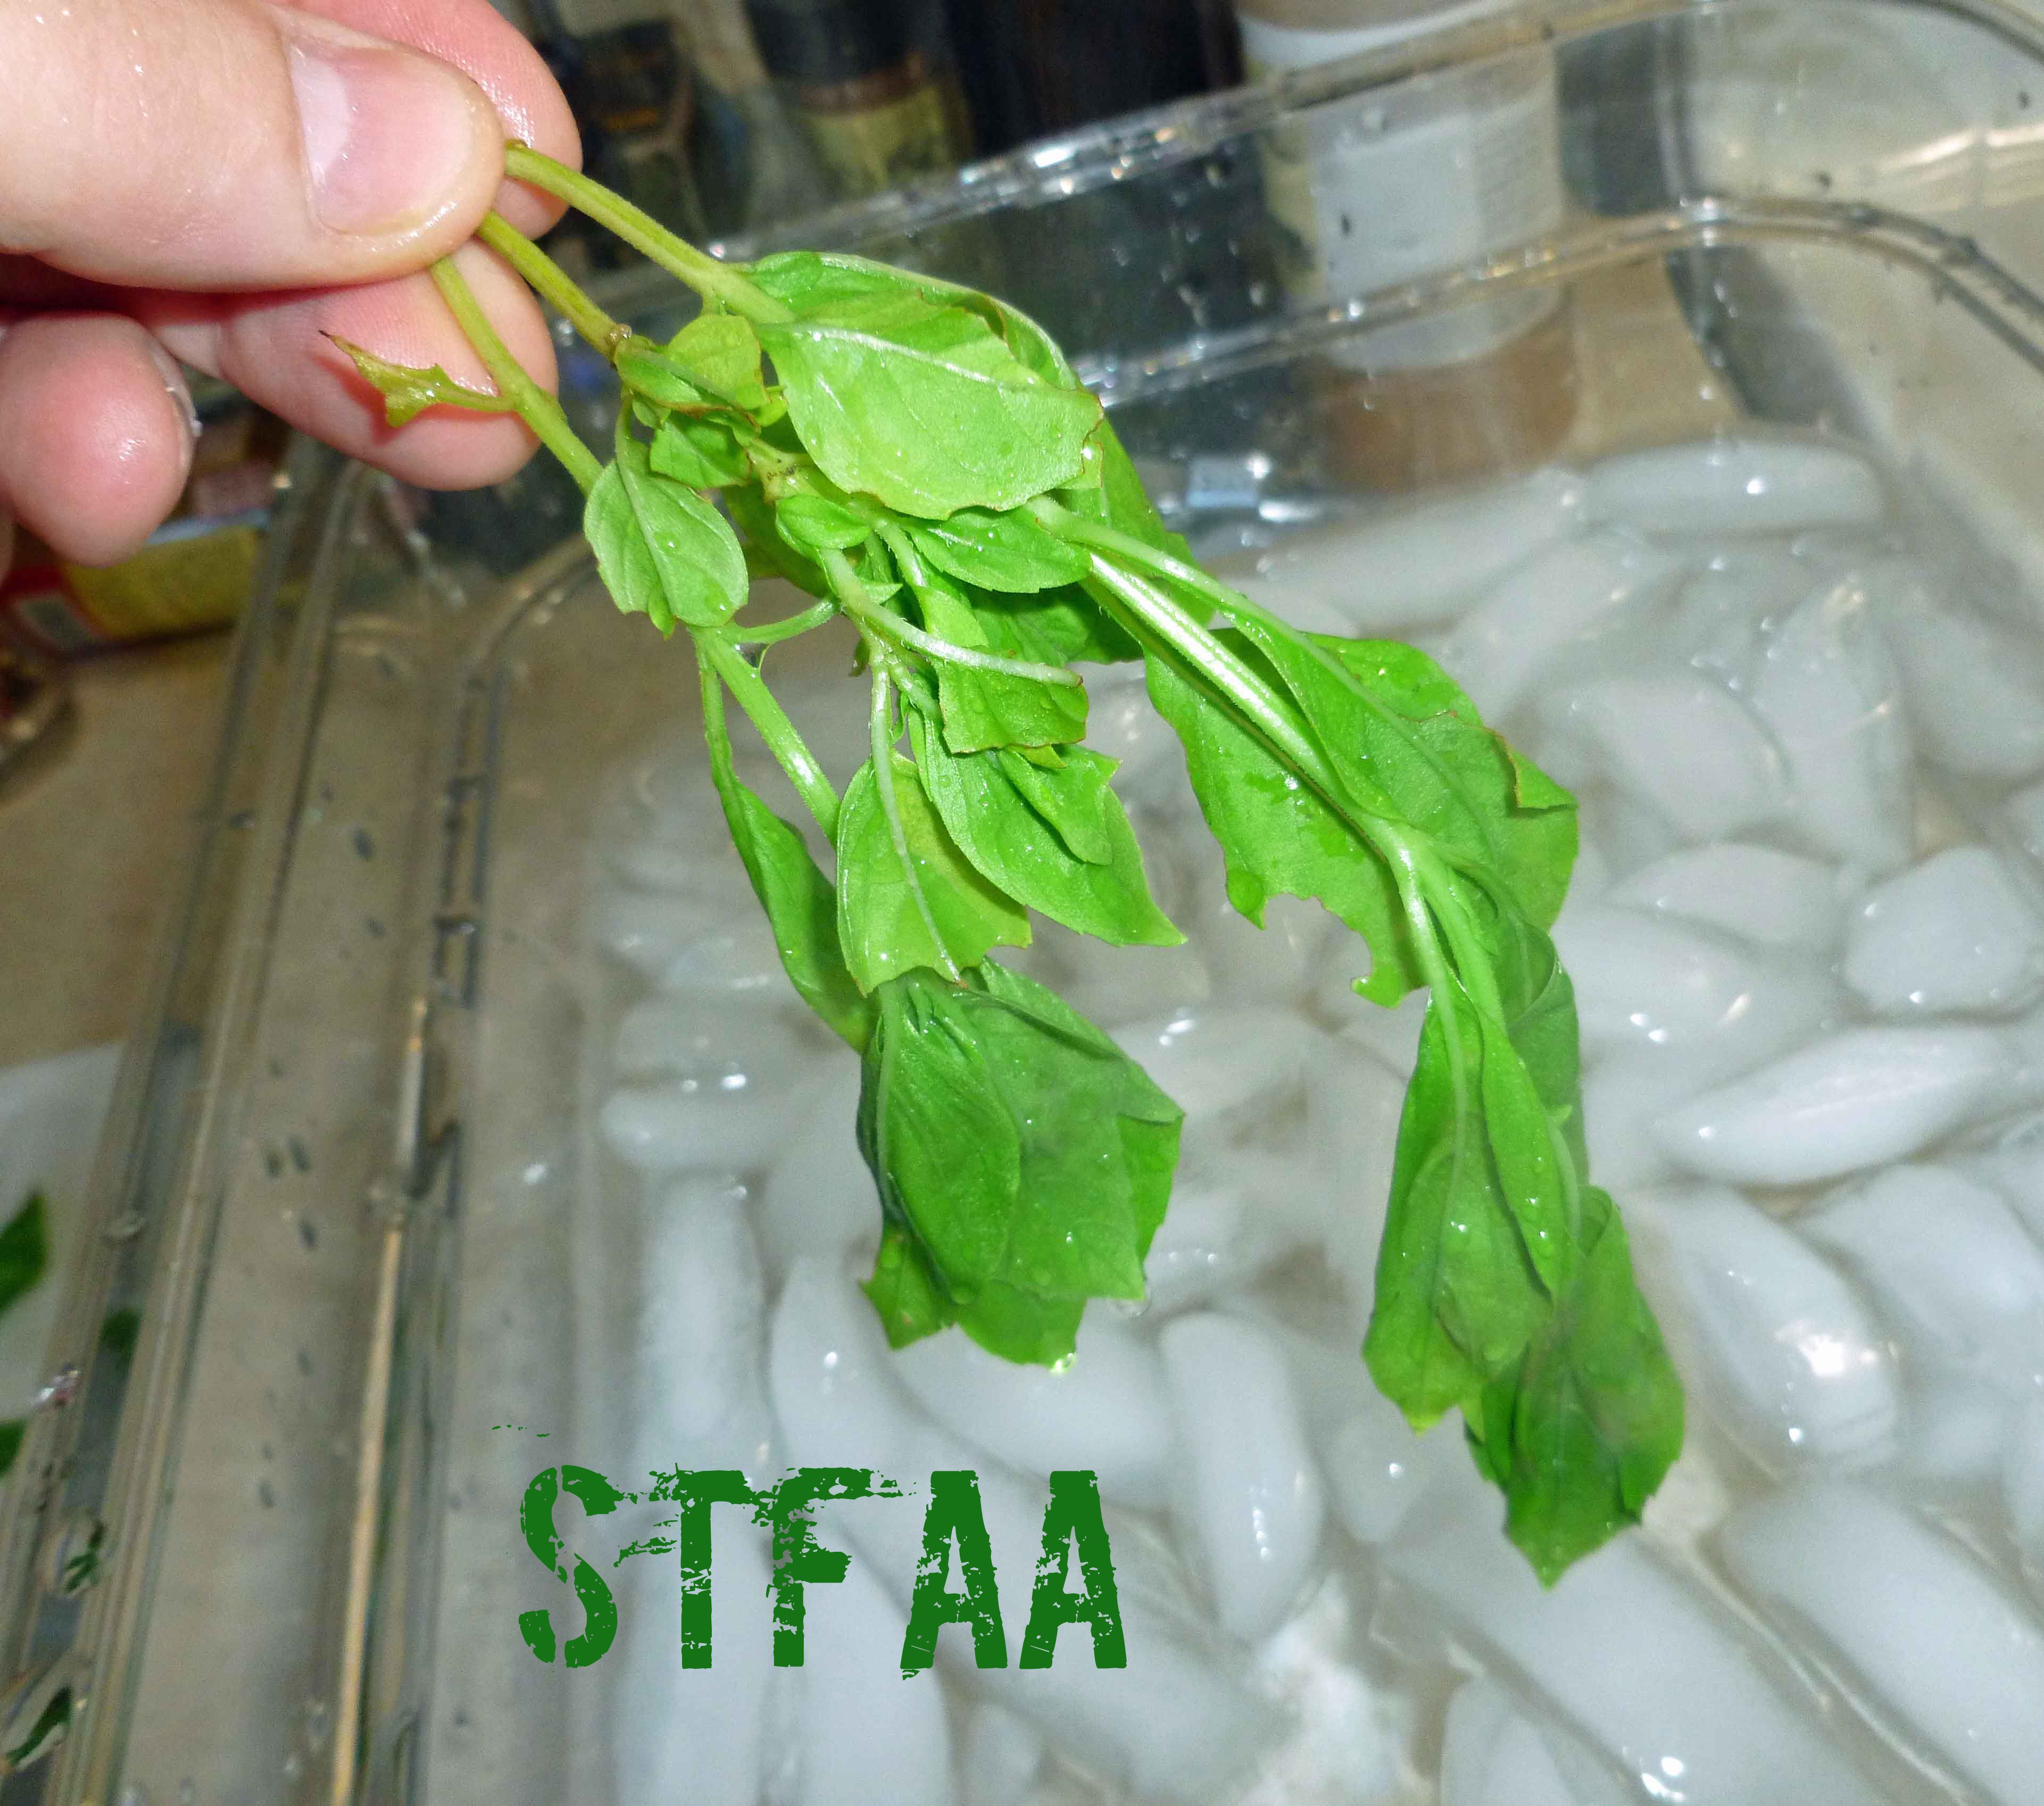
    4. Using tongs, place the basil in your boil water making sure it gets submerged until the leaves wilt. You will likely need to do this in batches. Using tongs, remove the basil and plunge it into the ice water until it has cooled. Take basil out of the ice water and set aside.
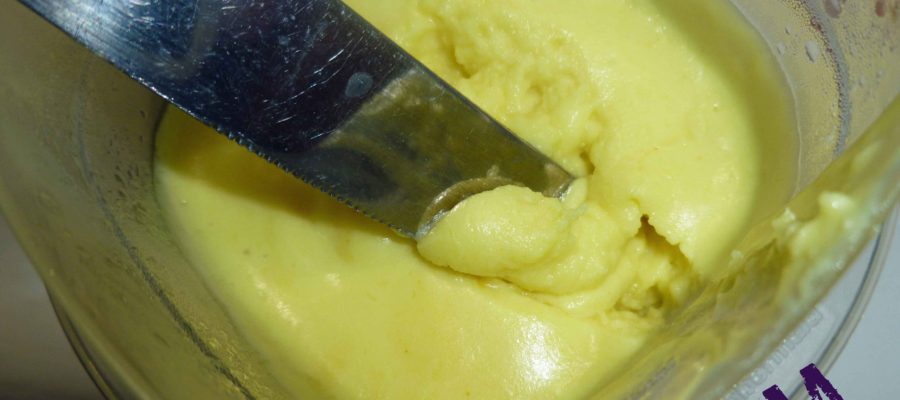
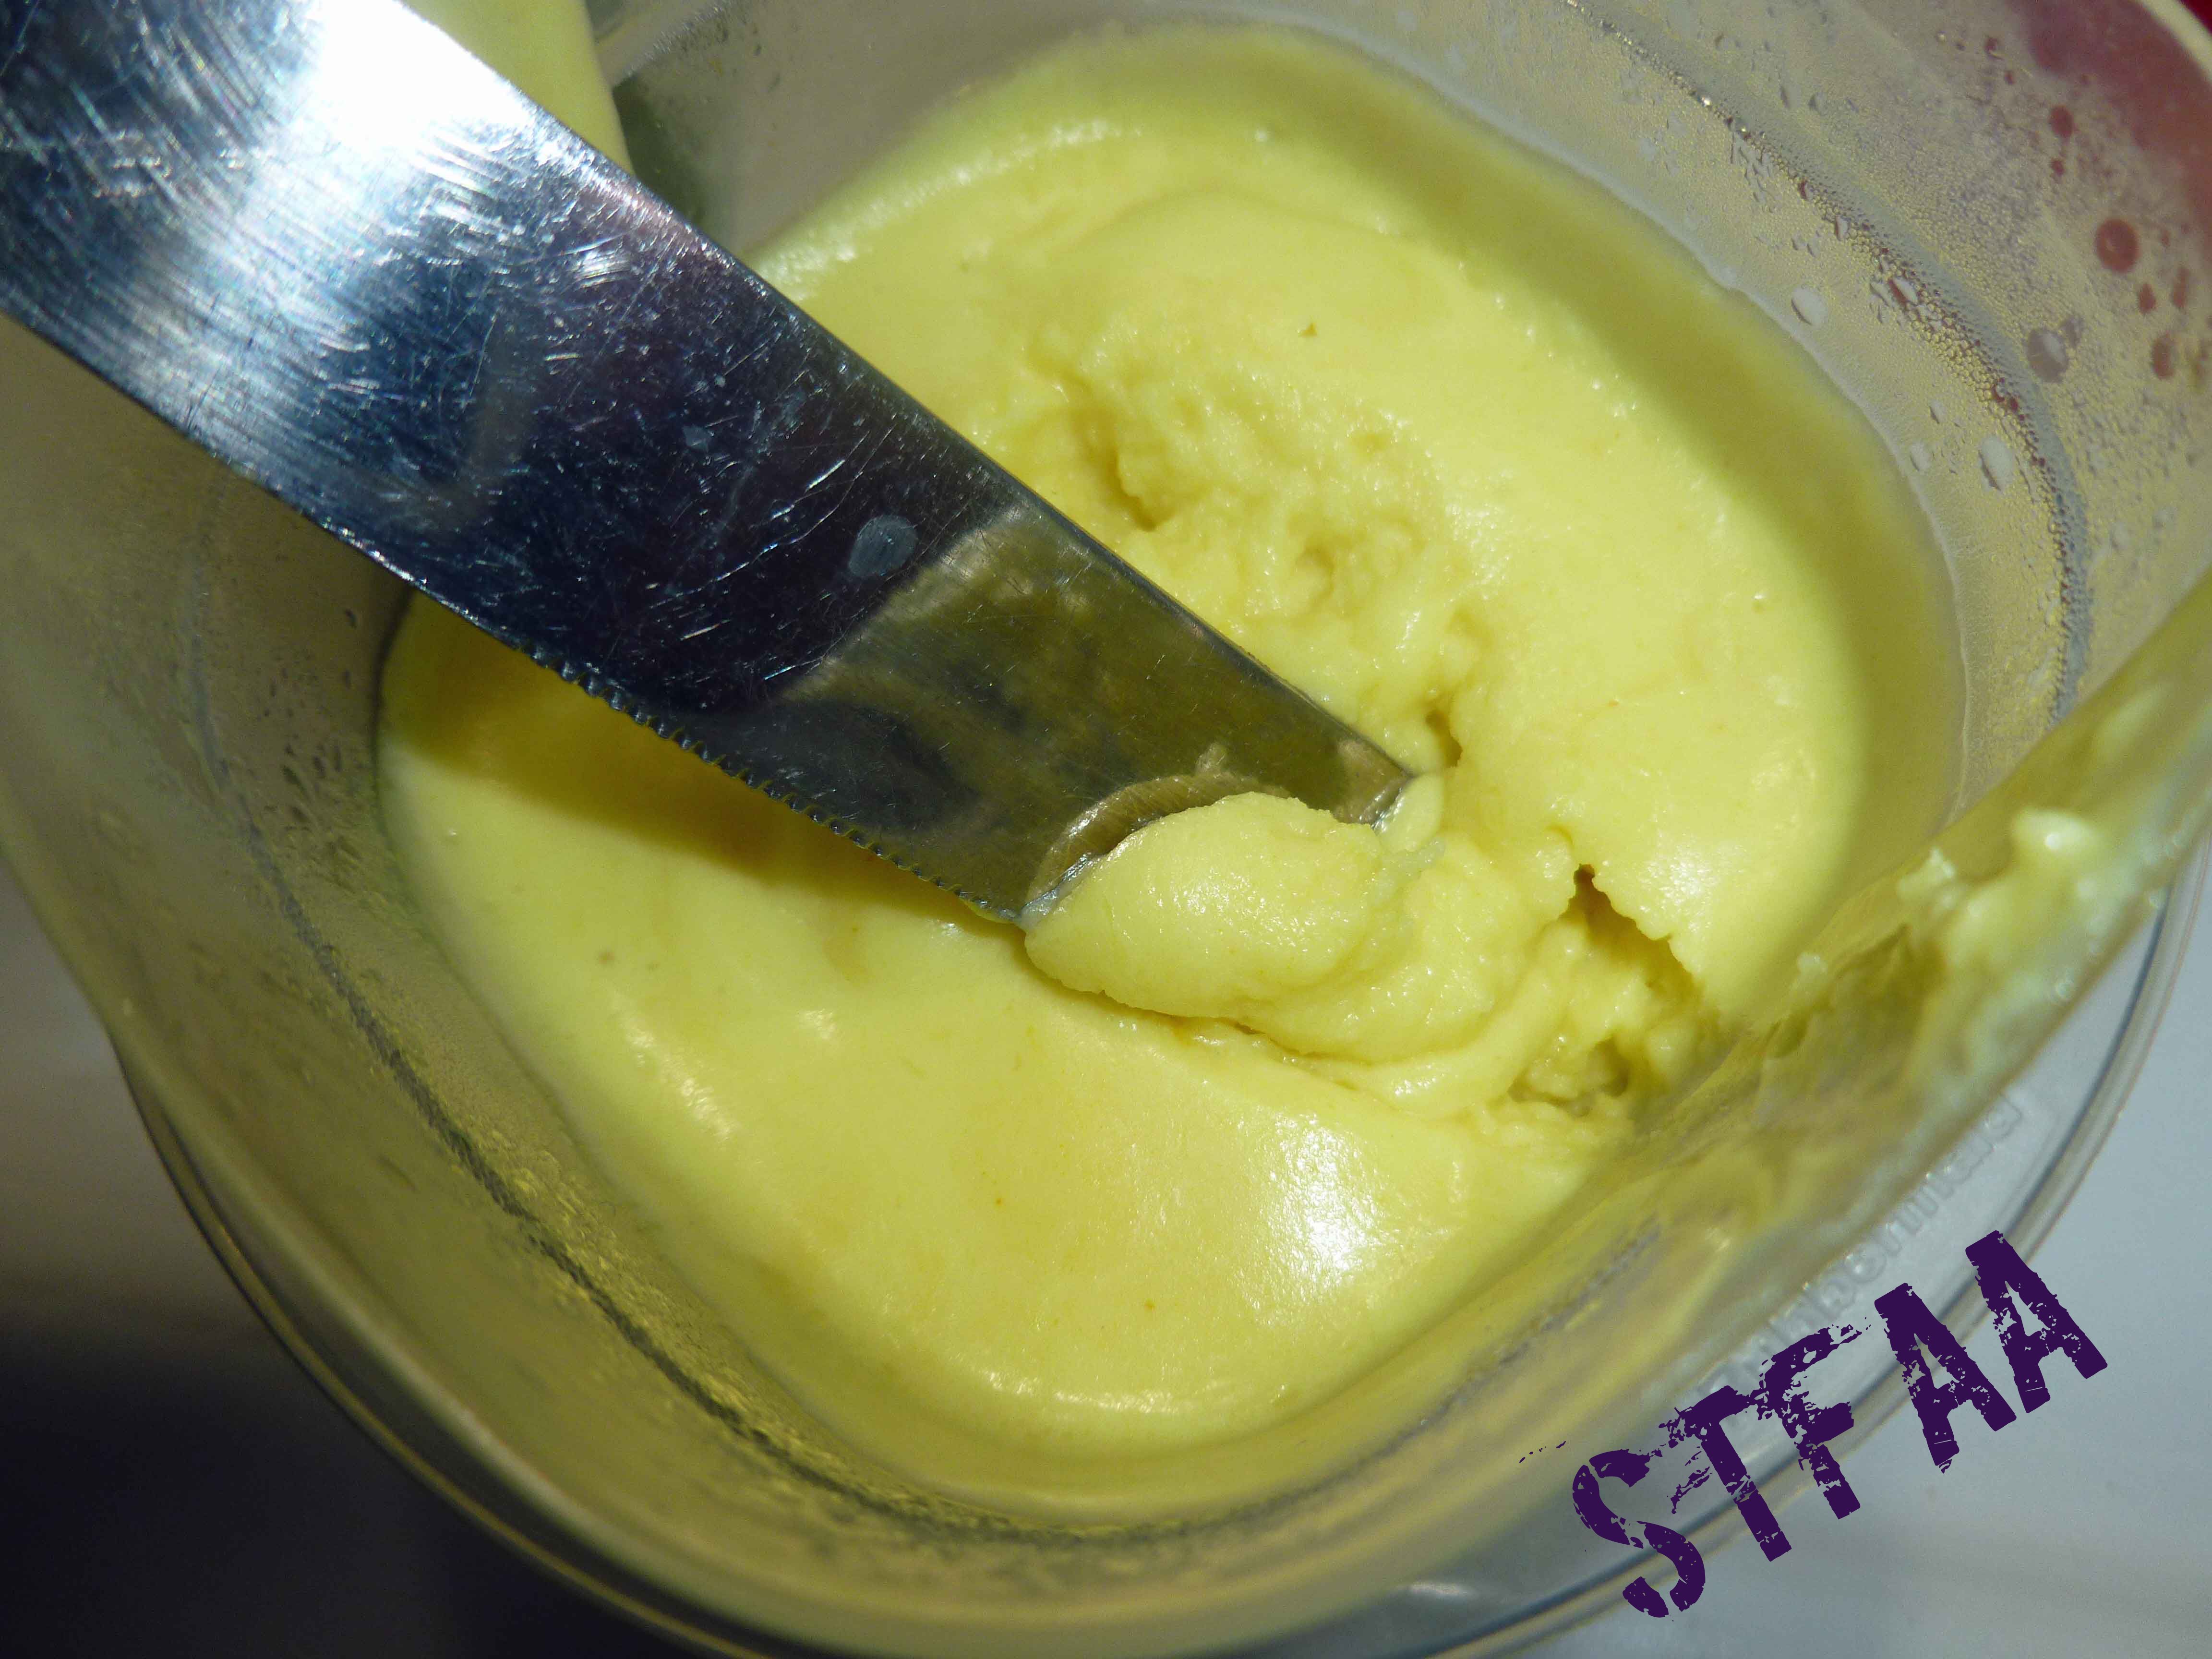
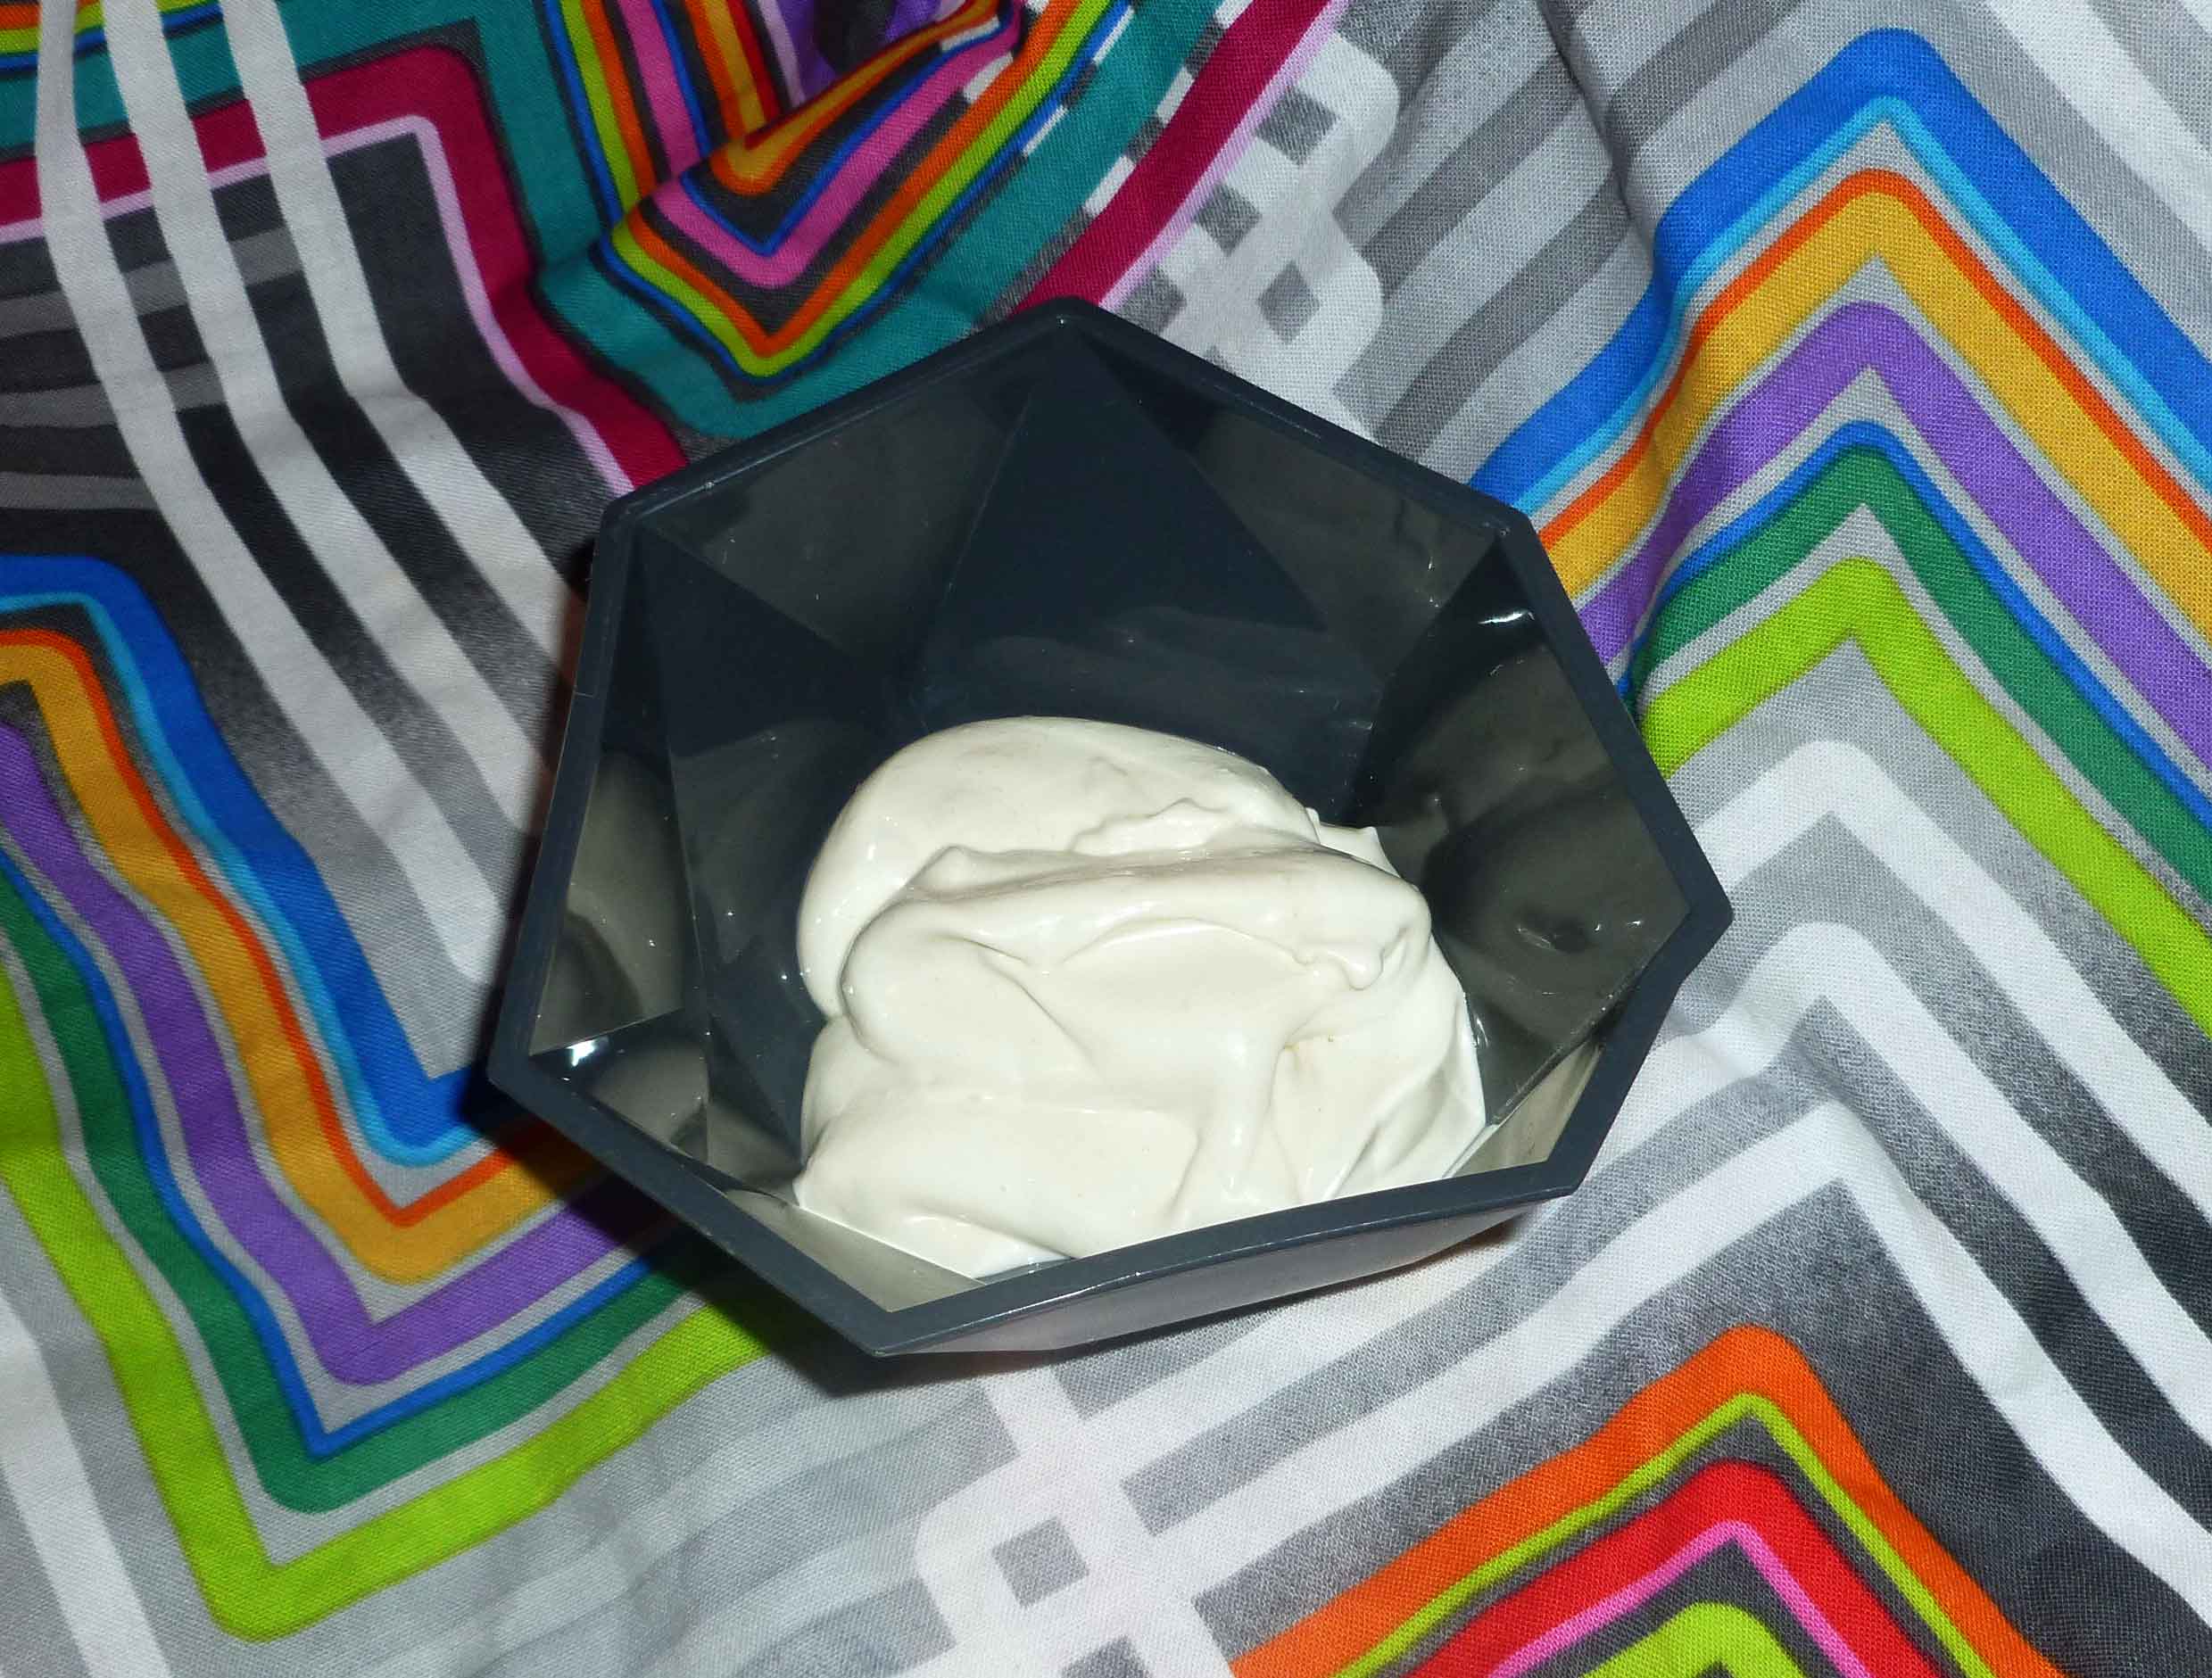
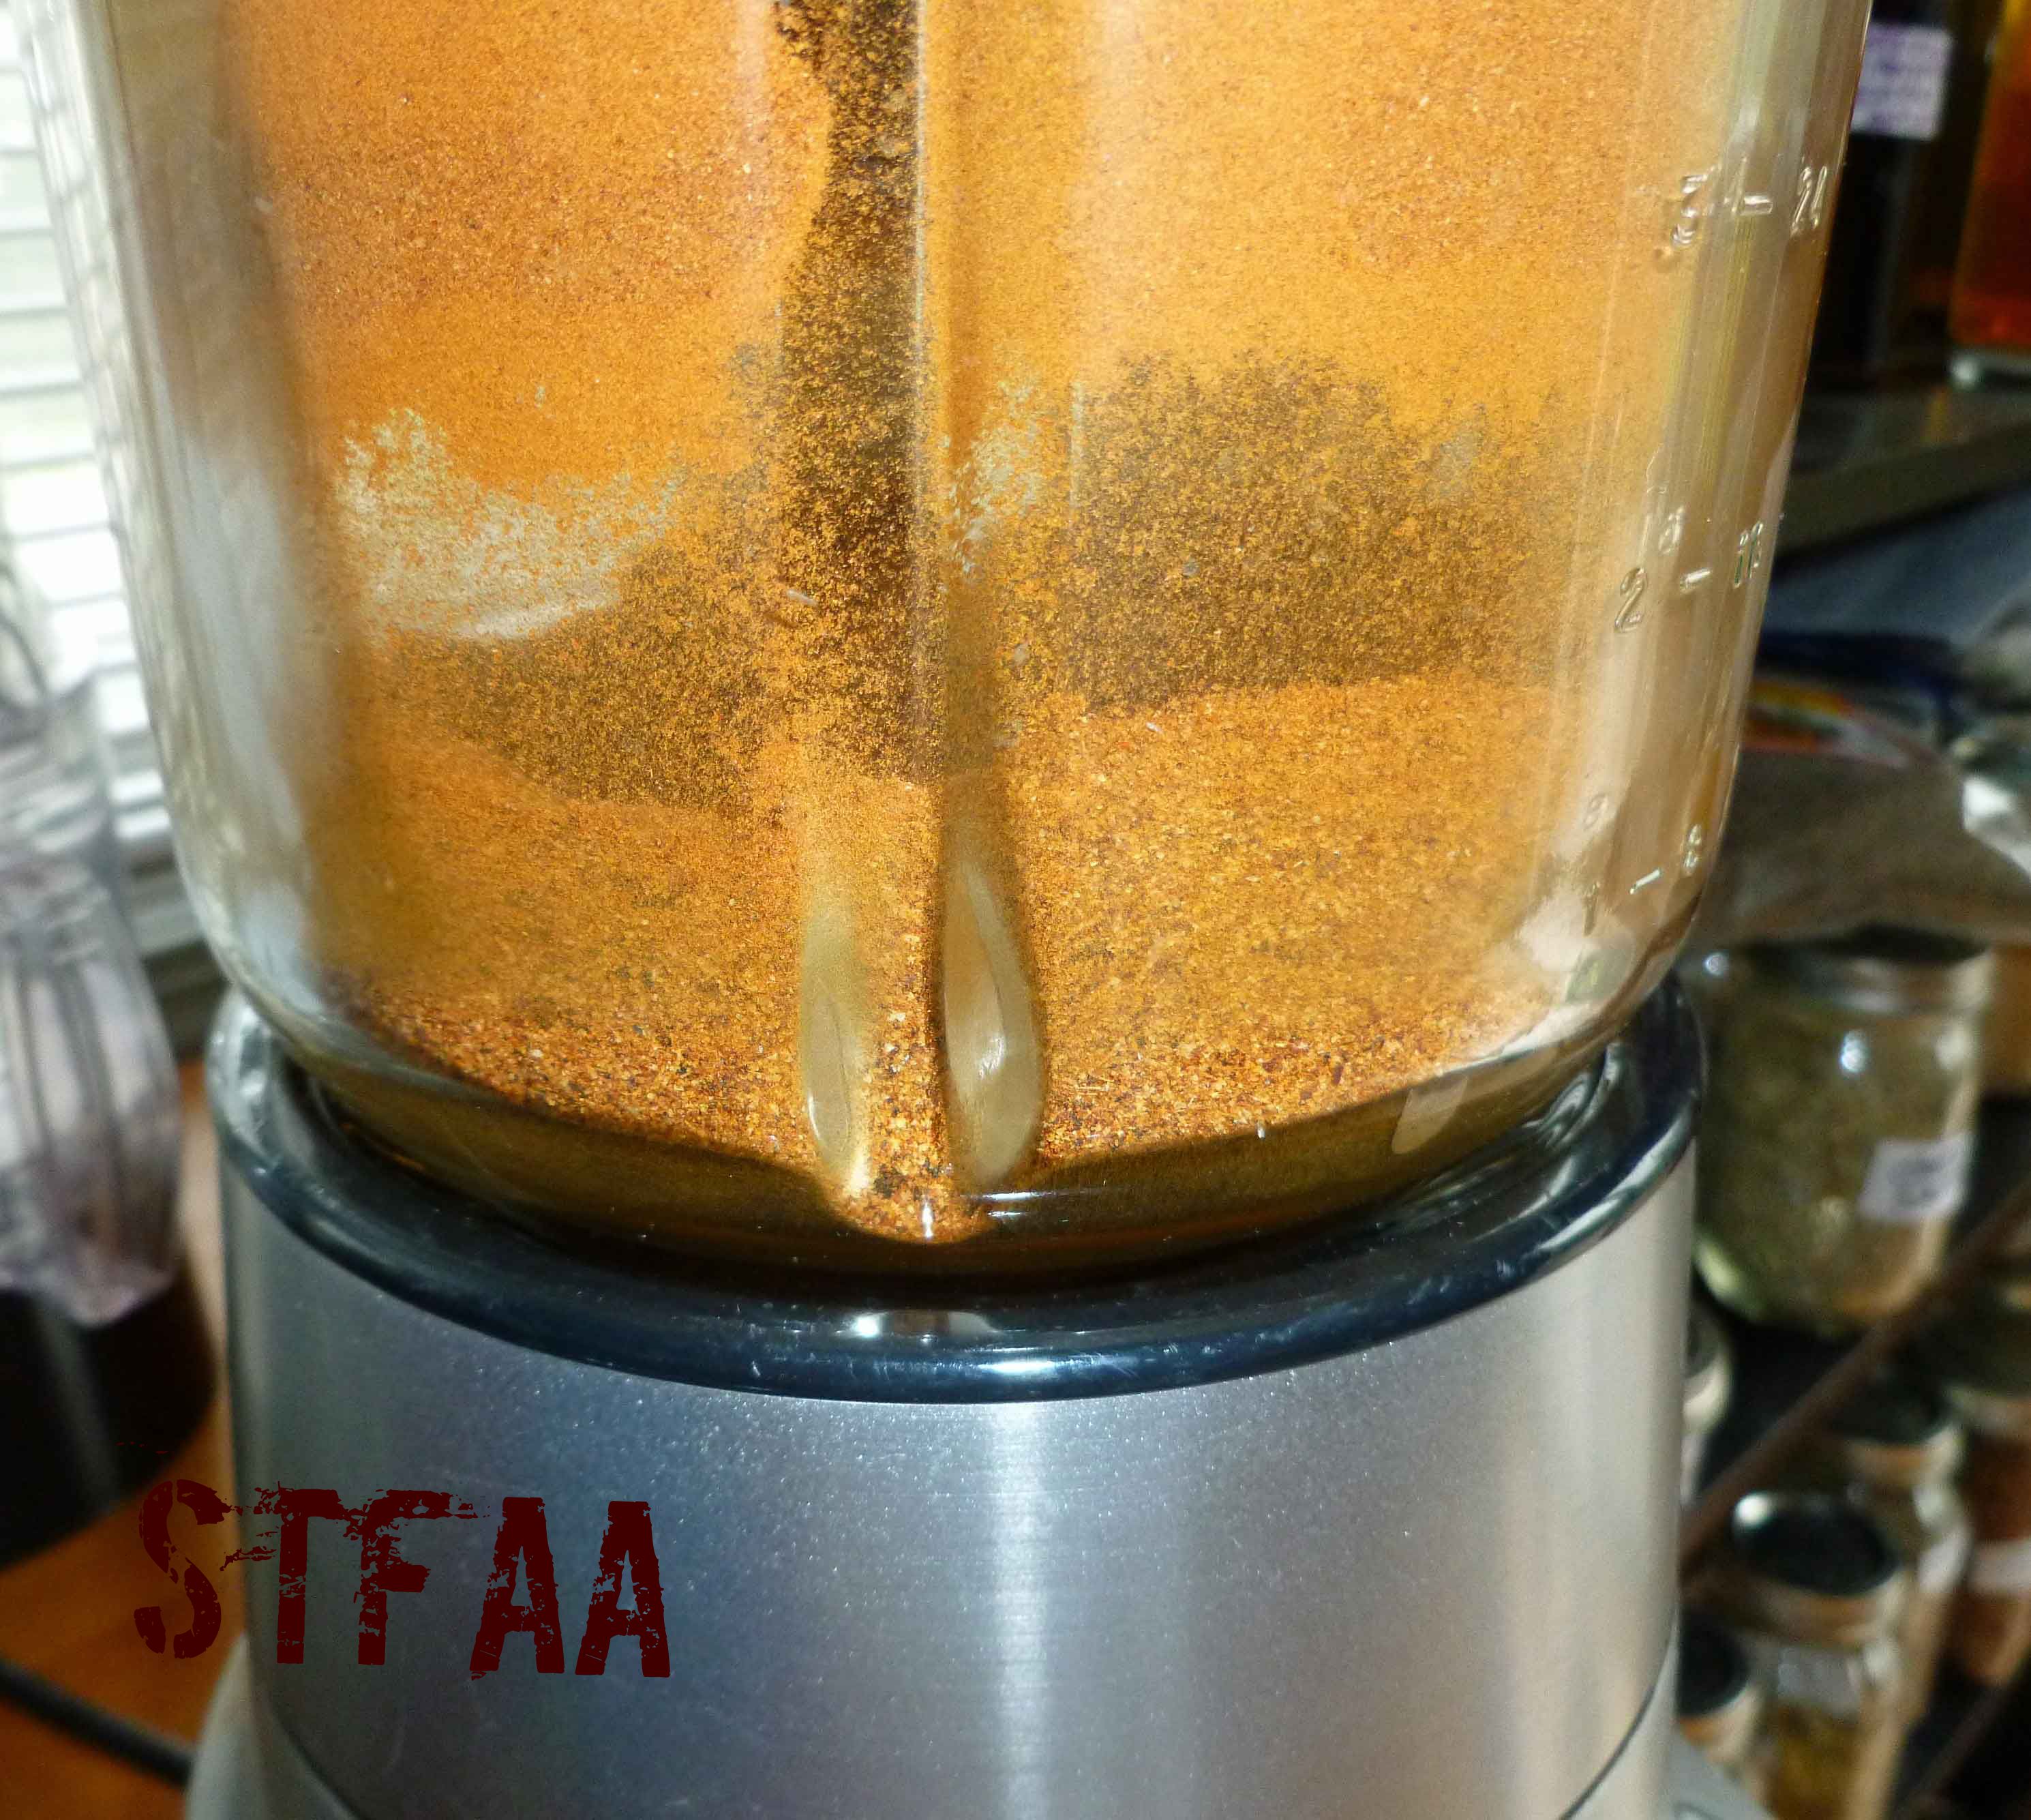
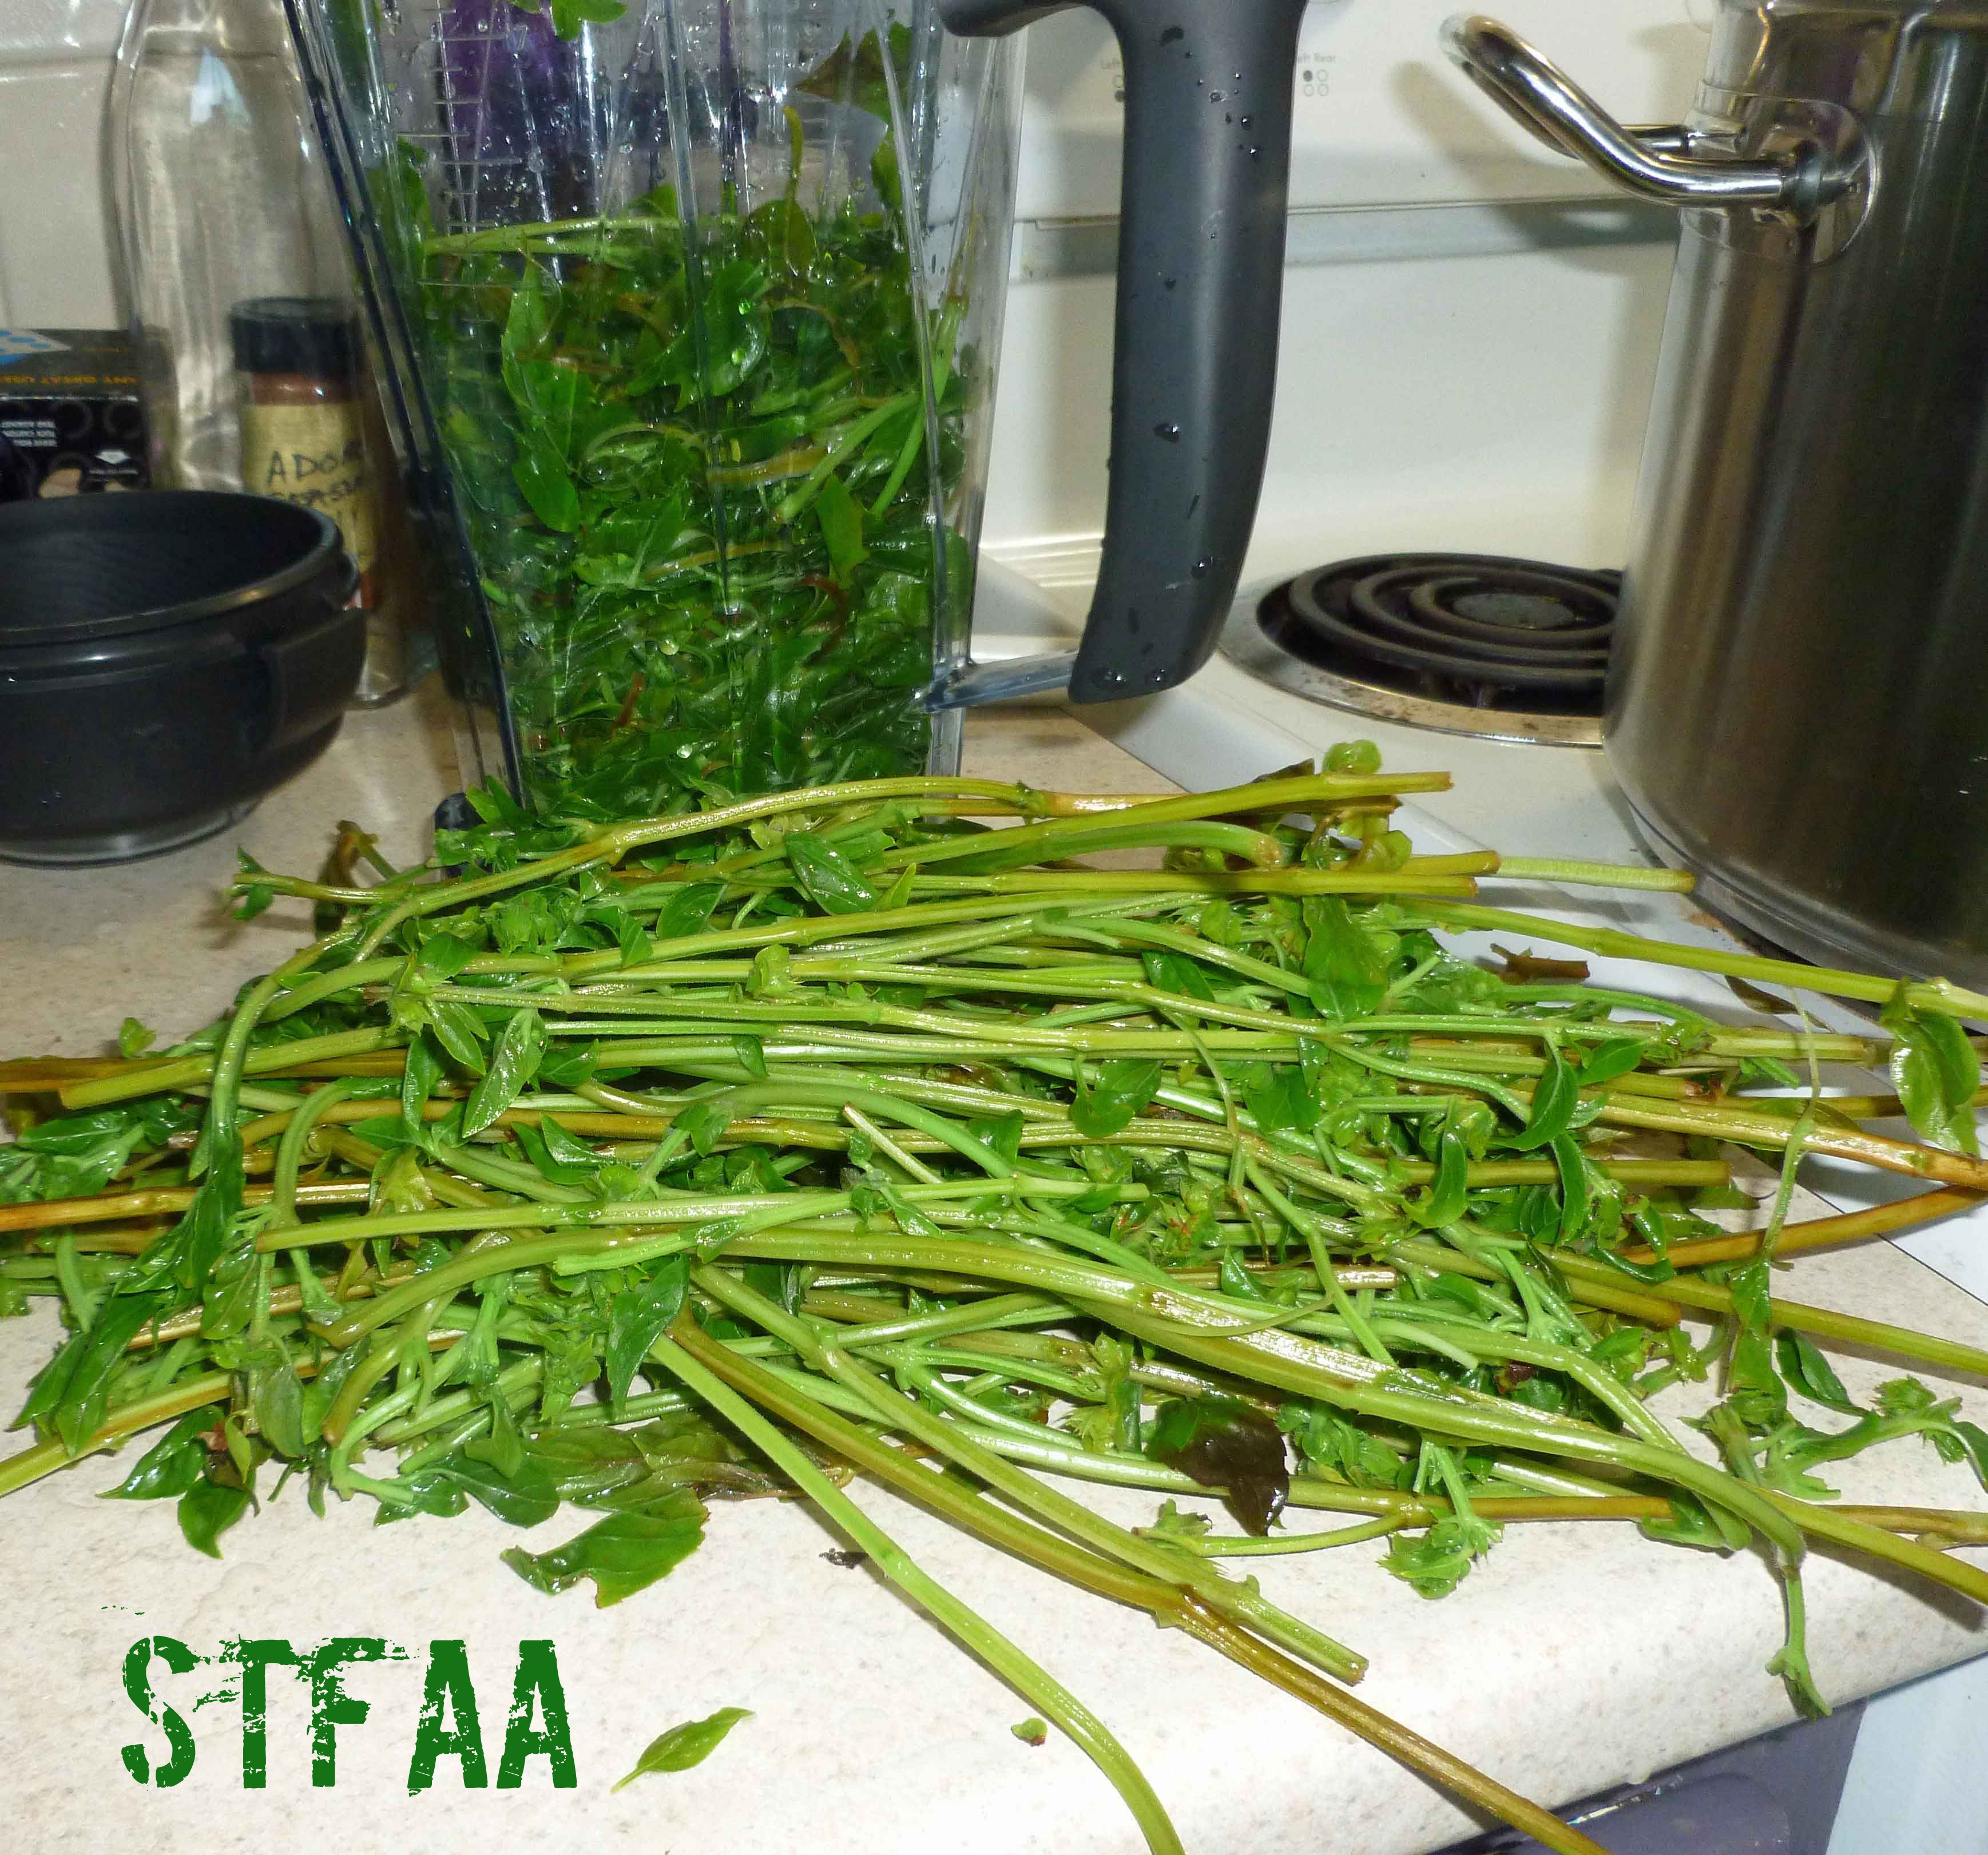
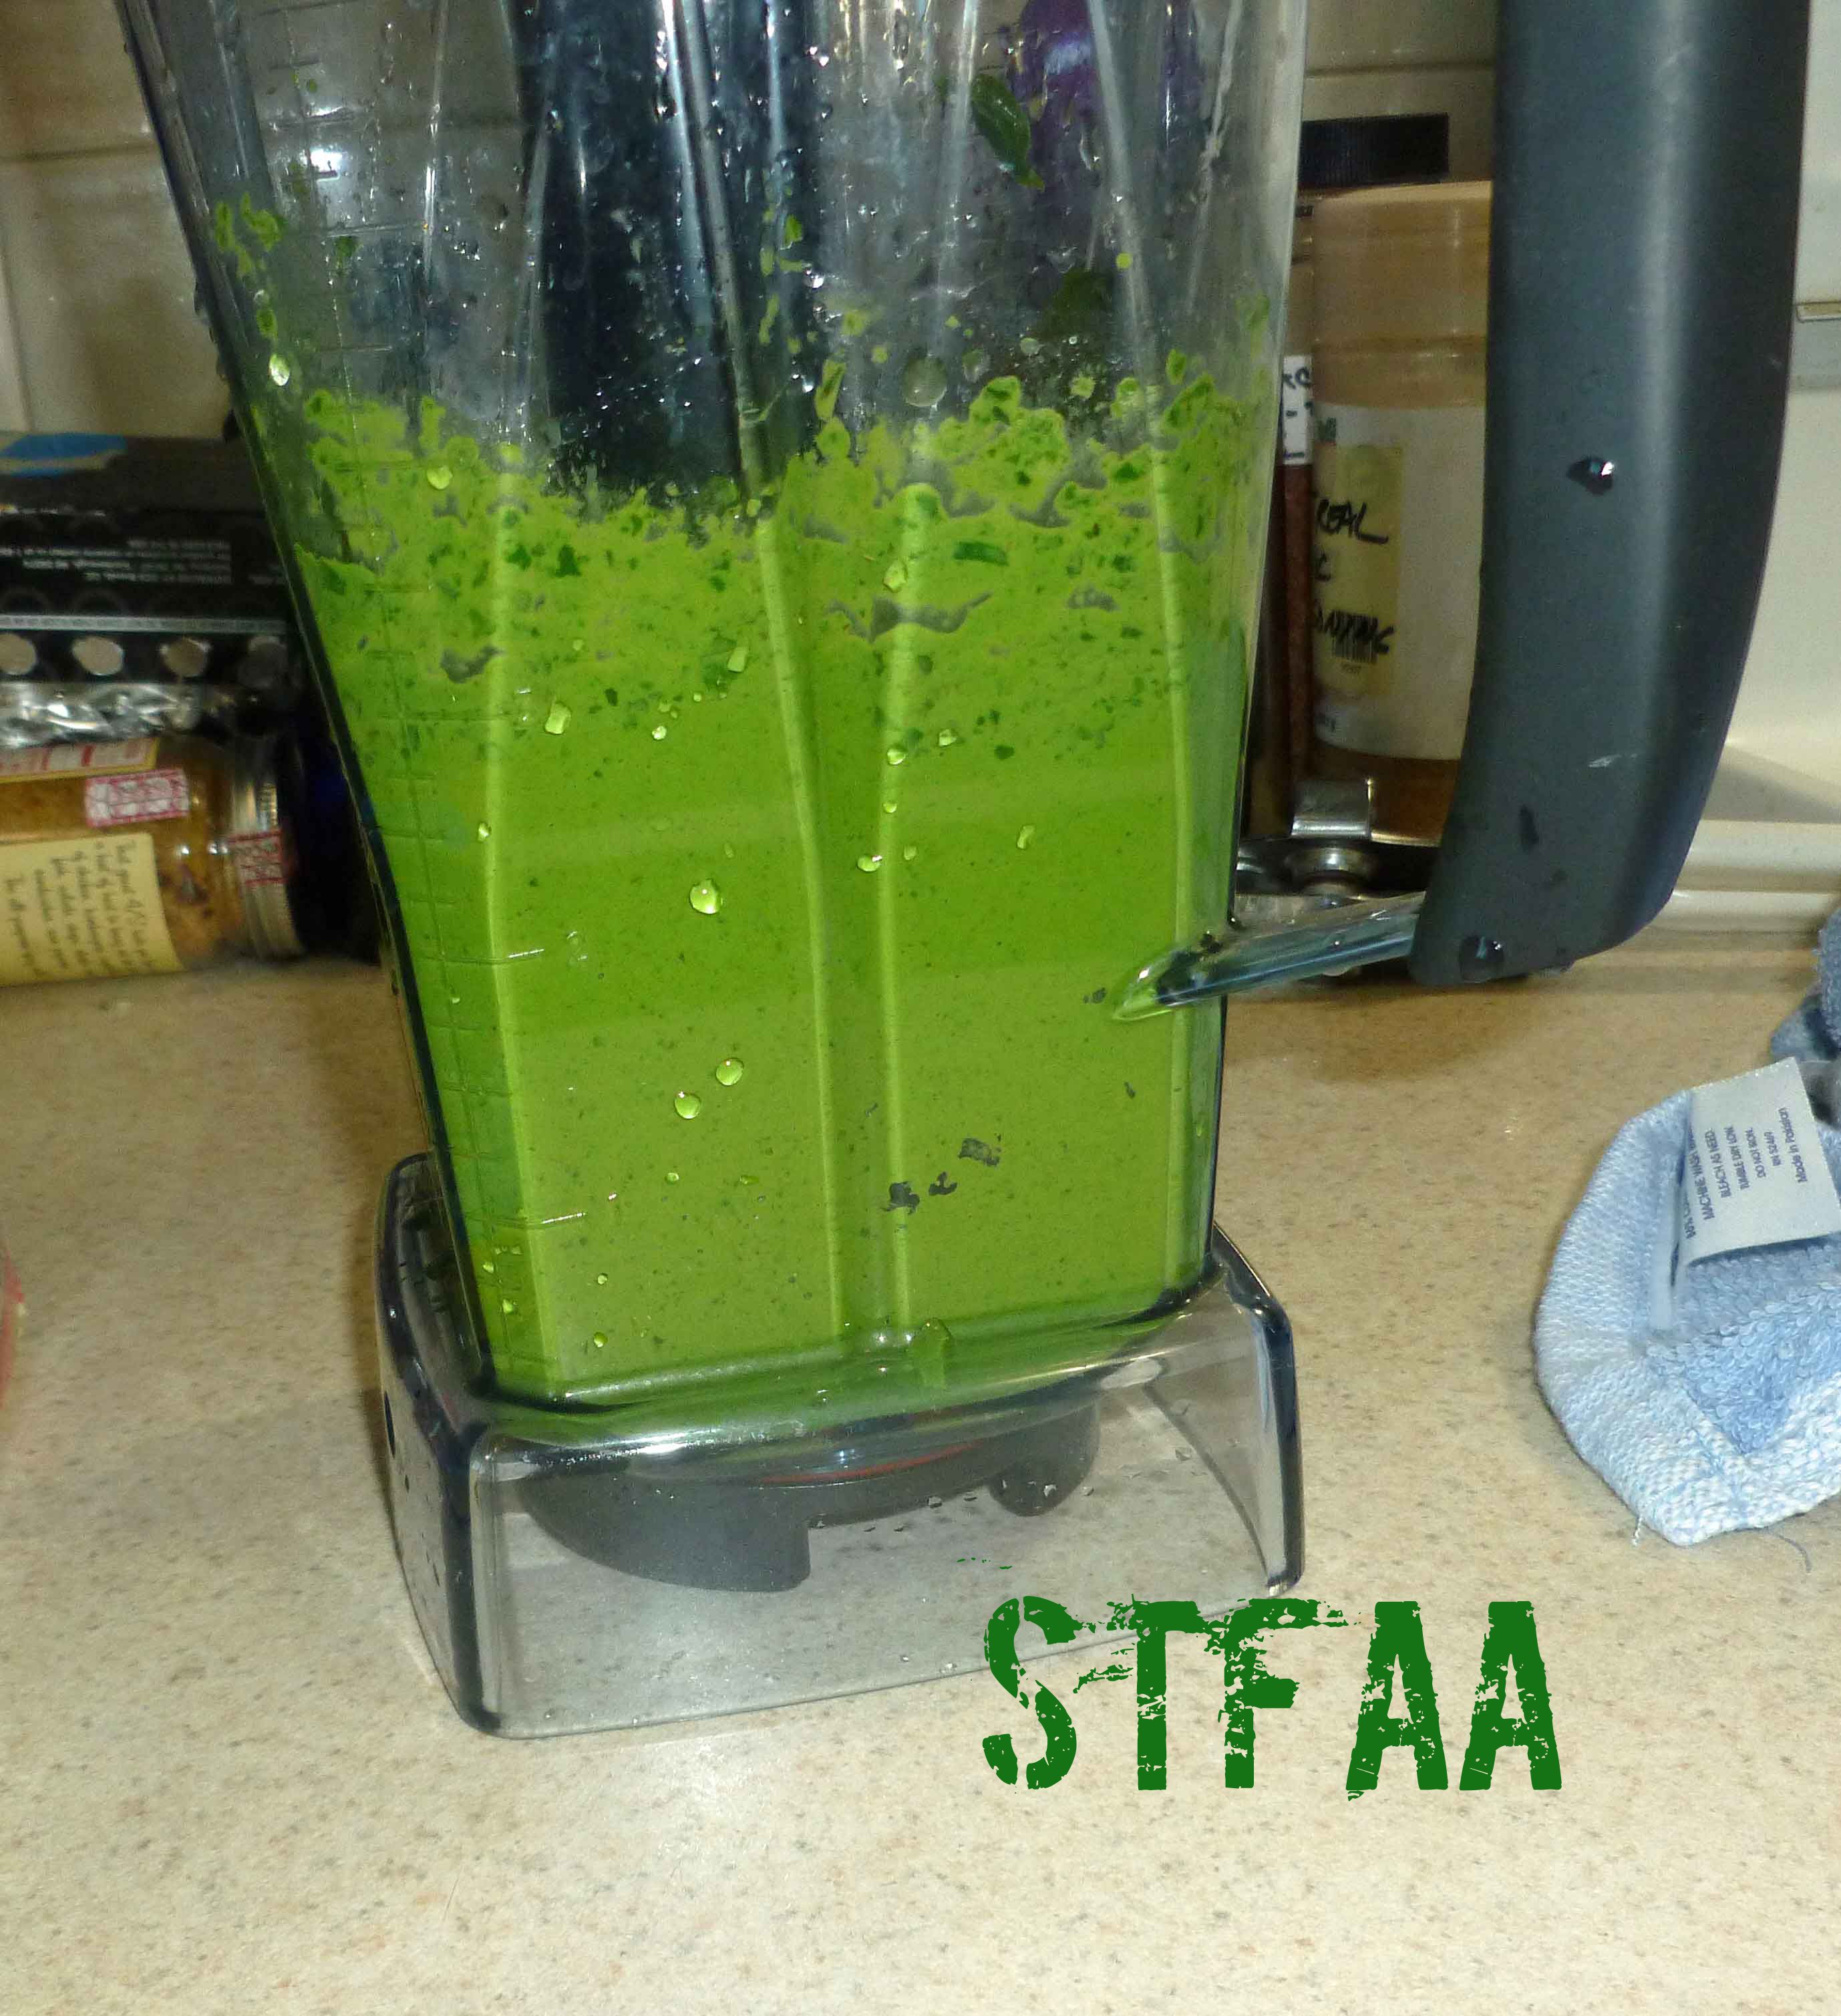
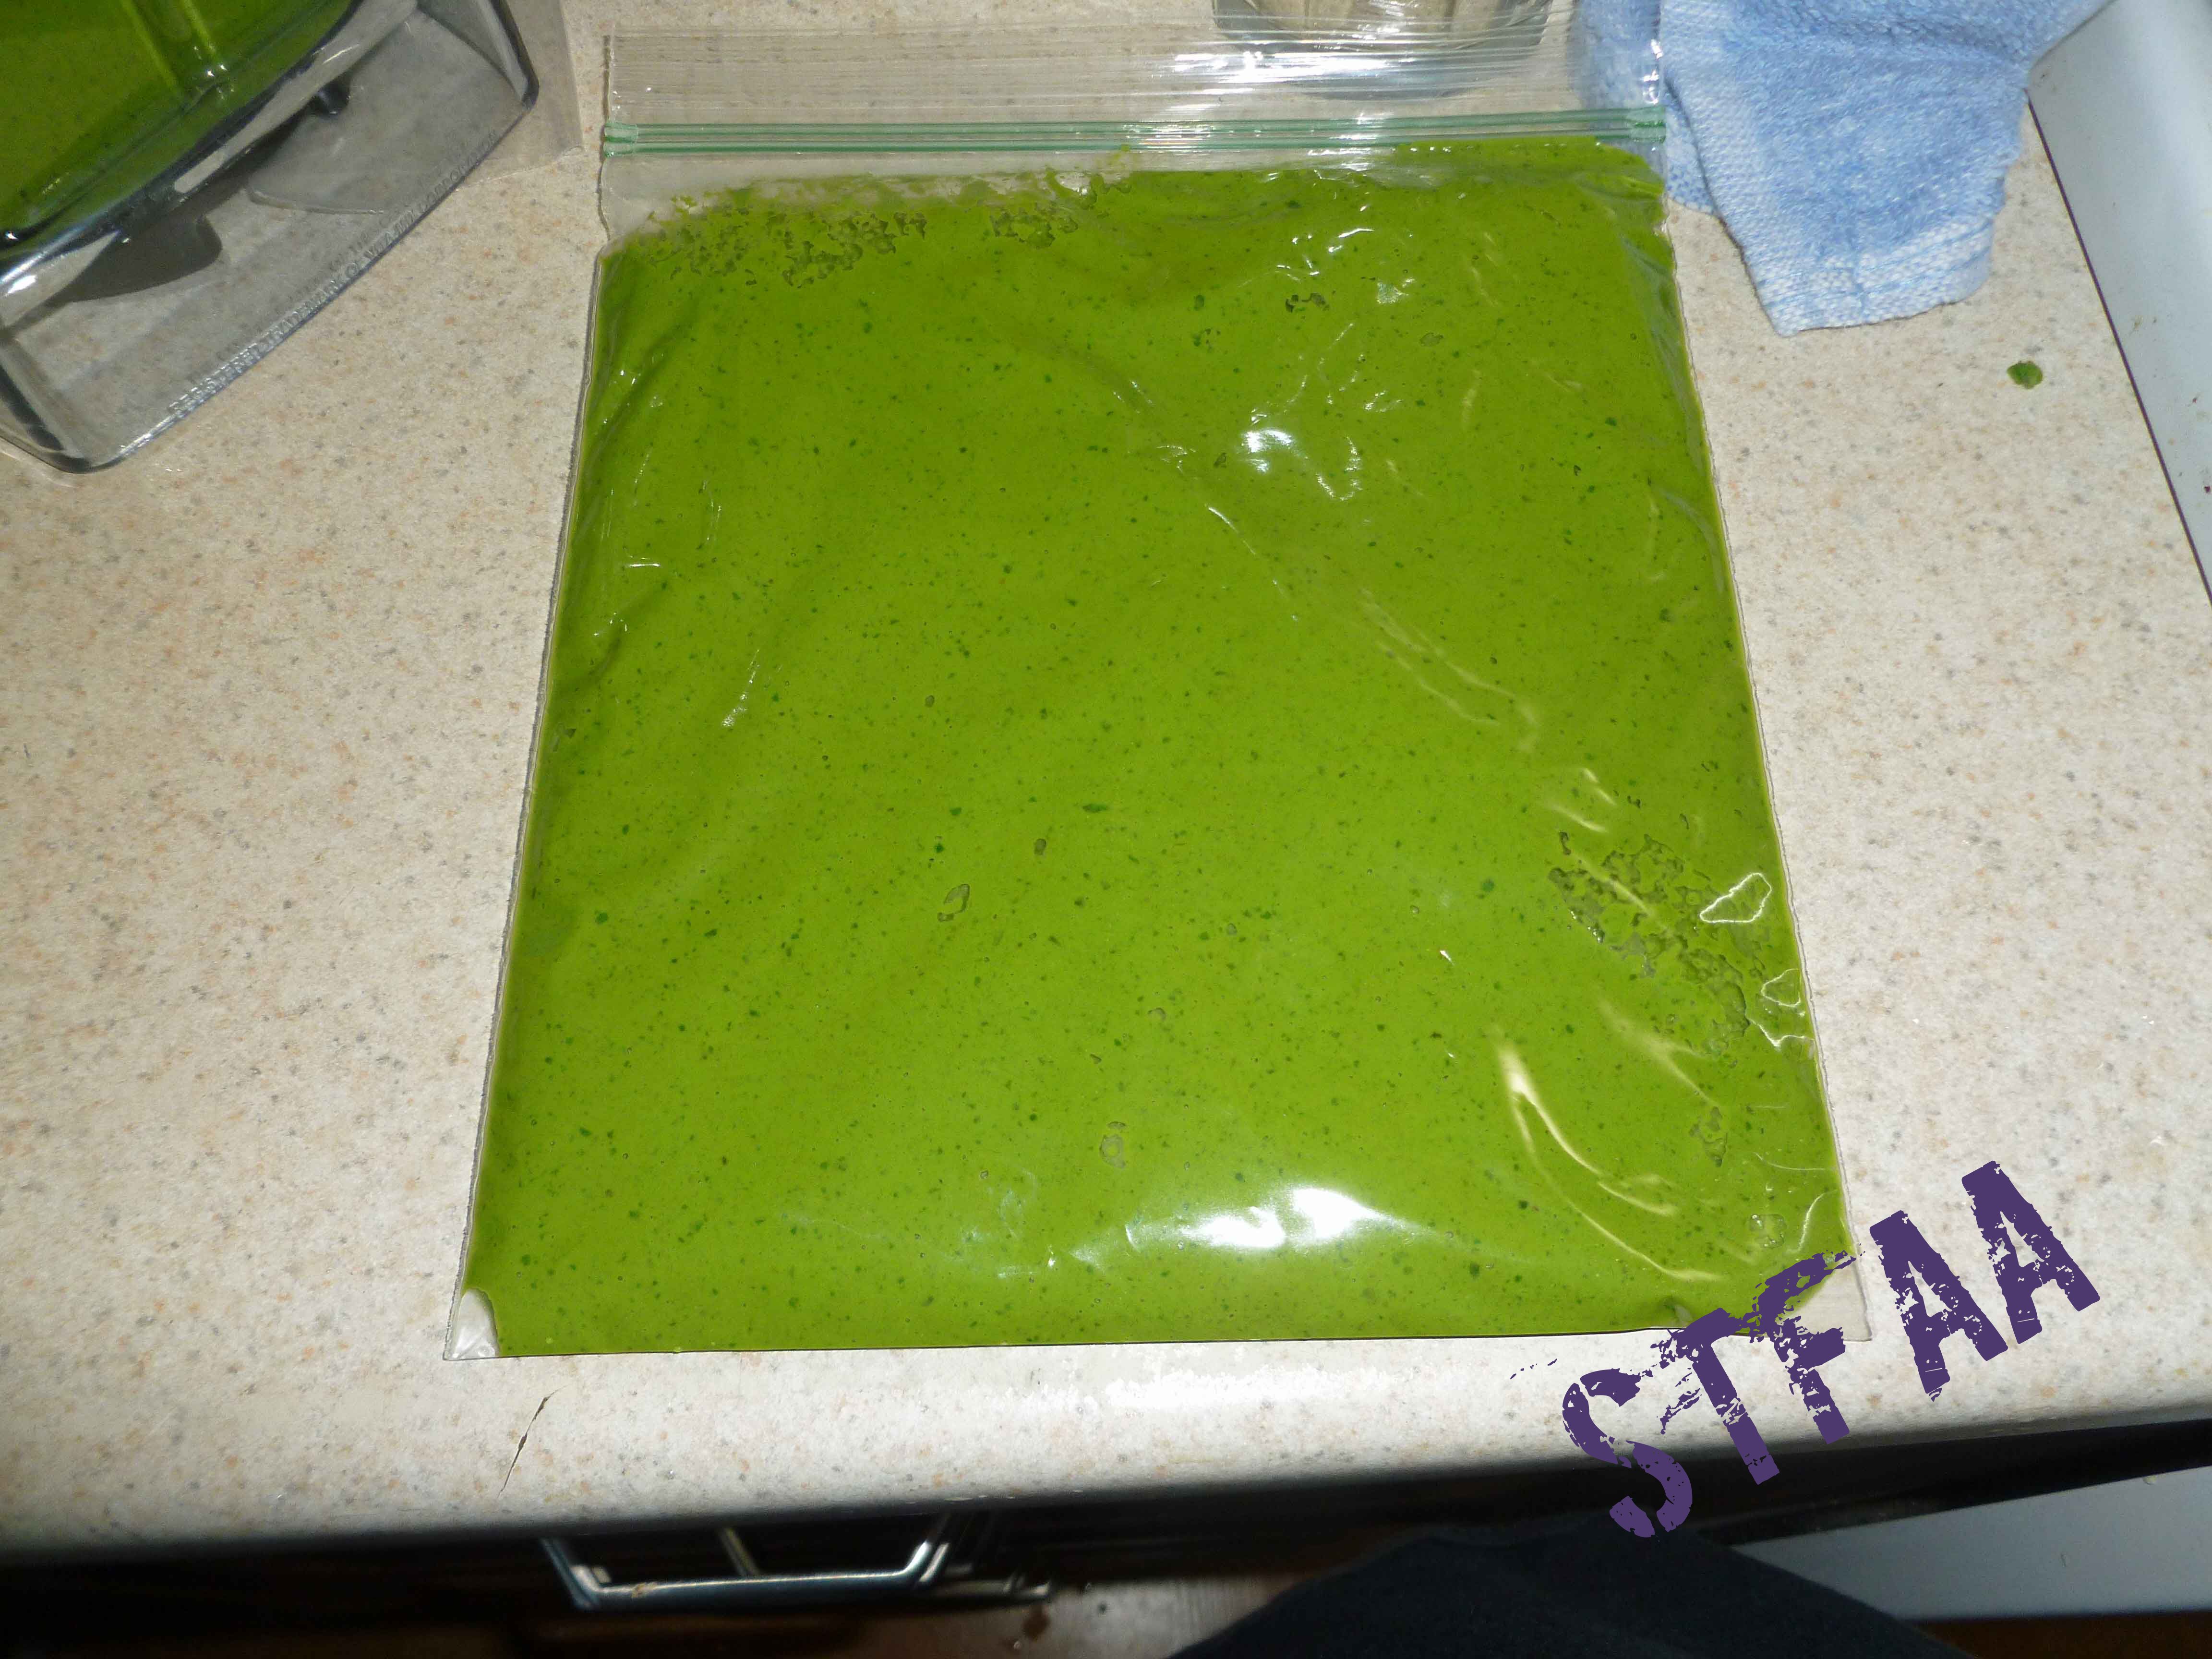
    5. Strip leaves off the stems and add the leaves to the blender. Add enough oil to make a paste and blend.
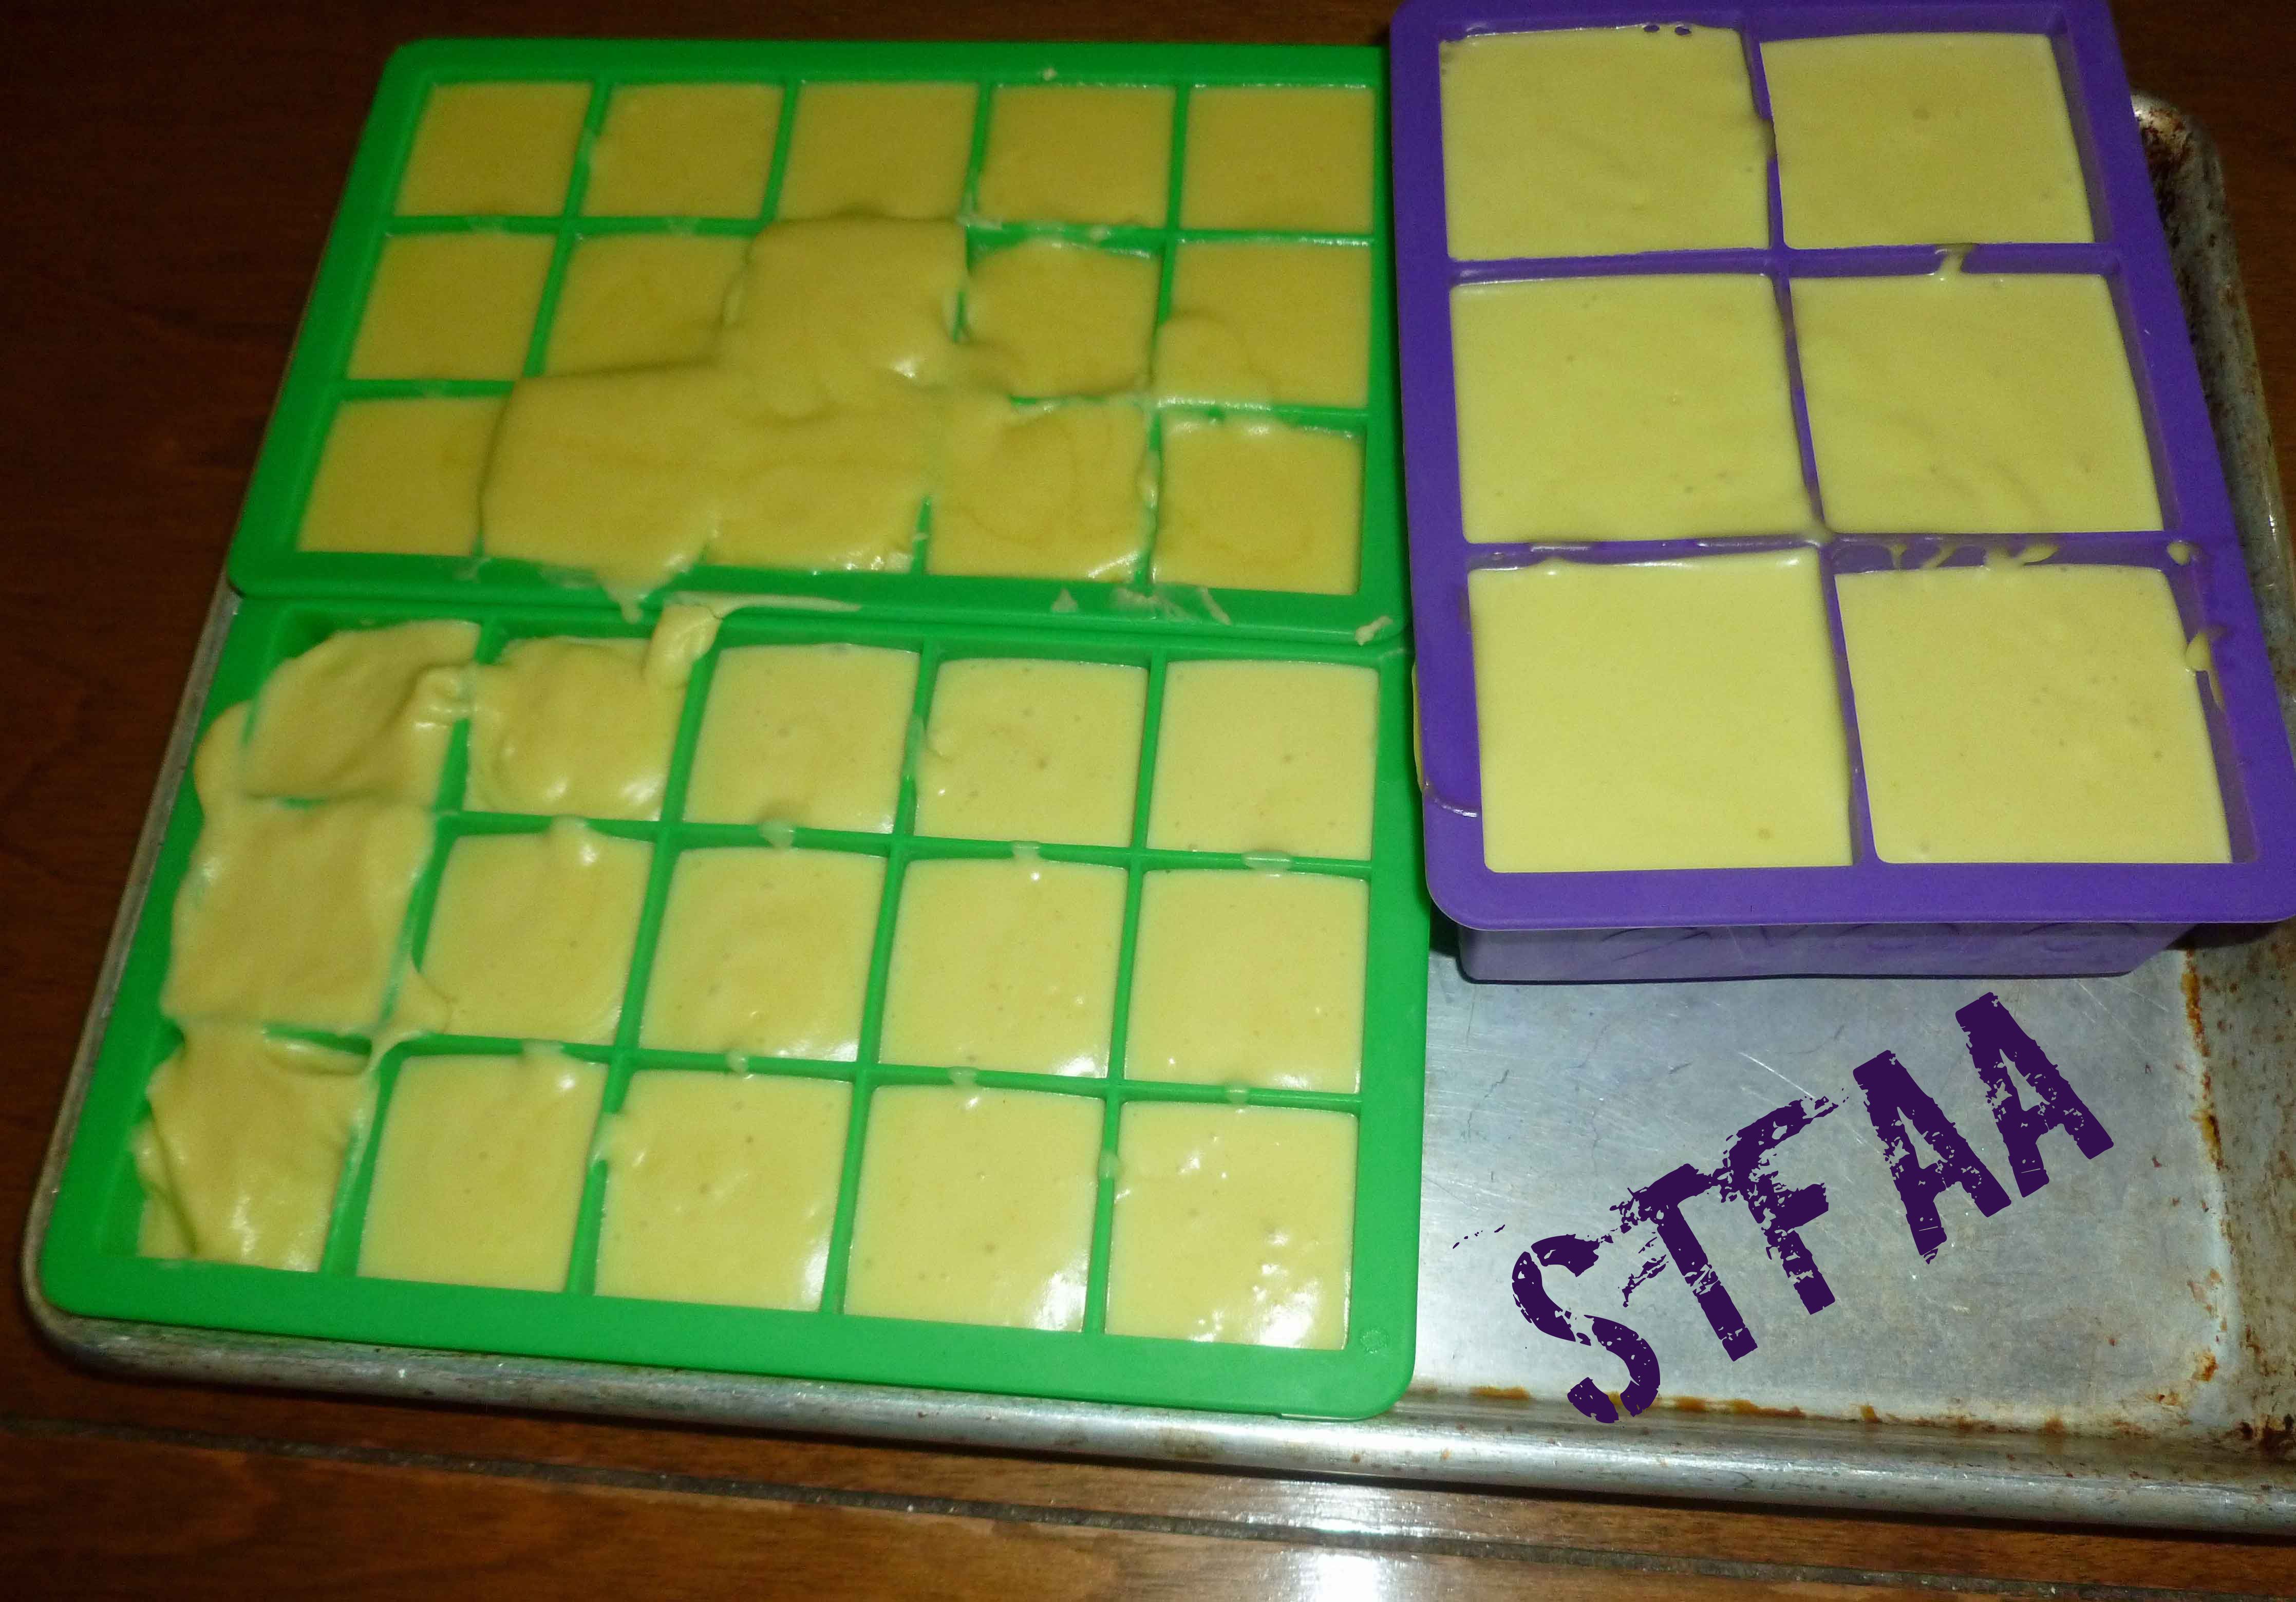
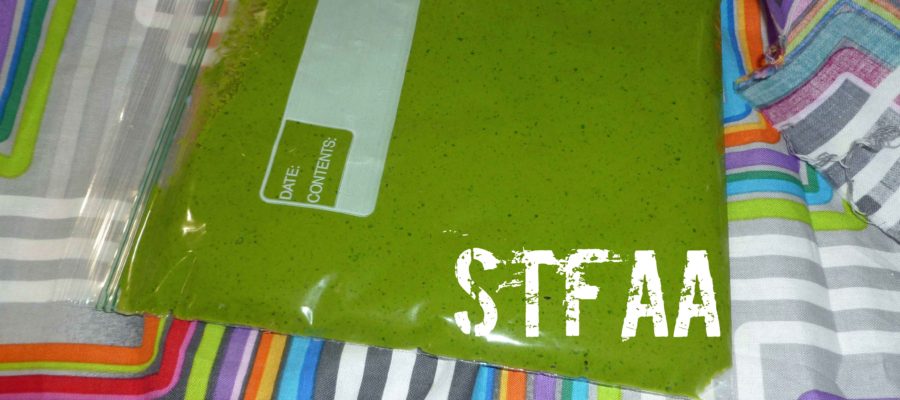
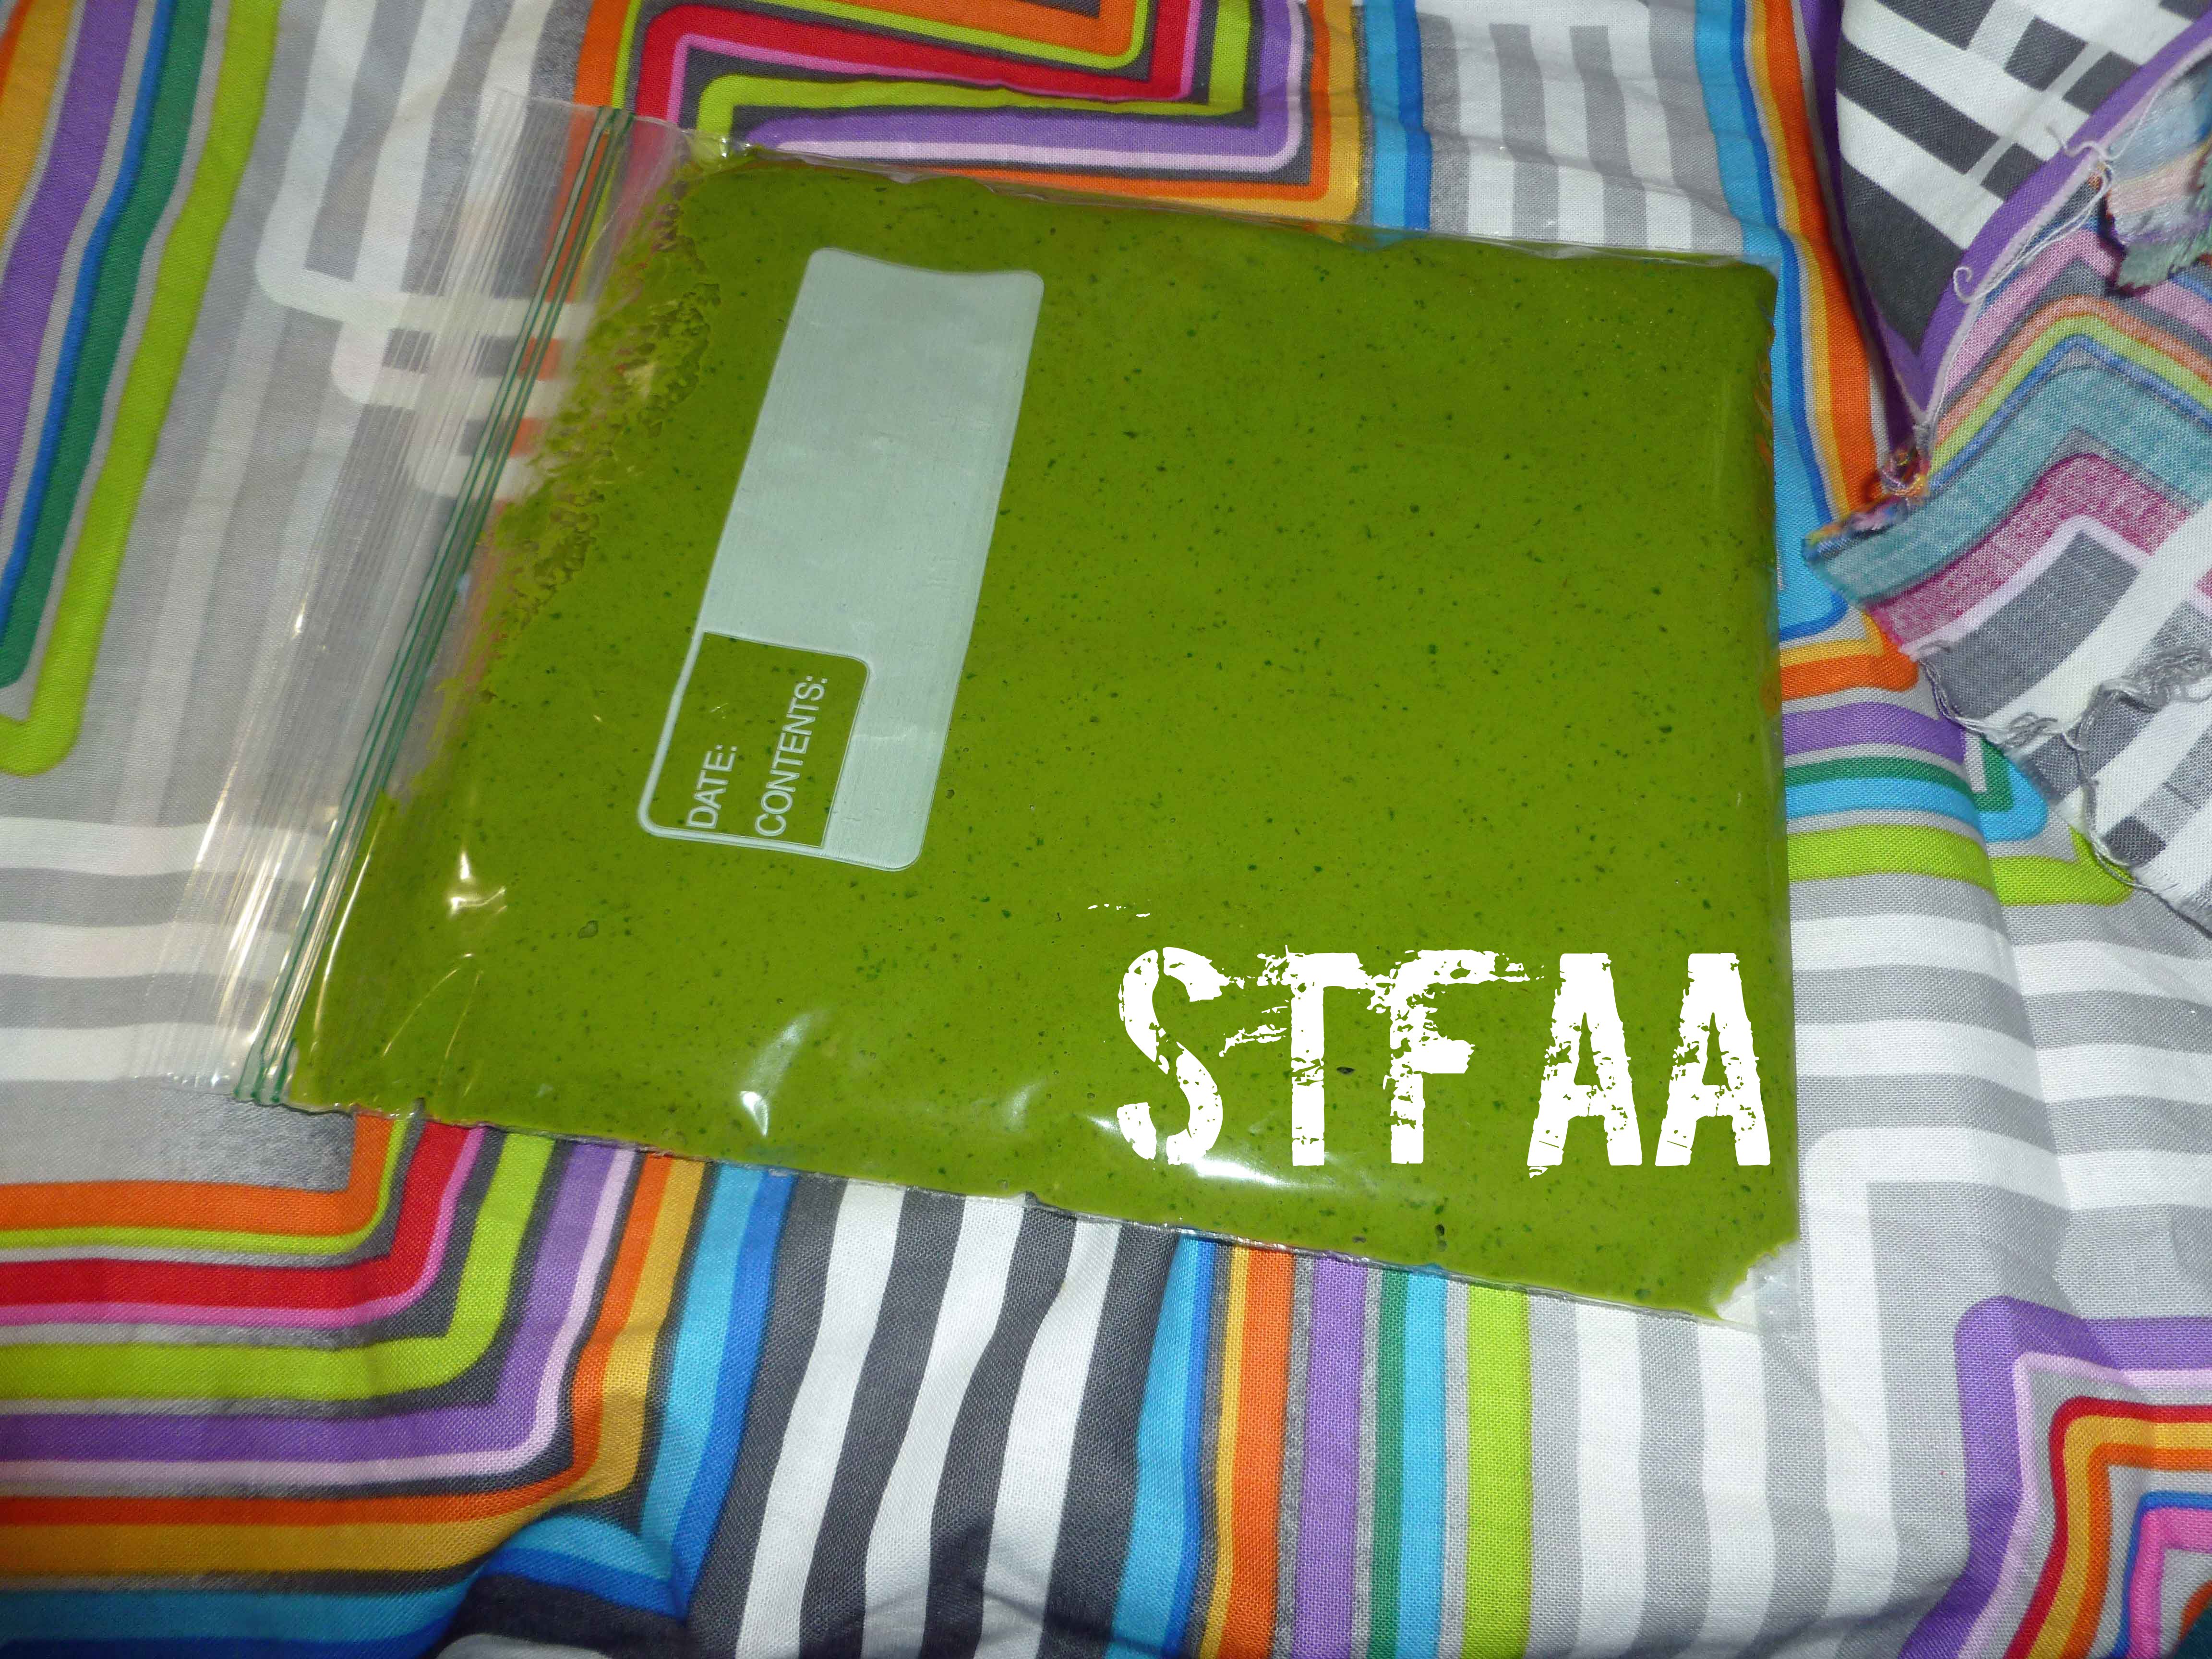
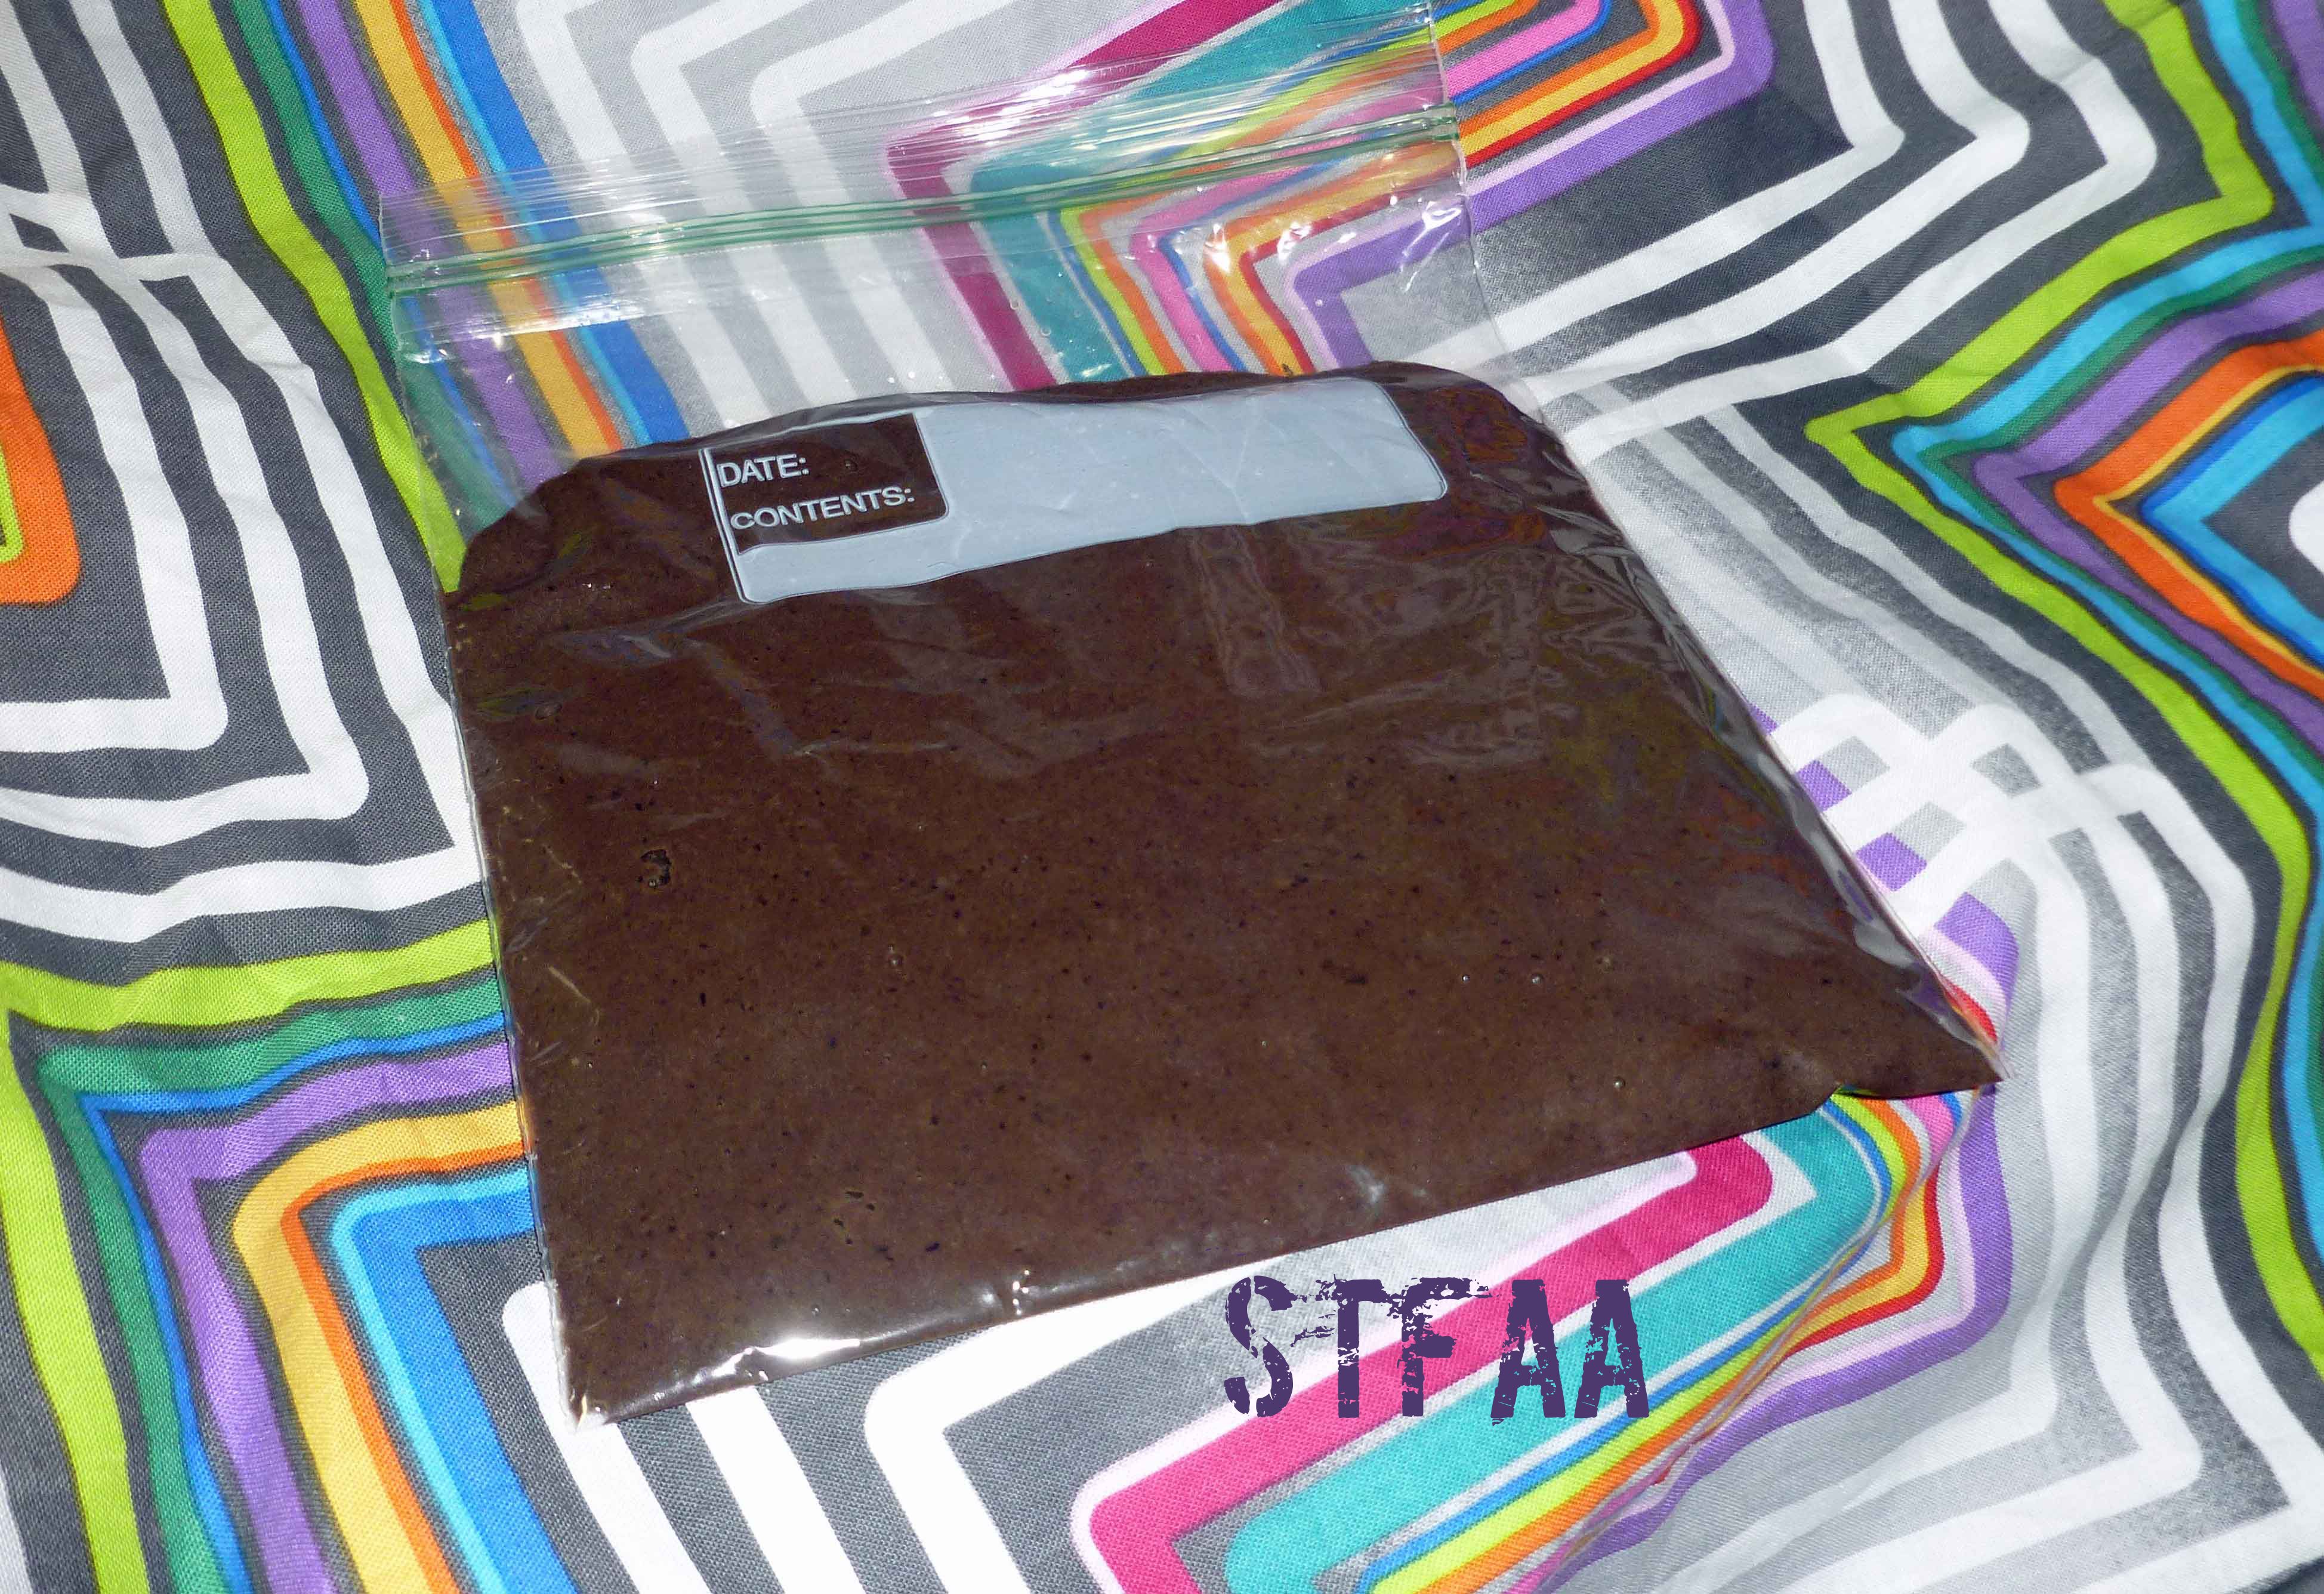
    6. Place paste in ice cube trays or in quart zip top freezer bags. Only fill the zip top bags half full so that you can spread the paste out to freeze in a thin, flat sheet so you can break off what you need without thawing the whole thing.
    Share this Recipe
    Powered byWP Ultimate Recipe


  • Another DIY Spice Blend Round Up – Greek Seasoning, Prime Rib Seasoning, and Italian Seasoning

    Another DIY Spice Blend Round Up – Greek Seasoning, Prime Rib Seasoning, and Italian Seasoning

    From left to right: Greek Seasoning, Prime Rib Seasoning & Italian Seasoning
    From left to right: Greek Seasoning, Prime Rib Seasoning & Italian Seasoning

    Well, I’m a bit overwhelmed with other projects in real life right now and the recipe I wanted to make for you guys is not really going well. It needs at least two more attempts before I get it to a place that’s blog worthy. But fear not, there will be a post.

    Regular readers and my friends in real life are aware of my spice addiction. My collection has 186 entries on my google docs inventory spreadsheet and is housed by a bookshelf, a spice cabinet that’s 12″x12″x48″, and half an armoire style cabinet. One of the problems I encountered when the corn allergy hit was that many of my spice blends were no longer safe due to anti-caking agents and actual ingredients (citric acid) on the label, or that many of them I didn’t tolerate well anymore due to cross contamination issues. I do very well with Penzey’s or Frontier single spices, but blends can be an issue.  So I recreate my favorite blends. You may remember a prior post I did on spices DIY Spice Mix Day – Montreal Steak, Creamy Peppercorn, Singapore, and Full of Flavor Herb Mix.  Since I thought it might be helpful for other people, I decided to share three more of my mixtures that I use constantly.

    Greek seasoning is something I use almost daily. I put it in vinaigrette salad dressings, I toss vegetables with it and some olive oil and roast them, and I use it on steamed vegetables with a bit of olive oil instead of butter (I have a dairy allergy and I only use my homemade margarine for special occasions as it’s a pain to make). I keep a shaker on the table at home and one at work for lunches there. I make a pint jar of this at a time, but this recipe is a little less than cup and it’s easy to cut in half if you just want to try it.


    Notice: Trying to access array offset on value of type bool in /home/maryzahc/public_html/adultfoodallergies.com/wp-content/plugins/wp-ultimate-recipe/helpers/models/recipe.php on line 254
    Greek Seasoning
    Print Recipe
    Great for vegetables, salad dressings, and just as an every day seasoning in place of salt or pepper (although it has salt and pepper in it).
    Servings Prep Time
    3/4 cup 5 minutes
    Servings Prep Time
    3/4 cup 5 minutes
    Greek Seasoning
    Print Recipe
    Great for vegetables, salad dressings, and just as an every day seasoning in place of salt or pepper (although it has salt and pepper in it).
    Servings Prep Time
    3/4 cup 5 minutes
    Servings Prep Time
    3/4 cup 5 minutes
    Ingredients
    • 4 tbsp sea salt
    • 4 tbsp dried oregano (The Mediterranean variety is best in this blend)
    • 2 tbsp dried minced garlic
    • 2 tsp lemon peel powder
    • 2 tsp ground black pepper
    • 2 tsp dried marjoram
    Servings: cup
    Instructions
    1. Place all ingredients in a blender and blend until combined. Store in an airtight container. Enjoy!
    Share this Recipe
     
    Powered byWP Ultimate Recipe

    Prime Rib Seasoning is a blend that I use primarily for beef roasts. It’s unbelievable as a rub on prime rib roasts or other beef oven roasts, great to season stew beef before searing it and to season the beef stew itself, and I also use it to season pot roasts before searing and braising in the oven.


    Notice: Trying to access array offset on value of type bool in /home/maryzahc/public_html/adultfoodallergies.com/wp-content/plugins/wp-ultimate-recipe/helpers/models/recipe.php on line 254
    Prime Rib Seasoning
    Print Recipe
    Seasoning to use on prime rib and other beef roasts, beef stew, and pot roasts. (The blend itself is vegan, it’s the use that isn’t, but I bet it’d be great in a root vegetable stew).
    Servings Prep Time
    1/2 cup 5 minutes
    Servings Prep Time
    1/2 cup 5 minutes
    Ingredients
    • 3 tbsp celery seed
    • 2 tbsp sugar
    • 1 tbsp sea salt
    • 2 tsp ground black pepper
    • 2 tsp onion powder
    • 2 tsp garlic powder
    • 1 tsp arrowroot
    Servings: cup
    Instructions
    1. Place all ingredients in a blender and blend until celery seed is ground. Store in airtight container. Enjoy!
    Share this Recipe
     
    Powered byWP Ultimate Recipe

    Italian Seasoning is a blend that was always in your spice cabinet if you grew up where I did. It got added to all manner of crock pot creations, soups, stews, and tomato sauces. It was an easy way of adding basic seasonings, such as oregano, basil, thyme, rosemary, marjoram and sage, without actually having to buy all those seasonings. Since my husband does a lot of crock pot recipes, and since I still use Italian seasoning as a crutch at times, even though I have all that stuff in my spice cabinet, and since I’m concerning about cross contamination in blends, I mix up my own now. This recipe makes about a cup, but we make a quart at a time because we do fly through it pretty quickly. A quart might last us three months.


    Notice: Trying to access array offset on value of type bool in /home/maryzahc/public_html/adultfoodallergies.com/wp-content/plugins/wp-ultimate-recipe/helpers/models/recipe.php on line 254
    Italian Seasoning
    Print Recipe
    Basic Italian Seasoning blend
    Servings Prep Time
    1 cup 5 minutes
    Servings Prep Time
    1 cup 5 minutes
    Italian Seasoning
    Print Recipe
    Basic Italian Seasoning blend
    Servings Prep Time
    1 cup 5 minutes
    Servings Prep Time
    1 cup 5 minutes
    Ingredients
    • 2 tbsp dried marjoram
    • 2 tbsp dried thyme
    • 4 tsp dried rosemary (If whole, use a mortar and pestle or a spoon and a bowl to break into smaller pieces)
    • 4 tsp dried oregano (the Mediterranean variety is best here)
    • 4 tsp dried basil
    • 2 tsp dried rubbed sage
    Servings: cup
    Instructions
    1. Put all ingredients in a bowl and mix until thoroughly combined. Store in an air tight container. Voila!
    Share this Recipe
     
    Powered byWP Ultimate Recipe

    Go out and season your food! Let us know if there are blends you are missing that you’d like us to try to create/recreate for you.


  • Homemade Margarine, New and Improved

    Homemade Margarine, New and Improved

    Homemade Margarine, New and Improved
    Homemade Margarine, New and Improved

    Some of you may remember when I posted about my margarine experiments in a Whatever Wednesday post. I’ve been using it for a while, but I wasn’t completely happy with it. The psyllium husk powder I used as an emulsifier didn’t melt well when I wanted to use it for things like lobster and there were gummy bits. Since my experiments with making Aquafaba Vegan Salad Dressing went so well and worked so well to emulsify the oils, I started wondering about it. And then I saw a post for a recipe for a Vegan Aquafaba Butter that one of the people in the Vegan Meringue – Hits and Misses! Facebook group for aquafaba developed, but I don’t have a safe, solid fat other than home rendered lard and home rendered beef tallow due to my allergies. So I decided to go back and play with my original recipe and add aquafaba. I doubled the recipe and switched out some of the cashew milk for aquafaba. It worked, and the margarine is perfect. There’s no gummy bits, the butter is spreadable at refrigerator temperature on hot steamed veggies and potatoes, and it’s much more like butter than before. Now I just need to find a bread that works for me again, because I need to eat this with toast.

    Homemade Margarine, New and Improved on steamed broccoli
    Homemade Margarine, New and Improved on steamed broccoli
    Homemade Margarine, New and Improved on baked potato
    Homemade Margarine, New and Improved on baked potato

    My original post about my WW: Homemade Margarine Experiments has links to information about rendering your own lard and tallow, if you have to do it yourself. (I do, fricking corn). I also used silicone ice cube trays to freeze the margarine into cubes.  Once it’s hardened, I place it in to zip top bags to keep in the freezer.  It lasts longer and I can just grab a cube or two when I need them.

    Homemade Margarine, New and Improved in silicone ice cube trays before freezing
    Homemade Margarine, New and Improved in silicone ice cube trays before freezing

    Notice: Trying to access array offset on value of type bool in /home/maryzahc/public_html/adultfoodallergies.com/wp-content/plugins/wp-ultimate-recipe/helpers/models/recipe.php on line 254
    Homemade Margarine, New and Improved
    Print Recipe
    A replacement for margarine when you can’t have commercial products, commercial shortenings or coconut oil.
    Servings Prep Time
    2 cups 15 minutes
    Servings Prep Time
    2 cups 15 minutes
    Homemade Margarine, New and Improved
    Print Recipe
    A replacement for margarine when you can’t have commercial products, commercial shortenings or coconut oil.
    Servings Prep Time
    2 cups 15 minutes
    Servings Prep Time
    2 cups 15 minutes
    Ingredients
    • 2 ounces lard (I use my home rendered lard)
    • 2 ounces tallow (I use my home rendered tallow)
    • 1 cup olive oil
    • 1/3 cup cashew milk or other non-dairy milk (I use my homemade cashew milk)
    • 1/3 cup aquafaba (See aquafaba.com)
    • 1/2 teaspoon lemon juice (I used fresh squeezed lemon juice)
    • 1/2 teaspoon apple cider vinegar (Bragg’s is usually the safest option corn allergy wise)
    • 1 teaspoon sea salt
    • 1/4 teaspoon ground turmeric
    Servings: cups
    Instructions
    1. Melt lard and beef tallow together in a double boiler. While waiting for it to melt, add all the other ingredients except the olive oil in a blender.
    2. Once the lard and tallow are melted, add the olive oil to them, and stir to combine. Remove the double boiler from the heat.
    3. Start blending the ingredients in the blender, and through the hole in the lid, very slowly pour the lard, tallow, and olive oil mixture into the blender in a fine stream. Continue pouring until the whole mixture has been added to the blender and blend until completely mixed.
    4. Once it’s completely mixed, pour the margarine into a silicone ice cube tray, or into other freezer safe containers. Place the trays/containers into the freezer until the margarine sets. I empty the silicone ice cube trays into a zip top bag so that it lasts longer and I can grab a bit of margarine when I want.
    Share this Recipe
     
    Powered byWP Ultimate Recipe
  • Gluten-Free Vegan Tortillas and/or Pita Chips

    Gluten-Free Vegan Tortillas and/or Pita Chips

    Gluten-Free Vegan Tortillas
    Gluten-Free Vegan Tortillas
    Gluten-free Vegan Tortilla Chips
    Gluten-free Vegan Tortilla Chips

    Gluten-Free Vegan Tortillas and/or Pita Chips

    So you’re probably saying, ‘Denise, shouldn’t this be Gluten-Free Vegan Tortillas and Tortilla Chips, not Pita Chips’?  And yes, that would seem to make sense, except that the dough when baked tastes more like pita chips than tortilla chips.  If you baked or fried the tortillas after making them, maybe it’d be closer to tortilla chips, but I haven’t tried that yet. If you do, let us know.

    This dough was originally designed to be baked to be chips, so there’s oil in it.  However, I decided to just roll some out and cook it like a tortilla to see what happened.  I got a pliable tortilla, which I hadn’t been able to do with other gluten-free tortilla experiments. So it’s not the most traditional tortilla, but hey, for a wheat-free, dairy-free, corn-free tortilla, that doesn’t break in half when you bend it and I might actually be able to make soft tacos, fajitas, and enchiladas again, whatever, I’m sold.  Just as a note, whether you decide to make the chips or the tortillas, you’re going to need parchment paper. These need to be rolled out really, really thin.

    You all know that my style is normally to give you every step with a picture and then give you the recipe card at the end. But, I was in a hurry and didn’t take as many pictures as I should have, and it’s much harder to do with two recipes in one post.  So I’ll give you what I have for in-process photos, and then the recipe cards.

    So first, the in-process photos of the tortillas:

    Tortilla after being flipped on skillet from parchment paper
    Tortilla after being flipped on skillet from parchment paper
    Tortilla cooking on cast iron skillet
    Tortilla cooking on cast iron skillet
    Pliable tortilla! Yay!
    Pliable tortilla! Yay!

    Notice: Trying to access array offset on value of type bool in /home/maryzahc/public_html/adultfoodallergies.com/wp-content/plugins/wp-ultimate-recipe/helpers/models/recipe.php on line 254
    Gluten-Free Vegan Tortillas
    Print Recipe
    Servings Prep Time
    5 Tortillas 15 minutes
    Cook Time
    2-3 minutes a side
    Servings Prep Time
    5 Tortillas 15 minutes
    Cook Time
    2-3 minutes a side
    Gluten-Free Vegan Tortillas
    Print Recipe
    Servings Prep Time
    5 Tortillas 15 minutes
    Cook Time
    2-3 minutes a side
    Servings Prep Time
    5 Tortillas 15 minutes
    Cook Time
    2-3 minutes a side
    Ingredients
    • 1 15 ounce can drained and rinsed garbanzo beans (I used home canned. Save the aquafaba and freeze it for when you need it.)
    • 1 teaspoon salt
    • 1/4 cup olive or other safe-for-you oil
    • 1 cup glutinous rice flour (you’ll also need a bit extra for rolling out the dough)
    • cast iron skillet
    • blender
    • mixer
    • parchment paper
    Servings: Tortillas
    Instructions
    1. Place drained and rinsed garbanzo beans, the salt, and the olive oil into a blender, and blend until smooth. Place the mixture into a mixer and using the flat beater on medium low speed, slowly add the glutinous rice flour, beating until dough comes together.
    2. Using a piece of parchment paper dusted with some of the glutinous rice flour, roll out a portion of the dough about the size of an apple or to fit the size of your cast iron skillet, to a thickness of about an 1/8th of an inch.
    3. Place a cast iron skillet over medium low heat. When it is hot, use the parchment paper to transfer the tortilla to the skillet. Flip it onto the skillet and peel the parchment paper off. Cook the tortilla for 3-4 minutes each side or until it is golden brown.
    Share this Recipe
     
    Powered byWP Ultimate Recipe

    Now, here’s what I have for the pita chips:

    Pita Chips just out of the oven
    Pita Chips just out of the oven
    Pita Chip thickness after baking
    Pita Chip thickness after baking

    Notice: Trying to access array offset on value of type bool in /home/maryzahc/public_html/adultfoodallergies.com/wp-content/plugins/wp-ultimate-recipe/helpers/models/recipe.php on line 254
    Gluten-Free Vegan Pita Chips
    Print Recipe
    Servings Prep Time
    30-40 chips 15 minutes
    Cook Time
    25 minutes
    Servings Prep Time
    30-40 chips 15 minutes
    Cook Time
    25 minutes
    Gluten-Free Vegan Pita Chips
    Print Recipe
    Servings Prep Time
    30-40 chips 15 minutes
    Cook Time
    25 minutes
    Servings Prep Time
    30-40 chips 15 minutes
    Cook Time
    25 minutes
    Ingredients
    • 1 15 ounce can drained and rinsed garbanzo beans (I used home canned. Save the aquafaba and freeze it for when you need it.)
    • 1 teaspoon salt
    • 1/4 cup olive or other safe-for-you oil
    • 1 cup glutinous rice flour (you’ll also need a bit extra for rolling out the dough)
    • baking sheet
    • blender
    • mixer
    • parchment paper
    Servings: chips
    Instructions
    1. Preheat your oven to 375°F.
    2. Place drained and rinsed garbanzo beans, the salt, and the olive oil into a blender, and blend until smooth. Place the mixture into a mixer and using the flat beater on medium low speed, slowly add the glutinous rice flour, beating until dough comes together.
    3. You will need to do a couple of batches to bake all of the chips. Cover your baking sheet with a sheet of parchment paper. Dust the parchment paper with some of the glutinous rice flour. Roll out about a third of the dough to a thickness of about an 1/8th of an inch, the thinner the better. Use a sharp knife to score lines through the dough the size you’d like your chips, being careful not to cut through the parchment paper.
    4. Place the baking sheet in your preheated oven and bake for 25 minutes or until the chips are golden brown.
    Share this Recipe
     
    Powered byWP Ultimate Recipe

    Enjoy!

  • “Eggy” Burmese Tofu

    “Eggy” Burmese Tofu

    "Eggy" Burmese Tofu
    “Eggy” Burmese Tofu

    I made this recipe from Girl Cooks World as part of a weekend of making random tofu experiments. I used besan flour (very finely ground chickpeas) and got a very smooth tofu, but it was more like a silken tofu. When I fried it in sticks, trying to emulate panisee, the interior got soft and gooey, and the outside was crispy but sort of flaked off.  When I ate it, it reminded me of vaguely of egg. So I decided to try to capitalize on that and try to improve upon it, to try to get an egg substitute to use in dishes that were pretty egg-y, quiche for example.  I thought the original texture was a little soft for what I wanted to use it for, so I kicked up the amount of flour a bit, added some Kala Namak Salt/Indian Black Salt to make it more “egg-y”, and added a bit more turmeric for color.

    I’ve pan fried it with onions for a “scrambled” egg breakfast, and made a breakfast casserole/quiche-like dish with it, which will appear on the blog soon.  In the meantime, if anyone else experiments with it, and finds some good stuff to do with, please let us know!

    “Eggy” Burmese Tofu

    Makes a 8 inch by 8 inch baking pan of tofu.

    • 2 1/2  cups of chickpea/garbanzo bean/besan flour
    • 2 teaspoons of Kala Namak Salt/Indian Black Salt
    • 1/2 teaspoon of turmeric
    • 6 cups of water, divided
    • grape seed oil (or other safe-for-you-oil) for greasing the pan

    Place the chickpea/garbanzo bean/besan flour, Kala Namak Salt/Indian Black Salt, turmeric, in a large bowl. Using a whisk, mix the ingredients until they are thoroughly combined.  Then add 2 cups of the water and whisk until the mixture is smooth, making sure there are no lumps.

    Grease your 8 inch by 8 inch baking dish with the grape seed oil.

    In a wide, heavy bottomed, shallow pot, bring the remaining 4 cups of water to a boil.  Once your water is boiling reduce the heat to medium.  After stirring your flour mixture to be sure it hasn’t settled, slowly pour the mixture into the boiling water, while you stir it with a wooden spoon. Lower the heat to medium-low, and continue stirring until the mixture has thickened and is glossy.  This will take about 3-5 minutes.

    Once the mixture has thickened and is glossy, pour it into your greased baking pan, scraping down the pot to get all of it into the baking pan.  Smooth the top down a bit, and let it cool to room temperature. Once at room temperature, put it in the fridge for at least an hour before using.  However, the longer it sits in the fridge, the more water will drain out and the tofu will become firmer.  Although my modifications to the original recipe make it a bit firmer to start, I generally let my version sit at least 24-48 hours before using it.

    "Eggy" Burmese Tofu
    “Eggy” Burmese Tofu

    Enjoy!


    Notice: Trying to access array offset on value of type bool in /home/maryzahc/public_html/adultfoodallergies.com/wp-content/plugins/wp-ultimate-recipe/helpers/models/recipe.php on line 254
    “Eggy” Burmese Tofu
    Print Recipe
    Servings Prep Time
    1 8 by 8 inch pan 10 minutes
    Cook Time Passive Time
    3-5 minutes 24-48 hours
    Servings Prep Time
    1 8 by 8 inch pan 10 minutes
    Cook Time Passive Time
    3-5 minutes 24-48 hours
    “Eggy” Burmese Tofu
    Print Recipe
    Servings Prep Time
    1 8 by 8 inch pan 10 minutes
    Cook Time Passive Time
    3-5 minutes 24-48 hours
    Servings Prep Time
    1 8 by 8 inch pan 10 minutes
    Cook Time Passive Time
    3-5 minutes 24-48 hours
    Ingredients
    • 2 1/2 cups chickpea/garbanzo bean/besan flour
    • 2 tsp Kala Namak Salt/Indian Black Salt
    • 1/2 tsp turmeric
    • 6 cups water divided
    • 1 tsp grape seed oil
    Servings: 8 by 8 inch pan
    Instructions
    1. Place the chickpea/garbanzo bean/besan flour, Kala Namak Salt/Indian Black Salt, turmeric, in a large bowl. Using a whisk, mix the ingredients until they are thoroughly combined. Then add 2 cups of the water and whisk until the mixture is smooth, making sure there are no lumps.
    2. In a wide, heavy bottomed, shallow pot, bring the remaining 4 cups of water to a boil. Once your water is boiling reduce the heat to medium. After stirring your flour mixture to be sure it hasn’t settled, slowly pour the mixture into the boiling water, while you stir it with a wooden spoon. Lower the heat to medium-low, and continue stirring until the mixture has thickened and is glossy. This will take about 3-5 minutes.
    3. Once the mixture has thickened and is glossy, pour it into your greased baking pan, scraping down the pot to get all of it into the baking pan. Smooth the top down a bit, and let it cool to room temperature. Once at room temperature, put it in the fridge for at least an hour before using, but is best at 24-48 hours.
    Share this Recipe
     
    Powered byWP Ultimate Recipe
  • DIY Curry Powder

    DIY Curry Powder
    DIY Curry Powder

    Besides the fact that I have a spice obsession (as outlined in my post, WW Kitchen Stories: Rosemary or Denise’s Spice Issues) and it seems dumb to pay for blends when you already have all the stuff to make the blend, I’m getting to the point after the cumin scare that I’m going to try to make as much stuff from whole spices as I can, so that there’s less chance for adulteration with undisclosed allergens, anti-caking agents, or cross contamination. There’s only a few ground spices in here, but my plan is to eventually only buy whole spices and grind all my own stuff.

    I tried to keep it reasonable for non-fire breathers, but you control how much curry powder you add to stuff. Start small and then taste, you can always add more, but you can’t really subtract easily. Also, if you want to make it a bit hotter, add 3 or 4 more dried chiles to the mix.  Be aware that you will need a blender or a coffee/spice grinder to make this.

    DIY Curry Powder

    Makes about 1 cup.

    • 6-8 dried chiles (I used Sanaam, but Arbol or Japones would work fine)
    • 5 Tablespoons of coriander seed
    • 4 Tablespoons of cumin seeds
    • 2 Tablespoons of fennel seeds
    • 2 teaspoons of black mustard seed
    • 4 green cardamom pods
    • 1/2 teaspoon of whole cloves
    • 1/4 teaspoon of black peppercorns
    • 1″ piece of cinnamon stick
    • 1 Tablespoon of ground Turmeric
    • 1 teaspoon of ground ginger
    • 1 teaspoon of ground fenugreek seed
    • 1/4 teaspoon of ground nutmeg

    Destem the chiles if necessary. Place the chiles, coriander seed, cumin seeds, fennel seeds, black mustard seed, green cardamom pods, cloves, black peppercorns, and cinnamon stick in a skillet over medium heat.

    Seeds, spices, and chiles in skillet before toasting
    Seeds, spices, and chiles in skillet before toasting

    Move the skillet around constantly to shift the seeds, spices and chiles until you smell the cumin seed toasting, some of the seeds popping and the spices darken.

    Seeds, spices, and chiles in bowl after toasting
    Seeds, spices, and chiles in bowl after toasting

    Remove the spices, seeds, and chiles from the skillet, and allow them to cool completely.

    Once cool, place the spices, seeds, and chiles from the skillet and the ground turmeric, ginger, fenugreek, and nutmeg into a blender, and blend until you have a fine powder. Before opening the blender, let the powder settle for a few minutes so that you don’t gas yourself.

    If you are using a coffee/spice grinder, place the ground turmeric, ginger, fenugreek, and nutmeg into a bowl. Grind the spices, seeds, and chiles from the skillet in coffee/spice grinder in batches, adding the batches to the bowl until you have ground all of the spices, seeds, and chiles. Using a wire whisk, mix well so that the ground turmeric, ginger, fenugreek, and nutmeg are fully incorporated into the newly ground spices, seeds, and chiles from the skillet.

    Store in an air-tight container and use where you would use curry powder. Stay tuned for some recipes using it in the coming weeks.

    Enjoy!


  • Aquafaba Vegan Salad Dressing

    Aquafaba Vegan Salad Dressing
    Aquafaba Vegan Salad Dressing

    So with the corn allergy all of the vegan mayonnaise products are a big no-no for me, as canola is notoriously cross-contaminated with corn, and I started to react to my favorite product. I haven’t had a safe mayonnaise in over a year. When I saw the aquafaba experiments with mayo, it rang a bell as a lot of the vegan products have pea protein, so I thought I’d give it a go. Only problem was, in order to get some aquafaba, I had to find time to pressure can some garbanzo beans at home, as I don’t really have a safe commercial garbanzo bean product I can buy. A few weeks ago I canned some garbanzo beans, but I just managed to find time to do the experiment recently. I used this recipe to start, but I modified it a bit because I was looking for a flavor that was more like Miracle Whip, as that was my mayo/salad dressing product of choice when I could still eat eggs, milk, and corn (I have more allergies, but those are the problem children for commercial mayo products). When I think of all the things I can make again, I seriously want to cry. Many thanks to Peanut Butter & Vegan for the post on using aquafaba for mayo to get me started. As suggested by the original post, I used an immersion (stick) blender, but if you try it in a regular blender, let me know how that goes.

    Aquafaba Vegan Salad Dressing 

    Makes about 1 cup.

    • about 1/4 cup of aquafaba (the liquid from a can of garbanzo beans)
    • 1/2 Tablespoon of lime or lemon juice (I used lime because I had limes in the house, but no lemons)
    • 1/2 Tablespoon and 1/2 teaspoon of apple cider vinegar (I used Bragg’s as it is generally safest for people with corn allergies)
    • 3/4 teaspoon of salt
    • 1/2 teaspoon of ground mustard
    • 1/4 teaspoon of sugar
    • dash of paprika
    • 3/4 cup of safe for you, neutral tasting oil (I used grapeseed oil)

    In a small bowl or measuring cup that isn’t much bigger in circumference than your immersion blender, add the aquafaba, lime juice, apple cider vinegar, salt, mustard, sugar and paprika. Mix with the immersion blender for a few seconds so that the ingredients are all combined. Slowly drizzle in the oil, while the immersion blender is running, moving the immersion blender around when the mixture becomes thick to make sure all the oil gets incorporated. Once the mixture is nice and thick, place the salad dressing in a container and place it in the fridge, where it will continue to thicken.

    Aquafaba Vegan Salad Dressing
    Aquafaba Vegan Salad Dressing

    Yay!! You have salad dressing! Go forth and make yummy dishes that require mayo/salad dressing like substances!

  • DIY Chili Powder

    DIY Chili Powder
    DIY Chili Powder

    If you’re like me (okay, probably not, as I have issues as outlined in my post, WW Kitchen Stories: Rosemary or Denise’s Spice Issues), you might have a few dried chiles kicking around. Or more than a few. Since I have so many, and since I was running low on chili powder, I started looking into how to make it. Although Mary S. of the green thumb gave me some chili powder that I tolerate after I mentioned I might do a Penzey’s order, it’s good to be able to make your own so that you know that there’s no anti-caking agents, disclosed or undisclosed, and less chance for cross contamination. Plus, I really have a crap ton of whole dried chiles, thanks in part to the harvest I got from Mary S. last year that I dehydrated.

    Although this might be a bit spicier than your normal chili powder, I tried to keep it in the realm of reasonable for those of you who are not fire breathers. Feel free to switch out dried peppers based on your own tastes and/or what you have on hand. You will need a blender or a food processor.

    DIY Chili Powder

    Makes 1 cup.

    • 2 dried, whole chipotle chiles
    • 2 dried, whole guajillo chiles
    • 2 dried, whole New Mexico chiles
    • 2 dried, whole ancho chiles
    • 2 dried, whole cascabel chiles
    • 2 dried, whole arbol chiles
    • 2 dried, whole habanero chiles
    • 2 Tablespoons of cumin seed
    • 2 Tablespoons of garlic powder
    • 1 Tablespoon of Mexican dried oregano (you can use plain oregano if you don’t have Mexican)
    • 1 Tablespoon of smoked paprika (you can use plain paprika if you don’t have smoked, but the smoked is nice)
    Whole Dried Chiles before prep
    Whole Dried Chiles before prep

    Destem, seed, and slice the dried chiles.

    Destemmed, deseeded, and sliced dried chiles
    Destemmed, deseeded, and sliced dried chiles
    Stems and seeds removed from chiles to be discarded
    Stems and seeds removed from chiles to be discarded

    Place the dried chiles and the cumin seed in a skillet over medium high heat.

    Dried chiles and cumin seed before toasting
    Dried chiles and cumin seed before toasting

    Move the skillet around constantly to shift the cumin seed and chiles until you smell the cumin seed toasting.

    Dried chiles and cumin seed after toasting
    Dried chiles and cumin seed after toasting

    Remove the chiles and the cumin seed from the skillet, and allow them to cool completely.

    Once cool, place the chiles, cumin seed, garlic powder, oregano and paprika into a blender or food processor.

    Dried chiles, cumin seed, garlic powder, oregano and paprika in blender
    Dried chiles, cumin seed, garlic powder, oregano and paprika in blender

    Blend or process until you have a fine powder. Before opening the blender or food processor, let the powder settle for a few minutes. You really don’t want to gas yourself.

    DIY Chili Powder after blending
    DIY Chili Powder after blending
    DIY Chili Powder after blending
    DIY Chili Powder after blending

    Store your chili powder in an airtight container, and use as you would normally use chili powder.

    Enjoy!