Welcome to May! Here at Surviving the Food Allergy Apocalypse, it is condiment month. A great condiment be tailored to your food allergy needs and can make the difference between an okay meal and an awesome meal. Check out our condiment category to see what we’ve posted before (a personal favorite of mine is the Thai dipping sauce — it’s amazing), and stick around this month for some great new flavors.
There’s a place in Massachusetts — Life Alive! — an old-school vegetarian restaurant that Jack and I discovered back a few years ago. It was a great place to go with food allergies, as everything was made in house, everyone who worked there knew what was in each sauce, everything was made to order and modifiable. What I loved about it, though, was that it was a ton of veggies over grains with a sauce and the bowls were terrific.
Grain bowls are the ultimate easy meal. They can be modified no matter what you have in the house — so long as you have vegetables. When I lived alone, I used the grain bowl meal at the end of the week to use up leftovers, bits of veg, everything left in the fridge. Jack and I make them on purpose now, though, and make extras for leftovers.
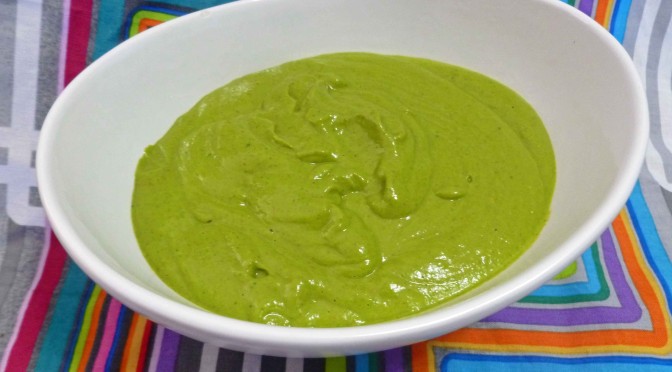
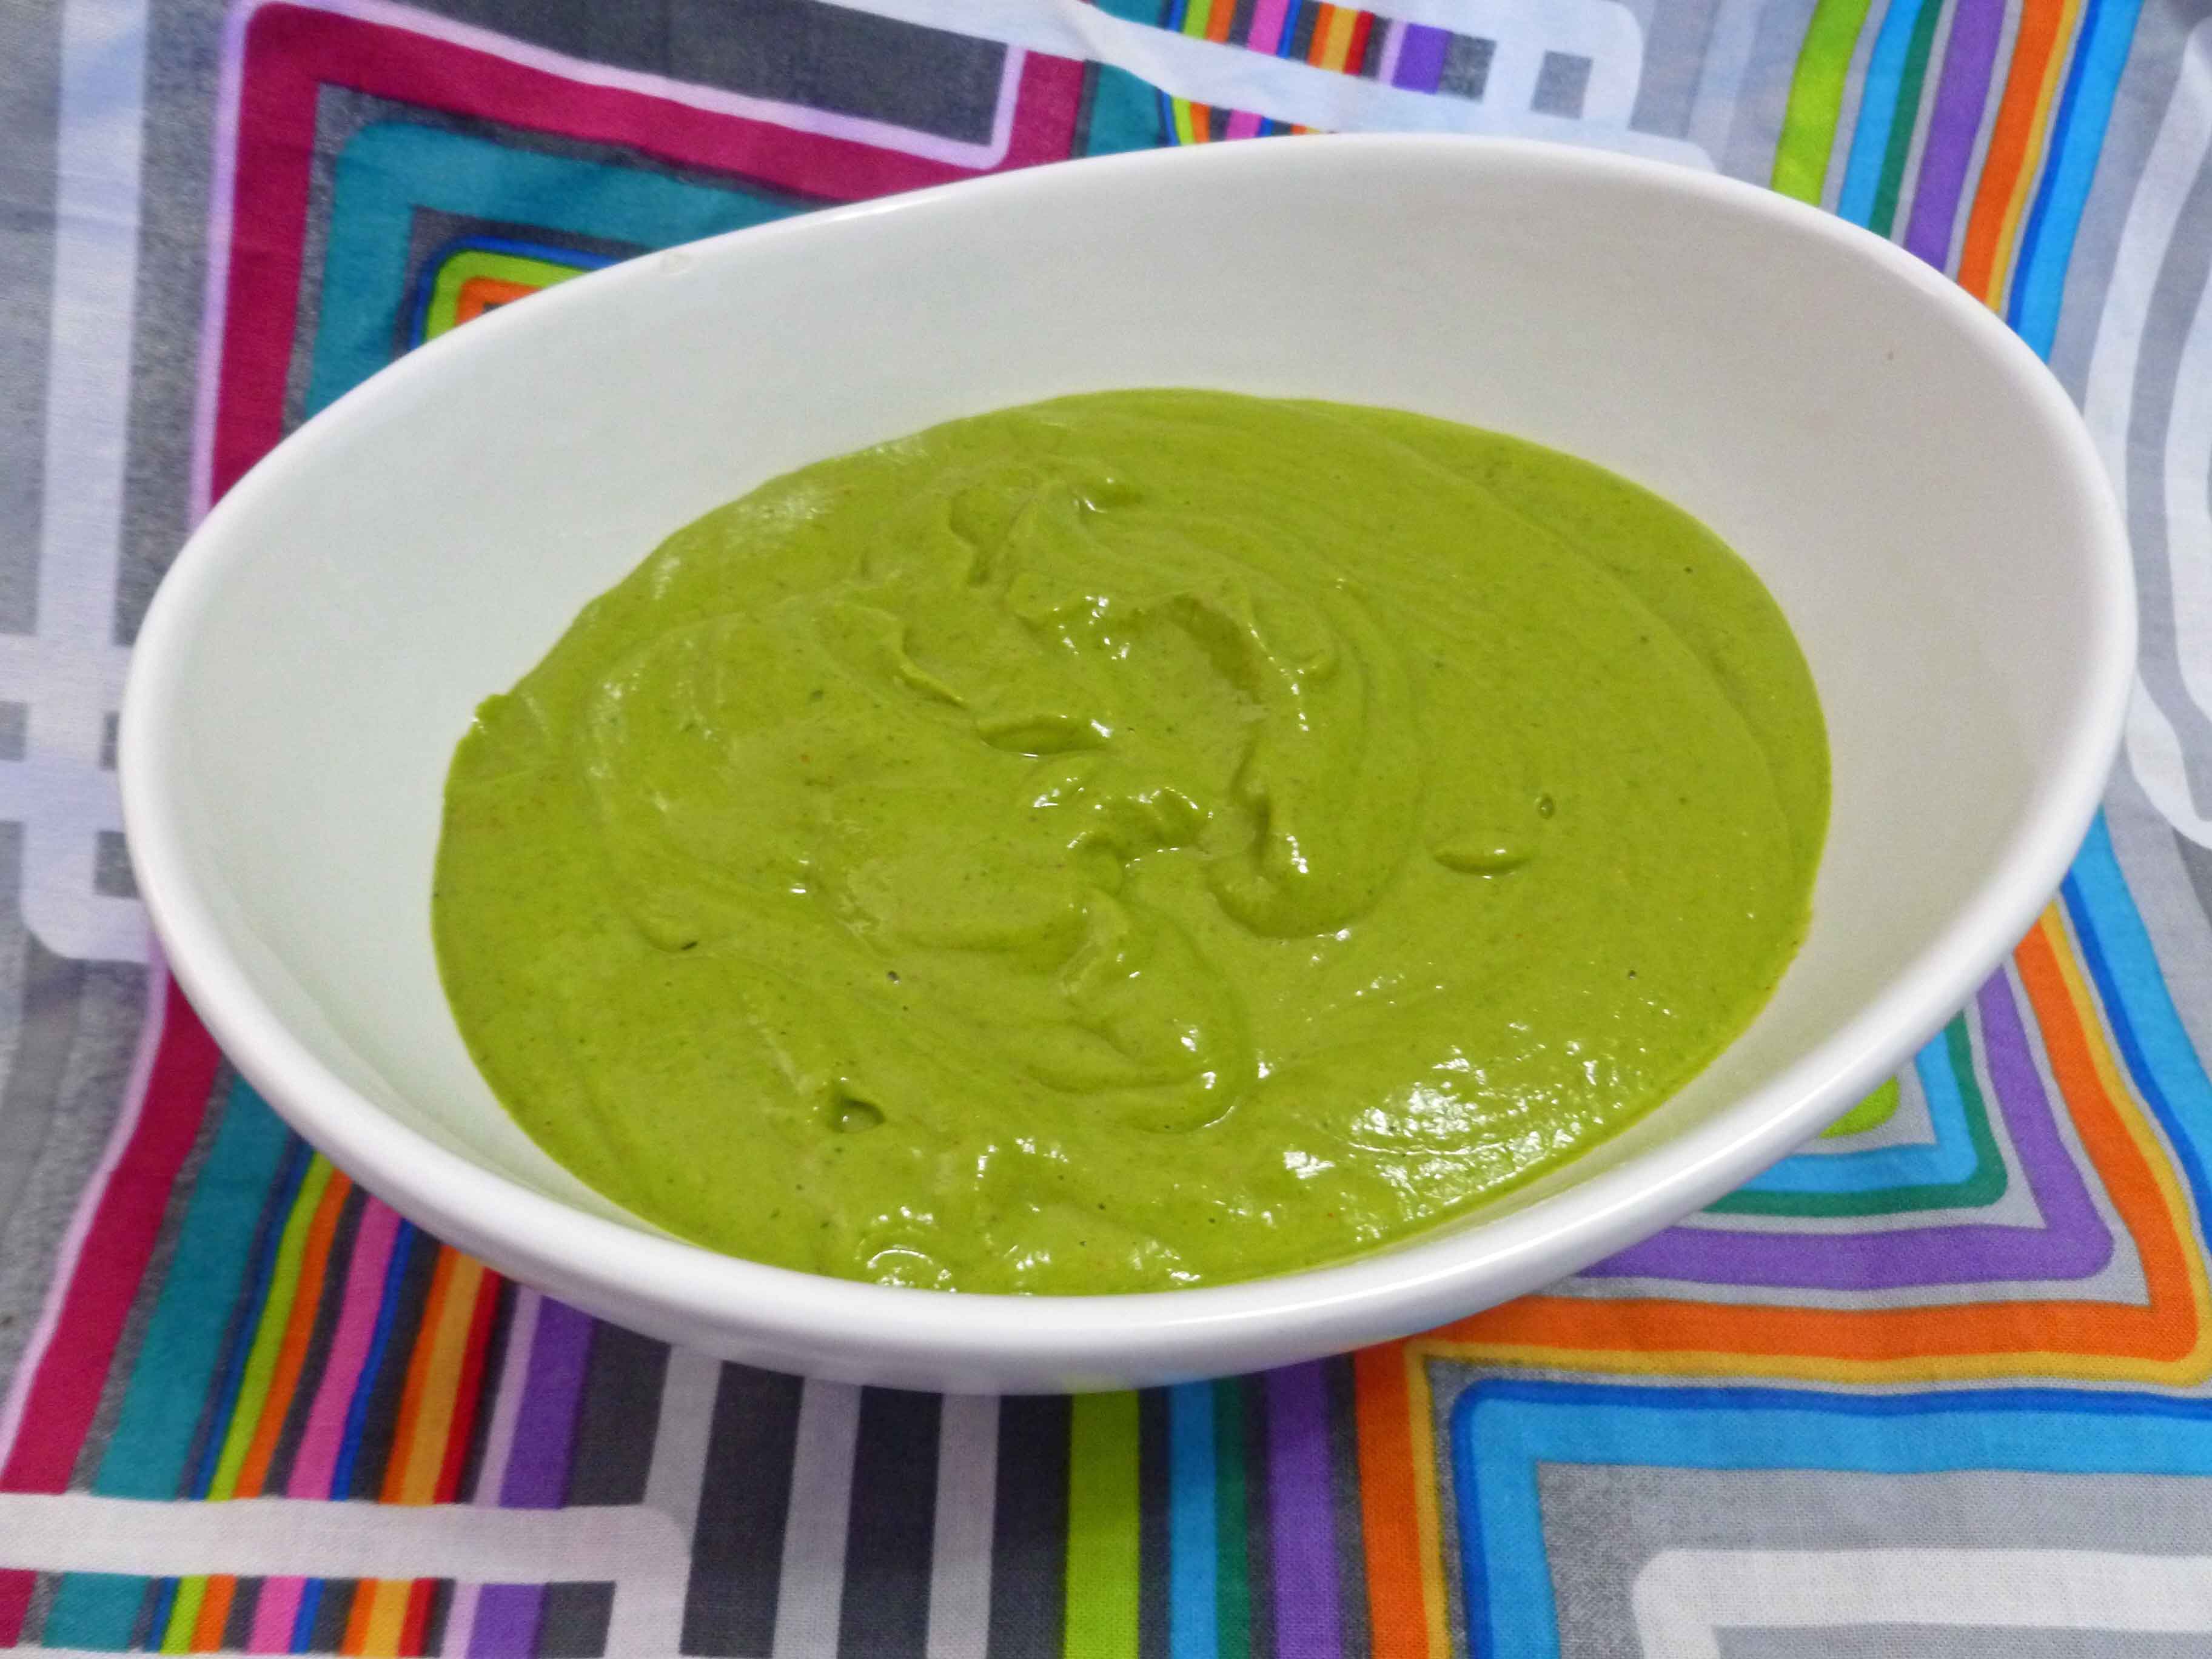
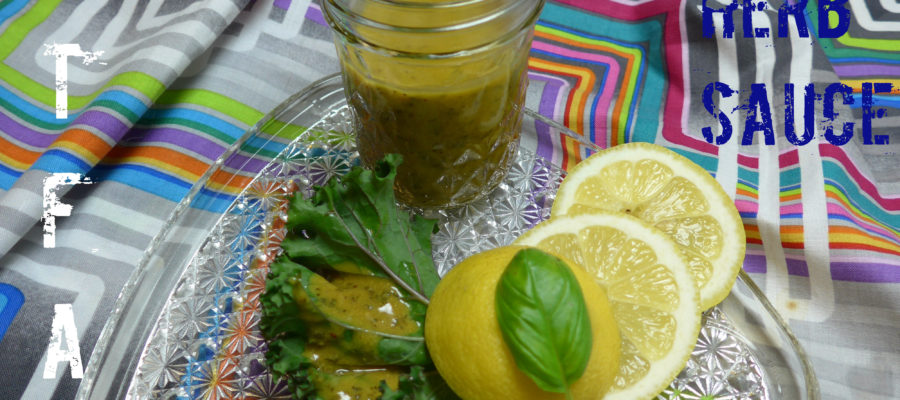
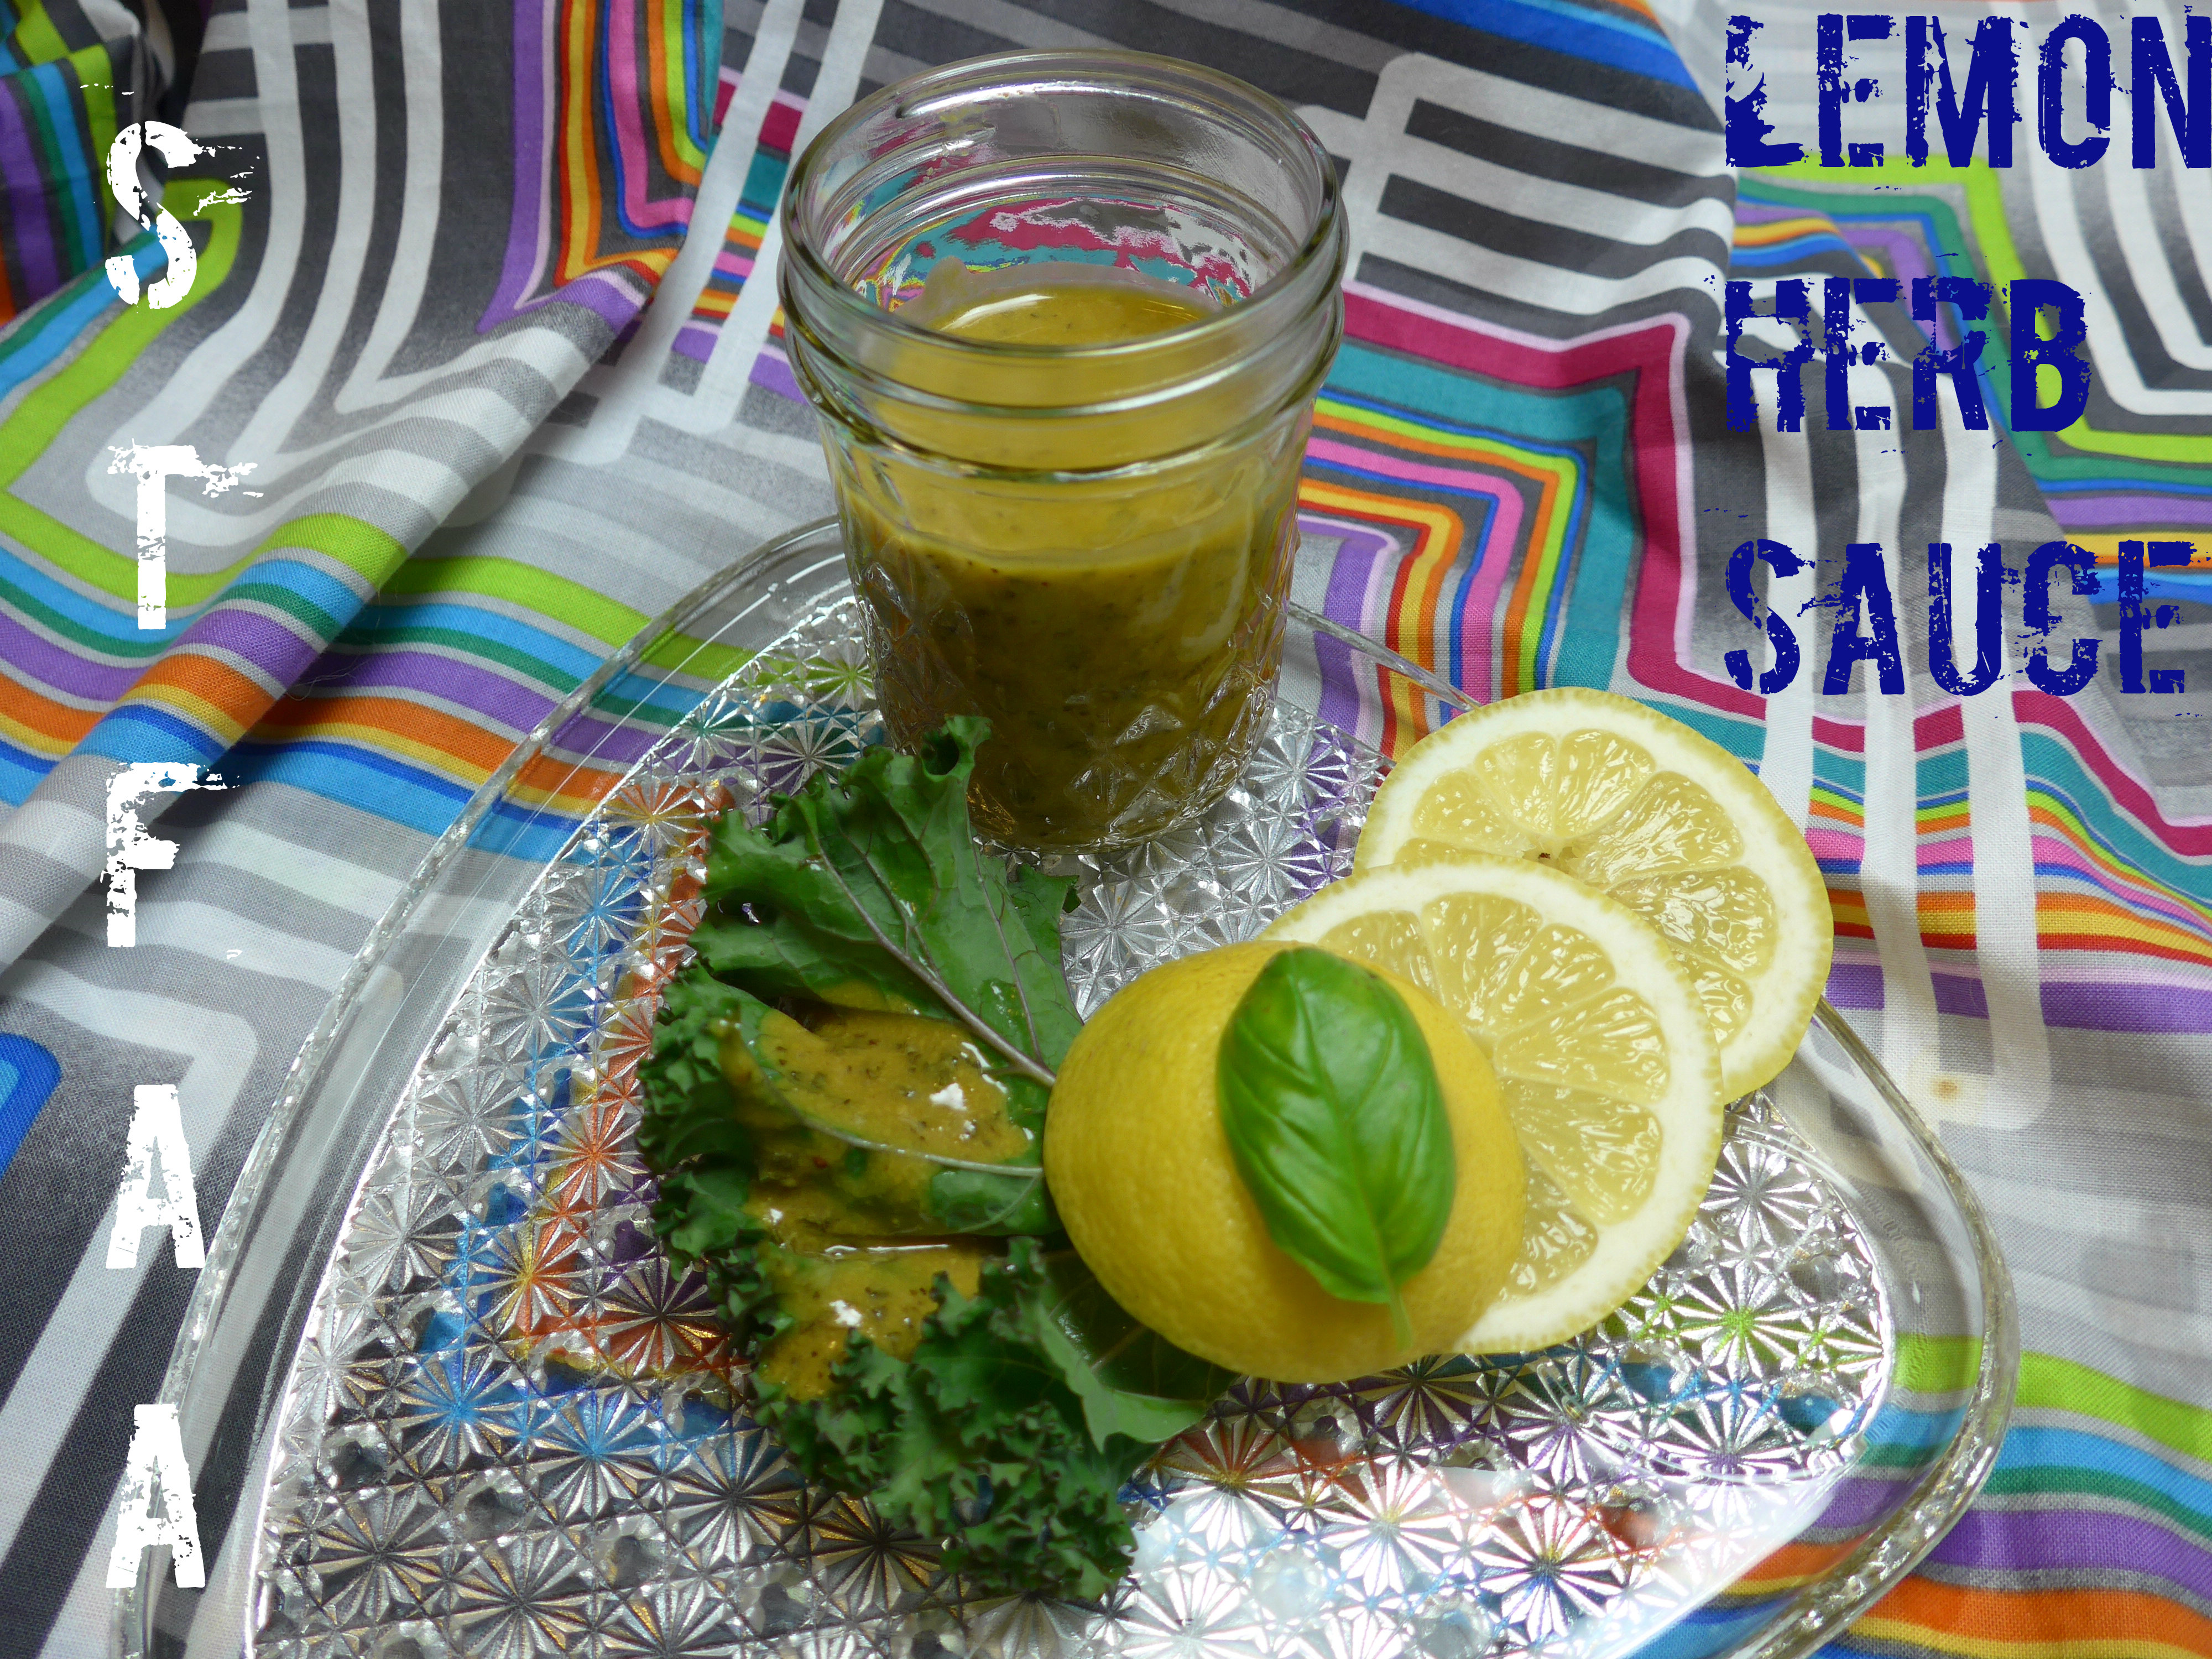
There are two keys to a great grain bowl — a combination of warm and cool/raw ingredients (e.g. cook the sweet potatoes, lightly steam the kale, leave the celery raw) and a great sauce. You can use commercial dressings, if you have safe-for-you dressing. But a good sauce really takes it over the top, and it is easy. This version is based on my vague memories of the lemon sauce at Life Alive, as well as being a finally-measured version of the sauce I’ve been making for a few months. You can definitely mess with this — mix up the nut or seed butters, play around with the herbs, even change up the citrus if you’re feeling bold! But mostly, enjoy.
Notice: Trying to access array offset on value of type bool in /home/maryzahc/public_html/adultfoodallergies.com/wp-content/plugins/wp-ultimate-recipe/helpers/models/recipe.php on line 254
| Servings | Prep Time |
| 6 servings | 10 min |
|
|
|
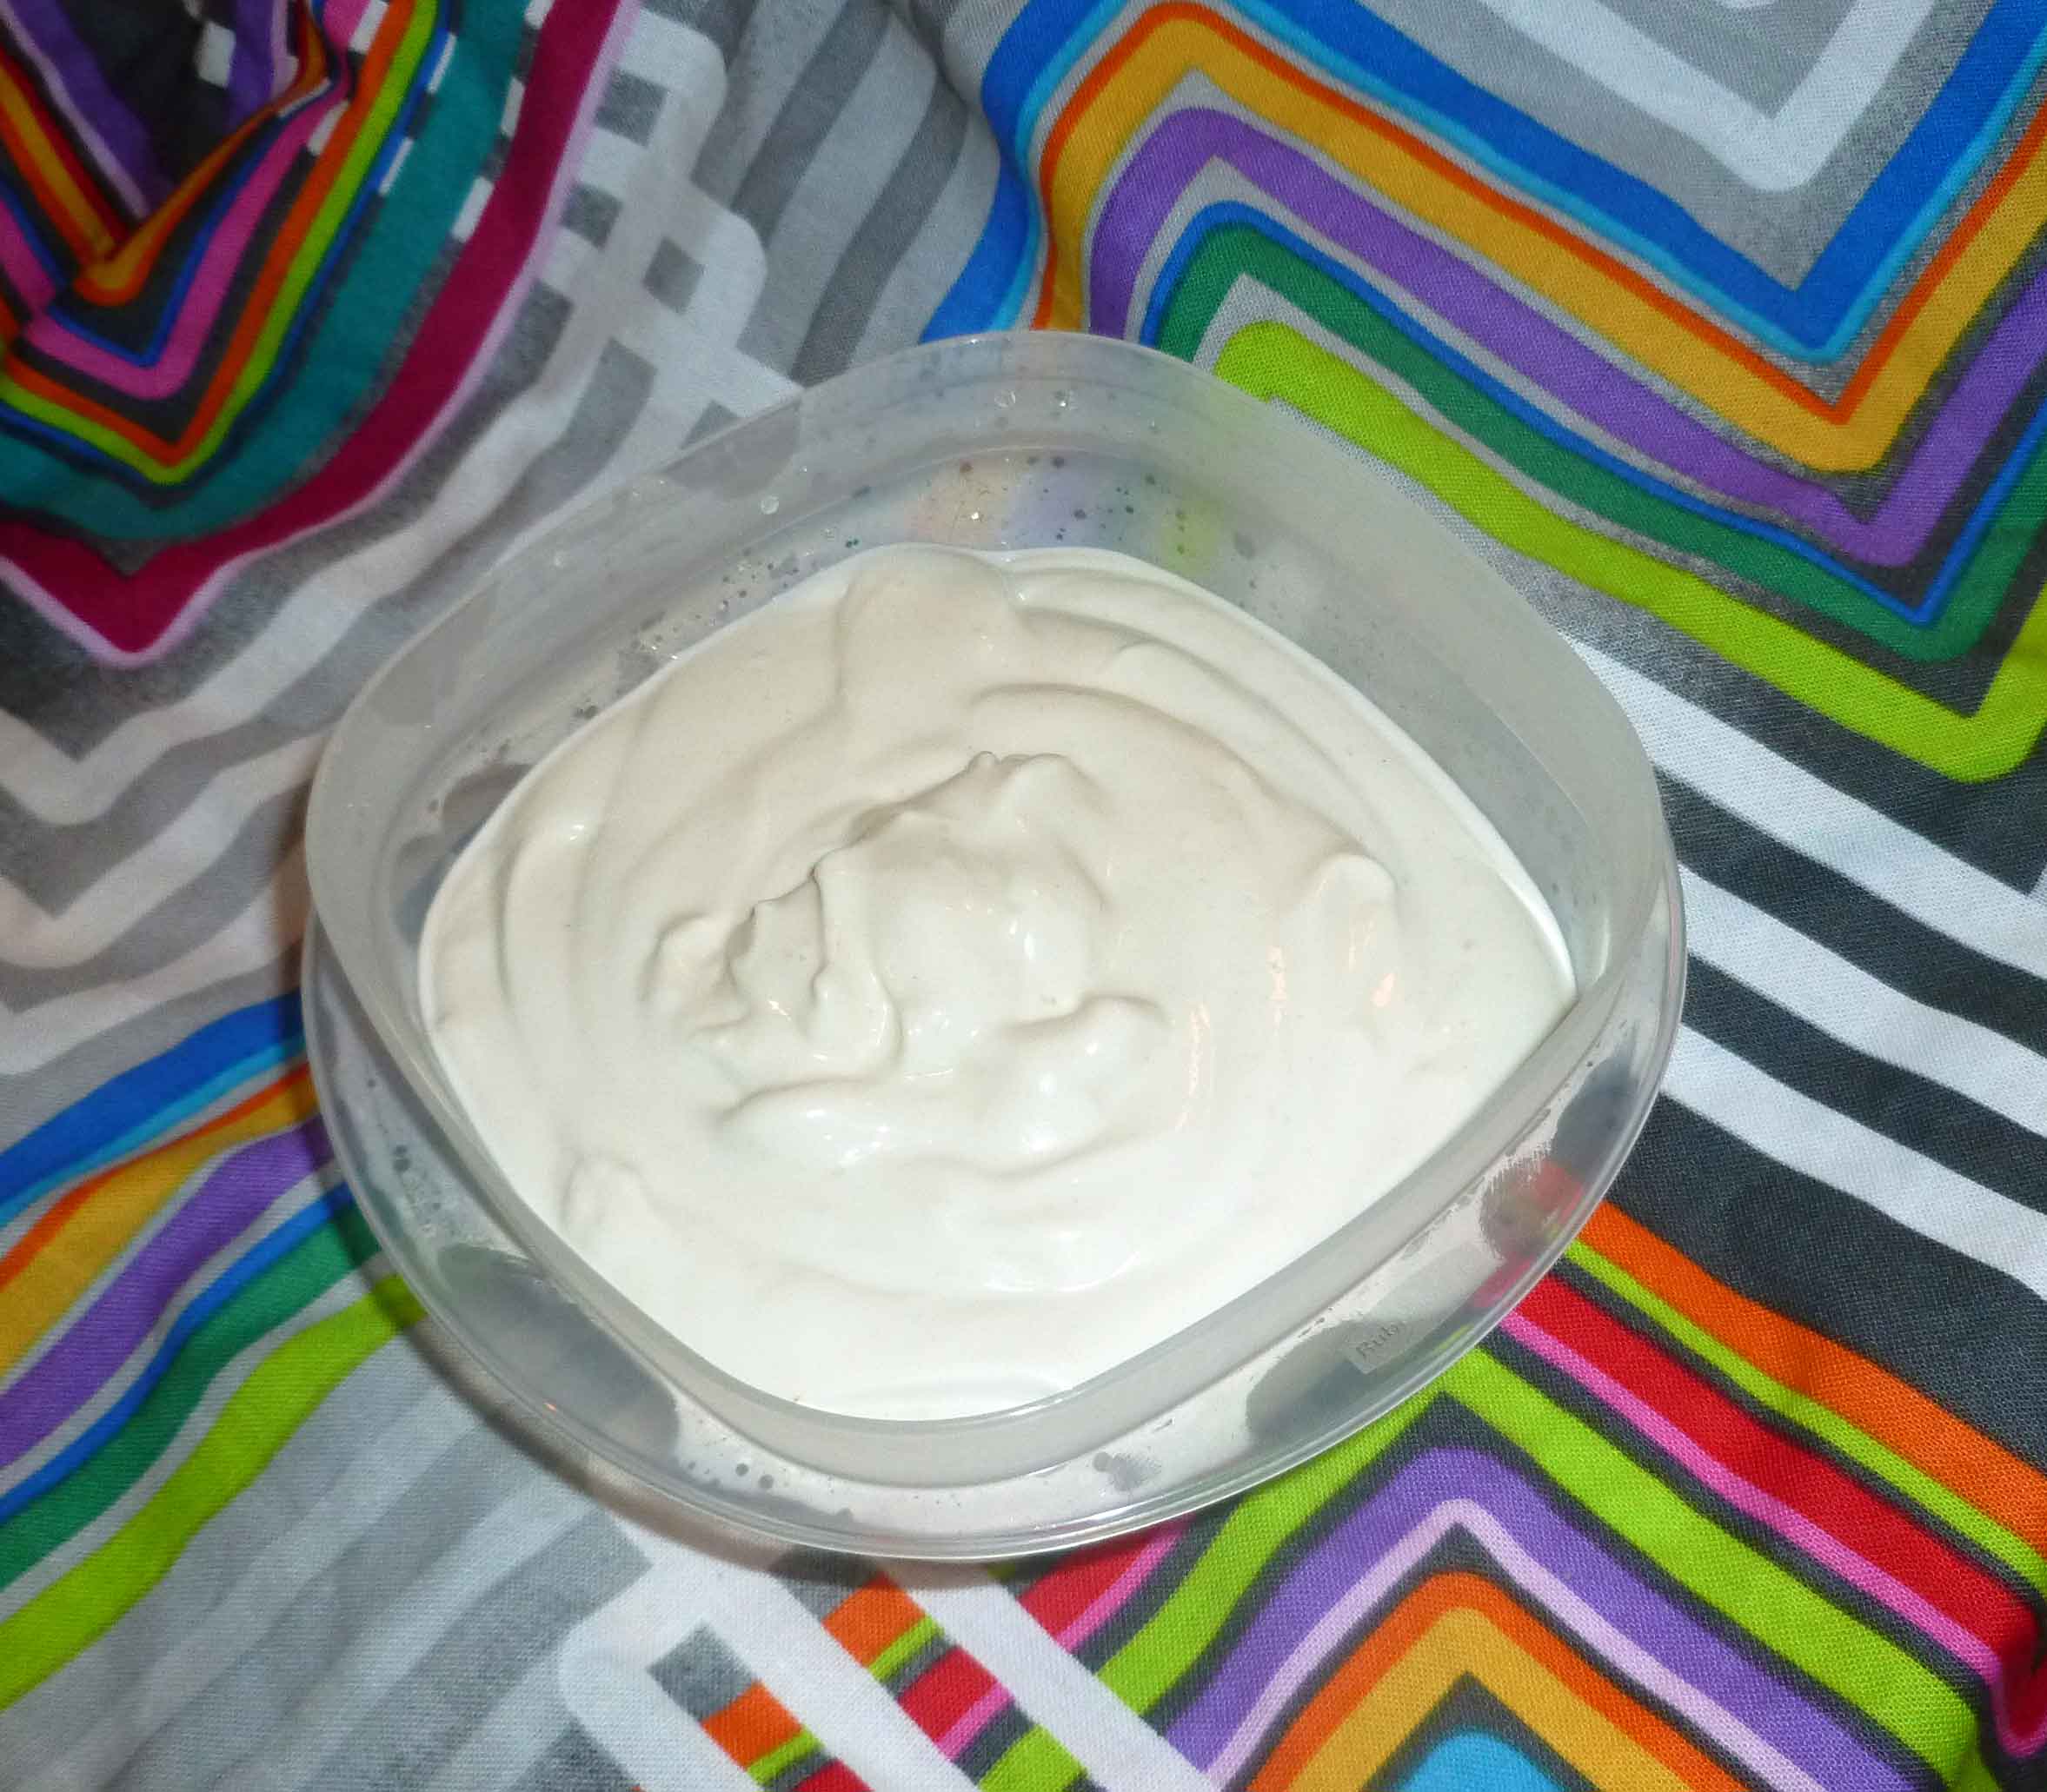
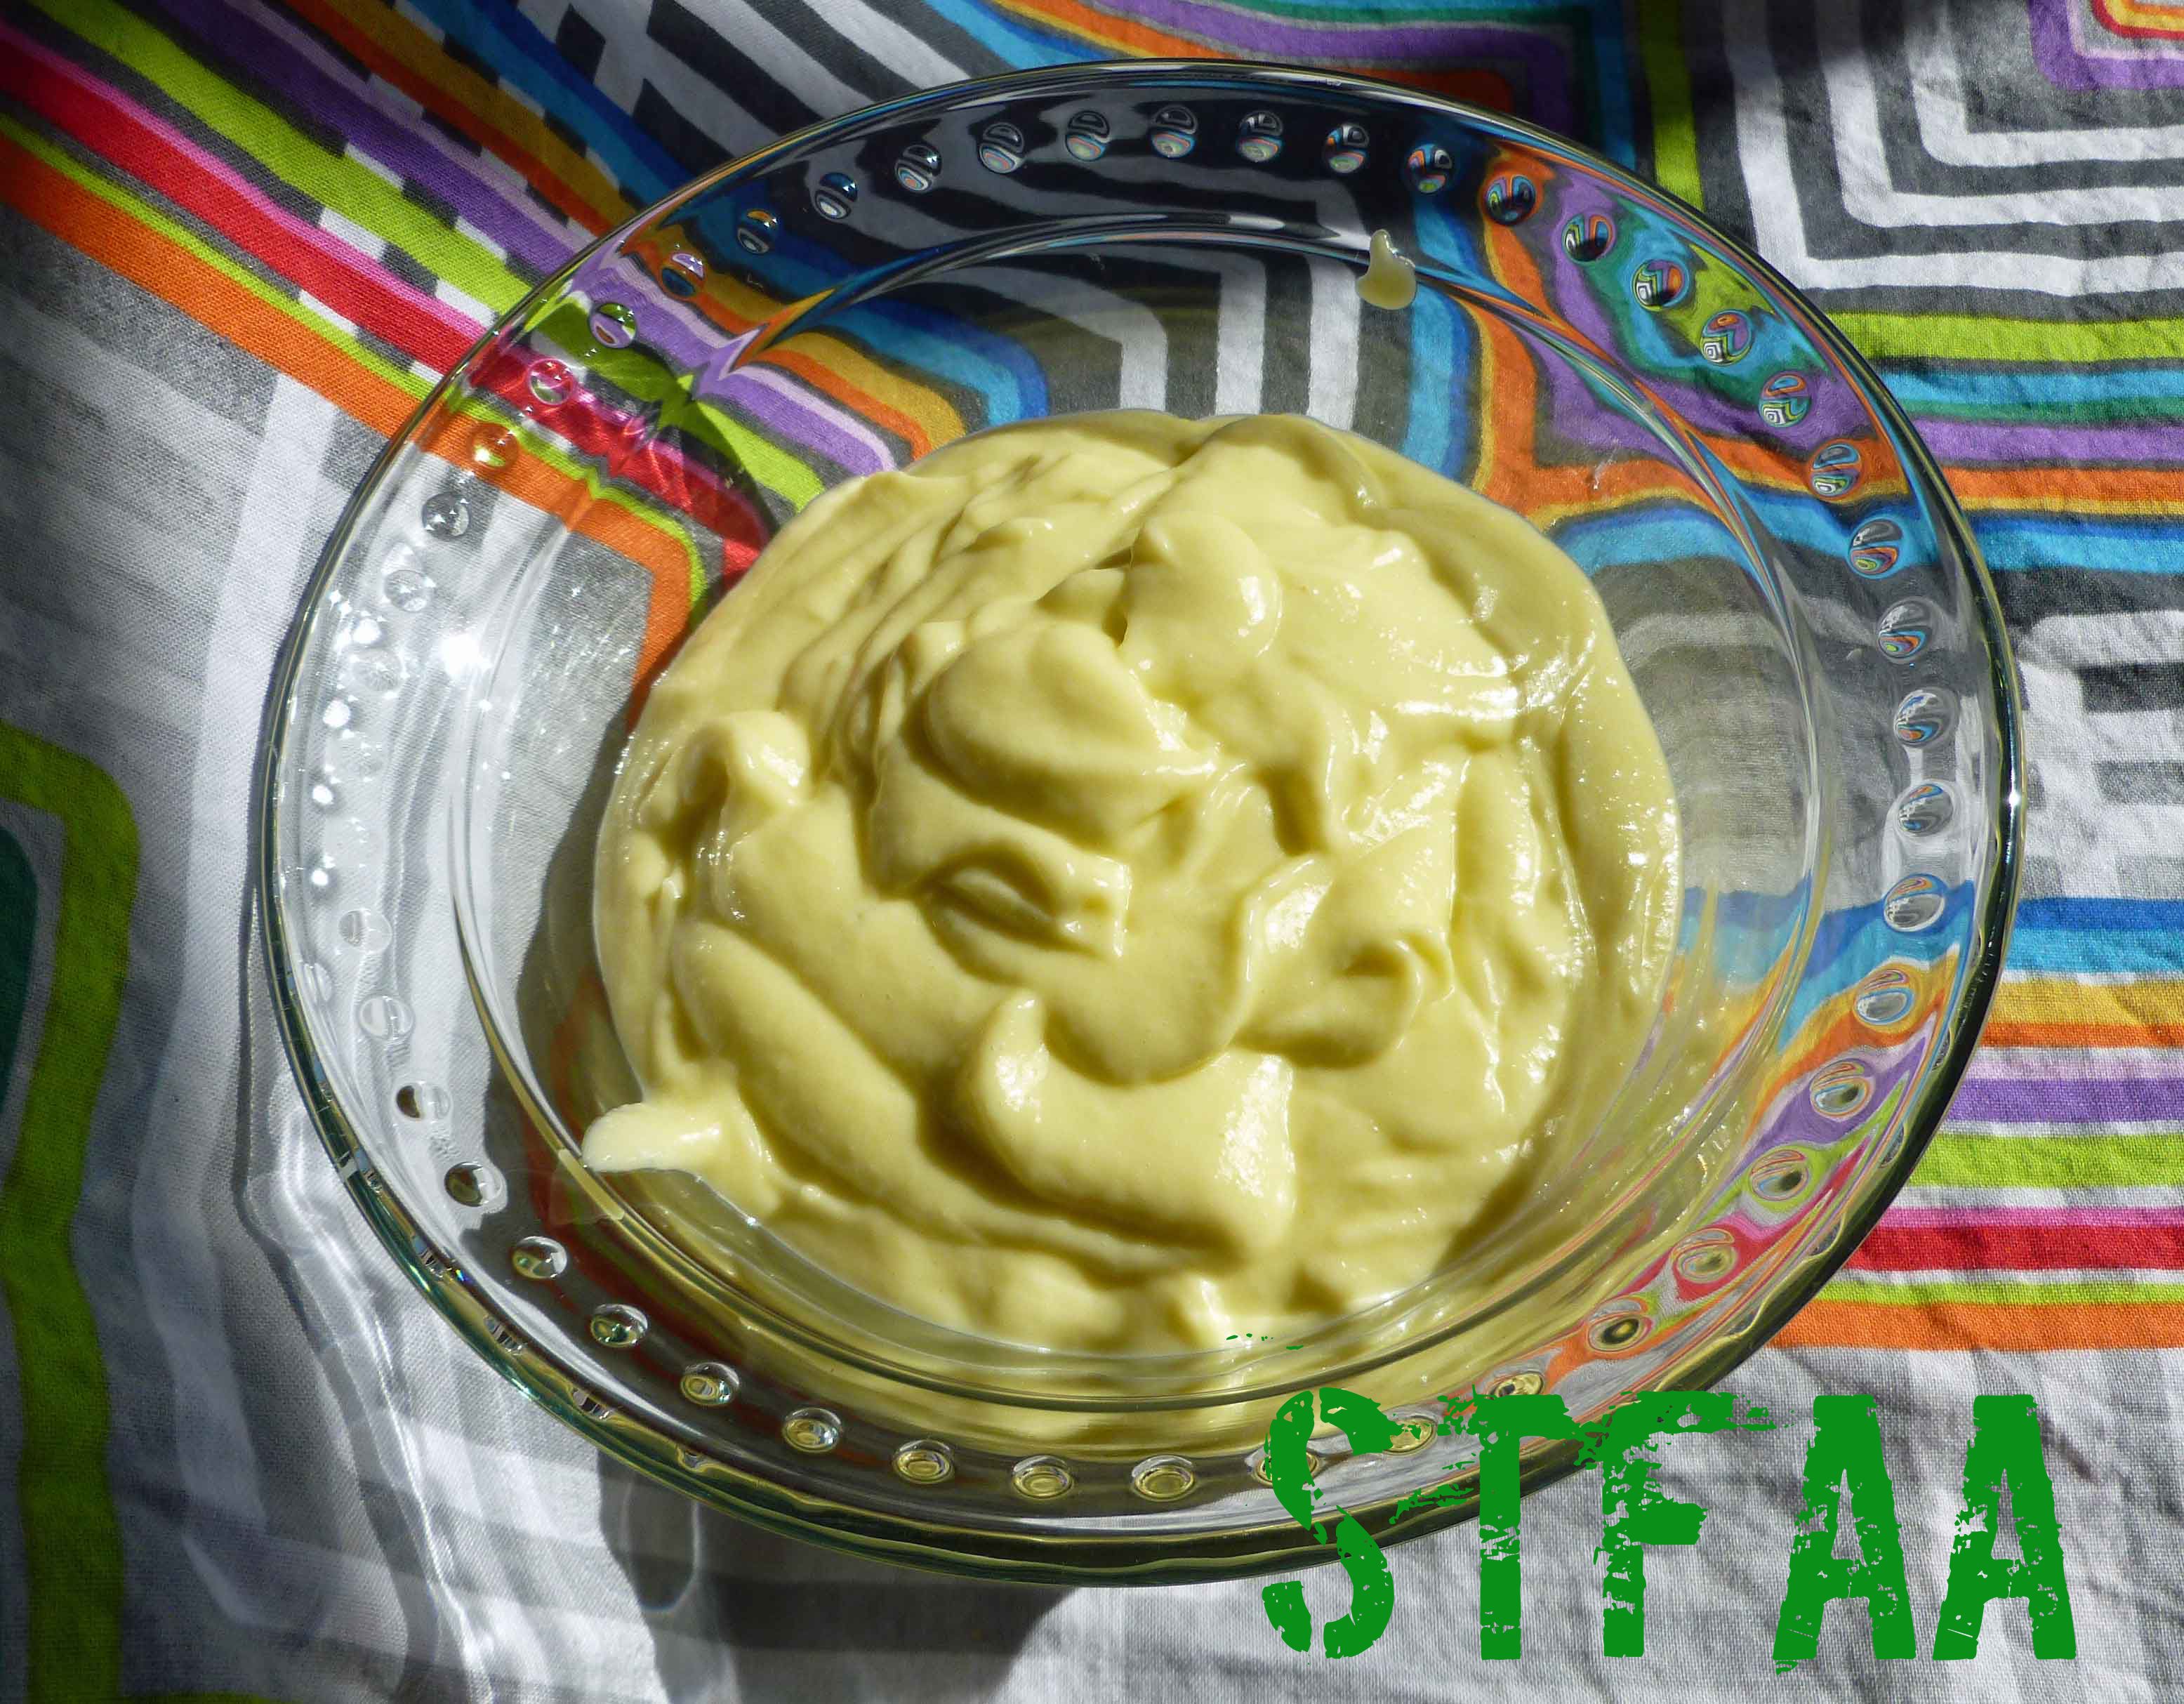
This sauce gets a richness and depth of flavor from a seed (or nut) butter and nutritional yeast, an odd but tasty ingredient that’s worth seeking out — most grocery stores have it, but you often have to ask. Red Star is the most common brand, but is not safe for the corn allergic. Do NOT get brewer’s yeast. It’s not the same thing.
|
- 1/4 cup nutritional yeast
- 1 Tablespoon seed or nut butter I used sunflower seed butter
- 3 Tablespoons lemon juice
- 6 Tablespoons olive oil
- 1 Tablespoon dried chives
- 1/4 teaspoons celery salt
- 1 Tablespoon dried basil
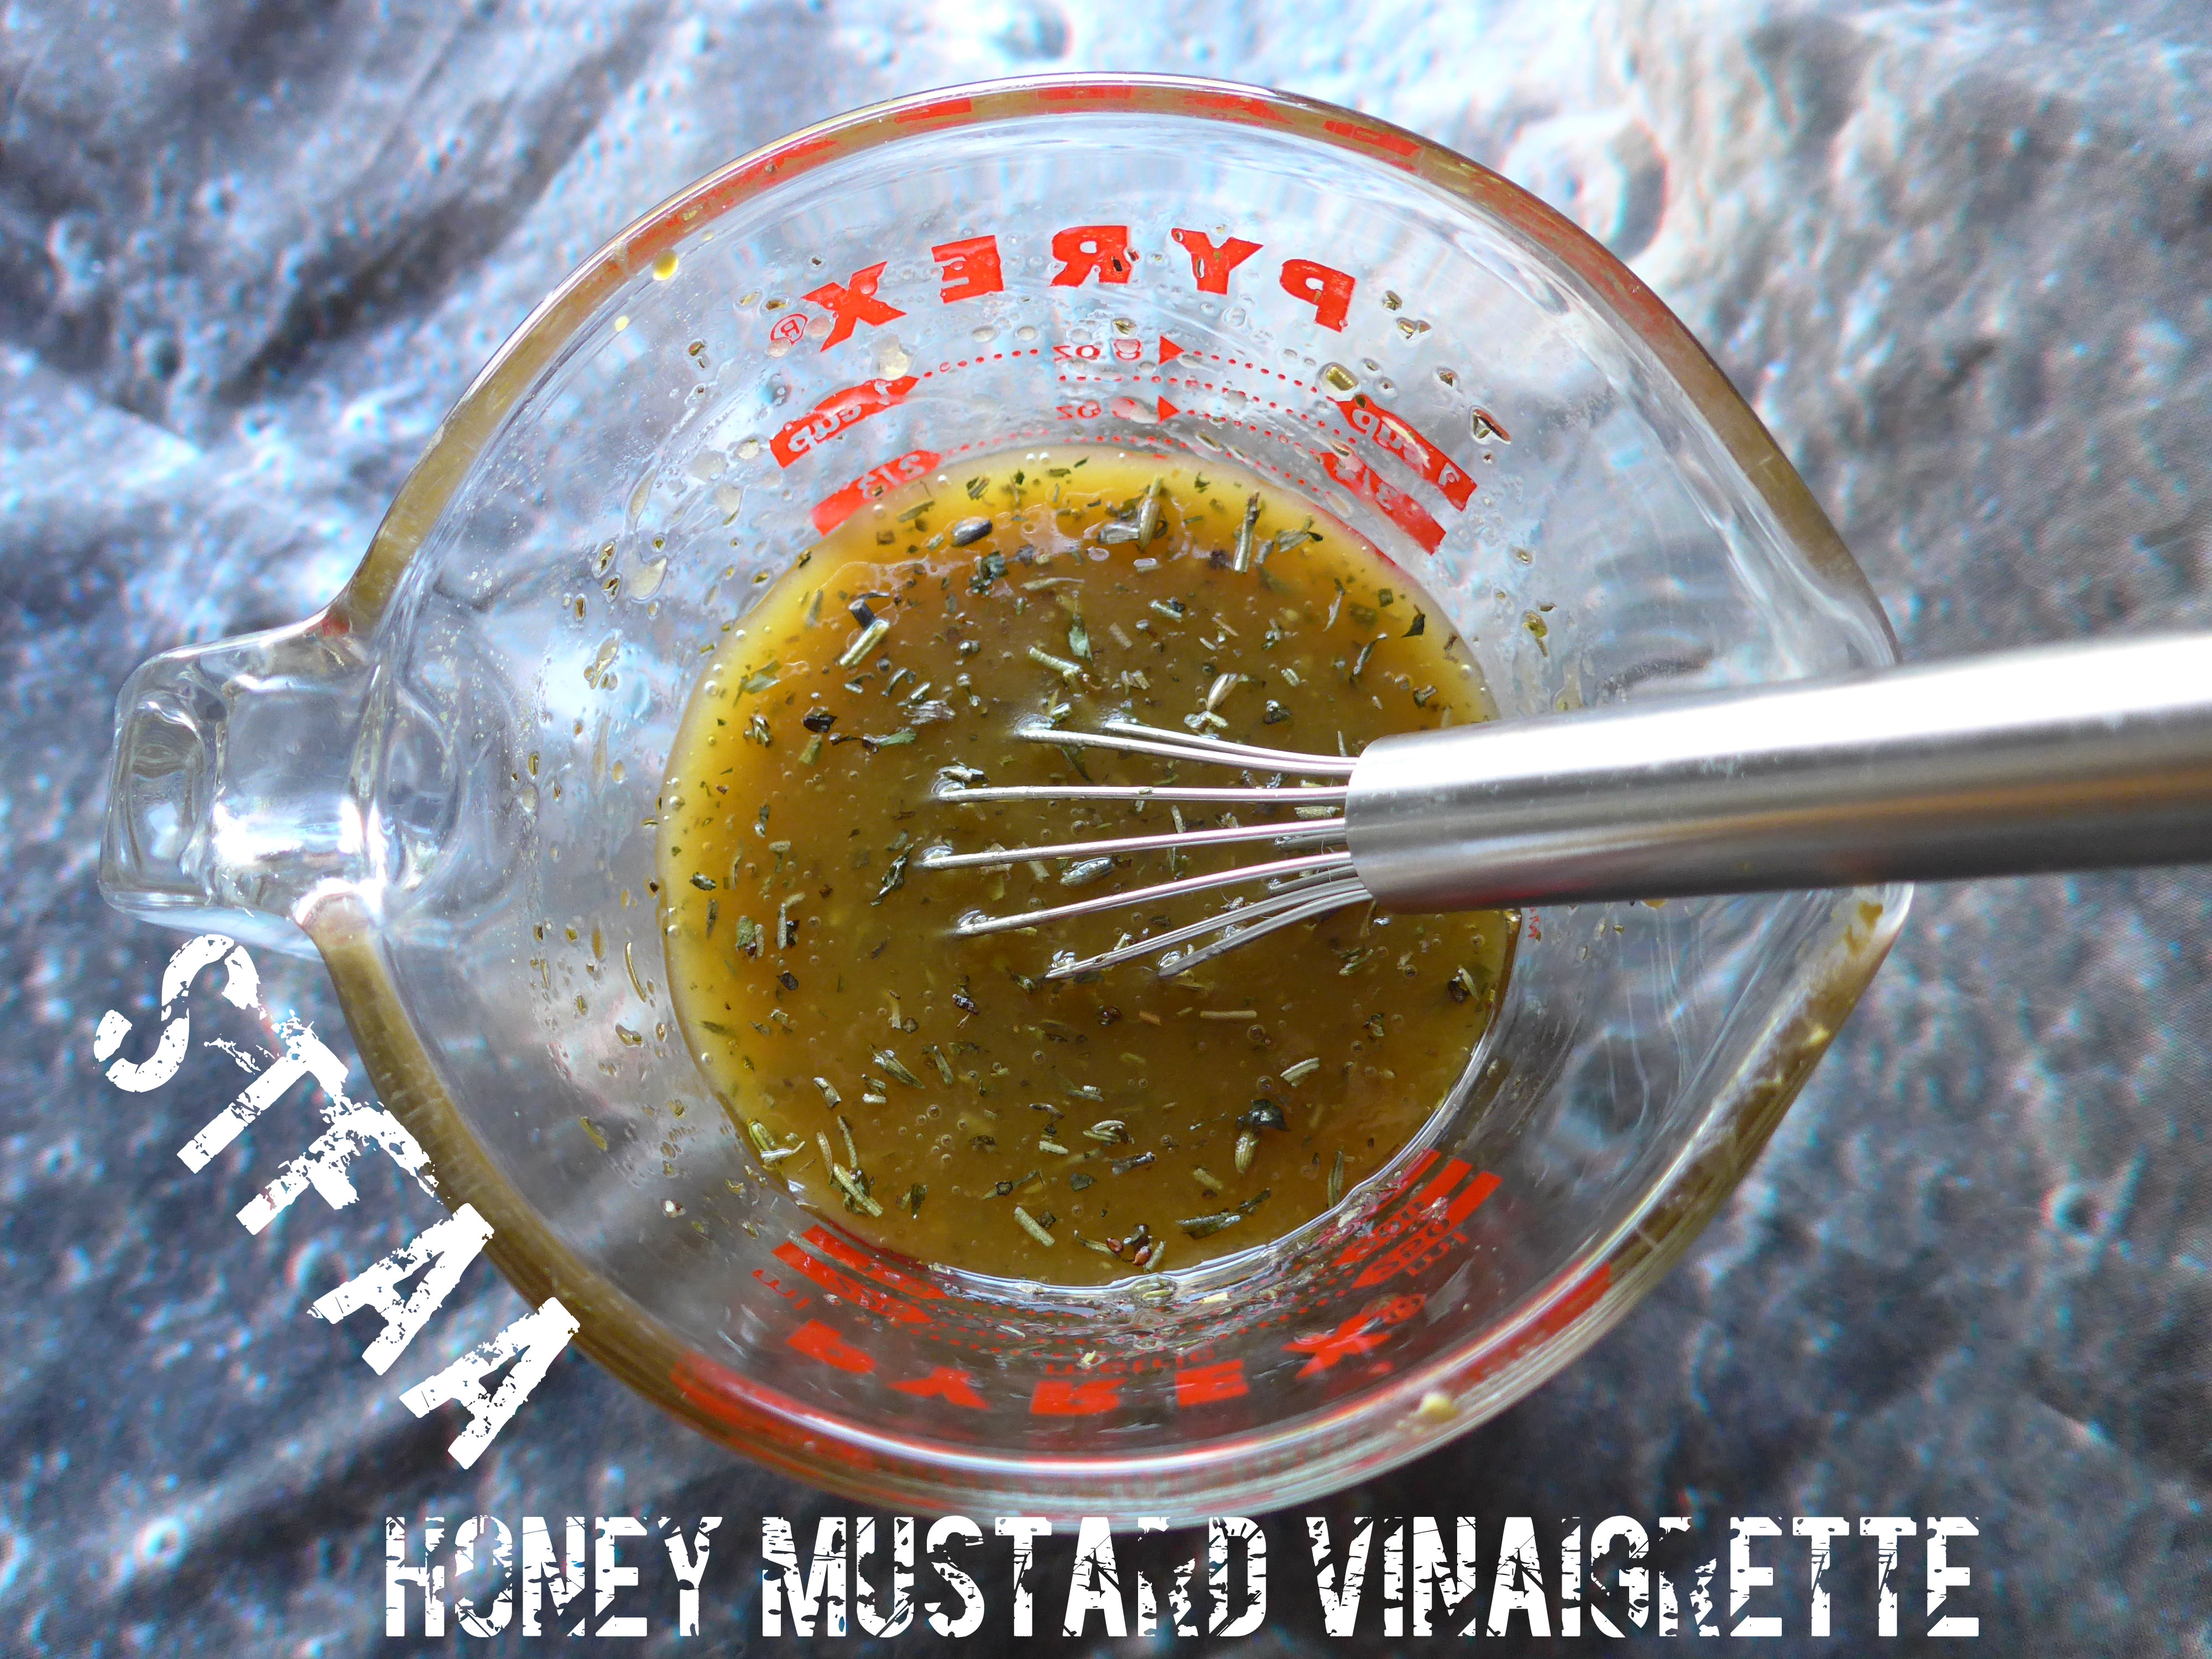
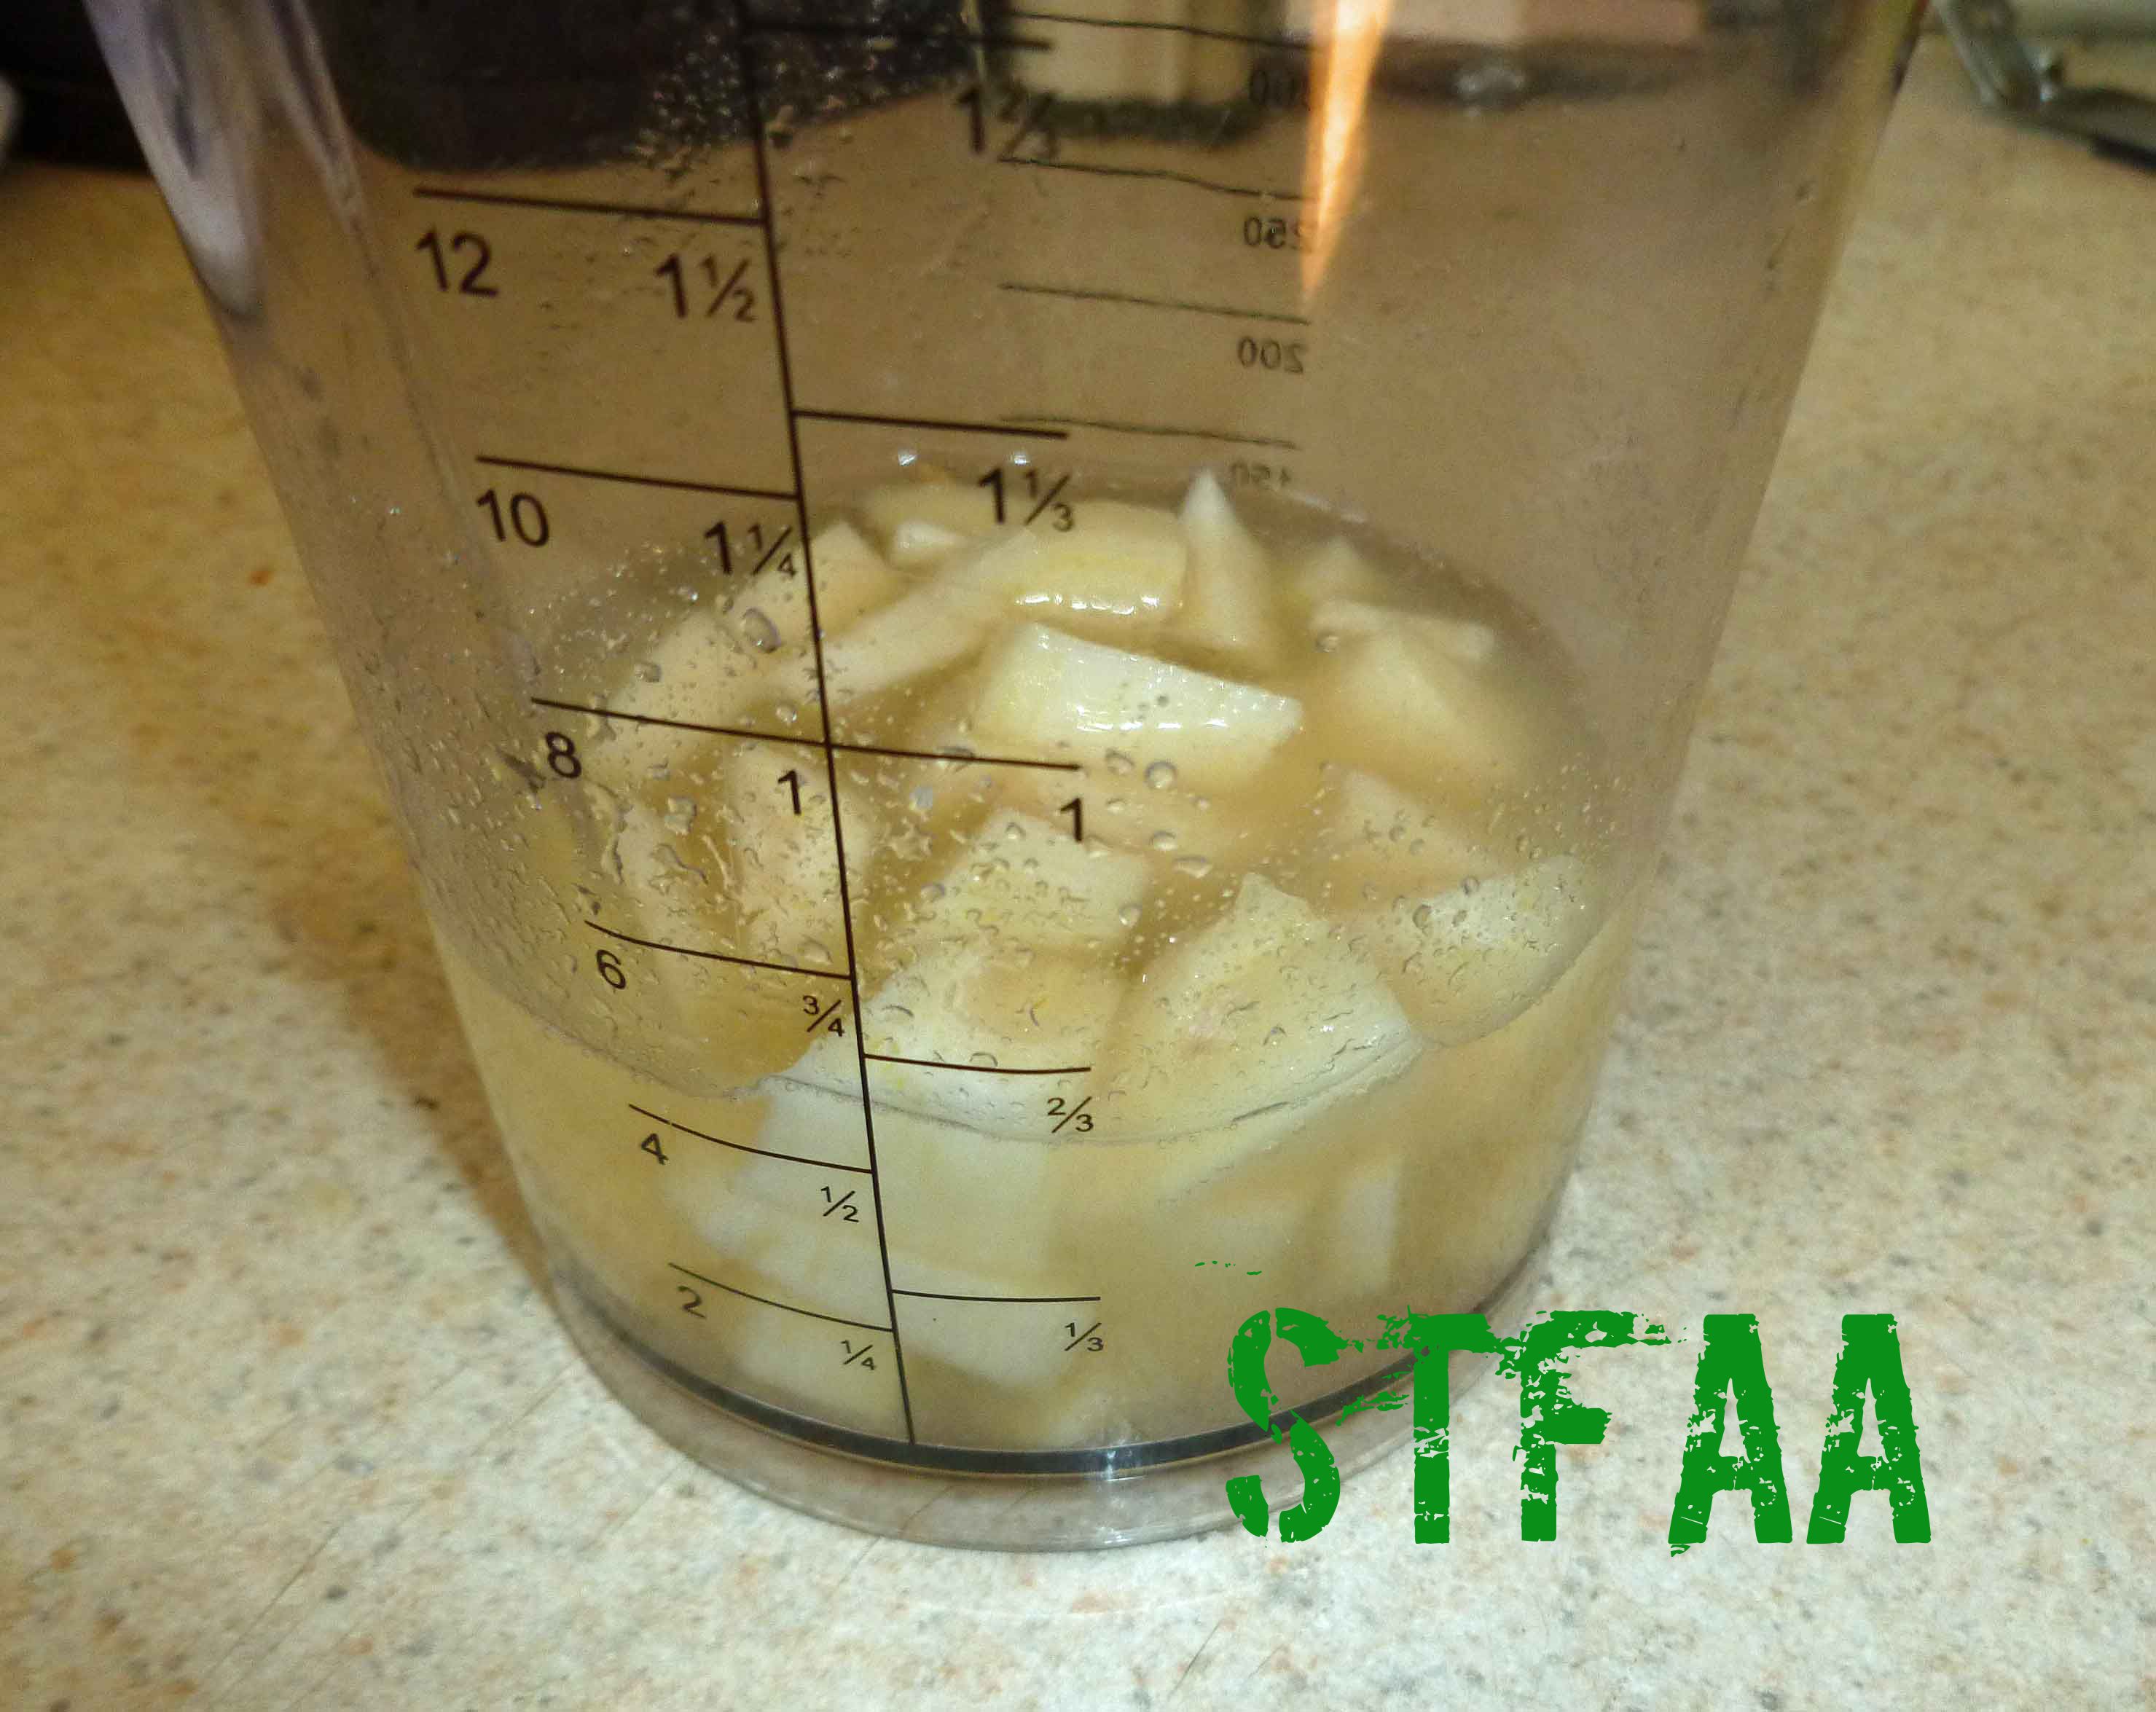
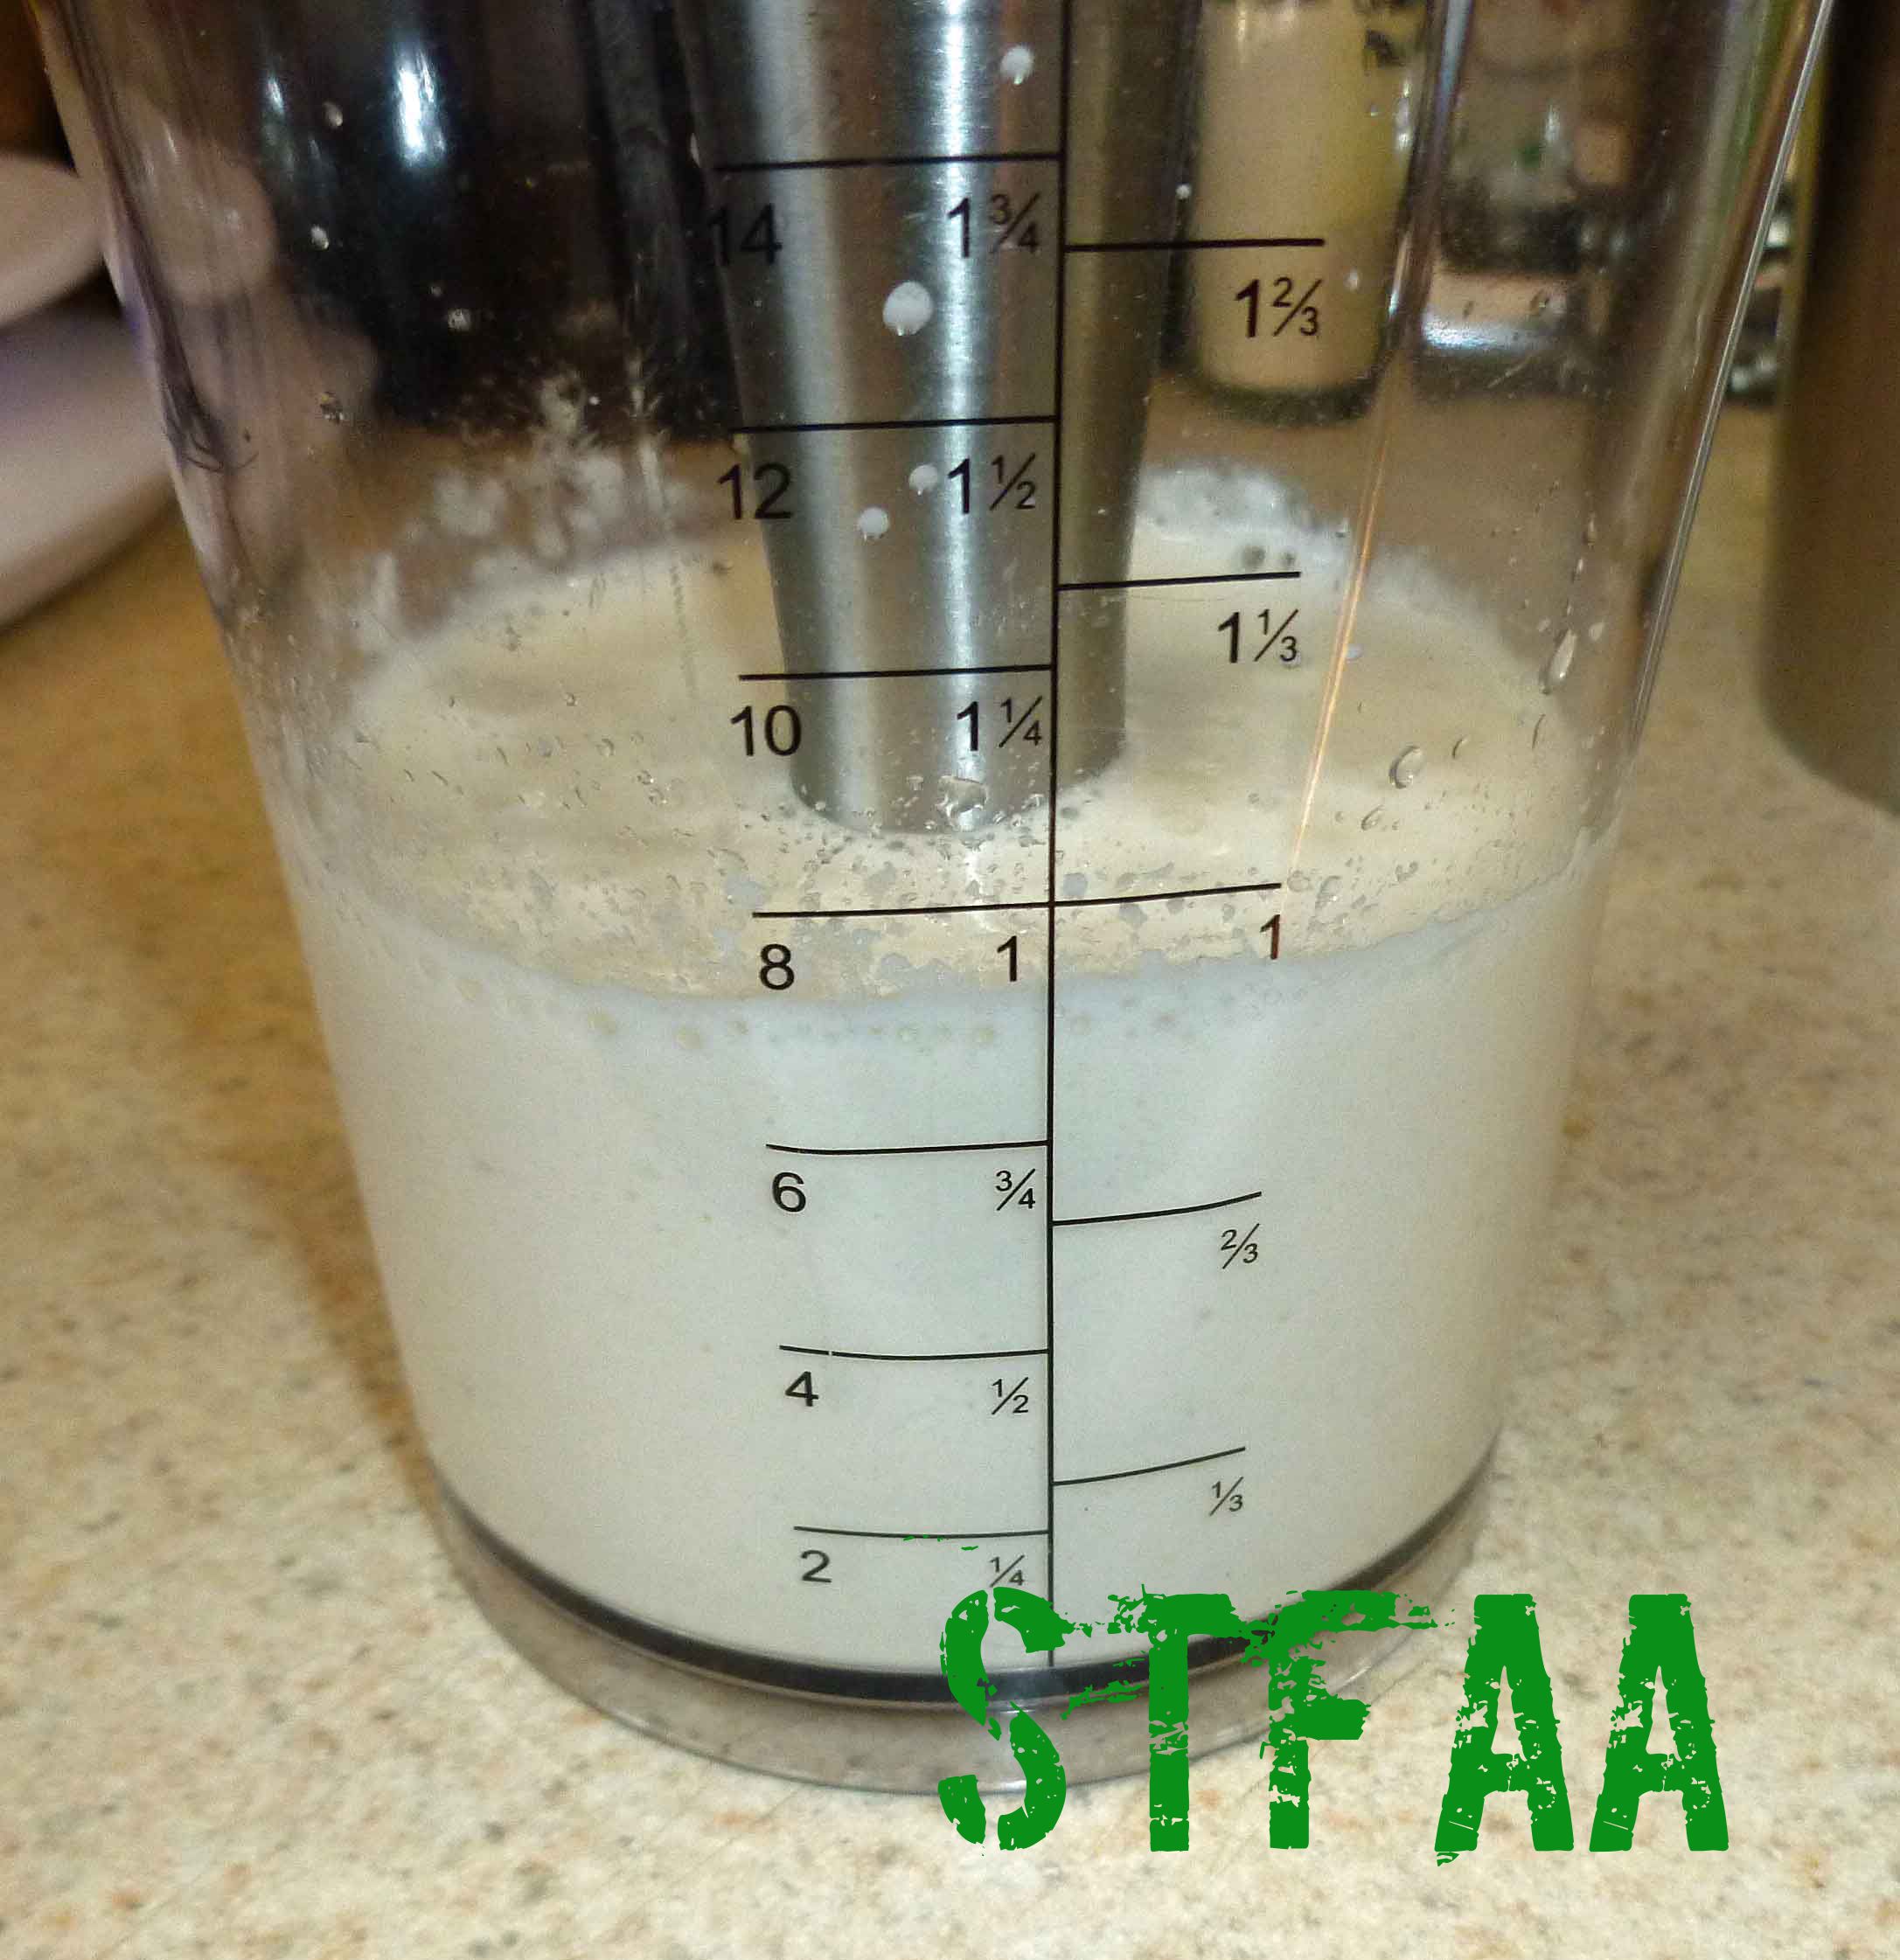
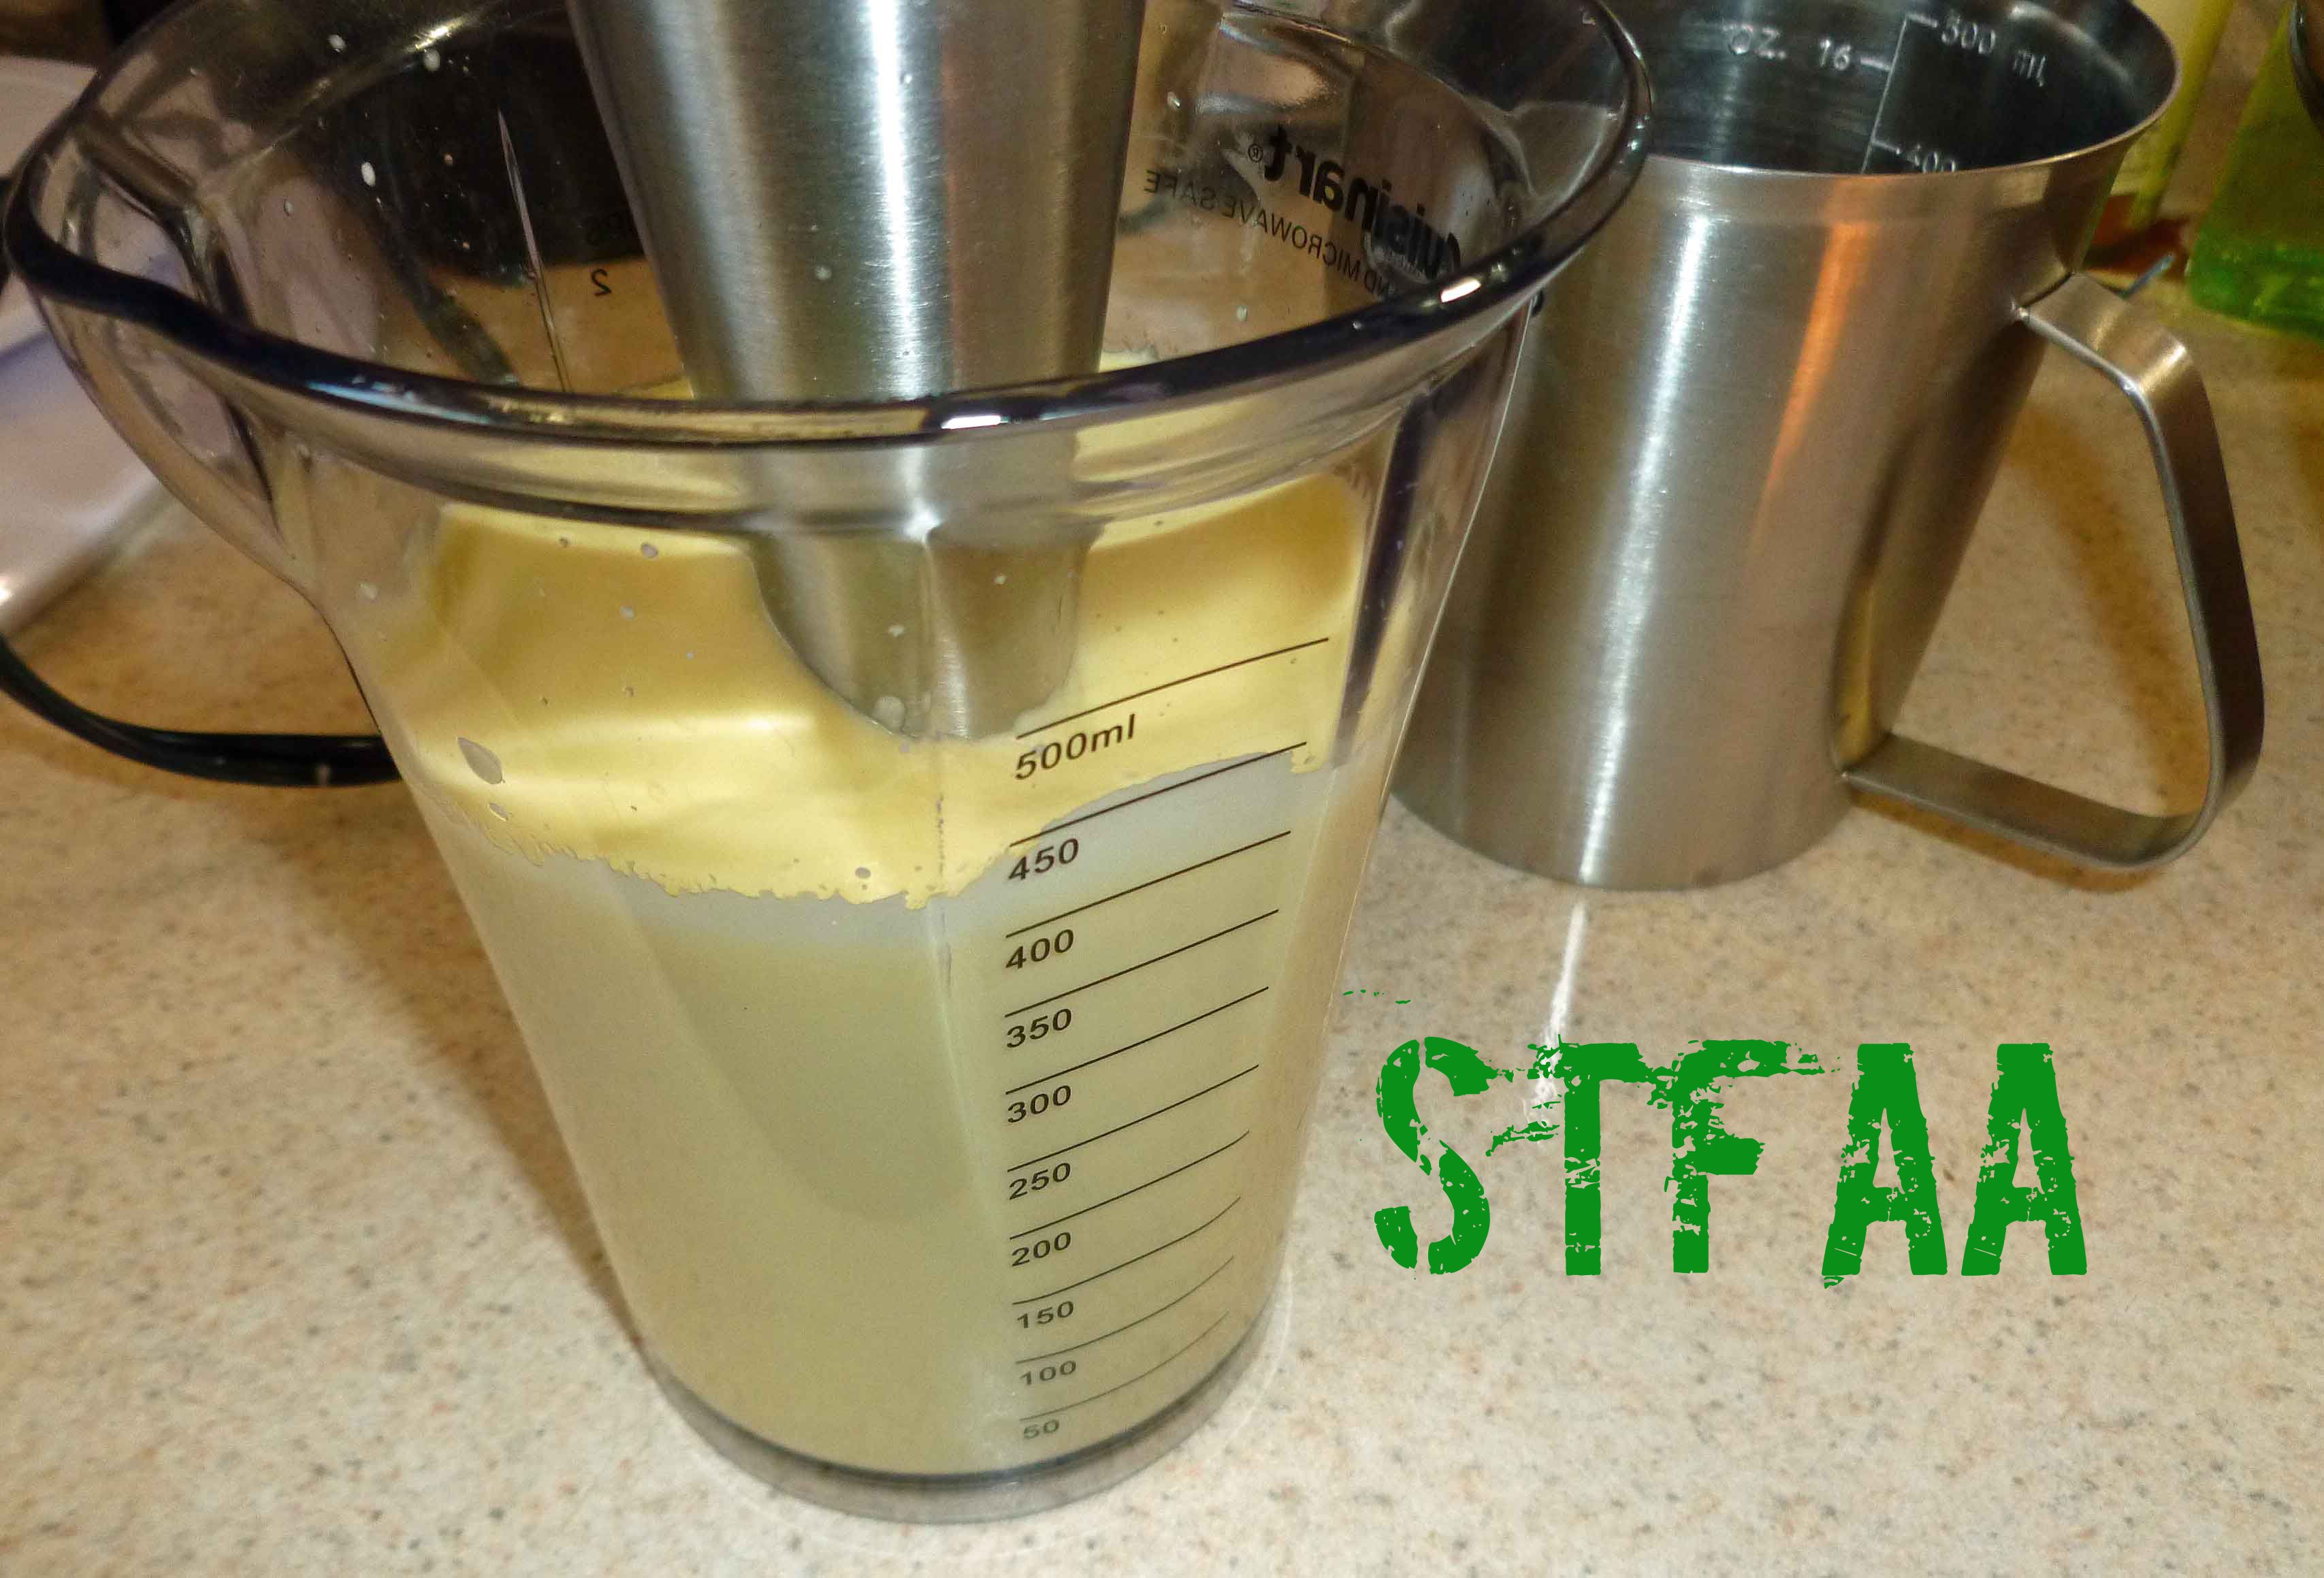
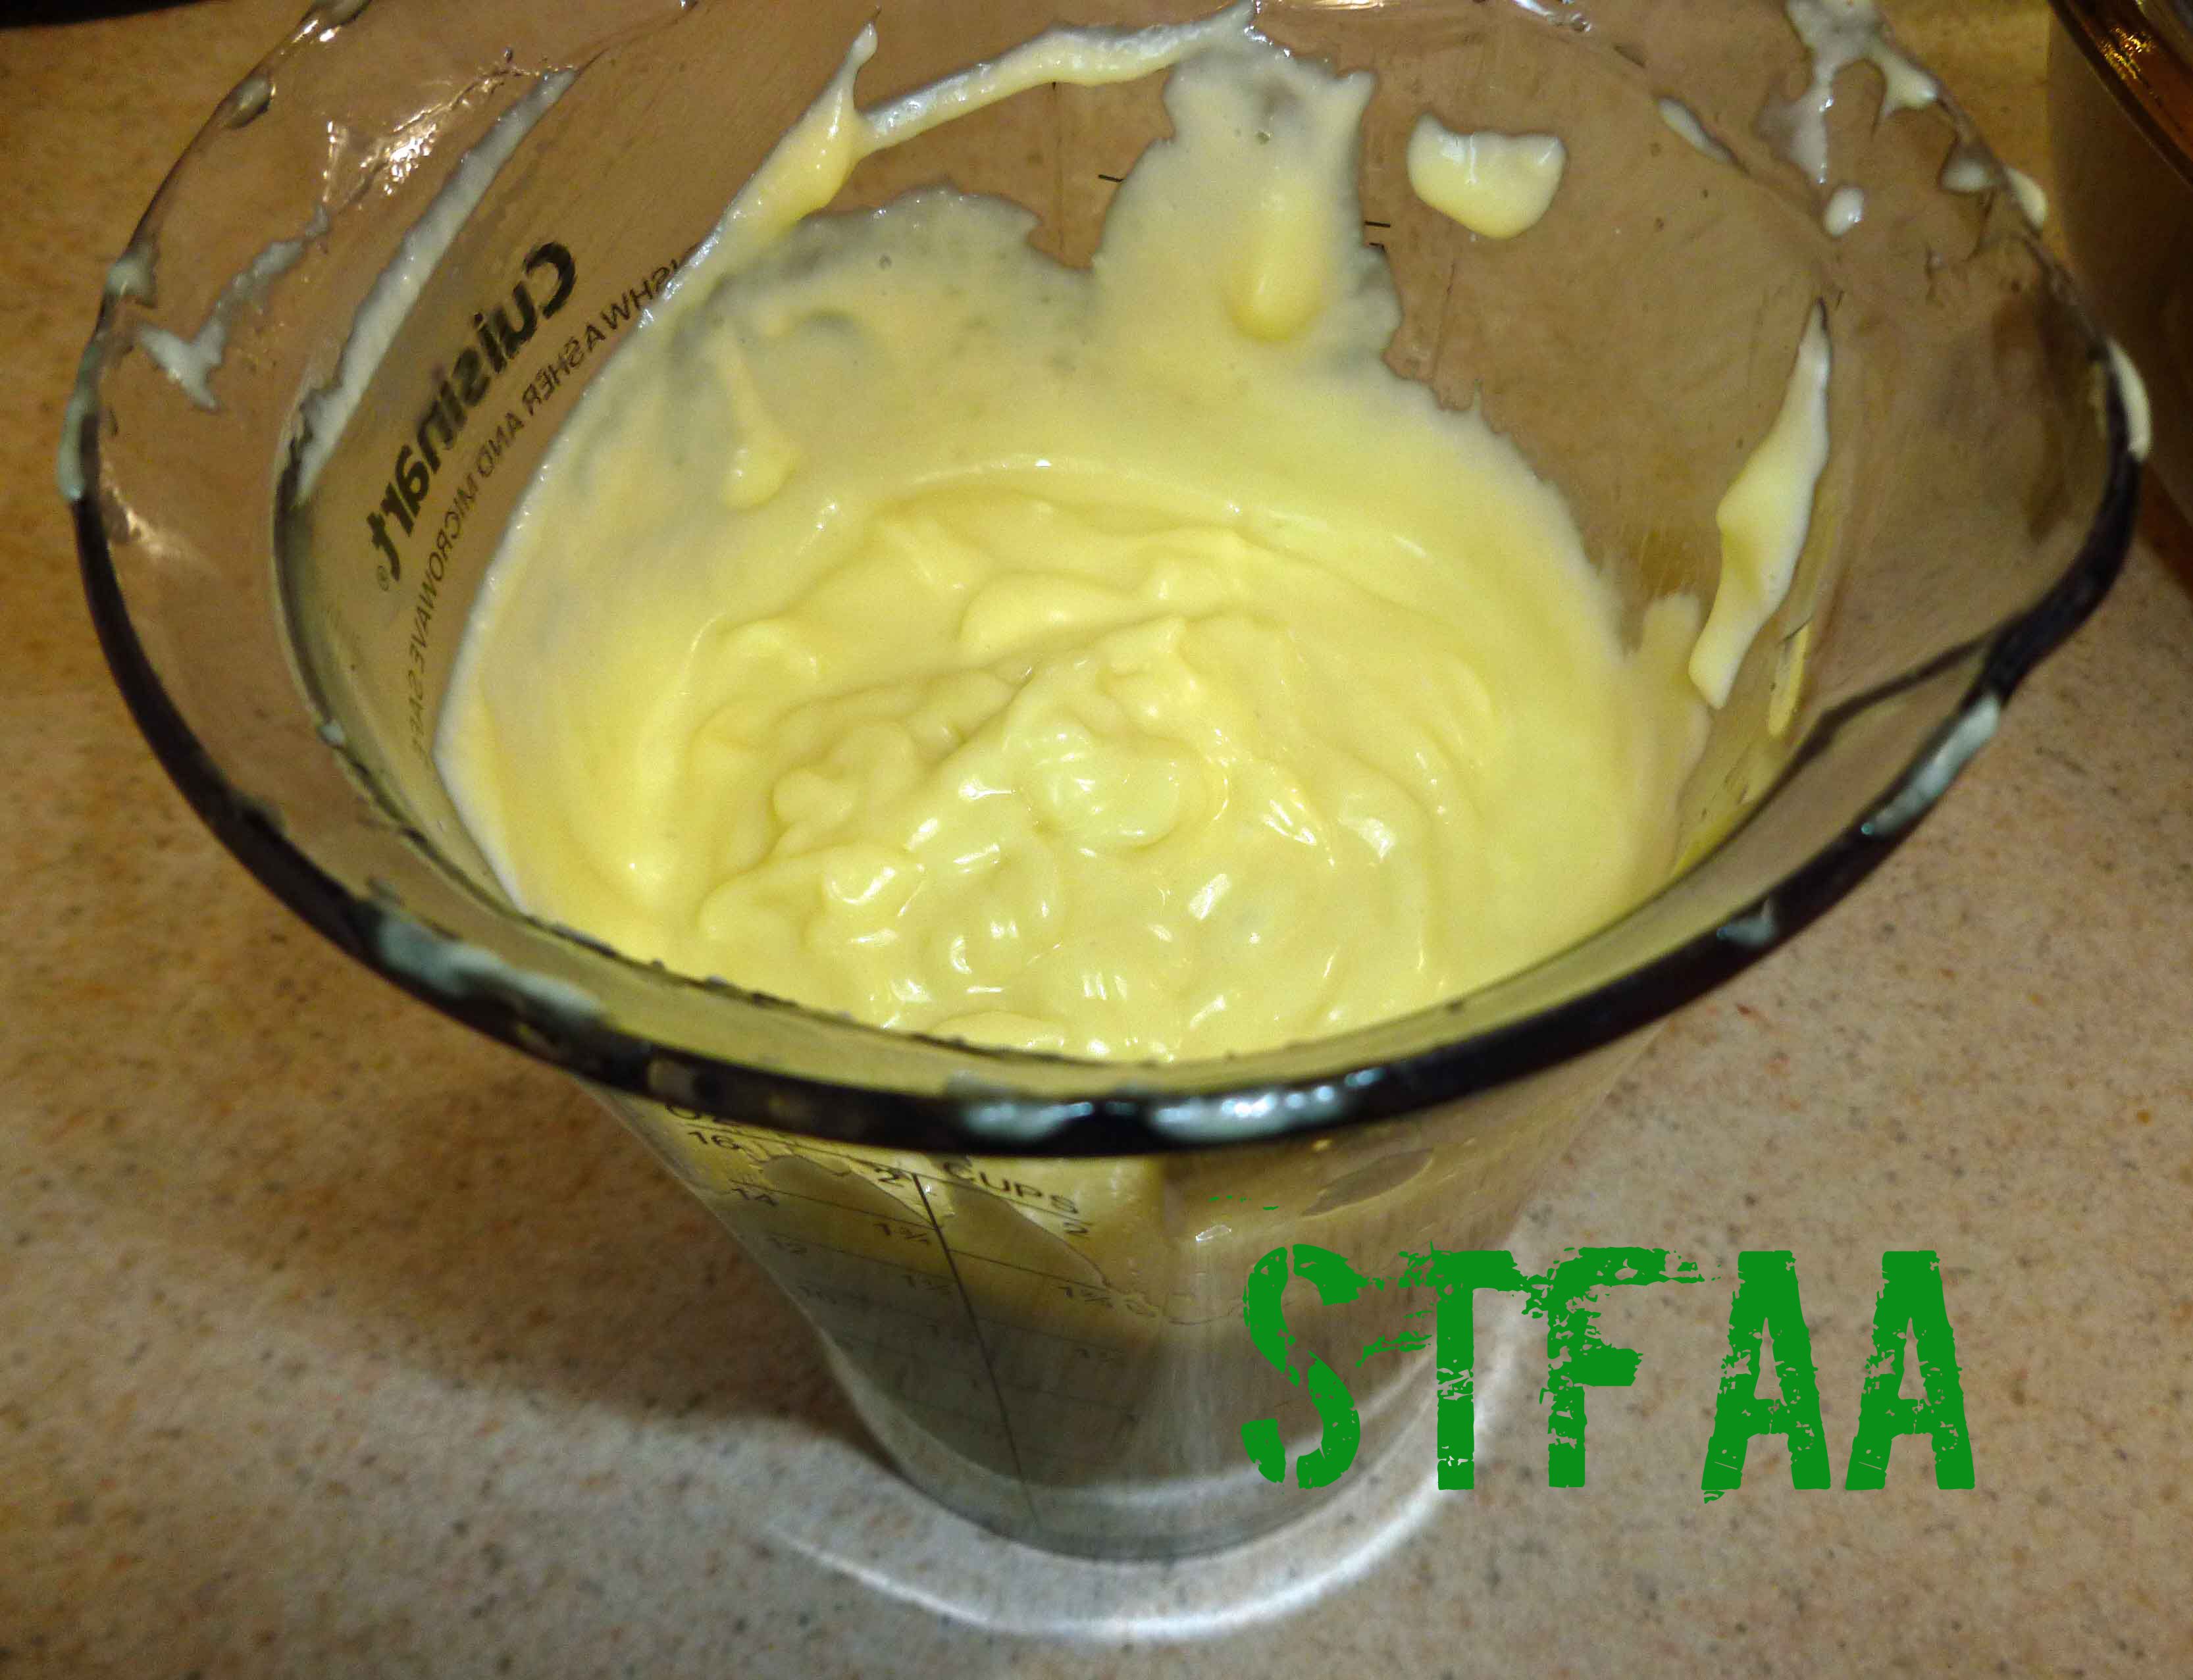
- Mix all ingredients well — a whisk or fork works best.
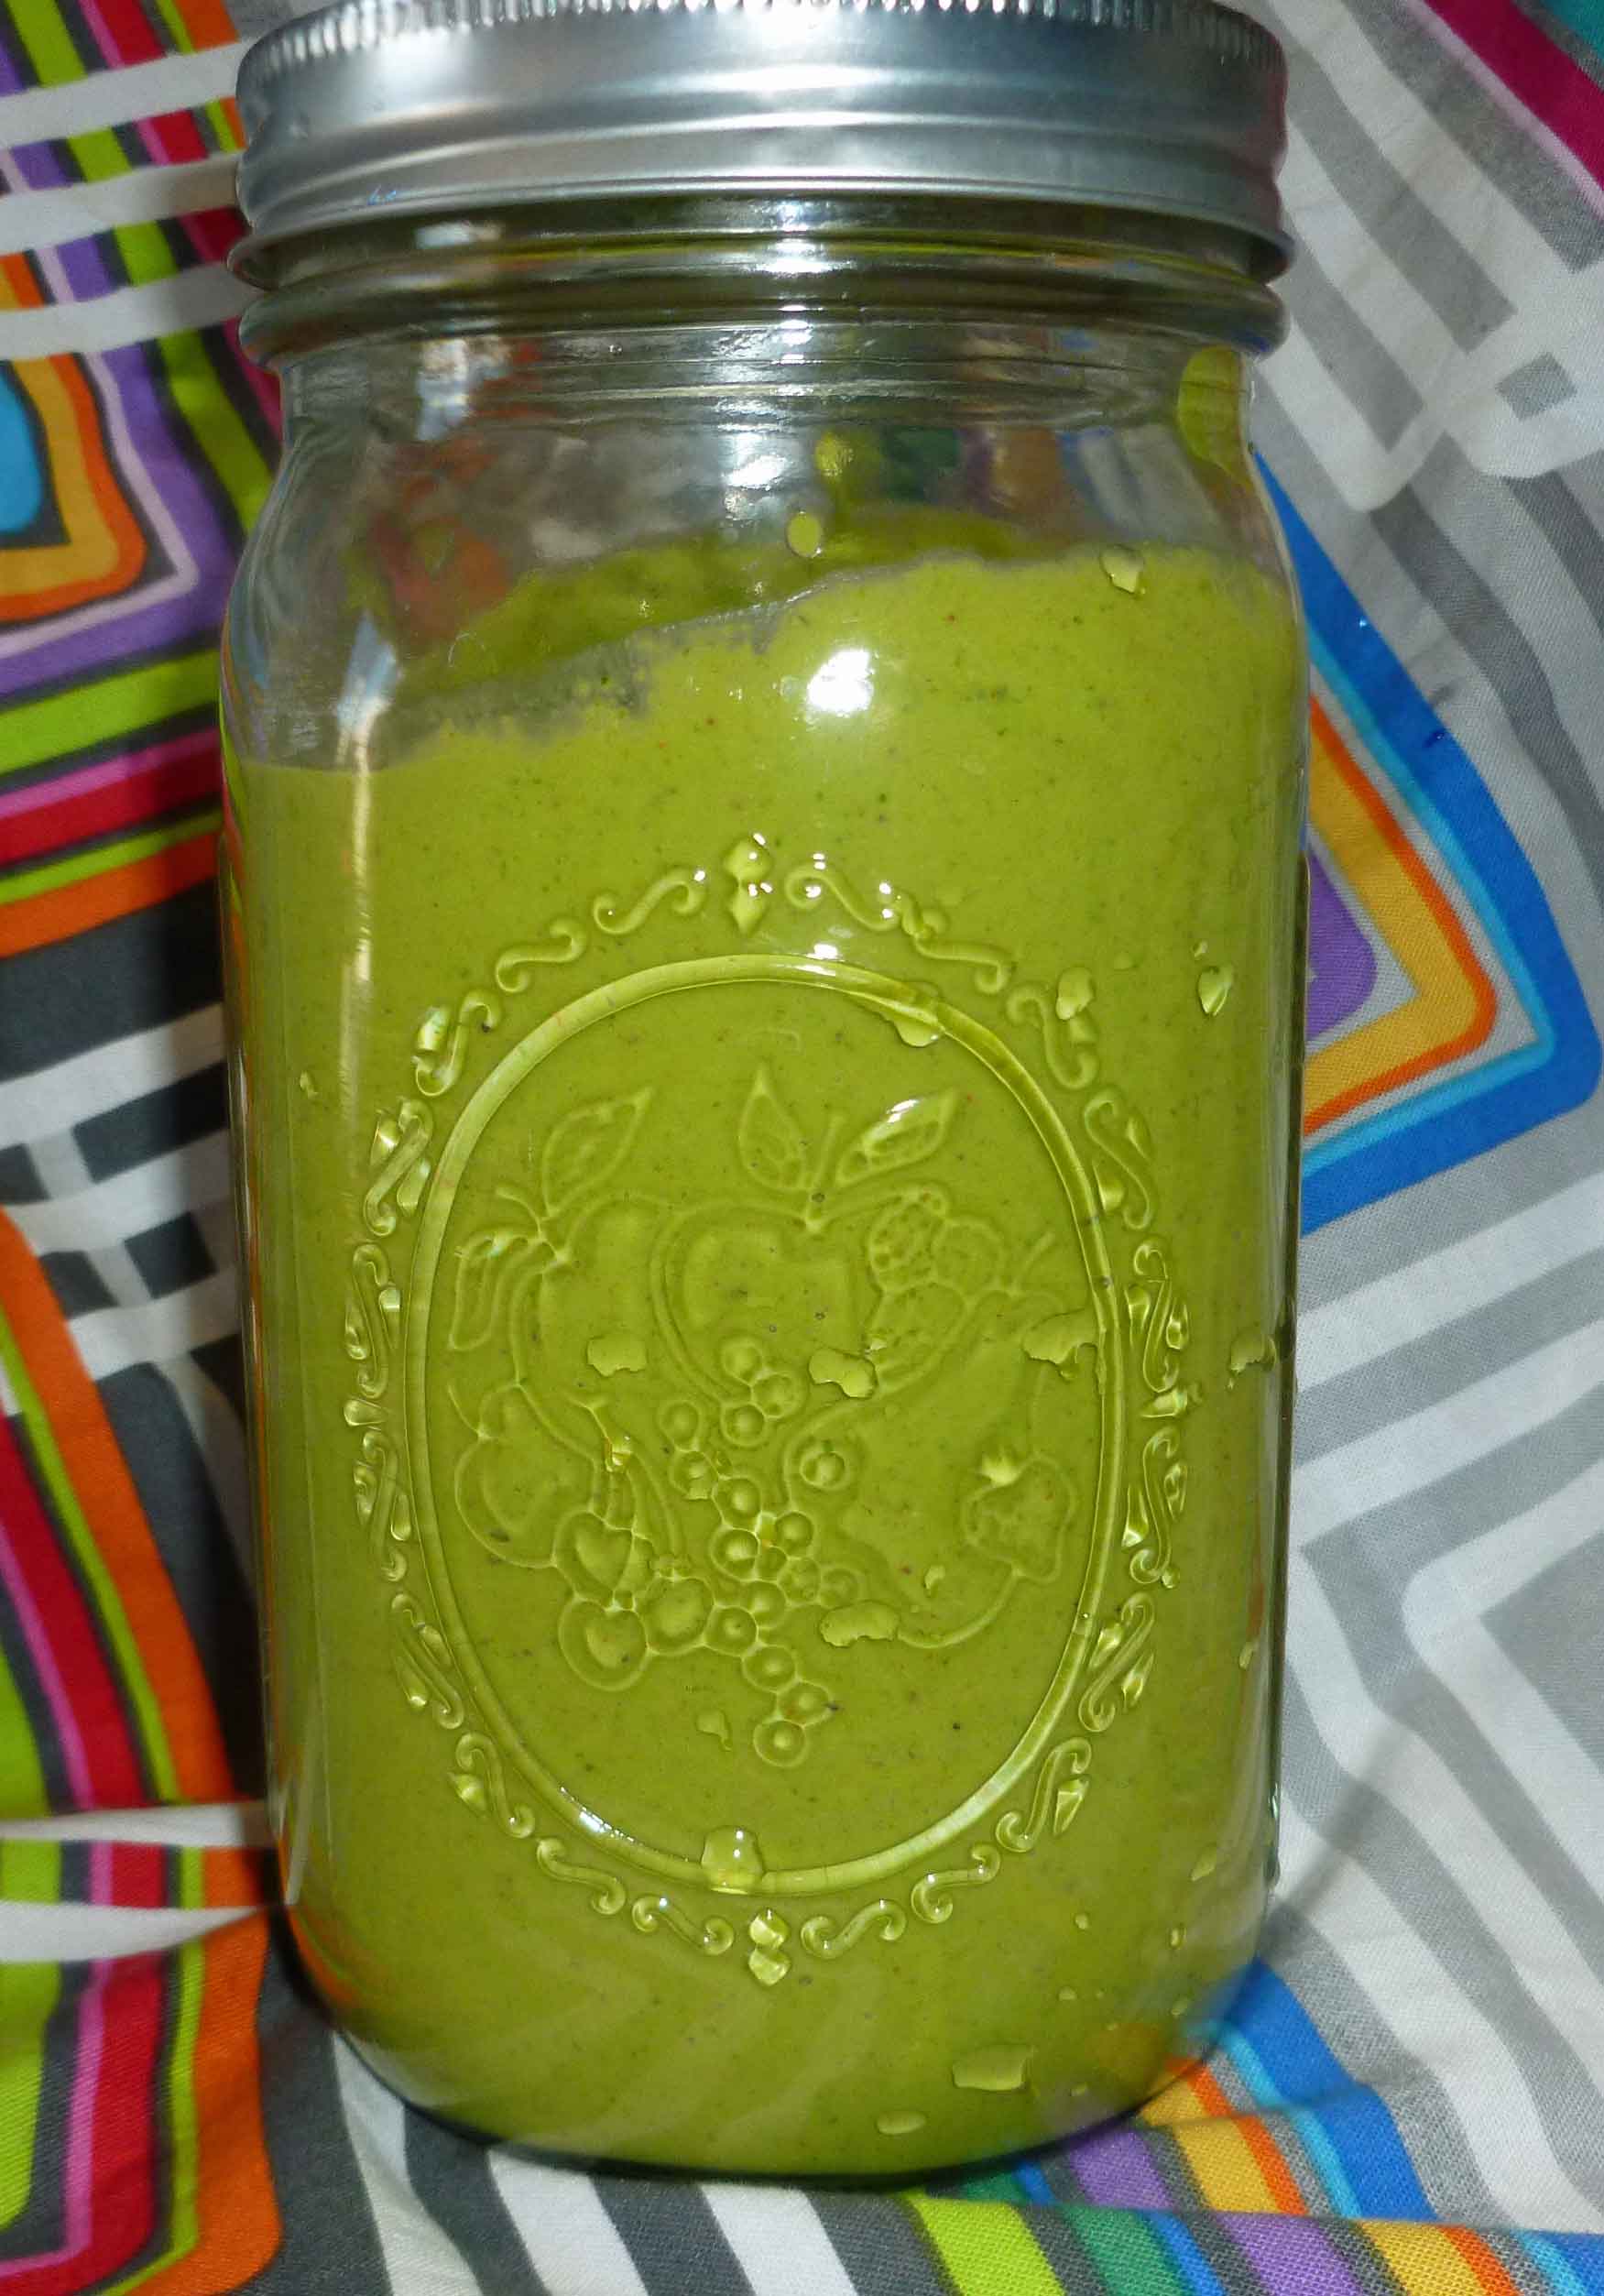
One note — if you want this to be a salad dressing instead of a sauce for a grain bowl, consider adding a bit more lemon juice and olive oil to thin it out some. Also keep in mind that if you make this ahead of time, it’ll need to come to room temperature so the olive oil isn’t solid. (Okay, so maybe that was two notes.)
")
")