Notice: Function _load_textdomain_just_in_time was called incorrectly. Translation loading for the wp-ultimate-recipe domain was triggered too early. This is usually an indicator for some code in the plugin or theme running too early. Translations should be loaded at the init action or later. Please see Debugging in WordPress for more information. (This message was added in version 6.7.0.) in /home/maryzahc/public_html/adultfoodallergies.com/wp-includes/functions.php on line 6131 MaryKate – Page 9 – surviving the food allergy apocalypse (archive)
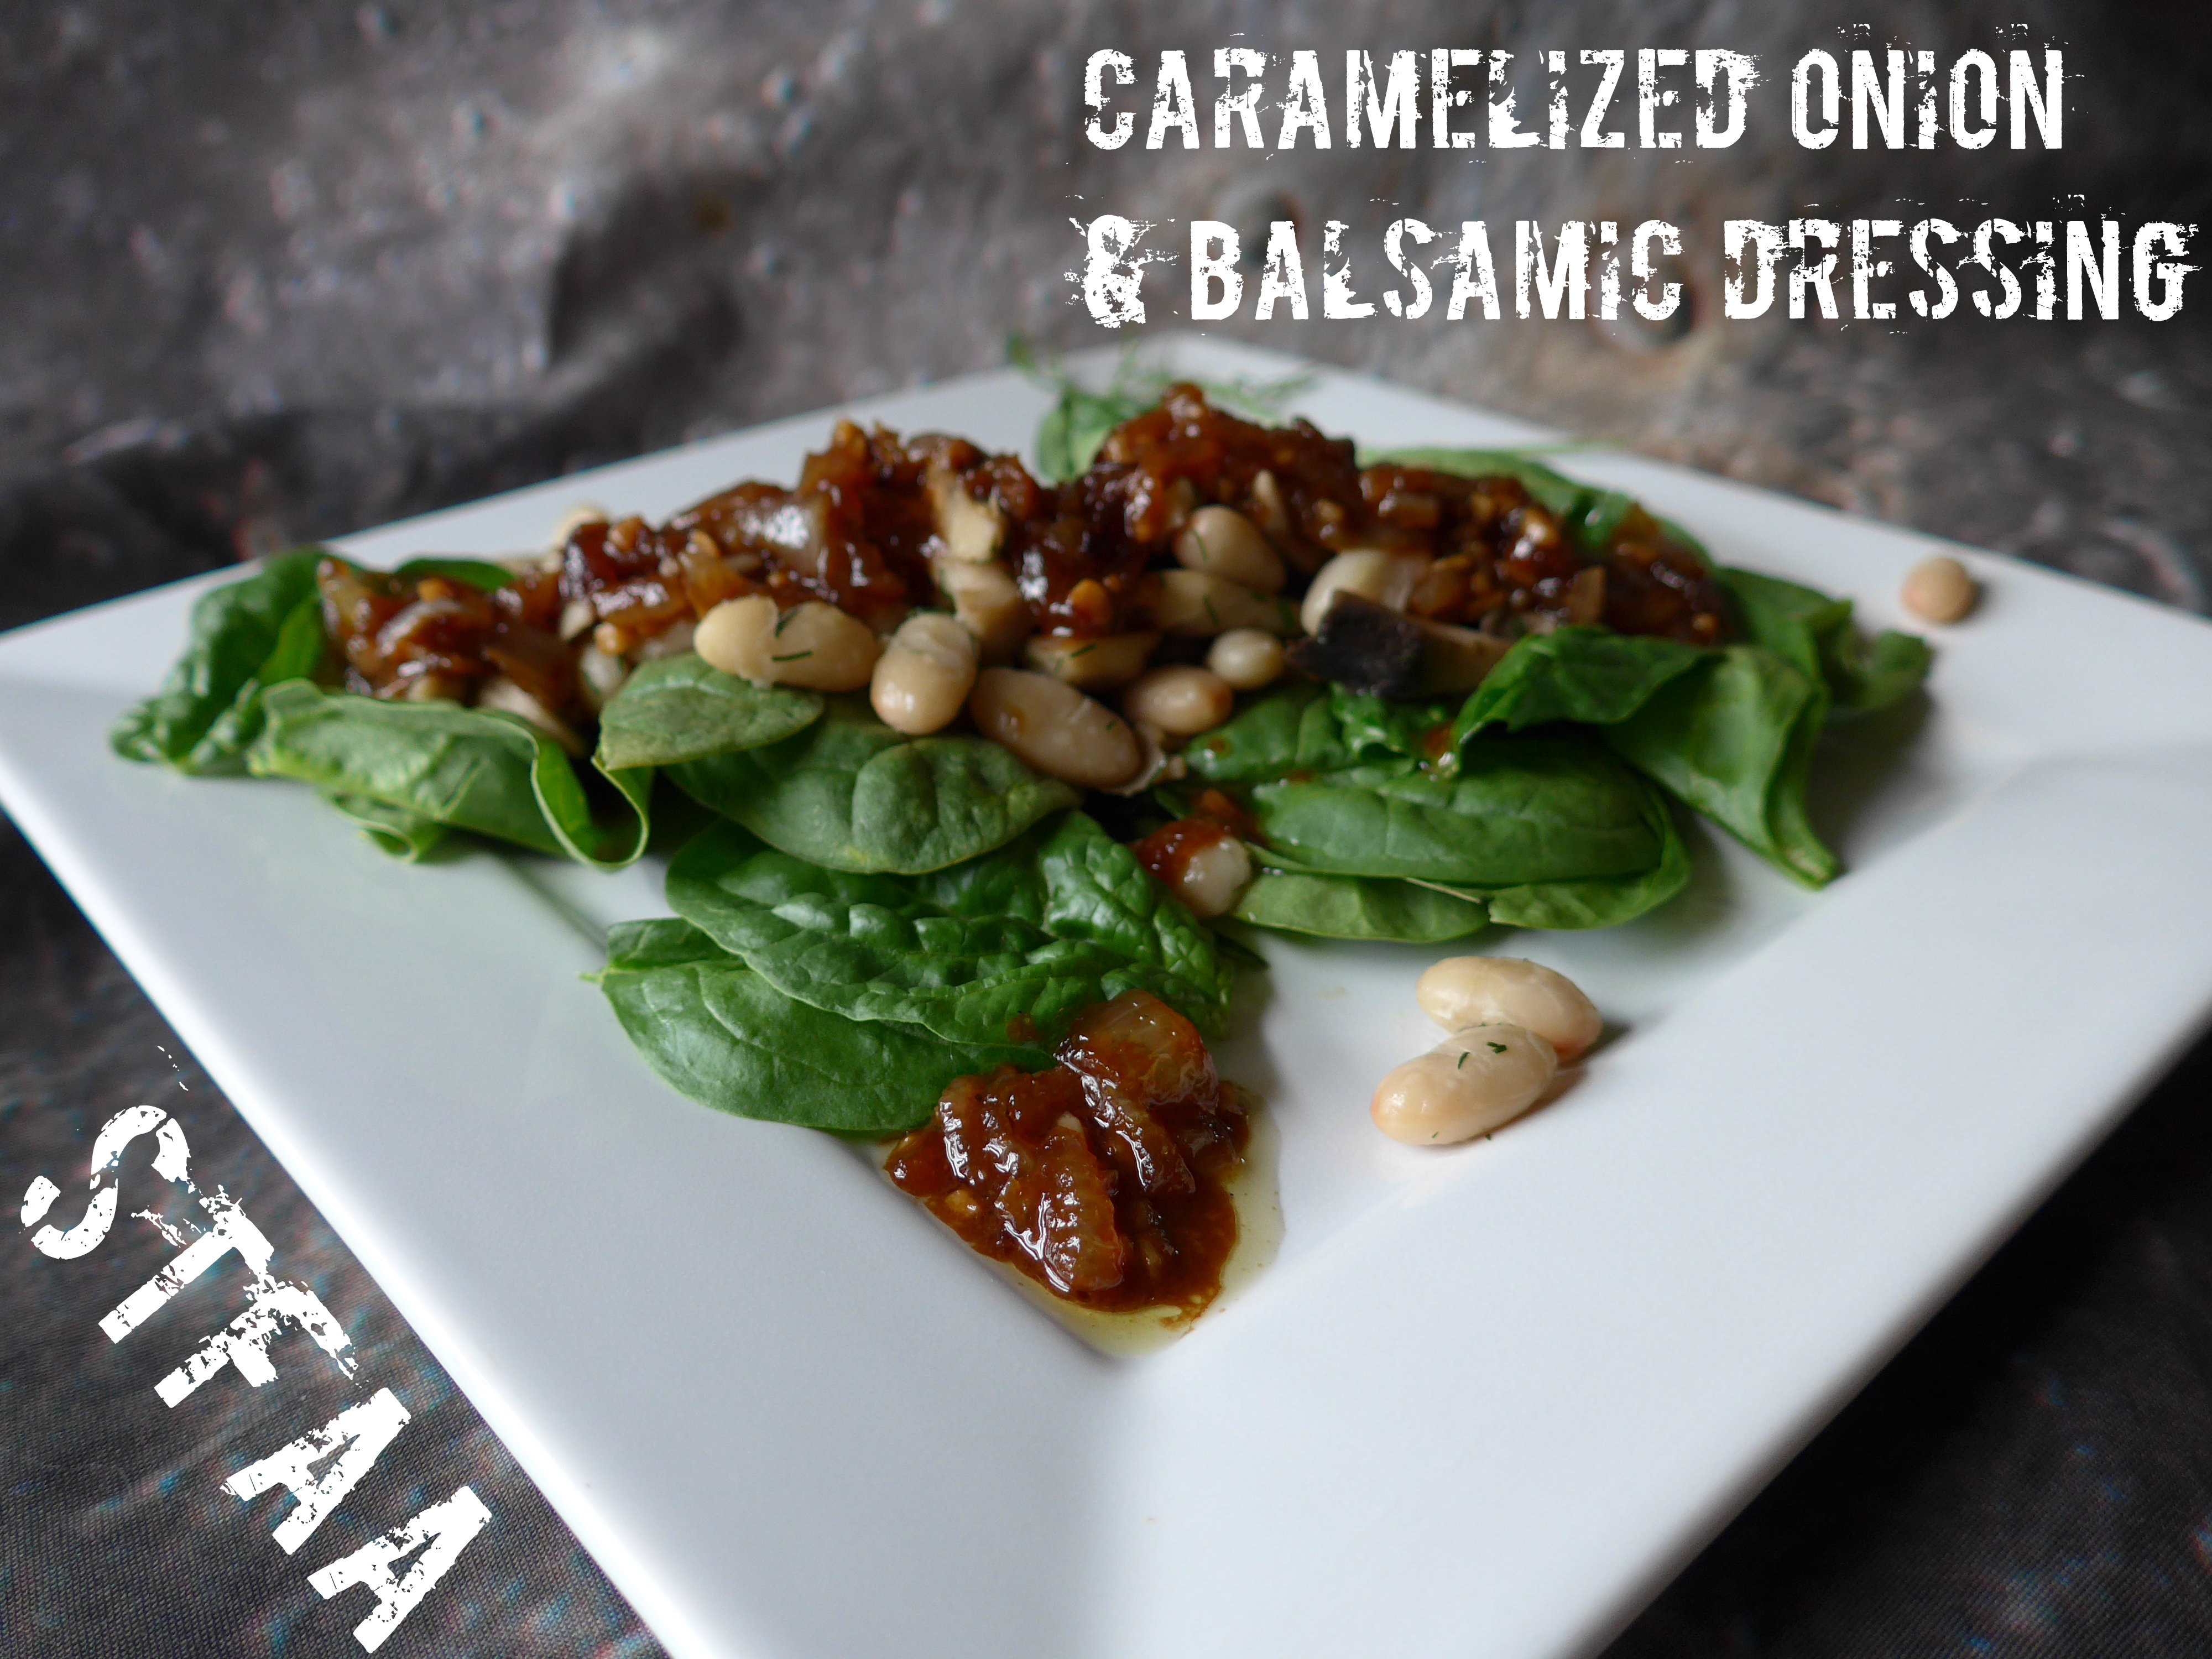
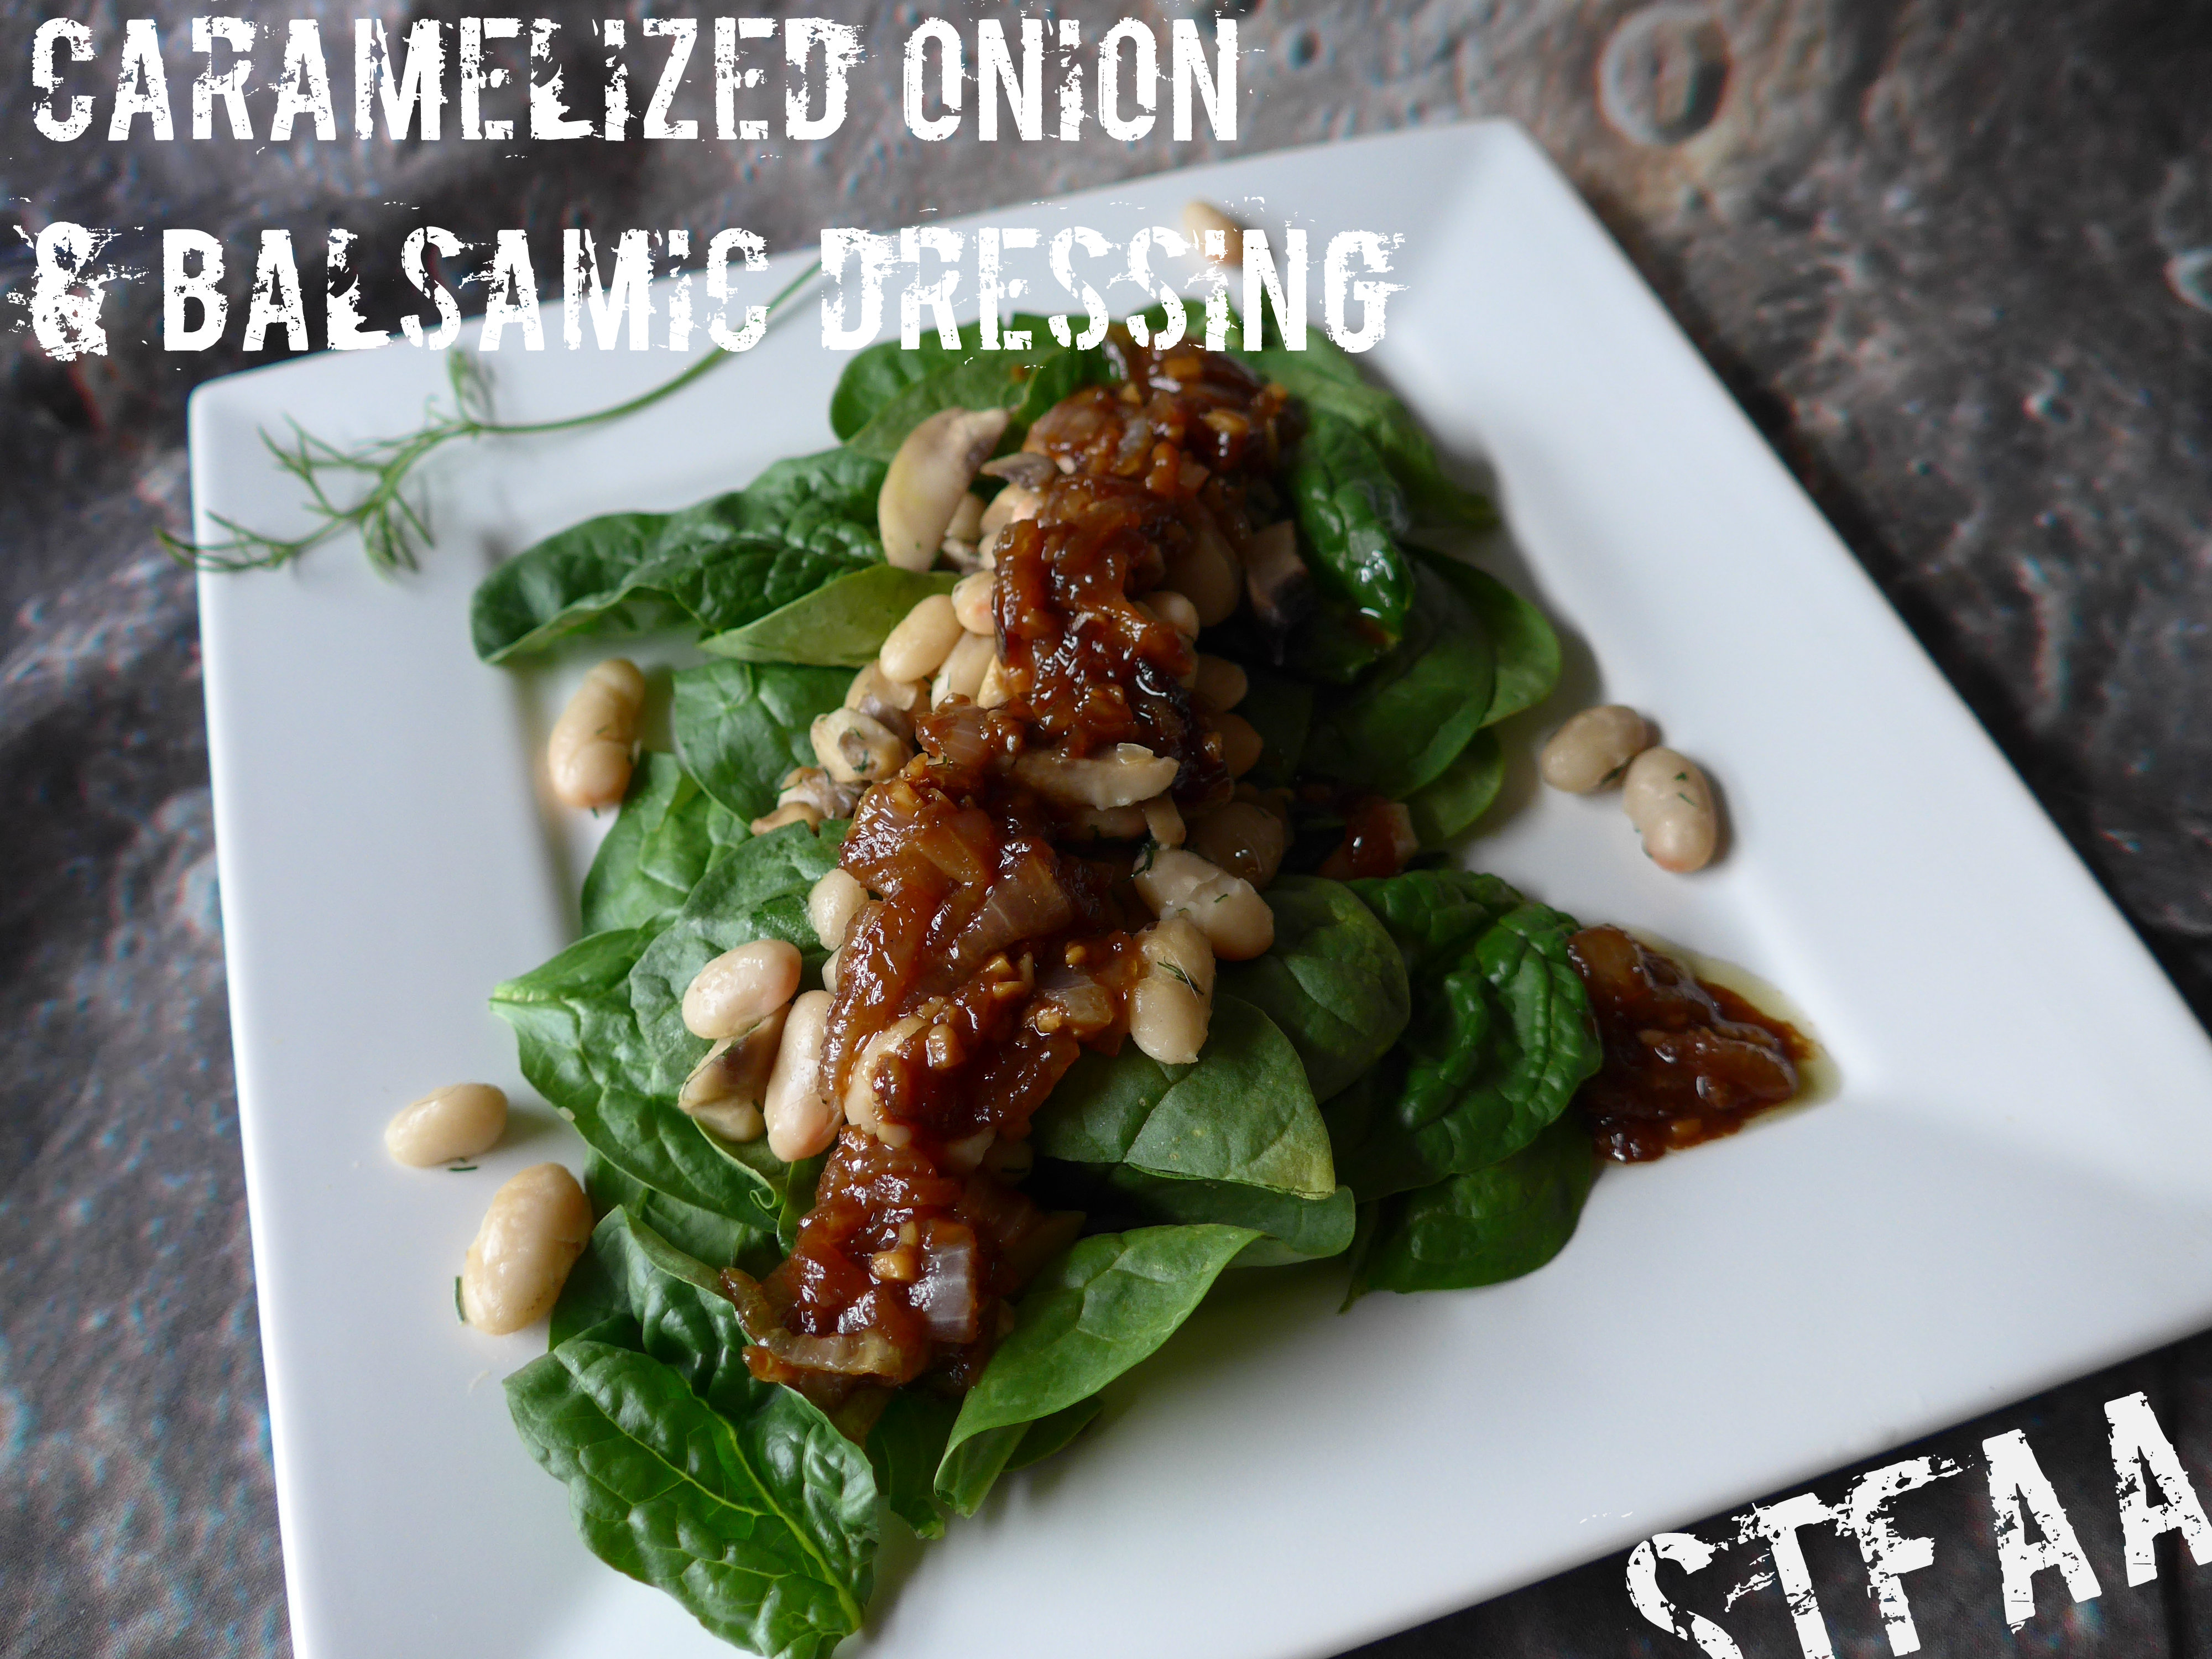
Caramelized Onion & Balsamic Dressing over White Beans, Mushrooms, and Spinach
I am not a big eater of salads. Mostly, that’s because “salad” to me equals lettuce, and I don’t eat lettuce. I don’t like it that much and my body hates digesting it. But the thing is, salad doesn’t need to be lettuce at all. I love chopped salads, and I’ve been experimenting lately with meal salads that are spinach (which I do like) with something warm and cooked over top. Putting something hot on spinach slightly wilts the spinach, which I love, and somehow makes the salad seem more like a hearty meal. This salad is one of those.
Actually, this salad is several of those. The point of this salad is the dressing, which I originally whipped up to go over a grilled steak salad. But as I was getting ready to make it again for better photos, I really didn’t feel like steak. So I made a white bean, dill, and mushroom saute, instead, and it was really good. Again, the point is the dressing. Make that, and then put it over whatever you think will taste good with caramelized onions on it (so, basically, anything up to dessert). The salad is the vehicle for the dressing. It keeps in the fridge overnight, but I’ve never had it around longer than that.
Overall, this recipe makes 2-4 servings, depending on how hungry you are. It’s about 2 servings for me.
Caramelized Onion & Balsamic Dressing over White Beans, Mushrooms, and Spinach
1 cup of onions, halved, then quarter each half and slice thinly. This is about one baseball-sized onion
1/2 – 3/4 teaspoon salt (how salty do you like your dressing? I like the high end of this range, but to just get good flavor, 1/2 teaspoon is enough)
1 1/2 teaspoon chopped garlic (about one largish clove)
1-2 Tablespoons balsamic vinegar (again, adjust for your preferred tanginess)
1 teaspoon Dijon mustard
1 Tablespoon faux tamari, or 1/2 Tablespoon tamari and 1 teaspoon maple syrup or other liquid sweetener
Place a large skillet (I always use my cast iron) over medium heat. When hot, add olive oil and let it heat until shimmering.
Add onions, and stir well. Cook until translucent, stirring frequently.
Add salt. Stir well, and turn heat to medium low. Cook until caramelization begins (golden browning), stirring infrequently, knowing that this will take up to 45 minutes. It’s worth it.
When the browning has begun across the pan of onions, add the garlic, Dijon, balsamic, and tamari, stirring well after each addition. Stir this over the heat until everything has really incorporated (2-4 minutes), and then remove from heat.
Bonus Salad Recipe: Mushrooms, White Beans, and Dill over Spinach
2 -3 teaspoons of oil
1 package (8 oz) mushrooms, washed and chopped roughly
1 can (15 oz) small white beans, drained and rinsed
1 packed Tablespoon of fresh dill, chopped
5 oz of spinach, washed and torn (if big)
Heat a large skillet over medium heat — since you’re combining everything, feel free to use the skillet you made the dressing in without washing it. When hot, add the mushrooms and oil. I always add these two together since I “measure” the oil by adding just a little to the pan, adding the mushrooms, and stirring well. I keep adding little bits of oil while stirring until the mushrooms are all lightly coated. This is probably less than you’d imagine, or less than you would start out with, so it keeps the mushrooms from sticking but also keeps them from being greasy.
Cook over medium heat as the mushrooms release their liquid. Stir frequently. When they’ve shrunk and look cooked, add the beans. Stir well, and add the dill. Cook another 2-3 minutes, until all the beans are hot.
Place the spinach in a large bowl. Pour beans and mushrooms over spinach, then dressing. Let sit for about 5 minutes to wilt the spinach, then toss. Let it sit again, if you like, for further wilting, and then serve.
I’m hoping this is the last post on my slow-as-tortoises laptop; new one should ship this week!
I’m not sure why this chicken is “Caribbean,” exactly. The lime juice, maybe? What I can tell you is that this is an “old” family recipe (and by “old,” I mean my mother learned it sometime in the early-mid 1980s) and it’s a family classic. And that’s what it is called. This chicken tastes like summer to me, as we always had it in the summer. It should really be grilled for the best flavor, but be aware that a marinade with olive oil in it means FLAMES, so you’ll need to be on top of putting those out (or know that you’ll have some burned chicken skin). You could also broil it, I assume, but I have never tried this. Frankly, I think the flames are part of the fun, but I’ve been told I’m a little weird.
DON’T skip the soaking step. It seems like you could, with little change, as it’s not very long, but don’t. Somehow, this keeps the chicken incredibly moist and tasty.
Grilled Caribbean Chicken
Grilled Caribbean Chicken
1 to 1 1/4 lbs. chicken, BONE-IN, SKIN-ON. My favorite is chicken breasts, but drumsticks are also really good. Use what you like.
1/4 cup lime juice
cold water to cover
1/4 cup + 2 Tablespoons olive oil
2 Tablespoons red wine vinegar (cider vinegar will also work in a pinch)
4 cloves garlic, pressed or chopped
2-4 teaspoons salt (depends on how salty you like it — I’ve gone down to the low end and add a bit more at eating if I want it)
2 teaspoons dry oregano, crushed
1/2 teaspoon pepper, preferably freshly ground
Place the chicken in a large bowl and cover with cold water. Add the lime juice and agitate the chicken a little to make sure the water’s getting in between all of the pieces. Let sit 15-30 minutes.
Make the marinade by combining everything else — olive oil through pepper — and stirring or whisking well. Drain the chicken well and then brush or pour on about half the marinade.
Start the grill. You want medium to medium high heat, if you have a gas grill with temperature settings. For charcoal, you want a “hot” side with a three-second hand (if you can hold your hand just above the cooking grate for three seconds, you are around 300-325ºF, about right for poultry) so when your coals are ready, push them slightly to one side.
When your grill is ready, place the chicken on the grill, skin side down (or just on, if it’s drumsticks). Be ready to put out flames (a water gun is fun) or move the chicken around a bit as the oil drips down. Cook about 5 minutes, skin down, and then base your back side and flip. After another 5 minutes, move the chicken to the indirect heat side of the grill for another 5 (drumsticks) to 15 (breasts) minutes to reach an internal temperature of 165ºF. Baste again at this time (though that should be enough). Check every 5 minutes. I’d love to give you an exact grill time, but I can’t — grills vary too much.
Once your meat is done, let it rest a few minutes before cutting. It should be plenty juicy, and if you haven’t burned the skin, it should be wonderfully crispy and tasty. Actually, if you have burned the skin a bit (see the chicken breasts in the grill photo), it still tastes pretty good.
This started out to be a different post. Denise and I had gone to a public lecture at one of the big medical facilities in our area to hear an immunologist talk about food allergies. I don’t think either of us held out hope that we would be enlightened, but given our conversations after, I think we’d both hoped to learn something.
We didn’t.
The questions from the audience showed a hunger for knowledge, for answers. About half the audience seemed to be there because they have children with allergies. The other half seemed to be adults with unexplained chronic health issues or actual diagnosed adult-onset food allergies, looking for information and answers. We did not really get answers. There was an implied dismissal of patients who have anything less than full anaphylactic shock (and, again, that was not all that clearly defined other than “can lead to death.” If the actual definition is applied — any reaction involving more than one bodily system reacting — all of us in the food allergy and most in the food intolerance worlds have been in anaphylaxis way more often than we’d believed.). There was also very polite scoffing at anyone searching for answers who believes that food allergy or food intolerance might be the problem.
Denise and I have both encountered this in our fun exciting journeys through western medicine and the US health insurance and health care systems.
Here’s the rub: For some of us really unlucky people in the world, our bodies have decided that foods, some foods, are enemies worse than viruses. This food fight can take a variety of forms. Food allergy is an IgE-mediated allergic response to a food. Food intolerance can be a lack of digestibility (e.g. lactose intolerance) or something more vague than that. Celiac disease is an autoimmune disease. The only one of these things that has a clear clinical diagnosis protocol is celiac. In all of these cases, though, the prescription is the same: Avoid eating the things that make you sick. This is generally just good life advice, but when the fight in you takes days, weeks, (or a trip to the ER) to resolve, it’s a little more serious.
So without clear diagnostic protocols, and with a pretty basic (if really time-consuming, life-altering, and fucking annoying) treatment plan — avoid the food — how do you, a sick person, get actionable information about what to do to improve your own health? How many of you have asked your medical professional about certain tests, certain diagnoses, or certain studies that they hadn’t ever heard of? How many of you have relayed information about how you experience symptoms in your body, whether in relation to food or not, and had a doctor ignore that information because they don’t know what it means diagnostically? How many have been told that food has nothing to do with your issues, even if your issues are digestive? How many have waited months to see a specialist who spends 5 minutes listening, shrugs off everything you’ve told them, and then prescribes a drug without explaining anything about it?
I think this is common for those of us with adult-onset food issues — allergies, intolerances, and the like. I know that I read more than my primary care practitioner on the research about food allergies. She has admitted that. She has suggested tests and diagnoses and let me go off to research them and see if I think the descriptions of symptoms fit with my experience. At first I was not on board with this, but now? Who knows better what I feel in my body than me? I’m the only one living here! Besides, she has maybe hundreds of patients. I have only myself and my own symptoms to read up on.
When I research, however, how do I find valid information? Who do you trust, how do you vet your information, and how do you avoid bad data? How do you tune out the really bad advice?
I trust that most of the research being done by federal health agencies (NIH, CDC, FDA) is based on solid scientific methods, that they will be properly cited, and that the authors will be clearly identified. I trust research being done or promoted by FARE is the same. I trust that data provided by major hospital and research groups (Mayo, Dartmouth, Mass General, Kaiser) is also scientifically valid. But bear in mind — scientifically valid and useful are two different things. Like many other people with food allergies, I think I’ve learned as much if not more from other food allergy sufferers as I have from “proper” scientific research. I’m not a scientist, and neither are most of the other food allergy bloggers. Nor are most of us dieticians, doctors, pharmacists, or other medical professionals. But we live it, this food allergy life.
So this is how I try to weed out useful information from randomness. Writers I trust relate their own personal experiences of symptoms, suspected causes, trials and missteps in figuring things out, methods of “research” on themselves, any helpful or non-helpful information from medical professionals, tests, and outcomes or results. They do not try to generalize this to everyone. Most food allergy writers know how idiosyncratic allergy and intolerance presentation is, and they write with that in mind. Writers who generalize that their personal story must be everyone else’s, writers who purposely or knowingly relay “health information” that has been debunked or disproved, writers using anything that sounds like a “health information headline” in a major news outlet (i.e. alarmist and click-baiting), or anyone promoting a magic cure, I do not trust and generally drop from my reading list. Writers who do their research and cite it, I am more inclined to trust and keep reading. This includes anyone whose research is “I tried this and here’s what happened.” Sometimes, we learn best by doing.
Anyone who dismisses all alternative treatment methods outright, I don’t trust. It’s one thing to share studies that show efficacy or lack thereof of different alternative treatments. It’s also great when, again, people share their personal experiences and even their theories. Most of us who are in this boat are or have been desperate at one point or another, and if you try some supplement or massage therapy or anything else in hope, how can I blame you? I understand. Doesn’t mean I’ll follow you, but I’ve done my own experimenting.
The wealth of information available to us is a benefit and a pitfall, I think. Anyone who has had a long bout of ill health with no good answers from their doctors has probably tried the sugar water, and I don’t fault them for that. This is one of the reasons that the gluten-free trend doesn’t bother me that much. People don’t feel great and they are searching for answers. But too many “health” blogs and “health” companies out there promote magic cures that do nothing or, at worst, cause additional harm. I do not believe in magic cures.
You are the only person who has to live in your body and deal with whatever is wrong with it. If you can learn to pay attention to what it’s telling you, I think that is generally your best chance for achieving your own optimal health. This one I feel okay making a generalization on — what better primary source of information do you have than your own bodily experience? With the information you get from paying attention, you can evaluate health information and treatment options from the internet, from well-meaning friends and family, and from your health care professionals.
We don’t have a magic cure. If we did, honestly, I’m not sure I would trust it. I guess the closest thing we’ve come up with as “magic” is being able to make and eat good food that doesn’t want to kill us. That is why we write this blog. I hope at least one or two of our recipes has made you forget you’re being “deprived” of “normal” foods.
I have a dehydrator! One of Denise’s friends is clearing things out, I guess, and when she asked if I wanted a dehydrator, I jumped on it. I’ve tried some straight up fruit so far, but I was most excited about making jerky and home-made fruit rollups, as well as drying some of my herbs this summer.
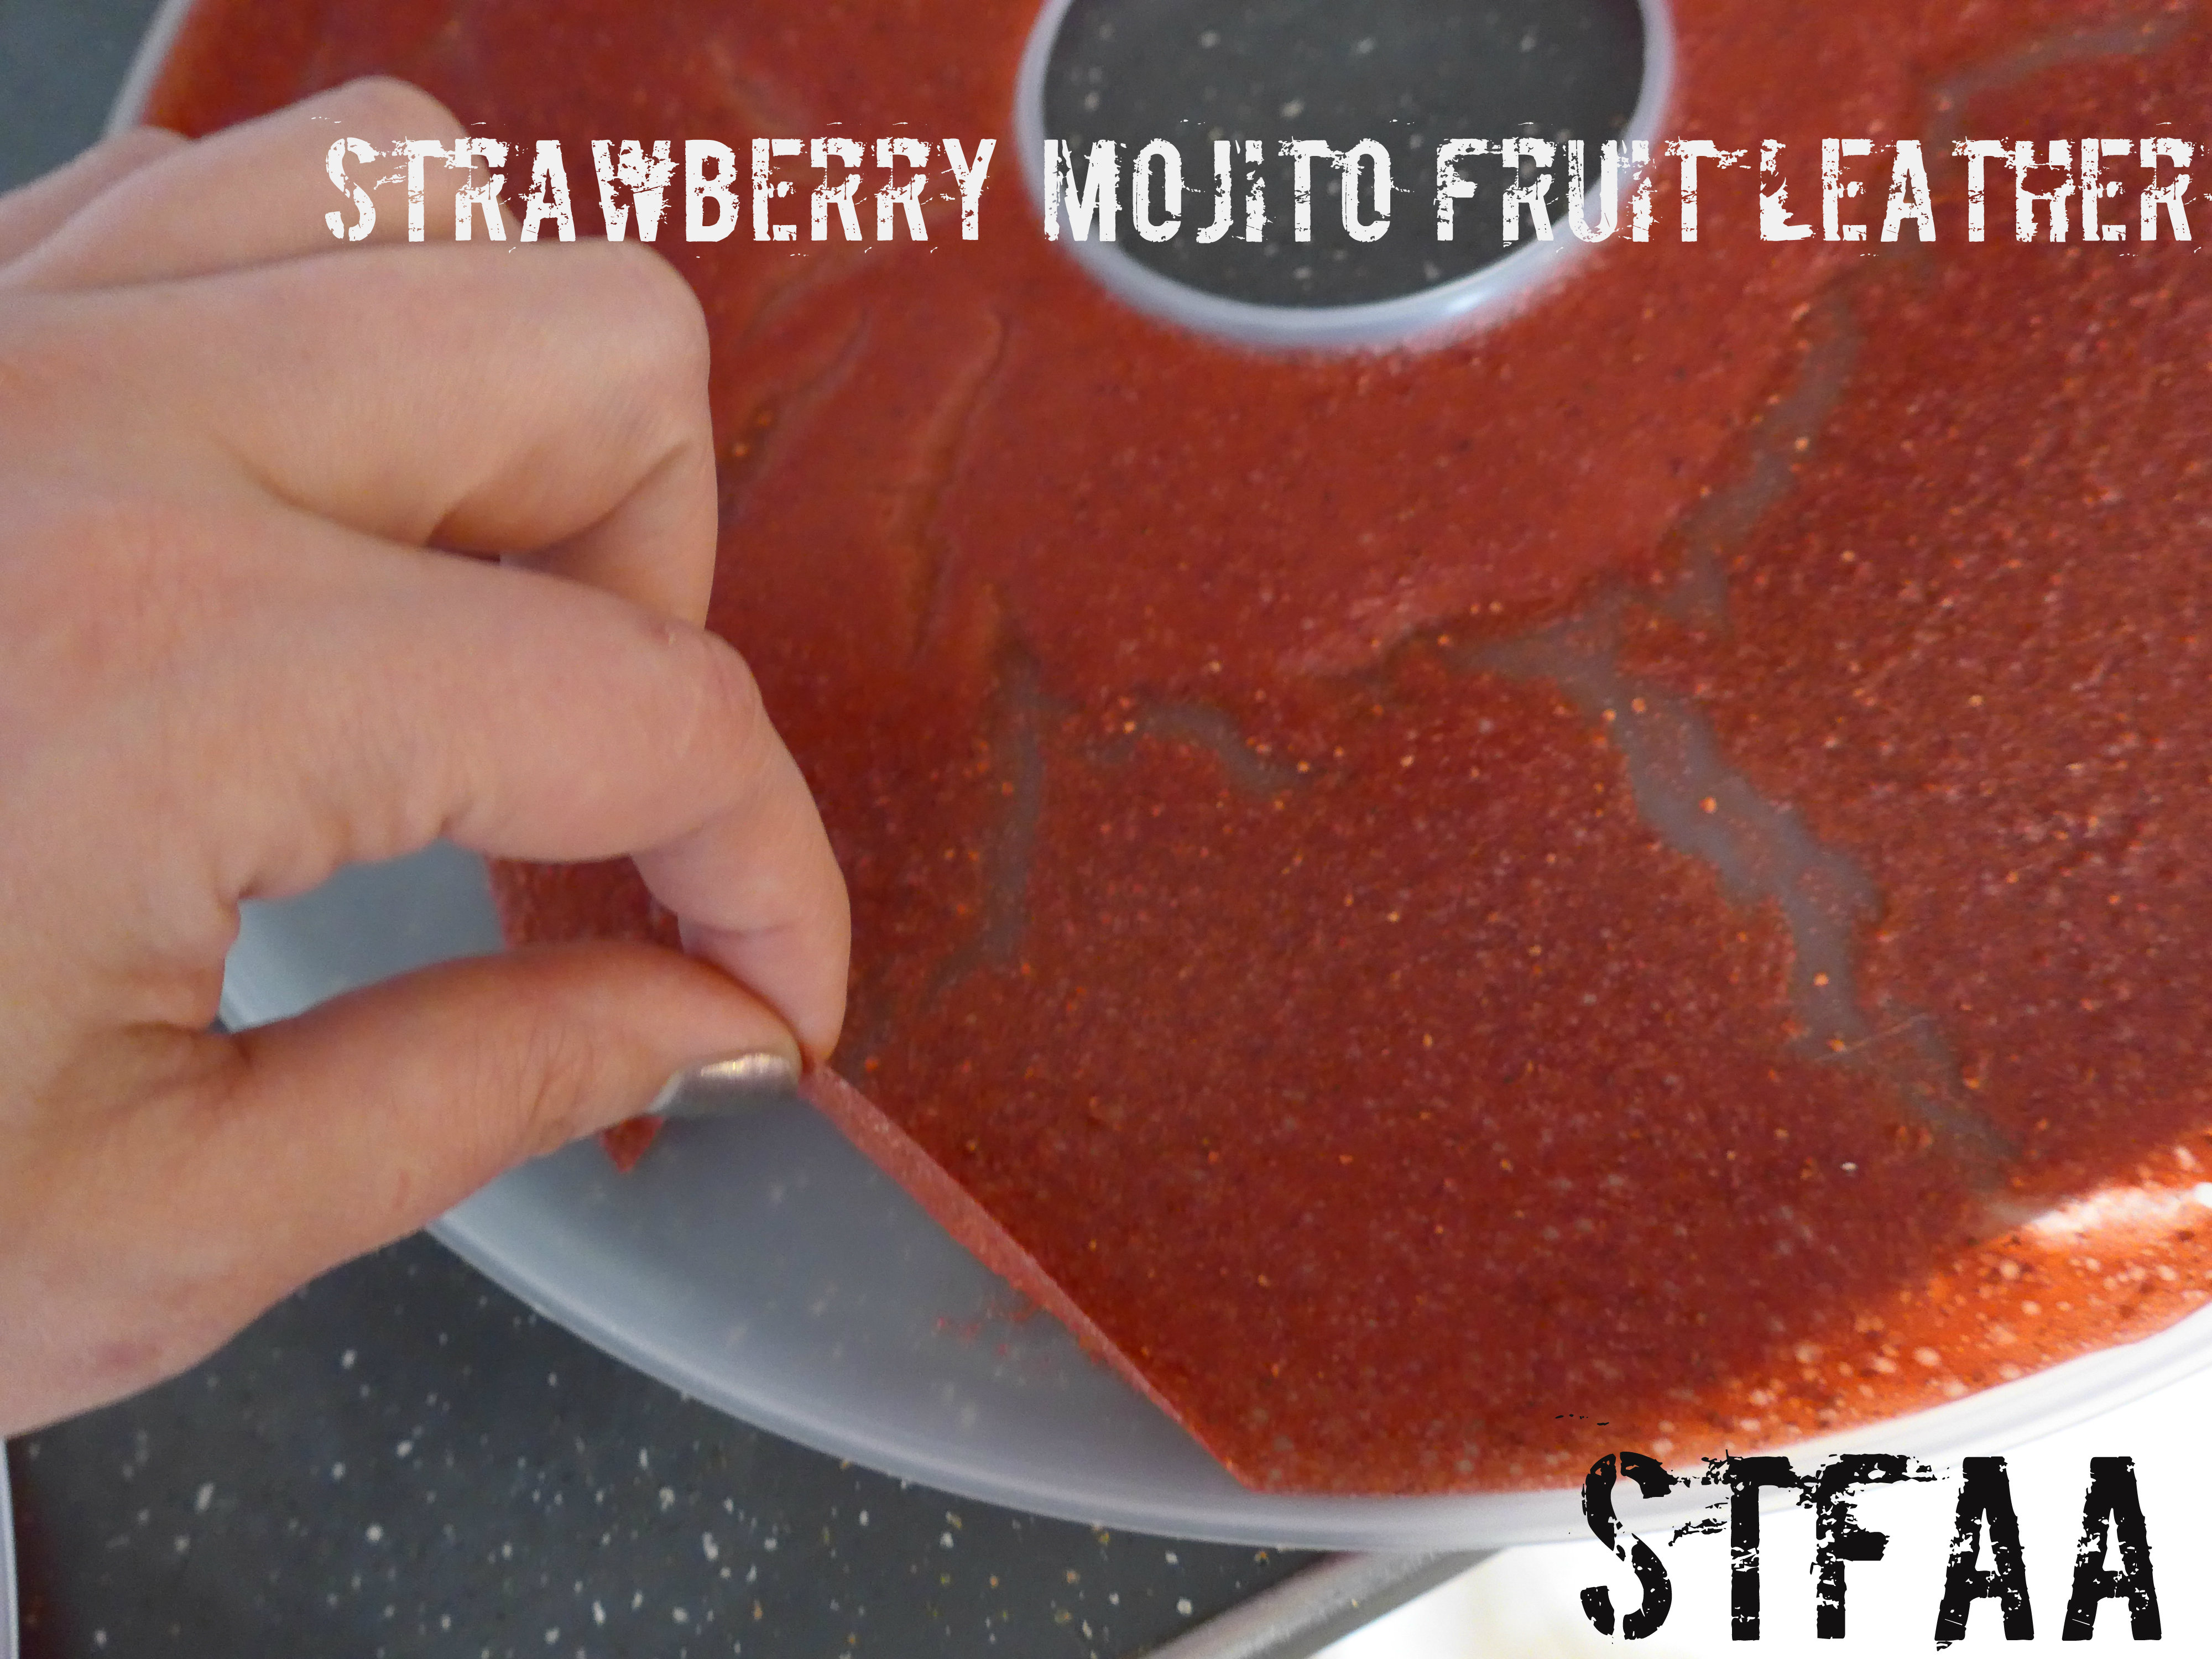
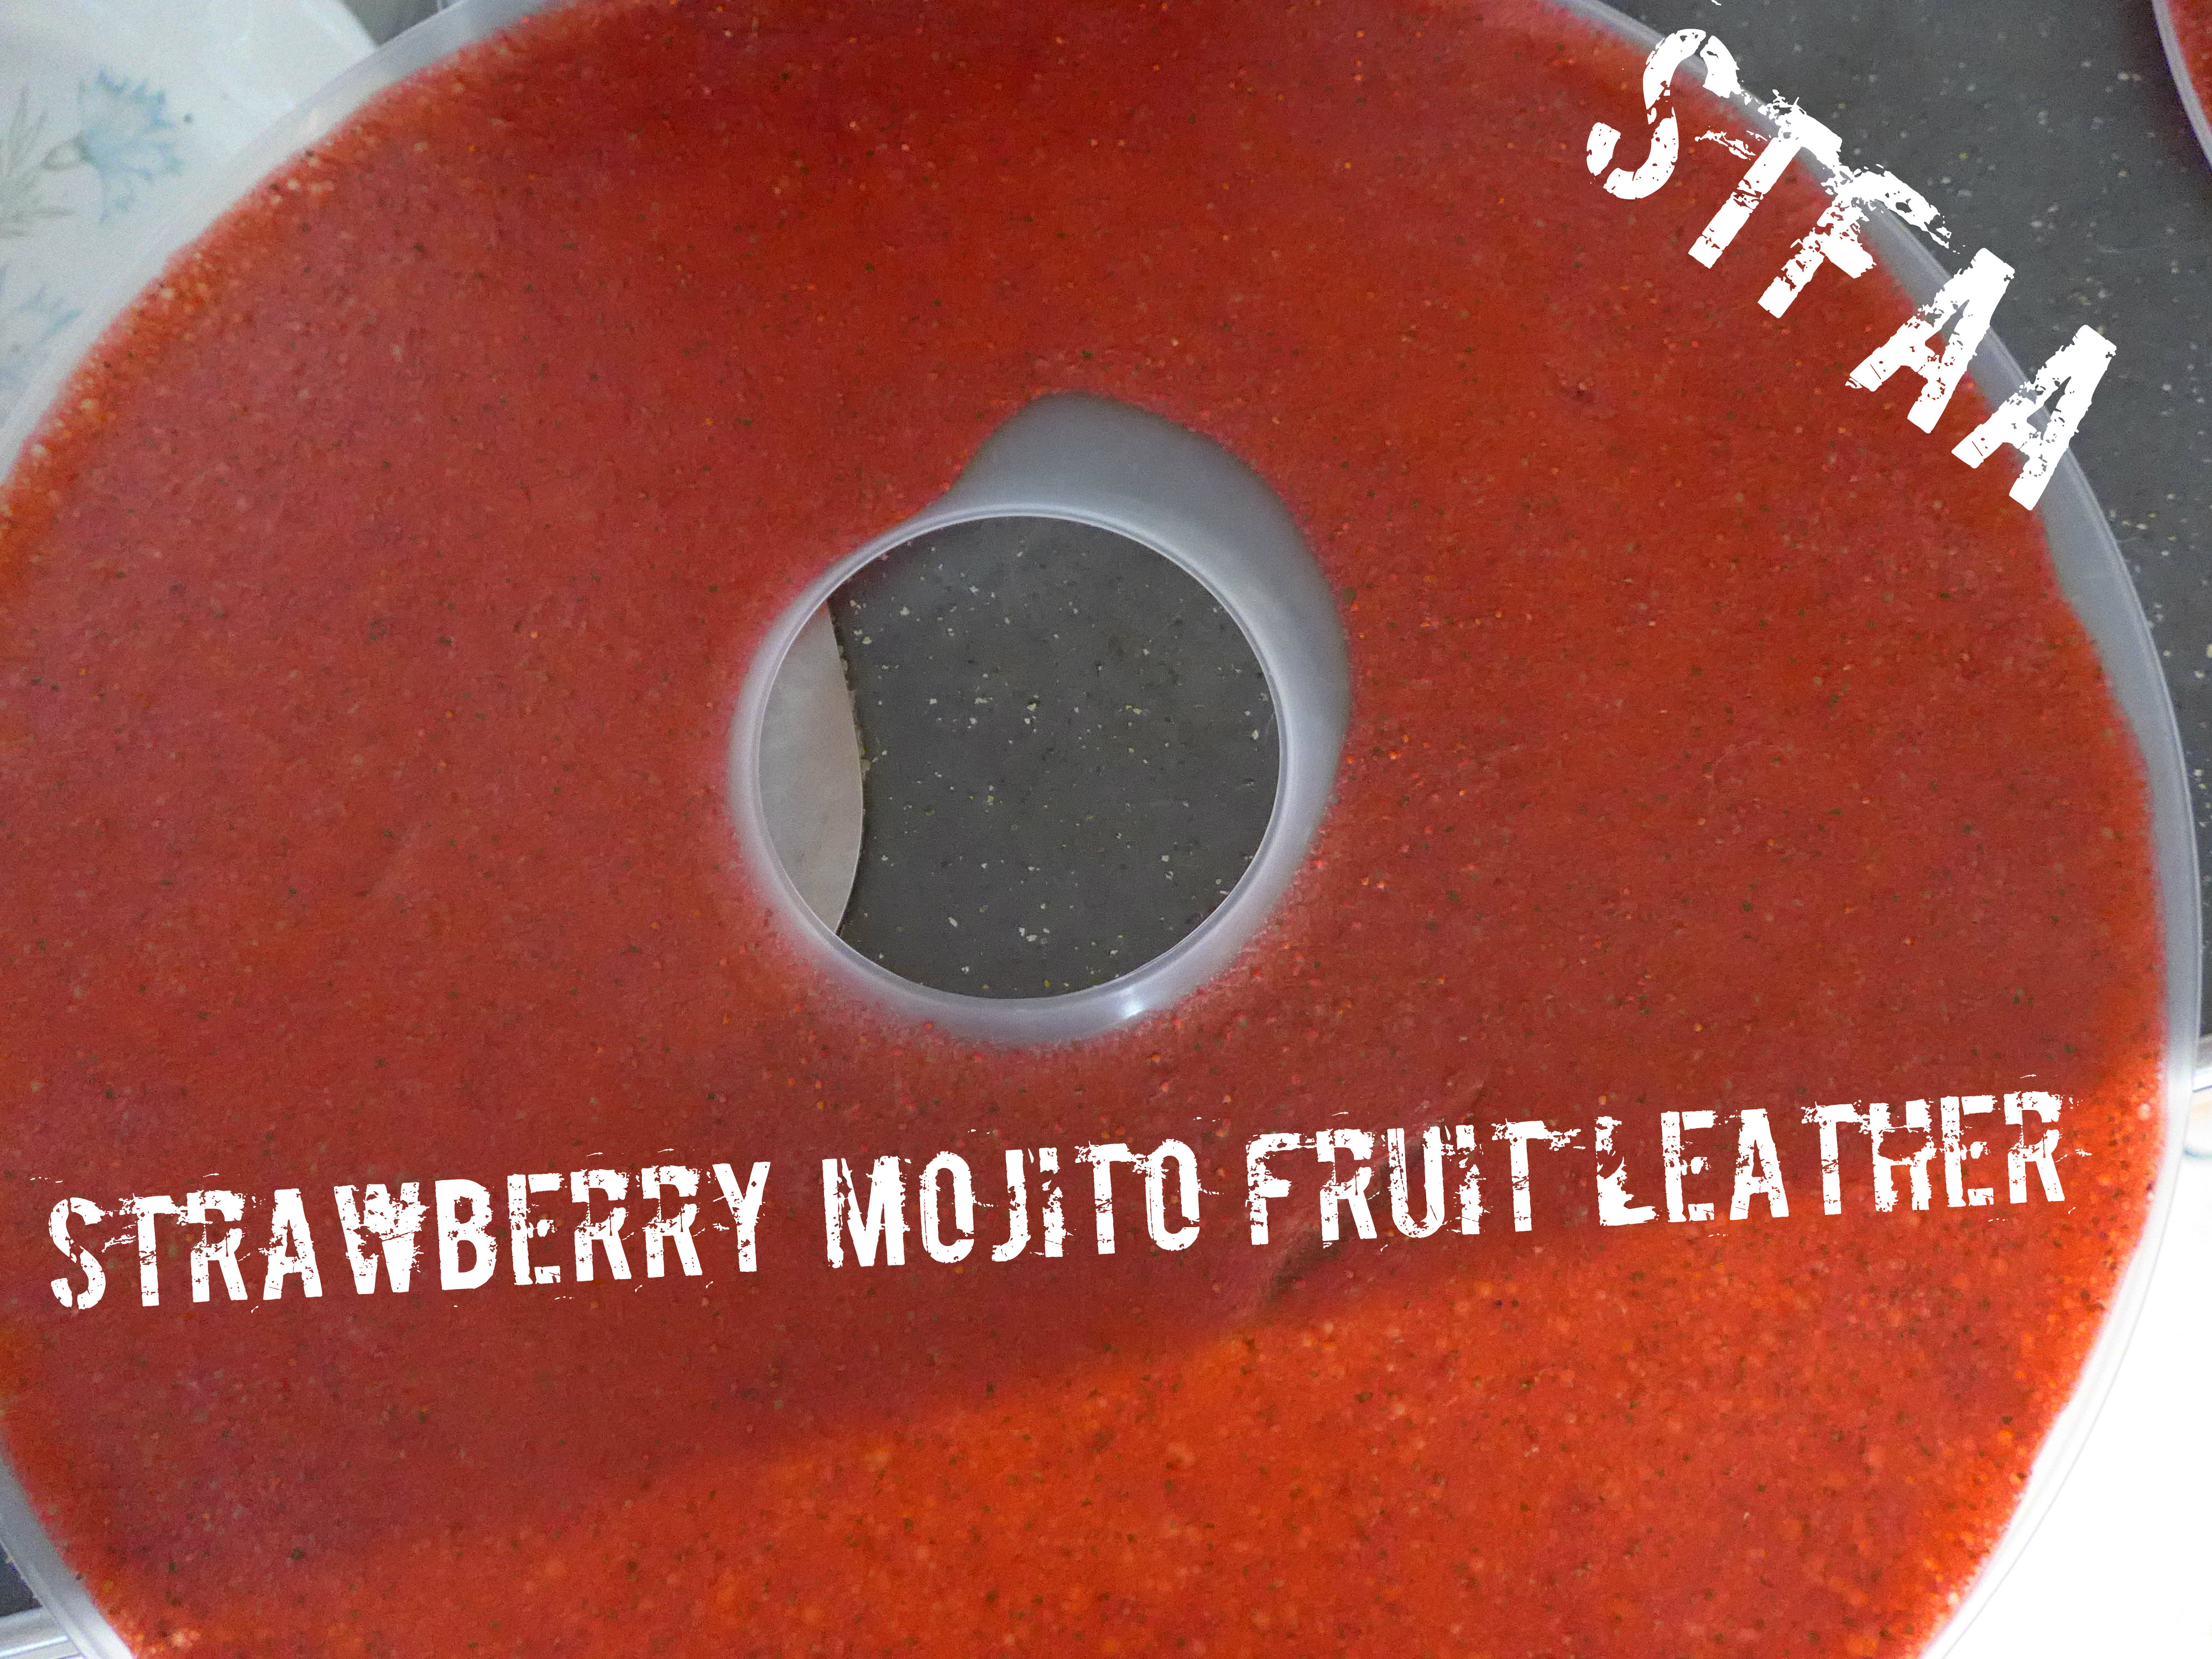
I really like fruit leather as a snack. It’s almost as good as candy, and I had some ideas. First up: strawberry mojito. This is a super easy recipe — IF you have a dehydrator. If you don’t and want to try making these, ask around and see if you can borrow one. It takes about 8 hours to dehydrate these. You will need the liquid trays. This recipe is scaleable — I’m writing it for ONE dehydrator tray, but you’ll run it with four trays (at a minimum). Try other flavors, increase it by 4, or add other food to the other trays.
AGAIN: THIS MAKES ONE TRAY. Scale up as needed, or try your own flavors.
Strawberry Mojito Fruit Leather
Strawberry Mojito Fruit Leather
1 pound of strawberries, washed, with hulls and stems removed
1/4 cup lime juice, fresh squeezed
1 Tablespoon, packed, mint leaves, chopped finely
Puree all ingredients in a blender or food processor. Pour slowly into dehydrator tray and tilt, if needed to spread it out. Dehydrate at medium (140ºF) for 8-10 hours (it may take longer if it’s humid.)
Peel and eat. Will keep for about 2 weeks in airtight containers, maybe slightly longer. I wrapped mine in plastic wrap so that I’d get the experience of peeling them off the wrap — part of the remembered joys of fruit rollups.
My apologies for the rather dull photos. I didn’t check them this time around and by the time I noticed all my “pretty” photos were blurry, I’d eaten all the fruit leather. They tasted great.
This recipe comes from two sources. First, a salad I read about on a menu and was really excited to try — until I was informed by our knowledgeable server that all the sauces and dressings at the restaurant were unsafe for me. How is it possible that not a single sauce was allergy-friendly? I don’t know. I was grateful to be steered away from food that would make me ill, and I ate my boring but properly cooked plain food instead. But I was still thinking about it, and figured I could absolutely whip up an awesome chopped salad. Secondly, after all the ingredients were chopped, it was so gorgeous that I thought I could use the “salads in mason jars” technique that is all over the food internets to make a) better photos, and b) lunch.
Keeping salad in a mason jar allows you to put the dressing on the bottom and layer the ingredients so they do not get smushed or soggy. Layer something that won’t absorb the dressing and get soggy on the bottom — I put the chicken down there. Carrots, celery, corn, bacon on top of that. Avocado under tomato (so the acid would keep the avocado green), a sprinkle of Daiya cheddar shreds (absolutely optional), and some sprouts on top. Instead of croutons, I’ve used roasted fingerling potato slices. I served it all over spinach, but use whatever greens you prefer. The dressing in this case is a super simple cilantro-lime vinaigrette, using frozen chopped cilantro (but use fresh if you’ve got it!).
Chop everything up. Add or replace ingredients as you choose — go for color. Think about your layers a bit, but layer it into jars and go to town. Lunch for days, in the time for one meal prep. It’s color, freshness, and portable flavor. This recipe makes about 4 pint jar salads (with the greens kept separate). You will likely have leftover potatoes and chicken.
Plated salad over spinach
Chopped Cobbish Salad, in a jar, gluten-free, allergy-friendly
4 teaspoons chopped cilantro (thawed, if previously frozen)
2 teaspoons dijon mustard
4 Tablespoons lime juice
6 Tablespoons best-quality olive oil
1/4 teaspoon salt
olive oil to coat
seasoned salt or spice mix of your choice
fingerling or other small potatoes, sliced thin or chopped small
chicken breast
mixed herb seasoning of your choice
6 slices bacon, cooked
3 carrots, peeled and chopped small, or shredded
3 stalks celery
1 ear corn, cooked and removed from cob, or 1/2 cup defrosted
grape or cherry tomatoes, sliced in half
1 avocado, cubed
sprouts
spinach or other greens
Can you see why this needed to be layered into a jar?
First, cook your cooked ingredients.
Roasted potatoes for “croutons”: Pre-heat oven to 425°F. Wash and slice. Toss potatoes with olive oil and sprinkle with seasoned salt or other spice of your choice. Bake 20 minutes or until crispy. I can’t tell you how many of these to make — I always make a full pan because they make great snacks.
Cook your chicken breasts. I prefer to grill them on my little electric grill, but you can always use this method.
Cook your bacon until crispy, drain and crumble.
Okay. Now on to the vegetables. You’re looking for about 1/2 a cup of each vegetable, divided up into 4 servings. Given that the corn and tomatoes are sort of pre-sized, aim to get everything else between those two sizes.
Now mix up your dressing — whisk or put all the ingredients in a jar and shake. Add about 1-2 Tablespoons of dressing to each jar, depending on how much dressing you like (and remember you’ll be putting this over additional greens). Then layer in the rest of the food. I put the sprouts on top so I could pack them in. Cap it, put it in the fridge, and look forward to your next meal. When ready to serve, I tipped the jars over and shook them a little. Put the greens down on a plate and pour over the rest of the goodies. I pulled the sprouts aside so that I could use them to swipe the rest of the dressing out of the jar.
The longest I’ve kept a jar salad around was 2 days — they might last a bit more, but I haven’t tried it yet.
Jars flipped upside down to let the dressing mix in
I know that most of you know that granola bars have an unearned reputation as magically healthy. Like most things, they have some benefits, some downsides, and it all depends on a) what goes in them and b) how you define “healthy.” I’m not focused on healthy here, though, so if that’s why you want a granola bar, move on. It also has tree nuts and almonds, so apologies to the nut allergic people out there.
What I wanted was something like the granola bars of my later childhood — something that’s basically a candy bar, but with a certain crunch and an airy mouthfeel — plus, dipped in chocolate. Just because. I’m not going to try to explain random cravings; I just cook them. We occasionally had these instead of cookies in our packed lunches, and for some reason, they remind me of this time of year — summer isn’t here, but you know it’s coming.
I started this recipe off to use up a box of Environkidz Chocolate Koala Crisp. (Link informational, not affiliate). I am not a big cereal eater, but I go through phases where I like to eat it as a snack — this wasn’t the right texture or size for that, so it had been sitting on my shelf for a bit. But it was perfect for the main filler in this snack bar — it’s crunchy, airy, and just a bit chocolatey. Any crunchy cereal in small bits will work, so whatever is safe for you, buy that. I would consider using the Erewhon Crispy Brown Rice Cereal, (again, not an affiliate link) as that’s what I generally buy when I want actual cold cereal. But I’ve only made this with Koala Crisp, as I wanted to use that up, and I’d consider buying it again to make these bars.
To the cereal, I added a bunch of trail mix staples — coconut, almonds, and dried cherries. (Note: dried cranberries or raisins work better, as they are smaller and don’t mess up the overall texture. But I just like dried cherries better.) As an adult, I wanted a little more variety of taste and texture than the kiddy granola bar I remember (but still with chocolate on). Make a sticky sauce (this is messy, I know. Sorry. It works.) and then add chocolate. Ka-blam. Childhood snack. Maybe healthier, maybe not, but it’s safe for me.
Crispy Cereal Bars — first without chocolate, then with, then sliced
Cereal Snack Bars
NOTE: dried shredded coconut appears on the ingredients list TWICE. This is not a mistake. I just find it less confusing to list it twice than tell you you need x amount, divided. This is not the sweetened coconut flakes — you could try that, but I think it would be too sweet. This is just pure dried/dessicated shredded coconut, which is wonderful.
1 cup crispy cereal
1/4 cup shredded coconut
1/4 cup smallish dried fruit (I used cherries)
1/4 cup thinly-sliced almonds (could also use chopped, but not whole — they won’t blend in)
3 dates, pitted (about 50g)
2 Tablespoons shredded coconut
2 Tablespoons coconut oil
4 Tablespoons brown rice syrup
1 cup chocolate chips (brand that’s safe for you)
Prepare an 8×8 inch baking pan by cutting a sheet of parchment that will fit in it. Don’t worry about being exact — just make sure you have enough to cover the bottom and sides when it’s filled.
Mix the dry ingredients (cereal, coconut, dried fruit, almonds) in a bowl.
In a food processor, add the dates, 2T shredded coconut, coconut oil (this can be solid, it’s fine), and brown rice syrup. They are in that order because you can use the same tablespoon if you do them in this order (the coconut oil will help the brown rice syrup not stick). Pulse it until the dates are chopped up well, then just blend. You will likely need to scrape the sides a few times, as this is really sticky. I’d suggest a silicone spatula, if you have one, and be careful not to cut it on the blades (I’ve lost a few this way).
Add the wet ingredients to the dry. It will take a little work to get this out of the food processor. Again, the silicone spatula is the least sticky thing I’ve tried. Using the spatula, mix the wet and dry ingredients. Mostly, this is like kneading bread — bring up a scoop of the dry ingredients and sort of press them into the mass stuck into your sticky goo from the food processor. I am assuming that if you keep working at it, this will eventually incorporate everything. I’ve never managed to do that — I just grease up my hands with a bit of coconut oil and mix with my hands after a bit. It works fine.
When you have a mostly solid mass of sticky bar ingredients, dump it into your prepared pan and press it down. I don’t worry too much about making it exactly fill the corners — the rustic edges make it look handmade! But always feel free to be more precise than I am.
Put this in the fridge to set, maybe 15 minutes or so.
Melt the chocolate. The microwave is easiest (20 second intervals, stirring), but I don’t own one, so I use my double boiler. Originally I had planned to dip each bar in the chocolate, but I realized that the easiest way would be to pour a layer of chocolate onto the whole pan, let it set, and then cut the bars. So do this — it is WAY less messy than dipping and it wastes less chocolate.
Let the chocolate set, then cut into bars. These keep best in an airtight container in the fridge.
So I went away for a week and came back to New Hampshire summer. To be honest, as much as we complained about the cold, I wasn’t ready for full-on summer temperatures. If it stays this way, I’ll need to dig out the AC sooner, not later, just to get some sleep. It’s hot! It doesn’t help that my apartment holds the heat like an oven.
Why, if it’s hot, would I give you hot food — hot in temperature as well as full of spices? Well, first off, it’s not hot everywhere — I hear that if you live in either of the Dakotas or Wyoming, you got snow this weekend. Secondly, hot food is a great way to make it feel cooler. It’s all about contrasts. Actually, this curry tastes great hot or cold, so make it for dinner and eat the leftovers for lunches. Oh! And whether this is “spicy” or “full of spices” is entirely up to you — if you like spicy foods, buy a spicy curry powder. Otherwise, buy a regular or “sweet” curry powder and you get all the flavor without the heat. I always buy sweet curry powder because I can add some cayenne if I want things spicy. There IS coconut in here — Denise and I have both made curry with cashew milk, but never successfully without a nut milk. Let us know if you have a nut-free way to make an Indian-style curry.
This curry passes all my tests for a weeknight dinner — it takes less than 10 minutes to prep, and while cooking takes about 45 minutes total, only a few of those are active. You will need a skillet with a lid or a cover of foil. I have one skillet with a lid (finally), but I’ve found that because my cast iron skillet holds the heat better and is a slightly different shape, it works better than my lidded skillet. A sheet of heavy duty foil stands in for a lid here and lets the carrots steam to perfection.
Carrot Chickpea Curry
Carrot Chickpea Curry
1 Tablespoon olive oil
1/2 sweet onion (about 1/2 cup), chopped
1/4 teaspoon kosher salt
1 teaspoon chopped garlic (about 2 cloves)
5 carrots, peeled and sliced in rounds
1 can (15 oz.) chickpeas/garbanzo beans, drained and rinsed
1 Tablespoon curry powder
1 teaspoon cinnamon
4 teaspoons cilantro
3 Tablespoons coconut milk
1 teaspoon ginger
rice to serve curry over, if desired
Heat your pan over medium heat. When the pan is hot, add the olive oil. When the oil is hot, add the onions. Stir well to coat with oil, then sprinkle with salt. Cook, stirring occasionally, until the onions start to lightly brown.
Add the garlic and stir until fragrant. Then add the carrots and beans, and the curry and cinnamon. Stir everything well until the spices are fully spread over everything.
Now cover and cook for 15 minutes. There are two ways to do this — if you like browned bits, just let it go for the full 15 minutes. And I do mean browned, not burned. If you prefer no browned carrots or onions, stir it once or twice during the cooking time.
Then add the cilantro, coconut milk, and ginger. Stir well, and cook another 5-10 minutes, stirring every few minutes.
Serve over rice, or if you’re feeling less like rice, over greens for a salad.
Apparently it’s mango season. In browsing the grocery store flyers looking for inspiration, I noticed that two of our three chains had mangoes on sale. I’ve never eaten a mango before, but I’ve had mango juice and liked it. So I thought I’d give it a try. Why not, right?
According to the Mango Board, mangoes are ripe when they give a little under a gentle squeeze — like avocados. As I said on Friday, it’s really worth your time to watch the video before deciding you know how to cut a mango. You can make it a lot harder than it needs to be (I sure did), but mangoes are sweet and tropical and taste like summer. If your “spring” as been like ours in New England, you need a reminder that warmer weather is coming. Tropical mango flavor helps.
“Salsa” generally conjures up tomatoes, but fruit salsas are pretty amazing and seem to have a better, brighter balance of flavors for certain main dish meals. (And yes, I know that biologically tomatoes are a fruit, but US law says they are vegetables). Salsa isn’t the quickest thing ever, but the work that goes in pays amazing dividends in flavor.
This salsa is fine with chips, but if you want to really highlight it, serve it over a meal. Things I think would work well with the summer mango salsa:
Shrimp and rice, if you can do shellfish (this was my choice)
Chicken, pork, or fish, if any of those work for you
Black beans and rice
Let us know what you try so that, if it’s good, we can copy you. I have a feeling I’ll be making this a few more times, and I’d love some new ideas for what to serve it over.
Summer Mango Salsa
Summer Mango Salsa
1/2 of a sweet onion, finely diced (this should be between 1/3 and 1/2 cup — adjust according to your love for onion)
1/2 teaspoon kosher salt
2 Tablespoons lime juice (I wanted to give you a measurement, but I’ve had to use everything from 2 whole limes to 1/2 a lime to get 2T. It varies widely. I always buy limes in pairs, for whatever reason.)
1 serrano pepper (buy a size commensurate with your love of spice), stem, seeds, and inner membranes removed, diced very finely
1 mango, cut into small cubes
1 avocado, cut into small cubes
3 Tablespoons chopped cilantro
The order of the ingredients above is deliberate. I love onion in my salsa, but I don’t like it too strong. If you chop it first and then let it marinate in the lime juice while you fight with the mango, it mellows out a bit. I’m assuming that the acid “cooks” the onions a bit, as it does for fish in ceviche. If you’re a better food scientist than I am, I’d love to know if this is true; it could just be the power of suggestion.
For the best flavor profile, you want the onions and the chile diced very finely, as finely as you can manage, and the mango and avocado a good bit chunkier (but still, not too big). The onion and chile go into the lime juice first. The mango next, and last the avocado — the avocado will break down the more you stir it, and I like it pretty well intact.
Basically, chop everything up and mix it together in a bowl. This is a very fresh salsa, and it doesn’t need much time to meld — half an hour at room temperature seems to be enough, although it is great the next day. I doubt it would last all that much longer, but I’ve made it a few times now and I’ve yet to test that.