Notice: Function _load_textdomain_just_in_time was called incorrectly. Translation loading for the wp-ultimate-recipe domain was triggered too early. This is usually an indicator for some code in the plugin or theme running too early. Translations should be loaded at the init action or later. Please see Debugging in WordPress for more information. (This message was added in version 6.7.0.) in /home/maryzahc/public_html/adultfoodallergies.com/wp-includes/functions.php on line 6131 MaryKate – Page 2 – surviving the food allergy apocalypse (archive)
So, for me, the key to quick weeknight meals lies in advance prep, whether it be making basic ingredients ahead of time (like soup stocks) or finding staples that are safe for me. Because my allergies are pretty basic and don’t include corn (and soy is something I’m mildly reactive to), I can use most canned ingredients. Not canned foods, but ingredients like beans and tomatoes and pumpkin are safe for me. This makes weeknight meals a little easier for me. Denise has to can everything from scratch.
For this quick meal, I used 5 ingredients I almost always have on hand: onion (often pre-chopped and frozen for quick use later), olive oil, sausage from a local market that makes a great flavorful one (I try to keep one pound in the freezer), canned pumpkin, and chicken or veggie stock — I always have one of these on hand.
I’ve sauteed the onion and sausage, left the bit of fat in the pan (it is about a tablespoon or so for this brand — if it’s really greasy, maybe drain it — and then used the pumpkin and stock to make thick creamy sauce with no cream. This would be great on pasta, grains, or over veggie noodles of whatever sort tickle your fancy. Plus, it’s 5 ingredients and only 15-20 minutes to cook. I really like the pumpkin in this because it gives the sauce a rich texture, creamy and filling.
Notice: Trying to access array offset on value of type bool in /home/maryzahc/public_html/adultfoodallergies.com/wp-content/plugins/wp-ultimate-recipe/helpers/models/recipe.php on line 254
1-2teaspoonsolive oil(or whatever your favorite oil is)
1/2cup chopped onion
1lb sausageWe use a local pork sausage that is safe for me, but choose your favorite safe brand or your own recipe
1canpumpkin pureeNOT pie filling. This should just be pumpkin, 15 oz of it.
1cupchicken or vegetable stock
4servingscooked grains or pasta
Servings: servings
Instructions
In a cast iron skillet over medium-low heat, add the onions and 1 teaspoon of olive oil. Stir. If the onions are not all coated with olive oil, add up to another teaspoon. Because the sausage will have its own fat, you want to use the minimum amount of oil here.
Add the sausage and stir as it cooks until it breaks up. Cook until there is no more pink to it.
Add the pumpkin and smash it in a little. Then start adding the chicken or vegetable stock and stirring until you have a good consistency. If you need to add more or less than called for, do it. Get a good thick sauce, and then simmer it for about five minutes. Taste and add seasoning if needed.
Serve over cooked pasta or grains. Or spaghetti squash, zucchini noodles, whatever floats your boat.
December’s theme is “food for all those days between Thanksgiving and New Year’s that aren’t holidays.” Or, to be less wordy (never my strong suit): quick work-night meals. Meals that you can prepare after a long day at work or doing whatever it is you do that makes you tired. You still have to eat, right?
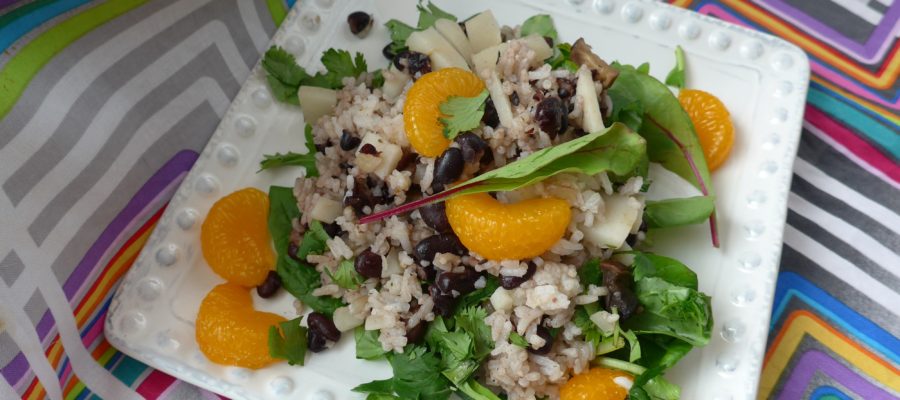
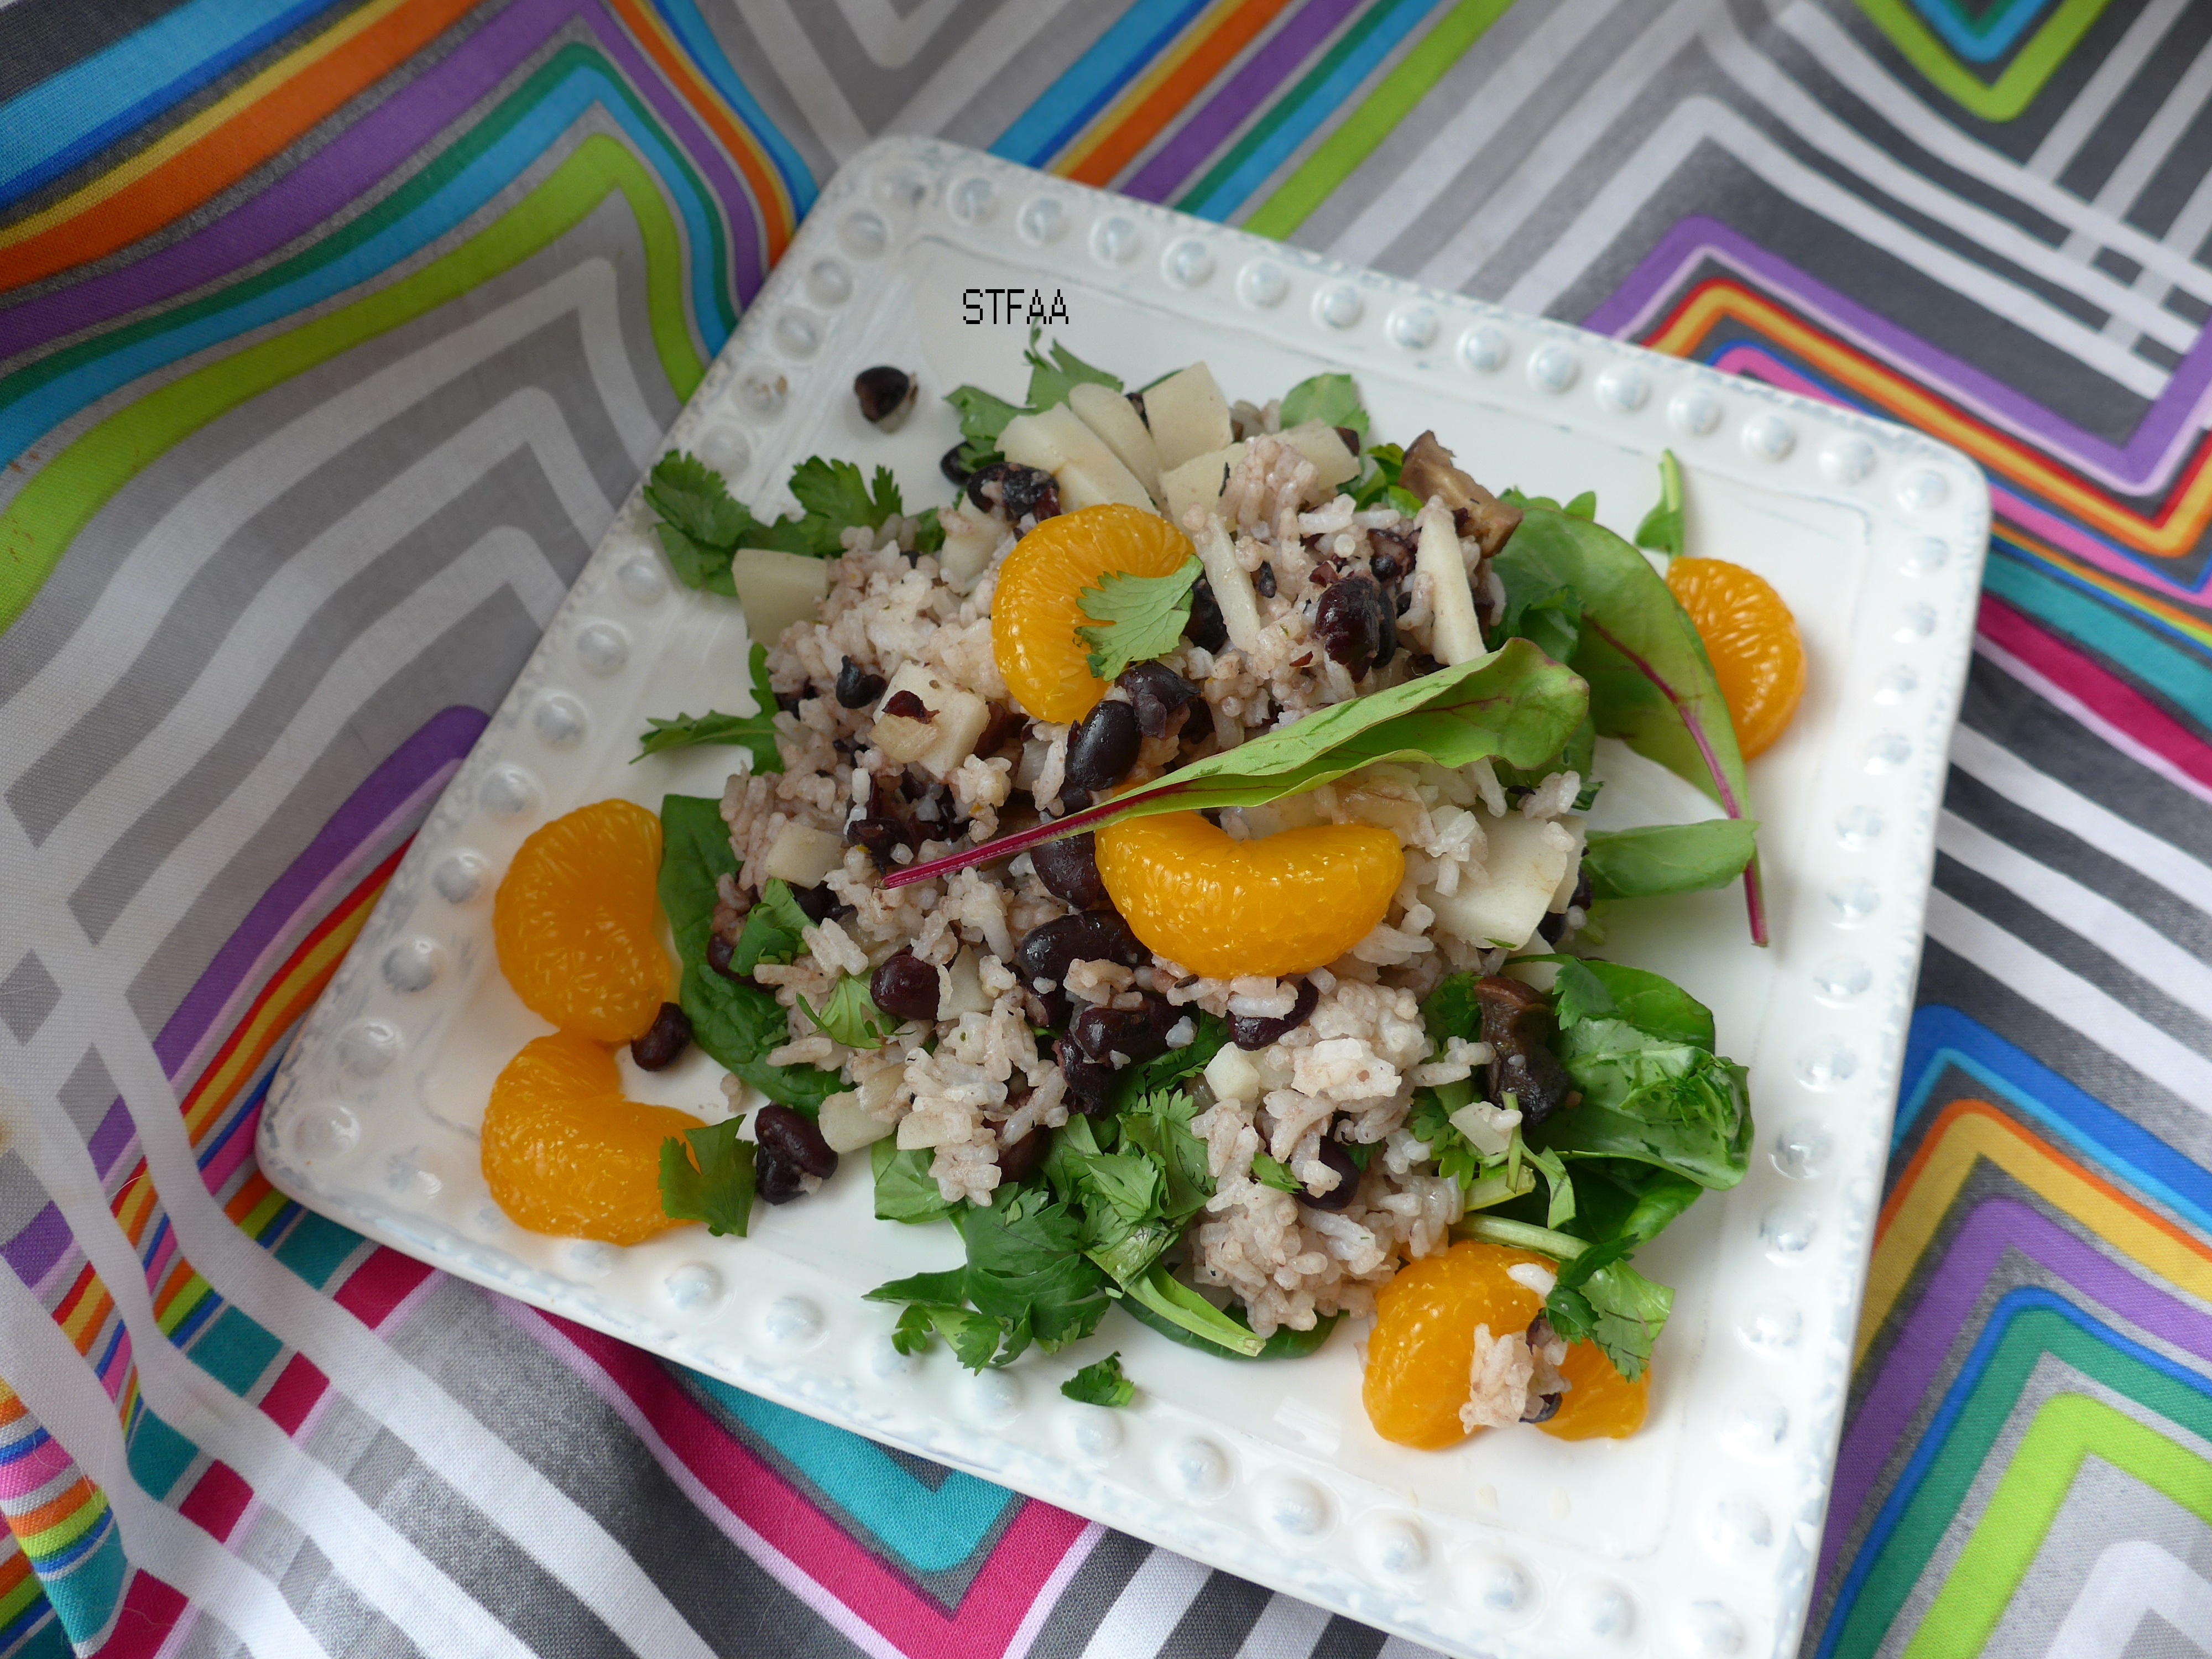
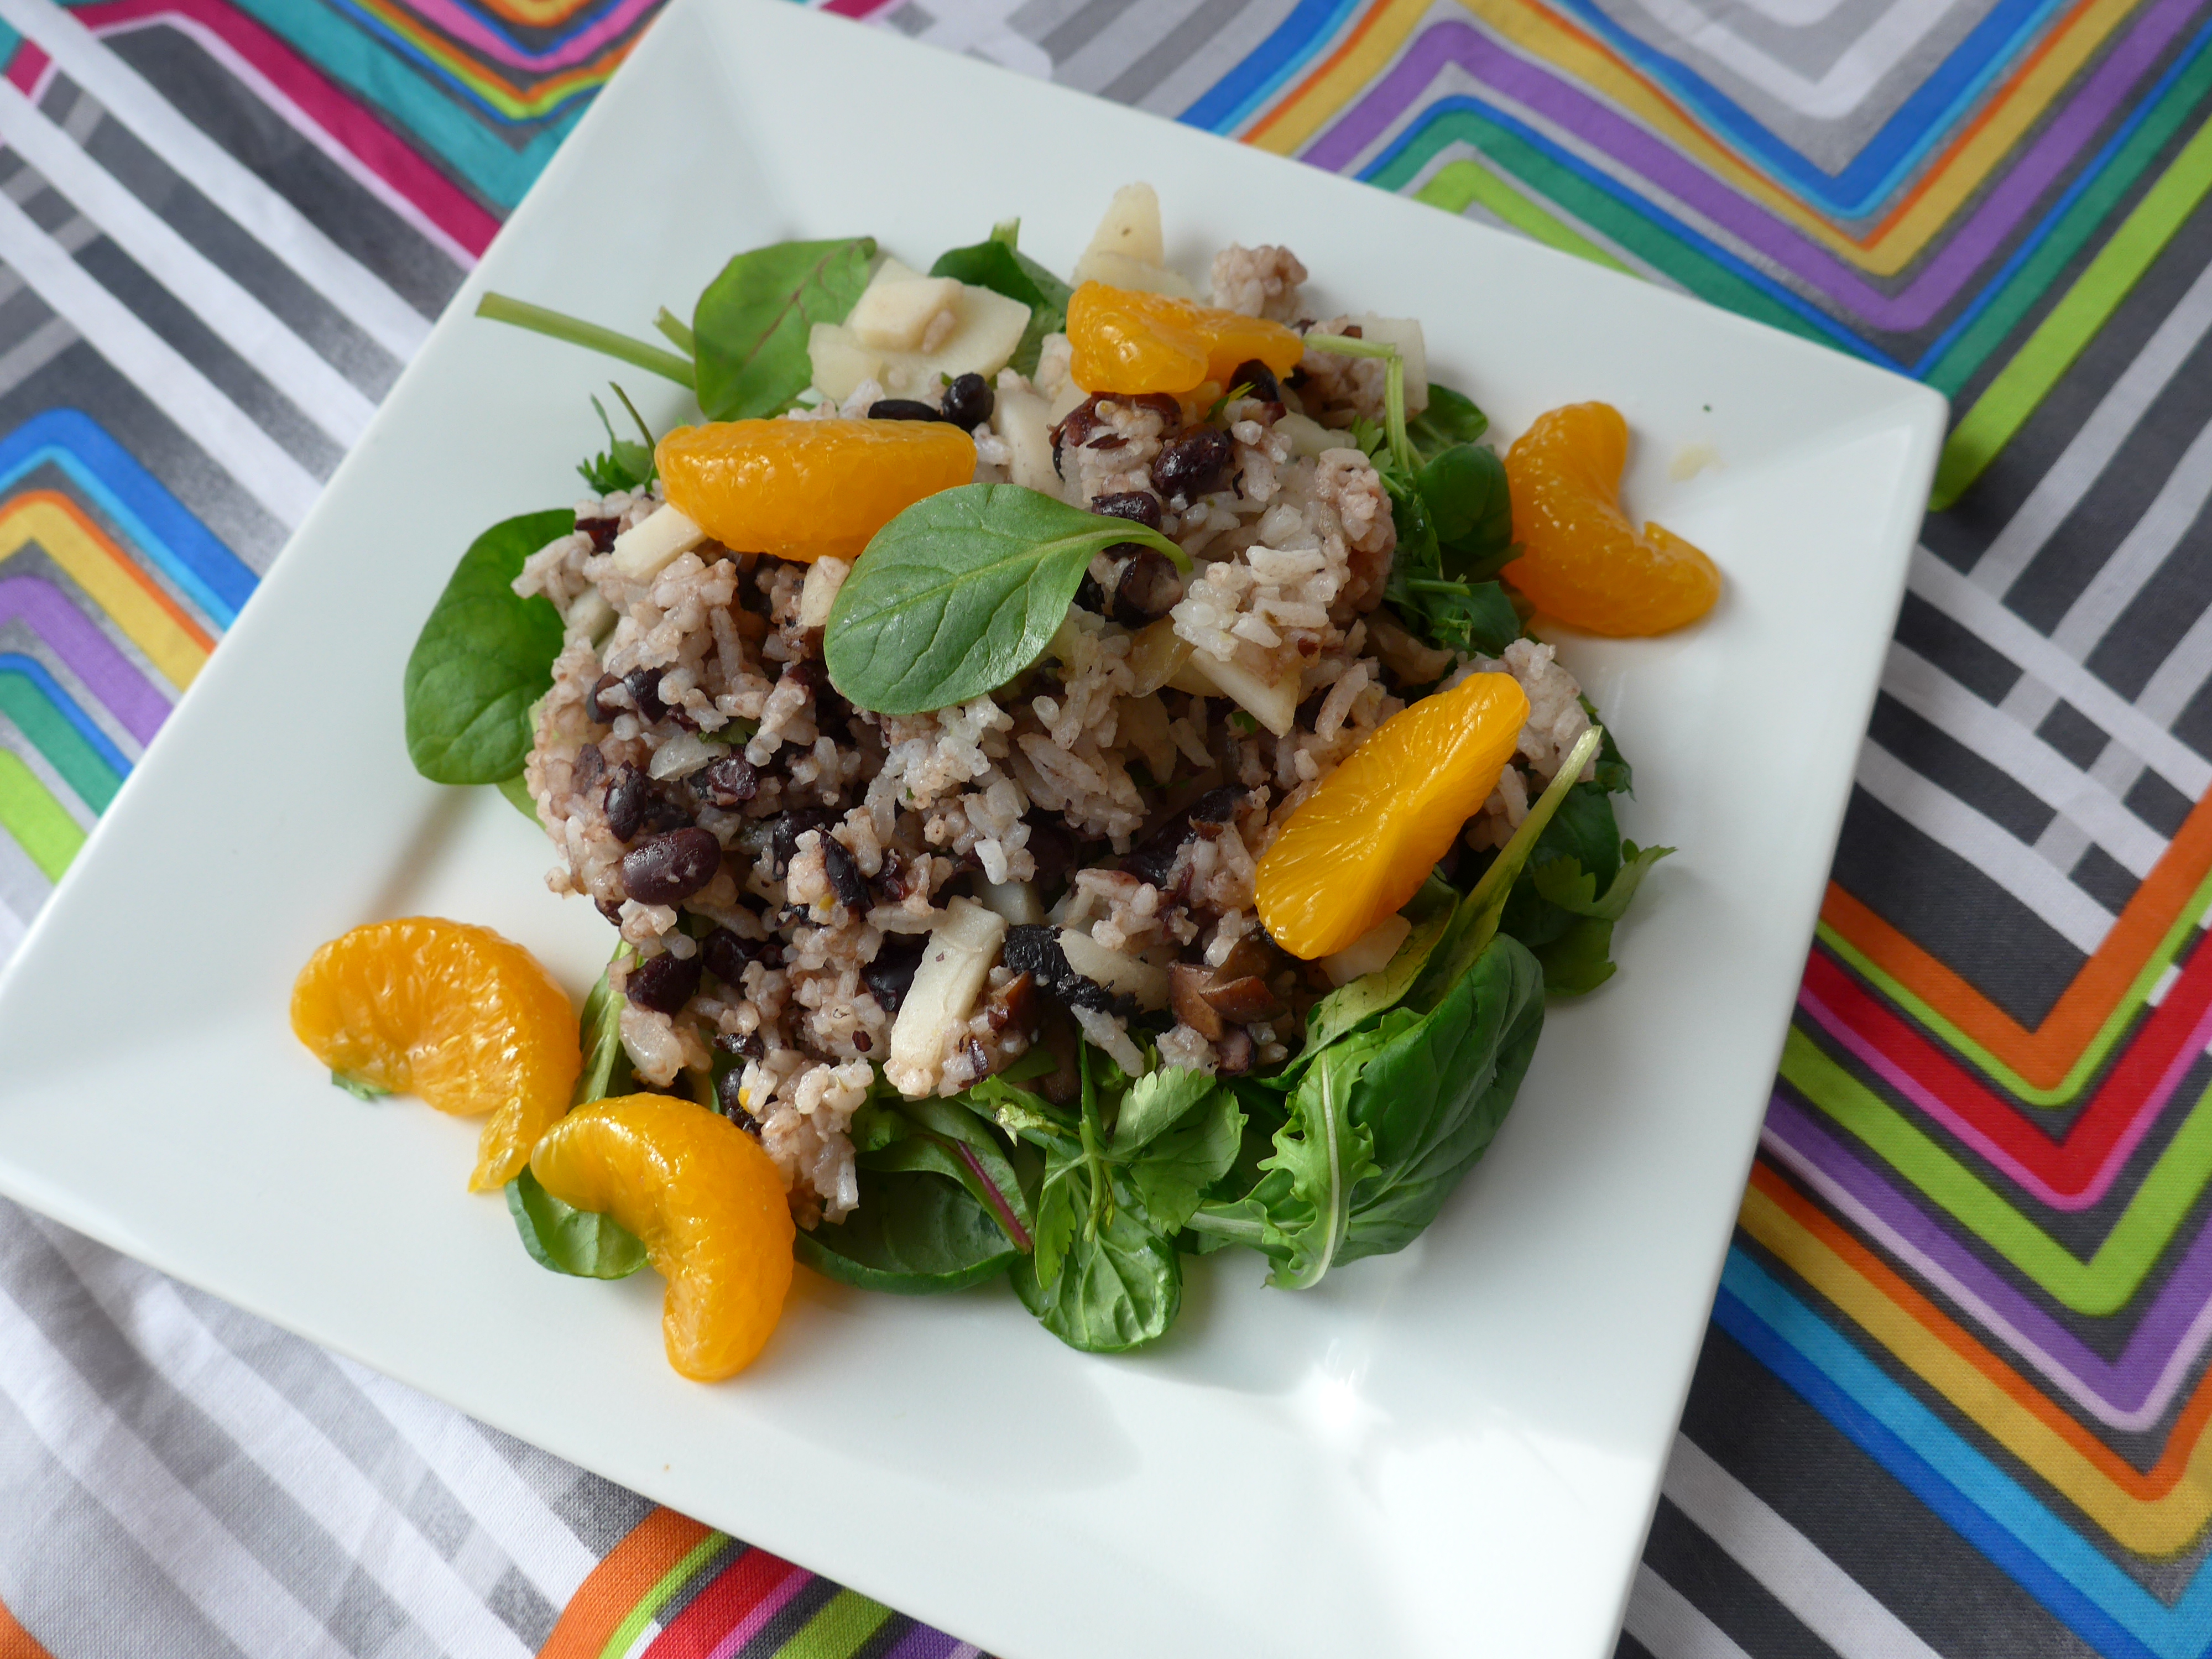
Today’s recipe is more of a “recipe.” This is salad for people who want to eat more vegetables, maybe even specifically more greens, but also really want hot food. Who has time to make food AND a salad? Well, honestly, with salad boxes, I guess anyone, but I don’t actually really like salad. So in this dish, I have topped some mixed greens (spinach and baby chard mixed with some arugula) with a hot rice skillet using leftover rice mixed with black beans, earthy mushrooms, crunchy veg (either water chestnuts or jicama — you pick) just a touch of onion, olive oil, vinegar, and cilantro — and topped all of that with oranges.
What you get is a simple one skillet (assuming you have rice already — if not, it’s two pots. Sorry.) meal heavy on the vegetables, low on the salt, with straightforward flavors. It’s hearty and satisfying but not heavy. Perfect for between food-heavy holidays, right?
Notice: Trying to access array offset on value of type bool in /home/maryzahc/public_html/adultfoodallergies.com/wp-content/plugins/wp-ultimate-recipe/helpers/models/recipe.php on line 254
1-2Tablespoon vinegarI liked white wine vinegar for this
1cupwater chestnuts or jicamachopped
1cupcilantroroughly chopped
1canmandarin orangesor 2 segmented oranges
5cupsmixed greens of your choice
Servings: servings
Instructions
If you don’t have cooked rice, make some. You don’t really need leftover rice for this. I just like to cook a large pot and use it during the week.
In a skillet, heat 1 tablespoon of olive oil over medium heat. You’ll use the other in a few minutes. When the oil is hot, add the onions. Cook until translucent.
Add the chopped mushrooms, and stir well to coat with oil. Cook until they shrink and give up their moisture.
Add the black beans. Stir well. Then add the rice. Add the second tablespoon of oil and mix until the rice and beans are well incorporated. Add the vinegar.
Stir in the water chestnuts/jicama and cilantro. Remove from heat and let the mixture sit for about 5 minutes, until the crunchy vegetables are warmed.
Taste the mixture and adjust the seasoning if necessary — salt, pepper, more oil and vinegar, whatever appeals.
Serve the rice mixture over your mixed greens with the oranges on top. If needed, you can add an oil and vinegar dressing or a bit of orange juice, but I don’t find this needs it.
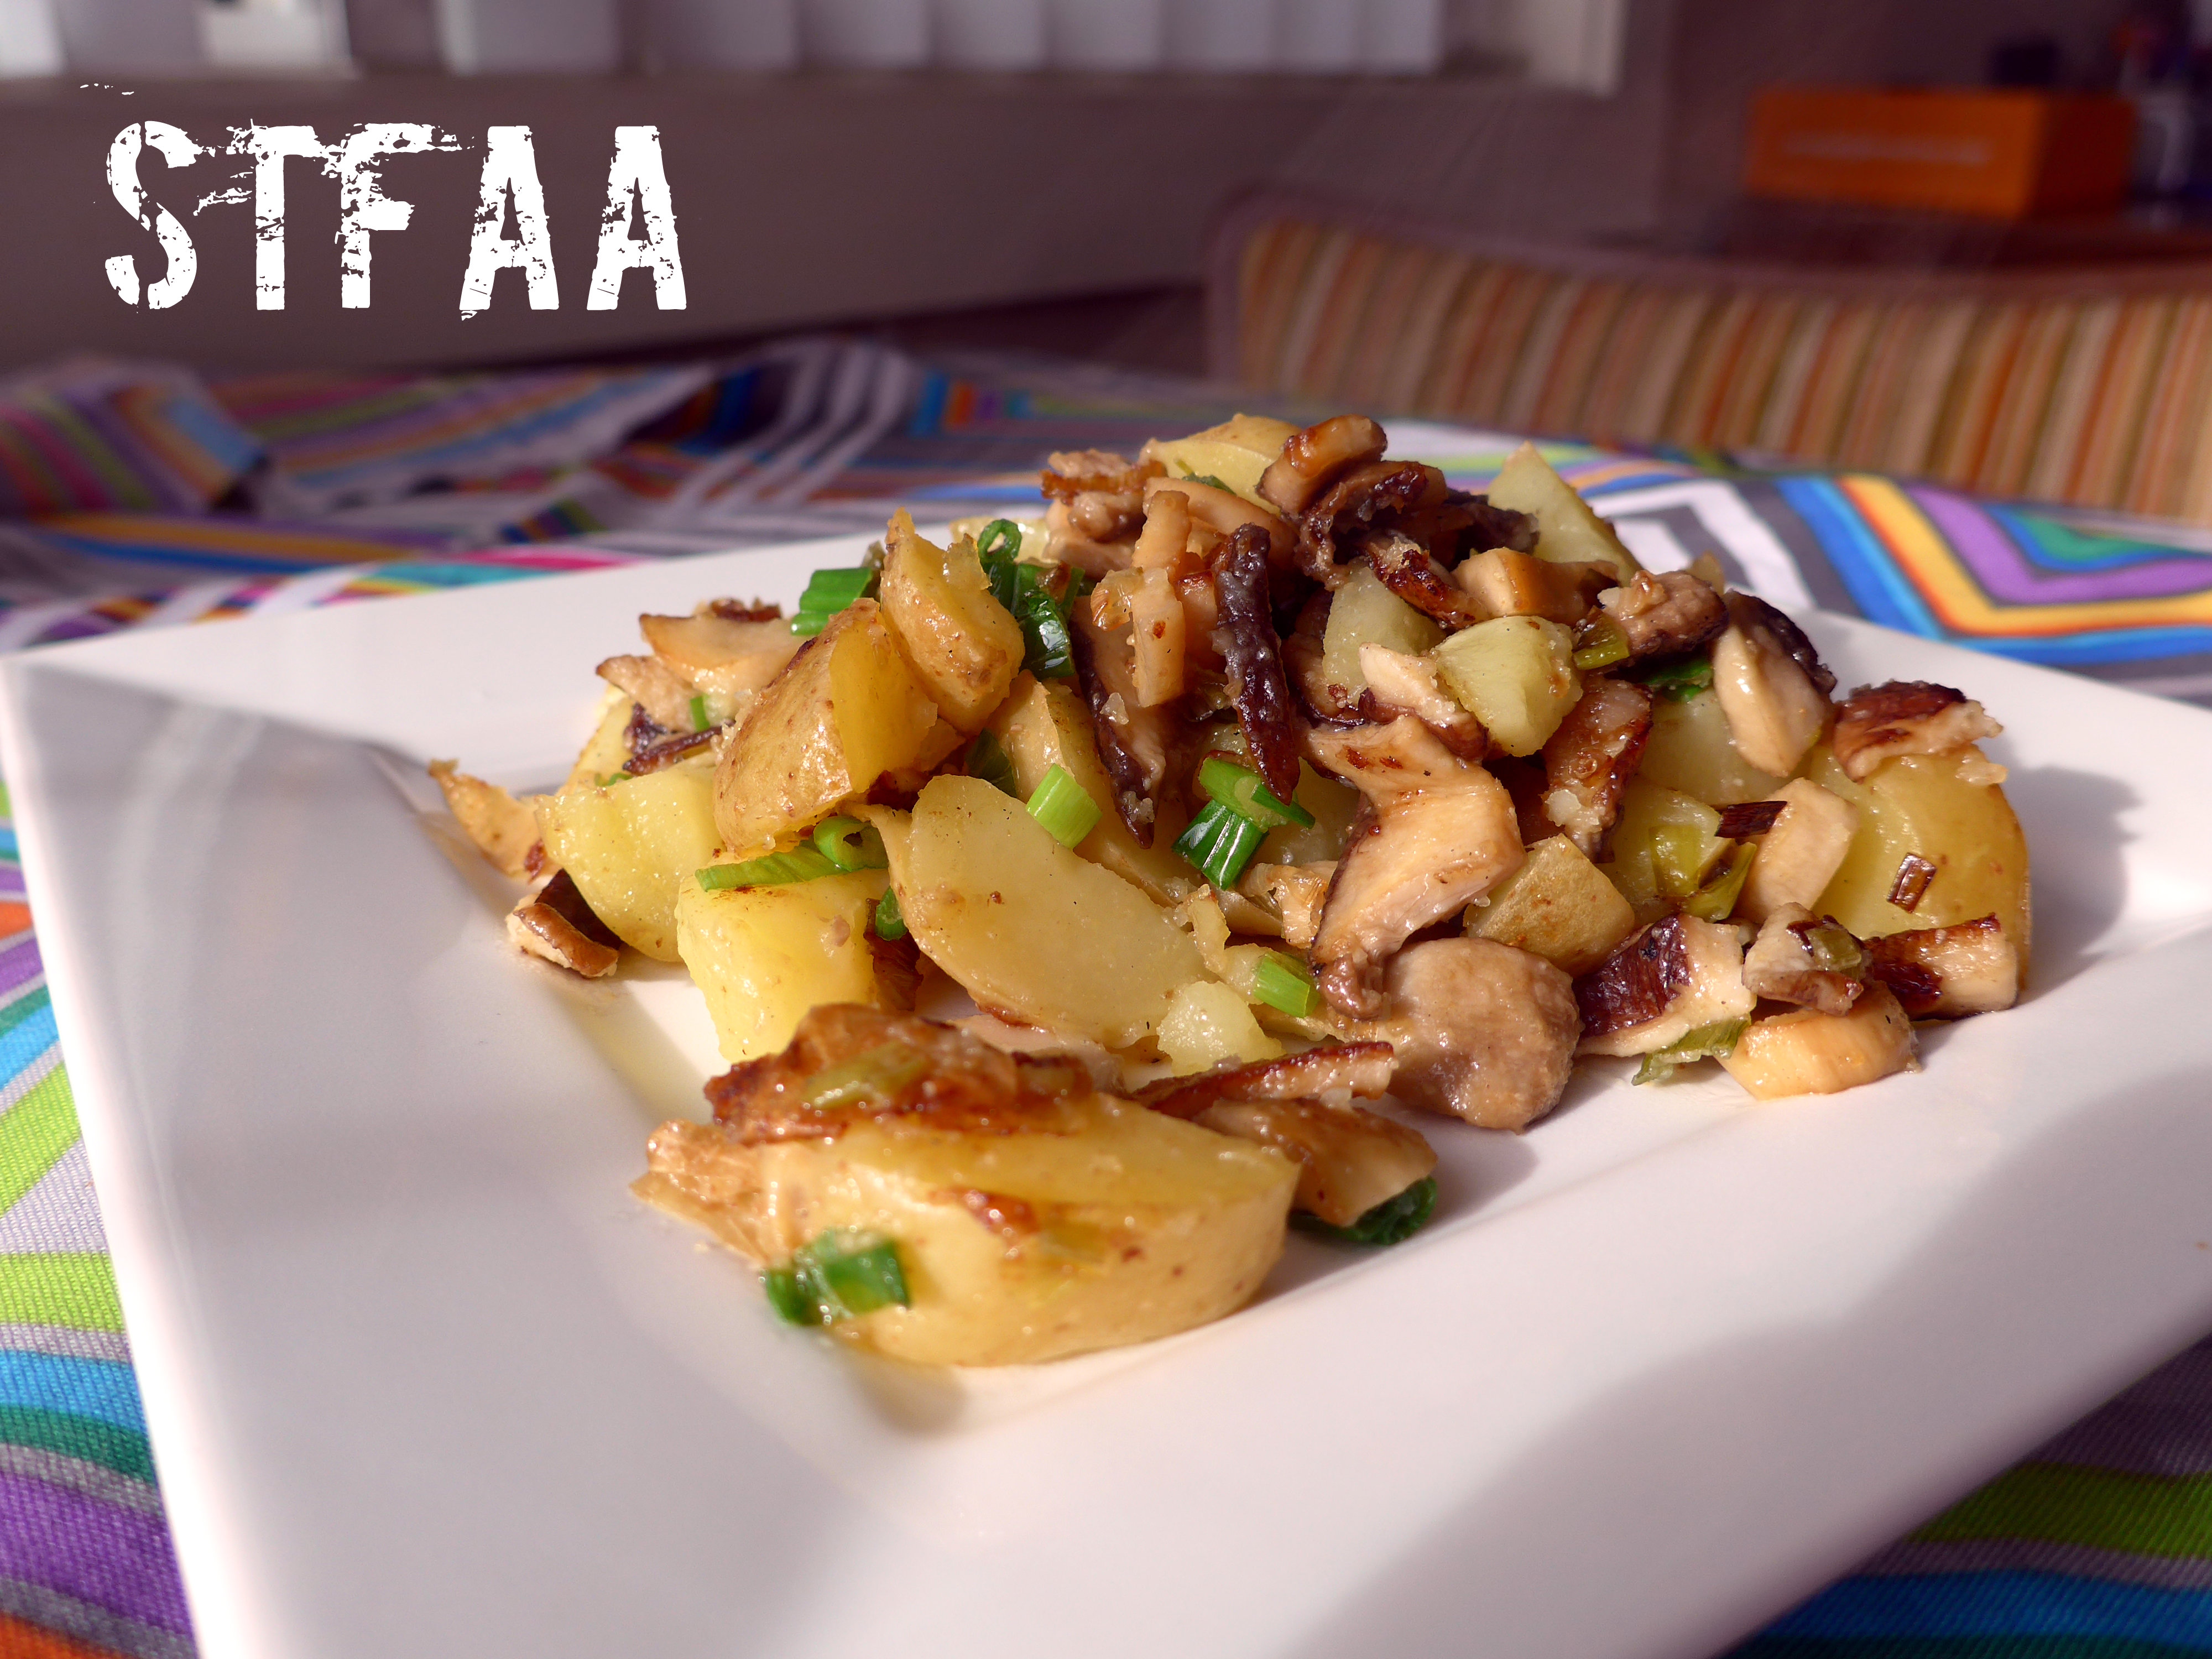
So for the “earth” side of our elements challenge, I knew from the start that I’d be using mushrooms, the earthiest food I love (and that Denise hates). Adding to the incentive, it’s mushroom “season” in the Pacific Northwest, meaning even our normal grocery stores have chanterelles (though at great cost)! I did not use chanterelles in this dish, just because I think they would be lost a bit on the mix and they are too spendy for that. (If you haven’t had chanterelles, you probably either don’t like mushrooms or haven’t been in the PNW during fall — they are amazing, and worth the price IF they are fresh.)
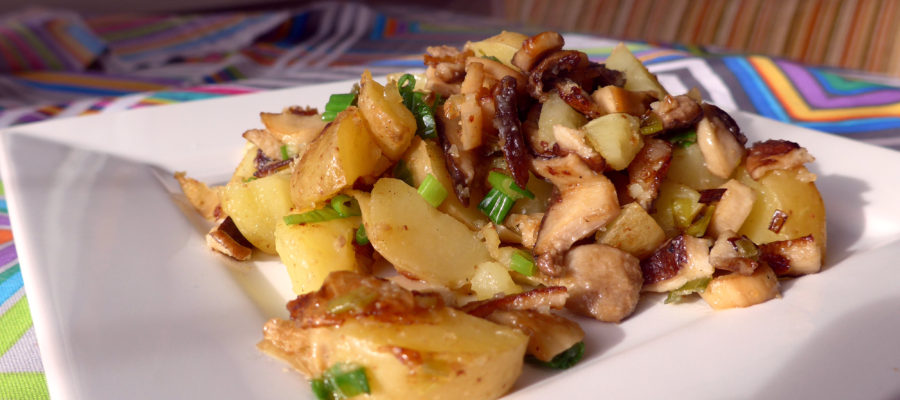
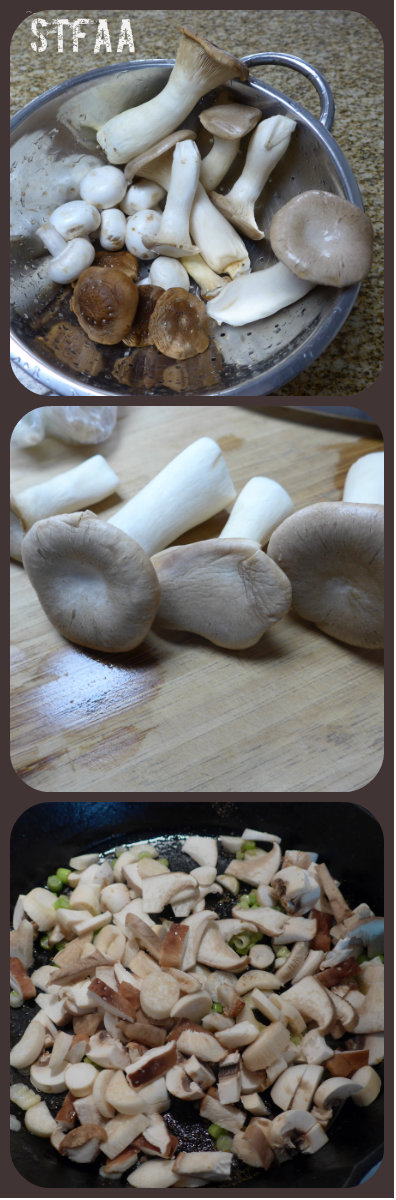
The mixed mushrooms I used here included mainly easy-to-find grocery store mushrooms. I used cremini (often sold as “baby bellas”), a few leftover white button mushrooms, some shitakes, and some king oyster mushrooms, my newest favorite. You can use whatever is available to you that you like, but if you see the king oysters, try them. They have a great texture for stir fry and sauteing. Check out this list of mushrooms and maybe try a new one in this recipe.
I also used my personal perennial favorite ingredient for all things: potatoes. They are grown underground, so they are definitely “earthy” too, right? If you can get them, yukon gold potatoes are my favorite for hash because of their texture. Any waxy potato (yellow or red) will work, but the textures will vary subtly. In this hash, I’ve parboiled the potatoes before frying them. I used a trick I learned in the Farm to Table Asian Secrets cookbook: adding vinegar to the boiling water helps the cooked potatoes hold together when you cut them after boiling.
For this recipe, you’ll need a pot to boil the potatoes in and a skillet. You should have plenty of time to clean and chop your mushrooms while the potatoes cook, and then time to chop the cooked potatoes while the mushrooms cook. I’ve done the hash over medium heat because I don’t want to burn things, but if you’re brave, a higher heat will give you more sear on the vegetables, more like a professional kitchen and better taste. Let me know if you do it that way.
For me, this is ultimate comfort food. First, potatoes are my go-to comfort food, but crisping them in oil and mixed with mushrooms, I also feel fancy and indulgent.
Notice: Trying to access array offset on value of type bool in /home/maryzahc/public_html/adultfoodallergies.com/wp-content/plugins/wp-ultimate-recipe/helpers/models/recipe.php on line 254
2Tablespoonvinegarany kind works — don’t use anything expensive here!
1Tablespoonsalt
1Tablespoonoilmaybe a little more
2cupsmixed fresh mushrooms
5scallions
1/2teaspoongarlic powder
2teaspoons oil(not a repeat ingredient!)
Servings: servings
Instructions
Wash potatoes and put in large sauce pan with water, vinegar, and salt. Bring to a boil and then turn down to a low boil. Cook potatoes until tender (can you stab a knife into them? Then they are done.) This will vary depending on the size of your potatoes, but texture-wise, boiling them whole is the right call.
Wash and dry mushrooms. How you do this depends on the mushroom, but with most of them I just run them under water and rub the visible dirt off with my fingers and then path them dry with a towel or paper towel. Chanterelles, I soak and swirl for a few minutes.
Chop mushrooms or break into bite-sized pieces.
Chop scallions and separate the whites from the greens. Light green goes with white. You will cook the whites and use the greens as garnish.
Add 1T of oil to your skillet over medium heat. Add the garlic powder to it and the onion whites, stirring well. When it is shimmery, add the mushrooms and stir well to coat with the oil. If you need to, add a bit more oil to fully coat the mushrooms, but stir them well first.
Cook mushrooms, stirring frequently but not constantly, for up to 10 minutes. They will start to brown and smell very earthy — that’s what you’re looking for.
While they cook, drain and cool the potatoes enough to touch. I lay them out on the cutting board to cool. Chop them into hash-sized pieces. Think dice.
Push the mushrooms aside and dump the potatoes into the center of the pan. Add about 2 teaspoons of oil, and stir just the potatoes until the oil is coating them. Spread them out, mostly piling the mushrooms on top. Let them sit and cook for about 5 minutes, and then stir and cook for a bit more — as much time as you can give them to crisp up and meld with the mushrooms.
Just before taking the hash off the heat, stir in the scallion greens and taste. Add salt and pepper if needed. Serve hot.
It’s Elements Month! Yeah, you read right. Elements. Earth, Fire, Air, and Water. Four Mondays in November, four elements to be inspired by. Why not?
This year, we made a plan via Skype — monthly themes to inspire us. We used to get together more often to plan our editorial calendar, but now we do it via Skype, bi-coastally. It is distinctly possible that we were a little loopy by the time we got to November, so here you have ELEMENTS MONTH.
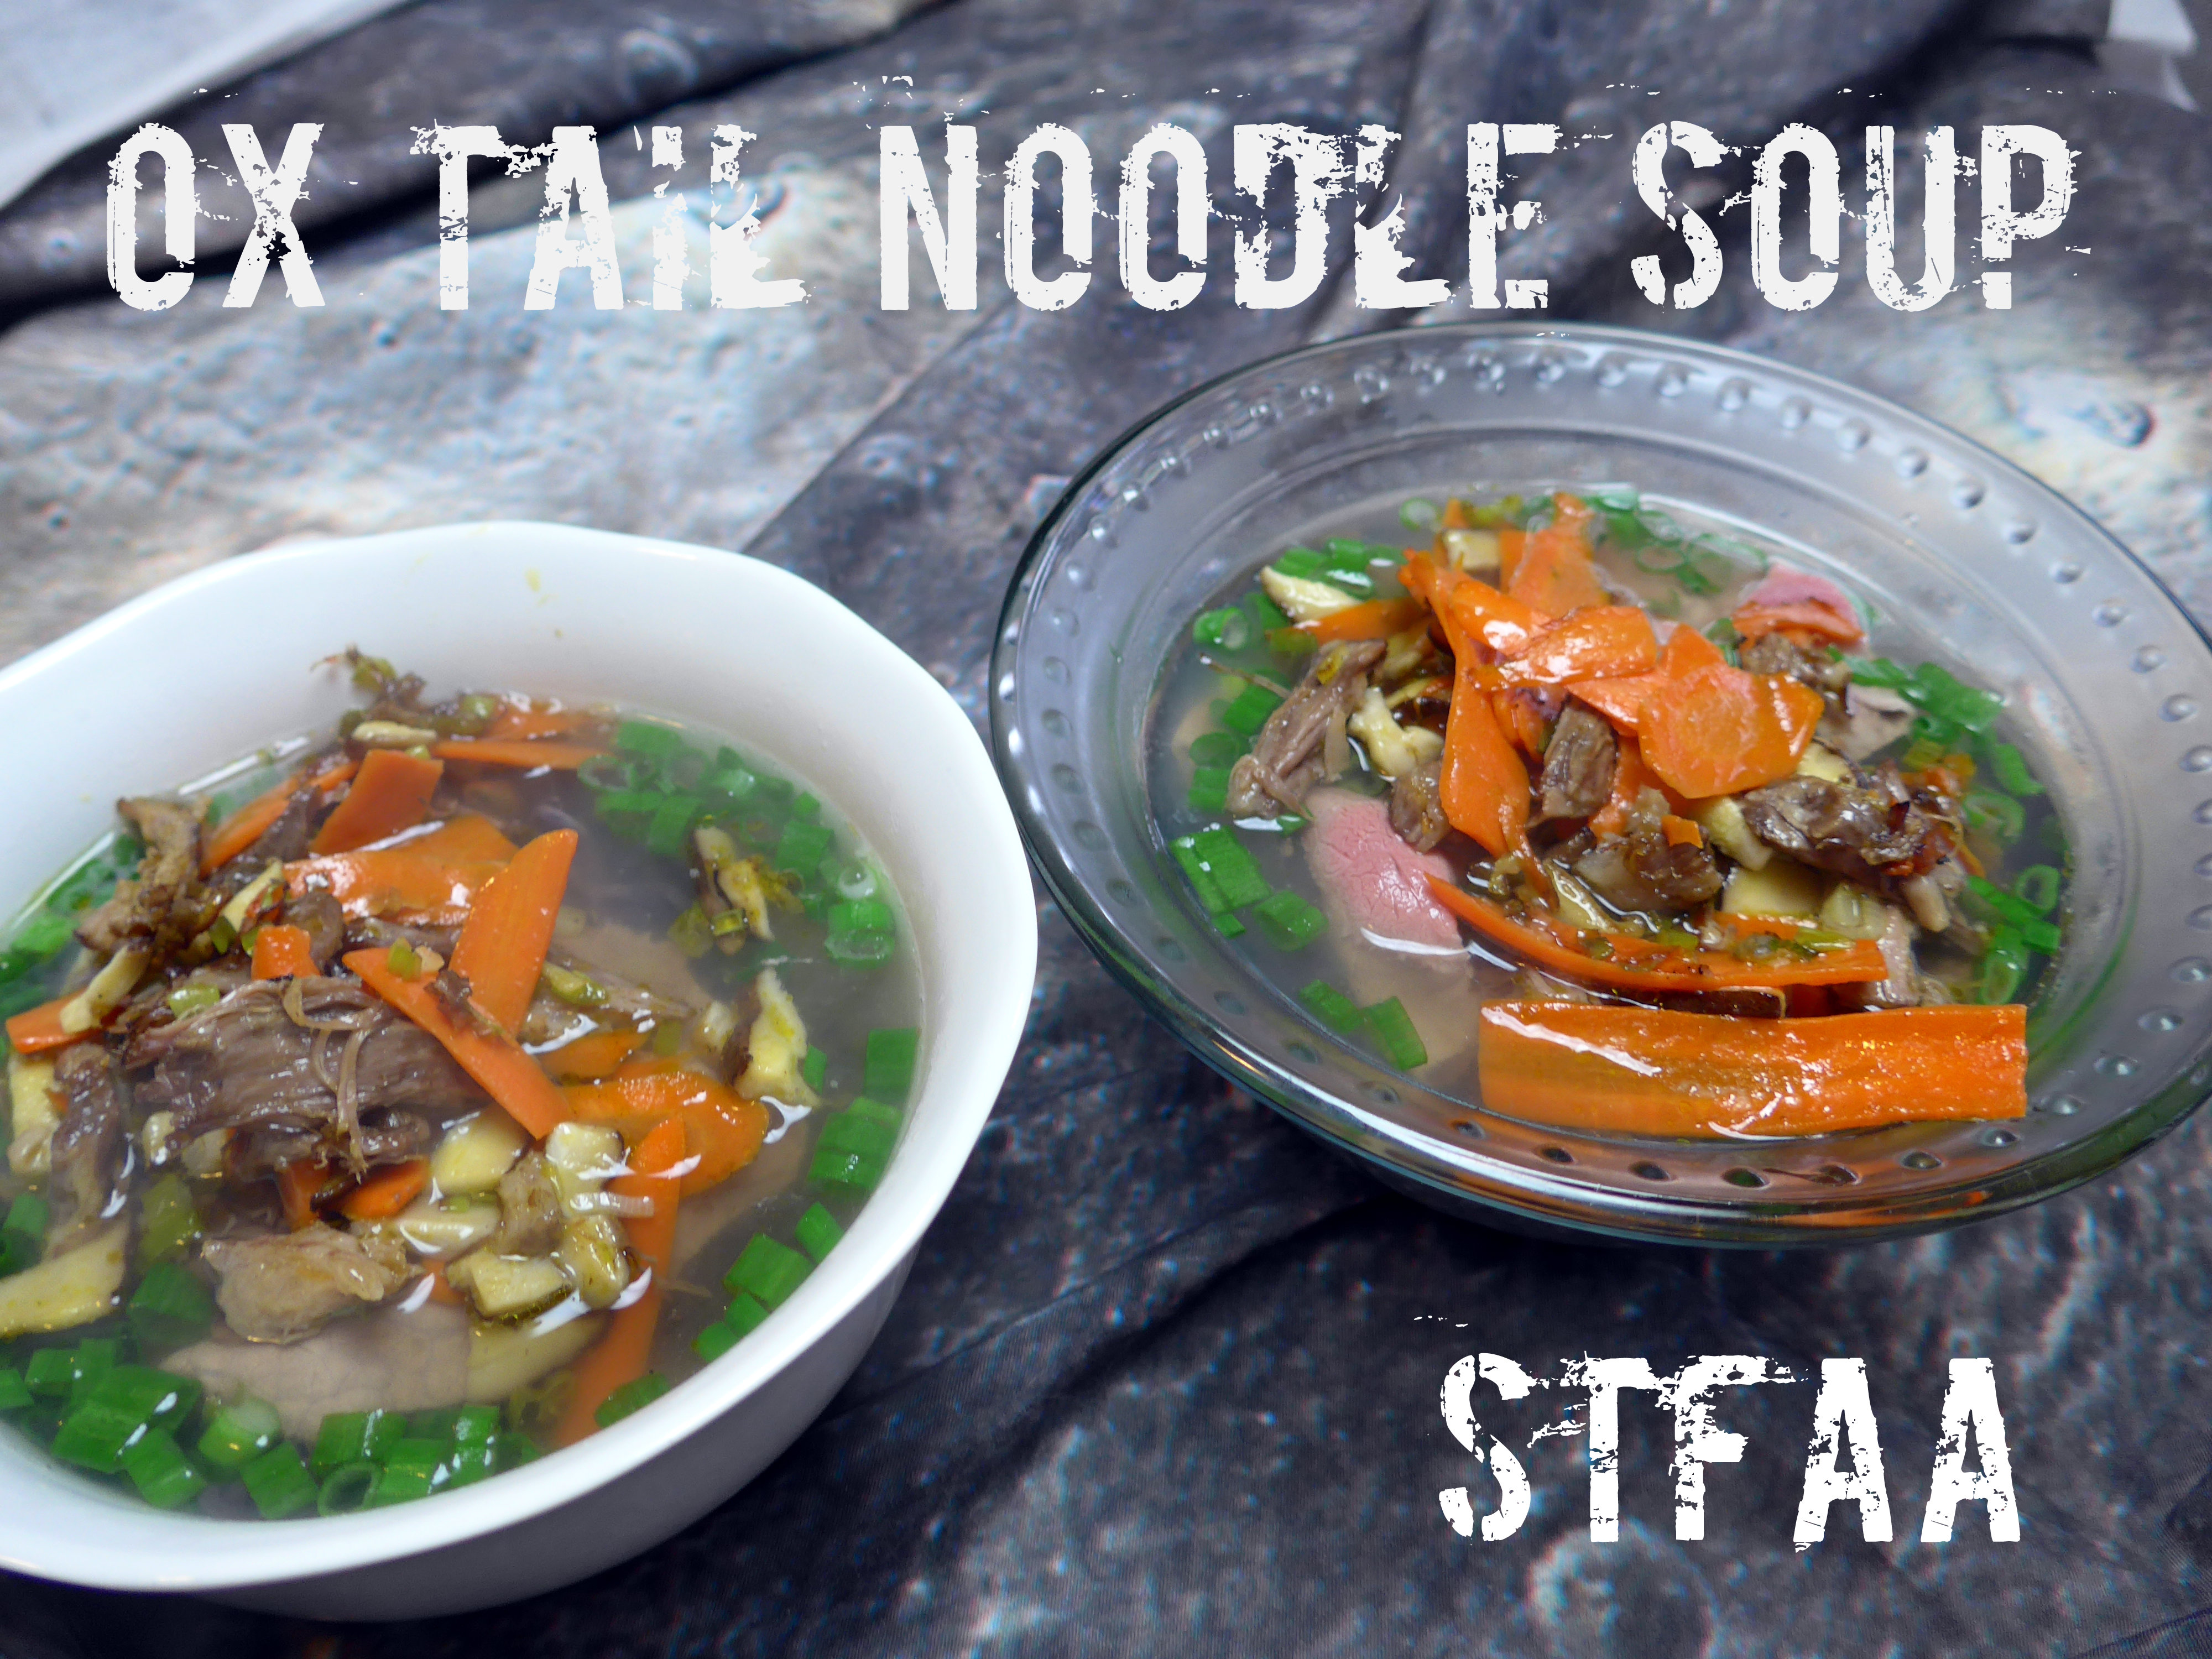
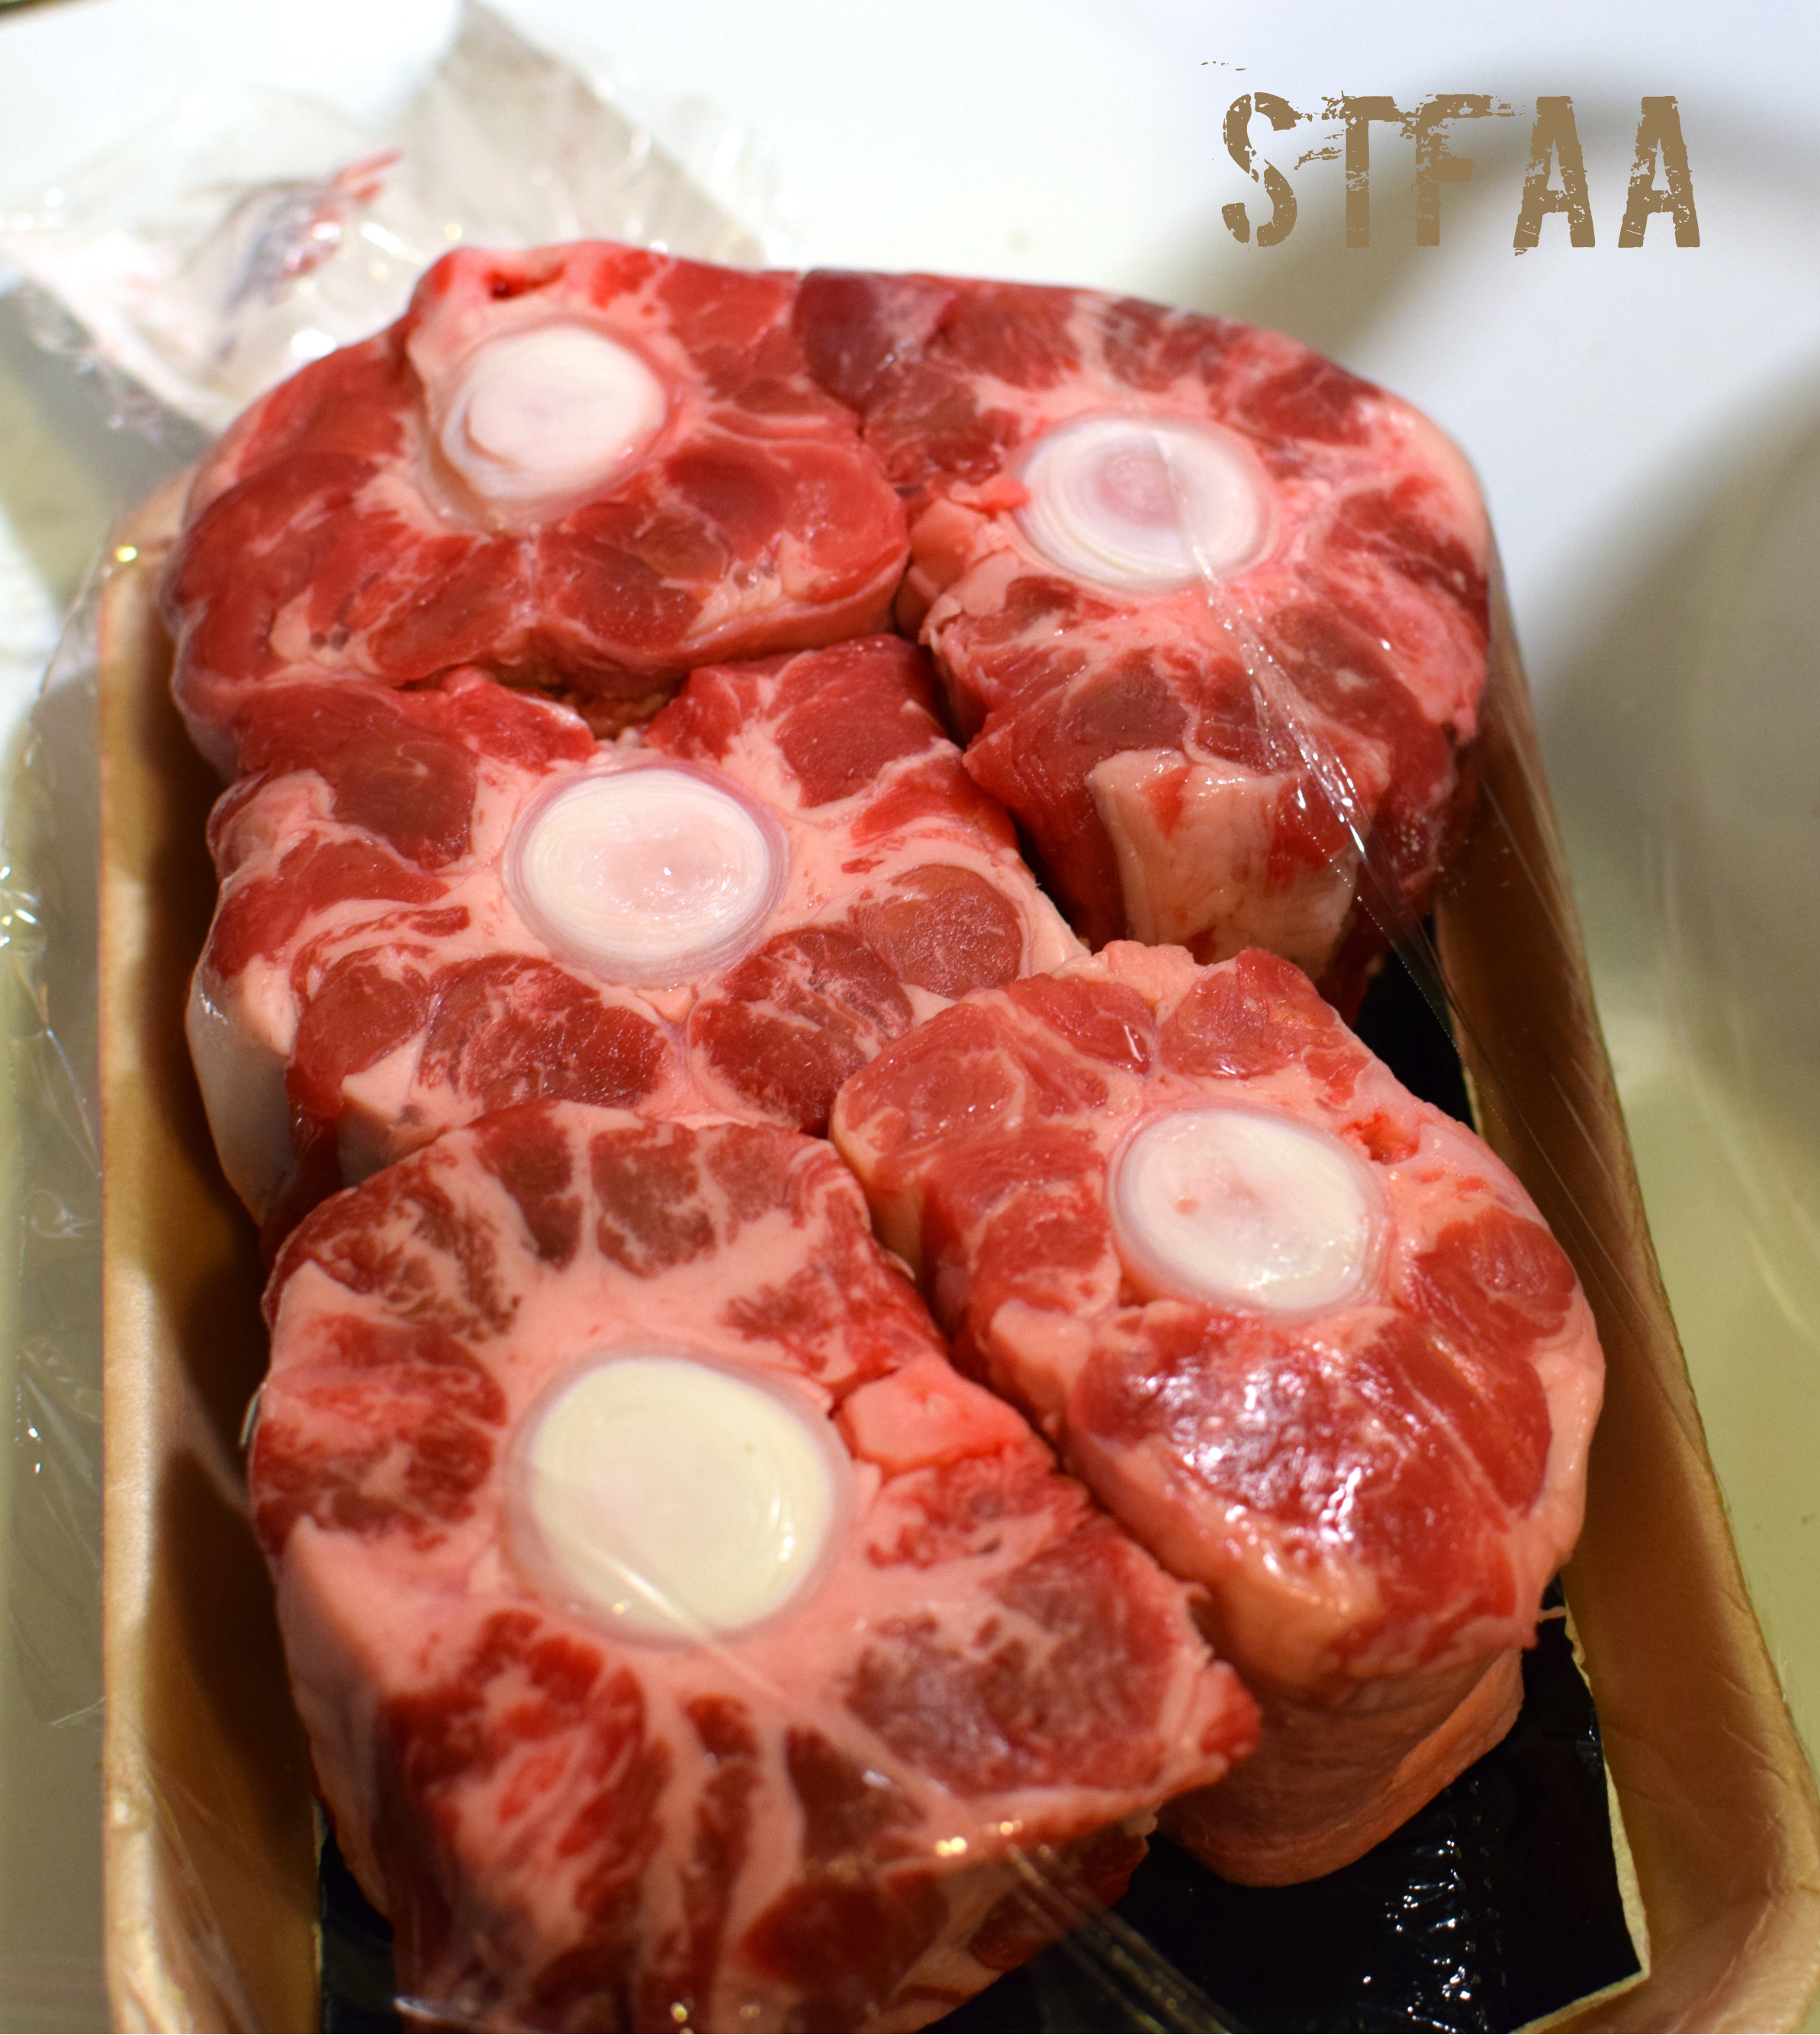
I’m kicking it off with water. After all, Cancer is a water sign, right? Plus it’s November and it snowed all weekend and we are ready for soup. I was inspired by a broth my friend Ann told me about which basically used time to extract maximum flavor from ox tails, an excellent flavoring bone that has some good tender meat on it as a bonus, and a few simple vegetables. This broth is easy, but it takes time. You should definitely make it ahead of when you want to use it. Ox tails should be available from most butchers and many grocery stores can get them or have them in the back. Ask.
Oxtails
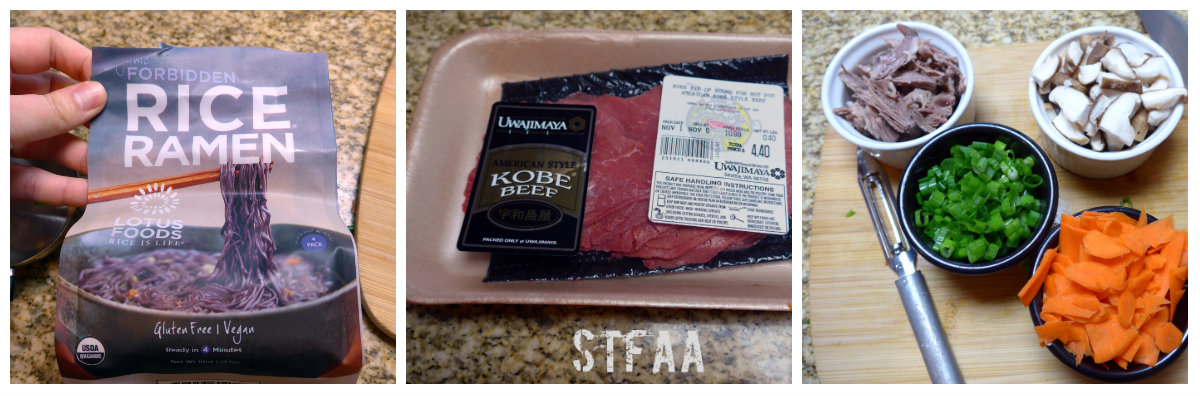
The only other “special” ingredient would be the thinly sliced beef, something I’ve gotten used to being able to get — raw meat sliced as thinly as cold cuts wasn’t something I’d seen on the east coast, but it means that the broth’s heat will cook it as part of your soup and it adds a whole other dimension to the soup. If you can’t get it, skip it, but it is worth trying to find or cut on your own.
Ramen, Thinly-sliced Beef, Toppings
Oh! The noodles! I’ve found gluten-free ramen noodles at a few places in Seattle, including Whole Foods, the Capitol Co-op, and a few natural food stores. The ones in this dish are forbidden rice noodles. If you can’t find gluten-free ramen, I’d suggest using rice noodles of some sort, but not gluten-free spaghetti. Most grocery stores carry pad thai rice noodles in their “Asian foods” section, and those will work okay.
This recipe is two parts — first, you make the broth, which should be done at least the day before. Then you use the broth to make soup. The broth is incredibly simple, but takes about 4 hours to make just because you simmer everything forever. The soup is actually kind of complicated, as I spent a lot of last month learning about ramen, and I’ve used that knowledge here. For traditional ramen, the broth, noodles, and soup toppings are all cooked separately. I’ve used that here to make a soup with a great variety of textures — but know that this is a soup that you might want to just take your time and enjoy making as well as eating. Don’t try it on a work night or when you’re rushed.
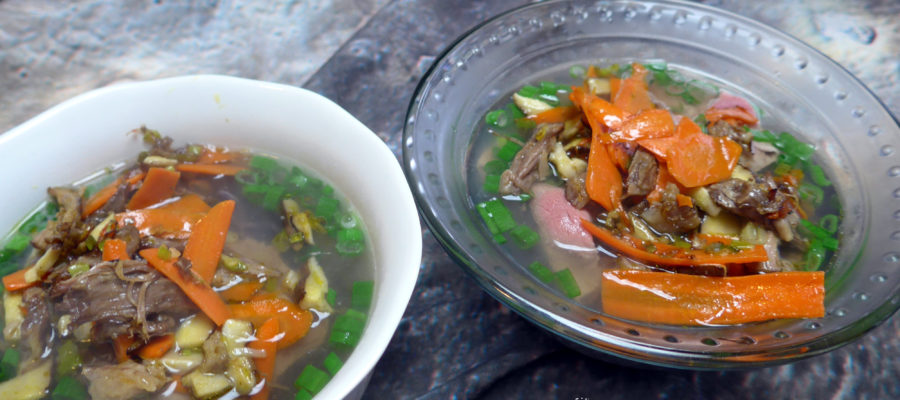
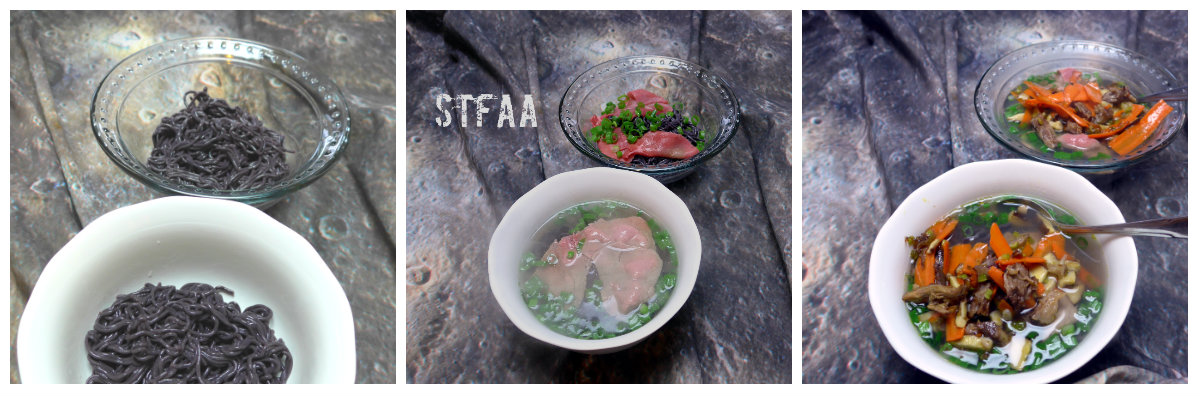
As I’ve said in the recipe, this soup will be made in two pots and a skillet, all at once, and I’ve tried to give you good instructions to get through that if you’re not used to 3 things going at once. The soup comes together in layers, as shown below, and that gives you a variety of textures.
Soup steps: first, noodles. Second, raw beef and scallions. Third, broth. Fourth, skillet of toppings. Notice: Trying to access array offset on value of type bool in /home/maryzahc/public_html/adultfoodallergies.com/wp-content/plugins/wp-ultimate-recipe/helpers/models/recipe.php on line 254
Ox Tail Noodle Soup
Print Recipe
Broth recipe probably makes about 5 servings, but this soup less than half. Use the rest for drinking, cooking grains, or more soup.
4scallionsthinly sliced, whites and greens separated
2carrotssliced as thinly as possible
5shitake mushroomschopped
pinchsalt
1/2cupox tail meatpulled from bone, excess fat and cartilege removed
3slicessteakthinly sliced for hot pot – optional but awesome.
1lemoncut into quarters
Servings: bowlsn
Instructions
Ox Tail Broth
Put the ox tails in a large stock pot and cover with cold water by about 1 inch. Add a generous pinch of salt. Put over low heat, about 2 on my electric stove. NOTE — it will take more than half an hour for the water to simmer. Low and slow is how the flavor comes out.
Meanwhile, prep the vegetables. Wash the tomato, carrot, and celery. Chop the carrot and celery really roughly — about 2 inch segments. Leave the tomato whole. Pull all the parsley leaves off the stalks and discard the stems. Peel and quarter the onion.
When the water has reached a steady simmer, add all the veg. Simmer for three hours. If it gets foamy, skim it.
Cool and remove the ox tails to store separately. Remove the vegetables and discard. Store the broth in the fridge overnight.
Ox Tail Noodle Soup
You will need three cooking pots for this. One for boiling enough water to cook the noodles. One for heating your broth. One skillet for cooking your soup toppings. Figure out which burners will work best for this setup before you start, as you’ll be using all of them at once.
Get the broth started. You want to reheat this on low until it’s about boiling, so it will take a while.
First, do all your veggie prep. Chop the scallions and separate the green and white parts (light green goes with the white). Chop the mushrooms, slice the carrots as thinly as possible. Remove the meat from the ox tails — you will likely need to cut the fat off the outside, and watch out for the cartilage on the inside — remove that.
Add about half of the green parts of the scallions to the broth. Measuring here is really not important. Eyeball it.
You can either skim the fat off the soup and use that to fry up the veg, or use a fat of your choice. Put this in your skillet over medium heat.
Next, start the noodle water. Use however much water your package directions show.
When you skillet and fat are hot, add the onions and stir for several minutes until translucent.
Next add the carrots and mushrooms and stir well. Add a generous pinch of salt. Wait until the mushrooms have wilted and given off their liquid before you start the noodles.
Cook your noodles according to the package directions.
Right before the noodles are done, add the ox tail meat to the skillet and stir well.
Drain your noodles and set up your bowls.
Here’s how your bowls go:
Add noodles at the bottom.
Add a thin layer of your raw beef. This will be cooked by the broth.
Add your broth.
Add the toppings from the skillet.
Add a squeeze of lemon over everything.
Enjoy.
Can I admit I punted on this one? My big plan for Comfort Food month was set back in August. I was going to do MY best comfort food, potatoes, and then one from my neighborhood — I was going to learn to make ramen. There is a line of gluten-free ramen noodles that I quite like, made from different types of rice. I got a book on the history of ramen, and a cookbook. I can highly recommend both. But what I learned is that those lines outside restaurants making authentic ramen are well-deserved. Ramen is a complicated (if worthwhile) process, with a soup base that must be made before preparing a broth that then becomes soup to which you add noodles and toppings. Definitely try it — with all the variations, it’s likely you’ll find some that suit your allergies. But it was not my next recipe.
So ANYWAY, that’s why Jack made this recipe. And from here on out, it’s all him. As a note, this is why we use #allergyfriendly instead of “allergy-free” on the blog — this recipe uses boxed gluten-free penne pasta and commercial vegan cheese (and we tend to use a jarred sauce), so it is likely not suitable for some allergies (corn). But if it works for you, it’s a great Sunday meal that also makes Monday’s lunch. We probably eat this recipe at least once a month, and while pasta is Jack’s comfort food, I definitely see the appeal. –MaryKate
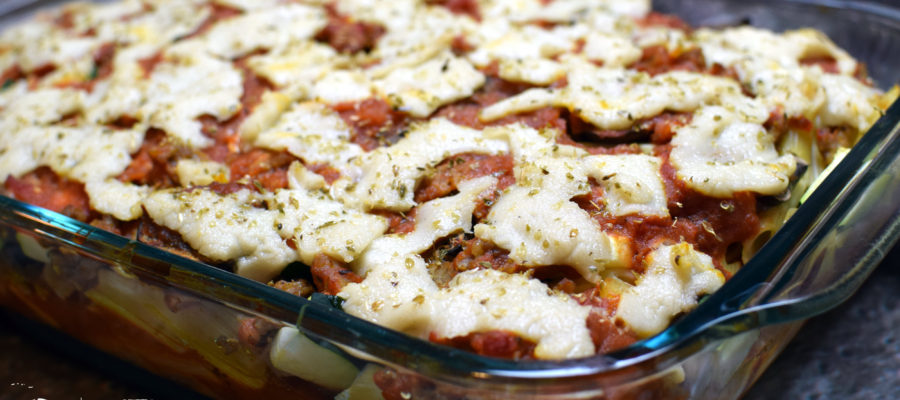
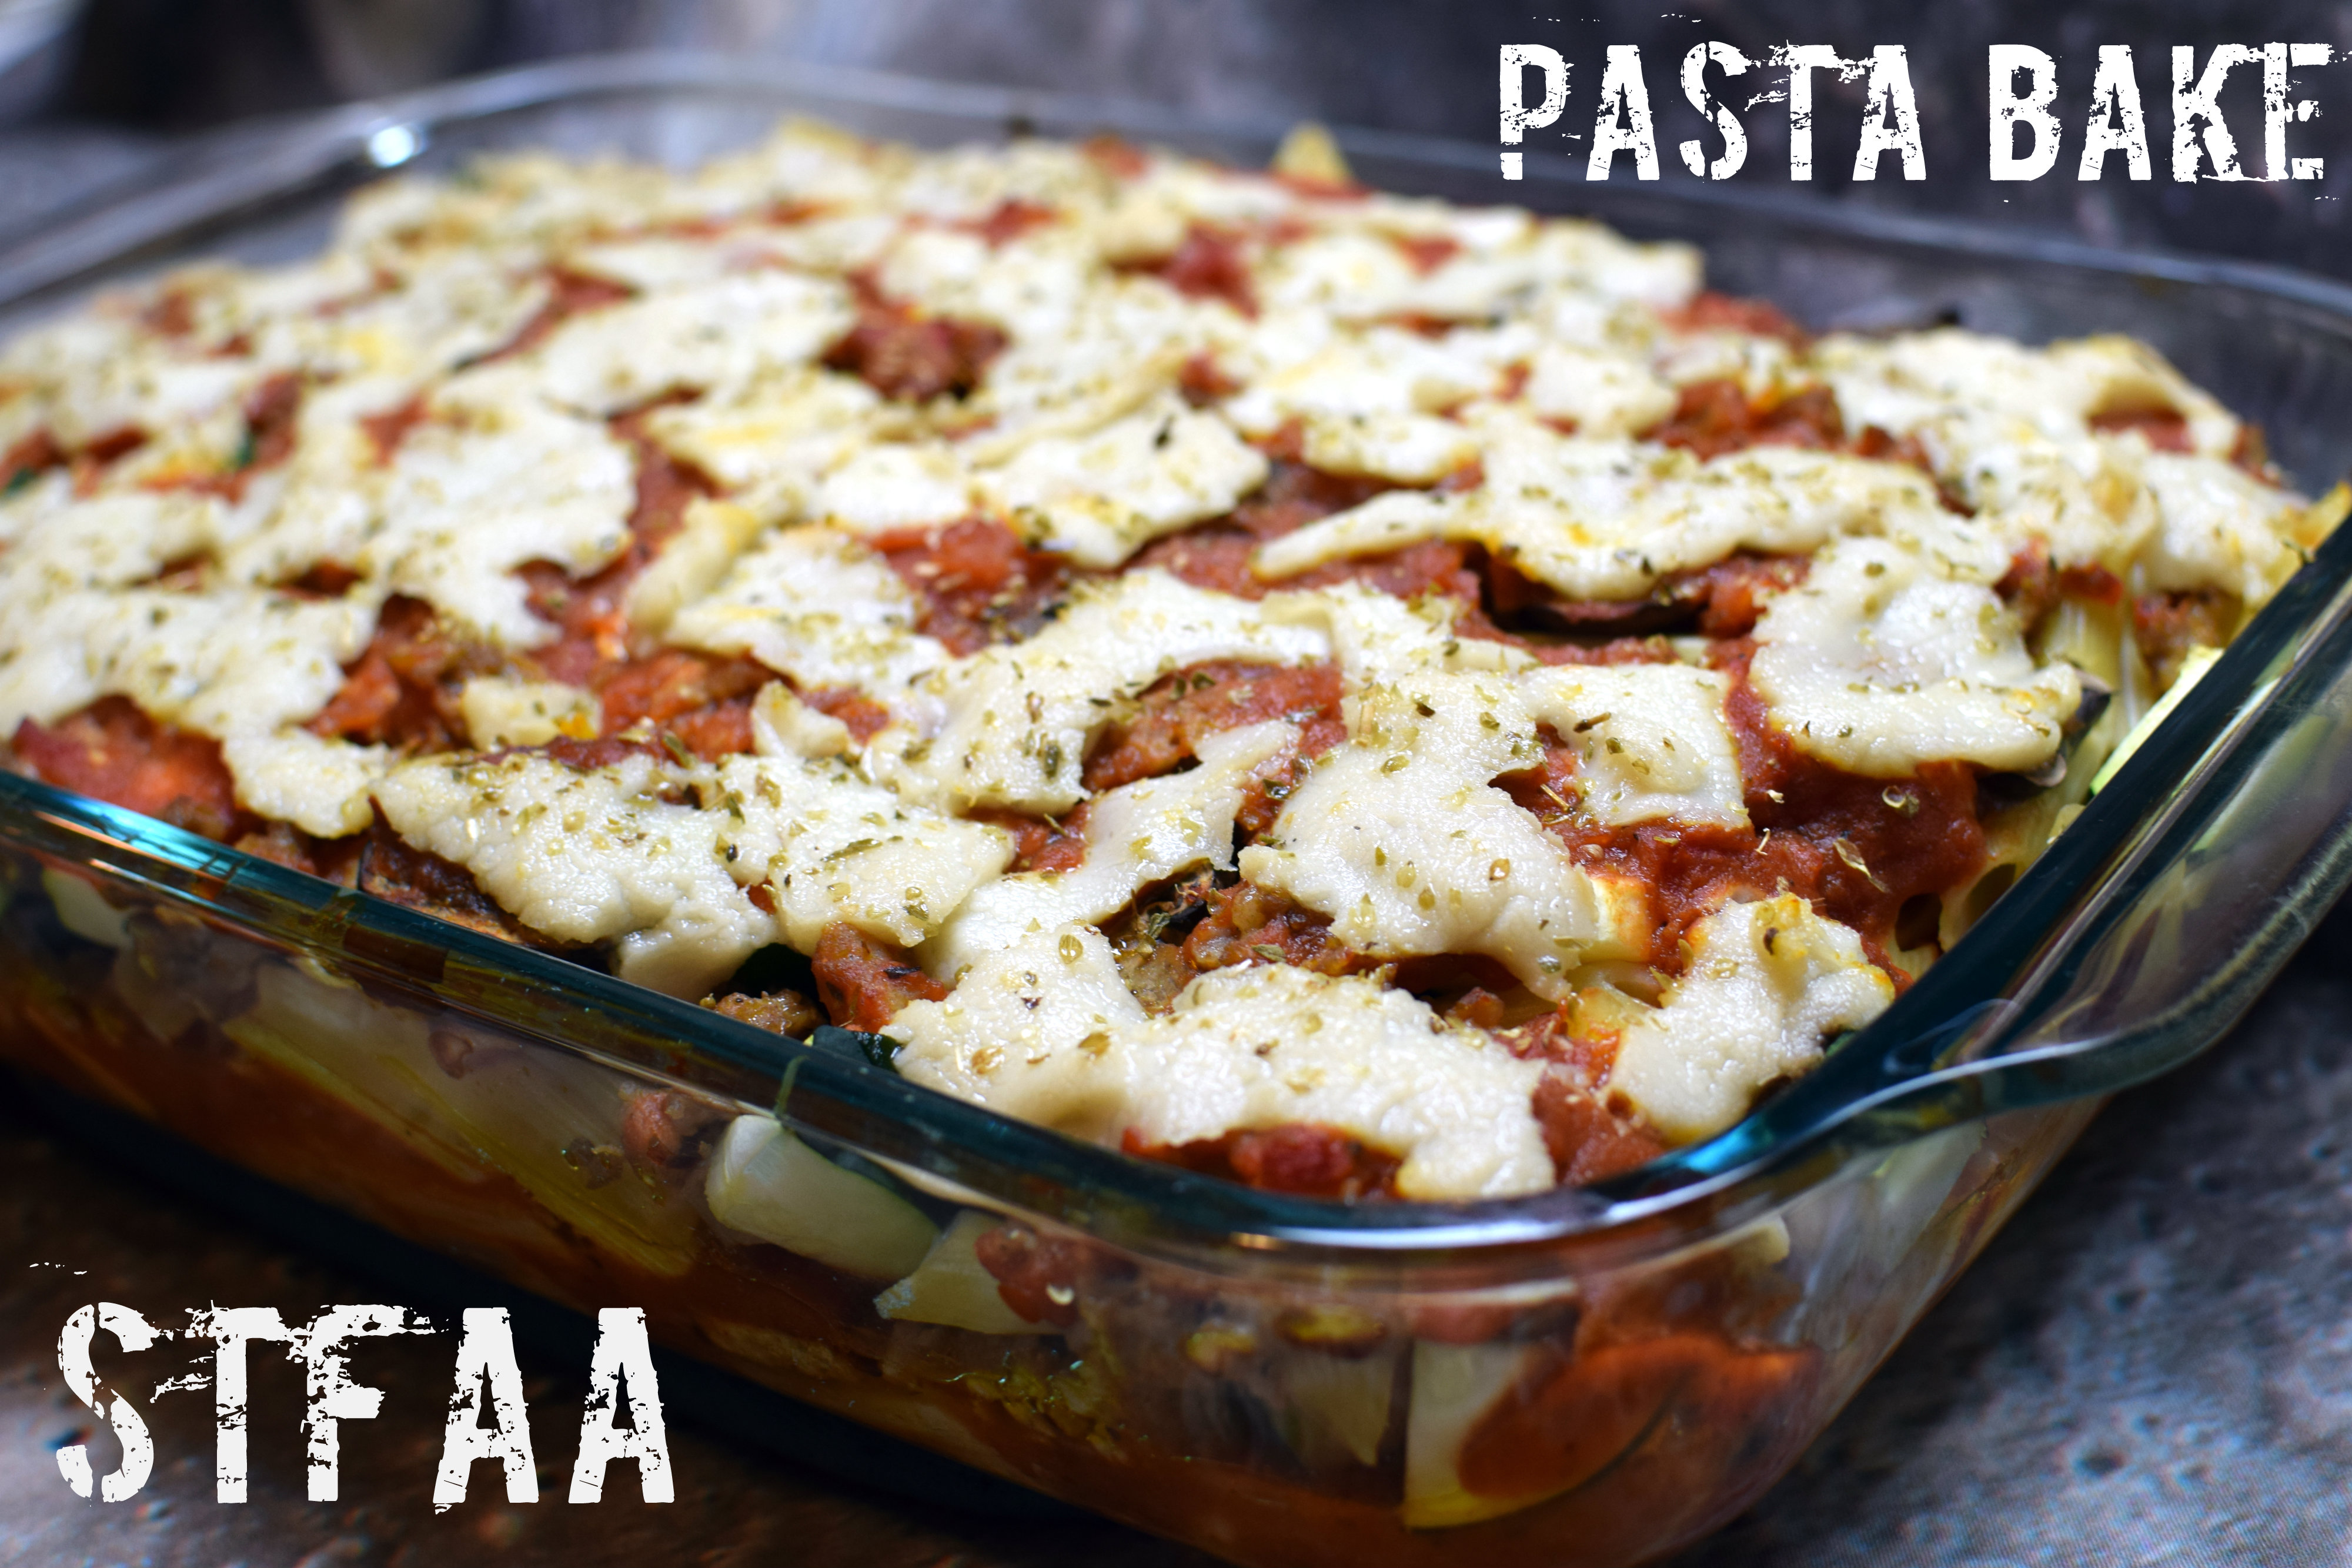
Pasta Bake — gluten-free and allergy-friendly
Hi there! I’m Jack, and I live with MaryKate, so I feed her from time to time. This pasta bake has emerged as one of her favorite comfort foods – which is lucky for me, because it’s one of the few dishes I can make without checking every step of a recipe twelve times. (According to her, I declared on our first date that “I don’t cook”, which I don’t really remember but would have been reasonably accurate at the time as a statement of bare fact, if not general philosophy or intent.) (He said that. I was there. — MK)
The pasta bake began as a gluten- and lactose-filled attempt at baked ziti. It has made the transition to allergy-friendly status quite well, thanks mostly to the pasta and cheese alternatives on the market, and also thanks to MaryKate’s suggestions of what else to add. Feel free to omit veggies and/or meat, and use the sauce, pasta, and cheese brands of your choice. We’ve even mixed in some almond ricotta from Artisan Vegan Cheese by Miyoko Schinner for a creamier, lasagna-like texture.
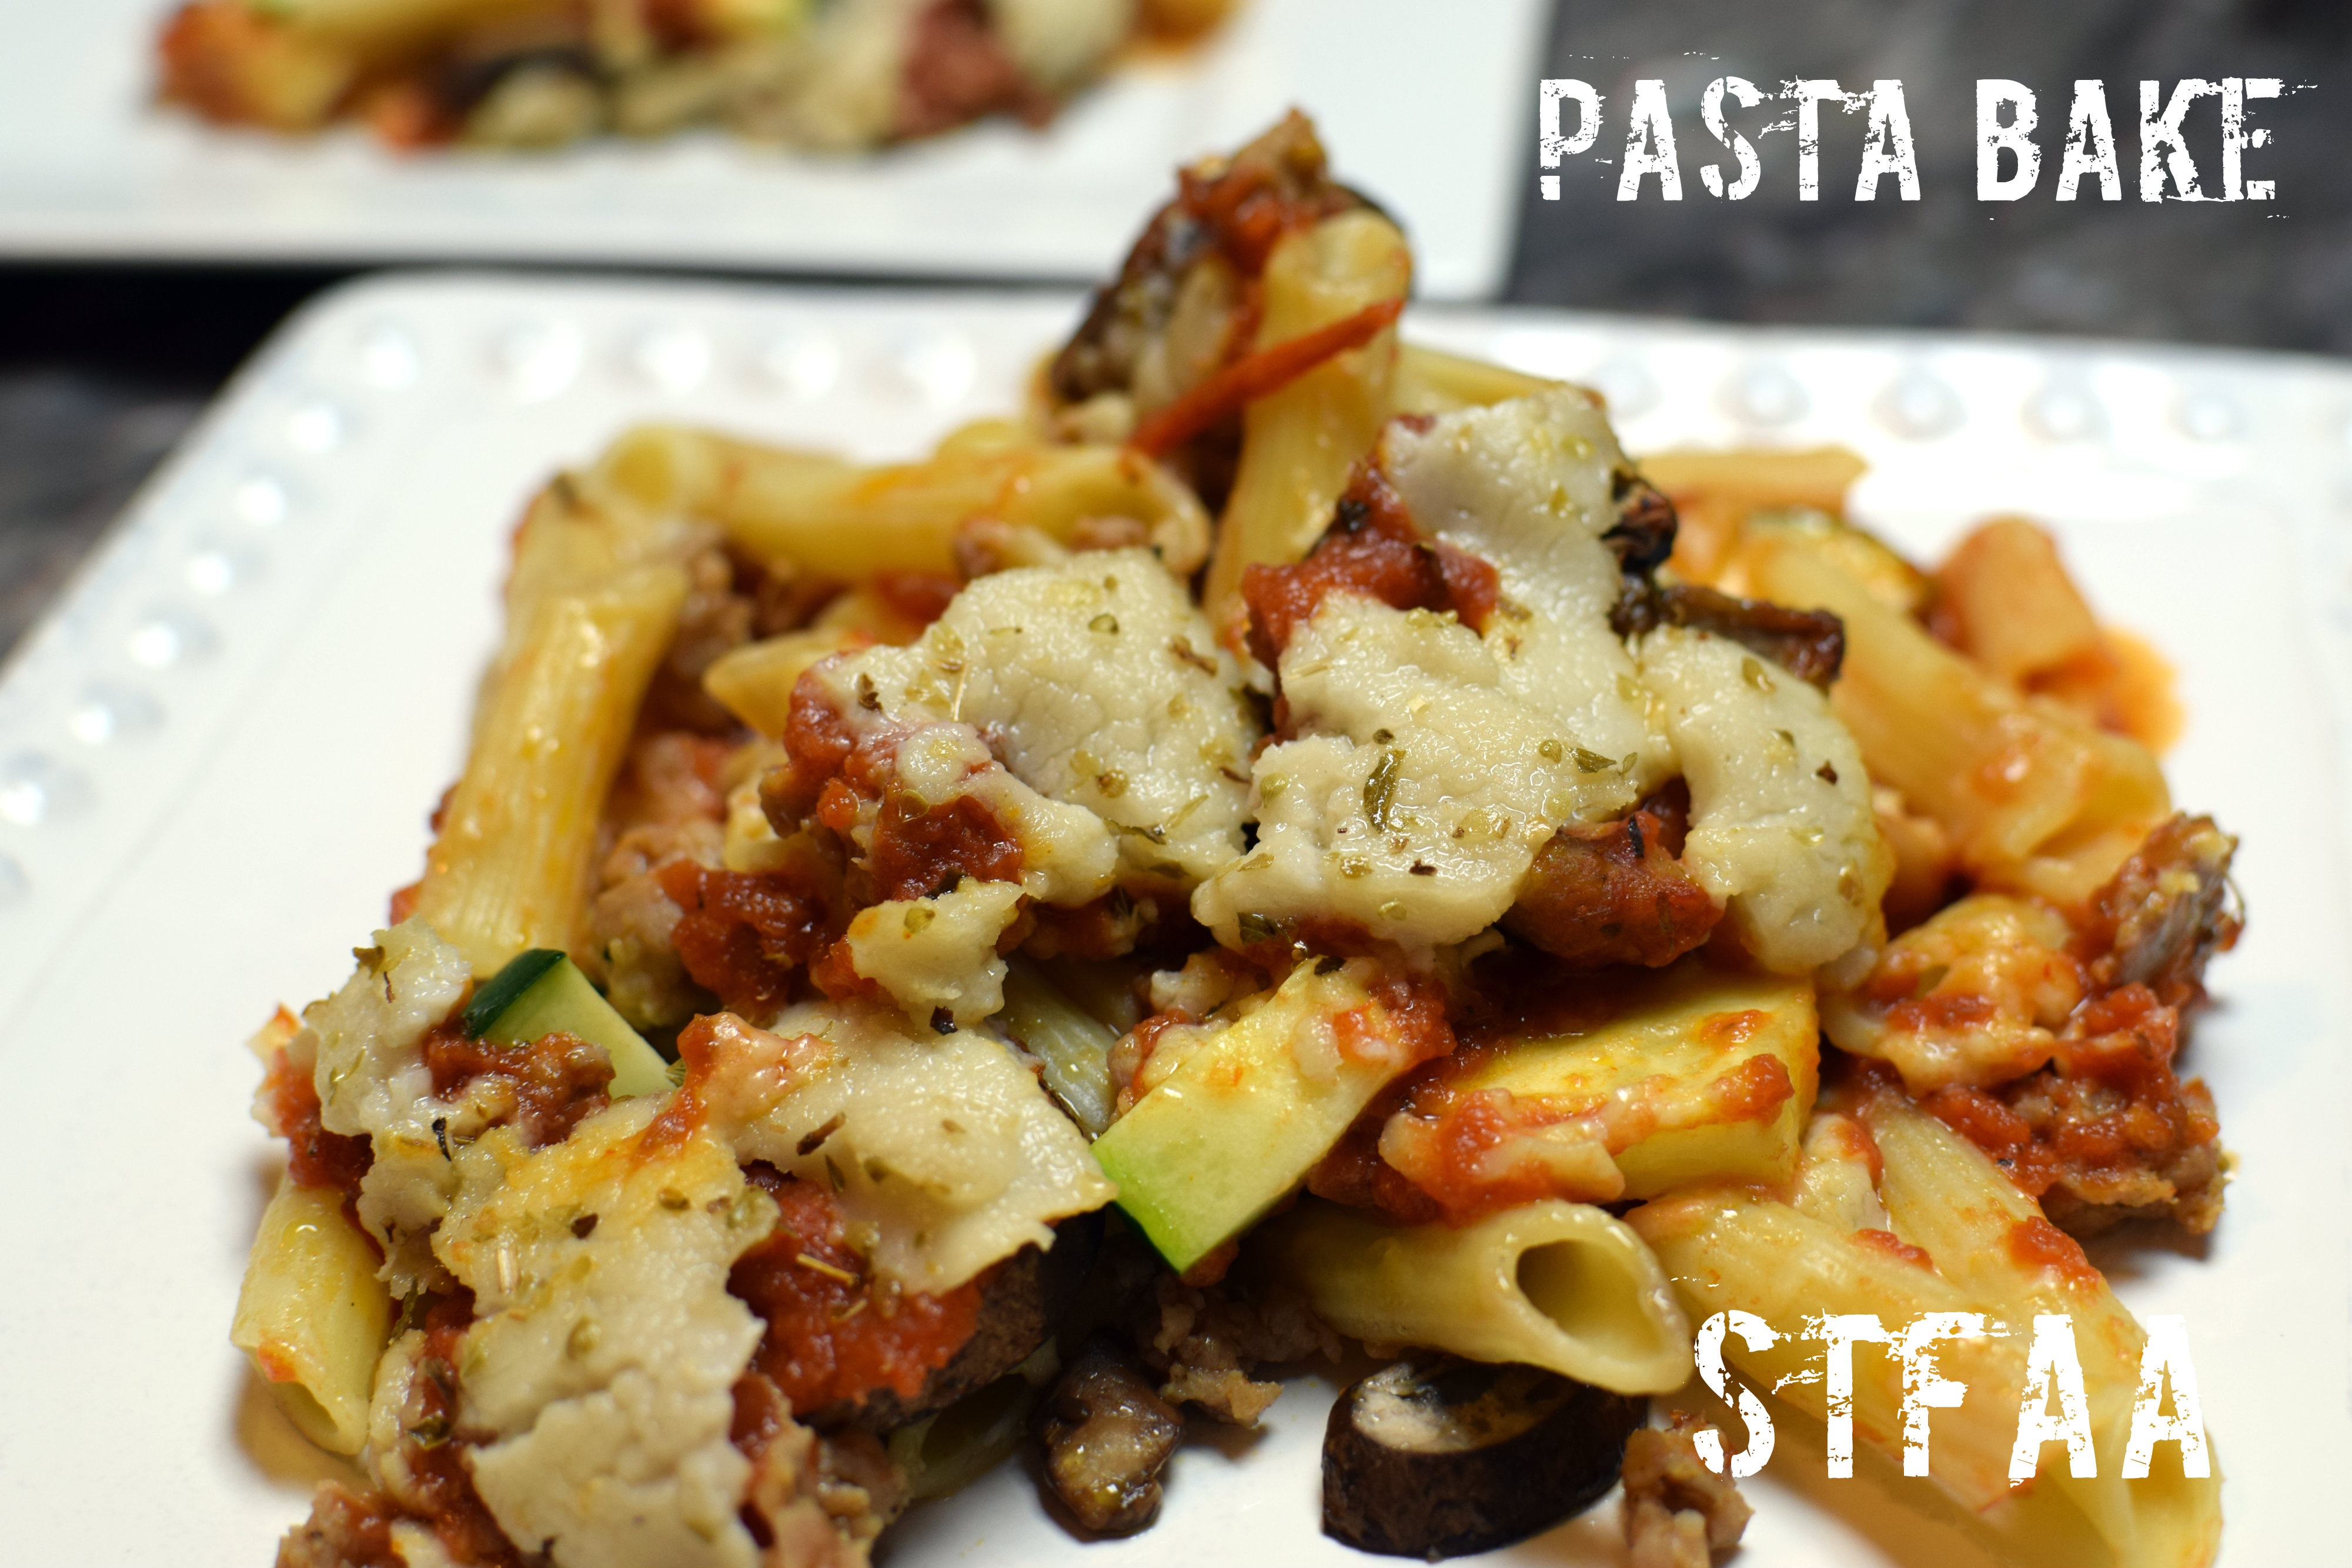
For me, pasta is comfort food. We had it at least once a week when I was a kid, and it’s quick and easy to make while also being warm and filling. I’ve even come to like the vegan cheese. The easiest version of this is pasta, sauce, and cheese, but adding zucchini and mushrooms gives it great texture, and the sausage adds more flavor and protein.
Pile o’ pasta bake Notice: Trying to access array offset on value of type bool in /home/maryzahc/public_html/adultfoodallergies.com/wp-content/plugins/wp-ultimate-recipe/helpers/models/recipe.php on line 254
1mediumzucchiniquartered lengthwise and sliced every 1/4 inch
8ozmushroomssliced, we like baby Bellas
8ozground sausage or beefoptional — leave out or use vegan sub for a vegan casserole
36ozgarlic pasta sauce
12ozvegan mozzarella cheese substitutewe love Miyoko’s Kitchen vegan moz
oregano to taste
Servings: large servings
Instructions
Brown and drain meat.
Boil penne until it’s just barely soft, about 4 minutes.
Drain and rinse pasta.
Put half the penne in a 9″ x 12″ baking pan. Layer on 1/2 of the zucchini and mushrooms, then 1/2 of the sausage or beef, sauce, and mozzarella. Sprinkle generously with oregano.
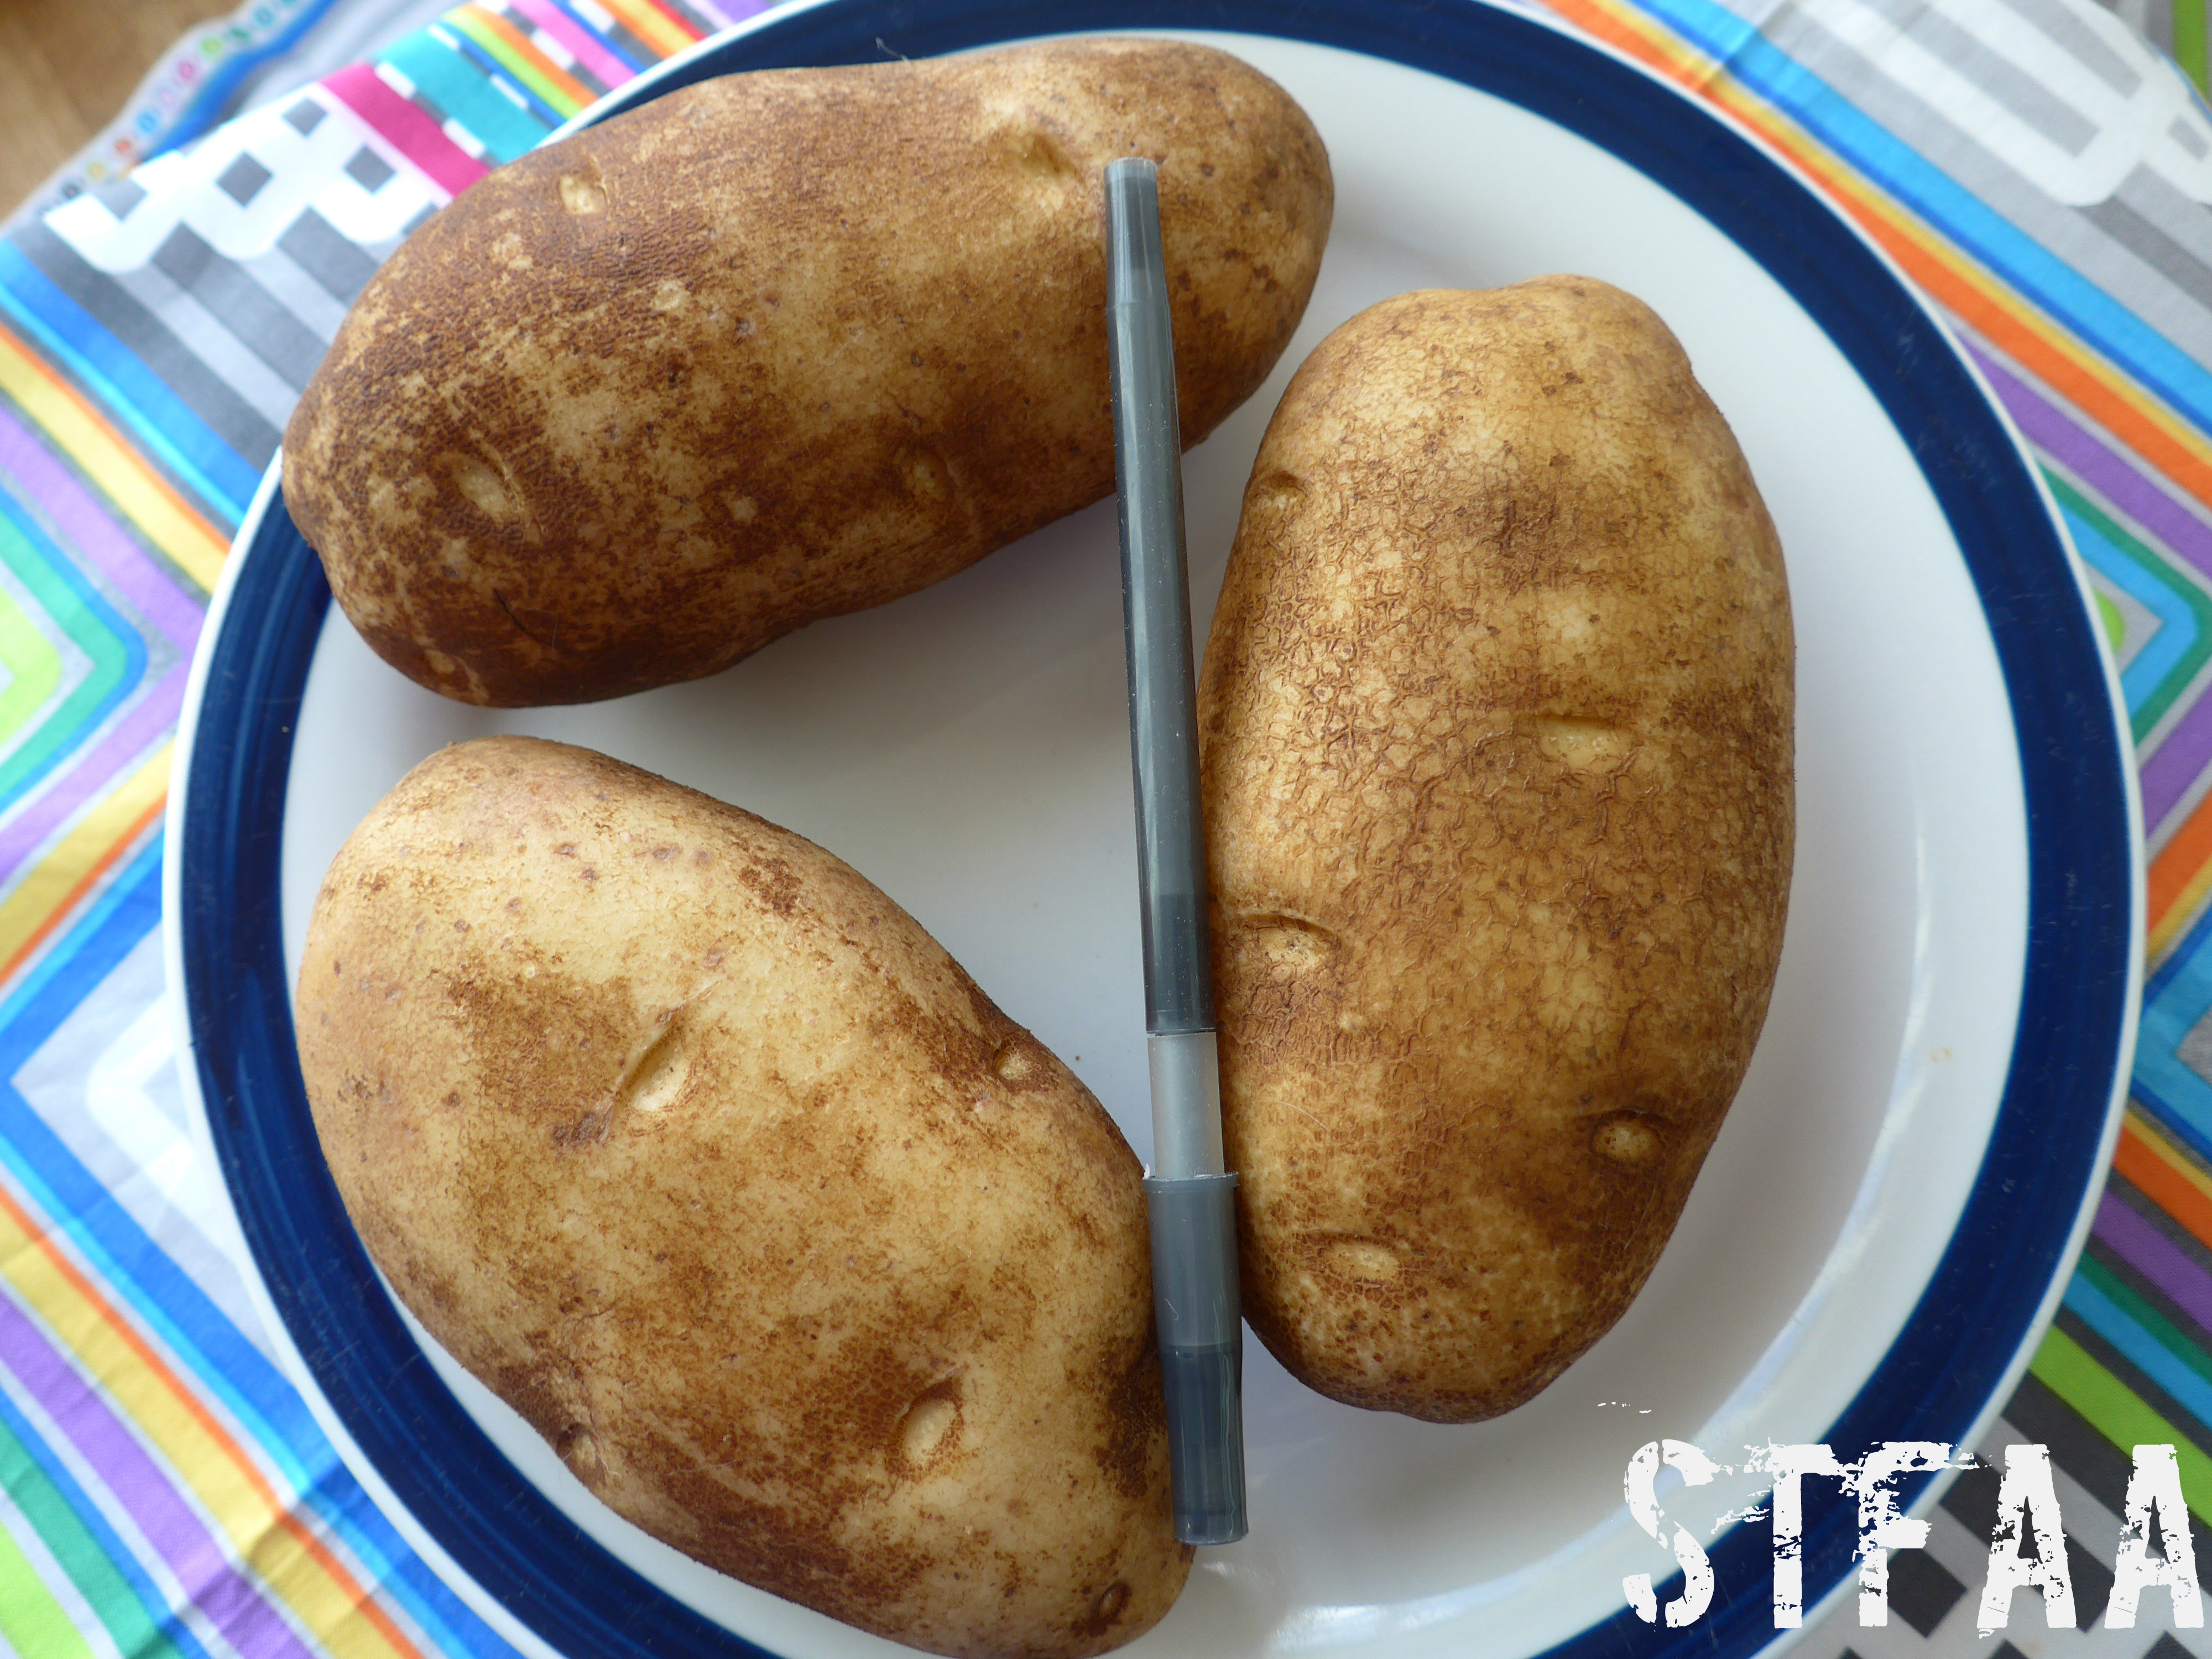
Back in January when Denise and I outlined our year, I knew that “comfort food month” would include potatoes. My absolute go-to whenever I want comfort food is some form of potato. For me, the fries at 5 Guys are safe, so on a road trip, I’m likely to hit them up. I have made meals out of mashed potatoes, potato patties, tater tots, and any other form of potato you can think of. We have a lot of potato recipes! And they aren’t even all mine.
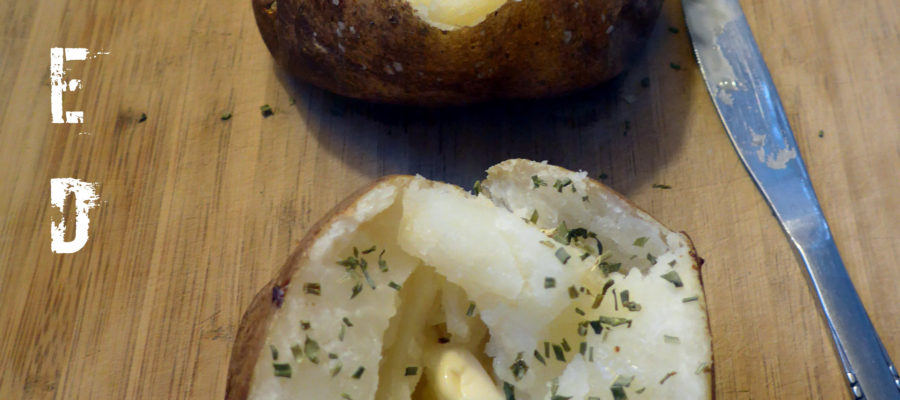
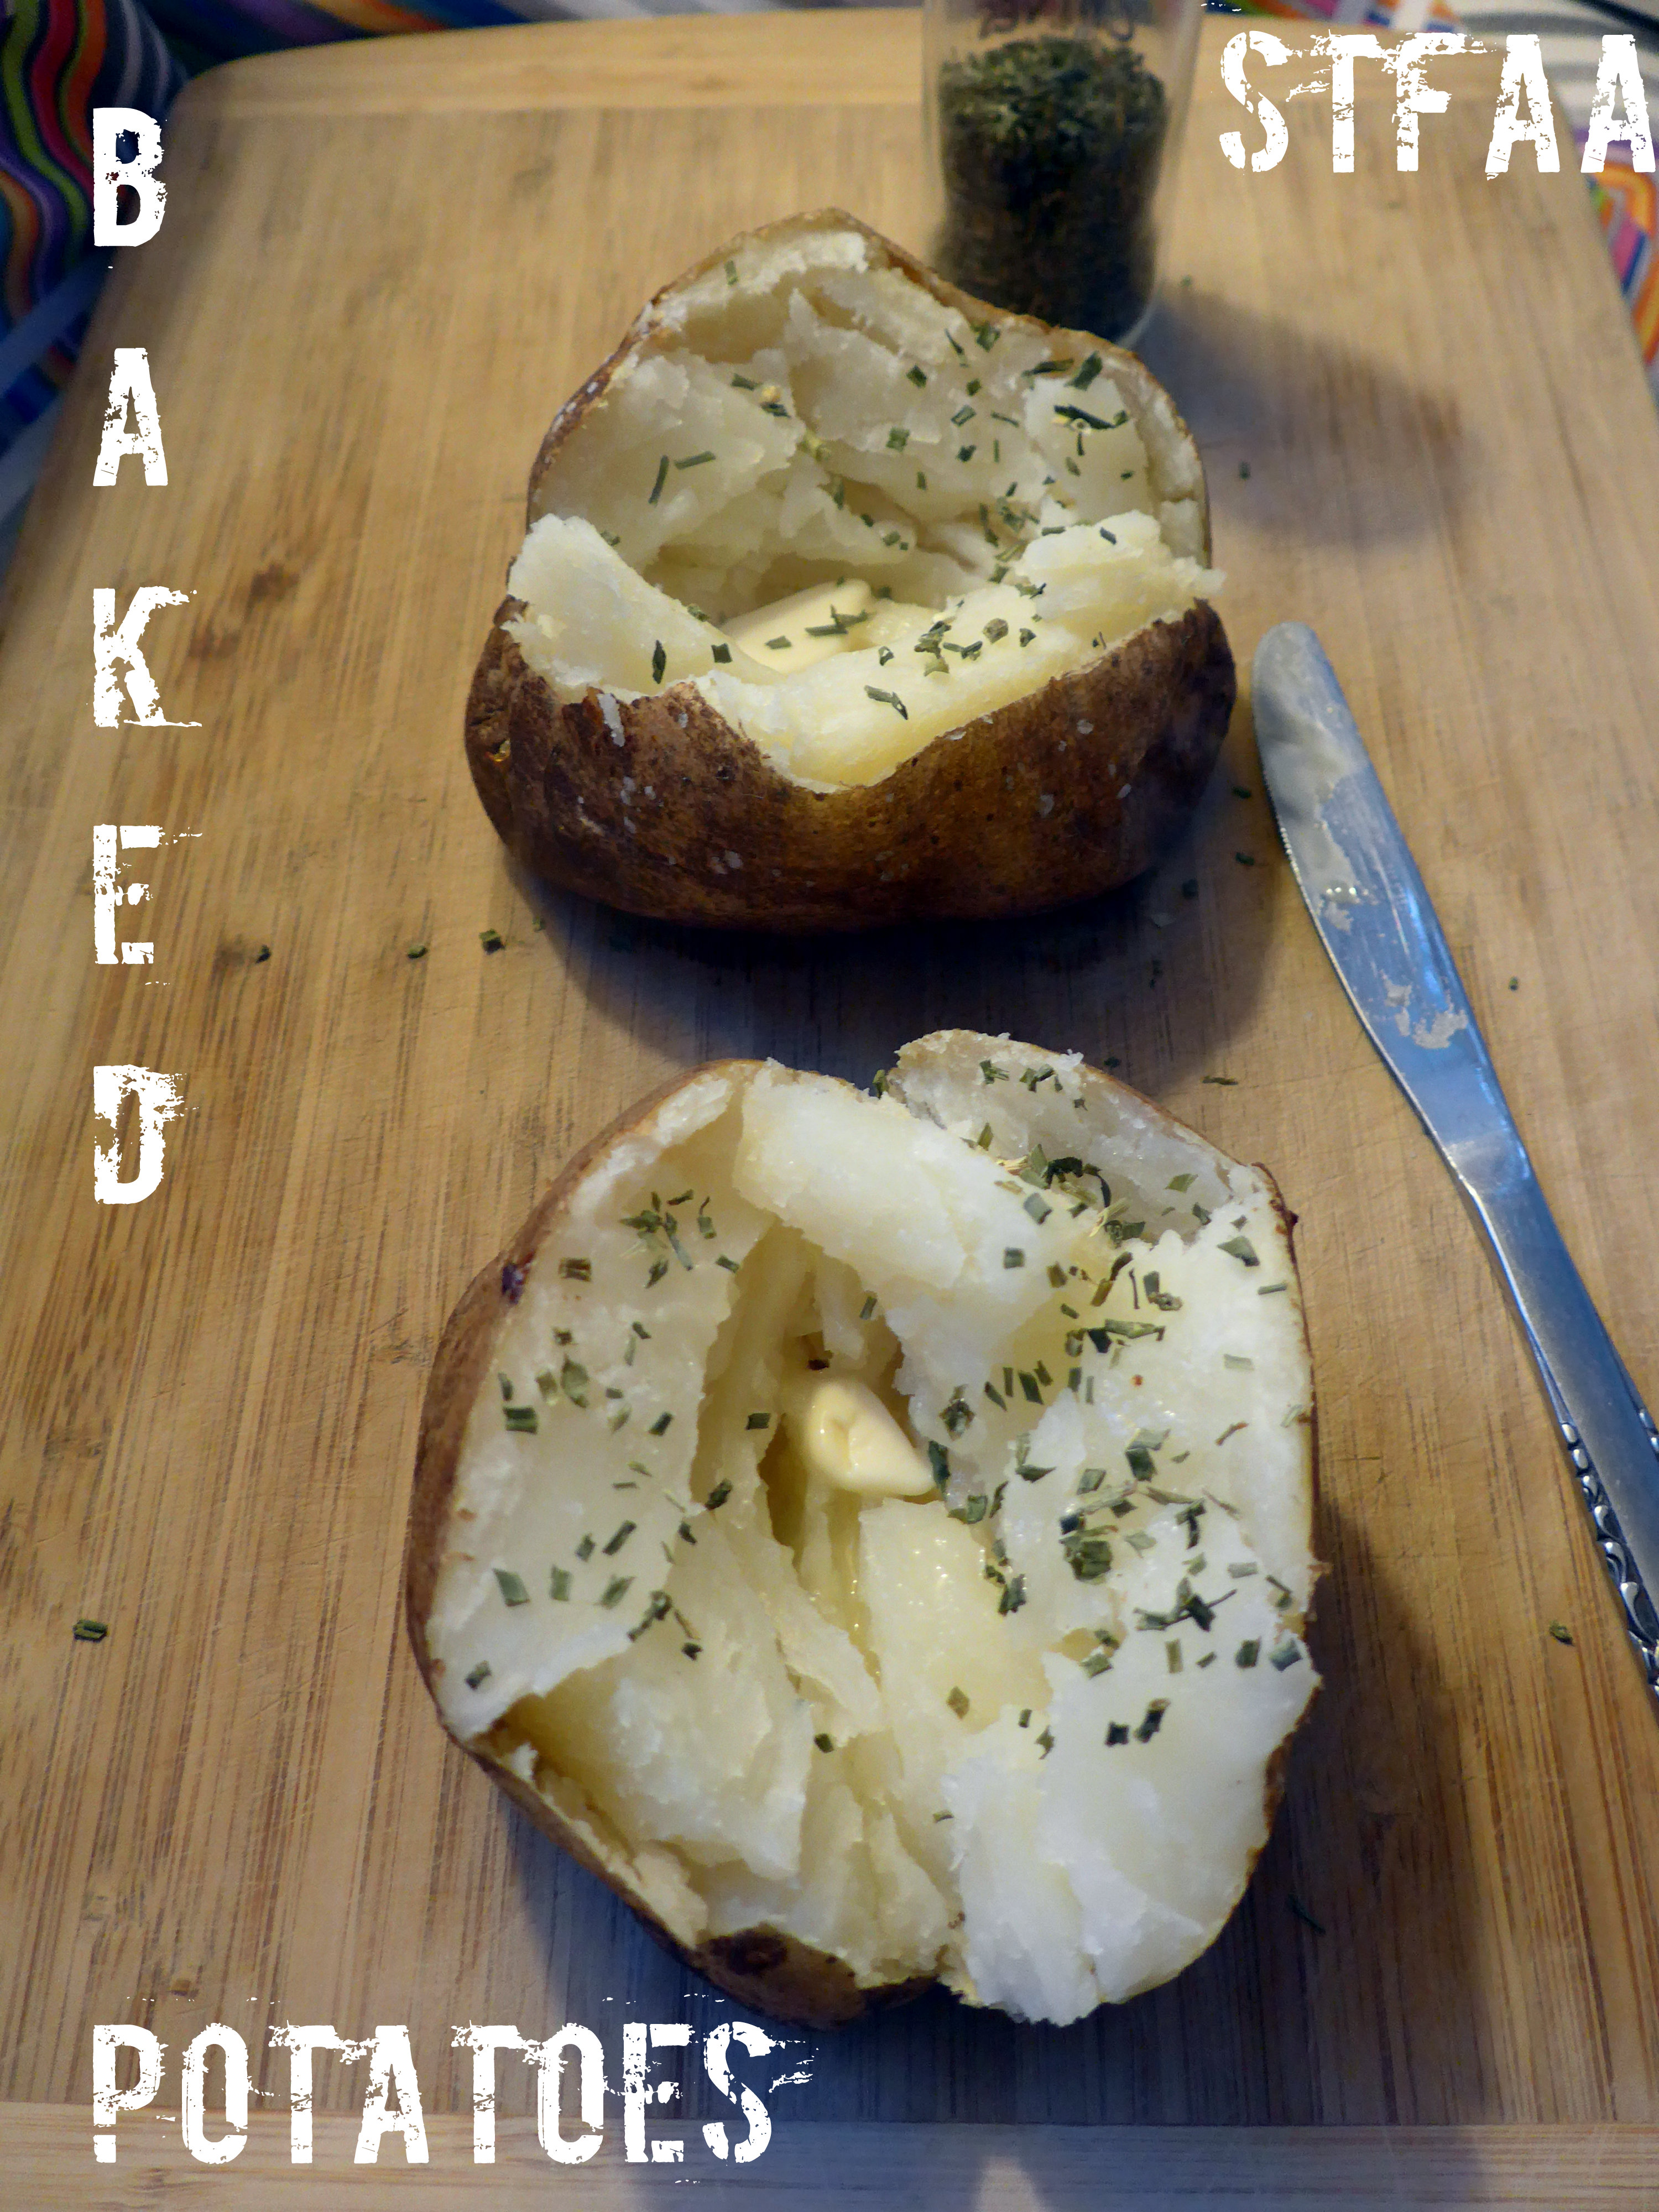
But what I eventually landed on were baked potatoes. So this isn’t really a recipe. You’ve probably baked a potato — you have, right? Maybe you loved it, maybe it was just okay. But if you bake a perfect baked potato and top it with enough stuff, you have a great dinner — warm and hearty and satisfying. And then you can eat the skin, like a reverse appetizer.
So I went looking for the “best” baked potato recipe and found that cookbooks and internet writers had SO MANY different ideas on what makes a perfect baked potato. Now almost none of them describe the intended results, so it’s hard to know what they see as perfect. For me, the perfect baked potato is soft and fluffy on the inside, with a tender and crispy skin.
People suggest a lot of different temperatures, but 350ºF and 425ºF come up more often than 375ºF and 400ºF, so I stuck with those two. Most recipes tell you to scrub the potatoes and poke holes in the skin with a fork, though the old Joy of Cooking has you poke holes only halfway through baking. While this makes some sense, the joy of baking potatoes is that, though it takes a long time, you don’t have to DO anything during that time. Try it if you want, but I’ll never remember to do that again. Coating the outside of the potato is also popular — wrapping it in foil, oiling the skin, oil and salting the skin, buttering the outside. My mom never did any of that, so I never did, but I’ve now tried them all.
So here’s my verdict:
First off, I think Alton Brown’s recipe worked the best for me. I think that 350ºF produces the fluffiest potatoes, but it takes 20 minutes longer than 450ºF. I think that lightly coating the skin with olive oil does actually produce a fluffier potato, but with a slightly less crispy skin than no coating. Vegan margarine will produce an even tenderer skin. I do not want to foil wrap my potatoes as it seems wasteful, so I didn’t try that. I think poking holes in the potatoes with a meat fork (long tines) makes a fluffier center than using a dinner fork. Two stabs with the fork seem to be enough; 4 stabs (2 per side) didn’t make a noticeable difference to me.
If you don’t have 85 minutes to wait for dinner (assuming 5 minutes of prep), a good compromise is to microwave the washed and stabbed potatoes for 10 minutes and then bake them at 425ºF for 20-30 minutes. I know this doesn’t save a bunch of time, but it is half. I do not coat the potatoes with anything when I do this, and I use the toaster oven because my big oven won’t heat up in 10 minutes. This is not AS good, but it is good.
Perfect (Uncooked) Potatoes — standard ballpoint pen used for scale
As for topping the potato, here are just a few of my thoughts:
butter, vegan margarine, or a margarine that’s safe for you
cashew sour cream, tofu sour cream, or dairy sour cream
chives, salt, pepper
bacon
broccoli
any form of cheese or cheese substitute that is safe for you
any combination of the above that sounds good to you
anything else in the fridge that seems like it would taste good
Notice: Trying to access array offset on value of type bool in /home/maryzahc/public_html/adultfoodallergies.com/wp-content/plugins/wp-ultimate-recipe/helpers/models/recipe.php on line 254
Wash and scrub potatoes, being sure to remove any patches of dirt.
Dry the potatoes. Poke 1-2 times per side with a long-tined fork (as in one for serving meat) or a small paring knife — holes should go at least 1/3 of the way through the potato if possible.
Rub potatoes with the oil of your choice — olive oil will yield a slightly crunchy skin, vegan margarine gives a more tender skin. Alton Brown claims that the oil will help hold in more steam, making the potatoes fluffier, and my skepticism at that is now cured. It seems to work. Add a sprinkle of salt if you want it.
Place potatoes in oven, directly on the rack. Bake for 80 minutes. If you’re impatient, you can check them at 60. Using a pot holder, squeeze the potatoes to see if they give easily. If so, they’re done.
The way my mother taught me to open a potato gives you a good container for stuffing it full of fillings. Cut a slit lengthwise in the top of the potato, but leave 1/2 inch or so from either end. Push in at either end sort of “pop” the potato open. Pop the sides and the ends again if you need to — you should get a solid base and a wide open potato.
Stuff it with everything you love. When you’re finished with that part, add some margarine and salt and pepper to the skin and eat that, too.
Feel the potato joy.
Recipe Notes
I tend to buy potatoes that fit solidly in my hand. I like a nice regular oval shape, same thickness throughout. Buy the appropriate size for the part of the meal — I like them big because they ARE the meal. Potatoes should be firm, with no soft spots, irregular ends, eyes growing out of them, and no green hue to the skin. Use those for something else where you can cut away the questionable bits.
The potatoes in the photos above just have some vegan Earth Balance margarine and chives on them.
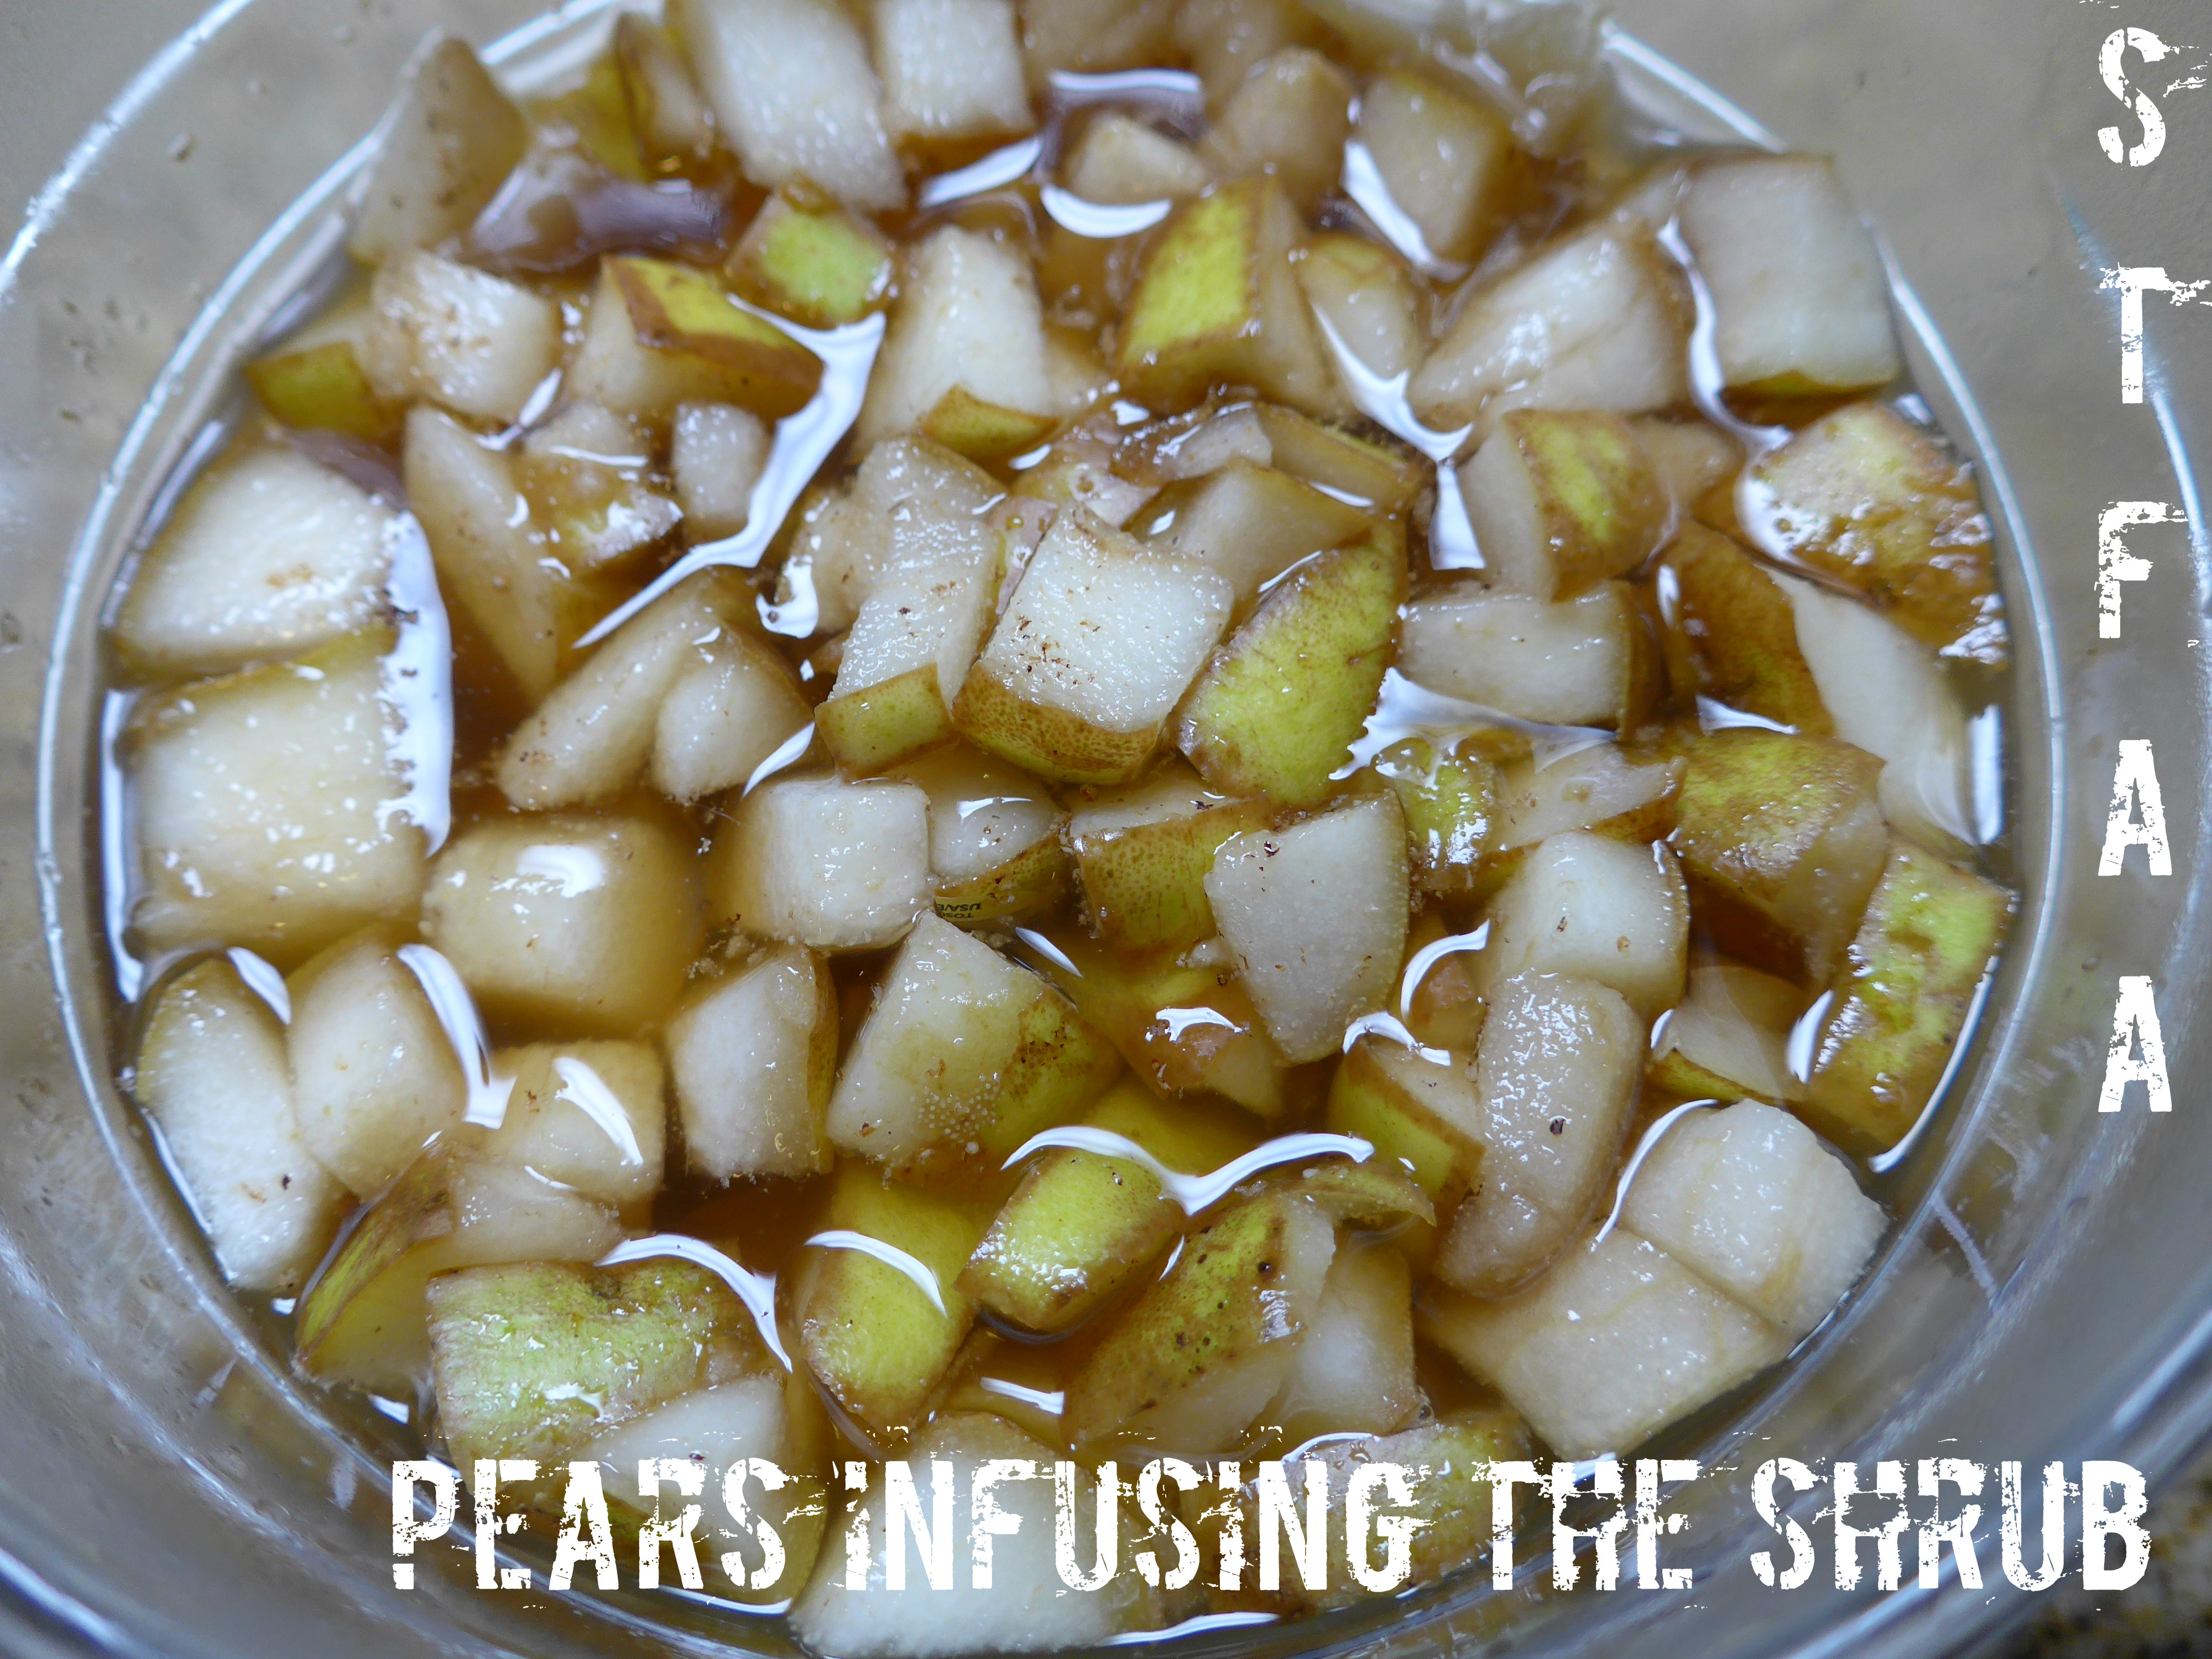
For try something new month, I was intrigued by the number of shrubs and bitters and other odd old revival drinks out there. I’m not a big soda fan anymore, but sometimes I do want something more interesting than water. Shrub sounded like a good way to dive in and also finally get into Infusing Flavors, a cookbook I bought this winter and haven’t really used yet.
Now, if I’m honest, I’m cheating her. “Infusing” isn’t really a new technique for any of us. Ever made tea? You’ve infused. Congrats! But adding more flavor to oils, vinegars, sugars, and salts is a great way to expand my kitchen, and learning to make syrups, gastriques, and other sauces is the easiest way to liven up a quick weeknight dish. Here’s my issue with “real” infusing — it takes TIME. Shrub takes maybe 15 active minutes to make, but 5-7 days to infuse. Even tea takes time, but not a week. I’m not that great at planning that far in advance. The shrub is tasty, though, and worth waiting to drink.
A shrub is a “drinking vinegar,” in this case apple cider vinegar infused with pear, cloves, and nutmeg. This recipe makes a syrup that you then mix with water, carbonated or not as you please. I chose the pear shrub because if the subtle spicing and the fact that it’s pear season. This is not an original STFAA recipe, but maybe you’ll decide to try a shrub — and then try infusing some more flavors into your ingredients?
AGAIN, A NOTE: THIS RECIPE SHOULD SIT IN YOUR FRIDGE FOR A WEEK BEFORE SERVING.
Pears Infusing Notice: Trying to access array offset on value of type bool in /home/maryzahc/public_html/adultfoodallergies.com/wp-content/plugins/wp-ultimate-recipe/helpers/models/recipe.php on line 254
Pear Shrub from Erin Coopey’s Infusing Flavors
Print Recipe
This recipe is very mildly modified from the recipe in Erin Coopey’s Infusing Flavors (2016). I made it more suitable for most vegans by substituting agave syrup for the honey in the original recipe.
THIS RECIPE TAKES 1 WEEK TO MAKE
This recipe is very mildly modified from the recipe in Erin Coopey’s Infusing Flavors (2016). I made it more suitable for most vegans by substituting agave syrup for the honey in the original recipe.
THIS RECIPE TAKES 1 WEEK TO MAKE
Combine the sugar, syrup, vinegar, and cloves in a saucepan and cook over medium heat until the sugar is dissolved. Stir occasionally.
Let cool, then pour over diced pears in a non-reactive bowl. Cover and refrigerate for 24 hours.
Strain and store in a sterile jar. Refrigerate for 5 to 7 days before serving.
Recommended dilution: 2-4 Tablespoons shrub syrup to 8 oz water. This is a good starting place, but I like it a little stronger, about 2T to 4 oz., so about double.
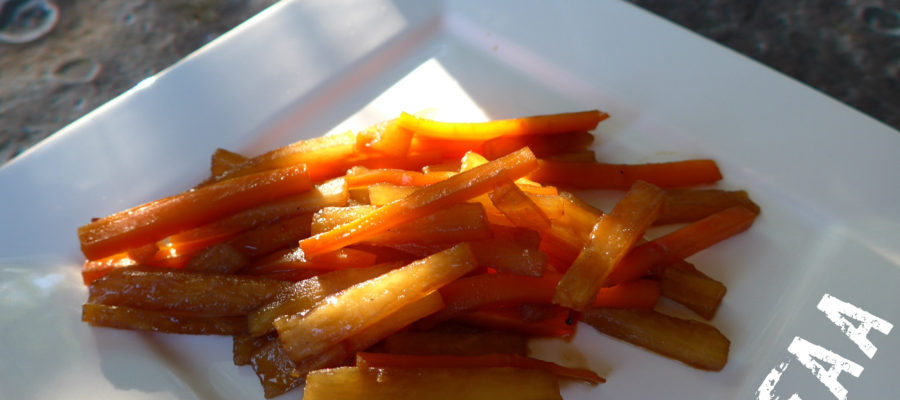
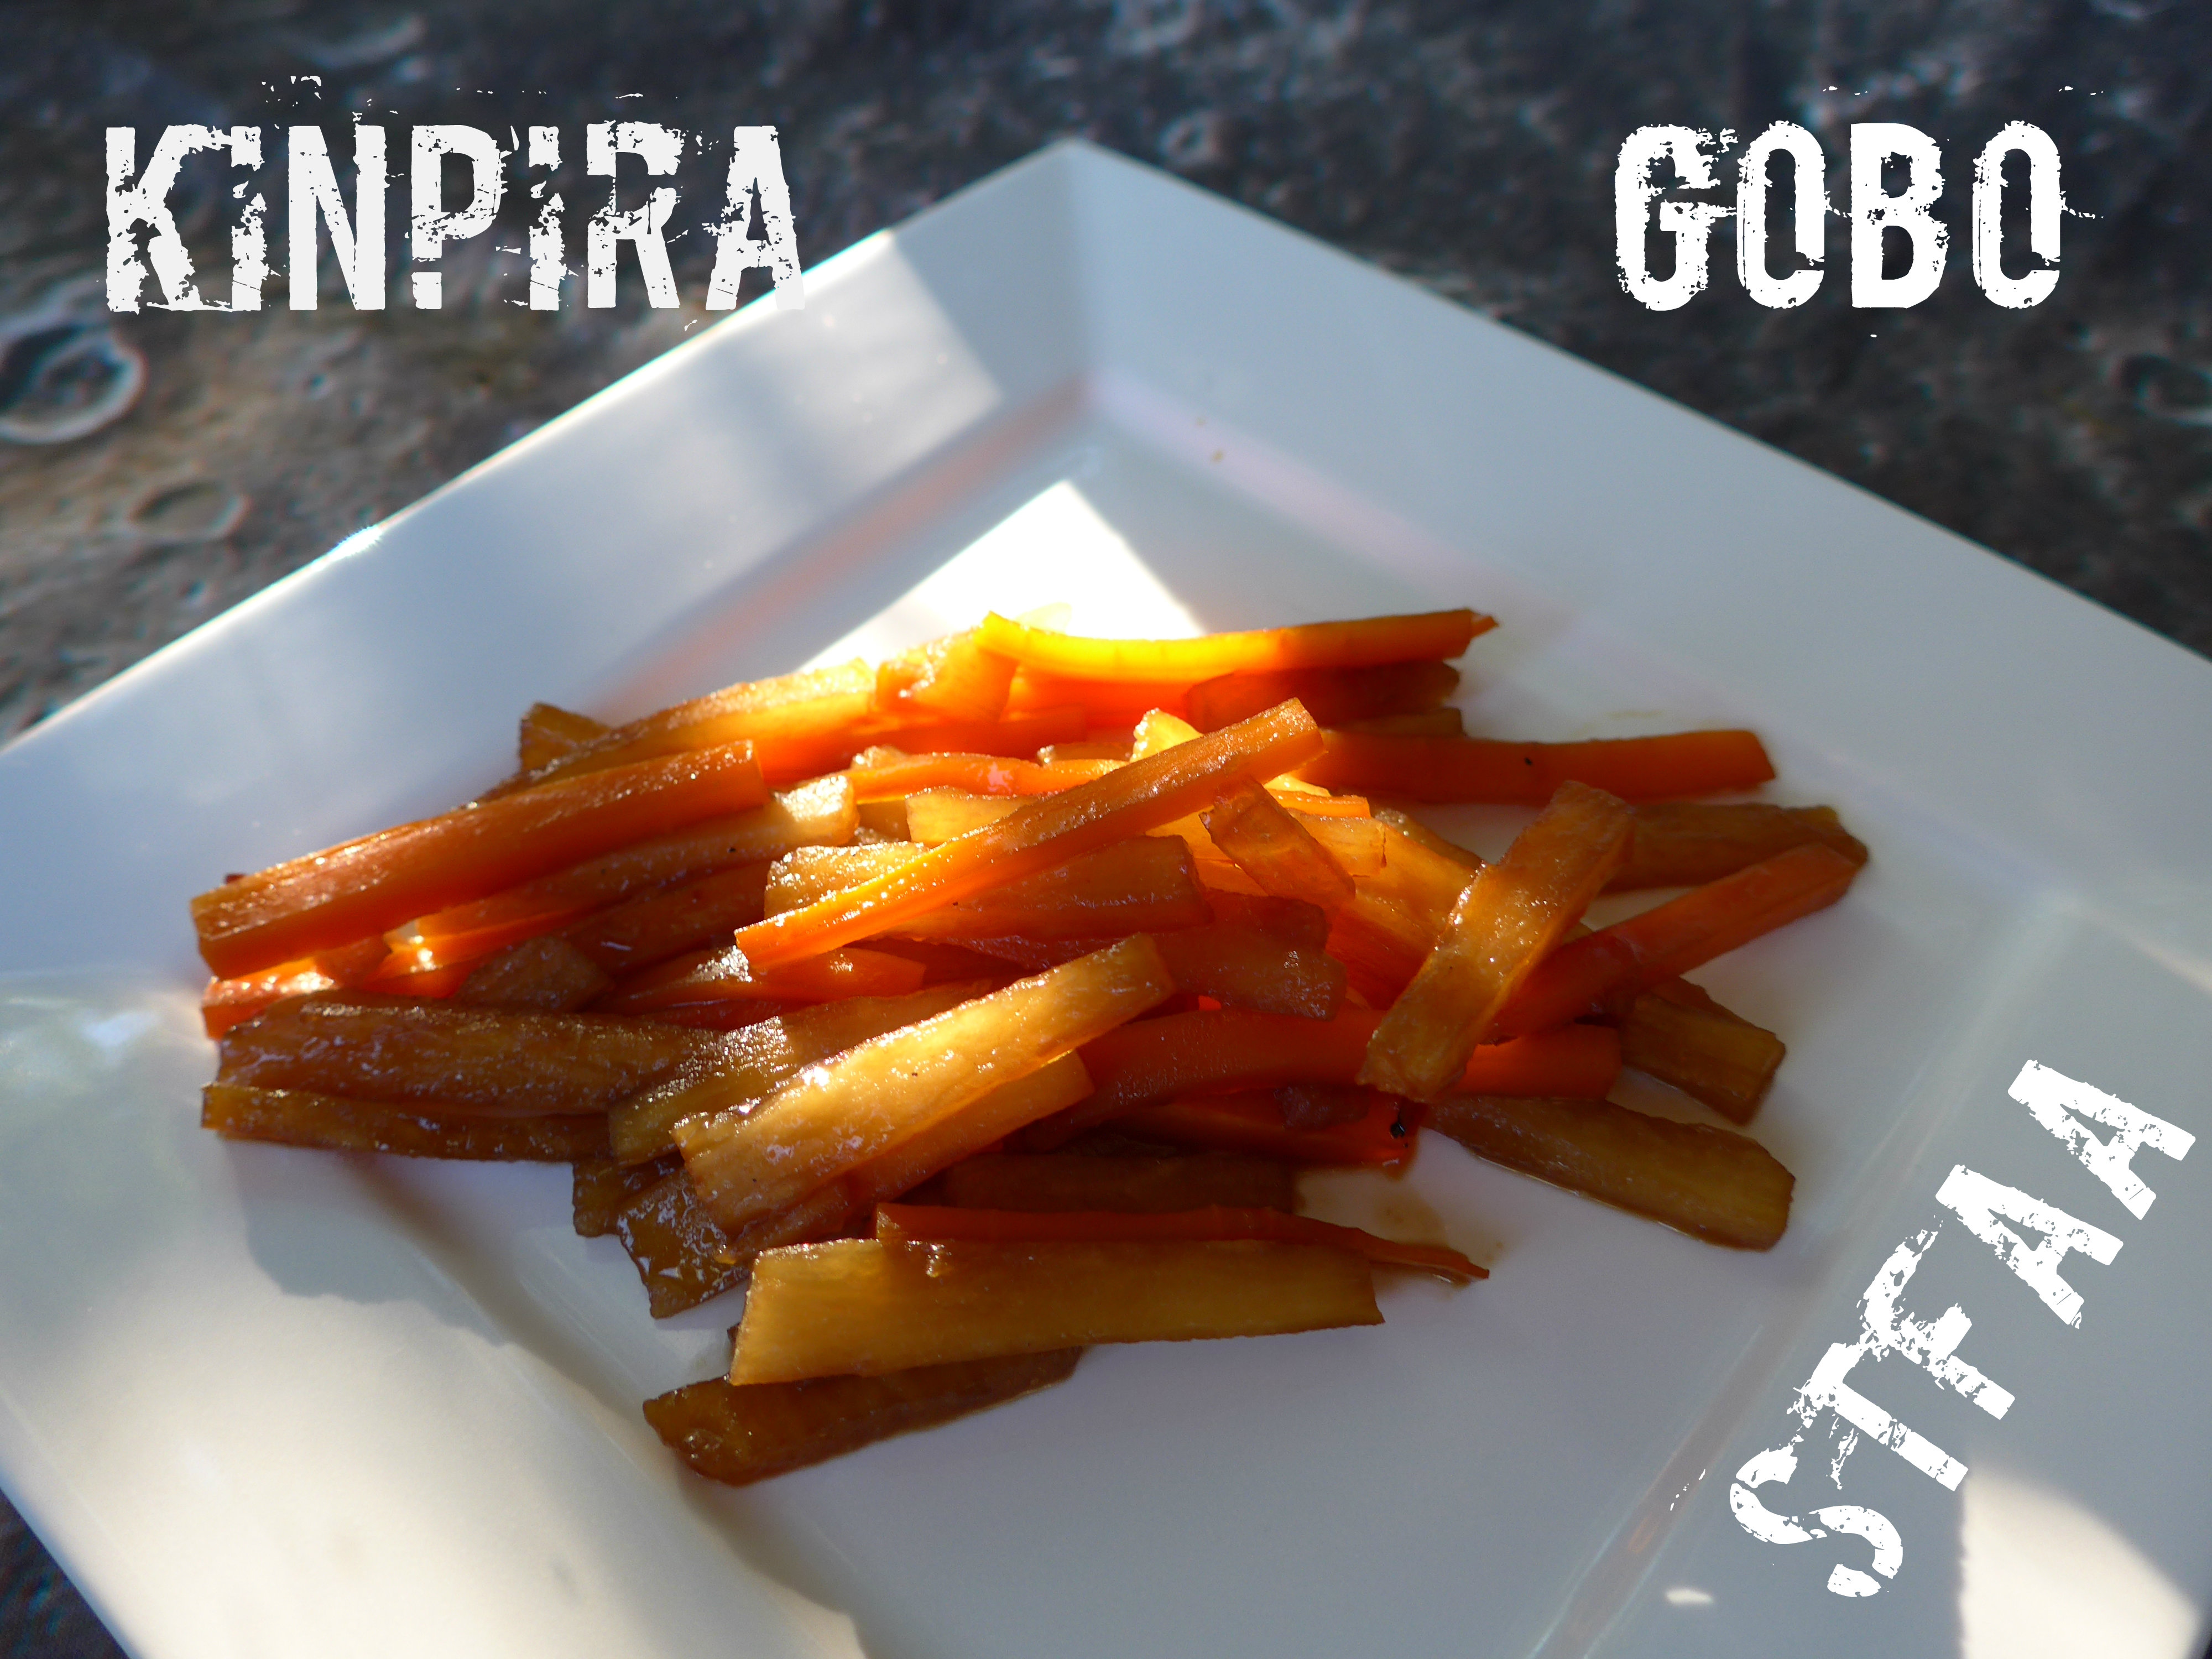
So given that we’re trying new cooking techniques this month, one of the ones that jumped out at me was kinpira, a Japanese technique involving a quick stir-fry followed by a braise, most commonly used on root vegetables. Now, I’ve likely done something like this at some point, but not on purpose as a technique. Since the technique itself seemed pretty simple, I thought I’d amp it up a bit and also find a new-to-me vegetable: enter burdock root.
Burdock root is an odd root to work with, at least in this experience. It’s rather slimy when slicing, so be careful and use a sharp knife. I think that likely explains why you then soak the “matchsticks” (try as I did, my knife skills weren’t quite up to perfect julienne this weekend) before cooking them. In this recipe, the burdock is mixed with carrot, which seems common. The recipe is a quite complex-tasting vegetable side dish, which surprised me given how simple it was. But the seasonings let the vegetable flavors come to the forefront (behind a bit of saltiness from the tamari or faux soy) and they are quite good. And that is generally my experience of Japanese food — all techniques and seasonings seem designed to remind you why the main ingredient is a wonderful flavorful part of the world.
As the technique and root were both knew to me, this is not an original STFAA recipe. It is very slightly modified from a recipe at JustBento.com, a site which is inspiring lunchbox shopping needs like you would not believe. The original kinpira gobo recipe is here.
Notice: Trying to access array offset on value of type bool in /home/maryzahc/public_html/adultfoodallergies.com/wp-content/plugins/wp-ultimate-recipe/helpers/models/recipe.php on line 254
Kinpira Gobo
Print Recipe
This is a very slightly modified version of the Kinpira Gobo recipe at JustBento.com. All photos, opinions, and modifications are mine.
1Tablespoonsesame oilif you can’t use sesame, rice bran, canola, or other high temp safe oil is good
1/2-1teaspoonred pepper flake
1Tablespoonsugar
1Tablespoonmirin
2Tablespoonstamarior soy sauce or other soy sauce substitute
2Tablespoons water
Servings: servings
Instructions
Wash, peel, and chop burdock root and carrots into matchsticks or julienne.
Soak the burdock root in cold water for a few minutes, rinsing and changing the water once or twice.
In a cast iron skillet, heat up the sesame oil or other high smoke point oil over medium heat.
When oil is hot, add burdock and stir well. Let cook for 1-2 minutes, then add carrot and stir well.
Add other seasonings. Stir well and cook another 1-2 minutes.
Add water, if needed to coat the bottom of the pan with a shallow layer. Reduce heat to medium low and simmer for 5-10 minutes, until vegetables are tender.