Notice: Function _load_textdomain_just_in_time was called incorrectly. Translation loading for the wp-ultimate-recipe domain was triggered too early. This is usually an indicator for some code in the plugin or theme running too early. Translations should be loaded at the init action or later. Please see Debugging in WordPress for more information. (This message was added in version 6.7.0.) in /home/maryzahc/public_html/adultfoodallergies.com/wp-includes/functions.php on line 6131 Veg*n Option – surviving the food allergy apocalypse (archive)
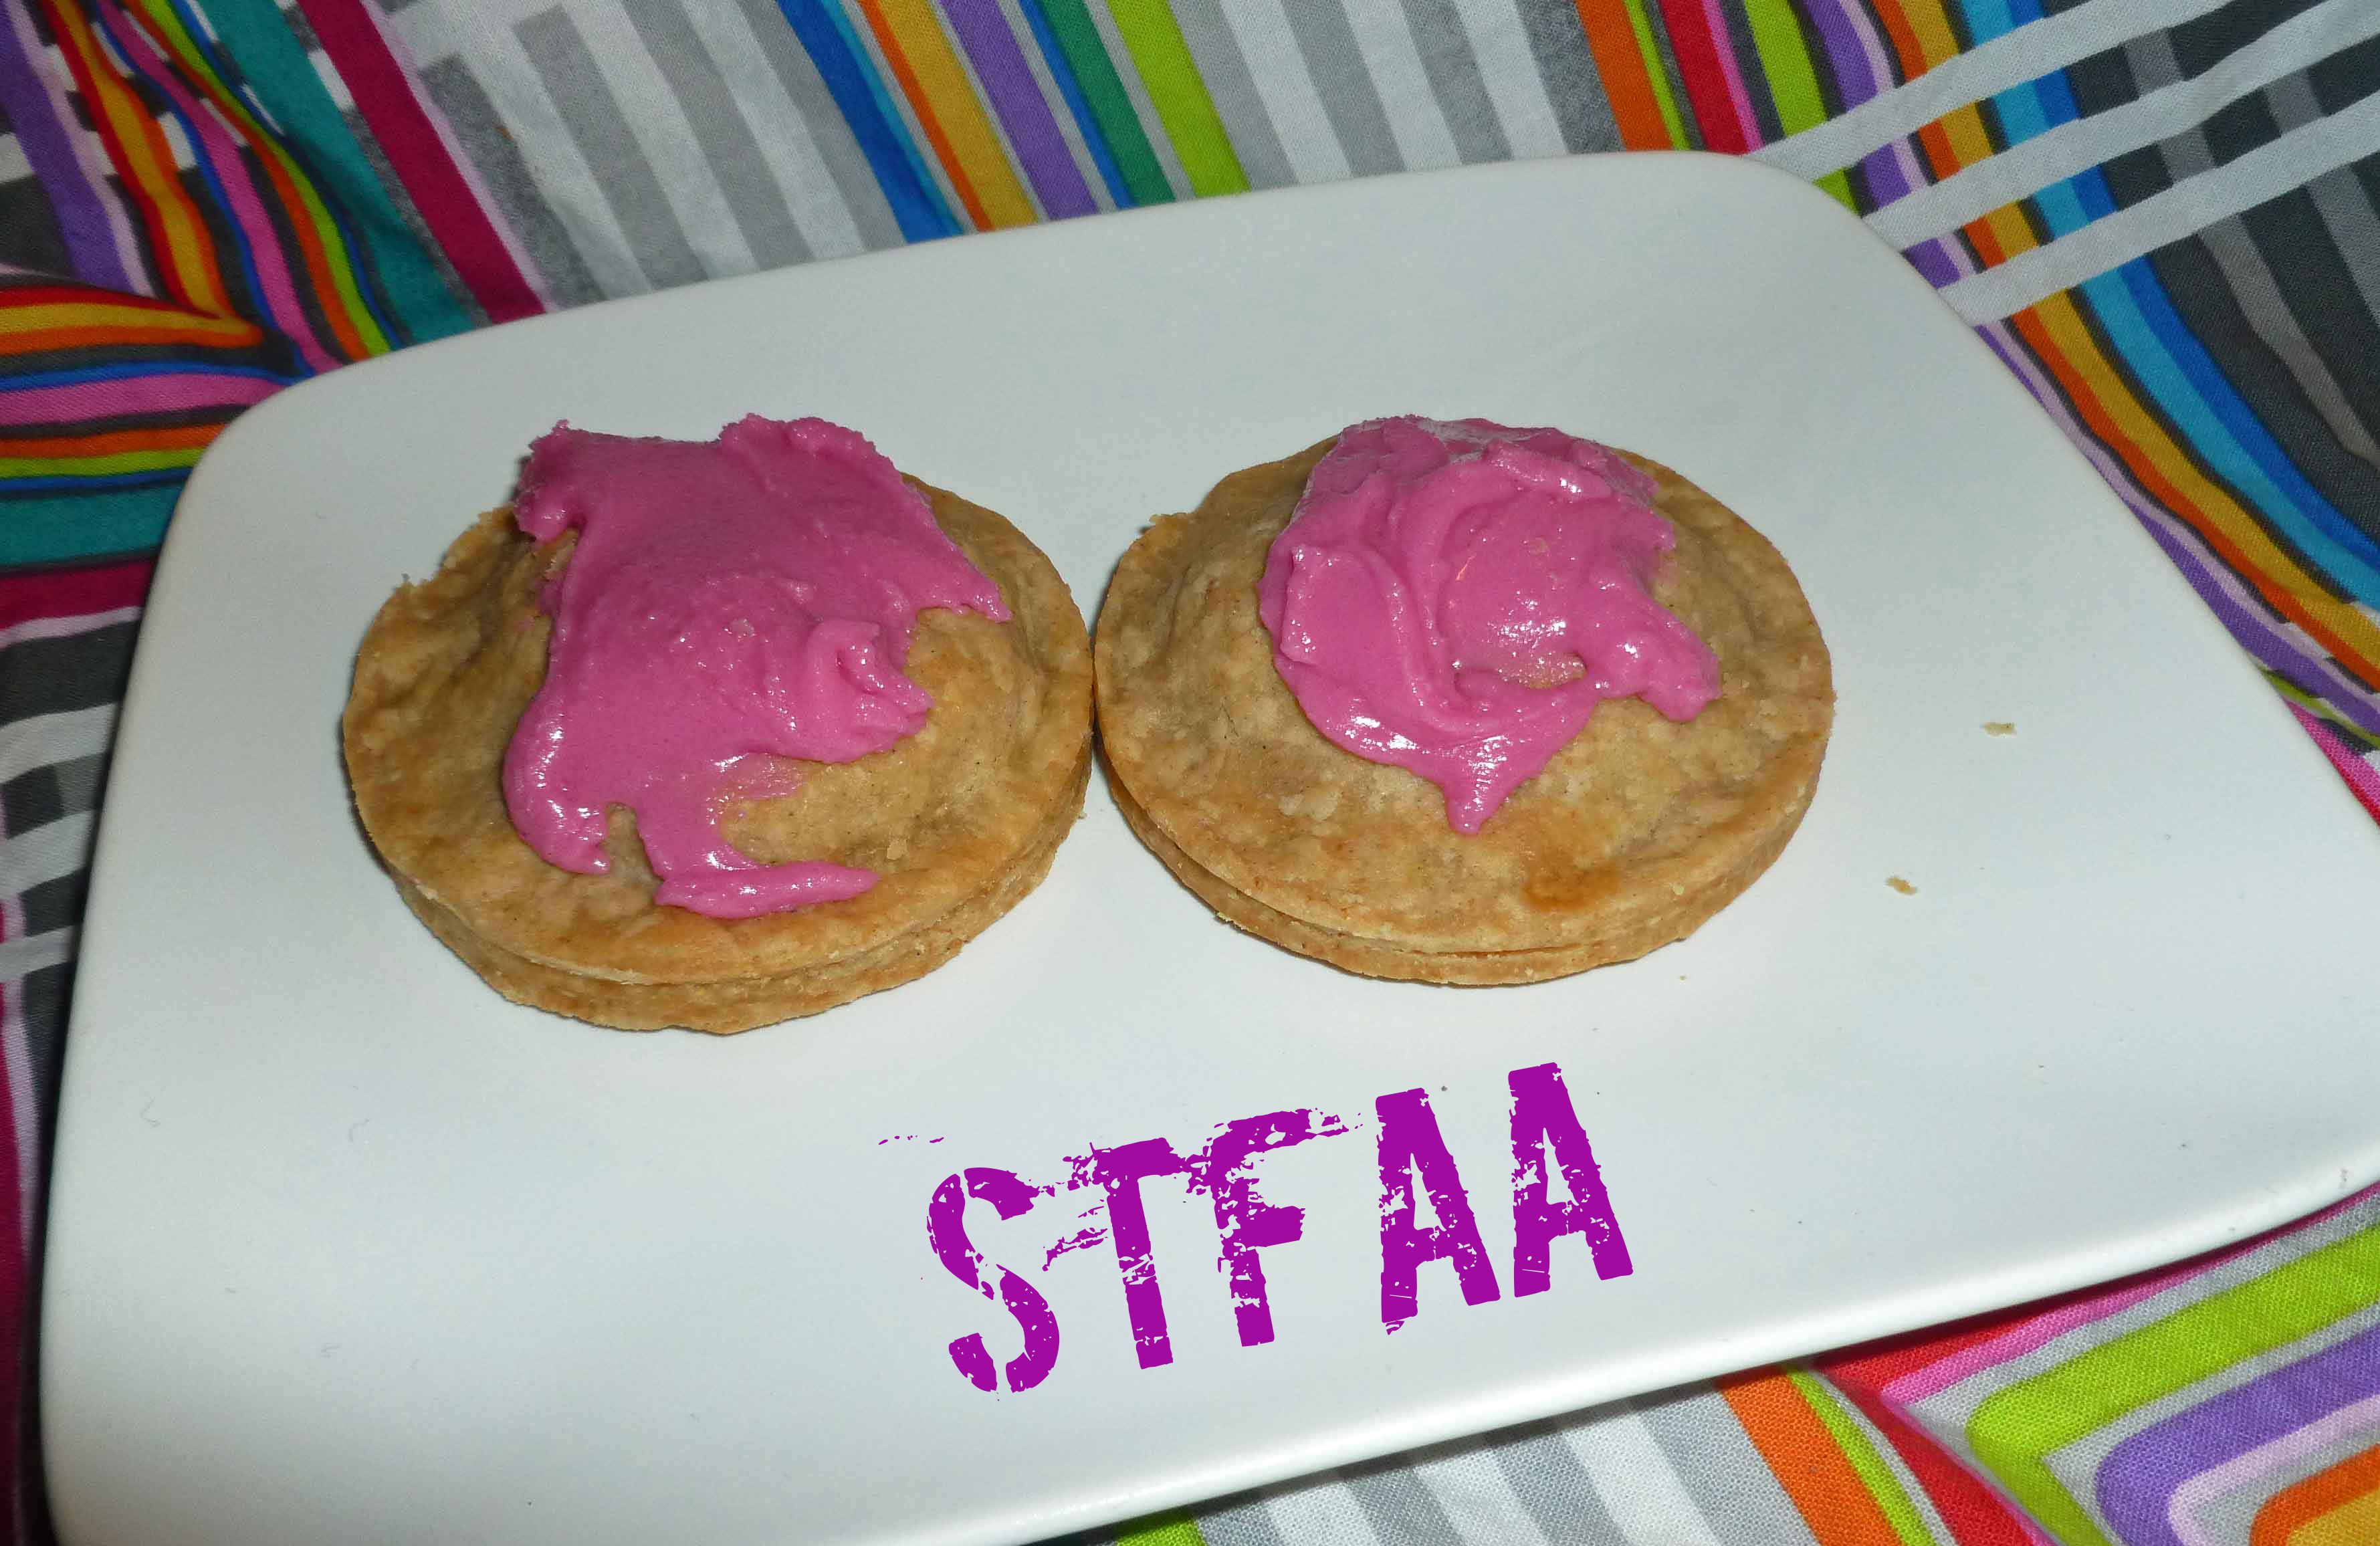
Gluten-Free No-Toaster Pastries with Frosting (decorated by my father-in-law)
It’s still comfort food month. Trying to find foods that are comforting that are safe is kind of hard. In the long, long ago before food allergies, I ate a lot of PopTarts. I ate them when I was too tired, too sick or too aggravated to cook. I ate them for breakfast frequently so that I didn’t have to get up early enough to plan or deal with breakfast. Half the time I didn’t even toast them, but just nuked them in the microwave on a paper towel. And I pretty much only ate the strawberry with frosting PopTarts, which are pretty much the devil for me now, given the wheat and the number of corn ingredients in them. Since I made a lot of jams and preserves during the apple apocalypse harvest here, I decided to use some to make a No-Toaster Pastry, as I has already worked out frosting and pie crust in earlier posts. I picked out some jams and fruit butters, made pie crust, rolled everything out and got them stuffed and ready, and then my oven died. So we ended up at Shawn’s parents to use their oven and I got help from my father-in-law with decorating.
You need to make them in the oven, hence the name, as the generic version of PopTart is toaster pastry, and that doesn’t work because you can’t warm them up in the toaster because of the frosting. So yeah, a bit of a misnomer, so I fixed it. You can use whatever jam or fruit butter you prefer. We used apple butter, apple plum butter, and Nankin cherry jam that I had made.
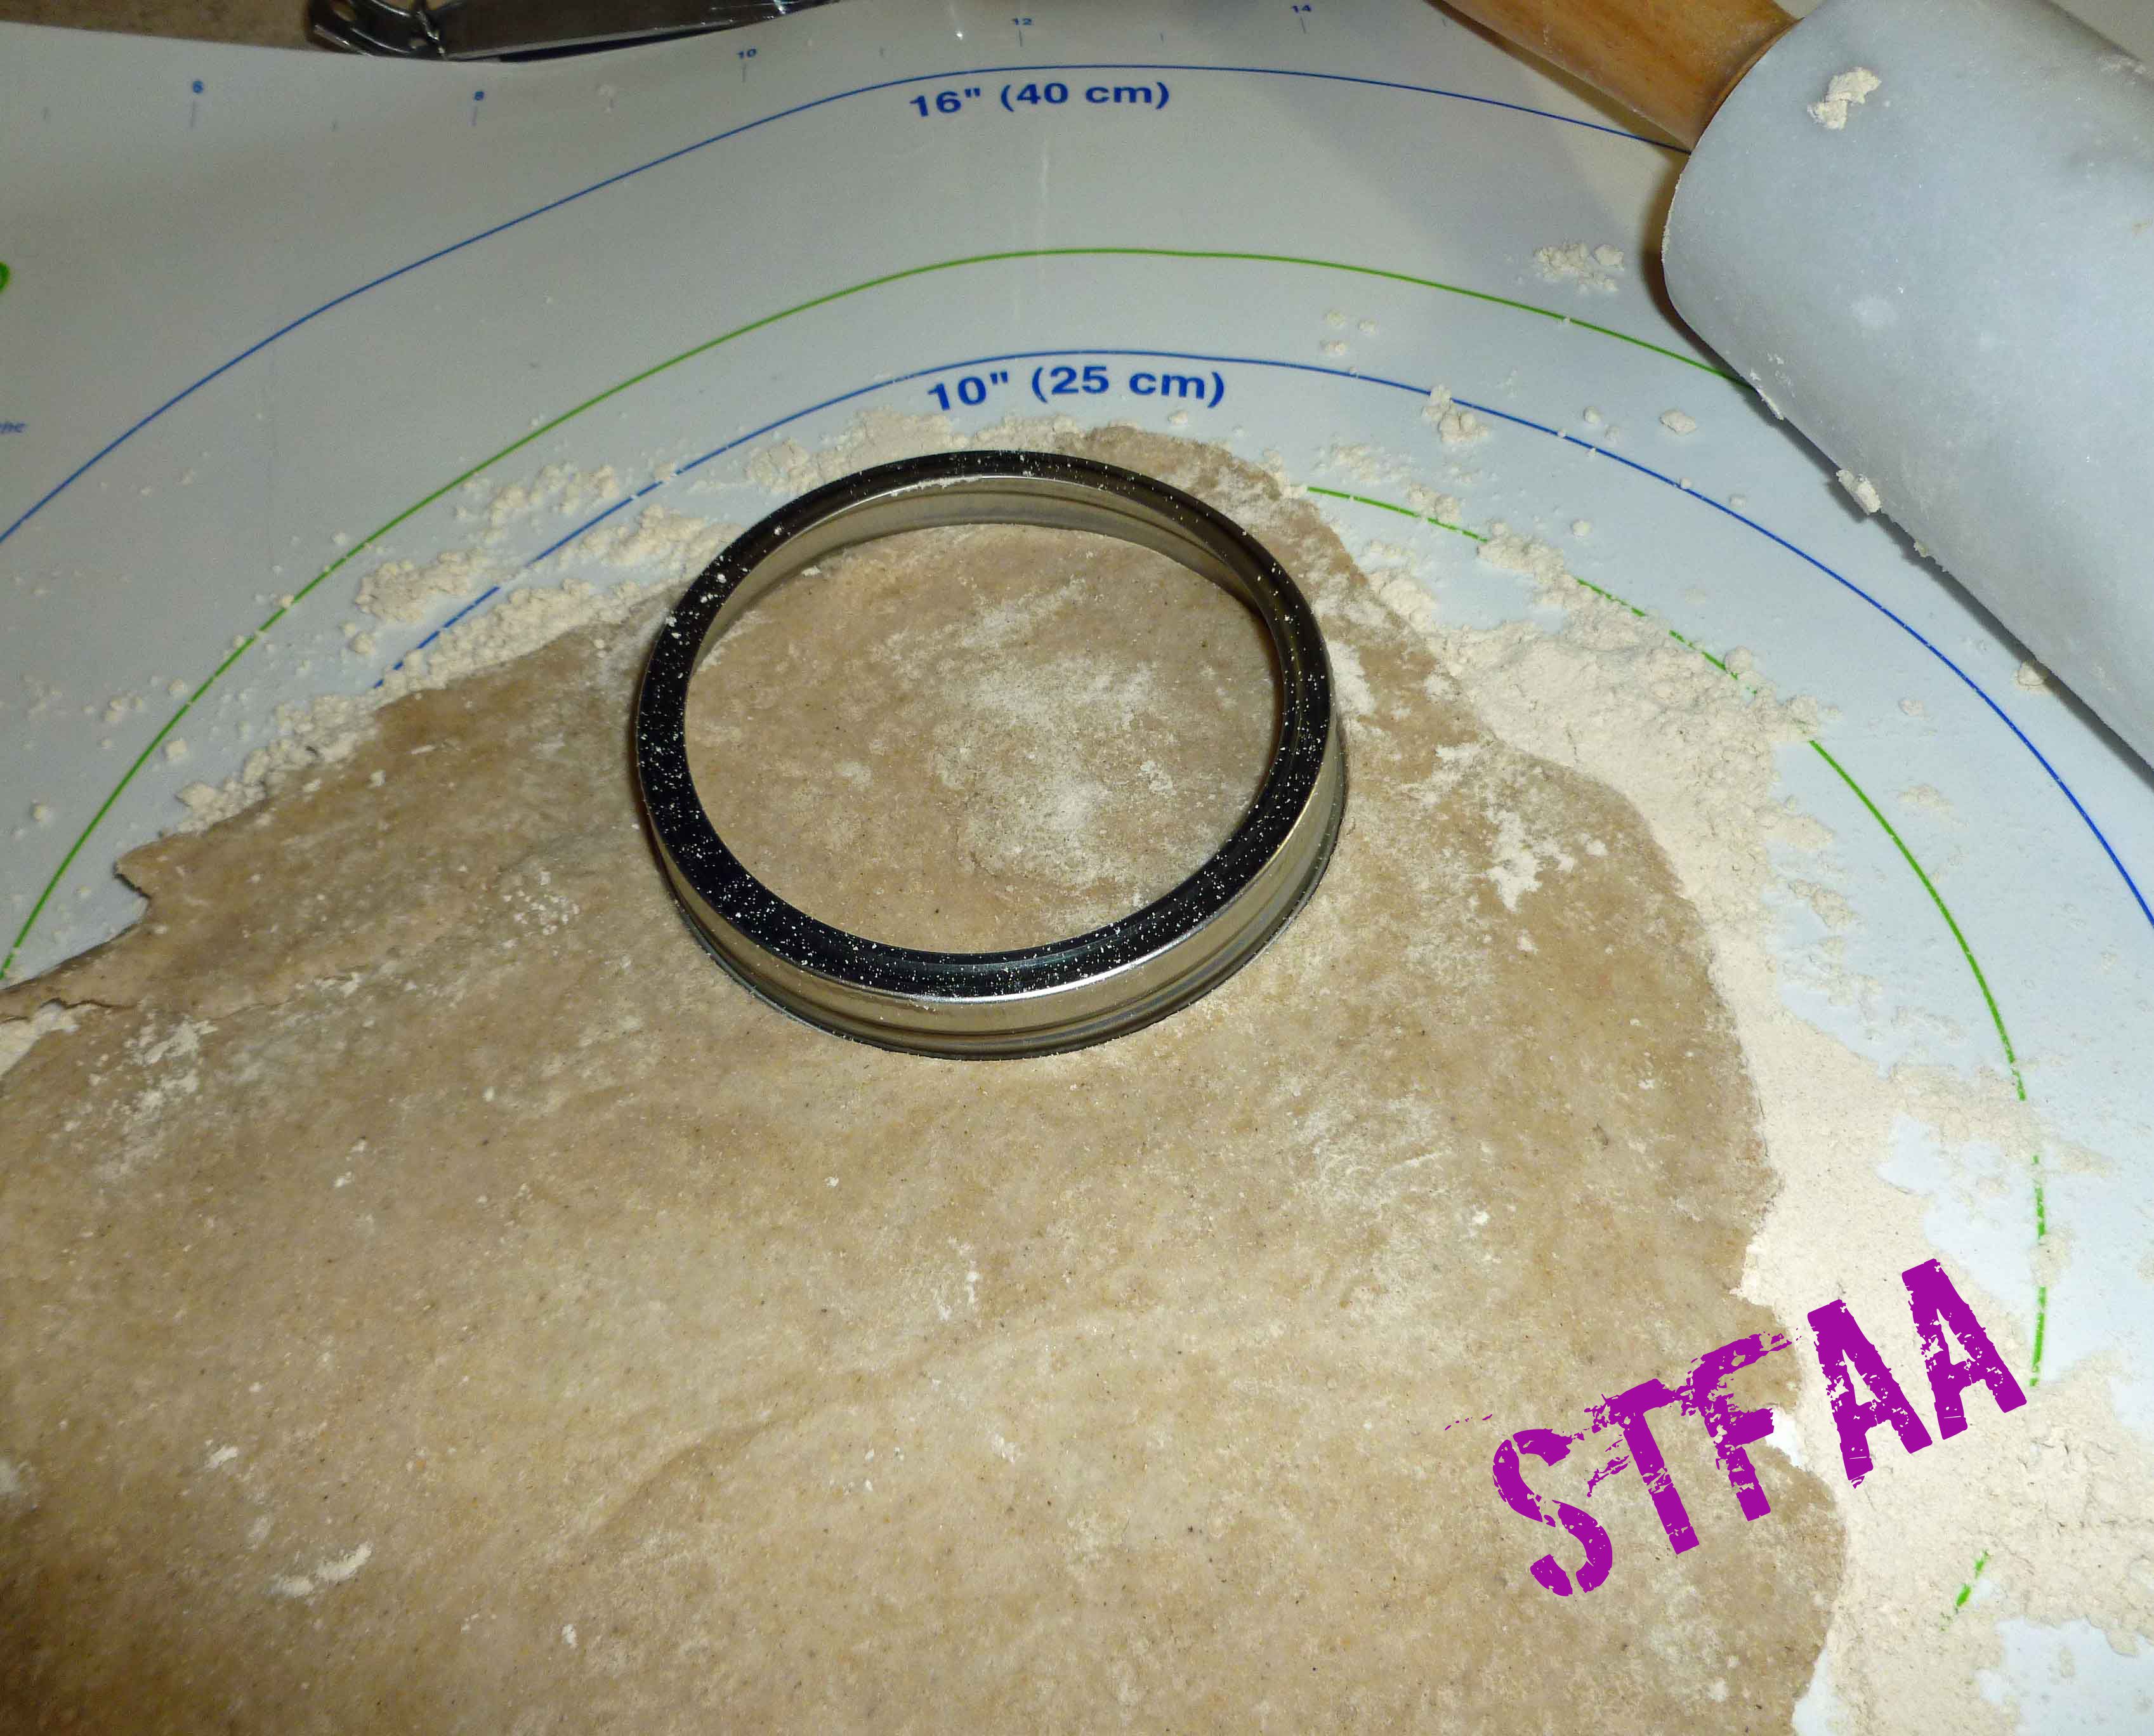
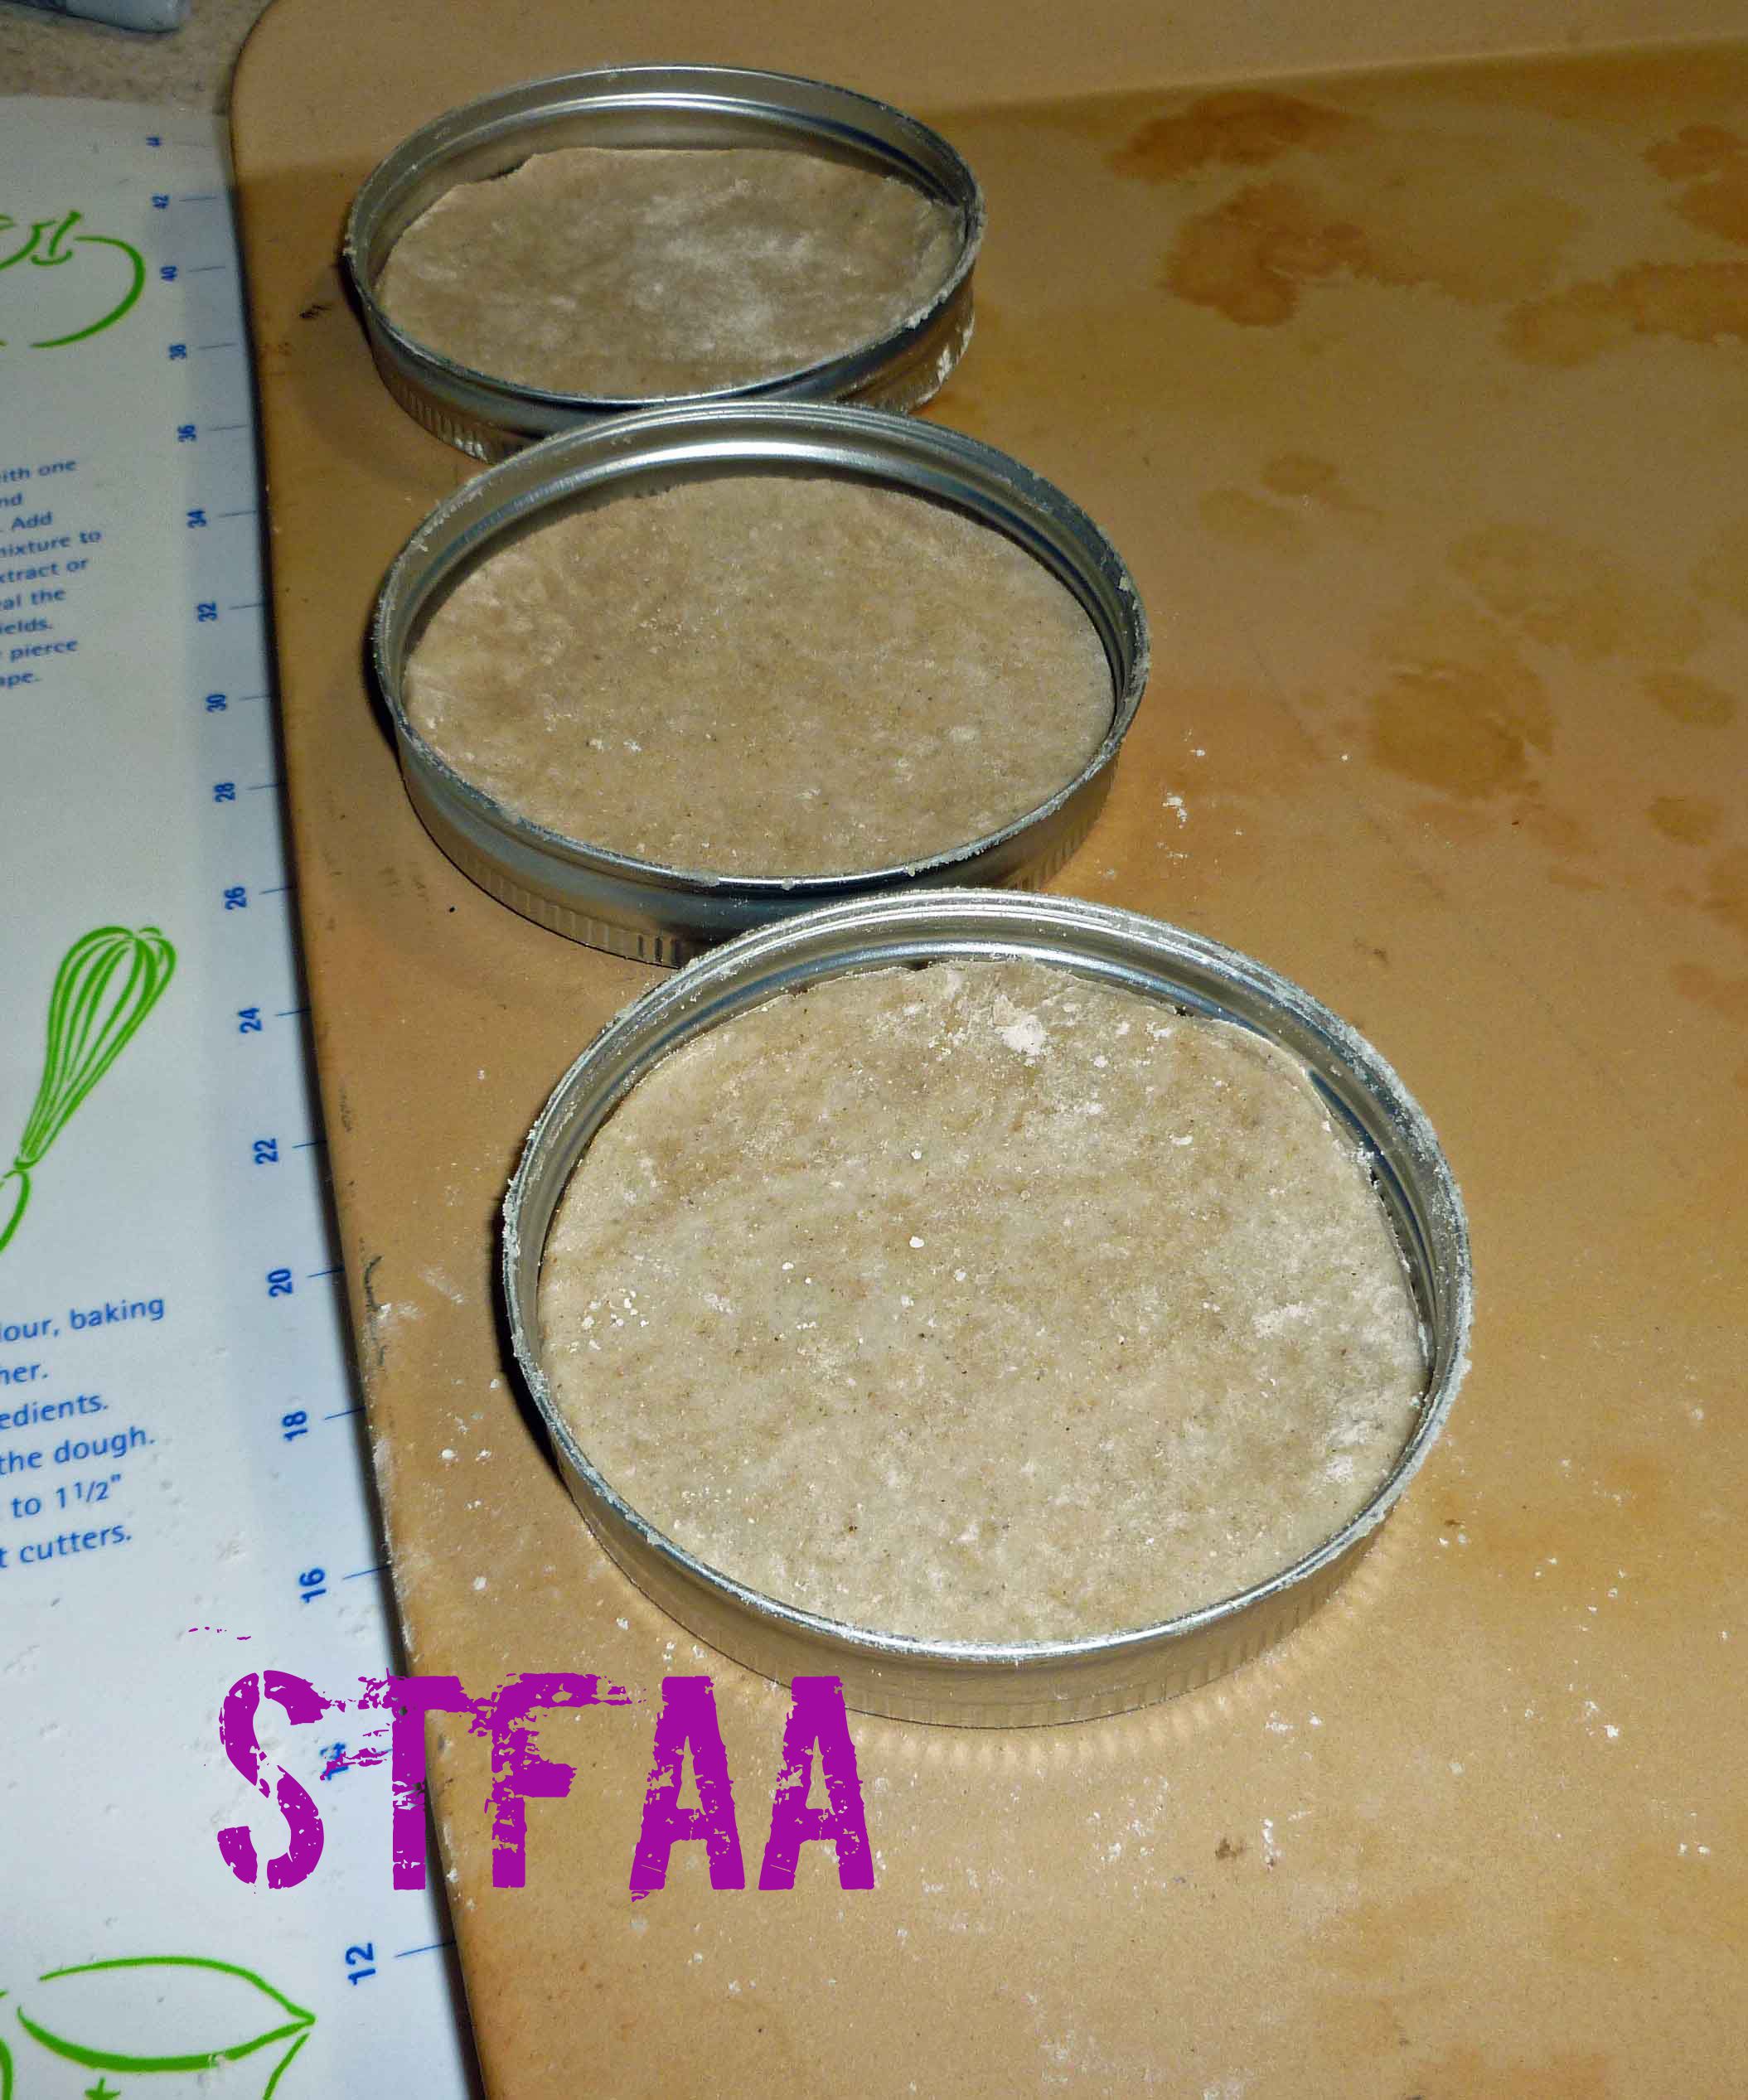
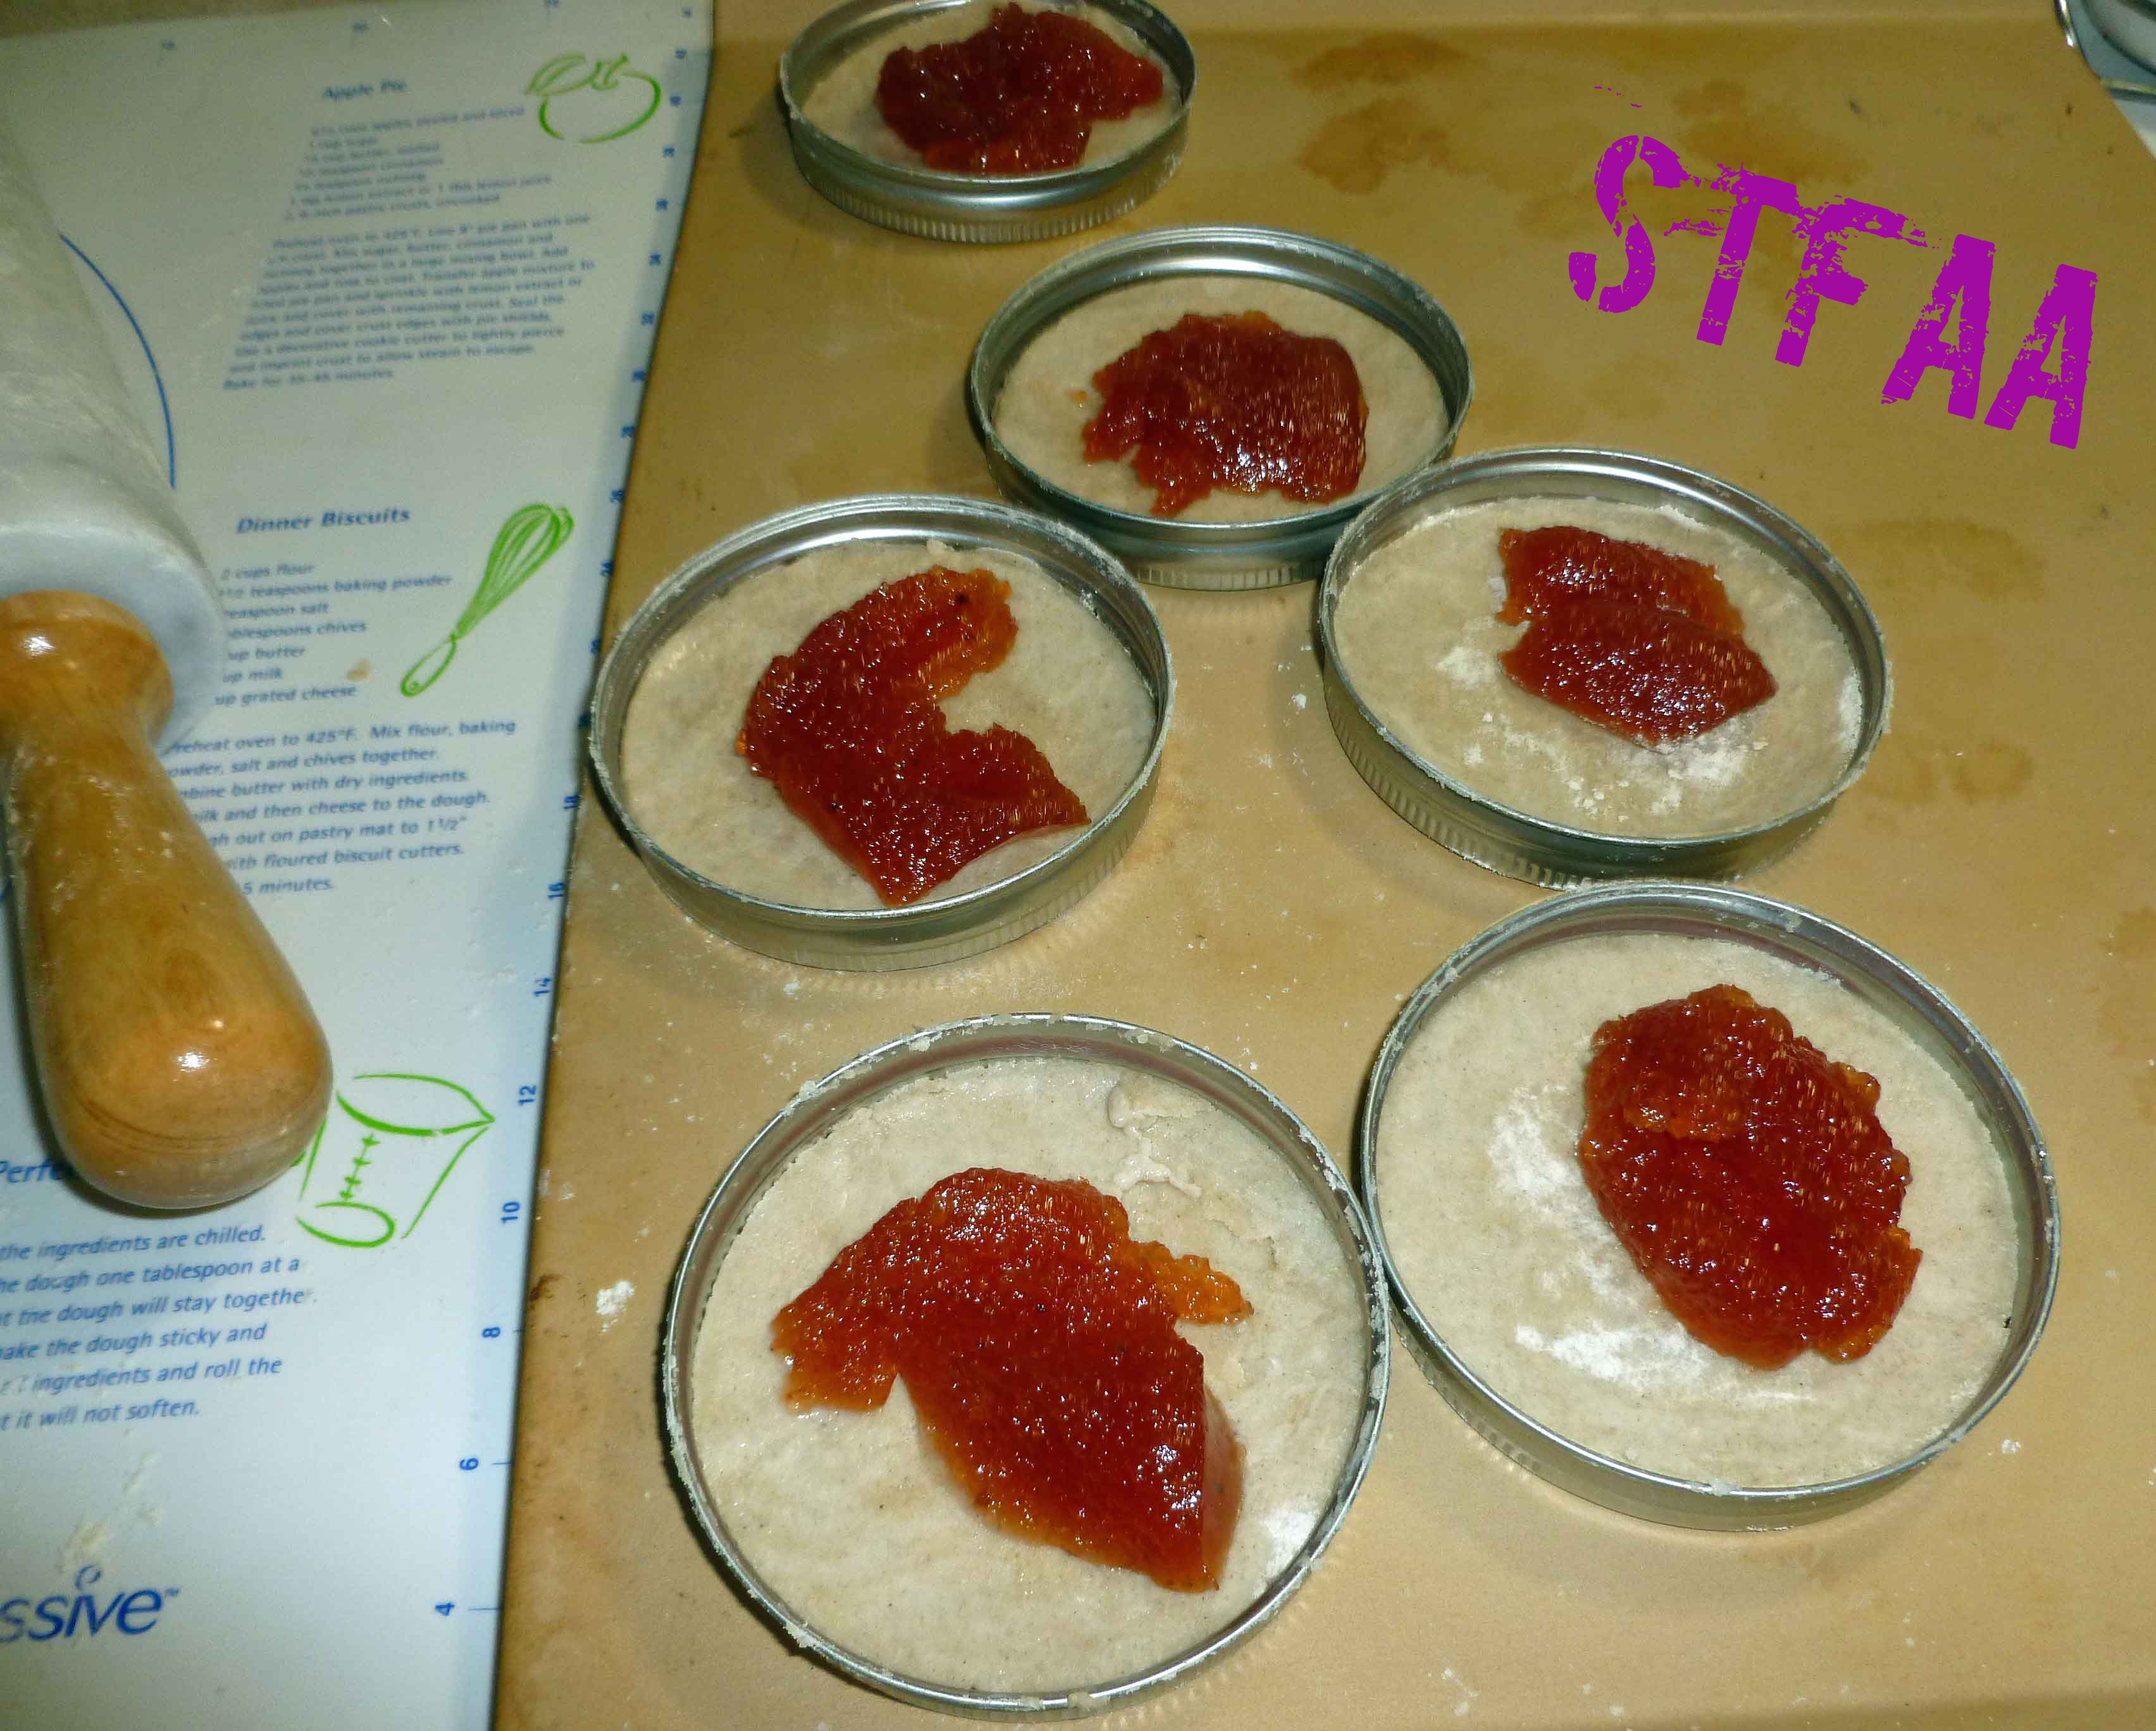
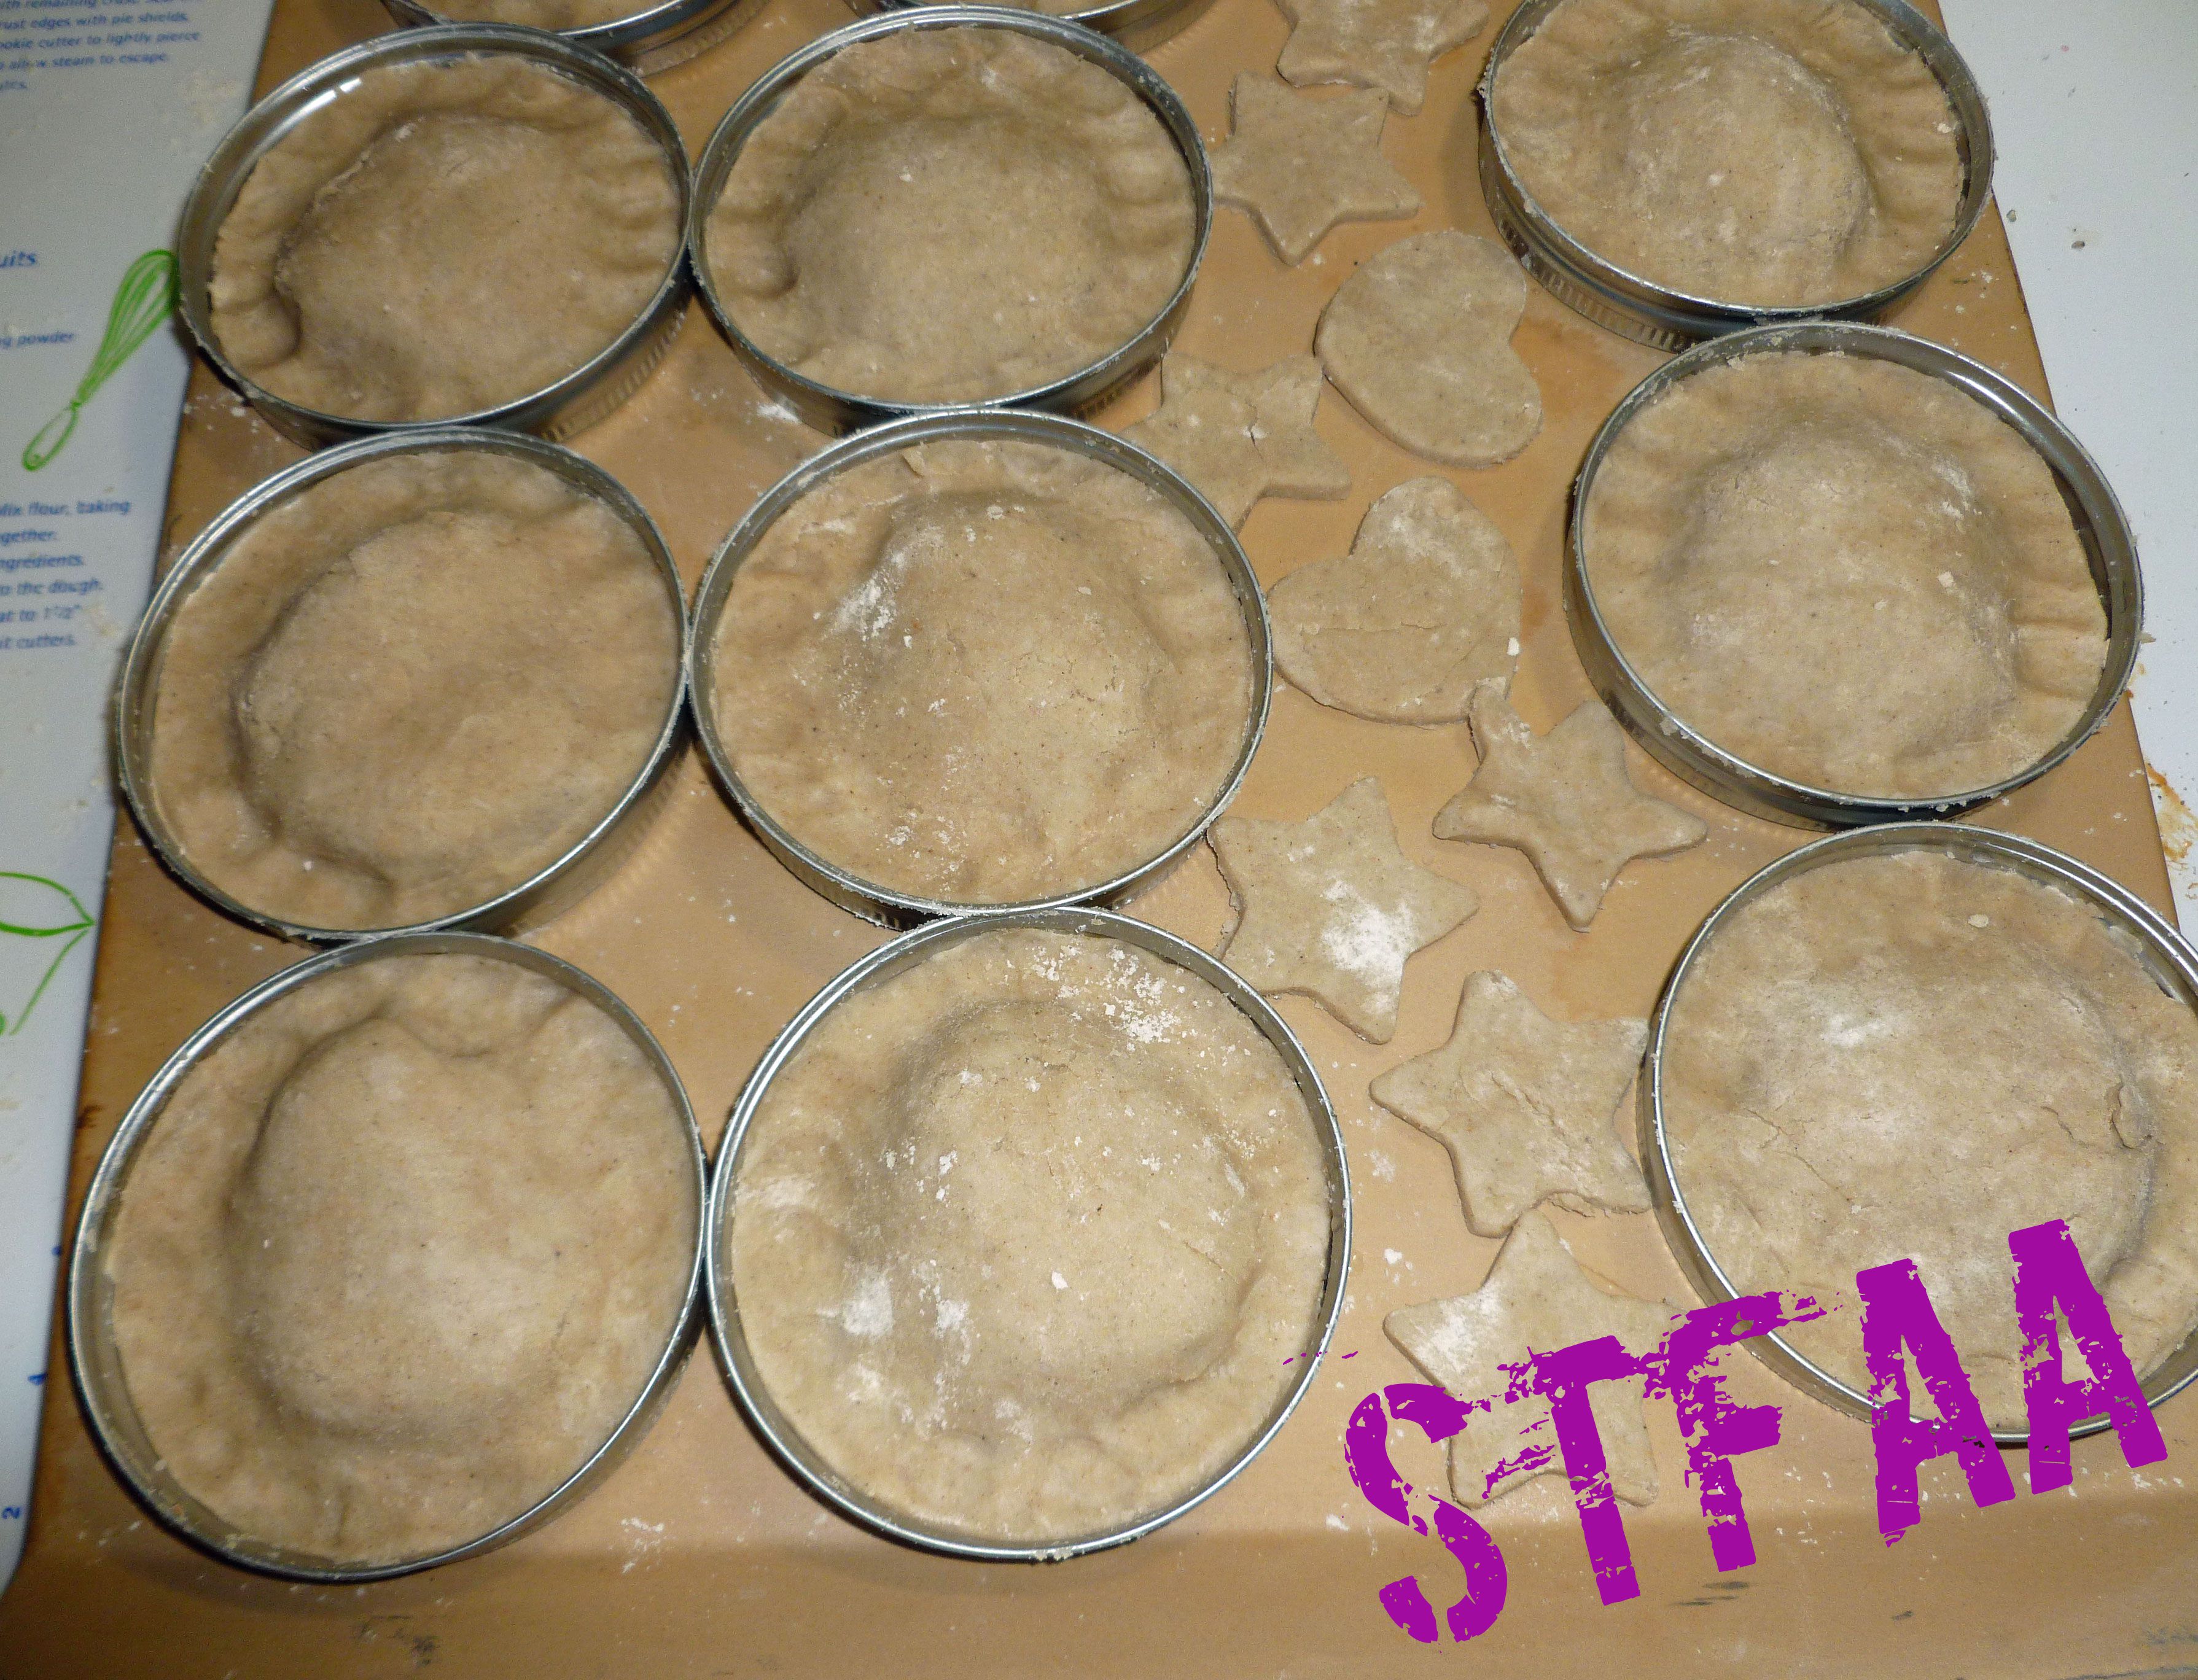
Using a canning ring to cut the bottom crustThe bottom crust in the canning ring as a tart panAdding the filling (apple plum butter)Adding the filling (apple butter)Some completed pastries and adding the filling (Nankin cherry jam)Gluten-free No-Toaster Pastries ready to bakeGluten-free No-Toaster Pastries with Frosting (frosted by Denise)Our new chief decorator, Brian, Denise’s father-in-lawGluten-Free No-Toaster Pastries with Frosting
Gluten-free No-Toaster Pastries with Frosting
Print Recipe
A homemade version of the ubiquitous toaster pastry, except not using the toaster.
8ounce jarjam, preserve, or fruit butter of your choice(jellies don’t work as they leak out)
Pink Royal Frosting
1 1/4cups powdered sugar(if you are allergic to corn, you can make your own with 2 cups of sugar, a tablespoon of tapioca starch, and a blender)
1/2teaspoon vanilla extract(I make my own with vanilla beans and vodka made from potatoes, as most commercial extract contains corn)
1Tablespoonaquafaba
1teaspoonbeet puree(To make puree, either use canned or fresh cooked beets and puree them in a blender with a bit of cooking liquid)
Equipment
12wide mouth canning rings
Servings: pastries
Instructions
Making Crust Dough
In a large bowl, whisk together the sorghum flour, the cassava flour, arrowroot starch, millet flour, and salt, until they are thoroughly mixed.
Using a pastry blender or a fork, cut in the lard or vegetable shortening until the mixture looks like crumbs.
In a small bowl or glass measuring cup, mix the aquafaba (1/2 cup and 1 Tablespoon), apple cider vinegar, and psyllium powder together until it is well blended. Add the liquid mixture to your flour mixture and stir until it comes together to form a dough.
Shape the dough into a smooth ball, and put the dough ball into the freezer to chill for 30 minutes before rolling it out.
Preheat your oven to 400°F.
Using some of your other flours (I used sorghum) dust the surface of your rolling space. Roll out the crust to about a quarter of an inch thick on a rolling mat. Make sure you use plenty of dusting flour so that it doesn’t stick to the rolling surface or parchment paper.
Making the Pastries
Once you have rolled out your crust, use a wide mouth canning ring to cut a round of crust out, and flip it over to so that it the pastry forms the bottom of the ring, and place it on your cookie sheet. Using a bit of water and your finger, wet the outside edge of the bottom of the crust to promote sealing.
Place a tablespoon of the jam, preserve, or fruit butter of your choice in the center of the ring.
Using another wide mouth canning ring cut another round of crust out, and place it over the top of the bottom crust in the first wide mouth canning ring, pressing down around the edges to seal. Repeat these steps until all pastries have been made.
Bake at 400°F for 30-40 minutes. Wait until cool and then frost, after making the frosting below.
Making Frosting
Place powdered sugar, vanilla extract, aquafaba, and beet puree in a bowl and using a stand or electric mixer, beat ingredients until completely combined. If frosting is not firm enough, add additional powdered sugar by the teaspoon until it is.
Can I admit I punted on this one? My big plan for Comfort Food month was set back in August. I was going to do MY best comfort food, potatoes, and then one from my neighborhood — I was going to learn to make ramen. There is a line of gluten-free ramen noodles that I quite like, made from different types of rice. I got a book on the history of ramen, and a cookbook. I can highly recommend both. But what I learned is that those lines outside restaurants making authentic ramen are well-deserved. Ramen is a complicated (if worthwhile) process, with a soup base that must be made before preparing a broth that then becomes soup to which you add noodles and toppings. Definitely try it — with all the variations, it’s likely you’ll find some that suit your allergies. But it was not my next recipe.
So ANYWAY, that’s why Jack made this recipe. And from here on out, it’s all him. As a note, this is why we use #allergyfriendly instead of “allergy-free” on the blog — this recipe uses boxed gluten-free penne pasta and commercial vegan cheese (and we tend to use a jarred sauce), so it is likely not suitable for some allergies (corn). But if it works for you, it’s a great Sunday meal that also makes Monday’s lunch. We probably eat this recipe at least once a month, and while pasta is Jack’s comfort food, I definitely see the appeal. –MaryKate
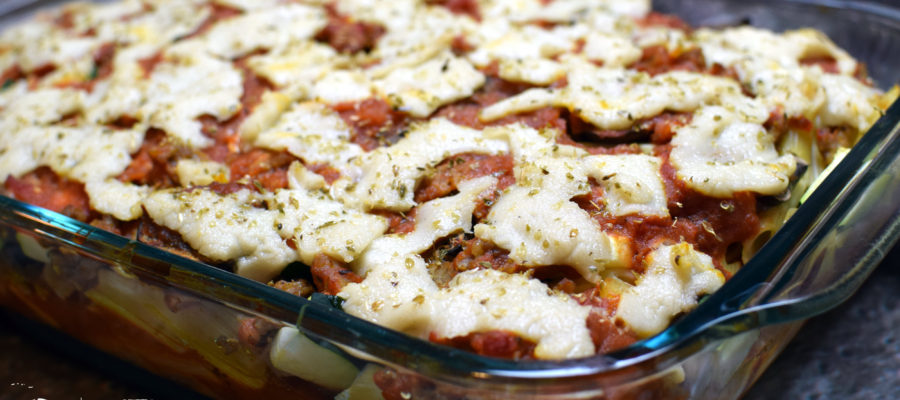
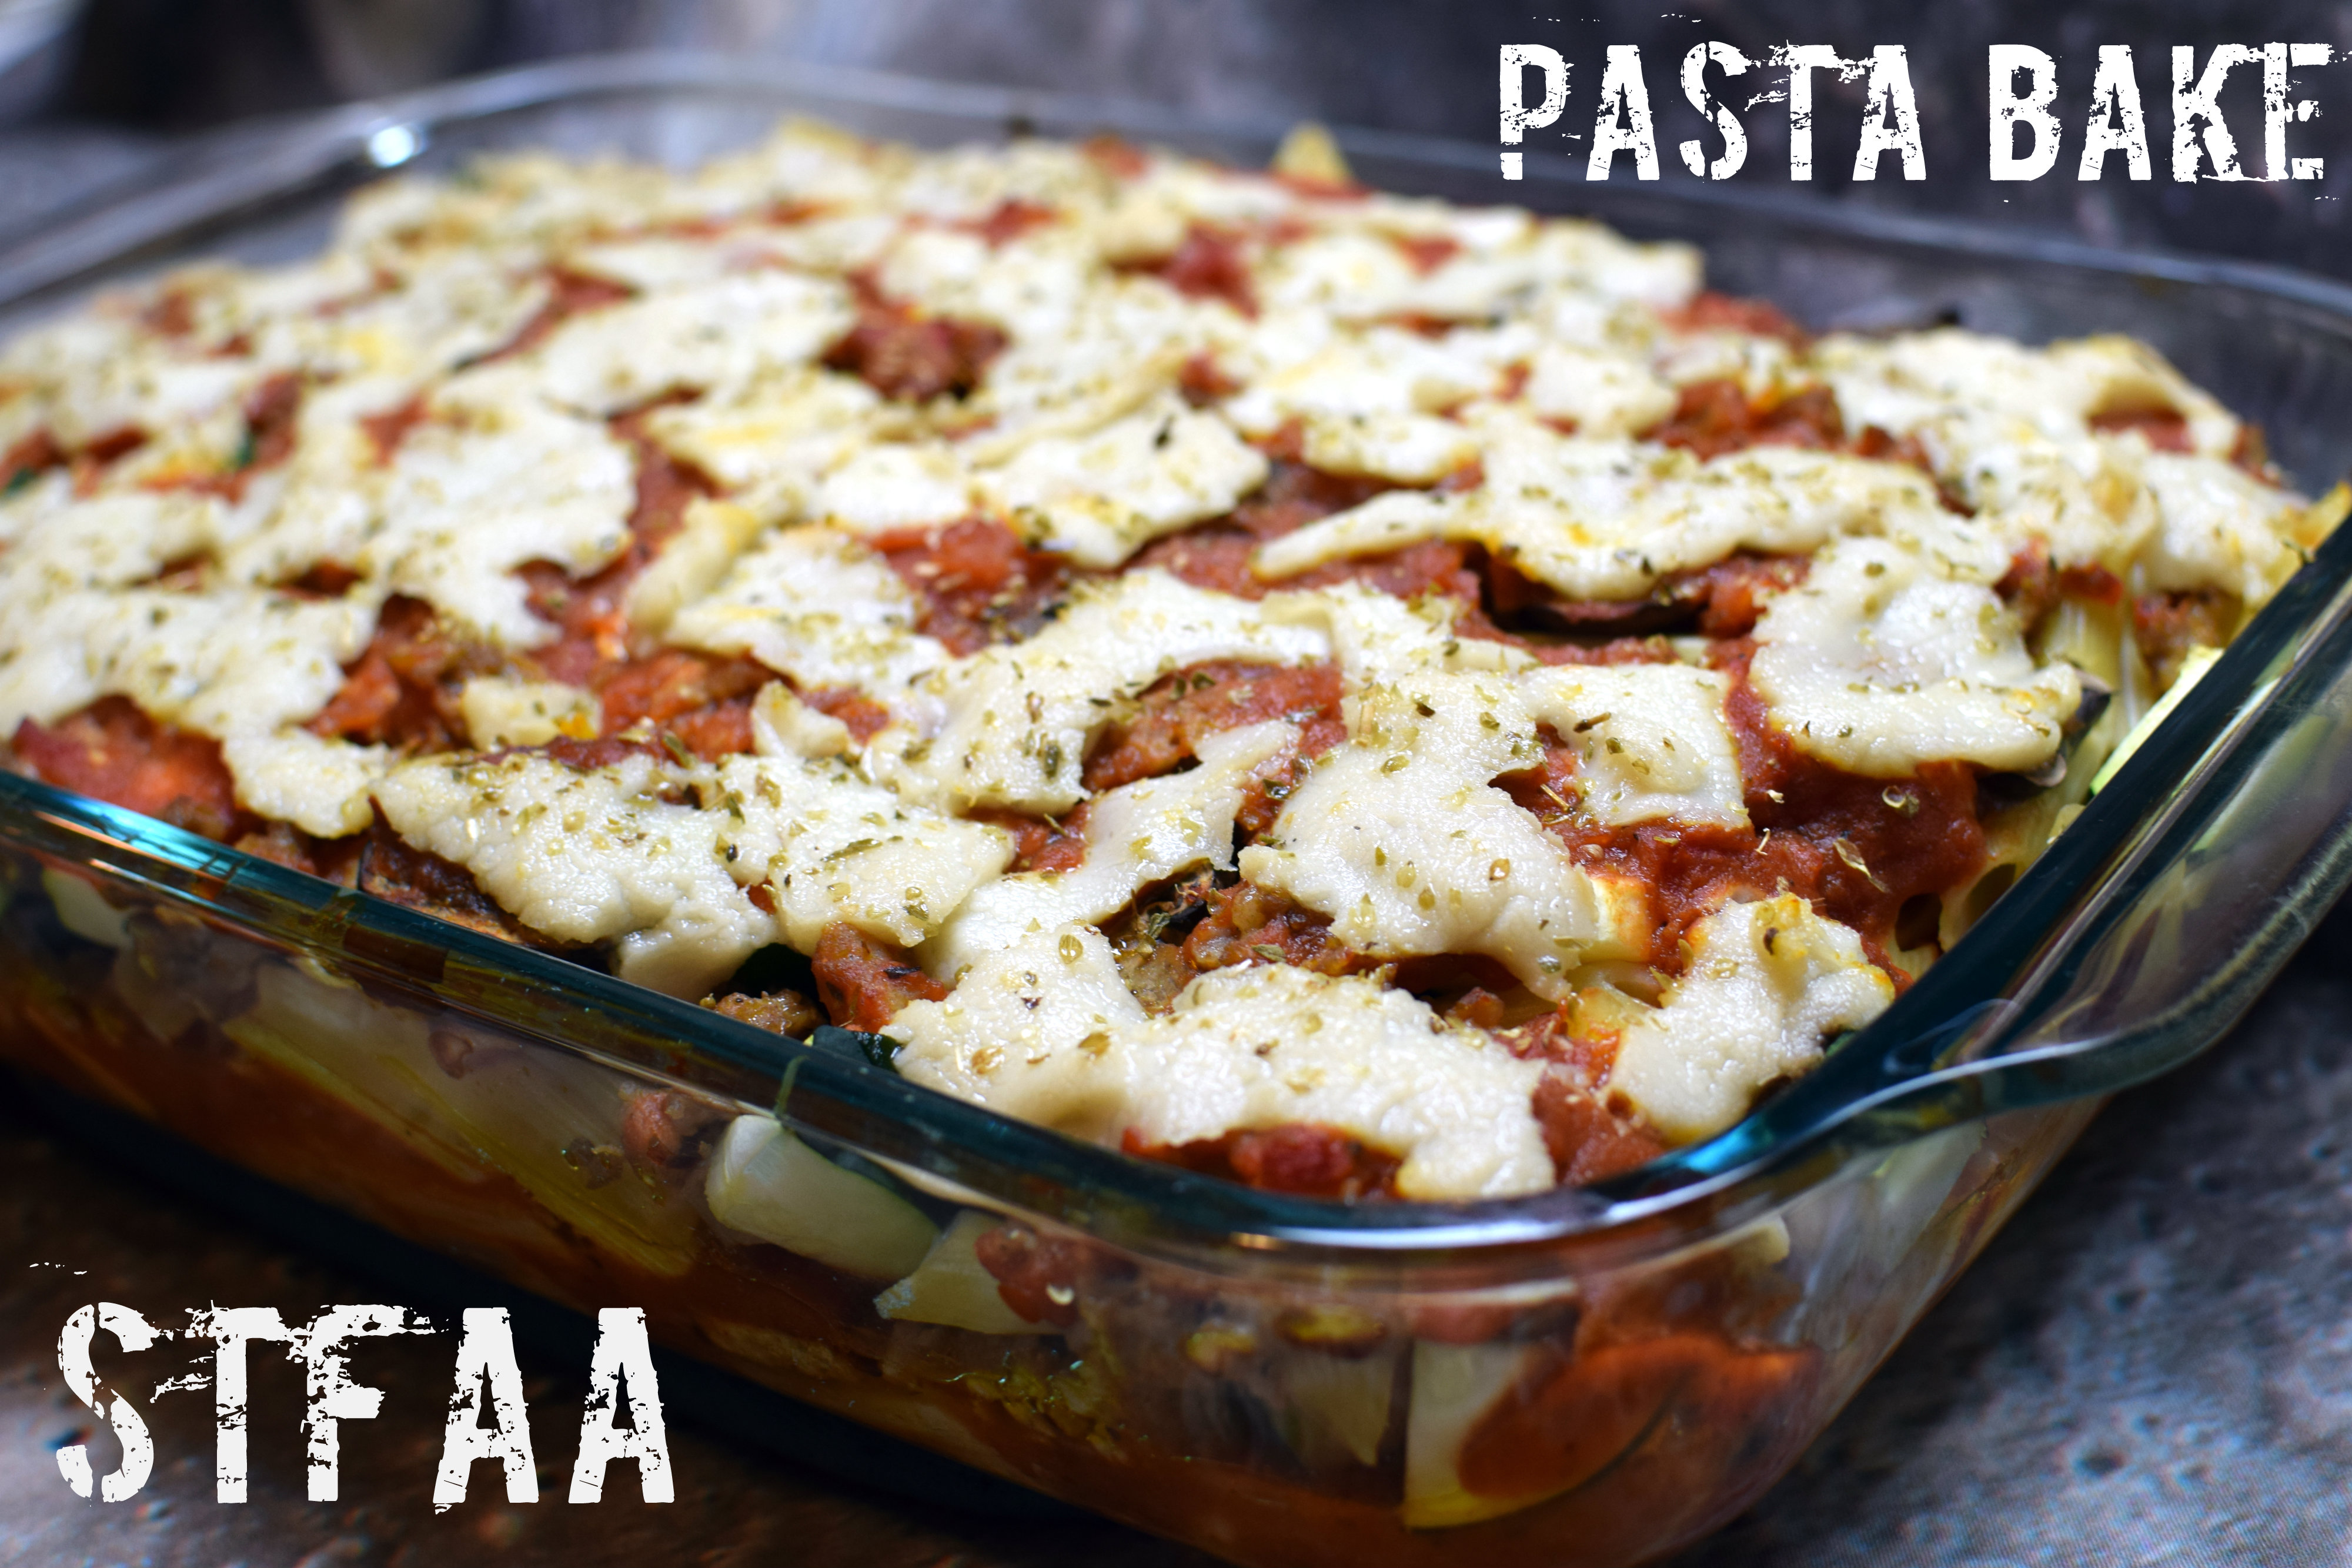
Pasta Bake — gluten-free and allergy-friendly
Hi there! I’m Jack, and I live with MaryKate, so I feed her from time to time. This pasta bake has emerged as one of her favorite comfort foods – which is lucky for me, because it’s one of the few dishes I can make without checking every step of a recipe twelve times. (According to her, I declared on our first date that “I don’t cook”, which I don’t really remember but would have been reasonably accurate at the time as a statement of bare fact, if not general philosophy or intent.) (He said that. I was there. — MK)
The pasta bake began as a gluten- and lactose-filled attempt at baked ziti. It has made the transition to allergy-friendly status quite well, thanks mostly to the pasta and cheese alternatives on the market, and also thanks to MaryKate’s suggestions of what else to add. Feel free to omit veggies and/or meat, and use the sauce, pasta, and cheese brands of your choice. We’ve even mixed in some almond ricotta from Artisan Vegan Cheese by Miyoko Schinner for a creamier, lasagna-like texture.
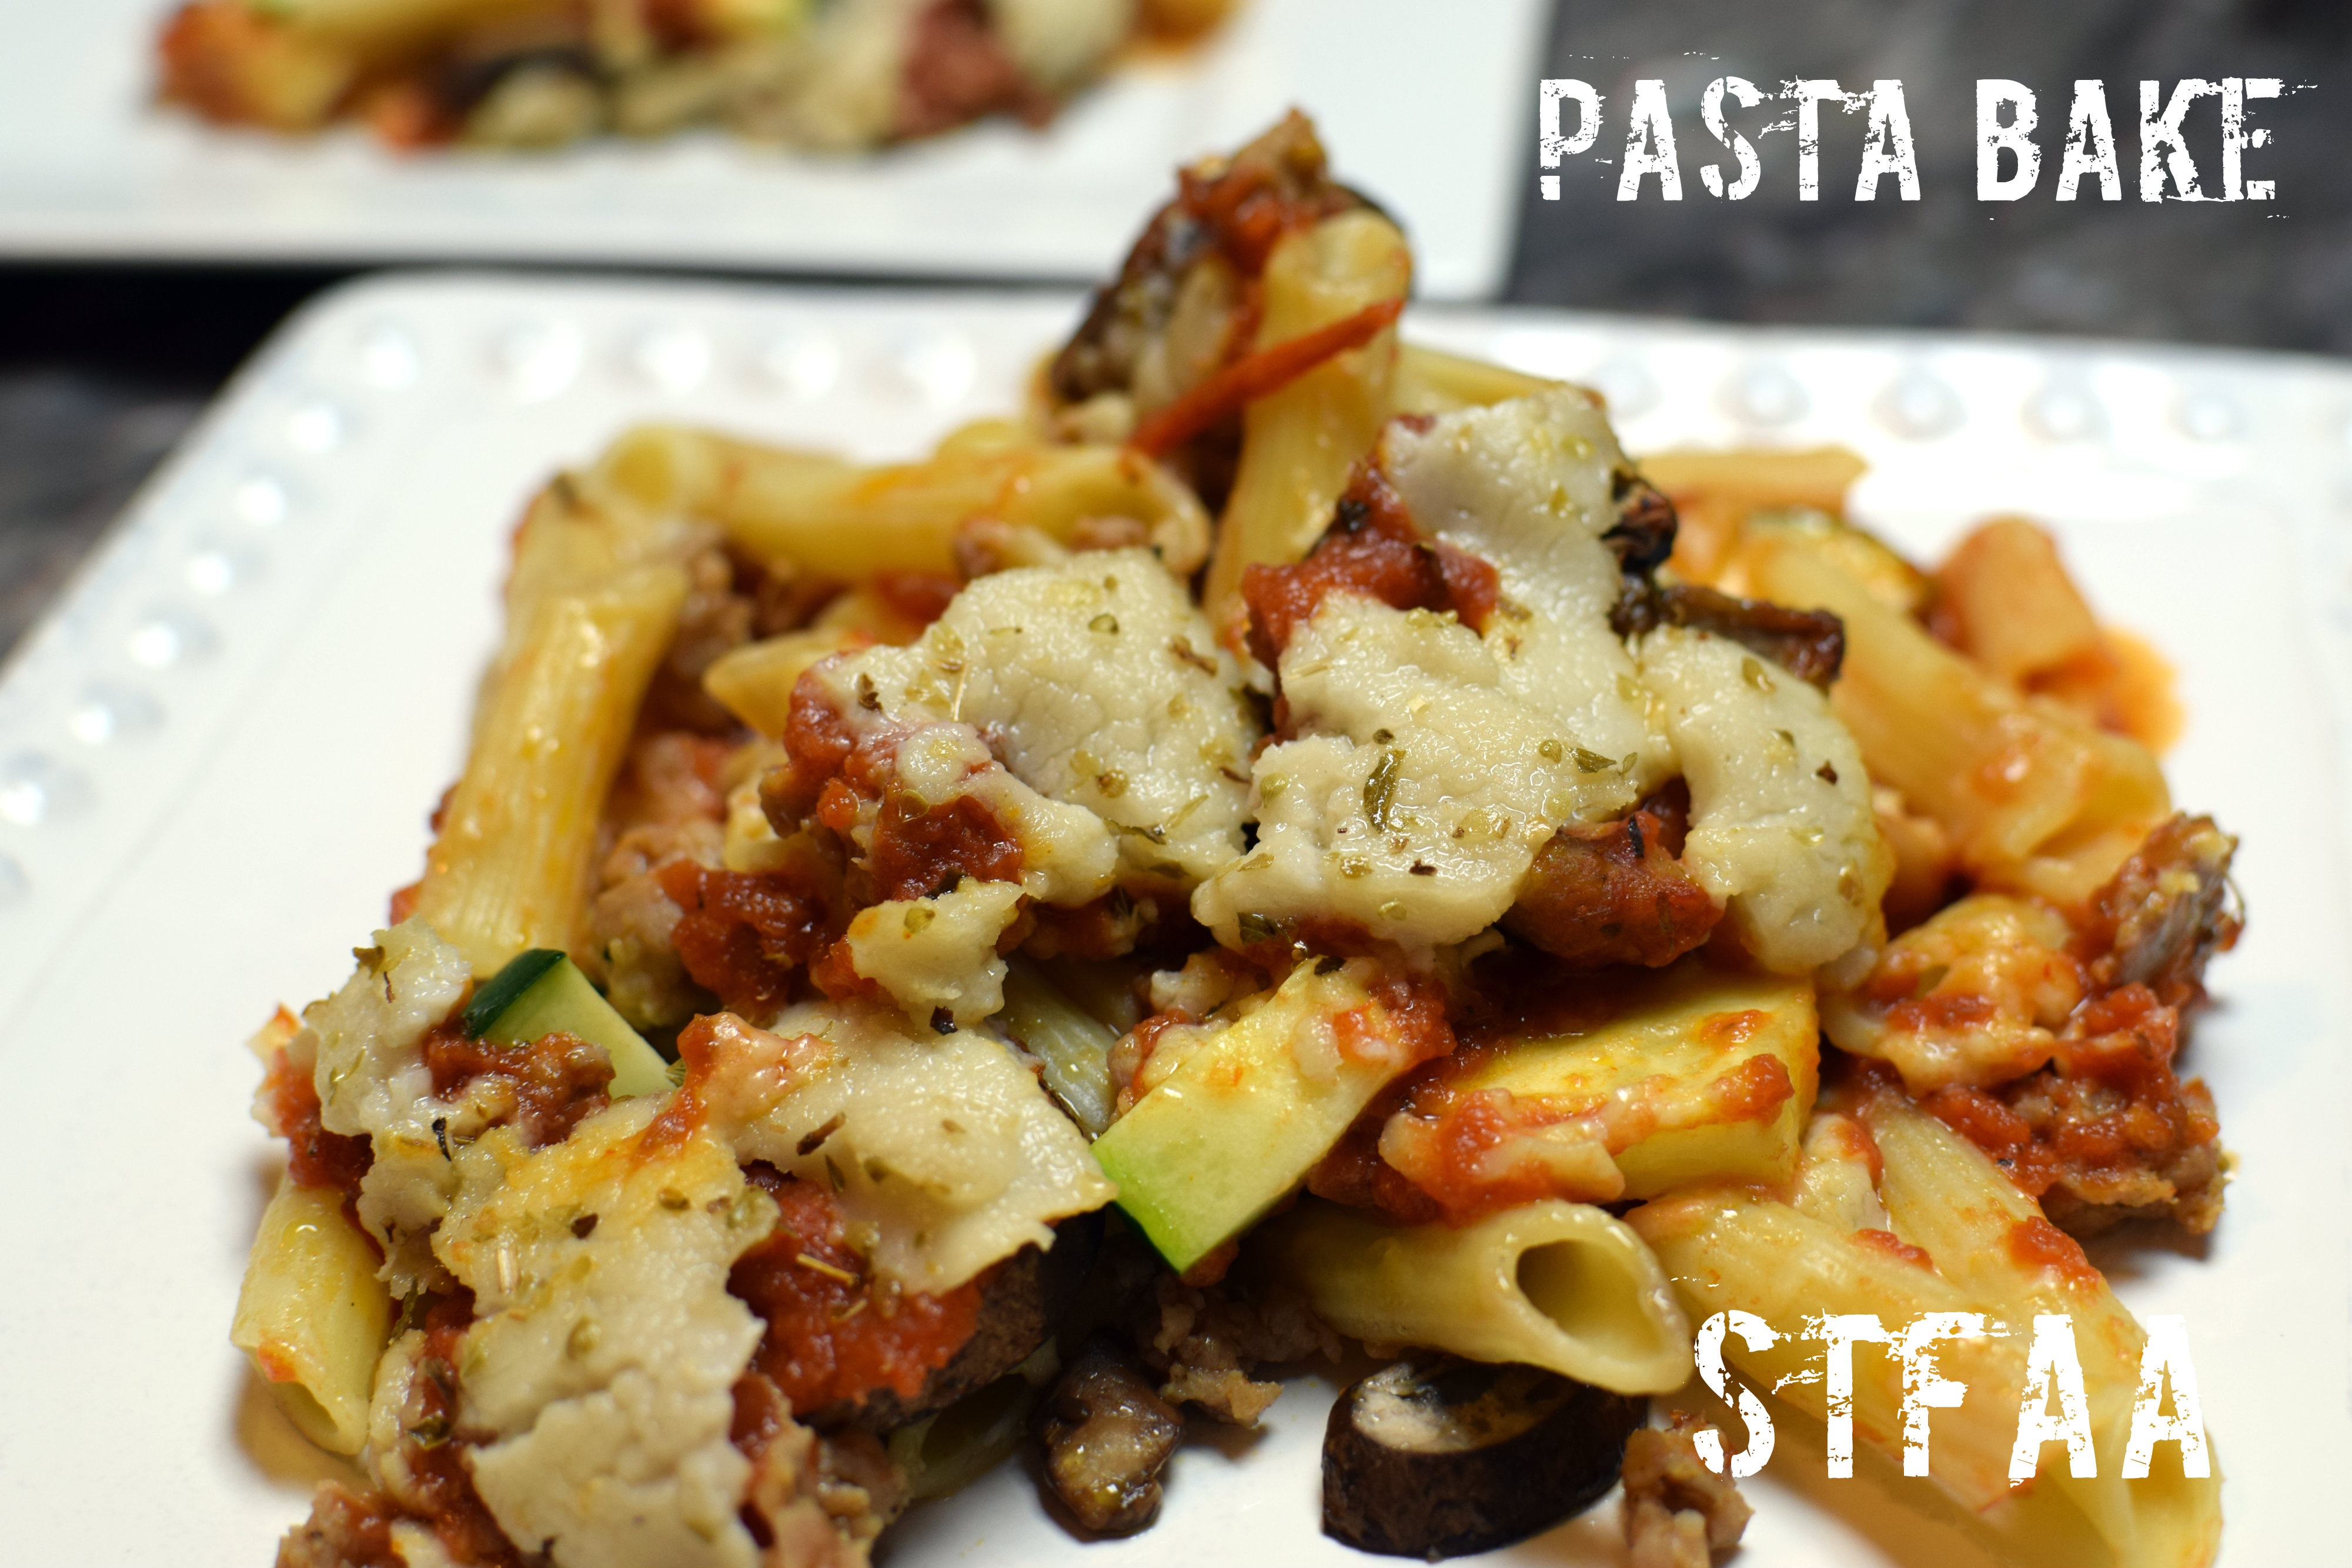
For me, pasta is comfort food. We had it at least once a week when I was a kid, and it’s quick and easy to make while also being warm and filling. I’ve even come to like the vegan cheese. The easiest version of this is pasta, sauce, and cheese, but adding zucchini and mushrooms gives it great texture, and the sausage adds more flavor and protein.
Pile o’ pasta bake Notice: Trying to access array offset on value of type bool in /home/maryzahc/public_html/adultfoodallergies.com/wp-content/plugins/wp-ultimate-recipe/helpers/models/recipe.php on line 254
1mediumzucchiniquartered lengthwise and sliced every 1/4 inch
8ozmushroomssliced, we like baby Bellas
8ozground sausage or beefoptional — leave out or use vegan sub for a vegan casserole
36ozgarlic pasta sauce
12ozvegan mozzarella cheese substitutewe love Miyoko’s Kitchen vegan moz
oregano to taste
Servings: large servings
Instructions
Brown and drain meat.
Boil penne until it’s just barely soft, about 4 minutes.
Drain and rinse pasta.
Put half the penne in a 9″ x 12″ baking pan. Layer on 1/2 of the zucchini and mushrooms, then 1/2 of the sausage or beef, sauce, and mozzarella. Sprinkle generously with oregano.
Back in January when Denise and I outlined our year, I knew that “comfort food month” would include potatoes. My absolute go-to whenever I want comfort food is some form of potato. For me, the fries at 5 Guys are safe, so on a road trip, I’m likely to hit them up. I have made meals out of mashed potatoes, potato patties, tater tots, and any other form of potato you can think of. We have a lot of potato recipes! And they aren’t even all mine.
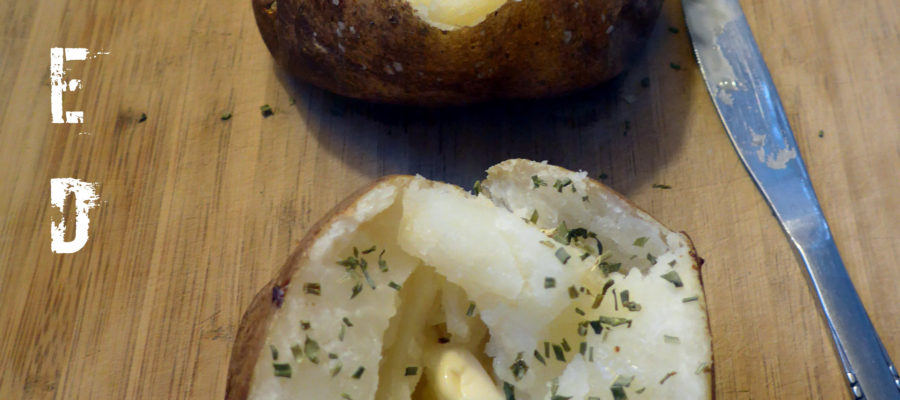
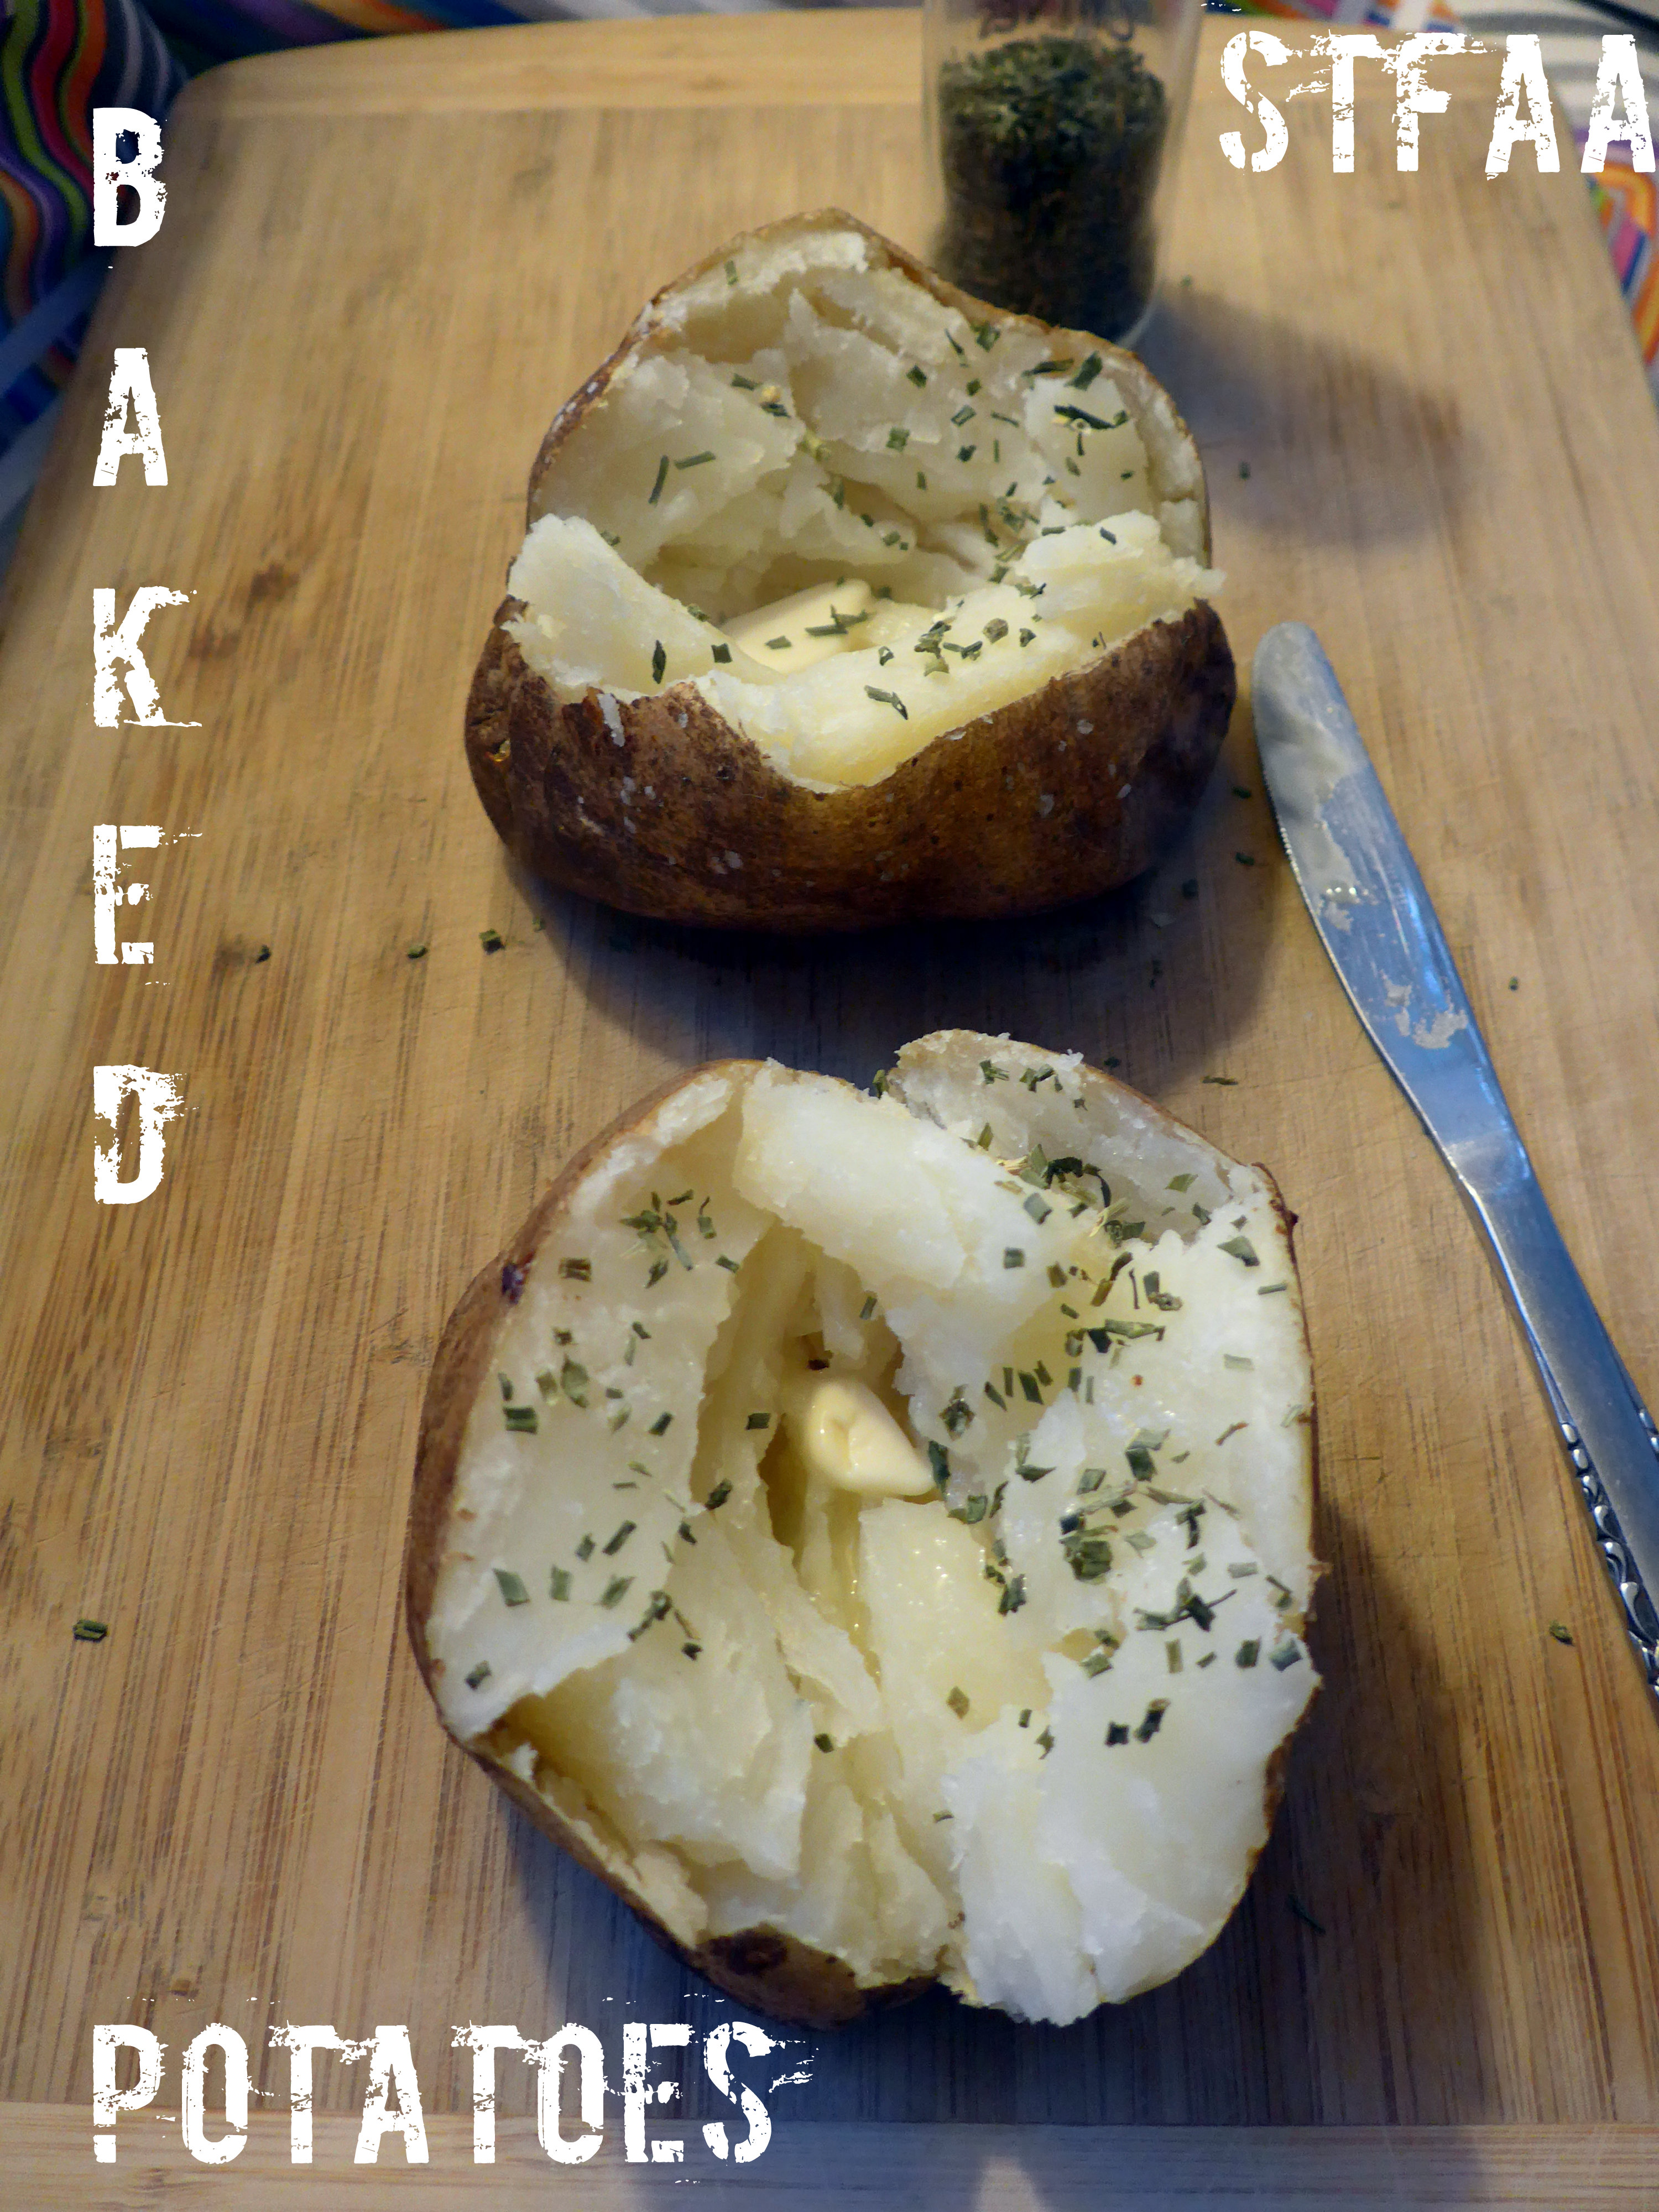
But what I eventually landed on were baked potatoes. So this isn’t really a recipe. You’ve probably baked a potato — you have, right? Maybe you loved it, maybe it was just okay. But if you bake a perfect baked potato and top it with enough stuff, you have a great dinner — warm and hearty and satisfying. And then you can eat the skin, like a reverse appetizer.
So I went looking for the “best” baked potato recipe and found that cookbooks and internet writers had SO MANY different ideas on what makes a perfect baked potato. Now almost none of them describe the intended results, so it’s hard to know what they see as perfect. For me, the perfect baked potato is soft and fluffy on the inside, with a tender and crispy skin.
People suggest a lot of different temperatures, but 350ºF and 425ºF come up more often than 375ºF and 400ºF, so I stuck with those two. Most recipes tell you to scrub the potatoes and poke holes in the skin with a fork, though the old Joy of Cooking has you poke holes only halfway through baking. While this makes some sense, the joy of baking potatoes is that, though it takes a long time, you don’t have to DO anything during that time. Try it if you want, but I’ll never remember to do that again. Coating the outside of the potato is also popular — wrapping it in foil, oiling the skin, oil and salting the skin, buttering the outside. My mom never did any of that, so I never did, but I’ve now tried them all.
So here’s my verdict:
First off, I think Alton Brown’s recipe worked the best for me. I think that 350ºF produces the fluffiest potatoes, but it takes 20 minutes longer than 450ºF. I think that lightly coating the skin with olive oil does actually produce a fluffier potato, but with a slightly less crispy skin than no coating. Vegan margarine will produce an even tenderer skin. I do not want to foil wrap my potatoes as it seems wasteful, so I didn’t try that. I think poking holes in the potatoes with a meat fork (long tines) makes a fluffier center than using a dinner fork. Two stabs with the fork seem to be enough; 4 stabs (2 per side) didn’t make a noticeable difference to me.
If you don’t have 85 minutes to wait for dinner (assuming 5 minutes of prep), a good compromise is to microwave the washed and stabbed potatoes for 10 minutes and then bake them at 425ºF for 20-30 minutes. I know this doesn’t save a bunch of time, but it is half. I do not coat the potatoes with anything when I do this, and I use the toaster oven because my big oven won’t heat up in 10 minutes. This is not AS good, but it is good.
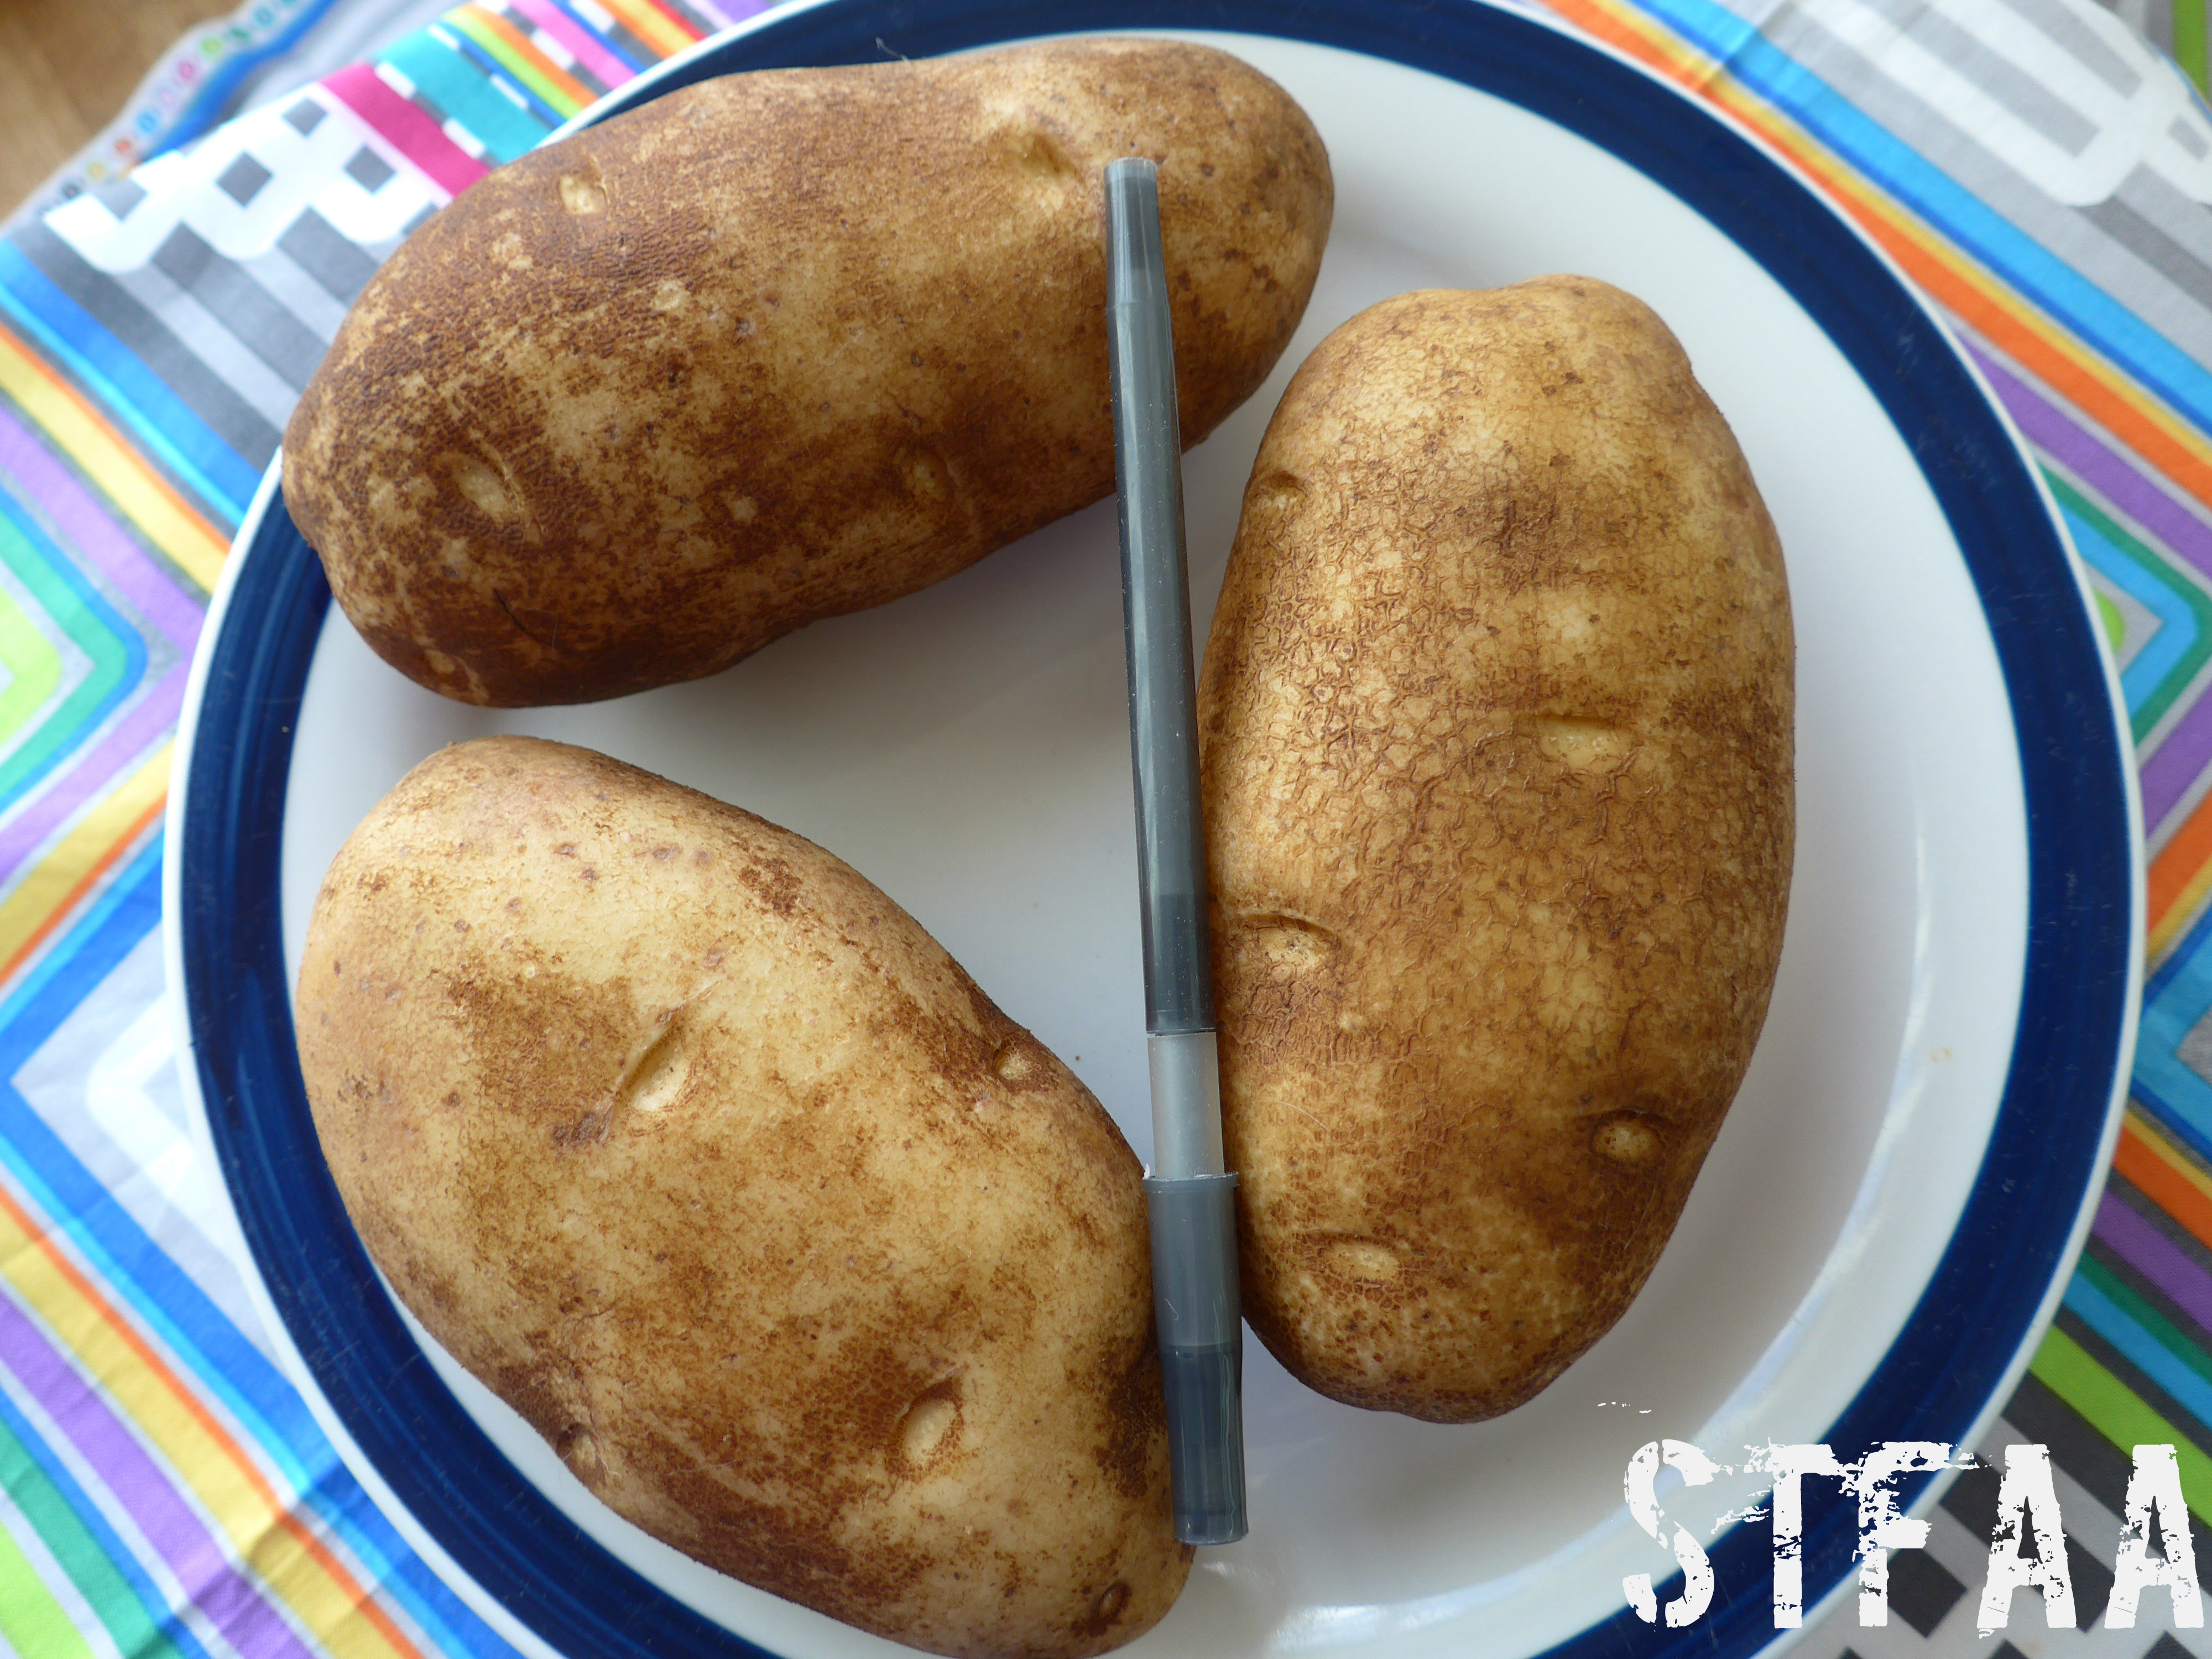
Perfect (Uncooked) Potatoes — standard ballpoint pen used for scale
As for topping the potato, here are just a few of my thoughts:
butter, vegan margarine, or a margarine that’s safe for you
cashew sour cream, tofu sour cream, or dairy sour cream
chives, salt, pepper
bacon
broccoli
any form of cheese or cheese substitute that is safe for you
any combination of the above that sounds good to you
anything else in the fridge that seems like it would taste good
Notice: Trying to access array offset on value of type bool in /home/maryzahc/public_html/adultfoodallergies.com/wp-content/plugins/wp-ultimate-recipe/helpers/models/recipe.php on line 254
Wash and scrub potatoes, being sure to remove any patches of dirt.
Dry the potatoes. Poke 1-2 times per side with a long-tined fork (as in one for serving meat) or a small paring knife — holes should go at least 1/3 of the way through the potato if possible.
Rub potatoes with the oil of your choice — olive oil will yield a slightly crunchy skin, vegan margarine gives a more tender skin. Alton Brown claims that the oil will help hold in more steam, making the potatoes fluffier, and my skepticism at that is now cured. It seems to work. Add a sprinkle of salt if you want it.
Place potatoes in oven, directly on the rack. Bake for 80 minutes. If you’re impatient, you can check them at 60. Using a pot holder, squeeze the potatoes to see if they give easily. If so, they’re done.
The way my mother taught me to open a potato gives you a good container for stuffing it full of fillings. Cut a slit lengthwise in the top of the potato, but leave 1/2 inch or so from either end. Push in at either end sort of “pop” the potato open. Pop the sides and the ends again if you need to — you should get a solid base and a wide open potato.
Stuff it with everything you love. When you’re finished with that part, add some margarine and salt and pepper to the skin and eat that, too.
Feel the potato joy.
Recipe Notes
I tend to buy potatoes that fit solidly in my hand. I like a nice regular oval shape, same thickness throughout. Buy the appropriate size for the part of the meal — I like them big because they ARE the meal. Potatoes should be firm, with no soft spots, irregular ends, eyes growing out of them, and no green hue to the skin. Use those for something else where you can cut away the questionable bits.
The potatoes in the photos above just have some vegan Earth Balance margarine and chives on them.
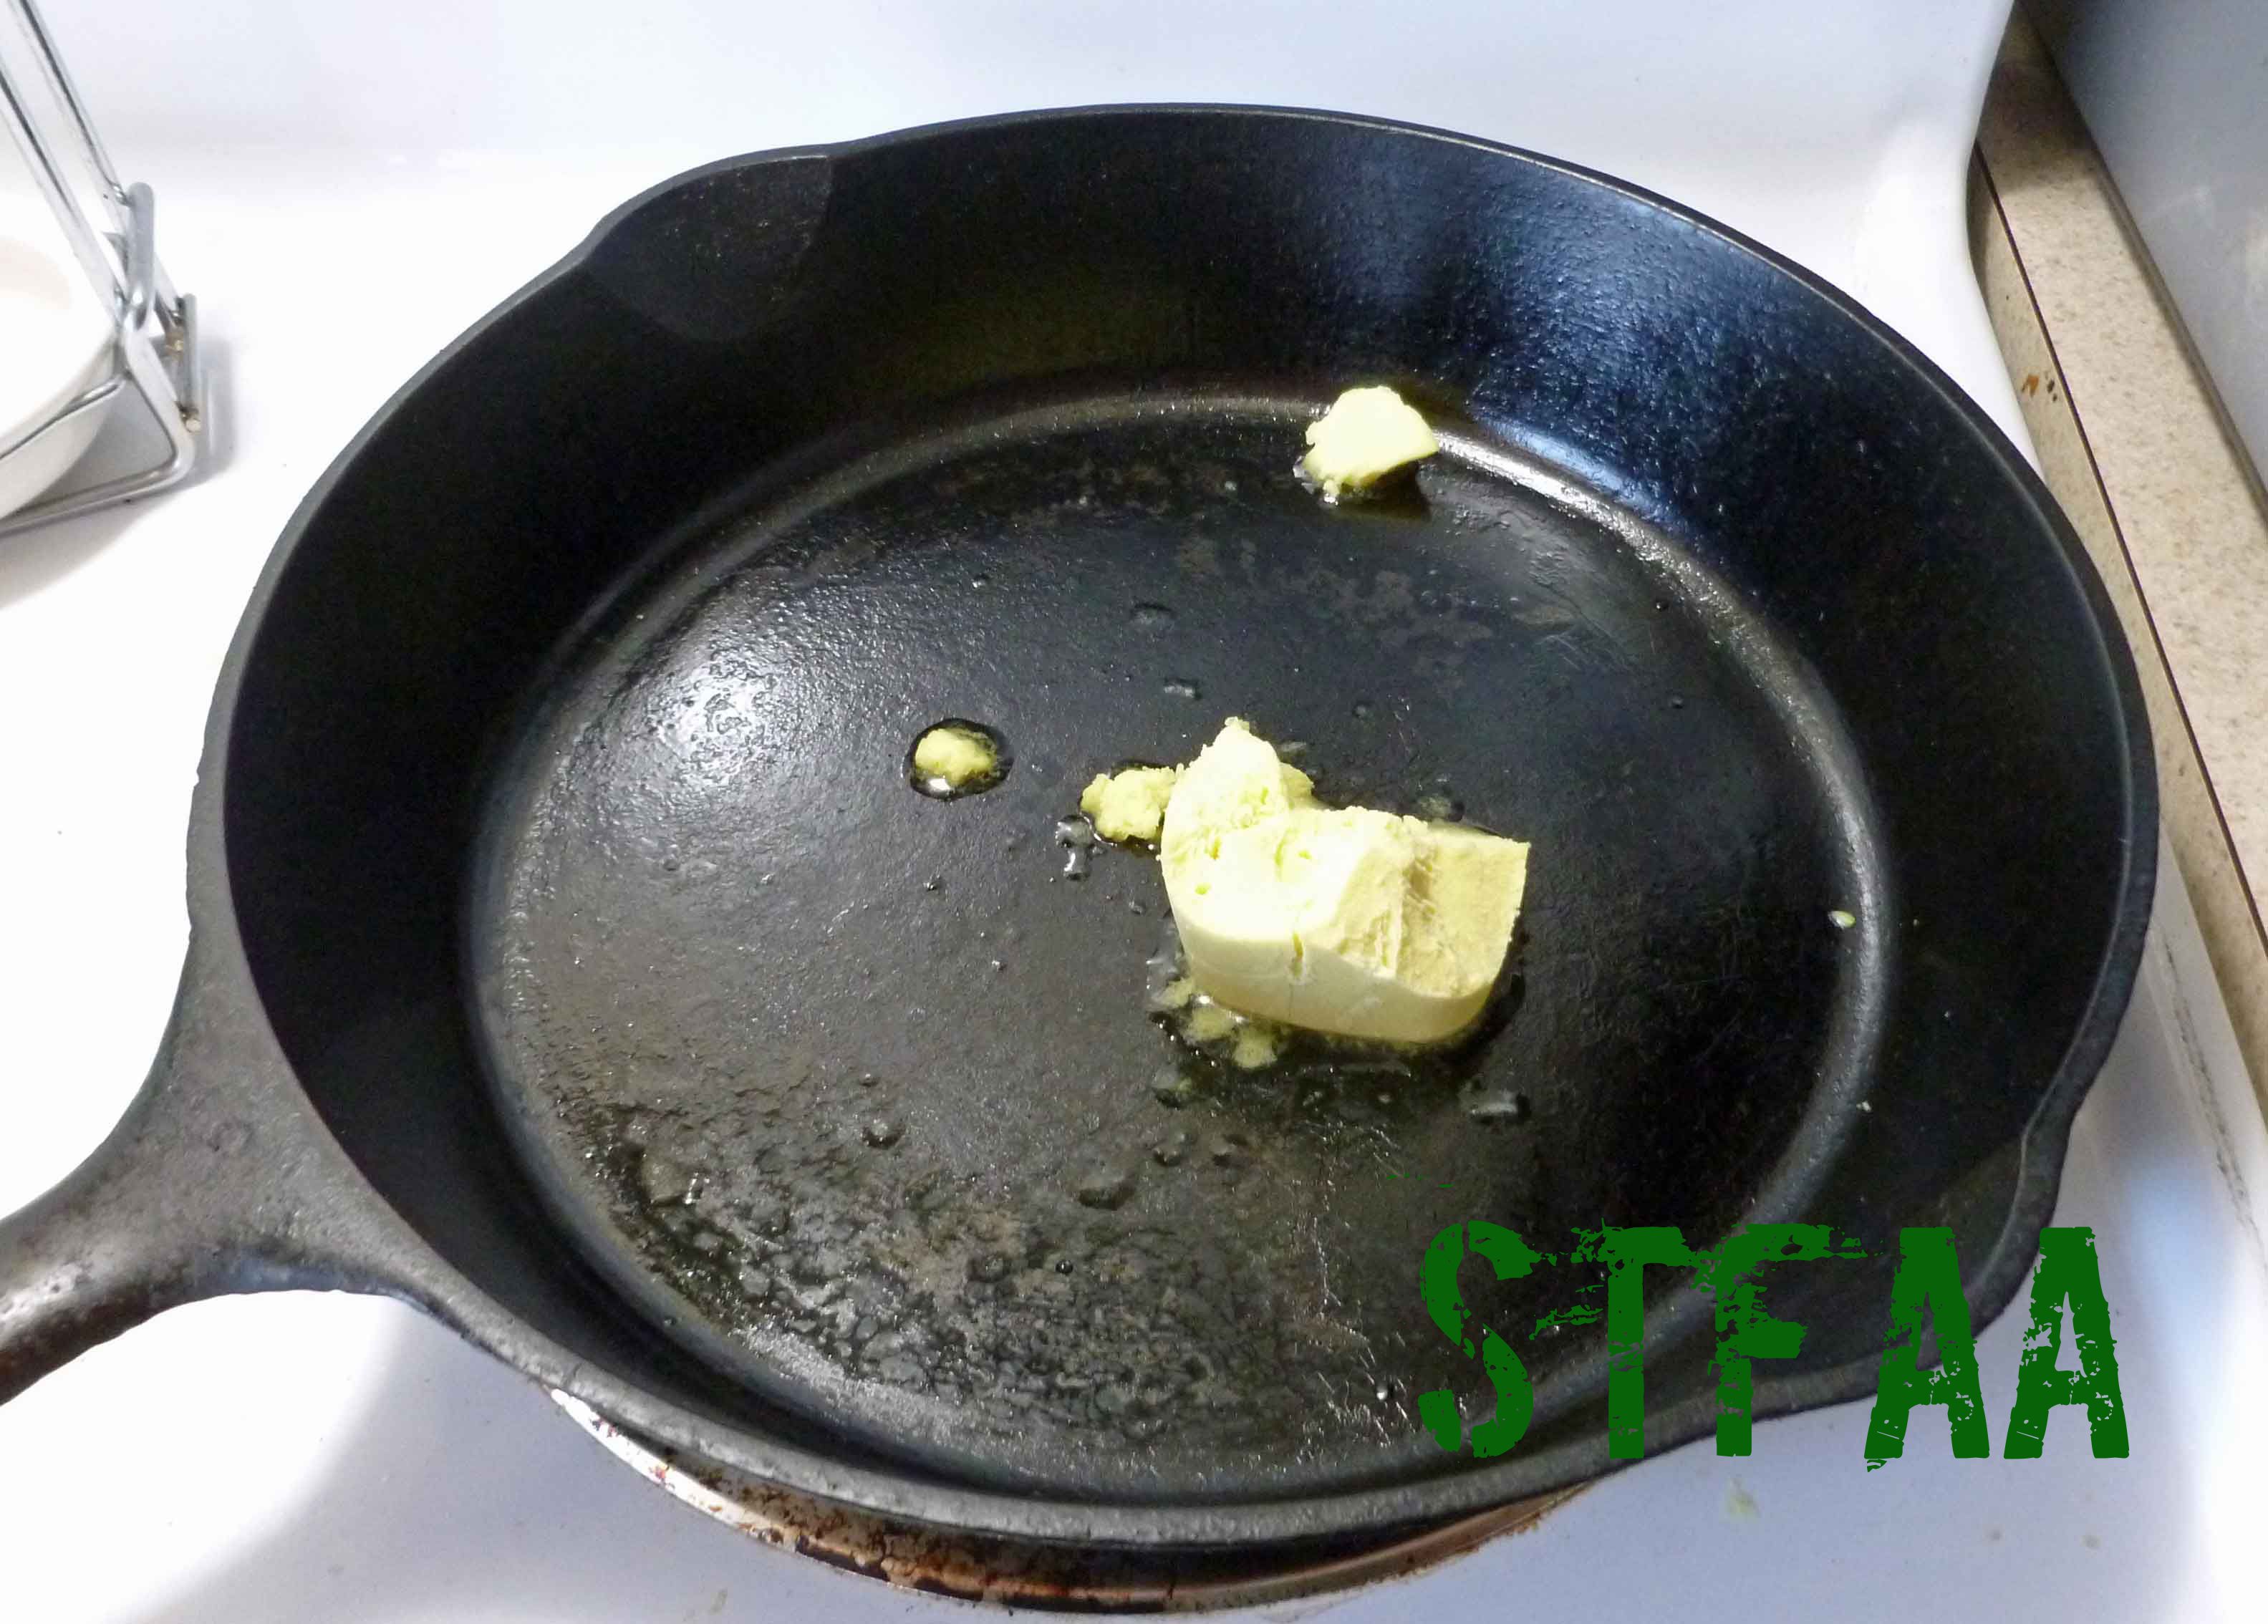
So it’s still “try a new cooking technique” month here on the blog. This is kind of a hard one for me because the corn allergy has forced me to try a lot of stuff. But one of the ones that I hadn’t tried was flambeing. All my friends had a heart attack about it because I’m fairly well known for maiming myself on a regular basis. But I lived, and there was no setting on fire things that I actually didn’t intend to set on fire. I’m not sure how safe the butane torch is for those with corn allergies. I’m going to go out on a limb and say it isn’t, although it’s fun to play with. I’ve had to make this recipe twice and both times my chest got a little tight afterwards. You could try a long matchstick or light the end of bamboo skewer too.
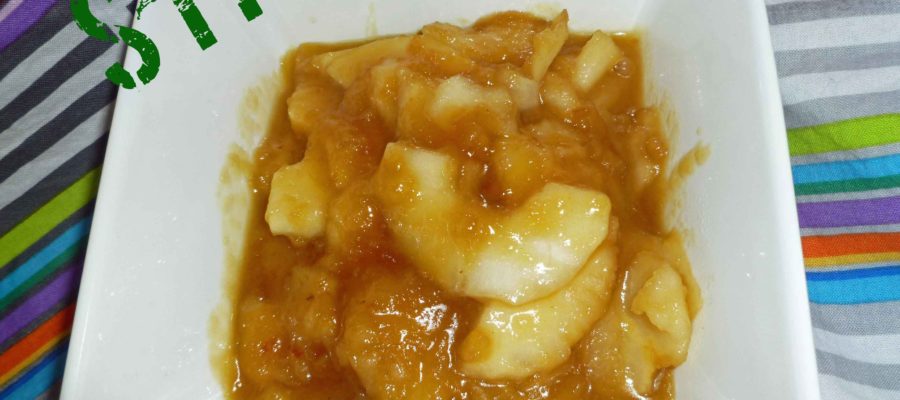
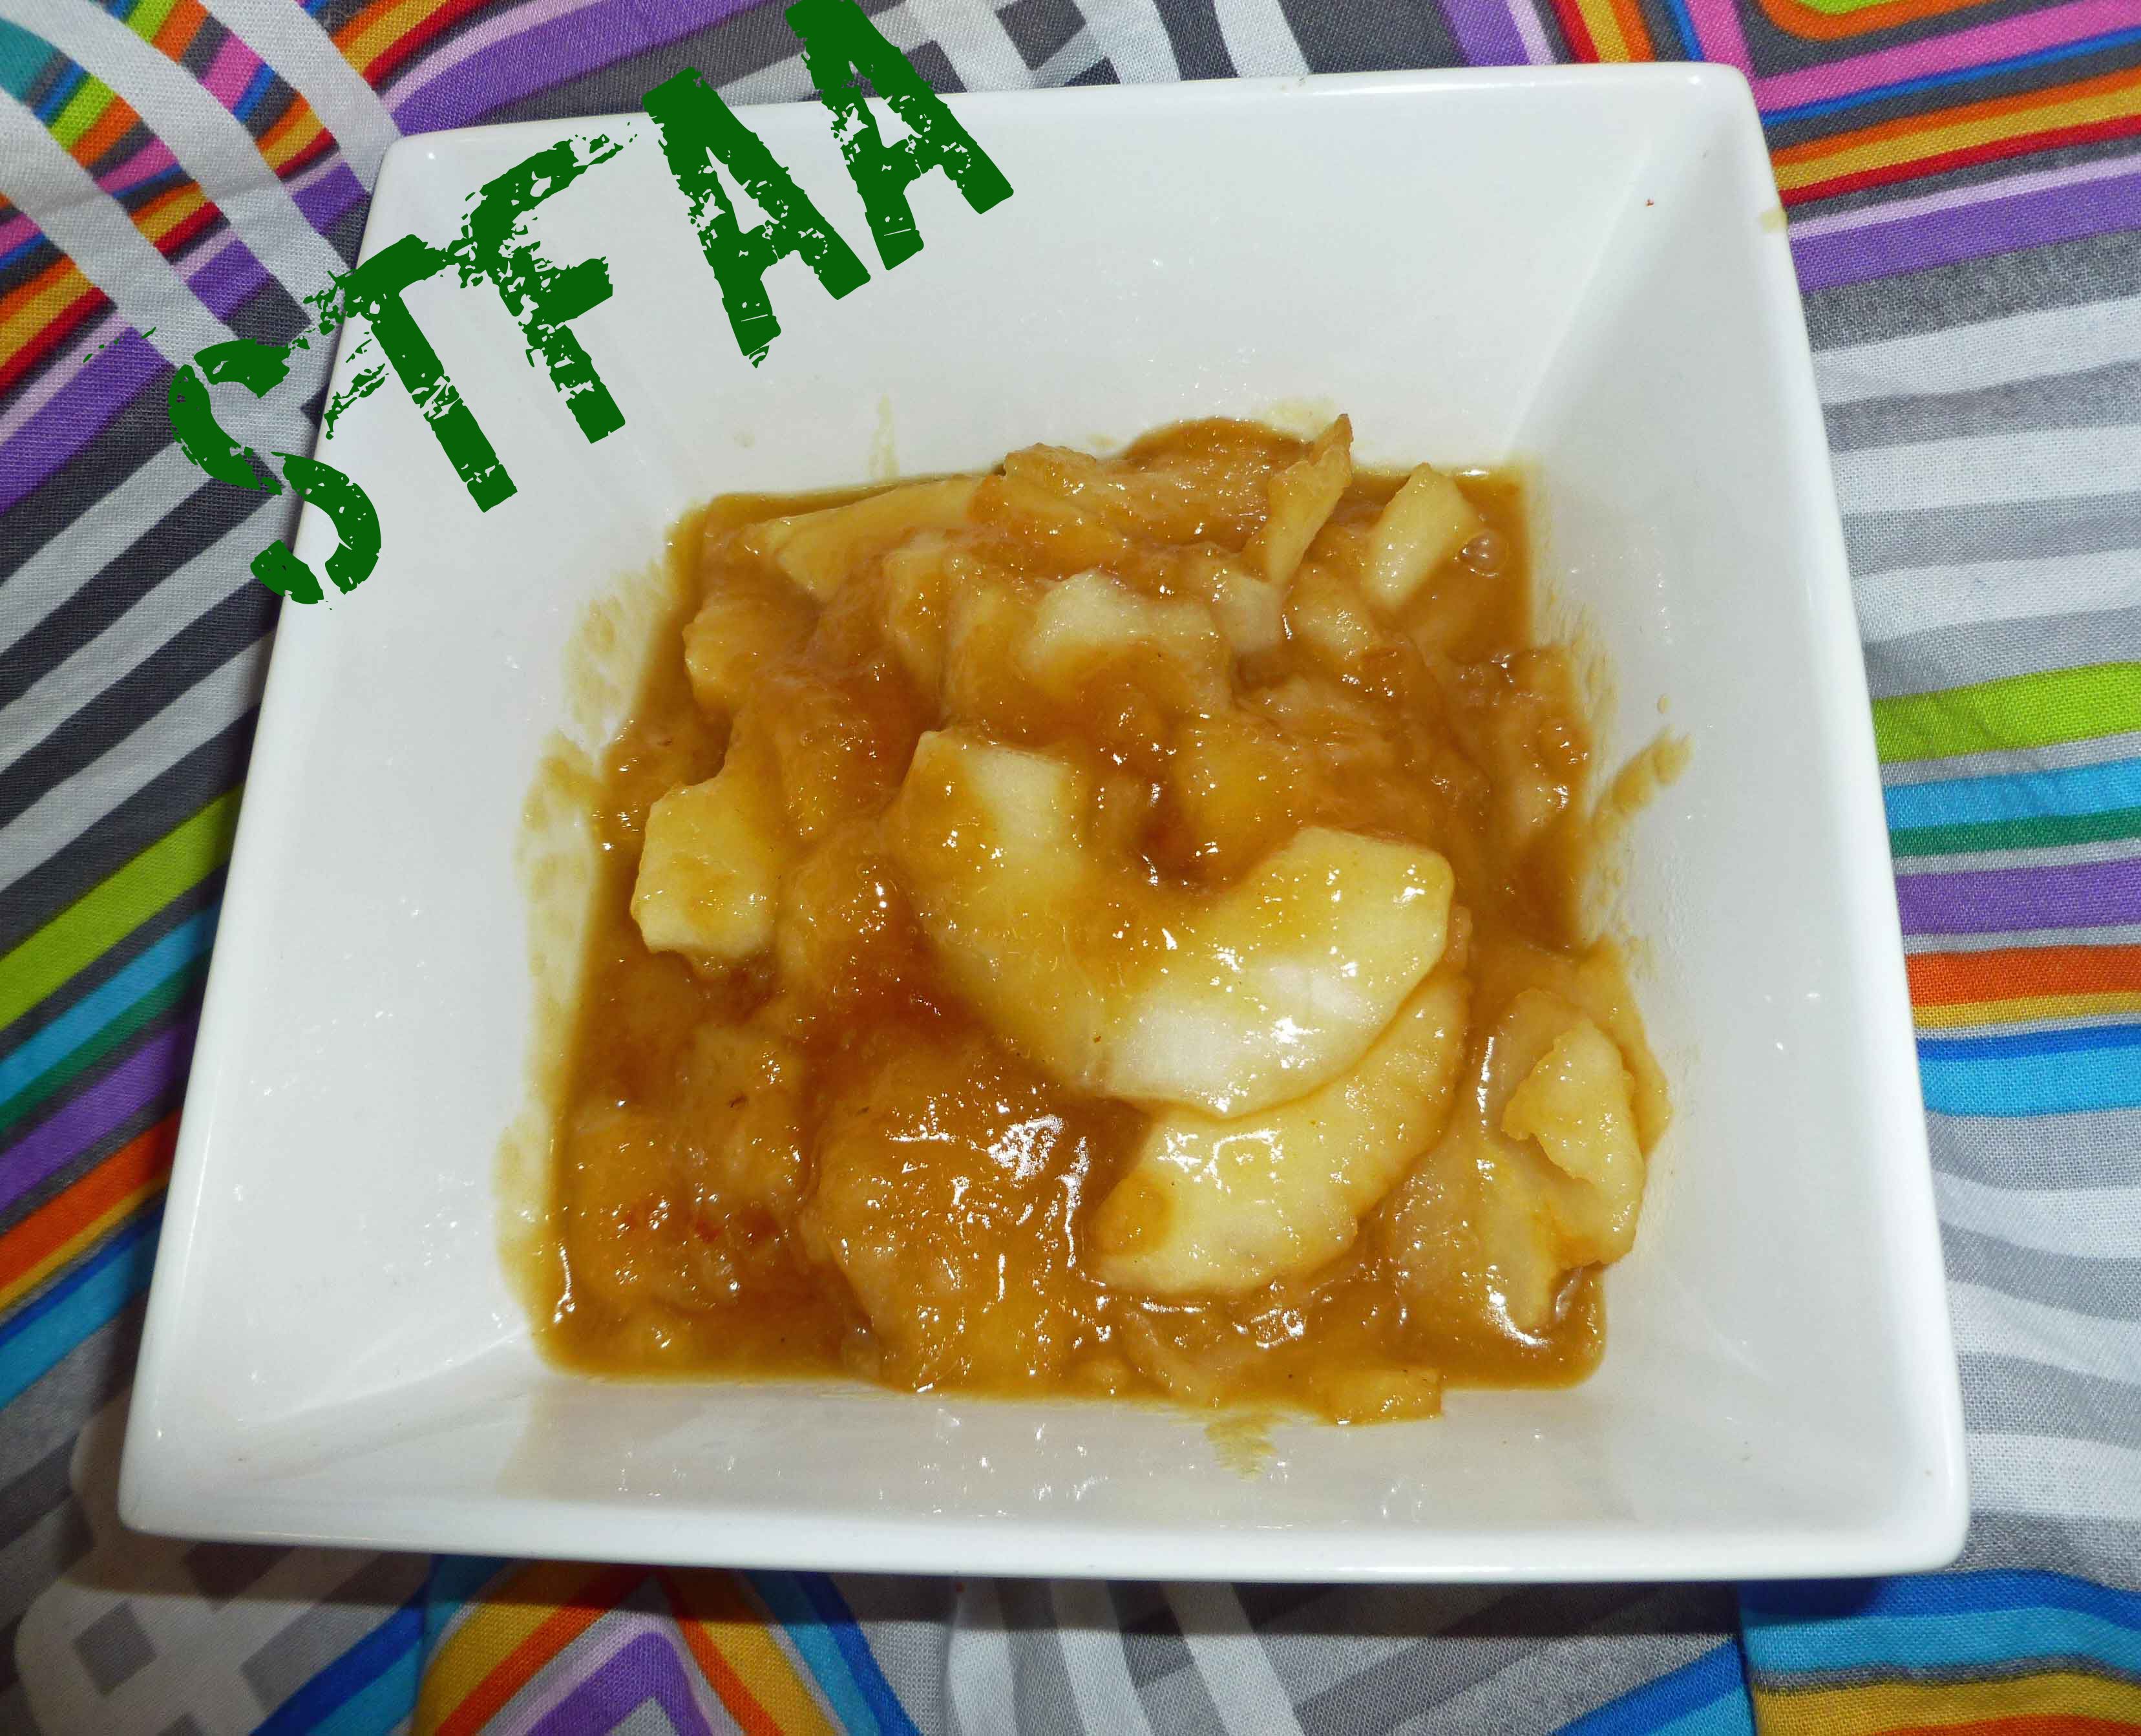
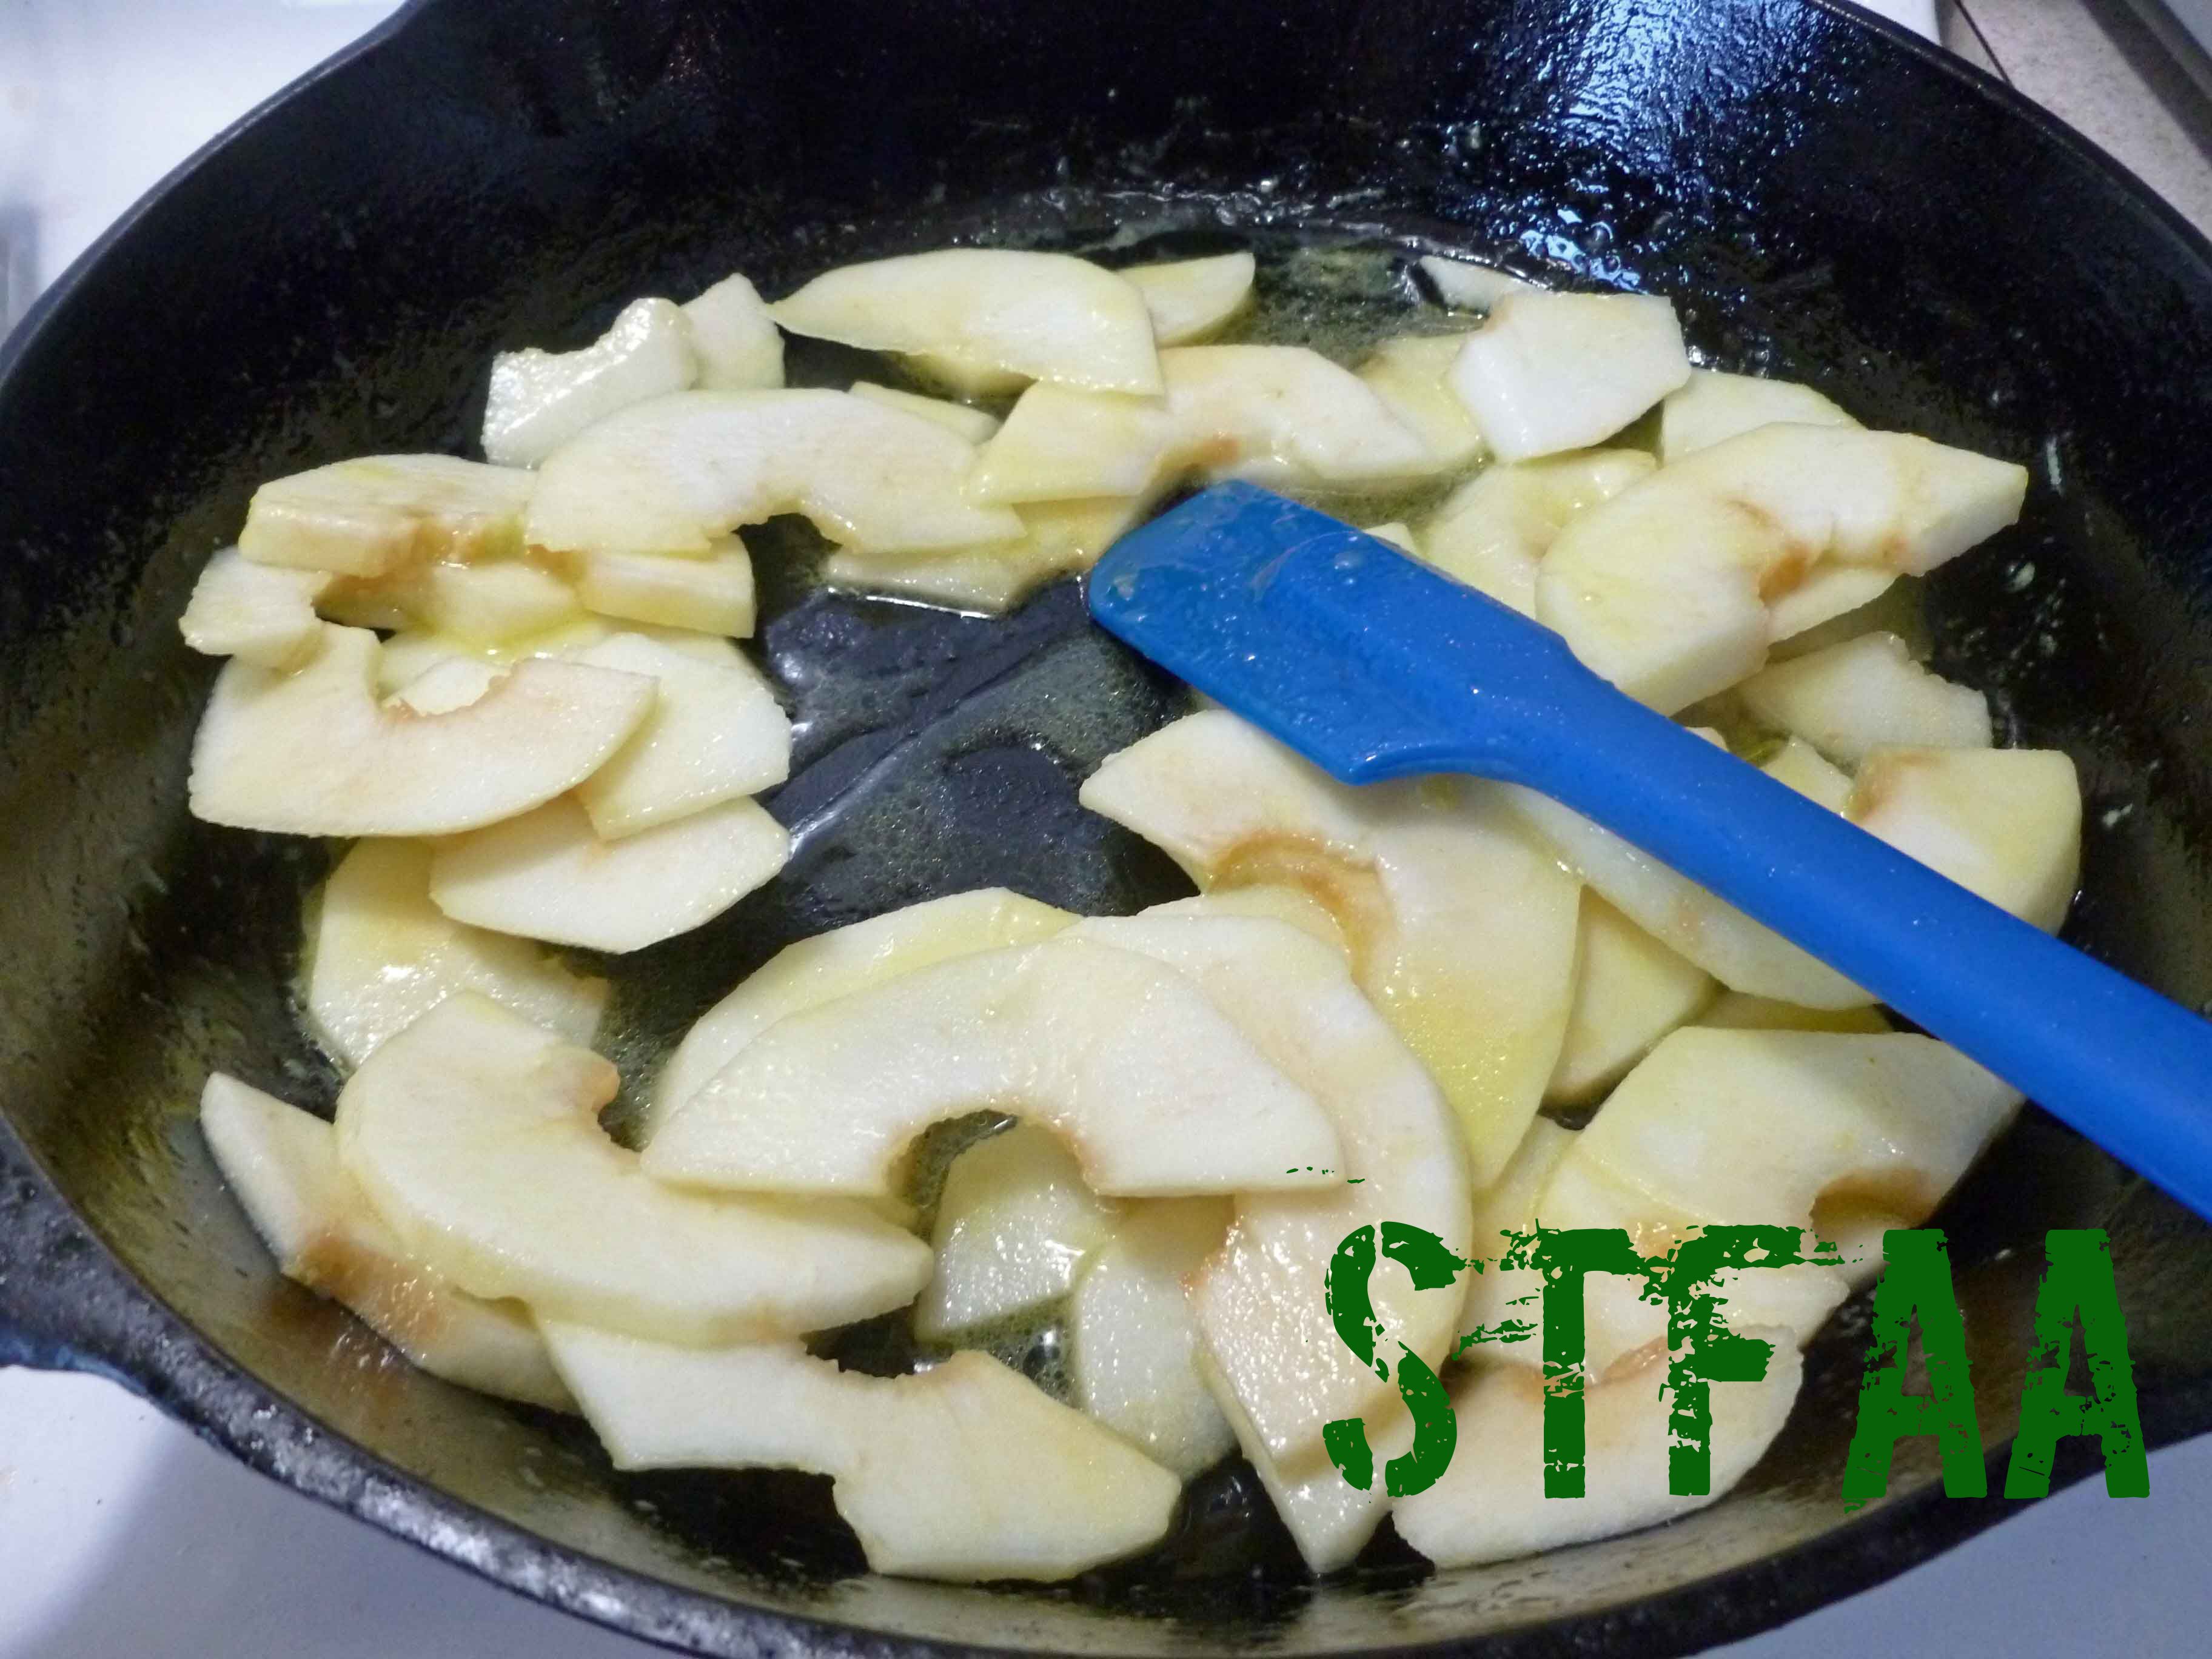
I used apples, because I’m still in the midst of the apple apocalypse. I’ve been foisting them off where I can, but still, 18 trees with a bumper crop is no freaking joke. I can’t use Bourbon for obvious reasons (distilled from corn), but I do okay with Rhum Barbancourt Reserve Speciale. If you’ve got a safe alcohol that works for you, you could give it a try.
You can use this on desserts, ice cream or even use it as a pancake or waffle topping for special occasions.
I made a video of the flambe going on because I want proof that I didn’t hurt myself out there:
Apples Flambe
Notice: Trying to access array offset on value of type bool in /home/maryzahc/public_html/adultfoodallergies.com/wp-content/plugins/wp-ultimate-recipe/helpers/models/recipe.php on line 254
Apples Flambe
Print Recipe
Use for dessert or to top pancakes or waffles for a special breakfast.
2largeapplescored, peeled, and sliced, about 1/8 inches thick.
1tablespoonlemon juicefresh squeezed
2 Tablespoonsnondairy spread(I used my Homemade Margarine recipe (http://adultfoodallergies.com/homemade-margarine-new-and-improved/) but if you are vegan and you are not allergic to corn, you can use Earthbalance.
2Tablespoonsbrown sugar
2Tablespoons rum(Be very careful, as many alcohols can have corn and wheat/gluten. I do well with Rhum Barbancourt Reserve Speciale.)
Servings: people
Instructions
Place apples and lemon juice in a bowl and toss apples to coat with lemon juice.
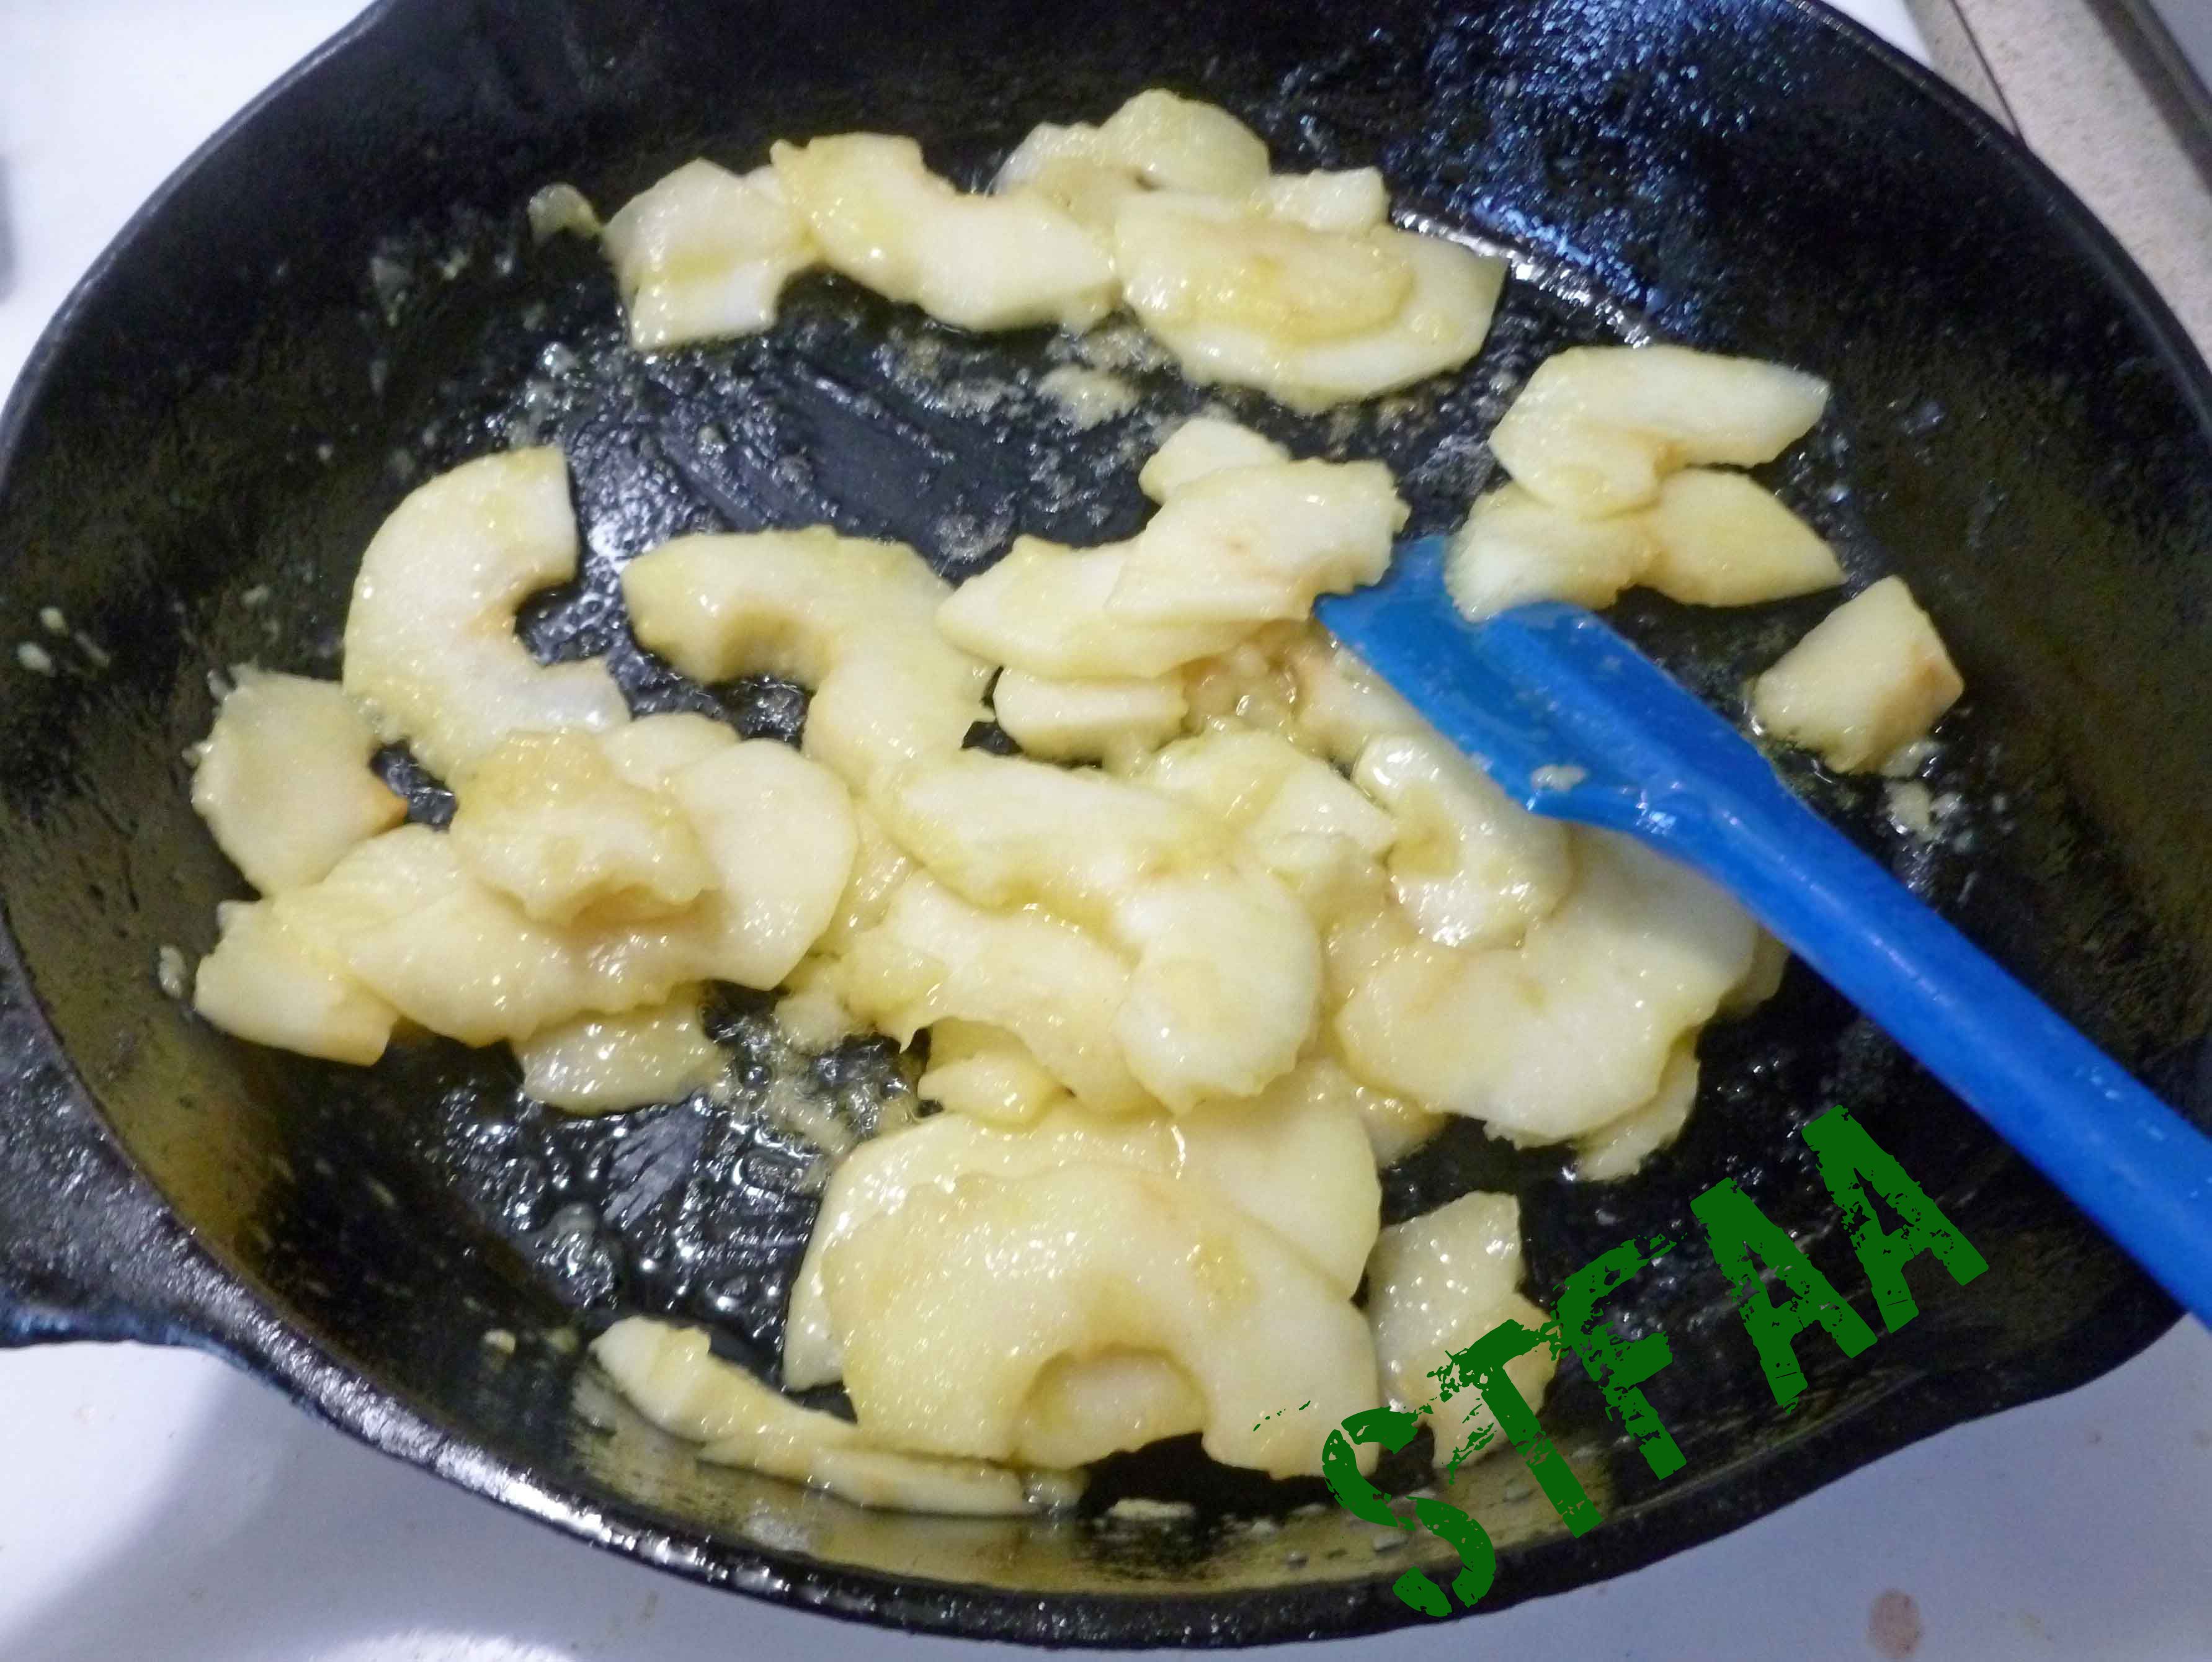
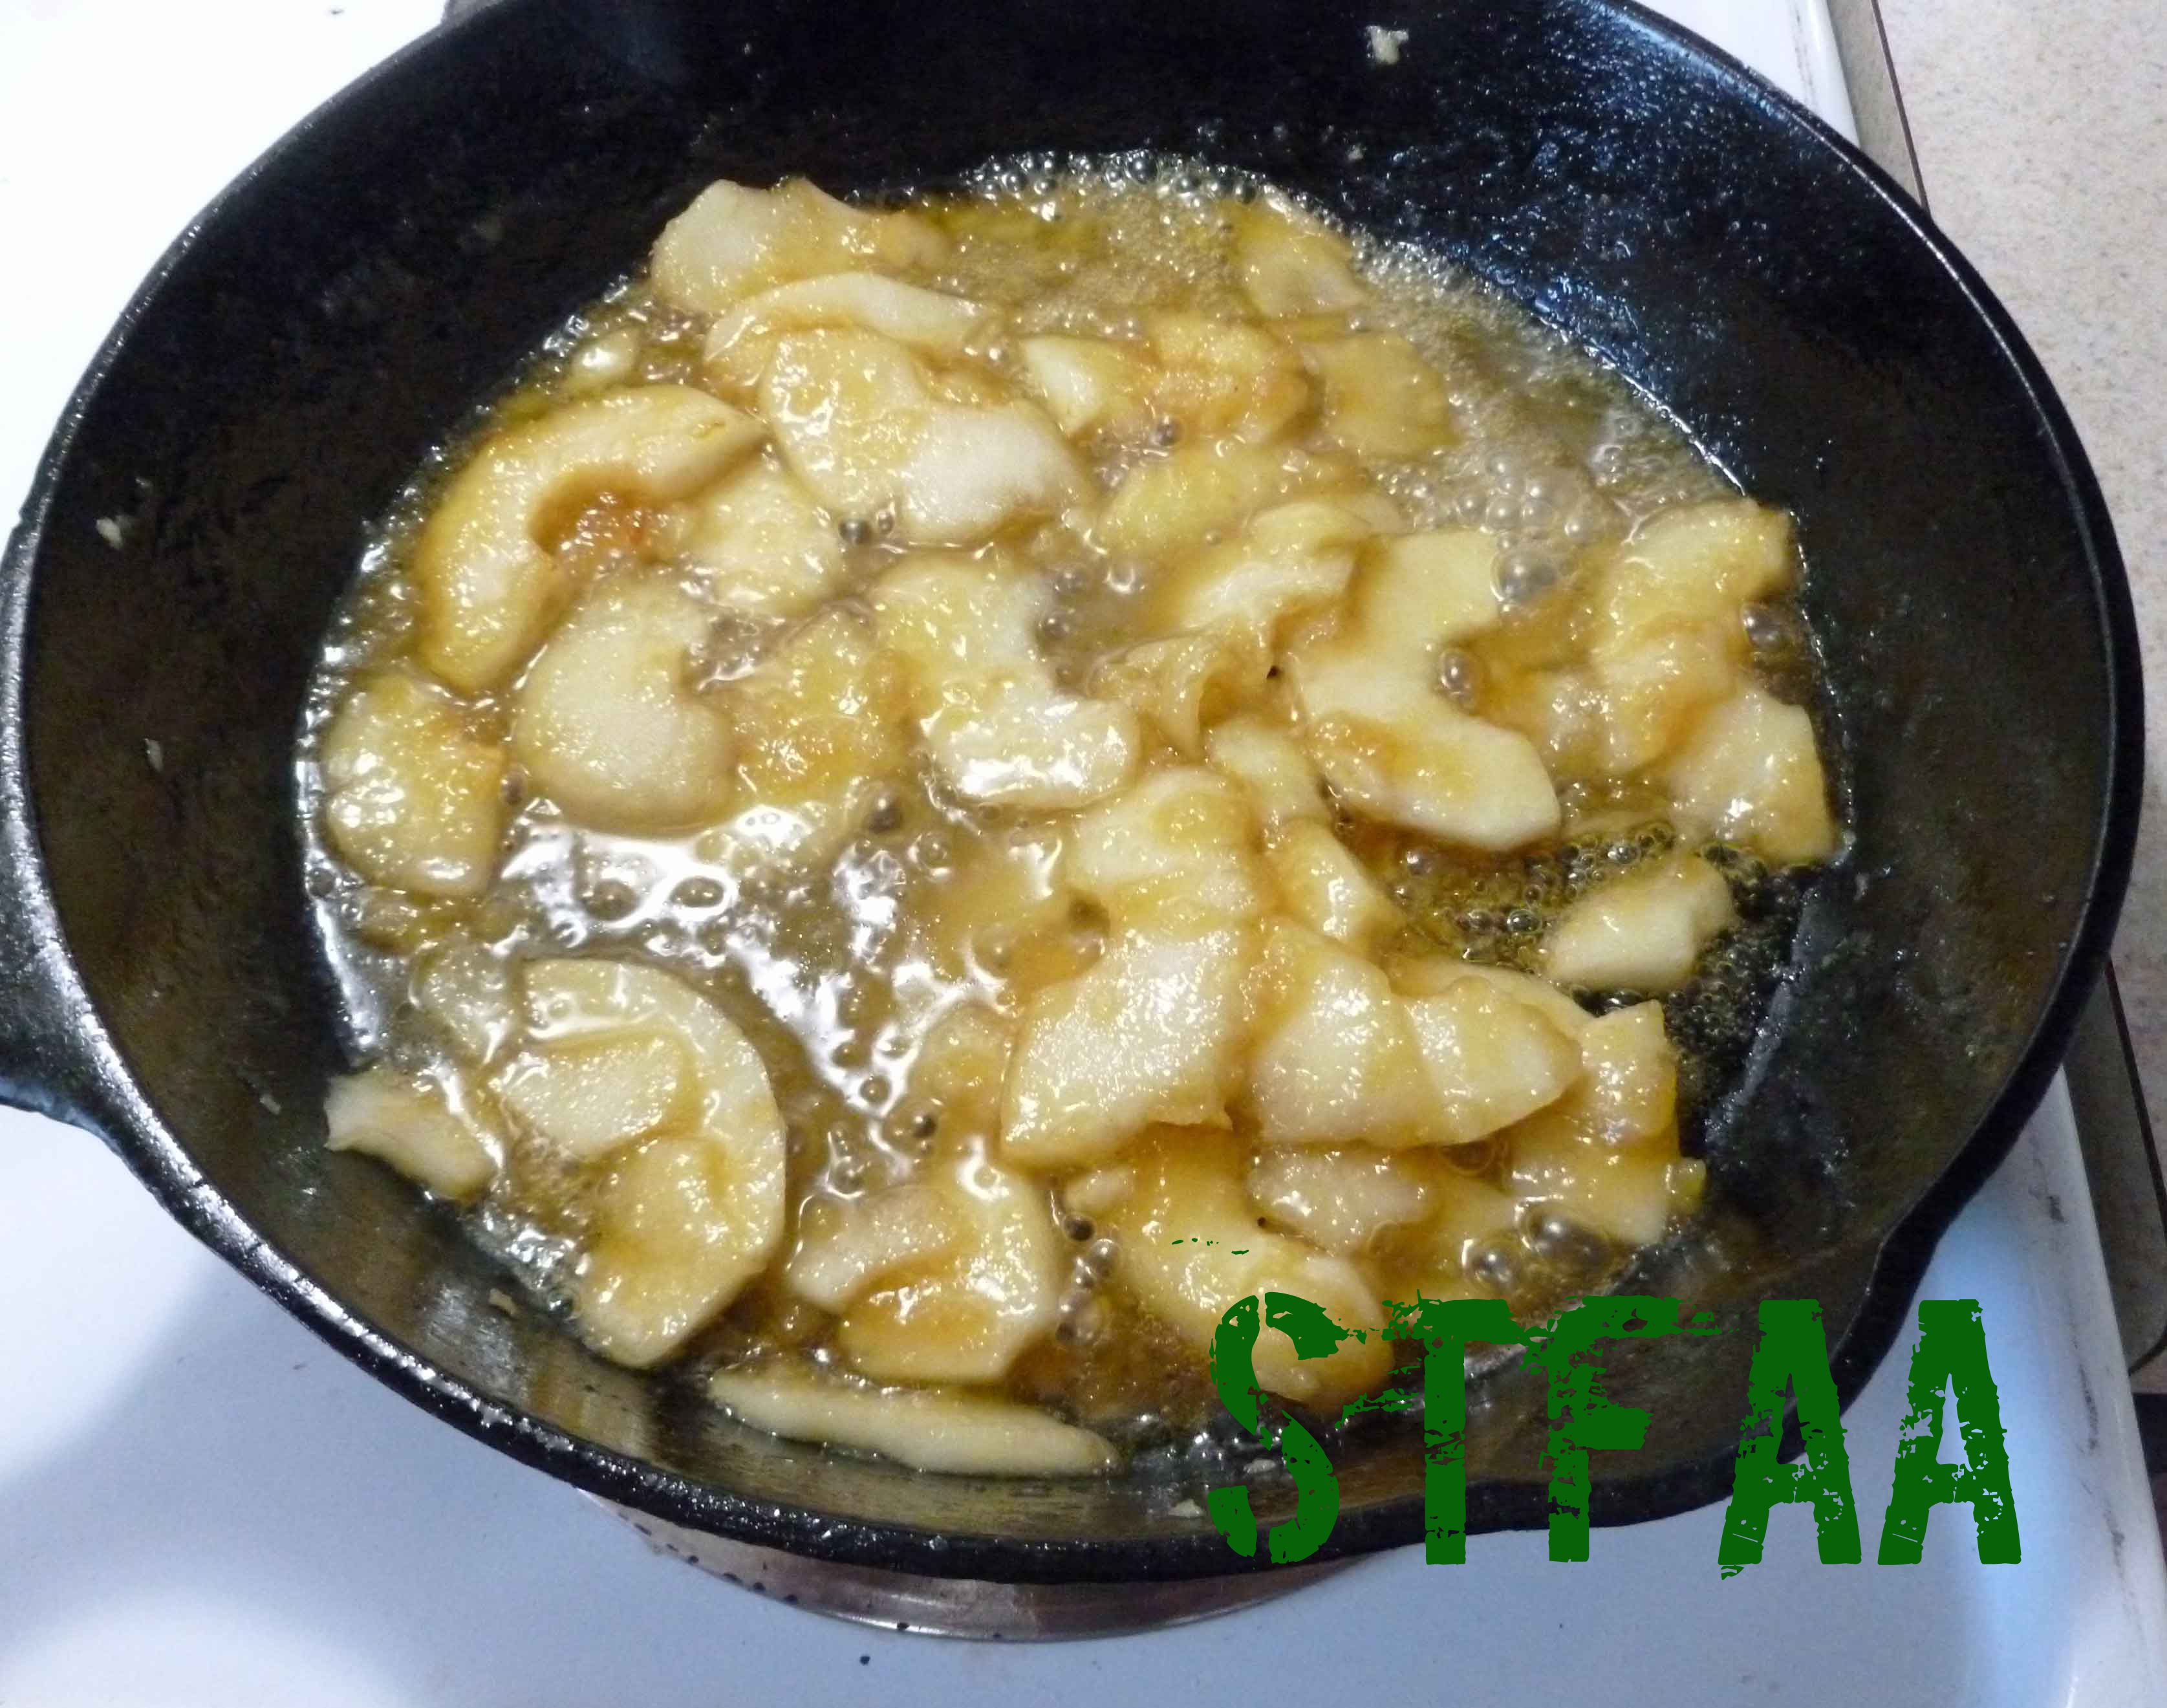
Melt the nondairy spread in a medium skillet over medium heat. Add the apples and cook, stirring and turning frequently, until they are tender, but still crisp (about 10 minutes).
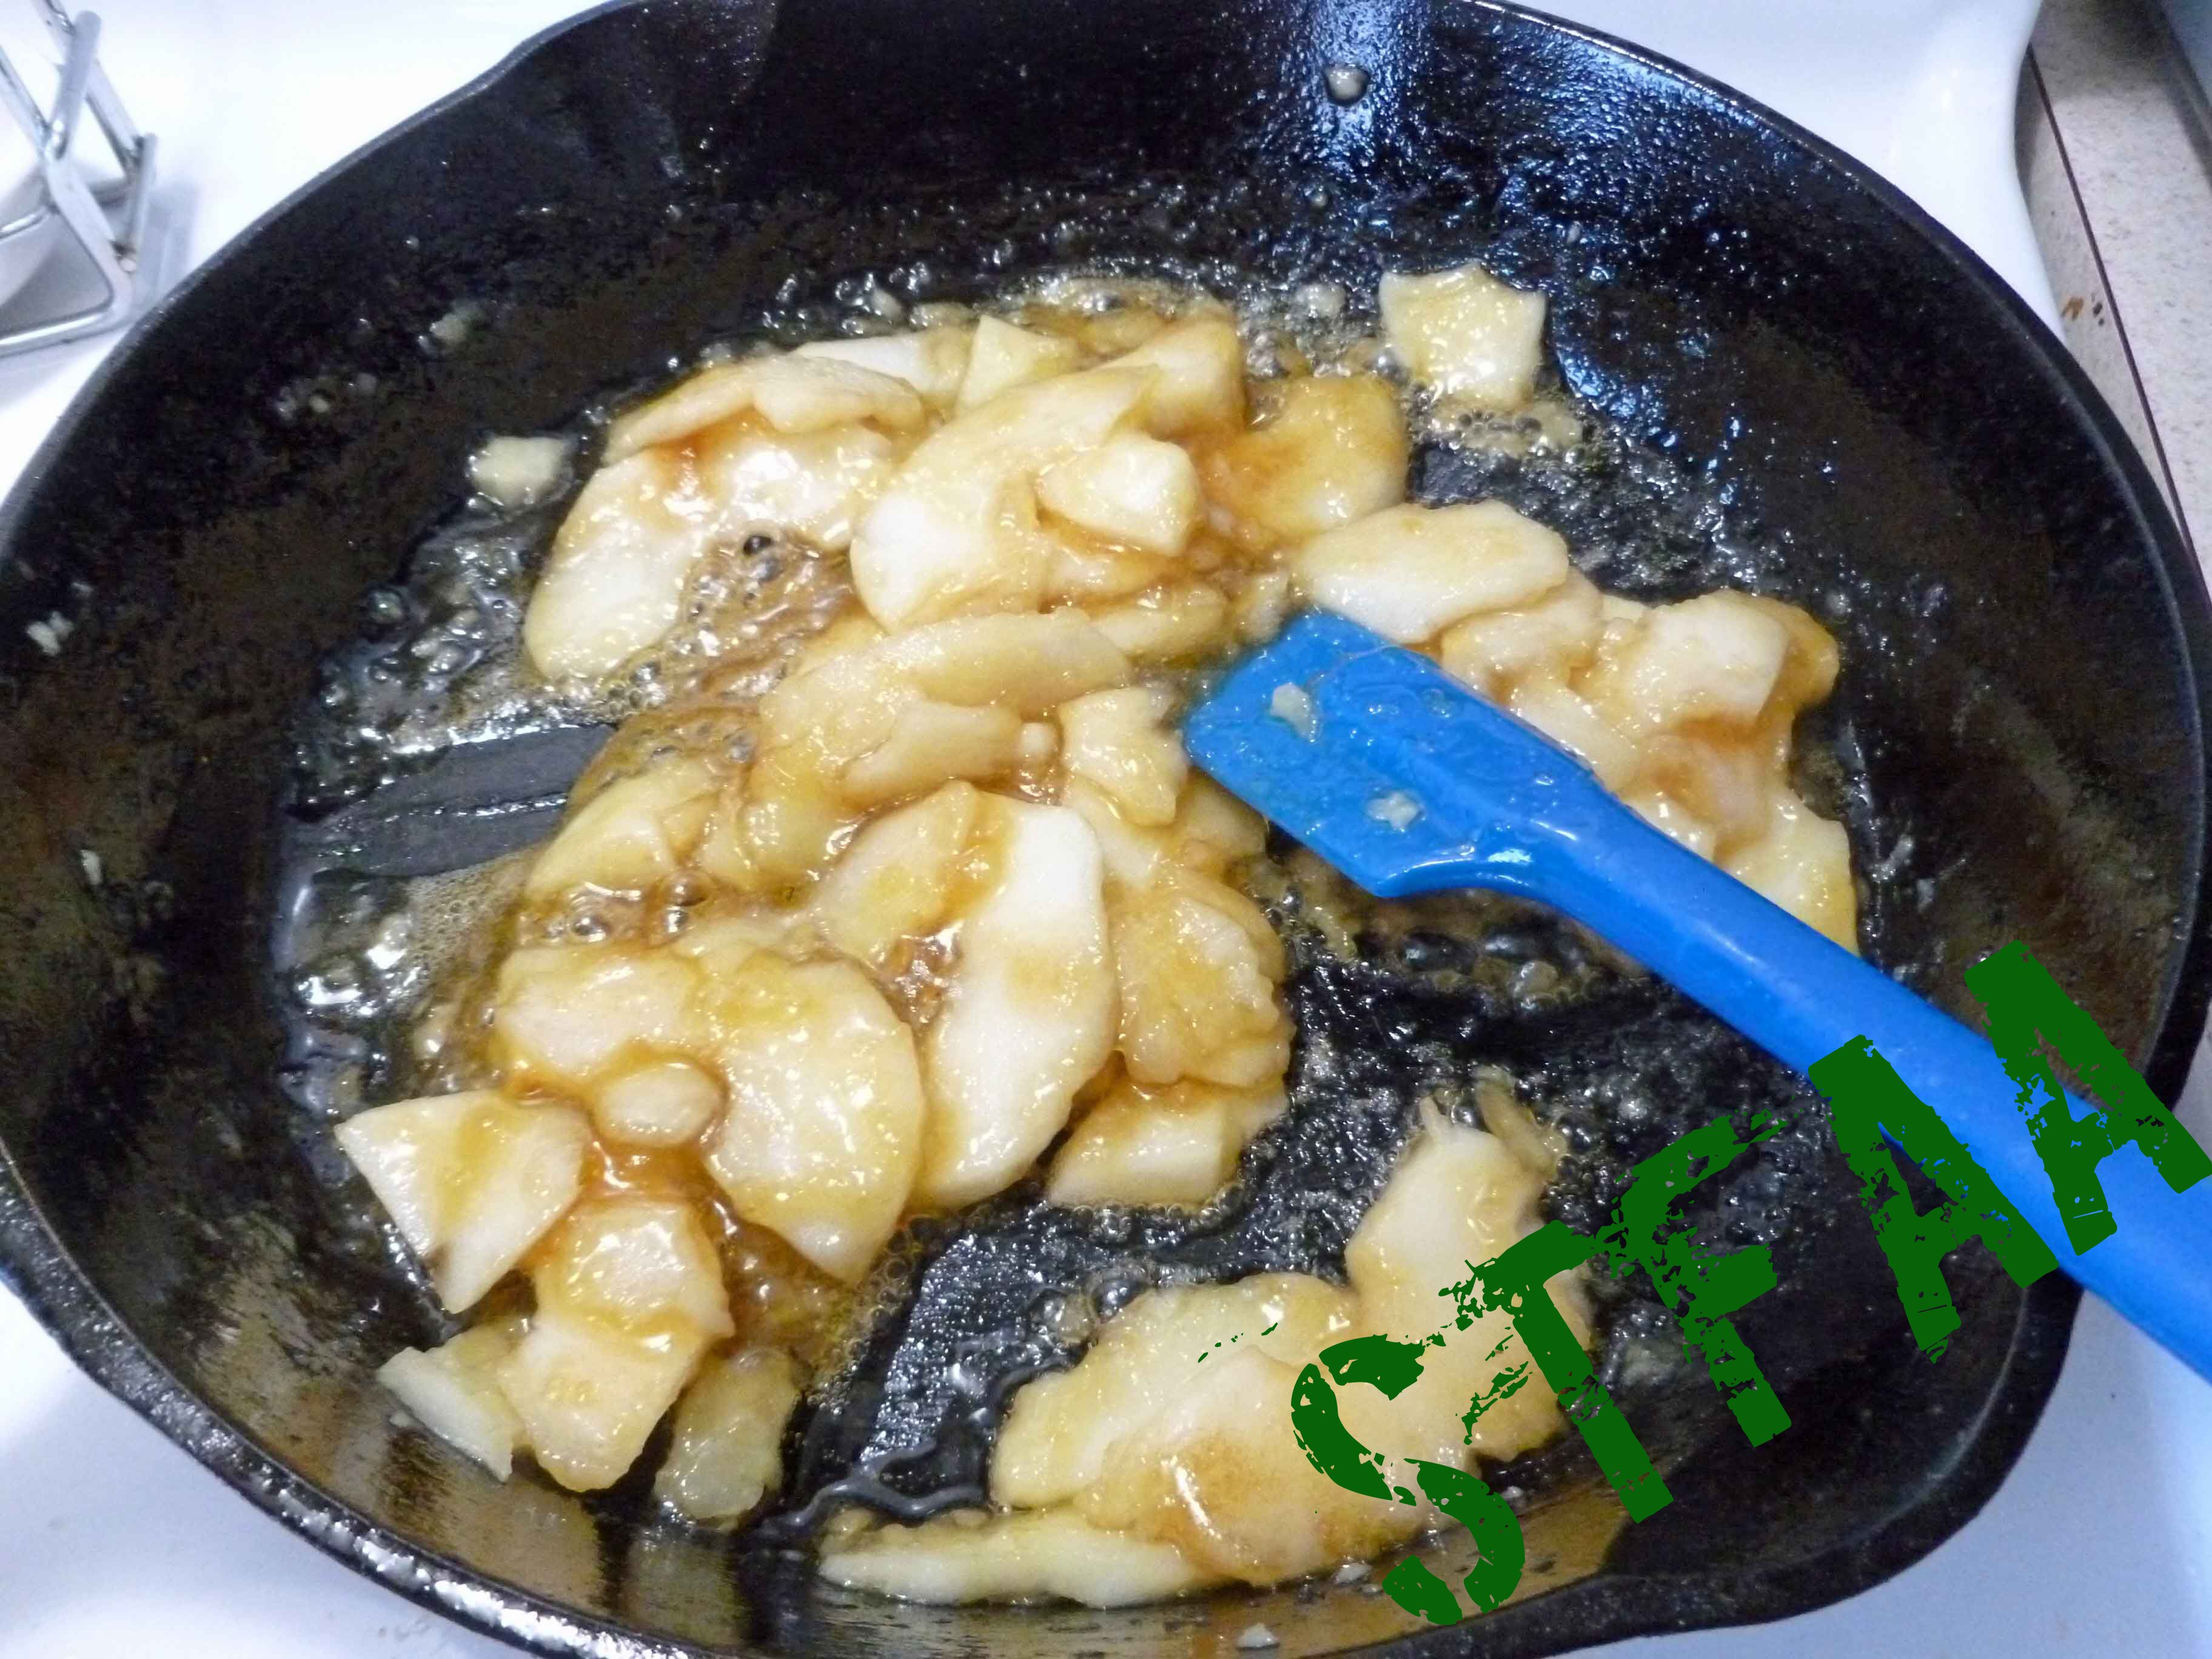
Add the brown sugar and stir until dissolved.
Add the rum or other safe alcohol, and ignite, shaking the skillet gently until the flame subsides.
Serve over the dessert or breakfast item of your choice, or if you have a safe ice cream, top your ice cream with it.
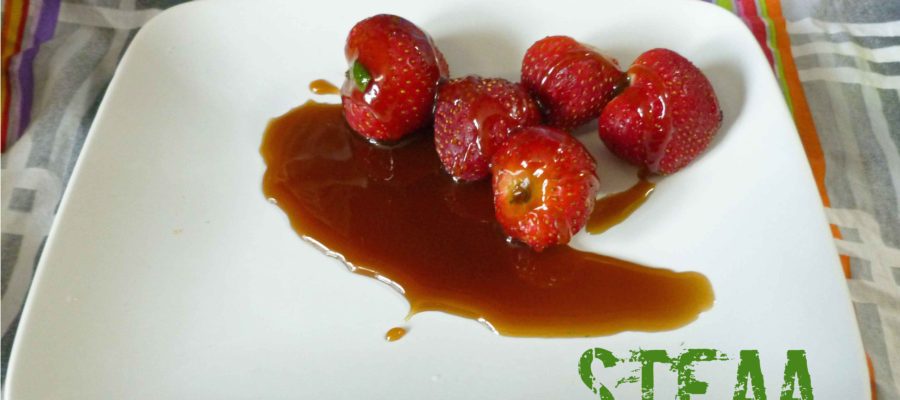
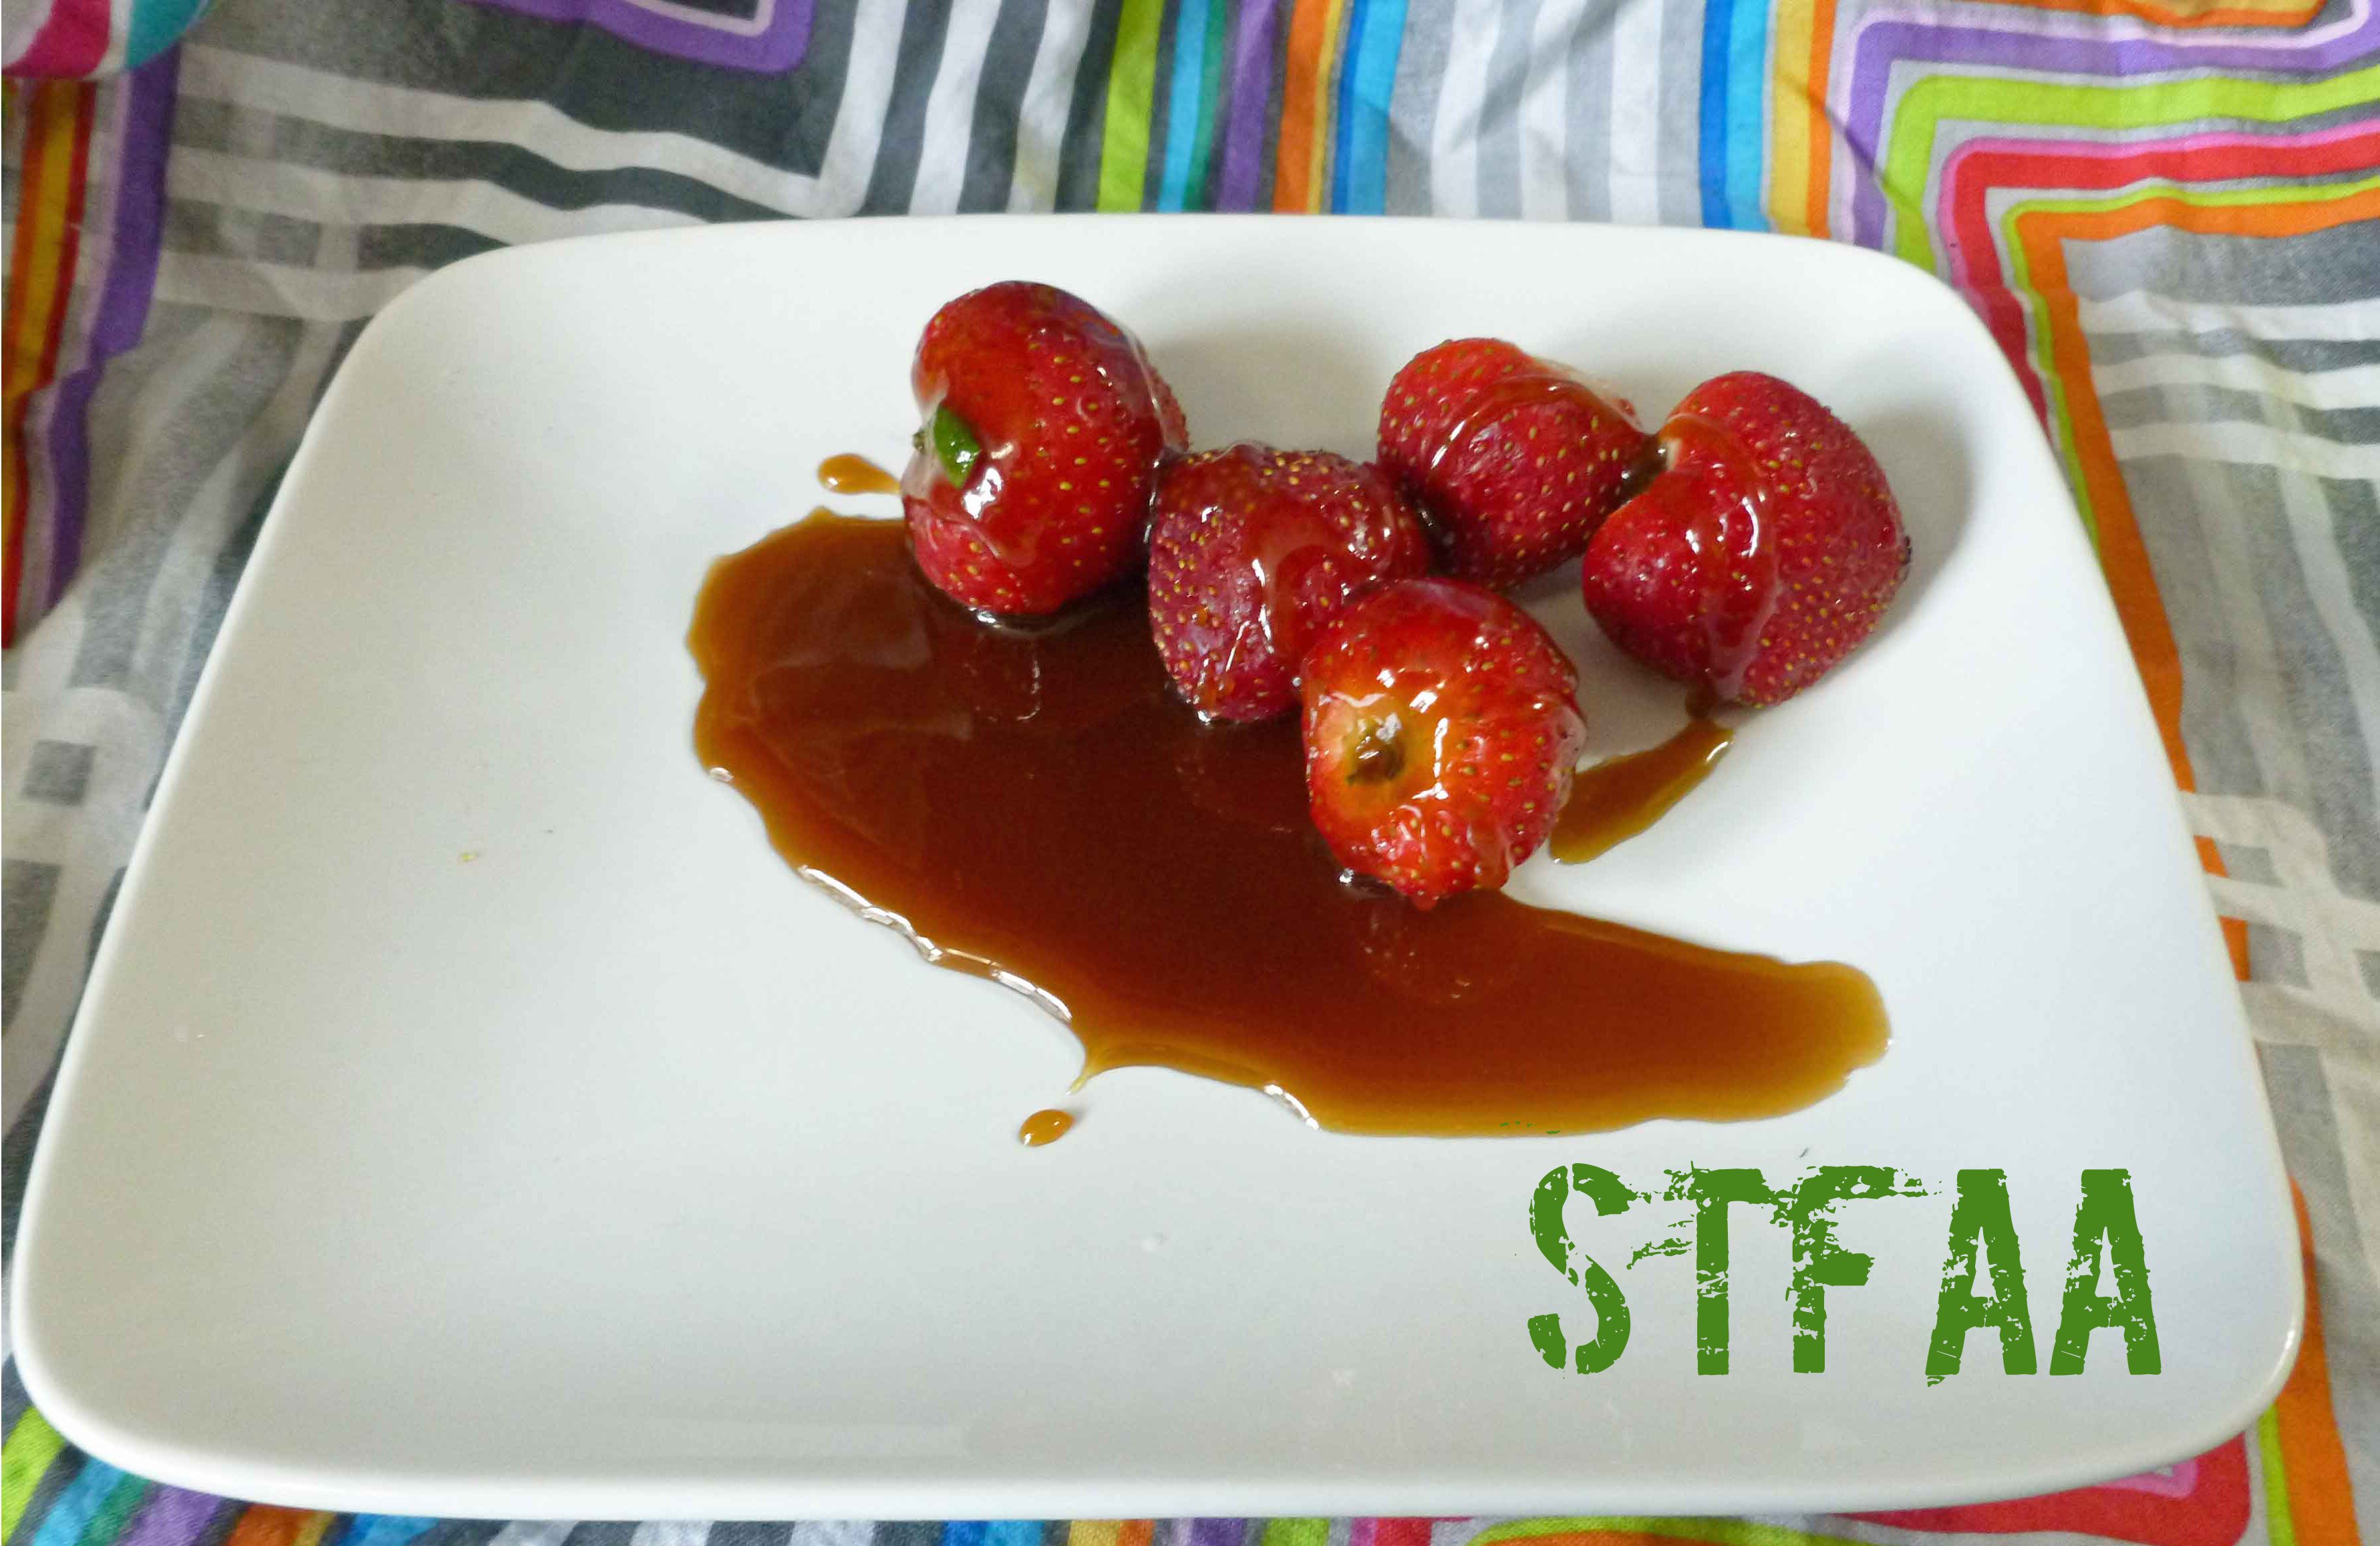
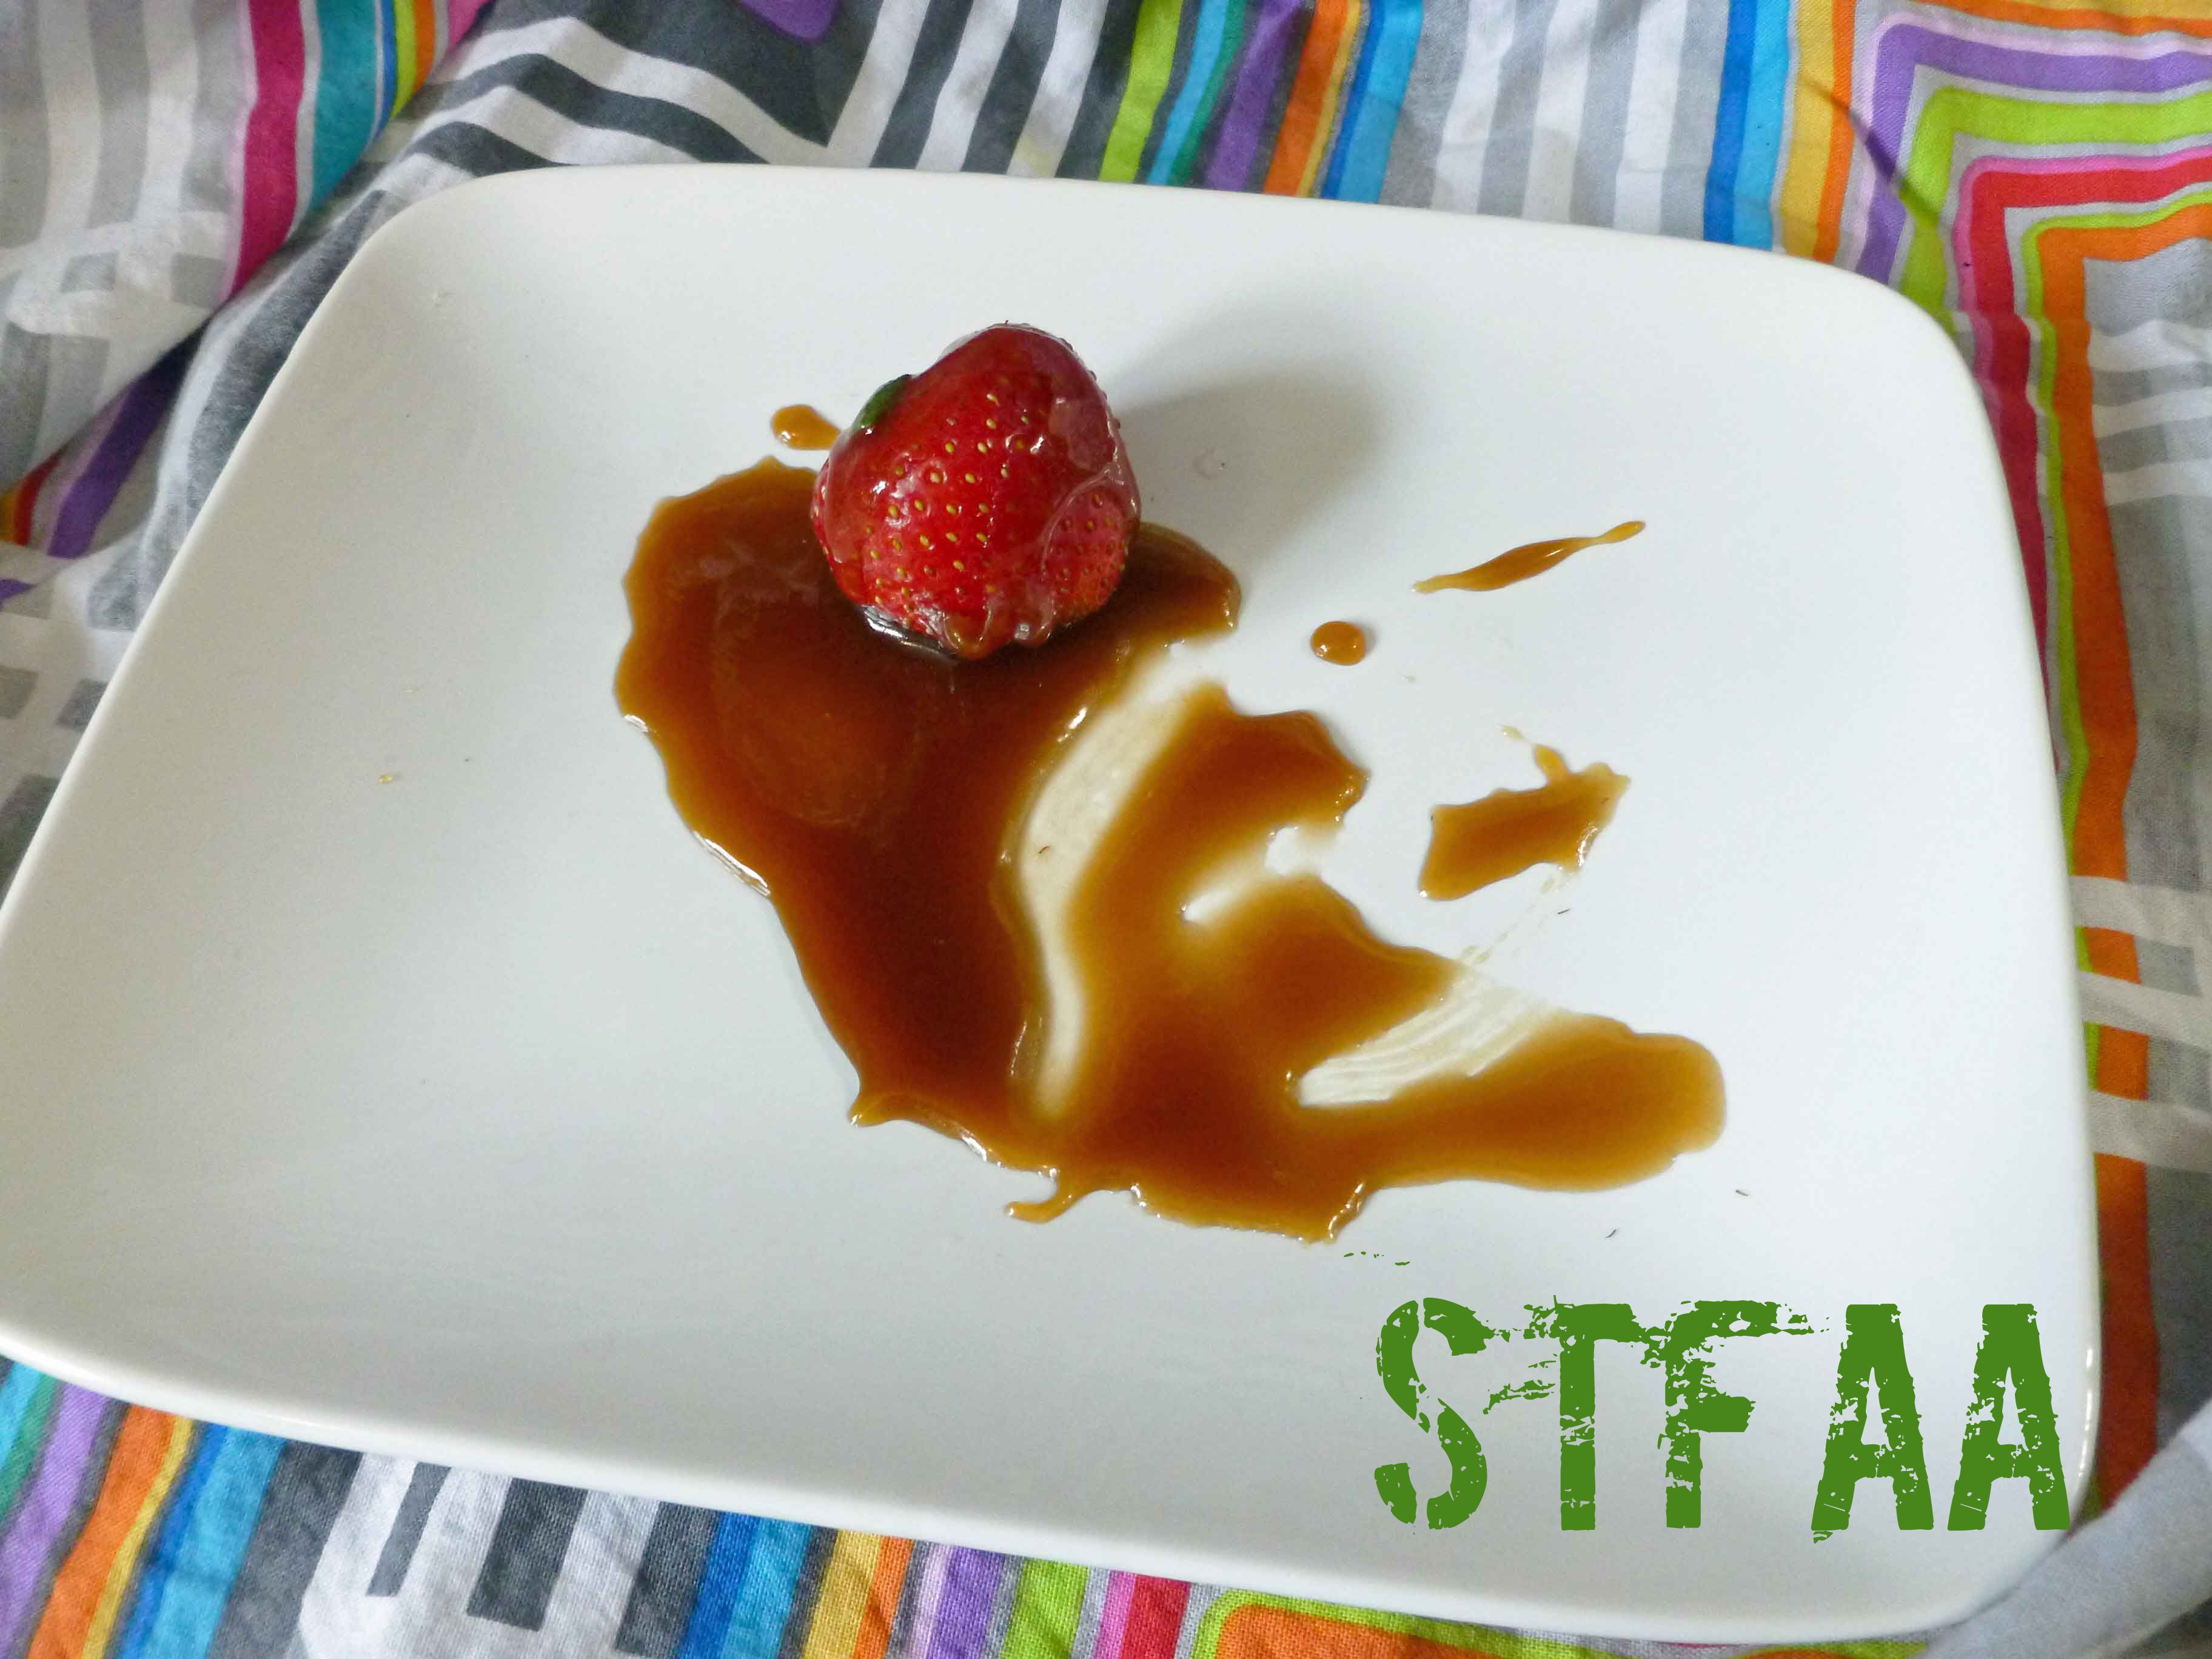
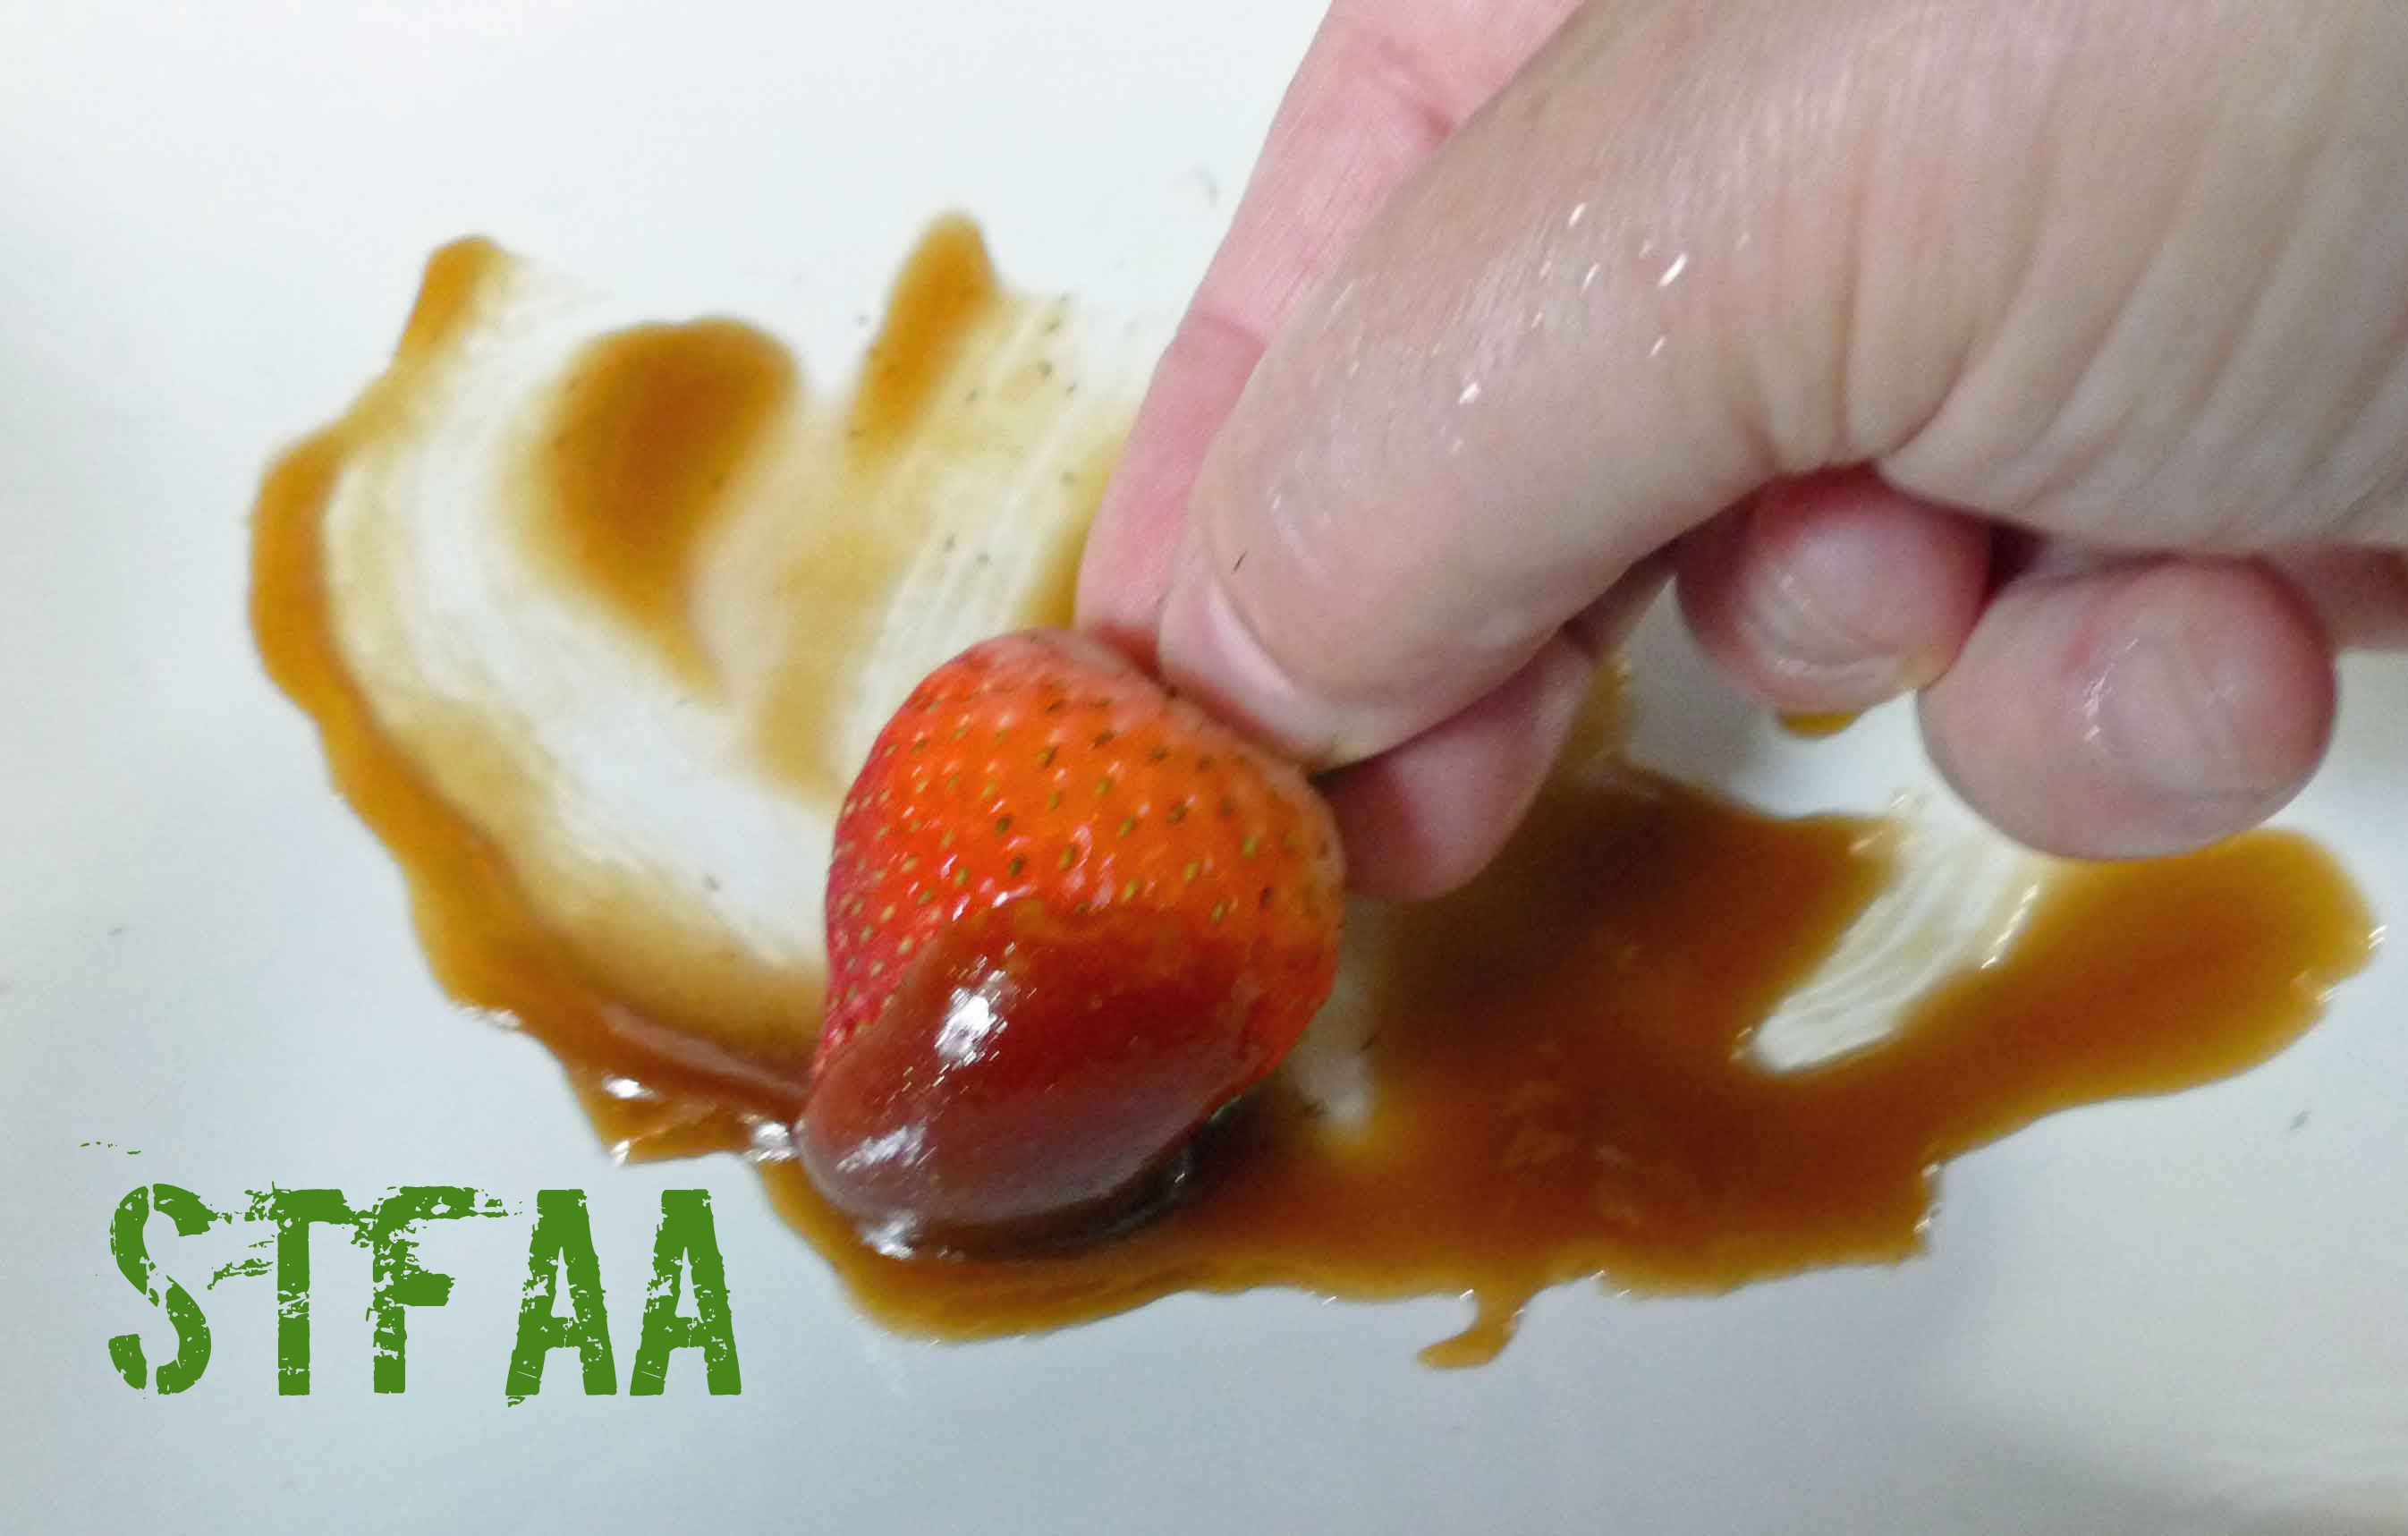
Well, I loved the original version of out Better Than Sex Vegan Rum Caramel Sauce. Loved it. Seriously. And then the corn allergy reared its ugly head, and then I had to put maple syrup on the suspect list because of a few odd reactions (and I’m already allergic to maple pollen), so using corn syrup, Earth Balance, and maple syrup became a problem for me. I still haven’t verified the maple issue because most maple syrups use dairy or canola (which is a problem for those with corn allergies) as a defoamer and I’ve not bothered to track down a producer that doesn’t use a defoamer yet. So since I had to rework the recipe due to corn anyway, I left out the maple syrup. If you don’t have issues with either corn or maple, feel free to use the old recipe — it was great. This recipe requires that you make dark cane syrup ahead of time, but the recipe makes extra so you can have it on hand.
Combine all ingredients in a saucepan which has a cover. Stir and bring to a boil. Reduce heat to simmer, place the lid on the saucepan, and simmer for three minutes.
Remove the lid of the saucepan, and using a candy thermometer, boil until the syrup reaches 235°F to 240°F (soft ball stage). It is better to be a few degrees under than to go over 240°F.
Once it has reached 240°F, remove the sauce pan from the heat, and allow to cool for at least an hour. Then pour the syrup into glass jars to store, place the lids on the jars, and store them in your cupboard.
1/2cupdairy free margarine(You can use Earth Balance, your own homemade vegan version, or if you aren’t vegan and have a corn and coconut allergy, you can use our homemade margarine – http://adultfoodallergies.com/homemade-margarine-new-and-improved/)
1/2cupdark cane syrup(See recipe in post.)
1Tablespoonvanilla extract(I make my own with vanilla beans and vodka made from potatoes, as most commercial extract contains corn)
4Tablespoons rum(Be very careful, as many alcohols can have corn and wheat/gluten. I do well with Rhum Barbancourt Reserve Speciale.)
Servings: cups
Instructions
Place all ingredients in sauce pan. Stir ingredients over low-medium heat and stir until all ingredients dissolve.
Sauce will thicken and it is ready when it coats the back of a metal spoon and drips off it in long slow drips. Do not let it get too hot or have it on the heat for too long or it will begin to sugar back out. If it does, lower the temperature and add a couple of teaspoons of water.
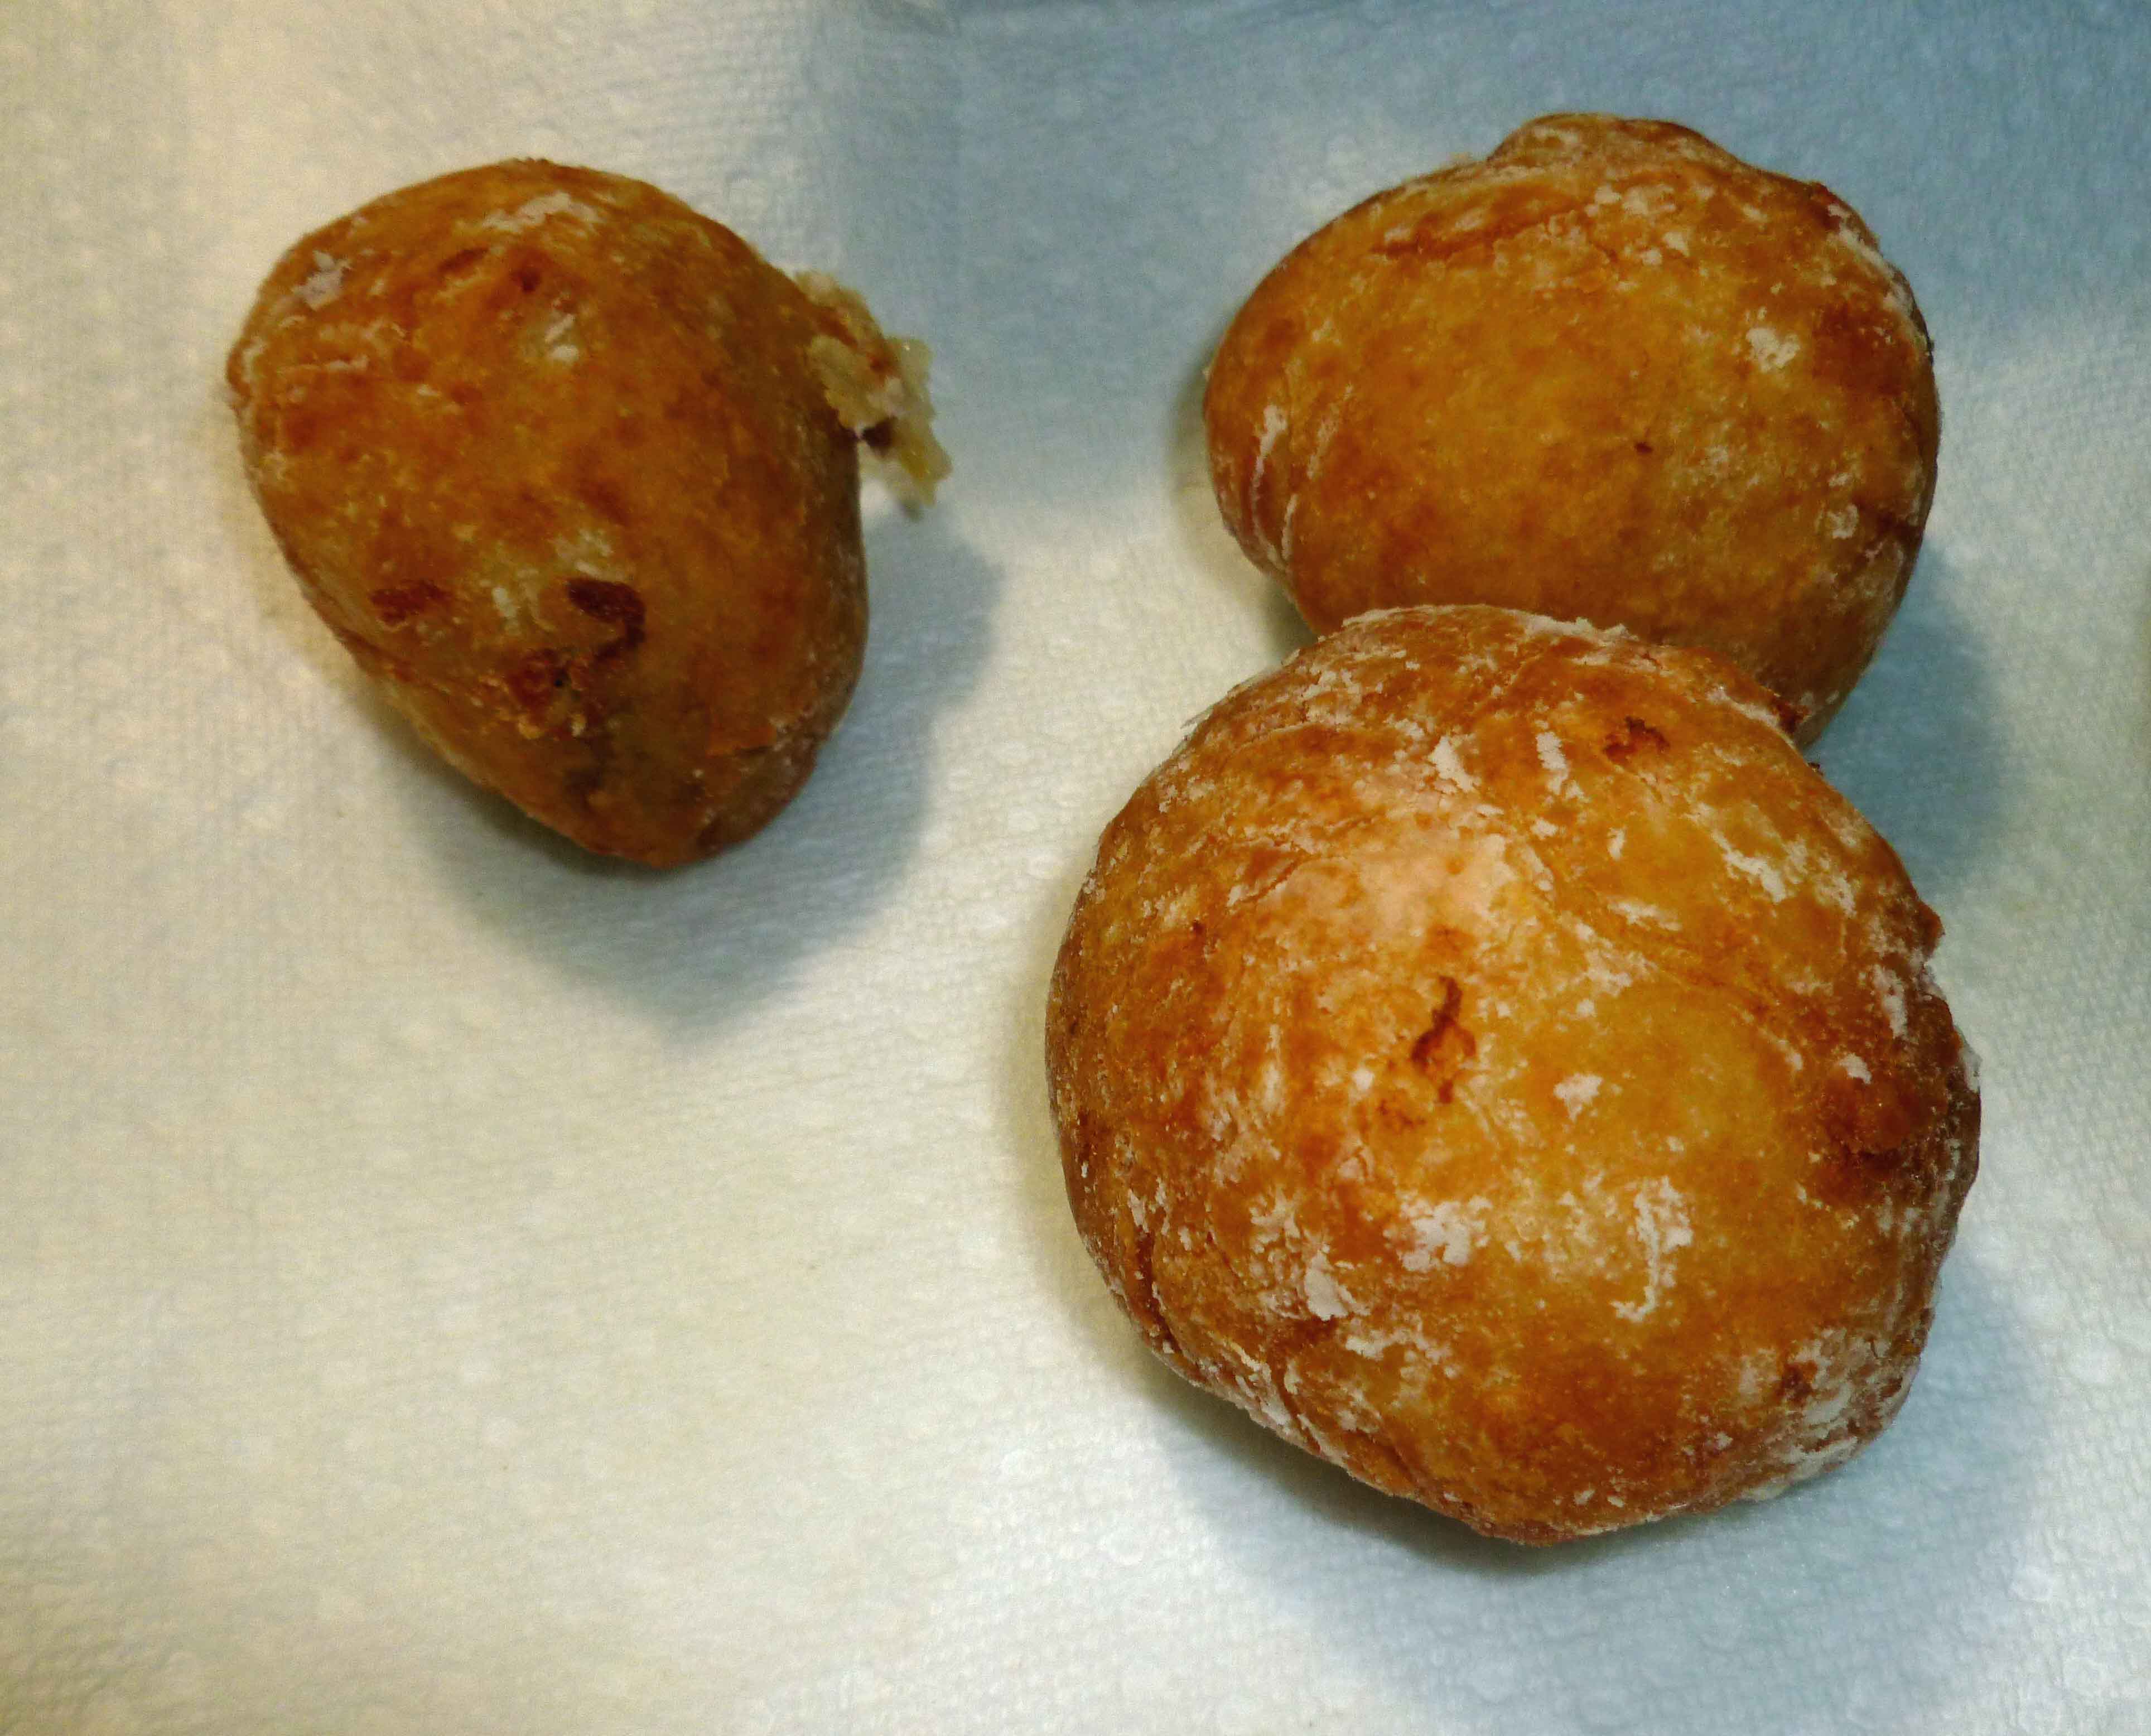
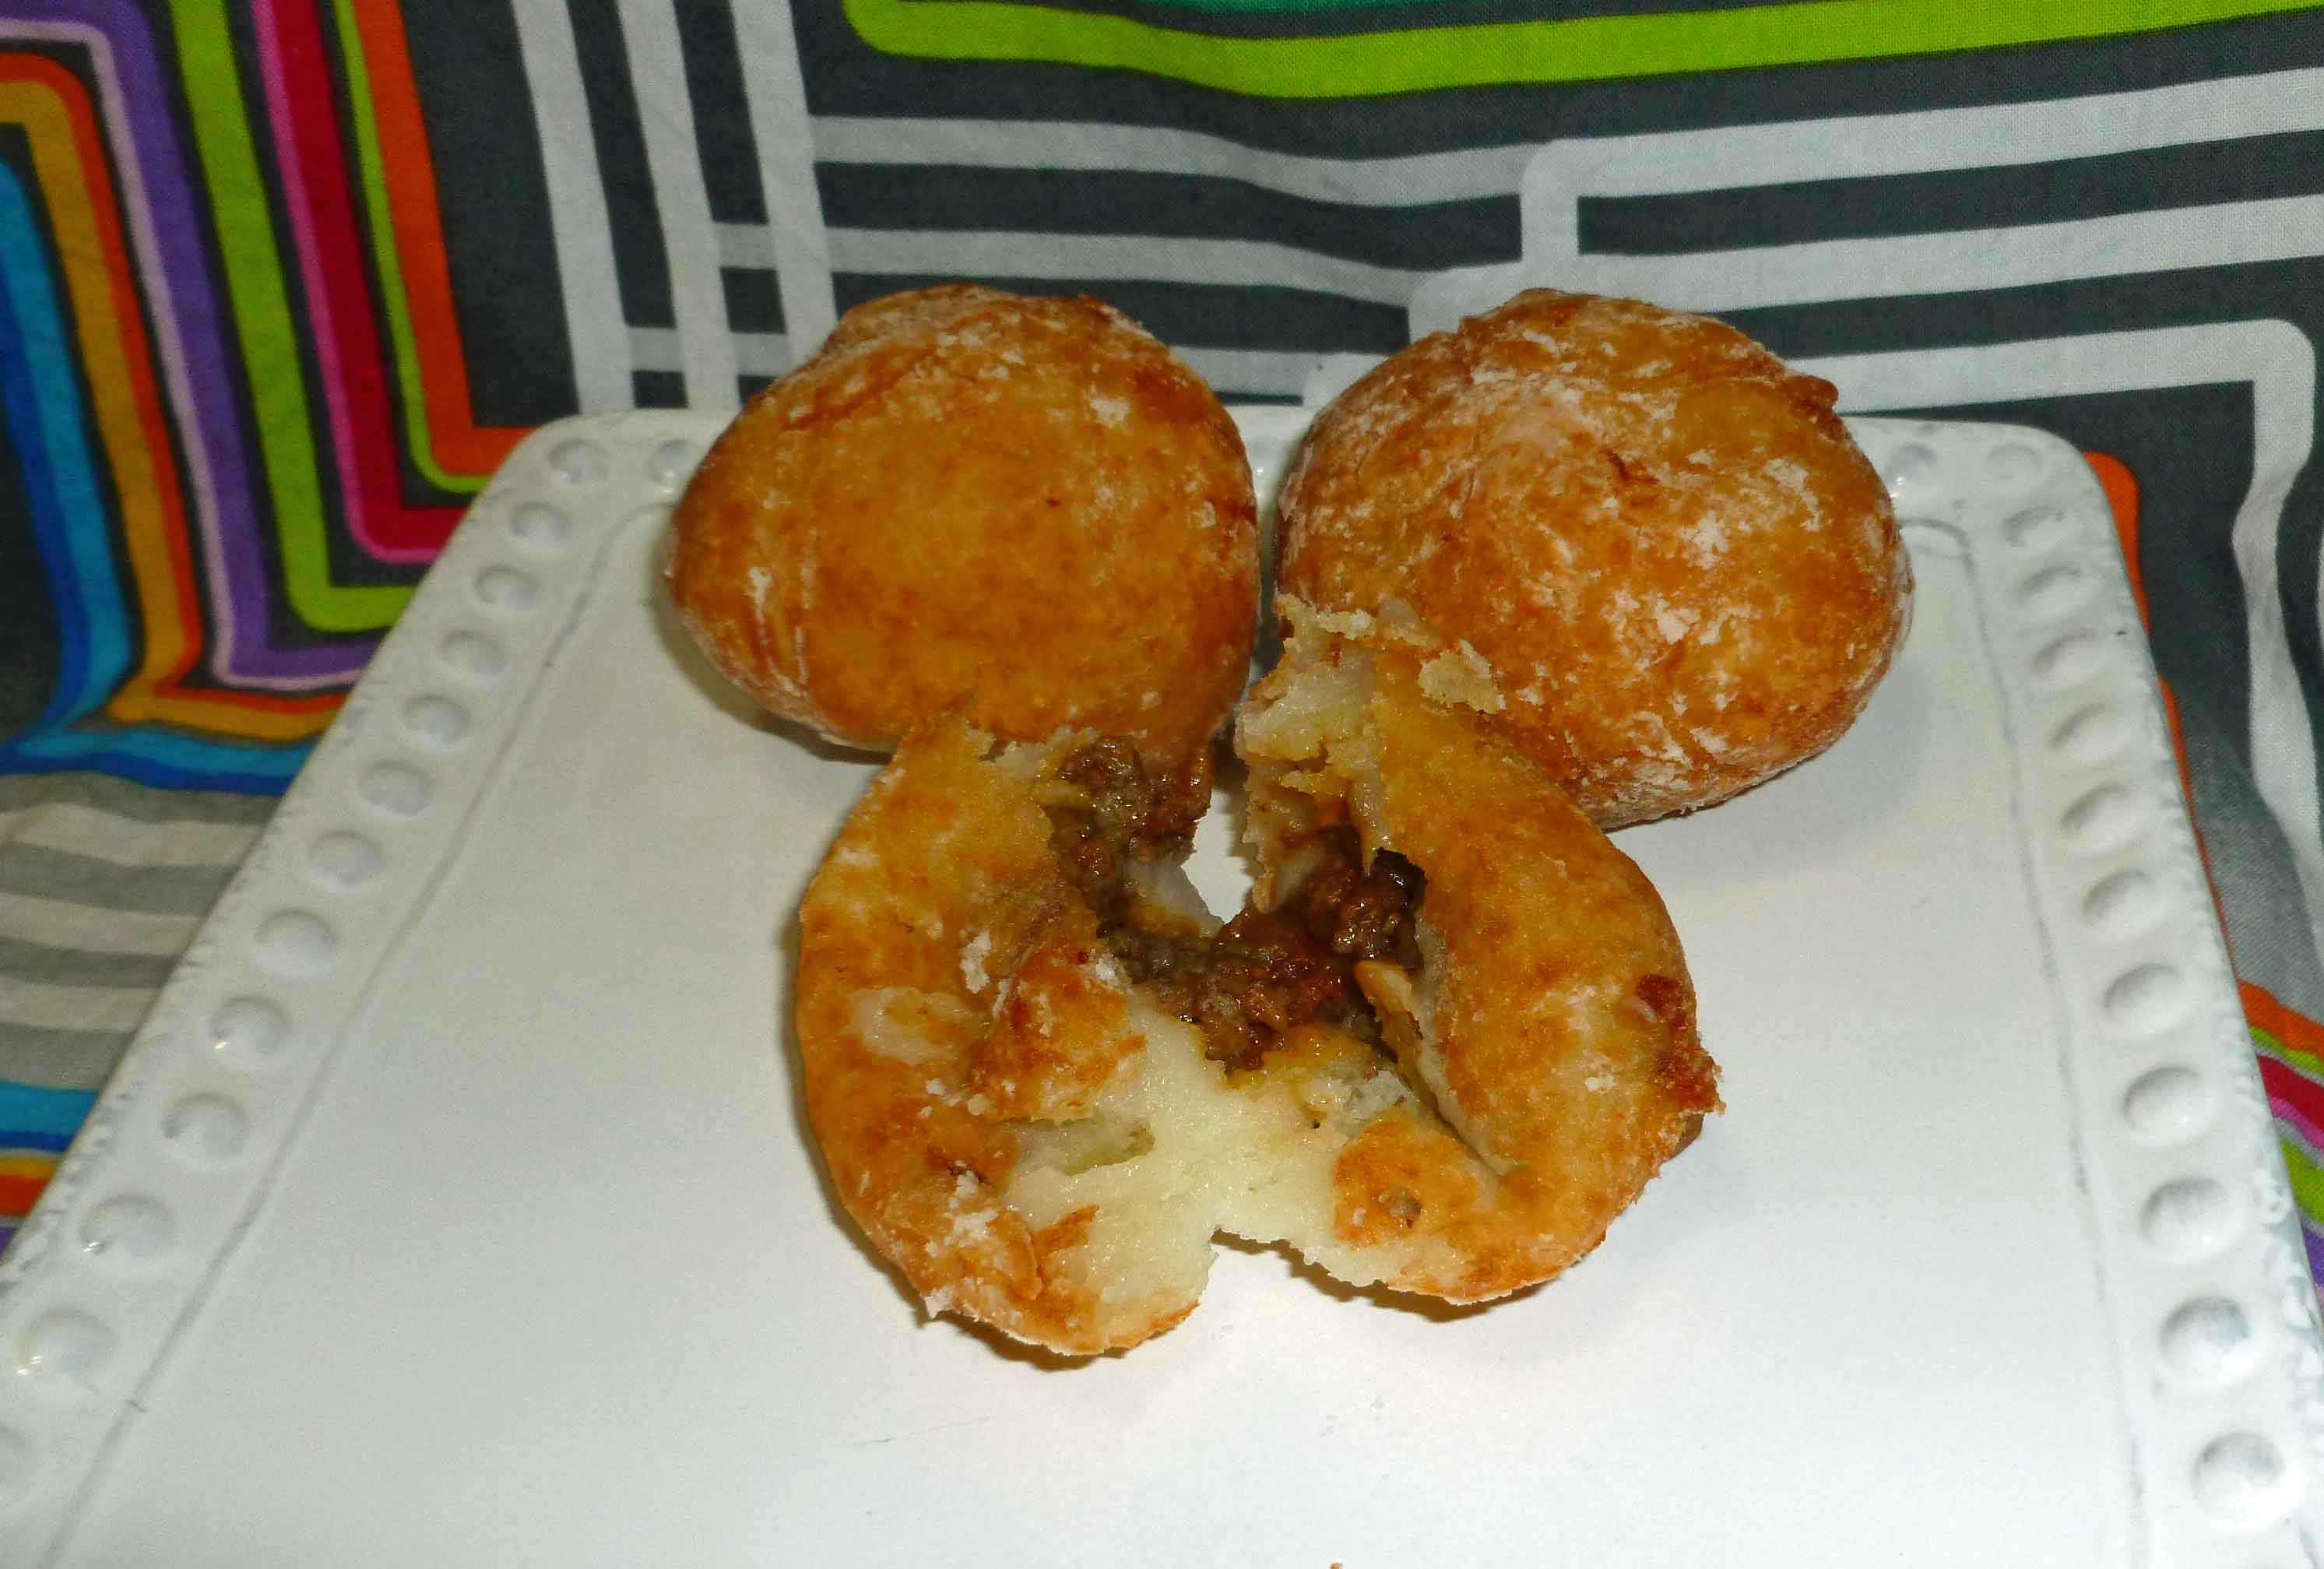
It’s the last recipe day of our potato themed month. And once again, I’m ignoring Irish cuisine despite my intent. I’ve taken inspiration from a Puerto Rican version of Papas Rellenas, but modified it to be safe for me, and cheated a bit by using salsa and taco seasoning for the ground beef mixture. But it still tastes really good. I’ve used my home canned salsa, but you can pick and choose your own salsa if you have a safe one you can purchase. I’ve also used my own home mixed taco seasoning, but again if you have a safe commercial one, have at it.
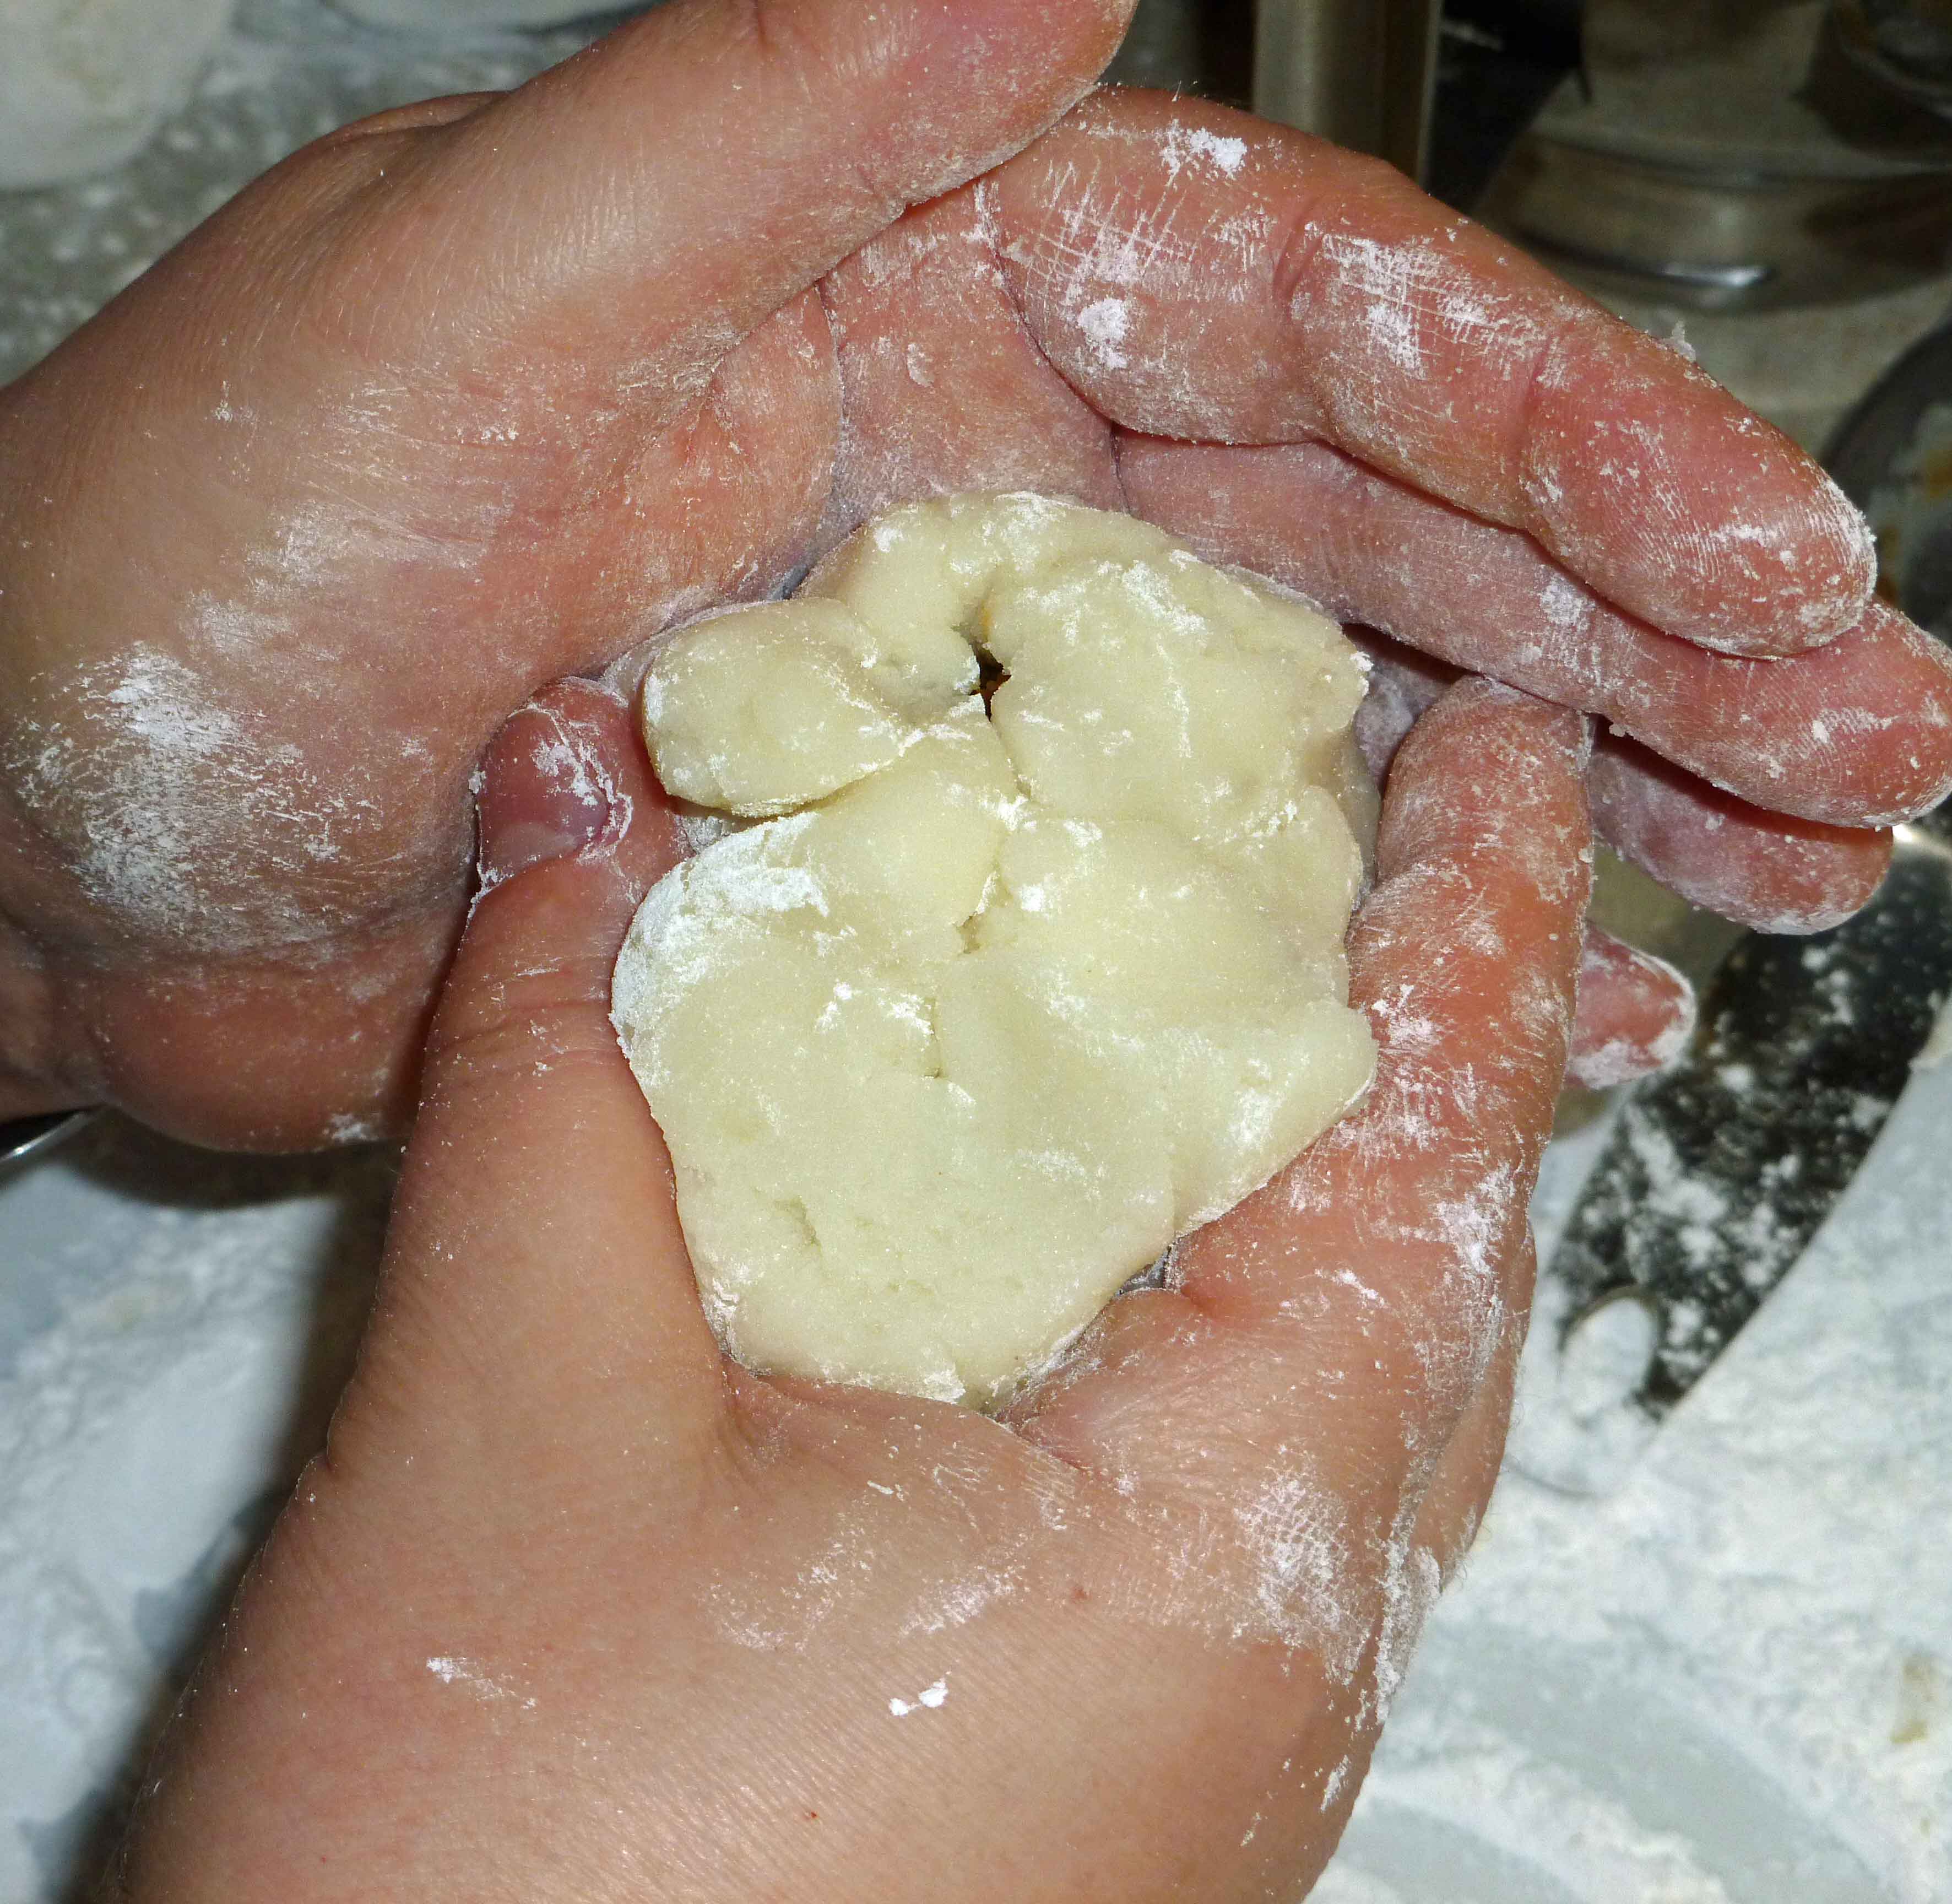
The potato mixture should be dough like. If you have to add a bit more tapioca starch to get there, add another tablespoon or two if necessary. Make sure that the potato balls are really sealed, if not, they will open when deep frying and make a good bit of mess in the oil (ask me how I know). Also, I think they would be really good pan fried if you want to flatten them a bit, and skip the deep frying. If you would like to make them vegan, you could use a can of pinto beans or black beans instead of the ground beef, which would work just as well and be just as yummy.
Stuffed Potatoes (Papas Rellenas inspired)
Print Recipe
A comfort food you can deep fry or pan fry. If you wish to make this vegetarian or vegan, use a can of pinto beans or black beans in place of the beef.
A comfort food you can deep fry or pan fry. If you wish to make this vegetarian or vegan, use a can of pinto beans or black beans in place of the beef.
1/2poundground beefor use one can of drained and rinsed pinto or black beans
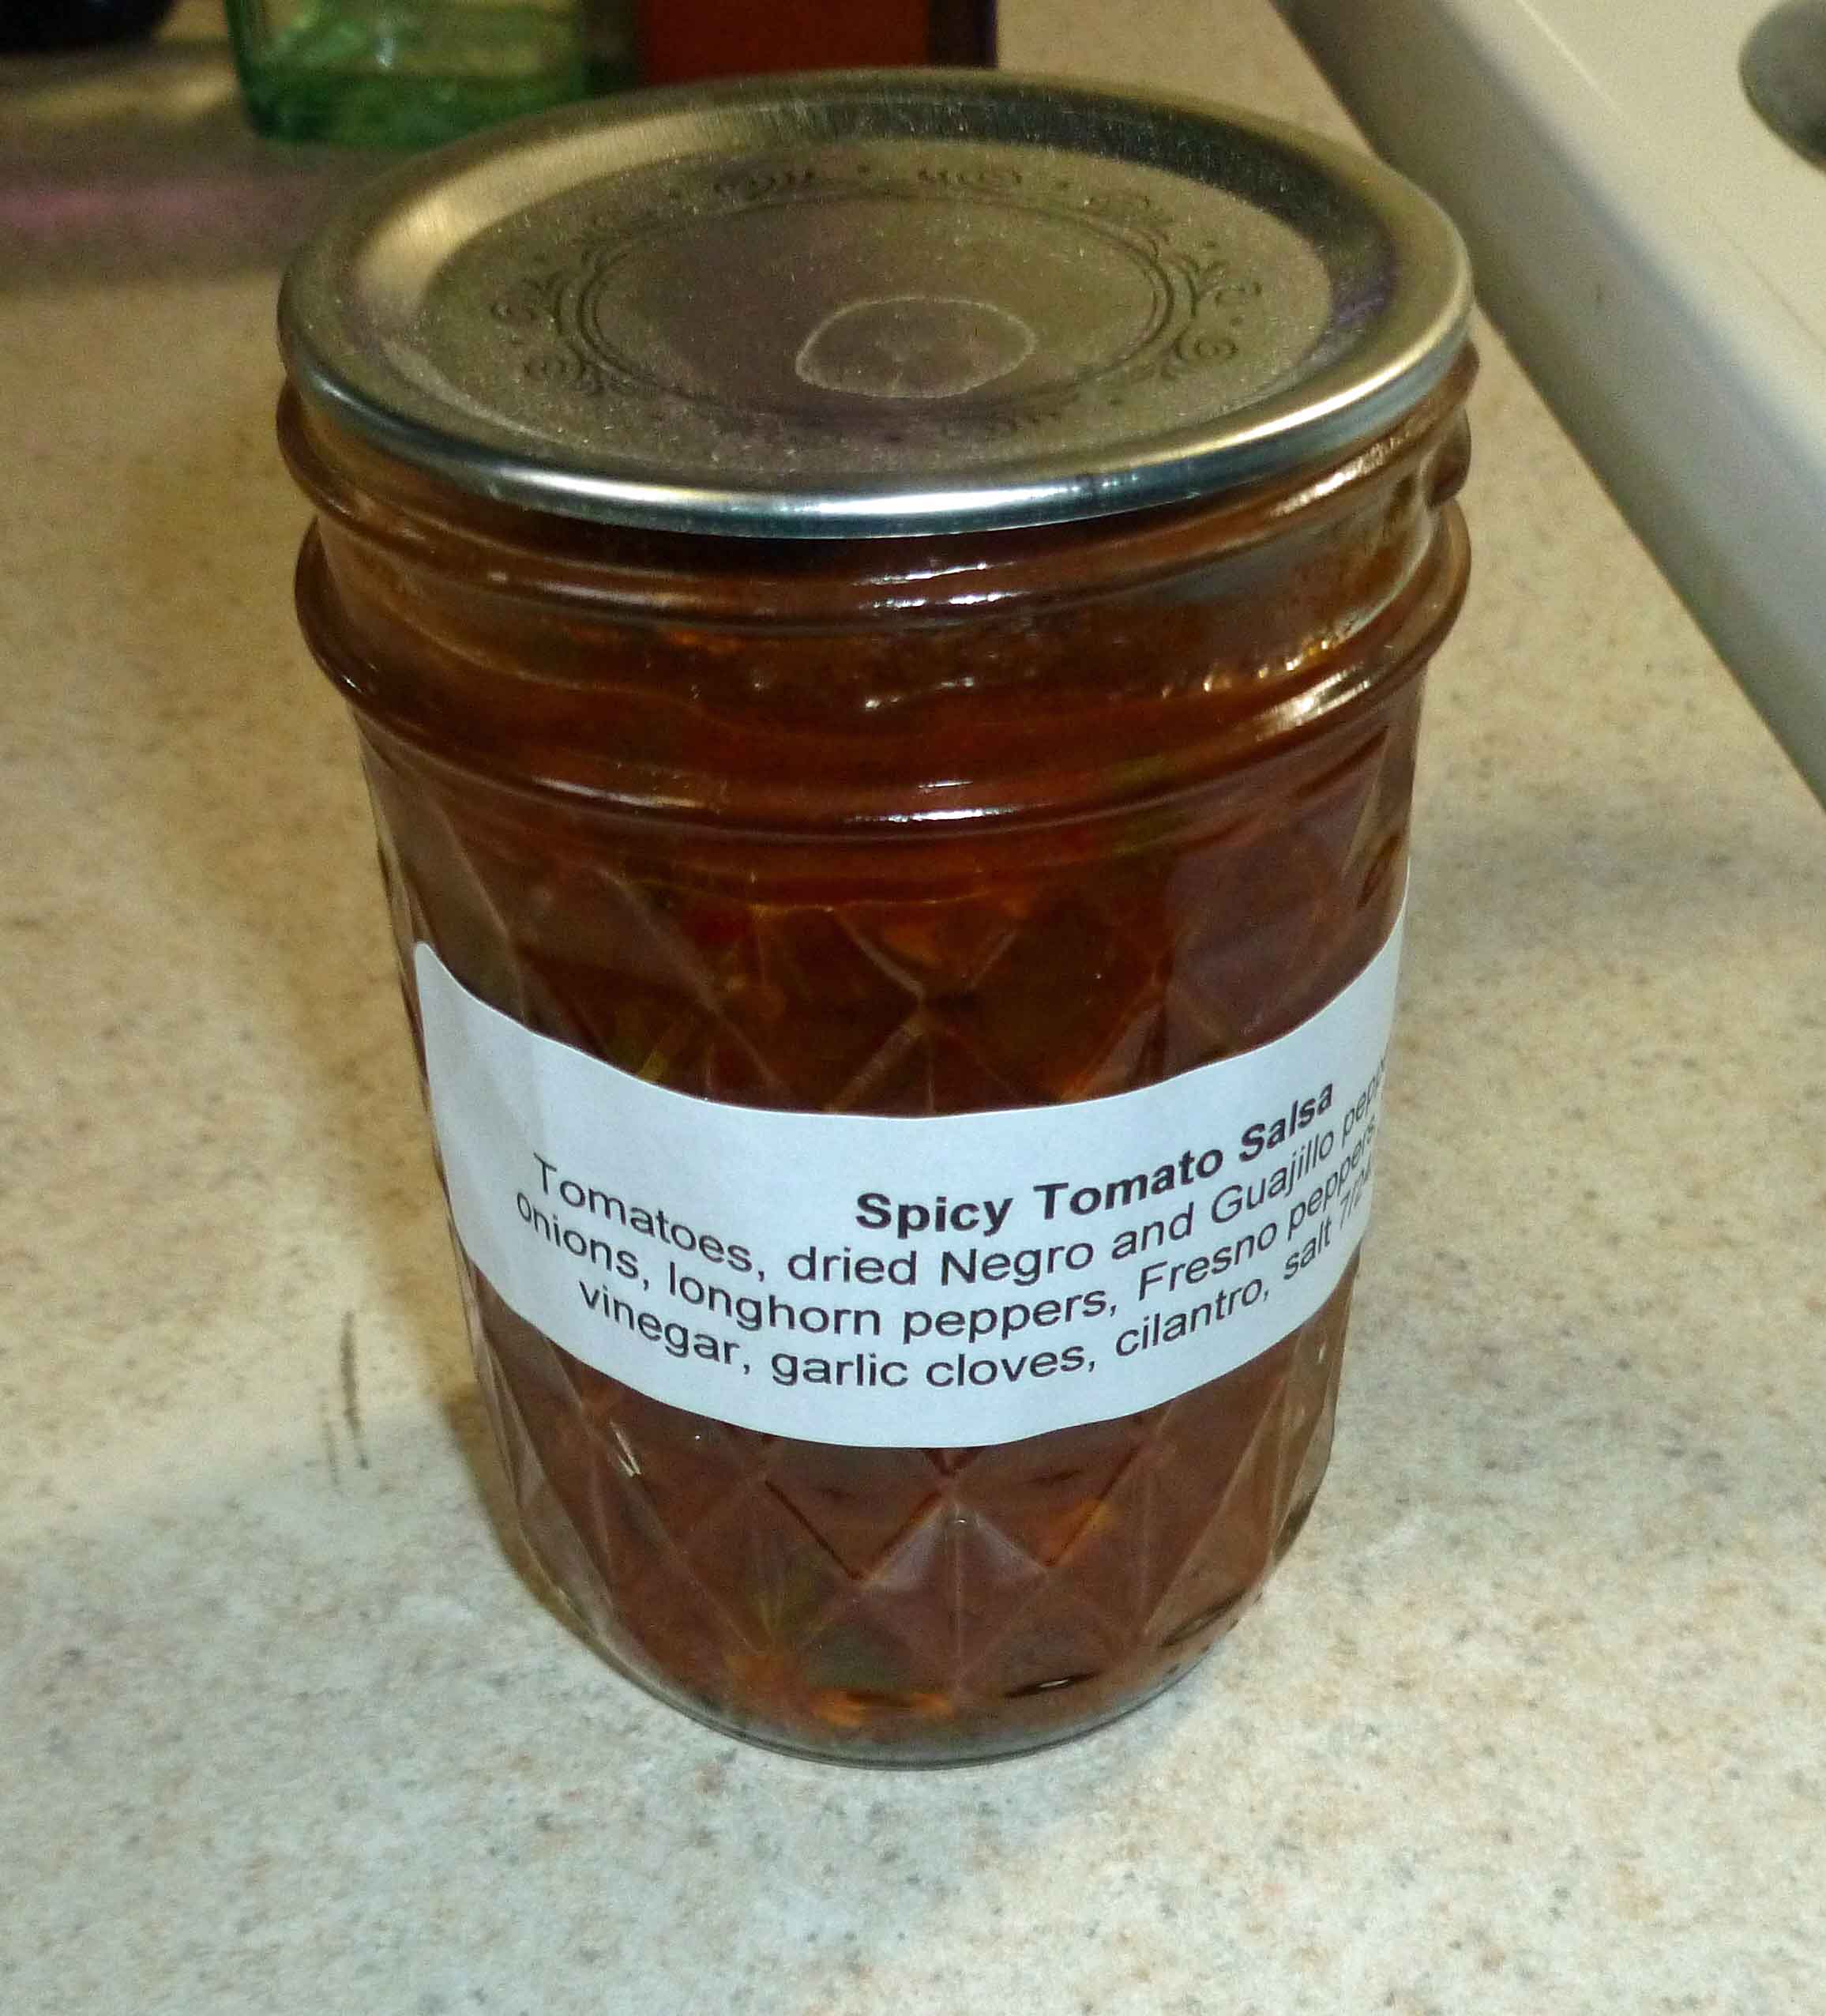
1/2 cupsalsa(I used my homemade canned salsa)
1Tablespoontaco seasoning(see spice mix in our post on Taco Beef for Tacos, Salads, and Nachos) http://adultfoodallergies.com/taco-beef-for-tacos-salads-and-nachos/)
Frying Ingredients
1/2 cup tapioca starchto be used for flouring your hands while forming balls
oil for frying
stainless steel pot or skillet
thermometer
Servings: people
Instructions
Potato Mixture
Place potatoes in a pot of lightly salted water. Cover the pot, bring to a boil, then reduce heat to a simmer for 15-20 minutes, or until potatoes are soft. Or use your Instant Pot to cook them if you have one, using a trivet and a bowl or a steamer, adding a cup of water, and cooking on high pressure for 9 minutes.
Mix 3 tablespoons of tapioca starch, salt, and aquafaba in a small bowl and set aside.
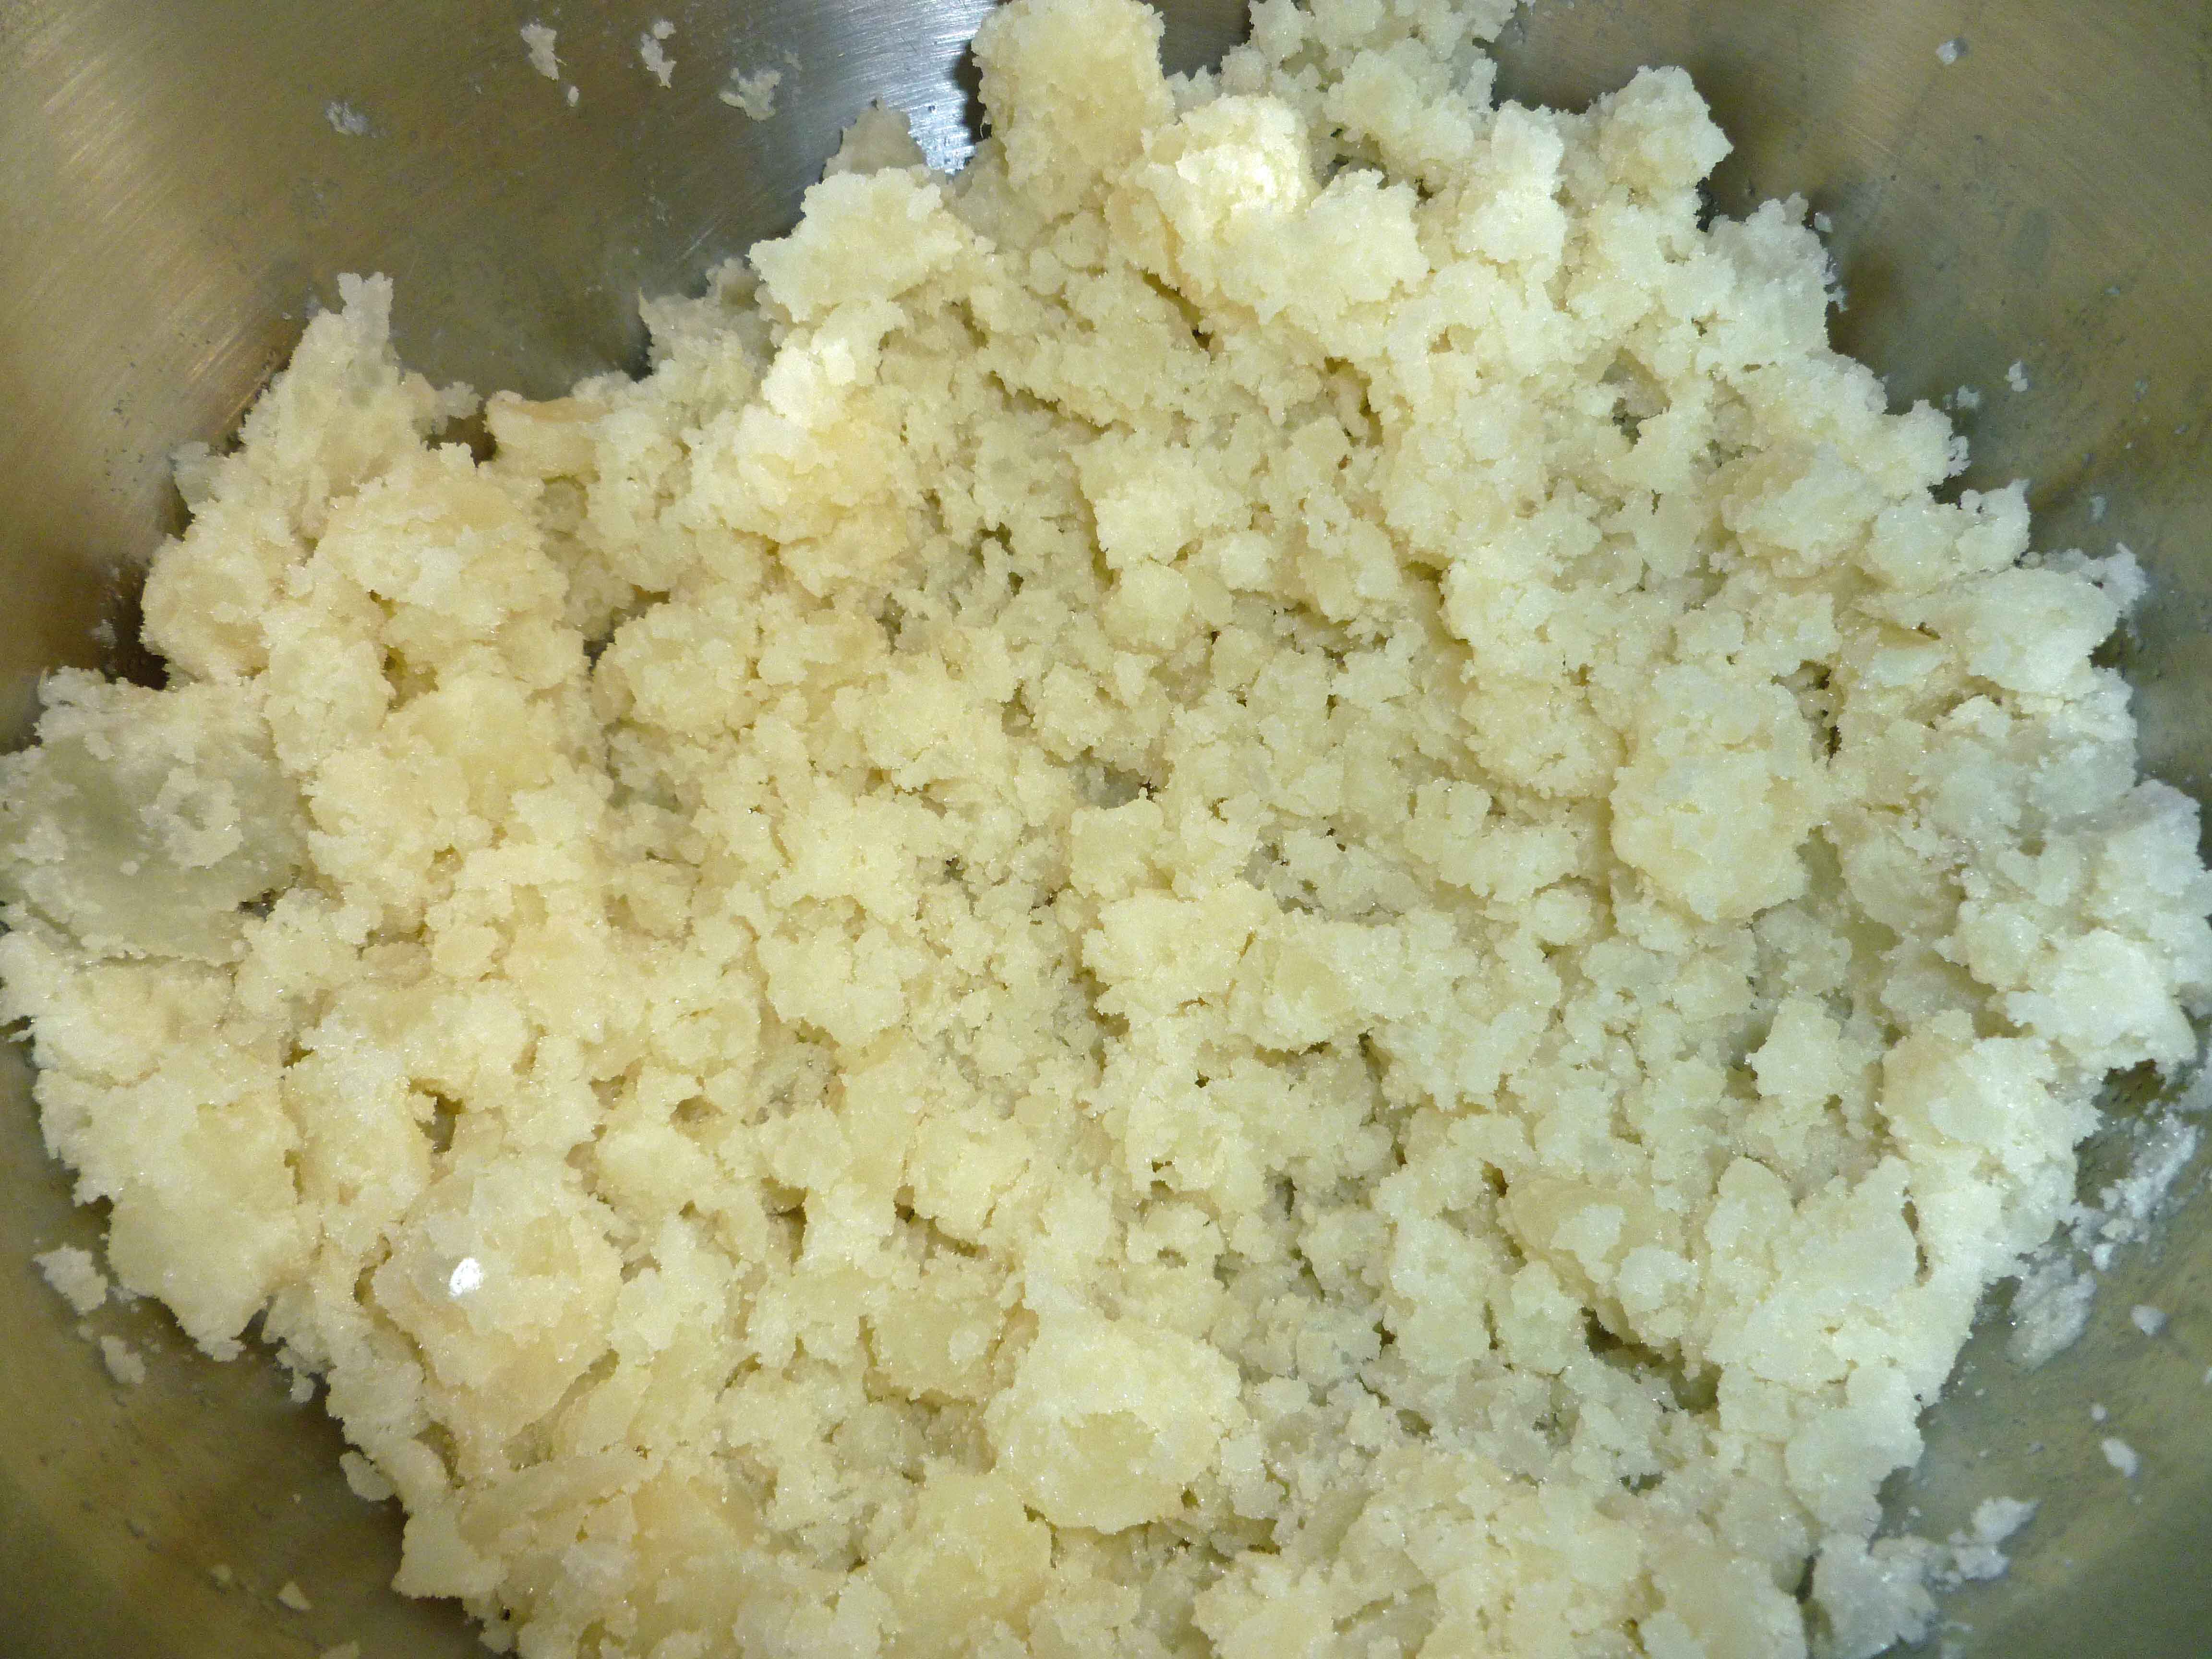
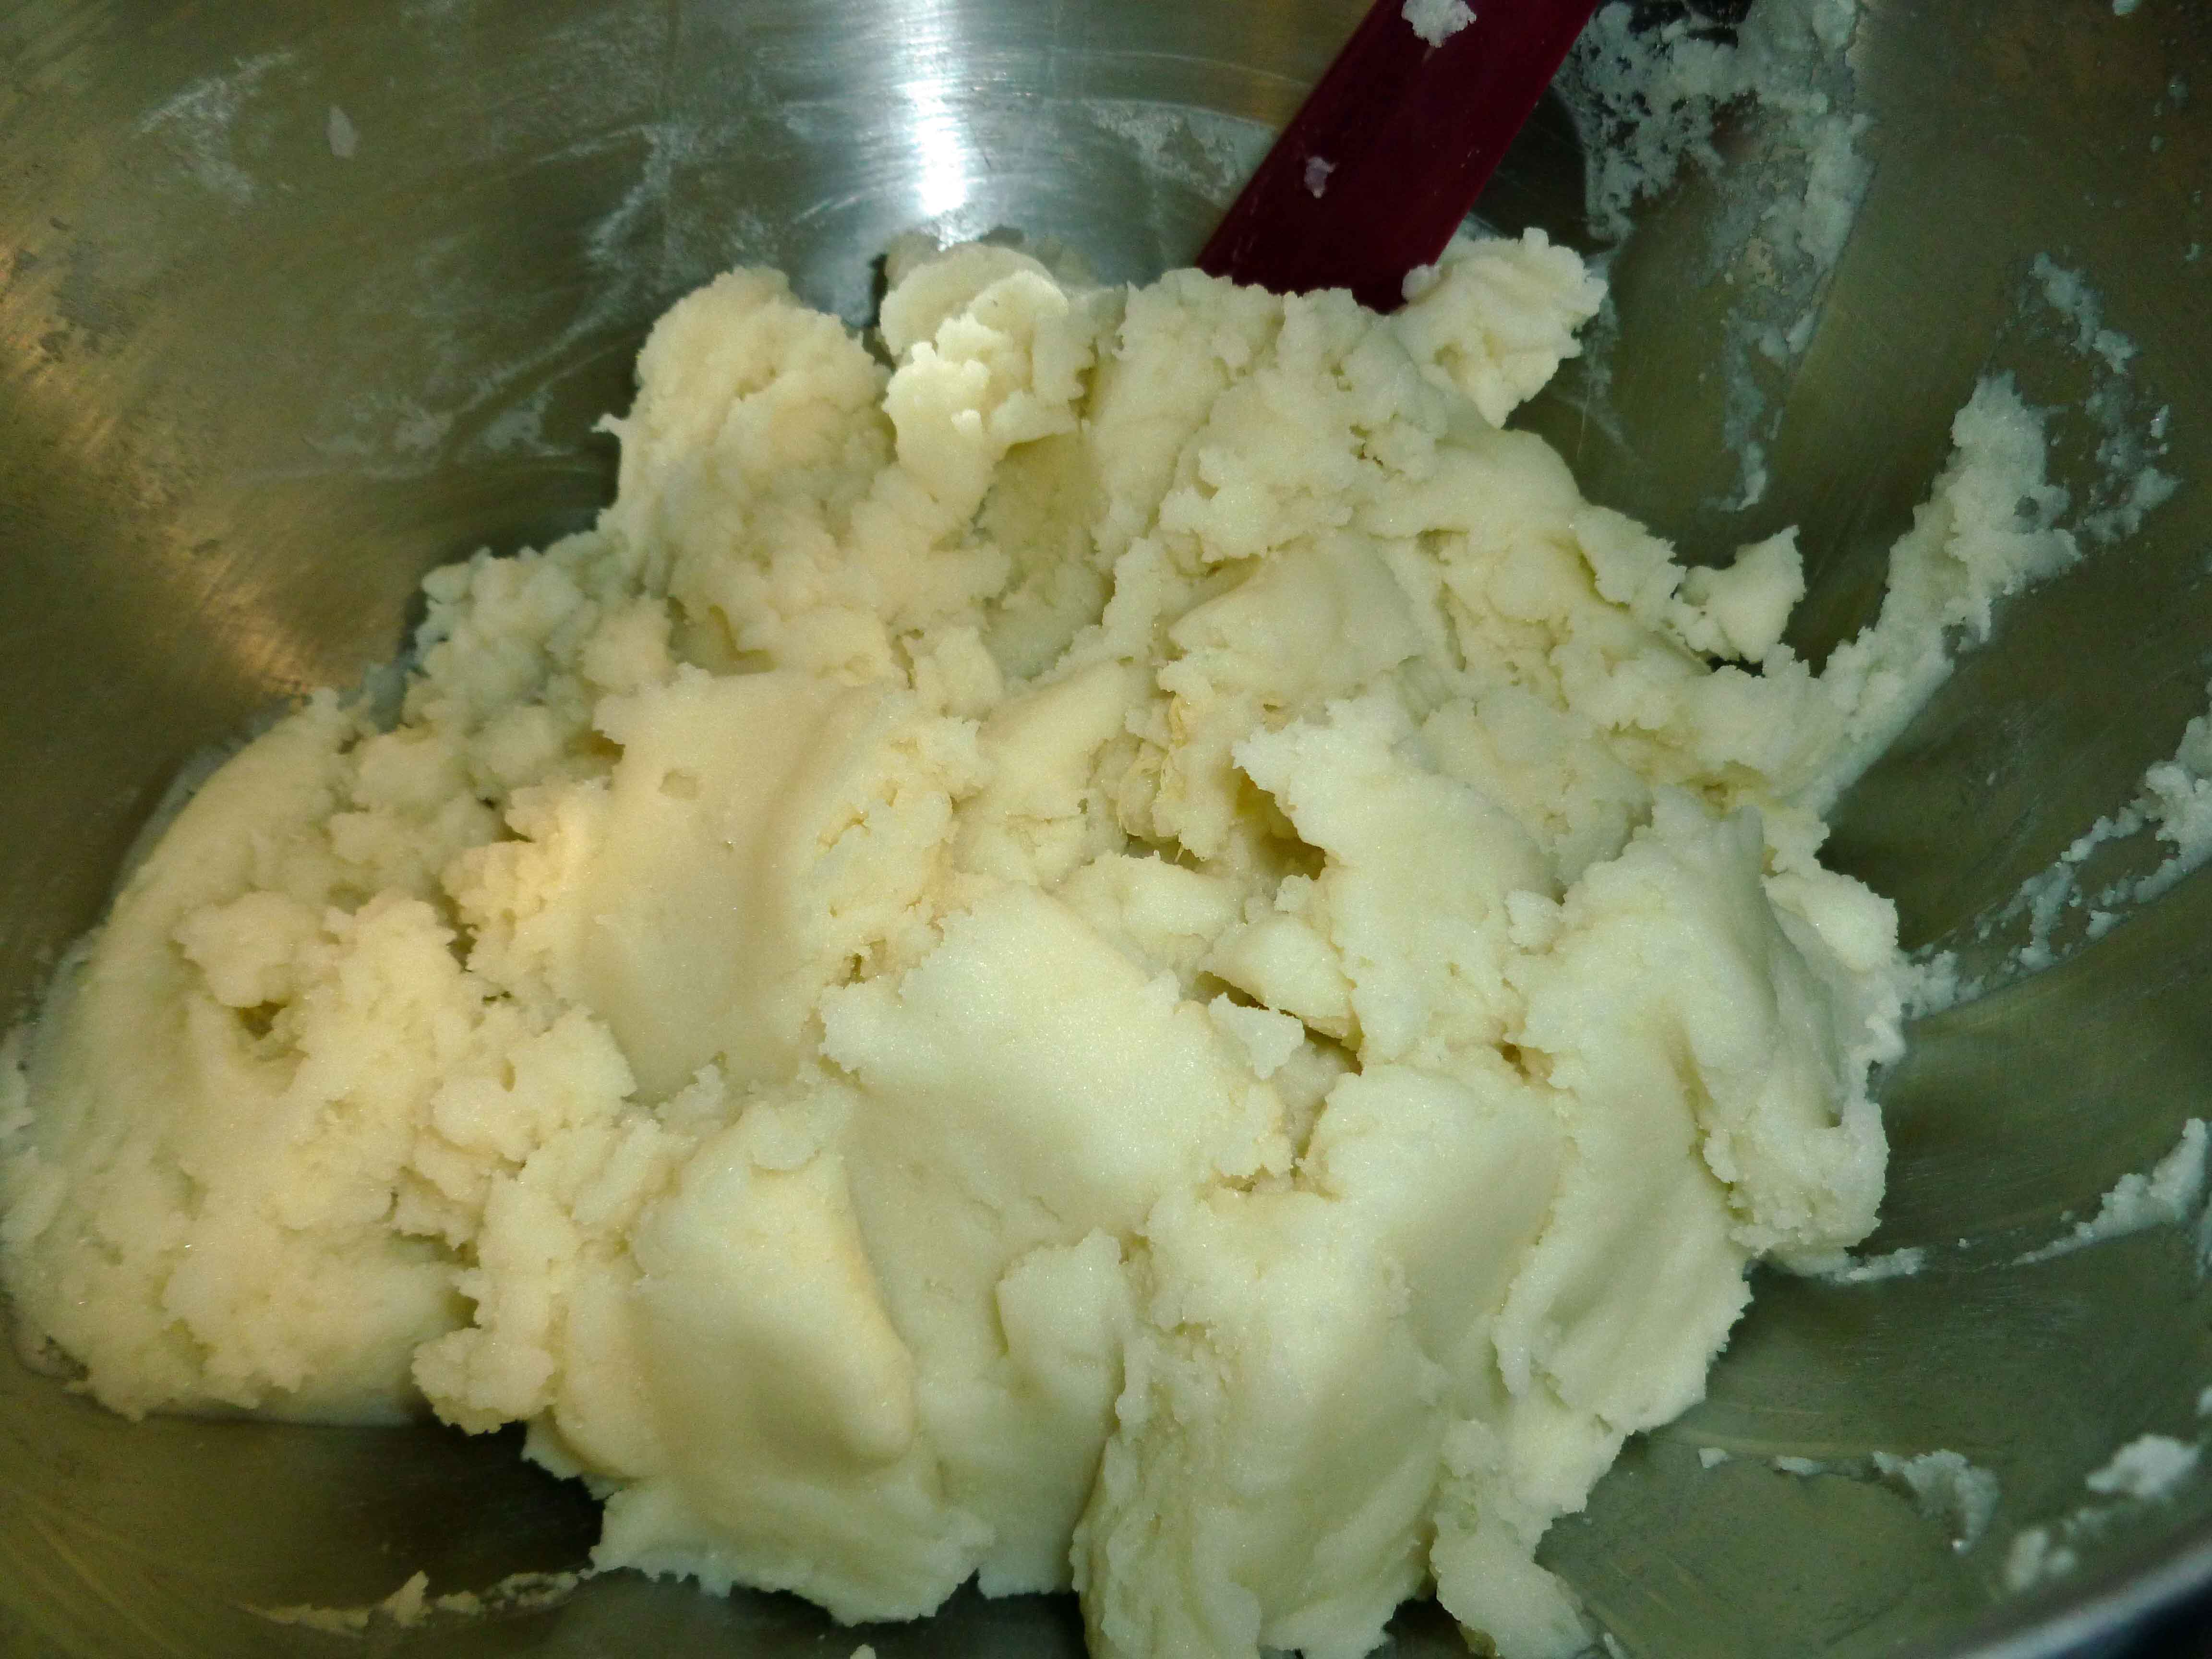
Drain potatoes. You can also mix ingredients together manually but I used a stand mixer. Add the potatoes and mash them a bit before using your mixer. Using your mixer and the beater blade, mix until smooth. Slowly add the tapioca starch, salt, and aquafaba mixture while mixing. Scrape down the bowl as needed and mix until well combined. Set aside
Beef Mixture
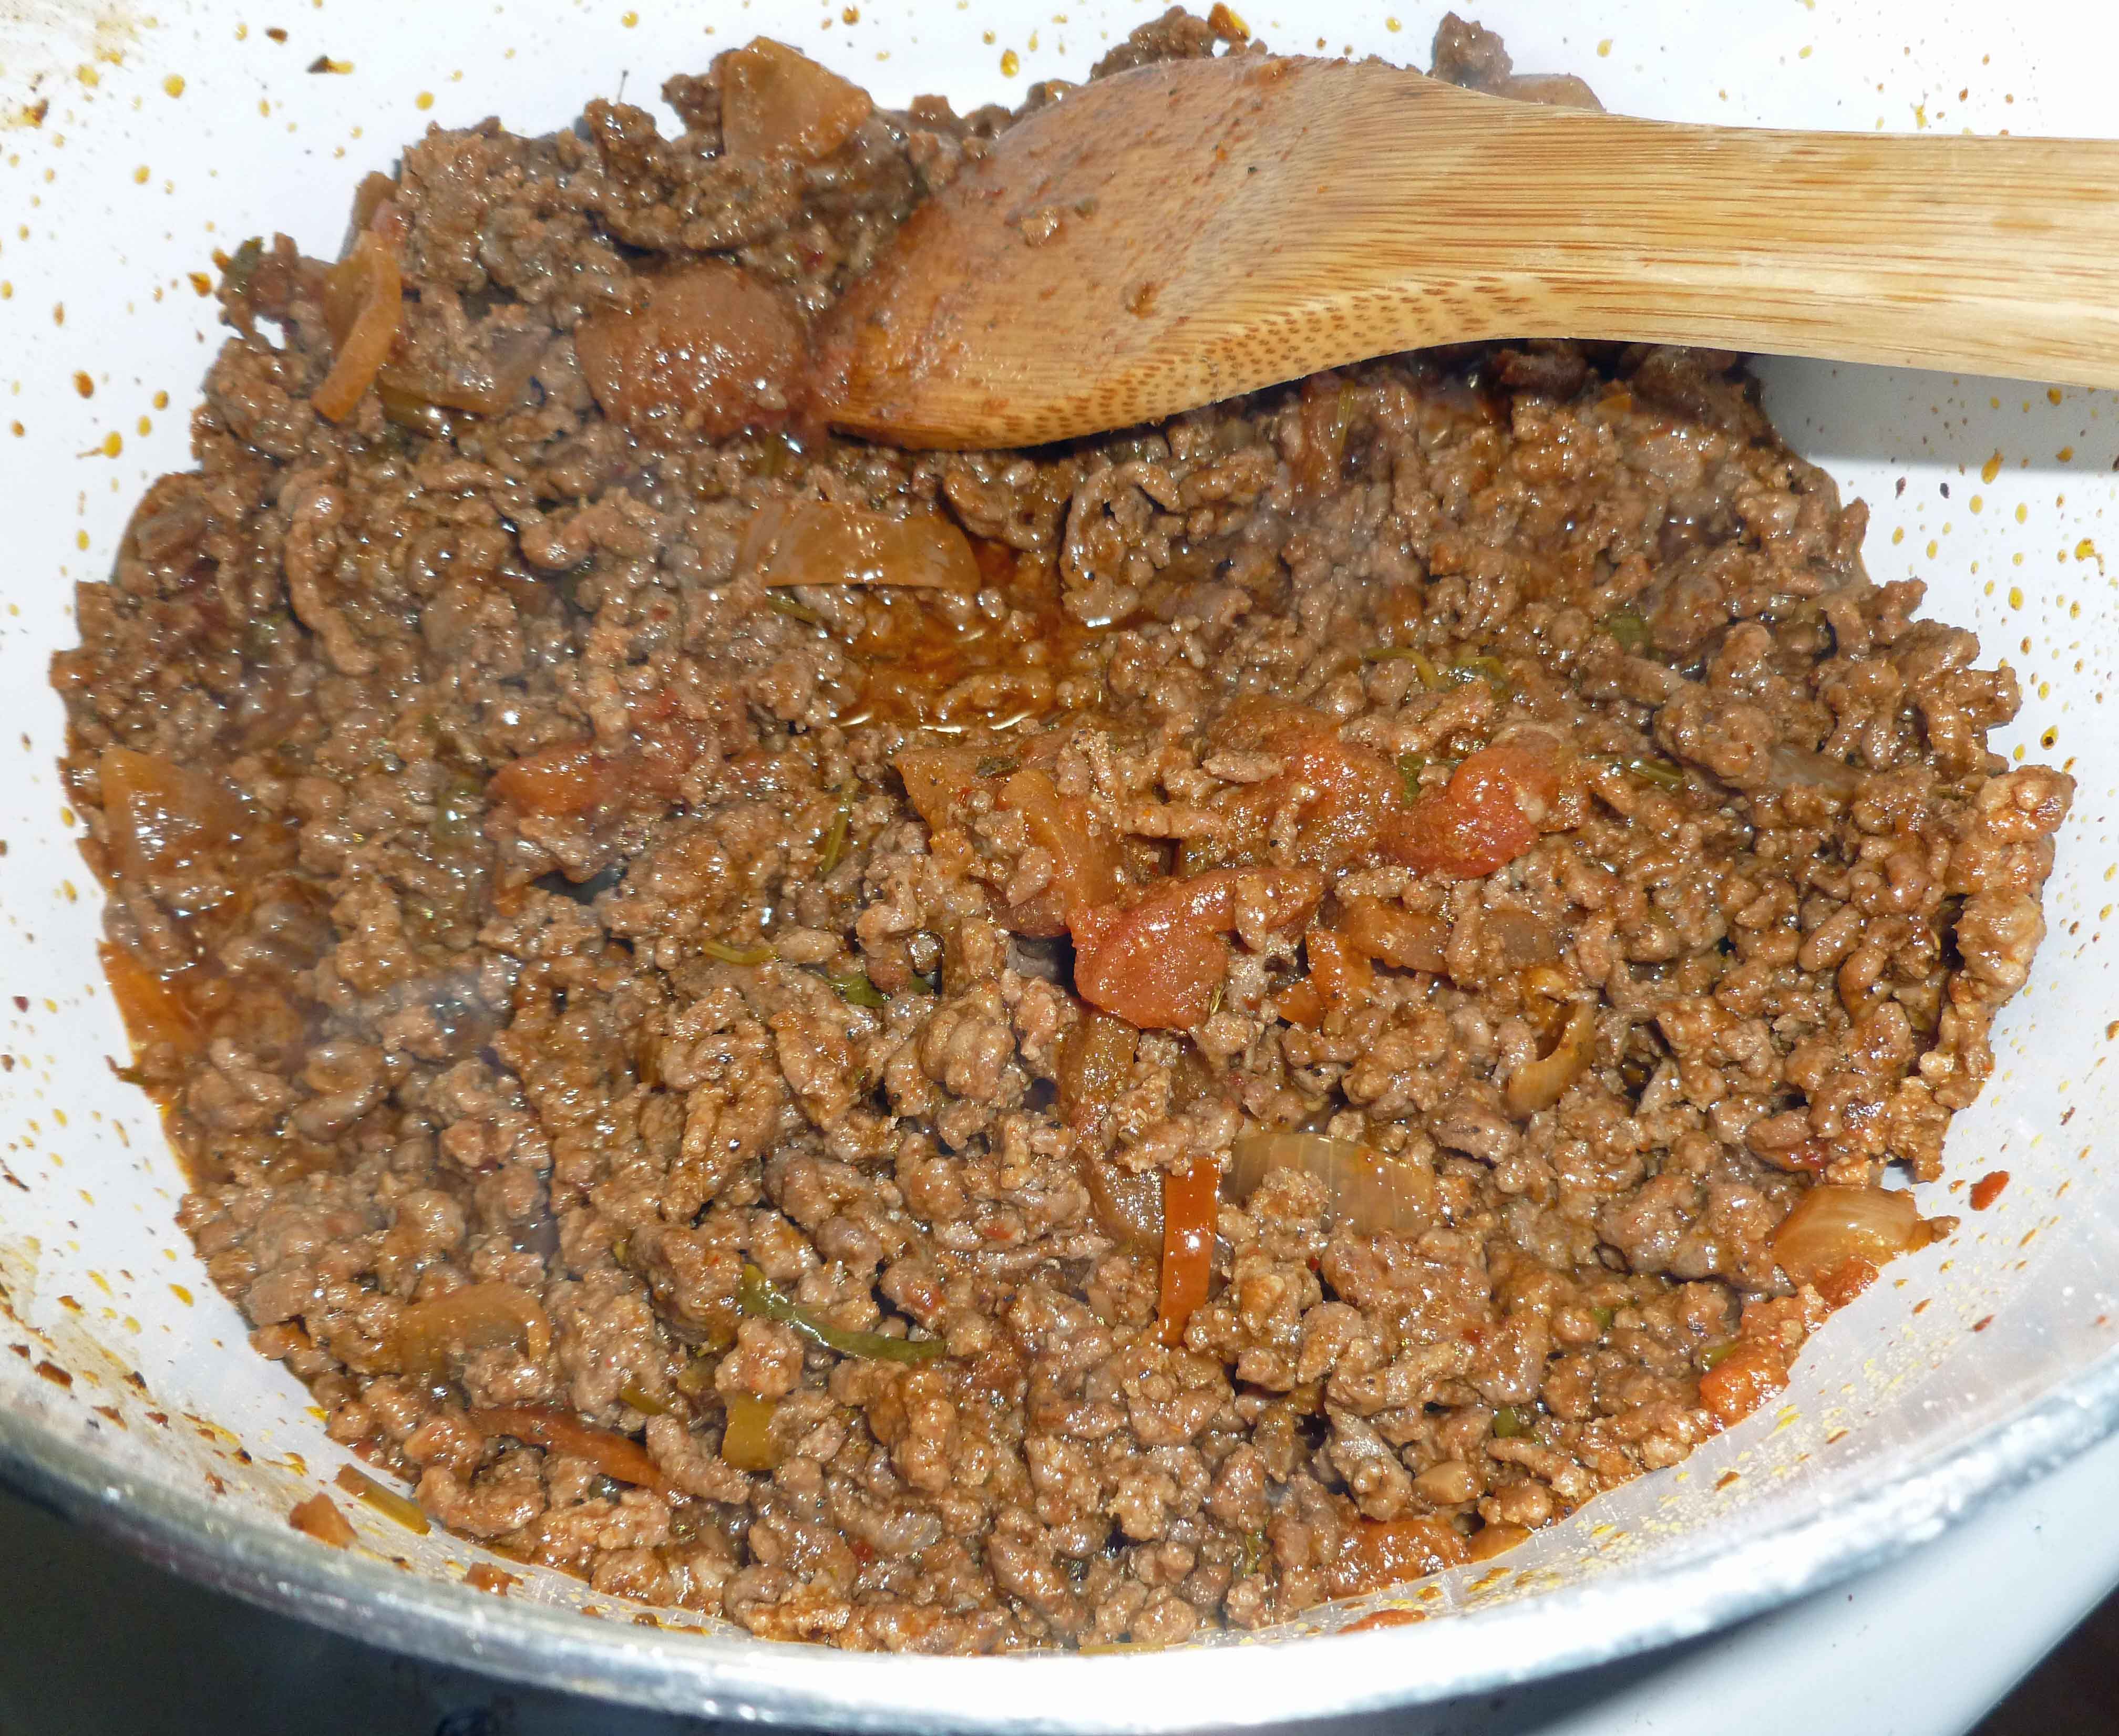
Brown ground beef in a skillet. When brown, drain fat, and then add the taco seasoning and salsa to the browned ground beef. Mix the ingredients well, simmering for a few minutes. Set aside.
Forming and Frying Stuffed Potatoes
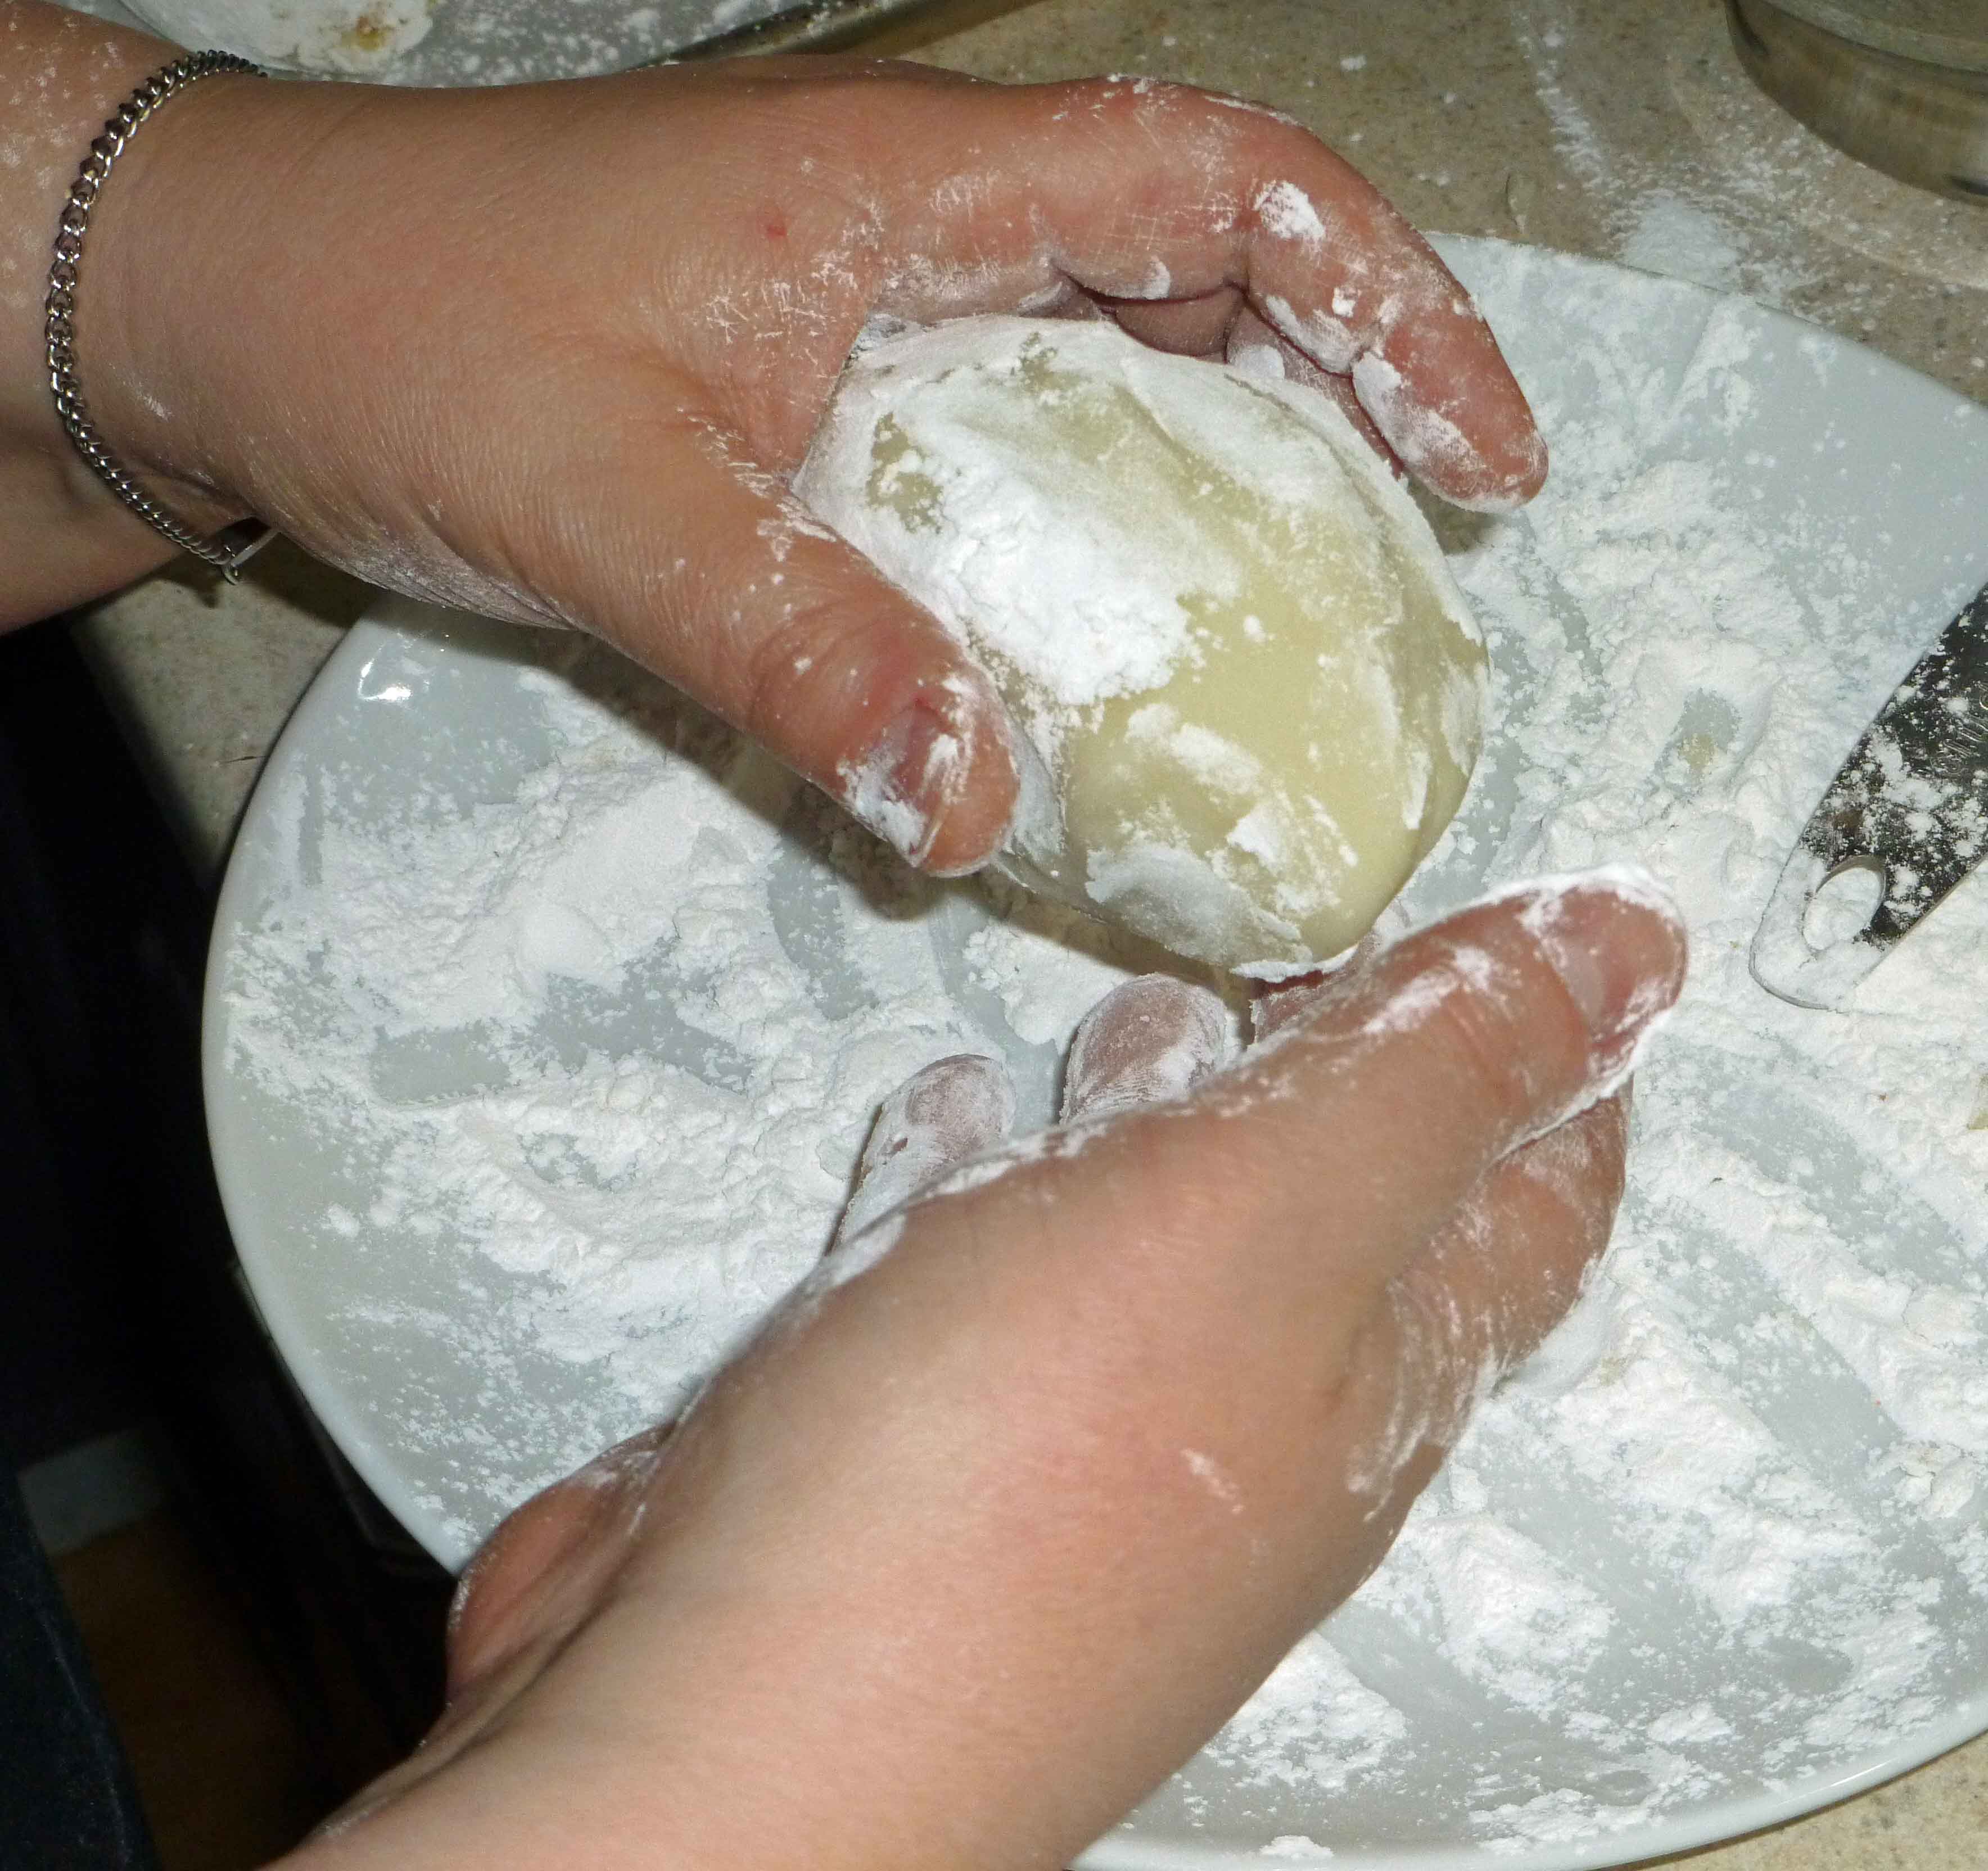
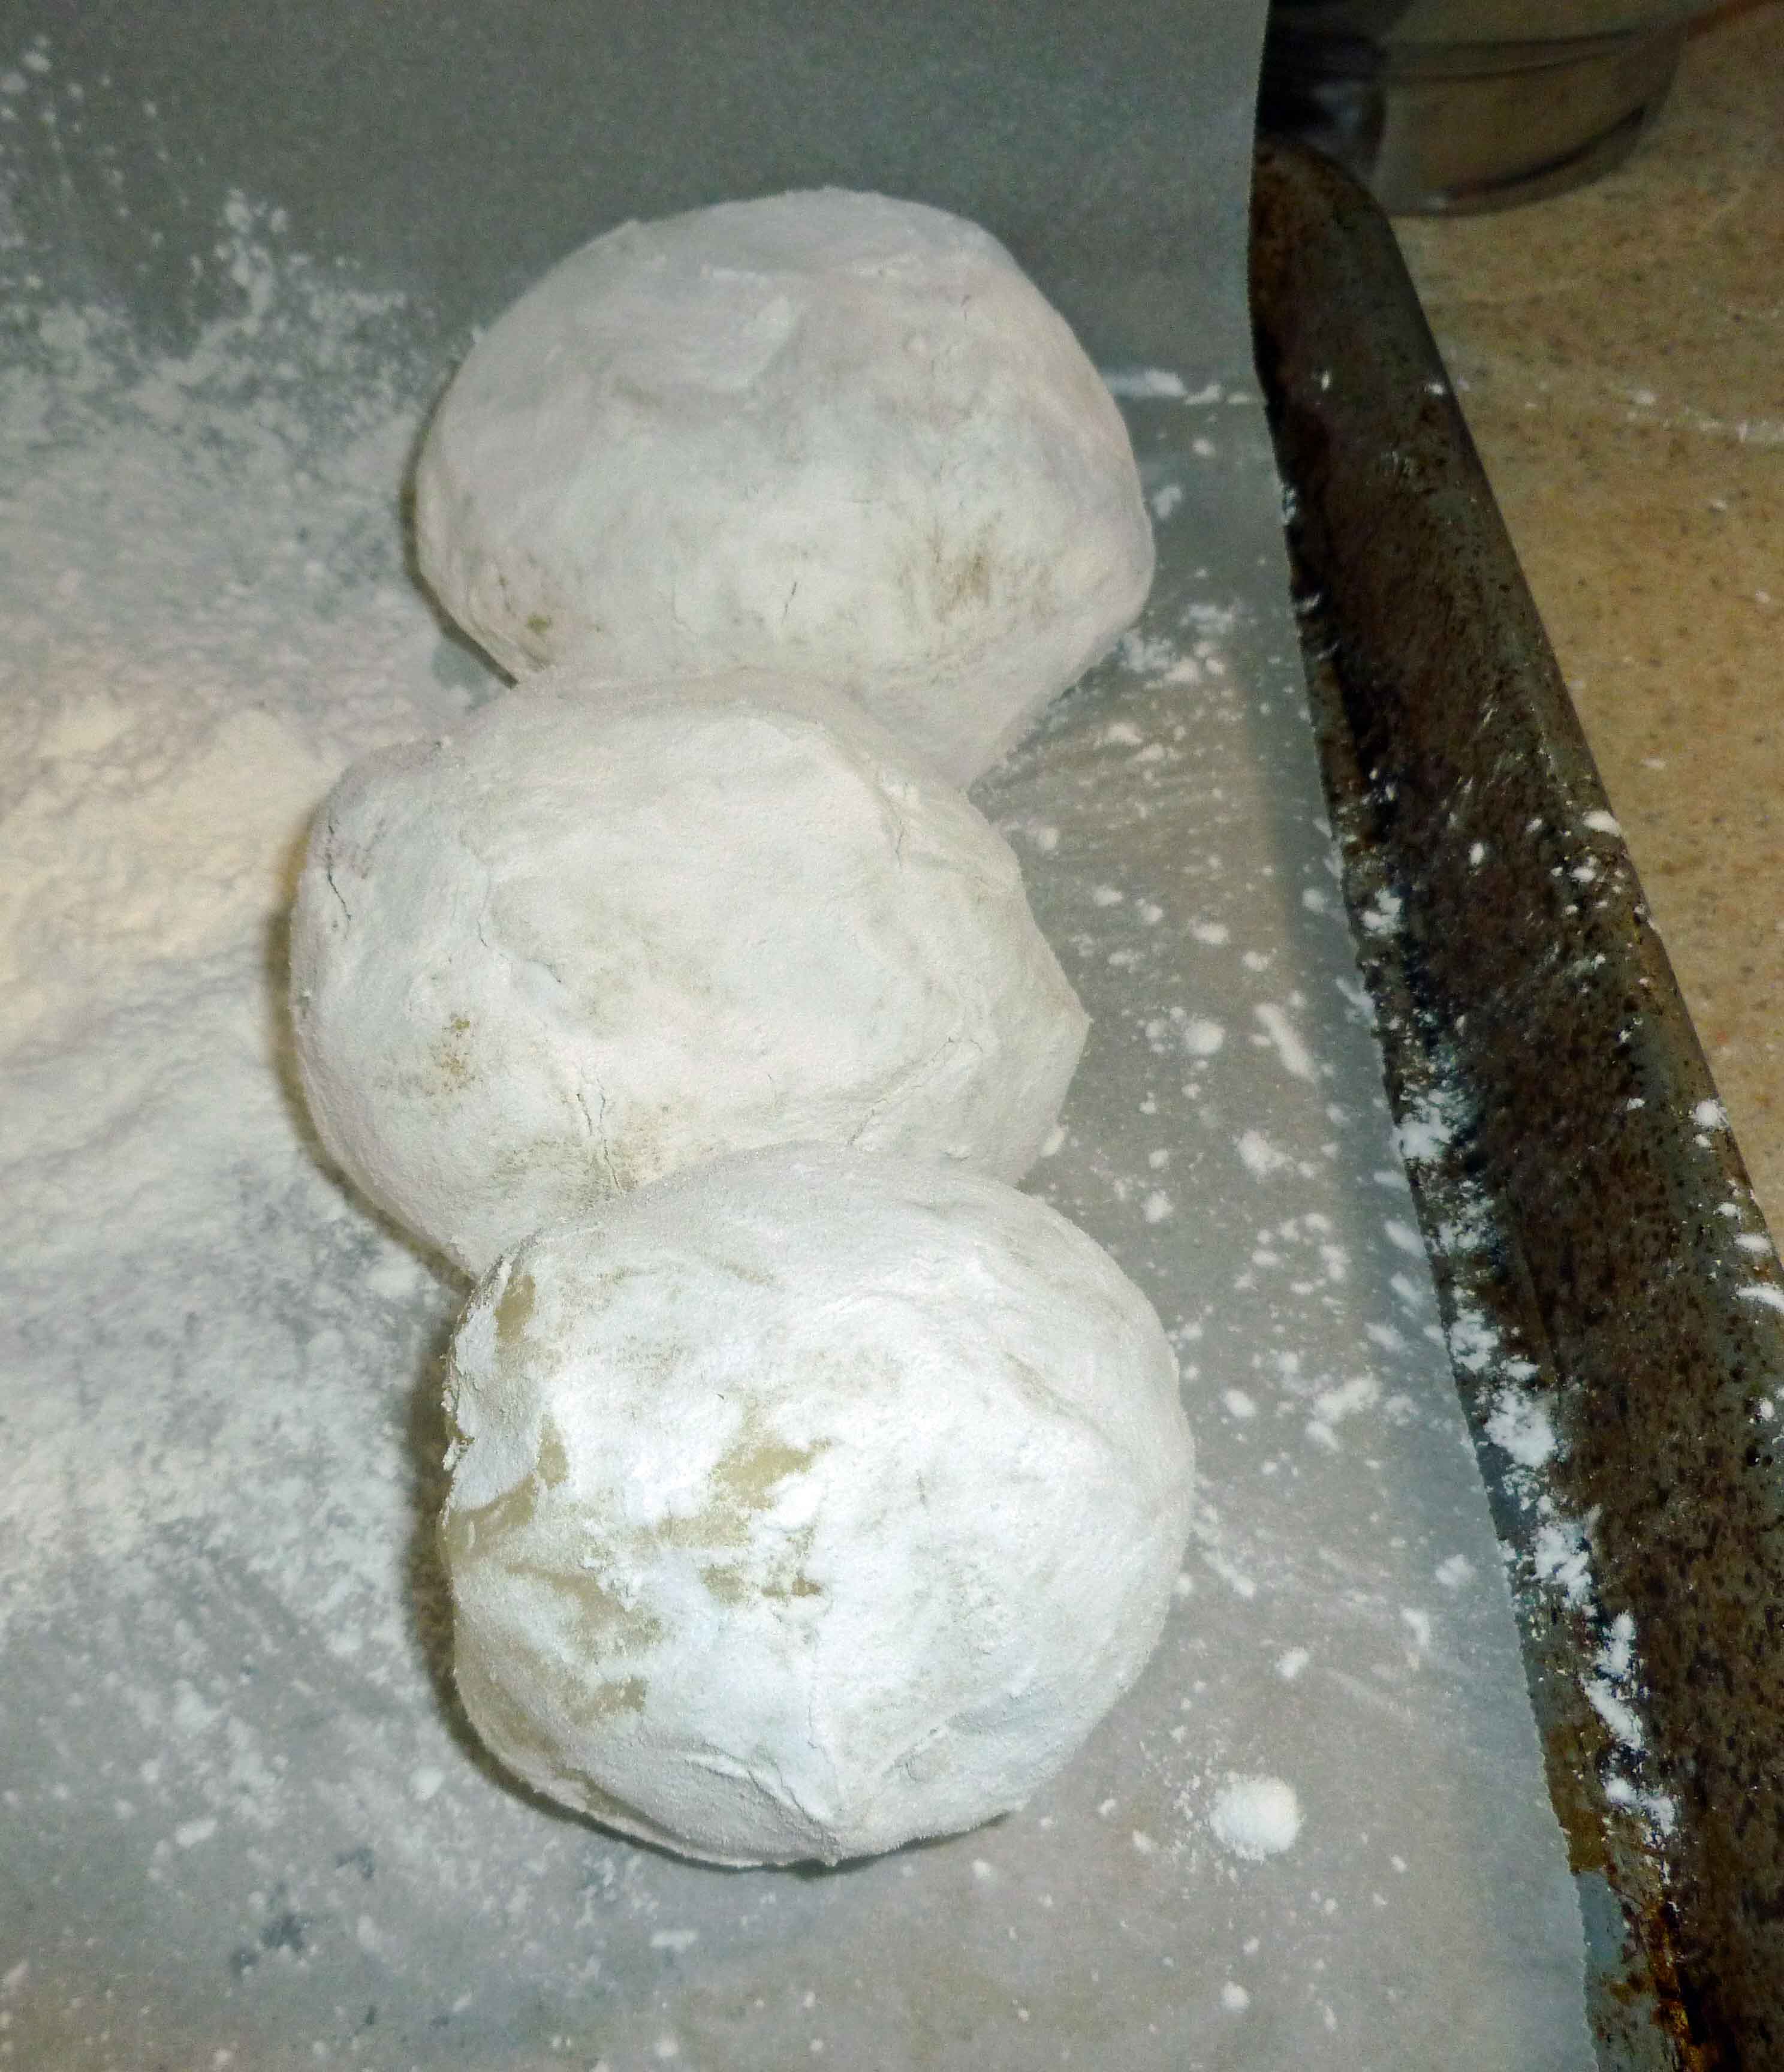
Dust your hands in tapioca starch, and flatten about 1/2 cup of the potato mixture into a disk in the palm of your hand. Add a heaping tablespoon of the beef mixture into the center of the disk, and bring the edges of the potato around the beef mixture. Seal the edges and roll into a smooth ball. Repeat until all the potato mixture has been used, making sure to keep your hands dusted in tapioca starch. Make sure that you seal them very well, if the seams open, it will be very messy.
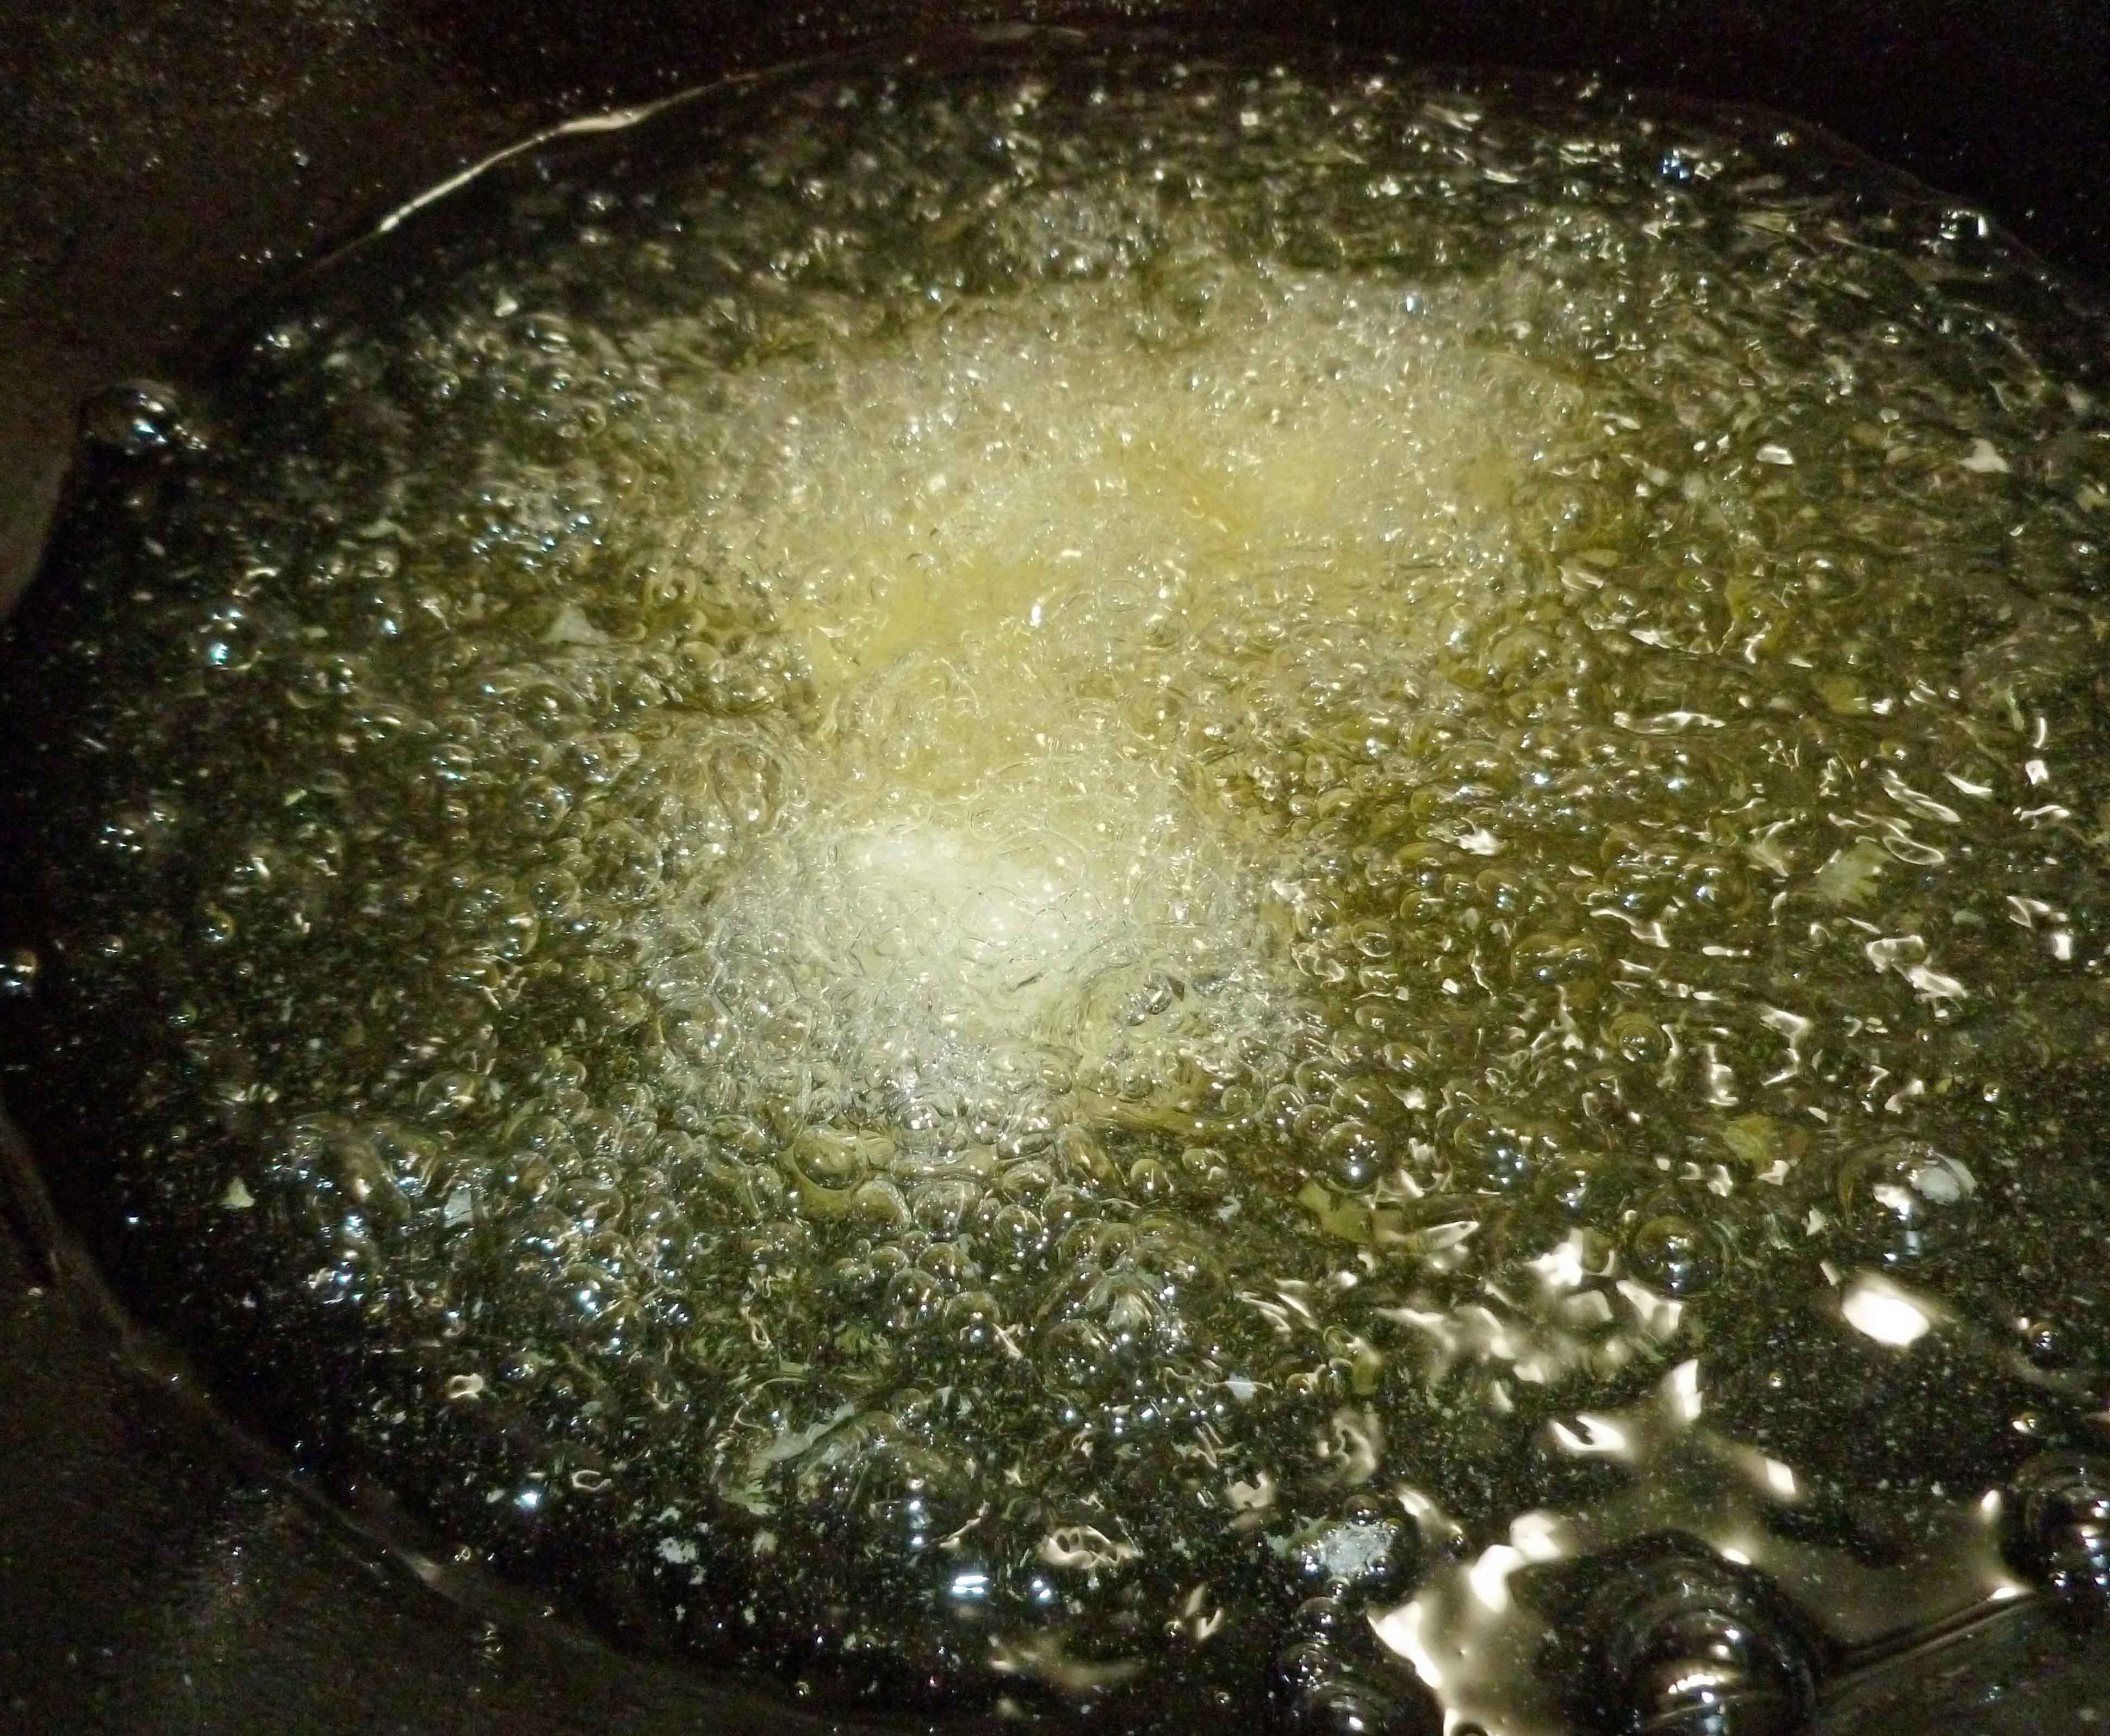
Heat oil to 375°F and deep fry the potato balls about 5 minutes, turning as needed until golden brown. You could also flatten them a bit and pan fry them.
Potatoes after quick mashing before mixingTapioca starch and aquafaba mixtureCompleted potato mixtureMy homemade salsa (ta da, haha!)Completed beef mixtureForming potato ballsForming potato ballsForming potato ballsCompleted potato ballsFrying the stuffed potatoesStuffed potatoes after fryingStuffed Potatoes (Papas Rellenas inspired)
These are great as an appetizer, as a snack or as bar food. You could serve them with a hot sauce spiked mayo, a mojo de ajo sauce, or a chili sauce. Enjoy!
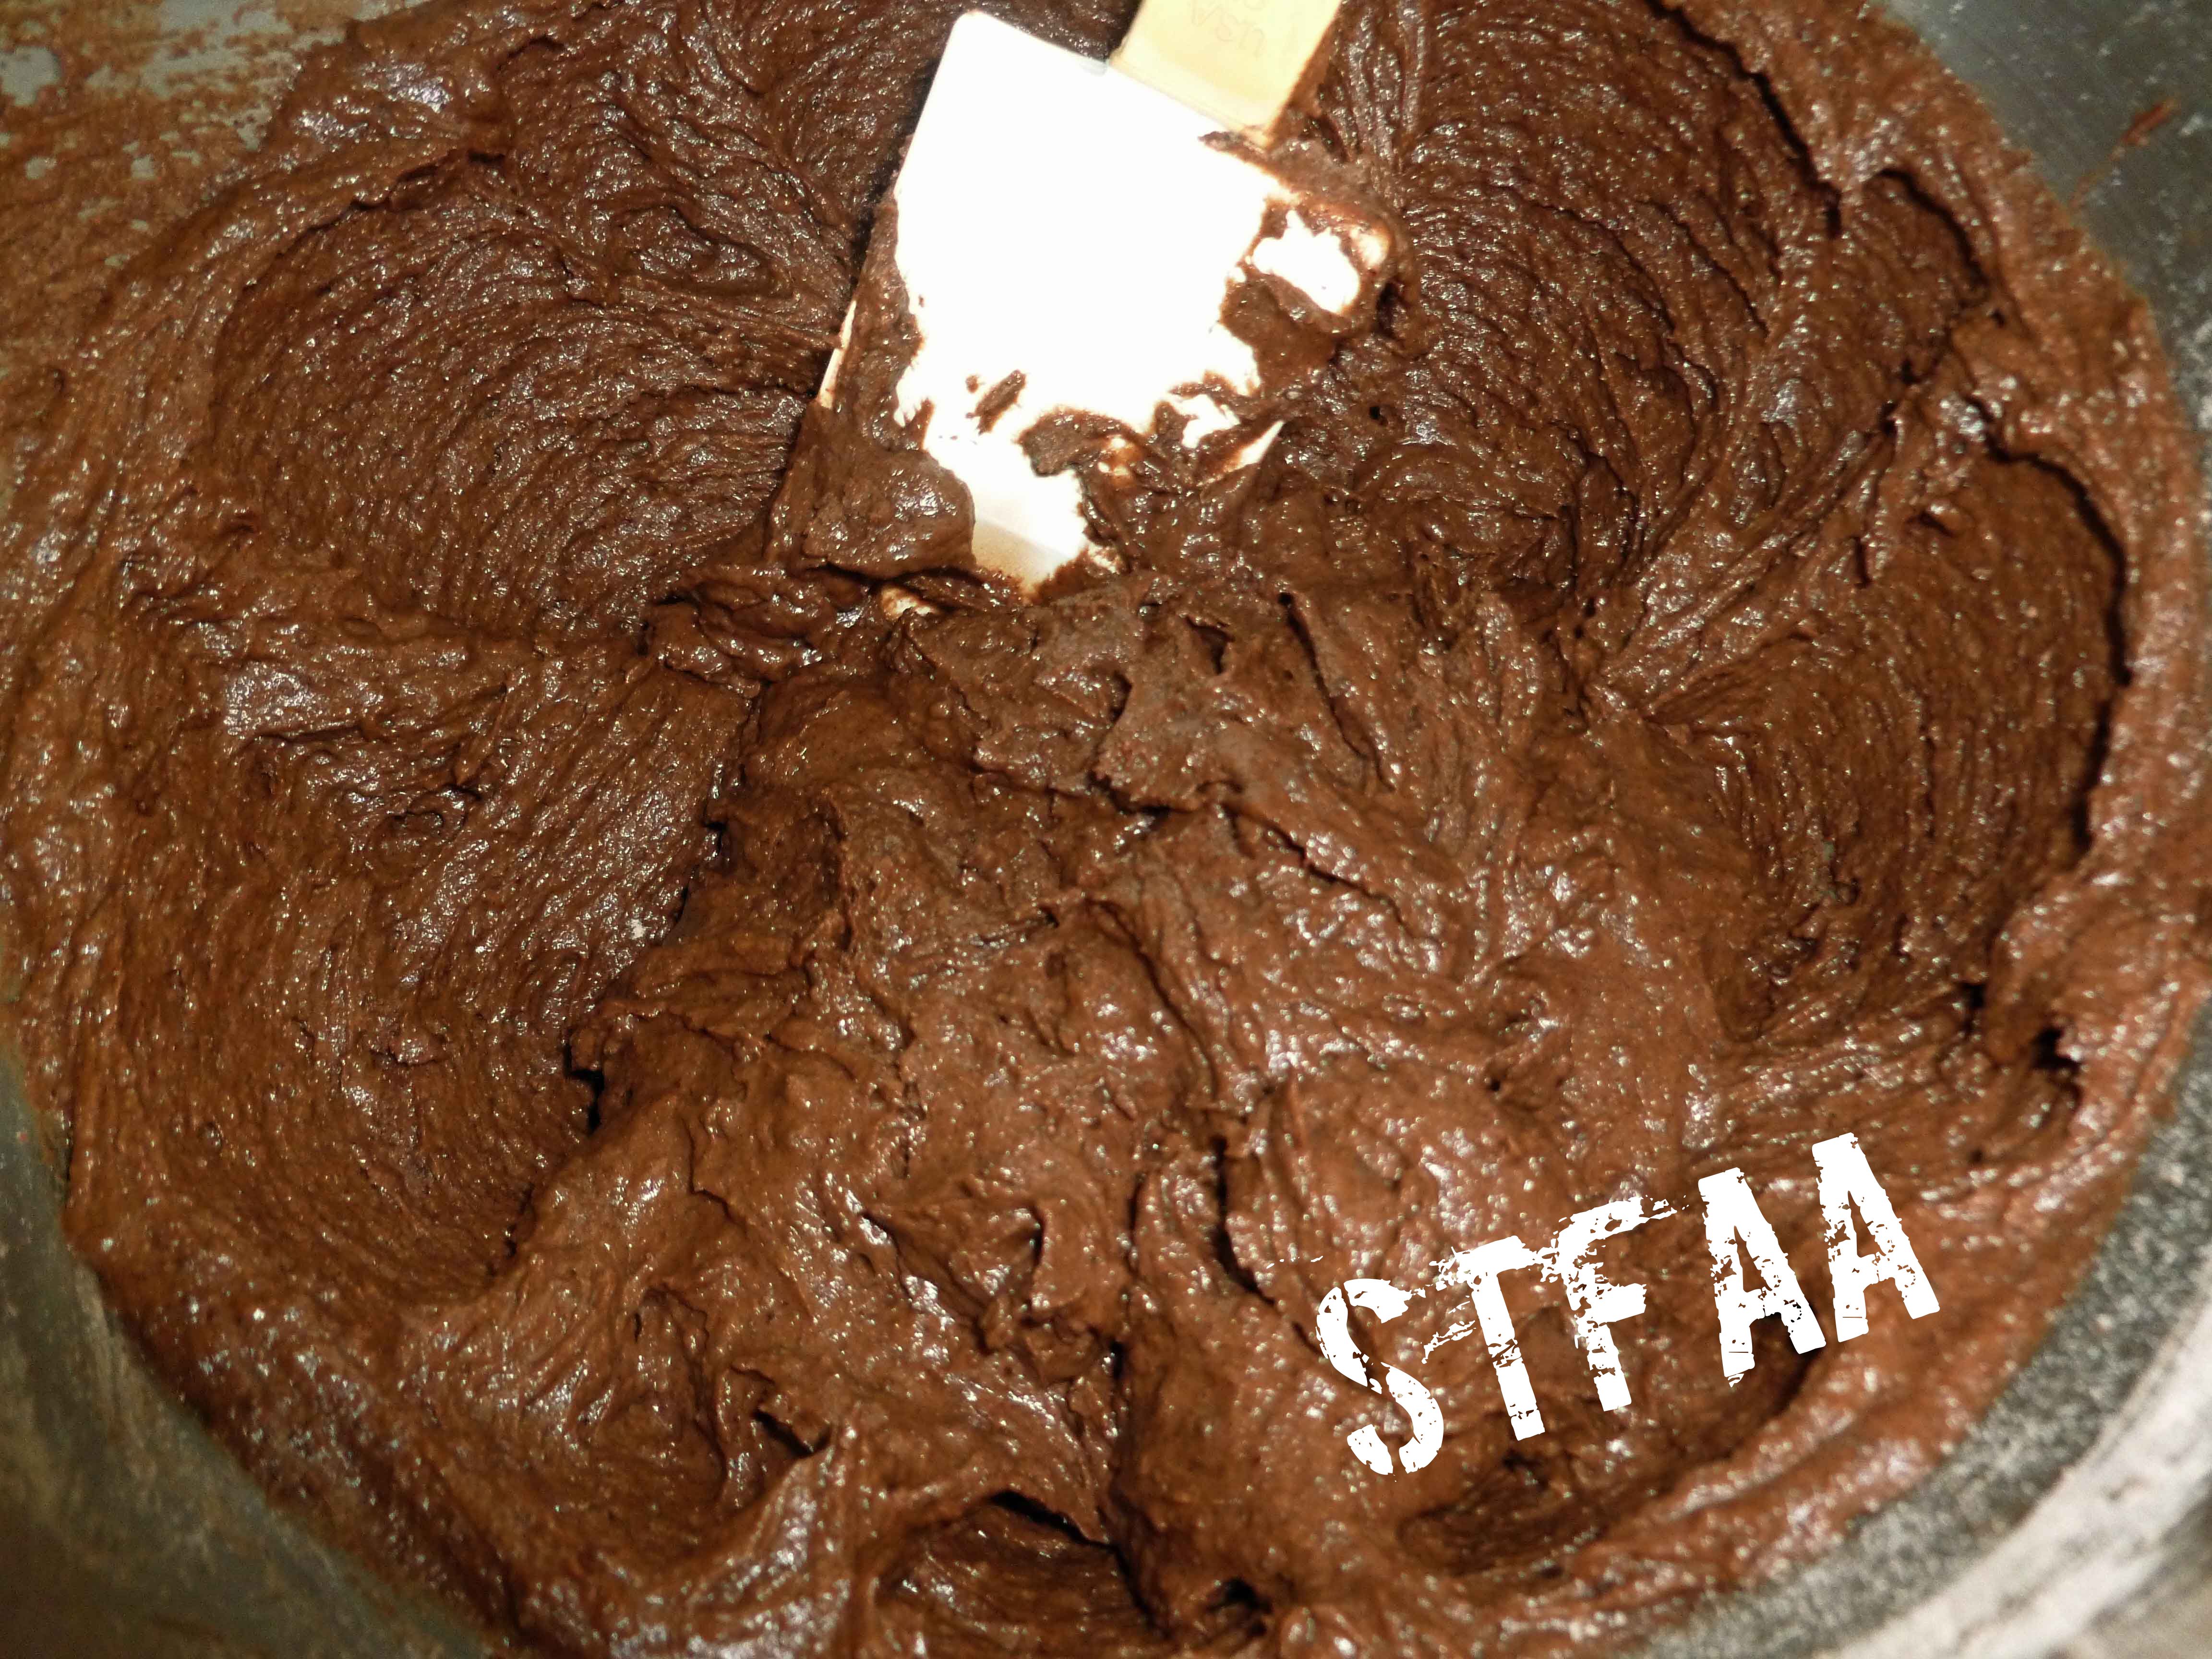
To cap off our Treat. Yo. Self. January. theme, I give you a big treat, Whoopie Pies. I’m fairly certain I’ve mentioned this before, but I’m originally from Maine. The whoopie pie is the official state treat of Maine and apparently the town of Dover-Foxcroft, Maine, has hosted the Maine Whoopie Pie Festival since 2009, according to Wikipedia. I’ve seriously missed them since the onset of my dairy, egg, wheat and corn allergies.
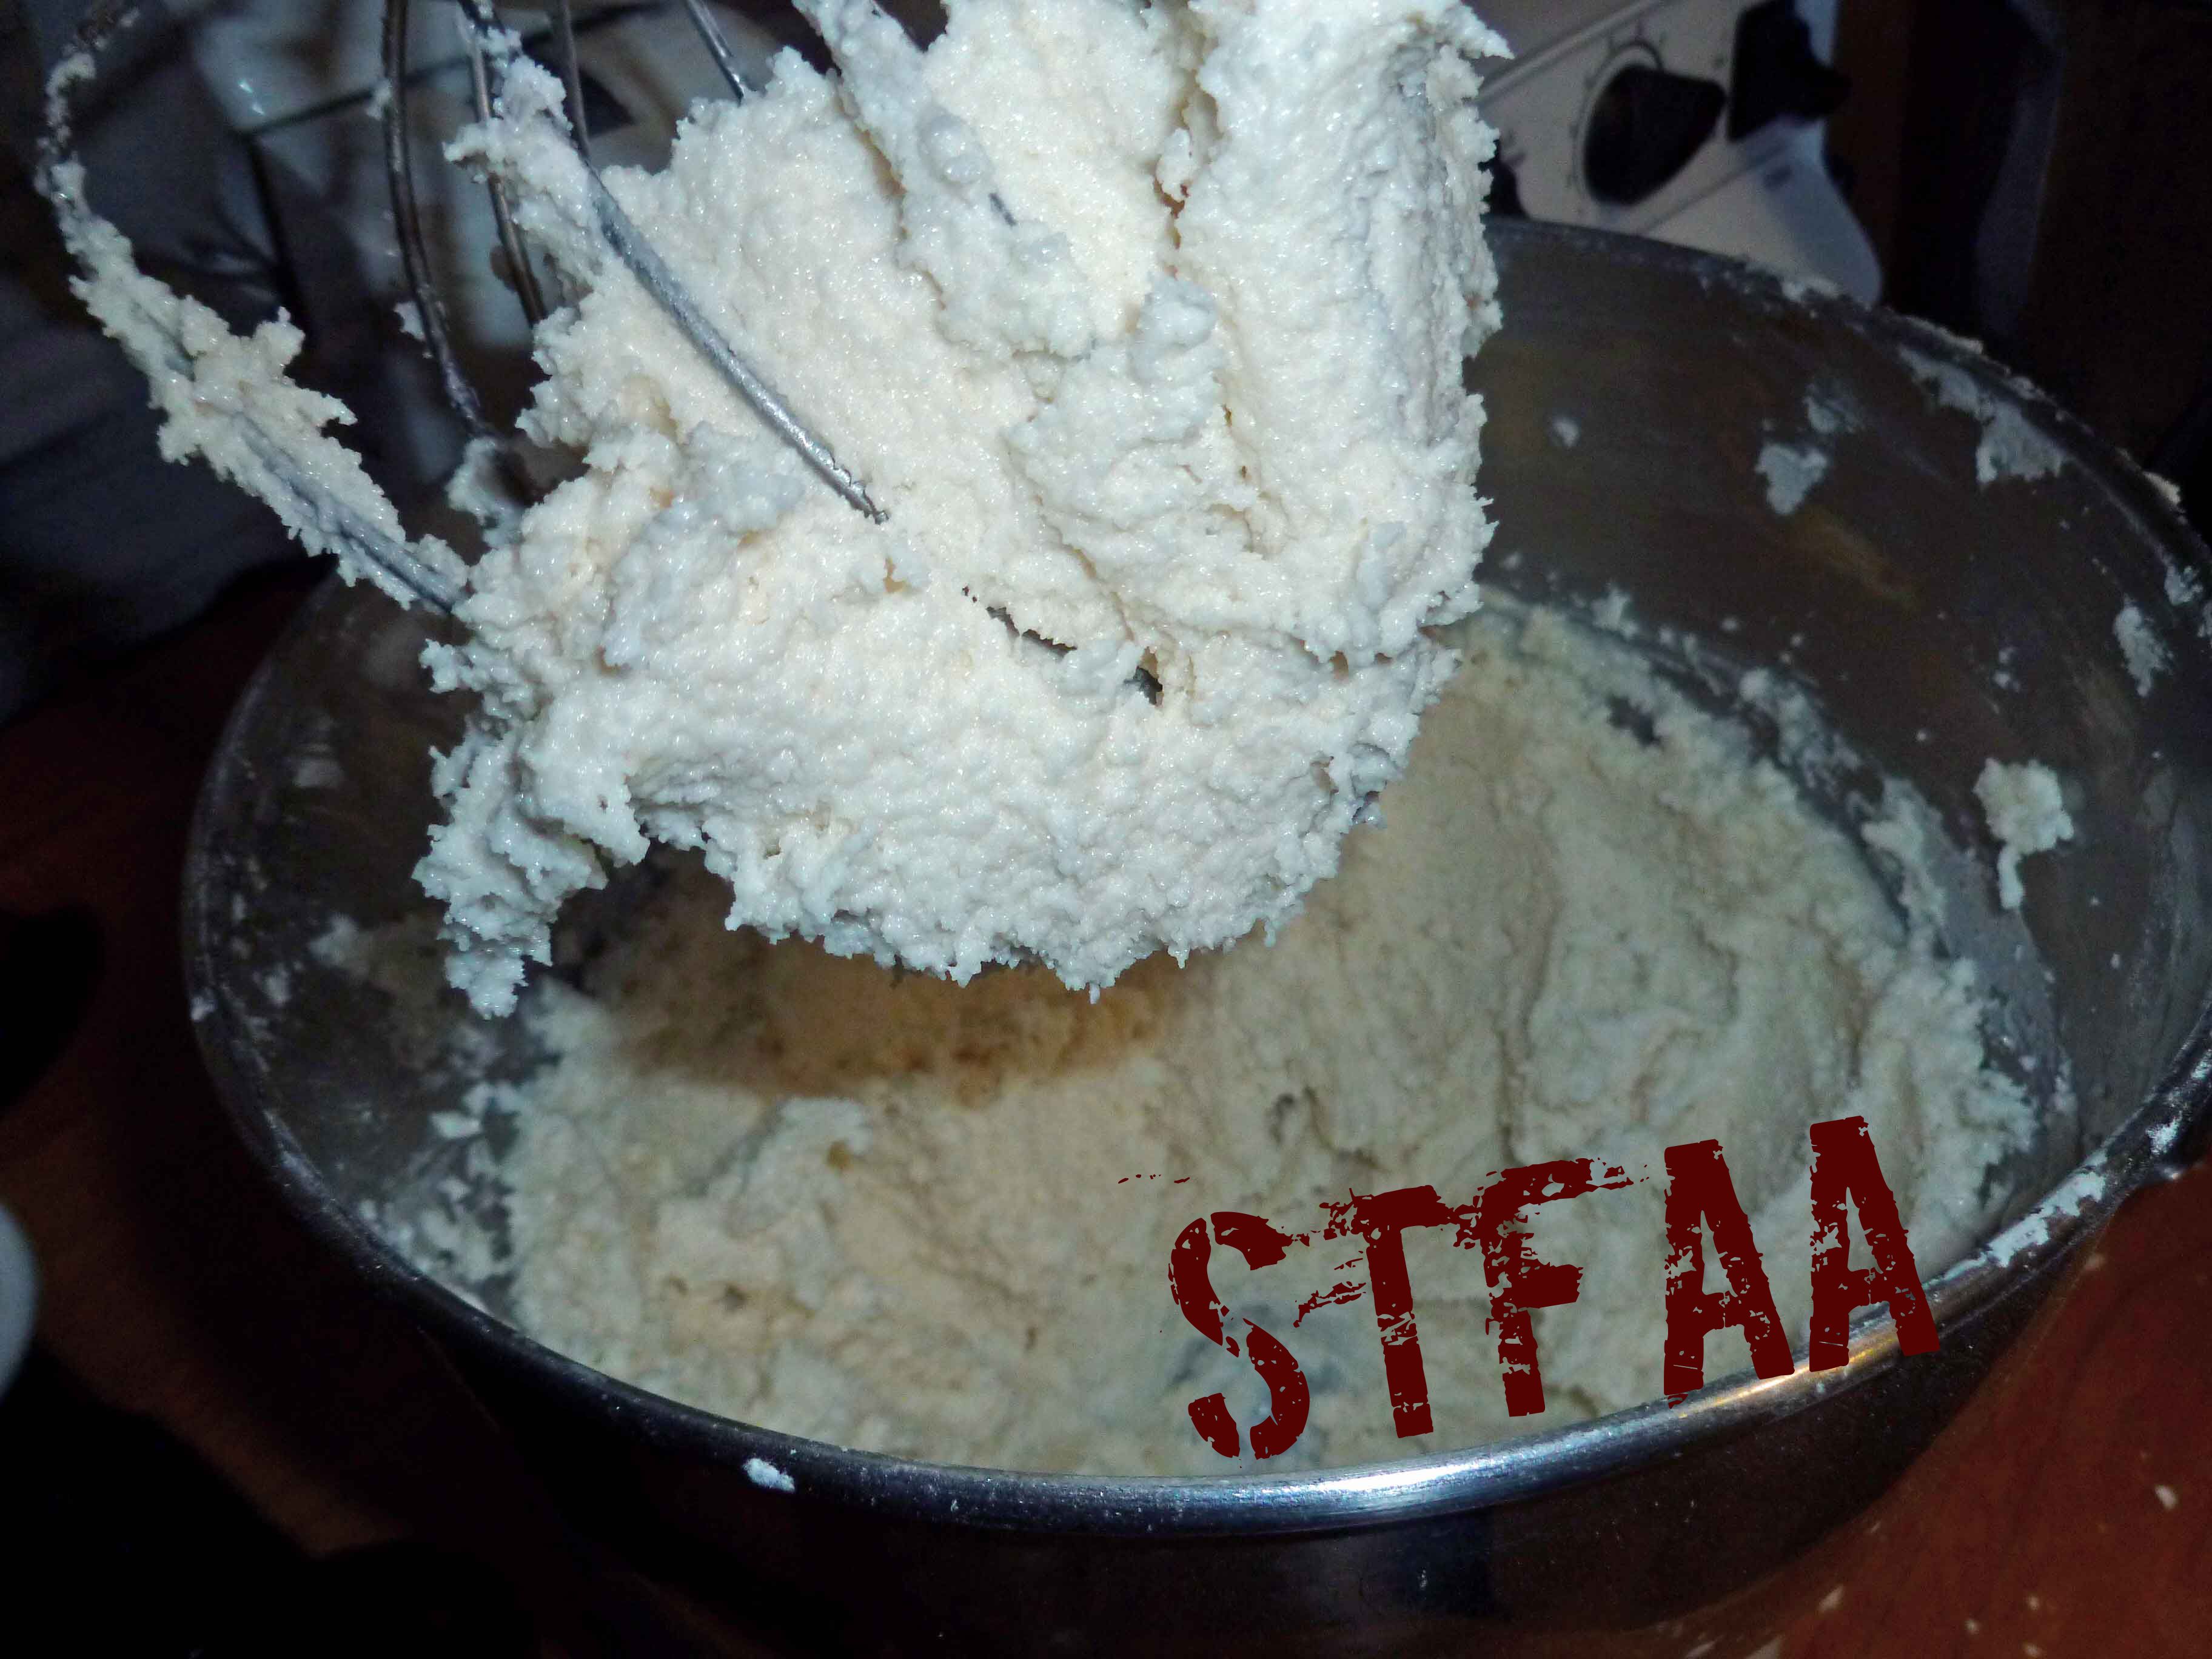
My recipe uses my home rendered lard because it’s my only safe solid fat, but you can substitute it with vegetable shortening if you have one you can use safely. There are three recipe cards listed below, one that provides the flour mixture I use in the whoopie pies, one for the frosting, and one to bake the pies themselves. I used a Pampered Chef Easy Accent Cake Decorator to pipe the frosting into the whoopie pies, but you could just use a safe for you zip top bag with a corner cut off as well. I don’t recommend a spreader or a knife as gluten-free pies don’t have the same sturdy structure as the wheat ones do.
Whoopie Pies – Gluten-Free with Vegan Option
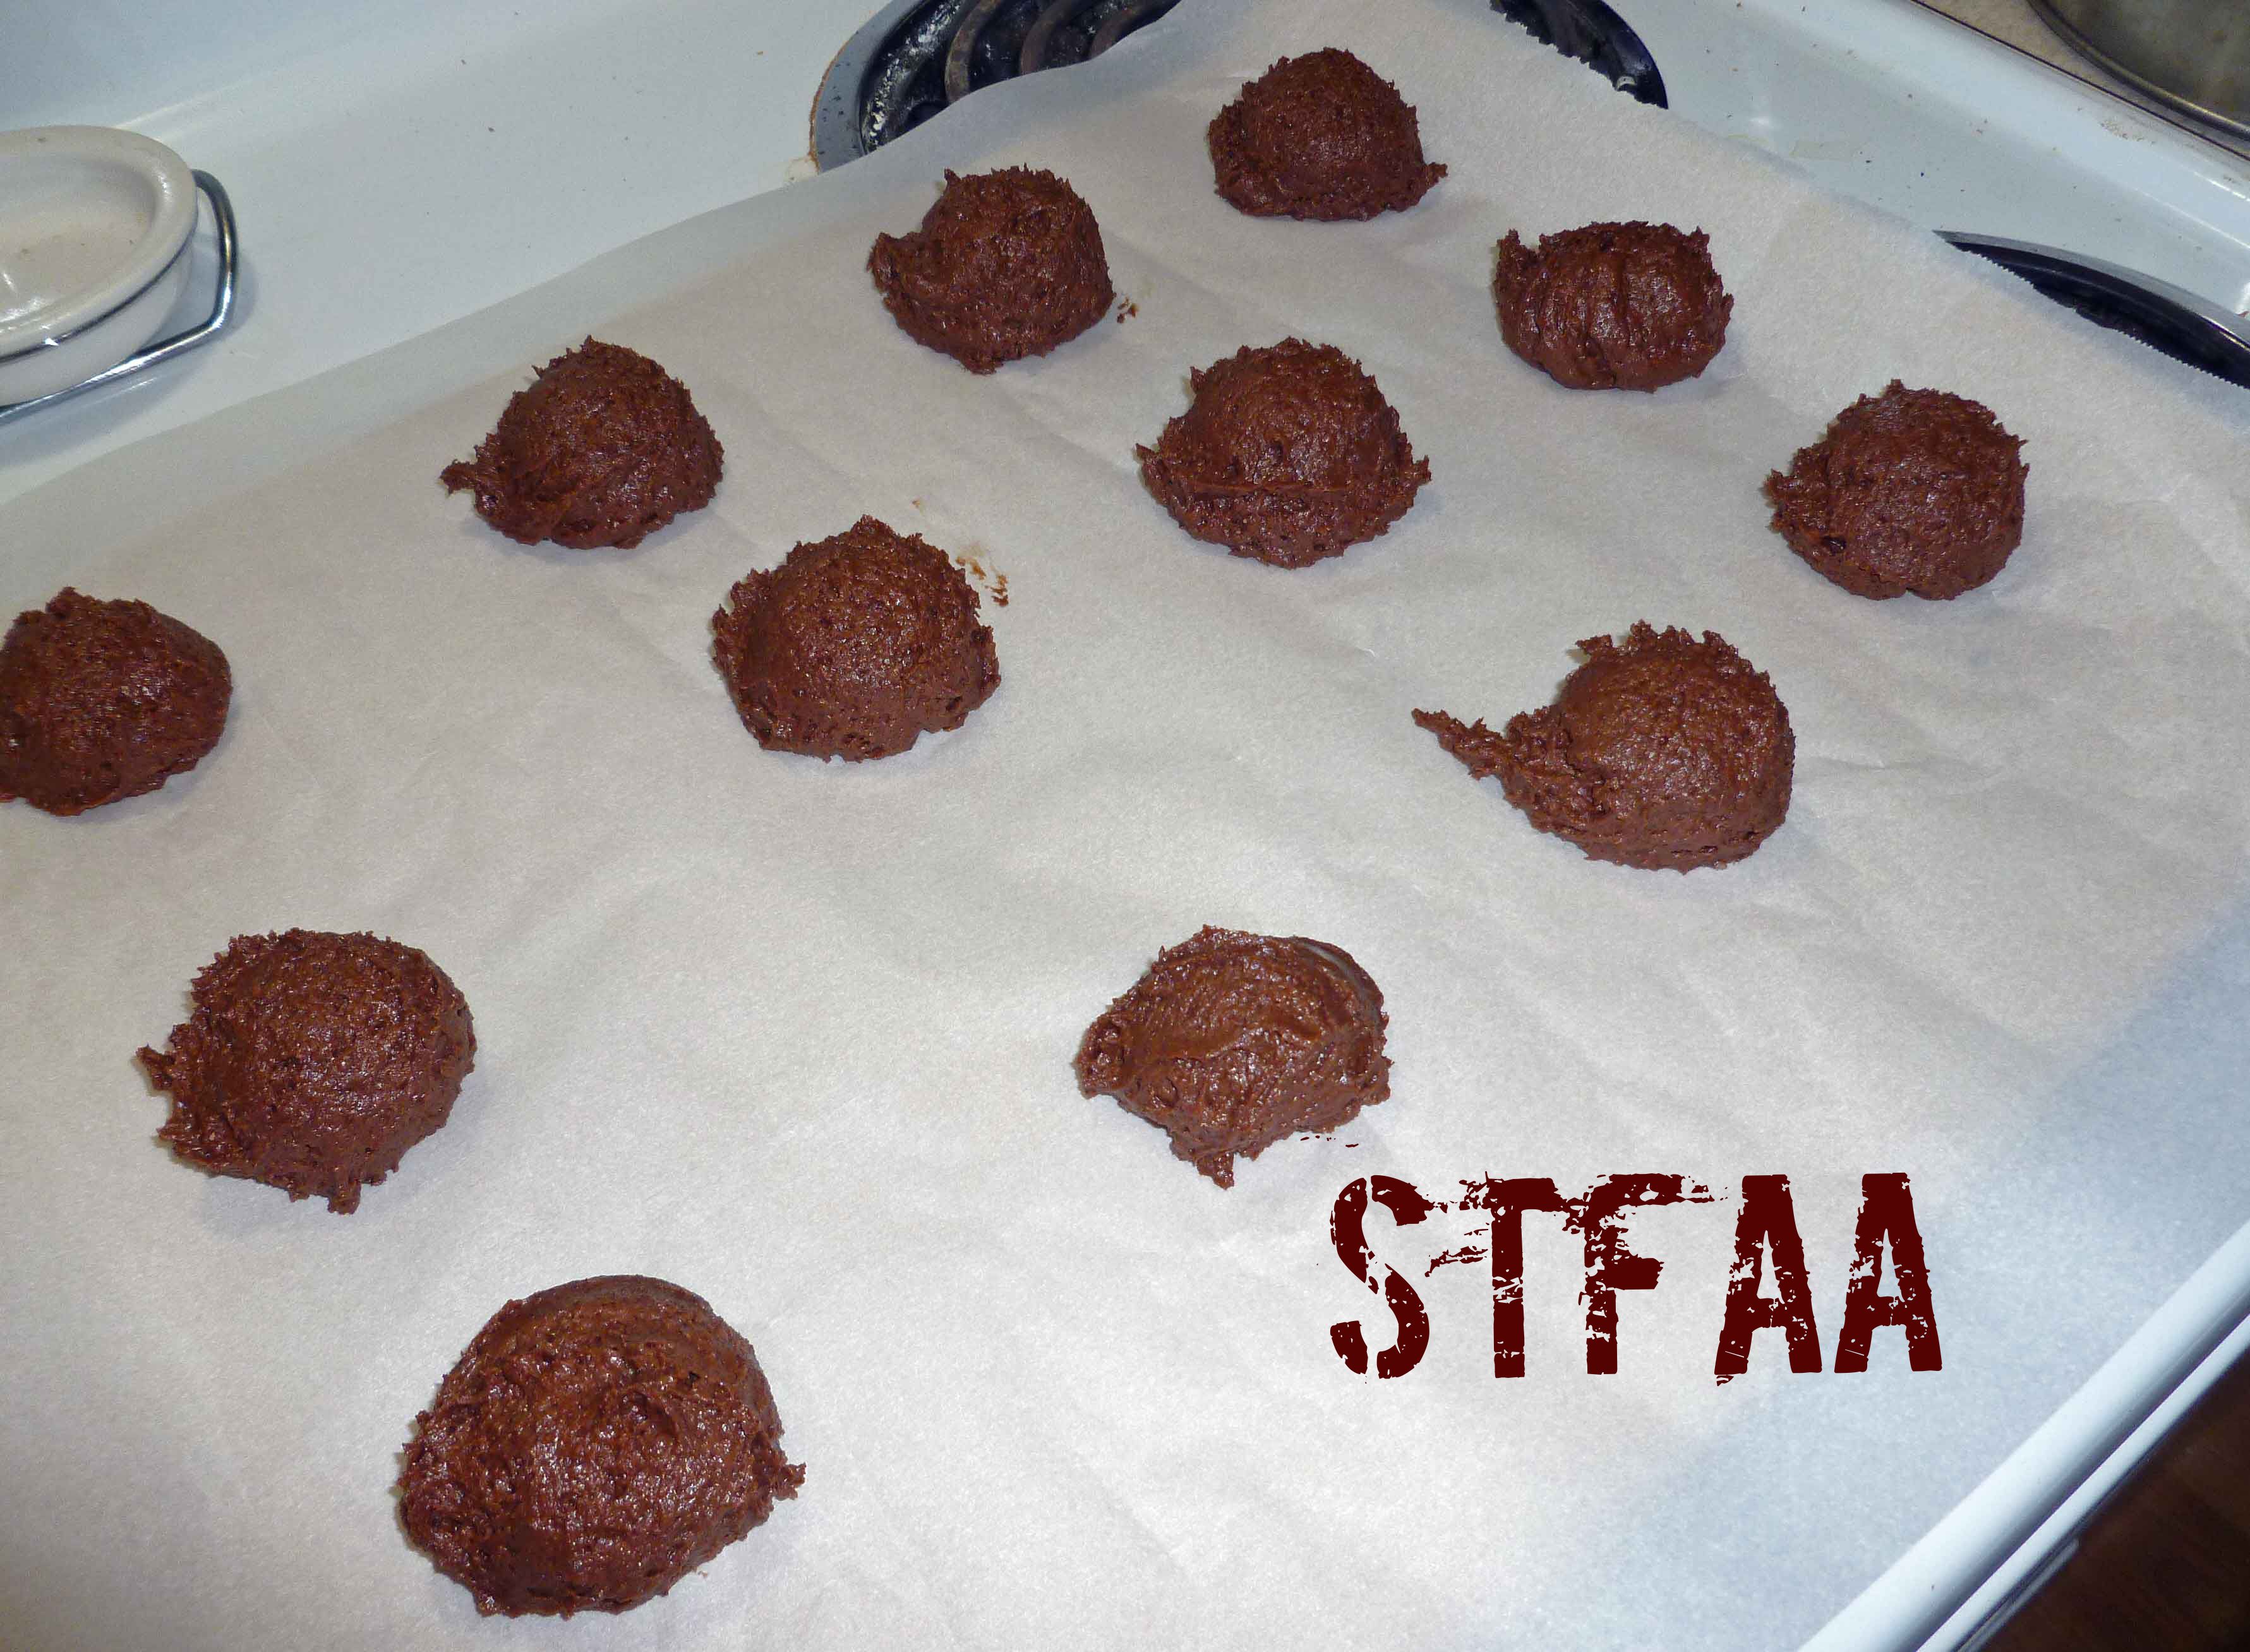
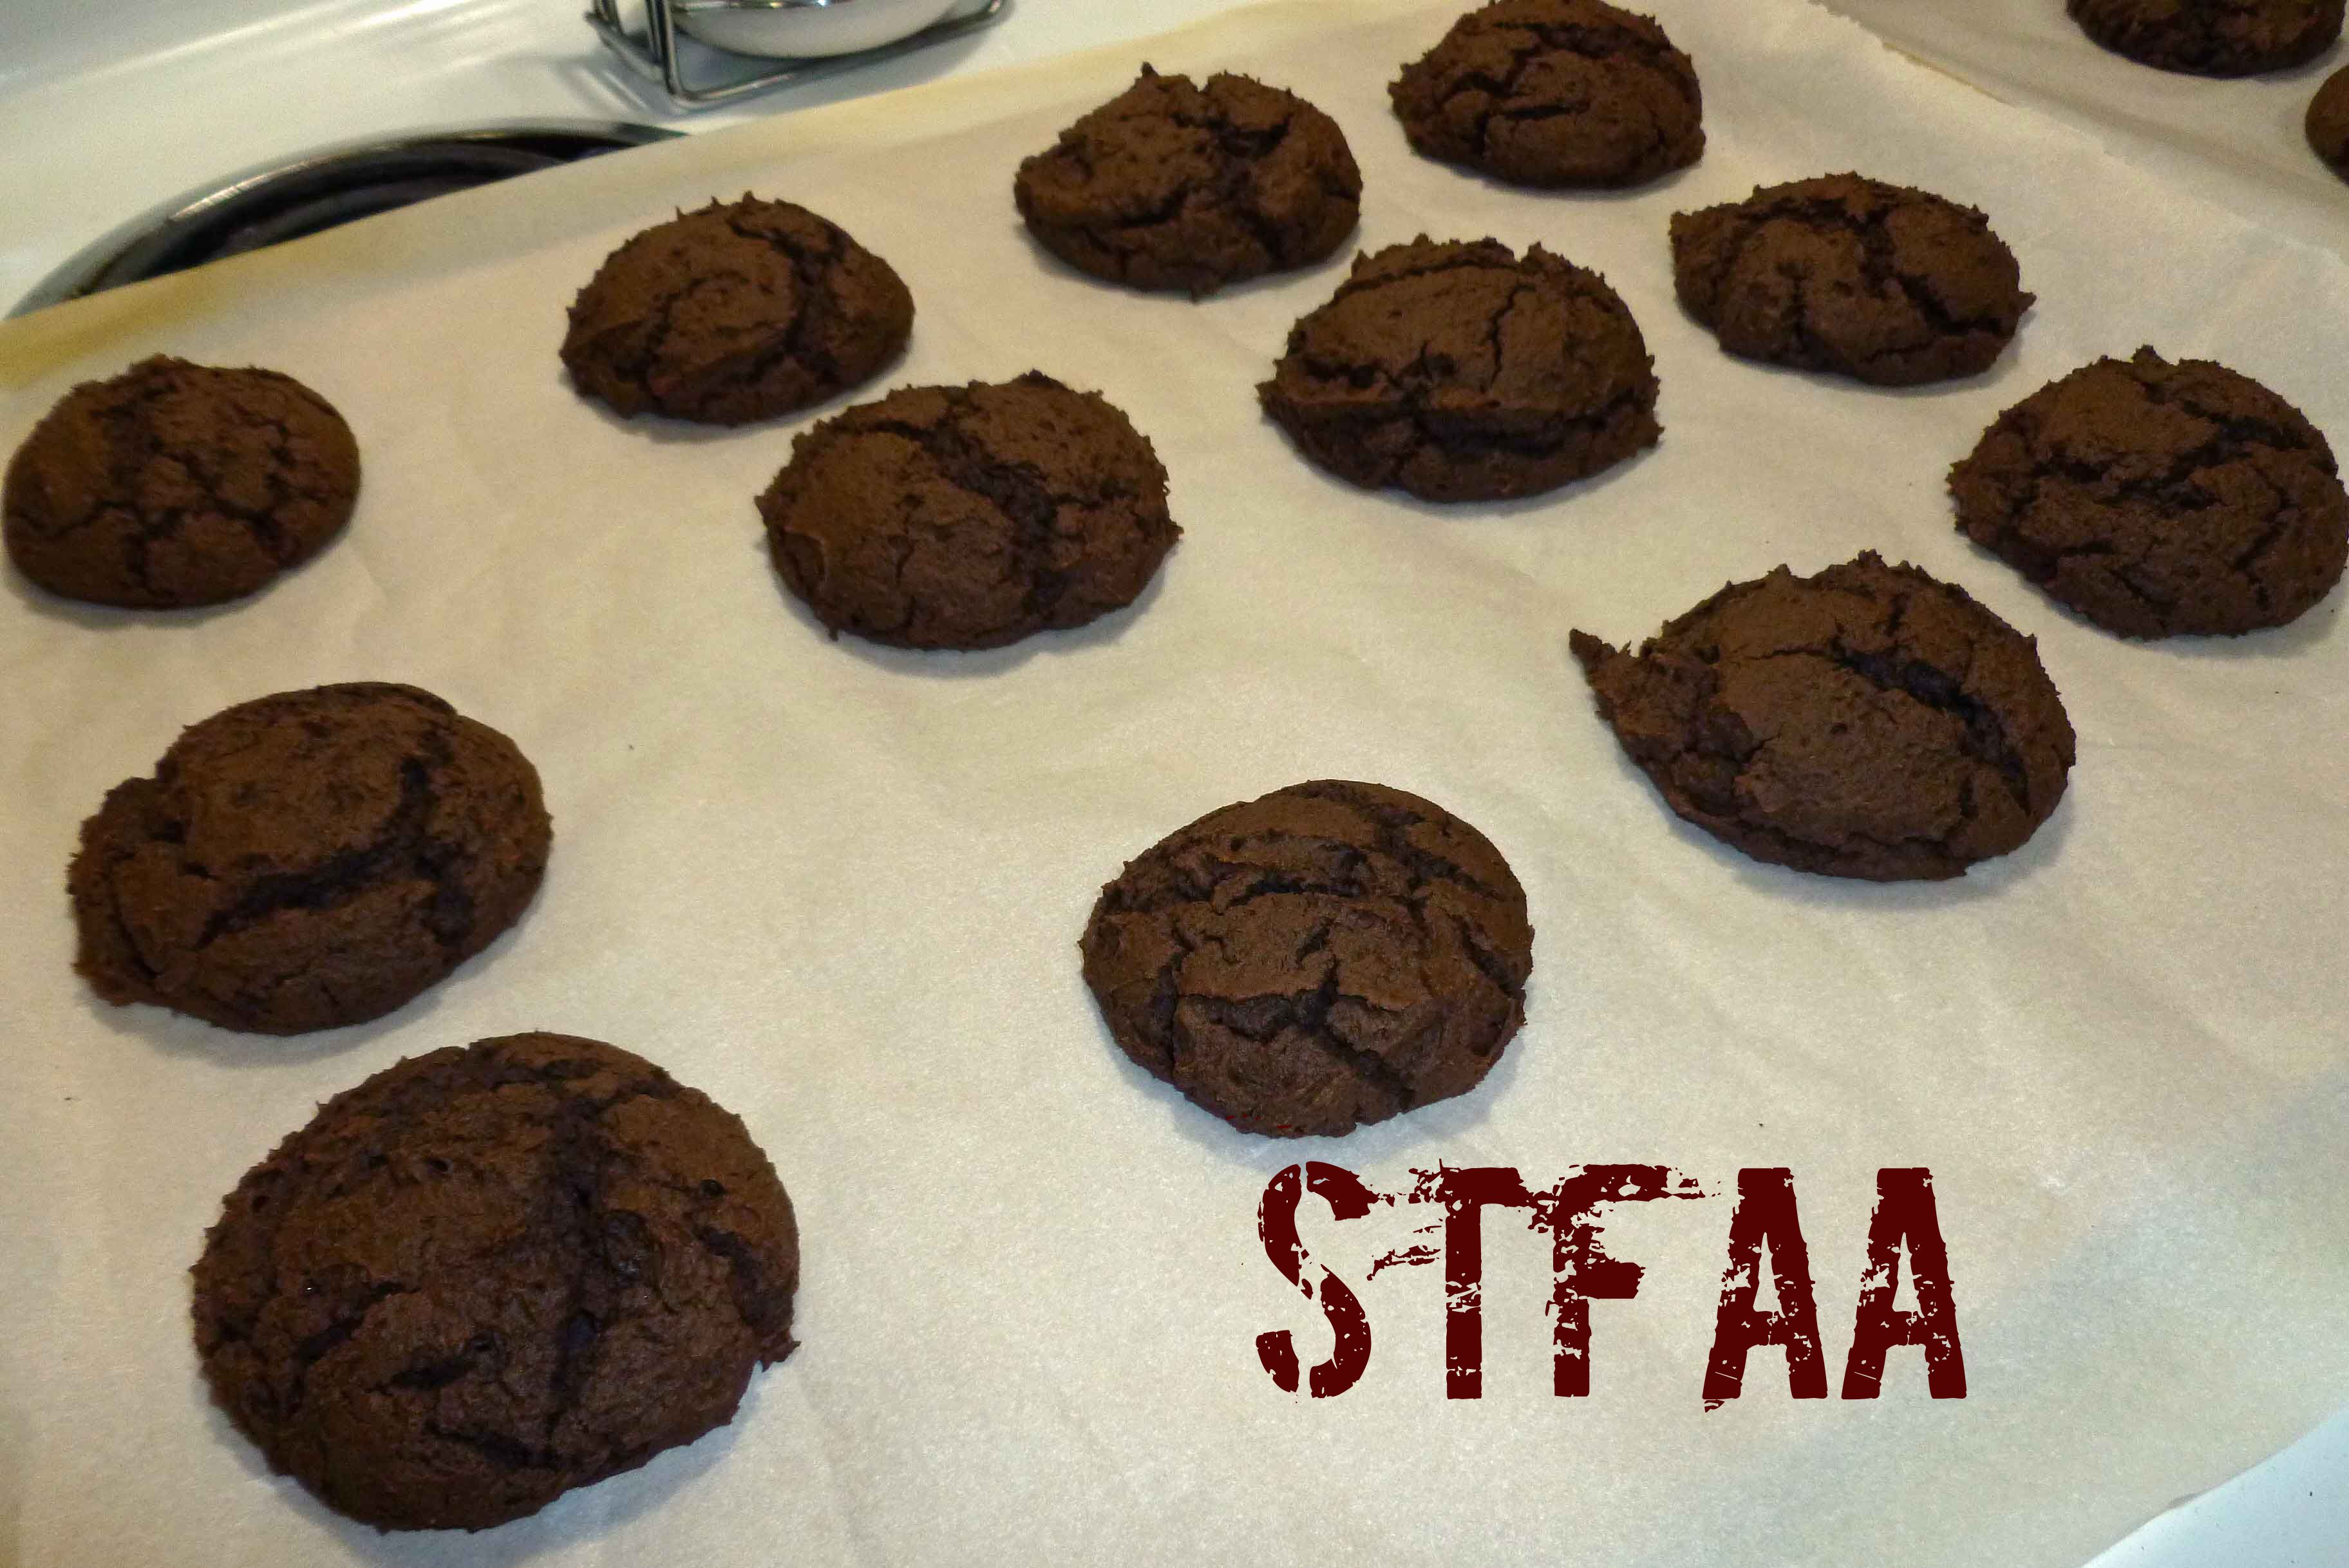
Whoopie Pie batterWhoopie Pie batter on parchment lined cookie sheetsWhoopie Pies after bakingLard after being whippedVanilla Frosting after adding powdered sugarWhoopie Pies – Gluten-Free with Vegan Option Notice: Trying to access array offset on value of type bool in /home/maryzahc/public_html/adultfoodallergies.com/wp-content/plugins/wp-ultimate-recipe/helpers/models/recipe.php on line 254
Measure all ingredients and place in a large mixing bowl. Using a whisk, mix the ingredients until well combined. Place in an air tight storage container and use in baking recipes.
Notice: Trying to access array offset on value of type bool in /home/maryzahc/public_html/adultfoodallergies.com/wp-content/plugins/wp-ultimate-recipe/helpers/models/recipe.php on line 254
Vanilla Frosting (made with lard)
Print Recipe
When you don’t have any other safe solid fats and you need to make frosting somehow. If you have a safe vegetable shortening (I don’t), feel free to use it as a substitute. Makes enough for two batches of whoopie pies or cupcakes but you can also freeze it to have on hand.
When you don’t have any other safe solid fats and you need to make frosting somehow. If you have a safe vegetable shortening (I don’t), feel free to use it as a substitute. Makes enough for two batches of whoopie pies or cupcakes but you can also freeze it to have on hand.
1cup lard or shortening(I use my home rendered lard, as store bought often has citric acid, and I have no safe shortening)
4cupspowdered sugar(I make mine with my Vitamix as powdered sugar often has corn starch in it)
1teaspoonvanilla extract(I make my own with vanilla beans and vodka made from potatoes, as most commercial extract contains corn)
0-4Tablespoonswater
Servings: batches
Instructions
Measure out 1 cup of lard and place it in a stand mixer bowl. Allow your lard to come up to room temperature.
Using a whisk attachment, whip the lard in a stand mixer until it doubles almost twice its size.
Add powdered sugar slowly, while whipping at slow to medium speed, scraping down the sides of the mixture as needed. Add vanilla extract and blend in. If your frosting appears too thick, add a tablespoon of water at a time, mixing it in thoroughly.
Notice: Trying to access array offset on value of type bool in /home/maryzahc/public_html/adultfoodallergies.com/wp-content/plugins/wp-ultimate-recipe/helpers/models/recipe.php on line 254
Whoopie Pies – Gluten-Free with Vegan Option
Print Recipe
Traditional Whoopie Pies but free of some my allergens! While I have to use lard because I have no other safe fats, if you can use Earth Balance or a vegetable shortening, you can substitute that for the lard.
Traditional Whoopie Pies but free of some my allergens! While I have to use lard because I have no other safe fats, if you can use Earth Balance or a vegetable shortening, you can substitute that for the lard.
2cupsGluten-free, Rice-free, Potato-free flour mix(see recipe in post)
1/2 cup cacao powder(I do well with Wilderness Family Naturals Cacao Powder)
1tspbaking soda
1tsp baking powder(here’s a recipe for a corn-free one – http://wholenewmom.com/health-concerns/make-your-own-baking-powder/)
1tsp sea salt
Wet Ingredients
1cup non-dairy milk(I use homemade cashew or rice milk)
2tbspapple sauce(I use homemade, home canned applesauce)
1tspapple cider vinegar(most with corn allergies can tolerate Bragg’s)
2tspvanilla extract(I make my own with vanilla beans and vodka made from potatoes, as most commercial extract contains corn)
1tsp psyllium husk
Sugar Mixture
1/3cup lard(I use my home rendered lard, as store bought often has citric acid, and I have no safe shortening)
1/3cup sugar
1/3cup brown sugar
Frosting
1batch Vanilla Frosting (made with lard or shortening)
Servings: whoopie pies
Instructions
Pre-heat oven to 375°F.
Place dry ingredients (Gluten-free, Rice-free, Potato-free flour mix, cacao powder, baking soda, baking powder, and salt) in a large bowl and whisk together until well combined.
Place wet ingredients (non-dairy milk, apple sauce, apple cider vinegar, vanilla extract, and psyllium husk) in small bowl and whisk together until well combined.
Place sugar mixture ingredients (lard, sugar, and brown sugar) in stand mixer bowl and using beater attachment, beat until until creamy, scraping down sides as necessary.
Add wet ingredients to sugar mixture, and beat until well combined, scraping down sides as necessary. Slowly add dry ingredients, continuing to beat until well combined.
Line cookie sheets with parchment paper. Using a medium scooper or a rounded tablespoon, drop the whoopie pie batter on the parchment lined cookie sheet 2 inches apart from one another. Place in the oven and bake for 10-12 minutes if using a metal cookie sheet or 12-14 if using stoneware cookie sheets. Take out and let cool on baking racks (I just lifted up the parchment paper and moved them onto racks.
While the whoopie pie halves bake and cool, make a batch of the Vanilla Frosting (made with lard or shortening) also contained in this post.
Once whoopie pie halves are cool, pipe frosting onto the flat side of one pie and and put a second on top of piped frosting. It is best to pipe frosting on pie halves as gluten-free pie halves are not as sturdy as the wheat version. Enjoy!
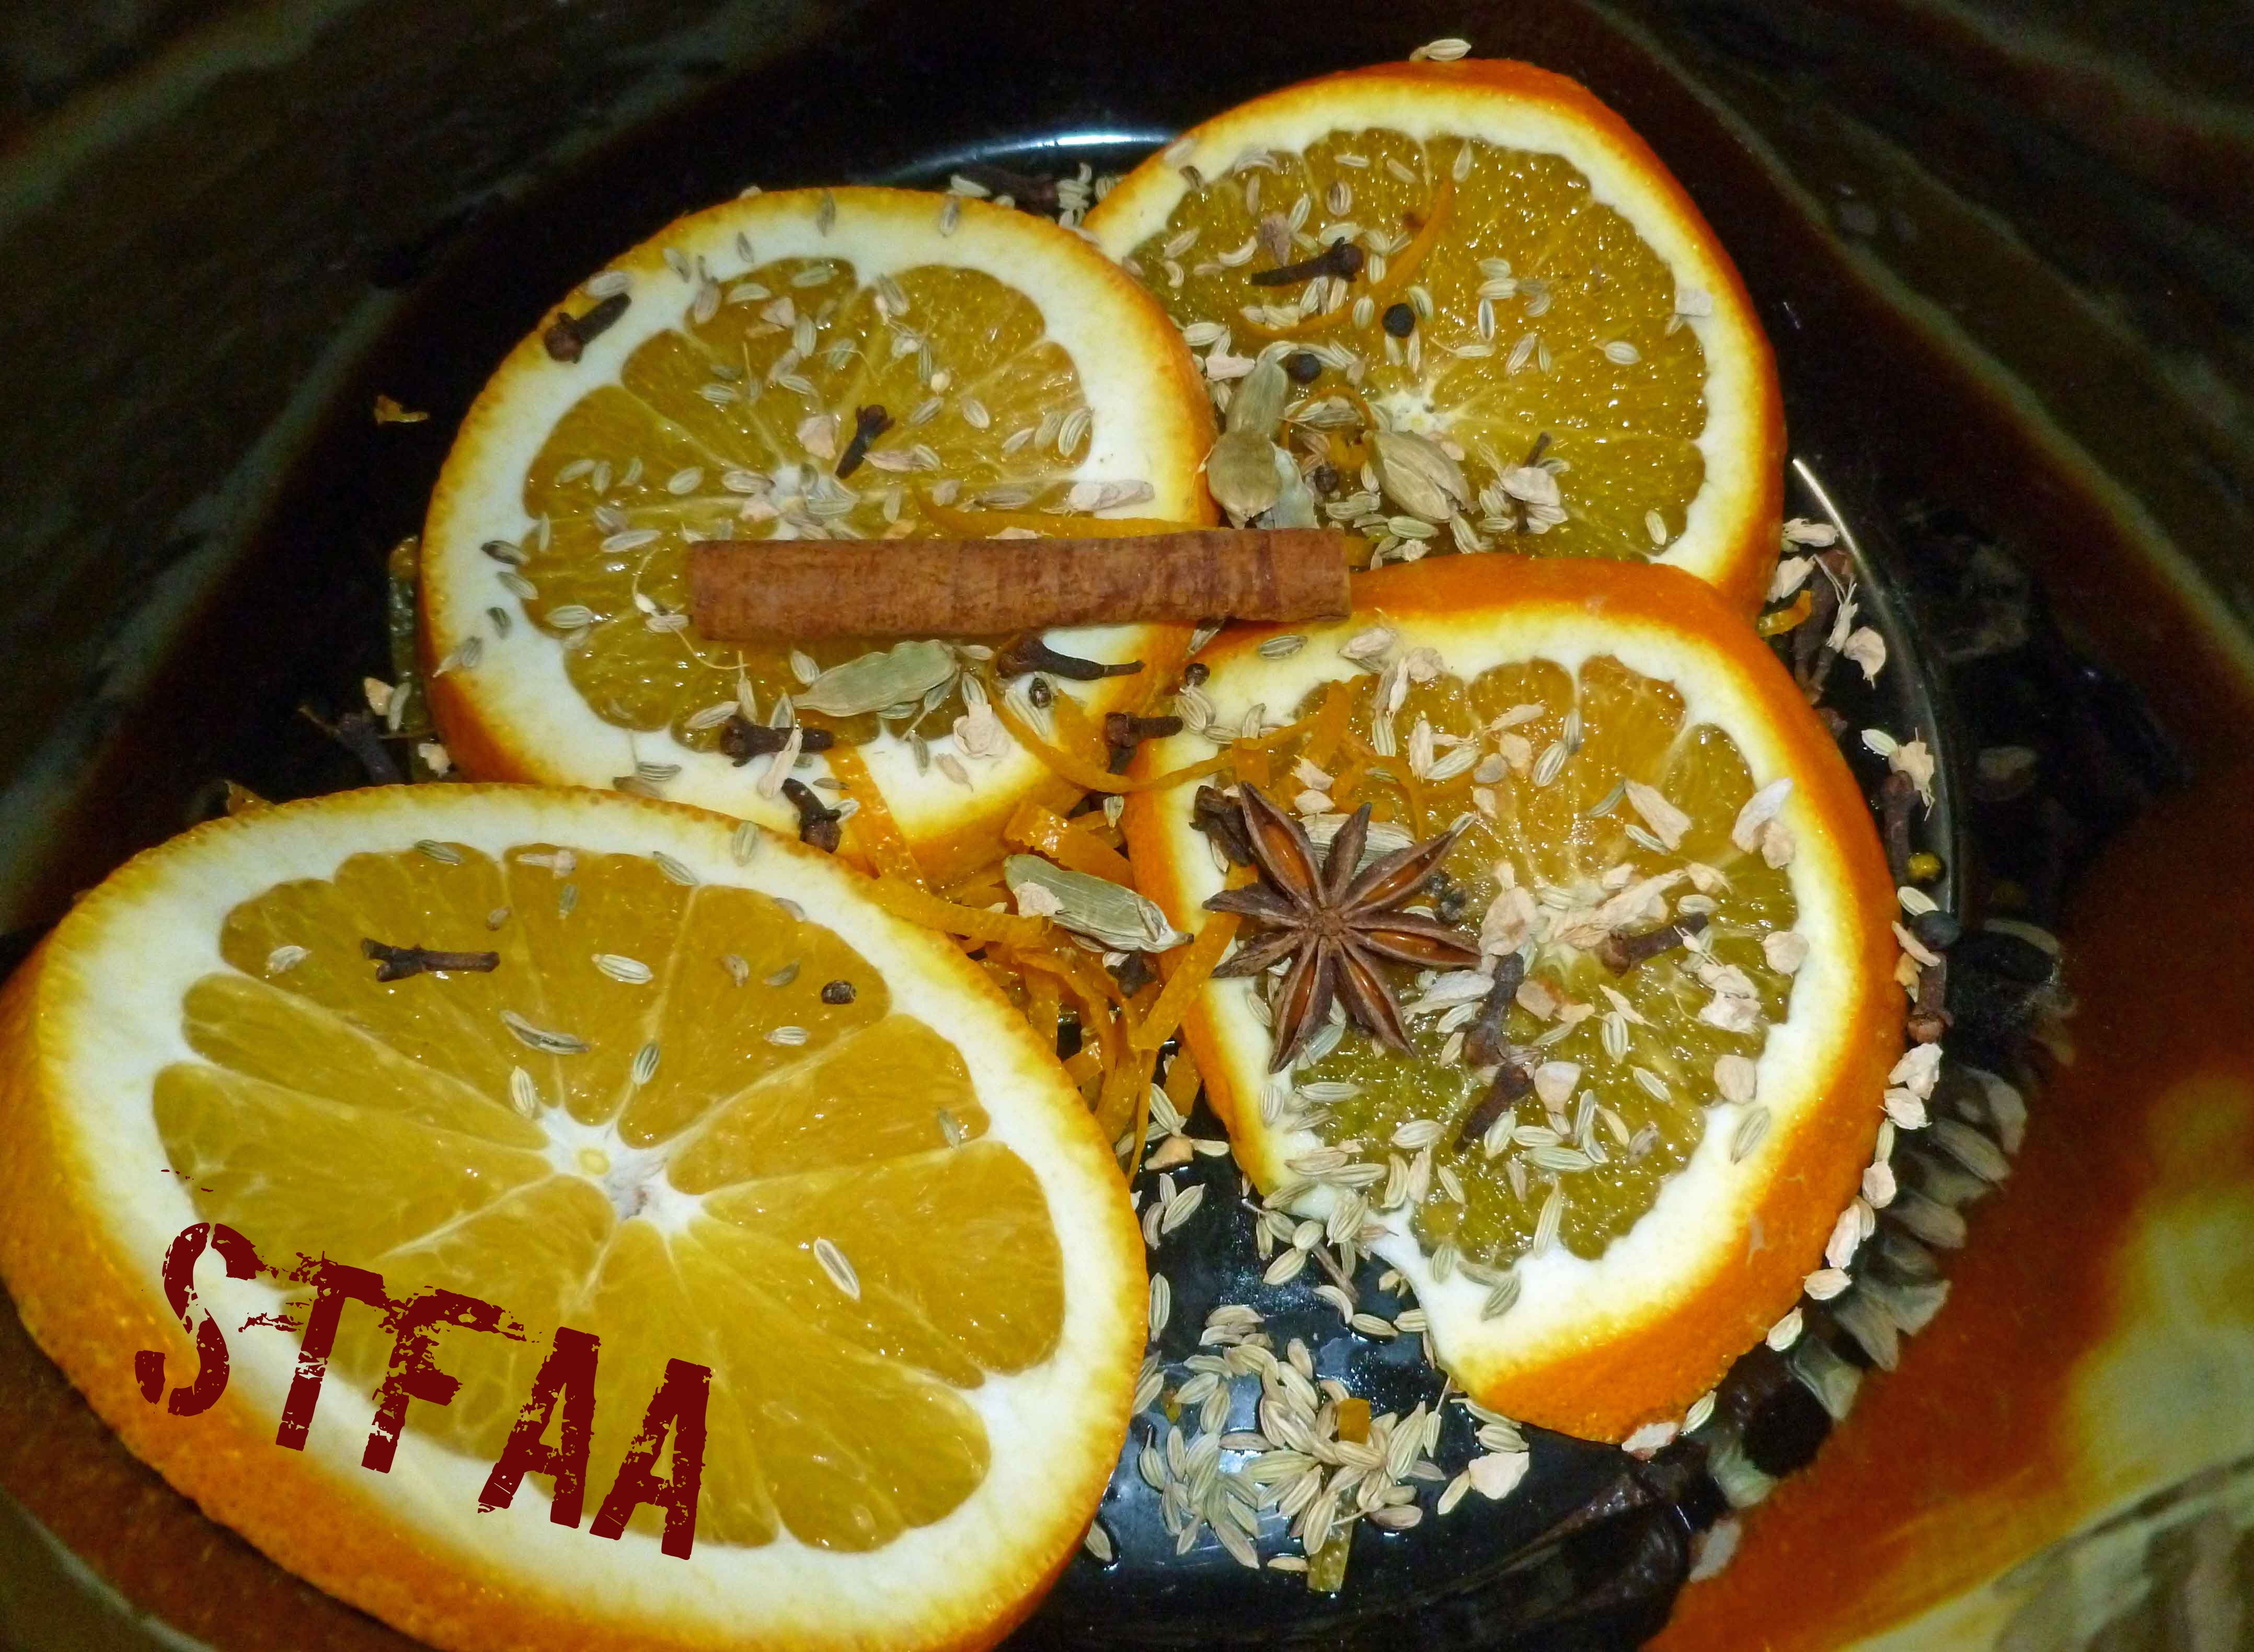
To set the scene, it’s New Hampshire. It’s December. We got about a foot of snow in the past week and we’re expected to get a bit more soon. It’s freaking cold. So I need a hot drink, preferably with alcohol. I’ve been seeing posts about chai hot chocolate and hot chocolate red wine, but those sounded a bit heavy. So I decided to try an orange chai red wine, sort of like a mix between sangria and mulled wine, but with a chai spice flavor profile. I didn’t know that my idea was actually pretty close to a German spiced wine called Glühwein until I started poking around. Mine doesn’t have brandy or other spirits in it, and I have a few more spices in mine. It’s a pretty thing on a cold afternoon, and great for a wintry get-together. For those of you who are vegan, you’ll need to investigate your wine carefully, and for those of you who are more sensitive than I am corn-allergy wise, you’ll need to be careful in your wine choices. I do well about 75% of the time as long as I avoid American wines, but your mileage may vary.
Orange Chai Spiced Wine
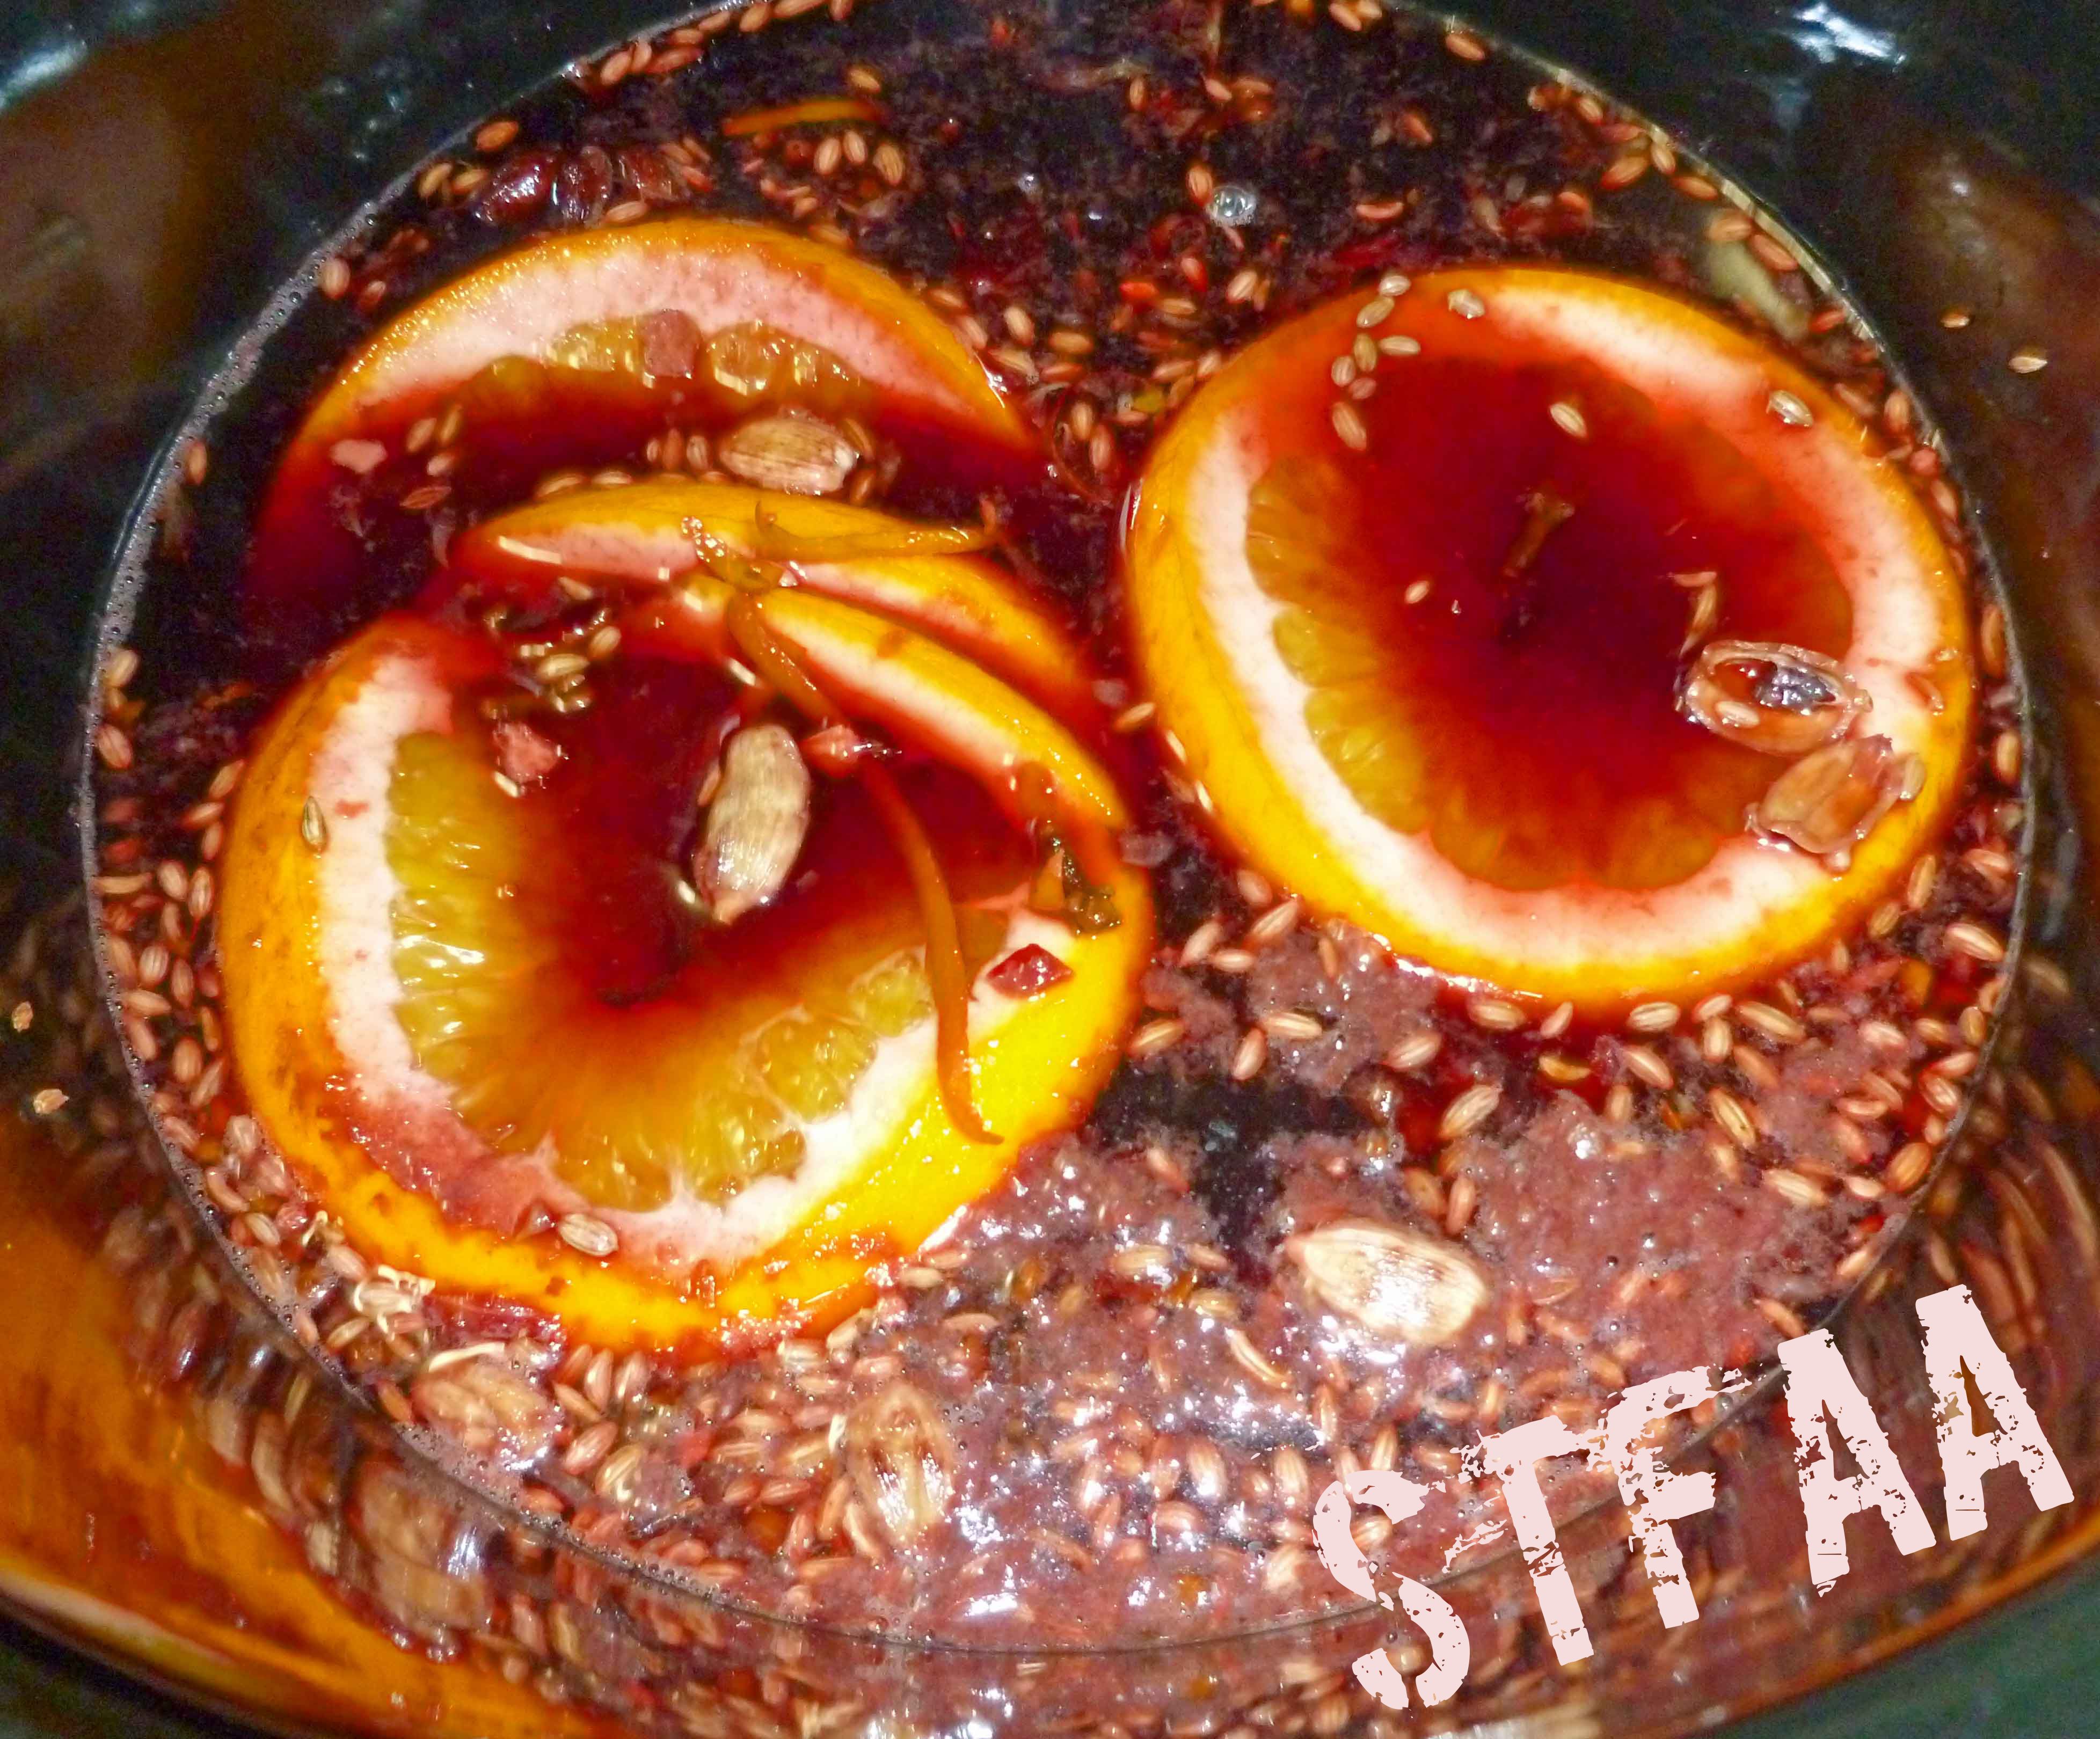
The complete recipe is in the card below, but this is a pretty easy one. Juice and zest some oranges (I used a julienne peeler for removing the zest easily with a strainer), slice part of an orange, and throw the zest, juice, orange slices, spices, sugar and wine in a crock pot on low for a hour. After cooking, I strained out the spices and used the orange slices for garnishing the glasses. I have a bit left over, and I may braise some pork in it because it was totally delicious.
Using a julienne peeler to zest the orangesSlices and spices in crockpotOrange Chai Spiced Wine after cooking but before strainingOrange Chai Spiced Wine after straining with an orange slice for garnish Notice: Trying to access array offset on value of type bool in /home/maryzahc/public_html/adultfoodallergies.com/wp-content/plugins/wp-ultimate-recipe/helpers/models/recipe.php on line 254
Orange Chai Spiced Wine
Print Recipe
A lovely drink for cold winter parties in the crock pot.
1bottlered wine24.5 ounce or 750 ml, fruity red wine such as Merlot, Zinfandel, or Cabernet Sauvignon
1cinnamon stick
1tspwhole fennel seed
1/2tspwhole cloves
2whole black peppercorns
1star anise whole
5green cardamom pods, smashed
1/2tspcracked dried ginger
4tbspbrown sugar
3-4 quart crock pot
Servings: people
Instructions
Wash your oranges carefully. Using a julienne peeler or a regular vegetable peeler, peel thin strips of the zest off of the orange, being careful not to peel too deeply and get into the white pith. Add about a tablespoon’s worth of peeled zest to the crock pot.
Cut one of the oranges in half, and slice one half thinly to add slices to the crockpot. Juice the remaining oranges until you have about 1 cup of orange juice to add to the crock pot.
Add all spices, brown sugar and wine to the crock pot, and put on low for 1 hour.
Strain out spices, but save orange slices for garnish. Add an orange slice to glass and pour wine into glass and serve. Enjoy!


")


")