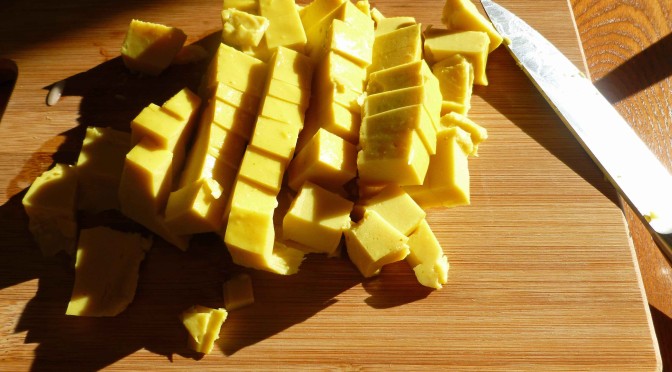
I made this recipe from Girl Cooks World as part of a weekend of making random tofu experiments. I used besan flour (very finely ground chickpeas) and got a very smooth tofu, but it was more like a silken tofu. When I fried it in sticks, trying to emulate panisee, the interior got soft and gooey, and the outside was crispy but sort of flaked off. When I ate it, it reminded me of vaguely of egg. So I decided to try to capitalize on that and try to improve upon it, to try to get an egg substitute to use in dishes that were pretty egg-y, quiche for example. I thought the original texture was a little soft for what I wanted to use it for, so I kicked up the amount of flour a bit, added some Kala Namak Salt/Indian Black Salt to make it more “egg-y”, and added a bit more turmeric for color.
I’ve pan fried it with onions for a “scrambled” egg breakfast, and made a breakfast casserole/quiche-like dish with it, which will appear on the blog soon. In the meantime, if anyone else experiments with it, and finds some good stuff to do with, please let us know!
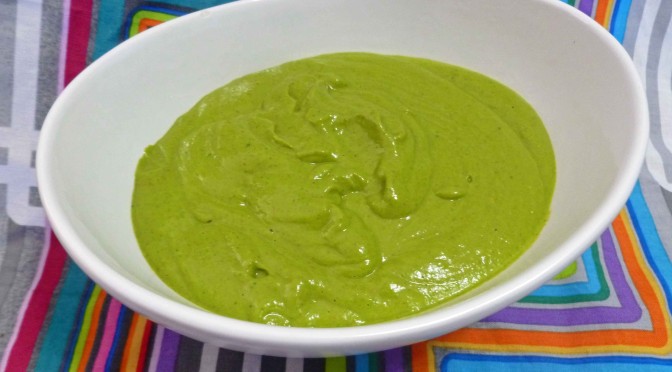
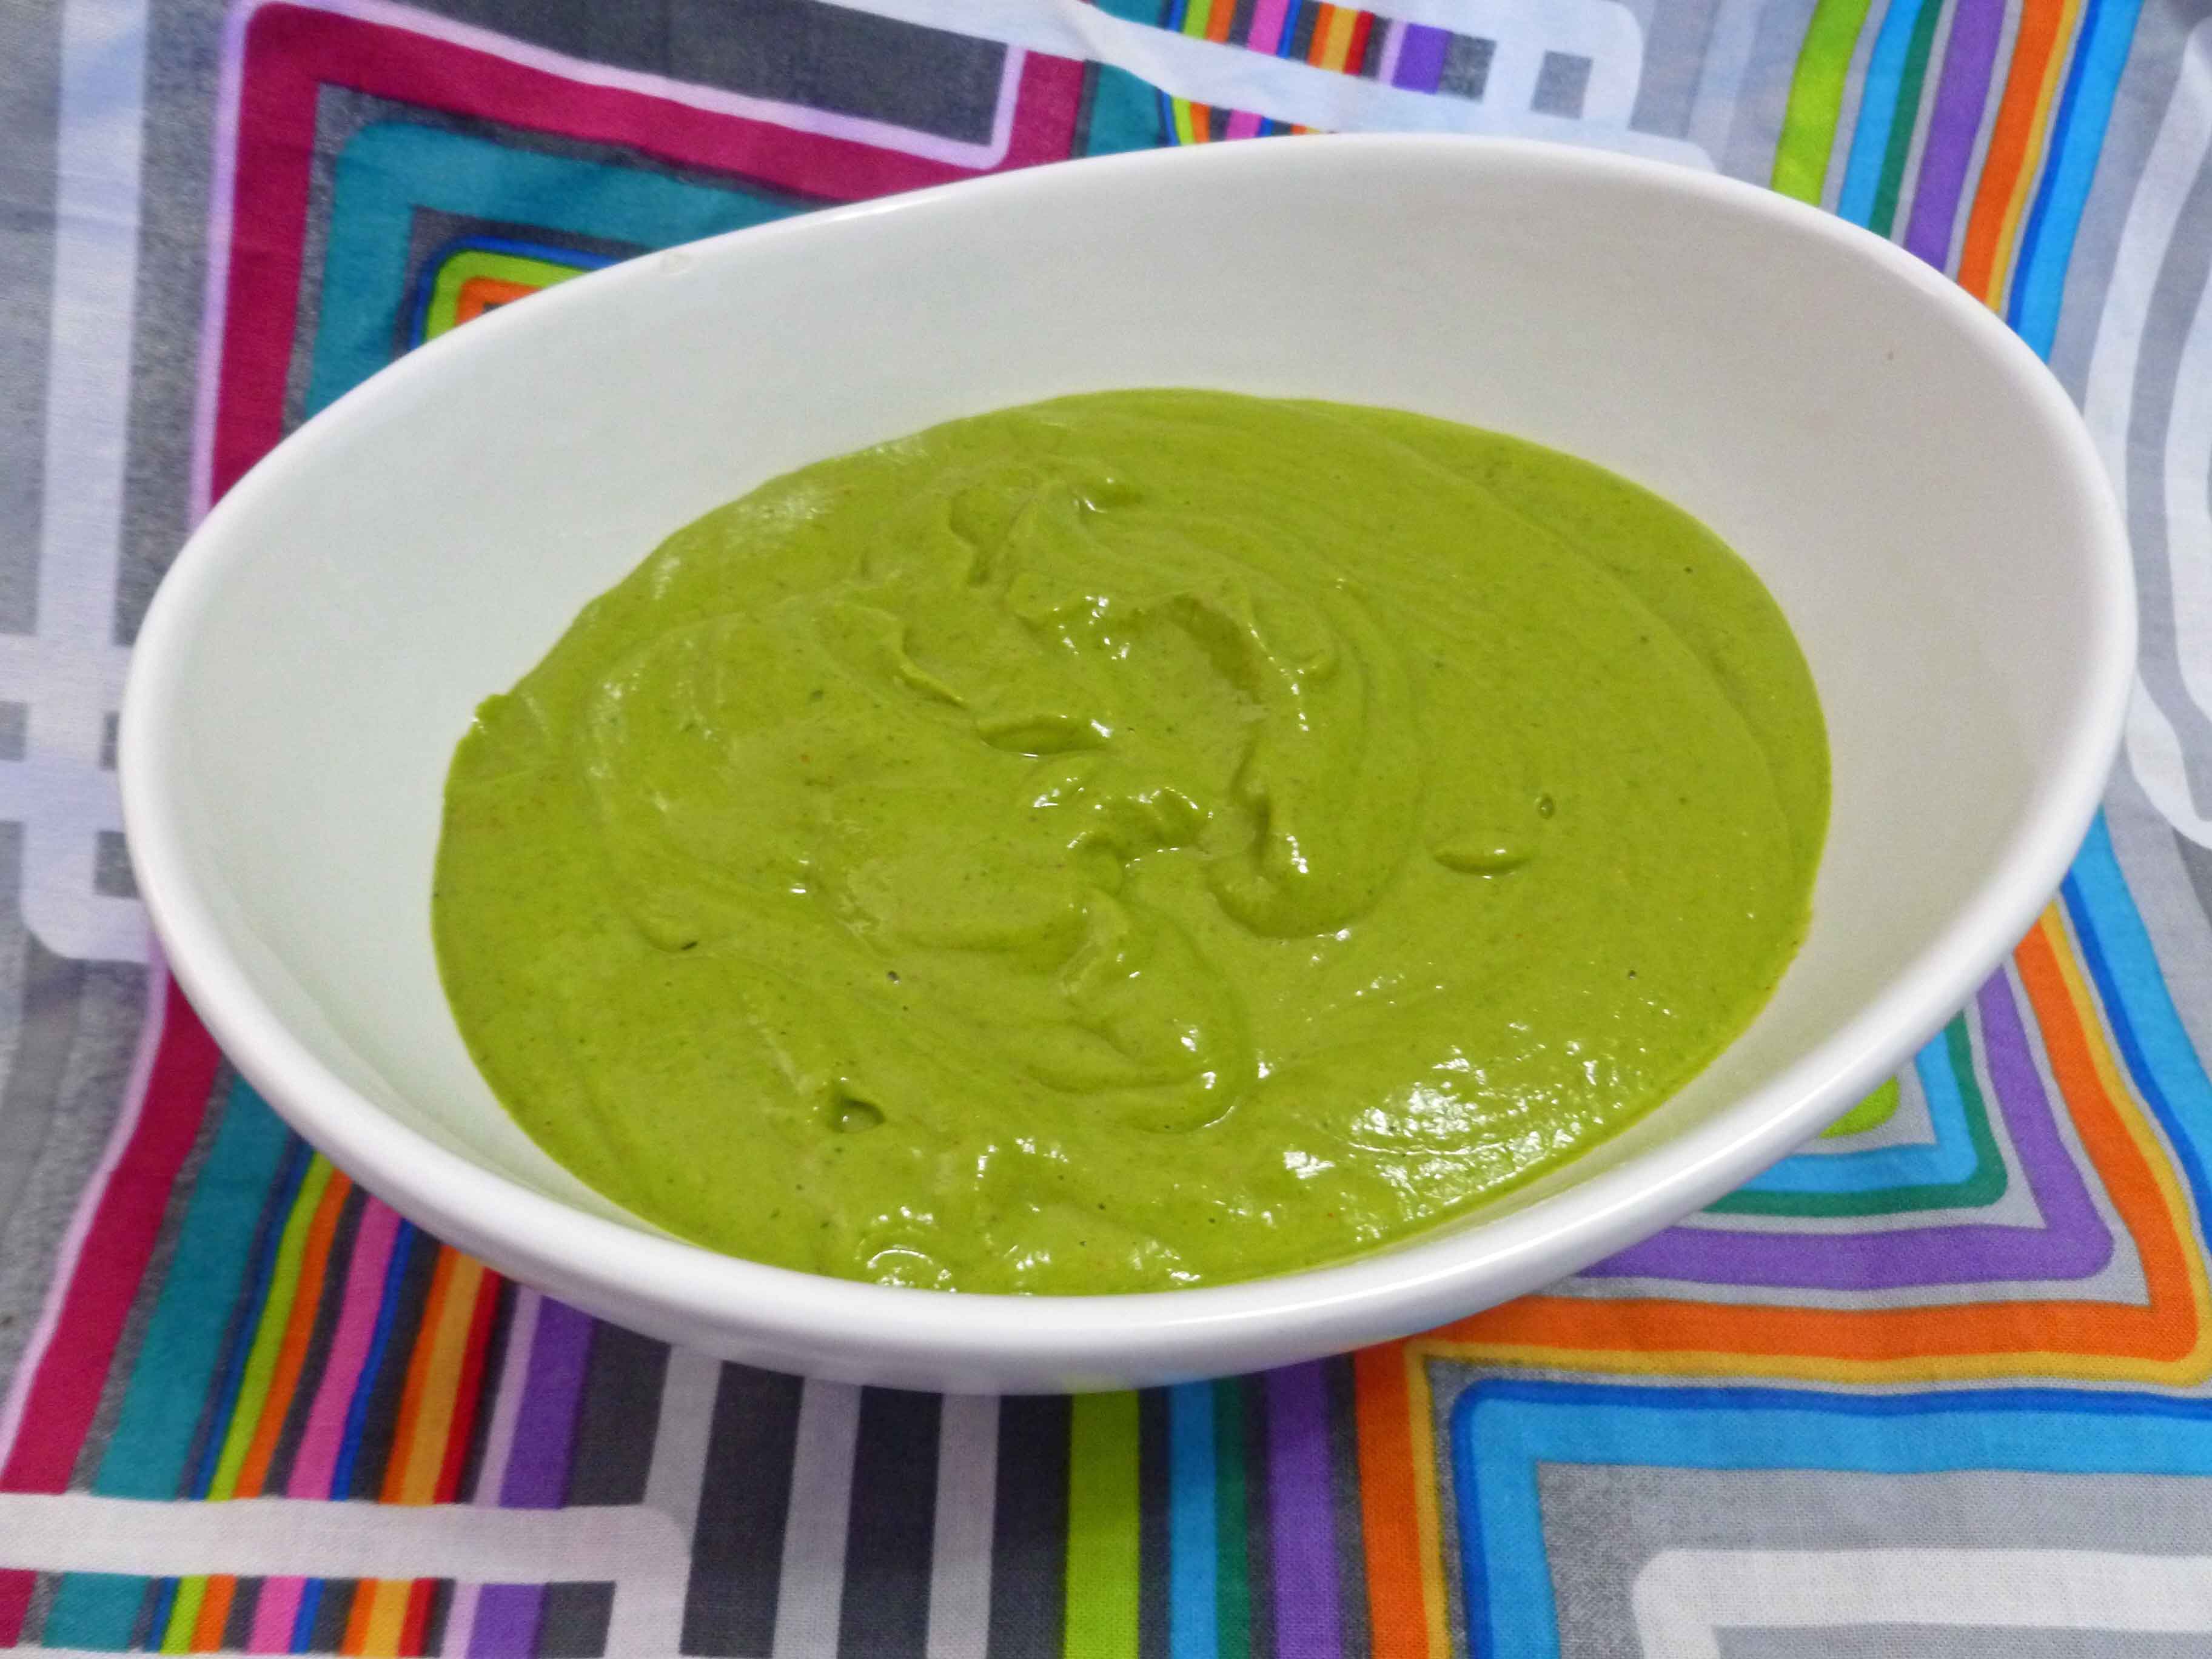
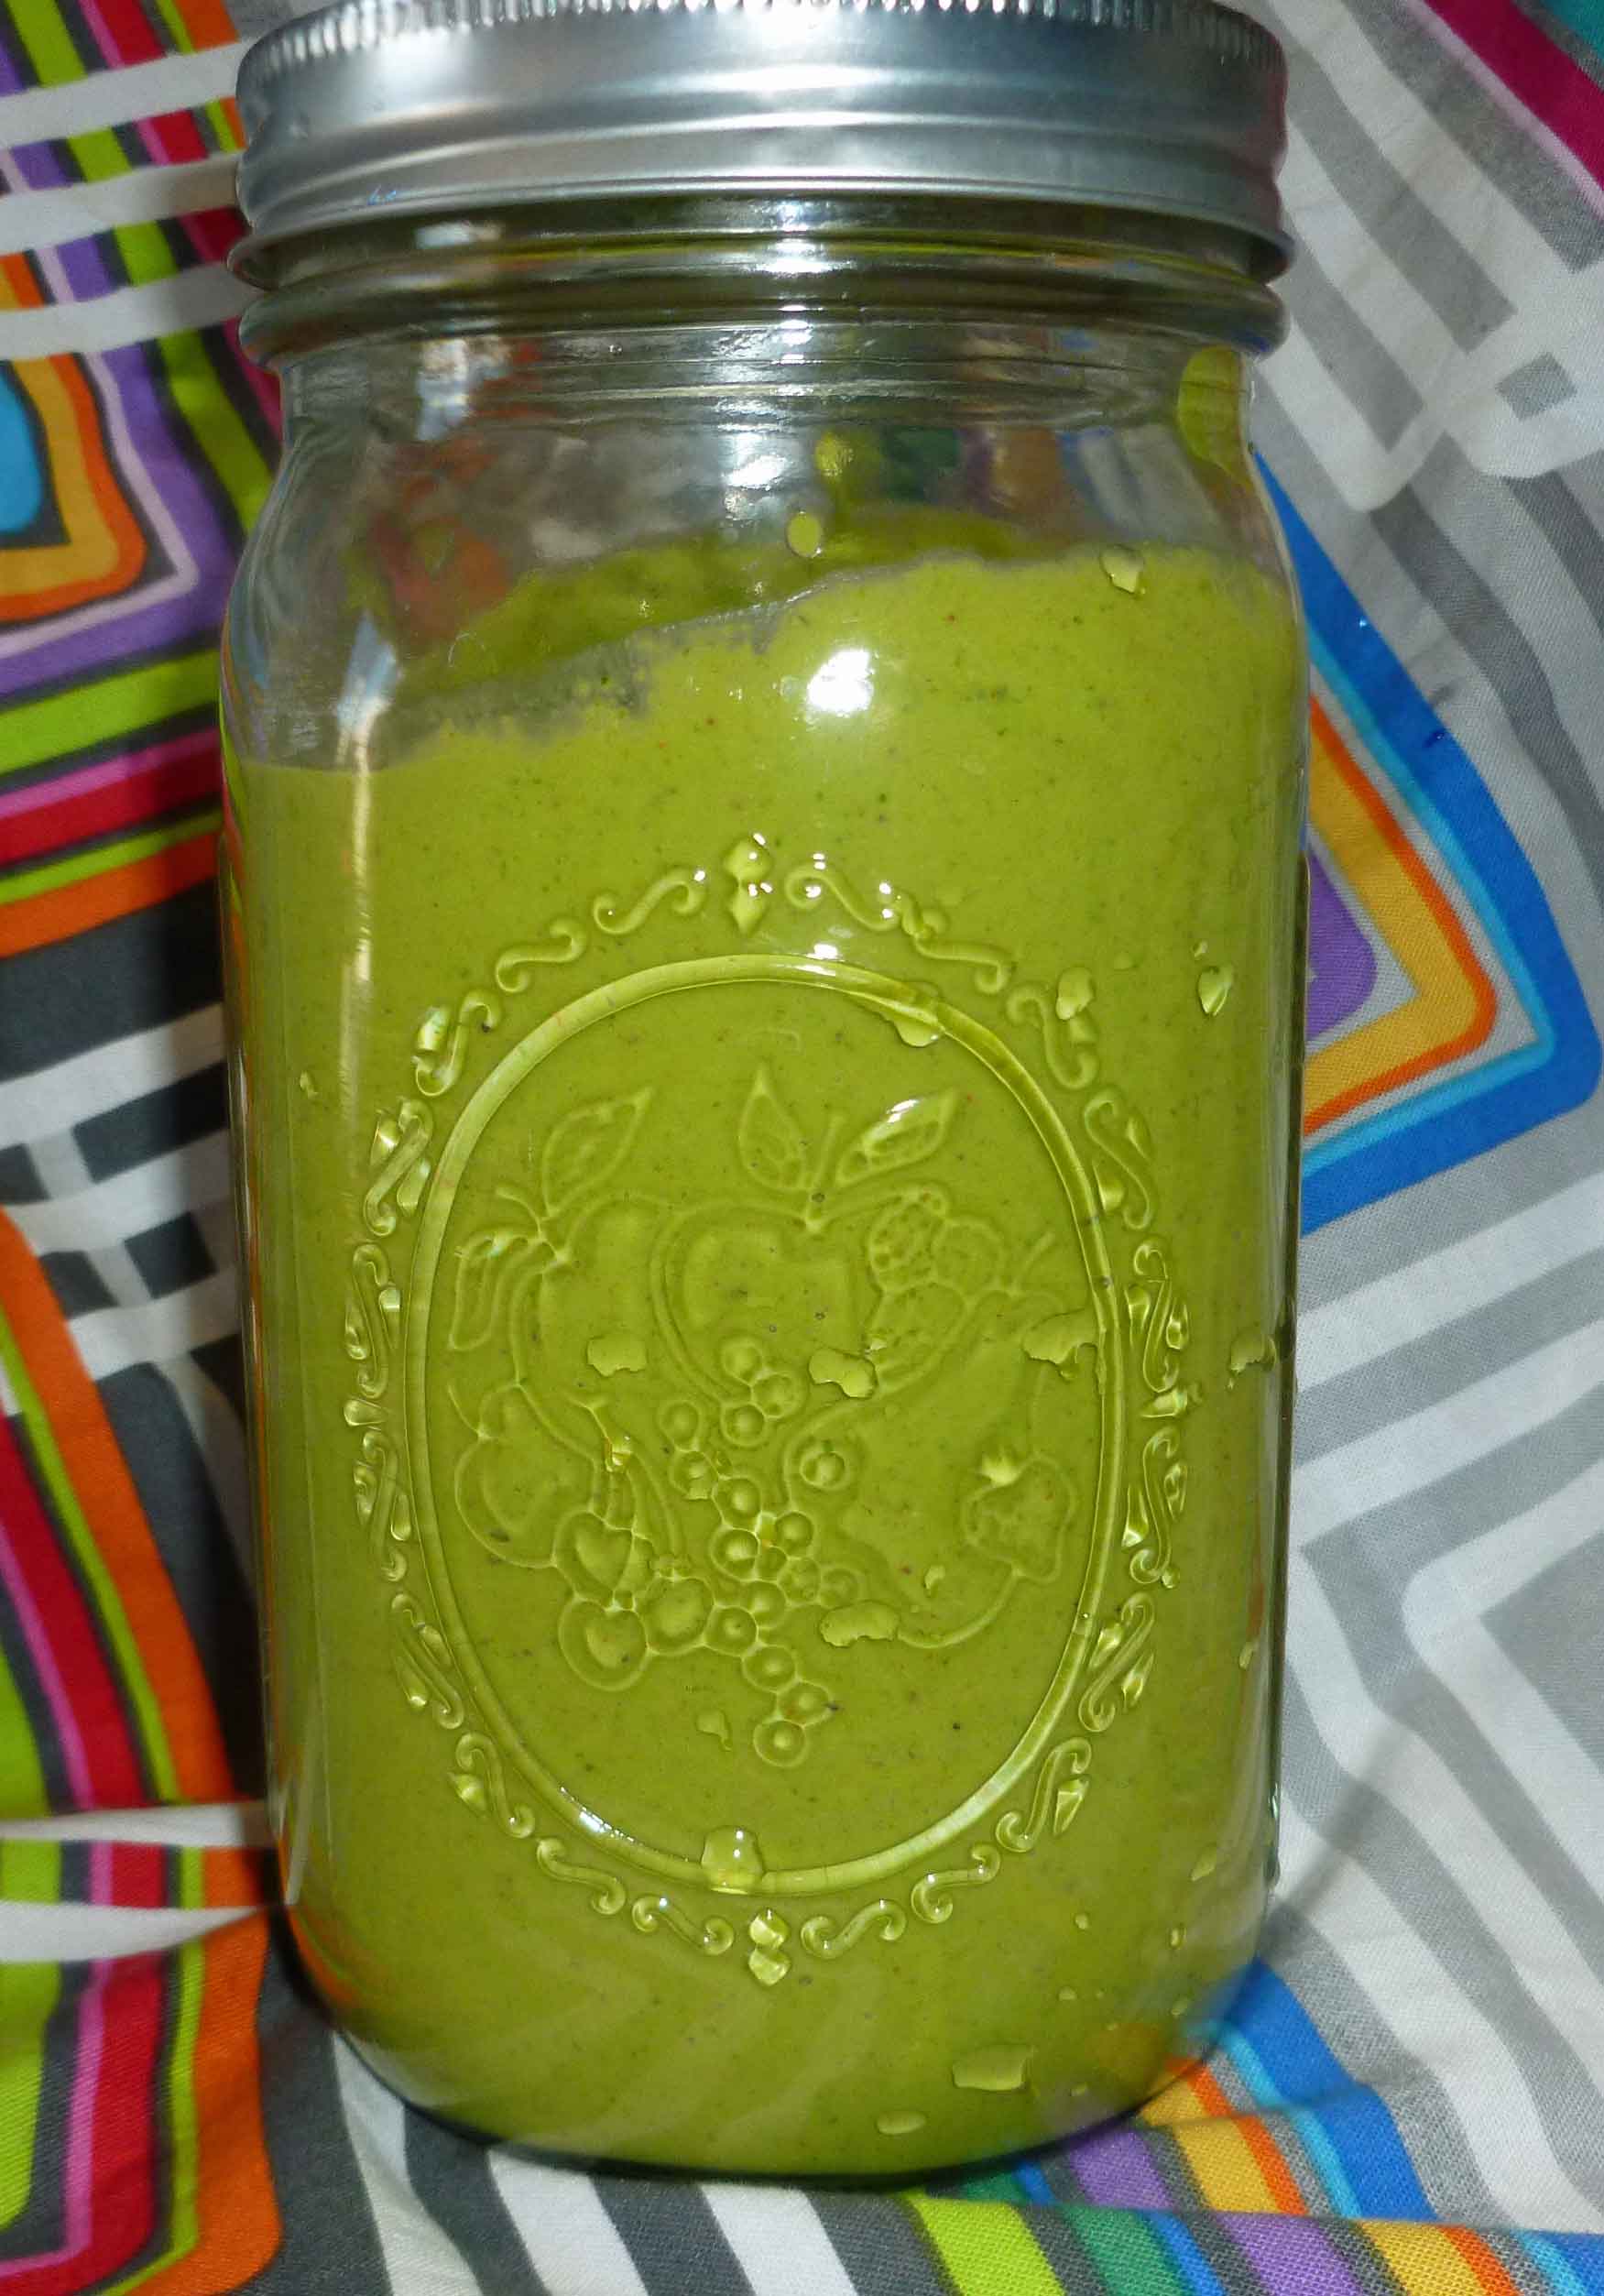
“Eggy” Burmese Tofu
Makes a 8 inch by 8 inch baking pan of tofu.
- 2 1/2 cups of chickpea/garbanzo bean/besan flour
- 2 teaspoons of Kala Namak Salt/Indian Black Salt
- 1/2 teaspoon of turmeric
- 6 cups of water, divided
- grape seed oil (or other safe-for-you-oil) for greasing the pan
Place the chickpea/garbanzo bean/besan flour, Kala Namak Salt/Indian Black Salt, turmeric, in a large bowl. Using a whisk, mix the ingredients until they are thoroughly combined. Then add 2 cups of the water and whisk until the mixture is smooth, making sure there are no lumps.
Grease your 8 inch by 8 inch baking dish with the grape seed oil.
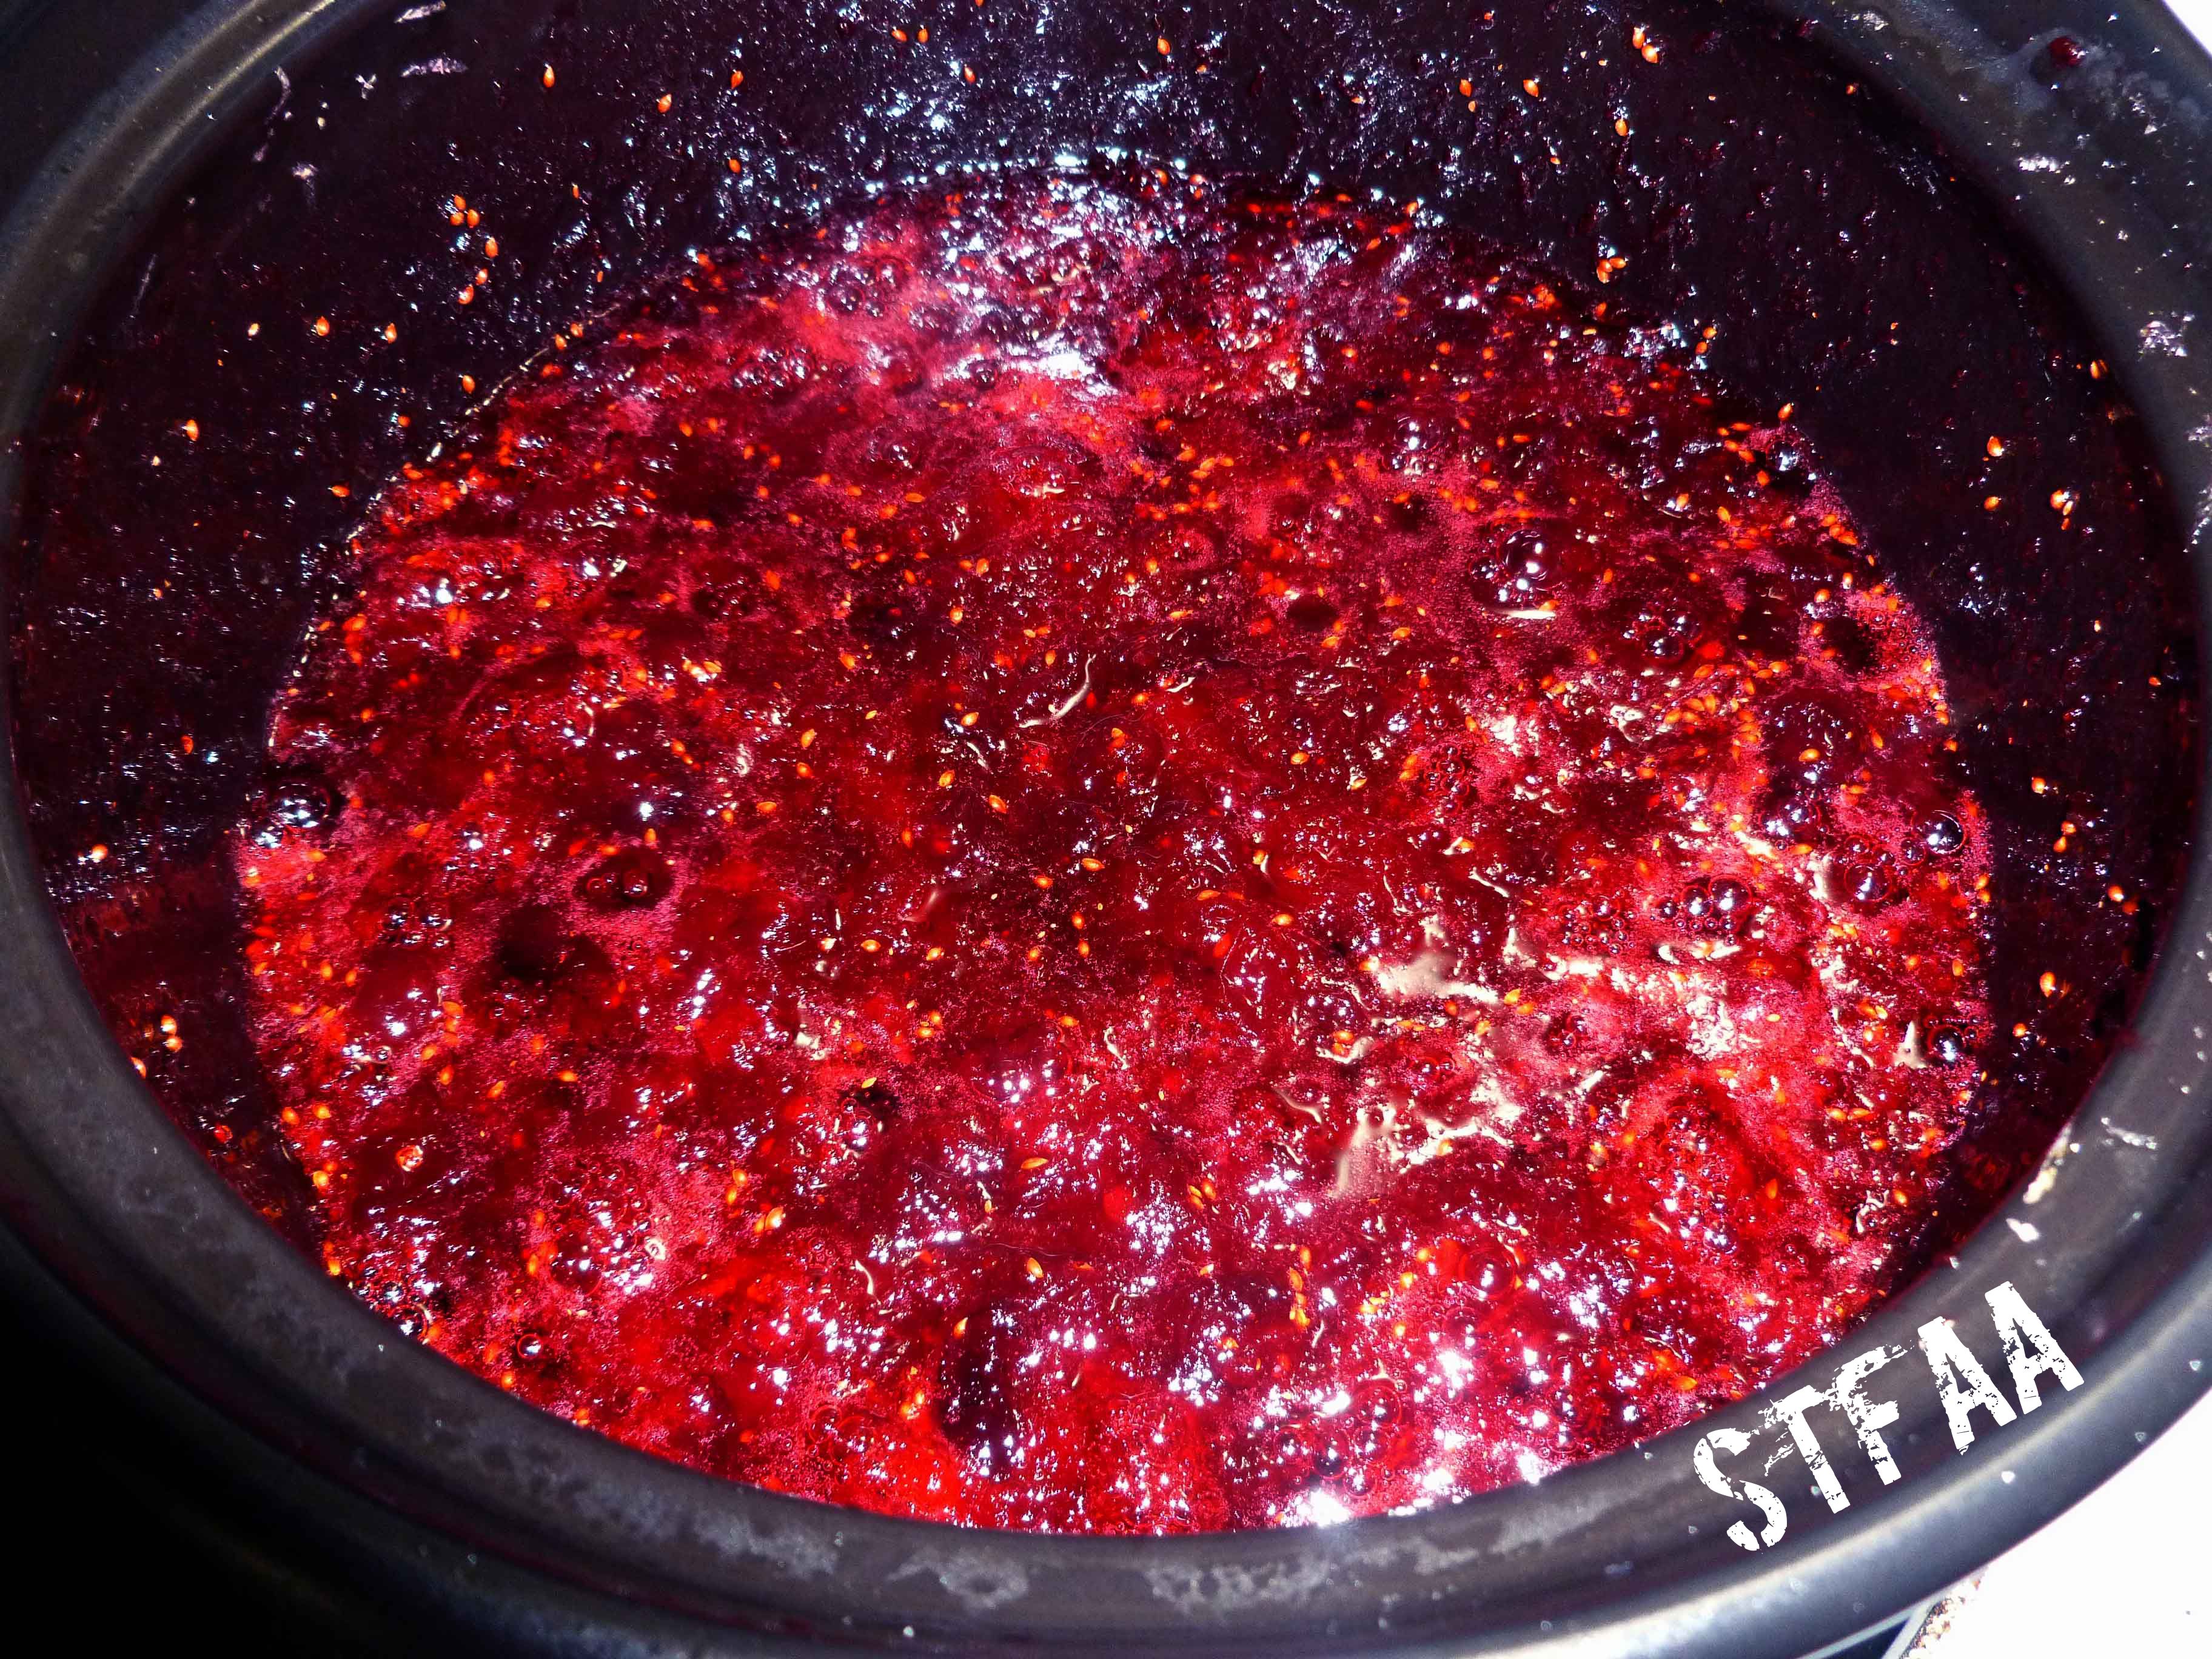
In a wide, heavy bottomed, shallow pot, bring the remaining 4 cups of water to a boil. Once your water is boiling reduce the heat to medium. After stirring your flour mixture to be sure it hasn’t settled, slowly pour the mixture into the boiling water, while you stir it with a wooden spoon. Lower the heat to medium-low, and continue stirring until the mixture has thickened and is glossy. This will take about 3-5 minutes.
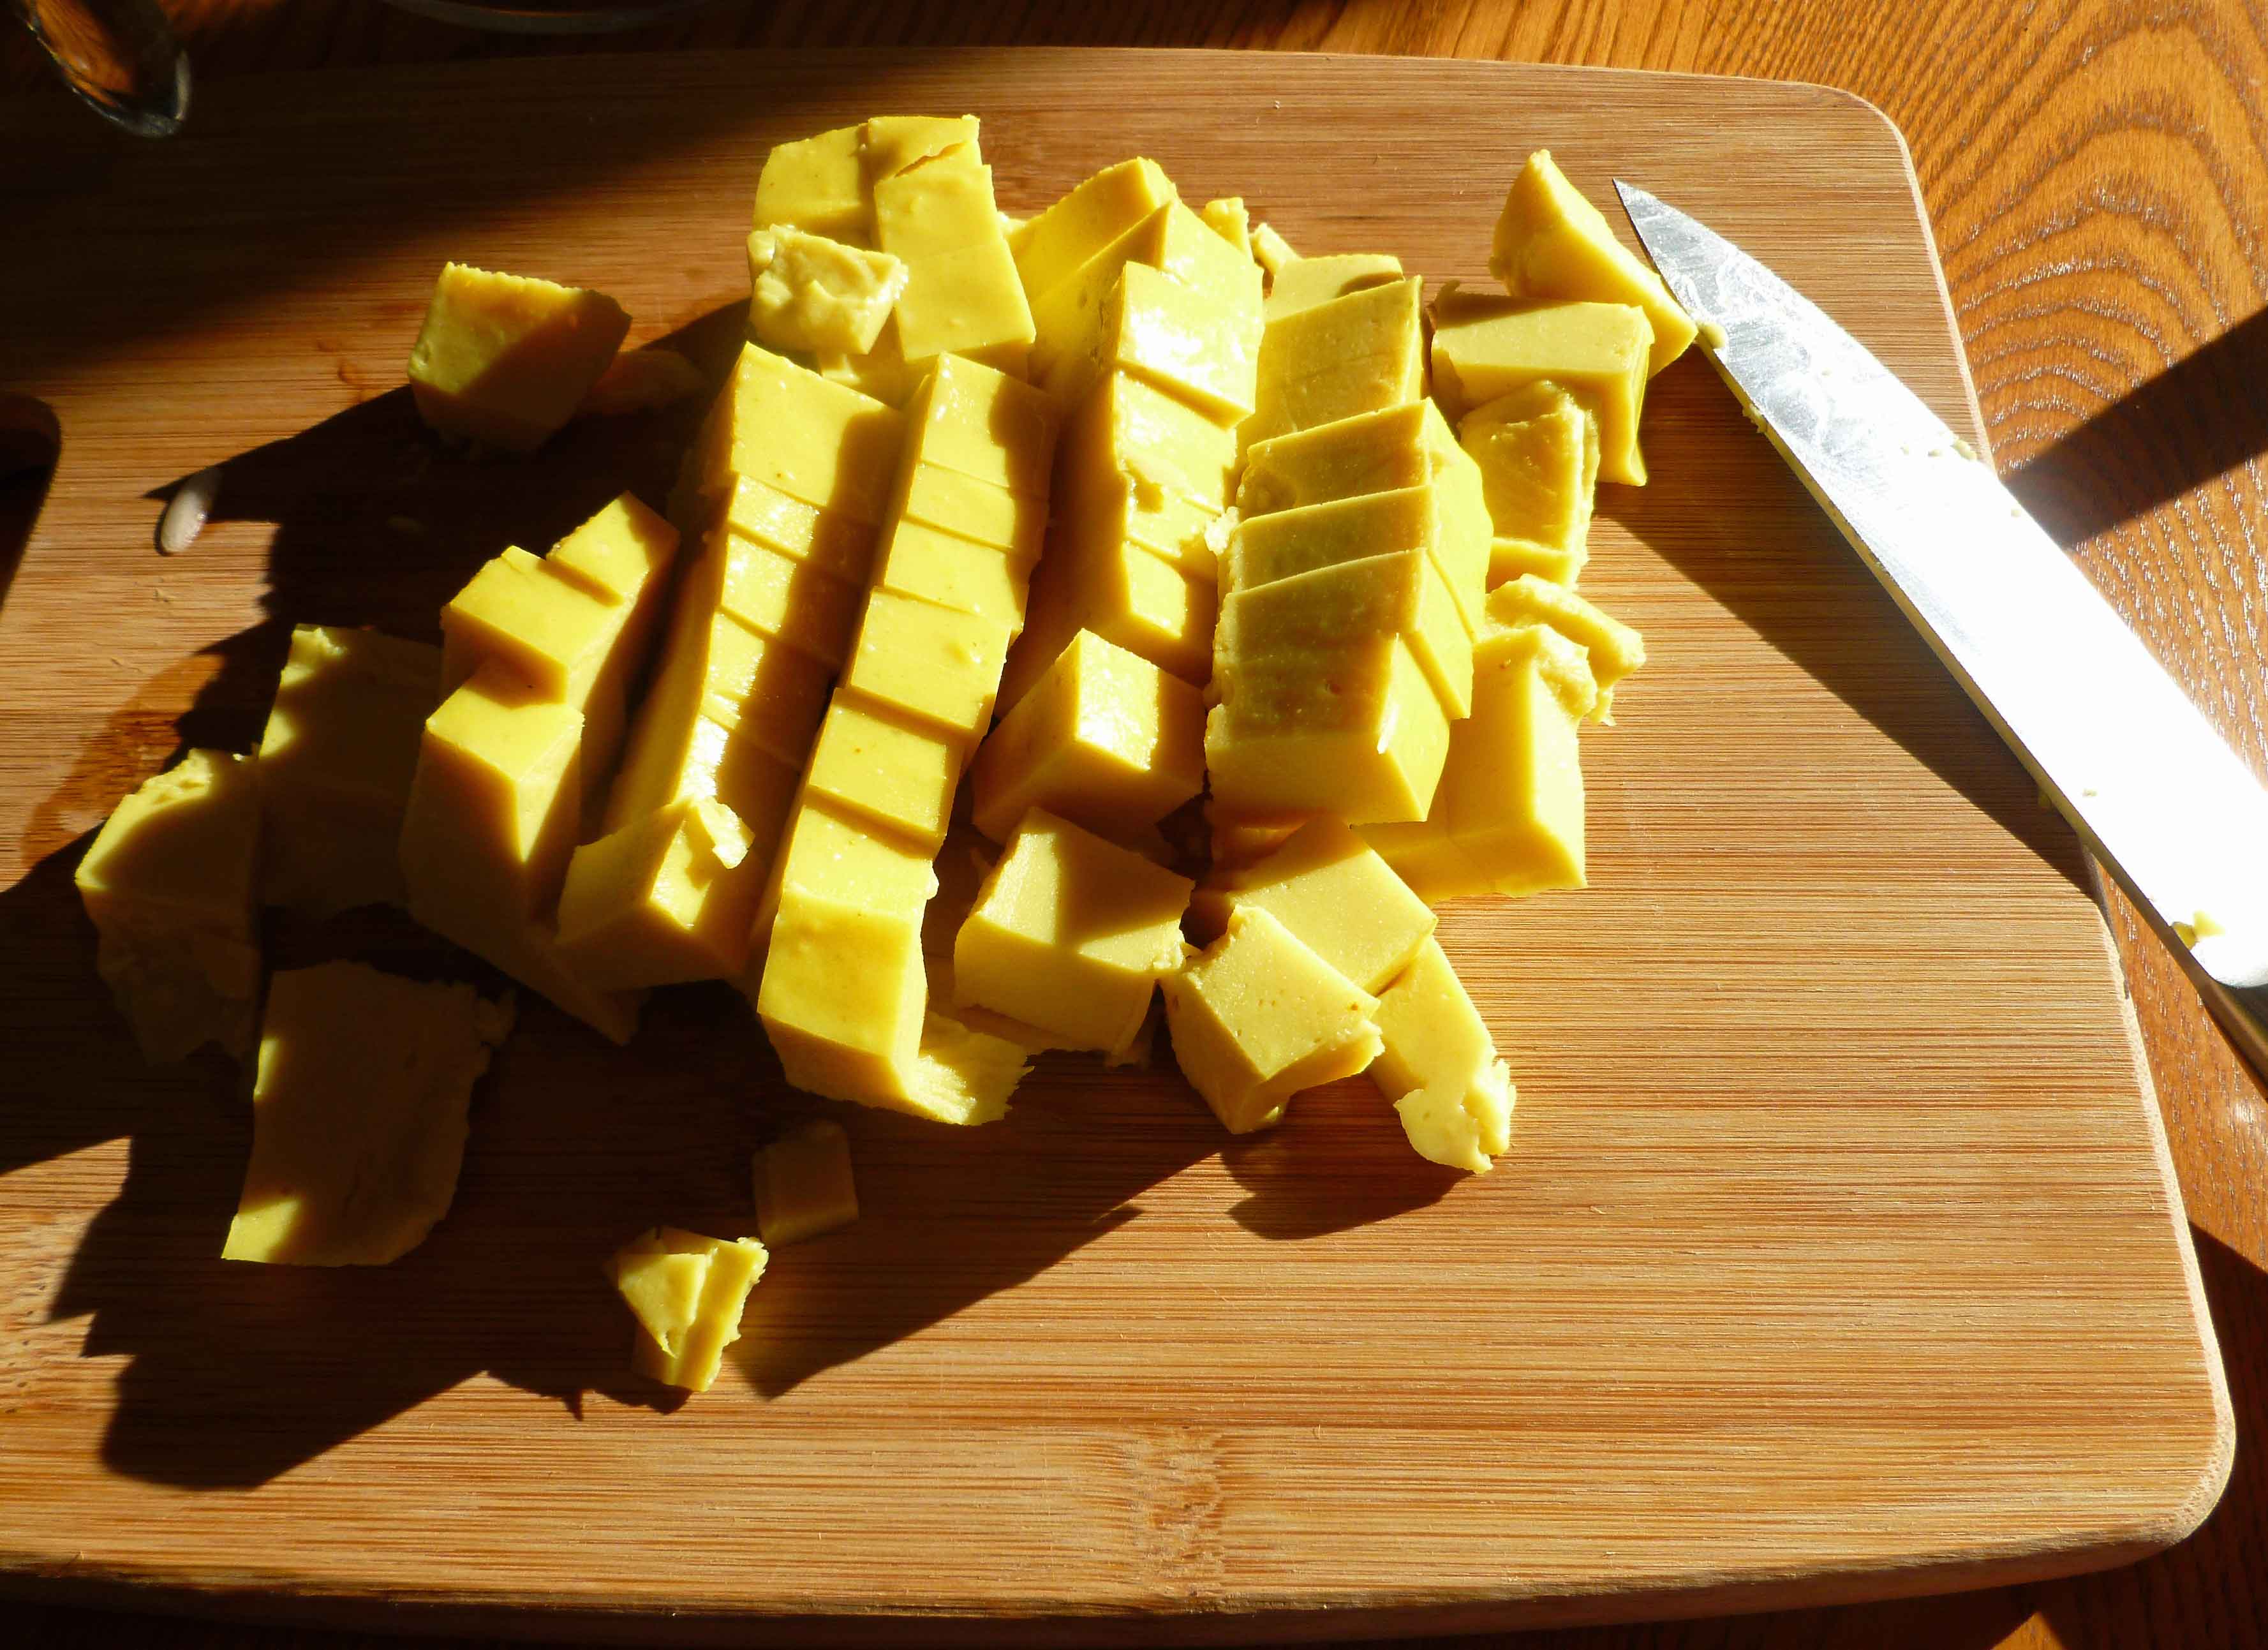
Once the mixture has thickened and is glossy, pour it into your greased baking pan, scraping down the pot to get all of it into the baking pan. Smooth the top down a bit, and let it cool to room temperature. Once at room temperature, put it in the fridge for at least an hour before using. However, the longer it sits in the fridge, the more water will drain out and the tofu will become firmer. Although my modifications to the original recipe make it a bit firmer to start, I generally let my version sit at least 24-48 hours before using it.
Enjoy!
Notice: Trying to access array offset on value of type bool in /home/maryzahc/public_html/adultfoodallergies.com/wp-content/plugins/wp-ultimate-recipe/helpers/models/recipe.php on line 254
- 2 1/2 cups chickpea/garbanzo bean/besan flour
- 2 tsp Kala Namak Salt/Indian Black Salt
- 1/2 tsp turmeric
- 6 cups water divided
- 1 tsp grape seed oil
- Place the chickpea/garbanzo bean/besan flour, Kala Namak Salt/Indian Black Salt, turmeric, in a large bowl. Using a whisk, mix the ingredients until they are thoroughly combined. Then add 2 cups of the water and whisk until the mixture is smooth, making sure there are no lumps.
- In a wide, heavy bottomed, shallow pot, bring the remaining 4 cups of water to a boil. Once your water is boiling reduce the heat to medium. After stirring your flour mixture to be sure it hasn’t settled, slowly pour the mixture into the boiling water, while you stir it with a wooden spoon. Lower the heat to medium-low, and continue stirring until the mixture has thickened and is glossy. This will take about 3-5 minutes.
- Once the mixture has thickened and is glossy, pour it into your greased baking pan, scraping down the pot to get all of it into the baking pan. Smooth the top down a bit, and let it cool to room temperature. Once at room temperature, put it in the fridge for at least an hour before using, but is best at 24-48 hours.