Notice: Function _load_textdomain_just_in_time was called incorrectly. Translation loading for the wp-ultimate-recipe domain was triggered too early. This is usually an indicator for some code in the plugin or theme running too early. Translations should be loaded at the init action or later. Please see Debugging in WordPress for more information. (This message was added in version 6.7.0.) in /home/maryzahc/public_html/adultfoodallergies.com/wp-includes/functions.php on line 6131 Vegetarian/Vegan – Page 2 – surviving the food allergy apocalypse (archive)
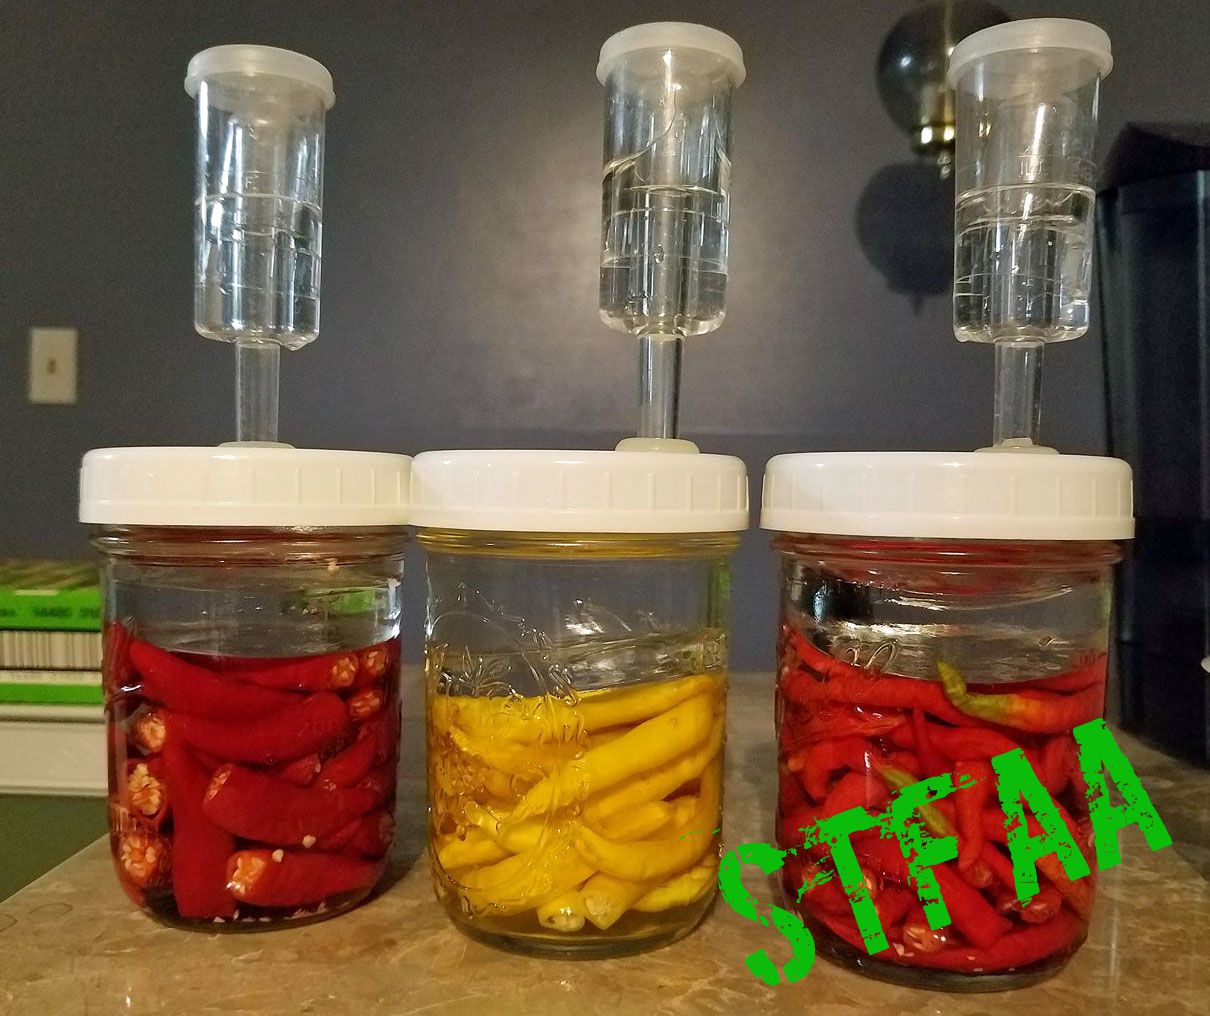
It’s cold here. We had that ridiculous storm, there’s a ton of snow (literally and figuratively) outside. So hot sauce might make it all better, so I’m sharing one of the hot sauces I made from the peppers MaryKate sent me from Seattle in the fall. She sent me some Sarit Gat peppers, which according to a seed catalog, is a native to Kosovo. Sarit Gat peppers are apparently known and available in Europe but they don’t have much a presence in North America. The peppers are uniform, canary-yellow, and have the approximate heat and shape of a cayenne. I ended up pickling some, dehydrating some as whole chilies, and I set up some to ferment. (Because they also seem pretty rare, I also saved a bunch of seeds, we’ll see how it goes in the spring.) When it came time to make a hot sauce, I thought about yellow hot sauces I had seen in the past, but didn’t feel like making a mango or pineapple based sauce. And then I remembered the Marie Sharps Habanero Grapefruit Pulp Hot Sauce that I used to buy in the time before the corn allergy and decided to try to make something similar. It was a great flavor profile. The citrus in it was great on almost anything.
So I gave it a whirl. The grapefruits I had in the house were pink grapefruits so that’s what I used, but if you want a more “yellow” and a less sweet sauce, you could use white grapefruits.
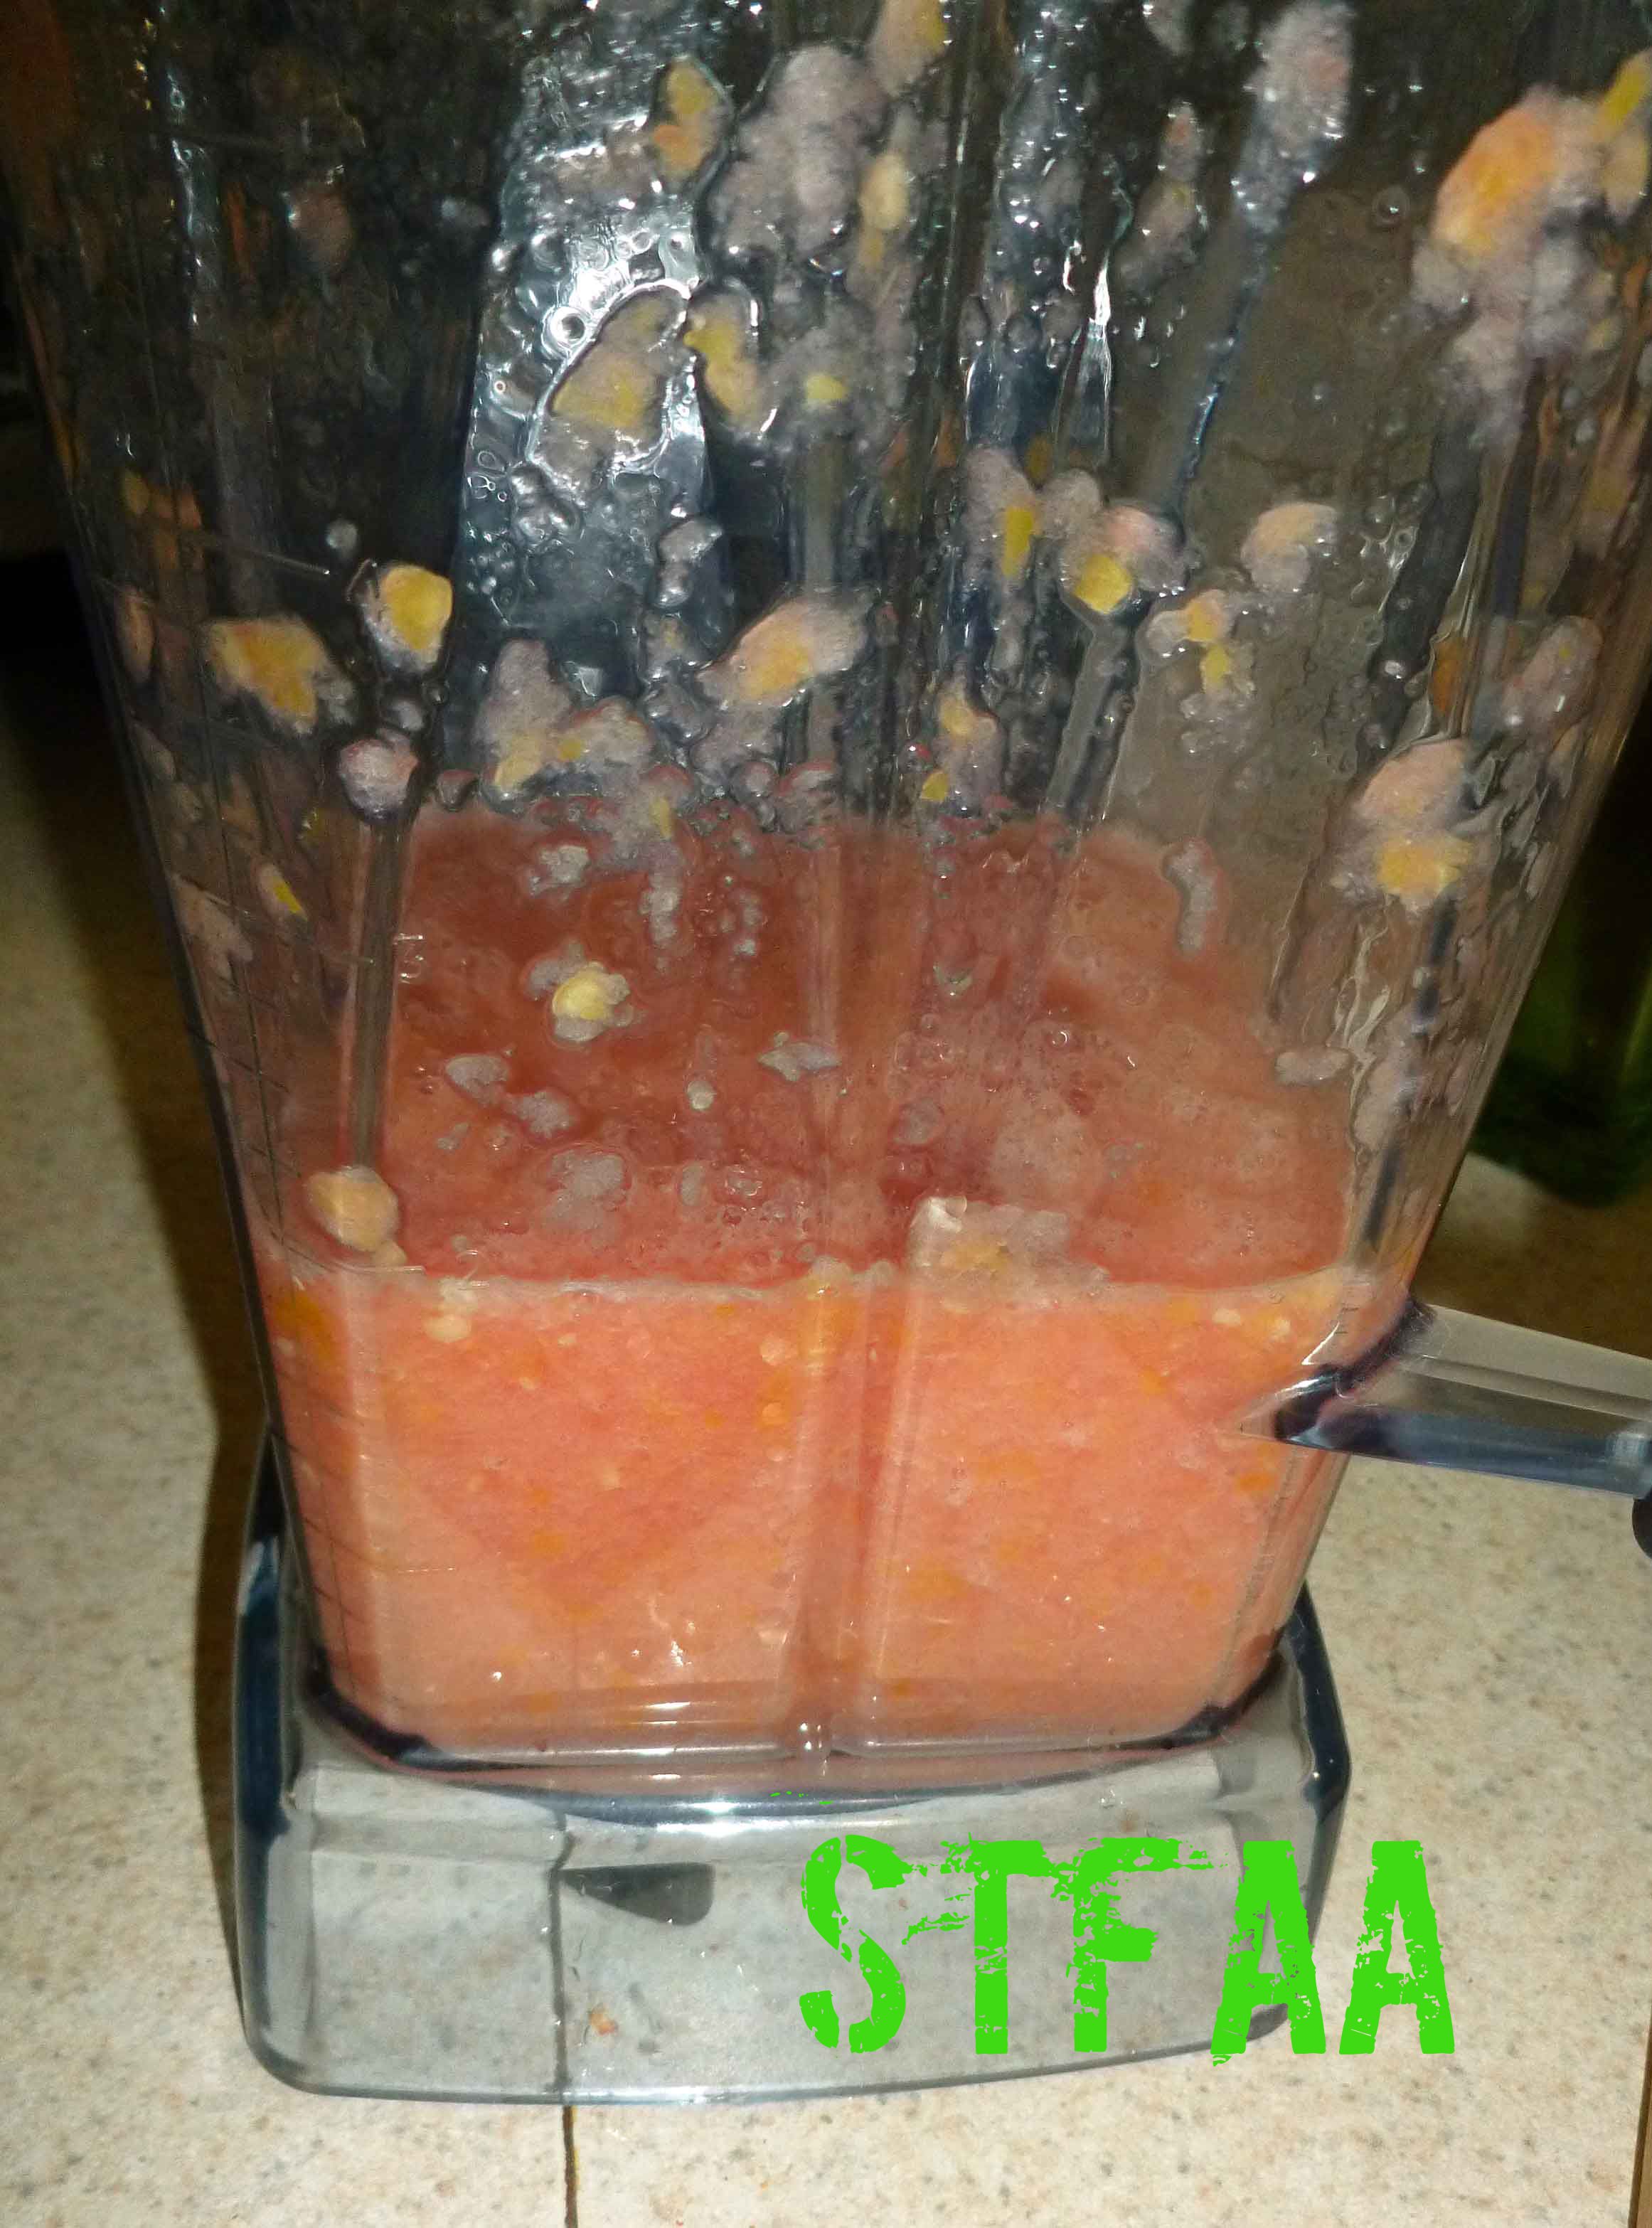
Hot peppers at the beginning of the fermenting processPeppers after fermentingPeppers, grapefruit pulp, and garlic in blenderPeppers, grapefruit pulp, and garlic after blending
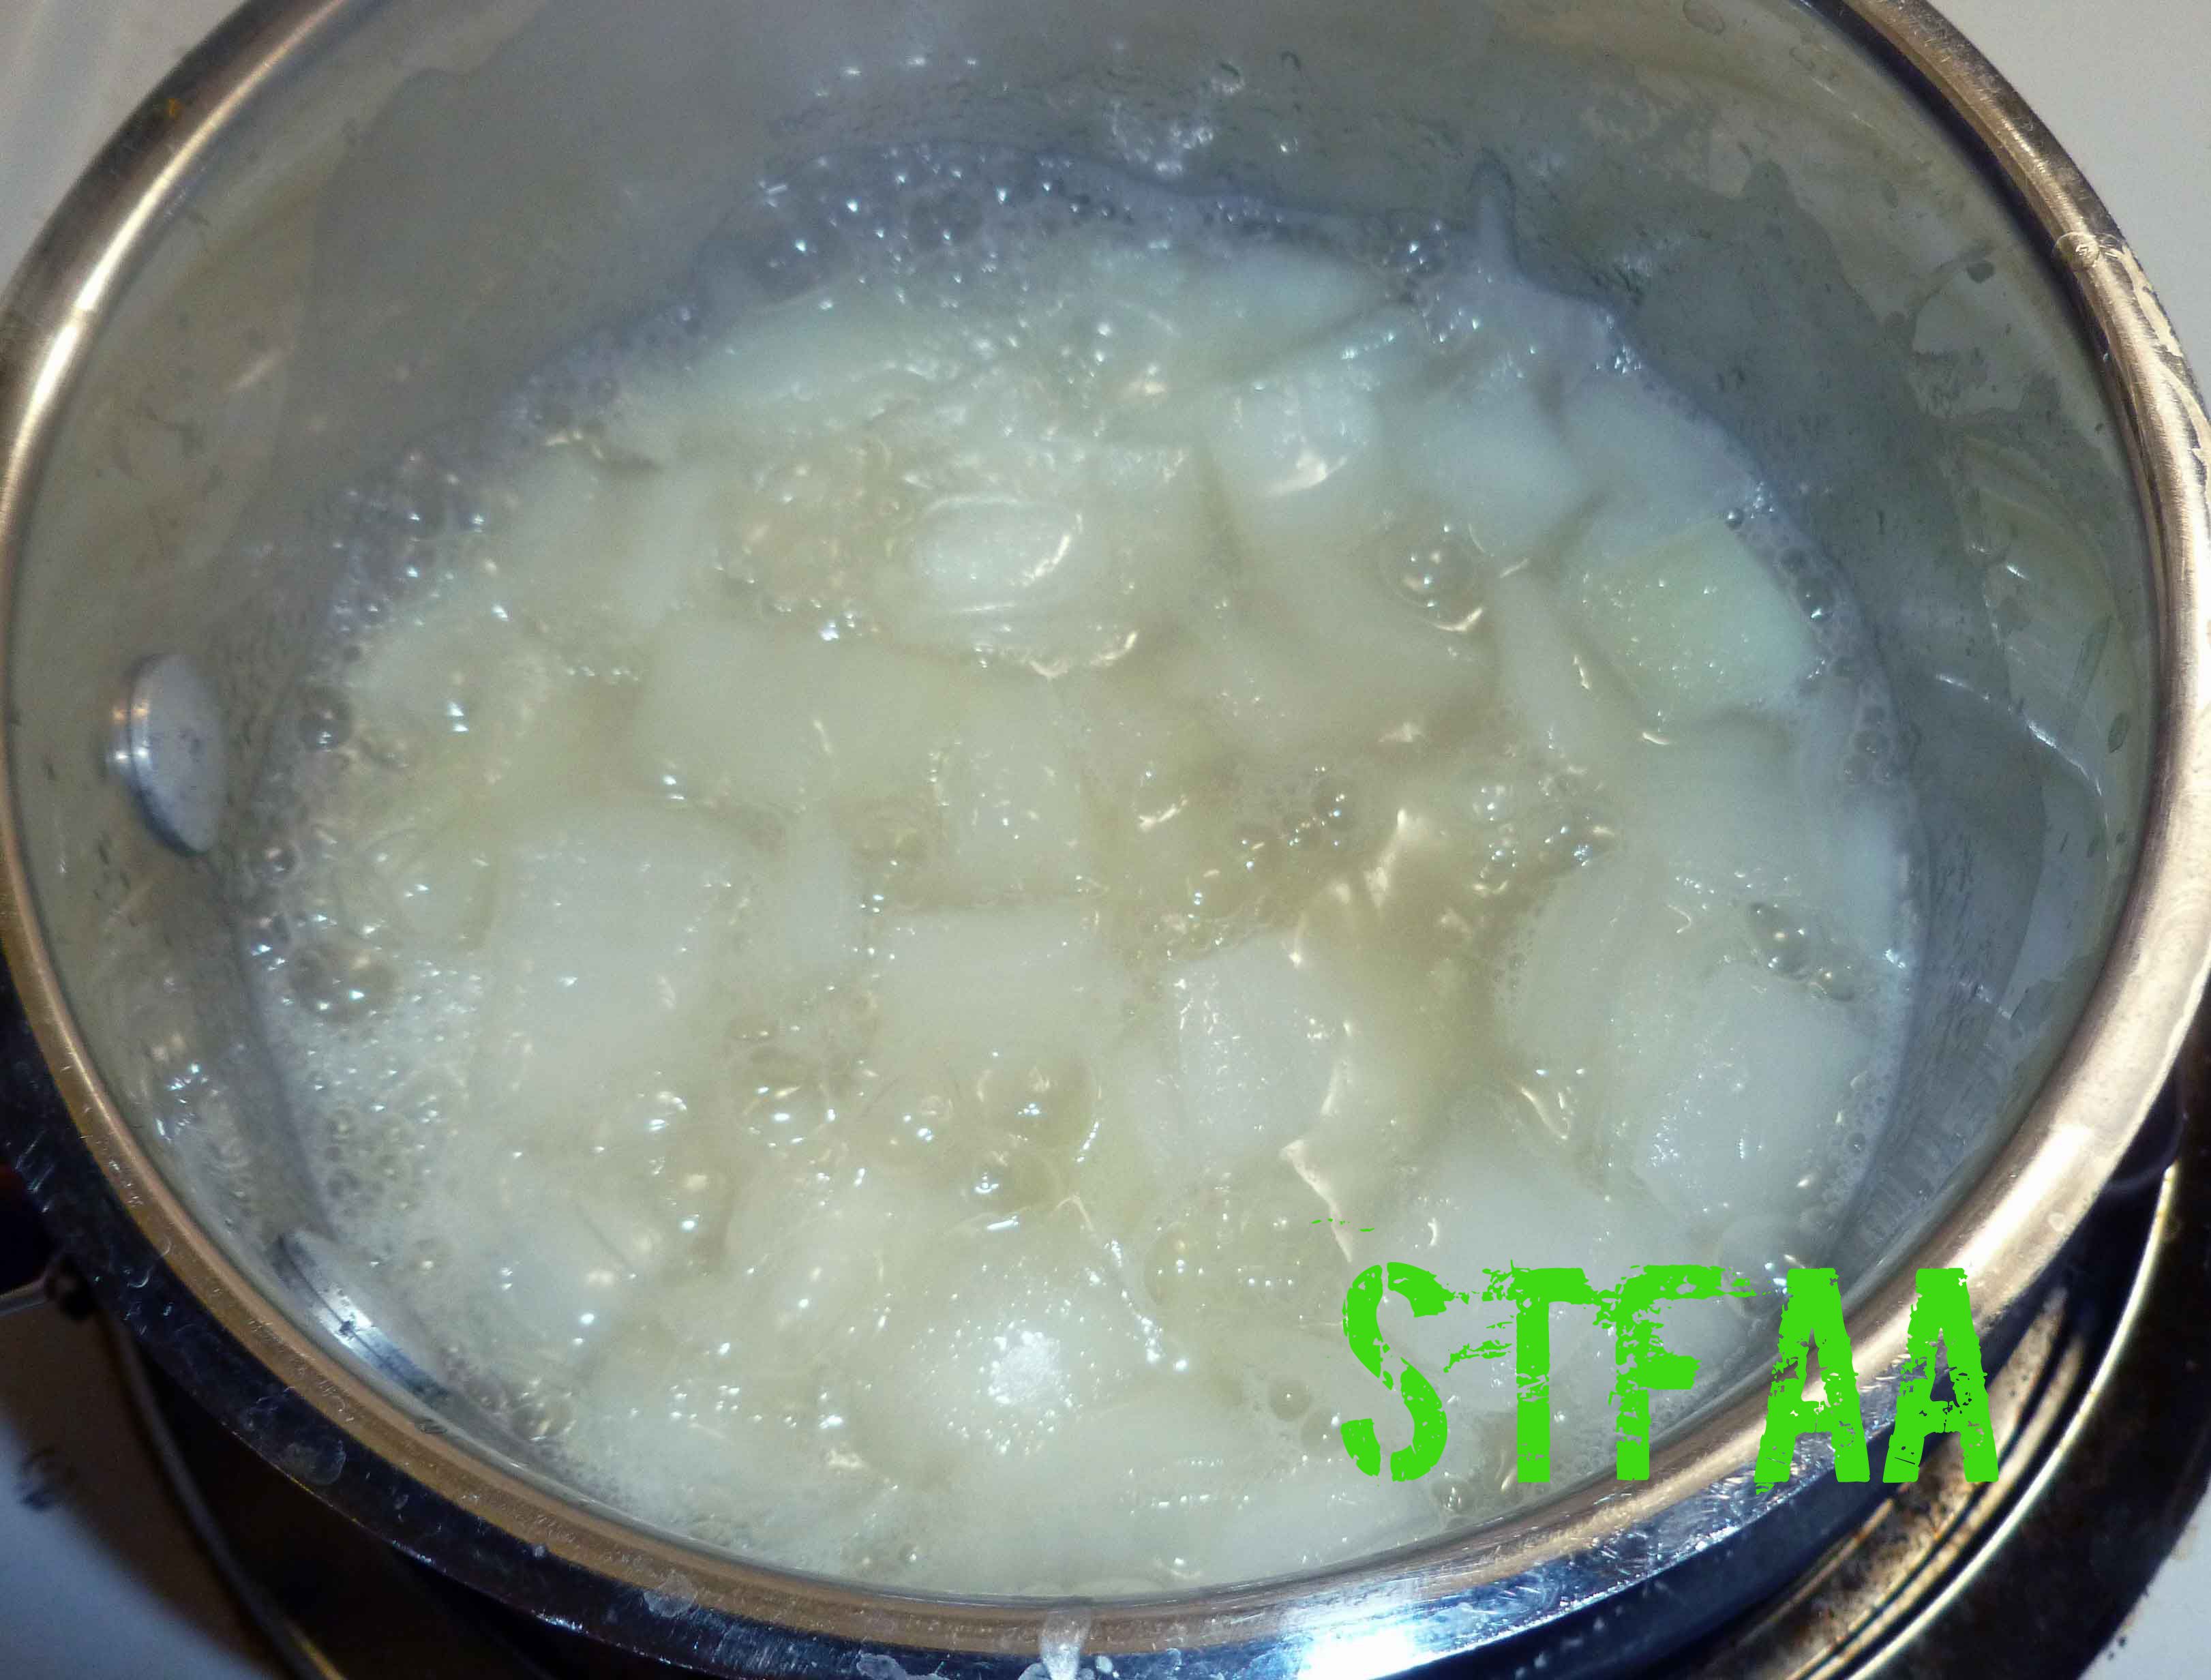
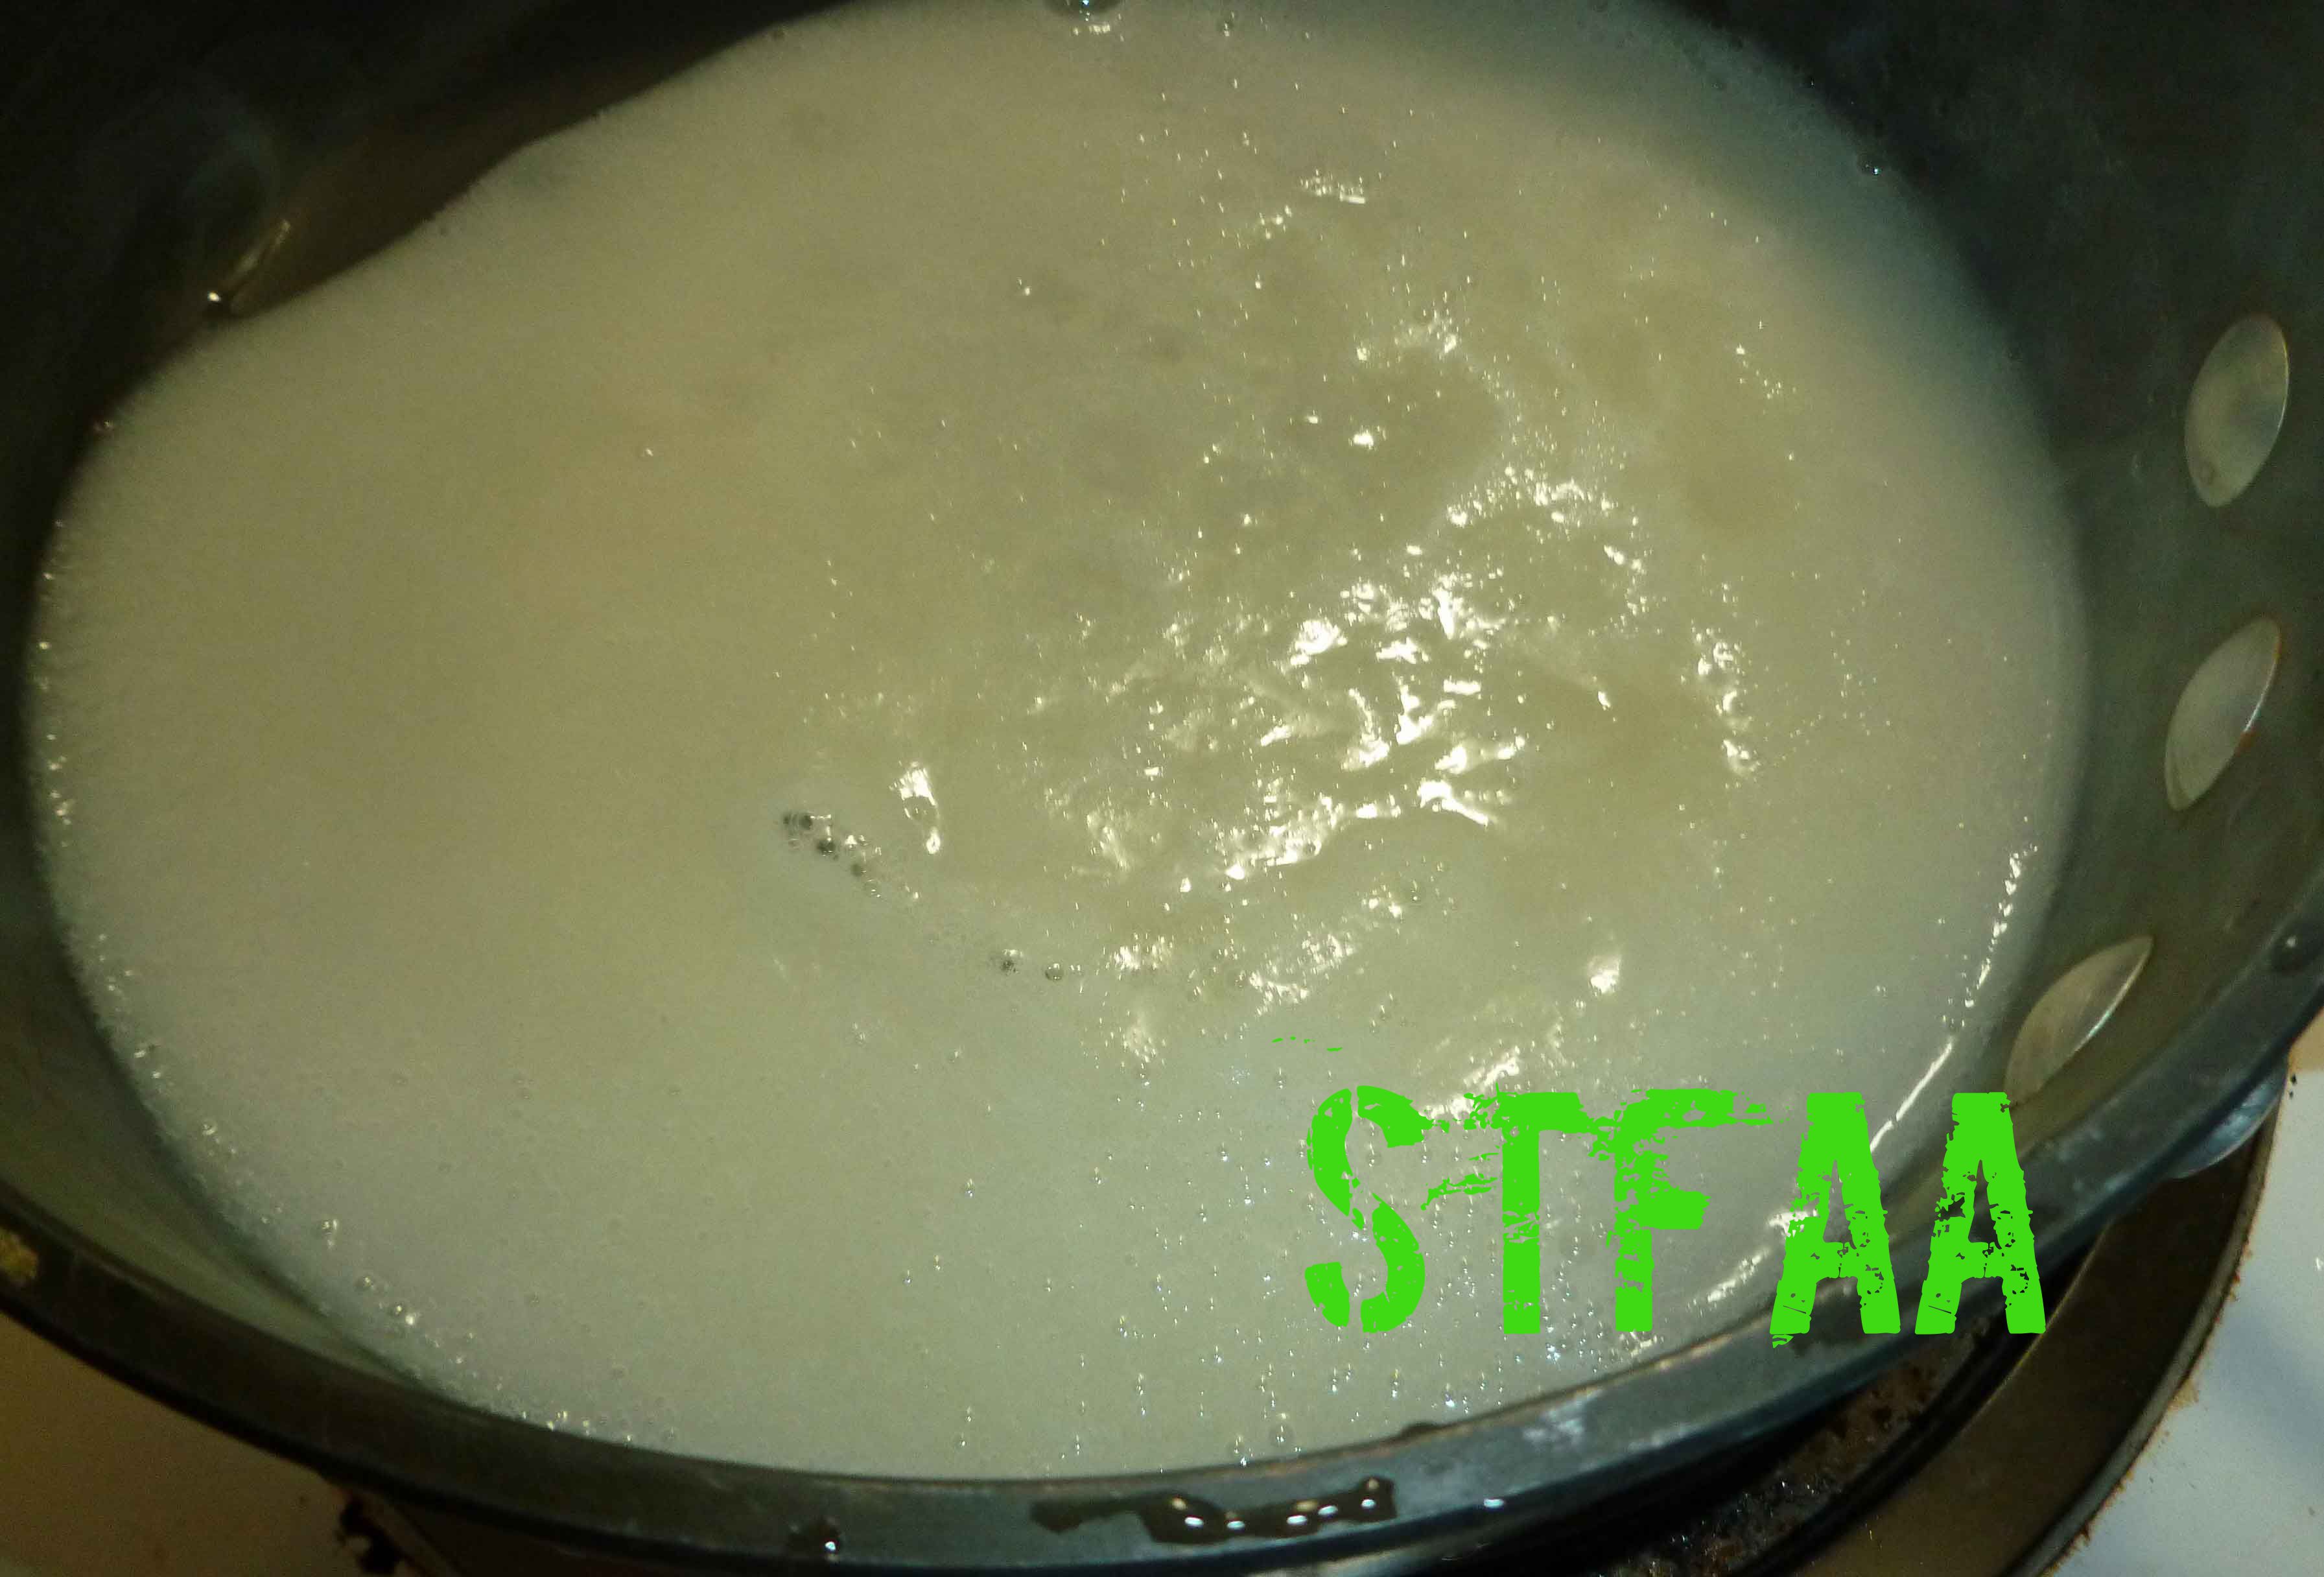
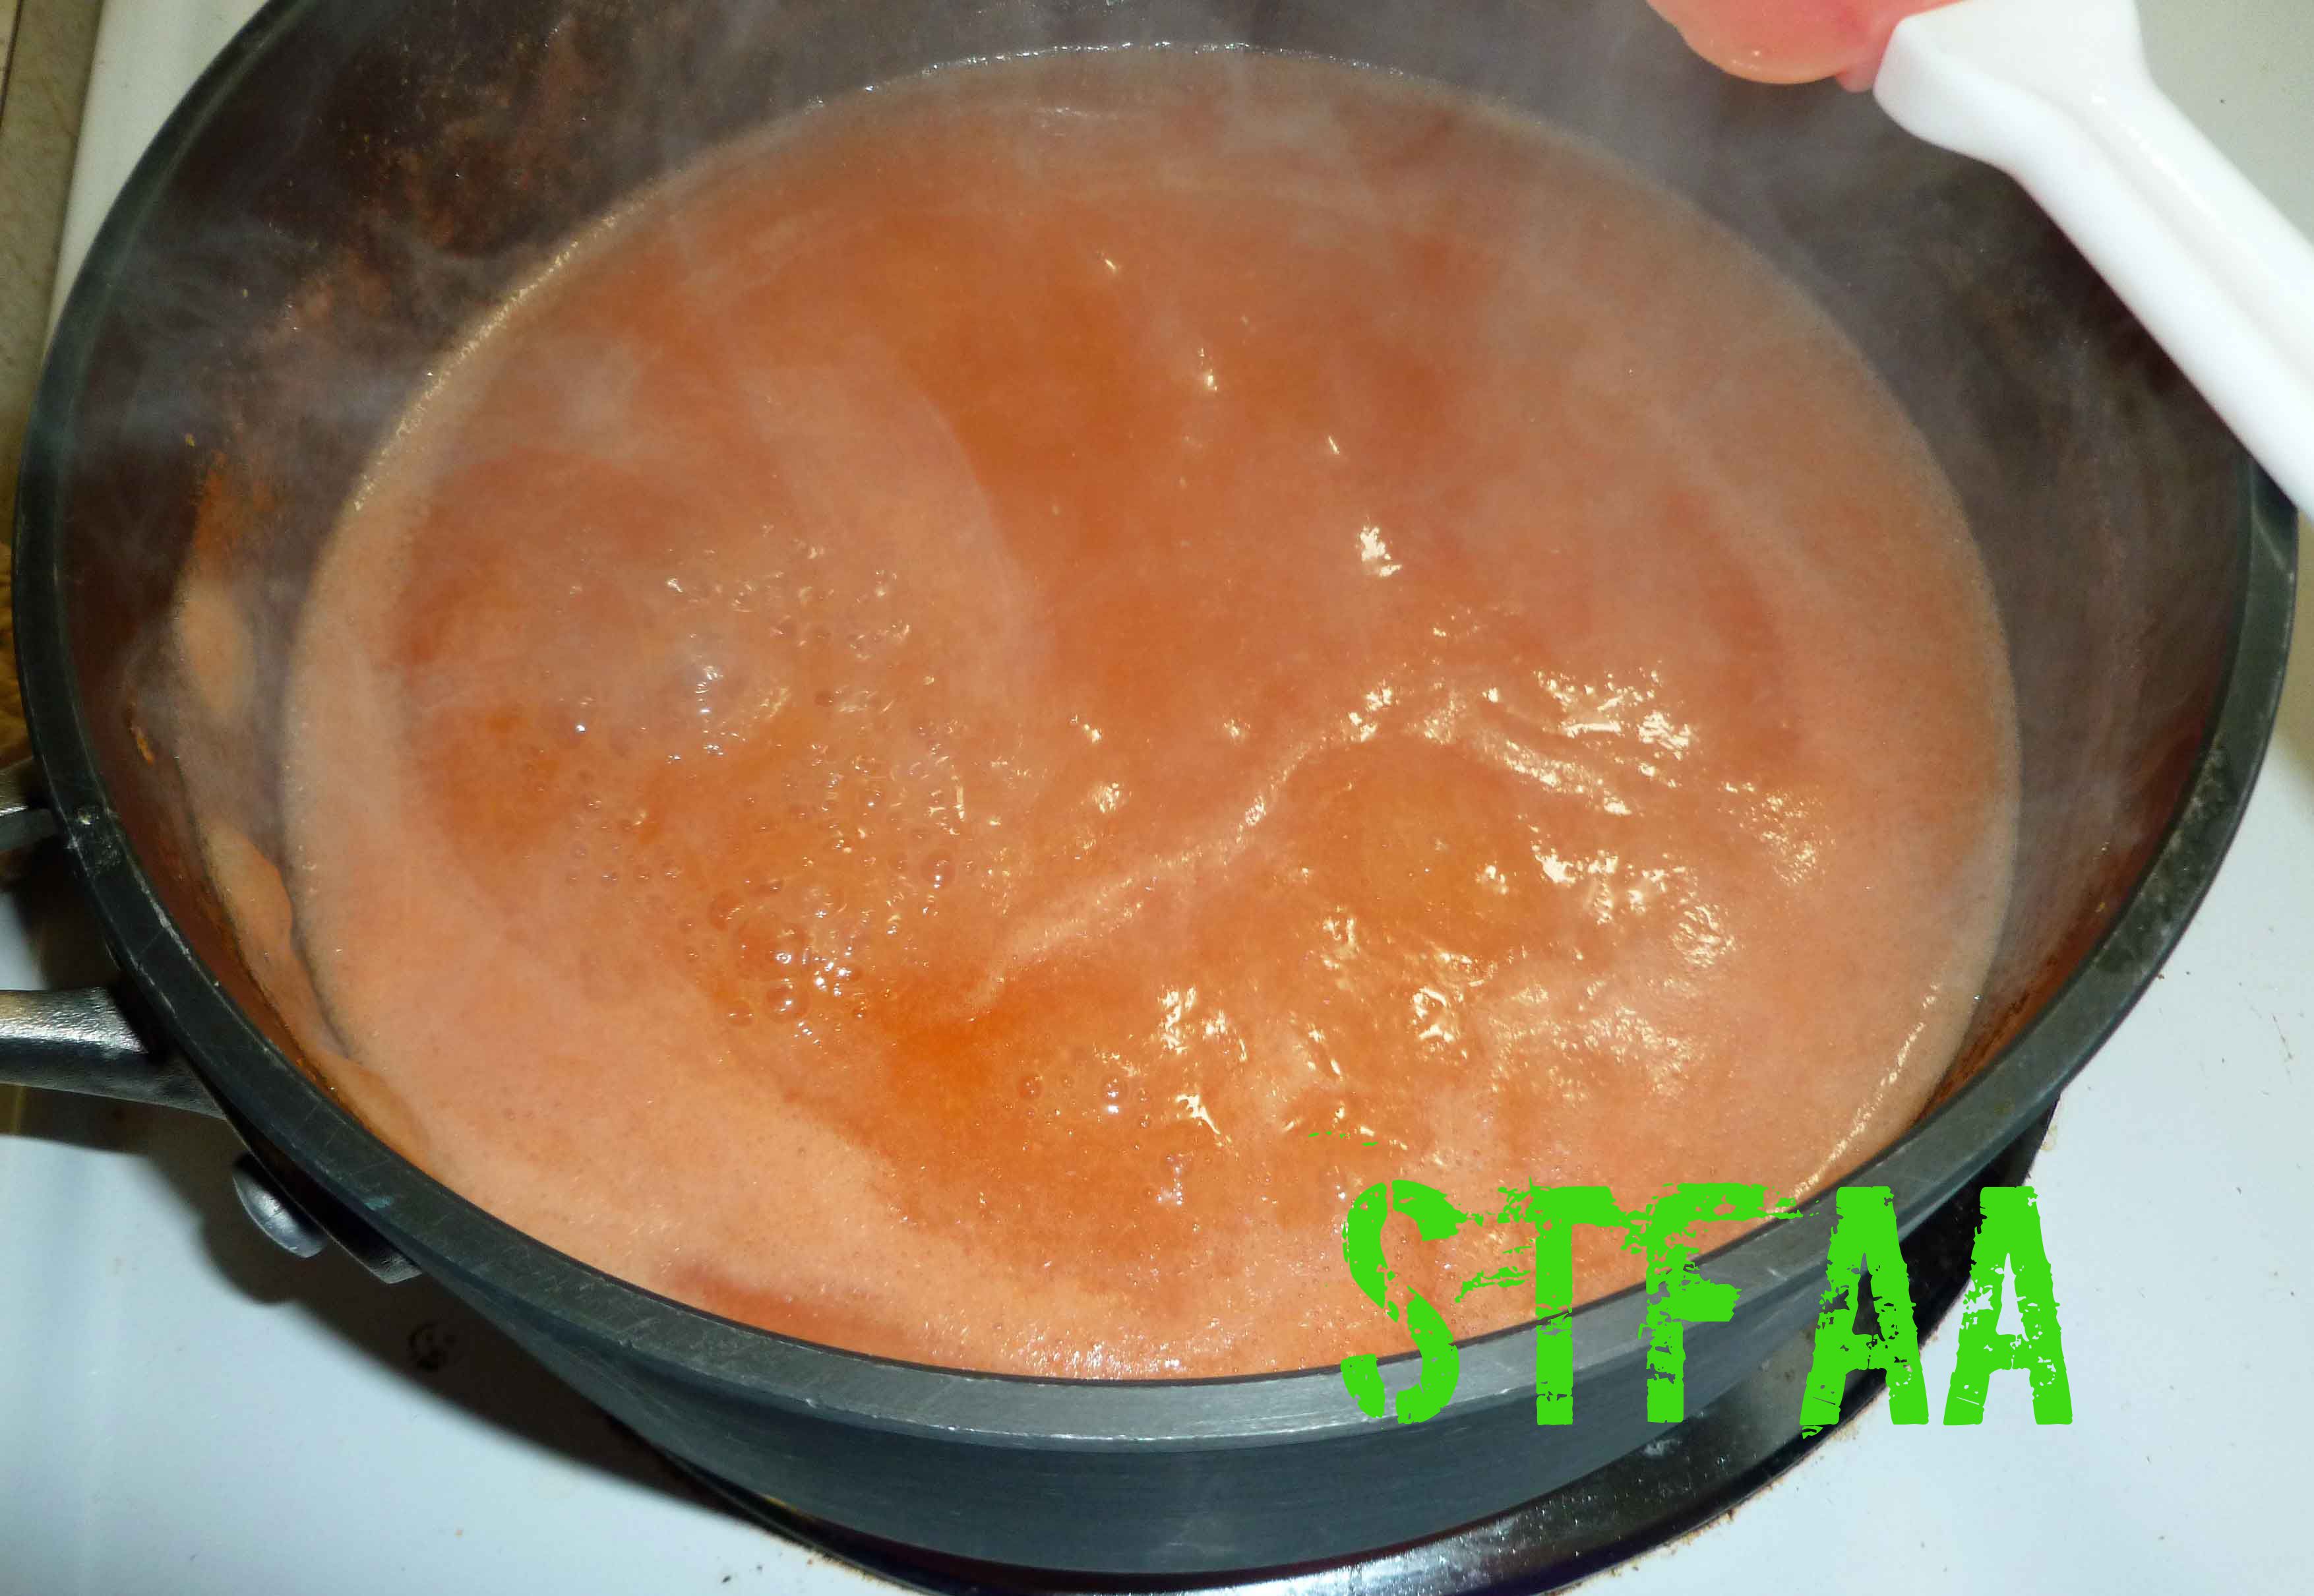
Strained peppers, grapefruit pulp, and garlicOnion mixture after cooking until softOnion mixture after being pureed in blenderOnion and pepper mixtures combined and brought to a gentle boilPink Grapefruit Sarit Gat Hot Sauce
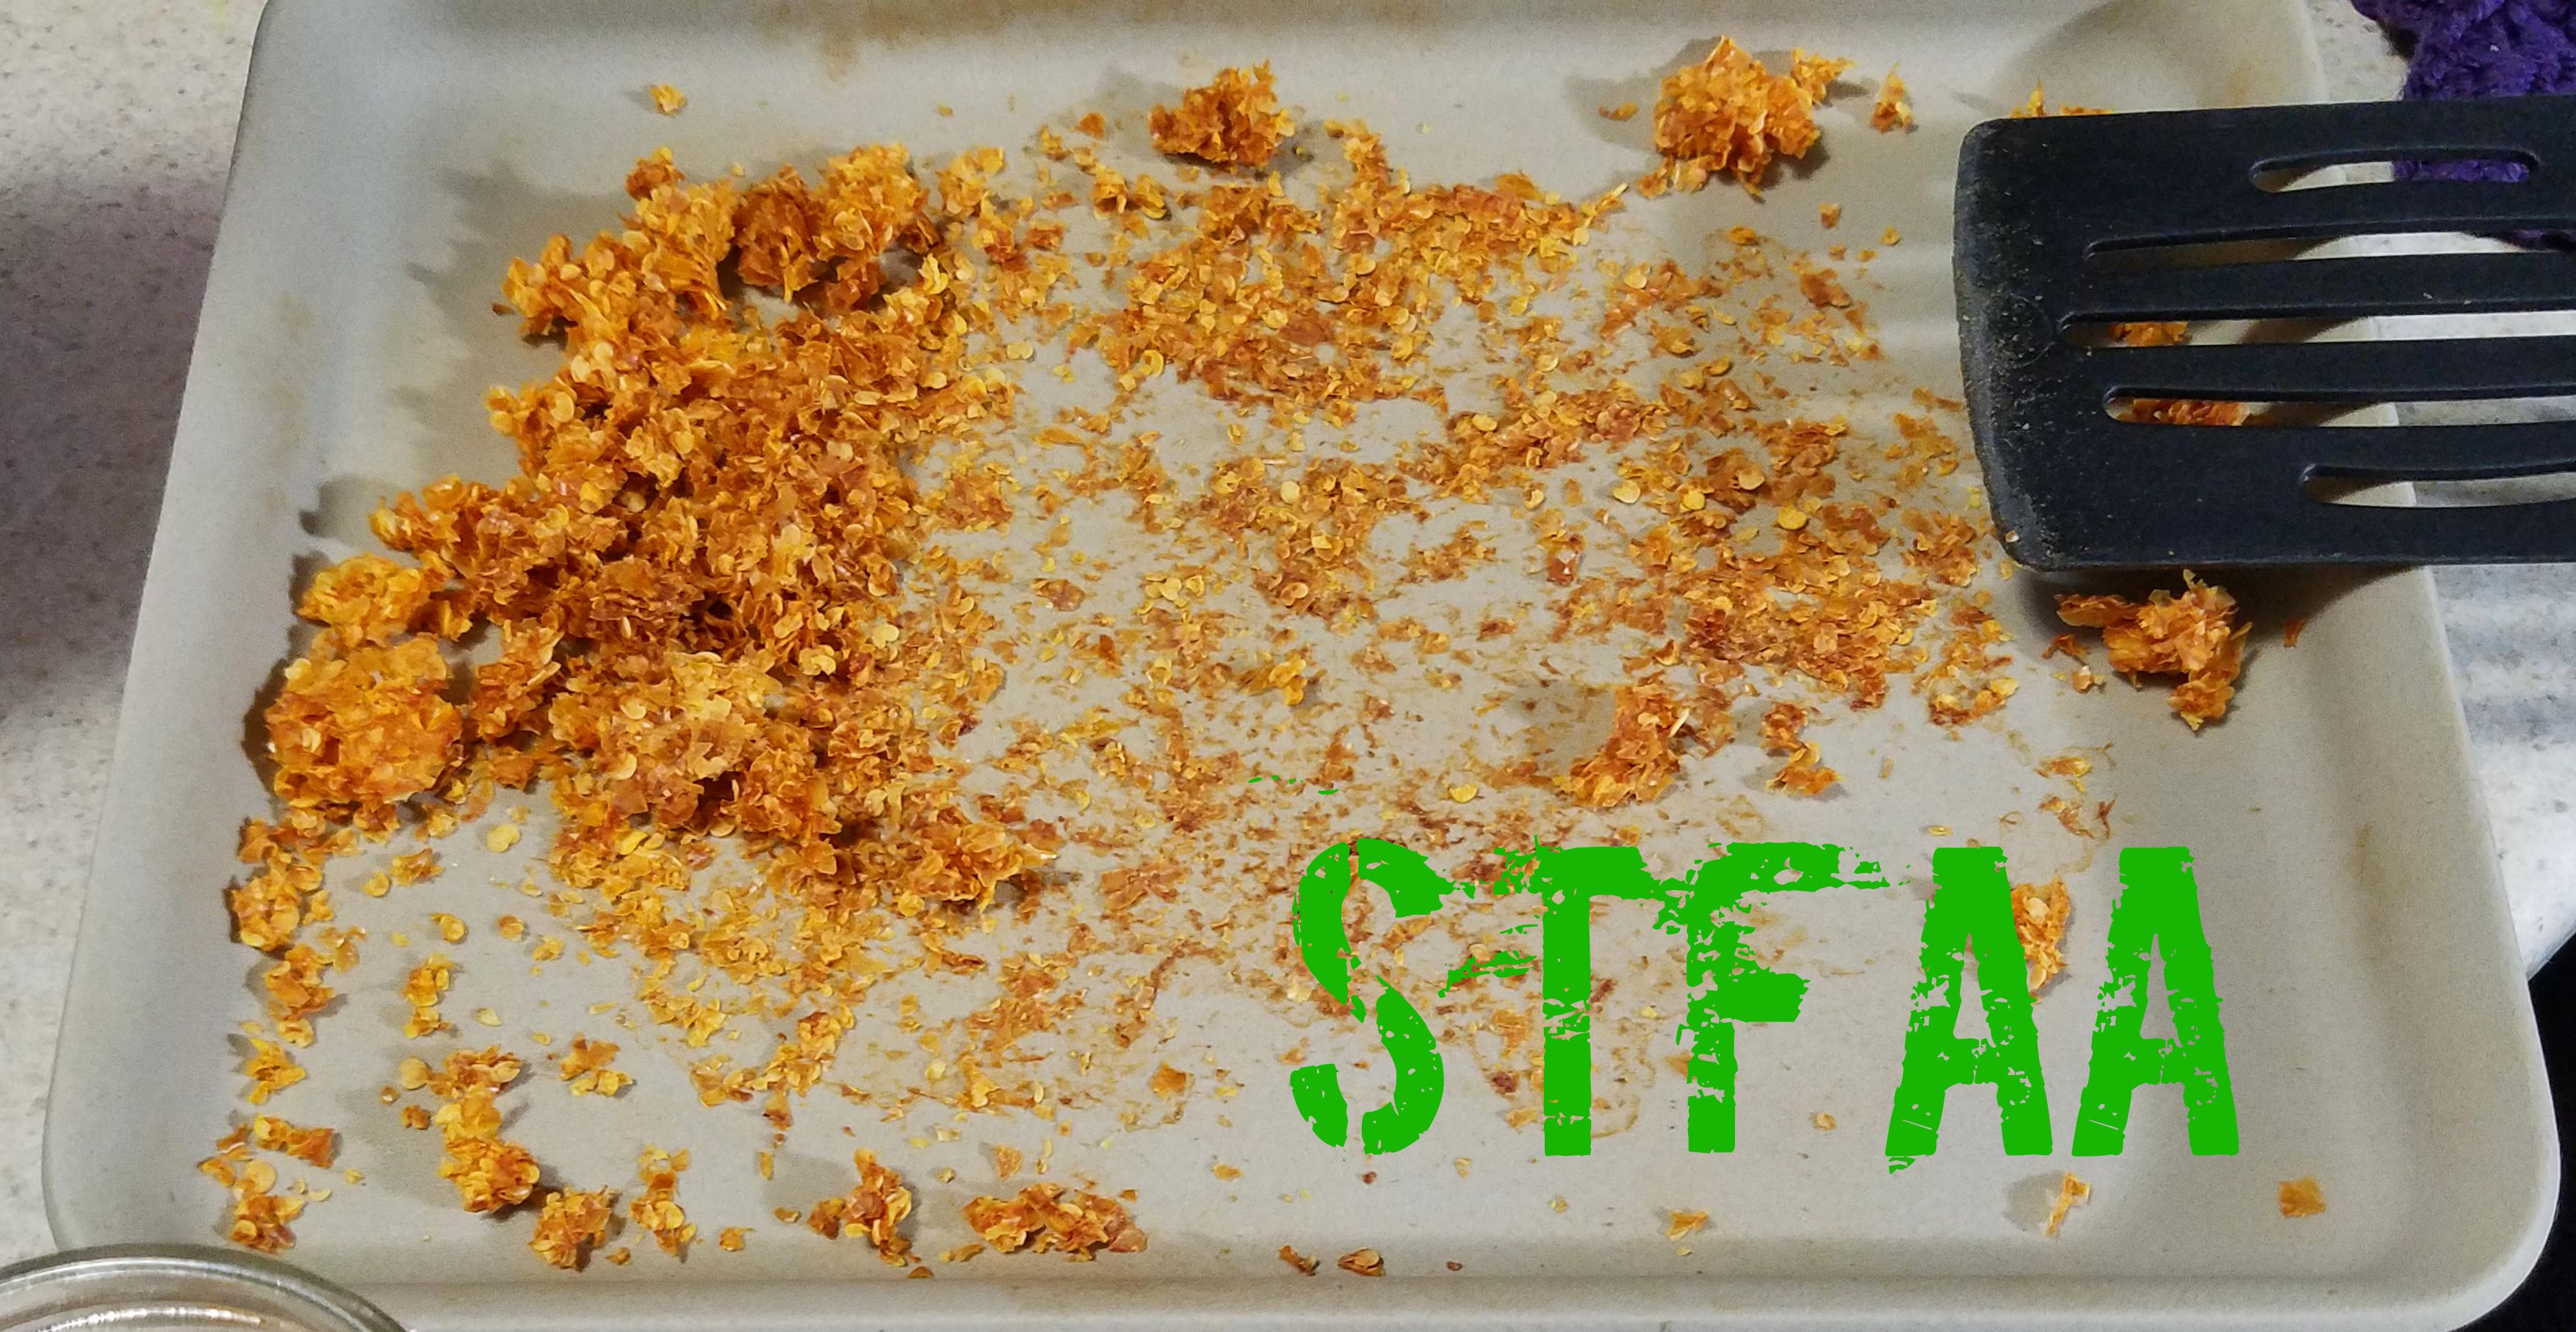
The other nice thing about making hot sauce is that you get two products for one. When you strain out the skins and seeds during the process, you can dry them in the oven or the dehydrator and get a nice crushed pepper mix to use in other spice mixes, rubs, or other recipes. No waste!
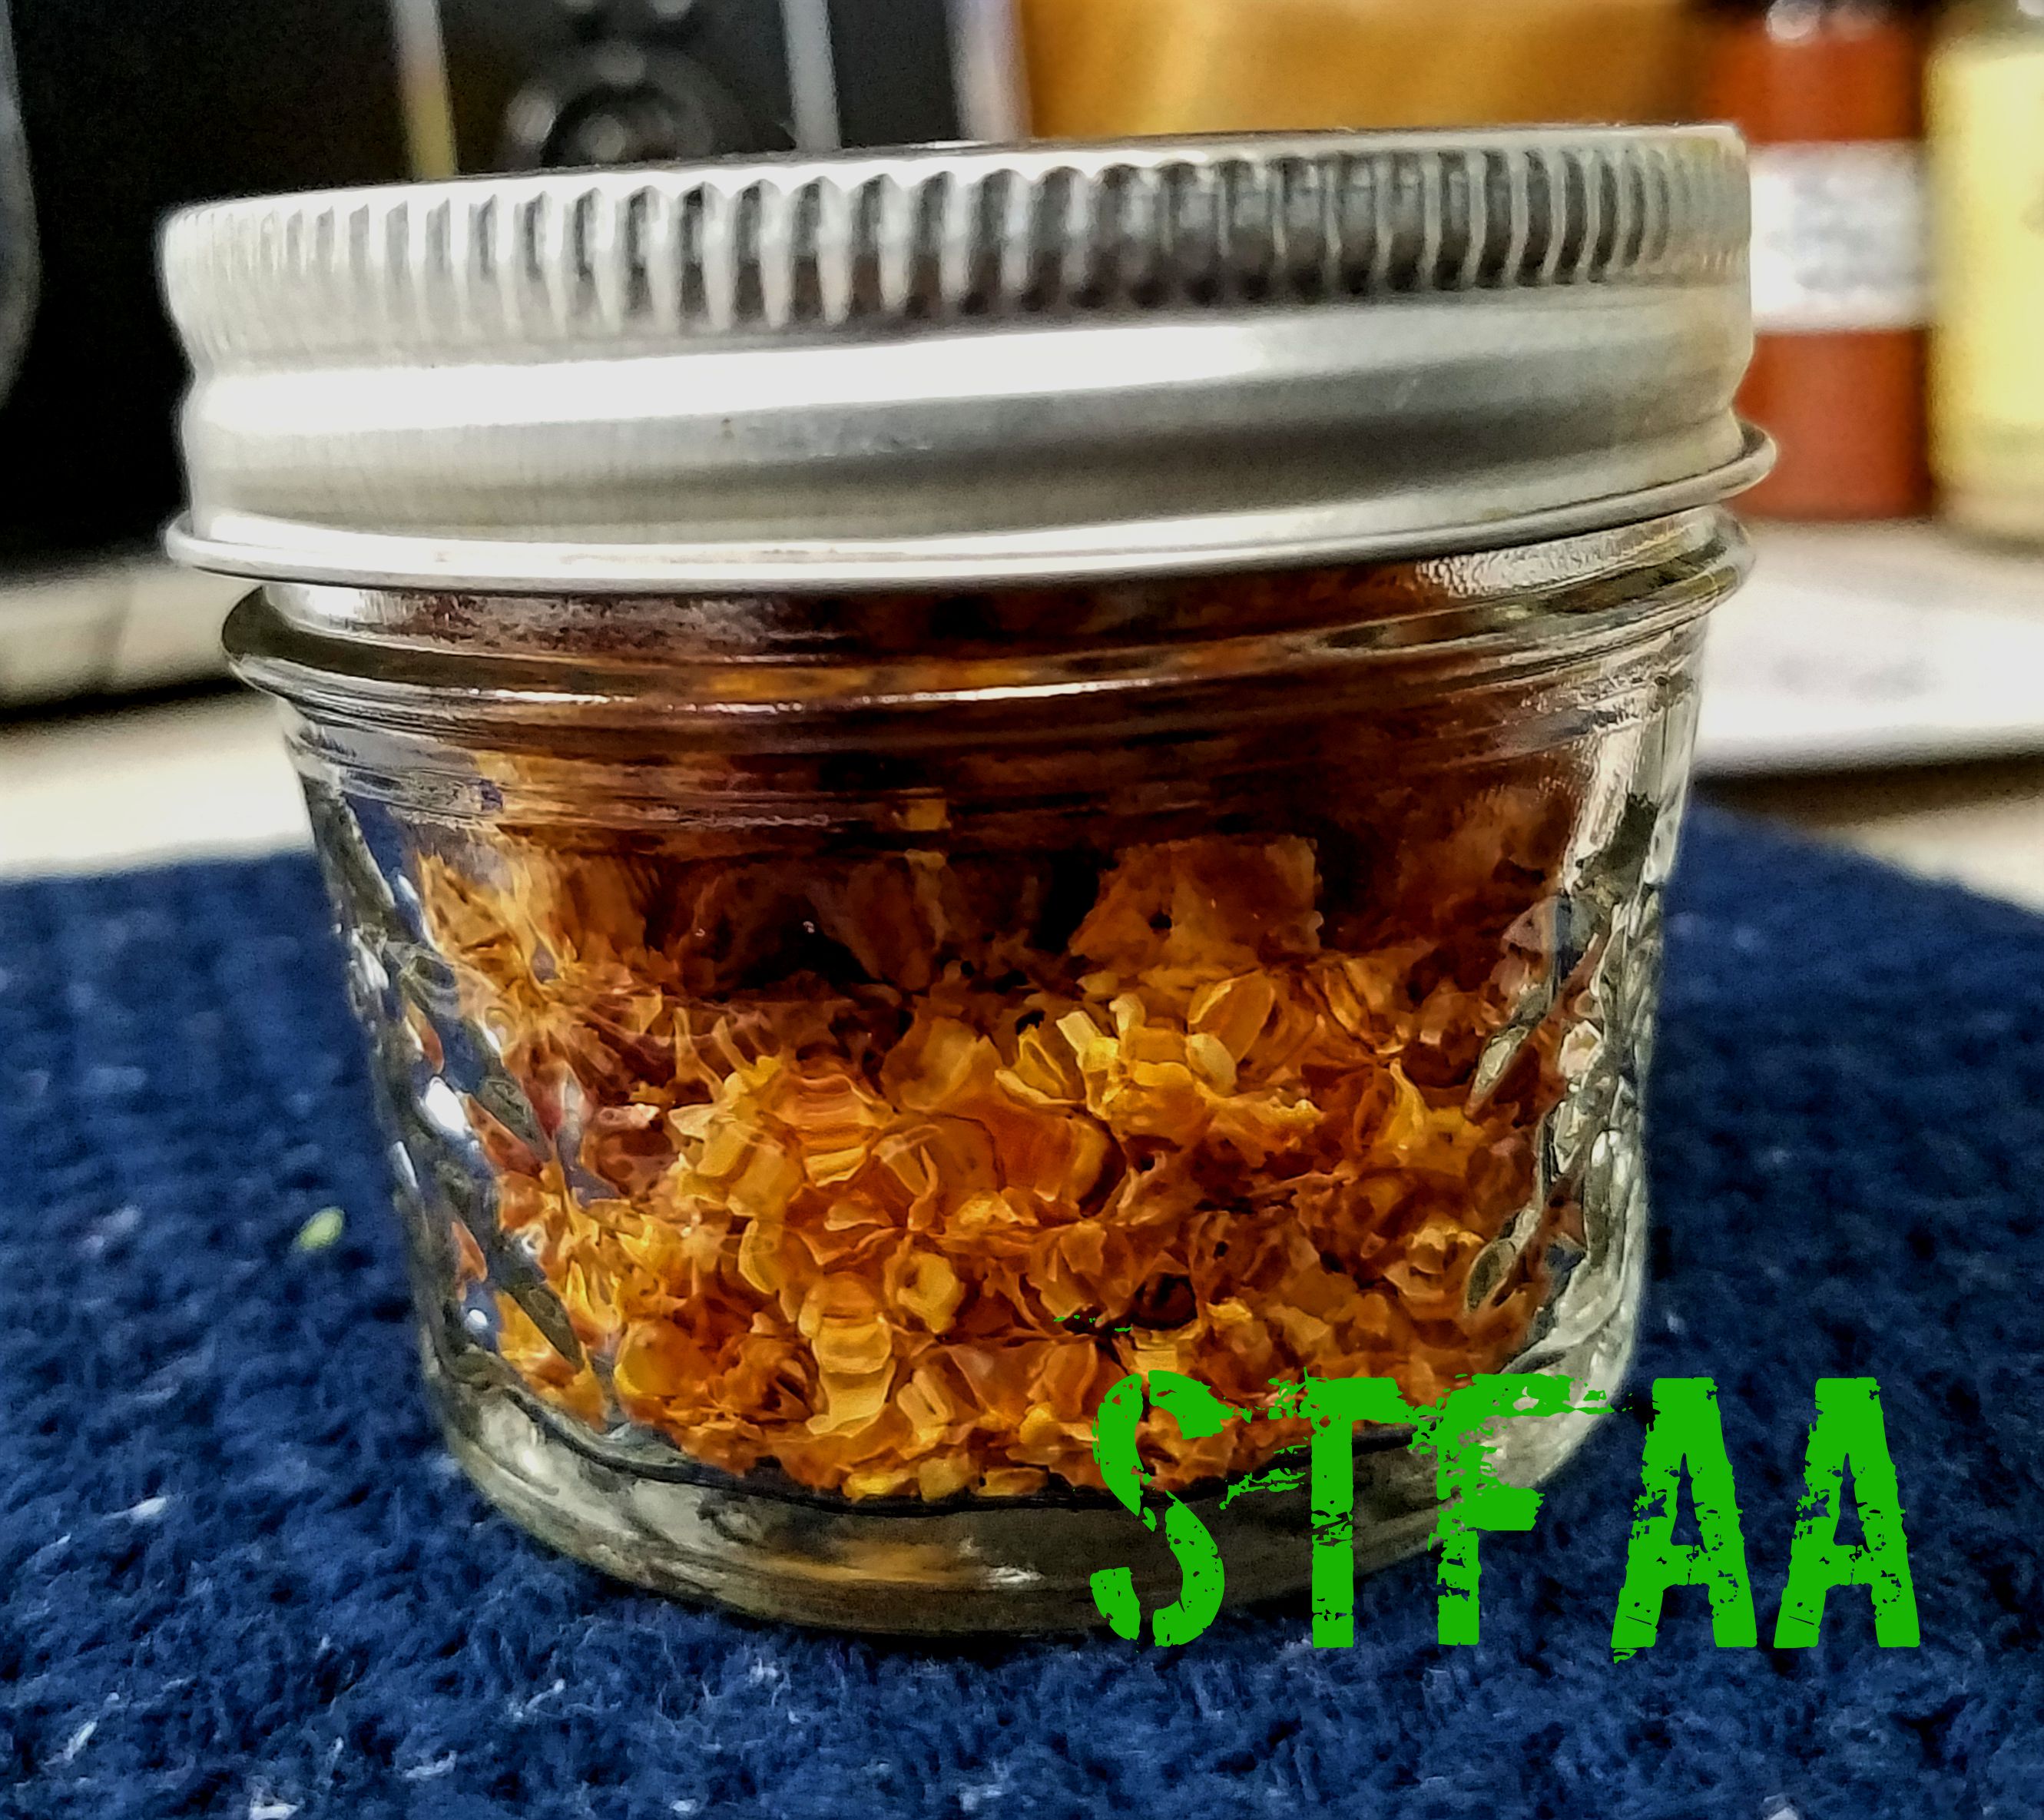
Pepper skins and seeds after dryingSarit Gat Pepper Flakes
Pink Grapefruit Sarit Gat Hot Sauce
Print Recipe
Another hot sauce reminiscent of one of Denise’s commercial favorites in the time before corn.
1quartspring water(not tap water, it will interfere with fermentation)
1.8ouncessea salt
Hot Sauce Ingredients
1cuphot yellow chili peppers(I used Sarit Gat eppers, but you can use habaneros or another yellow chili)
1clovegarlic
1grapefruitPeeled and the pulp removed from the section membranes
1lime, juiced
1/4cupapple cider vinegar(Bragg’s is the safest for those with corn allergies)
1cup chopped onions
1/4teaspoonsea salt
Servings: ounces
Instructions
Fermenting the Peppers
Make brine by mixing spring water and salt in a container until salt is dissolved.
Wash peppers and cut the stems off so that the seed cavity is visible. Placed washed peppers in pint jar and add glass weight or 4 ounce jar. Add brine until the weight is covered with brine by at least half an inch, or cover with brine and add 4 ounce jar full of brine to weight down peppers making sure that all peppers are submerged in brine. Place airlock on jar and add brine to airlock to seal.
Let ferment for 2 to 4 weeks at room temperature, checking daily to make sure the brine levels are okay. You may need to add brine as time goes on as the peppers must stay submerged at all times. If the peppers do not stay submerged, they could develop mold and you’ll need to throw it out and start all over.
Making the Hot Sauce
Once your peppers are fermented, remove the airlock and and glass weight or glass jar. Drain brine. Place the peppers in a blender with the garlic clove and the grapefruit pulp.
Blend until the peppers are pureed, but not until the seeds have disappeared if you have a high performance blender. You want to leave the seeds whole enough to strain out.
Once you have pureed your peppers, place the puree in a fine mesh strainer over a bowl and use a spatula or the back of a spoon to press the liquid in your puree into the bowl, leaving the seeds and skins of the peppers behind. (Hint: dehydrate the seeds and skins remaining in the oven at the lowest temperature you can or in a dehydrator to make pepper flakes to use in other recipes).
Place the onions, lime juice, apple cider vinegar, and 1/4 teaspoon of salt in a small sauce pan and cook over medium heat until the onions are soft. Once the onions are soft, place the contents of the sauce pan into the blender and blend until smooth.
Place the onion puree mixture back into a sauce pan, and add the strained pepper and grapefruit mixture and bring to a gentle boil for 2-3 minutes.
Remove the sauce from heat and let cool before placing it a container to store in the refrigerator. Use it on everything.
Since this week’s theme is quick work-night dinners, I thought it might be time to introduce my use of the Instant Pot since I’ve had it for about a year and half now. I know that I’m a kitchen gadget junkie, but I love this thing and I’m considering getting a second one as they just came out with a 8 quart version (mine is the Instant Pot DUO60 6 Quart 7-in-1). I love my crock pots too, but they take advance planning and being around to babysit them. And despite all my food prep during harvest season, advance planning is not something that I’m good at when it comes to work night dinners. I come home from work, read my mail, change out of my work clothes, dub around with some other task, and then I decide somewhere between 5:30 p.m. and 7:30 p.m. that I ought to think about what I might want for dinner. I basically decide what to eat about 5 minutes before I start making it. What I love about the Instant Pot is that I can make things that would normally take a lot longer and a lot of babysitting on the stove by throwing things in the Instant Pot, sealing it up, setting a timer, and walking away to go do something else while it cooks. There’s a lot less spilling and a lot less potential for me to burn myself or my potholders. If you don’t have an Instant Pot, you can do this in a rice cooker just saute the onions, garlic and peppers in a skillet instead and then add them to the cooker. Or you can do the whole thing on the stove top, as you would normally cook rice but you’ll have to watch it carefully and you may need more water as it cooks.
You can use this as a main dish, adding some tomatoes, avocados, and cucumbers on top with some cashew cream if you want. If you have some safe tortillas, you could also wrap in it in a tortilla with whatever fixings you’d like. Or you can use it as a side dish and the leftovers as a quick lunch.
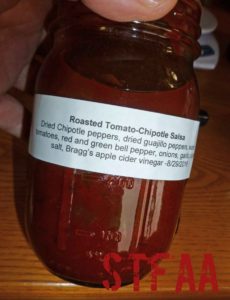
The only warning I will impart is that if you’re cooking for friends who may not have the spice tolerance you do, watch your salsa choice. I used a home canned Roasted Tomatillo Chipotle Salsa which had a good bite, but was a bit much for some of my friends who attended a pot luck I recently hosted.
Instant Pot Black Beans and Rice
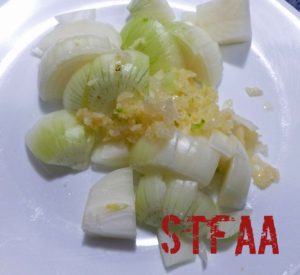
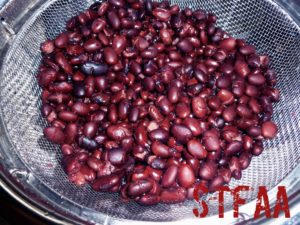
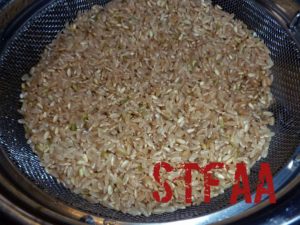
I did a slide show of my “mise en place” just for fun, and to take up less space:
Onions and Garlic
Frozen orange bell peppers
Canned black beans, rinsed and drained
Brown Rice, rinsed and drained
Home canned salsa
Cumin and salt
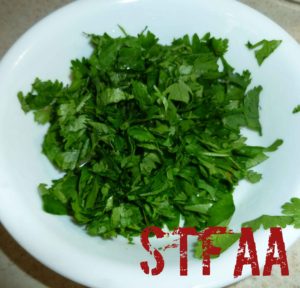
Chopped cilantro
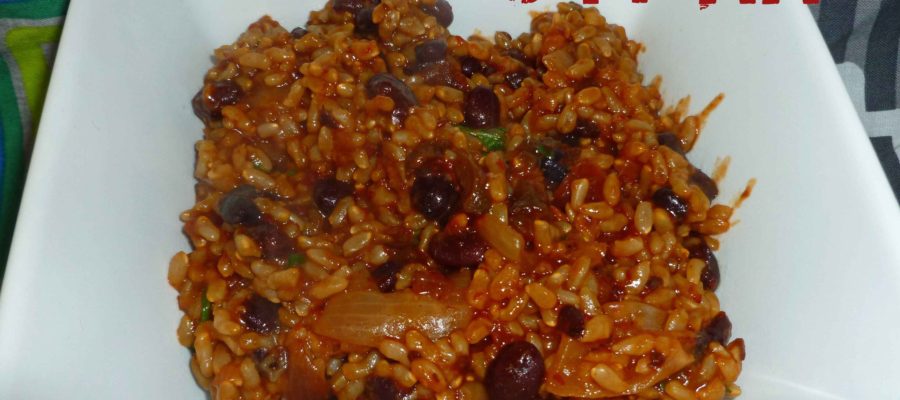
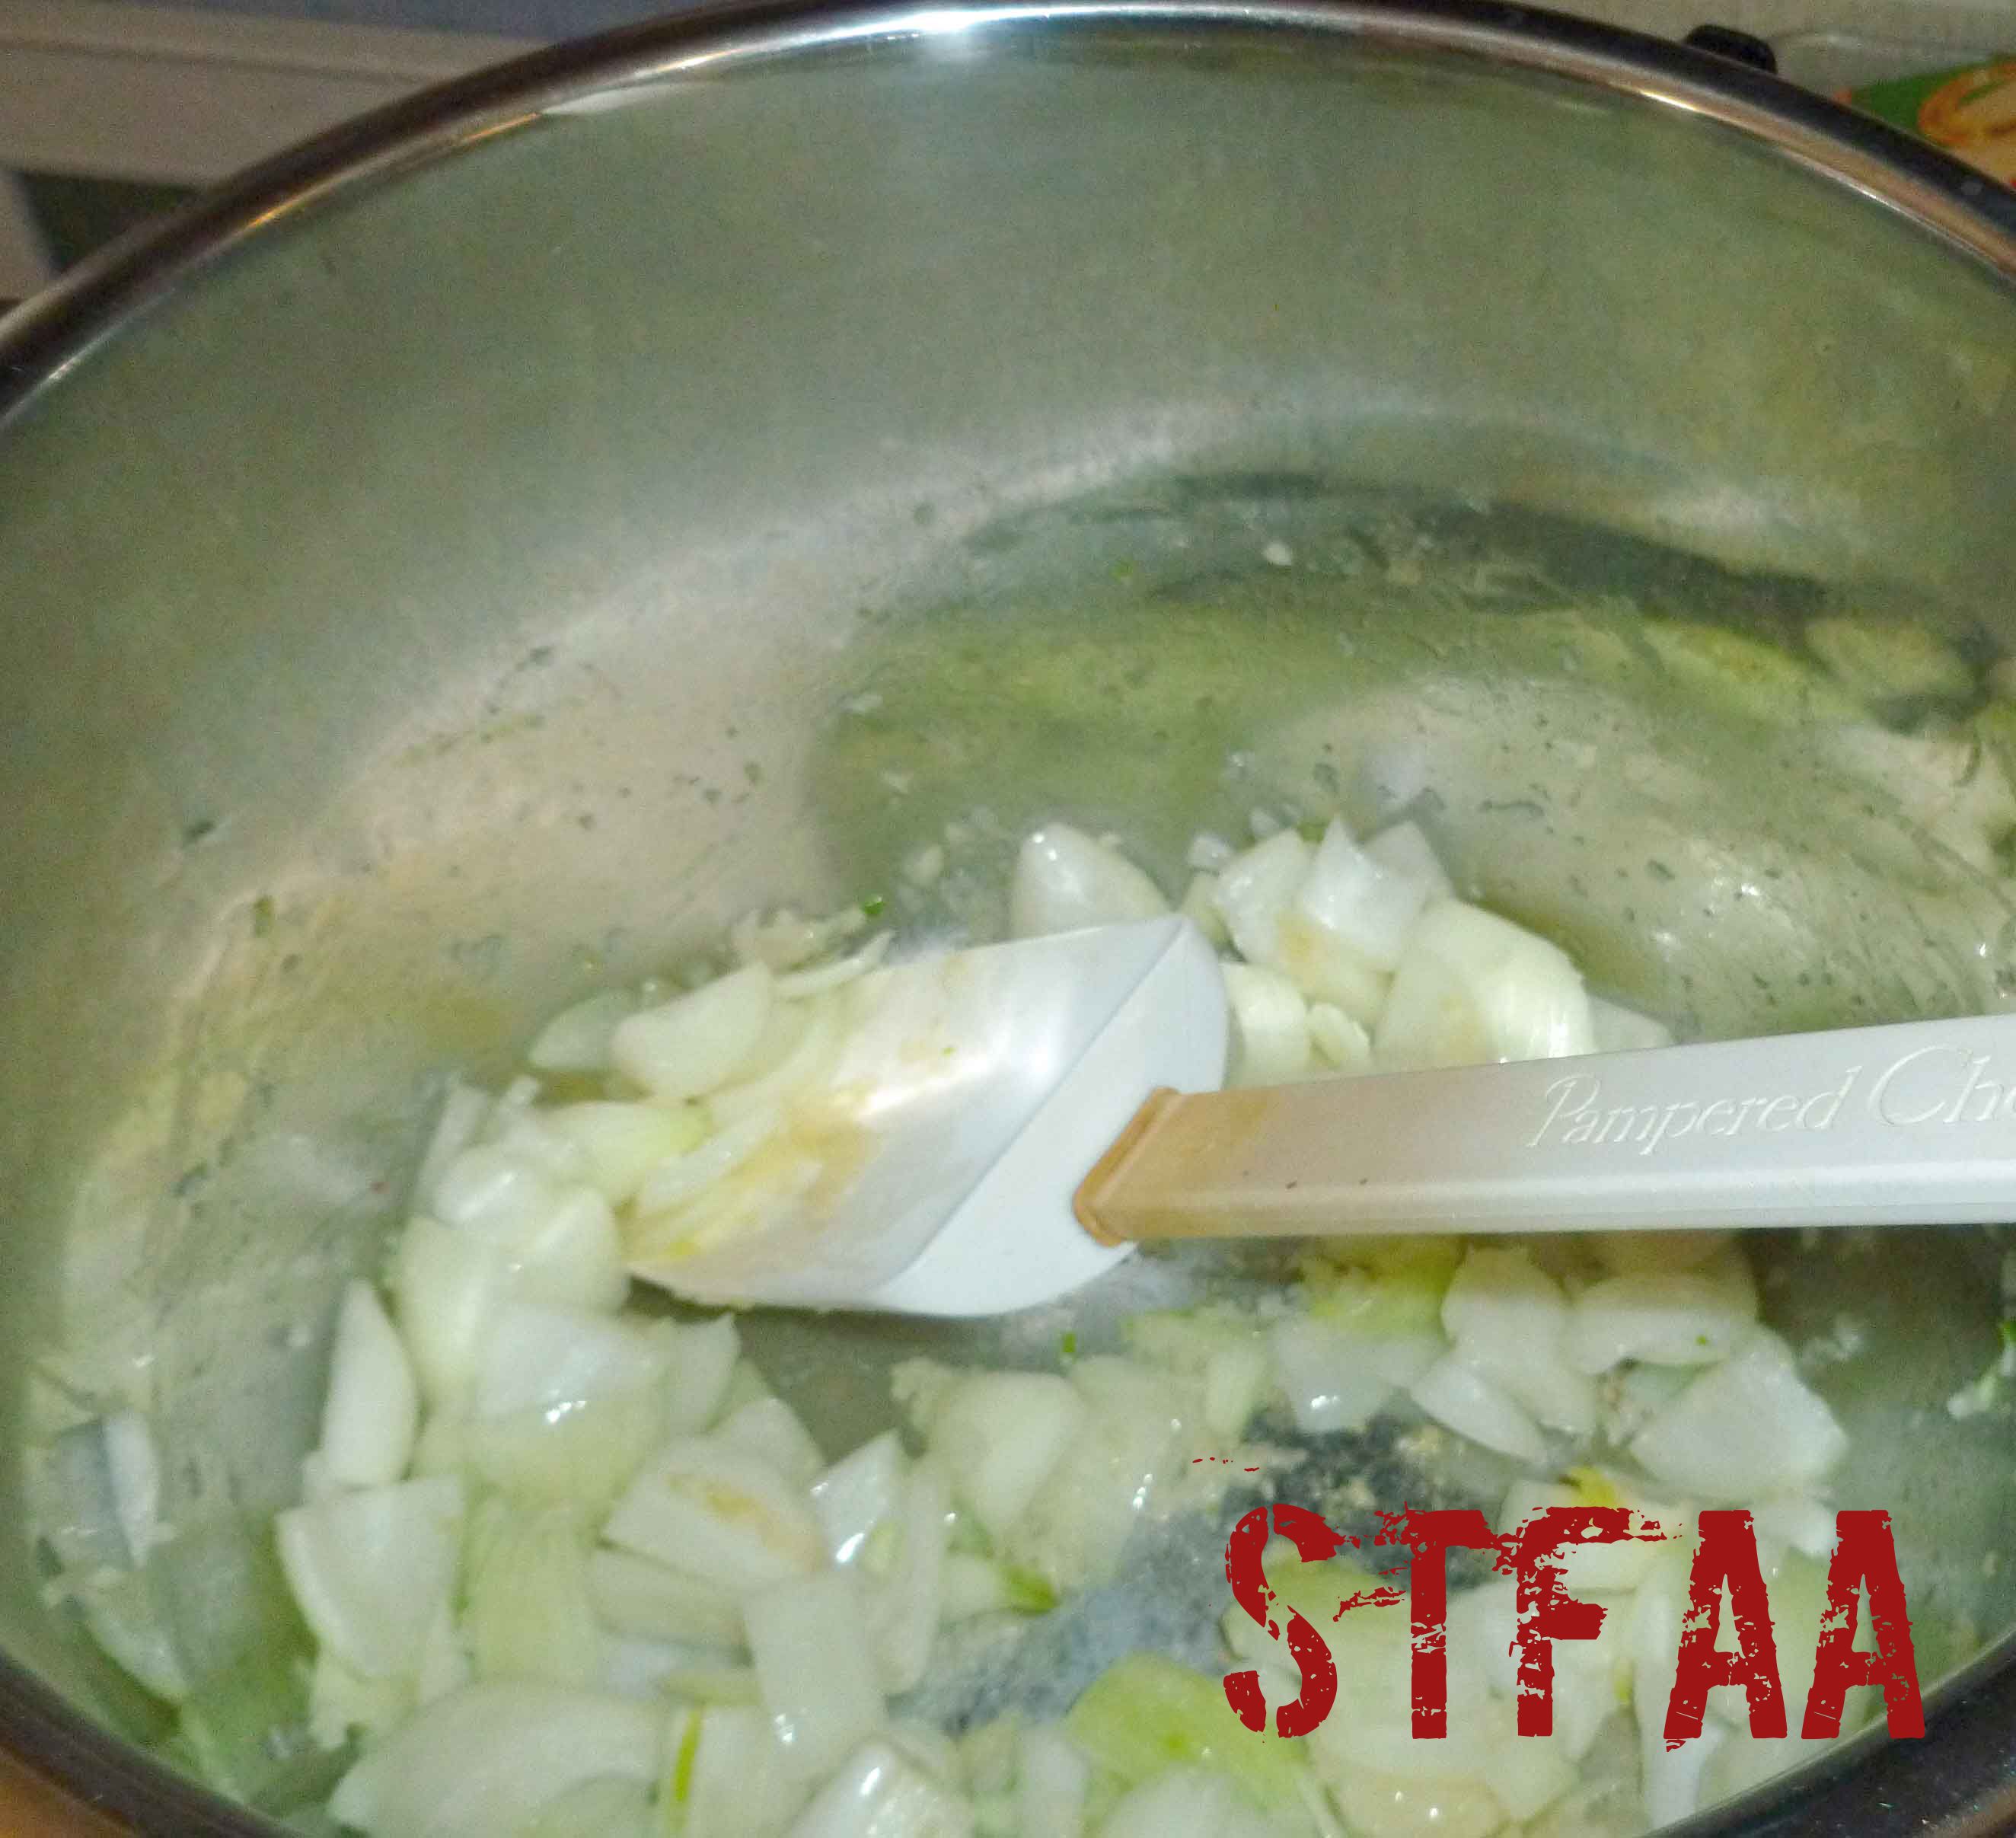
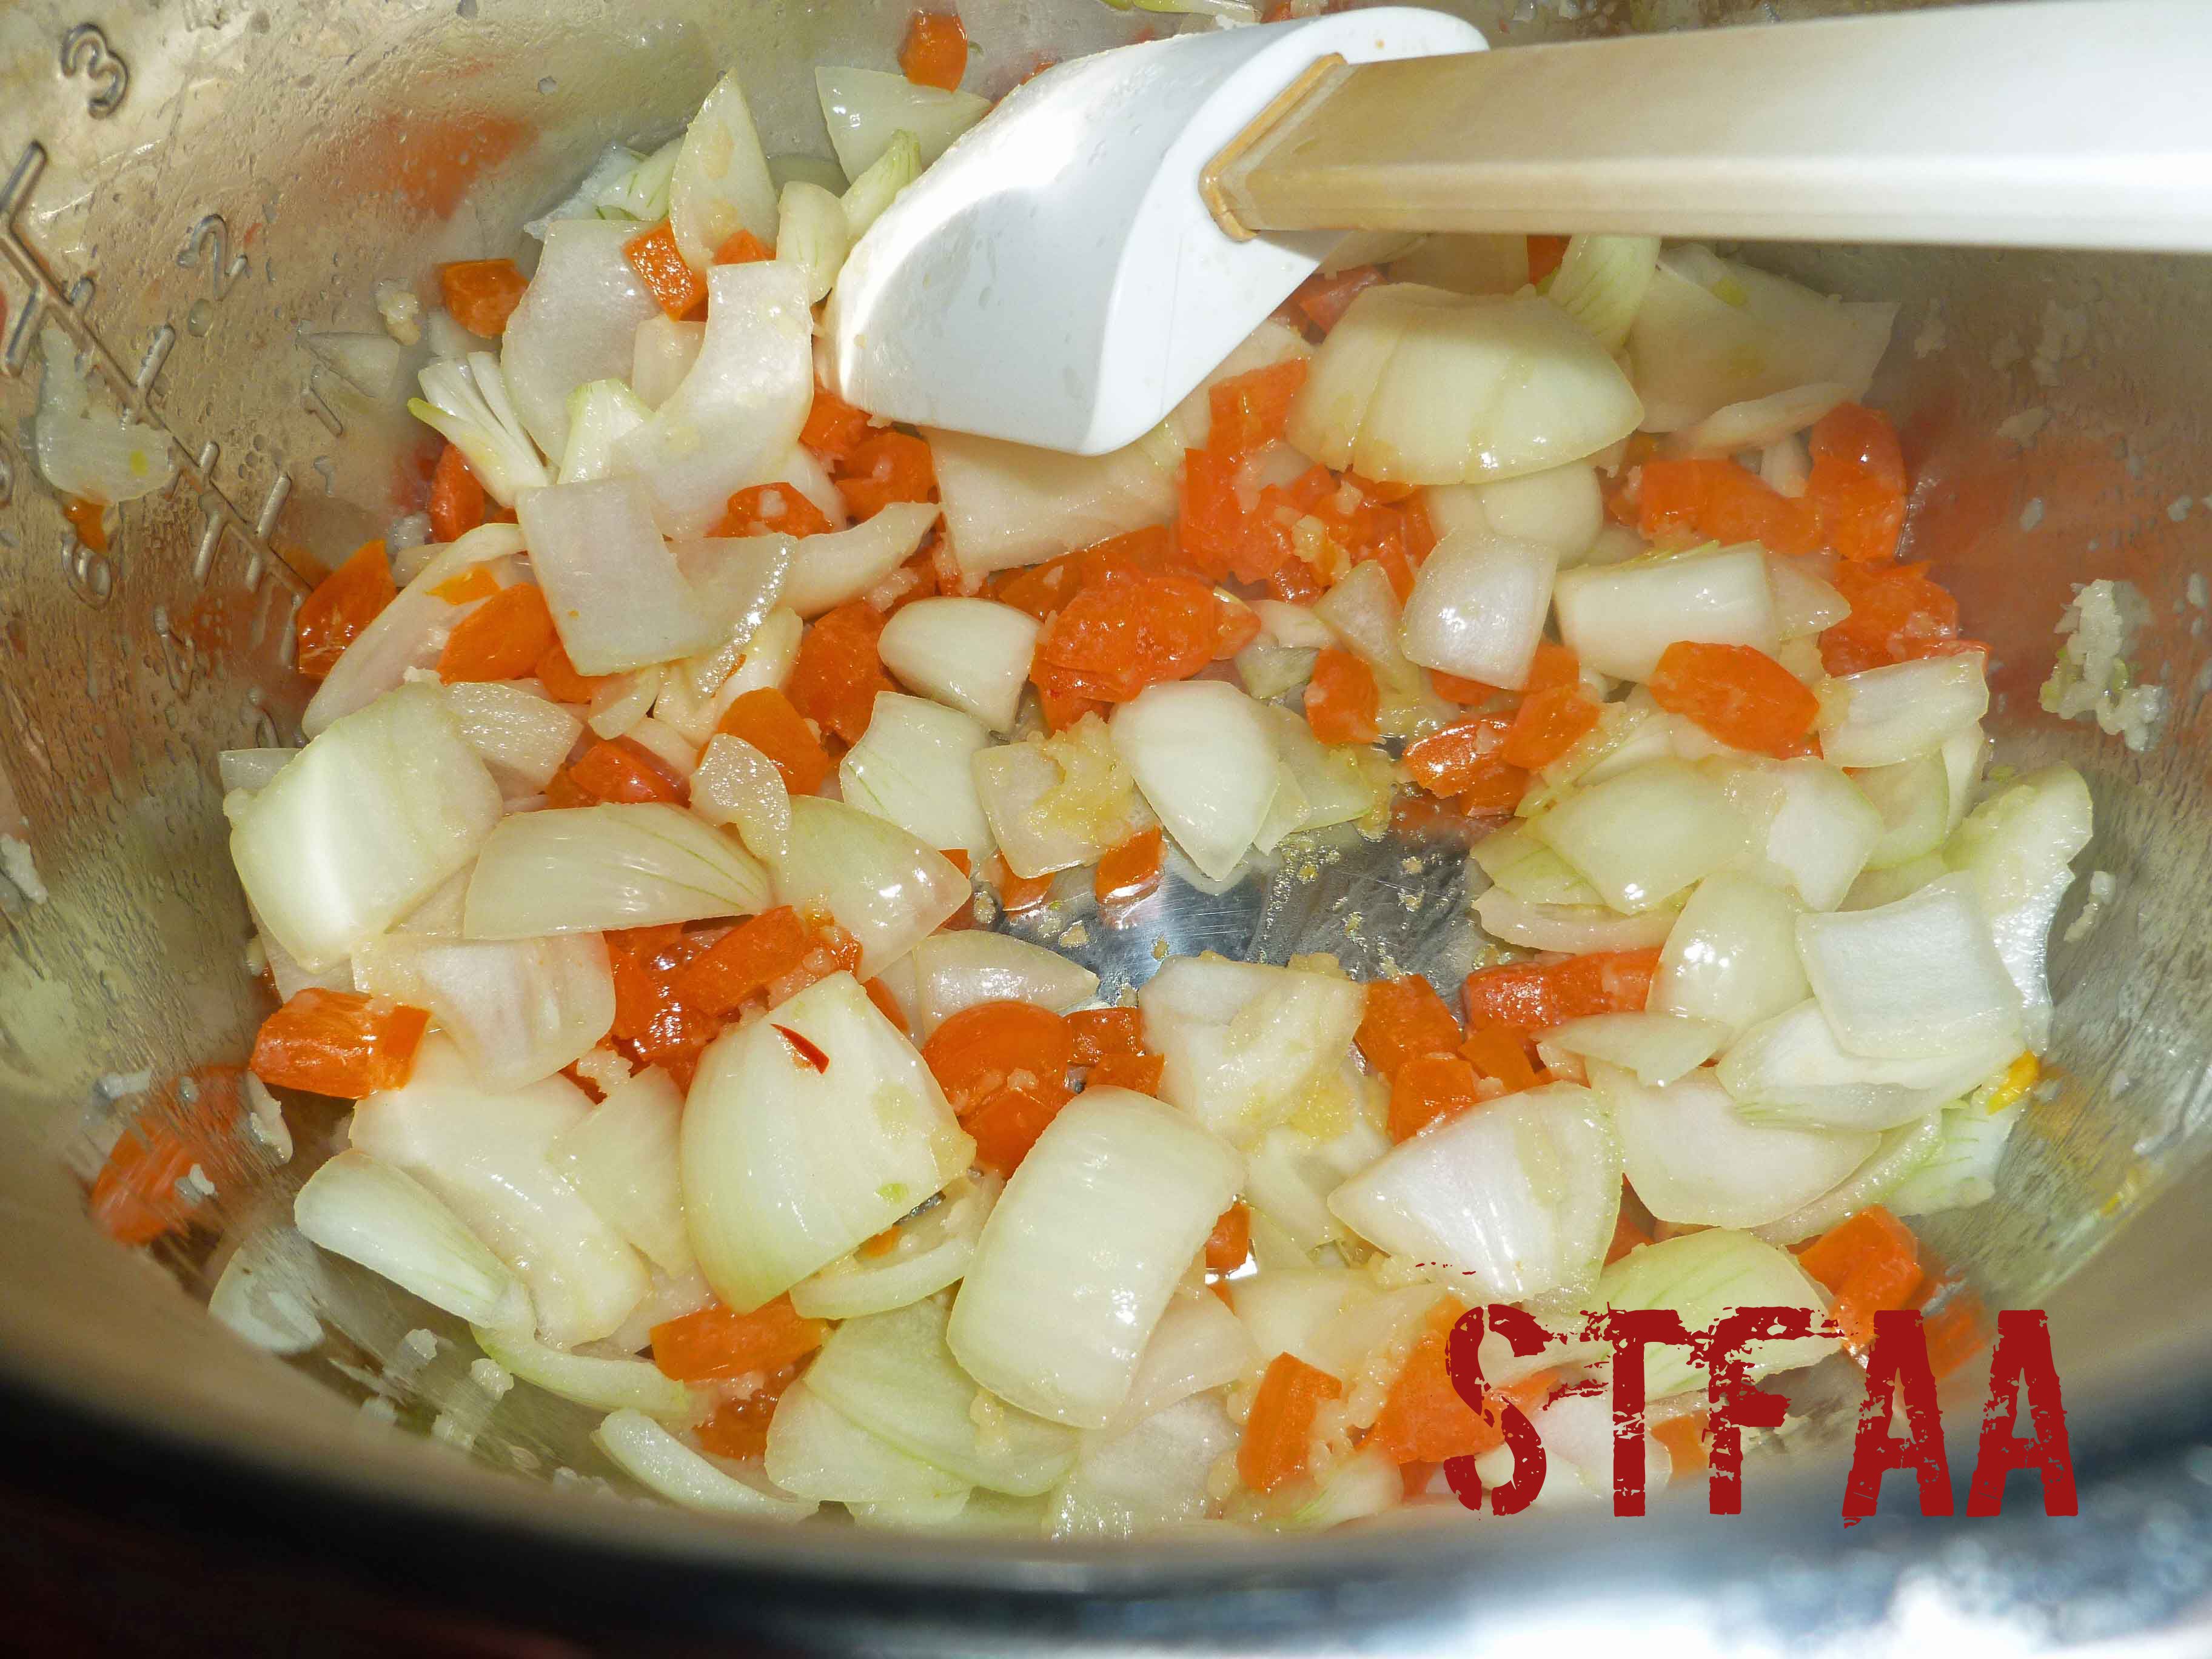
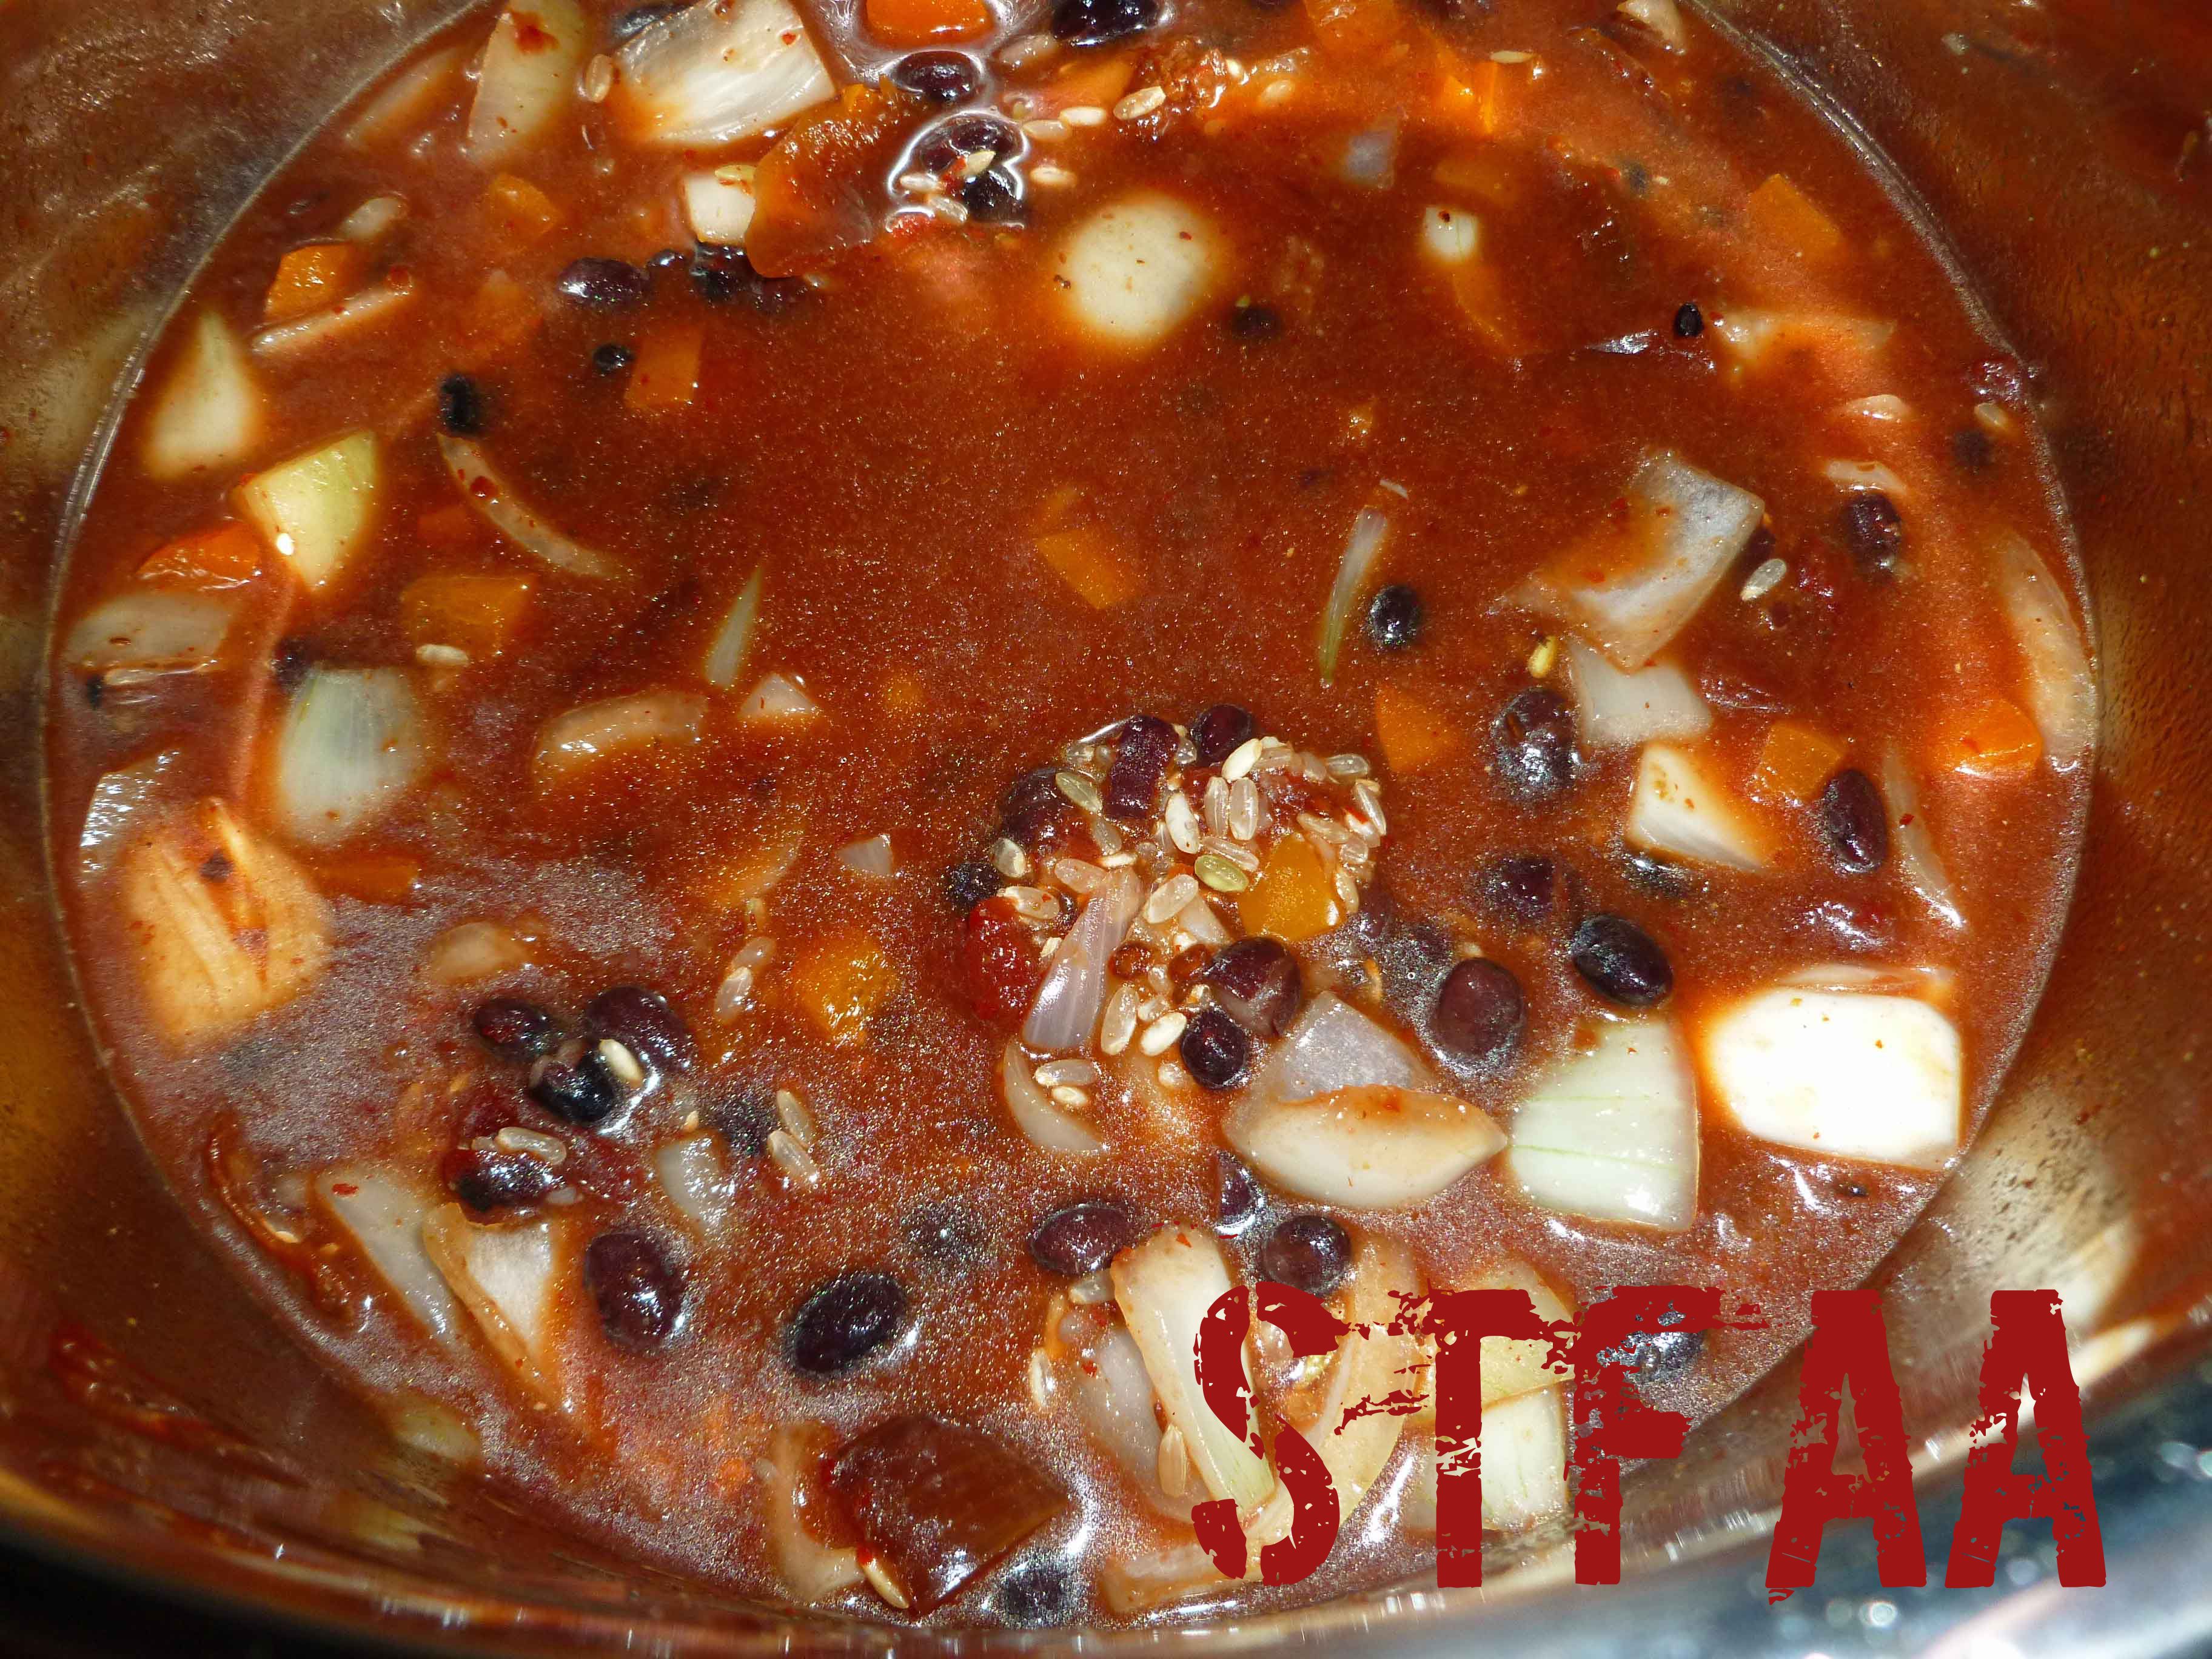
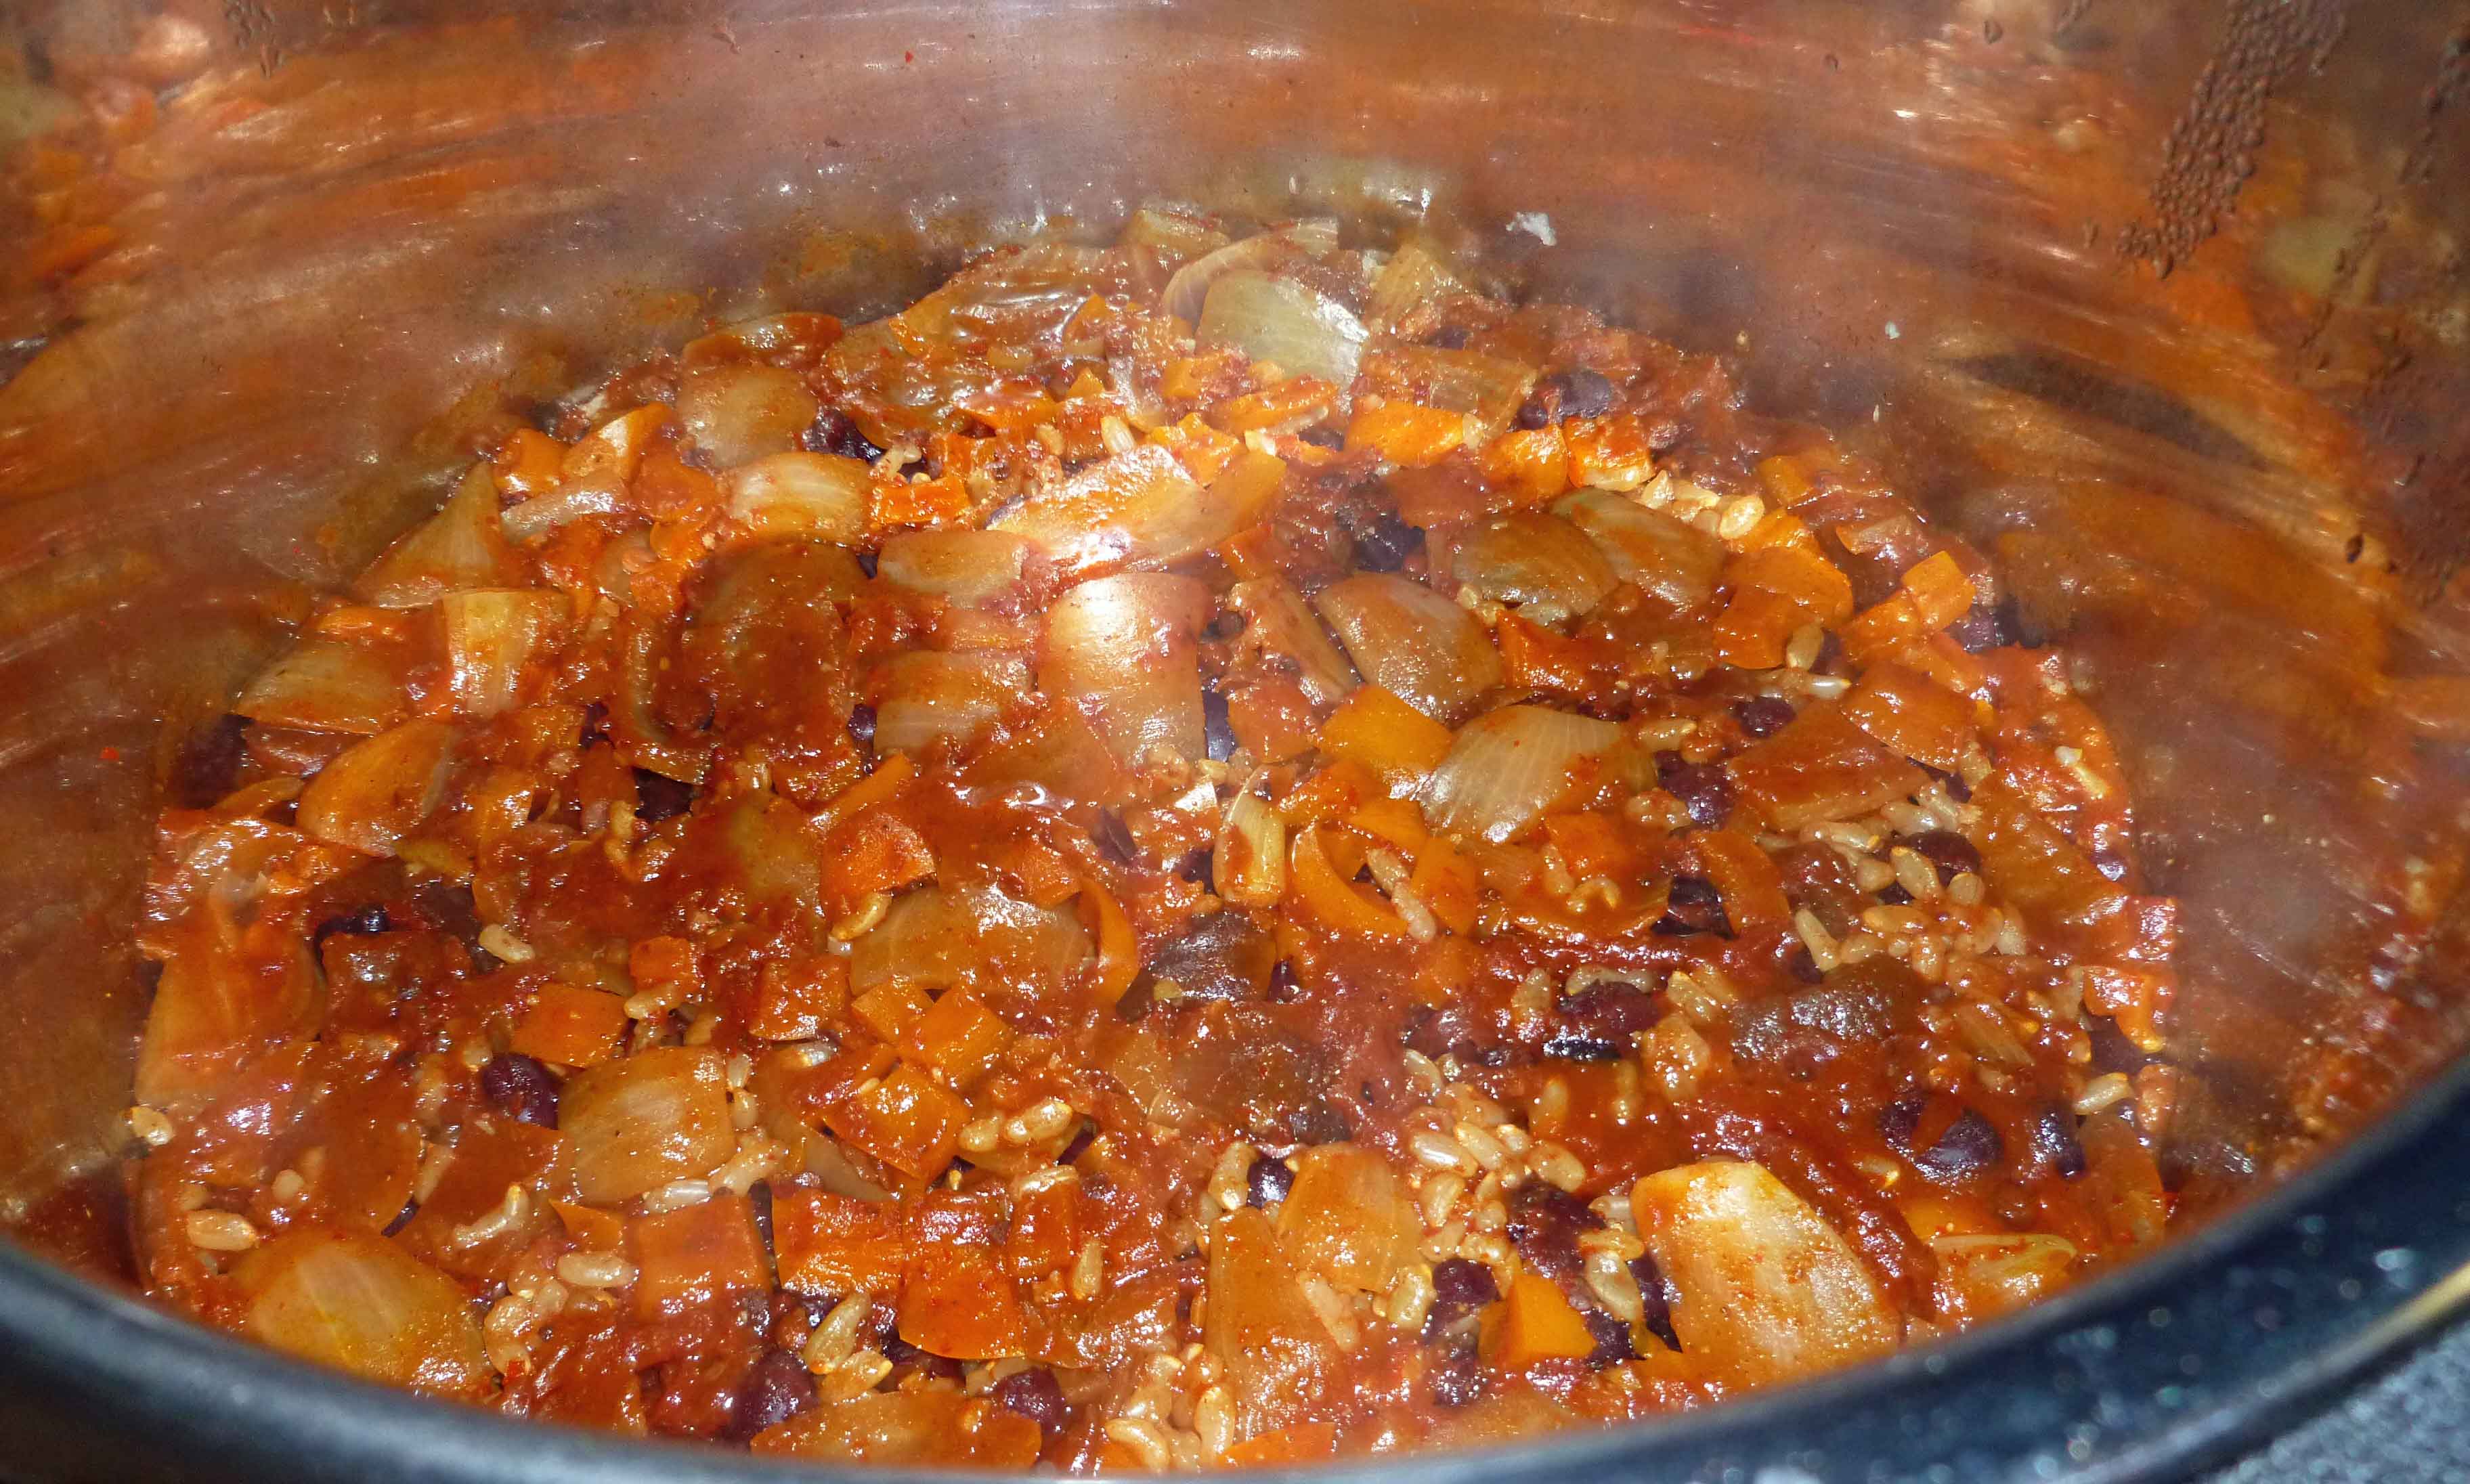
Instant Pot DUO60 6 Quart 7-in-1 buttonsOnions and garlic sauteing in Instant PotOnions, garlic and orange bell pepper sauteing in Instant PotMixture after adding all other ingredients but before cookingInstant Pot Black Beans and Rice after cooking in the Instant PotInstant Pot Black Beans and Rice
Instant Pot Black Beans and Rice
Print Recipe
An easy weeknight meal on its own or wrap in safe for you tortillas with lettuce and tomatoes.
2Tablespoonsgrape seed oil(or other safe for you oil)
1largeonion, peeled and chopped
4clovesgarlic, minced
1cupbell pepper, seeded and chopped(optional – I often have chopped bell peppers in my freezer as I chop up the extras from recipes and freeze them so they don’t go to waste.)
2cups brown rice(rinsed well)
2cupswater
2cups salsa(I used my home canned salsa)
1canblack beans, drained and rinsed(I used my home canned beans)
1teaspooncumin
1/2teaspoon sea salt
1/4cupcilantro, chopped
Instant Pot
Servings: people
Instructions
Place oil in Instant Pot. Press the “Saute” button and wait until it says hot. Add onion and garlic and saute until onions begin to become translucent. Stir often being careful not to burn garlic. Add bell pepper and saute for a minute or so. (If frozen, saute until it softens a bit).
Add rice, water, salsa, black beans, cumin, and salt and stir well.
Make sure your silicon ring is in the lid properly, and place lid on Instant Pot and turn the steam release handle to sealing. Press the Manual button and press the plus button for high pressure, and set the time to 28 minutes.
Once the clock has run down, you can either use natural cool down release or you can turn the steam release handle to venting to release the pressure. Once the pressure has been released, remove the lid and stir in the cilantro. At this point, you’re all set to serve!
December’s theme is “food for all those days between Thanksgiving and New Year’s that aren’t holidays.” Or, to be less wordy (never my strong suit): quick work-night meals. Meals that you can prepare after a long day at work or doing whatever it is you do that makes you tired. You still have to eat, right?
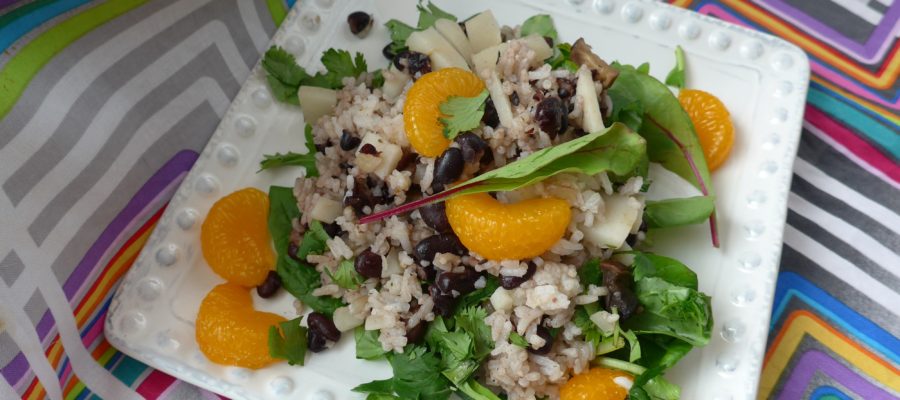
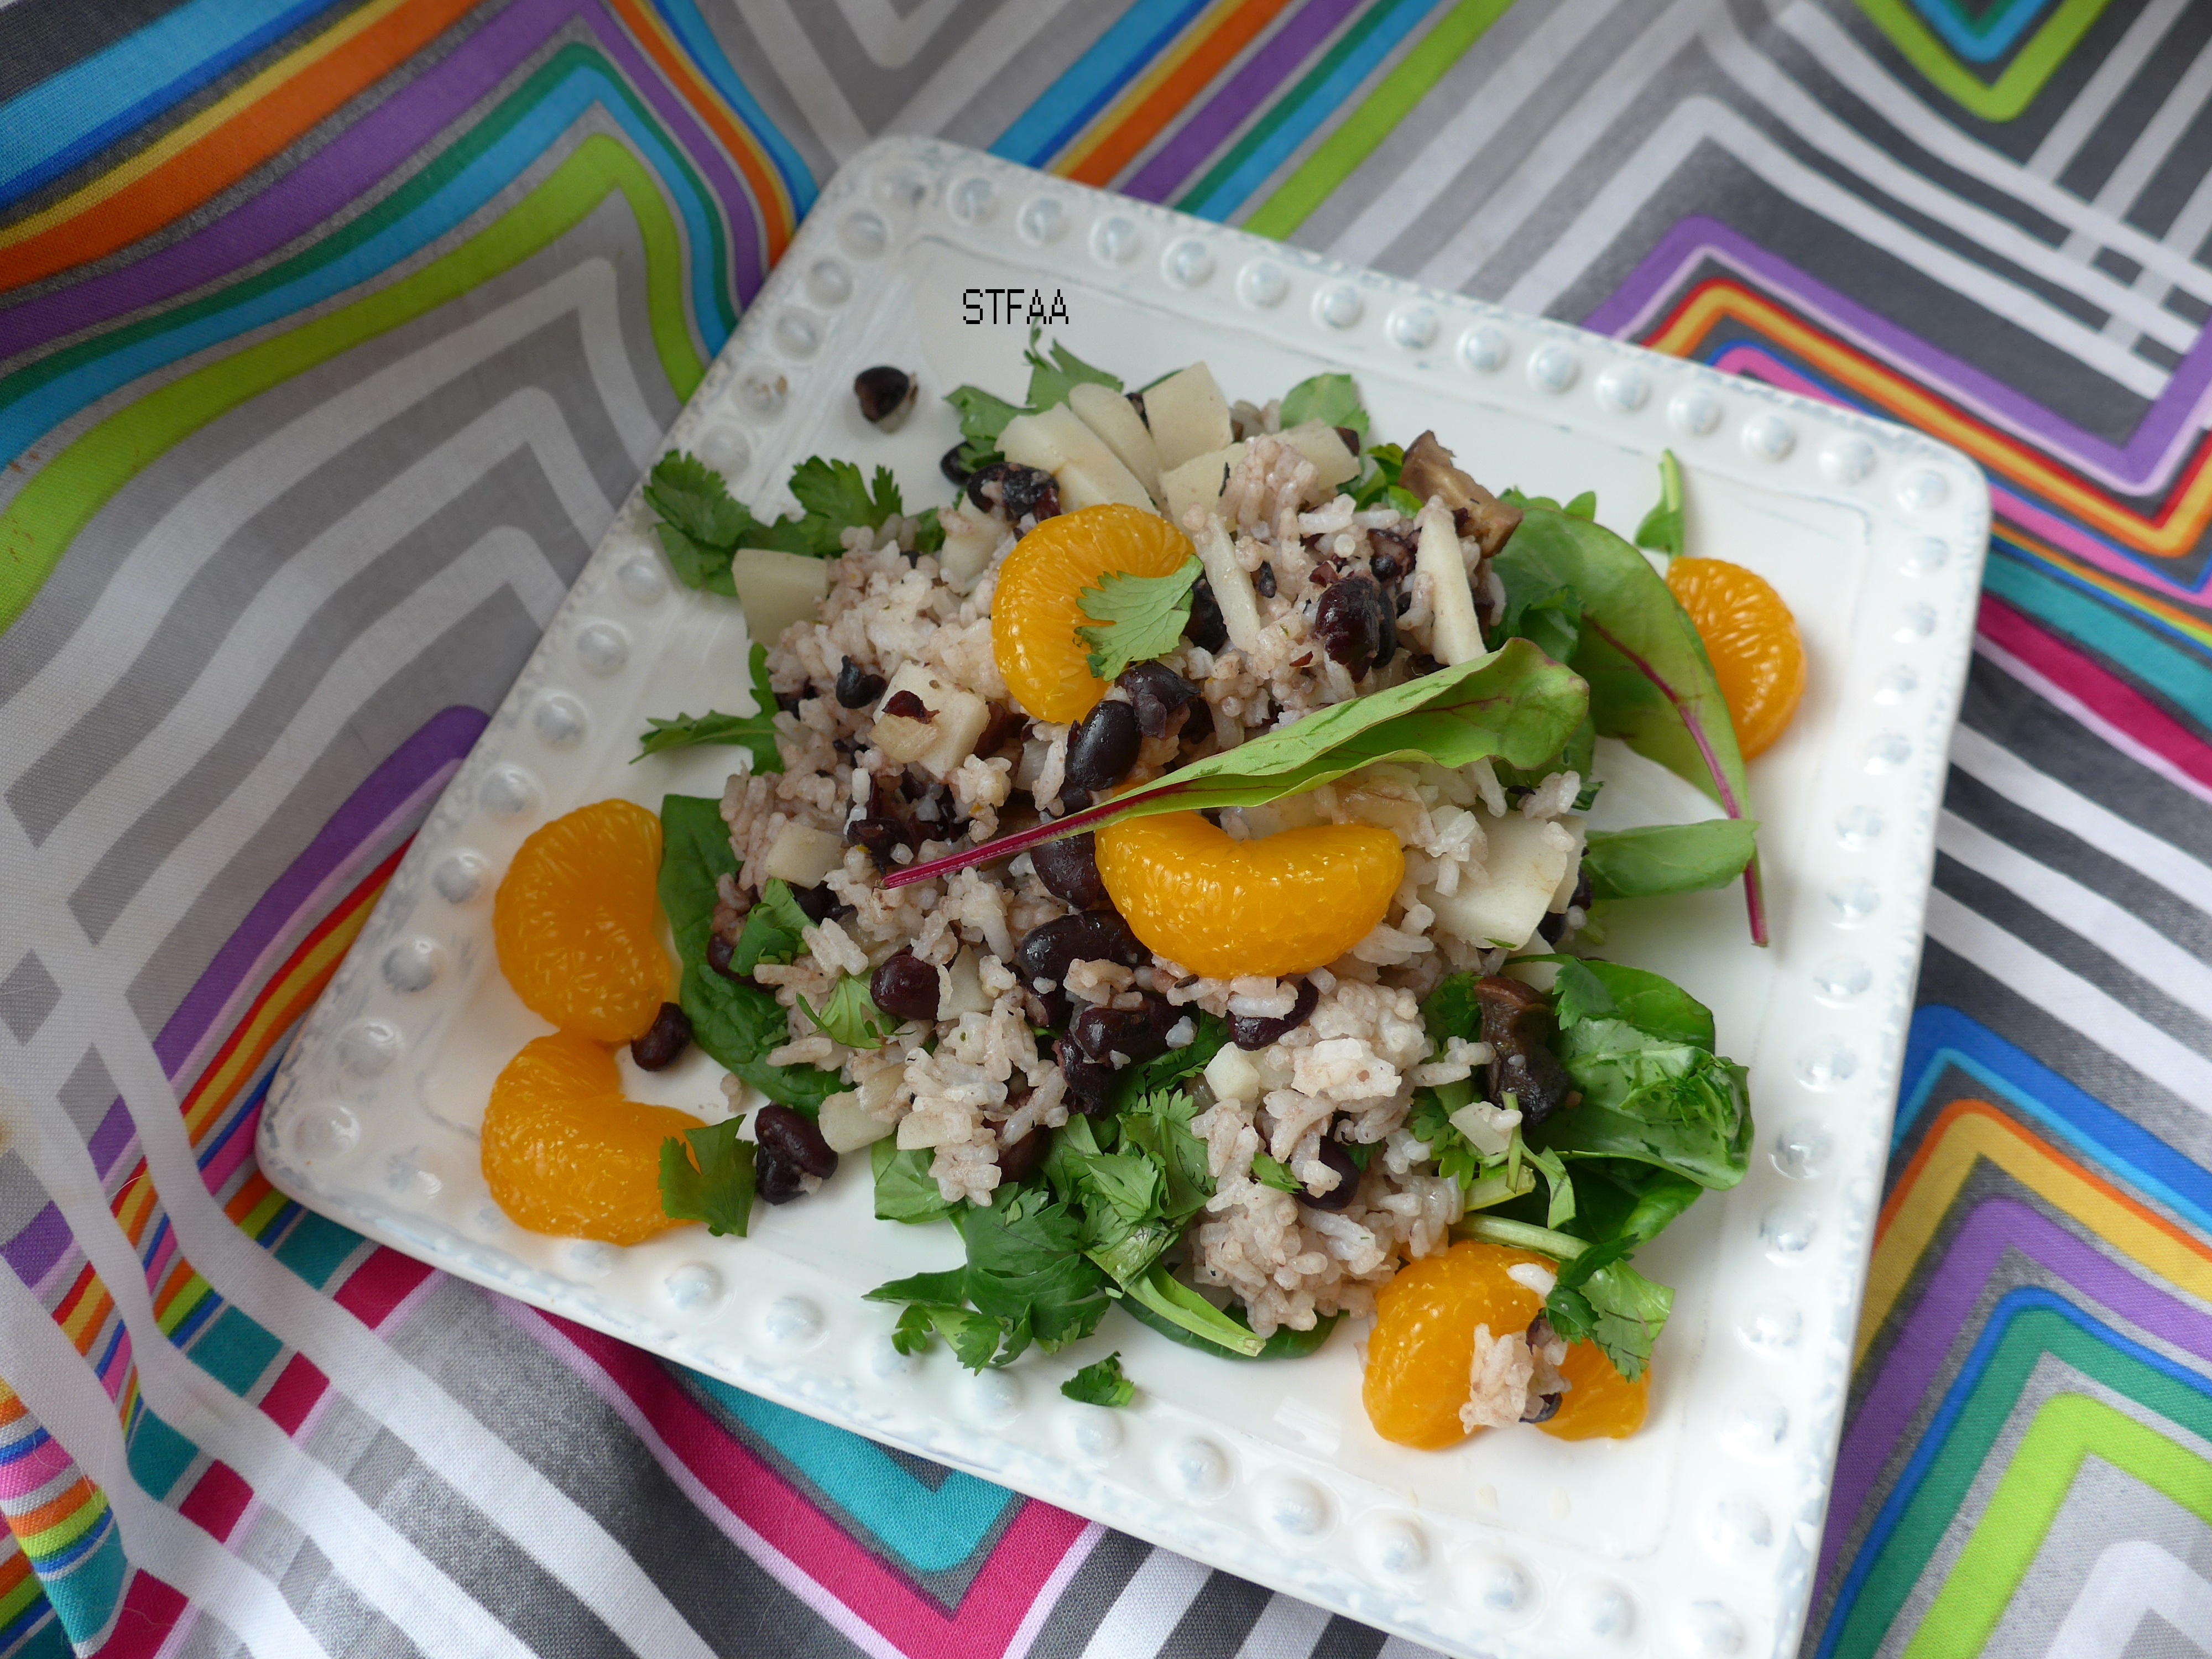
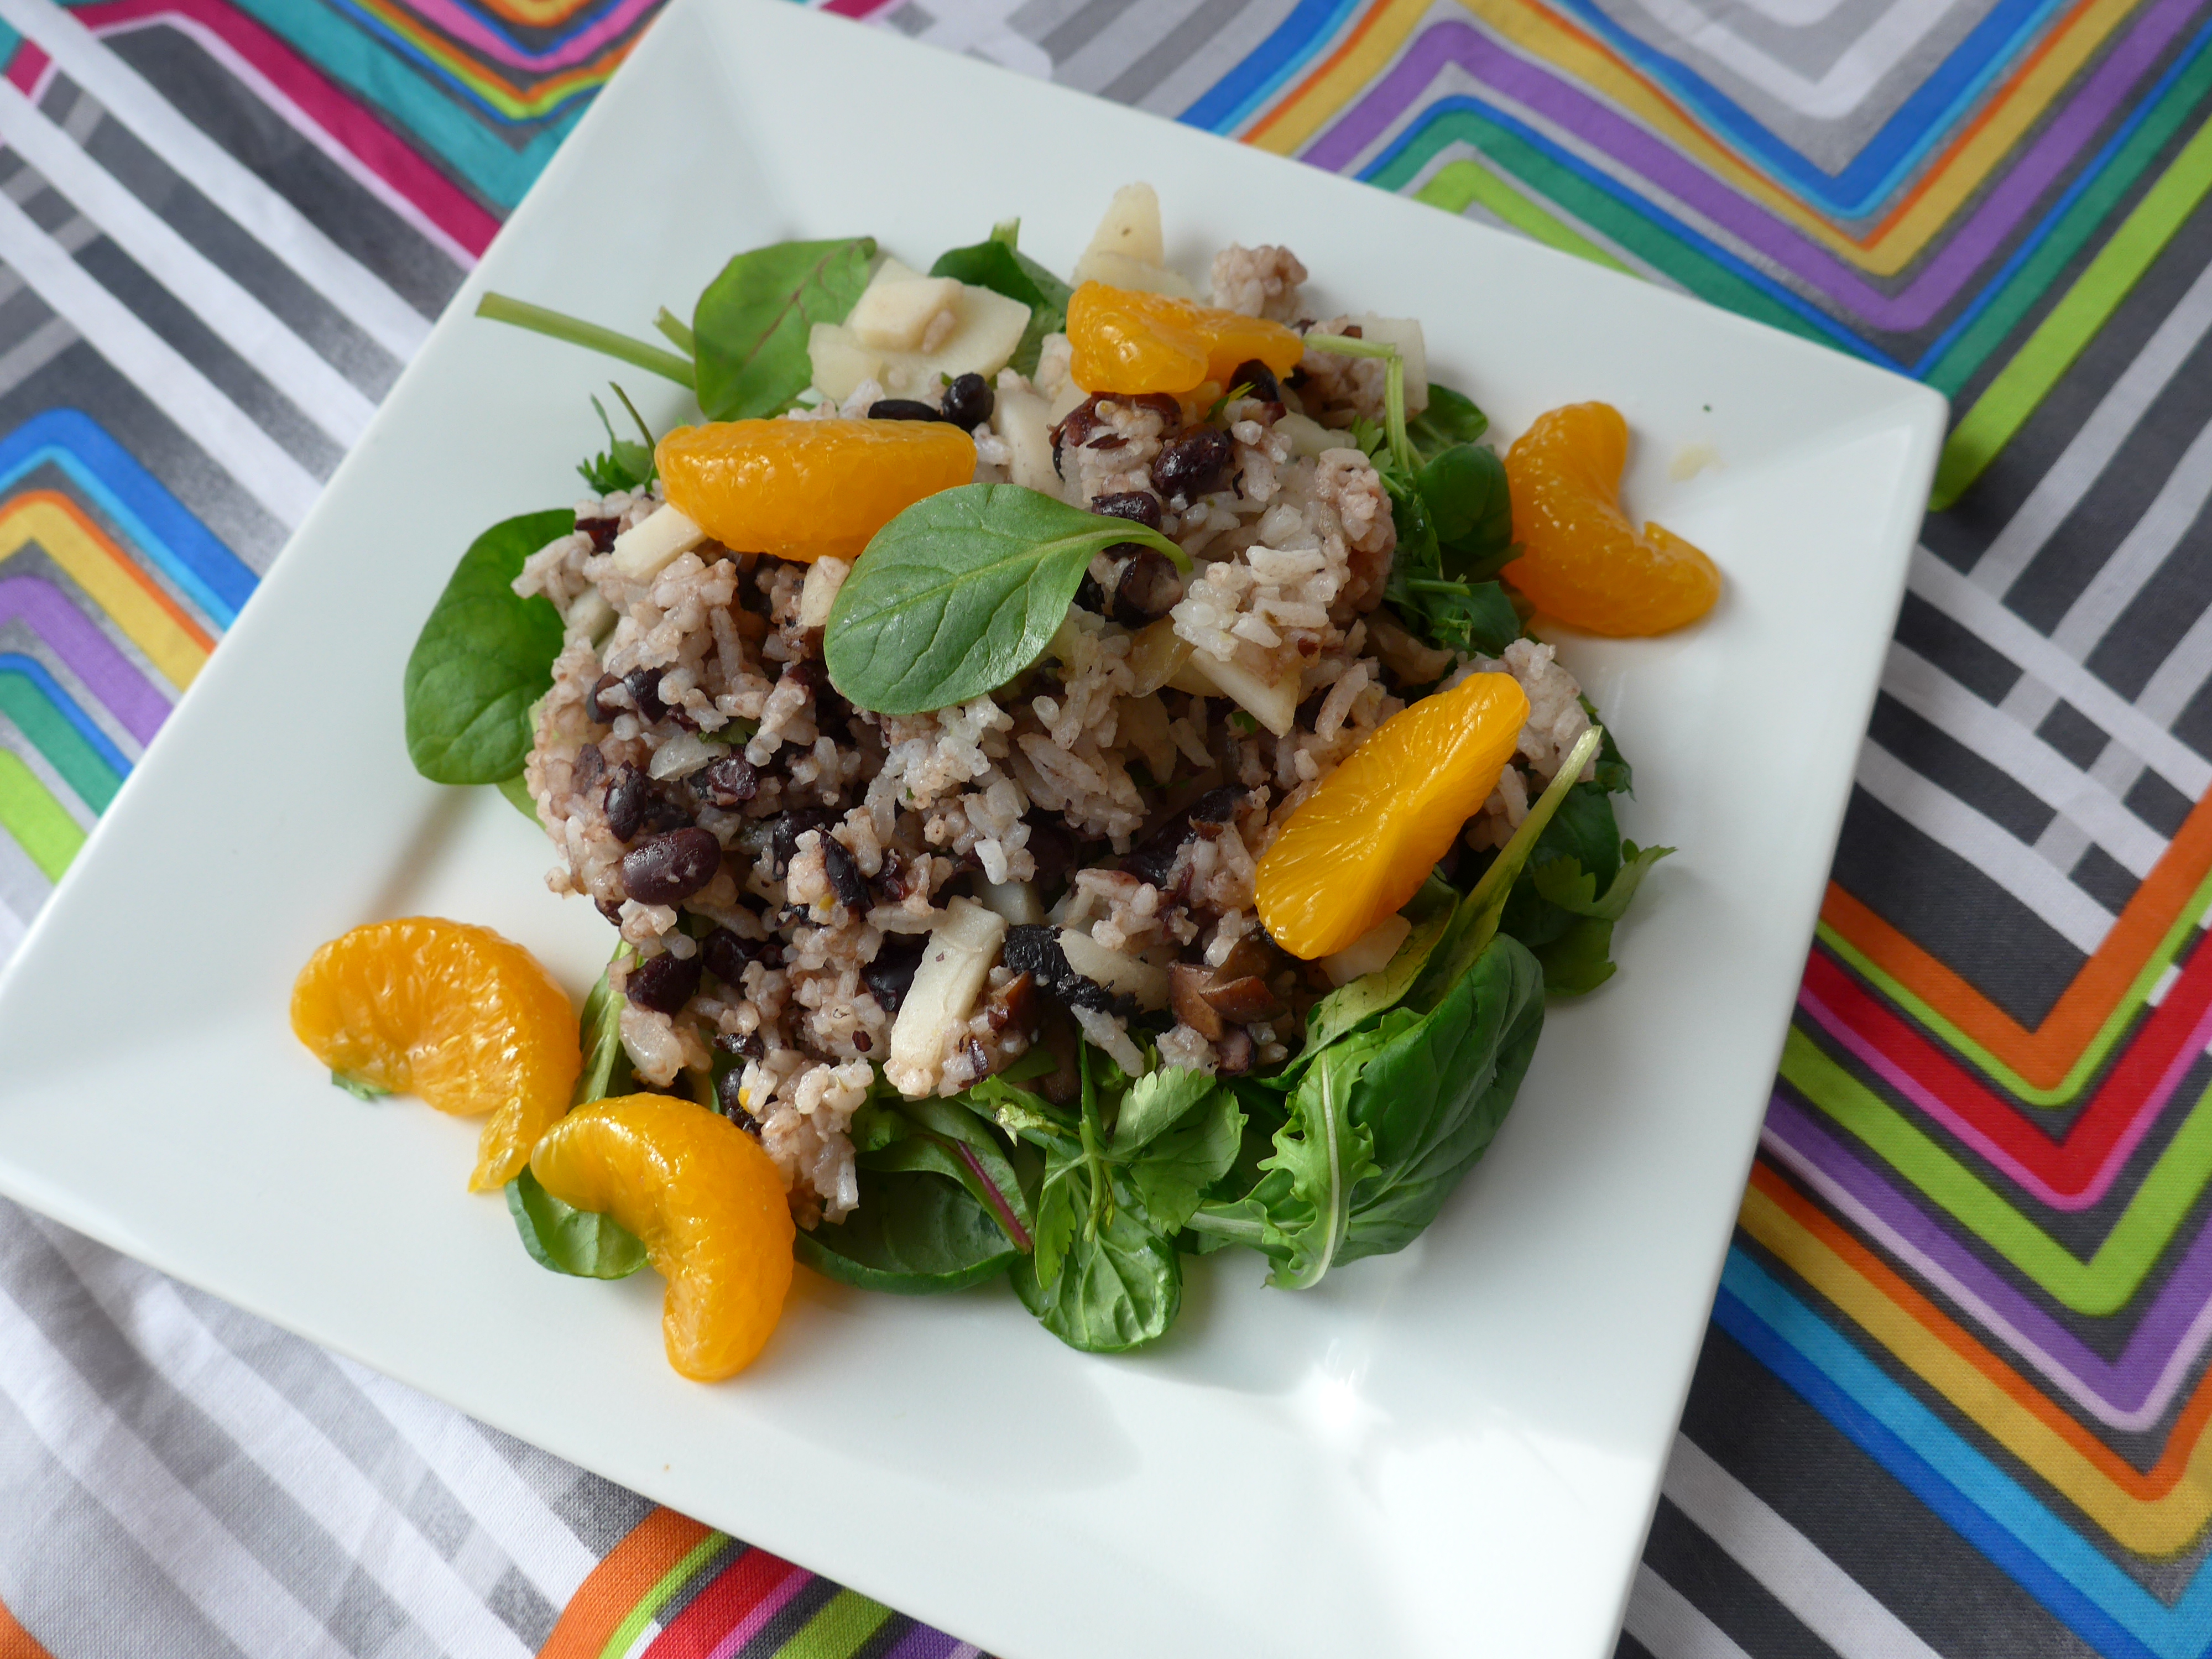
Today’s recipe is more of a “recipe.” This is salad for people who want to eat more vegetables, maybe even specifically more greens, but also really want hot food. Who has time to make food AND a salad? Well, honestly, with salad boxes, I guess anyone, but I don’t actually really like salad. So in this dish, I have topped some mixed greens (spinach and baby chard mixed with some arugula) with a hot rice skillet using leftover rice mixed with black beans, earthy mushrooms, crunchy veg (either water chestnuts or jicama — you pick) just a touch of onion, olive oil, vinegar, and cilantro — and topped all of that with oranges.
What you get is a simple one skillet (assuming you have rice already — if not, it’s two pots. Sorry.) meal heavy on the vegetables, low on the salt, with straightforward flavors. It’s hearty and satisfying but not heavy. Perfect for between food-heavy holidays, right?
Notice: Trying to access array offset on value of type bool in /home/maryzahc/public_html/adultfoodallergies.com/wp-content/plugins/wp-ultimate-recipe/helpers/models/recipe.php on line 254
1-2Tablespoon vinegarI liked white wine vinegar for this
1cupwater chestnuts or jicamachopped
1cupcilantroroughly chopped
1canmandarin orangesor 2 segmented oranges
5cupsmixed greens of your choice
Servings: servings
Instructions
If you don’t have cooked rice, make some. You don’t really need leftover rice for this. I just like to cook a large pot and use it during the week.
In a skillet, heat 1 tablespoon of olive oil over medium heat. You’ll use the other in a few minutes. When the oil is hot, add the onions. Cook until translucent.
Add the chopped mushrooms, and stir well to coat with oil. Cook until they shrink and give up their moisture.
Add the black beans. Stir well. Then add the rice. Add the second tablespoon of oil and mix until the rice and beans are well incorporated. Add the vinegar.
Stir in the water chestnuts/jicama and cilantro. Remove from heat and let the mixture sit for about 5 minutes, until the crunchy vegetables are warmed.
Taste the mixture and adjust the seasoning if necessary — salt, pepper, more oil and vinegar, whatever appeals.
Serve the rice mixture over your mixed greens with the oranges on top. If needed, you can add an oil and vinegar dressing or a bit of orange juice, but I don’t find this needs it.
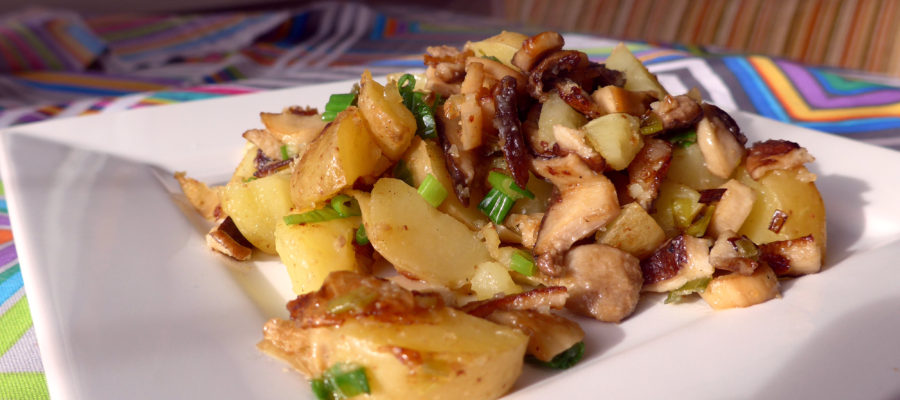
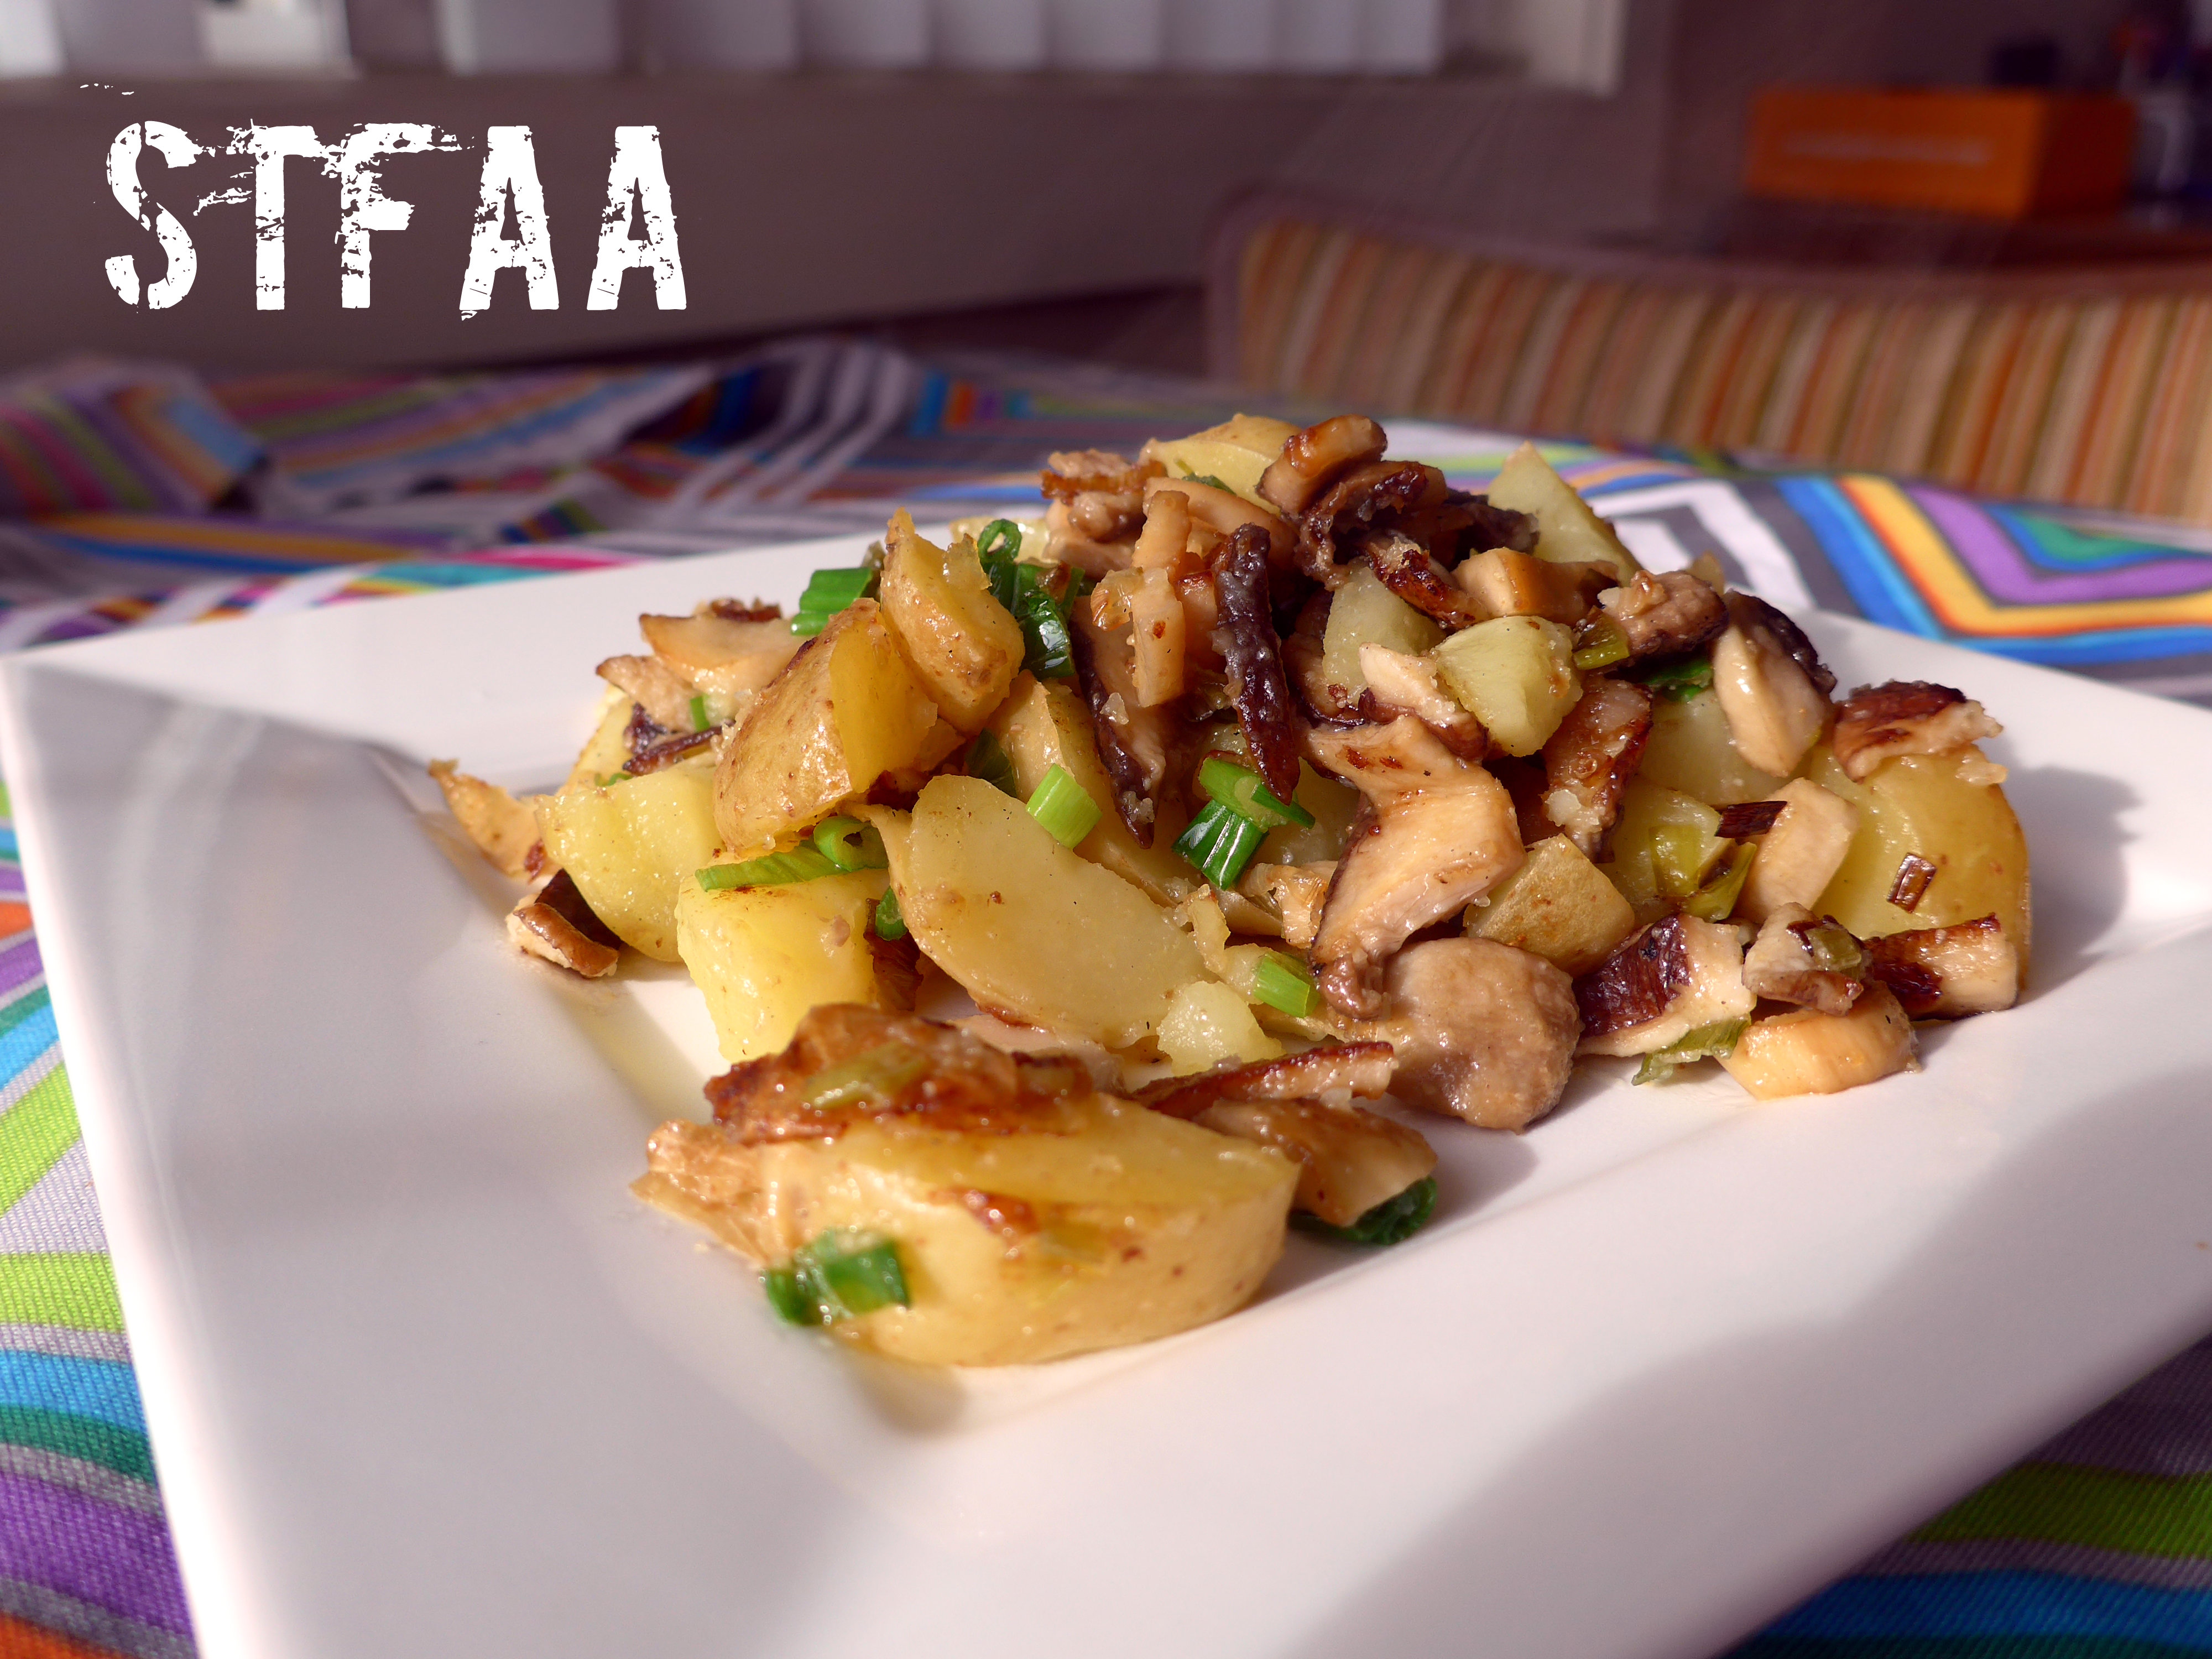
So for the “earth” side of our elements challenge, I knew from the start that I’d be using mushrooms, the earthiest food I love (and that Denise hates). Adding to the incentive, it’s mushroom “season” in the Pacific Northwest, meaning even our normal grocery stores have chanterelles (though at great cost)! I did not use chanterelles in this dish, just because I think they would be lost a bit on the mix and they are too spendy for that. (If you haven’t had chanterelles, you probably either don’t like mushrooms or haven’t been in the PNW during fall — they are amazing, and worth the price IF they are fresh.)
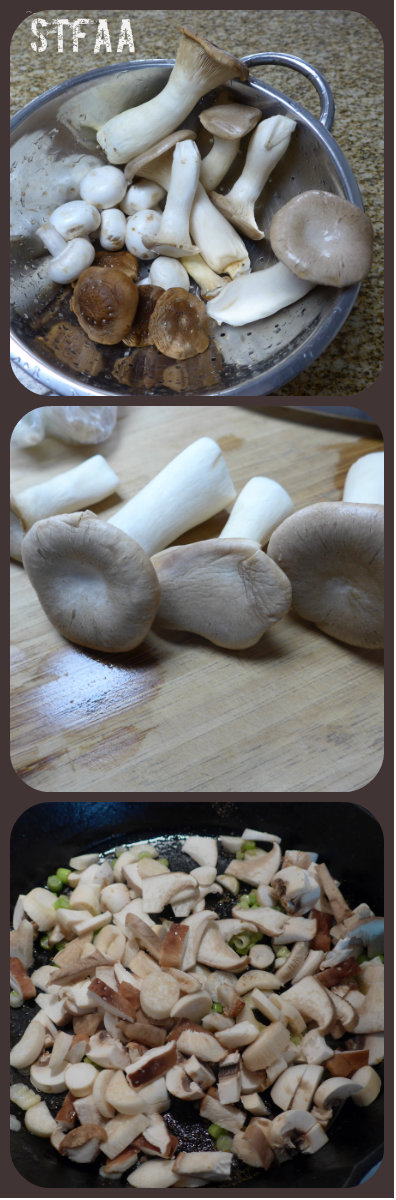
The mixed mushrooms I used here included mainly easy-to-find grocery store mushrooms. I used cremini (often sold as “baby bellas”), a few leftover white button mushrooms, some shitakes, and some king oyster mushrooms, my newest favorite. You can use whatever is available to you that you like, but if you see the king oysters, try them. They have a great texture for stir fry and sauteing. Check out this list of mushrooms and maybe try a new one in this recipe.
I also used my personal perennial favorite ingredient for all things: potatoes. They are grown underground, so they are definitely “earthy” too, right? If you can get them, yukon gold potatoes are my favorite for hash because of their texture. Any waxy potato (yellow or red) will work, but the textures will vary subtly. In this hash, I’ve parboiled the potatoes before frying them. I used a trick I learned in the Farm to Table Asian Secrets cookbook: adding vinegar to the boiling water helps the cooked potatoes hold together when you cut them after boiling.
For this recipe, you’ll need a pot to boil the potatoes in and a skillet. You should have plenty of time to clean and chop your mushrooms while the potatoes cook, and then time to chop the cooked potatoes while the mushrooms cook. I’ve done the hash over medium heat because I don’t want to burn things, but if you’re brave, a higher heat will give you more sear on the vegetables, more like a professional kitchen and better taste. Let me know if you do it that way.
For me, this is ultimate comfort food. First, potatoes are my go-to comfort food, but crisping them in oil and mixed with mushrooms, I also feel fancy and indulgent.
Notice: Trying to access array offset on value of type bool in /home/maryzahc/public_html/adultfoodallergies.com/wp-content/plugins/wp-ultimate-recipe/helpers/models/recipe.php on line 254
2Tablespoonvinegarany kind works — don’t use anything expensive here!
1Tablespoonsalt
1Tablespoonoilmaybe a little more
2cupsmixed fresh mushrooms
5scallions
1/2teaspoongarlic powder
2teaspoons oil(not a repeat ingredient!)
Servings: servings
Instructions
Wash potatoes and put in large sauce pan with water, vinegar, and salt. Bring to a boil and then turn down to a low boil. Cook potatoes until tender (can you stab a knife into them? Then they are done.) This will vary depending on the size of your potatoes, but texture-wise, boiling them whole is the right call.
Wash and dry mushrooms. How you do this depends on the mushroom, but with most of them I just run them under water and rub the visible dirt off with my fingers and then path them dry with a towel or paper towel. Chanterelles, I soak and swirl for a few minutes.
Chop mushrooms or break into bite-sized pieces.
Chop scallions and separate the whites from the greens. Light green goes with white. You will cook the whites and use the greens as garnish.
Add 1T of oil to your skillet over medium heat. Add the garlic powder to it and the onion whites, stirring well. When it is shimmery, add the mushrooms and stir well to coat with the oil. If you need to, add a bit more oil to fully coat the mushrooms, but stir them well first.
Cook mushrooms, stirring frequently but not constantly, for up to 10 minutes. They will start to brown and smell very earthy — that’s what you’re looking for.
While they cook, drain and cool the potatoes enough to touch. I lay them out on the cutting board to cool. Chop them into hash-sized pieces. Think dice.
Push the mushrooms aside and dump the potatoes into the center of the pan. Add about 2 teaspoons of oil, and stir just the potatoes until the oil is coating them. Spread them out, mostly piling the mushrooms on top. Let them sit and cook for about 5 minutes, and then stir and cook for a bit more — as much time as you can give them to crisp up and meld with the mushrooms.
Just before taking the hash off the heat, stir in the scallion greens and taste. Add salt and pepper if needed. Serve hot.
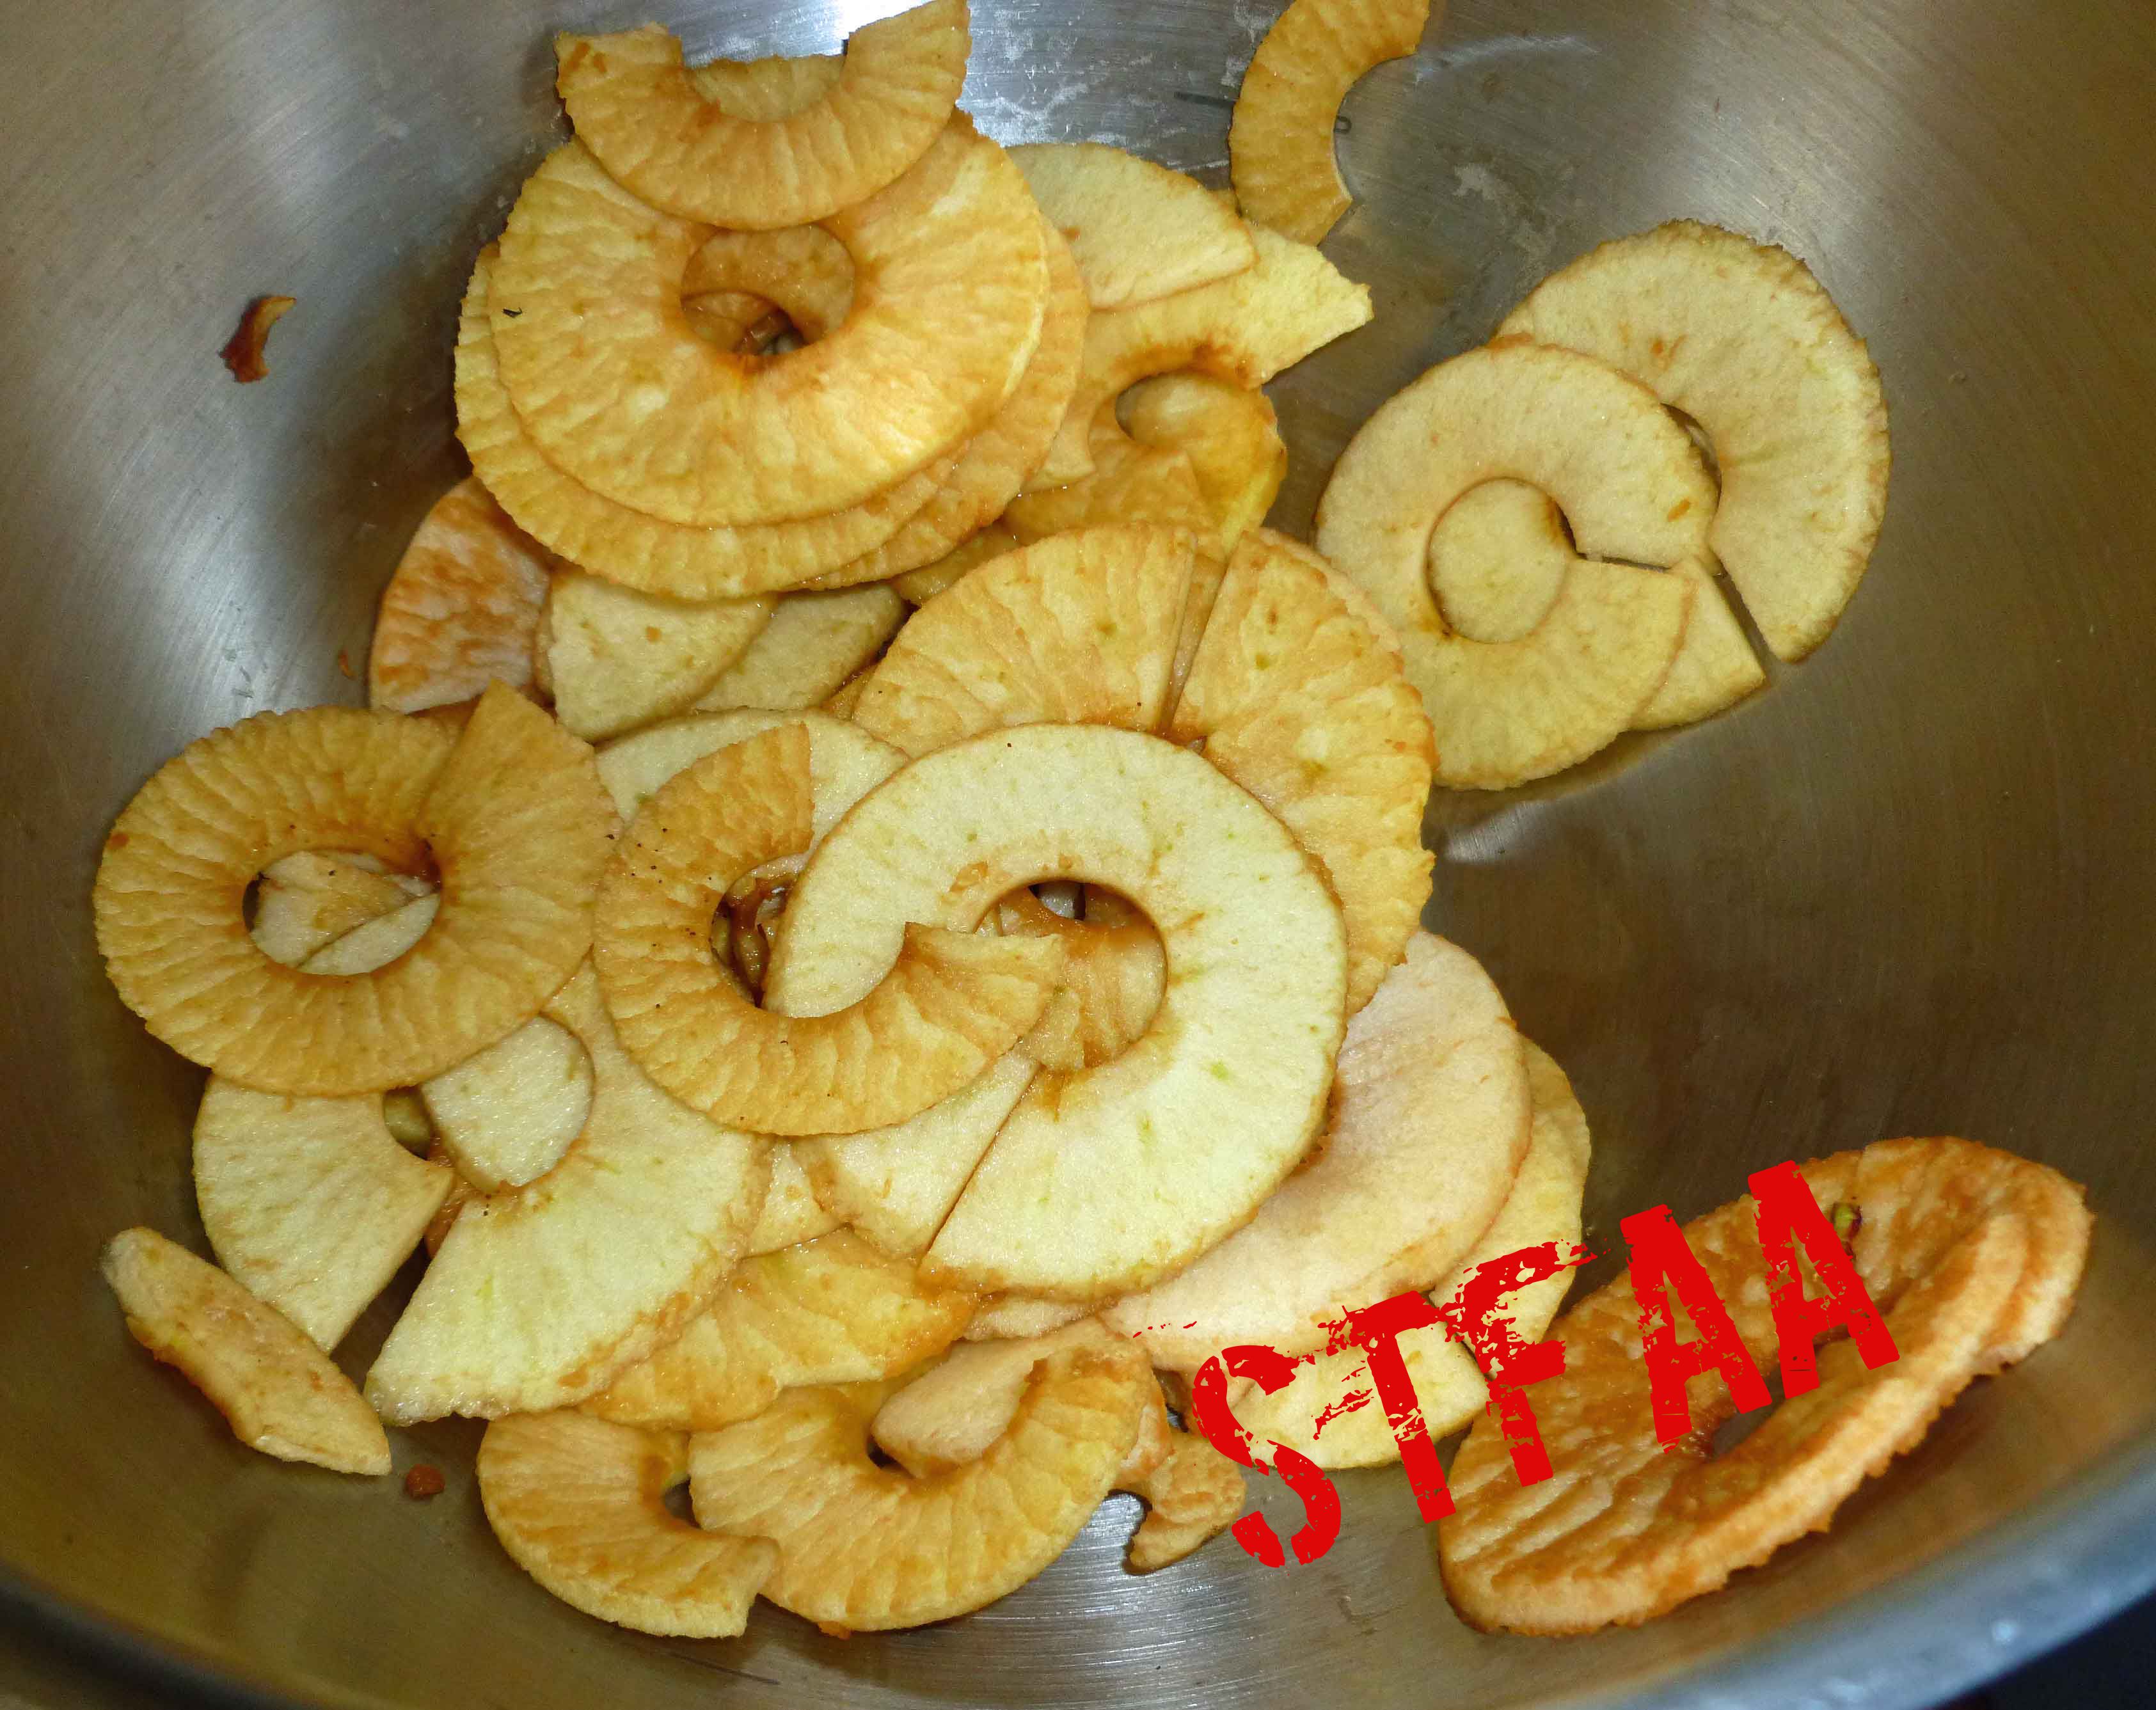
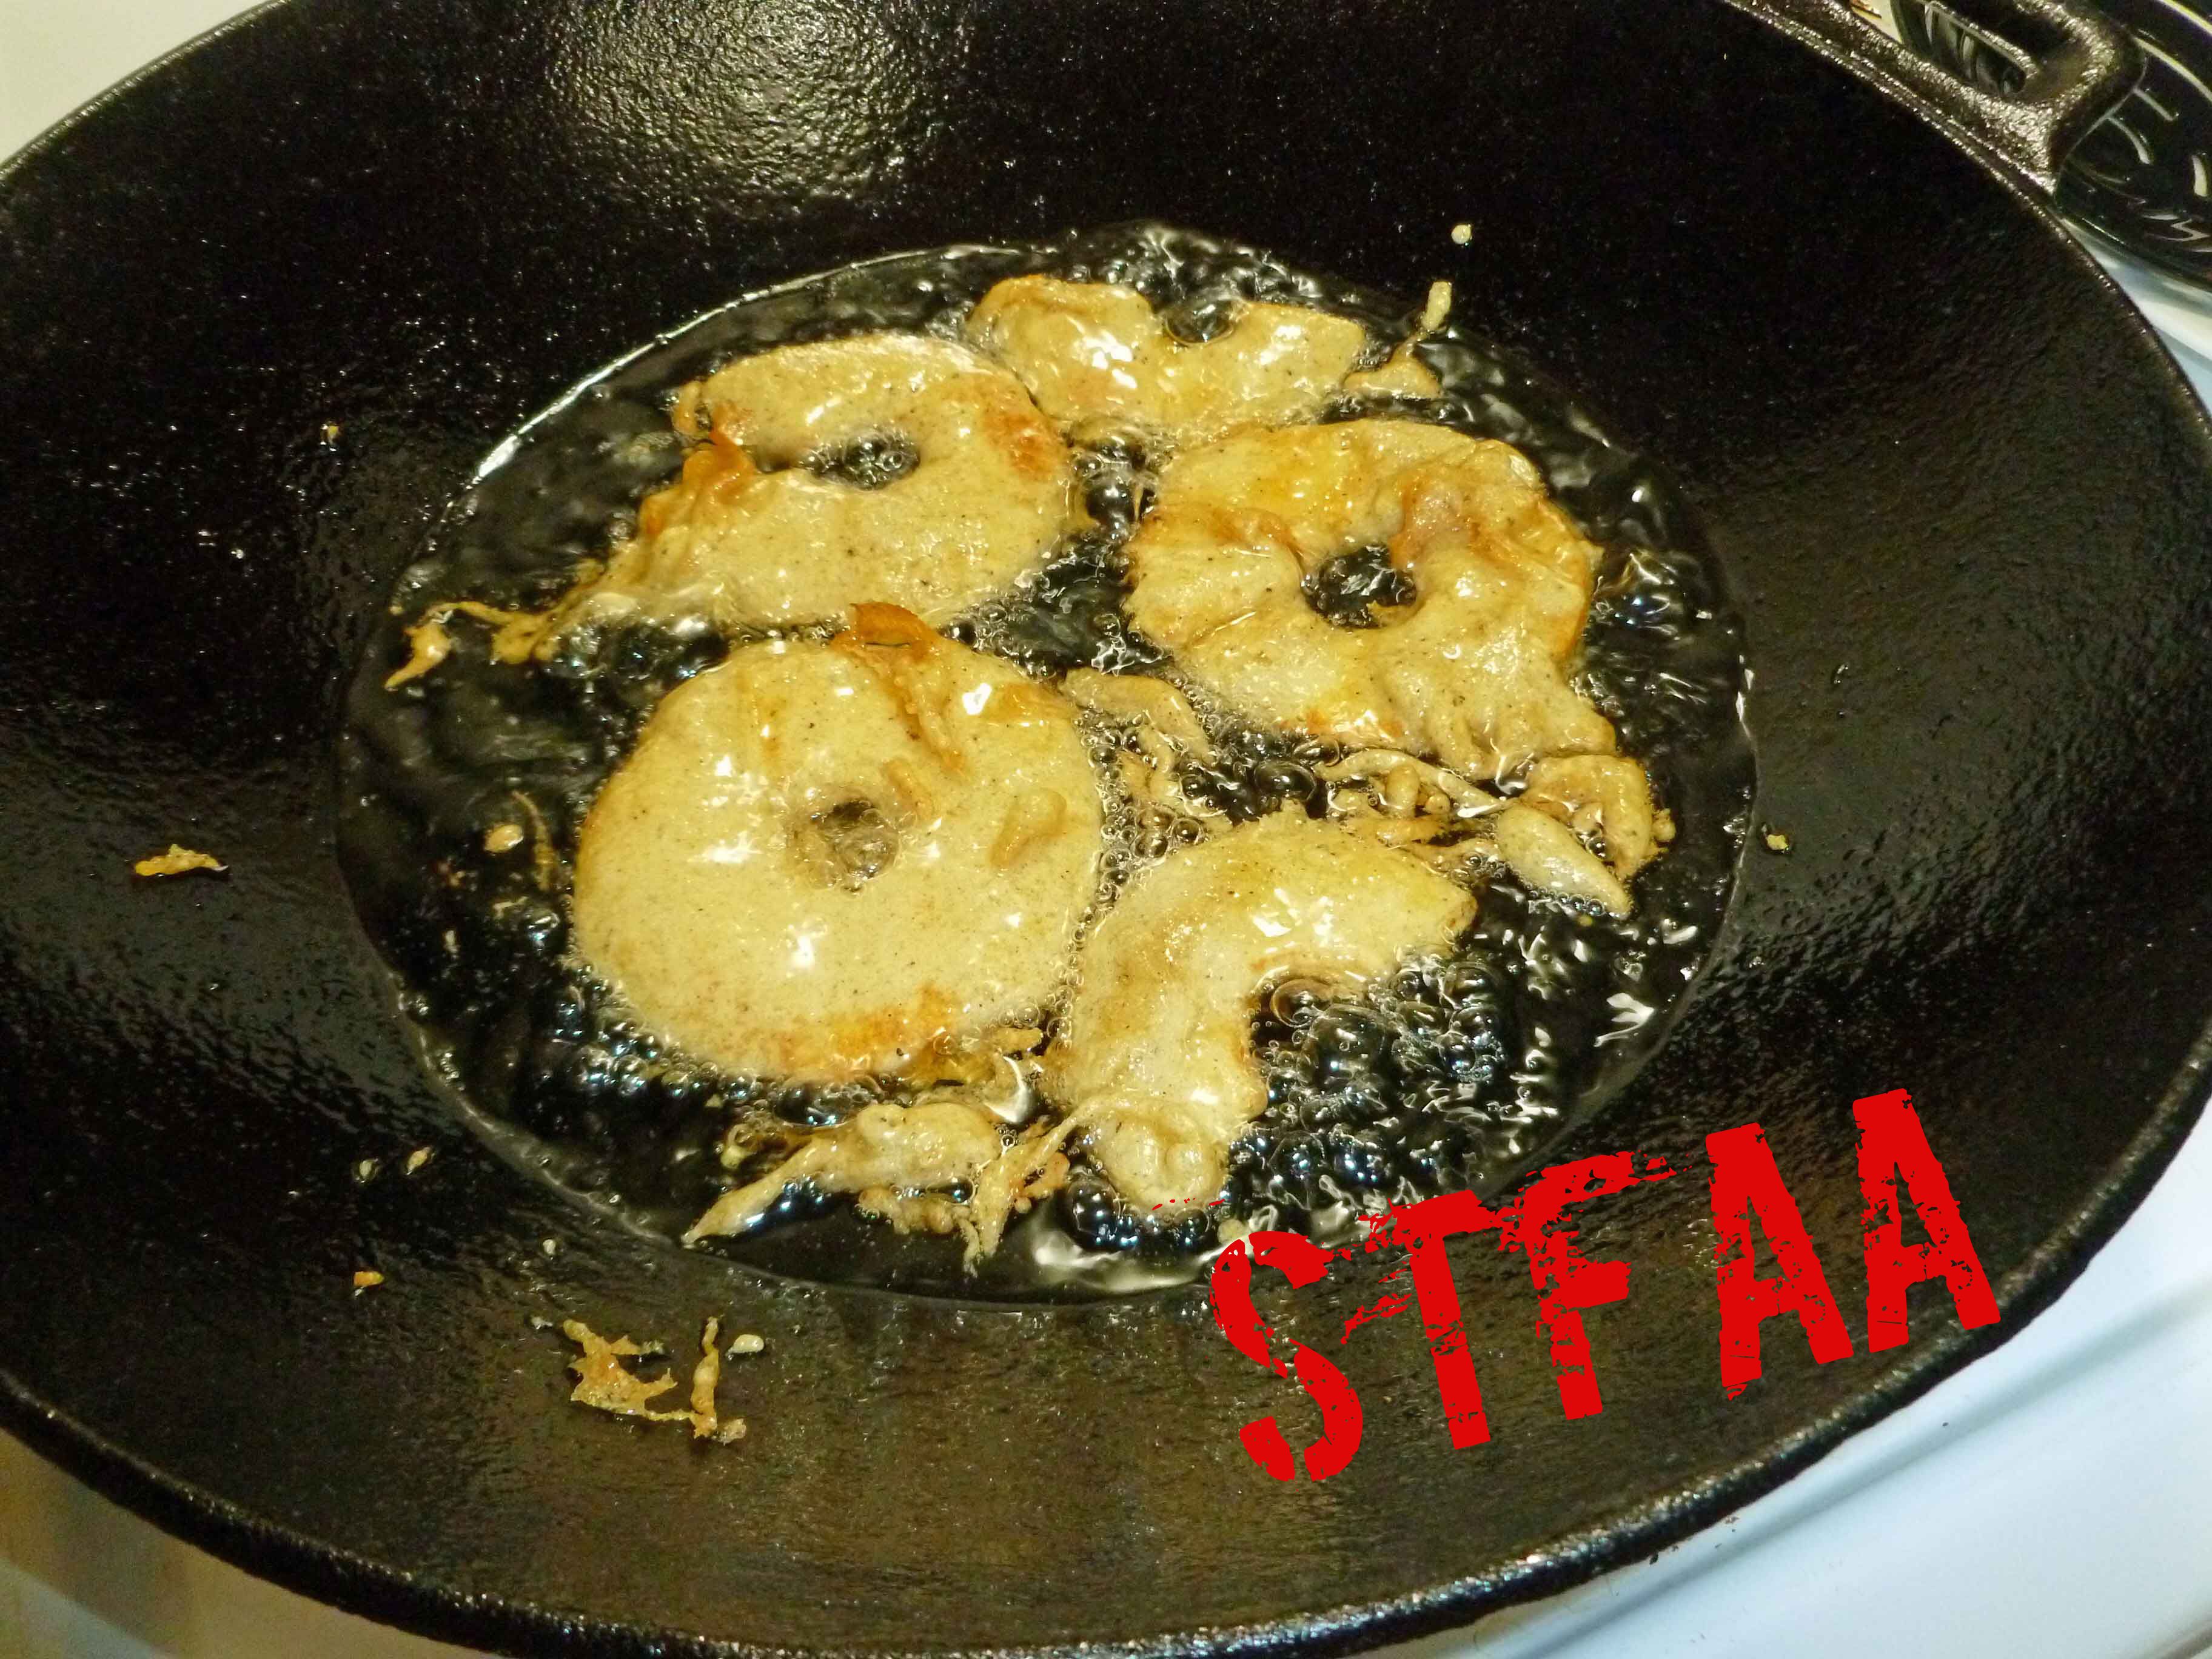
So, it’s warmer here in New Hampshire than it normally is. There’s been no hard freeze. So I still have apples on trees that are usable. Therefore, the apple apocalypse continues. Since I am drowning in apples, guess what? I decided to incorporate apples into comfort food month. Fried food is also in the pantheon of my comfort food personal universe. So what else could I do, but try to fry some apples?
I added some pie spices to the batter to make the batter less like an onion ring, and dusted them with powdered sugar, because it’s reminiscent of another comfort food, fried dough (still haven’t managed a safe recipe that’s edible). I use a cast iron wok to fry them because it uses less oil. If you make a big batch and have leftovers, they warmed up well in the oven at 350°F for about 20 minutes after being in the fridge overnight, so I imagine they would freeze well also.
Peeled, cored, and sliced applesBatter for frying applesApples being deep fried in oilFried Apple Rings
3-4applesuse apples best for baking pies for the best flavor
2Tablespoons powdered sugar(if you are allergic to corn, you can make your own with 2 cups of sugar, a tablespoon of tapioca starch, and a blender)
Batter
1/4cupcassava flour
1cupgarbanzo or besan flour
1/2teaspoonsalt
1/2teaspoonsugar
1/2teaspoon ground ginger
1/2teaspoonground cinnamon
1/4teaspoonground nutmeg
1/4teaspoonground cloves
3/4cupwater
Frying Materials
safe for you oil for frying
stainless steel pot, cast iron dutch oven, or cast iron wok
thermometer
tongs or a spider
Servings: people
Instructions
Peel, core, and slice apples to about quarter of an inch thick.
Place all dry batter ingredients in a bowl and mix together until well combined. Add water and stir until well combined.
Add safe oil to stainless pot or cast iron dutch oven. Heat oil to 400°F over medium heat.
Dip apple rings in batter and deep fry in oil turning until golden brown. Place on rack over paper towels or a plate with paper towels to cool a bit before serving.
Once the fried apples have cooled a bit, dust with powdered sugar and serve.
Guess what? This month we’re doing comfort foods as our theme. And I had all these big plans about what I was going to make. But harvest season in New Hampshire has been driving me insane, since just had our first frost and now I am trying to get things (apples, kale, etc.) processed before the first hard freeze. Frankly, I’m having trouble keeping up with things.
So in trying to think about what would be comforting and since the weather has been a bit nippy, I thought about hot chocolate. And the fact that hot chocolate isn’t really that simple for me any more. I used to get Mayan Drinking Chocolate at the Dancing Lion in Manchester, New Hampshire, but I don’t seem to be tolerating it as well anymore. (If you can tolerate it, seriously, order some now, but we have no affiliation, etc.) I think my sensitivity to my allergens has increased. After thinking about it, I decided having a quick hot chocolate mix would be comforting. This mix is reminiscent of the Mayan Drinking Chocolate in flavor profile, but since it doesn’t have any cocoa butter in it, I made it with my homemade cashew milk so it would have some body. You could try it with water as well and I likely will, I just haven’t had the chance. If you aren’t sure you want the little kick the cayenne gives the mix, you can leave it out. Enjoy!
Hot Chocolate Mix before blendingHot Chocolate Mix, Vegan and Gluten-FreeHot Chocolate Mix mixed with nondairy milk
Hot Chocolate Mix, Vegan and Gluten-Free
Print Recipe
Hot chocolate mix to use with non-dairy mix in the cold weather with a bit of a kick.
For try something new month, I was intrigued by the number of shrubs and bitters and other odd old revival drinks out there. I’m not a big soda fan anymore, but sometimes I do want something more interesting than water. Shrub sounded like a good way to dive in and also finally get into Infusing Flavors, a cookbook I bought this winter and haven’t really used yet.
Now, if I’m honest, I’m cheating her. “Infusing” isn’t really a new technique for any of us. Ever made tea? You’ve infused. Congrats! But adding more flavor to oils, vinegars, sugars, and salts is a great way to expand my kitchen, and learning to make syrups, gastriques, and other sauces is the easiest way to liven up a quick weeknight dish. Here’s my issue with “real” infusing — it takes TIME. Shrub takes maybe 15 active minutes to make, but 5-7 days to infuse. Even tea takes time, but not a week. I’m not that great at planning that far in advance. The shrub is tasty, though, and worth waiting to drink.
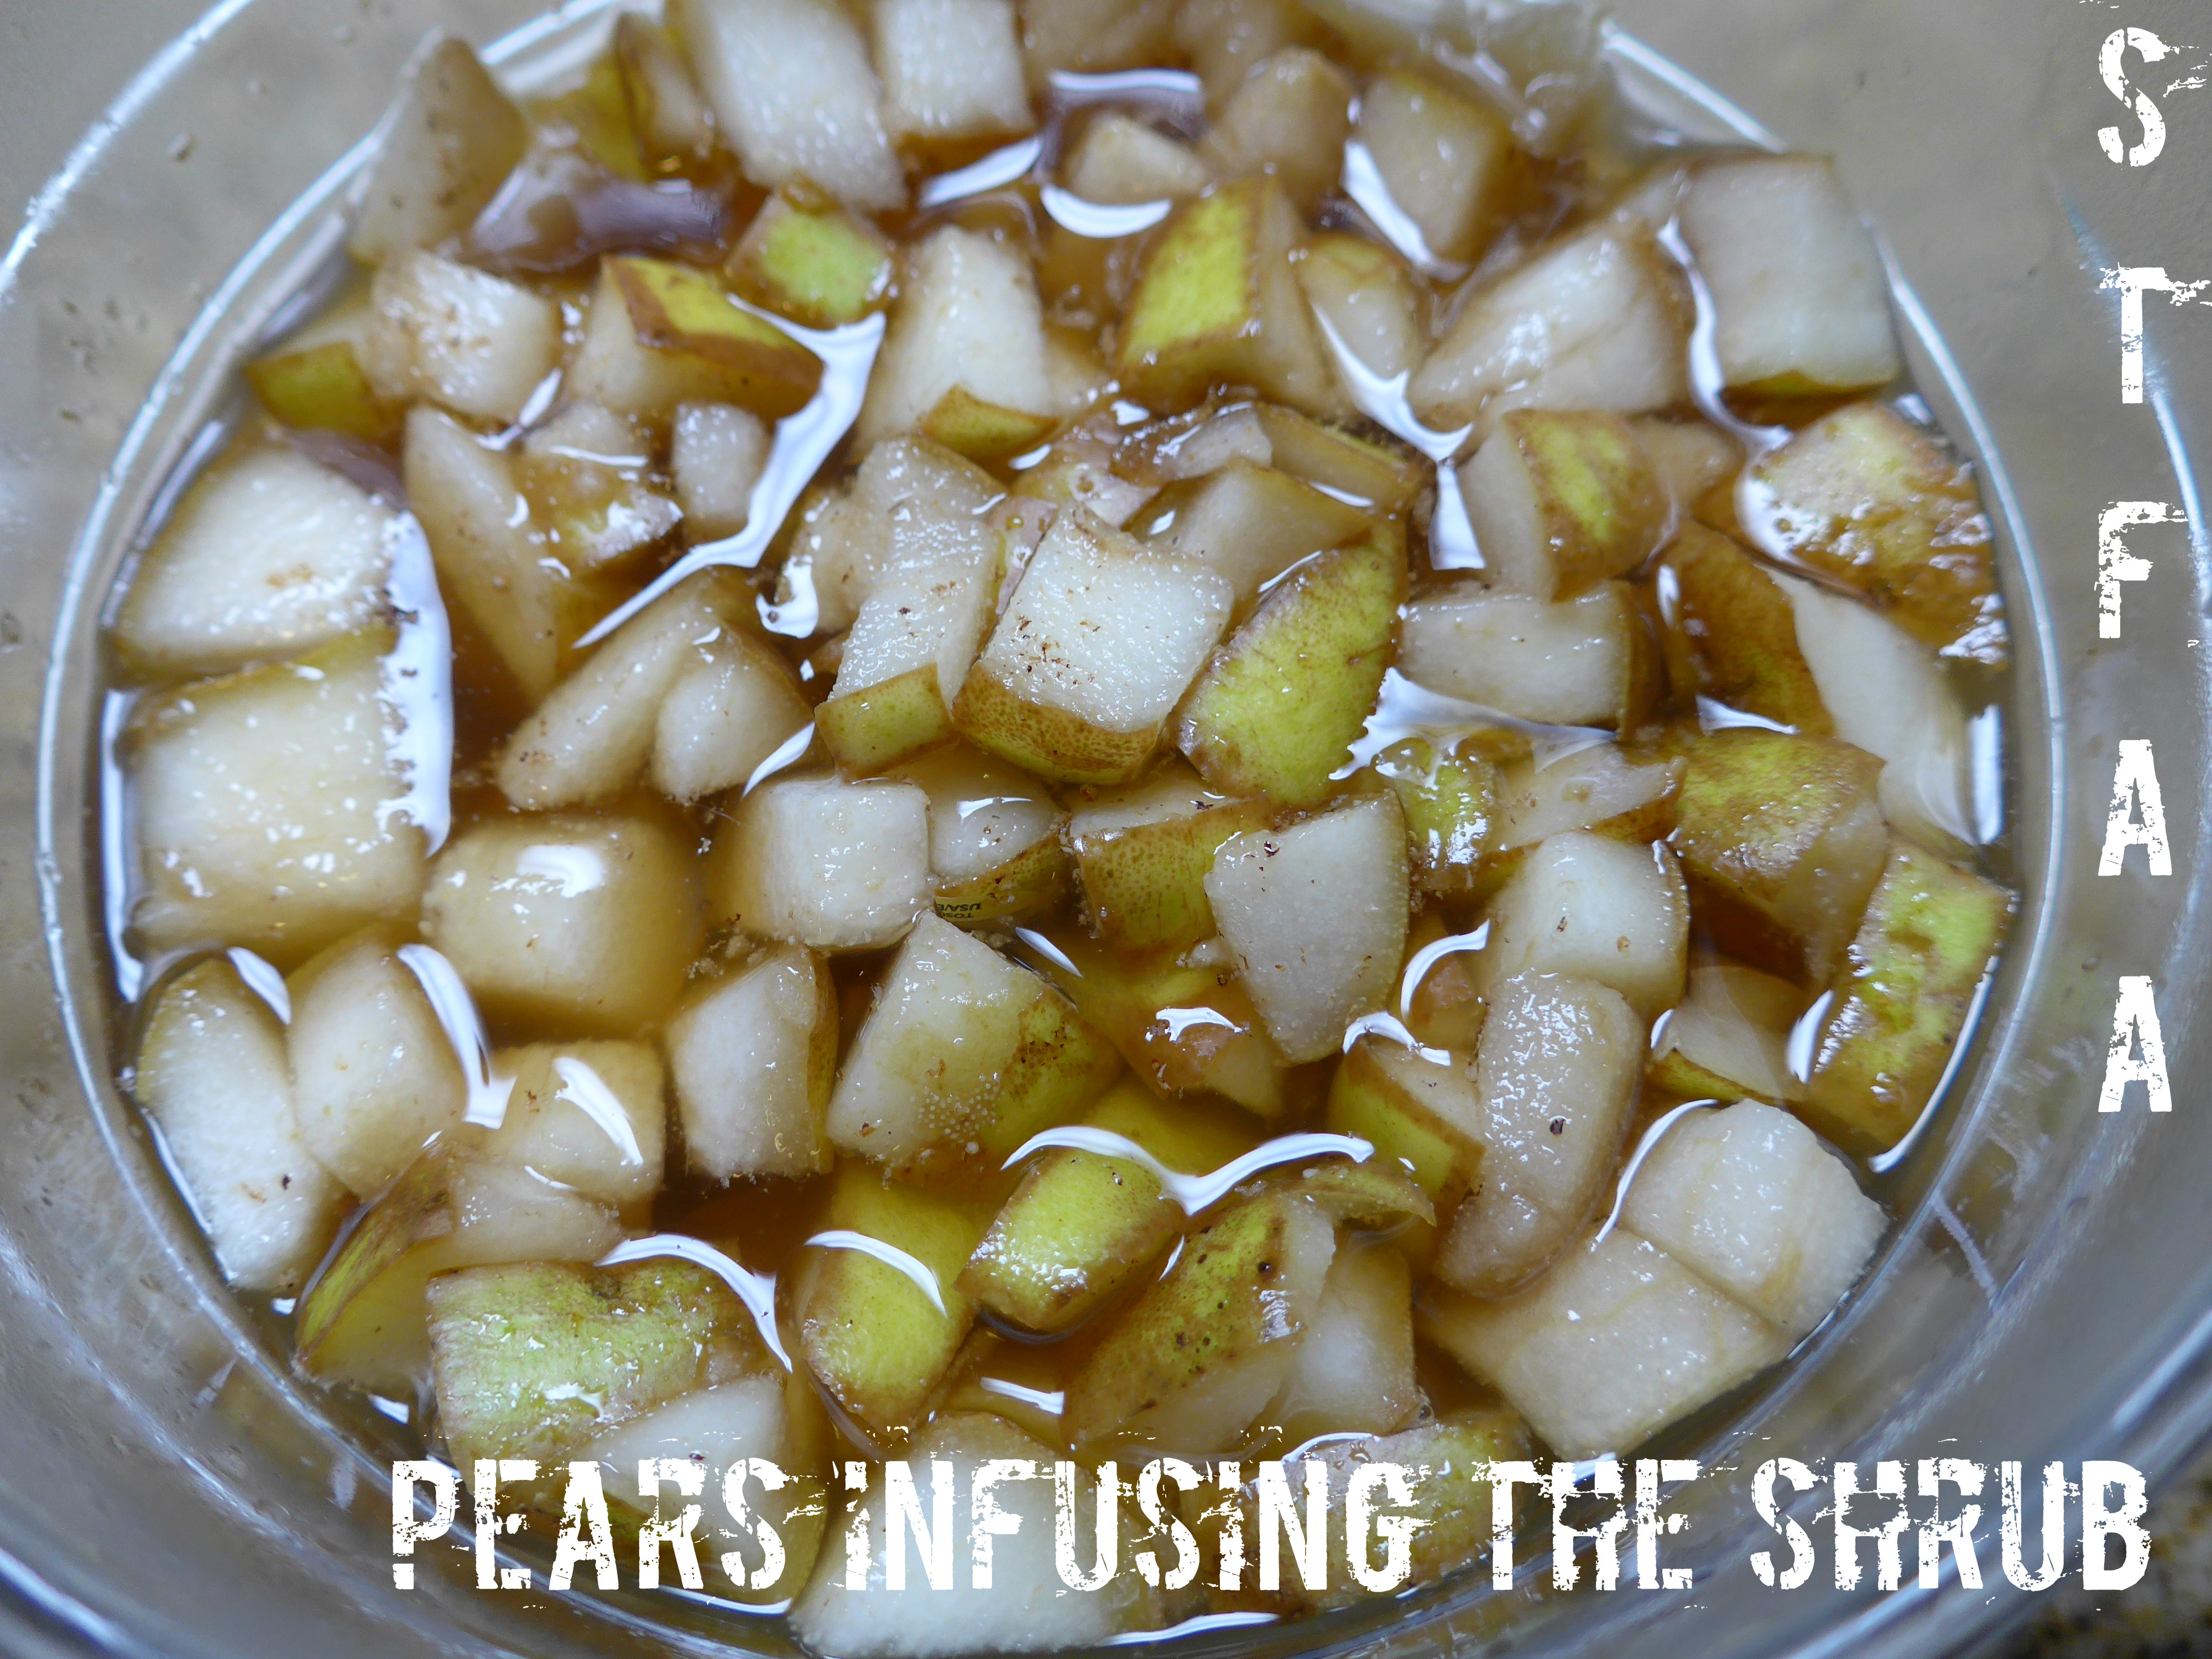
A shrub is a “drinking vinegar,” in this case apple cider vinegar infused with pear, cloves, and nutmeg. This recipe makes a syrup that you then mix with water, carbonated or not as you please. I chose the pear shrub because if the subtle spicing and the fact that it’s pear season. This is not an original STFAA recipe, but maybe you’ll decide to try a shrub — and then try infusing some more flavors into your ingredients?
AGAIN, A NOTE: THIS RECIPE SHOULD SIT IN YOUR FRIDGE FOR A WEEK BEFORE SERVING.
Pears Infusing Notice: Trying to access array offset on value of type bool in /home/maryzahc/public_html/adultfoodallergies.com/wp-content/plugins/wp-ultimate-recipe/helpers/models/recipe.php on line 254
Pear Shrub from Erin Coopey’s Infusing Flavors
Print Recipe
This recipe is very mildly modified from the recipe in Erin Coopey’s Infusing Flavors (2016). I made it more suitable for most vegans by substituting agave syrup for the honey in the original recipe.
THIS RECIPE TAKES 1 WEEK TO MAKE
This recipe is very mildly modified from the recipe in Erin Coopey’s Infusing Flavors (2016). I made it more suitable for most vegans by substituting agave syrup for the honey in the original recipe.
THIS RECIPE TAKES 1 WEEK TO MAKE
Combine the sugar, syrup, vinegar, and cloves in a saucepan and cook over medium heat until the sugar is dissolved. Stir occasionally.
Let cool, then pour over diced pears in a non-reactive bowl. Cover and refrigerate for 24 hours.
Strain and store in a sterile jar. Refrigerate for 5 to 7 days before serving.
Recommended dilution: 2-4 Tablespoons shrub syrup to 8 oz water. This is a good starting place, but I like it a little stronger, about 2T to 4 oz., so about double.
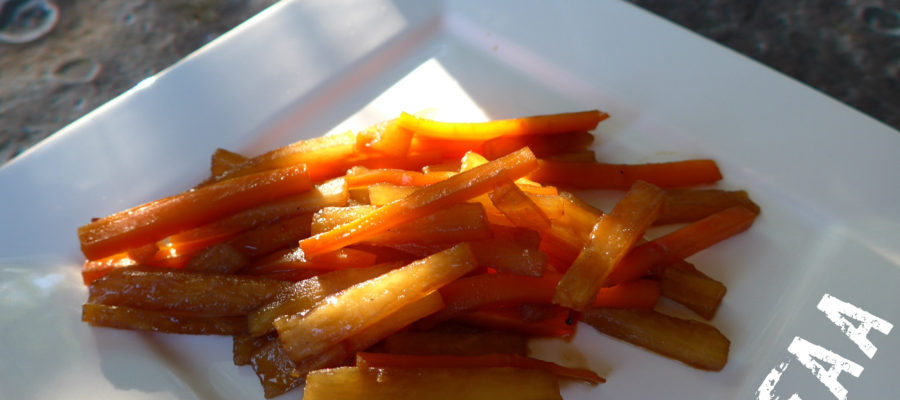
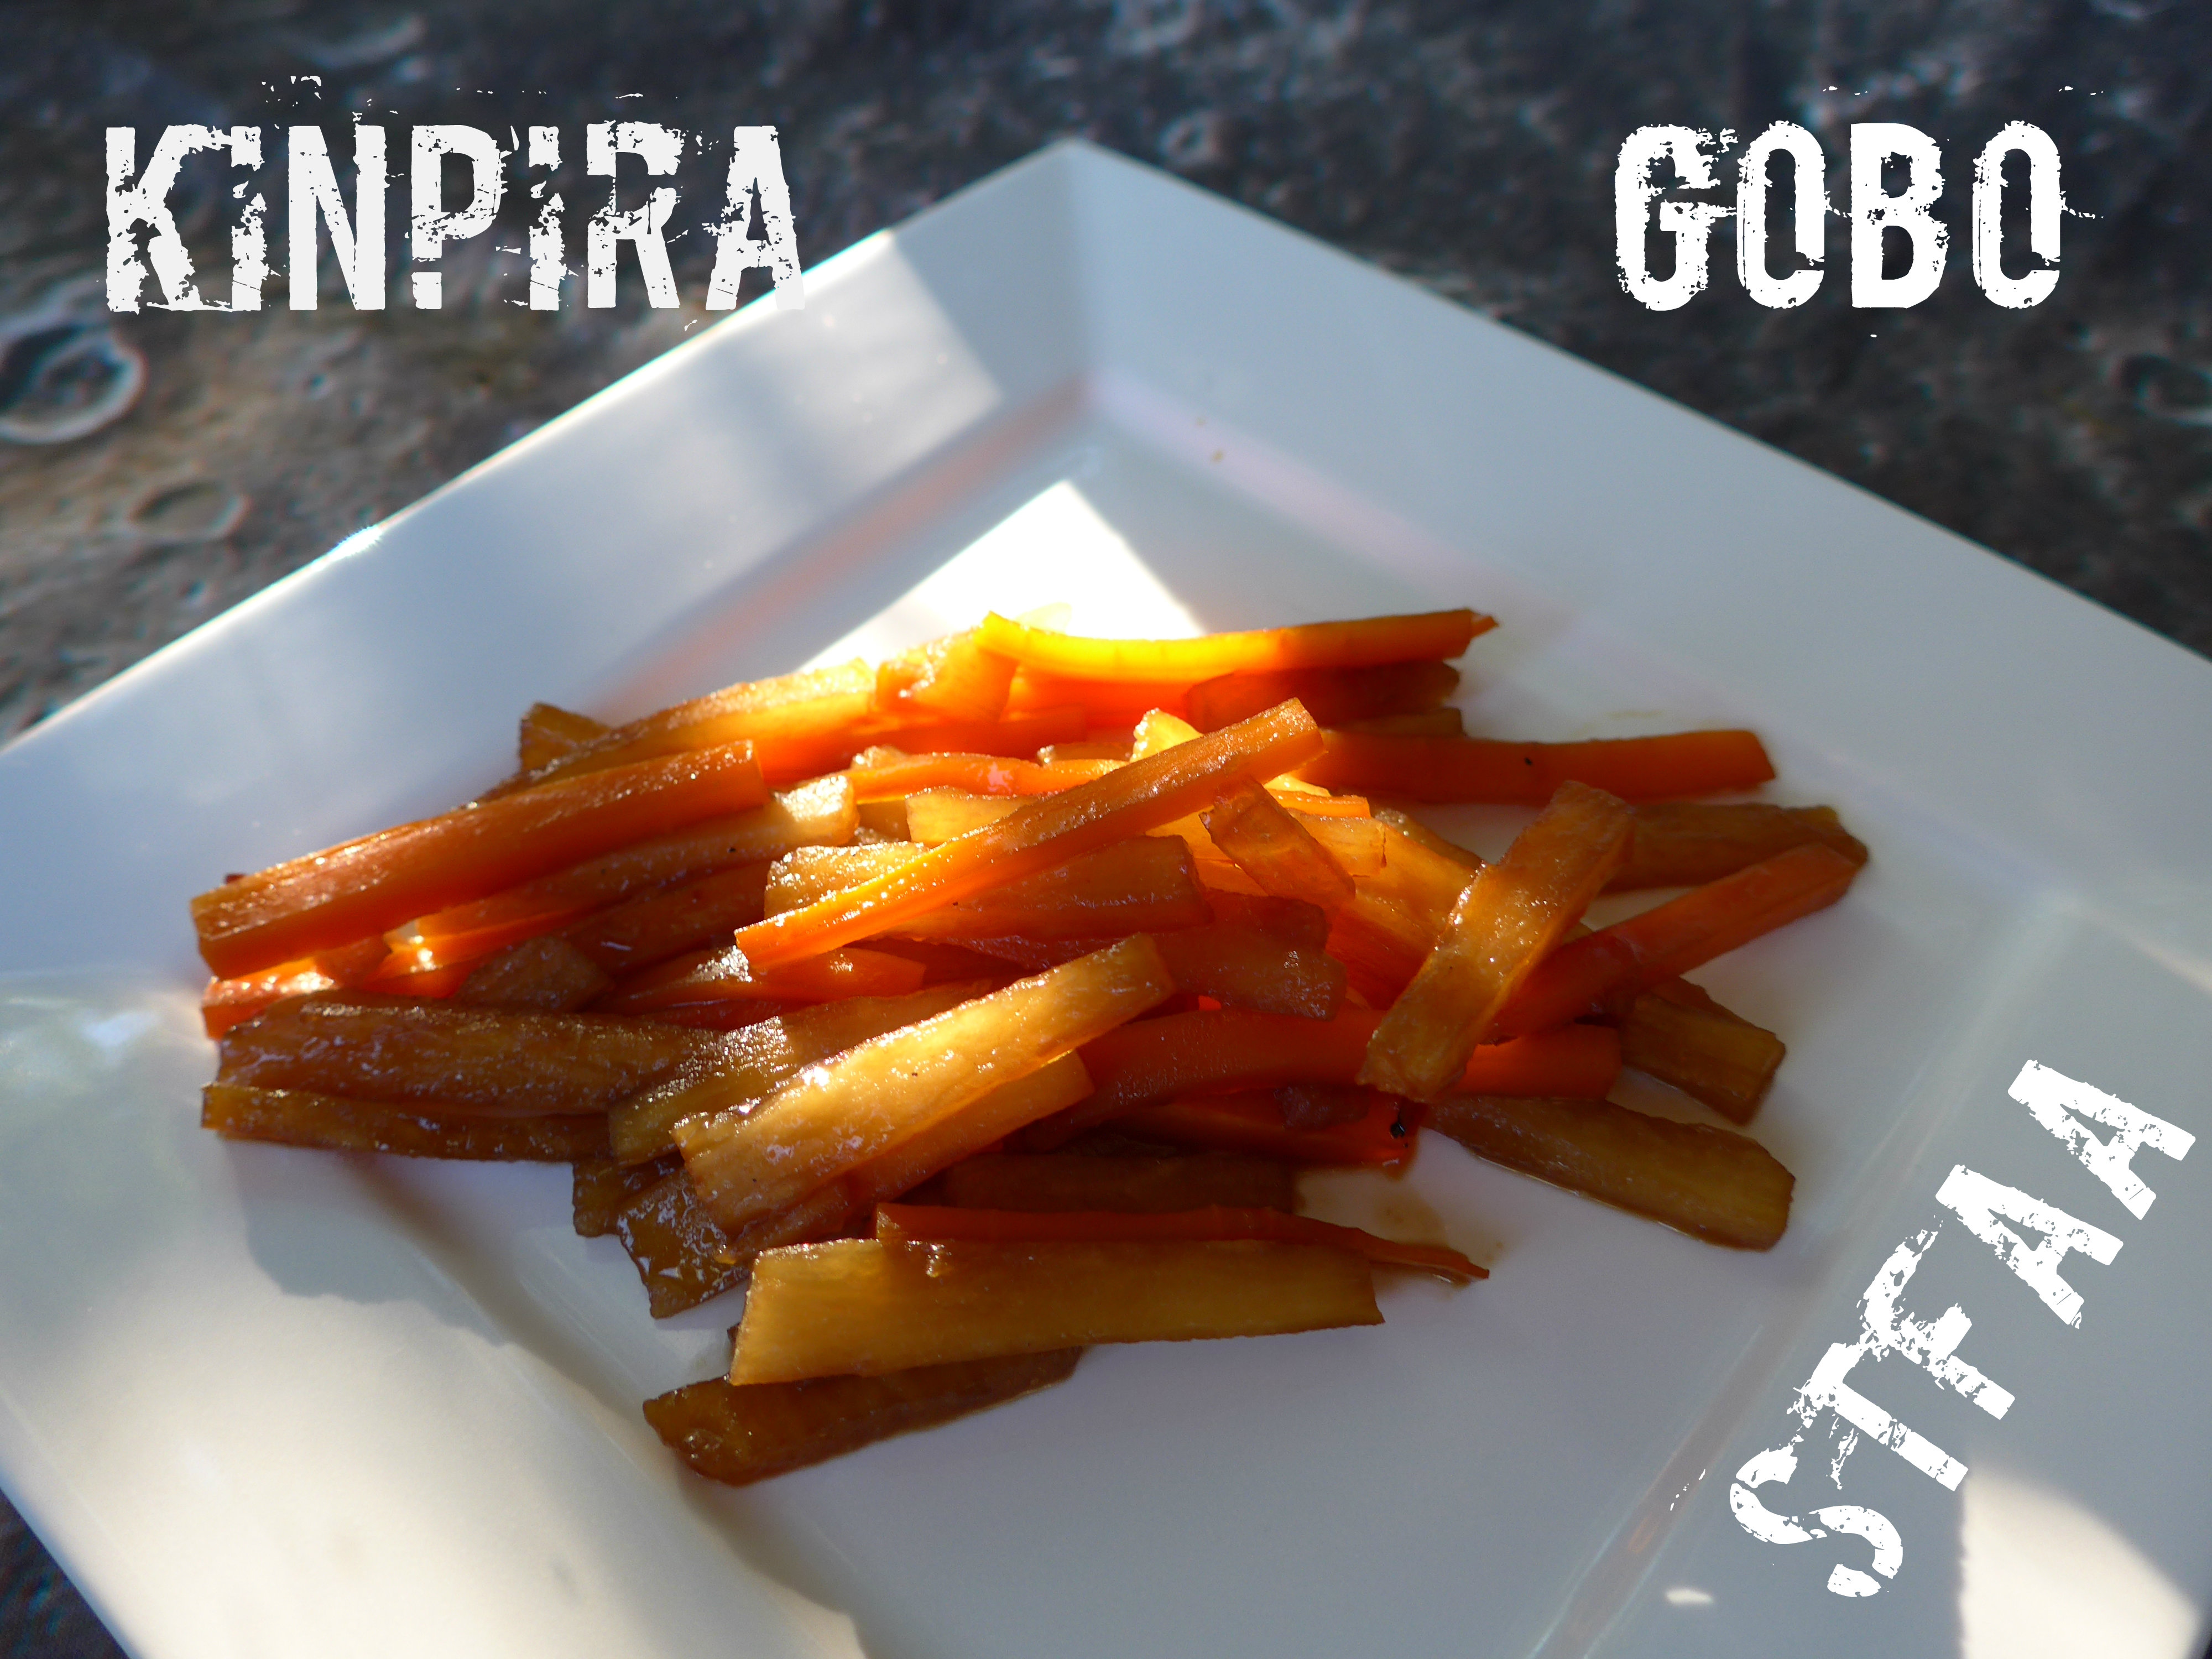
So given that we’re trying new cooking techniques this month, one of the ones that jumped out at me was kinpira, a Japanese technique involving a quick stir-fry followed by a braise, most commonly used on root vegetables. Now, I’ve likely done something like this at some point, but not on purpose as a technique. Since the technique itself seemed pretty simple, I thought I’d amp it up a bit and also find a new-to-me vegetable: enter burdock root.
Burdock root is an odd root to work with, at least in this experience. It’s rather slimy when slicing, so be careful and use a sharp knife. I think that likely explains why you then soak the “matchsticks” (try as I did, my knife skills weren’t quite up to perfect julienne this weekend) before cooking them. In this recipe, the burdock is mixed with carrot, which seems common. The recipe is a quite complex-tasting vegetable side dish, which surprised me given how simple it was. But the seasonings let the vegetable flavors come to the forefront (behind a bit of saltiness from the tamari or faux soy) and they are quite good. And that is generally my experience of Japanese food — all techniques and seasonings seem designed to remind you why the main ingredient is a wonderful flavorful part of the world.
As the technique and root were both knew to me, this is not an original STFAA recipe. It is very slightly modified from a recipe at JustBento.com, a site which is inspiring lunchbox shopping needs like you would not believe. The original kinpira gobo recipe is here.
Notice: Trying to access array offset on value of type bool in /home/maryzahc/public_html/adultfoodallergies.com/wp-content/plugins/wp-ultimate-recipe/helpers/models/recipe.php on line 254
Kinpira Gobo
Print Recipe
This is a very slightly modified version of the Kinpira Gobo recipe at JustBento.com. All photos, opinions, and modifications are mine.
1Tablespoonsesame oilif you can’t use sesame, rice bran, canola, or other high temp safe oil is good
1/2-1teaspoonred pepper flake
1Tablespoonsugar
1Tablespoonmirin
2Tablespoonstamarior soy sauce or other soy sauce substitute
2Tablespoons water
Servings: servings
Instructions
Wash, peel, and chop burdock root and carrots into matchsticks or julienne.
Soak the burdock root in cold water for a few minutes, rinsing and changing the water once or twice.
In a cast iron skillet, heat up the sesame oil or other high smoke point oil over medium heat.
When oil is hot, add burdock and stir well. Let cook for 1-2 minutes, then add carrot and stir well.
Add other seasonings. Stir well and cook another 1-2 minutes.
Add water, if needed to coat the bottom of the pan with a shallow layer. Reduce heat to medium low and simmer for 5-10 minutes, until vegetables are tender.