Notice: Function _load_textdomain_just_in_time was called incorrectly. Translation loading for the wp-ultimate-recipe domain was triggered too early. This is usually an indicator for some code in the plugin or theme running too early. Translations should be loaded at the init action or later. Please see Debugging in WordPress for more information. (This message was added in version 6.7.0.) in /home/maryzahc/public_html/adultfoodallergies.com/wp-includes/functions.php on line 6121
Tree Nut-free – Page 5 – surviving the food allergy apocalypse (archive)

Tag: Tree Nut-free

Does not contain any tree nuts or coconut.

  • Yellow Hot Dog Mustard

    Yellow Hot Dog Mustard

    Yellow Hot Dog Mustard
    Yellow Hot Dog Mustard

    Yellow Hot Dog Mustard

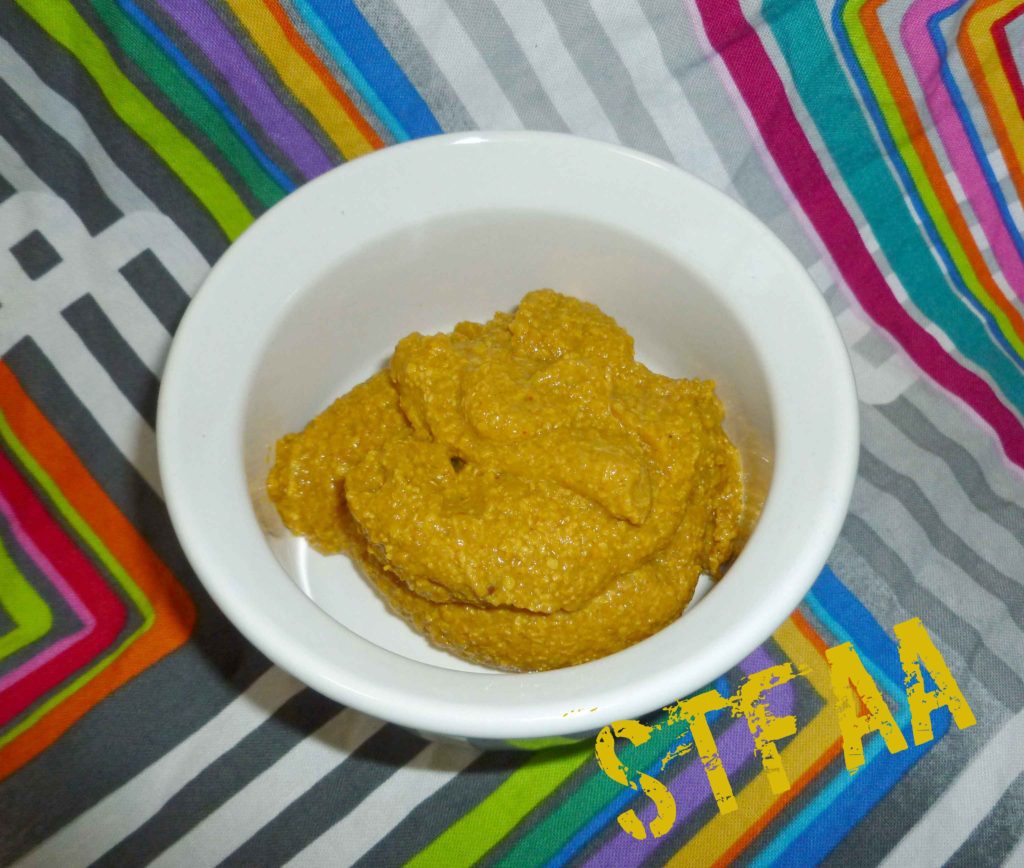
    It’s summer. It’s grilling season finally in New Hampshire – Shawn hauled the grill out of the garage and the patio furniture out of the shed yesterday. We need condiments. This is a pretty basic and easy mustard recipe. I’ve modified it from a canning recipe and made it allergy safe for me, but it’s small enough that you can just throw it in a jar and put it in your fridge to use as you wish.  However, you need to make this recipe 24 to 48 hours in advance, as freshly made mustard is awful and bitter, you have to wait for the flavors to mellow out.  If you take out the turmeric, which is mostly there for coloring, you can also play around with the recipe to make more flavors.  Try adding other spices like wasabi or chipotle peppers, some cranberries or raspberries, sundried tomatoes or roasted garlic, or hot sauces. Let us know what fabulousness you come up with.

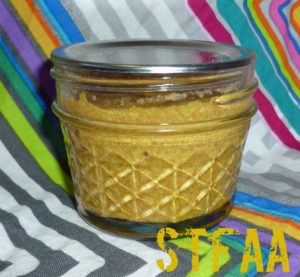
    You’ll need to sterilize your jar and keep it warm so that the glass doesn’t break when you put the hot mustard into it. Here are directions from the National Center for Home Food Preservation. If you don’t have a canning pot with a rack, use a large enough pot that you can place the jar in it with enough water to cover it by an inch, and place a folded tea towel in the bottom of the pot. The tea towel will prevent the direct heat from the bottom of the pot from weakening or breaking the jar while you sterilize it. The picture shows a 4 ounce jar because I canned a bunch of it, but if you use 4 ounce jars you’ll need two.

    Enjoy!


    Yellow Hot Dog Mustard
    Yellow Hot Dog Mustard
    Print Recipe
    A standard condiment to have for summer
    Servings Prep Time
    8 ounces 5 minutes
    Cook Time Passive Time
    8 minutes 24 hours
    Servings Prep Time
    8 ounces 5 minutes
    Cook Time Passive Time
    8 minutes 24 hours
    Yellow Hot Dog Mustard
    Yellow Hot Dog Mustard
    Print Recipe
    A standard condiment to have for summer
    Servings Prep Time
    8 ounces 5 minutes
    Cook Time Passive Time
    8 minutes 24 hours
    Servings Prep Time
    8 ounces 5 minutes
    Cook Time Passive Time
    8 minutes 24 hours
    Ingredients
    • 1/2 cup ground yellow mustard seed (I grind my own to prevent issues with anti-caking agents)
    • 1/2 cup water
    • 1/2 cup apple cider vinegar (Bragg’s is safest for those with a corn allergy)
    • 3/4 teaspoon sea salt
    • 1/4 teaspoon ground turmeric
    • 1/8 teaspoon garlic powder
    • 1/8 teaspoon ground paprika
    • 8 ounce jar
    Servings: ounces
    Instructions
    1. Sterilize your jar and keep it warm.
    2. Place all the ingredients in a small sauce pan, and whisk together until smooth. The mustard mixture will be very watery at this point.
    3. Bring the mustard mixture to boil over medium-high heat. Boil for 7-8 minutes, stirring occasionally.
    4. Remove the saucepan from the heat and let the mustard cool for 5 minutes. The mustard will thicken slightly during this time, but will probably not be as thick as you want it to be. It will continue to thicken over the the next 24 hours, so don’t worry.
    5. Place the mustard in the sterilized jar. Place the lid on the jar and let it cool to room temperature before storing your mustard in the refrigerator.
    Share this Recipe
    Powered byWP Ultimate Recipe

    Yellow Hot Dog Mustard
    Yellow Hot Dog Mustard
  • Onion Barbecue Sauce

    Onion Barbecue Sauce

    For condiment month, I really wanted to make a barbecue sauce. I’ve tried a handful out here on the west coast, but nothing I’ve loved. In fact, I’m not sure I’ve had a favorite in years, except for the family secret sauce of my old neighbor. And since he isn’t giving it up, I was thinking maybe I don’t need one favorite. Maybe I need that six pack of possibilities you get at a BBQ restaurant. This is one of that six pack.

    I’d set out to make a mustard-y sauce, though I ended up at a different destination. That’s how sauce works! I made a crock pot of caramelized onions (if you like onions and you’re not doing this, you really should!), and before I could freeze the extras, I realized that they would be an excellent base for a sauce. We used this on pulled pork (also done in the crockpot) and it was an excellent match. I think this sauce would also be good on chicken, though I haven’t yet tried it. I would personally want a more tomato-based and acidic sauce for beef.

    Basically you puree this sauce and then thin it down to your desired consistency. My onions had only olive oil and salt in them. I did use prepared mustard and ketchup — Maille Dijon is my go-to mustard (mainly because I visited one of their stores in Paris in 2010, where they have mustard on tap and it was amazing. I find mine at most grocery stores, both here in Seattle and back in New Hampshire.) For ketchup, we just buy one of the organic lines that uses sugar rather than corn syrup. If corn is one of your allergens, likely you haven’t found safe ketchup or mustard, but you likely have learned to make them. As with all recipes, make sure your ingredients are safe-for-you.

    The only other interesting ingredient in here is the michiu, a Chinese cooking wine that’s close to 20% alcohol, but more importantly, about 15% salt. You can replace this with any rice wine, or even a rice vinegar, but then taste it and add salt to your taste. This is the primary salt in of this sauce.

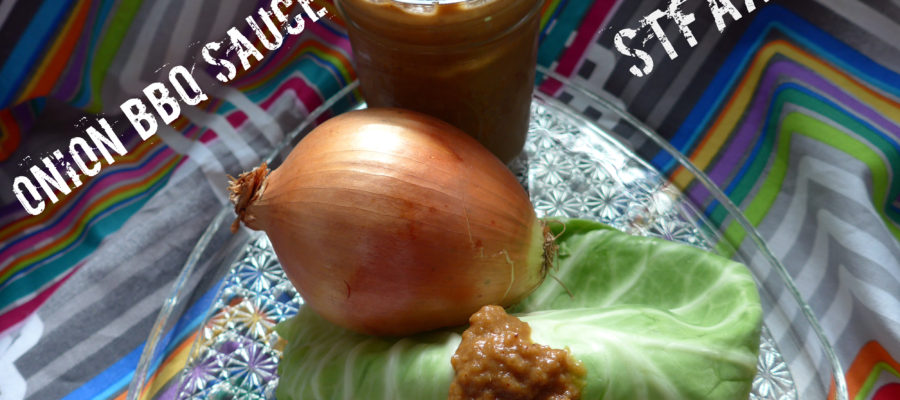
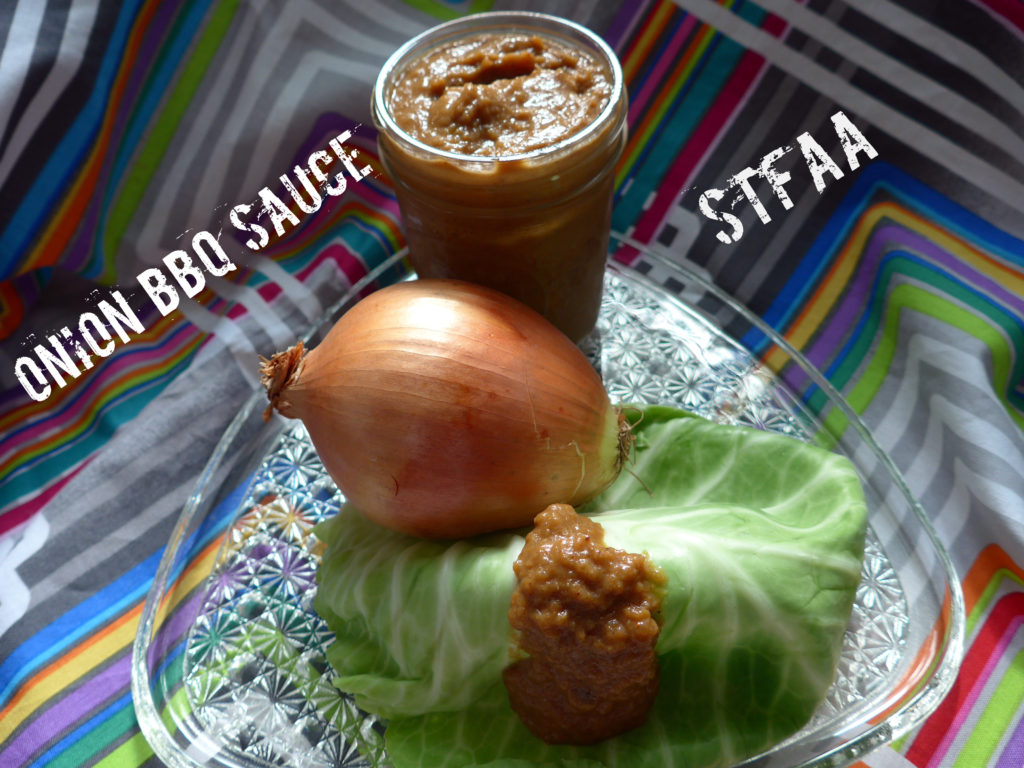
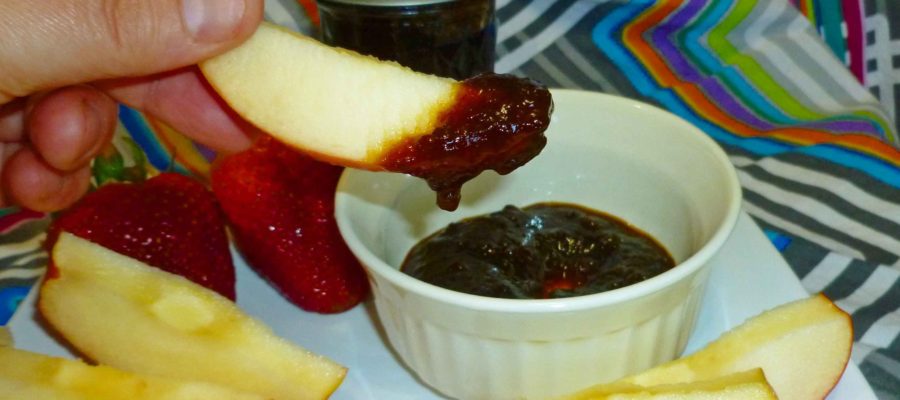
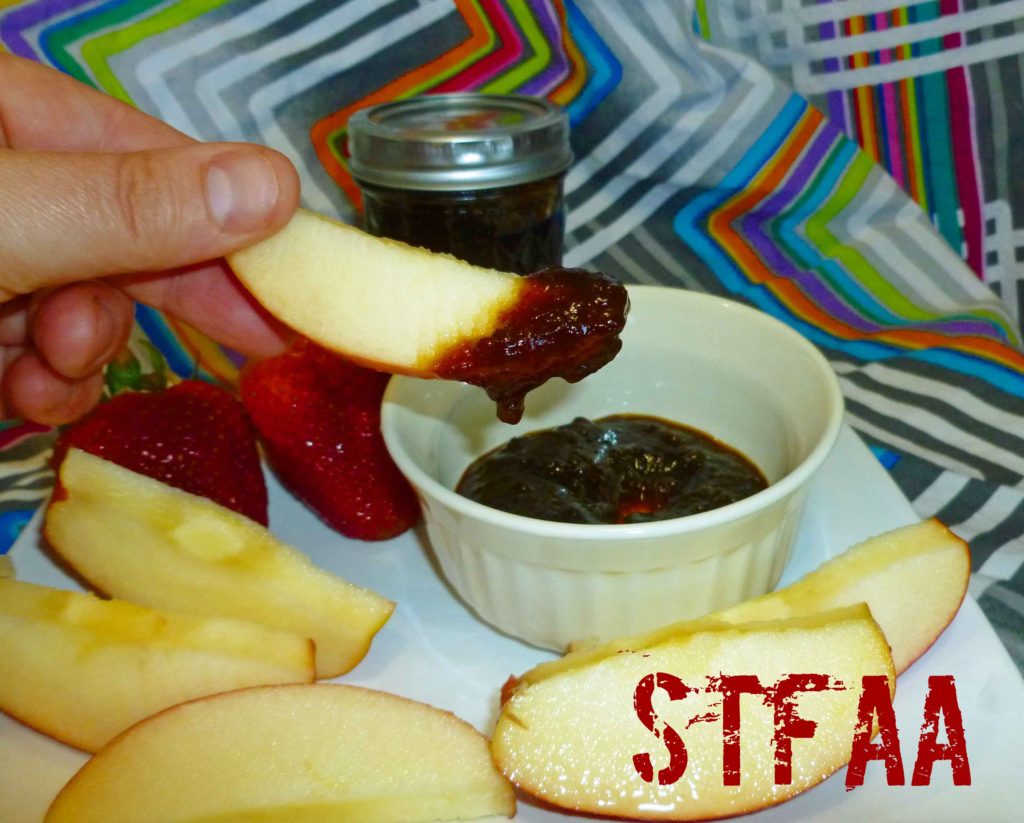
    Jam jar of onion bbq sauce with a dollop of sauce on a cabbage leaf anchored by a whole yellow onion.
    Onion Barbecue Sauce

    Notice: Trying to access array offset on value of type bool in /home/maryzahc/public_html/adultfoodallergies.com/wp-content/plugins/wp-ultimate-recipe/helpers/models/recipe.php on line 254
    Onion Barbecue Sauce
    Print Recipe
    Prep Time
    10 minutes
    Prep Time
    10 minutes
    Onion Barbecue Sauce
    Print Recipe
    Prep Time
    10 minutes
    Prep Time
    10 minutes
    Ingredients
    • 1 cup caramelized onions
    • 2 Tablespoons balsamic vinegar make sure this is gluten-free if that’s important for you
    • 2 Tablespoons michiu
    • 2 Tablespoons mustard Dijon preferred
    • 2 Tablespoons molasses
    • 3 Tablespoons olive oil
    • 3 Tablespoons ketchup
    • 1 Tablespoon vegetable broth
    • 1/4 teaspoon ancho chili powder
    Servings:
    Instructions
    1. Puree onions and mix all ingredients in a food processor. Process until smooth. Taste, and add more broth if you want a thinner sauce. Adjust salt and chili powder if needed.
    Share this Recipe
     
    Powered byWP Ultimate Recipe
  • Vanilla Pear Caramel Butter

    Vanilla Pear Caramel Butter

    Vanilla Pear Caramel Butter
    Vanilla Pear Caramel Butter

    So, I’m still working on a corn-free, dairy-free, and coconut-free safe-for-me caramel that doesn’t have dates in it because (a) sourcing wheat-free dates can be hard, and (b) I freaking hate dates (I know, that’s weird). In the meantime, I’ve been making do with this Vanilla Pear Caramel Butter that I canned up in the fall. It’s amazingly amazing. However, for those of you who aren’t into canning, making 7 eight ounce jars of something that you need to store in your freezer may not be the way to go. So I’m cutting back the recipe for you, so that you can store it more easily, if you can keep from eating it that long. If I weren’t canning it, I’d freeze it up into some of those large silicone ice cube trays (no affiliation with Amazon) which hold about half a cup.  That way, once they’ve frozen, you can pop them out into a safe-for-you zip top freezer bag and you can grab a cube to defrost whenever you need it.

    It’s unbelievable on chocolate cake, or any other dessert that just needs a bit of caramel sauce. I may or may not have just eaten a couple of spoonfuls when I needed a treat, since candy is nonexistent for me unless I make it. I suppose I could make some claim about it being “healthier” because it’s fruit, but it’s still got a fair bit of sugar in it, so that negates that idea. Also, it’s for dessert. Live a little.

    Vanilla Pear Caramel Butter
    Vanilla Pear Caramel Butter
    Print Recipe
    Great caramel sauce desserts
    Servings Prep Time
    1.5 pints 20 minutes
    Cook Time Passive Time
    20 minutes 6-8 hours
    Servings Prep Time
    1.5 pints 20 minutes
    Cook Time Passive Time
    20 minutes 6-8 hours
    Vanilla Pear Caramel Butter
    Vanilla Pear Caramel Butter
    Print Recipe
    Great caramel sauce desserts
    Servings Prep Time
    1.5 pints 20 minutes
    Cook Time Passive Time
    20 minutes 6-8 hours
    Servings Prep Time
    1.5 pints 20 minutes
    Cook Time Passive Time
    20 minutes 6-8 hours
    Ingredients
    • 3 1/2 pounds pears peeled, cored, and chopped
    • 1/4 cup water
    • zest of half a lemon
    • juice of half a lemon
    • 1 1/2 cups brown sugar
    • 1 teaspoon vanilla extract (I make my own with vanilla beans and vodka made from potatoes, as most commercial extract contains corn)
    • crock pot
    Servings: pints
    Instructions
    1. Place pears, water, lemon zest, and lemon juice in a nonreactive stock pot. Bring to a boil over medium-high heat. Once you’ve reached a boil, reduce the heat and and simmer gently, stirring occasionally, until the pears are soft (about 20 minutes).
    2. Using an immersion blender, blend until you have a texture like apple sauce. Don’t complete liquefy the pears.
    3. Place the pear mixture into a slow cooker. Add the brown sugar, and mix until the sugar is dissolved. Prop the lid of the slow cooker open with a wooden spoon, and let the mixture reduce on low. Depending on the size of the slow cooker this will go faster or slower, it make take as long as 8 hours. Check it every two hours to see how it’s doing and stir it. The finished pear butter will be thick and hold its shape on a spoon. Stir in vanilla extract.
    Share this Recipe
    Powered byWP Ultimate Recipe


  • Lemon Herb Sauce

    Lemon Herb Sauce

    Welcome to May! Here at Surviving the Food Allergy Apocalypse, it is condiment month. A great condiment be tailored to your food allergy needs and can make the difference between an okay meal and an awesome meal. Check out our condiment category to see what we’ve posted before (a personal favorite of mine is the Thai dipping sauce — it’s amazing), and stick around this month for some great new flavors.

    There’s a place in Massachusetts — Life Alive! — an old-school vegetarian restaurant that Jack and I discovered back a few years ago. It was a great place to go with food allergies, as everything was made in house, everyone who worked there knew what was in each sauce, everything was made to order and modifiable. What I loved about it, though, was that it was a ton of veggies over grains with a sauce and the bowls were terrific.

    Grain bowls are the ultimate easy meal. They can be modified no matter what you have in the house — so long as you have vegetables. When I lived alone, I used the grain bowl meal at the end of the week to use up leftovers, bits of veg, everything left in the fridge. Jack and I make them on purpose now, though, and make extras for leftovers.

    There are two keys to a great grain bowl — a combination of warm and cool/raw ingredients (e.g. cook the sweet potatoes, lightly steam the kale, leave the celery raw) and a great sauce. You can use commercial dressings, if you have safe-for-you dressing. But a good sauce really takes it over the top, and it is easy. This version is based on my vague memories of the lemon sauce at Life Alive, as well as being a finally-measured version of the sauce I’ve been making for a few months. You can definitely mess with this — mix up the nut or seed butters, play around with the herbs, even change up the citrus if you’re feeling bold! But mostly, enjoy.

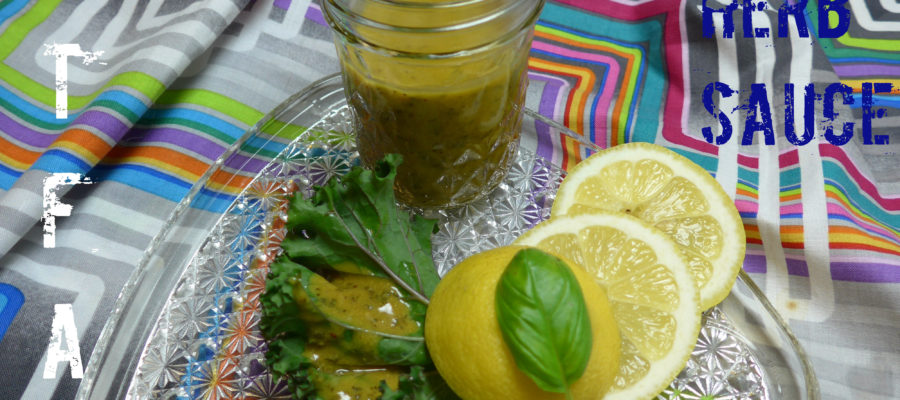
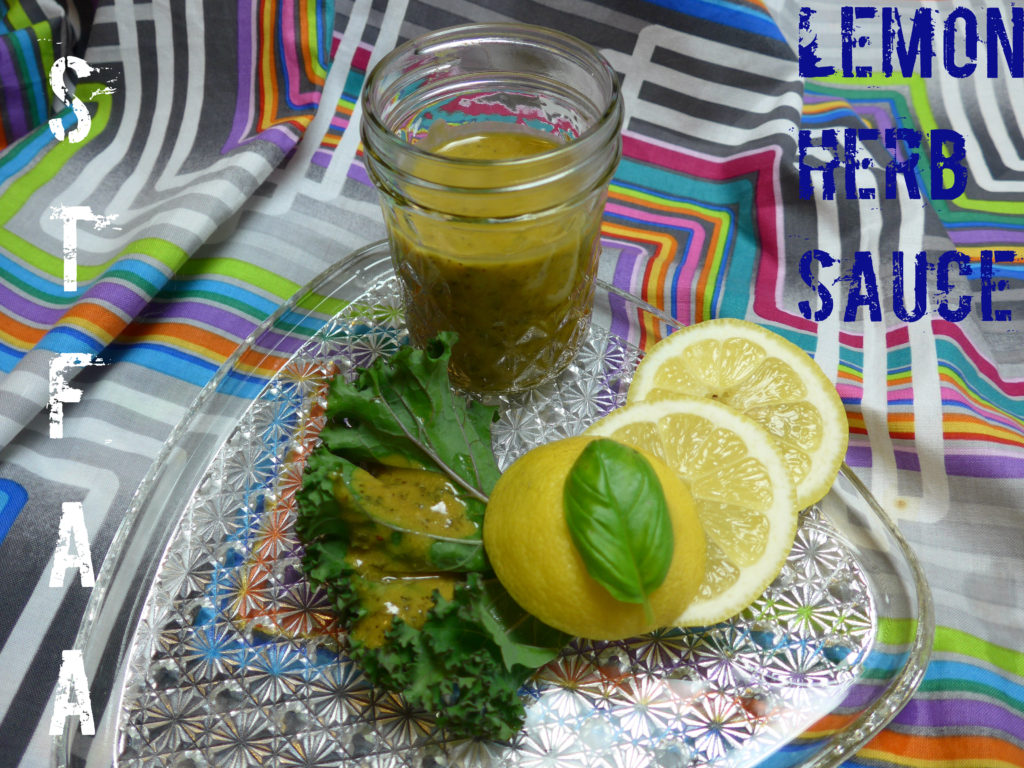
    lemon herb sauce drizzled over a kale leaf propped up on lemon slices and basil
    lemon herb sauce

    Notice: Trying to access array offset on value of type bool in /home/maryzahc/public_html/adultfoodallergies.com/wp-content/plugins/wp-ultimate-recipe/helpers/models/recipe.php on line 254
    Lemon Herb Sauce
    Print Recipe
    This sauce gets a richness and depth of flavor from a seed (or nut) butter and nutritional yeast, an odd but tasty ingredient that’s worth seeking out — most grocery stores have it, but you often have to ask. Red Star is the most common brand, but is not safe for the corn allergic. Do NOT get brewer’s yeast. It’s not the same thing.
    Servings Prep Time
    6 servings 10 min
    Servings Prep Time
    6 servings 10 min
    Ingredients
    • 1/4 cup nutritional yeast
    • 1 Tablespoon seed or nut butter I used sunflower seed butter
    • 3 Tablespoons lemon juice
    • 6 Tablespoons olive oil
    • 1 Tablespoon dried chives
    • 1/4 teaspoons celery salt
    • 1 Tablespoon dried basil
    Servings: servings
    Instructions
    1. Mix all ingredients well — a whisk or fork works best.
    Share this Recipe
     
    Powered byWP Ultimate Recipe

    One note — if you want this to be a salad dressing instead of a sauce for a grain bowl, consider adding a bit more lemon juice and olive oil to thin it out some. Also keep in mind that if you make this ahead of time, it’ll need to come to room temperature so the olive oil isn’t solid. (Okay, so maybe that was two notes.)


  • Rice and Peaches Breakfast Porridge

    Rice and Peaches Breakfast Porridge

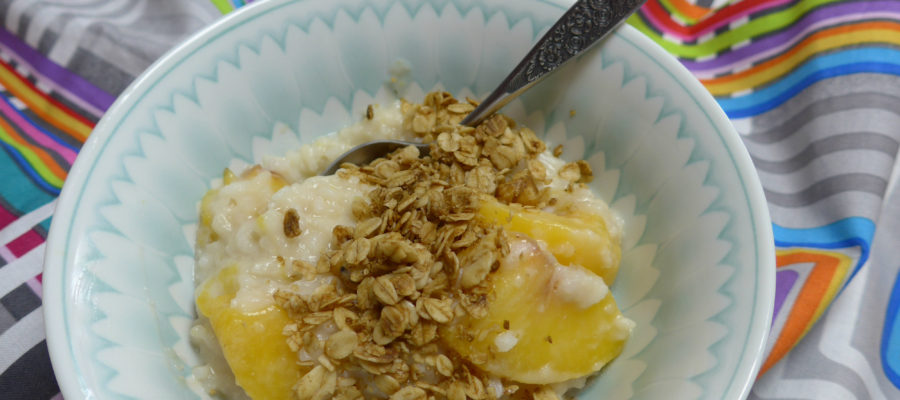
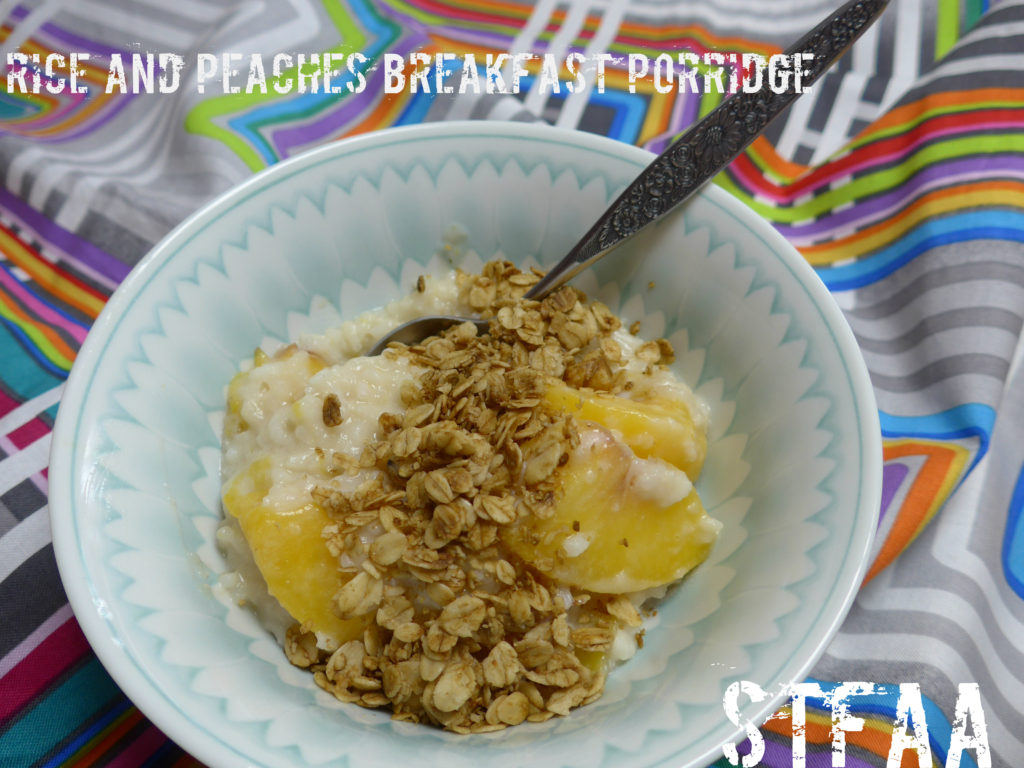
    Originally, my plan for this week had been to post a granola recipe, but I’m still fighting with it. I’ve made granola! It’s perfectly edible. It’s cheaper than the stuff at the store. But it’s still rather boring. So instead, while I perfect that, I’ve made a porridge that you can top with rather uninspired granola. This porridge is based on things I normally have in the house — for some reason, I almost always have frozen peaches. I also frequently have leftover rice. Ta-da! Rice porridge — with a hint of vanilla, and some granola on top for crunch. Bonus for tax day — this is a cheap breakfast.

    I imagine most types of fruit would work well in this, and any type of milk (even cow’s milk, if that’s your thing). The only key is to cook the whole thing slowly, over lower heat, for slightly longer time. That way, the milk doesn’t burn, the rice breaks down, and the fruit retains its texture. Top this with your granola, nuts if you eat them, different fresh fruit, or anything else that excites you. It’s morning — may as well do whatever will make you happy, right? Enjoy a slightly different take on breakfast.

    rice and peaches breakfast porridge
    rice and peaches breakfast porridge

    Notice: Trying to access array offset on value of type bool in /home/maryzahc/public_html/adultfoodallergies.com/wp-content/plugins/wp-ultimate-recipe/helpers/models/recipe.php on line 254
    Rice and Peaches Breakfast Porridge
    Print Recipe
    Servings
    2 servings
    Cook Time
    30 minutes
    Servings
    2 servings
    Cook Time
    30 minutes
    Rice and Peaches Breakfast Porridge
    Print Recipe
    Servings
    2 servings
    Cook Time
    30 minutes
    Servings
    2 servings
    Cook Time
    30 minutes
    Ingredients
    • 2 cups peaches fresh or frozen
    • 1 teaspoon vanilla extract
    • 1/2-3/4 cups non-dairy milk I used almond
    • 1 cup cooked rice
    Servings: servings
    Instructions
    1. Mix all ingredients in a medium saucepan over medium low heat. Cook, stirring frequently, until fruit is cooked and rice has thickened the non-dairy milk.
    2. Top with granola, nuts, or more fruit, and serve warm. Also great reheated.
    Share this Recipe
     
    Powered byWP Ultimate Recipe
  • Apple Cinnamon Muffins

    Apple Cinnamon Muffins

    Apple Cinnamon Muffins
    Apple Cinnamon Muffins

    It’s breakfast month on the blog. And let’s face it, when you have multiple allergies (17 so far), and they include, dairy, eggs, wheat, and corn, breakfast can be a major problem. Many allergy peeps argue that it’s just better to get past the idea of breakfast food, and just eat safe food in the morning no matter what it is, but I still have a mental block about it–I just don’t want to eat dinner food or lunch for breakfast. This is kind of ridiculous given that I used to eat breakfast food for dinner or lunch all the time in the long, long ago before food allergies. But anyway, given the above constraints, my easy breakfast food has been cooked oatmeal, which I am frankly sick to death of at this point. So when we decided to make April be breakfast month, I decided I needed another easy breakfast that I could make ahead and carry with me.

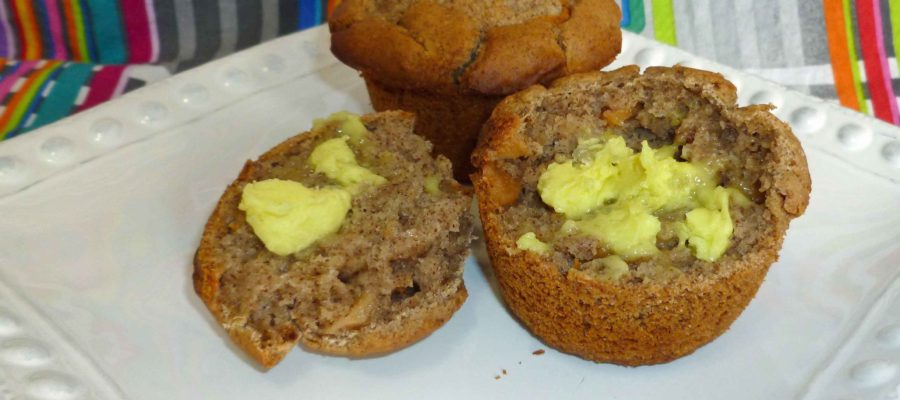
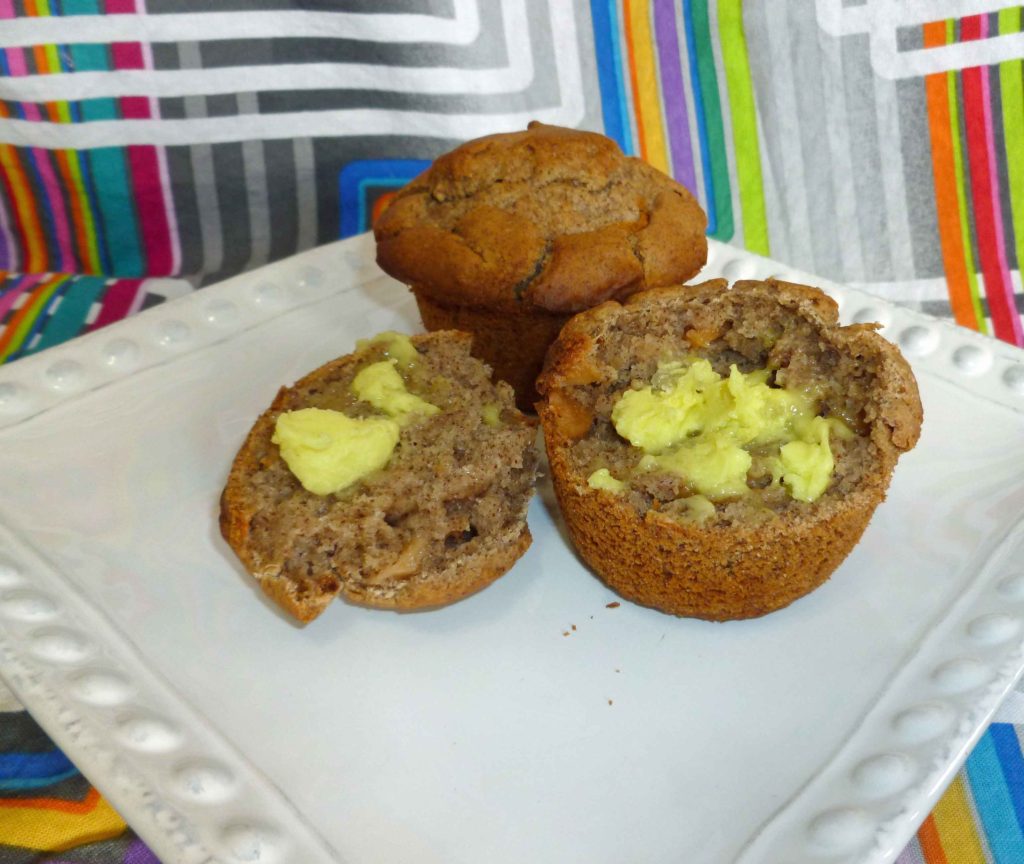
    I started with the Basic Muffin Recipe from King Arthur Flour, which is actually a real wheat, real dairy, real egg, and real butter recipe, and converted it to something safe for my allergies. I had to give it a couple of tries, but I have it where I want it now, and it rises and looks like real muffins instead of sadly deflated hockey puck looking things. I used my Homemade Margarine, New and Improved (which is not vegan for our vegan followers) on them, and it was bliss! Yay! Also they are really good cut in half and grilled on a cast iron skillet, diner style as well.

    Apple Cinnamon Muffins
    Apple Cinnamon Muffins
    Print Recipe
    A quick breakfast food to have on the go.
    Servings Prep Time
    12 muffins 10 minutes
    Cook Time
    20-30 minutes
    Servings Prep Time
    12 muffins 10 minutes
    Cook Time
    20-30 minutes
    Apple Cinnamon Muffins
    Apple Cinnamon Muffins
    Print Recipe
    A quick breakfast food to have on the go.
    Servings Prep Time
    12 muffins 10 minutes
    Cook Time
    20-30 minutes
    Servings Prep Time
    12 muffins 10 minutes
    Cook Time
    20-30 minutes
    Ingredients
    Dry Ingredients
    • 1 1/2 cups Gluten-free, Rice-free, Potato-free flour mix (see our post here for the recipe – http://adultfoodallergies.com/whoopie-pies-gluten-free-with-vegan-option/
    • 1/2 cup sorghum flour
    • 1/2 teaspoon cake spice (I use Penzey’s but blends are not always safe for all those allergic to corn. Use a blend of ground cinnamon, cloves, nutmeg, allspice, ginger, and star anise.)
    • 1/4 cup sugar
    • 1/4 cup brown sugar
    • 1/2 teaspoon sea salt
    • 1 Tablespoon baking powder (here’s a recipe for a corn-free one – http://wholenewmom.com/health-concerns/make-your-own-baking-powder/)
    Wet Ingredients
    • 1 cup non-dairy milk (I used homemade rice milk)
    • 1/4 cup safe for you oil (I’ve used both olive and grapeseed oil)
    • 1/4 cup applesauce (I use my homemade, home canned applesauce)
    • 3 Tablespoons aquafaba (see http://aquafaba.com/)
    • 1 teaspoon vanilla extract vanilla extract (I make my own with vanilla beans and vodka made from potatoes, as most commercial extract contains corn)
    Muffin additives
    • 1 apple peeled, cored, and diced (or 1/2 cup of dehydrated apples, soaked in water for half an hour and drained, or any other fruit or berry you want to use)
    Servings: muffins
    Instructions
    1. Preheat oven to 425°F. Grease a 12 cup muffin pan with some of your safe oil.
    2. Add all the dry ingredients to a large bowl and whisk together until well combined. In another bowl, add all the wet ingredients and whisk together until well combined.
    3. Pour the wet ingredients into the dry ingredients, and using a fork or a wire whisk, blend the two about 20 seconds or so, do not over mix. Add the apples, and fold in gently, don’t over mix. Fill the muffin cups about two thirds to three quarts full.
    4. Bake 20-30 minutes depending on your pan (metal needs less time, stoneware needs more) or until a toothpick inserted into the middle of one of the center muffins comes out clean. Remove them from the oven, and as soon as they are cool enough to handle, turn them out of the pan onto a rack to cool.
    Share this Recipe
    Powered byWP Ultimate Recipe
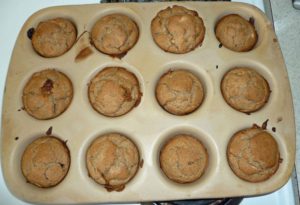
    Apple Cinnamon Muffins just out of the oven
    Apple Cinnamon Muffins just out of the oven
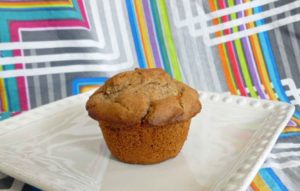
    Apple Cinnamon Muffins cooling on a rack
    Apple Cinnamon Muffins cooling on a rack
    Apple Cinnamon Muffins
    Apple Cinnamon Muffins

    Enjoy!

  • Eliza’s Breakfast Chili

    Eliza’s Breakfast Chili

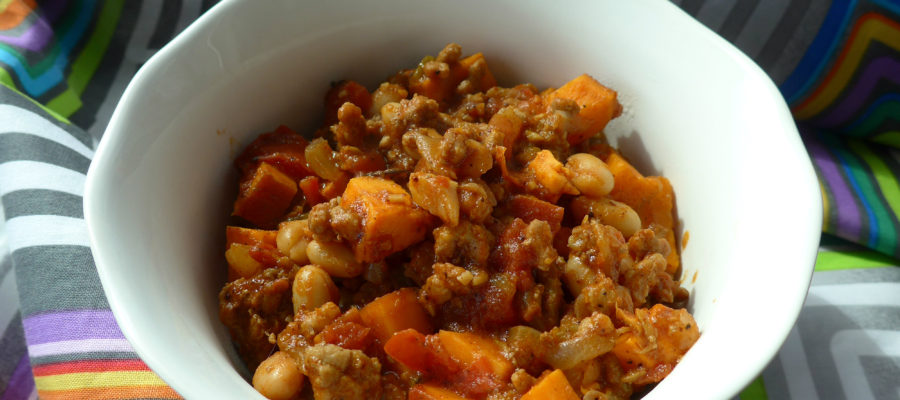
    Breakfast Chili
    Breakfast Chili

    Welcome to BREAKFAST MONTH here at Surviving the Food Allergy Apocalypse. While Denise is generally up way before I am (and not just because she’s in a time zone that is three hours earlier), neither of us is big on cooking first thing in the morning. How do you cook before coffee? But we’re both big on eating first thing in the morning. Denise’s go-to is oatmeal. Mine is hash brown patties from the freezer, although when I find the time to make them, I love these Eat Your Veggies for Breakfast Patties). Most of the time, that’s fine, but I do occasionally get bored.

    This recipe was for Eliza, not from Eliza. One morning at work, while waiting for the coffee, she was considering whether or not to eat chili for breakfast, and we wondered why there wasn’t a thing that actually was breakfast chili. I spent the next three weeks thinking about it, and then I had to make breakfast chili. And it was good.

    This recipe uses ground pork, seasoned with molasses, garlic, onion, and fennel for a sausage-esque flavor. The chili part comes from ancho chili powder, tomatoes, and beans — though you could skip the beans if they aren’t your thing. I do highly suggest that you find plain chili powder. I guess that most people don’t know that “chili powder” is actually a blend of spices that usually includes onion, garlic, and oregano — ancho chili powder is just the chilis, which gives you more latitude on other seasonings. You can order if from Penzey’s if you can’t get it locally.

    I highly suggest serving this with hash browns if you’re like me. Toast would also work if you have some. Toppings could include the typical chili things — I think avocado would be particularly nice, though I haven’t tried it. It doesn’t NEED anything else, but feel free.


    Notice: Trying to access array offset on value of type bool in /home/maryzahc/public_html/adultfoodallergies.com/wp-content/plugins/wp-ultimate-recipe/helpers/models/recipe.php on line 254
    Eliza’s Breakfast Chili
    Print Recipe
    Servings
    6 servings
    Servings
    6 servings
    Eliza’s Breakfast Chili
    Print Recipe
    Servings
    6 servings
    Servings
    6 servings
    Ingredients
    • 1 large sweet onion chopped, about 2 cups
    • 1 lb ground pork
    • 2 teaspoon garlic minced (about 1 medium clove)
    • 4 oz can of green chiles
    • 2 teaspoons ancho chili powder NOT regular chili powder!
    • 1 teaspoon cinnamon
    • 1/4 teaspoon fennel seeds, crushed with mortar and pestle or flat side of large knive
    • 1 Tablespoon molasses
    • 15 oz can of diced tomatoes
    • 1.5-2 lb sweet potatoes, cubed
    • 1/4 cup water
    • 1 can white beans if desired
    • 1 handful spinach per serving if desired
    Servings: servings
    Instructions
    1. Over medium heat, add onions to a large pan. If the pan is non-stick, don’t add any oil. If it isn’t non-stick, either add a bit of the pork or a bit of oil. Stir well and sautee for 2-3 minutes to get the onions started cooking.
    2. Add pork and stir frequently to break up the meat.
    3. When the pork is mostly cooked (there is little to no pink left, add the rest of the ingredients in the order listed, from garlic through the beans, if you’re using them. Don’t add the spinach. Stir well after each addition, and the cover until the pot begins to simmer.
    4. When your chili is simmering, turn the heat down to low and cook, covered but stirring regularly, until the sweet potato cubes are cooked. Depending on the size of your cubes, you’re looking at 20-45 minutes.
    5. For serving, I originally conceptualized this to be served with hashbrown patties, but I threw it over spinach to add more vegetables to the dish. Avocado on top would also be great. It’s your breakfast — top it up your way.
    Recipe Notes

    Peel the sweet potatoes if you want — I didn’t, as I like the texture of the peel.

    Share this Recipe
     
    Powered byWP Ultimate Recipe
  • Stuffed Potatoes (Papas Rellenas inspired)

    Stuffed Potatoes (Papas Rellenas inspired)

    Stuffed Potatoes (Papas Rellenas inspired)
    Stuffed Potatoes (Papas Rellenas inspired)

    It’s the last recipe day of our potato themed month. And once again, I’m ignoring Irish cuisine despite my intent. I’ve taken inspiration from a Puerto Rican version of Papas Rellenas, but modified it to be safe for me, and cheated a bit by using salsa and taco seasoning for the ground beef mixture. But it still tastes really good. I’ve used my home canned salsa, but you can pick and choose your own salsa if you have a safe one you can purchase. I’ve also used my own home mixed taco seasoning, but again if you have a safe commercial one, have at it.

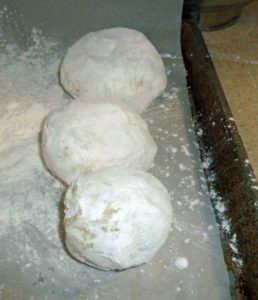
    The potato mixture should be dough like. If you have to add a bit more tapioca starch to get there, add another tablespoon or two if necessary. Make sure that the potato balls are really sealed, if not, they will open when deep frying and make a good bit of mess in the oil (ask me how I know). Also, I think they would be really good pan fried if you want to flatten them a bit, and skip the deep frying. If you would like to make them vegan, you could use a can of pinto beans or black beans instead of the ground beef, which would work just as well and be just as yummy.

    Stuffed Potatoes (Papas Rellenas inspired)
    Stuffed Potatoes (Papas Rellenas inspired)
    Print Recipe
    A comfort food you can deep fry or pan fry. If you wish to make this vegetarian or vegan, use a can of pinto beans or black beans in place of the beef.
    Servings Prep Time
    4 people 1 hour
    Cook Time
    5 minutes
    Servings Prep Time
    4 people 1 hour
    Cook Time
    5 minutes
    Stuffed Potatoes (Papas Rellenas inspired)
    Stuffed Potatoes (Papas Rellenas inspired)
    Print Recipe
    A comfort food you can deep fry or pan fry. If you wish to make this vegetarian or vegan, use a can of pinto beans or black beans in place of the beef.
    Servings Prep Time
    4 people 1 hour
    Cook Time
    5 minutes
    Servings Prep Time
    4 people 1 hour
    Cook Time
    5 minutes
    Ingredients
    Potato Mixture
    • 2 pounds russet potatoes washed, peeled and cubed
    • 3 Tablespoons tapioca starch
    • 3 Tablespoons aquafaba (see http://aquafaba.com/)
    • 1/2 teaspoon sea salt
    Beef Mixture
    • 1/2 pound ground beef or use one can of drained and rinsed pinto or black beans
    • 1/2 cup salsa (I used my homemade canned salsa)
    • 1 Tablespoon taco seasoning (see spice mix in our post on Taco Beef for Tacos, Salads, and Nachos) http://adultfoodallergies.com/taco-beef-for-tacos-salads-and-nachos/)
    Frying Ingredients
    • 1/2 cup tapioca starch to be used for flouring your hands while forming balls
    • oil for frying
    • stainless steel pot or skillet
    • thermometer
    Servings: people
    Instructions
    Potato Mixture
    1. Place potatoes in a pot of lightly salted water. Cover the pot, bring to a boil, then reduce heat to a simmer for 15-20 minutes, or until potatoes are soft. Or use your Instant Pot to cook them if you have one, using a trivet and a bowl or a steamer, adding a cup of water, and cooking on high pressure for 9 minutes.
    2. Mix 3 tablespoons of tapioca starch, salt, and aquafaba in a small bowl and set aside.
    3. Drain potatoes. You can also mix ingredients together manually but I used a stand mixer. Add the potatoes and mash them a bit before using your mixer. Using your mixer and the beater blade, mix until smooth. Slowly add the tapioca starch, salt, and aquafaba mixture while mixing. Scrape down the bowl as needed and mix until well combined. Set aside
    Beef Mixture
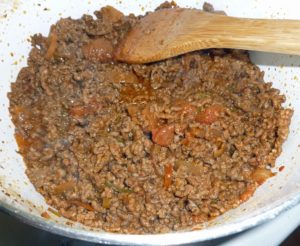
    1. Brown ground beef in a skillet. When brown, drain fat, and then add the taco seasoning and salsa to the browned ground beef. Mix the ingredients well, simmering for a few minutes. Set aside.
    Forming and Frying Stuffed Potatoes
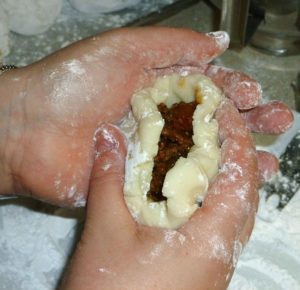
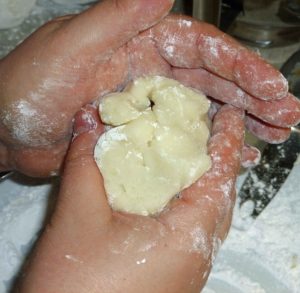
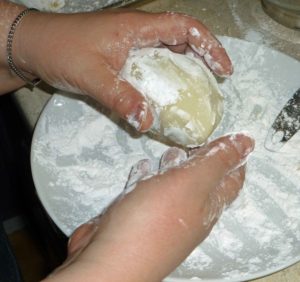
    1. Dust your hands in tapioca starch, and flatten about 1/2 cup of the potato mixture into a disk in the palm of your hand. Add a heaping tablespoon of the beef mixture into the center of the disk, and bring the edges of the potato around the beef mixture. Seal the edges and roll into a smooth ball. Repeat until all the potato mixture has been used, making sure to keep your hands dusted in tapioca starch. Make sure that you seal them very well, if the seams open, it will be very messy.
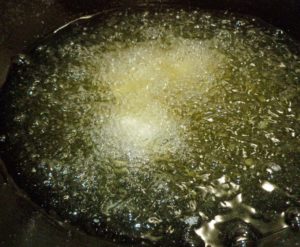
    2. Heat oil to 375°F and deep fry the potato balls about 5 minutes, turning as needed until golden brown. You could also flatten them a bit and pan fry them.
    Share this Recipe
    Powered byWP Ultimate Recipe
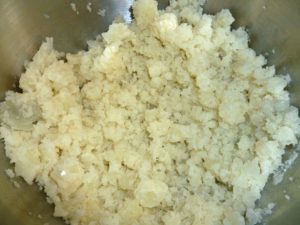
    Potatoes after quick mashing before mixing
    Potatoes after quick mashing before mixing
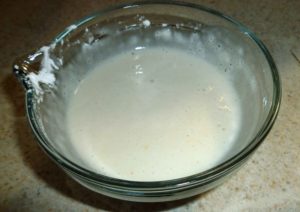
    Tapioca starch and aquafaba mixture
    Tapioca starch and aquafaba mixture
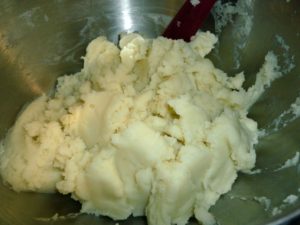
    Completed potato mixture
    Completed potato mixture
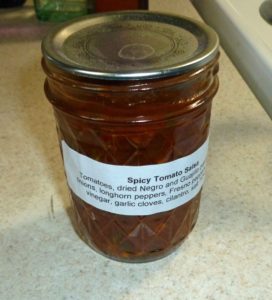
    My homemade salsa (ta da, haha!)
    My homemade salsa (ta da, haha!)
    Completed beef mixture
    Completed beef mixture
    Forming potato balls
    Forming potato balls
    Forming potato balls
    Forming potato balls
    Forming potato balls
    Forming potato balls
    Completed potato balls
    Completed potato balls
    Frying the stuffed potatoes
    Frying the stuffed potatoes
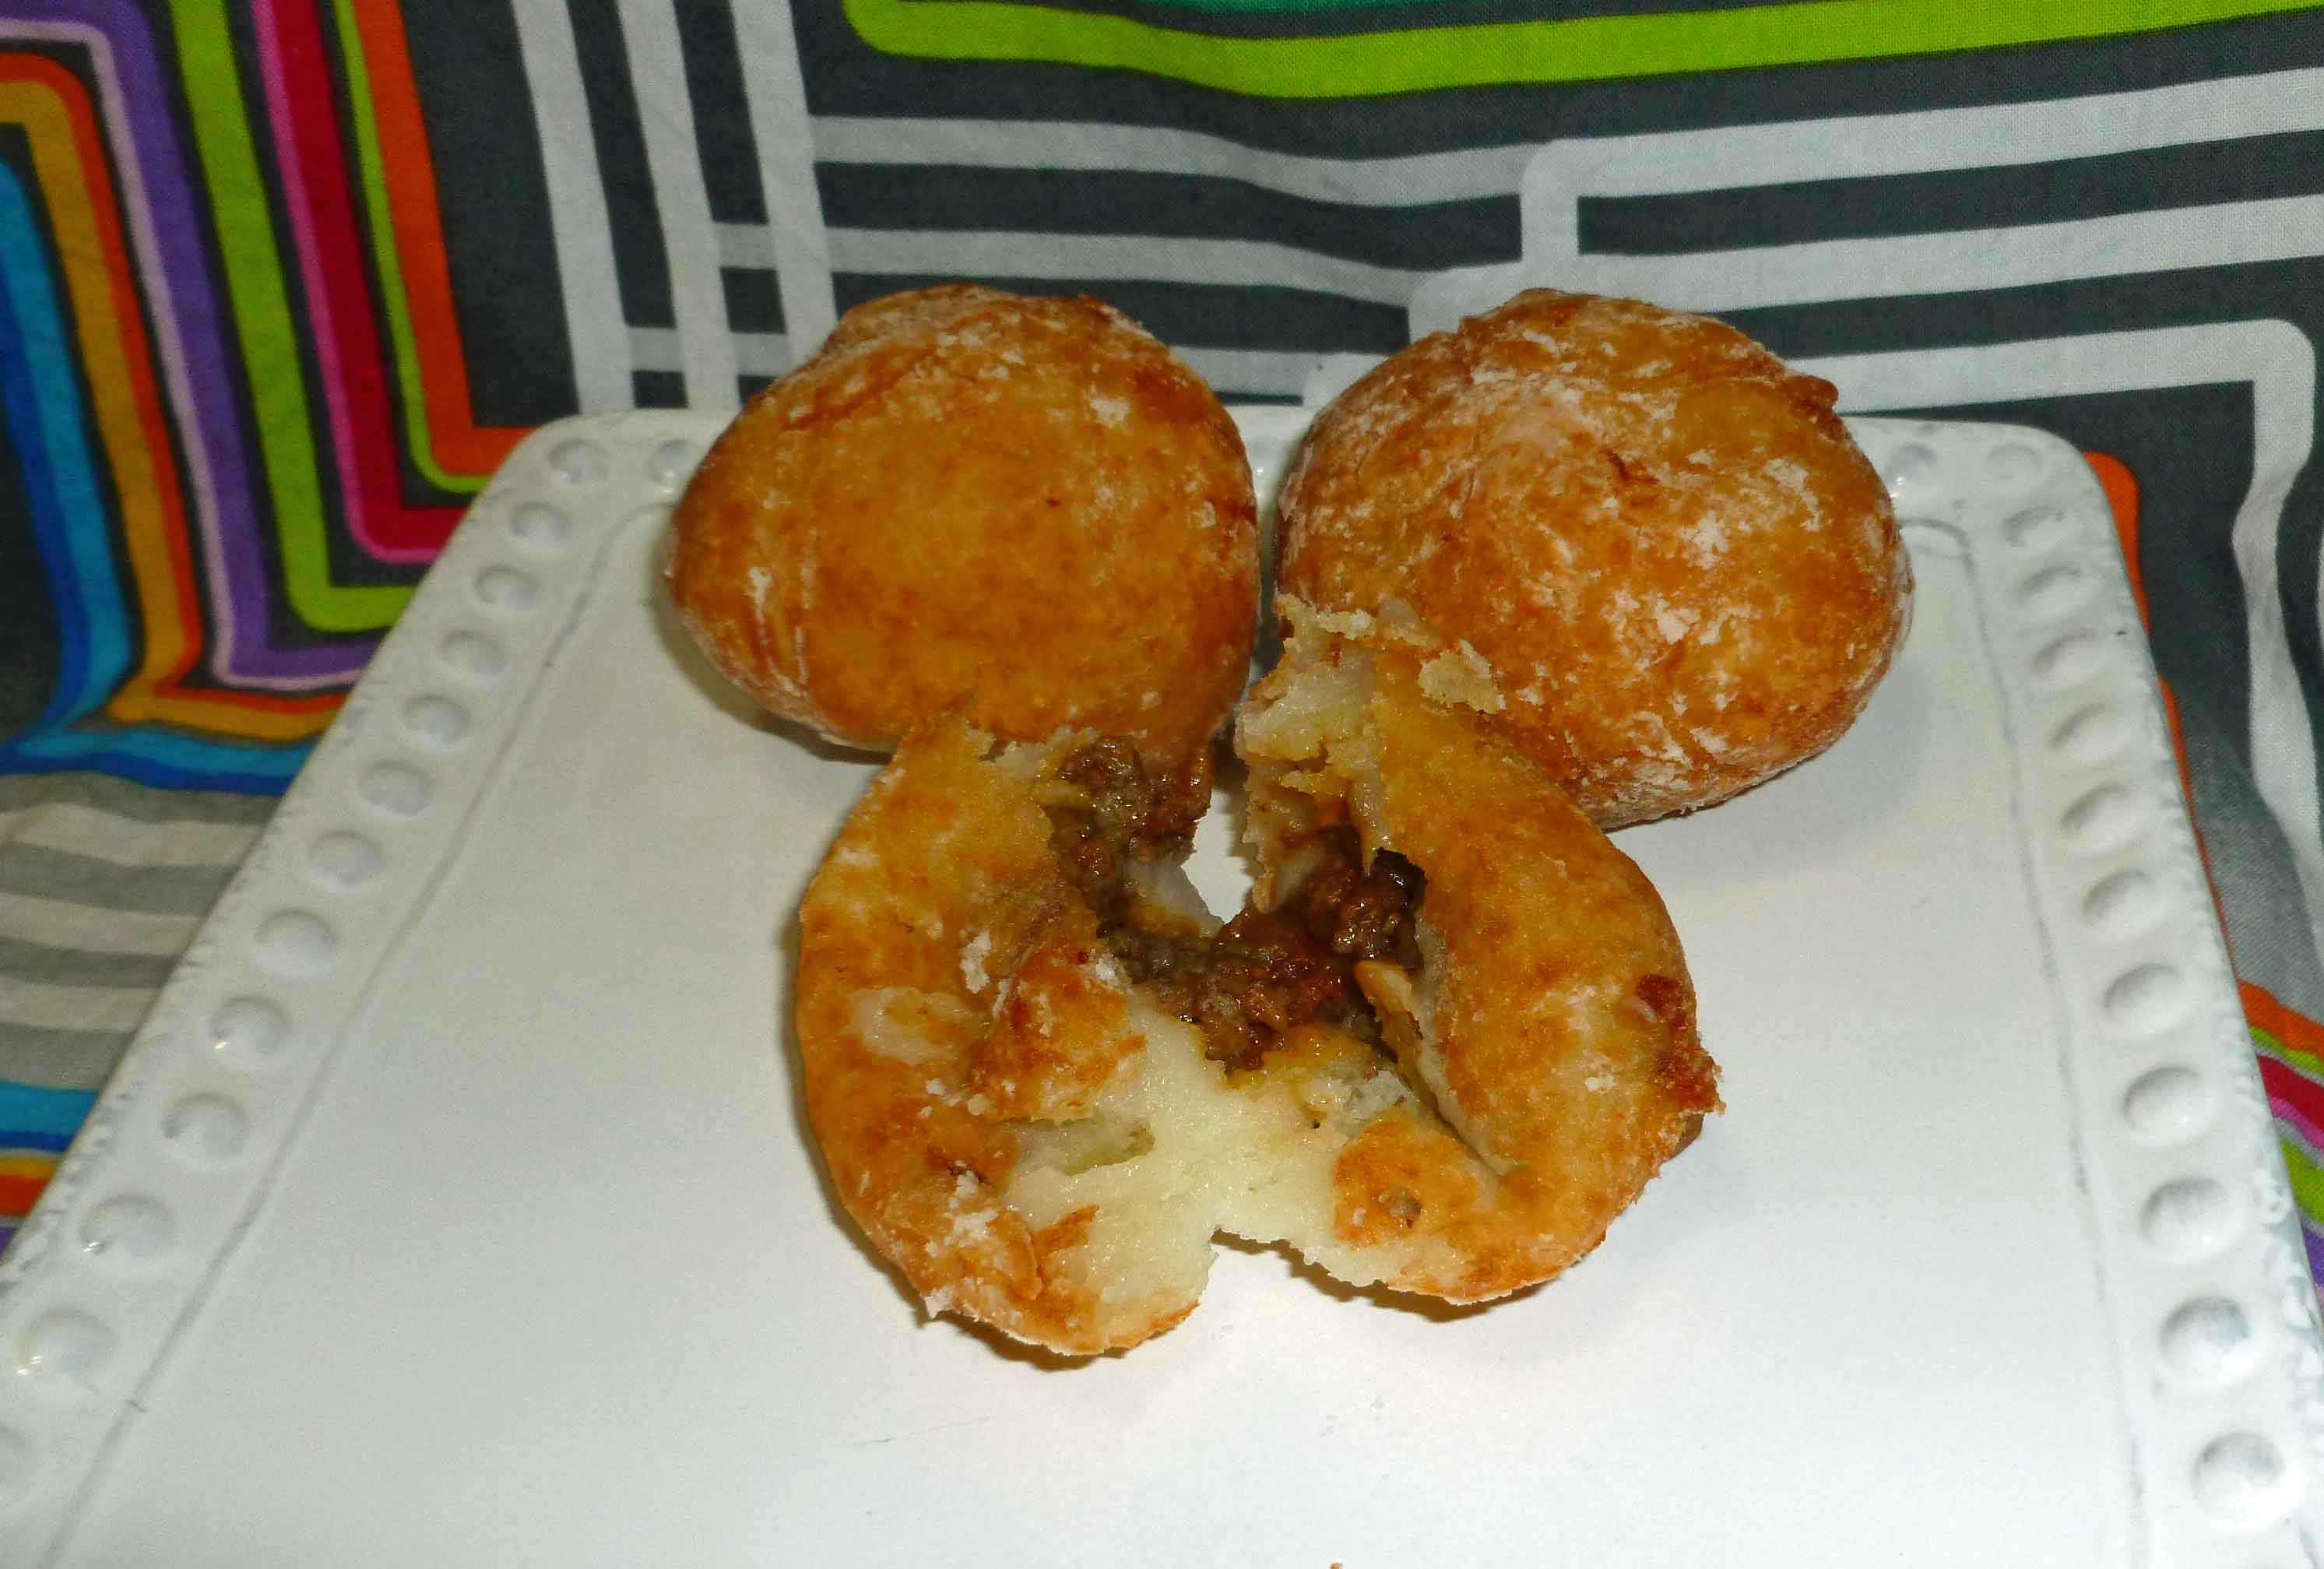
    Stuffed potatoes after frying
    Stuffed potatoes after frying
    Stuffed Potatoes (Papas Rellenas inspired)
    Stuffed Potatoes (Papas Rellenas inspired)

    These are great as an appetizer, as a snack or as bar food.  You could serve them with a hot sauce spiked mayo, a mojo de ajo sauce, or a chili sauce. Enjoy!