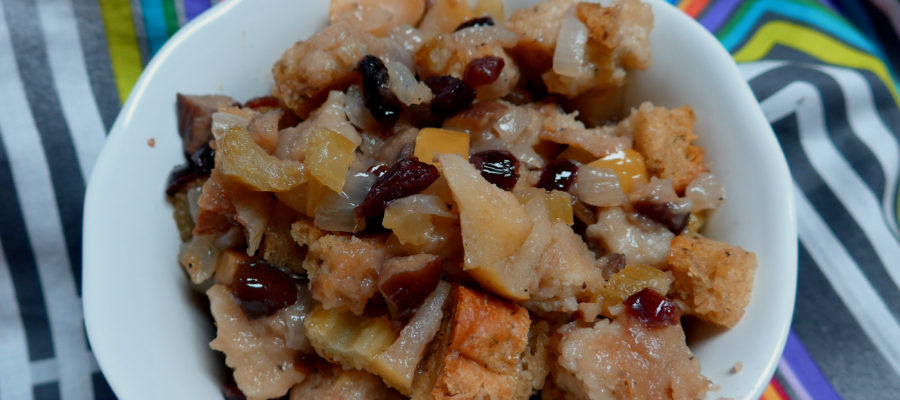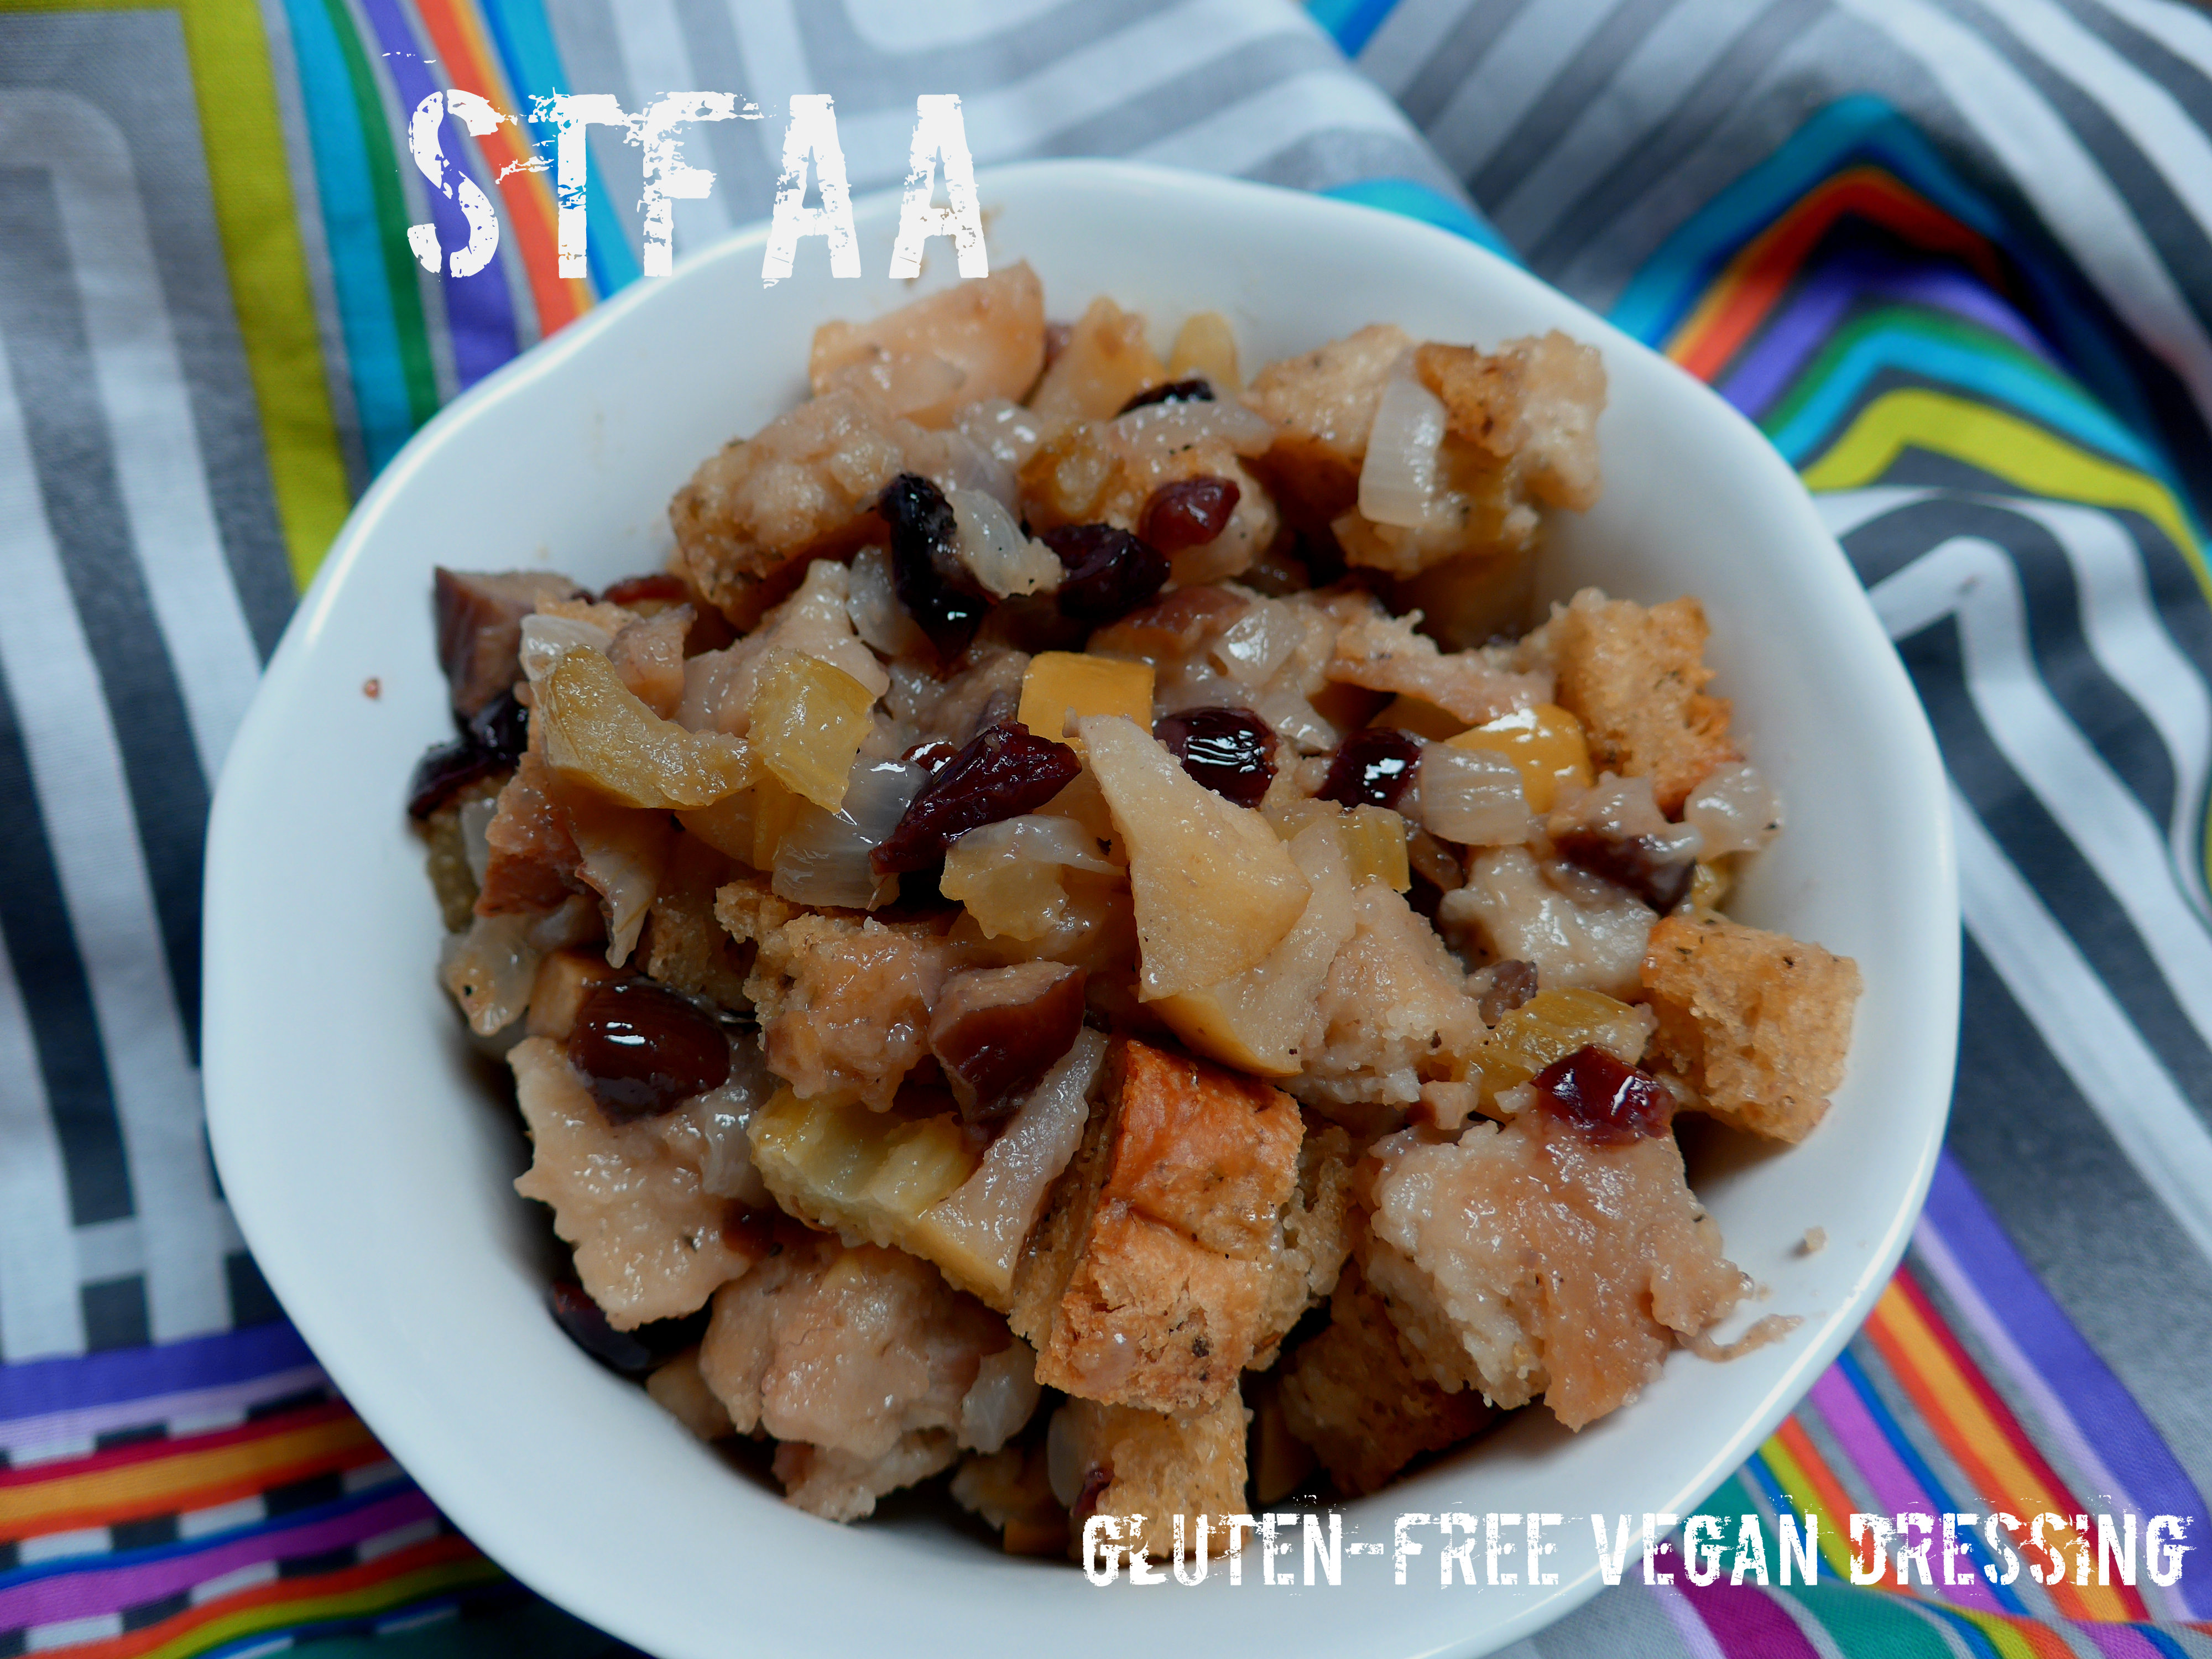
Garlic and Onion Pakoras
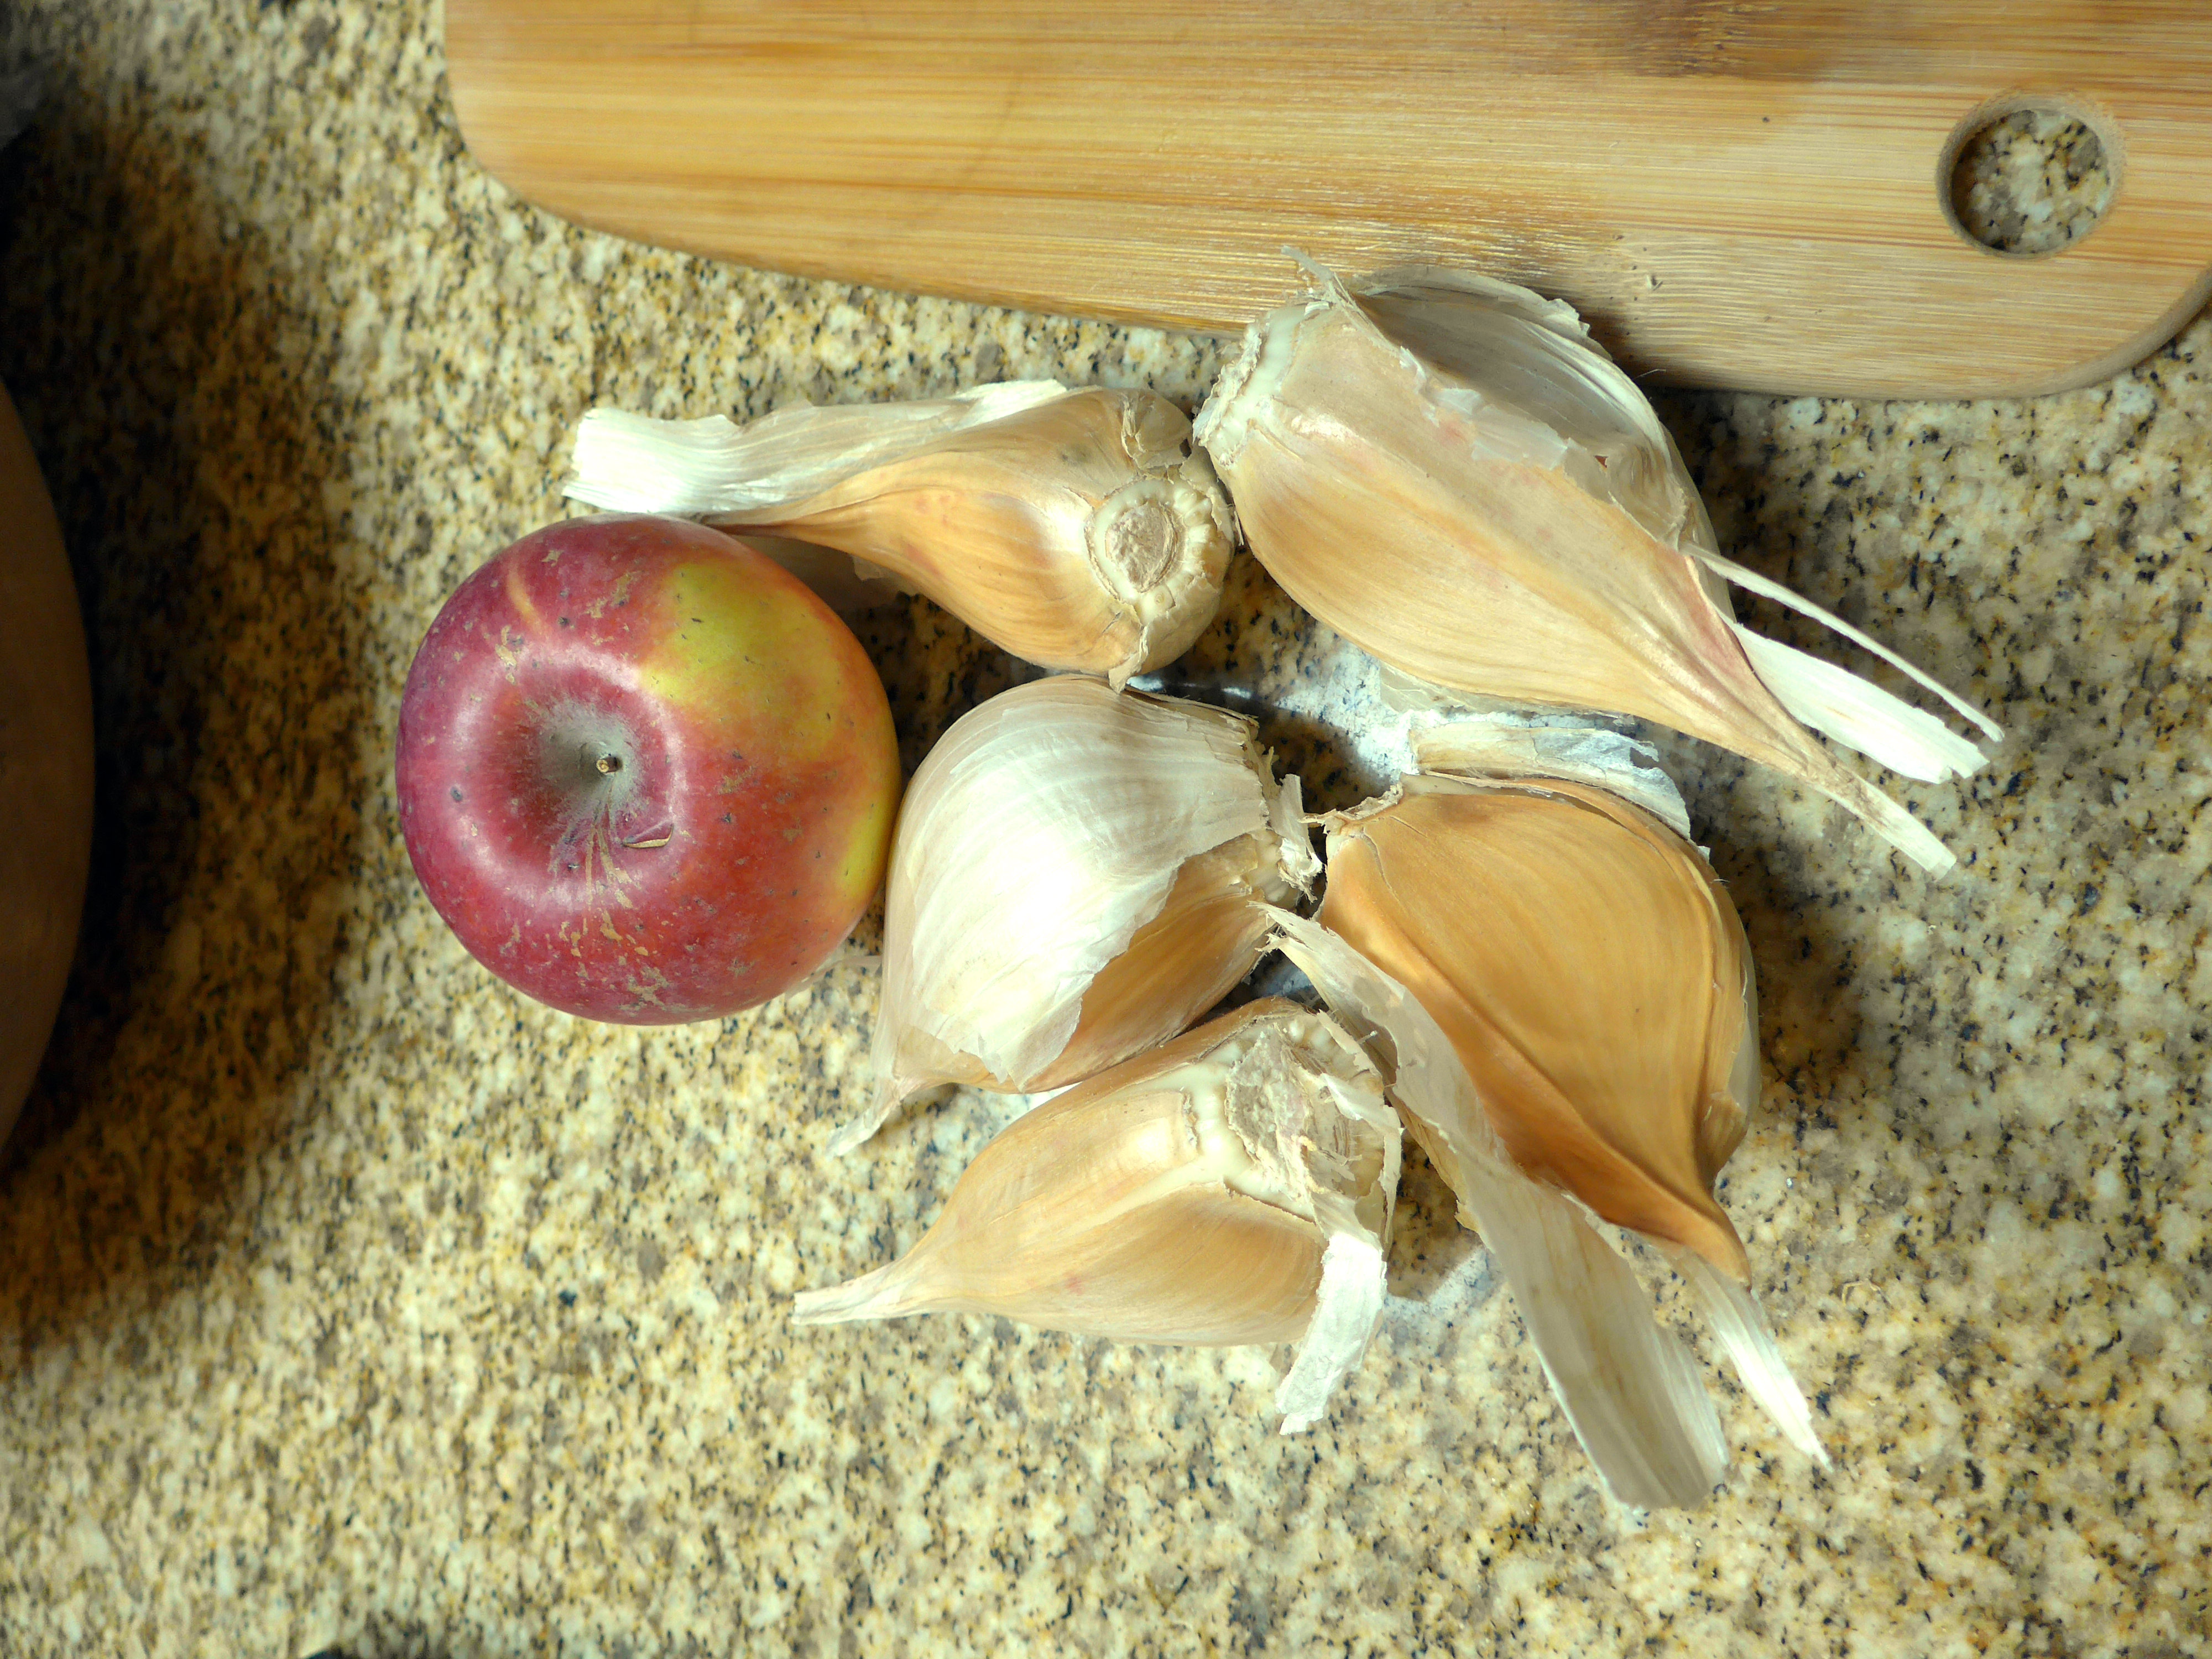
MaryKate and I were on the same wave length about our first recipe, in that garlic must be fried somehow. I’ve looked at doing pakoras several times, but hadn’t gotten around to it. I mean, fried veggie fritters with Indian spices? How can that be bad? So when MaryKate sent me some extreme elephant garlic from Seattle, I knew this would be a great use for it.
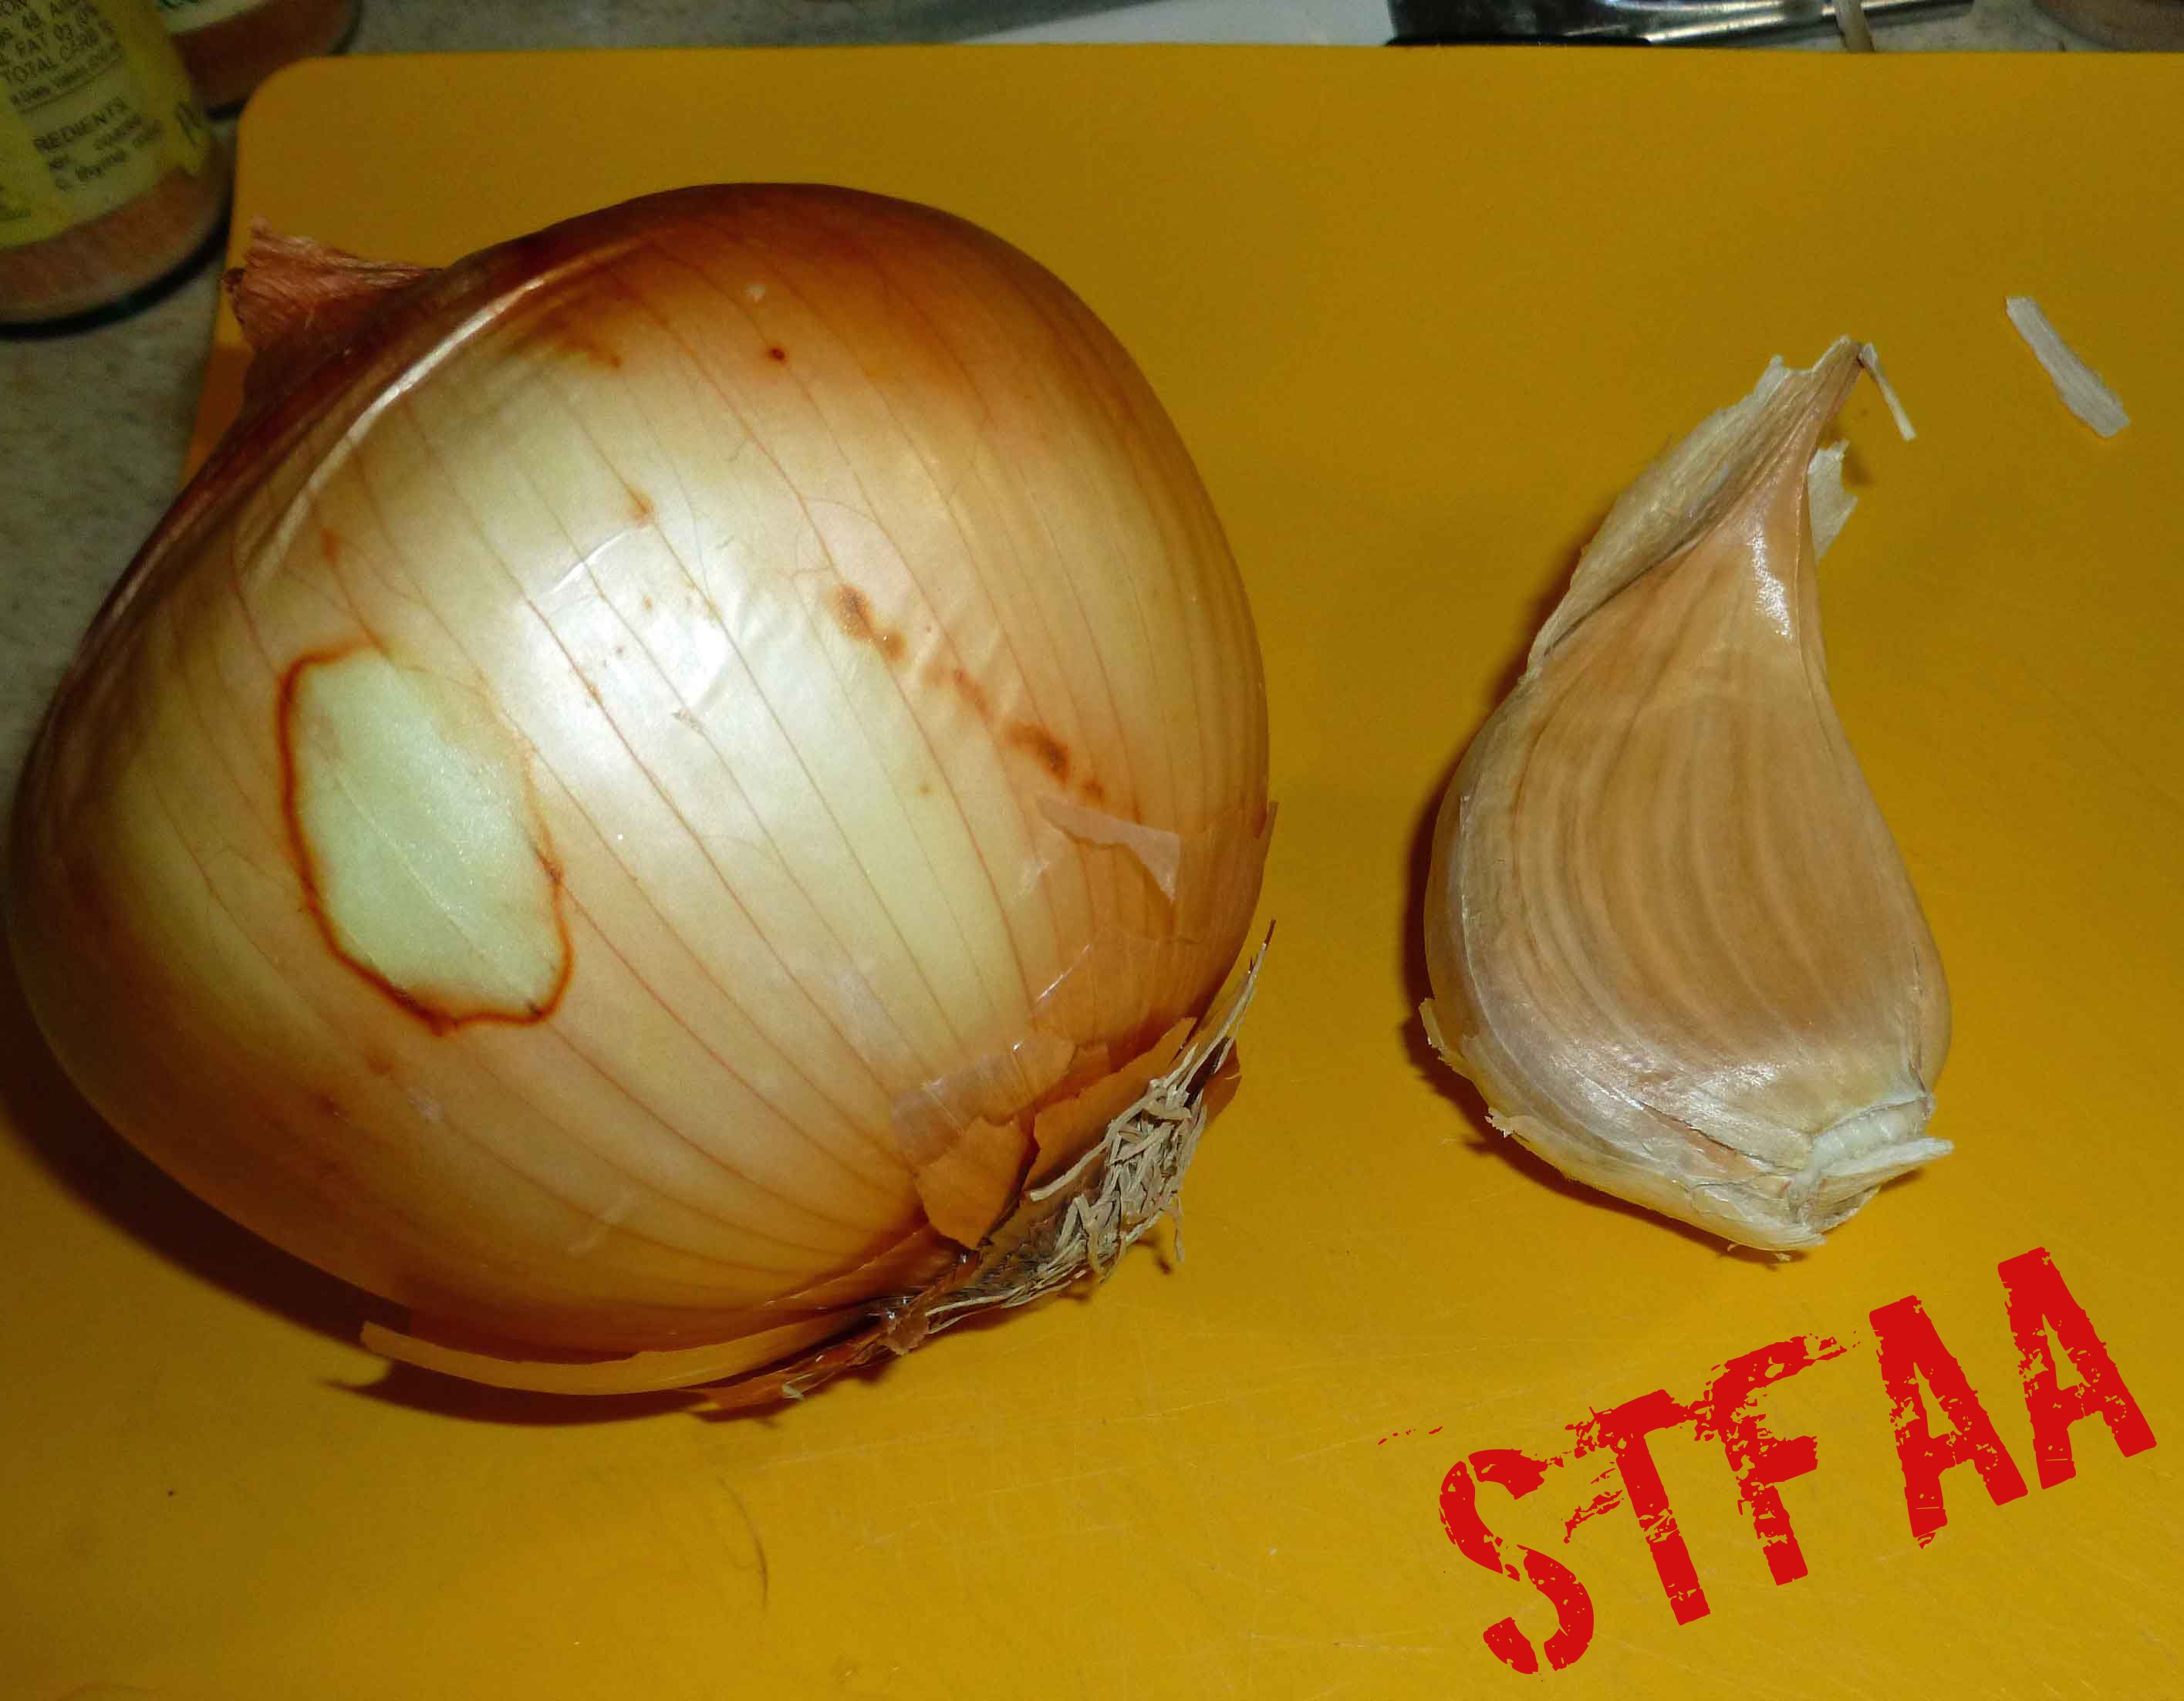
Look that the elephant garlic in the picture. For scale, that onion is a bit larger than a baseball, but not as big as a softball. Crazy huge right? If you don’t have access to elephant garlic, just use an entire bulb of regular garlic. (Oh, and to resolve the unfortunate aroma later, I swished with a glass of water with a couple of tablespoons of peroxide and a drop of peppermint essential oil mixed in it, after lots of brushing teeth and tongue.)
The garlic clove was actually large enough that I could put it through the grater on my food processor. I grated the onion, garlic and cayenne in the food processor and used my Pampered Chef ginger grater for the ginger (you could also use a microplaner).

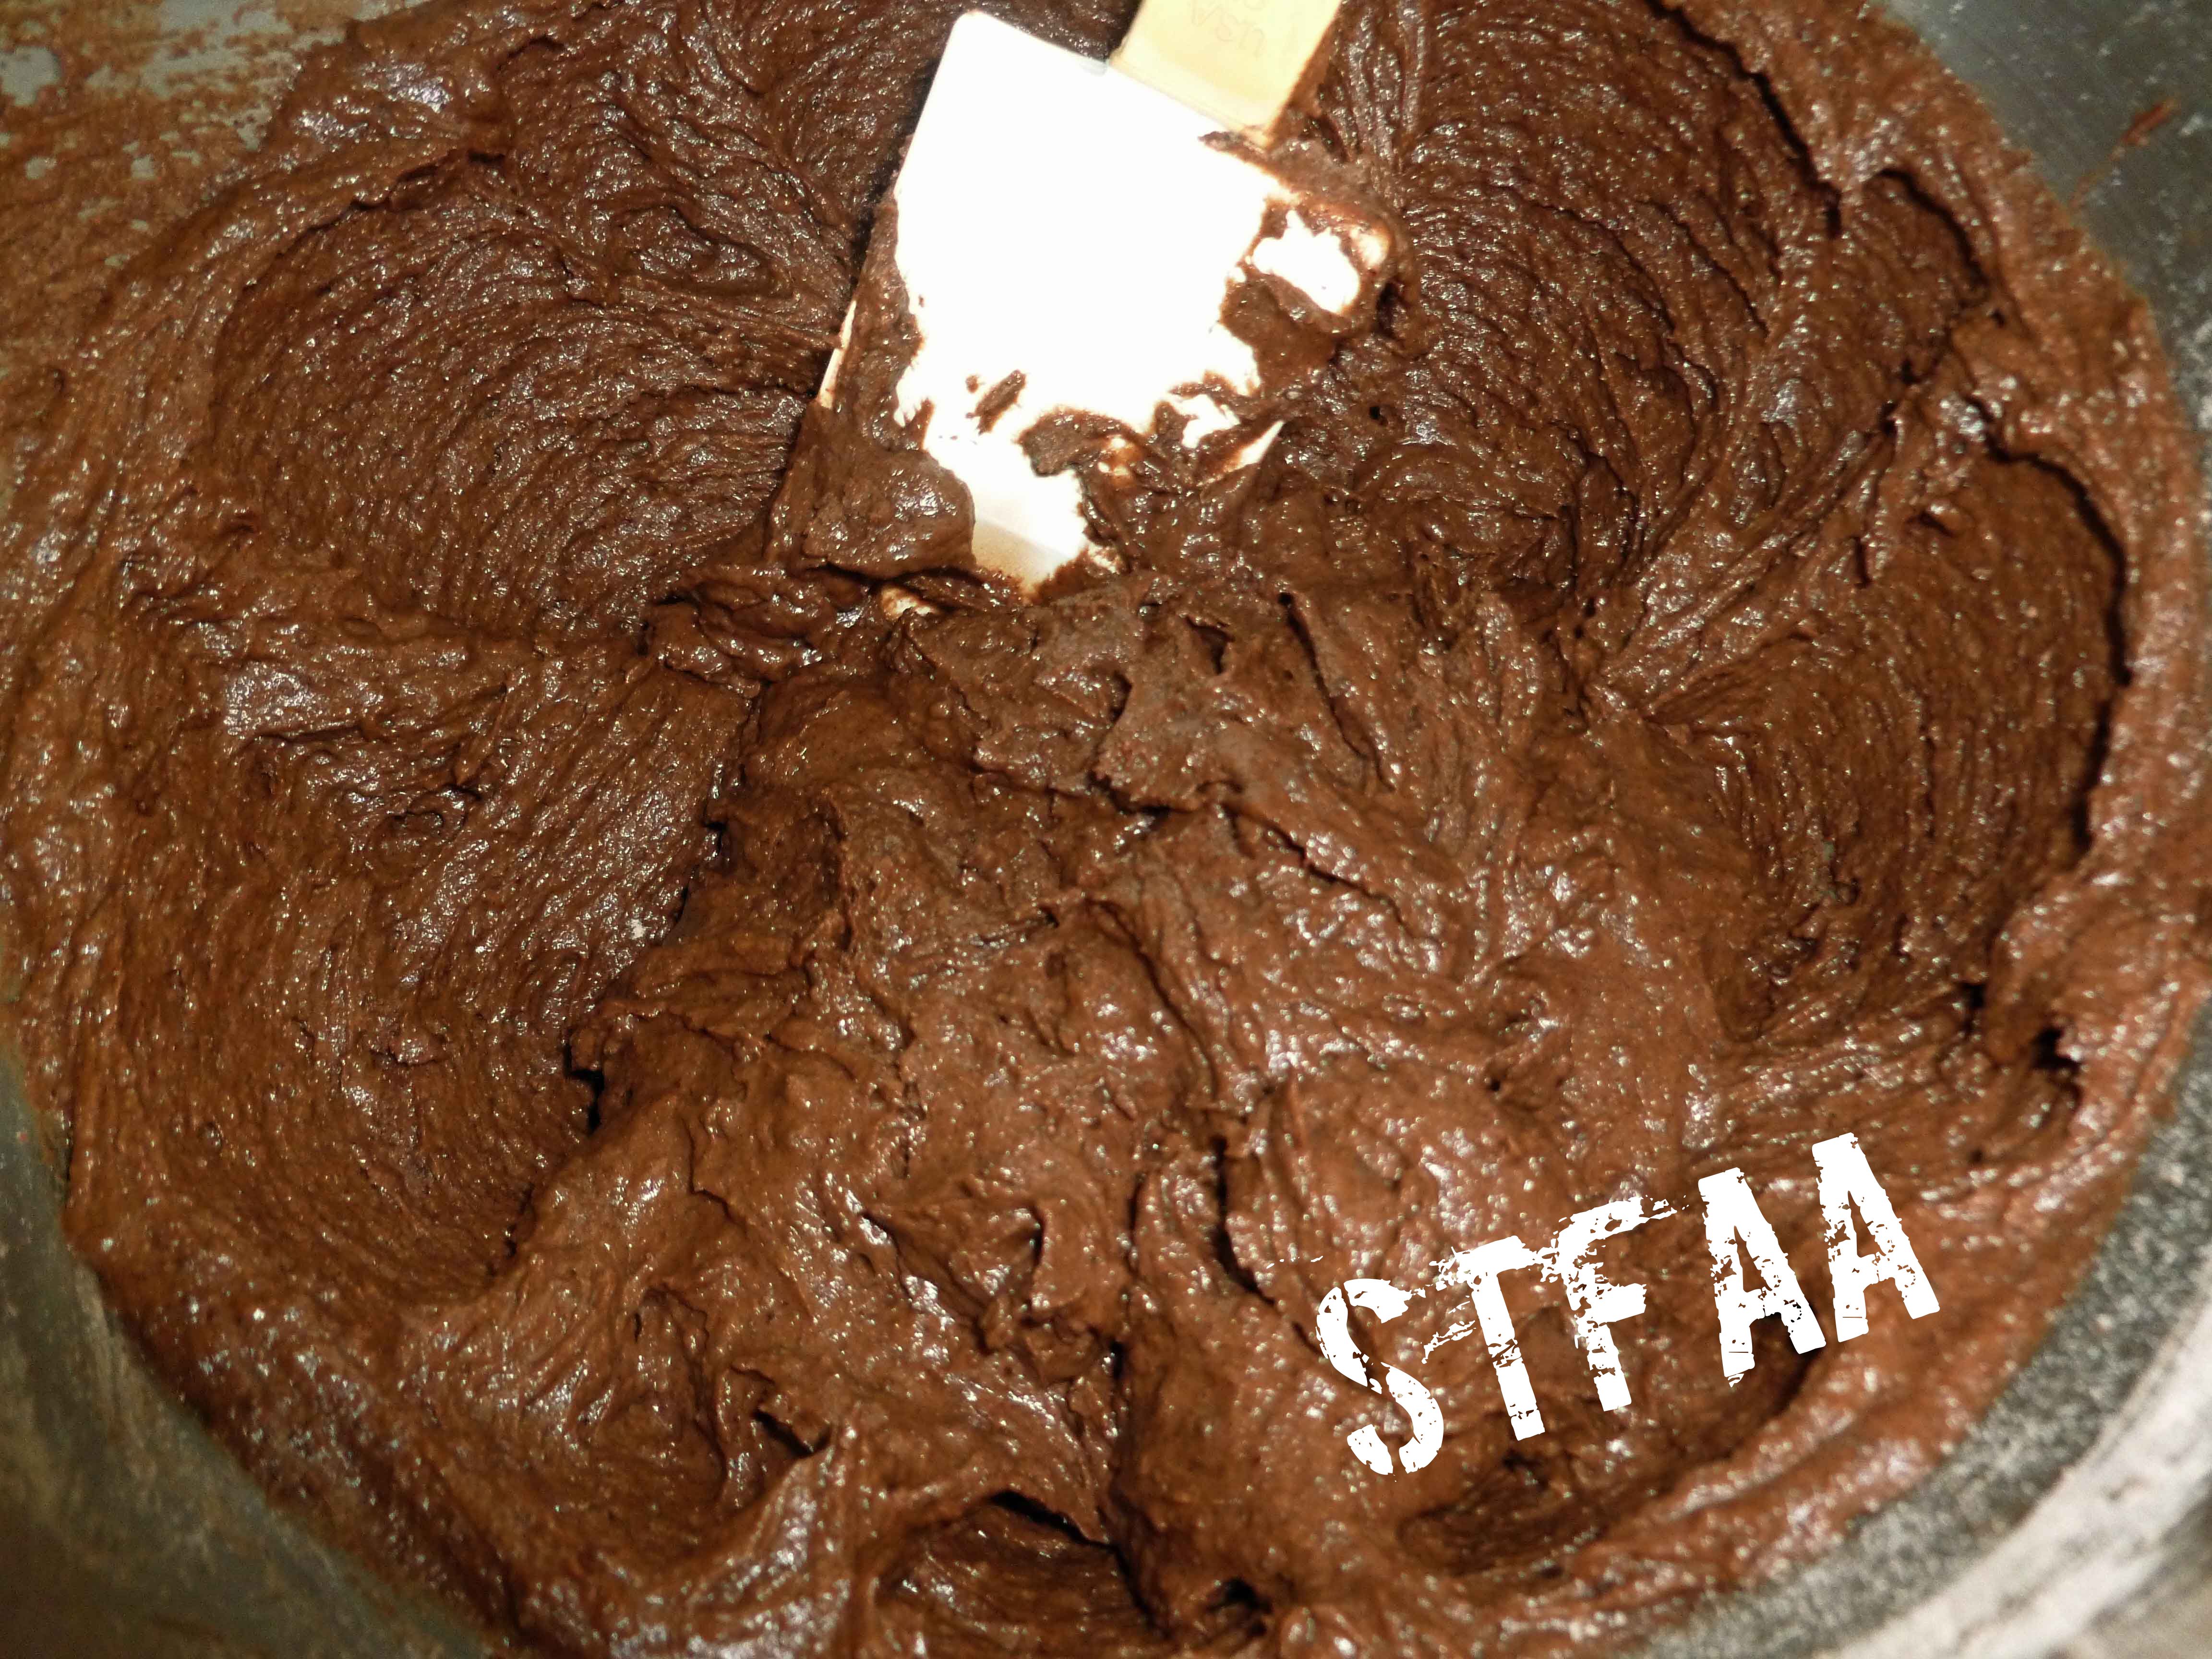
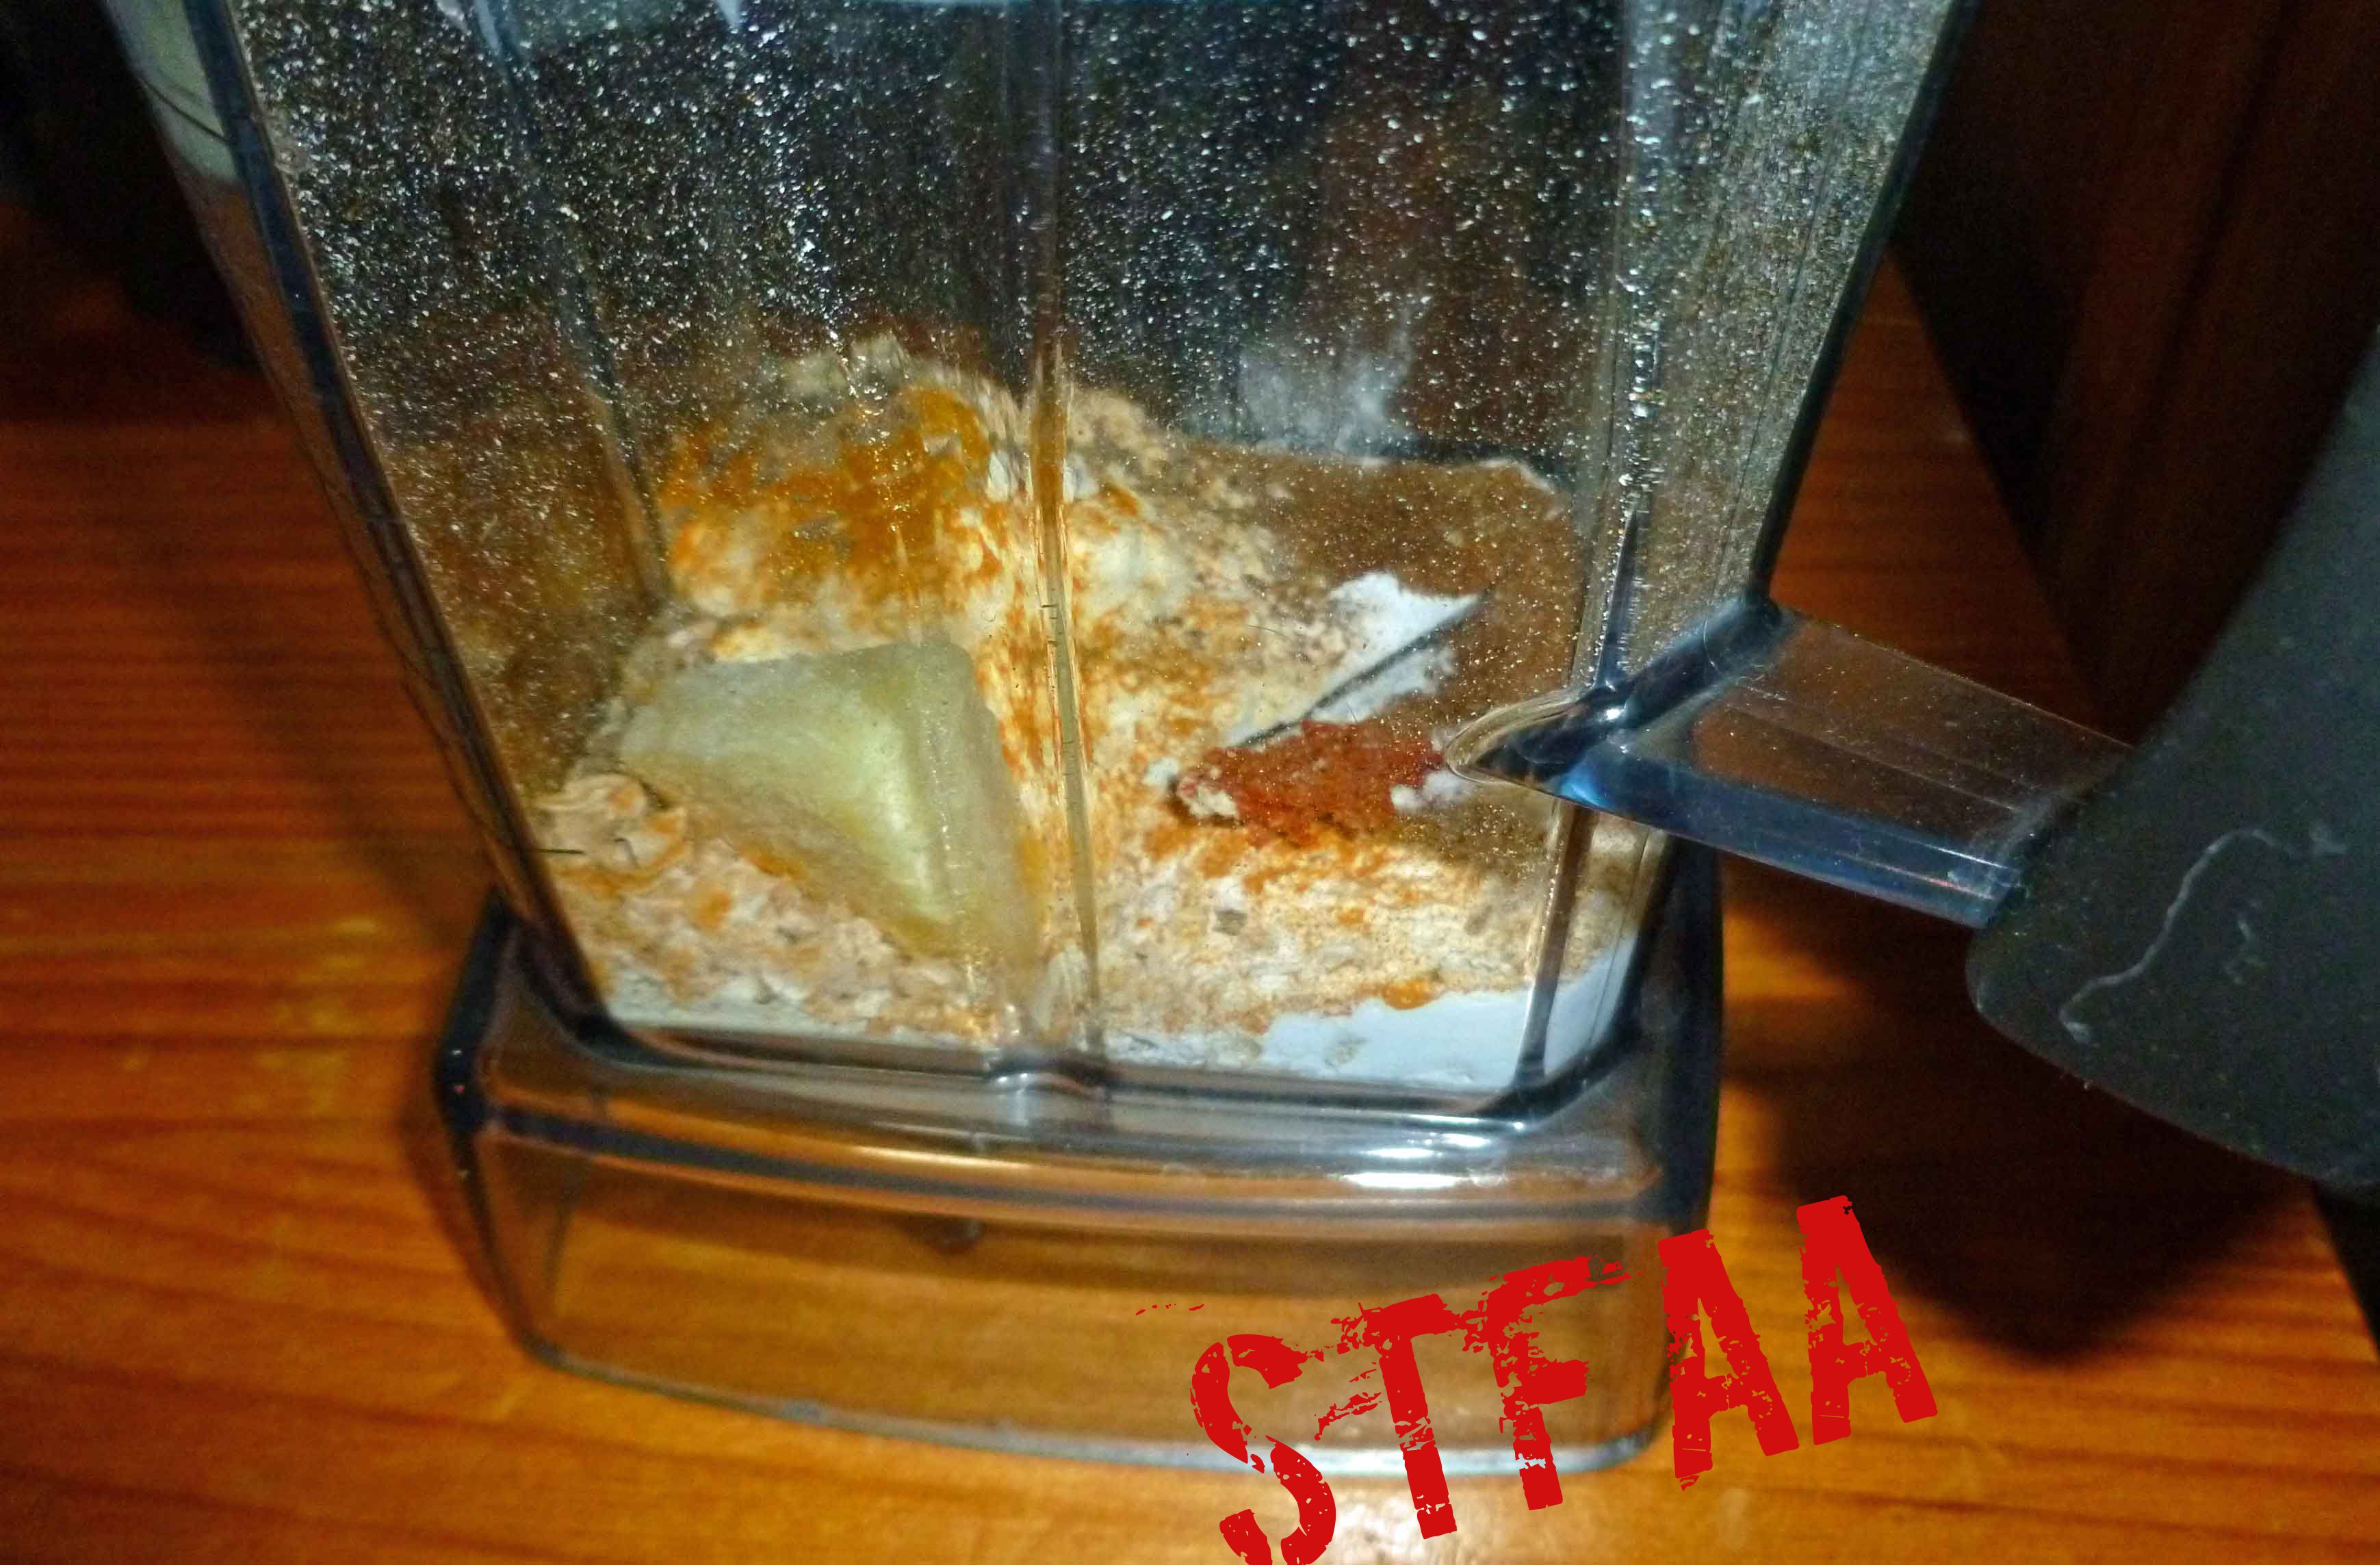
The batter ingredients go in the blender, and you blend before adding water, but keeping it to a thick paste.
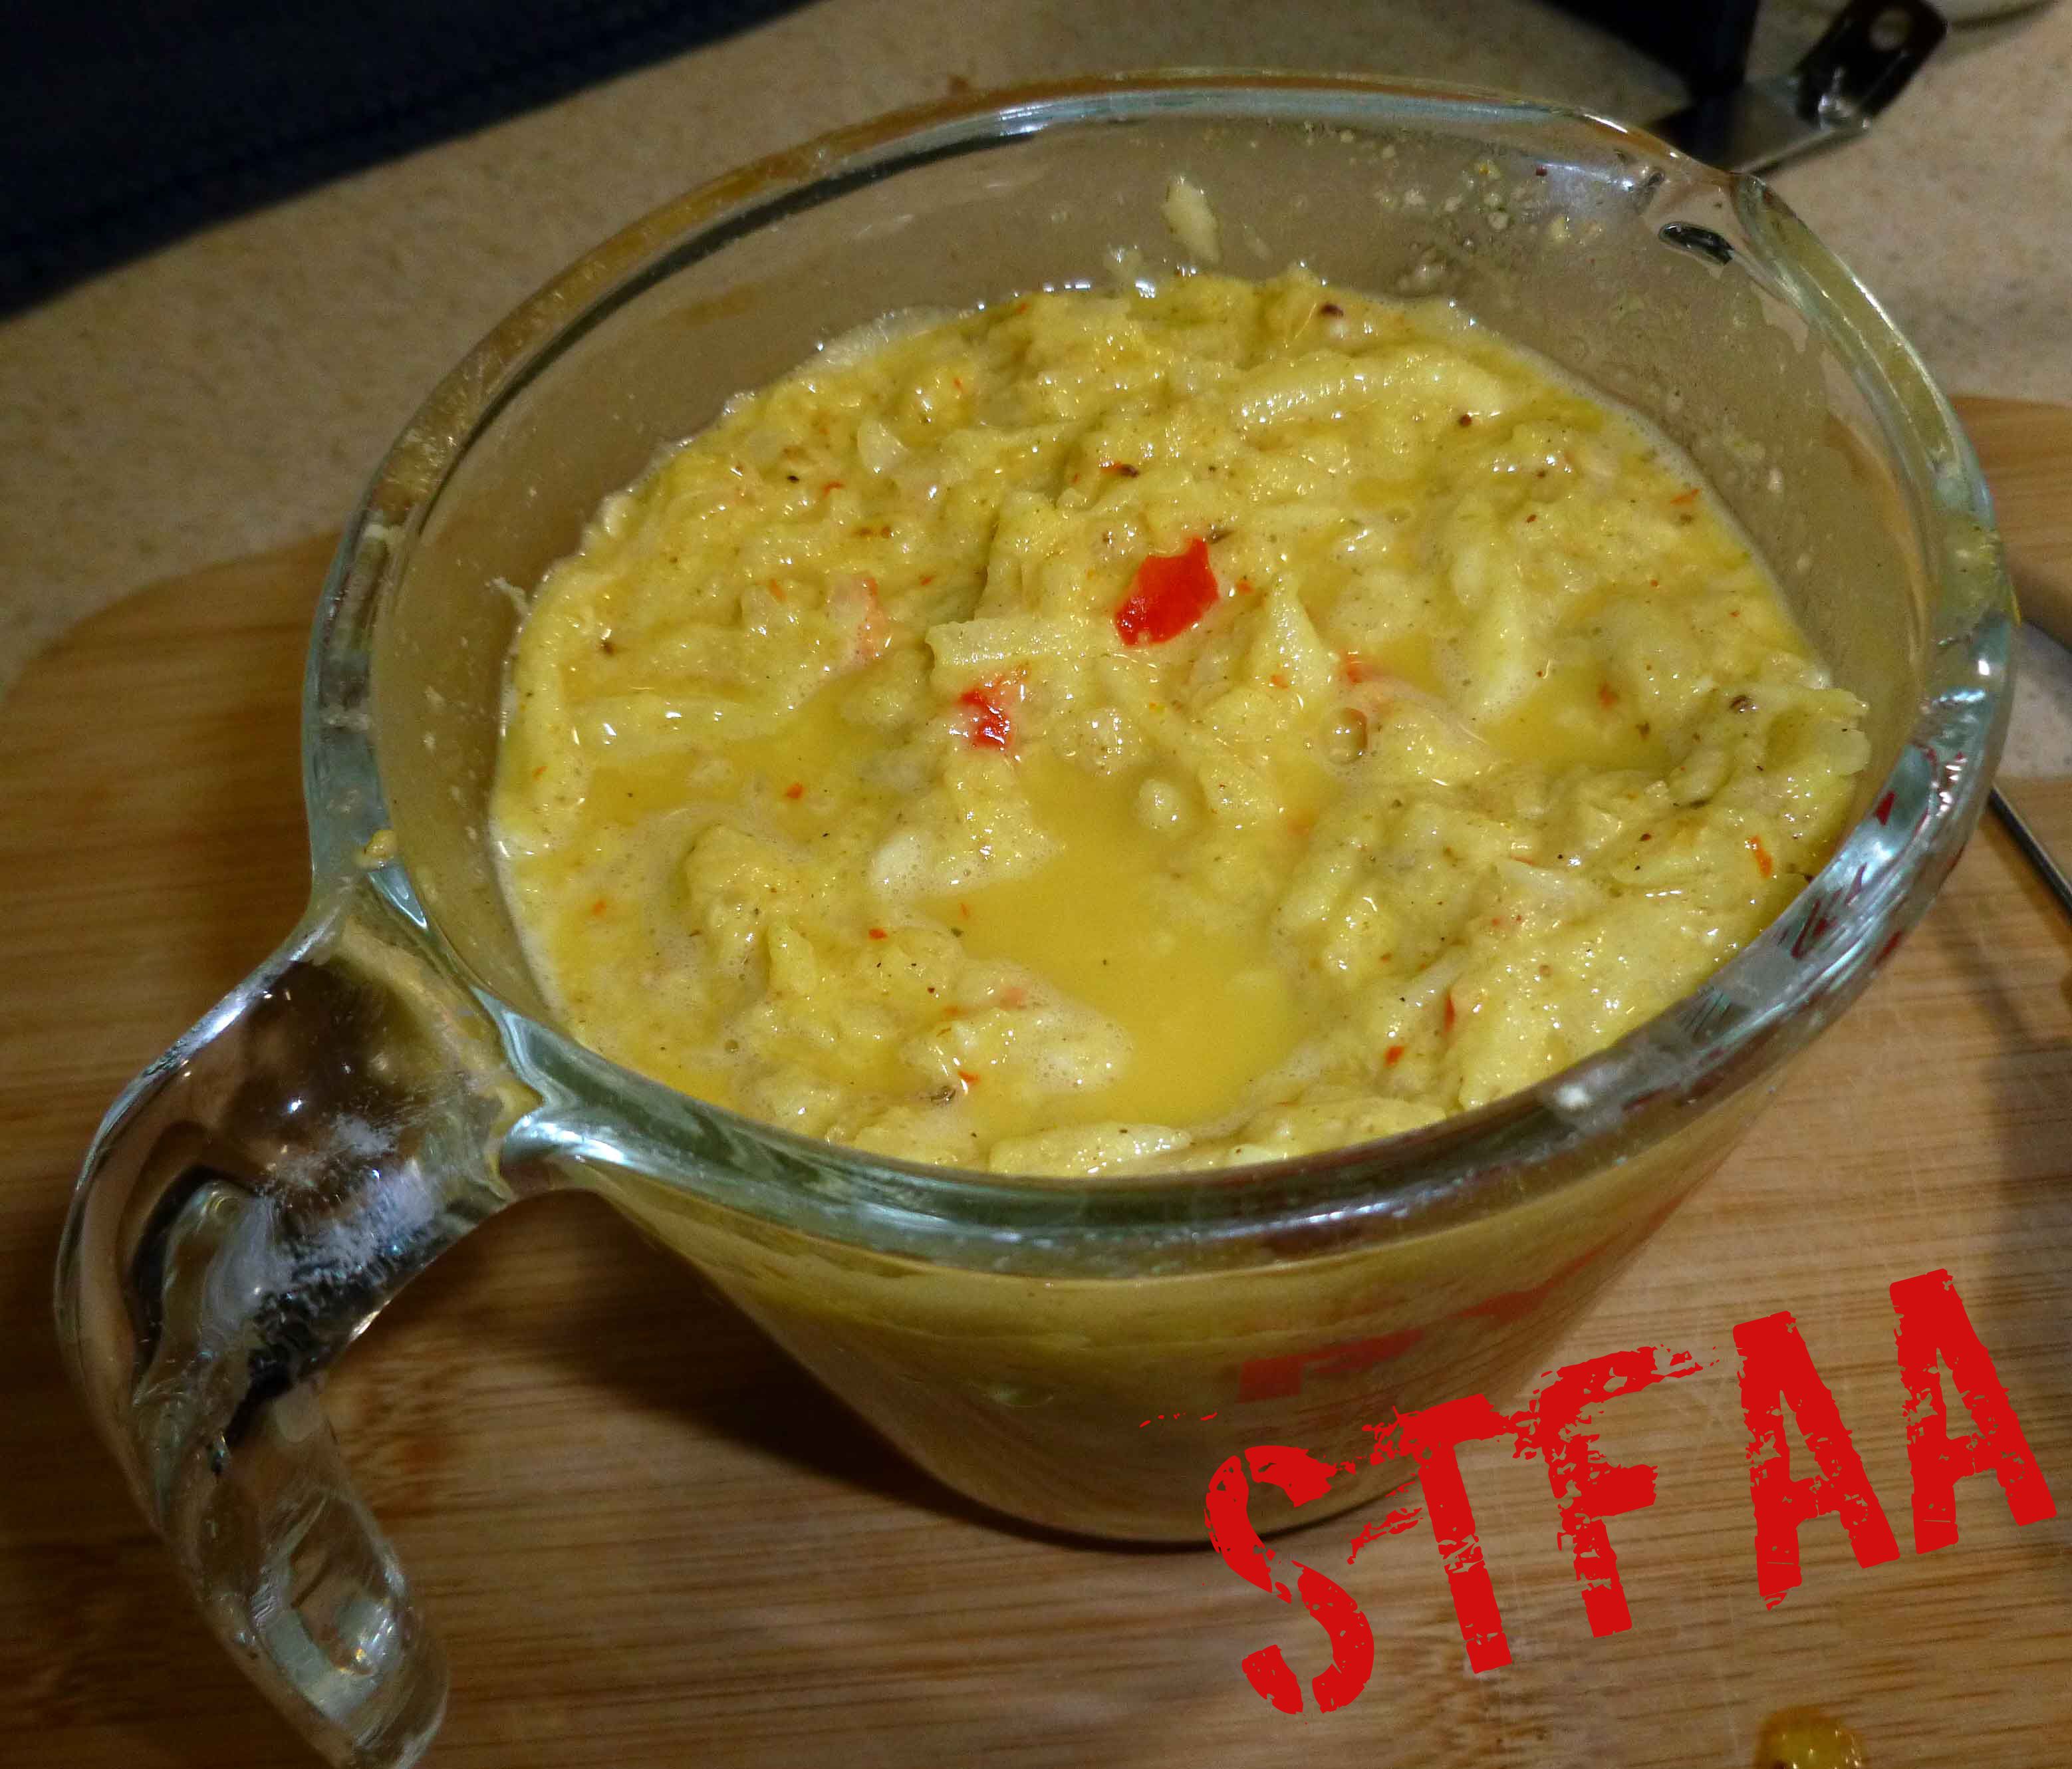
After you’ve made the paste, mix in the veggies and your batter for the Garlic and Onion Pakoras is ready to fry.
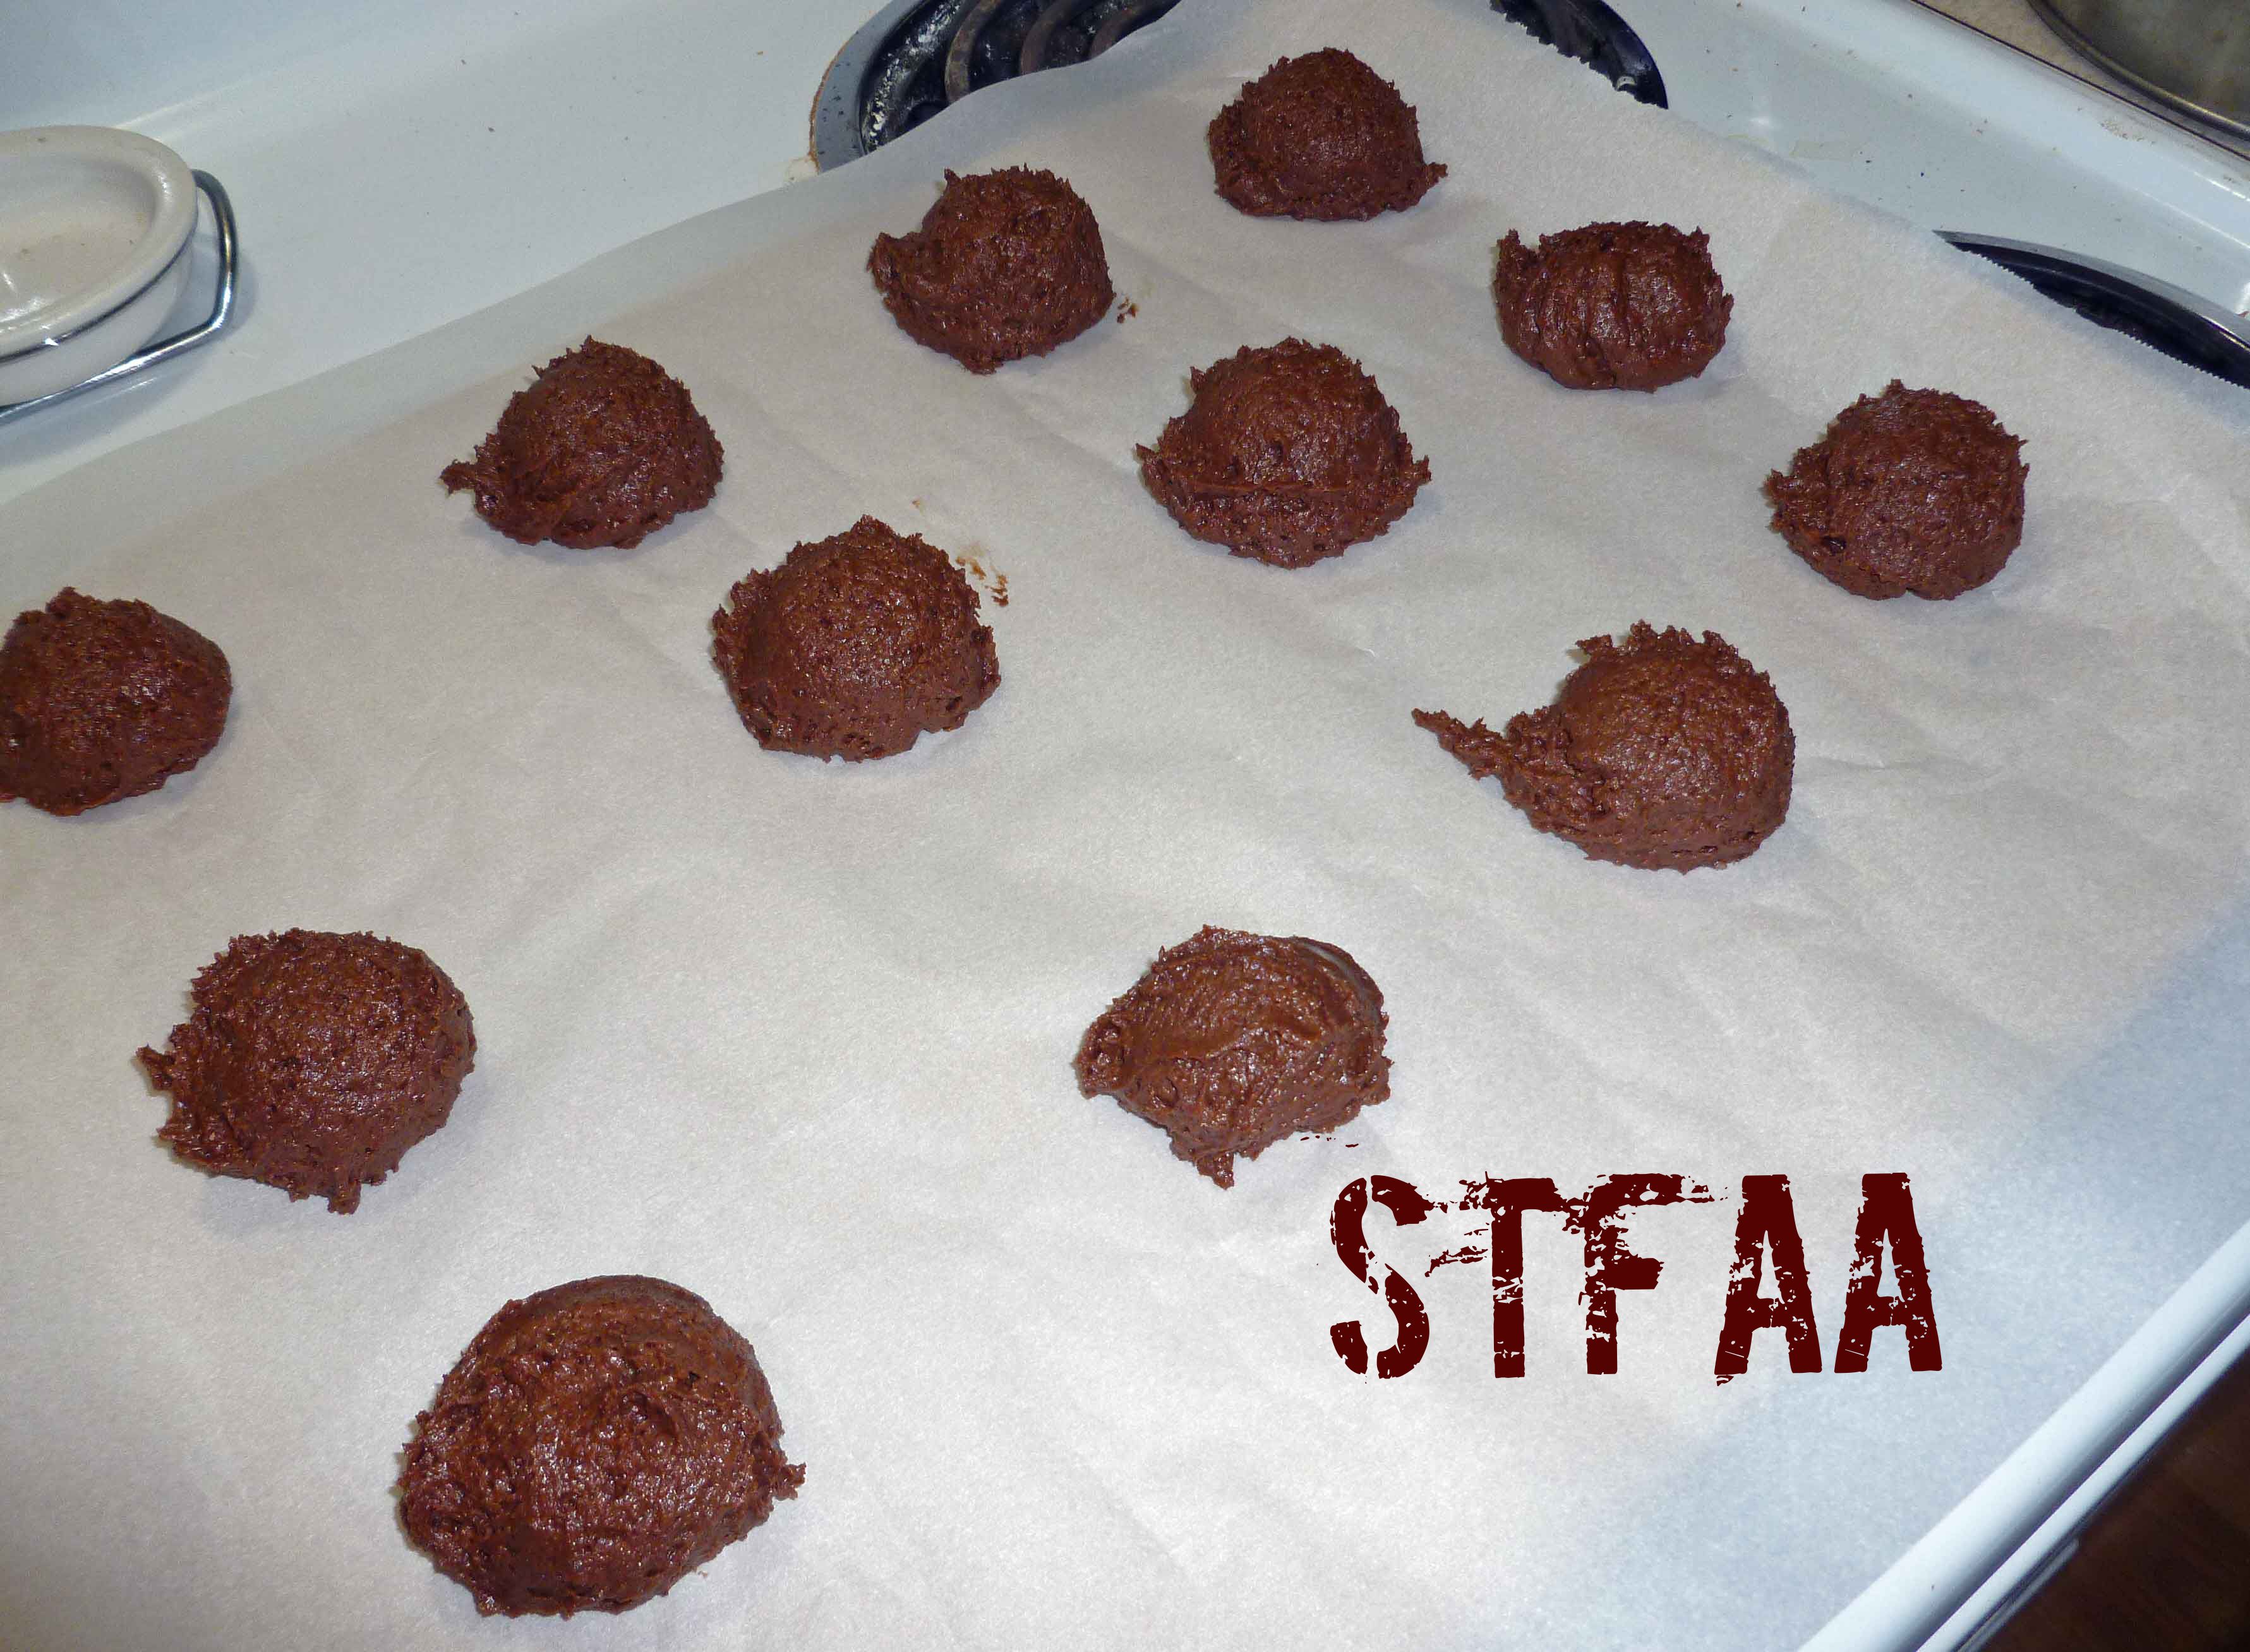
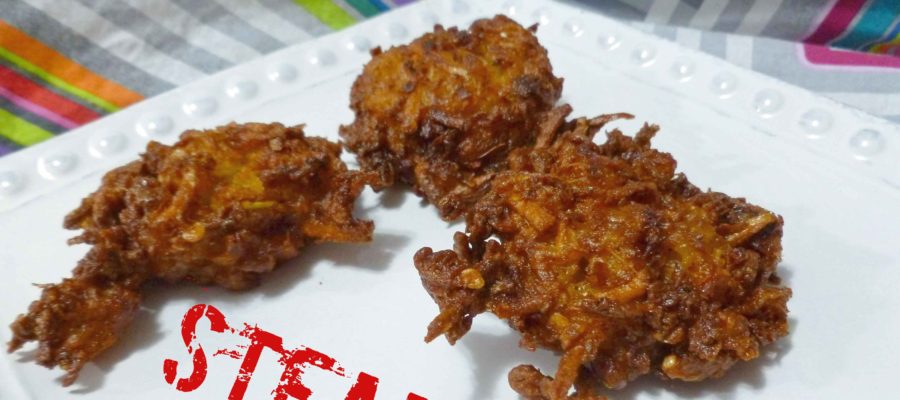
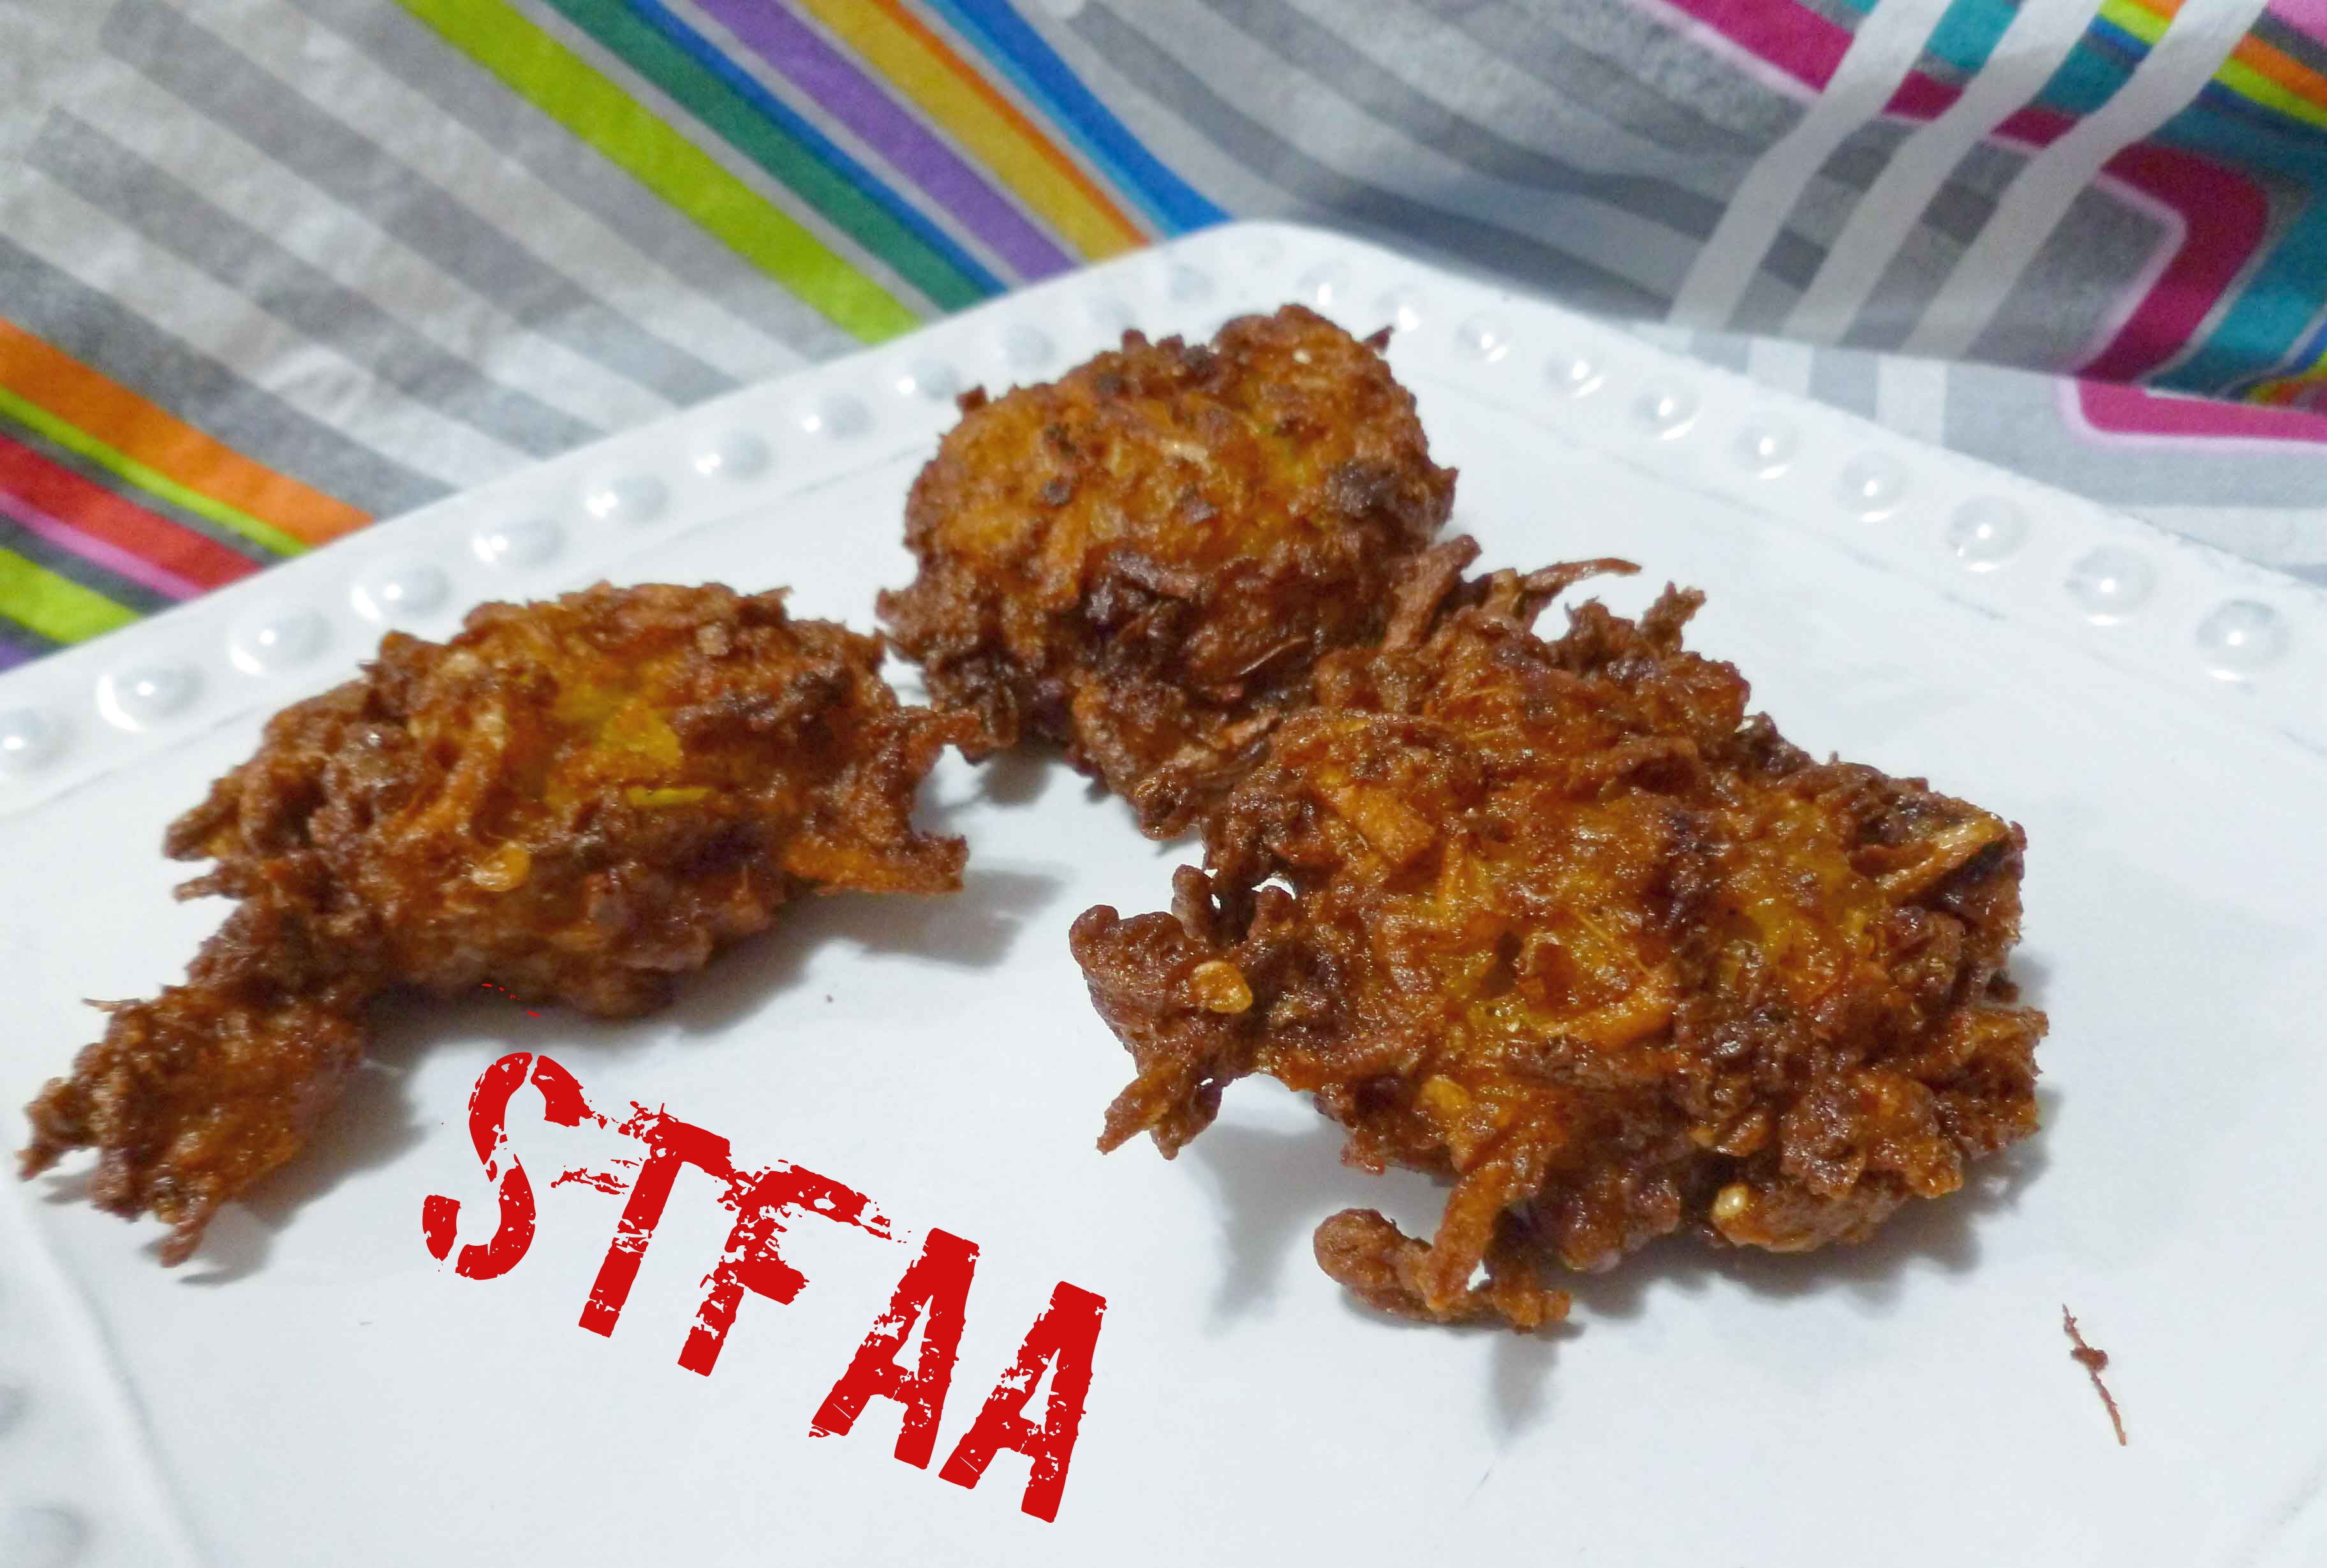
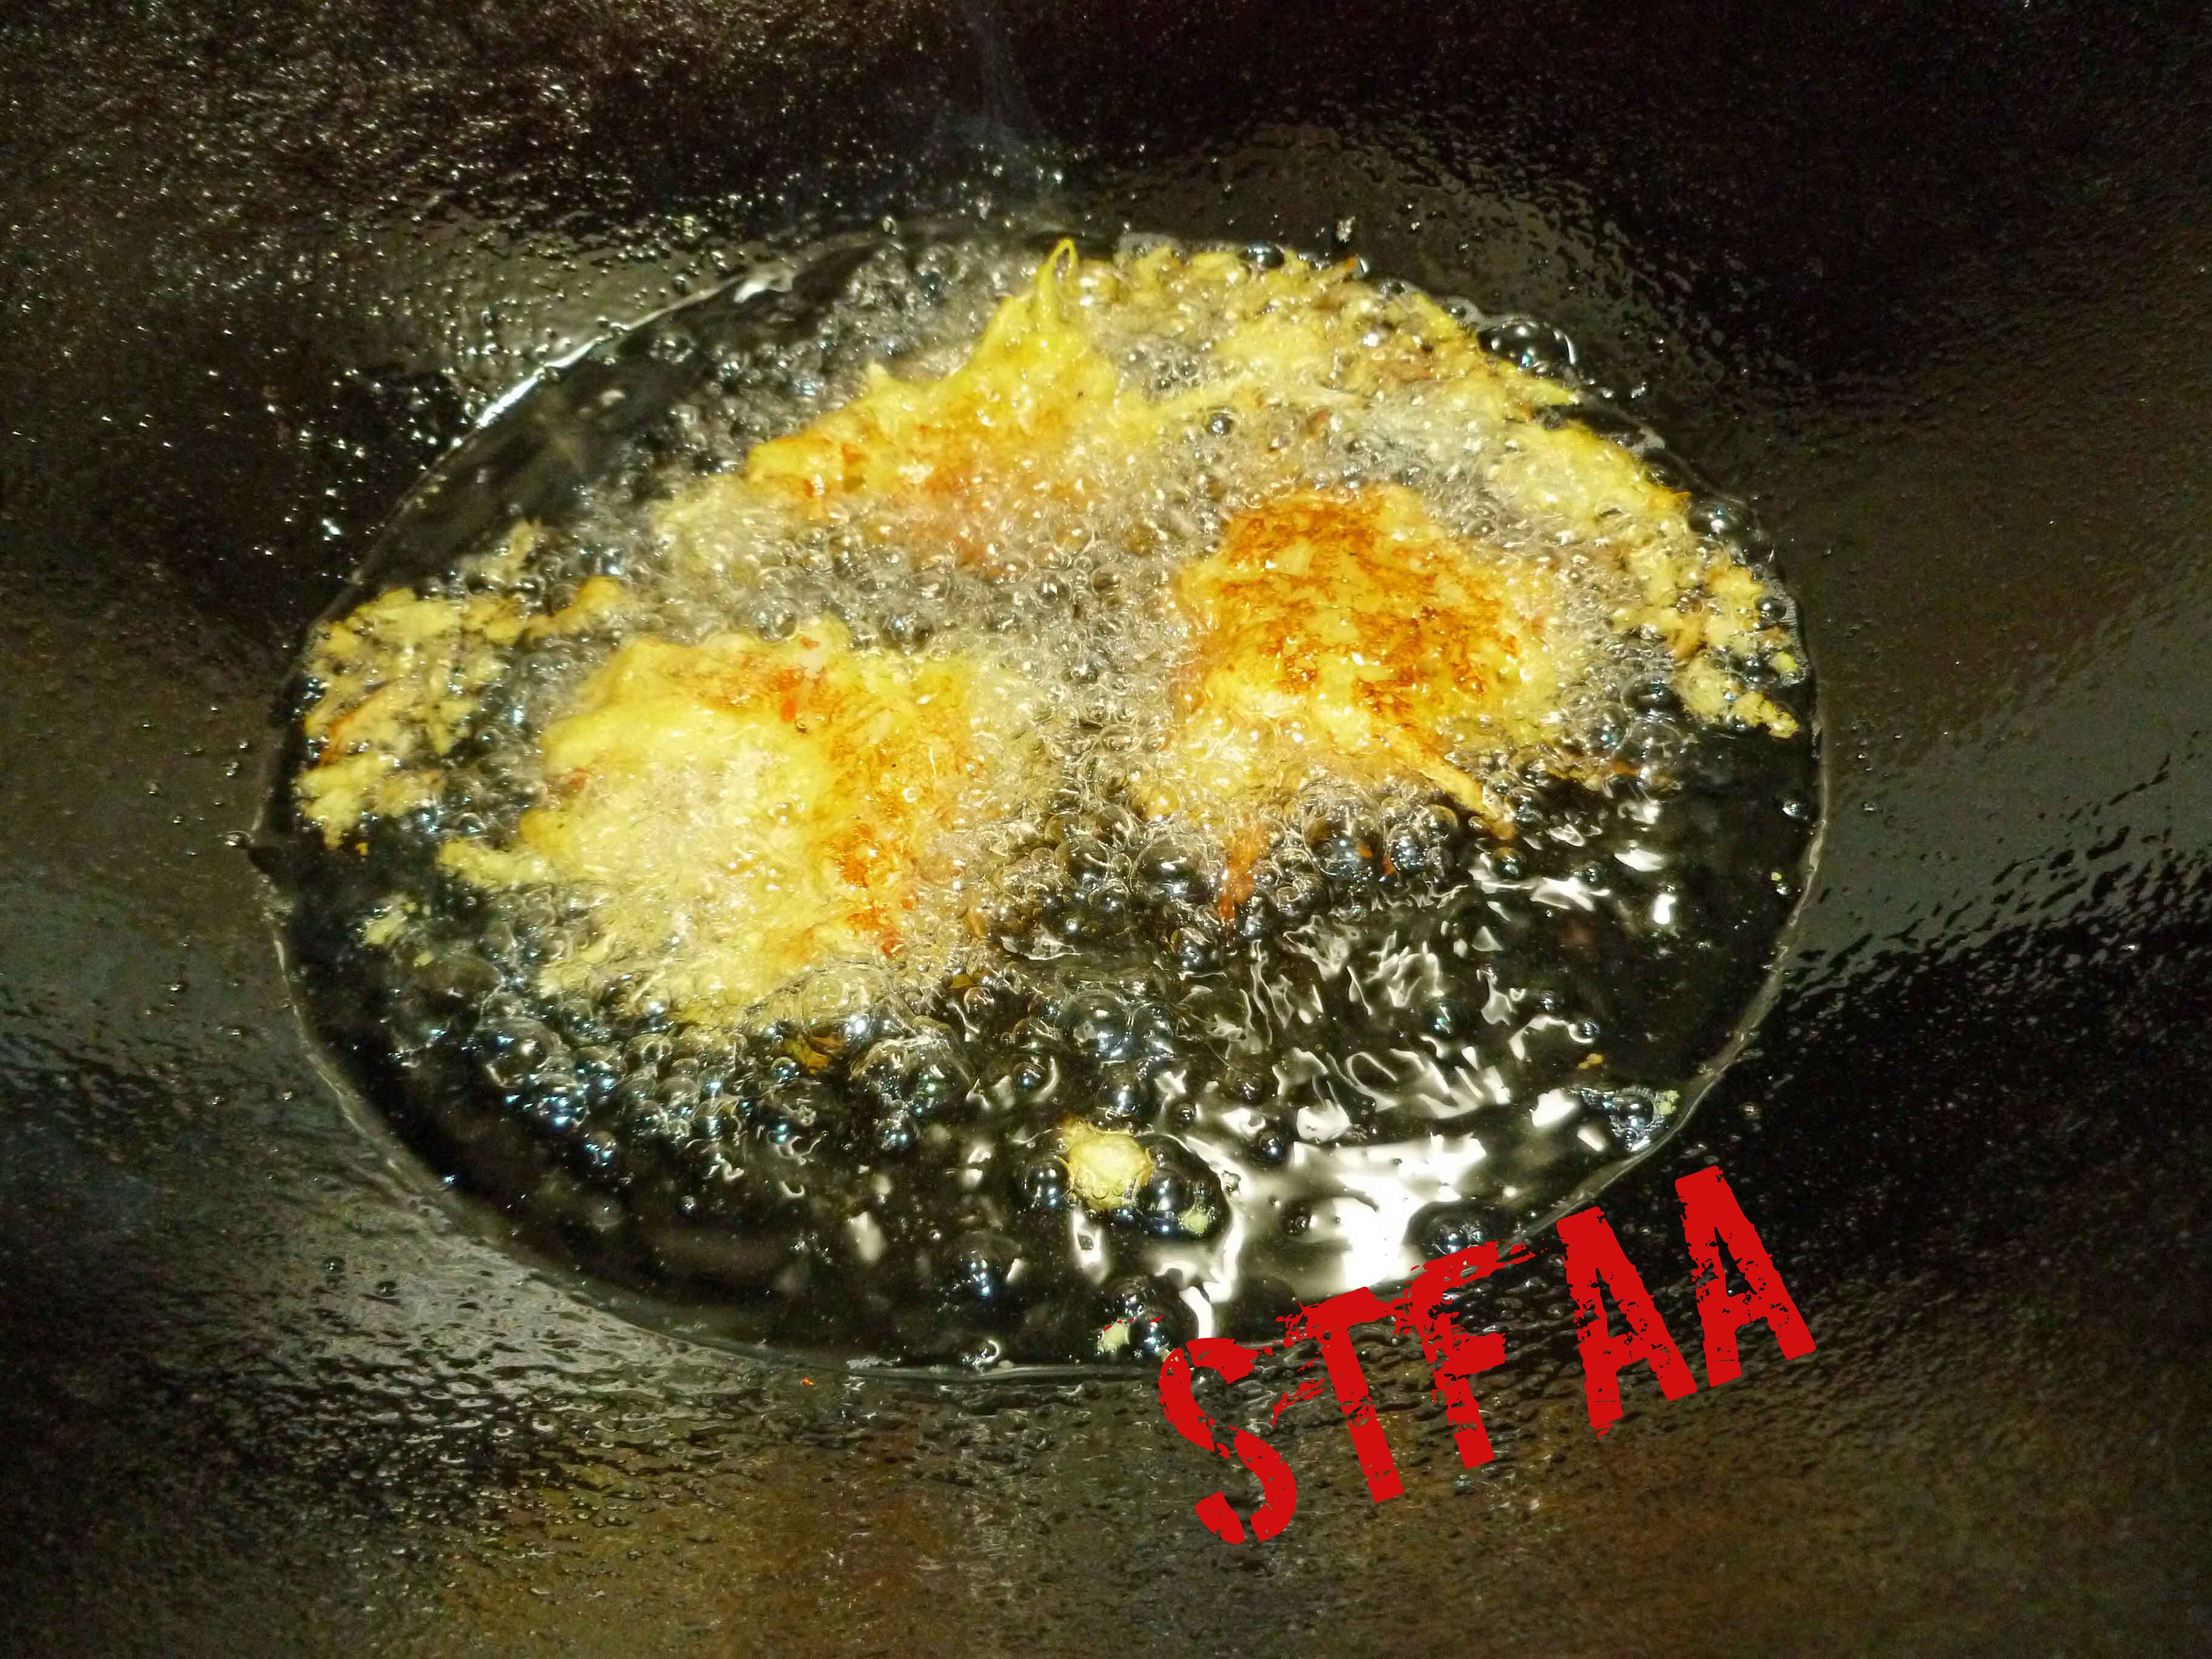
I’ve learned to deep fry in a stainless steel or cast iron pot using a thermometer. Deep fryers generally have nonstick interiors which could potentially give off fumes that would kill my parrot. Also, once you get used to it, it’s really no big deal to fry on the stove top. Just use a pot that’s nice and deep to prevent splattering. I use a Lodge cast iron wok and I love it for frying. High walls to prevent splatter, but large open surface and it uses less oil than a regular stock pot.
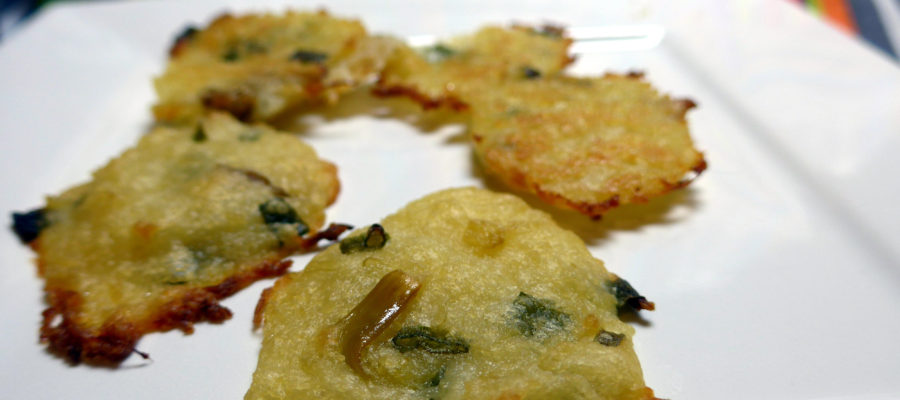
Once they are golden brown, you want to drain off the excess oil. Conventional wisdom says its best to drain on a rack over paper towels, but…that’s just one more damn thing I’m going to have to wash, and I don’t care enough.
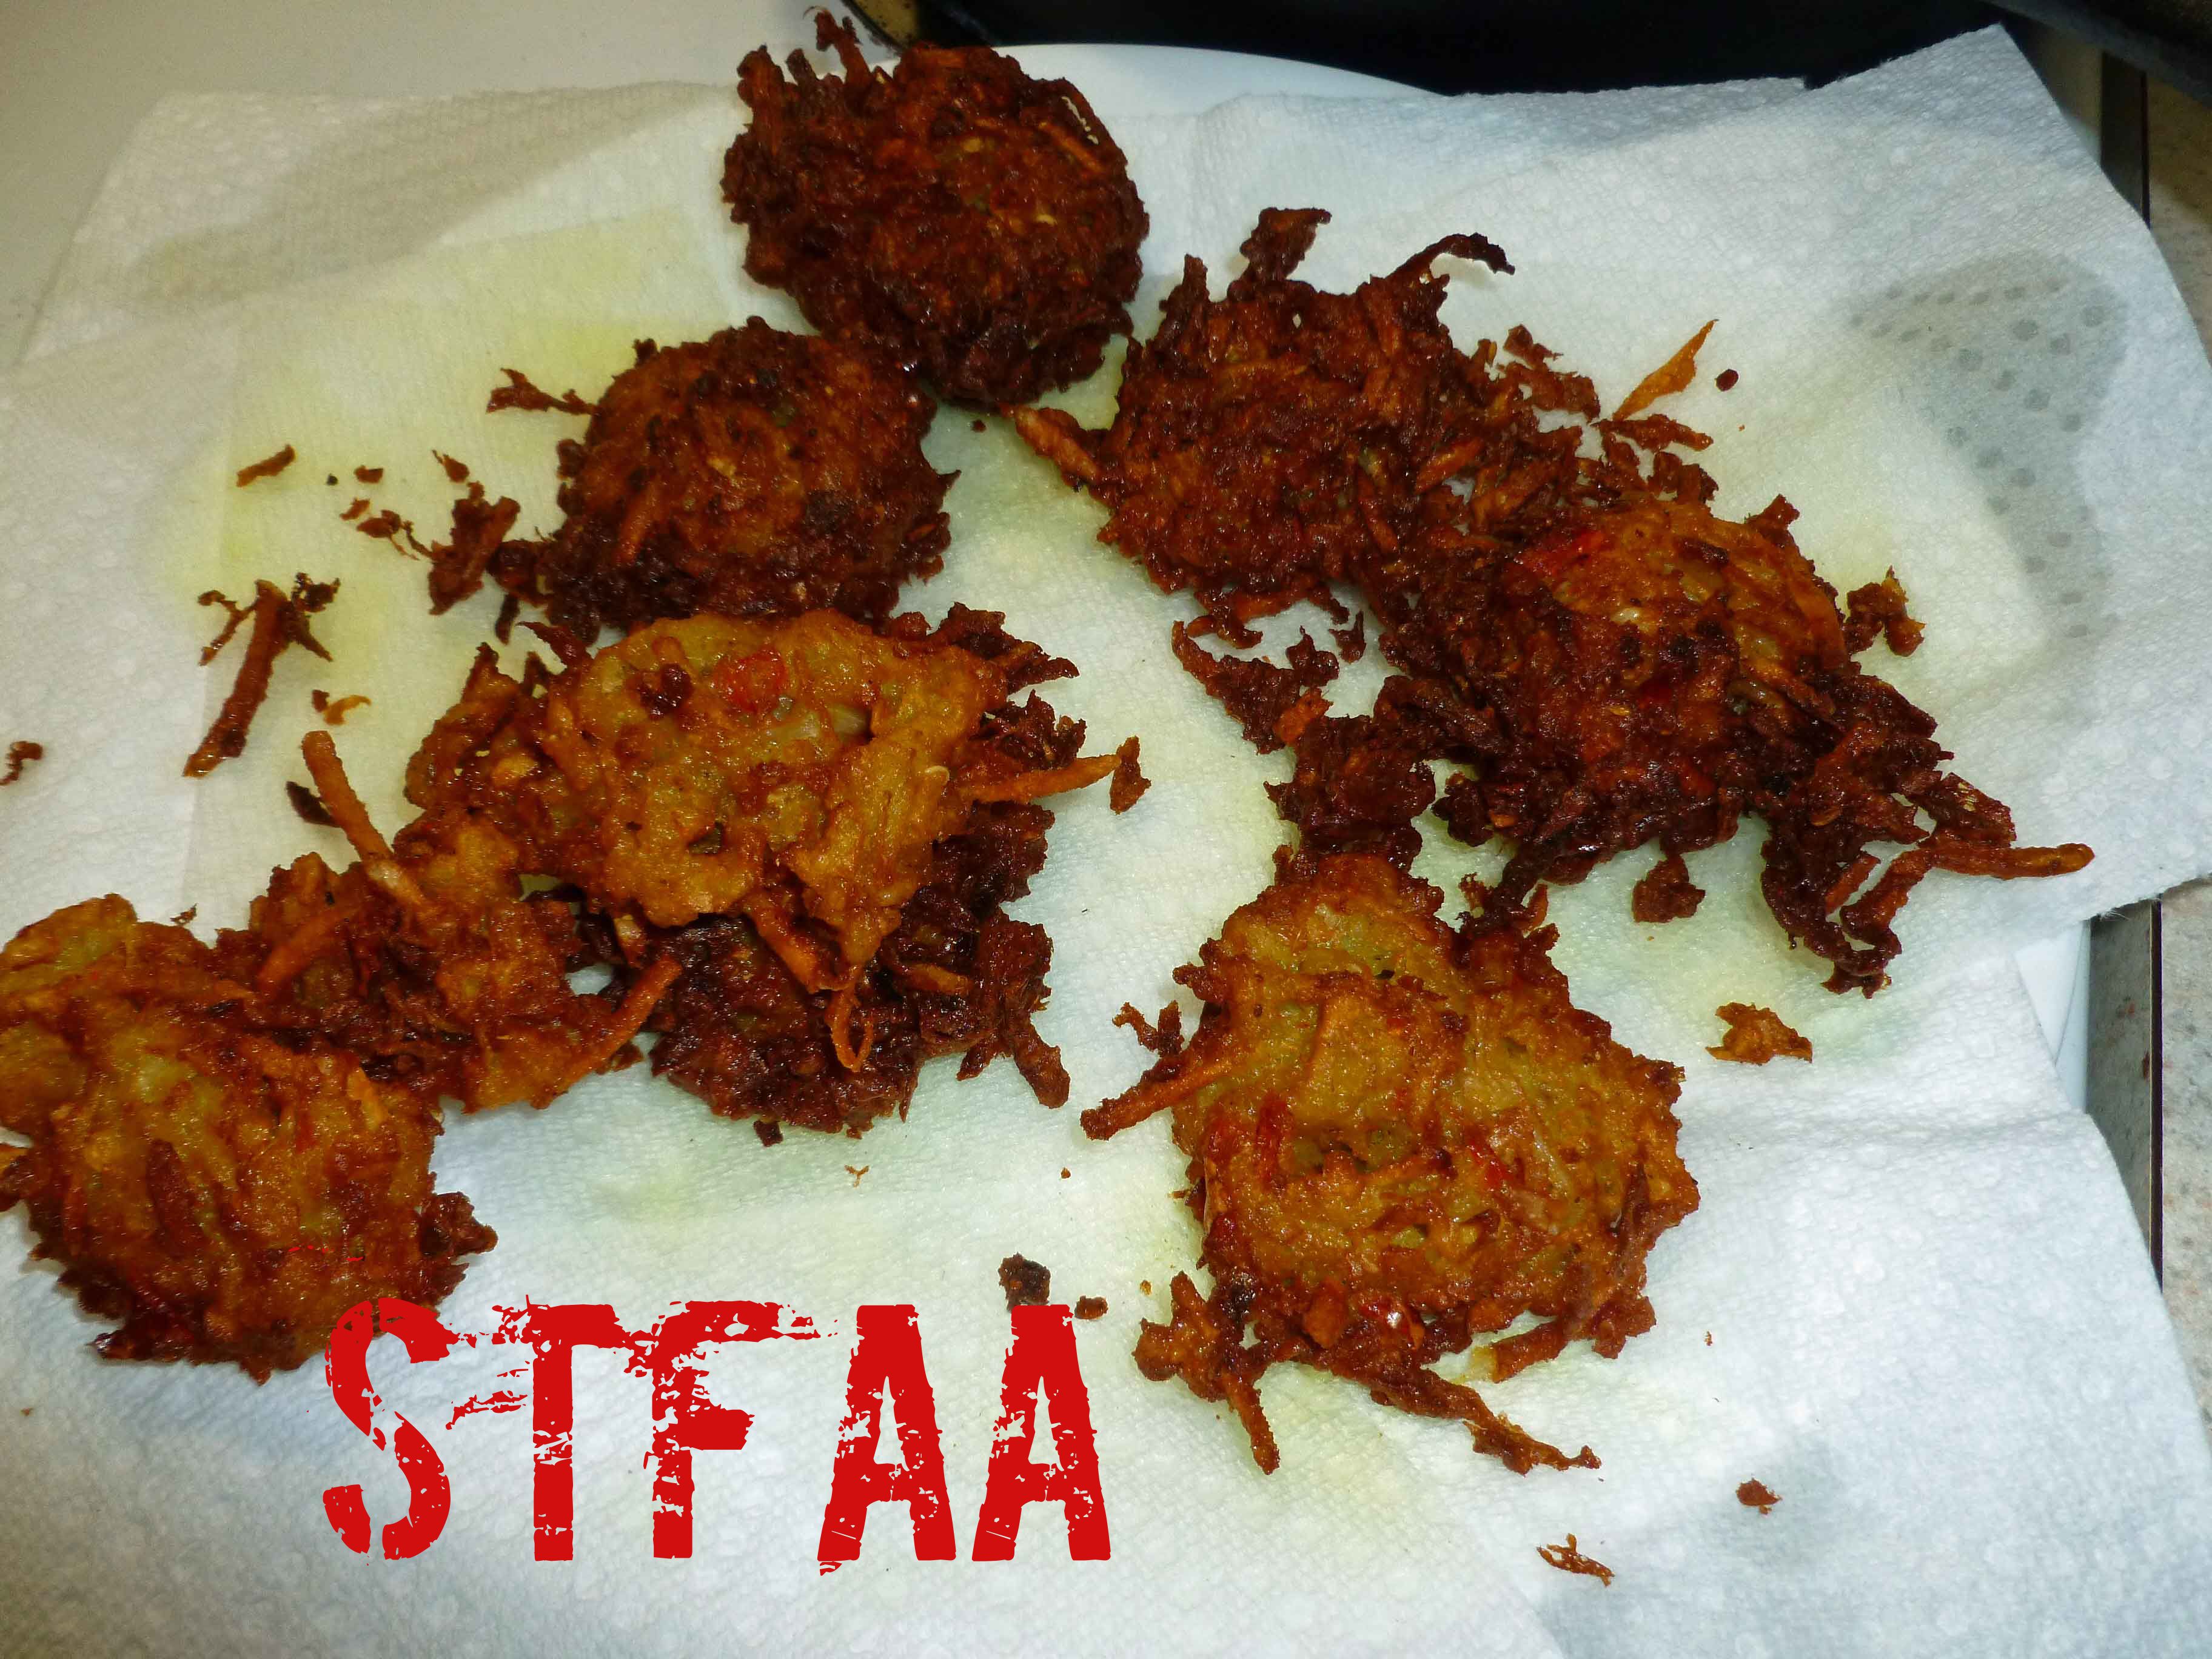
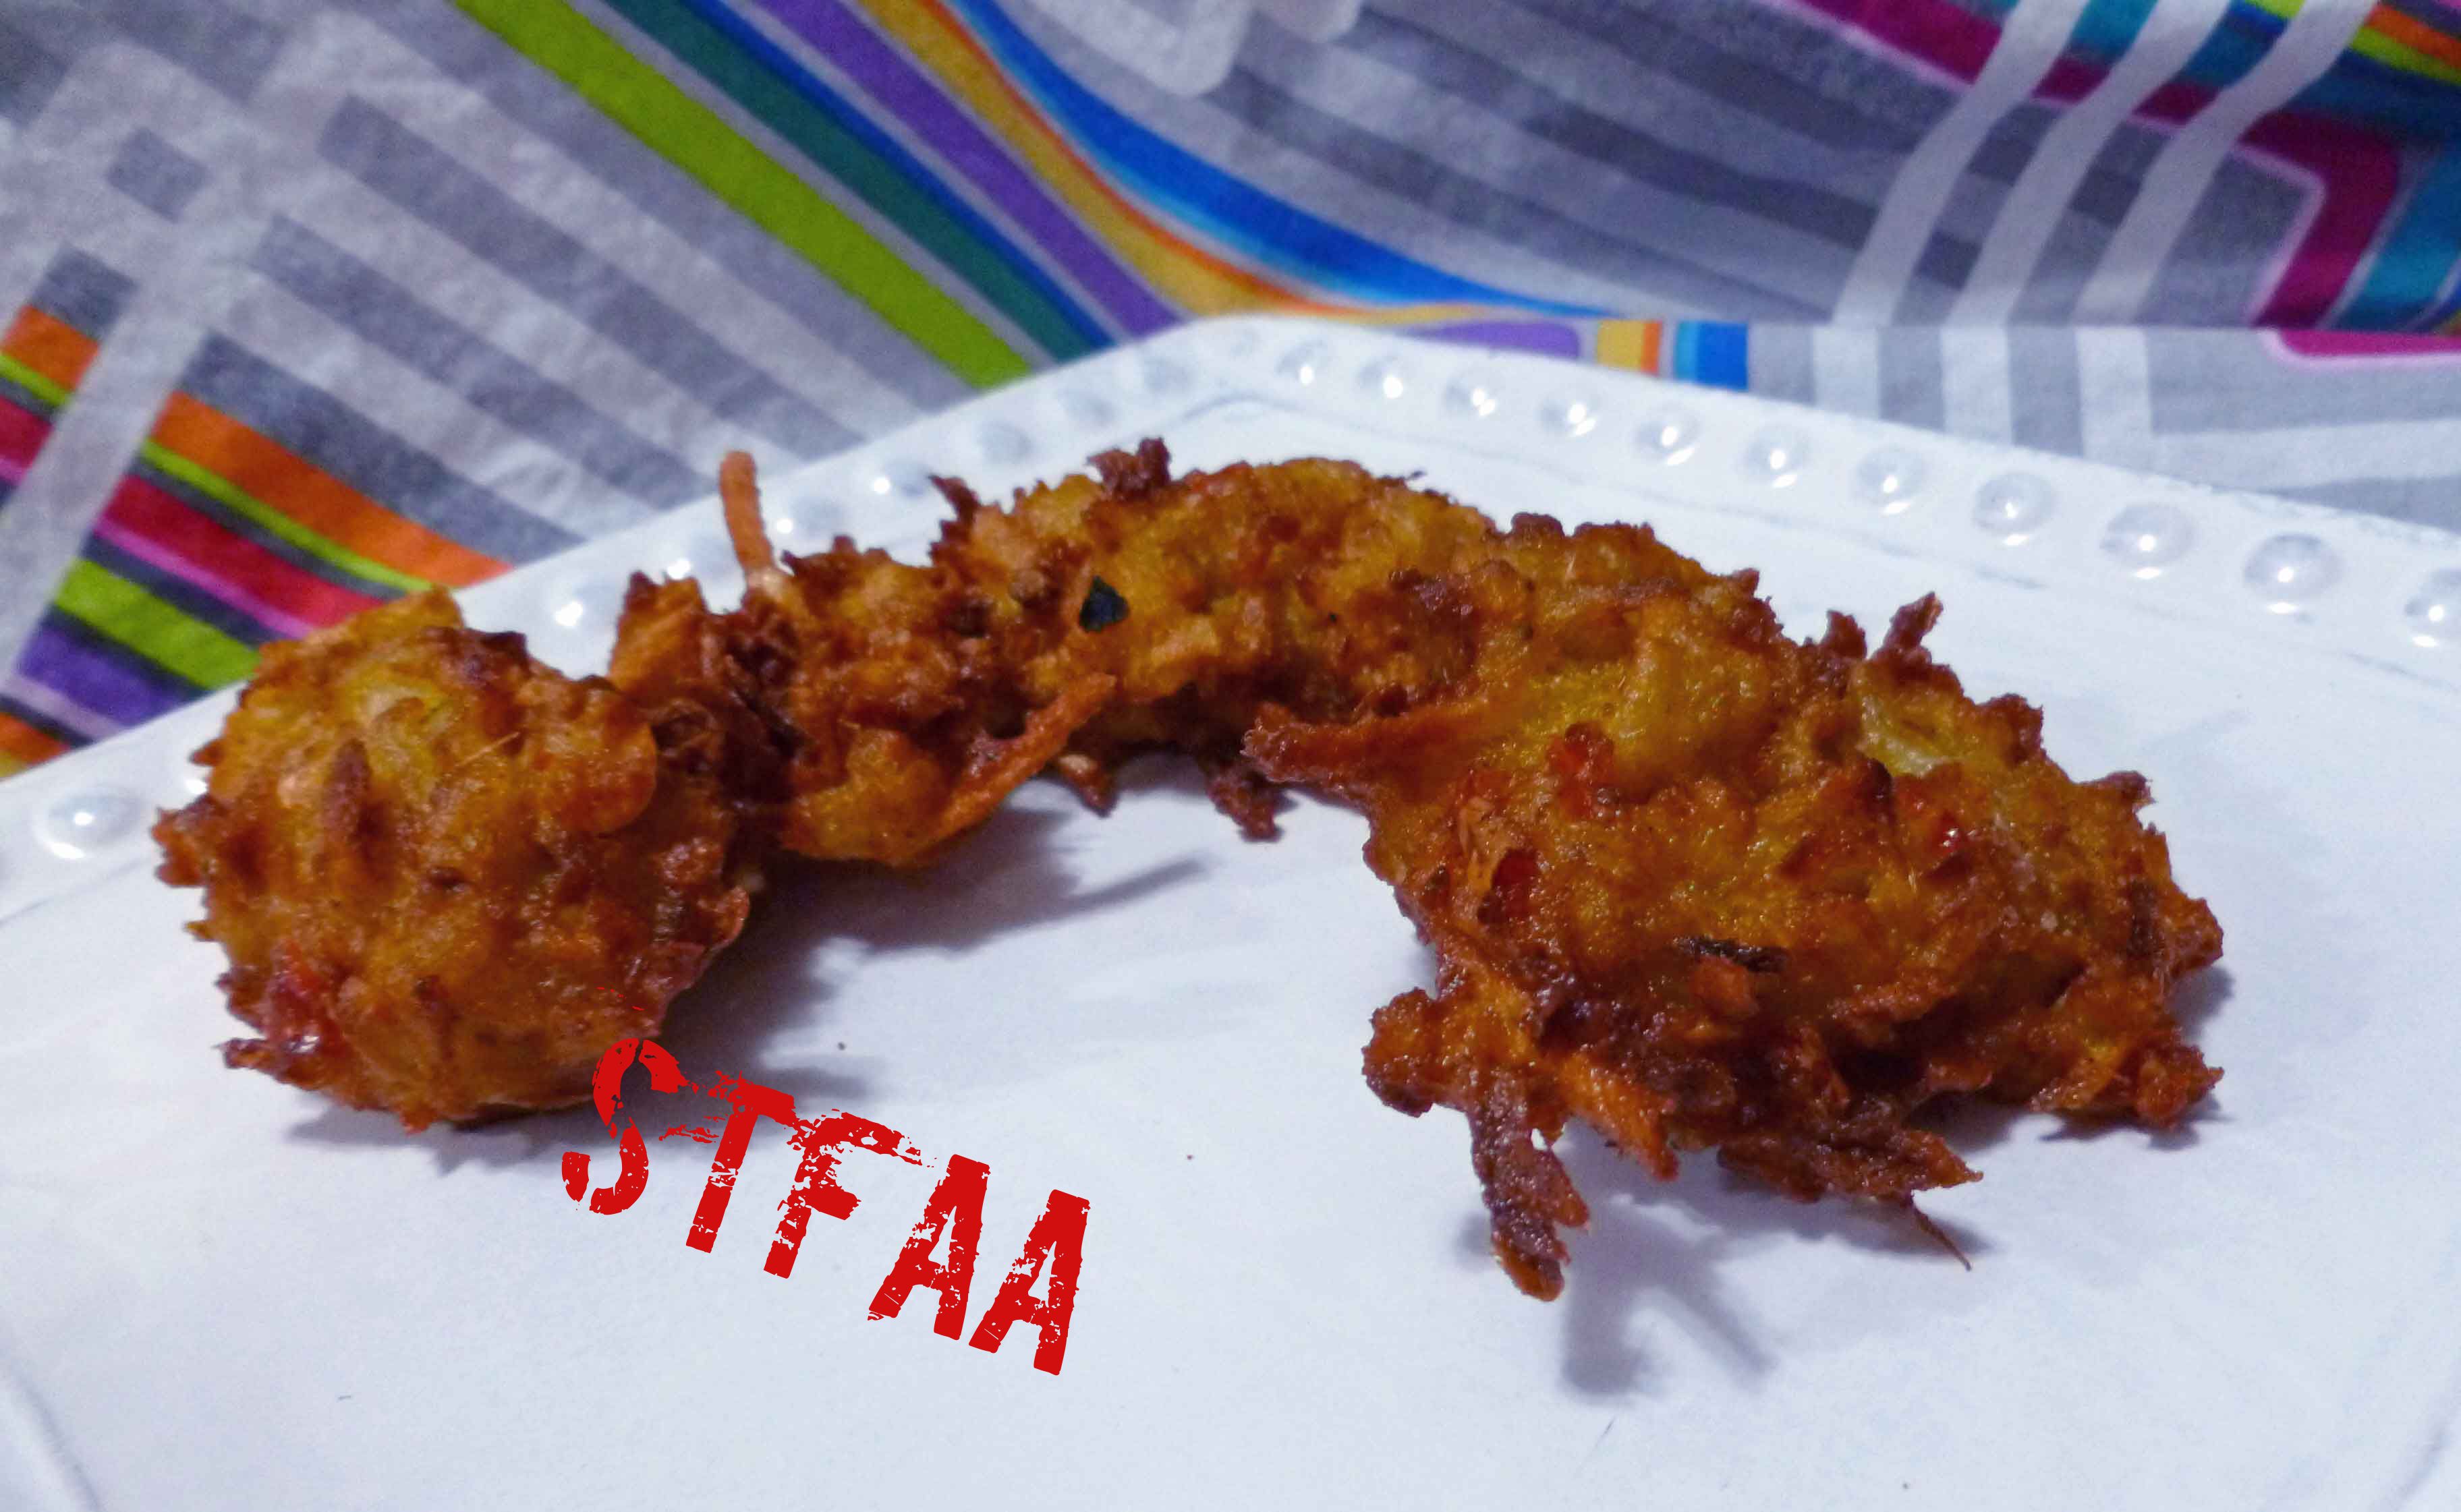
Serve with ketchup or a chili sauce or you can mix up some chaat masala to sprinkle on them. Enjoy!
Notice: Trying to access array offset on value of type bool in /home/maryzahc/public_html/adultfoodallergies.com/wp-content/plugins/wp-ultimate-recipe/helpers/models/recipe.php on line 254
- 1 medium onion
- 1 clove elephant garlic (if you don’t have elephant garlic, use an entire bulb of regular garlic)
- 1 hot pepper, destemmed and deseeded (use a jalapeno, serrano, or cayenne pepper depending on your preferred level of heat)
- 2 teaspoons ginger grated
- 4 Tablespoons garbanzo bean flour (besan)
- 1 Tablespoon rolled oats
- 1 Tablespoon rice flour
- 1/2 teaspoon sea salt
- 1/8 teaspoon ground turmeric
- 1/4 teaspoon crushed red pepper
- 1/4 teaspoon ground cumin
- 1/4 teaspoon ground garam masala
- 1/2 inch piece of peeled ginger
- water
- safe oil for frying
- thermometer
- stainless steel or cast iron pot
- Thinly chop up the onion, garlic, and pepper, and grate 2 teaspoons of ginger. I used the grater blade in my food processor for the vegetables, and grated my ginger with a ginger grater (you could use a microplaner). If you are using a knife, wear safe for you food prep gloves to prevent you from burning your hands when chopping the pepper.
- In a blender, place the garbanzo bean flour, oats, rice flour, salt, turmeric, crushed red pepper, cumin, garam masala, 1/2 inch piece of peeled ginger. Blend. Add enough water, teaspoon by teaspoon to form a thick paste, scraping down the sides as necessary. Keep the paste thick as more water will be added when you add the vegetables.
- Add the chopped vegetables, and blend for only a few seconds, just enough to incorporate the veggies with the paste. You do not want the vegetables pureed. Empty the blender into a bowl or container and make sure the mix is well combined.
- Place safe oil into a stainless steel or cast iron pot, two inches deep. Heat oil until the temperature is 360°F. Using a tablespoon or small scoop, place a spoonful or scoop into the hot oil and deep fry a few minutes on each side until golden brown.
- Place on plate with paper towels to drain off excess oil. Serve warm with a ketchup or chili sauce, or try making up your own chaat masala mix. Enjoy!