Notice: Function _load_textdomain_just_in_time was called incorrectly. Translation loading for the wp-ultimate-recipe domain was triggered too early. This is usually an indicator for some code in the plugin or theme running too early. Translations should be loaded at the init action or later. Please see Debugging in WordPress for more information. (This message was added in version 6.7.0.) in /home/maryzahc/public_html/adultfoodallergies.com/wp-includes/functions.php on line 6121
Egg-free – Page 14 – surviving the food allergy apocalypse (archive)

Tag: Egg-free

Contains no egg or egg derivatives.

  • Blue Squash Ginger Soup

    blue squash ginger soup
    blue squash ginger soup

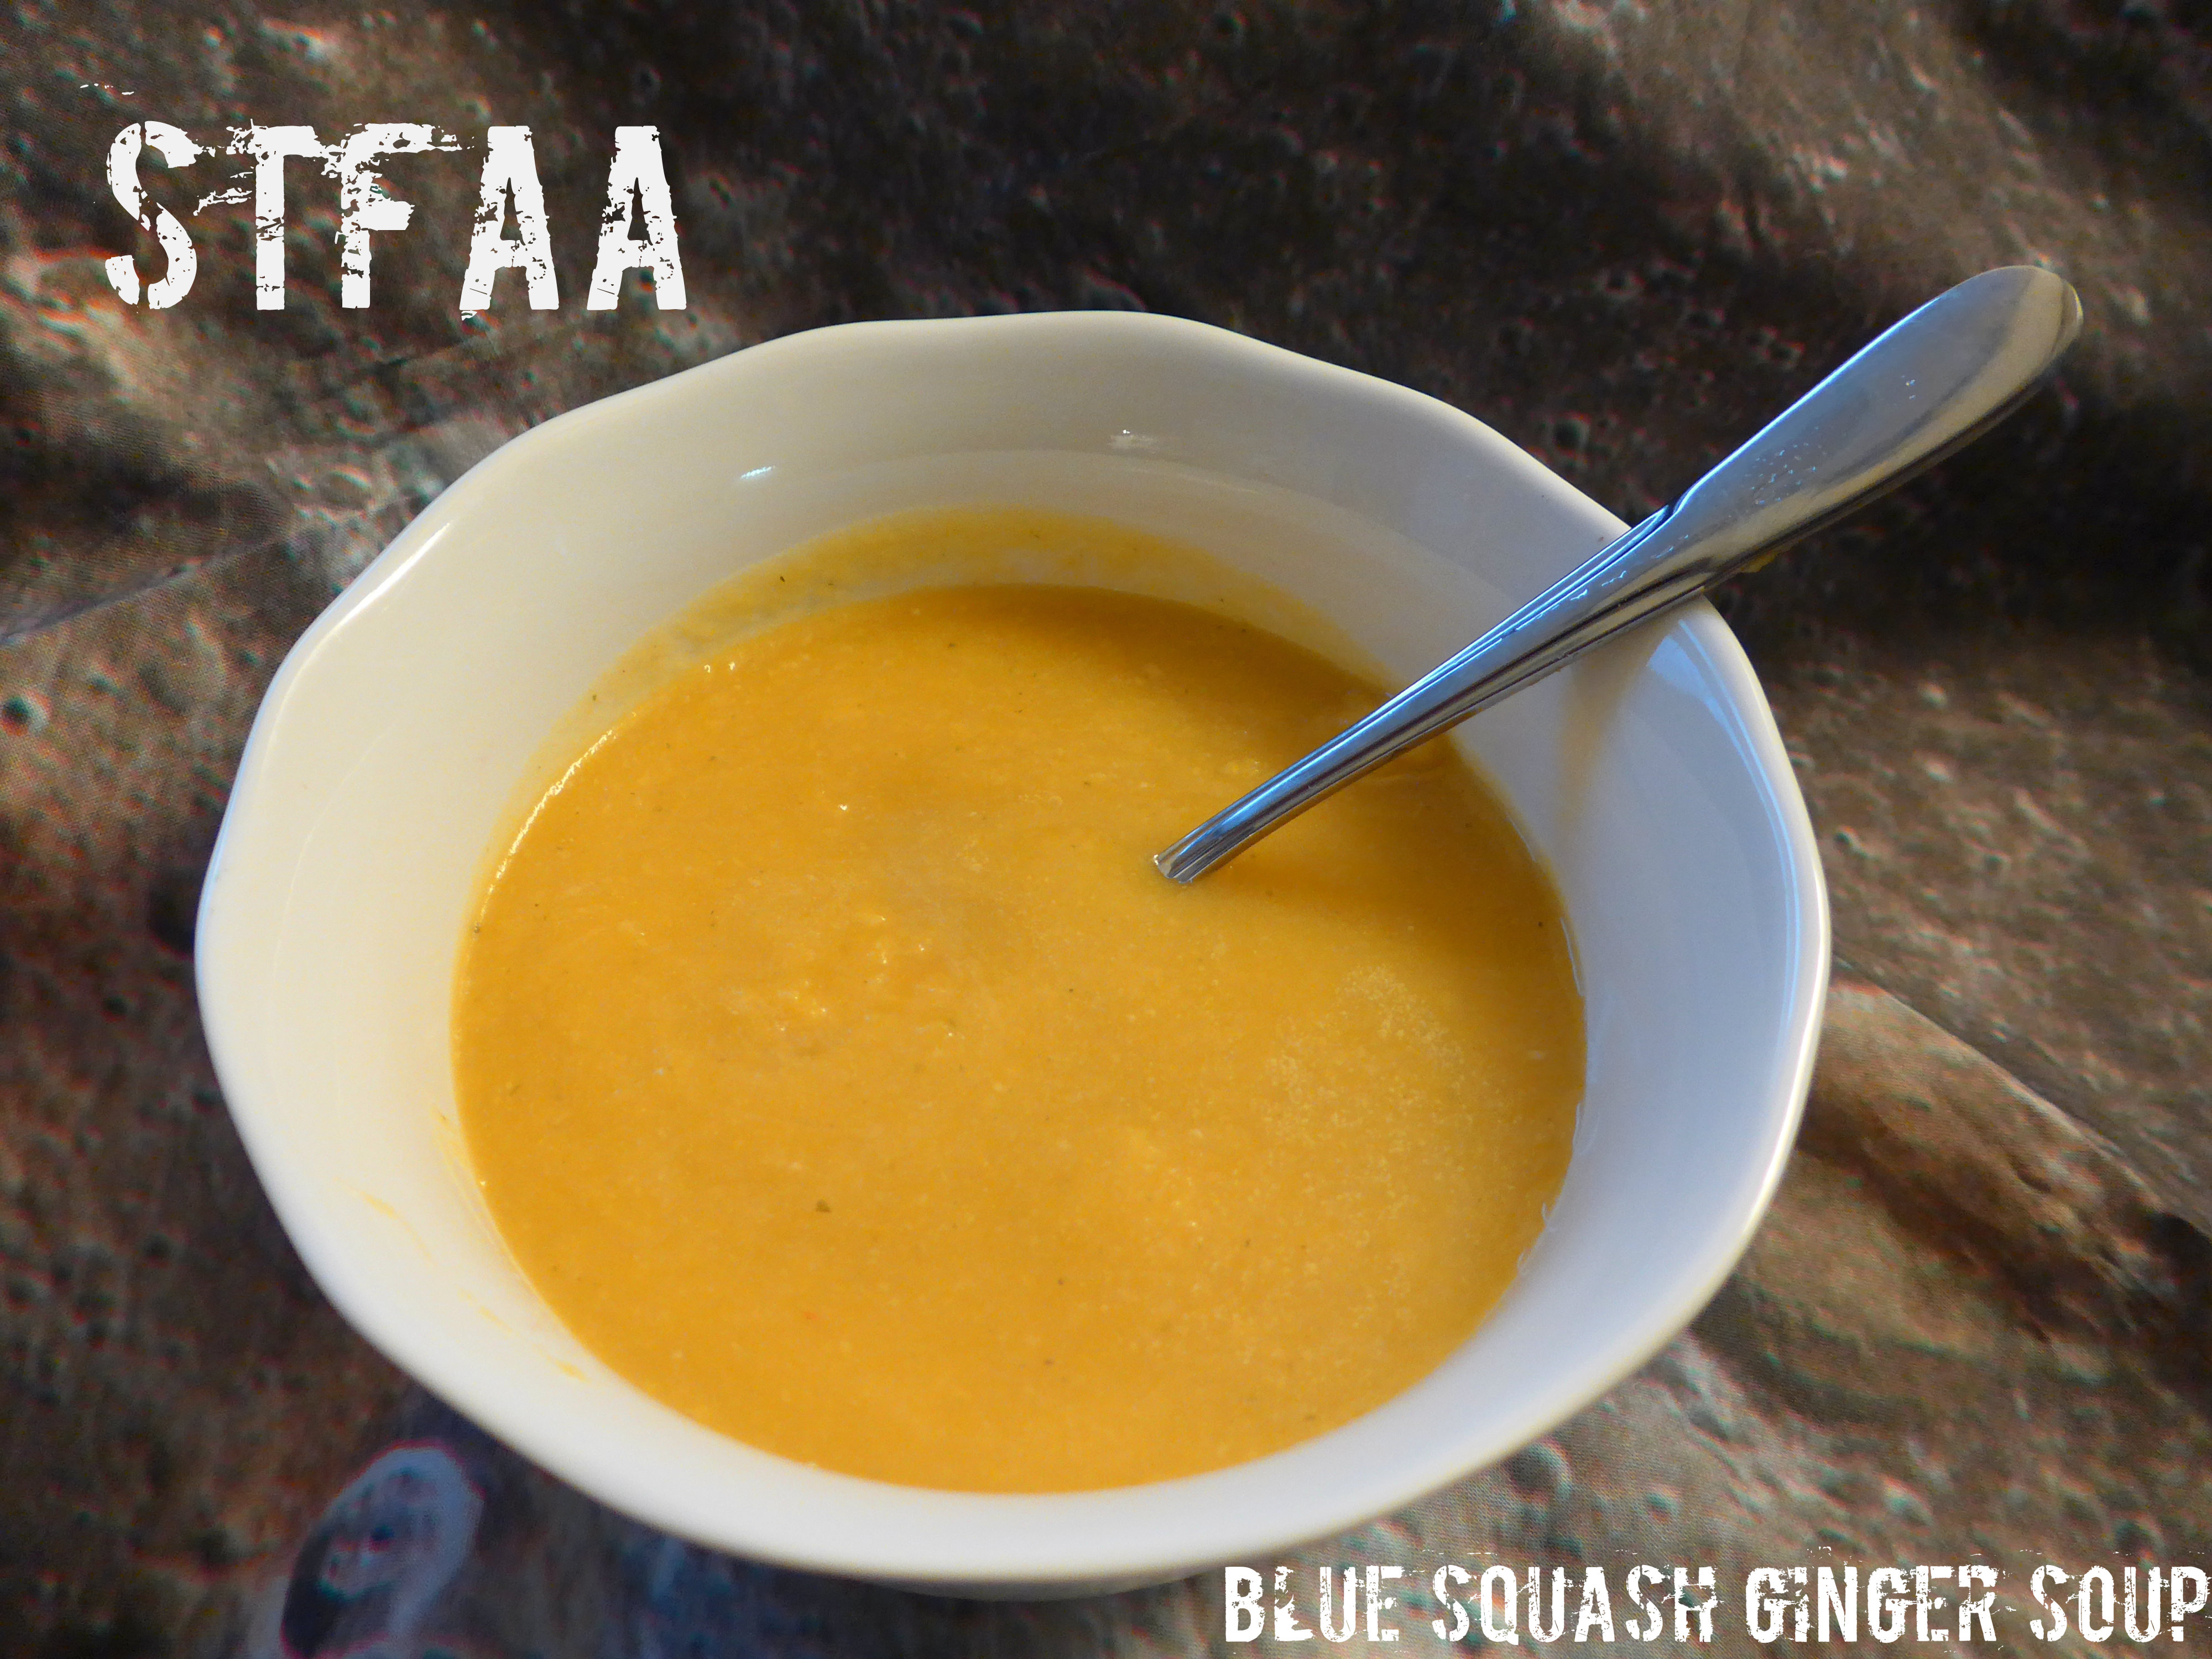
    This soup was inspired by the huge fragment of a Blue Hubbard Squash I bought because I wanted to try one. But then I had to figure out what to do with 3.5 lbs of squash. That’s too much roasted squash to be reasonable, so I figured why not soup.

    Blue hubbard is weirdly blue-ish on the outside, and lighter and yellower than butternut squash on the inside. It’s a subtler flavor than butternut, in the best way possible. For lack of a better description, it’s a “cleaner” squash taste. It’s really good. I really liked the blue hubbard, and despite the fact that hacking it up is a bit of a chore, I will definitely buy more of it.

    Because it’s chock full of ginger, I think this would also be a soothing soup if you weren’t feeling well. It’s a pretty straightforward recipe, but plan a little time for hacking at the squash with your biggest, sharpest knife. It’s light enough that it might make a good opener for Thanksgiving if soup or squash are on the menu, but a big bowl with a salad would also make a decent lunch.


    Notice: Trying to access array offset on value of type bool in /home/maryzahc/public_html/adultfoodallergies.com/wp-content/plugins/wp-ultimate-recipe/helpers/models/recipe.php on line 254
    Ginger Squash Soup
    Print Recipe
    A nice soup for a first course (if you are inclined to serve first courses) or any cold winter day. The coconut milk is nice, but completely optional, so feel free to omit it.
    Servings Prep Time
    1.5 quarts 15 minutes
    Cook Time Passive Time
    50 minutes 30 minutes
    Servings Prep Time
    1.5 quarts 15 minutes
    Cook Time Passive Time
    50 minutes 30 minutes
    Ingredients
    • 6 cups vegetable stock check for allergens if using commercial stock
    • 3.5 pounds blue hubbard squash (weight prior to removing rind)
    • 2 Tablespoons olive oil
    • 2 medium onions sliced thin for quicker cooking, about 2 cups
    • 2 inches fresh ginger peeled and grated
    • 1 Tablespoon garlic minced
    • 2 Tablespoons coconut milk OR other non-dairy milk, optional
    Servings: quarts
    Recipe Notes

    Cut large squash chunk into smaller chunks. Then cut rind off and cut remaining squash into large — 2 inch cube — chunks.

    Bring 6 cups of vegetable stock (or water and bouillon) to a boil in a large soup or stock pot. Add squash and cook until tender, about 20-30 minutes, but could vary based on the size of your chunks.

    Drain the squash, but reserve the liquid. Either scoop out the squash with a slotted spoon, or put a colander into a large heat-safe bowl and dump. You will use most, but not all, of the stock to make the soup.

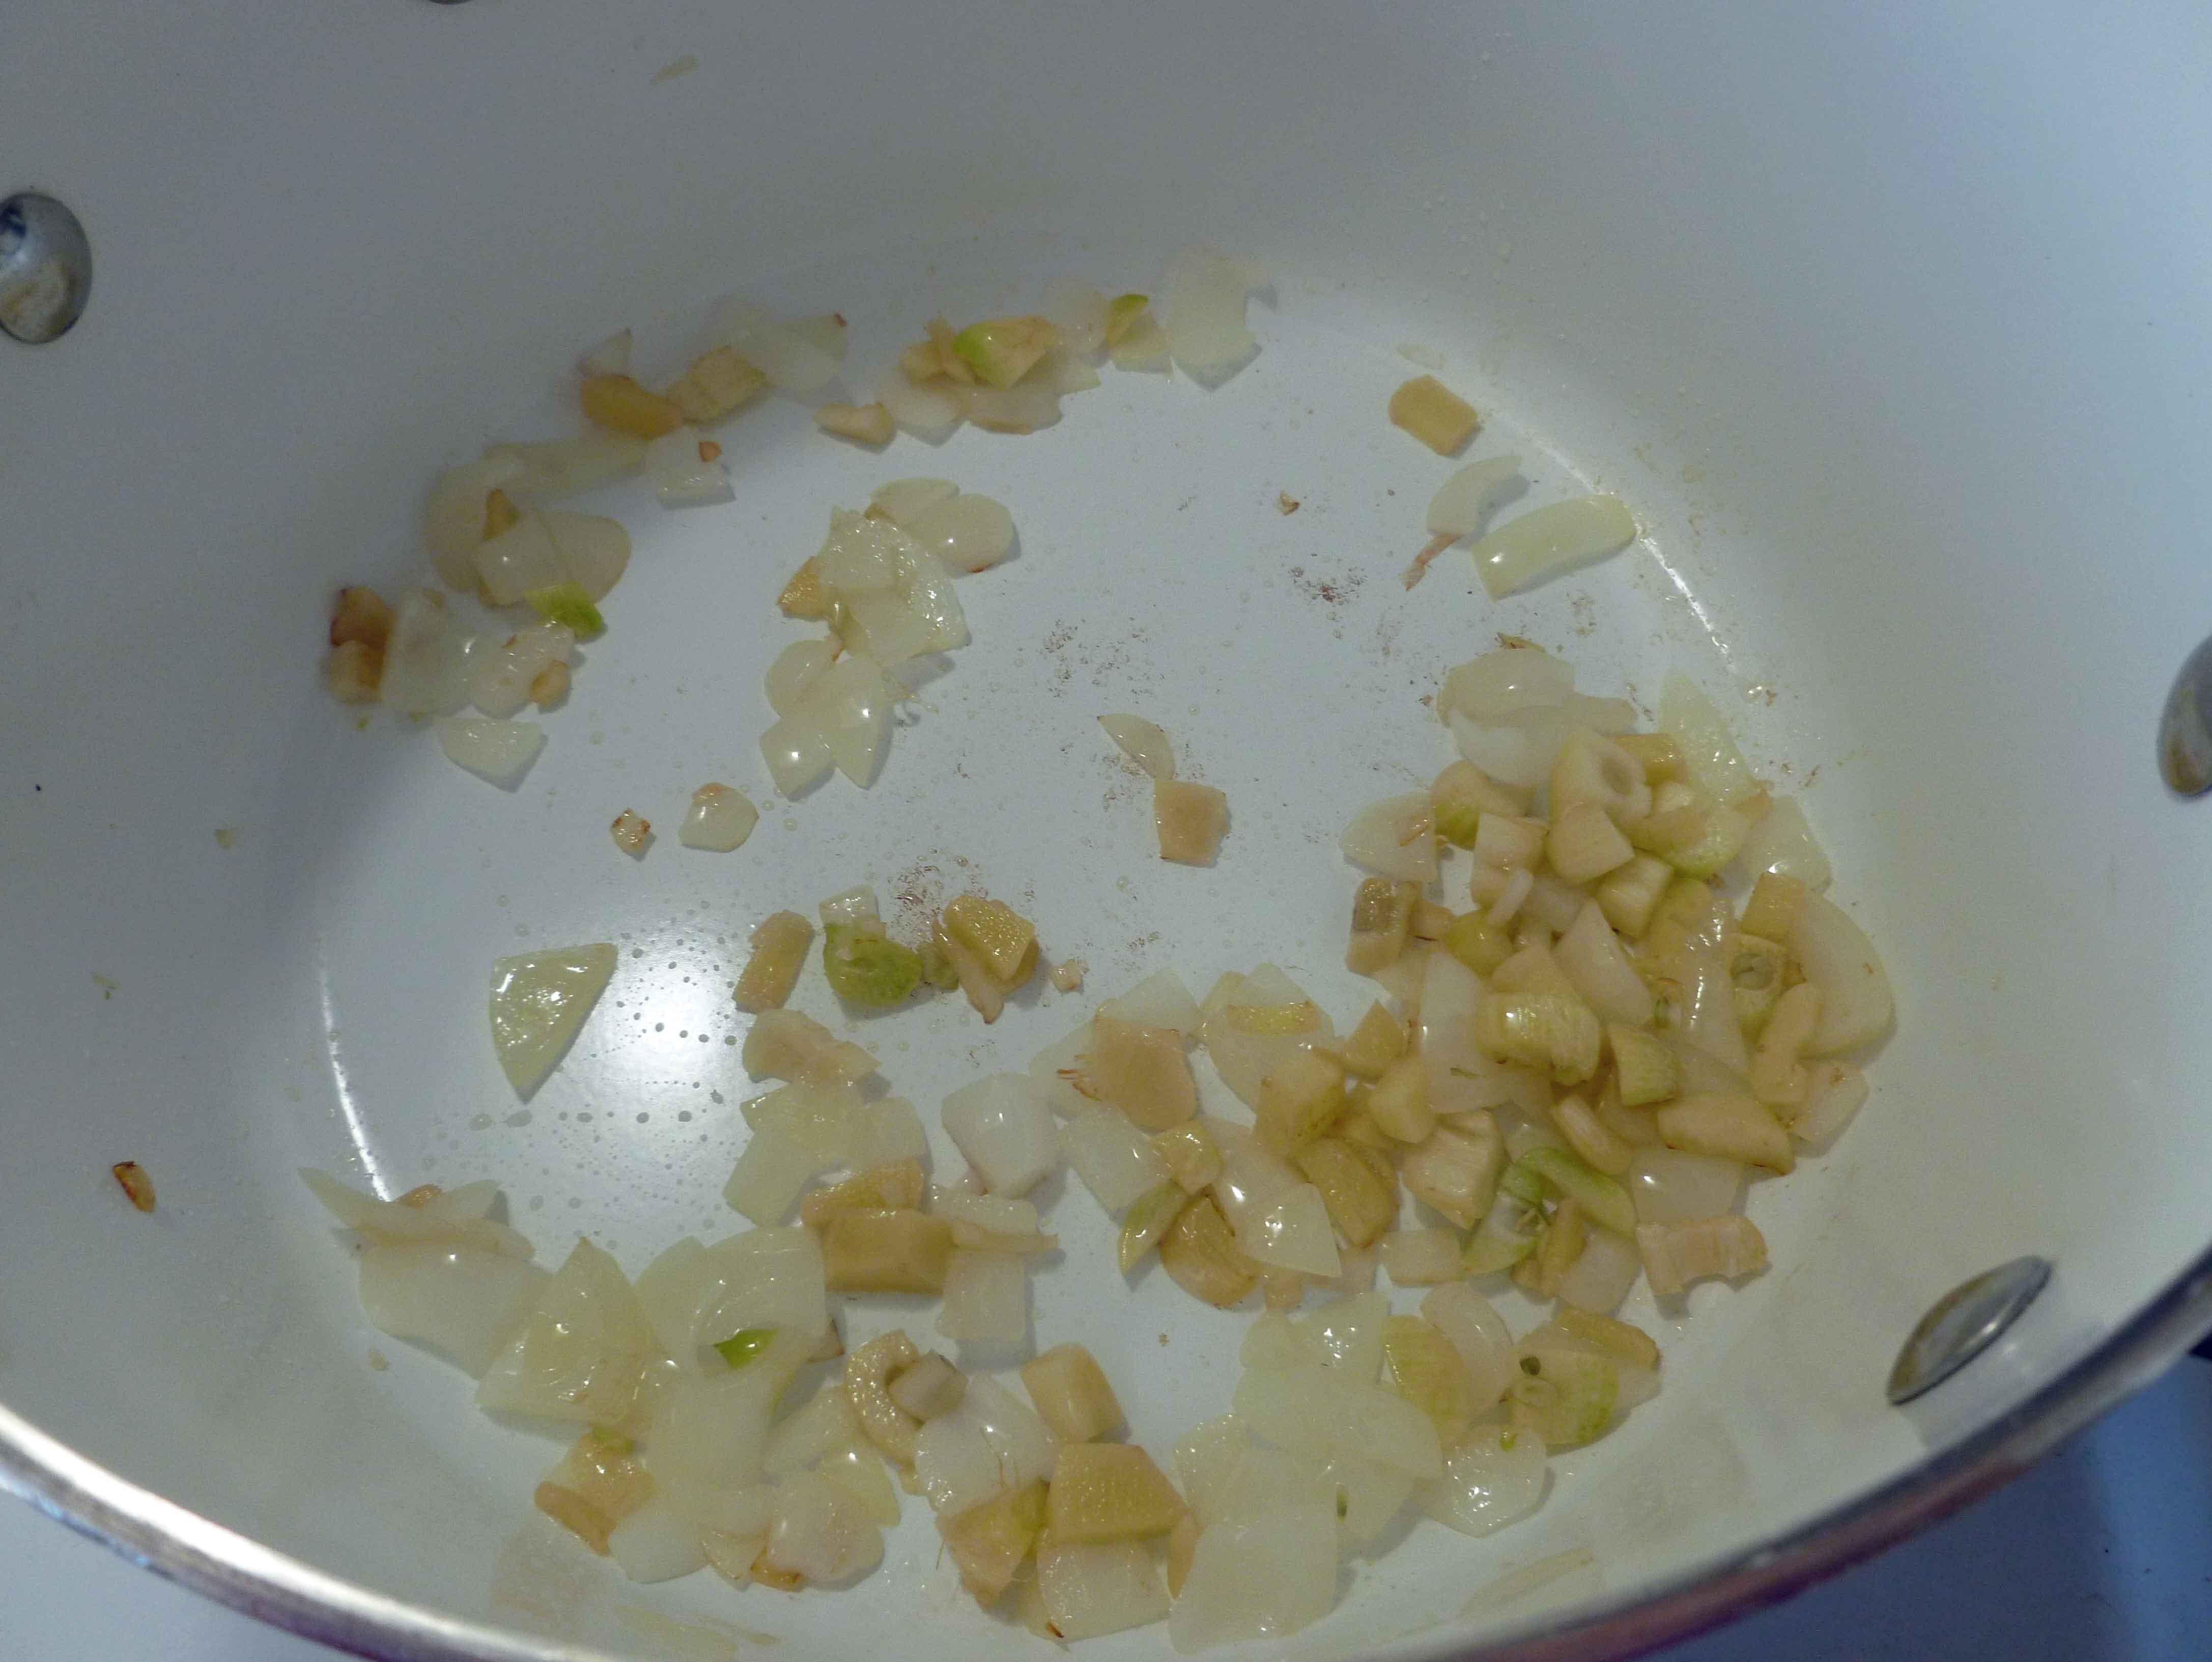
    Saute the onions in the olive oil. When the onions are translucent and beginning to brown, add the ginger, stirring well, and the garlic, also stirring well. When these are fragrant, add the squash; stir well.

    Add about 4 cups of the reserved stock, more if needed to cover all the squash, and bring the entire pot to a boil. Simmer for about 20 minutes.

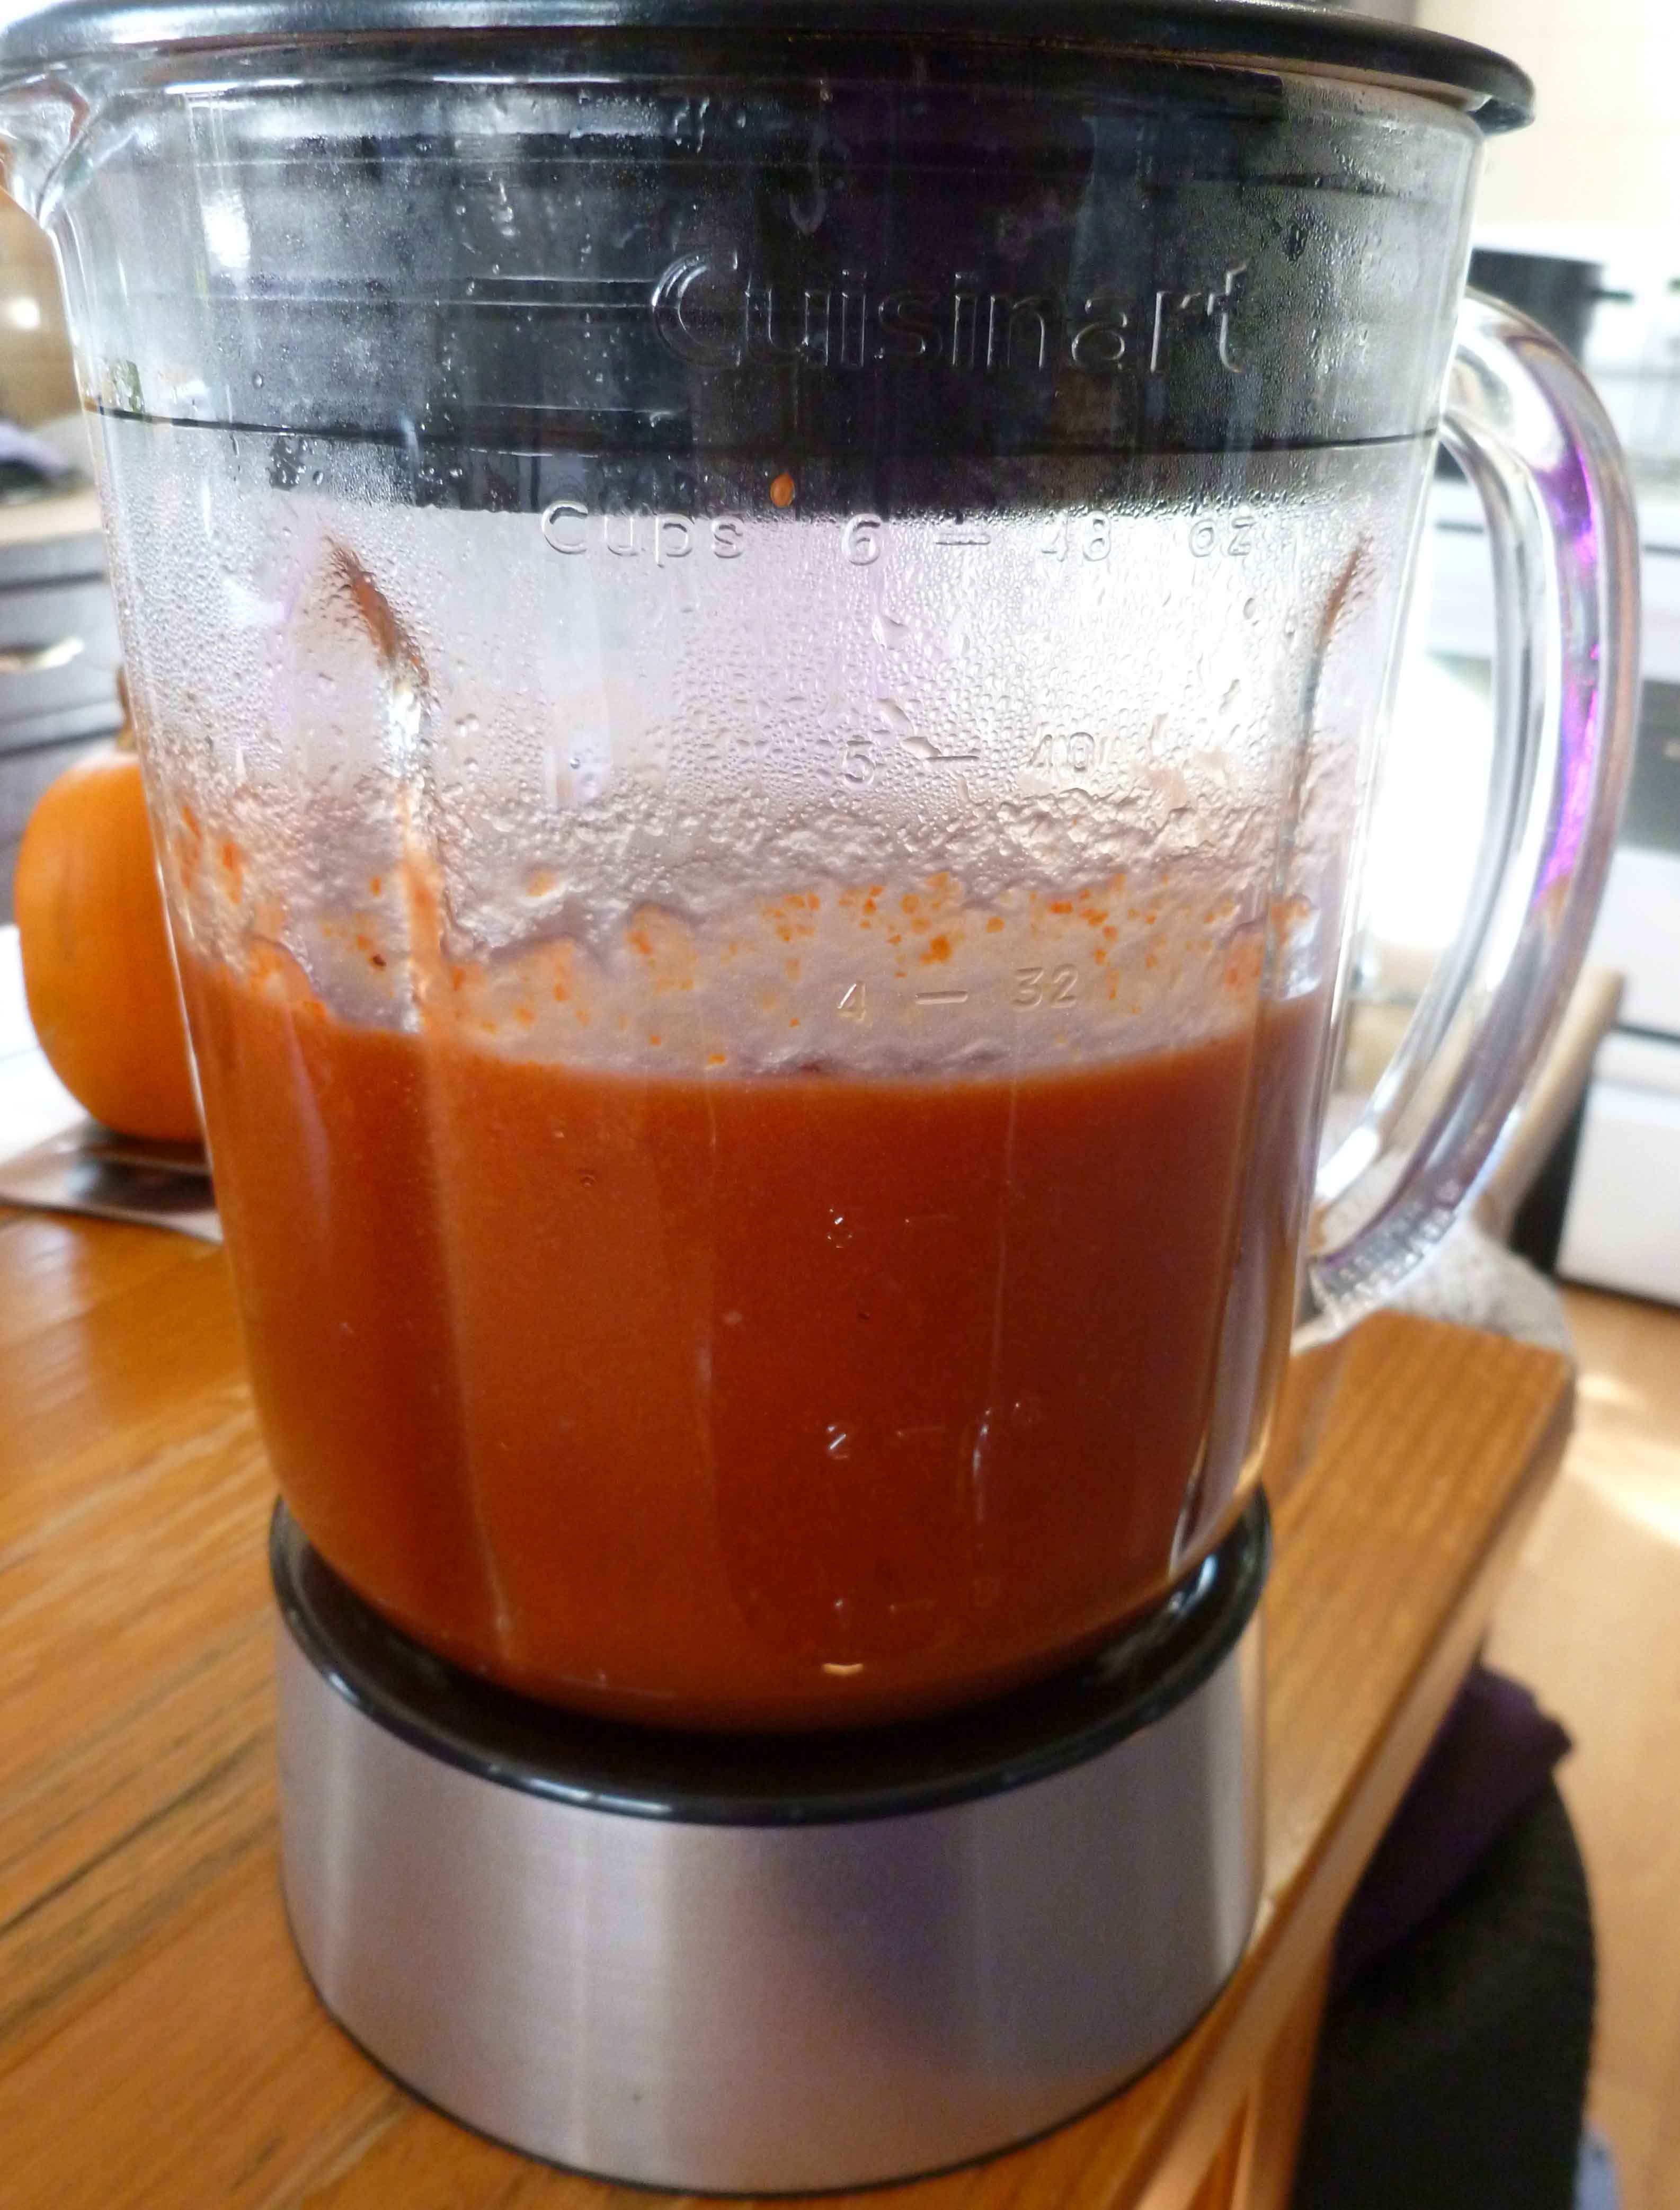
    Puree the soup, preferably using an immersion blender, but carefully in a blender or food processor if you need to. Add the soup back to the pot if you removed it, and add the coconut milk or other non-dairy milk if using. Taste, and add salt or pepper if needed. Allow to simmer a few more minutes to blend in the milks, and serve hot.


    Share this Recipe
     
    Powered byWP Ultimate Recipe
  • Gluten-free Pie Crust (vegan option)

    Gluten-free Pie Crust (vegan option)

    When I first was diagnosed with my wheat allergy (yep, actually allergic, not celiac), I tried to do a pie crust. I figured that all I’d have to do is mix some rice flour with shortening (I still had a safe-ish one at that point) and a bit of salt and voila, it’d all work out. So that’s what I did and made a pot pie. Ummm…not so much. It was like eating a pot pie with a layer of very fine beach sand on it. Appetizing, right?

    Pie crust has been a much bigger struggle than I originally anticipated. I ended up not having a safe shortening, and I can’t buy commercial lard. So I have to render the lard at home. Xanthan gum is problematic for me on a number of levels, and I don’t care for guar gum. So I put off the problem for a while. However, after hearing about aquafaba, I decided to give it another go, and used this recipe as a starting point. I switched out a flour and switched amounts around, got rid of the gum, used cold aquafaba (I refrigerated it) instead of water, and used lard instead of shortening (if you have a safe shortening to use instead of the lard, go for it; it should work).

    Gluten-free Pie Crust (Vegan Option)

    • 1/3 cup of sorghum flour
    • 1/3 cup of Otto’s Naturals cassava flour
    • 1/3 cup of arrowroot starch
    • 1/4 cup of millet  flour
    • 1/2 teaspoon of salt
    • 1/2 cup of cold lard or cold shortening
    • 1 1/2 teaspoons of apple cider vinegar
    • 5 Tablespoons of cold aquafaba.

    Whisk together the sorghum flour, cassava flour, arrowroot starch, millet flour and salt in a large mixing bowl.

    Flour mixture
    Flour mixture

    Using a pastry blender or a fork, cut in the lard or shortening until the mixture looks like crumbs.

    Flour mixture after cutting in lard or shortening
    Flour mixture after cutting in lard or shortening

    Mix the water, aquafaba and apple cider vinegar together until blended thoroughly in a small bowl or glass measuring cup, and add it to the flour mixture, stirring until it comes together to form a dough.

    Mixture formed into dough ball
    Mixture formed into dough ball

    Shape the dough into a smooth ball, and put the dough ball into the freezer to chill for 30 minutes. You can chill it for longer, it’ll help make the pie crust more flaky and crisp.

    Using some of your other flours (I used sorghum) dust the surface of your rolling space.  I was able to roll out my pie crust on a rolling mat and use my rolling pin to transfer the pie crust to the pie plate without too much difficulty. However, if you like your crust thin, try doing rolling your crust out on parchment paper to make it easier to transfer to the pie pan. Make sure you use plenty of dusting flour so that it doesn’t stick to the rolling surface or parchment paper.

    You can also use the crust to make tarts or stuffed pastries. The dough does not have the same elasticity as normal pie dough, but you can work with it a little, You can’t bend it in half because it will break. but you can stack pieces of dough on top of each other as long as the filling isn’t too tall. Next time I might experiment with larger top pieces to accommodate more filling.

    Bake your pie crust according to your pie recipe. Since I was winging it, I cooked my little pies, tarts, and pastries in the slide slow above for about 45 to 60 minutes.  If you’re worried about soggy crusts, you can try blind baking your bottom crust.  The Kitchn explains here much better than I can.

    Have fun, and send us pictures of your creations!


    Notice: Trying to access array offset on value of type bool in /home/maryzahc/public_html/adultfoodallergies.com/wp-content/plugins/wp-ultimate-recipe/helpers/models/recipe.php on line 254
    Gluten-free Pie Crust (vegan option)
    Print Recipe
    A lovely crust for both dessert and savory applications. Double the recipe to make a top and bottom pie crust.
    Servings Prep Time
    1 single crust 45 minutes
    Passive Time
    30 minutes
    Servings Prep Time
    1 single crust 45 minutes
    Passive Time
    30 minutes
    Ingredients
    • 1/3 cup sorghum flour
    • 1/3 cup Otto’s Naturals cassava flour
    • 1/3 cup arrowroot starch
    • 1/4 cup millet flour
    • 1/2 tsp salt
    • 1/2 cup cold lard or cold vegetable shortening
    • 1 1/2 tsp apple cider vinegar
    • 5 tbsp cold aquafaba
    Servings: single crust
    Instructions
    1. In a large bowl, whisk together the sorghum flour, the cassava flour, arrowroot starch, millet flour, and salt, until they are thoroughly mixed.
    2. Using a pastry blender or a fork, cut in the lard or vegetable shortening until the mixture looks like crumbs.
    3. In a small bowl or glass measuring cup, mix the aquafaba and apple cider vinegar together until it is well blended. Add the liquid mixture to your flour mixture and stir until it comes together to form a dough.
    4. Shape the dough into a smooth ball, and put the dough ball into the freezer to chill for 30 minutes before rolling it out.
    5. Using some of your other flours (I used sorghum) dust the surface of your rolling space. I was able to roll out my pie crust on a rolling mat and use my rolling pin to transfer the pie crust to the pie plate without too much difficulty. However, if you like your crust thin, try doing rolling your crust out on parchment paper to make it easier to transfer to the pie pan. Make sure you use plenty of dusting flour so that it doesn’t stick to the rolling surface or parchment paper.
    6. Place pie crust in pie plate, and fill pie. Bake according to pie recipe. If you’re concerned about soggy crust, you may wish to blind bake your bottom crust first.
    Share this Recipe
     
    Powered byWP Ultimate Recipe
  • Mediterranean Fried Rice

    fried rice 1

    On a recent trip that took us through Scranton, PA, I had an awesome dish that the menu called “Lebanese Fried Rice.” It was brown rice, chickpeas, walnuts, and some vegetables, and it was a perfect lunch. I loved it, and thought that it would make a simple, hearty side dish for the blog, though I thought I’d alter it a bit for my own tastes.

    So here’s my take on that dish. It would be a great side dish with any protein or with a salad. The original salad had red bell peppers in it, but I’m not a big fan of them, so I left them out here. This dish does contain walnuts. You could leave them out, but it is a major flavor component and the dish would be a bit bland without.

    Mediterranean Fried Rice
    Mediterranean Fried Rice

    Mediterranean Fried Rice

    • 1 cup walnut pieces
    • 1 bunch of scallions, sliced finely, green and whites separated
    • 2-3 Tablespoons olive oil, divided
    • 1 can or 16 oz. cooked chickpeas
    • 3 cups cooked and cooled brown rice (I use brown jasmine rice for almost everything)
    • 1/4-1/2 teaspoon salt, to taste
    • 2 cups chopped spinach

    In a skillet over medium heat, toast the walnuts. Don’t leave them — I burn so many nuts this way. Wait until they become fragrant, and then remove them from the heat. Reserve to the side.

    Add 1 tablespoon of the olive oil and the white parts of the scallions to the skillet. Cook over medium heat about 2 minutes. Then add the chickpeas, stirring well.

    Finally, add the rice. Stir well and add another 1-2 tablespoons of olive oil — you want a light coat of olive oil over the whole dish.

    Cook for 3-5 minutes, until the rice is heated through. Add the rest of the scallions* and the spinach, along with the salt. Stir well, and cook until the spinach is wilted.

    Serve topped with the walnuts.

    *If you like a stronger onion flavor, reserve half the green bits to add raw, when serving.


  • Sriracha Sweet Potato DIY Tater Tots


    Sriracha Sweet Potato DIY Tater Tots
    Sriracha Sweet Potato DIY Tater Tots

    Okay, I know I already did a bunch of tater tots, but I had to do a chili head version. Seriously, you expected that I’d just leave it alone? I often use Sriracha (my homemade version, as I no longer can use the commercial version, sob, sob, although mine’s pretty close) instead of ketchup on fries or home fries. So why not put the Sriracha straight into the tater tot? It’s sweet and hot and yummy all at the same time.  I didn’t take as many pictures this time, because there’s two other tater tot posts out there you can look at (Roasted Garlic and Pesto DIY Tater Tots and Chimichurri Spiced DIY Tater Tots) for reference, and mostly because I forgot. Oops.

    Sriracha Sweet Potato DIY Tater Tots

    • 3 large or 4 medium sweet potatoes
    • 2-4 Tablespoon(s) of Sriracha, depending on your spice tolerance (use a safe version for you, I ferment my own at home, since I don’t have a safe version)
    • 2 Tablespoons of olive oil, or other safe for you oil, and some to put in a oil mister
    • 1/4 teaspoon of salt

    Preheat your oven to 400°F.  Peel and wash your potatoes. Place the potatoes on a small baking sheet. Bake the potatoes for about an hour.

    When the potatoes are ready to come out of the oven, remove the potatoes and turn the temperature on the oven to 425°F.  If you’re using a large hand grater, you need to wait until the potatoes are cool so you don’t burn your fingers. Since I was using the grating blade on my food processor to grate the potatoes, I grated them while they were still hot. I sliced them lengthwise just enough to get them in the food processor, and grated them up.

    Grated potatoes after baking
    Grated potatoes after baking

    Some of the grated pieces may be too long, Feel free to chop them up a bit either with a knife or a potato masher.  When the pieces are small enough for you, mix the Sriracha, salt, and the 2 Tablespoons of your safe oil into the potatoes until they are well combined.

    Spray your baking sheet with your safe oil in a mister. I used a small cookie scoop to portion out the tater tots, but you could use two teaspoons to drop the mixture on your baking sheet.

    Use your oil mister to mist the top of the tater tots, and place the baking sheet in the oven for 25-30 minutes. Use some tongs or a spatula to turn them over, and then bake them for another 25-30 minutes. You want to watch them closely, as you’ll notice mine were a little on the brown side.

    Sriracha Sweet Potato DIY Tater Tots
    Sriracha Sweet Potato DIY Tater Tots

    Take them out of the oven, salt to taste, and enjoy!

  • Seared Tuna Steak Salad

    Seared Tuna Steak Salad
    Seared Tuna Steak Salad

    This is one of those areas where Denise and I diverge — neither of us is allergic to fish, but I love tuna, and she hates it. Conversely, she loves haddock, and I, eh, can’t get excited about it. If you’re pro-tuna, this might be your recipe.

    The first time I had tuna — and liked it — was when I was in Greece in college. The whole experience was amazing, and so was the food. I had a simple salad one day, when I wasn’t feeling great and wanted something light. It was just lettuce, with canned tuna in oil and a few tomatoes. So simple, but so amazing. It was such a difference from the mayo-covered tuna salads I’d seen growing up, and it opened me up to tuna.

    I first tried fresh tuna in sushi, and it’s still one of my favorites. But ordering tuna at a restaurant made me  consider making it at home. Once you get more used to not cooking it all the way through (that dries it out!), it is SUPER EASY and seems pretty fancy.

    This dish actually came out of leftover seared tuna. Normally, I make tuna for just me, as an occasional indulgence. But my grocery store was having a sale on some great-looking frozen tuna steaks, so I thought I’d give it a whirl as a mid-week dinner for me and my boyfriend.  I cooked the fish and served it with steamed asparagus and bamboo rice — it was quick and easy, even though I got home late that night.

    I overshot the amount of fish I needed, though. I’ve never had a leftover tuna steak before! Turns out, fresh tuna also makes an amazing salad. THAT is the recipe you’re getting today. But feel free to just buy too much fish for one dinner and make this salad the next day. Just scale the marinade up.

    This recipe serves ONE. Scale up appropriately.

    Seared Tuna Salad with unmixed dressing
    Seared Tuna Salad with unmixed dressing

    Tuna Steak Salad

    • 1/3 lb. tuna steak, about 1 1/4 inch thick (the exact amount of tuna is up to you! But if your steak is substantially thicker or thinner, adjust your cooking time accordingly)

    Marinade

    • 1/4 cup rice wine vinegar (look for unsweetened, unseasoned, for the most flexible version)
    • 1/4 cup faux tamari, or gluten-free soy sauce
    • 1/4 teaspoon (generous) garlic powder (I used roasted, from Penzey’s, as it’s my new favorite)
    • 1/4 teaspoon powdered ginger

    Salad Ingredients

    • 10 stalks or so steamed asparagus
    • 1 cup mixed greens (I don’t like lettuce, so I used a mix of baby kale, baby Swiss chard, and baby spinach, but the crunch of lettuce would be great)
    • 1 Tablespoon of pumpkin seeds, roasted and salted

    Dressing

    If your fish is vacuum-packed, slit the packaging before you defrost it (put it on a plate first, of course) in the fridge. I usually take it out the night before and give it the night and day in the fridge.

    Marinate the fish for about 20 minutes, 10 minutes per side. If I’m serving the fish with rice, this is about the perfect cooking time for rice. The fish takes about 5 minutes to cook, so get everything else ready before you start the cooking.

    The salad is easy — steam the asparagus, heap it and the greens on a plate. Make the dressing by mixing all the ingredients together with a whisk or fork — taste and adjust the seasonings as needed. If you are using salted pumpkin seeds, you won’t need more salt. If you aren’t, you might want a dash of salt at the end.

    Heat a well-seasoned cast iron skillet over medium-high heat until it is good and hot. You are going to sear the fish quickly, so make sure the pan is hot. If it’s a well-seasoned pan, you won’t need to add more oil.

    Sear the first side of the fish. For cooking steaks an inch and a quarter thick, 3 minutes the first side and 2 minutes the second should be about perfect. Baste it with the marinade right before you flip it. Because tuna changes color as it cooks, you can watch the fish to get the timing correct — watch the cooking up the side and flip it when it’s cooked about 1/4 of the way through.  Then take it off when it’s 1/4 of the way through the other side. The center of your fish should be warm, but pink.  That is perfect tuna.

    Add the tuna to the salad, sprinkle the salad with pumpkin seeds, and drizzle on the dressing.

    Enjoy!


  • Apple Cranberry Habanero Hot Sauce

    Apple Cranberry Habanero Hot Sauce
    Apple Cranberry Habanero Hot Sauce

    In attempting to use up my glut of apples (they are finally all gone!!!), I wanted to do a chutney of some sort. But most of the recipes call for raisins, and at the moment, I don’t have safe raisins I can buy at the store because most of them have sunflower oil all over them. I thought about it, but I drew the line at dehydrating some grapes so I could have chutney.  So I considered other options. I found an apple habanero hot sauce recipe, but I also wanted another flavor in it. I had some cranberries in the freezer, so I decided they’d be good. This hot sauce is lovely, but really vicious. I used six fairly large habanero peppers, but you can switch them out for milder peppers or cut the number back a bit.  This recipe makes about 3 cups, so depending on your hot sauce usage, you may want to cut the recipe in half.

    Apple Cranberry Habanero Hot Sauce

    • 2 large cloves of garlic, diced
    • 1 shallot or small onion, diced
    • 1 Tablespoon of fresh ginger, diced
    • 3 cups of peeled, cored and chopped apples (I used a mix from my apple trees out back, mostly McIntosh and Galas.)
    • 1 cup of fresh or frozen cranberries
    • 1 cup of apple cider vinegar (I used Bragg’s as it is generally safest for people with corn allergies)
    • 2/3 cup of white sugar
    • 2/3 cup of brown sugar
    • 6 large habanero peppers, destemmed, deseeded and chopped
    • 2 teaspoons of salt
    • a small amount of safe for you oil to cook with (I used grape seed oil)

    In a large saucepan, over medium high heat, sauté the garlic, shallot/onion, and in ginger in your safe oil until soft.

    Garlic, ginger, and onion cooked until soft
    Garlic, ginger, and onion cooked until soft

    Add the apples and cranberries and cook for another 5 minutes.

    Add the vinegar and bring the mixture to a boil. Then add the white and brown sugar and stir until it dissolves.

    Add the habanero peppers and simmer over medium low heat for 30 minutes.

    Cooking complete
    Cooking complete

    Put the mixture in a blender and puree it until smooth.

    Apple Cranberry Habanero Hot Sauce pureed until smooth
    Apple Cranberry Habanero Hot Sauce pureed until smooth

    At this point, you can use the sauce as it is, or you can strain it to remove any seeds, pepper and cranberry skins that haven’t been broken down. You may need to use a spatula to press the sauce through the strainer.

    Straining Apple Cranberry Habanero Hot Sauce
    Straining Apple Cranberry Habanero Hot Sauce
    Straining Apple Cranberry Habanero Hot Sauce
    Straining Apple Cranberry Habanero Hot Sauce

    Refrigerate the sauce and use often. You can also freeze it if you think you won’t use it soon enough.

    Enjoy!

  • Chai-Spice Brined Pork Chops

    Chai-Spice Brined Pork Chops
    Chai-Spice Brined Pork Chops

    I don’t know if we’ve ever mentioned it, but Denise and I do have a plan for the blog. We have a calendar and recipes we’re working on, and sometimes what is on the calendar finds its way on to the blog on the day we scheduled it. Often, though, we’re working on things and they just aren’t ready to go when the calendar says. We have some exciting things in the works right now, but this week, you’re getting a quick, simple, but amazing weeknight dinner.

    I mentioned a few weeks ago that I had found, tried, and loved this stovetop-to-oven method of cooking pork chops.  I have messed with it a few times, and want to share my version of the recipe as I think it’s turned out great. These pork chops are juicy and flavorful, with an unusual (to me, at least) but subtle spice flavor to them. They are, even with the brining, a meal quick enough to make on a weeknight for dinner. And the meat is so juicy that they reheat well OR make a great sandwich the next day.

    The spice blend in here is inspired by what I remember of a homemade chai recipe I made a few times years ago. It’s the reason I bought star anise in the first place. I never made chai with actual peppercorns, but this is a savory dish, so it suits — I’ve done this with regular and Sichuan peppercorns, and both work well.

    Chai-spice brined pork chops

    For brine:

    • 1 cup boiling water
    • 2 Tablespoons salt (I used kosher salt here)
    • 2 whole star anise (or pieces to make up about 2 whole)
    • 3 whole cardamom pods, smashed to open the pod (but not crush the seeds)
    • 1 2-inch cinnamon stick
    • 2 pinches whole cloves (about 6-8)
    • 1 pinch whole peppercorns (about 4-6)
    • 2 cups cold water
    • 2 bone-in pork chops, about 3/4″ thick (I used center cut, as that’s what looked good)

    Take the pork chops out of the fridge and let them rest at room temp while you make the brine. You will need a baking dish or something comparable to brine the chops. Lay them out in a single layer in the pan.

    Put all the spices (salt through peppercorns) into a heat-safe container. I use a Pyrex measuring cup. Bring your water to a boil and pour 1 cup over all the spices and salt. Stir to dissolve the salt, and let it steep for 5 minutes. Add the two cups of cold water.

    Pour the spice “tea” over the chops. You are aiming for room temperature brine, and your chops should be covered completely. Add more water to make this happen, if needed. Leave all the spices floating.

    Let the chops brine for 30 minutes to an hour. According to the original recipe, you can brine them for up to four hours (in the fridge), but I’ve not tried this.

    When your chops are brined, turn the oven up to 400ºF, with a cast iron skillet on the middle rack. When the oven is up to temperature, carefully remove the skillet and put it over medium-high heat on the stovetop.

    Remove the chops from the brine and pat them dry. Season with salt and pepper — but remember the brine was salty, so don’t go overboard with the salt.

    Carefully add the chops. Brown 3-5 minutes on one side, getting good browning, but not burning the chops. This may cause smoke, so be ready, but it’s worth the hassle.

    Flip the chops and immediately put them in the pre-heated oven. Bake for 6-8 minutes, aiming for an internal temperature of about 142ºF. Remove them to rest for 5 minutes. You want your final temperature to be 145ºF, but remember that they keep cooking while resting, so don’t overshoot.

    I served mine with simple boiled broccoli and sweet potatoes I’d thrown in the oven earlier to roast. If you want to do a side dish in the oven, consider turning it on and starting the side(s) while the pork chops brown. This is an excellent use of the brining time.

    Enjoy the subtle spice flavors in your perfectly cooked pork chops.

  • Apple Cake, Vegan and Gluten-Free

    Apple Cake, Vegan and Gluten-Free
    Apple Cake, Vegan and Gluten-Free

    You guys are noticing a trend, right? It’s apparently a bumper crop year for apples. When I was trying to figure out how to use up apples, my friend Erika sent me a link for this recipe for Mom’s Apple Cake from Smitten Kitchen. For obvious reasons, I had to change the original, and I tried making it more like an upside down cake.  It took a couple of tries, but I have it where I like it now.

    Apple Cake, Vegan and Gluten-Free

    Apple mixture:

    • 6 large apples or 7 medium apples (I used a mix from my apple trees out back, mostly McIntosh and Galas.)
    • 1 Tablespoon of ground cinnamon
    • 5 Tablespoons of brown sugar

    Cake batter:

    • 2 and 3/4 cups of all purpose gluten-free flour mix (I used Cara Reed’s mix from her blog, Fork and Beans)
    • 1 Tablespoon of baking powder (For corn free baking powder you can use this recipe.)
    • 1 teaspoon of salt
    • 1 cup of safe for you oil (I used olive oil and grape seed oil, mostly because I ran out of olive oil and had to top it off with grape seed oil.) 
    • 1 cup of sugar
    • 1 cup of brown sugar
    • 1/4 cup of orange juice (I don’t have a safe orange juice so I squeezed mine myself.)
    • 1 Tablespoon vanilla extract (Here’s a bunch of recipes for vanilla extract, make sure to use safe alcohol if corn or wheat are an issue for you. I used a vodka made only from potatoes,  be careful as some vodkas may also use grain or corn.)
    • 1/2 cup of applesauce (I used my home canned but use any safe applesauce you have.)
    • 1/4 cup of aquafaba (The liquid from a can of garbanzo beans or chick peas. I used my home canned garbanzo bean liquid.)
    • 1 Tablespoon of ground chia seed

    Preheat oven to 350°F. Grease an 8 inch by 8 inch baking pan with some safe for you oil.

    Peel, core and slice apples. Place them in a bowl and toss them with the 5 tablespoons of brown sugar and the cinnamon. Set the apple mixture aside for now.

    Apple mixture
    Apple mixture

    Stir gluten-free flour mix, baking powder and salt together in a bowl.

    In a separate bowl, mix together the oil, orange juice, sugar, the remaining brown sugar, vanilla, applesauce, aquafaba and ground chia seed. I use a stand mixer with flat beater to do this.

    Wet mixture
    Wet mixture

    Once these ingredients are fully incorporated together, add the flour mixture slowly to your wet mixture, with the mixer speed on low. You could also mix this manually, but the stand mixer makes my life a lot easier.

    Cake batter after mixing wet and dry ingredients
    Cake batter after mixing wet and dry ingredients

    Pour half of the apple mixture into your greased baking pan, spreading them evenly across the bottom of the pan.

    Pouring half apples in bottom of baking pan
    Pouring half apples in bottom of baking pan

    Pour half of the cake batter over the apples, spreading it evenly across the pan.

    First layer of batter over apples
    First layer of batter over apples

    Then pour the remaining apple mixture over the batter evenly.

    Second layer of apples over first layer of batter
    Second layer of apples over first layer of batter

    Cover the apple mixture with the remaining cake batter.

    Second layer of batter over second layer of apples
    Second layer of batter over second layer of apples

    Bake for about an hour and half or until a tooth pick comes out clean.

    Apple Cake after baking
    Apple Cake after baking

    Cool in pan on wire rack for 5 minutes. Loosen edges around the pan with a butter knife, and then invert the baking pan onto platter. Don’t let it cool too long or it will stick and be harder to remove from the pan (which you can tell mine did because I got distracted.)

    Apple Cake after removal from pan
    Apple Cake after removal from pan

    Enjoy!