Notice: Function _load_textdomain_just_in_time was called incorrectly. Translation loading for the wp-ultimate-recipe domain was triggered too early. This is usually an indicator for some code in the plugin or theme running too early. Translations should be loaded at the init action or later. Please see Debugging in WordPress for more information. (This message was added in version 6.7.0.) in /home/maryzahc/public_html/adultfoodallergies.com/wp-includes/functions.php on line 6131 Side Dishes – Page 2 – surviving the food allergy apocalypse (archive)
Side dish, noun: a portion of food served in addition to the main dish. These recipes will not contain dairy, eggs, gluten, wheat or hazelnuts. If we use a top 8 allergen, we will use a tag warning of its use.
When we were working on our editorial calendar, Denise said she was working on ham steaks, which you saw last week. We thought that ham seemed like a traditional Easter dish, so maybe we should also consider a side dish for it. I LOVE side dishes. The first thing that came to mind was scalloped potatoes, as that goes with ham. Actually, it’s what my mother used to make with leftover ham.
But I realized that I hated ham and scalloped potatoes! Until my 30s, I didn’t like ham at all. And I know it’s surprising, but scalloped potatoes are my least favorite preparation of potatoes. I tried to figure out why. I’m not opposed to creamy sauces, and potatoes are my favorite food by far, but I realized that the texture of the potatoes just isn’t to my liking. So I fixed it.
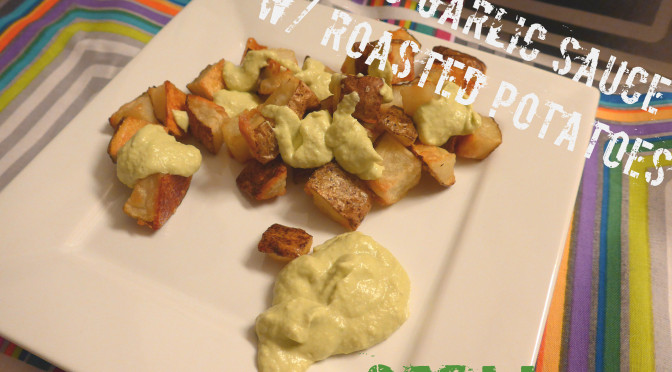
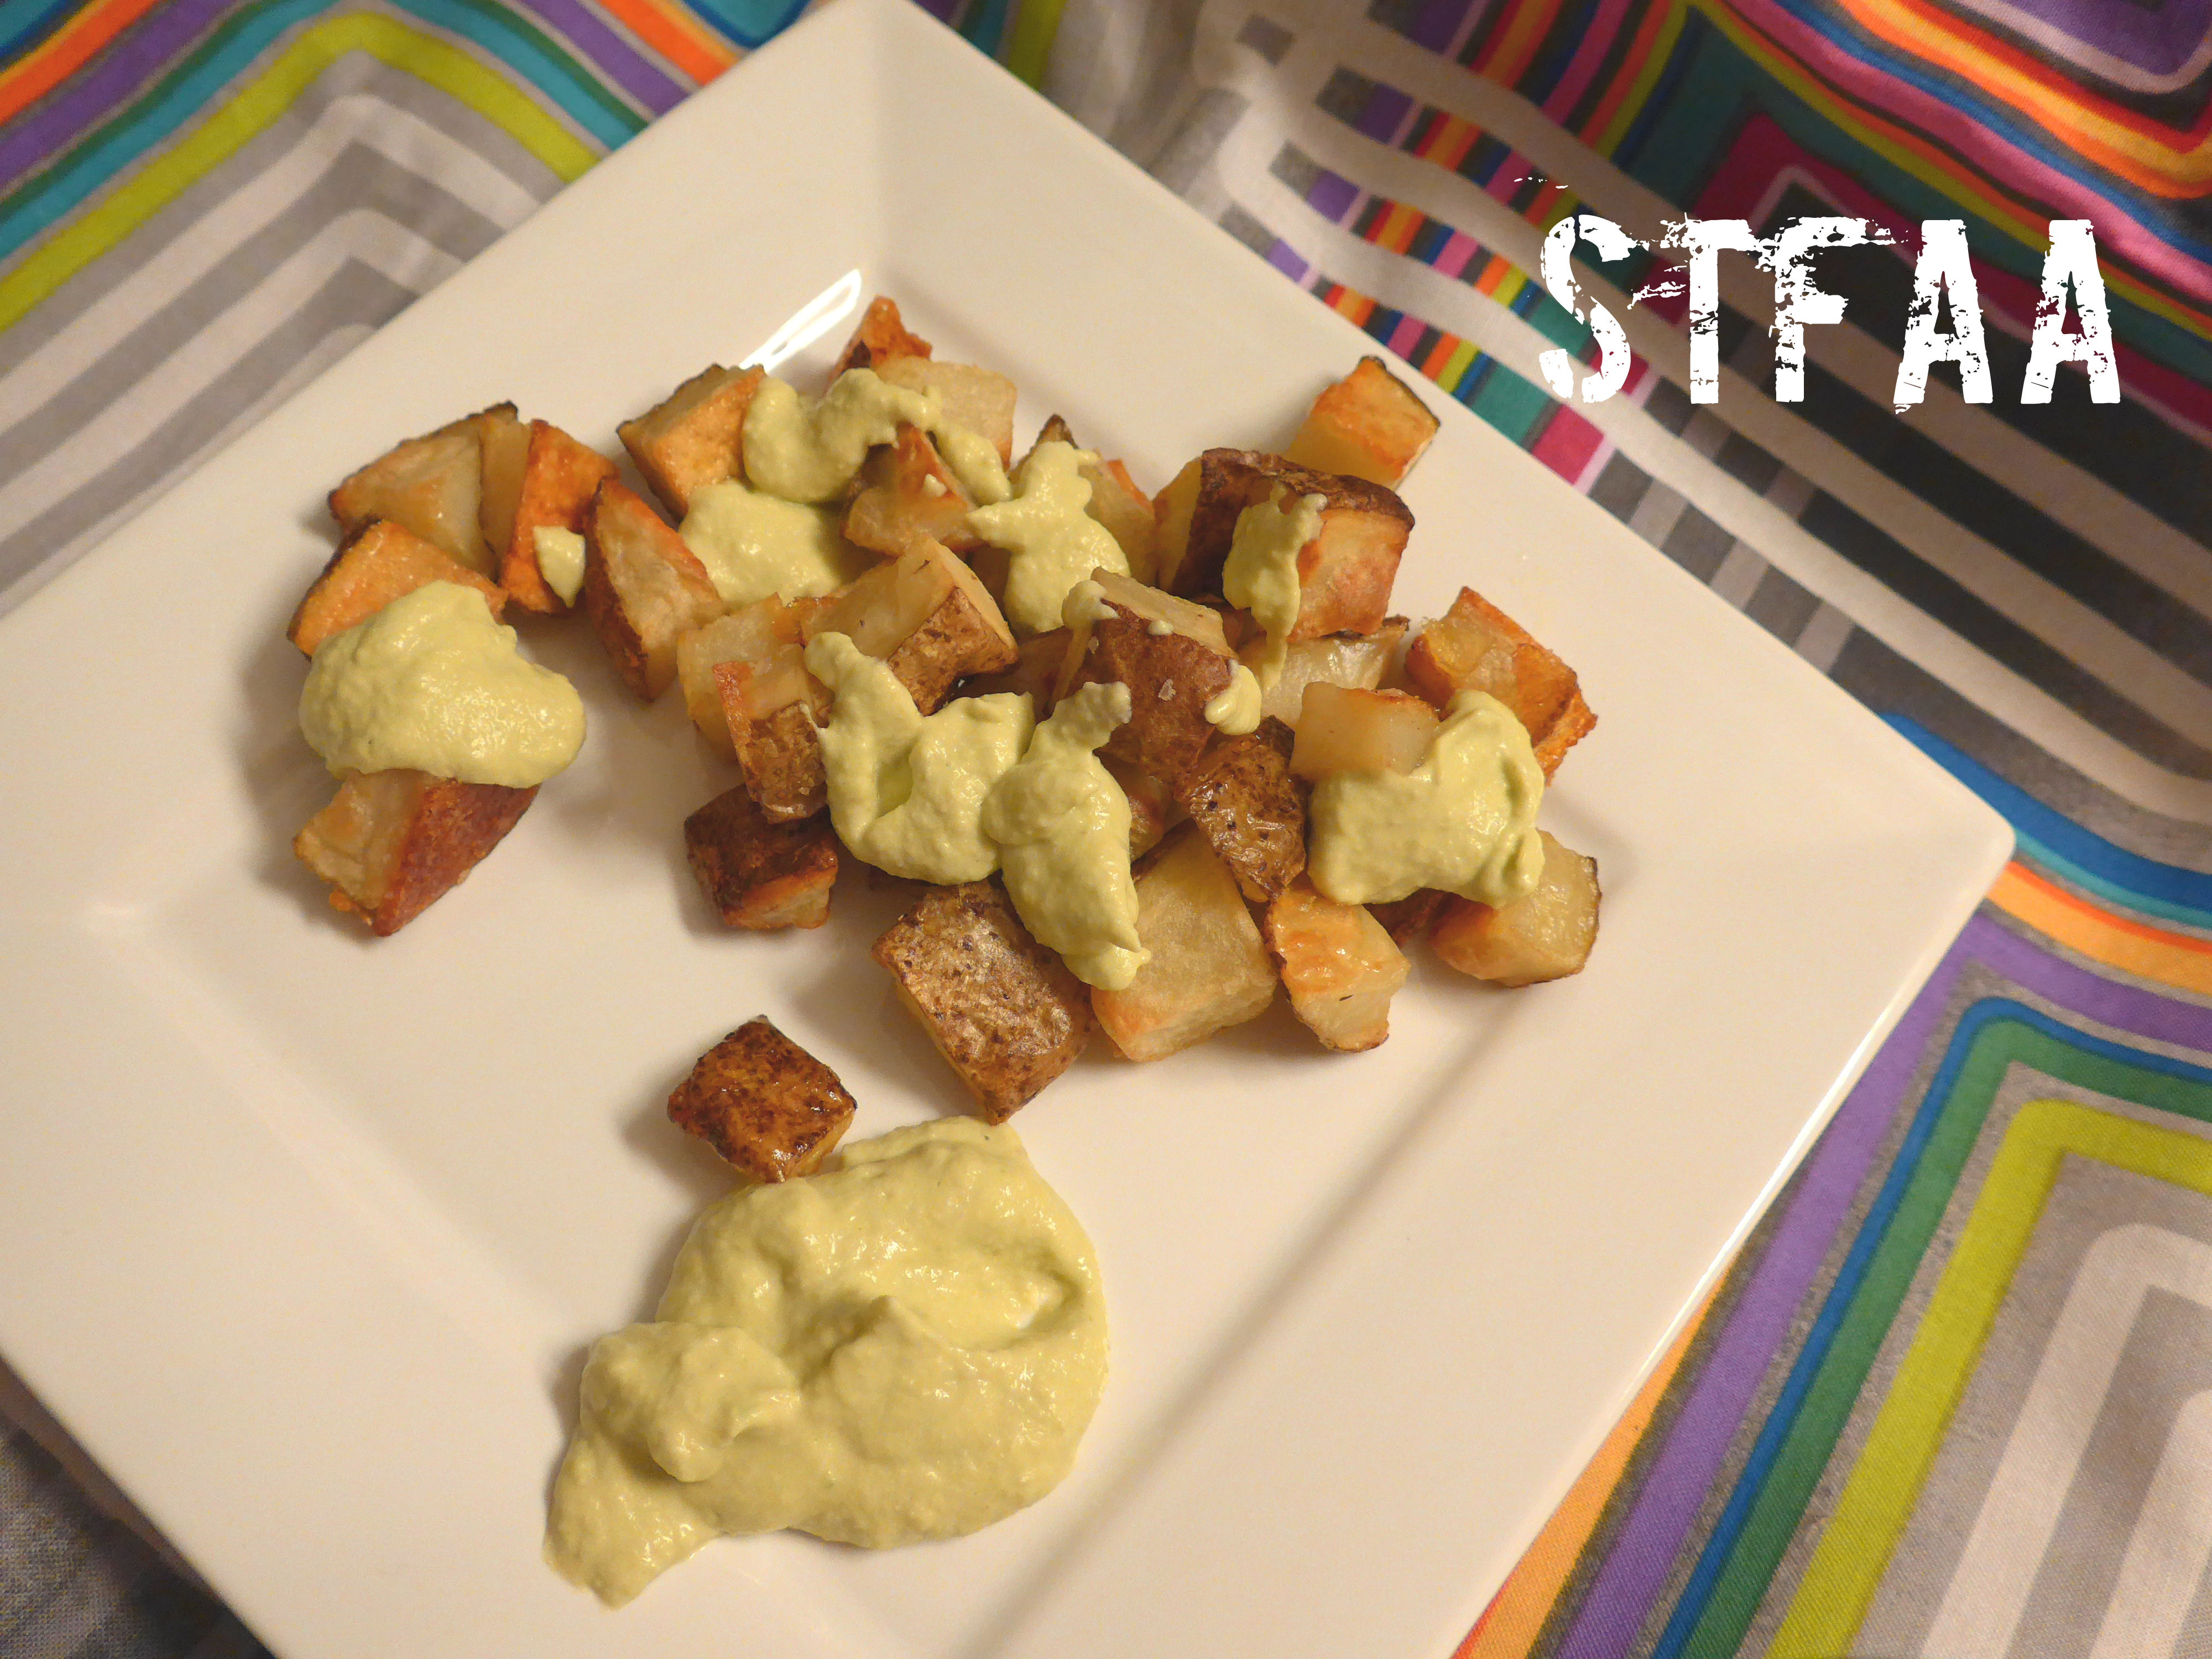
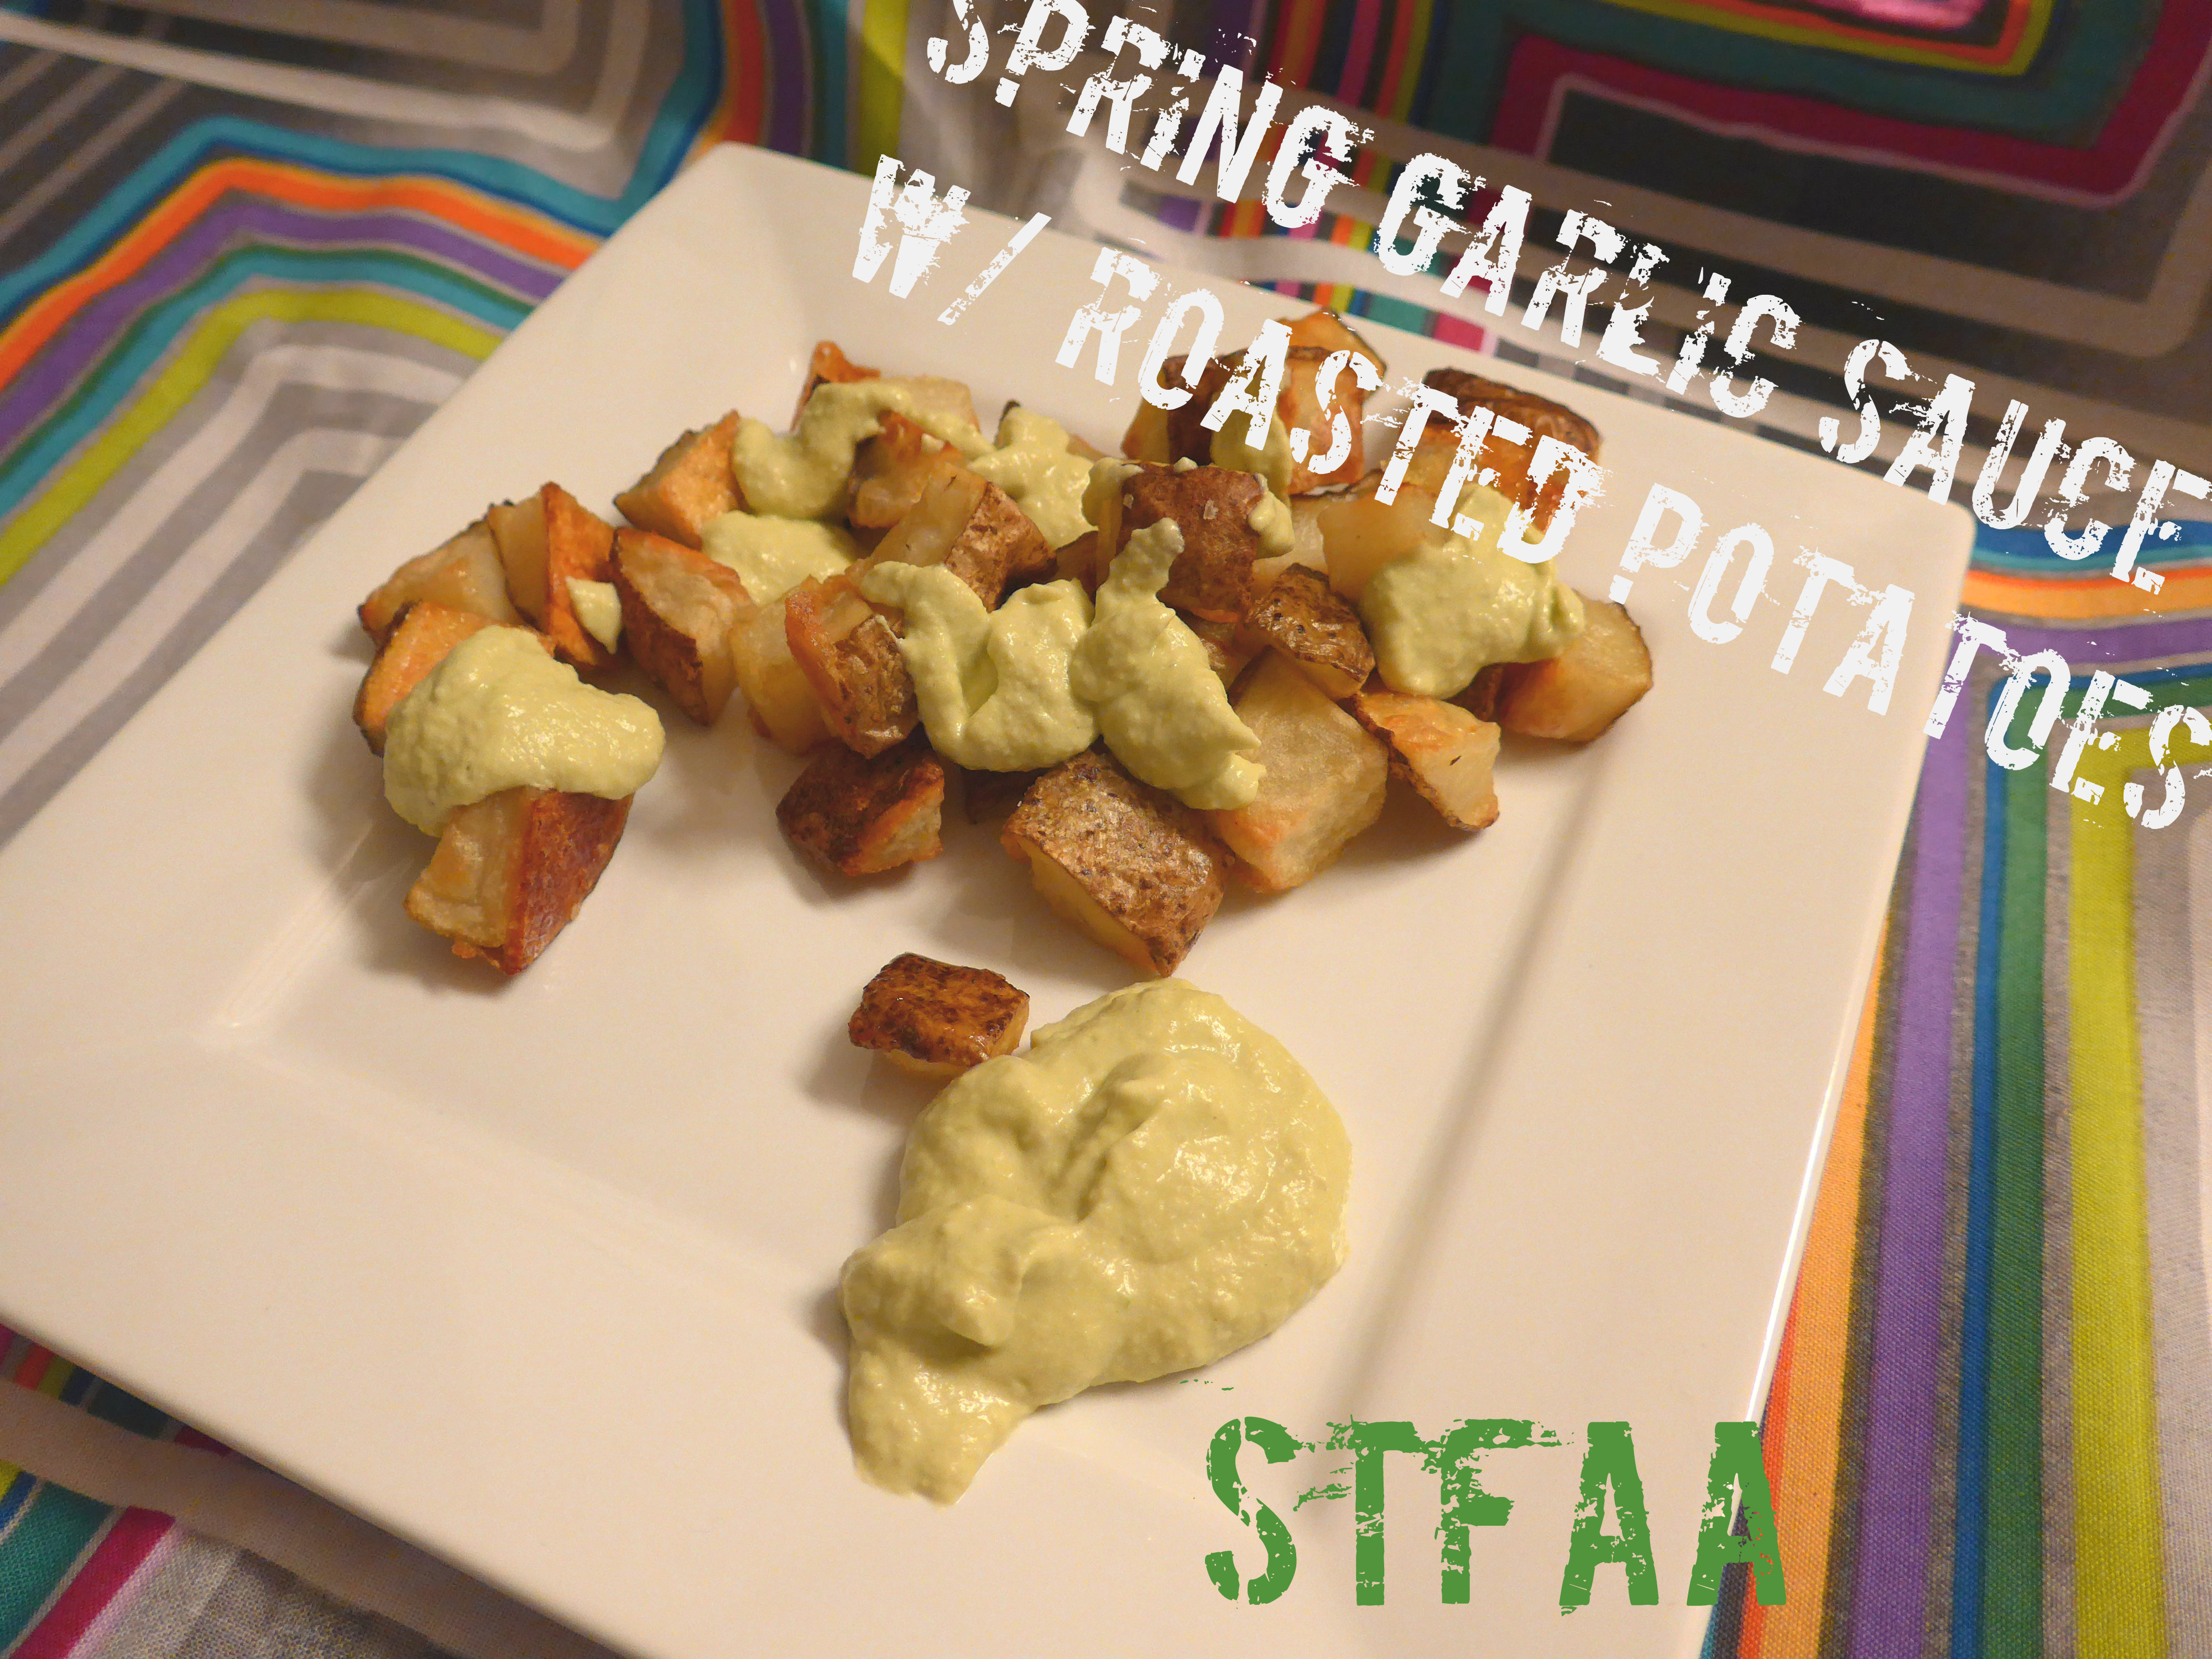
I fixed it by cooking the potatoes separately from the sauce. This dish is made of perfectly roasted potatoes, crisp on the outside, fluffy inside, topped with a creamy sauce made from cashews and white beans flavored with rich roasted garlic and fresh, green scallion tops. It’s a light spring green sauce that goes well with the roasted potatoes but is also good on other vegetables, chicken, and maybe even pasta (I didn’t try that, but I think it would work as a basis for a spring vegetable pasta sauce).
Spring Garlic Sauce with Roasted Potatoes
Notice: Trying to access array offset on value of type bool in /home/maryzahc/public_html/adultfoodallergies.com/wp-content/plugins/wp-ultimate-recipe/helpers/models/recipe.php on line 254
Spring Garlic Sauce with Roasted Potatoes
Print Recipe
This is a substitute for scalloped potatoes — roasted potatoes are fluffy inside, and are covered with a creamy garlic sauce made of cashews and white beans.
Servings
Prep Time
2servings
15minutes
Cook Time
Passive Time
40minutes
35minutes
Servings
Prep Time
2servings
15minutes
Cook Time
Passive Time
40minutes
35minutes
Ingredients
Roasted Potatoes
3cupsraw potatoes,cubed (2-4 potatoes, depending on size)
1-2Tablespoonsolive oil
1/2-1 teaspoonkosher salt
Spring Garlic Sauce
1/2 cupwhite beans
1/2cupraw cashews,soaked 8 hours or overnight
2clovesroasted garlic(taste and add more if you want more. Garlic varies greatly in intensity.)
1/4cupolive oil
1/3cupwater(you may need more — see the recipe itself)
1/2teaspoonsalt
1teaspoonlemon juice or mild vinegar
1bunchscallions, green tops only(4-6 scallions in a bunch, depending on size)
Servings: servings
Instructions
Preheat oven to 450F.
Scrub potatoes. Peel if desired. Cut into approximately 1/2-inch cubes. Toss with olive oil and salt — start with 1 tablespoon, and add more if needed. You don’t want to waste oil, but you do want everything decently coated to help the potatoes brown. Throw them into the oven and set a timer for 20 minutes.
While the potatoes are cooking, make the sauce. Throw all the ingredients except the scallions into a blender or food processor and pulse. Add more water, 1 tablespoon at a time, only if needed! You want this sauce to be thick. When the sauce is mostly smooth, add the scallion tops and blend until smooth.
Toss the hot potatoes with sauce to coat. Yes, this is different than the photos — I was aiming for “artistic arrangement of food,” though it didn’t really work.
Recipe Notes
You do need to roast garlic for this recipe. You could do this at the same time as the potatoes, but you will have to wait for it to cool off to get out the cloves, so this will take longer than estimated. I always roast extra garlic and keep it on hand in the freezer.
When I first was diagnosed with my wheat allergy (yep, actually allergic, not celiac), I tried to do a pie crust. I figured that all I’d have to do is mix some rice flour with shortening (I still had a safe-ish one at that point) and a bit of salt and voila, it’d all work out. So that’s what I did and made a pot pie. Ummm…not so much. It was like eating a pot pie with a layer of very fine beach sand on it. Appetizing, right?
Pie crust has been a much bigger struggle than I originally anticipated. I ended up not having a safe shortening, and I can’t buy commercial lard. So I have to render the lard at home. Xanthan gum is problematic for me on a number of levels, and I don’t care for guar gum. So I put off the problem for a while. However, after hearing about aquafaba, I decided to give it another go, and used this recipe as a starting point. I switched out a flour and switched amounts around, got rid of the gum, used cold aquafaba (I refrigerated it) instead of water, and used lard instead of shortening (if you have a safe shortening to use instead of the lard, go for it; it should work).
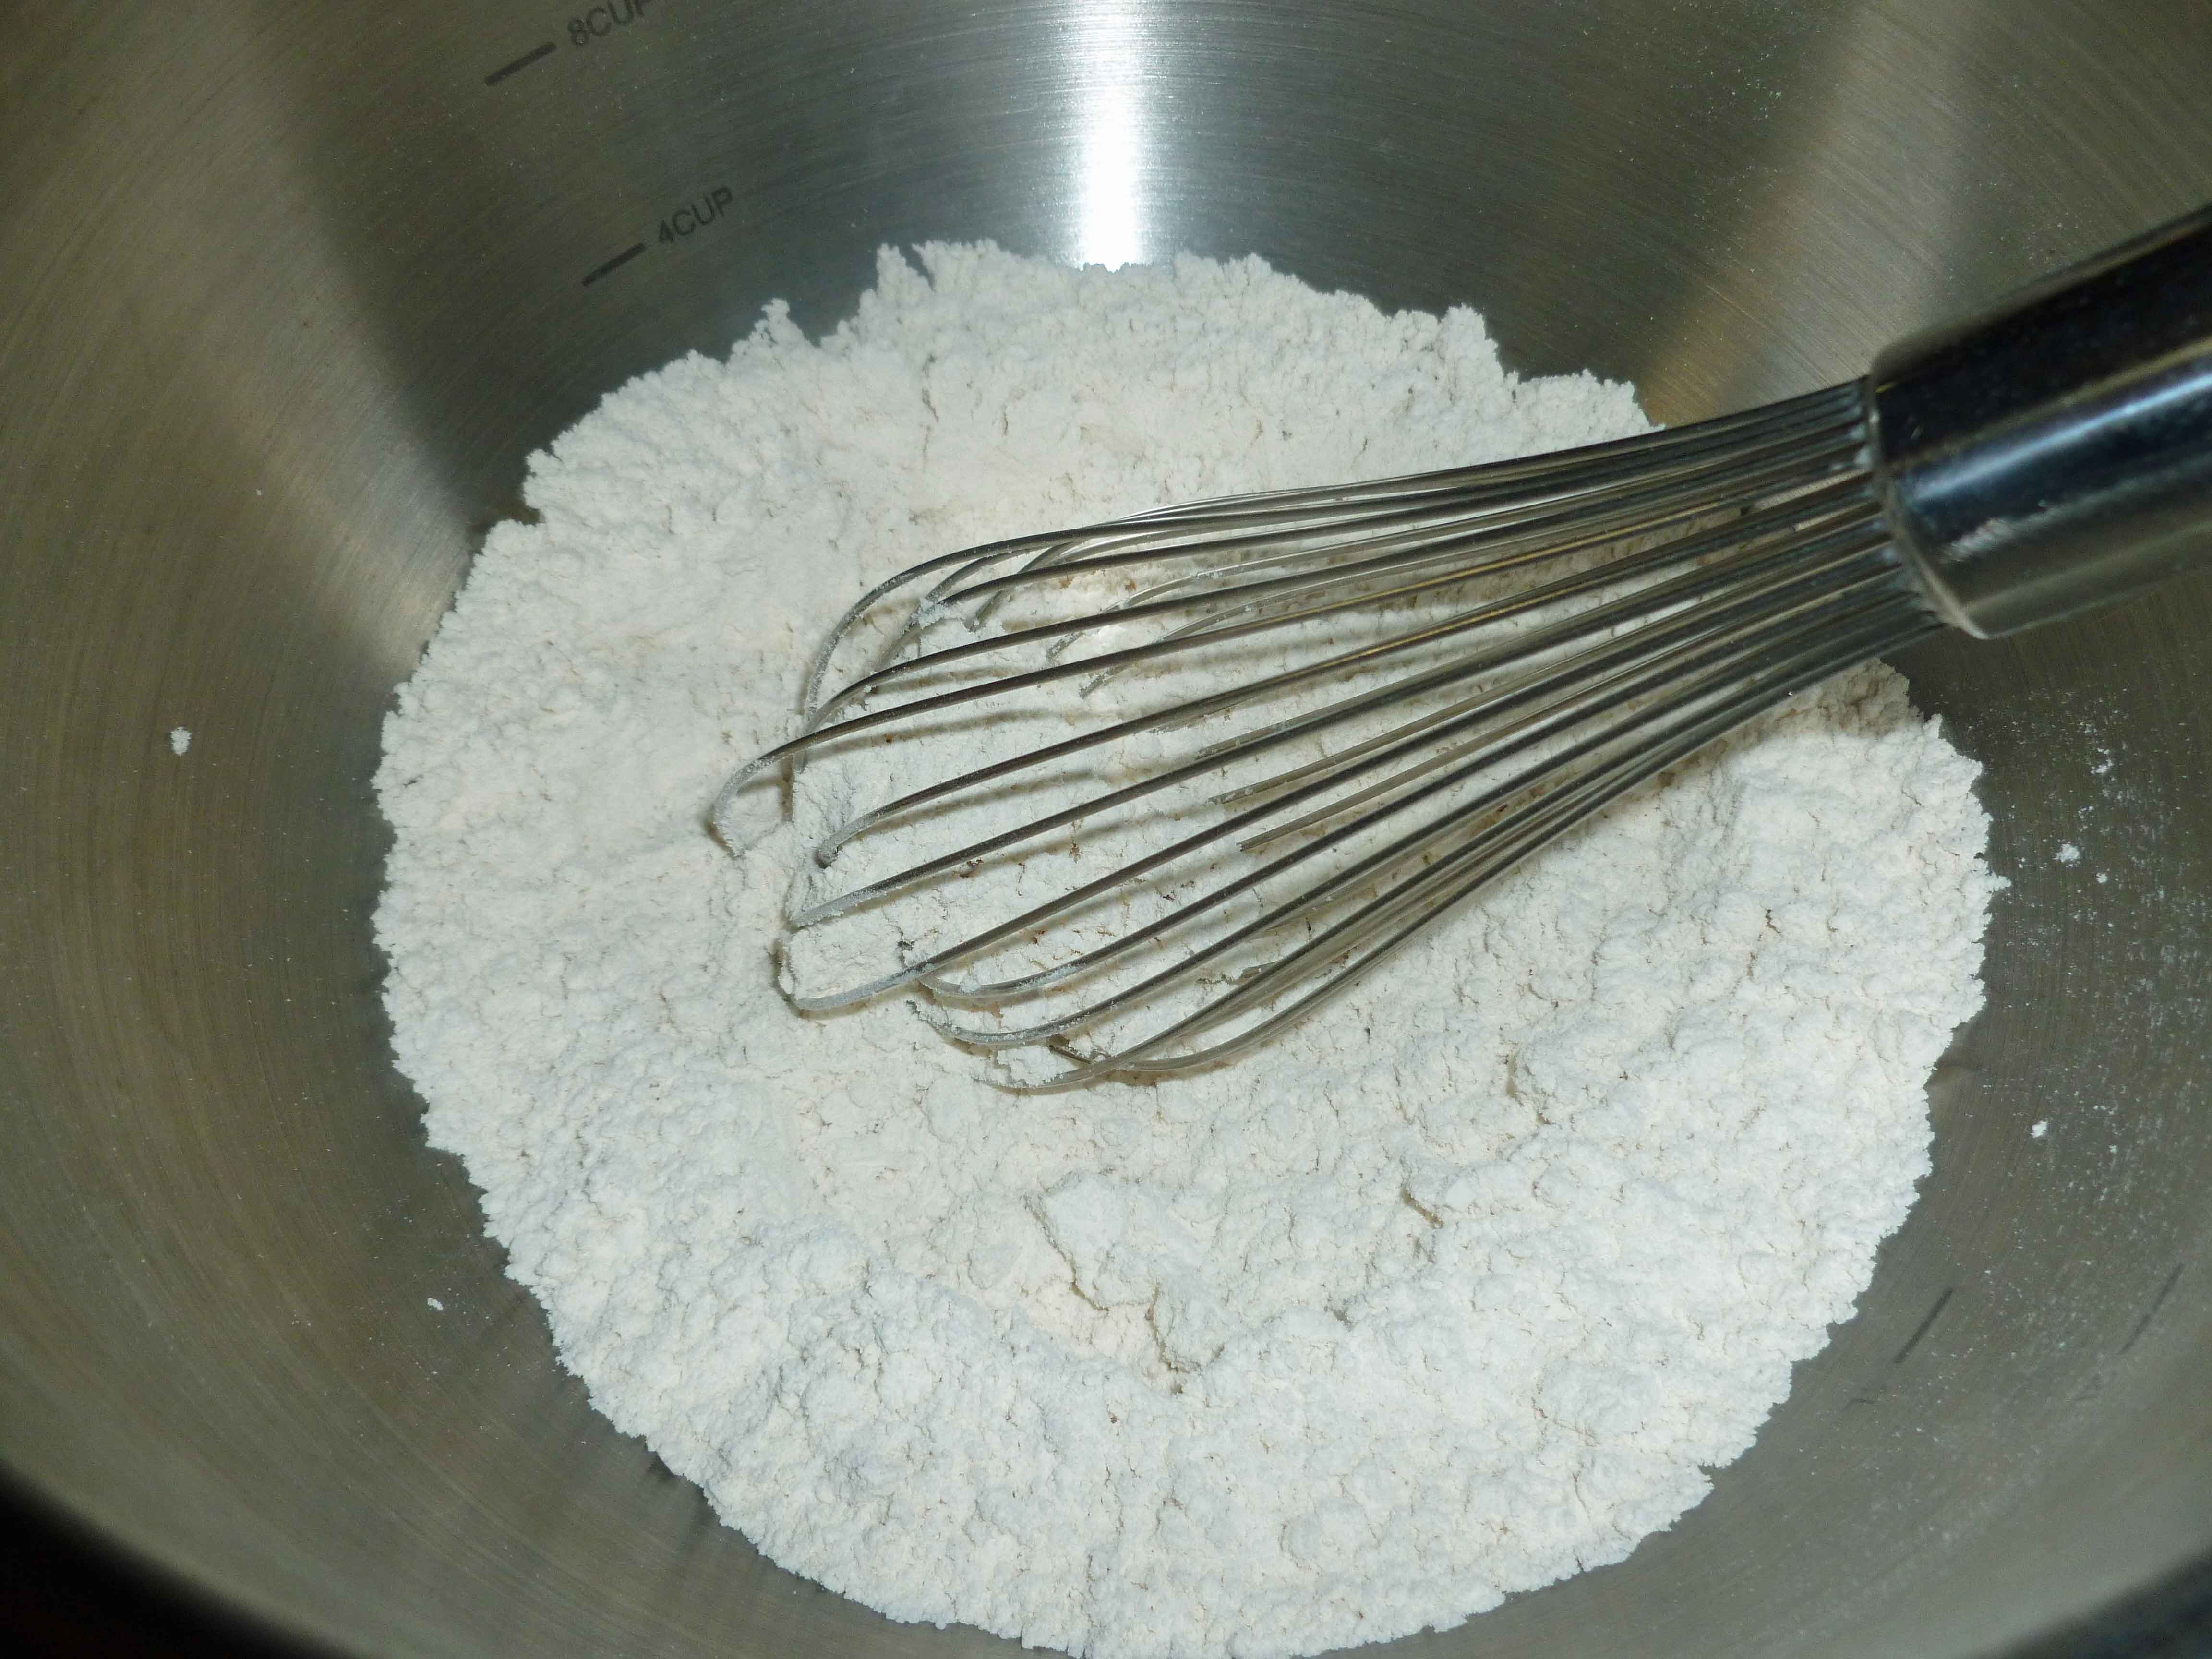
Whisk together the sorghum flour, cassava flour, arrowroot starch, millet flour and salt in a large mixing bowl.
Flour mixture
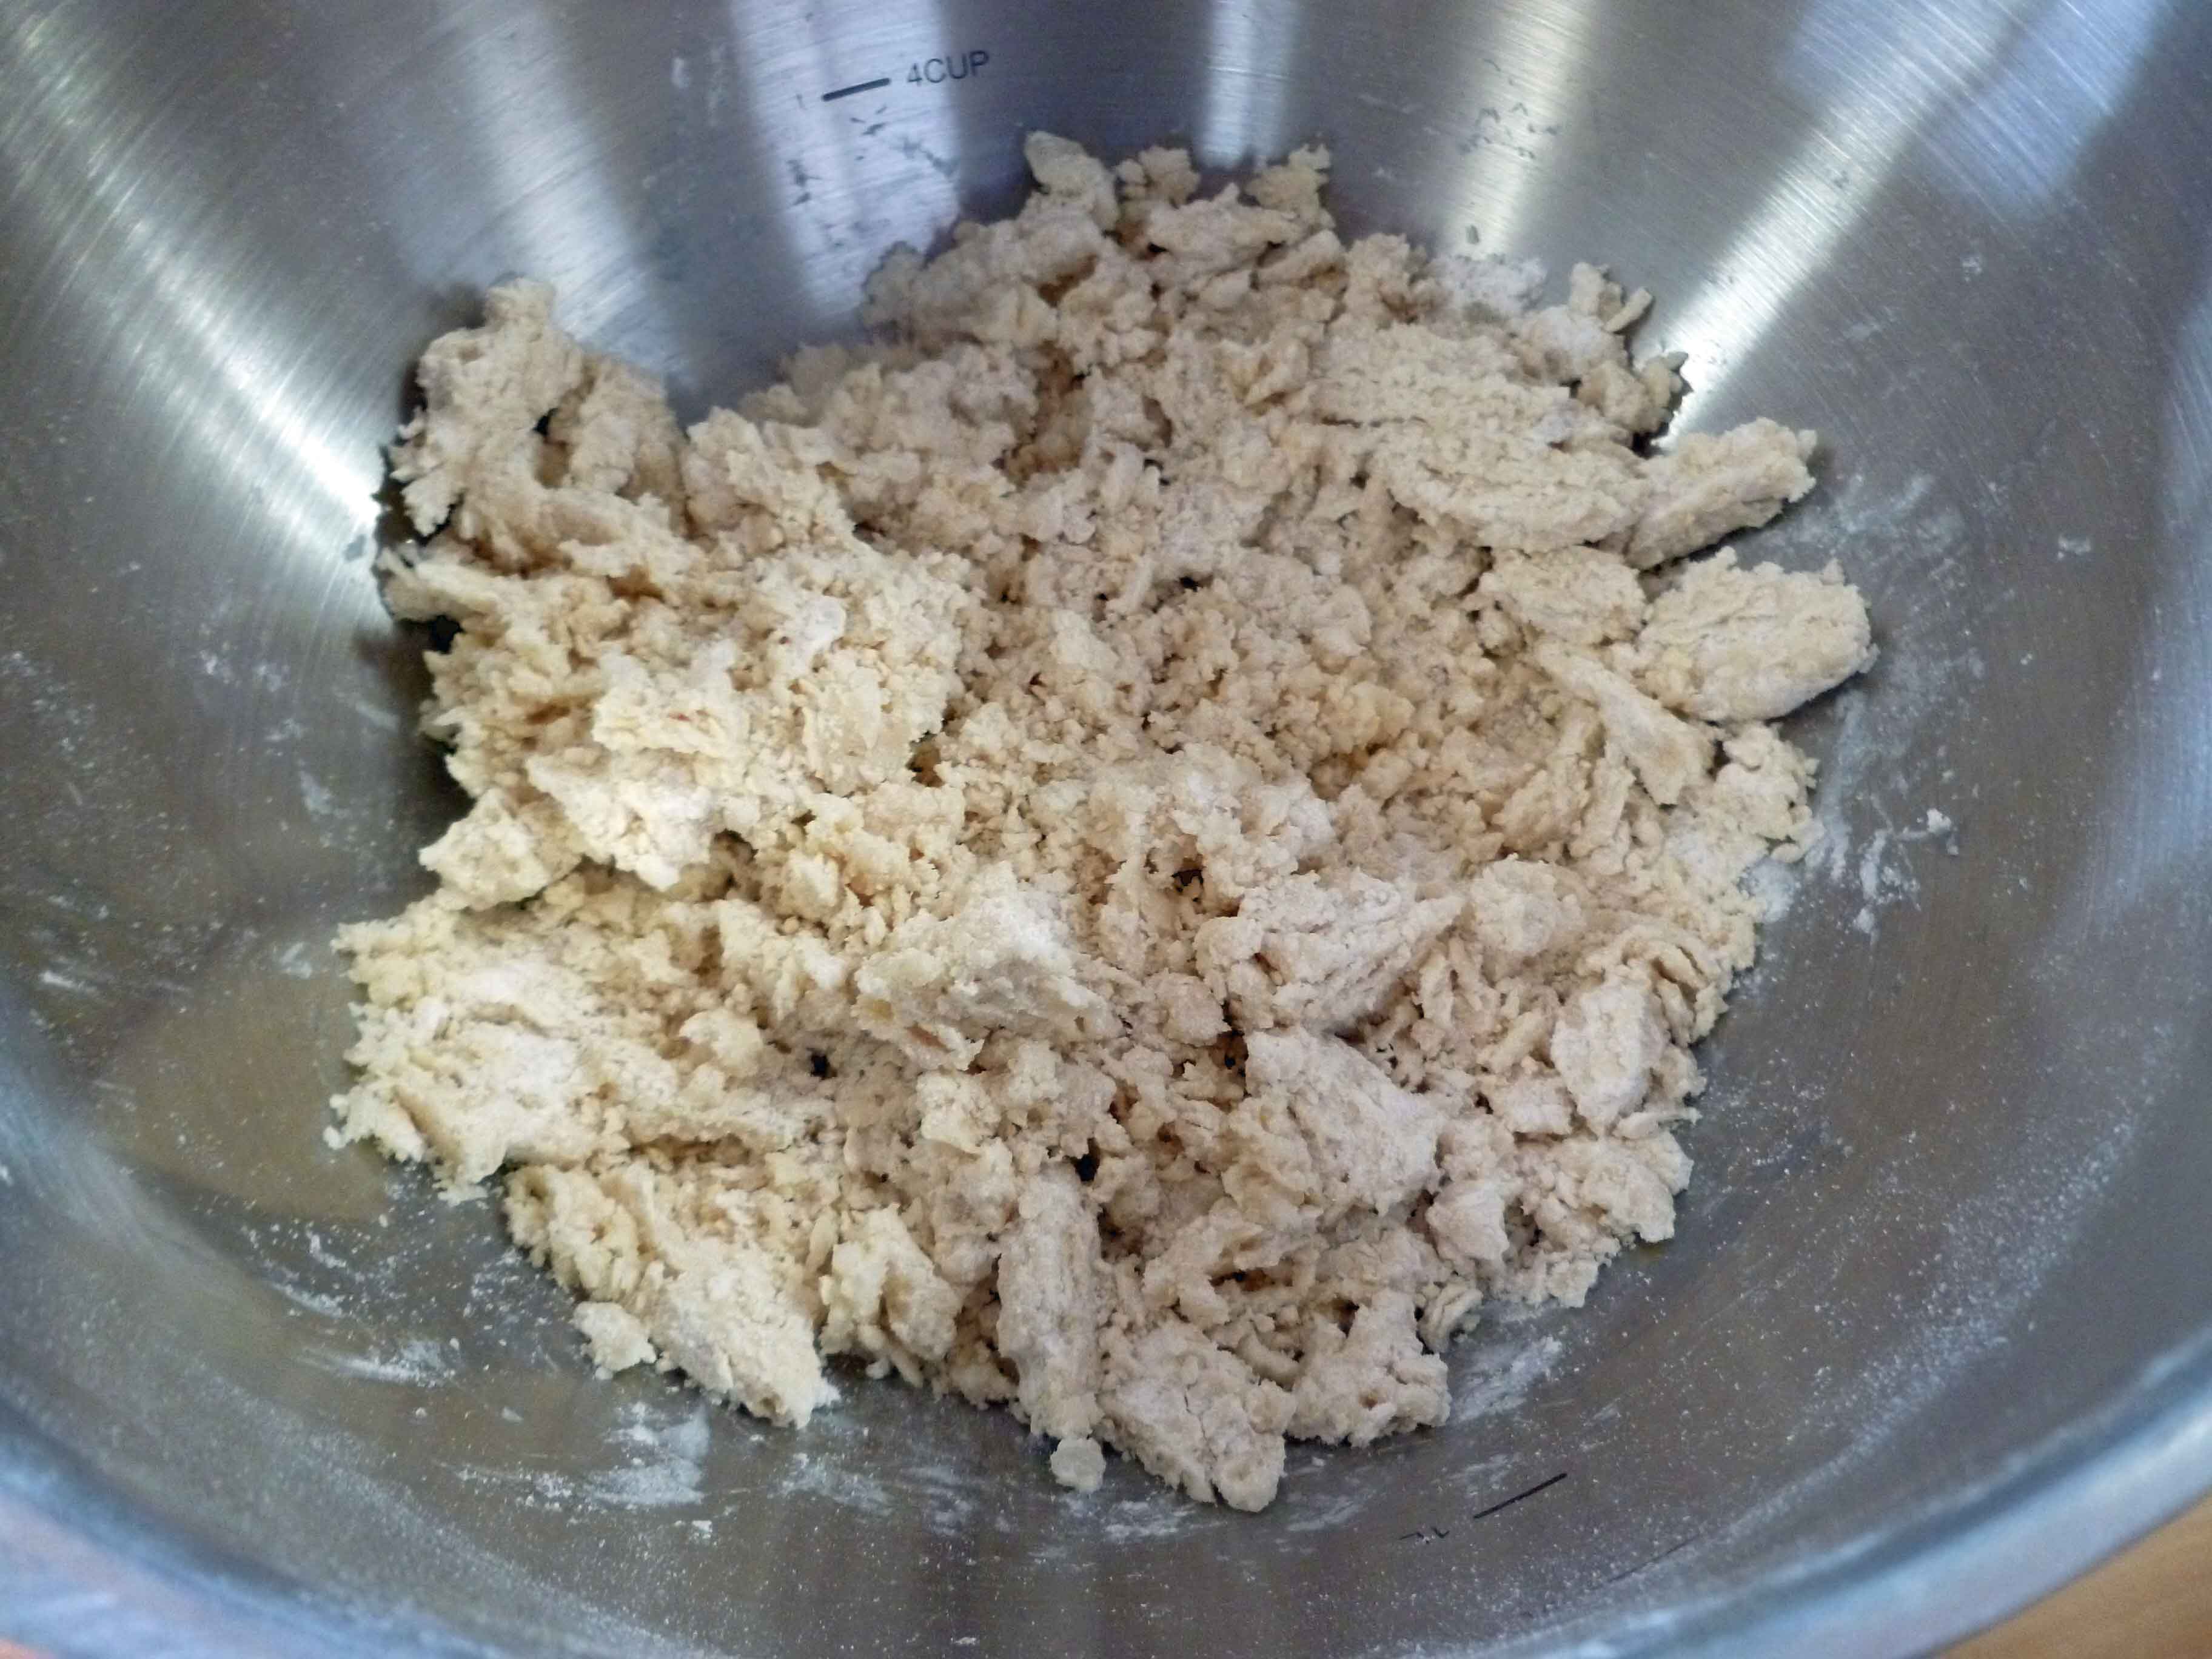
Using a pastry blender or a fork, cut in the lard or shortening until the mixture looks like crumbs.
Flour mixture after cutting in lard or shortening
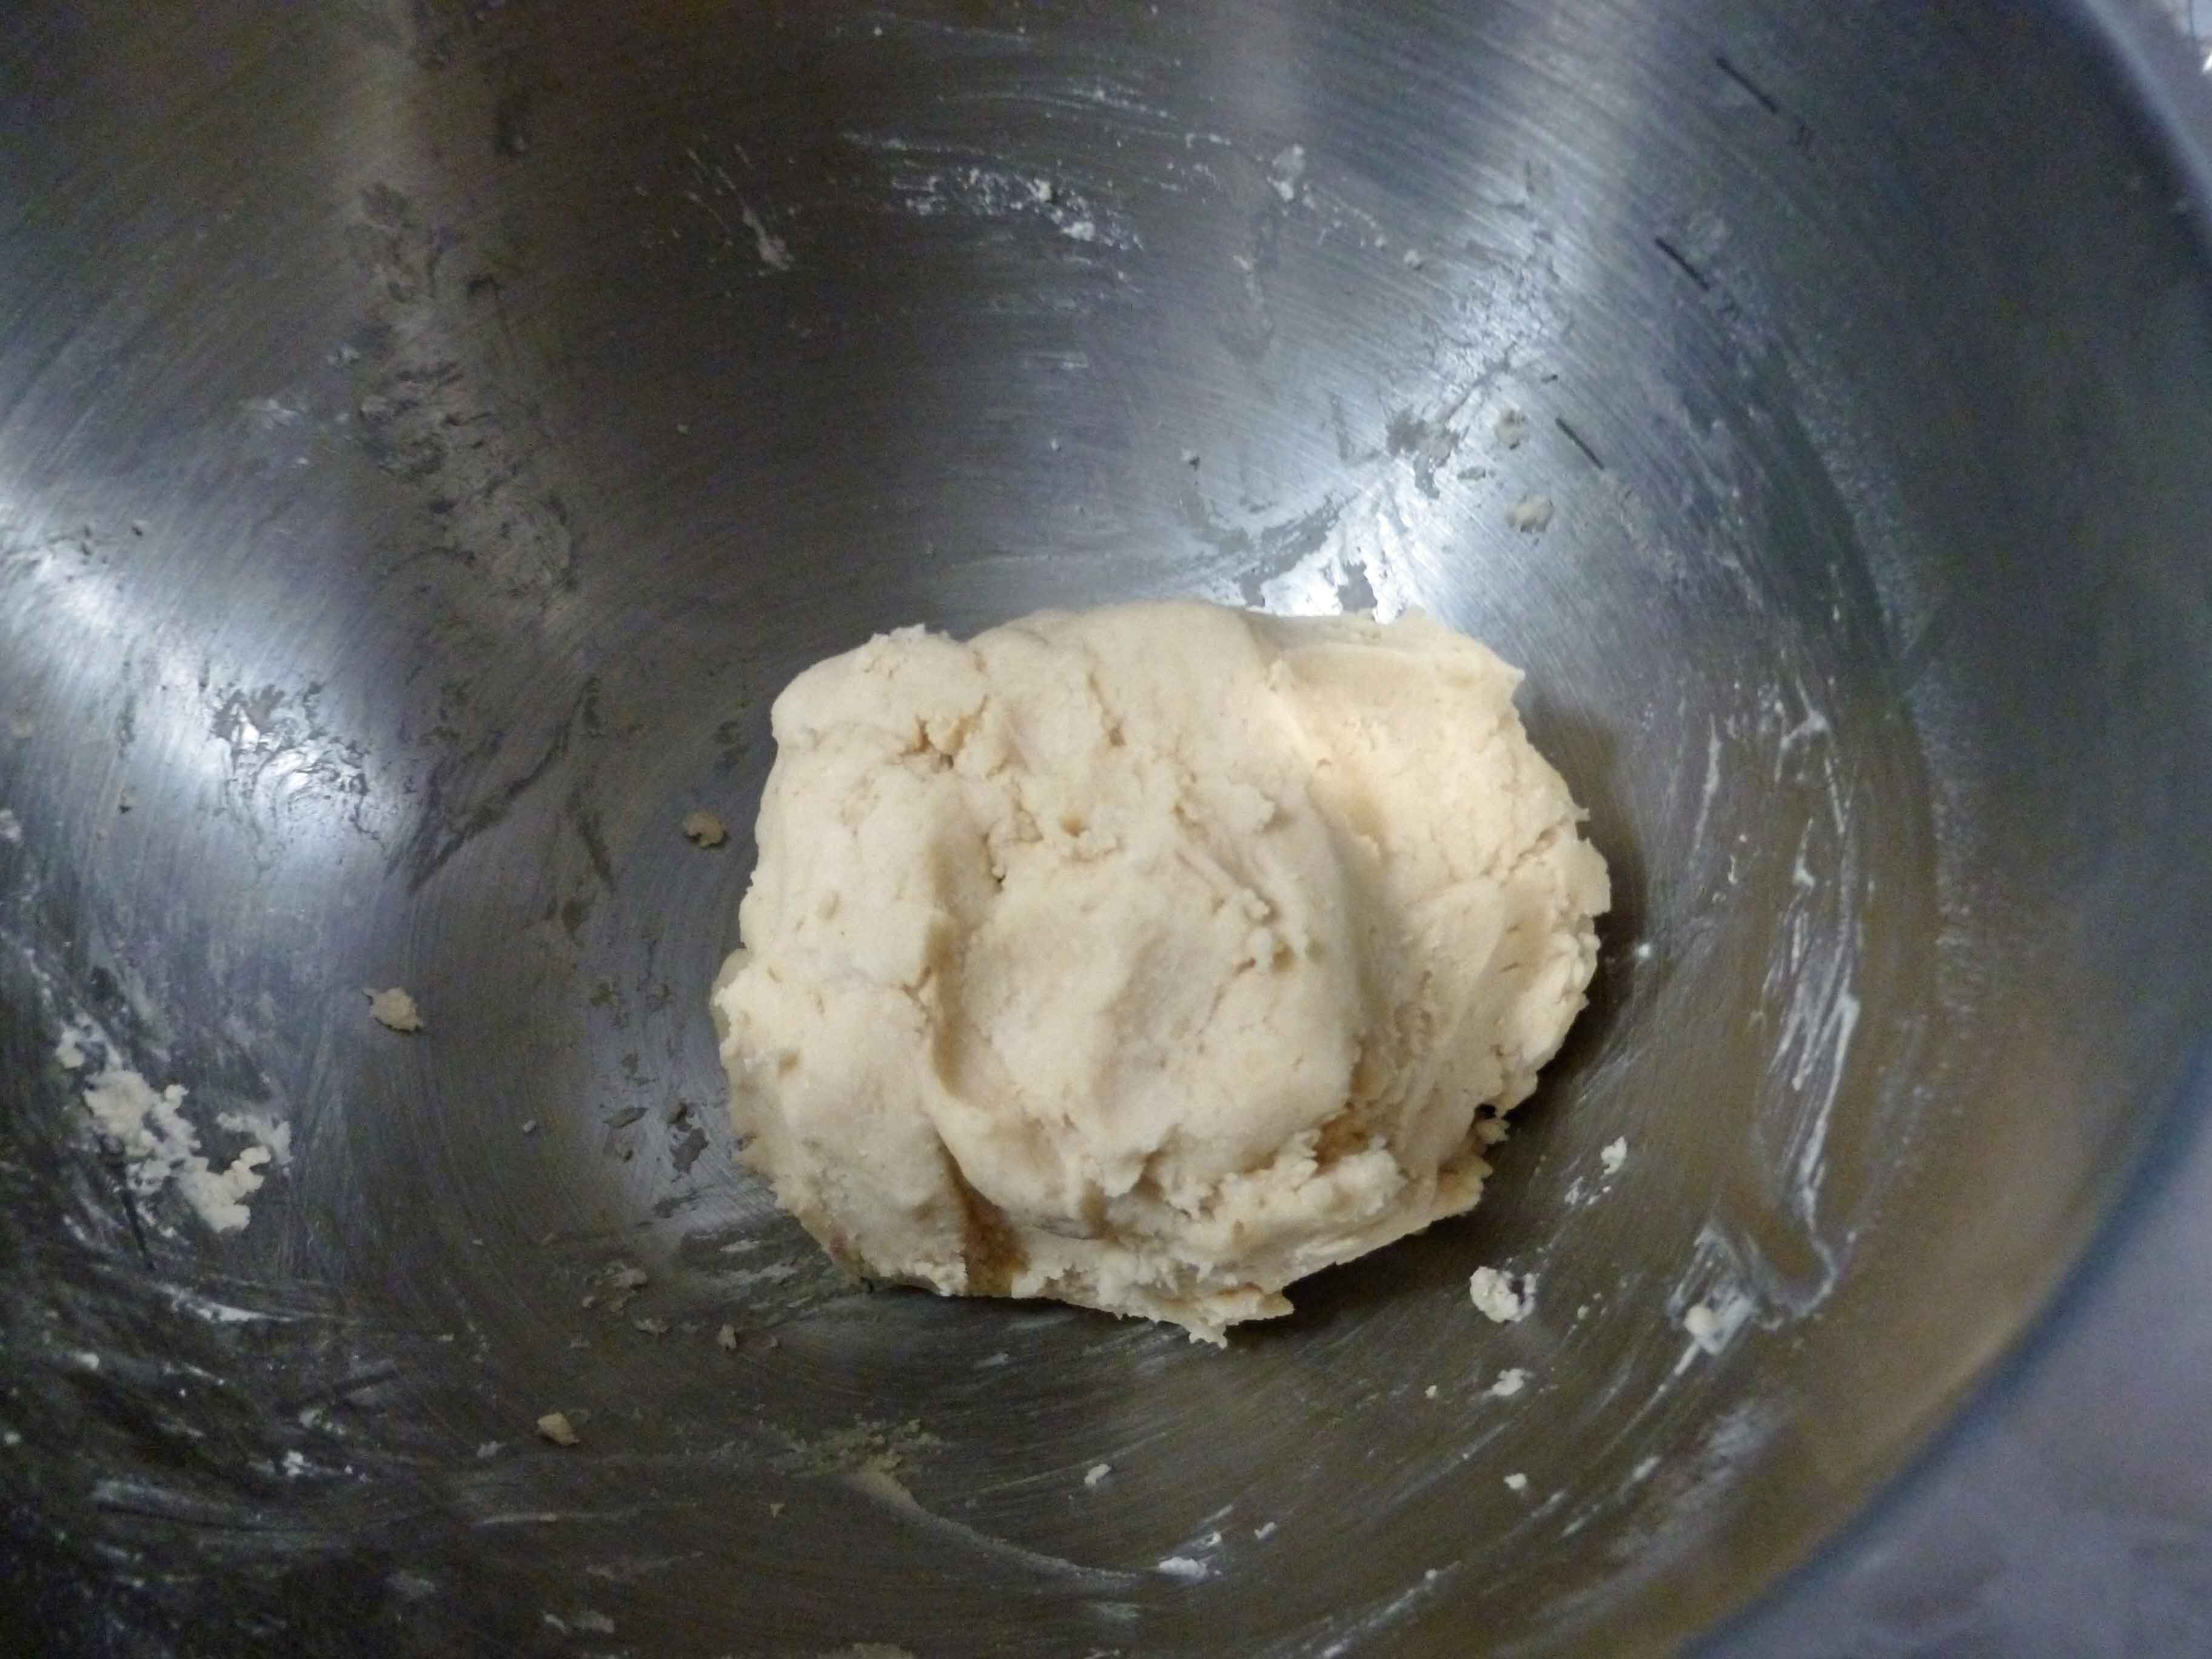
Mix the water, aquafaba and apple cider vinegar together until blended thoroughly in a small bowl or glass measuring cup, and add it to the flour mixture, stirring until it comes together to form a dough.
Mixture formed into dough ball
Shape the dough into a smooth ball, and put the dough ball into the freezer to chill for 30 minutes. You can chill it for longer, it’ll help make the pie crust more flaky and crisp.
Using some of your other flours (I used sorghum) dust the surface of your rolling space. I was able to roll out my pie crust on a rolling mat and use my rolling pin to transfer the pie crust to the pie plate without too much difficulty. However, if you like your crust thin, try doing rolling your crust out on parchment paper to make it easier to transfer to the pie pan. Make sure you use plenty of dusting flour so that it doesn’t stick to the rolling surface or parchment paper.
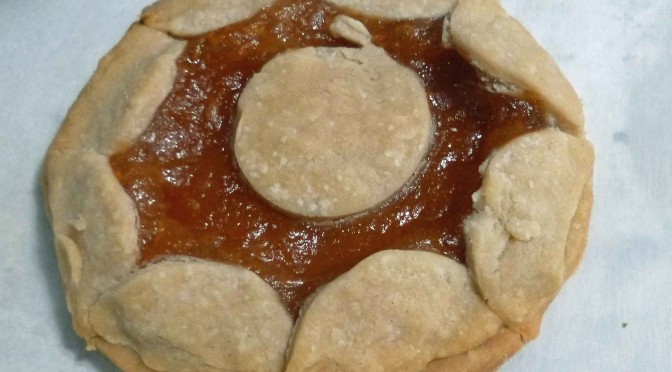
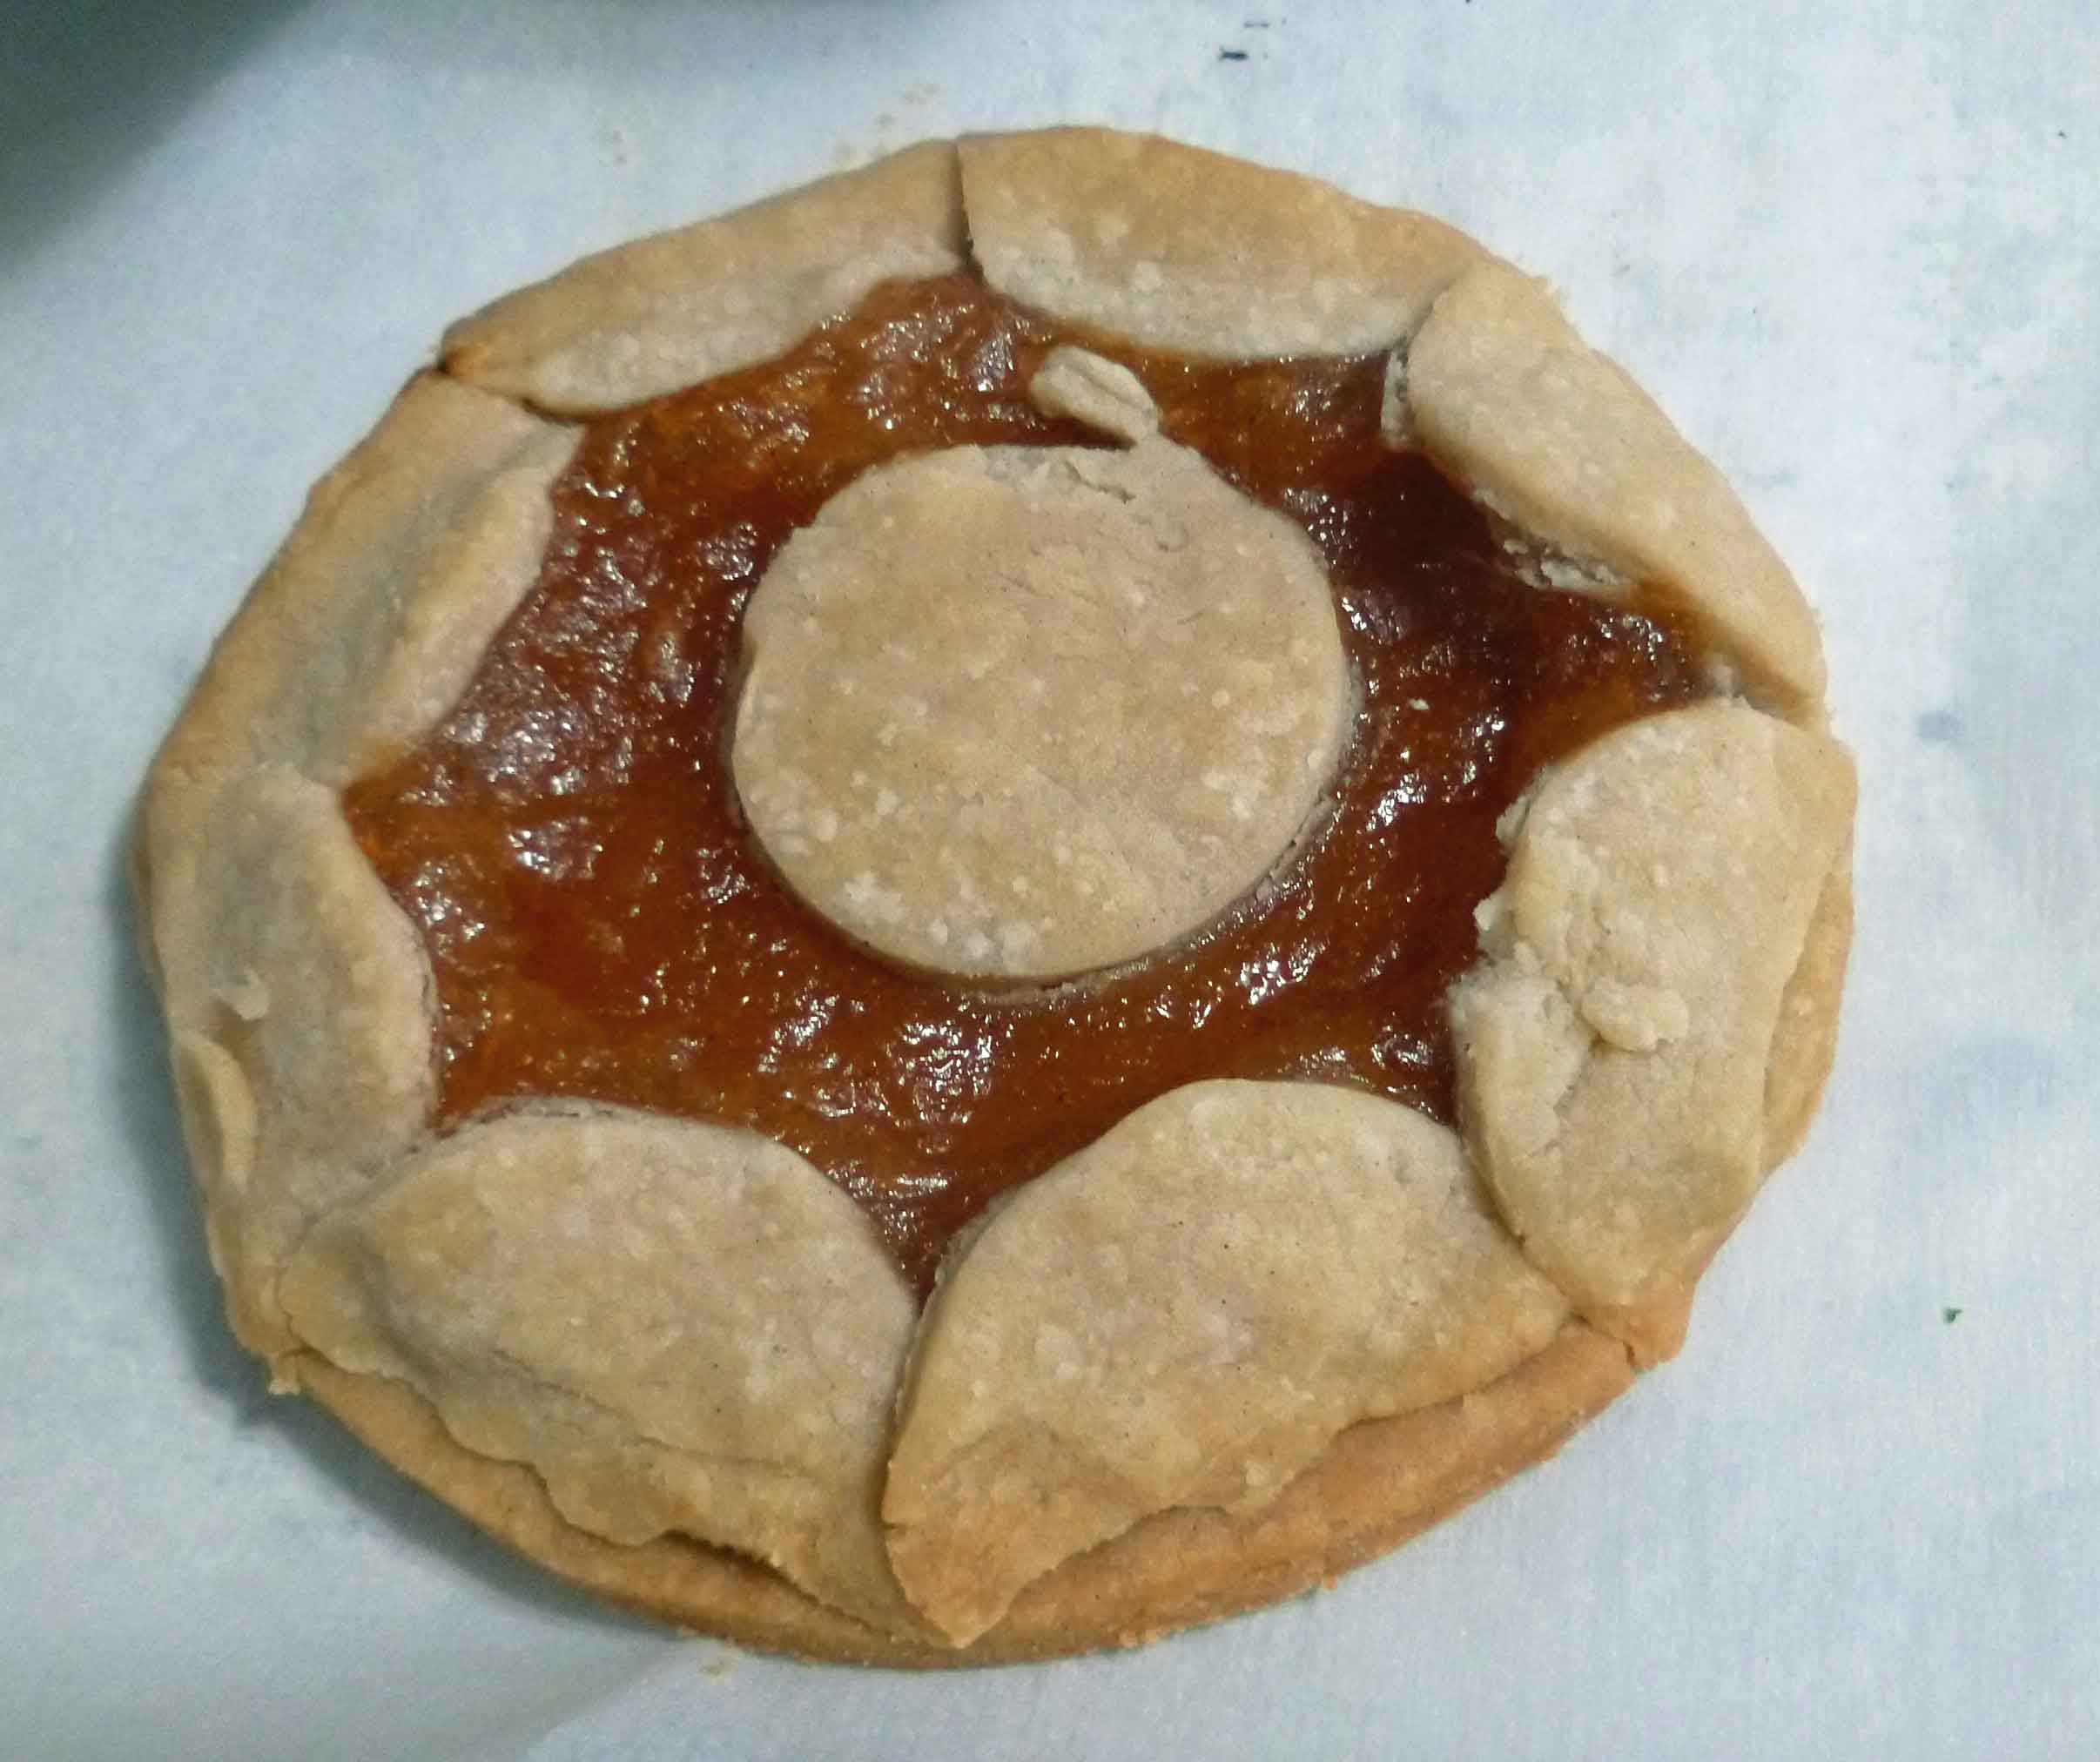
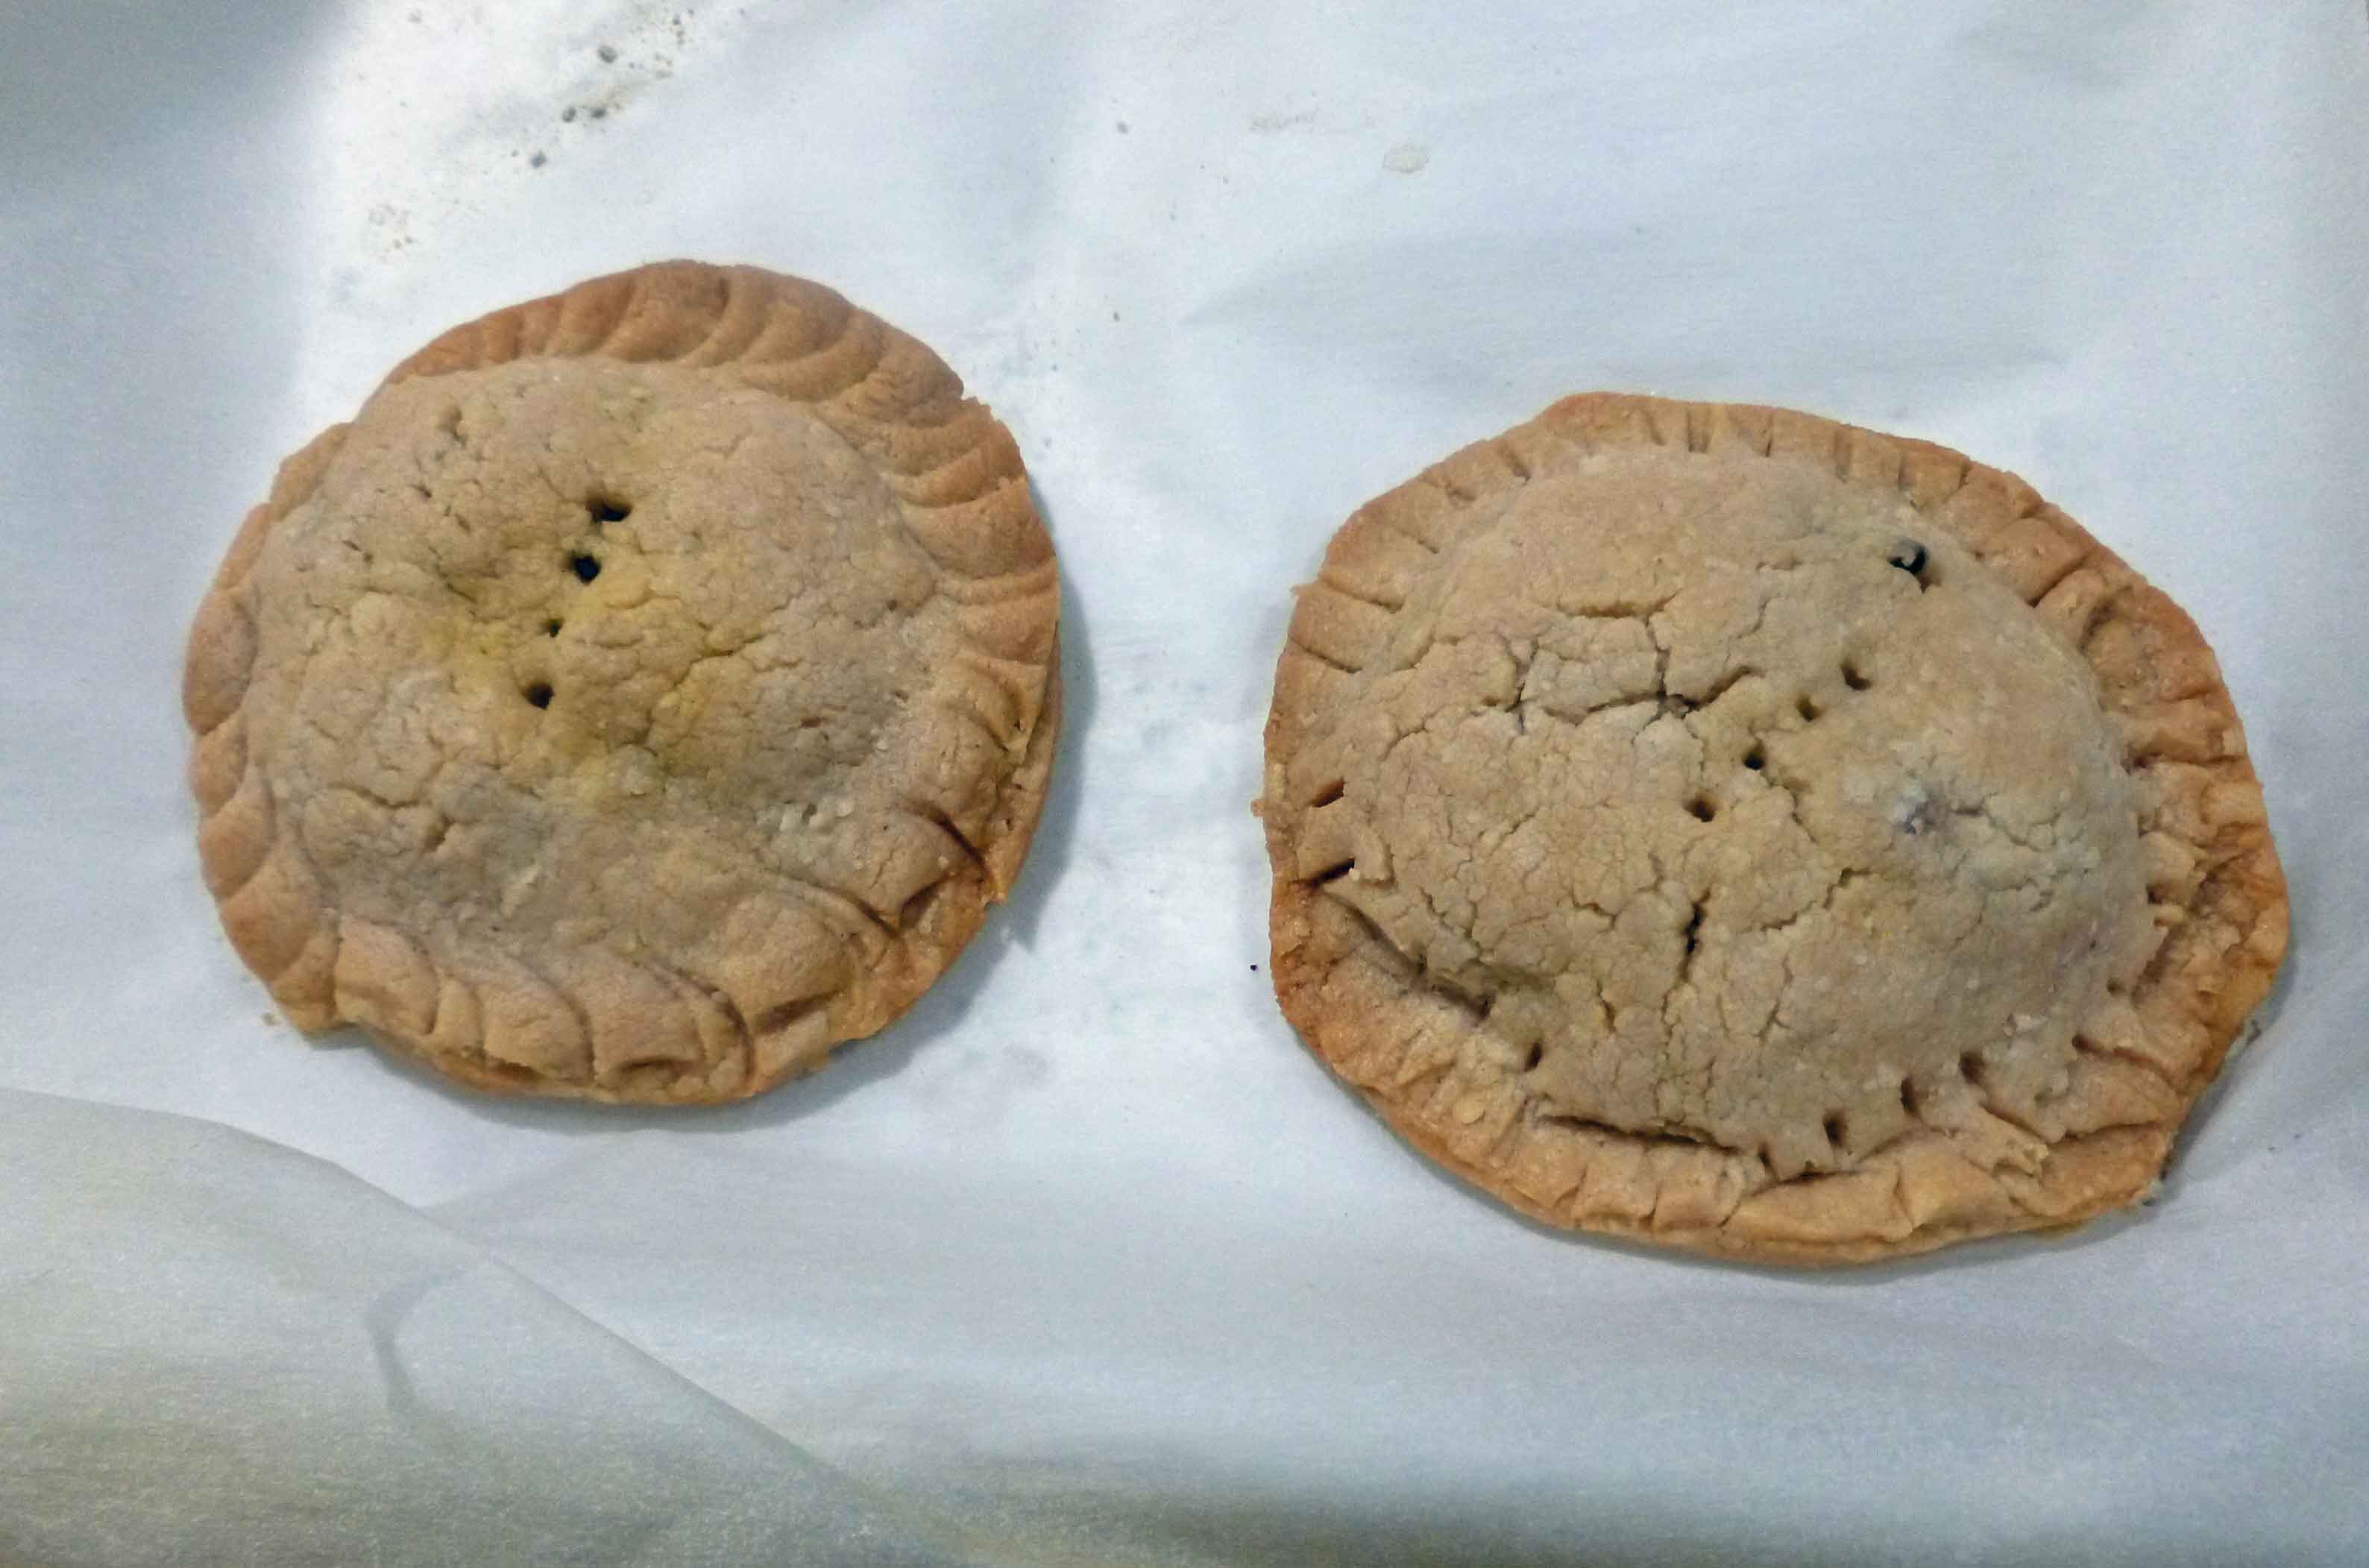
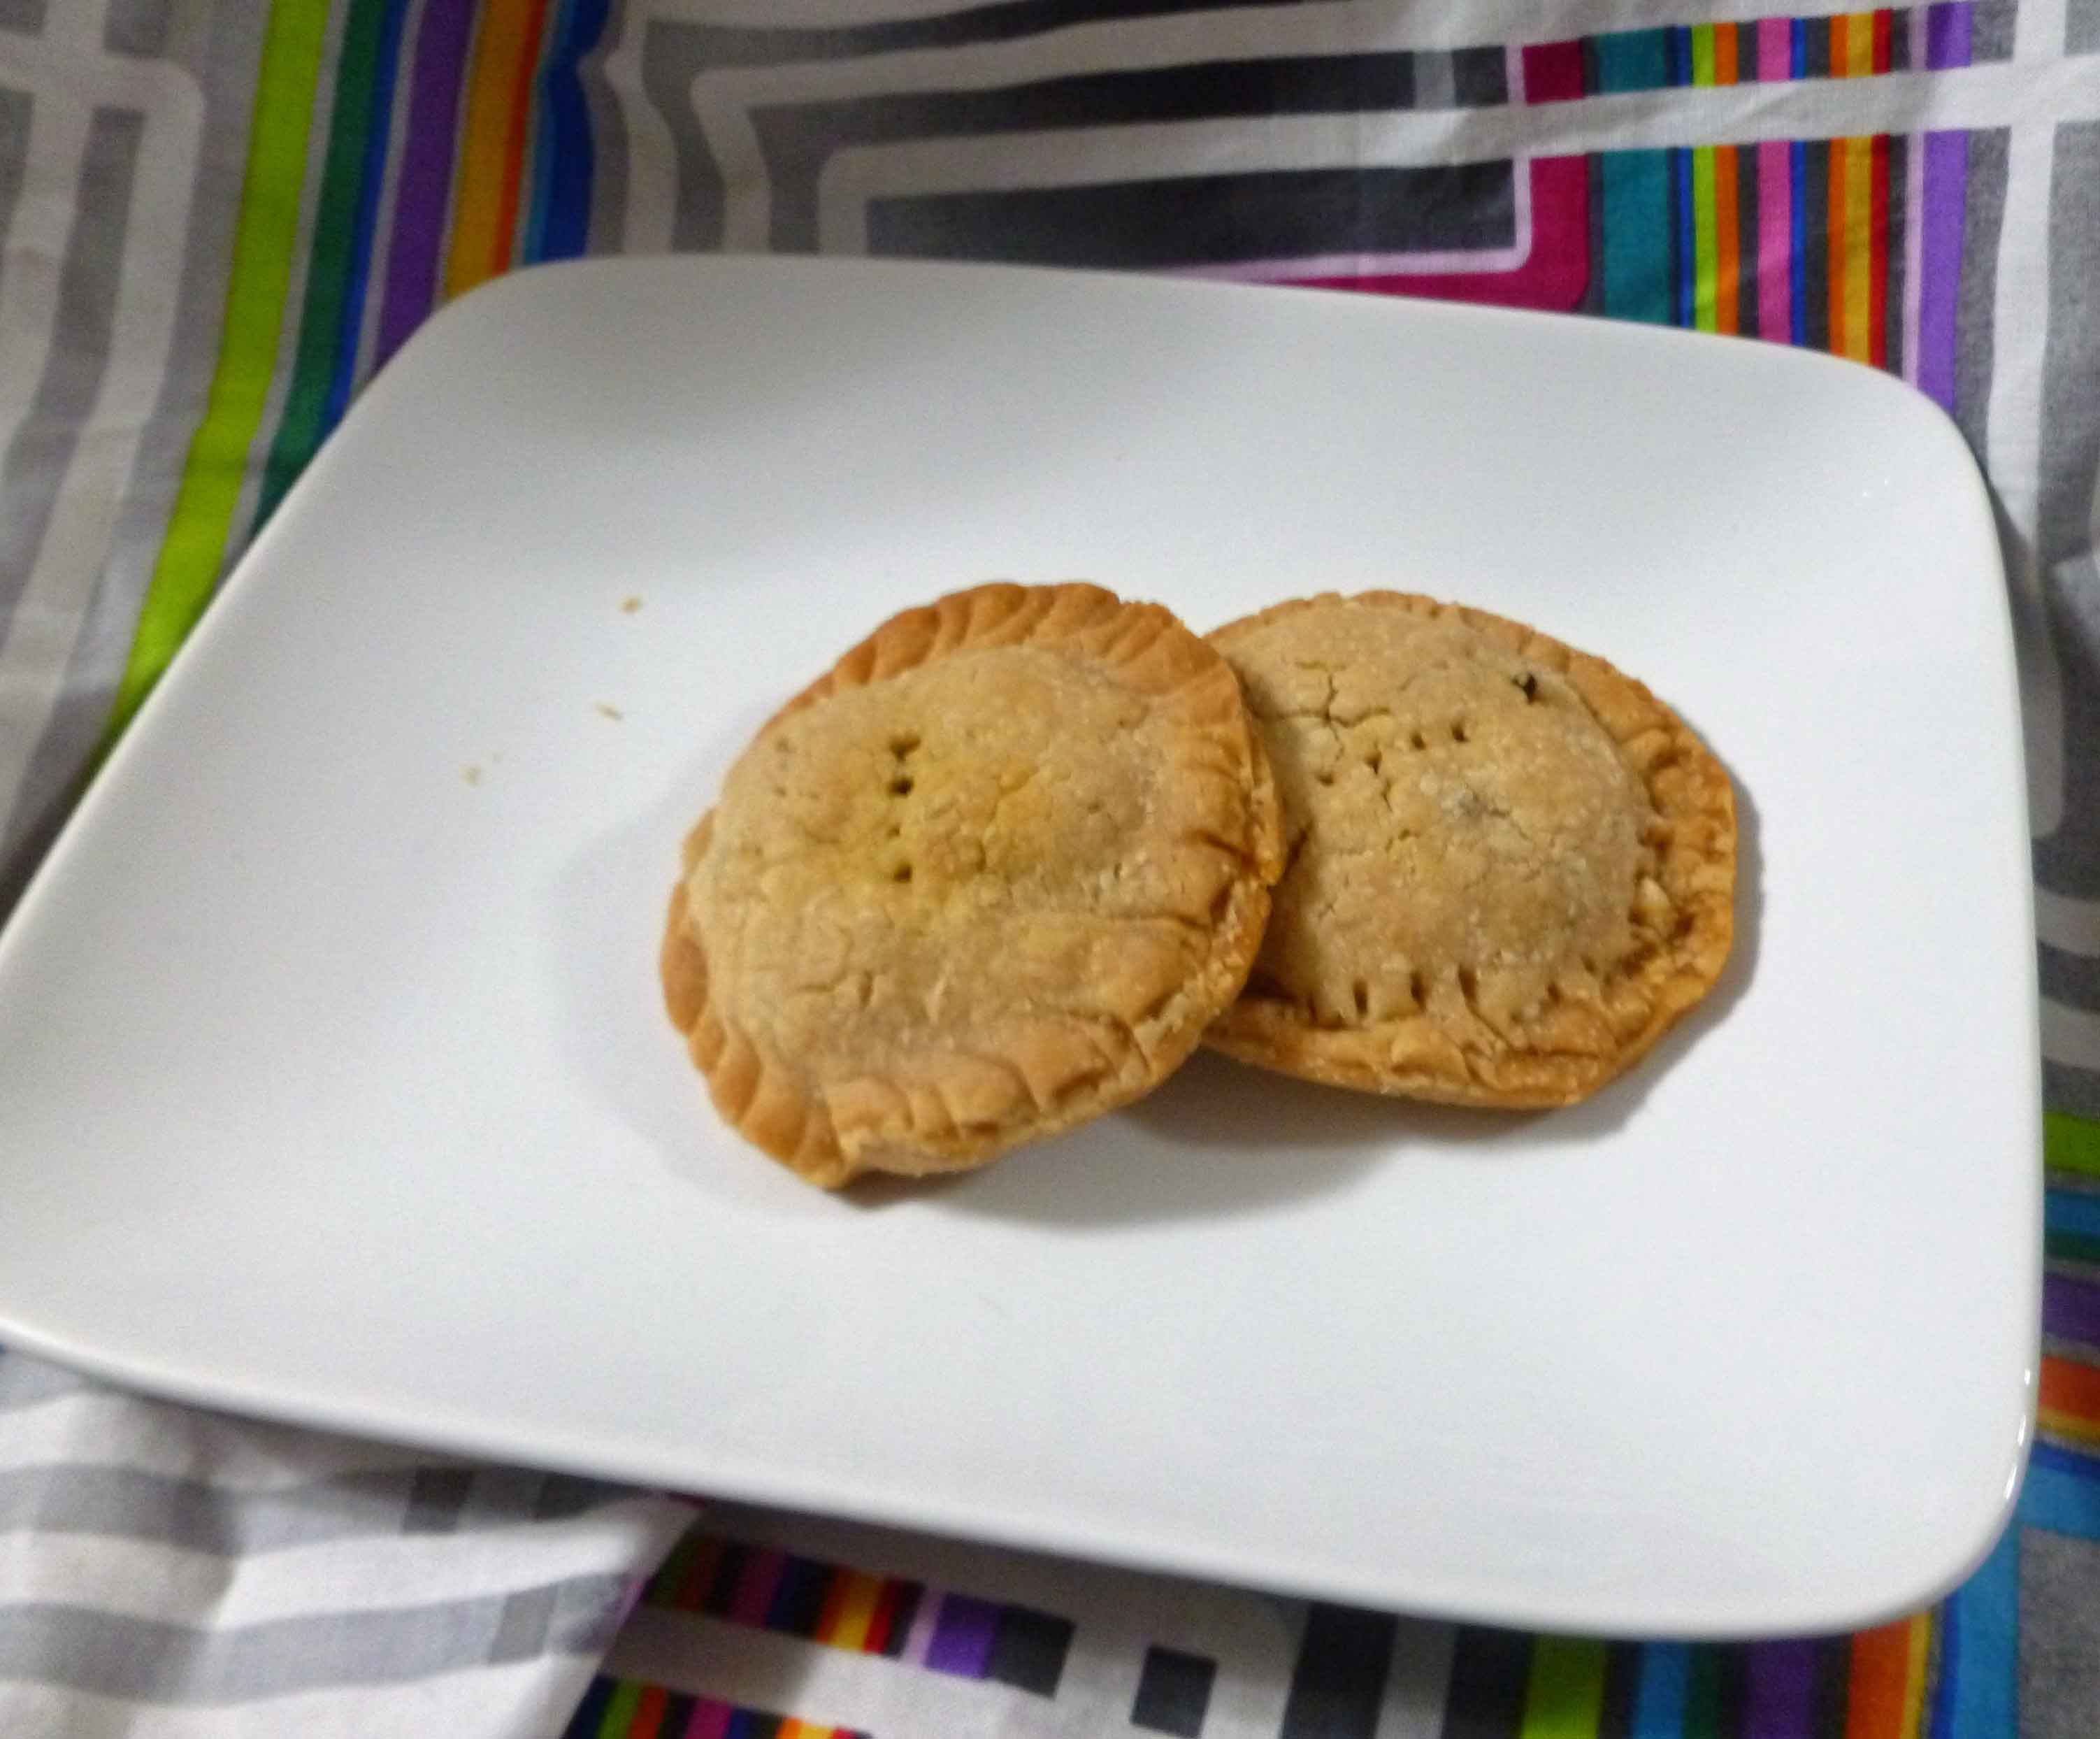
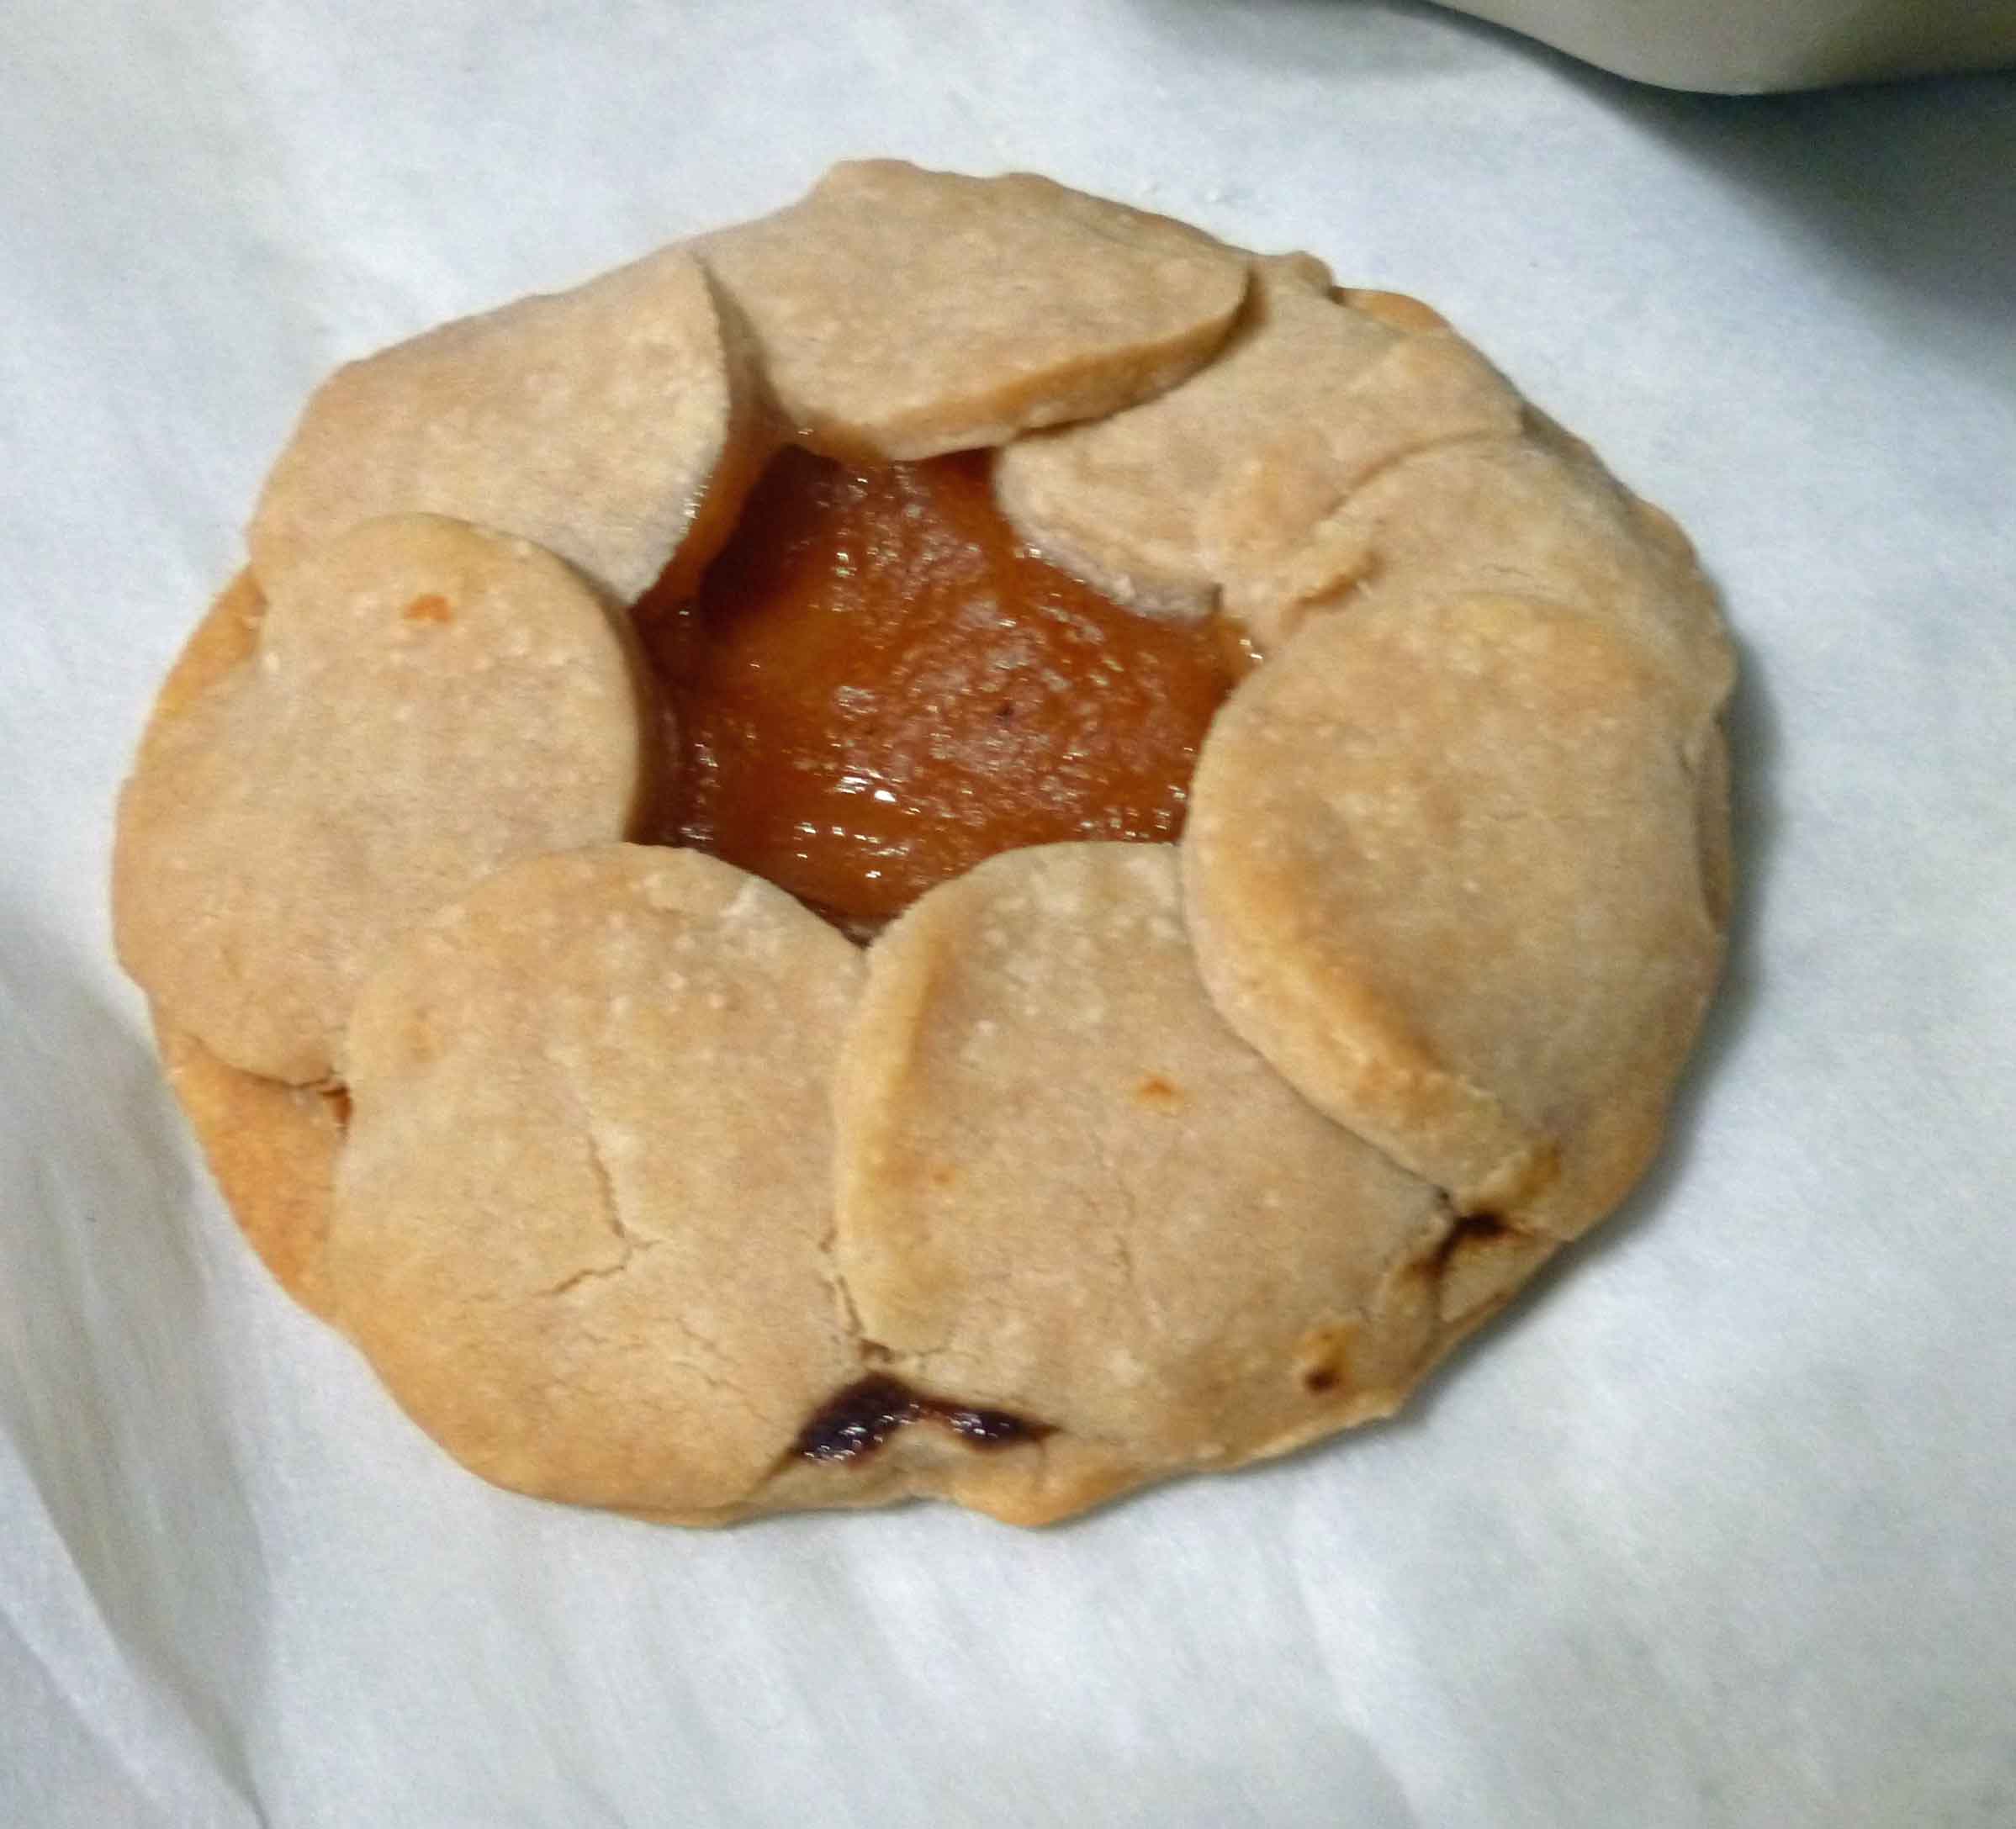
You can also use the crust to make tarts or stuffed pastries. The dough does not have the same elasticity as normal pie dough, but you can work with it a little, You can’t bend it in half because it will break. but you can stack pieces of dough on top of each other as long as the filling isn’t too tall. Next time I might experiment with larger top pieces to accommodate more filling.
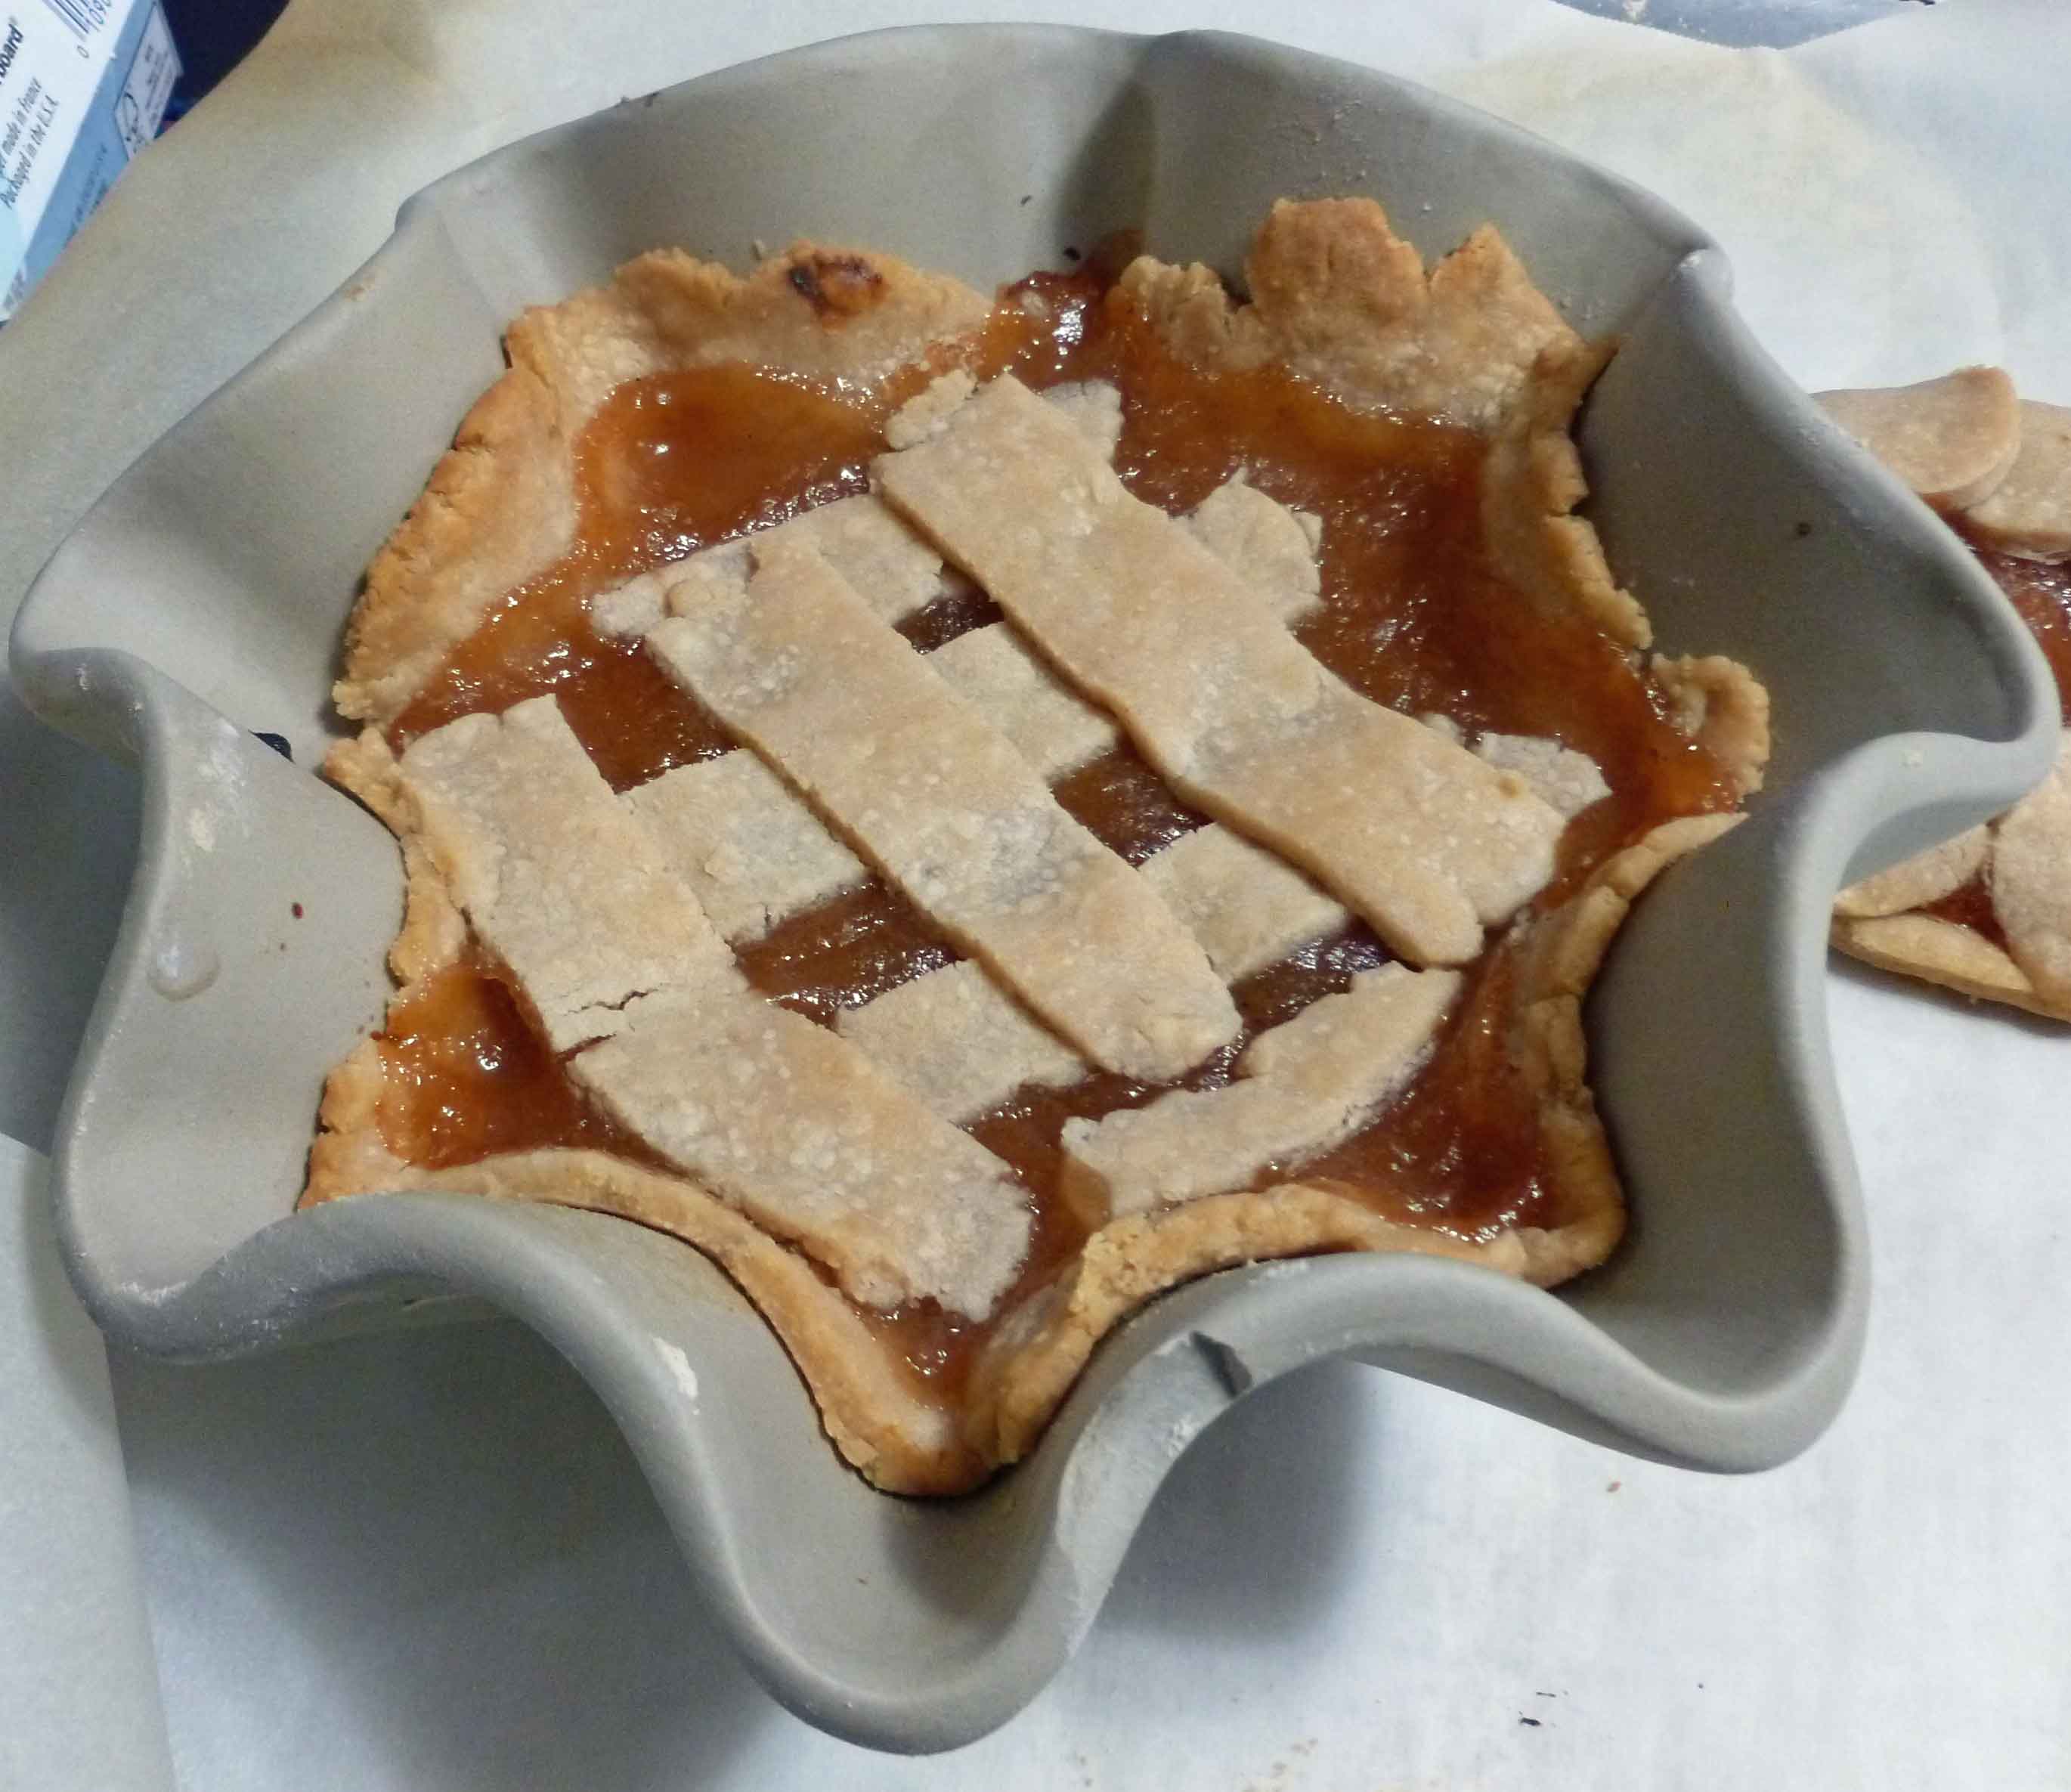
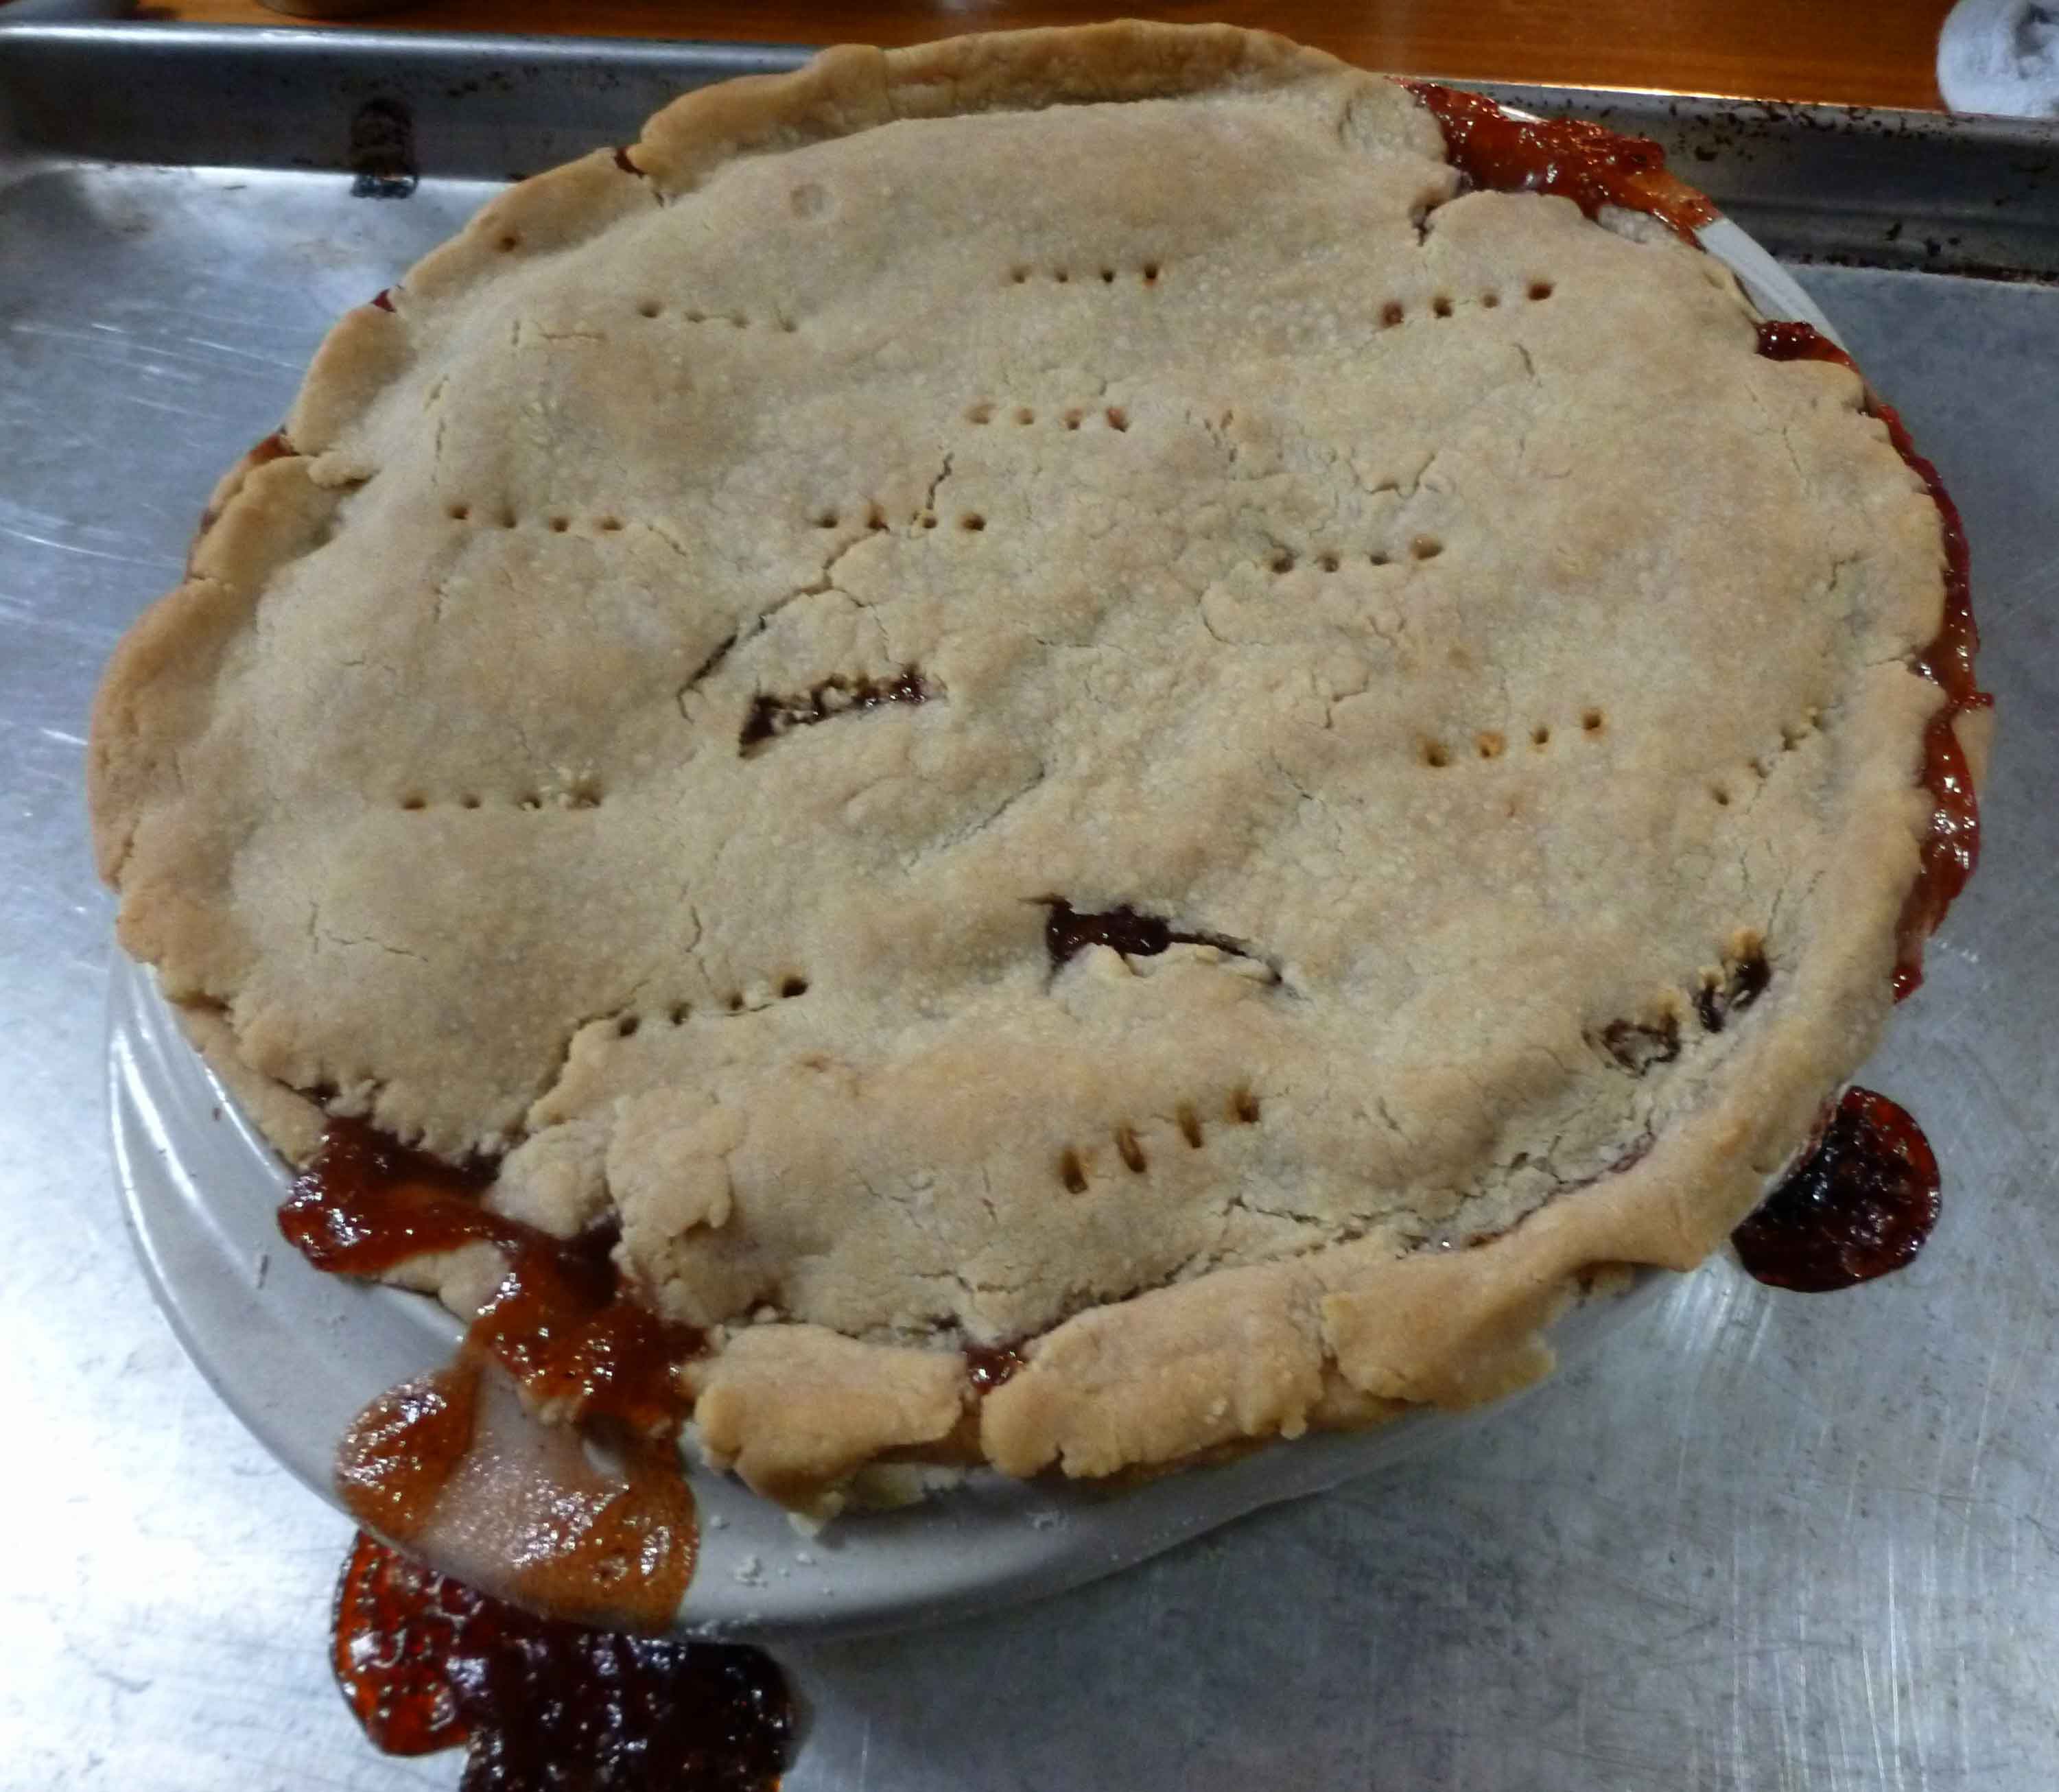
Bake your pie crust according to your pie recipe. Since I was winging it, I cooked my little pies, tarts, and pastries in the slide slow above for about 45 to 60 minutes. If you’re worried about soggy crusts, you can try blind baking your bottom crust. The Kitchn explains here much better than I can.
Have fun, and send us pictures of your creations!
Notice: Trying to access array offset on value of type bool in /home/maryzahc/public_html/adultfoodallergies.com/wp-content/plugins/wp-ultimate-recipe/helpers/models/recipe.php on line 254
Gluten-free Pie Crust (vegan option)
Print Recipe
A lovely crust for both dessert and savory applications. Double the recipe to make a top and bottom pie crust.
Servings
Prep Time
1single crust
45minutes
Passive Time
30minutes
Servings
Prep Time
1single crust
45minutes
Passive Time
30minutes
Gluten-free Pie Crust (vegan option)
Print Recipe
A lovely crust for both dessert and savory applications. Double the recipe to make a top and bottom pie crust.
Servings
Prep Time
1single crust
45minutes
Passive Time
30minutes
Servings
Prep Time
1single crust
45minutes
Passive Time
30minutes
Ingredients
1/3cupsorghum flour
1/3 cup Otto’s Naturals cassava flour
1/3cup arrowroot starch
1/4cupmillet flour
1/2 tspsalt
1/2cupcold lard or cold vegetable shortening
1 1/2tspapple cider vinegar
5tbspcold aquafaba
Servings: single crust
Instructions
In a large bowl, whisk together the sorghum flour, the cassava flour, arrowroot starch, millet flour, and salt, until they are thoroughly mixed.
Using a pastry blender or a fork, cut in the lard or vegetable shortening until the mixture looks like crumbs.
In a small bowl or glass measuring cup, mix the aquafaba and apple cider vinegar together until it is well blended. Add the liquid mixture to your flour mixture and stir until it comes together to form a dough.
Shape the dough into a smooth ball, and put the dough ball into the freezer to chill for 30 minutes before rolling it out.
Using some of your other flours (I used sorghum) dust the surface of your rolling space. I was able to roll out my pie crust on a rolling mat and use my rolling pin to transfer the pie crust to the pie plate without too much difficulty. However, if you like your crust thin, try doing rolling your crust out on parchment paper to make it easier to transfer to the pie pan. Make sure you use plenty of dusting flour so that it doesn’t stick to the rolling surface or parchment paper.
Place pie crust in pie plate, and fill pie. Bake according to pie recipe. If you’re concerned about soggy crust, you may wish to blind bake your bottom crust first.
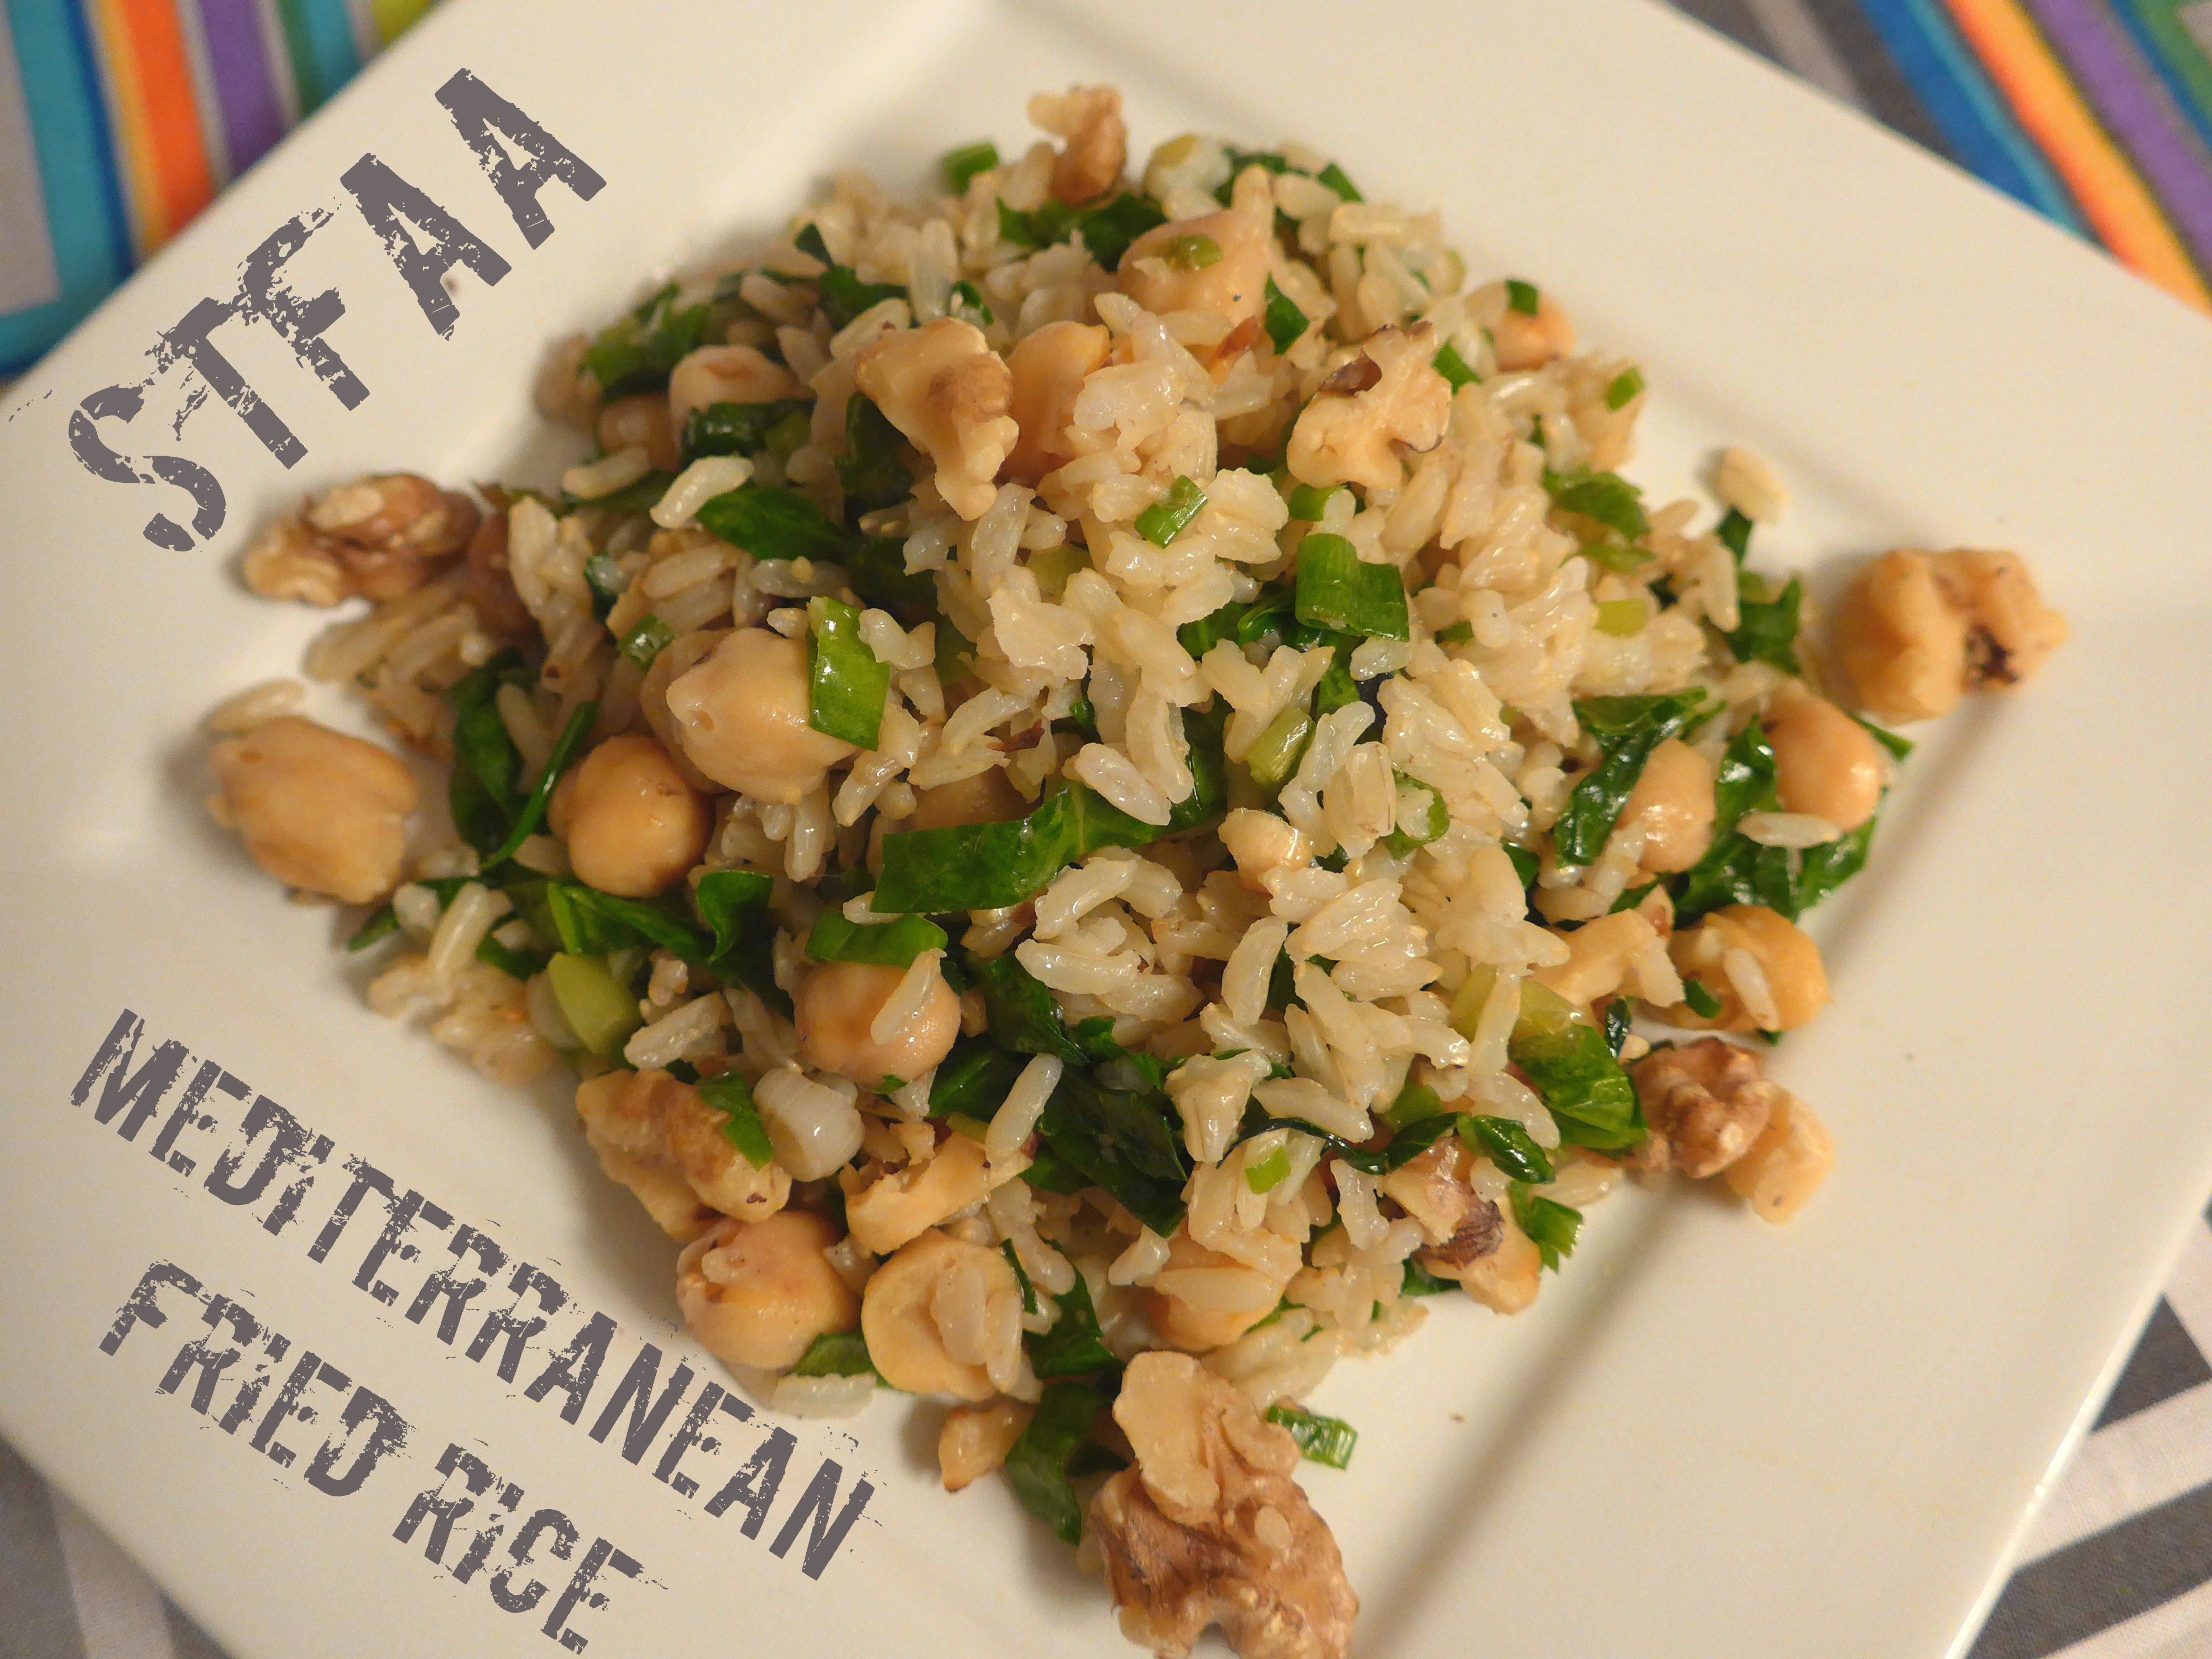
On a recent trip that took us through Scranton, PA, I had an awesome dish that the menu called “Lebanese Fried Rice.” It was brown rice, chickpeas, walnuts, and some vegetables, and it was a perfect lunch. I loved it, and thought that it would make a simple, hearty side dish for the blog, though I thought I’d alter it a bit for my own tastes.
So here’s my take on that dish. It would be a great side dish with any protein or with a salad. The original salad had red bell peppers in it, but I’m not a big fan of them, so I left them out here. This dish does contain walnuts. You could leave them out, but it is a major flavor component and the dish would be a bit bland without.
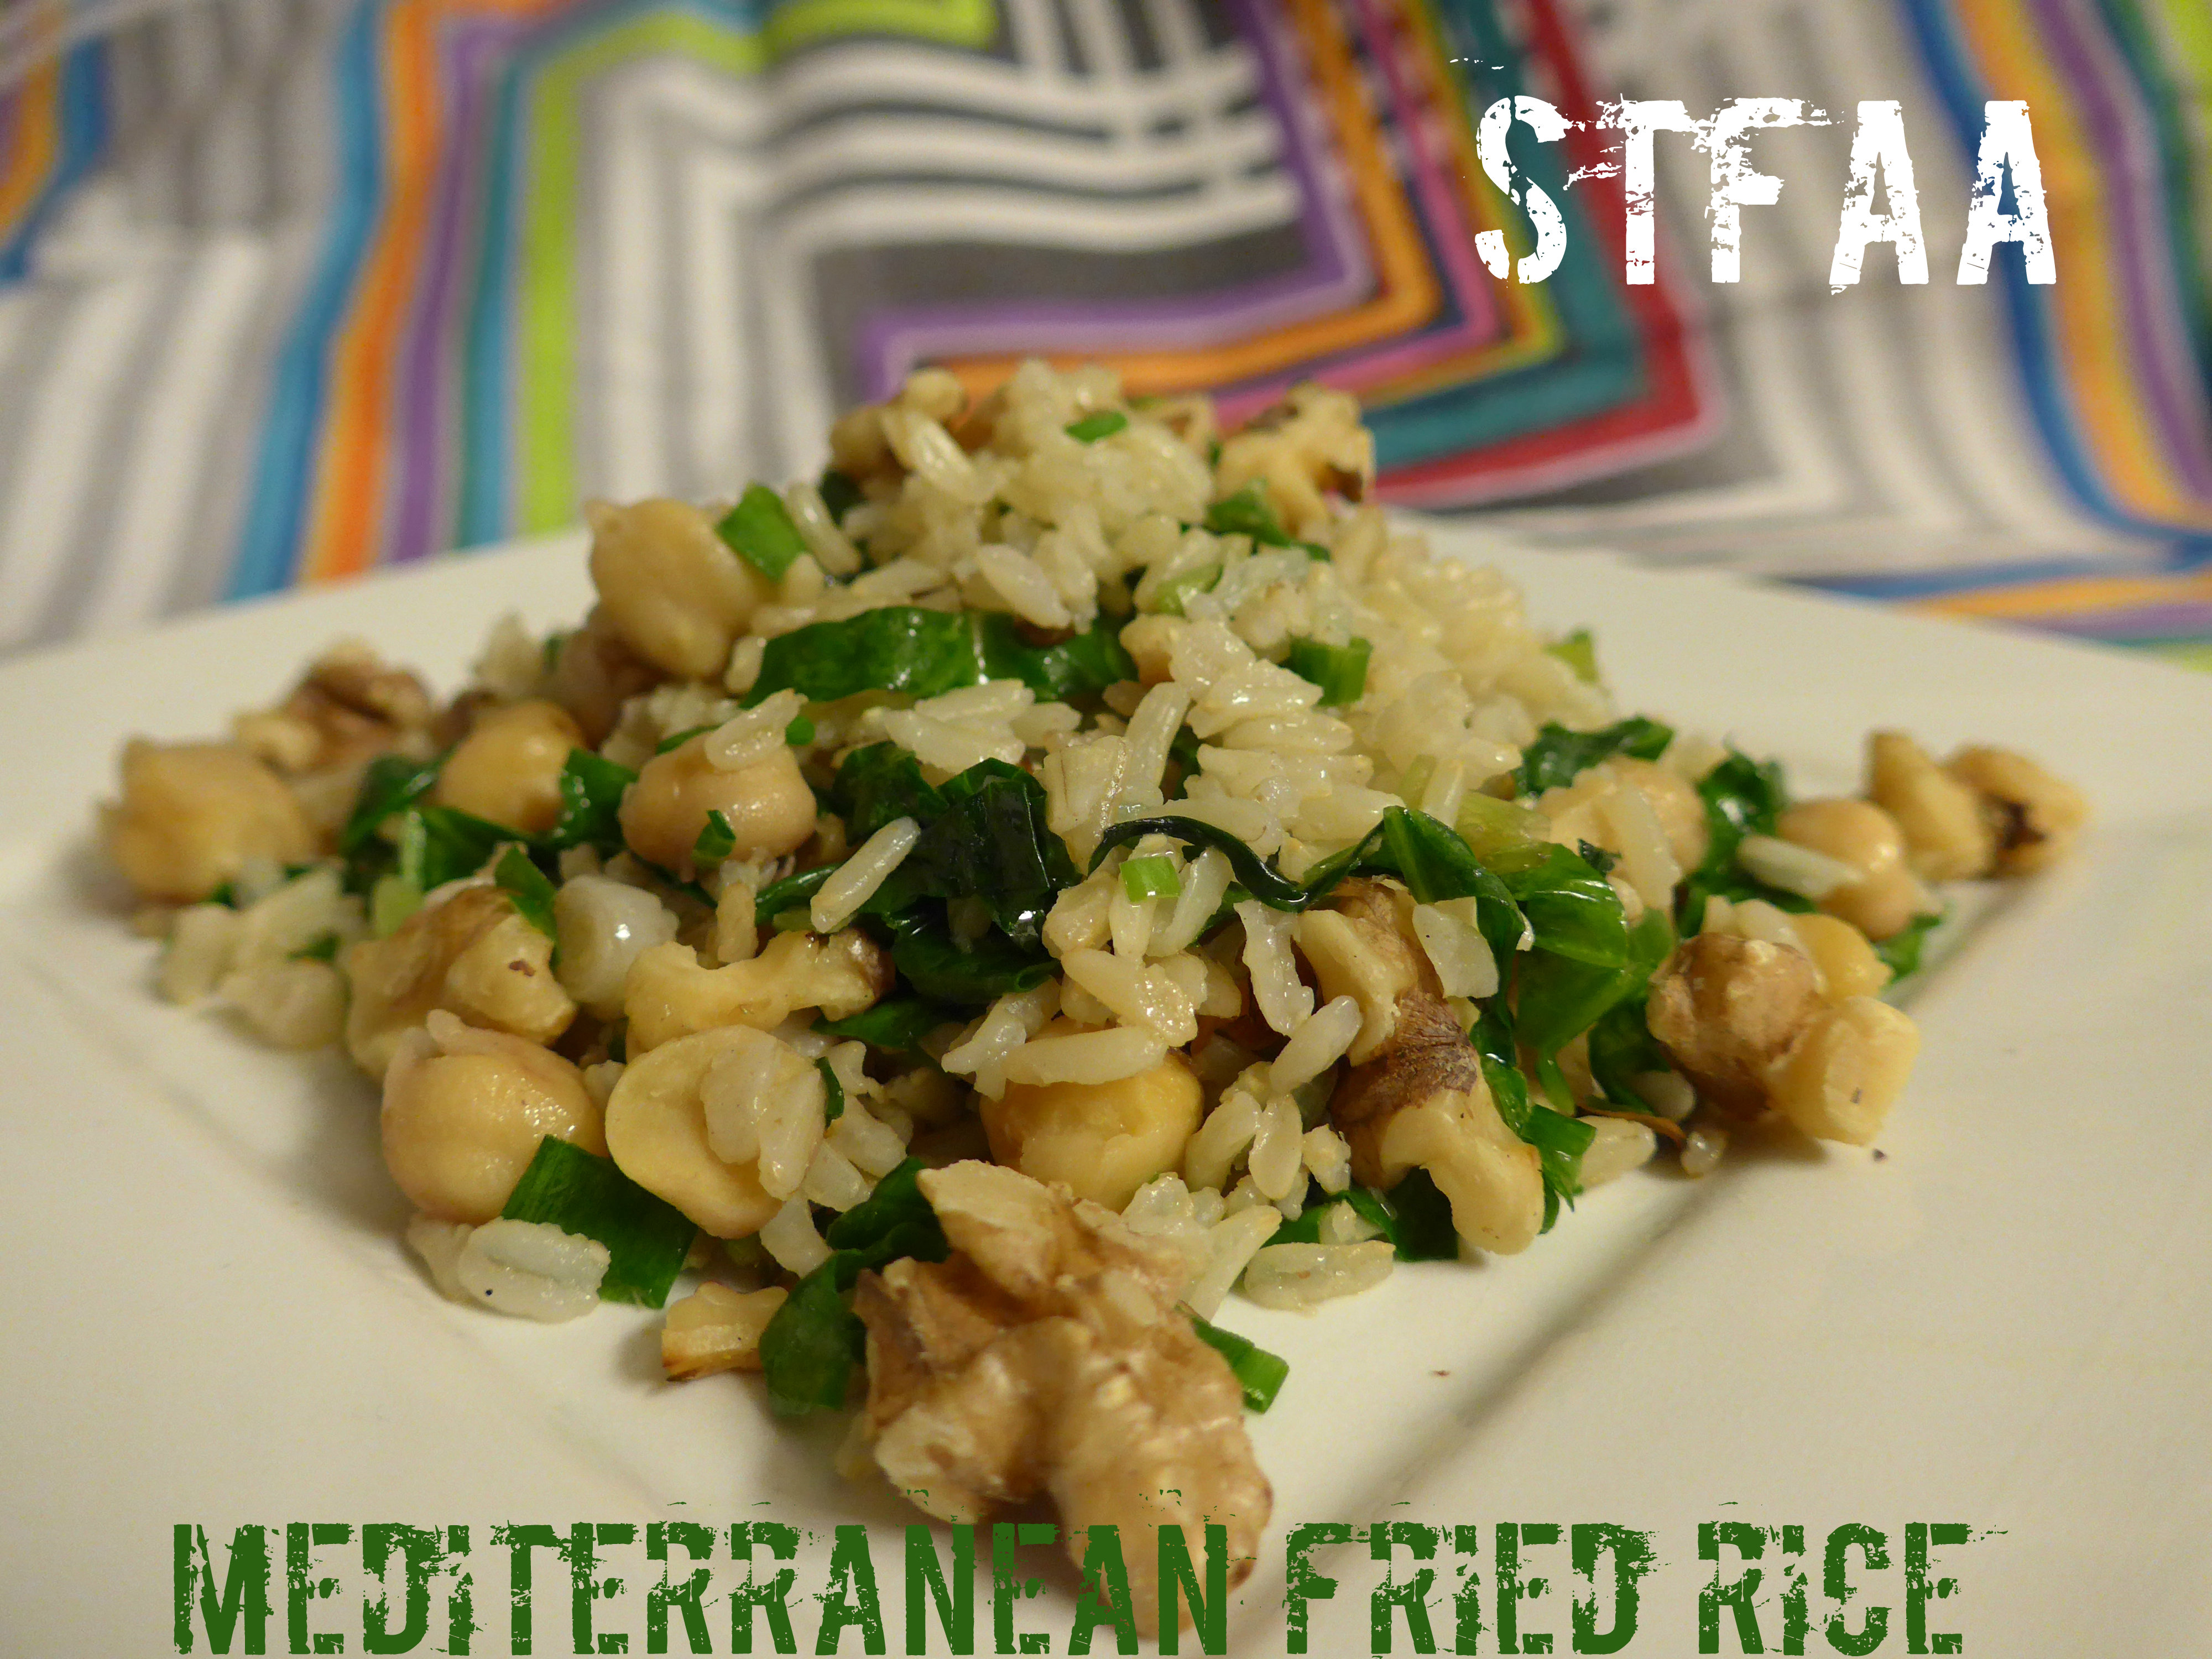
Mediterranean Fried Rice
Mediterranean Fried Rice
1 cup walnut pieces
1 bunch of scallions, sliced finely, green and whites separated
2-3 Tablespoons olive oil, divided
1 can or 16 oz. cooked chickpeas
3 cups cooked and cooled brown rice (I use brown jasmine rice for almost everything)
1/4-1/2 teaspoon salt, to taste
2 cups chopped spinach
In a skillet over medium heat, toast the walnuts. Don’t leave them — I burn so many nuts this way. Wait until they become fragrant, and then remove them from the heat. Reserve to the side.
Add 1 tablespoon of the olive oil and the white parts of the scallions to the skillet. Cook over medium heat about 2 minutes. Then add the chickpeas, stirring well.
Finally, add the rice. Stir well and add another 1-2 tablespoons of olive oil — you want a light coat of olive oil over the whole dish.
Cook for 3-5 minutes, until the rice is heated through. Add the rest of the scallions* and the spinach, along with the salt. Stir well, and cook until the spinach is wilted.
Serve topped with the walnuts.
*If you like a stronger onion flavor, reserve half the green bits to add raw, when serving.
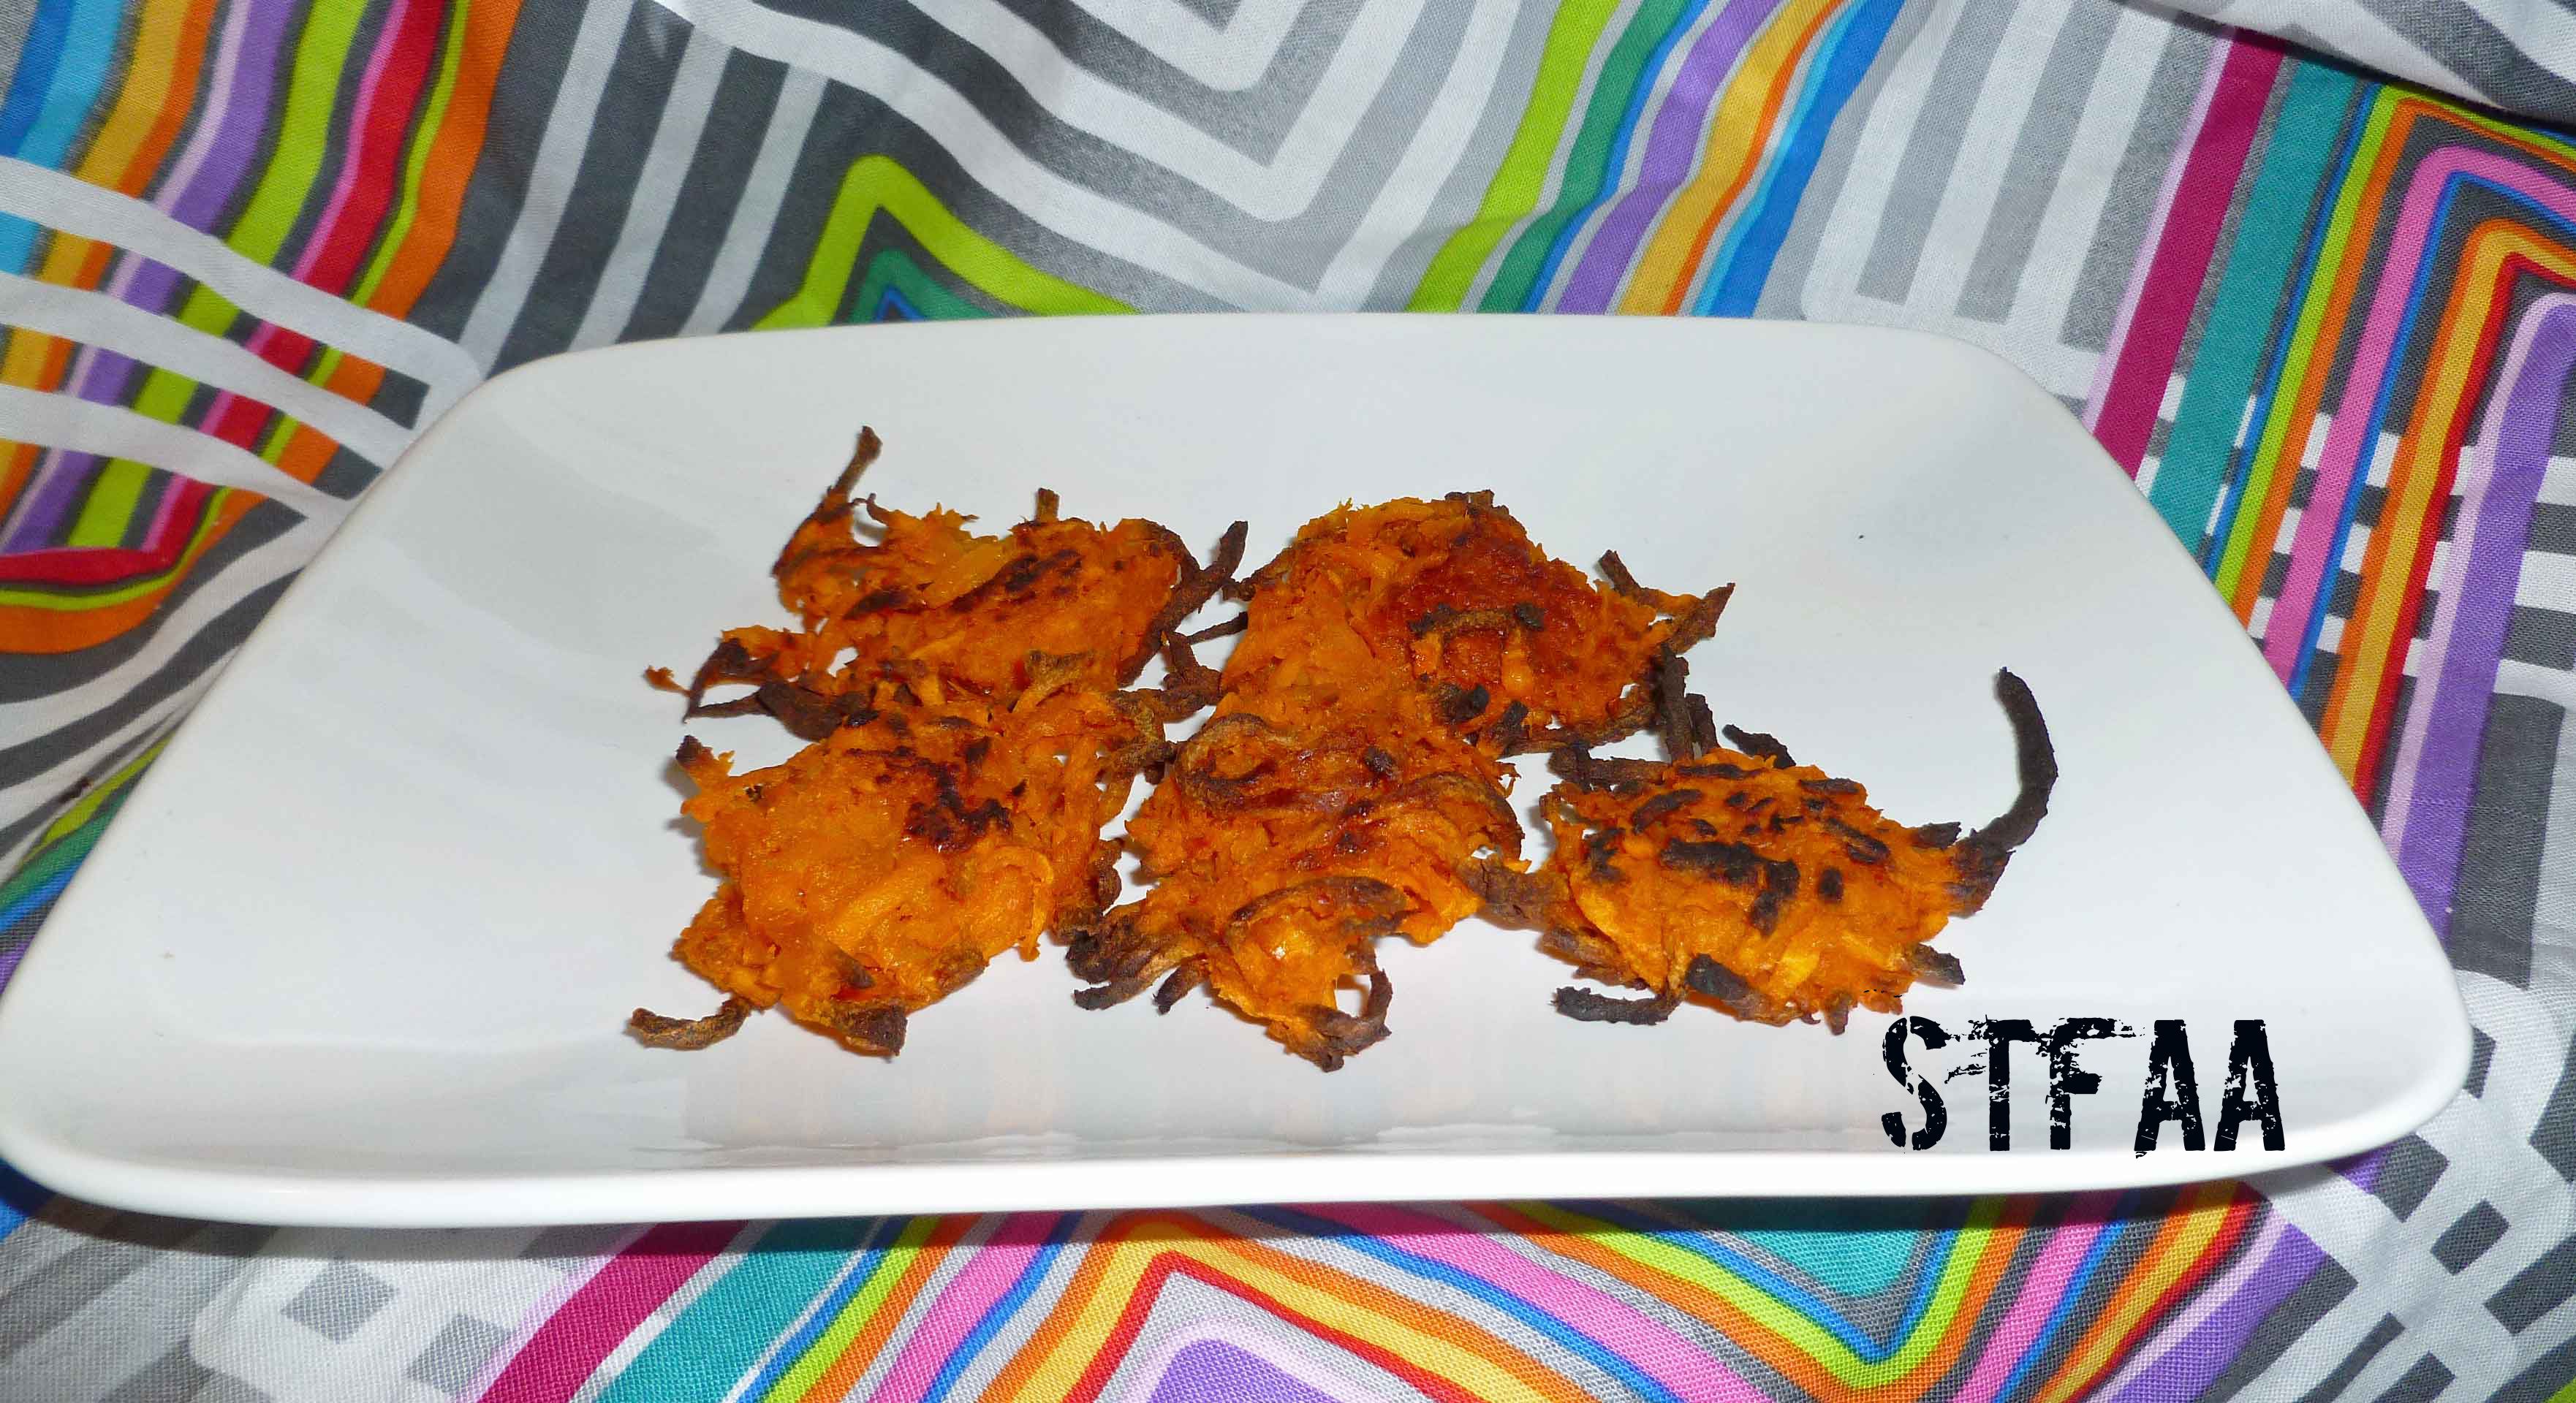
Okay, I know I already did a bunch of tater tots, but I had to do a chili head version. Seriously, you expected that I’d just leave it alone? I often use Sriracha (my homemade version, as I no longer can use the commercial version, sob, sob, although mine’s pretty close) instead of ketchup on fries or home fries. So why not put the Sriracha straight into the tater tot? It’s sweet and hot and yummy all at the same time. I didn’t take as many pictures this time, because there’s two other tater tot posts out there you can look at (Roasted Garlic and Pesto DIY Tater Tots and Chimichurri Spiced DIY Tater Tots) for reference, and mostly because I forgot. Oops.
Sriracha Sweet Potato DIY Tater Tots
3 large or 4 medium sweet potatoes
2-4 Tablespoon(s) of Sriracha, depending on your spice tolerance (use a safe version for you, I ferment my own at home, since I don’t have a safe version)
2 Tablespoons of olive oil, or other safe for you oil, and some to put in a oil mister
1/4 teaspoon of salt
Preheat your oven to 400°F. Peel and wash your potatoes. Place the potatoes on a small baking sheet. Bake the potatoes for about an hour.
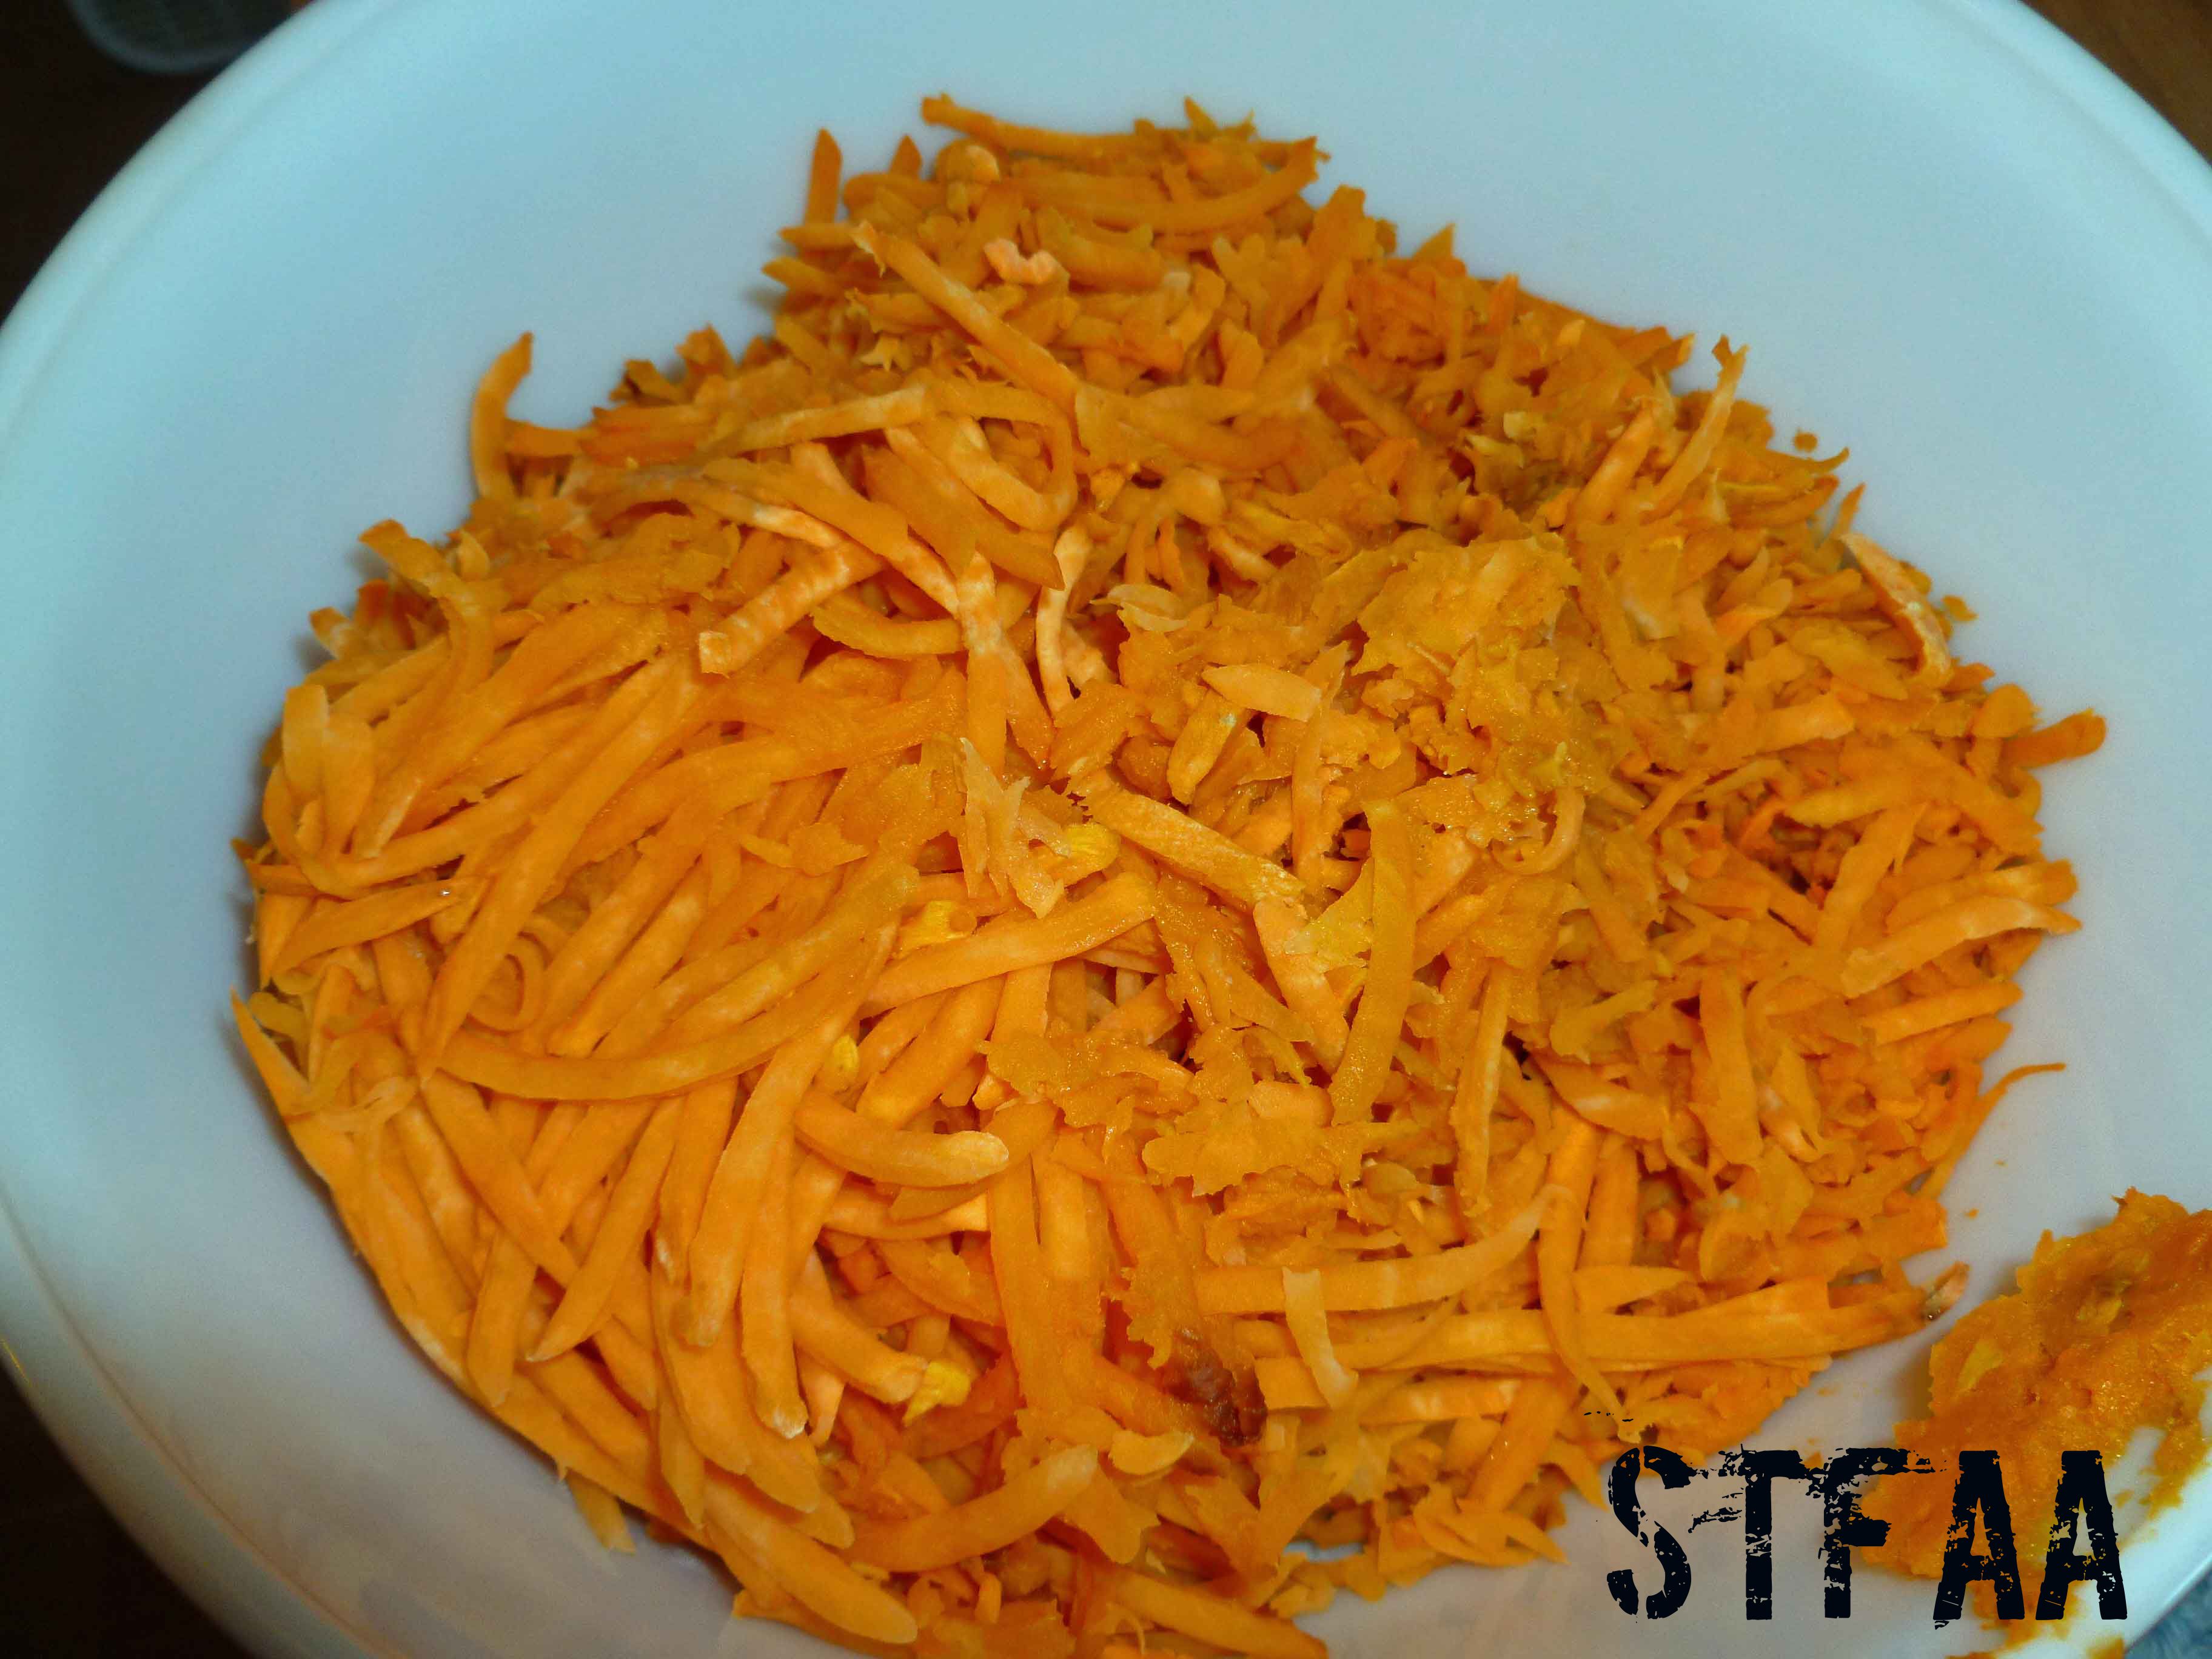
When the potatoes are ready to come out of the oven, remove the potatoes and turn the temperature on the oven to 425°F. If you’re using a large hand grater, you need to wait until the potatoes are cool so you don’t burn your fingers. Since I was using the grating blade on my food processor to grate the potatoes, I grated them while they were still hot. I sliced them lengthwise just enough to get them in the food processor, and grated them up.
Grated potatoes after baking
Some of the grated pieces may be too long, Feel free to chop them up a bit either with a knife or a potato masher. When the pieces are small enough for you, mix the Sriracha, salt, and the 2 Tablespoons of your safe oil into the potatoes until they are well combined.
Spray your baking sheet with your safe oil in a mister. I used a small cookie scoop to portion out the tater tots, but you could use two teaspoons to drop the mixture on your baking sheet.
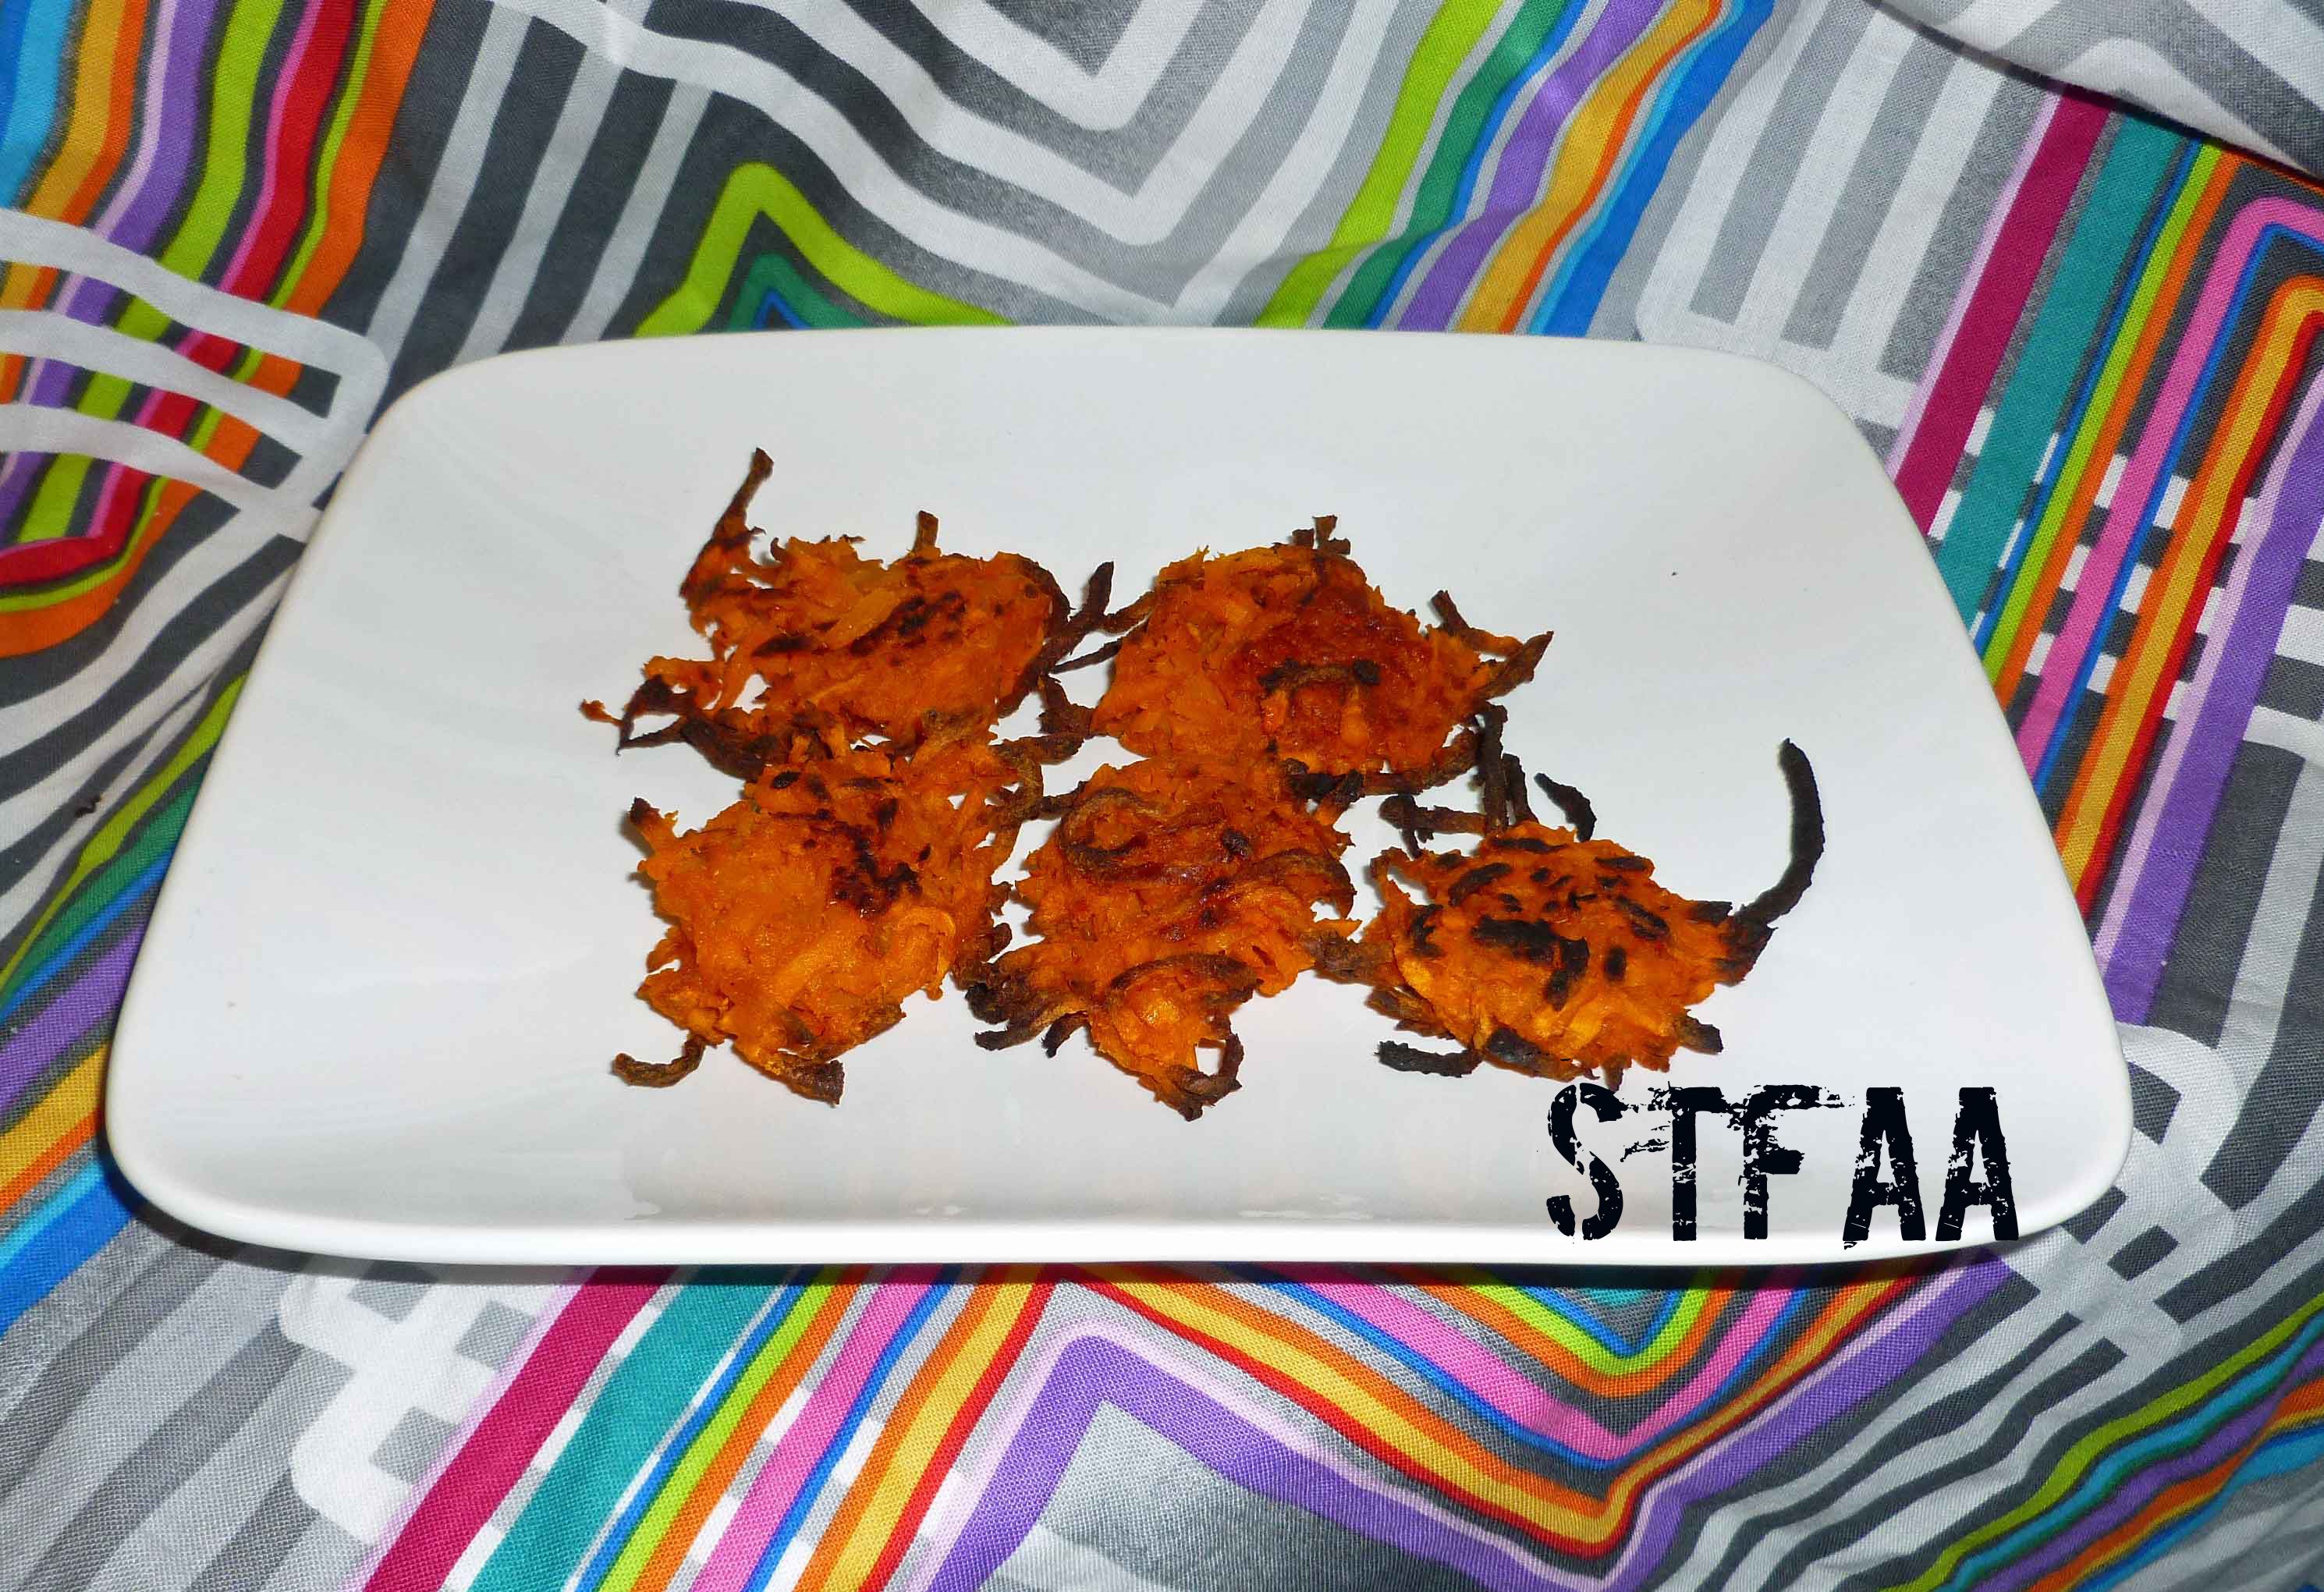
Use your oil mister to mist the top of the tater tots, and place the baking sheet in the oven for 25-30 minutes. Use some tongs or a spatula to turn them over, and then bake them for another 25-30 minutes. You want to watch them closely, as you’ll notice mine were a little on the brown side.
Sriracha Sweet Potato DIY Tater Tots
Take them out of the oven, salt to taste, and enjoy!
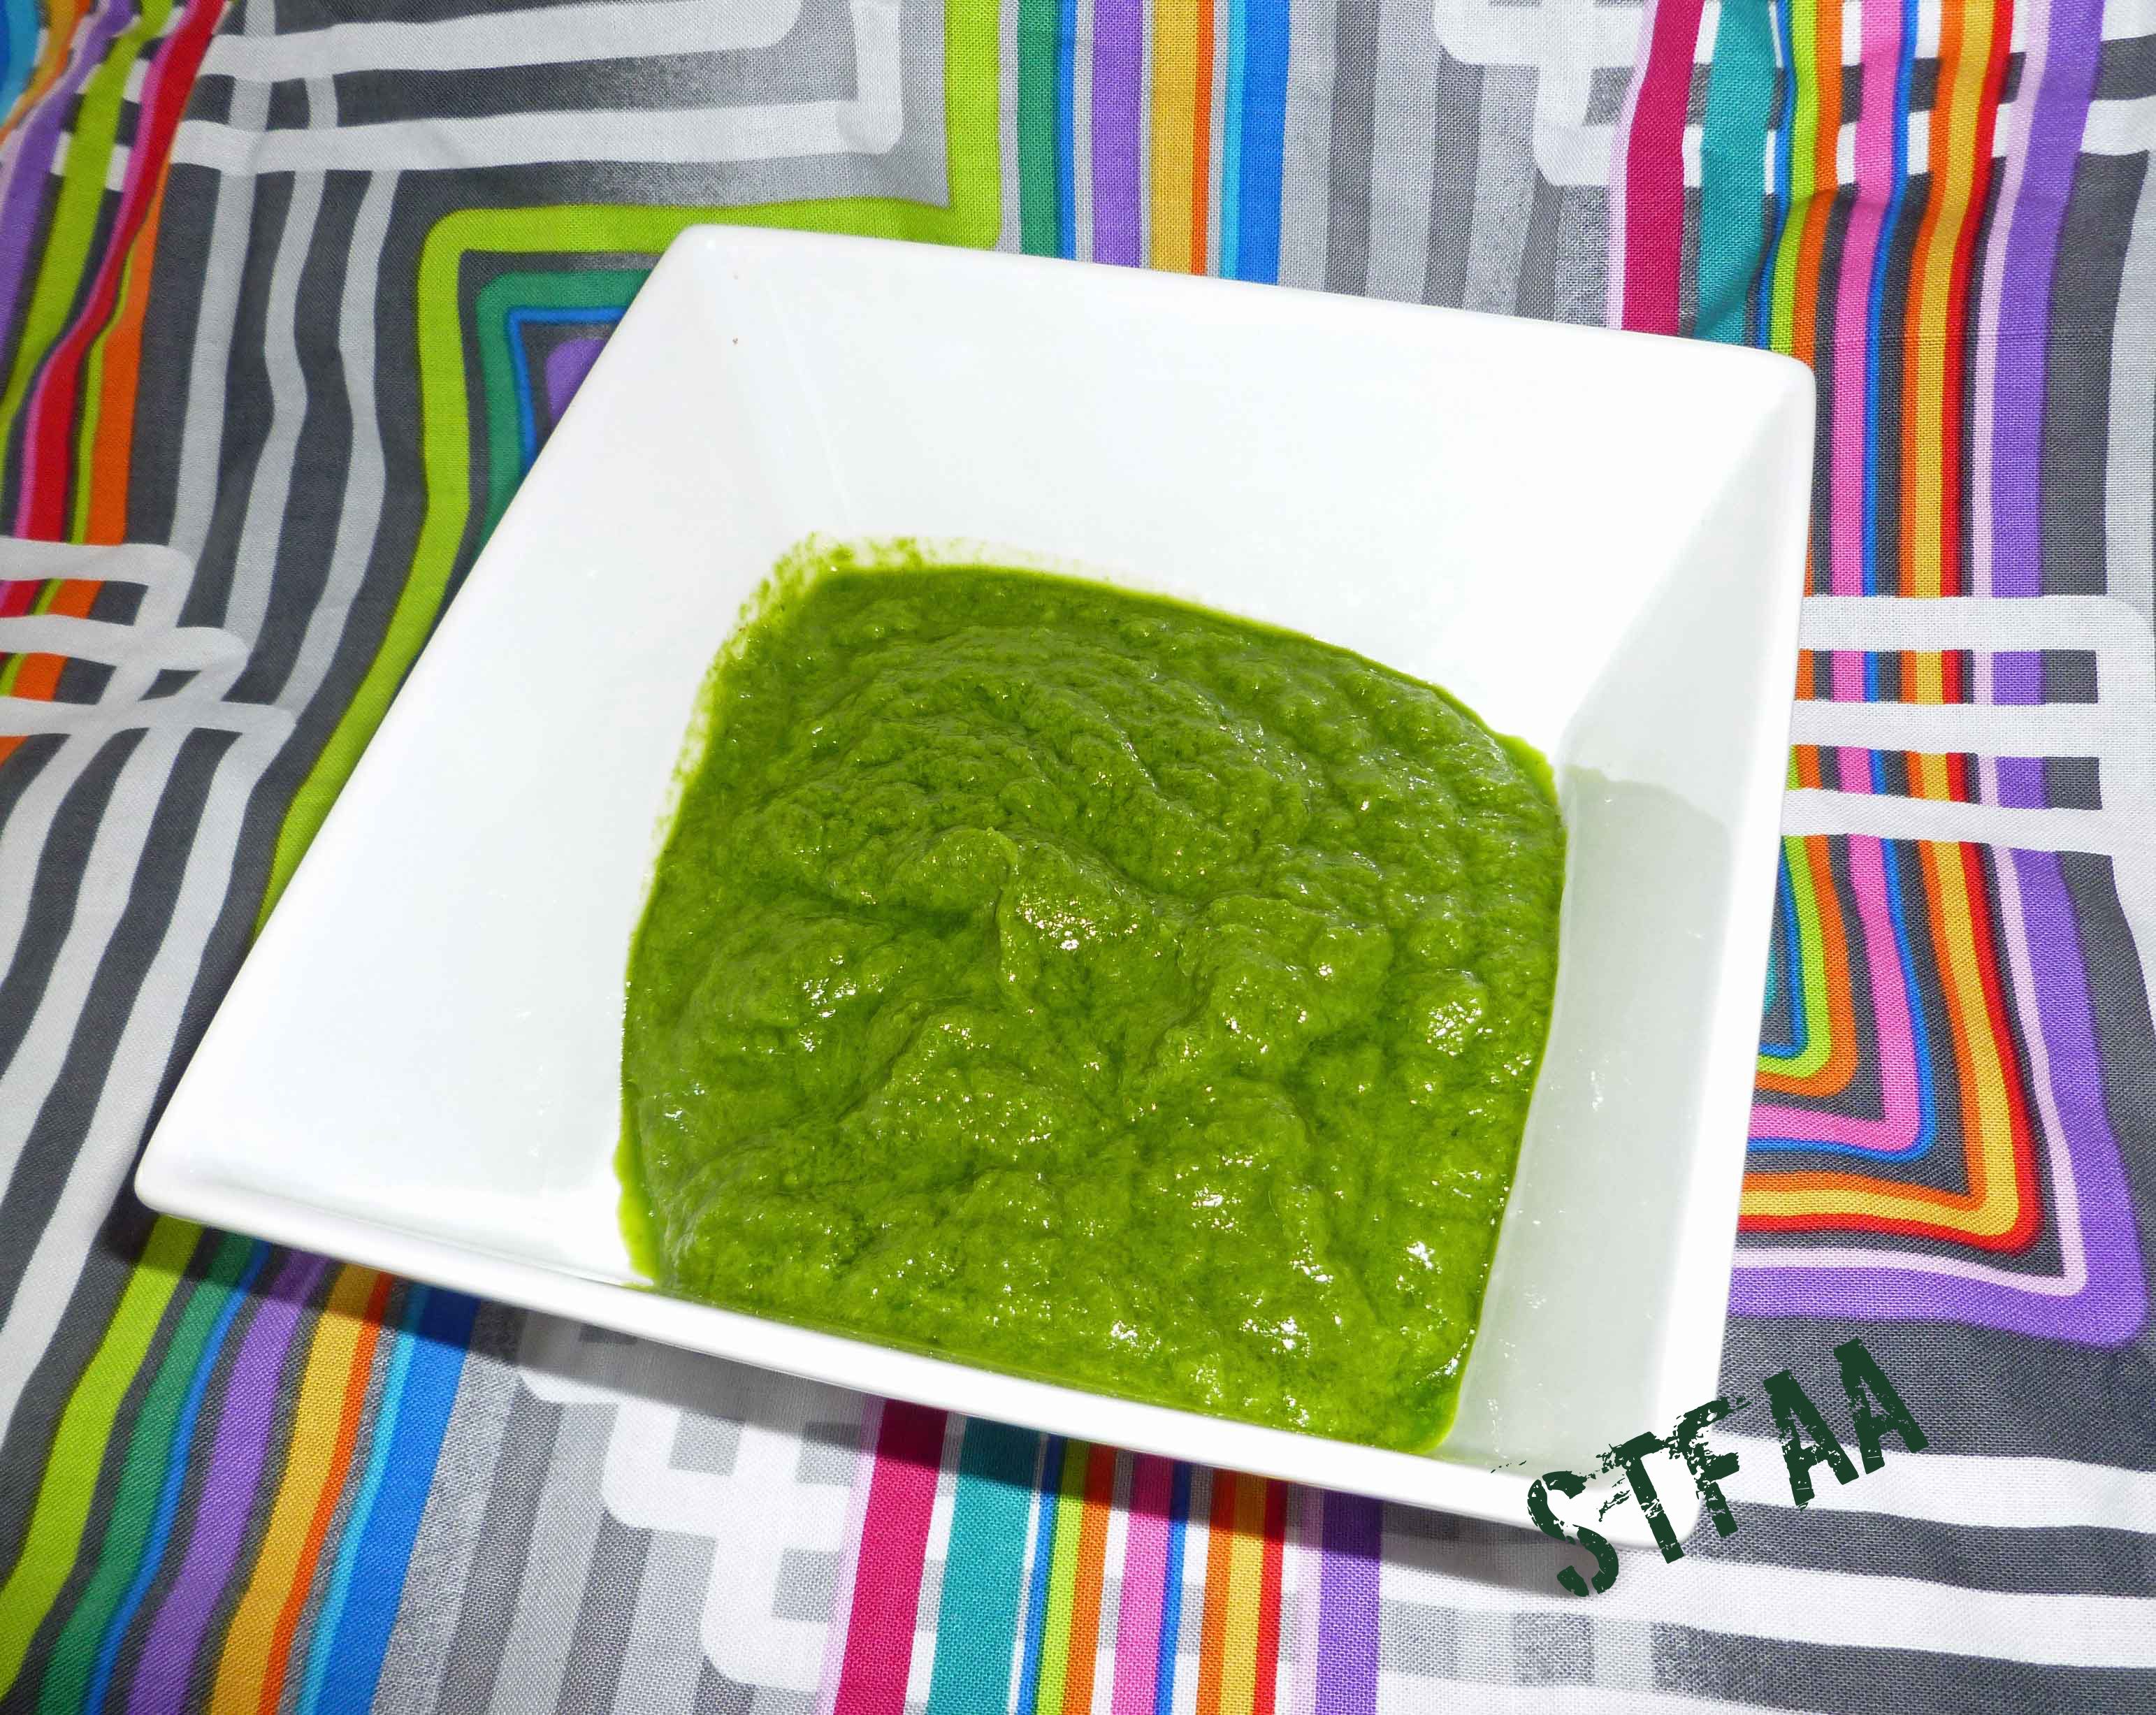
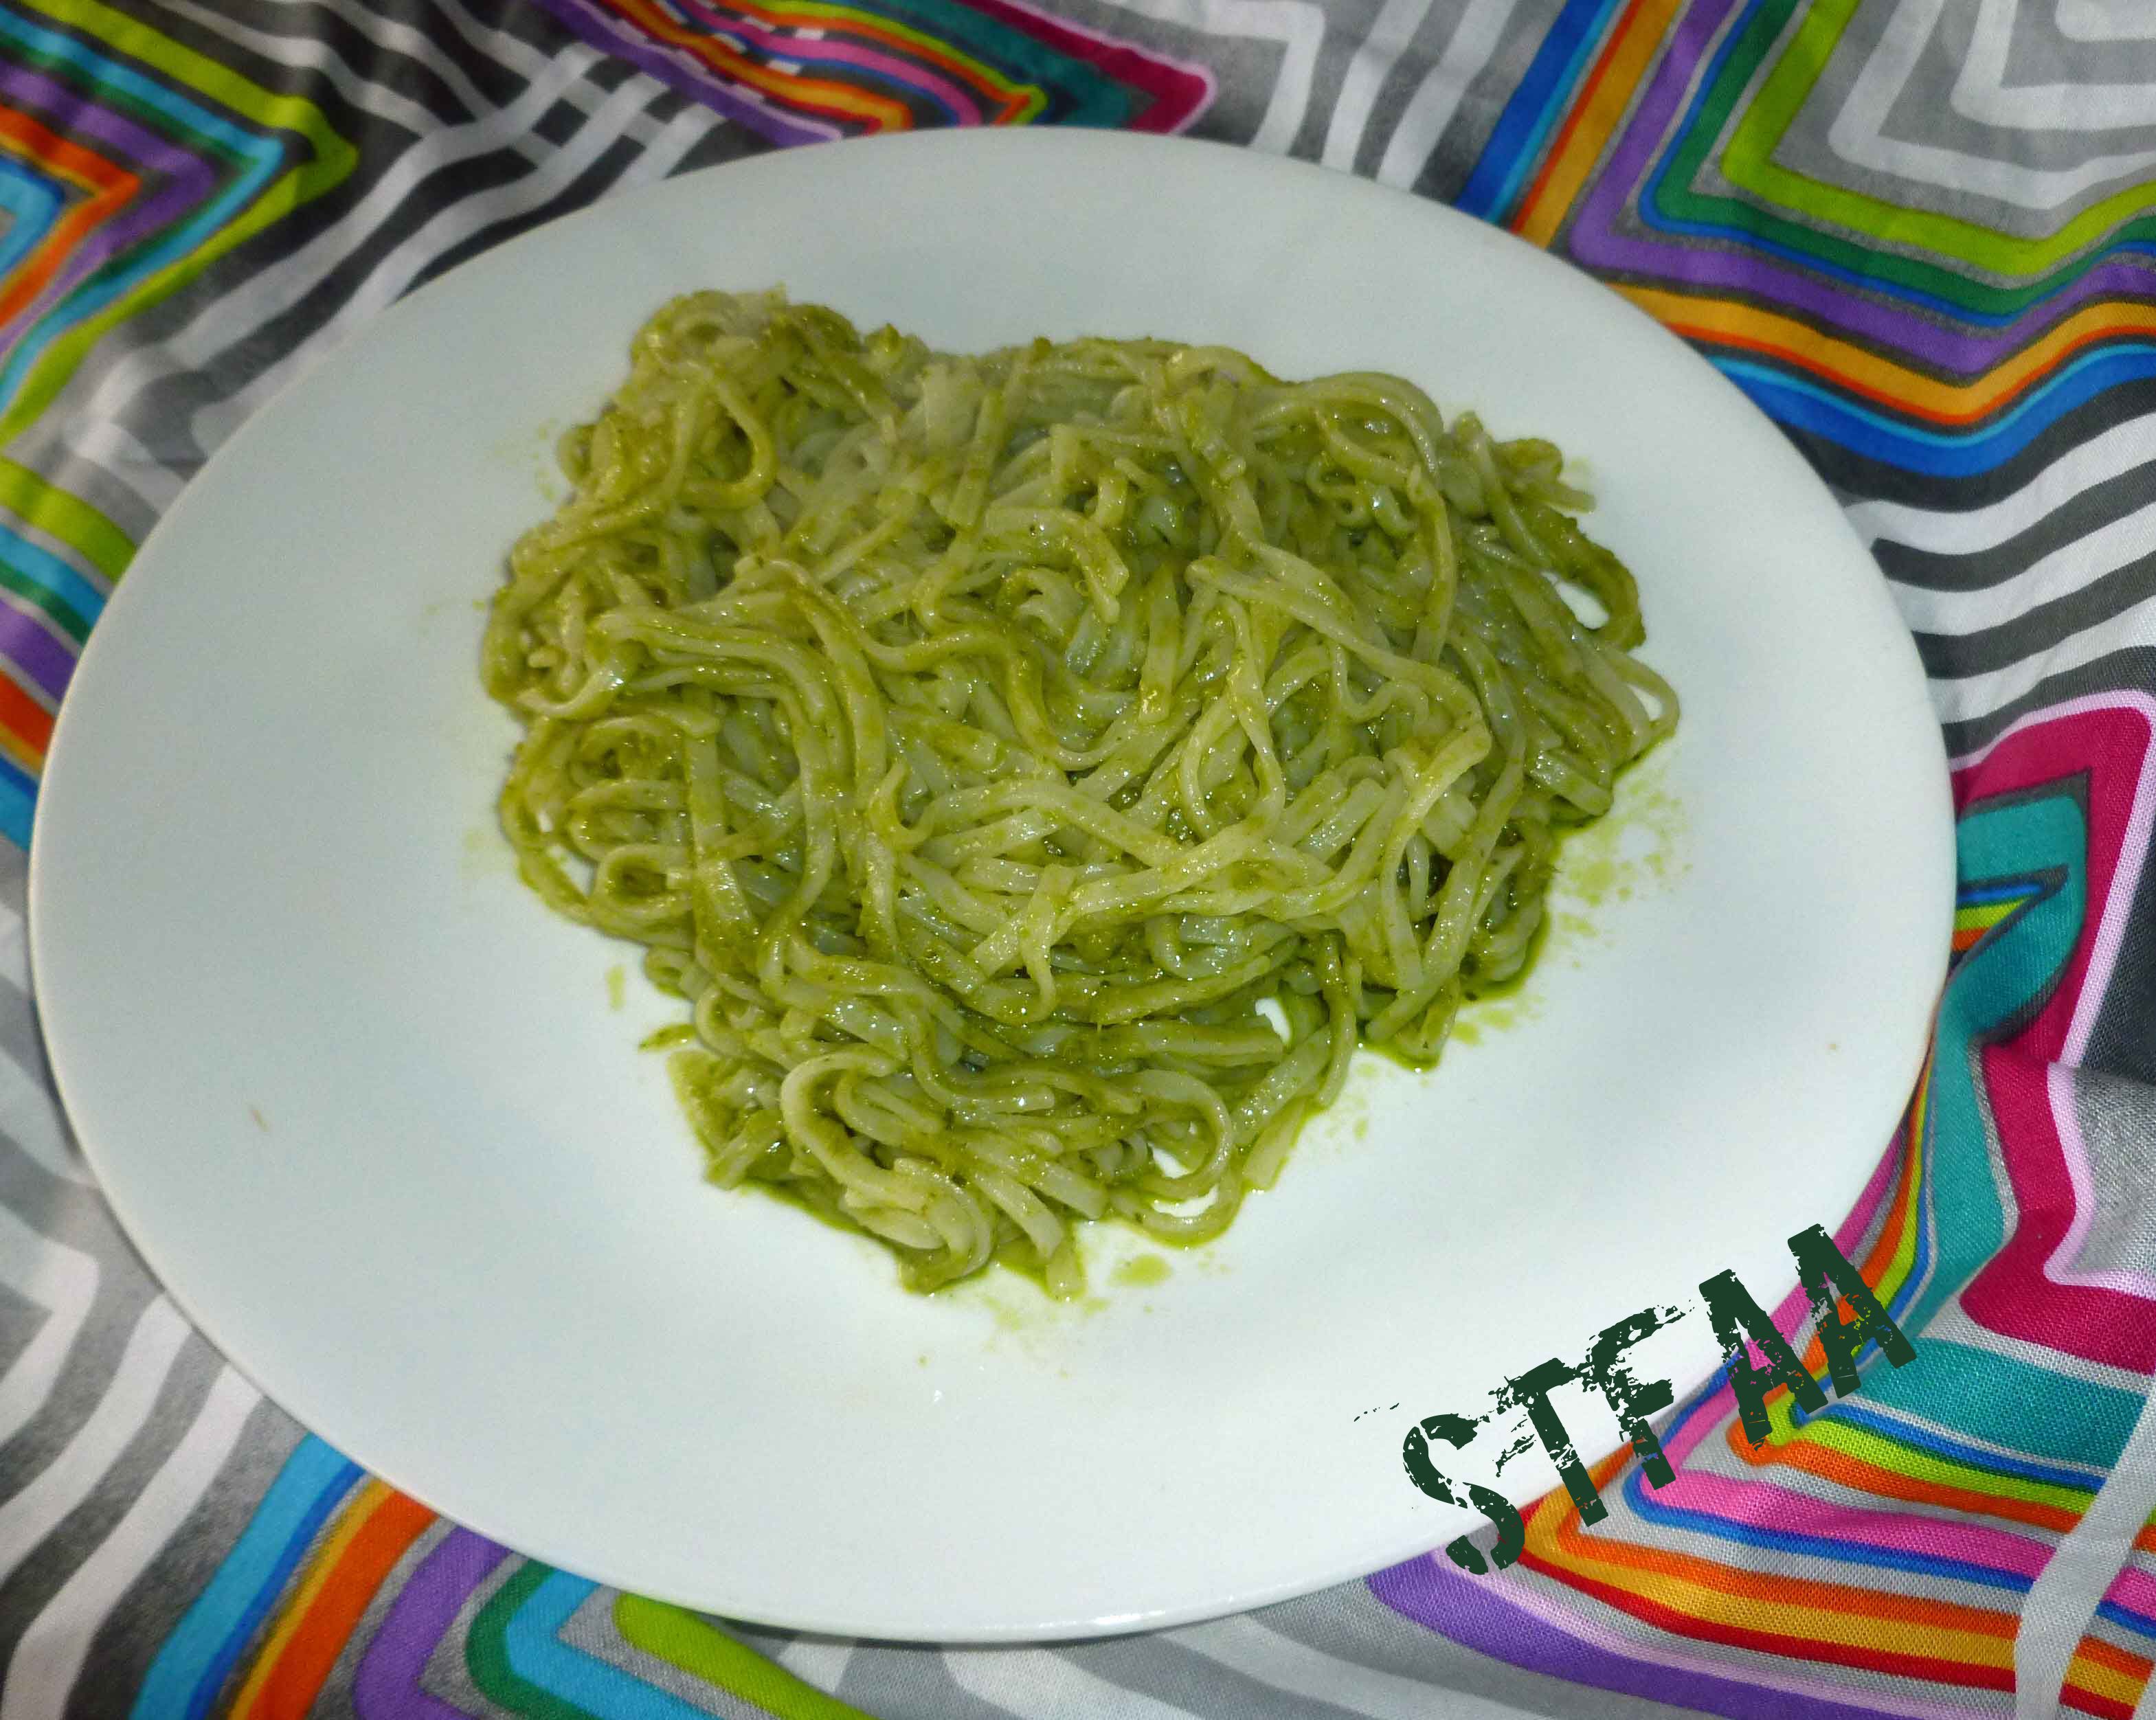
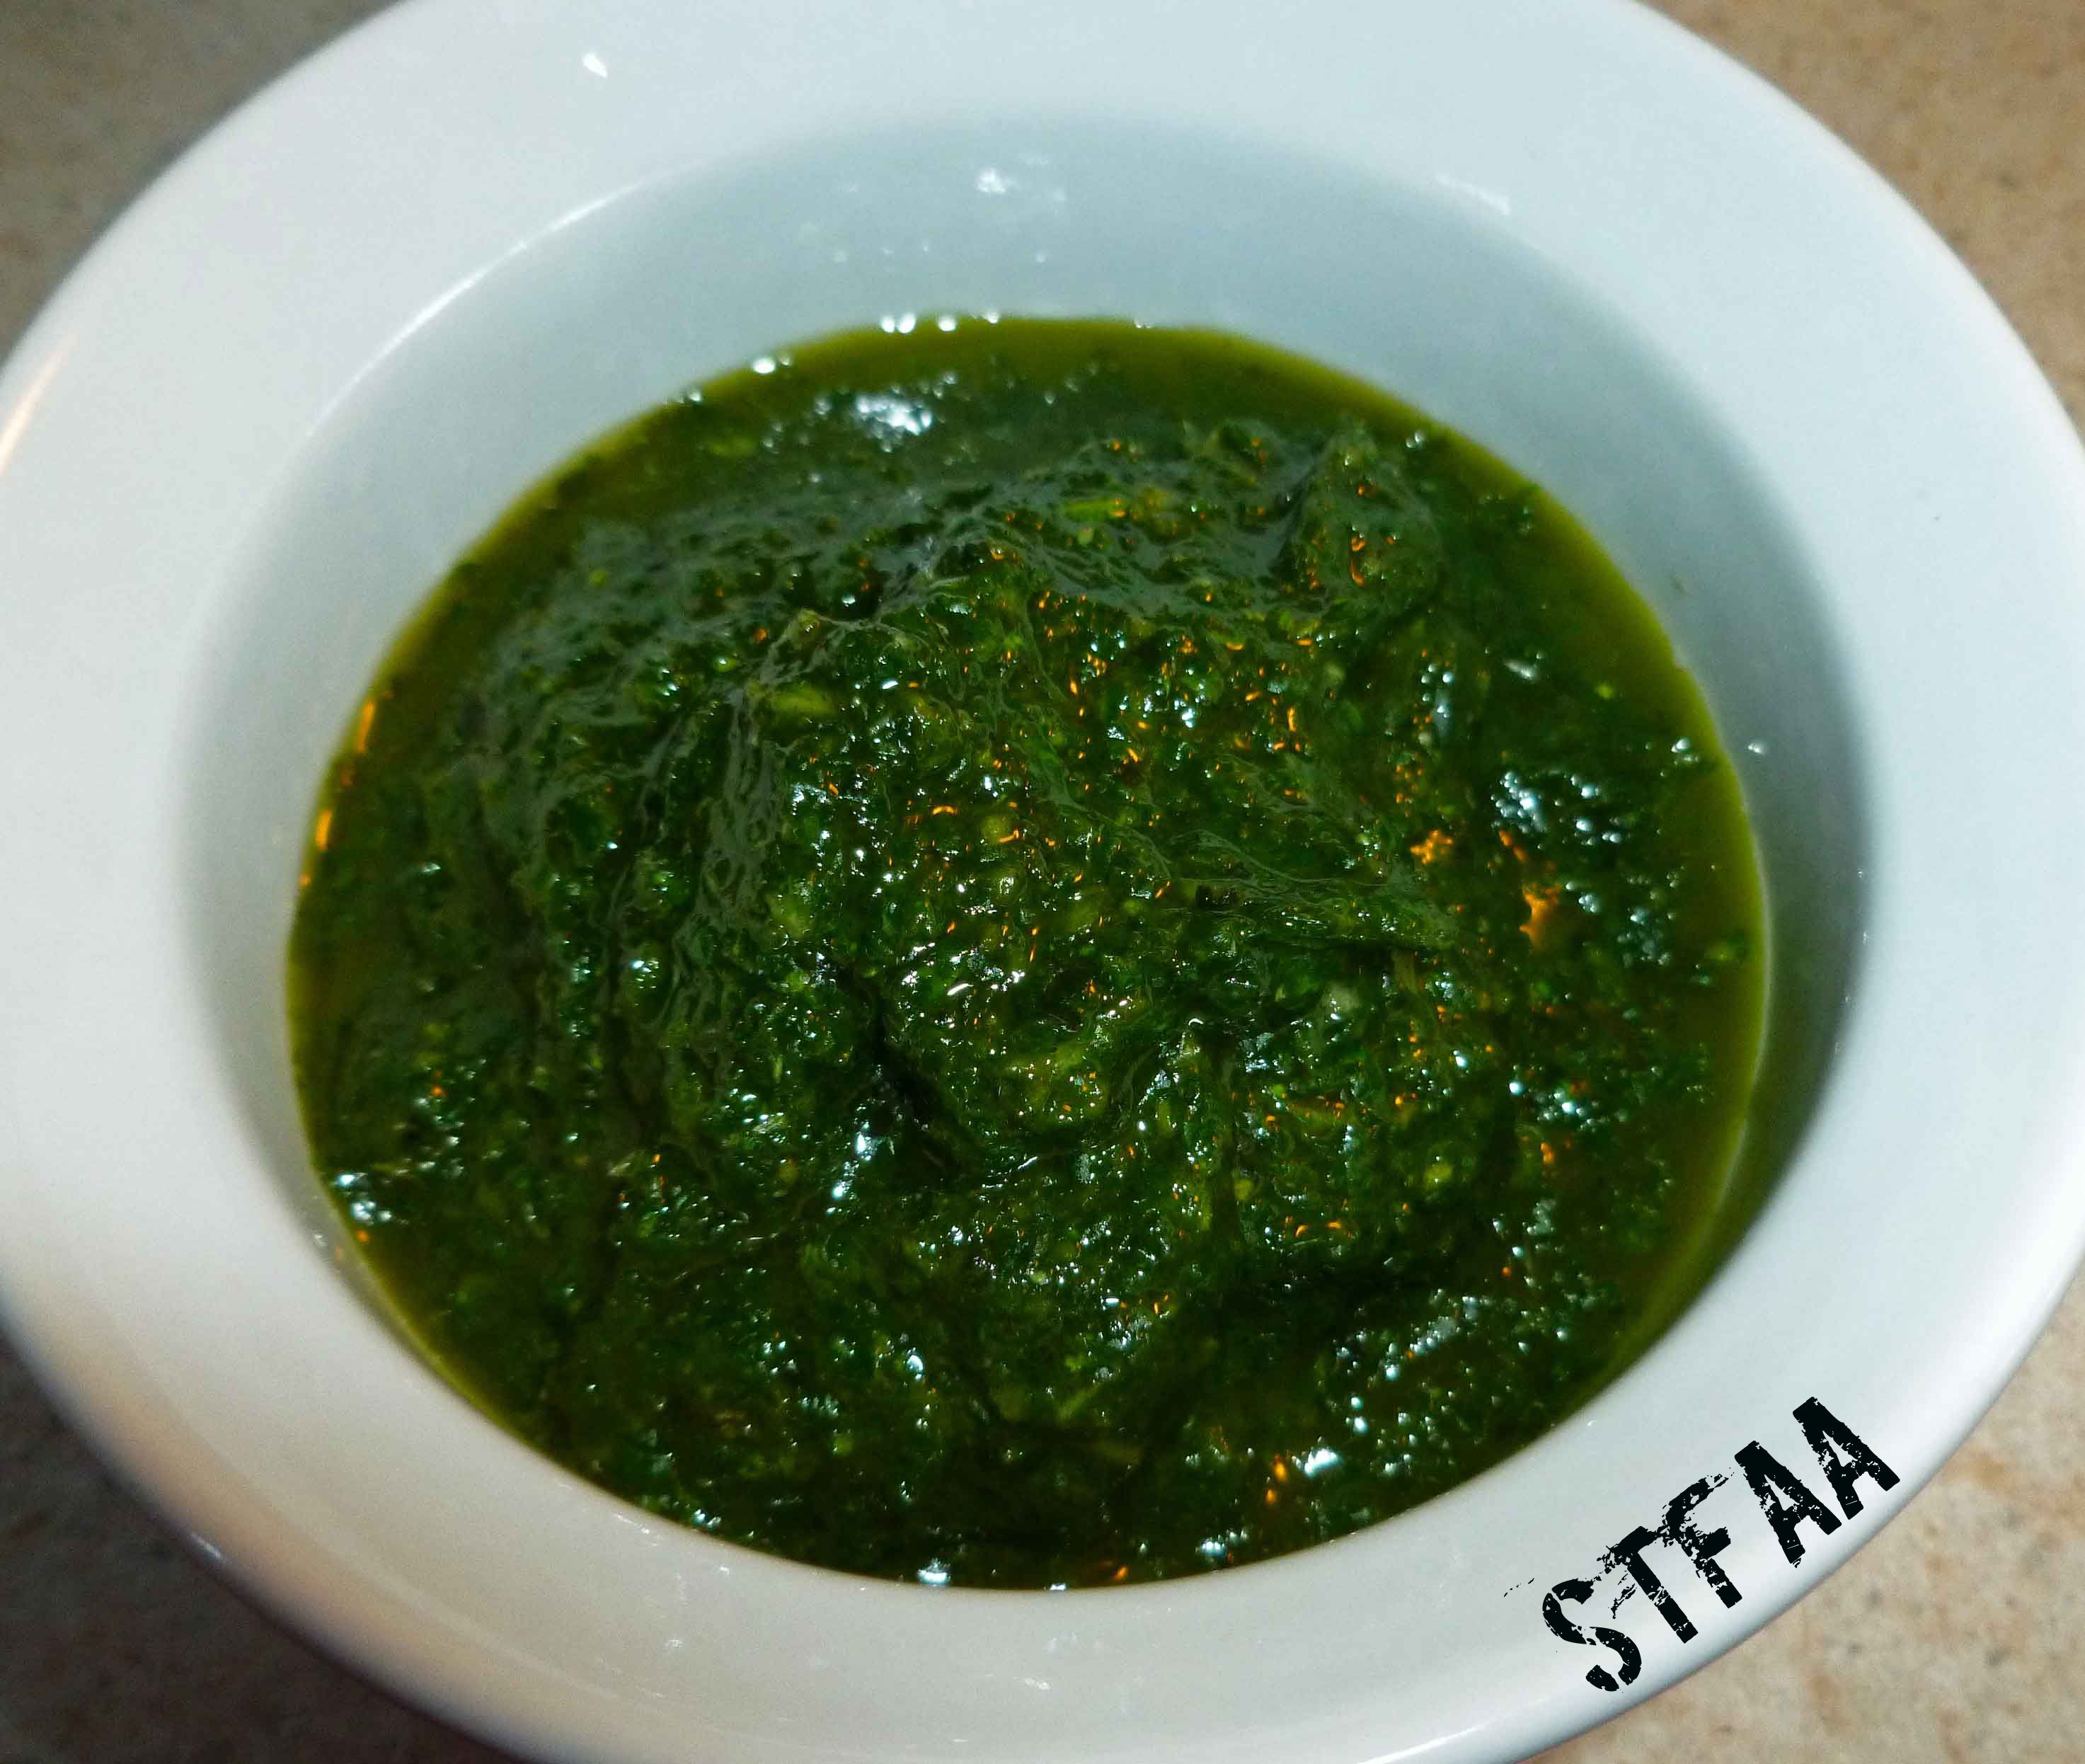
My friend Mary S, of the green thumb, has been gifting me garlic scapes. Since her garlic was planted in the fall and is almost as tall as me, her garlic has lots of scapes, whereas my garlic was planted in the spring, and the tallest plant might be, oh, six inches high, and there are no scapes to be seen. Since I had some basil leftover from another dish, I decided to make a sauce. You will need a blender for this recipe.
Garlic Scape Pesto Sauce
1 cup of tightly packed basil leaves
1 cup of garlic scapes, chopped into 1 to 2 inch pieces
1 cup of olive oil (make sure it’s safe for you, I do well with California Olive Ranch)
1/4 cup of white wine vinegar (make sure it’s safe for you)
1/2 teaspoon of salt
Roughly chop up the basil leaves. Add the basil, garlic scapes, olive oil, and vinegar to the blender. Process until the sauce is pulverized to your liking. I like mine pretty smooth.
This is a pretty versatile sauce. It can be used mixed into cooked hot rice noodles or even just brown rice to use as a savory side dish. You can use it as a dipping sauce for grilled meat, or toss it with steamed veggies. You can thin it down with a little more vinegar and use it as a salad dressing. If you come up with other ways to use it, please let us know.
Here’s another more adult tater tot flavor, because I love cilantro and I made a whole lot of chimichurri sauce by accident, so this seemed like a good way to use up the extra. Again you could probably pan fry these instead of baking them, but baking seems a bit easier to me.
Chimichurri Spiced DIY Tater Tots
Chimichurri sauce:
2 cups of tightly packed chopped cilantro
2 garlic cloves
1/4 cup of olive oil
1/4 cup of white wine vinegar
1 teaspoon of Adobo seasoning – optional (If you don’t have Adobo seasoning or you don’t have a safe version, mix 1/8 cup of paprika, 1 1/2 Tablespoons of ground black pepper, 1 Tablespoon of onion powder, 1 Tablespoon of dried oregano, 1 Tablespoon of ground cumin, 1/2 Tablespoon of ground chipotle, and 1/2 Tablespoon of garlic powder, this makes half a cup of seasoning)
salt to taste
Put all the ingredients in the blender and puree it. You may not use all of it in this recipe. Marinate meat in it or coat vegetables with it and grill it or roast it, or put it in rice to flavor the rice. If you are worried you can’t use it all up, put it in an ice cube tray, freeze it, and store the cubes in a zip top bag in the freezer until you have a use for it.
Tater Tots:
4 large potatoes (I used russet)
1/4 cup of Chimichurri sauce (see above)
safe oil in a mister to grease pan and tater tots.
Preheat your oven to 400°F. Peel and wash your potatoes. Place the potatoes on a small baking sheet. Bake the potatoes for about an hour.
When the potatoes are ready to come out of the oven, remove the potatoes and turn the temperature on the oven to 425°F. If you’re using a large hand grater, you need to wait until the potatoes are cool so you don’t burn your fingers. Since I was using the grating blade on my food processor to grate the potatoes, I grated them while they were still hot. I sliced them lengthwise just enough to get them in the food processor, and grated them up.
Grated potato after baking
Some of the grated pieces may be too long, Feel free to chop them up a bit either with a knife or a potato masher. When the pieces are small enough for you, mix the chimichurri sauce into the potatoes until they are well combined.
Potato and chimichurri sauce mixture
Spray your baking sheet with your safe oil in a mister. I used a small cookie scoop to portion out the tater tots, but you could use two teaspoons to drop the mixture on your baking sheet.
Chimichurri Spiced DIY Tater Tots before baking
Use your oil mister to mist the top of the tater tots, and place the baking sheet in the oven for 25-30 minutes. Use some tongs or a spatula to turn them over, and then bake them for another 25-30 minutes. You want to watch them closely, as you’ll notice mine were a little on the brown side.
Chimichurri Spiced DIY Tater Tots after baking
Take them out of the oven, salt to taste, and enjoy!
I just planted a whole bunch of potatoes in the garden, so I’m going to need some recipes to deal with them. I decided to try to make some adult flavored tater tots. You’ll need a food processor or a blender, and if you don’t have food processor, a grater. I baked these, but you could also try pan frying them in safe oil.
Roasted Garlic and Pesto DIY Tater Tots
Pesto:
1 cup of tightly packed fresh basil leaves
1/4 teaspoon of salt
1/4 cup and 1 Tablespoon of olive oil
Put all ingredients in the blender or food processor and blend/process until pureed.
Preheat your oven to 400°F. Peel and wash your potatoes. Place the potatoes on a small baking sheet. Bake the potatoes for about an hour.
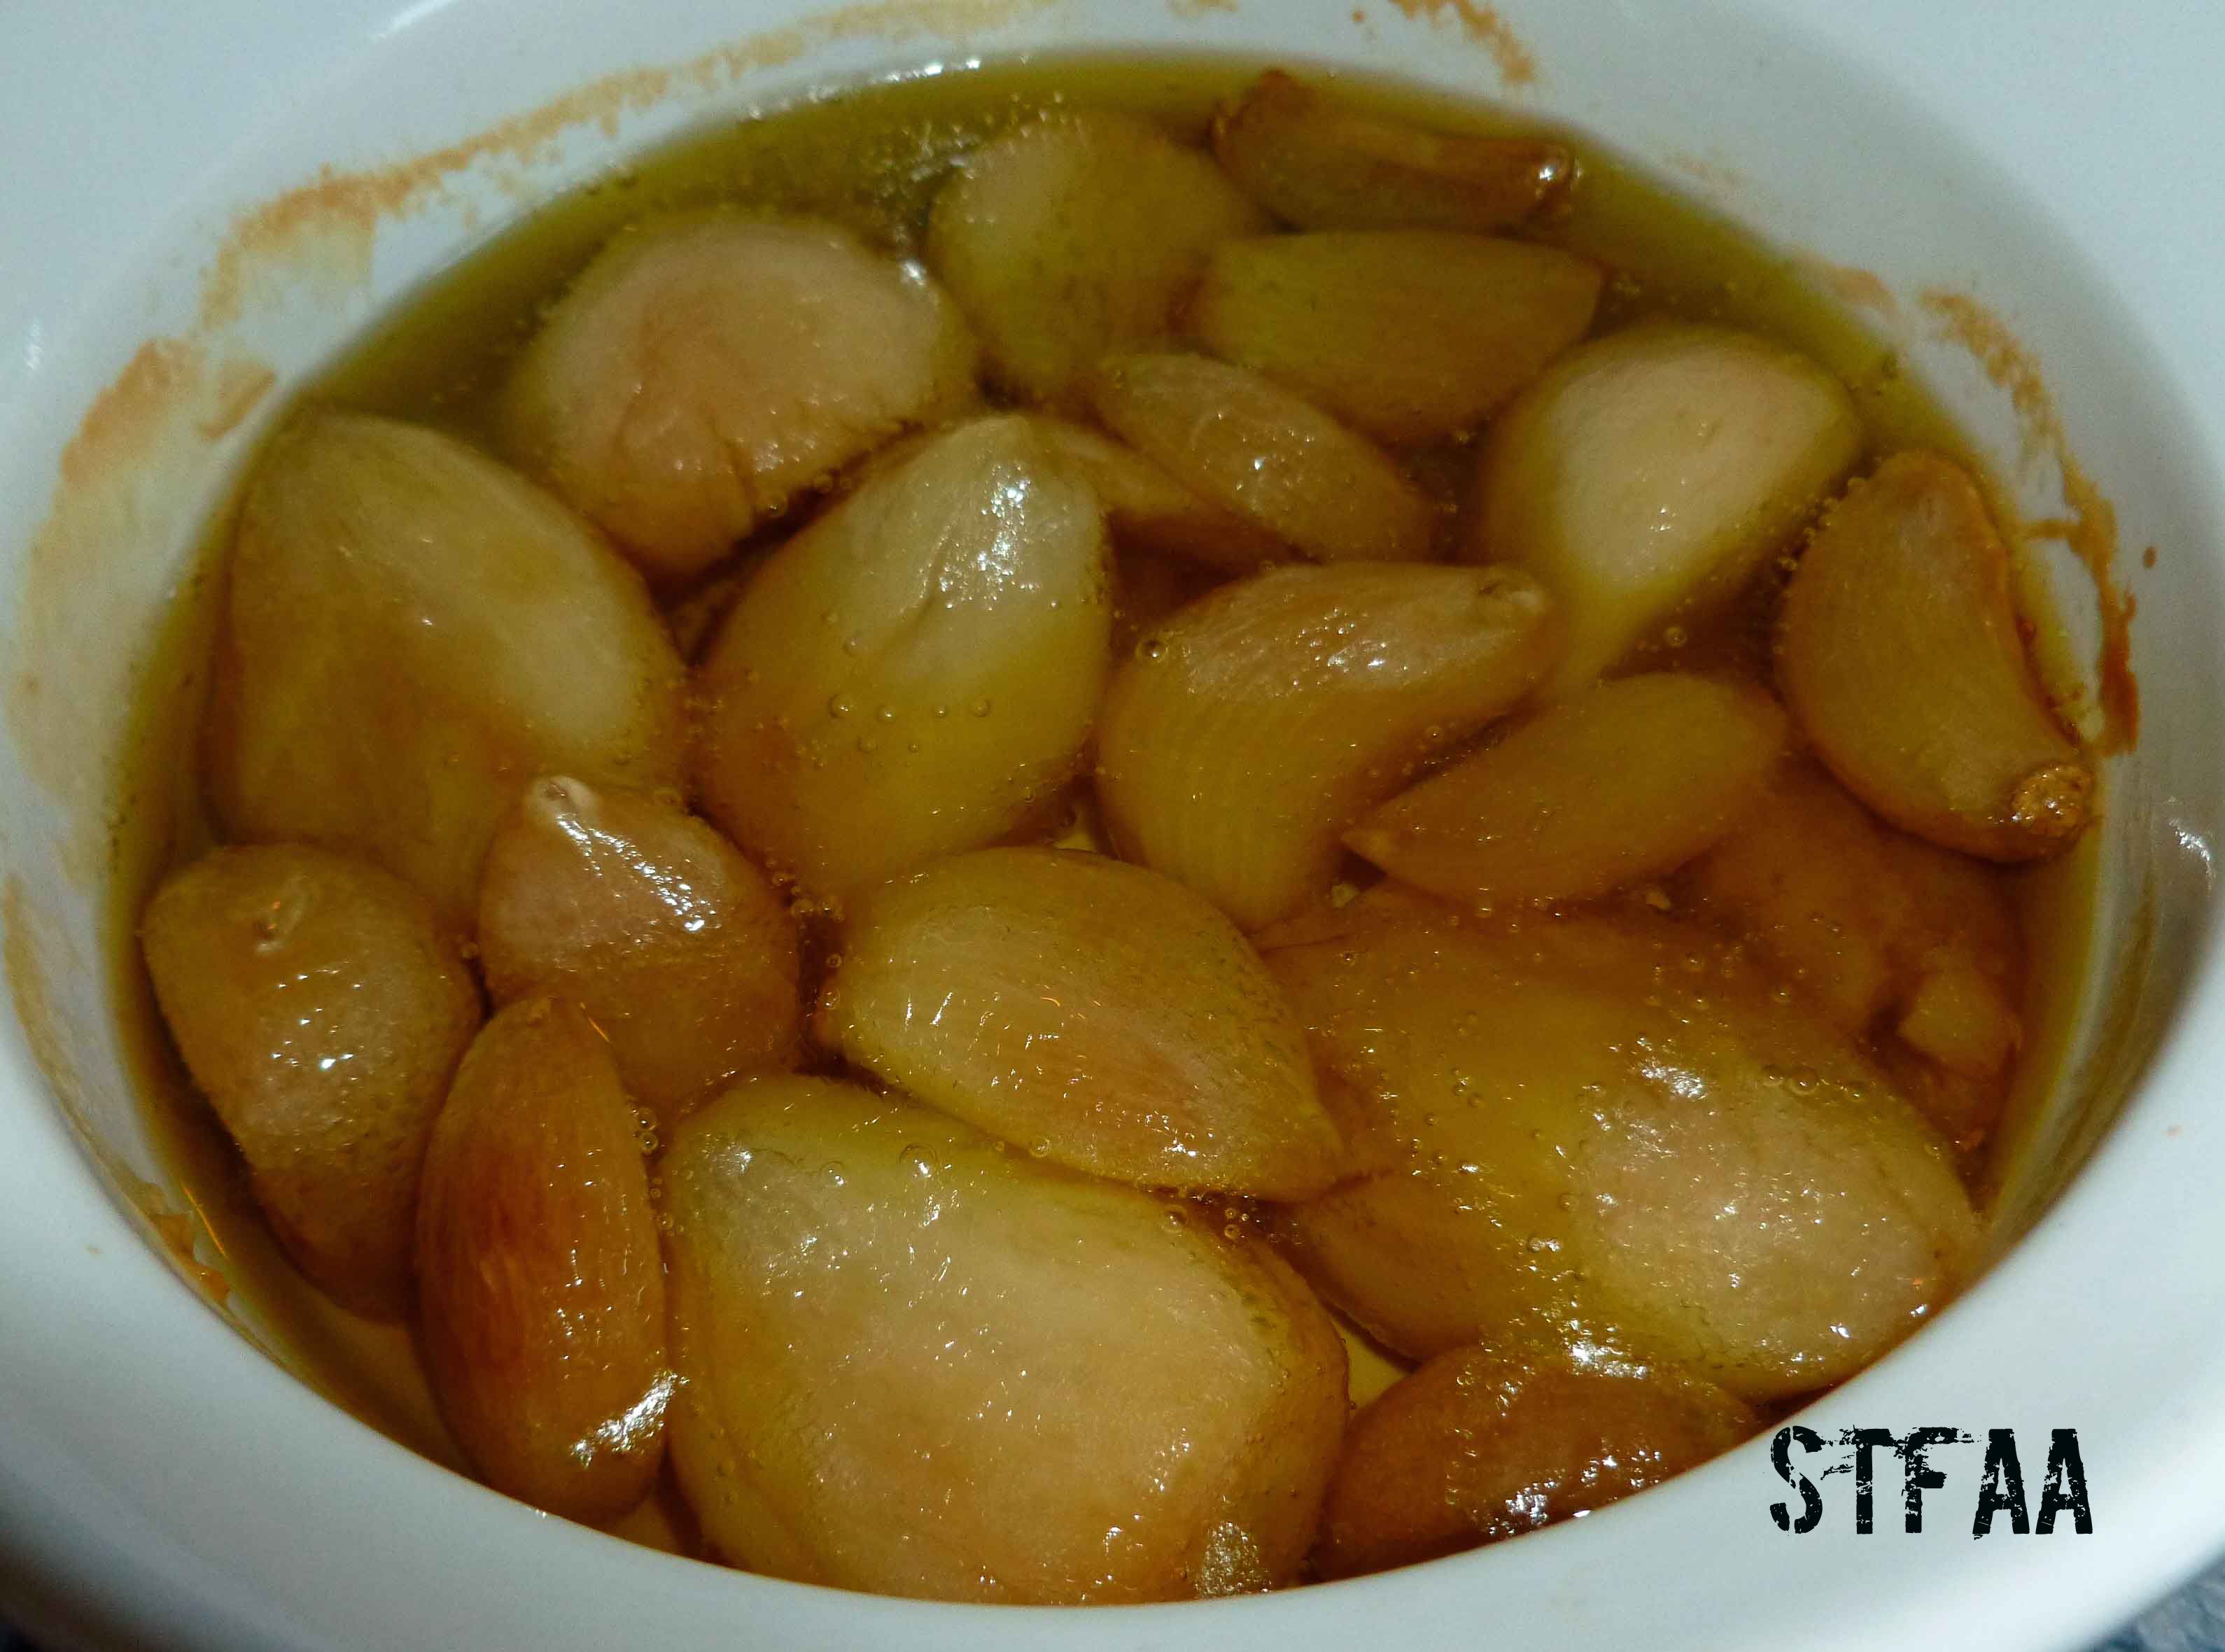
(NOTE: If I don’t already have roasted garlic, I prep the garlic as described in the link above and bake it at the same time as the potatoes.)
Garlic roasted in olive oil
When the potatoes (and possibly the garlic) are ready to come out of the oven, remove the potatoes and garlic and turn the temperature on the oven to 425°F. If you’re using a large hand grater, you need to wait until the potatoes are cool so you don’t burn your fingers. Since I was using the grating blade on my food processor to grate the potatoes, I cheated and did them hot. I sliced them lengthwise just enough to get them in the food processor, and grated them up.
Potatoes after grating
Some of the grated pieces may be too long, and you may want to chop them up a bit either with a knife or a potato masher. Mix the pesto sauce and the roasted garlic into the potatoes until they are well combined.
Potato, roasted garlic and pesto mixture
Spray your baking sheet with your safe oil in a mister. I used a small cookie scoop to portion out the tater tots, but you could use two teaspoons to drop the mixture on your baking sheet.
Roasted Garlic and Pesto DIY Tater Tots before baking
Use your oil mister to mist the top of the tater tots, and place the baking sheet in the oven for 25-30 minutes. Use some tongs or a spatula to turn them over, and then bake them for another 25-30 minutes. You want to watch them closely, as you’ll notice mine were a tad overcooked.
Take them out of the oven, salt to taste, and enjoy!
Hey, here’s an ethnic mash-up for you. My Irish family always celebrated St. Patrick’s Day rather traditionally, in part because my grandfather’s birthday was the 16th and he loved the traditional corned beef and cabbage. Personally, though, I would survive just fine without ever seeing that again (there was an incident involving snow, Georgia, a cancelled party, and corned beef and cabbage for about 30 consumed by the six of us for, oh, about eternity. BLECH.)
However.
Potatoes in all their forms are one of my favorite things on earth. And I’m not actually all that Irish by blood. So I’ve been thinking of ways to mash my Chinese heritage and my Irish heritage into a dish, via midwest America, and I found it via Hanukkah’s latkes. Latkes are the best holiday food anyone has ever invented in the history of all things. Now the symbolism of latkes is focused on the oil not the potatoes, but for St. Patrick’s Day, it seems right to minimize the oil and focus on the potato, no? To hold everything together, instead of egg and flour, I’ve made a homemade sweet and sour sauce, with an added (optional) bonus of hot, and added broccoli for flavor and color (it’s green, right?).
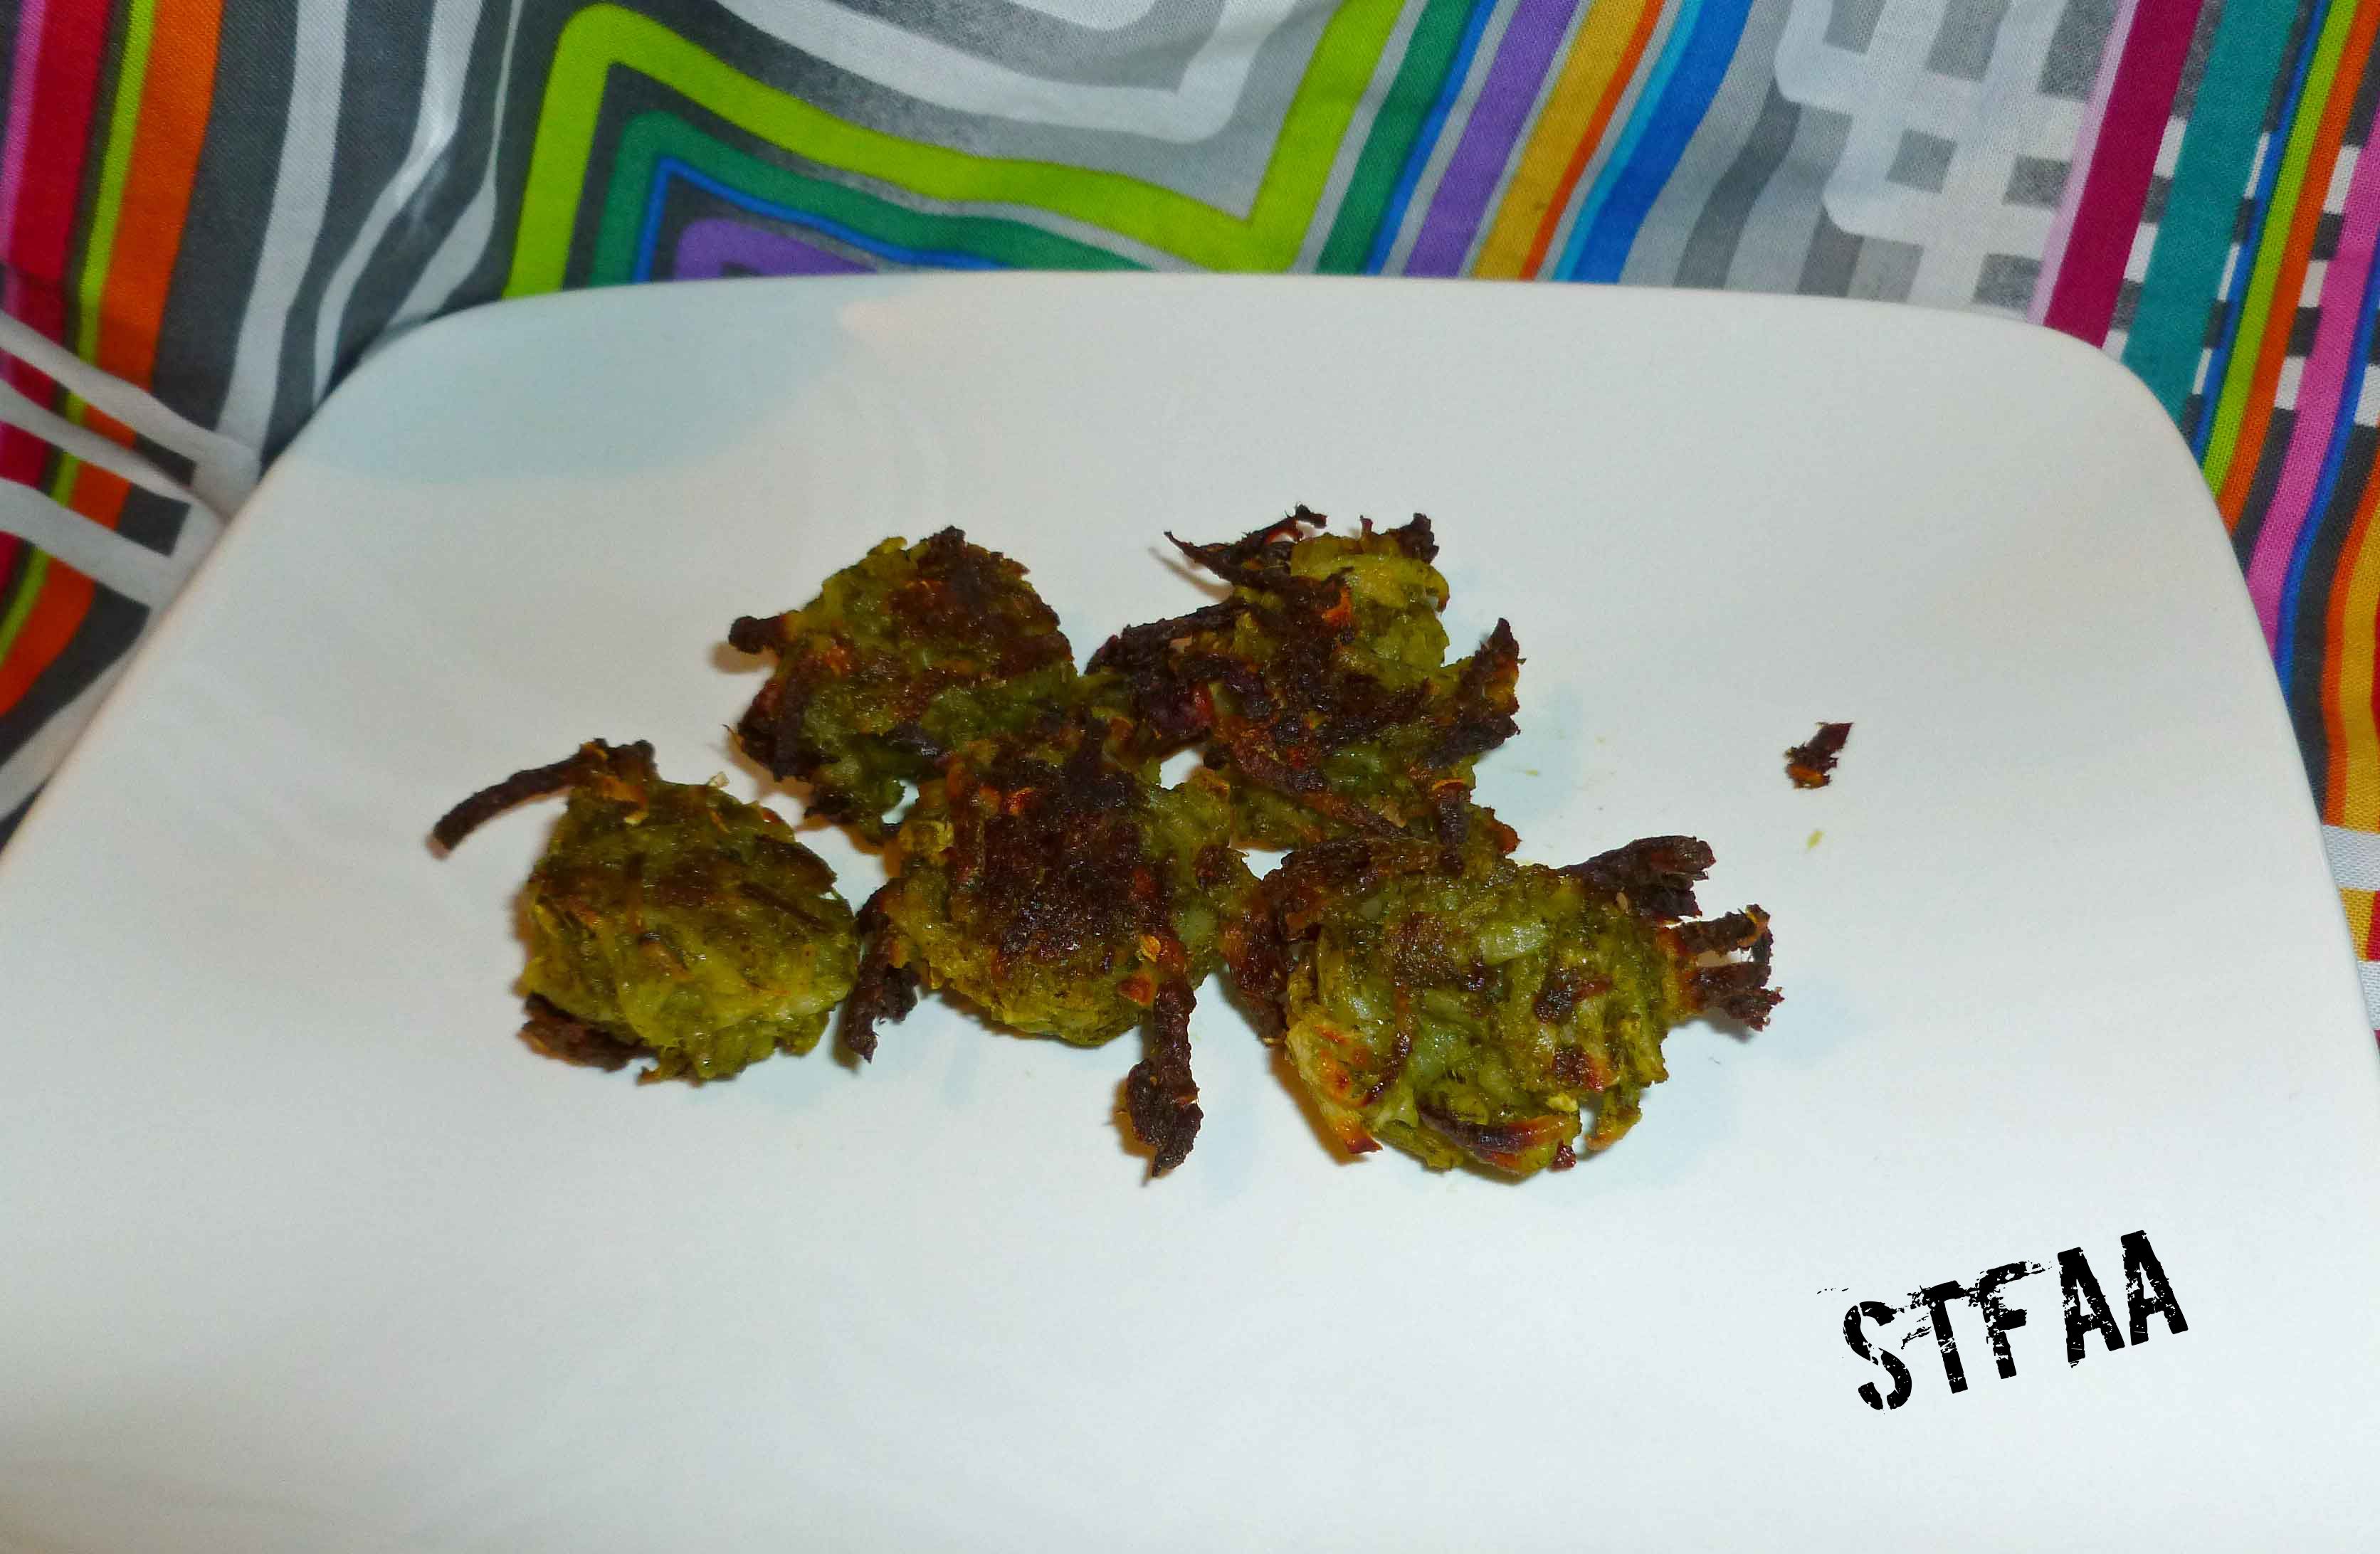
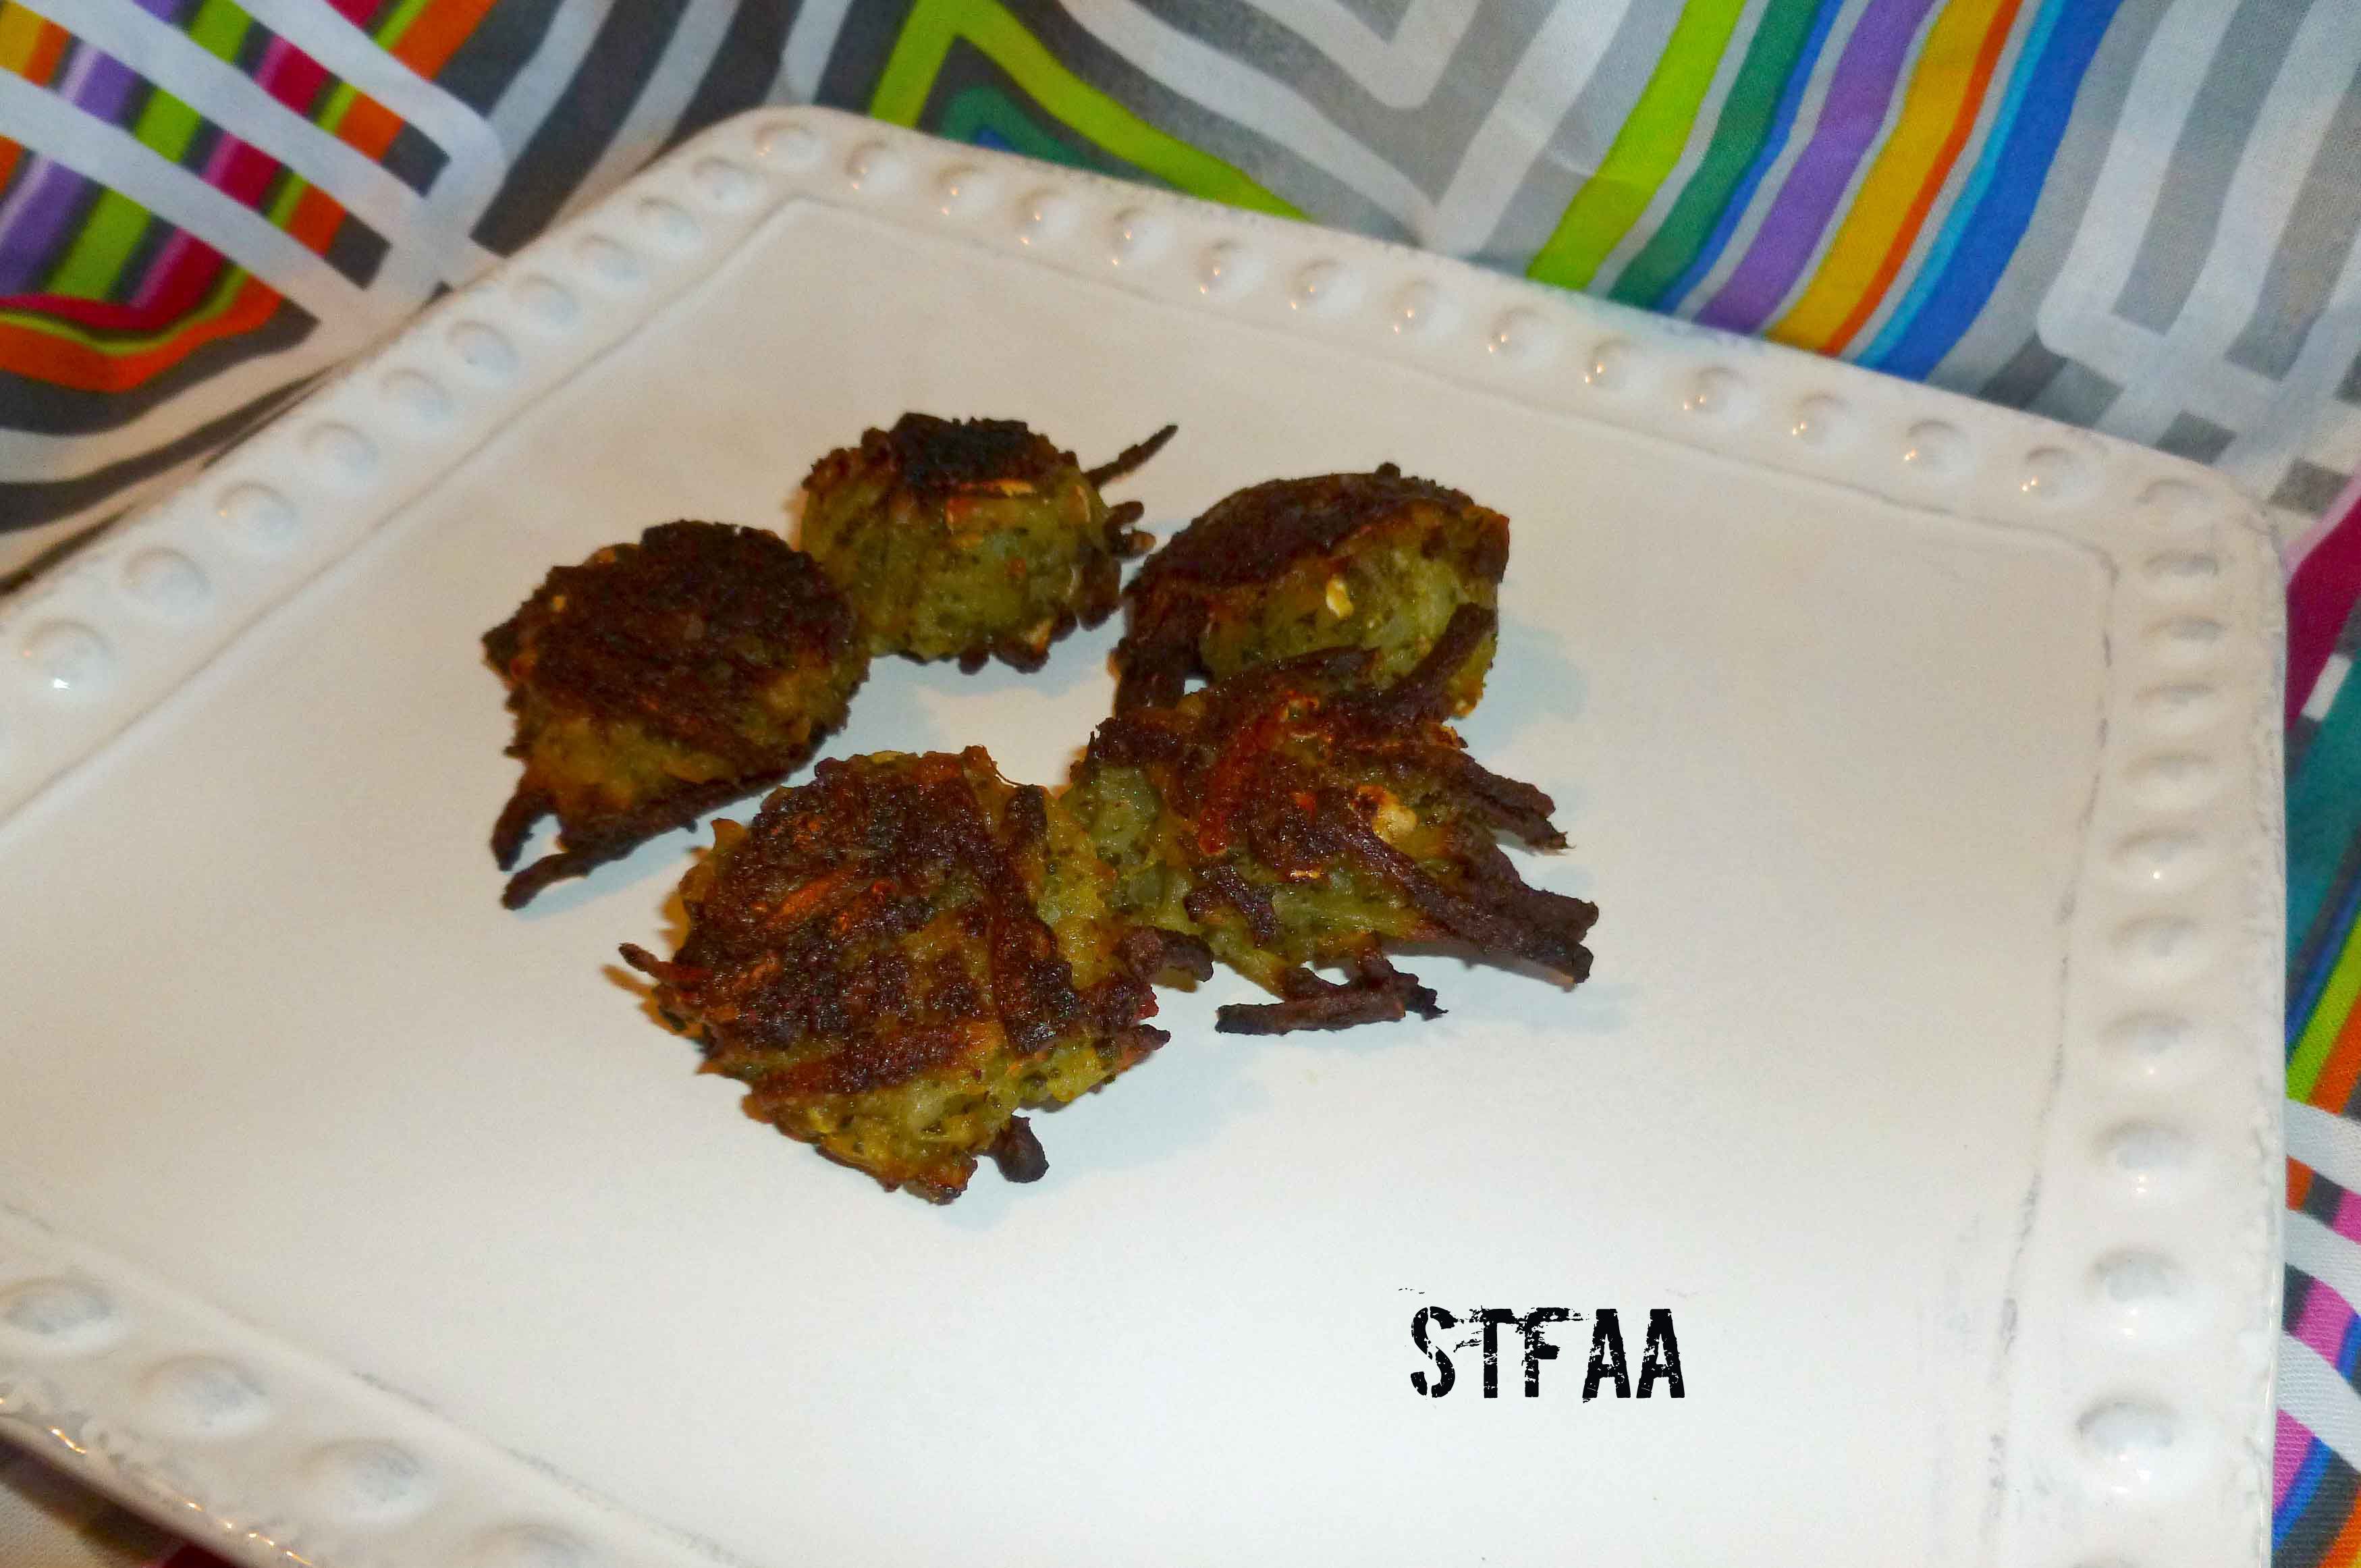
So I bring you the Chinese-Irish St. Patrick’s Day Latke. It’s possible that the story here makes sense to exactly one person in the world (me), but the flavors will make sense to a lot more of you. These are vegan, gluten-free, ethnically diverse, and baked, because frying is just messy. I hope you enjoy them.
Raw latke materials
Chinese-Irish Baked Latkes
3/4 cup water
1/4 cup vinegar (cider or white, your choice)
1/4 cup ketchup
1/4 cup + 1 Tablespoon sugar
2 Tablespoons tomato paste
2 Tablespoons tapioca starch
1/2 teaspoon salt
1/2 teaspoon red pepper flakes (optional or adjust to your taste)
about 1 inch of a chunk of fresh ginger, peeled and smashed (I just use the pot lid to smash)
2 large baking potatoes, washed and peeled (1.5 to 2 lbs.)
1 large head of broccoli, trimmed (1/2 lb.)
oil to grease pans
First, make the sauce. Whisk all ingredients, water through ginger, together in a saucepan. Heat over medium-high heat until boiling, and cook, whisking regularly, to reduce to about 1/2 cup, total (a little less than half its original volume, and pretty thick). This takes 10-15 minutes. Strain out ginger and red pepper flakes (the taste of both stays in the sauce, I promise). Set aside while you prep the vegetables.
Preheat the oven to 425ºF. Prepare two pans by spraying or brushing with oil.
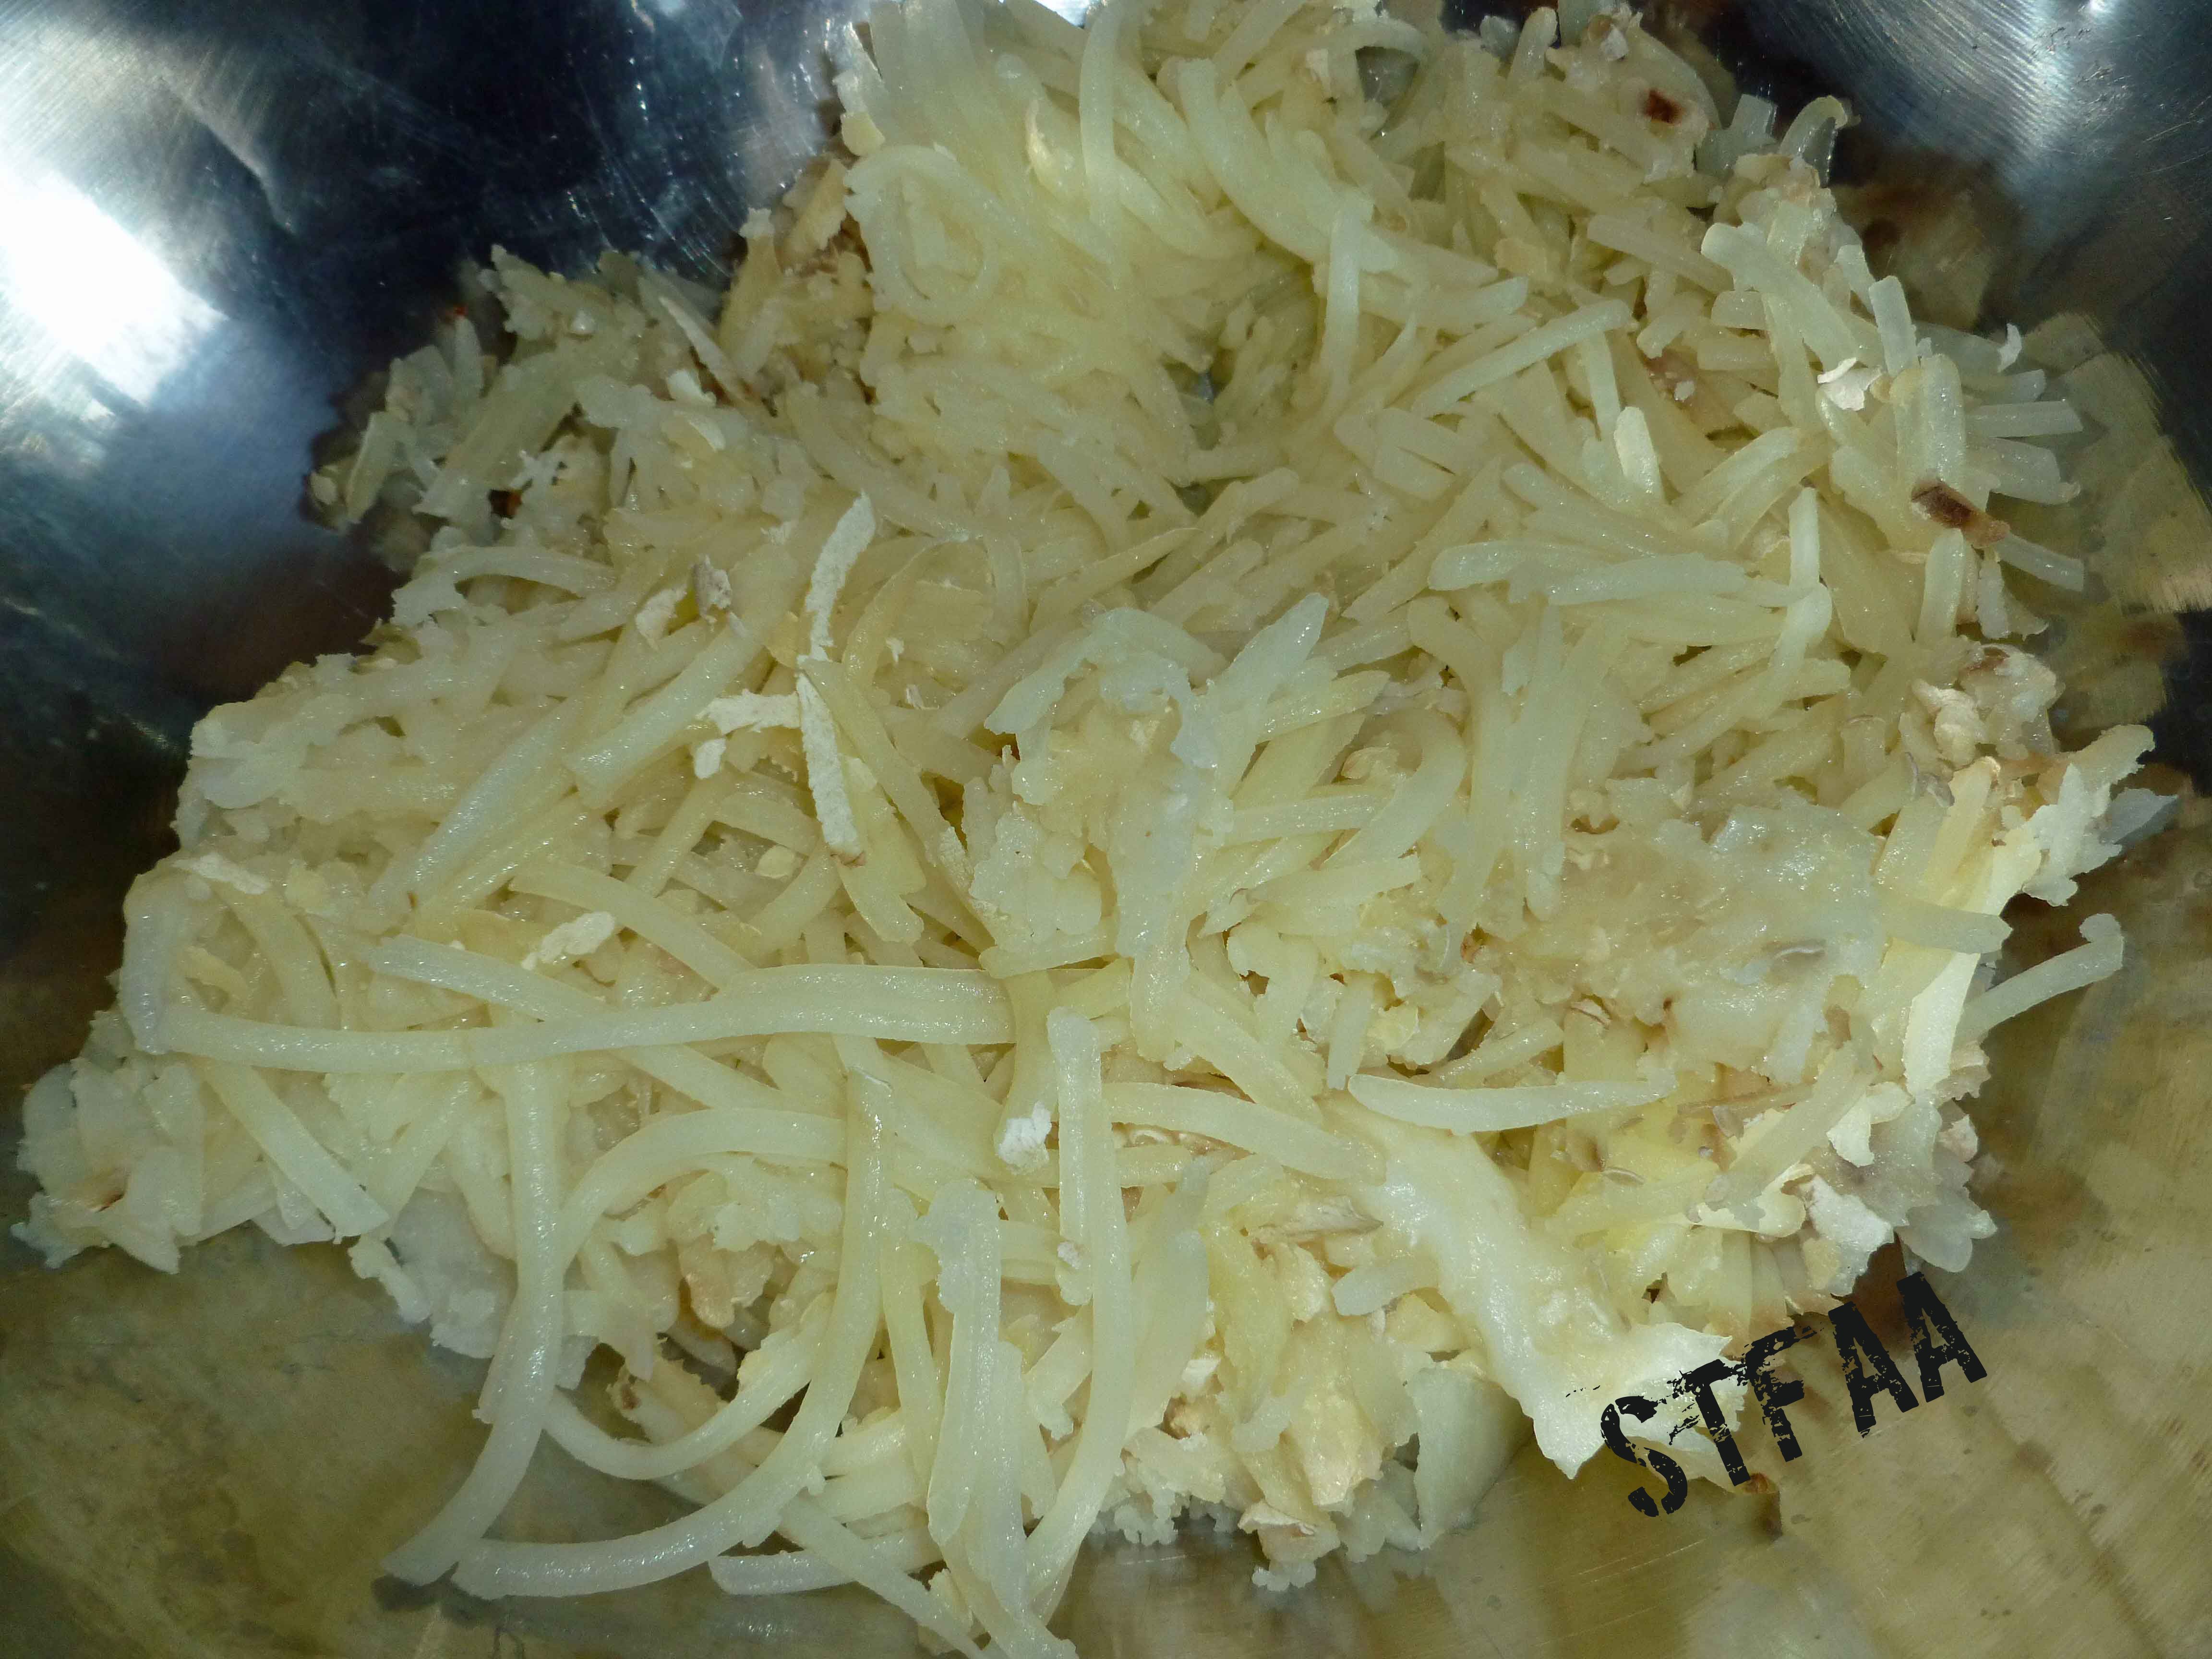
Wash the broccoli and potatoes. Peel the potatoes. Chop both into sizes that will fit in your food processor.
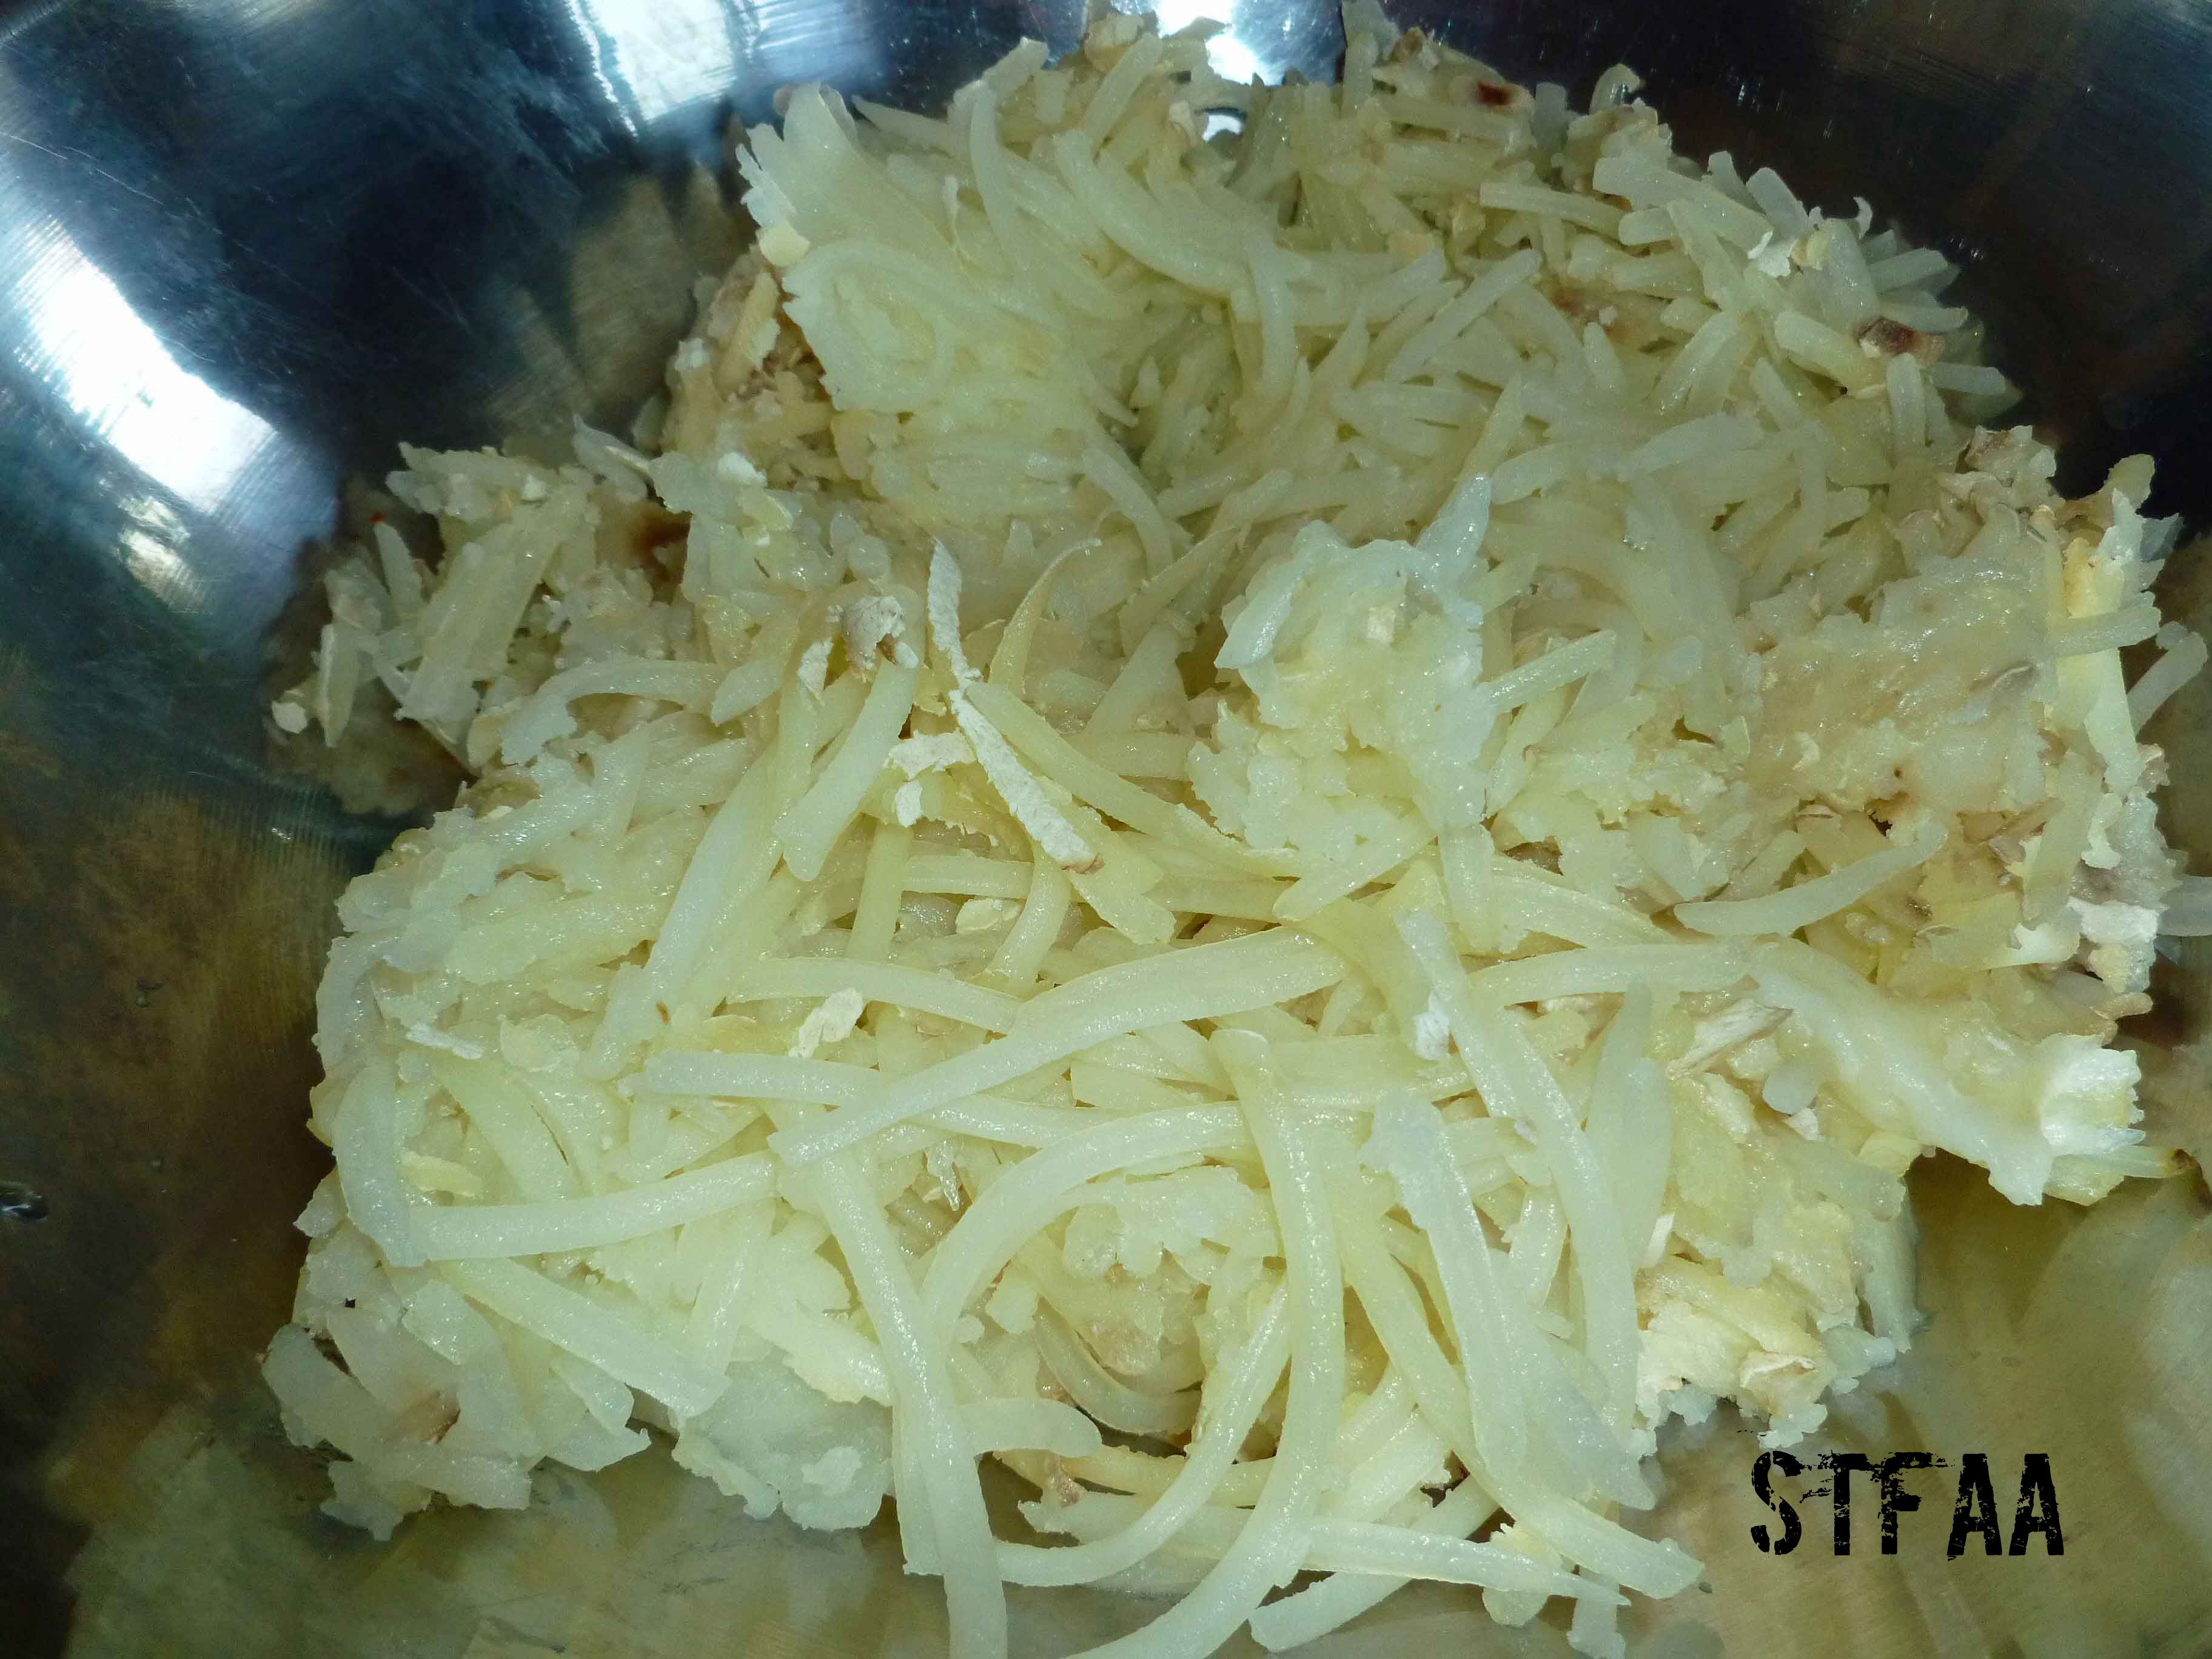
Put the broccoli through the shredder blade and then empty into a large mixing bowl. Peel the potatoes and then shred them. Wrap the shreds in a clean kitchen towel and squeeze as much liquid out as you possibly can. Twist and wring — you will be surprised how much liquid is in them, and this makes your patties soggy. Squeeze a little longer than you think you should. Empty them into the bowl as well (and rinse the towel).
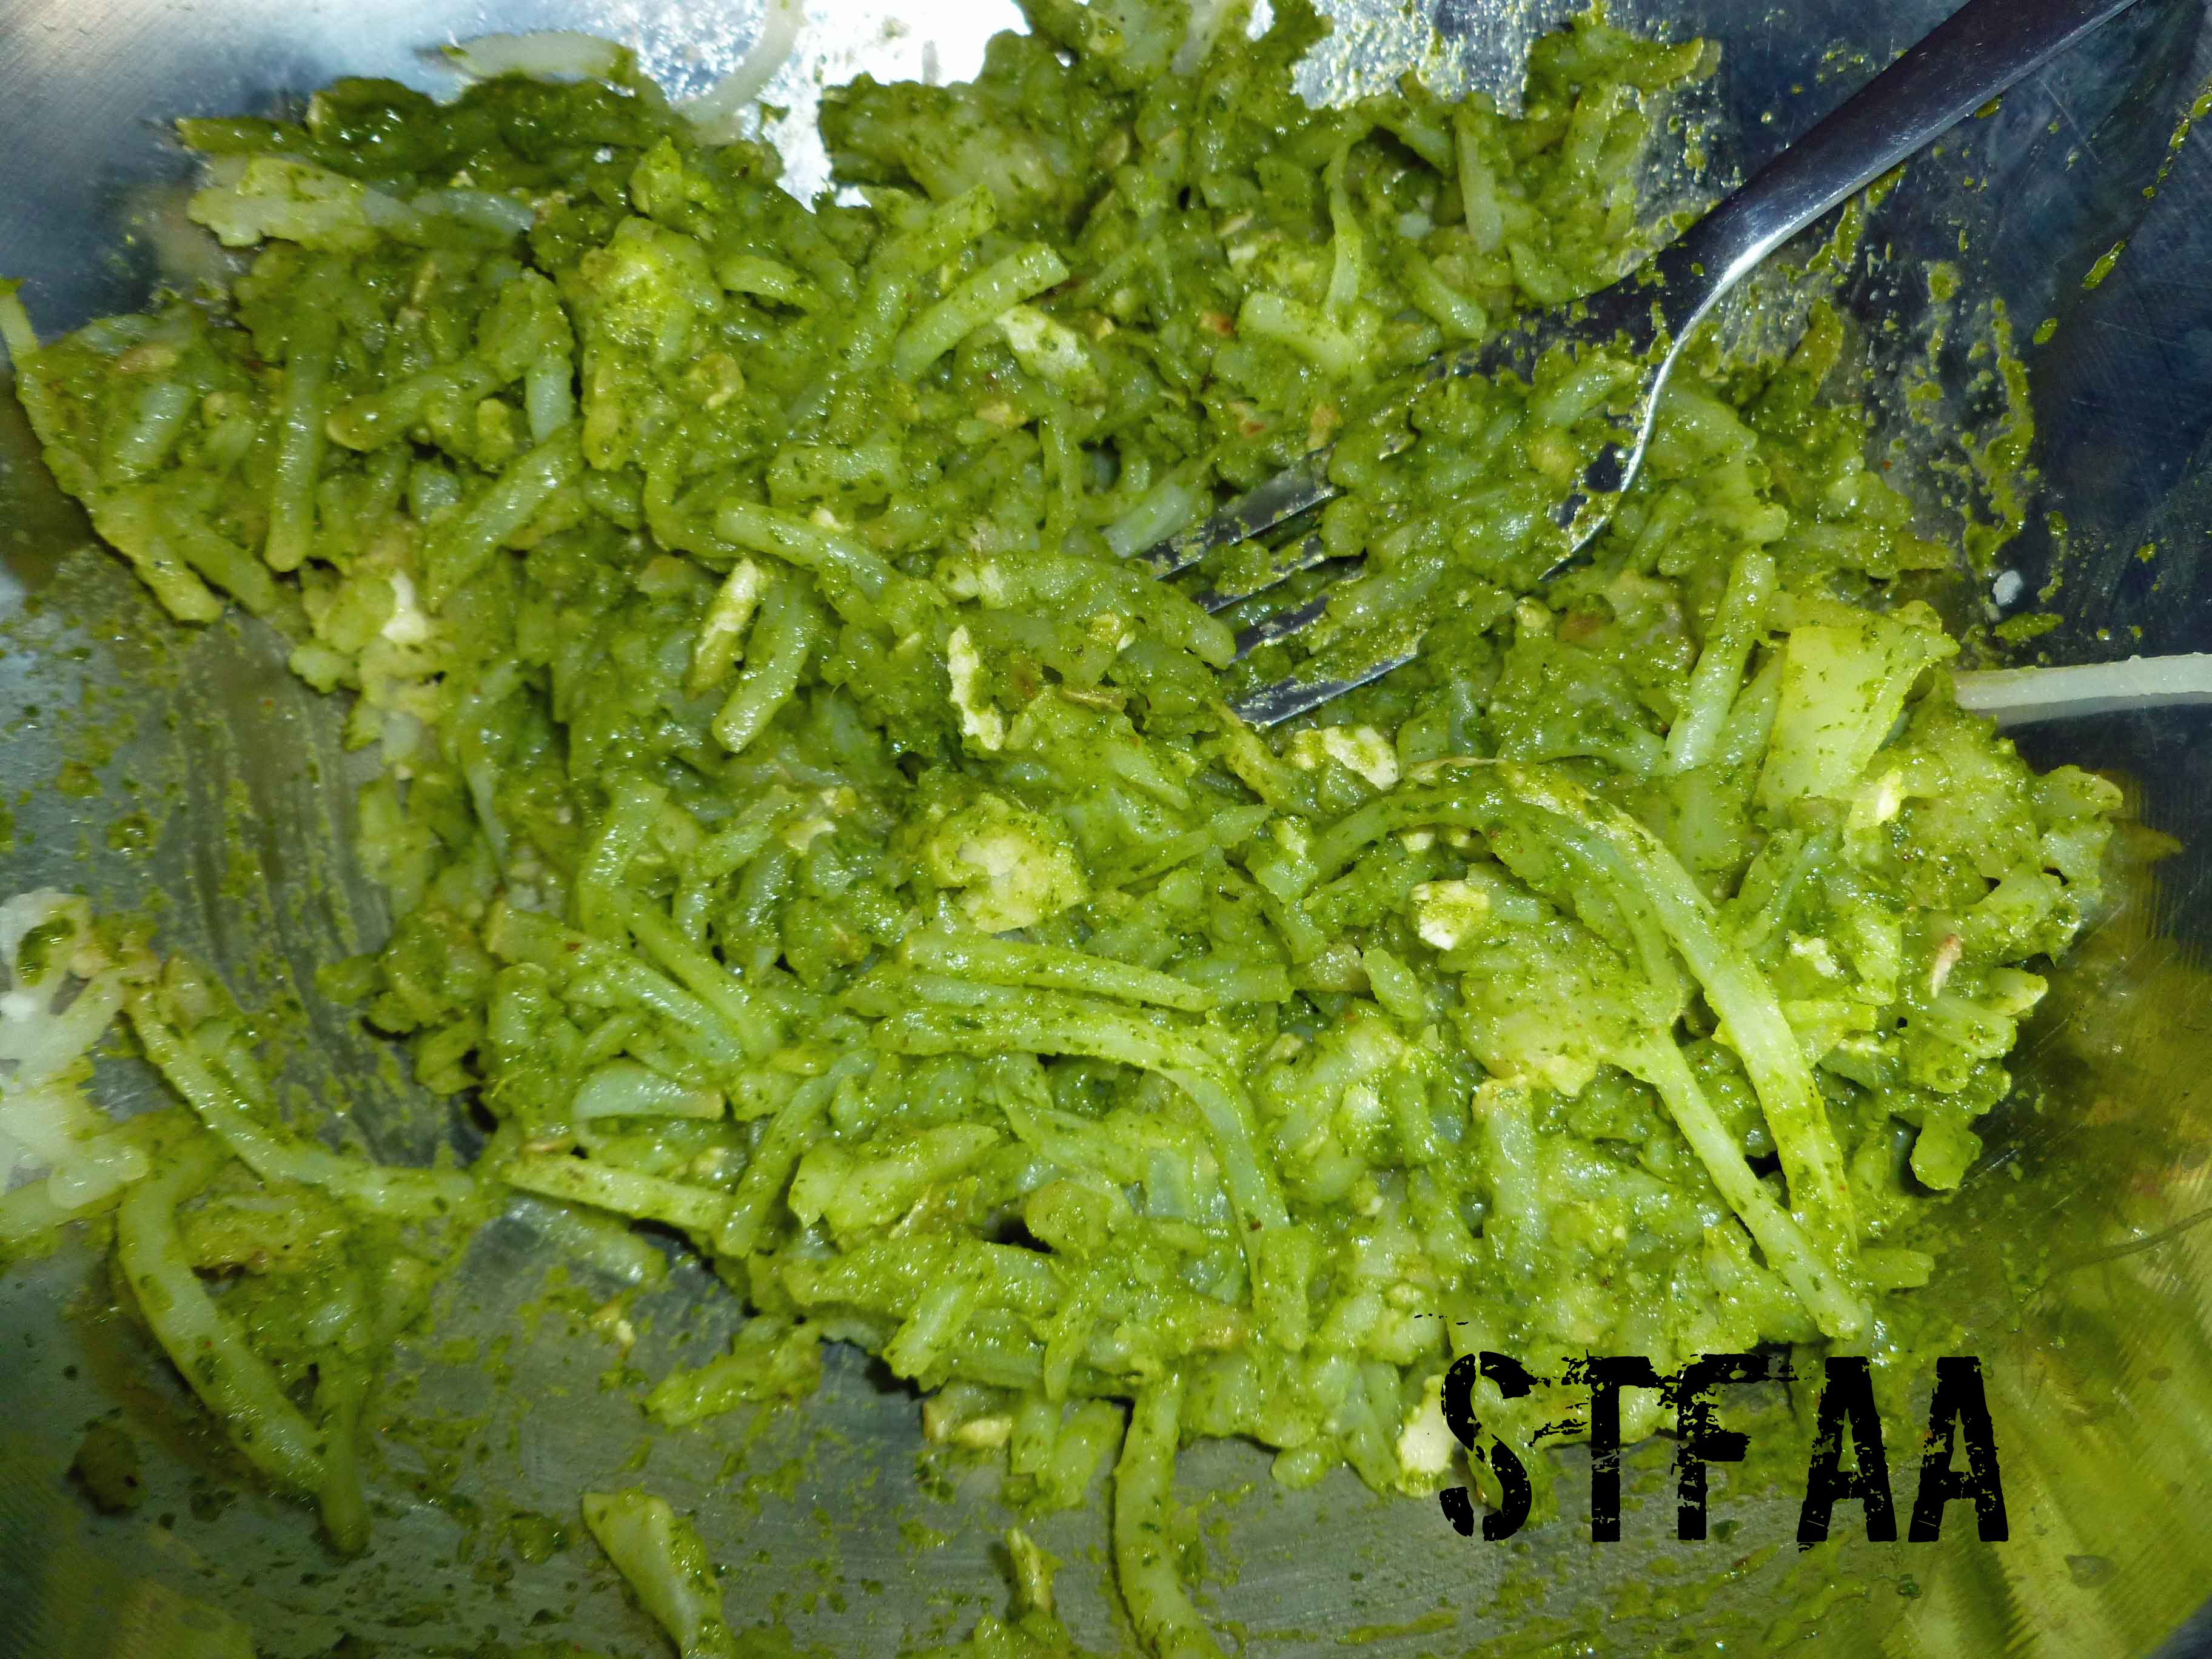
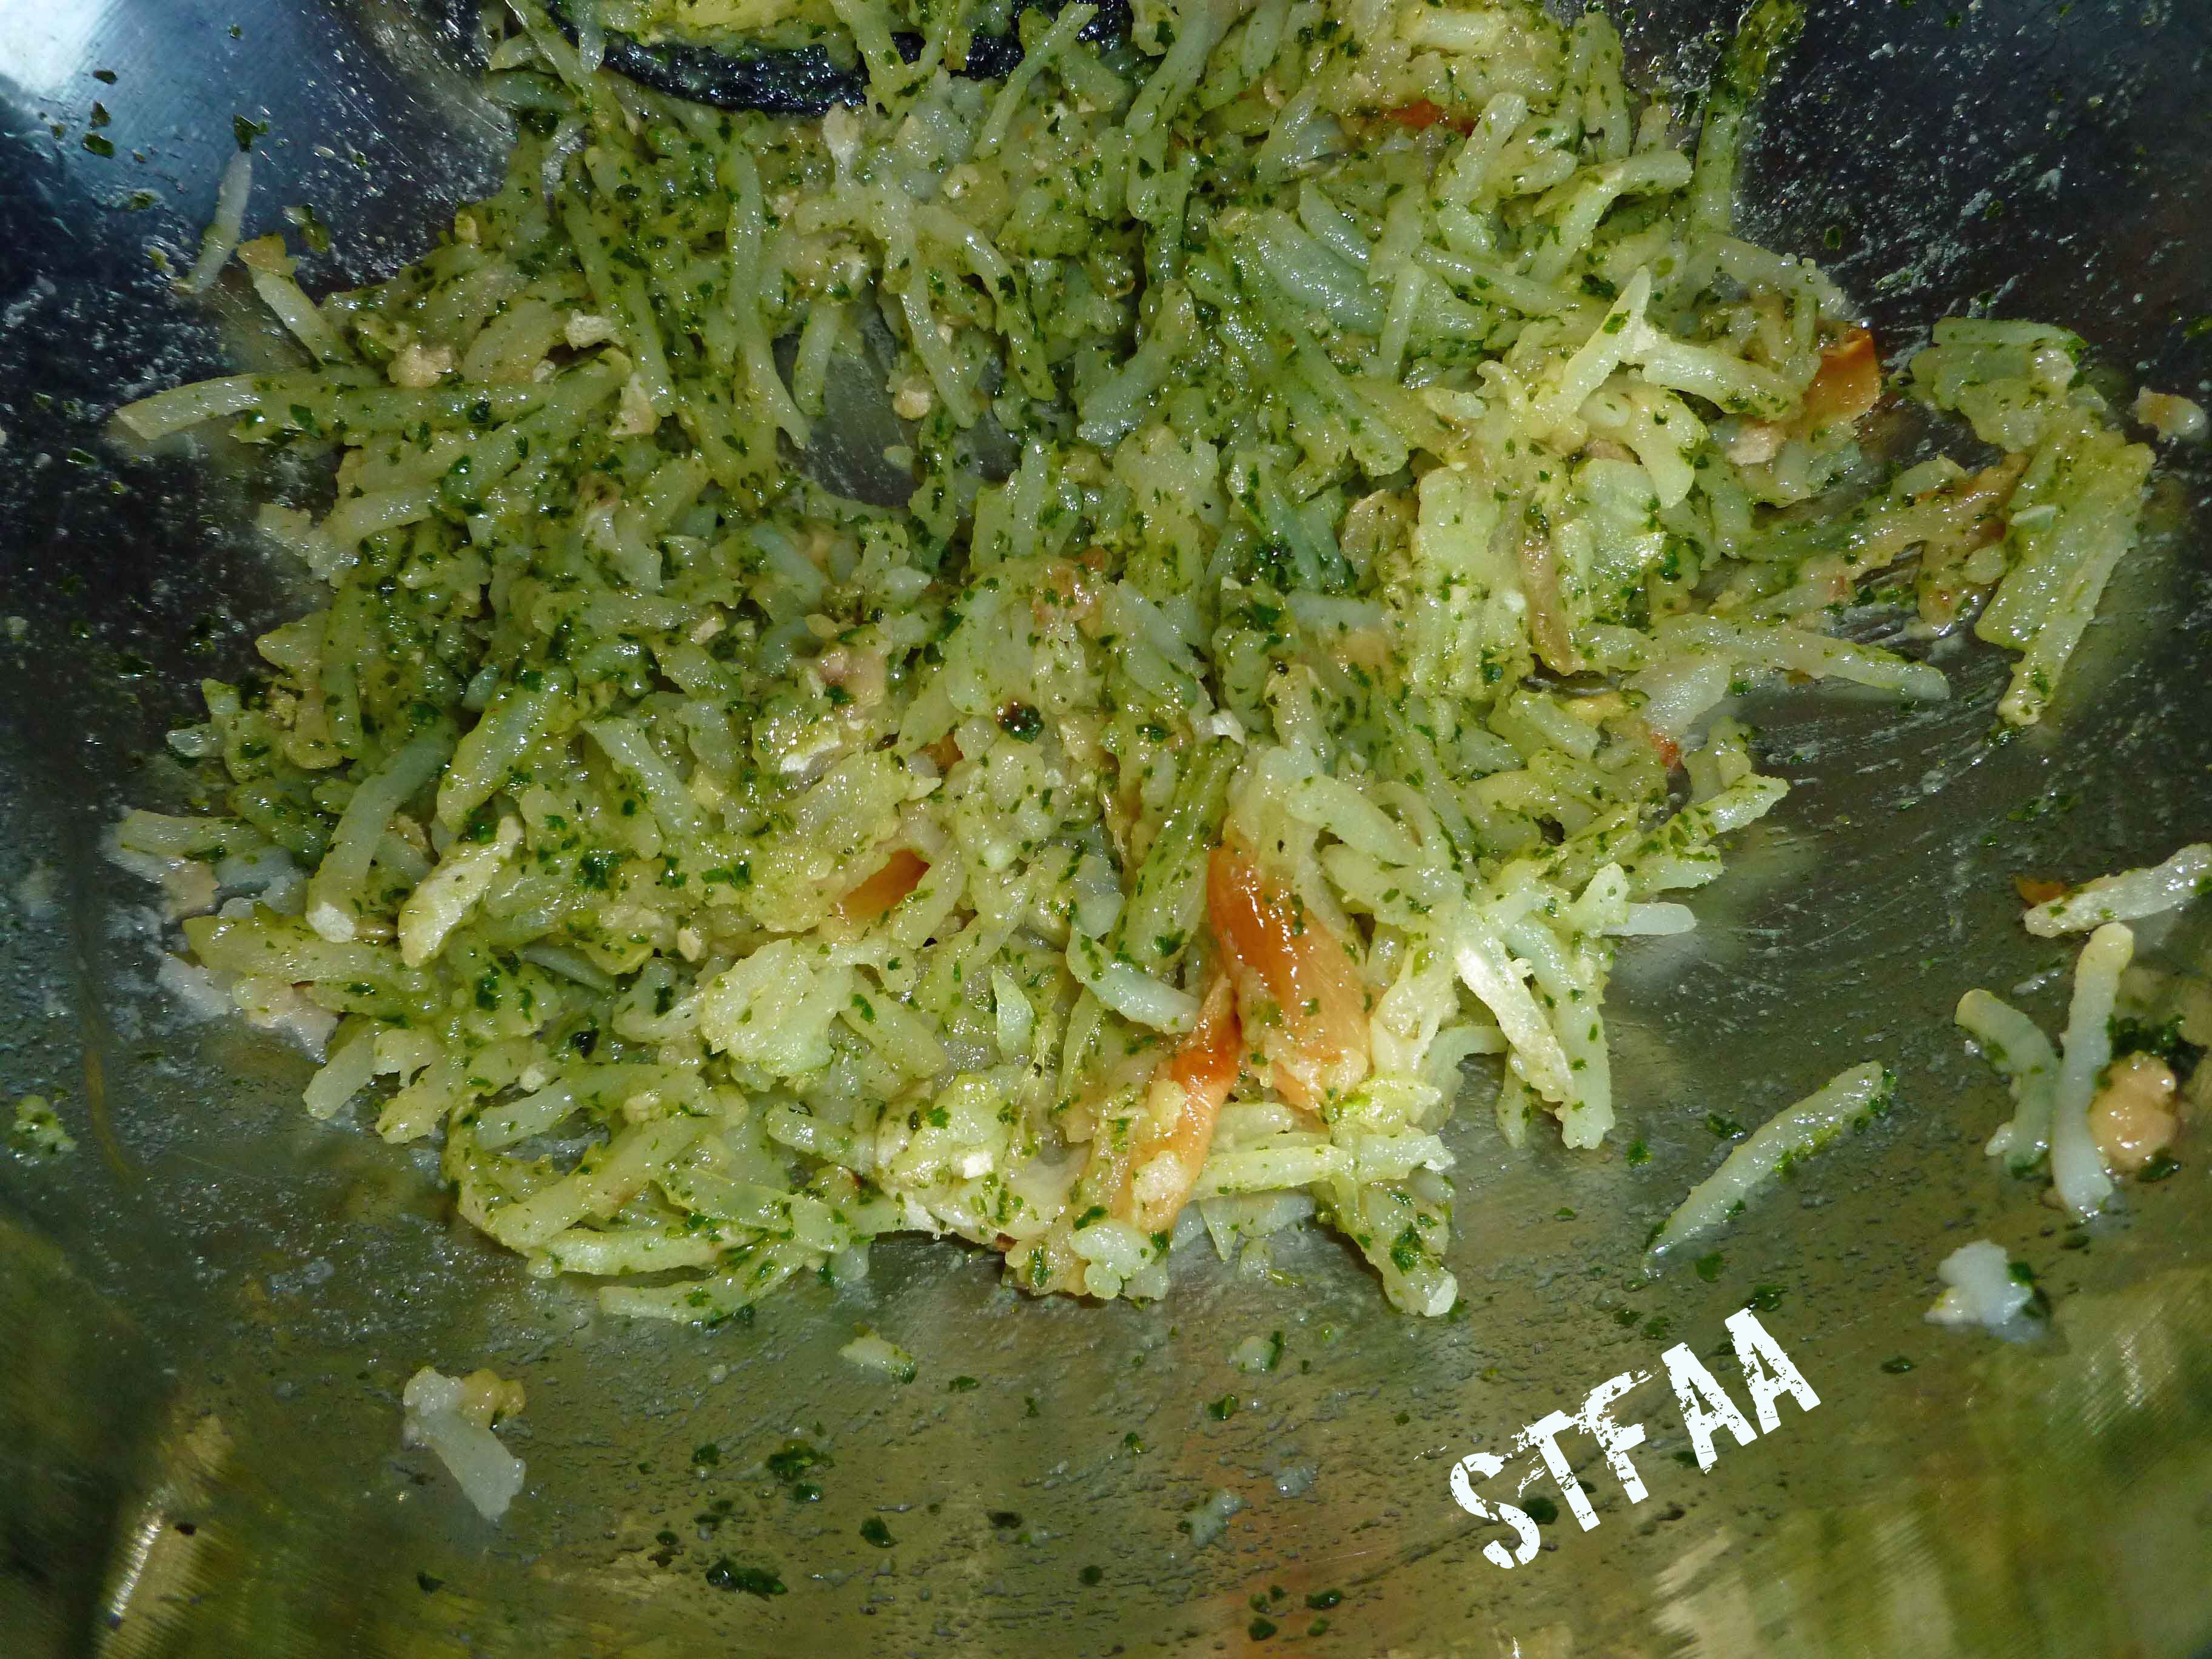
Mix the broccoli and potatoes, then add the sauce. Mix. It seems as though it will not come together — but it will. I found a rubber spatula worked best for this, and I had already dirtied one scraping the sauce into the mix; so perfect.
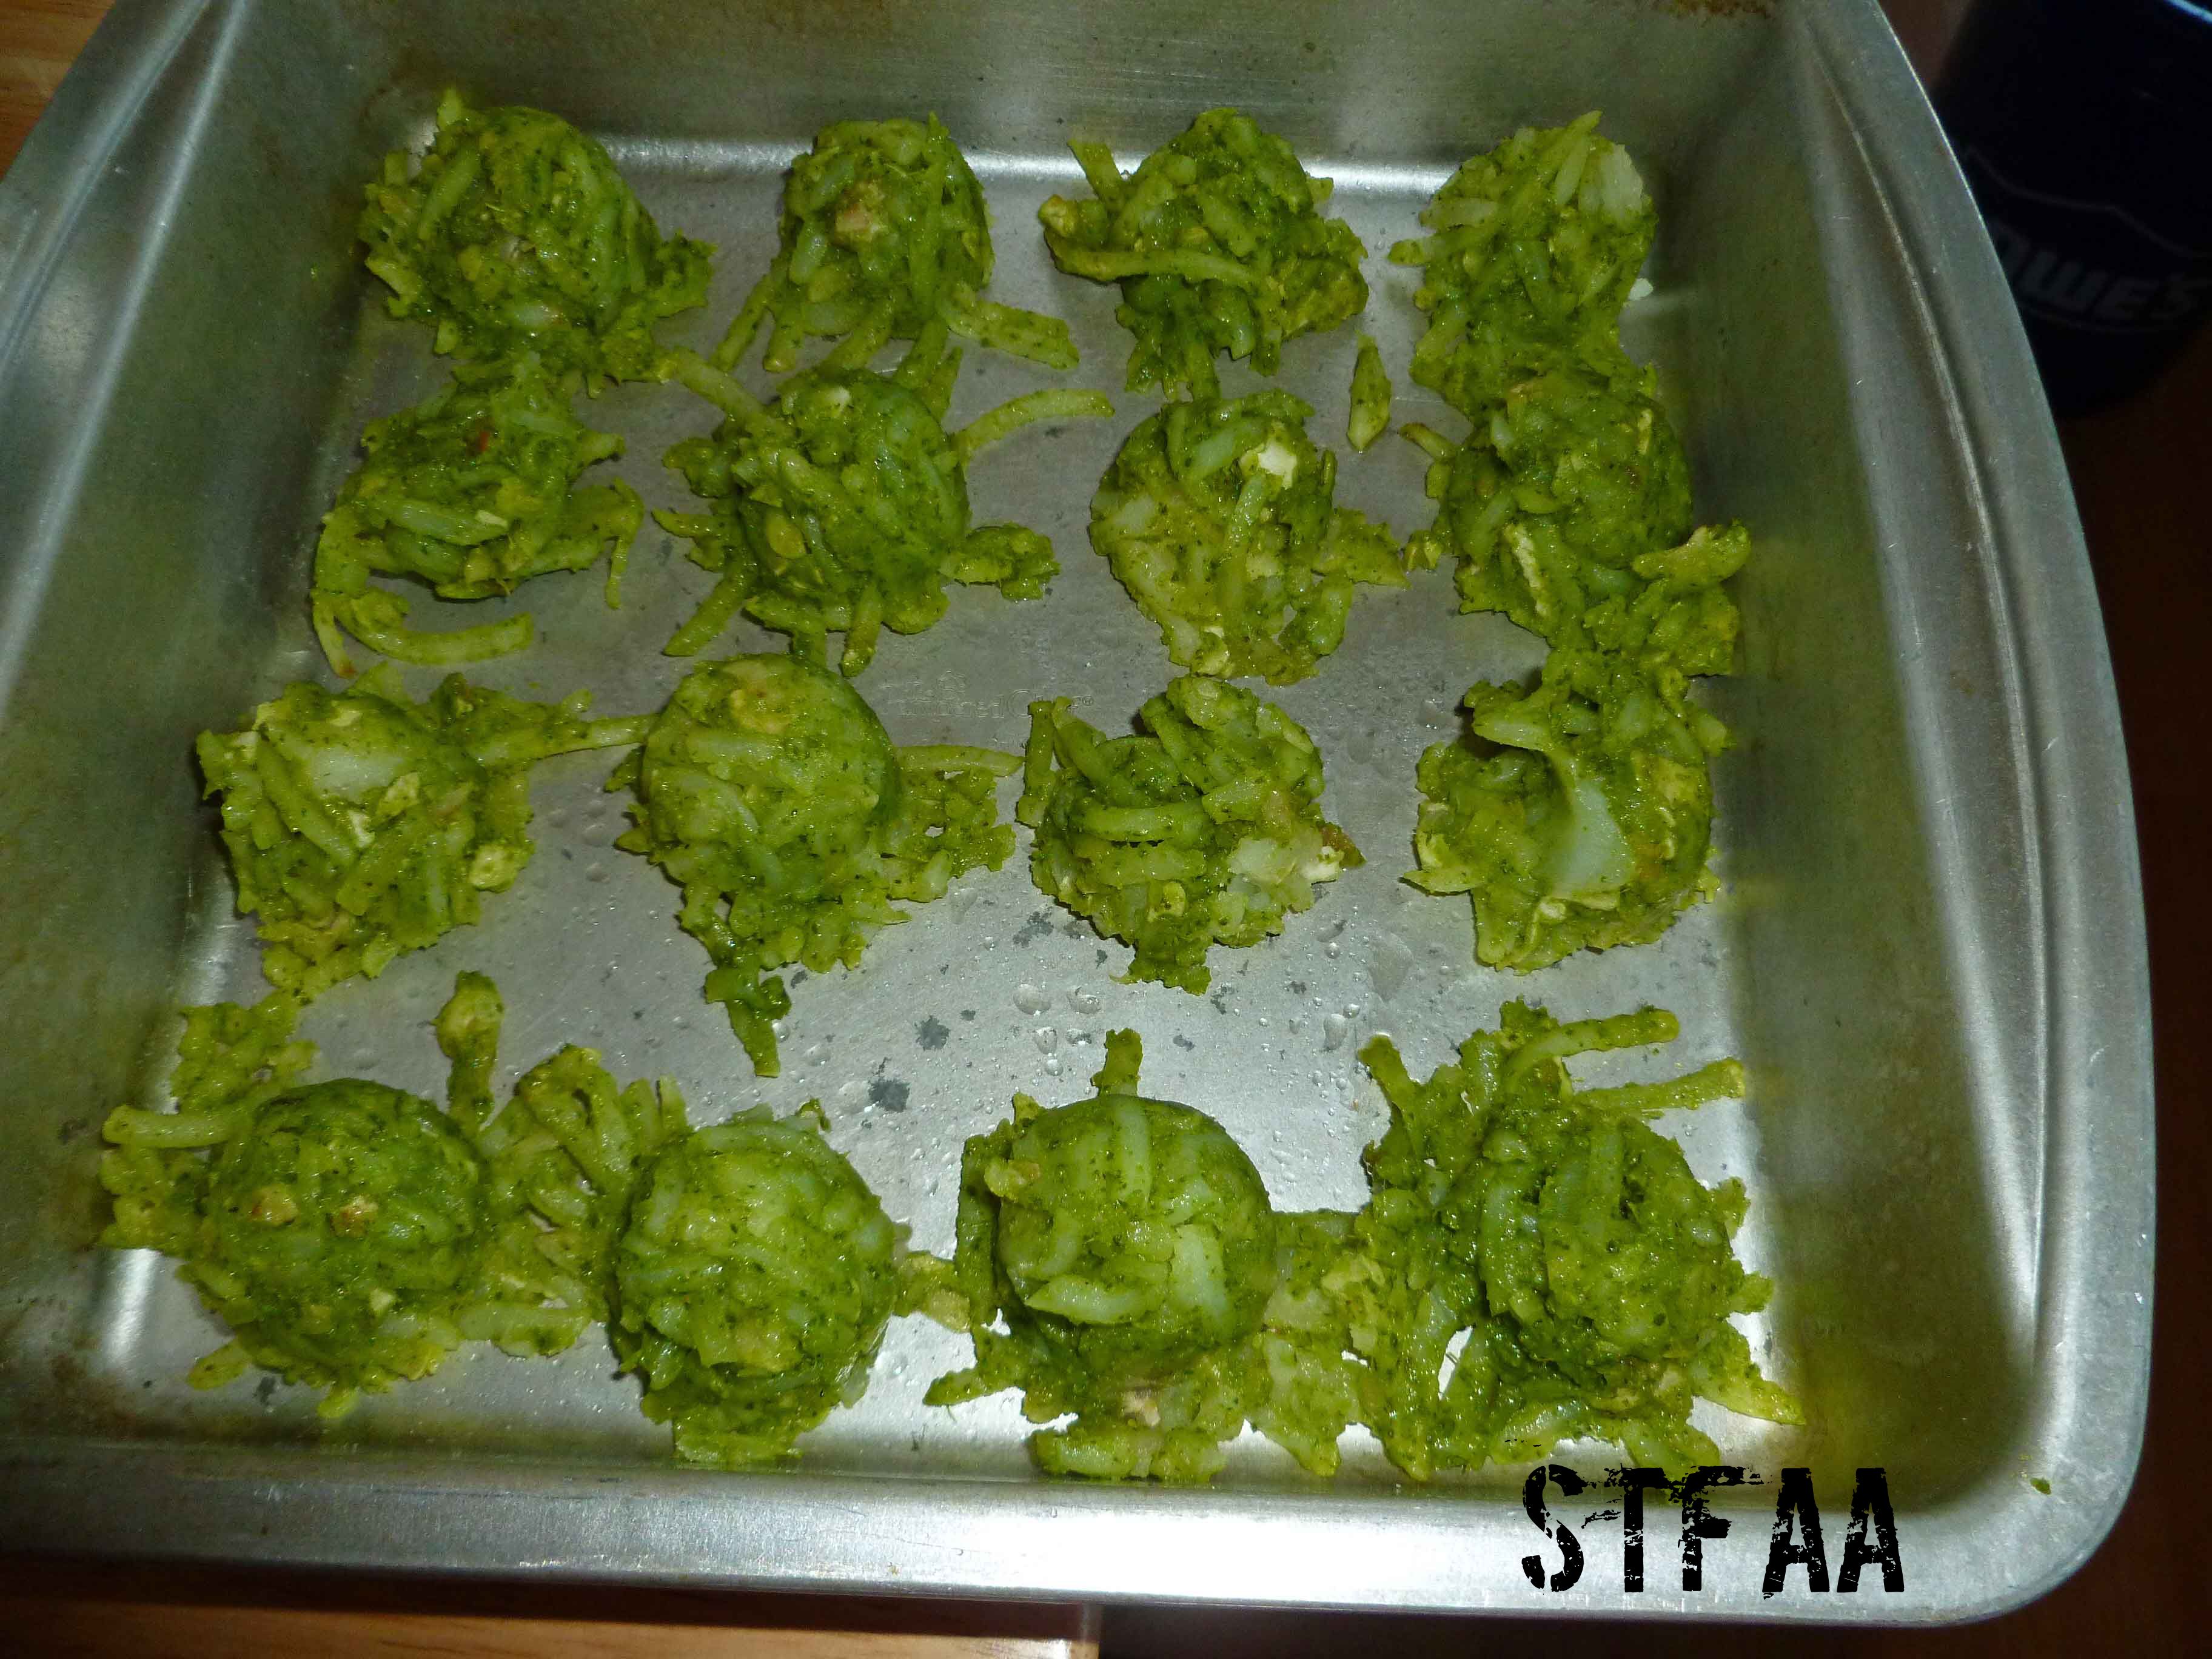
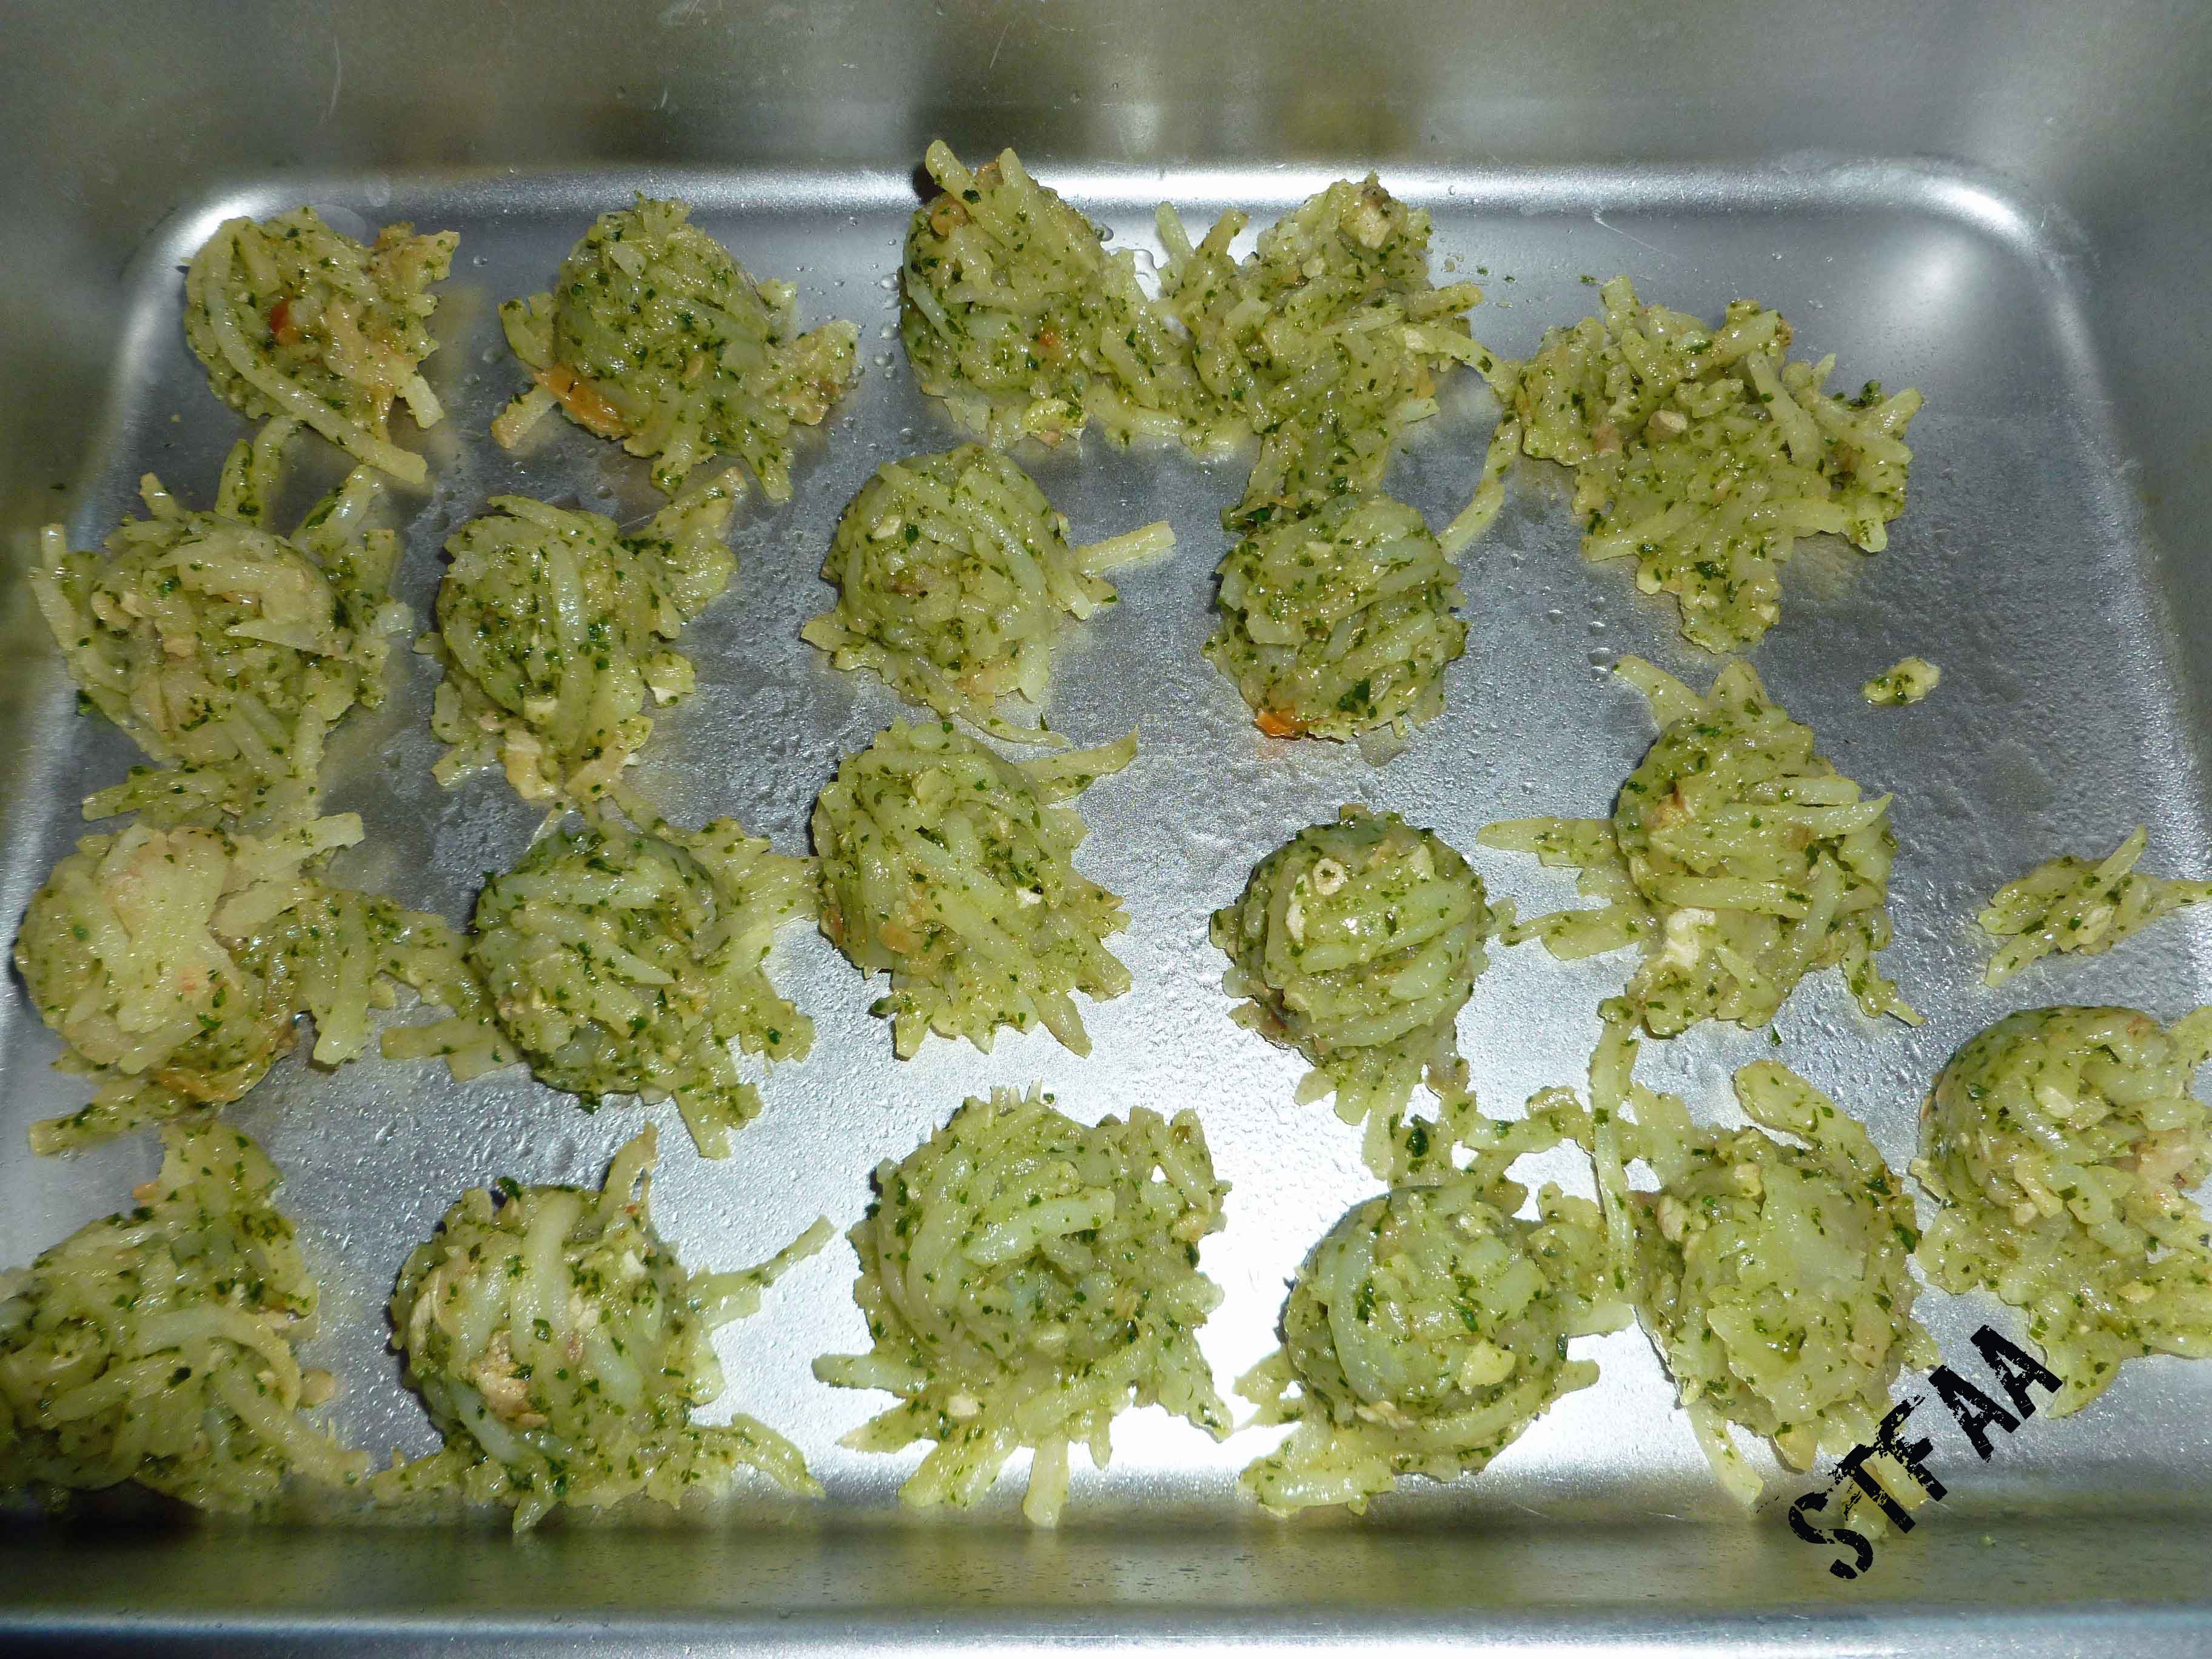
latkes ready for oven
Scoop scant 1/4 cups of the mix onto the greased trays. Flatten these out and neaten up the edges. Don’t skip the neatening! Those bits will burn (as you can see in the photos). Bake on a center rack (not the bottom rack! Ask me how I know.) for 10 minutes, then flip all patties and bake for another 5-10 minutes (this seems to depend on the weight of the pan you are using).
 Spring Garlic Sauce with Roasted Potatoes