Notice: Function _load_textdomain_just_in_time was called incorrectly. Translation loading for the wp-ultimate-recipe domain was triggered too early. This is usually an indicator for some code in the plugin or theme running too early. Translations should be loaded at the init action or later. Please see Debugging in WordPress for more information. (This message was added in version 6.7.0.) in /home/maryzahc/public_html/adultfoodallergies.com/wp-includes/functions.php on line 6121
Side Dishes – surviving the food allergy apocalypse (archive)

Category: Side Dishes

Side dish, noun: a portion of food served in addition to the main dish. These recipes will not contain dairy, eggs, gluten, wheat or hazelnuts. If we use a top 8 allergen, we will use a tag warning of its use.

  • Product Review: Cuisinart 3-Piece Specialty Disc Set & French Fry Method Taste Test

    Product Review: Cuisinart 3-Piece Specialty Disc Set & French Fry Method Taste Test

    Cuisinart 3-Piece Specialty Disc Set - Extra Thick Slicing disc, Fine Grating disc, and French-Fry Cut disc.
    Cuisinart 3-Piece Specialty Disc Set – Extra Thick Slicing disc, Fine Grating disc, and French-Fry Cut disc.

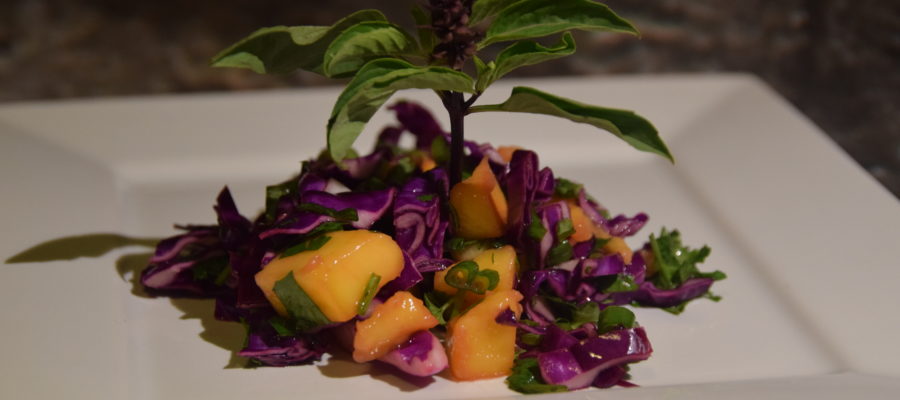
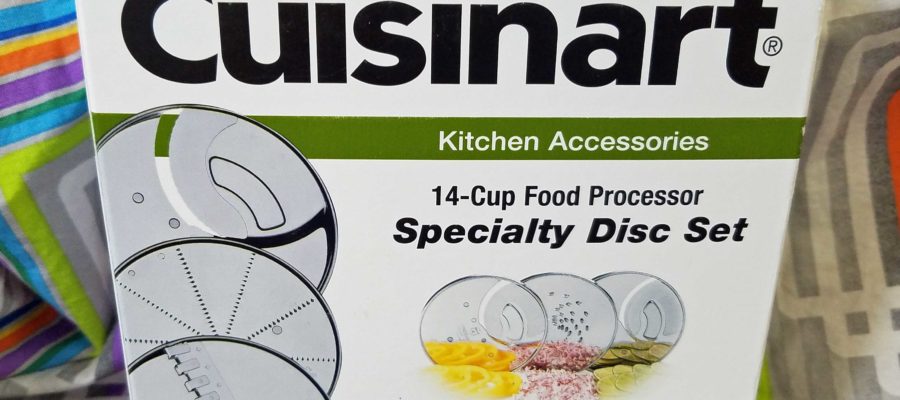
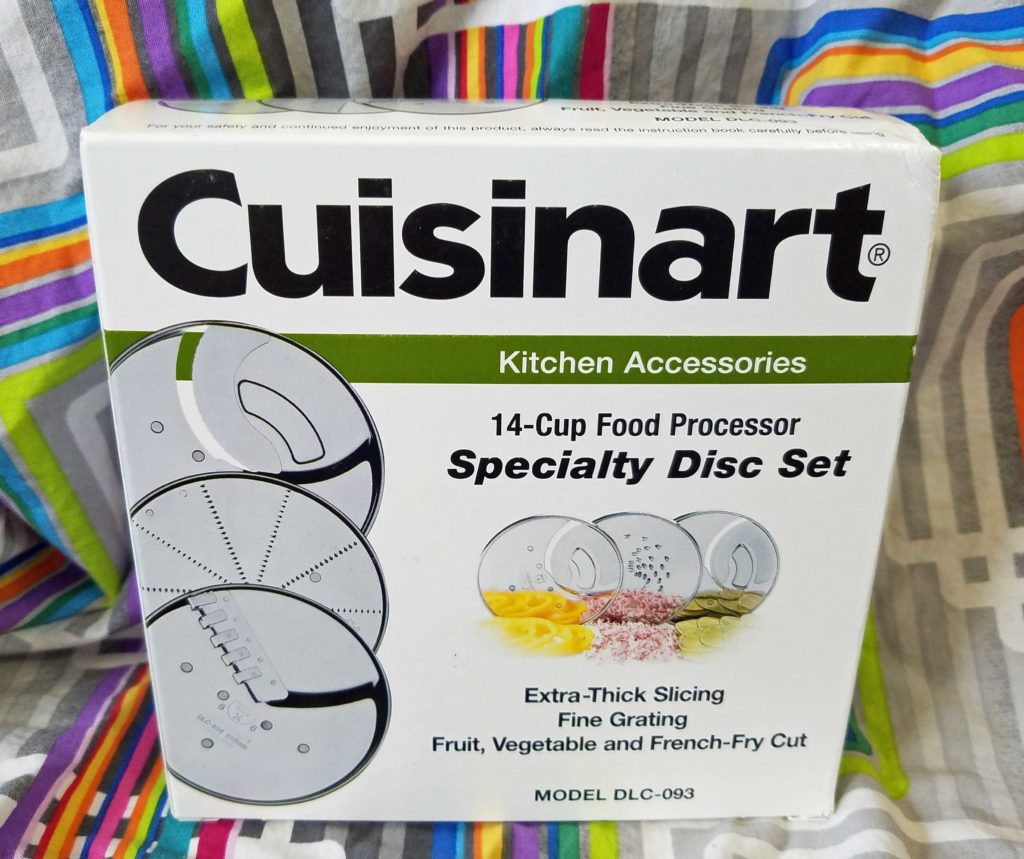
    Let me start out by saying, I’m fundamentally lazy. Many of my friends would disagree with me because I do a ton of work to make safe food, and yeah, maybe I could eat with less variety, so that I don’t have as much I have to do. The thing is, I love food and I love variety, and the thought of eating the same thing day after day after day, just makes me shudder. So yeah, I do the work, but anything I can do to lessen the work, I’m going to do. Or maybe I should say, anything I can do to be more efficient, I’m going to do. I do use my 14 cup Cuisinart food processor for canning season, but I wasn’t happy with using it for pickles because the slices were coming out too thin on the slicing disc I had. So when I saw this specialty disc set, I thought it might be worth a try since it had a thicker slicing disc. And it didn’t hurt that it came with a french fry cutter disc either. The last blade is a fine grating disc.

    The first thing I did was try the thicker slicing disc and compare it to the one that came with the food processor. The thicker disc is labeled as 8 millimeters and the original disc is labeled as 4 millimeters. It may not look like much of a difference, but I think it’s enough that I won’t have to use a knife to slice my cucumbers for pickles this year.

    Thicker slices on left, thinner slices on right.
    Thicker slices on left, thinner slices on right.

    The second thing I did was try the fine grating disc. I didn’t really have anything to finely grate. The box said that fine grater is used with especially hard foods such as nutmeats, Parmesan cheese, ginger, and horseradish. Well, I didn’t have any fresh ginger and or anything else it suggested and I’m allergic to cheese, so I tried a potato. Yeah, that didn’t work out so much.

    Potato mush after using the fine grater.
    Potato mush after using the fine grater.

    Since I did have some ginger I had peeled and frozen solid in chunks, I dug it out of the freezer and tried it with the fine grating disc. It worked out pretty well. I also think the next time I get fresh ginger, I’ll just peel the whole thing, run it through the fine grater disc and freeze it in an ice cube tray so that I’m not throwing old ginger away or trying to cut frozen pieces up. It also occurred to me as I write this, that this might be a good way to grate nutmeg as well.

    Frozen ginger after going through the fine grating disc.
    Frozen ginger after going through the fine grating disc.

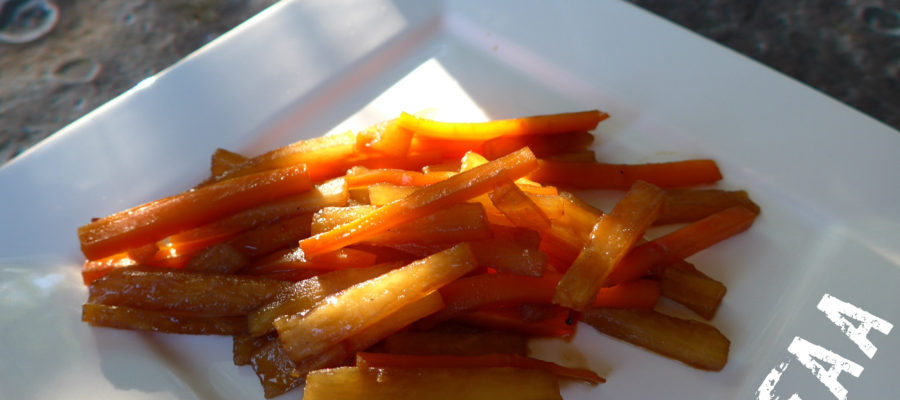
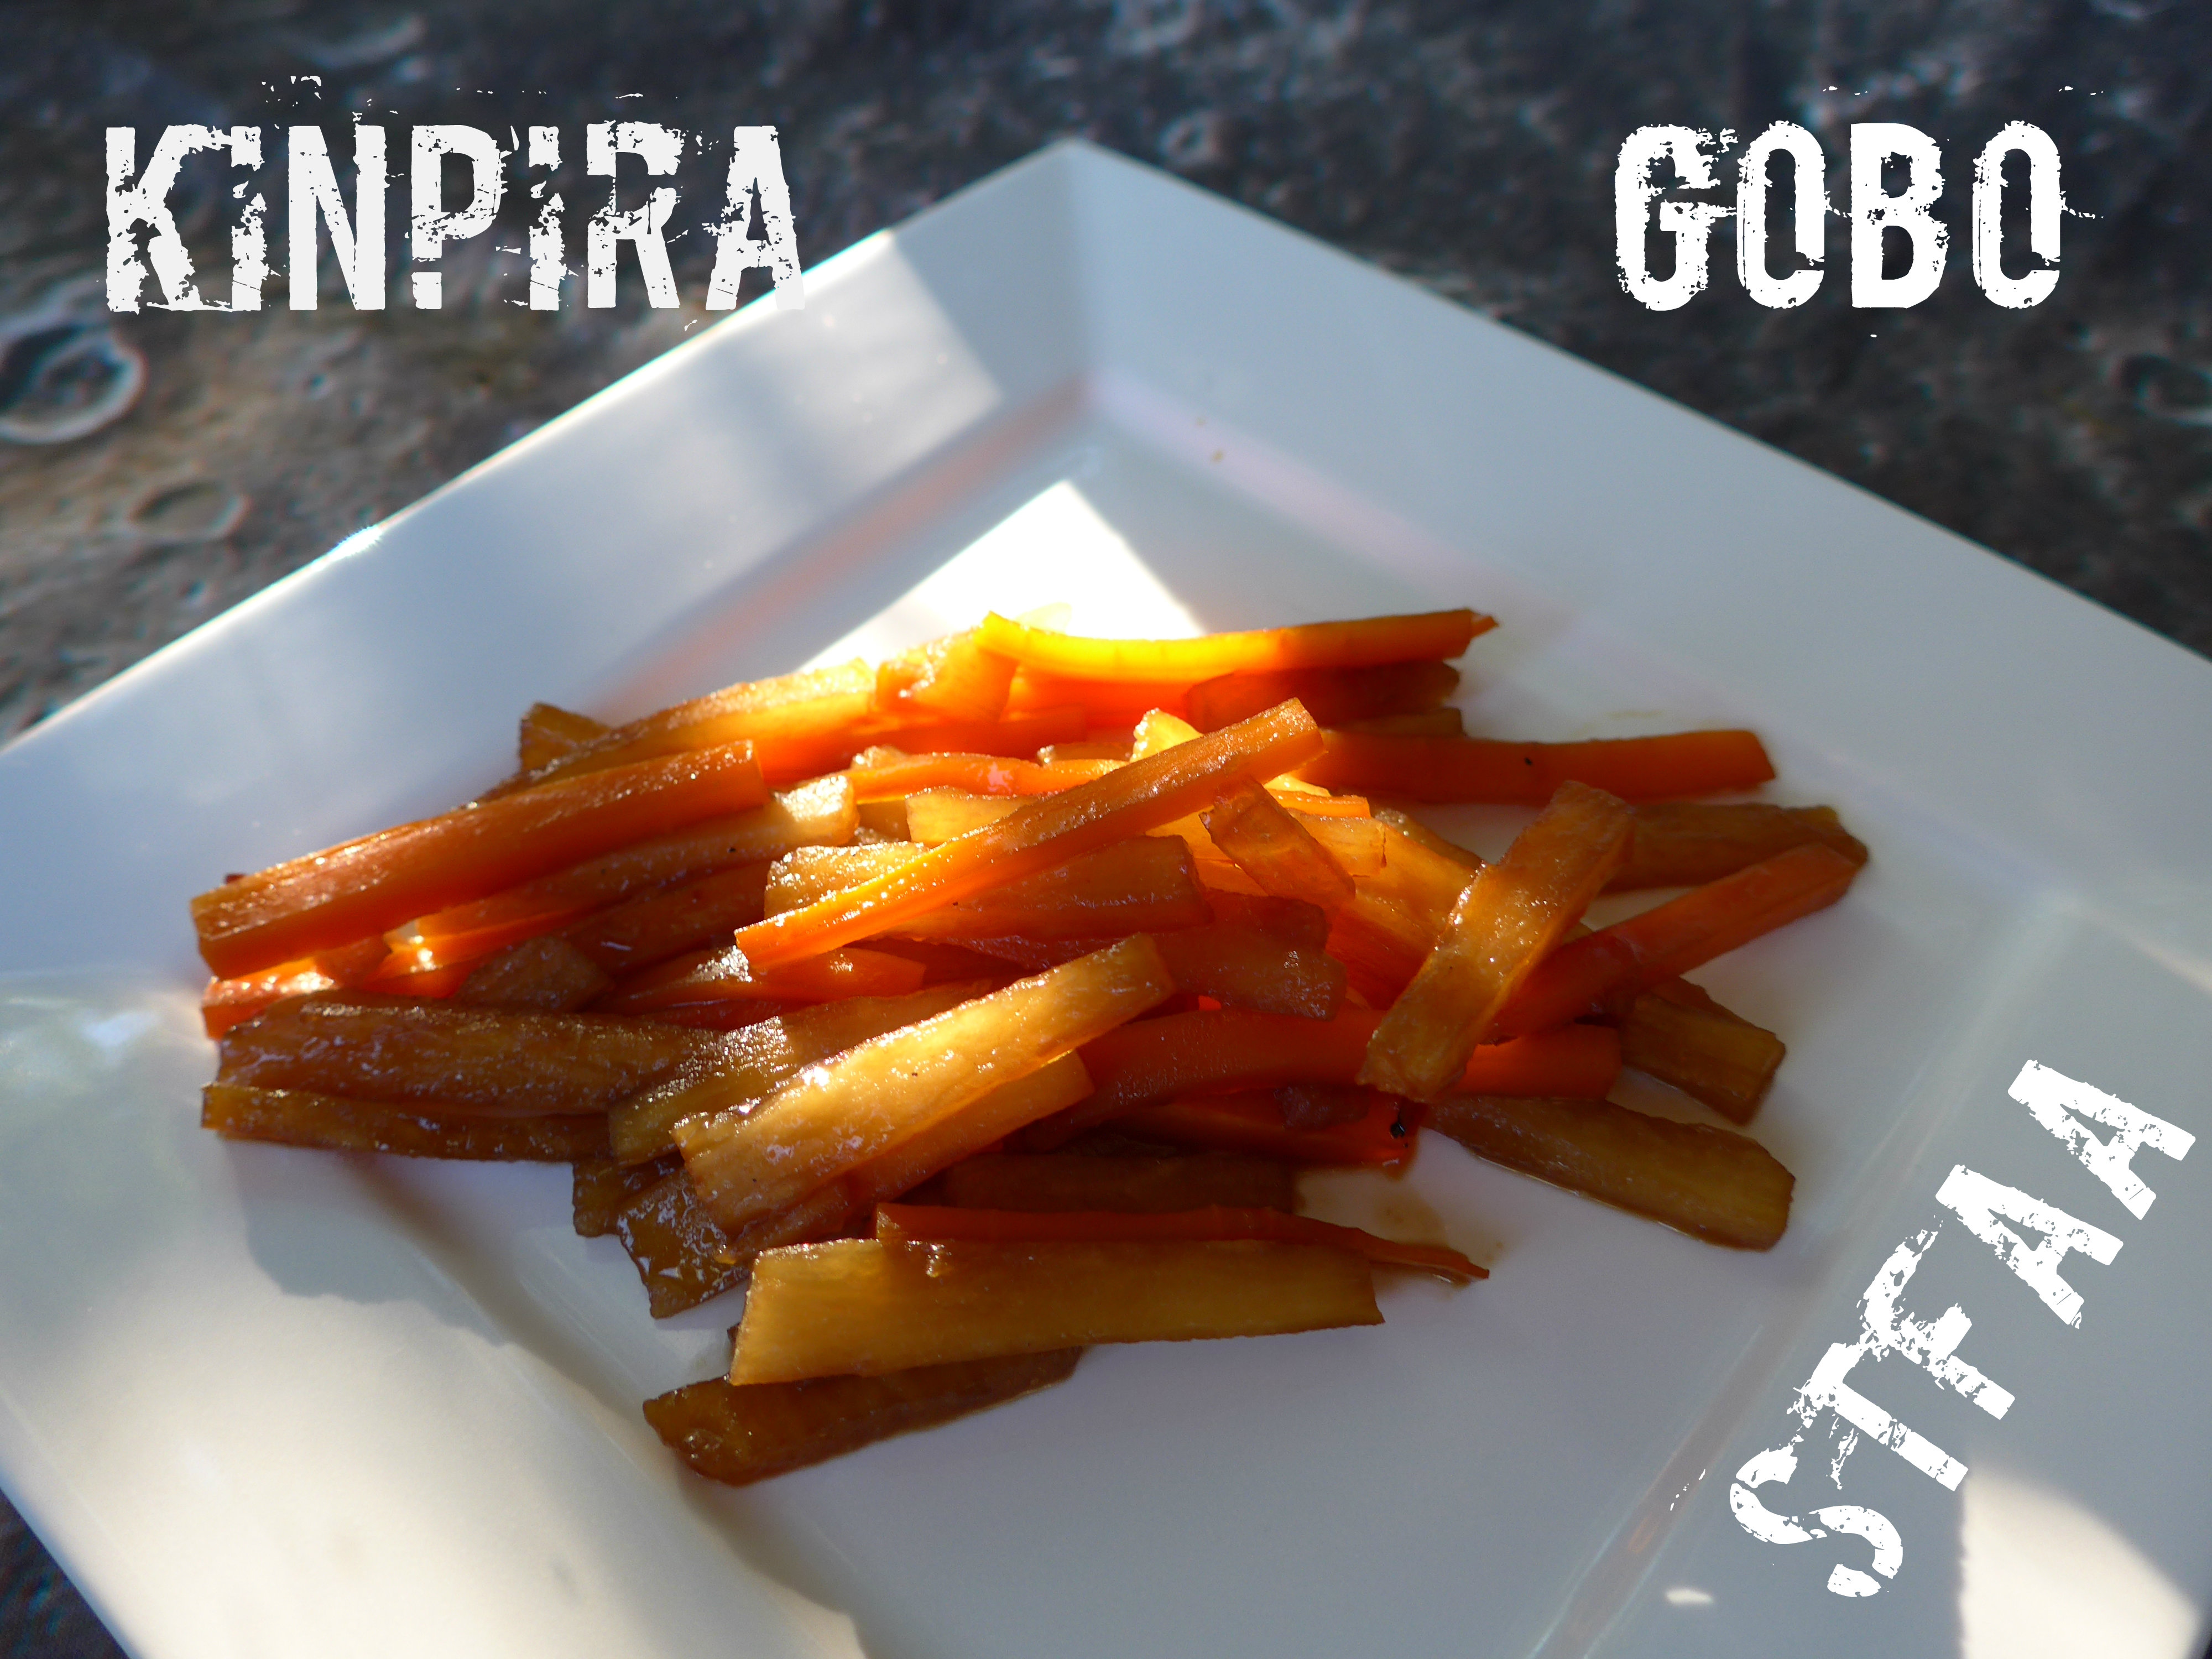
    Okay, now the part that everyone has been waiting for: the french fry disc. I was very curious about this. I have a french fry cutter from Pampered Chef and there’s nothing wrong with it, except it is manual, very sharp, and I cut myself when I wash it most of the time. You also have to use a fair amount of muscle to force your way through the potato. The french fry disc for the food processor worked pretty well. There are some odd thin cuts, and some broken pieces, but given how fast it goes through three potatoes, I have no objections.

    Fries cut using the french fry disc.
    Fries cut using the french fry disc.

    Of course, once I have potatoes cut like fries, I had to make fries. I had chatted with MaryKate as the potato aficionado and/or obsessed one in our duo about an experiment I intended to undertake, and she proposed a counter method, so I did both to see what liked better. I soaked the potatoes cut like fries in water for a few minutes, drained them, and then dried them with a towel.

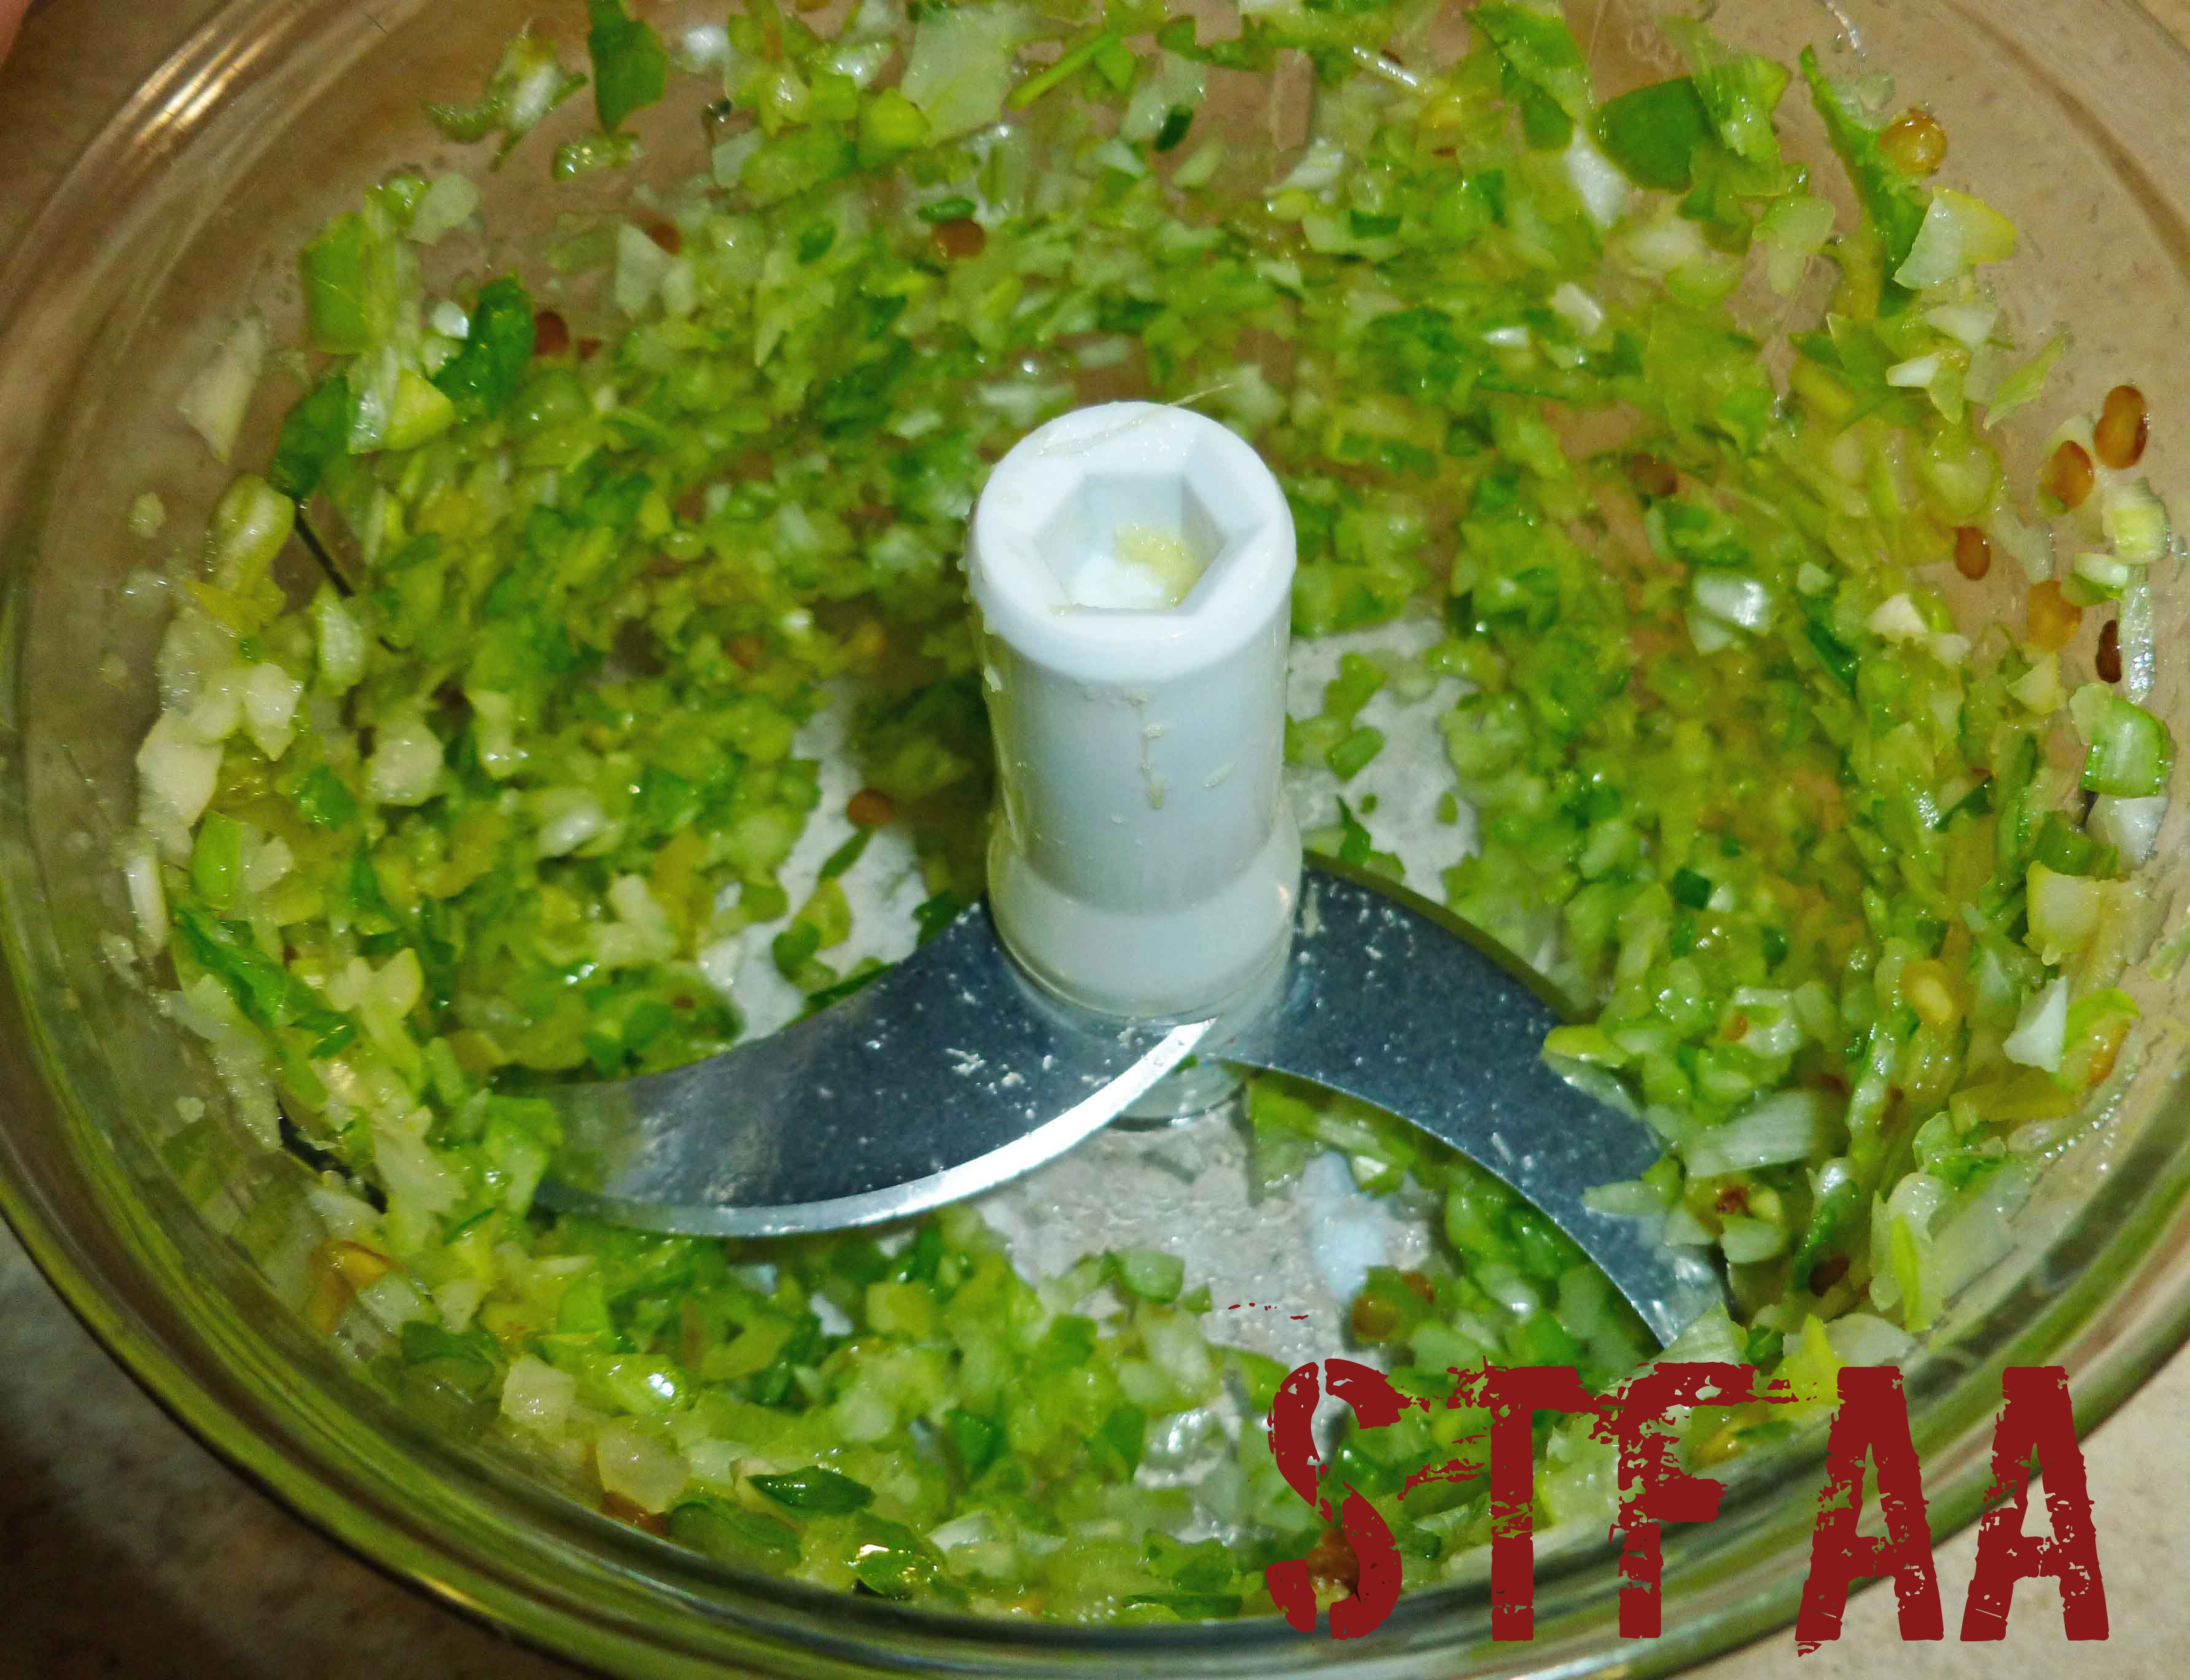
    When I first lost dairy, I also lost McDonald’s fries because they coat them with powdered dry milk to give them extra crisp. I don’t know if that’s still true, but it was at the time I lost milk, which was years ago. So I wondered if I could use tapioca starch to do the same thing, because I hate double frying, and if there is a way to shortcut the process, I’m going to take it. So I tossed the fries with a bit of tapioca starch in a strainer so I wouldn’t have any clumping.

    Potatoes cut like fries tossed with tapioca starch.
    Potatoes cut like fries tossed with tapioca starch.

    I heated my oil to 350° F and fried them until they were golden brown. They were good, crisp, and I didn’t have to fry twice.

    Next, I did the double frying method. I heated my oil to 325° F and cooked them for 6 minutes in batches. When I had cooked them all, I heated my oil to 400° F and refried them in batches until they were golden brown. I admit that MaryKate was right and this version was better. A little bit better color, a little bit more crisp, but not worth the pain of double frying for one who is less obsessed with potatoes.

    I don’t think this set is essential if you are a standard cook, but it’s a nice thing to have. And for me, the thicker slicing disc alone is worth it for me for canning season. All in all, I’m pleased I bought it.

  • Mango Slaw

    Mango Slaw

    Orange mango, purple and green Thai basil, purple cabbage, and other green herbs in a slaw on a white plate, with a "tree" sprig of Thai basil in the center.
    Mango Slaw, photo by J.Andrews

    I just spent a week in Hawai’i, the Big Island, and came home to cold and dreary weather. We hit avocado season there, which was amazing, but also found lots of fresh papaya, some passion fruit, and some interesting varieties of dragon fruit. But back here on the mainland, the tropical fruit variety is less exciting. The grocery store did have some rather sad-looking papaya, but the mangoes looked pretty good. The smaller honey mangoes were ripe and ready to eat.

    Beyond that, I have a recipe on my menu plan this week that required 1/4 of a head of red cabbage. I swear, recipes either require a whole cabbage or just a bit, and I hate wasting things. So I pulled this slaw together to go with several other meals and use up a bit more of the cabbage (that still only gets me to half the head, but I’ll stir-fry the rest).

    This is a TART slaw, not creamy, and the only “dressing” is lime juice and the juice from the mangoes — this is why it needs to rest a bit. My mangoes were super sweet, and the dinner that this was a side dish for was rich enough that this made a good accompaniment as it was. You may want to adjust a bit — a pinch or two of salt or sugar or a drizzle of olive oil may be needed to perfect this crunchy tart dish. Adjust as needed, and enjoy.


    Notice: Trying to access array offset on value of type bool in /home/maryzahc/public_html/adultfoodallergies.com/wp-content/plugins/wp-ultimate-recipe/helpers/models/recipe.php on line 254

    Mango Slaw
    Print Recipe
    Servings Prep Time
    6 slaw servings 20 minutes
    Passive Time
    60 minutes
    Servings Prep Time
    6 slaw servings 20 minutes
    Passive Time
    60 minutes
    Mango Slaw
    Print Recipe
    Servings Prep Time
    6 slaw servings 20 minutes
    Passive Time
    60 minutes
    Servings Prep Time
    6 slaw servings 20 minutes
    Passive Time
    60 minutes
    Ingredients
    Proper Measurements
    • 2 cups red/purple cabbage shredded
    • 2/3 cup honey mango cubed
    • 1/4 cup cilantro thick stems removed, rough chopped
    • 2 Tablespoons Thai basil leaves chopped
    • 1 Tablespoon lime juice
    • 1/4 cup scallions thinly sliced
    Rough Measurements
    • 1/4 head cabbage shredded
    • 1 small honey mango cubed
    • 1/2 bunch cilantro thick stems removed, rough chopped
    • 2 stems Thai basil leaves only, chopped
    • 1/2 lime juiced
    • 4 small scallions thinly sliced
    Servings: slaw servings
    Instructions
    1. Prepare all ingredients and mix thoroughly. Let flavors meld for at least an hour, stirring occasionally.
    2. Before serving, taste and adjust — add a pinch of salt, sugar, or a drizzle of olive oil if needed.
    Share this Recipe
     
    Powered byWP Ultimate Recipe

  • Warm Bacon & Kale Salad

    Warm Bacon & Kale Salad

    warm kale & bacon salad
    warm kale & bacon salad

    This will be a quick post. This salad is really loosely based on some paleo salad recipe that I found and Jack made a while back. We really liked it, but this time it’s edited to use up whatever we had in the house this time around. The basis for that salad was sauteing the kale in bacon fat and then crumbling that bacon over the top. This is an excellent side dish, assuming you like bacon and kale. I’ve brightened up this salad with apples, onions, and carrots, cooked along with the kale, and cherry tomatoes added at the end. I like the little yellow ones, as they are sweet, and they are hot house-grown, so they are still decent in January.

    If you don’t like some of these ingredients, leave them out! Well, not the kale or bacon. If you don’t like those, find a different recipe. If you can’t eat commercial bacon, consider making your own bacon. But the joy of salads is that they are malleable. Make them your own.


    Notice: Trying to access array offset on value of type bool in /home/maryzahc/public_html/adultfoodallergies.com/wp-content/plugins/wp-ultimate-recipe/helpers/models/recipe.php on line 254

    Warm Kale & Bacon Salad
    Print Recipe
    Servings
    3 servings
    Servings
    3 servings
    Warm Kale & Bacon Salad
    Print Recipe
    Servings
    3 servings
    Servings
    3 servings
    Ingredients
    • 5 strips bacon
    • 1 bunch kale about 6 cups when torn
    • 1 small red onion about a cup, slivered
    • 2 small carrots about a cup, shredded
    • 1 cup grape tomatoes
    • 3 small apples chopped, about 1.5 cups
    Servings: servings
    Instructions
    1. Cook bacon in a skillet, I use cast iron, over medium heat, until crispy. Drain on paper towels.
    2. Drain off all but 2 Tablespoons of bacon fat. Don’t clean the pan.
    3. Wash and tear the kale into bite-sized pieces. I like to use a salad spinner to dry it, but shaking it in a towel will work.
    4. Shred your carrots and slice your tomatoes in half.
    5. Then reheat the bacon fat over medium low. When hot, add the onion and carrot and cook until softened, 5-7 minutes.
    6. Add the kale and stir well, in handsful if needed to not overflow your pan.
    7. Chop and core the apples. I like the skin on for texture. Once the kale is wilted, add in the apples and stir well. Cook just until the apples are warmed.
    8. Add the tomatoes and crumbled the bacon on top. Serve warm.
    Share this Recipe
     
    Powered byWP Ultimate Recipe

  • Instant Pot Black Beans and Rice

    Instant Pot Black Beans and Rice

    Instant Pot Black Beans and Rice
    Instant Pot Black Beans and Rice

    Since this week’s theme is quick work-night dinners, I thought it might be time to introduce my use of the Instant Pot since I’ve had it for about a year and half now. I know that I’m a kitchen gadget junkie, but I love this thing and I’m considering getting a second one as they just came out with a 8 quart version (mine is the Instant Pot DUO60 6 Quart 7-in-1). I love my crock pots too, but they take advance planning and being around to babysit them. And despite all my food prep during harvest season, advance planning is not something that I’m good at when it comes to work night dinners. I come home from work, read my mail, change out of my work clothes, dub around with some other task, and then I decide somewhere between 5:30 p.m. and 7:30 p.m. that I ought to think about what I might want for dinner. I basically decide what to eat about 5 minutes before I start making it. What I love about the Instant Pot is that I can make things that would normally take a lot longer and a lot of babysitting on the stove by throwing things in the Instant Pot, sealing it up, setting a timer, and walking away to go do something else while it cooks. There’s a lot less spilling and a lot less potential for me to burn myself or my potholders. If you don’t have an Instant Pot, you can do this in a rice cooker just saute the onions, garlic and peppers in a skillet instead and then add them to the cooker. Or you can do the whole thing on the stove top, as you would normally cook rice but you’ll have to watch it carefully and you may need more water as it cooks.

    You can use this as a main dish, adding some tomatoes, avocados, and cucumbers on top with some cashew cream if you want. If you have some safe tortillas, you could also wrap in it in a tortilla with whatever fixings you’d like. Or you can use it as a side dish and the leftovers as a quick lunch.

    The only warning I will impart is that if you’re cooking for friends who may not have the spice tolerance you do, watch your salsa choice. I used a home canned Roasted Tomatillo Chipotle Salsa which had a good bite, but was a bit much for some of my friends who attended a pot luck I recently hosted.

    Instant Pot Black Beans and Rice

    I did a slide show of my “mise en place” just for fun, and to take up less space:

    Instant Pot DUO60 6 Quart 7-in-1 buttons
    Instant Pot DUO60 6 Quart 7-in-1 buttons

    Onions and garlic sauteing in Instant Pot
    Onions and garlic sauteing in Instant Pot

    Onions, garlic and orange bell pepper sauteing in Instant Pot
    Onions, garlic and orange bell pepper sauteing in Instant Pot

    Mixture after adding all other ingredients but before cooking
    Mixture after adding all other ingredients but before cooking

    Instant Pot Black Beans and Rice after cooking in the Instant Pot
    Instant Pot Black Beans and Rice after cooking in the Instant Pot

    Instant Pot Black Beans and Rice
    Instant Pot Black Beans and Rice

    Instant Pot Black Beans and Rice
    Instant Pot Black Beans and Rice
    Print Recipe
    An easy weeknight meal on its own or wrap in safe for you tortillas with lettuce and tomatoes.
    Servings Prep Time
    4-5 people 5 minutes
    Cook Time Passive Time
    5 minutes 35 minutes
    Servings Prep Time
    4-5 people 5 minutes
    Cook Time Passive Time
    5 minutes 35 minutes
    Instant Pot Black Beans and Rice
    Instant Pot Black Beans and Rice
    Print Recipe
    An easy weeknight meal on its own or wrap in safe for you tortillas with lettuce and tomatoes.
    Servings Prep Time
    4-5 people 5 minutes
    Cook Time Passive Time
    5 minutes 35 minutes
    Servings Prep Time
    4-5 people 5 minutes
    Cook Time Passive Time
    5 minutes 35 minutes
    Ingredients
    • 2 Tablespoons grape seed oil (or other safe for you oil)
    • 1 large onion, peeled and chopped
    • 4 cloves garlic, minced
    • 1 cup bell pepper, seeded and chopped (optional – I often have chopped bell peppers in my freezer as I chop up the extras from recipes and freeze them so they don’t go to waste.)
    • 2 cups brown rice (rinsed well)
    • 2 cups water
    • 2 cups salsa (I used my home canned salsa)
    • 1 can black beans, drained and rinsed (I used my home canned beans)
    • 1 teaspoon cumin
    • 1/2 teaspoon sea salt
    • 1/4 cup cilantro, chopped
    • Instant Pot
    Servings: people
    Instructions
    1. Place oil in Instant Pot. Press the “Saute” button and wait until it says hot. Add onion and garlic and saute until onions begin to become translucent. Stir often being careful not to burn garlic. Add bell pepper and saute for a minute or so. (If frozen, saute until it softens a bit).
    2. Add rice, water, salsa, black beans, cumin, and salt and stir well.
    3. Make sure your silicon ring is in the lid properly, and place lid on Instant Pot and turn the steam release handle to sealing. Press the Manual button and press the plus button for high pressure, and set the time to 28 minutes.
    4. Once the clock has run down, you can either use natural cool down release or you can turn the steam release handle to venting to release the pressure. Once the pressure has been released, remove the lid and stir in the cilantro. At this point, you’re all set to serve!
    Share this Recipe
    Powered byWP Ultimate Recipe

  • Kinpira Gobo

    Kinpira Gobo

    Kinpira Gobo, in dramatic September lighting

    So given that we’re trying new cooking techniques this month, one of the ones that jumped out at me was kinpira, a Japanese technique involving a quick stir-fry followed by a braise, most commonly used on root vegetables. Now, I’ve likely done something like this at some point, but not on purpose as a technique. Since the technique itself seemed pretty simple, I thought I’d amp it up a bit and also find a new-to-me vegetable: enter burdock root.

    Burdock root is an odd root to work with, at least in this experience. It’s rather slimy when slicing, so be careful and use a sharp knife. I think that likely explains why you then soak the “matchsticks” (try as I did, my knife skills weren’t quite up to perfect julienne this weekend) before cooking them. In this recipe, the burdock is mixed with carrot, which seems common. The recipe is a quite complex-tasting vegetable side dish, which surprised me given how simple it was. But the seasonings let the vegetable flavors come to the forefront (behind a bit of saltiness from the tamari or faux soy) and they are quite good. And that is generally my experience of Japanese food — all techniques and seasonings seem designed to remind you why the main ingredient is a wonderful flavorful part of the world.

    As the technique and root were both knew to me, this is not an original STFAA recipe. It is very slightly modified from a recipe at JustBento.com, a site which is inspiring lunchbox shopping needs like you would not believe. The original kinpira gobo recipe is here.


    Notice: Trying to access array offset on value of type bool in /home/maryzahc/public_html/adultfoodallergies.com/wp-content/plugins/wp-ultimate-recipe/helpers/models/recipe.php on line 254

    Kinpira Gobo
    Print Recipe
    This is a very slightly modified version of the Kinpira Gobo recipe at JustBento.com. All photos, opinions, and modifications are mine.
    Servings Prep Time
    2 servings 10 minutes
    Cook Time
    10 minutes
    Servings Prep Time
    2 servings 10 minutes
    Cook Time
    10 minutes
    Ingredients
    • 1-2 burdock roots about 1 cup of matchsticks
    • 1-2 carrots about 1/3 cup matchsticks
    • 1 Tablespoon sesame oil if you can’t use sesame, rice bran, canola, or other high temp safe oil is good
    • 1/2-1 teaspoon red pepper flake
    • 1 Tablespoon sugar
    • 1 Tablespoon mirin
    • 2 Tablespoons tamari or soy sauce or other soy sauce substitute
    • 2 Tablespoons water
    Servings: servings
    Instructions
    1. Wash, peel, and chop burdock root and carrots into matchsticks or julienne.
    2. Soak the burdock root in cold water for a few minutes, rinsing and changing the water once or twice.
    3. In a cast iron skillet, heat up the sesame oil or other high smoke point oil over medium heat.
    4. When oil is hot, add burdock and stir well. Let cook for 1-2 minutes, then add carrot and stir well.
    5. Add other seasonings. Stir well and cook another 1-2 minutes.
    6. Add water, if needed to coat the bottom of the pan with a shallow layer. Reduce heat to medium low and simmer for 5-10 minutes, until vegetables are tender.
    Share this Recipe
     
    Powered byWP Ultimate Recipe

  • Samosa Spiced Potato Puffs

    Samosa Spiced Potato Puffs

    Samosa Spiced Potato Puffs
    Samosa Spiced Potato Puffs

    When I suggested to MaryKate when we were planning our theme months for the year (yes, we know we’re crazy) that we should do potatoes for March, I was kinda thinking potatoes fit with March because of St. Patrick’s Day. Somehow, instead of an Irish themed dish, I’ve managed to come up with an Indian inspired one instead.

    This recipe’s got a lot of fiddly bits, but they would be nice as appetizers for a party, or as a side dish for dinner party if you’re trying to be all fancy. And they’re quite yummy.

    Samosa Spiced Potato Puffs
    Samosa Spiced Potato Puffs
    Print Recipe
    Great as an appetizer or a side for a nice dinner party.
    Servings Prep Time
    24-30 puffs 35 minutes
    Cook Time
    45 minutes
    Servings Prep Time
    24-30 puffs 35 minutes
    Cook Time
    45 minutes
    Samosa Spiced Potato Puffs
    Samosa Spiced Potato Puffs
    Print Recipe
    Great as an appetizer or a side for a nice dinner party.
    Servings Prep Time
    24-30 puffs 35 minutes
    Cook Time
    45 minutes
    Servings Prep Time
    24-30 puffs 35 minutes
    Cook Time
    45 minutes
    Ingredients
    • 2 pounds russet potatoes peeled and cut into large pieces
    • 1 jalepeno or other hot green chile seeded and destemmed
    • 1 teaspoon fresh ginger finely grated
    • 3 scallions trimmed
    • 1 clove garlic
    • 2 Tablespoons olive oil (or other safe for you oil) and some extra to grease baking sheet
    • 1 Tablespoon lemon juice (I use fresh squeezed)
    • 2 Tablespoons aquafaba (see http://aquafaba.com/)
    • 1 teaspoon sea salt
    • 1 teaspoon coriander, dried or fresh cilantro (optional, if fresh, chop finely)
    • 1 teaspoon garam masala
    • 1/2 teaspoon ground cumin
    Servings: puffs
    Instructions
    1. Place potatoes in a pot of lightly salted water. Cover the pot, bring to a boil, then reduce heat to a simmer for 15-20 minutes, or until potatoes are soft. Or use your Instant Pot to cook them if you have one, using a trivet and a bowl or a steamer, adding a cup of water, and cooking on high pressure for 9 minutes.
    2. Preheat oven to 400°F. Chop scallions, garlic, and jalapeno pepper very finely. I used a Pampered Chef Manual food processor, but you can use a knife.
    3. You can also mix ingredients together manually but I used a stand mixer. Add all ingredients except the potatoes to the mixer bowl, and stir to combine well. Add the potatoes and mash them a bit before using your mixer. Using your mixer and the beater blade, mix until well combined and smooth.
    4. Grease a baking sheet. Spoon the potato mixture into to a pastry bag or a decorator set fitted with a large star shaped tip, and pipe the potato mixture into puffs on the baking sheet. You could also use a tablespoon or cookie scoop. Bake until golden, about 35 minutes on metal cooking sheets and 45 minutes on stoneware.
    Share this Recipe
    Powered byWP Ultimate Recipe

    Scallions, garlic and jalapeno chopped finely
    Scallions, garlic and jalapeno chopped finely

    All ingredients except potato combined well in mixer bowl
    All ingredients except potato combined well in mixer bowl

    Potatoes mashed
    Potatoes mashed

    Potatoes mixed with other ingredients in stand mixer
    Potatoes mixed with other ingredients in stand mixer

    Completed Potato Mixture
    Completed Potato Mixture

    Piping potato puffs onto baking sheet
    Piping potato puffs onto baking sheet

    Samosa Spiced Potato Puffs before baking
    Samosa Spiced Potato Puffs before baking

    Samosa Spiced Potato Puffs after baking
    Samosa Spiced Potato Puffs after baking

    Samosa Spiced Potato Puffs after baking
    Samosa Spiced Potato Puffs after baking

    Samosa Spiced Potato Puffs
    Samosa Spiced Potato Puffs

  • Gluten-free Vegan Dressing (aka “stuffing”)

    Gluten-free Vegan Dressing (aka “stuffing”)

    Gluten-free vegan dressing
    Gluten-free vegan dressing

    So years ago, Denise and I posted a poll (which no longer works) as we disagree about whether the bread dish served with large birds is properly called “dressing” or “stuffing.” Denise argues that it’s stuffing. I argue that it’s stuffing IF it is stuffed into something (bird or vegetable, I don’t mind which) and it’s dressing if it isn’t. So, by that logic, this is a dressing. But by other people’s reckoning, this is a stuffing. No matter what you call it, it’s quite tasty and makes a great side dish that reheats well. I realize the timing of this might seem weird — most people think of stuffing/dressing as a Thanksgiving dish. But I was trying to make more space in the freezer and using up gluten-free breads that I didn’t love as toast, plus an excess of certain other ingredients in the house.

    And that’s a key — you will need bread. Whether you make your own gluten-free bread, buy a packaged product, or are lucky enough to have a local bakery that accommodates your allergy needs, you will need bread. The lucky thing is that this is actually a great dish to use up edible but slightly disappointing bread experiments! For the right texture for dressing, bread must be thoroughly dried out and then rehydrated, and gluten-free bread is awesome at drying out, isn’t it? I remember my mom laying out bread slices on a clean towel on top of the dryer about a week before Thanksgiving, but I just threw mine in the oven at 250ºF for about an hour. Keep this in mind — you can either prep ahead and dry your bread out, or you can build in extra time the day you make your dressing. Everything else in this dish is a pantry staple in my house.

    Like our Mini Thanksgiving casserole version of dressing, this one also contains celery and chestnuts, but unlike with that one, you could leave the chestnuts out here and make a nut-free version, if that’s your need. This one also has dried cranberries, which are really awesome, and uses veggie broth to stay vegan. If you like it, I’d suggest mushroom broth for the best flavor.


    Notice: Trying to access array offset on value of type bool in /home/maryzahc/public_html/adultfoodallergies.com/wp-content/plugins/wp-ultimate-recipe/helpers/models/recipe.php on line 254

    Gluten-free Vegan Dressing (aka “stuffing”)
    Print Recipe
    Servings Prep Time
    6 servings 20 minutes
    Cook Time Passive Time
    60 minutes 45 minutes
    Servings Prep Time
    6 servings 20 minutes
    Cook Time Passive Time
    60 minutes 45 minutes
    Gluten-free Vegan Dressing (aka “stuffing”)
    Print Recipe
    Servings Prep Time
    6 servings 20 minutes
    Cook Time Passive Time
    60 minutes 45 minutes
    Servings Prep Time
    6 servings 20 minutes
    Cook Time Passive Time
    60 minutes 45 minutes
    Ingredients
    • 2 cups gluten-free bread cubes dried out. Check for other allergens.
    • 2 Tablespoon fat of choice
    • 1 1/2 cups celery chopped
    • 1 1/2 cups onion chopped
    • 1/2 cup dried cranberries, rehydrated by soaking in hot water 15 minutes
    • 5 oz chestnuts, chopped (optional)
    • 1 whole apple, cored and chopped, peeled if you prefer
    • ~1 cup vegetable broth
    Servings: servings
    Instructions
    1. If you need to dry out your bread crumbs, you have a few options. 1. Set the bread out on a rack and leave it out for a few days. 2. Bake at 250ºF for about an hour, directly on the rack. 3. Toast on low and let cool completely standing up (don’t let it steam against a plate). Choose based on the amount of time you have now. Cut the bread into cubes.
    2. Preheat oven to 350ºF.
    3. In the oil/margarine/fat (I use vegan margarine), cook the onions until translucent. Add the celery, cook for a few minutes. Then add the cranberries, chestnuts, and apple, cooking for 2-3 minutes between each addition.
    4. In a bowl, mix the bread and vegetables. Mix well. Slowly add the broth, stirring, until there is just a tiny bit more than what the dried bread absorbs — maybe a tablespoon or so. Pour into a greased baking dish. You can do this round casserole style (deep) or in a 9×13 pan (shallow), which will change the texture. The deep dish will be more casserole-like and the shallow dish will be more bread-y and crispy.
    5. Cover and bake 30 minutes. Remove the cover and bake another 15 minutes, until top of bread bites are crisp. Serve hot.
    Recipe Notes

    º

    Share this Recipe
     
    Powered byWP Ultimate Recipe

  • Festive Squash and Cranberry Baked Rice

    Festive Squash and Cranberry Baked Rice

    Festive Squash and Cranberry Baked Rice
    Festive Squash and Cranberry Baked Rice

    So because I’m moving and combining households, I got rid of my rice cooker. THE HORROR. I think I may have mentioned before that I cannot, for the life of me, cook rice on the stovetop. This is why a friend gave me a rice cooker years ago. But I’m now without it for about three weeks until our households are actually combined. I still have rice, though.

    Years ago, I got a pamphlet from (I think) the canola oil council out in North Dakota, and it had a baked rice dish in it. I remember it being greasy, though,  probably because the pamphlet was about oil, not rice. So I looked up “baked rice” on the great wide internet, and I found Alton Brown’s recipe. I used this as the basis for a rice side dish full of fall flavors — butternut squash is earthy and a bit sweet, brown jasmine rice is worth hunting down, as it’s nutty but smoother than “regular” brown rice, and cranberries are fruity and tart and bright.

    I’ll apologize for the photos, as everything is in disarray right now. Denise and I have recipes for you through September, but we’re going to take a few weeks off in October to regroup as the blog goes bi-coastal.


    Notice: Trying to access array offset on value of type bool in /home/maryzahc/public_html/adultfoodallergies.com/wp-content/plugins/wp-ultimate-recipe/helpers/models/recipe.php on line 254

    Festive Squash and Cranberry Baked Rice
    Print Recipe
    Servings Prep Time
    6 servings 5 minutes
    Cook Time Passive Time
    45 minutes 45 minutes
    Servings Prep Time
    6 servings 5 minutes
    Cook Time Passive Time
    45 minutes 45 minutes
    Festive Squash and Cranberry Baked Rice
    Print Recipe
    Servings Prep Time
    6 servings 5 minutes
    Cook Time Passive Time
    45 minutes 45 minutes
    Servings Prep Time
    6 servings 5 minutes
    Cook Time Passive Time
    45 minutes 45 minutes
    Ingredients
    • 1 cup brown jasmine rice
    • 1 3/4 cup boiling water
    • 1 Tablespoon olive oil or vegan margarine
    • 1/2 teaspoon salt
    • 1/2 cup cranberries
    • 1 1/2 cups butternut squash chunks
    • 1-2 Tablespoons nuts optional
    Servings: servings
    Instructions
    1. Preheat oven to 375℉
    2. Add all the ingredients except water and nuts (optional!) to an oven-safe casserole dish. My cranberries are always frozen, but this is fine — just pick out any mushy ones.
    3. Bring water to a boil and pour over rice and other stuff.
    4. Cover tightly. This is easiest with a glass or glass-topped casserole dish as you can check it without letting the steam out, but if you don’t have one, foil works, too.
    5. Bake for about 45 minutes. The water should be completely absorbed. Remove from the oven, remove the lid, and fluff the rice with a fork so that the underside doesn’t over-steam.
    6. Top with nuts, if using, and serve.
    Recipe Notes

    **You can substitute white rice in this dish, but decrease the water to 1:1 (1 cup, in this case) and decrease the cooking time to 30 minutes. I like the brown jasmine rice, in particular, as it has the nuttiness of regular brown rice without the more fibrous texture, and the flavor compliments the squash.

    Share this Recipe
     
    Powered byWP Ultimate Recipe