When I first was diagnosed with my wheat allergy (yep, actually allergic, not celiac), I tried to do a pie crust. I figured that all I’d have to do is mix some rice flour with shortening (I still had a safe-ish one at that point) and a bit of salt and voila, it’d all work out. So that’s what I did and made a pot pie. Ummm…not so much. It was like eating a pot pie with a layer of very fine beach sand on it. Appetizing, right?
Pie crust has been a much bigger struggle than I originally anticipated. I ended up not having a safe shortening, and I can’t buy commercial lard. So I have to render the lard at home. Xanthan gum is problematic for me on a number of levels, and I don’t care for guar gum. So I put off the problem for a while. However, after hearing about aquafaba, I decided to give it another go, and used this recipe as a starting point. I switched out a flour and switched amounts around, got rid of the gum, used cold aquafaba (I refrigerated it) instead of water, and used lard instead of shortening (if you have a safe shortening to use instead of the lard, go for it; it should work).
Gluten-free Pie Crust (Vegan Option)
- 1/3 cup of sorghum flour
- 1/3 cup of Otto’s Naturals cassava flour
- 1/3 cup of arrowroot starch
- 1/4 cup of millet flour
- 1/2 teaspoon of salt
- 1/2 cup of cold lard or cold shortening
- 1 1/2 teaspoons of apple cider vinegar
- 5 Tablespoons of cold aquafaba.
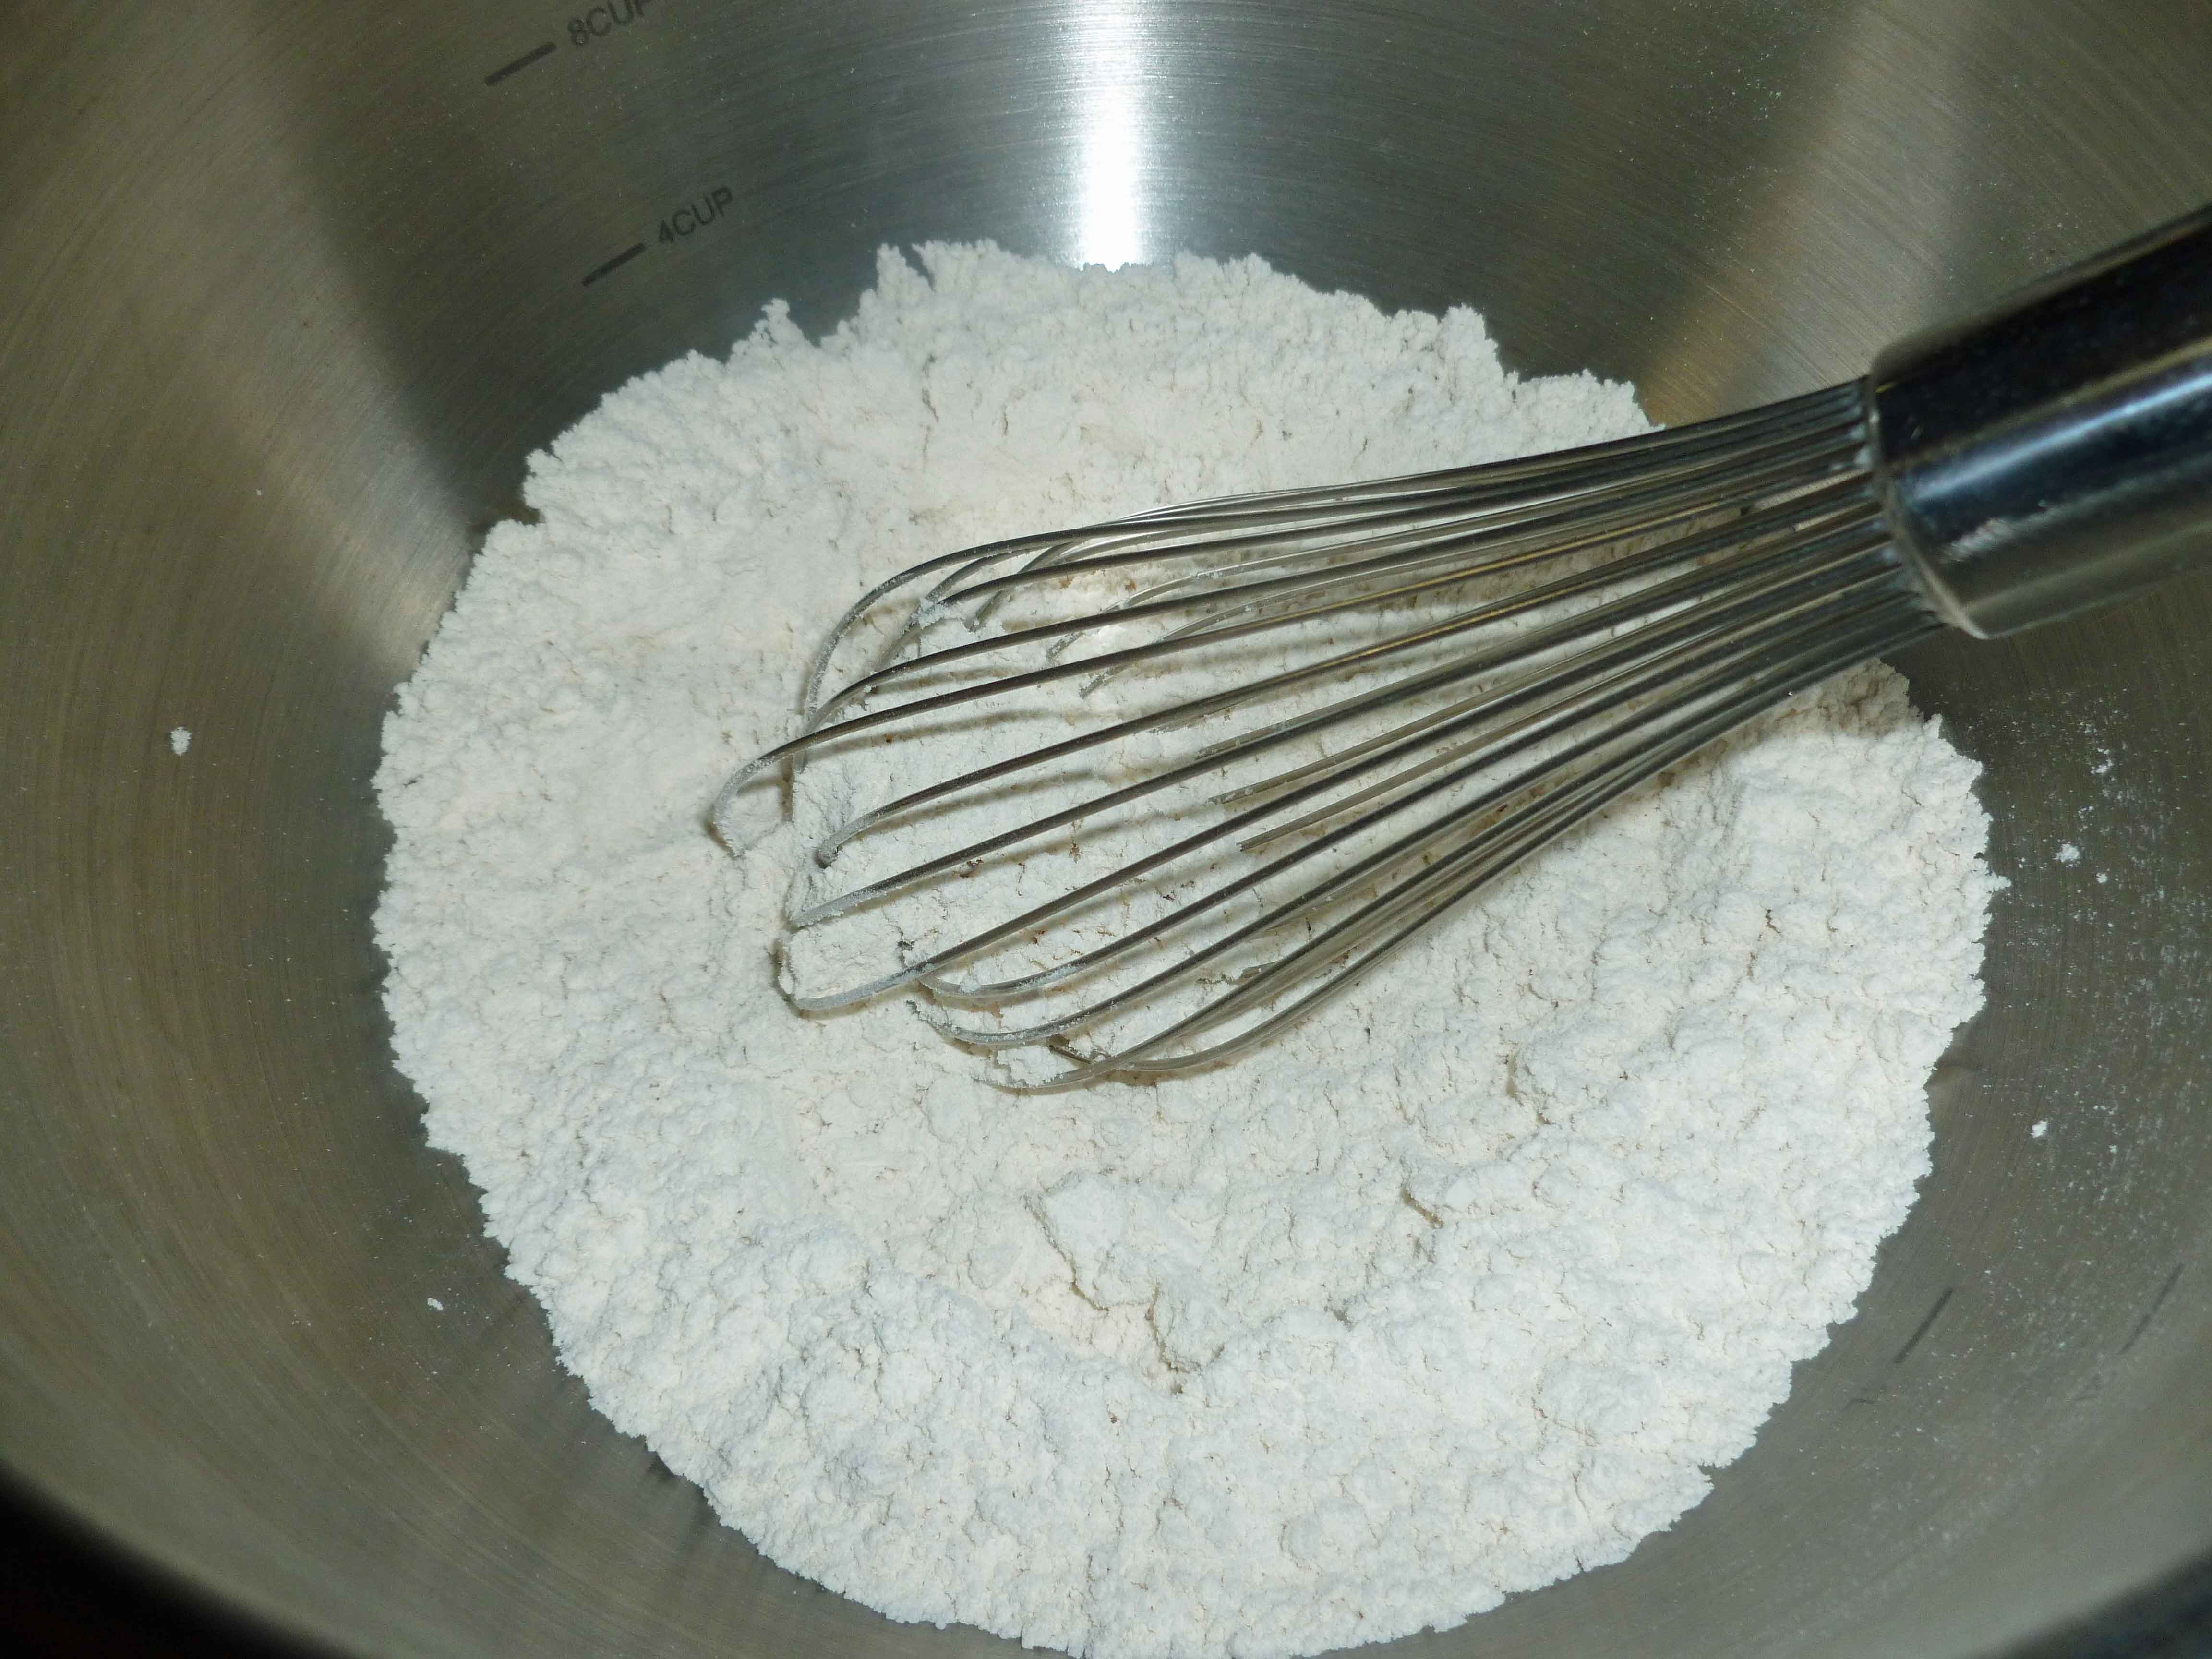
Whisk together the sorghum flour, cassava flour, arrowroot starch, millet flour and salt in a large mixing bowl.
Using a pastry blender or a fork, cut in the lard or shortening until the mixture looks like crumbs.
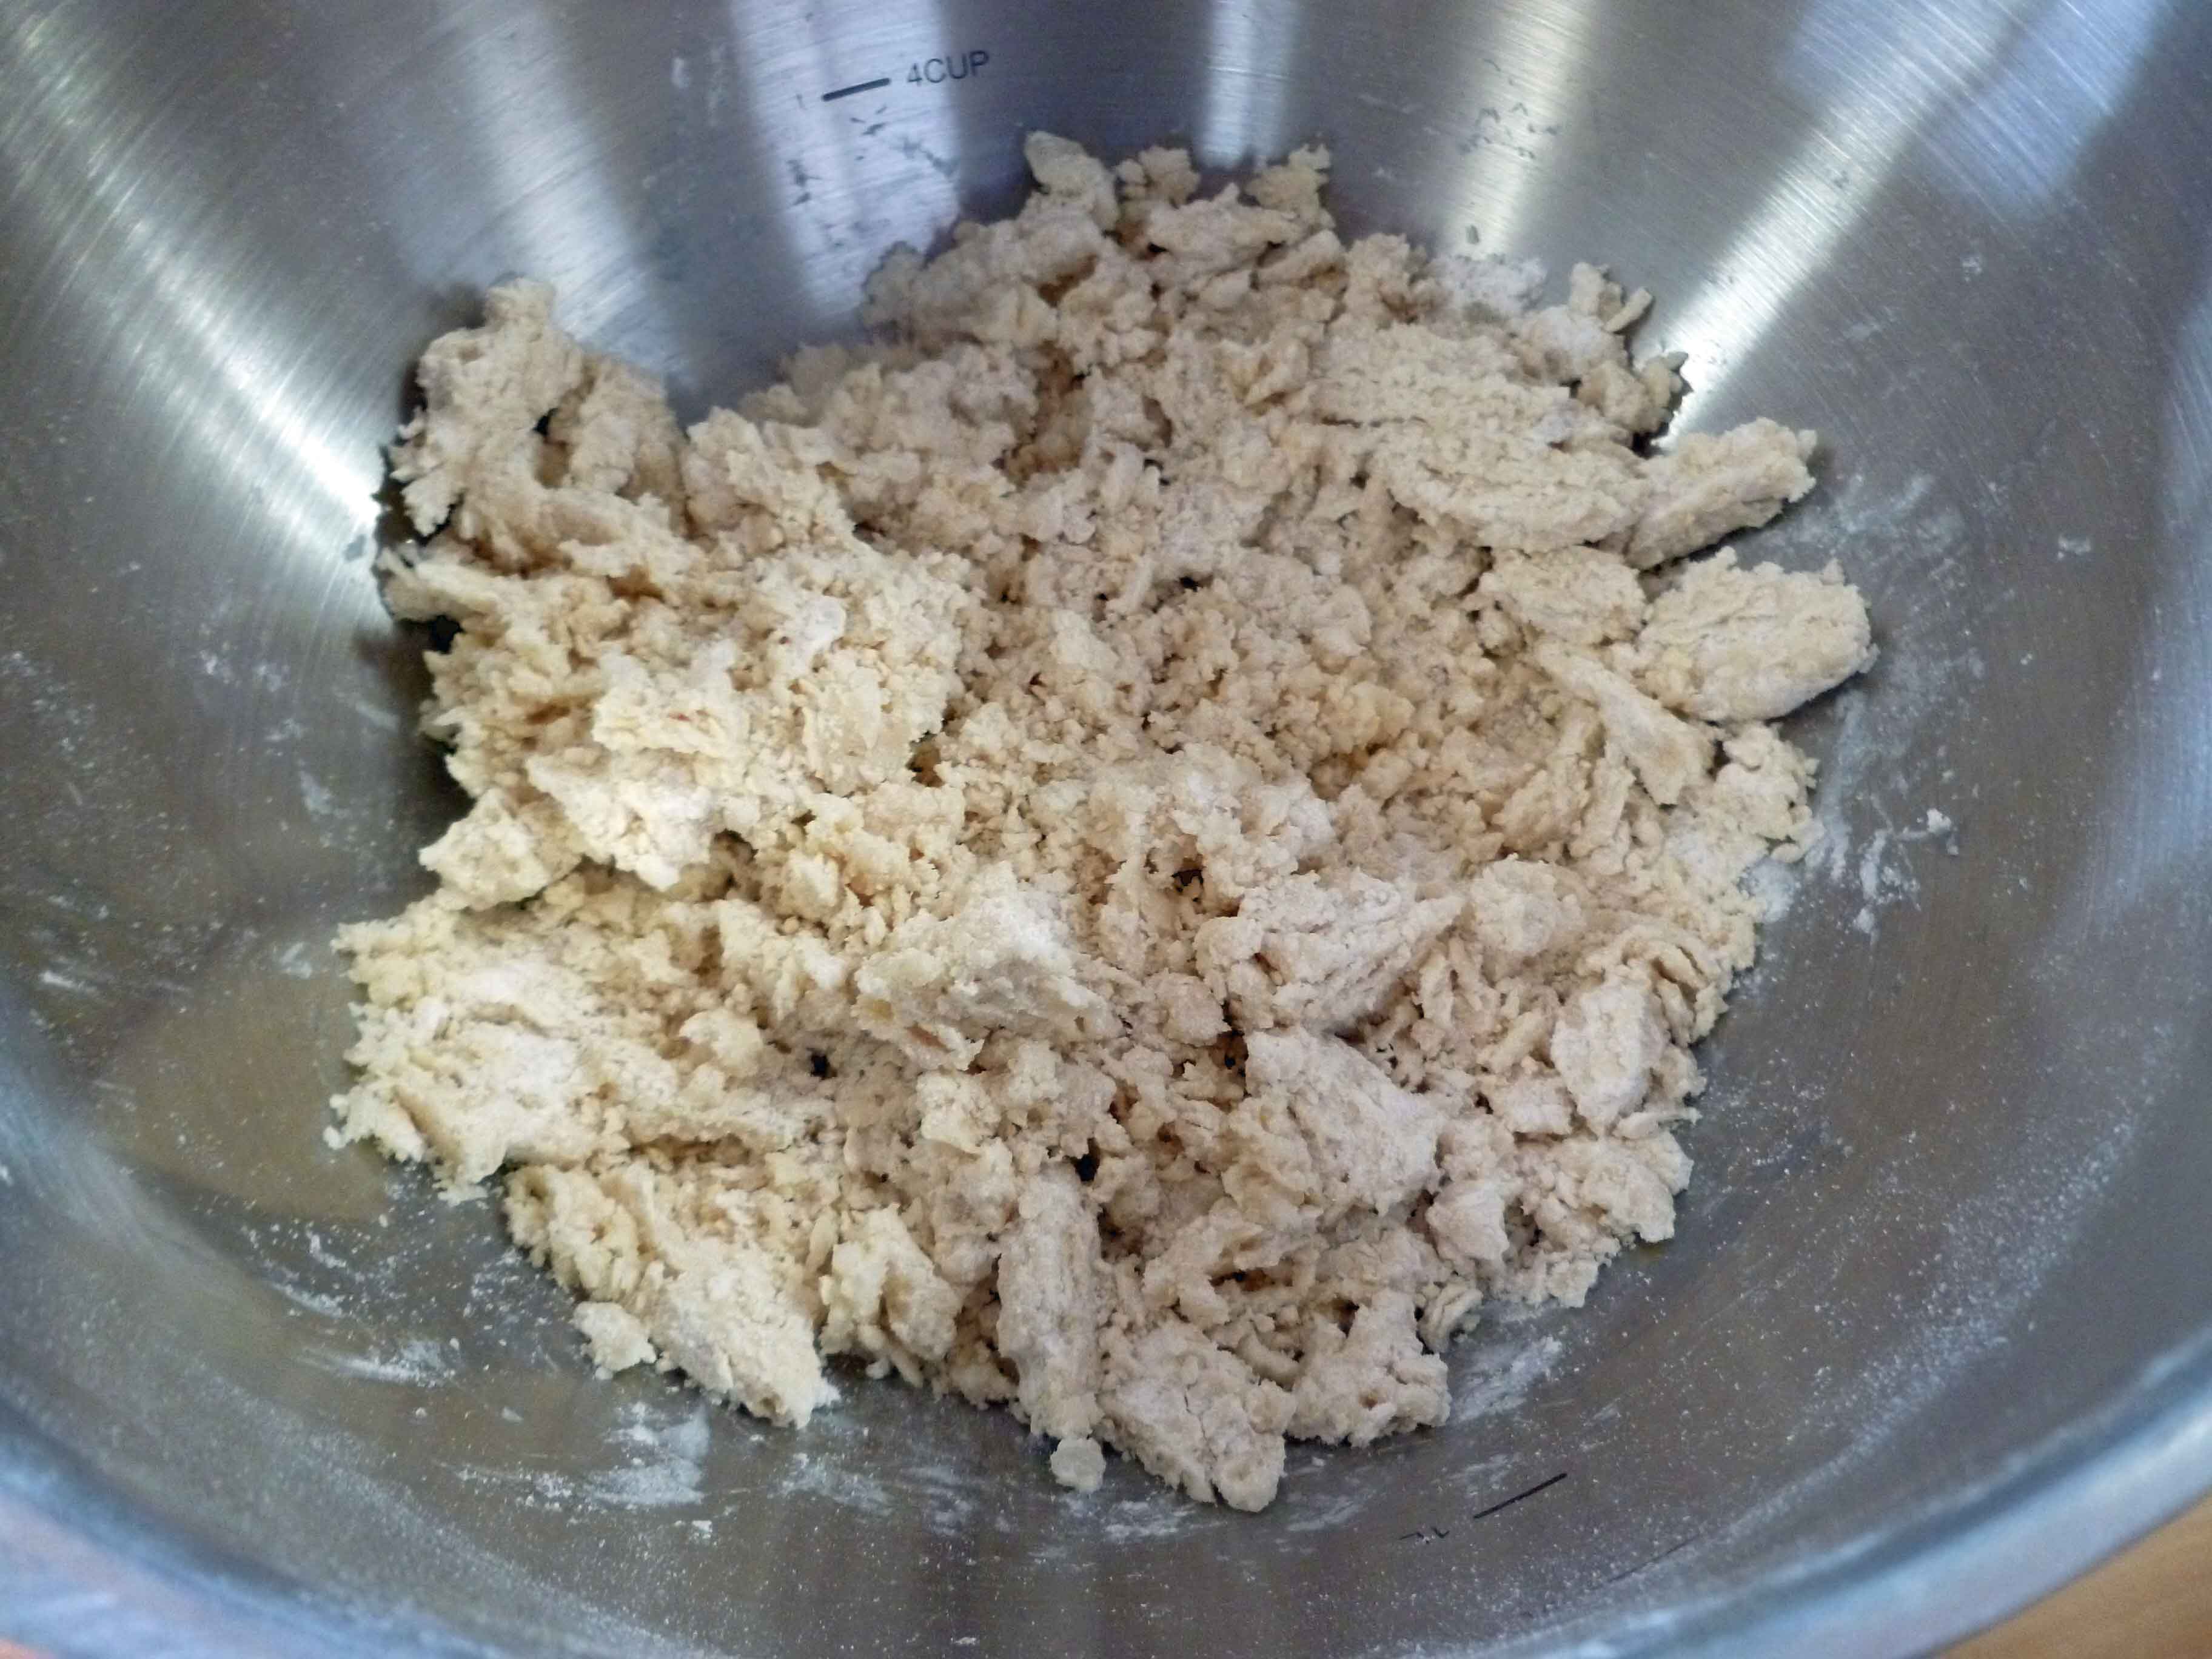
Mix the water, aquafaba and apple cider vinegar together until blended thoroughly in a small bowl or glass measuring cup, and add it to the flour mixture, stirring until it comes together to form a dough.
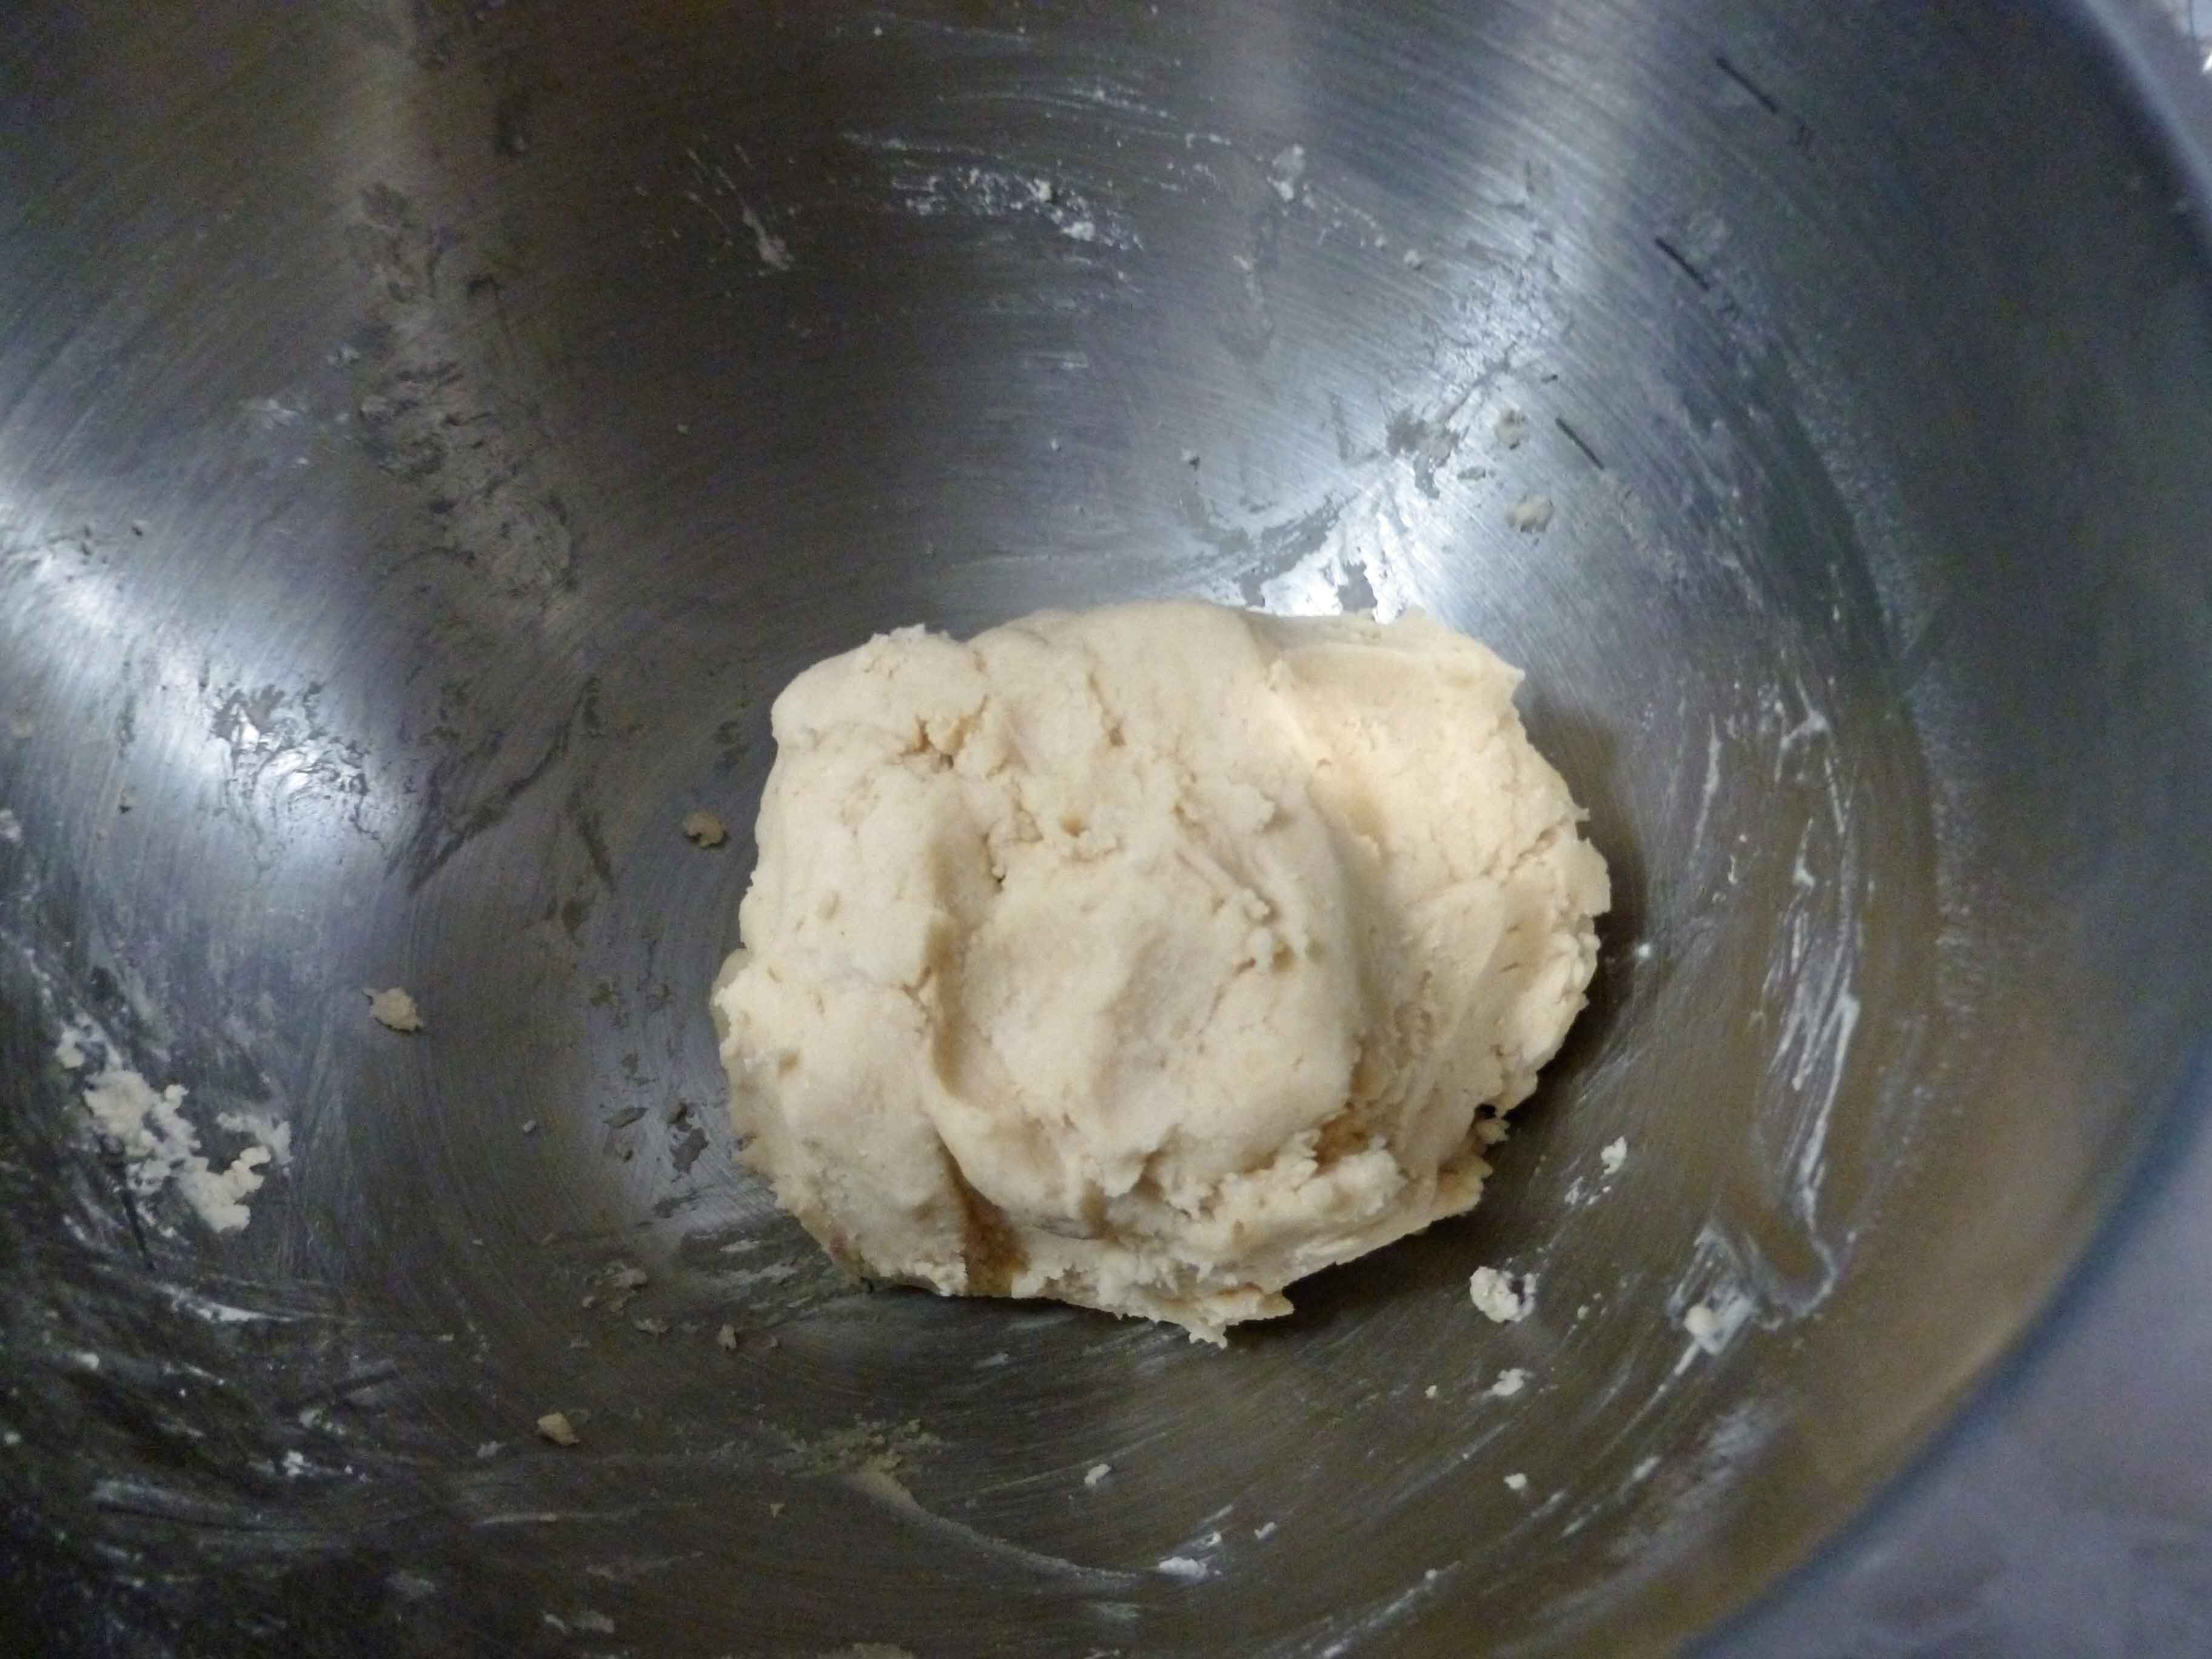
Shape the dough into a smooth ball, and put the dough ball into the freezer to chill for 30 minutes. You can chill it for longer, it’ll help make the pie crust more flaky and crisp.
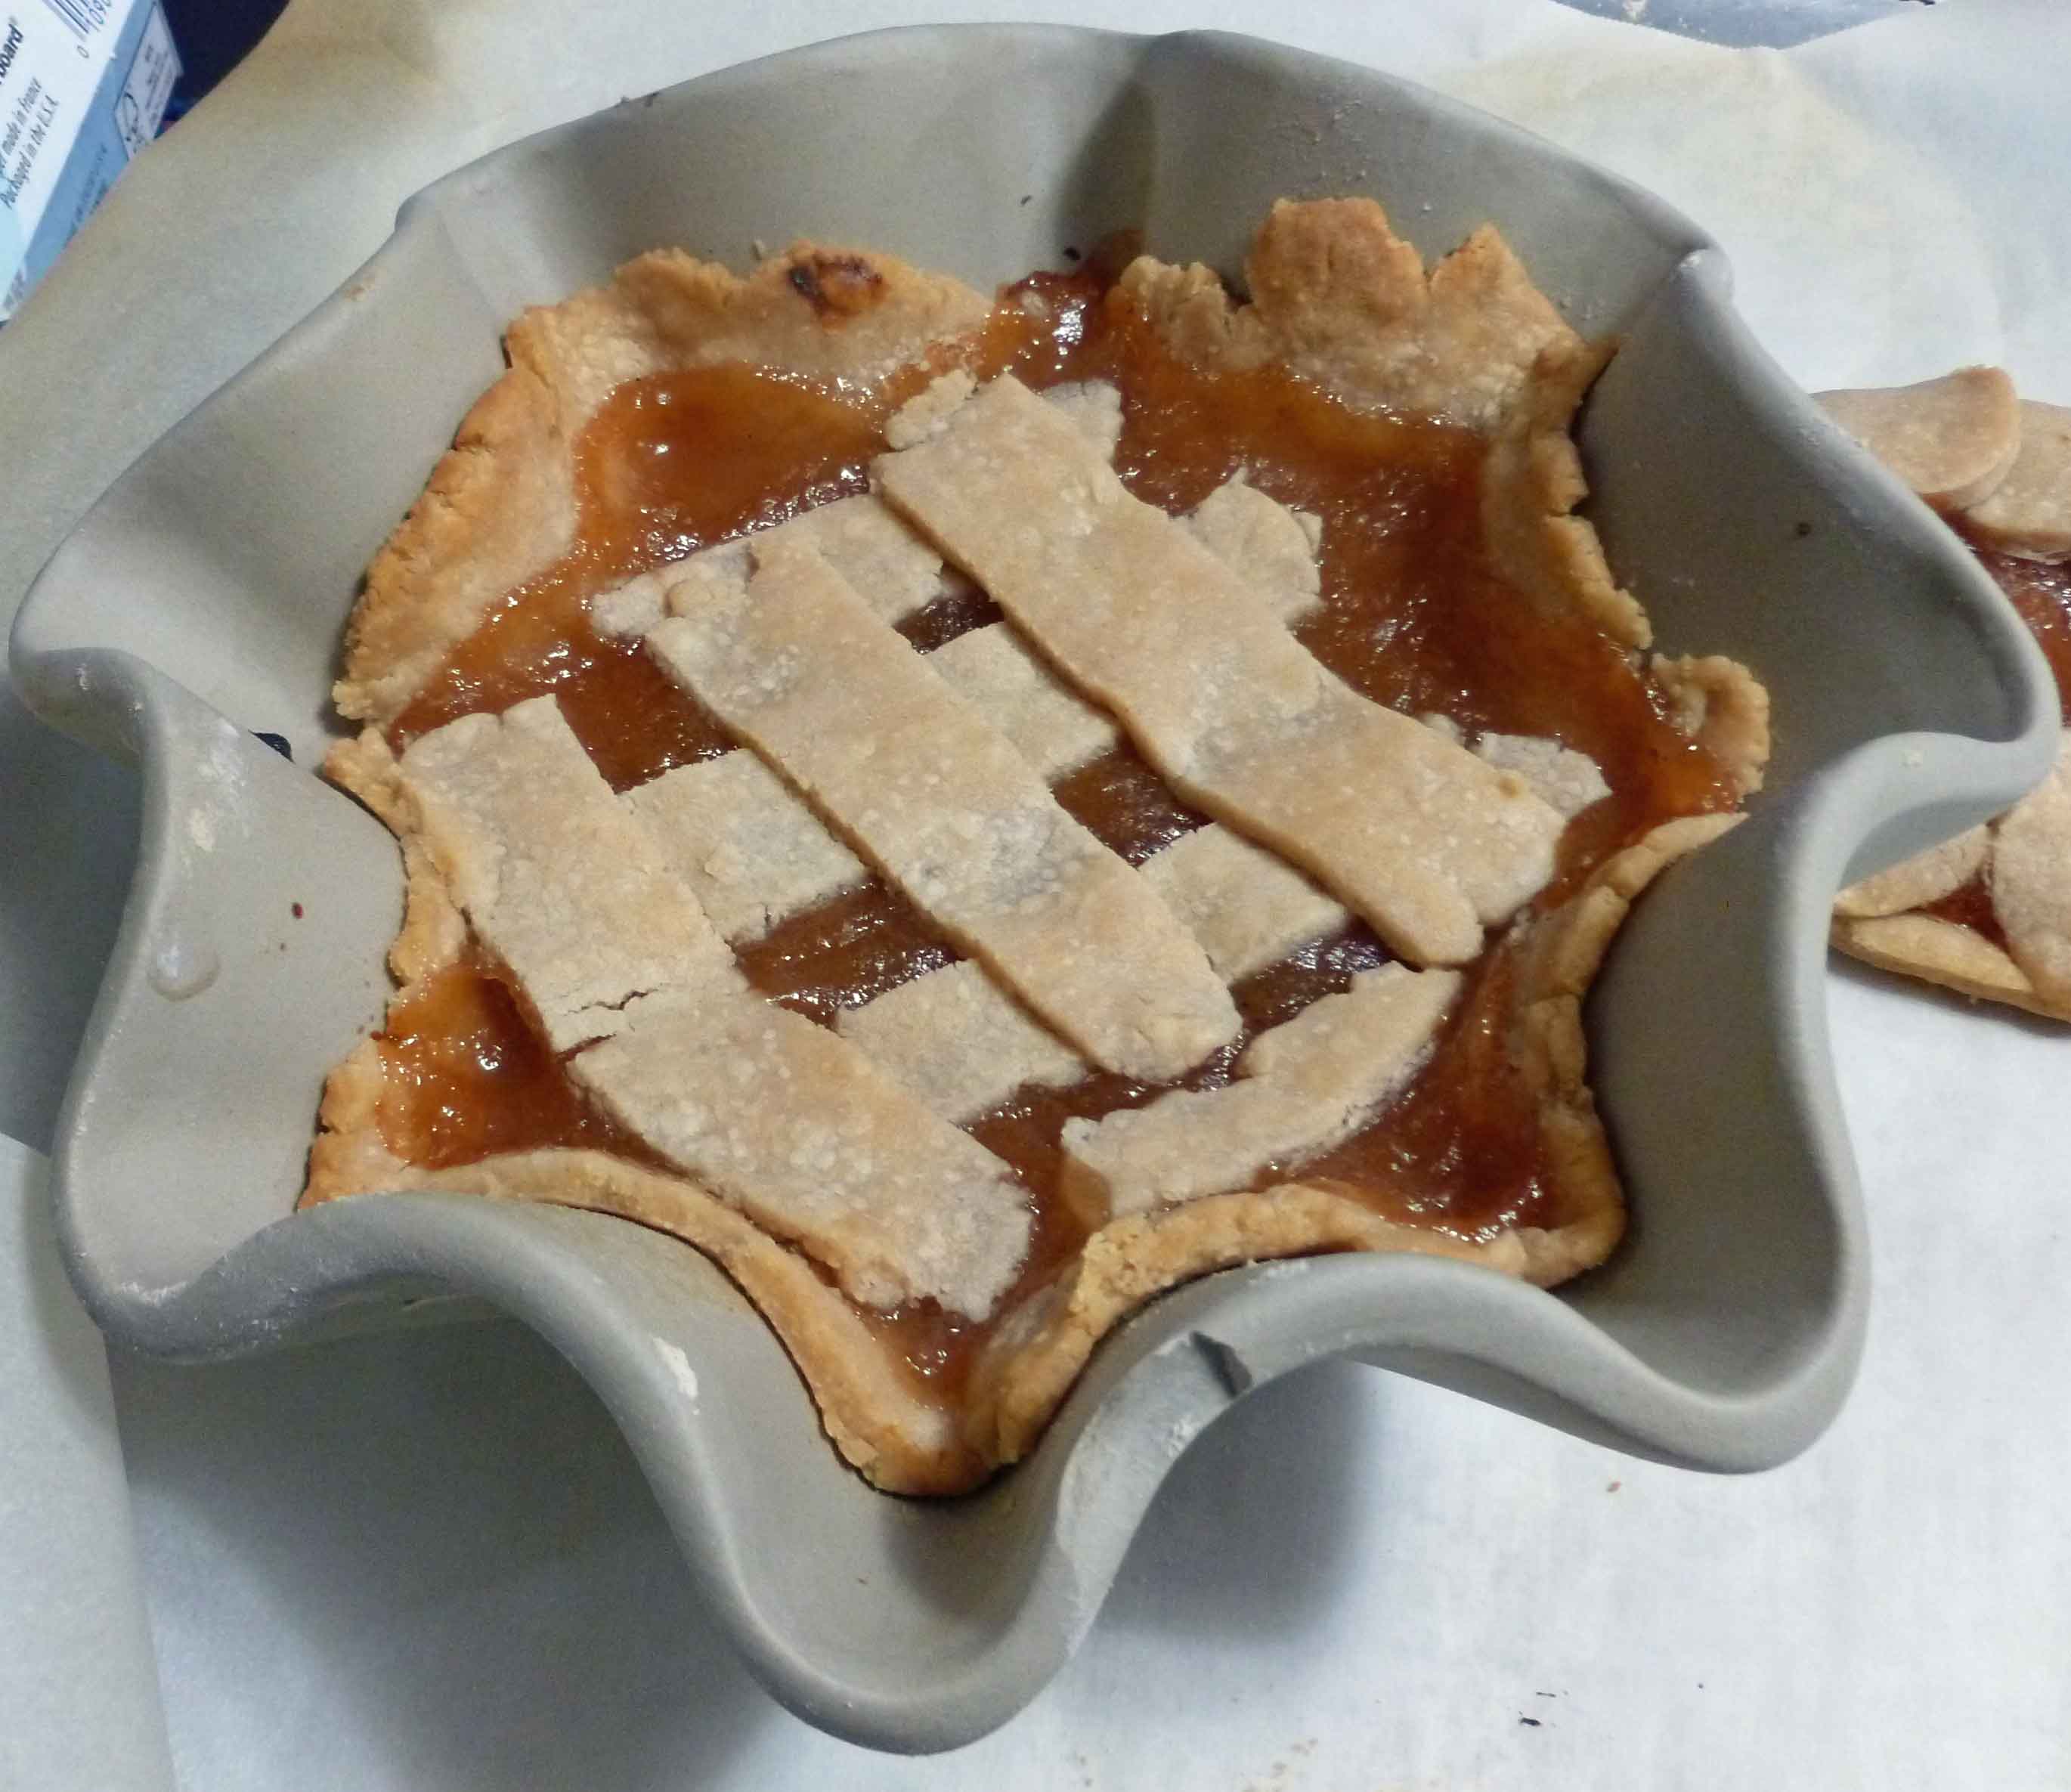
Using some of your other flours (I used sorghum) dust the surface of your rolling space. I was able to roll out my pie crust on a rolling mat and use my rolling pin to transfer the pie crust to the pie plate without too much difficulty. However, if you like your crust thin, try doing rolling your crust out on parchment paper to make it easier to transfer to the pie pan. Make sure you use plenty of dusting flour so that it doesn’t stick to the rolling surface or parchment paper.
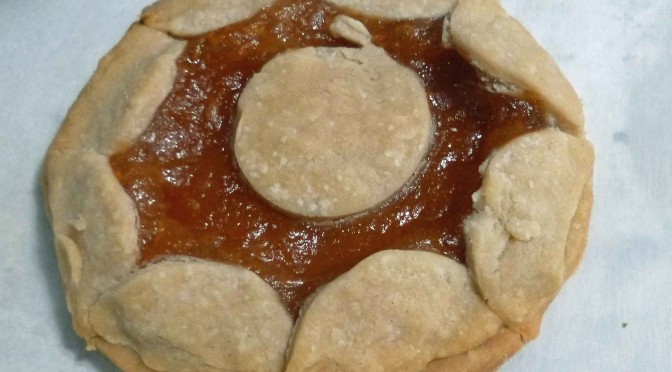
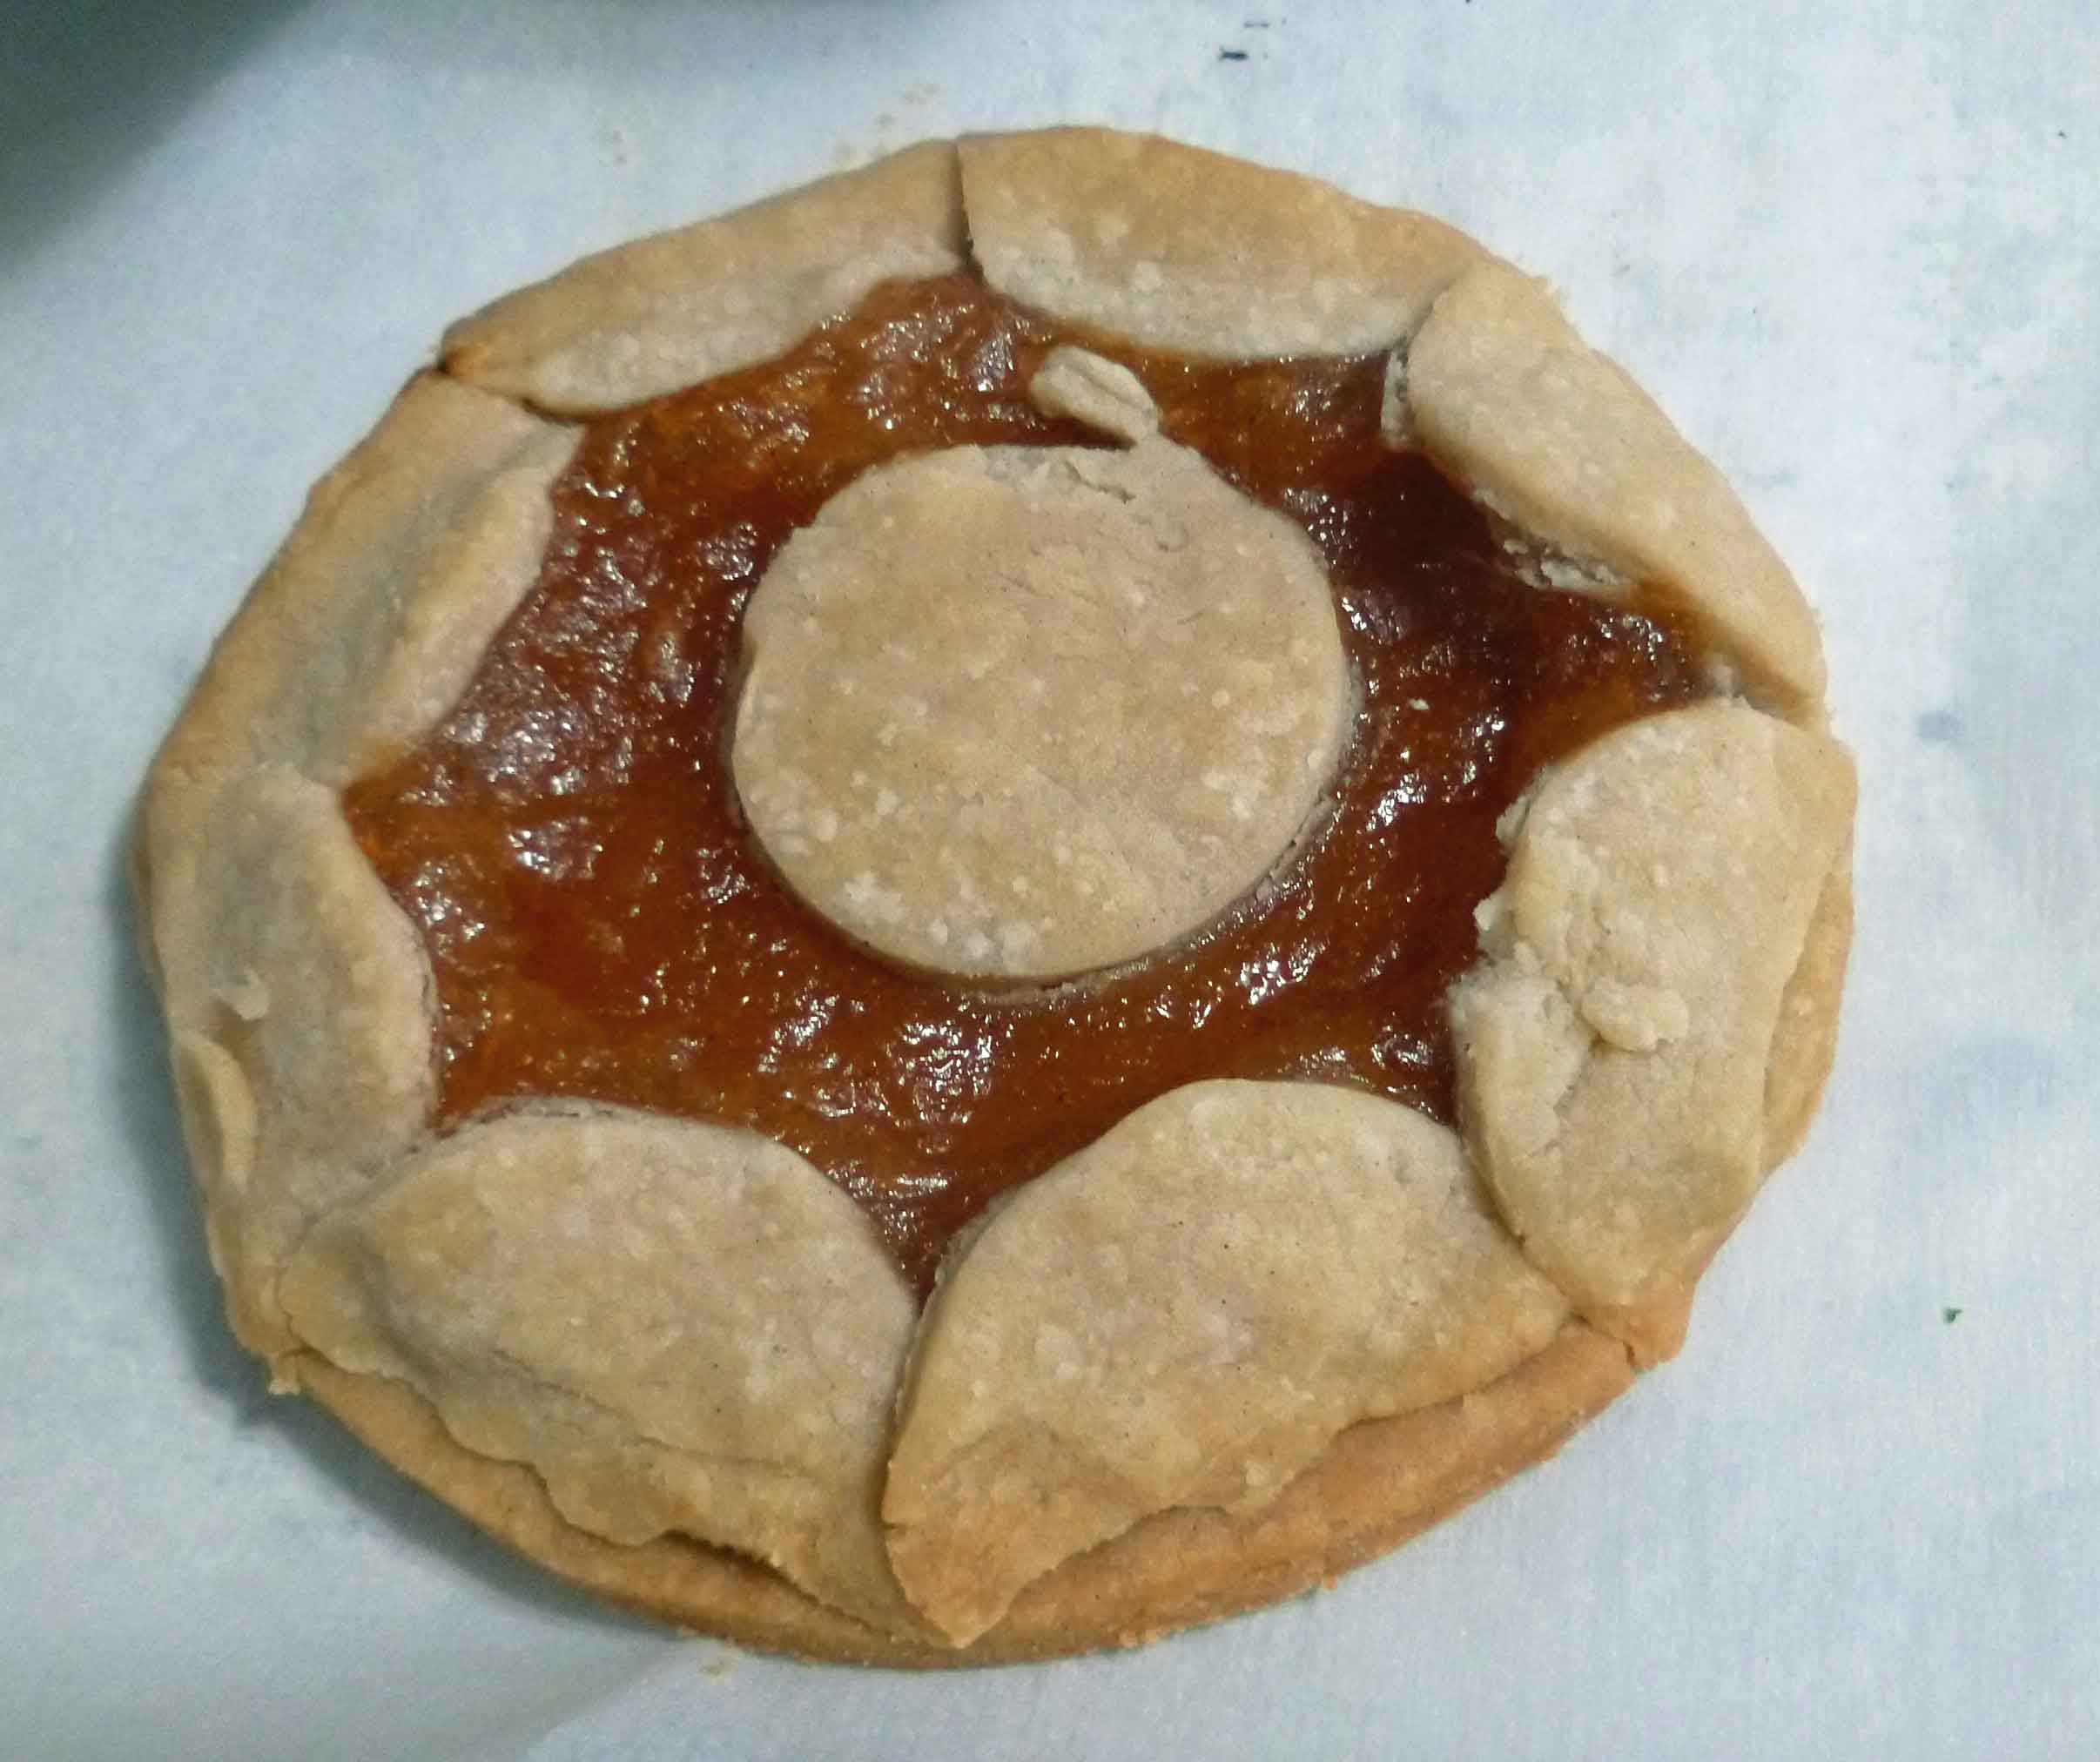
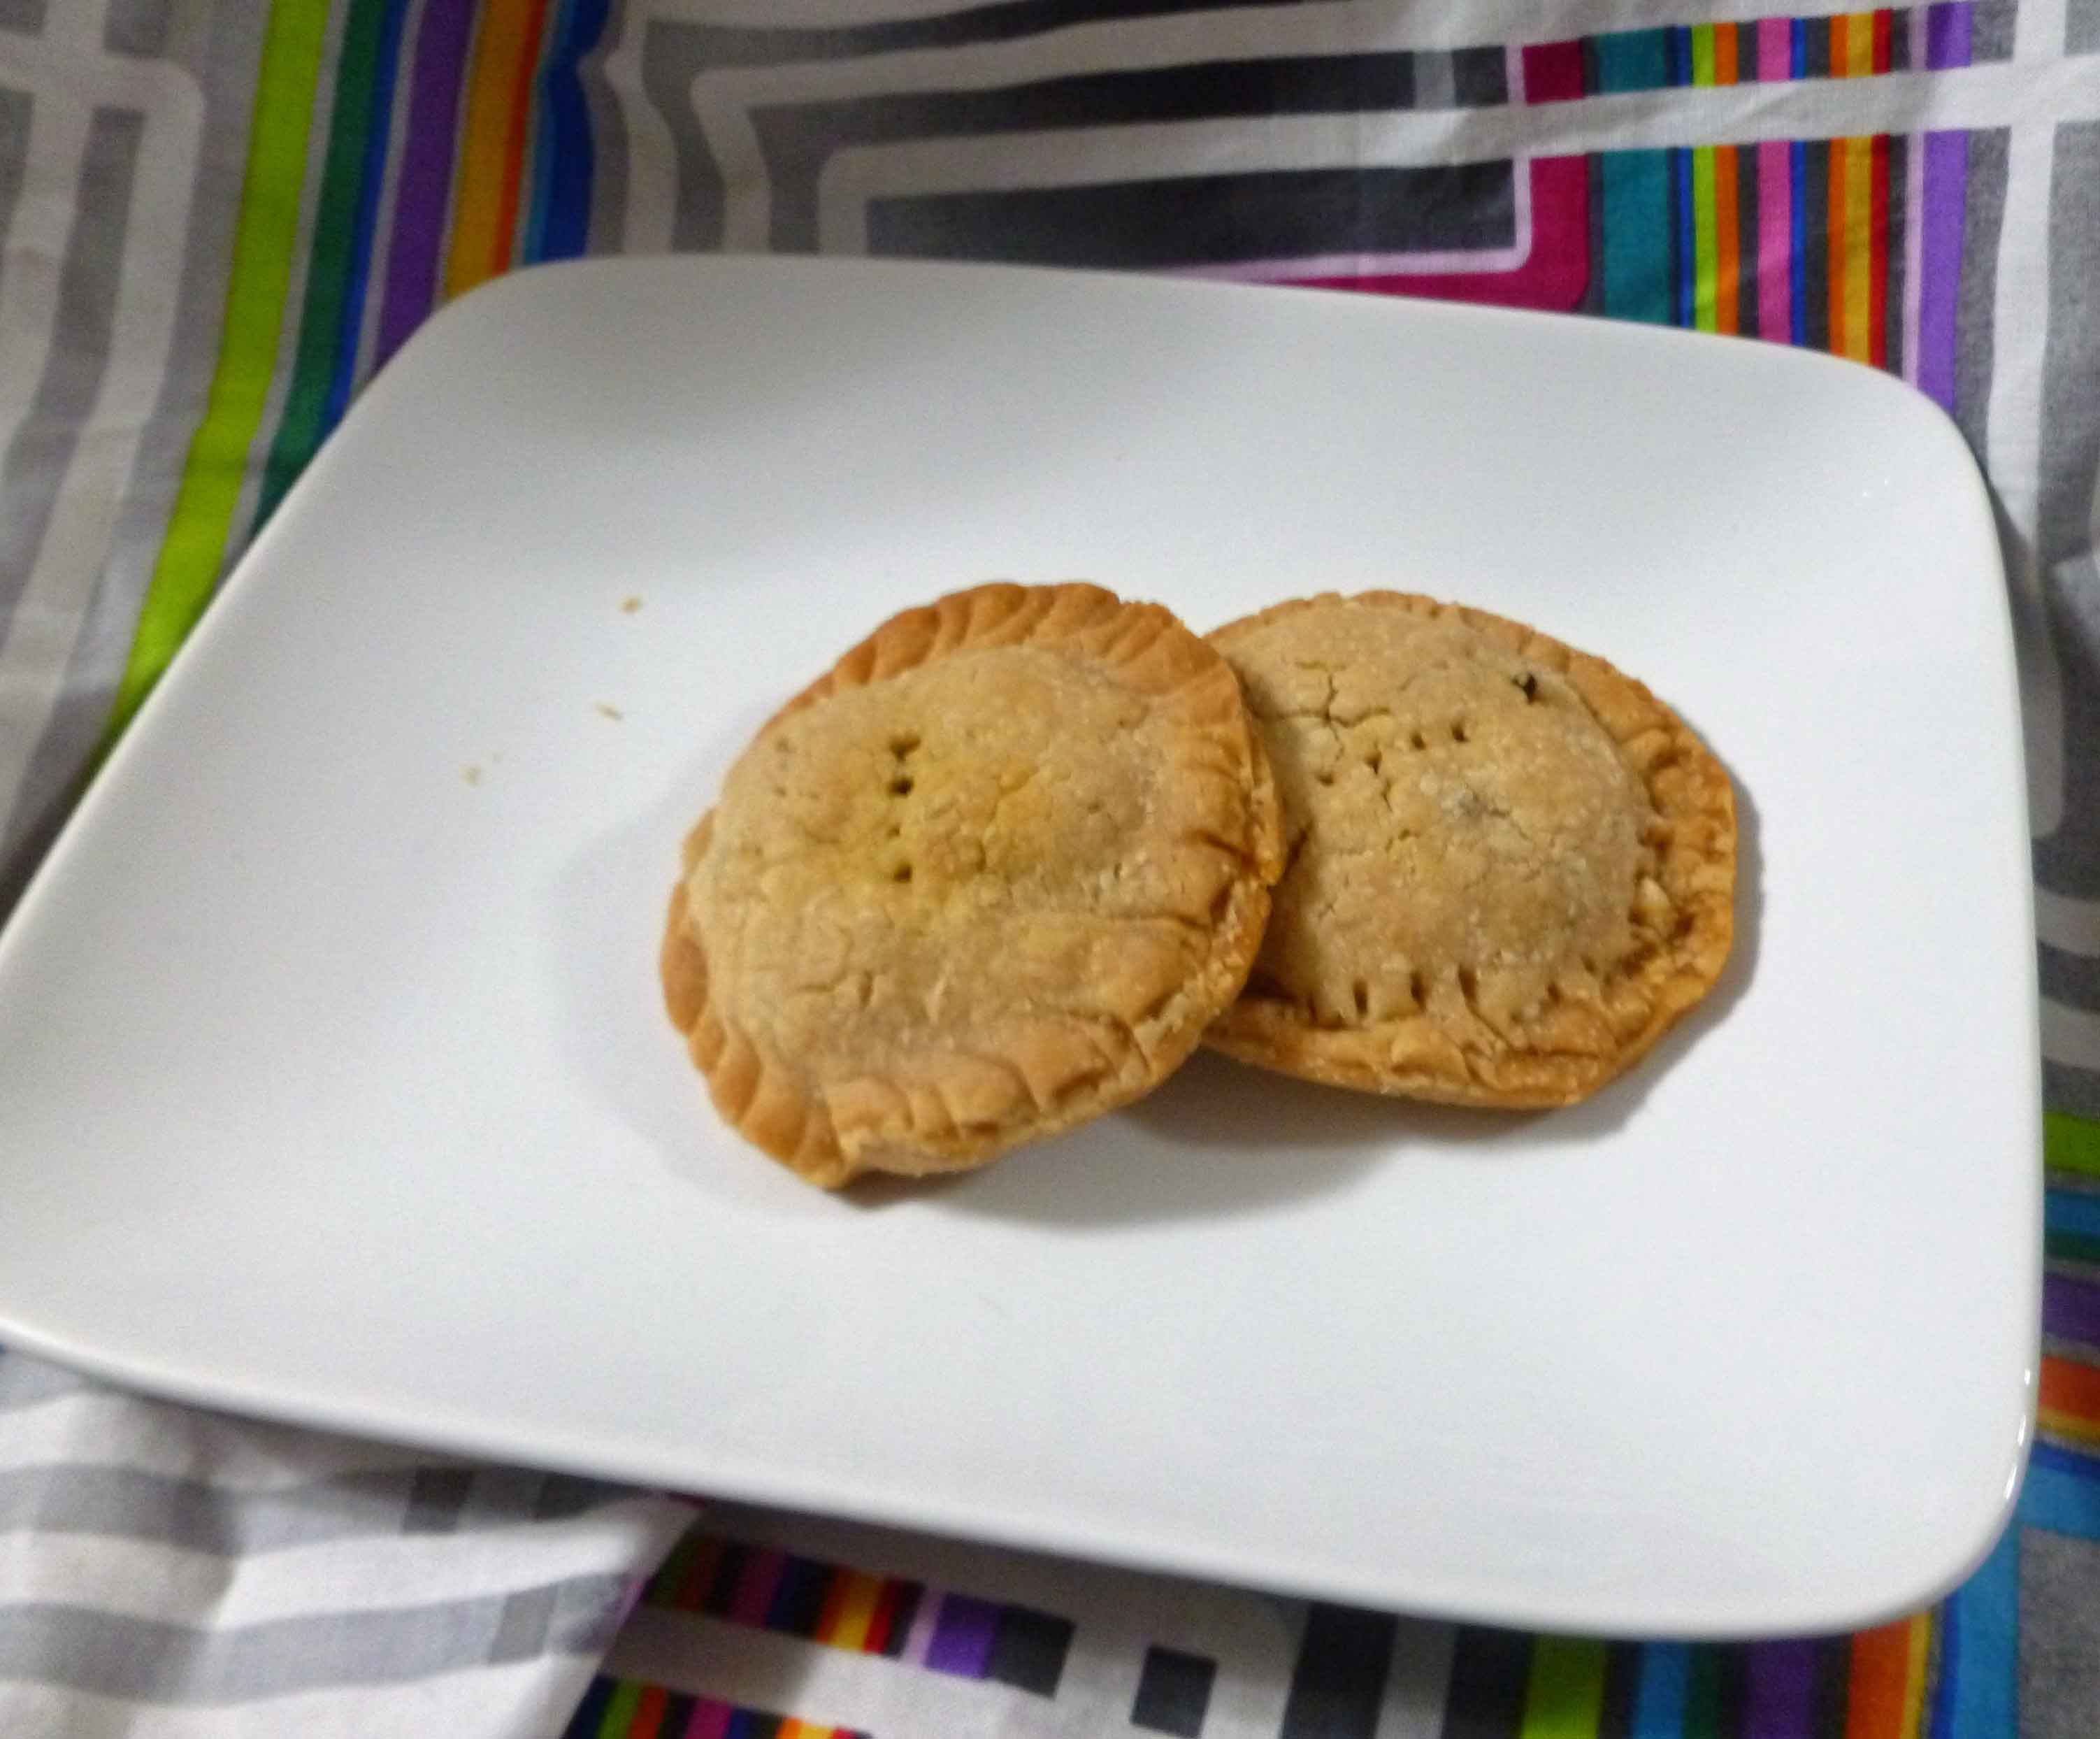
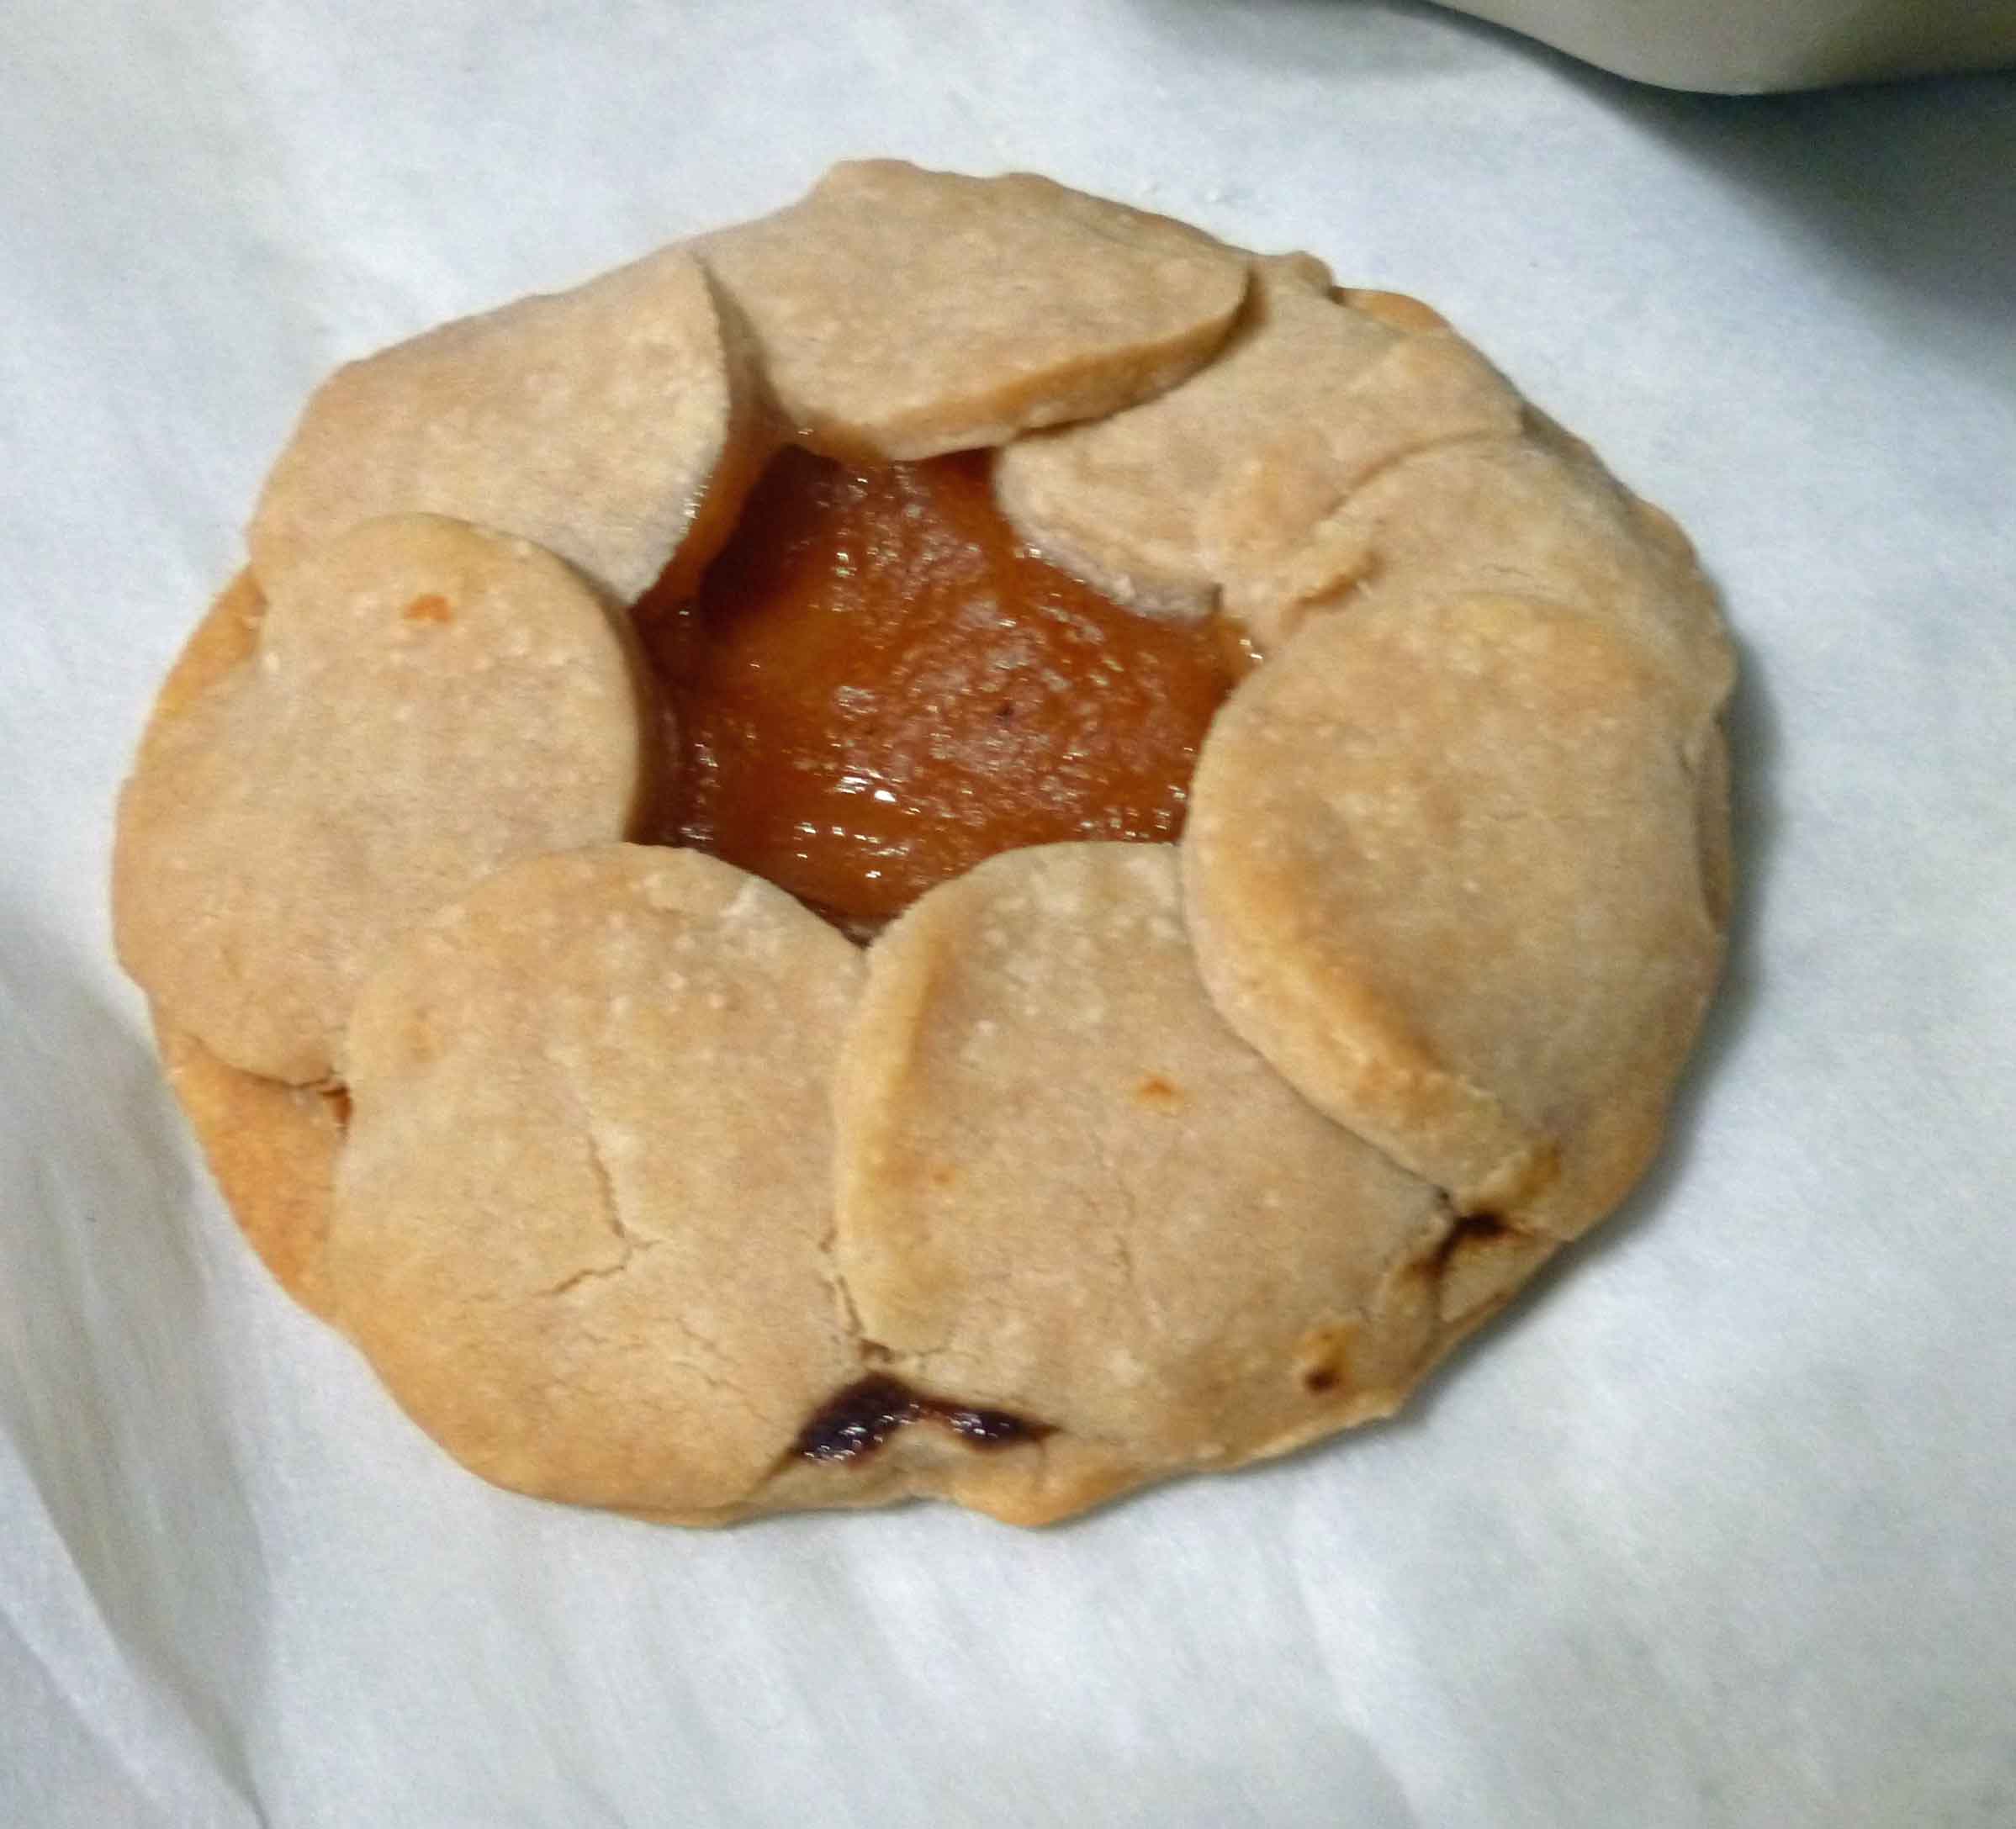
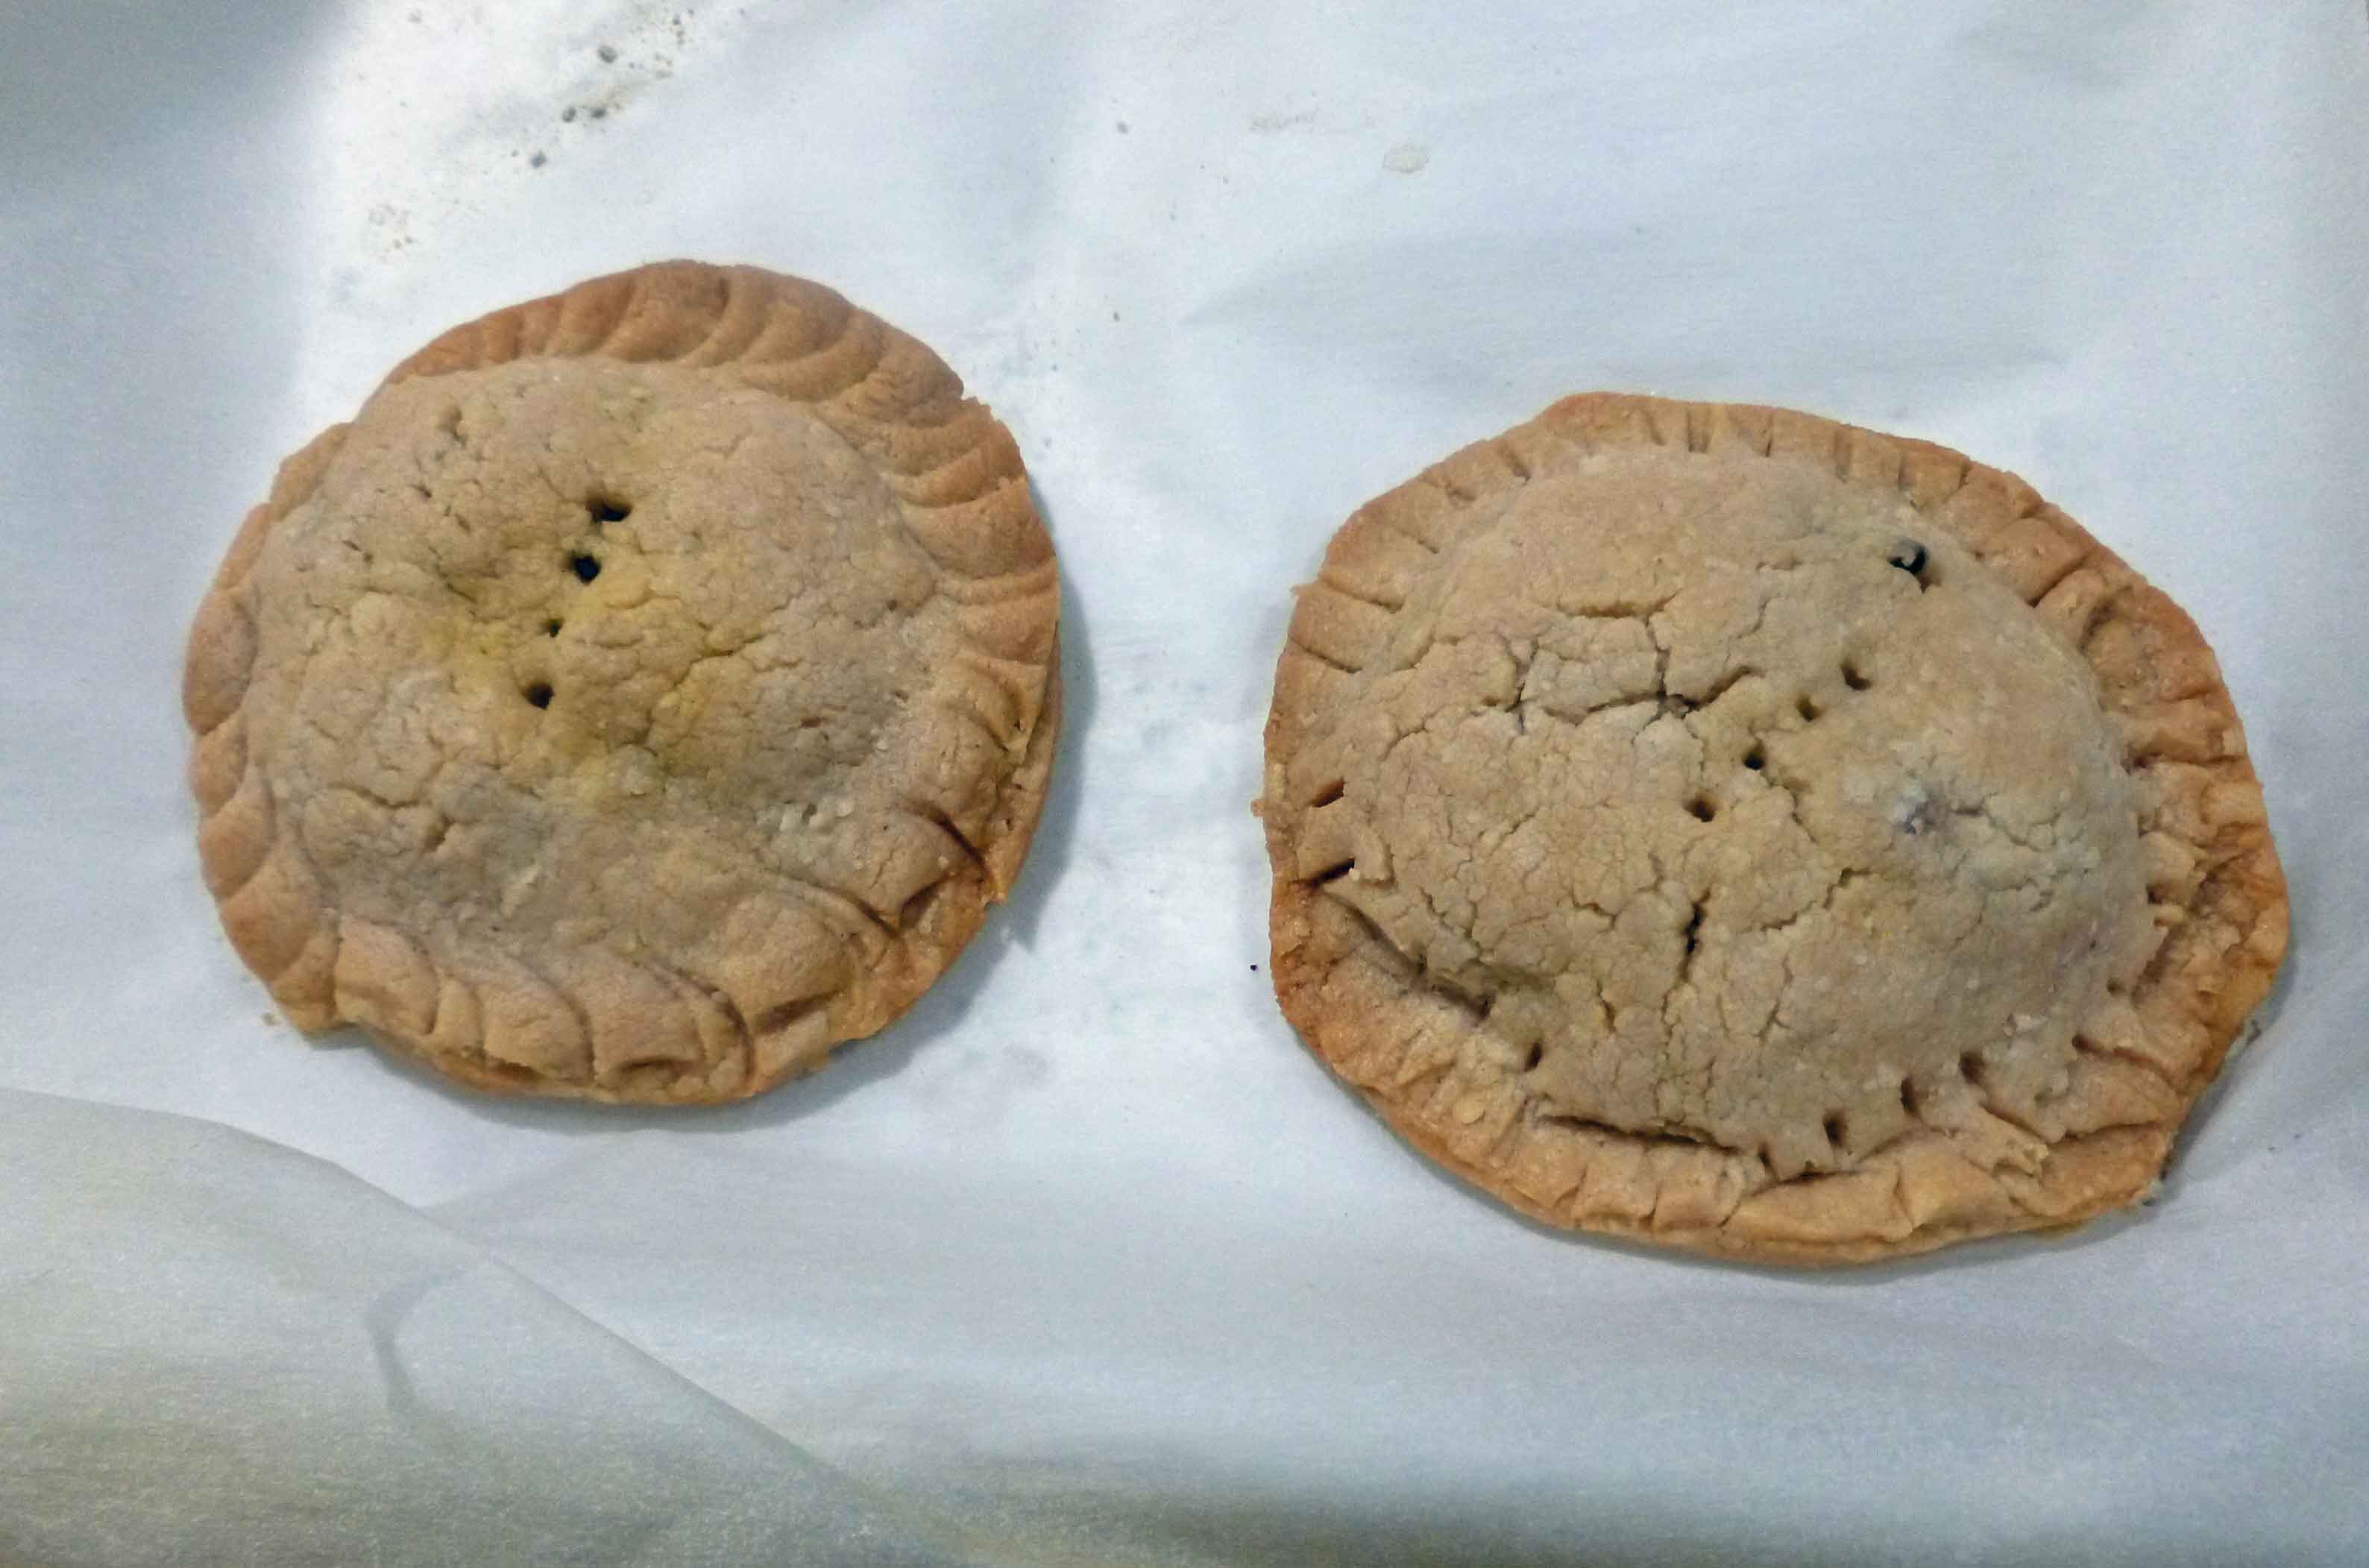
You can also use the crust to make tarts or stuffed pastries. The dough does not have the same elasticity as normal pie dough, but you can work with it a little, You can’t bend it in half because it will break. but you can stack pieces of dough on top of each other as long as the filling isn’t too tall. Next time I might experiment with larger top pieces to accommodate more filling.
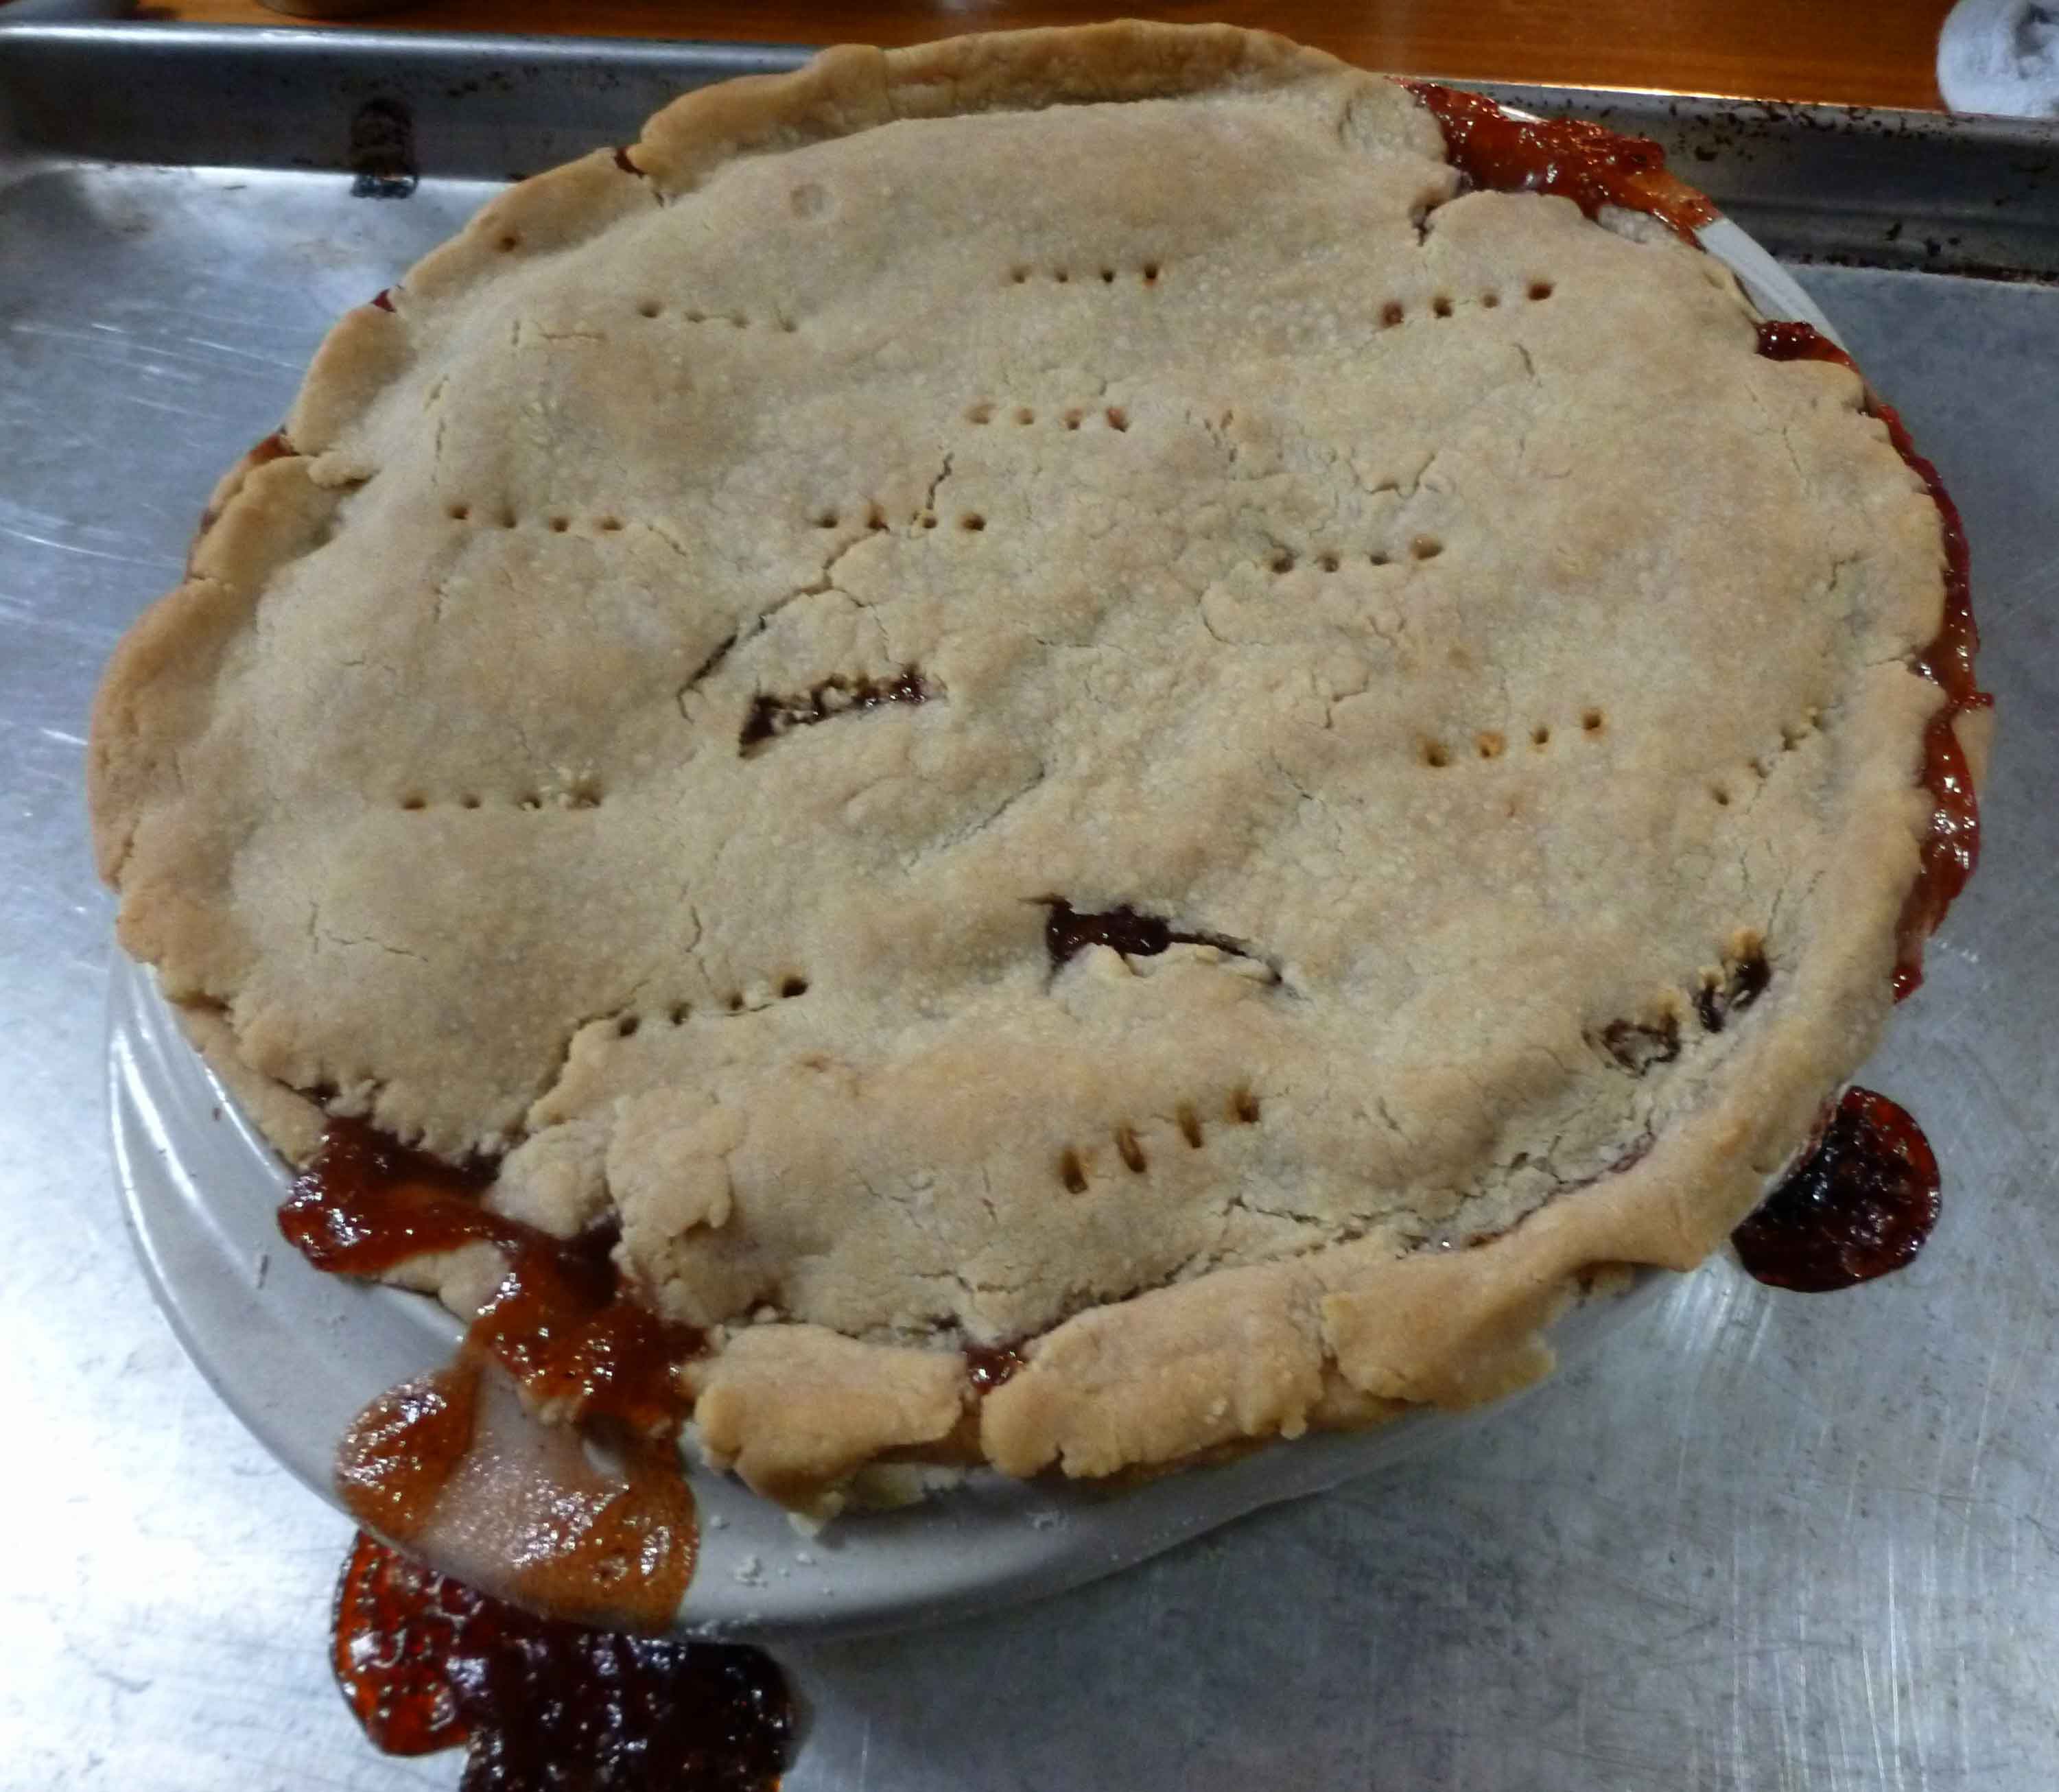
Bake your pie crust according to your pie recipe. Since I was winging it, I cooked my little pies, tarts, and pastries in the slide slow above for about 45 to 60 minutes. If you’re worried about soggy crusts, you can try blind baking your bottom crust. The Kitchn explains here much better than I can.
Have fun, and send us pictures of your creations!
Notice: Trying to access array offset on value of type bool in /home/maryzahc/public_html/adultfoodallergies.com/wp-content/plugins/wp-ultimate-recipe/helpers/models/recipe.php on line 254
- 1/3 cup sorghum flour
- 1/3 cup Otto’s Naturals cassava flour
- 1/3 cup arrowroot starch
- 1/4 cup millet flour
- 1/2 tsp salt
- 1/2 cup cold lard or cold vegetable shortening
- 1 1/2 tsp apple cider vinegar
- 5 tbsp cold aquafaba
- In a large bowl, whisk together the sorghum flour, the cassava flour, arrowroot starch, millet flour, and salt, until they are thoroughly mixed.
- Using a pastry blender or a fork, cut in the lard or vegetable shortening until the mixture looks like crumbs.
- In a small bowl or glass measuring cup, mix the aquafaba and apple cider vinegar together until it is well blended. Add the liquid mixture to your flour mixture and stir until it comes together to form a dough.
- Shape the dough into a smooth ball, and put the dough ball into the freezer to chill for 30 minutes before rolling it out.
- Using some of your other flours (I used sorghum) dust the surface of your rolling space. I was able to roll out my pie crust on a rolling mat and use my rolling pin to transfer the pie crust to the pie plate without too much difficulty. However, if you like your crust thin, try doing rolling your crust out on parchment paper to make it easier to transfer to the pie pan. Make sure you use plenty of dusting flour so that it doesn’t stick to the rolling surface or parchment paper.
- Place pie crust in pie plate, and fill pie. Bake according to pie recipe. If you’re concerned about soggy crust, you may wish to blind bake your bottom crust first.