Notice: Function _load_textdomain_just_in_time was called incorrectly. Translation loading for the wp-ultimate-recipe domain was triggered too early. This is usually an indicator for some code in the plugin or theme running too early. Translations should be loaded at the init action or later. Please see Debugging in WordPress for more information. (This message was added in version 6.7.0.) in /home/maryzahc/public_html/adultfoodallergies.com/wp-includes/functions.php on line 6121
Main Dishes/Entrées – Page 3 – surviving the food allergy apocalypse (archive)

Category: Main Dishes/Entrées

Main Dishes/Entrée [ahn-trey] noun: a dish served as the main course of a meal. These recipes will not contain dairy, eggs, gluten, wheat or hazelnuts. If we use a top 8 allergen, we will use a tag warning of its use.

  • Cure Your Own Pastrami

    Cure Your Own Pastrami

    Cure Your Own Pastrami
    Cure Your Own Pastrami

    Pastrami is one of those things I have dearly missed. And it was hard to think about trying to do it without curing salt. All commercial curing salt is dyed pink for safety and contains dextrose which is generally derived from corn. But mixing up my own curing salt was scary, because let’s face it, if you screw it up and put too much sodium nitrite in your mixture, you can poison yourself. But I finally bit the bullet and made some. You’re going to say, Denise, why would you use something you could poison yourself with? I’m going to say, you can die of drinking too much water too, and if I’m not careful and don’t follow the rules, I can give myself botulism canning my food too. And those of you who know me in real life, know that I pretty much have a 50/50% chance of cutting, burning, or otherwise maiming myself every time I cook. Risk is inherent in existence. There’s already nitrites in many foods naturally already, like the celery that is used for “uncured” bacon. Since I only eat cured meats a few times a year since they take so much effort to make, I’m not that worried about it. And we’re all going to die of something, nobody’s getting out of here alive. So eat the pastrami once in a while, damn it, and savor it.

    I got this amazing recipe from Leite’s Culinaria. I had to change a few things, mostly leaving out the honey, adding a bit more brown sugar instead, and using my own mixture of curing salt #1. If you can have honey and commercial curing salt, just follow their recipe, I’m sure it’s genius as it is.

    Making Curing Salt:

    To make Curing Salt #1, or Prague Mix #1, or Instacure #1, you need a scale, with a digital readout going out two places. You need to be absolutely precise. The mixture must be 6.25% sodium nitrite (I got mine on Amazon, make sure it’s food grade, no affiliation with Amazon) and 93.75% salt. To make about 4 ounces of Curing Salt #1, you need to weigh out 0.25 ounces of sodium nitrite making sure you tare out or zero out your container, and 3.68 ounces of salt (I used Diamond Crystal Fine All Natural Sea Salt, again no affiliation with Amazon). Mix these together well, and store in a container that’s very clearly marked so that there is no confusion as to what it is. Do not ask me for cups or teaspoon equivalents because I will not do it. This needs to be mixed as exactly as described, you cannot wing it or approximate. I cannot emphasize this enough, the proportions must be exactly as described here to be safe.
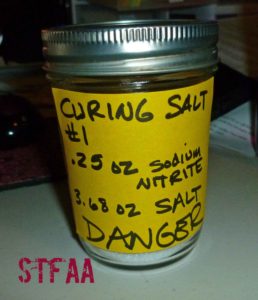
    Curing Salt #1
    Curing Salt #1

    Once you’ve make your Curing Salt #1, it’s time to make the pastrami. Yay!

    Be aware that this is a several day process. Read the whole recipe through first.

    Cure Your Own Pastrami

    Main Ingredients:

    • 3-5 pound beef brisket
    • 4 cups of cold water for humidifying the oven

    Brine Ingredients:

    • 3 quarts of cold water
    • 2 cups of kosher salt
    • 1/4 cup of Curing Salt #1 (either the DIY version above or a commercial version if you aren’t allergic to corn)
    • 1 cup of white sugar
    • 3/4 cup of brown sugar
    • 2 Tablespoons of pickling spice (I used Penzey’s or you can make your own)
    • 1 Tablespoon of whole coriander seed
    • 1 Tablespoon of whole yellow mustard seed
    • 1 Tablespoon of dried minced garlic
    • 3 quarts ice cold water

    Spice Rub Ingredients:

    • 1/4 cup of freshly ground coriander seed (I ground my own)
    • 2 Tablespoons freshly ground black pepper
    • 2 Tablespoons of smoked paprika

    In a large stock pot, add the 3 quarts of cold water, the kosher salt, your homemade curing salt, white and brown sugar, pickling spice, coriander seed, mustard seed, and garlic. Bring to a boil over high heat, stirring until the salt and sugar have fully dissolved. Remove the pot from the heat.

    In a food safe container large enough to hold the brisket and 6 quarts of water and which will also fit in your refrigerator, place the 3 quarts ice-cold water, and the brine.  Place the container in the refrigerator until completely cool. I usually make the brine the day before and let it sit in the refrigerator overnight.

    Trim the excess fat from the brisket leaving layer about a 1/4 inch thick remaining on the brisket. Submerge the brisket in the cooled brine. Depending on your container, you may need to cut it into two pieces to submerge it.  You might also want to weigh it down with a plate.
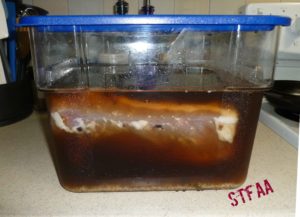
    Brisket soaking in brine
    Brisket soaking in brine

    Refrigerate for 5 days, stirring the brine and turning the brisket over once a day. If any of the brisket pieces touch each other, make sure that you regularly turn them away from each other to expose all sides of the to the brine.

    Make the spice rub on the day you plan to cook the pastrami after it has finished brining. Mix the ground coriander, ground black pepper, and smoked paprika in a small bowl.
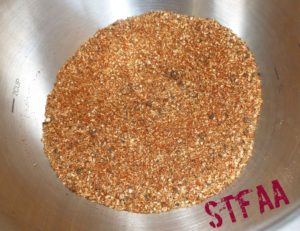
    Spice rub
    Spice rub

    Remove the brisket from the brine and pat it dry. Rub a 1/4 cup of the spice rub evenly on the less fatty side of the brisket, then flip the brisket and rub the remaining spice mixture onto the fatty side. Let the brisket come to room temperature, which should take about 2 hours.

    Preheat your oven to 300°F. Place a wire rack in a the bottom of a 12-by-15-inch roasting pan, and pour 4 cups cold water into the pan.
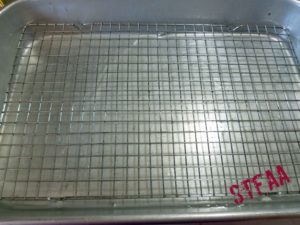
    Roasting pan with rack and 4 cups of water in the bottom
    Roasting pan with rack and 4 cups of water in the bottom

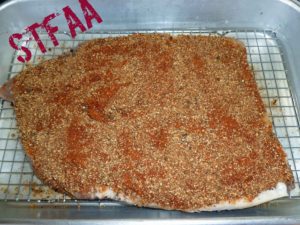
    Place the brisket on the wire rack, with the fatty side up.

    Brisket on rack in roasting pan
    Brisket on rack in roasting pan

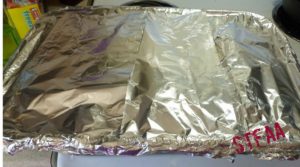
    Cover the brisket and roasting pan with a double layer aluminum foil, and seal the foil around the edge of the roasting pan tightly.

    Brisket tightly wrapped with foil
    Brisket tightly wrapped with foil

    Bake until the brisket reaches an internal temperature of 200°F. This should take about 1 hour per pound. Let the meat rest for at least 30 minutes before slicing.

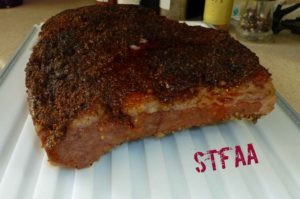
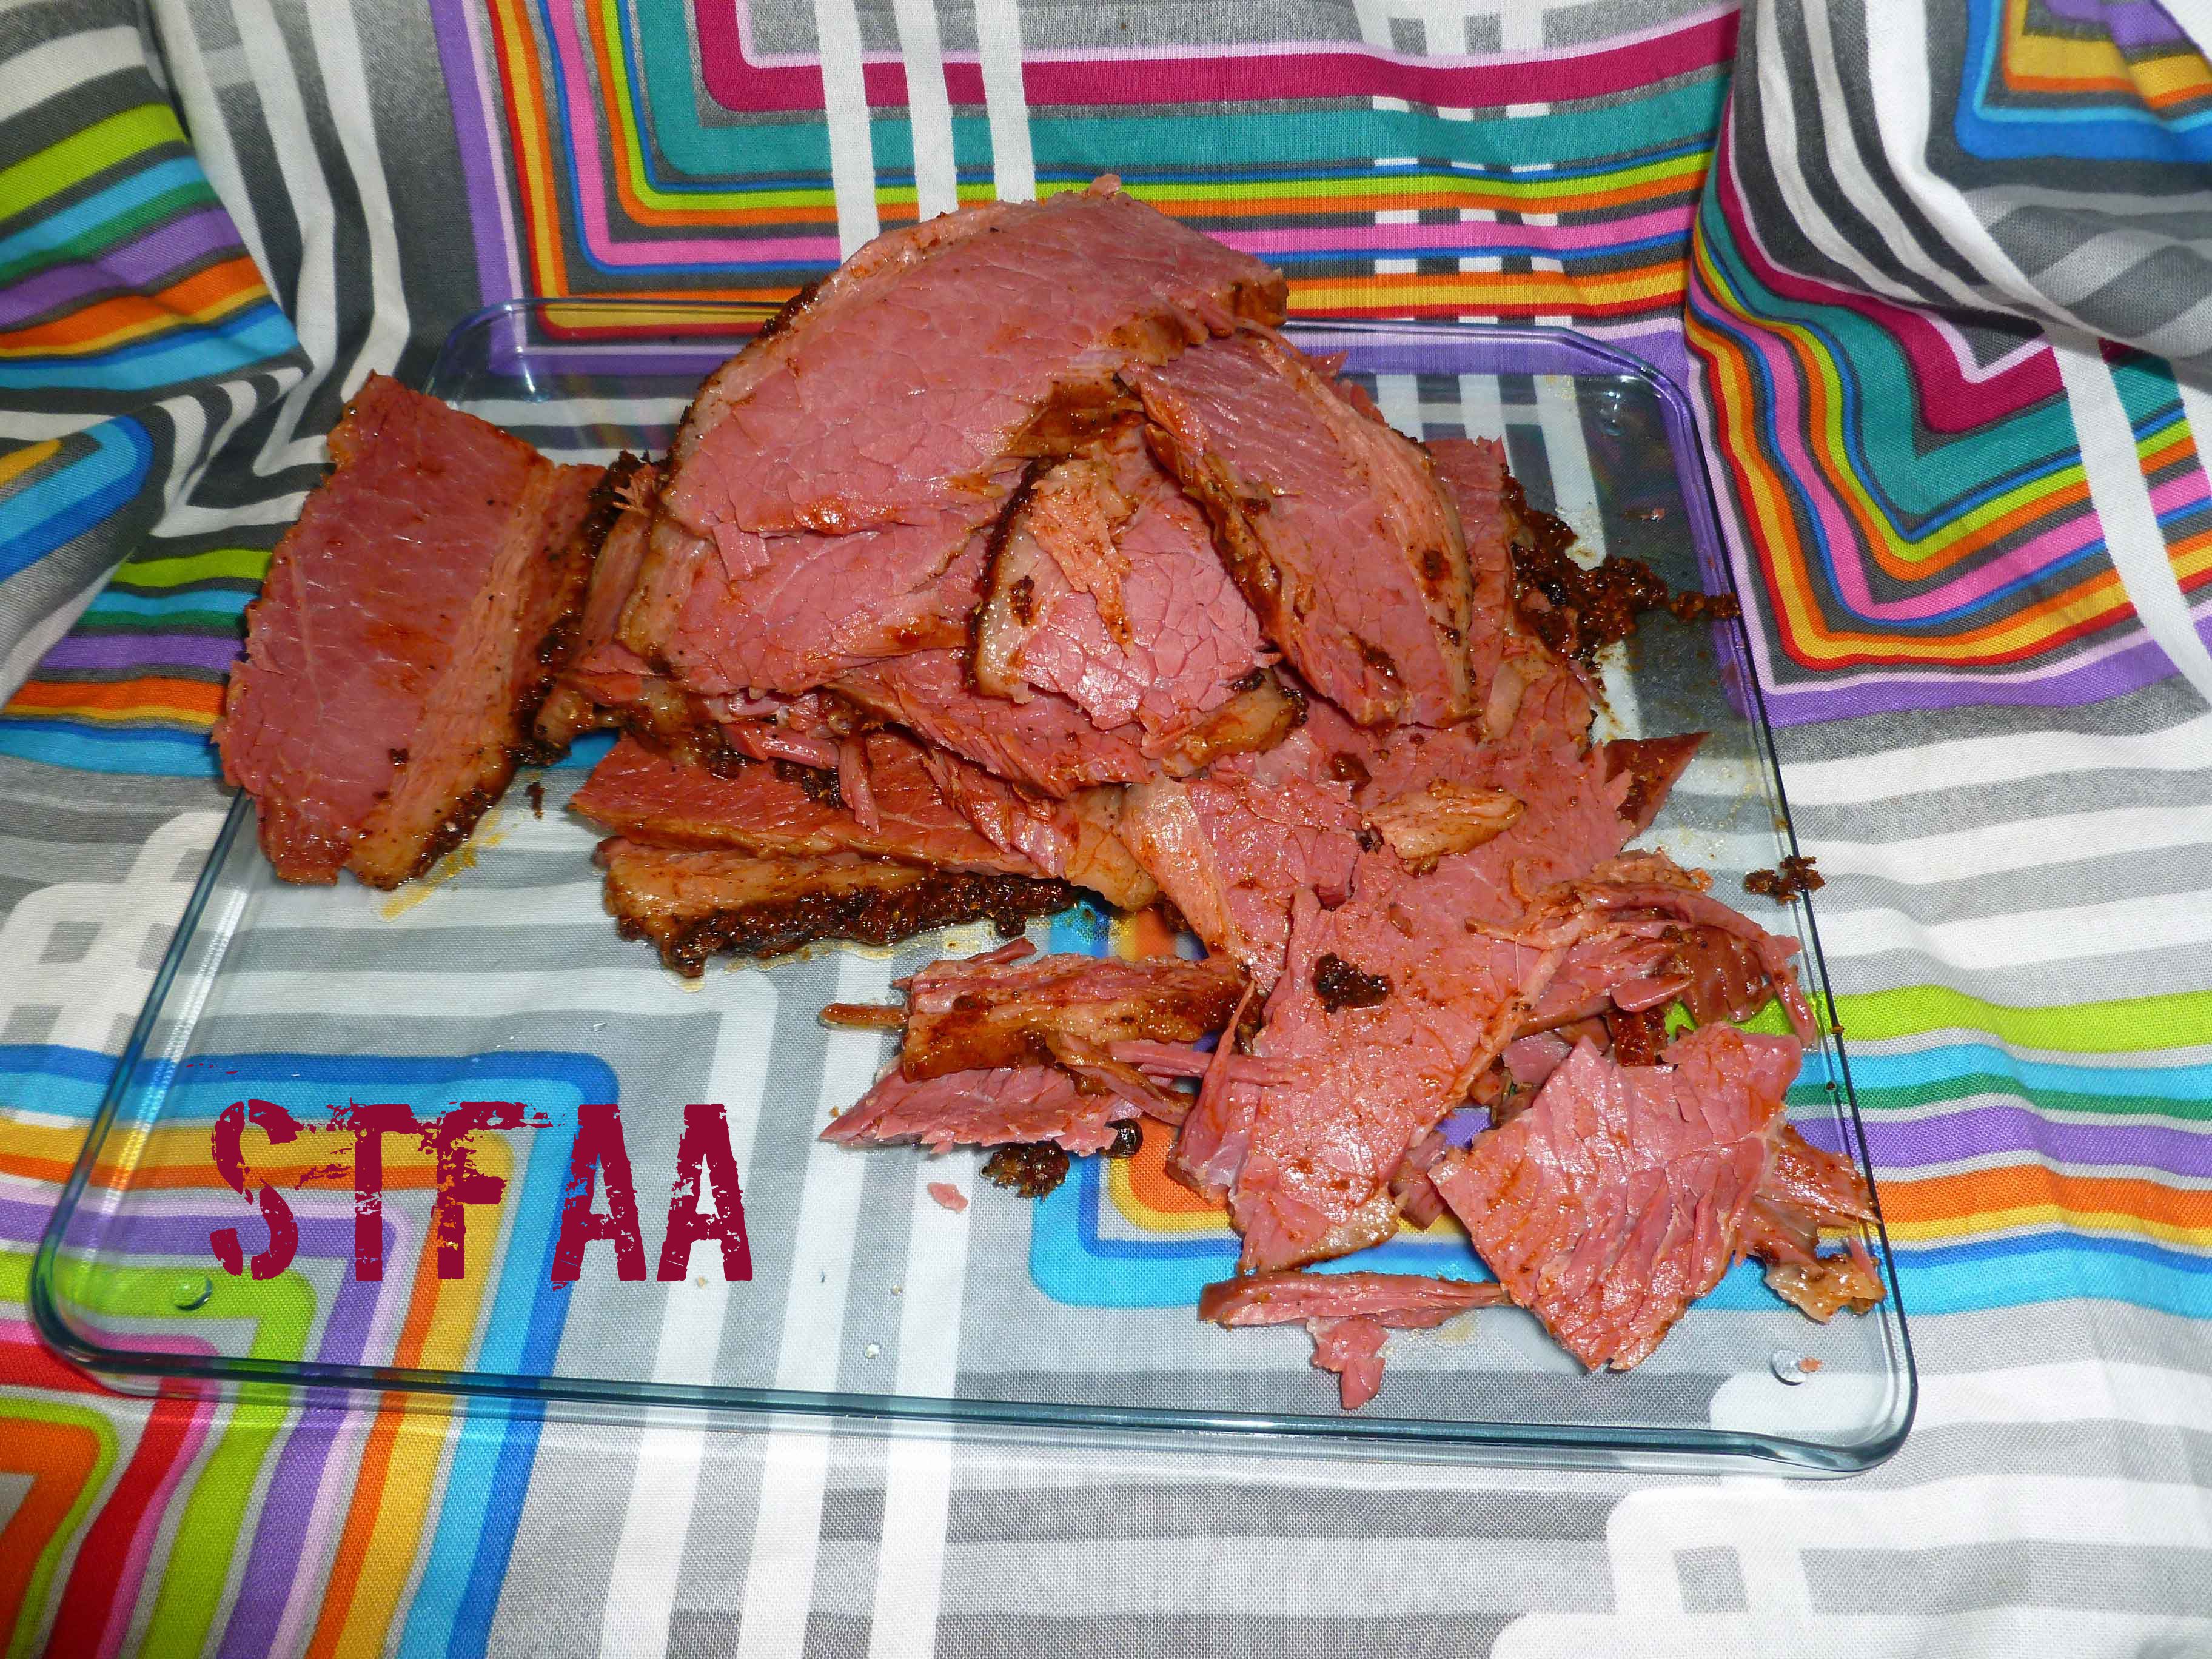
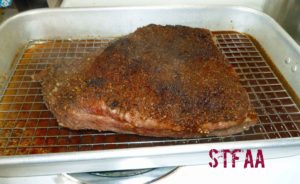
    We now have pastrami!!
    We now have pastrami!!
    Pastrami resting for 30 minutes before slicing
    Pastrami resting for 30 minutes before slicing

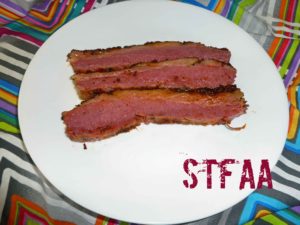
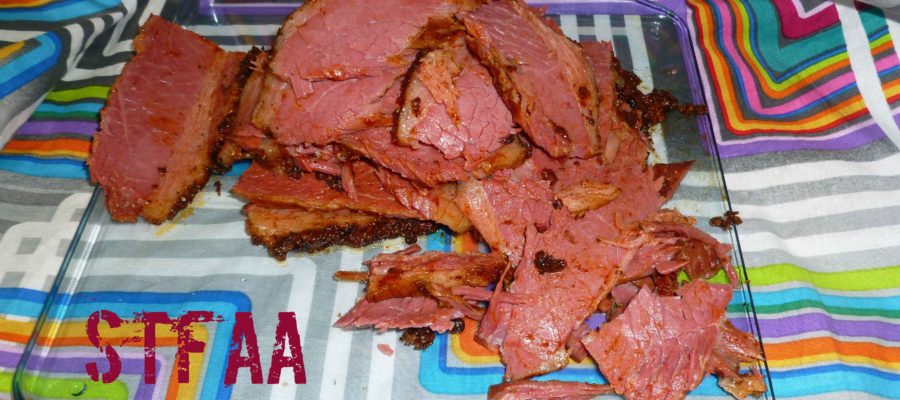
    Without trimming the fat, slice the pastrami against the grain into 1/4-inch-thick slices. I found it easiest to use a deli slicer. You can keep the pastrami in the refrigerator for a week or in the freezer for 6 months, as long as it is tightly wrapped in plastic or foil. I used freezer zip top bags.

    Cure Your Own Pastrami
    Cure Your Own Pastrami

    I like mine fried up to get some crispy bits after refrigerating or freezing. I haven’t got a safe bread yet, but it’s great in a homemade wrap with sauerkraut and thousand island dressing (Aquafaba Vegan Salad Dressing mixed with my homemade ketchup and relish).  Enjoy!


    Notice: Trying to access array offset on value of type bool in /home/maryzahc/public_html/adultfoodallergies.com/wp-content/plugins/wp-ultimate-recipe/helpers/models/recipe.php on line 254
    DIY Curing Salt #1
    Print Recipe
    Make Curing Salt #1, or Prague Mix #1, or Instacure #1, without dextrose which is corn derived, so that you can cure your own safe meat.
    Servings Prep Time
    4 ounces 5 minutes
    Servings Prep Time
    4 ounces 5 minutes
    DIY Curing Salt #1
    Print Recipe
    Make Curing Salt #1, or Prague Mix #1, or Instacure #1, without dextrose which is corn derived, so that you can cure your own safe meat.
    Servings Prep Time
    4 ounces 5 minutes
    Servings Prep Time
    4 ounces 5 minutes
    Ingredients
    • 1 kitchen scale
    • 0.25 ounces sodium nitrite
    • 3.68 ounces fine sea salt
    Servings: ounces
    Instructions
    1. To make Curing Salt #1, or Prague Mix #1, or Instacure #1, you need a scale, with a digital readout going out two places. You need to be absolutely precise. To make 4 ounces of Curing Salt #1, you need to weigh out 0.25 ounces of sodium nitrite making sure you tare out or zero out your container, and 3.68 ounces of fine sea salt. Mix these together well, and store in a container that’s very clearly marked so that there is no confusion as to what it is. Do not ask for cups or teaspoon equivalents because I will not do it. This needs to be mixed as exactly as described, you cannot wing it or approximate. I cannot emphasize this enough, the proportions must be exactly as described here to be safe.
    Share this Recipe
     
    Powered byWP Ultimate Recipe


    Notice: Trying to access array offset on value of type bool in /home/maryzahc/public_html/adultfoodallergies.com/wp-content/plugins/wp-ultimate-recipe/helpers/models/recipe.php on line 254
    Cure Your Own Pastrami
    Print Recipe
    Servings Prep Time
    4-5 people 30 minutes
    Cook Time Passive Time
    3-5 hours 5-6 days
    Servings Prep Time
    4-5 people 30 minutes
    Cook Time Passive Time
    3-5 hours 5-6 days
    Cure Your Own Pastrami
    Print Recipe
    Servings Prep Time
    4-5 people 30 minutes
    Cook Time Passive Time
    3-5 hours 5-6 days
    Servings Prep Time
    4-5 people 30 minutes
    Cook Time Passive Time
    3-5 hours 5-6 days
    Ingredients
    Main Ingredients
    • 3-5 pound beef brisket
    • 4 cups cold water
    Brine Ingredients
    • 3 quarts cold water
    • 2 cups kosher salt
    • 1/4 cup Curing Salt #1 (DIY version or commercial version if you don’t have a corn allergy)
    • 1 cup white sugar
    • 3/4 cup brown sugar
    • 2 TBS pickling spice
    • 1 TBS whole coriander seed
    • 1 TBS whole yellow mustard seed
    • 1 TBS dried minced garlic
    • 3 quarts ice cold water
    Spice Rub Ingredients
    • 1/4 cup freshly ground coriander seed
    • 2 TBS freshly-ground black pepper
    • 2 TBS smoked paprika
    Servings: people
    Instructions
    1. In a large stock pot, add the 3 quarts of cold water, the kosher salt, your homemade curing salt, white and brown sugar, pickling spice, coriander seed, mustard seed, and garlic. Bring to a boil over high heat, stirring until the salt and sugar have fully dissolved. Remove the pot from the heat.
    2. In a large food safe container that will hold the brisket and 6 quarts of water and which will also fit in your refrigerator, place the 3 quarts ice-cold water, and the brine. Place the container in the refrigerator until completely cool (usually overnight).
    3. Trim the excess fat from the brisket leaving layer about a 1/4 inch thick remaining on the brisket. Submerge the brisket in the cooled brine. Depending on your container, you may need to cut it into two pieces to submerge it and weigh the pieces down with a plate.
    4. Refrigerate for 5 days, stirring the brine and turning the brisket over once a day. If any of the brisket pieces touch each other, make sure that you regularly turn them away from each other to expose all sides of the to the brine.
    5. Make the spice rub on the day you plan to cook the pastrami after it has finished brining. Mix the ground coriander, ground black pepper, and smoked paprika in a small bowl.
    6. Remove the brisket from the brine and pat it dry. Rub a 1/4 cup of the spice rub evenly on the less fatty side of the brisket, then flip the brisket and rub the remaining spice mixture onto the fatty side. Let the brisket come to room temperature.
    7. Preheat your oven to 300°F. Place a wire rack in a the bottom of a 12-by-15-inch roasting pan, and pour 4 cups cold water into the pan. Place the brisket on the wire rack, with the fatty side up. Cover the brisket and roasting pan with a double layer aluminum foil, and seal the foil around the edge of the roasting pan tightly.
    8. Bake until the brisket reaches an internal temperature of 200°F. This should take about 1 hour per pound. Let the meat rest for at least 30 minutes before slicing.
    9. Without trimming the fat, slice the pastrami against the grain into 1/4-inch-thick slices. Keep the pastrami in the refrigerator for a week or in the freezer for 6 months, as long as it is tightly wrapped in plastic or foil.
    Share this Recipe
     
    Powered byWP Ultimate Recipe


  • Unstuffed Cabbage Rolls

    Unstuffed Cabbage Rolls

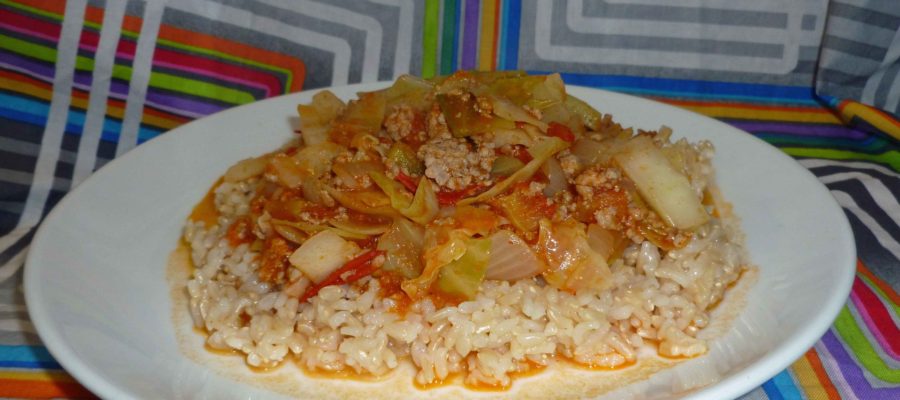
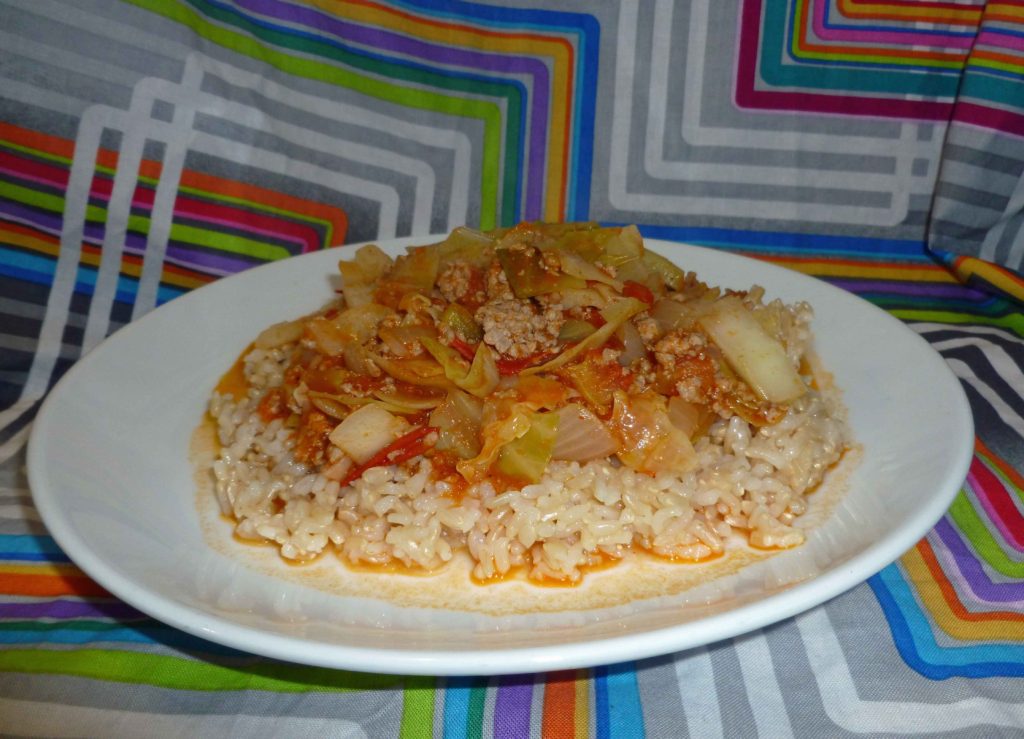
    Unstuffed Cabbage Rolls over rice
    Unstuffed Cabbage Rolls over rice

    This summer I have also found myself with a good bit of cabbage on my hands. Since I already have a good supply of sauerkraut made up, I needed to find some other options. I canned some piccalilli. I sliced it into thick “steaks”, brushed it with minced garlic and olive oil, and roasted it. I made pot roast and added cabbage to the potatoes and onions.  And I improvised this recipe one day as a quick dinner. I know there are other similar recipes out there, but this one is safe for me.

    This is served over rice, but I don’t include making the rice in the instructions in the recipe card below. Make some rice, either brown or white works fine. If you have a corn allergy, do not use enriched rice, it’s not safe. If you have a corn allergy and can tolerate white rice, remember that they often use corn to polish off the husk, bran and germ, so rinse it really well, several times before cooking it. I make rice in my Instant Pot, and start it before I start making this recipe, so that it’s done when I’ve finished cooking.

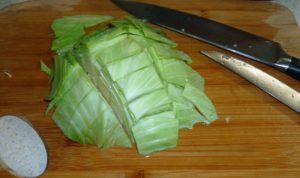
    Cabbage cut into pinkie finger size pieces
    Cabbage cut into pinkie finger size pieces
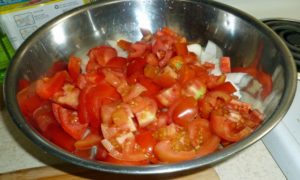
    Tomatoes and onions chopped and ready to add to ground beef
    Tomatoes and onions chopped and ready to add to ground pork
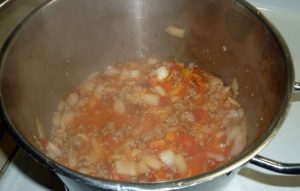
    Ground pork, onions and tomato mixture after tomatoes have cooked to sauce
    Ground pork, onions and tomato mixture after tomatoes have cooked to sauce
    All ingredients added and cabbage cooked until tender
    All ingredients added and cabbage cooked until tender
    Unstuffed Cabbage Rolls over rice
    Unstuffed Cabbage Rolls over rice

    Notice: Trying to access array offset on value of type bool in /home/maryzahc/public_html/adultfoodallergies.com/wp-content/plugins/wp-ultimate-recipe/helpers/models/recipe.php on line 254
    Unstuffed Cabbage Rolls
    Print Recipe
    A quick dinner to serve over rice, and is great as leftovers.
    Servings Prep Time
    4-6 people 15 minutes
    Cook Time
    20-30 minutes
    Servings Prep Time
    4-6 people 15 minutes
    Cook Time
    20-30 minutes
    Unstuffed Cabbage Rolls
    Print Recipe
    A quick dinner to serve over rice, and is great as leftovers.
    Servings Prep Time
    4-6 people 15 minutes
    Cook Time
    20-30 minutes
    Servings Prep Time
    4-6 people 15 minutes
    Cook Time
    20-30 minutes
    Ingredients
    • 1 tbsp olive oil (or other safe for you oil)
    • 1 pound ground pork
    • 3 medium onions chopped
    • 5-6 medium tomatoes chopped
    • 8 cups cabbage sliced and chopped into pieces the size of your pinkie finger
    • 1/2 – 3/4 tsp smoked paprika (or to taste)
    • 1/2 tsp salt (or to taste)
    • 1/4 tsp ground black pepper (or to taste)
    • 1-2 tbsp hot sauce (I use my home fermented version of Sriracha)
    Servings: people
    Instructions
    1. In a large (8-10 quart) pot, add olive oil. Over medium high heat, brown ground pork.
    2. Once ground pork is completely browned, add tomatoes and onions. Cook covered with lid over medium heat, stirring frequently until tomatoes break down into a sauce and onions are tender.
    3. Add cabbage and continue to cook covered with lid over medium heat, stirring frequently. Cook until cabbage is tender. Add smoked paprika, salt, black pepper, and hot sauce, and stir well. Cook for a few more minutes to let flavors meld.
    4. Serve over rice.
    Share this Recipe
     
    Powered byWP Ultimate Recipe


  • Meatballs with Mushrooms, Onions and Spaghetti Squash

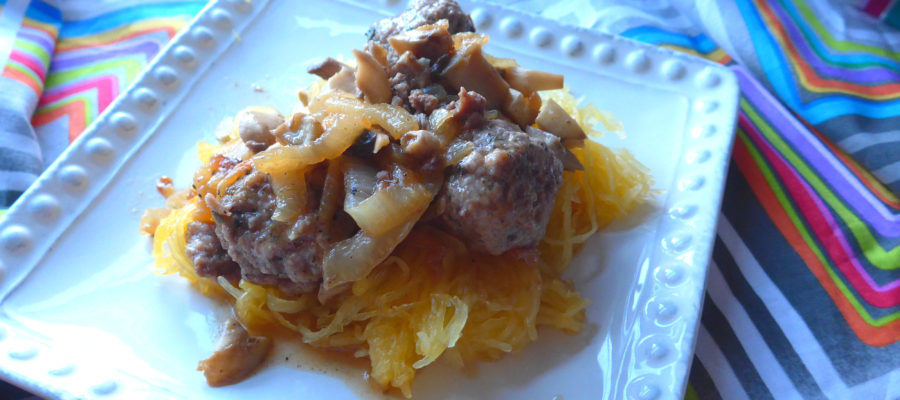
    Meatballs with Mushrooms, Onions and Spaghetti Squash

    Meatballs and Squash
    Meatballs and Squash

    I’m not sure if you’re ready for hot food, but I really am. In order to get ready for work after a week of vacation, I needed something hearty but not heavy. Spaghetti squash seemed to fit the bill with some meatballs and mushrooms and onions. It seems I reach over and over again for mushrooms and caramelized onions every time I need comfort food or hearty food — do you have go-to ingredients that help you face the world? Because mine are apparently mushrooms (which Denise hates) and onions. They’re so earthy and grounded.

    Spaghetti squash is weird, and while I don’t think it’s actually a substitute for pasta, it is a good vehicle for some thinner sauces. Putting the squash in the pan to soak up the meatball fats and the onion oil means you lose none of the flavors. It’s possible that this dish is even paleo-friendly, but I won’t claim to know the rules behind that diet. If you want a little less fat in the sauce, drain the pan after sauteing the meatballs or scoop up the onions, mushrooms, and meatballs with a slotted spoon and put them on the squash.

    This dish will fortify you and make you ready to face the rest of summer.


    Notice: Trying to access array offset on value of type bool in /home/maryzahc/public_html/adultfoodallergies.com/wp-content/plugins/wp-ultimate-recipe/helpers/models/recipe.php on line 254
    Meatballs with Mushrooms, Onions, and Spaghetti Squash
    Print Recipe
    An earthy but not too heavy dish to make you ready to face anything.
    Servings Prep Time
    4 people 15 minutes
    Cook Time
    90 minutes
    Servings Prep Time
    4 people 15 minutes
    Cook Time
    90 minutes
    Ingredients
    • 1 medium spaghetti squash football-sized
    • 2 Tablespoons olive oil
    • 1 large sweet onion quartered and sliced thin
    • 1/2 teaspoon kosher salt divided into two 1/4t servings
    • 1 8 oz. package mushrooms broken into pieces
    • 1/2 pound ground beef (I prefer 85/15 mix)
    • 1/2 pound ground pork
    • 1 teaspoon oregano
    • 1 1/2 teaspoon basil
    • 2 Tablespoons fine bread crumbs or starch-based gluten-free flour
    • fresh ground pepper, to taste
    • 1 Tablespoon water
    Servings: people
    Instructions
    1. Pre-heat oven to 400°F. Poke a hole in a spaghetti squash and throw it in the oven, on the rack. Bake for an hour. (You can also slice it in half and bake it for 30-45 minutes. I prefer the lazier approach. Learn more from the link in the notes.)
    2. Heat the olive oil in a skillet over medium-low heat (cast iron is best for making great caramelized onion). When it’s hot, add the onions and 1/4 teaspoon salt. Stir well, to coat all the onion with oil, and then cook, stirring occasionally, for about 45 minutes.
    3. Meanwhile, make the meatballs by mixing the beef, pork, oregano, basil, and bread crumbs or starchy gluten-free flour. Because they will be more tender if you work the meat less, I break up the meats first, sprinkle the seasonings over, and then lightly mix before forming ping-pong ball-sized meatballs. I get about 14 meatballs from a pound of meat.
    4. Your squash is likely done now. Take it out and let it cool. As soon as you can, slice it in half to let it cool more.
    5. When the onions are beginning to get a pretty caramel brown, push them all to the sides and add the meatballs. You might need to do this in two batches to have enough room to stir.
    6. When the meatballs are browned on most sides, add the mushrooms, the second 1/4 teaspoon of salt, pepper, and the water. Stir well (but gently — the meatballs are still delicate) and cover for about 5 minutes. When the mushrooms have started to cook, stir again, and cover for another 5 minutes.
    7. Taste and adjust seasonings if necessary.
    8. Scoop out the seeds and pulp. Then scoop out the squash and stir it in to the skillet. You will be able to see when it’s soaked up the sauce, and then it’s ready to serve.
    Recipe Notes

    If you’ve never cooked spaghetti squash before, check out this lesson from The Kitchn.  You can also check out Denise’s Meatball Sub Meatballs recipe, if you like a more substantial meatball. Mine is a streamlined version for a quick meal.

    Share this Recipe
     
    Powered byWP Ultimate Recipe
  • Cold Roasted Vegetable Sauce

    Cold Roasted Vegetable Sauce

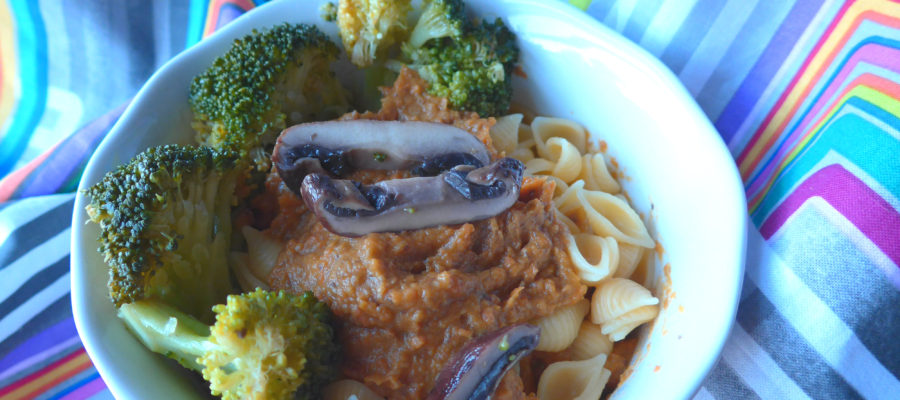
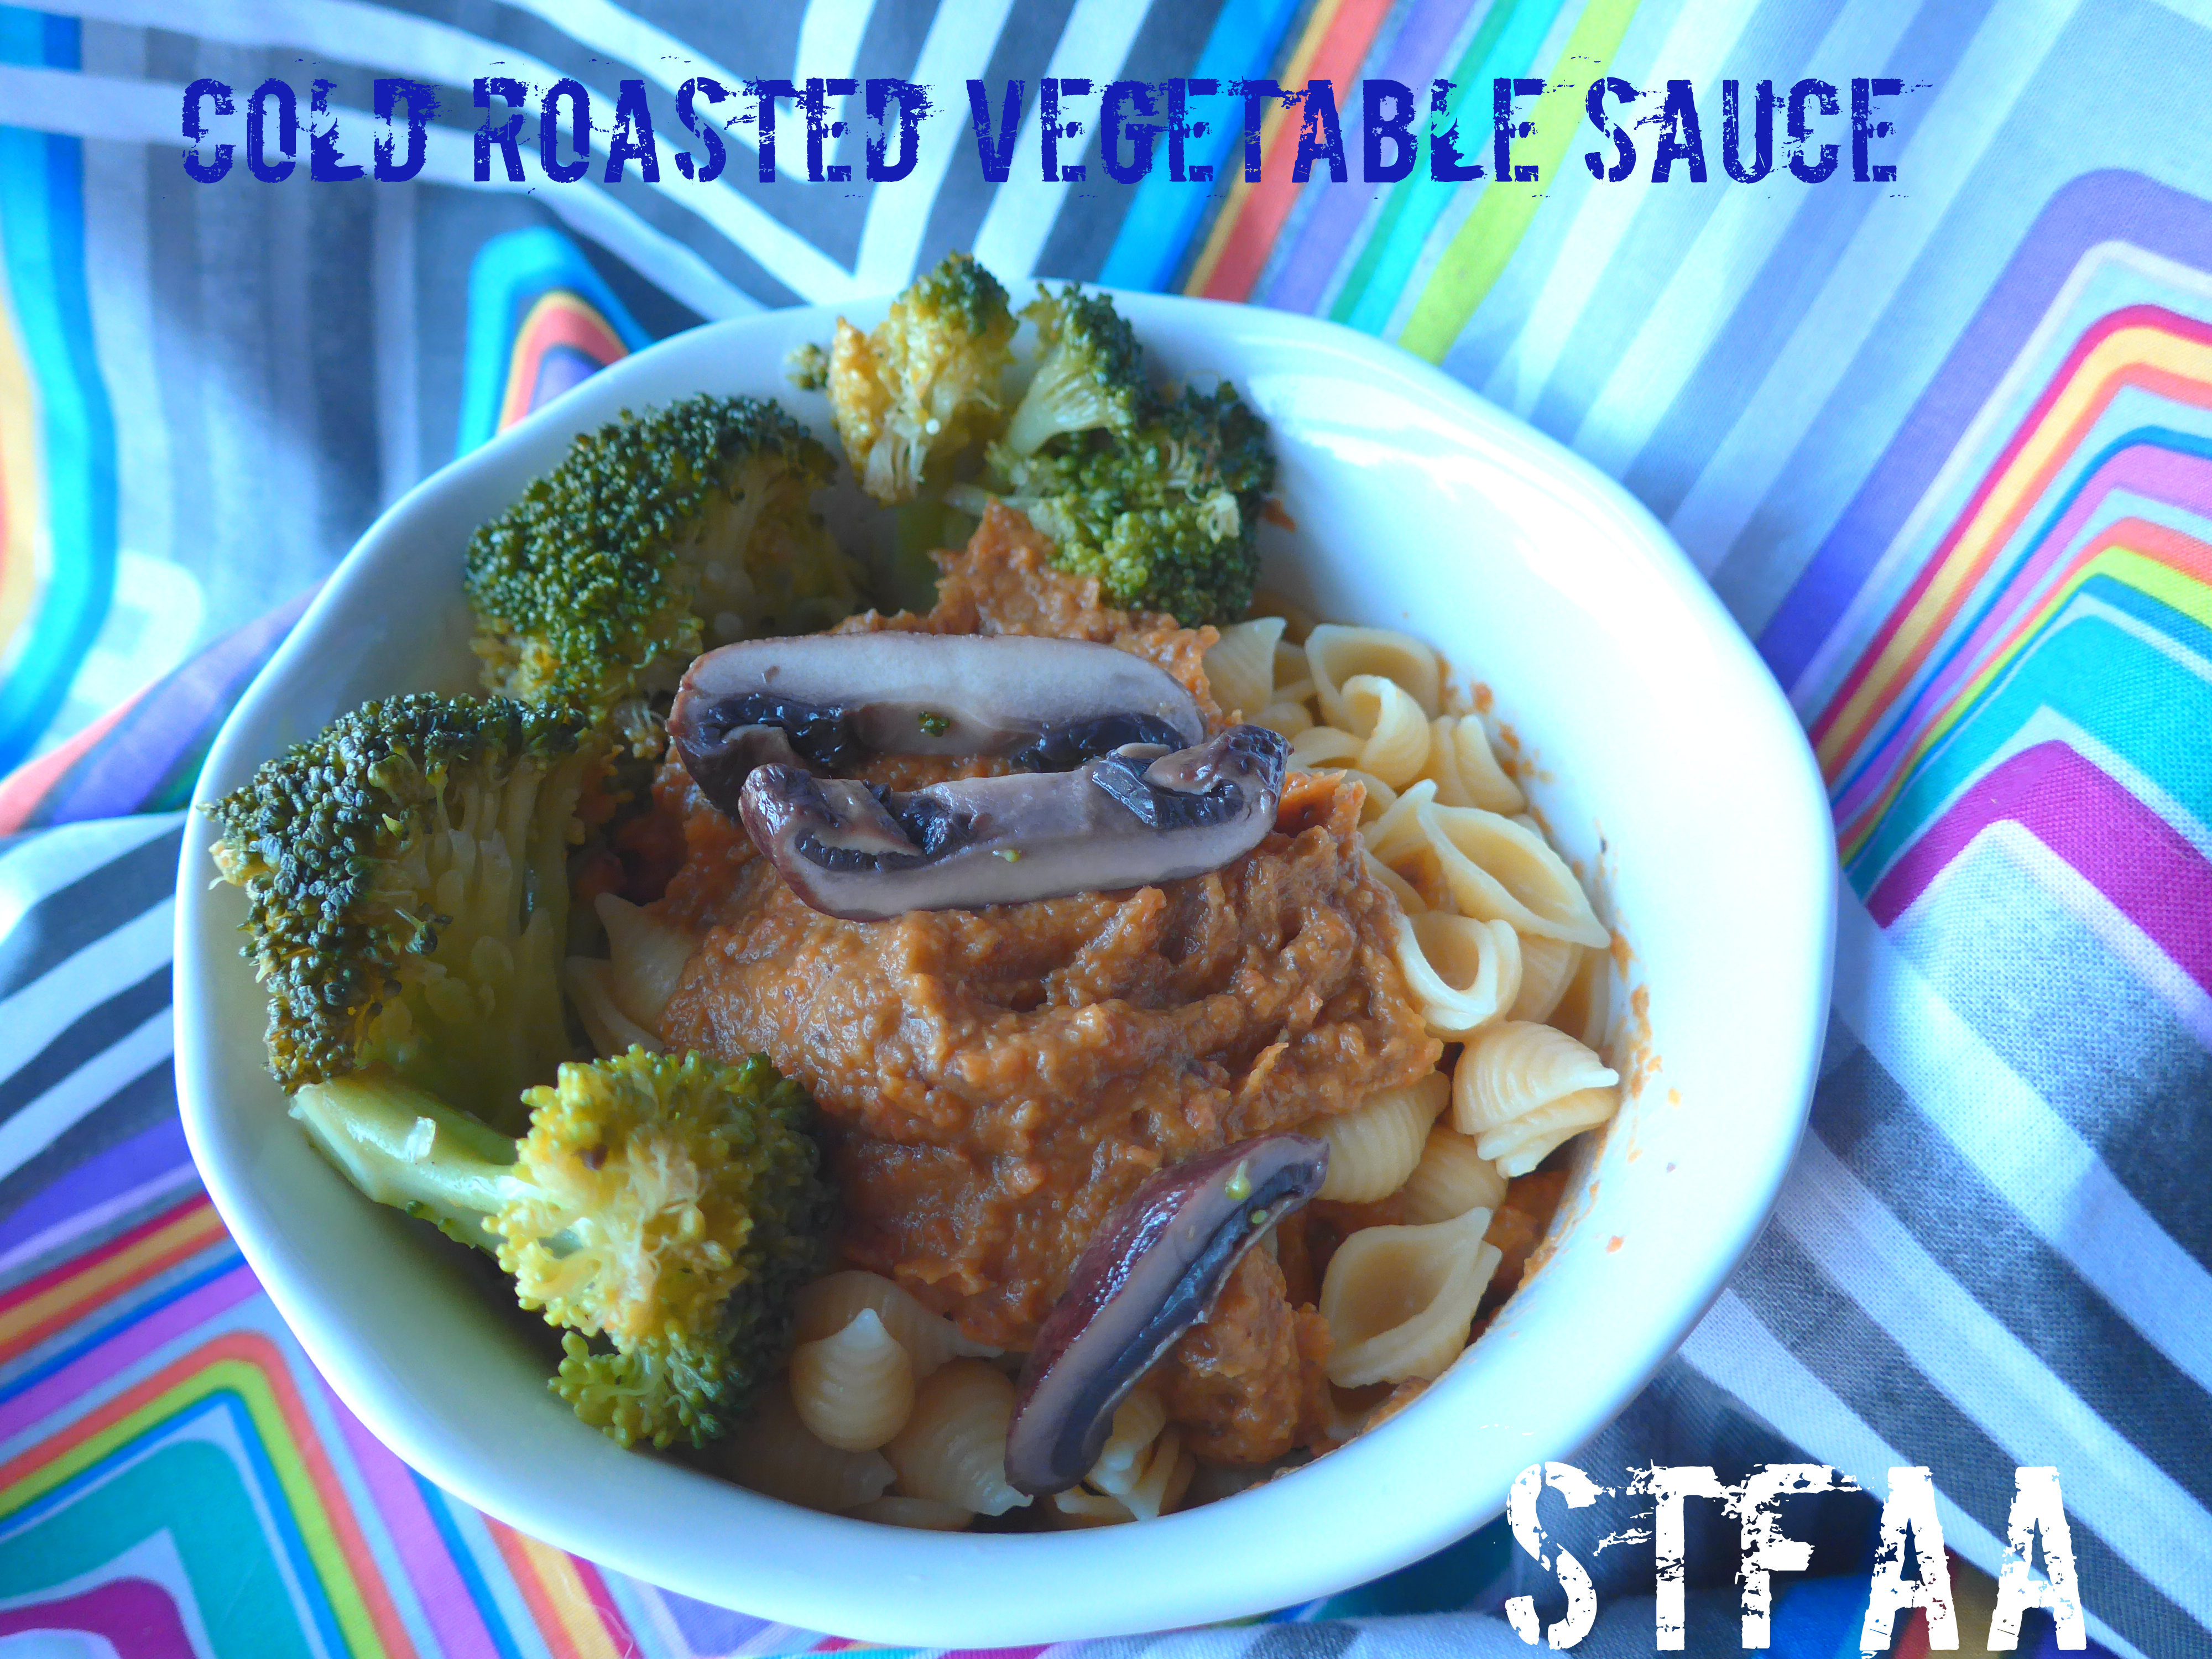
    Cold Roasted Vegetable Sauce, over quinoa pasta, with broccoli and a bit of mushroom
    Cold Roasted Vegetable Sauce, over quinoa pasta, with broccoli and a bit of mushroom

    It has been hot this summer. Hotter than normal, longer than normal, and I am frankly rather sick of hearing the AC drone on. I want to cook food! I want to want to eat hot food. But I don’t. It’s hot. So what I’ve been doing is heating the kitchen way up one day, cooking a bunch of food, and remixing it all week. So several pans of roasted veg, a big pot of grains, a bunch of spinach, and a few proteins. But I have gotten SO BORED with it.

    This week, I decided to mix it up and make a pasta salad with the roasted vegetables used as the sauce. It turned out rather well. You could add beans or meat for protein, and if you wanted extra greens, mix them in or serve them over top. Also, this is absolutely more of a recipe concept than a recipe, so use whatever vegetables you have around.

    I generally roast my vegetables at 425ºF on big sheet pans. I toss everything in a bit of olive oil and dust it with salt.  Size varies greatly, so if I don’t have a full pan of something, I try to group things that will cook in about the same amount of time. In less than an hour, I can do 3 or 4 pans, and it’s a ton of vegetables. I almost always throw a sweet potato in the mix, and I always, always, always roast onions because I love them and they add good base flavors to any dish.

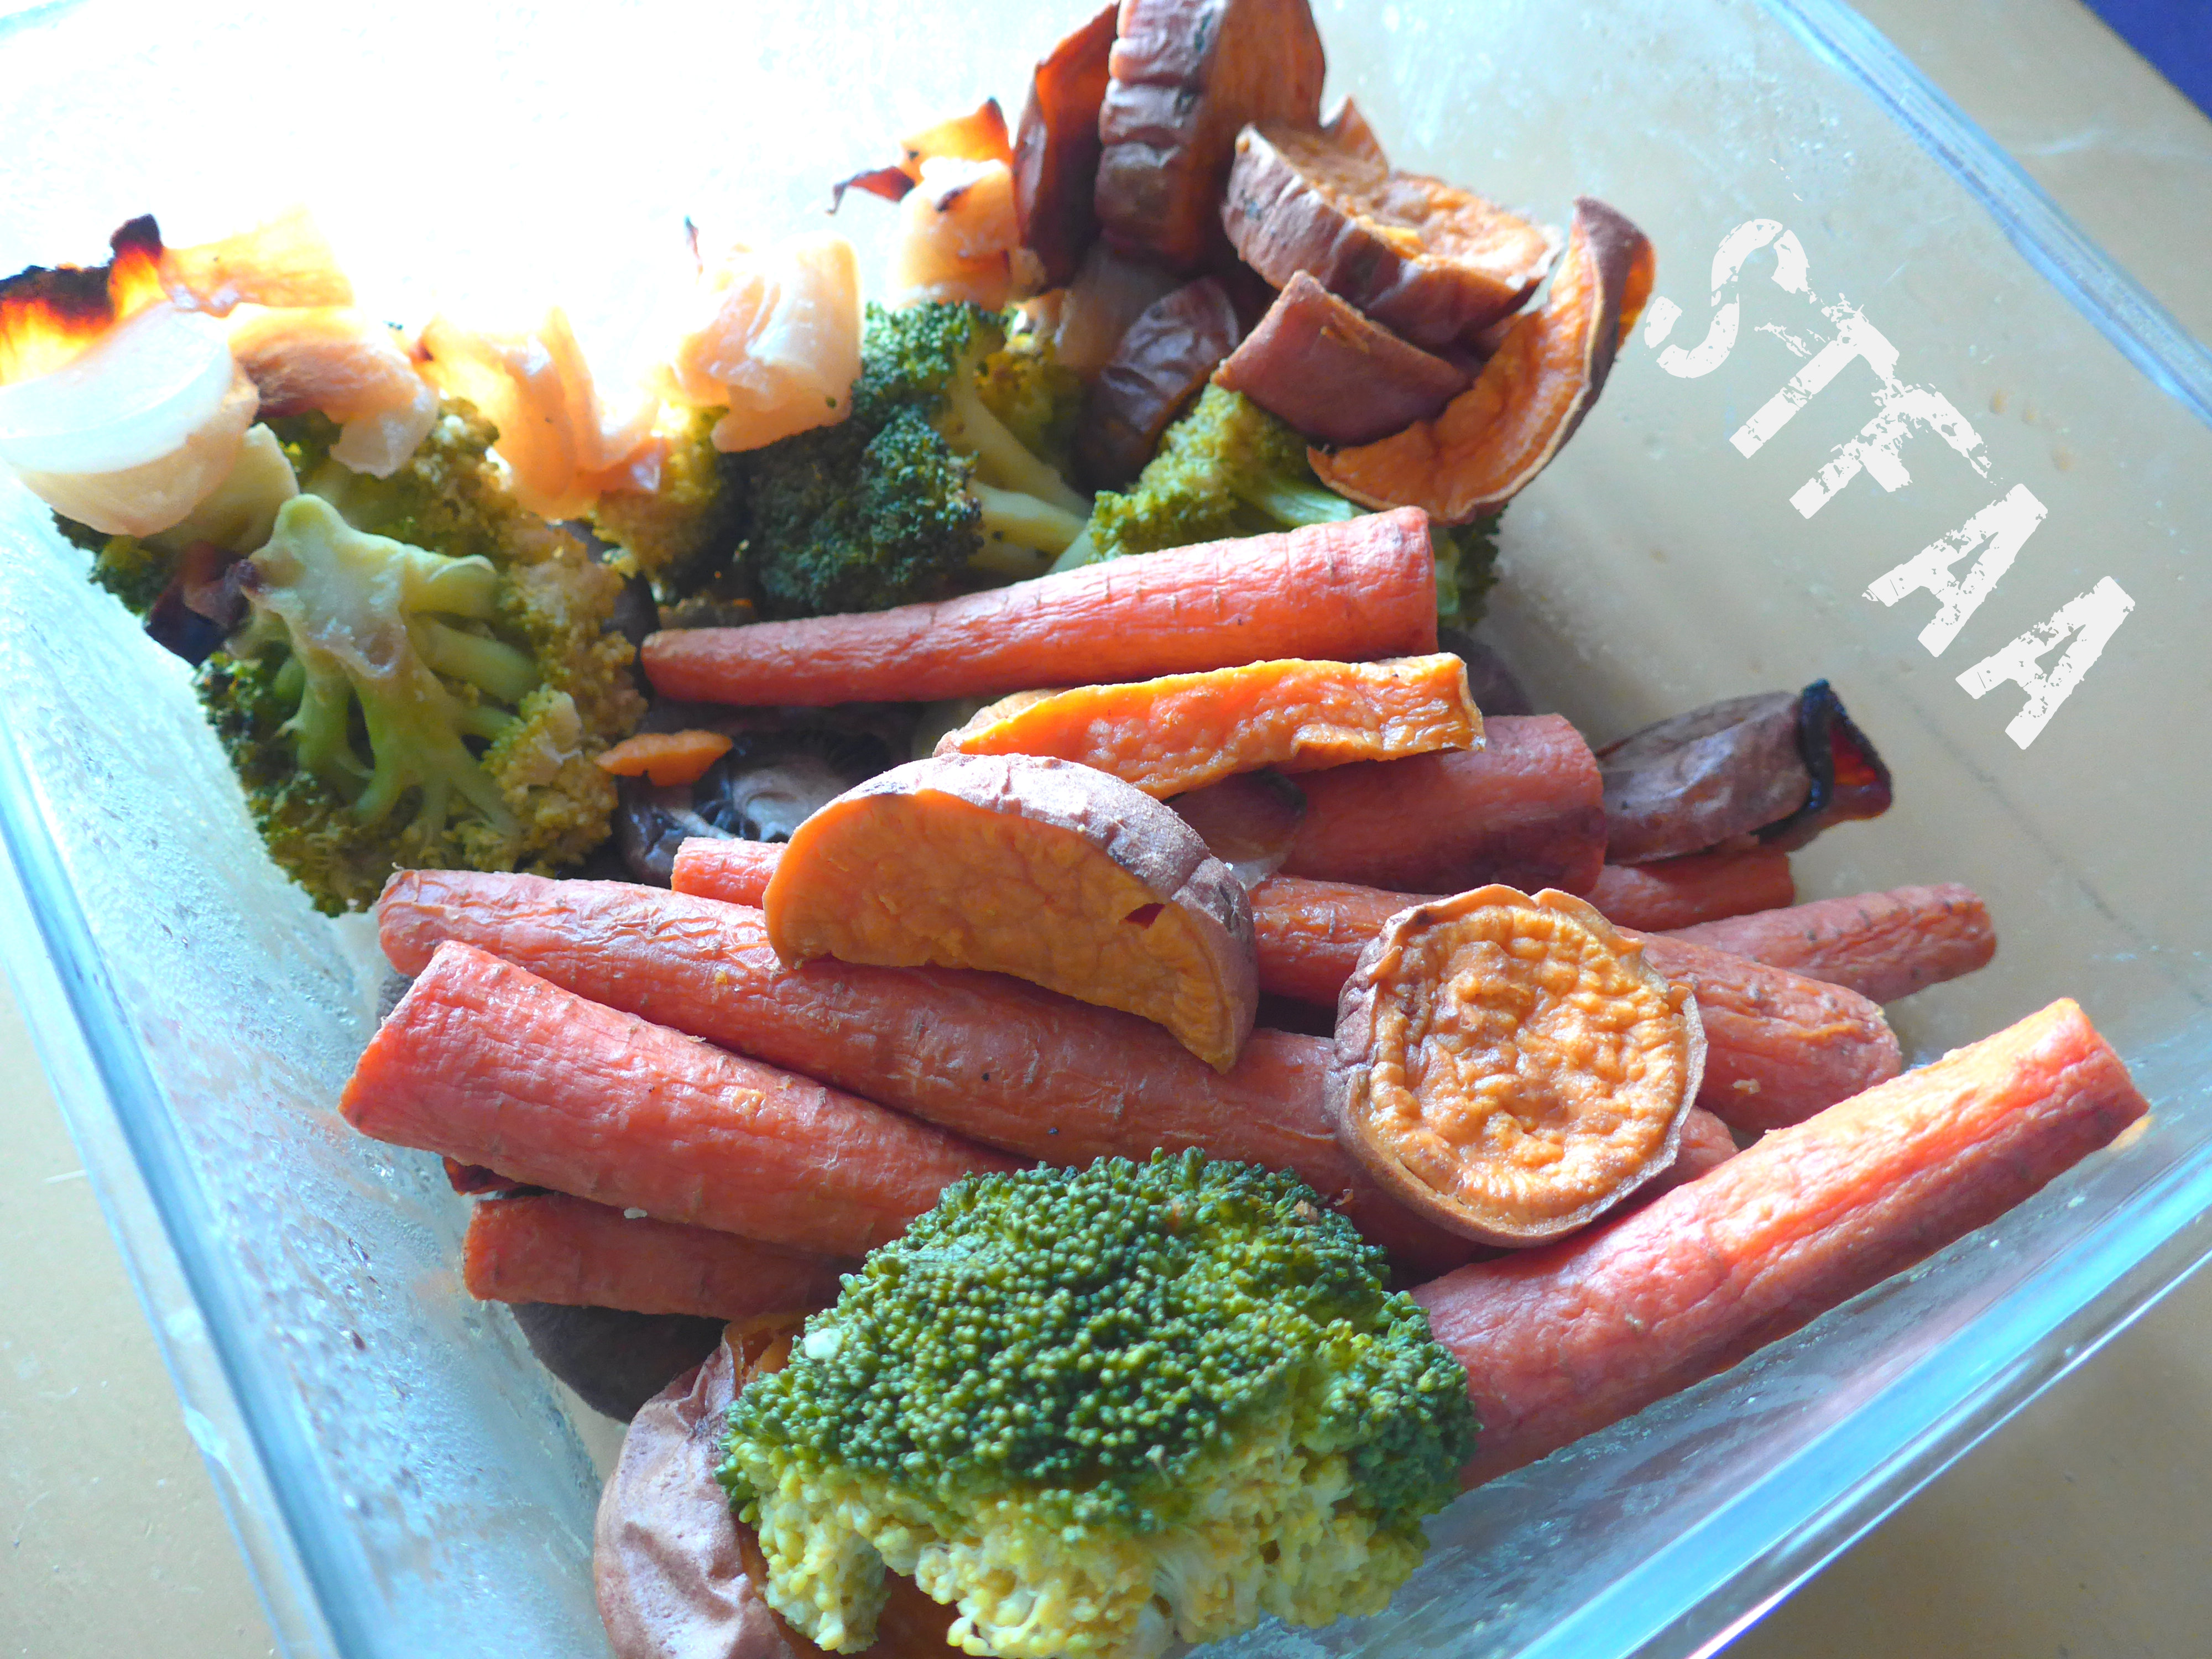
    A slightly depleted batch of roasted veg for the week
    A slightly depleted batch of roasted veg for the week

    This recipe used about 1 sweet potato, about 1/2 of an onion, 4 skinnier carrots, and about half a package of mushroom caps (4 oz). I did not want to blend the broccoli in, but I chopped it up instead, maybe a cup of it. Serve over any pasta or grain of your choice, with added protein if that’s what you’re up for. The sauce isn’t pretty, but it tastes great.


    Notice: Trying to access array offset on value of type bool in /home/maryzahc/public_html/adultfoodallergies.com/wp-content/plugins/wp-ultimate-recipe/helpers/models/recipe.php on line 254
    Cold Roasted Vegetable Sauce
    Print Recipe
    Servings Prep Time
    3 meal-sized servings 10 minutes
    Servings Prep Time
    3 meal-sized servings 10 minutes
    Cold Roasted Vegetable Sauce
    Print Recipe
    Servings Prep Time
    3 meal-sized servings 10 minutes
    Servings Prep Time
    3 meal-sized servings 10 minutes
    Ingredients
    • 1 cup sweet potato, roasted
    • 1/2 cup onion roasted
    • 4 carrots small, roasted
    • 1/2-3/4 cup mushroom caps, roasted
    • 1/2 cup water
    • 1/4 cup olive oil
    Servings: meal-sized servings
    Instructions
    1. If you need to roast your vegetables, do so — see the post above for how I do it. Cool them.
    2. Add all vegetables and water to blender, gently puree, stirring as needed. When you need more liquid, add the olive oil. Blend until smooth. Taste and adjust seasonings. If you want a thinner sauce, add more water until you get the consistency where you want it.
    3. Serve over whatever sounds good — pasta or grains would be my suggestion (as that’s all I’ve tried). Add other vegetables to the mix as desired.
    Share this Recipe
     
    Powered byWP Ultimate Recipe
  • Fajita Marinated Steak Tips

    Fajita Marinated Steak Tips

    Fajita Marinated Steak Tips
    Fajita Marinated Steak Tips

    Fajita Marinated Steak Tips

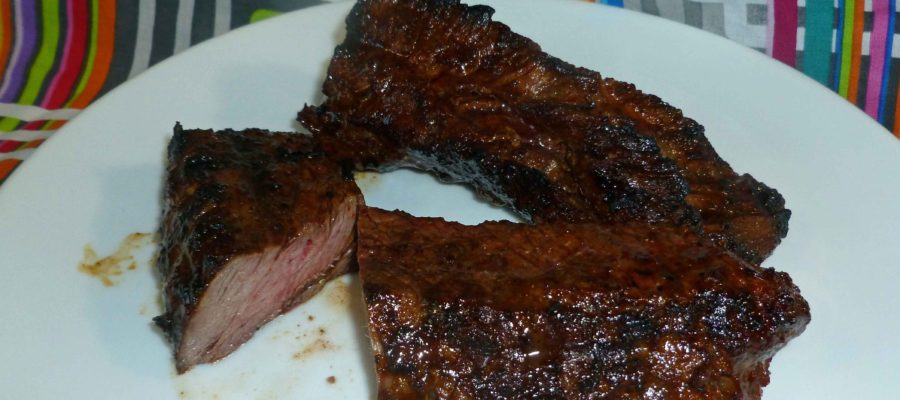
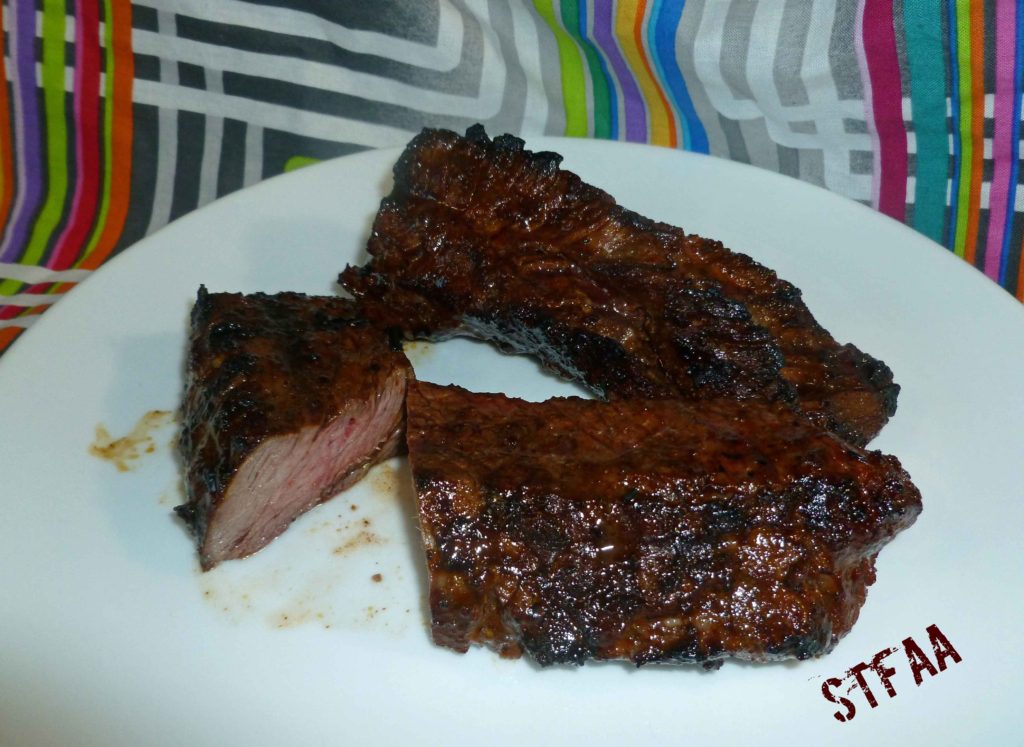
    Well, I was going to go all ‘Denise-crazy’ on you guys and make the tortillas I posted two weeks ago and cashew sour cream (since I don’t have commercially available safe products) and make fajitas that looked all pretty, but my mom is visiting and I’m exhausted from pruning the rhododendrons in the front yard. And hey, sometimes a simple dinner is good. You can marinate these ahead of time and then throw them on the grill or broil them in your oven in a few minutes, and have a yummy dinner in no time. You can eat them by themselves with a nuked baked potato and veg, or you can slice them and throw them on a salad, or slice them and make fajitas.  The pictures show me making only a pound, because my mother won’t eat anything spicy (sacrilege, I know), and half were being saved out for her dinner.

    Fajita Marinated Steak Tips

    • 2 pounds of steak tips
    • 4 Tablespoons of olive oil or other safe for you oil
    • Juice of one lime, freshly squeezed
    • 4 garlic cloves, minced
    • 2 Tablespoons of DIY Chili Powder or other safe for you chili powder
    • 1 teaspoon of ground black pepper
    • 1 teaspoon of salt
    • 1 Tablespoon of brown sugar

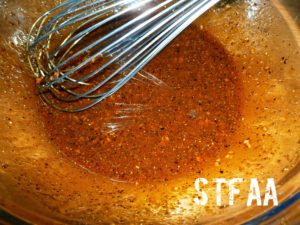
    Place all ingredients except the steak tips in a bowl and whisk well to thoroughly combine.

    Marinade mixture
    Marinade mixture

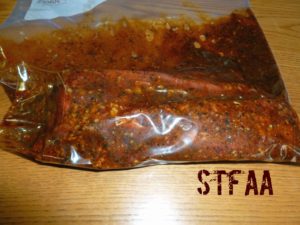
    Place the steak tips into a zip top bag, and pour the marinade mixture over them, scraping the bowl down into the zip top bag. Squeeze air out of bag so that the steak tips are covered in marinade and place in the refrigerator for at least an hour or overnight.

    Steak tips in marinade in zip top bag
    Steak tips in marinade in zip top bag

    If grilling, preheat your grill to about 500°F. Remove tips from marinade and place on the grill. Grill about 8-10 minutes a side (turning once), or until the temperature reaches about 135°F for rare, 145°F for medium rare, 160°F for medium or 170°F for well done.

    Steak tips on grill
    Steak tips on grill

    If broiling, preheat your oven to broil. Place a rack on a baking sheet, and place the tips on the rack, about 2-3 inches from the broiler element.  Broil 8-10 minutes a side (turning once), or until the temperature reaches about 135°F for rare, 145°F for medium rare, 160°F for medium or 170°F for well done.

    Fajita Marinated Steak Tips
    Fajita Marinated Steak Tips

    Enjoy!


    Notice: Trying to access array offset on value of type bool in /home/maryzahc/public_html/adultfoodallergies.com/wp-content/plugins/wp-ultimate-recipe/helpers/models/recipe.php on line 254
    Fajita Marinated Steak Tips
    Print Recipe
    Great for a quick dinner on the grill! Marinate for at least a hour to overnight for best flavor.
    Servings Prep Time
    2-4 people 15 minutes
    Cook Time Passive Time
    15 minutes 1-8 hours
    Servings Prep Time
    2-4 people 15 minutes
    Cook Time Passive Time
    15 minutes 1-8 hours
    Ingredients
    • 2 pounds steak tips
    • 4 Tablespoons olive oil or other safe for you oil
    • 1 lime, juiced
    • 4 cloves garlic, minced
    • 2 Tablespoons DIY Chili Powder http://adultfoodallergies.com/diy-chili-powder/
    • 1 teaspoon black pepper, ground
    • 1 teaspoon sea salt
    • 1 Tablespoon brown sugar
    Servings: people
    Instructions
    1. Place all ingredients except the steak tips in a bowl and whisk well to thoroughly combine.
    2. Place the steak tips into a zip top bag, and pour the marinade mixture over them, scraping the bowl down into the zip top bag. Squeeze air out of bag so that the steak tips are covered in marinade and place in the refrigerator for at least an hour or up to overnight.
    3. If grilling, preheat your grill to about 500°F. Remove tips from marinade and place on the grill. Grill about 8-10 minutes a side (turning once), or until the temperature reaches about 135°F for rare, 145°F for medium rare, 160°F for medium or 170°F for well done.
    4. If broiling, preheat your oven to broil. Place a rack on a baking sheet, and place the tips on the rack, about 2-3 inches from the broiler element. Broil 8-10 minutes a side (turning once), or until the temperature reaches about 135°F for rare, 145°F for medium rare, 160°F for medium or 170°F for well done.
    Share this Recipe
     
    Powered byWP Ultimate Recipe
  • Klingon Boneless Ribs

    Klingon Boneless Ribs

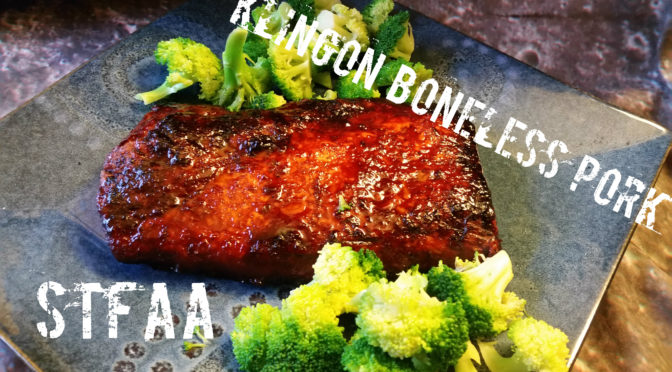
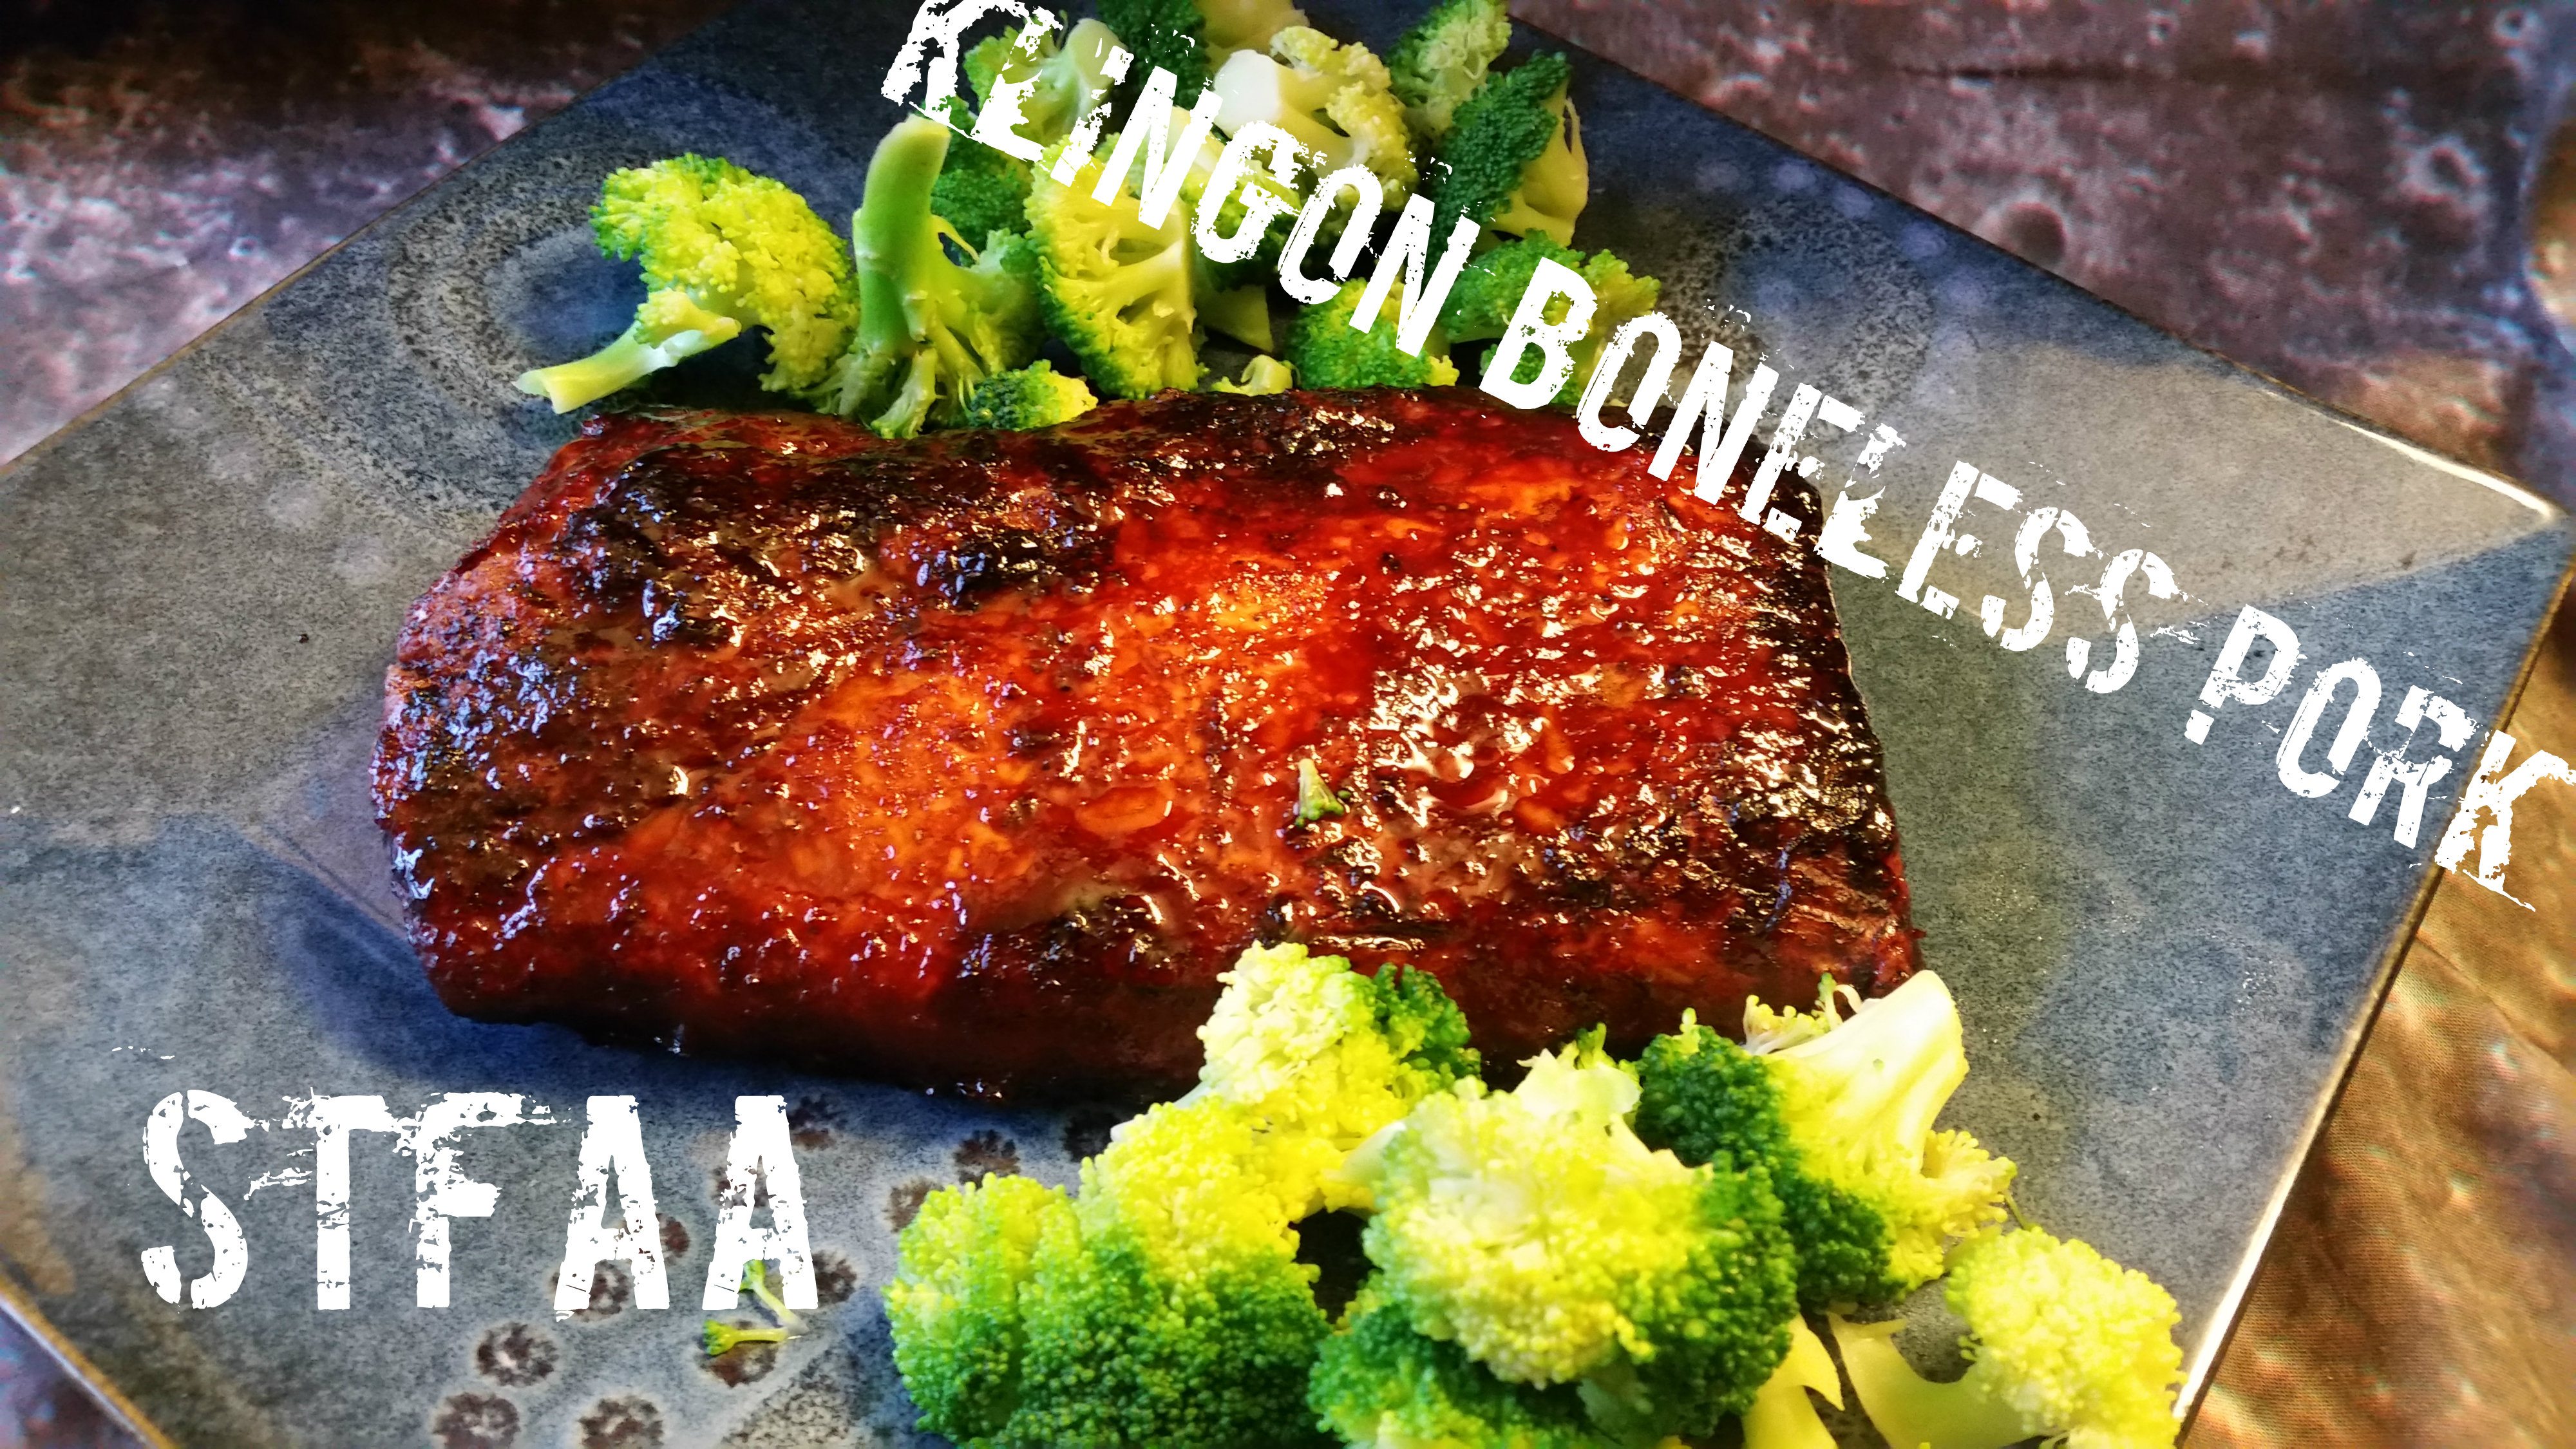
    Klingon Boneless Pork (with broccoli)
    Klingon Boneless Pork (with broccoli)

    Okay, so here’s the story:

    I’m a die-hard nerd, but I tend to flit about in the nerdiverse a lot. I would not have called myself a die-hard Star Trek fan (although I did in my senior high school yearbook!), but I’ve been surrounded by them most of my life. Since Netflix added them all, I’ve been binge-watching 4 of the 5 series (I have not started Enterprise yet, and I never saw any of those when they aired). I decided that watching the series finale of Star Trek: The Next Generation needed a themed dinner. Yes, I’m that kind of nerd.

    This dish came out of an attempt to make a human-palatable version of Klingon gagh. This version is MUCH prettier than the original version. In the original, to simulate “serpent worms,” I cut up thin-cut pork chops, marinated them, and them sauteed them on the stovetop. This version uses boneless country-style pork ribs primarily because they were on sale, but they take to the sauce very well.

    Sadly this is not a super-quick recipe, and it’s really not a “set-it-and-forget-it” meal, but the active work part is still pretty minimal. DO NOT FORGET TO LINE YOUR PAN WITH FOIL. This sauce bakes on pretty well, and I don’t want you to be scrubbing all week!


    Notice: Trying to access array offset on value of type bool in /home/maryzahc/public_html/adultfoodallergies.com/wp-content/plugins/wp-ultimate-recipe/helpers/models/recipe.php on line 254
    Klingon Boneless Ribs
    Print Recipe
    Servings Prep Time
    4 people 10 minutes
    Cook Time Passive Time
    90 minutes 74 minutes
    Servings Prep Time
    4 people 10 minutes
    Cook Time Passive Time
    90 minutes 74 minutes
    Klingon Boneless Ribs
    Print Recipe
    Servings Prep Time
    4 people 10 minutes
    Cook Time Passive Time
    90 minutes 74 minutes
    Servings Prep Time
    4 people 10 minutes
    Cook Time Passive Time
    90 minutes 74 minutes
    Ingredients
    • 1 pound boneless country-style pork ribs trim fat, if needed
    • 1/4 teaspoon garlic powder
    • 1/4 teaspoon kosher salt
    • 1/4 teaspoon pepper, freshly ground
    • 1 teaspoon olive oil (approximately)
    • 1 Tablespoon brown sugar
    • 2 Tablespoons honey
    • 1 Tablespoon sriracha
    • 1/4 cup red wine or apple cider vinegar
    • 1/4 cup oil I used safflower, but use what is safe for you
    Servings: people
    Instructions
    1. Preheat oven to 450˚F. Line baking dish with foil.
    2. Rub or spritz pork with oil and sprinkle with salt, pepper, and garlic powder. Bake for 30 minutes.
    3. Make the sauce by mixing the rest of the ingredients together until the sugar and honey are fully mixed in. Taste it. If you like it hot (Denise!), add more sriracha to taste.
    4. Reduce heat to 350˚F. Pour sauce over the pork.
    5. Bake for an additional hour, basting every ten minutes. I don’t own a baster, but I think that the stickiness of this sauce might make a mess. A spoon works just fine. This will burn at the edges of pan (hence the foil!), but just caramelize on the pork.
    6. Consider baking potatoes alongside the pork — it’s about the right timing, and the pork goes well with a good baked potato.
    Recipe Notes

    DON’T FORGET TO LINE THE PAN WITH FOIL.

    Share this Recipe
     
    Powered byWP Ultimate Recipe
  • Blood Orange Flounder

    Blood Orange Flounder

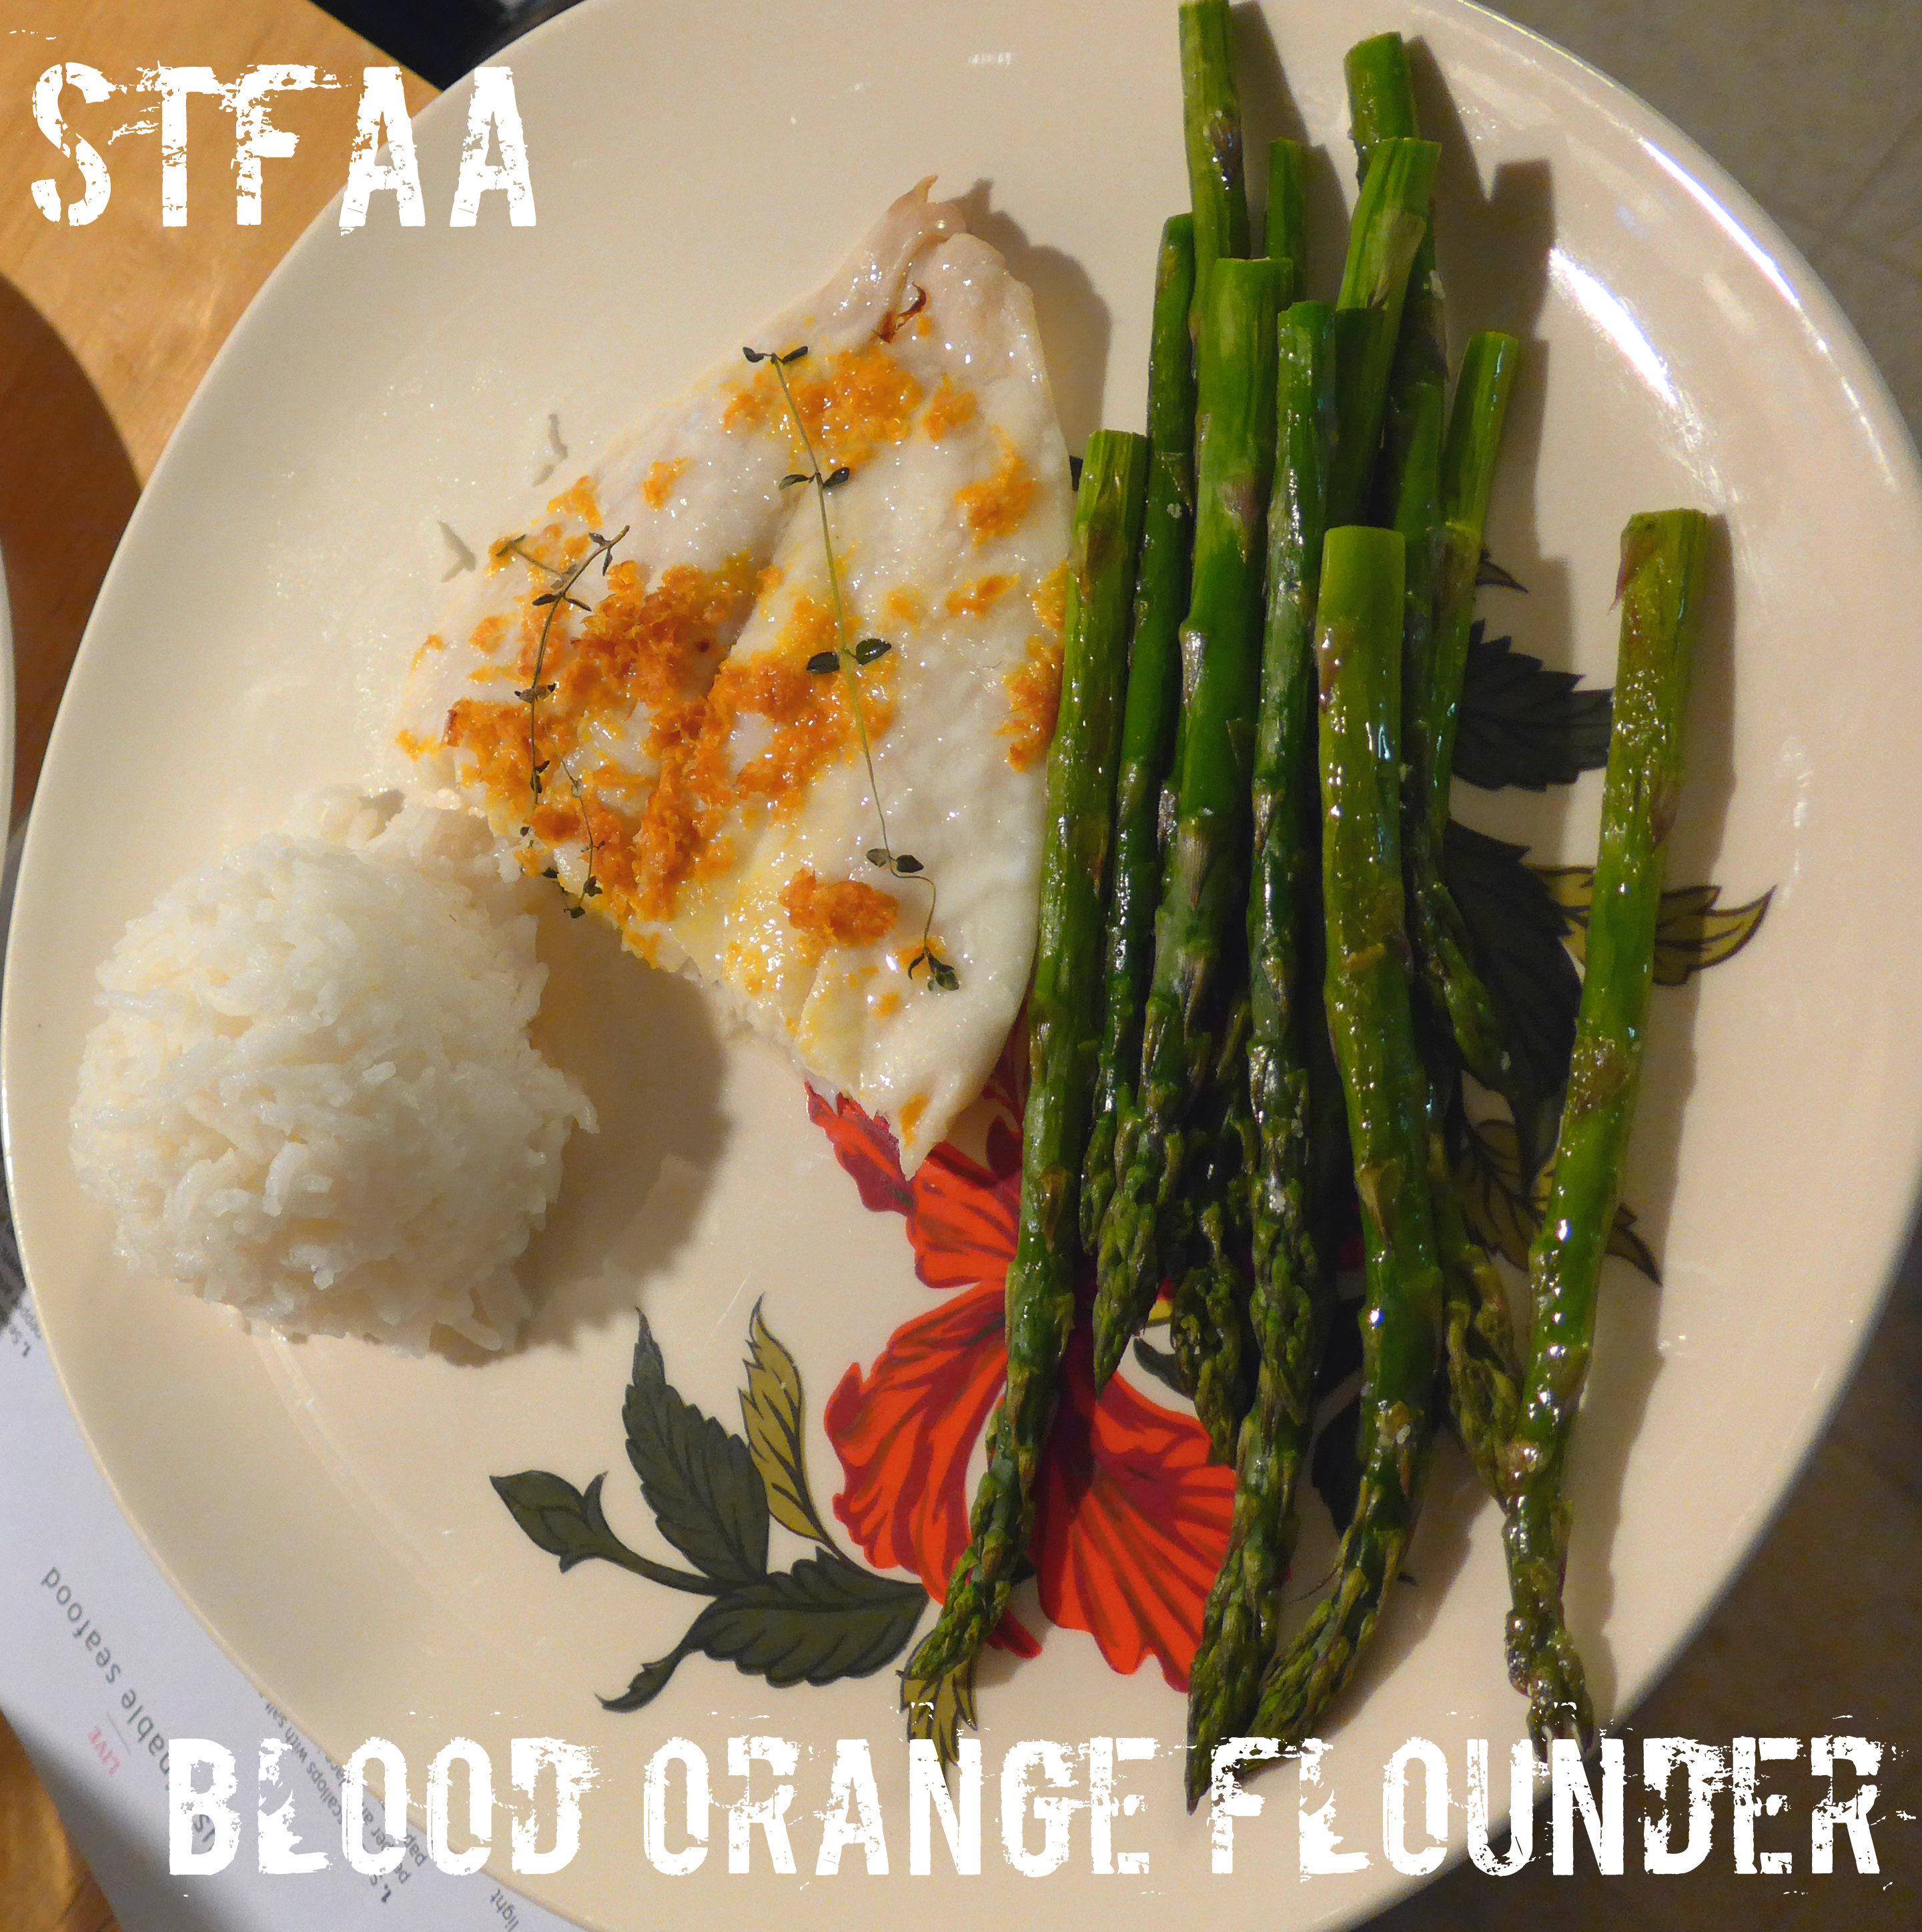
    Blood Orange Flounder with baked asparagus and jasmine rice
    Blood Orange Flounder with baked asparagus and jasmine rice

    Fish! I’m sorry for any of you who have fish allergies. I promise that we have plenty of non-fish recipes for you — hit the search bar up in the right-hand corner.

    I’ve recently discovered the Yankee Fisherman’s Co-operative in Seabrook — I’m pretty sure that the fish comes in the dock off the back and you take it right out the front door. It is FRESH. So when I was there and the flounder looked amazing, I figured I should learn how to cook flounder. Even if he was Ariel’s best friend.

    Flounder’s a very light-flavored fish, but it’s denser than tilapia, but not as “stiff” as cod. I liked it a lot. Because it’s a thin fillet, I decided to do parchment paper packets and citrus to add some flavor and keep the fish moist. I’ve layered the fish fillets over slices of blood orange, used the zest and some fresh thyme over top. Wrapped in parchment, the fish takes only about 15 minutes to cook to tender perfection.

    (I wrote directions for folding the parchment in the recipe, but if you want it to be really pretty, check out this tutorial.)

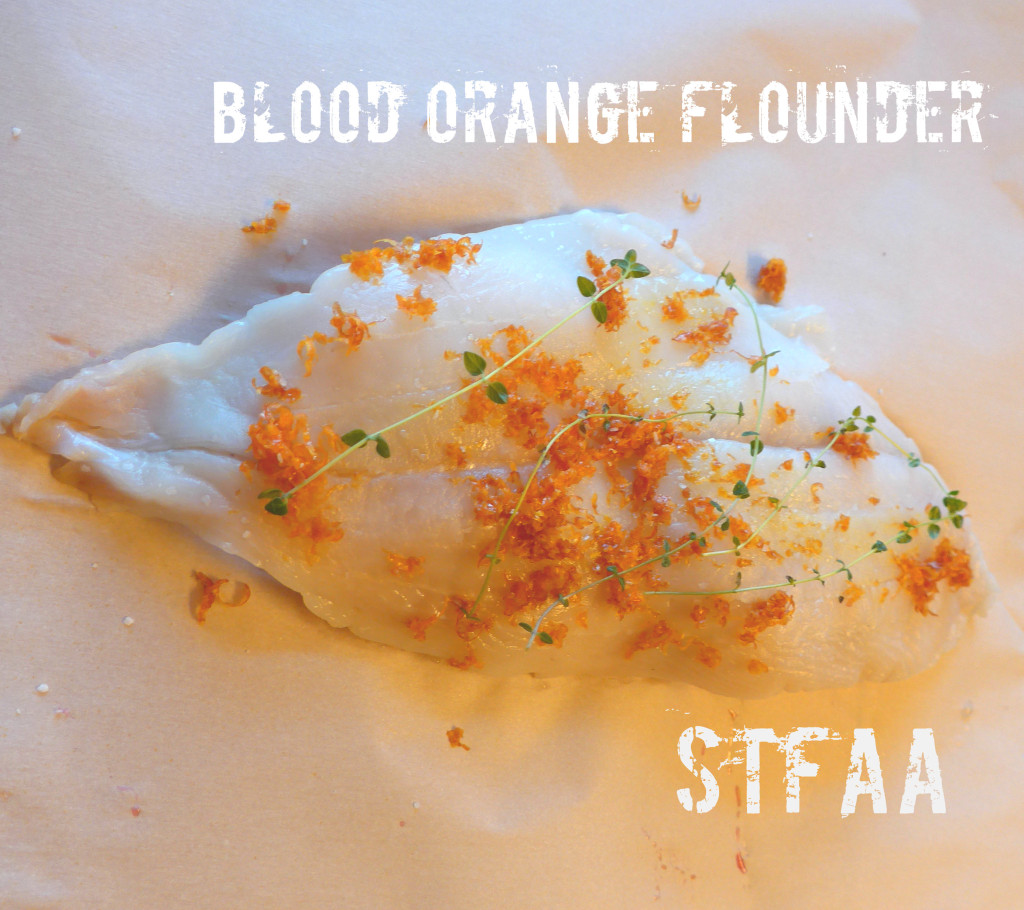
    Blood Orange Flounder, pre-baking. Zest and fresh thyme on top, and I swear there are whole orange slices beneath.
    Blood Orange Flounder, pre-baking. Zest and fresh thyme on top, and I swear there are whole orange slices beneath.

    Notice: Trying to access array offset on value of type bool in /home/maryzahc/public_html/adultfoodallergies.com/wp-content/plugins/wp-ultimate-recipe/helpers/models/recipe.php on line 254
    Blood Orange Flounder
    Print Recipe
    This light, tender fish is cooked in parchment paper packets with citrus to infuse flavor and prevent drying out.
    Servings Prep Time
    4 people 10 minutes
    Cook Time Passive Time
    15 minutes 15 minutes
    Servings Prep Time
    4 people 10 minutes
    Cook Time Passive Time
    15 minutes 15 minutes
    Ingredients
    • 1 pound flounder fillets
    • 1 large blood orange, zested and sliced thickly
    • 6-8 sprigs fresh thyme whole sprigs are fine
    Servings: people
    Instructions
    1. Pre-heat oven to 350ºF.
    2. My flounder was two fillets, so I made two separate parchment paper packets. You need sheets that will fit your fillet, longways, with at least 4 inches at either end.
    3. Layer 2-3 slices of orange (enough to support most of the fillet), with the fish fillet on top. Then sprinkle zest and fresh thyme over the top of each fillet.
    4. Fold the parchment packets. This is what I did — pull the width-wise edges together and fold over twice. At each end, fold the corners in (like wrapping a present) and fold under at least two times, more if your length allows.
    5. Place the packets on a baking sheet. Bake 15 minutes, and then test the fish with a fork to see if it is flaky. I served this with jasmine rice and asparagus baked at the same time as the fish.
    Share this Recipe
     
    Powered byWP Ultimate Recipe
  • Deep Dish Cast Iron Skillet Pizza

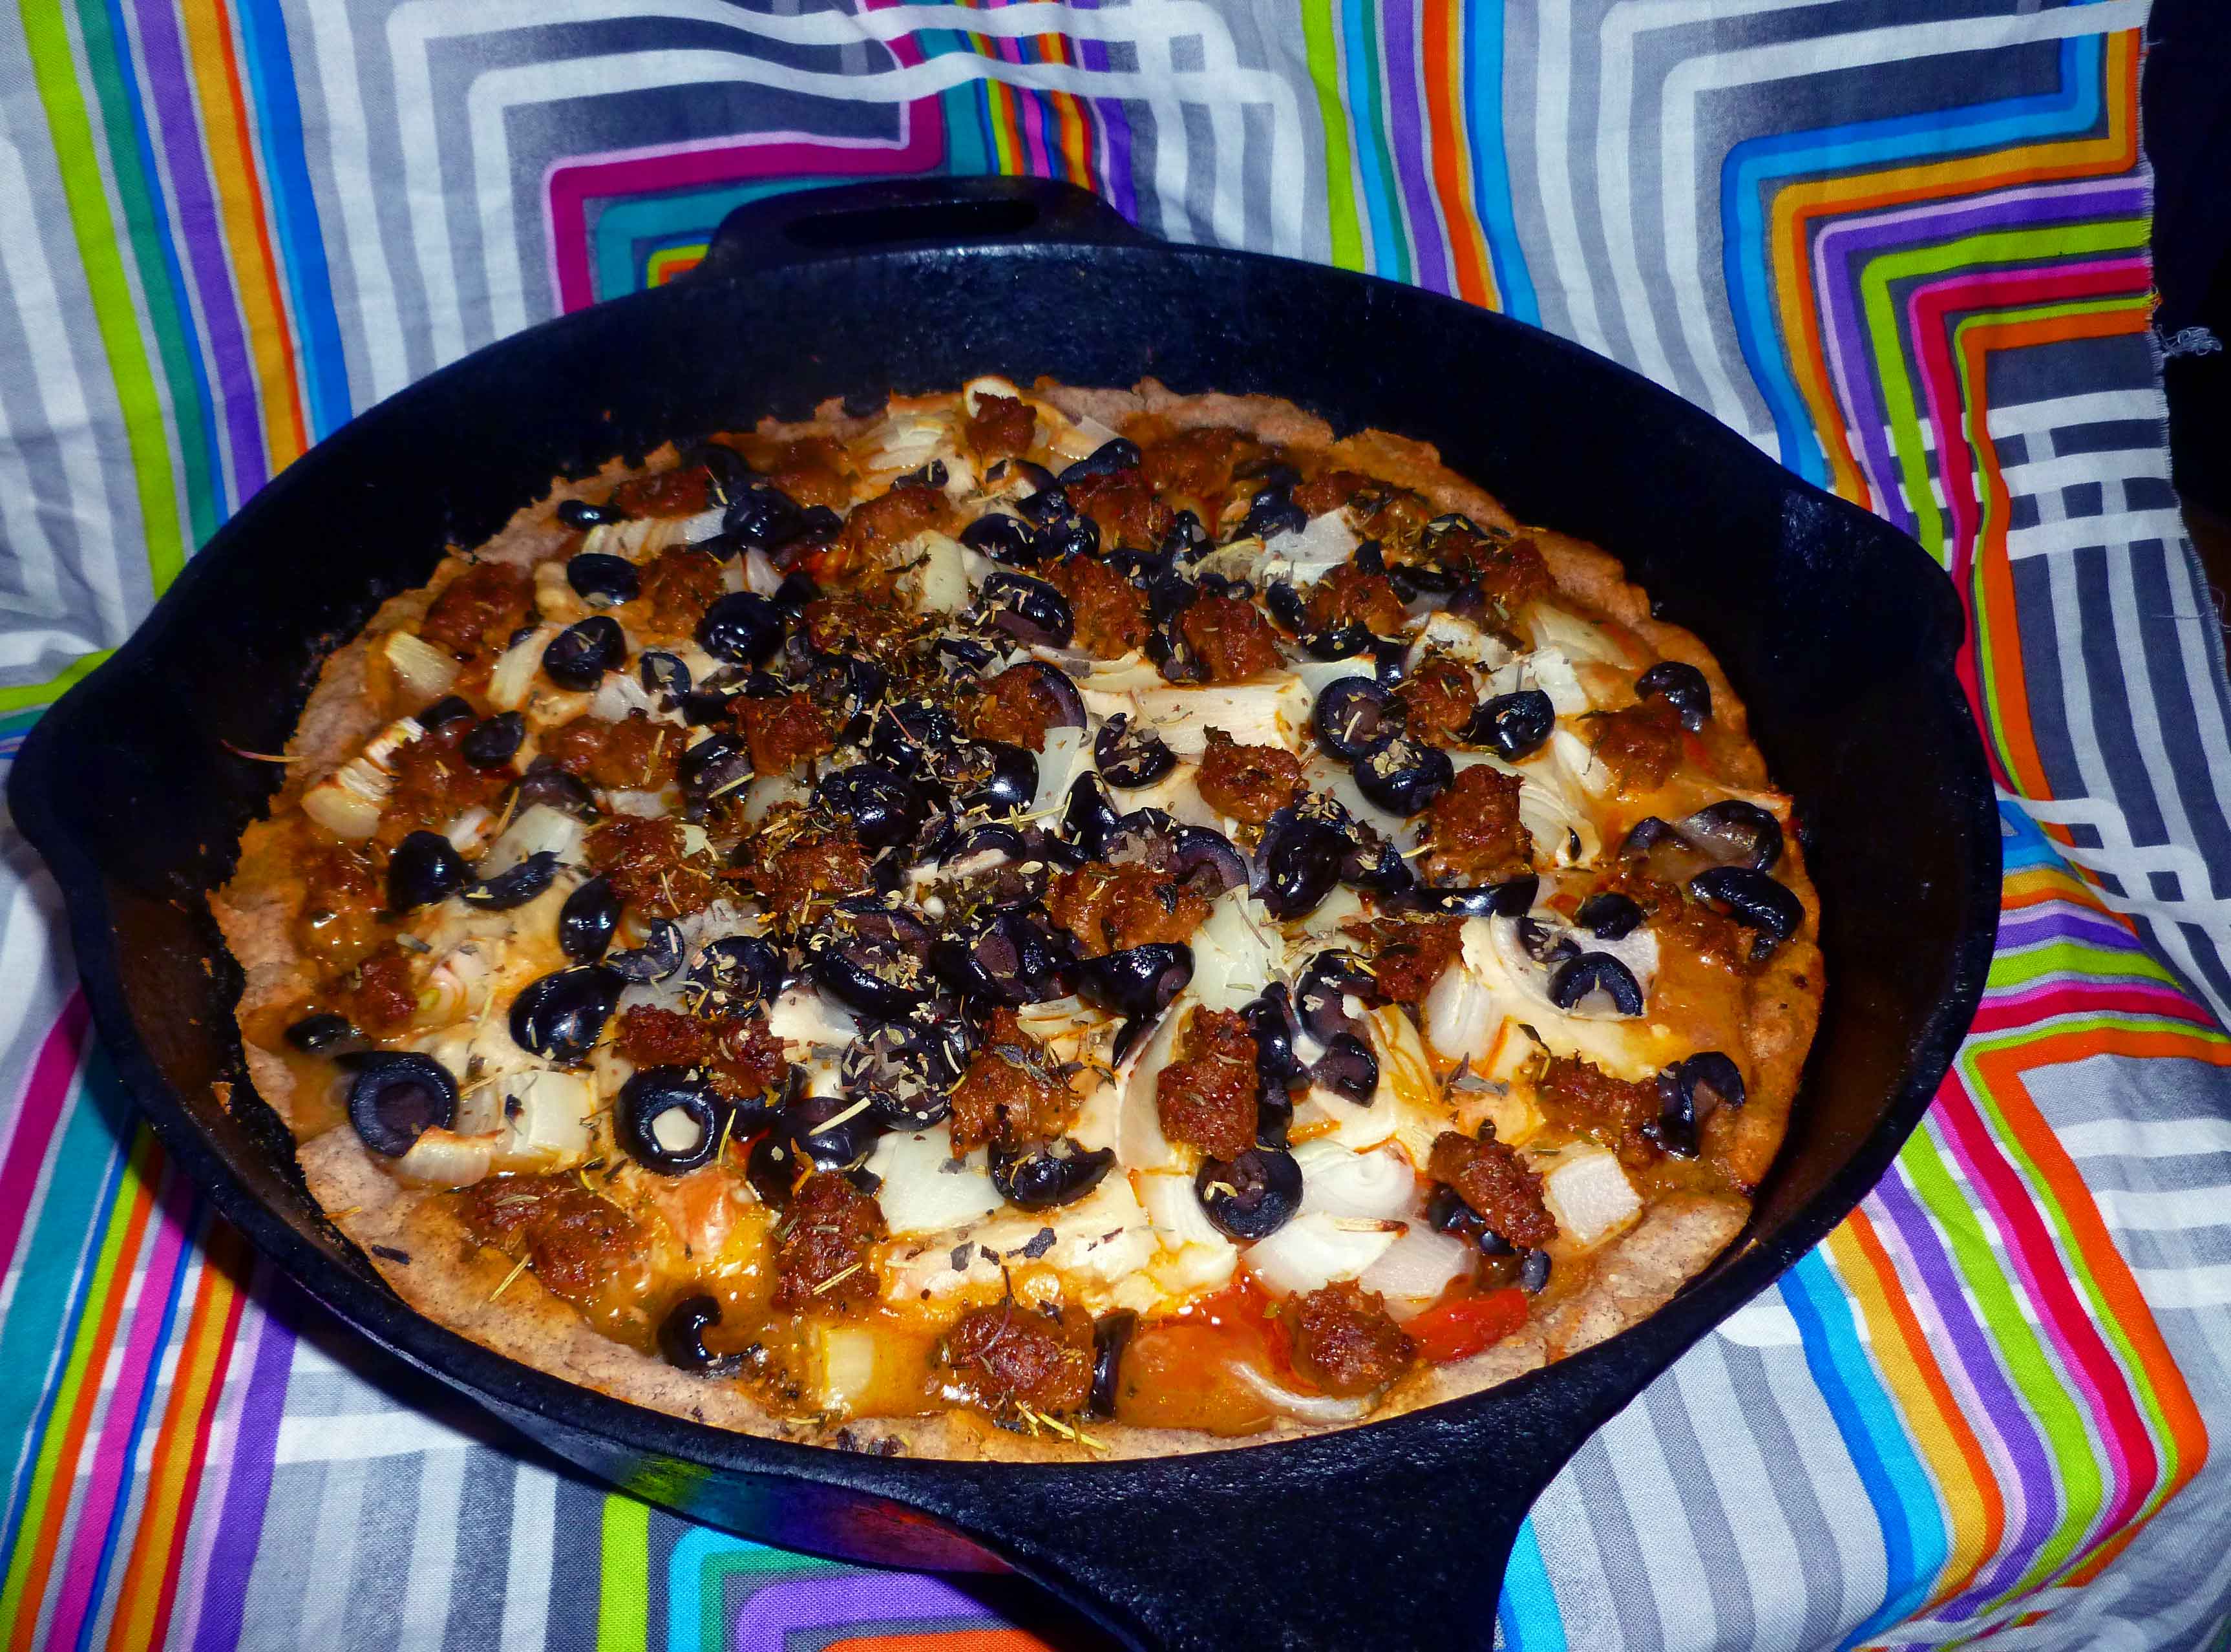
    Deep Dish Cast Iron Skillet Pizza

    Deep Dish Cast Iron Skillet Pizza
    Deep Dish Cast Iron Skillet Pizza

    I’ve been working on pizza crust, but I haven’t been able to get a nice yeasty dough that I can roll out that I like. The first attempt was as hard as a bathroom tile, although it tasted pretty good.  Then I had the brainstorm that although I didn’t have a fresh dough recipe yet, I could make a deep dish pizza using the my Gluten-free Pie Crust recipe.  So I did.  And it was pretty good.  For this recipe you’ll also need to make cashew cheese and Italian sausage a few days ahead. You’ll note that we do have an Italian sausage recipe already. However, I came up with it before the corn allergy, so if you have a corn allergy, substitute the canola for another safe-for-you oil.  I used the basic cashew cheese from Miyoko Schinner’s Artisan Vegan Cheese but I used my home brewed kombucha instead of rejuvelac to culture it.

    Deep Dish Cast Iron Skillet Pizza

    Cashew Cheese:

    You’ll use about half of the batch for the pizza. If you don’t want leftovers, divide the recipe in half.

    • 2 cups of raw cashews, soaked in water to cover overnight and drained
    • 1/2 cup to 3/4 cups of kombucha
    • pinch of salt

    Put the cashews and salt in the blender. Turn on the blender and add enough kombucha through the opening in the blender lid to process the cashews. Blend until smooth and creamy, scraping down the sides as needed.

    Empty the mixture into a glass bowl or container, cover it, and let it rest at room temperature for 8 to 36 hours, depending on your desired level of sharpness. It’ll thicken up as it cultures. I did 36 hours the first time and it was too sharp.  Eight hours was too sweet, so taste it as it cultures to gauge your preference. Once it’s ready, cover it, and store it in the refrigerator for up to two weeks.

    Pizza:

    • 1/2 of a batch of the Italian Sausage in our Hot Italian Sausage Burgers with Peppers and Onions recipe (remember, use safe oil)
    • 1 batch of our Gluten-free Pie Crust
    • 2 cups of safe-for-you whole tomatoes, drained (I use my home canned tomatoes), or a safe-for-you marinara sauce
    • 1 Tablespoon of Italian Seasoning mix (or a bit of oregano, basil, marjoram, sage, rosemary, and thyme to add up to 1 Tablespoon)
    • 1/2 of a batch of the cashew cheese as made above
    • a medium onion, peeled and diced
    • a can of black olives, drained and sliced (I do okay with Pearls Olives, but your mileage may vary, use what’s safe for you. I use the whole olives for less chance of cross contamination.)
    • a bit of safe-for-you oil for greasing the cast iron skillet

    Preheat your oven to 450°F.   Grease your 12 inch cast iron skillet with your oil.

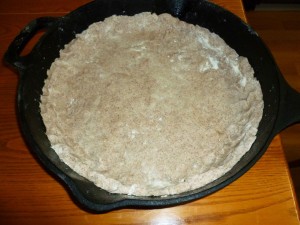
    Roll out the dough and place in your skillet.  I had trouble rolling out my dough and was impatient, so I added it to the skillet in patchwork bits, pressing the pieces together.

    Crust in skillet, piecemeal style
    Crust in skillet, piecemeal style

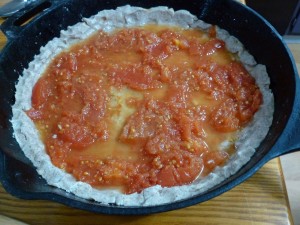
    Once you’ve got your crust in, add the tomatoes or sauce and spread them over the surface of the crust.

    Whole tomatoes over crust
    Whole tomatoes over crust

    Sprinkle the Italian seasoning over the tomatoes or sauce.  Add tablespoons of the cashew cheese over the surface at regular intervals. You’re aiming for something that looks like this. Sprinkle your onions and olives over the top of the pizza.  Break off pieces of your sausage about the size of a grape and arrange them on the pizza.

    Pizza with toppings before baking
    Pizza with toppings before baking

    Place the pizza in the oven and bake for 45 minutes.

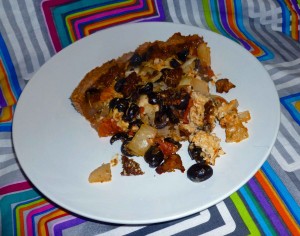
    Deep Dish Cast Iron Skillet Pizza
    Deep Dish Cast Iron Skillet Pizza

    Enjoy!


    Notice: Trying to access array offset on value of type bool in /home/maryzahc/public_html/adultfoodallergies.com/wp-content/plugins/wp-ultimate-recipe/helpers/models/recipe.php on line 254
    Basic Cashew Cheese (Adapted from Miyoko Schinner’s Artisan Vegan Cheese)
    Print Recipe
    A ricotta like cashew cheese.
    Servings Prep Time
    2-3 cups 8 hours
    Cook Time Passive Time
    5 minutes 8-36 hours
    Servings Prep Time
    2-3 cups 8 hours
    Cook Time Passive Time
    5 minutes 8-36 hours
    Ingredients
    • 2 cups raw cashews, soaked in water to cover overnight and drained
    • 1/2 to 3/4 cups kombucha
    • 1 pinch salt
    Servings: cups
    Instructions
    1. Put the cashews and salt in the blender. Turn on the blender and add enough kombucha through the opening in the blender lid to process the cashews. Blend until smooth and creamy, scrapping down the sides as needed.
    2. Empty the mixture into a glass bowl or container, cover it, and let rest at room temperature for 8 to 36 hours, depending on your desired level of sharpness. It’ll thicken as it cultures. Once it’s done, cover and store in the refrigerator for up to two weeks.
    Share this Recipe
     
    Powered byWP Ultimate Recipe


    Notice: Trying to access array offset on value of type bool in /home/maryzahc/public_html/adultfoodallergies.com/wp-content/plugins/wp-ultimate-recipe/helpers/models/recipe.php on line 254
    Deep Dish Cast Iron Skillet Pizza
    Print Recipe
    Servings Prep Time
    6 pieces 30 minutes (not counting ingredient prep)
    Cook Time
    45 minutes
    Servings Prep Time
    6 pieces 30 minutes (not counting ingredient prep)
    Cook Time
    45 minutes
    Deep Dish Cast Iron Skillet Pizza
    Print Recipe
    Servings Prep Time
    6 pieces 30 minutes (not counting ingredient prep)
    Cook Time
    45 minutes
    Servings Prep Time
    6 pieces 30 minutes (not counting ingredient prep)
    Cook Time
    45 minutes
    Ingredients
    • 1/2 batch Italian Sausage in our Hot Italian Sausage Burgers with Peppers and Onions recipe (remember, use safe oil) http://adultfoodallergies.com/hot-italian-sausage-burgers-with-peppers-and-onions/
    • 1 batch Gluten-free Pie Crust http://adultfoodallergies.com/gluten-free-pie-crust-vegan-option/
    • 2 cups whole canned tomatoes or marinara sauce use what is safe for you
    • 1 tbsp Italian Seasoning Mix or a bit of oregano, basil, marjoram, sage, rosemary, and thyme to add up to 1 Tablespoon
    • 1/2 batch Basic Cashew Cheese (Adapted from Miyoko Schinner’s Artisan Vegan Cheese) http://adultfoodallergies.com/recipe/basic-cashew-cheese-adapted-from-miyoko-schinners-artisan-vegan-cheese/
    • 1 medium onion, peeled and diced
    • 1 can black olives, drained and sliced
    • 1 tsp olive or other safe-for-you oil
    Servings: pieces
    Instructions
    1. Preheat your oven to 450°F. Grease your 12 inch cast iron skillet with your oil.
    2. Roll out the dough and place in your skillet. If you can’t roll it out smoothly, you can do it in patchwork bits, pressing the pieces together.
    3. Once you’ve got your crust in, add the tomatoes or sauce and spread them over the surface of the crust. Sprinkle the Italian seasoning over the tomatoes or sauce. Add tablespoons of the cashew cheese over the surface at regular intervals. Sprinkle your onions and olives over the top of the pizza. Break off pieces of your sausage about the size of a grape and arrange them on the pizza.
    4. Place the pizza in the oven and bake for 45 minutes
    Share this Recipe
     
    Powered byWP Ultimate Recipe