Notice: Function _load_textdomain_just_in_time was called incorrectly. Translation loading for the wp-ultimate-recipe domain was triggered too early. This is usually an indicator for some code in the plugin or theme running too early. Translations should be loaded at the init action or later. Please see Debugging in WordPress for more information. (This message was added in version 6.7.0.) in /home/maryzahc/public_html/adultfoodallergies.com/wp-includes/functions.php on line 6121
DIY Allergy-Friendly Ingredients – Page 4 – surviving the food allergy apocalypse (archive)

Category: DIY Allergy-Friendly Ingredients

DIY Allergy-Friendly Ingredients – Do-It-Yourself versions of processed foods normally bought at a grocery store, such as bacon, margarine, or spice mixes, but for which a commercial version can no longer be safely purchased due to food allergies. Most people with top 8 allergies won’t have to go to this extent, but some of you may want to try or find it useful. Some of these recipes will take days or longer to complete. These recipes will not contain dairy, eggs, gluten, wheat or hazelnuts. If we use a top 8 allergen, we will use a tag warning of its use.

  • WW: Homemade Margarine Experiments

    The winning version - using beef tallow and lard
    The winning version – using beef tallow and lard

    So I used to use Earth Balance Vegan Buttery Spread before the whole corn thing went down. But it’s got ingredients derived from corn. Supposedly the proteins are processed out of it, but I’ve heard that song and dance before and reacted, so my Earth Balance got stricken from the list things that were okay to eat. Also, most shortenings are also now out the window for me as they they have corn, flax, or palm, which is cross reactive with coconut (allergic), and for which I’ve had little sneaky reactions. Quite a while back I tried to make some vegan margarine using cocoa butter. It was a great idea, but the reality of the product left something to be desired, as it just didn’t taste like margarine. For a while I ignored the issue and just dumped olive oil on stuff, and made wine-herb-olive oil sauces for dipping things like lobster, but I missed margarine/butter.

    About a month or so ago, I started thinking about baking again, or more accurately, chocolate chip cookies, and the fact that I didn’t really have a safe margarine or shortening to make them with. I started wondering about lard, since you can make pie crust from it, and started doing some Google-fu. Turns out most commercial lards have citric acid (corn) or other additives that are problematic. Sigh. So I started wondering if you could DIY it somehow, like saving your bacon fat. I found this article on rendering your own lard. I began considering whether I could use the lard to make margarine. Then in the process of making the Roasted Beef Stock and discussing the use of the beef tallow skimmed from the stock to use to caramelize the onions with Mary Kate for her French Onion Soup, we considered whether beef tallow might have a closer to dairy taste and feel. So I went searching for recipes to render beef tallow and found this article.

    So then it was a matter of trying to get my hands on some pork leaf lard to render down into lard and some suet to render down into beef tallow. I found a local source, the Miles Smith Farm, where they are able to get pastured pork from another supplier and they have grass fed beef. Once I rendered down my order in separate crock pots, I had a quart and half a pint of lard and a quart, a pint, and a half pint jar of beef tallow.

    Beef Tallow and Pork Leaf Lard
    Beef Tallow and Pork Leaf Lard

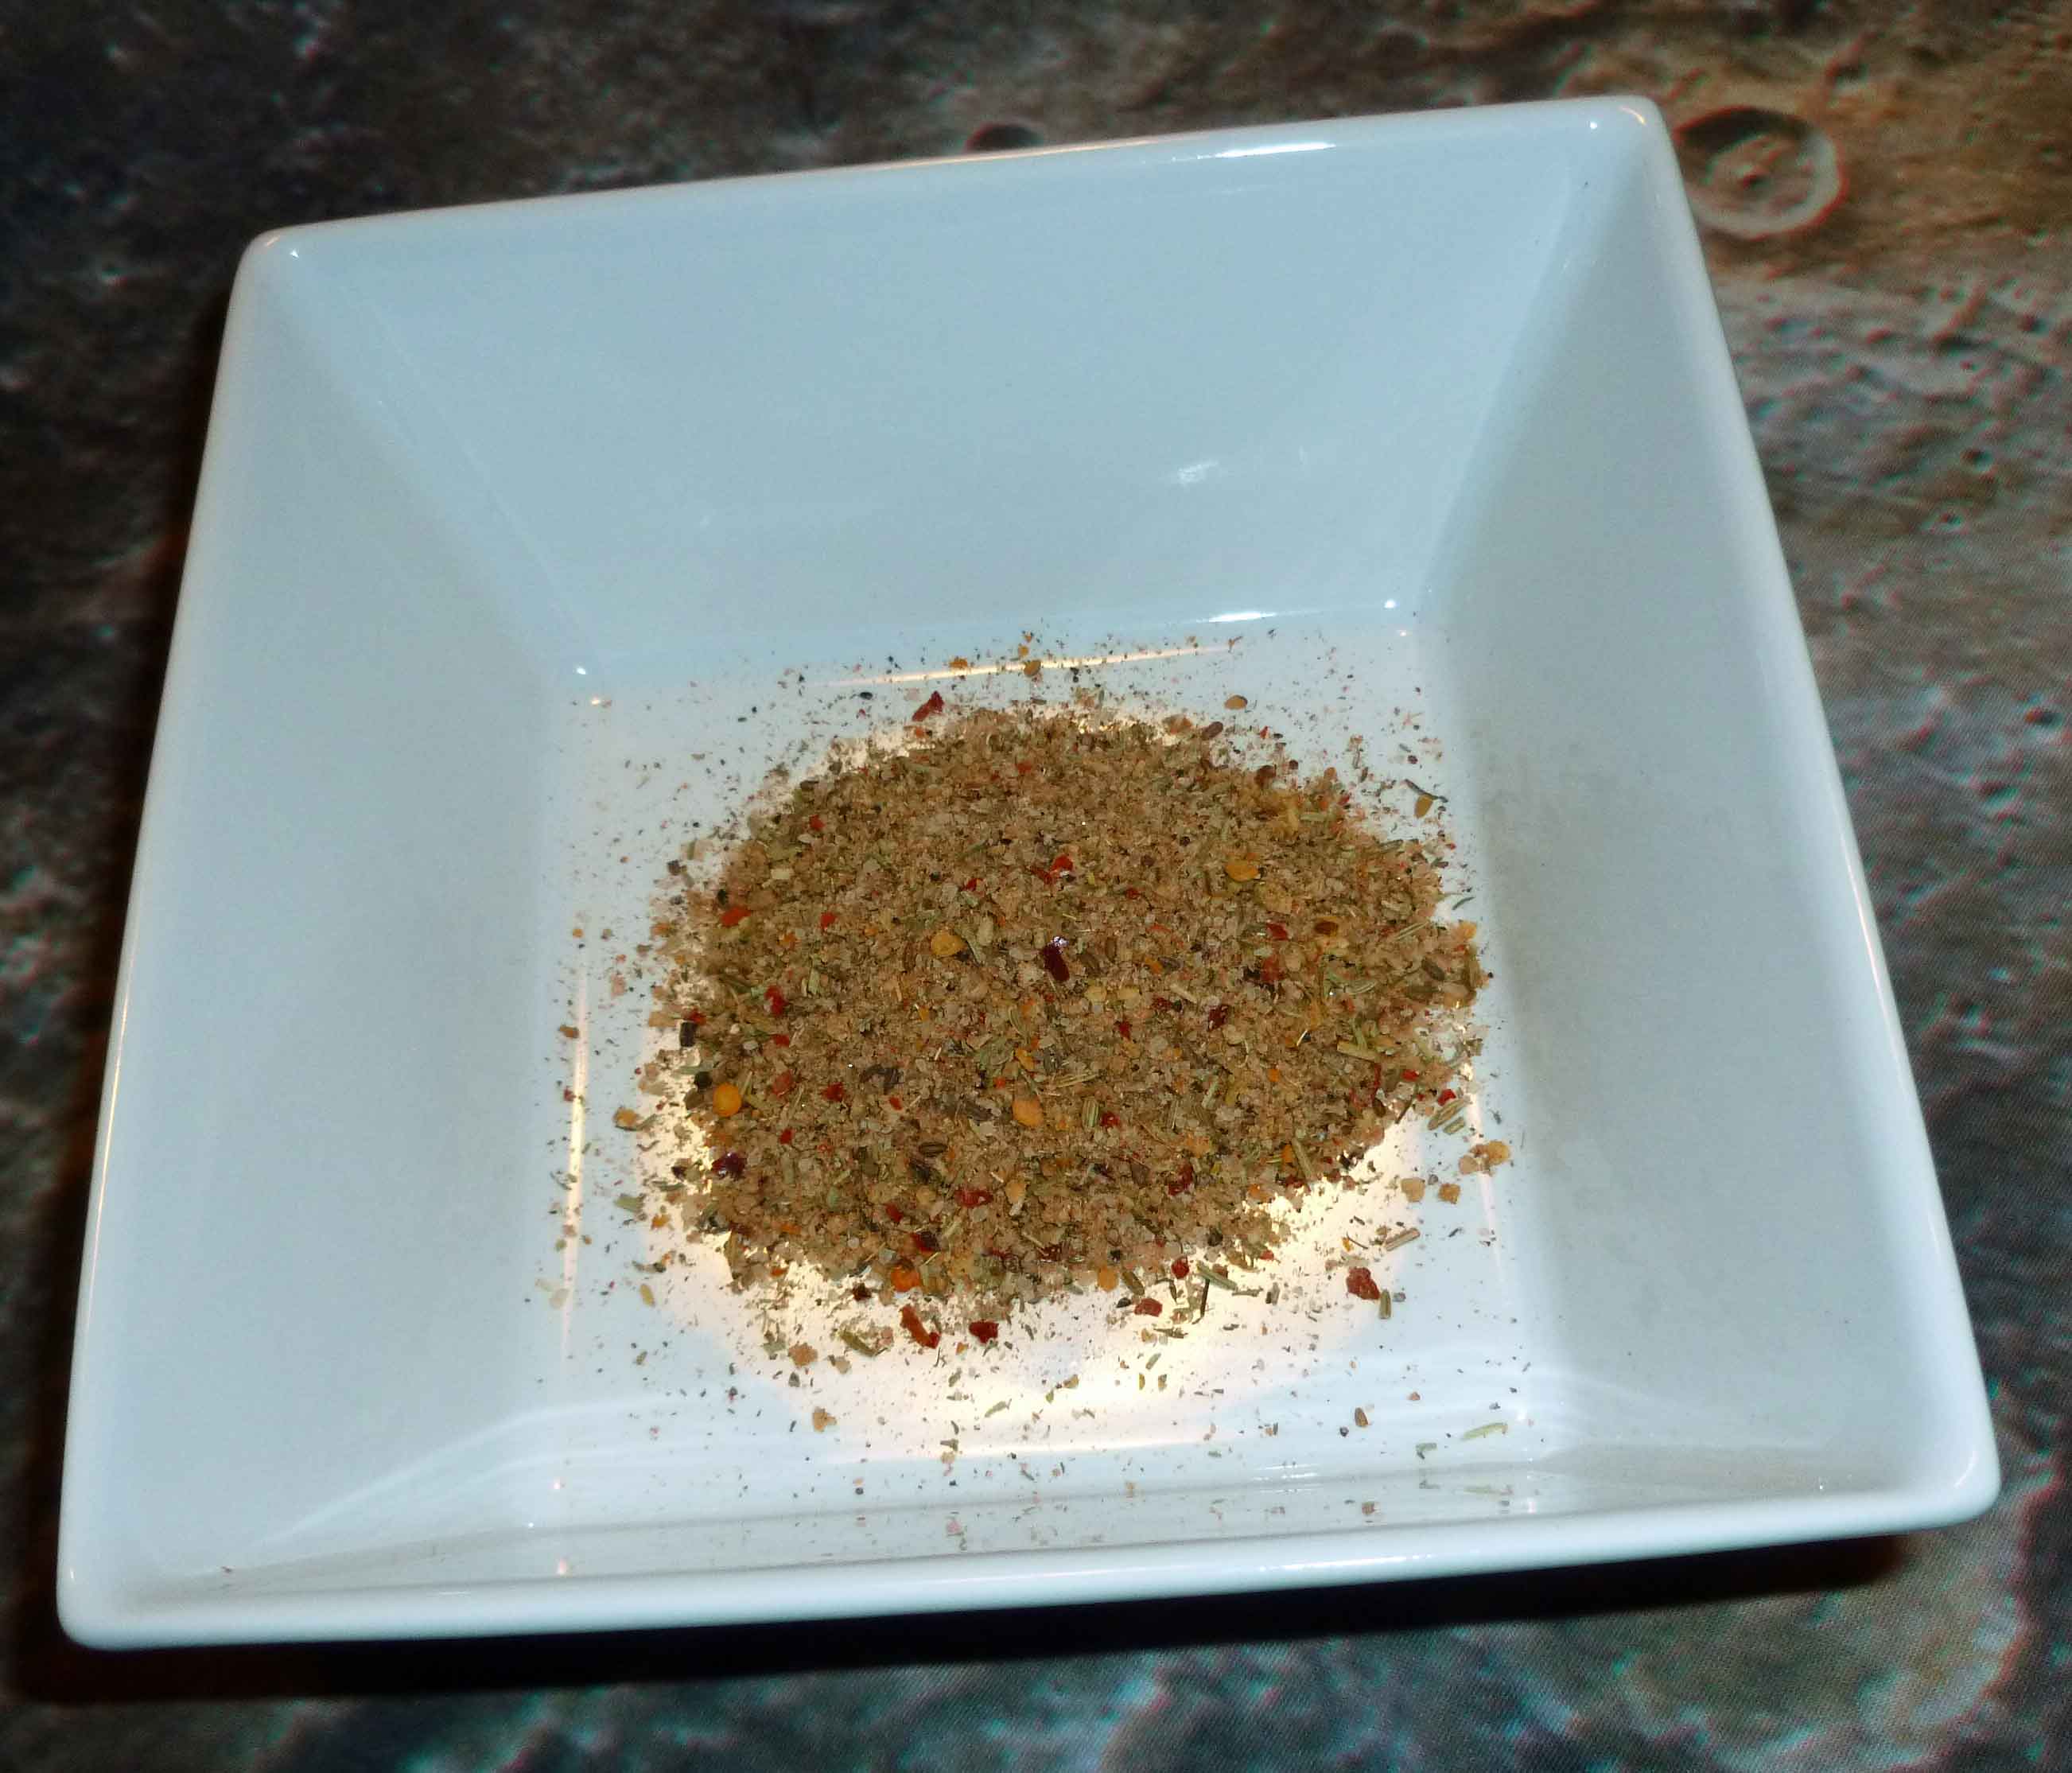
    I used the original recipe I had tried as a starting point for my attempts. I know what you’re thinking…Denise, you’re going to hell for using a vegan recipe to make margarine out of animal fats. And you’re probably right. If I had a viable vegetable alternative, I’d take it, even though I’m not vegan. But I’m not vegan, and I don’t have a viable vegetable alternative. I used the recipe as a guide, for amounts, but I switched out almost every ingredient. I don’t like soy or hemp milk and I’m allergic to almonds. I didn’t want to use canola oil because of cross contamination with corn and sunflower oil is out because I’m allergic to sunflower. Also, I didn’t want to use the soy lecithin because if you’ve read how that’s made, you won’t want to eat it, and sunflower lecithin is out because I’m allergic to it. The cocoa butter doesn’t taste right, and I can’t use xanthan gum (corn/wheat) and I didn’t want to use guar gum. So I googled substitutions for emulsifiers and came up with the suggestion of psyllium husk as a substitute for soy lecithin. This is what I came up with for a recipe to test:

    • 2 ounces of fat (either all lard, all beef tallow or 1 ounce of each)
    • ⅓ cup of homemade cashew milk 
    • ¼ tsp of fresh lemon juice
    • ¼ tsp of apple cider vinegar (I used Bragg’s)
    • ½ cup of olive oil
    • ½ tsp of sea salt
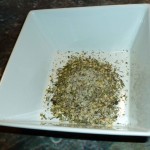
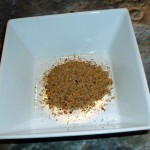
    • ¾ tsp of psyllium husk powder
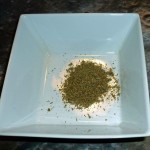
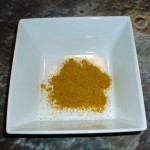
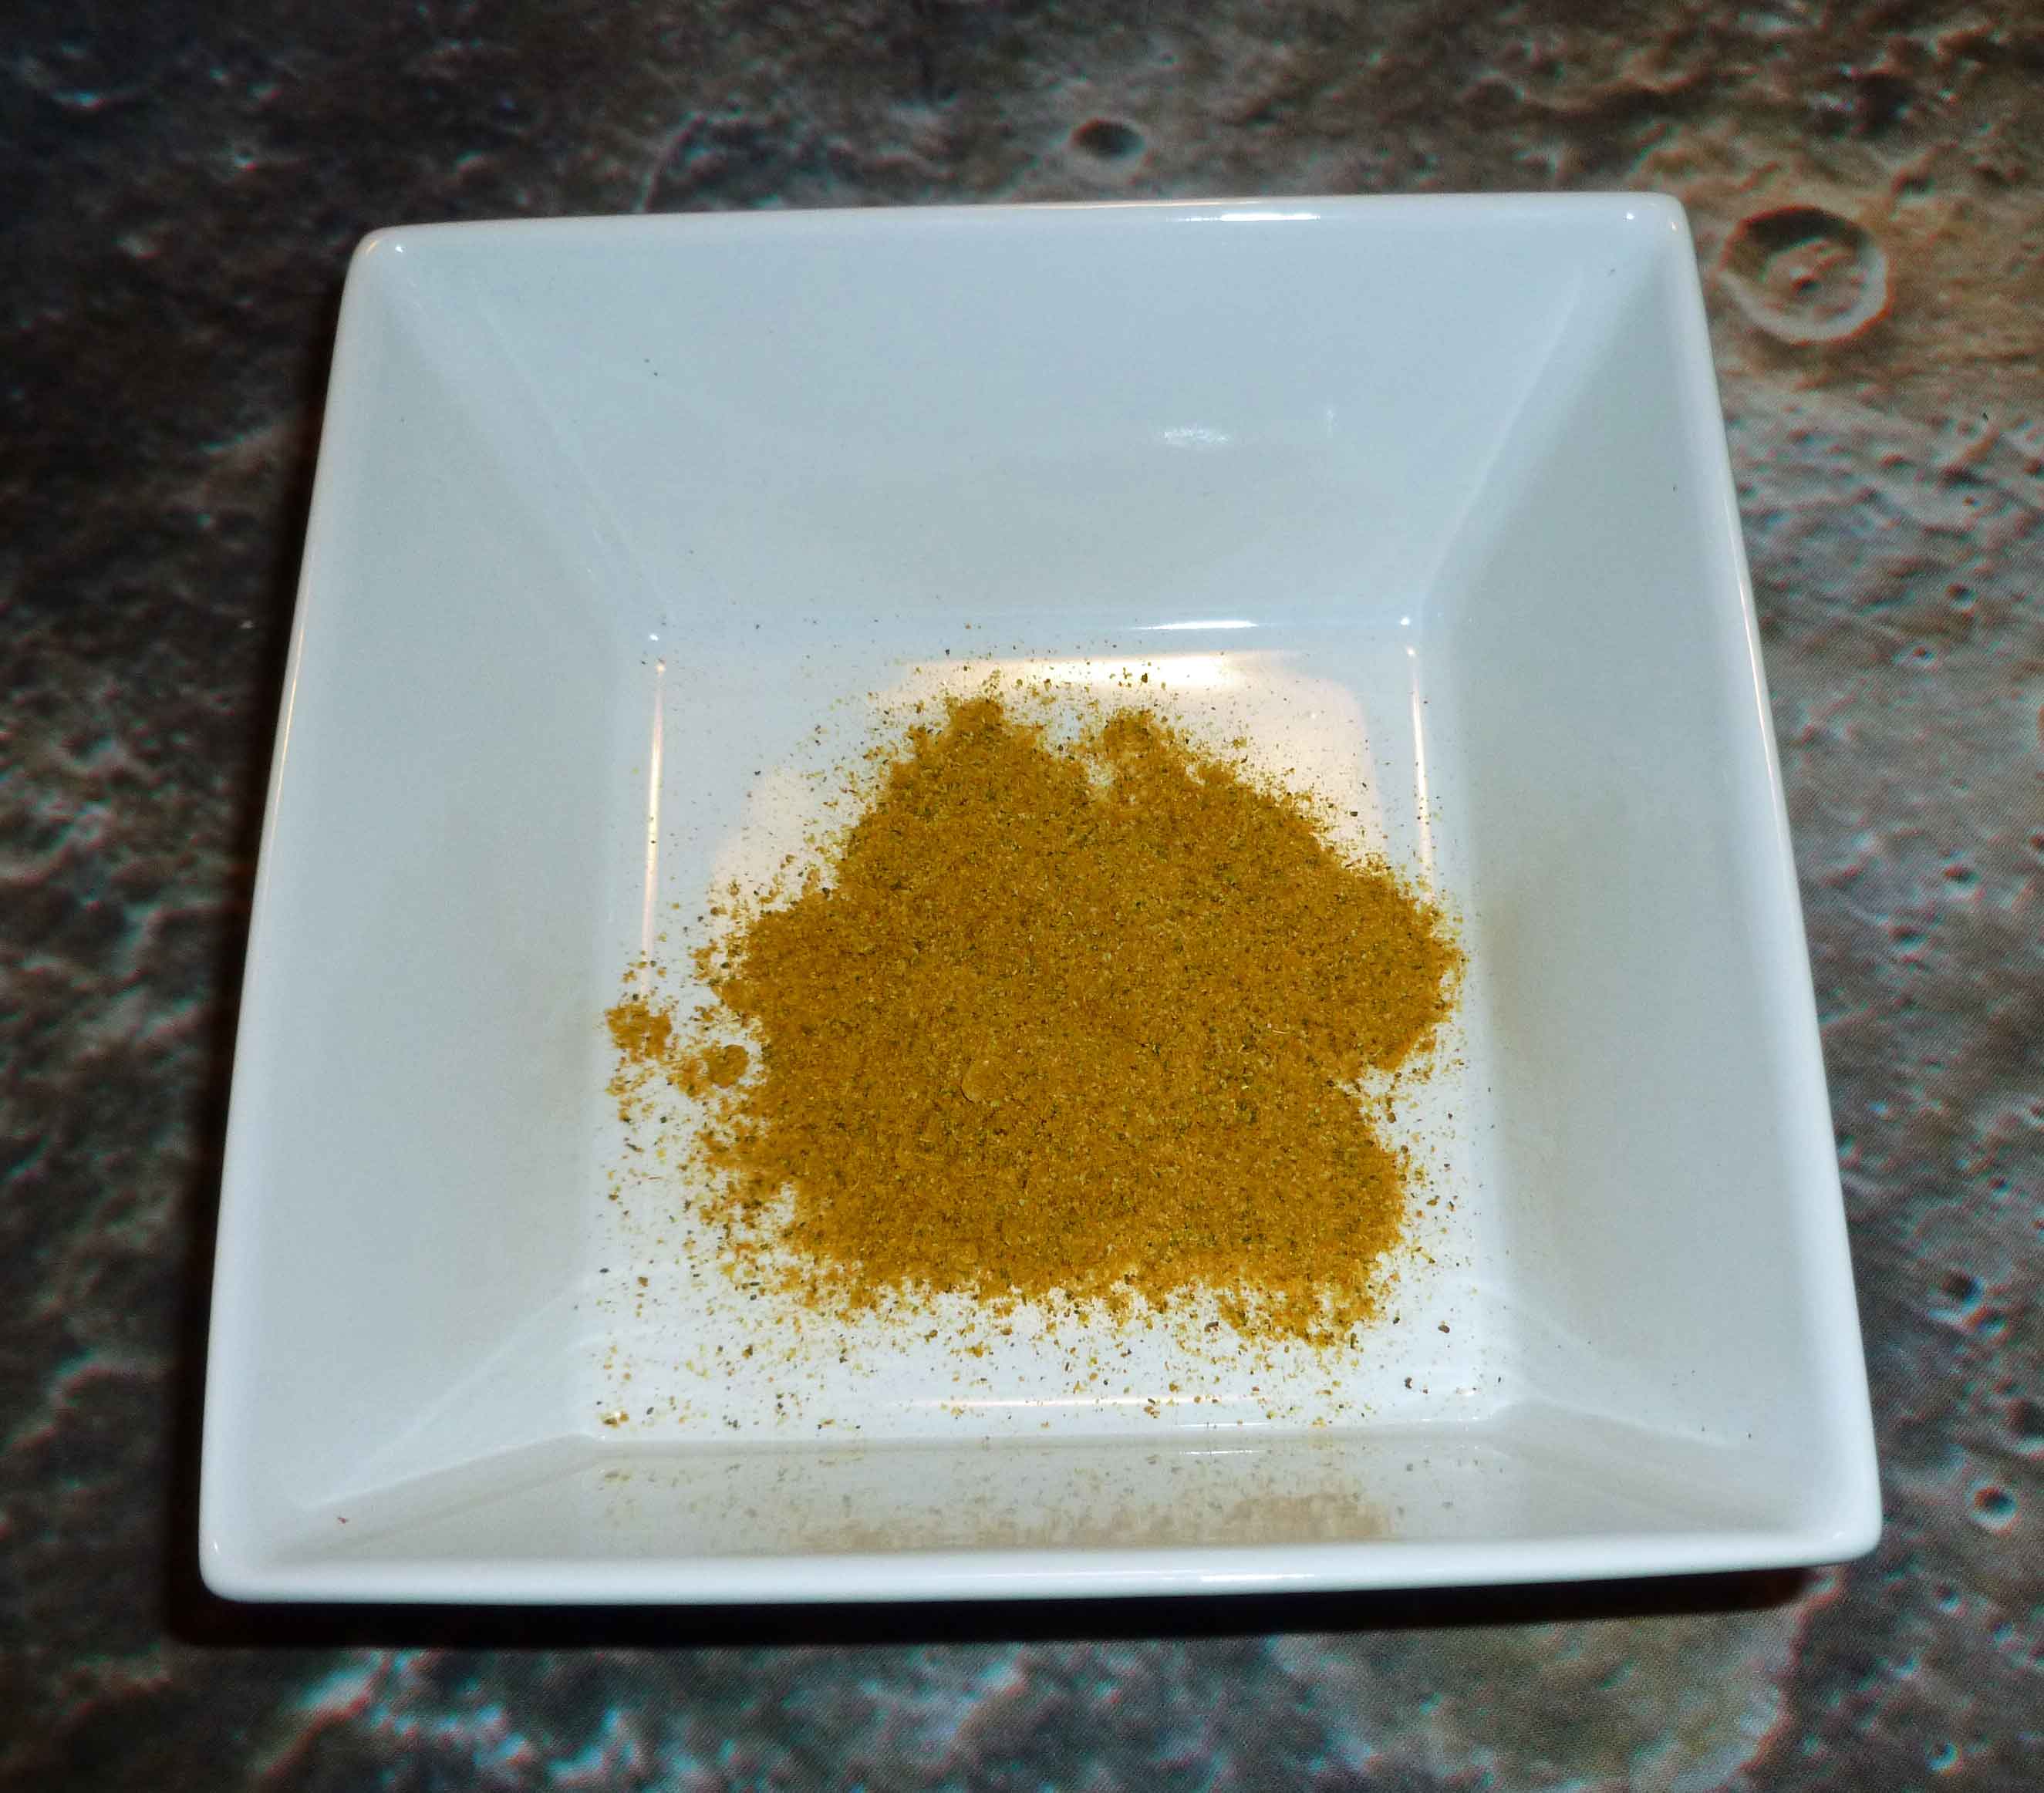
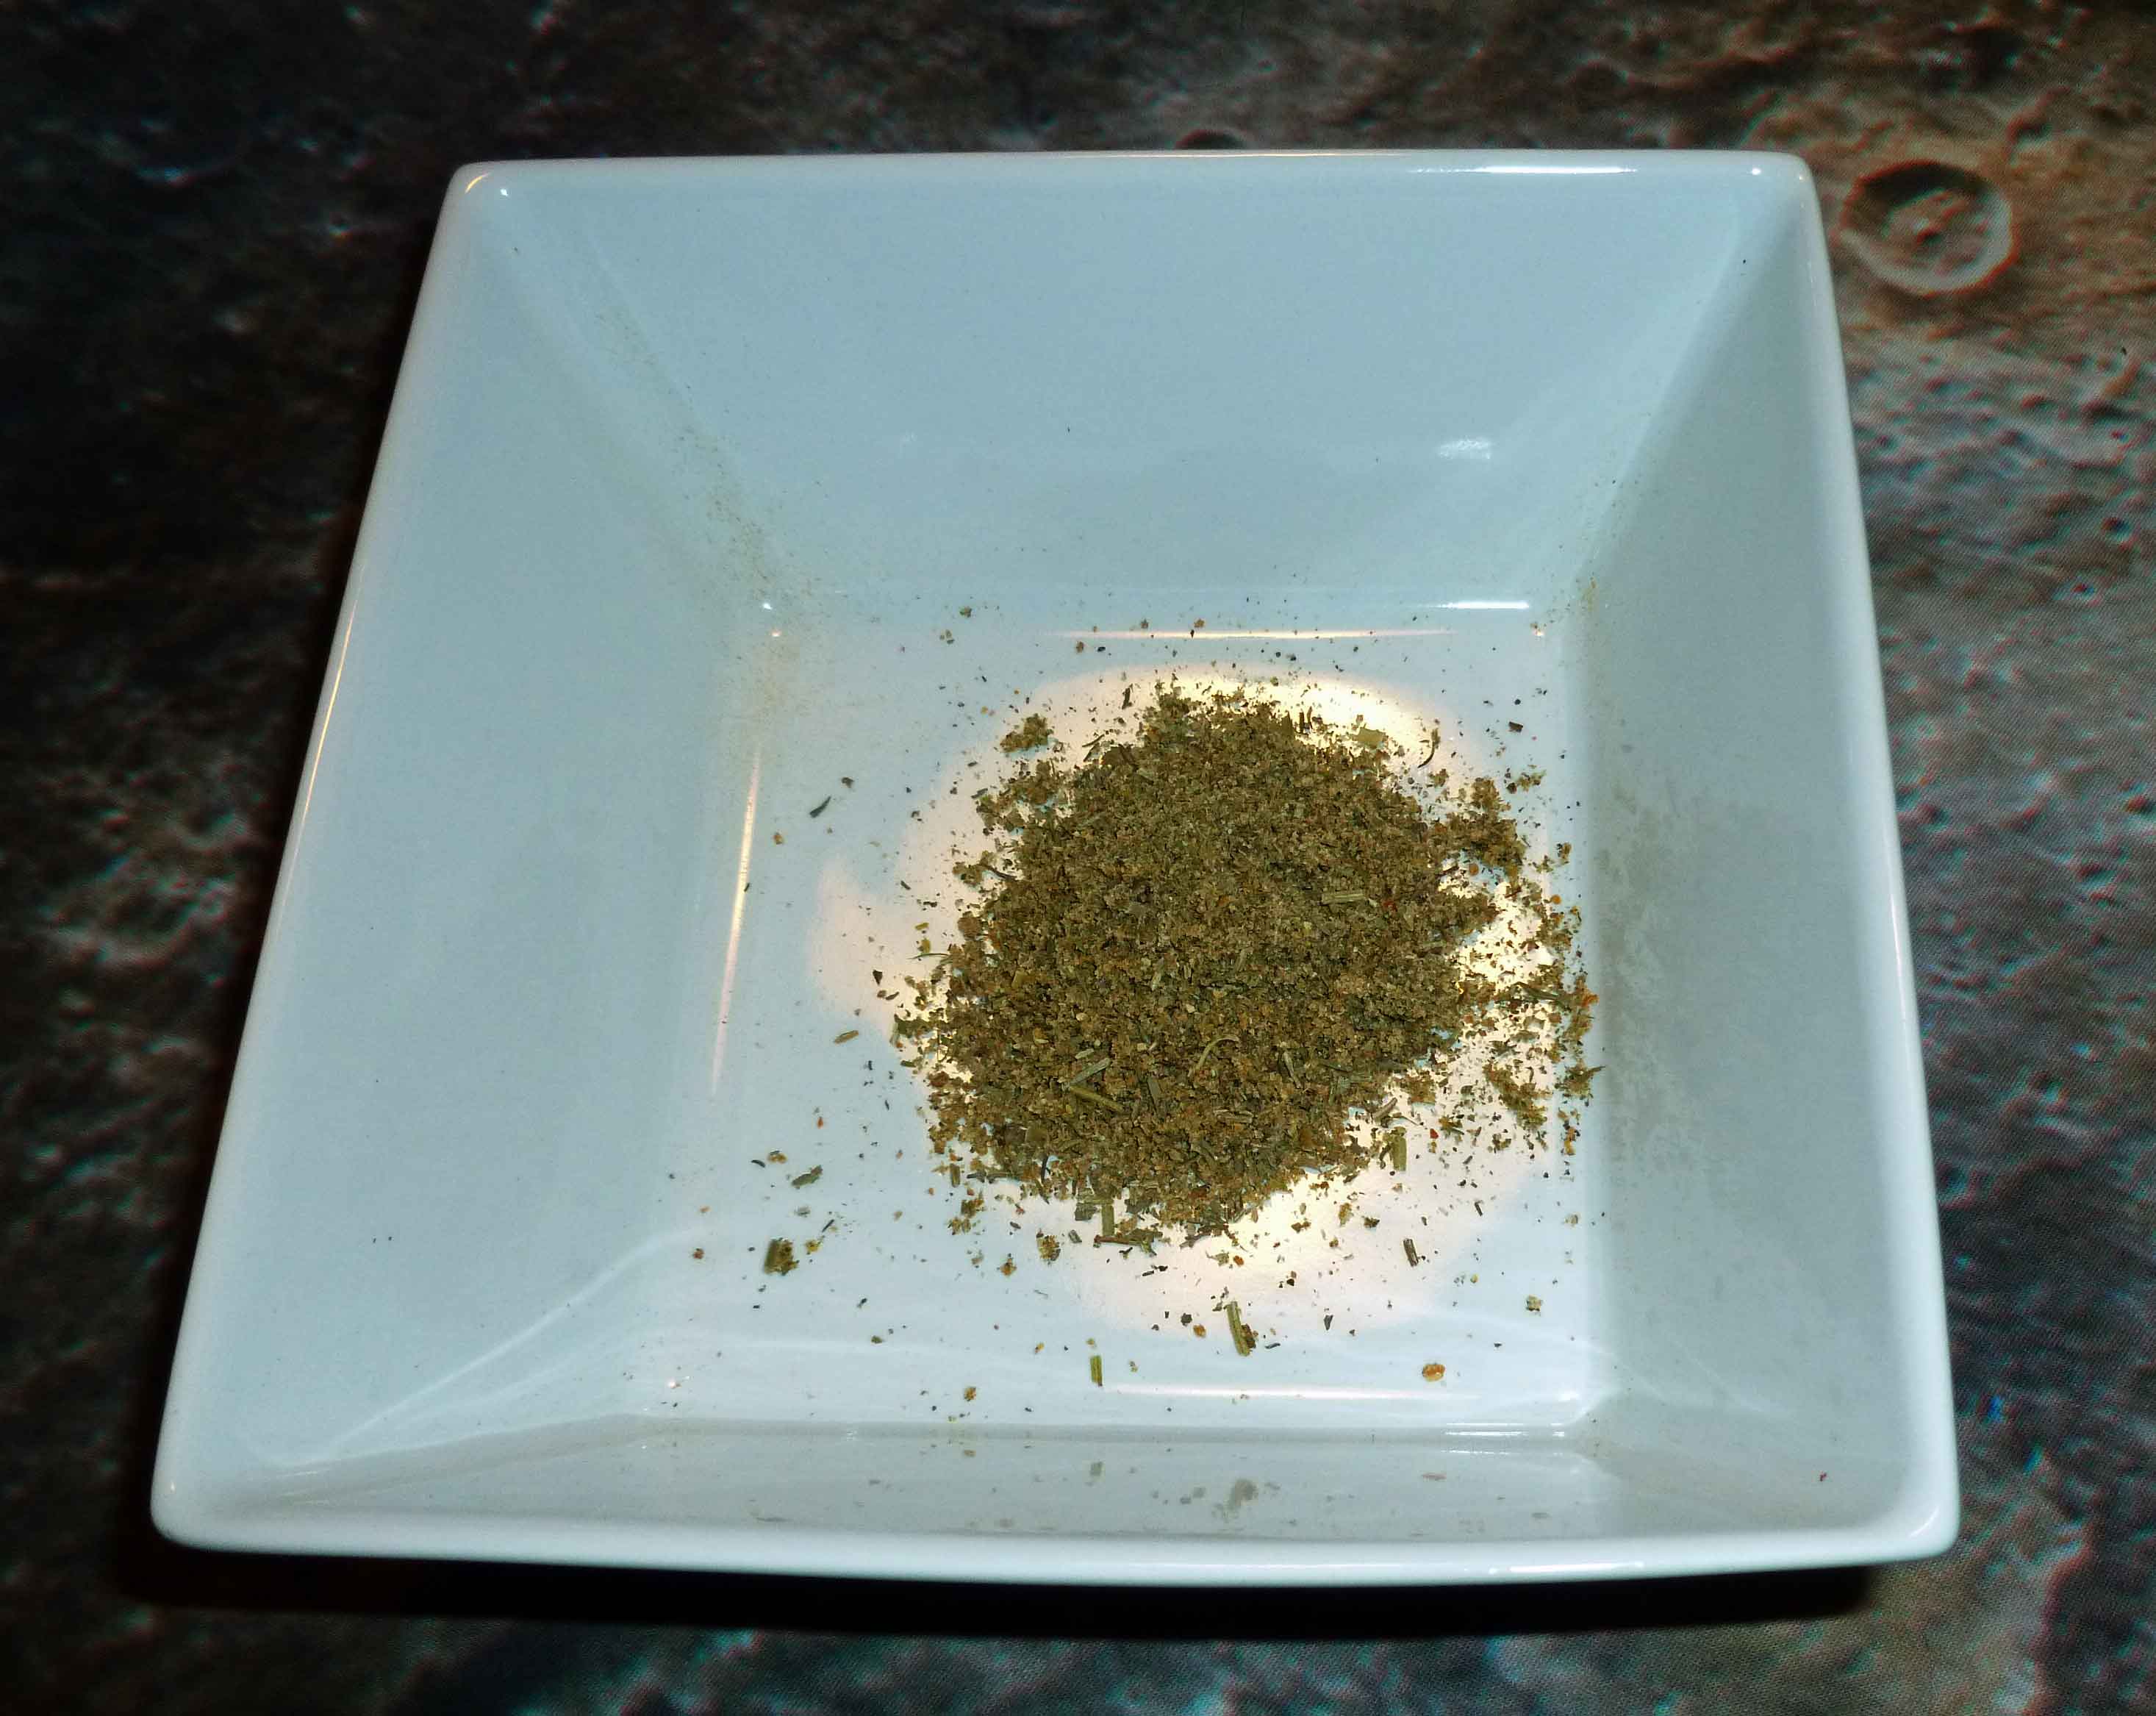
    • one half of ⅛ tsp of turmeric (for color, you could skip it if you want, but I was hoping to fool my brain a bit)

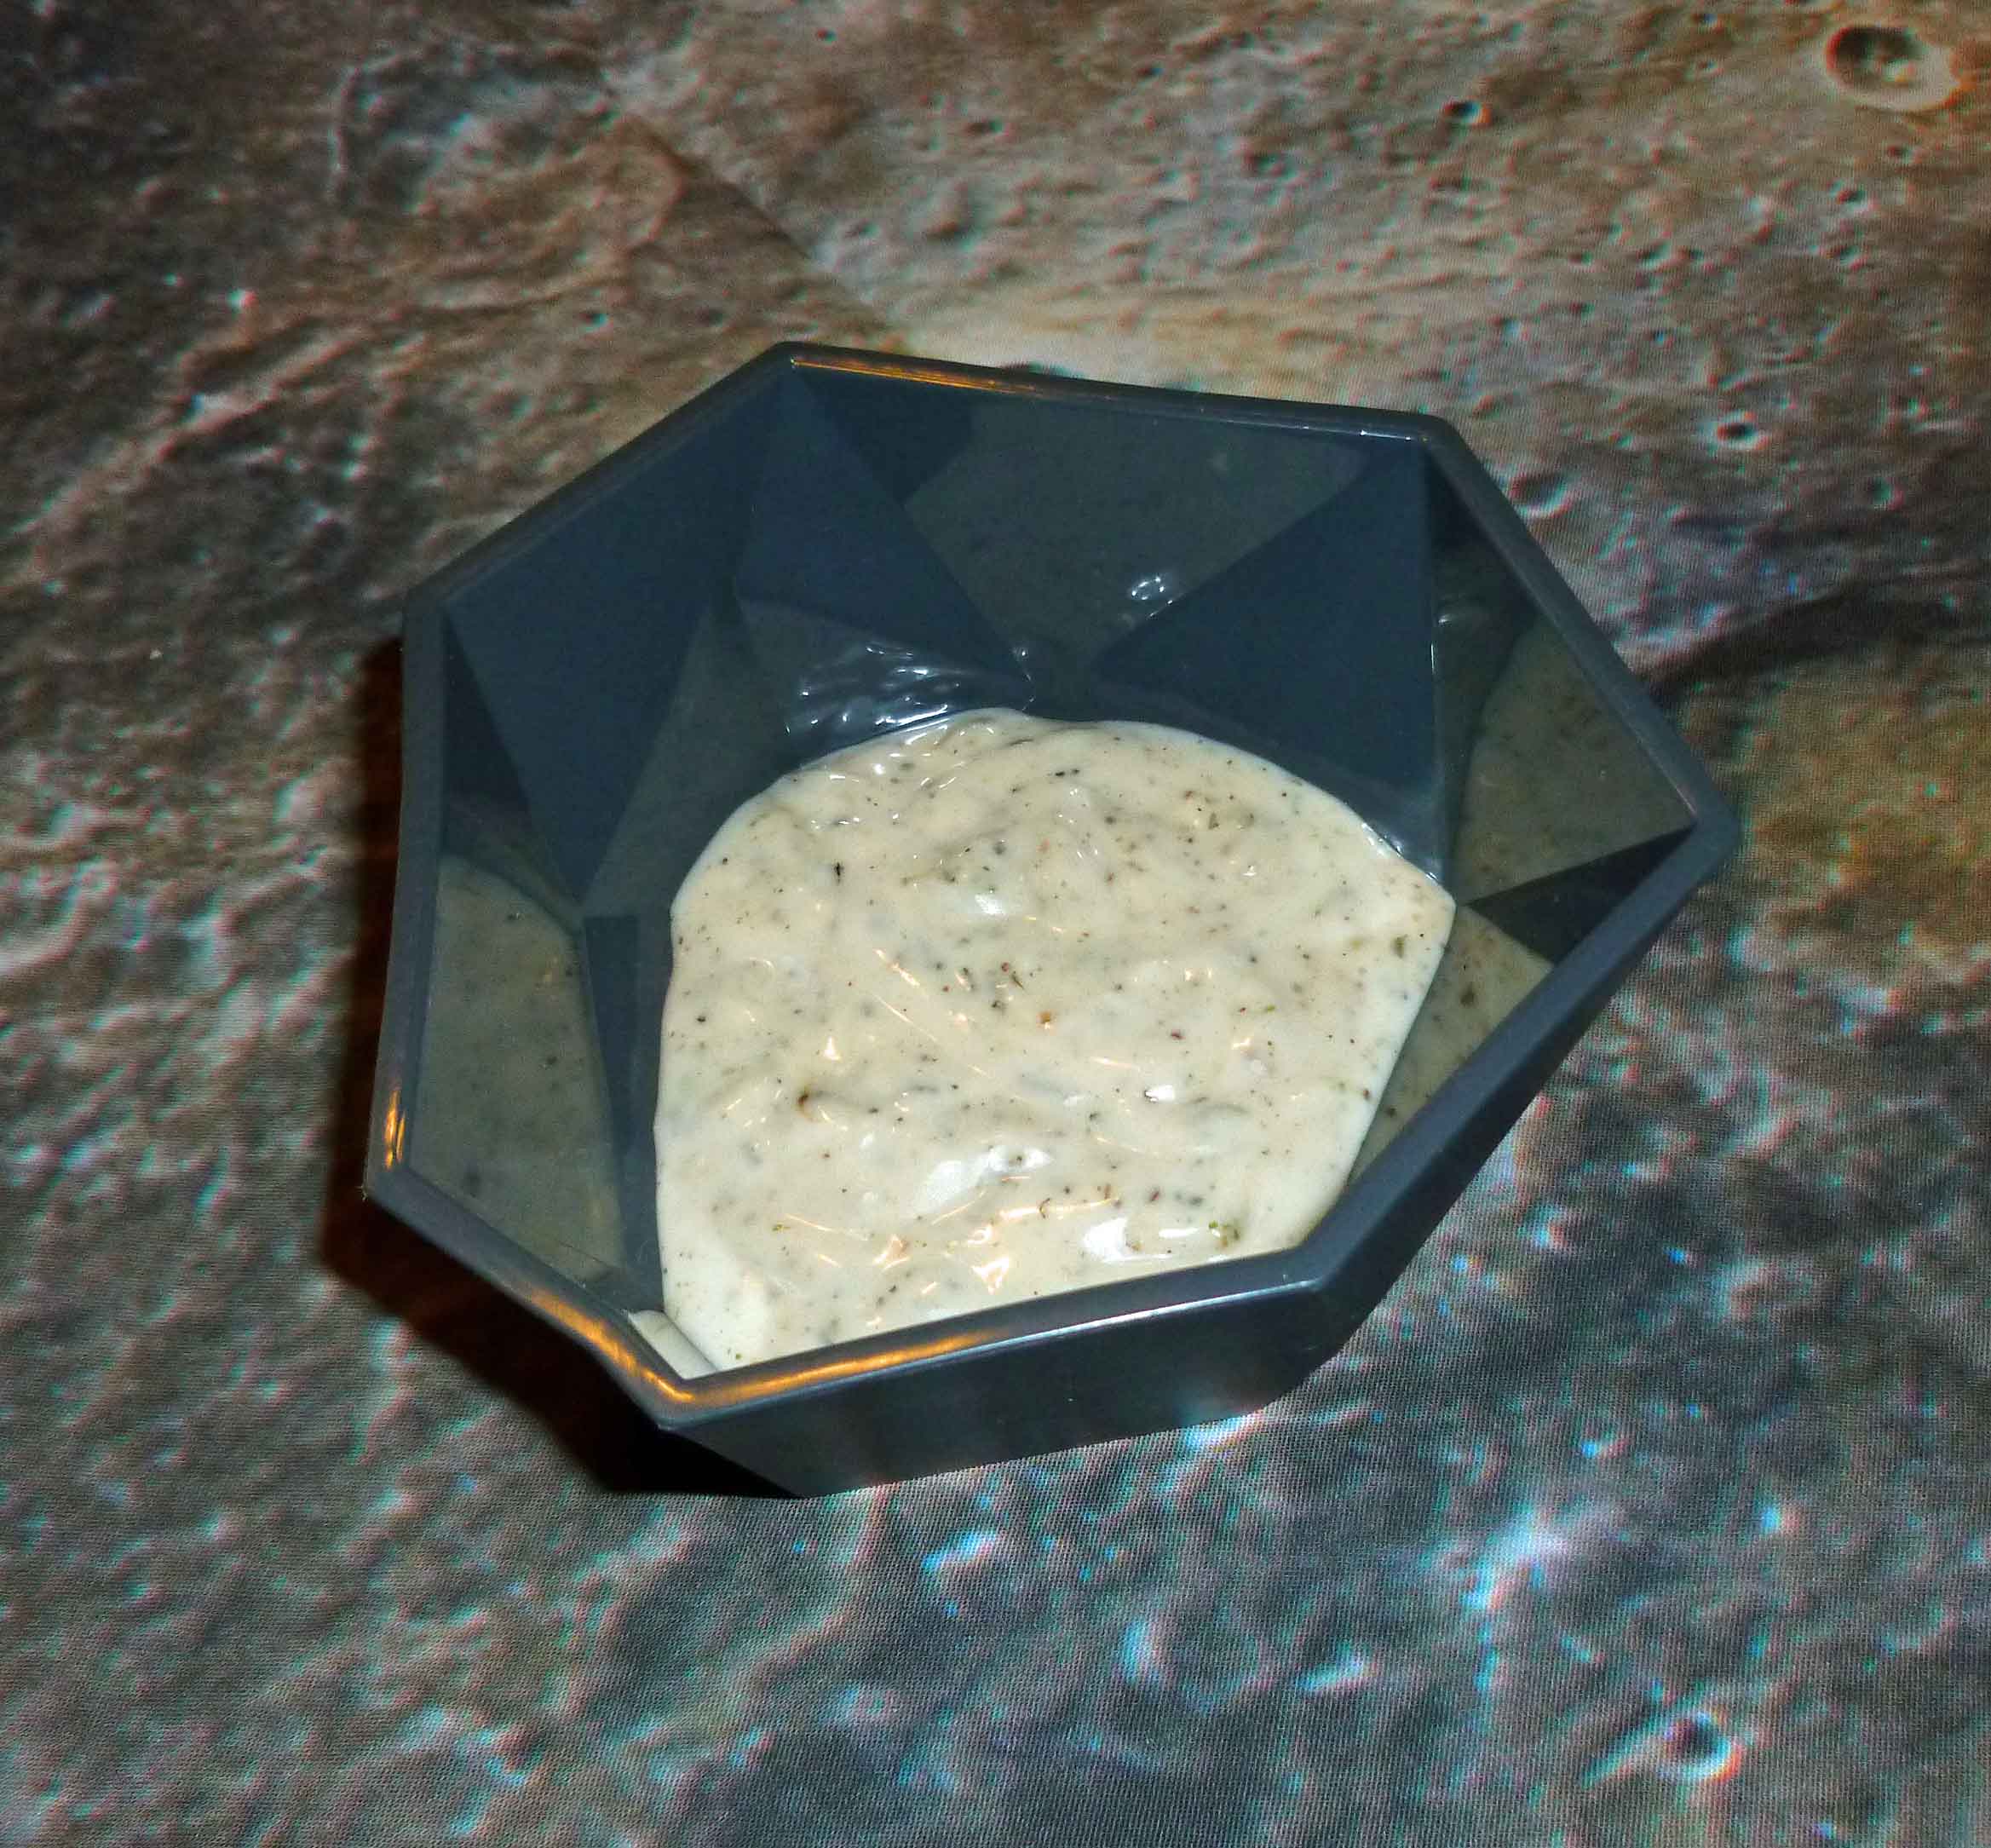
    Melt lard and beef tallow together in a double boiler. Put all the other ingredients except the olive oil in a blender or food processor.

    Once the lard and beef tallow are melted, add the olive oil and remove the double boiler from the heat.  Add the lard, tallow and olive oil mixture to the blender or food processor and blend until completely mixed.  You will need to scrape down the sides at least once.  

    Once it’s completely mixed, pour into a silicone ice cube tray or other silicone mold, and place in the freezer until it sets.

    The first version I did used all lard as the 2 ounces of fat.  Lard is less solid at room temperature than the beef tallow. When I took a cube out of the freezer and put it on the plate (room temperature plate) to take a photo, it immediately began to melt at the contact point of the plate.

    Lard only version
    Lard only version

    The second version I did used all beef tallow as the 2 ounces of fat. Beef Tallow is more solid at room temperature than the lard, and it less readily melts in your mouth. It sort of coats your mouth with a waxy feel.  

    Beef Tallow only version
    Beef Tallow only version

    Lastly, just for the heck of it, I decided to mix them both together, and used one ounce of lard and one ounce of beef tallow in the third version. This one ended up being the winner. The beef tallow gave it a little bit more structure and a little bit more creamy dairy flavor, and the leaf lard balanced out the waxiness of the tallow and made the product more melt-able.

    Once all versions were completed and had set in the freezer, my husband (who is not dairy free) and I tested them on hot white rice, so that we could see the melting quality and evaluate the taste without too much interference from the food. 

    Testing Margarine samples on rice
    Testing Margarine samples on rice

    So now I have something that’s pretty close to margarine that I can use on rice, baked potatoes and veggies. I won’t use it a lot because it’s lard and beef tallow, although I’m guessing that real fats are probably healthier than hydrogenated crap. My next set of experiments will be using plain lard in chocolate chip cookies and trying the “margarine” in a small batch as well.

    Anyway, I thought I’d post this both as an illustration of what some of us have to do to get safe food, and for those of you who might have my particular combination of food allergies that makes commercial butter, shortening, and margarine impossible.

    Anyone else want to share their weirdest food allergy experiments?

  • Roasted Beef Stock

    Roasted Beef Stock
    Roasted Beef Stock

    Those of us with soy, wheat and dairy allergies have a tough time finding bouillon and/or stock out there that’s safe. When you add a corn allergy to the wheat and dairy (I’m okay on soy), let me tell you, it’s all over. You’re going to be making it yourself if you want to eat it, period. So Mary Kate and I thought posting some basics for people who’ve never had to do their own soup stocks before might be helpful. There’s a lot of recipes out there that take beef bones, throw them in a pot with onions, carrots, and celery, and boil the crap out of it and call it beef stock. I mean, yeah, it is beef stock, but it doesn’t really taste as good as it could. And I think that’s because there’s no caramelized little burned bits, which you would have if you were starting from roast drippings. I like my beef stock to taste like something, and you do need some actually bits of beef to do that, and a bit more than is on the beef bones you get at the grocery store.  So I use marrow bones and beef oxtail so there’s plenty of meaty bits for drippings, and I roast the marrow bones, oxtail, onions, carrots and celery first so I can use nice pan drippings in my stock.

    Roasted Beef Stock

    About 4 pints or 2 quarts

    • 2-3 pounds of sliced marrow bones
    • 2 pounds of beef oxtails
    • 2 red onions (red will give the stock a nice deep color), chopped
    • 2 large carrots, trimmed and chopped
    • 4 stalks of celery, trimmed and chopped
    • a dash of salt
    • a dash of black pepper
    • 2 bay leaves

    Preheat oven to 350°F.  Grease pan with oil or use a spray mister.  Place marrow bones, oxtails, red onions, carrots, and celery in roasting pan.

    Marrow Bones, Oxtail, and Veggies in Roasting Pan before cooking
    Marrow Bones, Oxtail, and Veggies in Roasting Pan before cooking

    Sprinkle with a little salt and pepper. Place roasting pan in oven and roast for an hour and half. You can roast it longer if you don’t have any caramelized bits yet.

    Marrow Bones, Oxtail, and Veggies in Roasting Pan after cooking
    Marrow Bones, Oxtail, and Veggies in Roasting Pan after cooking

    Once you’re done roasting, transfer the contents of the roasting pan to a stock pot, making sure you deglaze the roasting pan with a bit of water to get all the good burned and caramelized dripping into the stock pot.  Add 16 cups or water or 4 quart jars worth, and the bay leaves.

    Cooked bones, meat and veggies in stock pot after adding water
    Cooked bones, meat and veggies in stock pot after adding water

    Bring to a boil and then reduce the heat to medium-low (3-4 on my dial) and simmer for about an hour with the lid on.  Then bring it down to low (1-2 on my dial) and let it simmer on low for another hour, again with the lid on.  You can simmer as long as you like, but you may need to add more water to get the correct yield.

    Cooked bones, meat and veggies in stock pot after simmering for hours
    Cooked bones, meat and veggies in stock pot after simmering for hours

    Now you want to strain out the bones, meat and vegetables from the stock.  I used another stock pot and a strainer I got from a restaurant supply store, but a regular colander will do.  Also, I picked out the really heavy bones first to make my life easier.

    Straining out veggies and meat after simmering
    Straining out veggies and meat after simmering

    Now you can season to taste adding a bit more salt and black pepper if needed.

    Roasted Beef Stock after straining
    Roasted Beef Stock after straining

    If you want to remove some of the fat, you can skim it off, or you can put your stock pot in the fridge overnight and you can peel off the fat layer.

    Roasted Beef Stock after being refrigerated overnight
    Roasted Beef Stock after being refrigerated overnight
    Removing excess fat from Roasted Beef Stock
    Removing excess fat from Roasted Beef Stock
    Roasted Beef Stock after removing excess fat
    Roasted Beef Stock after removing excess fat
    Excess fat in a bowl, just for gross out purposes
    Excess fat in a bowl, just for gross out purposes

    Once you’re done removing the fat, you can warm up the stock and use it, package it up and freeze it, or can it with a pressure canner, as described here. I’m canning mine because I want to use it for a recipe we’re going to post two weeks from now and I’m not ready to make the actual recipe itself right now. I don’t want it to go bad, and we lose power a lot.

    My All American 915 pressure canner getting ready to process stock
    My All American 915 pressure canner getting ready to process stock

    This is a really basic stock, because you want to be able to use it in all kinds of applications. Stay tuned for how we’re going to use it for the next two weeks!

    Roasted Beef Stock
    Roasted Beef Stock
  • DIY Spice Mix Day – Montreal Steak, Creamy Peppercorn, Singapore, and Full of Flavor Herb Mix

    So one of the more recent traumatic events (okay, not really traumatic, but annoying certainly) was the purging of my spice cabinet of things I can’t use any more as a result of the corn and wheat allergies.  If you know me in real life, I’m a tad obsessive about my spices.  I have a four-shelf stand-alone cabinet in the kitchen that contains nothing but spices, spice mixes, and vinegar and oils.  There may or may not be an inventory spreadsheet on my Google drive with 157 items on it so that I can get to it on my phone while I am grocery shopping. I’m also frankly surprised and disappointed that I haven’t made it on some platinum frequent order program with Penzey’s spices, given my order volume (tongue firmly in cheek, I love them). But in any case, I had to get rid of a few of my favorite mixes, Penzey’s or otherwise, mostly because they contained citric acid or other problematic ingredients for me.  So I played around, did some Google-fu, and experimented and came up with the following mixes that make me happy.

    DIY Montreal Steak Seasoning

    • 4 Tablespoons of Kosher Salt
    • 1 Tablespoon of black peppercorns
    • 1 Tablespoon of dried minced onion
    • 1 Tablespoon of dried thyme
    • 1 Tablespoon of dried rosemary
    • ½ Tablespoon of dried minced garlic
    • ½ Tablespoon of crushed red pepper flakes
    • 2 teaspoons of fennel seed
    • 1 teaspoon of dill seed
    • 1 teaspoon of paprika

    Put this in a blender or spice/coffee grinder, or use my trick where you take a pint mason canning jar, put all the spices in the jar and screw the blender blade assembly to the jar and put it on blender.  Using any and all methods, blend until fairly well ground as shown below and put in a spice jar and store.  I use this as a rub for beef, pork and chicken.

    Montreal Steak Seasoning
    DIY Montreal Steak Seasoning

    DIY Creamy Peppercorn Dressing Mix

    • ¼ cup of black peppercorns ground coarsely (in a blender or spice/coffee grinder, or use my trick where you take a pint mason canning jar, put the spices in the jar and screw the blender blade assembly to the jar and put it on blender)
    • ⅛ cup of sugar
    • ⅛ cup of dried minced garlic
    • ⅛ cup of dried thyme
    • ⅛ cup of dried parsley.
    • 2 ½ Tablespoons of salt
    Creamy Peppercorn Dressing Mix
    DIY Creamy Peppercorn Dressing Mix

    Put all ingredients in a bowl spices in a bowl and whisk together thoroughly.  Put in a spice jar to store.  To use, mix 1 Tablespoon of Creamy Peppercorn Dressing Mix in 2 Tablespoons of water and let stand five minutes.  Mix in ½ cup Earth Balance Mindful Mayo and enjoy.  If you can have dairy and eggs, use 1/4 cup of mayo and 1/4 cup of sour cream 🙂

    Creamy Peppercorn Dressing using Earth Balance Mindful Mayo
    Creamy Peppercorn Dressing using Earth Balance Mindful Mayo

    DIY Singapore Seasoning

    • 2 Tablespoons of lemon peel powder (you can get this from Penzey’s or grind up dried lemon peel in your spice/coffee grinder)
    • ½ Tablespoon of black pepper
    • 1 teaspoon of garlic powder
    • 1 teaspoon of onion powder
    • 1 teaspoon of tumeric
    • ½ teaspoon of ground coriander
    • ½ teaspoon of ground cumin
    • ½ teaspoon of ground ginger
    • ¼ teaspoon of ground nutmeg
    • ¼ teaspoon of ground fennel
    • ¼ teaspoon of ground cinnamon
    • ⅛  teaspoon of ground fenugreek
    • ⅛  teaspoon of ground white pepper
    • ⅛  teaspoon of ground cardamom
    • ⅛  teaspoon of ground cloves
    • ⅛  teaspoon of ground cayenne red pepper

    Put all ingredients in a bowl spices in a bowl and whisk together thoroughly.  Put in a spice jar to store.  You can use this as a spice rub for chicken or pork or to flavor rice noodles.

    Singapore Seasoning
    DIY Singapore Seasoning

    Full of Flavor Herb Mix

    Penzey’s has a Mural of Flavor spice mix that I love, but it has citric acid (corn) in it, so it’s out for me now.  I came up with the following mix to replace it.

    • 1 ½ Tablespoons of dried minced shallots
    • 1 teaspoon of thyme
    • 1 teaspoon of rosemary
    • 1 teaspoon of basil
    • 1 teaspoon of chives
    • ½ teaspoon of onion powder
    • ½ teaspoon of garlic powder
    • ½ teaspoon of lemon peel
    • ¼ teaspoon of ground coriander
    • ½ teaspoon of green peppercorns
    • ½ teaspoon of dill weed
    • ¼ teaspoon of lemon peel powder (you can get this from Penzey’s or grind up dried lemon peel in your spice/coffee grinder)
    • ¼ teaspoon of black pepper
    • ¼ teaspoon of orange peel

    Put this in a blender or spice/coffee grinder, or use my trick where you take a pint mason canning jar, put all the spices in the jar and screw the blender blade assembly to the jar and put it on blender.  Using any and all method, blend until it is ground to a coarse consistency (not powder) as shown below and put in a spice jar and store.  I use this on vegetables, in soups, on beef, pork, chicken and fish.  It’s a great all-purpose spice blend.

    Full of Flavor Herb Mix
    Full of Flavor Herb Mix

    Hope you guys enjoy these spice mixes. If you’ve got some of your own, please share!

  • Gluten Free Flour Mix for Waffles and Pancakes

    Gluten Free Flour Mix for Waffles and Pancakes
    Gluten Free Flour Mix for Waffles and Pancakes

    Using method that the Gluten Free Girl and the Chef have provided on their blog to make an all-purpose flour mix, I made up the following flour mix to make the waffles and pancake recipes that will be posted for our Hangover Breakfast series.  (These recipes will be posted on April 1st, keep your eyes out for them!) I used a kitchen scale and I used a glass measuring cup zeroed out on the scale thinking that I could give you the cup equivalents. The thing is, it worked out that all the amounts were not a full measurement of anything and were really weird amounts. If you’re going to do any serious gluten free baking, you probably need to get a kitchen scale. This can be used as an all purpose mix, but I chose these flours with waffles and pancakes in mind. To use a regular recipe with this mix, exchange 140 grams of this mix to every 1 cup of regular flour.

    Gluten Free Flour Mix for Waffles and Pancakes

    Makes about 3 1/2 cups of flour mix.

    • 50 grams of Oat flour
    • 50 grams of Sorghum flour
    • 50 grams of Millet flour
    • 50 grams of Masa Harina flour (a type of corn flour)
    • 150 grams of Sweet Rice flour
    • 150 grams of Potato Starch

    Measure out each of the flours carefully, and place into a large mixing bowl.  Using a whisk, mix the flours and starches together until they are very well mixed.  Store in an airtight container until you are ready to use it.  Enjoy!