Notice: Function _load_textdomain_just_in_time was called incorrectly. Translation loading for the wp-ultimate-recipe domain was triggered too early. This is usually an indicator for some code in the plugin or theme running too early. Translations should be loaded at the init action or later. Please see Debugging in WordPress for more information. (This message was added in version 6.7.0.) in /home/maryzahc/public_html/adultfoodallergies.com/wp-includes/functions.php on line 6170 DIY Allergy-Friendly Ingredients – surviving the food allergy apocalypse (archive)Skip to content
DIY Allergy-Friendly Ingredients – Do-It-Yourself versions of processed foods normally bought at a grocery store, such as bacon, margarine, or spice mixes, but for which a commercial version can no longer be safely purchased due to food allergies. Most people with top 8 allergies won’t have to go to this extent, but some of you may want to try or find it useful. Some of these recipes will take days or longer to complete. These recipes will not contain dairy, eggs, gluten, wheat or hazelnuts. If we use a top 8 allergen, we will use a tag warning of its use.
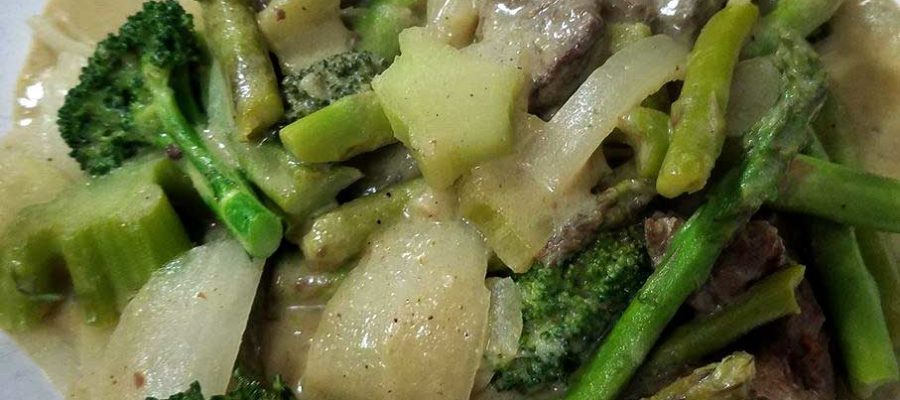
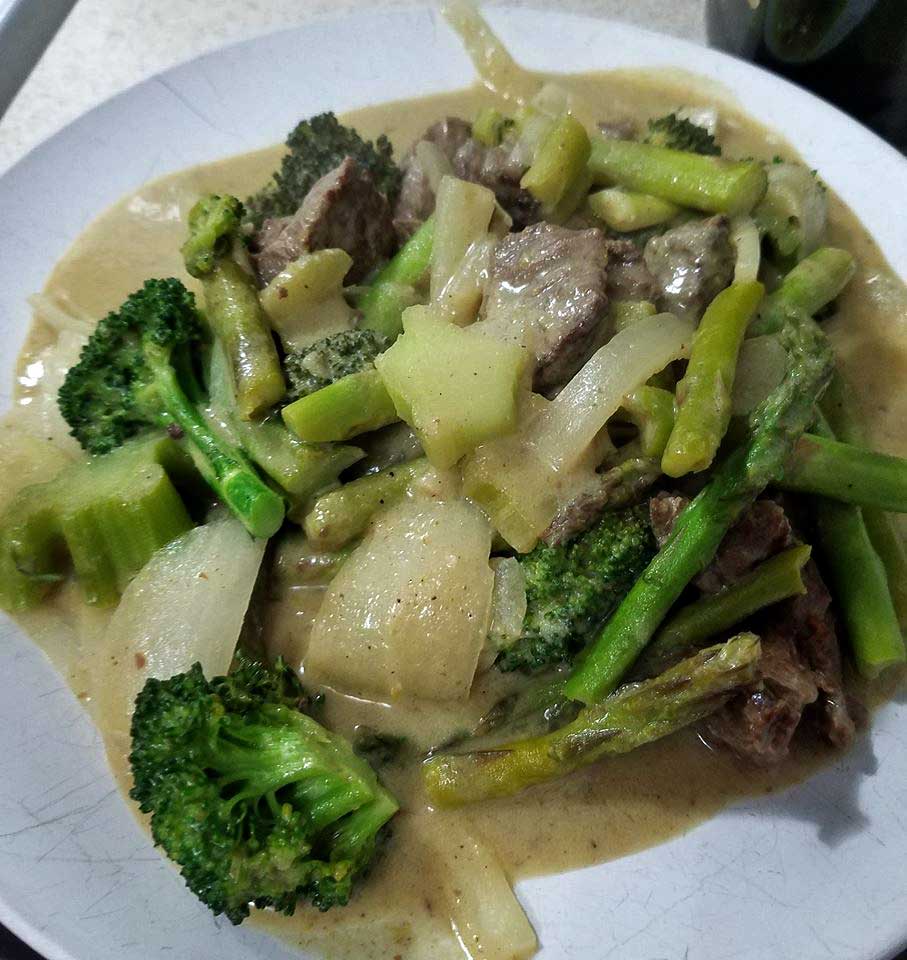
Thai Style Green Curry Paste in use for a quick dinner
This past summer, I ended up harvesting a lot of chilies. When I say a lot, I estimate that I harvested about 50 pounds of chilies based on what I canned, fermented, dehydrated whole, dehydrated and ground into powders, froze, and so on. I grew 20 different kinds of peppers. I grew half in the greenhouse and half in the garden, and I started an obscene amount of seedlings because some of them were saved seed and I didn’t know if they would grow. (They did. All of them.) The greenhouse experiment went well. I harvest probably 3 to 5 times what I harvested in the garden. At the end of the pepper harvest, I was running out of things to do, and it occurred to me while I was scouring recipes that I could make Thai style curry pastes.
In the beginning of my corn allergy journey, the denial was strong and I decided that I was tolerating some commercial Thai curry pastes. The reality was, yeah, not so much. This summer also resulted in more freezer space as I had a new bigger chest freezer in addition to my small chest freezer, my friend Kristin’s family had given me another fridge, and so now I had room to freeze some curry pastes. So I did some research, cobbled together the things I liked from several recipes, and voila, Thai Style Green Curry Paste. You can use it this recipe for Quick Thai-Inspired Curry Noodle Stir Fry (rice is no longer safe for me, but feel free to try it with sweet potato or mung bean noodles) or just put a cube or two of curry paste in some safe non-dairy milk, add veggies and/or a protein, and go to it.
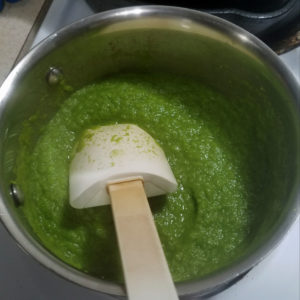
Thai Style Green Curry Paste before cooking down to a thick paste
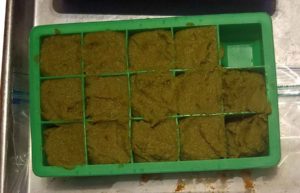
Thai Style Green Curry Paste after cooking down and in a silicone ice cube tray for freezing
THAI STYLE GREEN CURRY PASTE
Print Recipe
Thai style green curry paste to use in Thai dishes calling for green curry paste.
It’s Elements Month! Yeah, you read right. Elements. Earth, Fire, Air, and Water. Four Mondays in November, four elements to be inspired by. Why not?
This year, we made a plan via Skype — monthly themes to inspire us. We used to get together more often to plan our editorial calendar, but now we do it via Skype, bi-coastally. It is distinctly possible that we were a little loopy by the time we got to November, so here you have ELEMENTS MONTH.
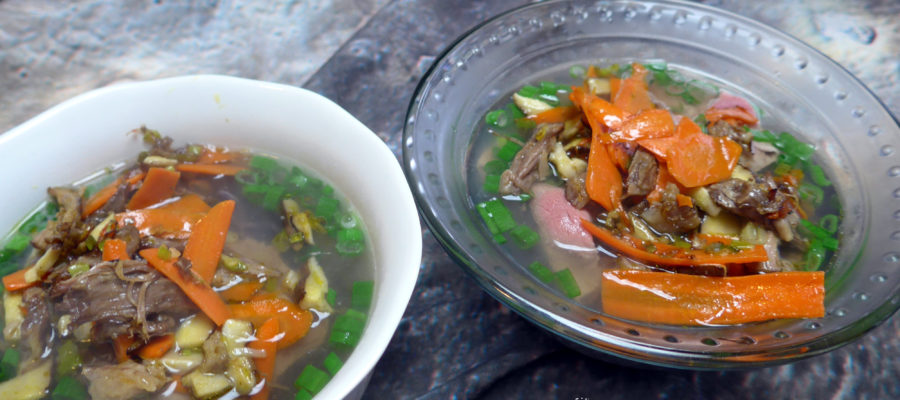
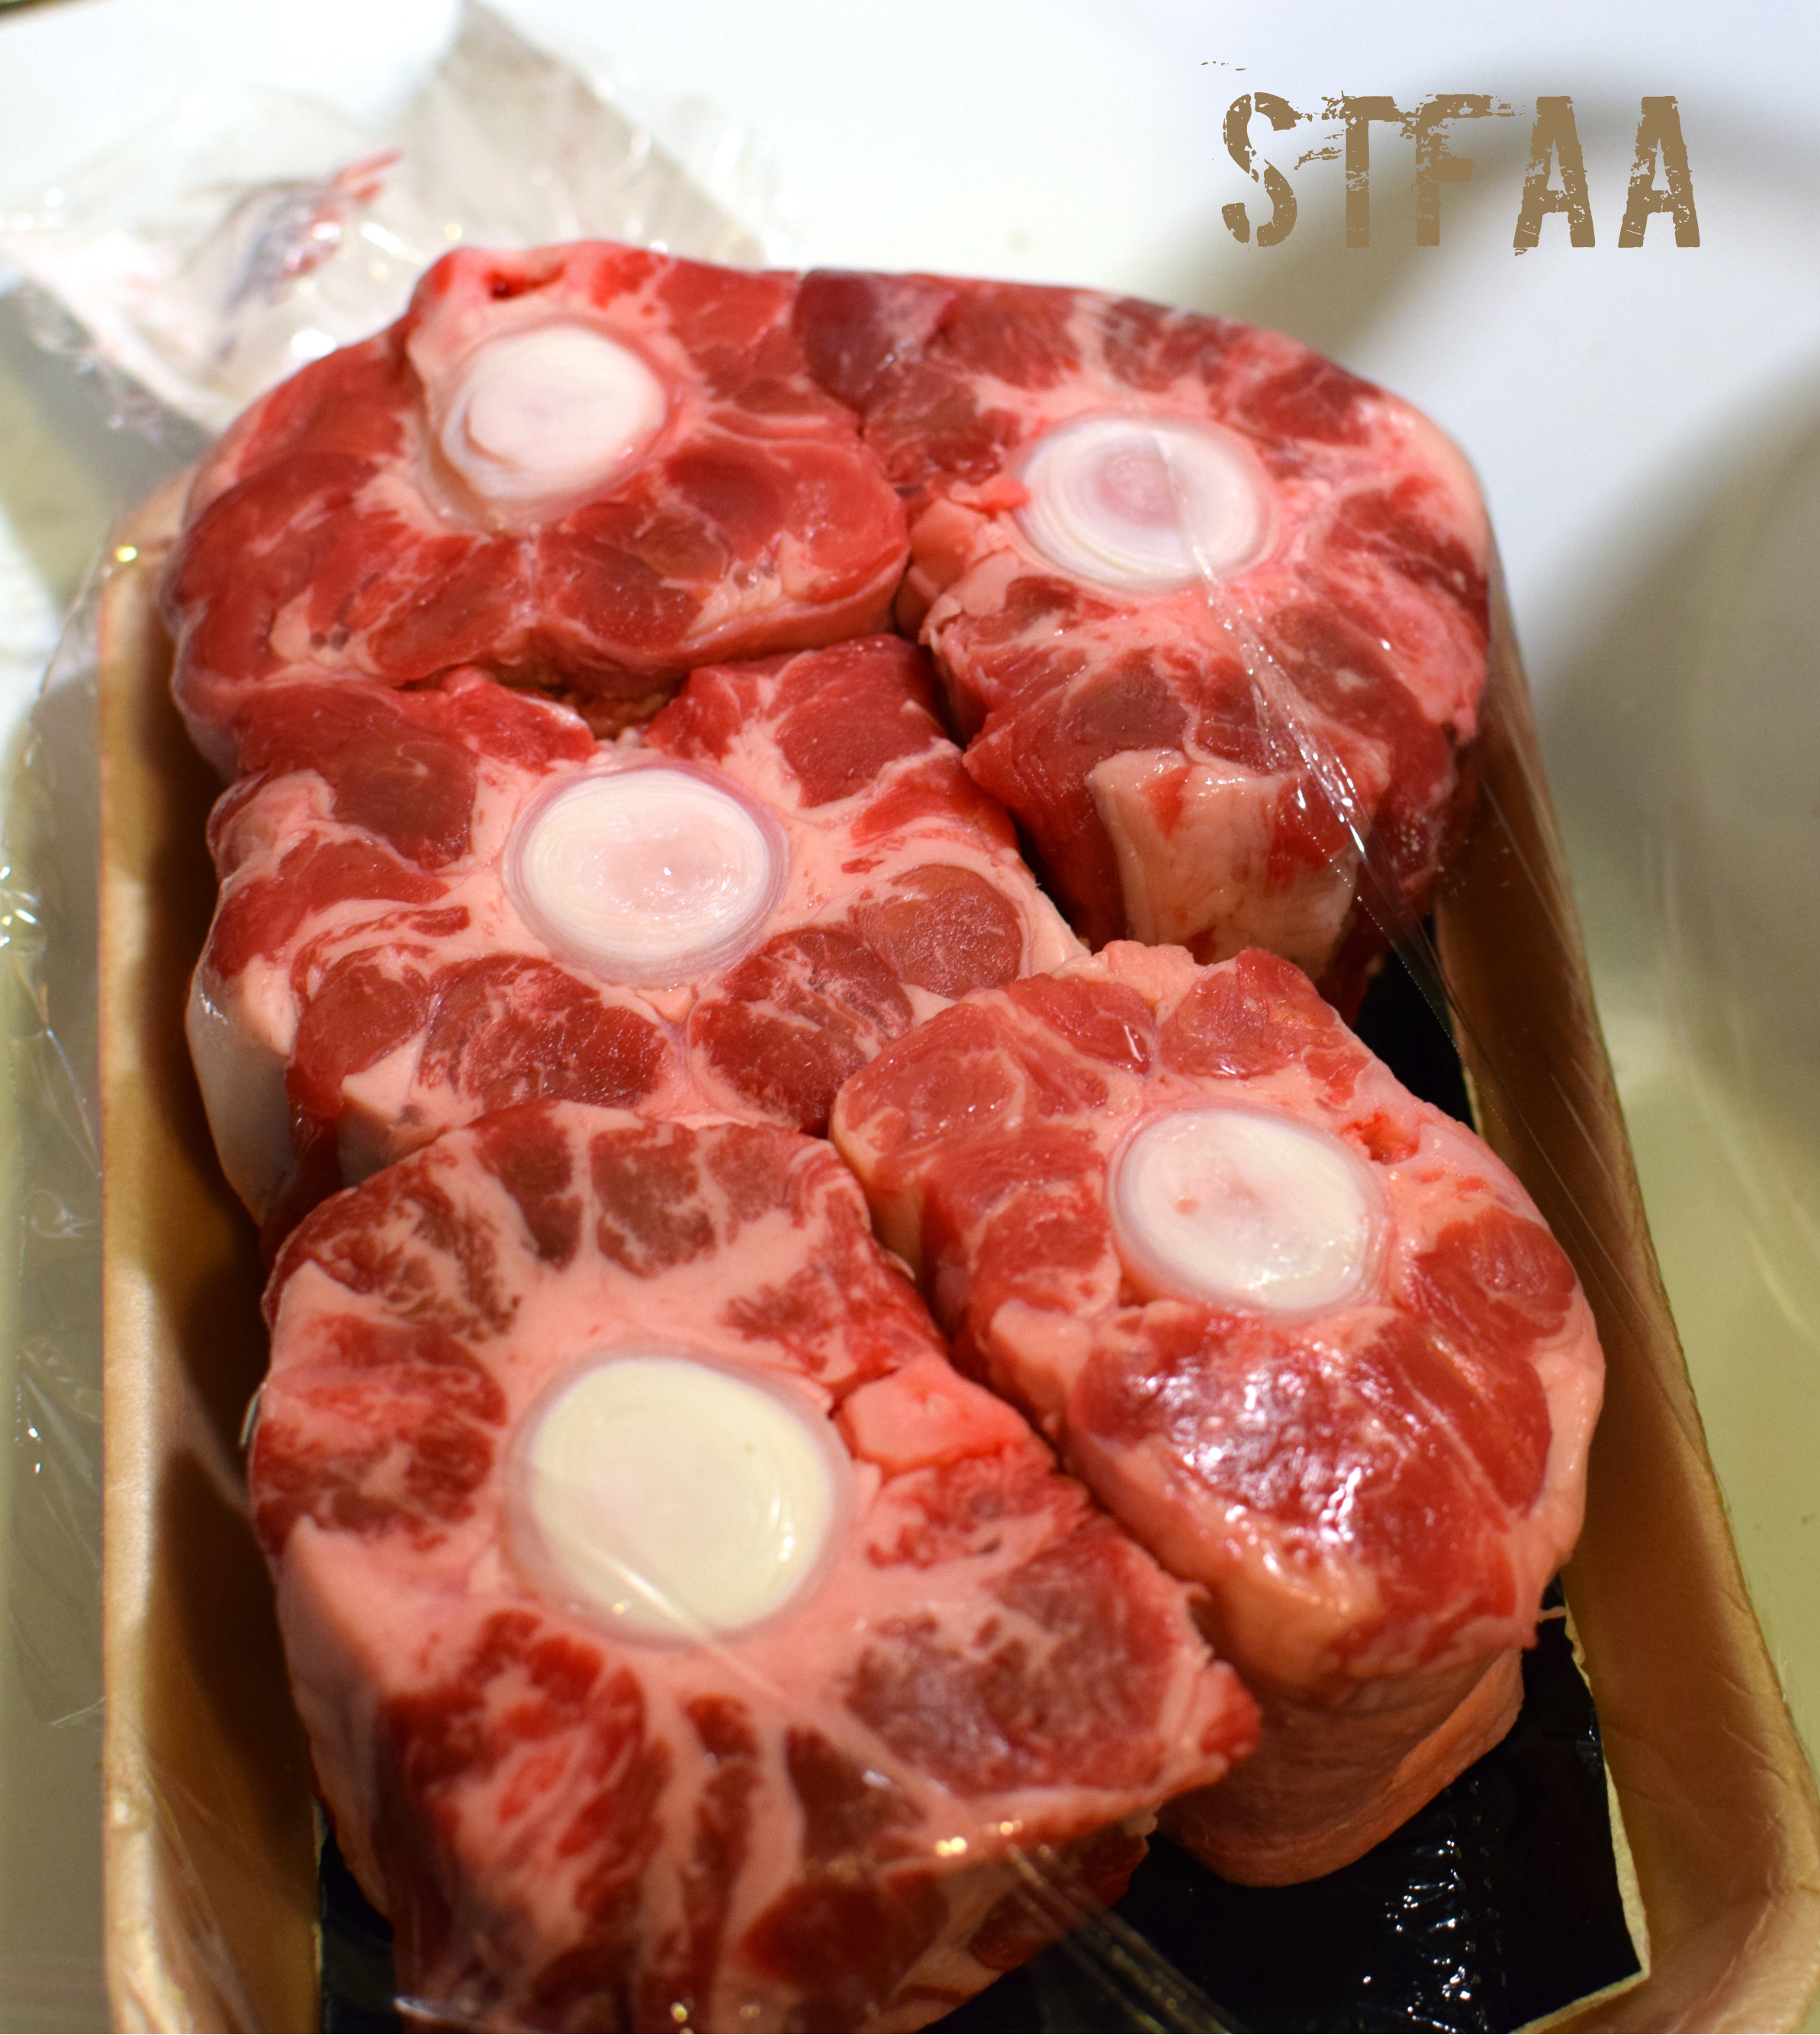
I’m kicking it off with water. After all, Cancer is a water sign, right? Plus it’s November and it snowed all weekend and we are ready for soup. I was inspired by a broth my friend Ann told me about which basically used time to extract maximum flavor from ox tails, an excellent flavoring bone that has some good tender meat on it as a bonus, and a few simple vegetables. This broth is easy, but it takes time. You should definitely make it ahead of when you want to use it. Ox tails should be available from most butchers and many grocery stores can get them or have them in the back. Ask.
Oxtails
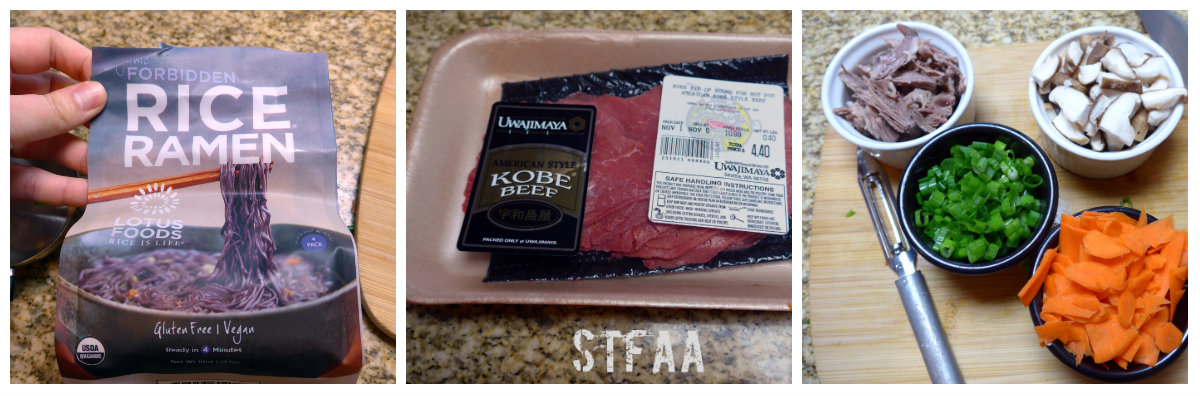
The only other “special” ingredient would be the thinly sliced beef, something I’ve gotten used to being able to get — raw meat sliced as thinly as cold cuts wasn’t something I’d seen on the east coast, but it means that the broth’s heat will cook it as part of your soup and it adds a whole other dimension to the soup. If you can’t get it, skip it, but it is worth trying to find or cut on your own.
Ramen, Thinly-sliced Beef, Toppings
Oh! The noodles! I’ve found gluten-free ramen noodles at a few places in Seattle, including Whole Foods, the Capitol Co-op, and a few natural food stores. The ones in this dish are forbidden rice noodles. If you can’t find gluten-free ramen, I’d suggest using rice noodles of some sort, but not gluten-free spaghetti. Most grocery stores carry pad thai rice noodles in their “Asian foods” section, and those will work okay.
This recipe is two parts — first, you make the broth, which should be done at least the day before. Then you use the broth to make soup. The broth is incredibly simple, but takes about 4 hours to make just because you simmer everything forever. The soup is actually kind of complicated, as I spent a lot of last month learning about ramen, and I’ve used that knowledge here. For traditional ramen, the broth, noodles, and soup toppings are all cooked separately. I’ve used that here to make a soup with a great variety of textures — but know that this is a soup that you might want to just take your time and enjoy making as well as eating. Don’t try it on a work night or when you’re rushed.
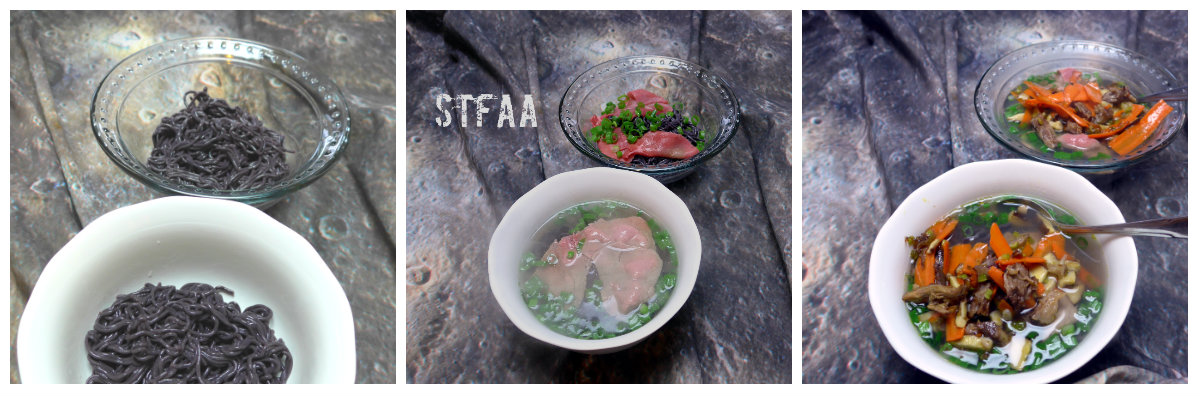
As I’ve said in the recipe, this soup will be made in two pots and a skillet, all at once, and I’ve tried to give you good instructions to get through that if you’re not used to 3 things going at once. The soup comes together in layers, as shown below, and that gives you a variety of textures.
Soup steps: first, noodles. Second, raw beef and scallions. Third, broth. Fourth, skillet of toppings.
Notice: Trying to access array offset on value of type bool in /home/maryzahc/public_html/adultfoodallergies.com/wp-content/plugins/wp-ultimate-recipe/helpers/models/recipe.php on line 254
Ox Tail Noodle Soup
Print Recipe
Broth recipe probably makes about 5 servings, but this soup less than half. Use the rest for drinking, cooking grains, or more soup.
4scallionsthinly sliced, whites and greens separated
2carrotssliced as thinly as possible
5shitake mushroomschopped
pinchsalt
1/2cupox tail meatpulled from bone, excess fat and cartilege removed
3slicessteakthinly sliced for hot pot – optional but awesome.
1lemoncut into quarters
Servings: bowlsn
Instructions
Ox Tail Broth
Put the ox tails in a large stock pot and cover with cold water by about 1 inch. Add a generous pinch of salt. Put over low heat, about 2 on my electric stove. NOTE — it will take more than half an hour for the water to simmer. Low and slow is how the flavor comes out.
Meanwhile, prep the vegetables. Wash the tomato, carrot, and celery. Chop the carrot and celery really roughly — about 2 inch segments. Leave the tomato whole. Pull all the parsley leaves off the stalks and discard the stems. Peel and quarter the onion.
When the water has reached a steady simmer, add all the veg. Simmer for three hours. If it gets foamy, skim it.
Cool and remove the ox tails to store separately. Remove the vegetables and discard. Store the broth in the fridge overnight.
Ox Tail Noodle Soup
You will need three cooking pots for this. One for boiling enough water to cook the noodles. One for heating your broth. One skillet for cooking your soup toppings. Figure out which burners will work best for this setup before you start, as you’ll be using all of them at once.
Get the broth started. You want to reheat this on low until it’s about boiling, so it will take a while.
First, do all your veggie prep. Chop the scallions and separate the green and white parts (light green goes with the white). Chop the mushrooms, slice the carrots as thinly as possible. Remove the meat from the ox tails — you will likely need to cut the fat off the outside, and watch out for the cartilage on the inside — remove that.
Add about half of the green parts of the scallions to the broth. Measuring here is really not important. Eyeball it.
You can either skim the fat off the soup and use that to fry up the veg, or use a fat of your choice. Put this in your skillet over medium heat.
Next, start the noodle water. Use however much water your package directions show.
When you skillet and fat are hot, add the onions and stir for several minutes until translucent.
Next add the carrots and mushrooms and stir well. Add a generous pinch of salt. Wait until the mushrooms have wilted and given off their liquid before you start the noodles.
Cook your noodles according to the package directions.
Right before the noodles are done, add the ox tail meat to the skillet and stir well.
Drain your noodles and set up your bowls.
Here’s how your bowls go:
Add noodles at the bottom.
Add a thin layer of your raw beef. This will be cooked by the broth.
Add your broth.
Add the toppings from the skillet.
Add a squeeze of lemon over everything.
Enjoy.
Guess what? This month we’re doing comfort foods as our theme. And I had all these big plans about what I was going to make. But harvest season in New Hampshire has been driving me insane, since just had our first frost and now I am trying to get things (apples, kale, etc.) processed before the first hard freeze. Frankly, I’m having trouble keeping up with things.
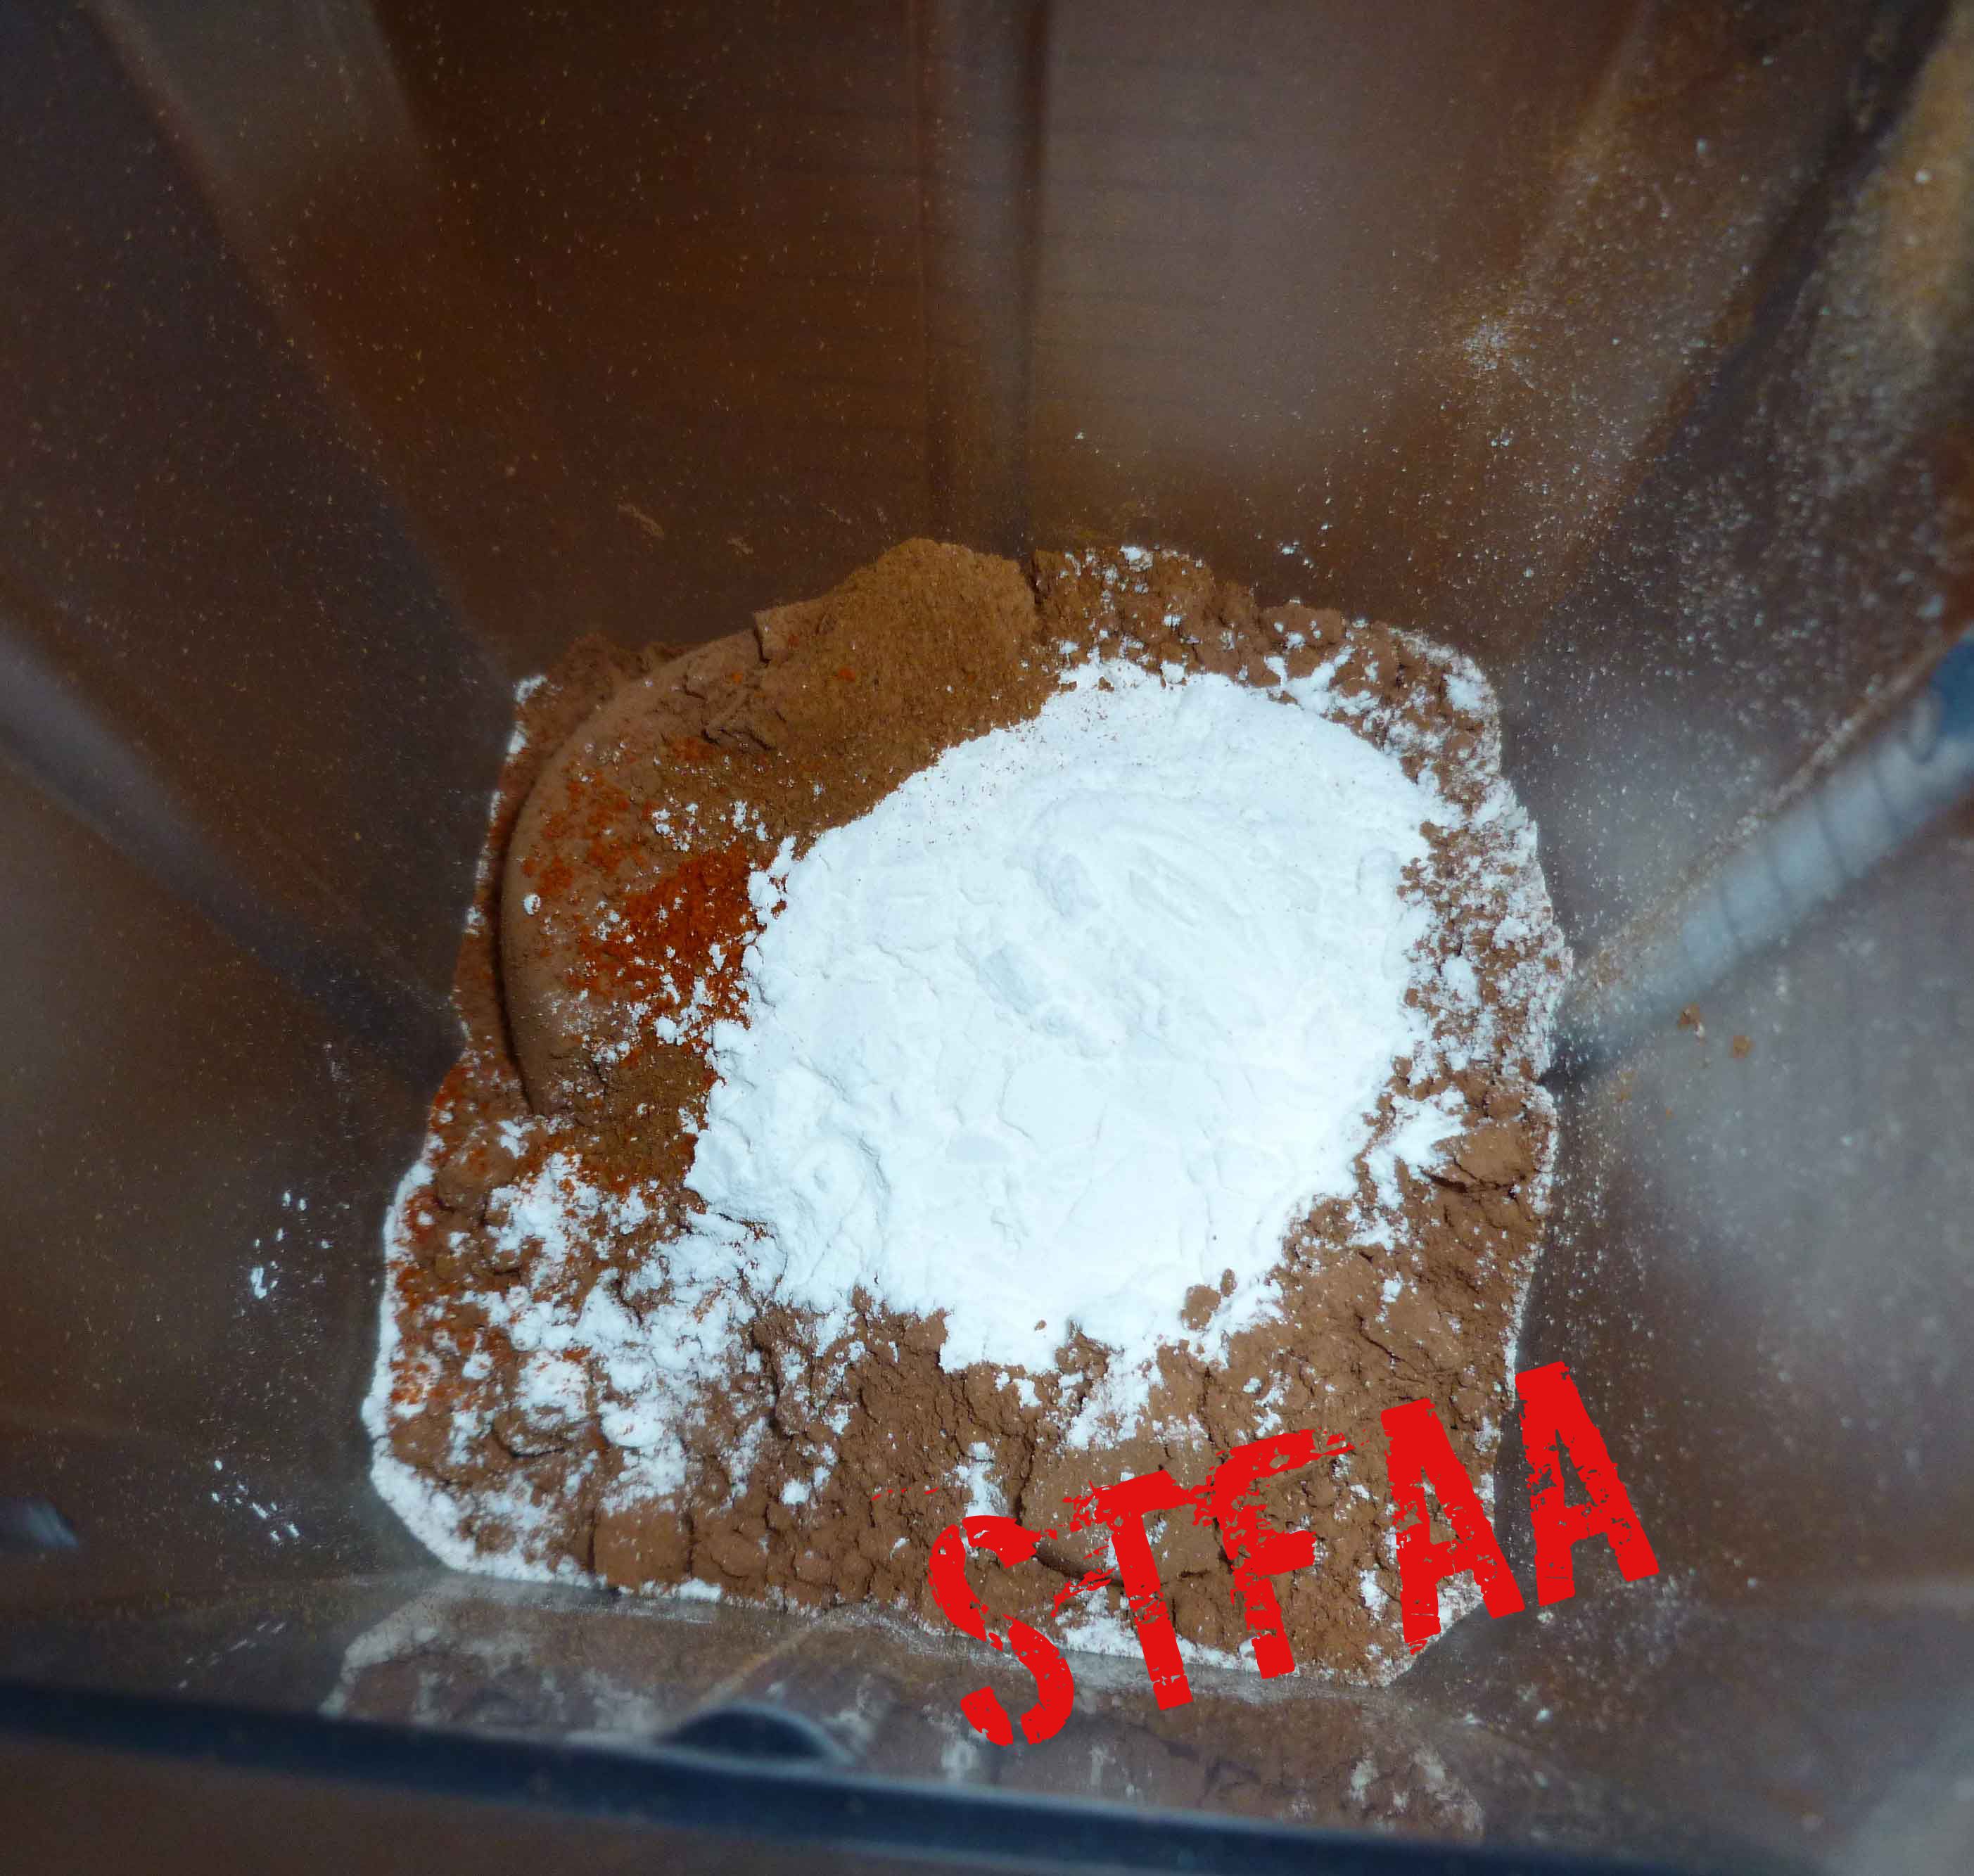
So in trying to think about what would be comforting and since the weather has been a bit nippy, I thought about hot chocolate. And the fact that hot chocolate isn’t really that simple for me any more. I used to get Mayan Drinking Chocolate at the Dancing Lion in Manchester, New Hampshire, but I don’t seem to be tolerating it as well anymore. (If you can tolerate it, seriously, order some now, but we have no affiliation, etc.) I think my sensitivity to my allergens has increased. After thinking about it, I decided having a quick hot chocolate mix would be comforting. This mix is reminiscent of the Mayan Drinking Chocolate in flavor profile, but since it doesn’t have any cocoa butter in it, I made it with my homemade cashew milk so it would have some body. You could try it with water as well and I likely will, I just haven’t had the chance. If you aren’t sure you want the little kick the cayenne gives the mix, you can leave it out. Enjoy!
Hot Chocolate Mix before blending
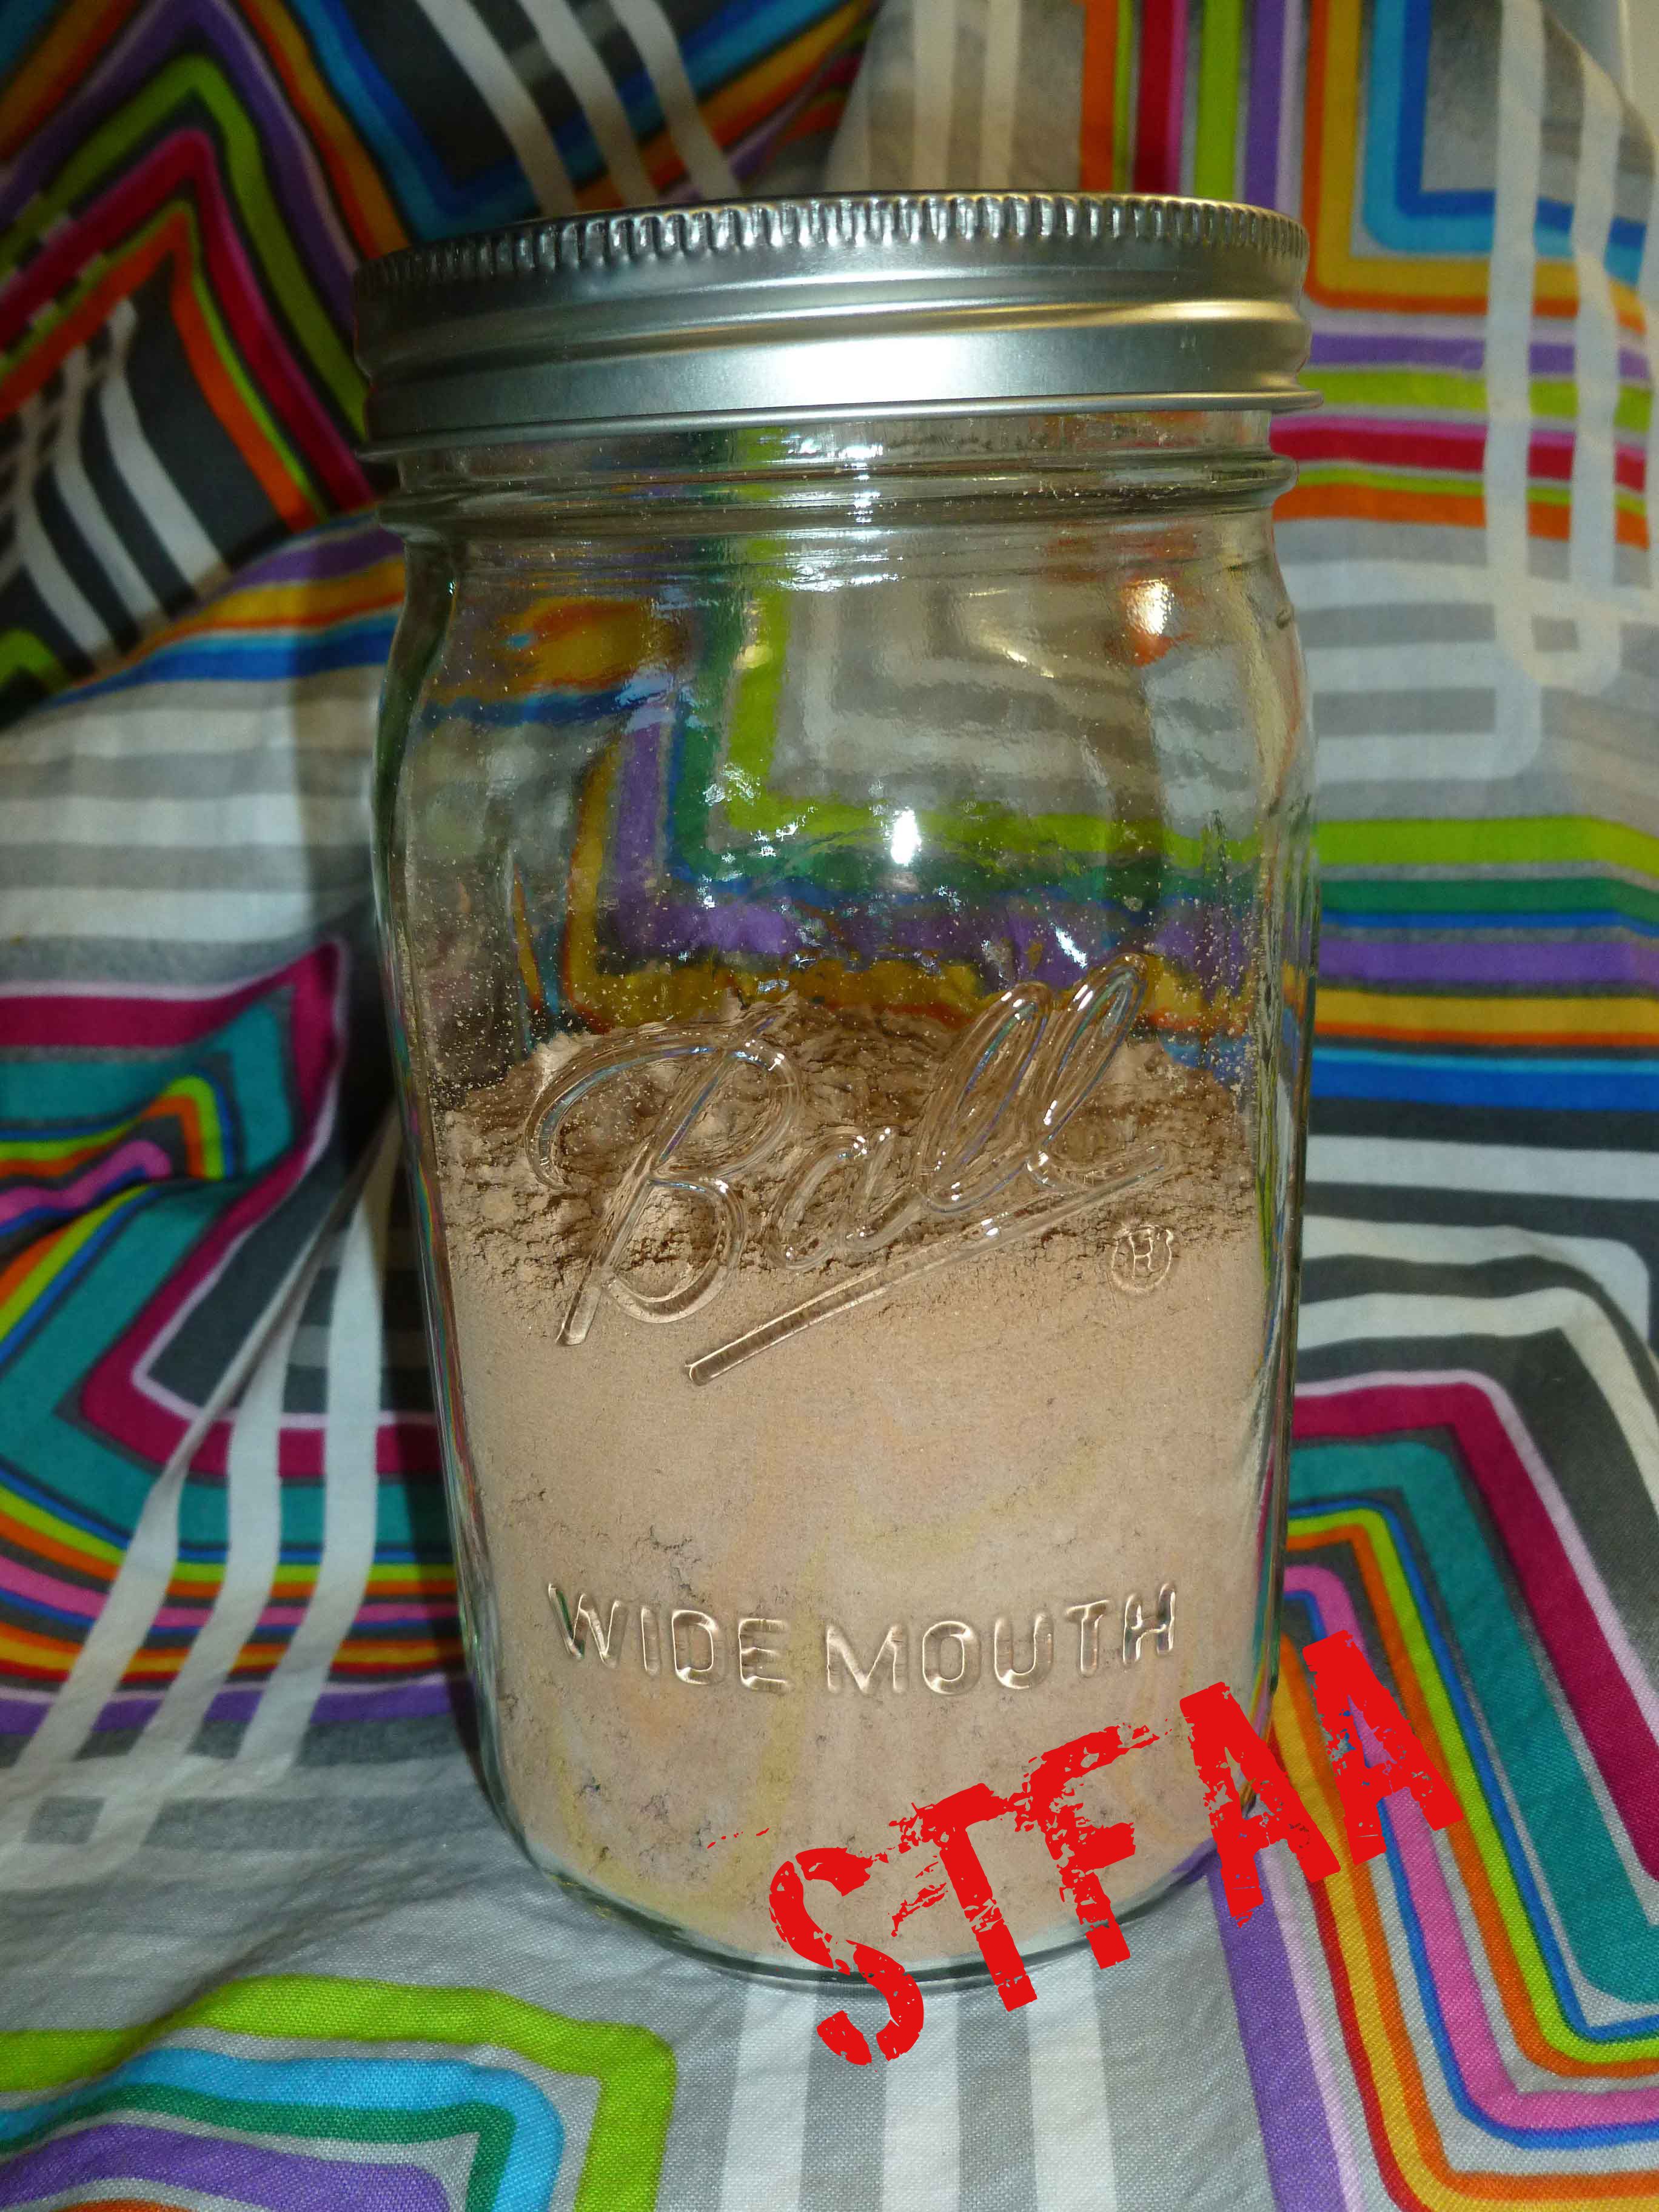
Hot Chocolate Mix, Vegan and Gluten-Free
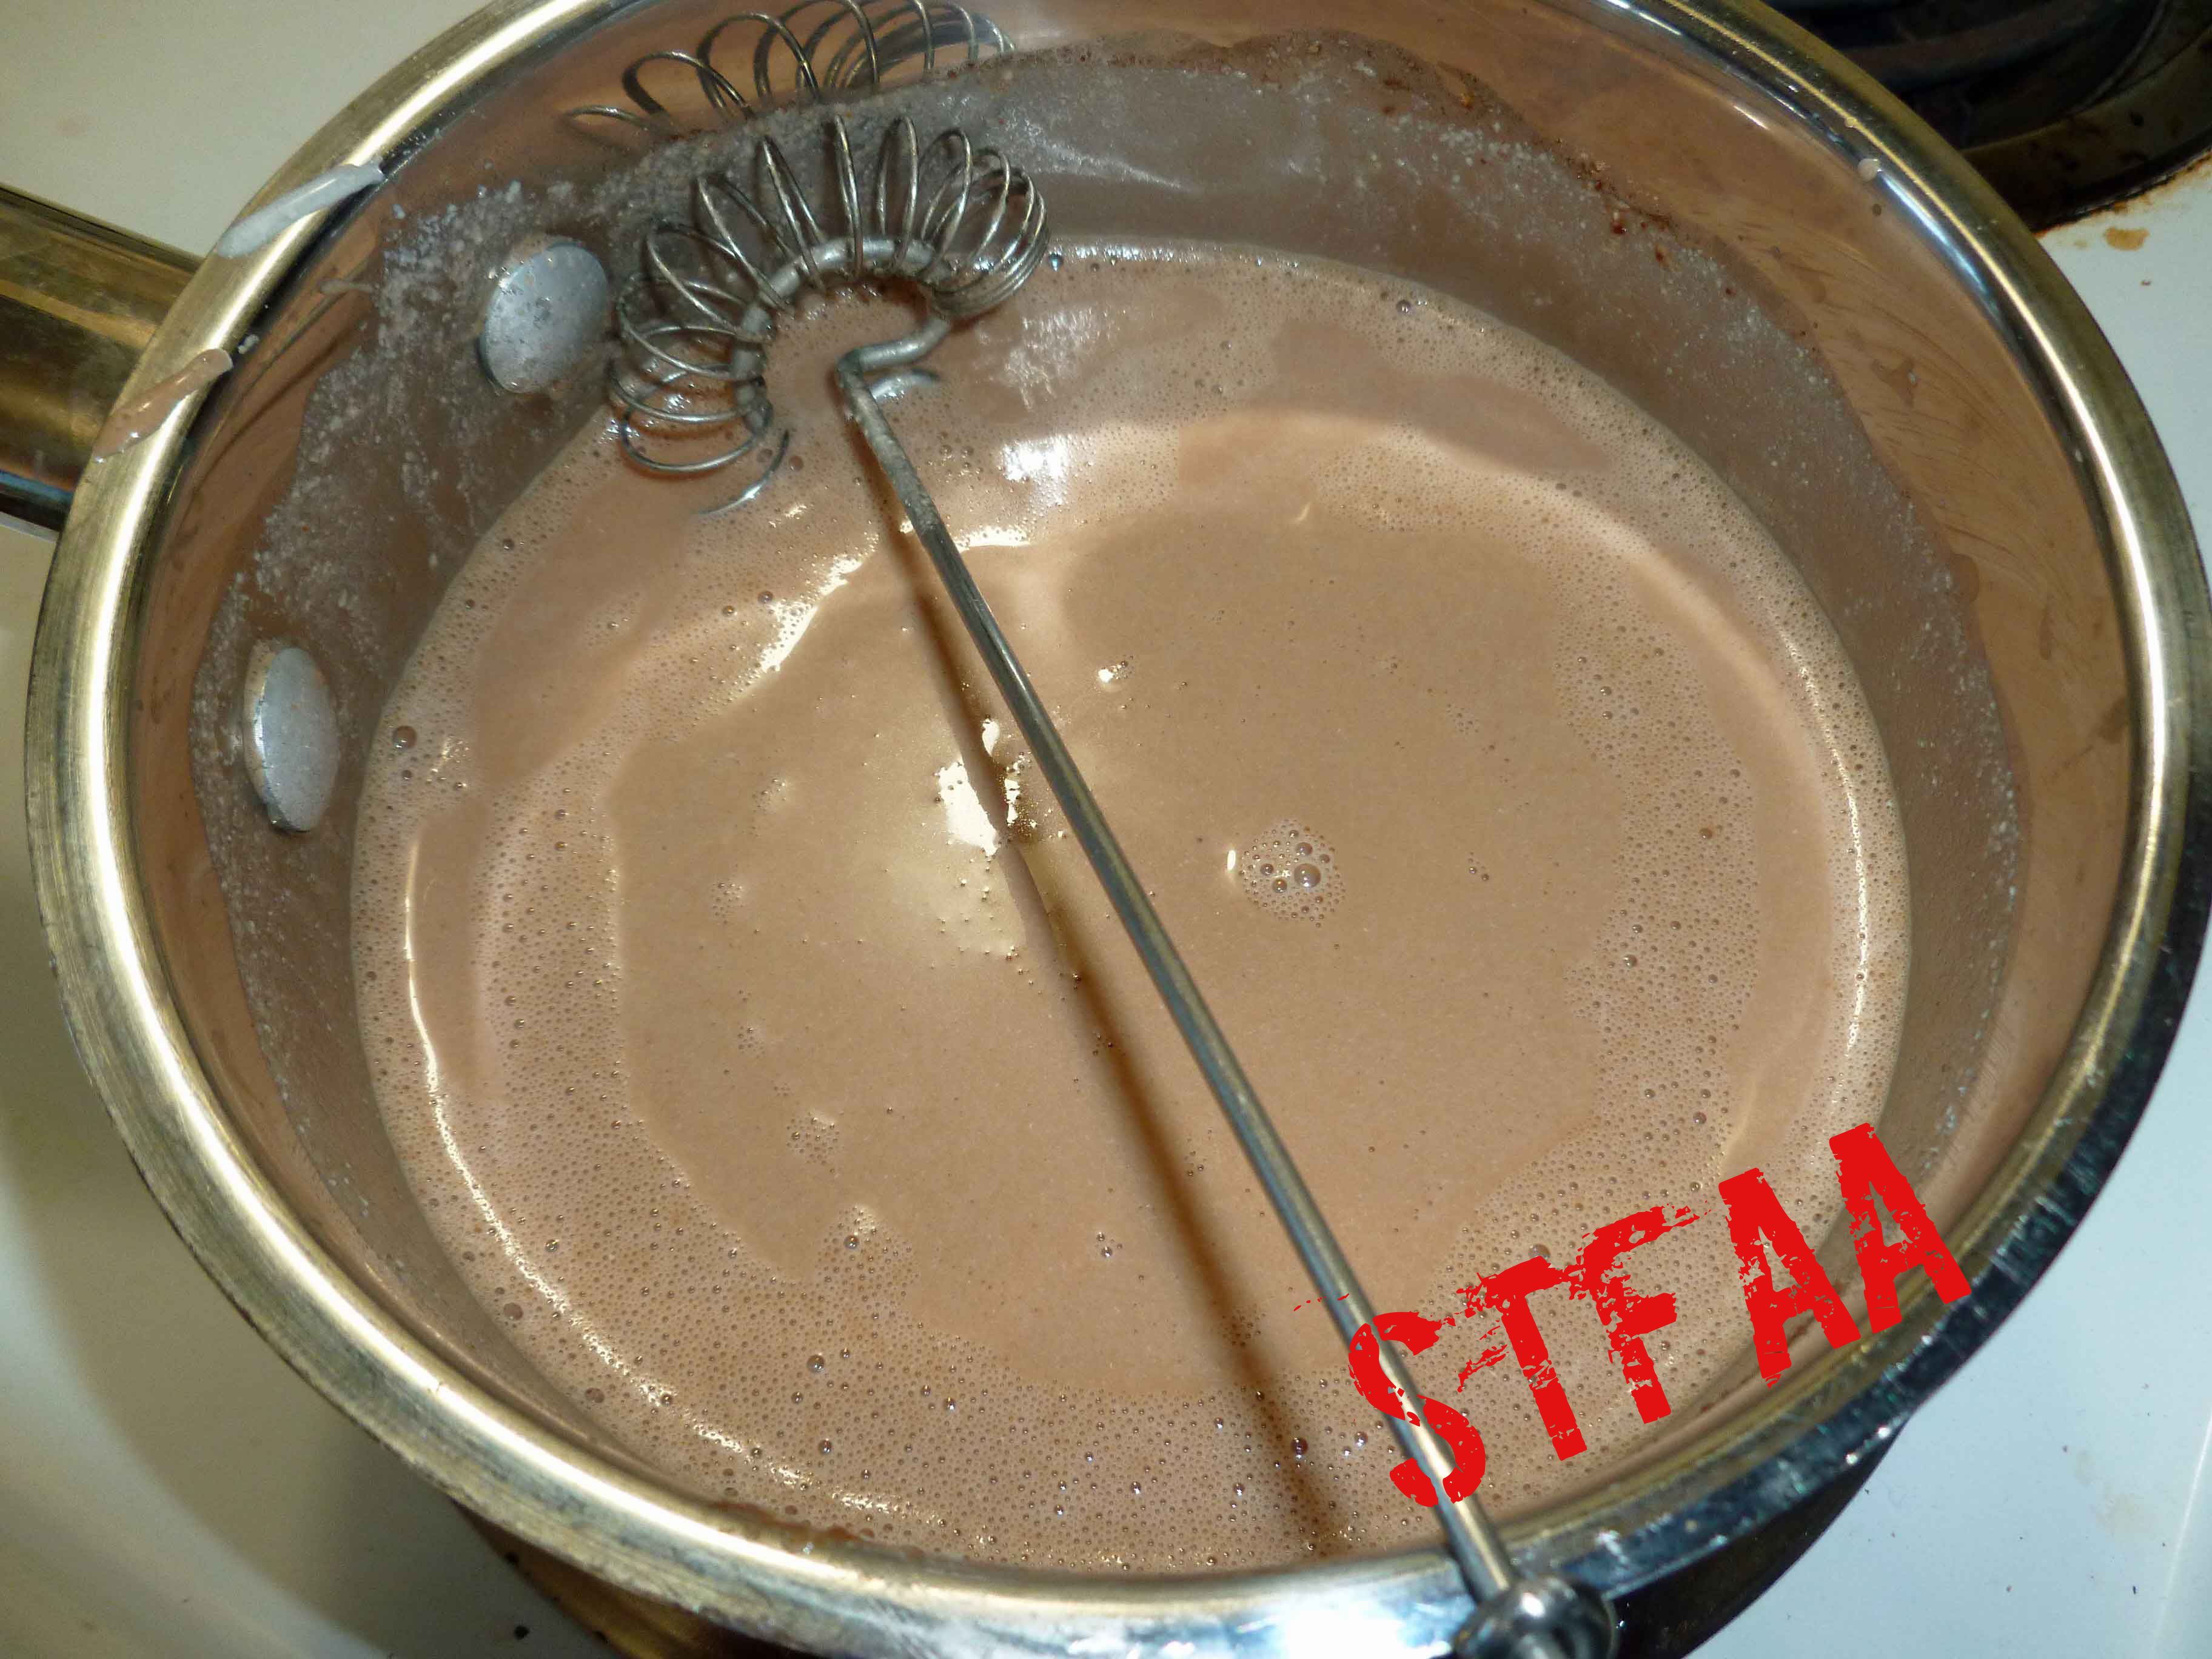
Hot Chocolate Mix mixed with nondairy milk
Hot Chocolate Mix, Vegan and Gluten-Free
Print Recipe
Hot chocolate mix to use with non-dairy mix in the cold weather with a bit of a kick.
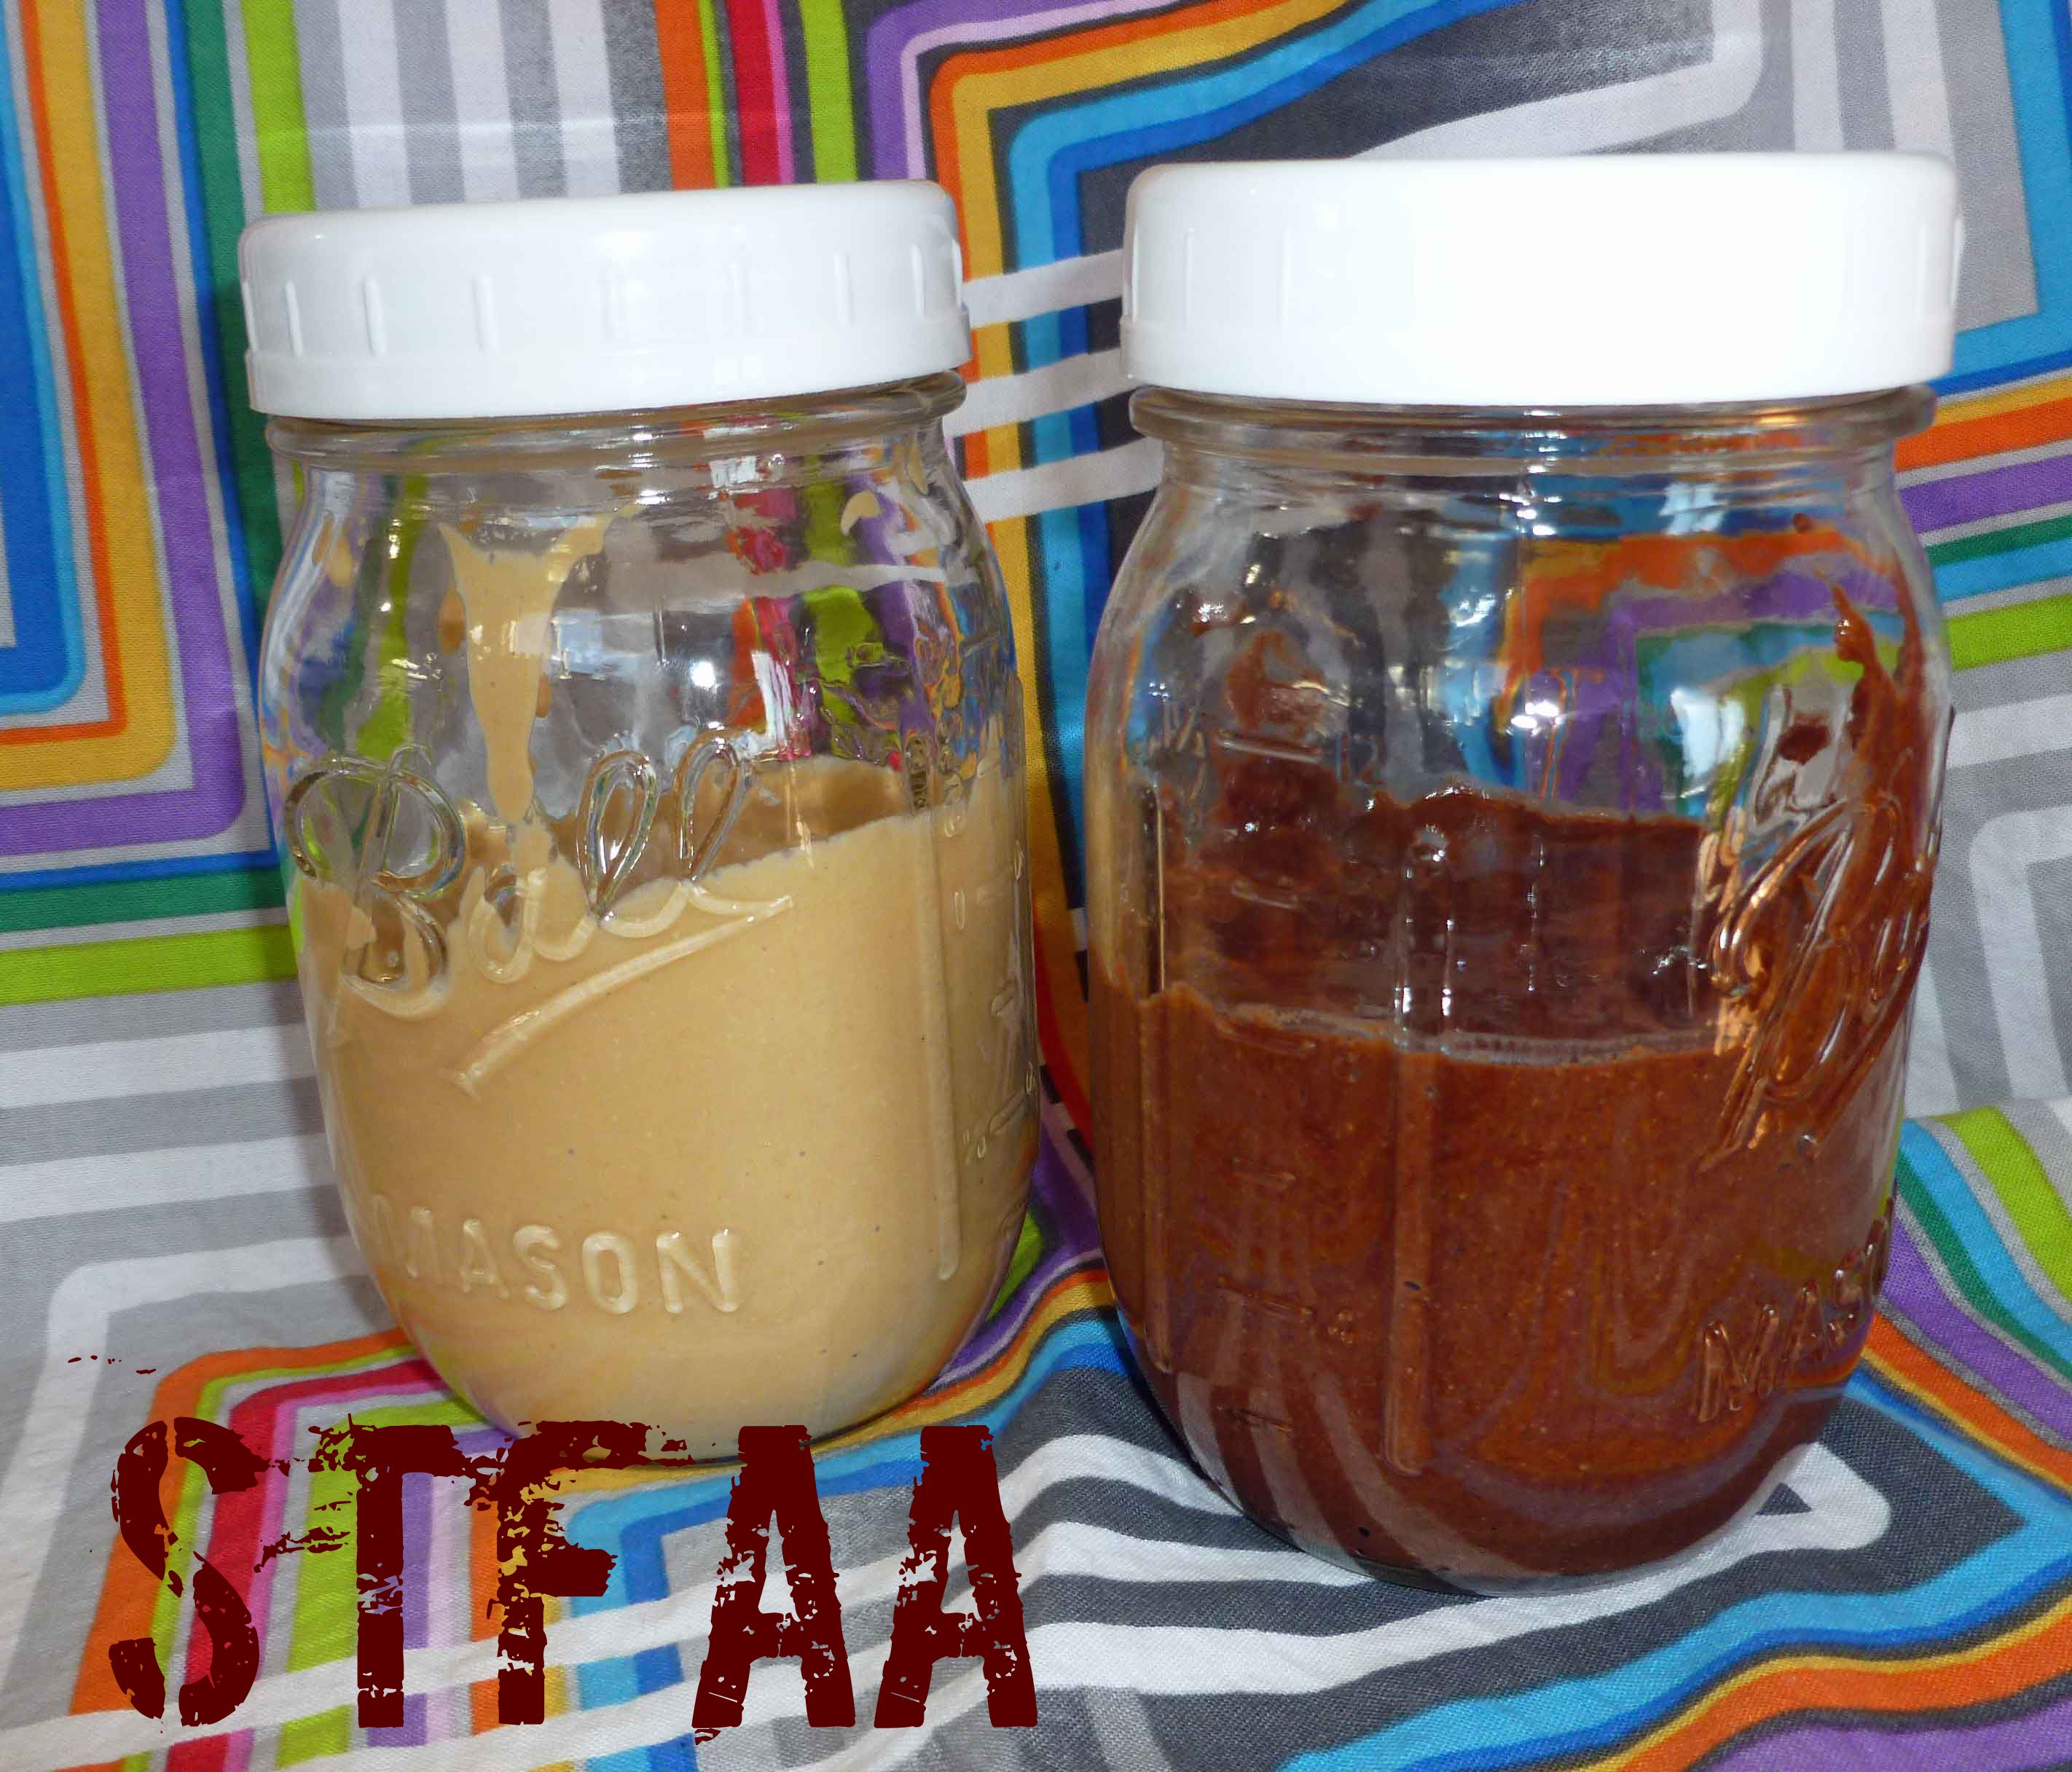
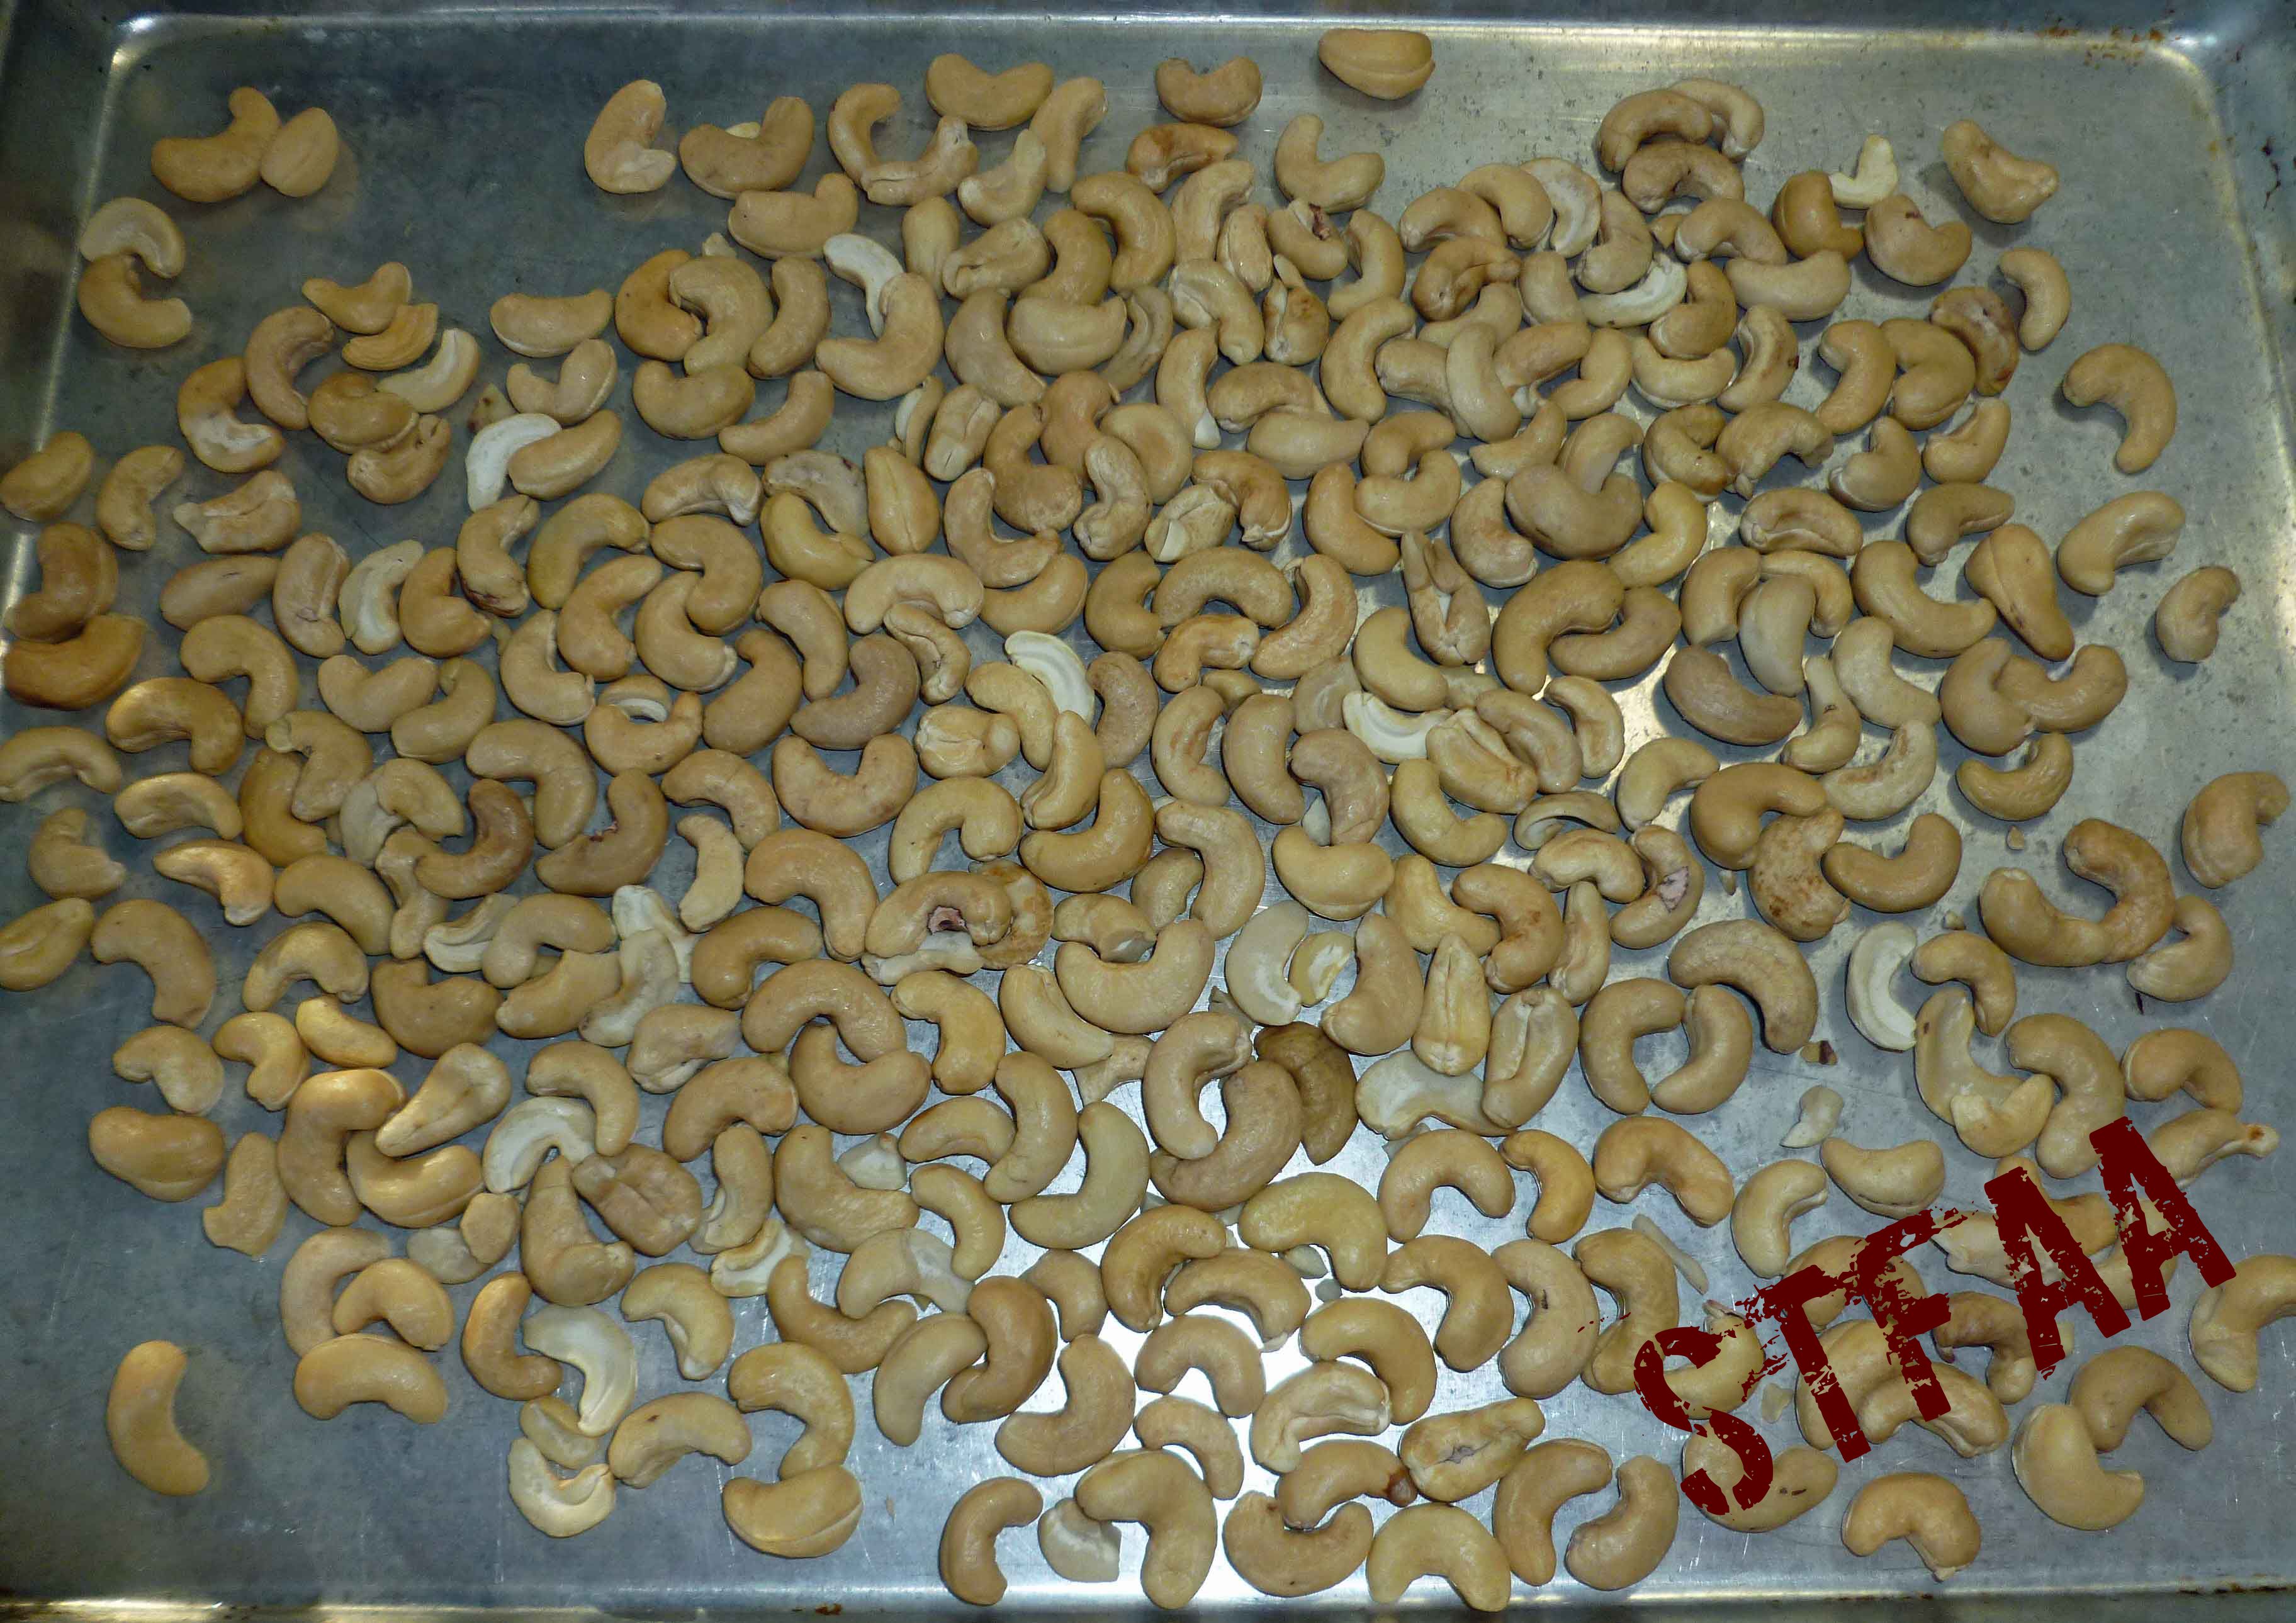
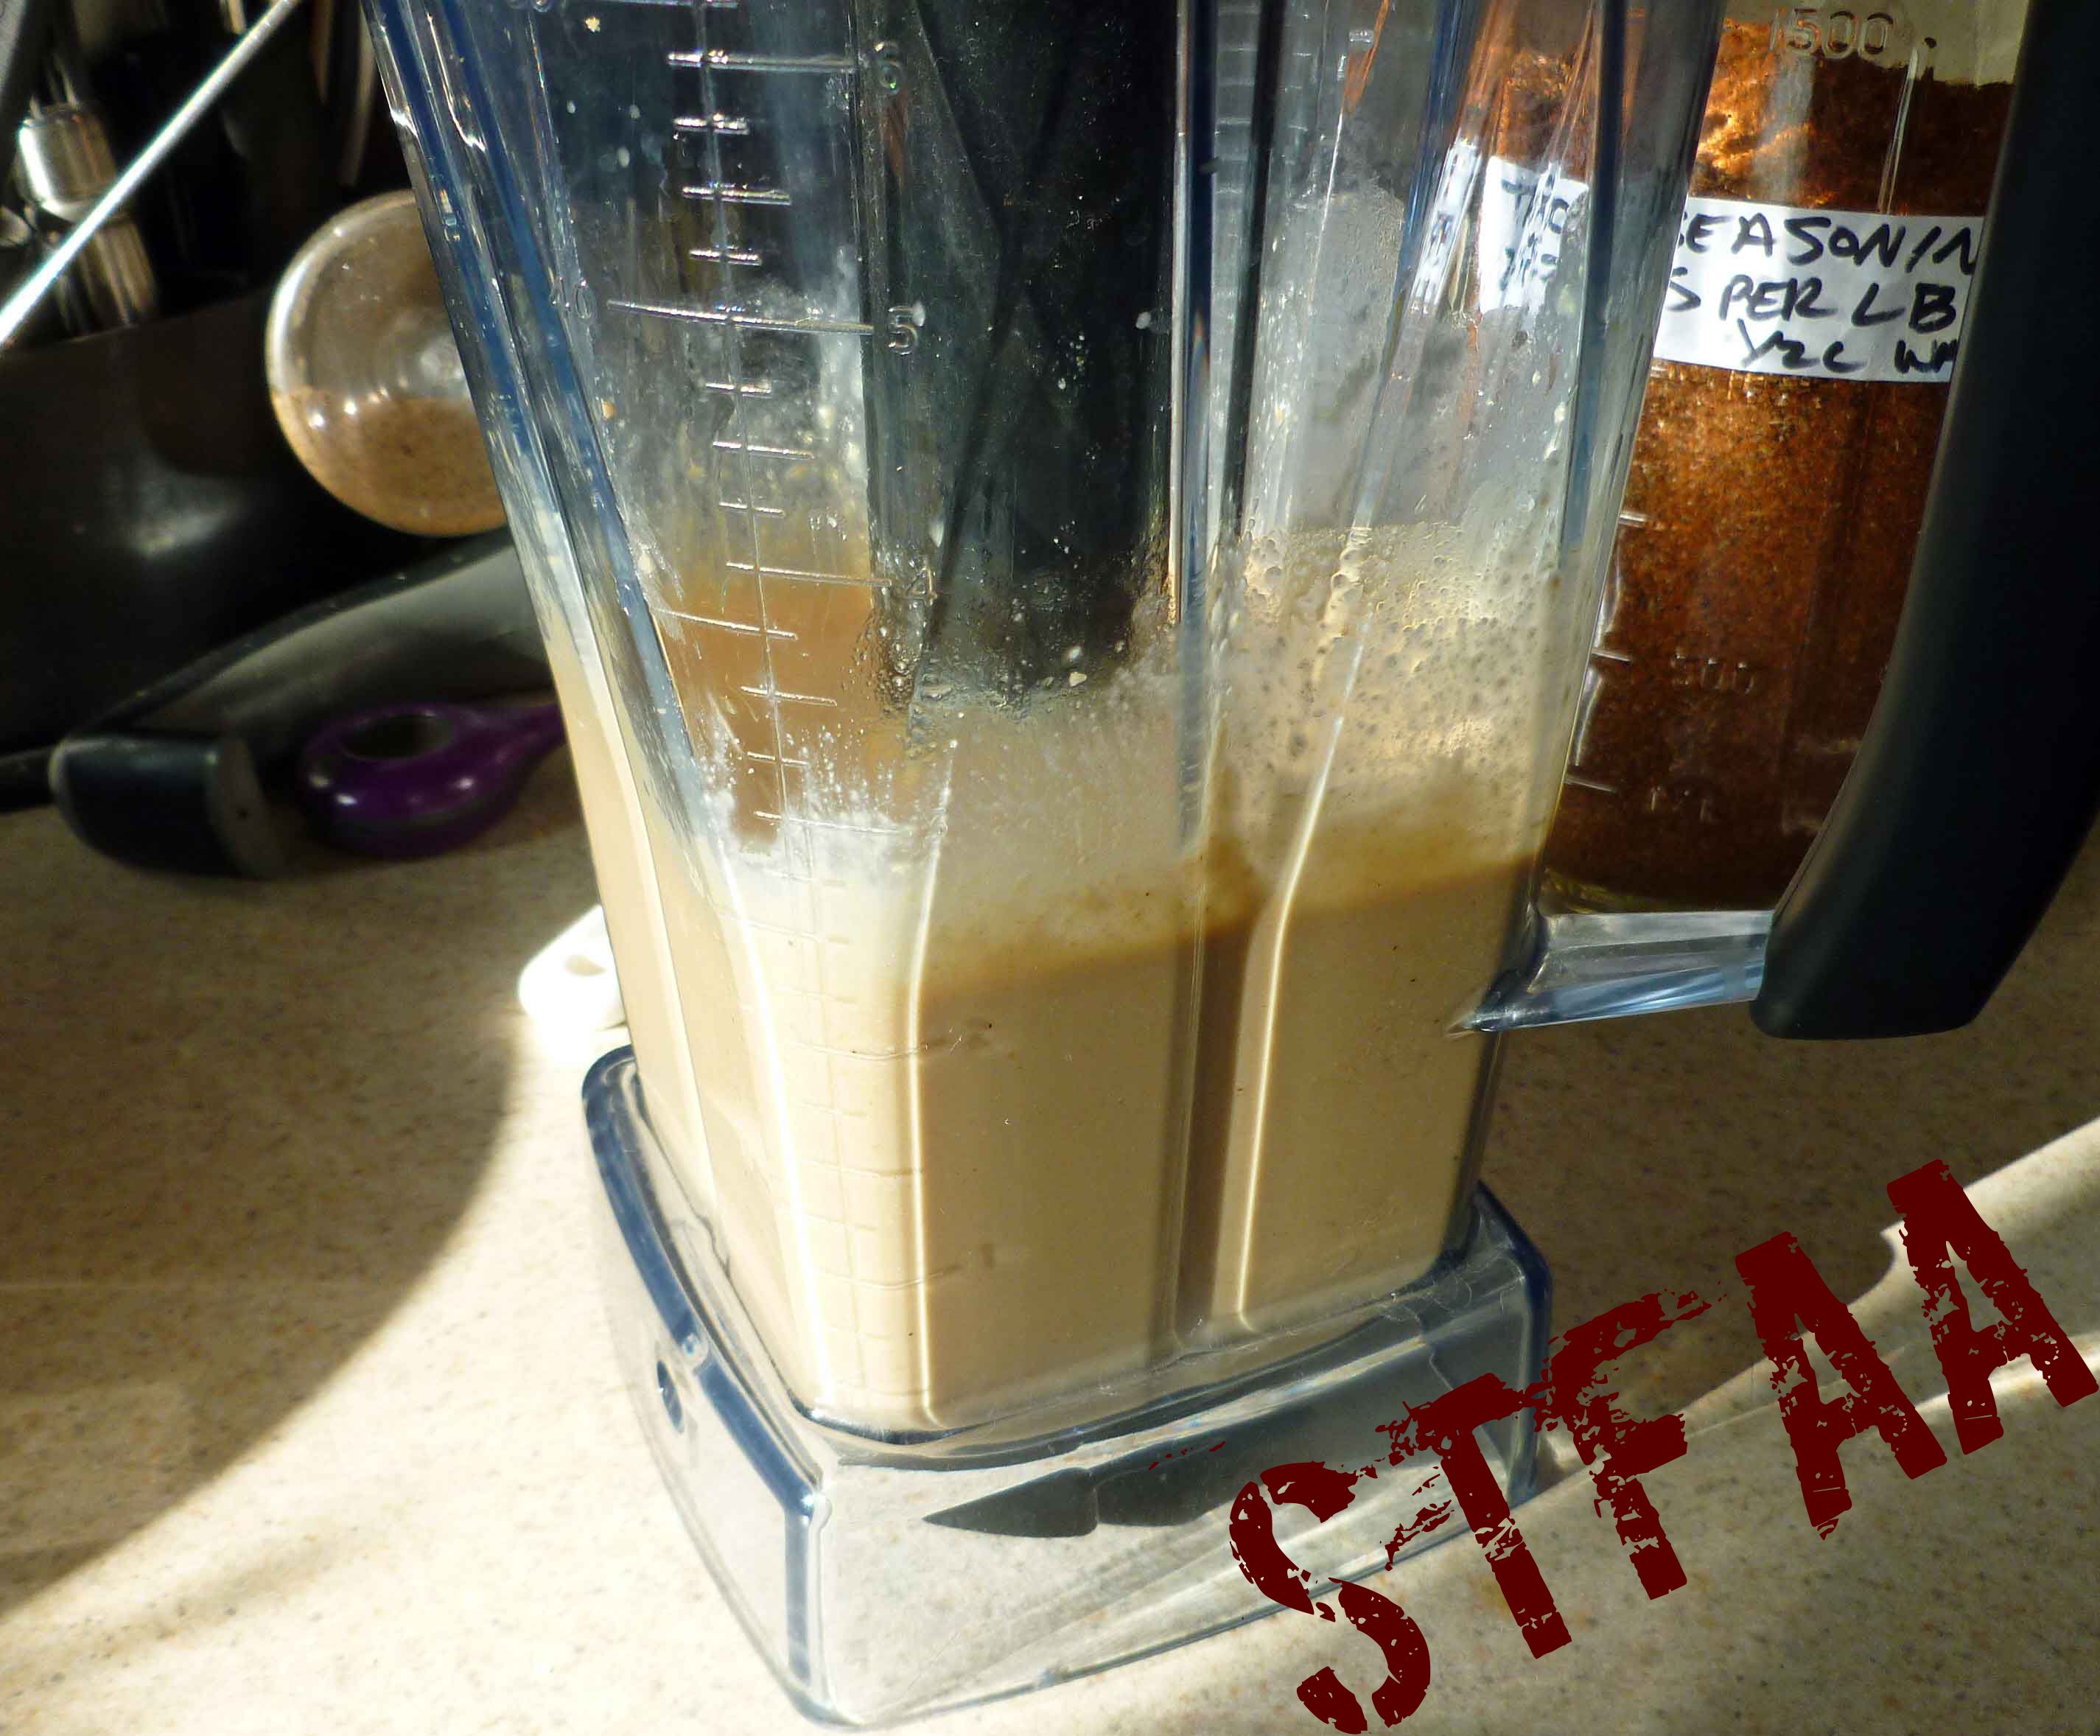
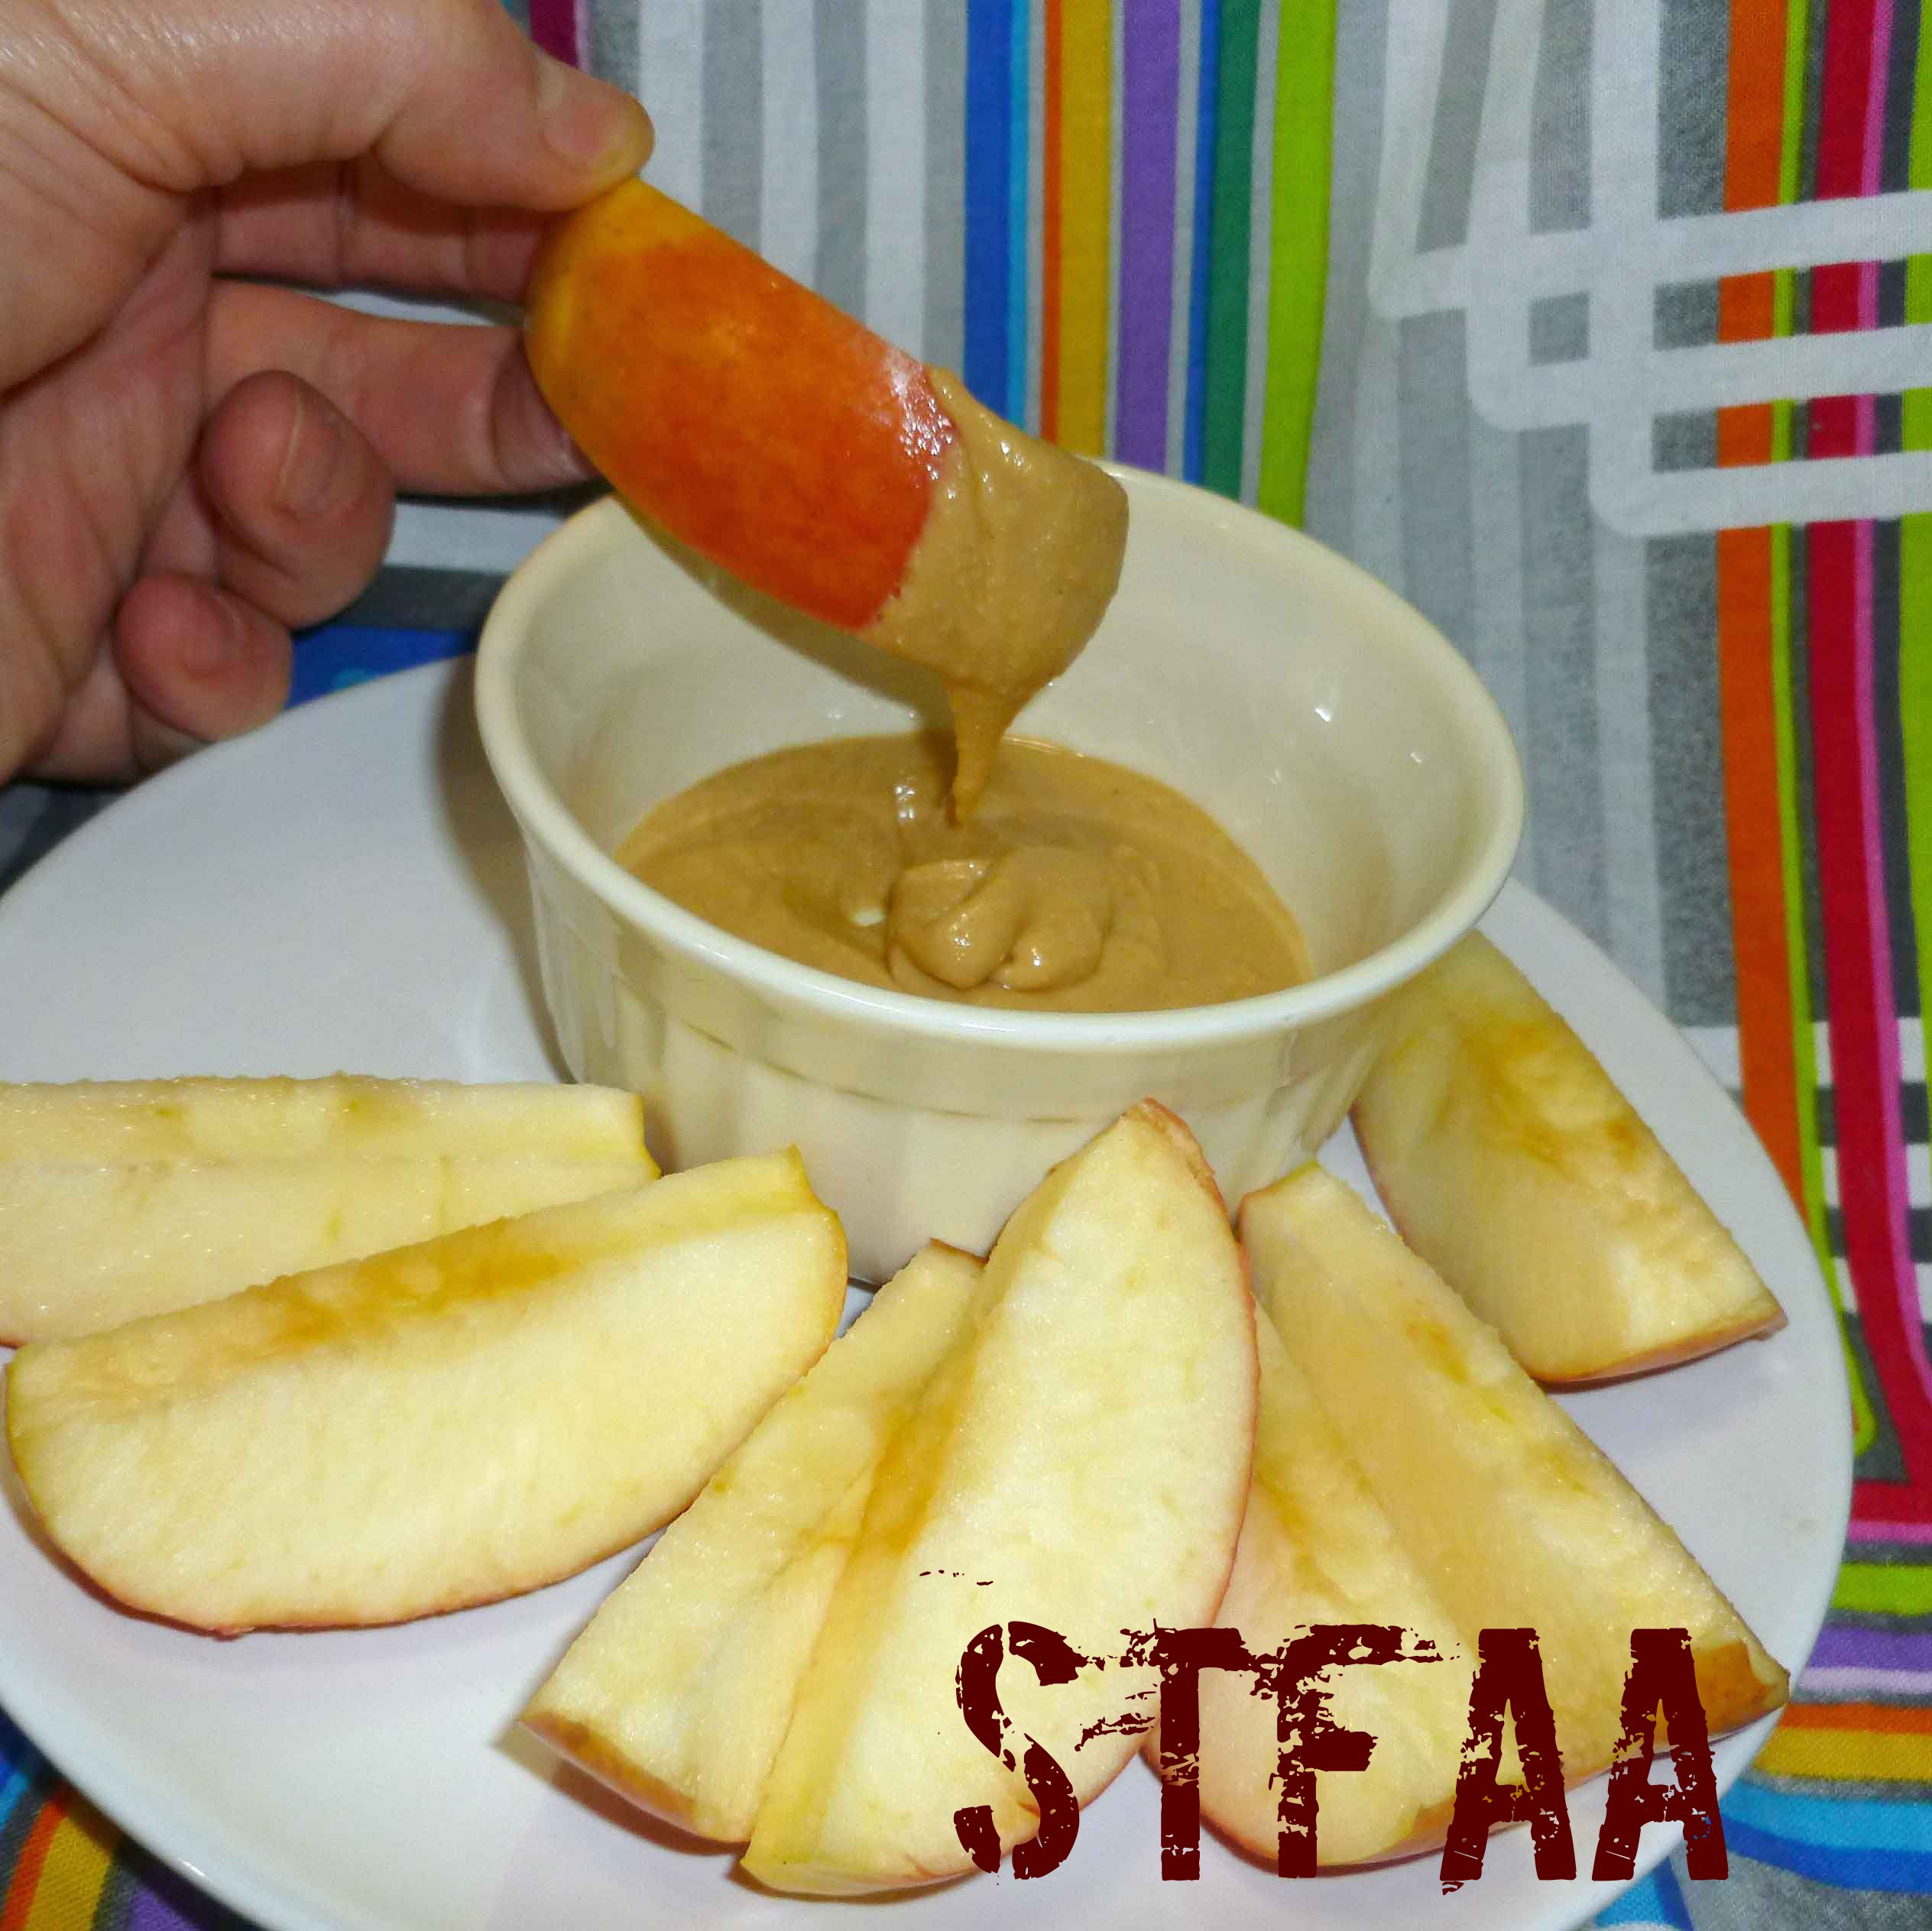
So this is the last recipe post of breakfast month. One of the things I miss having for breakfast is a toasted bagel or a toasted slice of bread with some thinly spread butter and some thickly spread peanut butter on top of that. The peanut butter gets all warm and gooey and it’s a quick filling breakfast. (Also, anyone who tells me I don’t need butter if I’m using nut butter is guilty of heresy, just saying.) Well, I haven’t managed a gluten-free, egg-free, dairy-free, and corn-free loaf of bread or bagels yet, but I’m one step closer to getting the ingredients I need. I already had a recipe for a margarine, Homemade Margarine, New and Improved, which works well on baked goods. I’m not allergic to peanuts, but I haven’t been able to buy a commercial peanut butter that’s safe for my cocktail of allergies or that I trust not to have issues with cross contamination in some time. I haven’t sourced safe raw peanuts yet, but I did have cashews I do well with, so I decided to go ahead and make cashew butter. And then I decided to mix some of it with cacao powder to try for something Nutella-esque (I’m allergic to hazelnuts and dairy, among other issues). I used this great tutorial from Tasty Yummies, but used my Vitamix to make the cashew butter.
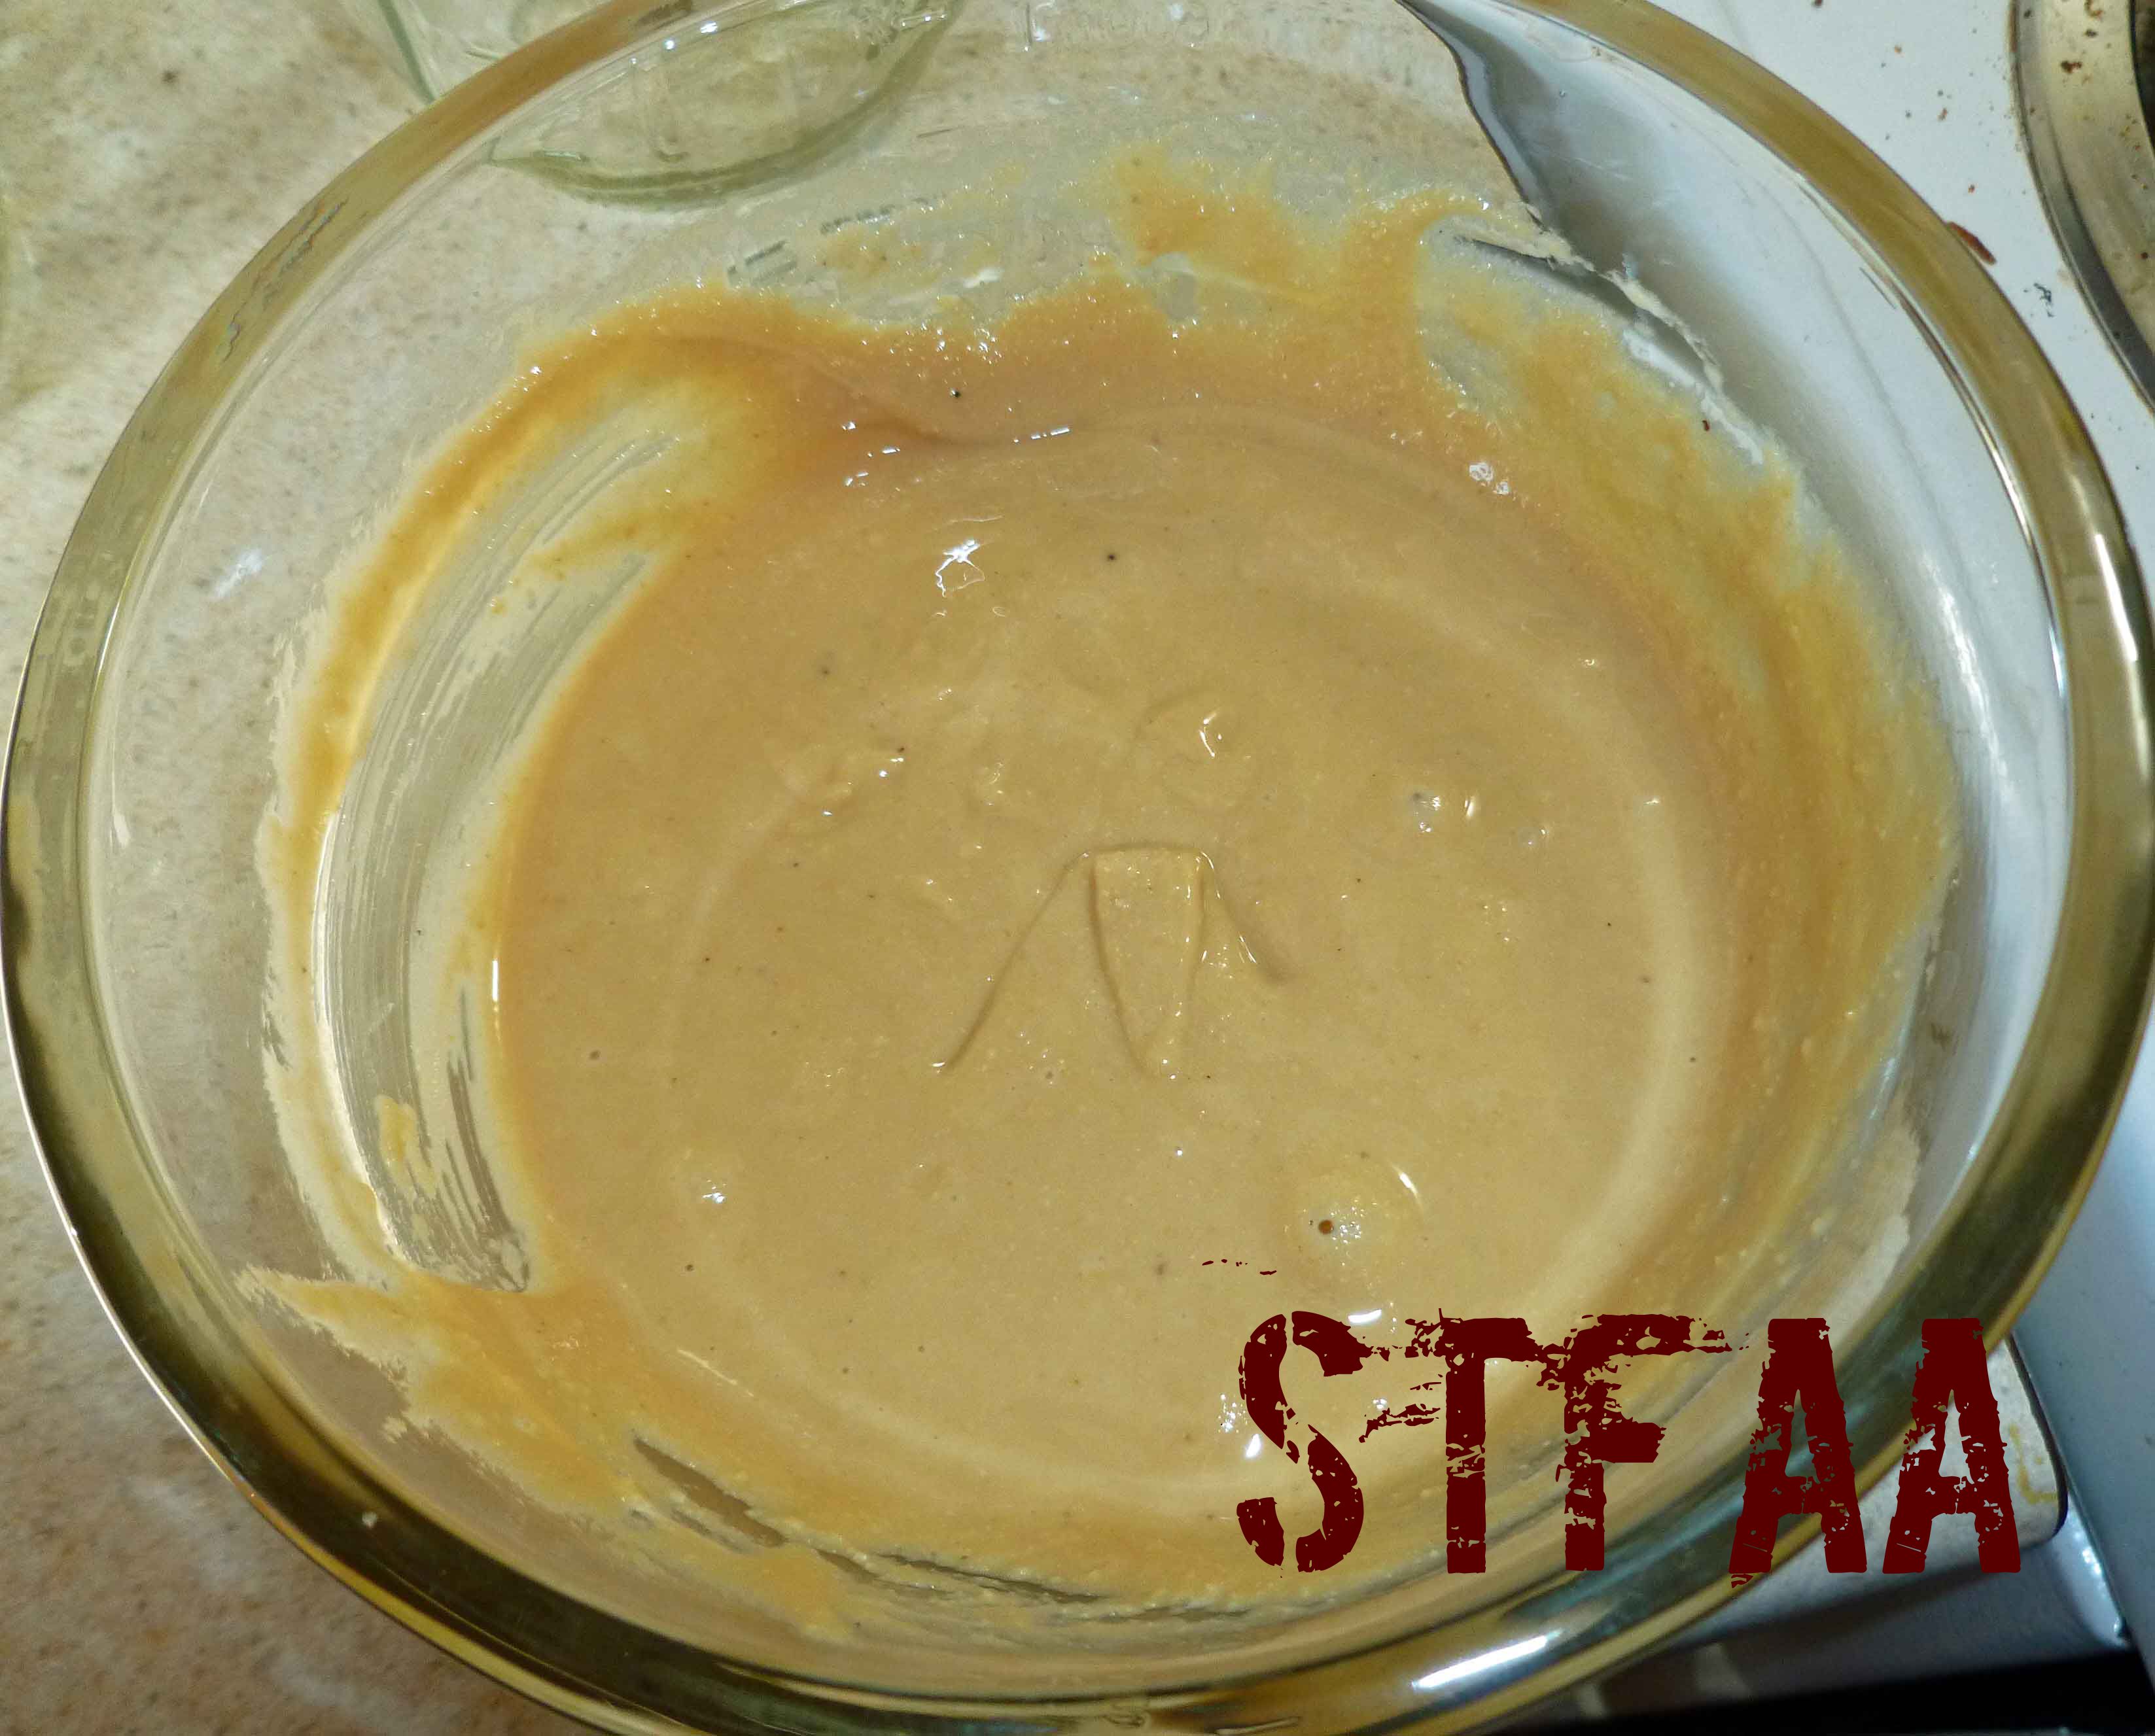
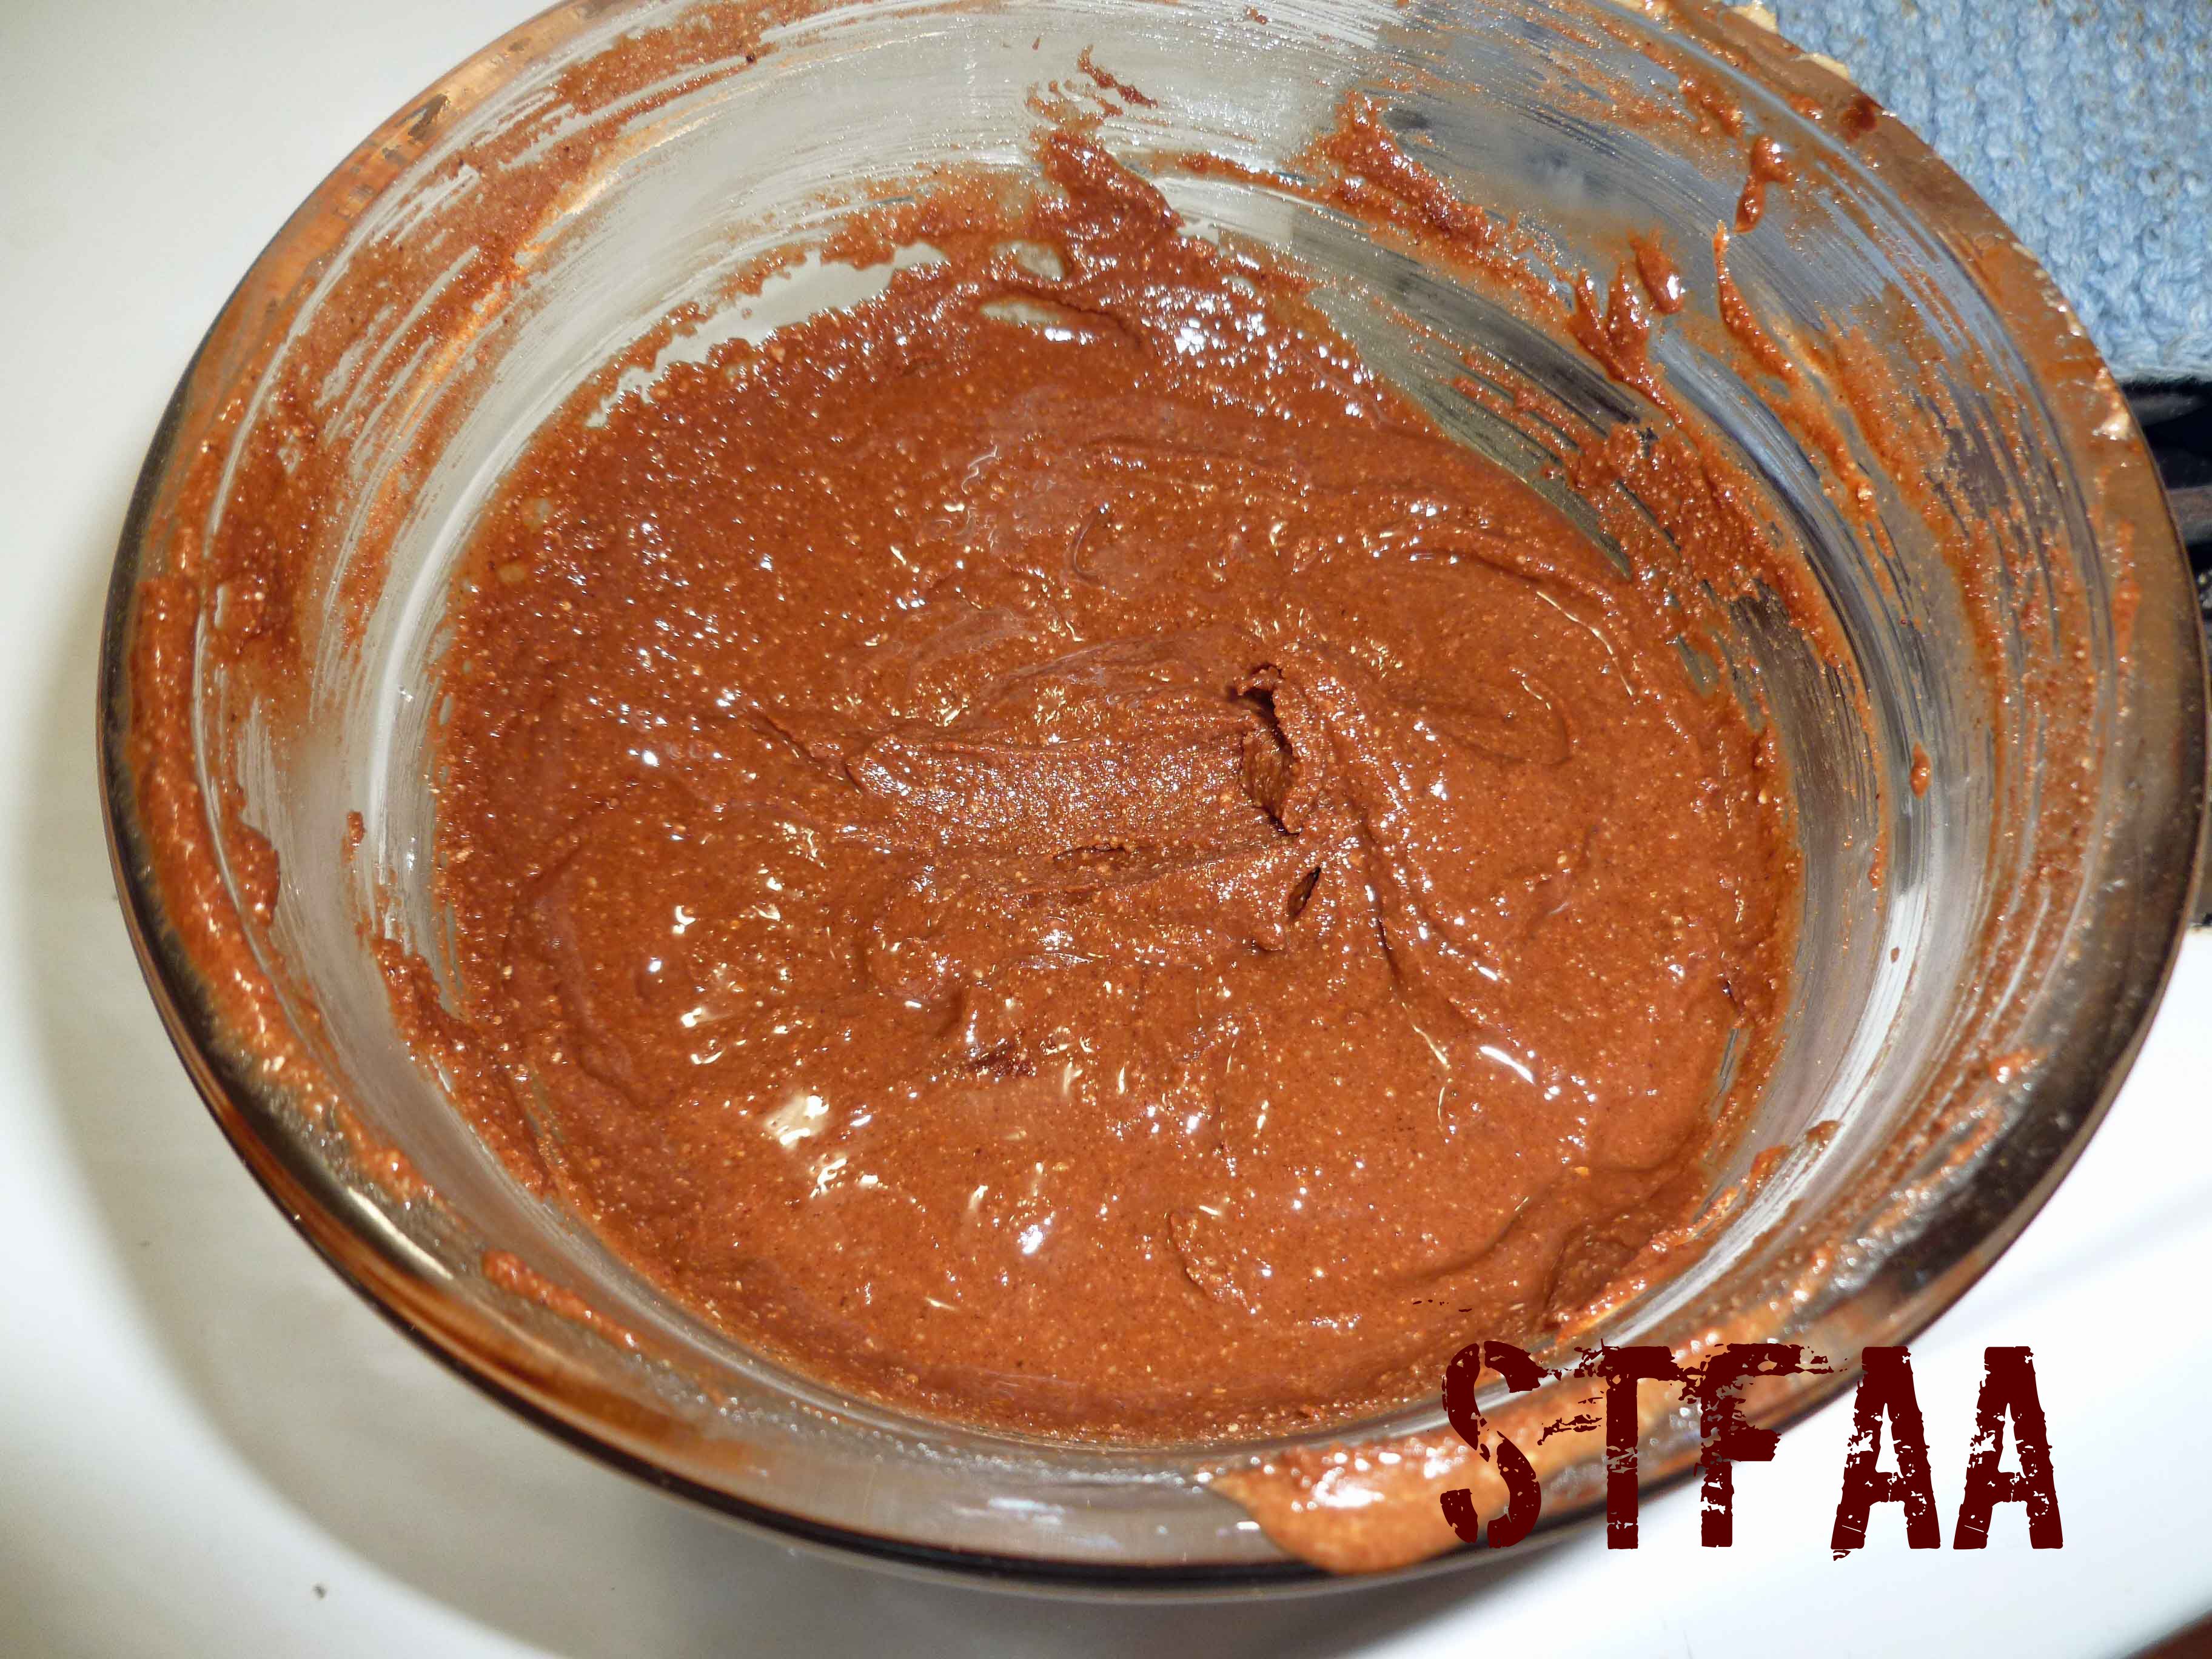
It’s good. The chocolate cashew butter is not as sweet as Nutella, but it’s nice. And once I manage to make myself bread that I wouldn’t be ashamed to put on the blog, I’ll be even happier. But for now, I ate the plain cashew butter with an apple, and the chocolate cashew butter with strawberries, which isn’t all that bad either.
Cashew Butter and Chocolate Cashew Butter
Notice: Trying to access array offset on value of type bool in /home/maryzahc/public_html/adultfoodallergies.com/wp-content/plugins/wp-ultimate-recipe/helpers/models/recipe.php on line 254
3-5Tablespoonsgrapeseed oil(or other safe for you oil)
dash salt
Additions for Chocolate Cashew Butter
2-3Tablespoonscacao or cocoa powder
1teaspoonsugar
Equipment Needed
1high performance blender
Servings: cups
Instructions
If you want to soak the cashews to clean them well, cover them with water in a bowl and soak for two hours. Drain cashews and dehydrate either in a dehydrator or a oven for 12 to 24 hours at 150°F or less, until dry or crisp. If you are not soaking your cashews, skip to the next step.
Once your cashews are dry, roast them in a 325°F oven for about 10-15 minutes, watching them carefully so that they do not burn. You want them to be golden brown.
Add your cashews to your blender, along with 3 Tablespoons of your safe oil. Start on the lowest speed, and slowly increase the speed to the highest speed, using the tamper if your blender comes with one. Add more oil if necessary. When the blender changes from a chugging sound to a low laboring machine, stop the blender.
Remove the cashew butter and place equal amounts into two bowls. Mix a dash of salt into each bowl mixing well. One bowl is your now completed plain Cashew Butter. To the second bowl, add 2-3 Tablespoons of cacao powder to taste and the sugar, whisking it in. You also may need to add more oil at this point. This bowl is your Chocolate Cashew butter.
Store in an air tight container or freeze it for longer storage.
To cap off our Treat. Yo. Self. January. theme, I give you a big treat, Whoopie Pies. I’m fairly certain I’ve mentioned this before, but I’m originally from Maine. The whoopie pie is the official state treat of Maine and apparently the town of Dover-Foxcroft, Maine, has hosted the Maine Whoopie Pie Festival since 2009, according to Wikipedia. I’ve seriously missed them since the onset of my dairy, egg, wheat and corn allergies.
My recipe uses my home rendered lard because it’s my only safe solid fat, but you can substitute it with vegetable shortening if you have one you can use safely. There are three recipe cards listed below, one that provides the flour mixture I use in the whoopie pies, one for the frosting, and one to bake the pies themselves. I used a Pampered Chef Easy Accent Cake Decorator to pipe the frosting into the whoopie pies, but you could just use a safe for you zip top bag with a corner cut off as well. I don’t recommend a spreader or a knife as gluten-free pies don’t have the same sturdy structure as the wheat ones do.
Whoopie Pies – Gluten-Free with Vegan Option
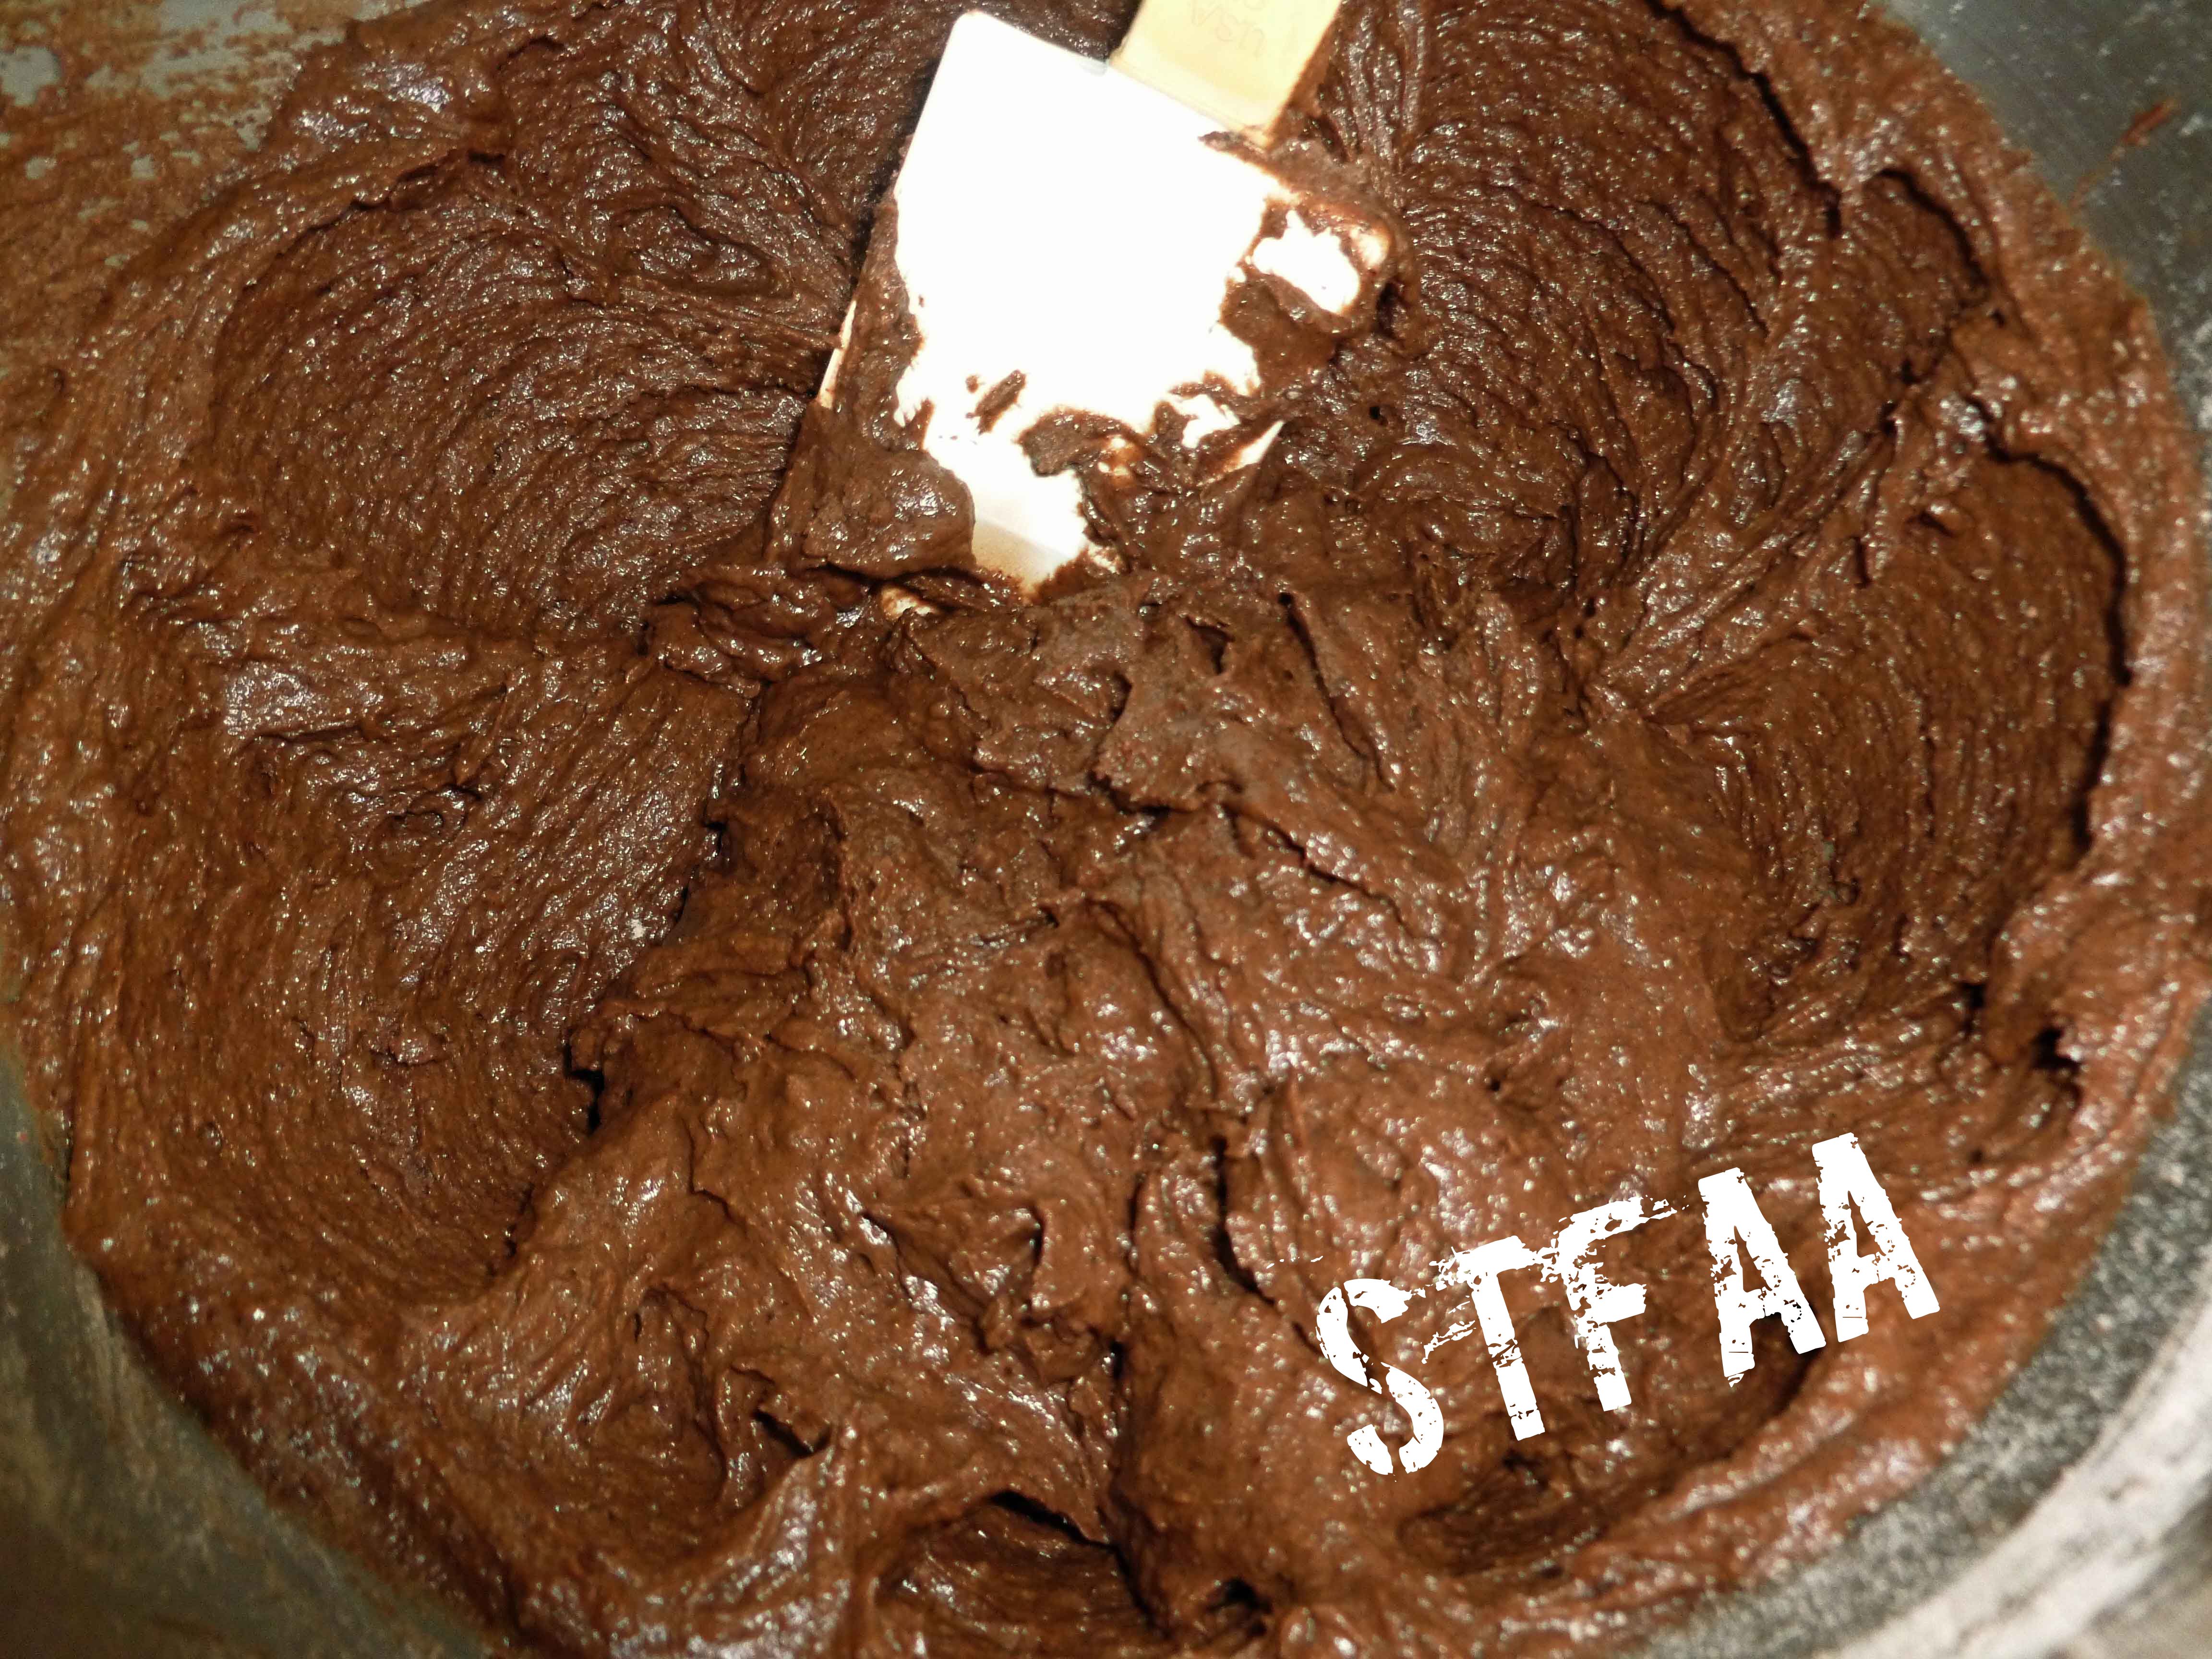
Whoopie Pie batter
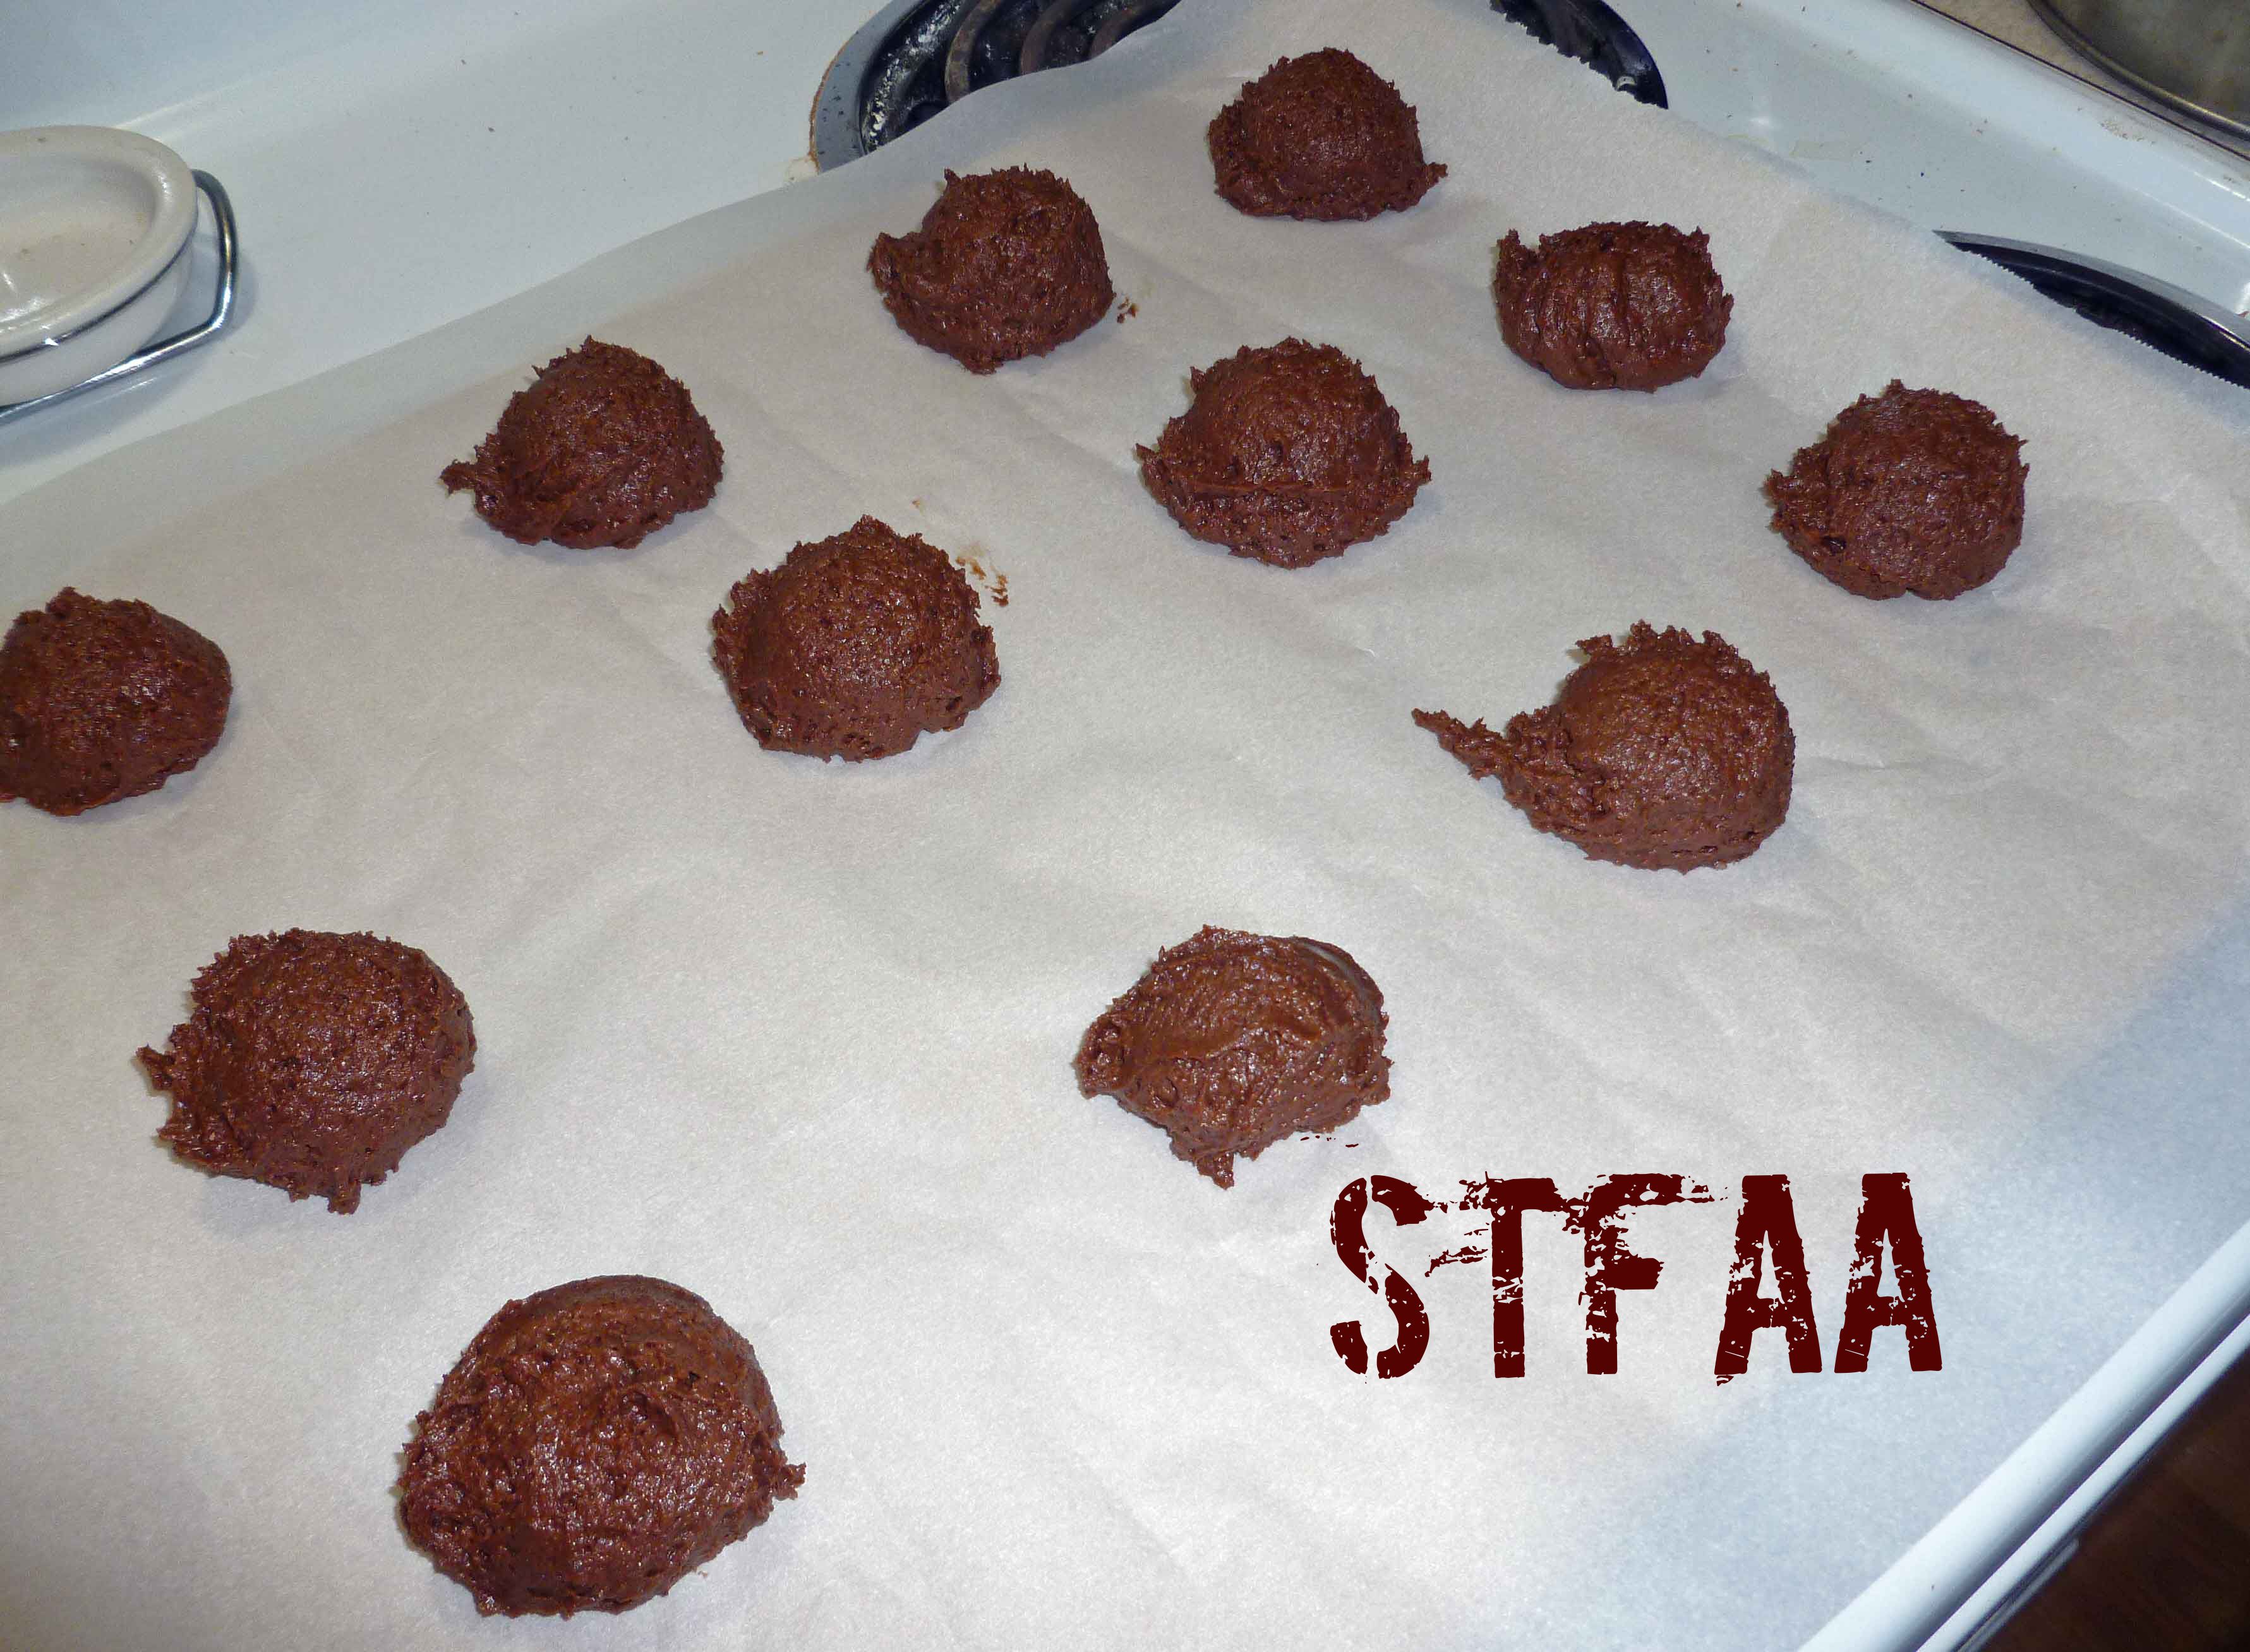
Whoopie Pie batter on parchment lined cookie sheets
Whoopie Pies after baking
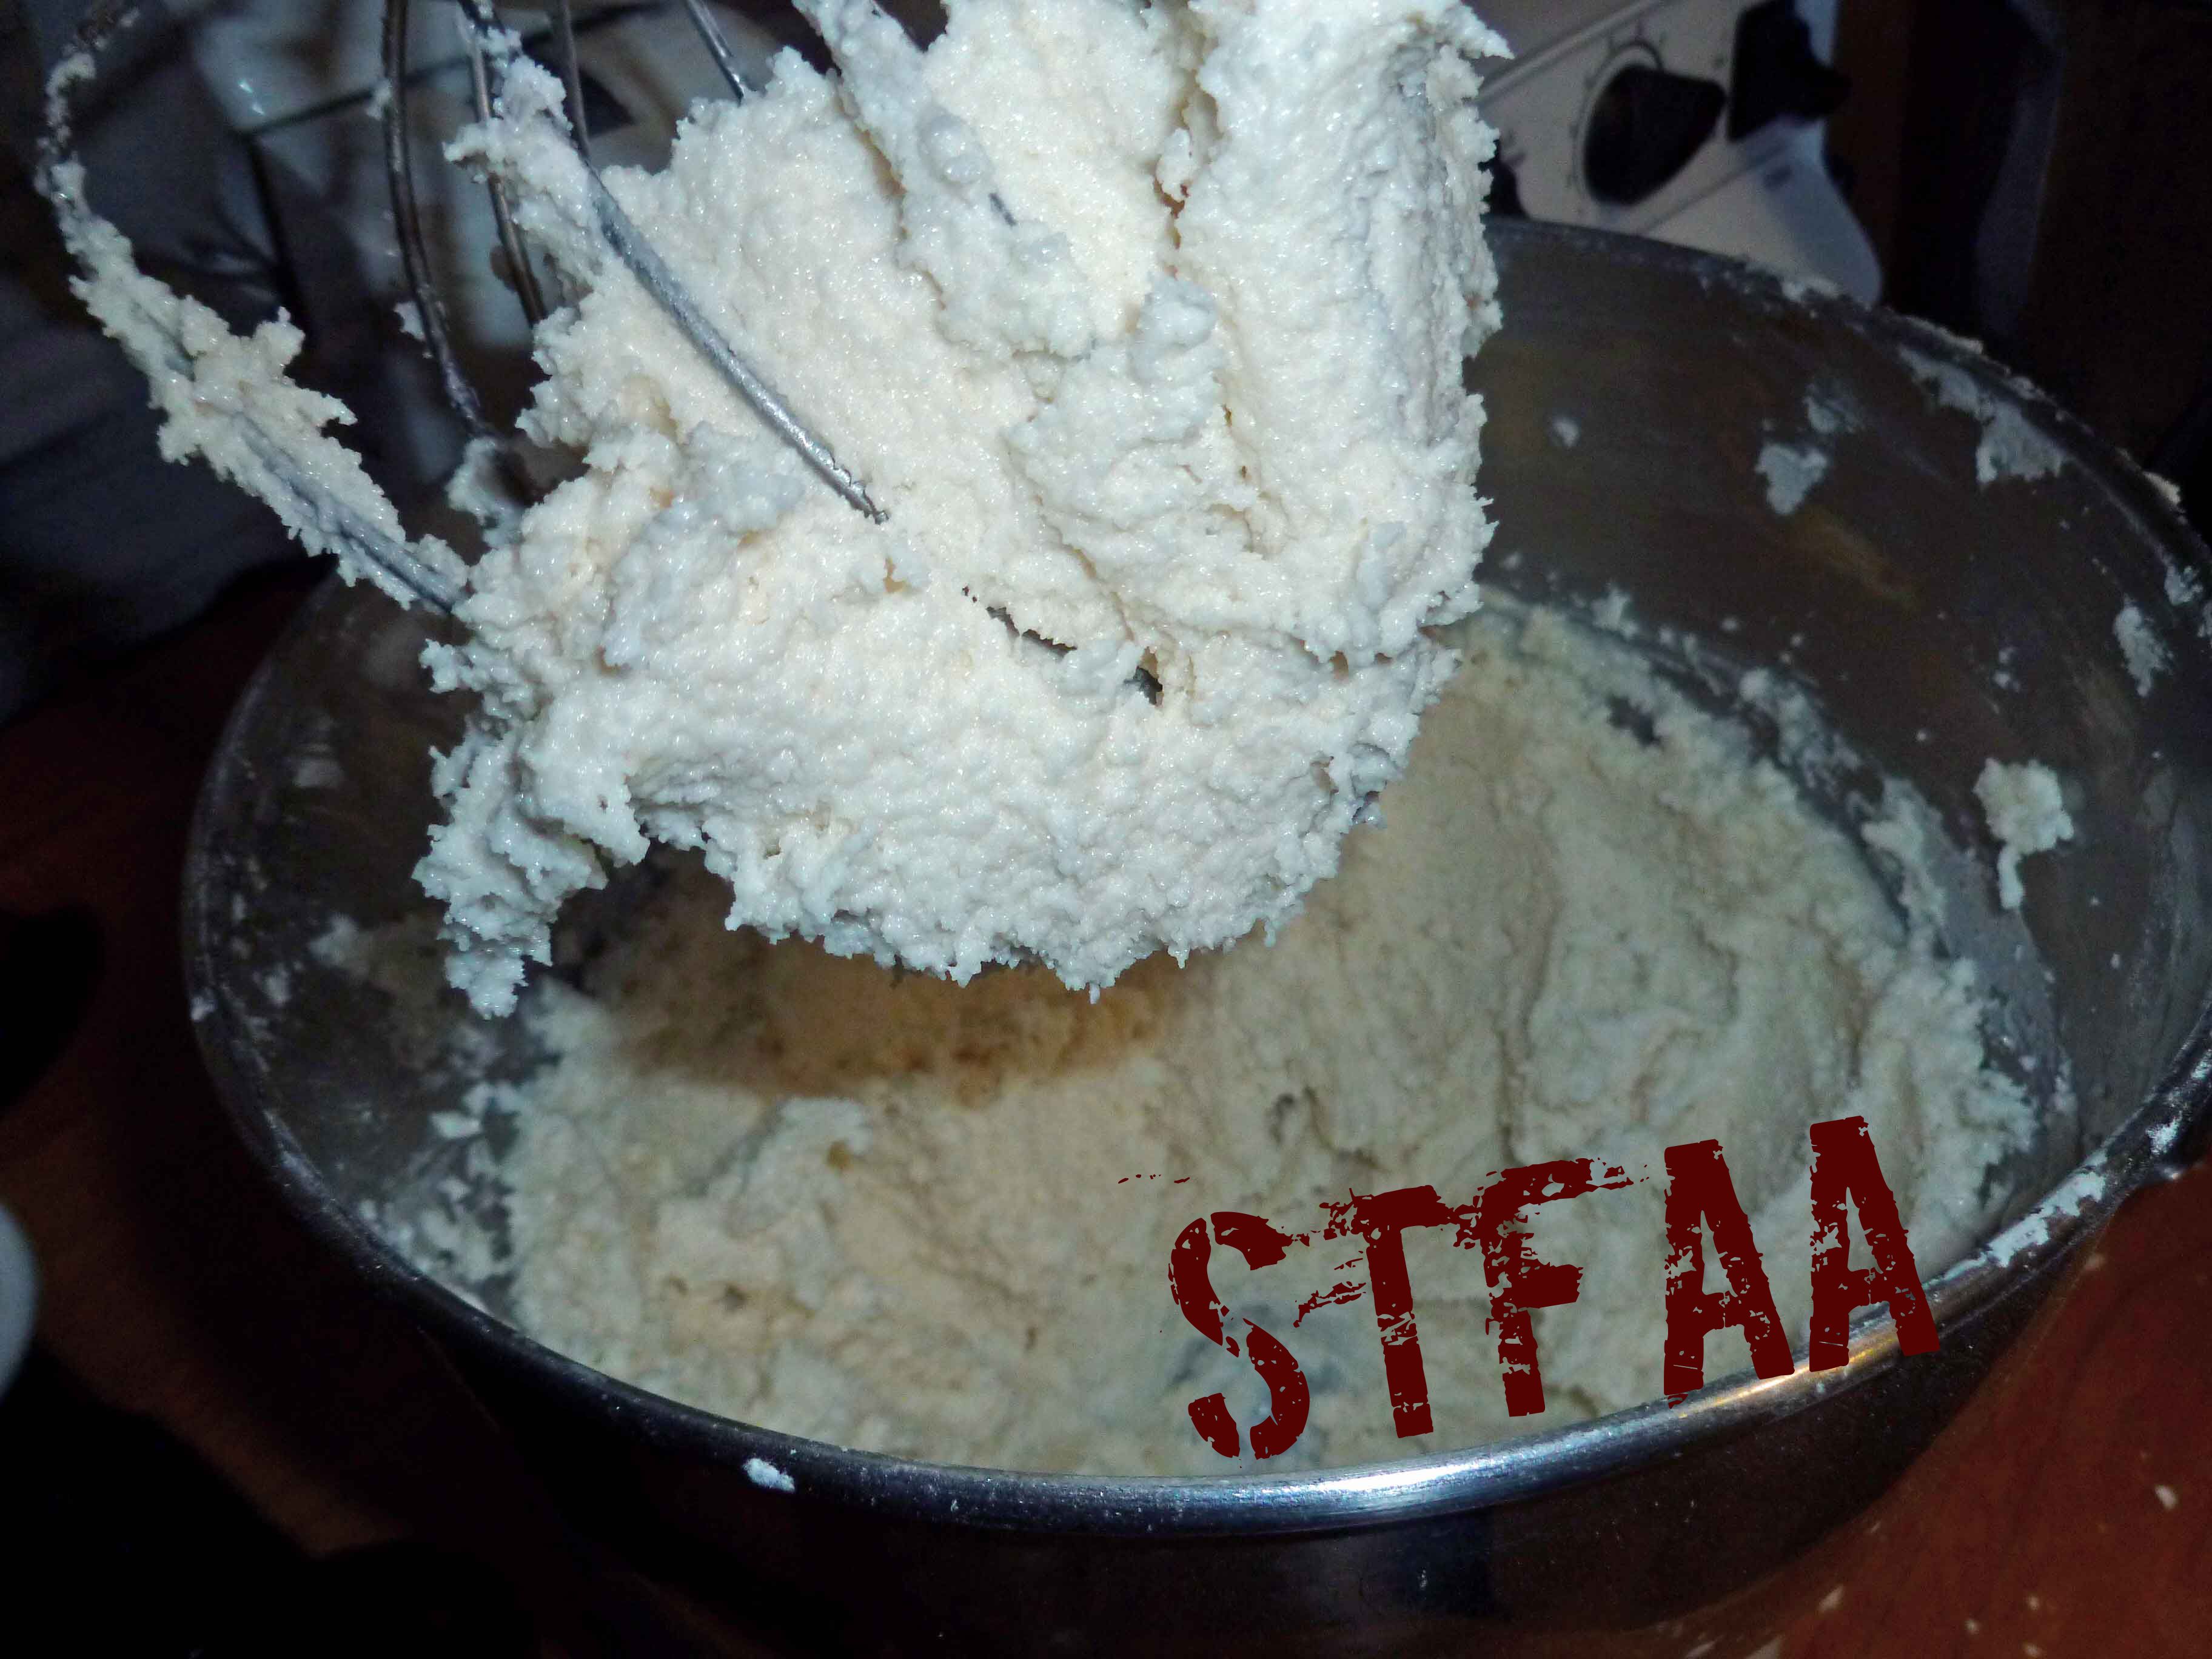
Lard after being whipped
Vanilla Frosting after adding powdered sugar
Whoopie Pies – Gluten-Free with Vegan Option
Notice: Trying to access array offset on value of type bool in /home/maryzahc/public_html/adultfoodallergies.com/wp-content/plugins/wp-ultimate-recipe/helpers/models/recipe.php on line 254
Measure all ingredients and place in a large mixing bowl. Using a whisk, mix the ingredients until well combined. Place in an air tight storage container and use in baking recipes.
Notice: Trying to access array offset on value of type bool in /home/maryzahc/public_html/adultfoodallergies.com/wp-content/plugins/wp-ultimate-recipe/helpers/models/recipe.php on line 254
Vanilla Frosting (made with lard)
Print Recipe
When you don’t have any other safe solid fats and you need to make frosting somehow. If you have a safe vegetable shortening (I don’t), feel free to use it as a substitute. Makes enough for two batches of whoopie pies or cupcakes but you can also freeze it to have on hand.
When you don’t have any other safe solid fats and you need to make frosting somehow. If you have a safe vegetable shortening (I don’t), feel free to use it as a substitute. Makes enough for two batches of whoopie pies or cupcakes but you can also freeze it to have on hand.
1cup lard or shortening(I use my home rendered lard, as store bought often has citric acid, and I have no safe shortening)
4cupspowdered sugar(I make mine with my Vitamix as powdered sugar often has corn starch in it)
1teaspoonvanilla extract(I make my own with vanilla beans and vodka made from potatoes, as most commercial extract contains corn)
0-4Tablespoonswater
Servings: batches
Instructions
Measure out 1 cup of lard and place it in a stand mixer bowl. Allow your lard to come up to room temperature.
Using a whisk attachment, whip the lard in a stand mixer until it doubles almost twice its size.
Add powdered sugar slowly, while whipping at slow to medium speed, scraping down the sides of the mixture as needed. Add vanilla extract and blend in. If your frosting appears too thick, add a tablespoon of water at a time, mixing it in thoroughly.
Notice: Trying to access array offset on value of type bool in /home/maryzahc/public_html/adultfoodallergies.com/wp-content/plugins/wp-ultimate-recipe/helpers/models/recipe.php on line 254
Whoopie Pies – Gluten-Free with Vegan Option
Print Recipe
Traditional Whoopie Pies but free of some my allergens! While I have to use lard because I have no other safe fats, if you can use Earth Balance or a vegetable shortening, you can substitute that for the lard.
Traditional Whoopie Pies but free of some my allergens! While I have to use lard because I have no other safe fats, if you can use Earth Balance or a vegetable shortening, you can substitute that for the lard.
2cupsGluten-free, Rice-free, Potato-free flour mix(see recipe in post)
1/2 cup cacao powder(I do well with Wilderness Family Naturals Cacao Powder)
1tspbaking soda
1tsp baking powder(here’s a recipe for a corn-free one – http://wholenewmom.com/health-concerns/make-your-own-baking-powder/)
1tsp sea salt
Wet Ingredients
1cup non-dairy milk(I use homemade cashew or rice milk)
2tbspapple sauce(I use homemade, home canned applesauce)
1tspapple cider vinegar(most with corn allergies can tolerate Bragg’s)
2tspvanilla extract(I make my own with vanilla beans and vodka made from potatoes, as most commercial extract contains corn)
1tsp psyllium husk
Sugar Mixture
1/3cup lard(I use my home rendered lard, as store bought often has citric acid, and I have no safe shortening)
1/3cup sugar
1/3cup brown sugar
Frosting
1batch Vanilla Frosting (made with lard or shortening)
Servings: whoopie pies
Instructions
Pre-heat oven to 375°F.
Place dry ingredients (Gluten-free, Rice-free, Potato-free flour mix, cacao powder, baking soda, baking powder, and salt) in a large bowl and whisk together until well combined.
Place wet ingredients (non-dairy milk, apple sauce, apple cider vinegar, vanilla extract, and psyllium husk) in small bowl and whisk together until well combined.
Place sugar mixture ingredients (lard, sugar, and brown sugar) in stand mixer bowl and using beater attachment, beat until until creamy, scraping down sides as necessary.
Add wet ingredients to sugar mixture, and beat until well combined, scraping down sides as necessary. Slowly add dry ingredients, continuing to beat until well combined.
Line cookie sheets with parchment paper. Using a medium scooper or a rounded tablespoon, drop the whoopie pie batter on the parchment lined cookie sheet 2 inches apart from one another. Place in the oven and bake for 10-12 minutes if using a metal cookie sheet or 12-14 if using stoneware cookie sheets. Take out and let cool on baking racks (I just lifted up the parchment paper and moved them onto racks.
While the whoopie pie halves bake and cool, make a batch of the Vanilla Frosting (made with lard or shortening) also contained in this post.
Once whoopie pie halves are cool, pipe frosting onto the flat side of one pie and and put a second on top of piped frosting. It is best to pipe frosting on pie halves as gluten-free pie halves are not as sturdy as the wheat version. Enjoy!
Okay, so remember when I made a bunch of ham on the outside, but roast pork on the inside, roasts in an attempt to make ham? And I gave up and made Cure Your Own Ham Steaks? I found this post on Pelletsmoking.com that has a Ham Brining 101 post that finally helped me wet cure a whole ham that’s ham all the way through. I can make a whole ham for the holidays again!
Pelletsmoking.com uses commercial curing salt in its recipe, but all commercial curing salt is dyed pink for safety and contains dextrose which is generally derived from corn. As I discussed in my Cure Your Own Pastrami post, I ended up having to make my own. If you’re not allergic to corn, use the commercial stuff. If you are allergic to corn, make your own below, but be aware you’re messing with dangerous stuff and do it exactly as I describe below, so you don’t poison yourself.
Making Curing Salt:
To make Curing Salt #1, or Prague Mix #1, or Instacure #1, you need a scale, with a digital readout going out two places. You need to be absolutely precise. The mixture must be 6.25% sodium nitrite (I got mine on Amazon, make sure it’s food grade) and 93.75% salt. To make 4 ounces of Curing Salt #1, you need to weigh out 0.25 ounces of sodium nitrite making sure you tare out or zero out your container, and 3.68 ounces of salt (I used Diamond Crystal Fine All Natural Sea Salt, again no affiliation with Amazon). Mix these together well, and store in a container that’s very clearly marked so that there is no confusion as to what it is. Do not ask me for cups or teaspoon equivalents because I will not do it. This needs to be mixed as exactly as described, you cannot wing it or approximate. I cannot emphasize this enough, the proportions must be exactly as described here to be safe.
Curing Salt #1
Once you’ve made your Curing Salt #1, it’s time to make the ham!
Cure Your Own Whole Ham
Brining the Ham:
Fresh Picnic Pork Shoulder or Bston Butt, 8-10 pounds
1 1/2 gallons of distilled or filtered water
1 cup and 2 Tablespoons of kosher salt or sea salt
2 cups of brown sugar, packed firmly
3 tablespoons Curing Salt #1
marinade injector
Rub Ingredients:
4 tablespoons brown sugar, packed firmly
1/4 teaspoon of ground nutmeg
20 or so whole cloves
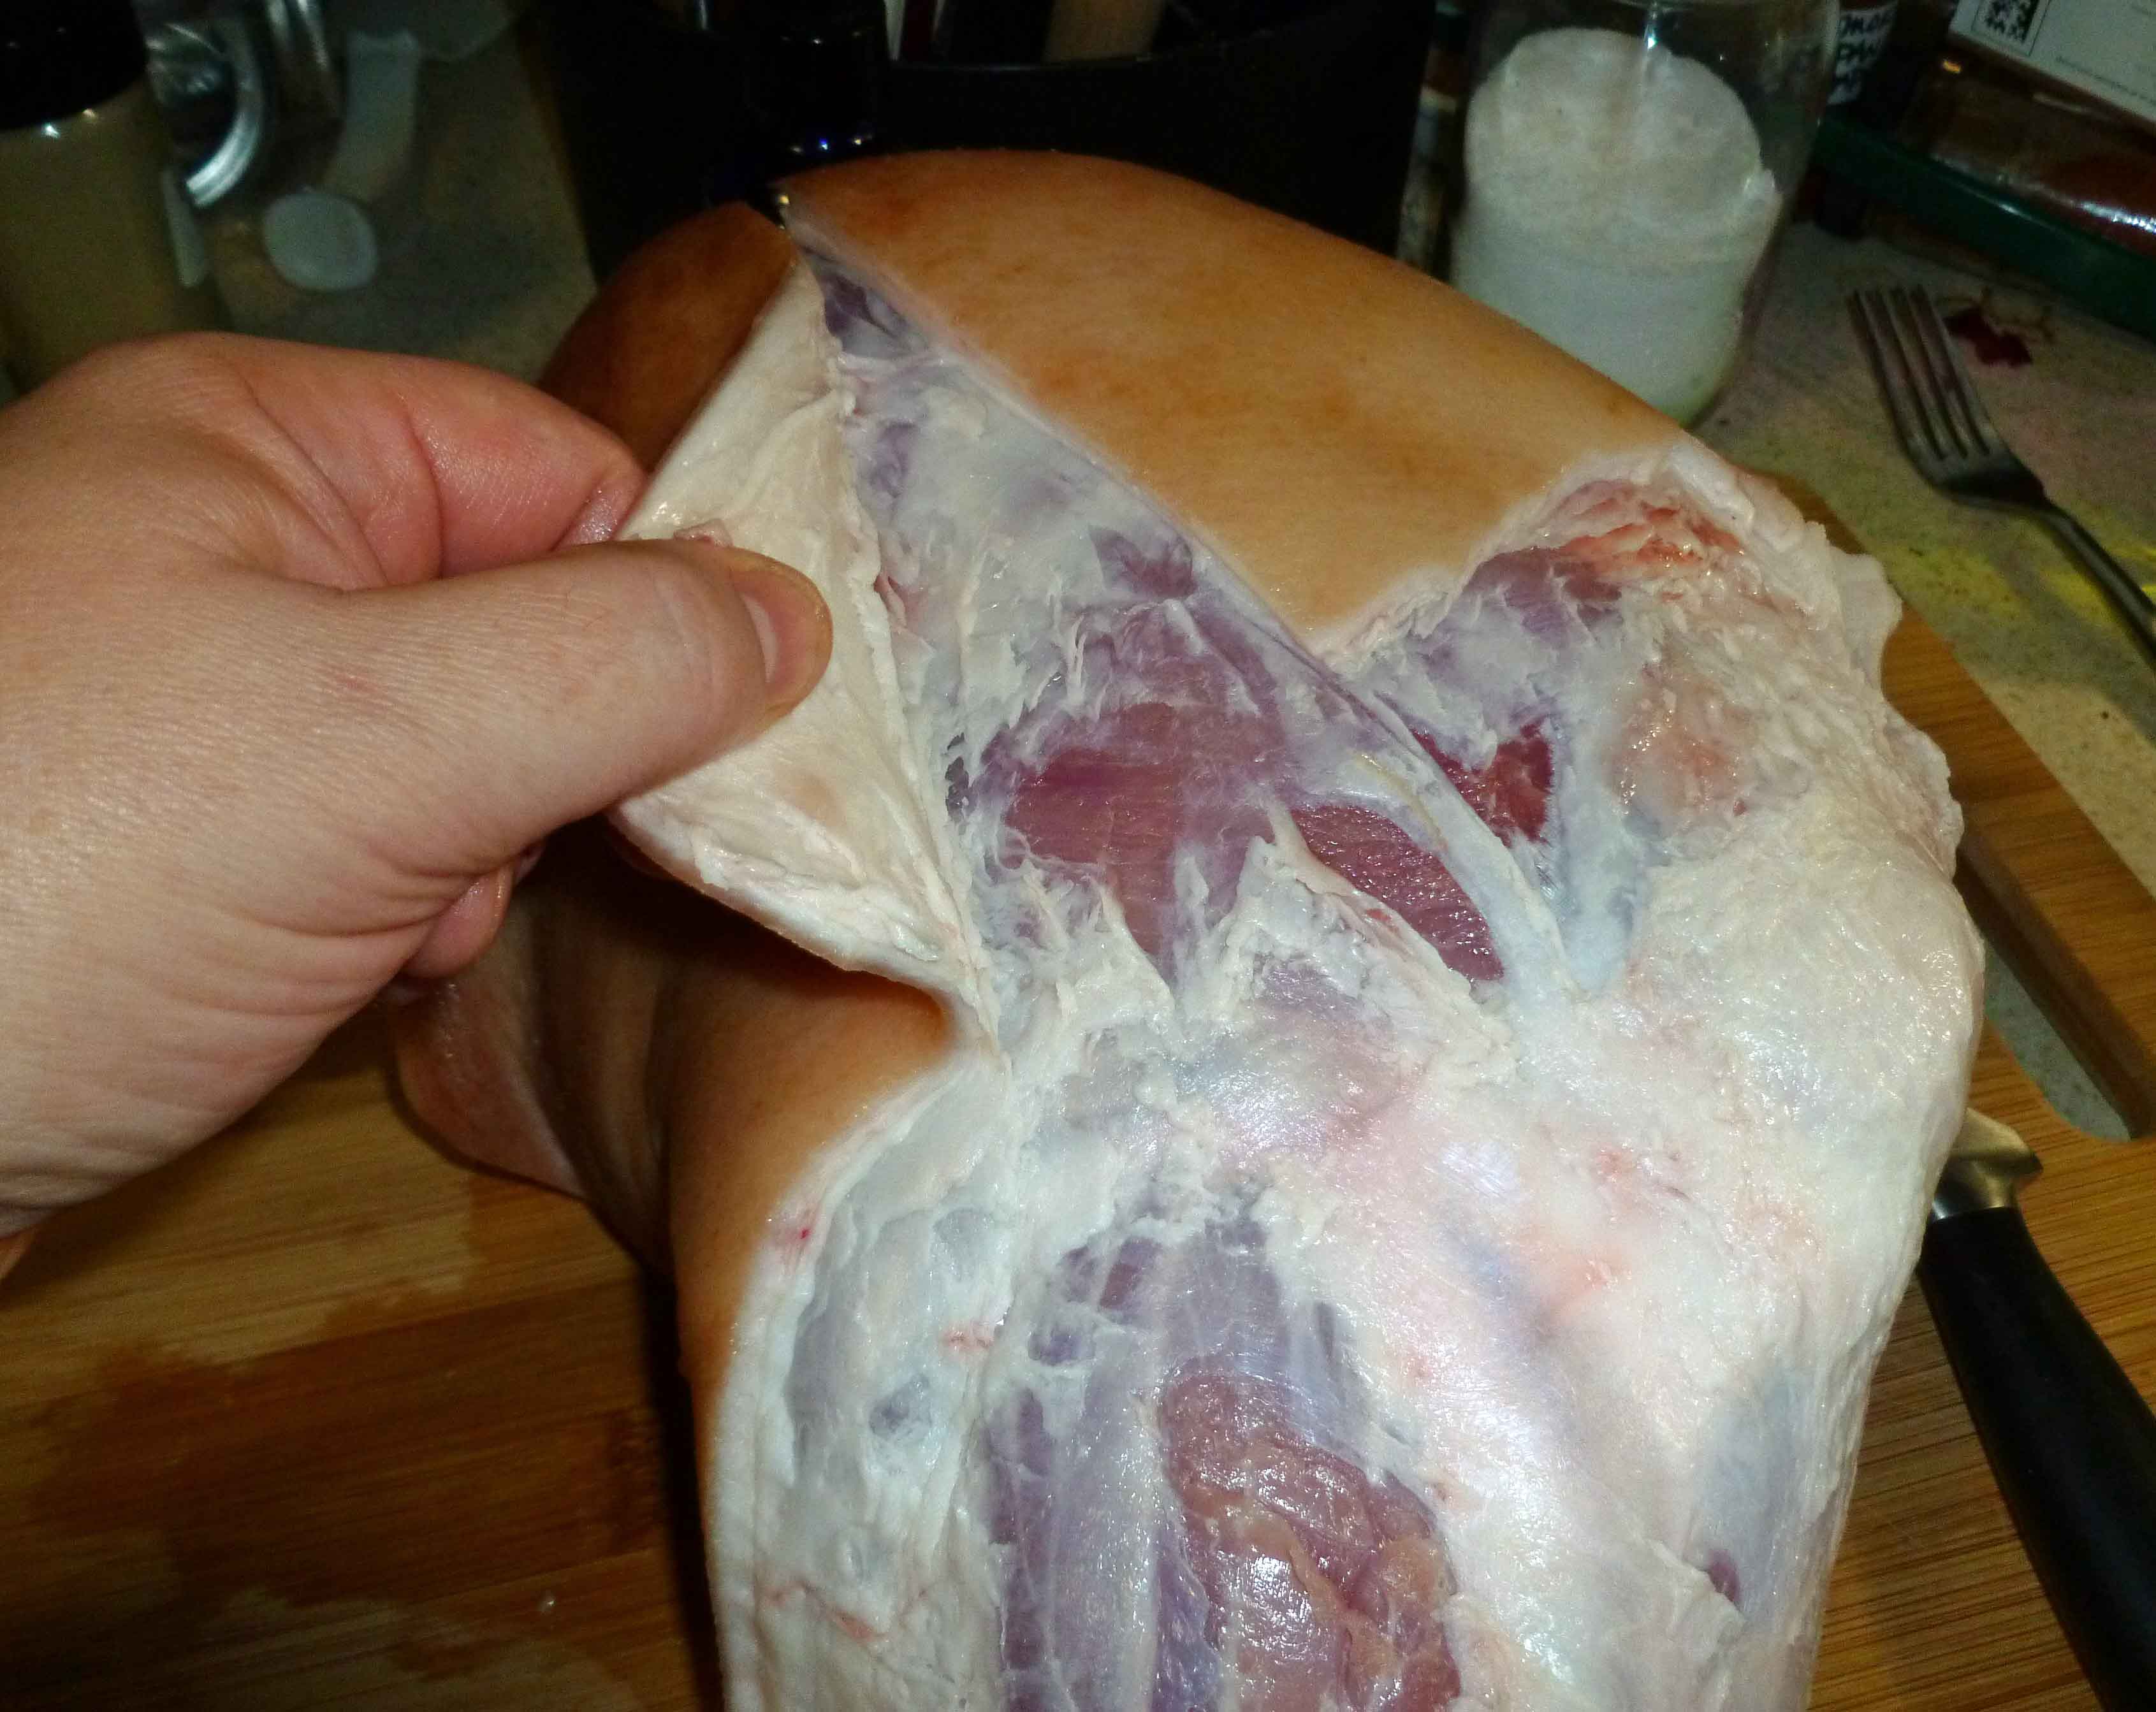
To prepare the pork shoulder for brining, the skin and some of the fat should be removed. Use a boning knife to trim the skin from the shoulder.
Trimming the skin and fat from the pork shoulder
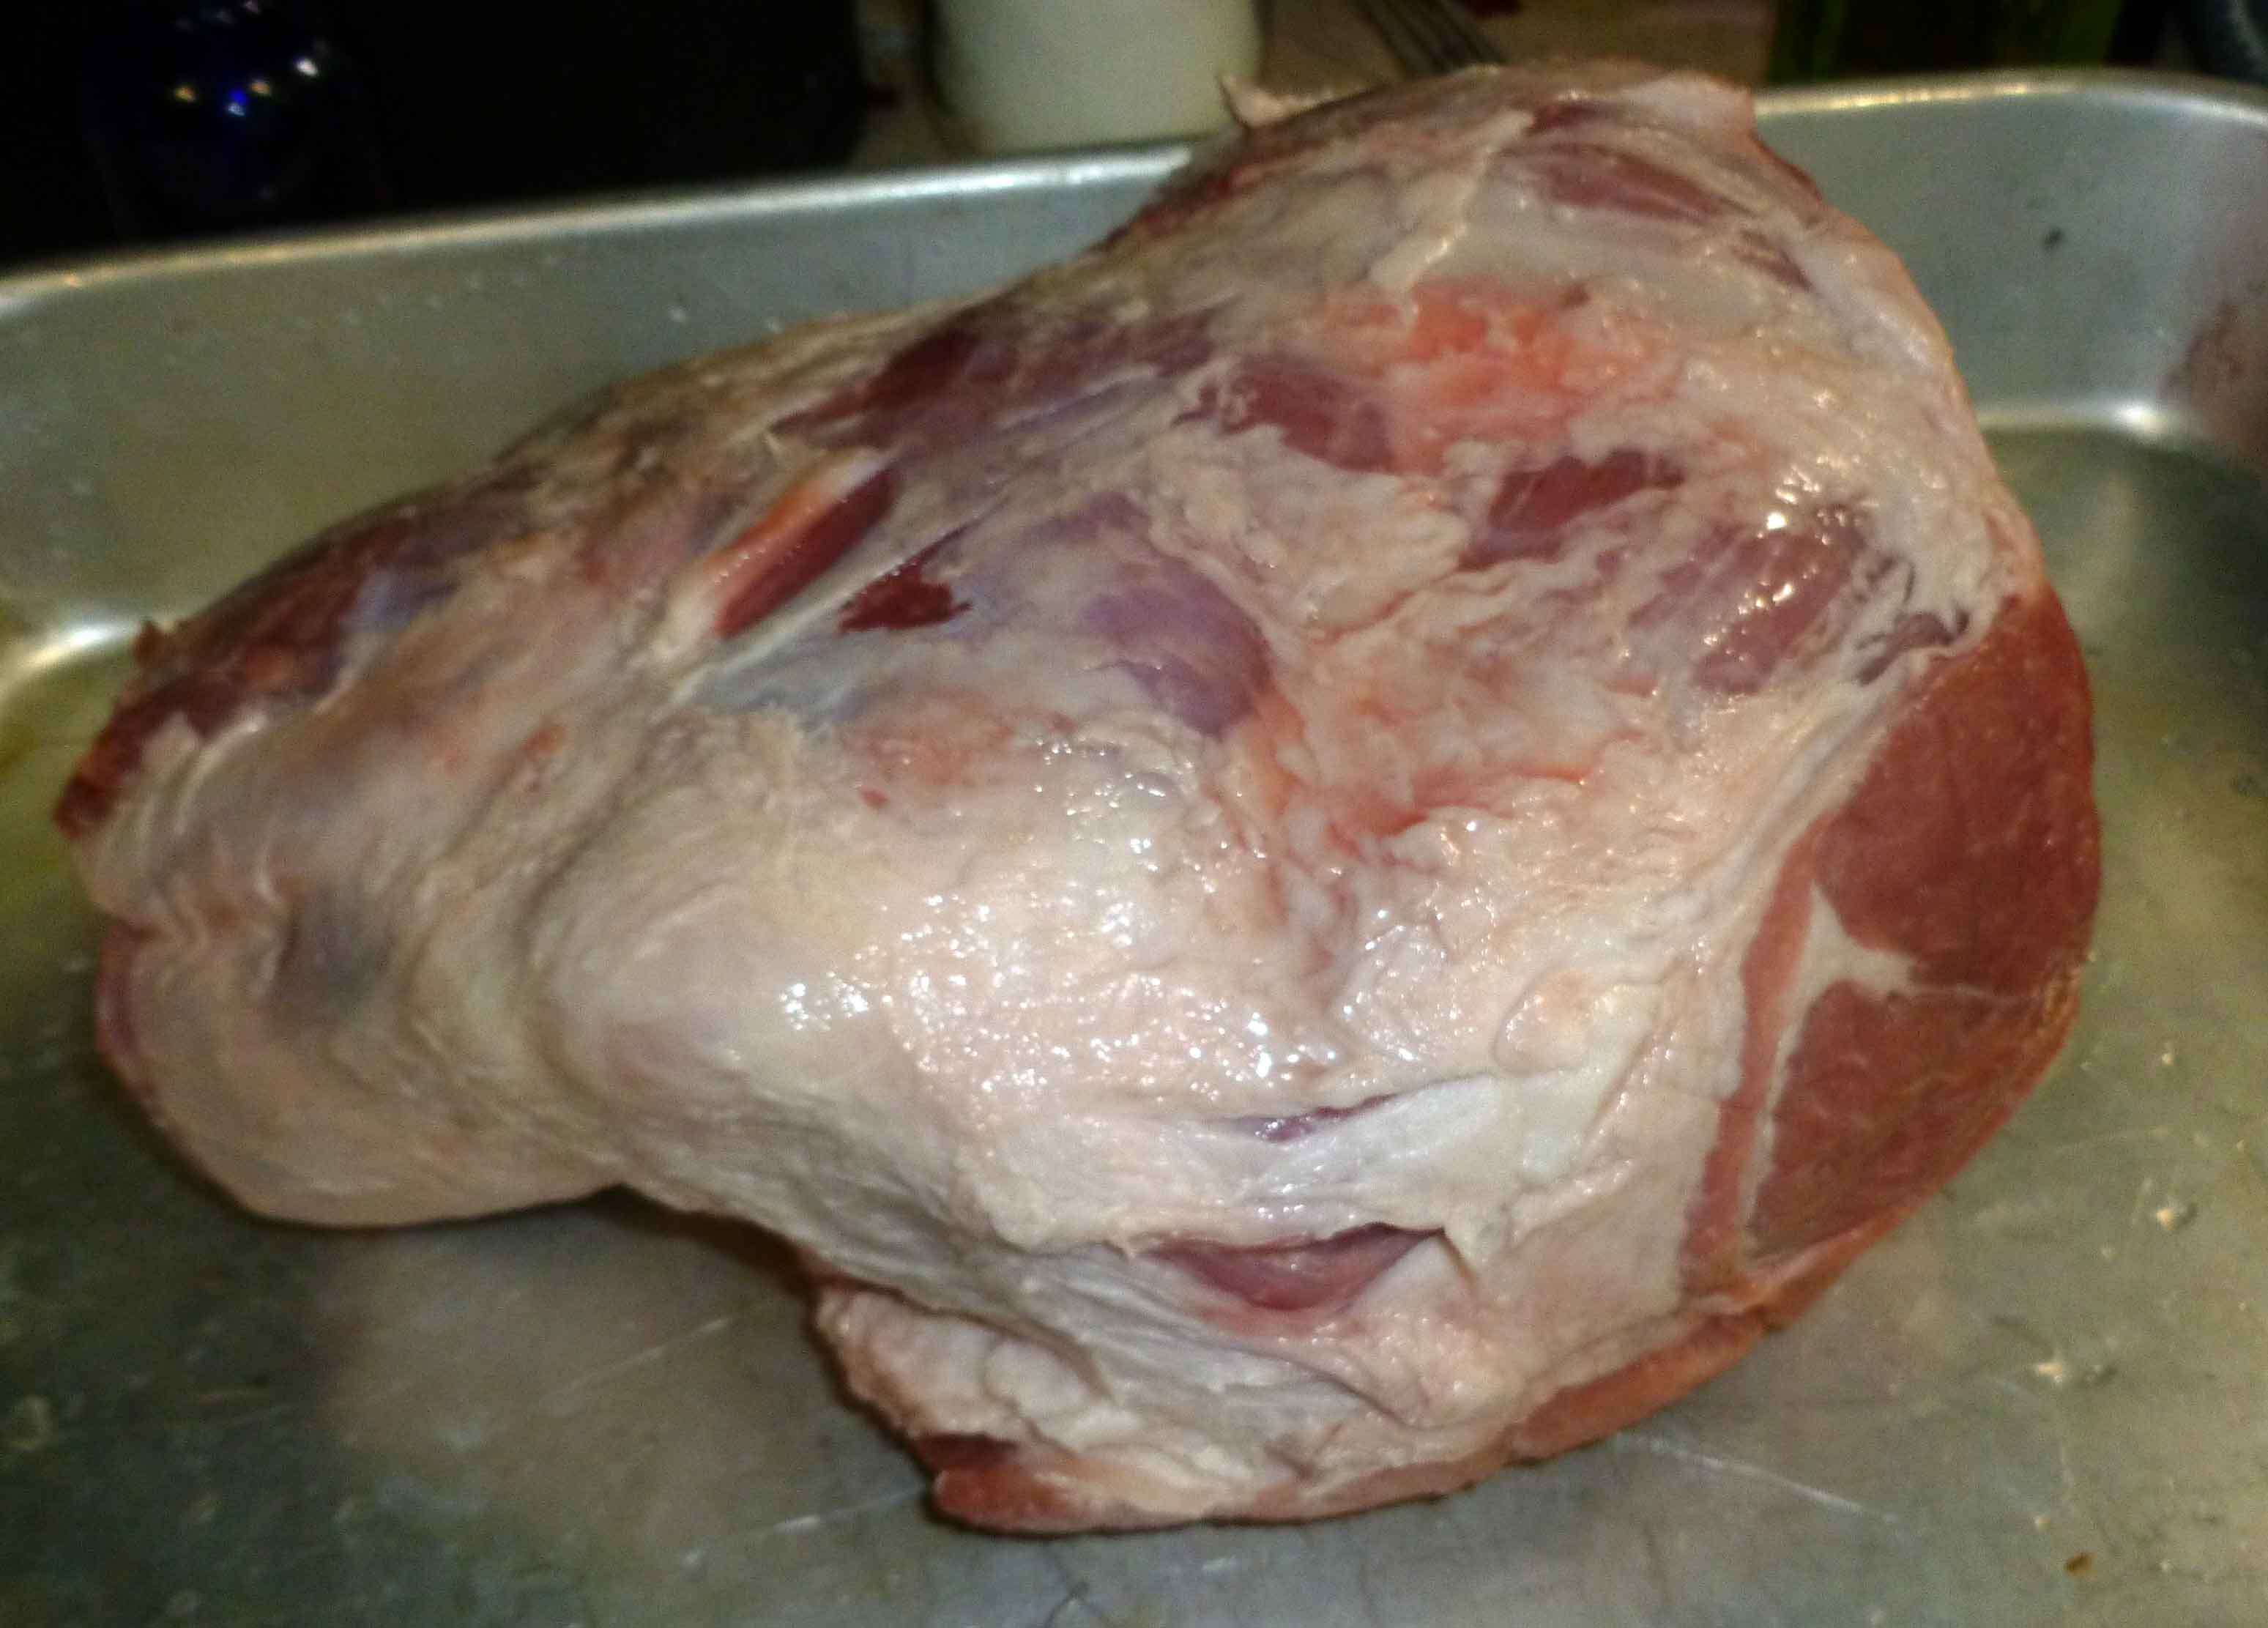
Pork shoulder after skin and fat has been trimmed
Mix your water, salt, brown sugar and curing salt together in a container large enough to submerge your pork shoulder completely under the surface. I frequent restaurant supply stores and use 12 quart Cambro food storage containers (again, no affiliation with Amazon). Mix all ingredients until they have dissolved completely to form your brine.
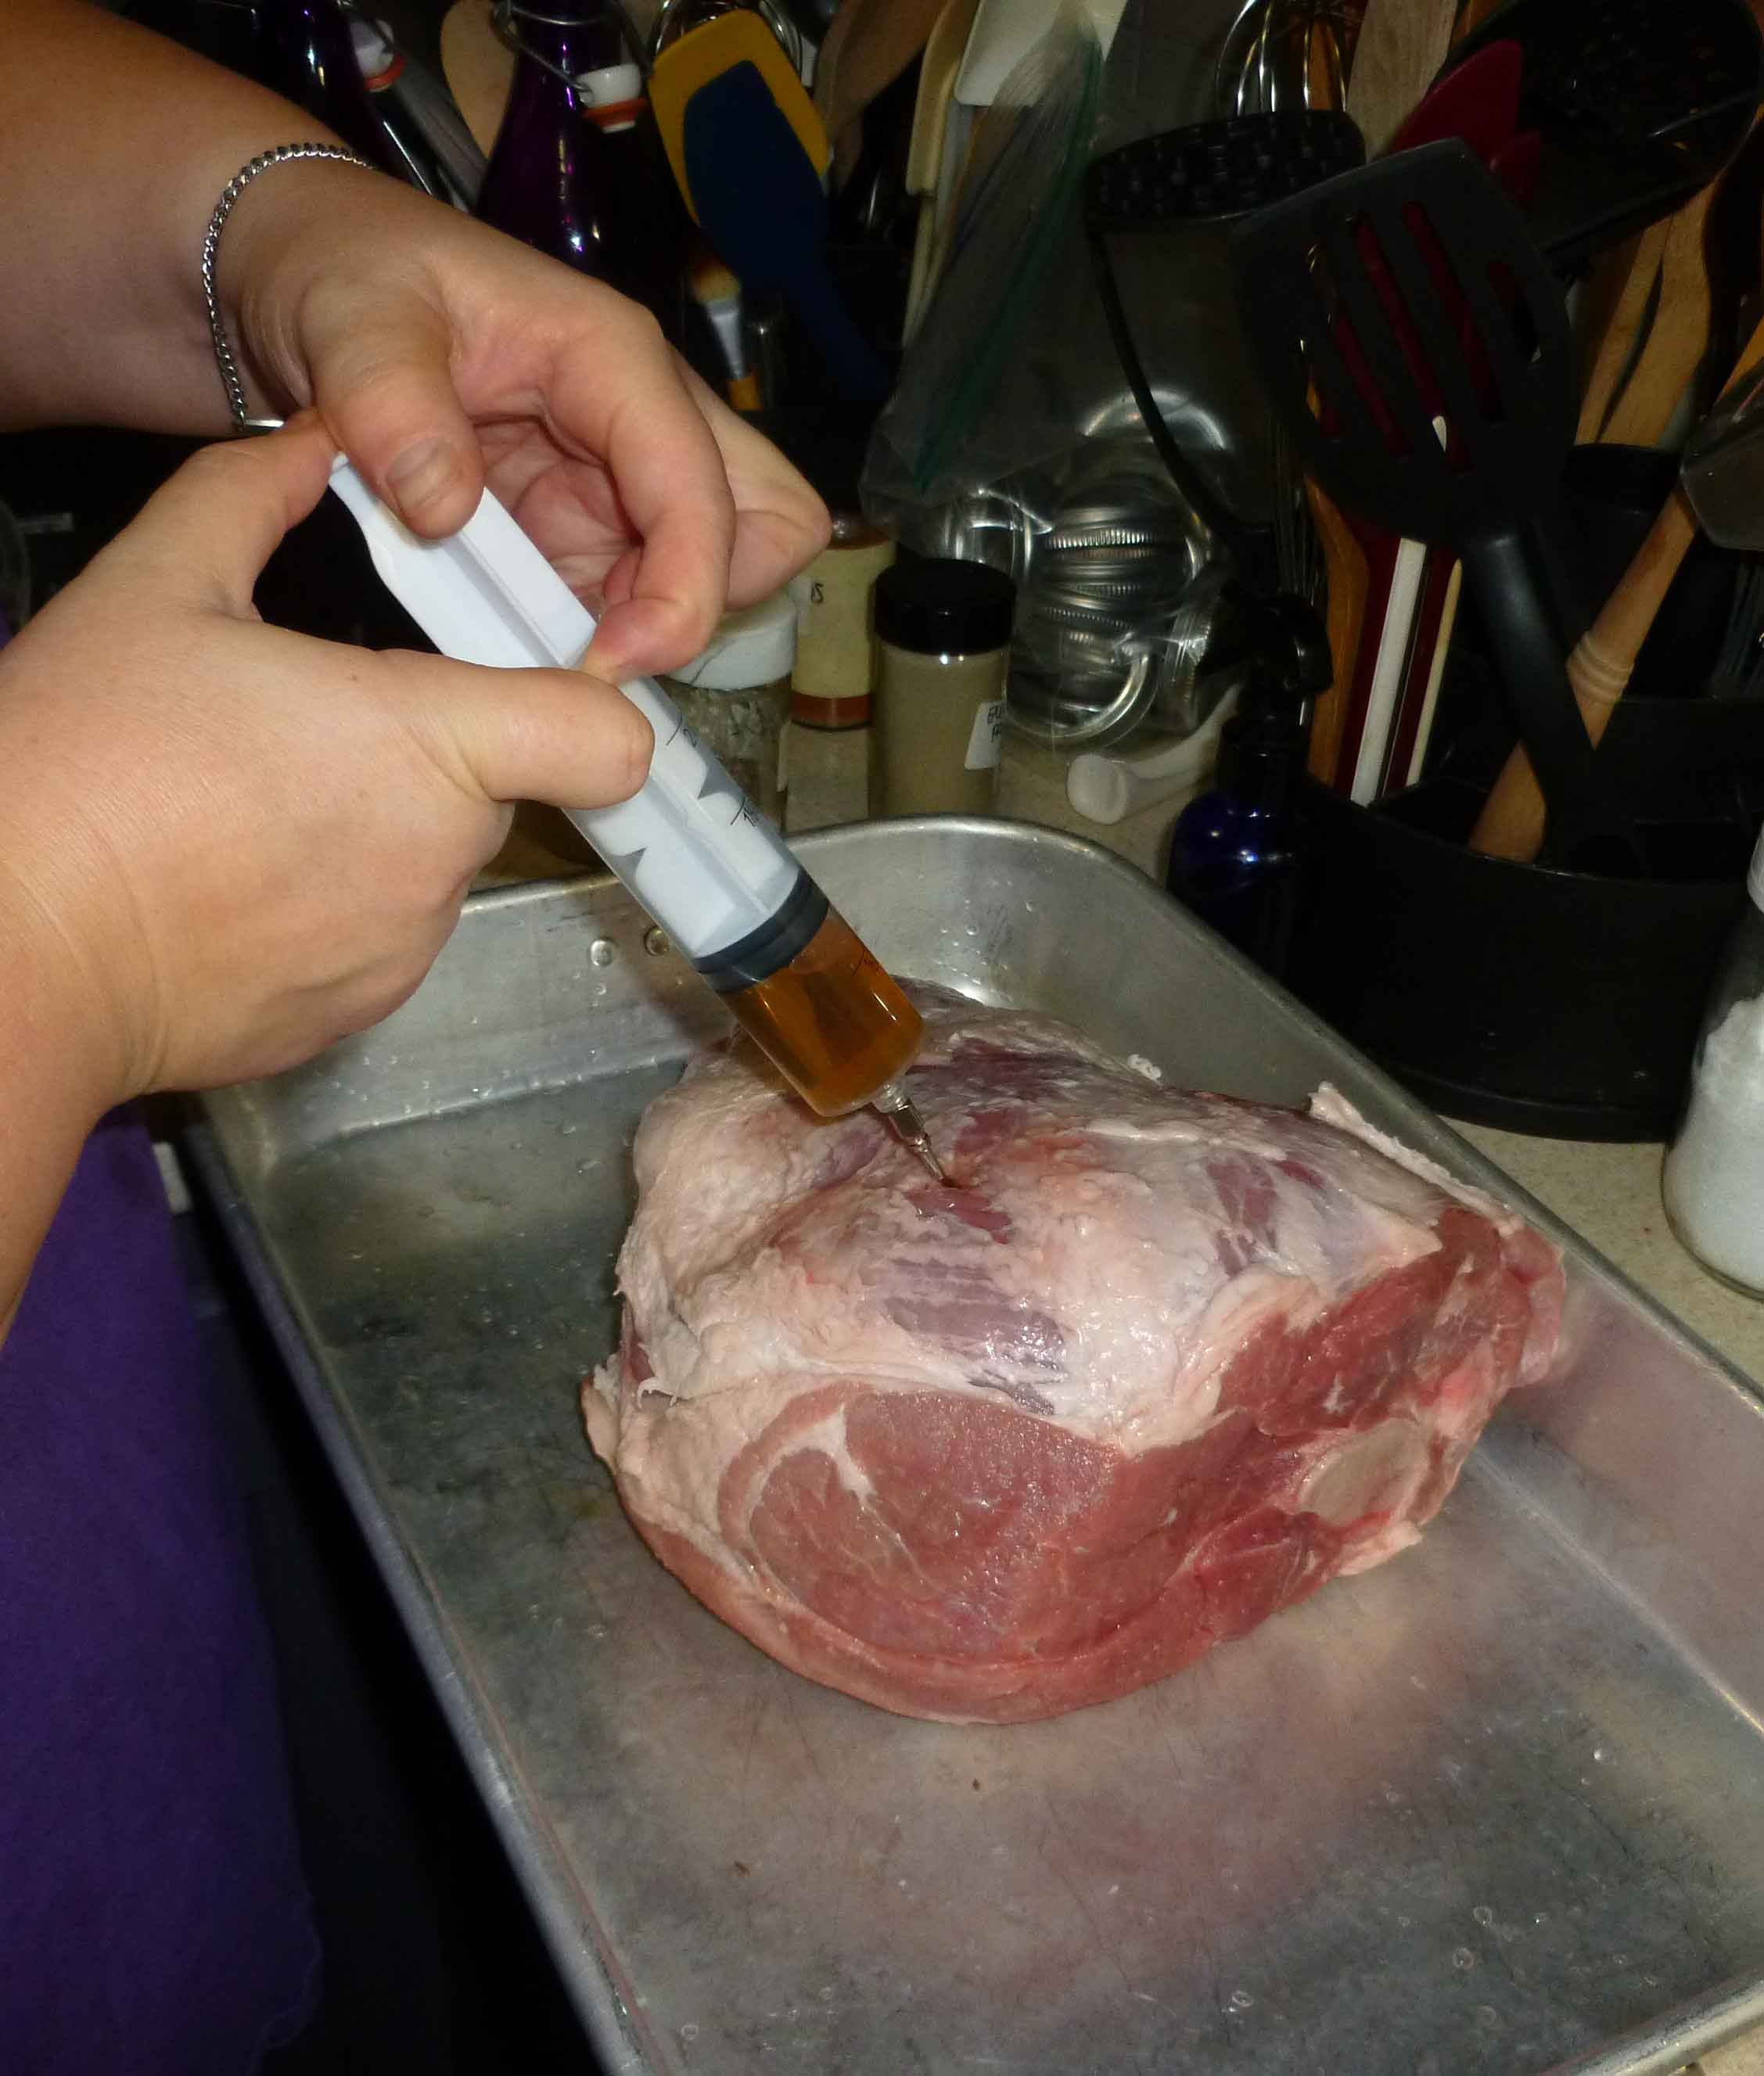
Measure out 32 ounces of the brine into a separate container. This is going to be injected into the pork. Place your pork into a container or roasting pan that will hold any brine run off. Use your marinade injector to inject the entire 32 ounces of brine into the pork, injecting evenly across and on both sides. Make sure that you inject thoroughly around the bones if you have them, to prevent bone souring. Also, if a some of the brine seeps out, that’s okay, but if it’s a lot, collect it and re-inject it.
Brine being injected into the pork
After injecting the pork with your brine, submerge the pork in your large container with the brine, using a heavy plate to weigh it down if necessary. Cover the container and place in a 37°- 40°F refrigerator to cure for 4-7 days. Turn the ham over halfway through the curing process.
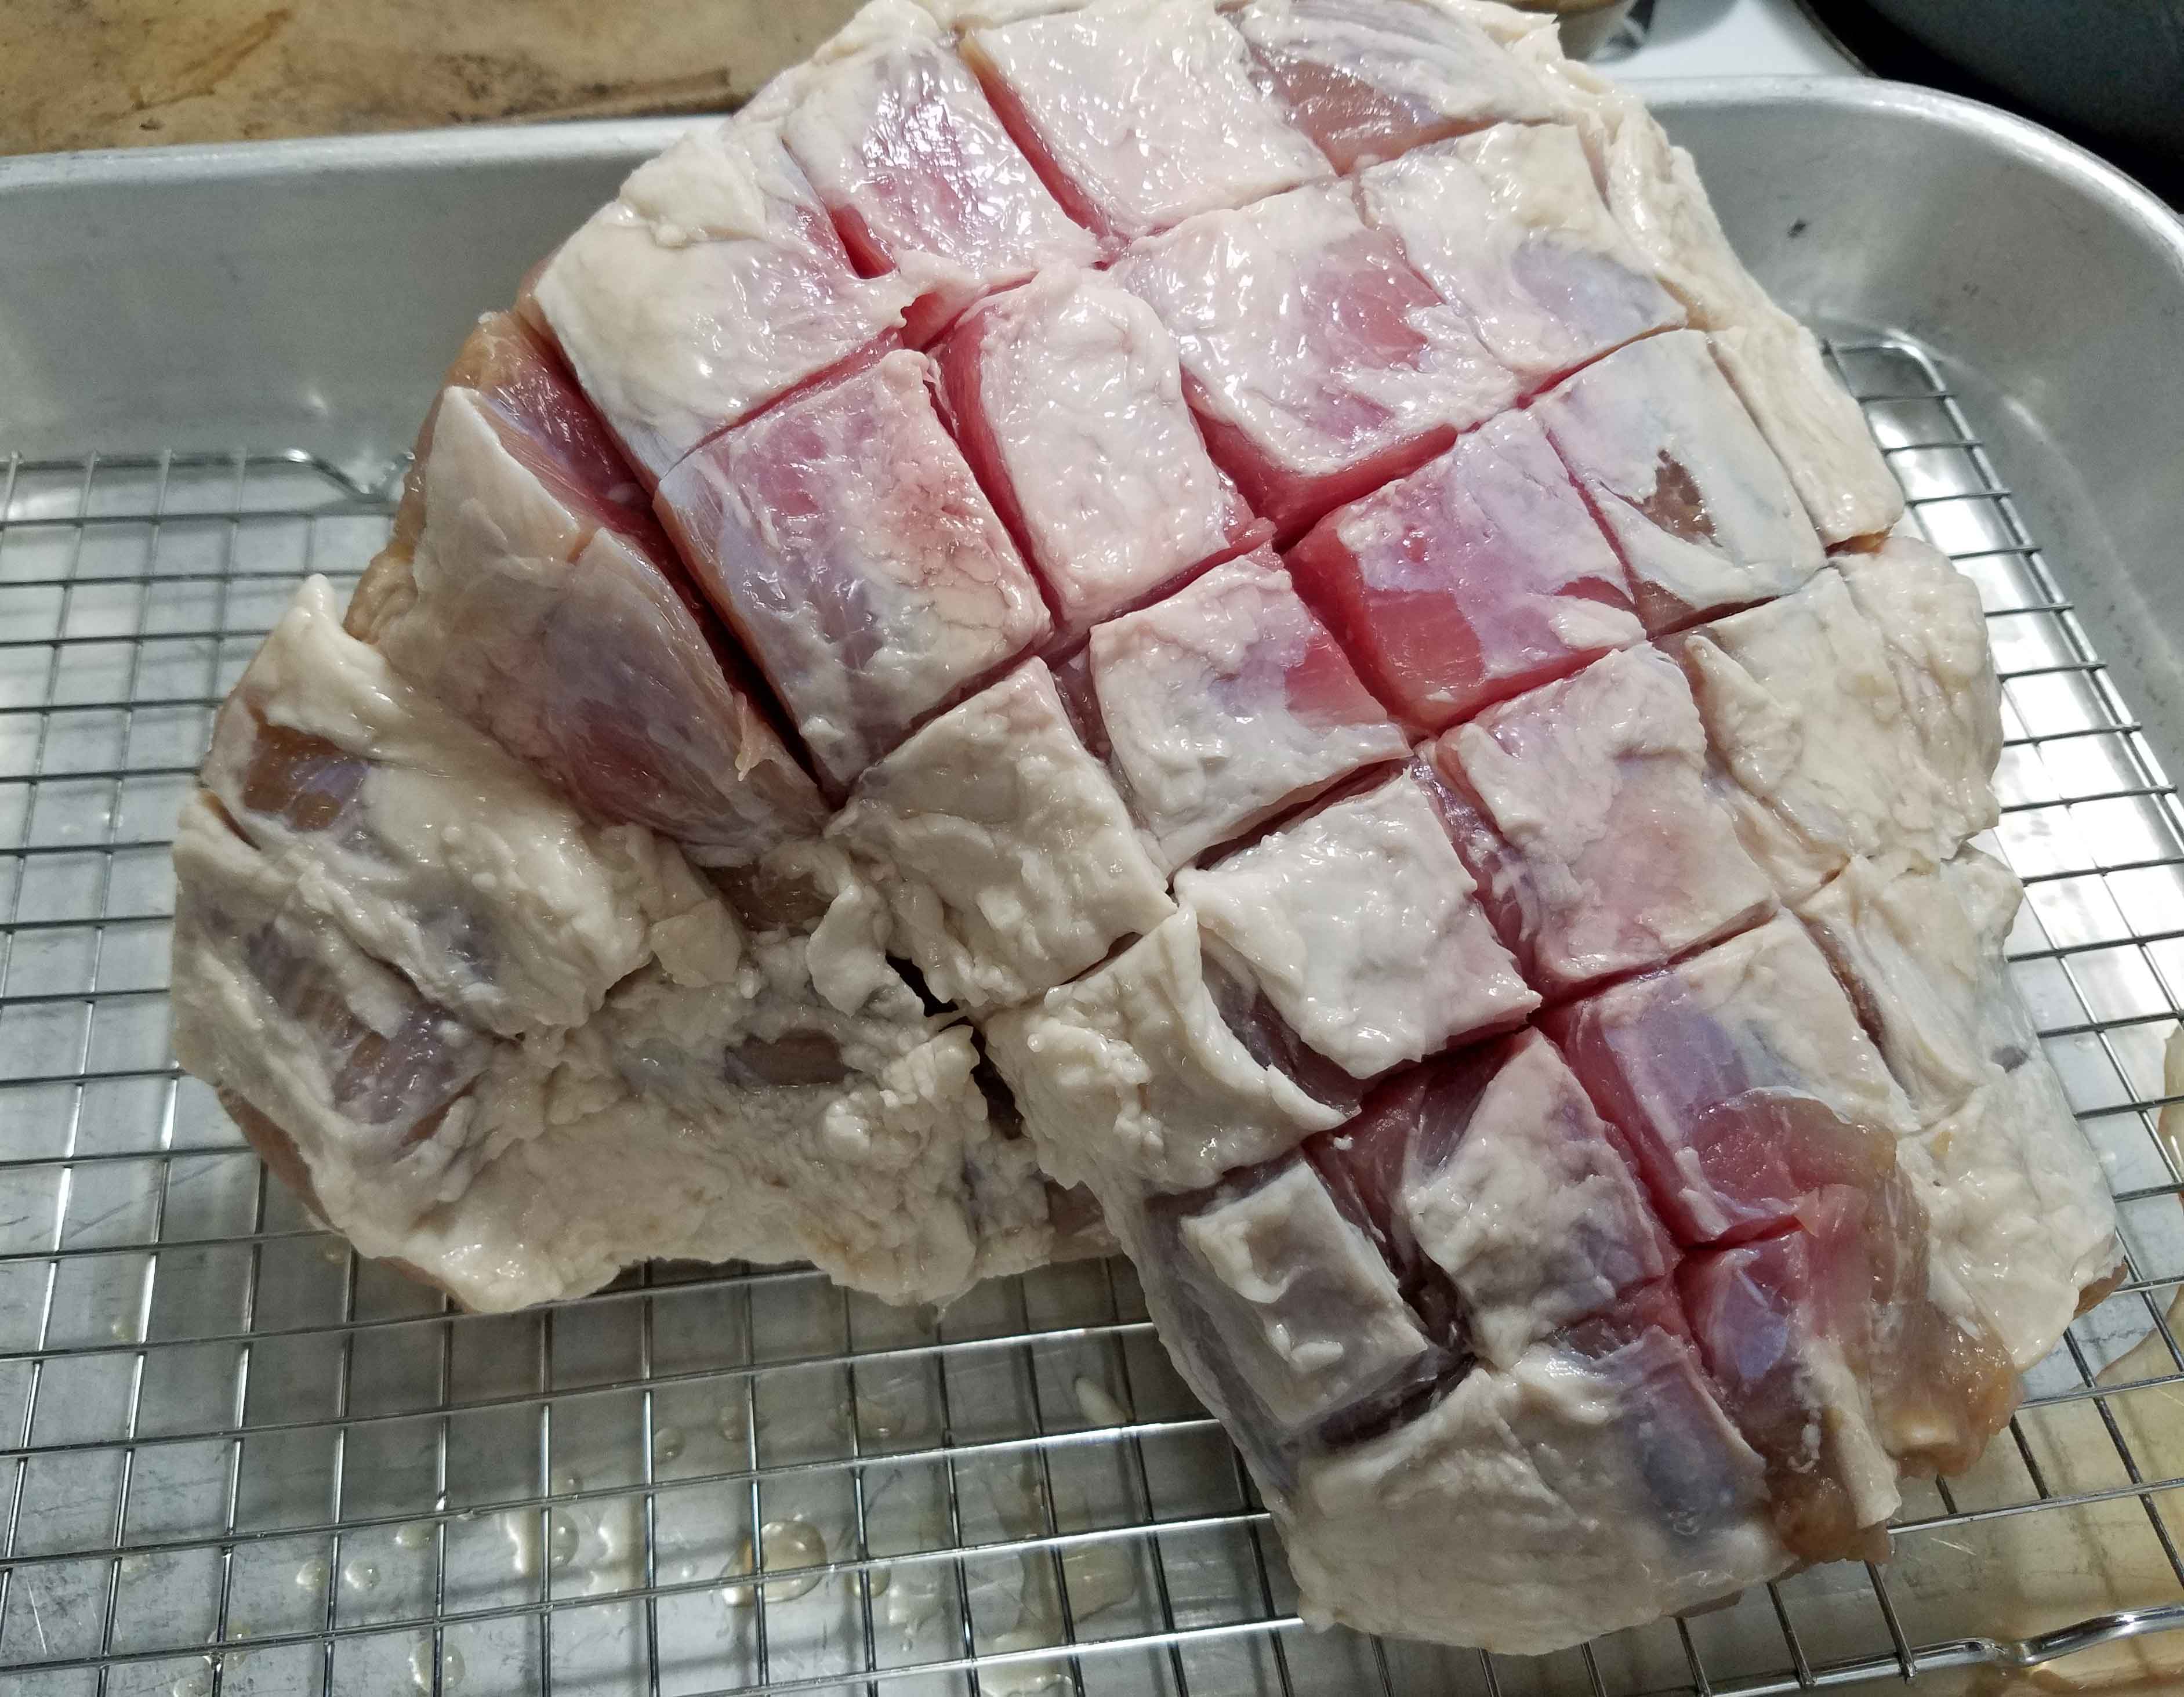
After you’ve completed brining the pork, take the ham out of the brine and place it in a roasting pan. Score the shoulder in a grid pattern with your knife. This is decorative but it gives a good outline for where to place your cloves.
Ham scored
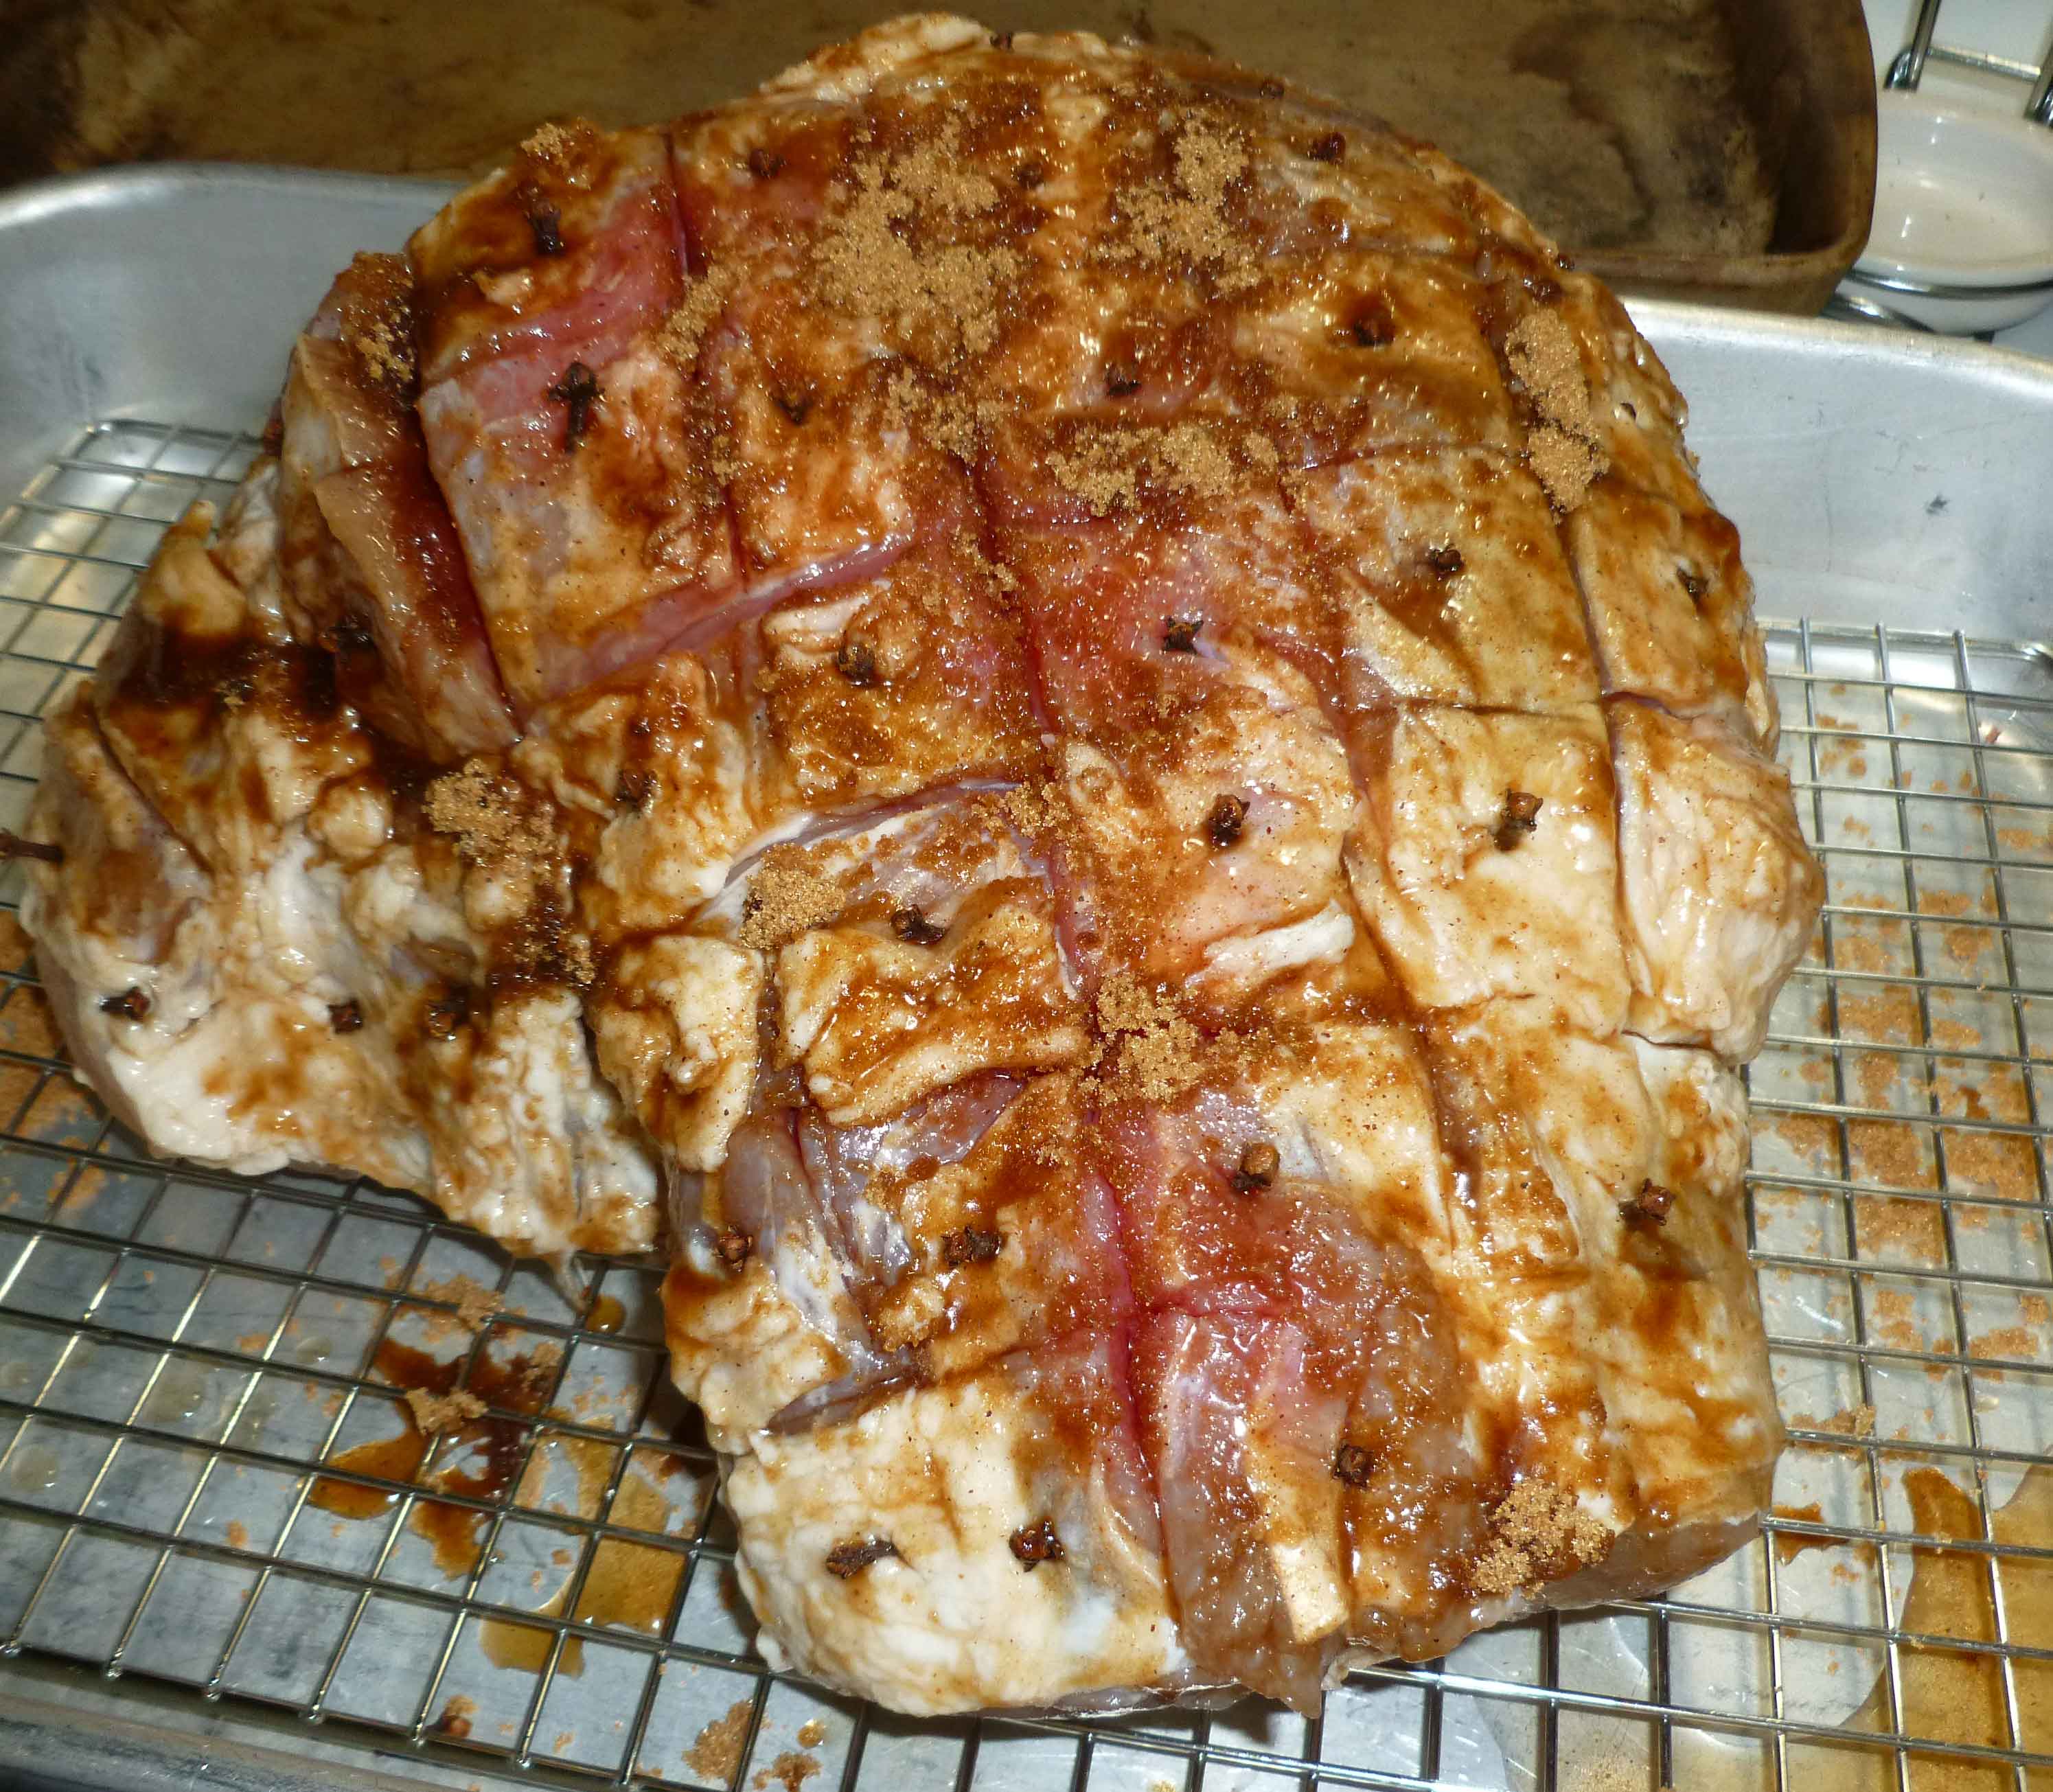
Mix the brown sugar and nutmeg listed in your rub ingredients together in a small bowl. Cover the surface of the ham with your rub. Then insert a clove in each scored square in the ham.
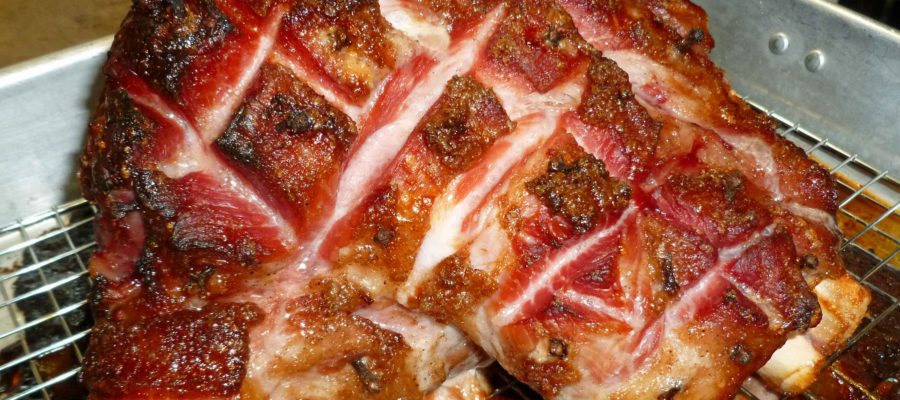
Ham after rub and cloves inserted before cooking
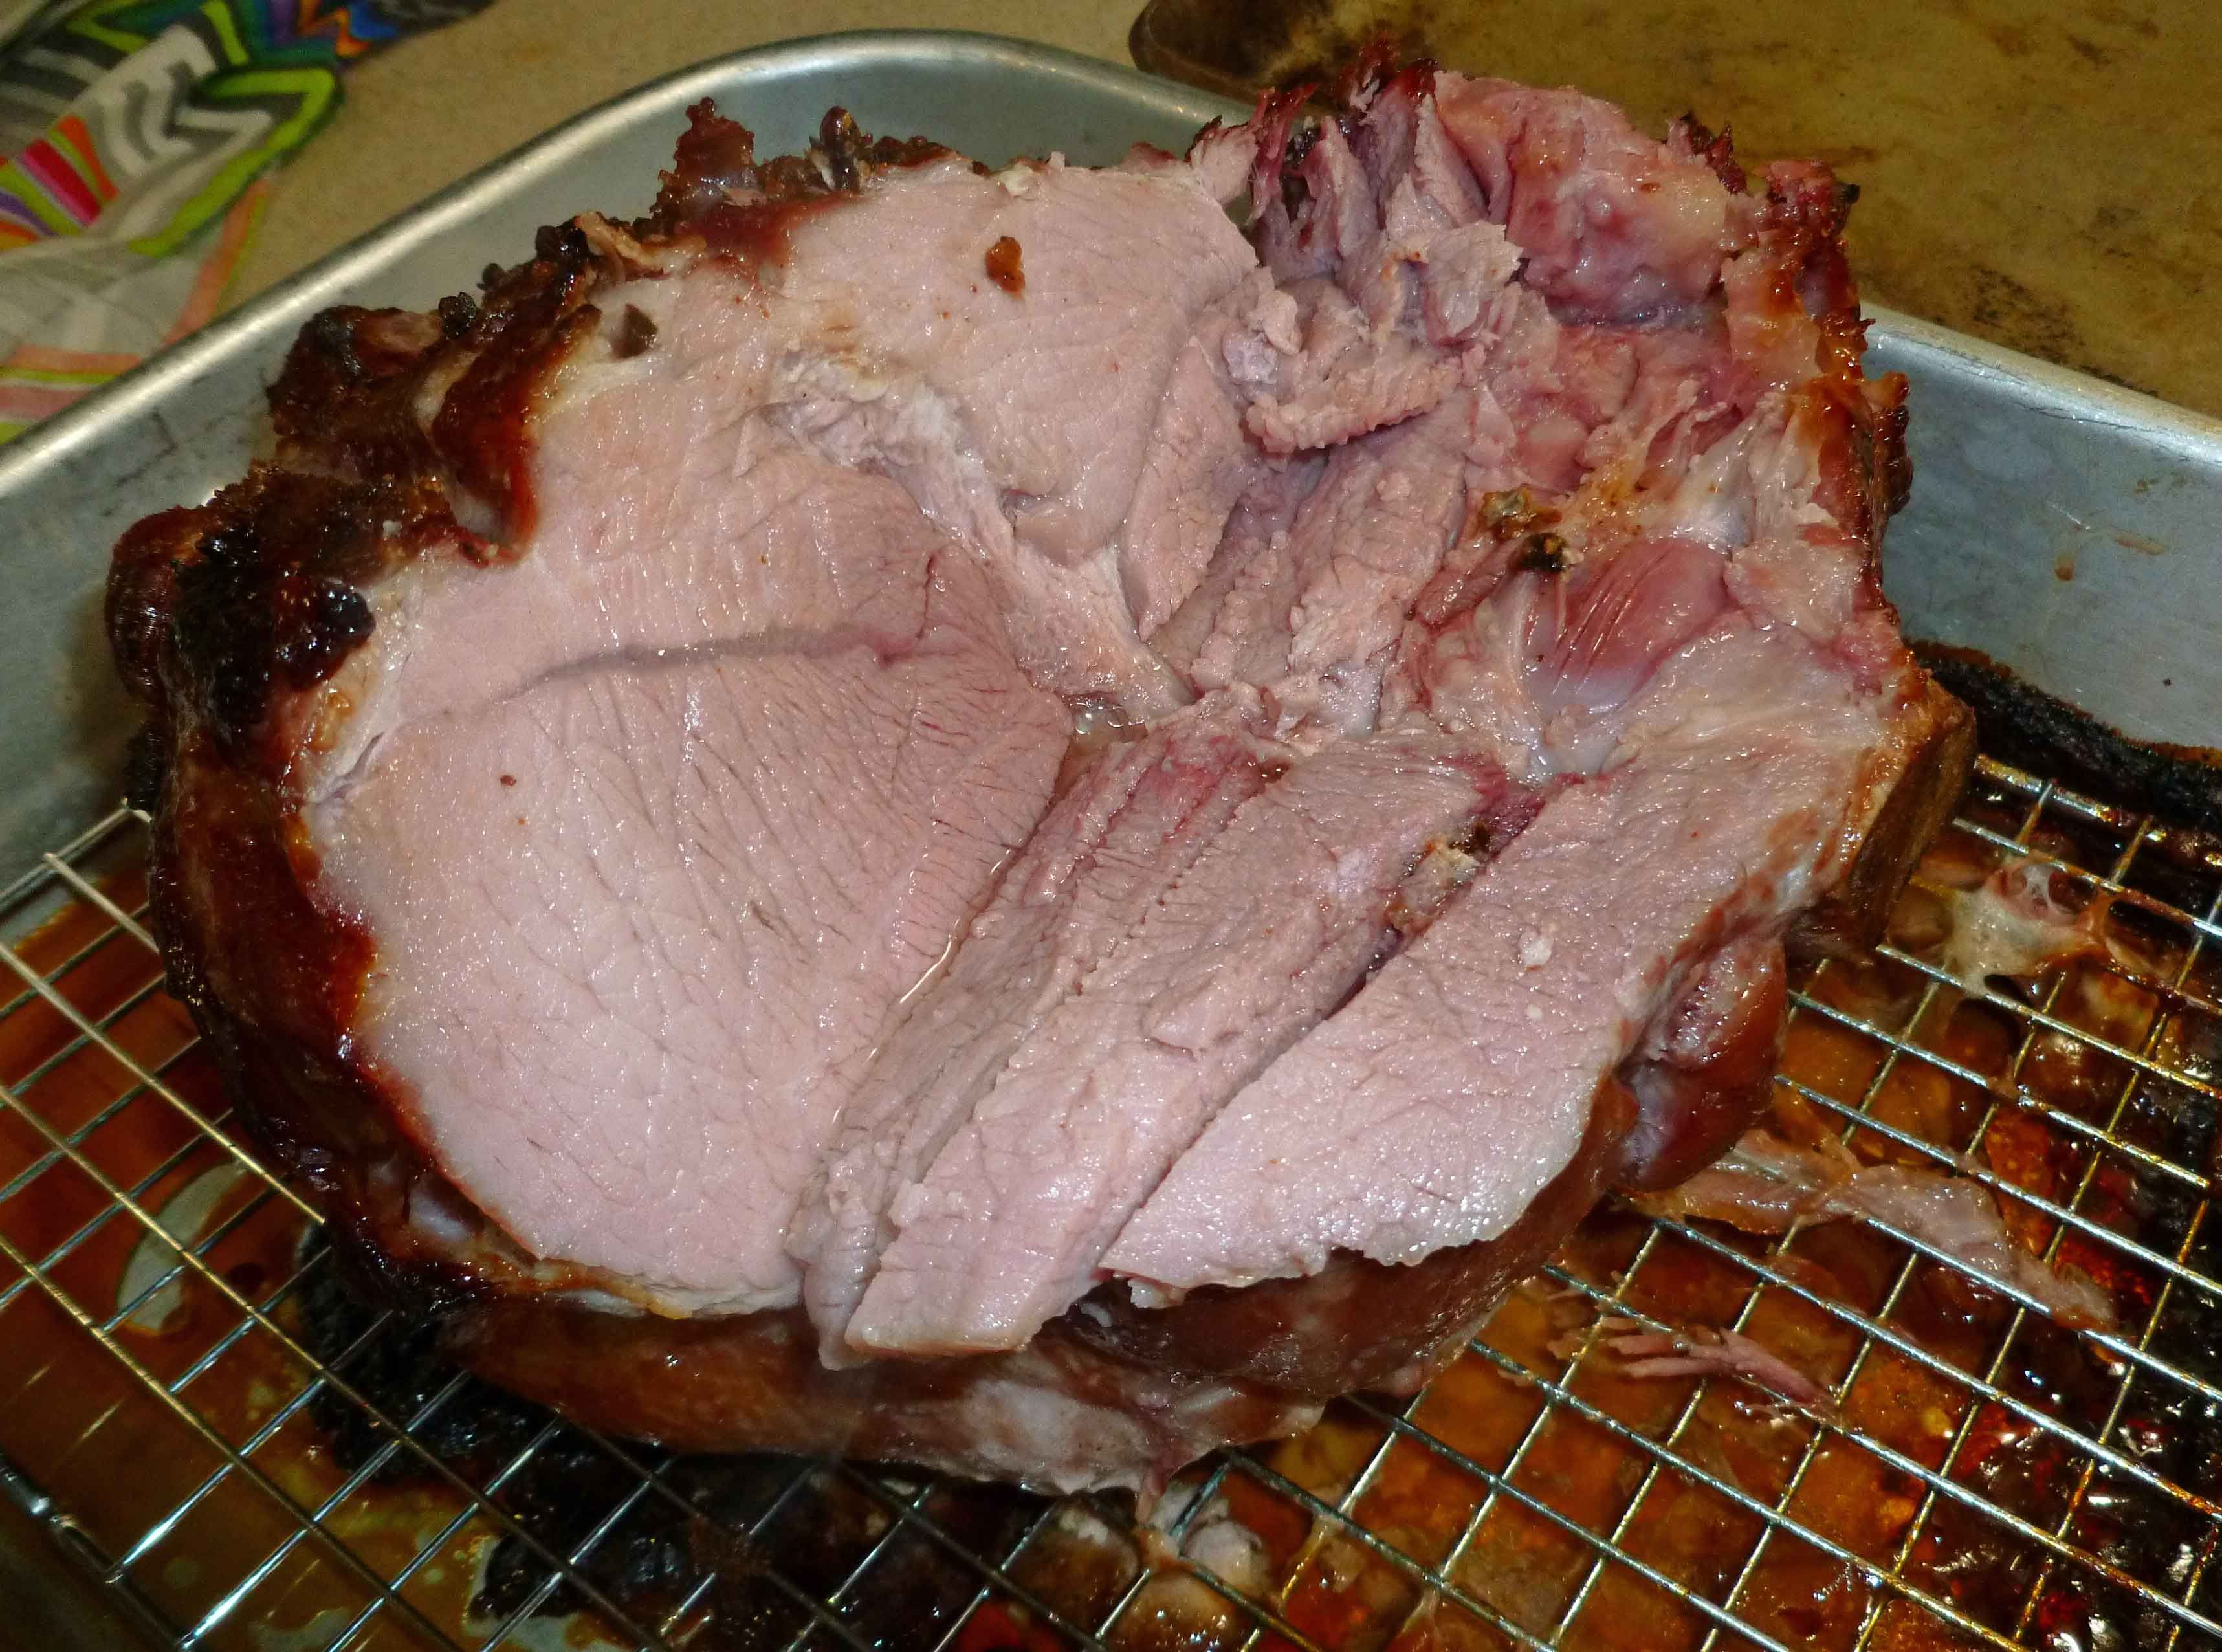
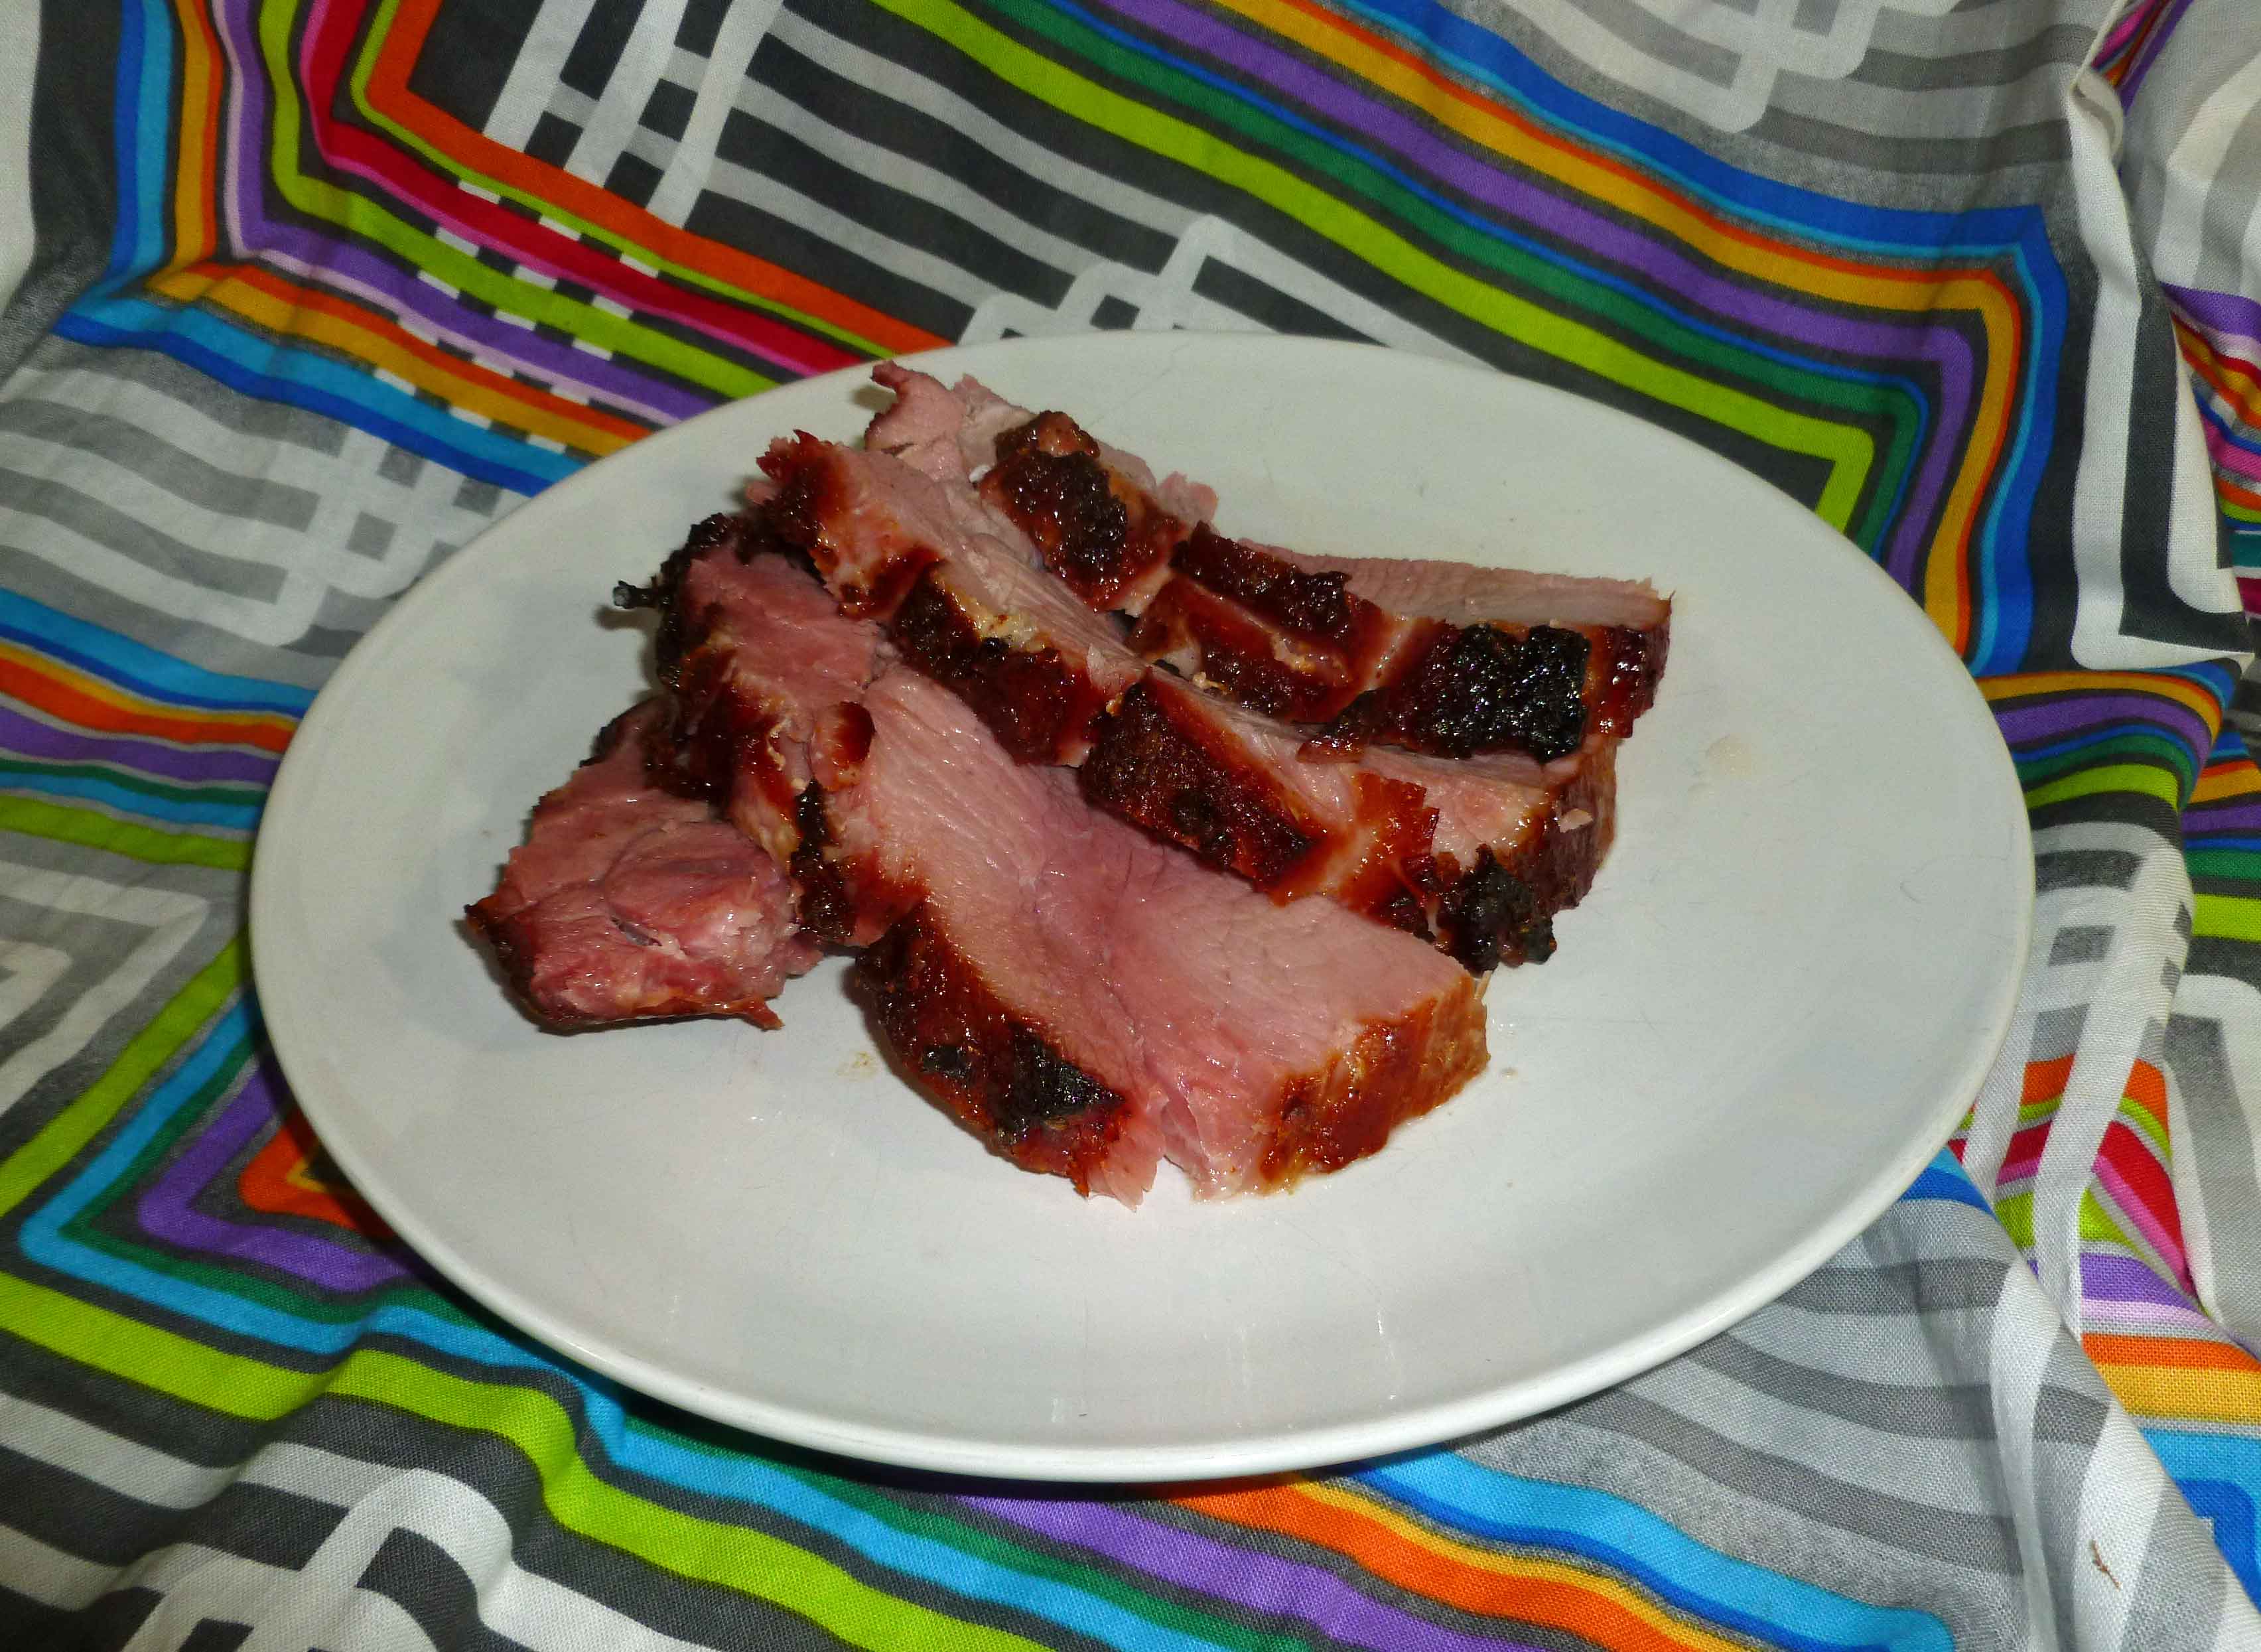
Bake at 325°F for 35-40 minutes a pound until the internal temperature is 165°F.
Cure Your Own Whole Ham
Cure Your Own Whole Ham
Enjoy!
Notice: Trying to access array offset on value of type bool in /home/maryzahc/public_html/adultfoodallergies.com/wp-content/plugins/wp-ultimate-recipe/helpers/models/recipe.php on line 254
DIY Curing Salt #1
Print Recipe
Make Curing Salt #1, or Prague Mix #1, or Instacure #1, without dextrose which is corn derived, so that you can cure your own safe meat.
To make Curing Salt #1, or Prague Mix #1, or Instacure #1, you need a scale, with a digital readout going out two places. You need to be absolutely precise. To make 4 ounces of Curing Salt #1, you need to weigh out 0.25 ounces of sodium nitrite making sure you tare out or zero out your container, and 3.68 ounces of fine sea salt. Mix these together well, and store in a container that’s very clearly marked so that there is no confusion as to what it is. Do not ask for cups or teaspoon equivalents because I will not do it. This needs to be mixed as exactly as described, you cannot wing it or approximate. I cannot emphasize this enough, the proportions must be exactly as described here to be safe.
Notice: Trying to access array offset on value of type bool in /home/maryzahc/public_html/adultfoodallergies.com/wp-content/plugins/wp-ultimate-recipe/helpers/models/recipe.php on line 254
1 1/8cupskosher or sea salt(1/8 cup is 2 Tablespoons)
2 cupsbrown sugarpacked firmly
3tbspCuring Salt #1
1Marinade Injector
Rub Ingredients
4tbspbrown sugar
1/4tsp ground nutmeg
20 whole cloves
Servings: people
Instructions
Use a boning knife to trim the skin from the shoulder.
Mix water, salt, brown sugar and curing salt together in a container large enough to submerge your pork shoulder completely under the surface. Measure out 32 ounces of the brine into a separate container. Use your marinade injector to inject the entire 32 ounces of brine into the pork, injecting evenly across and on both sides. Make sure that you inject thoroughly around the bones if you have them, to prevent bone souring.
Submerge the pork in your large container with the brine, using a heavy plate to weigh it down if necessary. Cover the container and place in a 37°- 40°F refrigerator to cure for 4-7 days. Turn the ham over halfway through the curing process.
To cook the ham after brining, score the shoulder in a grid pattern with your knife. Mix the brown sugar and nutmeg listed in your rub ingredients together in a small bowl. Cover the surface of the ham with your rub. Then insert a clove in each scored square in the ham.
Bake at 325°F for 35-40 minutes a pound until the internal temperature is 165°F.
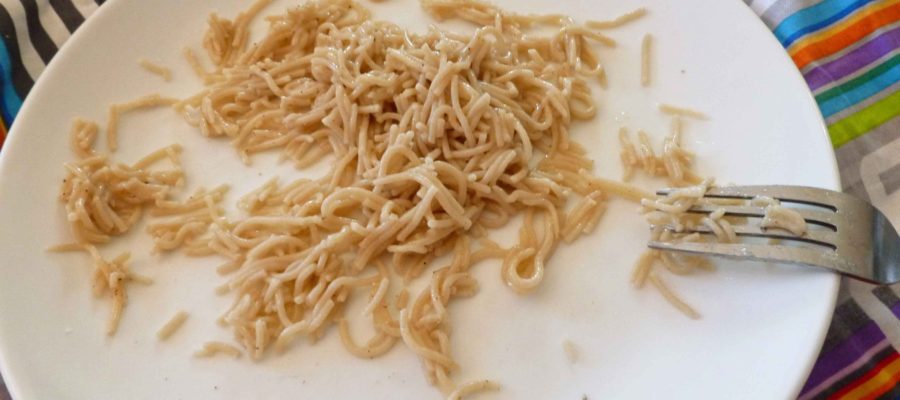
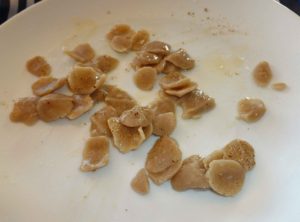
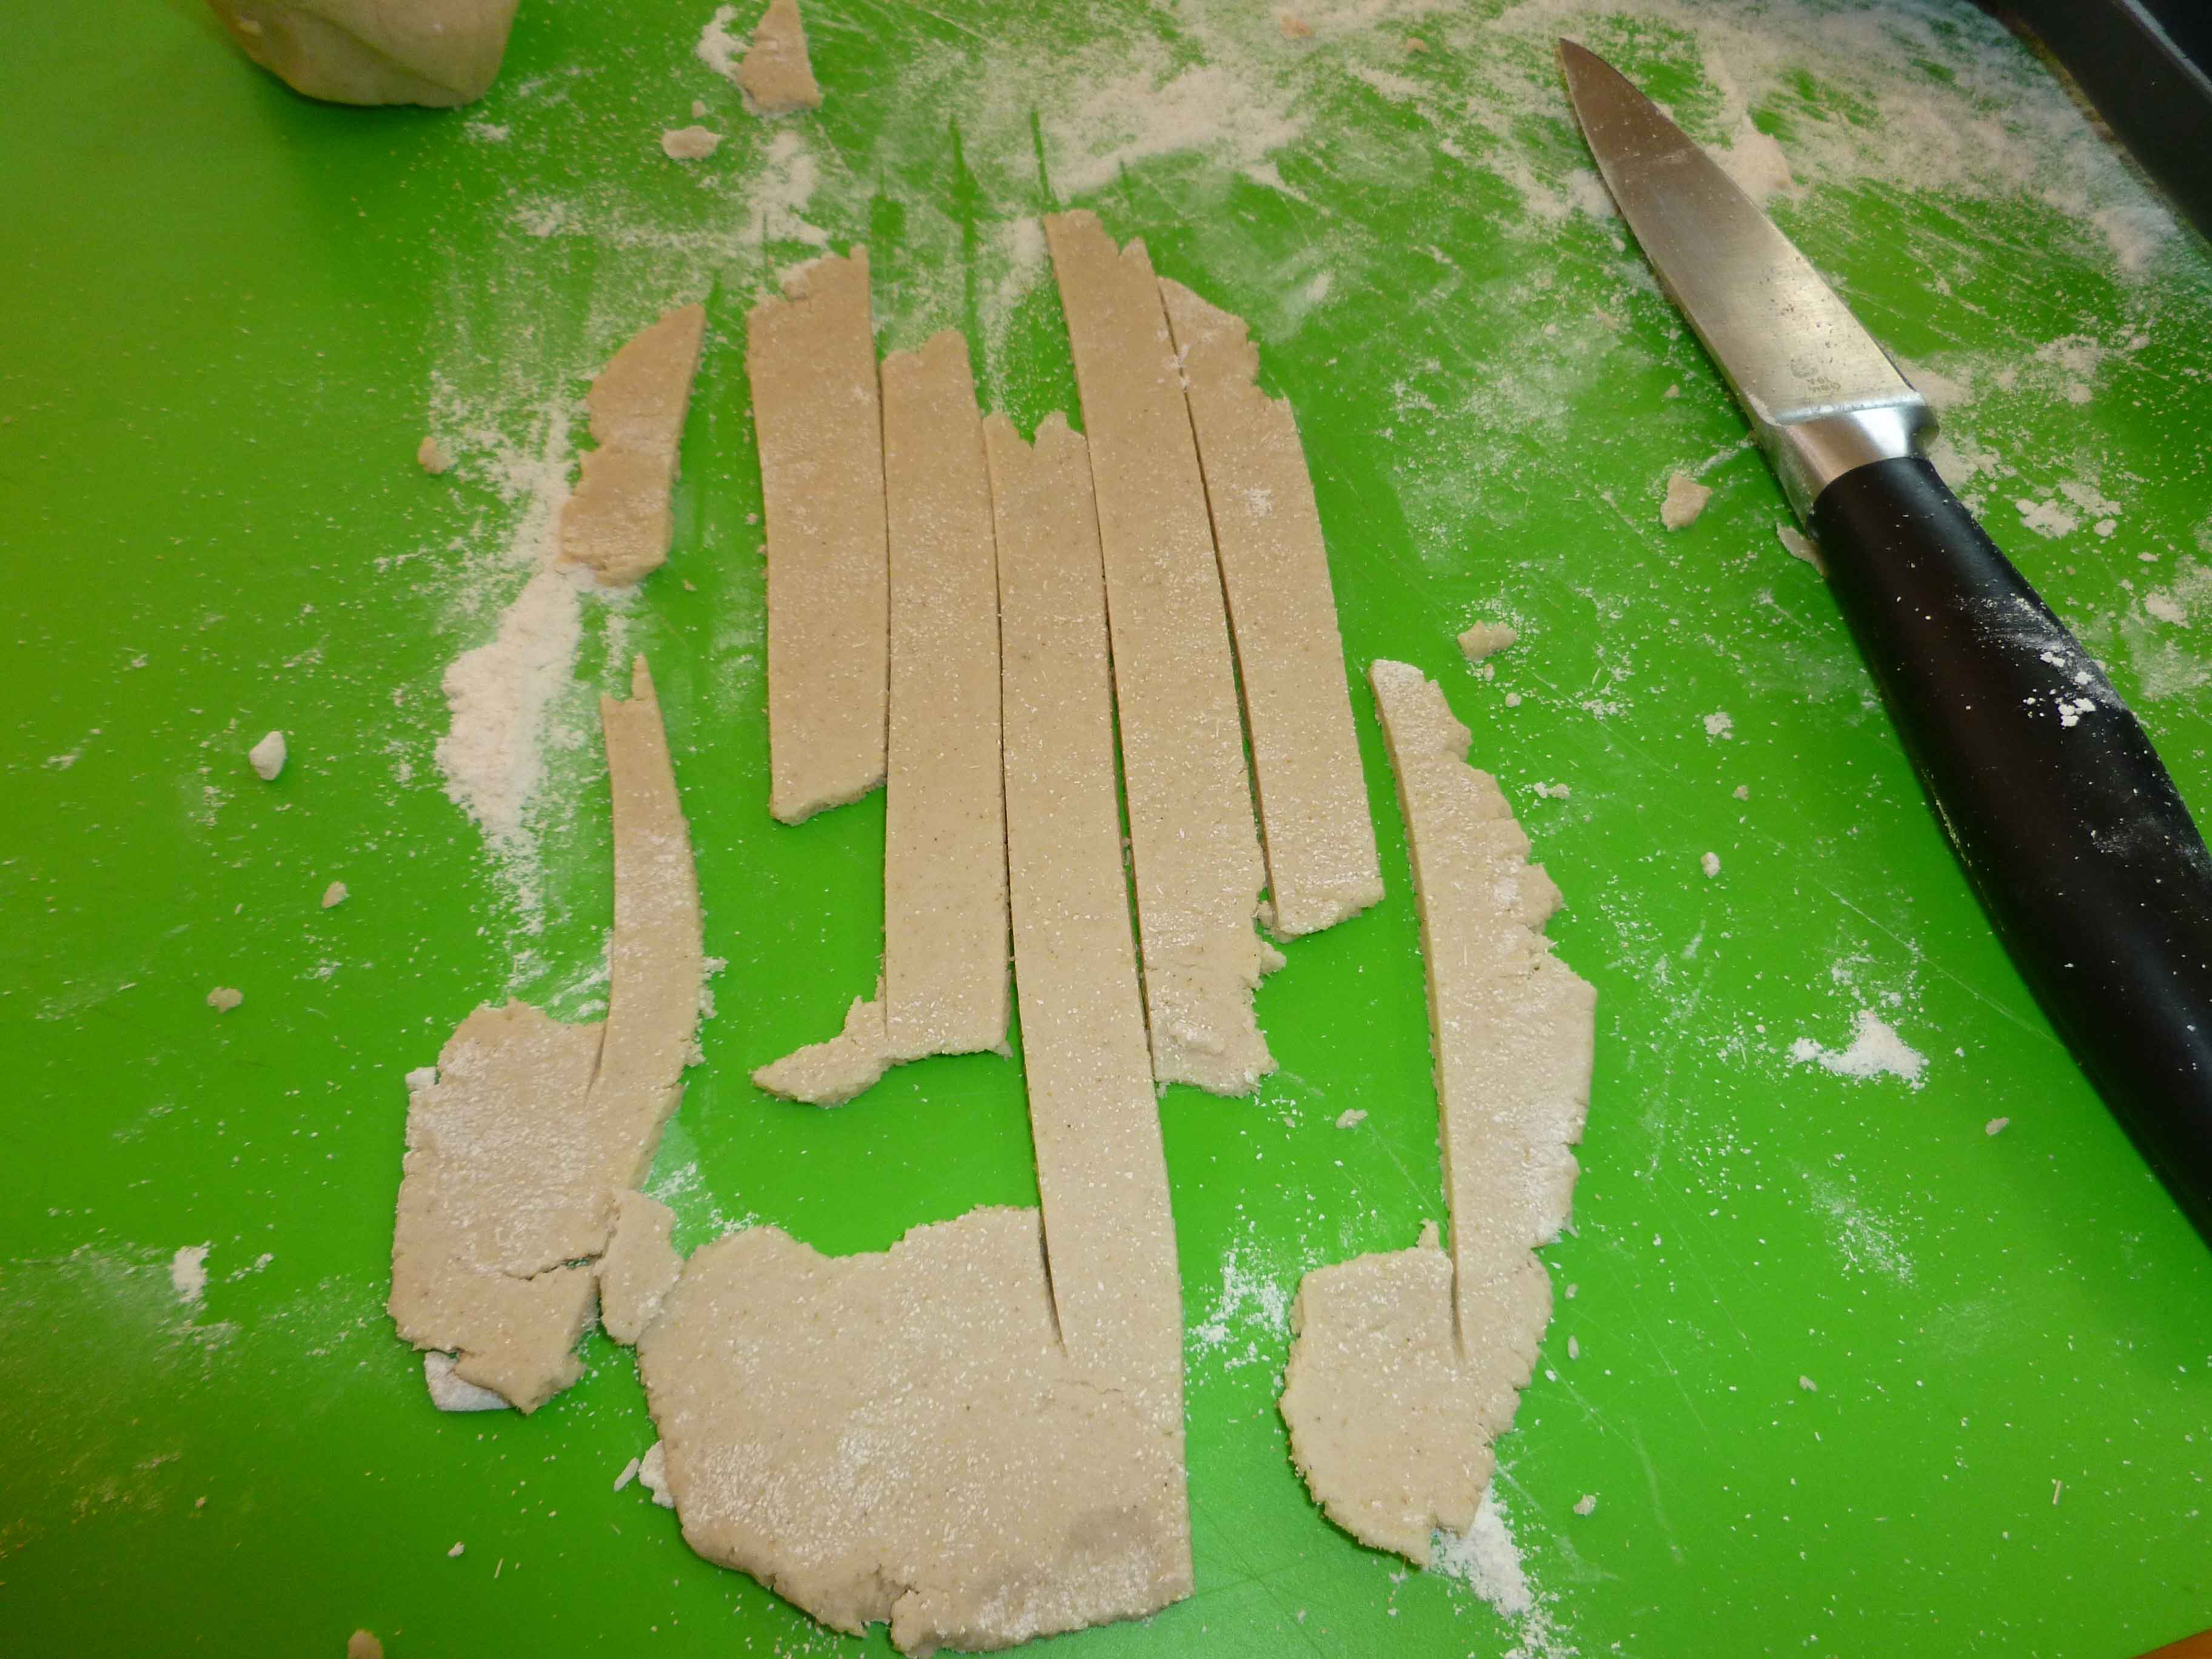
This was not an easy one, dear readers. It took nine (NINE!) attempts to get one I thought was blog worthy, and that could be done hand rolling or hand shaping the dough for those of you that aren’t crazy enough to buy every little kitchen gadget available. We made spaghetti with the KitchenAid SNPA Pasta Maker Plates for Food Grinder Attachment kit (no affiliation with Amazon) that I bought literally 20+ years ago. I’m pretty sure it isn’t being made anymore, and those that are available second hand seem to be ridiculously exorbitantly priced. We made the fettuccine by rolling the dough out with a rolling pin and cutting it with a knife, and the little shell like things, vaguely reminiscent of Orecchiette, by forming them over my thumb. But if you’re looking for new kitchen toys, the new KitchenAid Pasta Press looks cool.
I used a kitchen scale to weigh out the flours, as I found it easier to get a consistent result. I make my husband Shawn taste stuff because he still eats regular, non-allergy food so he has a more recent recollection of how stuff actually tastes, whereas I haven’t had wheat pasta in several years. As we taste tested the attempts, we tasted it cooked plain, and then dressed it with a little olive, white pepper, and salt, as we didn’t want a sauce to interfere with the taste of the pasta. And lo, the version I am about to give you is good. I may want to try making a couple of batches and dehydrating it to see if I can get a shelf stable pasta to have in a pinch. If I do, and it works, I’ll let you all know.
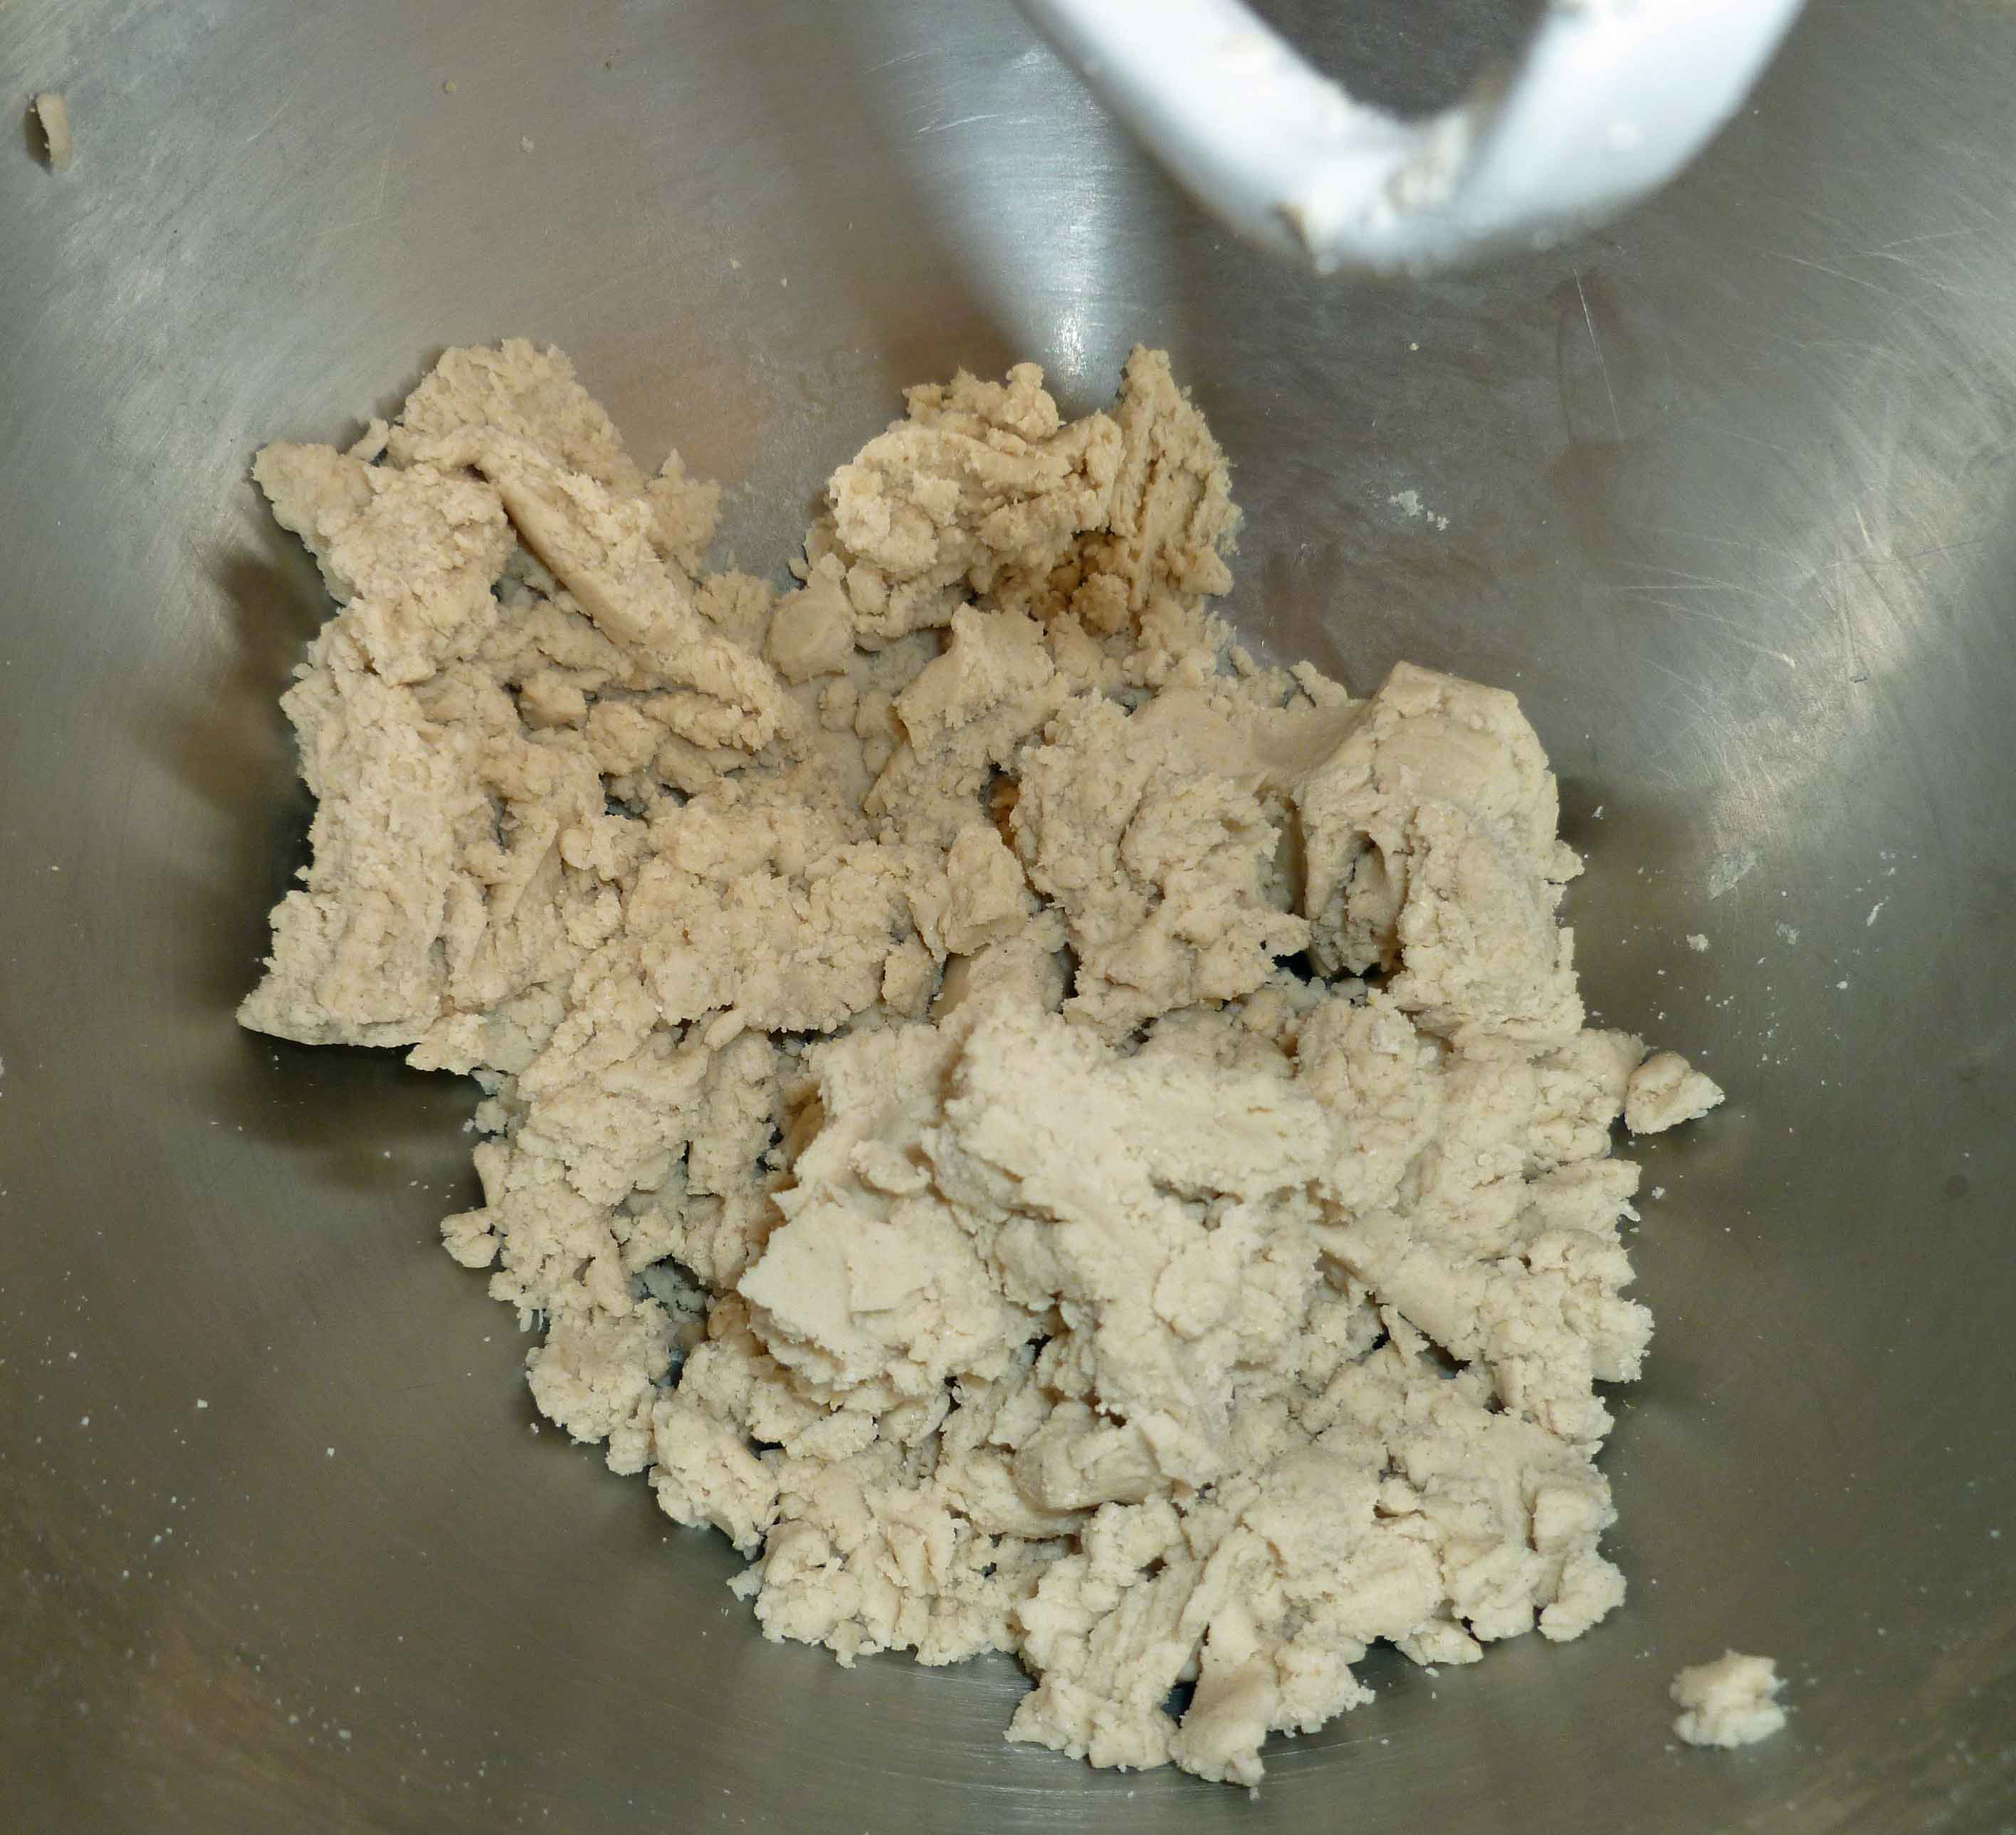
Dough when it is the right consistency to form into a ball
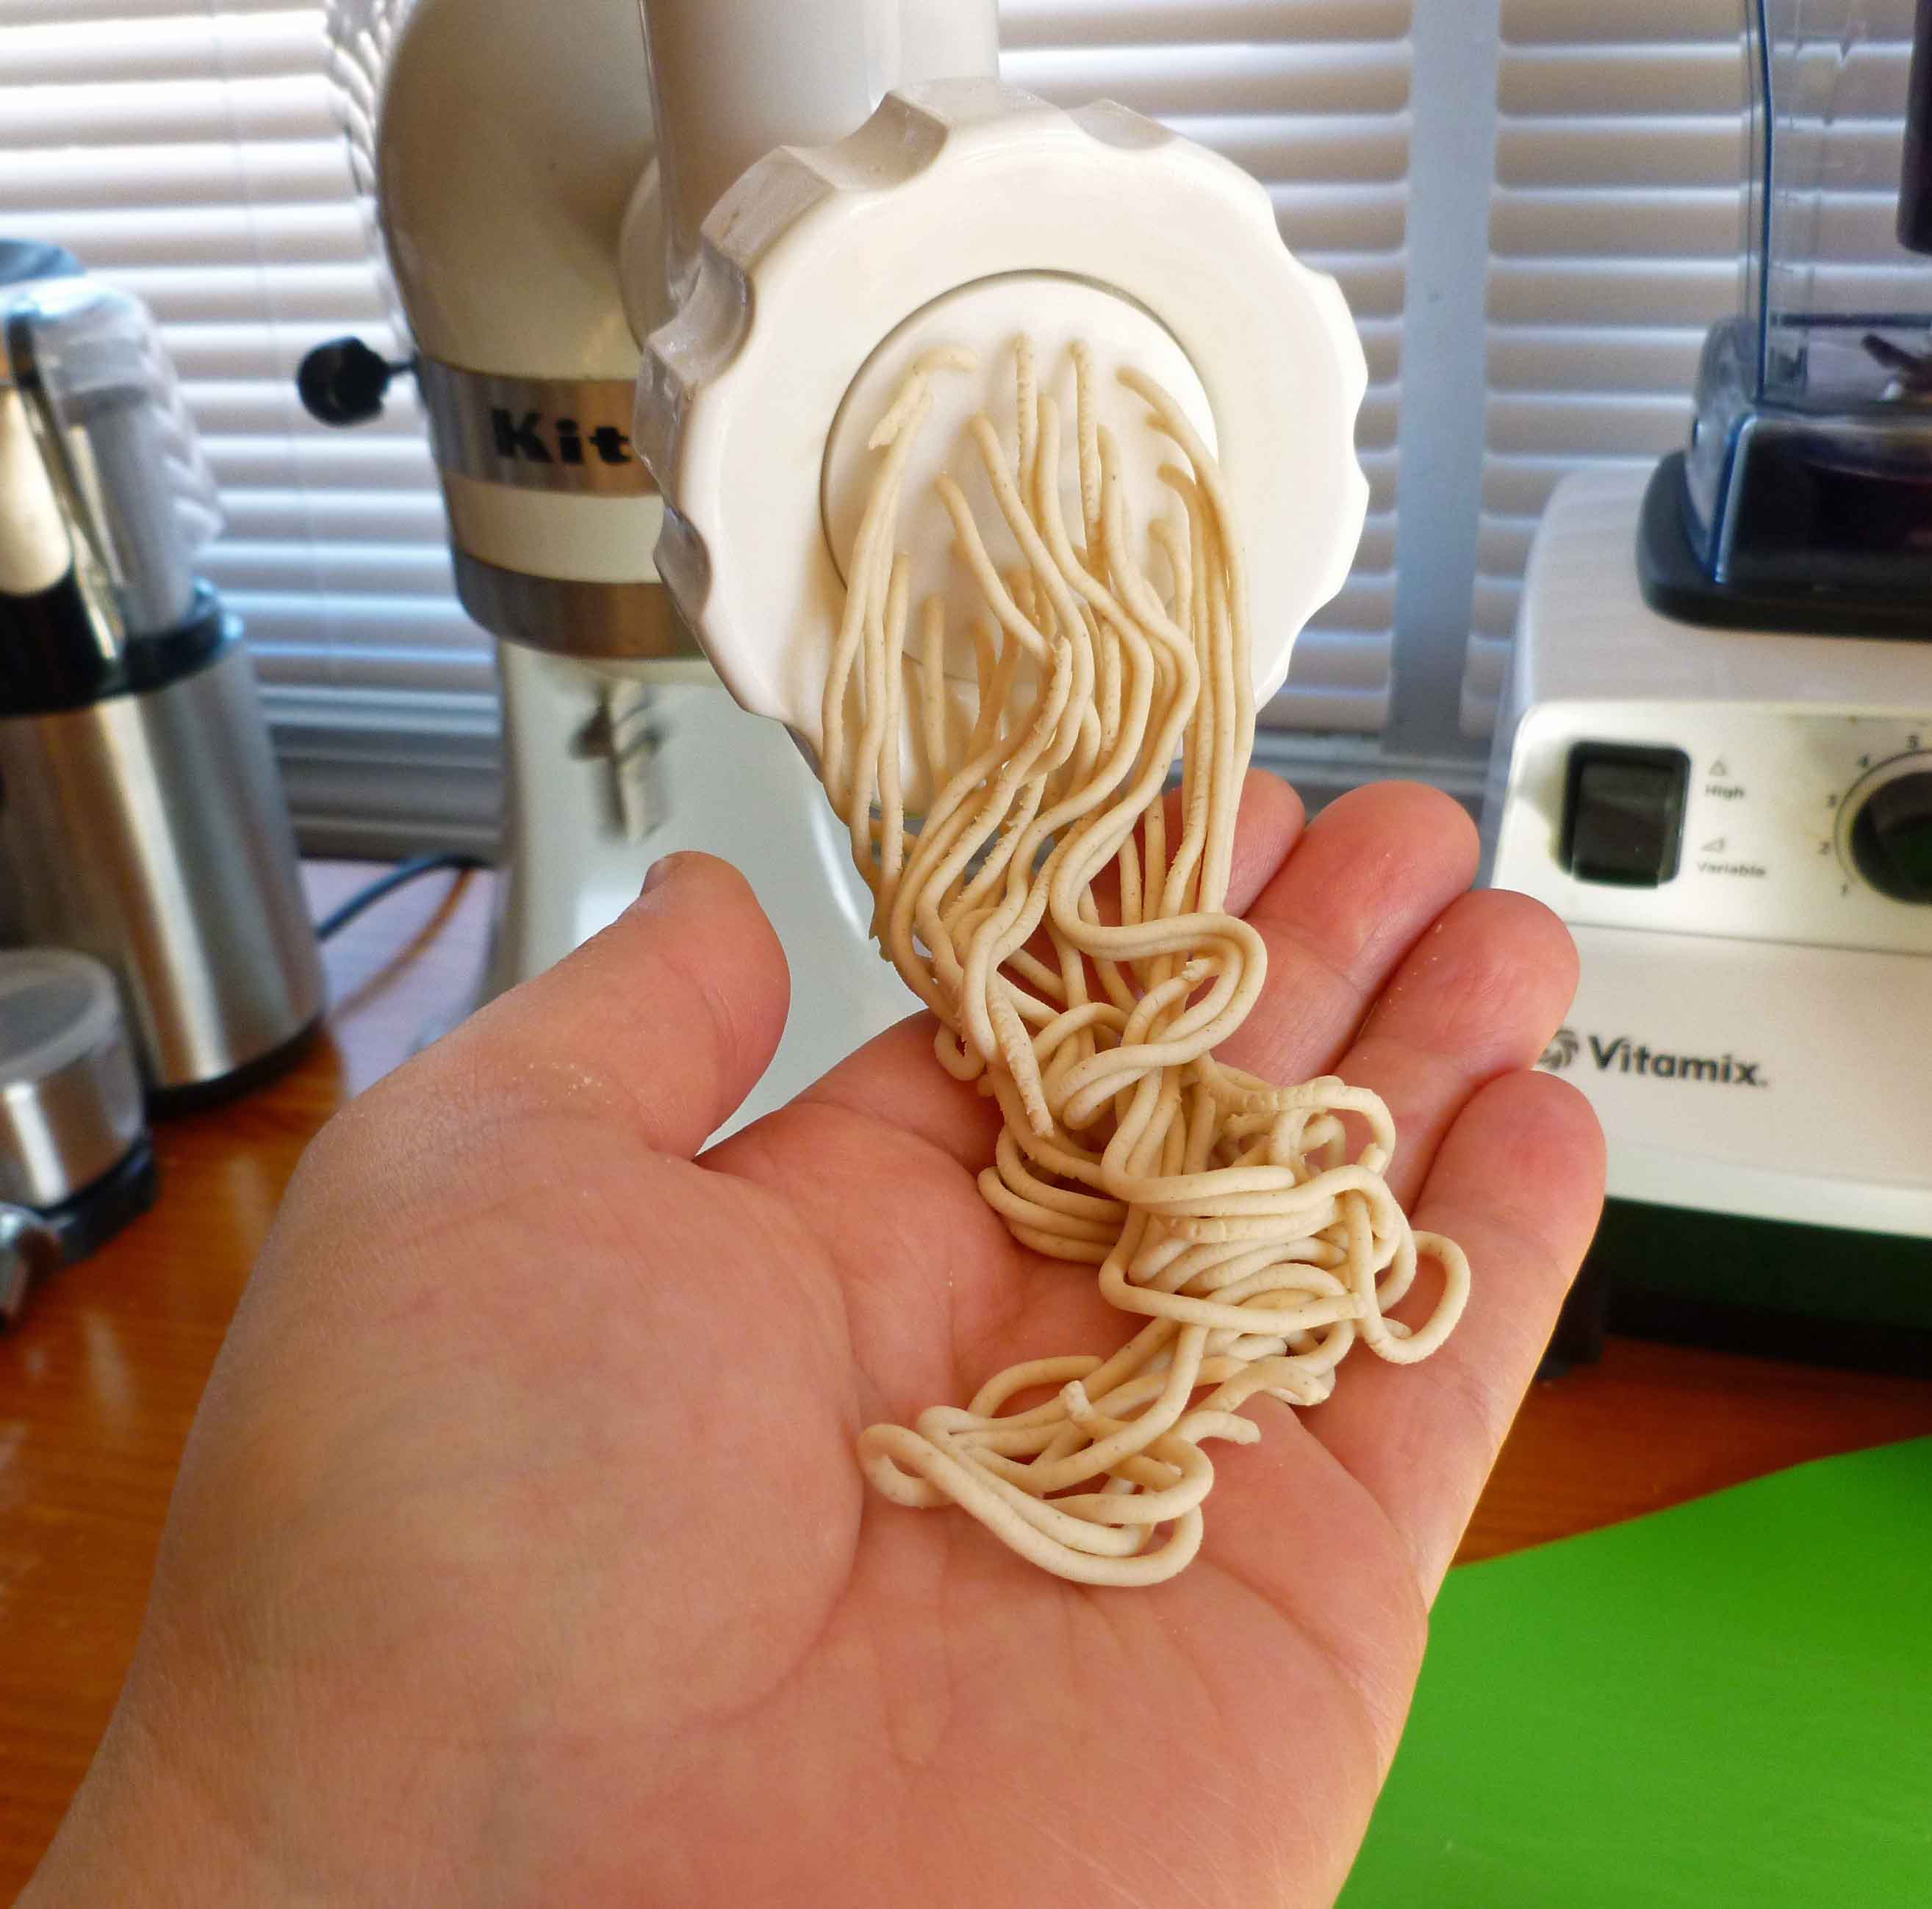
Spaghetti being extruded from the KitchenAid
Spaghetti before cooking
Spaghetti after cooking
Hand rolling and cutting fettuccine noodles
Fettuccine after cooking
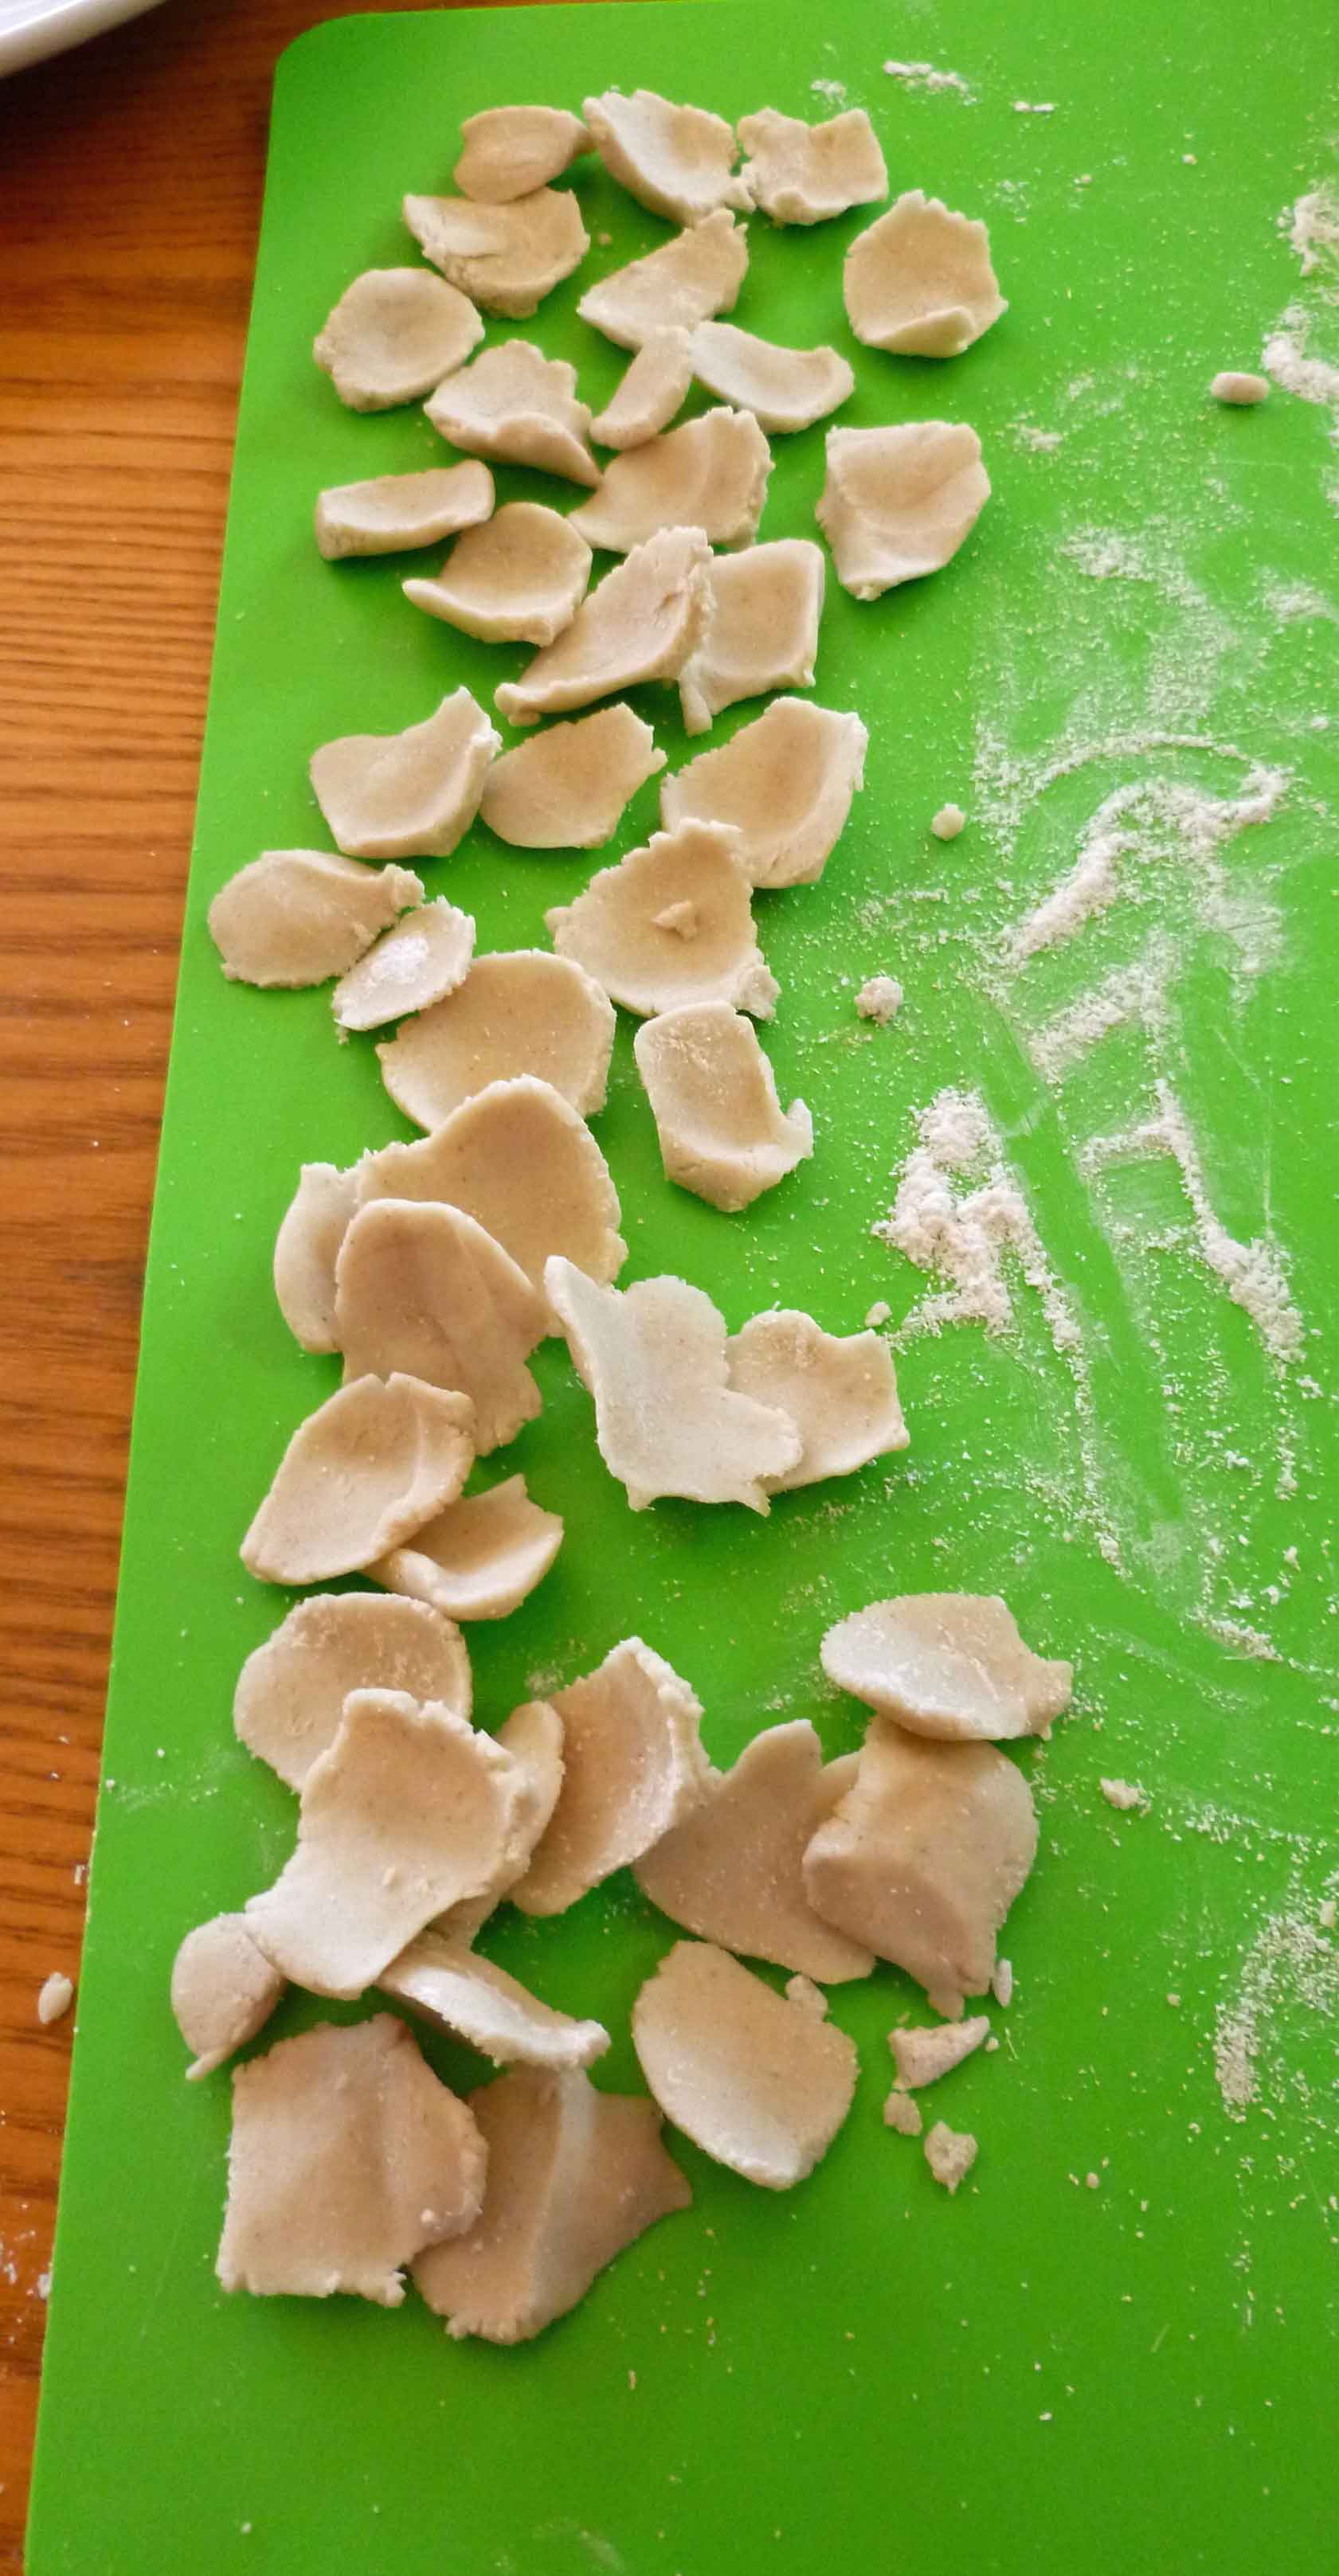
Orecchiette-esque pasta before cooking
Orecchiette-esque pasta after cooking
Notice: Trying to access array offset on value of type bool in /home/maryzahc/public_html/adultfoodallergies.com/wp-content/plugins/wp-ultimate-recipe/helpers/models/recipe.php on line 254
1tbspgrape seed or olive oil(or other safe for you oil)
3tbspwater
3tbspaquafaba(see http://aquafaba.com/)
1tspoil(for cooking water)
1tsp salt(for cooking water)
Servings: people
Instructions
Mix sorghum, brown rice flour, and cassava flour in a bowl until well combined. Make a well in the center of the flour and add the oil, water, and aquafaba. Using a stand mixer with a paddle or a fork, mix well until the dough will hold together when kneaded.
Use the dough in your pasta machine or extruder. If you don’t have any pasta machine or extruder, just roll out the dough with a rolling pin on a floured surface and cut your own noodles, or hand shape pieces of dough into various shapes. Here’s a neat site for hand shaping pasta -http://www.recipetips.com/kitchen-tips/t–793/cutting-and-shaping-pasta-by-hand.asp (Not all of them will work without gluten, but there’s some neat things to try.)
Bring a pot of water to a hard rolling boil. Add salt and oil to the pot, and add the noodles. Boil for 1-3 minutes, and drain quickly. Fresh pasta cooks very quickly. Spaghetti cooked in a minute, and the hand rolled fettucine and hand shaped shell pieces took 3 minutes.
Pastrami is one of those things I have dearly missed. And it was hard to think about trying to do it without curing salt. All commercial curing salt is dyed pink for safety and contains dextrose which is generally derived from corn. But mixing up my own curing salt was scary, because let’s face it, if you screw it up and put too much sodium nitrite in your mixture, you can poison yourself. But I finally bit the bullet and made some. You’re going to say, Denise, why would you use something you could poison yourself with? I’m going to say, you can die of drinking too much water too, and if I’m not careful and don’t follow the rules, I can give myself botulism canning my food too. And those of you who know me in real life, know that I pretty much have a 50/50% chance of cutting, burning, or otherwise maiming myself every time I cook. Risk is inherent in existence. There’s already nitrites in many foods naturally already, like the celery that is used for “uncured” bacon. Since I only eat cured meats a few times a year since they take so much effort to make, I’m not that worried about it. And we’re all going to die of something, nobody’s getting out of here alive. So eat the pastrami once in a while, damn it, and savor it.
I got this amazing recipe from Leite’s Culinaria. I had to change a few things, mostly leaving out the honey, adding a bit more brown sugar instead, and using my own mixture of curing salt #1. If you can have honey and commercial curing salt, just follow their recipe, I’m sure it’s genius as it is.
Making Curing Salt:
To make Curing Salt #1, or Prague Mix #1, or Instacure #1, you need a scale, with a digital readout going out two places. You need to be absolutely precise. The mixture must be 6.25% sodium nitrite (I got mine on Amazon, make sure it’s food grade, no affiliation with Amazon) and 93.75% salt. To make about 4 ounces of Curing Salt #1, you need to weigh out 0.25 ounces of sodium nitrite making sure you tare out or zero out your container, and 3.68 ounces of salt (I used Diamond Crystal Fine All Natural Sea Salt, again no affiliation with Amazon). Mix these together well, and store in a container that’s very clearly marked so that there is no confusion as to what it is. Do not ask me for cups or teaspoon equivalents because I will not do it. This needs to be mixed as exactly as described, you cannot wing it or approximate. I cannot emphasize this enough, the proportions must be exactly as described here to be safe.
Curing Salt #1
Once you’ve make your Curing Salt #1, it’s time to make the pastrami. Yay!
Be aware that this is a several day process. Read the whole recipe through first.
Cure Your Own Pastrami
Main Ingredients:
3-5 pound beef brisket
4 cups of cold water for humidifying the oven
Brine Ingredients:
3 quarts of cold water
2 cups of kosher salt
1/4 cup of Curing Salt #1 (either the DIY version above or a commercial version if you aren’t allergic to corn)
1 cup of white sugar
3/4 cup of brown sugar
2 Tablespoons of pickling spice (I used Penzey’s or you can make your own)
1 Tablespoon of whole coriander seed
1 Tablespoon of whole yellow mustard seed
1 Tablespoon of dried minced garlic
3 quarts ice cold water
Spice Rub Ingredients:
1/4 cup of freshly ground coriander seed (I ground my own)
2 Tablespoons freshly ground black pepper
2 Tablespoons of smoked paprika
In a large stock pot, add the 3 quarts of cold water, the kosher salt, your homemade curing salt, white and brown sugar, pickling spice, coriander seed, mustard seed, and garlic. Bring to a boil over high heat, stirring until the salt and sugar have fully dissolved. Remove the pot from the heat.
In a food safe container large enough to hold the brisket and 6 quarts of water and which will also fit in your refrigerator, place the 3 quarts ice-cold water, and the brine. Place the container in the refrigerator until completely cool. I usually make the brine the day before and let it sit in the refrigerator overnight.
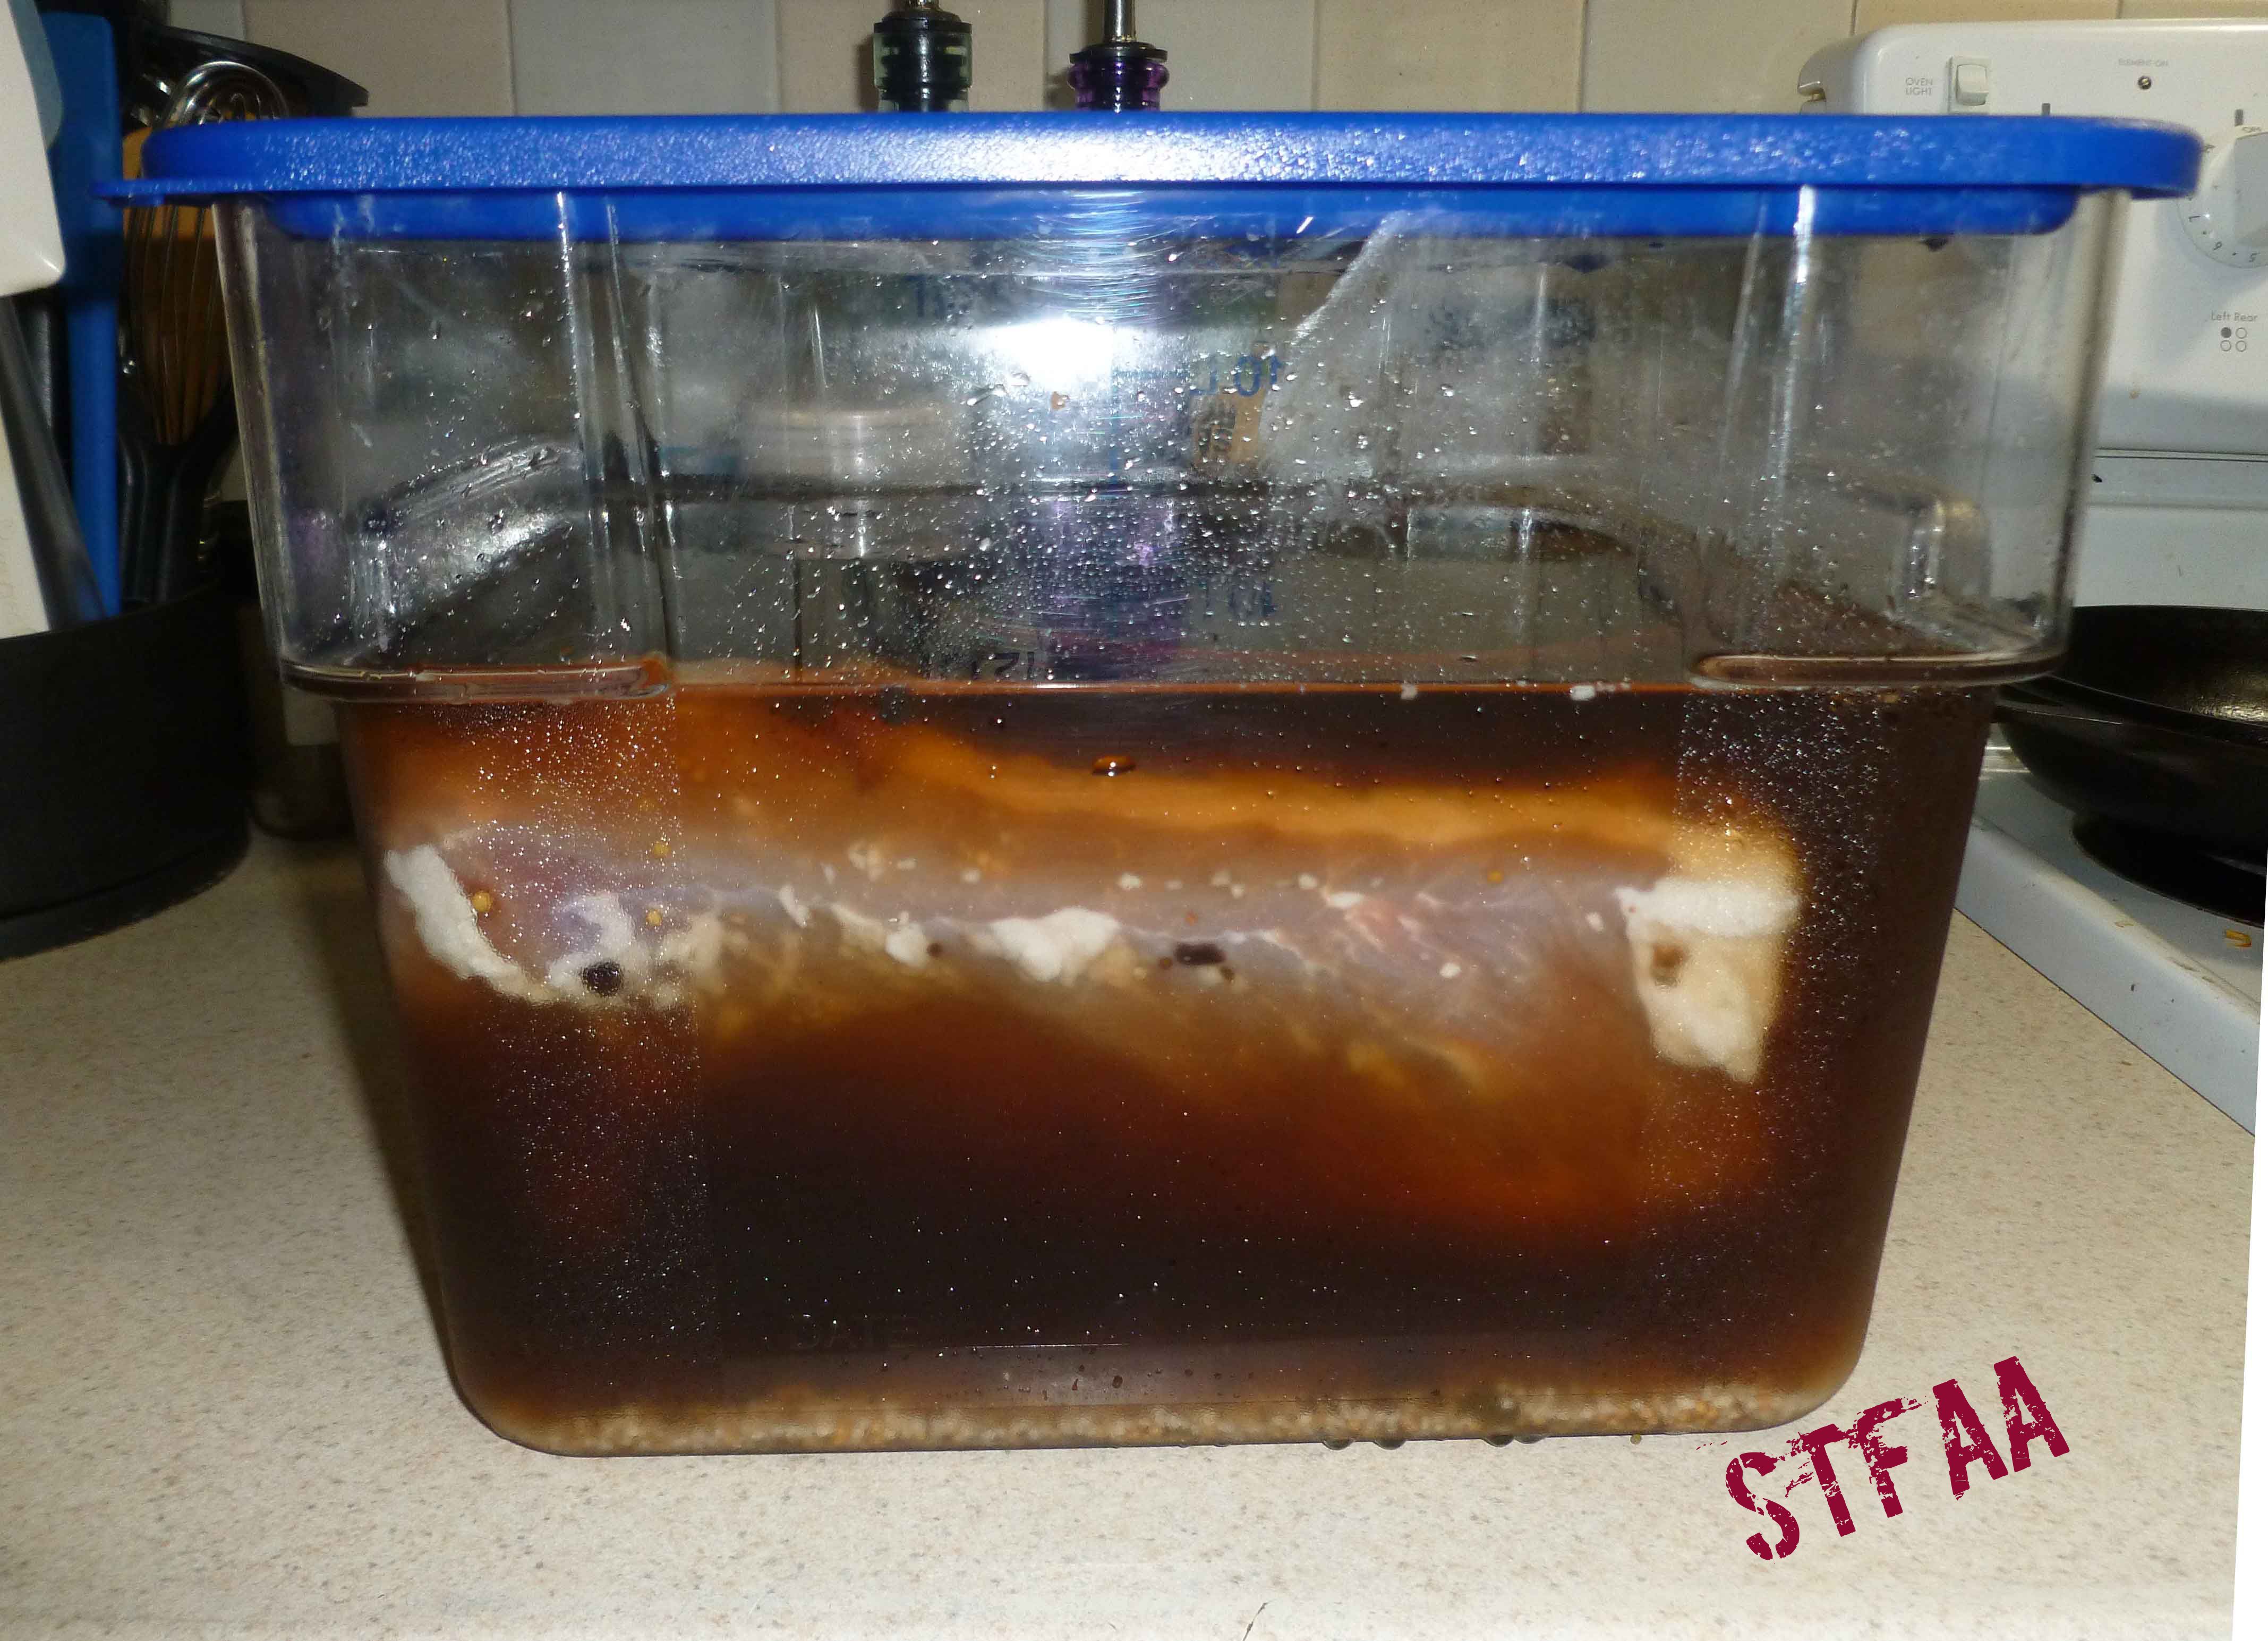
Trim the excess fat from the brisket leaving layer about a 1/4 inch thick remaining on the brisket. Submerge the brisket in the cooled brine. Depending on your container, you may need to cut it into two pieces to submerge it. You might also want to weigh it down with a plate.
Brisket soaking in brine
Refrigerate for 5 days, stirring the brine and turning the brisket over once a day. If any of the brisket pieces touch each other, make sure that you regularly turn them away from each other to expose all sides of the to the brine.
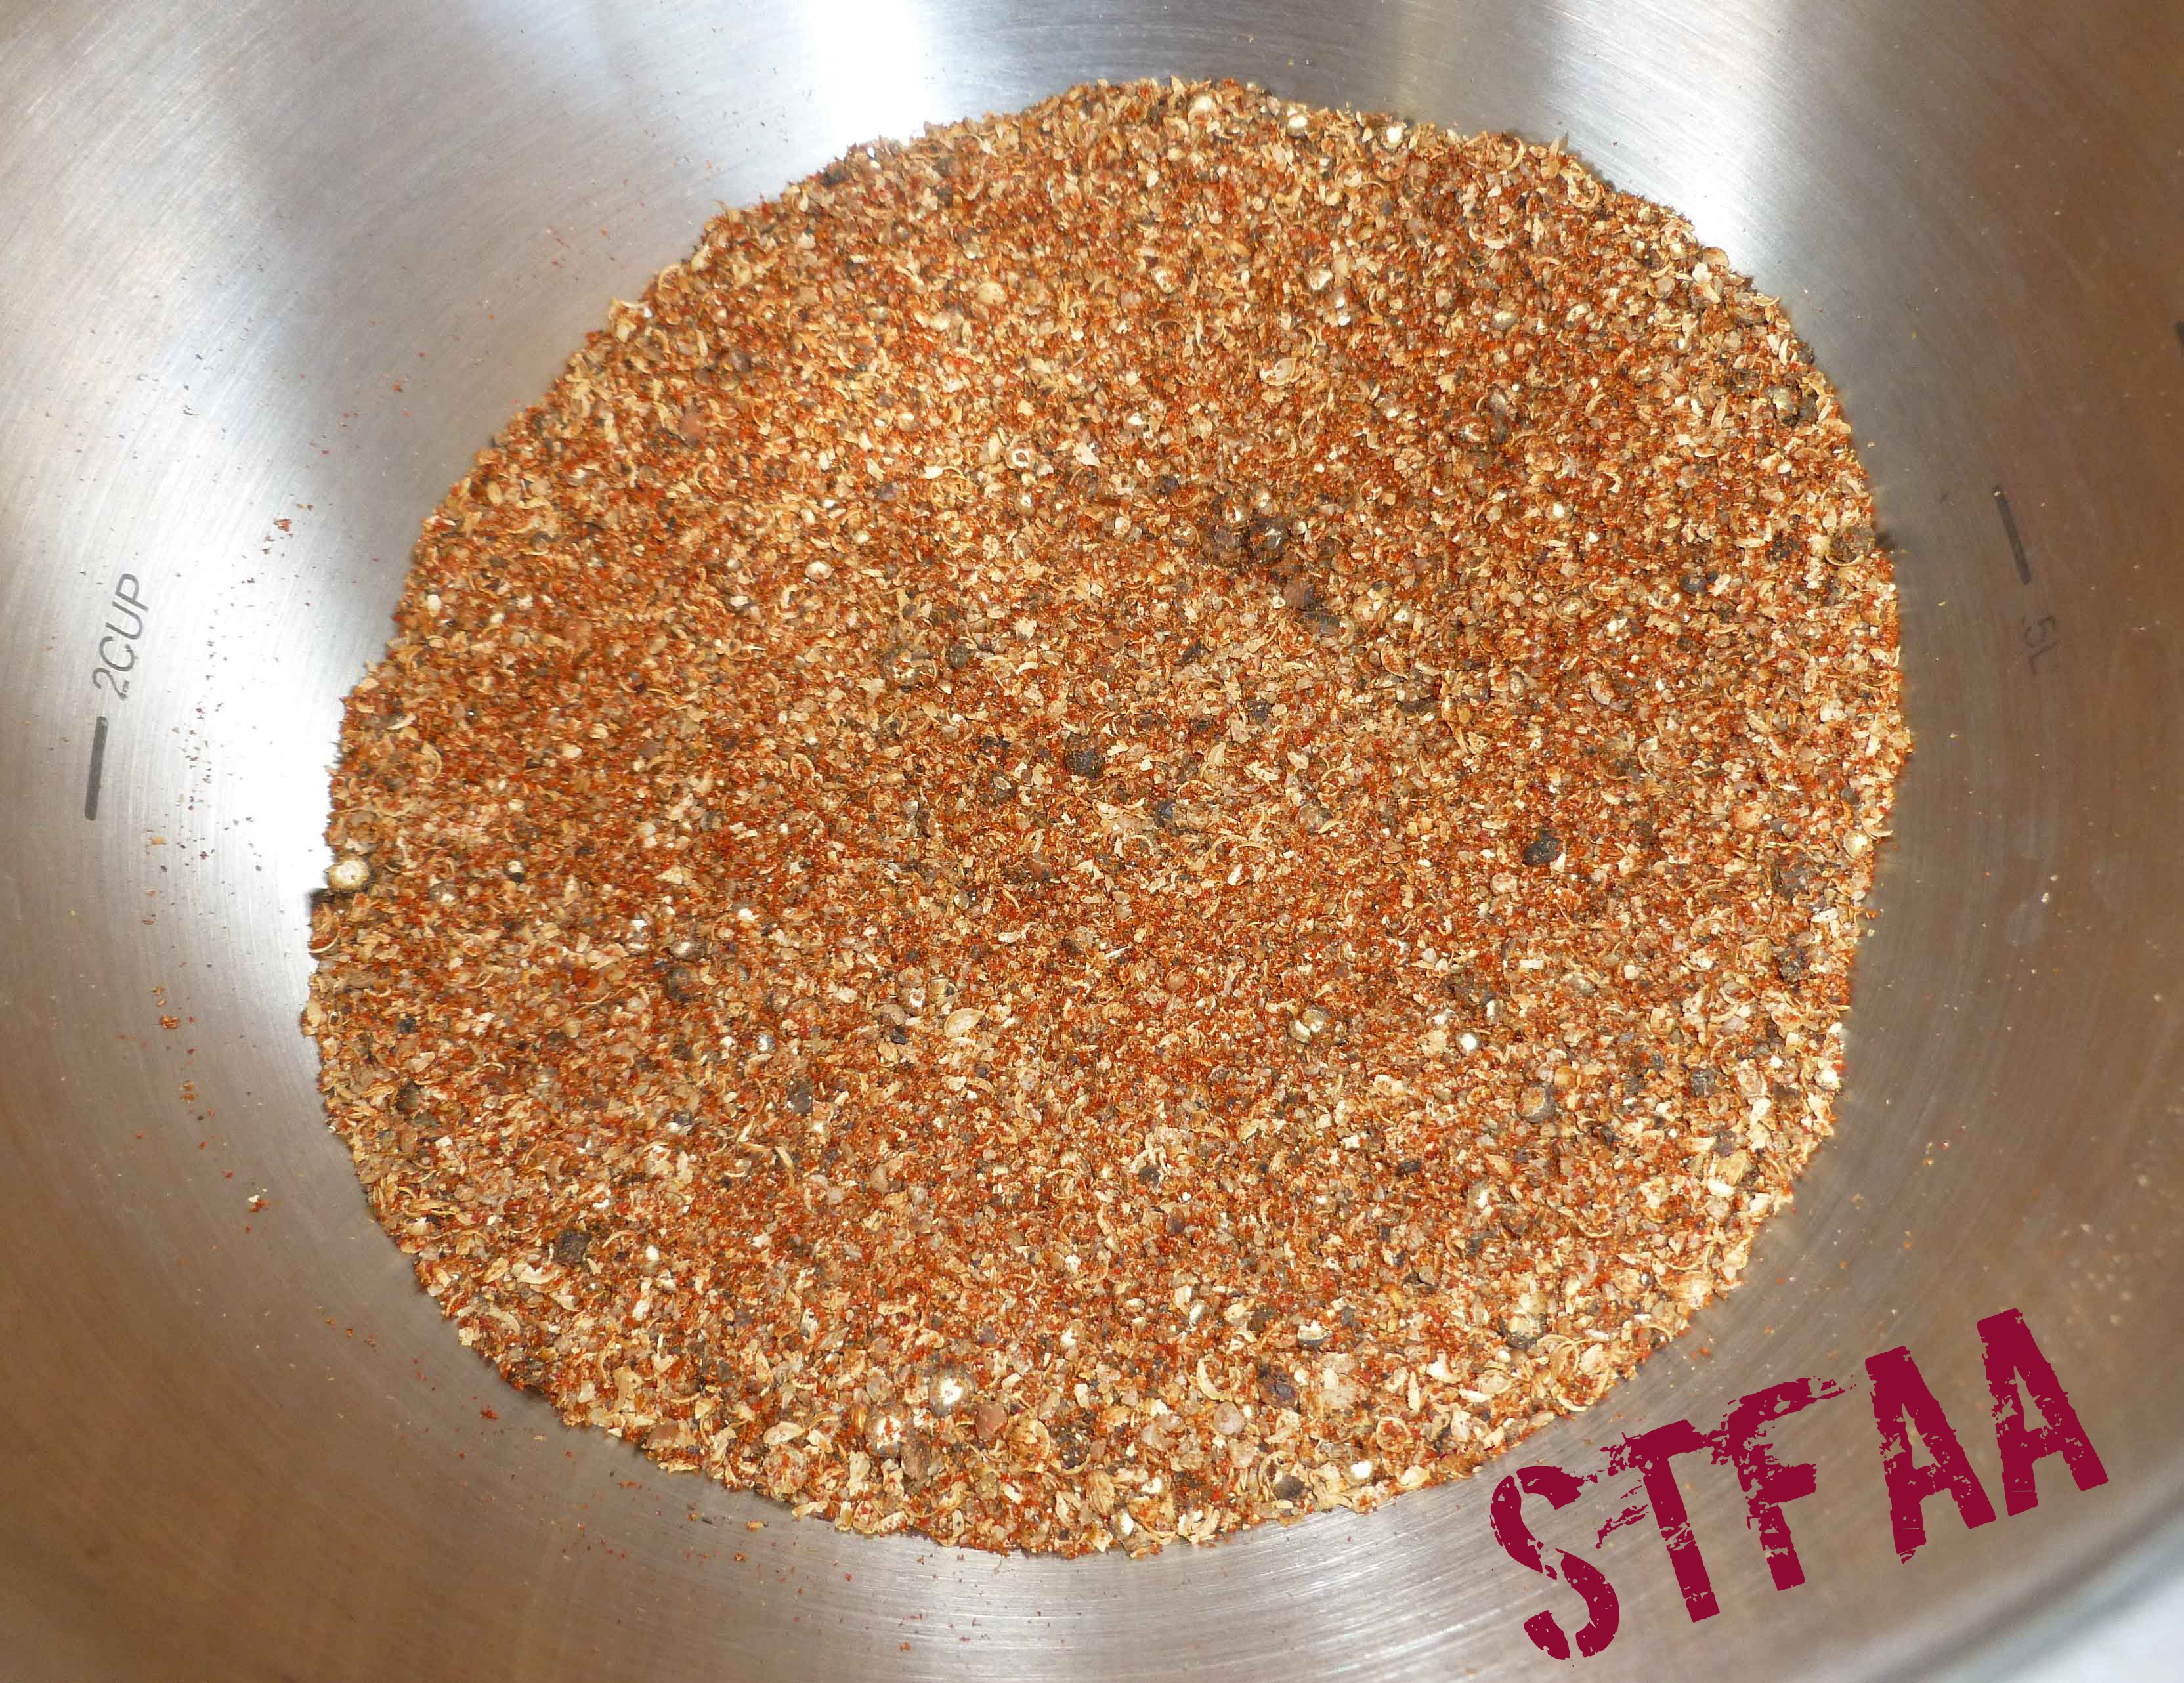
Make the spice rub on the day you plan to cook the pastrami after it has finished brining. Mix the ground coriander, ground black pepper, and smoked paprika in a small bowl.
Spice rub
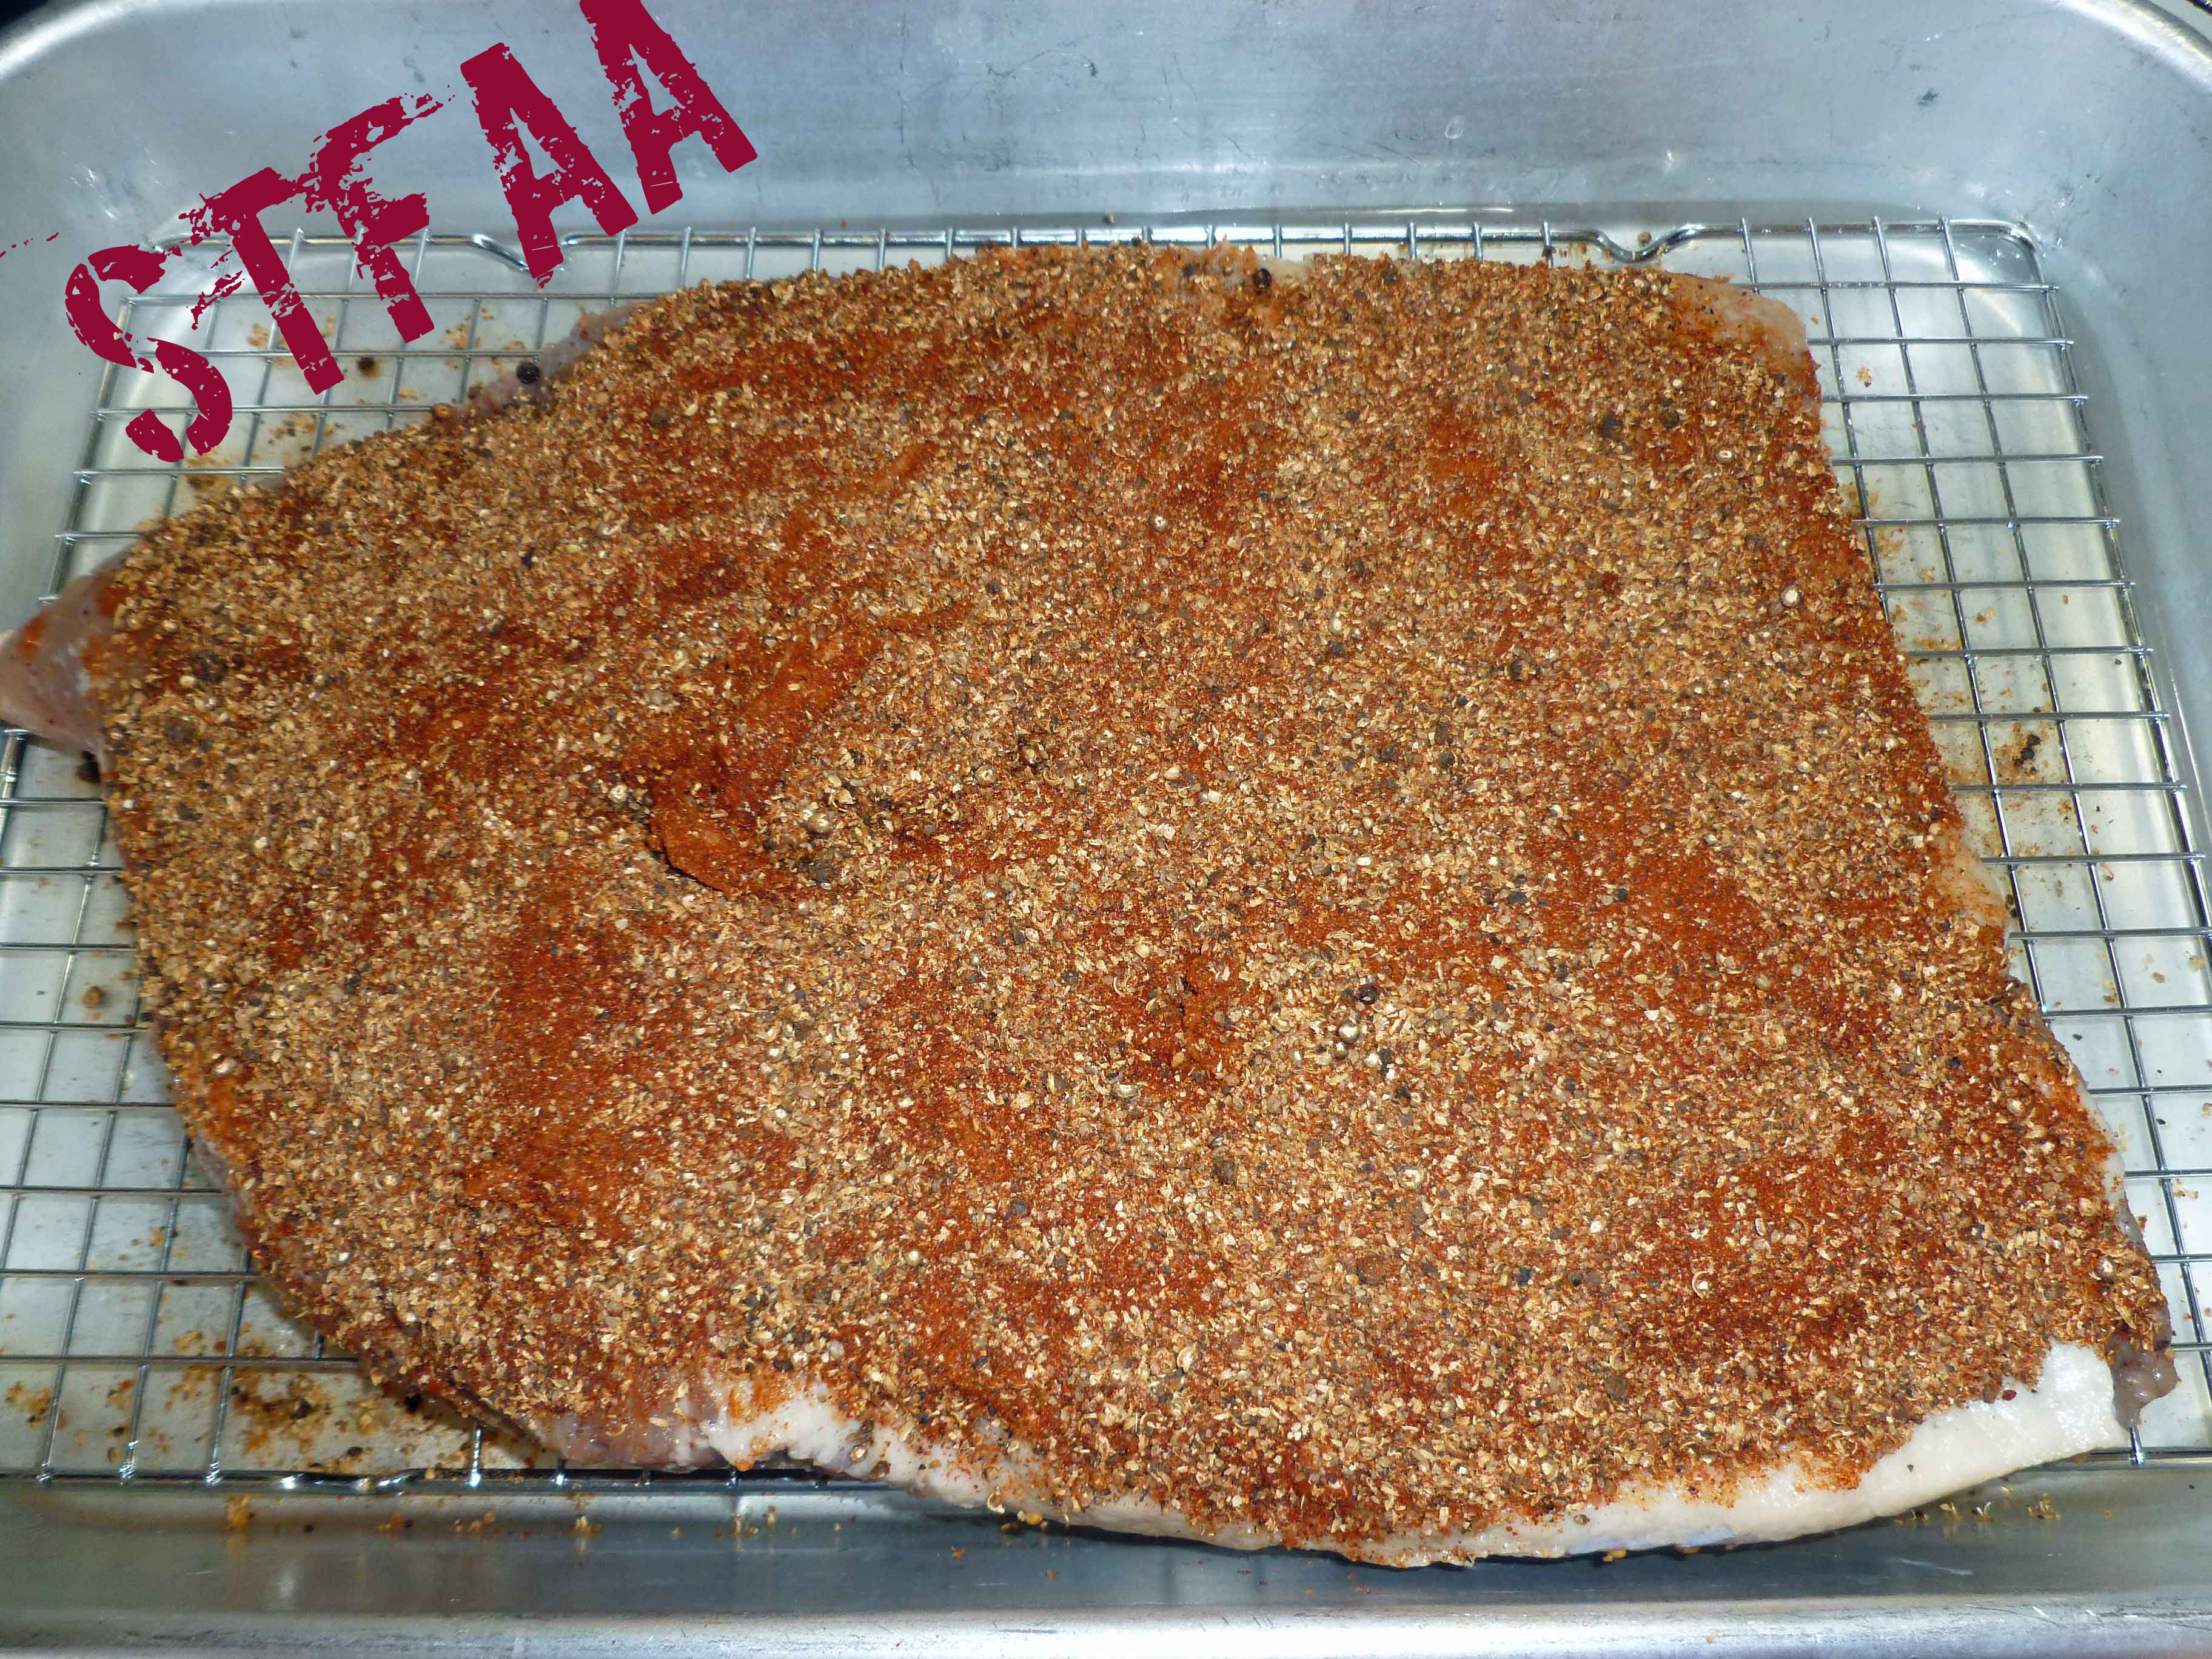
Remove the brisket from the brine and pat it dry. Rub a 1/4 cup of the spice rub evenly on the less fatty side of the brisket, then flip the brisket and rub the remaining spice mixture onto the fatty side. Let the brisket come to room temperature, which should take about 2 hours.
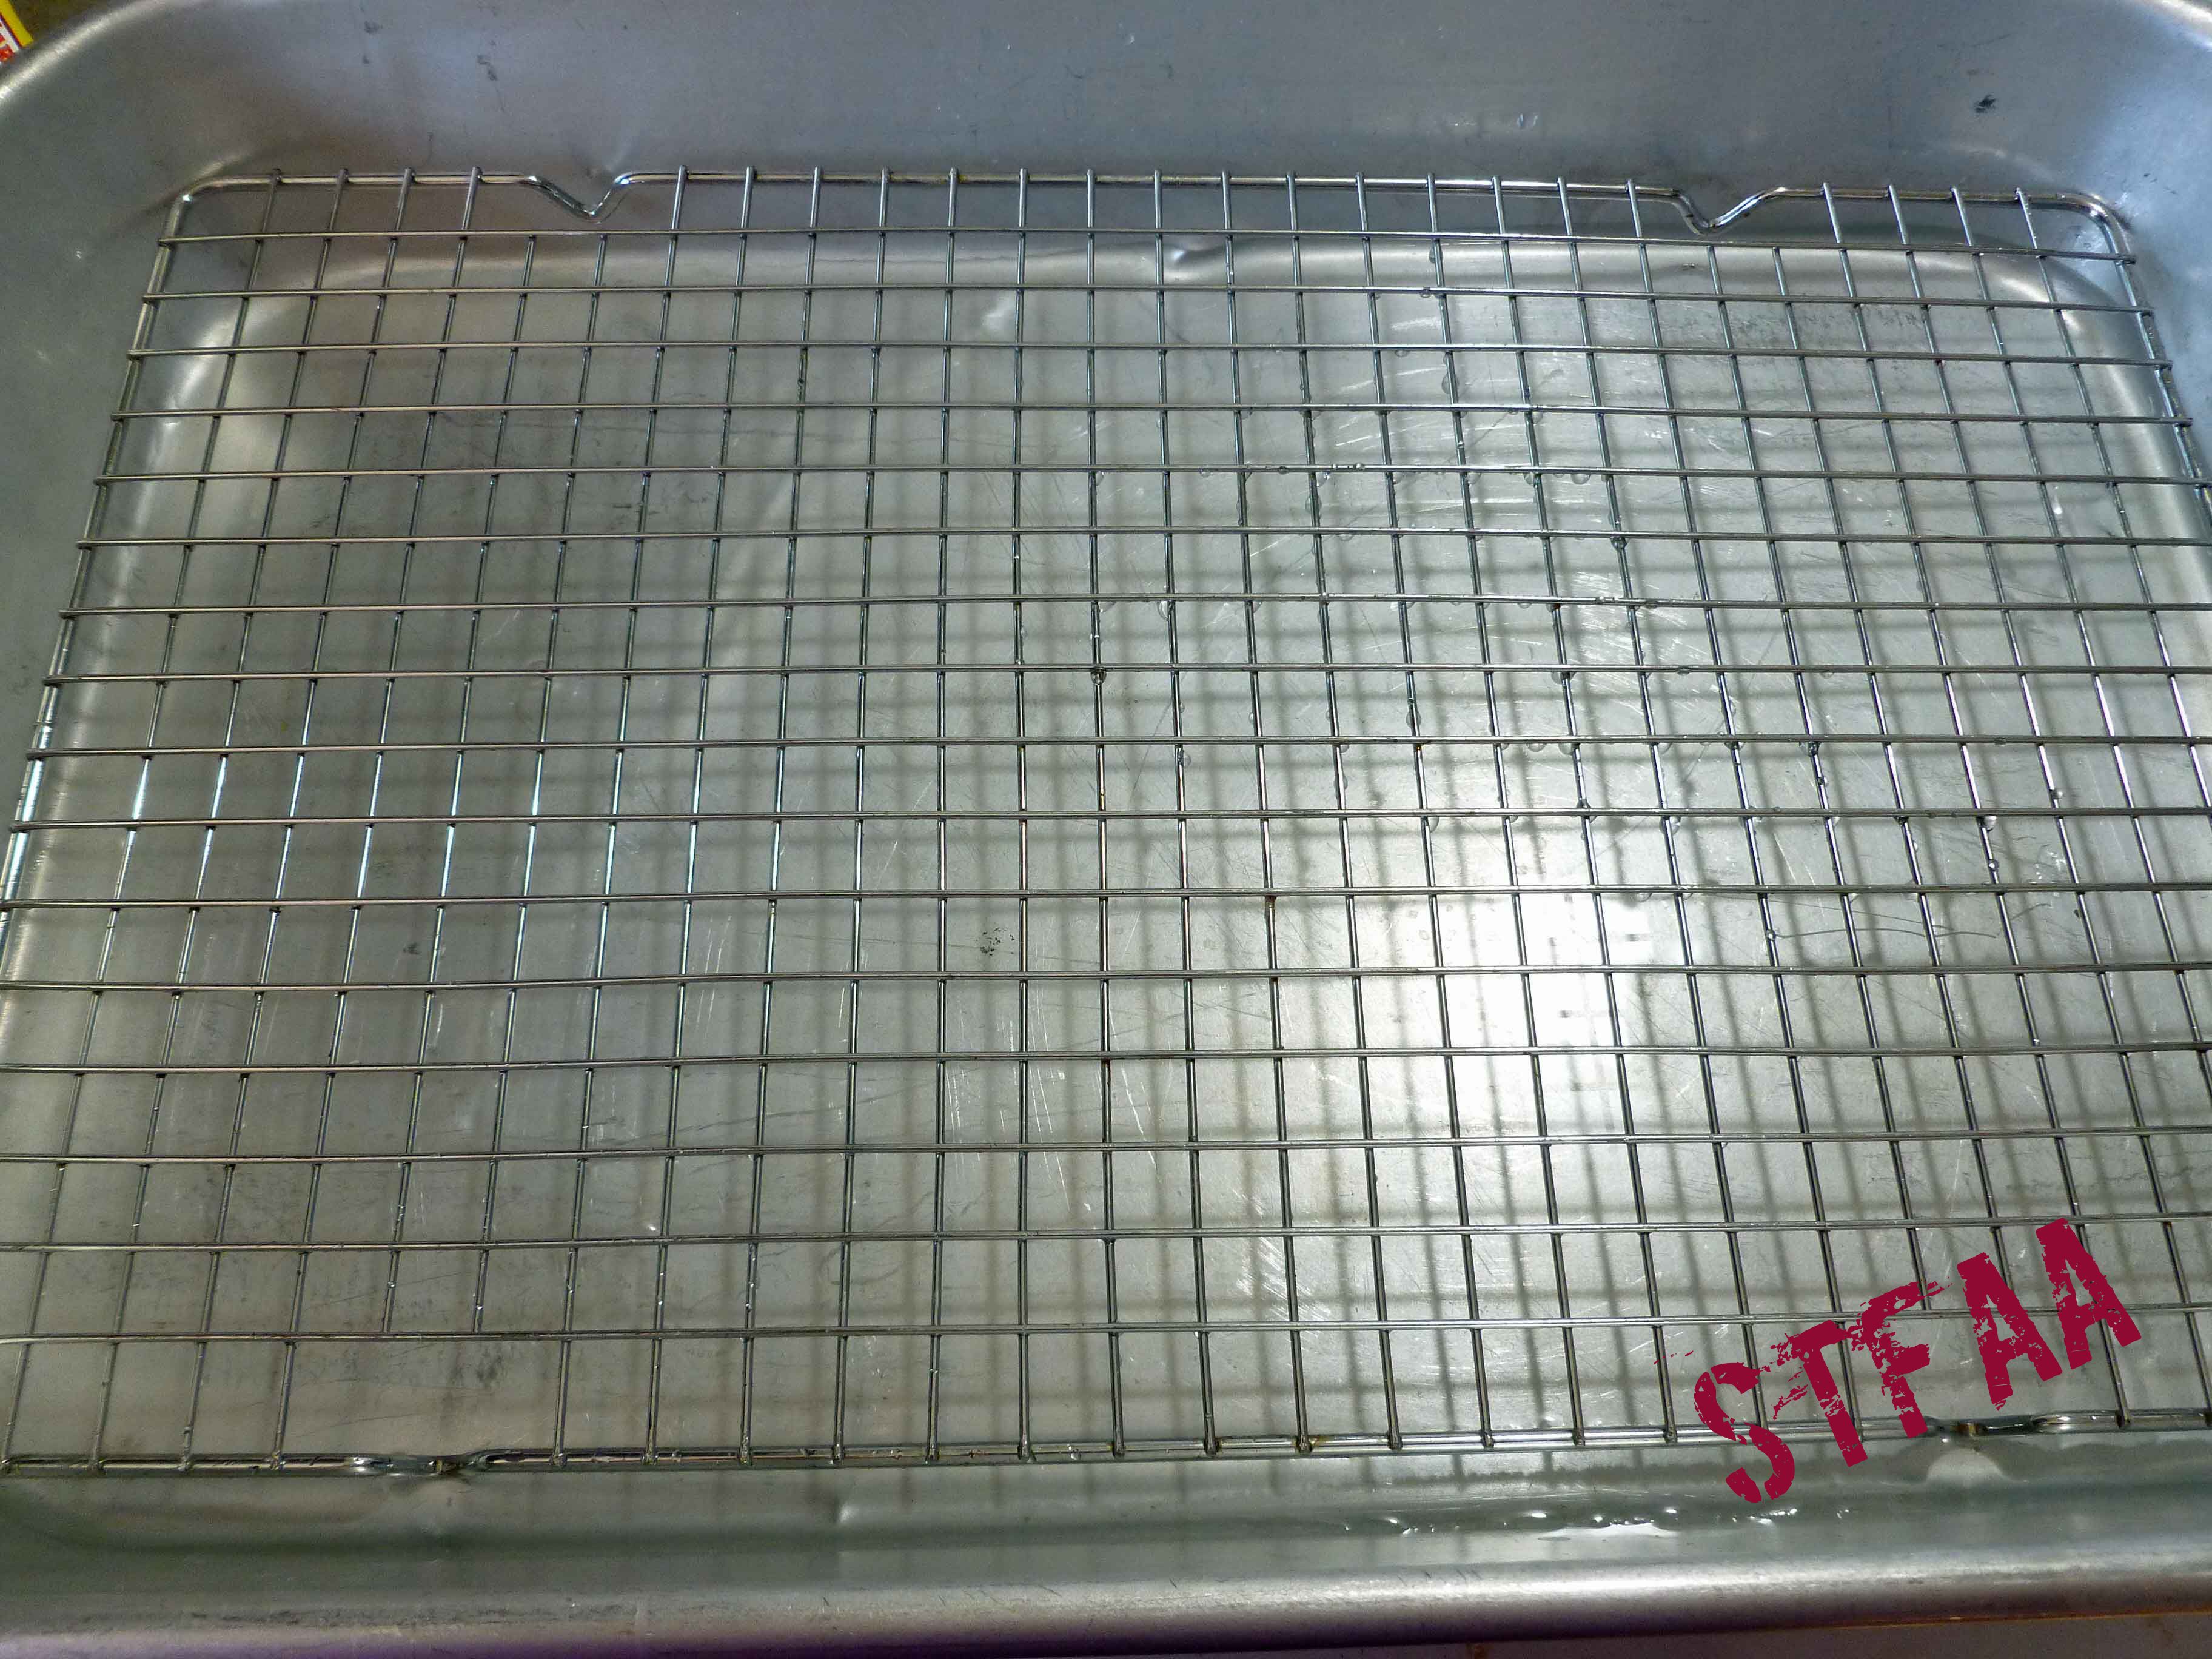
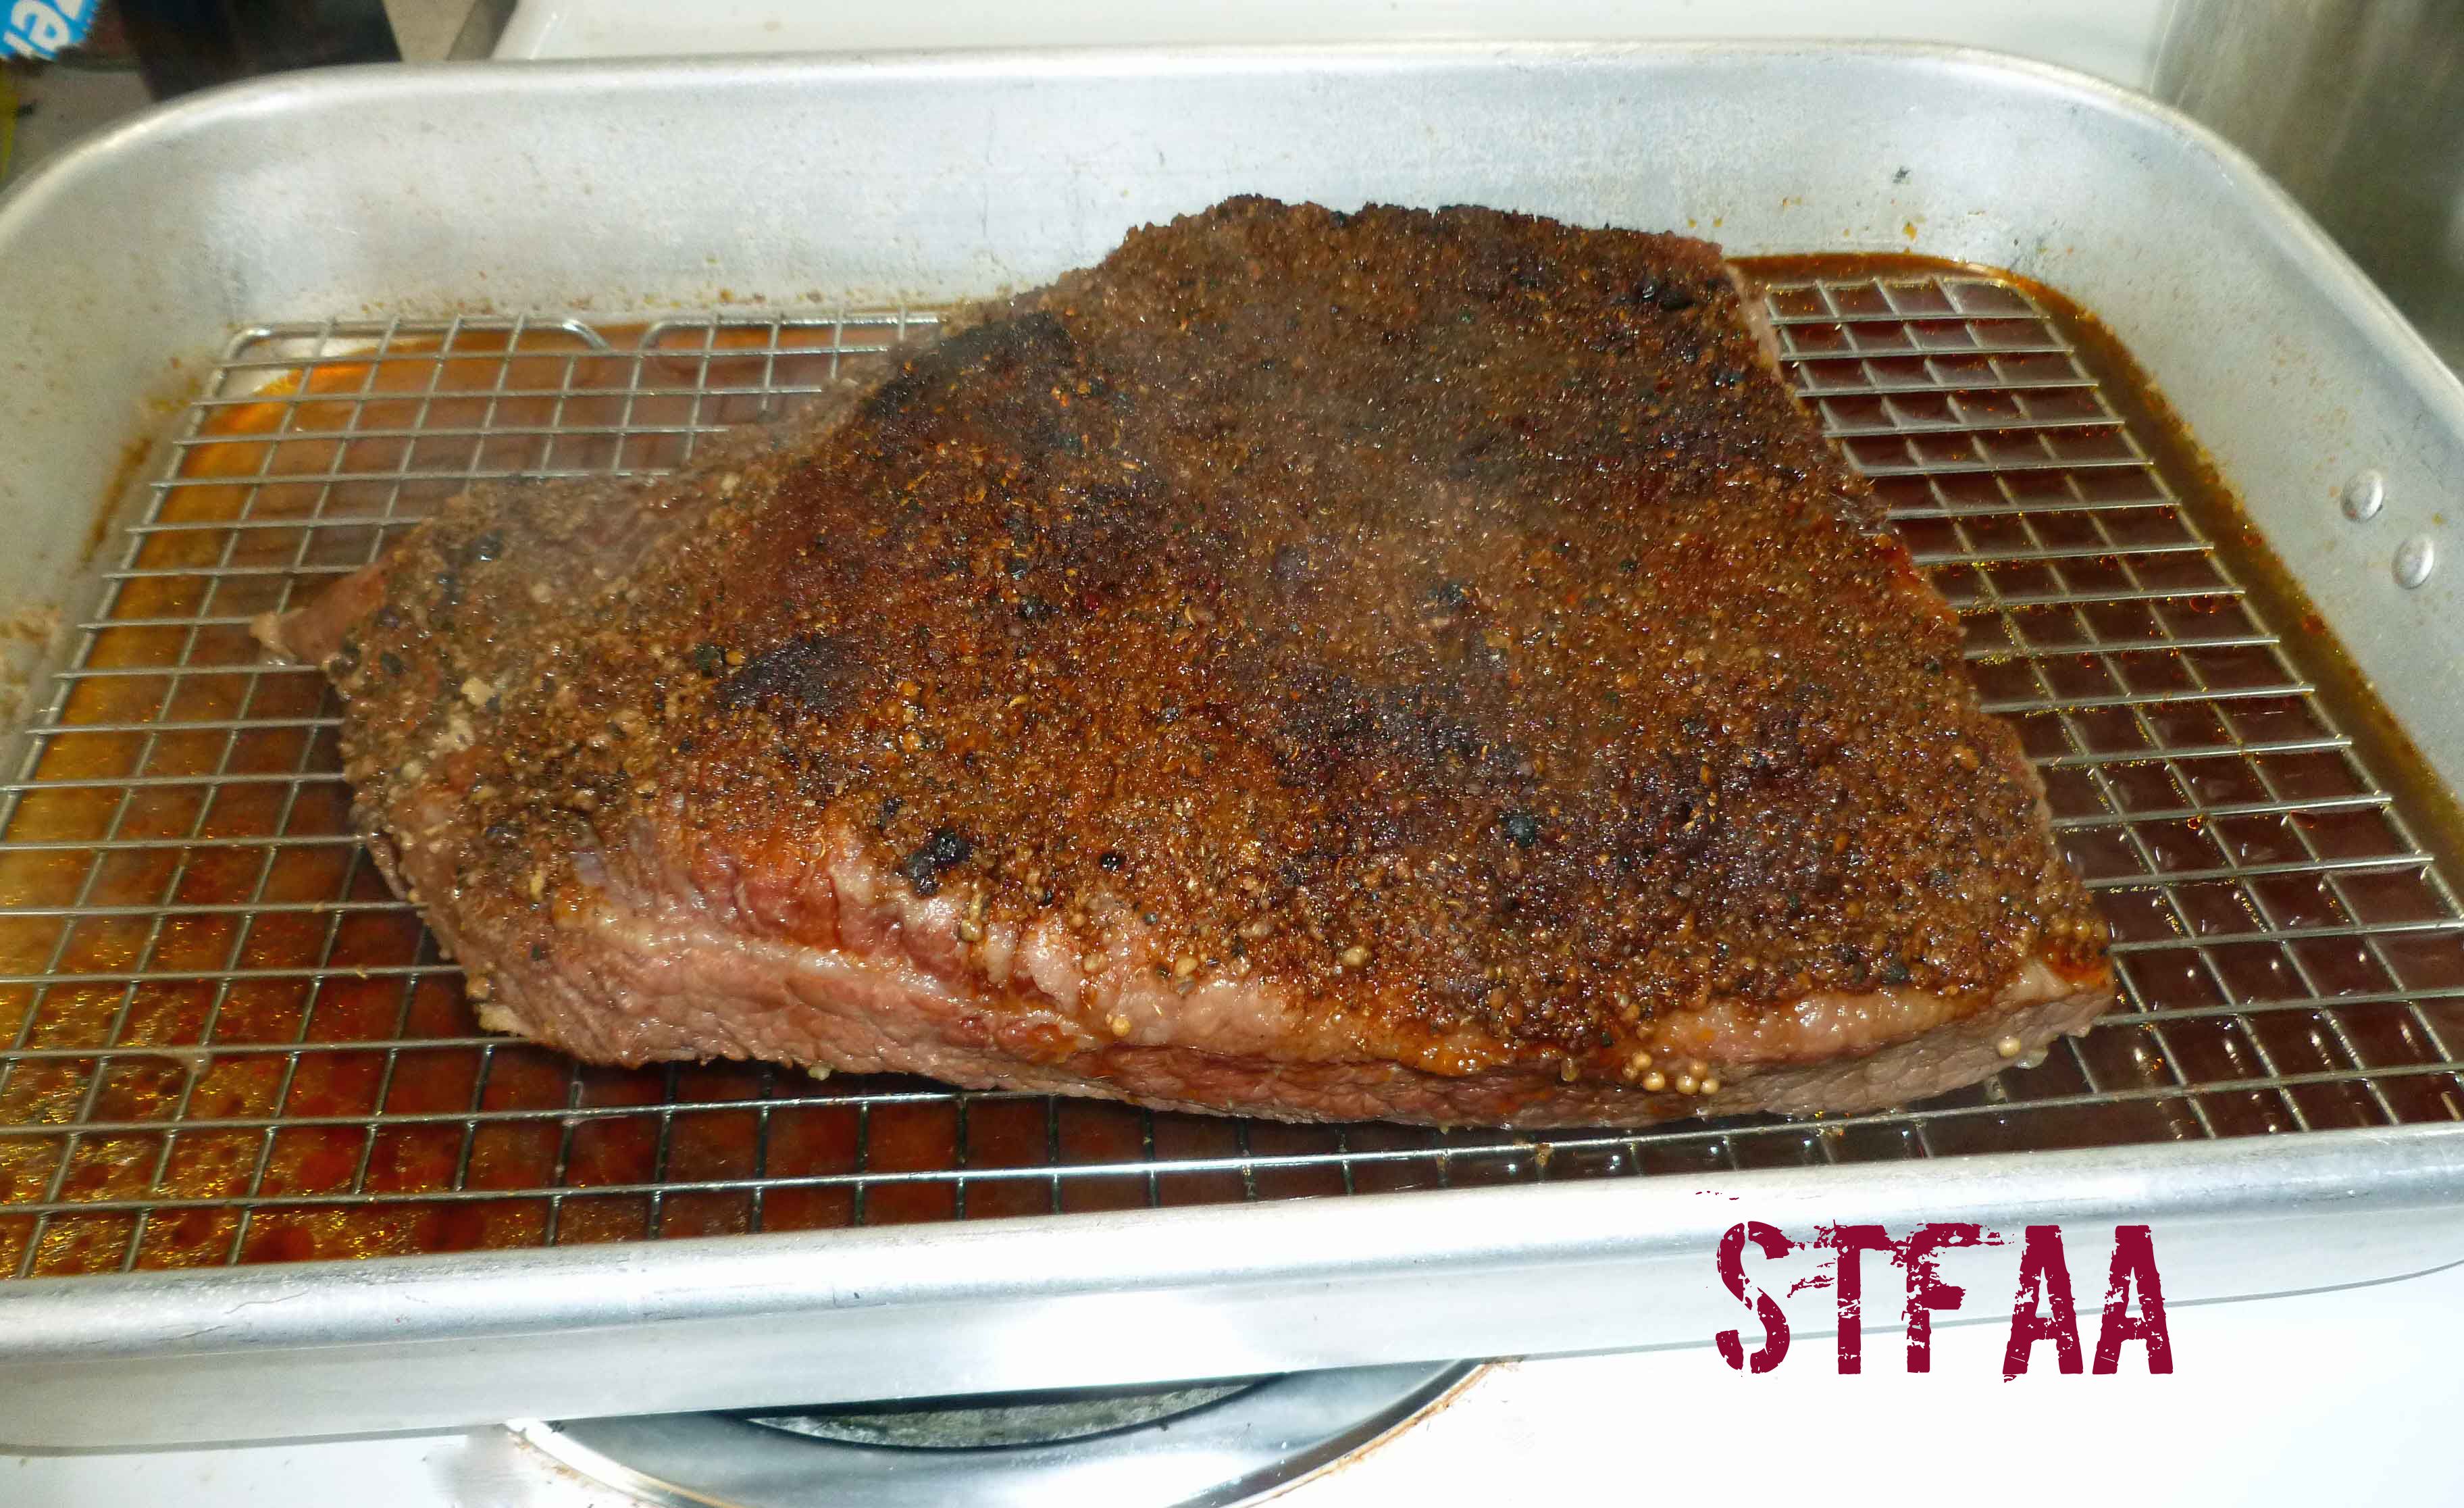
Preheat your oven to 300°F. Place a wire rack in a the bottom of a 12-by-15-inch roasting pan, and pour 4 cups cold water into the pan.
Roasting pan with rack and 4 cups of water in the bottom
Place the brisket on the wire rack, with the fatty side up.
Brisket on rack in roasting pan
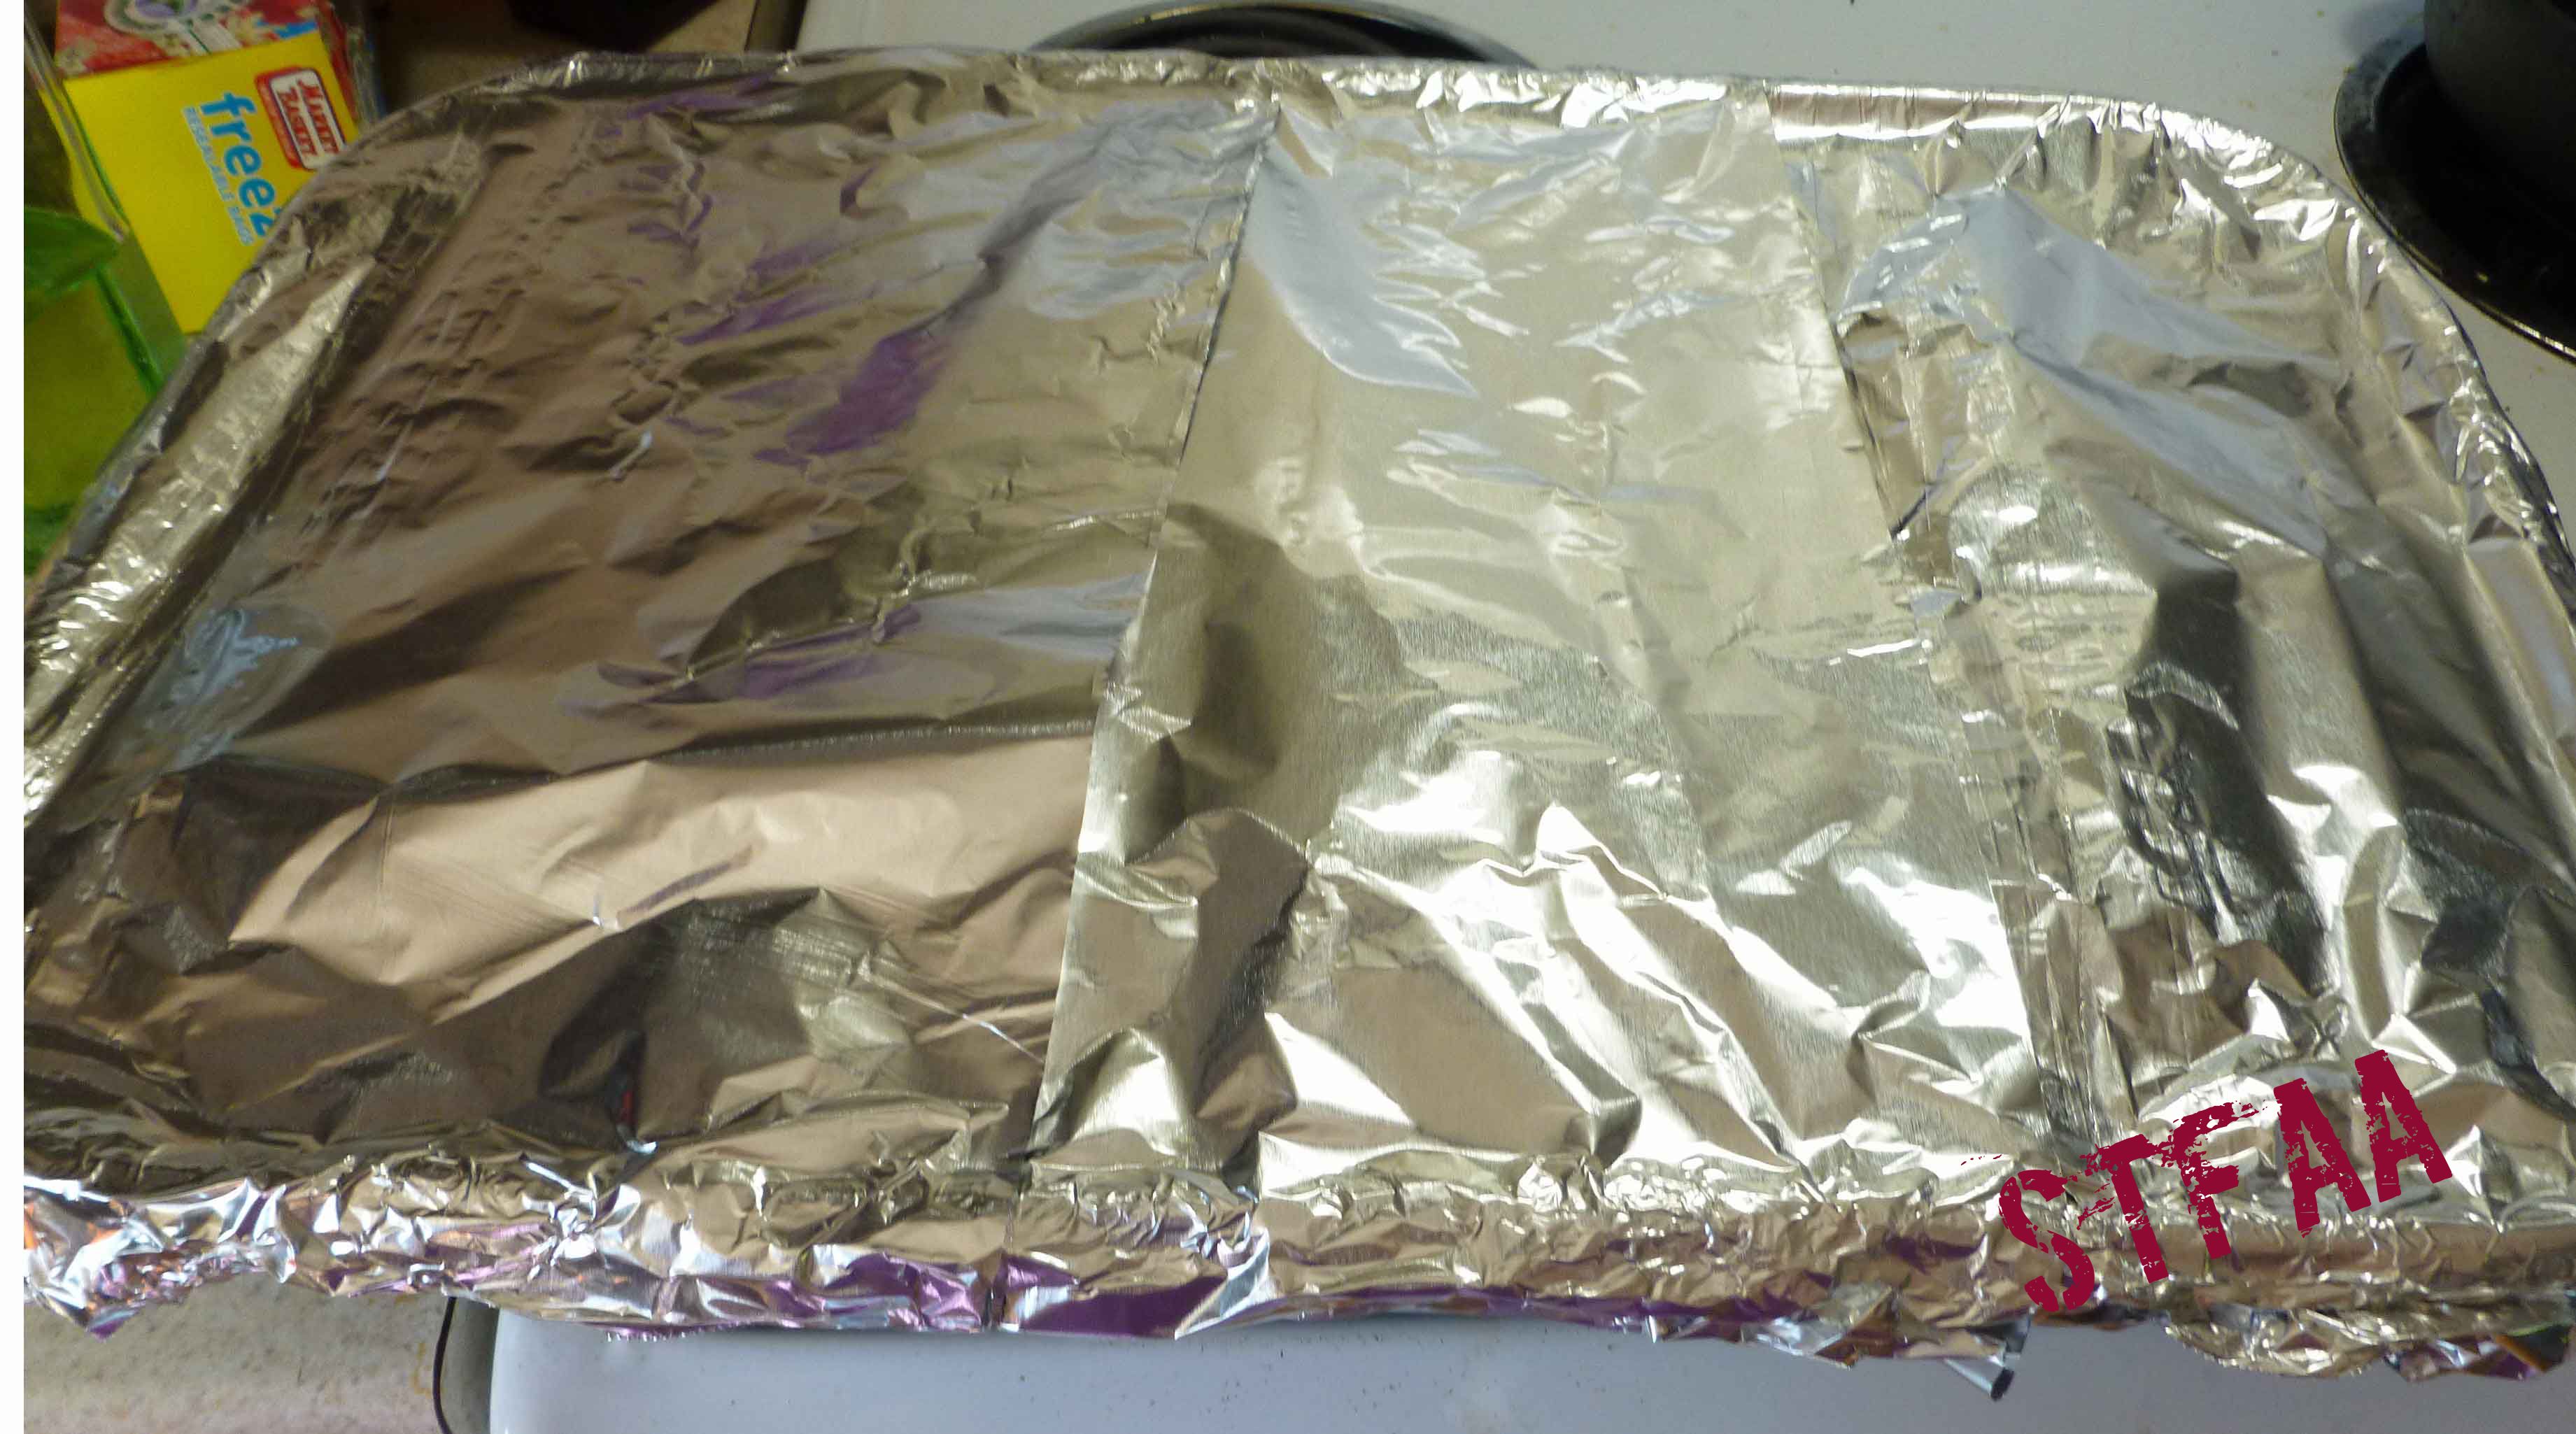
Cover the brisket and roasting pan with a double layer aluminum foil, and seal the foil around the edge of the roasting pan tightly.
Brisket tightly wrapped with foil
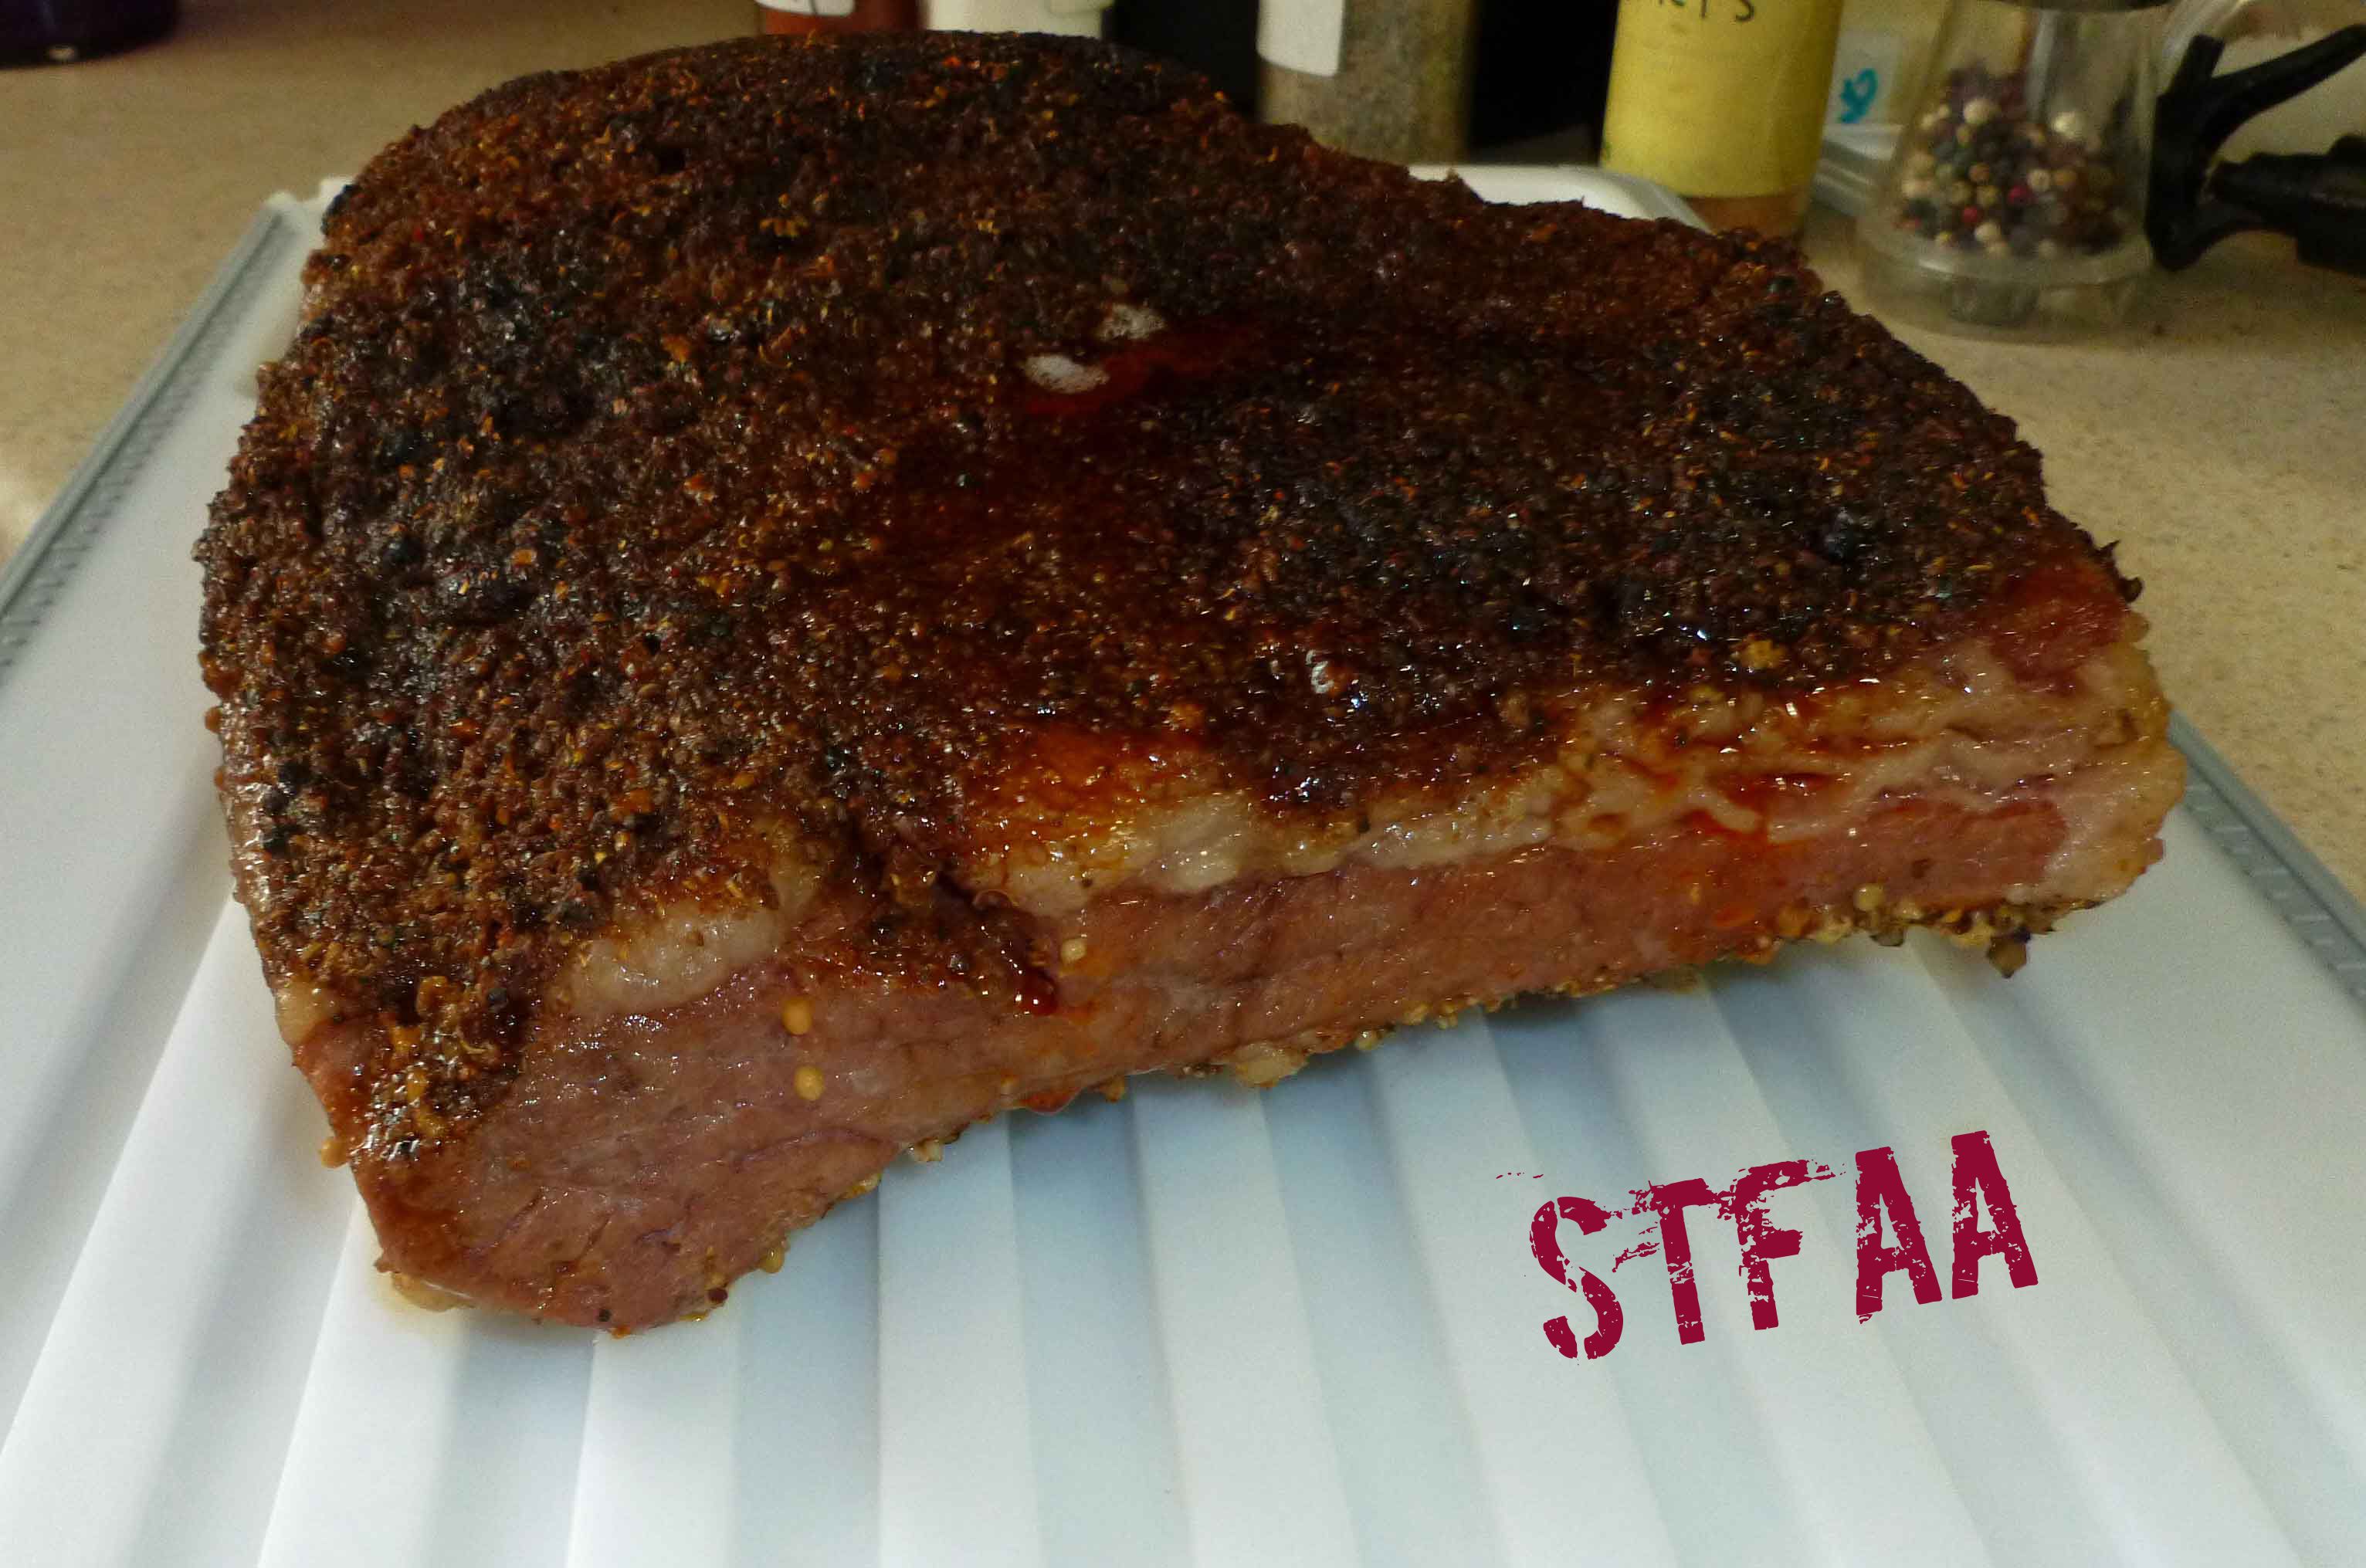
Bake until the brisket reaches an internal temperature of 200°F. This should take about 1 hour per pound. Let the meat rest for at least 30 minutes before slicing.
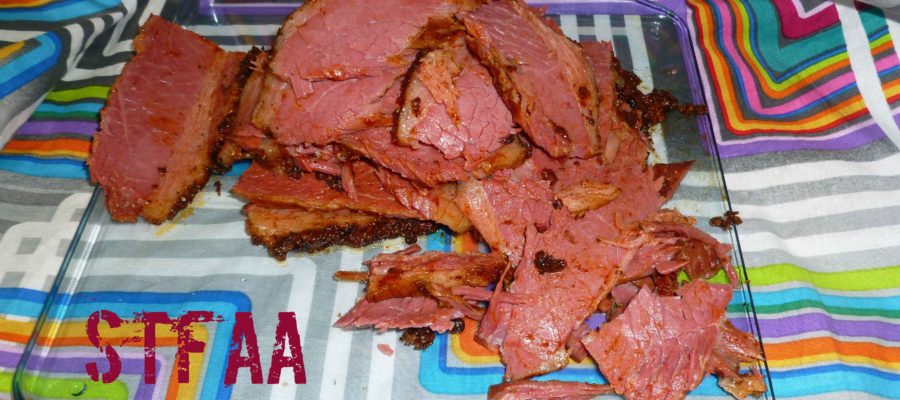
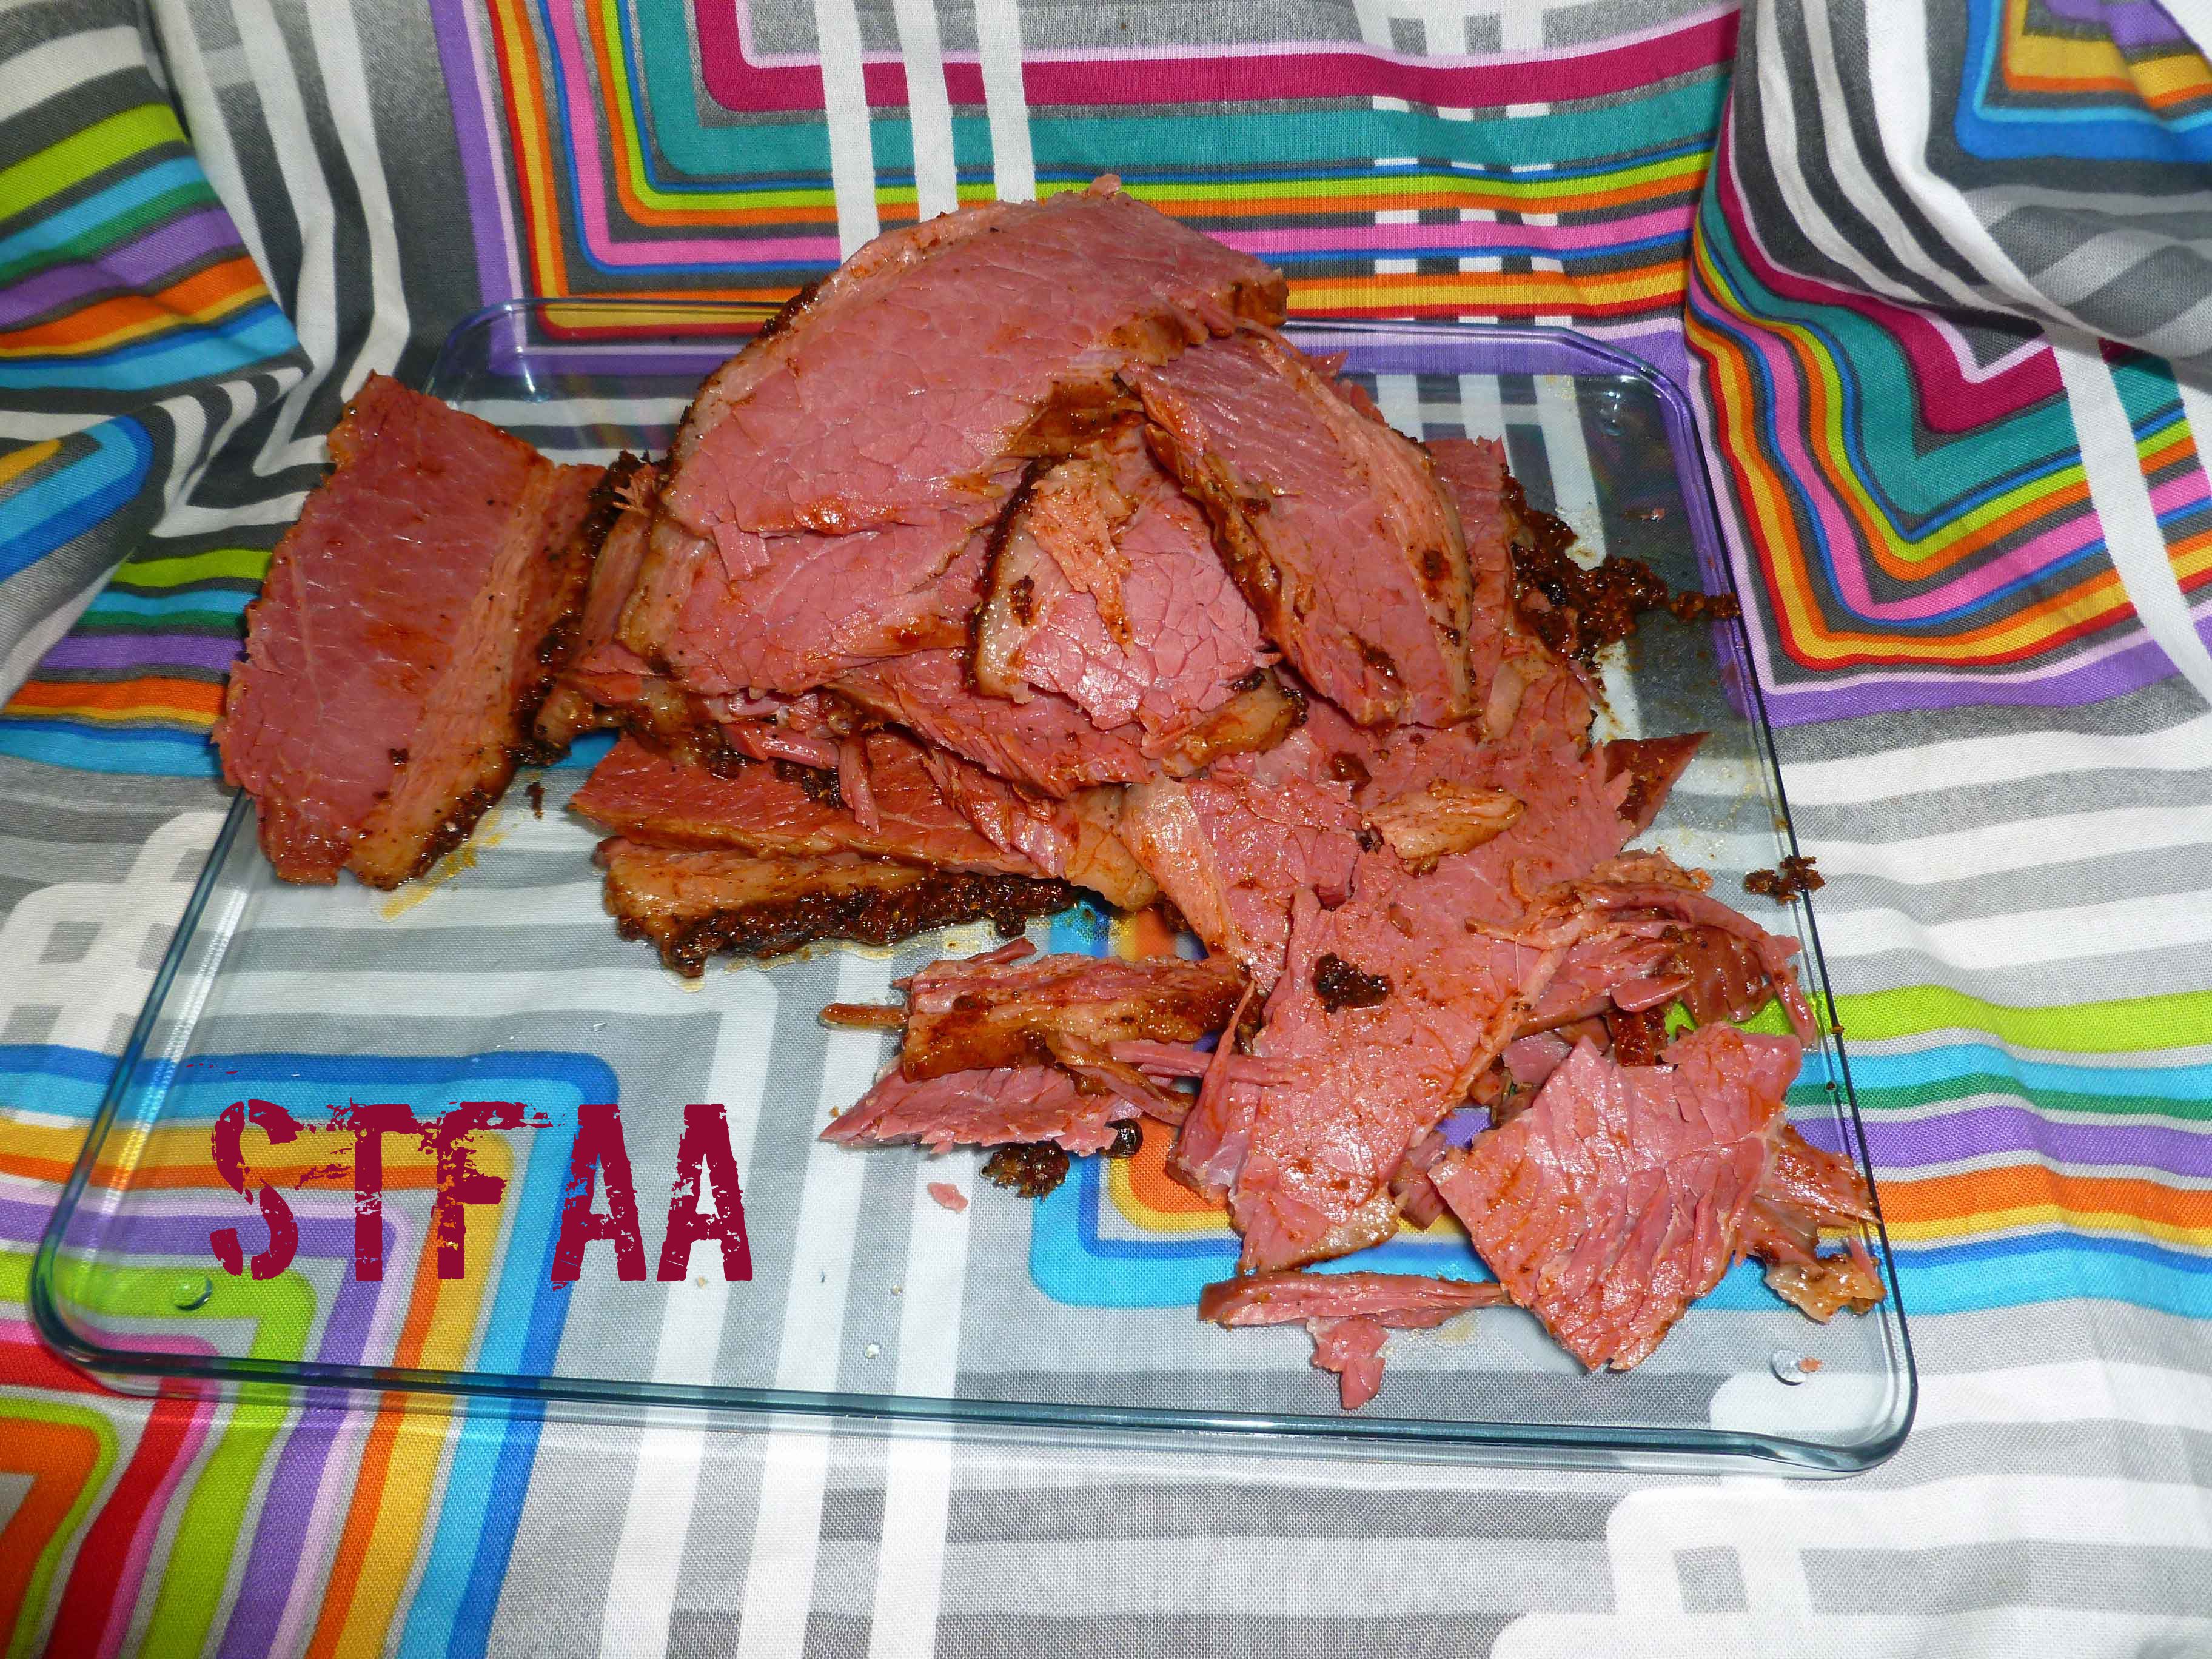
We now have pastrami!!
Pastrami resting for 30 minutes before slicing
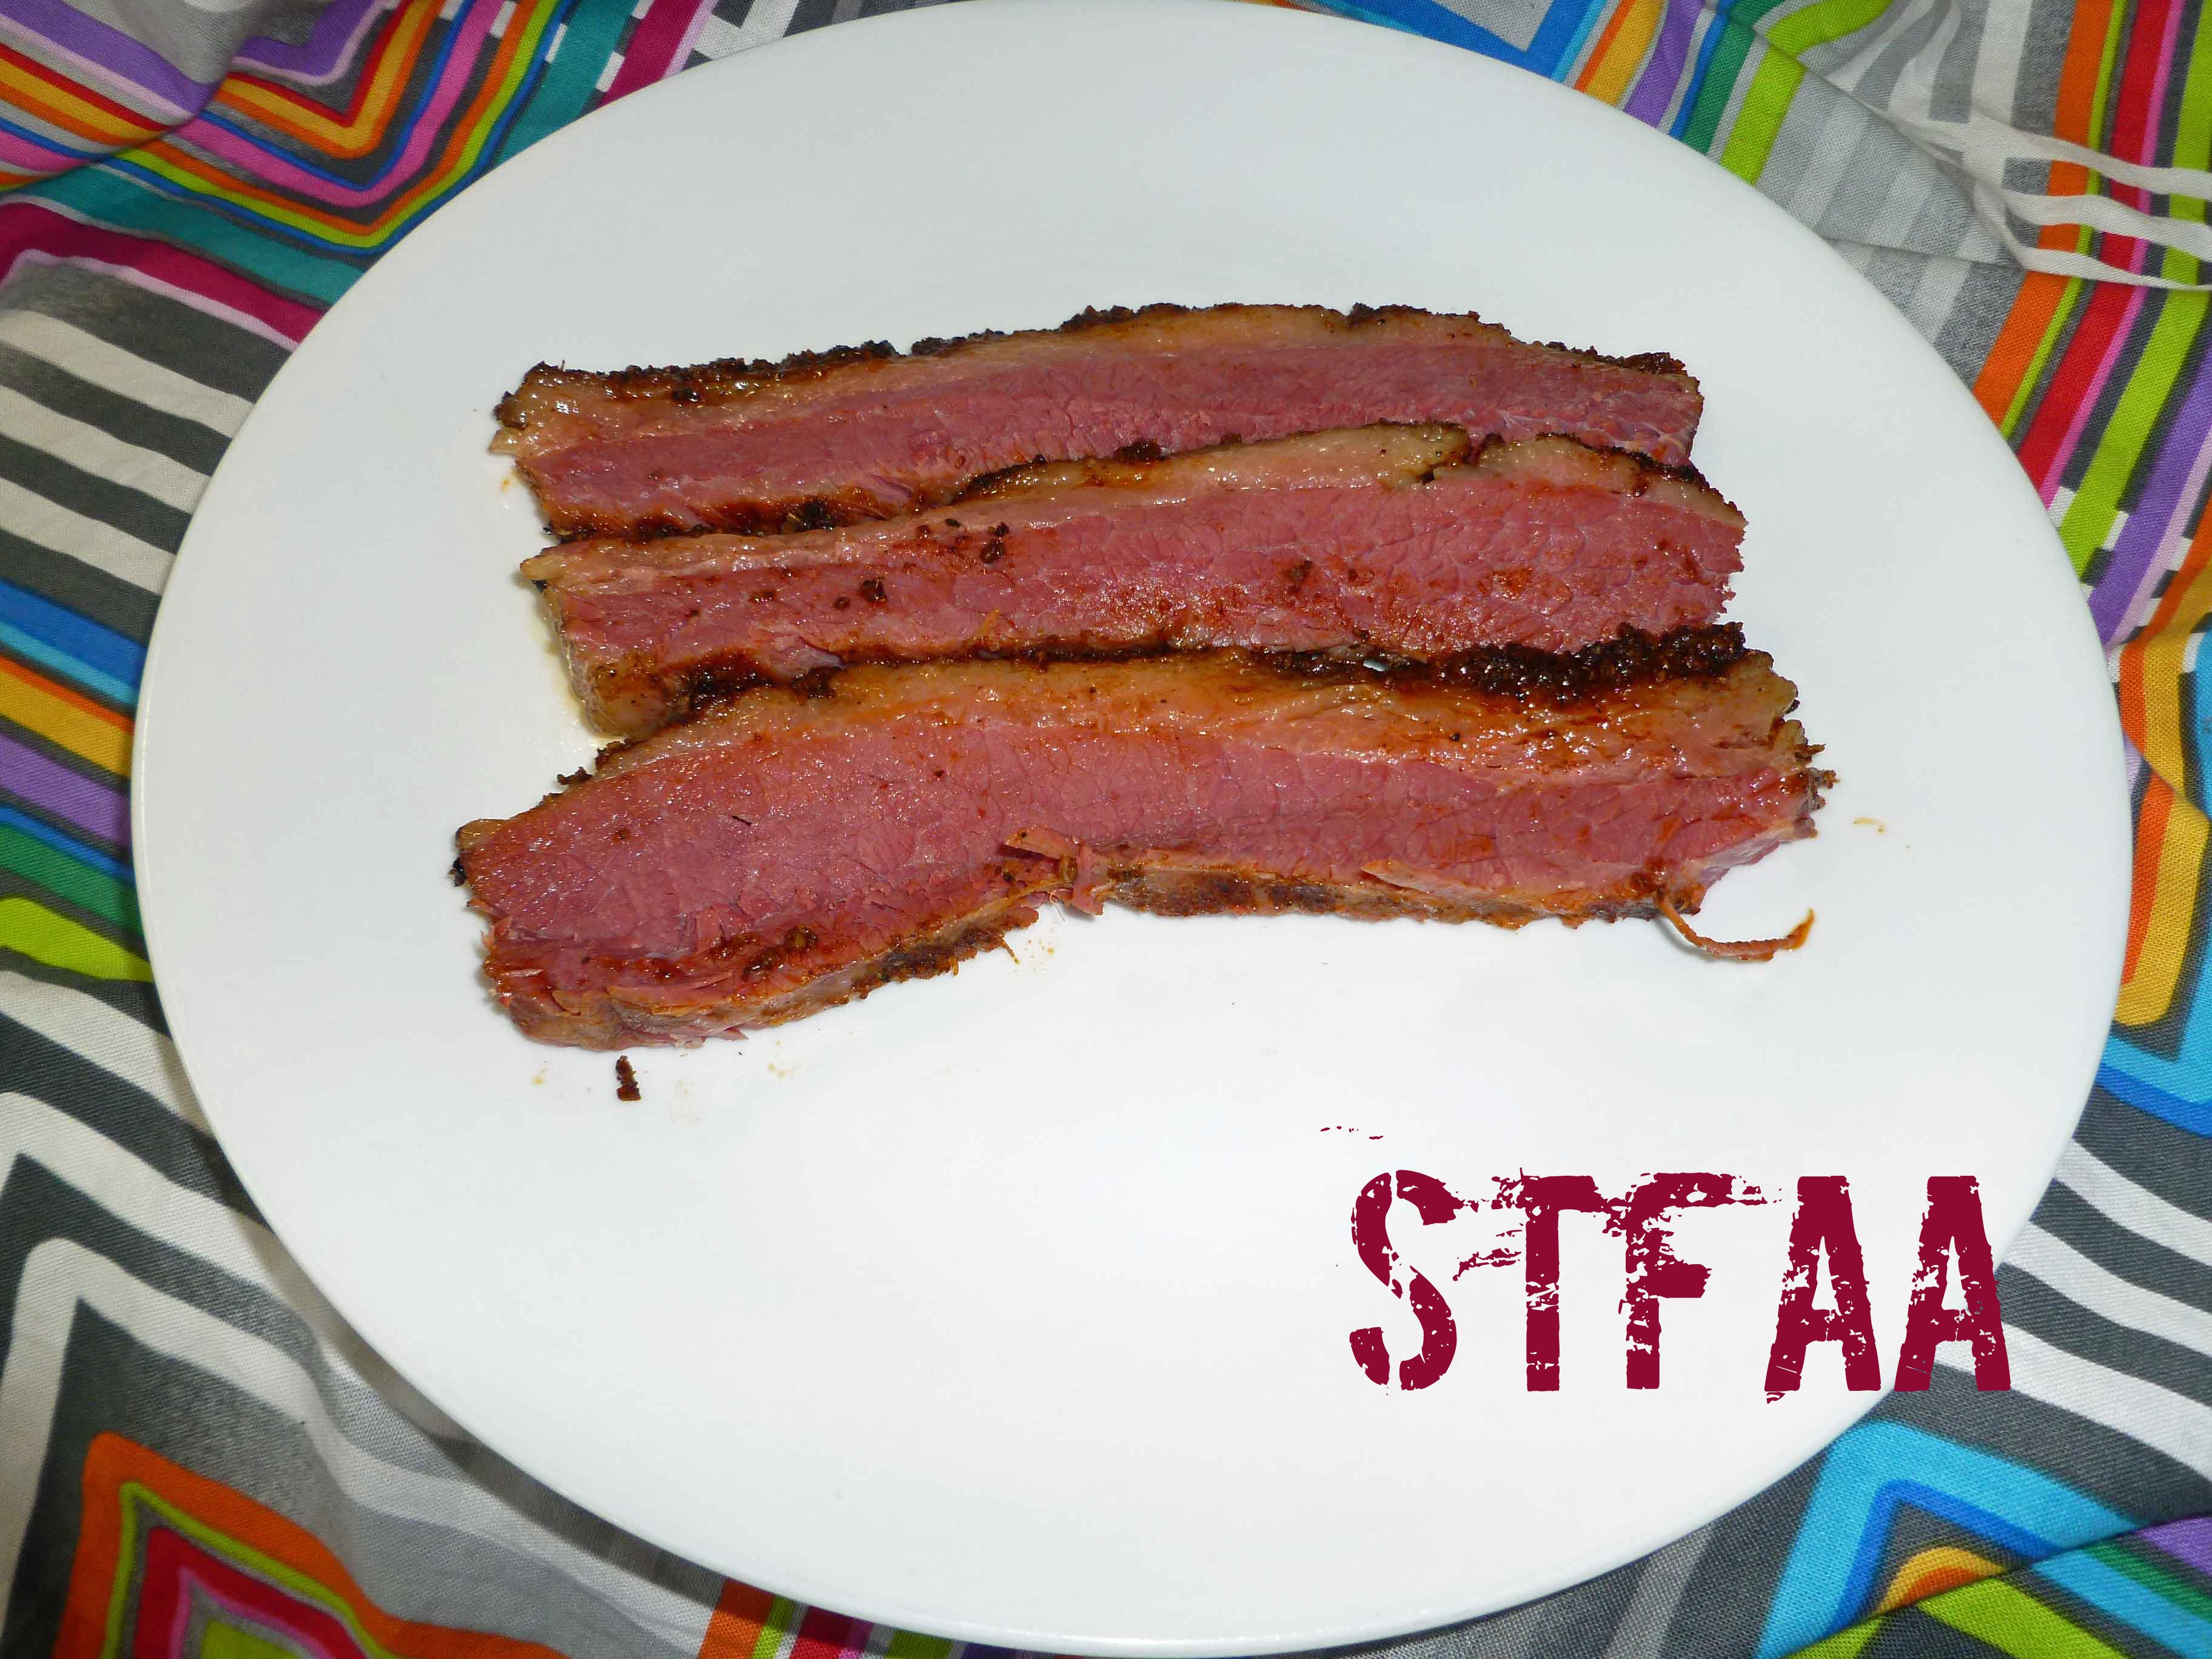
Without trimming the fat, slice the pastrami against the grain into 1/4-inch-thick slices. I found it easiest to use a deli slicer. You can keep the pastrami in the refrigerator for a week or in the freezer for 6 months, as long as it is tightly wrapped in plastic or foil. I used freezer zip top bags.
Cure Your Own Pastrami
I like mine fried up to get some crispy bits after refrigerating or freezing. I haven’t got a safe bread yet, but it’s great in a homemade wrap with sauerkraut and thousand island dressing (Aquafaba Vegan Salad Dressing mixed with my homemade ketchup and relish). Enjoy!
Notice: Trying to access array offset on value of type bool in /home/maryzahc/public_html/adultfoodallergies.com/wp-content/plugins/wp-ultimate-recipe/helpers/models/recipe.php on line 254
DIY Curing Salt #1
Print Recipe
Make Curing Salt #1, or Prague Mix #1, or Instacure #1, without dextrose which is corn derived, so that you can cure your own safe meat.
To make Curing Salt #1, or Prague Mix #1, or Instacure #1, you need a scale, with a digital readout going out two places. You need to be absolutely precise. To make 4 ounces of Curing Salt #1, you need to weigh out 0.25 ounces of sodium nitrite making sure you tare out or zero out your container, and 3.68 ounces of fine sea salt. Mix these together well, and store in a container that’s very clearly marked so that there is no confusion as to what it is. Do not ask for cups or teaspoon equivalents because I will not do it. This needs to be mixed as exactly as described, you cannot wing it or approximate. I cannot emphasize this enough, the proportions must be exactly as described here to be safe.
Notice: Trying to access array offset on value of type bool in /home/maryzahc/public_html/adultfoodallergies.com/wp-content/plugins/wp-ultimate-recipe/helpers/models/recipe.php on line 254
1/4 cupCuring Salt #1(DIY version or commercial version if you don’t have a corn allergy)
1cupwhite sugar
3/4cup brown sugar
2TBSpickling spice
1TBSwhole coriander seed
1TBSwhole yellow mustard seed
1TBSdried minced garlic
3quartsice cold water
Spice Rub Ingredients
1/4cupfreshly ground coriander seed
2TBSfreshly-ground black pepper
2 TBSsmoked paprika
Servings: people
Instructions
In a large stock pot, add the 3 quarts of cold water, the kosher salt, your homemade curing salt, white and brown sugar, pickling spice, coriander seed, mustard seed, and garlic. Bring to a boil over high heat, stirring until the salt and sugar have fully dissolved. Remove the pot from the heat.
In a large food safe container that will hold the brisket and 6 quarts of water and which will also fit in your refrigerator, place the 3 quarts ice-cold water, and the brine. Place the container in the refrigerator until completely cool (usually overnight).
Trim the excess fat from the brisket leaving layer about a 1/4 inch thick remaining on the brisket. Submerge the brisket in the cooled brine. Depending on your container, you may need to cut it into two pieces to submerge it and weigh the pieces down with a plate.
Refrigerate for 5 days, stirring the brine and turning the brisket over once a day. If any of the brisket pieces touch each other, make sure that you regularly turn them away from each other to expose all sides of the to the brine.
Make the spice rub on the day you plan to cook the pastrami after it has finished brining. Mix the ground coriander, ground black pepper, and smoked paprika in a small bowl.
Remove the brisket from the brine and pat it dry. Rub a 1/4 cup of the spice rub evenly on the less fatty side of the brisket, then flip the brisket and rub the remaining spice mixture onto the fatty side. Let the brisket come to room temperature.
Preheat your oven to 300°F. Place a wire rack in a the bottom of a 12-by-15-inch roasting pan, and pour 4 cups cold water into the pan. Place the brisket on the wire rack, with the fatty side up. Cover the brisket and roasting pan with a double layer aluminum foil, and seal the foil around the edge of the roasting pan tightly.
Bake until the brisket reaches an internal temperature of 200°F. This should take about 1 hour per pound. Let the meat rest for at least 30 minutes before slicing.
Without trimming the fat, slice the pastrami against the grain into 1/4-inch-thick slices. Keep the pastrami in the refrigerator for a week or in the freezer for 6 months, as long as it is tightly wrapped in plastic or foil.