Notice: Function _load_textdomain_just_in_time was called incorrectly. Translation loading for the wp-ultimate-recipe domain was triggered too early. This is usually an indicator for some code in the plugin or theme running too early. Translations should be loaded at the init action or later. Please see Debugging in WordPress for more information. (This message was added in version 6.7.0.) in /home/maryzahc/public_html/adultfoodallergies.com/wp-includes/functions.php on line 6121
Condiments – Page 5 – surviving the food allergy apocalypse (archive)

Category: Condiments

Condiment [kon-duh-muh nt] noun: early 15c., from Old French condiment (13c.), from Latin condimentum “spice, seasoning, sauce,” from condire “to preserve, pickle, season,” variant of condere “to put away, store,” from com- “together” (see com- ) + -dere comb. form meaning “to put, place,” from dare “to give”. These recipes will not contain dairy, eggs, gluten, wheat or hazelnuts. If we use a top 8 allergen, we will use a tag warning of its use.

  • Quick-ish Marinara Sauce

    Quick-ish Marinara with Meatballs and Gluten Free Penne
    Quick-ish Marinara with Meatballs and Gluten Free Penne

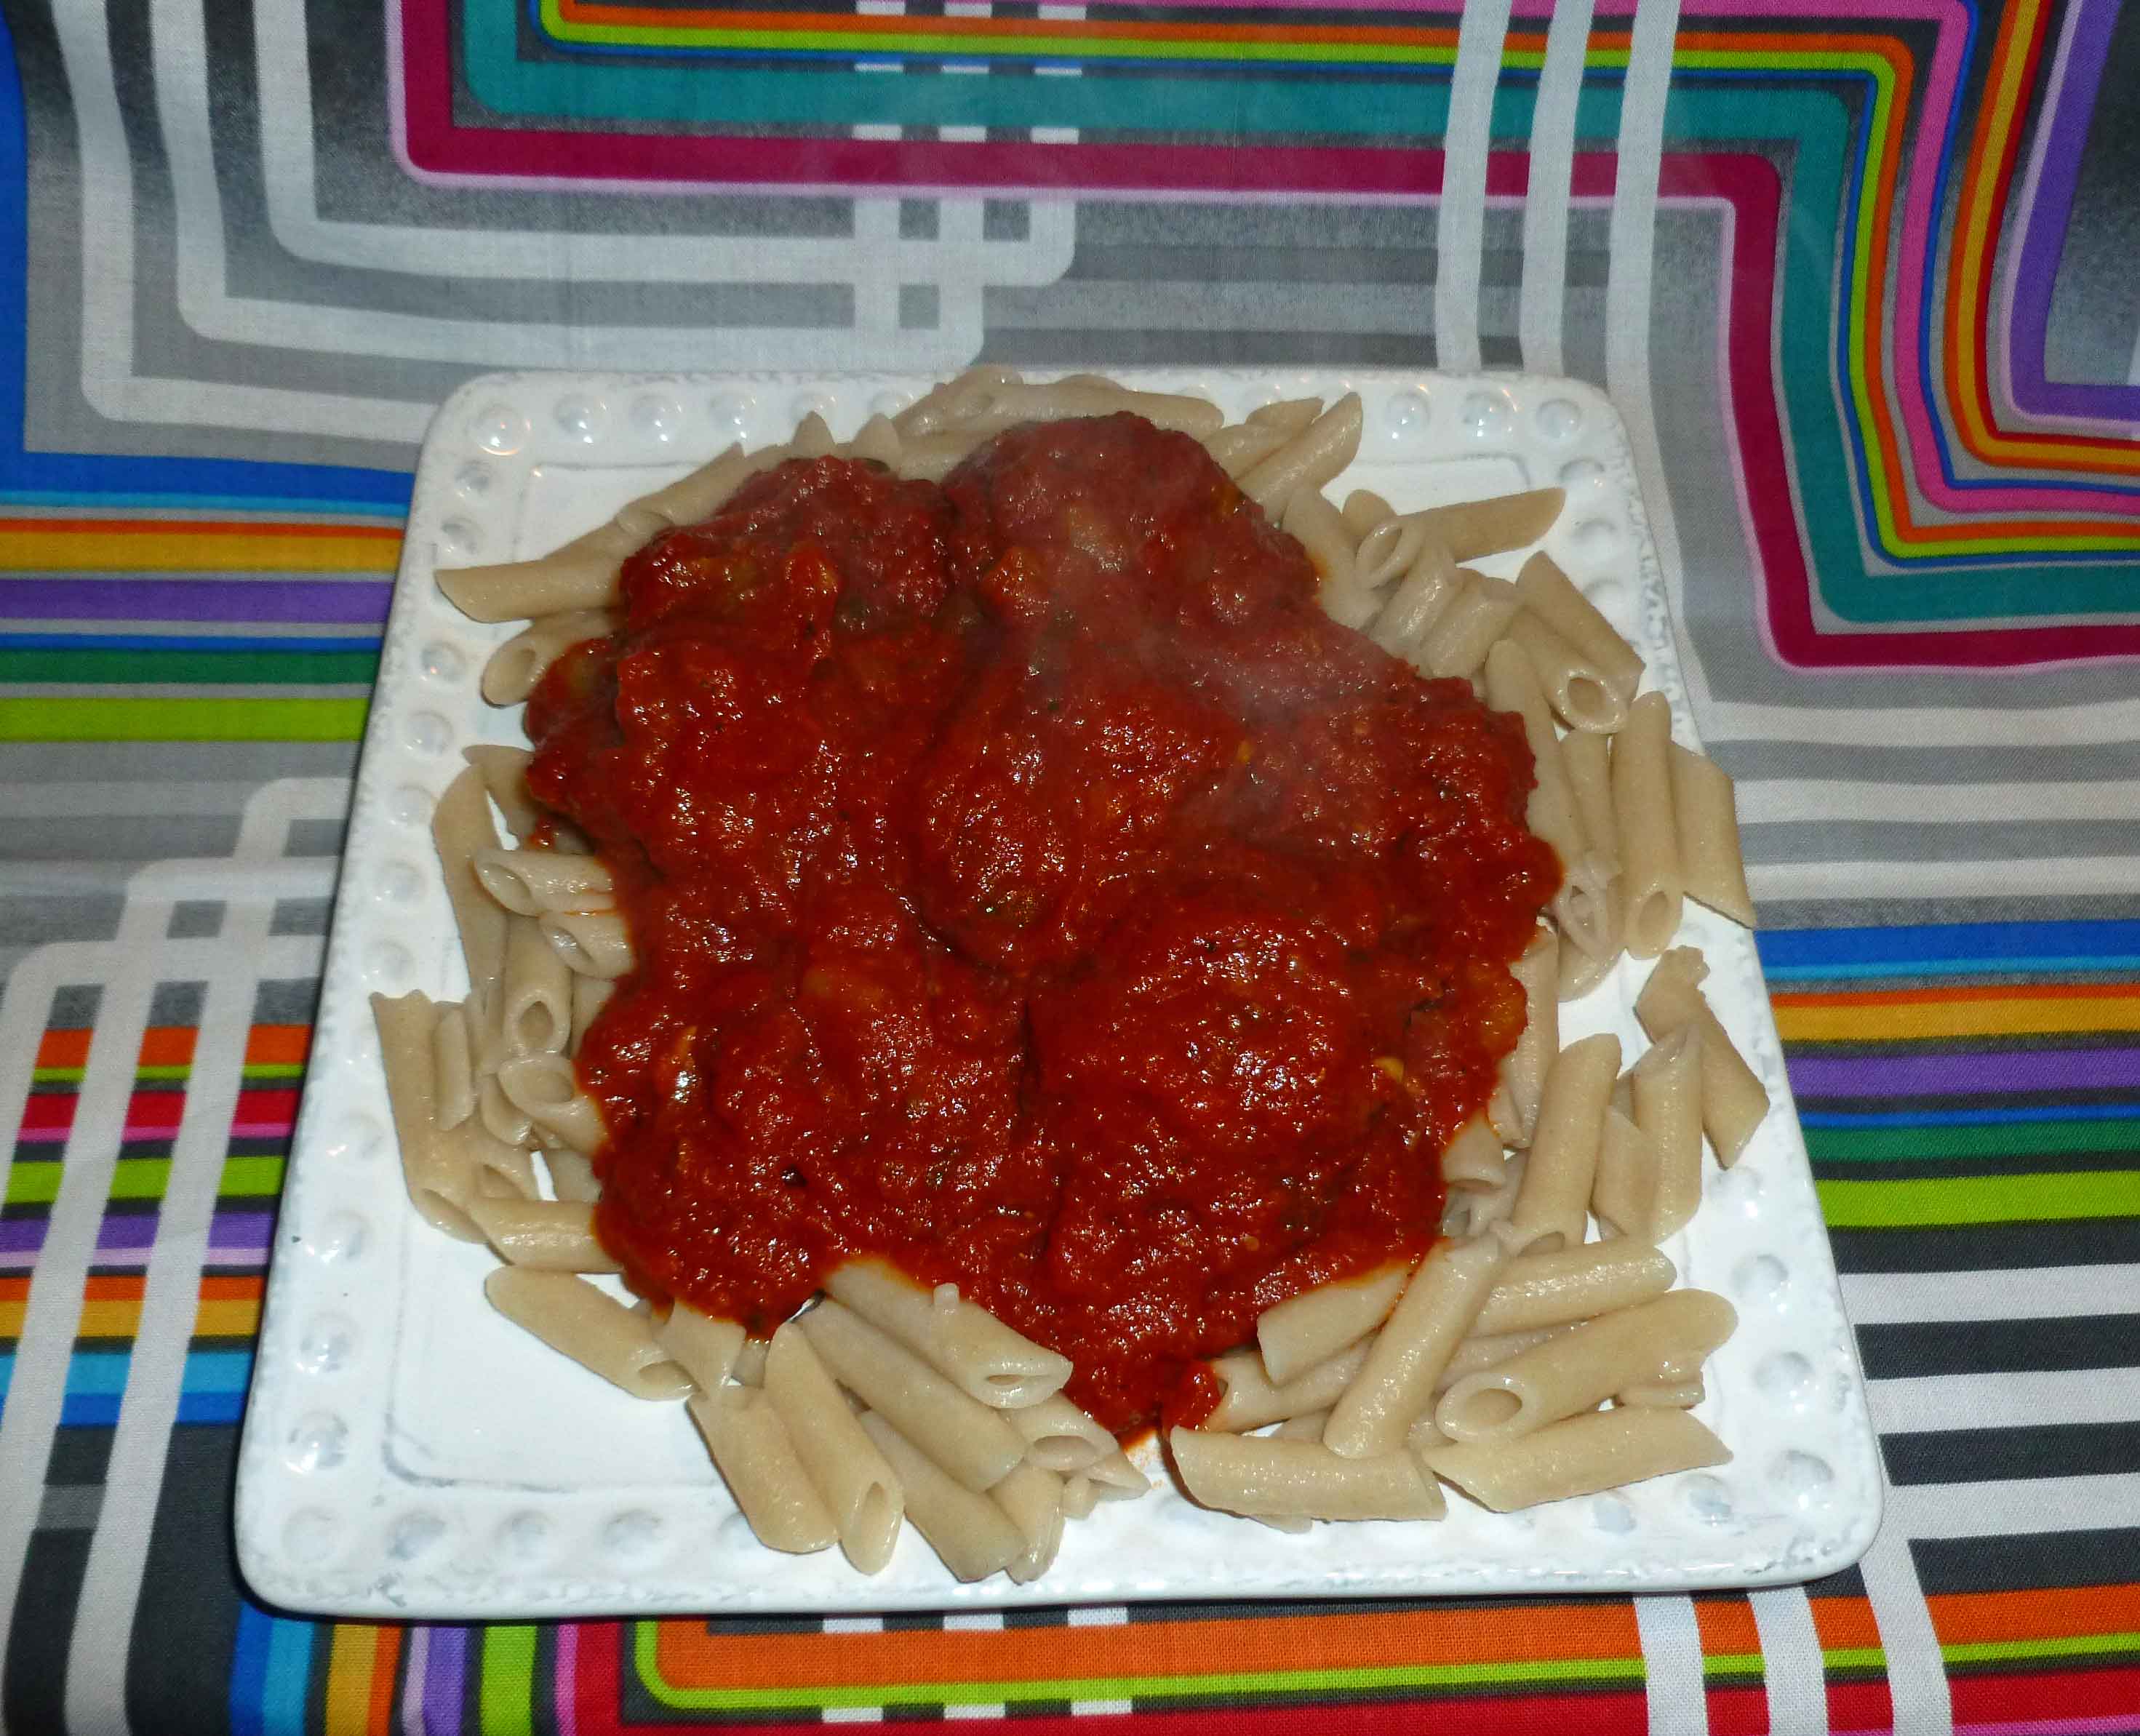
    One of the things I really miss is a great meatball sub with gobs of cheese.  Since I’m allergic to dairy, wheat, and eggs (in addition to what feels like 50 million other things) that’s a little hard.  I haven’t totally figured it out yet, because there isn’t a vegan cheese that works for me because of my coconut, almond, and corn allergies.  I’m also missing a sub roll, as I’m still trying to figure out gluten-free, corn-free, dairy-free, and egg-free bread, but I’ve gotten two steps on the way. This week I’ll be posting a marinara sauce you can use for meatball subs, pasta, or for anything else that you need tomato sauce. In two weeks, I’ll be posting a recipe for meatballs.  For those of you that have a safe bread and a safe cheese you can use, you’ll have everything you need for a meatball sub.  I’m totally jealous of all of you, and while I’m working on it, I’m just going to eat the meatballs and sauce over pasta, which isn’t bad either.

    The reason that this is a quick-ish marinara sauce is that I’m using crushed canned tomatoes and canned tomato paste (Cento brand – no citric acid in crushed, tomato puree or paste, but watch out as other Cento canned tomato varieties do have citric acid, which can be corn derived), rather than starting from tomatoes. It still takes some time to simmer, making it a weekend dish, but you can freeze the leftovers and use it for a meal or two during the week with little to no prep.

    Quick-ish Marinara Sauce

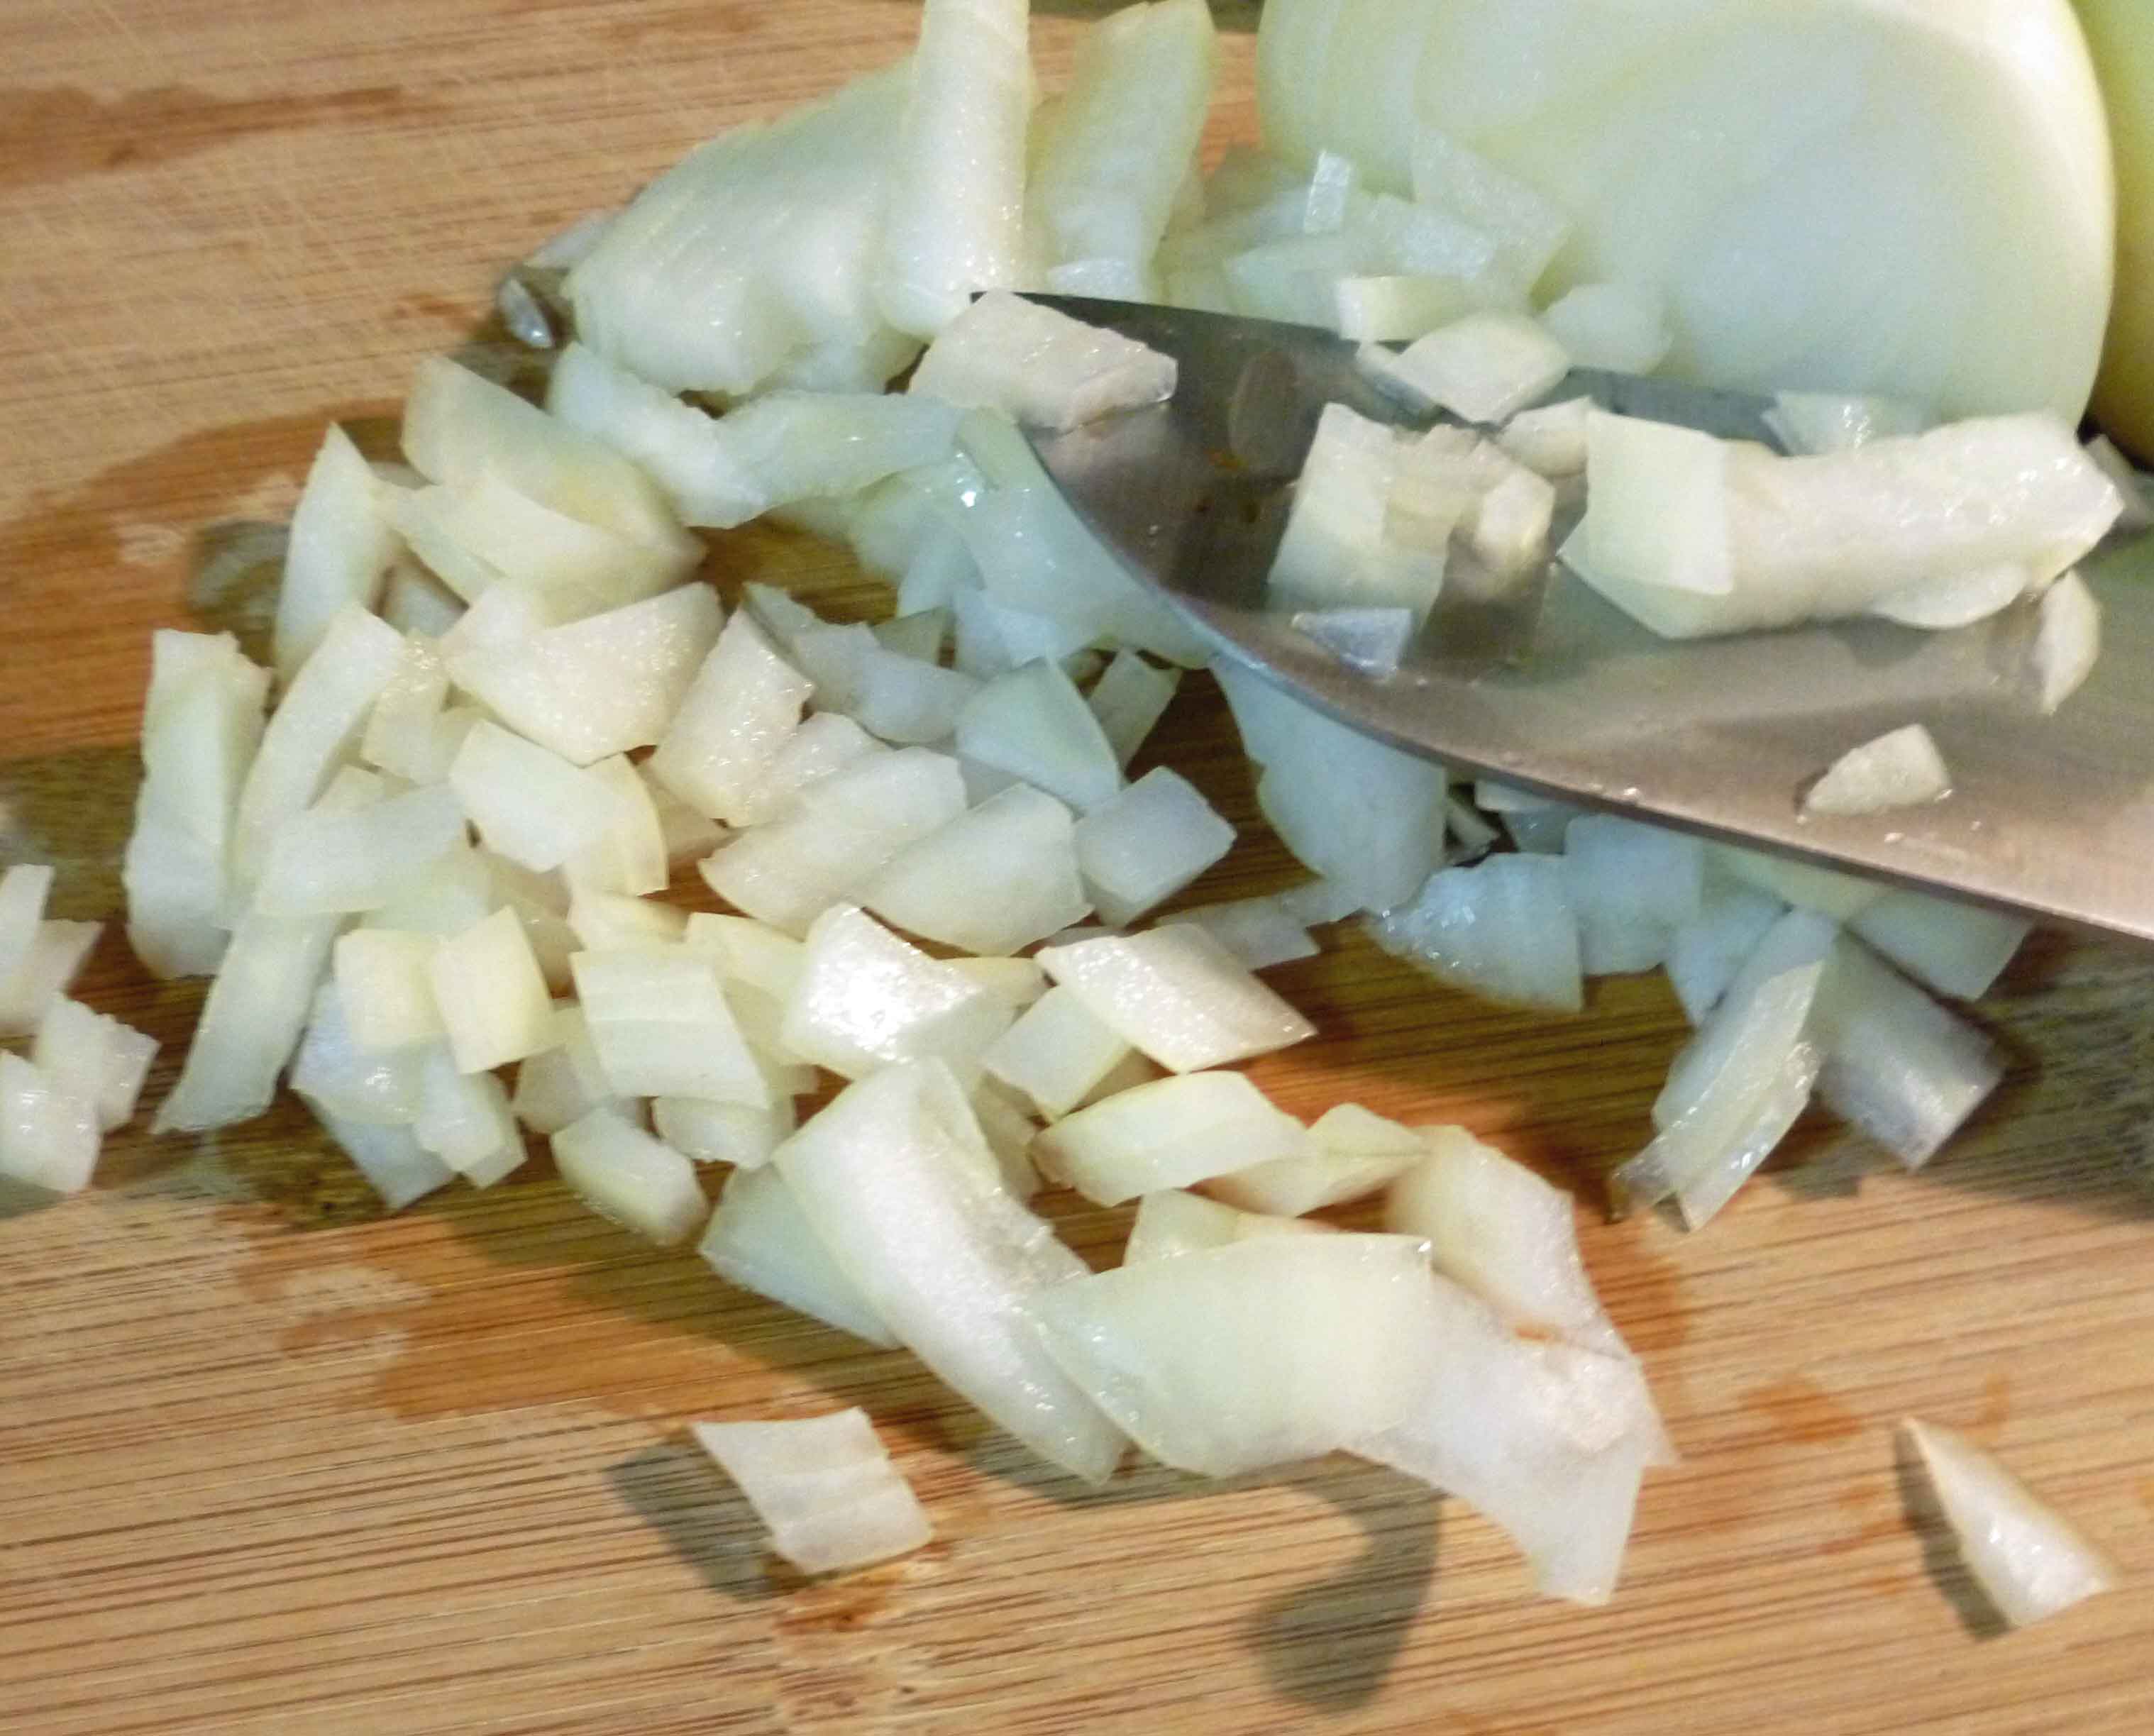
    • 1 large onion, diced very finely
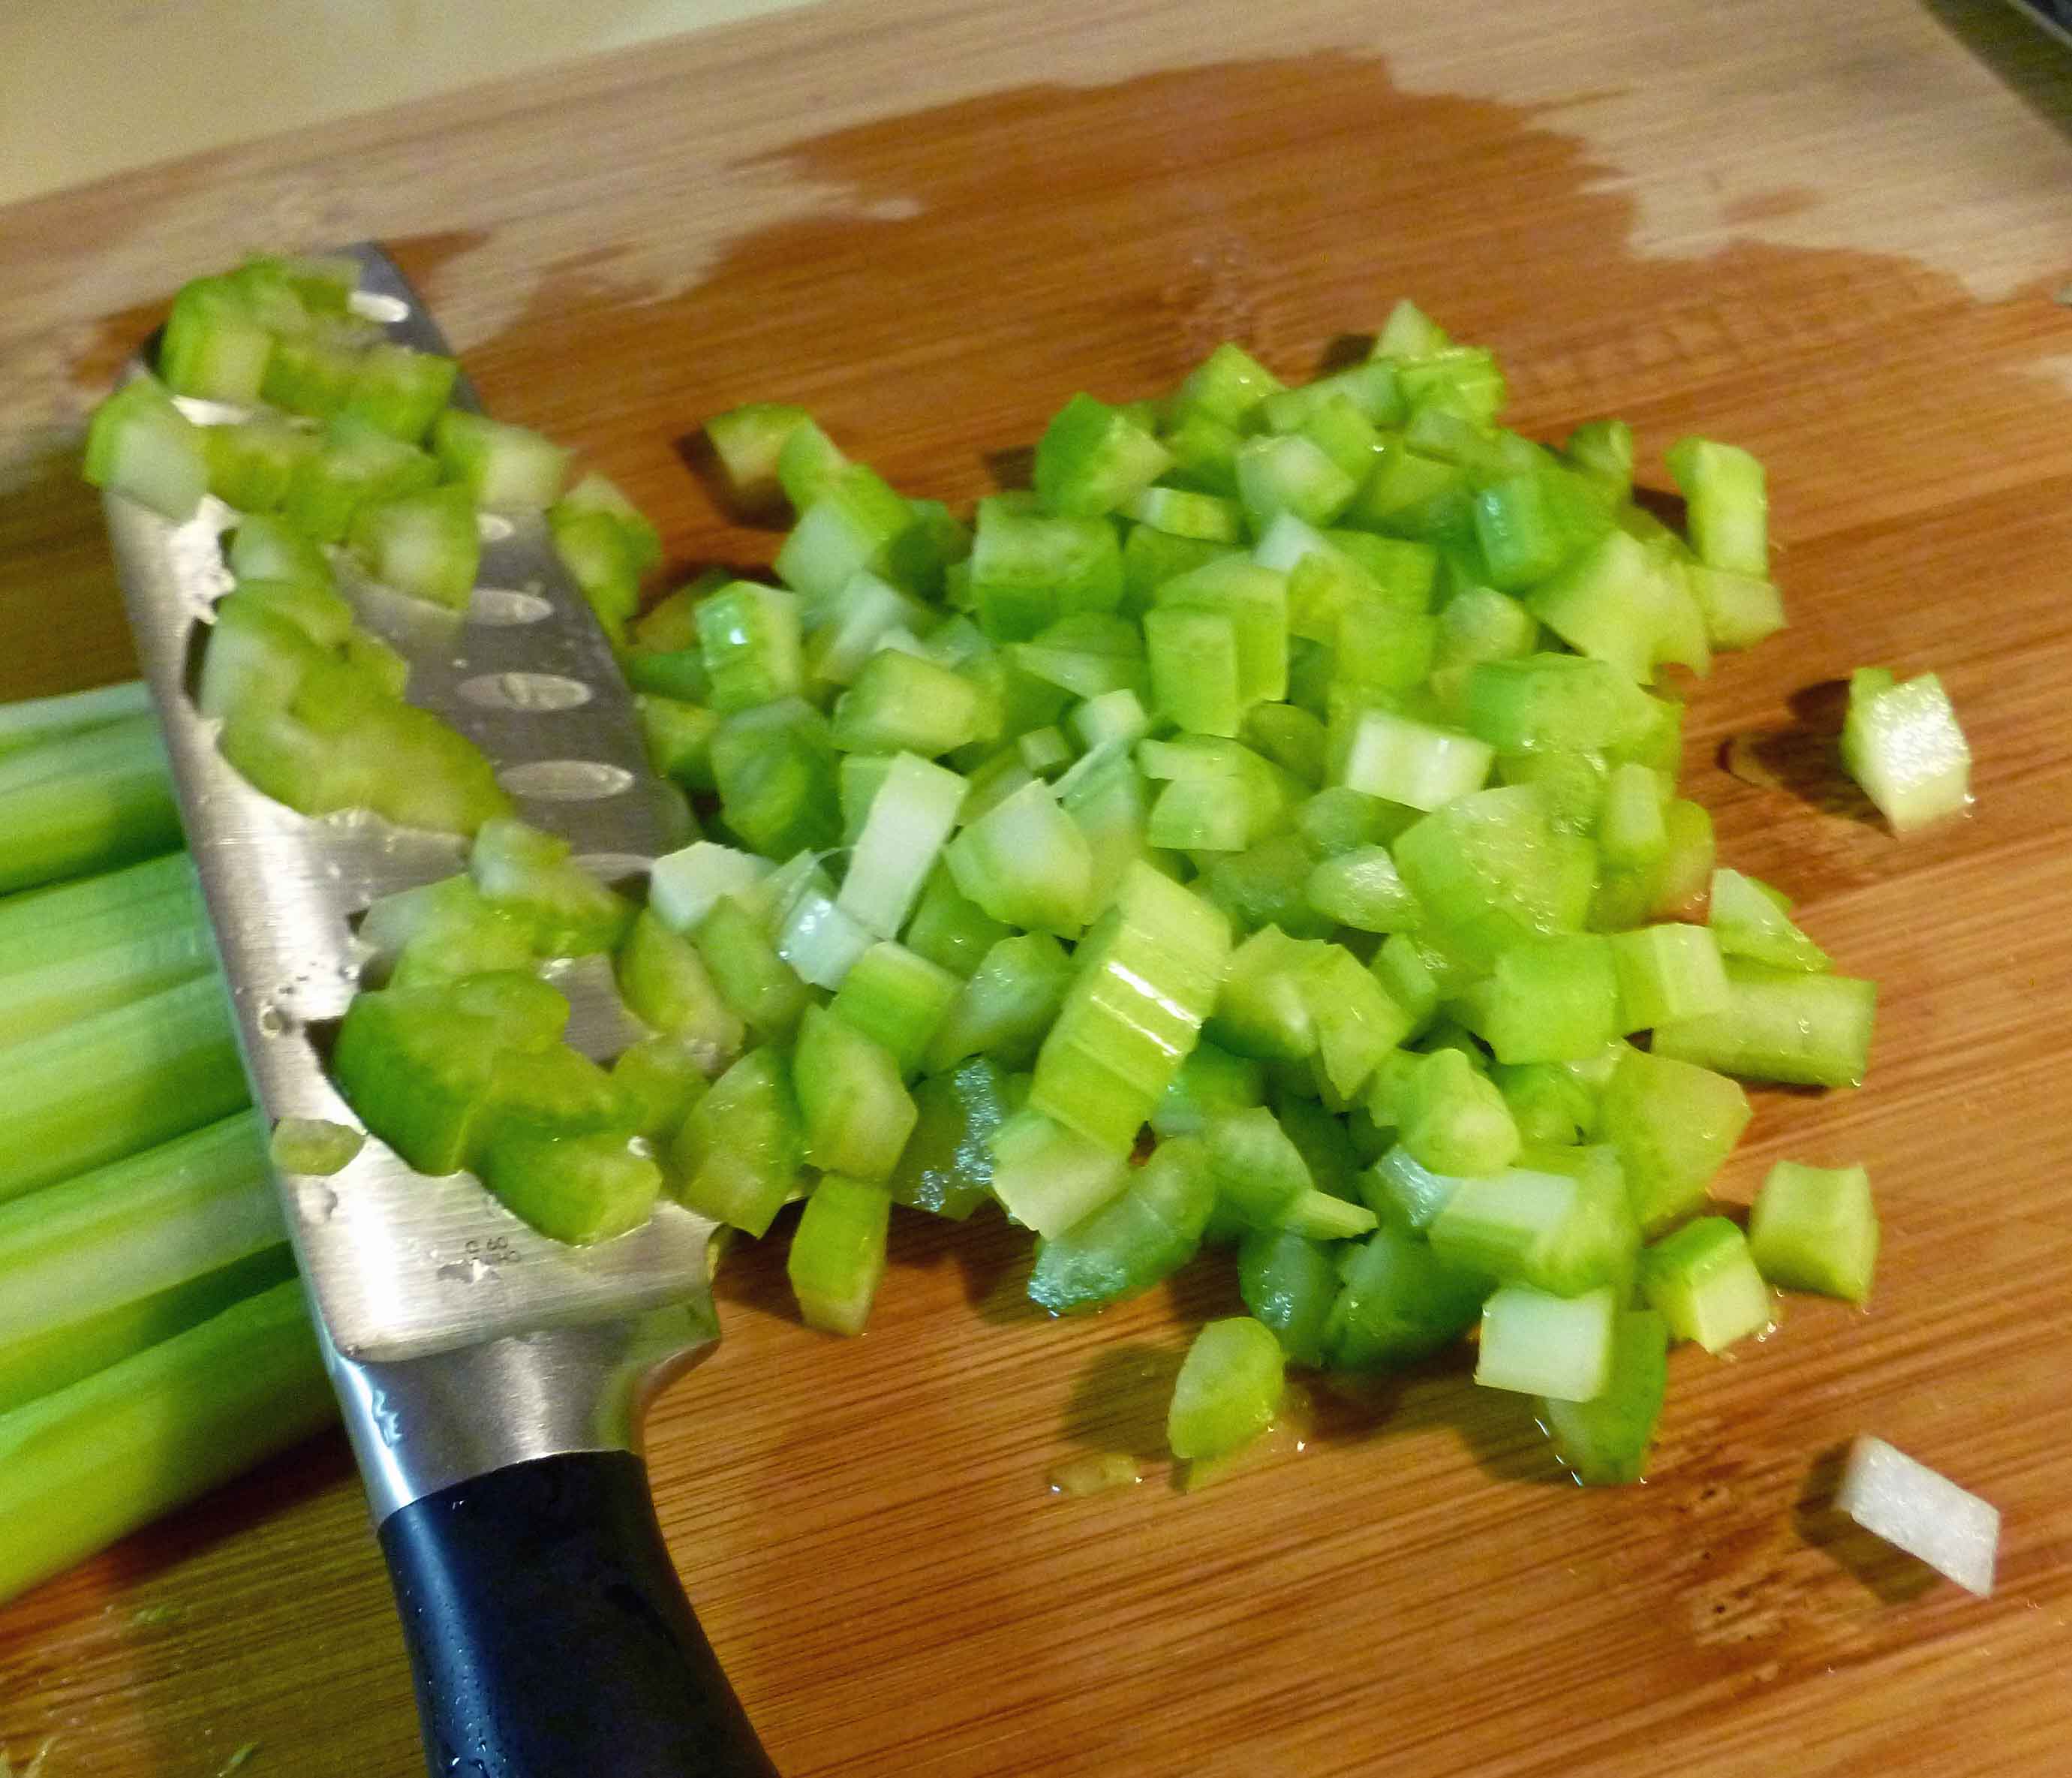
    • 3 stalks of celery, diced finely
    • 4 cloves of garlic, minced
    • 1 carrot (use a vegetable peeler or a micro planer to peel or zest until the carrot’s just a pile of peels or zest)
    • 1 Tablespoon of olive oil
    • 1 – 8 ounce can of tomato paste
    • 2 – 28 cans of crushed tomatoes or tomato puree
    • 1 cup of vegetable stock or water
    • 1/2 cup of white or red wine (your preference, I used white becuse my tomatoes needed brightening) or use additional vegetable stock or water
    • 1/4 teaspoon of oregano
    • 1/4 teaspoon of marjoram
    • 1/4 teaspoon of thyme
    • 1/4 teaspoon of dried basil (if not using fresh basil below, double the amount)
    • 1/4 teaspoon of rosemary
    • 1/4 teaspoon of black pepper
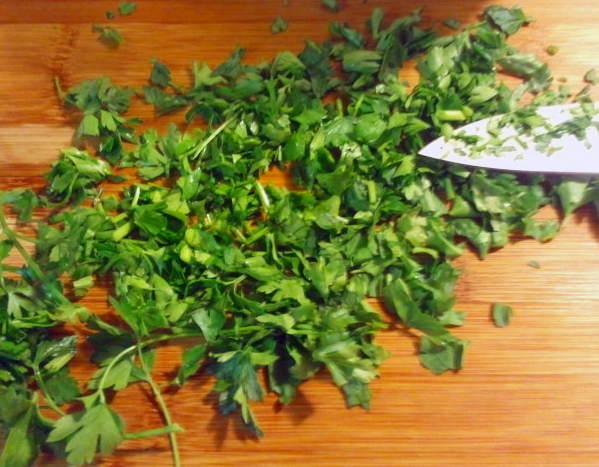
    • 10 fresh leaves of basil, chopped
    • salt to taste (I used about a teaspoon this time to get it where I like it)

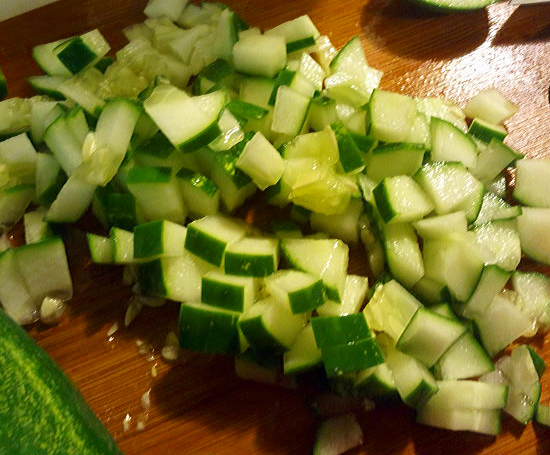
    Dice your onions and celery, mince your garlic, and zest or peel your carrot.

    Diced Onions
    Diced Onions
    Diced Celery
    Diced Celery

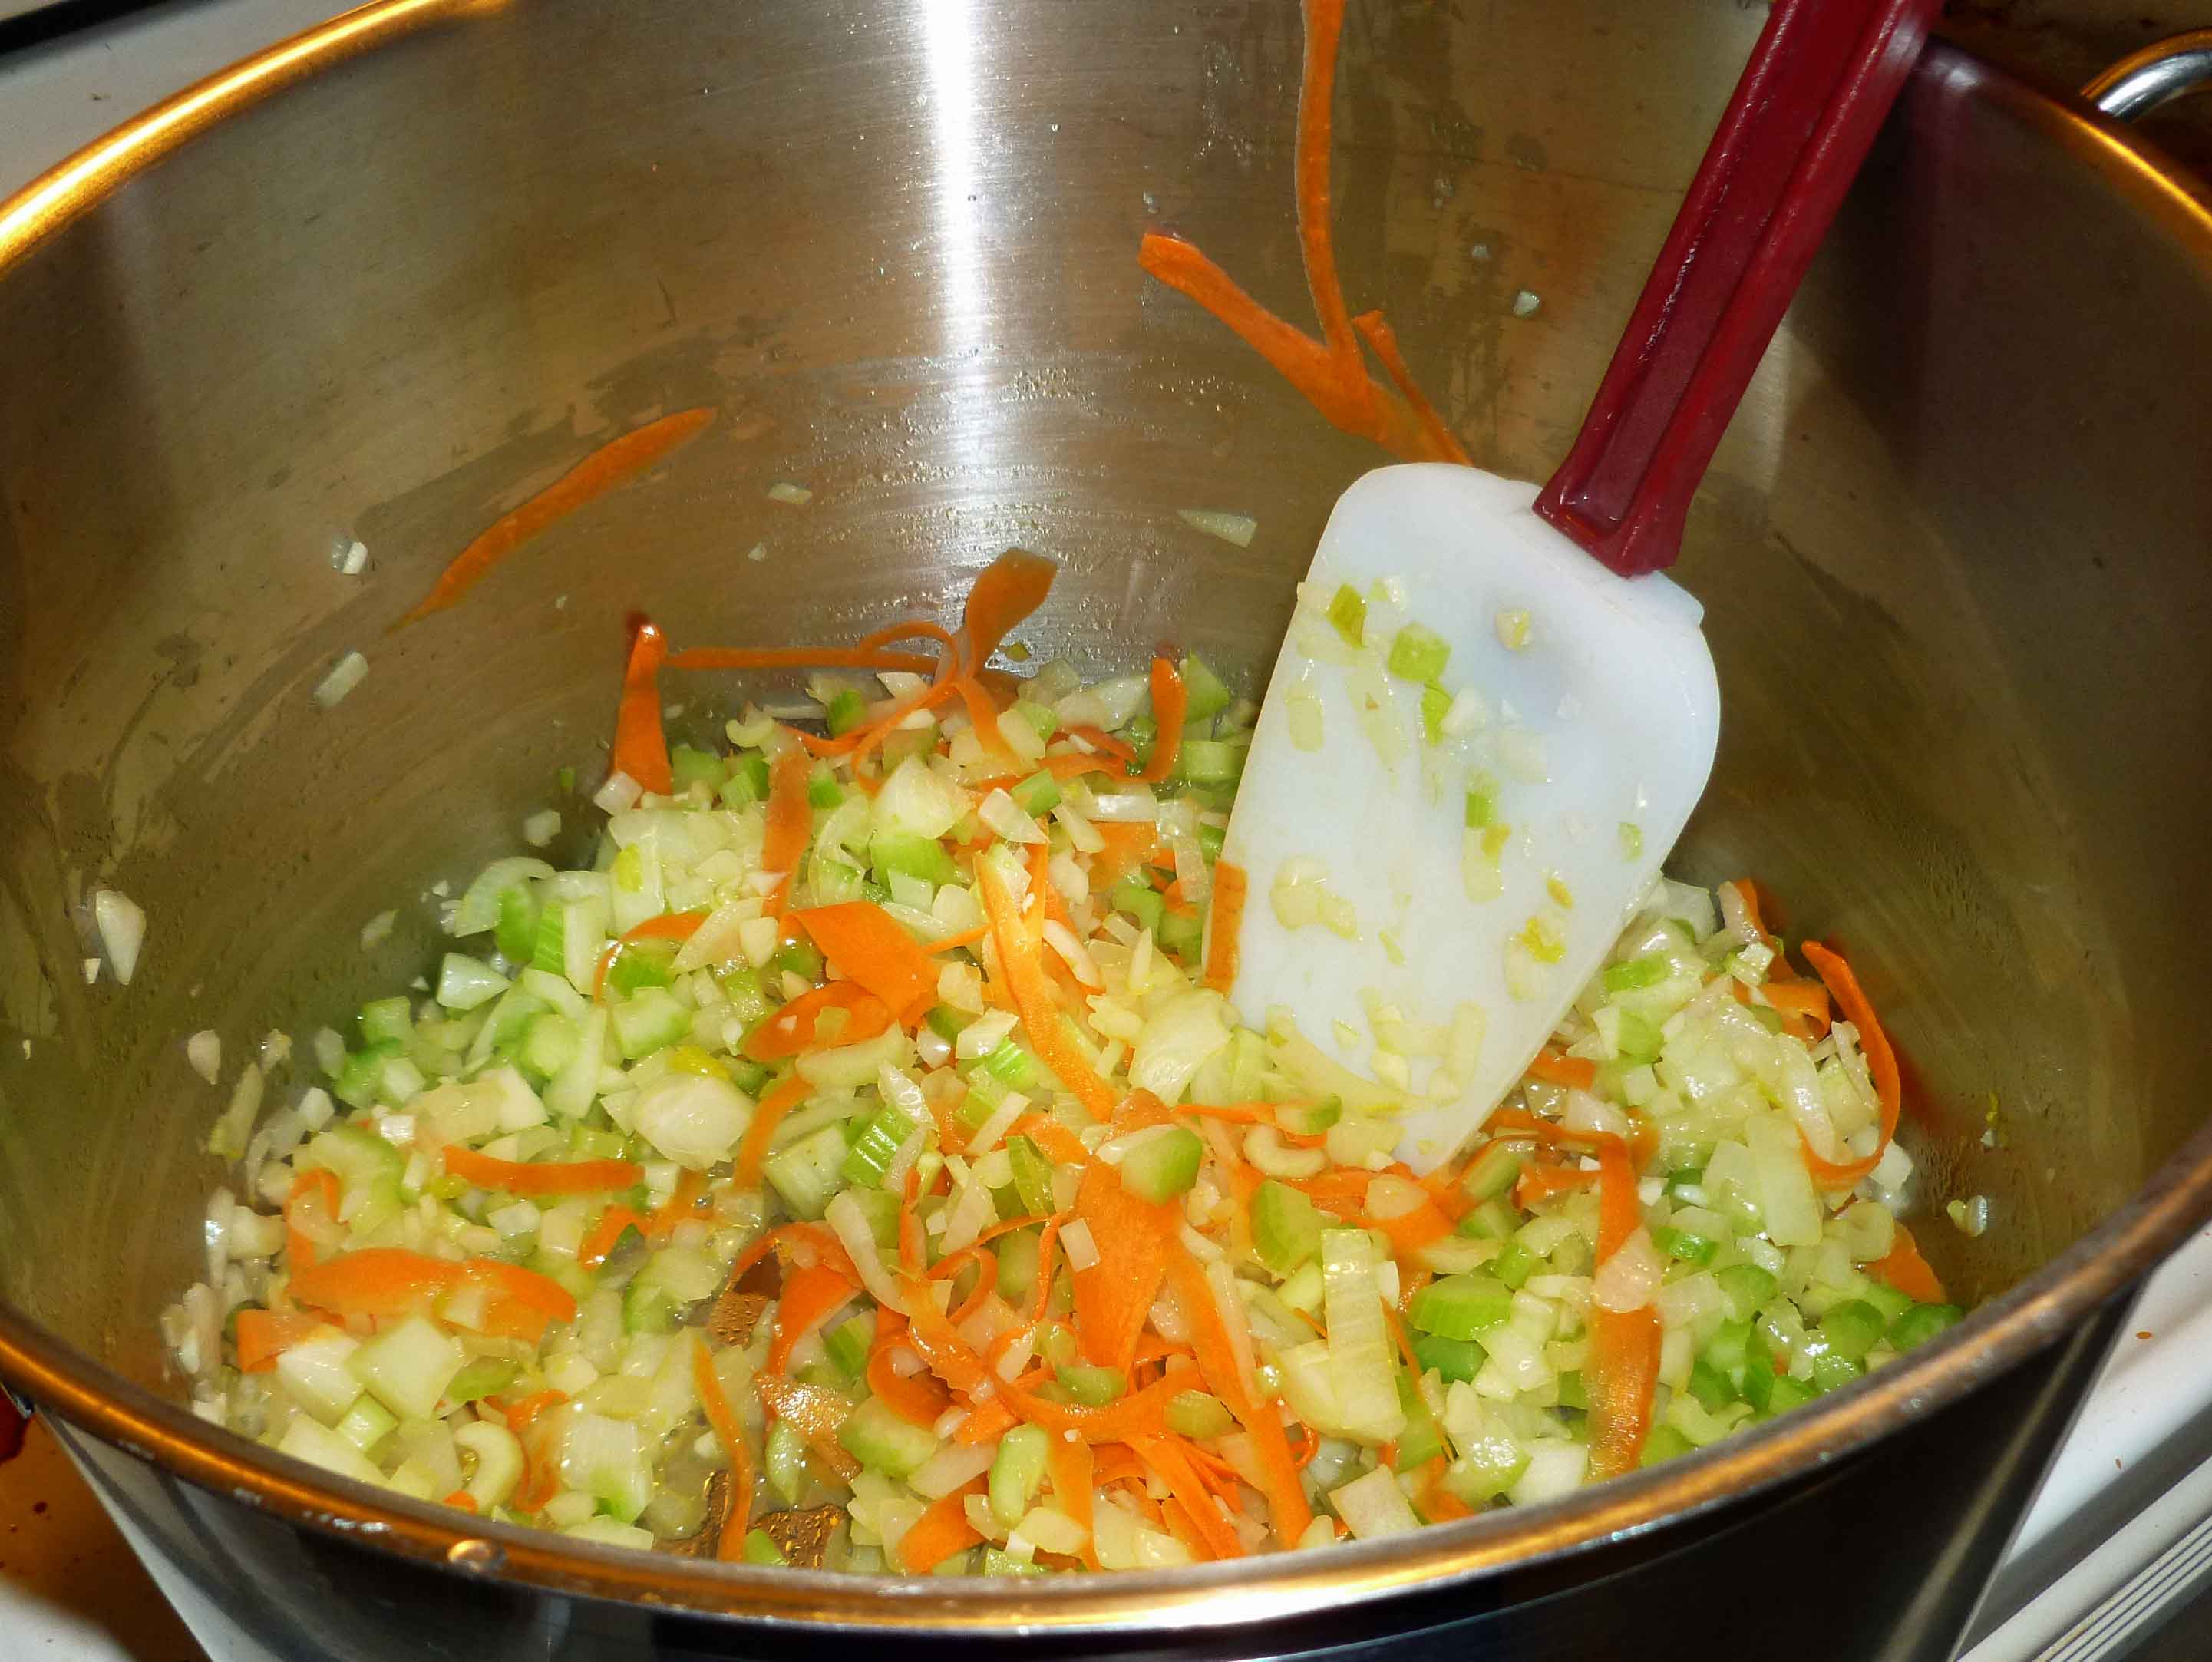
    In a large stock pot, heat the olive oil over medium heat and add your onions, celery, garlic and carrots.  Saute them until the onions and celery are somewhat translucent.  

    Onions, celery, garlic, and carrots being sauted
    Onions, celery, garlic, and carrots being sauted

    Add the contents of the can of tomato paste and stir it into the vegetables so it is equally distributed throughout.  Then add your cans of crushed tomatoes, the vegetable stock, and the white wine.  Stir thoroughly.  Reduce the heat to medium low (about 3-4 on my burner dial).

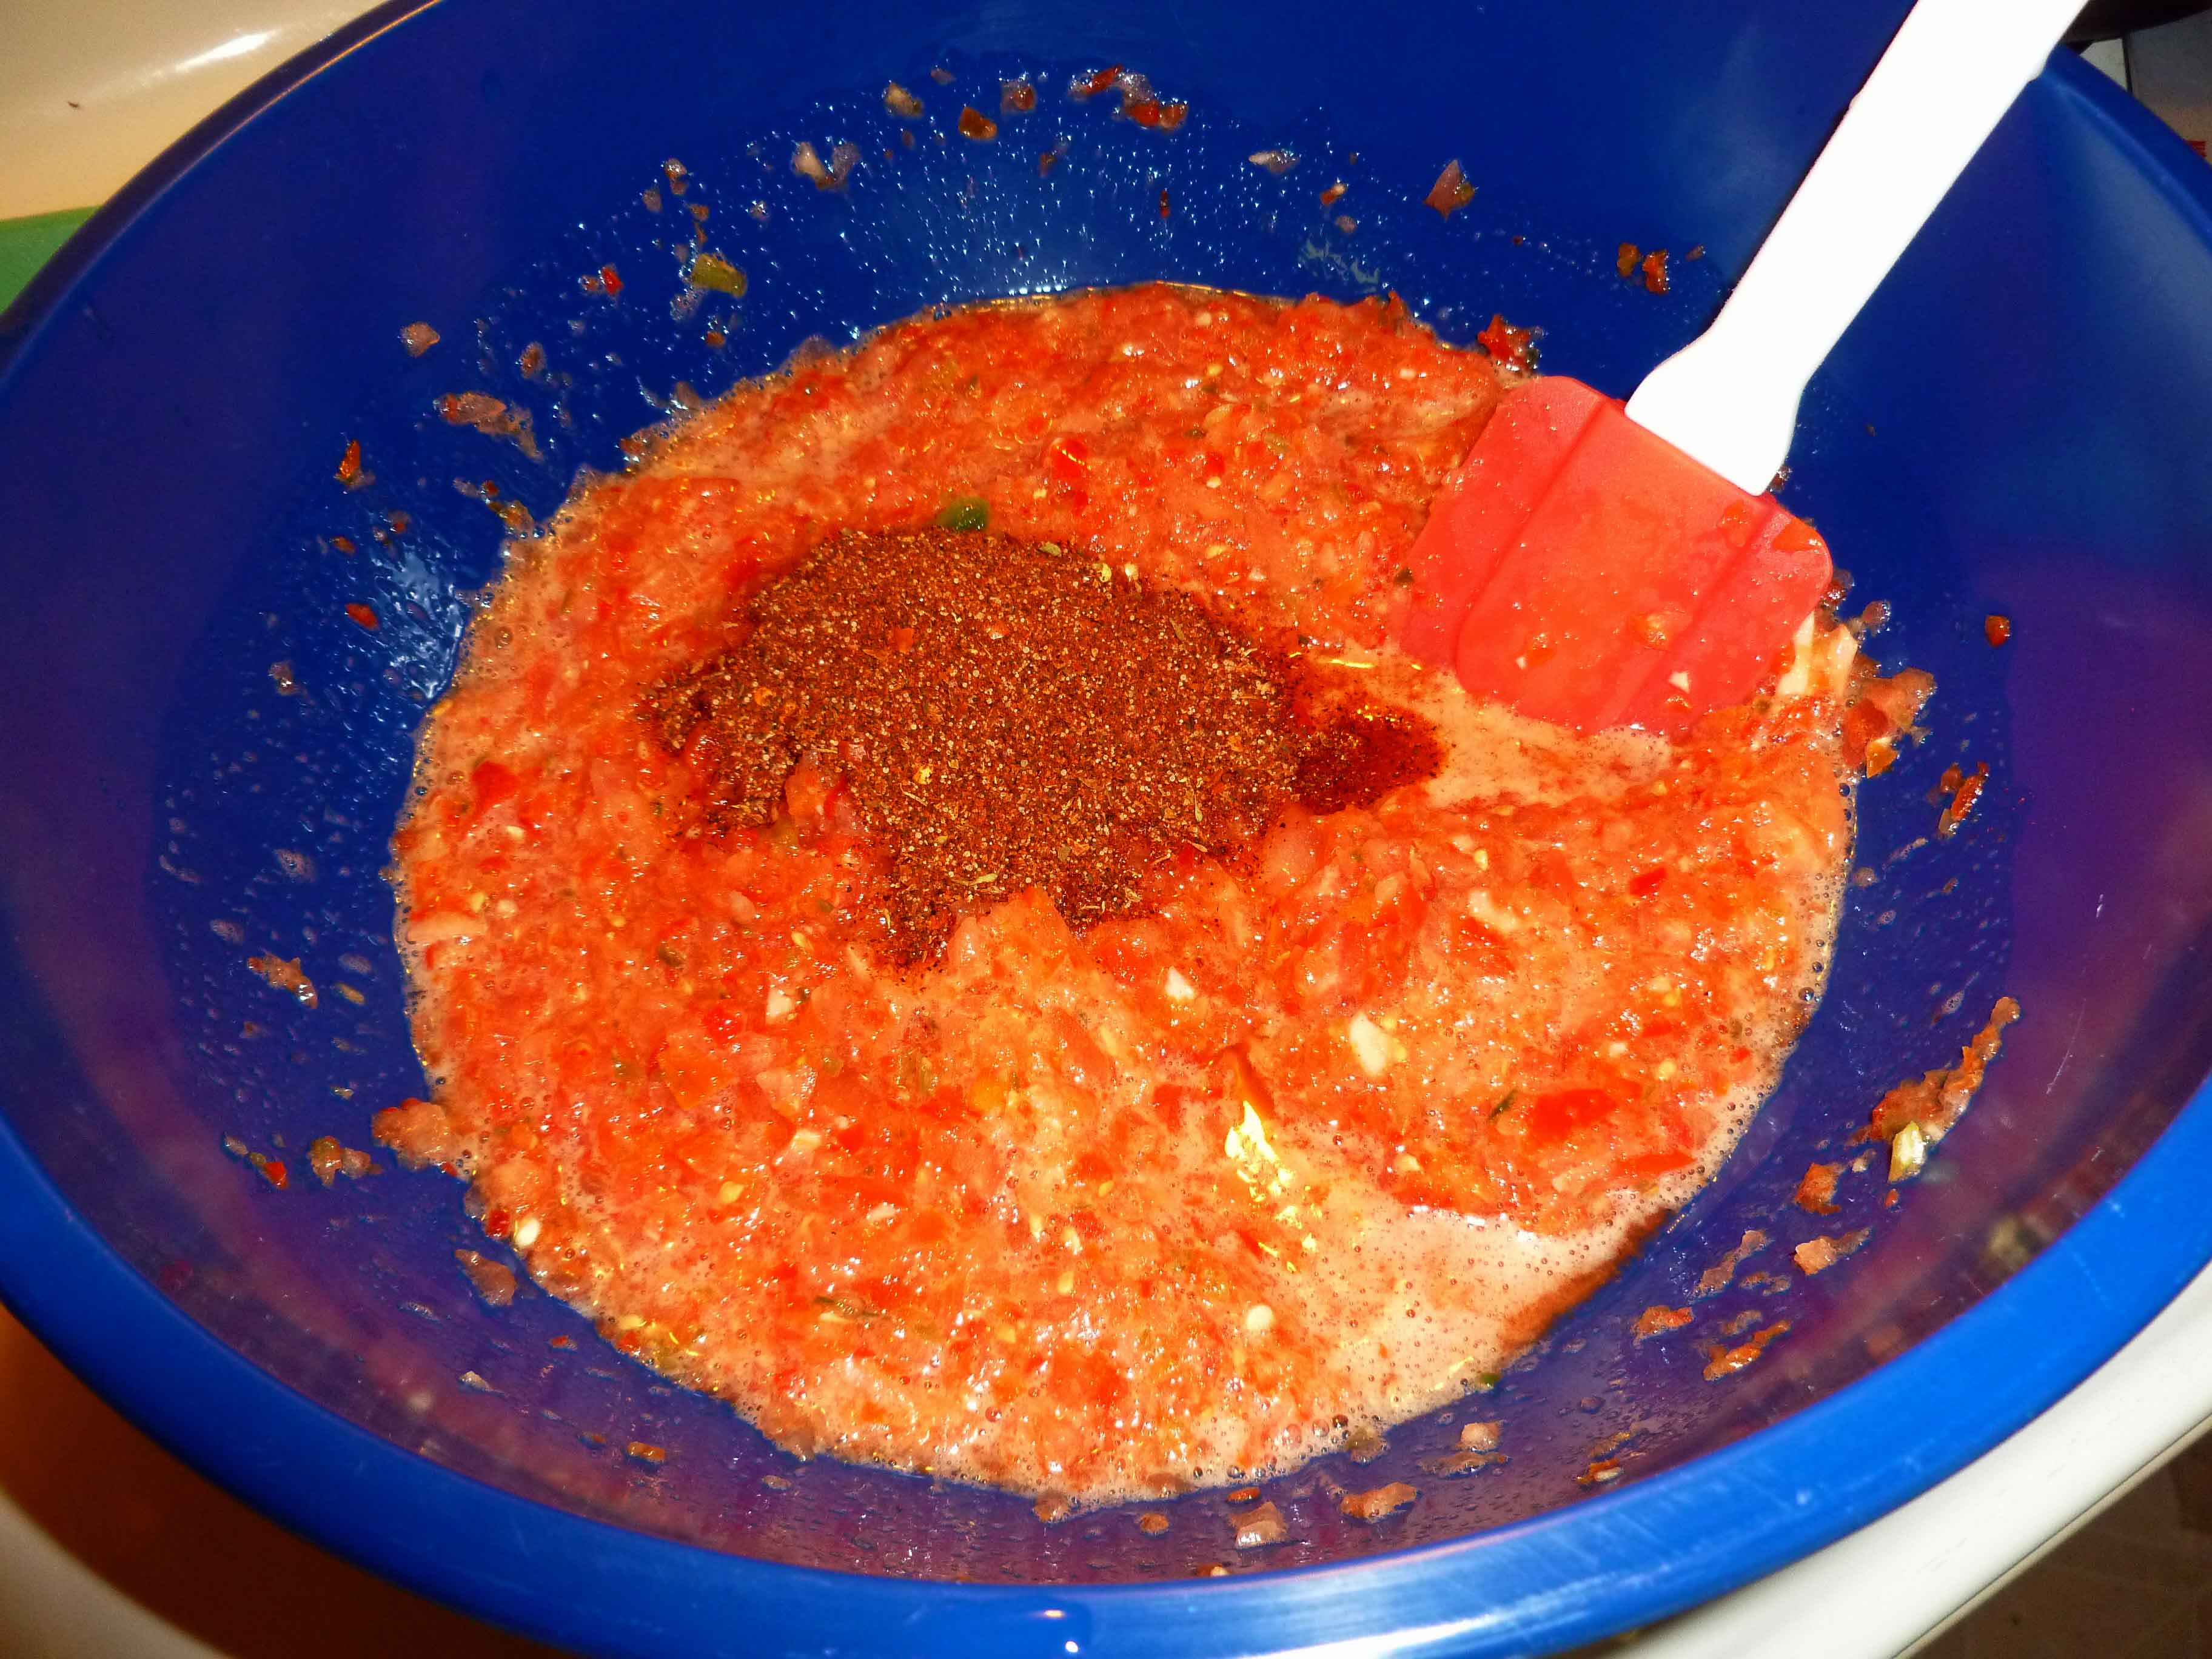
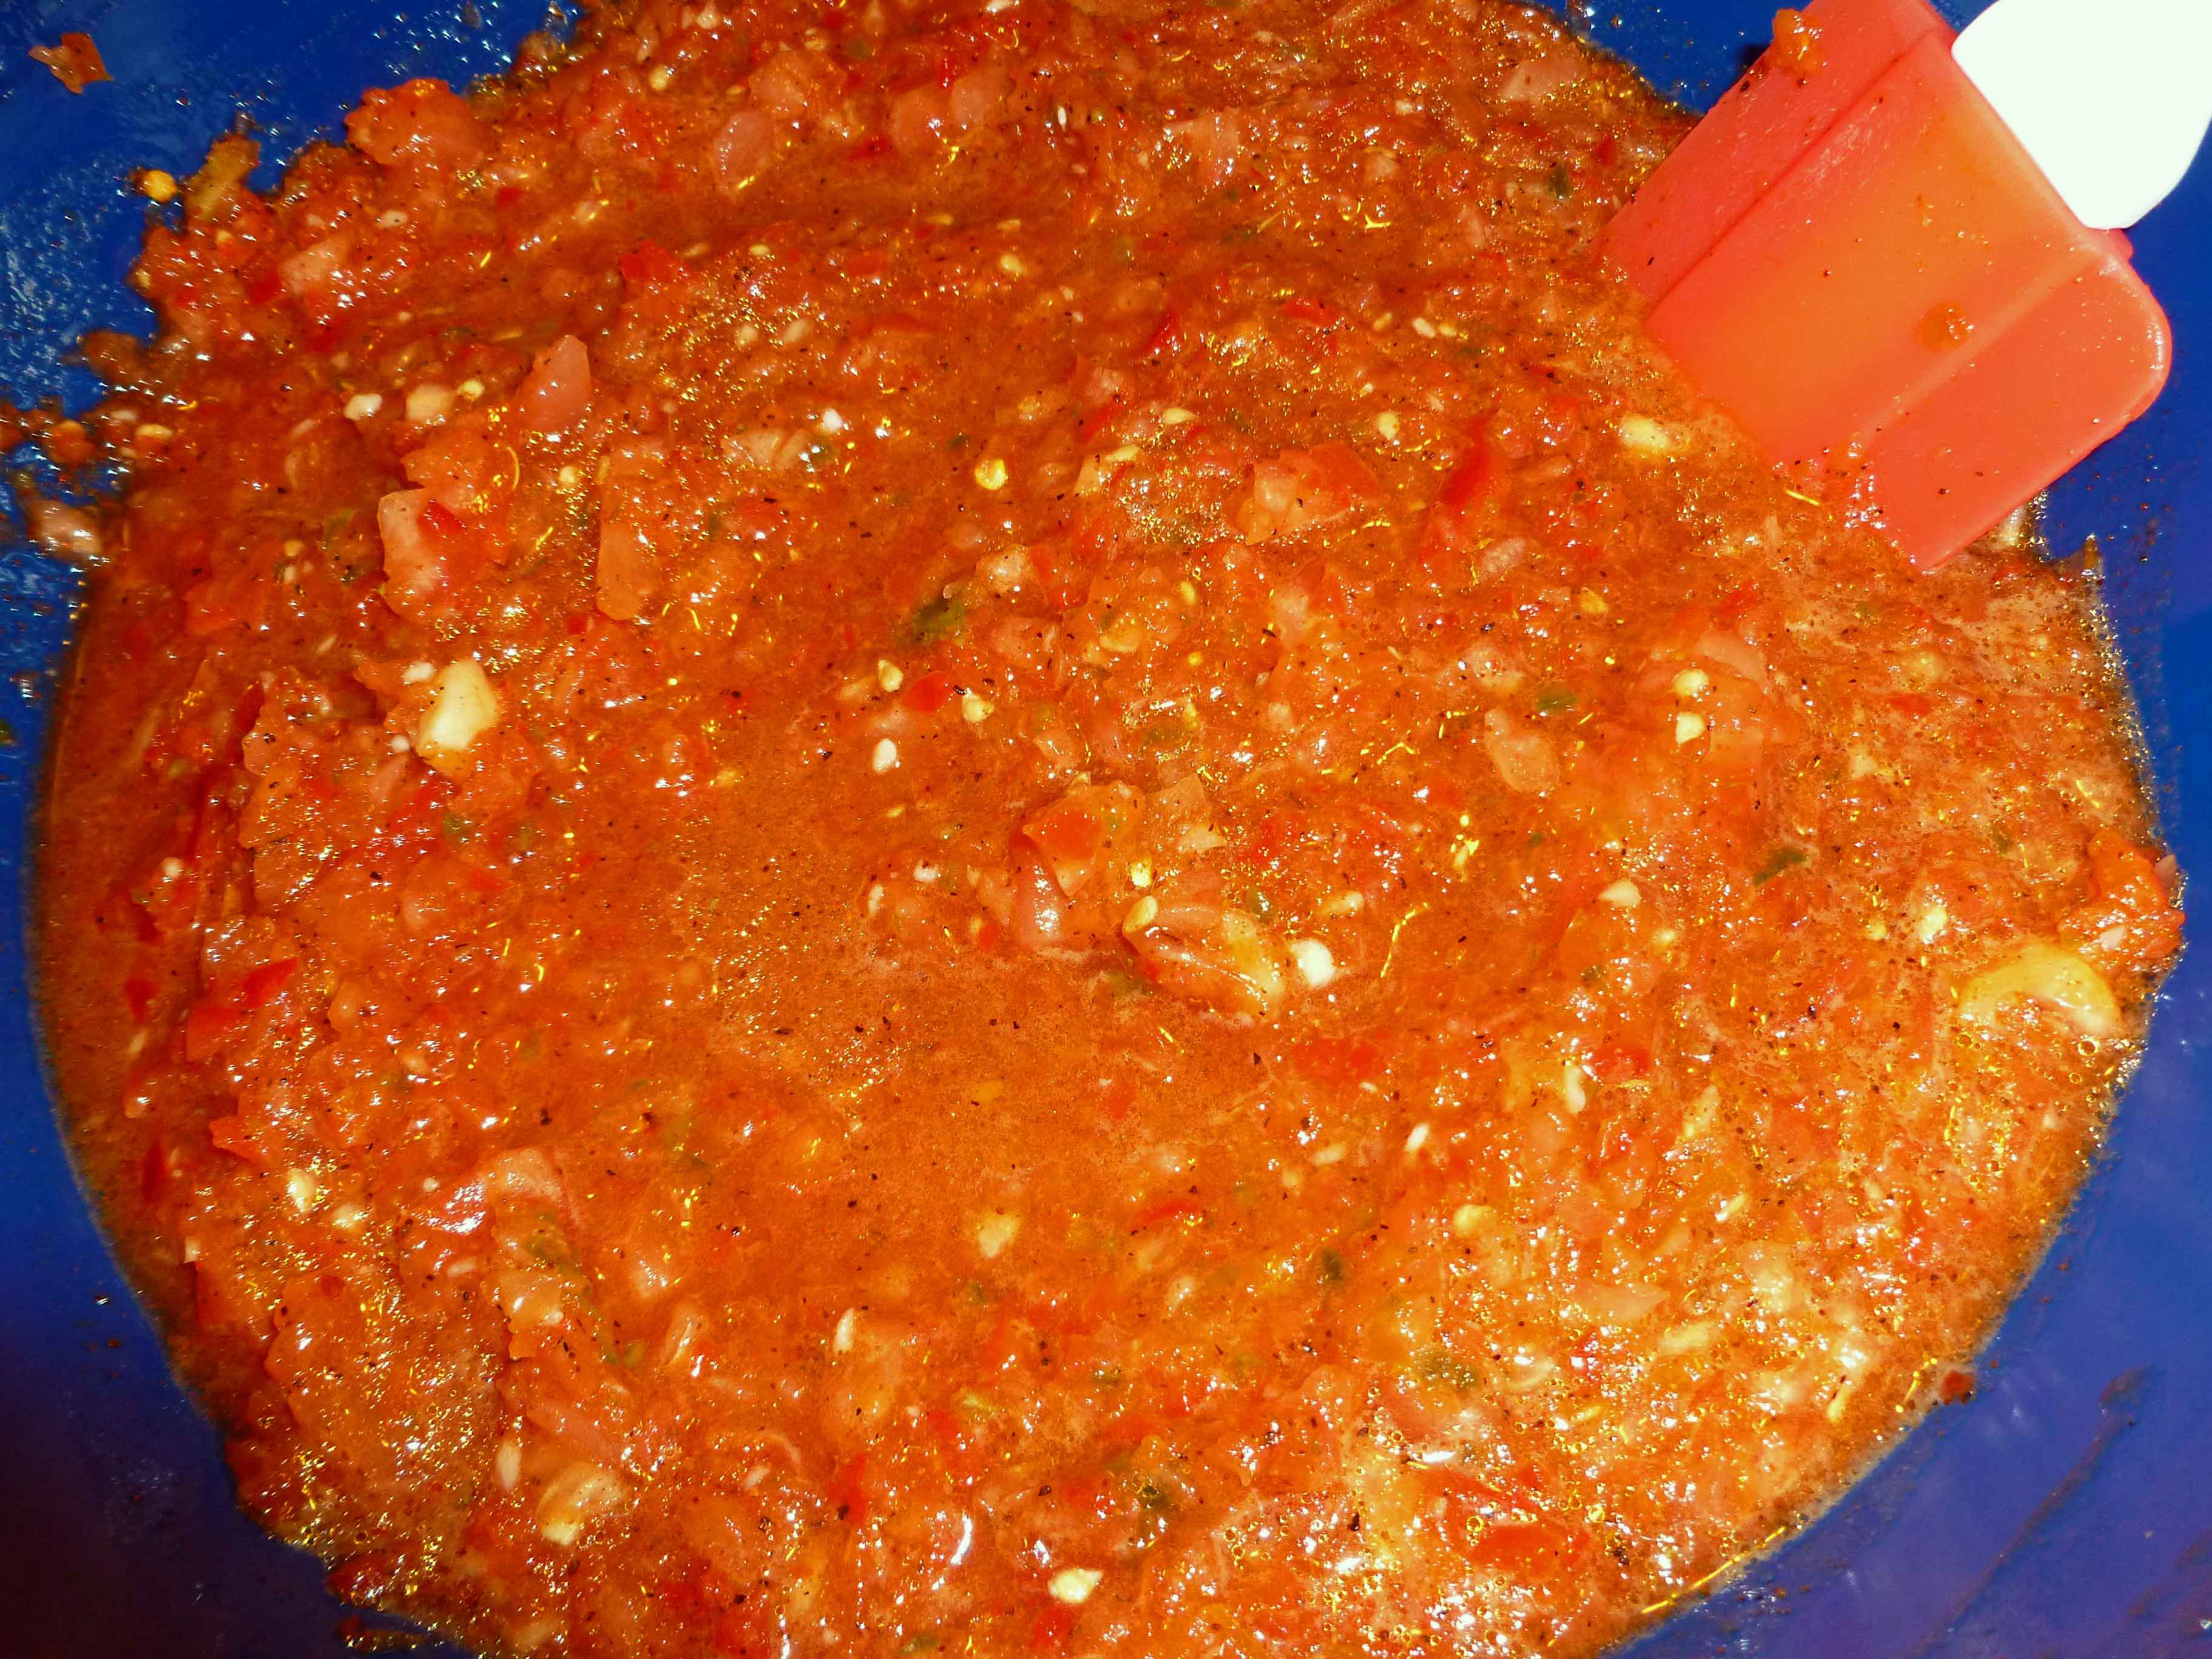
    Add your oregano, marjoram, thyme, dried basil, rosemary and black pepper to the sauce and stir to incorporate the spices into the sauce.  Chop your basil if you have not already, and add it to the sauce, again stirring thoroughly.

    Marinara simmering
    Marinara simmering

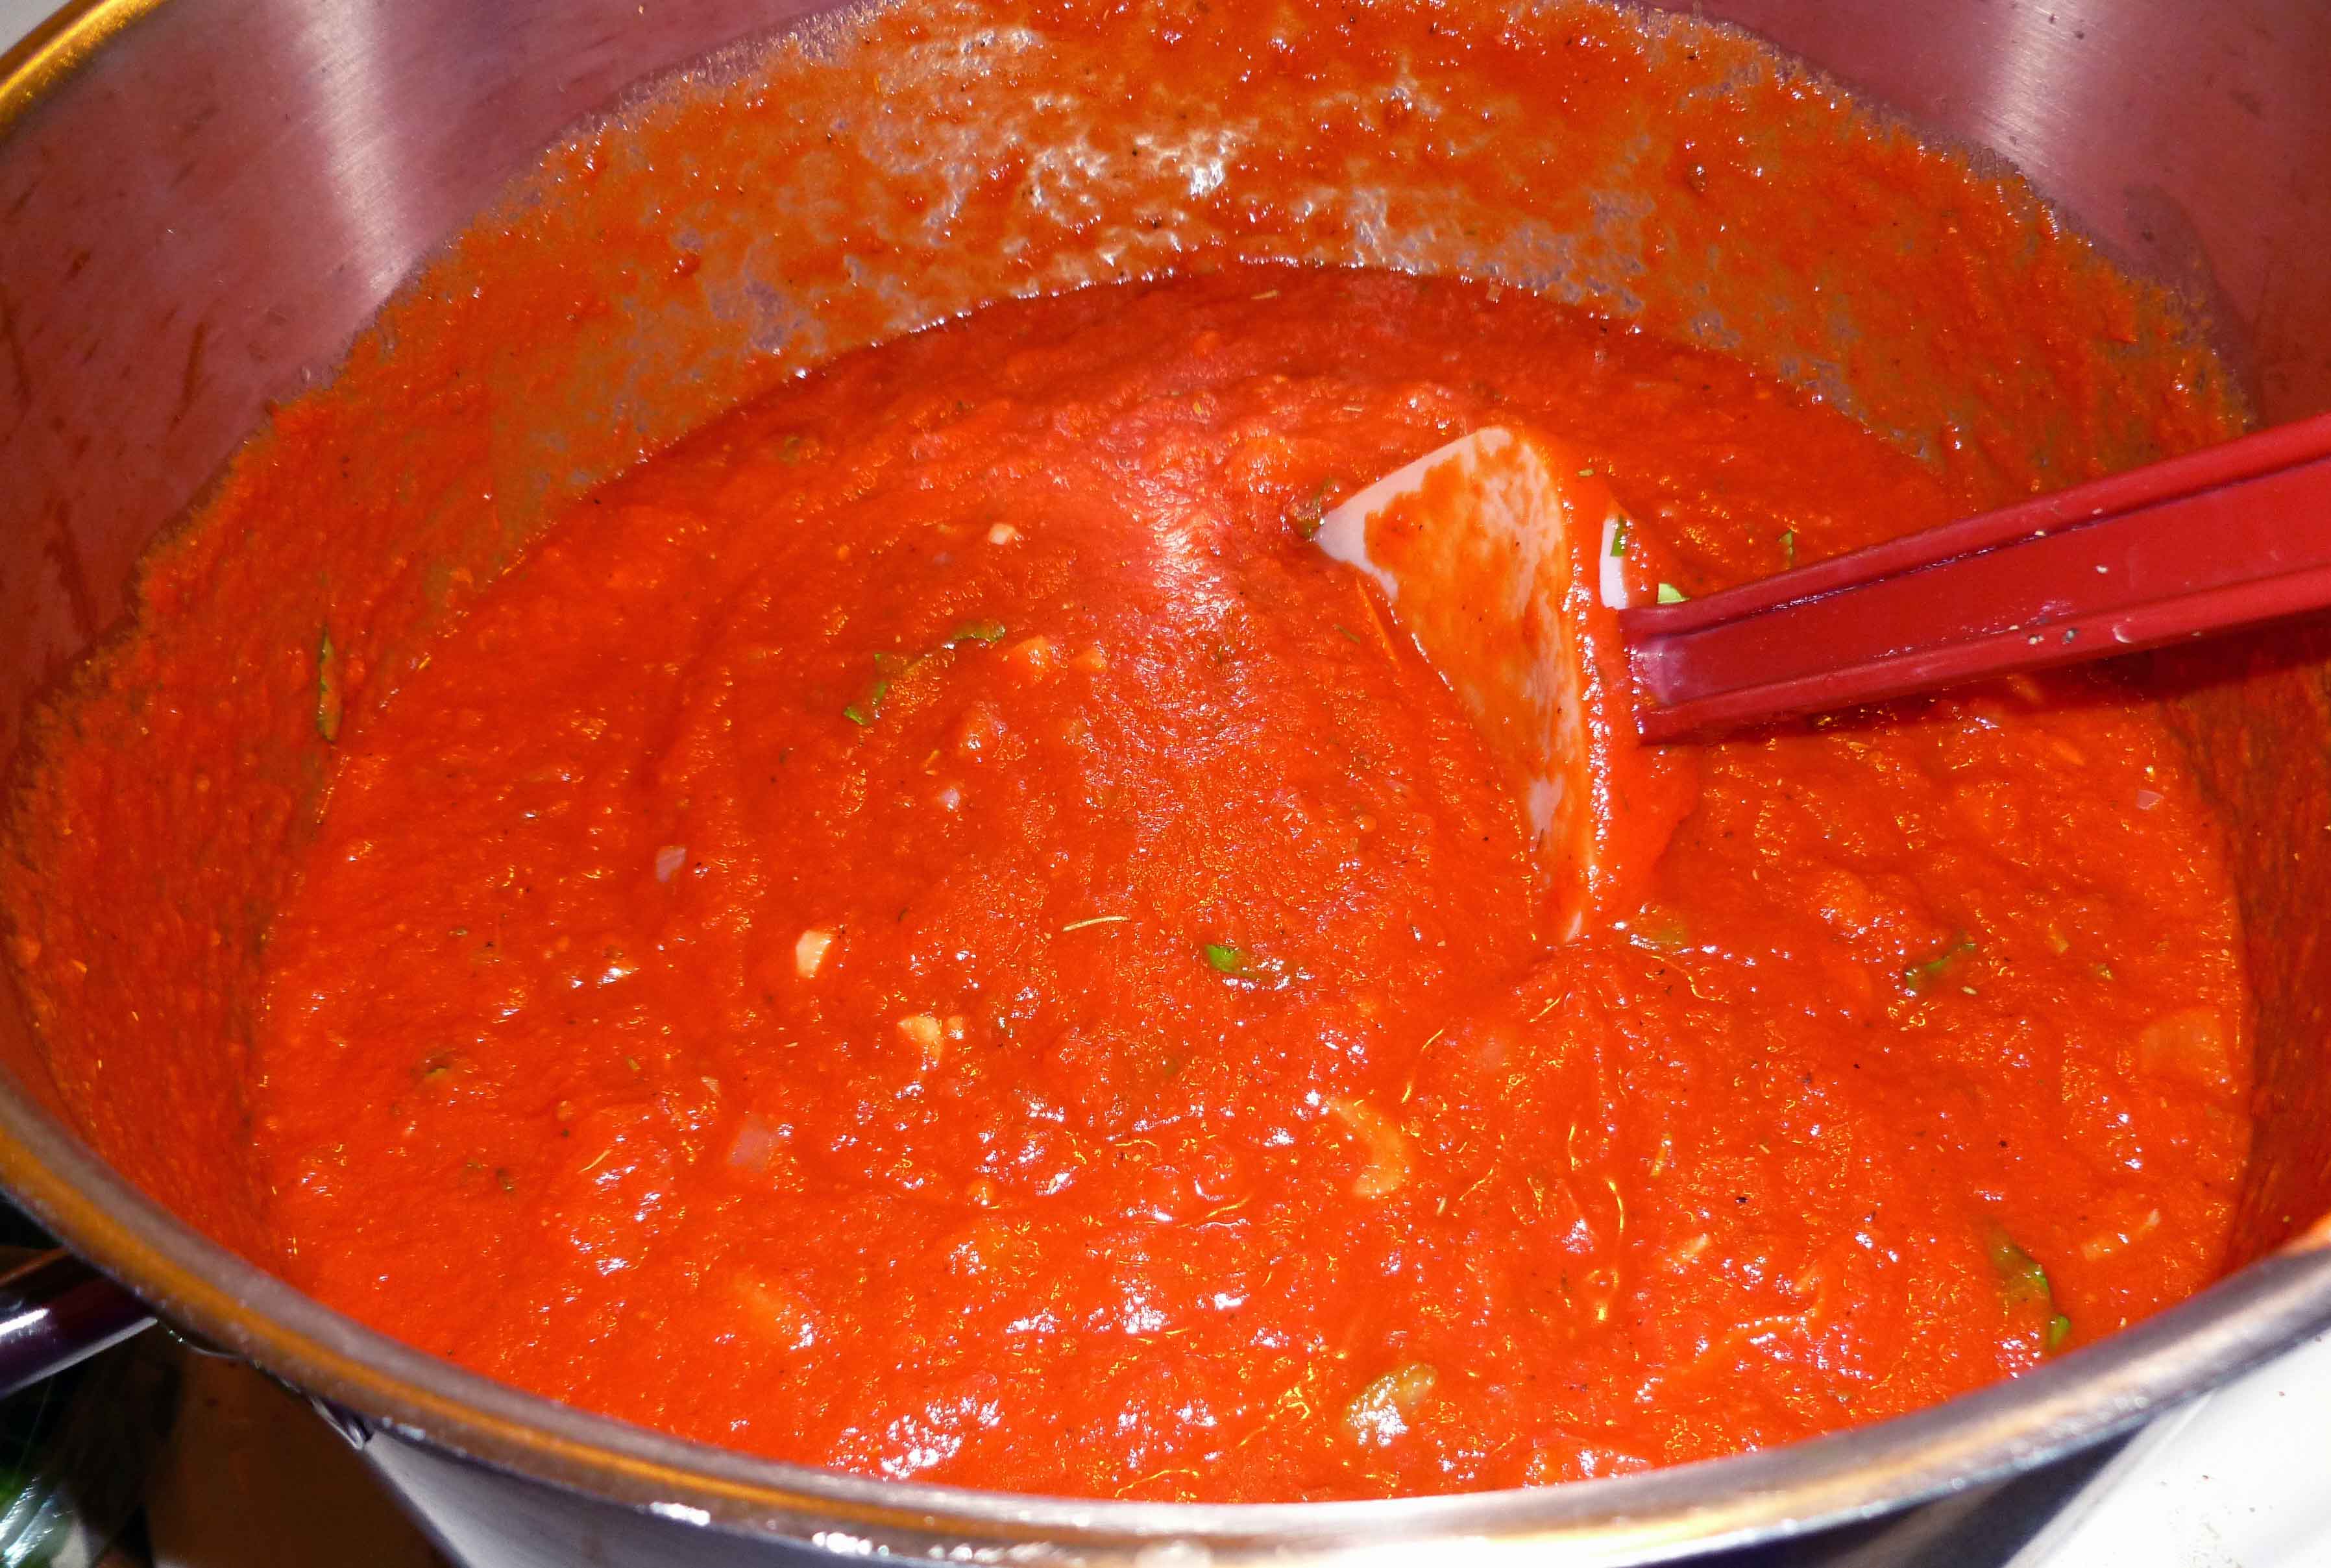
    Continue to simmer your sauce on medium low until the carrot has dissolved completely into the sauce and the sauce is the consistency you prefer (for me, this is about an hour or so).  Once you have reached that point, taste your sauce to see if it needs any salt and add it at that time.  I found that I needed about 1/2 of a teaspoon.  If you find that your sauce is too acidic, sometimes I will add about a teaspoon of brown sugar and that helps.

    Stay tuned for the meatball recipe to be posted in two weeks!

    Yummy Quick-ish Marinara
    Yummy Quick-ish Marinara
  • DIY Spice Mix Day – Montreal Steak, Creamy Peppercorn, Singapore, and Full of Flavor Herb Mix

    So one of the more recent traumatic events (okay, not really traumatic, but annoying certainly) was the purging of my spice cabinet of things I can’t use any more as a result of the corn and wheat allergies.  If you know me in real life, I’m a tad obsessive about my spices.  I have a four-shelf stand-alone cabinet in the kitchen that contains nothing but spices, spice mixes, and vinegar and oils.  There may or may not be an inventory spreadsheet on my Google drive with 157 items on it so that I can get to it on my phone while I am grocery shopping. I’m also frankly surprised and disappointed that I haven’t made it on some platinum frequent order program with Penzey’s spices, given my order volume (tongue firmly in cheek, I love them). But in any case, I had to get rid of a few of my favorite mixes, Penzey’s or otherwise, mostly because they contained citric acid or other problematic ingredients for me.  So I played around, did some Google-fu, and experimented and came up with the following mixes that make me happy.

    DIY Montreal Steak Seasoning

    • 4 Tablespoons of Kosher Salt
    • 1 Tablespoon of black peppercorns
    • 1 Tablespoon of dried minced onion
    • 1 Tablespoon of dried thyme
    • 1 Tablespoon of dried rosemary
    • ½ Tablespoon of dried minced garlic
    • ½ Tablespoon of crushed red pepper flakes
    • 2 teaspoons of fennel seed
    • 1 teaspoon of dill seed
    • 1 teaspoon of paprika

    Put this in a blender or spice/coffee grinder, or use my trick where you take a pint mason canning jar, put all the spices in the jar and screw the blender blade assembly to the jar and put it on blender.  Using any and all methods, blend until fairly well ground as shown below and put in a spice jar and store.  I use this as a rub for beef, pork and chicken.

    Montreal Steak Seasoning
    DIY Montreal Steak Seasoning

    DIY Creamy Peppercorn Dressing Mix

    • ¼ cup of black peppercorns ground coarsely (in a blender or spice/coffee grinder, or use my trick where you take a pint mason canning jar, put the spices in the jar and screw the blender blade assembly to the jar and put it on blender)
    • ⅛ cup of sugar
    • ⅛ cup of dried minced garlic
    • ⅛ cup of dried thyme
    • ⅛ cup of dried parsley.
    • 2 ½ Tablespoons of salt
    Creamy Peppercorn Dressing Mix
    DIY Creamy Peppercorn Dressing Mix

    Put all ingredients in a bowl spices in a bowl and whisk together thoroughly.  Put in a spice jar to store.  To use, mix 1 Tablespoon of Creamy Peppercorn Dressing Mix in 2 Tablespoons of water and let stand five minutes.  Mix in ½ cup Earth Balance Mindful Mayo and enjoy.  If you can have dairy and eggs, use 1/4 cup of mayo and 1/4 cup of sour cream 🙂

    Creamy Peppercorn Dressing using Earth Balance Mindful Mayo
    Creamy Peppercorn Dressing using Earth Balance Mindful Mayo

    DIY Singapore Seasoning

    • 2 Tablespoons of lemon peel powder (you can get this from Penzey’s or grind up dried lemon peel in your spice/coffee grinder)
    • ½ Tablespoon of black pepper
    • 1 teaspoon of garlic powder
    • 1 teaspoon of onion powder
    • 1 teaspoon of tumeric
    • ½ teaspoon of ground coriander
    • ½ teaspoon of ground cumin
    • ½ teaspoon of ground ginger
    • ¼ teaspoon of ground nutmeg
    • ¼ teaspoon of ground fennel
    • ¼ teaspoon of ground cinnamon
    • ⅛  teaspoon of ground fenugreek
    • ⅛  teaspoon of ground white pepper
    • ⅛  teaspoon of ground cardamom
    • ⅛  teaspoon of ground cloves
    • ⅛  teaspoon of ground cayenne red pepper

    Put all ingredients in a bowl spices in a bowl and whisk together thoroughly.  Put in a spice jar to store.  You can use this as a spice rub for chicken or pork or to flavor rice noodles.

    Singapore Seasoning
    DIY Singapore Seasoning

    Full of Flavor Herb Mix

    Penzey’s has a Mural of Flavor spice mix that I love, but it has citric acid (corn) in it, so it’s out for me now.  I came up with the following mix to replace it.

    • 1 ½ Tablespoons of dried minced shallots
    • 1 teaspoon of thyme
    • 1 teaspoon of rosemary
    • 1 teaspoon of basil
    • 1 teaspoon of chives
    • ½ teaspoon of onion powder
    • ½ teaspoon of garlic powder
    • ½ teaspoon of lemon peel
    • ¼ teaspoon of ground coriander
    • ½ teaspoon of green peppercorns
    • ½ teaspoon of dill weed
    • ¼ teaspoon of lemon peel powder (you can get this from Penzey’s or grind up dried lemon peel in your spice/coffee grinder)
    • ¼ teaspoon of black pepper
    • ¼ teaspoon of orange peel

    Put this in a blender or spice/coffee grinder, or use my trick where you take a pint mason canning jar, put all the spices in the jar and screw the blender blade assembly to the jar and put it on blender.  Using any and all method, blend until it is ground to a coarse consistency (not powder) as shown below and put in a spice jar and store.  I use this on vegetables, in soups, on beef, pork, chicken and fish.  It’s a great all-purpose spice blend.

    Full of Flavor Herb Mix
    Full of Flavor Herb Mix

    Hope you guys enjoy these spice mixes. If you’ve got some of your own, please share!

  • 15 Minute Salsa

    15 Minute Salsa on a Beanito Chip
    15 Minute Salsa on a Beanito Chip

    Since I also cannot buy salsa during this whole elimination torture thing (most have celery and onion, which are two no-no’s at the moment), I whipped this up so I’d have something to eat at my book group, since I’d gotten “regular” allergen-filled food for everyone else.  I wasn’t going for culinary genius, but just something incredibly quick that wouldn’t be awful, based on what I had in the fridge and cupboards.  And when it was done, I was surprised that it came out so well, and Mary Kate suggested I write it up on the blog.  If you are not avoiding onion, you can add an small onion to this and I’m sure it would be lovely. You need a food processor to do this one.  I tried it in a blender, but I just didn’t get the result I wanted.  This is also a fast one, the fifteen minutes includes washing the food processor (if you have the jar of taco seasoning made up ahead of time).

    15 Minute Salsa  

    • 1 red bell pepper, de-stemmed and de-seeded, and cut into large chunks.
    • 1 jalapeno pepper, de-stemmed and de-seeded, and cut into large chunks.
    • 4-5 cloves of garlic, peeled with the stem end trimmed
    • 5 tomatoes, stem end trimmed, and cut into eighths (I don’t seed my tomatoes because I don’t mind seeds, but if you do, feel free to take them out, but you might want to add another tomato)
    • 2 Tablespoons of Taco Seasoning (see recipe from our Taco Beef for Tacos, Salads and Nachos post)
    • 1/3 cup of red wine vinegar
    • 1 Tablespoon of olive oil

    De-stem, de-seed and cut red bell pepper and the jalapeno pepper into chunks.  Trim stem ends of garlic.

    Red bell pepper, jalapeno pepper and garlic
    Red bell pepper, jalapeno pepper and garlic

    Core tomatoes and cut them into eighths.

    Tomatoes, showing cored and cut into eighths
    Tomatoes, showing cored and cut into eighths

    Put peppers, garlic and tomatoes into your food processor.  You may need to do this in batches, I have to because my food processor is on the small size.  Have a large bowl read to dump your batches in. Pulse until you get the consistency you like. I prefer it a little more processed.

    Salsa in food processor
    Salsa in food processor

    Once you have all your processing batches in the large bowl, stir it well so that all the peppers, garlic and tomatoes are well mixed through out the salsa.  Your veggies may look a little frothy, but that’ll sort out once you add the remaining ingredients. Add the taco seasoning, red wine vinegar, and olive oil.

    Salsa before seasoning, vinegar and oil are mixed in.
    Salsa before seasoning, vinegar and oil are mixed in.

    Mix all the ingredients together with a spatula making sure that all the spice mixture gets evenly distributed.  This makes about 5-6 cups of salsa so it’s a great recipe for a party.  Enjoy!

    Salsa, ready to eat!!
    Salsa, ready to eat!!
  • Tzatziki Sauce (Using a Cashew Base)

    Tzatziki Sauce (Using Cashew Base)
    Tzatziki Sauce (Using Cashew Base)

    Since we can’t have falafel without Tzatziki Sauce (well, you can, but it’s better with), I had to get together a recipe.  I started with a recipe at The Vedge, and added some additional things I like to it.

    Tzatziki Sauce (Using a Cashew Base)

    • 1 cup cashew pieces (raw, unsalted) and soaked overnight in water  (covering cashews by 2-3 inches)
    • 1 cup water
    • 1 lemon, juiced
    • 1 garlic clove
    • 1 teaspoon of salt
    • 1 teaspoon of dill weed (optional)
    • 4 Tablespoons of fresh parsley, chopped
    • 1 medium cucumber (peeled if waxed) and diced (I used two pickling cukes, and left the skin on)

    Drain the cashews and place in a blender.  Add water, lemon juice, garlic, and salt to blender.  Blend until completely pureed, better to over blend than to not blend enough.  You want it as smooth as you can get it.

    Cashew Mixture After Blending
    Cashew Mixture After Blending

    Pour cashew mixture into a bowl that will hold it, the dill, the parsley and the cucumber. Add dill, parsley, and cucumber to the cashew mixture and stir to mix well.

    Fresh parsley, chopped
    Fresh parsley, chopped
    Cucumbers diced
    Cucumbers diced

    You can do all this in the blender if you want, but I like chunky cucumbers in this sauce.  Refrigerate for at least an hour, and use on falafel, gyros, wraps, salads, as a dip and so on. Or you could use large slices or chunks for a salad or side dish, and do a much smaller dice or in the blender for a sandwich slather.

    Let us know what you think 🙂

  • Ranch Dip/Dressing Using Earth Balance Mindful Mayo

    Ranch using Earth Balance Mindful Mayo
    Ranch using Earth Balance Mindful Mayo

    After we perfected the Ranch Dip using a Cashew Base (see today’s other post) we found a recipe for ranch using the Earth Balance Mindful Mayo.  We fiddled with the recipe because liked the flavor profile we had developed for the Ranch Dip Using a Cashew Base better.  The result is pretty awesome.  We both like our version with cashews better as a dip, but if you can’t have tree nuts that recipe won’t work.  And this recipe was closer to real ranch dressing for use on actual salads, and much less expensive.  I used it on a salad and I just about cried because I could have ranch dressing again.  (I’m guessing that at some point I’ll be using this recipe and the Penzey’s Creamy Peppercorn dressing mix to experiment further with obtaining more replacements for dairy based salad dressings).  We also served this dip to people who can eat dairy at a bridal shower and they also really liked it.

    Ranch Dip/Dressing Using Earth Balance Mindful Mayo

    • 1 cup of Earth Balance Mindful Mayo (I’ve tested it with original and organic but have not tried it with the olive oil version)
    • 1/4 cup of rice milk (original, unsweetened, or use rice milk powder following directions on container)
    • 1/2 teaspoon of garlic powder
    • 1/2 teaspoon of toasted onion powder
    • 1/2 teaspoon of salt
    • 1/2 teaspoon of basil
    • 1/2 teaspoon of red bell pepper flakes
    • 1 teaspoon of dill

    Place all ingredients in a blender and blend until all ingredients have been incorporated, scraping down the sides as needed.  You can also do this in a bowl and mix it by hand, if you prefer not to have to wash your blender, but I think the spices blend better in the blender. Taste the mixture and adjust spices as needed. Let sit for a couple hours before serving and the flavors will develop.

    Let us know what you think 🙂

  • Ranch Dip Using a Cashew Base

    Ranch Dip Using a Cashew Base

    Ranch dressing. It’s one of those things that seems really, really hard to replace. And you miss that creaminess, salty, tart flavor, especially on salads, buffalo, wings, or just with a veggie tray at a party. When Mary Kate and I started this blog, we began a list of things we missed desperately (okay, so it was a spreadsheet divided up by category, but anyway). I don’t think ranch even made the list. I don’t think it was even something that we considered being able to replace. But while I was researching replacement mayo recipes, I came across a recipe on Yummly.com that used cashew nuts to make a ranch dressing. Mary Kate and I didn’t think the flavor profile was quite right, so we messed around a bit with the spices. It was one of our first real successes and even people who can have real ranch dressing seemed to be shocked at how much they liked it. And it’s really pretty easy. I know this recipe won’t help those of you who can’t have tree nuts, but we’re posting another ranch recipe that will help.

    Ranch Dip Using a Cashew Base

    • 1 1/4 cups cashews (raw, unsalted, and if you buy cashew pieces it’s cheaper)
    • 3/4 cup rice milk (original, unsweetened, or use rice milk powder following directions on container)
    • 1 tablespoon lemon juice
    • 1/3 cup cider vinegar
    • 1/3 cup extra virgin olive oil
    • 4 garlic cloves
    • 1 teaspoon garlic powder
    • 3 teaspoons onion powder
    • 1 teaspoon dill
    • 2 teaspoons salt
    • 1/2 teaspoon basil
    • 1/2 teaspoon of red bell pepper flakes.

    Grind cashews in spice grinder or coffee grinder, in small batches until the cashews are a nearly a powder, but not to the point they become a butter.

    Place the ground cashews and all remaining ingredients into a blender and blend until combined and until mixture thickens a bit. Taste mixture and adjust spices as needed. Let sit for a couple hours before serving and the flavors will develop and the mixture will thicken further.

    Some of the testers have found that this recipe does not hold up well overnight as it becomes more salty, but there’s been some debate about that. Also some of us preferred less salt and others preferred more. The recipe as written is using less salt.

    Let us know what you think 🙂

  • Better Than Sex Vegan Rum Caramel Sauce

    Cake with Better than Sex Vegan Rum Caramel Sauce

    So, one of the major bummers about a milk allergy is no more caramel. Or at least no more store bought candy with caramel.  And I miss that.  So by adapting a recipe that was used to make sticky buns, we developed this caramel.  The first thing we used it for was to dump over a cake as shown above. (We’re not giving you the recipe for the cake because it wasn’t very good cake.  Although I’m convinced that I could eat cardboard if this sauce was on it.)

    It’s also very good on fruit.  And might have been prettier to show you if I had remembered to pick up apples, but that didn’t happen.

    Caramel Sauce over Fruit

    I tried to be artistic with the fruit photo but it didn’t work out.  Don’t shoot me, I’m an adult coping with food allergies, not a photographer Jim! (Yes, that was a gratuitous Star Trek reference, I’m ashamed of myself as well.)  But back to the subject at hand, this freaking unbelievable caramel sauce.  So in trying to figure out what I could use it for to take pretty pictures for you guys, and after Mary Kate and I had fun playing with the Vegan Creme Filled Chocolate Egg recipe a couple of weeks ago, I got my hands on some skull molds.  Halloween is coming, people.  And if I could have a caramel filled candy, (miss MISS Rolos) then all would be right with the world.  Sort of.  In an overblown and dramatic first world way. So *drumroll*, I made myself some skulls filled with caramel.

    So to begin, first the sauce. (Although if you’re going to use this for the skulls and/or other molded chocolate, do the skulls first and get them all ready.  It’ll make it much easier.)

    Better than Sex Vegan Rum Caramel Sauce

    • 1 ½ cups of firmly packed dark brown sugar
    • ½ cup Earth Balance Soy Free Vegan margarine
    • 6 Tablespoons of real maple syrup
    • 2 Tablespoons of dark corn syrup
    • 1 Tablespoon of vanilla
    • 2 Tablespoons of Goslings Dark Seal Rum
    All ingredients in sauce pan

    Place all ingredients in sauce pan.

    Stirring ingredients

    Stir ingredients over low-medium heat and stir until all ingredients dissolve.

    Caramel Sauce when ready

    Sauce will thicken and it is ready when it coats the back of a metal spoon and drips off it in long slow drips. Do not let it get too hot or have it on the heat for too long or it will begin to sugar back out. Ask me how I know.

    To make skulls, there’s a full explanation at the recipe for the  Vegan Creme Filled Chocolate Egg, but I used:

    • 1 2/3 cup(s) of Vegan chocolate chips, more or less depending on size and thickness of chocolate shells
    Chips and Shortening in Double Boiler
    Melted Chocolate

    Place chocolate chips and shortening in double boiler. Melt over low to medium heat and mix thoroughly.

    Painting Molds with Chocolate
    Painted Molds
    Painted Molds

    You then paint the molds with the chocolate, place them in the freezer until hard and repeat until you have a thick enough chocolate layer.  To do these skulls, I repeated the process 4-5 times.

    Large Skull Half filled with caramel

    Once the molds are complete and the caramel is cool enough, you need to fill the cavities with caramel. Place the molds back in the freezer until they are completely cold.

    Skull Halves removed from Mold

    Once they are completely cold remove them from the molds.  I used chocolate as glue to stick the skull halves  together and then put them back in the molds in the freezer until they cemented together.  Voila!

    Completed Skull
    Caramel Sauce on Apples
    Caramel Sauce on Apples – MK made the sauce and took a photo after I drafted the post 🙂
  • Easy Buffalo Wings (Two Versions, One Gluten Free)

    Why buffalo wings?  Because I love them, and I can’t eat them out anymore. Buffalo wing sauce is generally made with butter or margarine, and therefore contains milk. And depending on the particular restaurant, the breading may contain milk and they might use an egg to coat the chicken before breading it. And many restaurants use wings that are delivered to them already breaded/coated so they have no clue what’s in them unless they still have a box kicking around with the label on it. You can imagine just how much fun this conversation with restaurant servers would be and why it’s not even worth the bother to try – Oh, can you make me a special sauce that doesn’t contain any milk or milk products, and by the way, margarine contains dairy.  And even though you get the wings pre-breaded, can you find some wings that aren’t coated and cook them for me? Yeah, right. Not happening in this universe. Secondly, although I learned how to deep fry with a stockpot and a candy/frying thermometer while we were working on one of our recipes, I’m not frying on a work night and cleaning that up. So the recipe had to be baked. I started with this recipe and modified it to be dairy free, and then did a gluten-free version too, even though Mary Kate doesn’t really care for buffalo wings. The nice thing about this recipe is that you can take the cooked chicken wings and make any sauce you want and then coat them with it. So if you don’t like buffalo wings, experiment. Tell us what you used for alternate sauces.

    Easy Buffalo Wings (Dairy-free, BUT NOT gluten-free version)

    Easy Buffalo Wings (Dairy-free, BUT NOT gluten-free version)

    Wings and Coating:

    • 36 chicken wing pieces
    • 2 Tablespoons canola oil
    • 1 teaspoon salt or spicy seasoned salt, such as Penzey’s Spicy 4/S Salt or Slap Ya Mama Cajun Seasoning
    • 1 cup all-purpose flour
    • 1 teaspoon of Penzey’s Forward Seasoning (If you don’t have this, mix some black pepper, onion powder, paprika, garlic powder, and turmeric together to equal 1 teaspoon)

    Buffalo Wing Sauce:

    • 1 1/2 Tablespoons cider vinegar
    • 1/4 teaspoon cayenne pepper
    • 1/4 teaspoon crushed garlic
    • 1/4 teaspoon Worcestershire sauce
    • 1 teaspoon Tabasco sauce
    • 1/4 teaspoon salt
    • 6 Tablespoons Frank’s Red Hot
    • 6 Tablespoons Earth Balance Soy Free Vegan margarine
    Wings Coated on Baking Sheet
    Cooked Wings on Baking Sheet

    Preheat oven to 425 degrees F.  In a bowl toss the wings with the oil, and salt. Place flour and Forward seasoning into a gallon zip lock bag and seal closed.  Shake to evenly distribute flour and Forward seasoning.  Add a few wing pieces and shake to coat evenly. Remove wings from the bag, shaking off excess flour, and spread out evenly on oiled baking pan(s). Do not crowd. Repeat until all wings are coated. Bake for about 20-25 minutes, turn the wings over, and cook another 20-25 minutes, or until the wings are cooked through and browned.

    Sauce Ingredients in Saucepan
    Completed Buffalo Sauce

    While the wings are baking, mix all the ingredients for the sauce in a pan, and over low heat bring to a simmer, stirring occasionally, and then turn off.

    (more…)