Notice: Function _load_textdomain_just_in_time was called incorrectly. Translation loading for the wp-ultimate-recipe domain was triggered too early. This is usually an indicator for some code in the plugin or theme running too early. Translations should be loaded at the init action or later. Please see Debugging in WordPress for more information. (This message was added in version 6.7.0.) in /home/maryzahc/public_html/adultfoodallergies.com/wp-includes/functions.php on line 6131 Baked Goods – surviving the food allergy apocalypse (archive)
Baked goods, noun: Recipes which would normally contain wheat flour, eggs, and dairy, which would be especially problematic for those with multiple food allergies. These recipes will not contain dairy, eggs, gluten, wheat or hazelnuts. If we use a top 8 allergen, we will use a tag warning of its use.
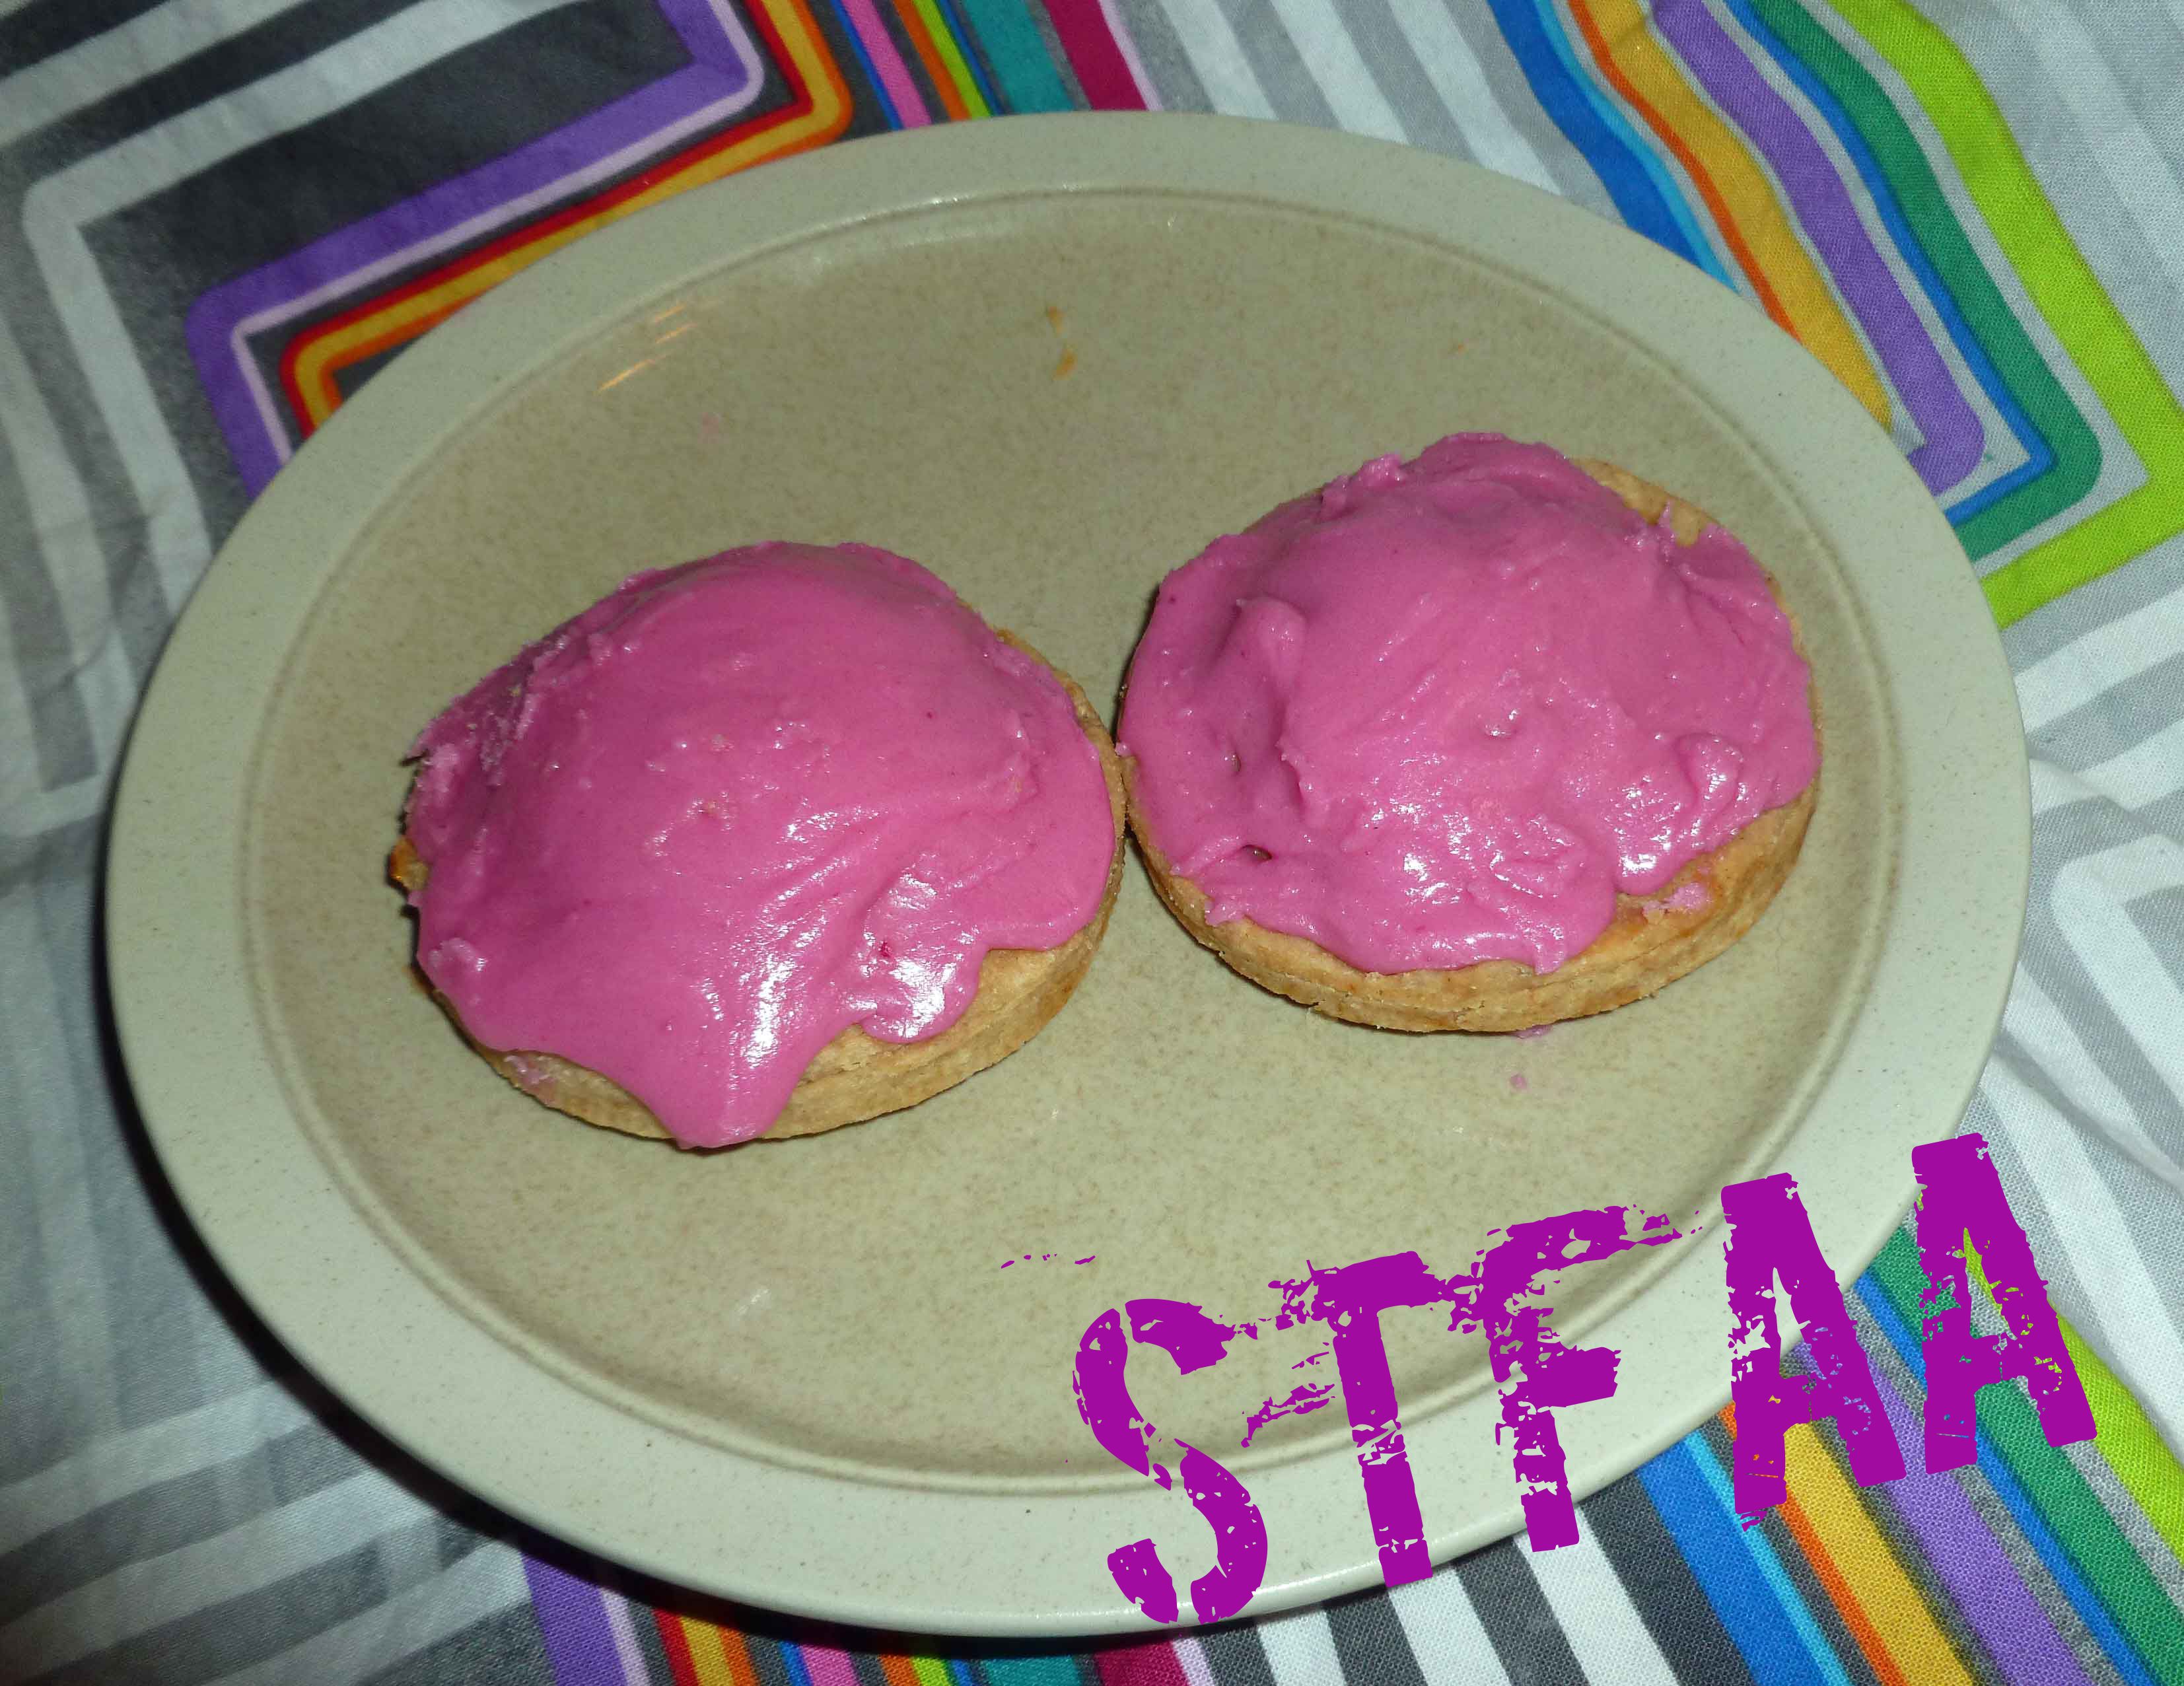
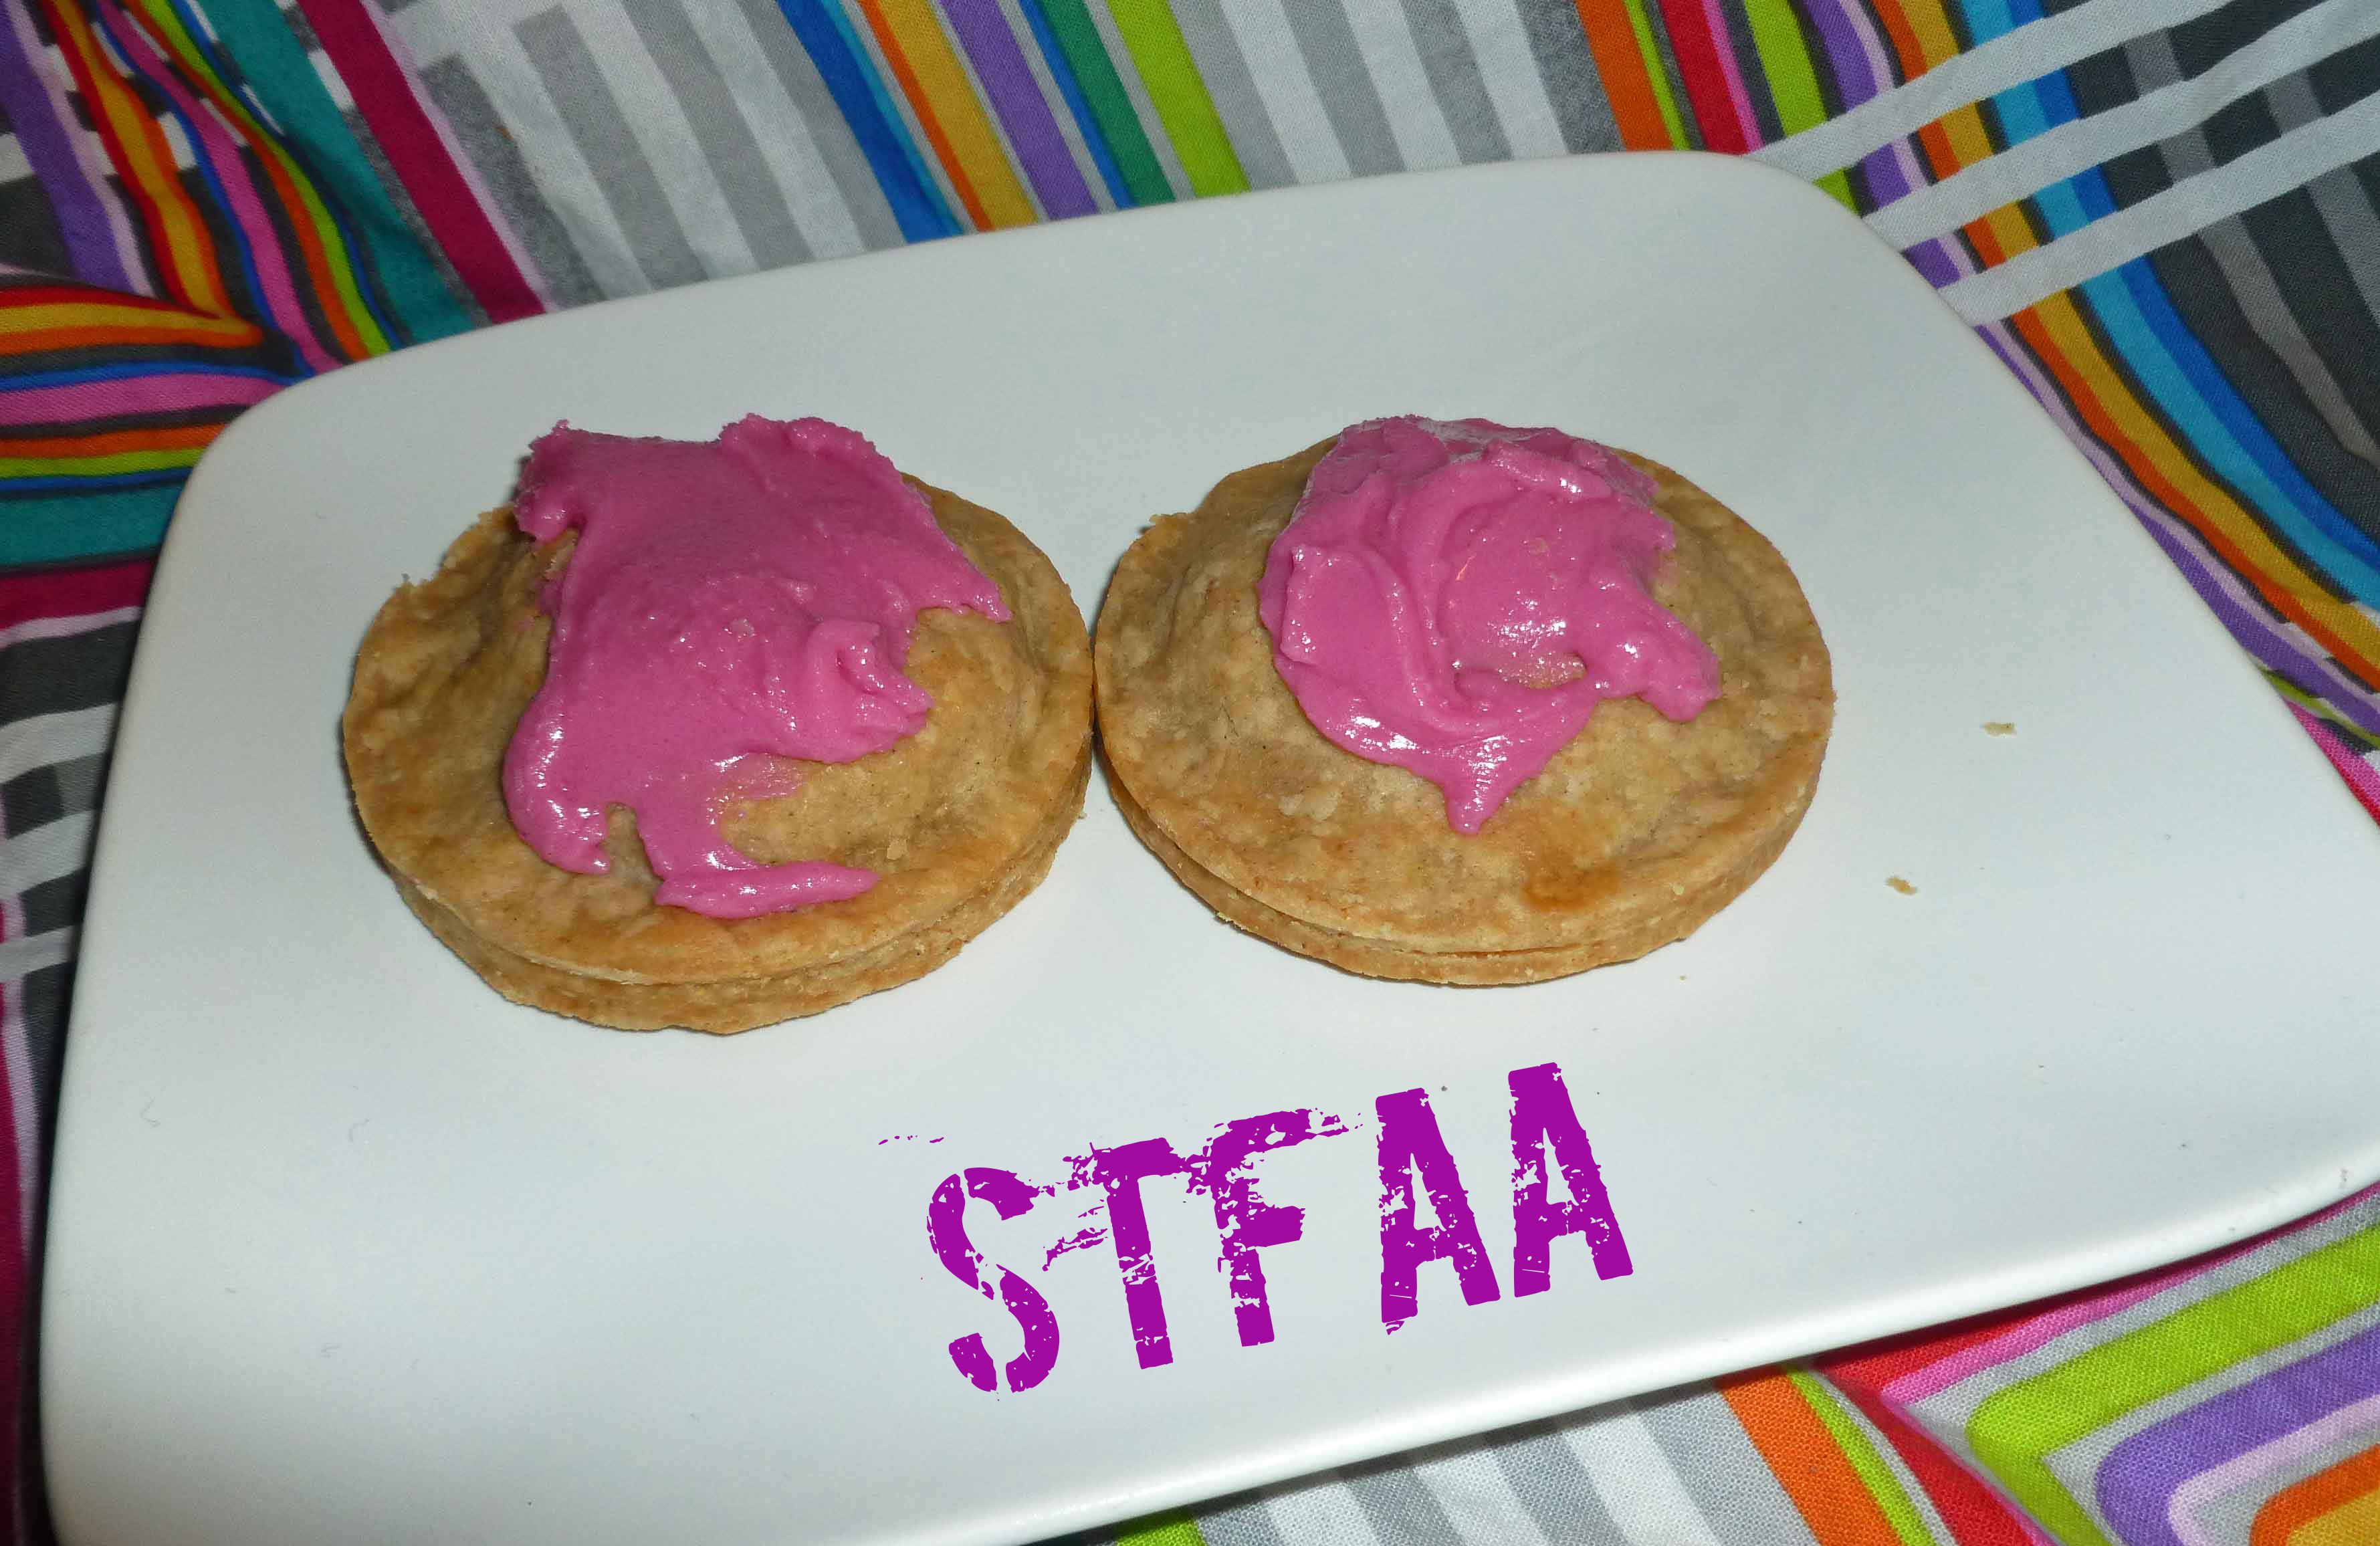
Gluten-Free No-Toaster Pastries with Frosting (decorated by my father-in-law)
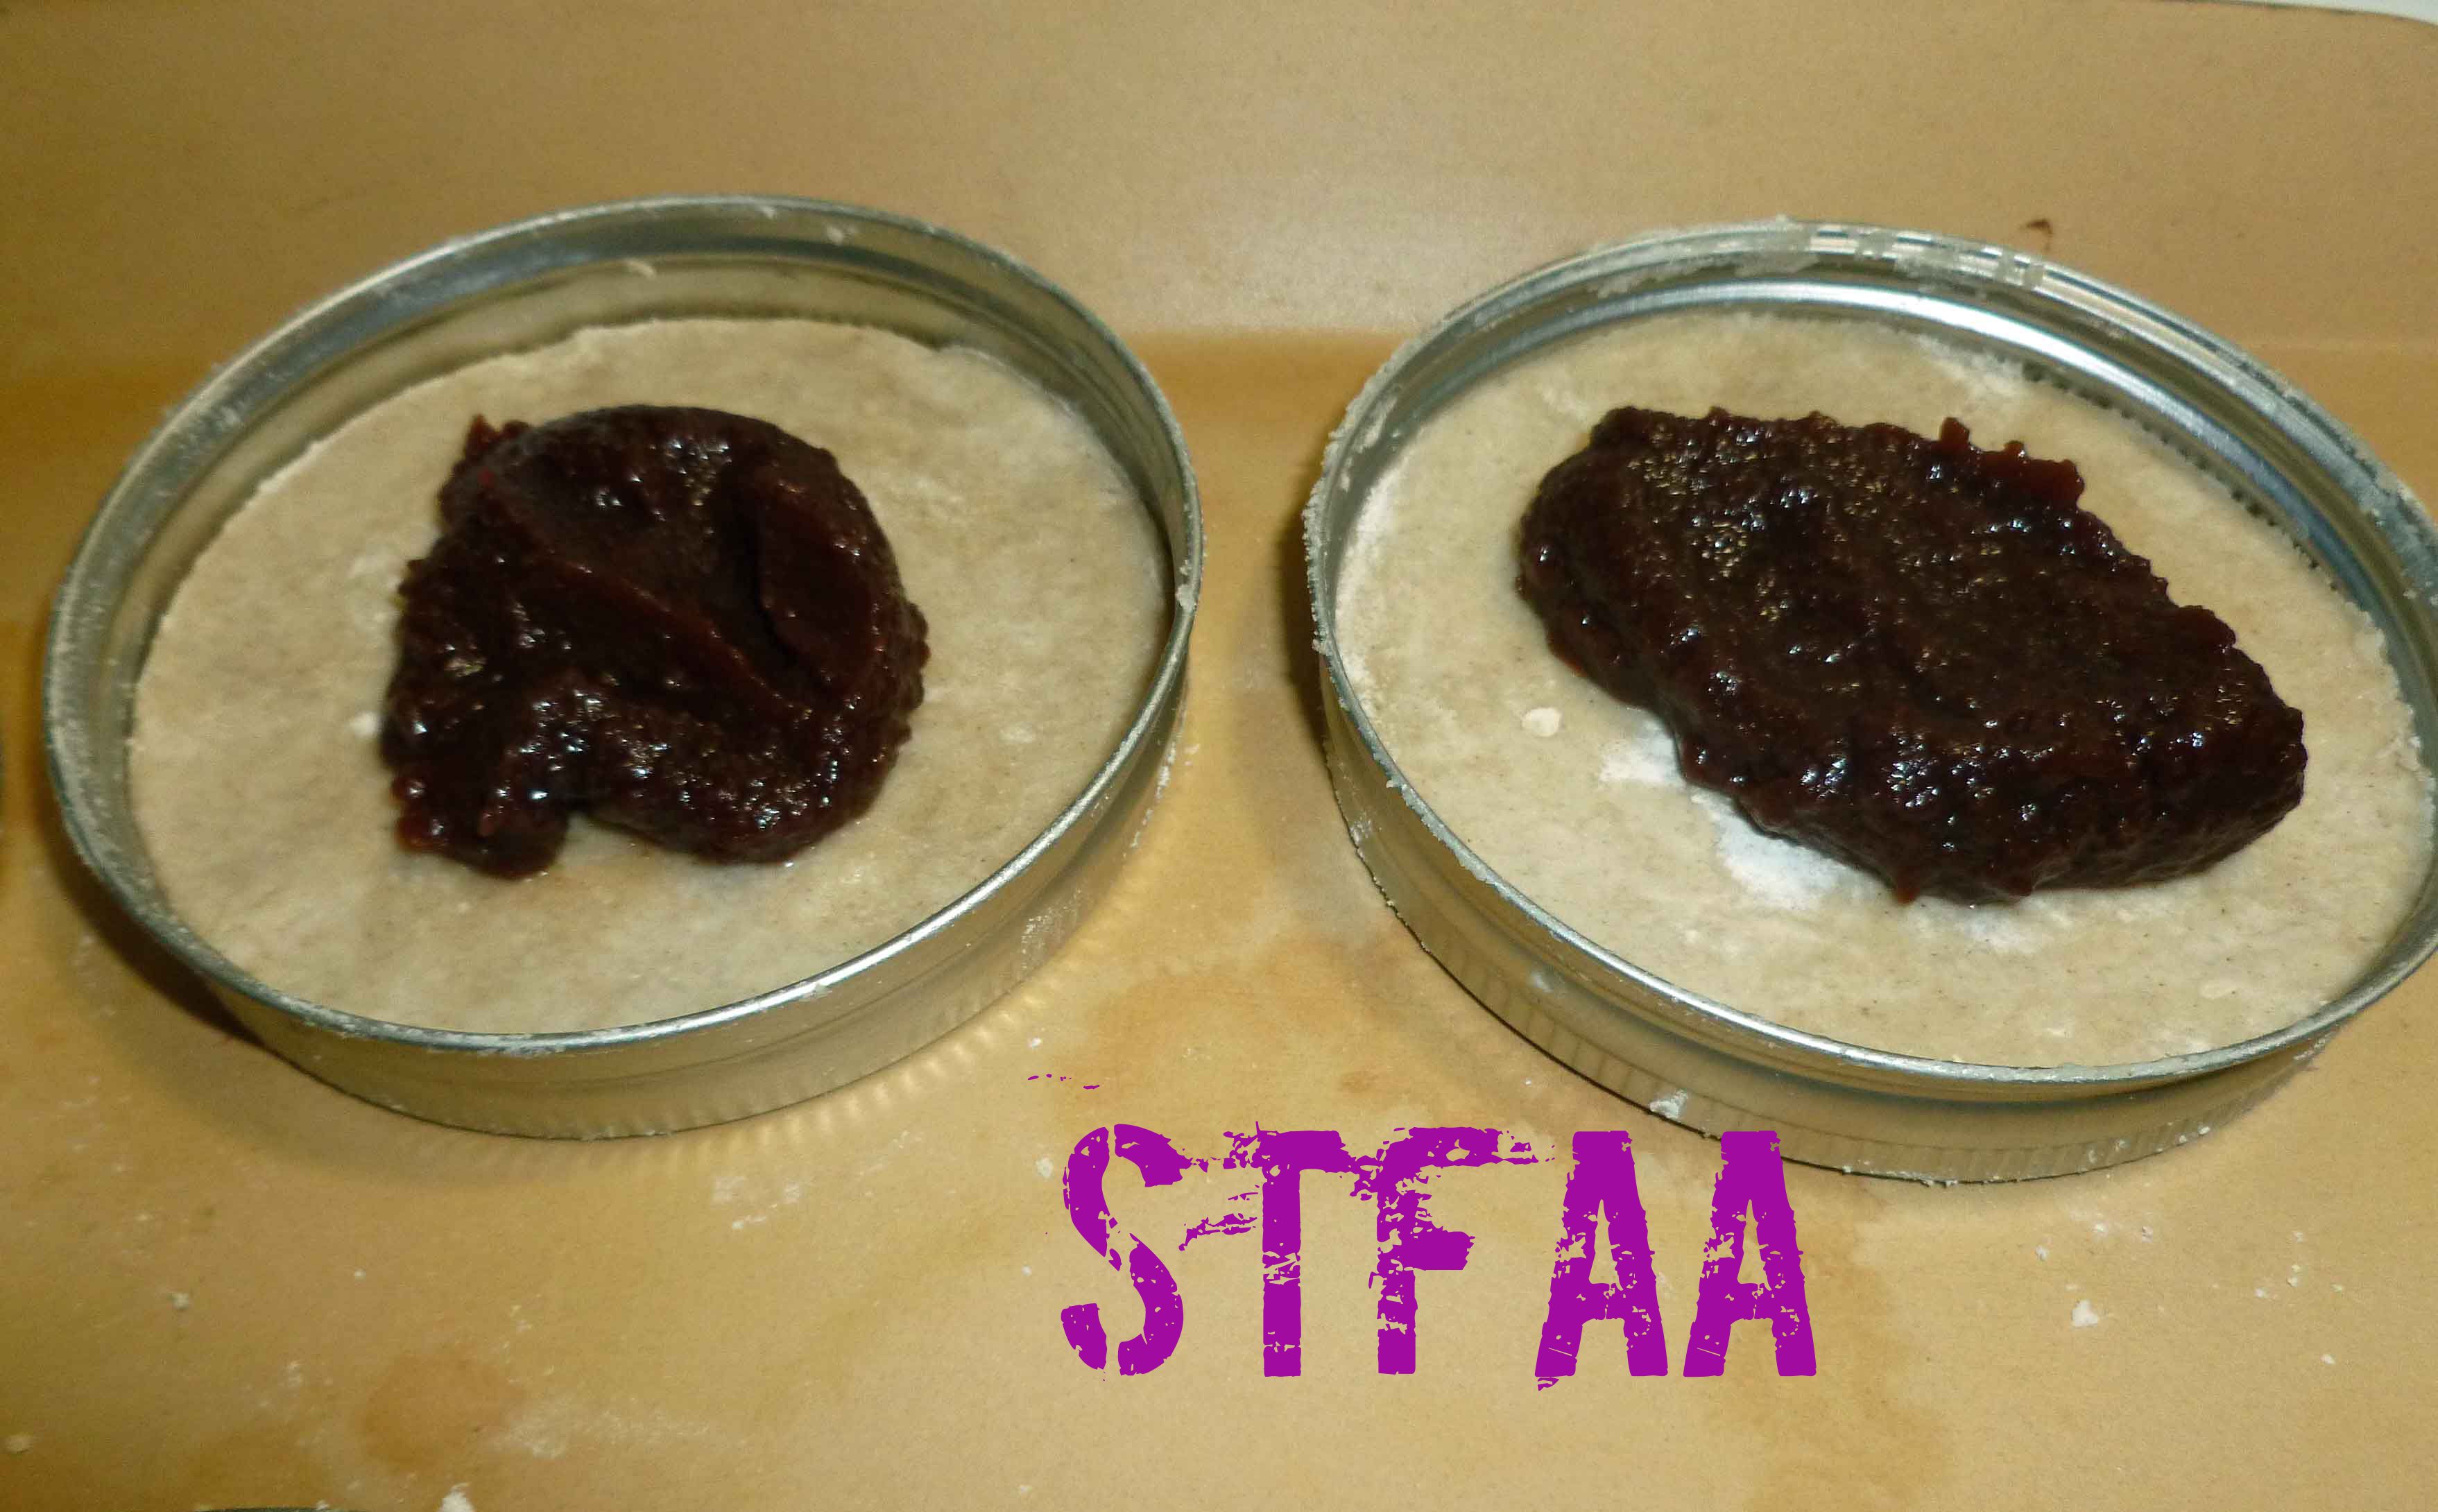
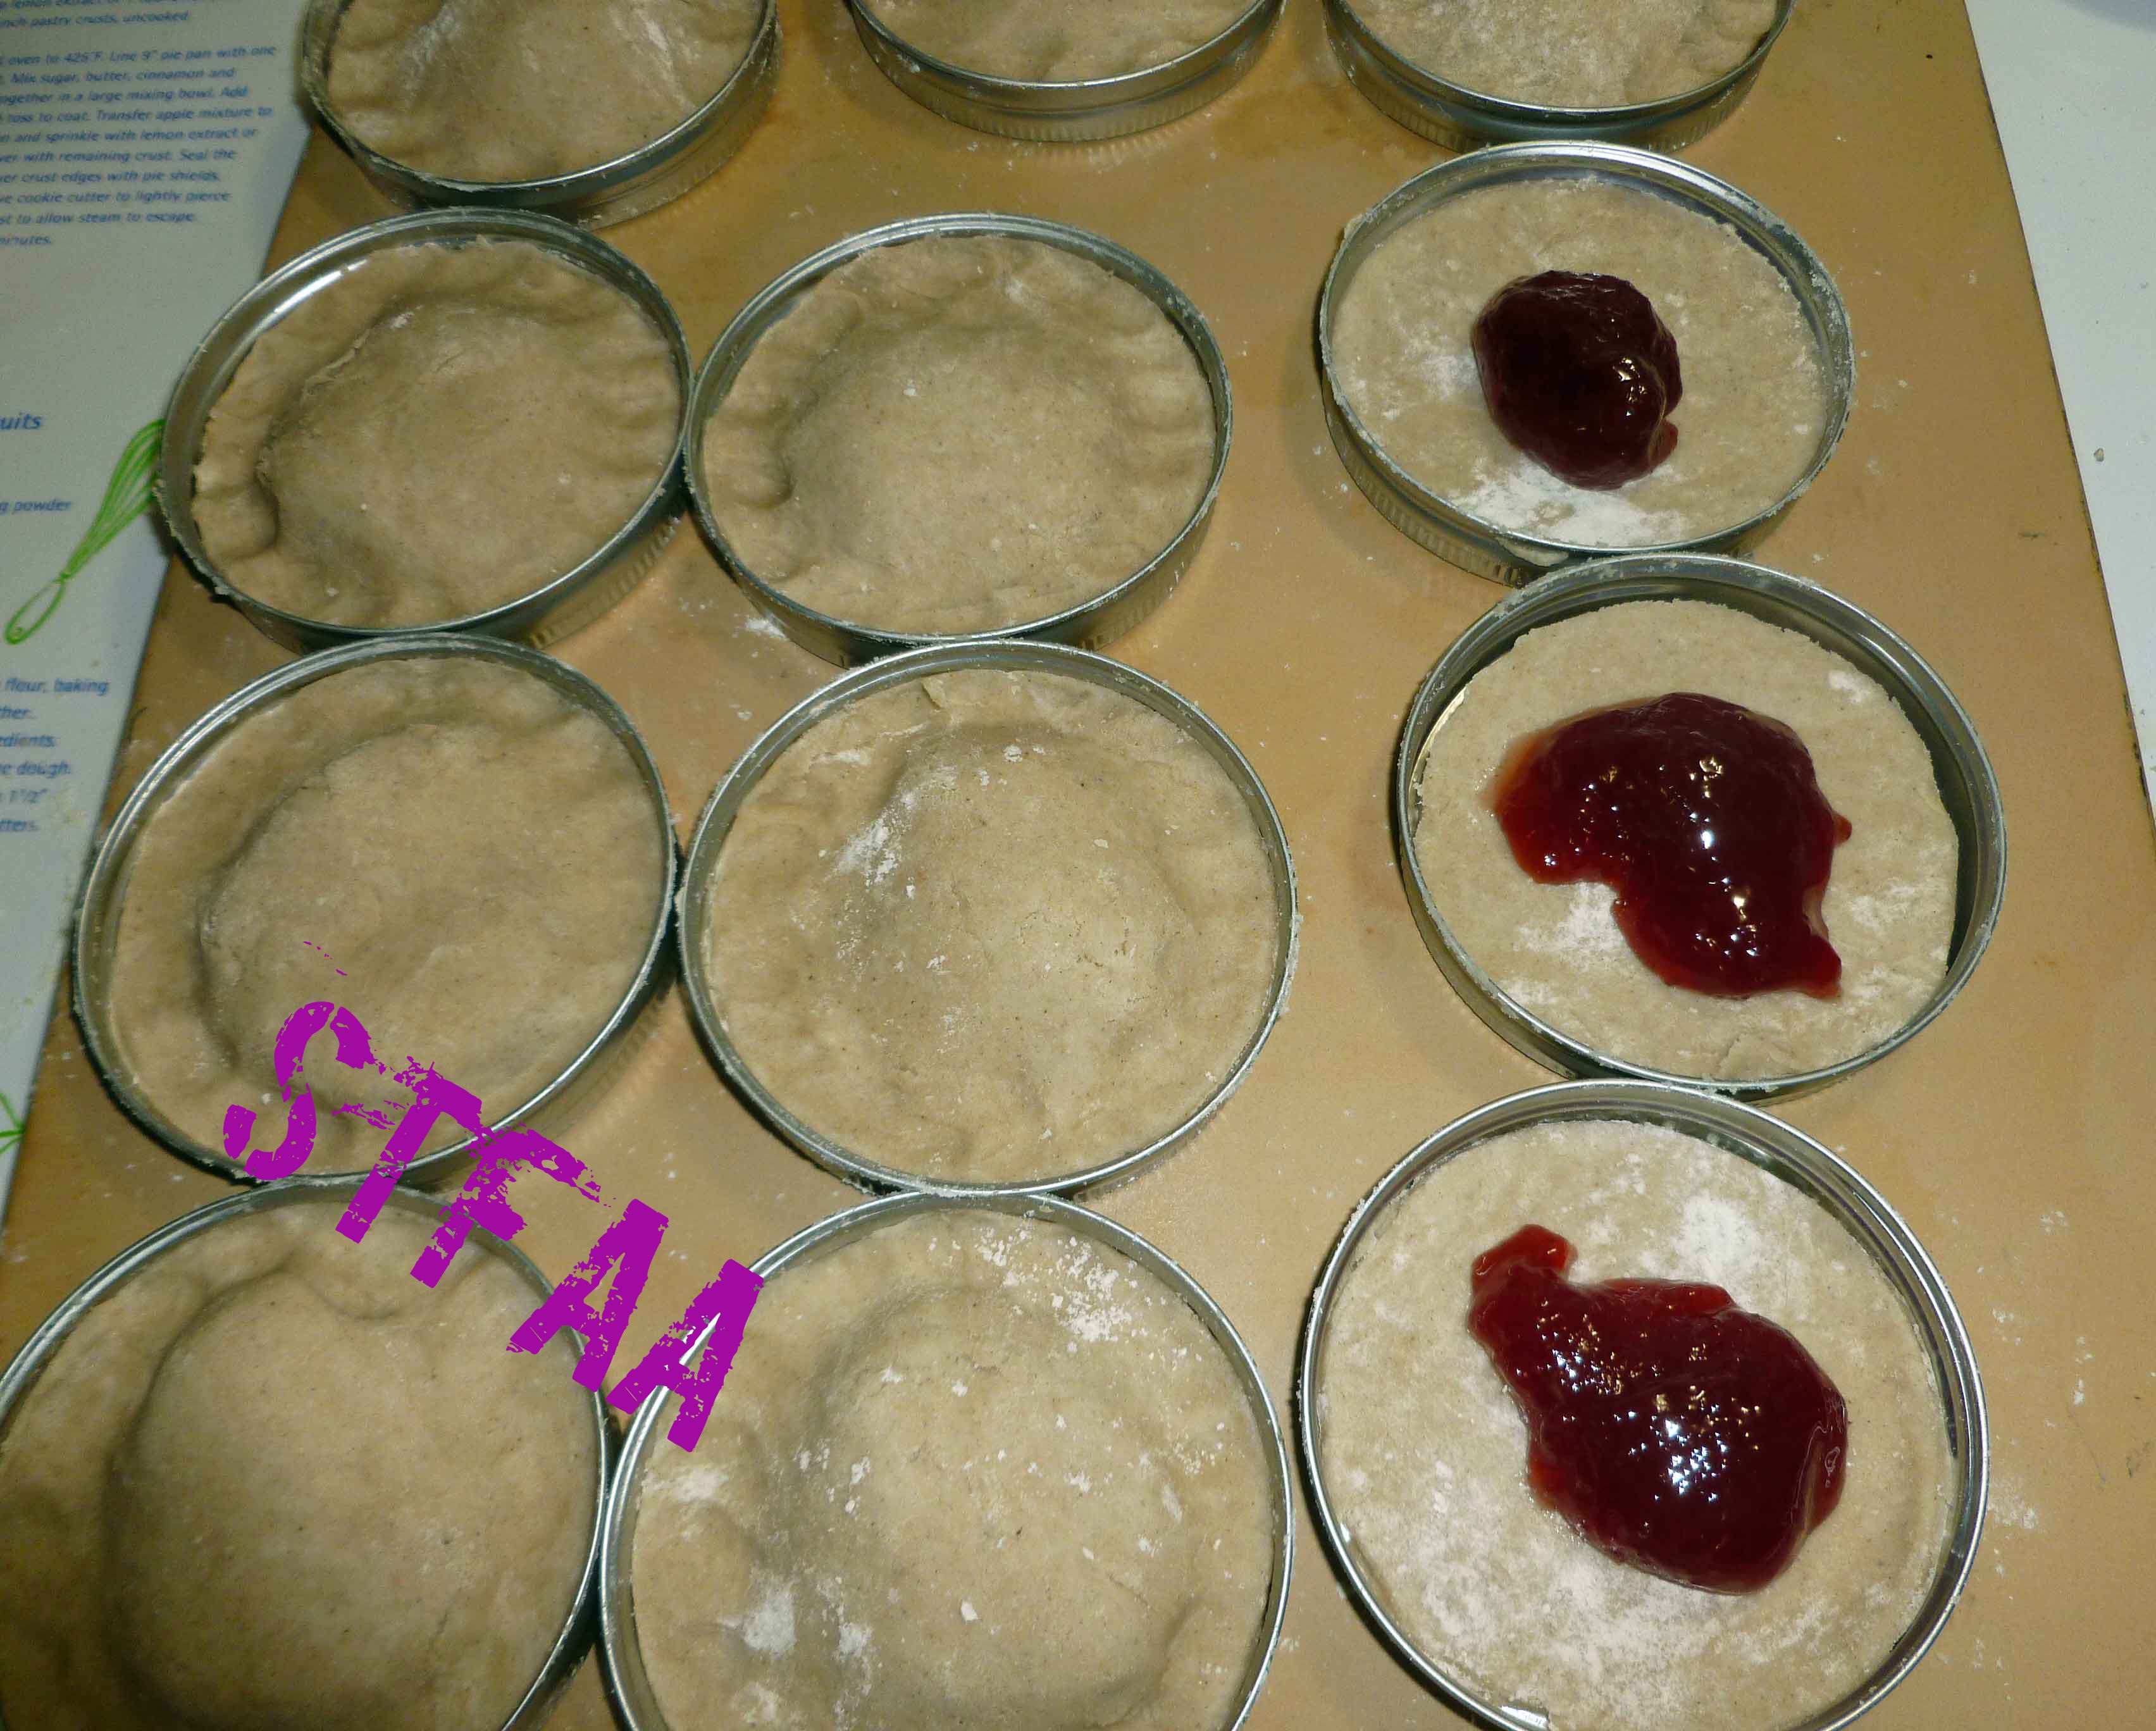
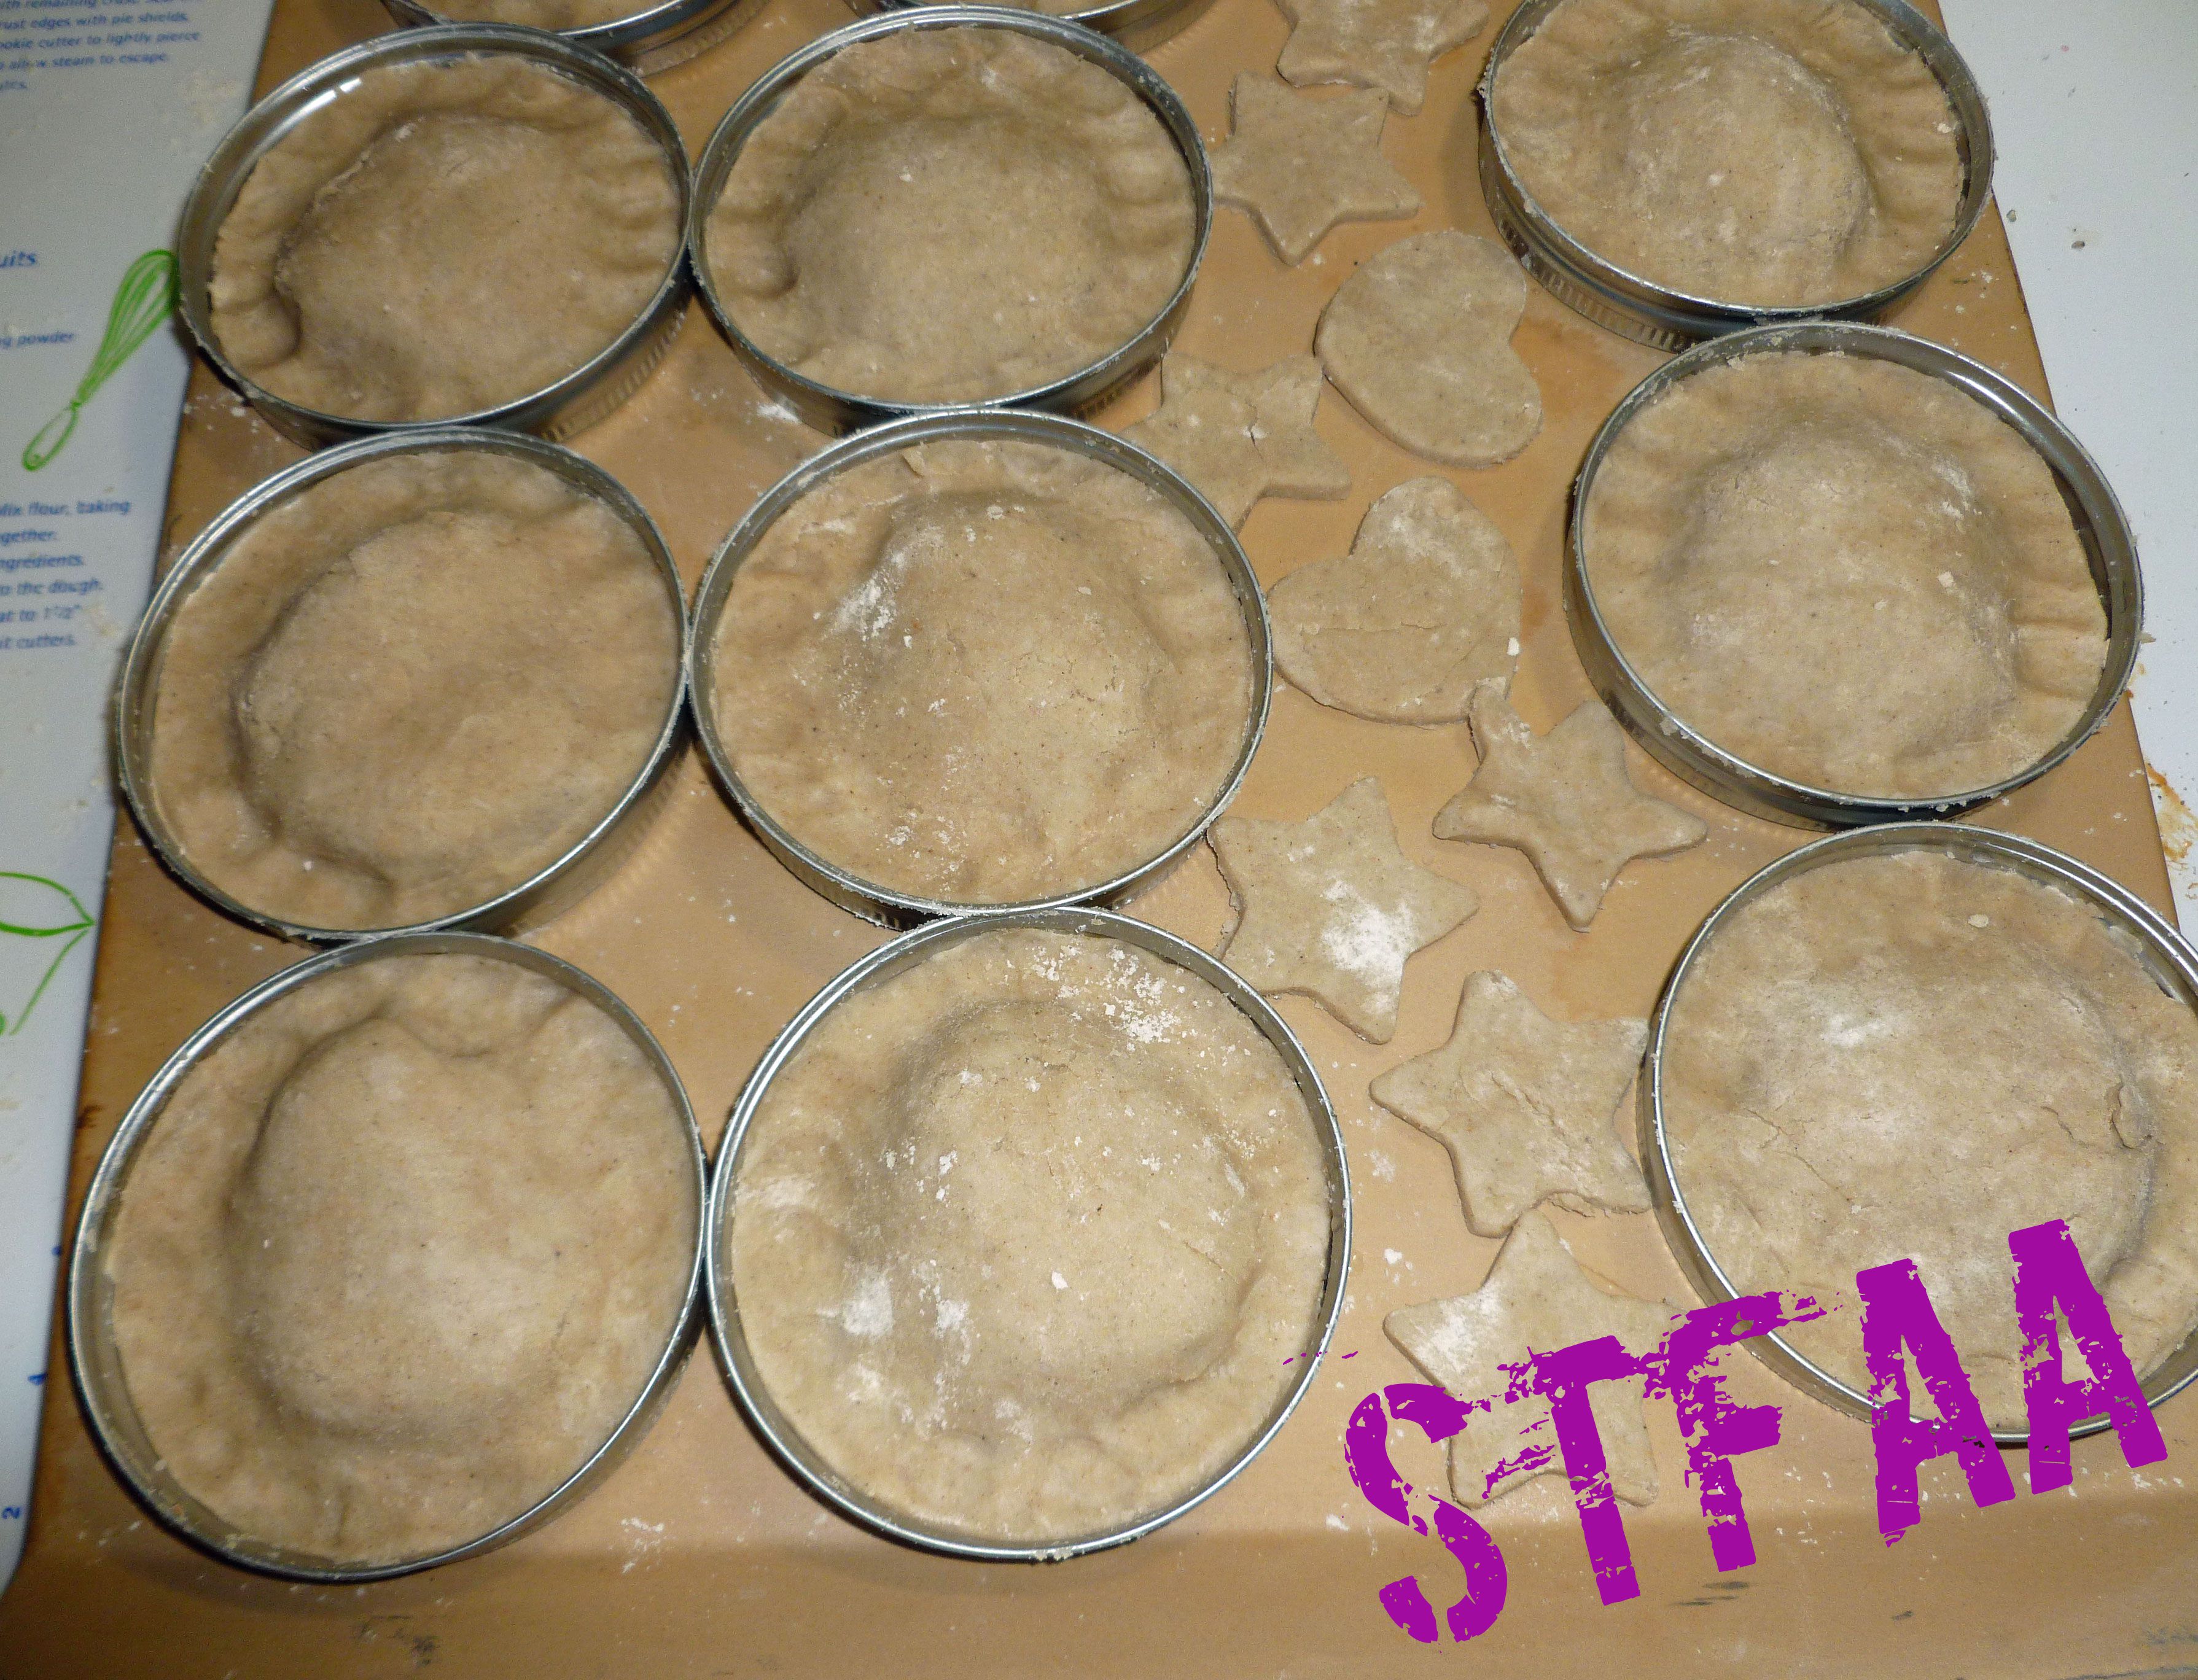
It’s still comfort food month. Trying to find foods that are comforting that are safe is kind of hard. In the long, long ago before food allergies, I ate a lot of PopTarts. I ate them when I was too tired, too sick or too aggravated to cook. I ate them for breakfast frequently so that I didn’t have to get up early enough to plan or deal with breakfast. Half the time I didn’t even toast them, but just nuked them in the microwave on a paper towel. And I pretty much only ate the strawberry with frosting PopTarts, which are pretty much the devil for me now, given the wheat and the number of corn ingredients in them. Since I made a lot of jams and preserves during the apple apocalypse harvest here, I decided to use some to make a No-Toaster Pastry, as I has already worked out frosting and pie crust in earlier posts. I picked out some jams and fruit butters, made pie crust, rolled everything out and got them stuffed and ready, and then my oven died. So we ended up at Shawn’s parents to use their oven and I got help from my father-in-law with decorating.
You need to make them in the oven, hence the name, as the generic version of PopTart is toaster pastry, and that doesn’t work because you can’t warm them up in the toaster because of the frosting. So yeah, a bit of a misnomer, so I fixed it. You can use whatever jam or fruit butter you prefer. We used apple butter, apple plum butter, and Nankin cherry jam that I had made.
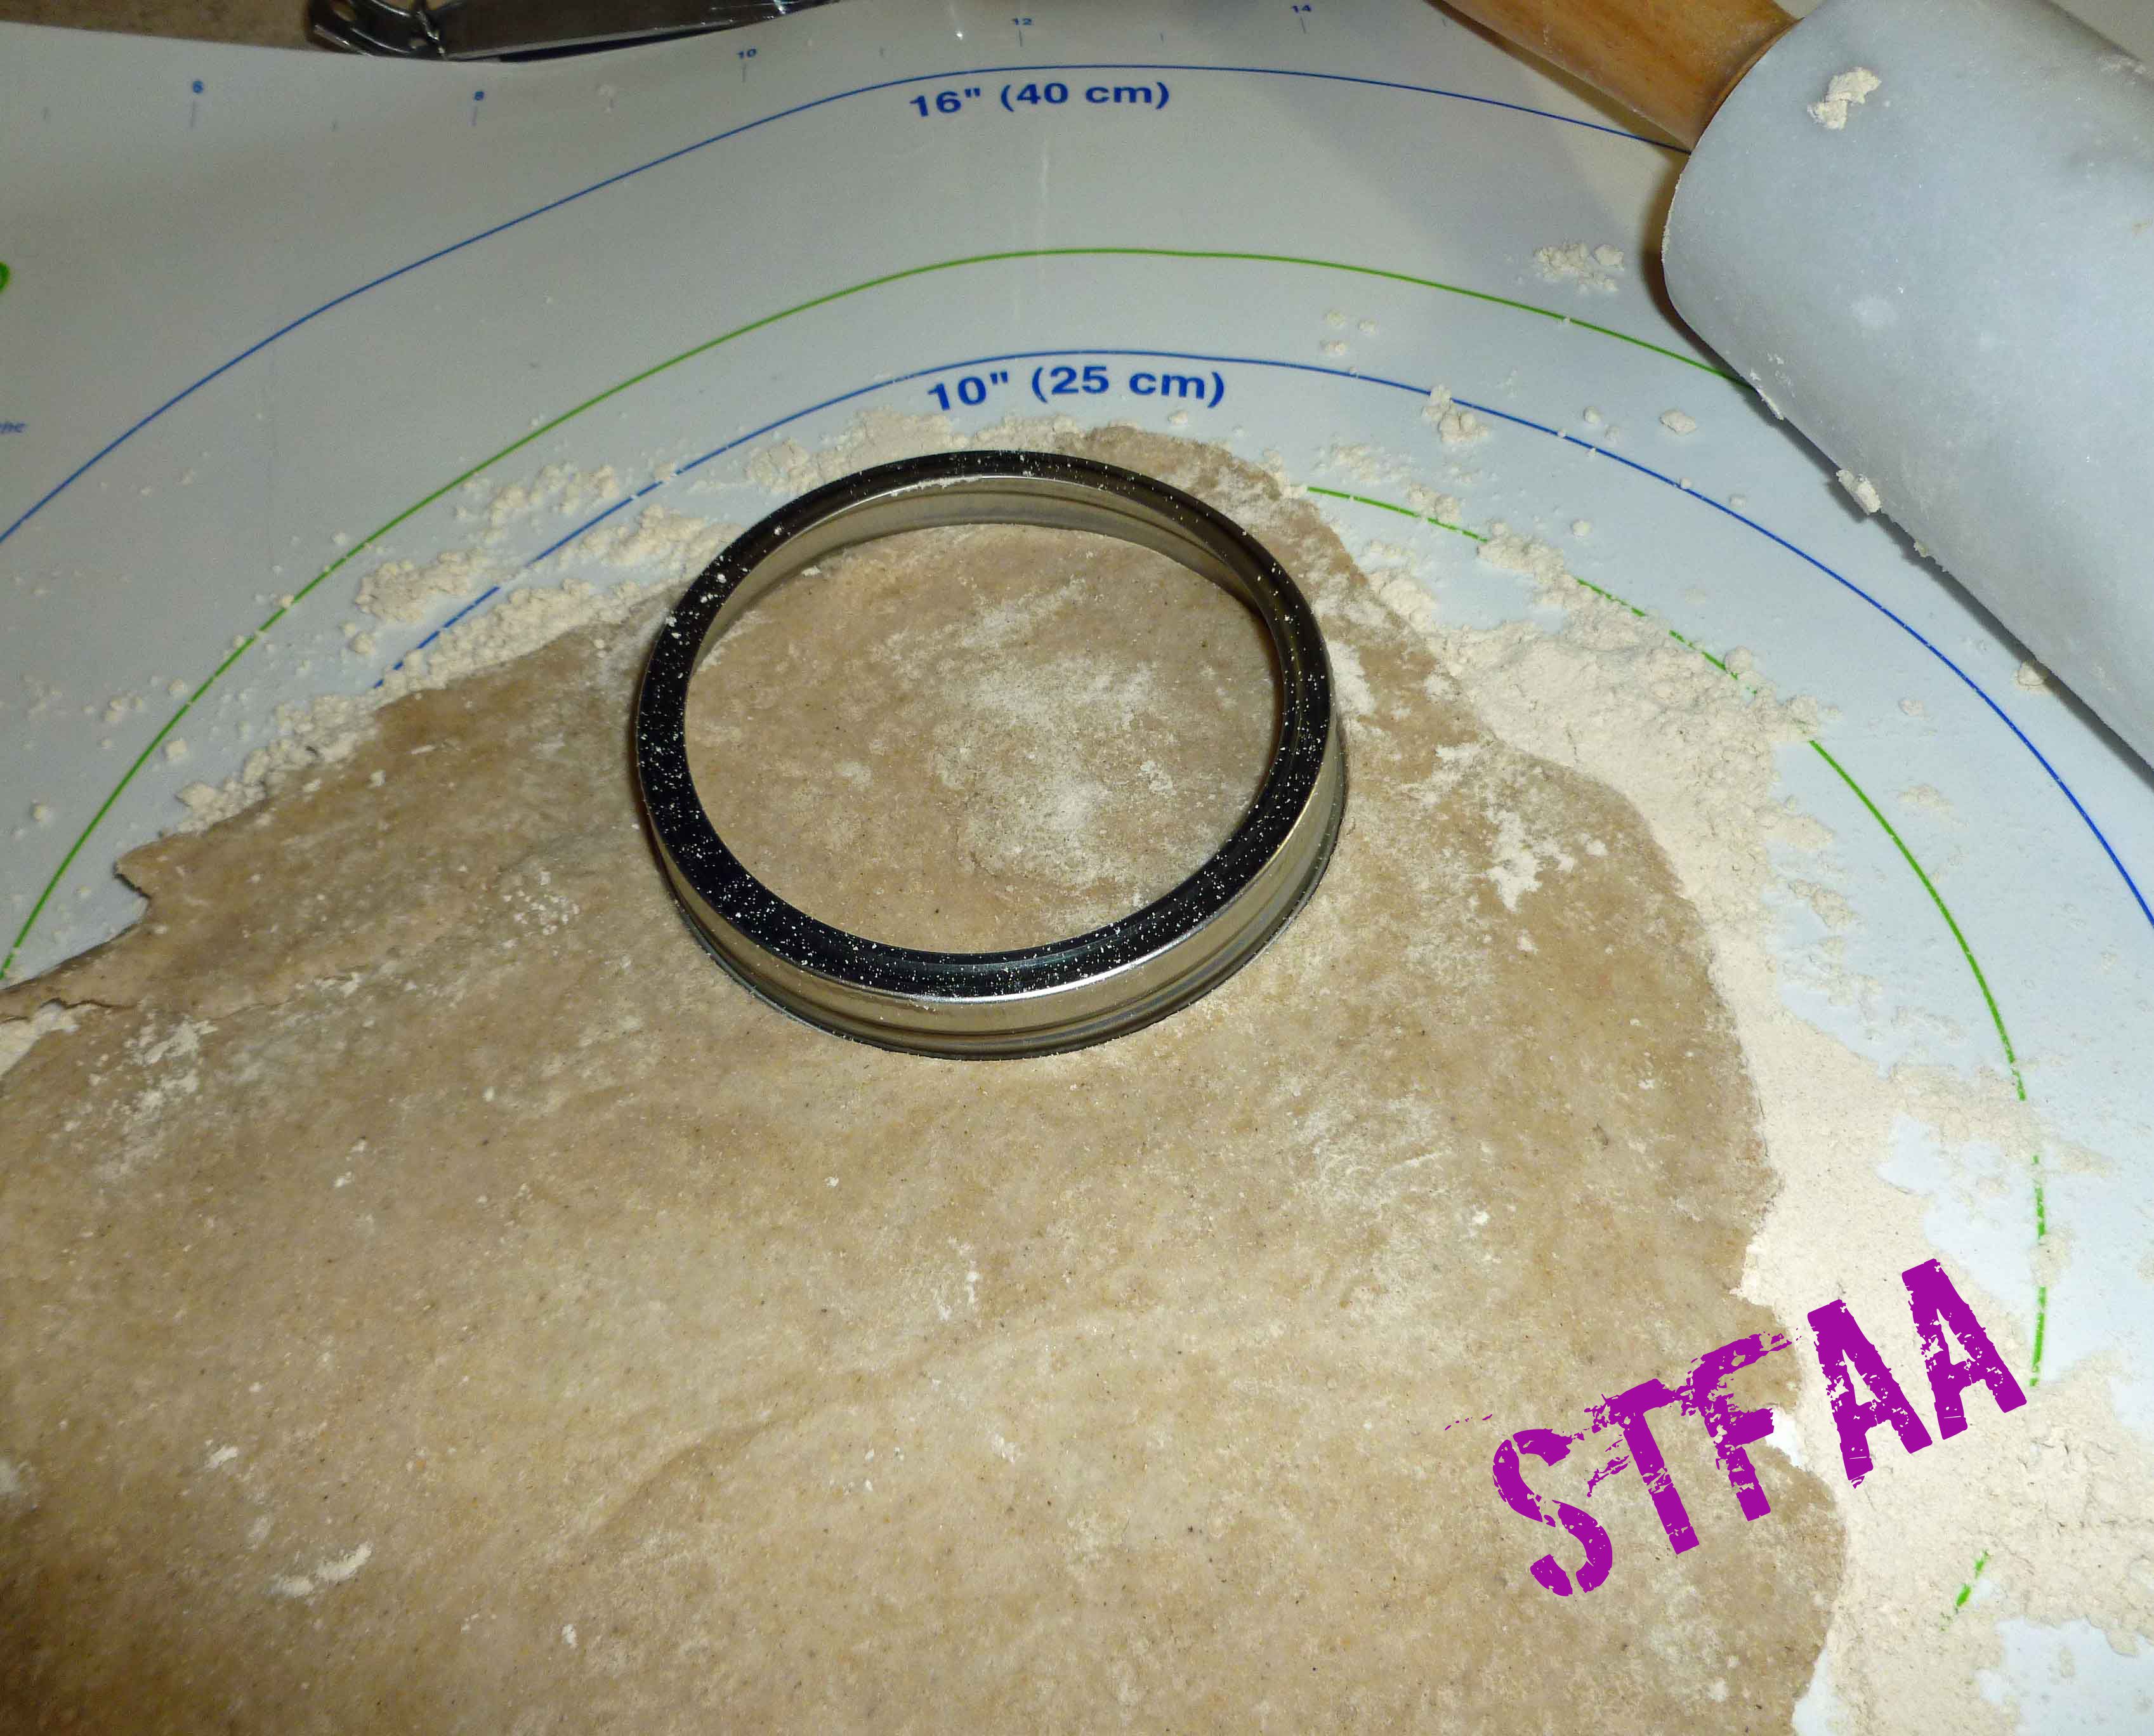
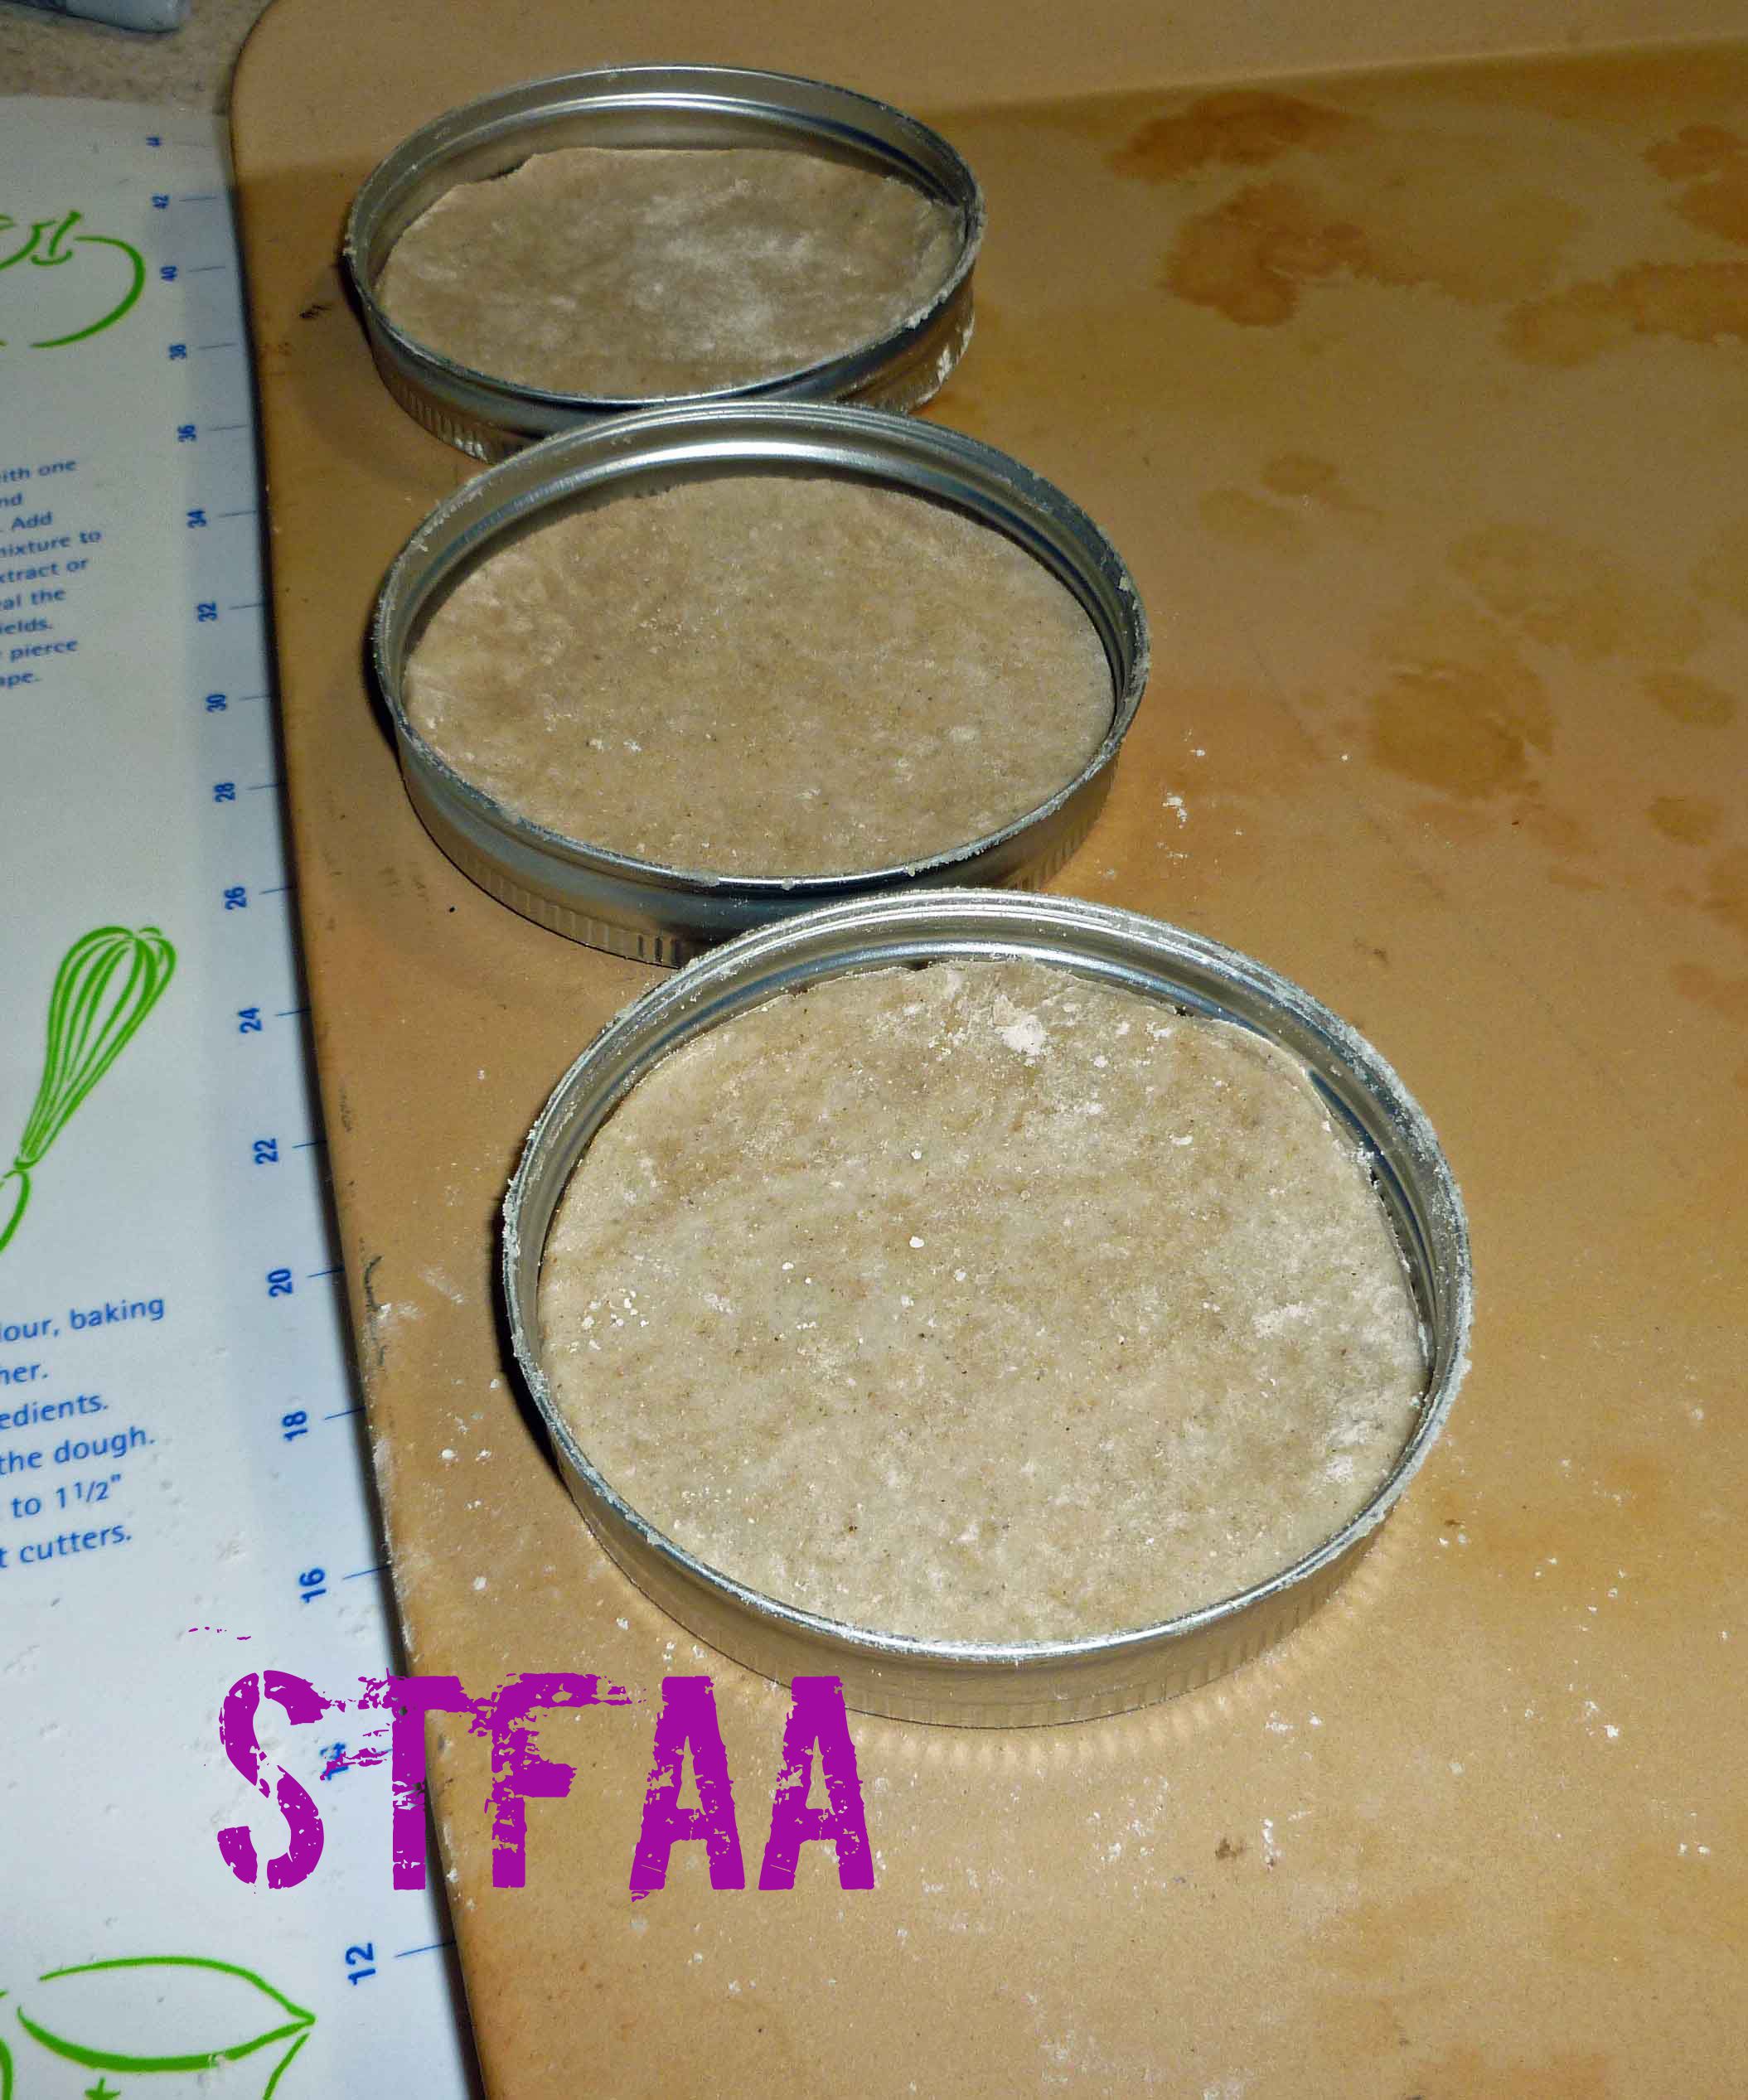
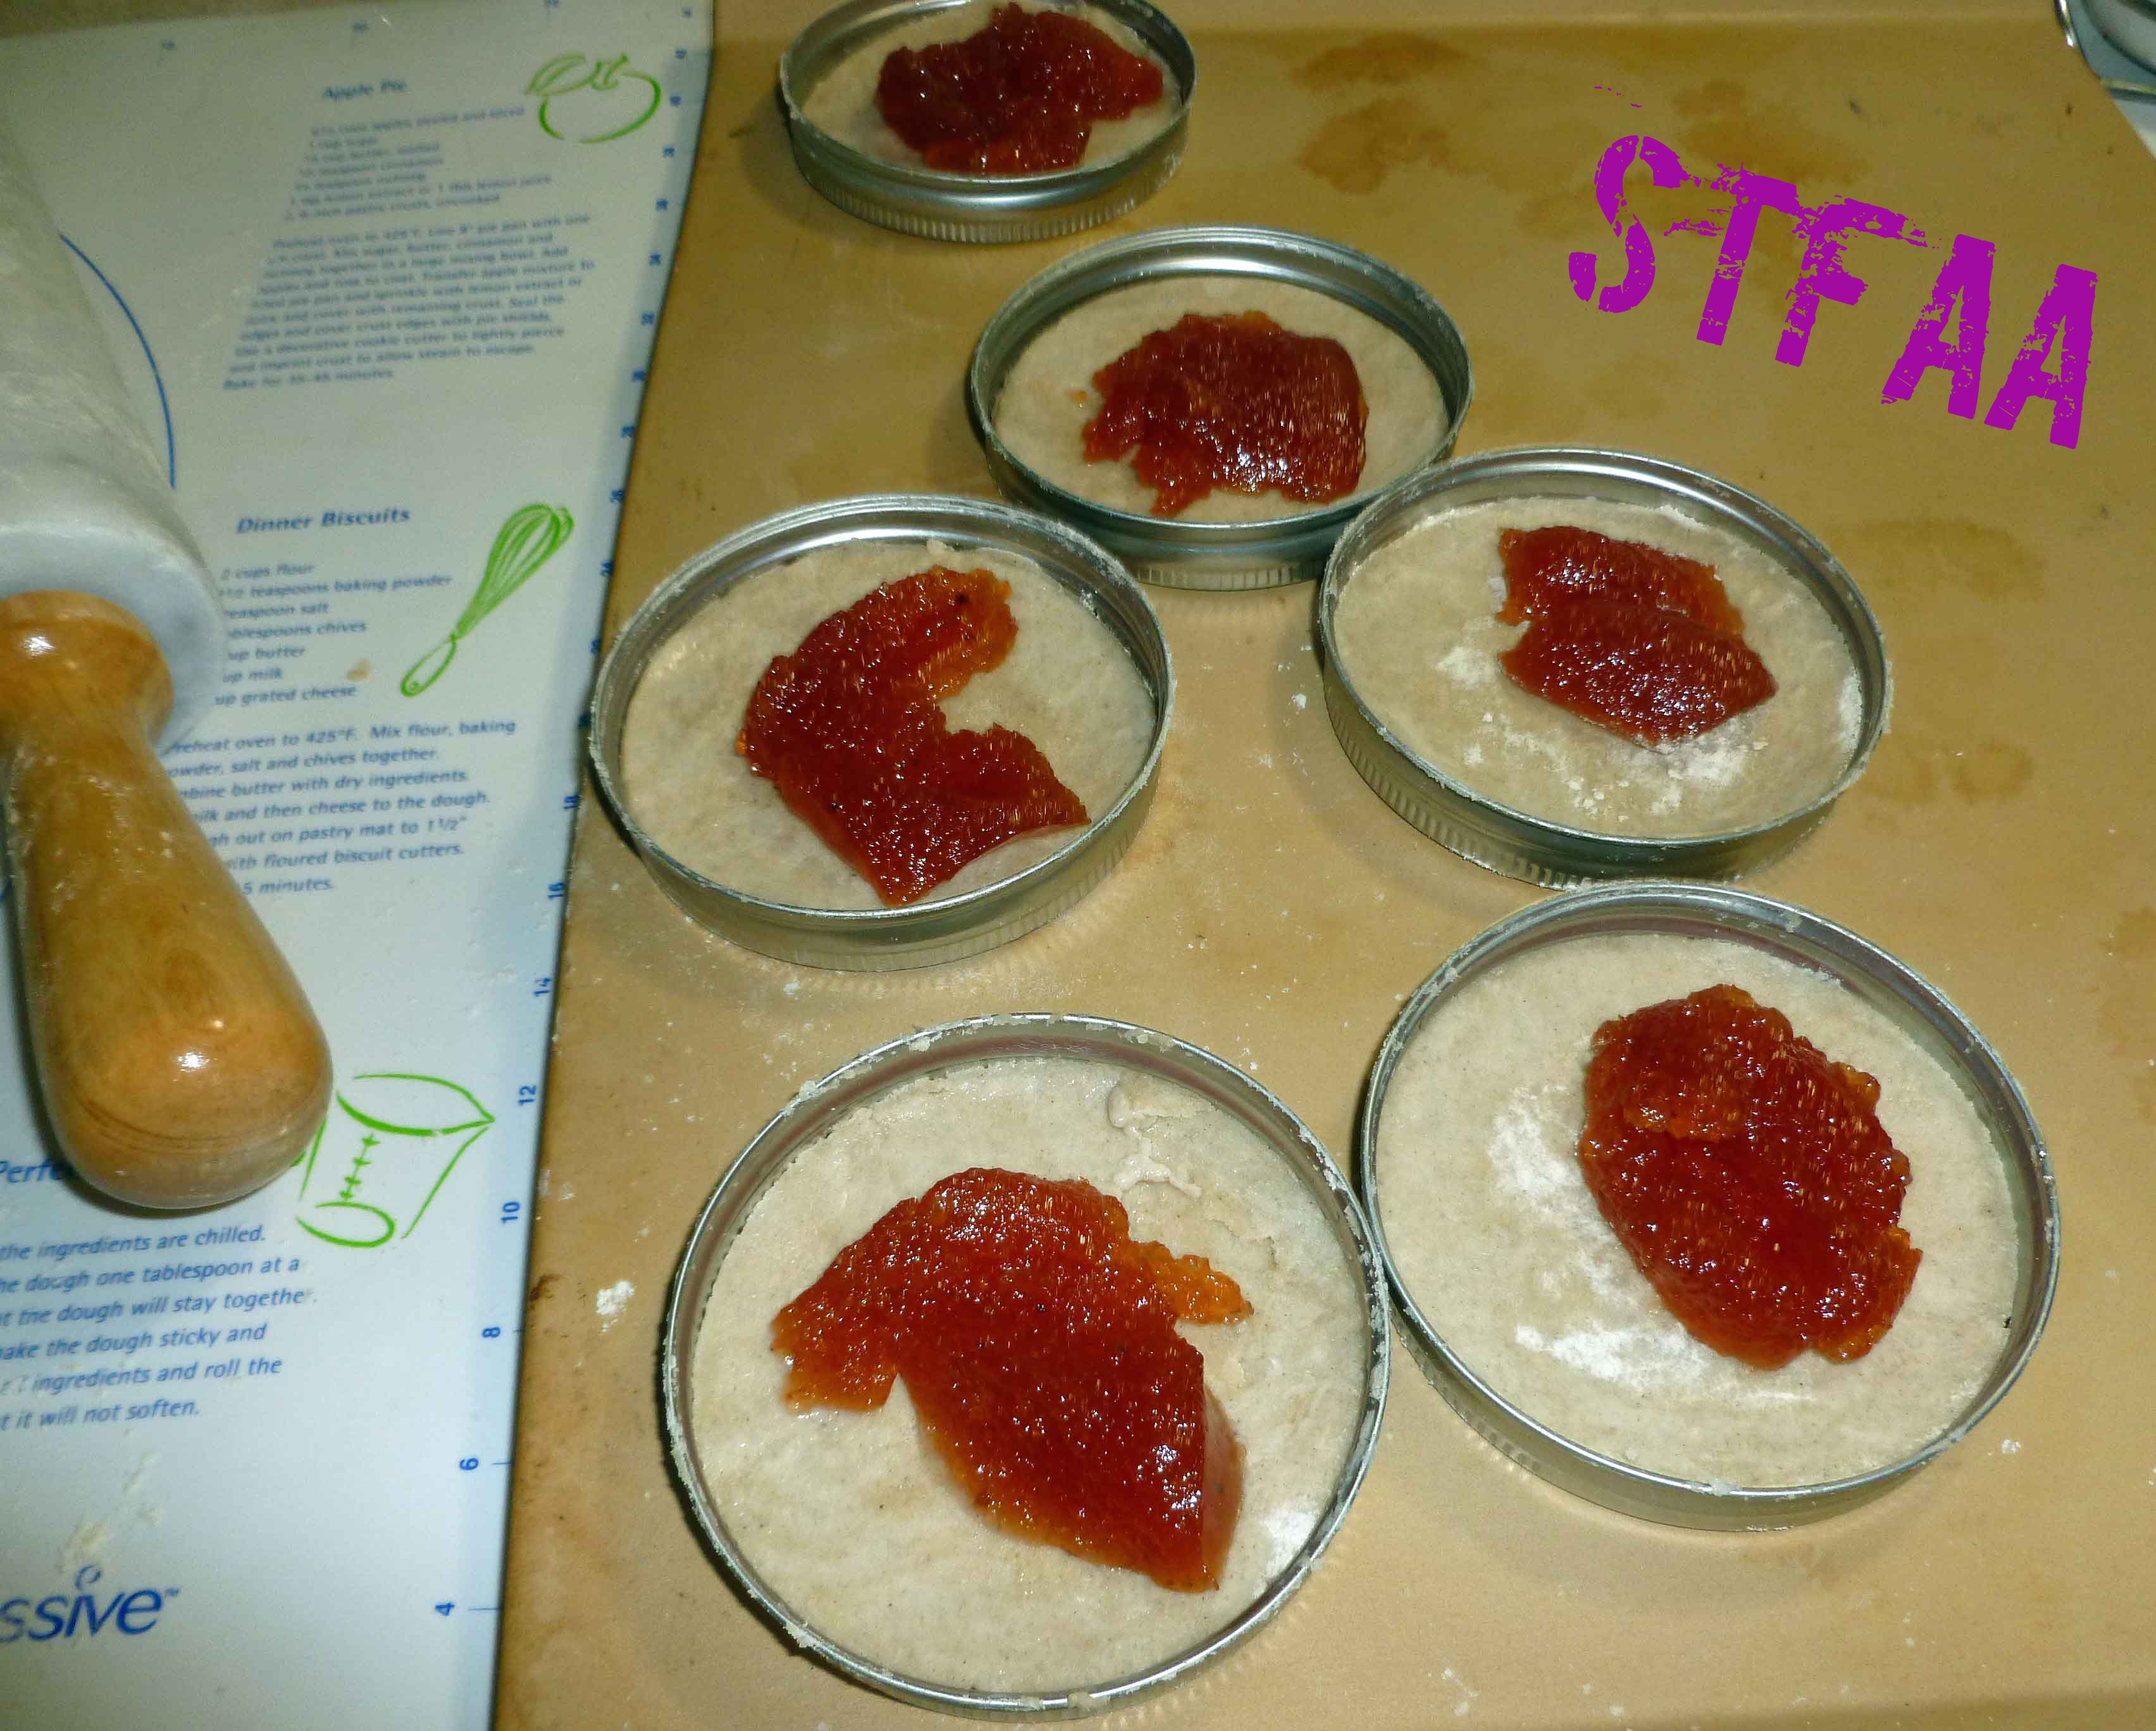
Using a canning ring to cut the bottom crustThe bottom crust in the canning ring as a tart panAdding the filling (apple plum butter)Adding the filling (apple butter)Some completed pastries and adding the filling (Nankin cherry jam)Gluten-free No-Toaster Pastries ready to bakeGluten-free No-Toaster Pastries with Frosting (frosted by Denise)Our new chief decorator, Brian, Denise’s father-in-lawGluten-Free No-Toaster Pastries with Frosting
Gluten-free No-Toaster Pastries with Frosting
Print Recipe
A homemade version of the ubiquitous toaster pastry, except not using the toaster.
8ounce jarjam, preserve, or fruit butter of your choice(jellies don’t work as they leak out)
Pink Royal Frosting
1 1/4cups powdered sugar(if you are allergic to corn, you can make your own with 2 cups of sugar, a tablespoon of tapioca starch, and a blender)
1/2teaspoon vanilla extract(I make my own with vanilla beans and vodka made from potatoes, as most commercial extract contains corn)
1Tablespoonaquafaba
1teaspoonbeet puree(To make puree, either use canned or fresh cooked beets and puree them in a blender with a bit of cooking liquid)
Equipment
12wide mouth canning rings
Servings: pastries
Instructions
Making Crust Dough
In a large bowl, whisk together the sorghum flour, the cassava flour, arrowroot starch, millet flour, and salt, until they are thoroughly mixed.
Using a pastry blender or a fork, cut in the lard or vegetable shortening until the mixture looks like crumbs.
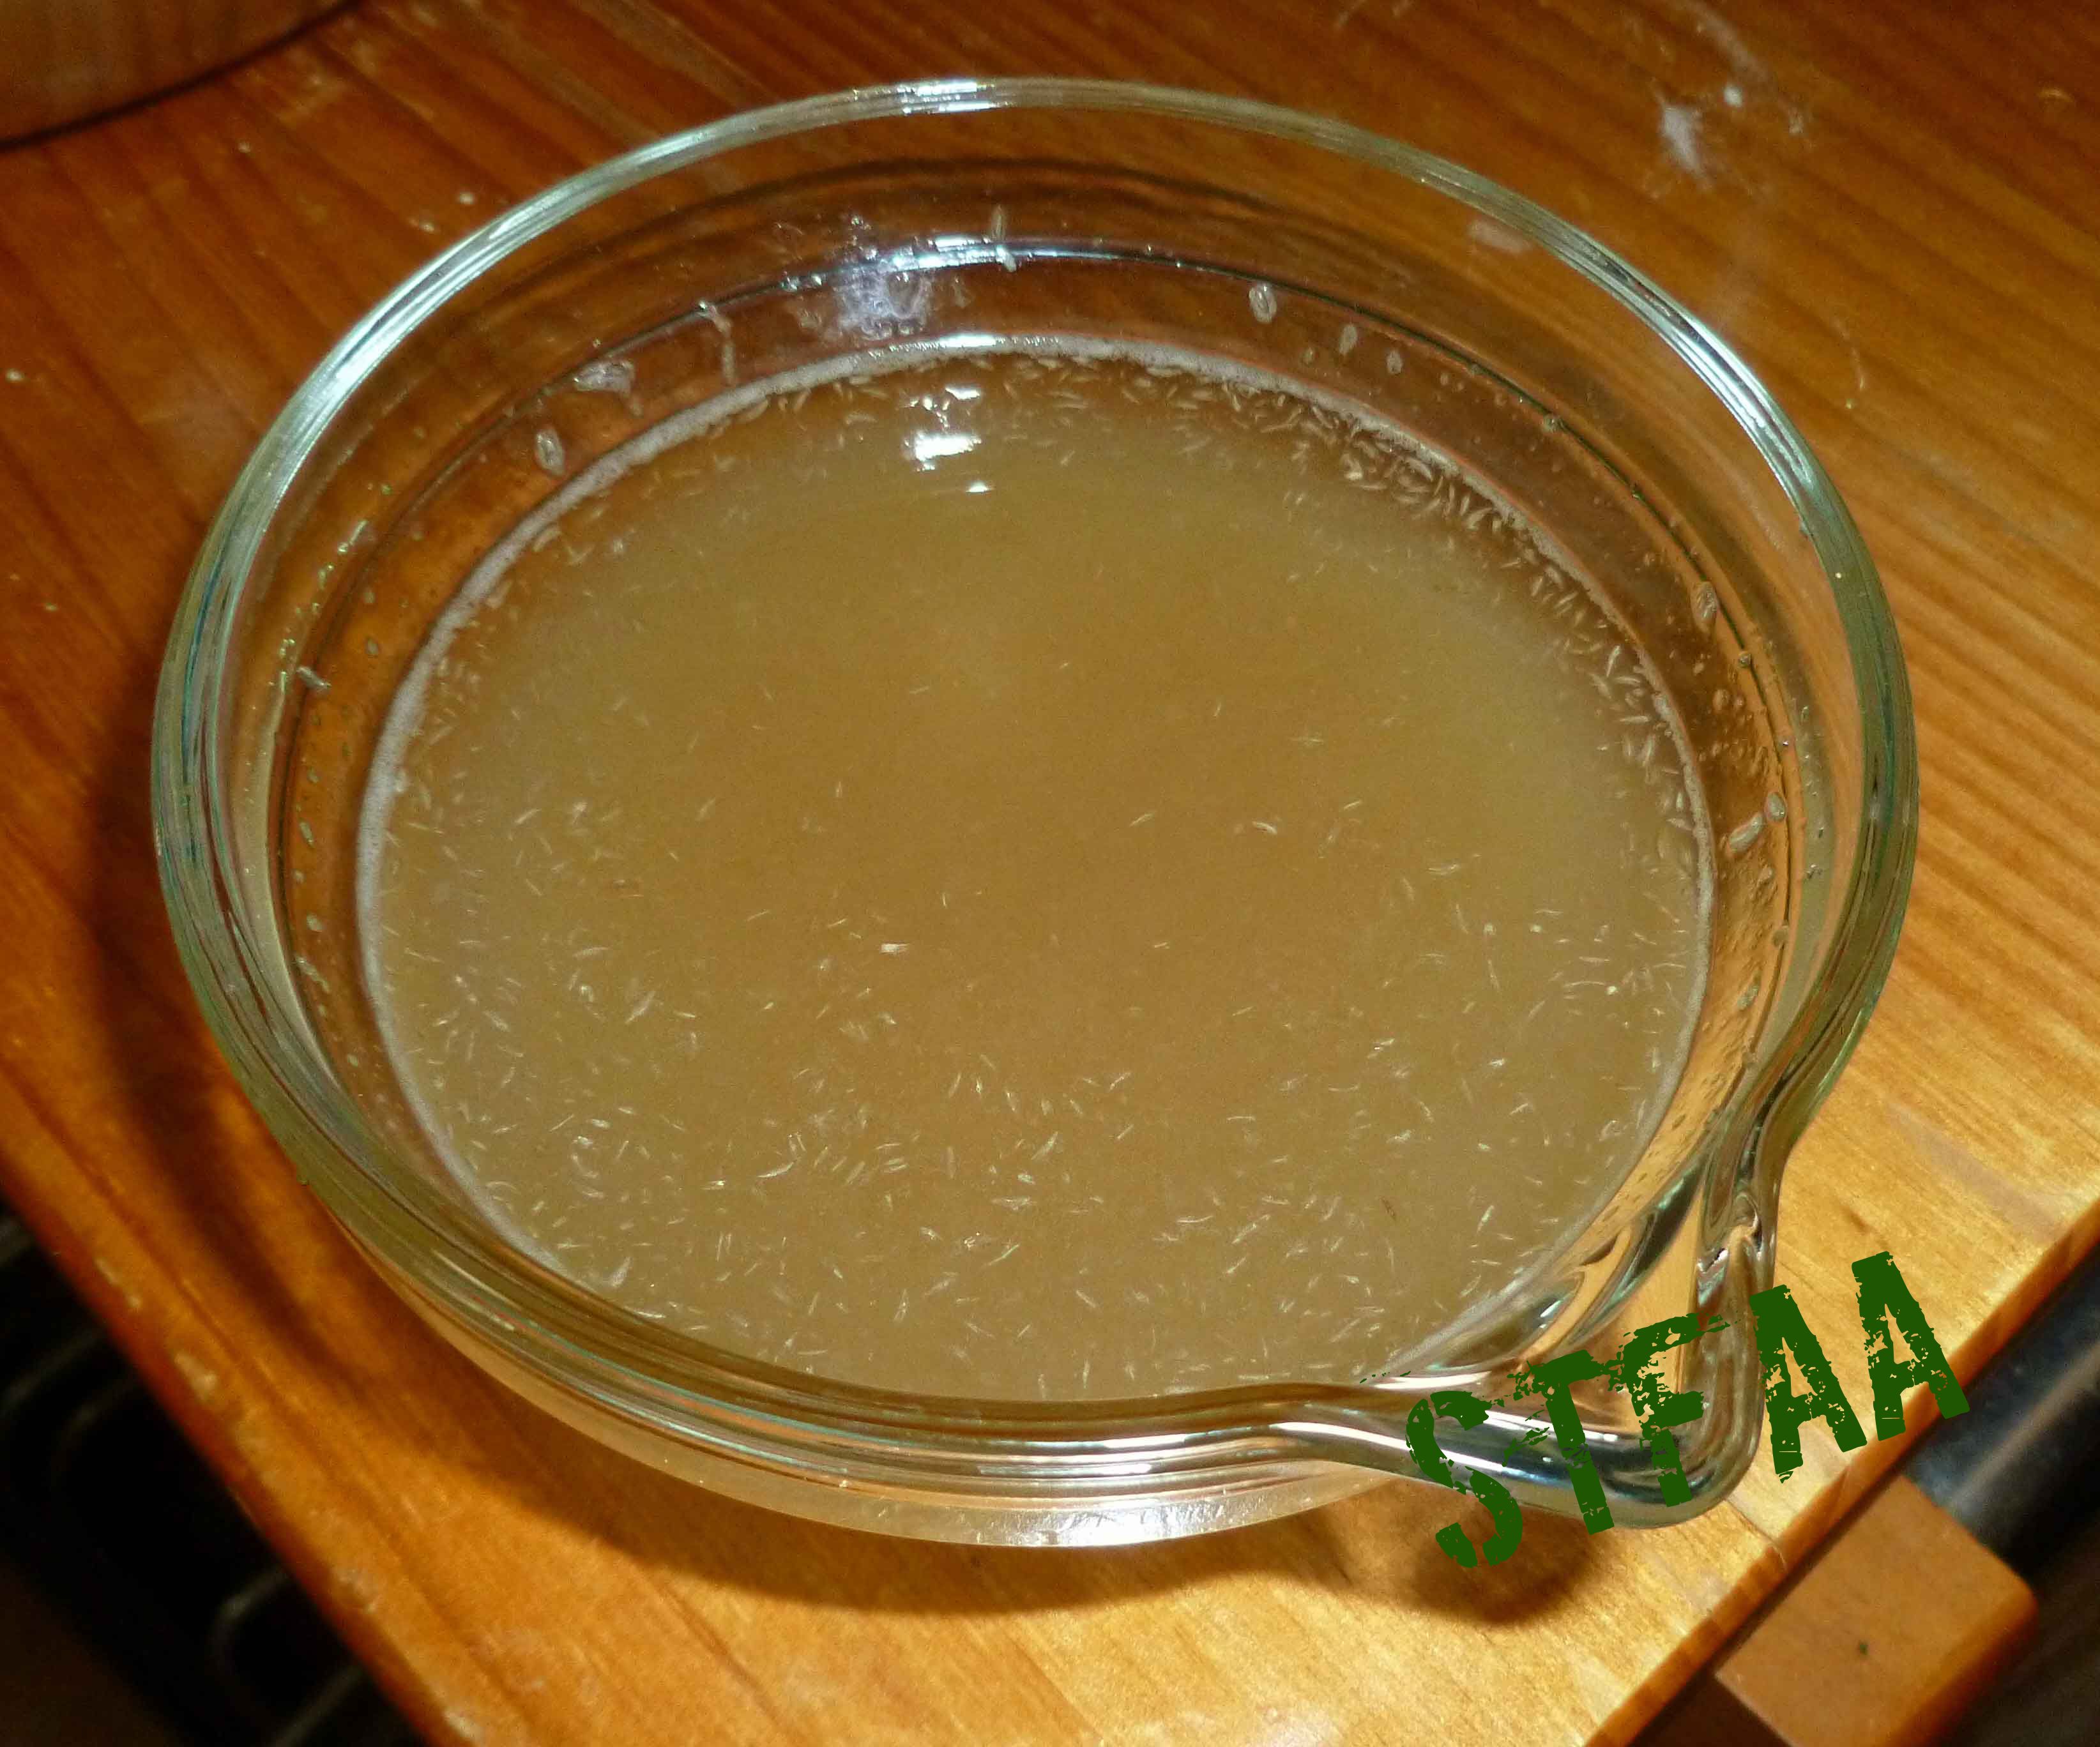
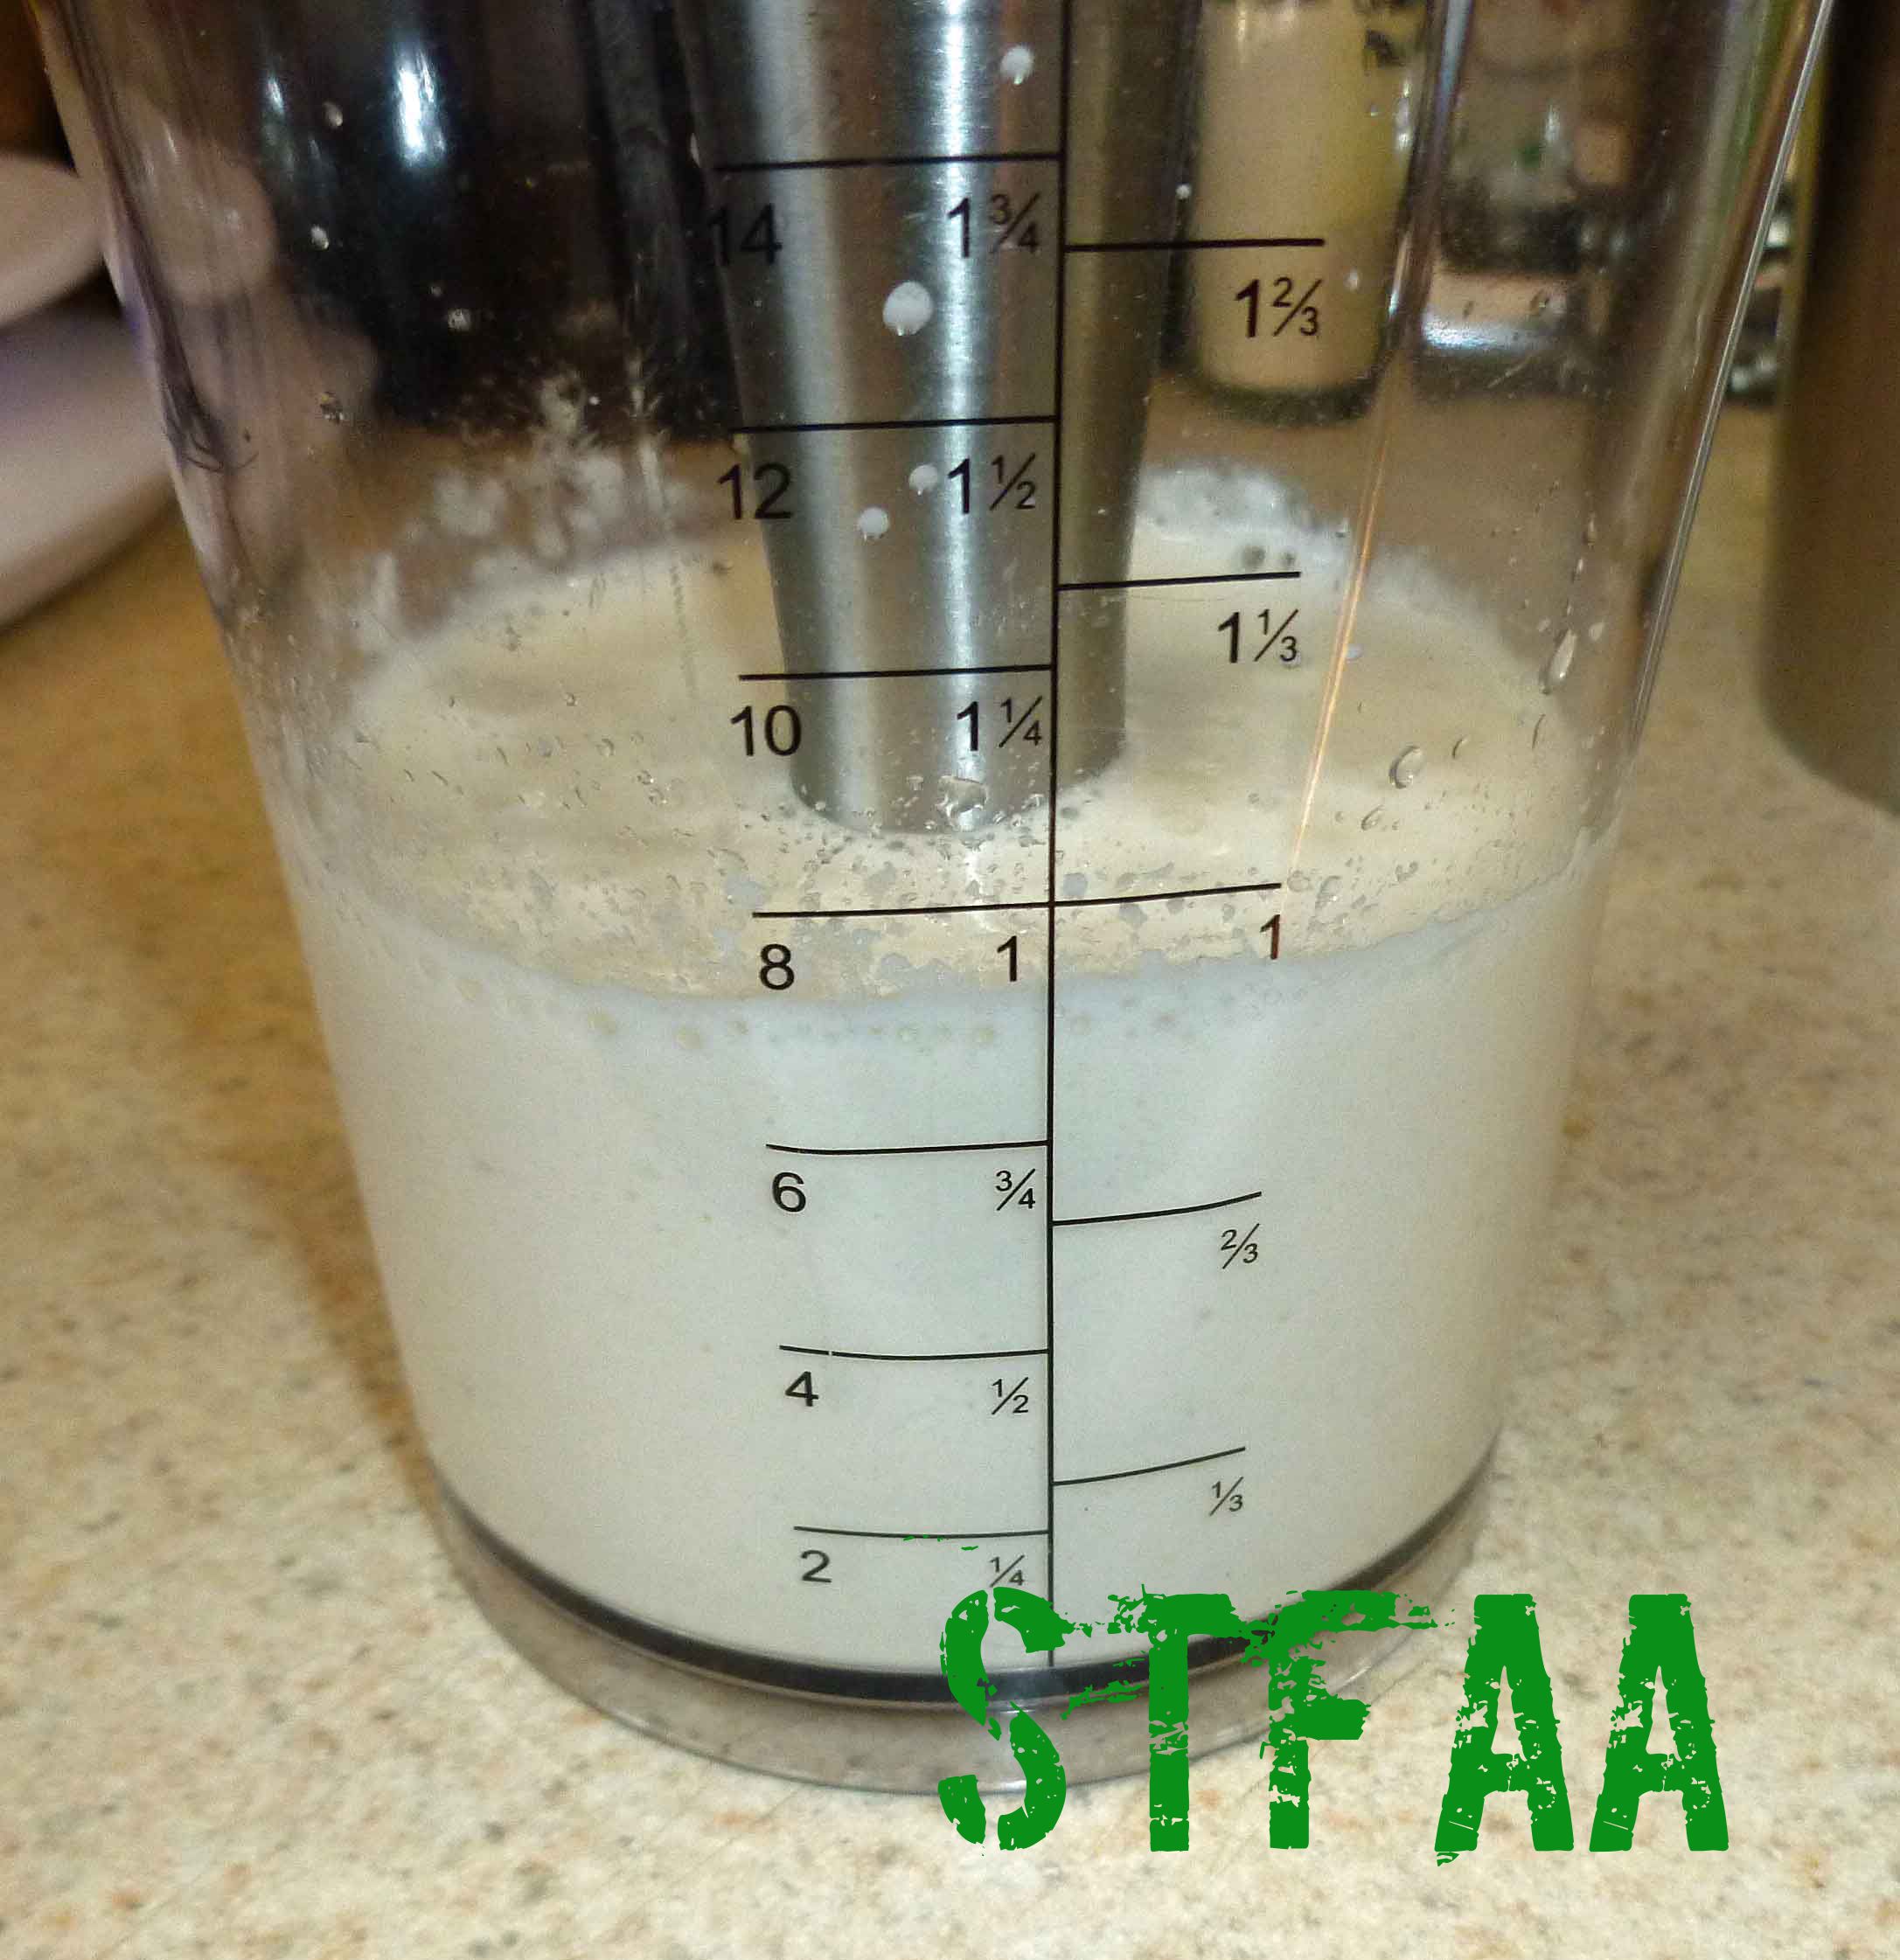
In a small bowl or glass measuring cup, mix the aquafaba (1/2 cup and 1 Tablespoon), apple cider vinegar, and psyllium powder together until it is well blended. Add the liquid mixture to your flour mixture and stir until it comes together to form a dough.
Shape the dough into a smooth ball, and put the dough ball into the freezer to chill for 30 minutes before rolling it out.
Preheat your oven to 400°F.
Using some of your other flours (I used sorghum) dust the surface of your rolling space. Roll out the crust to about a quarter of an inch thick on a rolling mat. Make sure you use plenty of dusting flour so that it doesn’t stick to the rolling surface or parchment paper.
Making the Pastries
Once you have rolled out your crust, use a wide mouth canning ring to cut a round of crust out, and flip it over to so that it the pastry forms the bottom of the ring, and place it on your cookie sheet. Using a bit of water and your finger, wet the outside edge of the bottom of the crust to promote sealing.
Place a tablespoon of the jam, preserve, or fruit butter of your choice in the center of the ring.
Using another wide mouth canning ring cut another round of crust out, and place it over the top of the bottom crust in the first wide mouth canning ring, pressing down around the edges to seal. Repeat these steps until all pastries have been made.
Bake at 400°F for 30-40 minutes. Wait until cool and then frost, after making the frosting below.
Making Frosting
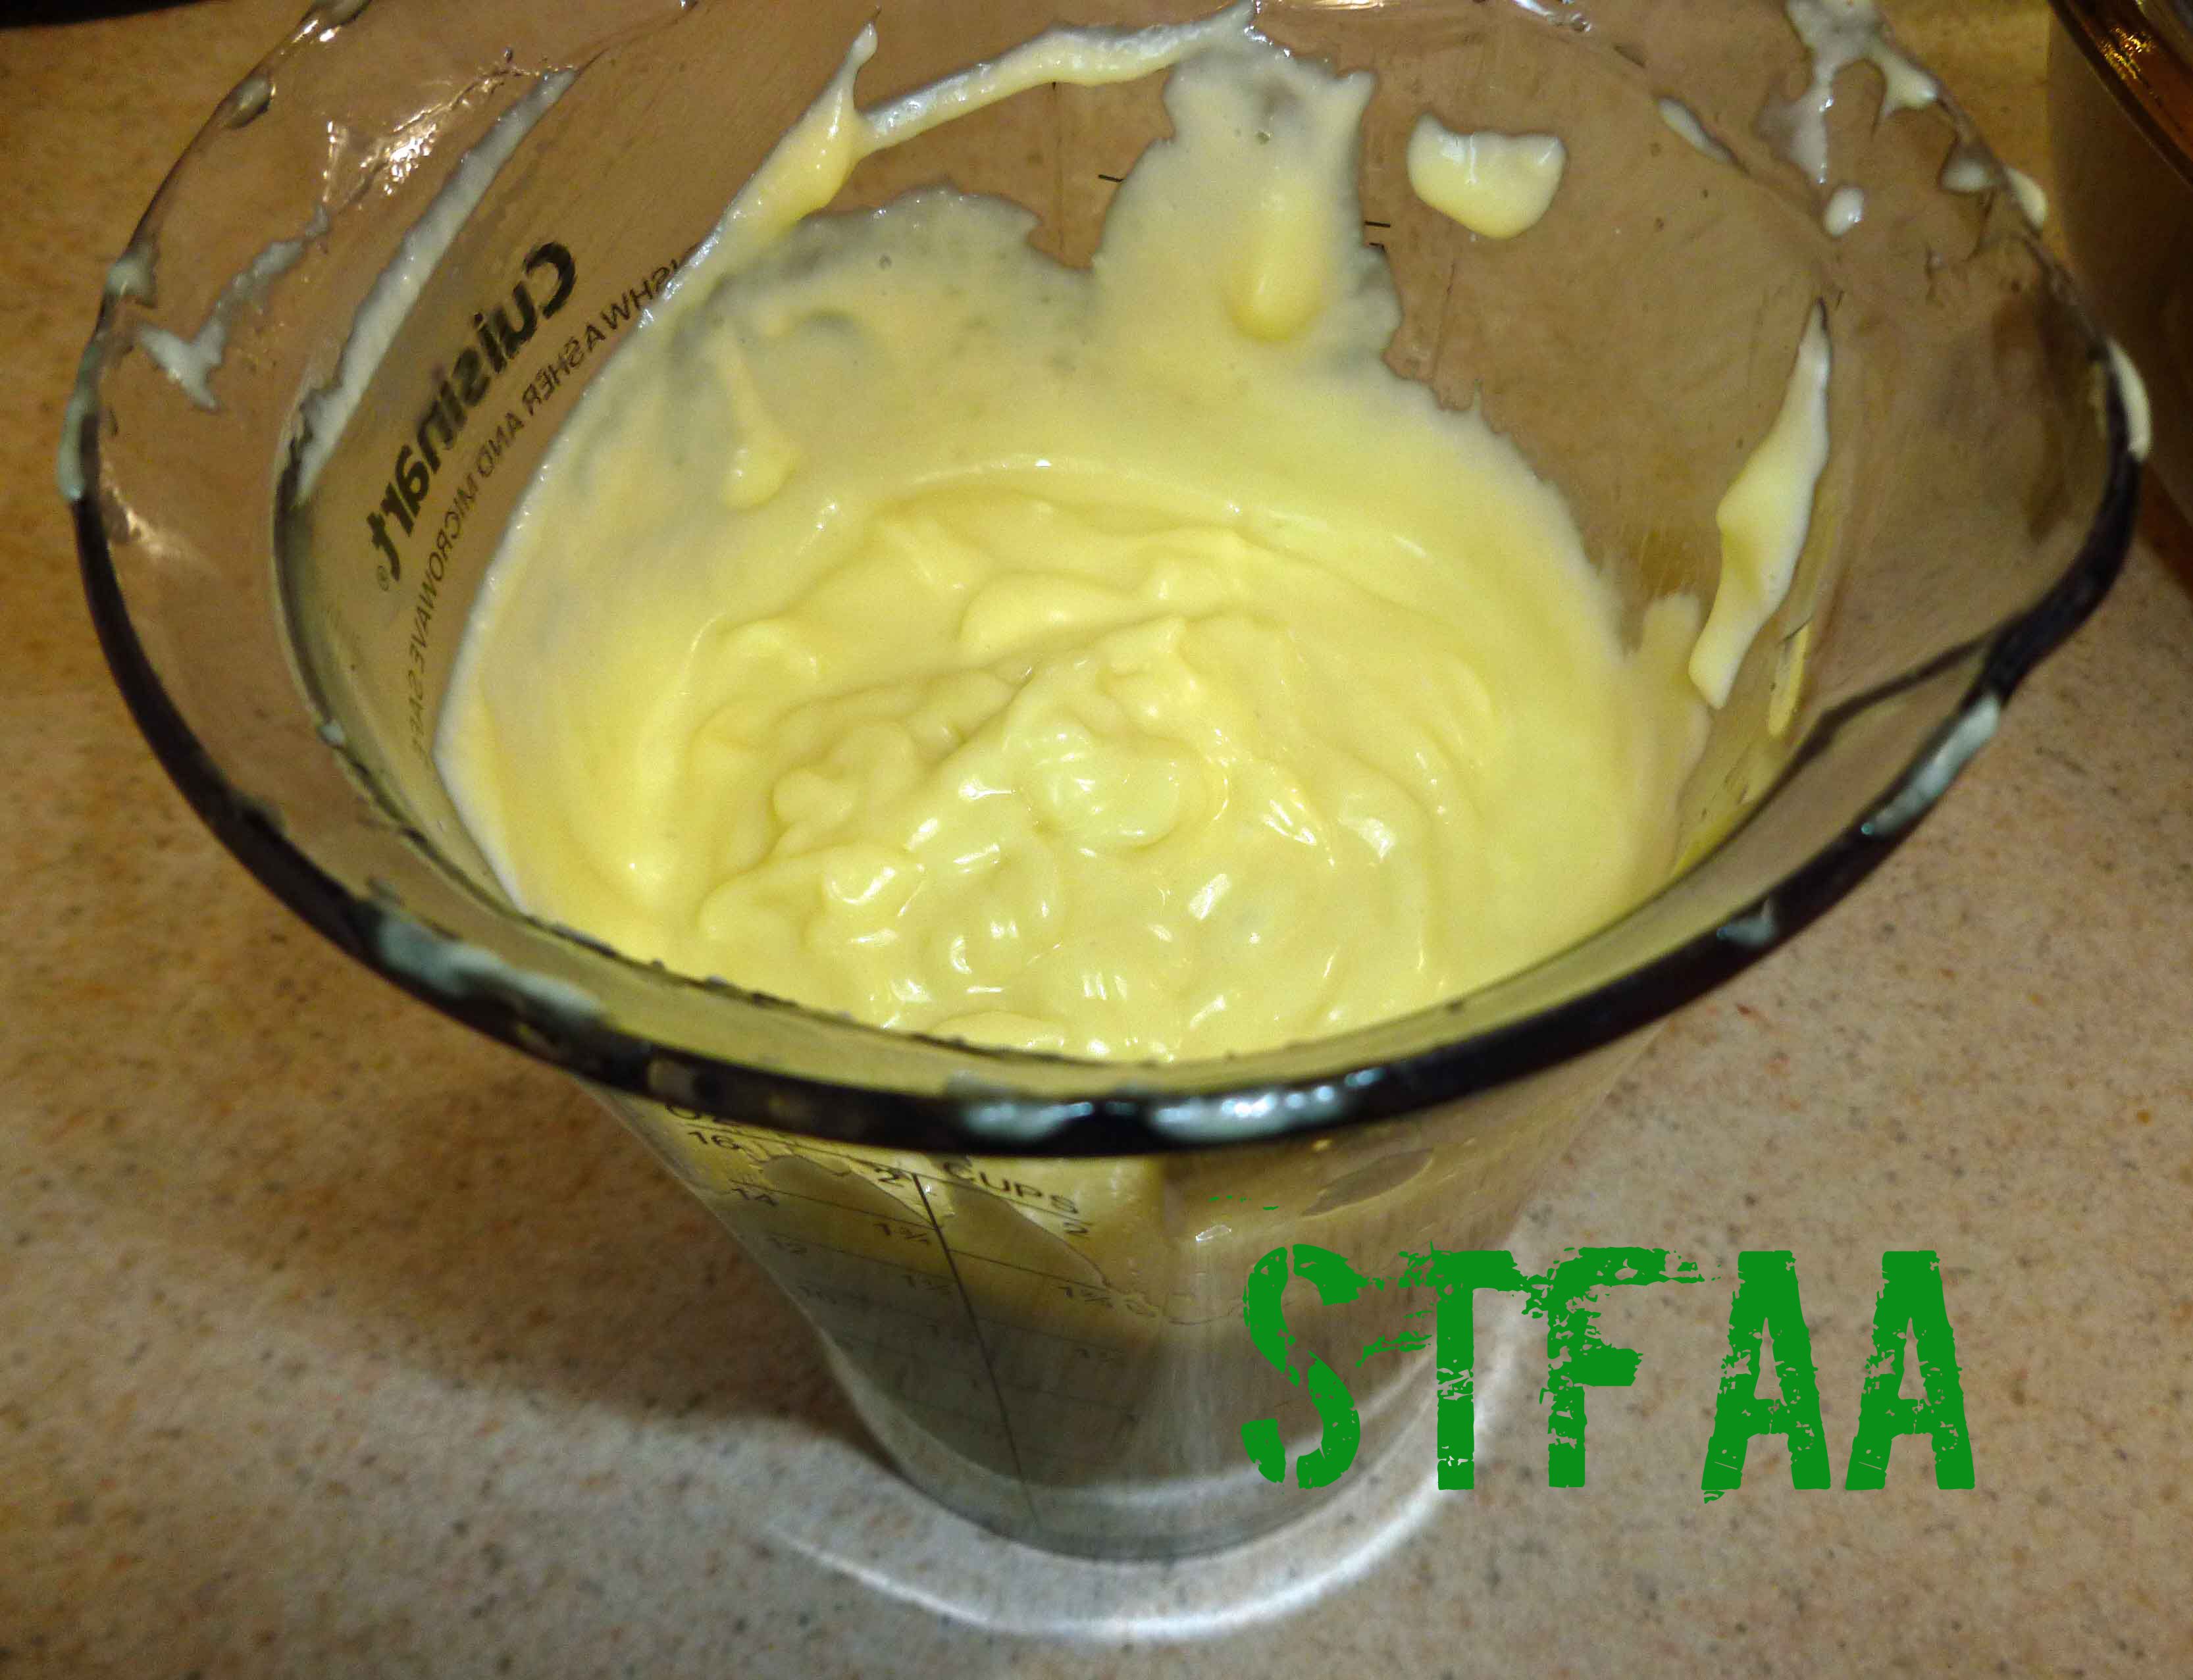
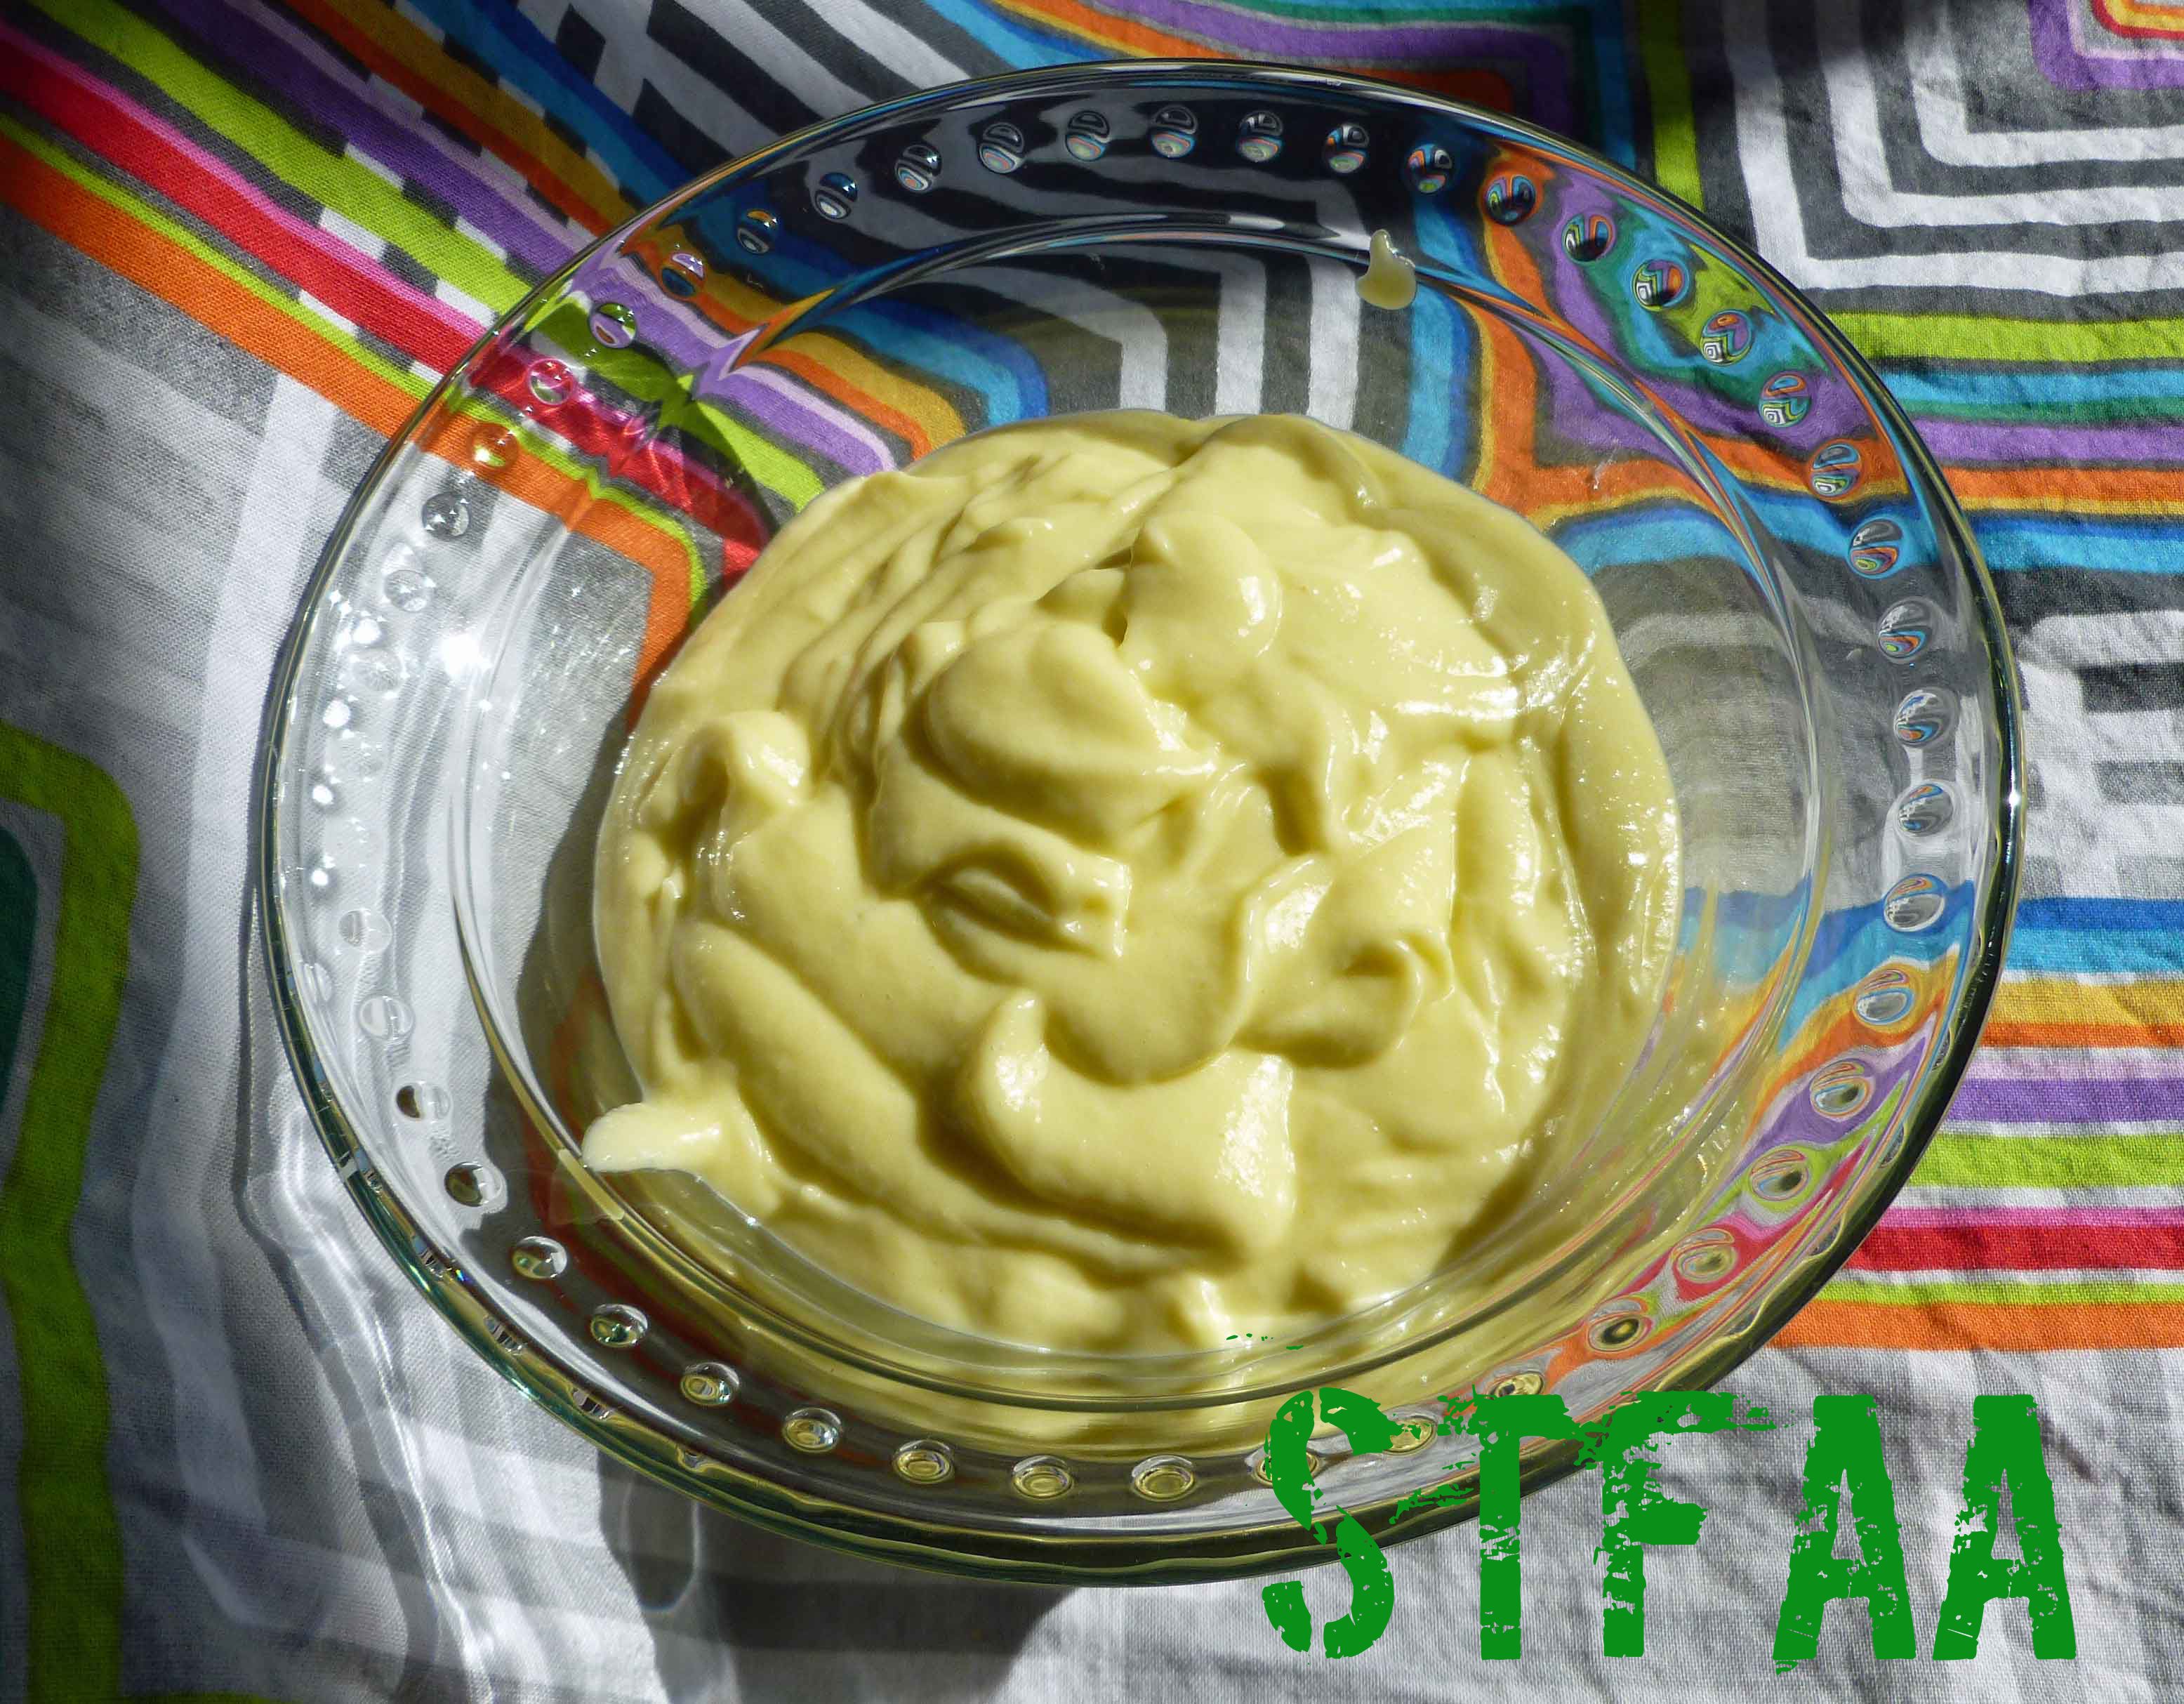
Place powdered sugar, vanilla extract, aquafaba, and beet puree in a bowl and using a stand or electric mixer, beat ingredients until completely combined. If frosting is not firm enough, add additional powdered sugar by the teaspoon until it is.
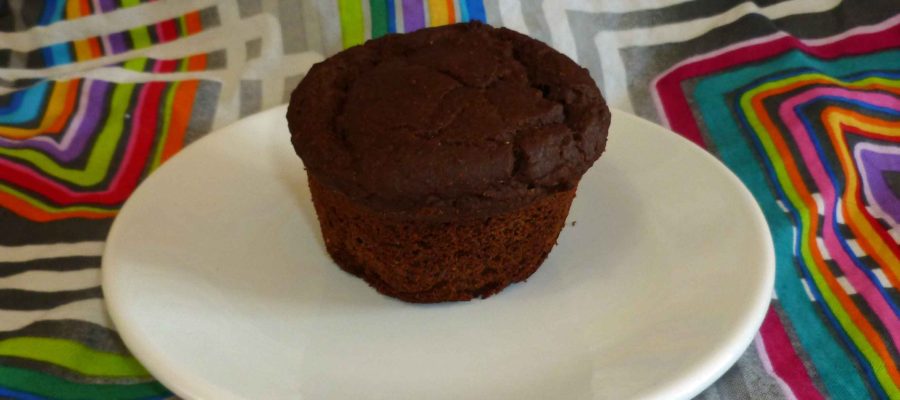
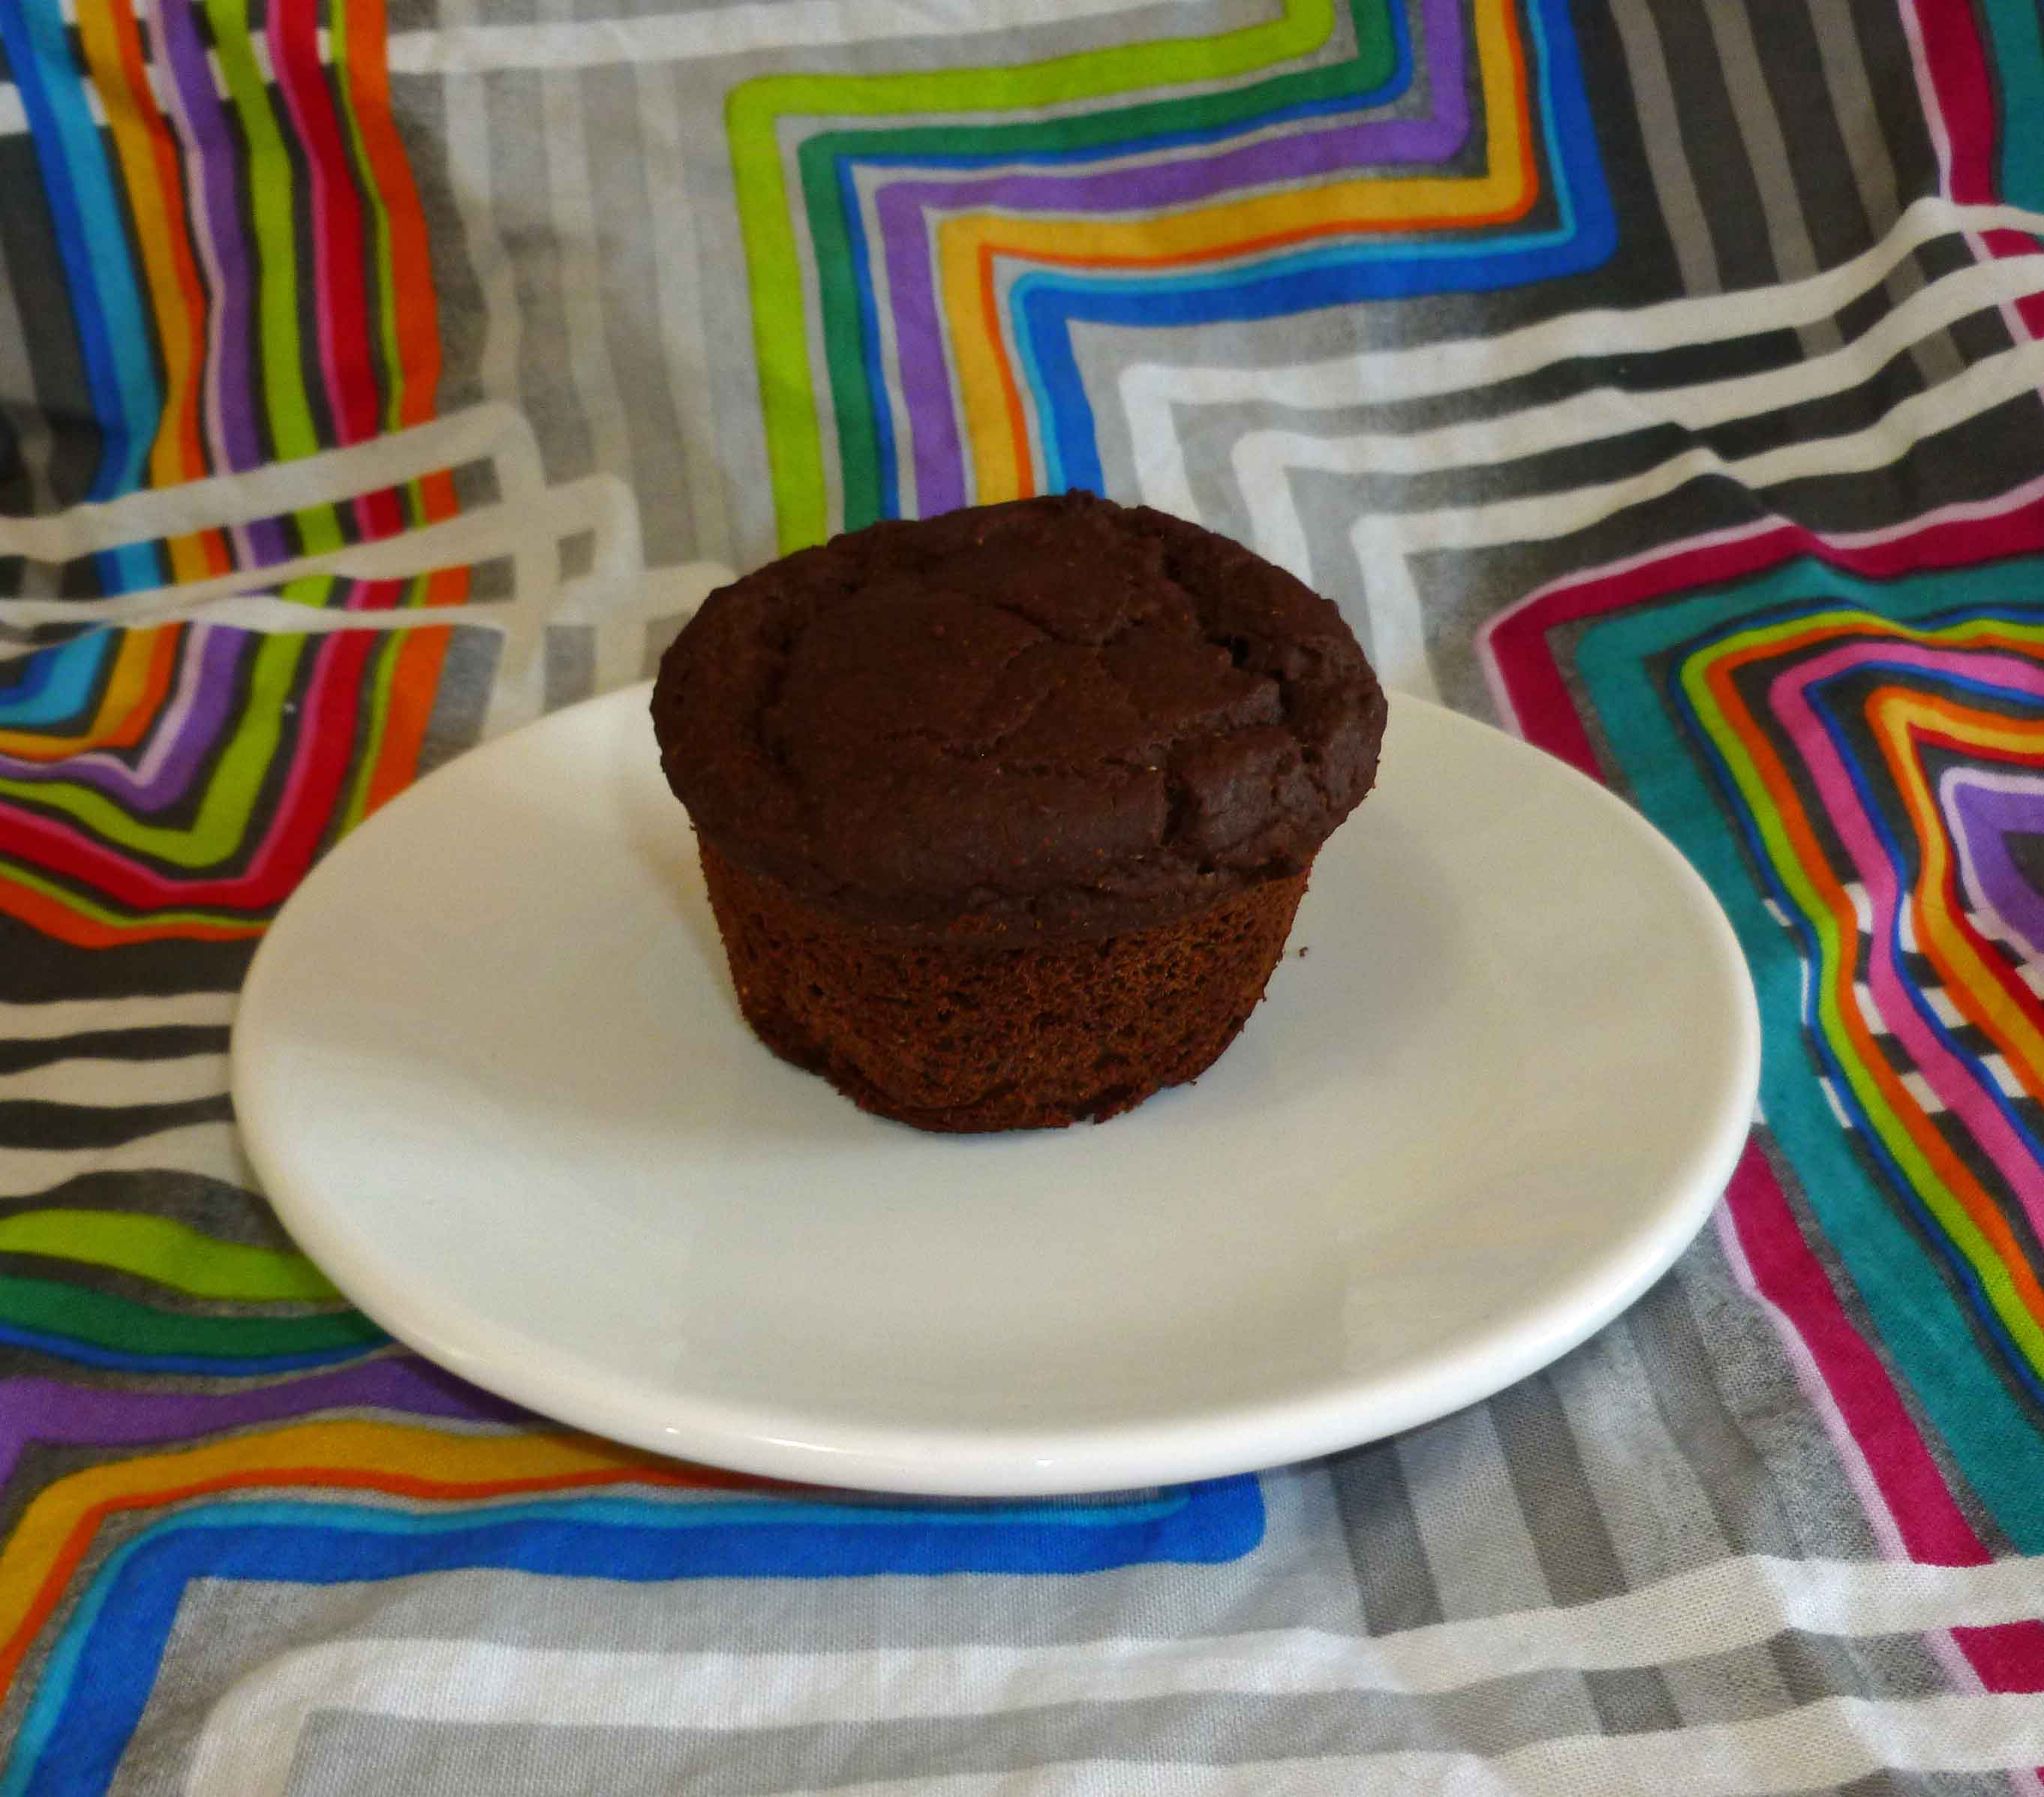
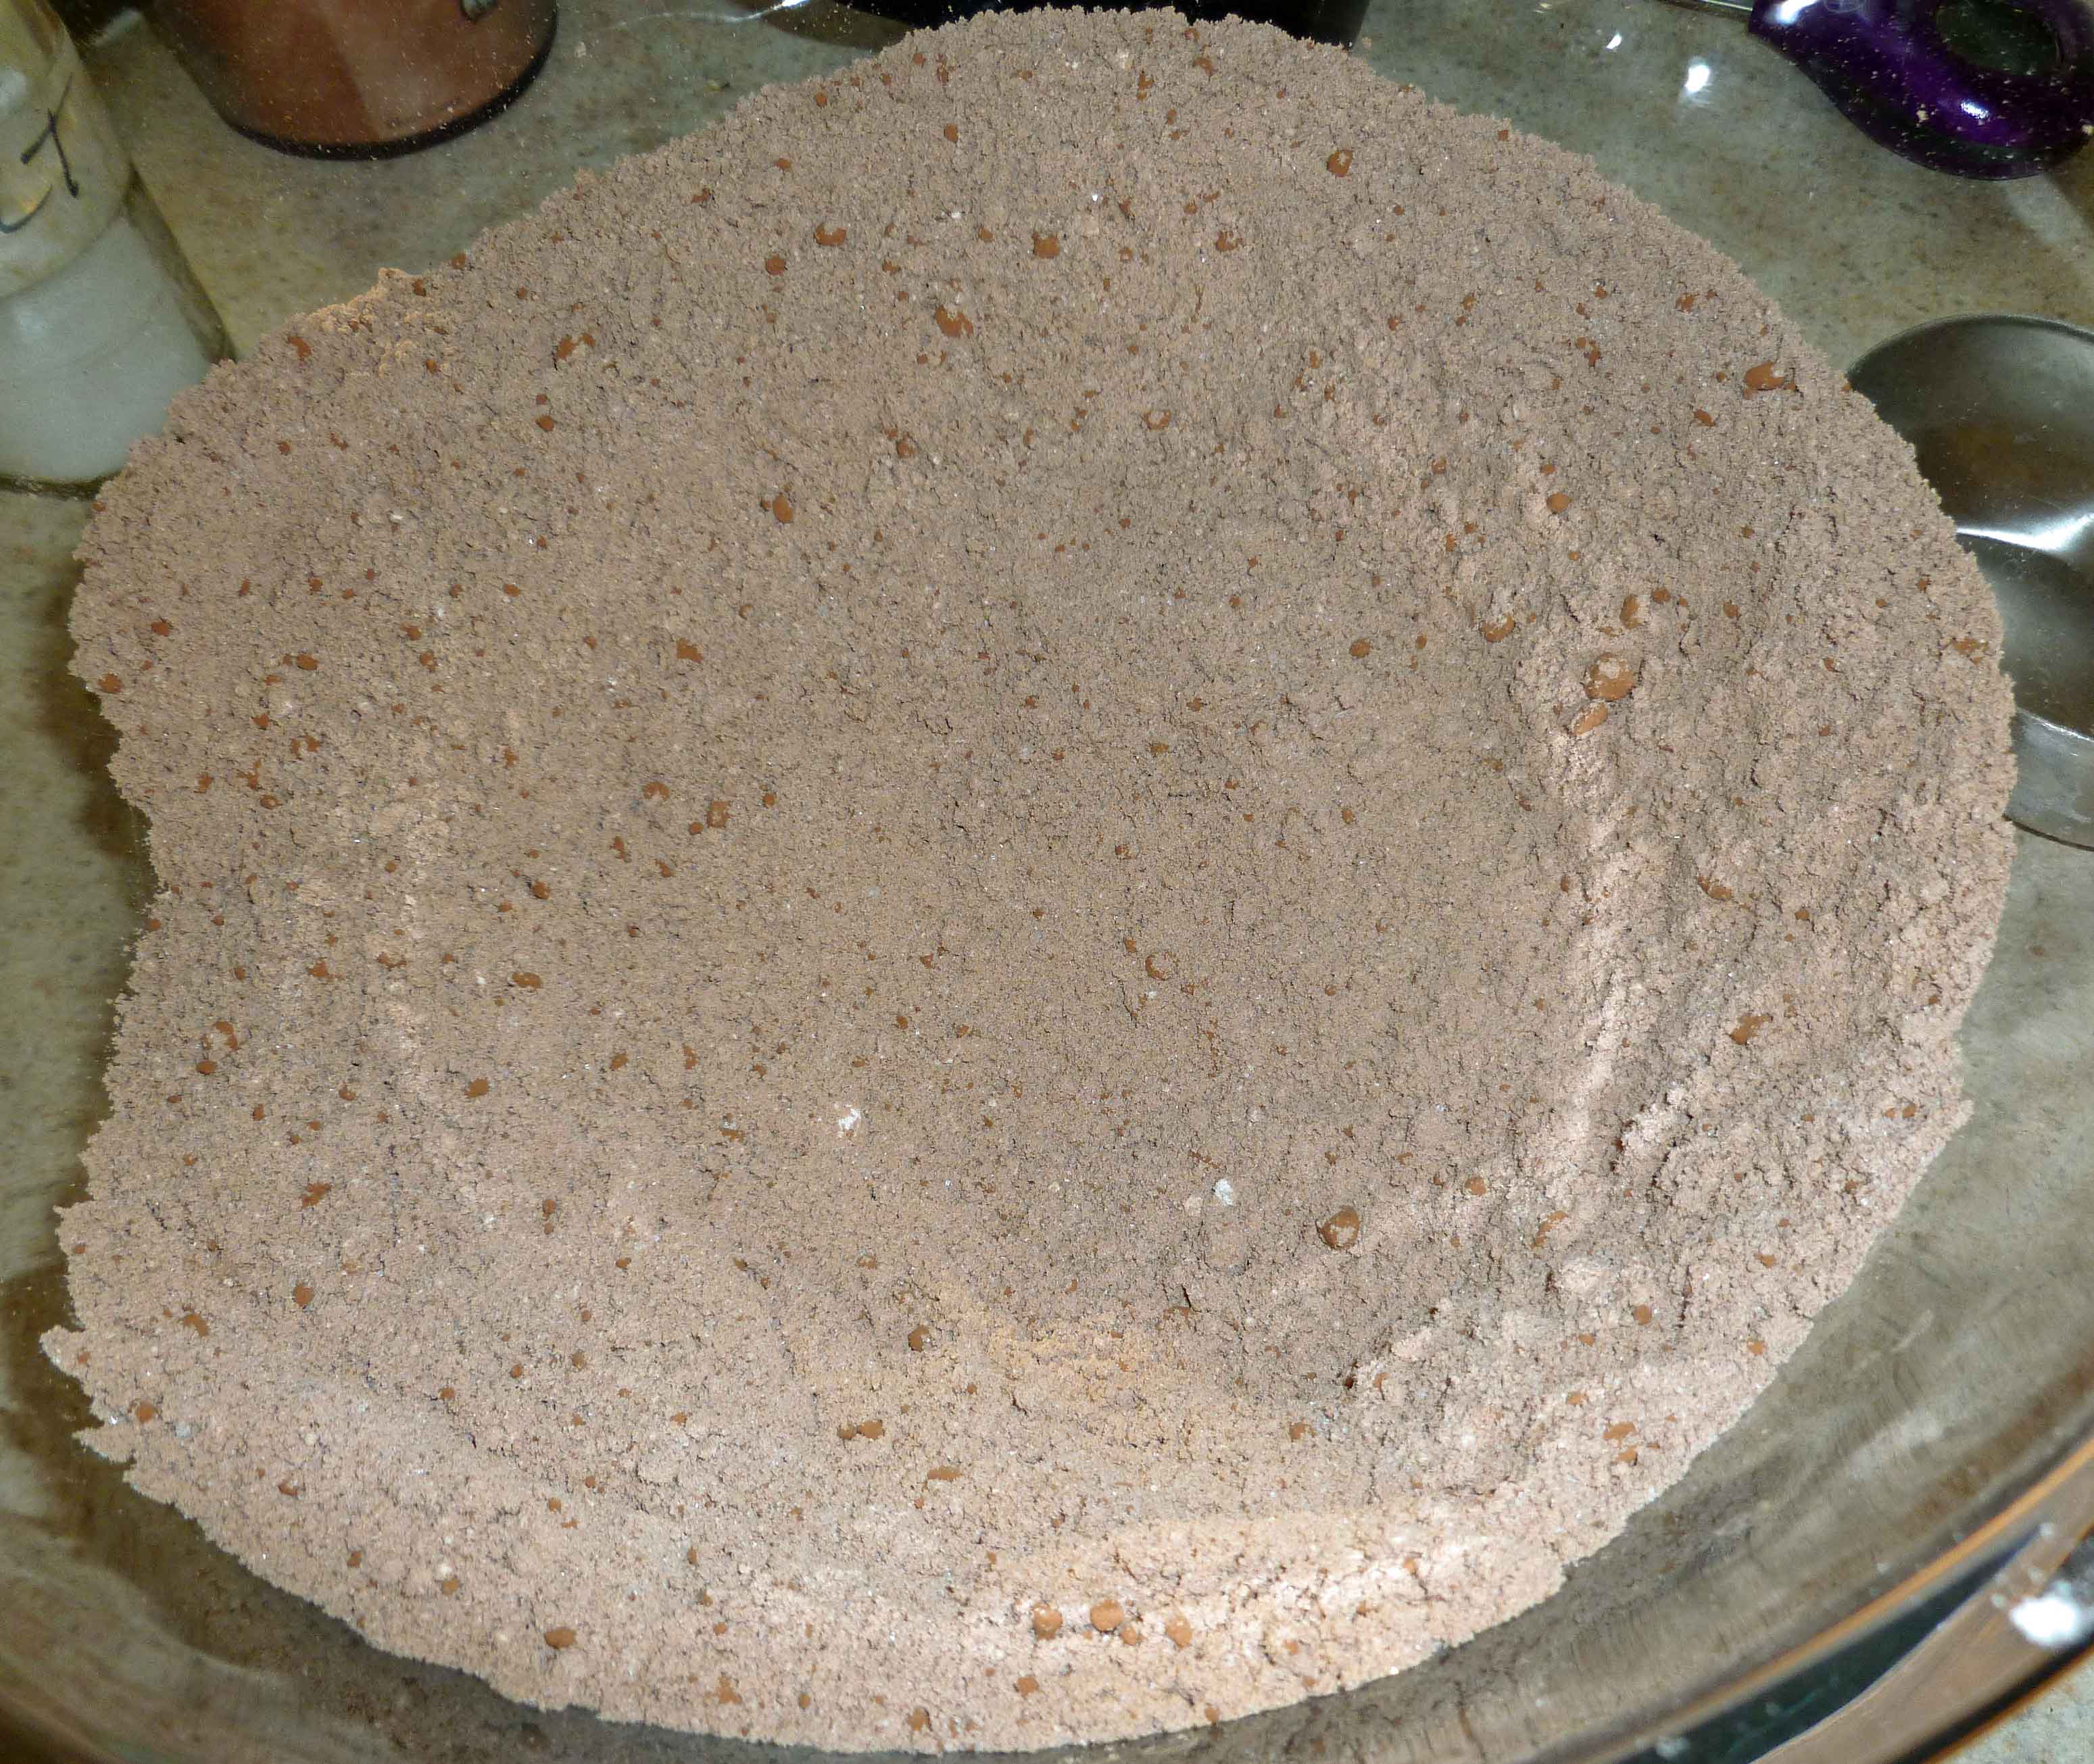
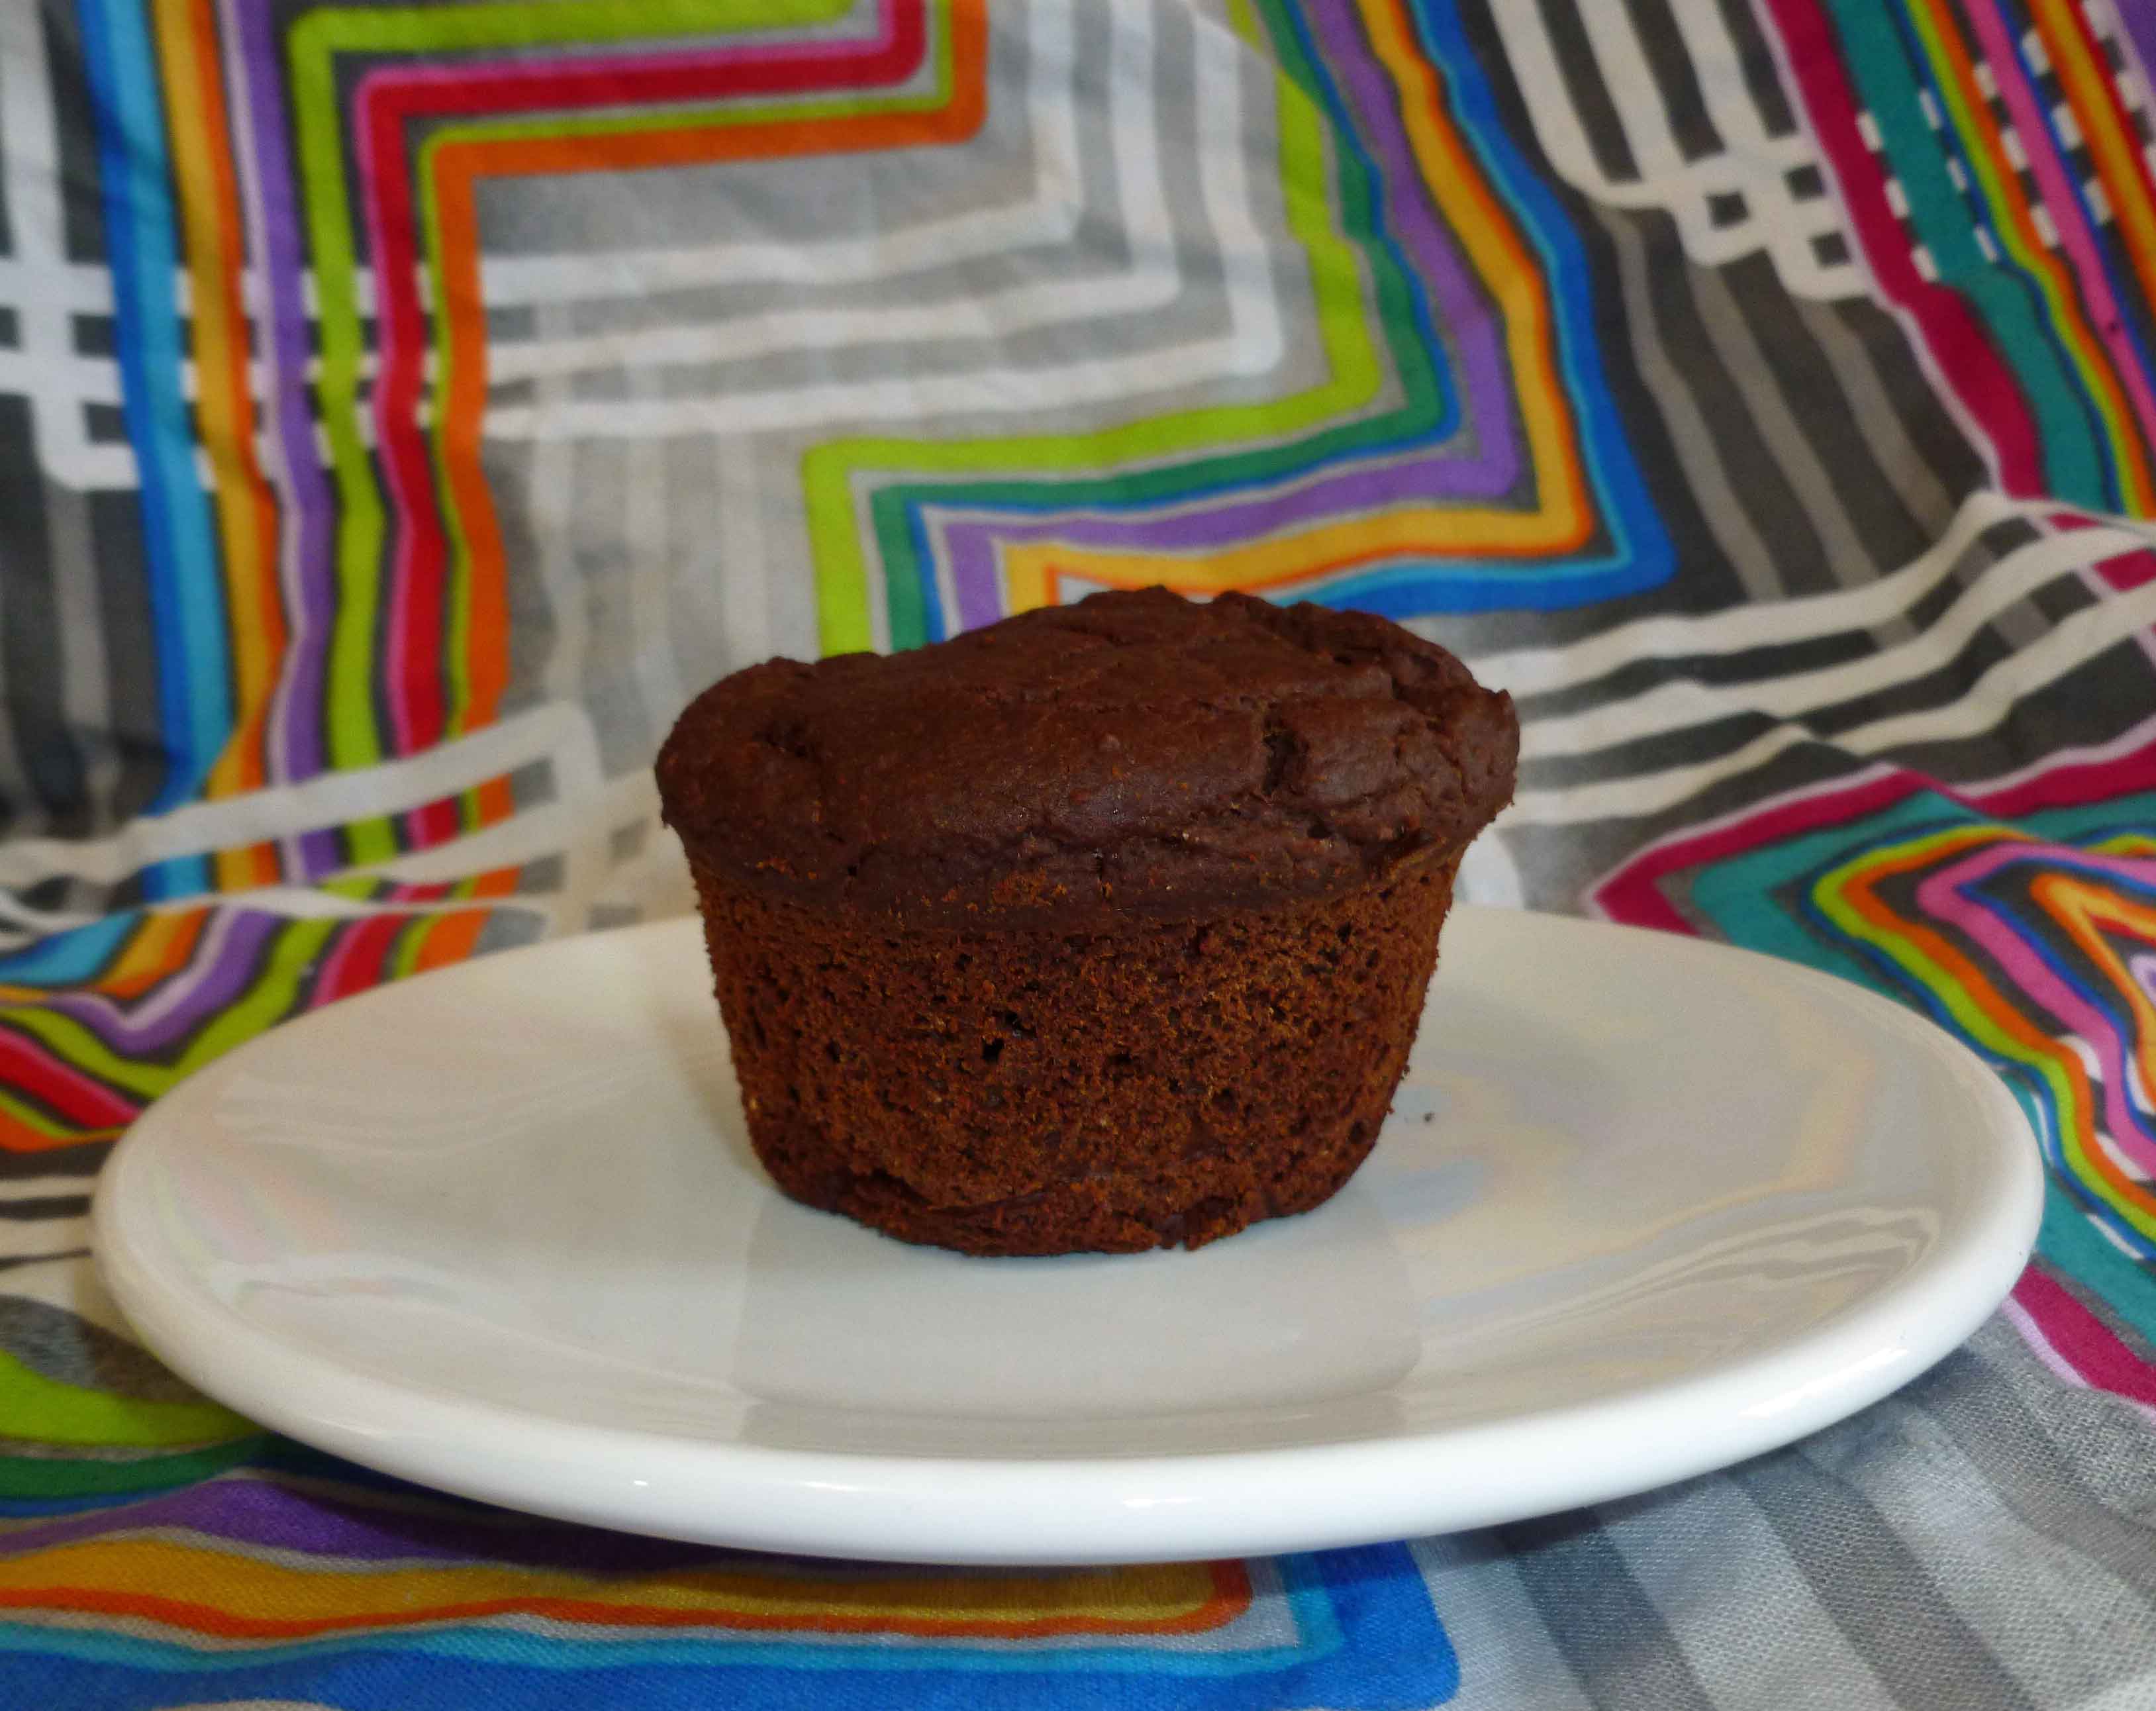
So it’s farmer’s market/garden produce theme month here on the blog, and I have some zucchini to use. Not as many as I would like as my squash plants are not cooperating this year, but many of you may be swimming in them. This recipe uses puréed zucchini. I grate it first, measure out two cups and then purée it in my food processor. For those of you with mini humans, this will be a great way to hide veggies if you have to do so, as you can’t really tell the zucchini is in there. This is definitely a muffin, not a cupcake, so there’s a fair bit less sugar, as I wanted to eat them for breakfast without a huge sugar high.
Enjoy!
Chocolate Zucchini Breakfast Muffins
Print Recipe
When you have too much zucchini, and you’d like a little chocolate with breakfast without so much sugar.
1 1/2cupsGluten-free, Rice-free, Potato-free flour mix(see our post here for the recipe – http://adultfoodallergies.com/whoopie-pies-gluten-free-with-vegan-option/
1/2 cup sorghum flour
3/4 cupcacao powder(I do well with Wilderness Family Naturals Cacao Powder)
1/2 cup sugar
1/2teaspoonsea salt
1Tablespoonbaking powder(here’s a recipe for a corn-free one – http://wholenewmom.com/health-concerns/make-your-own-baking-powder/)
Wet Ingredients
1cupnon-dairy milk(I used homemade cashew milk, but homemade rice milk will work too)
1/4cupsafe for you oil(I used grapeseed oil)
3Tablespoonsaquafaba(see http://aquafaba.com/)
1/2 teaspoonpsyllium husk
2cups grated zucchini which is then pureed
Servings: muffins
Instructions
Preheat oven to 425°F. Grease a 12 cup muffin pan with some of your safe oil.
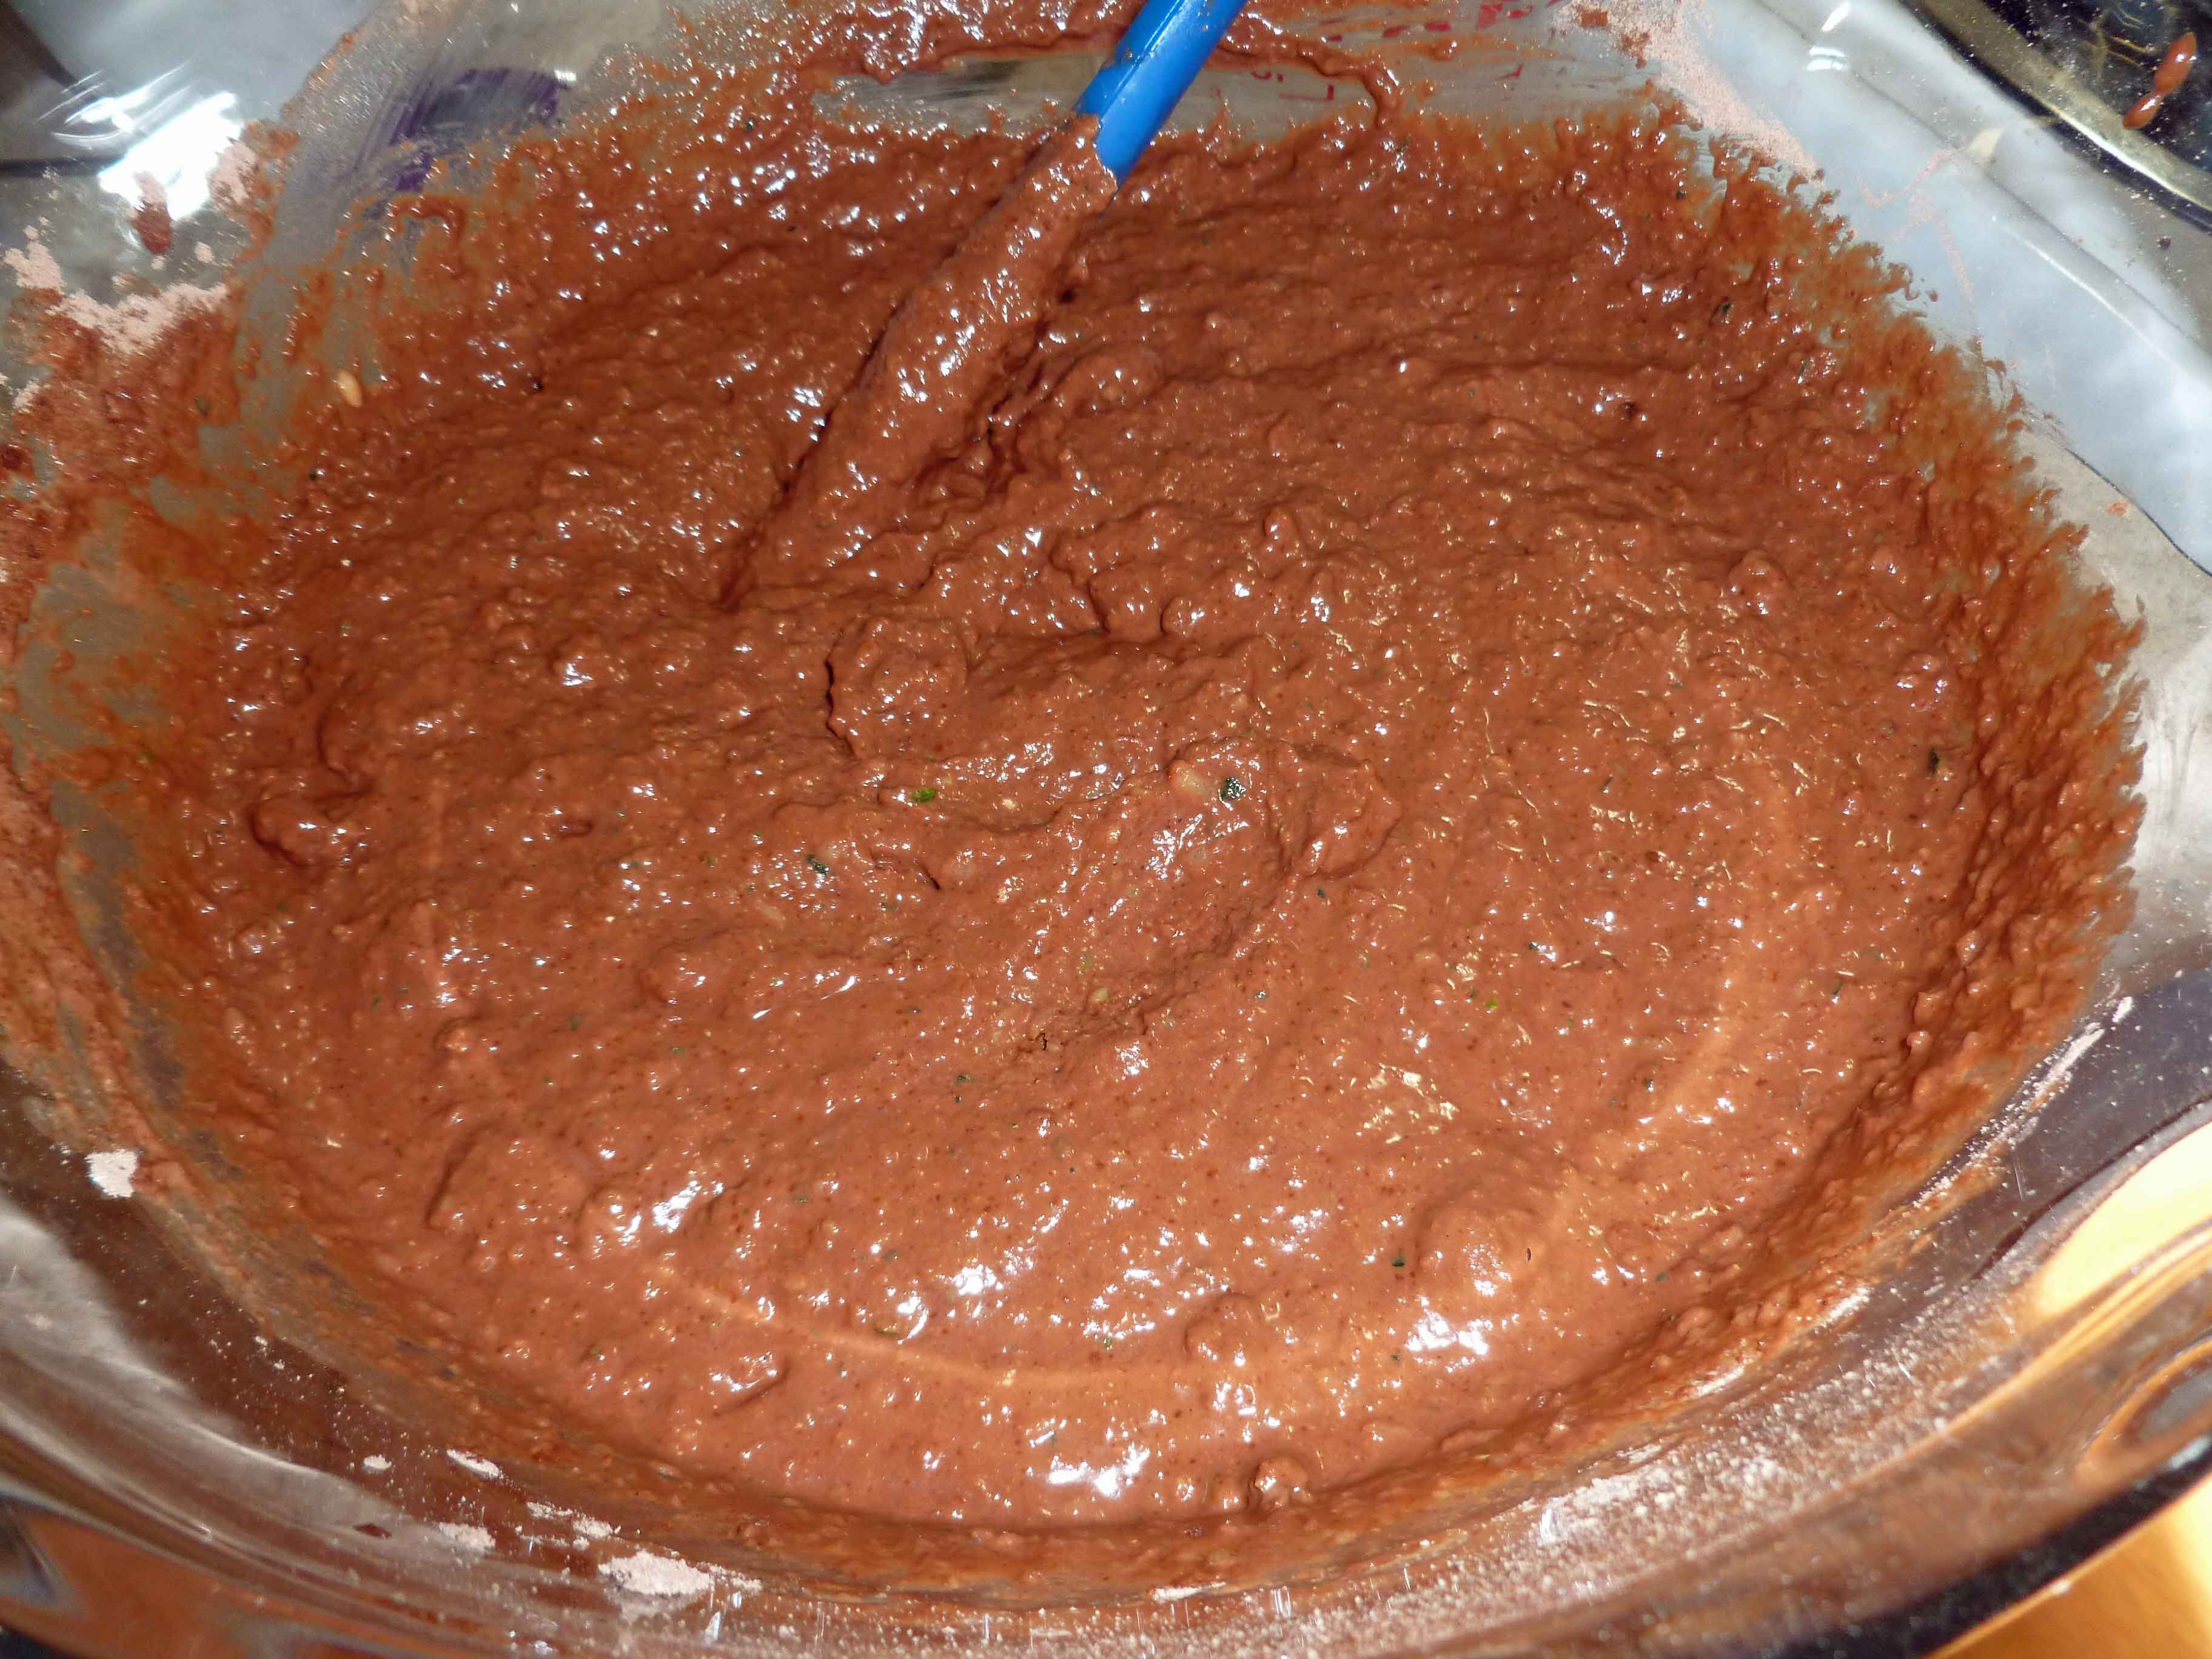
Add all the dry ingredients to a large bowl and whisk together until well combined. In another bowl, add all the wet ingredients and whisk until well combined.
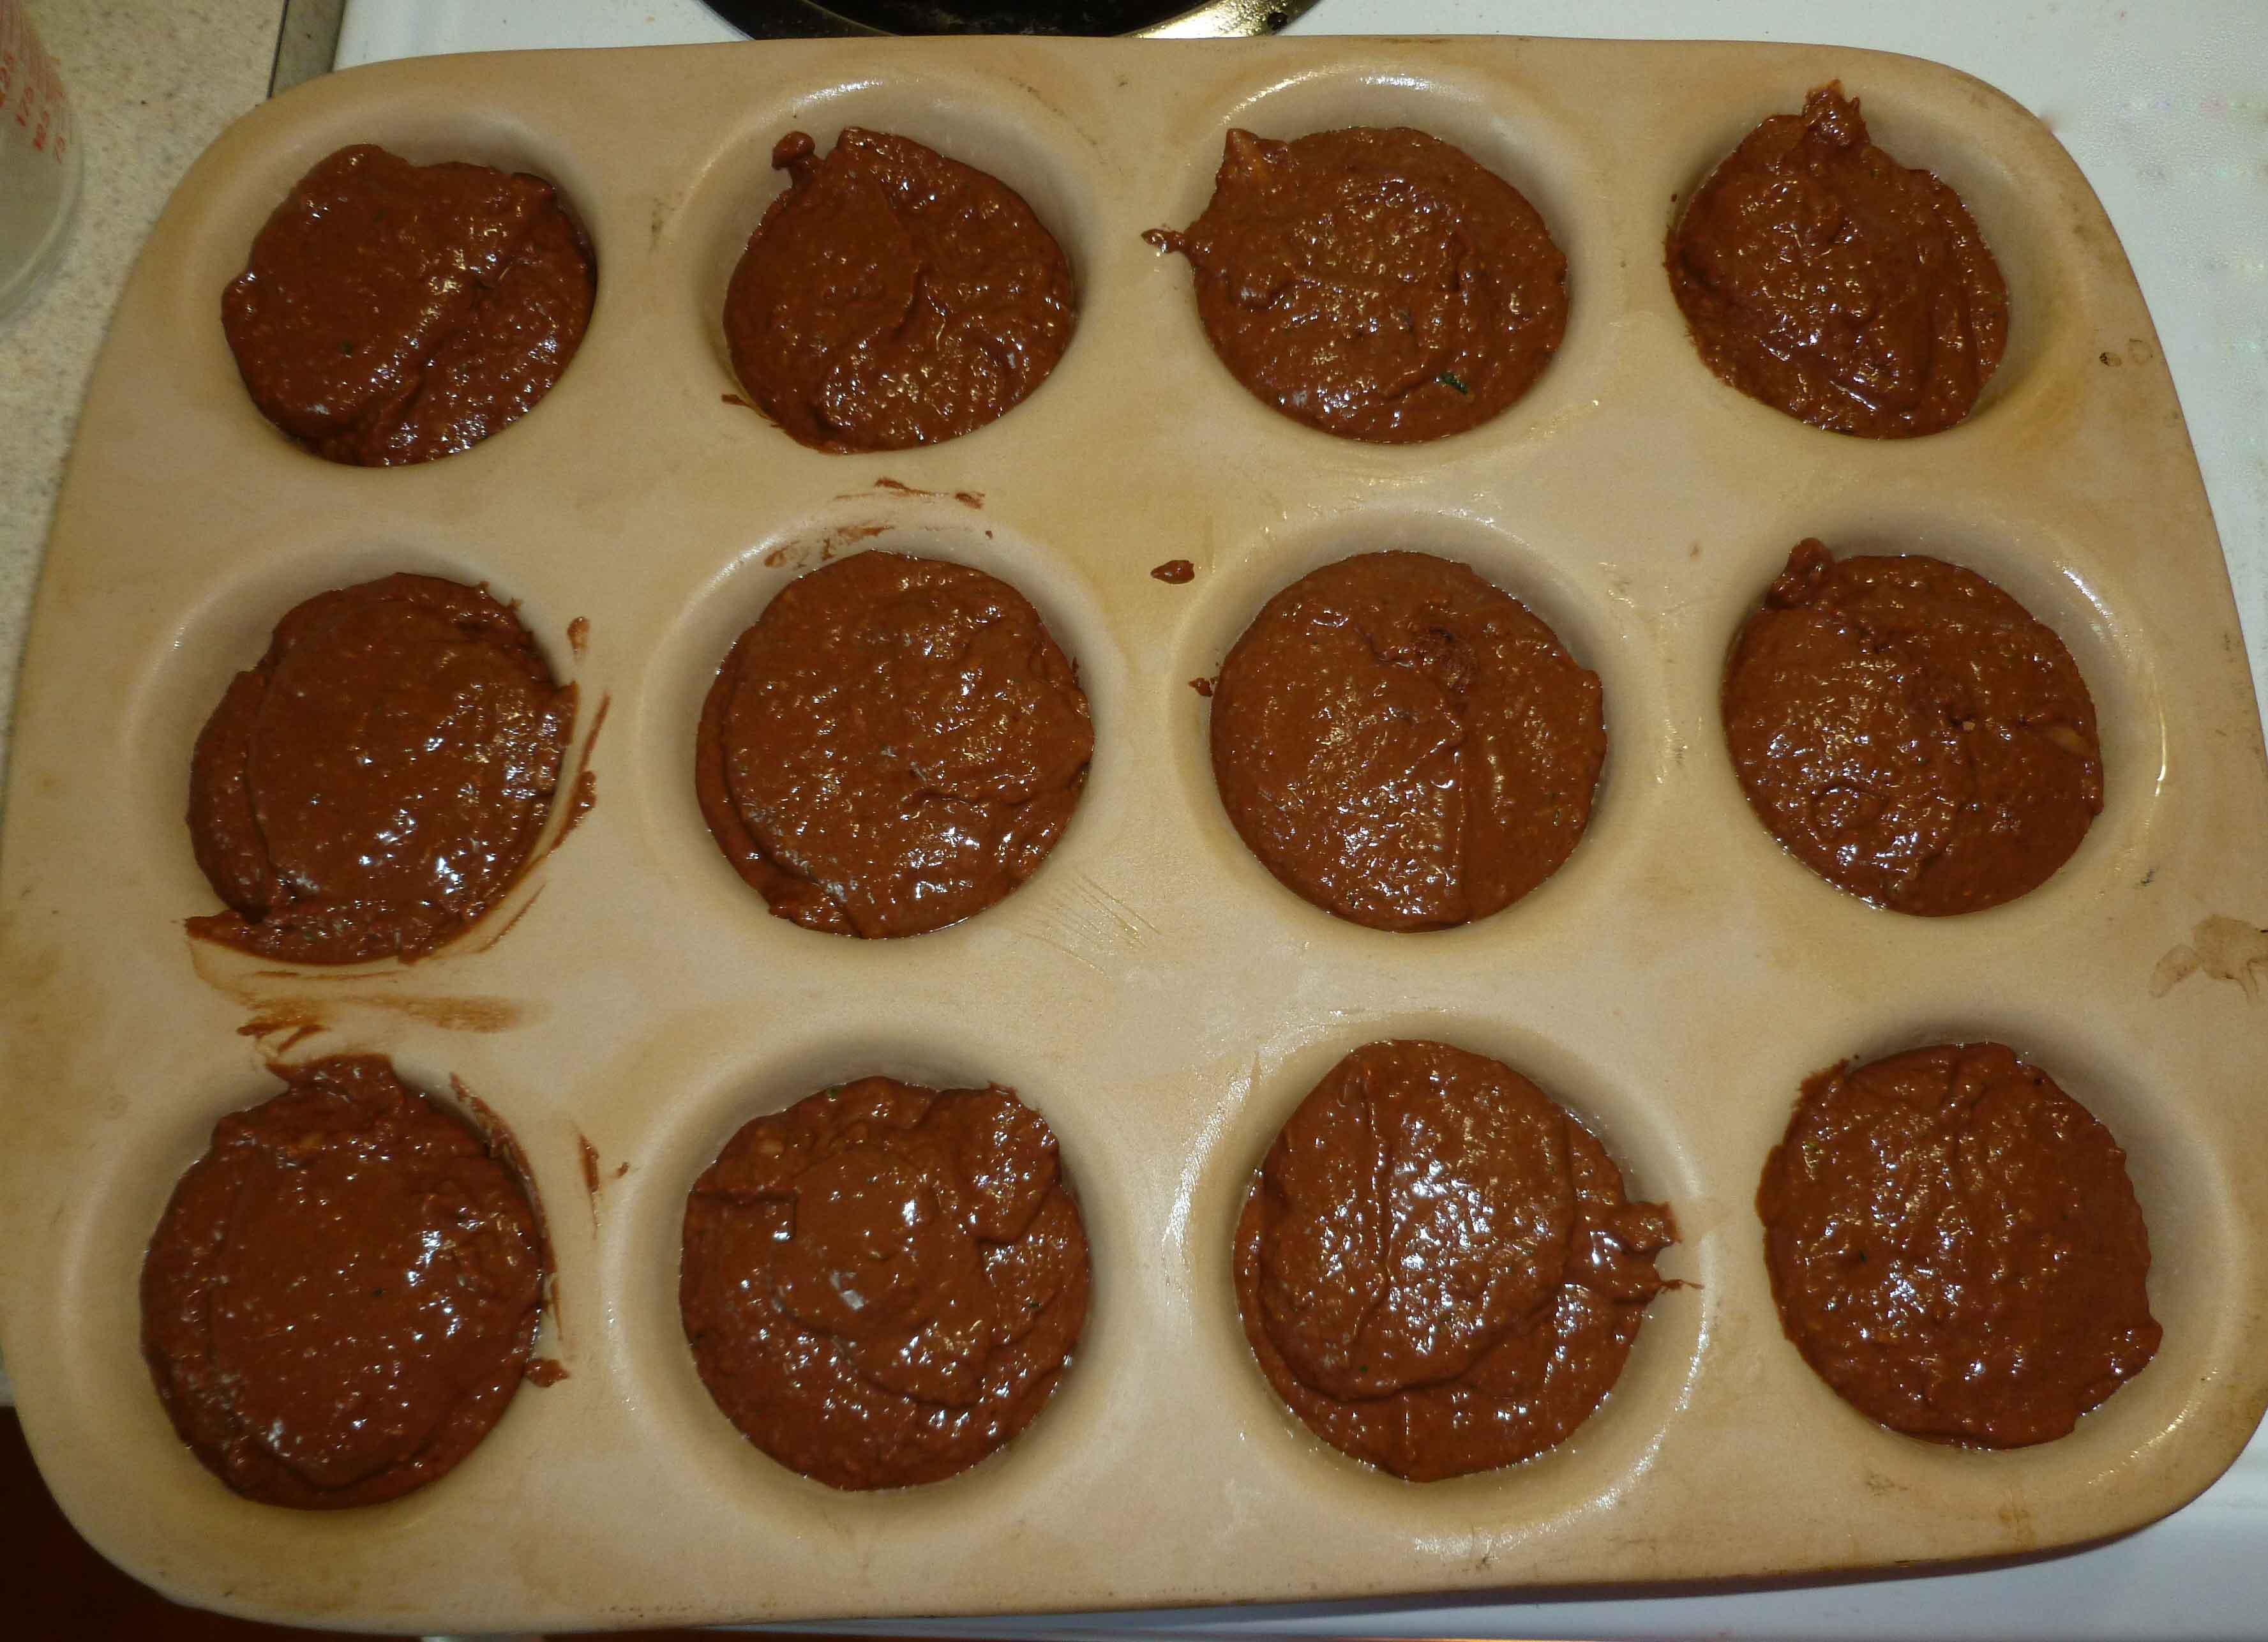
Pour the wet ingredients into the dry ingredients, and using a spoon or spatula, blend the two about 20 seconds or so, do not over mix. Fill the muffin cups about two thirds to three quarters full.
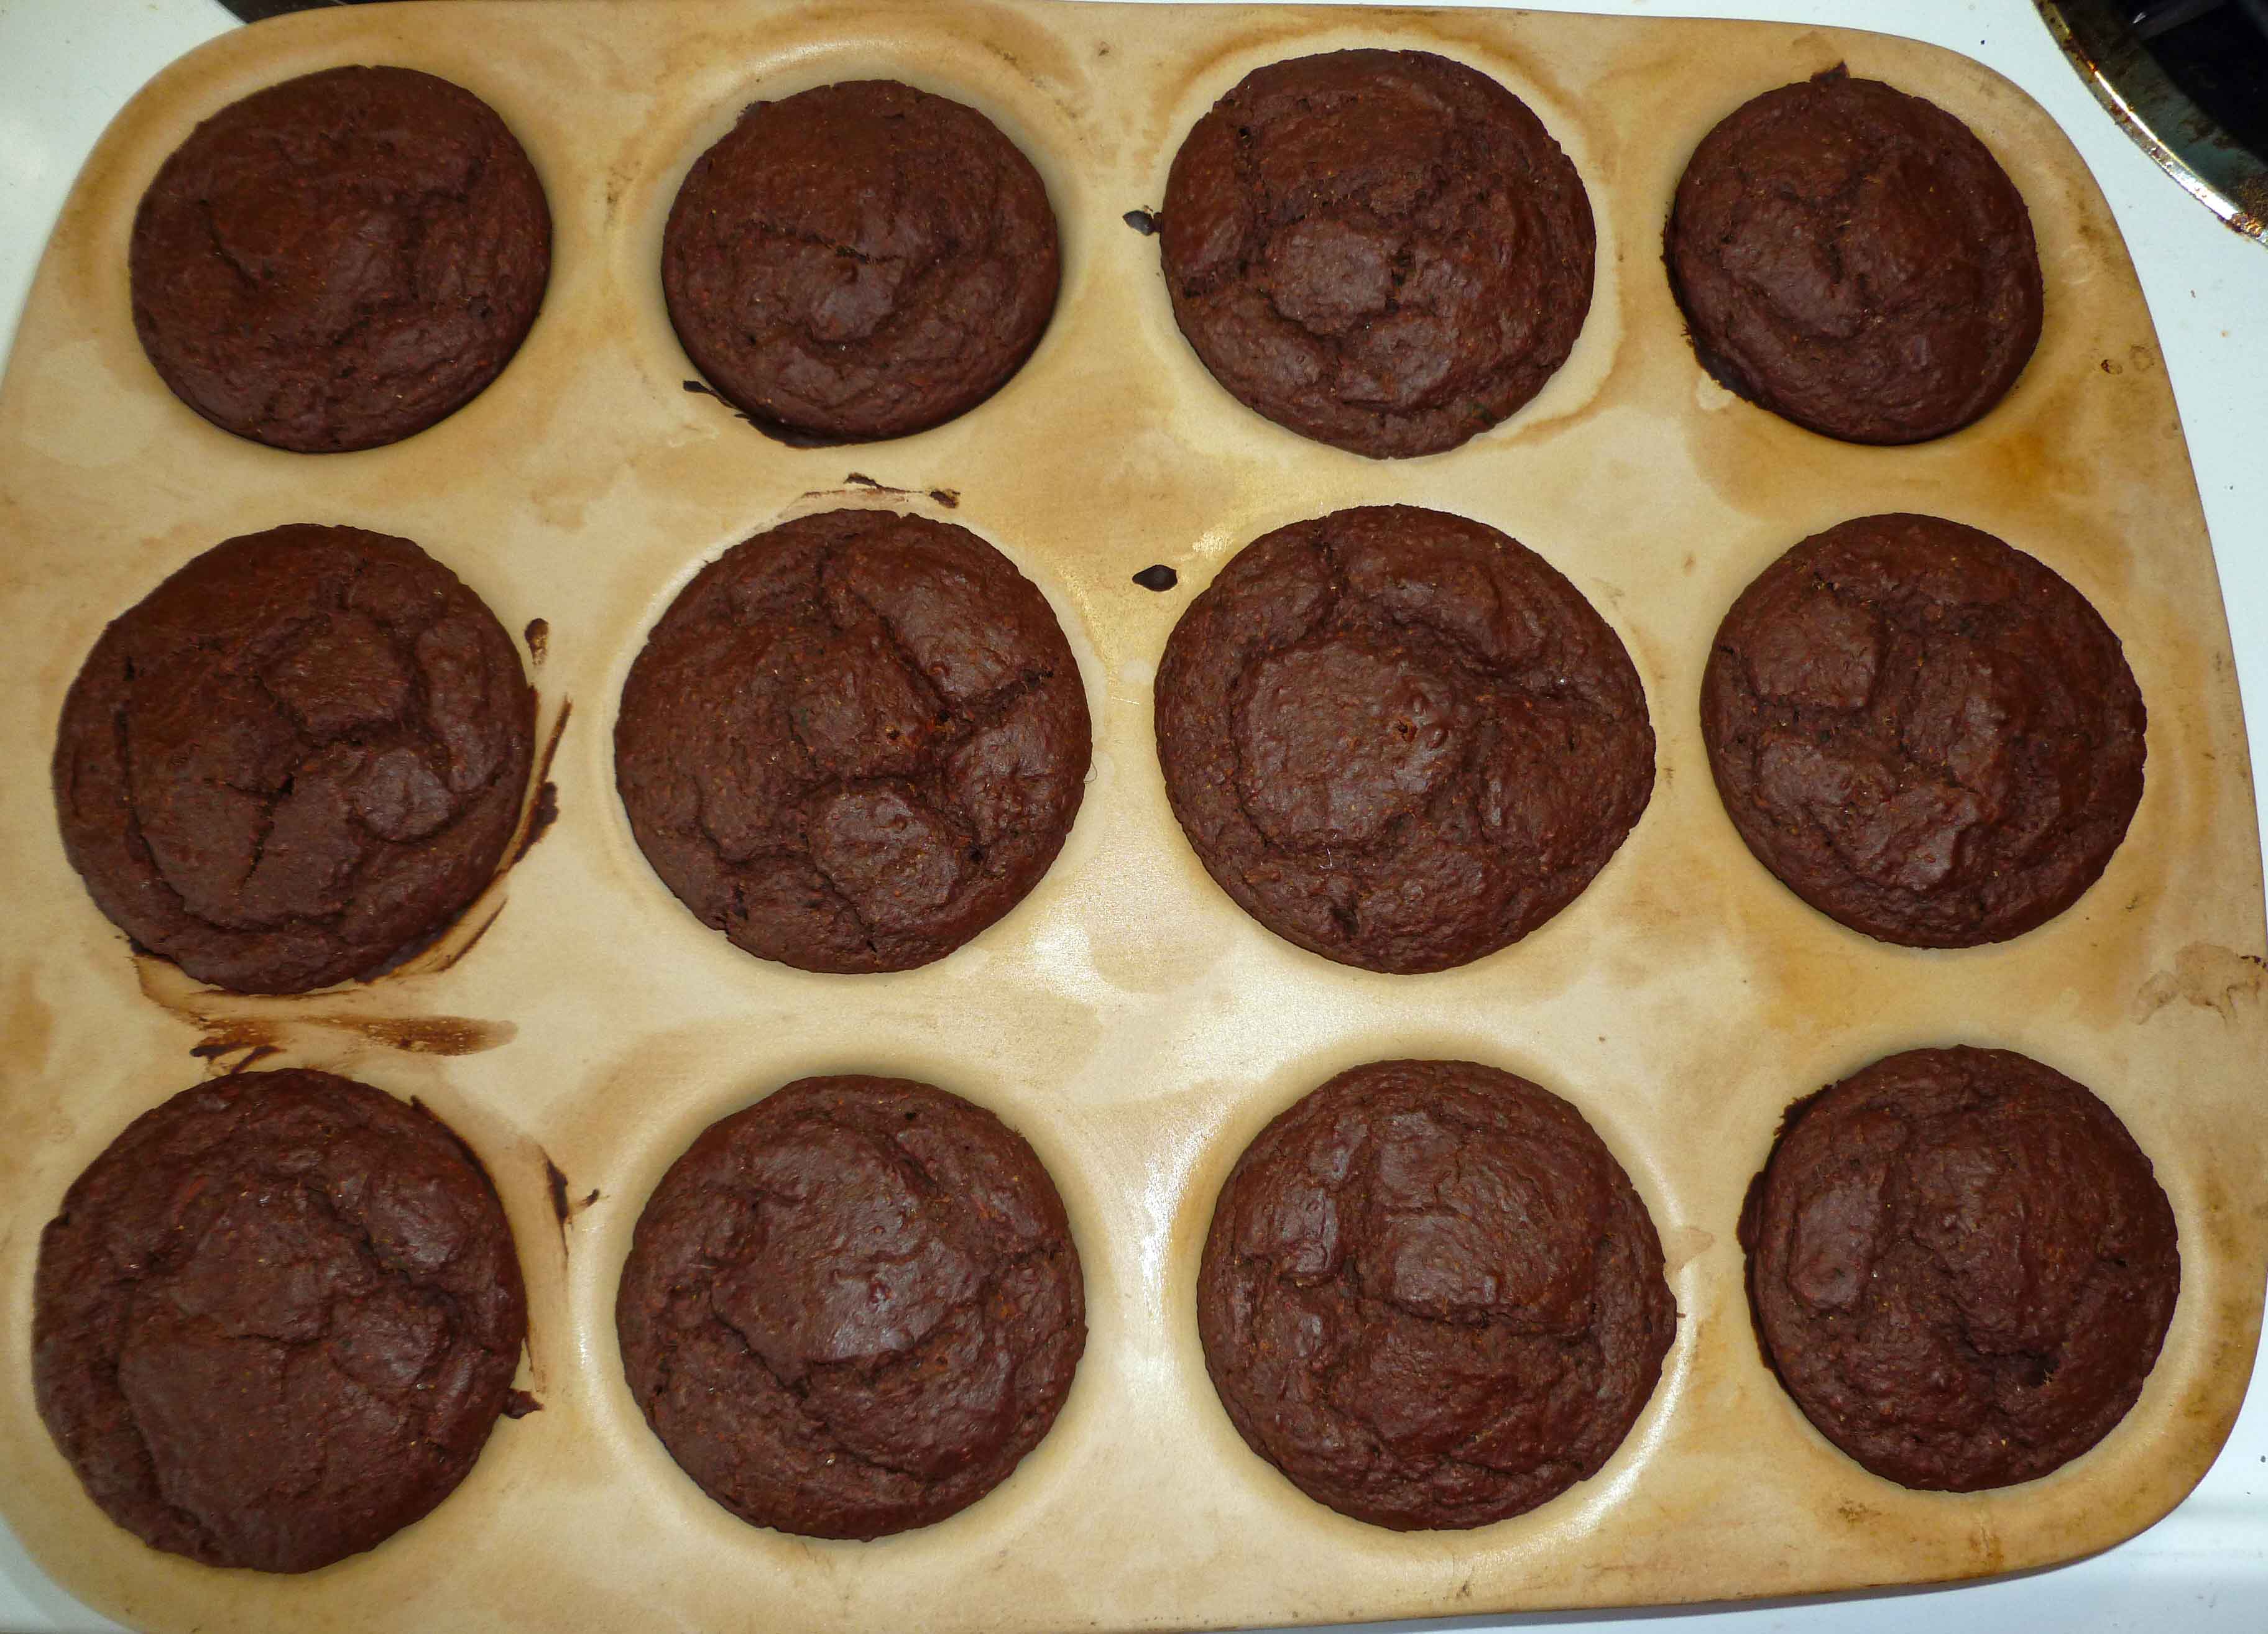
Bake 25-30 minutes depending on your pan (metal needs less time, stoneware needs more) or until a toothpick inserted into the middle of one of the center muffins comes out clean. Remove them from the oven, and as soon as they are cool enough to handle, turn them out of the pan onto a rack to cool.
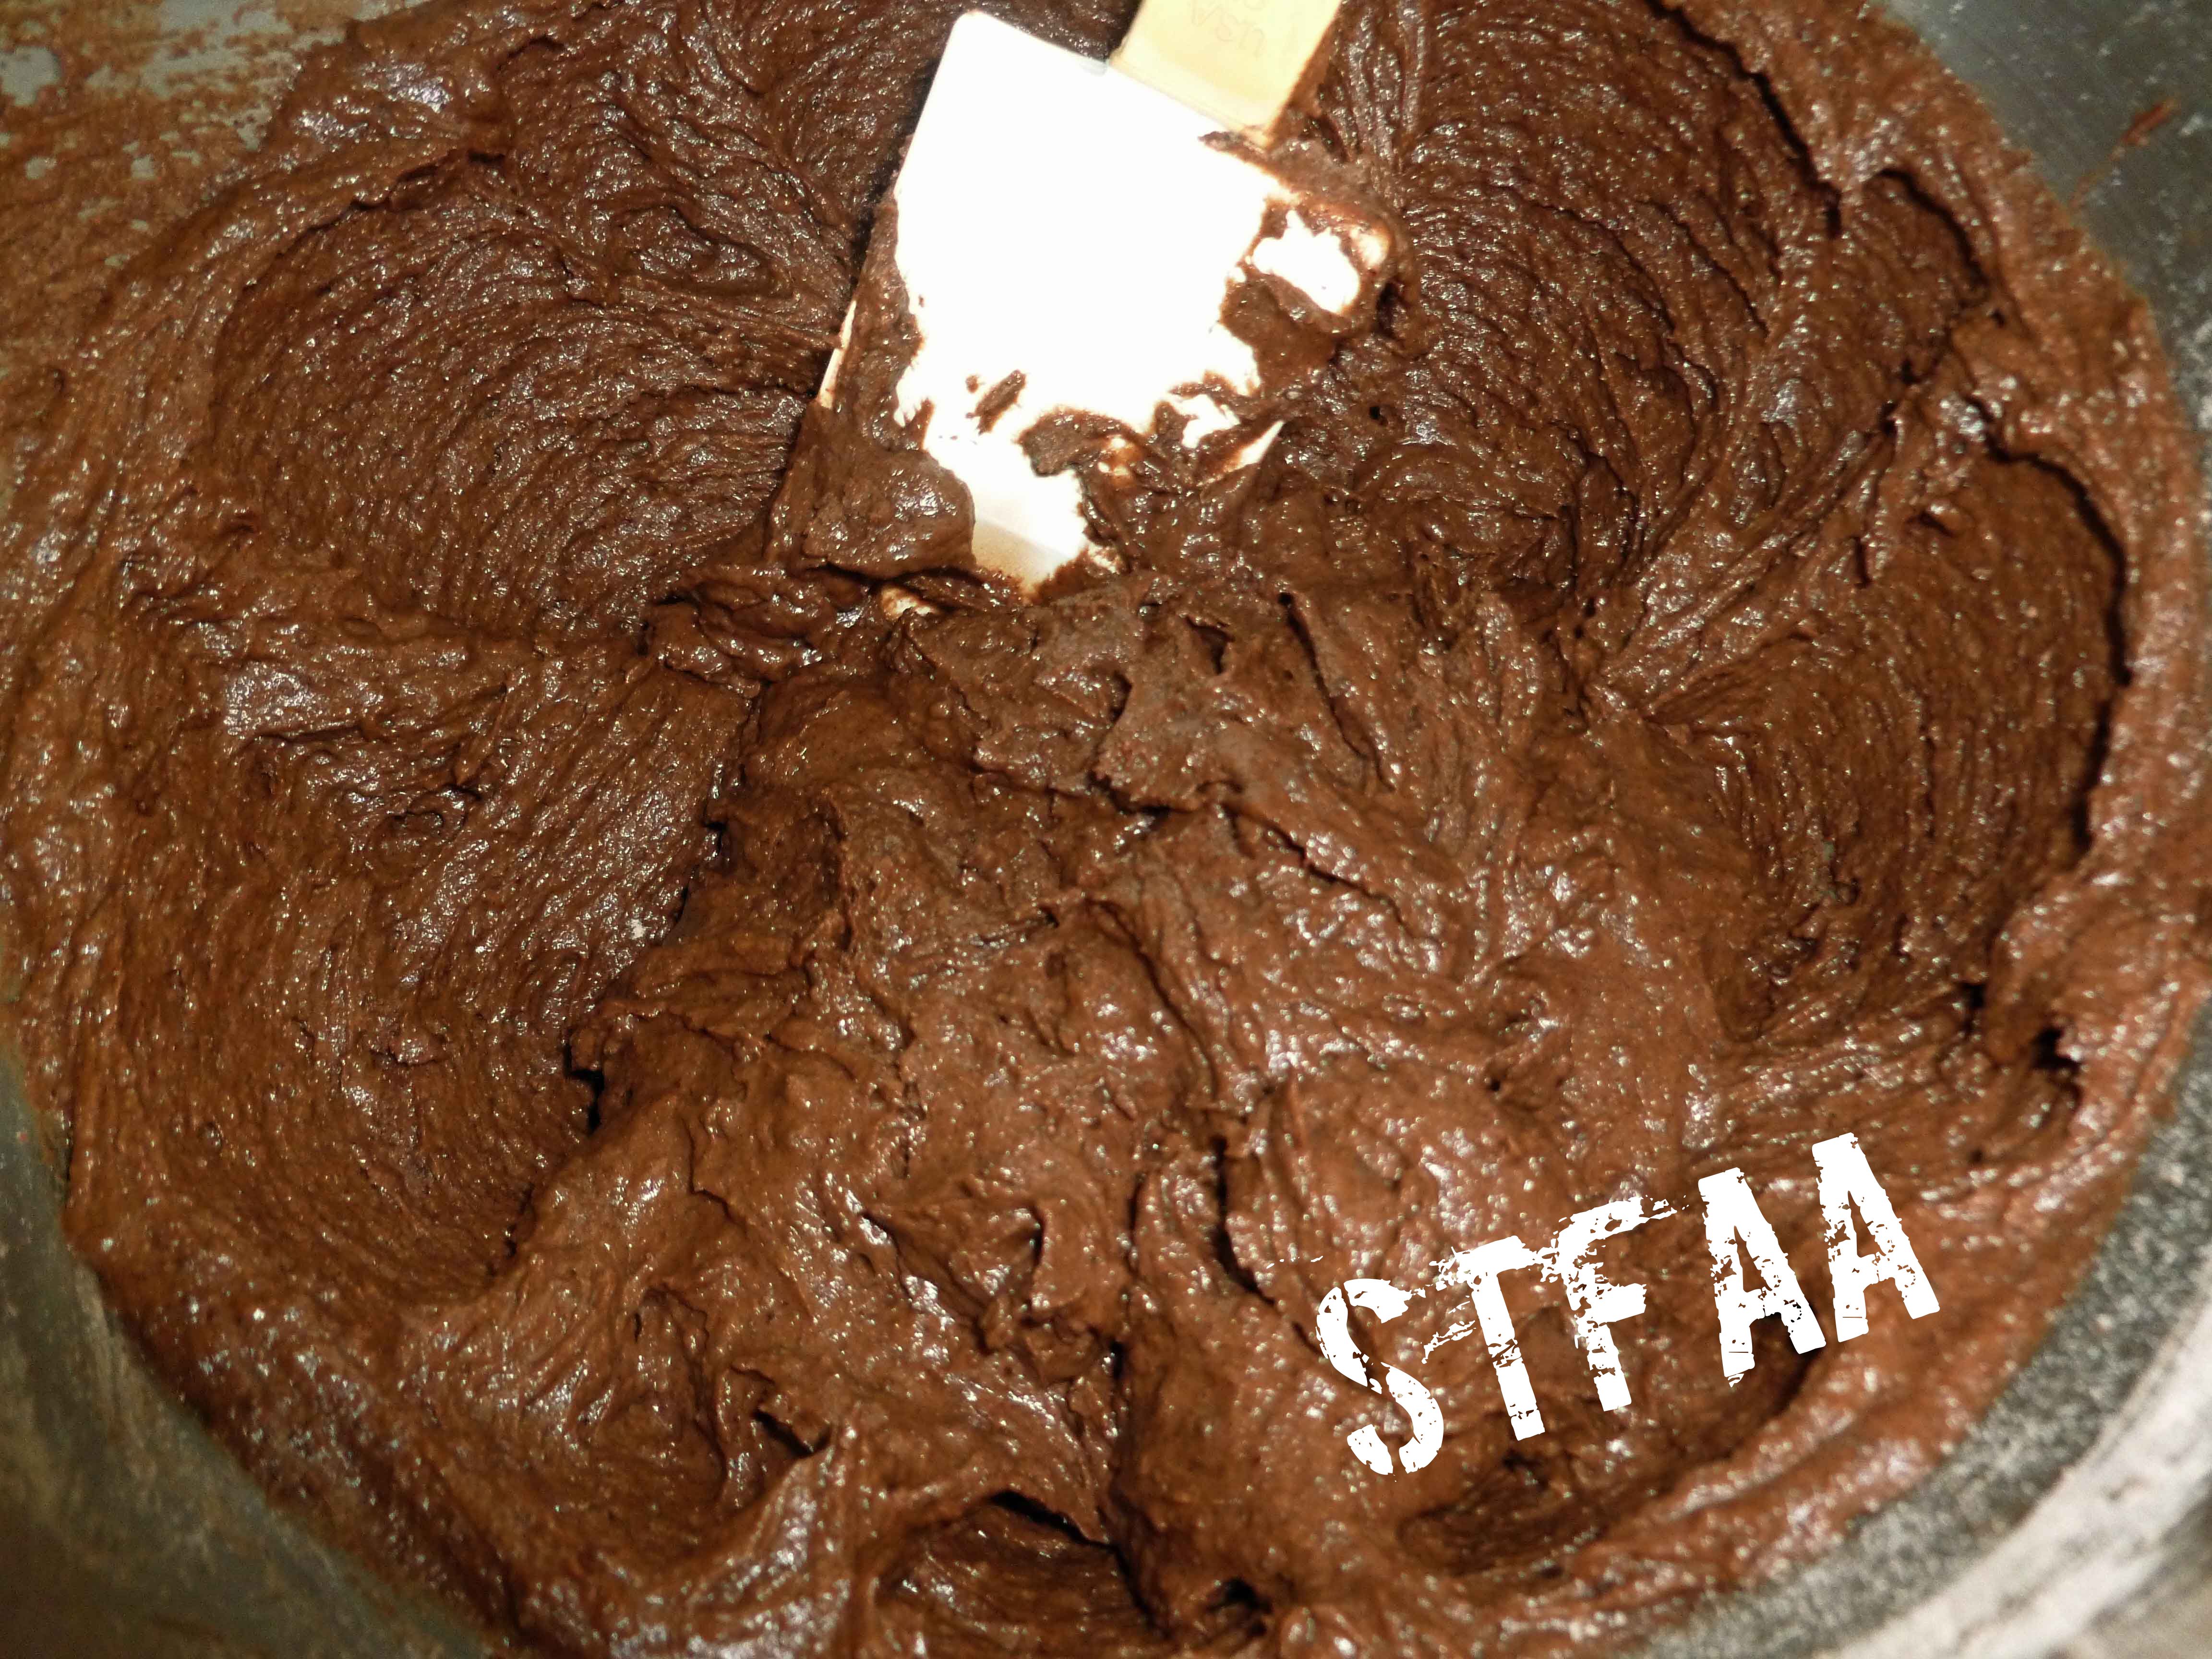
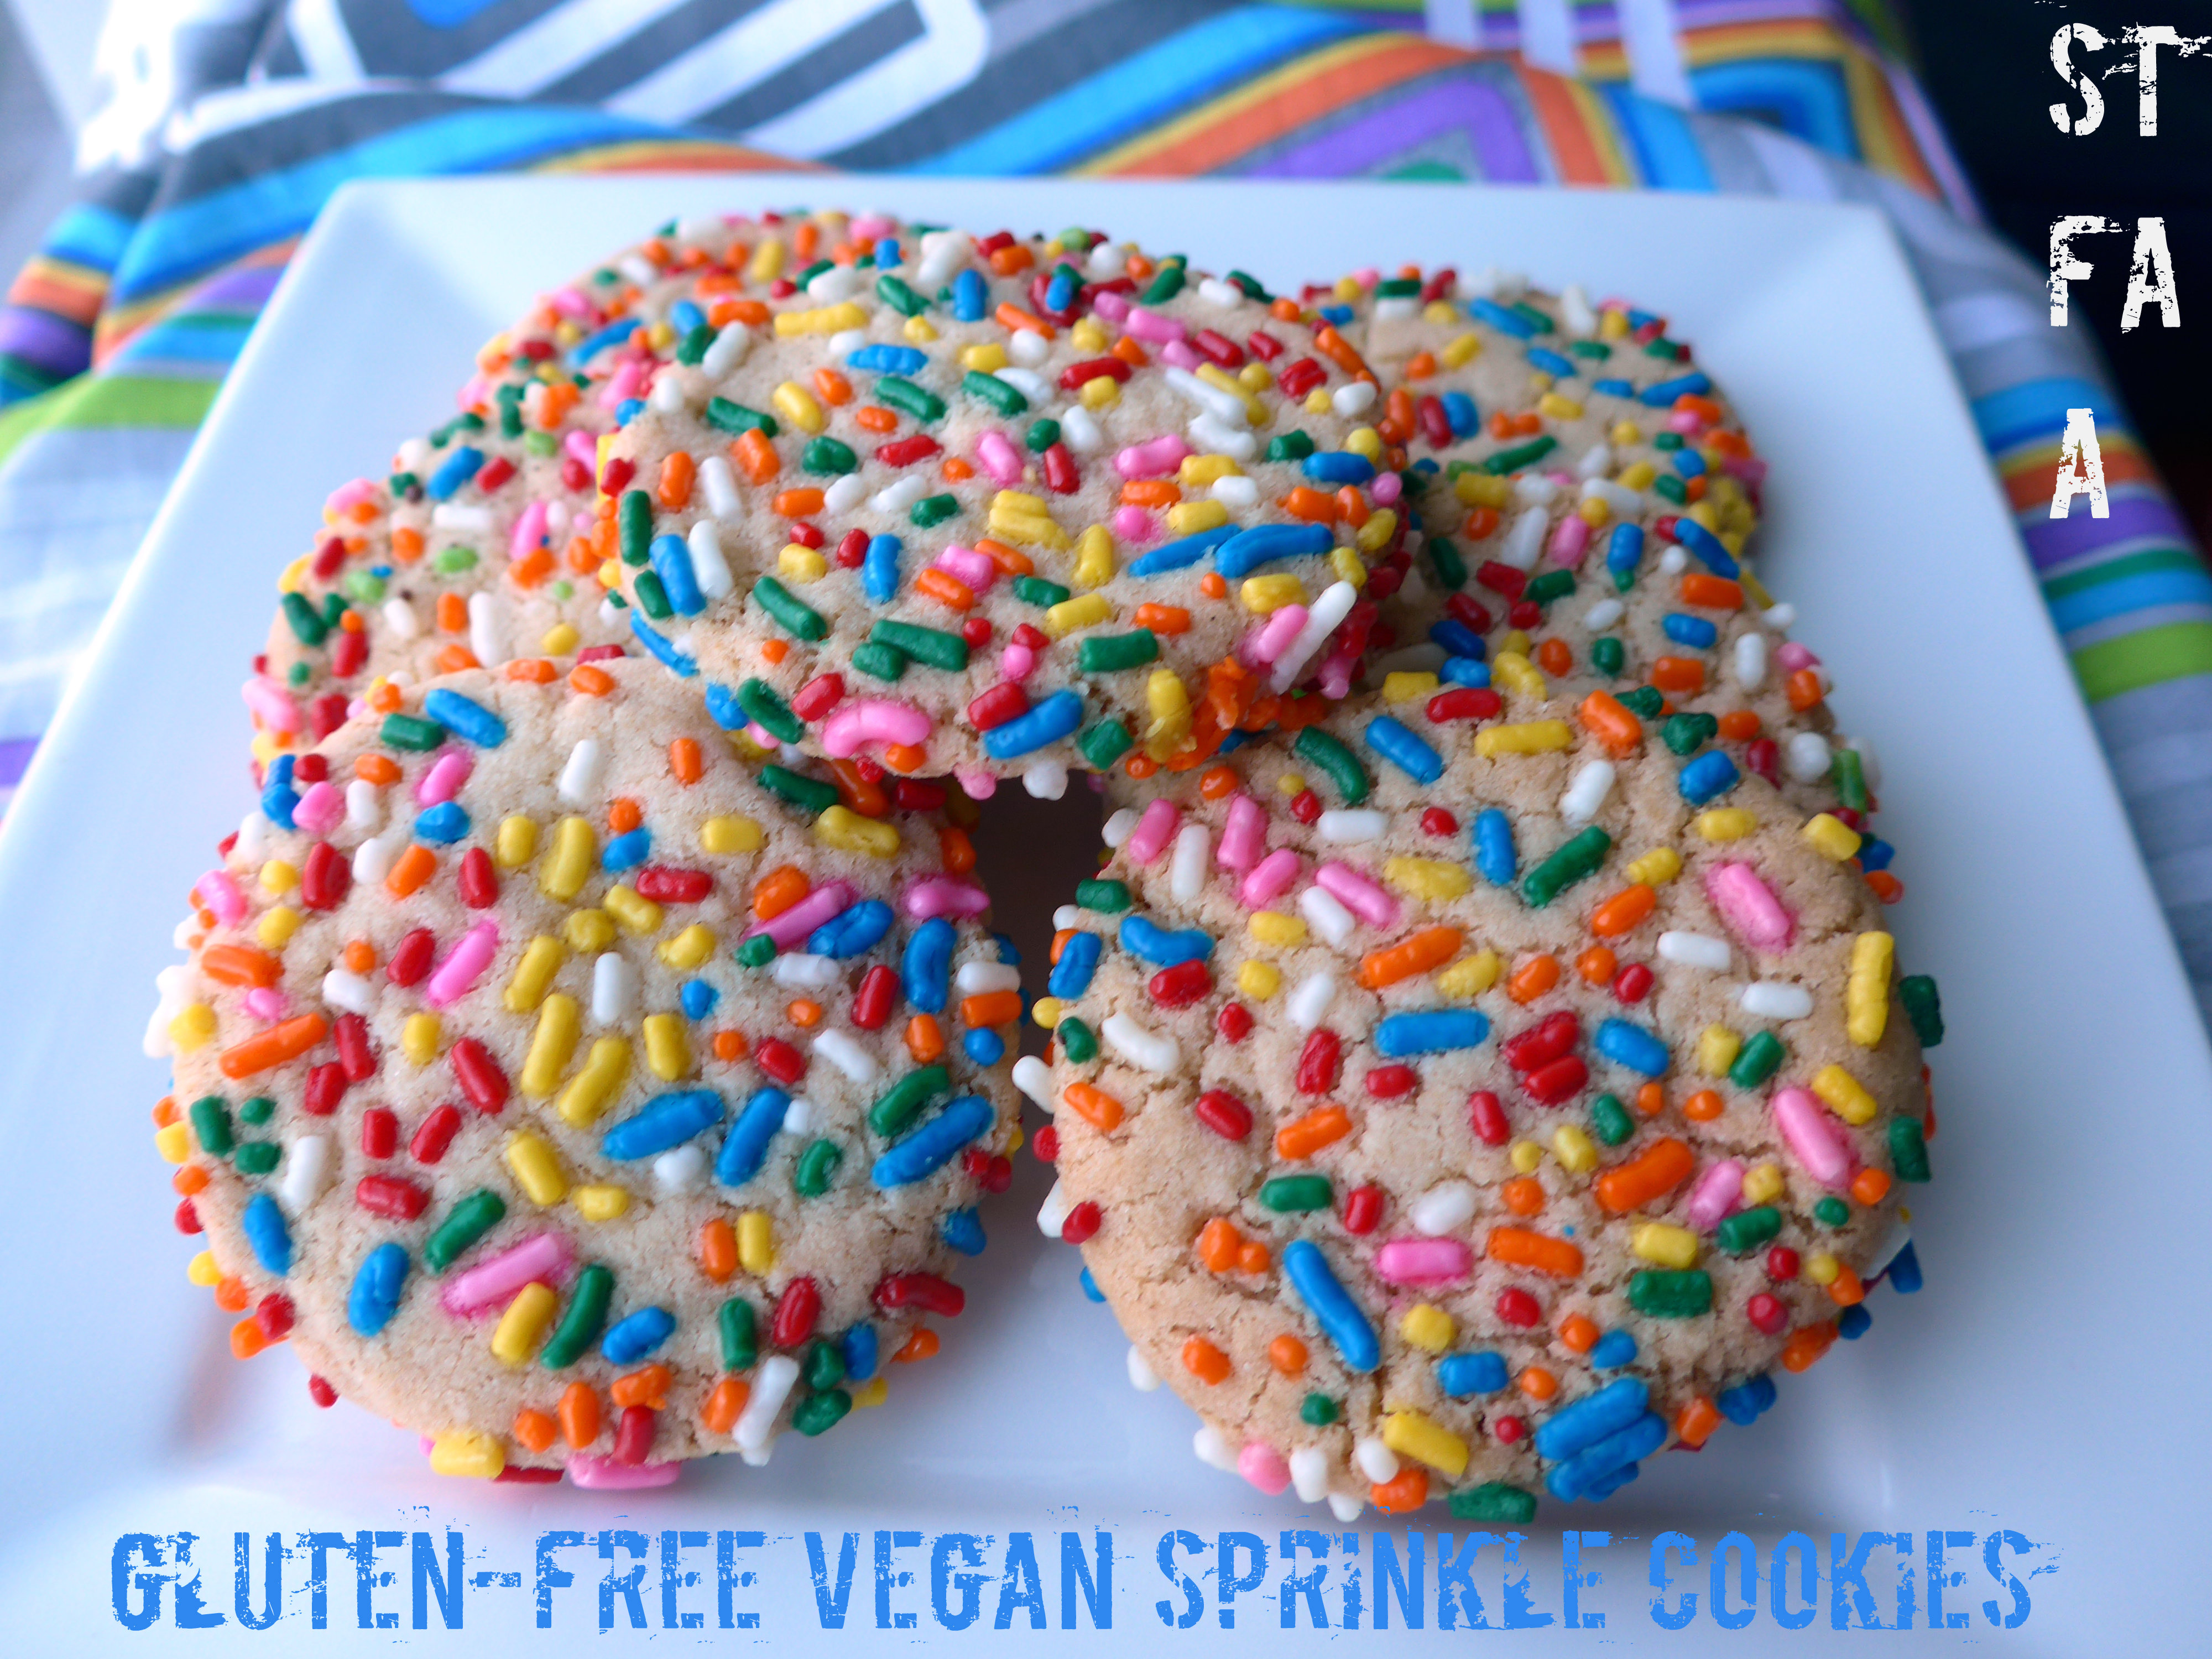
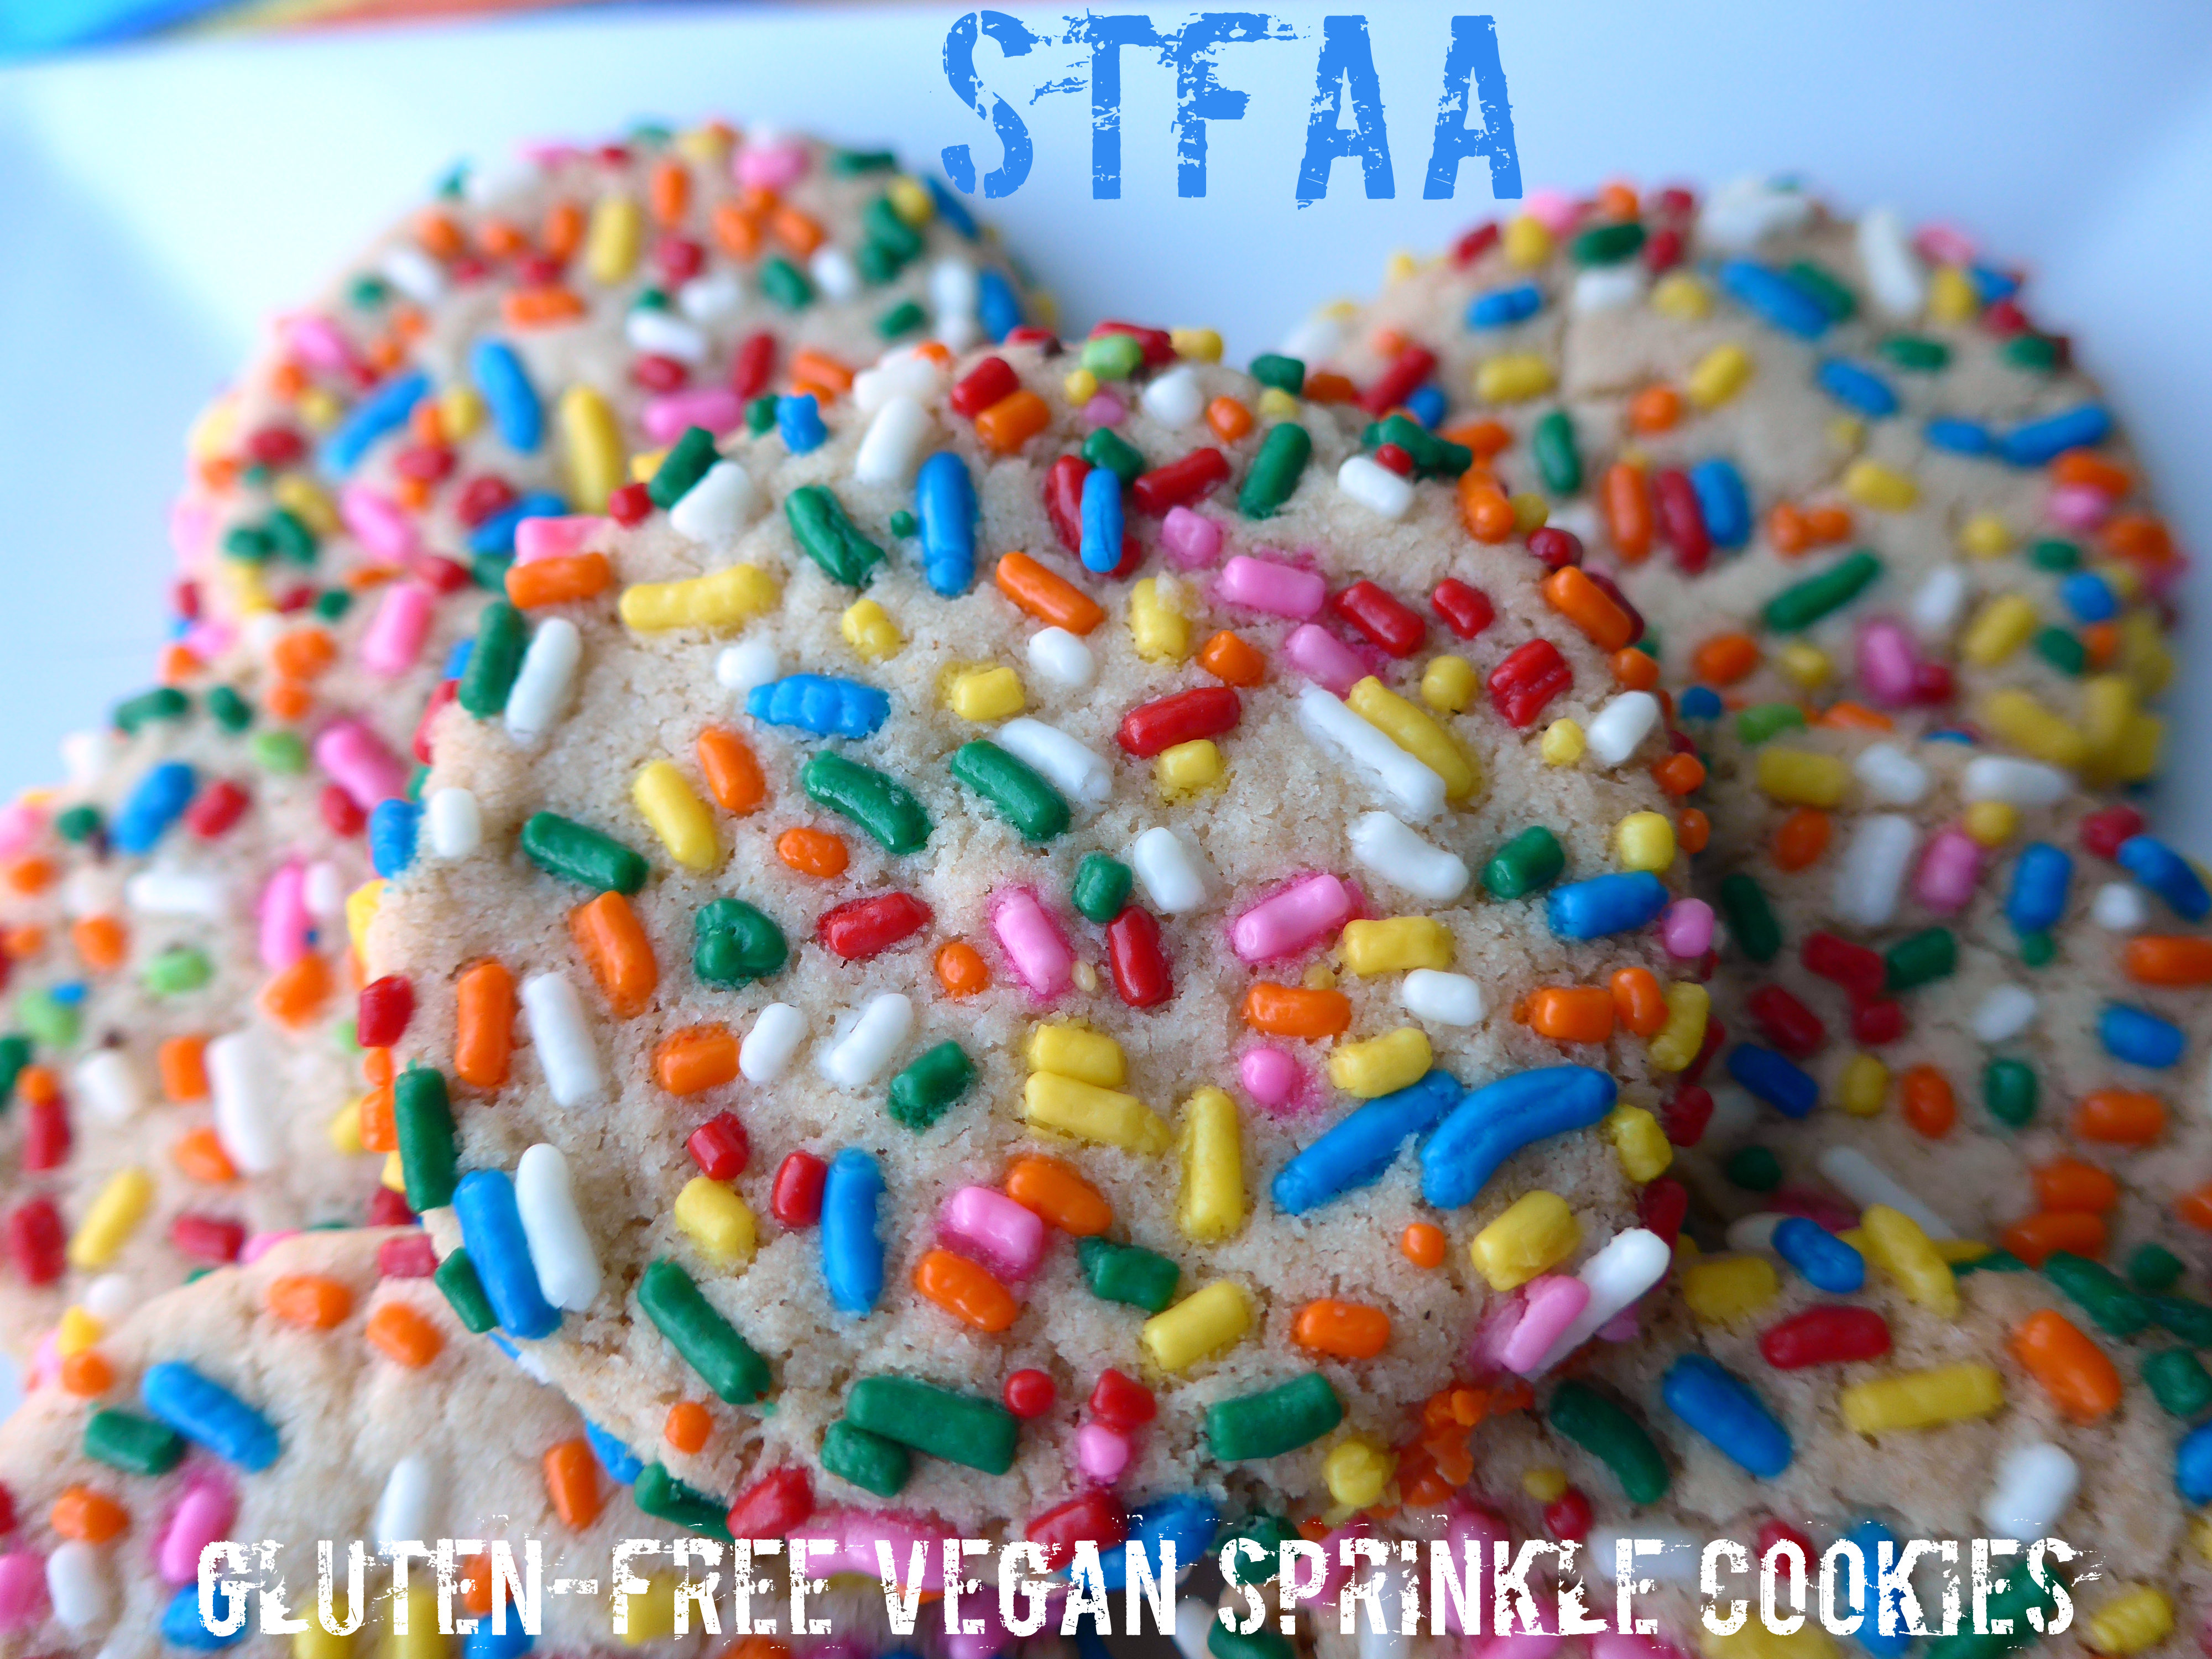
We were supposed to rework recipes this month, but nothing I want to work with is actually lending itself to rehabilitation. I was stuck. Then my friends at Treehouse Bakery in Phoenix posted this amazing photo of stacks of sprinkle cookies (see July 28th) and I was obsessed. The bakery is vegan, but I don’t think this recipe was gluten-free, so I started digging. And baking. And running out of sprinkles.* ALL THE SPRINKLES. Which is kind of the whole point of this whole recipe.
I modified this not allergy-safe/friendly recipe to make it gluten-free, dairy-free, and egg-free. To make this easier, I’ve used a commercial baking mix from Bob’s Red Mill (the 1-to-1 rather than their original bean-based recipe, and this one contains xanthan), psyllium as the egg replacer, and Earth Balance margarine.
This results in a thick crispy cookie that is also light and airy. I’m not sure that’s the traditional texture (I’m not sure I ever had a sprinkle cookie?), but I quite liked it. If you make a lot of cookies, I can highly recommend getting a 1 tablespoon serving scooper — it makes the fussy part of making cookies much less finicky. Any restaurant supply store has every possible size serving scoop you could ever want.
Gluten-free Vegan Sprinkle Cookies Notice: Trying to access array offset on value of type bool in /home/maryzahc/public_html/adultfoodallergies.com/wp-content/plugins/wp-ultimate-recipe/helpers/models/recipe.php on line 254
Gluten-free Vegan Sprinkle Cookies
Print Recipe
Gluten-free Vegan Sprinkle Cookies
Print Recipe
Ingredients
3/4cupEarth Balance soy-free margarine
1/2cupsugar
1/2cupconfectioners sugar
1/4cupoil
2teaspoonsvanilla
2cupsgluten-free flour mix(I used Bob’s 1-to-1 Mix, which contains xanthan gum)
1/2teaspoonbaking soda
1/2teaspoonsalt
1Tablespoonpsyllium huskground
rainbow sprinklescheck that they are safe for you!
cupAbout 1rainbow sprinkles
Servings:
Instructions
Pre-heat oven to 350°F.
Mix together the margarine and sugars until well-blended. Don’t soften the margarine — it is soft enough!
Add oil and vanilla and mix well.
In a separate bowl, mix together the dry ingredients EXCEPT sprinkles. Add to the margarine/sugar mix in two batches, mixing well. You should have a relatively stiff dough, but very malleable.
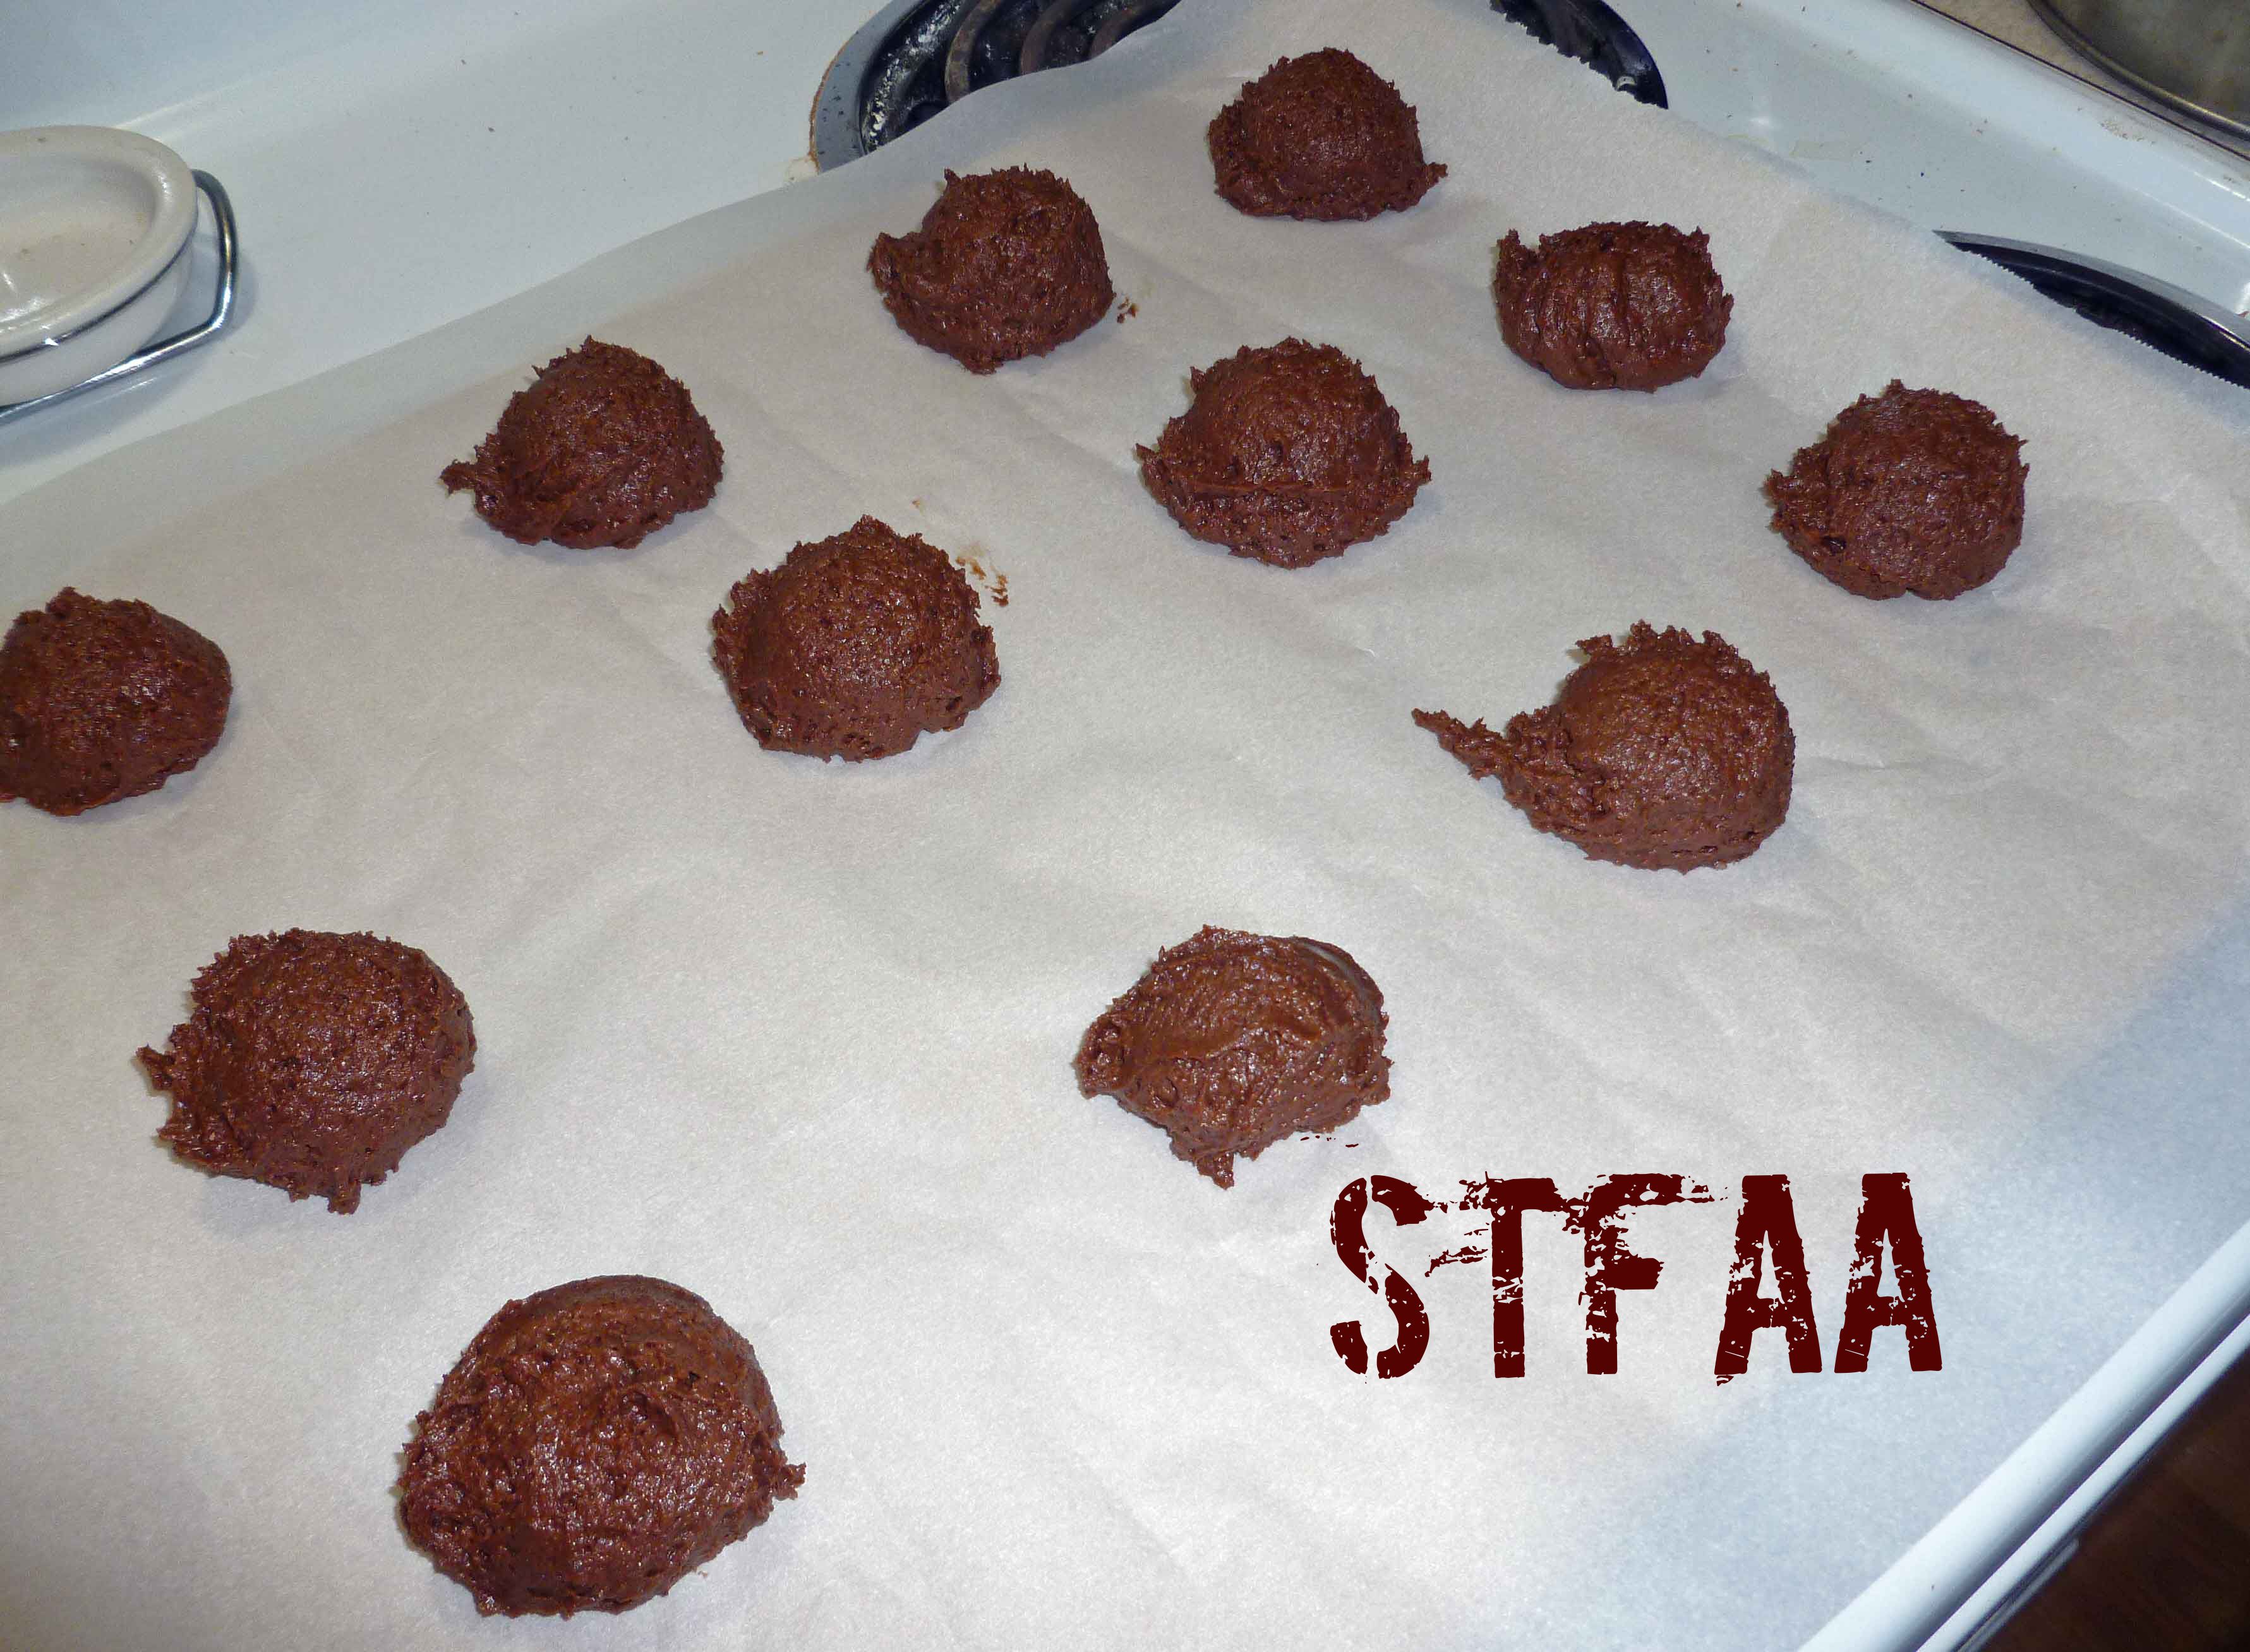
In 1 Tablespoon lumps, make round balls and roll in sprinkles. Flatten slightly and space evenly on a cookie sheet lined with parchment or silicone mats.
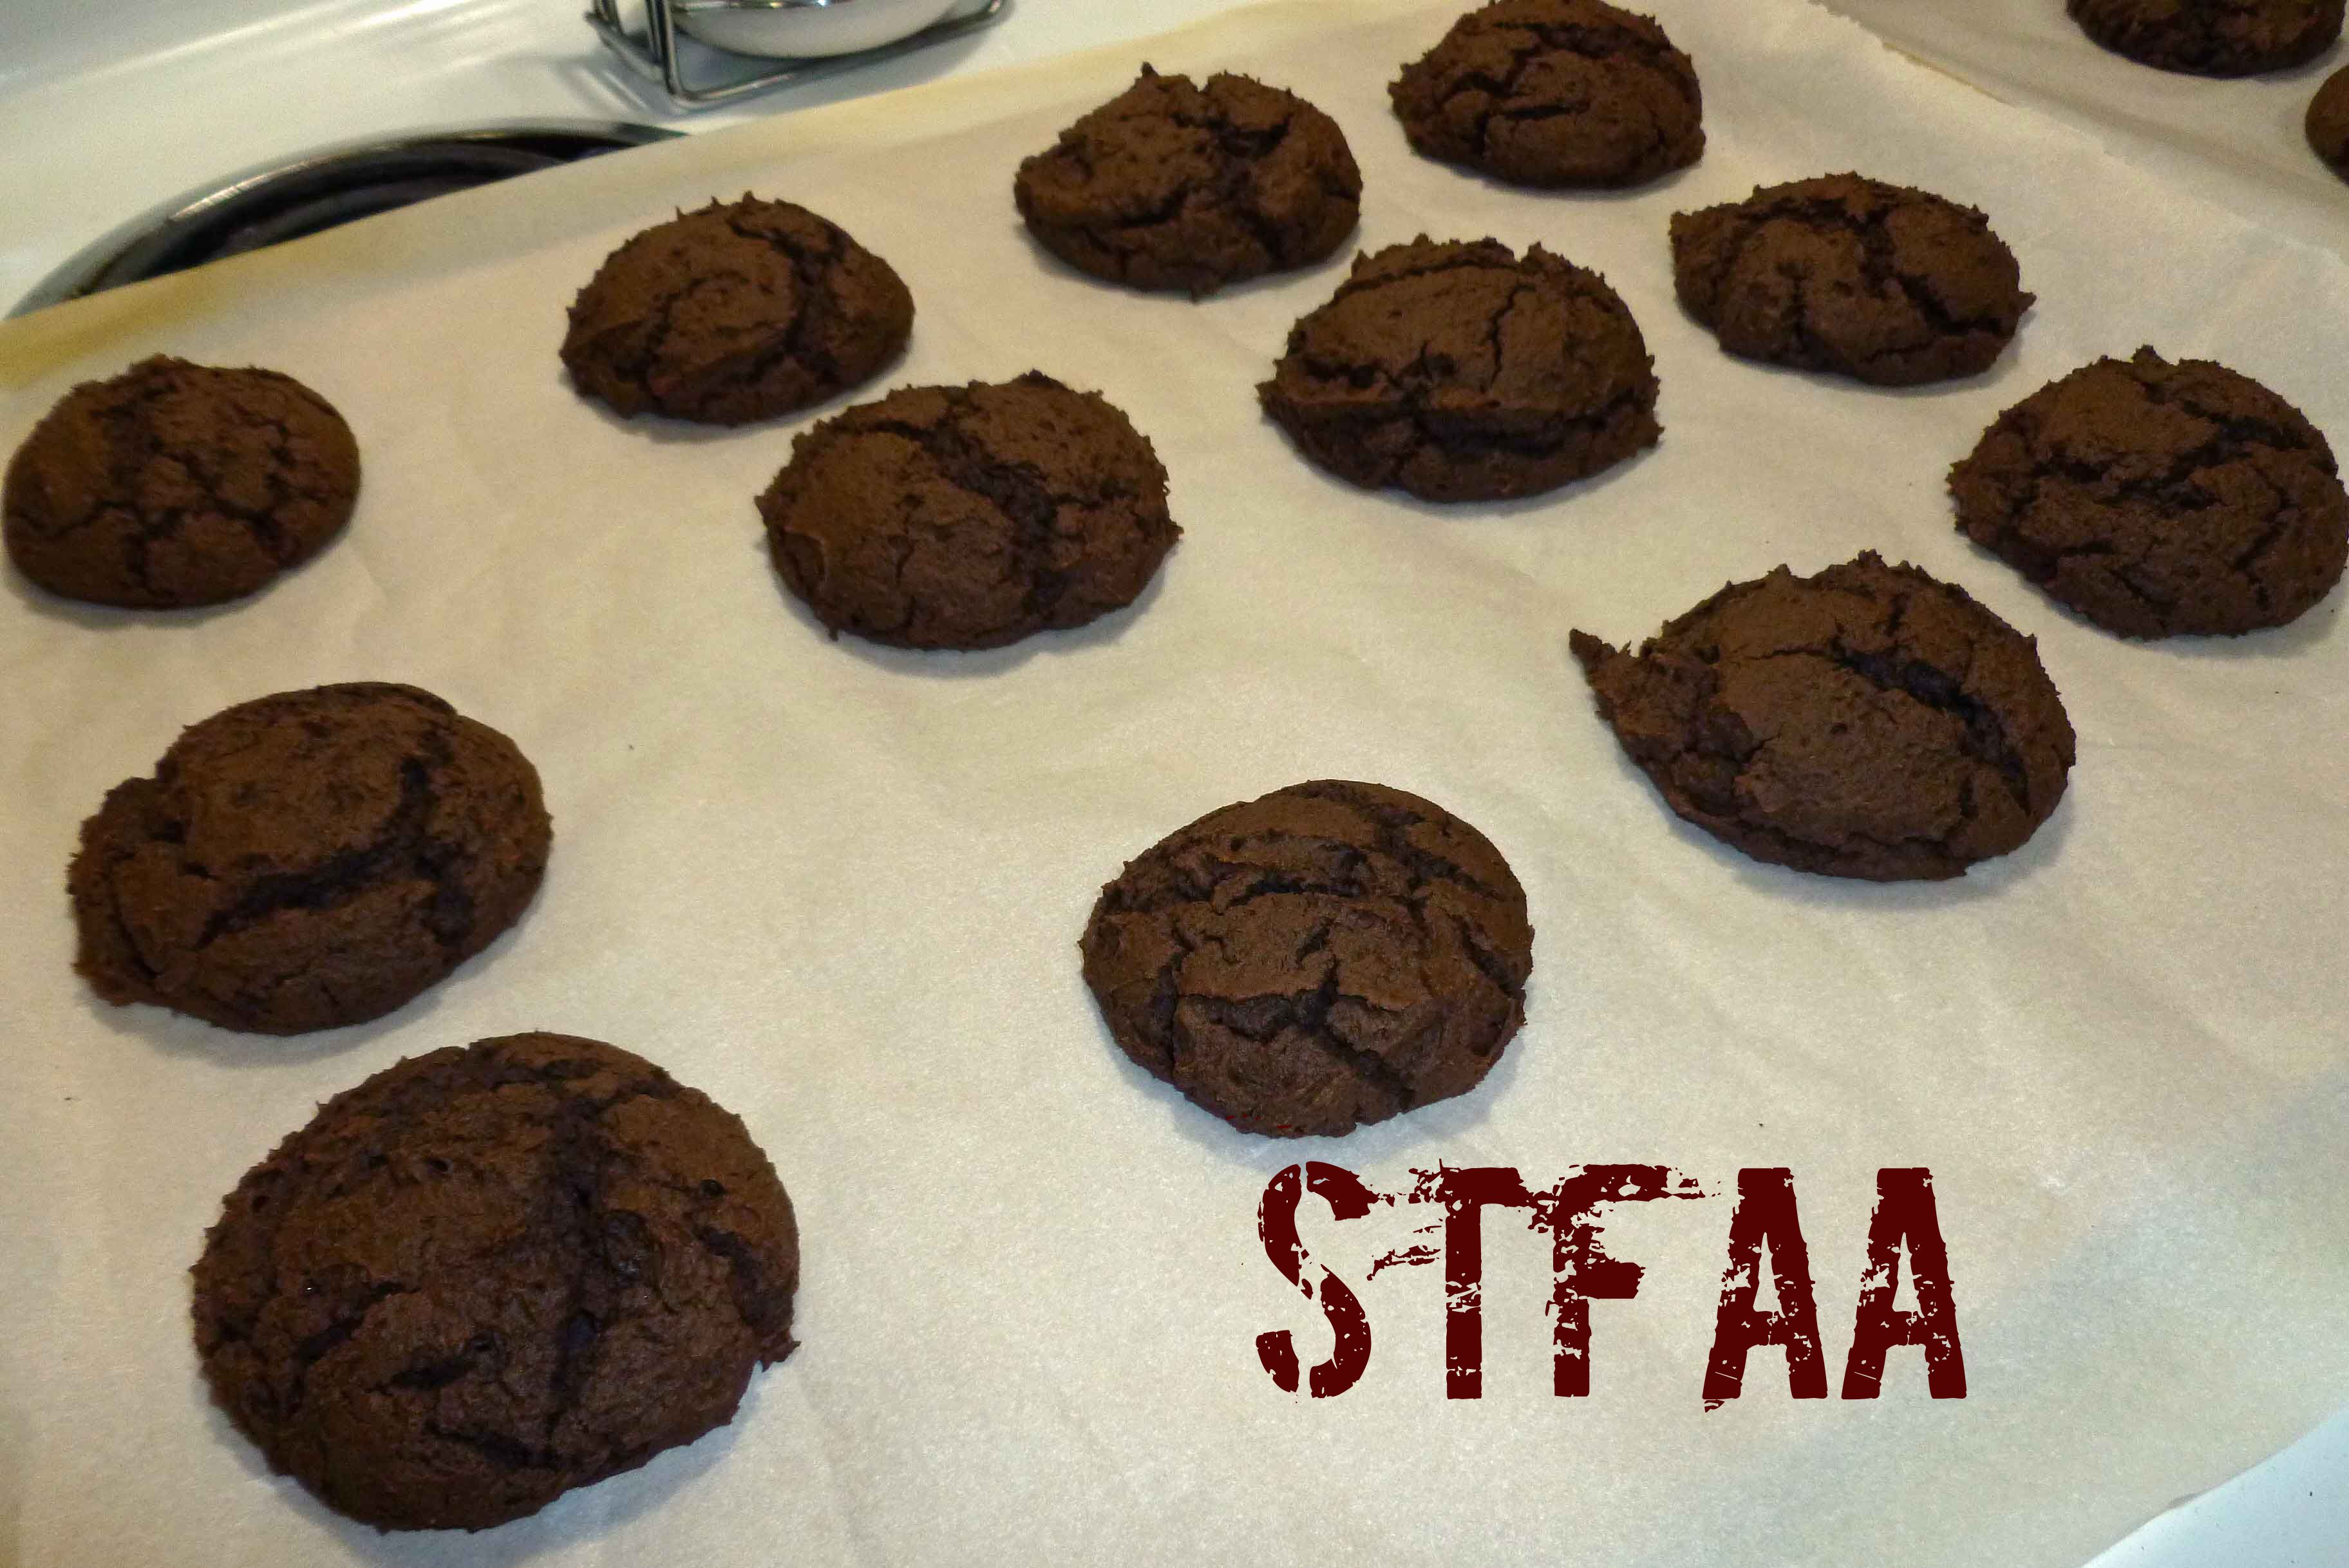
Bake at 350F for 25-30 minutes. Cookies *will not* brown. Do not overbake — they will look slightly dry on top, but still be soft.
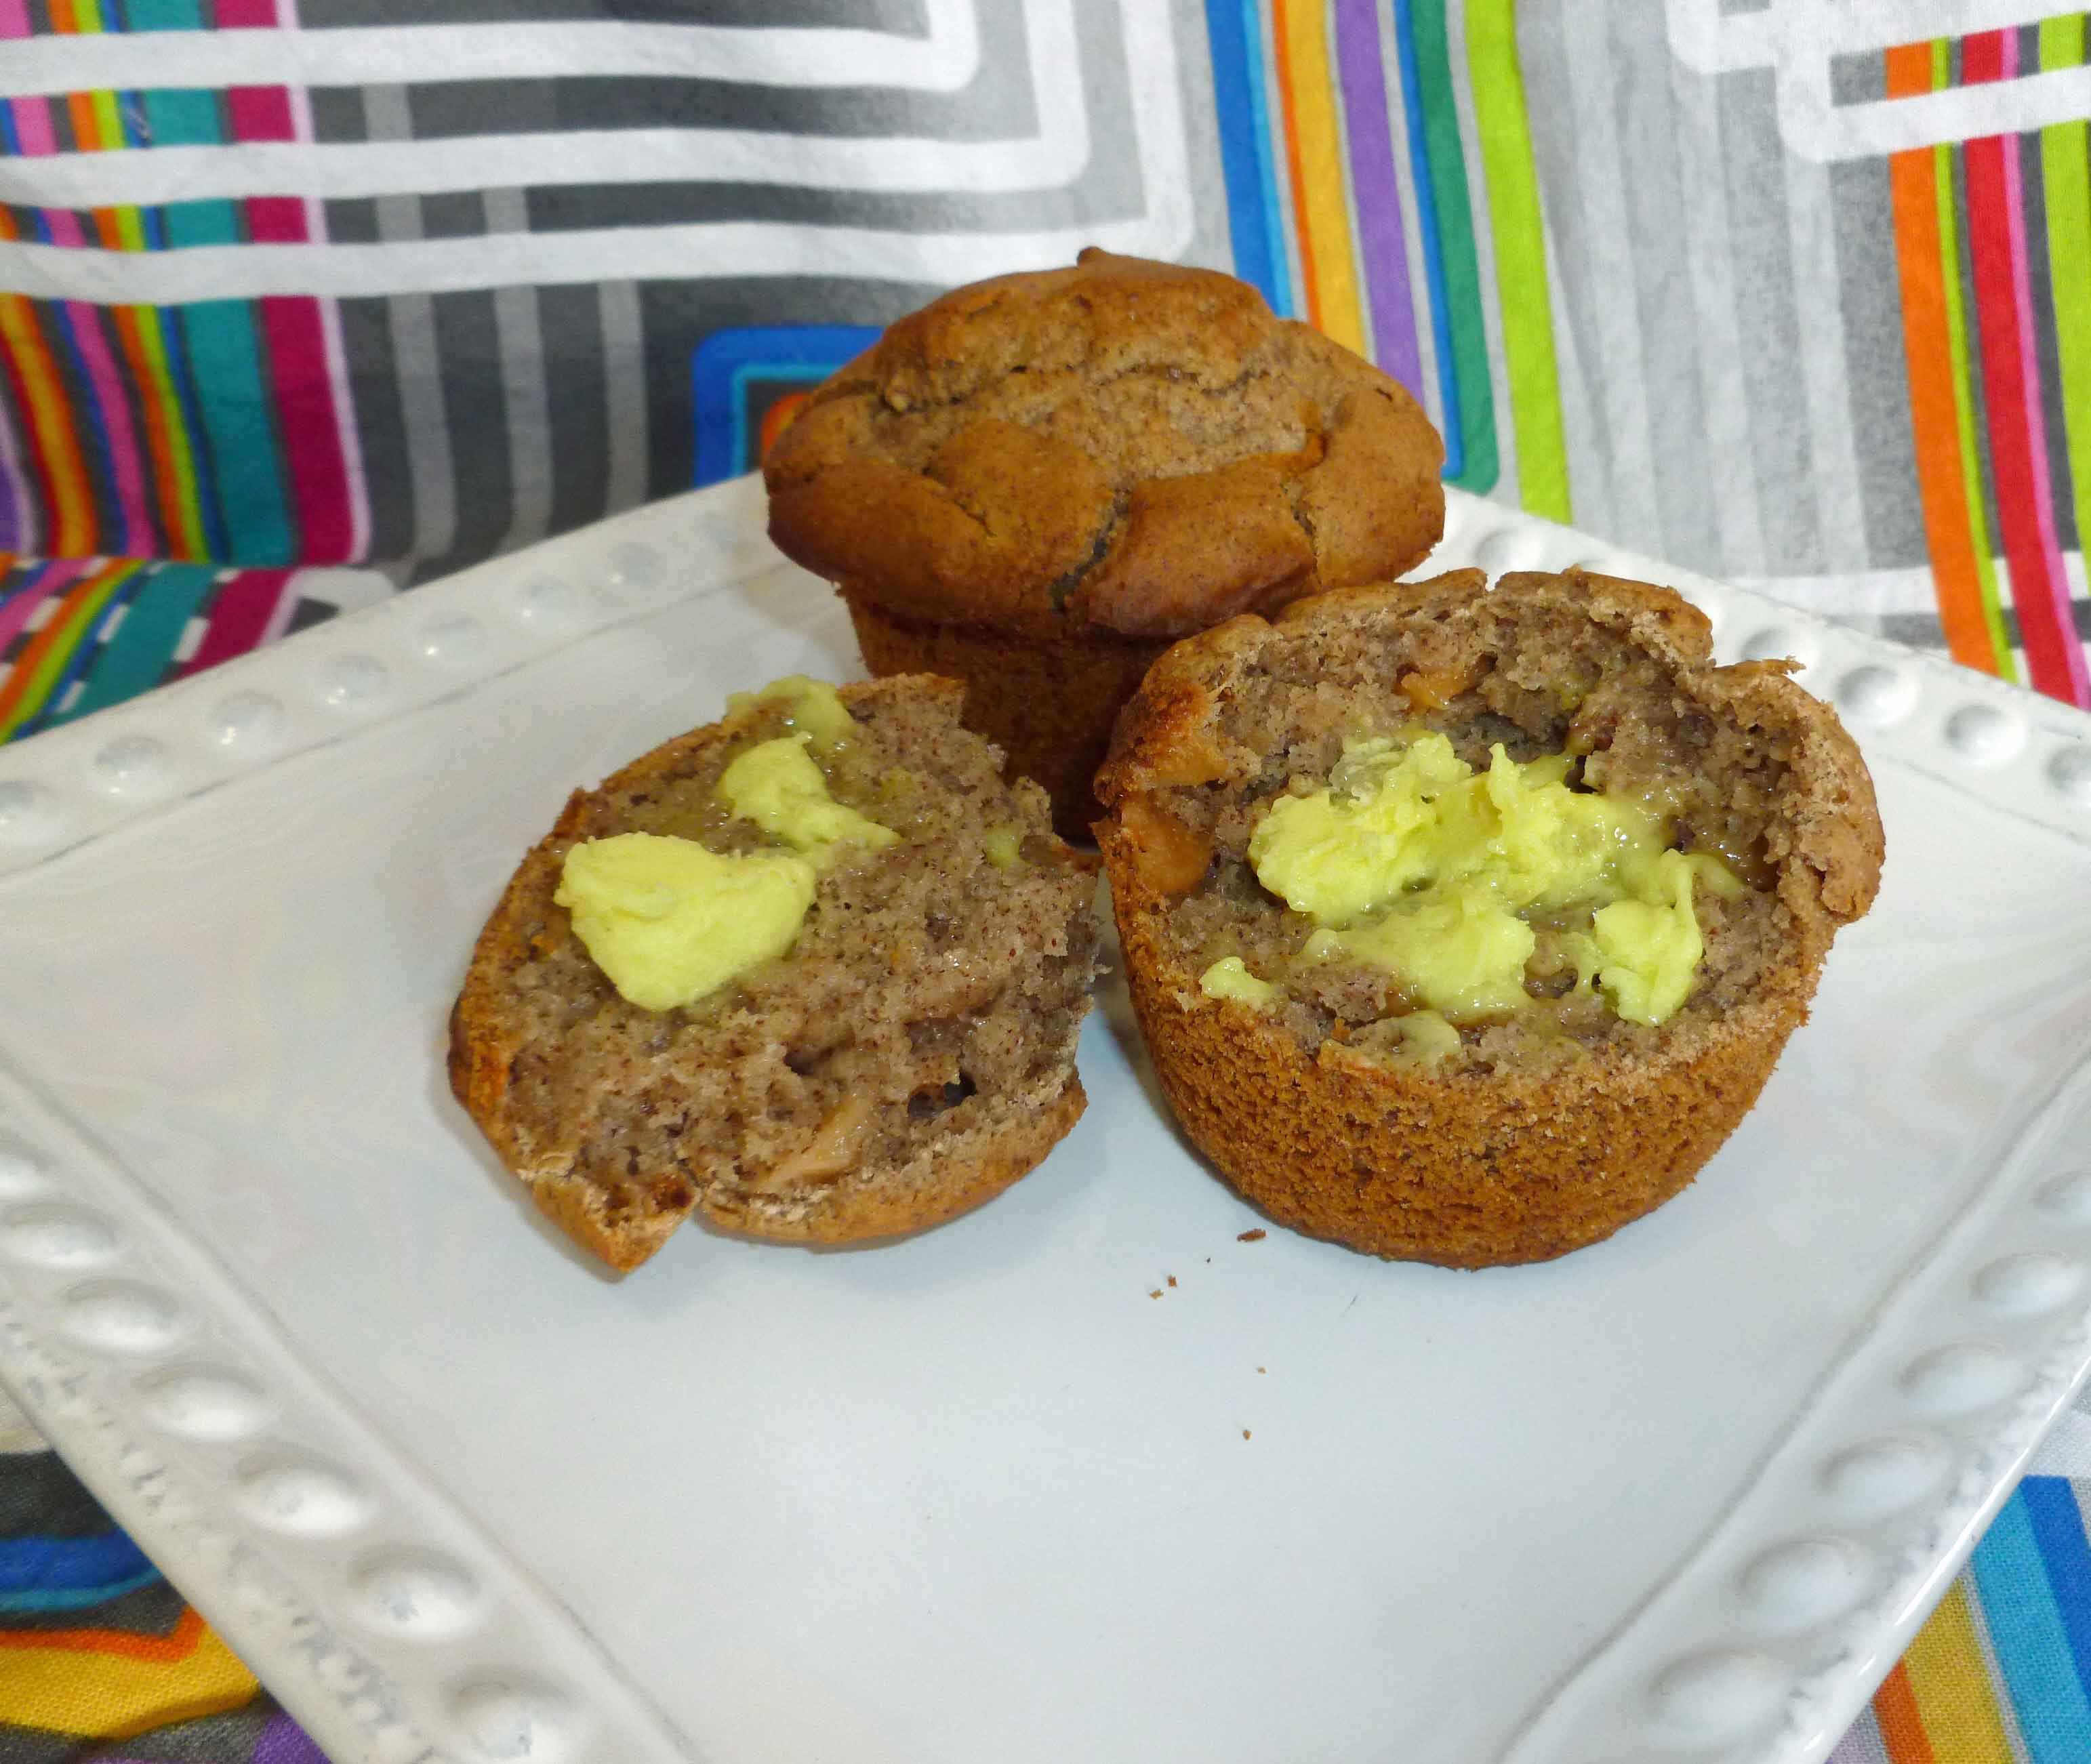
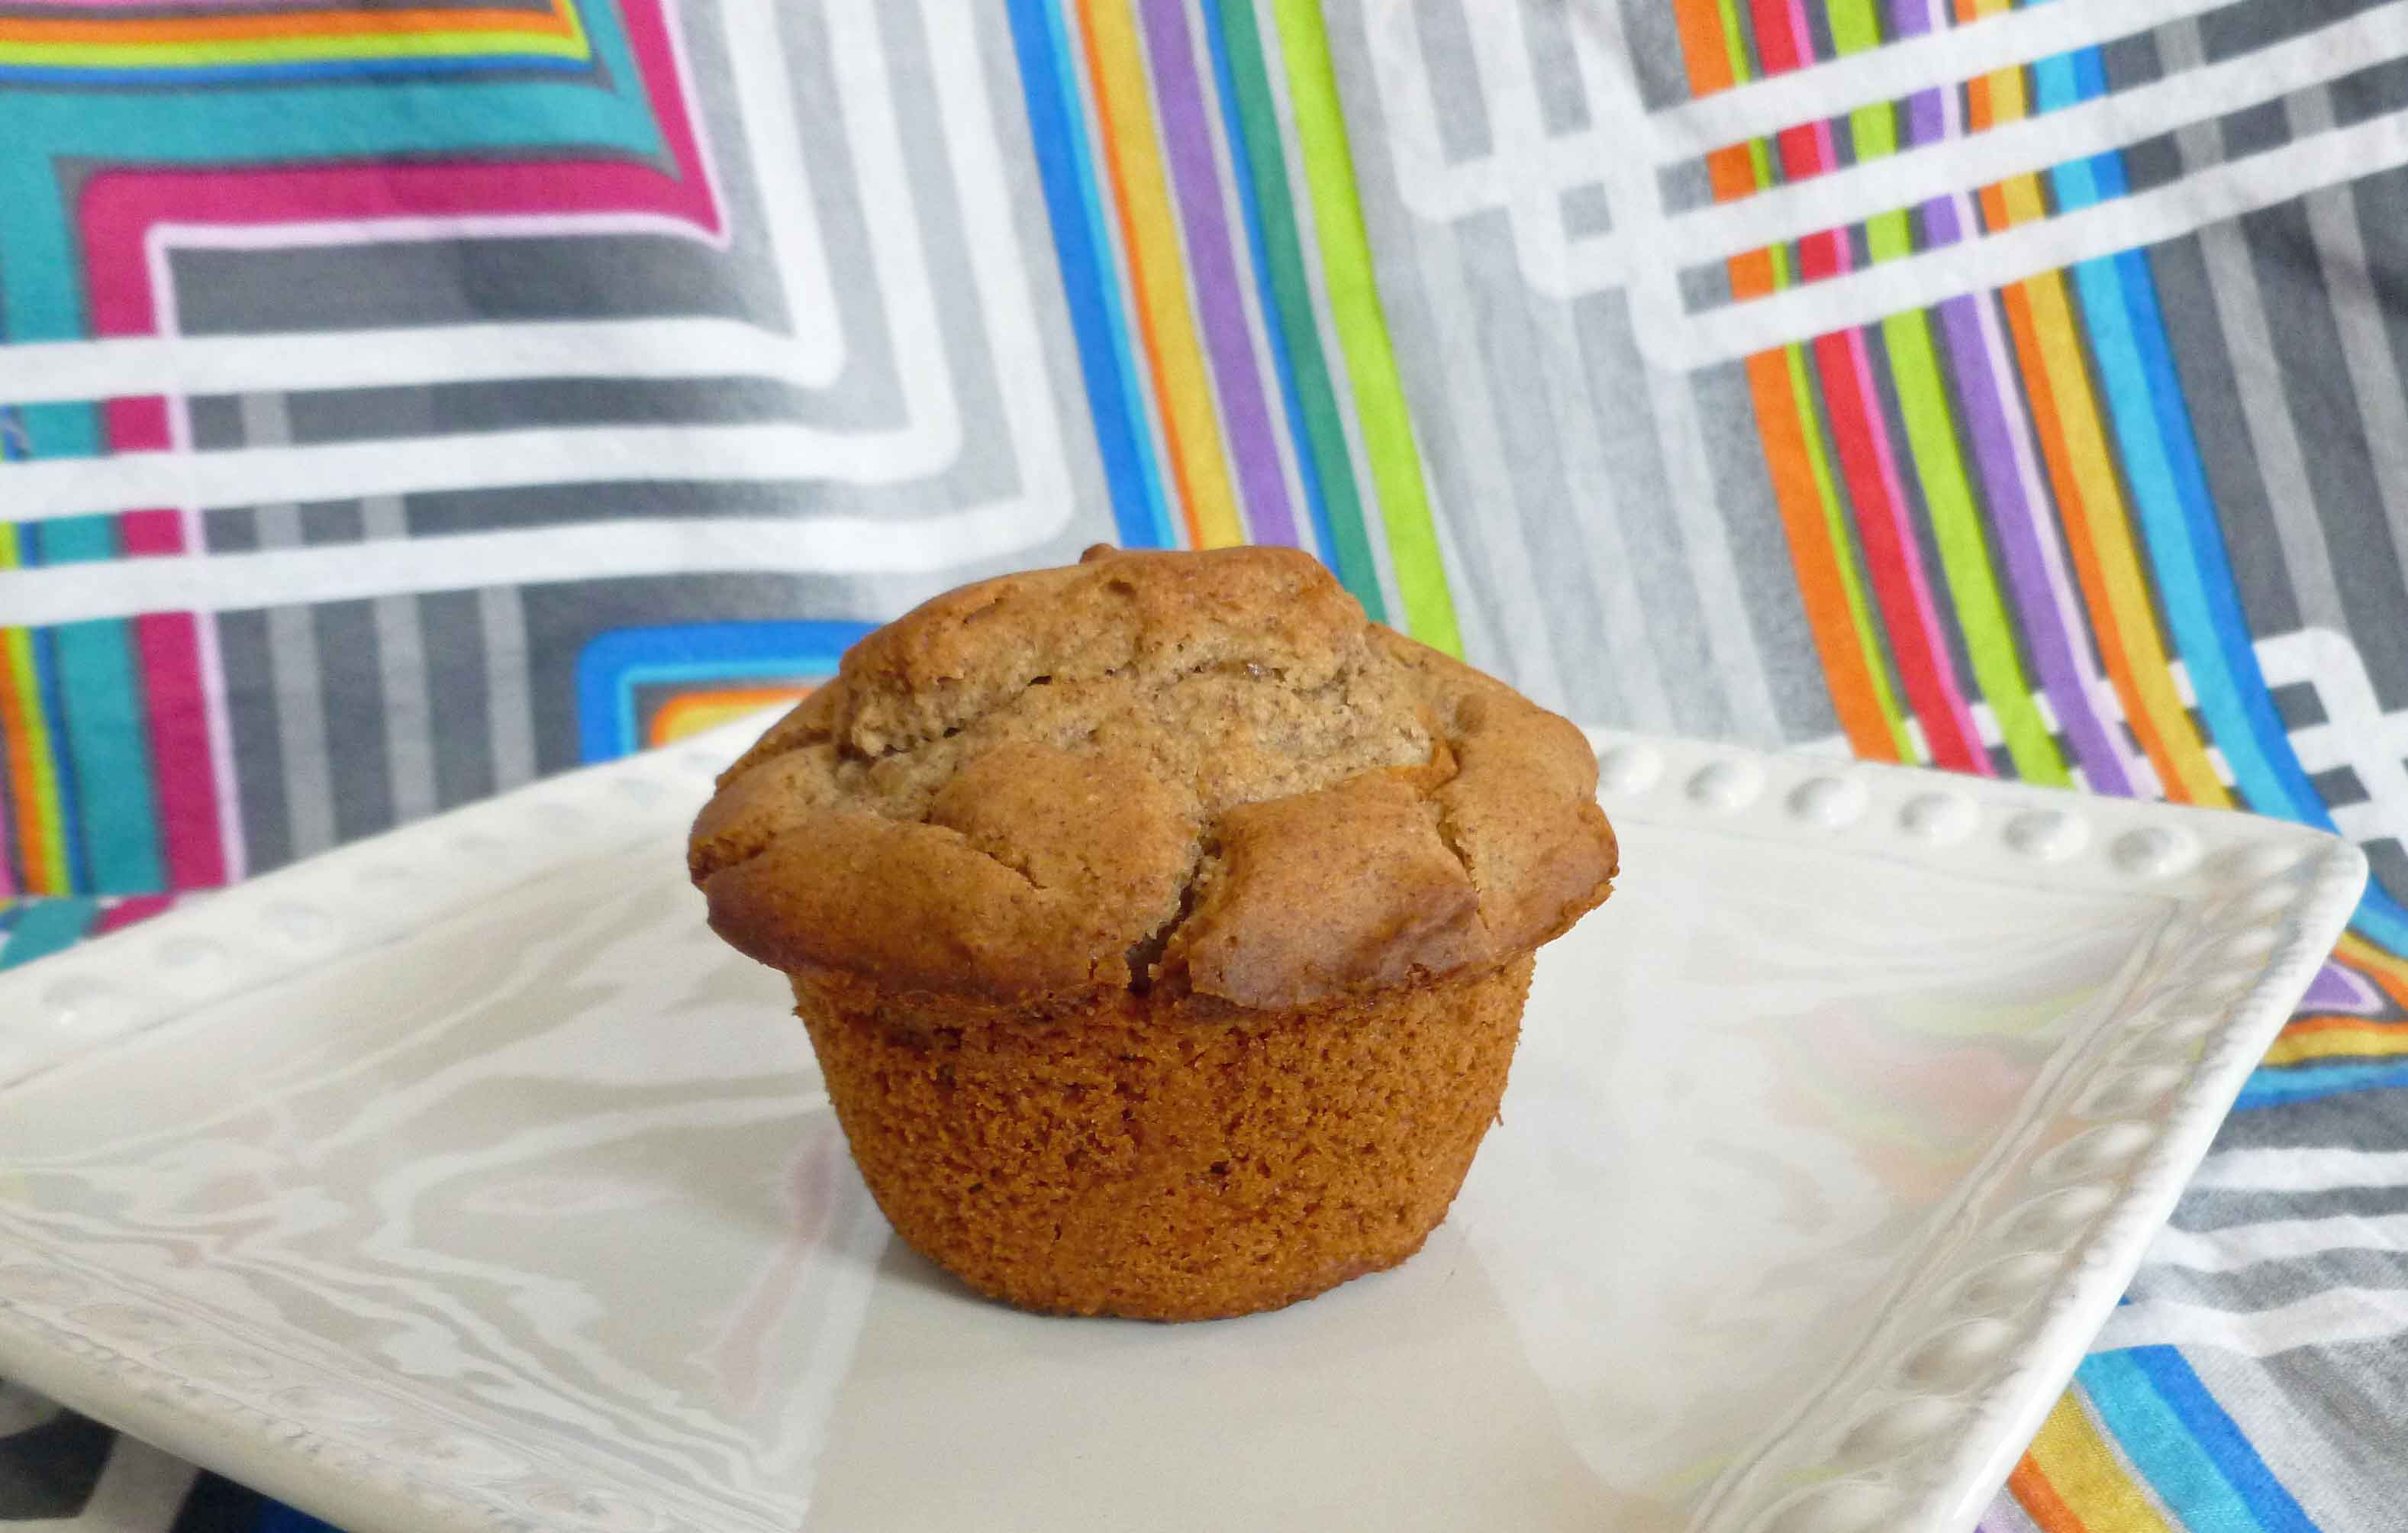
It’s breakfast month on the blog. And let’s face it, when you have multiple allergies (17 so far), and they include, dairy, eggs, wheat, and corn, breakfast can be a major problem. Many allergy peeps argue that it’s just better to get past the idea of breakfast food, and just eat safe food in the morning no matter what it is, but I still have a mental block about it–I just don’t want to eat dinner food or lunch for breakfast. This is kind of ridiculous given that I used to eat breakfast food for dinner or lunch all the time in the long, long ago before food allergies. But anyway, given the above constraints, my easy breakfast food has been cooked oatmeal, which I am frankly sick to death of at this point. So when we decided to make April be breakfast month, I decided I needed another easy breakfast that I could make ahead and carry with me.
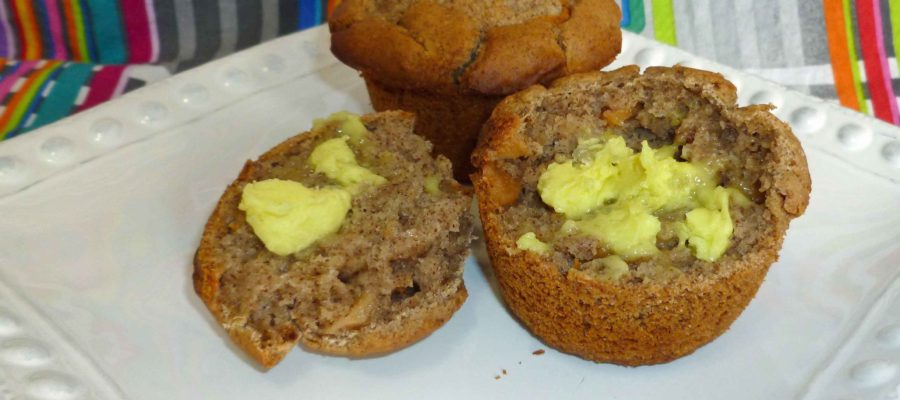
I started with the Basic Muffin Recipe from King Arthur Flour, which is actually a real wheat, real dairy, real egg, and real butter recipe, and converted it to something safe for my allergies. I had to give it a couple of tries, but I have it where I want it now, and it rises and looks like real muffins instead of sadly deflated hockey puck looking things. I used my Homemade Margarine, New and Improved (which is not vegan for our vegan followers) on them, and it was bliss! Yay! Also they are really good cut in half and grilled on a cast iron skillet, diner style as well.
1 1/2cupsGluten-free, Rice-free, Potato-free flour mix(see our post here for the recipe – http://adultfoodallergies.com/whoopie-pies-gluten-free-with-vegan-option/
1/2 cupsorghum flour
1/2teaspoon cake spice(I use Penzey’s but blends are not always safe for all those allergic to corn. Use a blend of ground cinnamon, cloves, nutmeg, allspice, ginger, and star anise.)
1/4cup sugar
1/4cupbrown sugar
1/2teaspoonsea salt
1Tablespoonbaking powder(here’s a recipe for a corn-free one – http://wholenewmom.com/health-concerns/make-your-own-baking-powder/)
Wet Ingredients
1cupnon-dairy milk(I used homemade rice milk)
1/4cupsafe for you oil(I’ve used both olive and grapeseed oil)
1/4cupapplesauce(I use my homemade, home canned applesauce)
3Tablespoonsaquafaba(see http://aquafaba.com/)
1teaspoonvanilla extractvanilla extract (I make my own with vanilla beans and vodka made from potatoes, as most commercial extract contains corn)
Muffin additives
1applepeeled, cored, and diced(or 1/2 cup of dehydrated apples, soaked in water for half an hour and drained, or any other fruit or berry you want to use)
Servings: muffins
Instructions
Preheat oven to 425°F. Grease a 12 cup muffin pan with some of your safe oil.
Add all the dry ingredients to a large bowl and whisk together until well combined. In another bowl, add all the wet ingredients and whisk together until well combined.
Pour the wet ingredients into the dry ingredients, and using a fork or a wire whisk, blend the two about 20 seconds or so, do not over mix. Add the apples, and fold in gently, don’t over mix. Fill the muffin cups about two thirds to three quarts full.
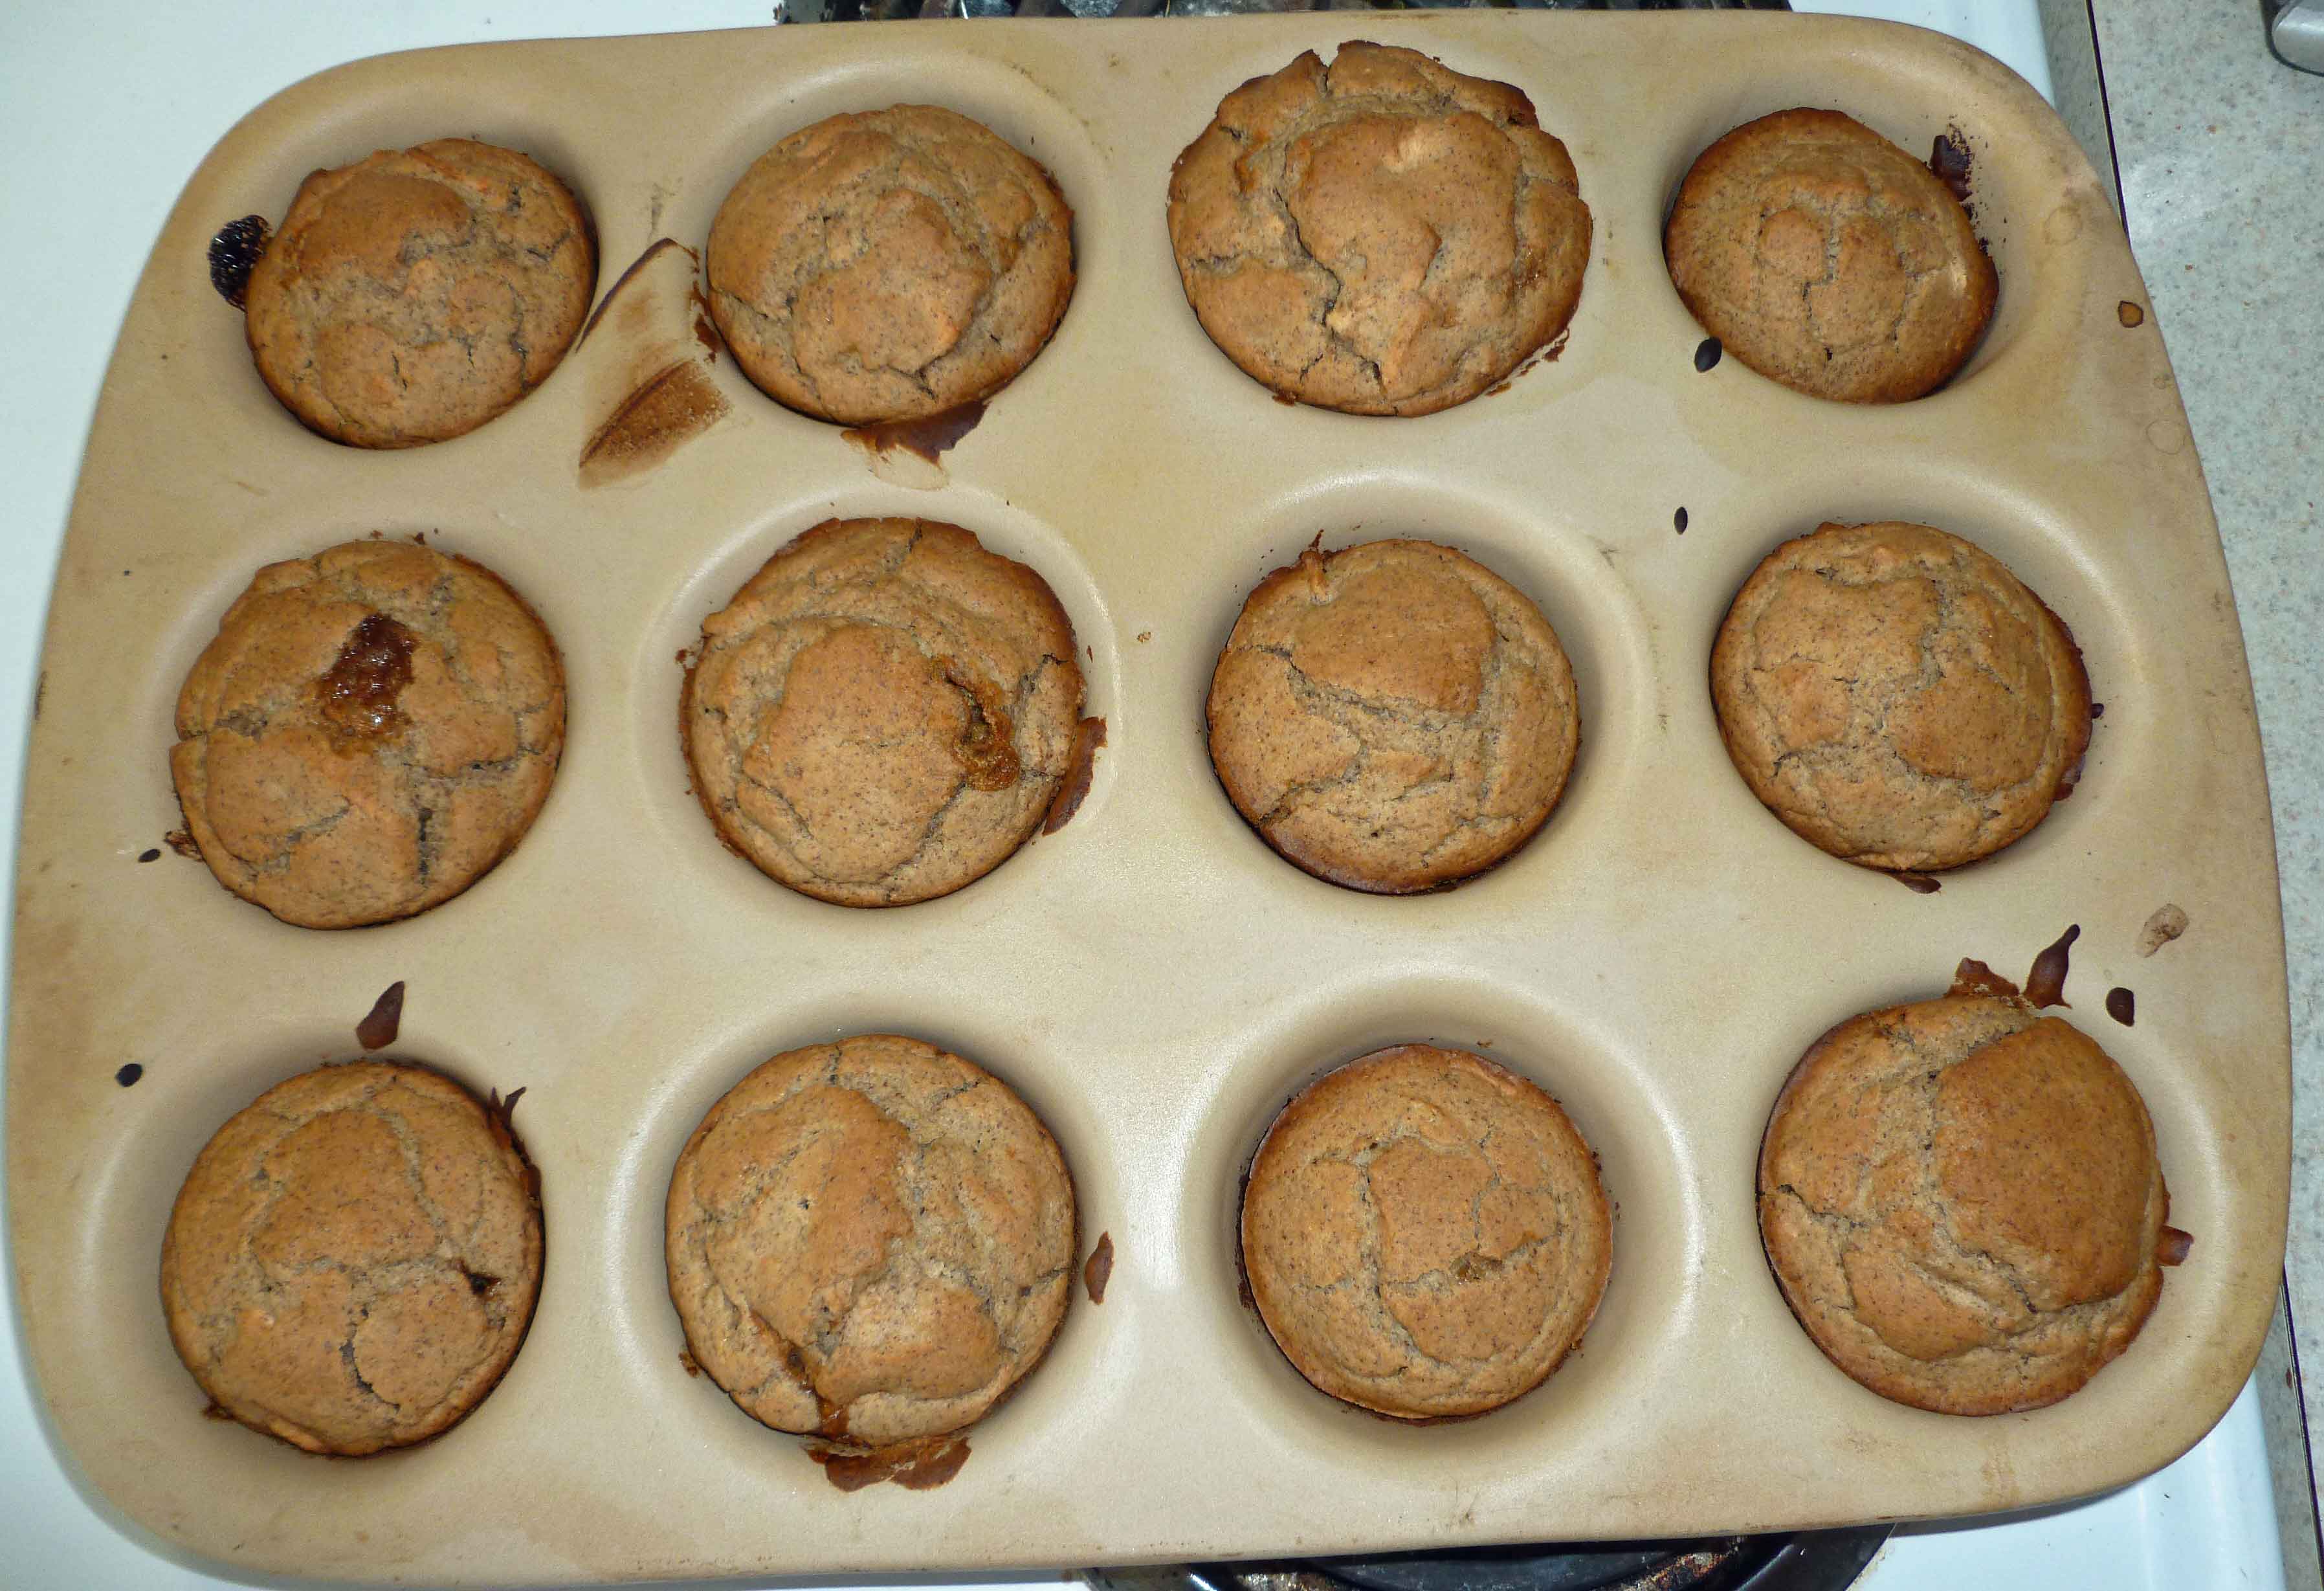
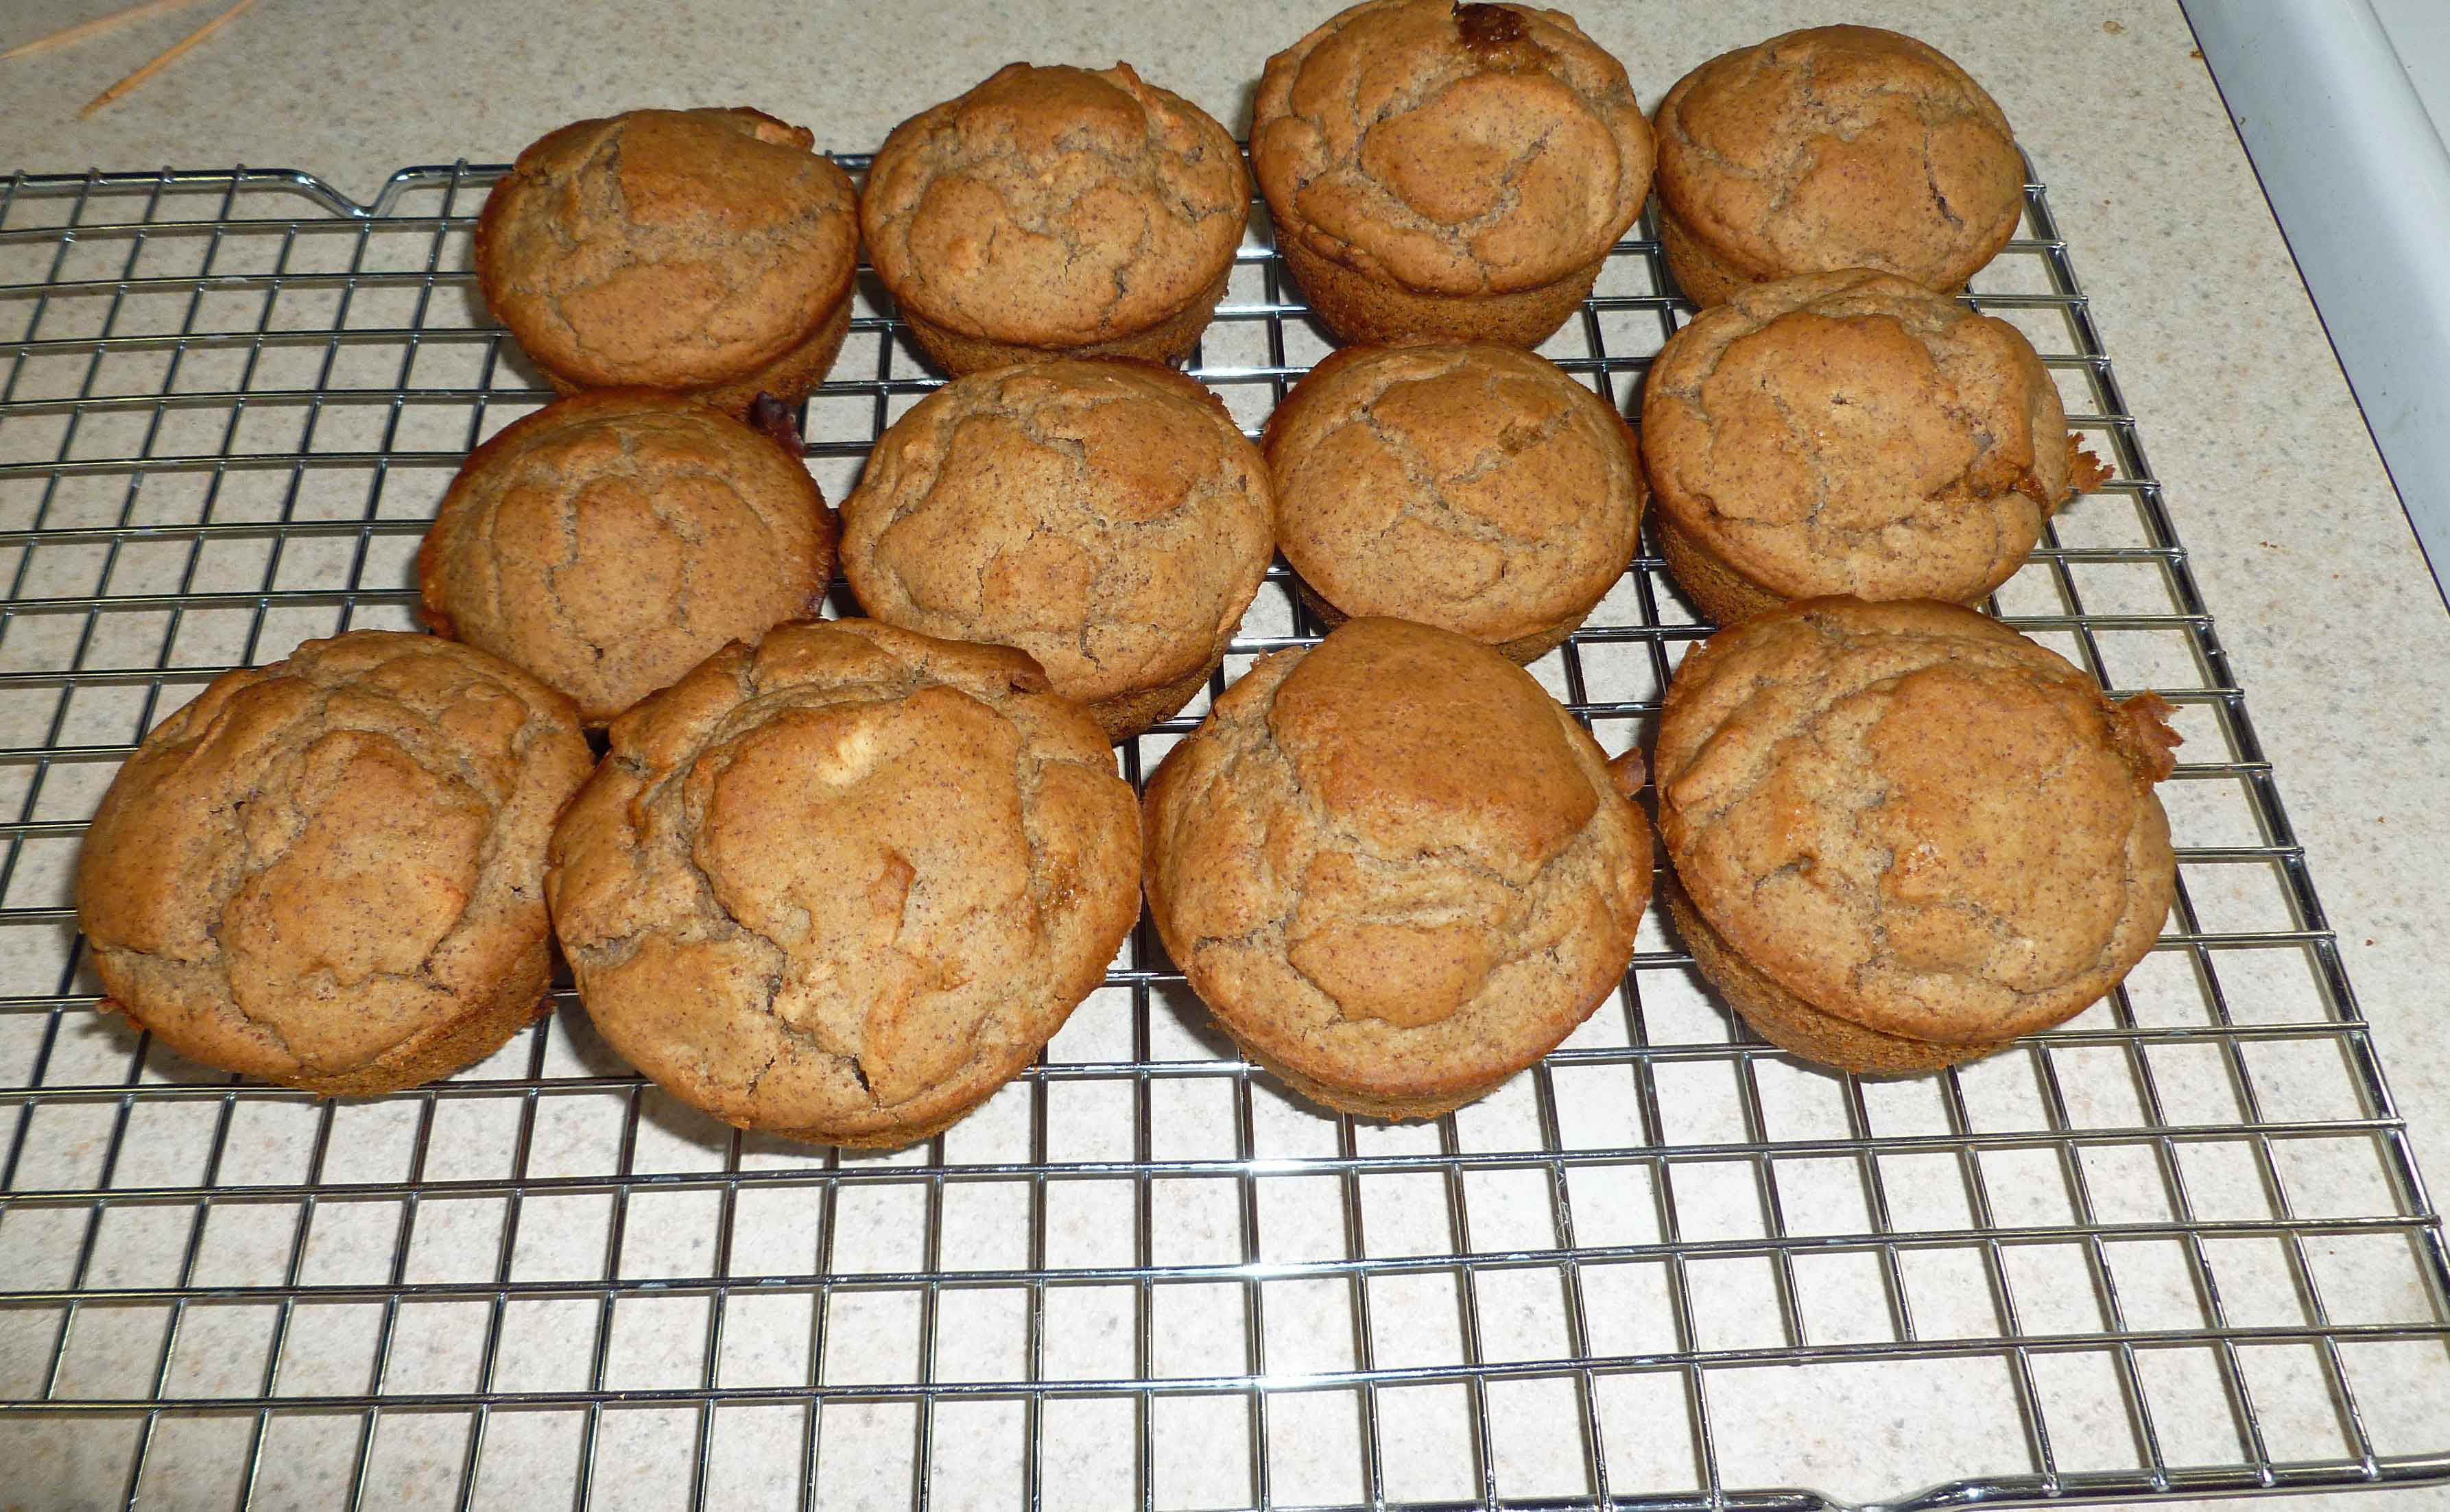
Bake 20-30 minutes depending on your pan (metal needs less time, stoneware needs more) or until a toothpick inserted into the middle of one of the center muffins comes out clean. Remove them from the oven, and as soon as they are cool enough to handle, turn them out of the pan onto a rack to cool.
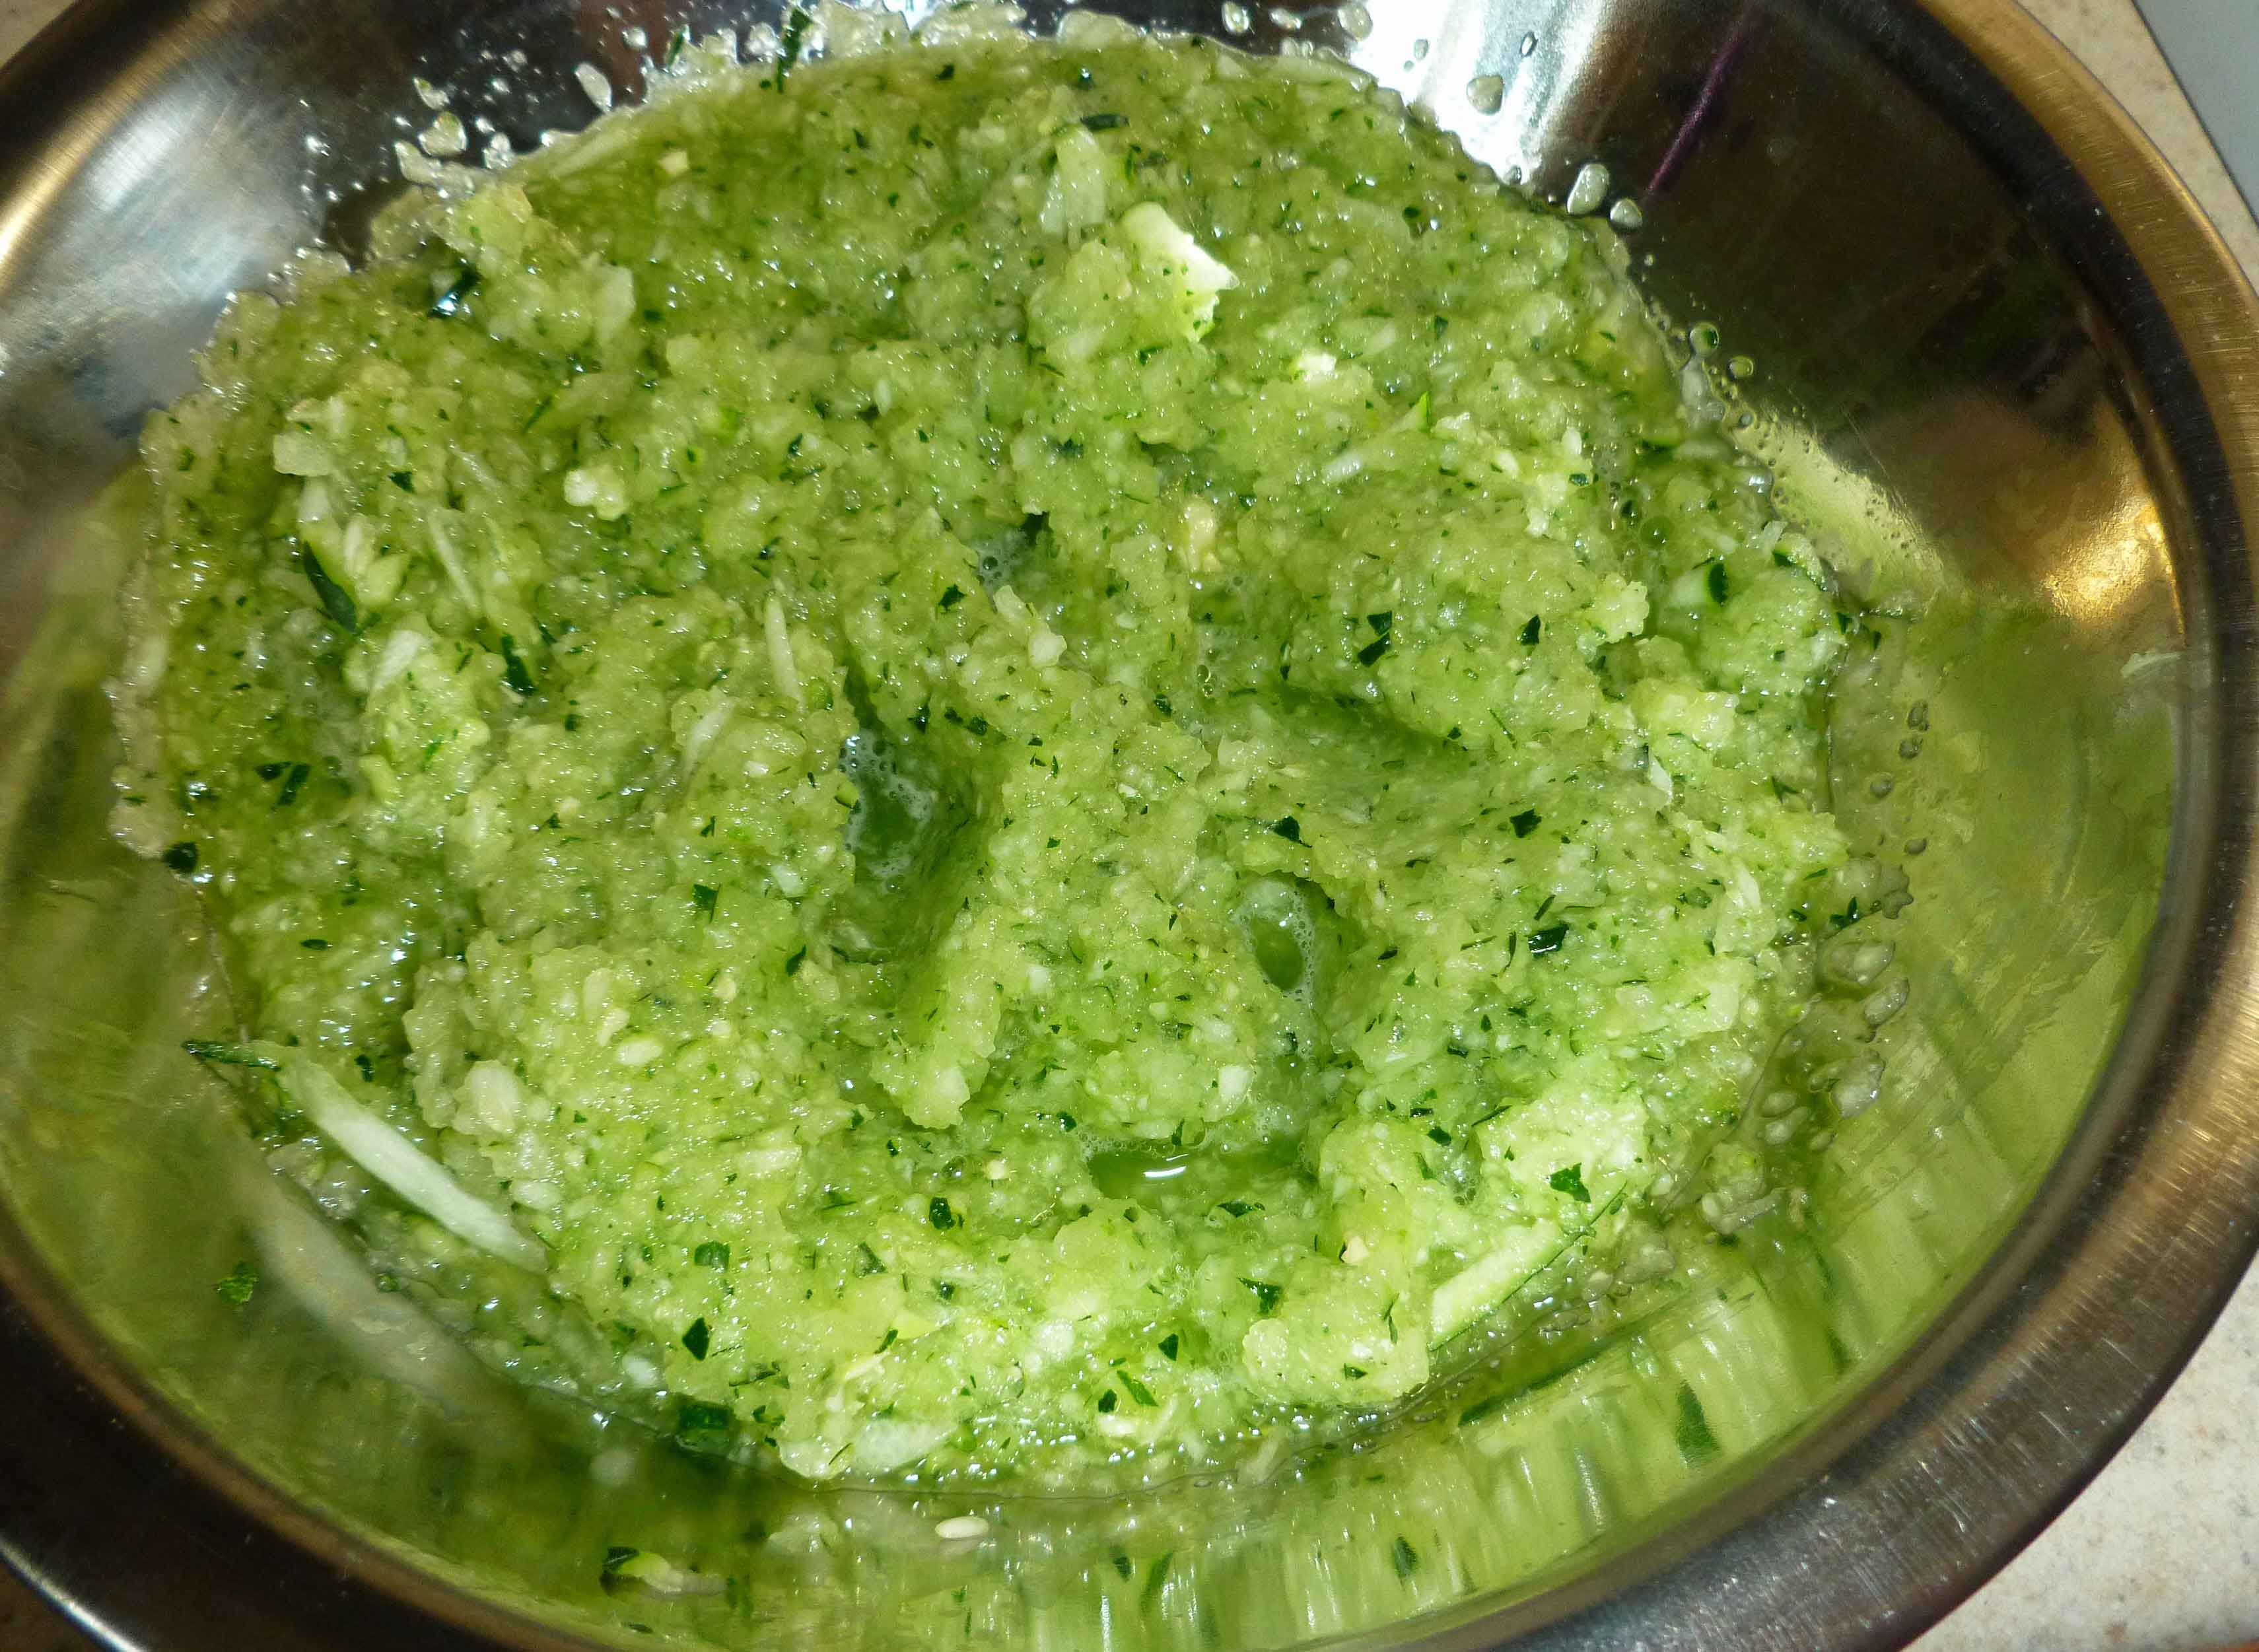
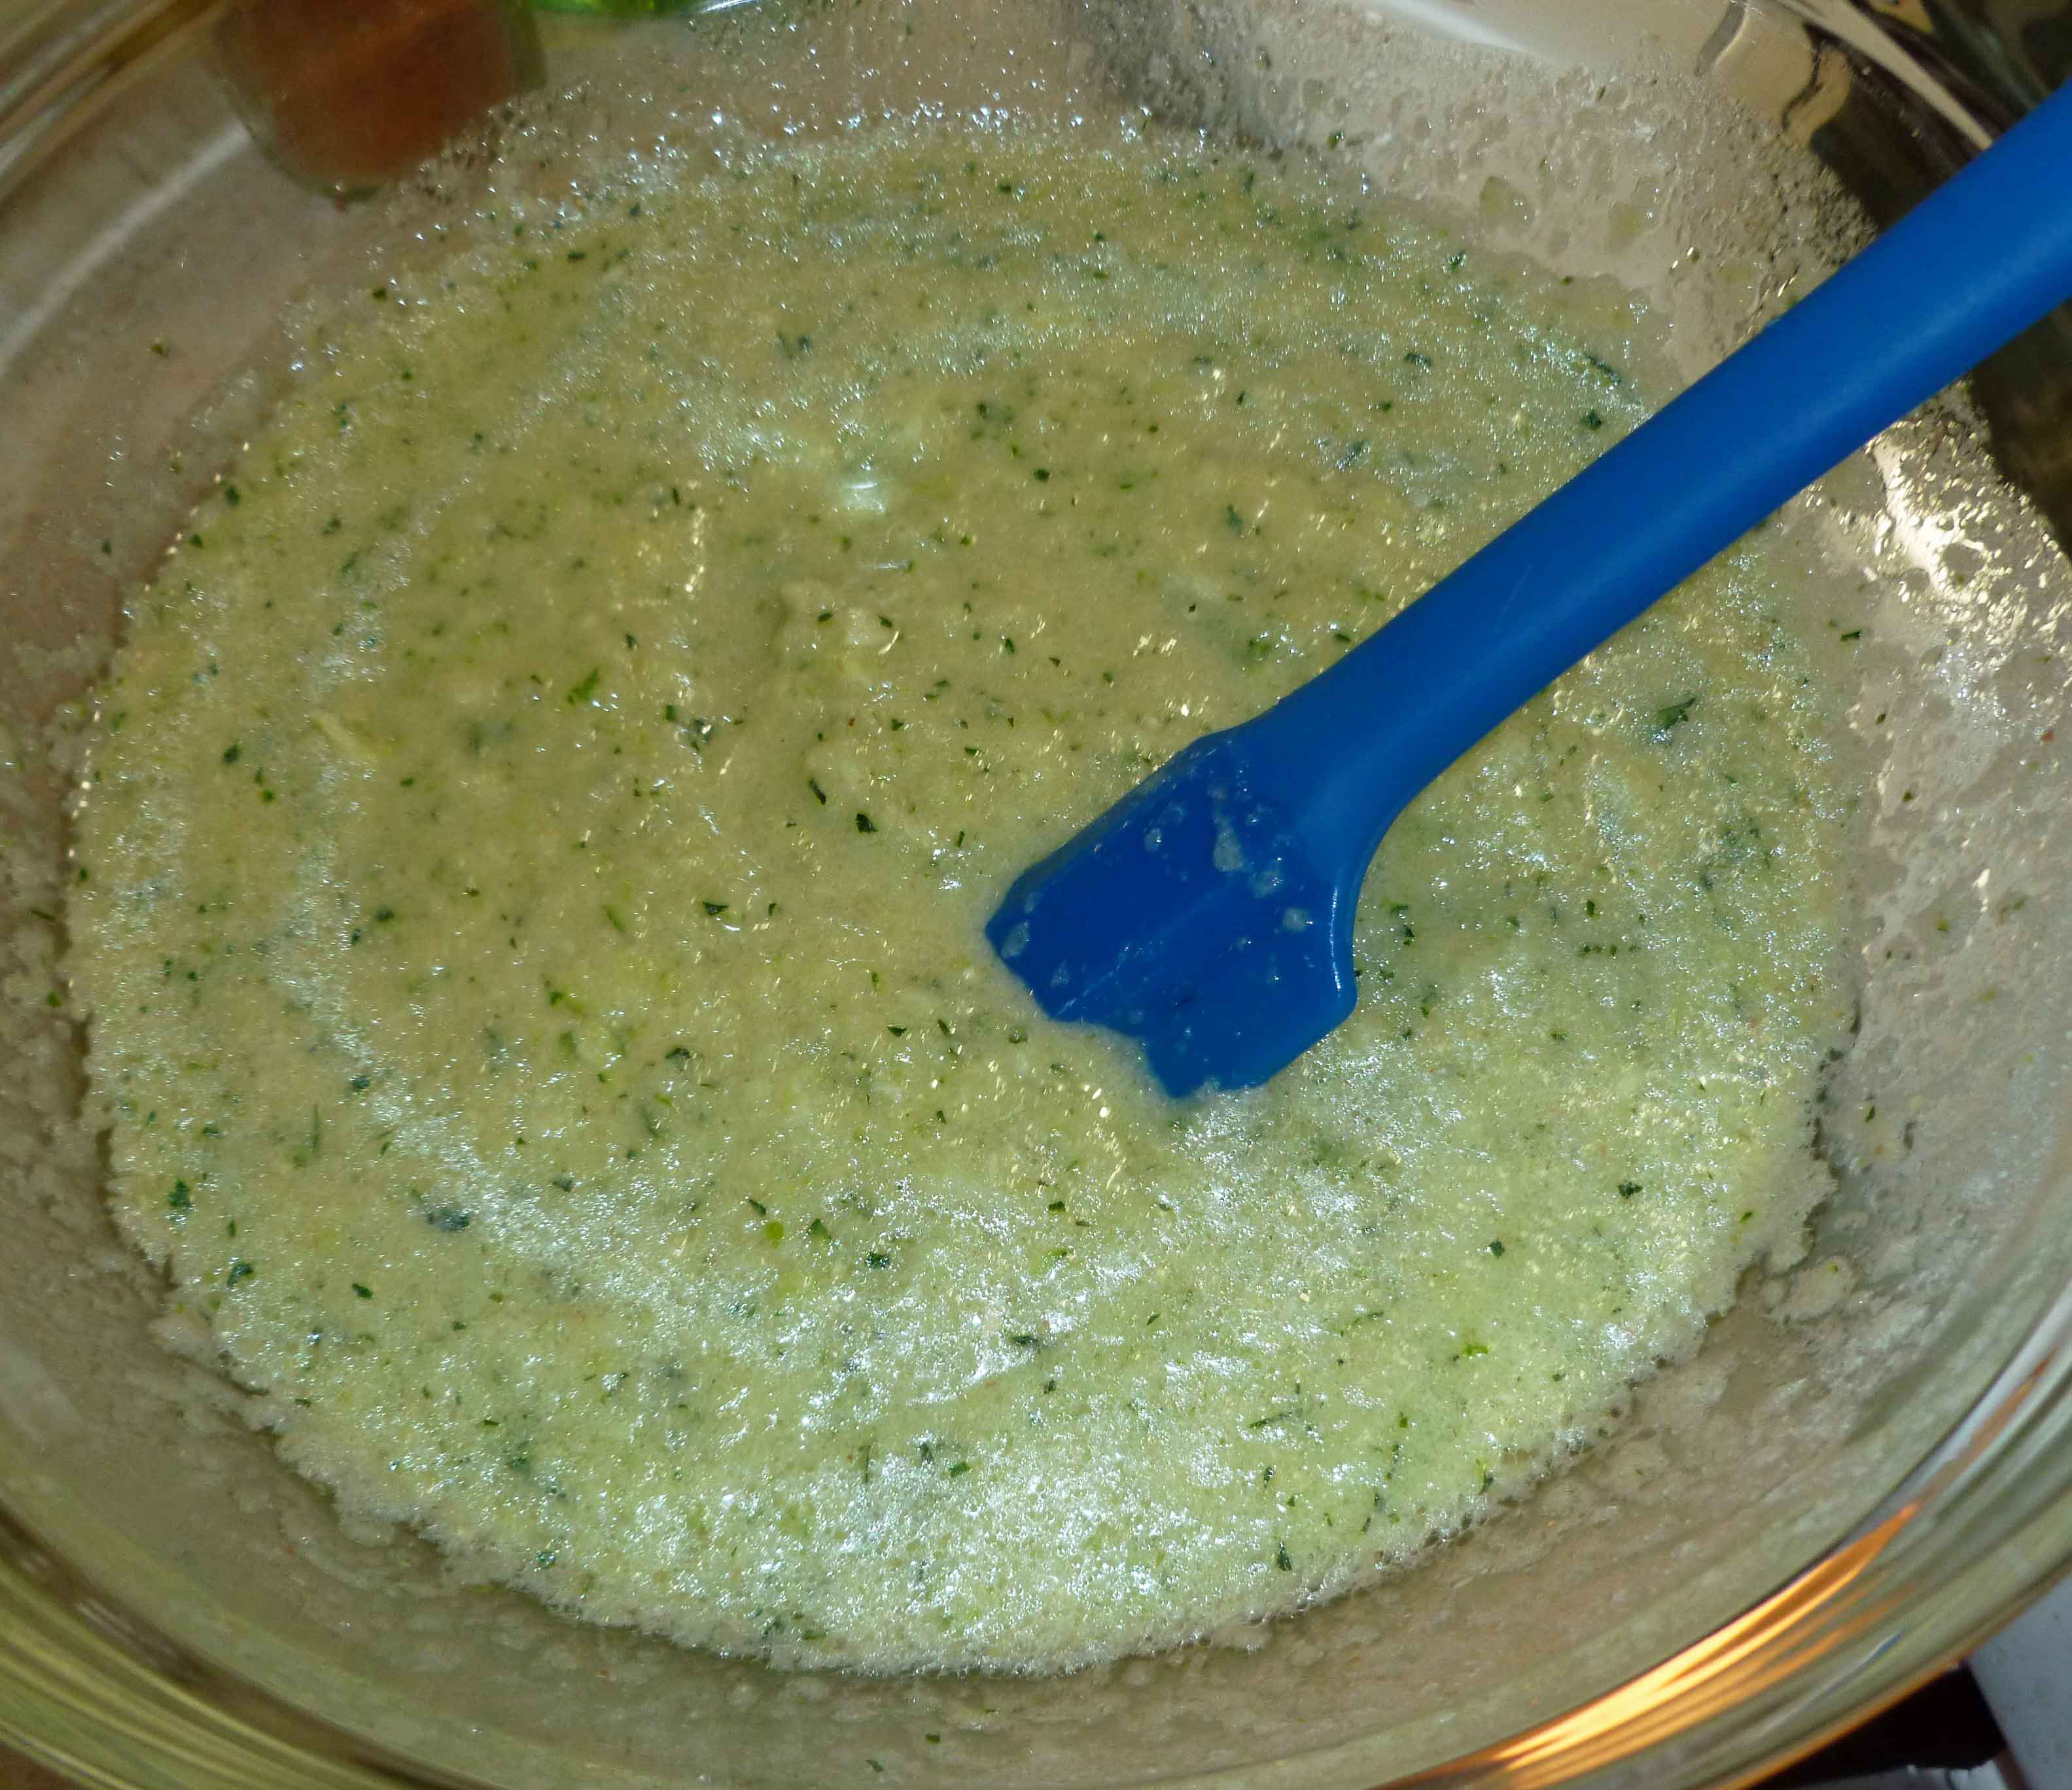
It’s our last garlic post of Keeping the Vampires Away month, so I decided to do a double header. And they actually go great together, although you’re going to have to make heroic efforts to get rid of the aroma once you’re finished eating. The great thing about these two recipes is that they use very few ingredients, which is fairly infrequent in allergy cooking.
Toum Sauce (Lebanese Garlic Sauce)
The toum sauce is pretty easy and the only ingredient that’s a bit out of the mainstream is the aquafaba which helps it emulsify easily. In researching recipes for toum sauce, some state that using extra virgin olive oil can result in the sauce having a bit of a bite and that grape seed oil doesn’t emulsify well. Since those are my only two safe oils, I chose extra virgin olive oil, and I didn’t mind a bit of a bite. However, if you have a lighter safe oil, you might want to try it. It’s great to use on sandwiches, falafel, grilled foods, and flatbread. I even put it on salad.
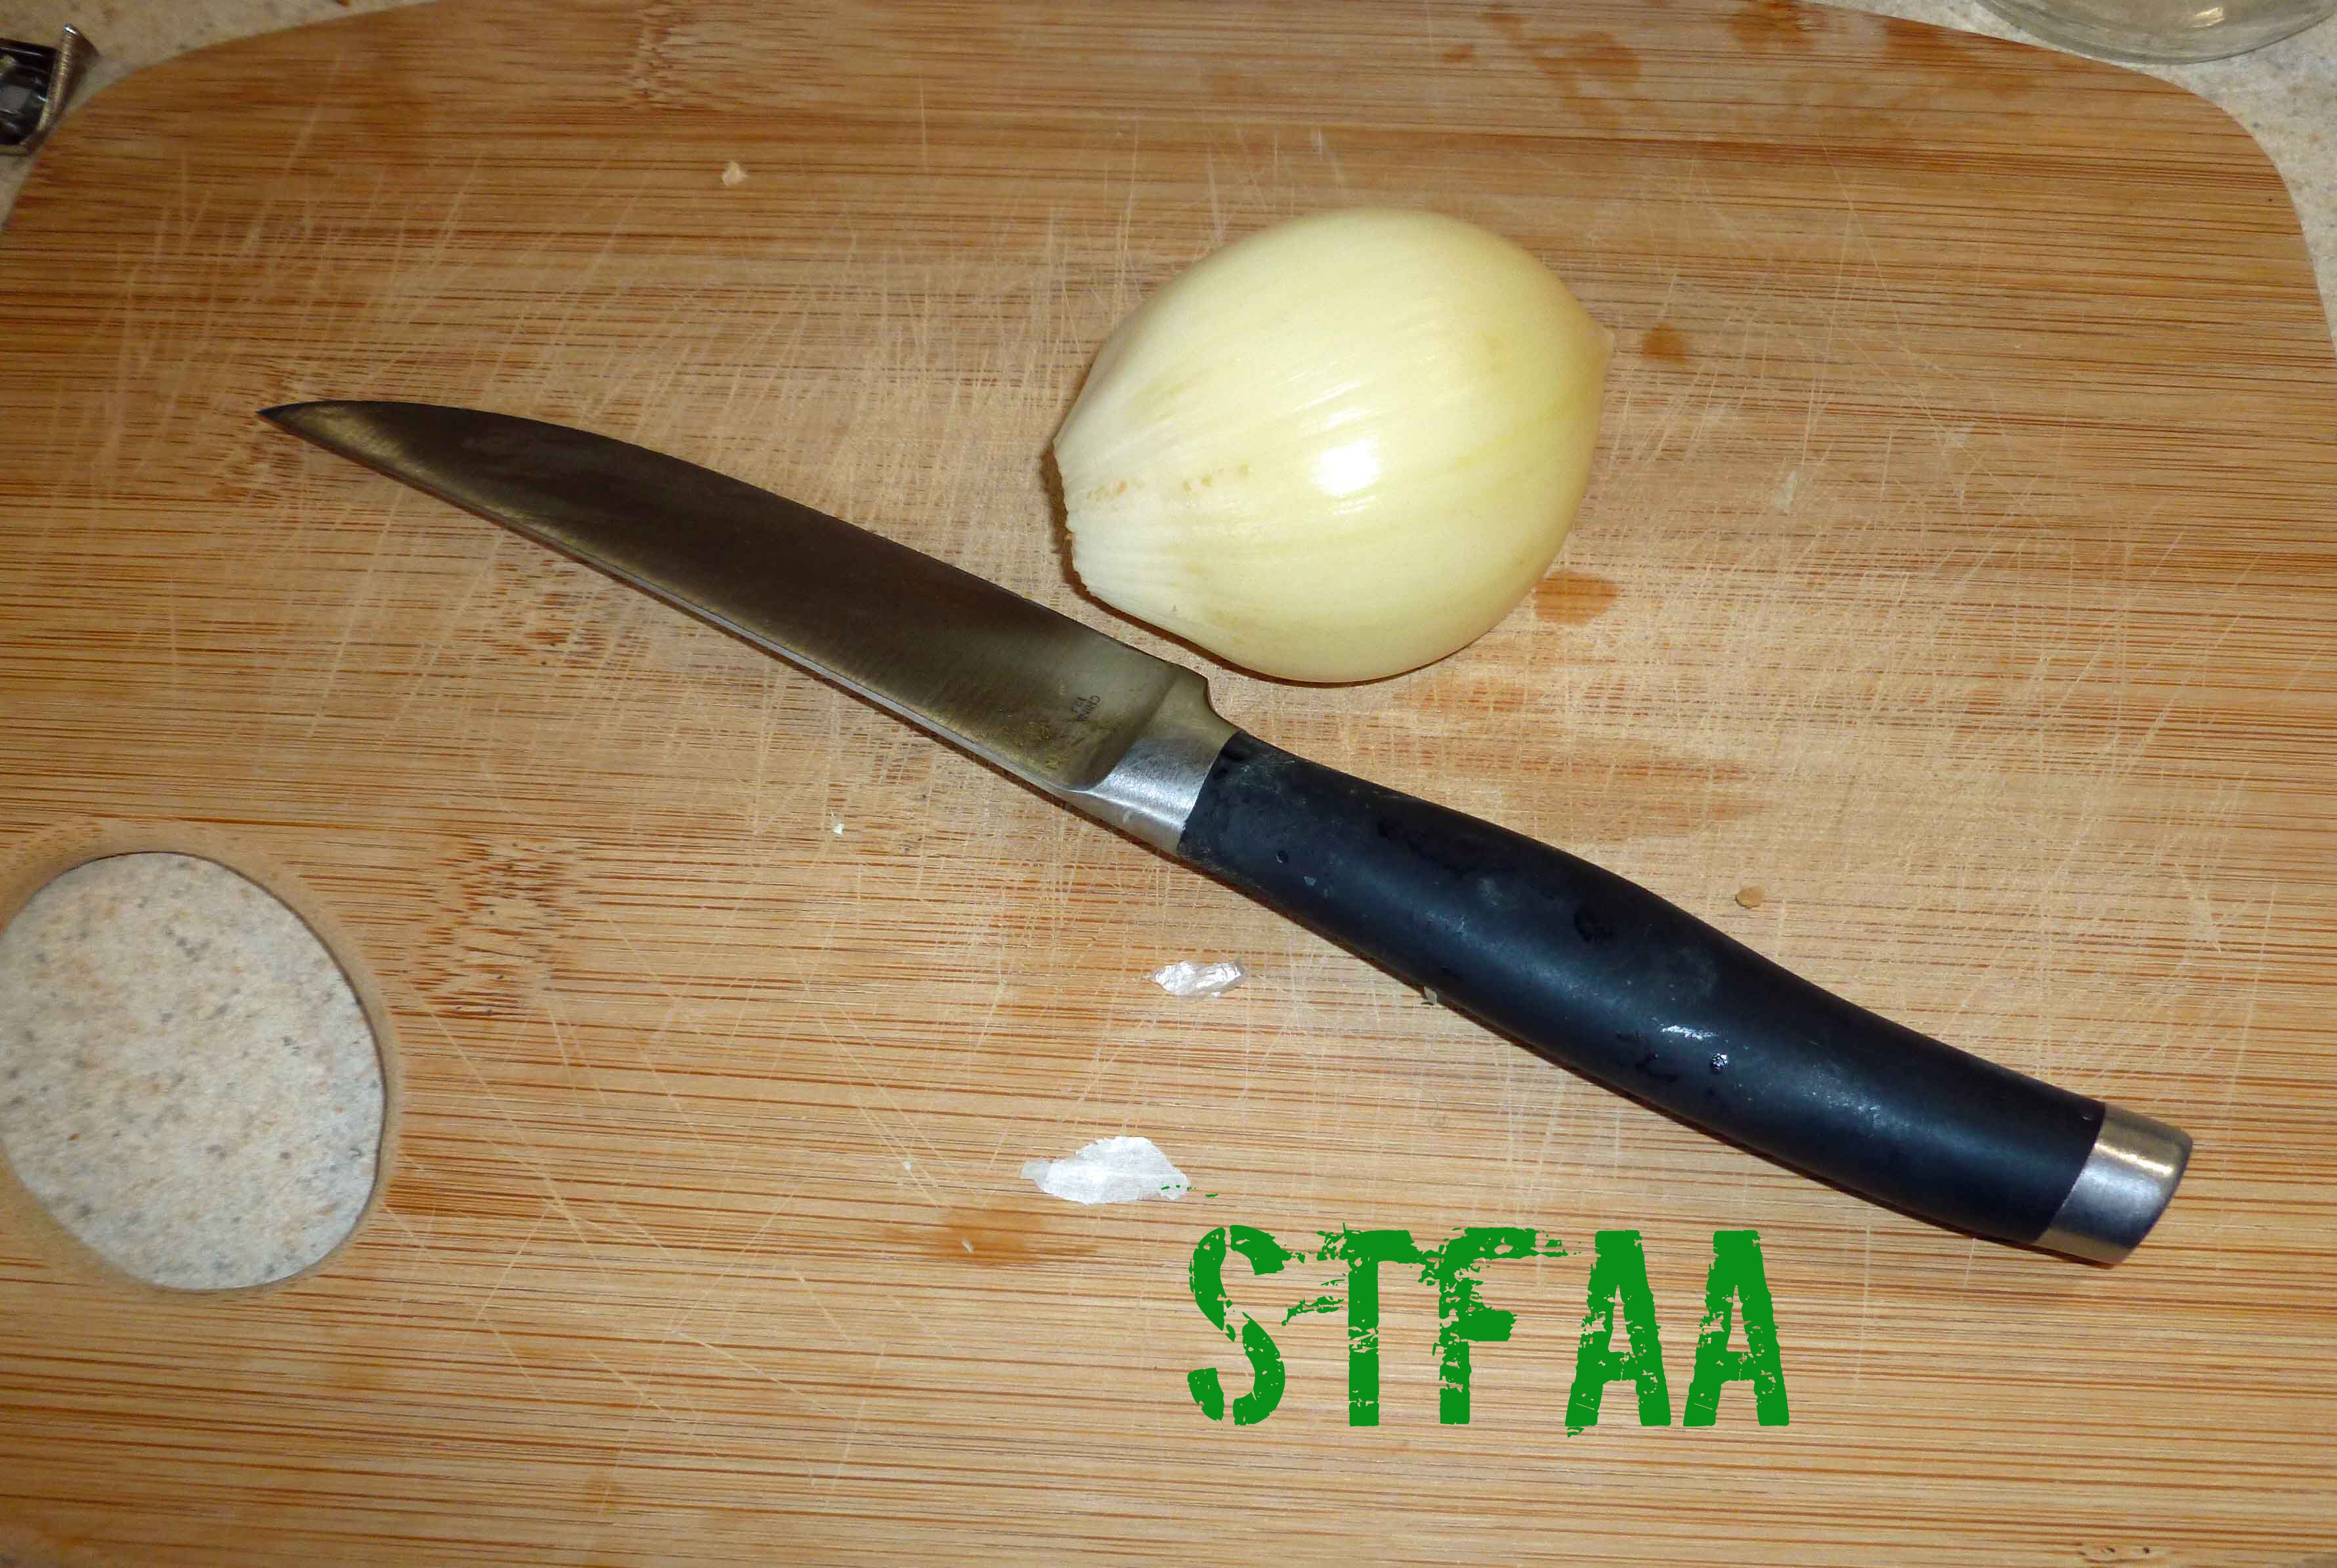
I didn’t want to make huge amounts so I used an immersion blender, but I think there is enough volume that you can try it in a regular blender as well. I also used the elephant garlic that MaryKate sent me from Seattle, but regular garlic will work.
Toum (Lebanese Garlic Sauce)
Print Recipe
An allergy friendly version to use on shawarma, falafel, grilled foods, and flatbread. I even put it on salad.
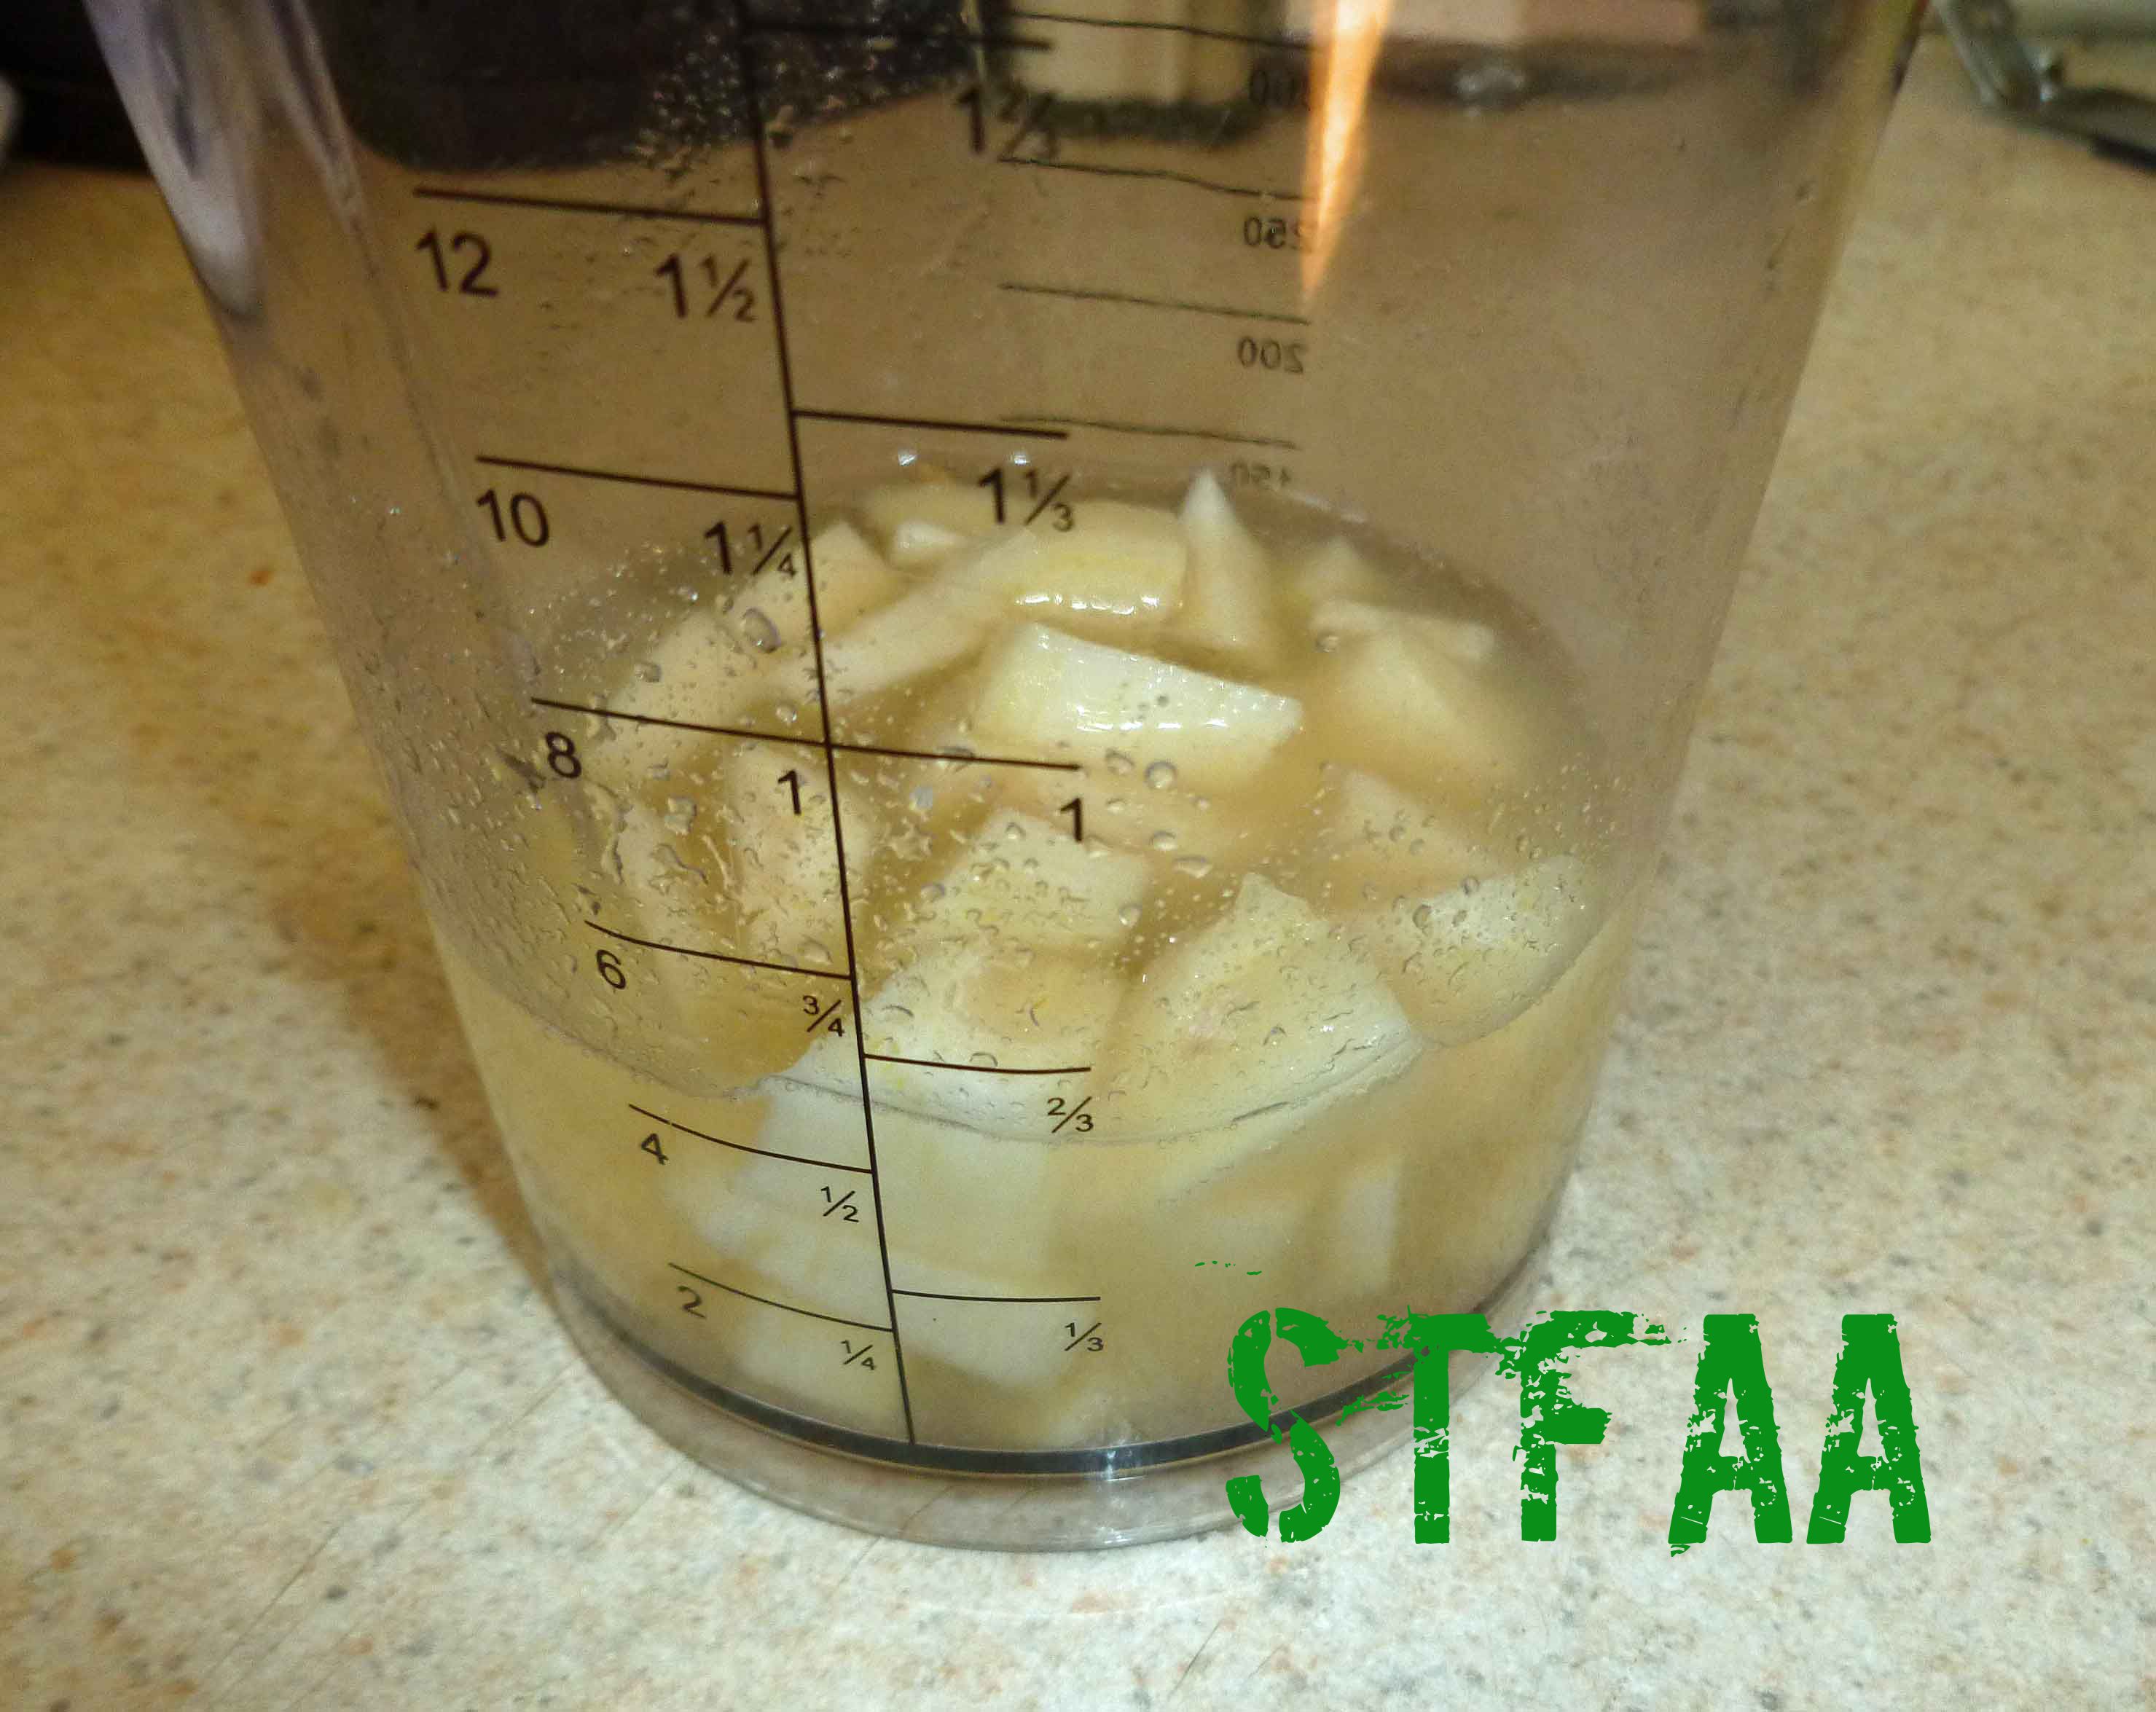
Peel and trim ends of garlic cloves and roughly chop. Place in small container if using a stick blender or in the blender if using a regular blender. Add salt, aquafaba, water, and lemon juice.
Blend until the garlic, salt, aquafaba, water, and lemon juice is a thick paste. You want the garlic to be completely pureed.
Once the garlic is completely pureed, continue to blend, and very slowly pour olive oil into the mixture as it blends, and the mixture will thicken. Store in the refrigerator.
One clove of the elephant garlic MaryKate sent me with a steak knife for size referenceGarlic, salt, aquafaba, water, and lemon juice before blendingGarlic, salt, aquafaba, water, and lemon juice after blendingBlending garlic mixture with olive oilFinished toum sauce after blendingToum Sauce (Lebanese Garlic Sauce)
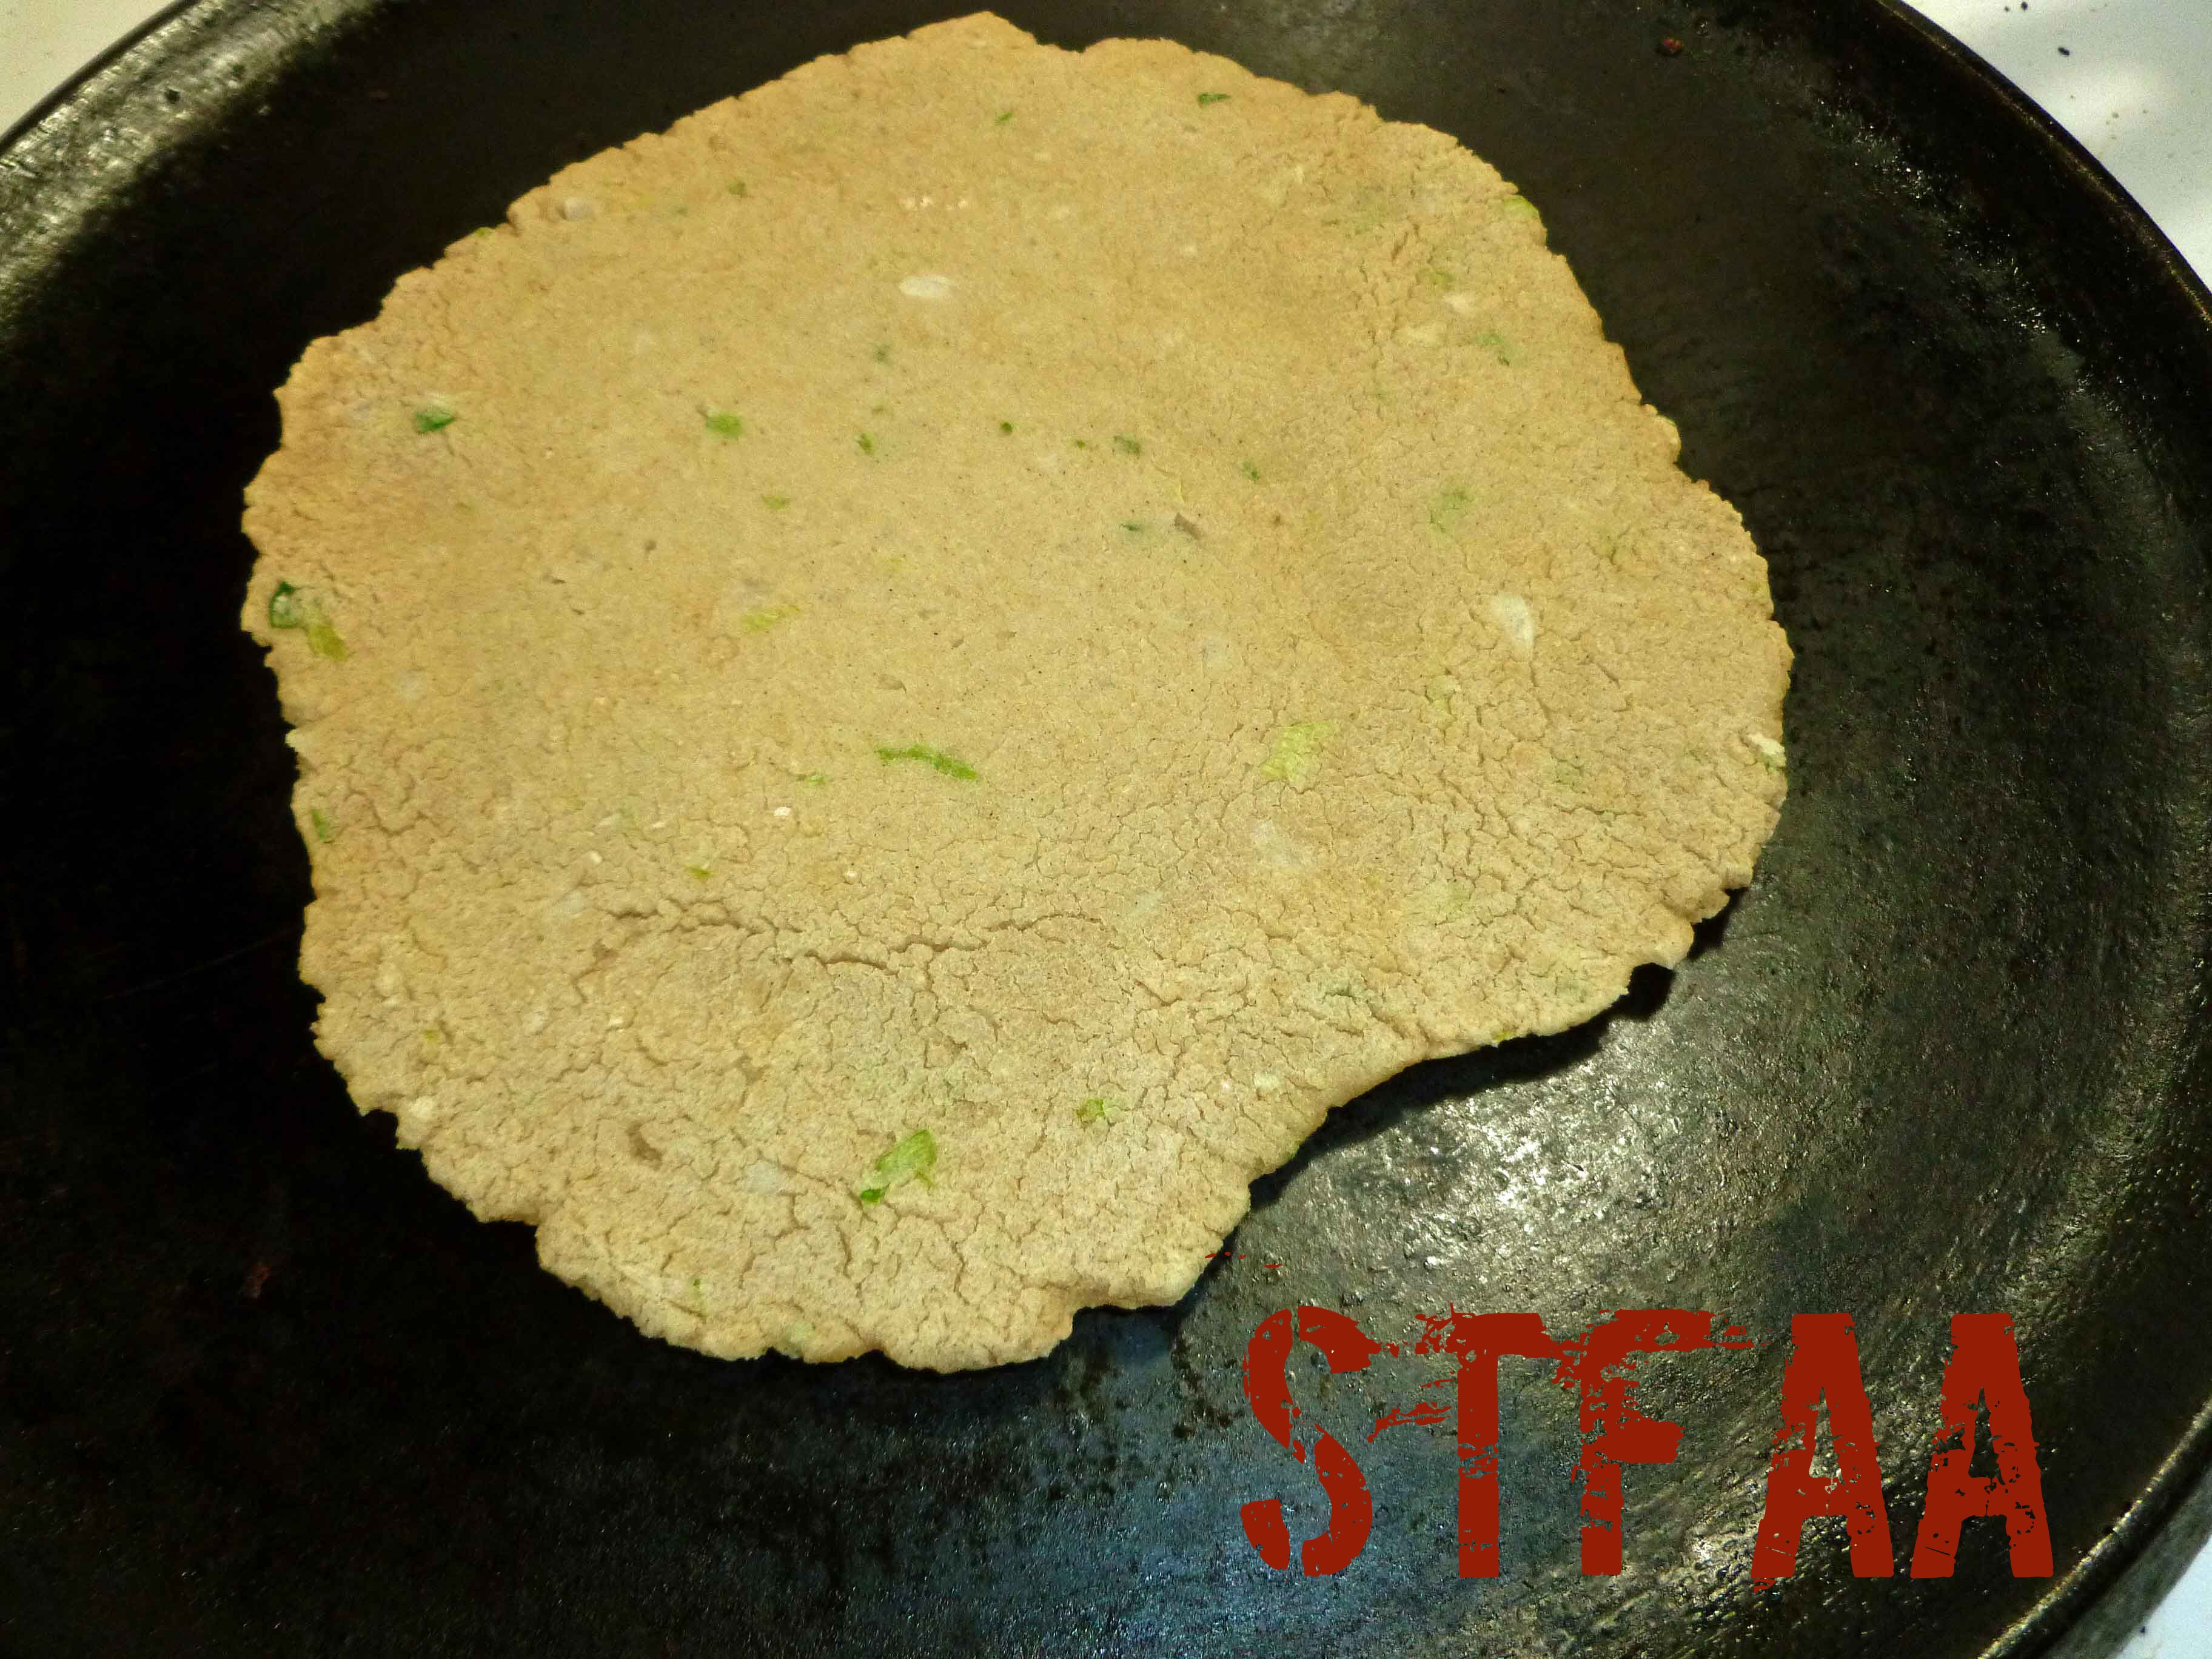
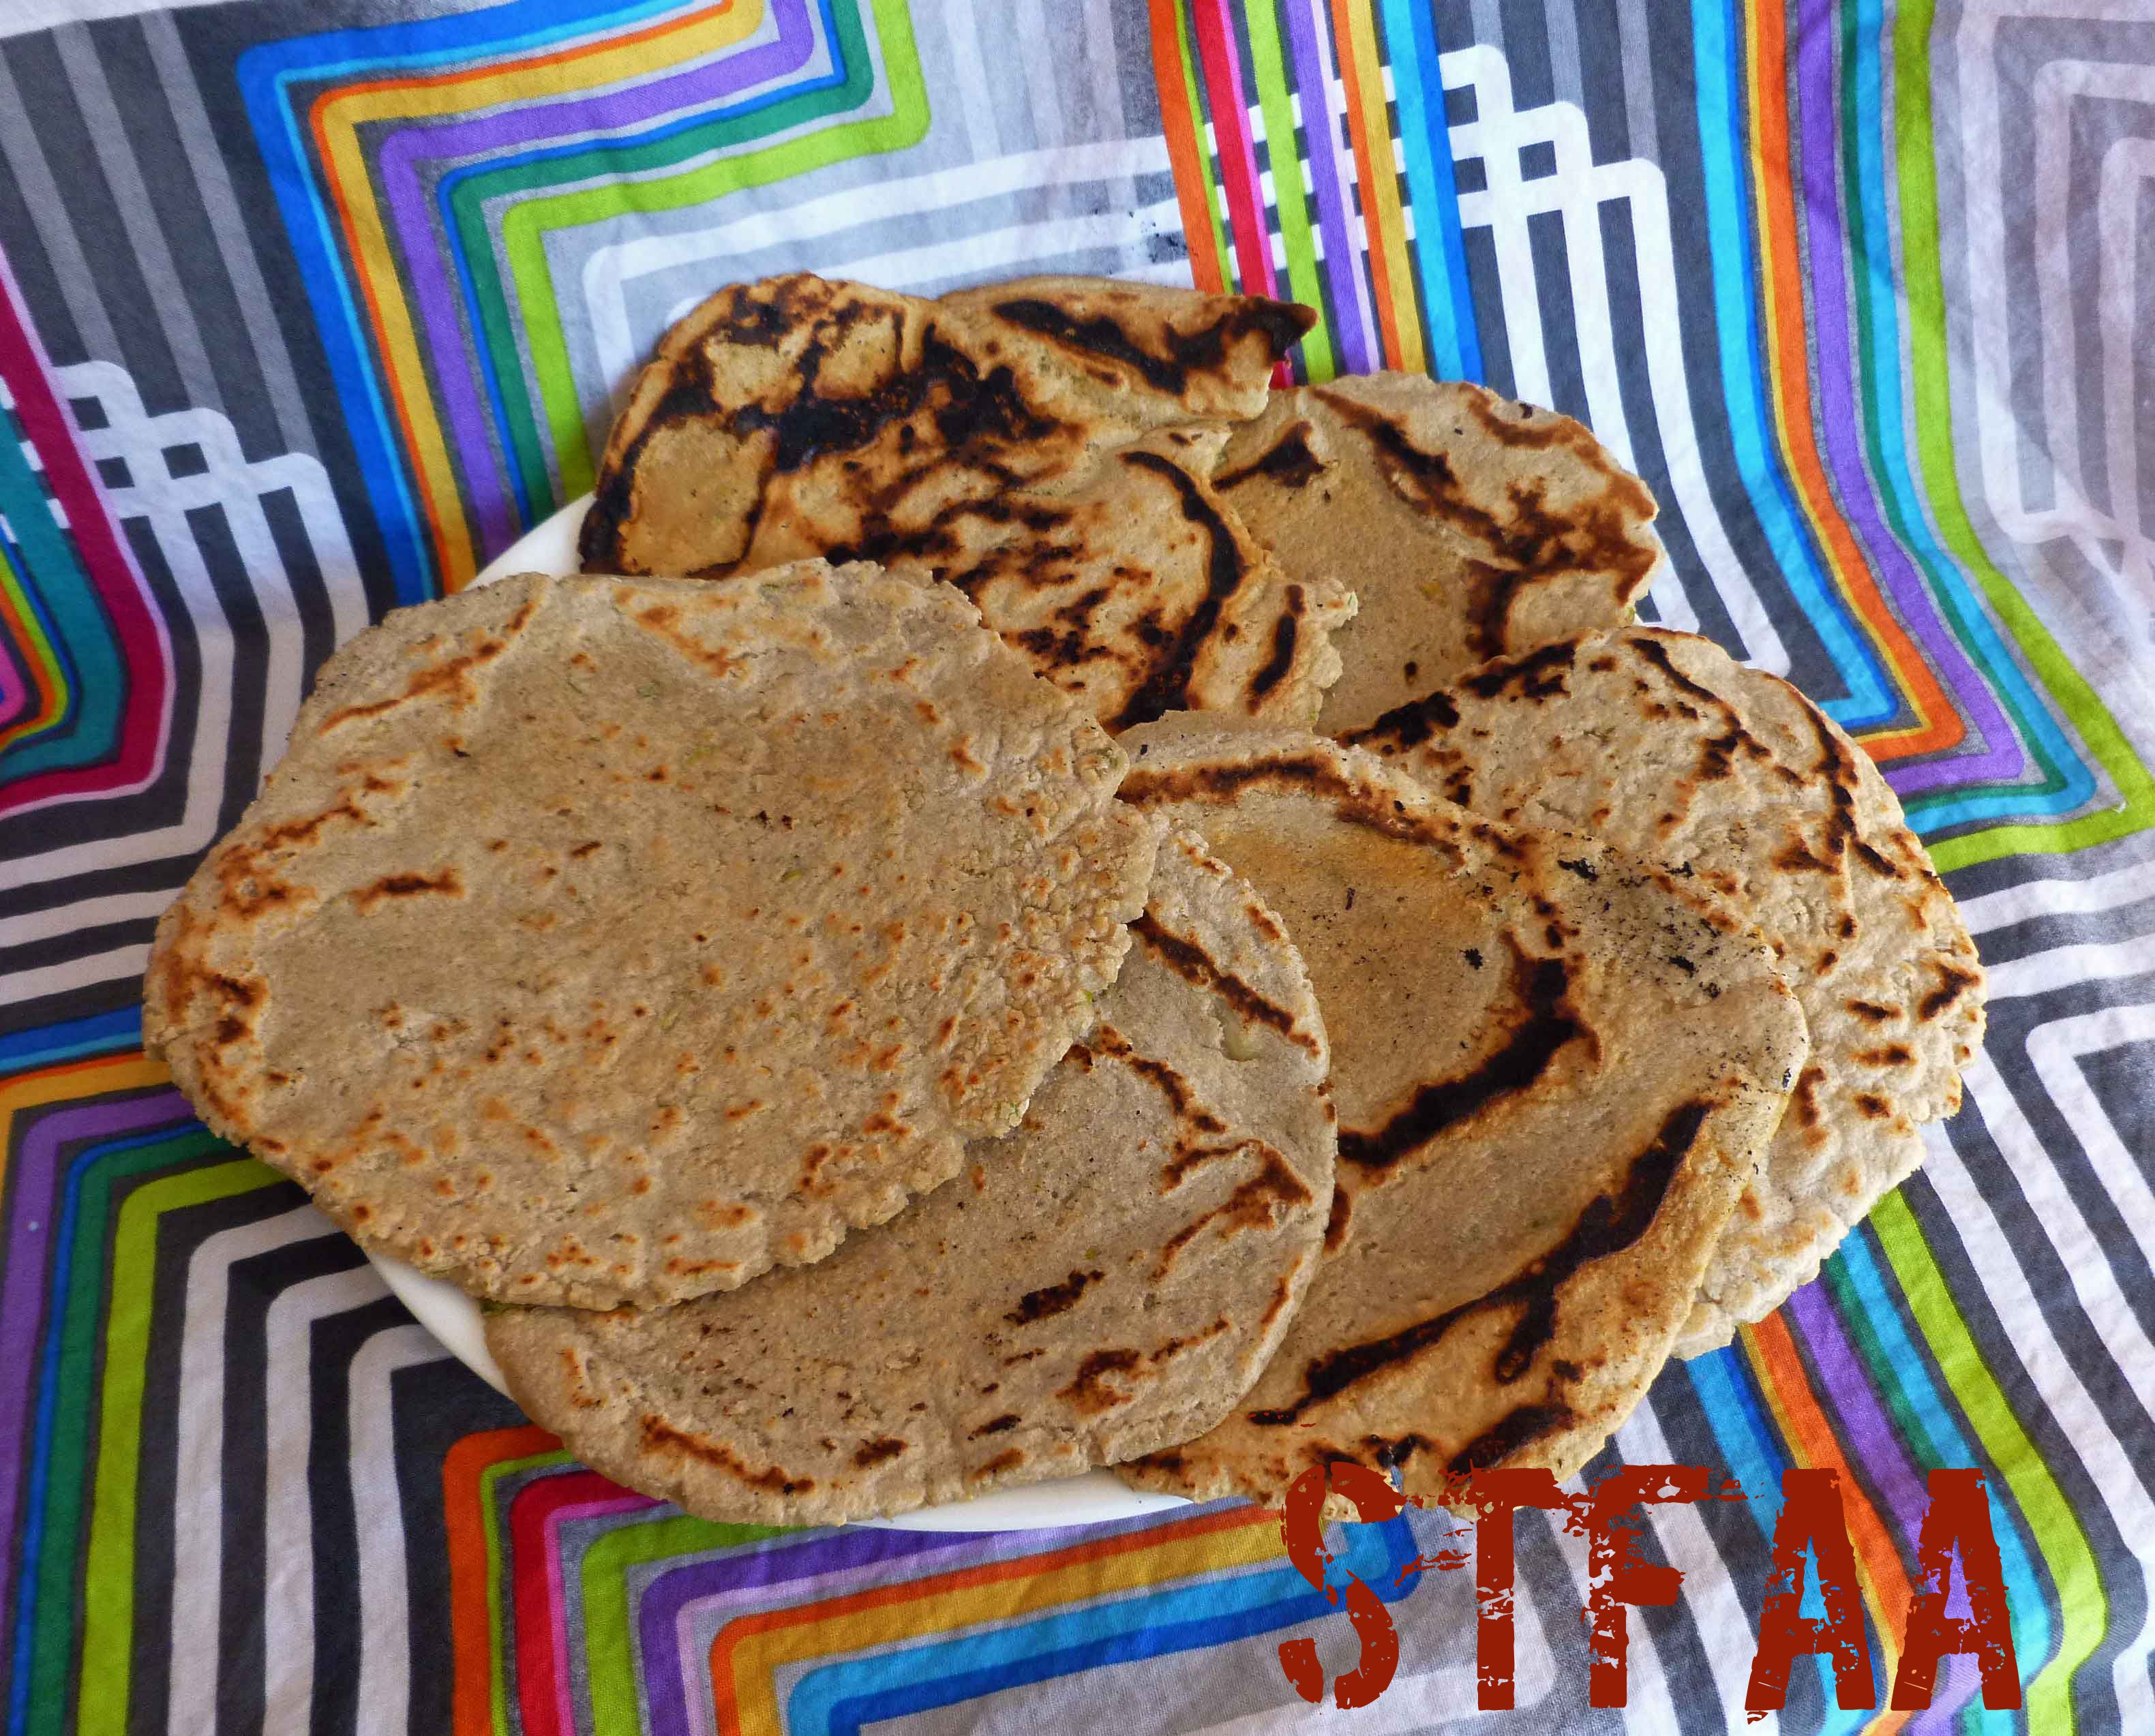
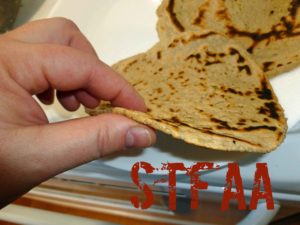
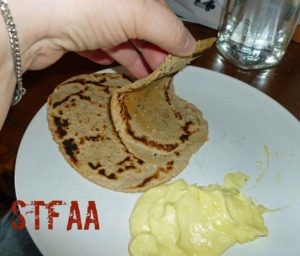
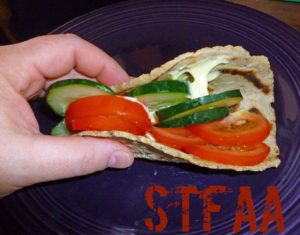
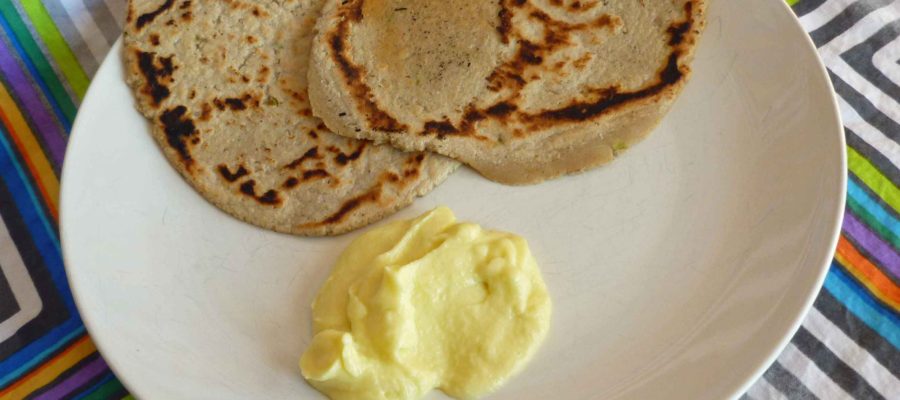
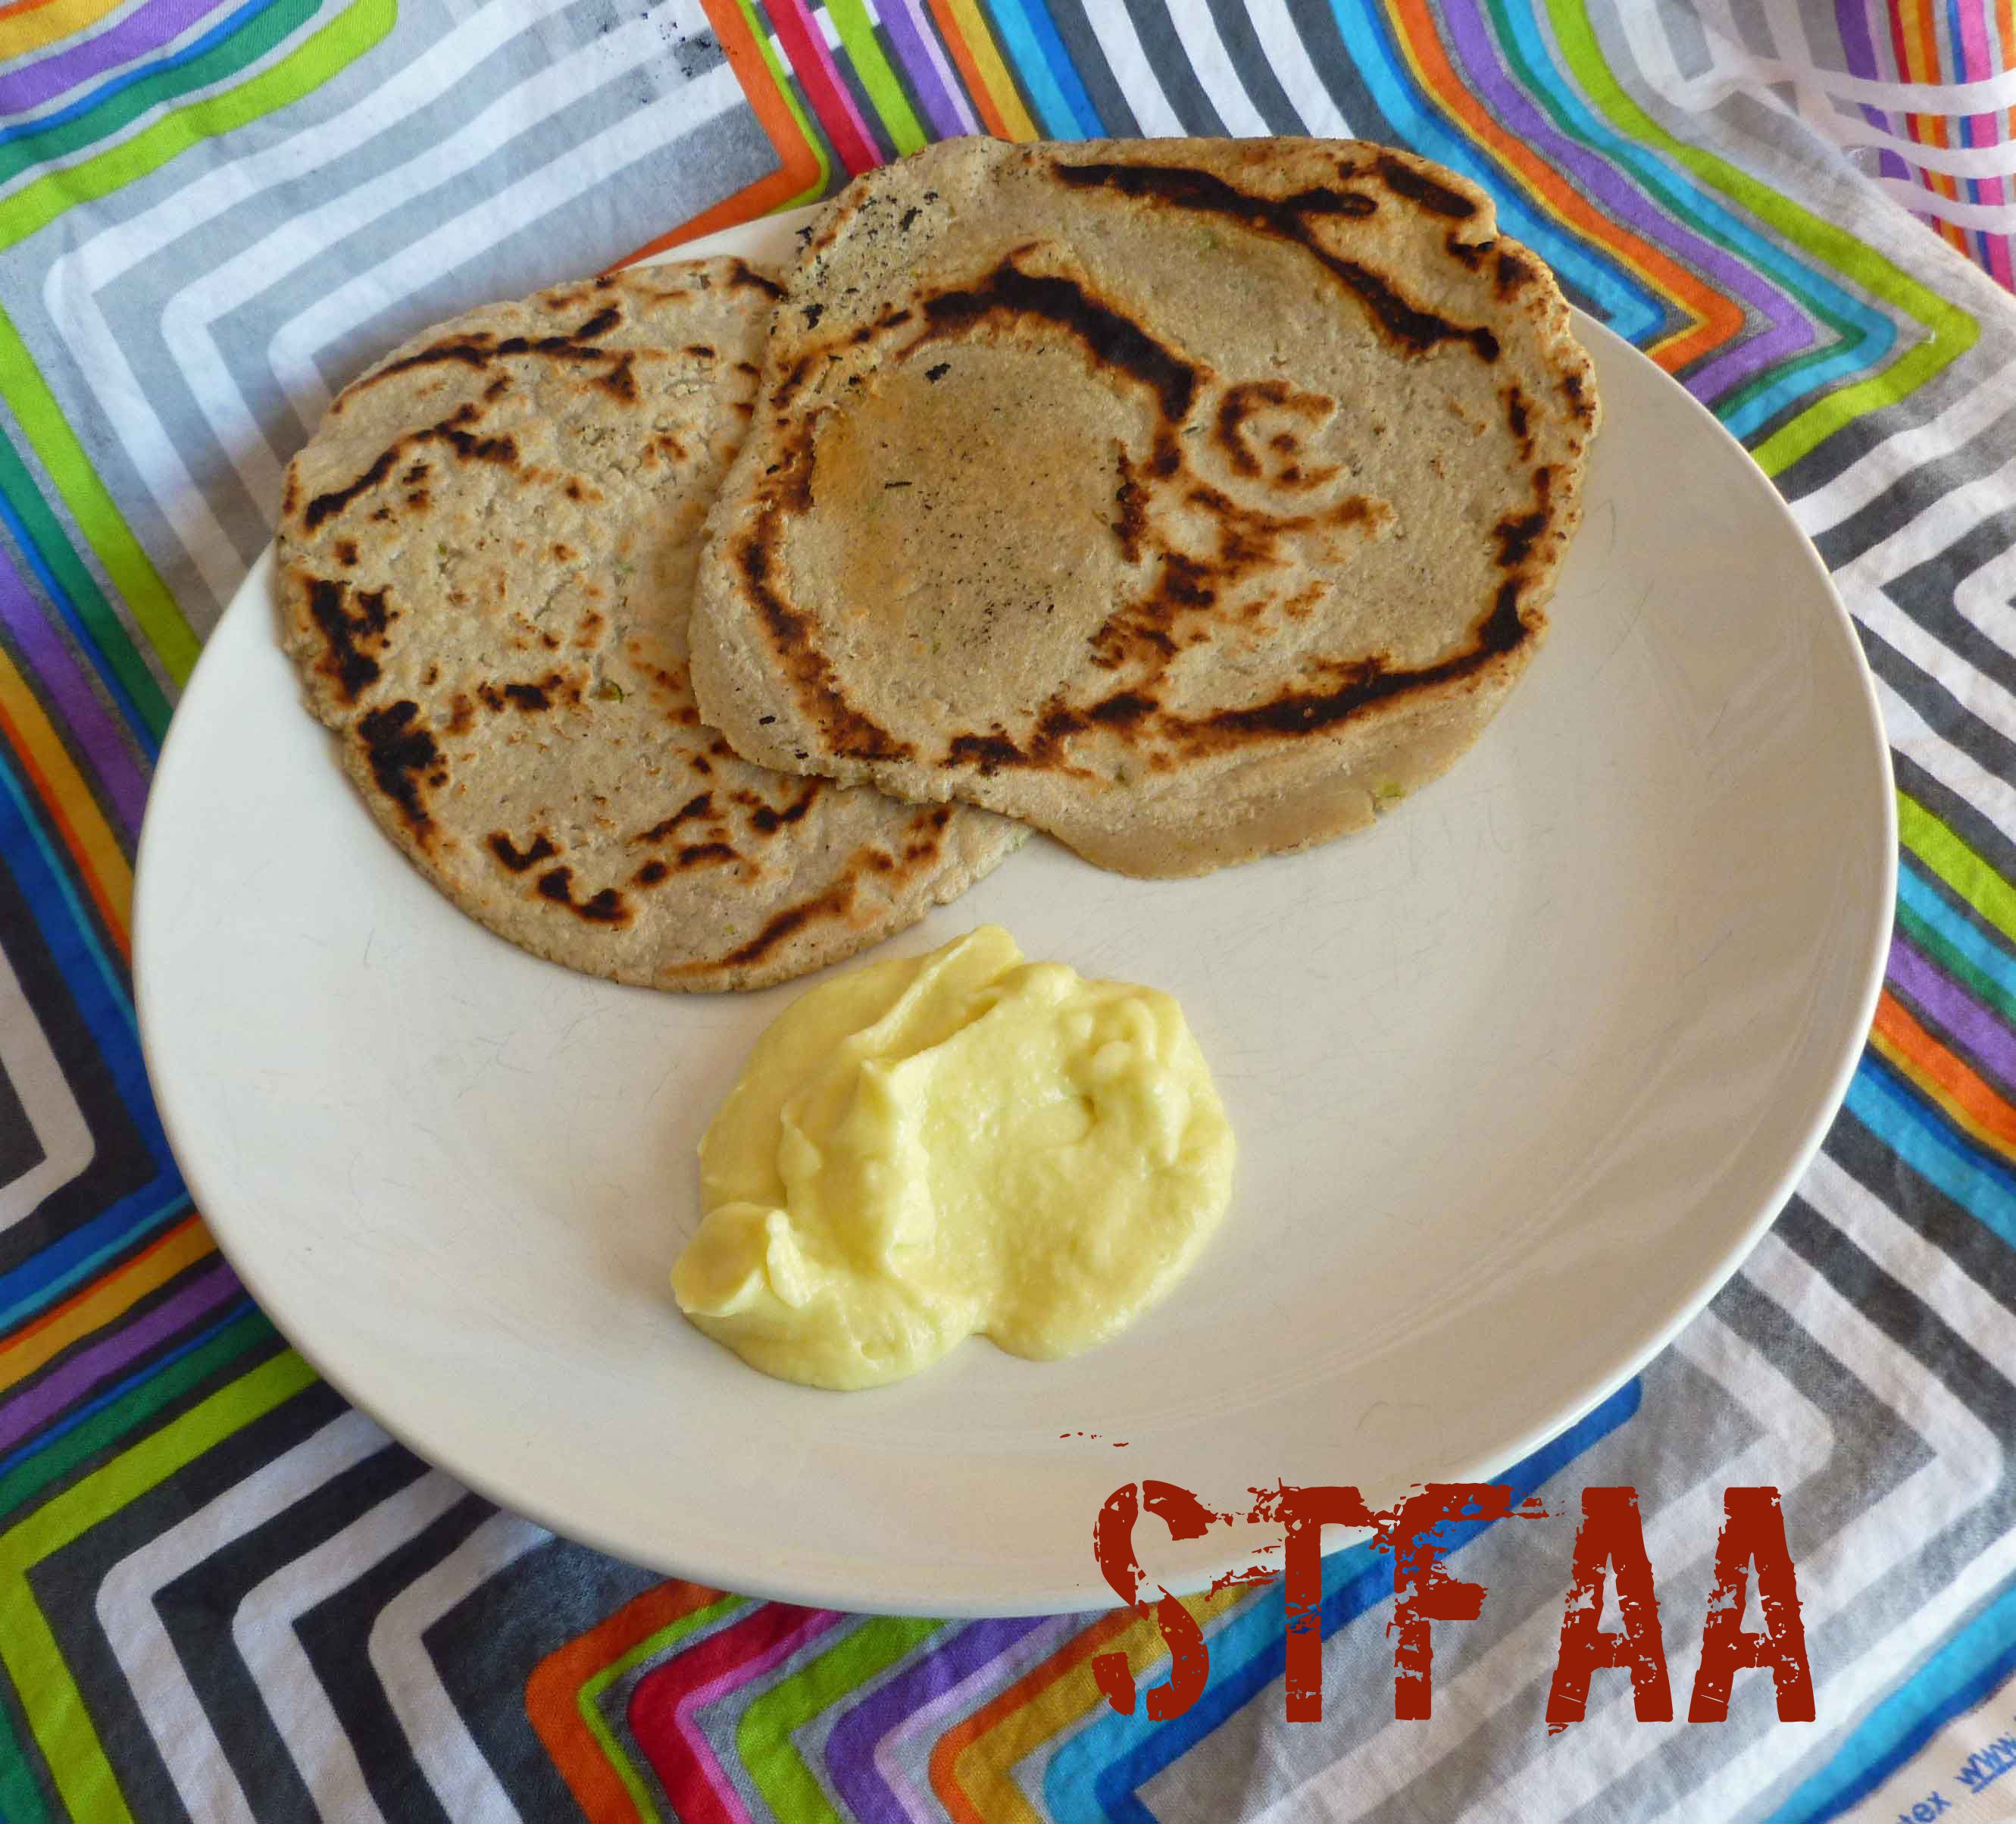
Garlic Sorghum Flatbread
Although I’ve modified this recipe from Book of Yum a bit by adding garlic and scallions, I’ve got to give credit where credit is due. I’ve made flatbreads (or roti in Indian cuisine) from other recipes and have not been as successful. Although the recipe is very simple, the technique of cooking half the flour with water is what makes the resulting flatbread nicely pliable. I was able to make them very thin and wrap them around some veggies without them breaking. Plus they were really awesome just dipped in the toum sauce by themselves.
Garlic Sorghum Flatbread
Print Recipe
A simple flatbread you can use as a wrap, tortilla, or just to munch on.
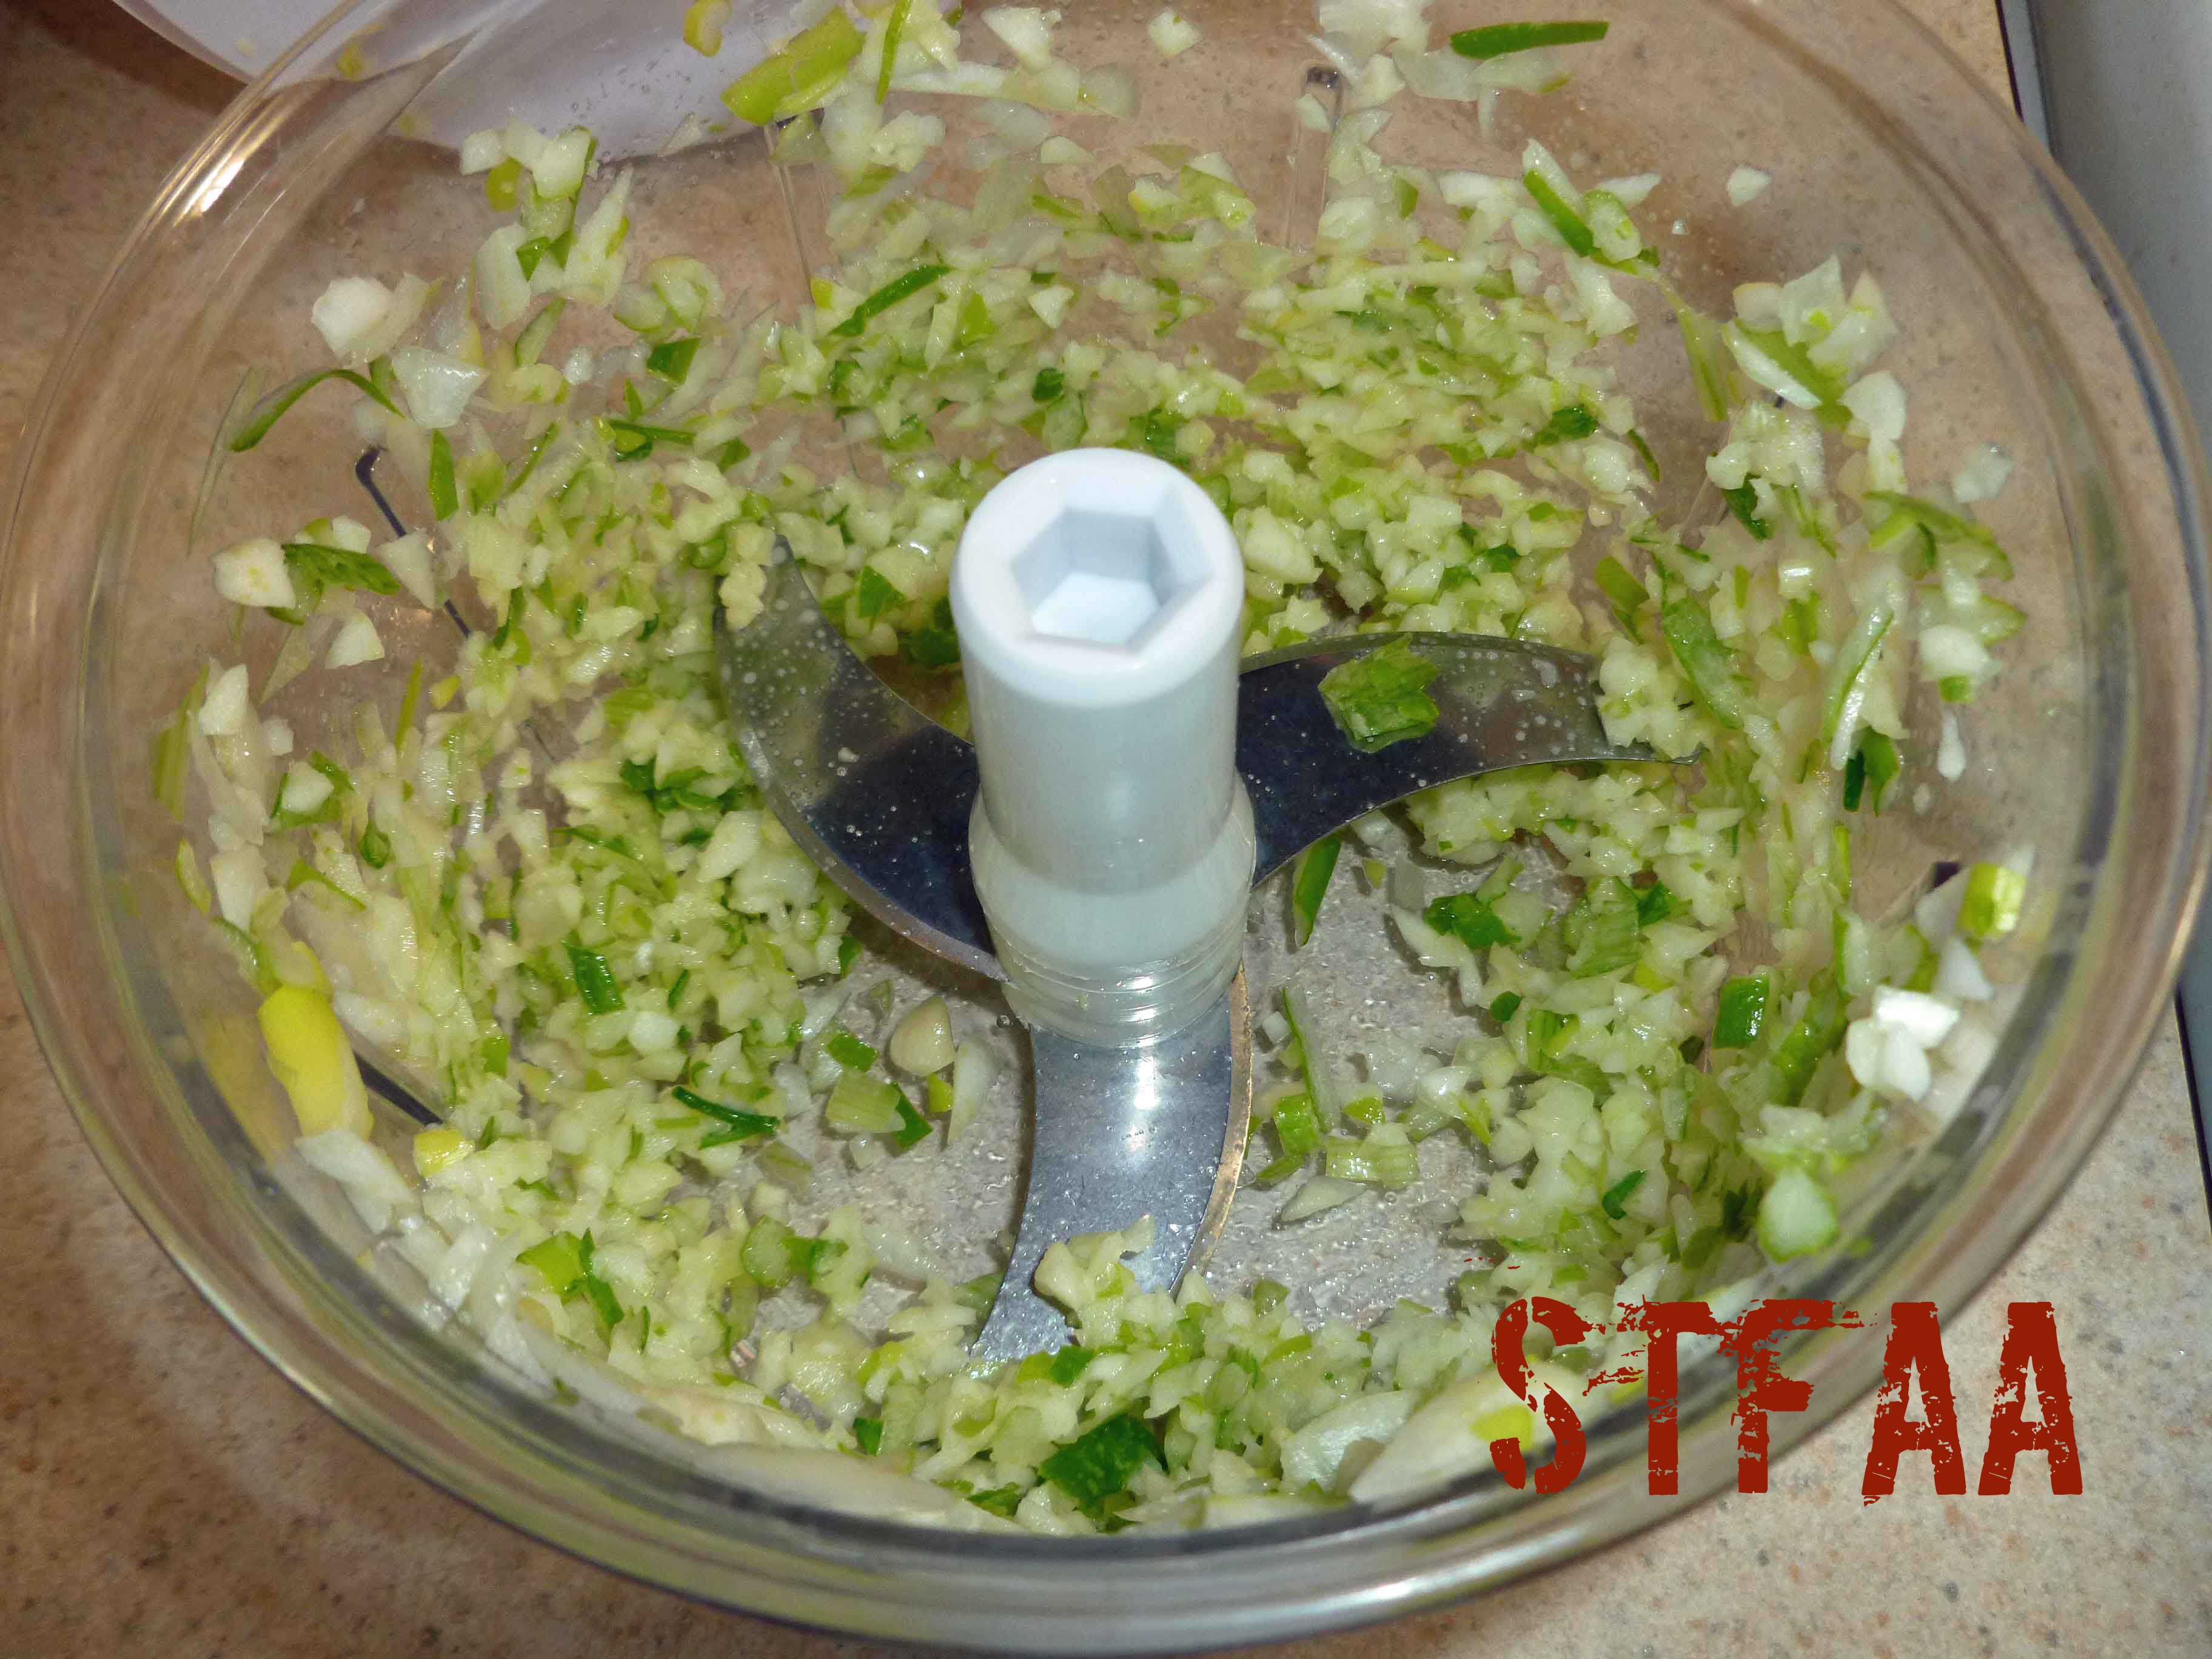
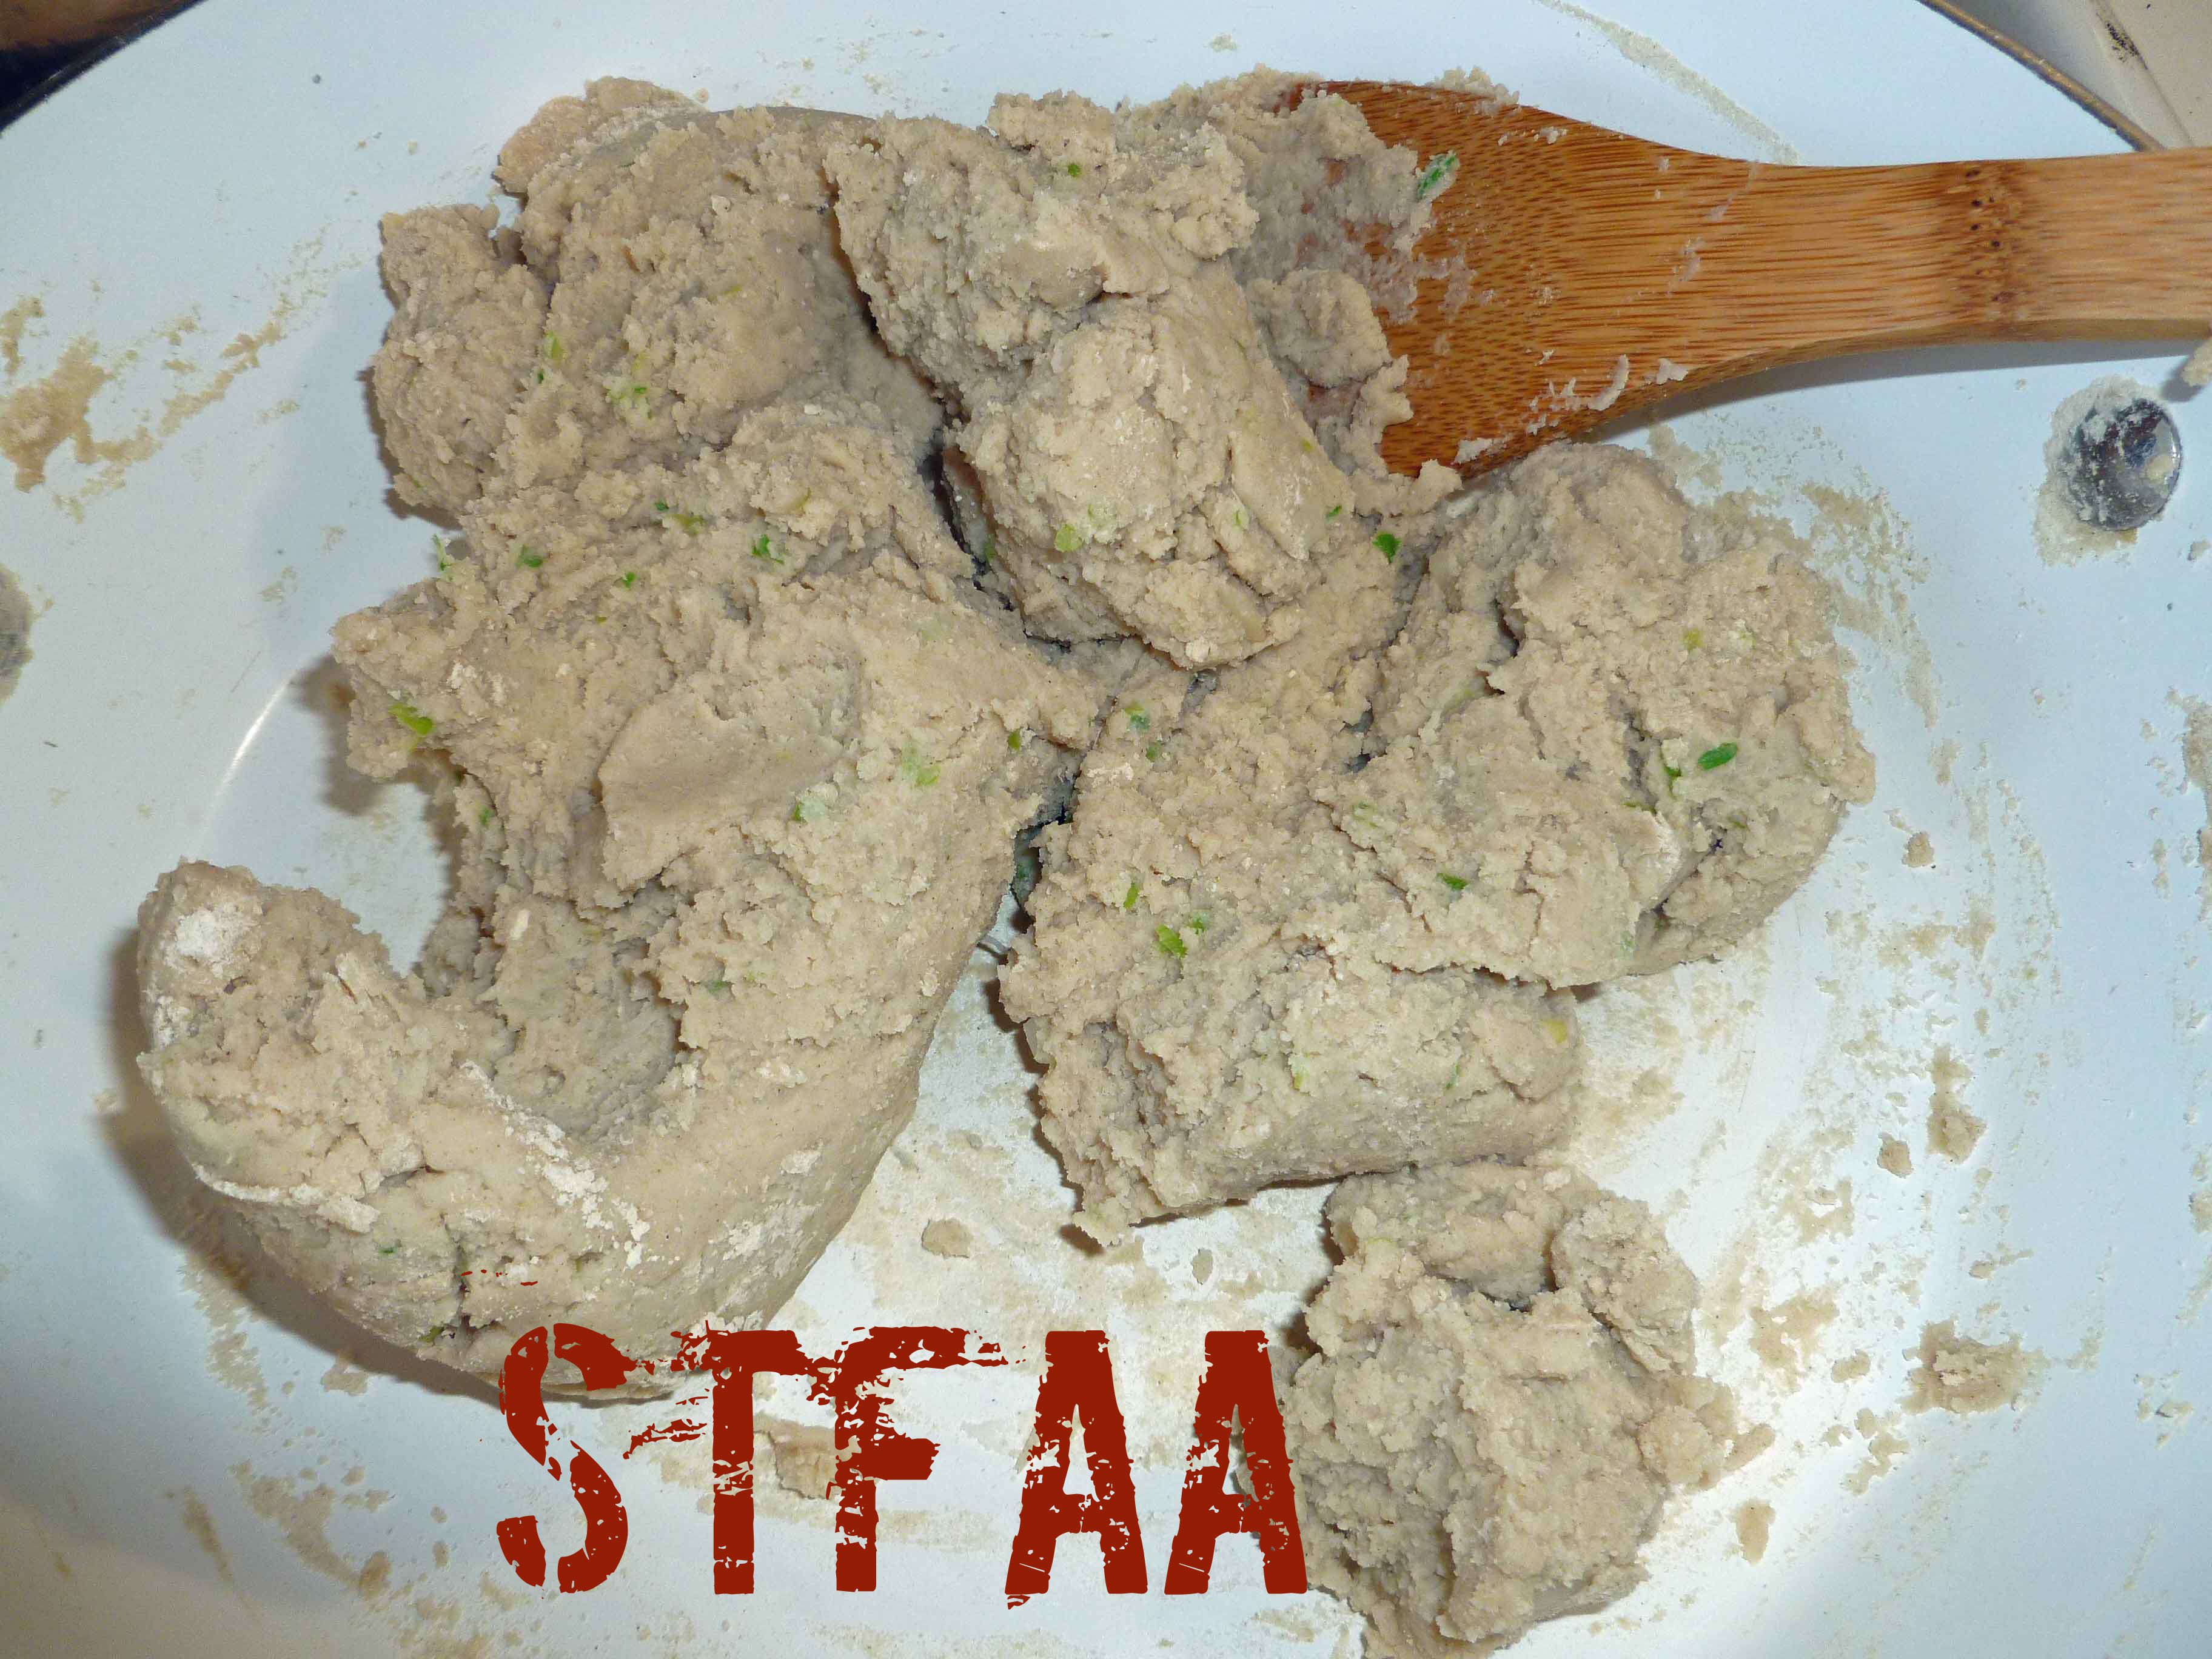
Peel and trim your garlic. Trim the ends of the scallions and any wilted bits of green. Chop garlic and scallions very finely, you want very small pieces but not a paste. I used a manual food processor but you can do it with a knife.
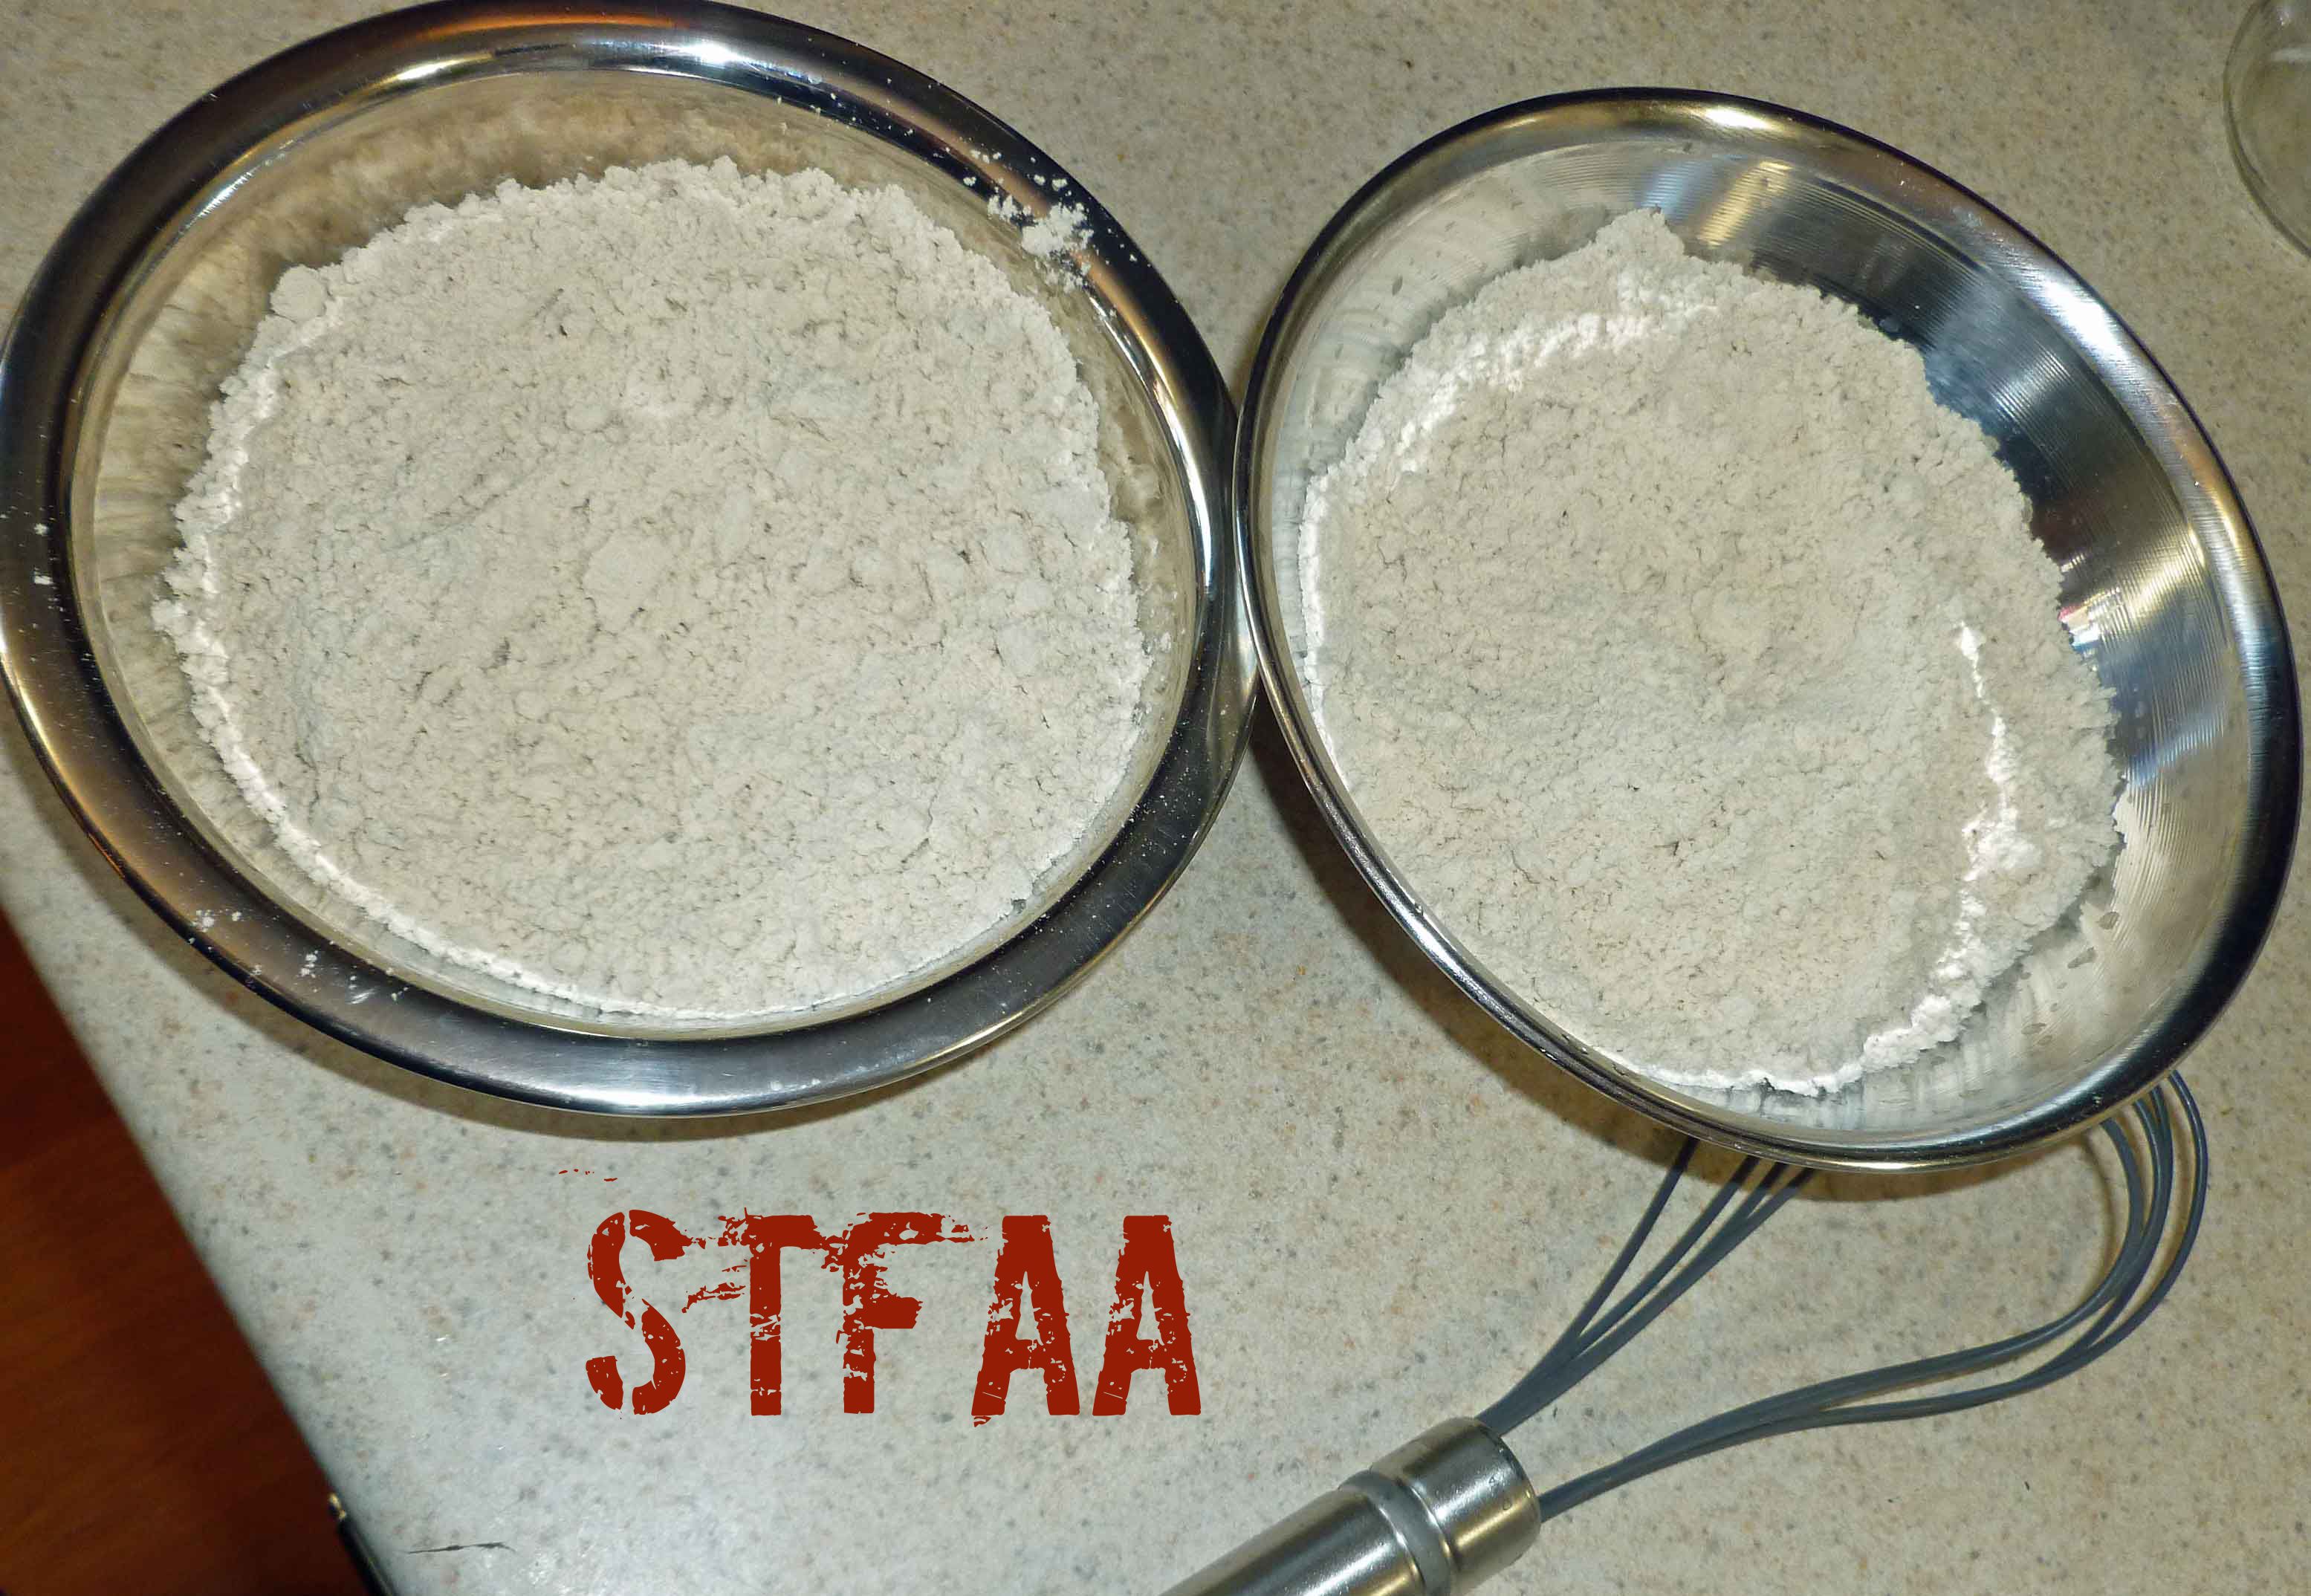
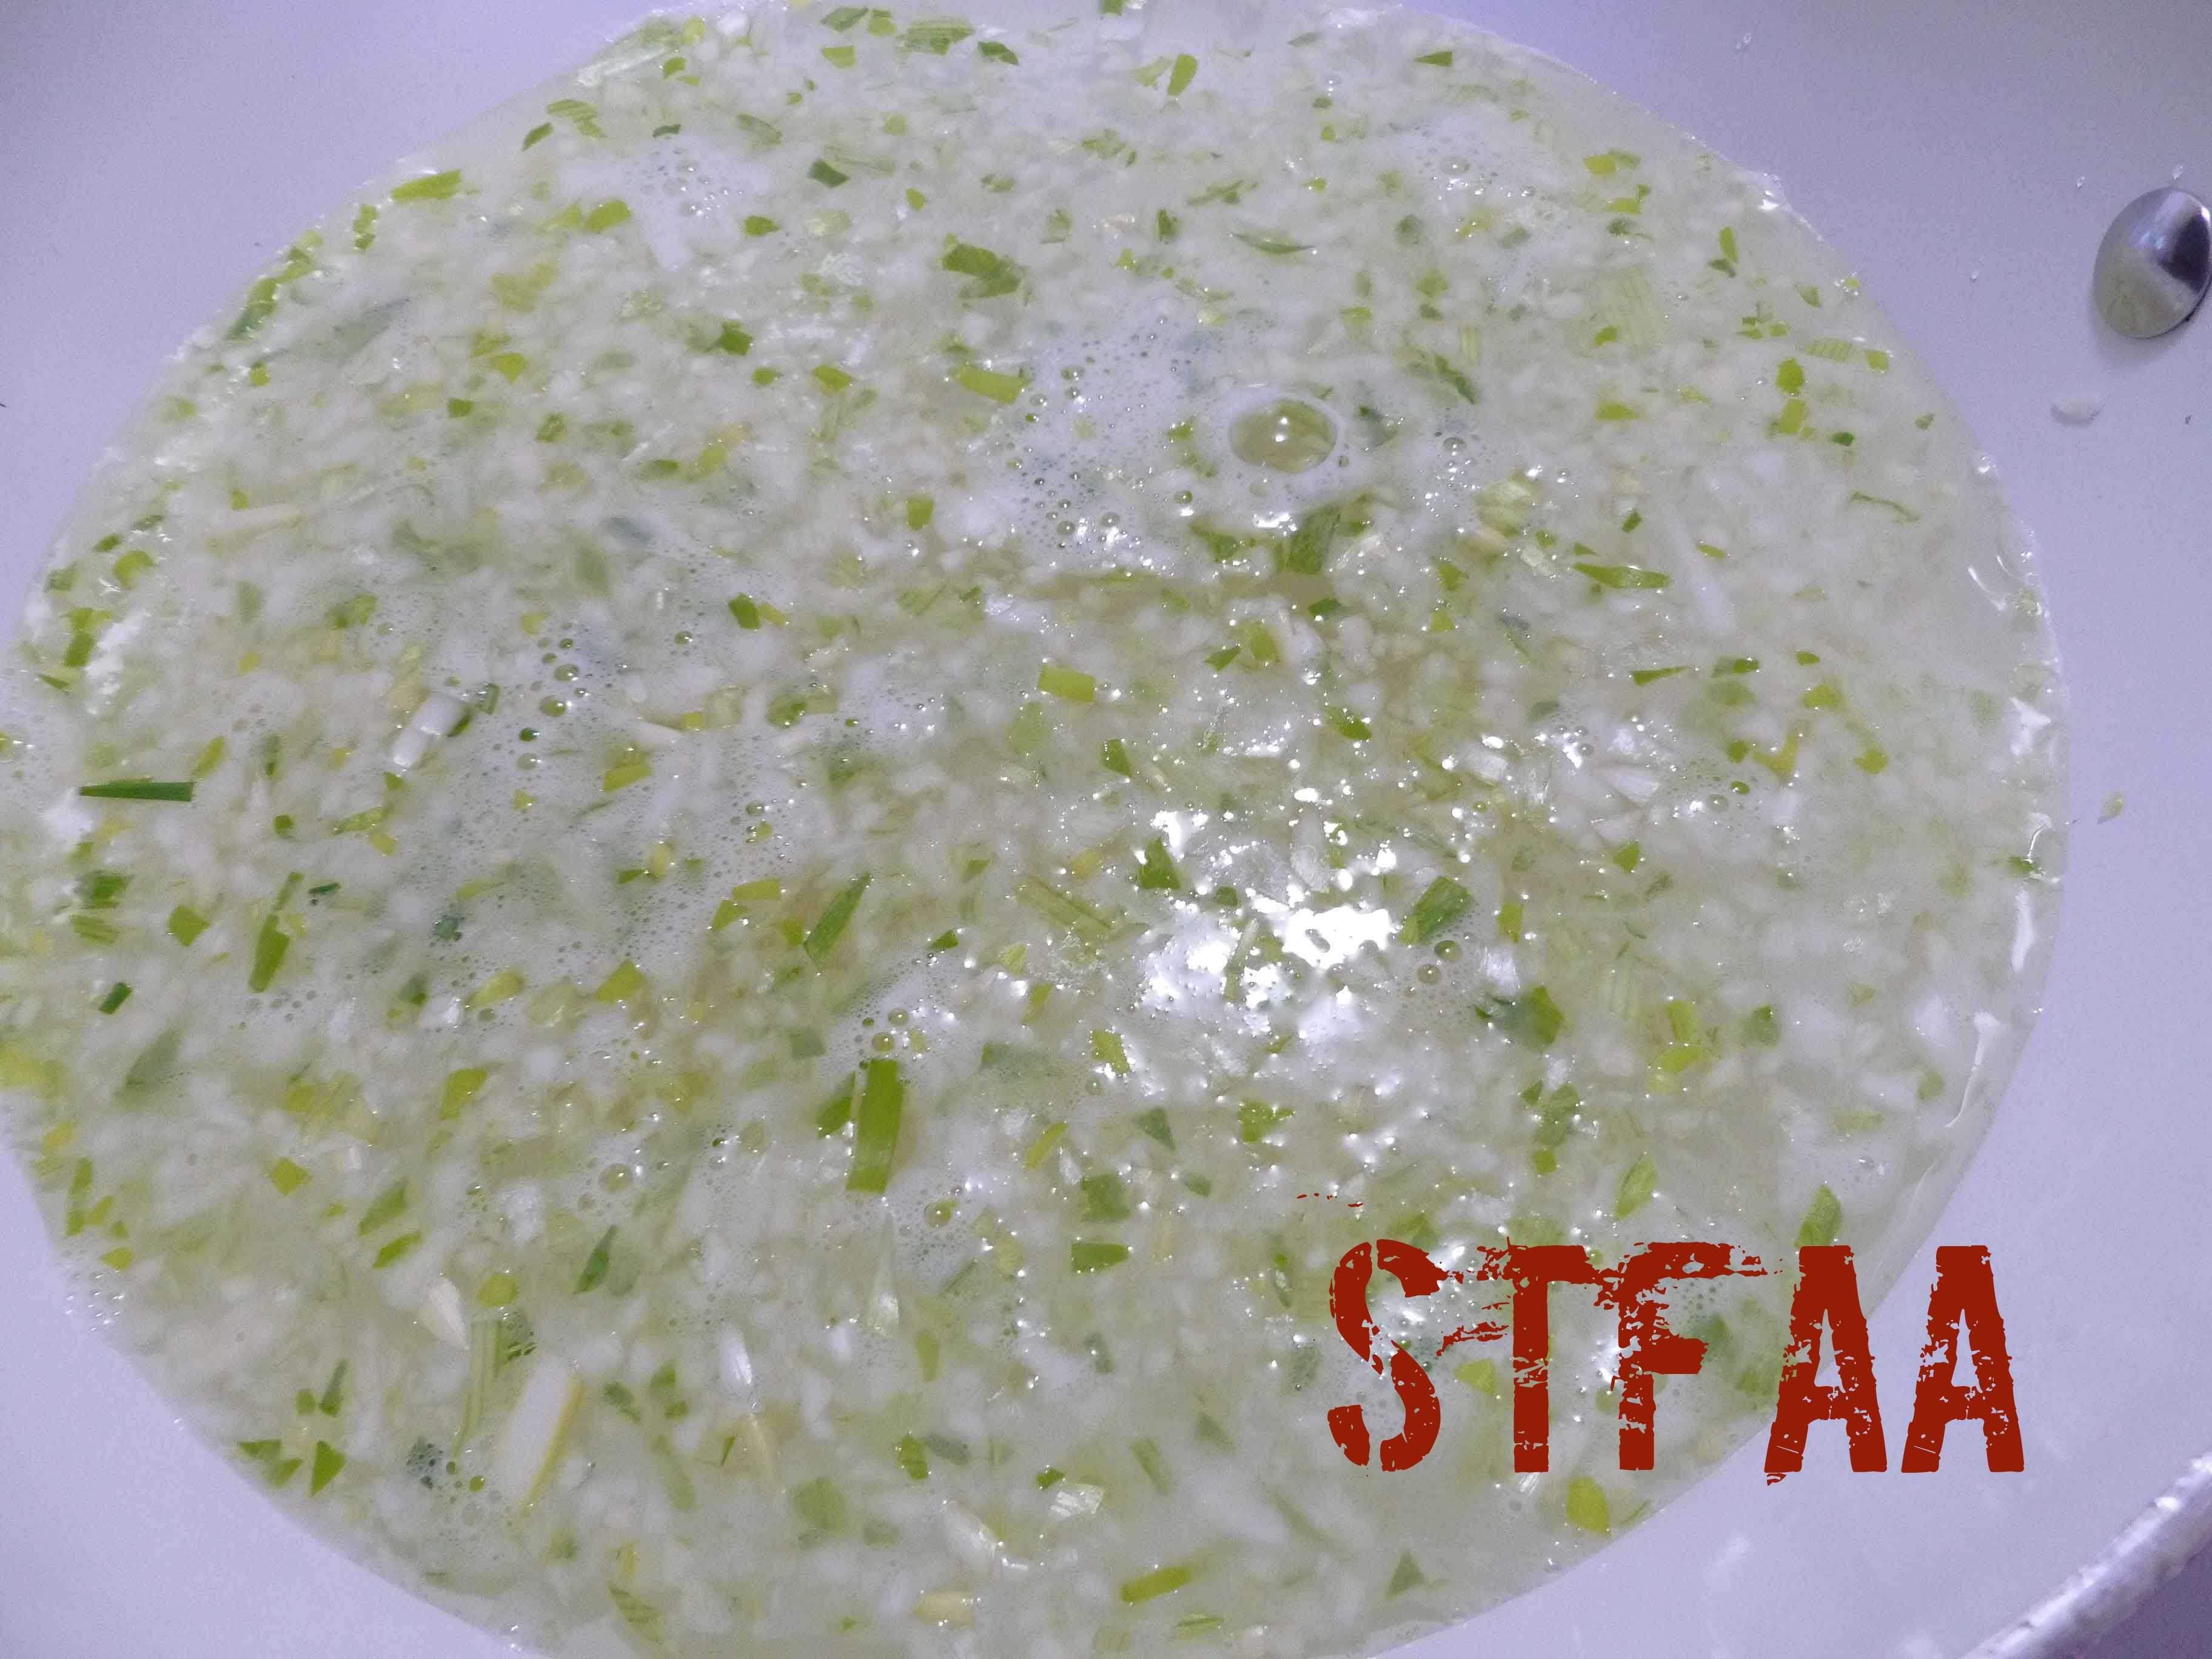
Measure place one cup of the sorghum flour in two bowls, so that the flour is divided to add as needed. In a sauce pan or deep skillet, add the garlic and scallions, salt, and two cups of water. Bring the water to just below a boil in the pan, and add one cup of the flour to the water in a slow stream, using the roux whisk to blend in the flour.
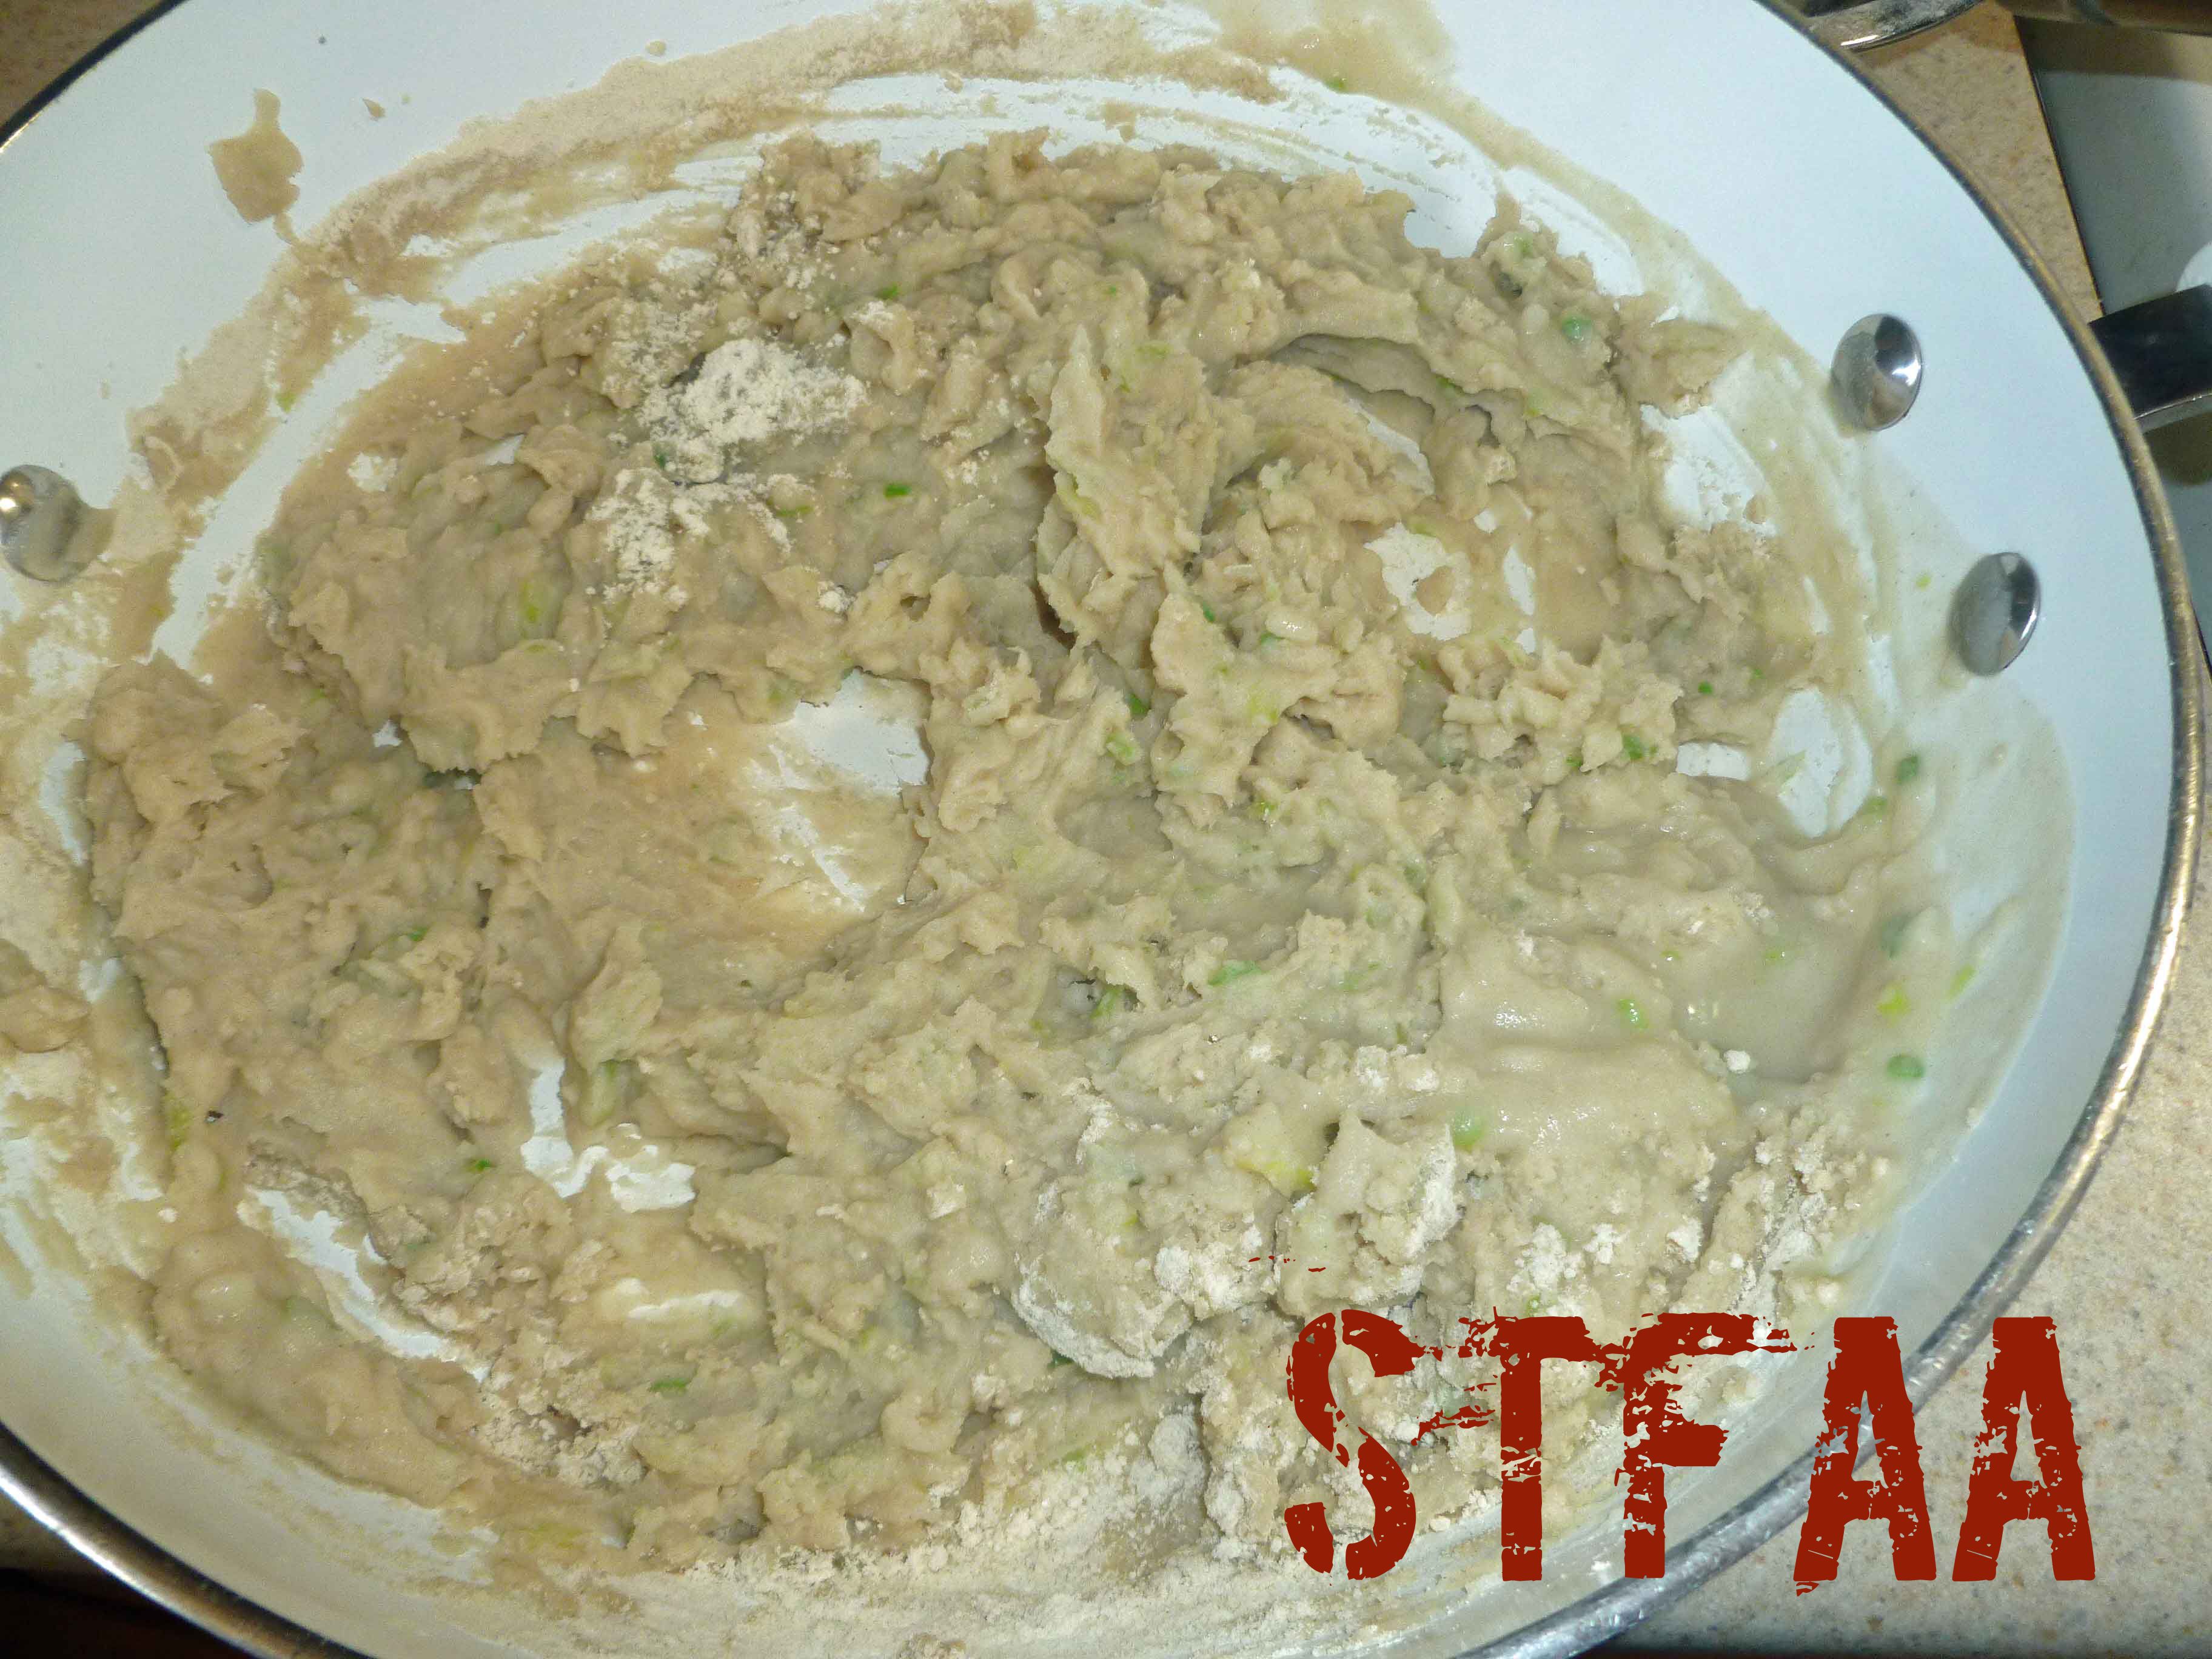
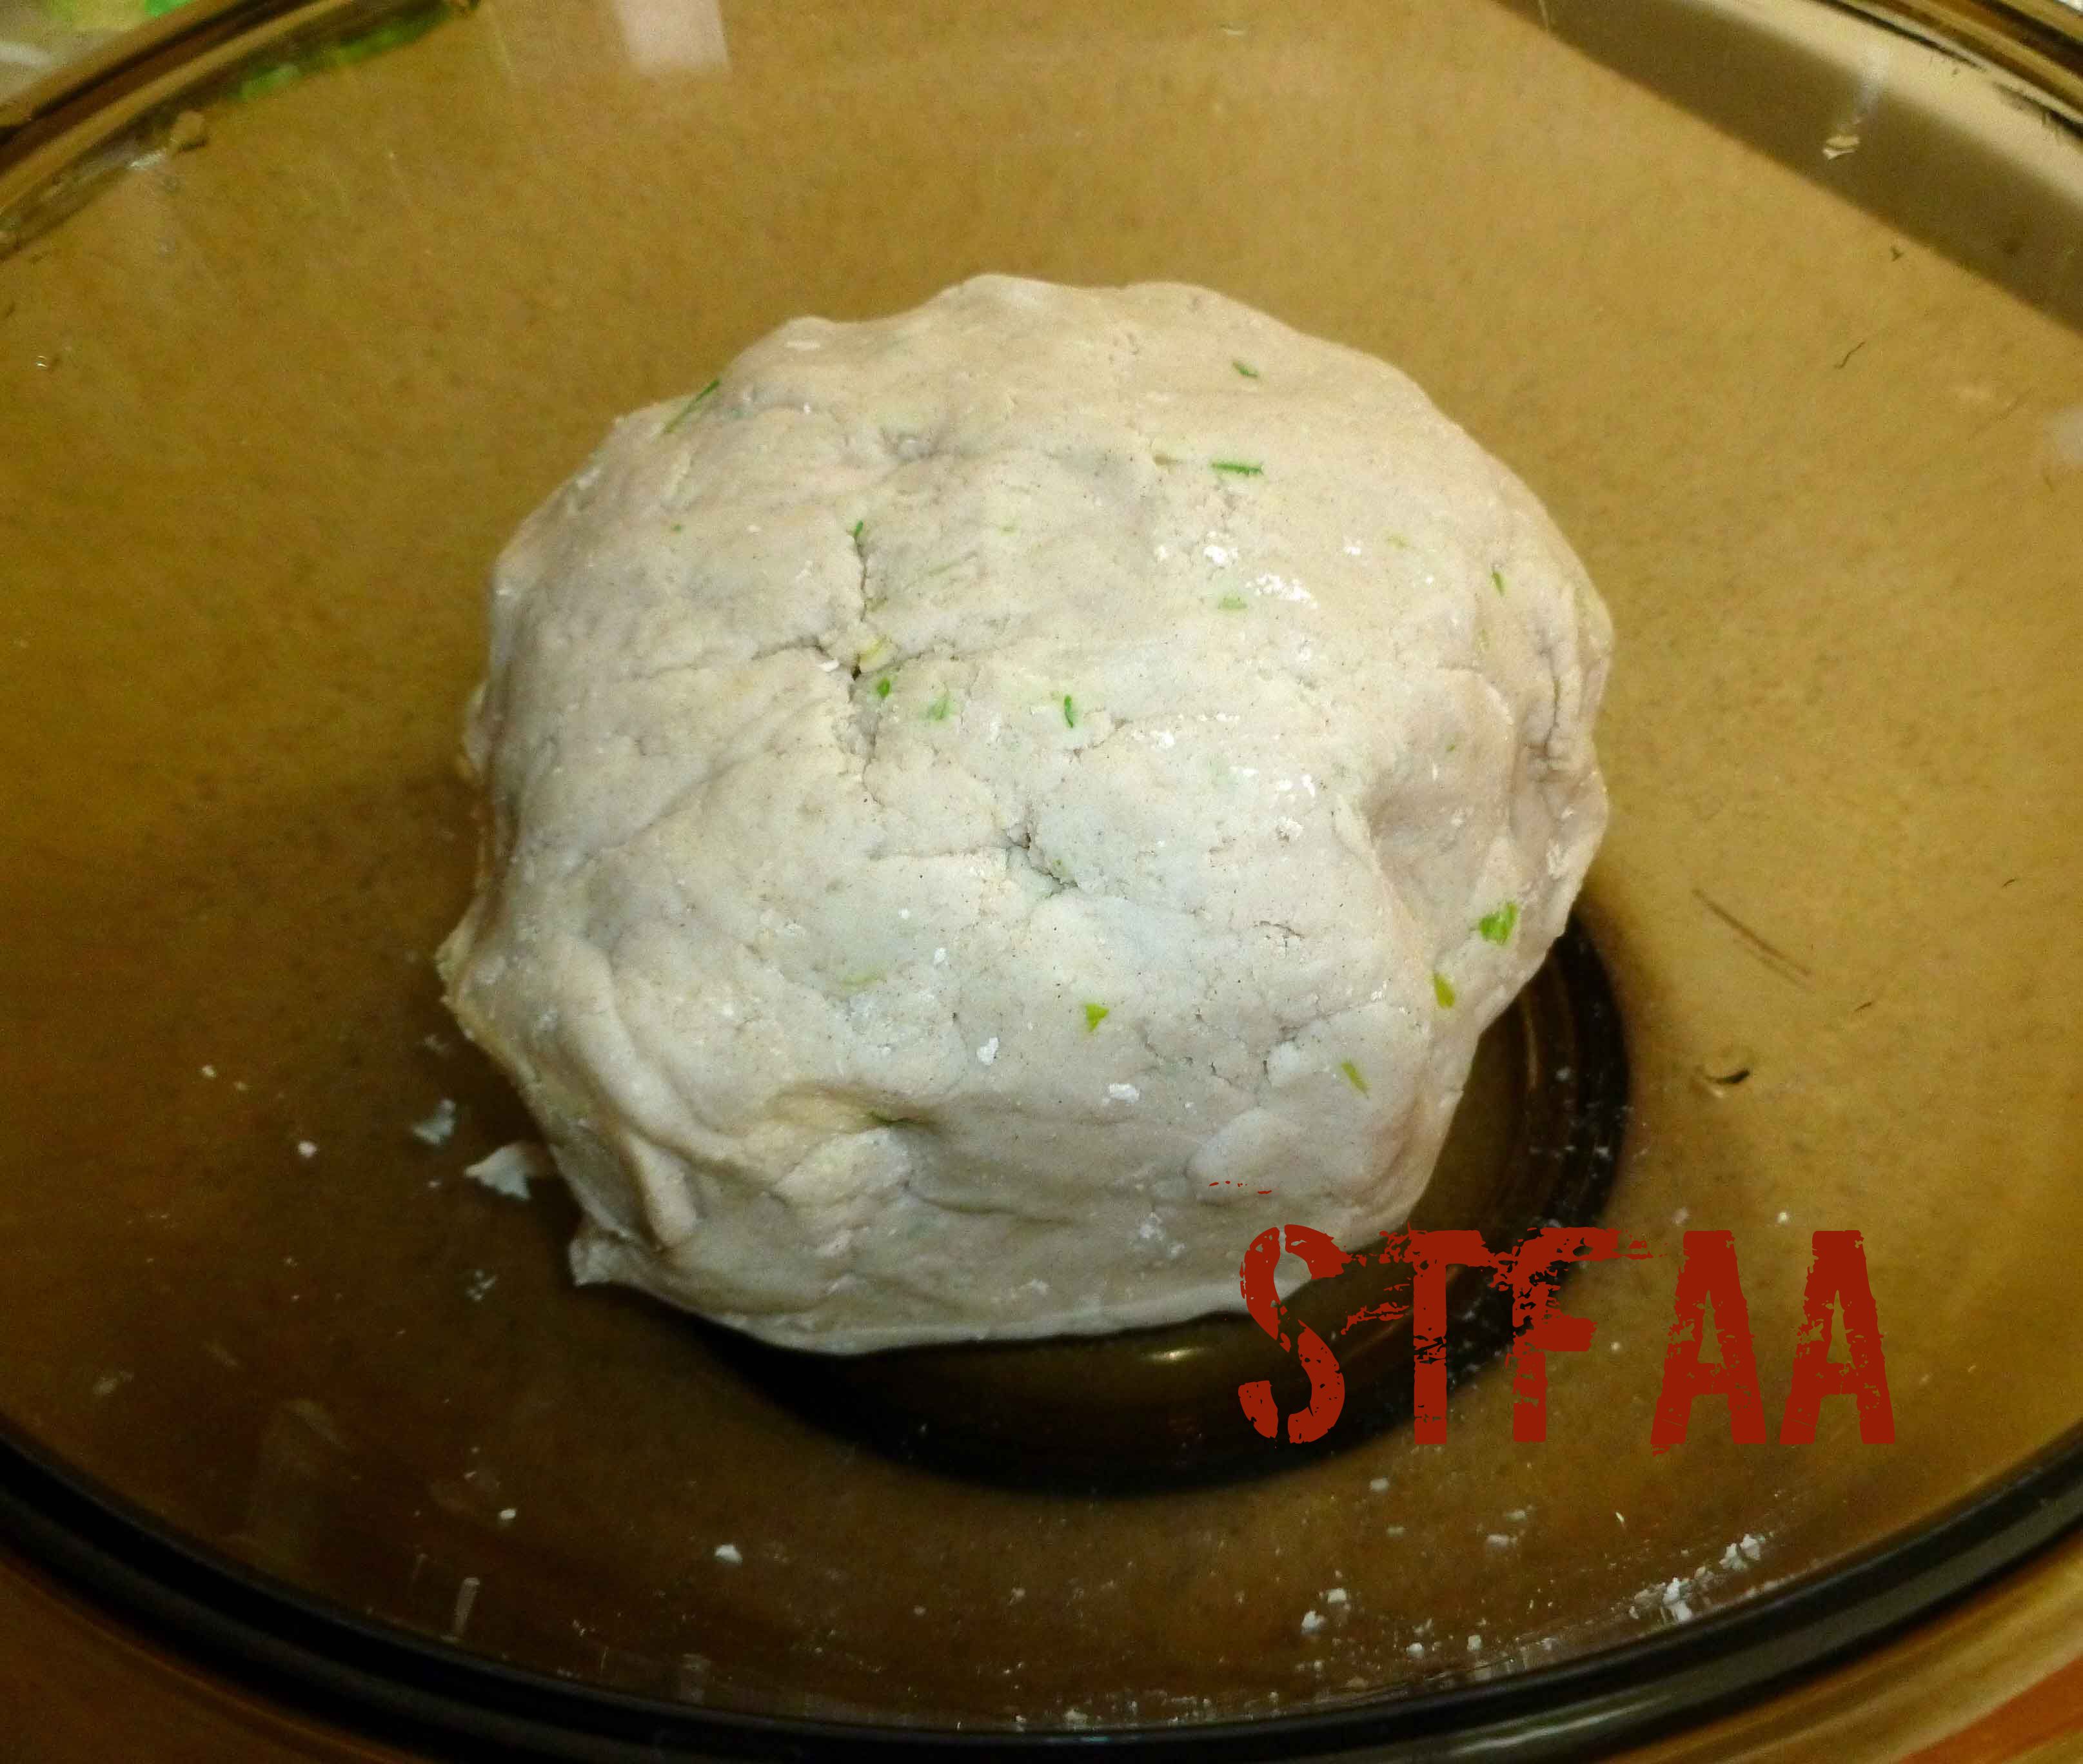
Reduce the heat to low. Using a wooden spoon, stir the other cup of flour into the pan, until it forms a dough ball. Keep stirring and mixing until the dough forms a rubbery texture. Remove the dough and place in a heat safe bowl. Let the dough rest for 10-15 minutes or until it is cool enough to touch.
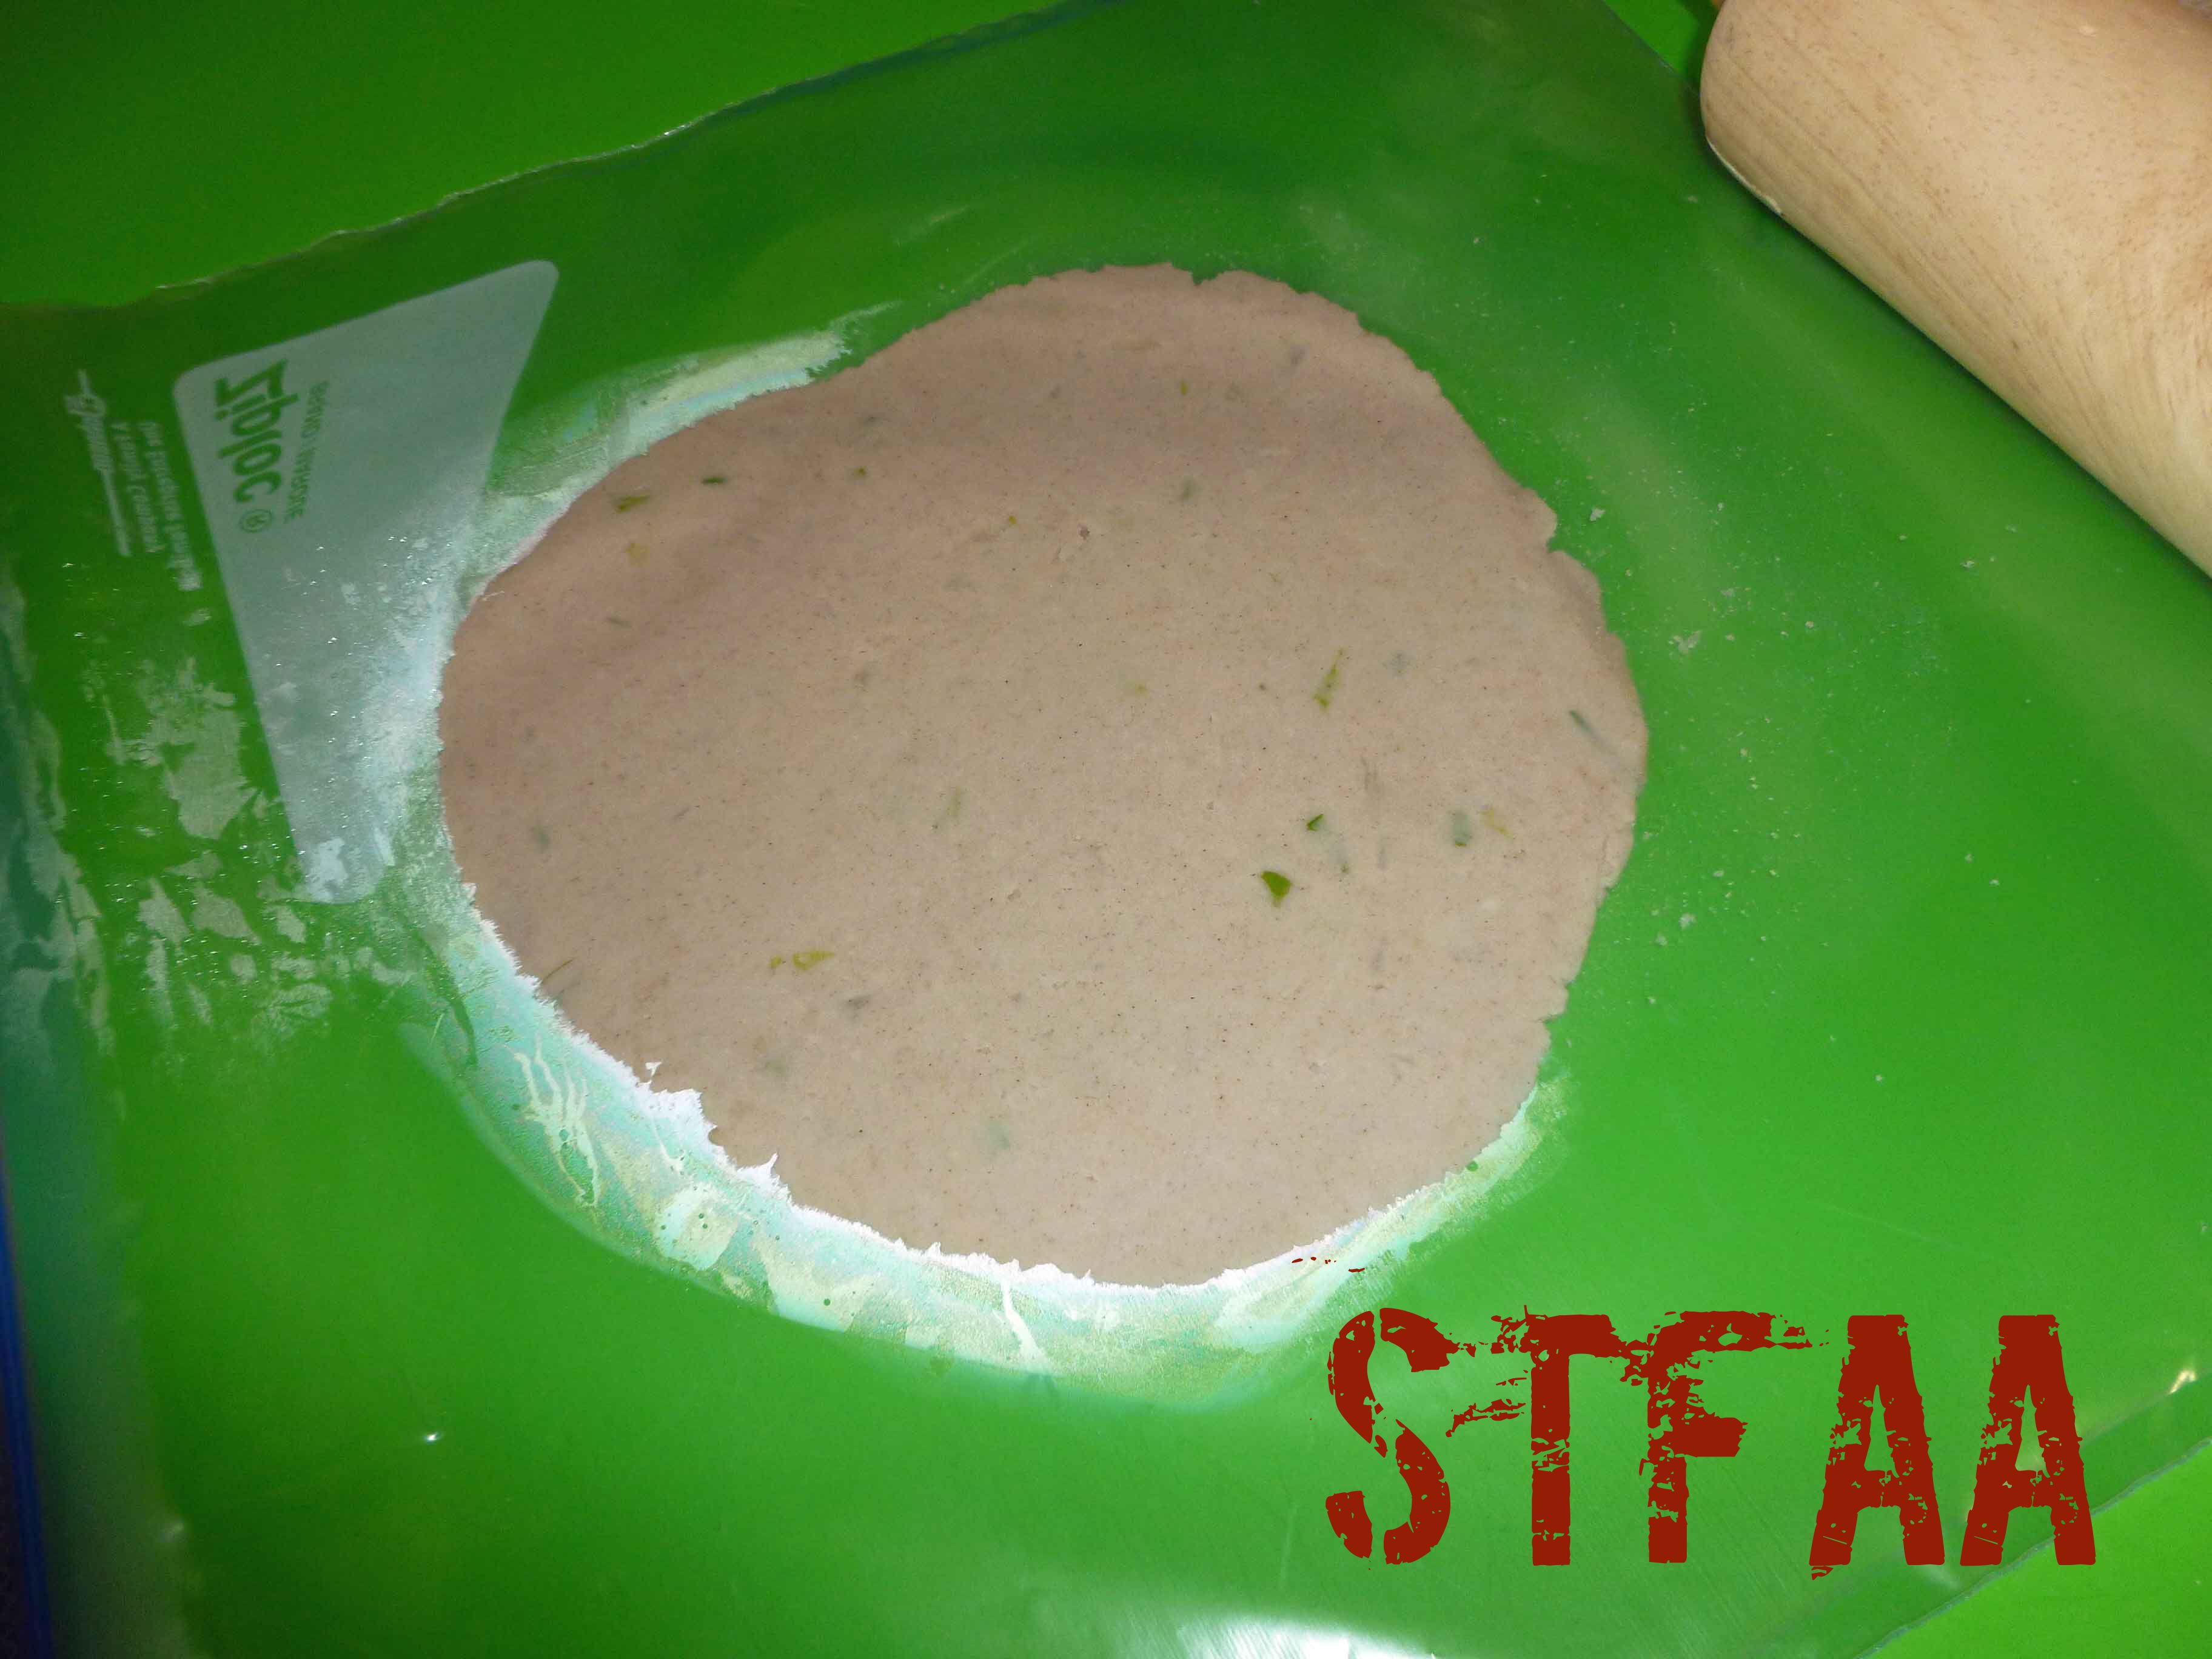
Form into small balls, a little bigger than the size of a ping pong ball, and place back into the bowl. I used a gallon size freezer safe ziptop bag, with the sides cut out to roll the dough out between with a rolling pin. You could also use a tortilla press, but I don’t have one. Roll the dough out to about an 1/8th of an inch.
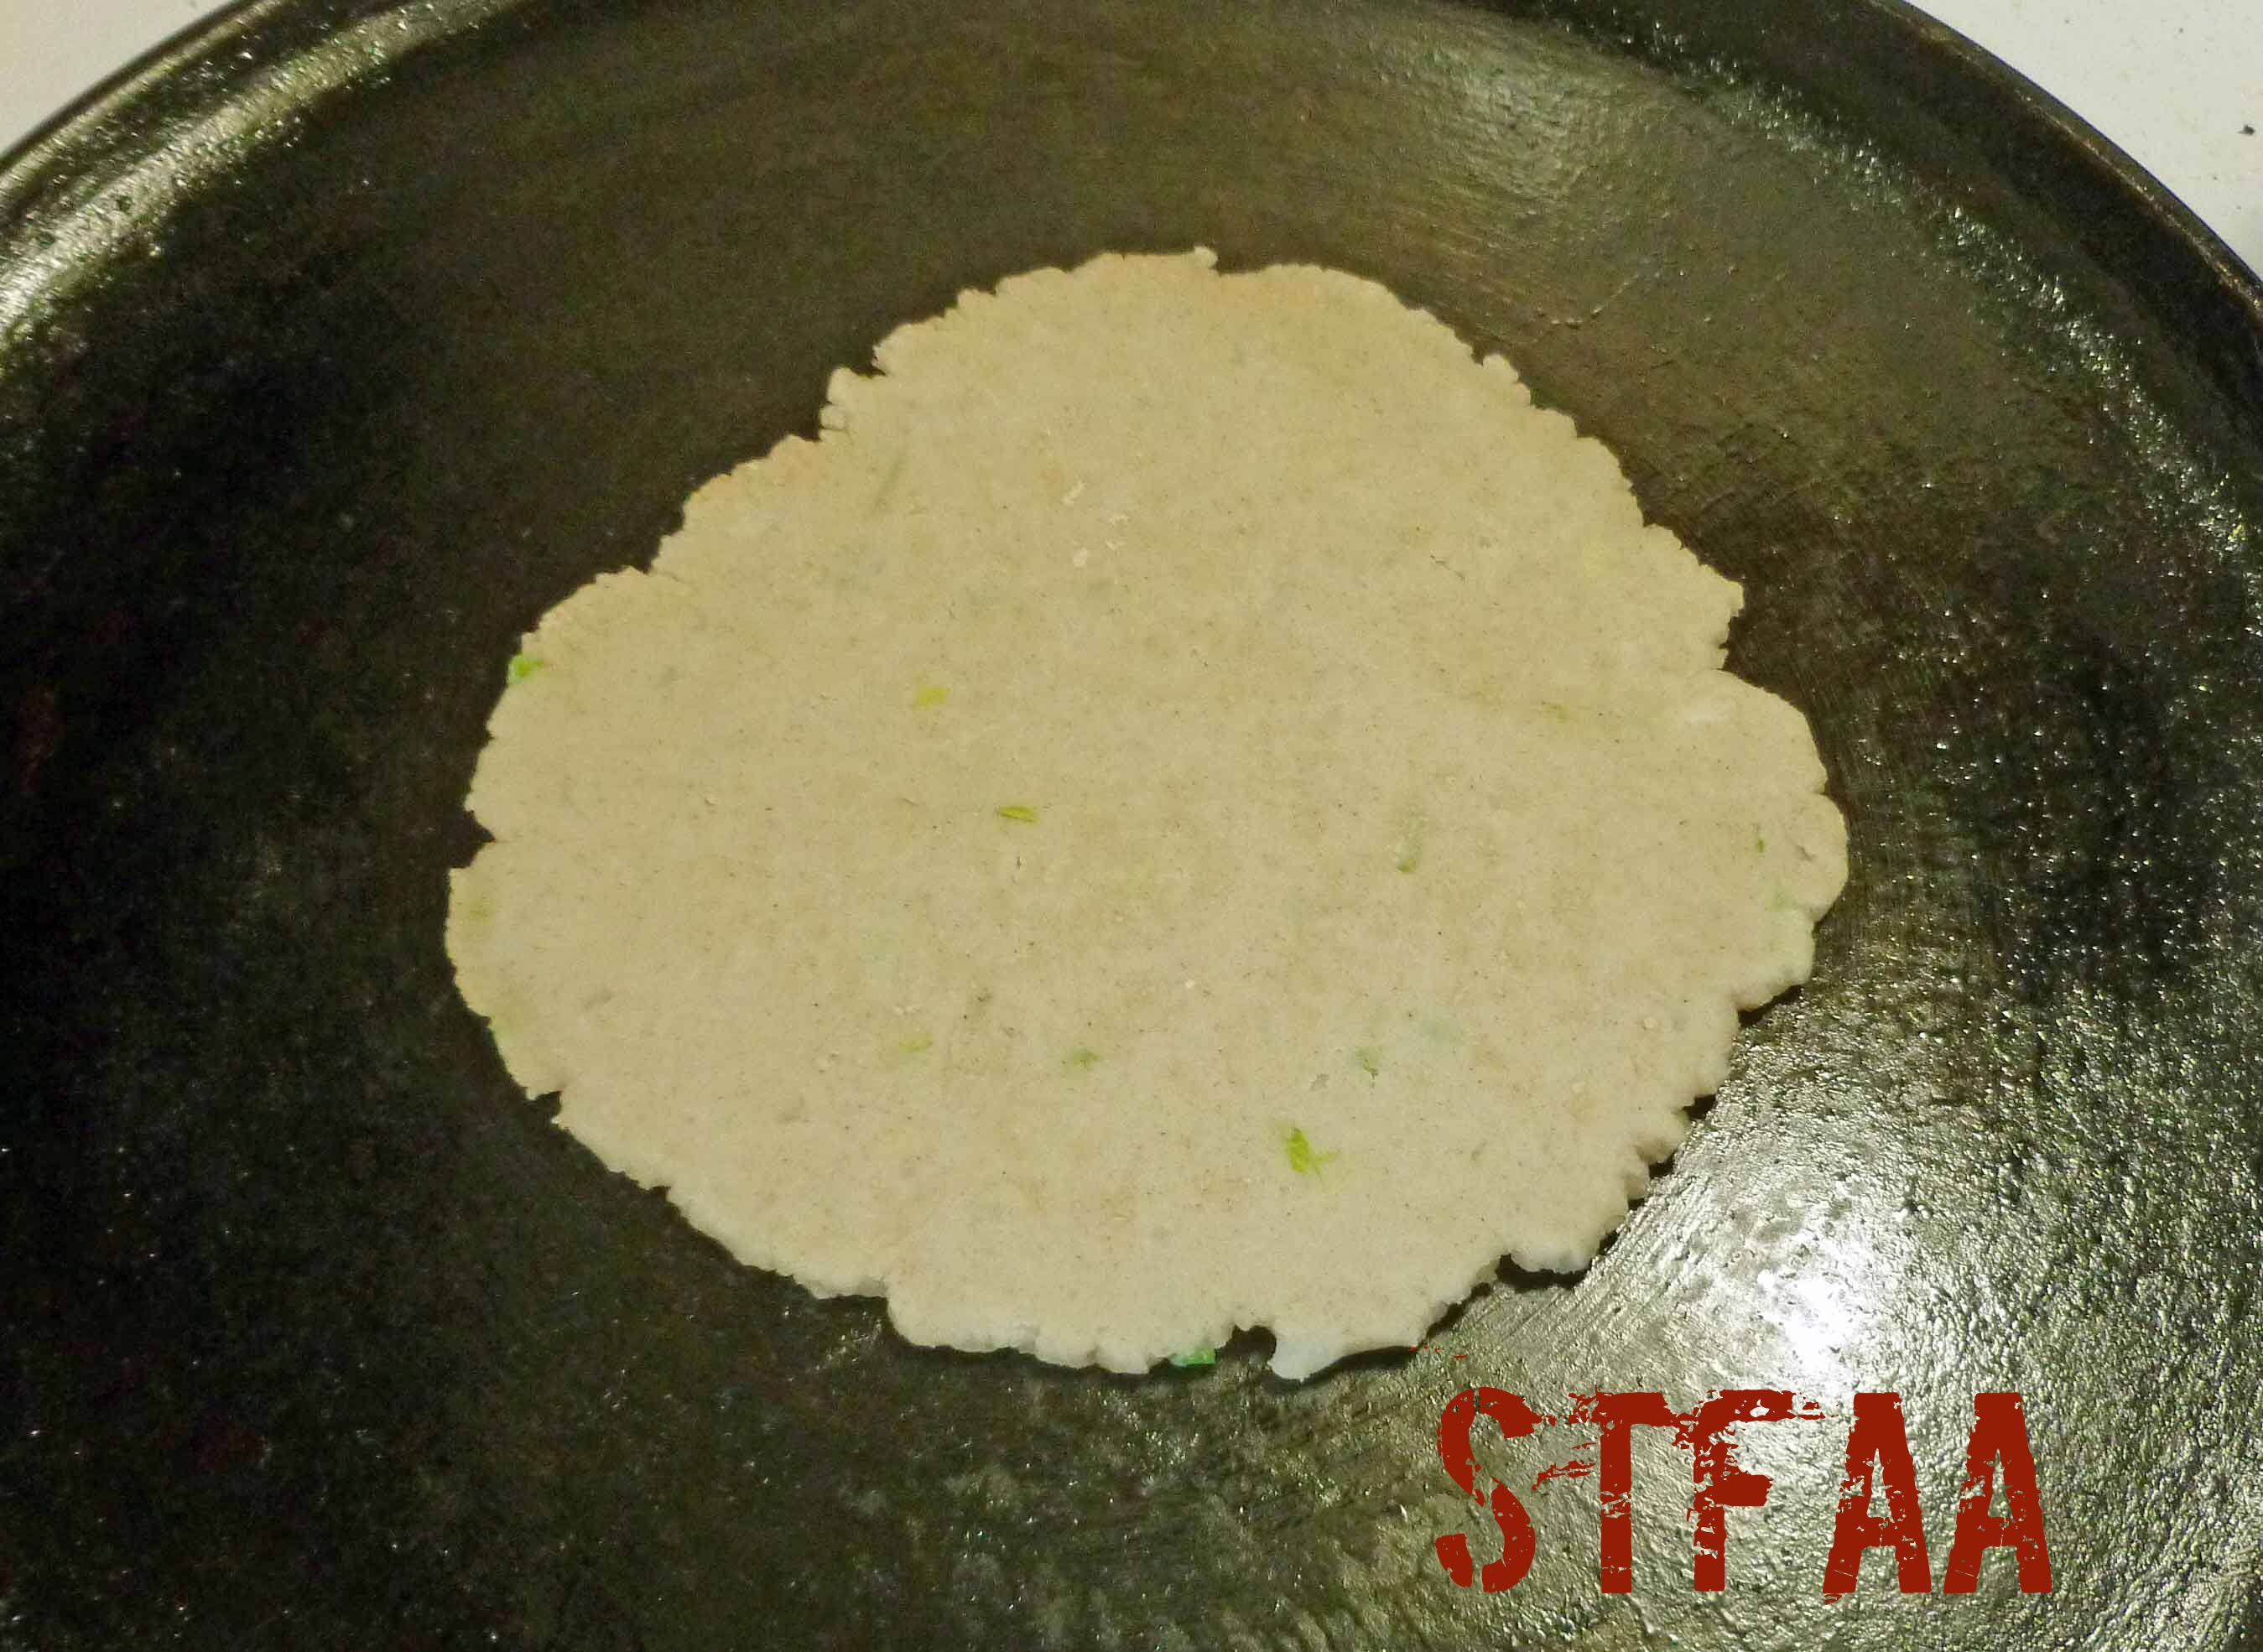
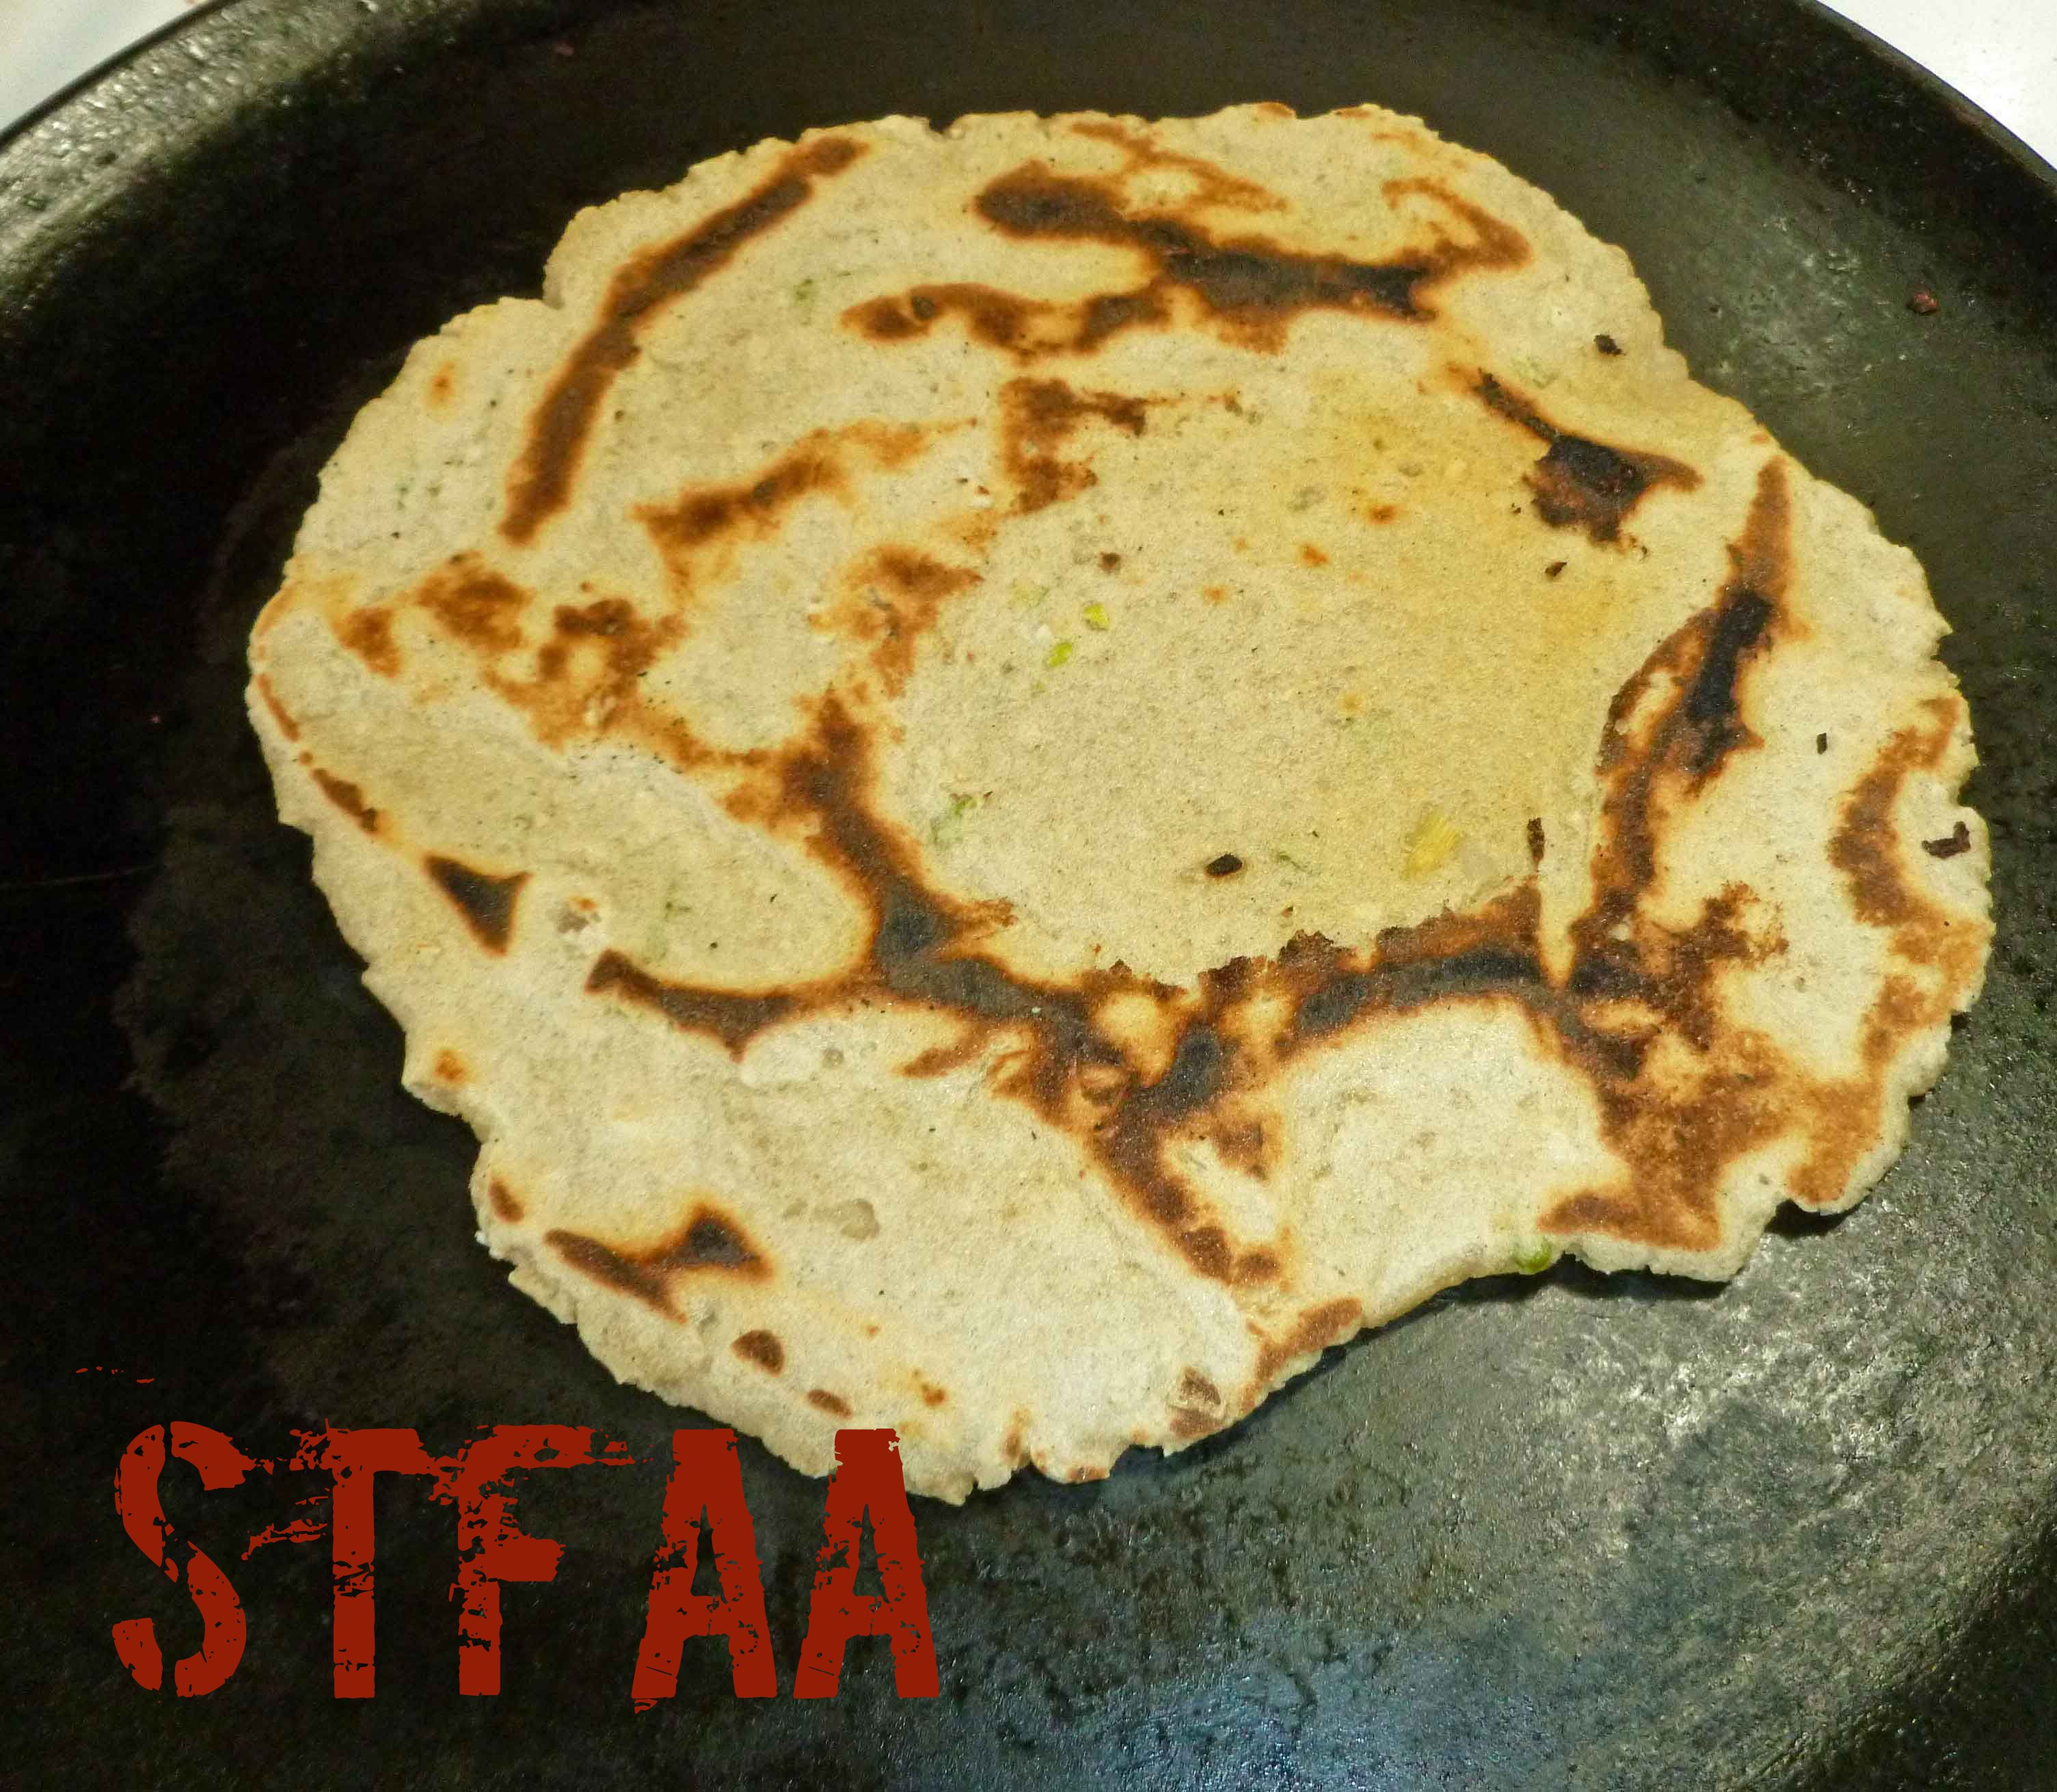
Place a cast iron skillet over medium-low to medium heat (depends on your stove and your skillet, you may need to adjust. Cook until the texture changes on the top of the flatbread (it will look a bit dry and cracked) and until you have light brown spots on the side being cooked. Turn the flat bread and cook the other side. Repeat until all your flatbreads are cooked.
Mince garlic and scallions very finelyMeasure out sorghum, one cup in each bowl and get roux whisk readyAdd water to saucepan and add garlic and water, bringing just below boiling.Slowly add one cup of sorghum flour and mix in with whiskTurn heat to low and mix in second cup with wooden spoon until it forms a rubbery doughLet dough rest in heat safe containerRoll out dough between a ziptop bag with the sizes cut out once cool enough to handleCook on cast iron skillet over medium heatFlatbread ready to flip (note dry texture around edges)Flatbread after flippingGarlic Sorghum Flatbreads except the two I ate while cooking 🙂
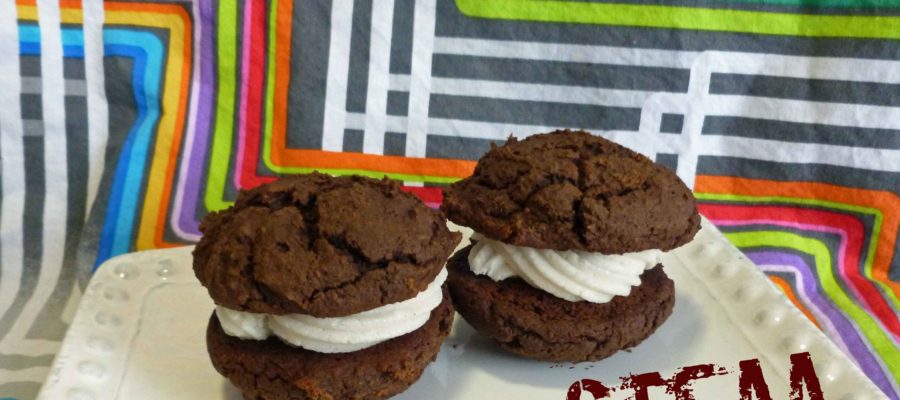
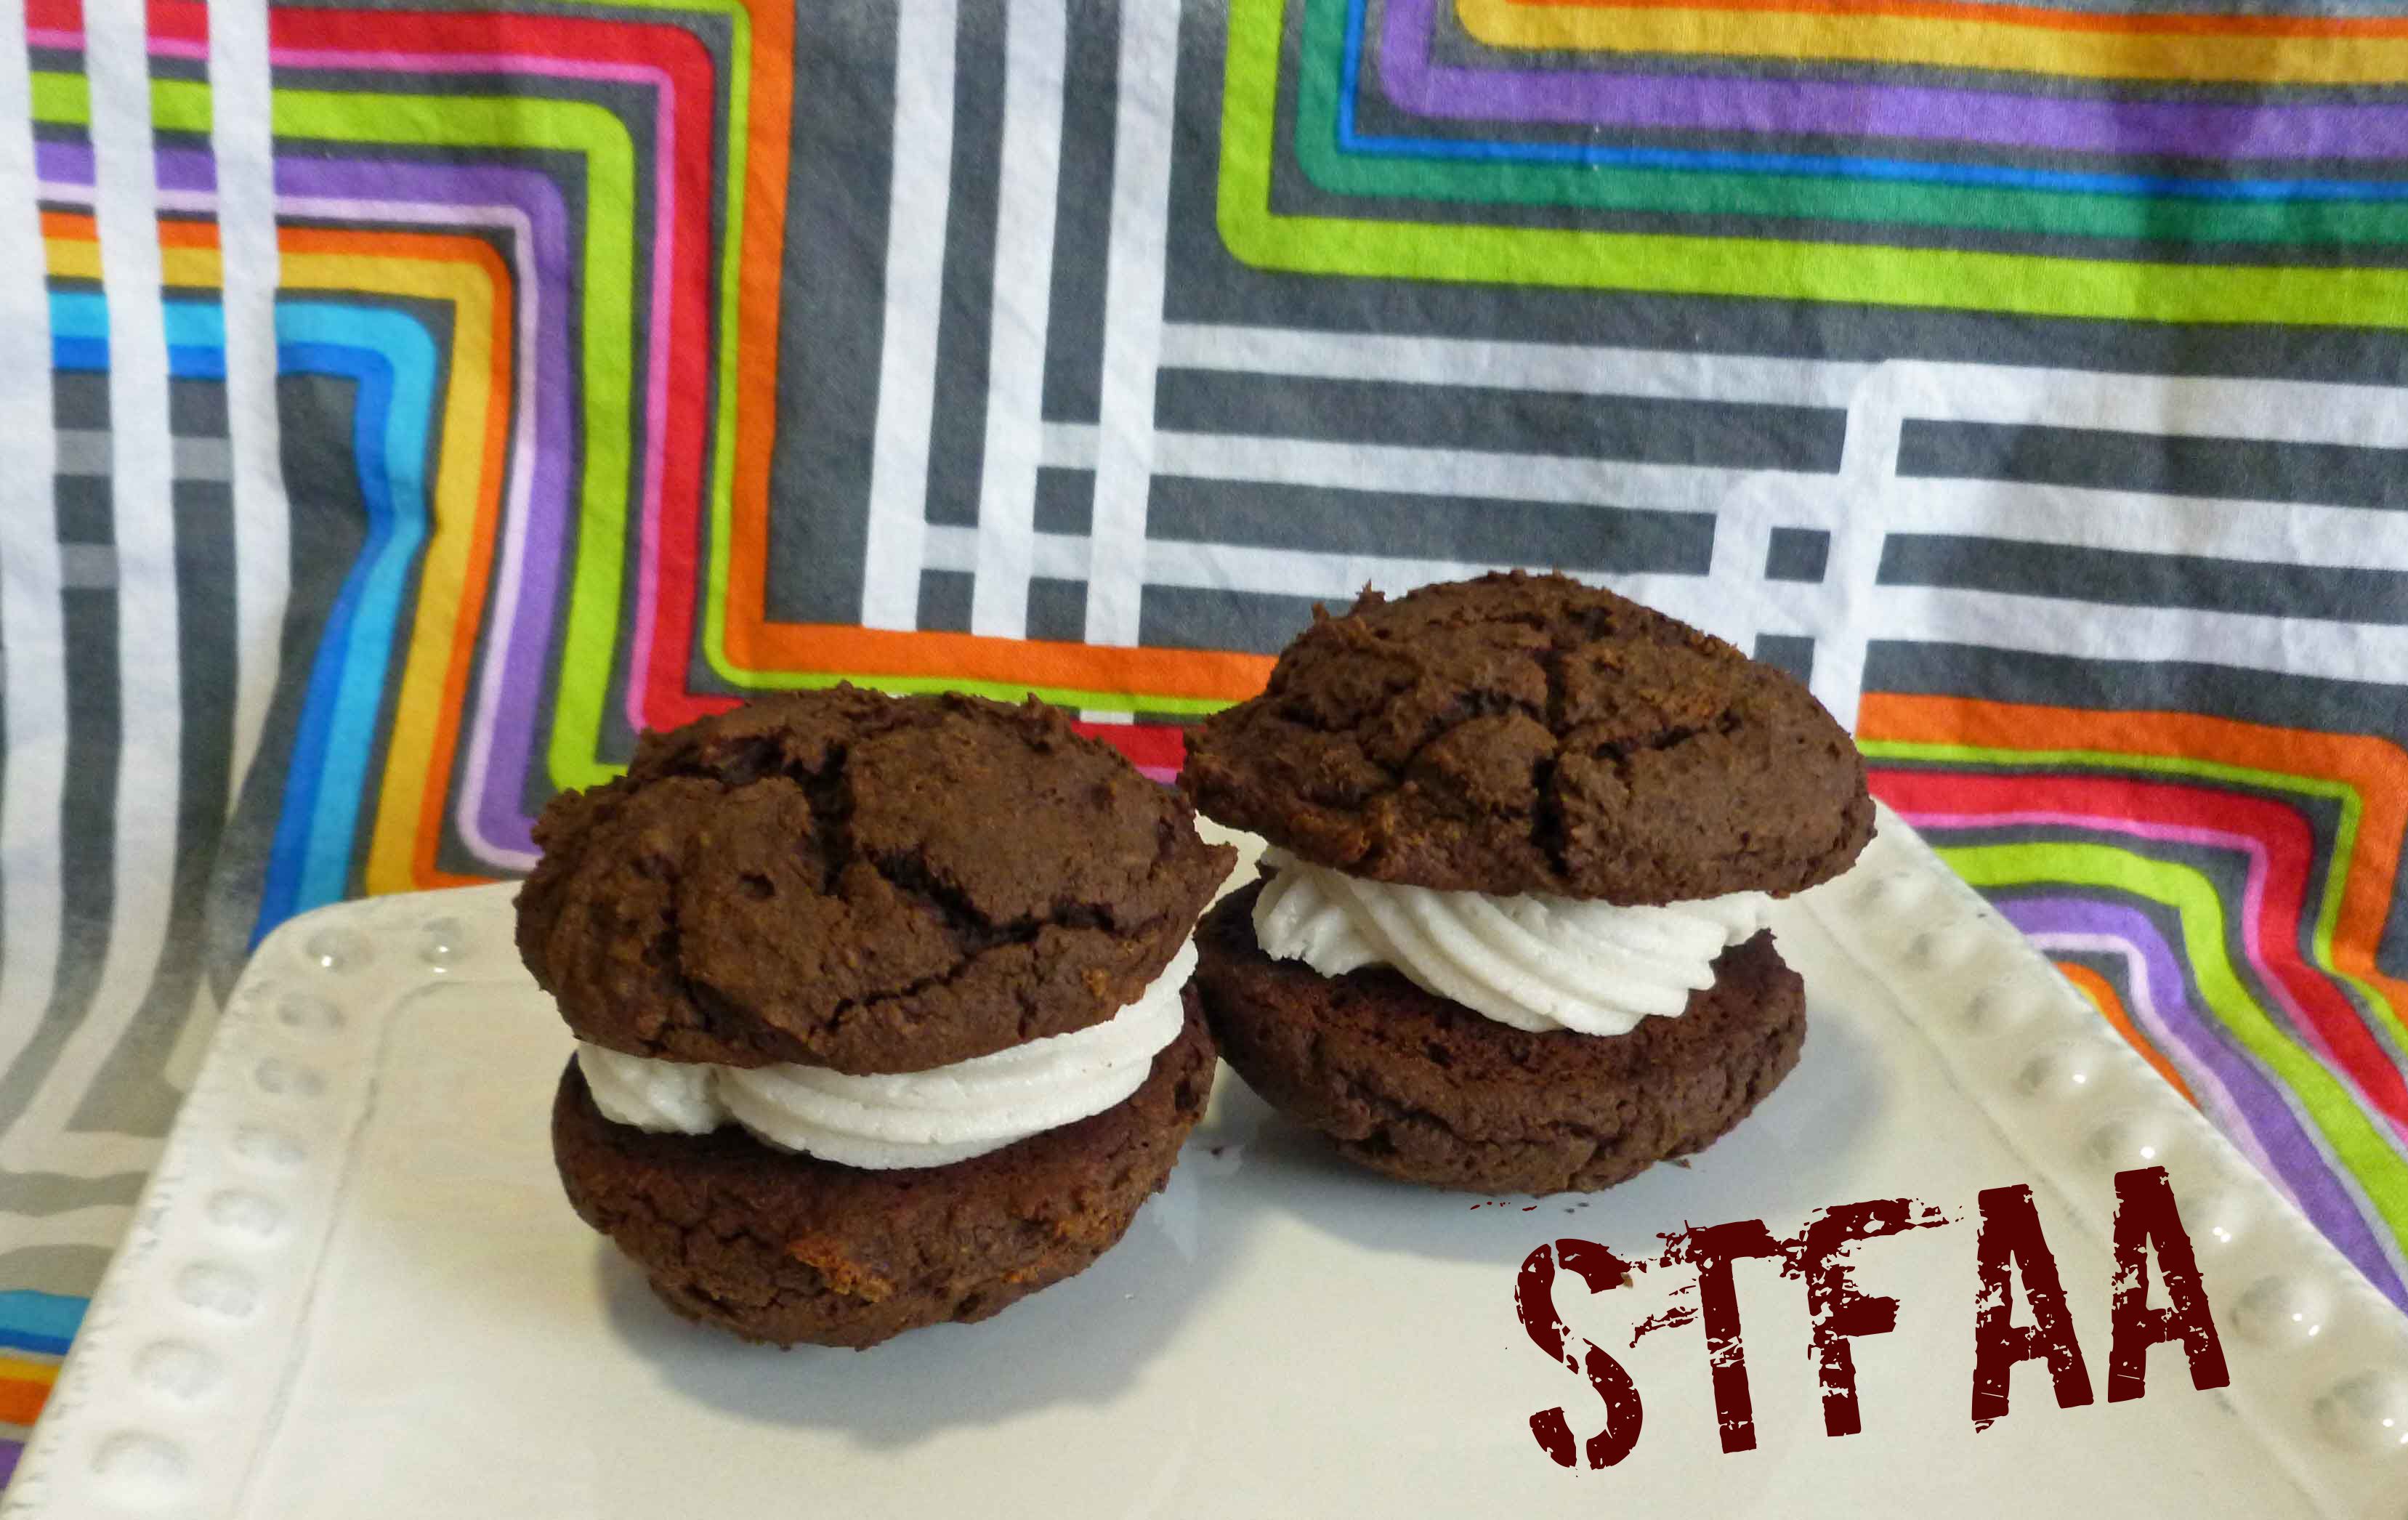
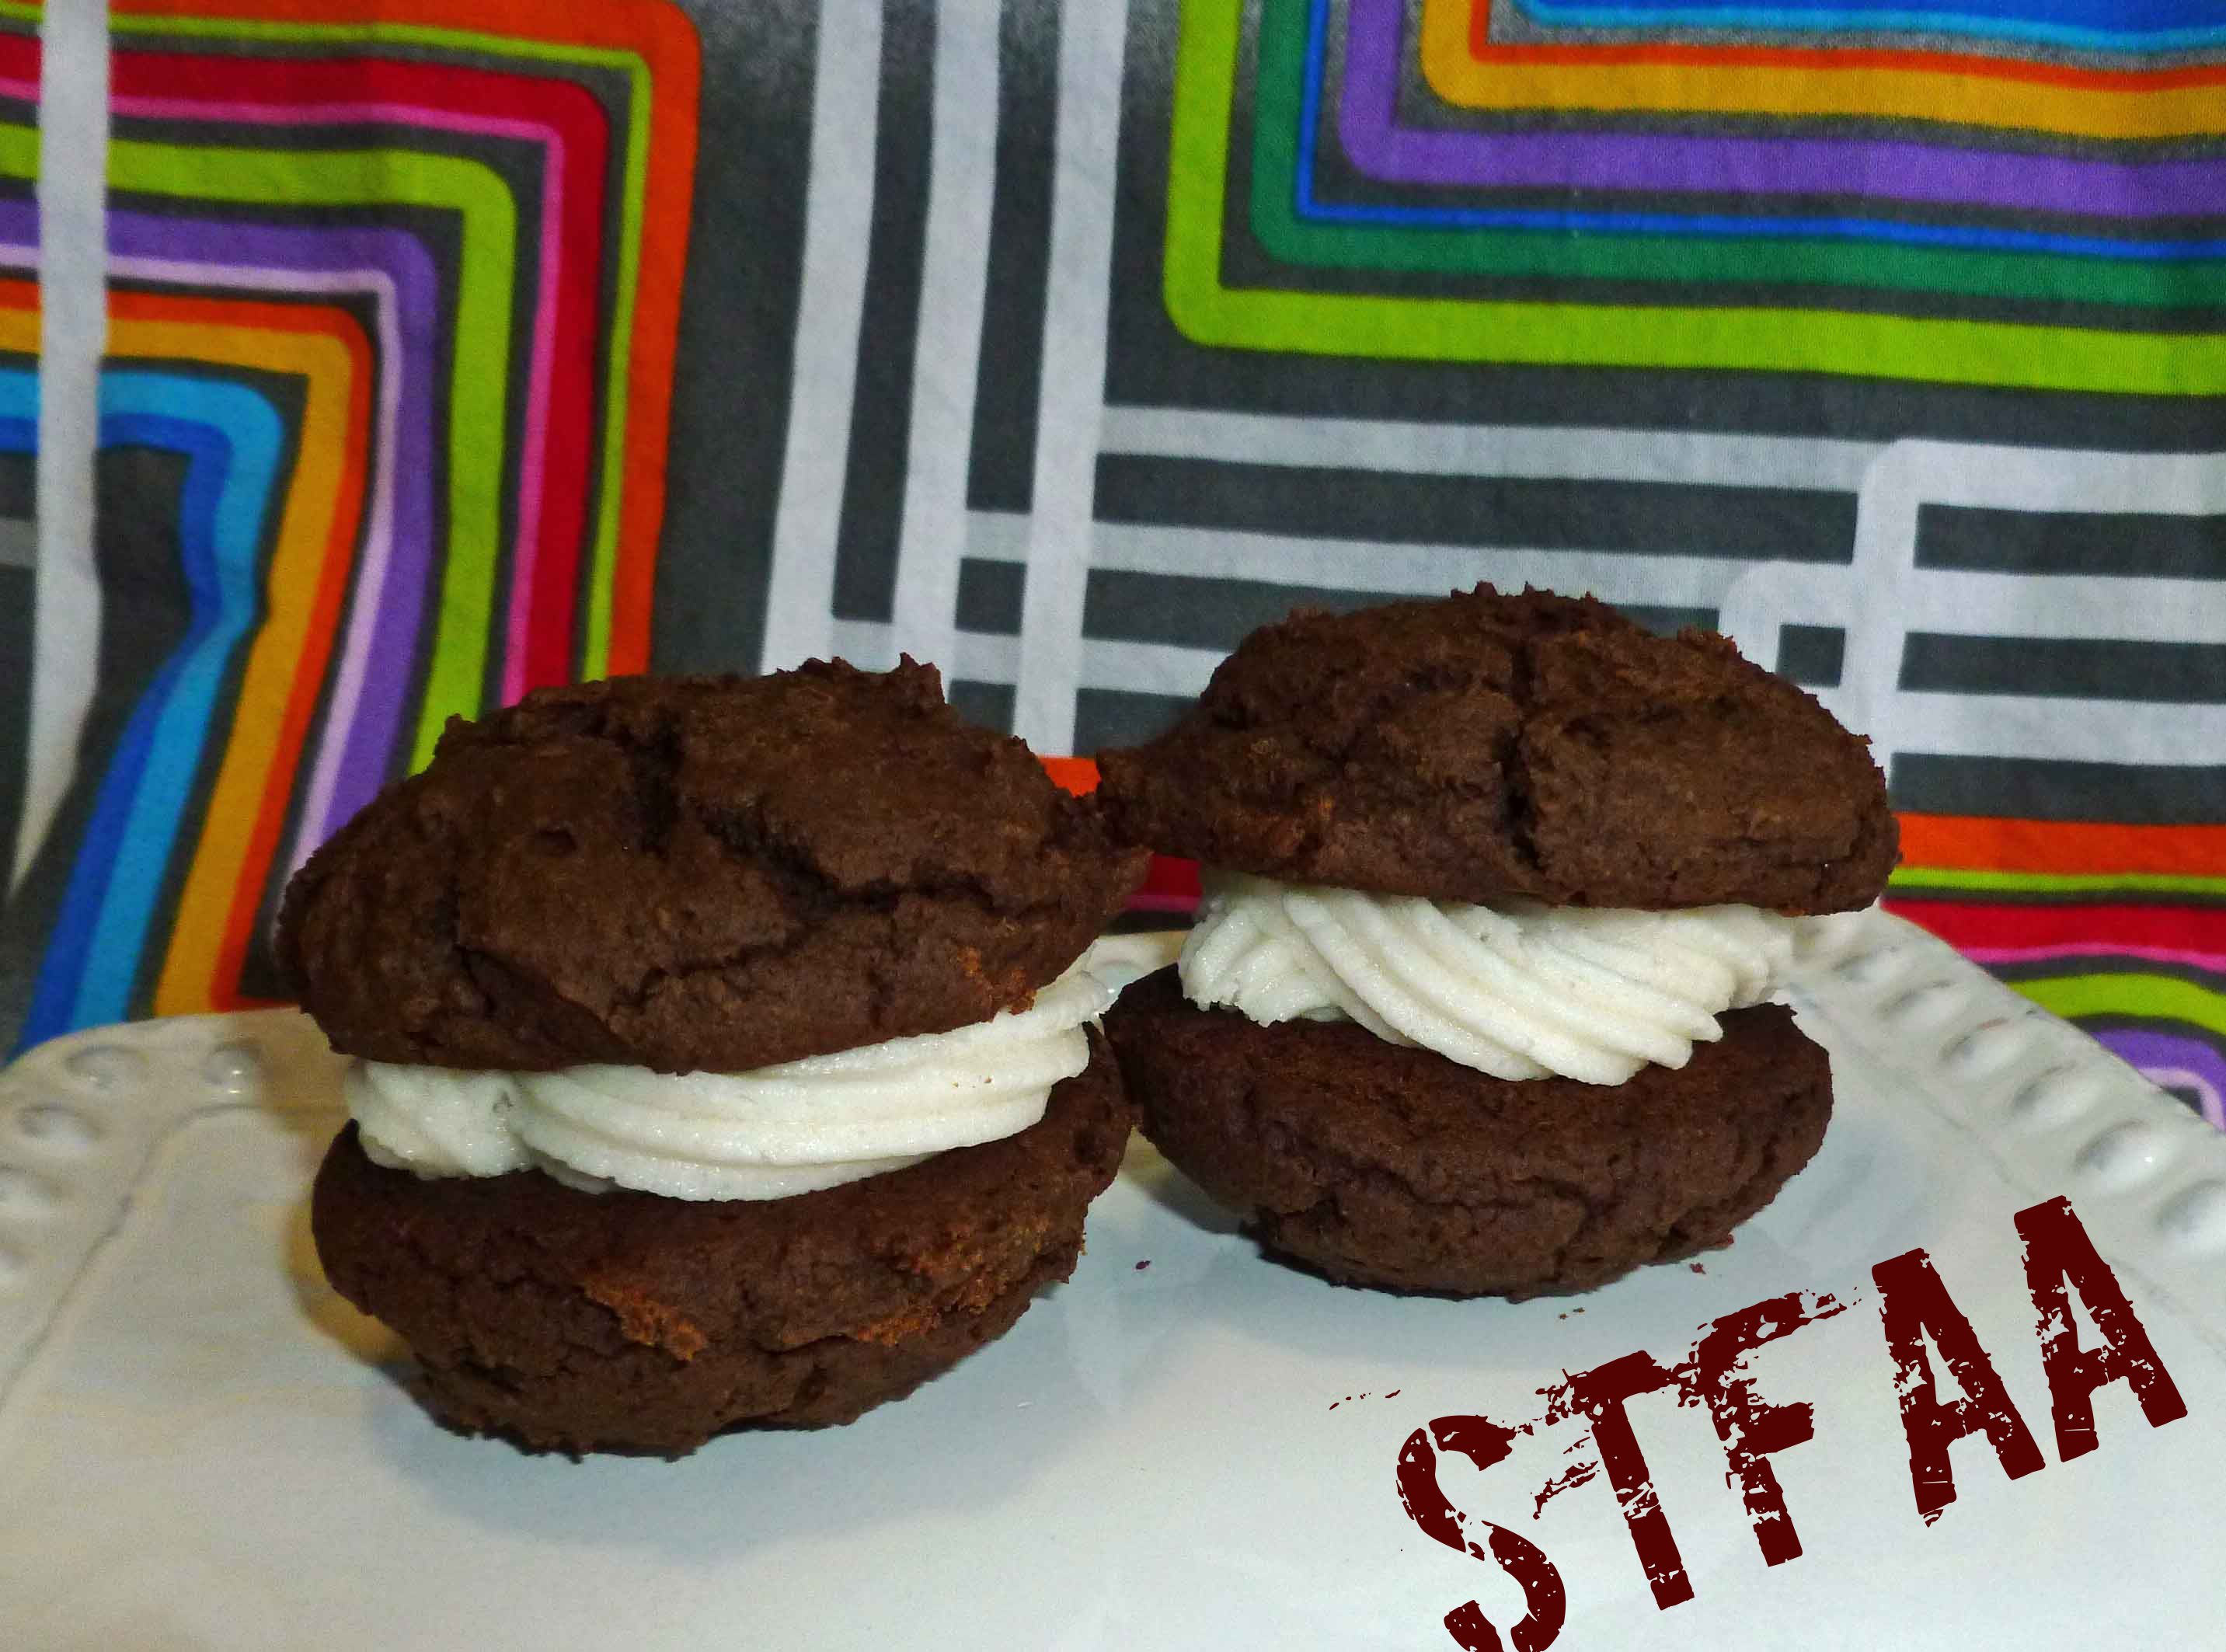
To cap off our Treat. Yo. Self. January. theme, I give you a big treat, Whoopie Pies. I’m fairly certain I’ve mentioned this before, but I’m originally from Maine. The whoopie pie is the official state treat of Maine and apparently the town of Dover-Foxcroft, Maine, has hosted the Maine Whoopie Pie Festival since 2009, according to Wikipedia. I’ve seriously missed them since the onset of my dairy, egg, wheat and corn allergies.
My recipe uses my home rendered lard because it’s my only safe solid fat, but you can substitute it with vegetable shortening if you have one you can use safely. There are three recipe cards listed below, one that provides the flour mixture I use in the whoopie pies, one for the frosting, and one to bake the pies themselves. I used a Pampered Chef Easy Accent Cake Decorator to pipe the frosting into the whoopie pies, but you could just use a safe for you zip top bag with a corner cut off as well. I don’t recommend a spreader or a knife as gluten-free pies don’t have the same sturdy structure as the wheat ones do.
Whoopie Pies – Gluten-Free with Vegan Option
Whoopie Pie batterWhoopie Pie batter on parchment lined cookie sheetsWhoopie Pies after bakingLard after being whippedVanilla Frosting after adding powdered sugarWhoopie Pies – Gluten-Free with Vegan Option Notice: Trying to access array offset on value of type bool in /home/maryzahc/public_html/adultfoodallergies.com/wp-content/plugins/wp-ultimate-recipe/helpers/models/recipe.php on line 254
Measure all ingredients and place in a large mixing bowl. Using a whisk, mix the ingredients until well combined. Place in an air tight storage container and use in baking recipes.
Notice: Trying to access array offset on value of type bool in /home/maryzahc/public_html/adultfoodallergies.com/wp-content/plugins/wp-ultimate-recipe/helpers/models/recipe.php on line 254
Vanilla Frosting (made with lard)
Print Recipe
When you don’t have any other safe solid fats and you need to make frosting somehow. If you have a safe vegetable shortening (I don’t), feel free to use it as a substitute. Makes enough for two batches of whoopie pies or cupcakes but you can also freeze it to have on hand.
When you don’t have any other safe solid fats and you need to make frosting somehow. If you have a safe vegetable shortening (I don’t), feel free to use it as a substitute. Makes enough for two batches of whoopie pies or cupcakes but you can also freeze it to have on hand.
1cup lard or shortening(I use my home rendered lard, as store bought often has citric acid, and I have no safe shortening)
4cupspowdered sugar(I make mine with my Vitamix as powdered sugar often has corn starch in it)
1teaspoonvanilla extract(I make my own with vanilla beans and vodka made from potatoes, as most commercial extract contains corn)
0-4Tablespoonswater
Servings: batches
Instructions
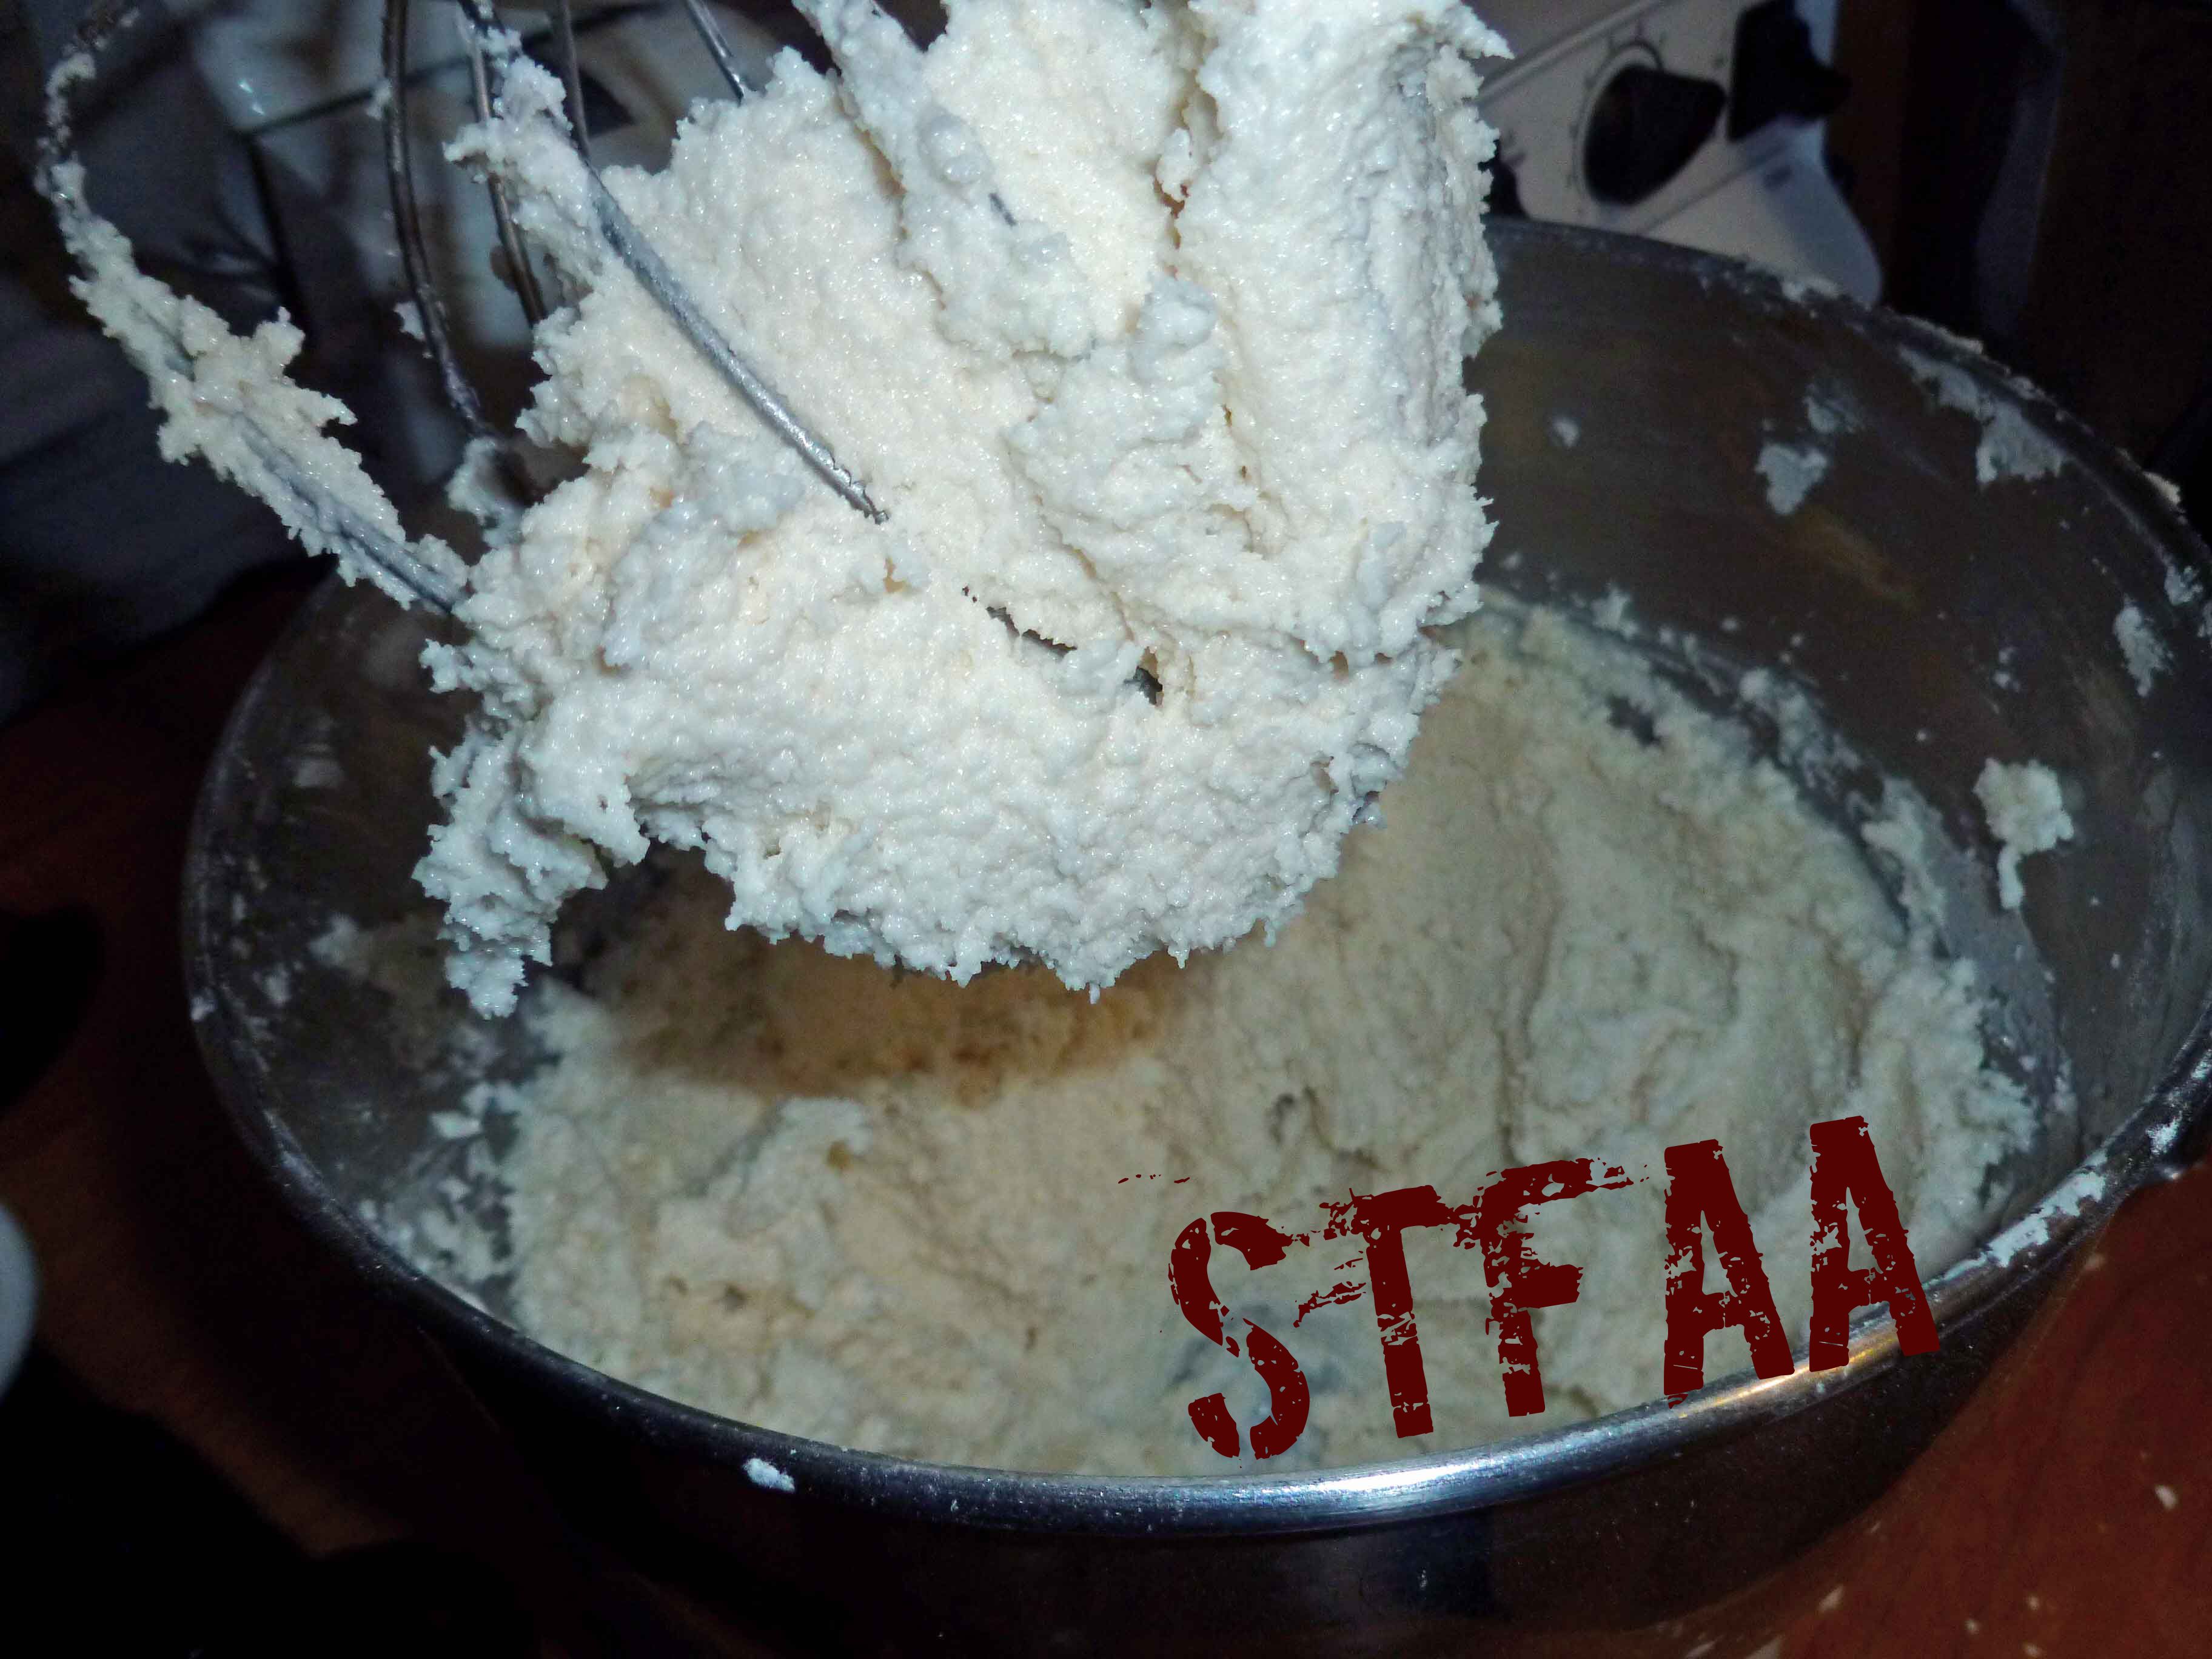
Measure out 1 cup of lard and place it in a stand mixer bowl. Allow your lard to come up to room temperature.
Using a whisk attachment, whip the lard in a stand mixer until it doubles almost twice its size.
Add powdered sugar slowly, while whipping at slow to medium speed, scraping down the sides of the mixture as needed. Add vanilla extract and blend in. If your frosting appears too thick, add a tablespoon of water at a time, mixing it in thoroughly.
Notice: Trying to access array offset on value of type bool in /home/maryzahc/public_html/adultfoodallergies.com/wp-content/plugins/wp-ultimate-recipe/helpers/models/recipe.php on line 254
Whoopie Pies – Gluten-Free with Vegan Option
Print Recipe
Traditional Whoopie Pies but free of some my allergens! While I have to use lard because I have no other safe fats, if you can use Earth Balance or a vegetable shortening, you can substitute that for the lard.
Traditional Whoopie Pies but free of some my allergens! While I have to use lard because I have no other safe fats, if you can use Earth Balance or a vegetable shortening, you can substitute that for the lard.
2cupsGluten-free, Rice-free, Potato-free flour mix(see recipe in post)
1/2 cup cacao powder(I do well with Wilderness Family Naturals Cacao Powder)
1tspbaking soda
1tsp baking powder(here’s a recipe for a corn-free one – http://wholenewmom.com/health-concerns/make-your-own-baking-powder/)
1tsp sea salt
Wet Ingredients
1cup non-dairy milk(I use homemade cashew or rice milk)
2tbspapple sauce(I use homemade, home canned applesauce)
1tspapple cider vinegar(most with corn allergies can tolerate Bragg’s)
2tspvanilla extract(I make my own with vanilla beans and vodka made from potatoes, as most commercial extract contains corn)
1tsp psyllium husk
Sugar Mixture
1/3cup lard(I use my home rendered lard, as store bought often has citric acid, and I have no safe shortening)
1/3cup sugar
1/3cup brown sugar
Frosting
1batch Vanilla Frosting (made with lard or shortening)
Servings: whoopie pies
Instructions
Pre-heat oven to 375°F.
Place dry ingredients (Gluten-free, Rice-free, Potato-free flour mix, cacao powder, baking soda, baking powder, and salt) in a large bowl and whisk together until well combined.
Place wet ingredients (non-dairy milk, apple sauce, apple cider vinegar, vanilla extract, and psyllium husk) in small bowl and whisk together until well combined.
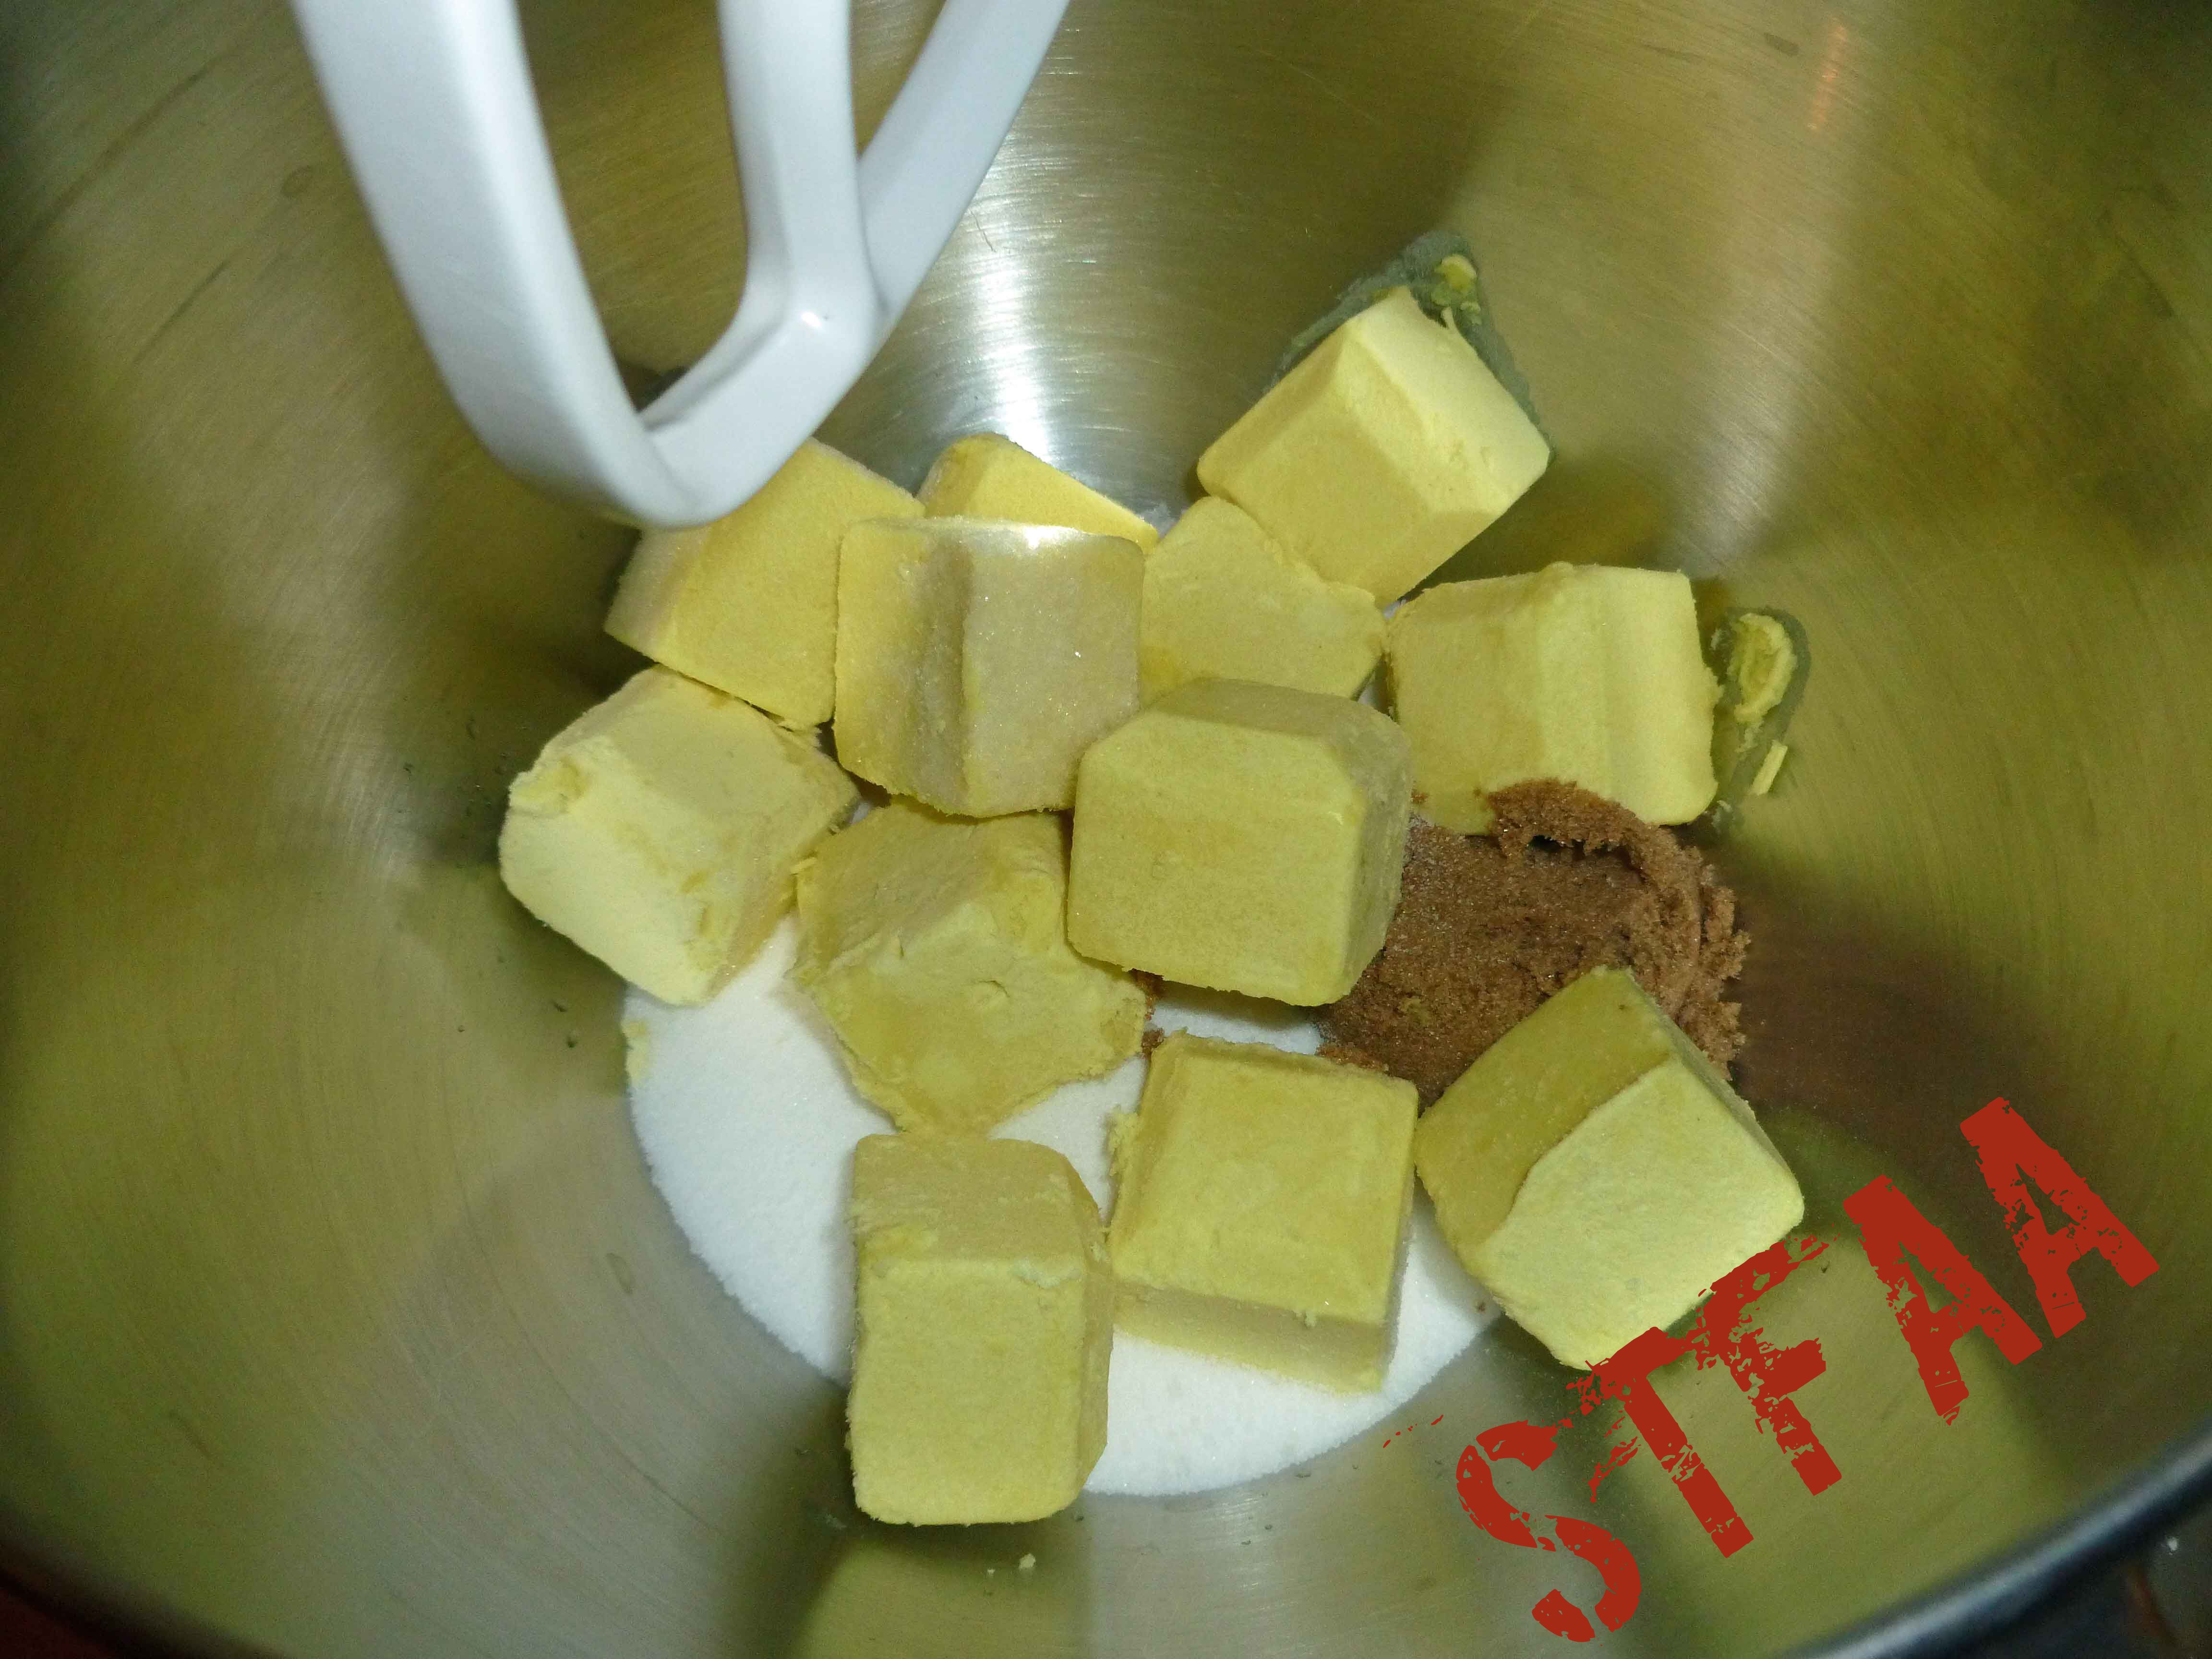
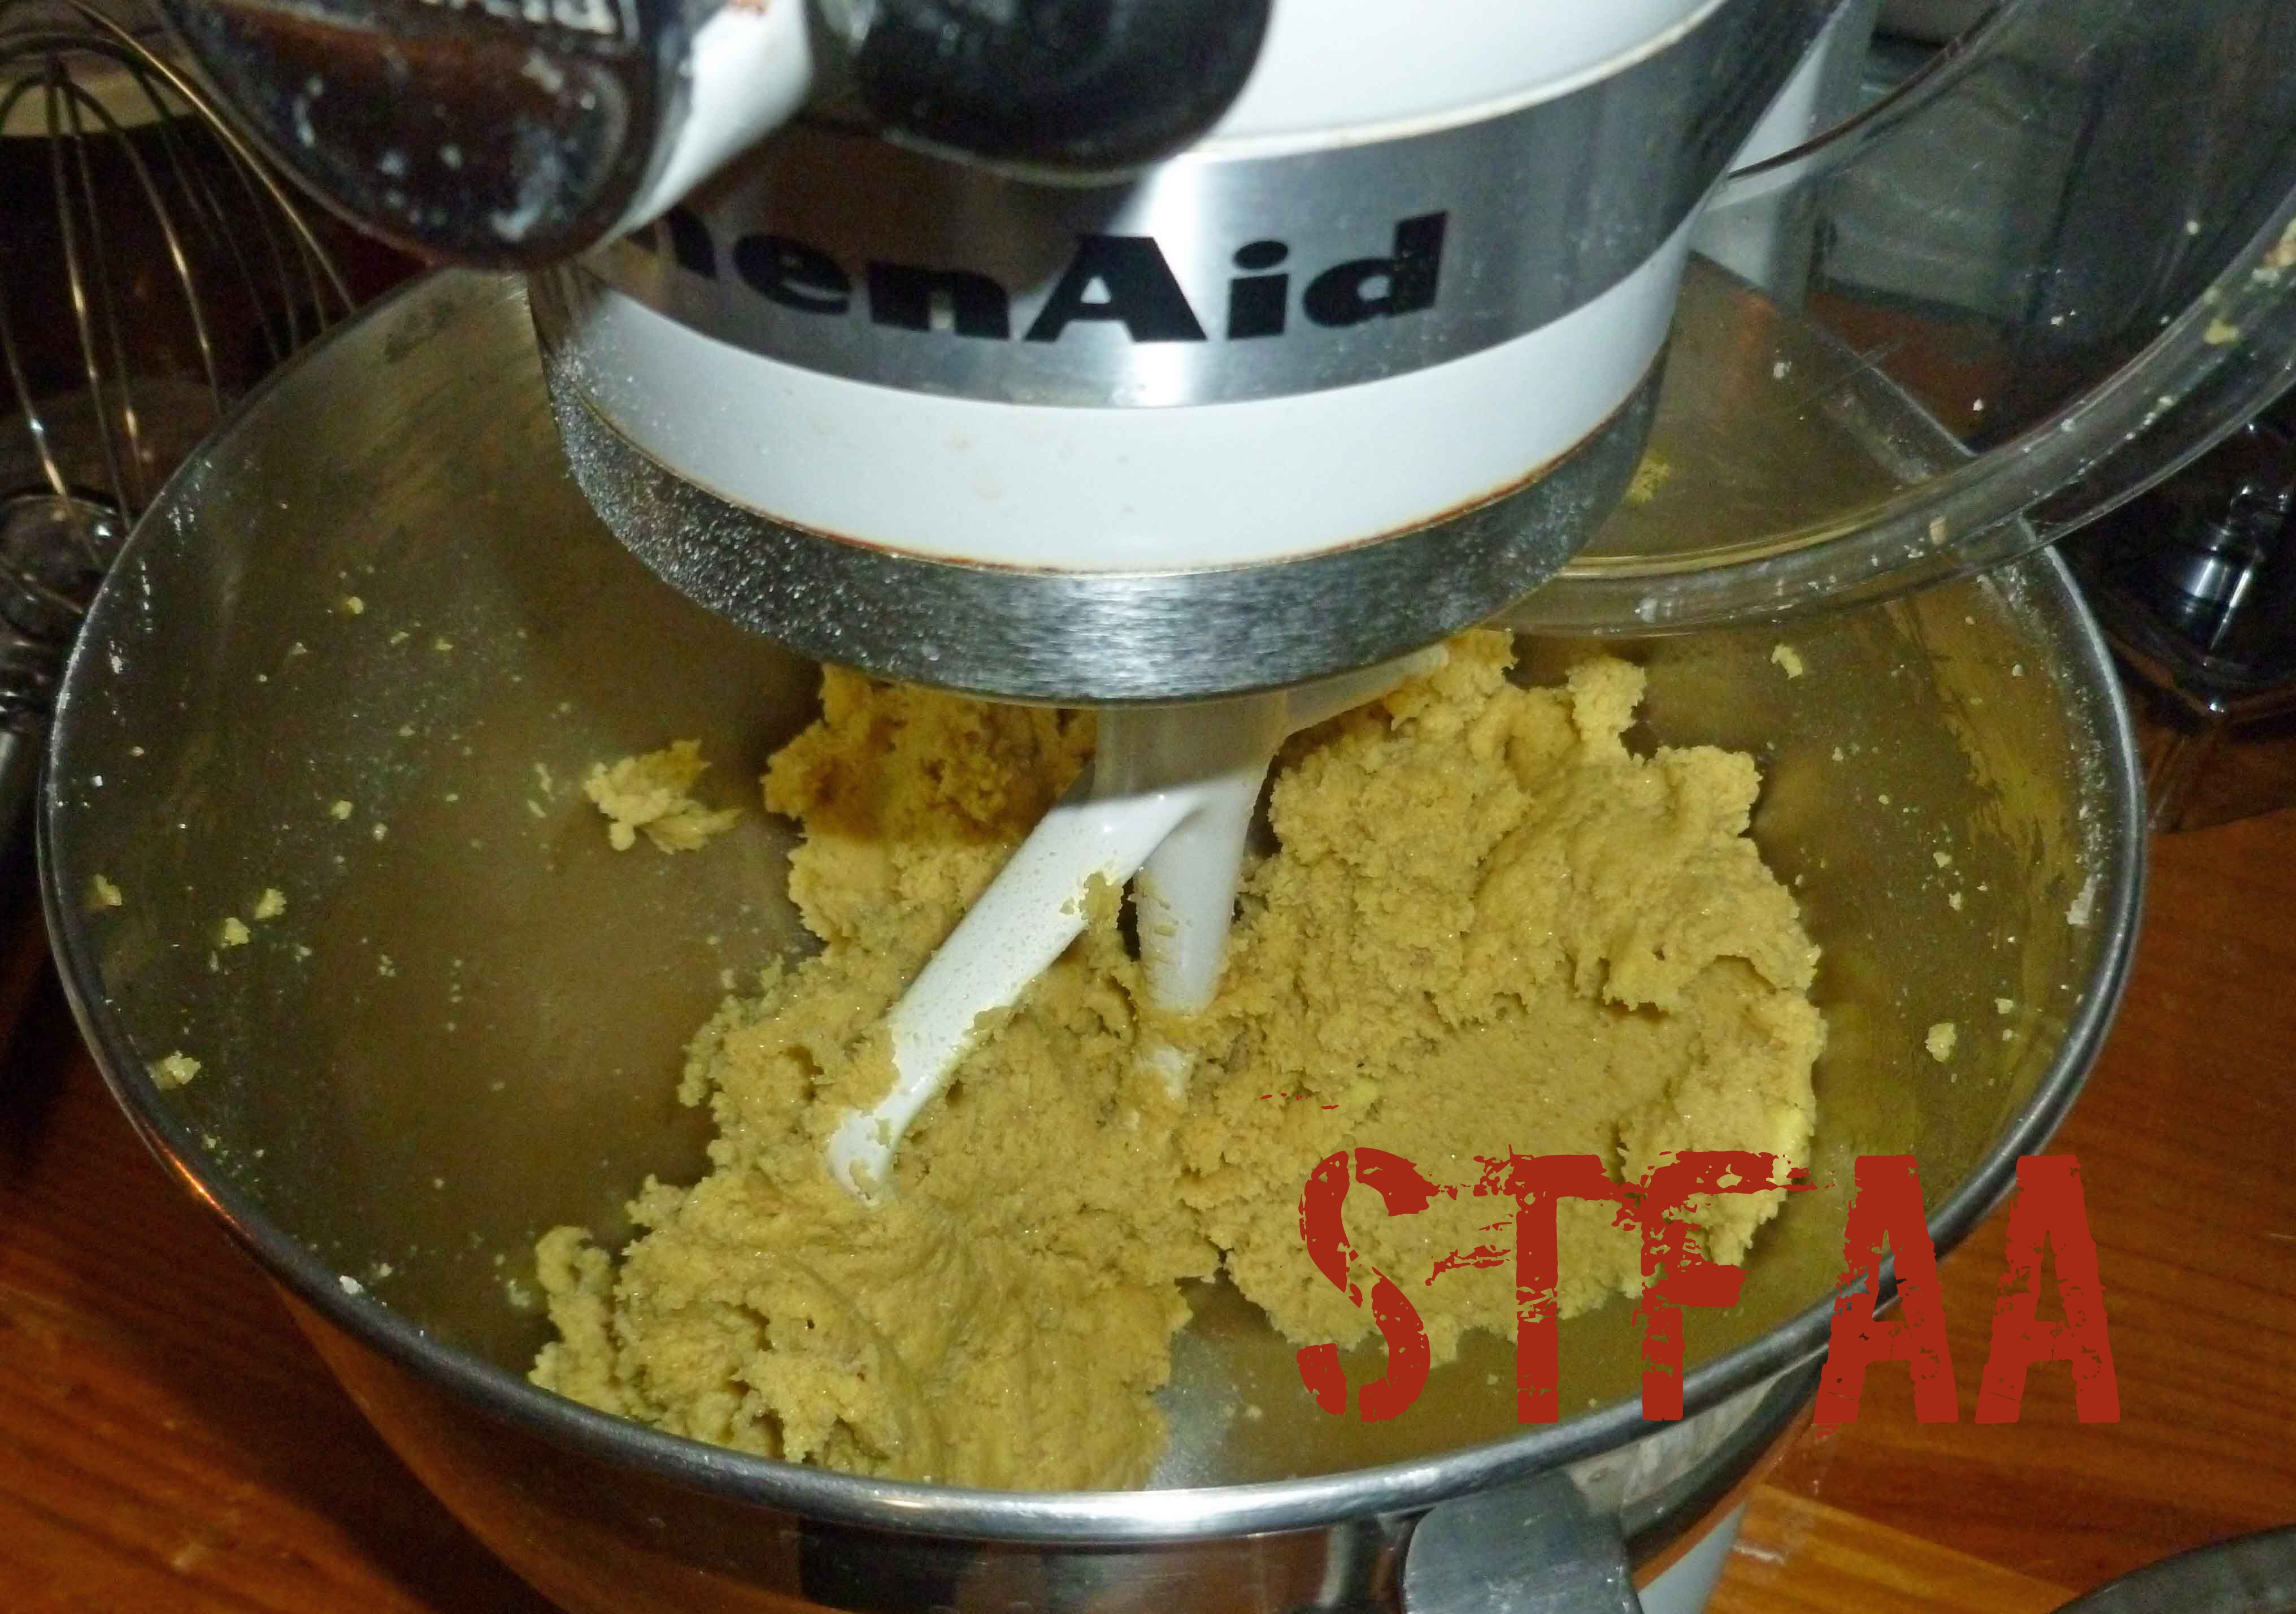
Place sugar mixture ingredients (lard, sugar, and brown sugar) in stand mixer bowl and using beater attachment, beat until until creamy, scraping down sides as necessary.
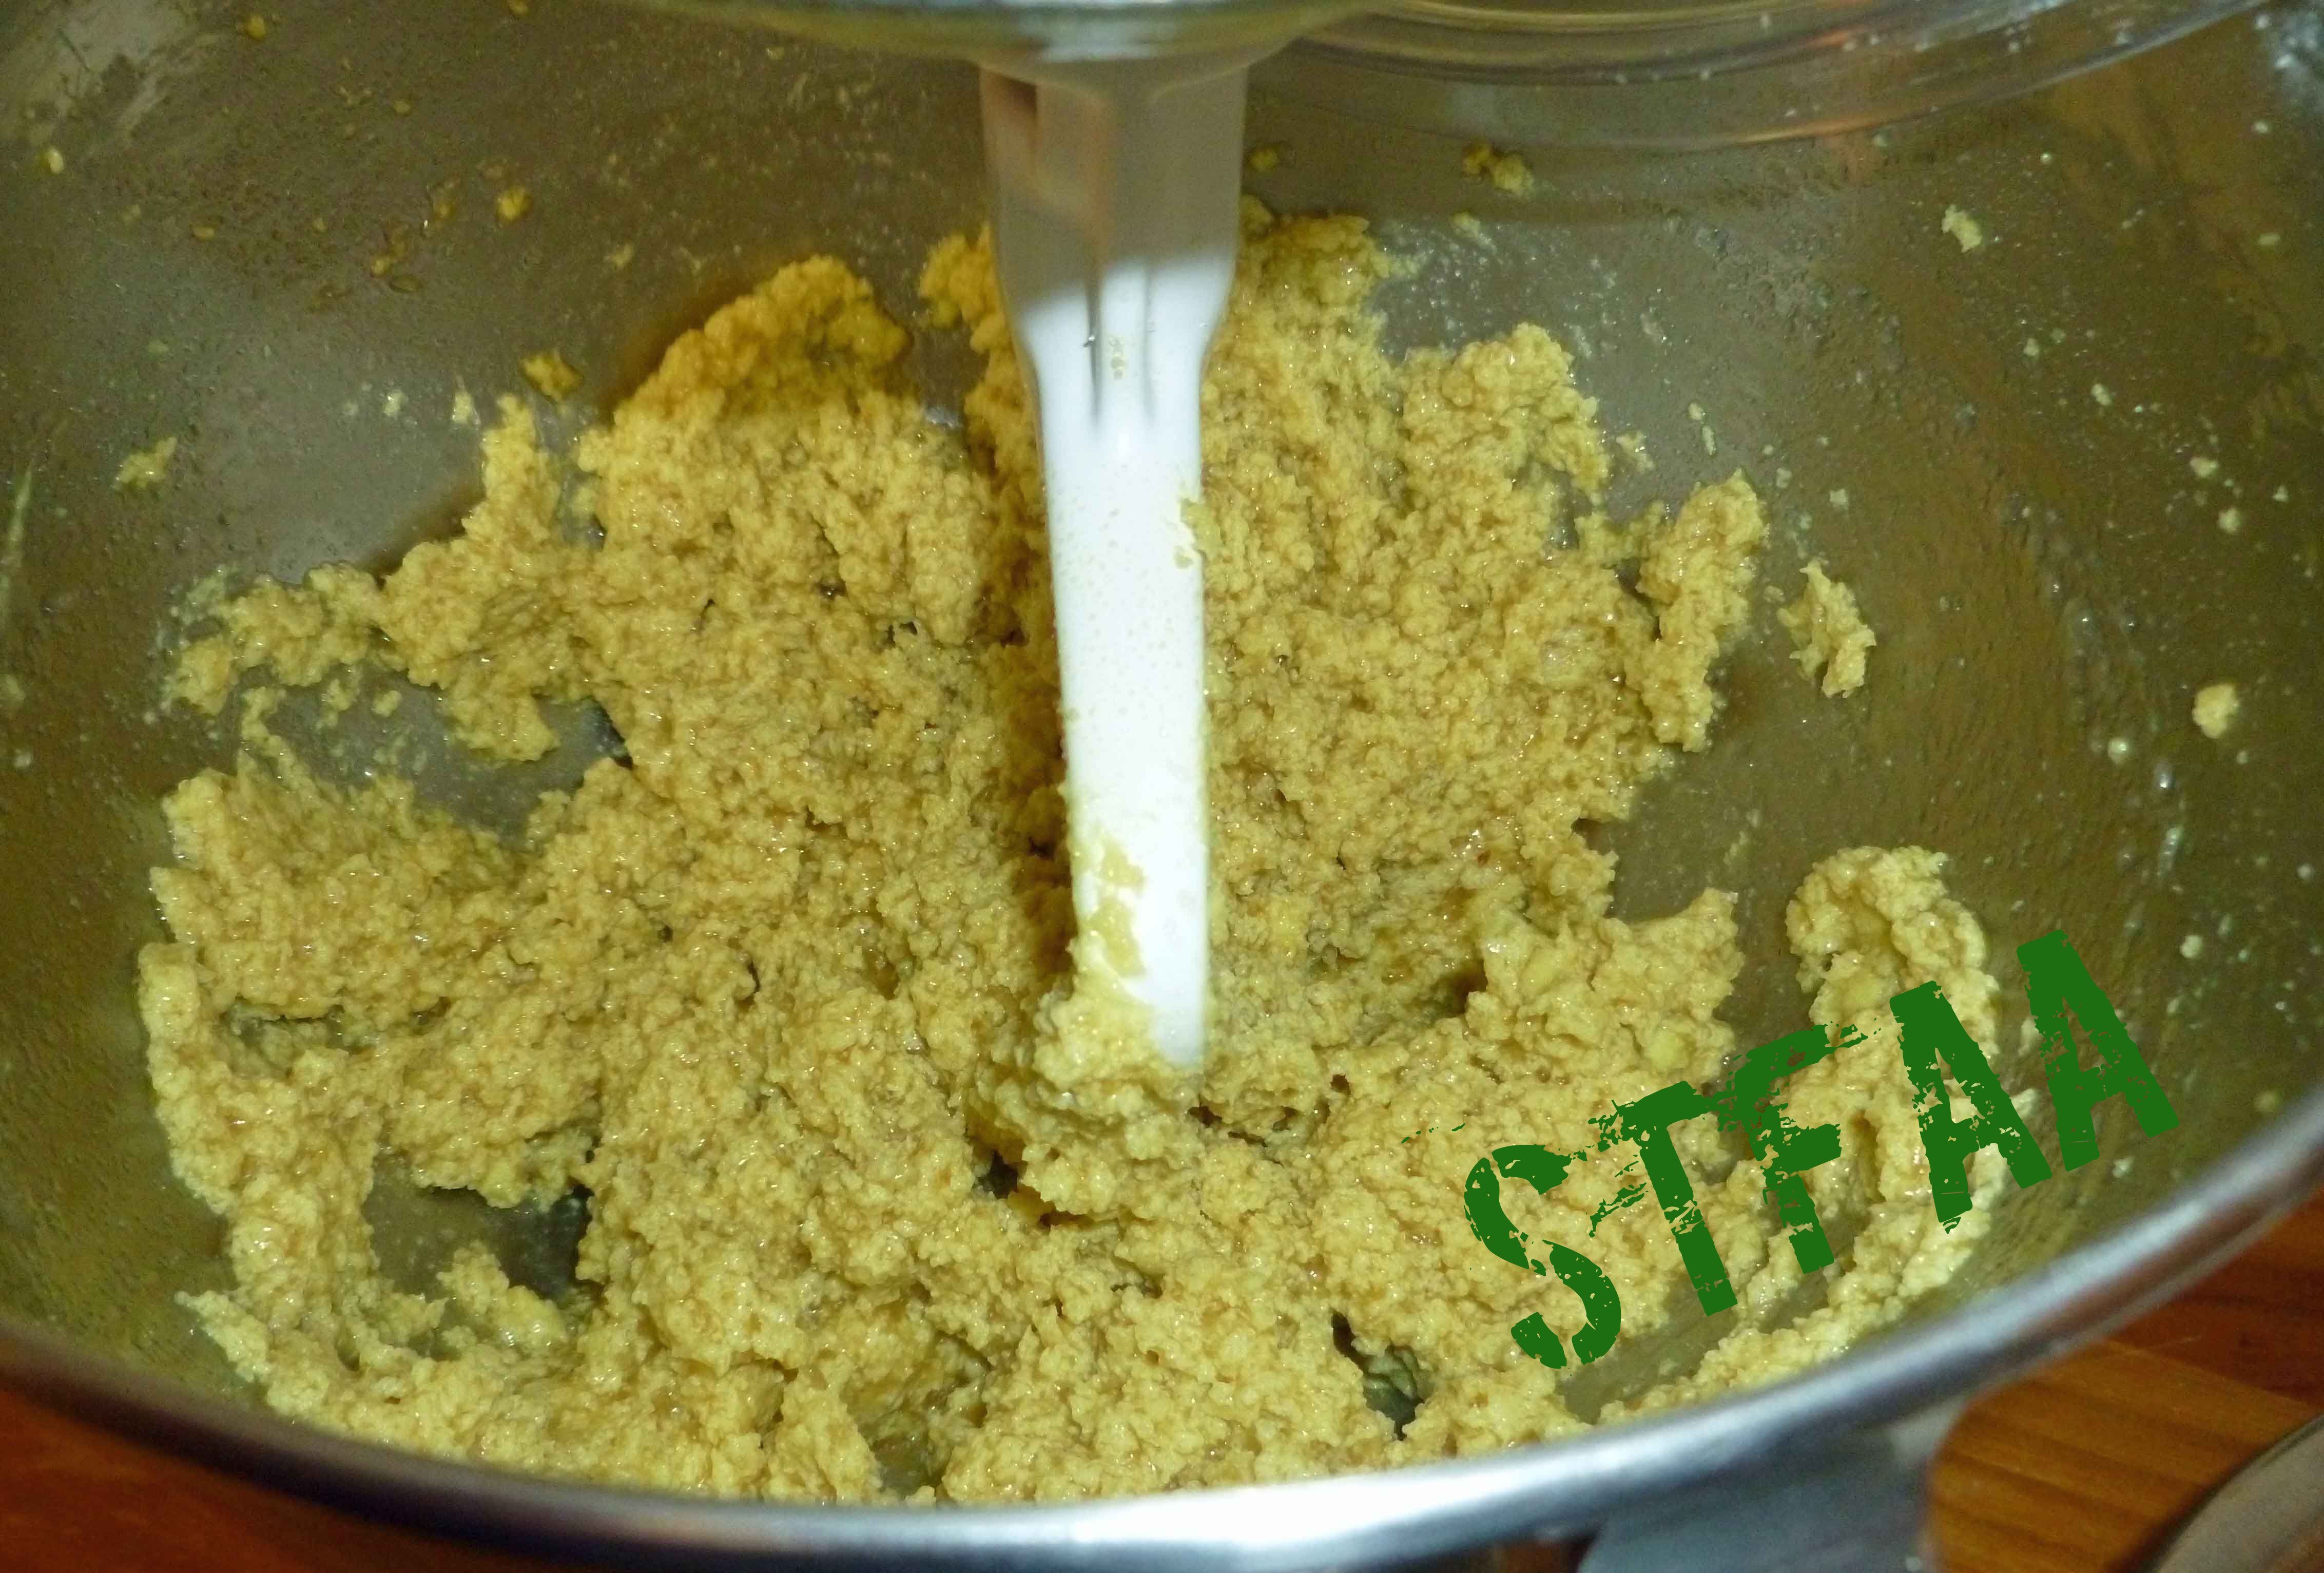
Add wet ingredients to sugar mixture, and beat until well combined, scraping down sides as necessary. Slowly add dry ingredients, continuing to beat until well combined.
Line cookie sheets with parchment paper. Using a medium scooper or a rounded tablespoon, drop the whoopie pie batter on the parchment lined cookie sheet 2 inches apart from one another. Place in the oven and bake for 10-12 minutes if using a metal cookie sheet or 12-14 if using stoneware cookie sheets. Take out and let cool on baking racks (I just lifted up the parchment paper and moved them onto racks.
While the whoopie pie halves bake and cool, make a batch of the Vanilla Frosting (made with lard or shortening) also contained in this post.
Once whoopie pie halves are cool, pipe frosting onto the flat side of one pie and and put a second on top of piped frosting. It is best to pipe frosting on pie halves as gluten-free pie halves are not as sturdy as the wheat version. Enjoy!
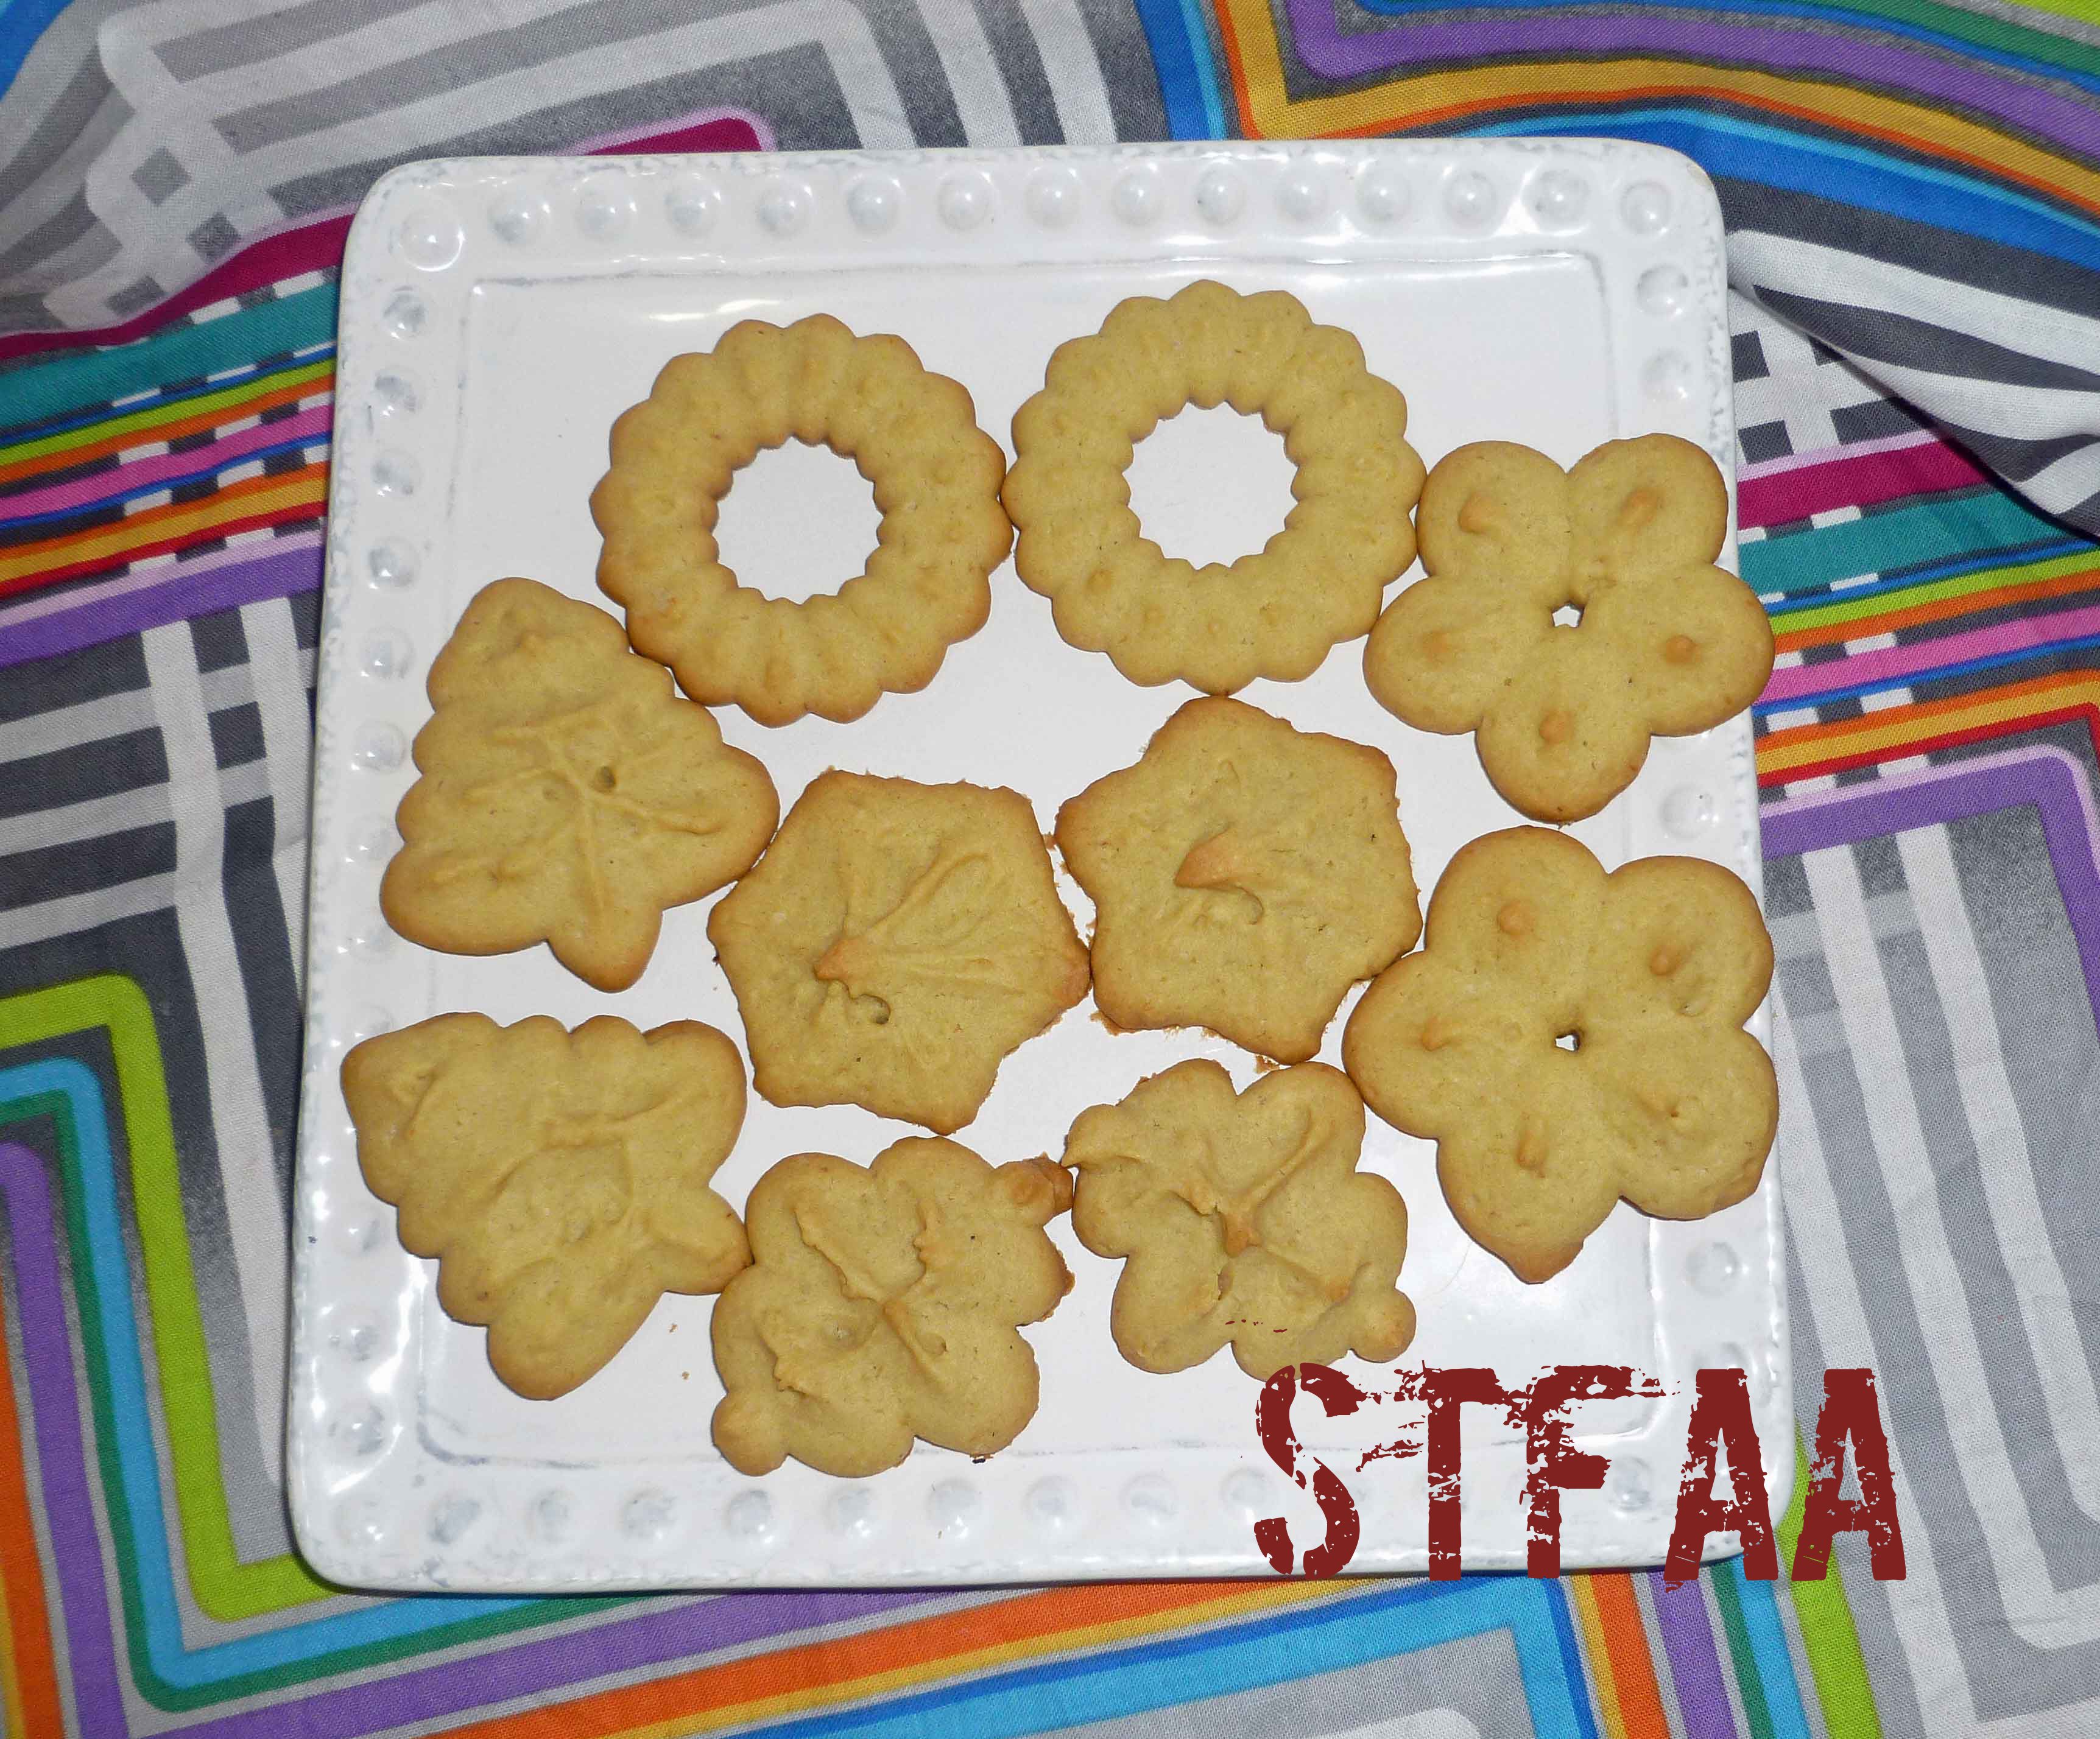
Spritz or Cookie Press Cookies – Gluten-Free, Dairy-Free, and Egg-Free
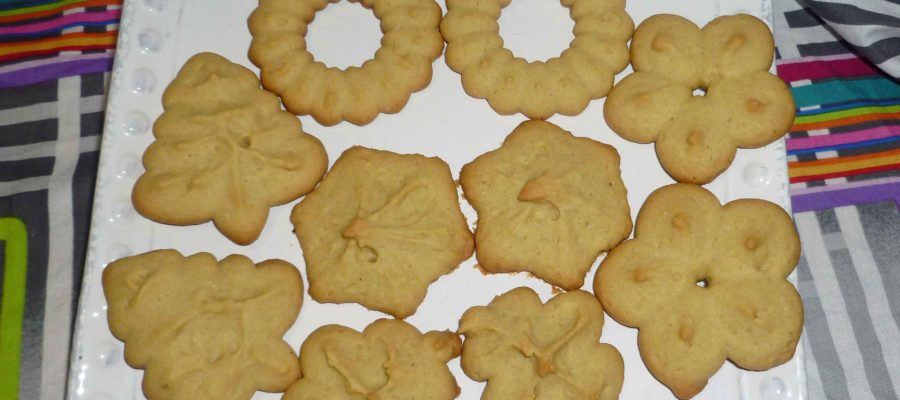
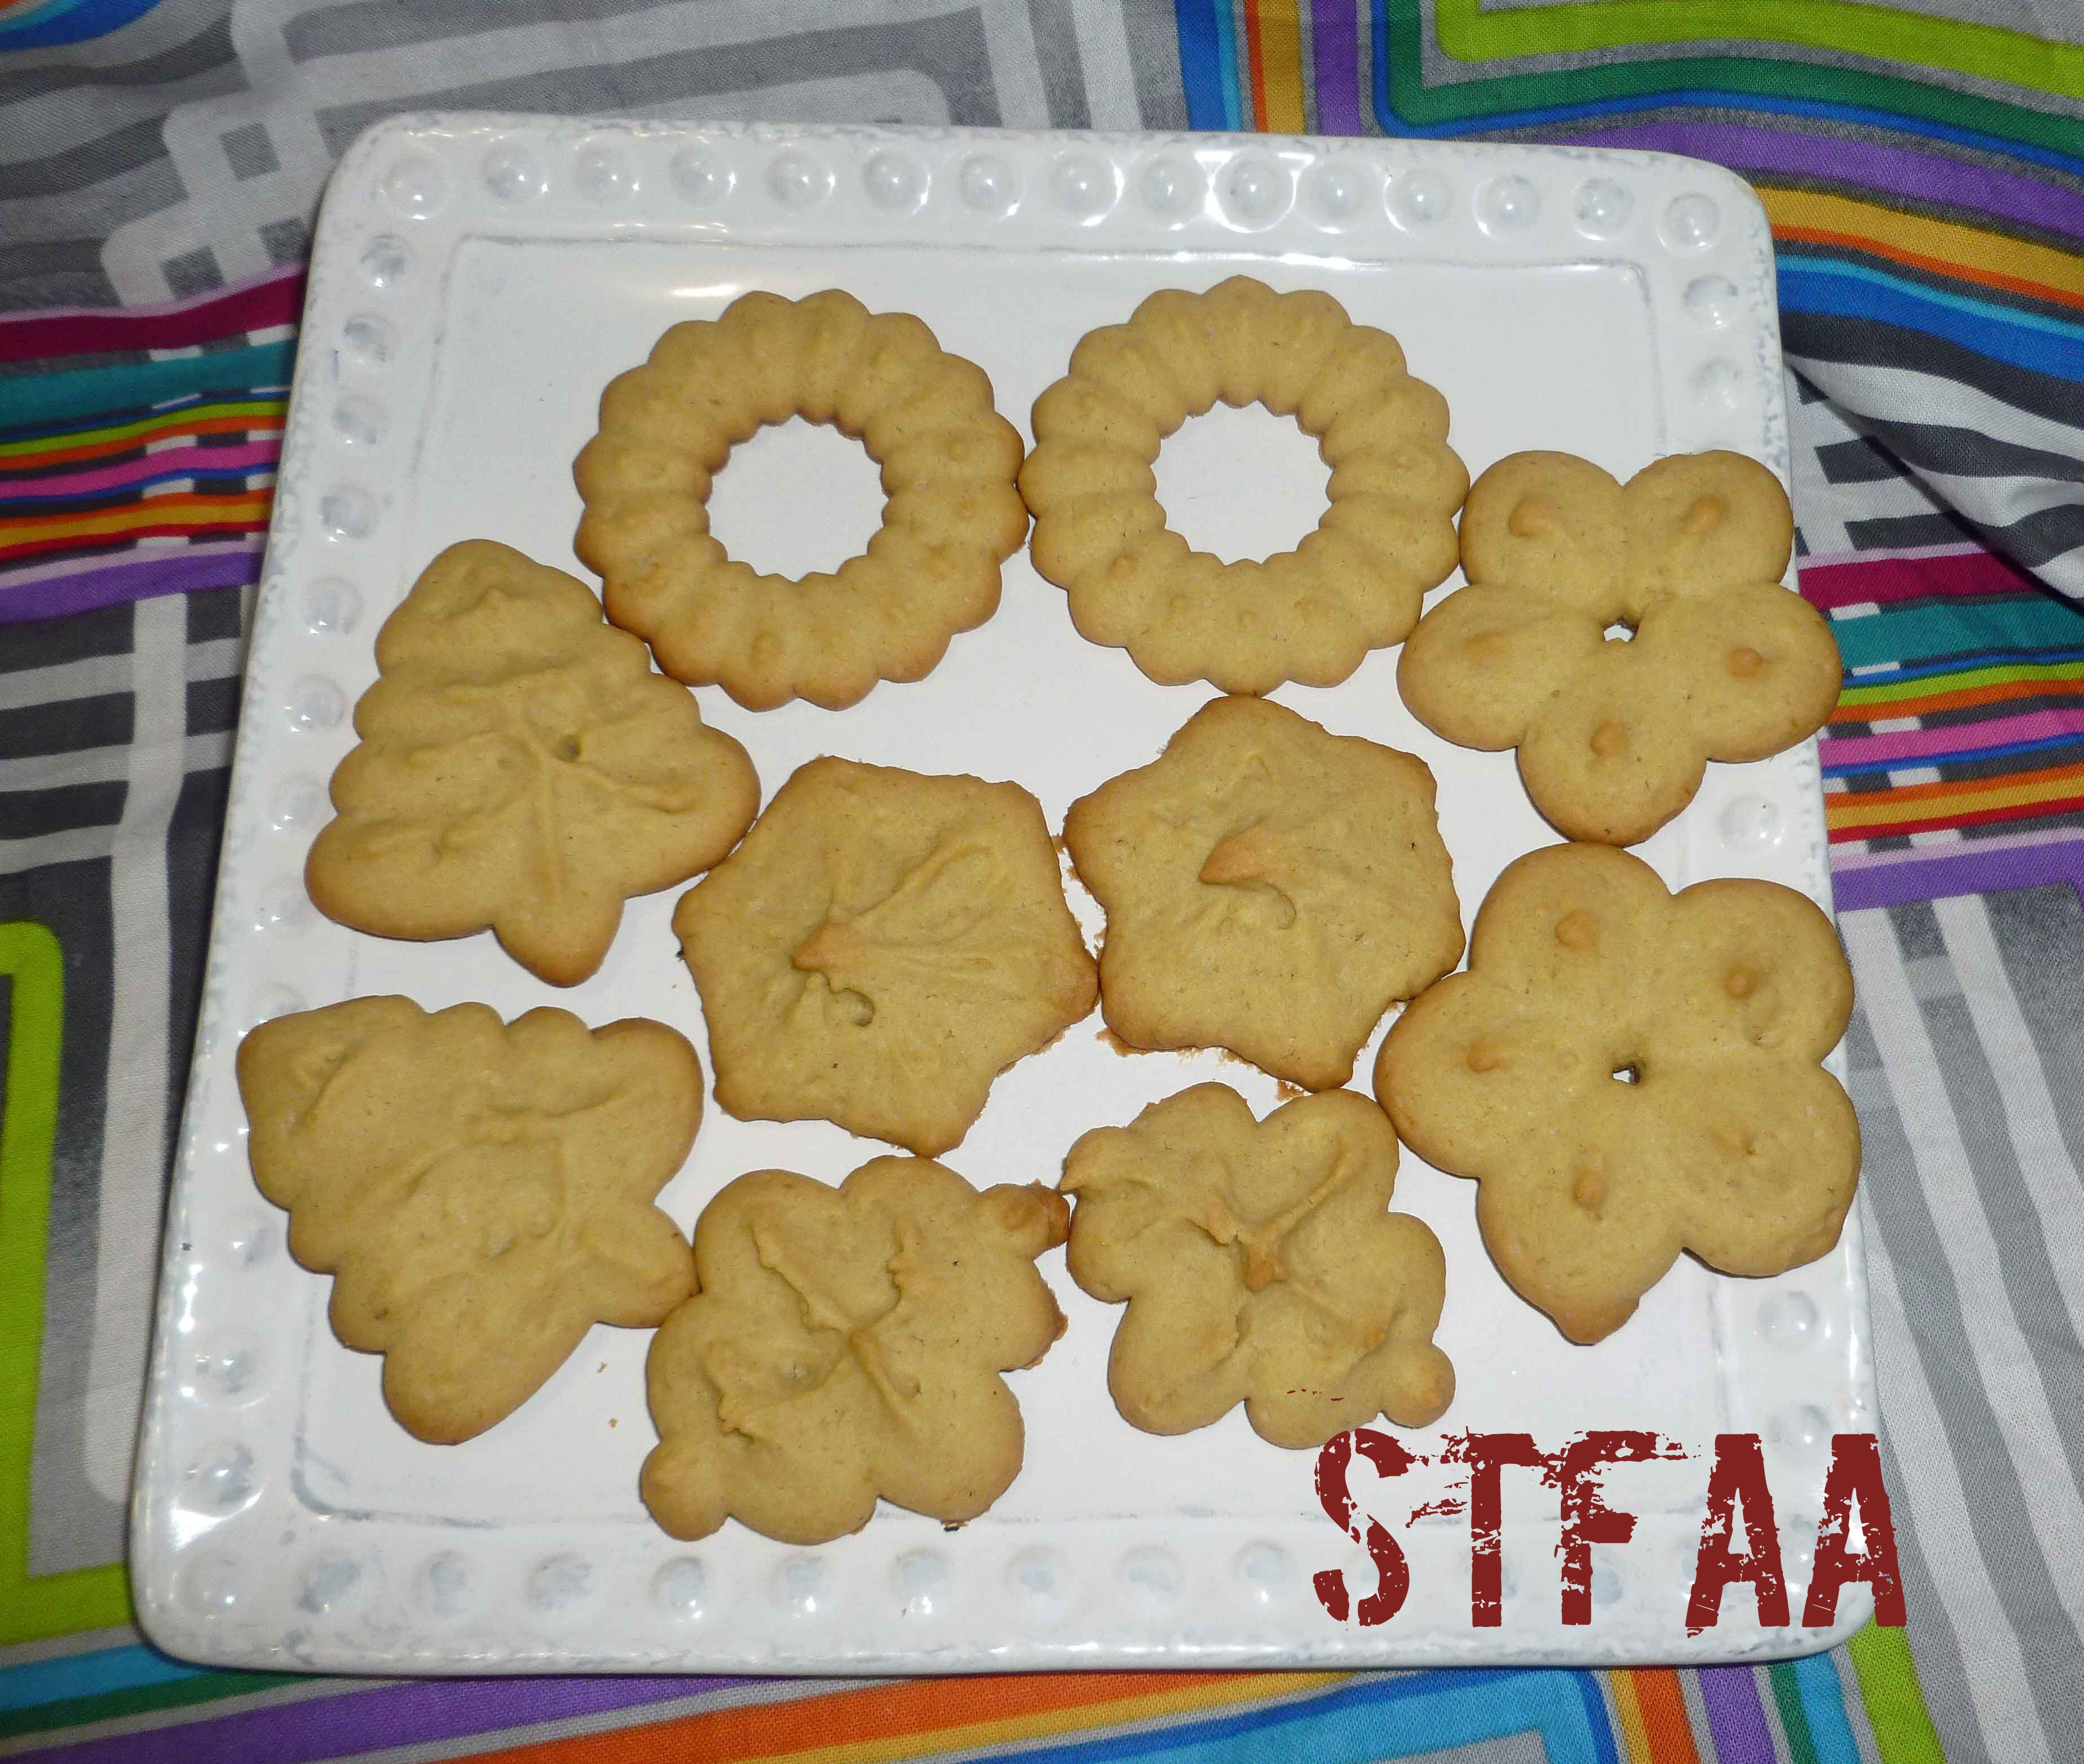
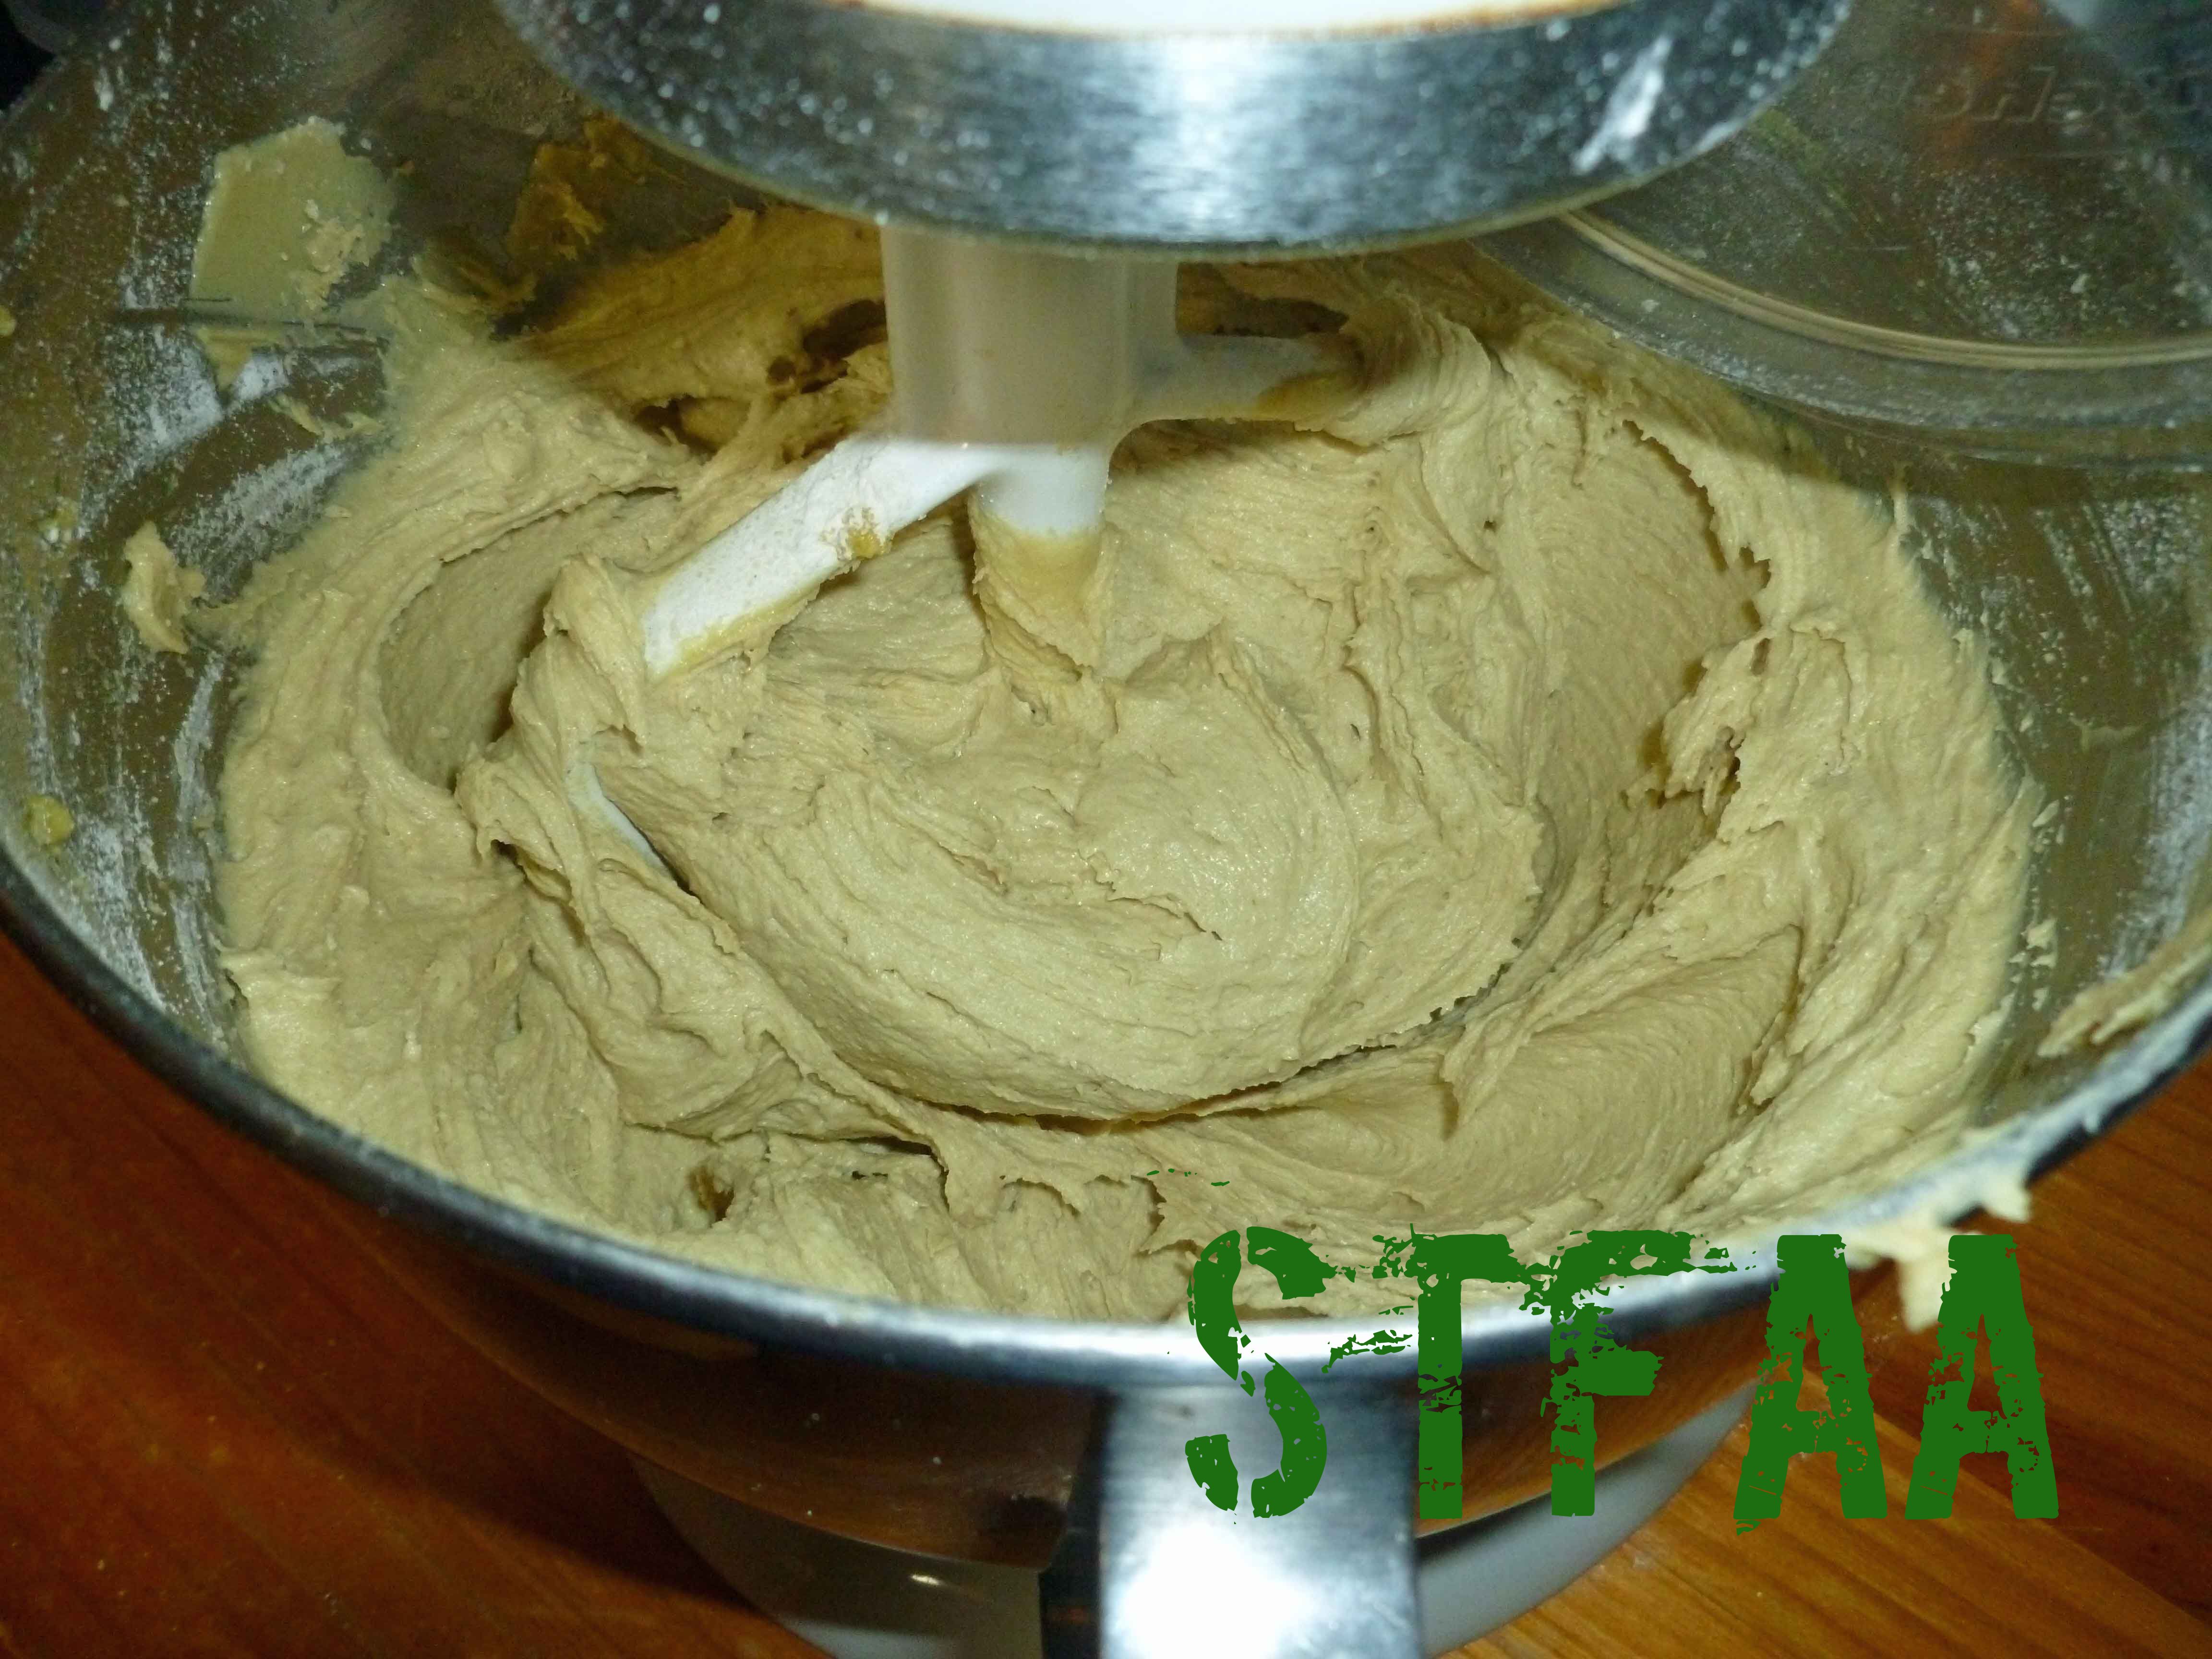
I’m not a baker in general. MaryKate is a much better baker than I am and she’s more into it. I’m more of a “get an appetizer instead of dessert” kind of woman. But around the holidays I kind of want some sort of cookie. A couple of weeks ago when I was developing my Homemade Pasta, Gluten-Free, Vegan & Gum-Free recipe, I was going through my assortment of kitchen toys looking for the pasta attachments for the KitchenAid, and I came across my Pampered Chef Cookie Press that I bought years ago out of nostalgia. My mom had one (which she probably doesn’t even remember having) that I used to use when I was a kid. And after I found it, I kept thinking about it, so I developed this recipe. It’s probably the closest I will ever get to having a shortbread buttery kind of cookie again. If you don’t have a cookie press, Pampered Chef has one that is a twist style now, but I like the gun ones better. Here’s an example of the gun style (no affiliation with Amazon), which is very similar to the one I have.
Full disclosure: I’m using psyllium husk in this recipe instead of chia, because chia is currently on the suspect list as a potential new allergy. Sigh. If you can still use chia (or flax, I’m allergic to flax too), I’m pretty sure that would work too. Also, I’m using my Homemade Margarine, New and Improved in this recipe because it’s all I have (note: I use cashew milk in my margarine recipe, but you can use any non-dairy milk in it). If you don’t have a corn or coconut allergy or react to palm, and you can use either Earth Balance margarine or a vegetable shortening, give it a go. If you decide to use shortening, I’d add a tablespoon of water or non-dairy milk because shortening is dryer than margarine.
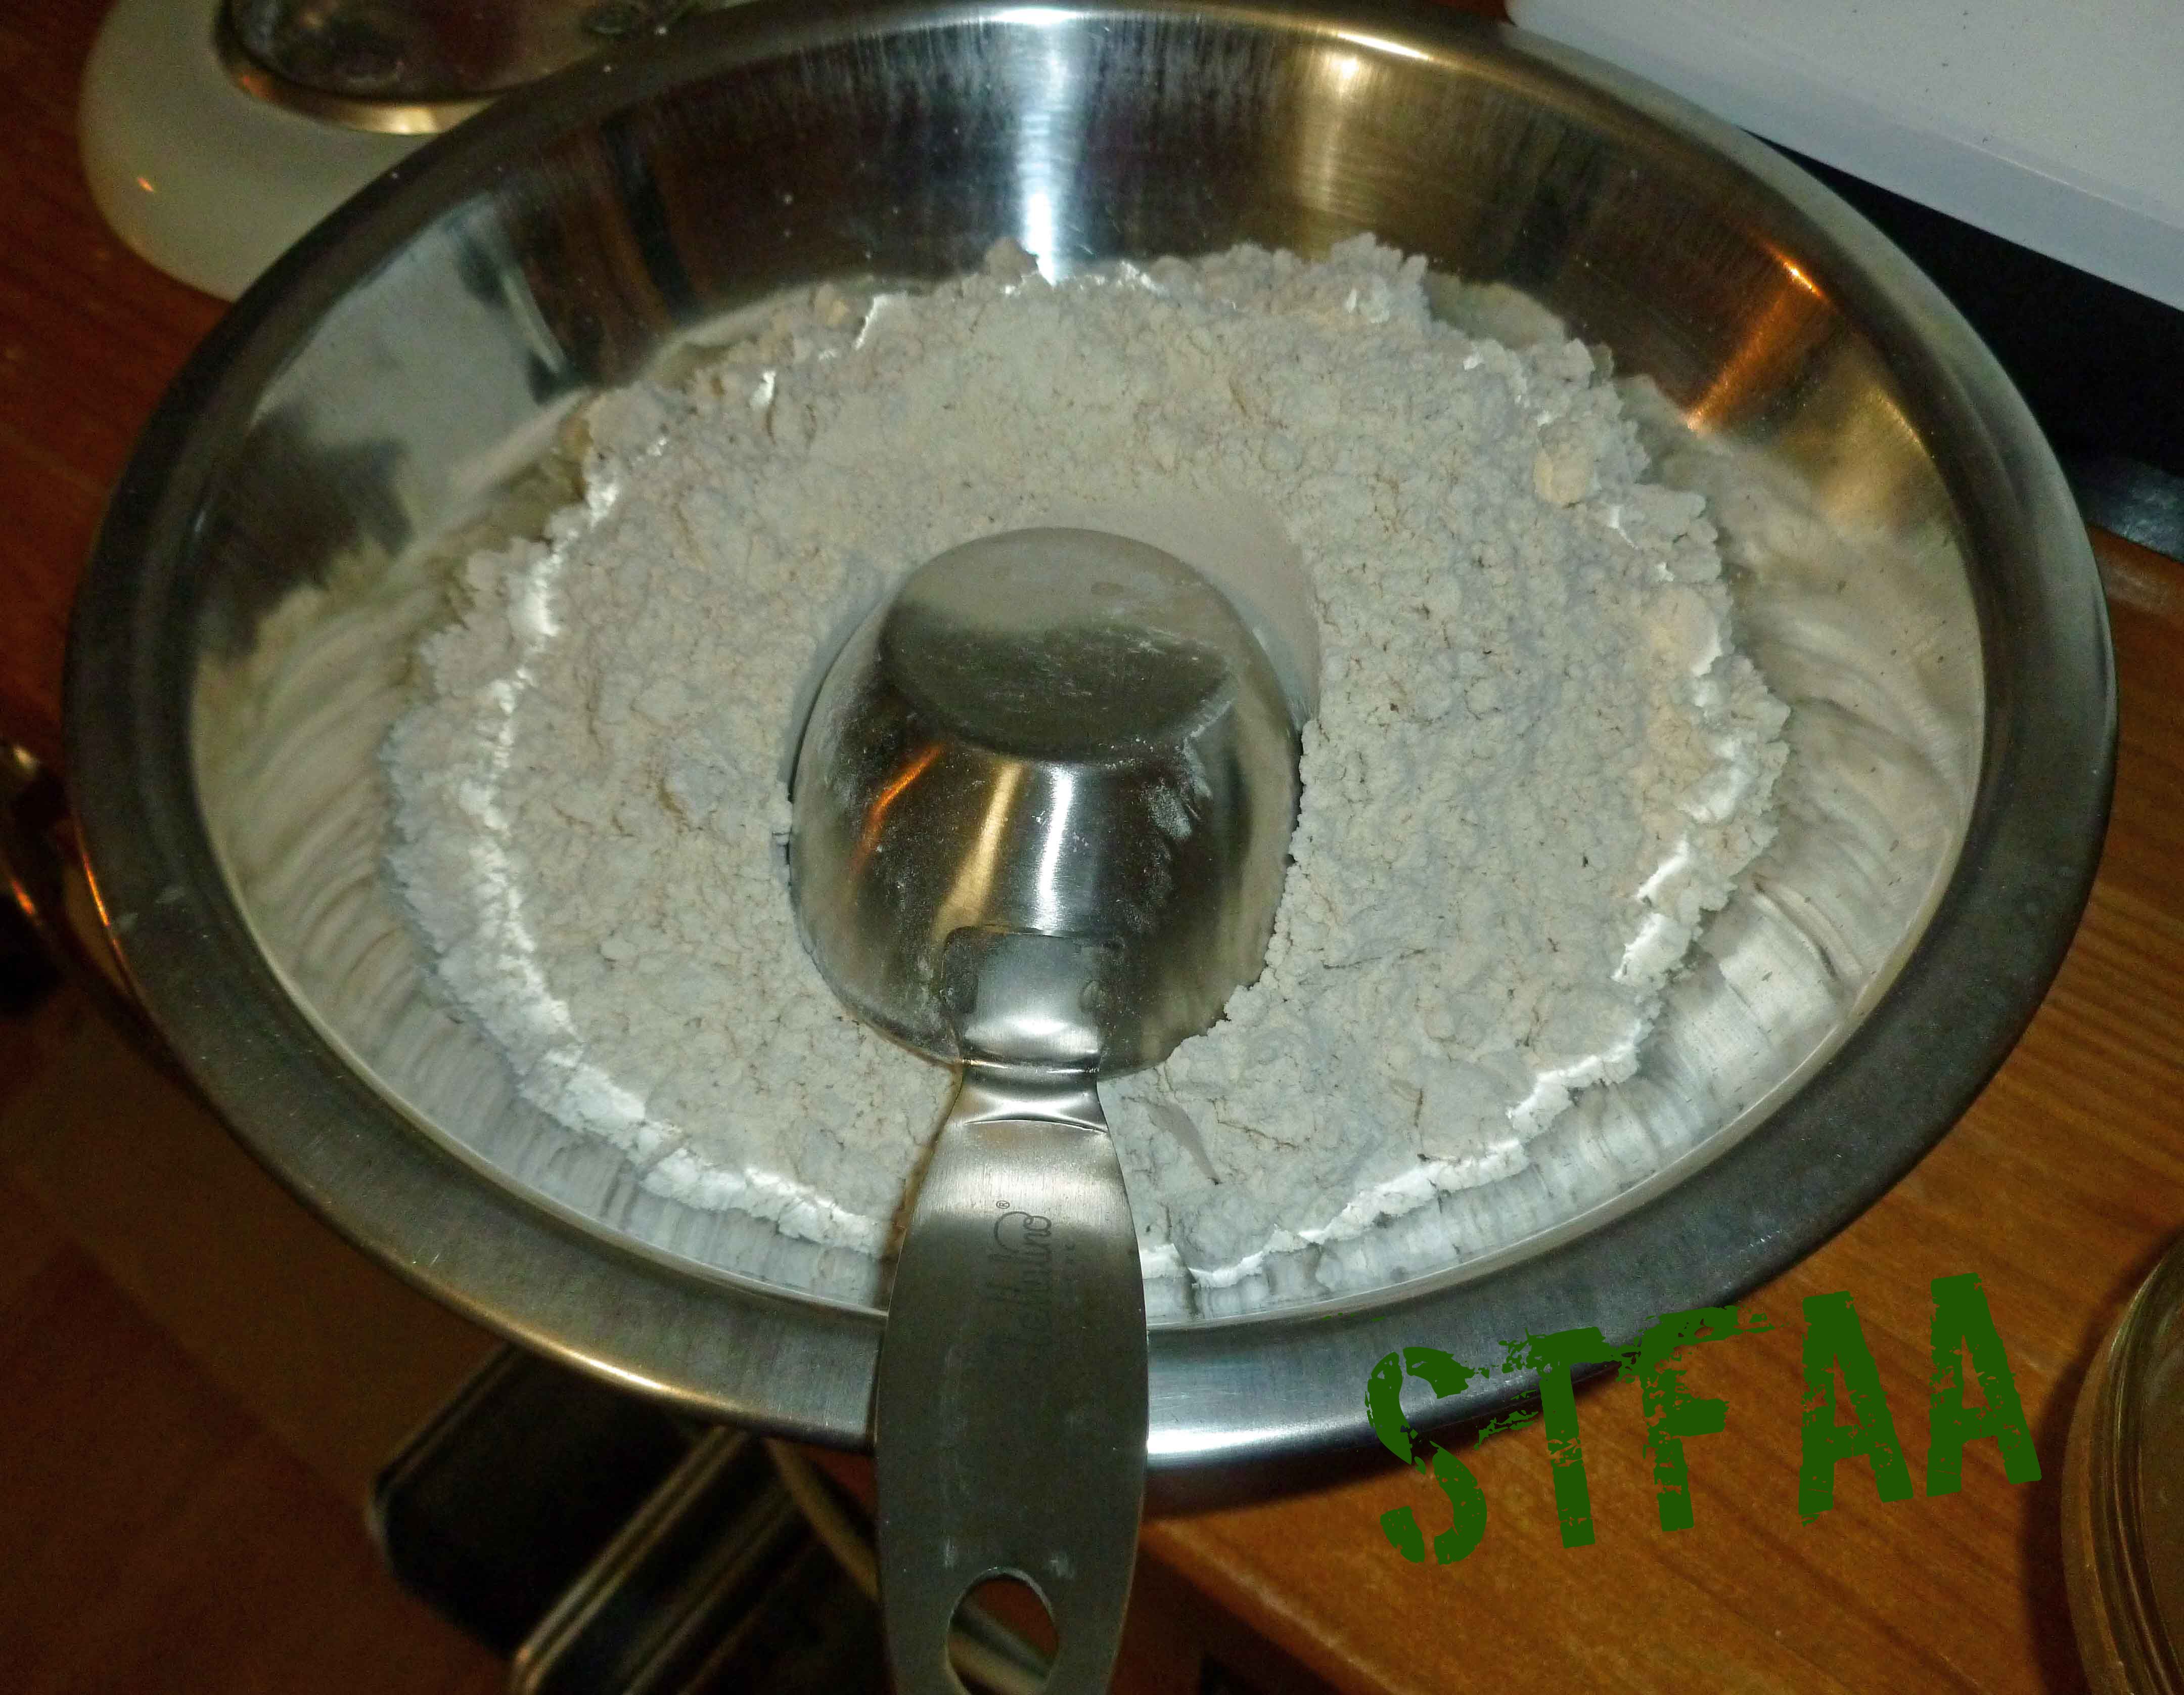
I modified my normal all purpose gluten-free flour blend because the millet gave the cookies more of a whole grain taste than I was going for. The mix below makes 4 1/2 cups, but you only need 3 1/2 cups for the cookies.
Notice: Trying to access array offset on value of type bool in /home/maryzahc/public_html/adultfoodallergies.com/wp-content/plugins/wp-ultimate-recipe/helpers/models/recipe.php on line 254
Gluten-Free Flour Blend for Spritz or Cookie Press Cookies
Gluten-Free Flour Blend for Spritz or Cookie Press Cookies Notice: Trying to access array offset on value of type bool in /home/maryzahc/public_html/adultfoodallergies.com/wp-content/plugins/wp-ultimate-recipe/helpers/models/recipe.php on line 254
Spritz or Cookie Press Cookies – Gluten-Free, Dairy-Free, and Egg-Free
Print Recipe
You can still have a holiday classic, even with allergies
1tsppsyllium husk(or ground chia seed or flax seed)
2tspvanilla extract(I make my own with vanilla beans and vodka made from potatoes, as most commercial extract contains corn)
1 tspwater(if using shortening, add a tablespoon)
1 1/2cupshomemade margarine, Earth Balance margarine or vegetable shortening(Earth Balance margarine and vegetable shortening are generally not safe for corn, coconut, or palm allergies)
1/4cupbrown sugar
3/4cupwhite sugar
1/4tspsea salt
3 1/2cups Gluten-Free Flour Mix for Spritz or Cookie Press Cookies
Servings: dozen
Instructions
Preheat oven to 375°F.
Mix aquafaba, psyllium, vanilla extract, and water in a small bowl and set aside to let it gel. Add salt to flour mixture in a large bowl and set aside.
Using a stand mixer and the beater blade, cream margarine or shortening with brown sugar and white sugar until well combined. Scrape down sides and add aquafaba/psyllium/vanilla extract/water mixture to the bowl. Beat together until well combined, scraping down the sides as necessary.
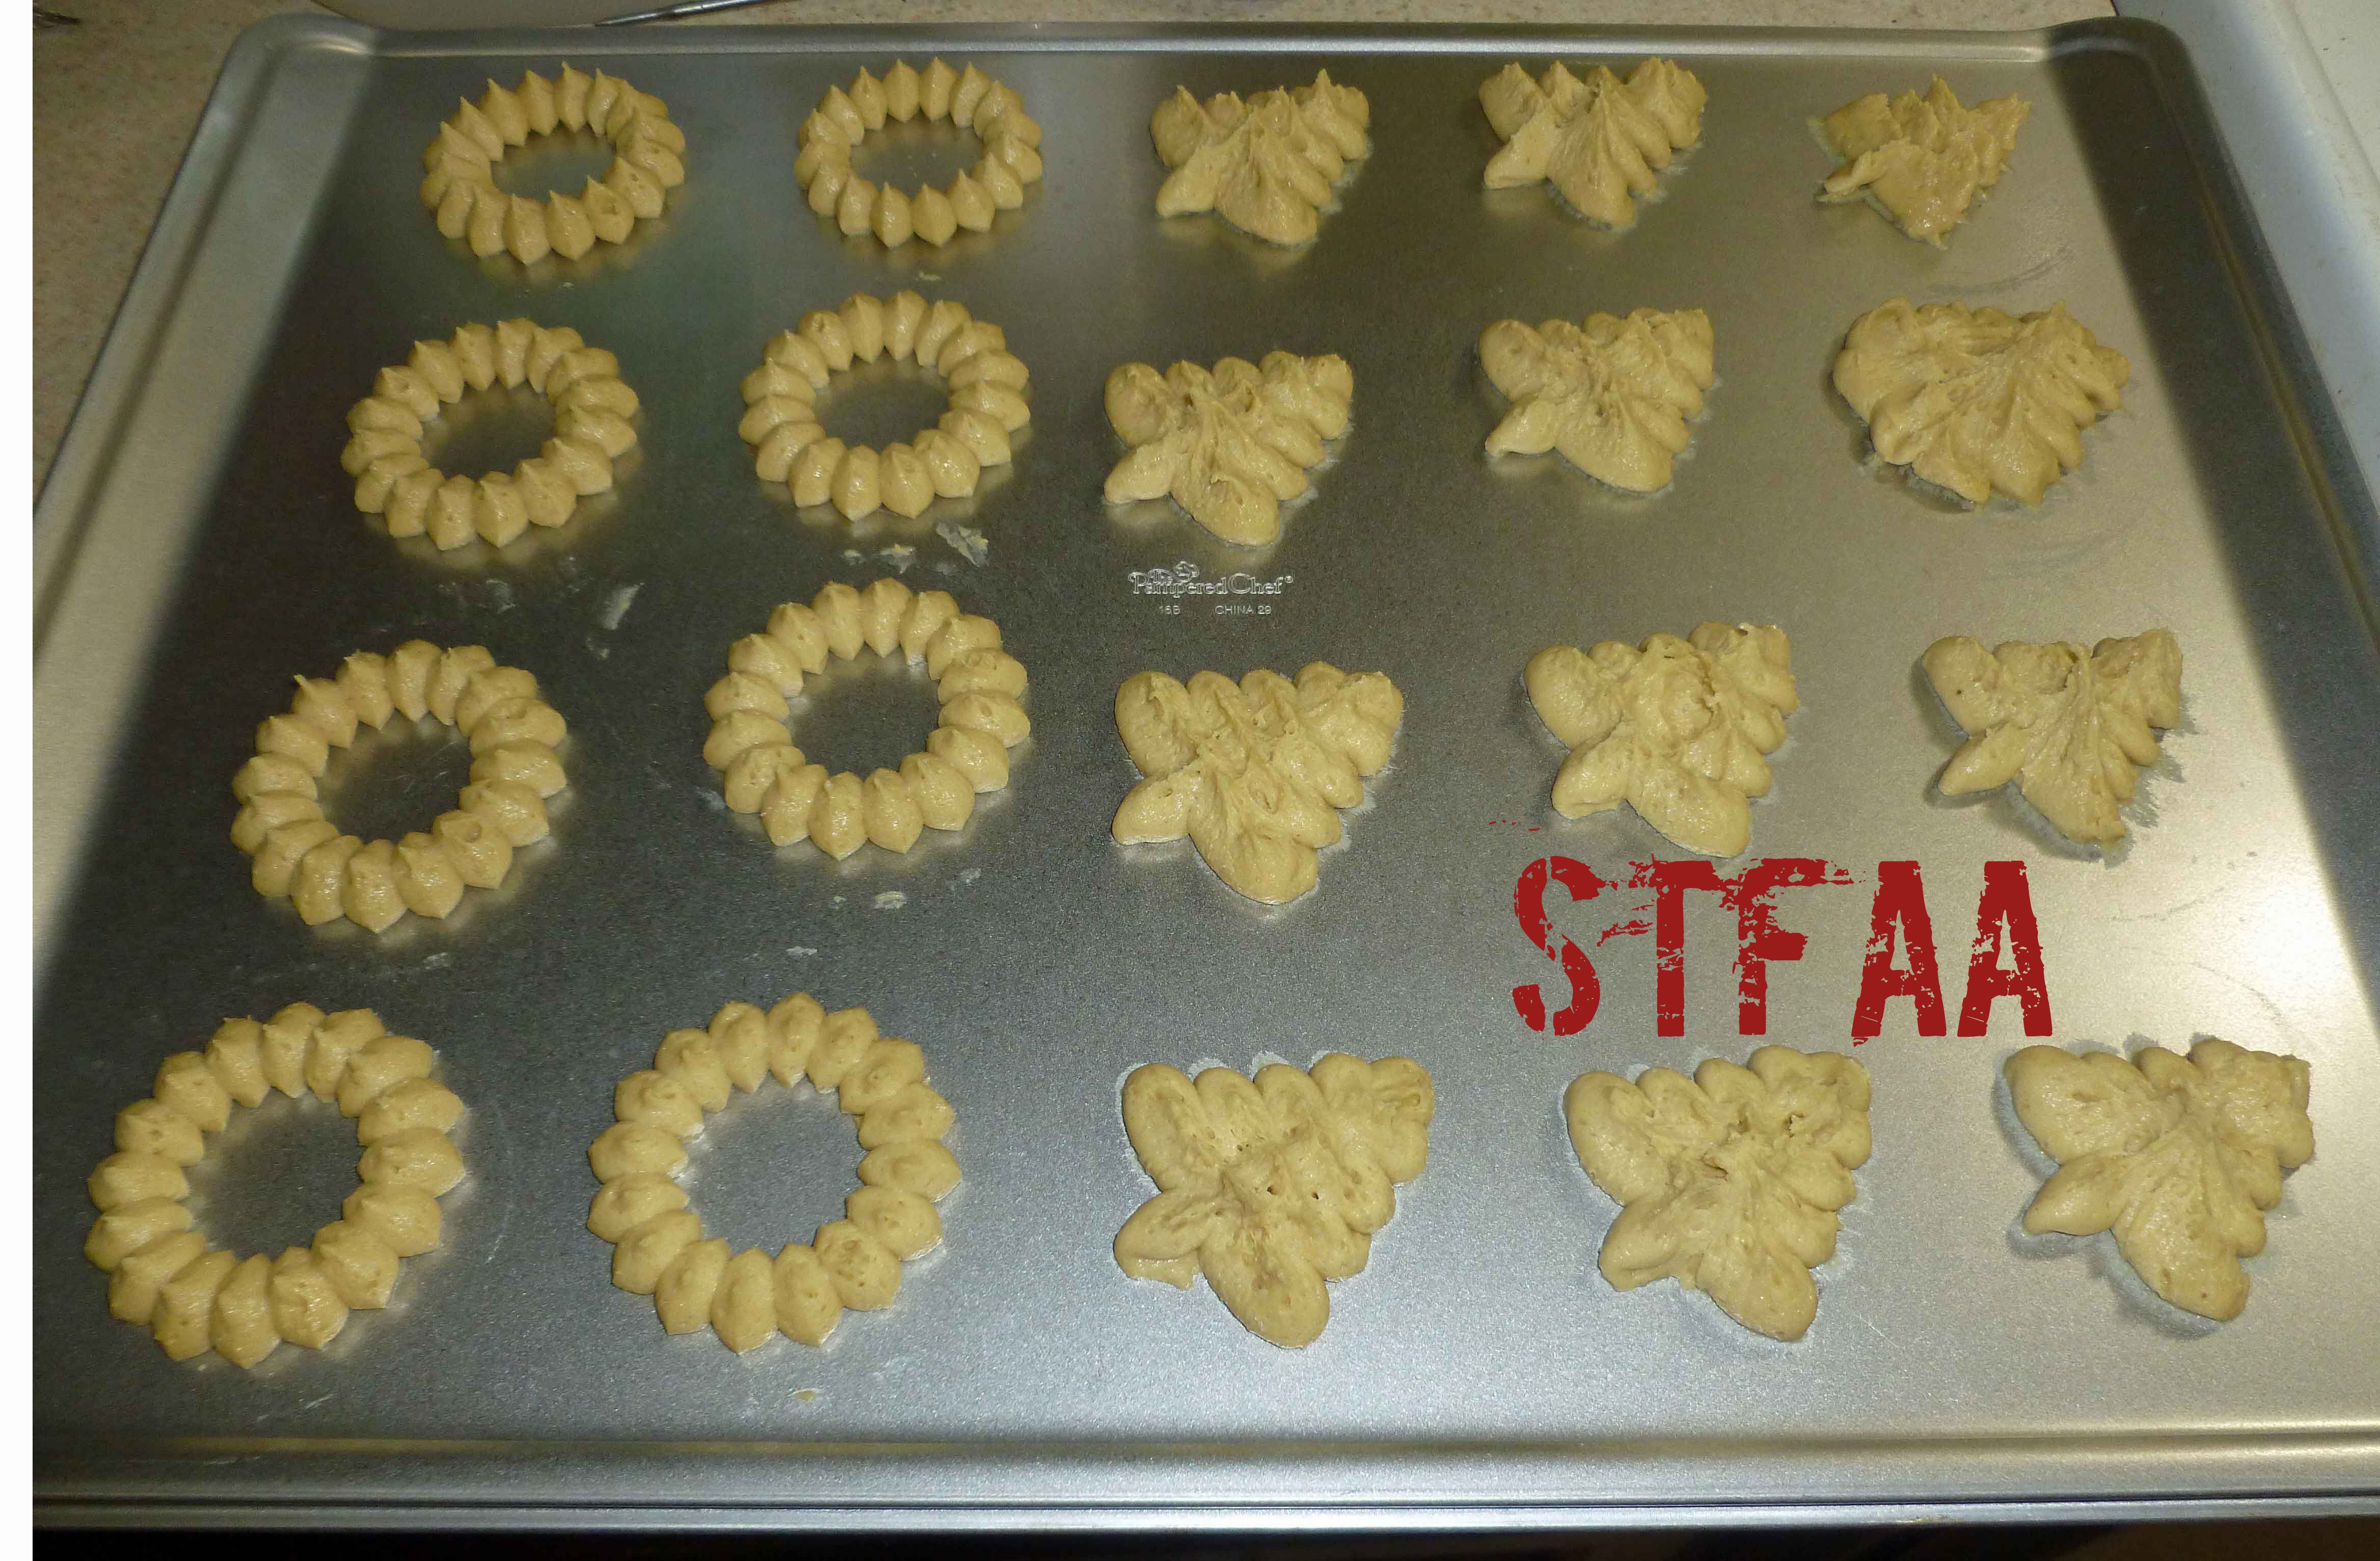
Add the flour mixture a cup or so at a time, beating it in as you go, scraping down the sides as necessary. Once all the flour is well incorporated, put the dough in your cookie press and spritz/press your cookies onto cookie sheets.
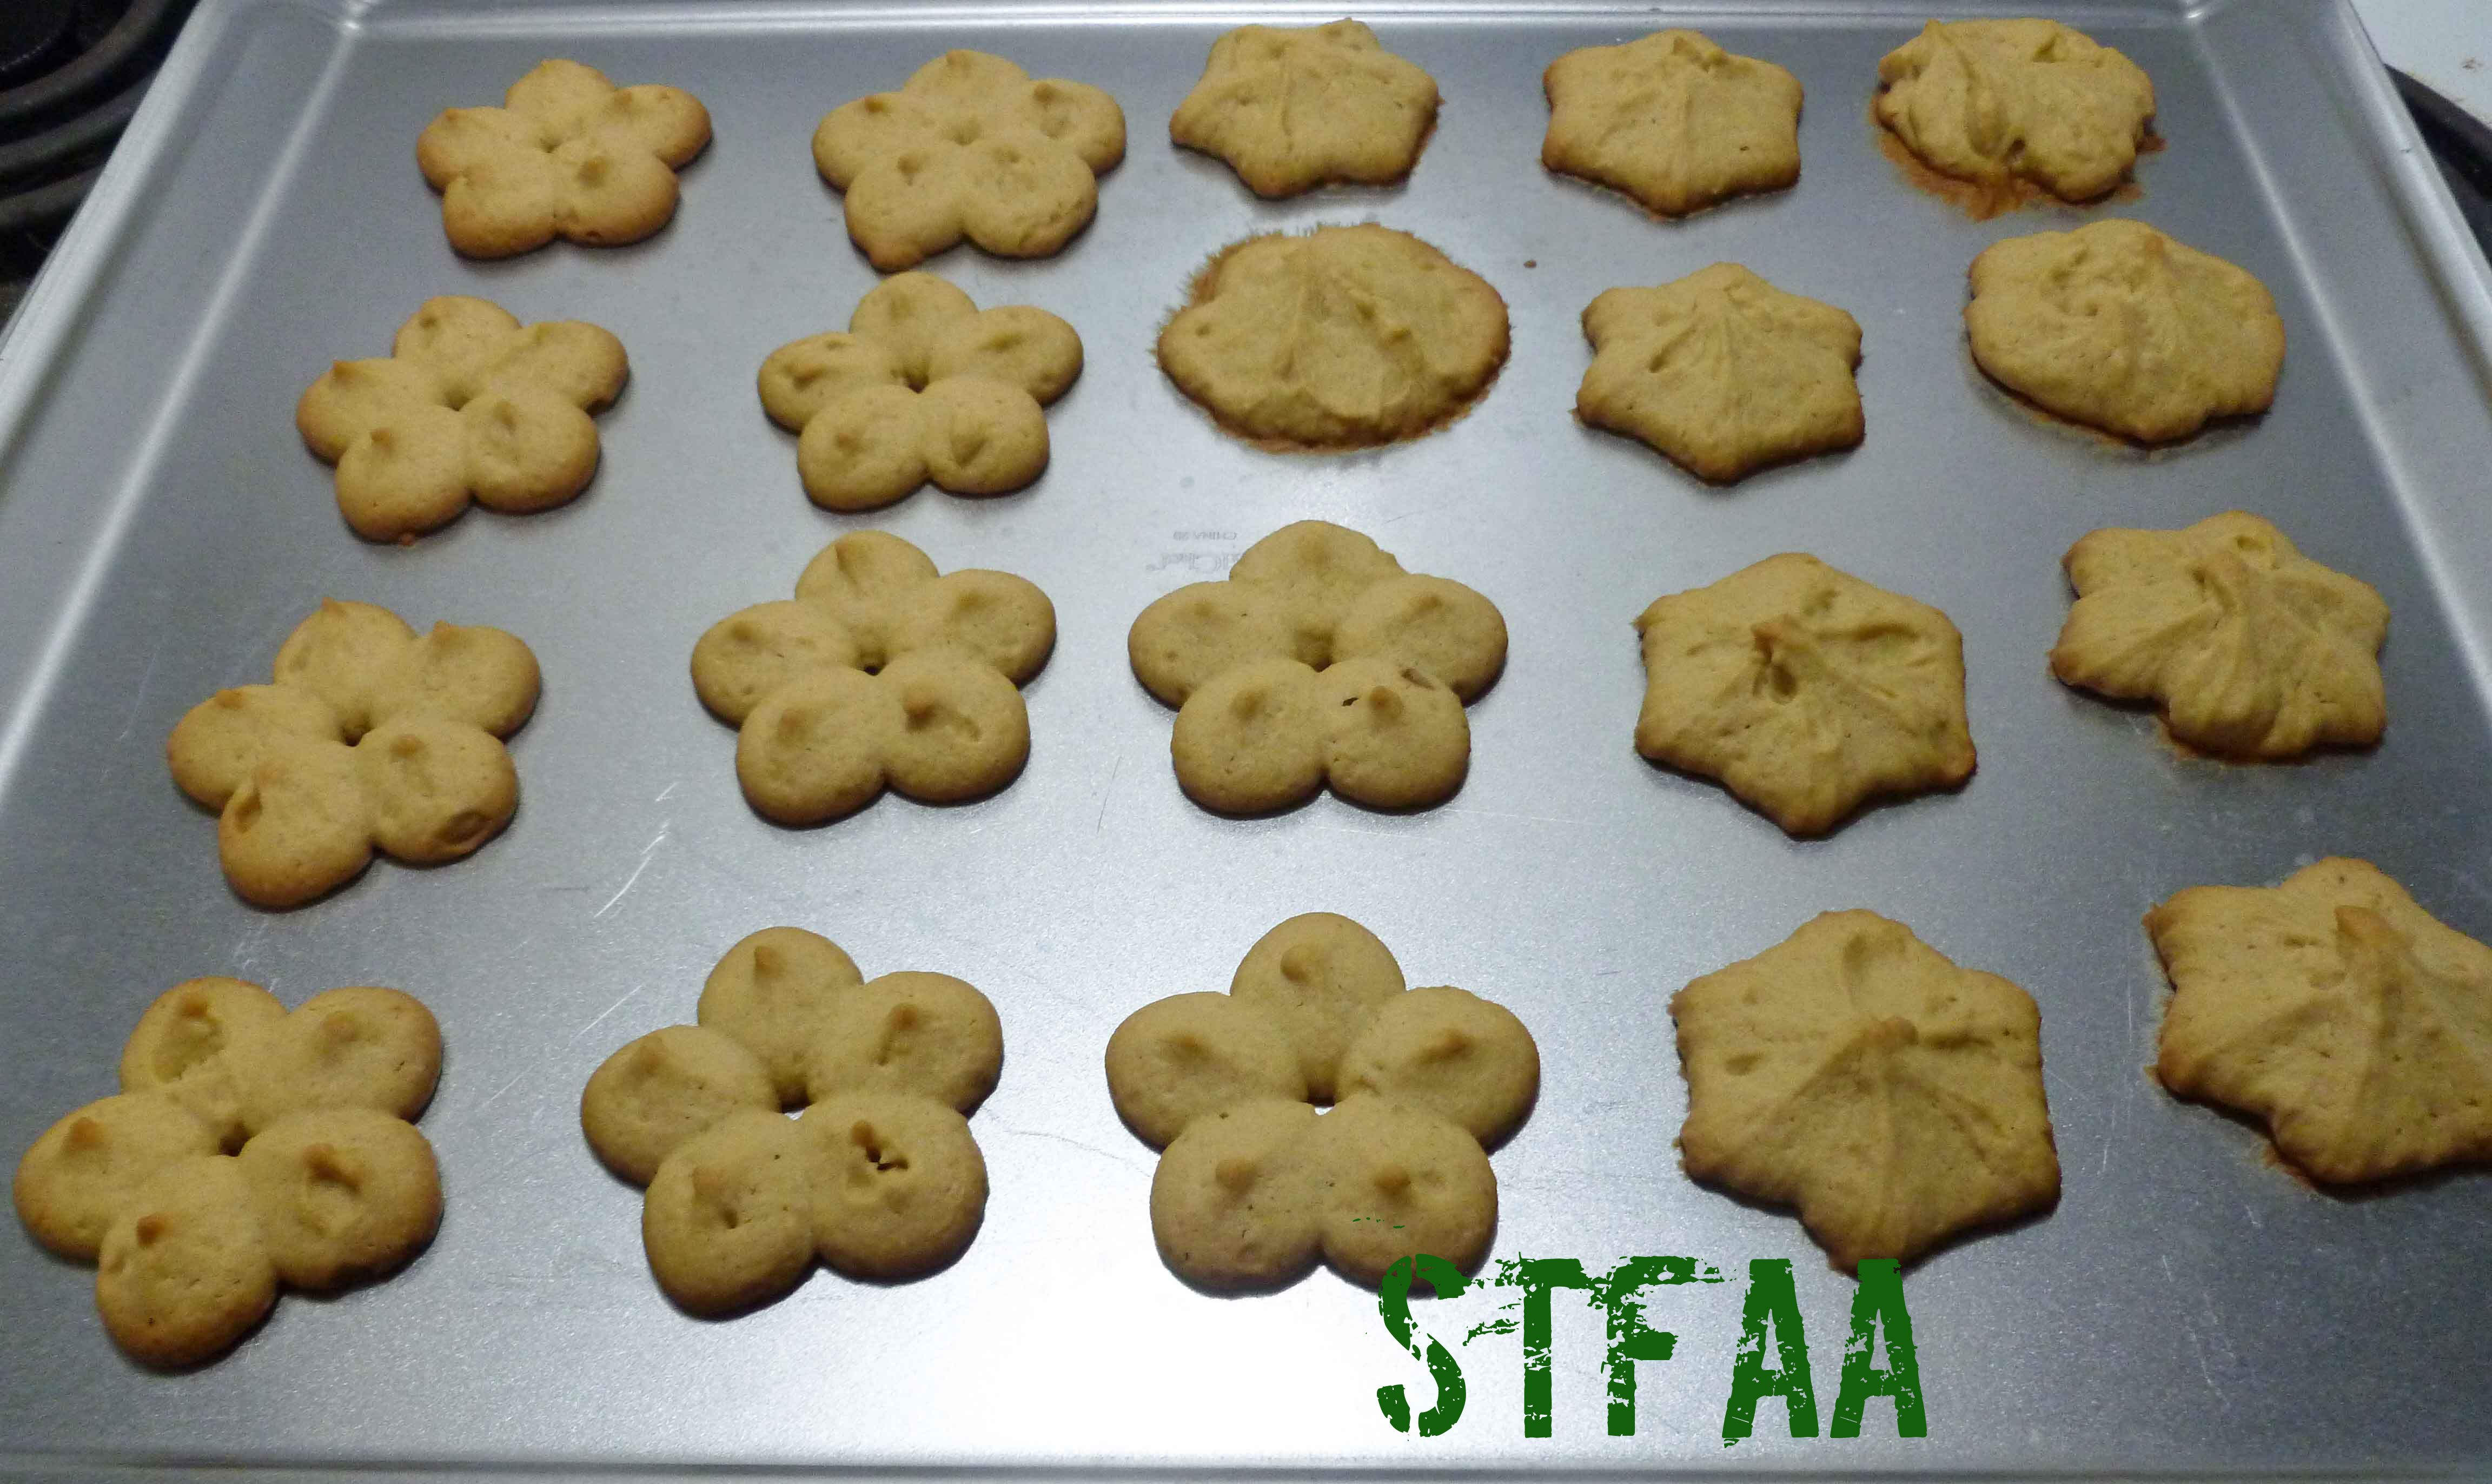
If you are baking on metal cookie sheets, bake for 15-17 minutes depending on your oven. If you are using baking stones, bake for 19-21 minutes, depending on your oven.
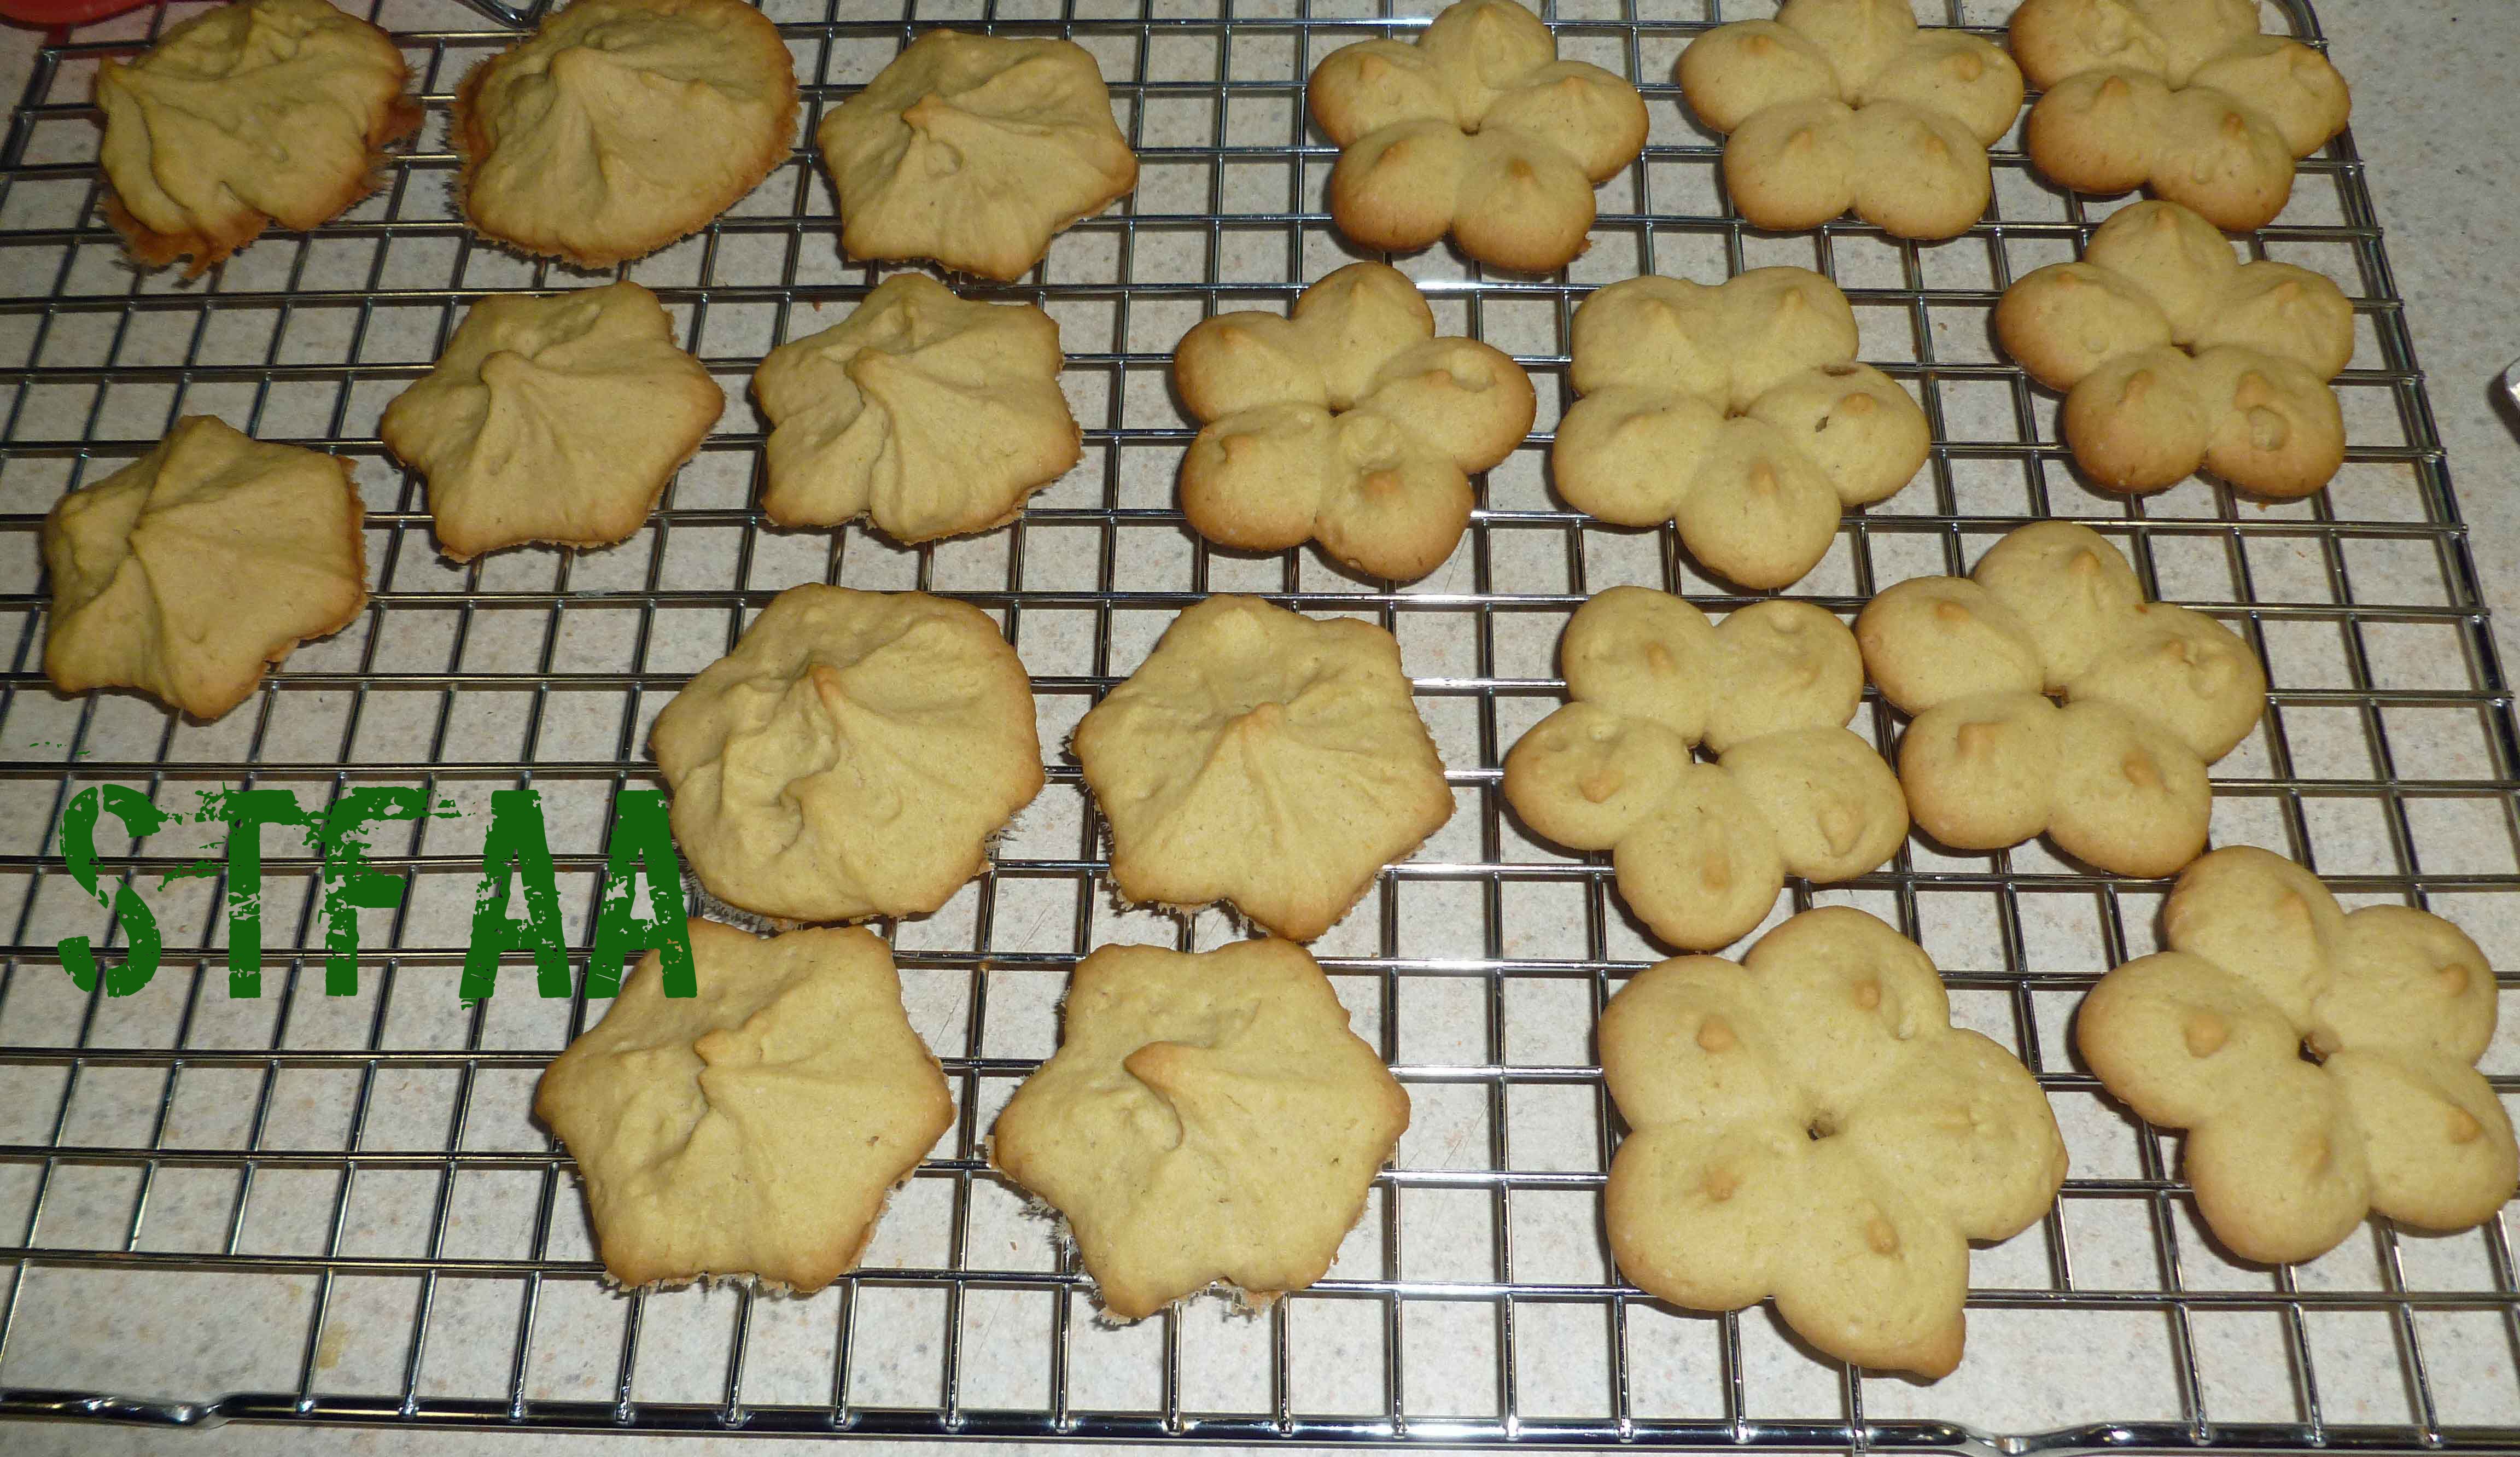
Let cool on cookie sheet or baking stone for two minutes before removing to cool on a rack.
Aquafaba/Psyllium mixtureHomemade Margarine and Brown and White Sugar before mixingHomemade Margarine and Sugar Mixture after beatingHomemade Margarine and Sugar Mixture, after adding Aquafaba/Psyllium MixtureSpritz or Cookie Press Cookie dough after all flour mixture has been addedSpritz or Cookie Press Cookie dough after pressed onto cookie sheets before bakingSpritz or Cookie Press Cookies after bakingSpritz or Cookie Press Cookies after bakingSpritz or Cookie Press Cookies cooling on rackSpritz or Cookie Press Cookies – Gluten-Free, Dairy-Free, and Egg-Free
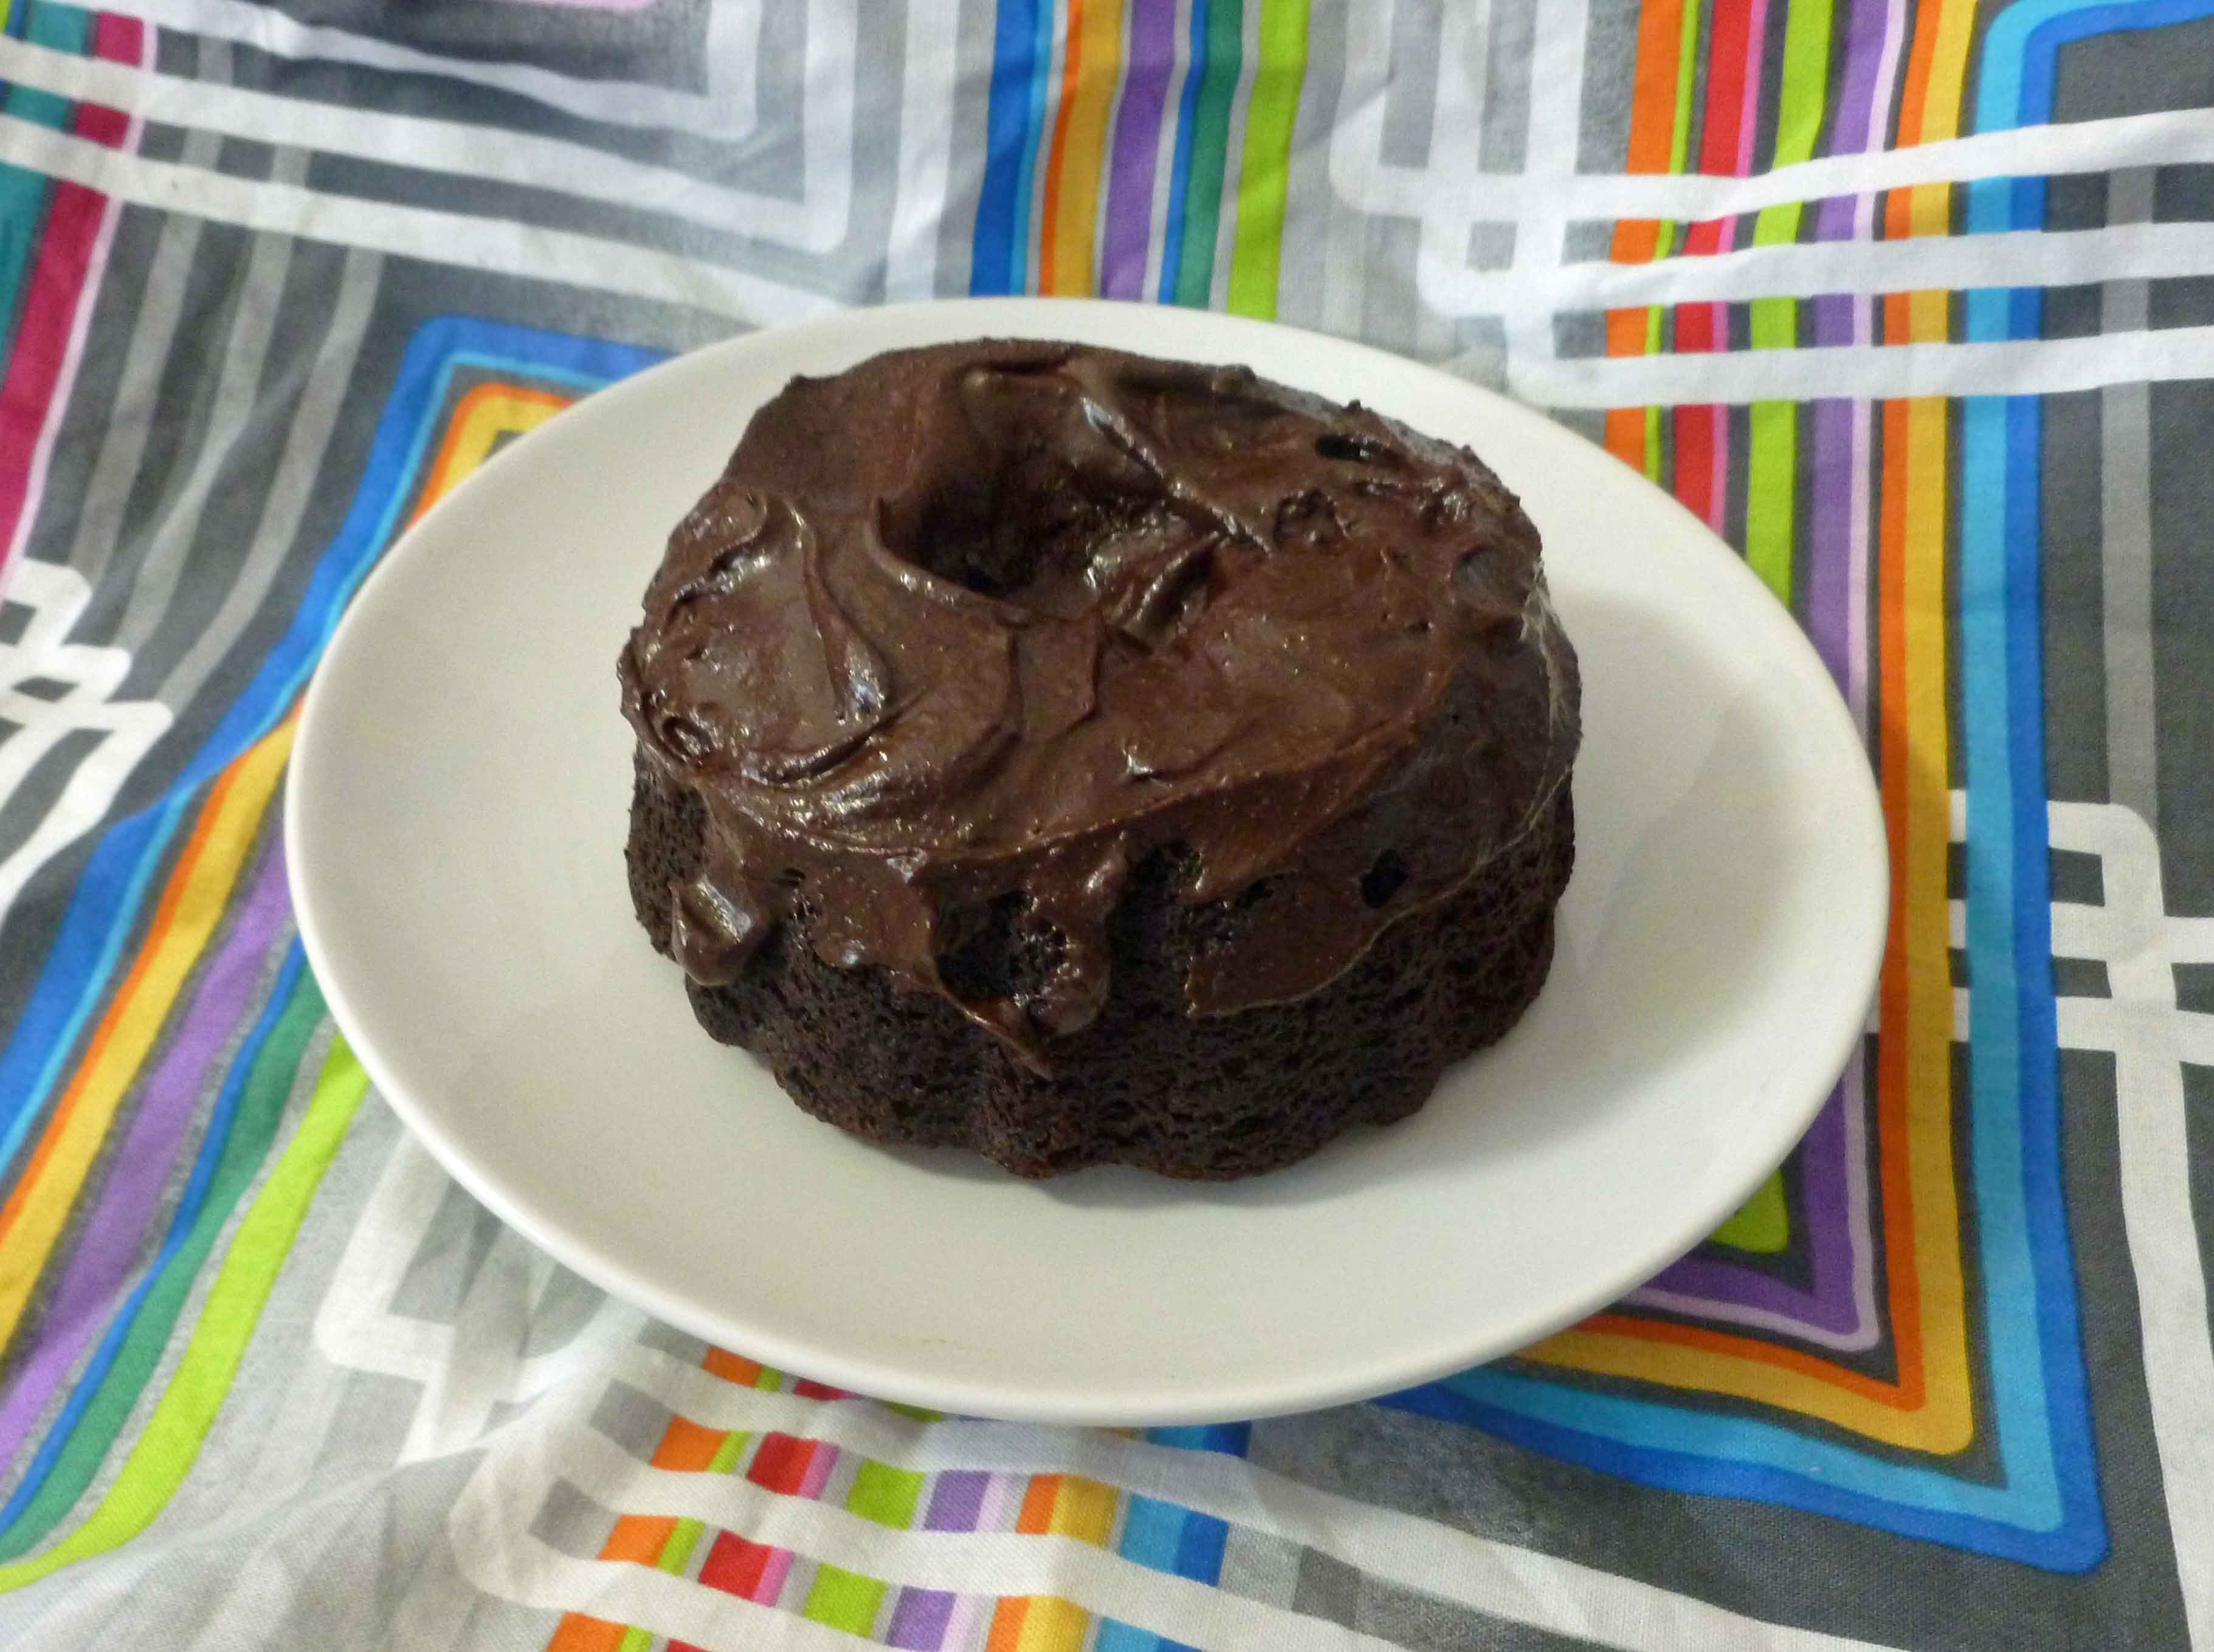
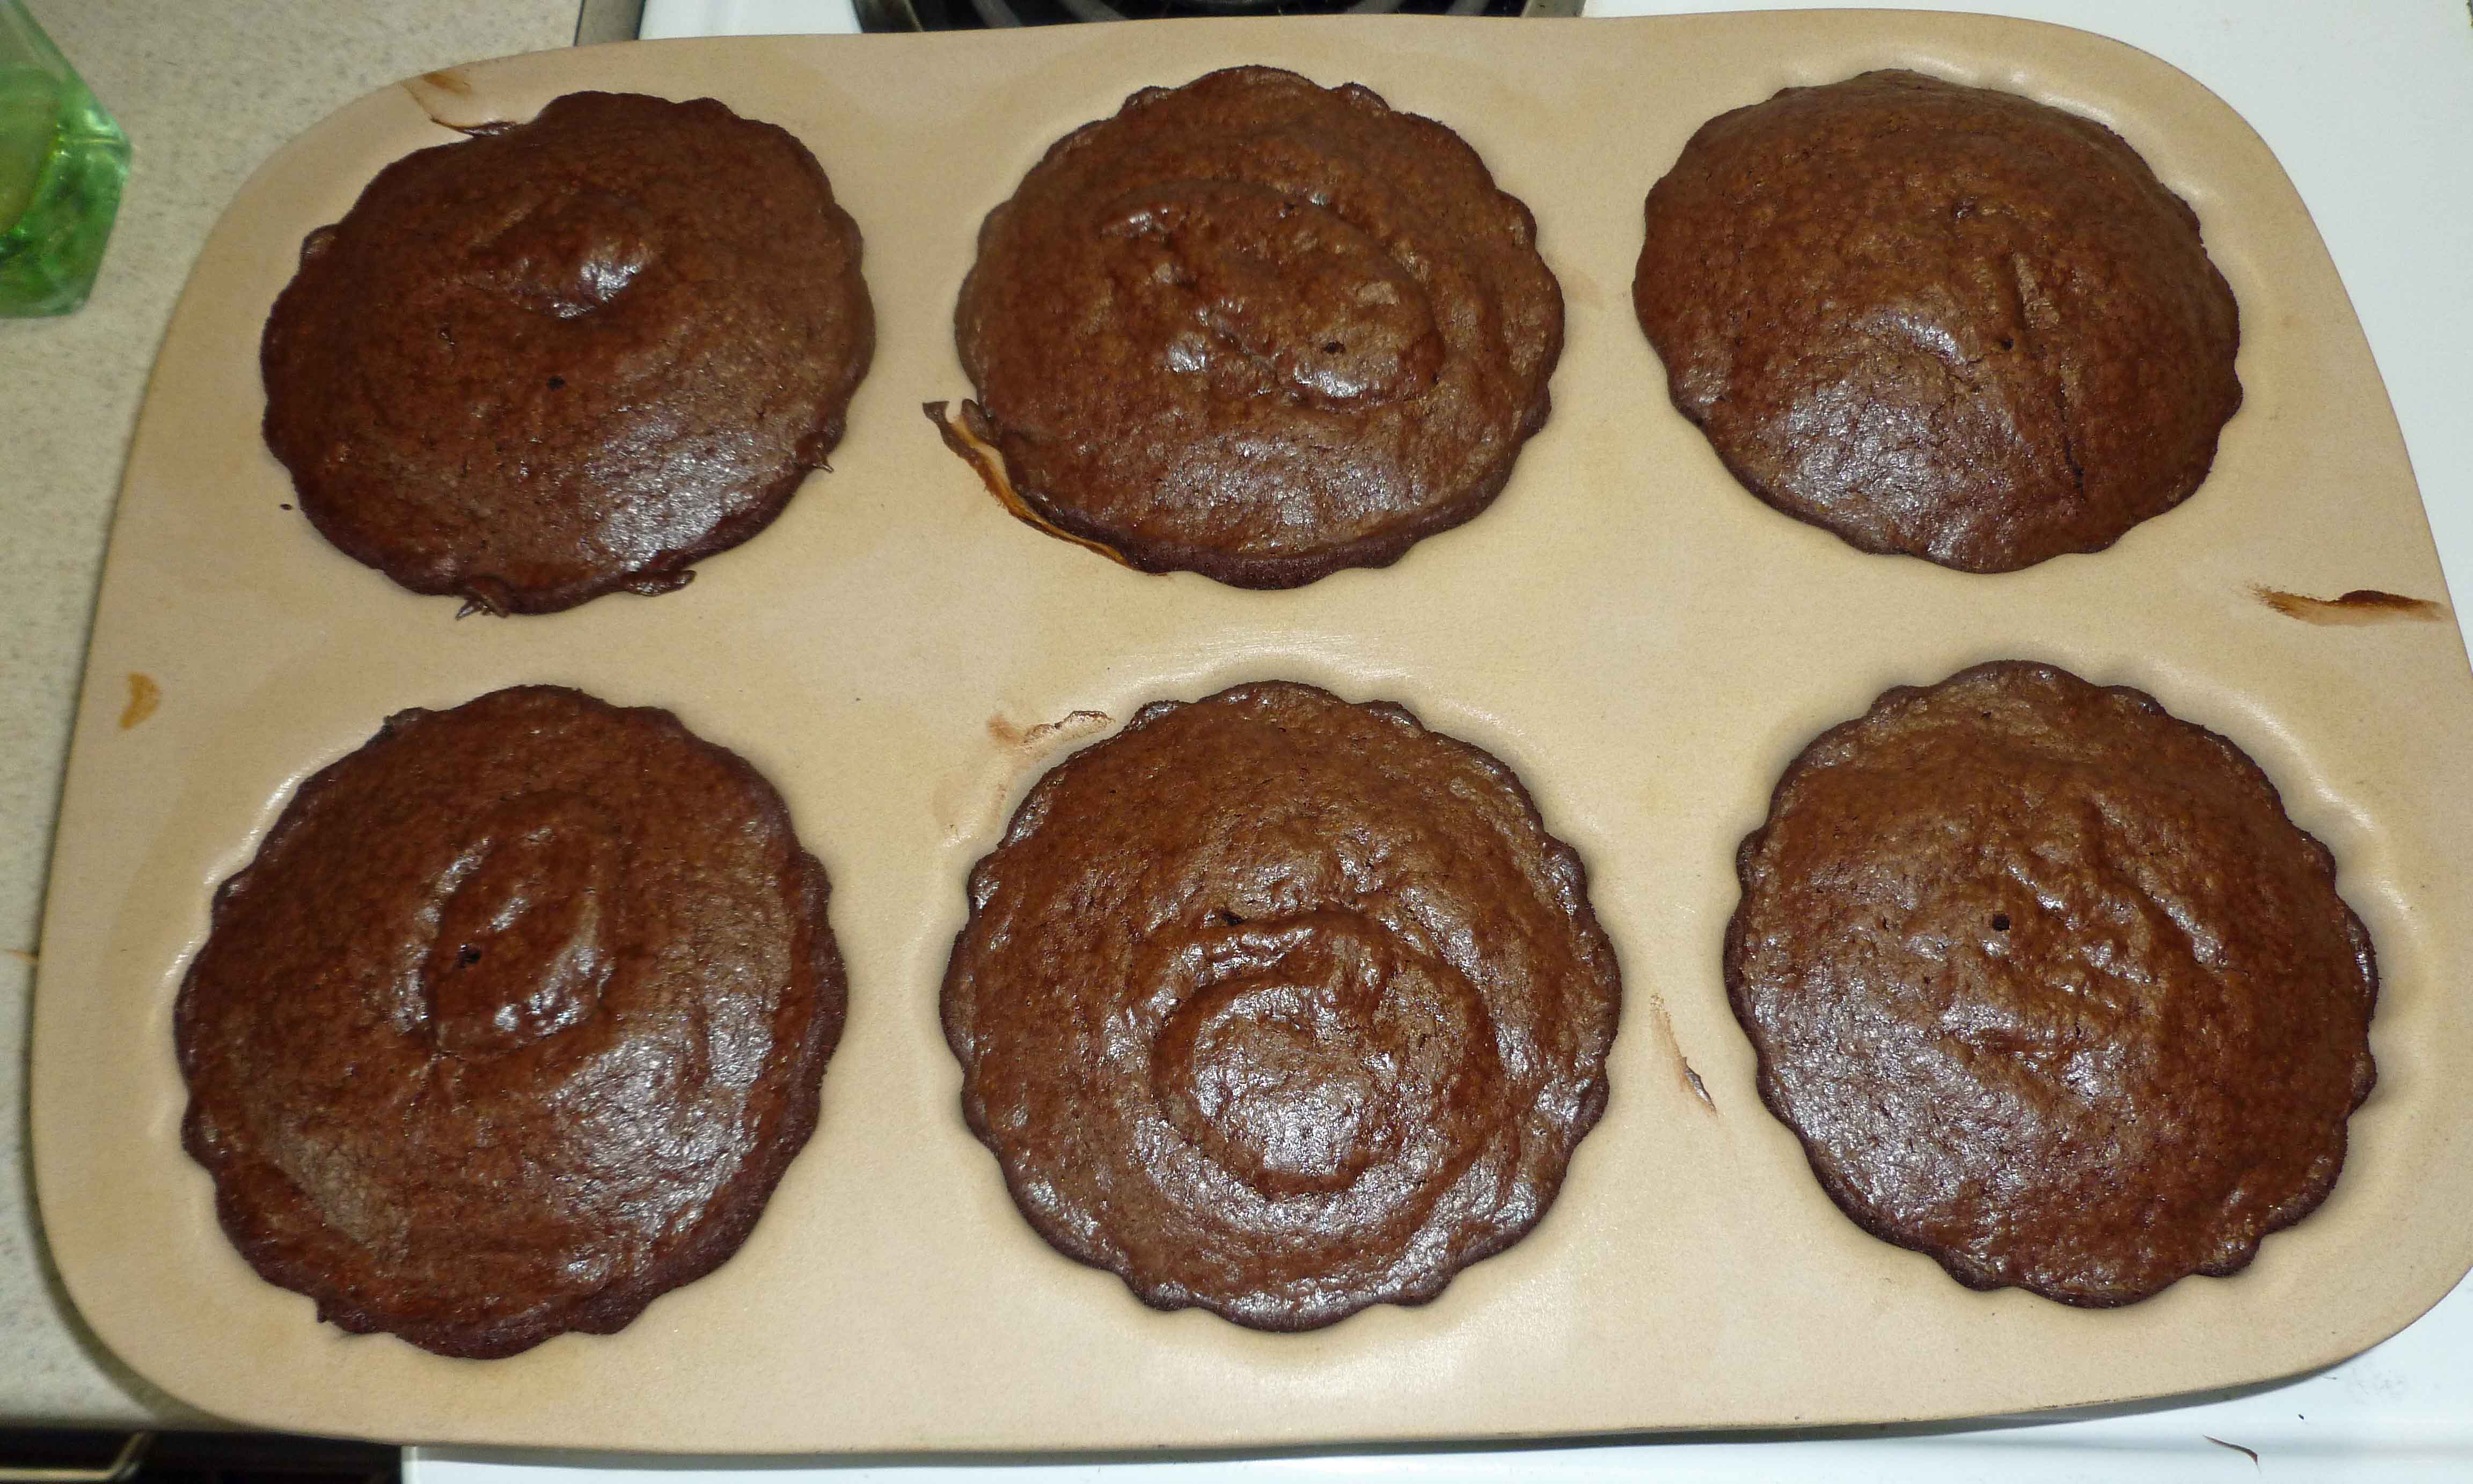
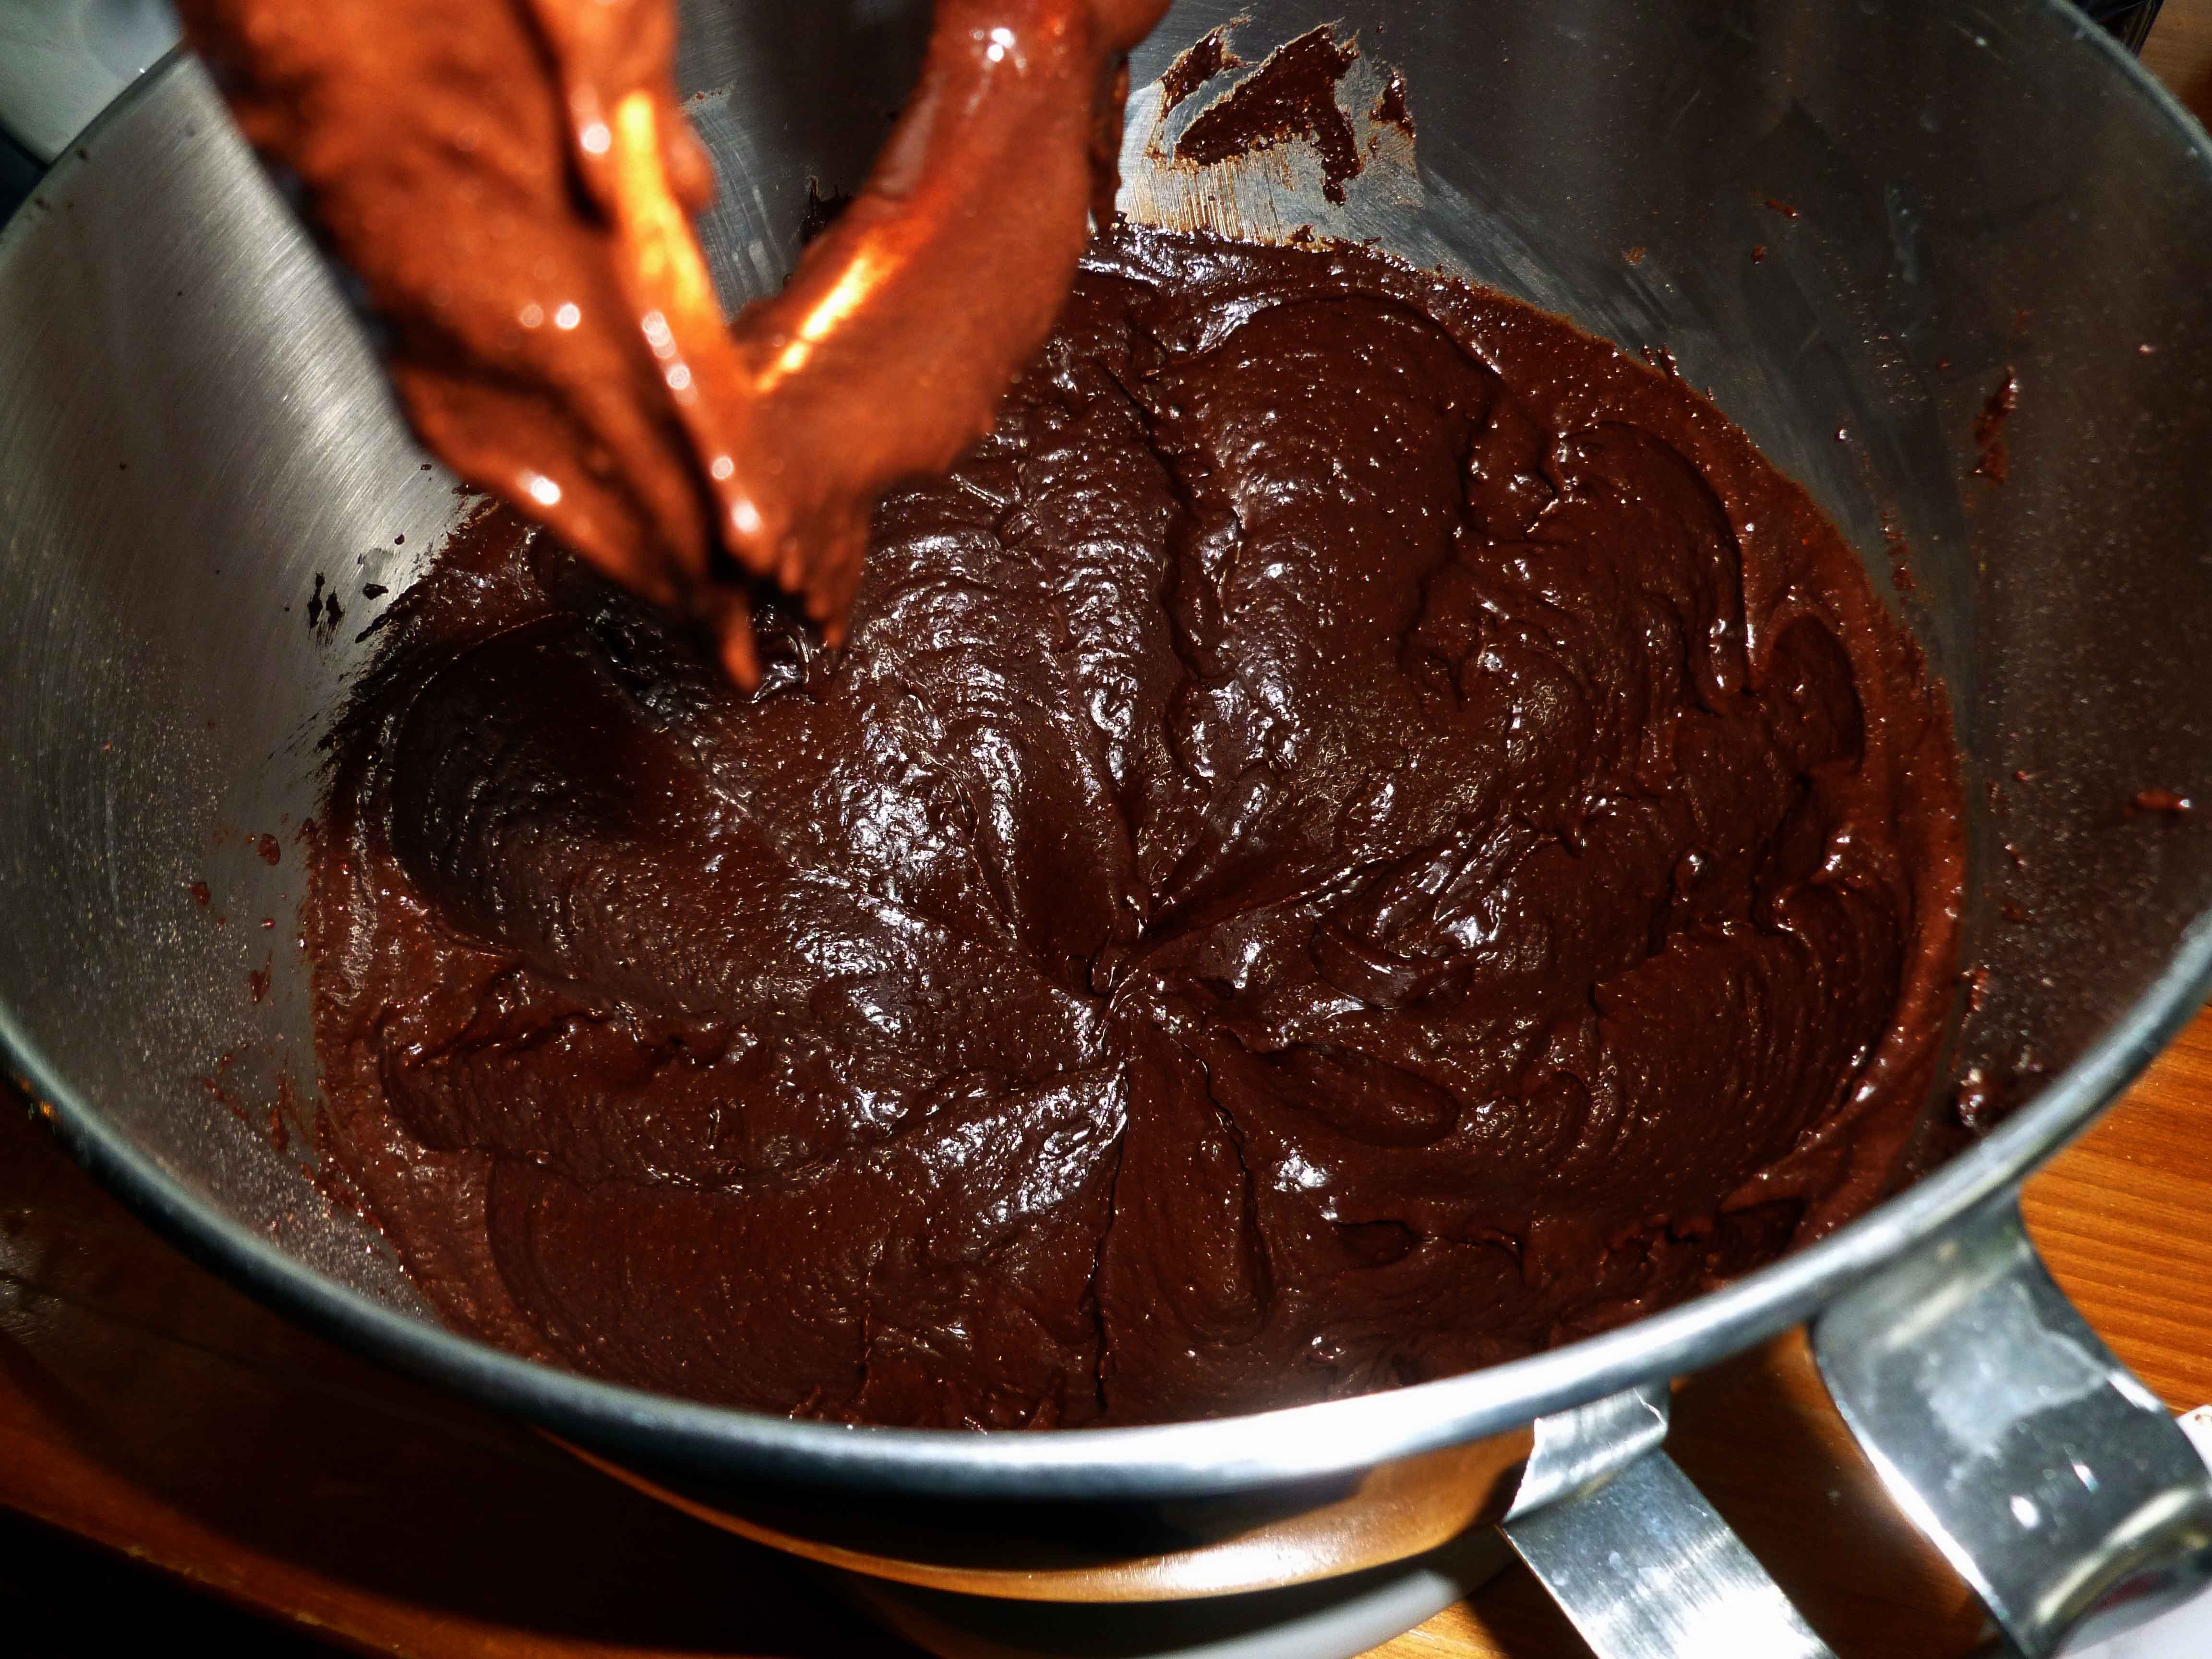
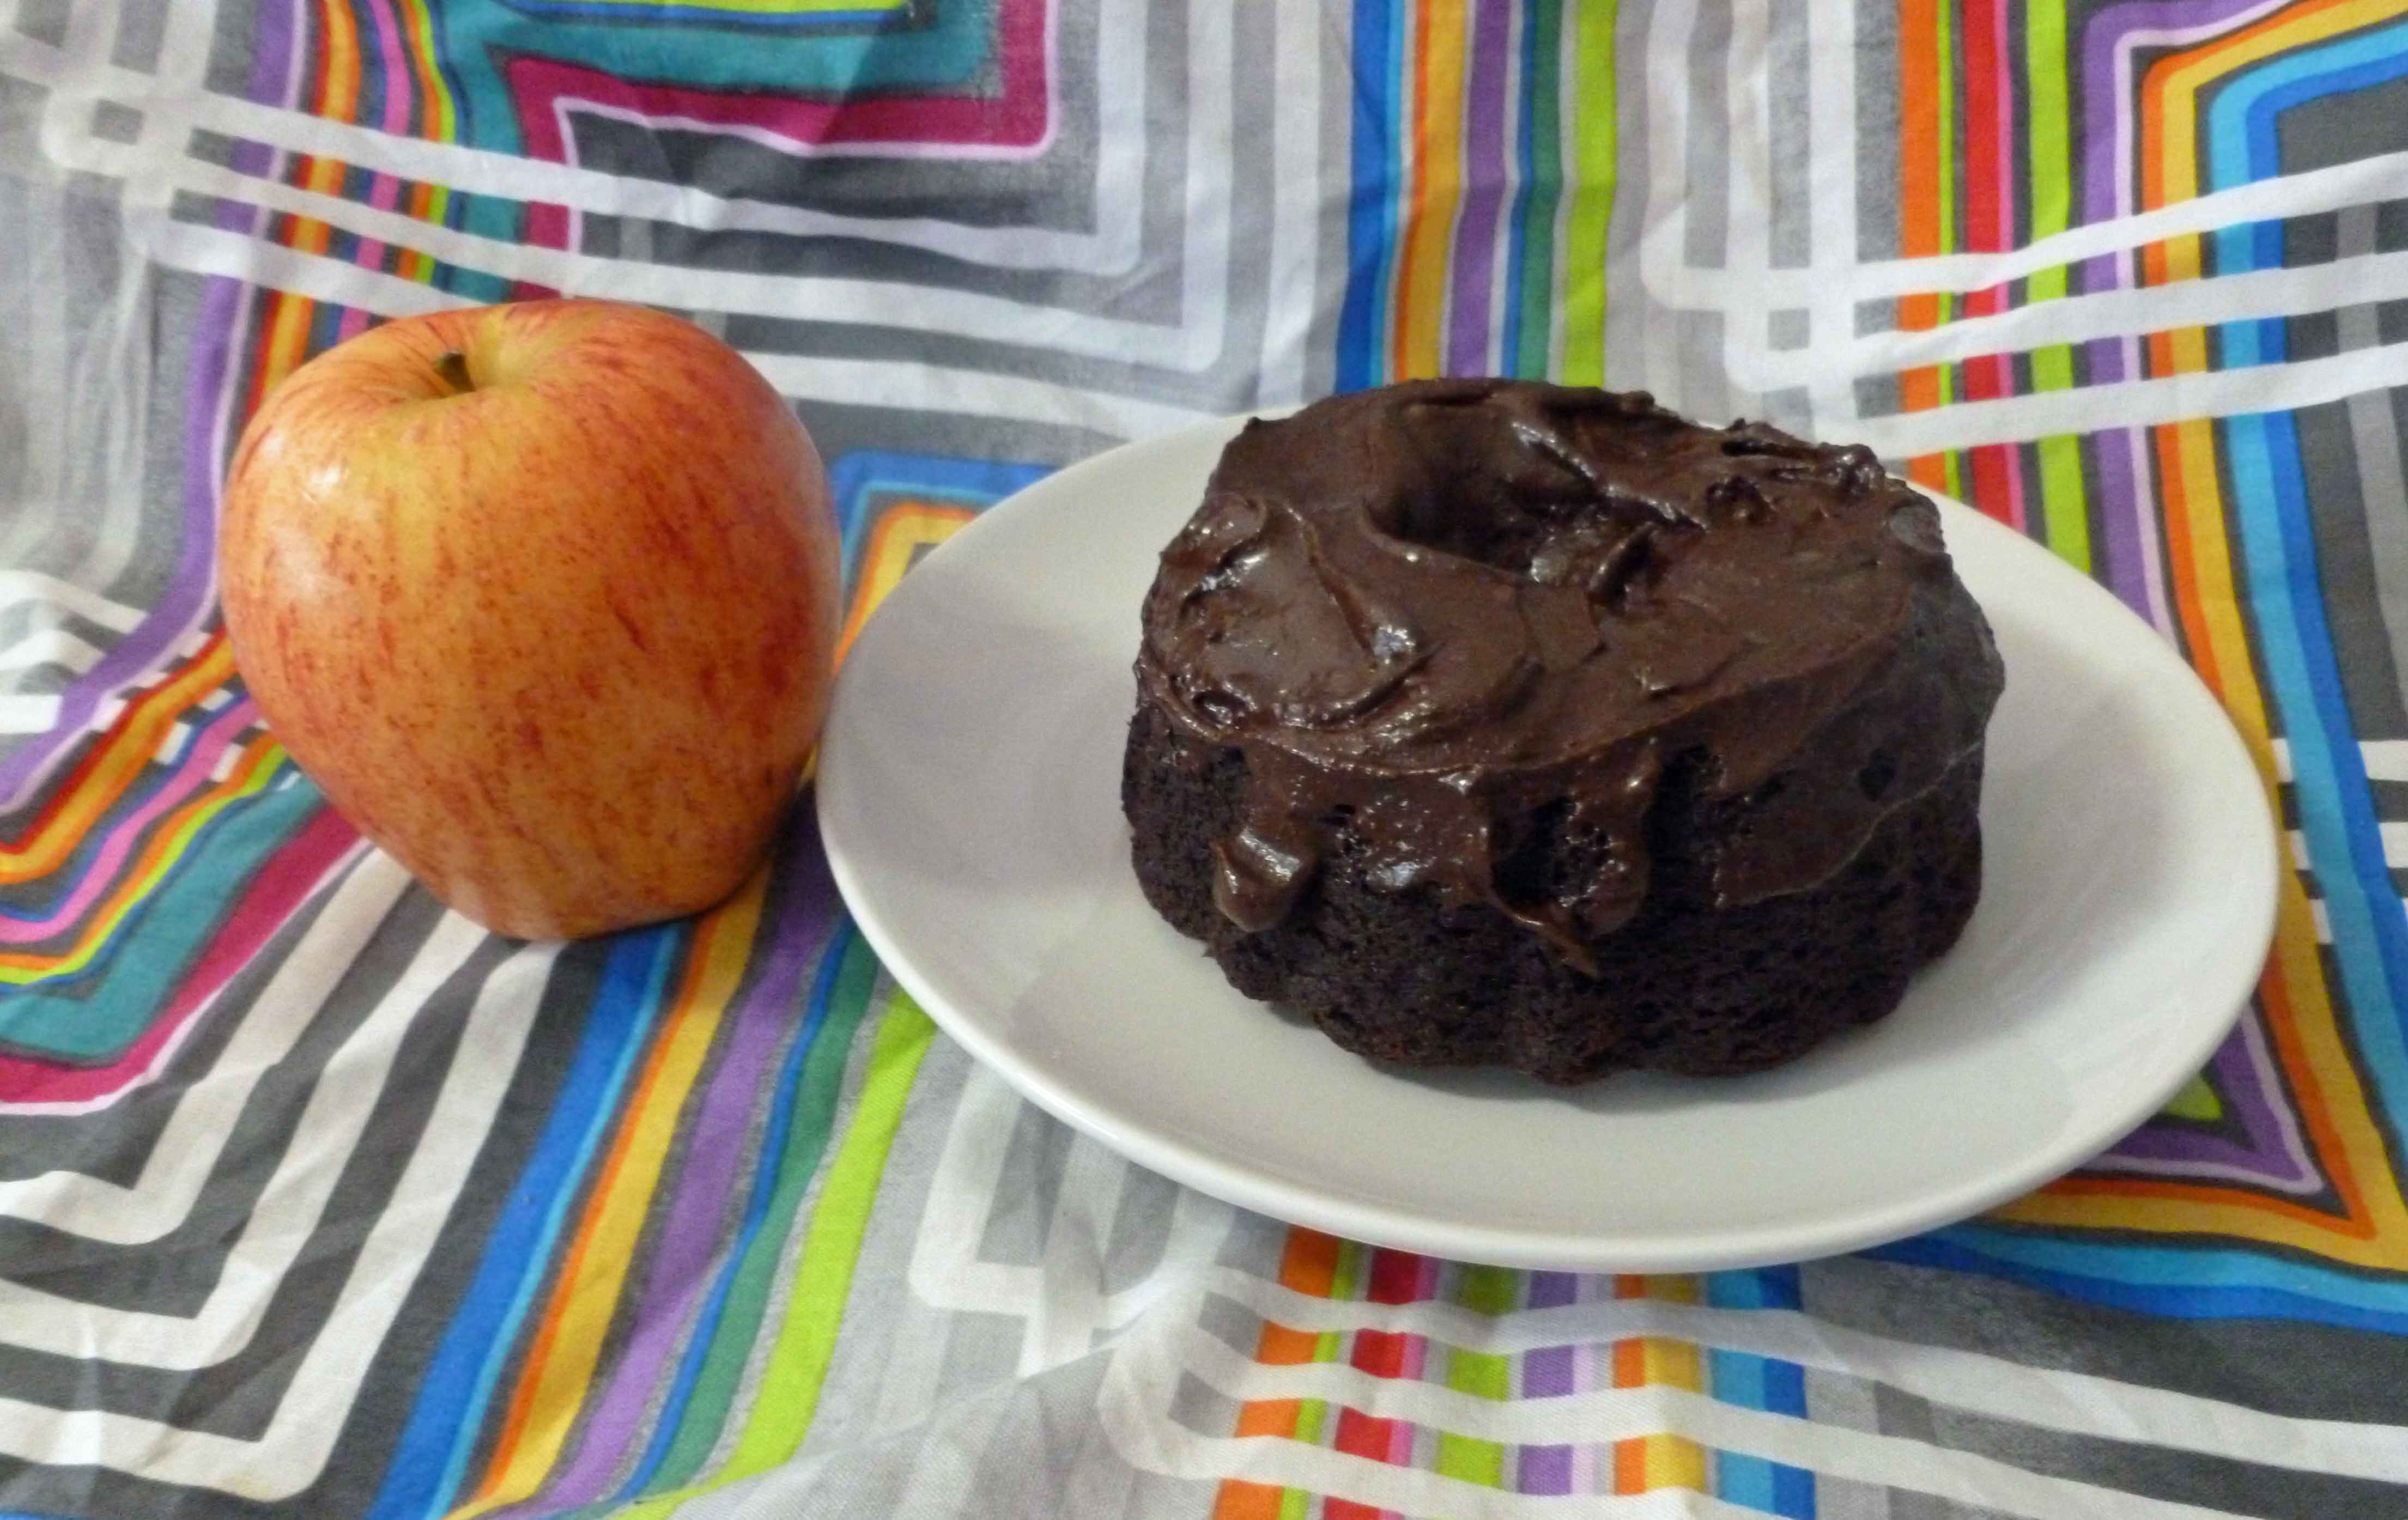
Chocolate Mini Bundt Cake with Chocolate Cinnamon Frosting
Making a chocolate cake without wheat, eggs, dairy, and a safe solid fat when you can’t have coconut, palm, or corn, that doesn’t end up tasting weird is a bit tough. I started with Allyson Kramer’s Dark Chocolate Chipotle Cake, which is gluten-free and vegan, for which I’ve previously made modifications to make it safe for me and which is awesome, but I just wanted a plain really chocolaty cake. I think I got there finally. So I took my prior modifications, tweeked the levels of sugar and chocolate some more, and de-veganized it, as I don’t have a safe solid fat that’s plant based. But I couldn’t leave well enough alone with the frosting, so there’s a bit of cinnamon in it, and it’s good.
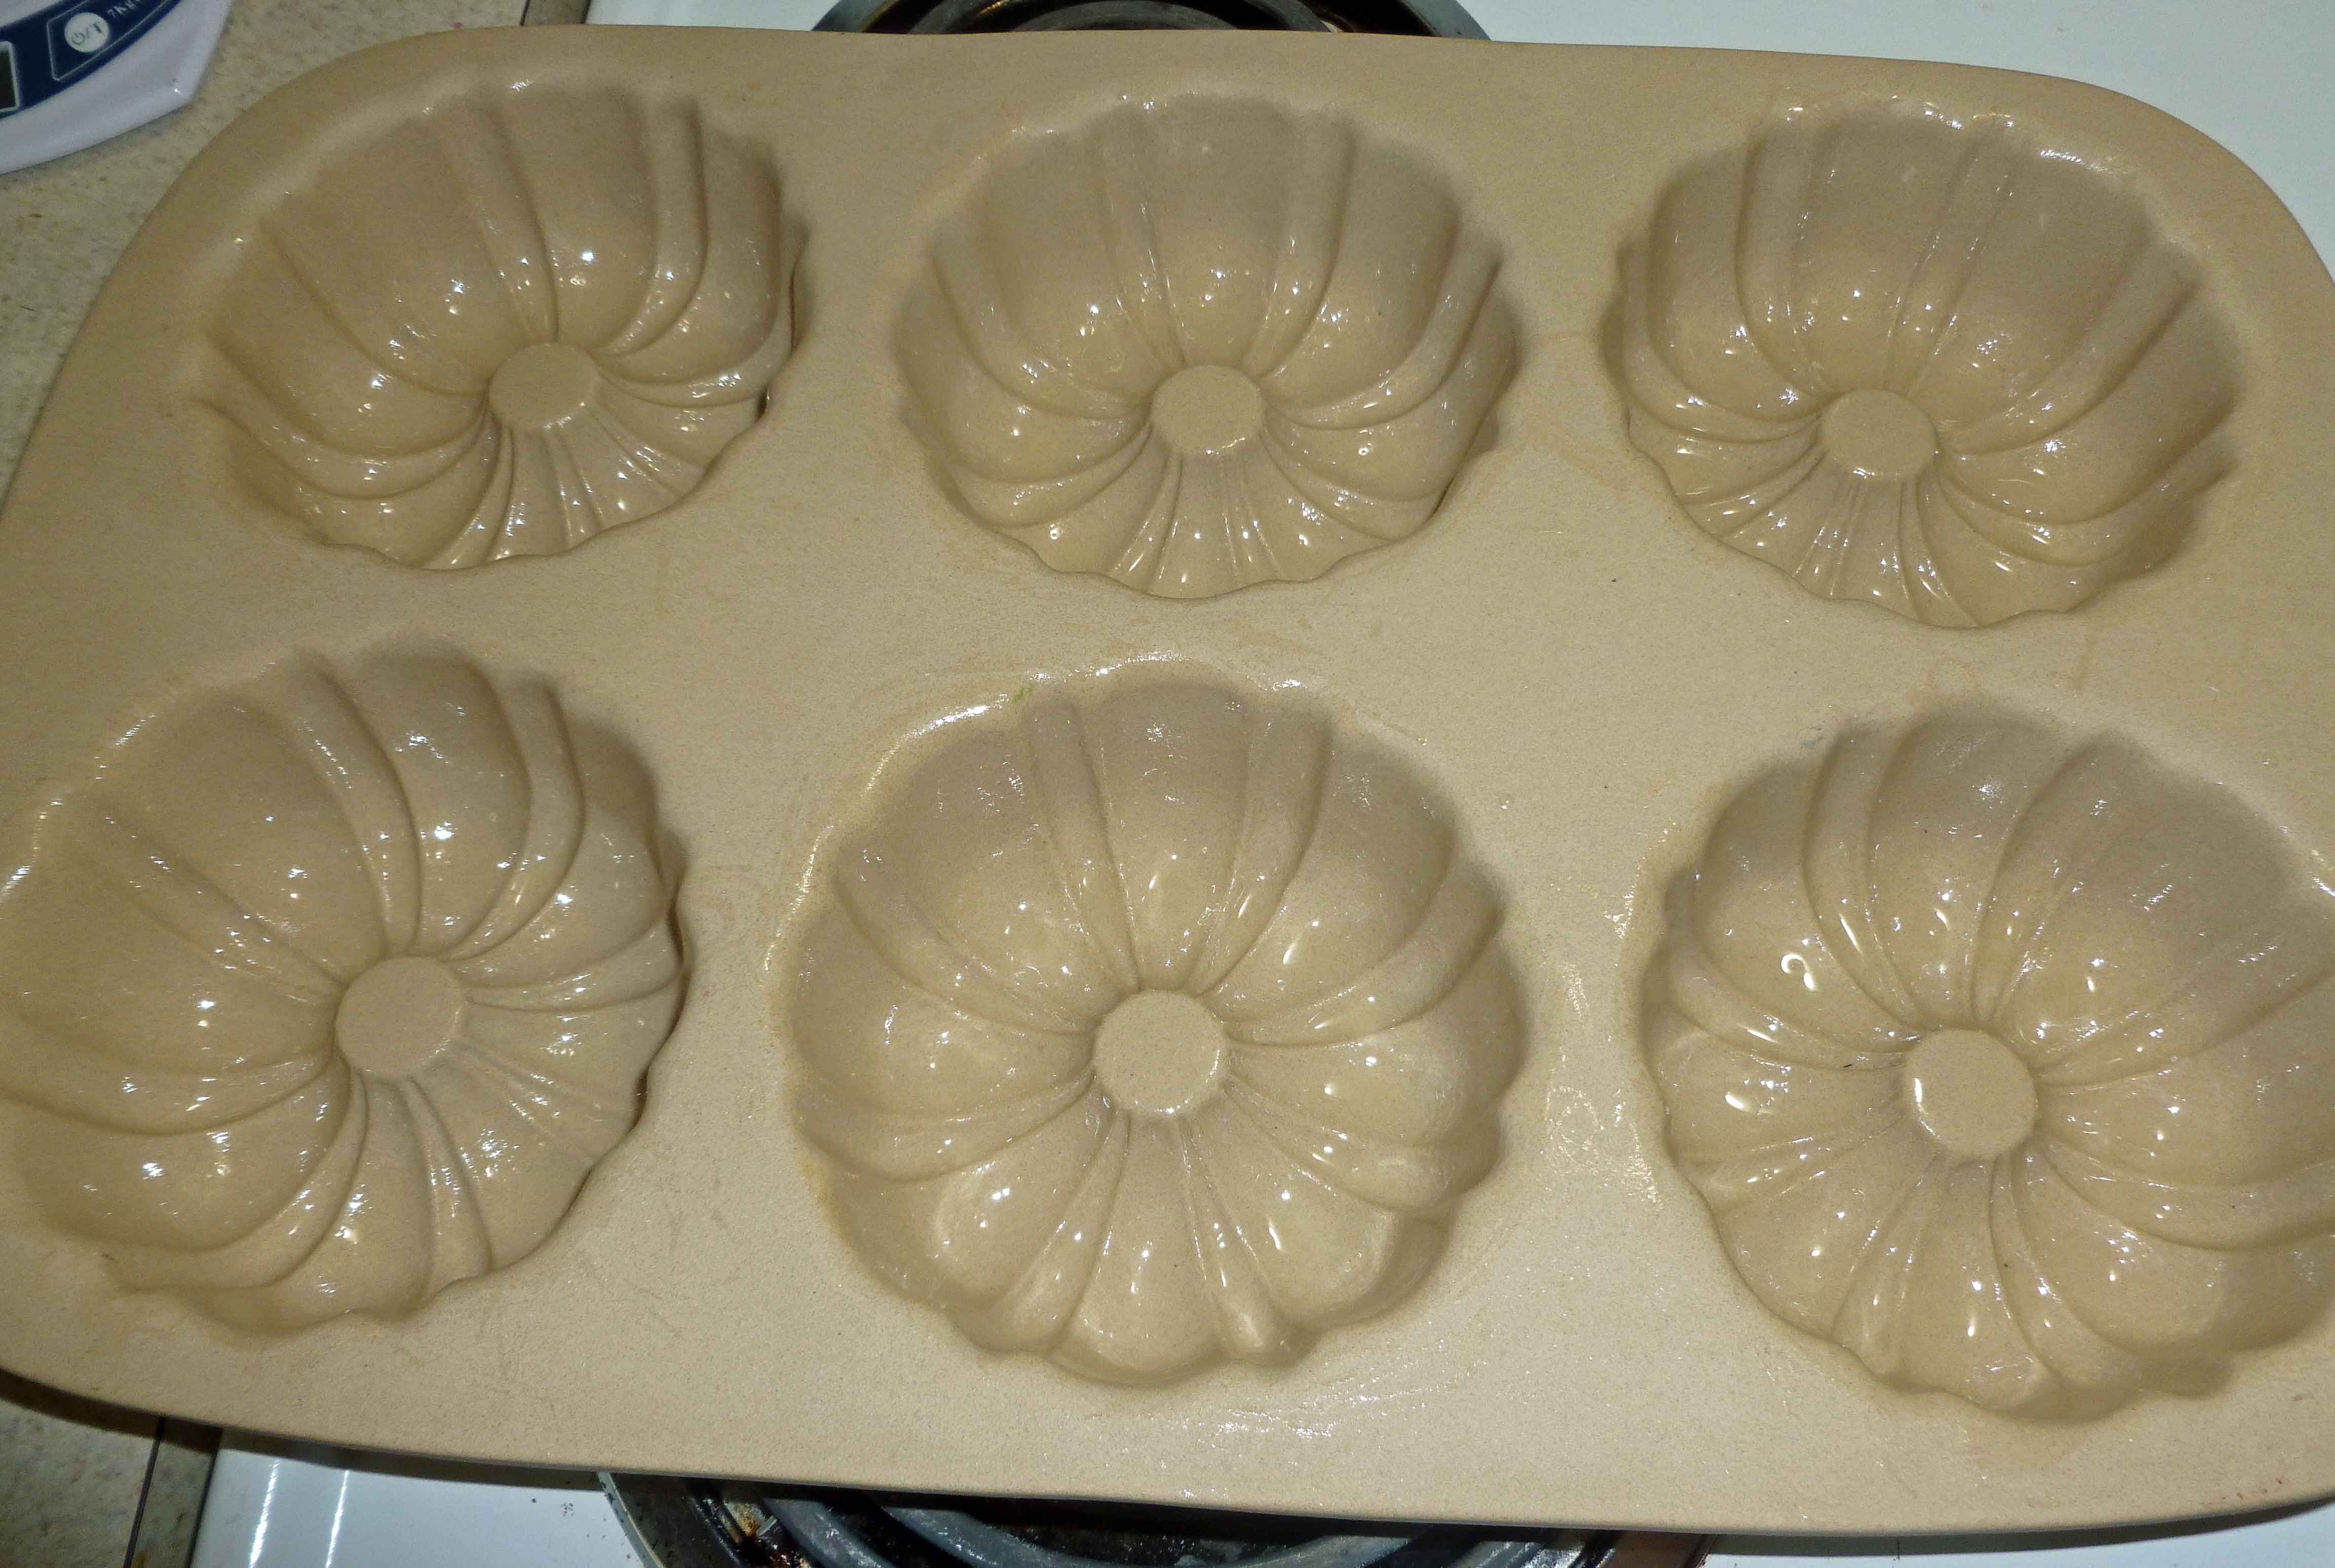
Feel free to try it with shortening instead of lard, I just don’t have a safe one I can use. Also, the coffee just brings out the chocolate flavor, but you won’t really taste it. You will need a mini bundt pan, like the one shown here:
Greased mini bundt pan
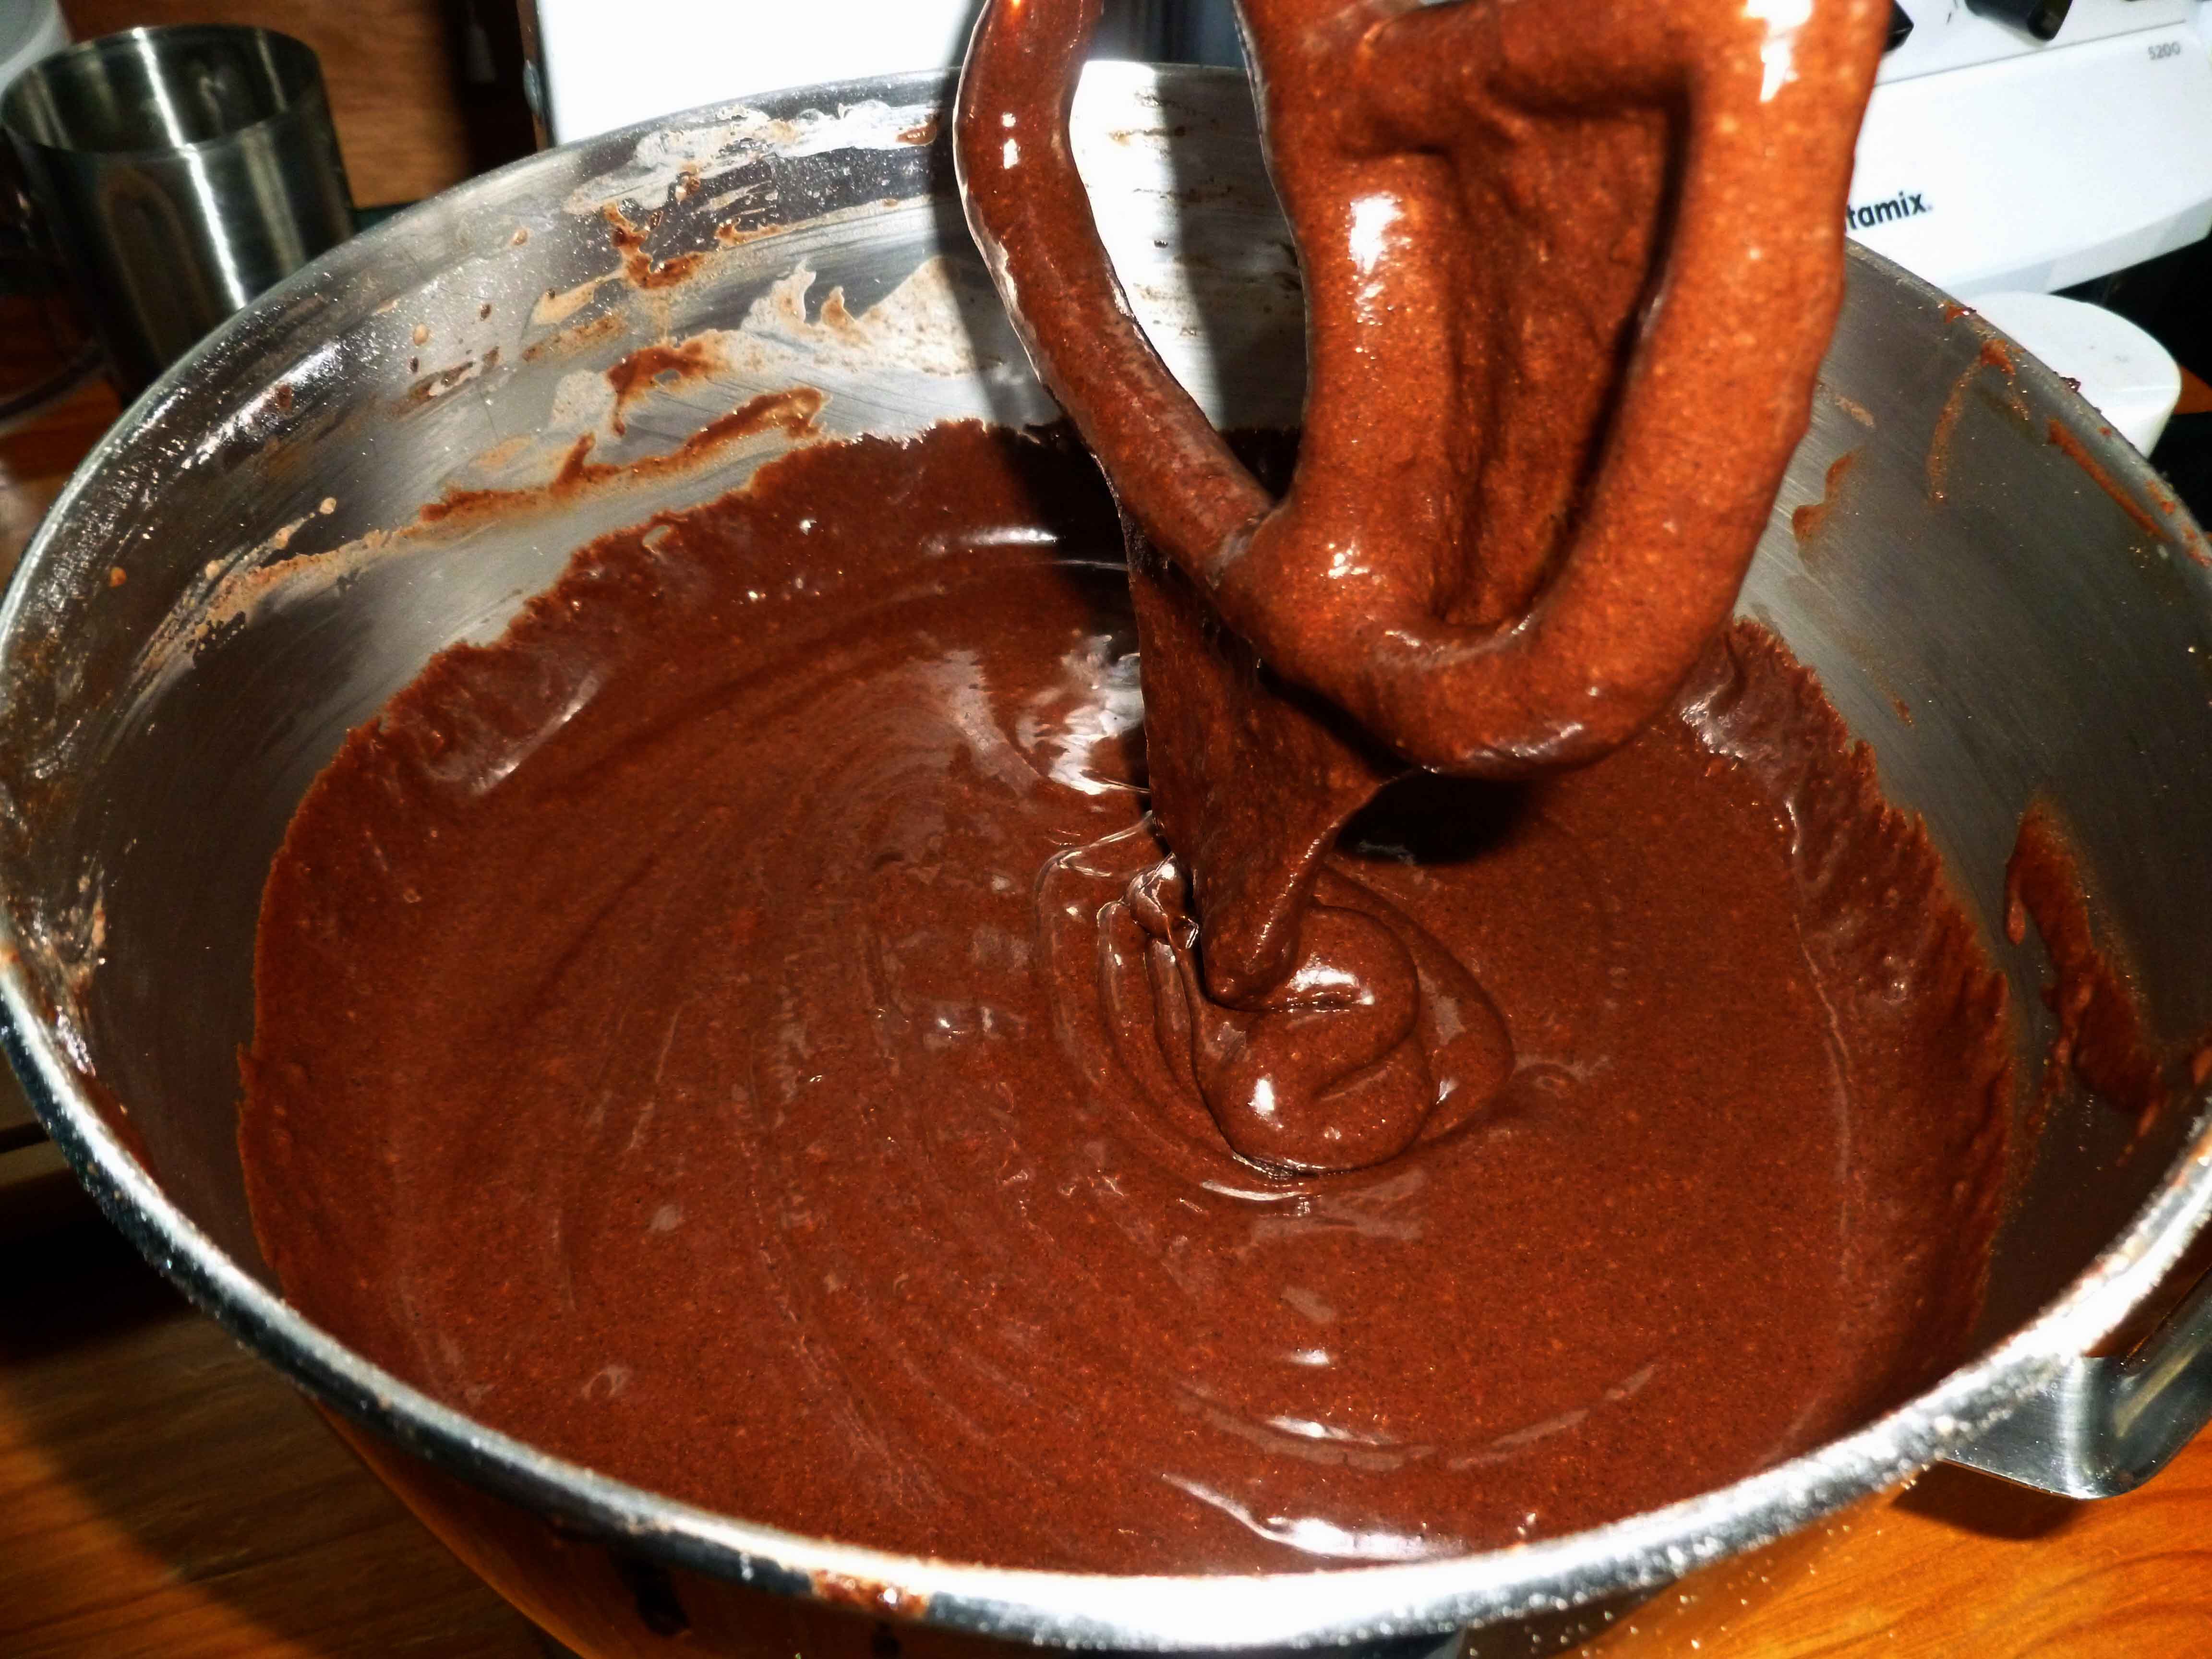
While normally I’d do a play by play of the whole recipe, things are a bit crazed here, and cake is not very hard, so the recipe card should suffice. But here are some of the in-process photos:
Completed chocolate cake batterChocolate Mini Bundt Cakes just out of the oven Notice: Trying to access array offset on value of type bool in /home/maryzahc/public_html/adultfoodallergies.com/wp-content/plugins/wp-ultimate-recipe/helpers/models/recipe.php on line 254
1 cup lard or shortening, melted(I use my home rendered lard)
1/2cup safe for you oil(I used olive and you’ll need a bit extra to grease the pan)
1 1/2cupscacao powder(I used Wilderness Family Naturals Raw Organic)
1 1/4 cupssorghum flour
1/2cup tapioca flour
1/2cup glutinous rice flour
1tspsalt
2tsp baking powder(I use a homemade version)
1cupnon-dairy milk(I used homemade cashew milk)
1/3cup brewed coffee
3 Tbspaquafaba(See aquafaba.com)
1Tbspground chia seed
1Tbsp apple cider vinegar(Bragg’s is usually the safest option corn allergy wise)
1mini bundt pan
Servings: cakes
Instructions
Preheat your oven to 350°F. Grease your mini bundt pan well.
Using a stand mixer or hand mixer, mix together the sugar, brown sugar, melted lard or shortening, olive oil, and cacao powder, until the ingredients are completely incorporated and the mixture is smooth.
Place your sorghum flour, tapioca flour, glutinous rice flour, salt, and baking powder in another bowl. Whisk well until completely combined.
In small bowl, place your chia seed and aquafaba. Mix well until combined. Then add your non-dairy milk and coffee, and mix well.
With your mixer set on low speed, alternate between adding your flour mixture, and your non-dairy milk mixture to the rest of the cake batter in small portions, scraping the sides of the bowl as needed.
Once the flour and non-dairy milk mixtures are fully incorporated into the batter, add your apple cider vinegar, and mix well.
Divide the batter evenly between the mini bundt cake wells of the greased mini bundt cake pan.
Bake in your pre-heated oven for 45-55 minutes or until a toothpick inserted in the middle of the cake comes clean. I used a stoneware pan, which is much thicker than metal pans, so you may want to check it at 35 minutes just to be sure.
When the cake has cooled completely, remove it from the pan. You may need to loose it a bit with a butter knife.
Completed Frosting Notice: Trying to access array offset on value of type bool in /home/maryzahc/public_html/adultfoodallergies.com/wp-content/plugins/wp-ultimate-recipe/helpers/models/recipe.php on line 254
Chocolate Cinnamon Frosting
Print Recipe
Enough frosting for an 8×8 cake pan or a bundt cake, or 6 mini bundt cakes.
1cuppowdered sugar(I make mine in my blender with a bit of tapioca flour)
4Tbspnon-dairy milk(I used homemade cashew milk)
1/2 cup cacao powder(I use Wilderness Family Naturals Raw Organic Cacao powder)
2Tbspsoftened lard, or safe for you shortening or vegan margarine(I use my home rendered lard)
1Tbspbrewed coffee
1tspsafe for you oil
1/8tspcinnamon
Servings:
Instructions
Place all ingredients in a bowl and using a stand mixer with beater attachment or a hand mixer, blend the ingredients until smooth. This frosting will harden, so wait to make the frosting until the cake is cool and you are ready to frost it.


")
")