Pastrami is one of those things I have dearly missed. And it was hard to think about trying to do it without curing salt. All commercial curing salt is dyed pink for safety and contains dextrose which is generally derived from corn. But mixing up my own curing salt was scary, because let’s face it, if you screw it up and put too much sodium nitrite in your mixture, you can poison yourself. But I finally bit the bullet and made some. You’re going to say, Denise, why would you use something you could poison yourself with? I’m going to say, you can die of drinking too much water too, and if I’m not careful and don’t follow the rules, I can give myself botulism canning my food too. And those of you who know me in real life, know that I pretty much have a 50/50% chance of cutting, burning, or otherwise maiming myself every time I cook. Risk is inherent in existence. There’s already nitrites in many foods naturally already, like the celery that is used for “uncured” bacon. Since I only eat cured meats a few times a year since they take so much effort to make, I’m not that worried about it. And we’re all going to die of something, nobody’s getting out of here alive. So eat the pastrami once in a while, damn it, and savor it.
I got this amazing recipe from Leite’s Culinaria. I had to change a few things, mostly leaving out the honey, adding a bit more brown sugar instead, and using my own mixture of curing salt #1. If you can have honey and commercial curing salt, just follow their recipe, I’m sure it’s genius as it is.
Making Curing Salt:
To make Curing Salt #1, or Prague Mix #1, or Instacure #1, you need a scale, with a digital readout going out two places. You need to be absolutely precise. The mixture must be 6.25% sodium nitrite (I got mine on Amazon, make sure it’s food grade, no affiliation with Amazon) and 93.75% salt. To make about 4 ounces of Curing Salt #1, you need to weigh out 0.25 ounces of sodium nitrite making sure you tare out or zero out your container, and 3.68 ounces of salt (I used Diamond Crystal Fine All Natural Sea Salt, again no affiliation with Amazon). Mix these together well, and store in a container that’s very clearly marked so that there is no confusion as to what it is. Do not ask me for cups or teaspoon equivalents because I will not do it. This needs to be mixed as exactly as described, you cannot wing it or approximate. I cannot emphasize this enough, the proportions must be exactly as described here to be safe.

Once you’ve make your Curing Salt #1, it’s time to make the pastrami. Yay!
Be aware that this is a several day process. Read the whole recipe through first.
Cure Your Own Pastrami
Main Ingredients:
- 3-5 pound beef brisket
- 4 cups of cold water for humidifying the oven
Brine Ingredients:
- 3 quarts of cold water
- 2 cups of kosher salt
- 1/4 cup of Curing Salt #1 (either the DIY version above or a commercial version if you aren’t allergic to corn)
- 1 cup of white sugar
- 3/4 cup of brown sugar
- 2 Tablespoons of pickling spice (I used Penzey’s or you can make your own)
- 1 Tablespoon of whole coriander seed
- 1 Tablespoon of whole yellow mustard seed
- 1 Tablespoon of dried minced garlic
- 3 quarts ice cold water
Spice Rub Ingredients:
- 1/4 cup of freshly ground coriander seed (I ground my own)
- 2 Tablespoons freshly ground black pepper
- 2 Tablespoons of smoked paprika
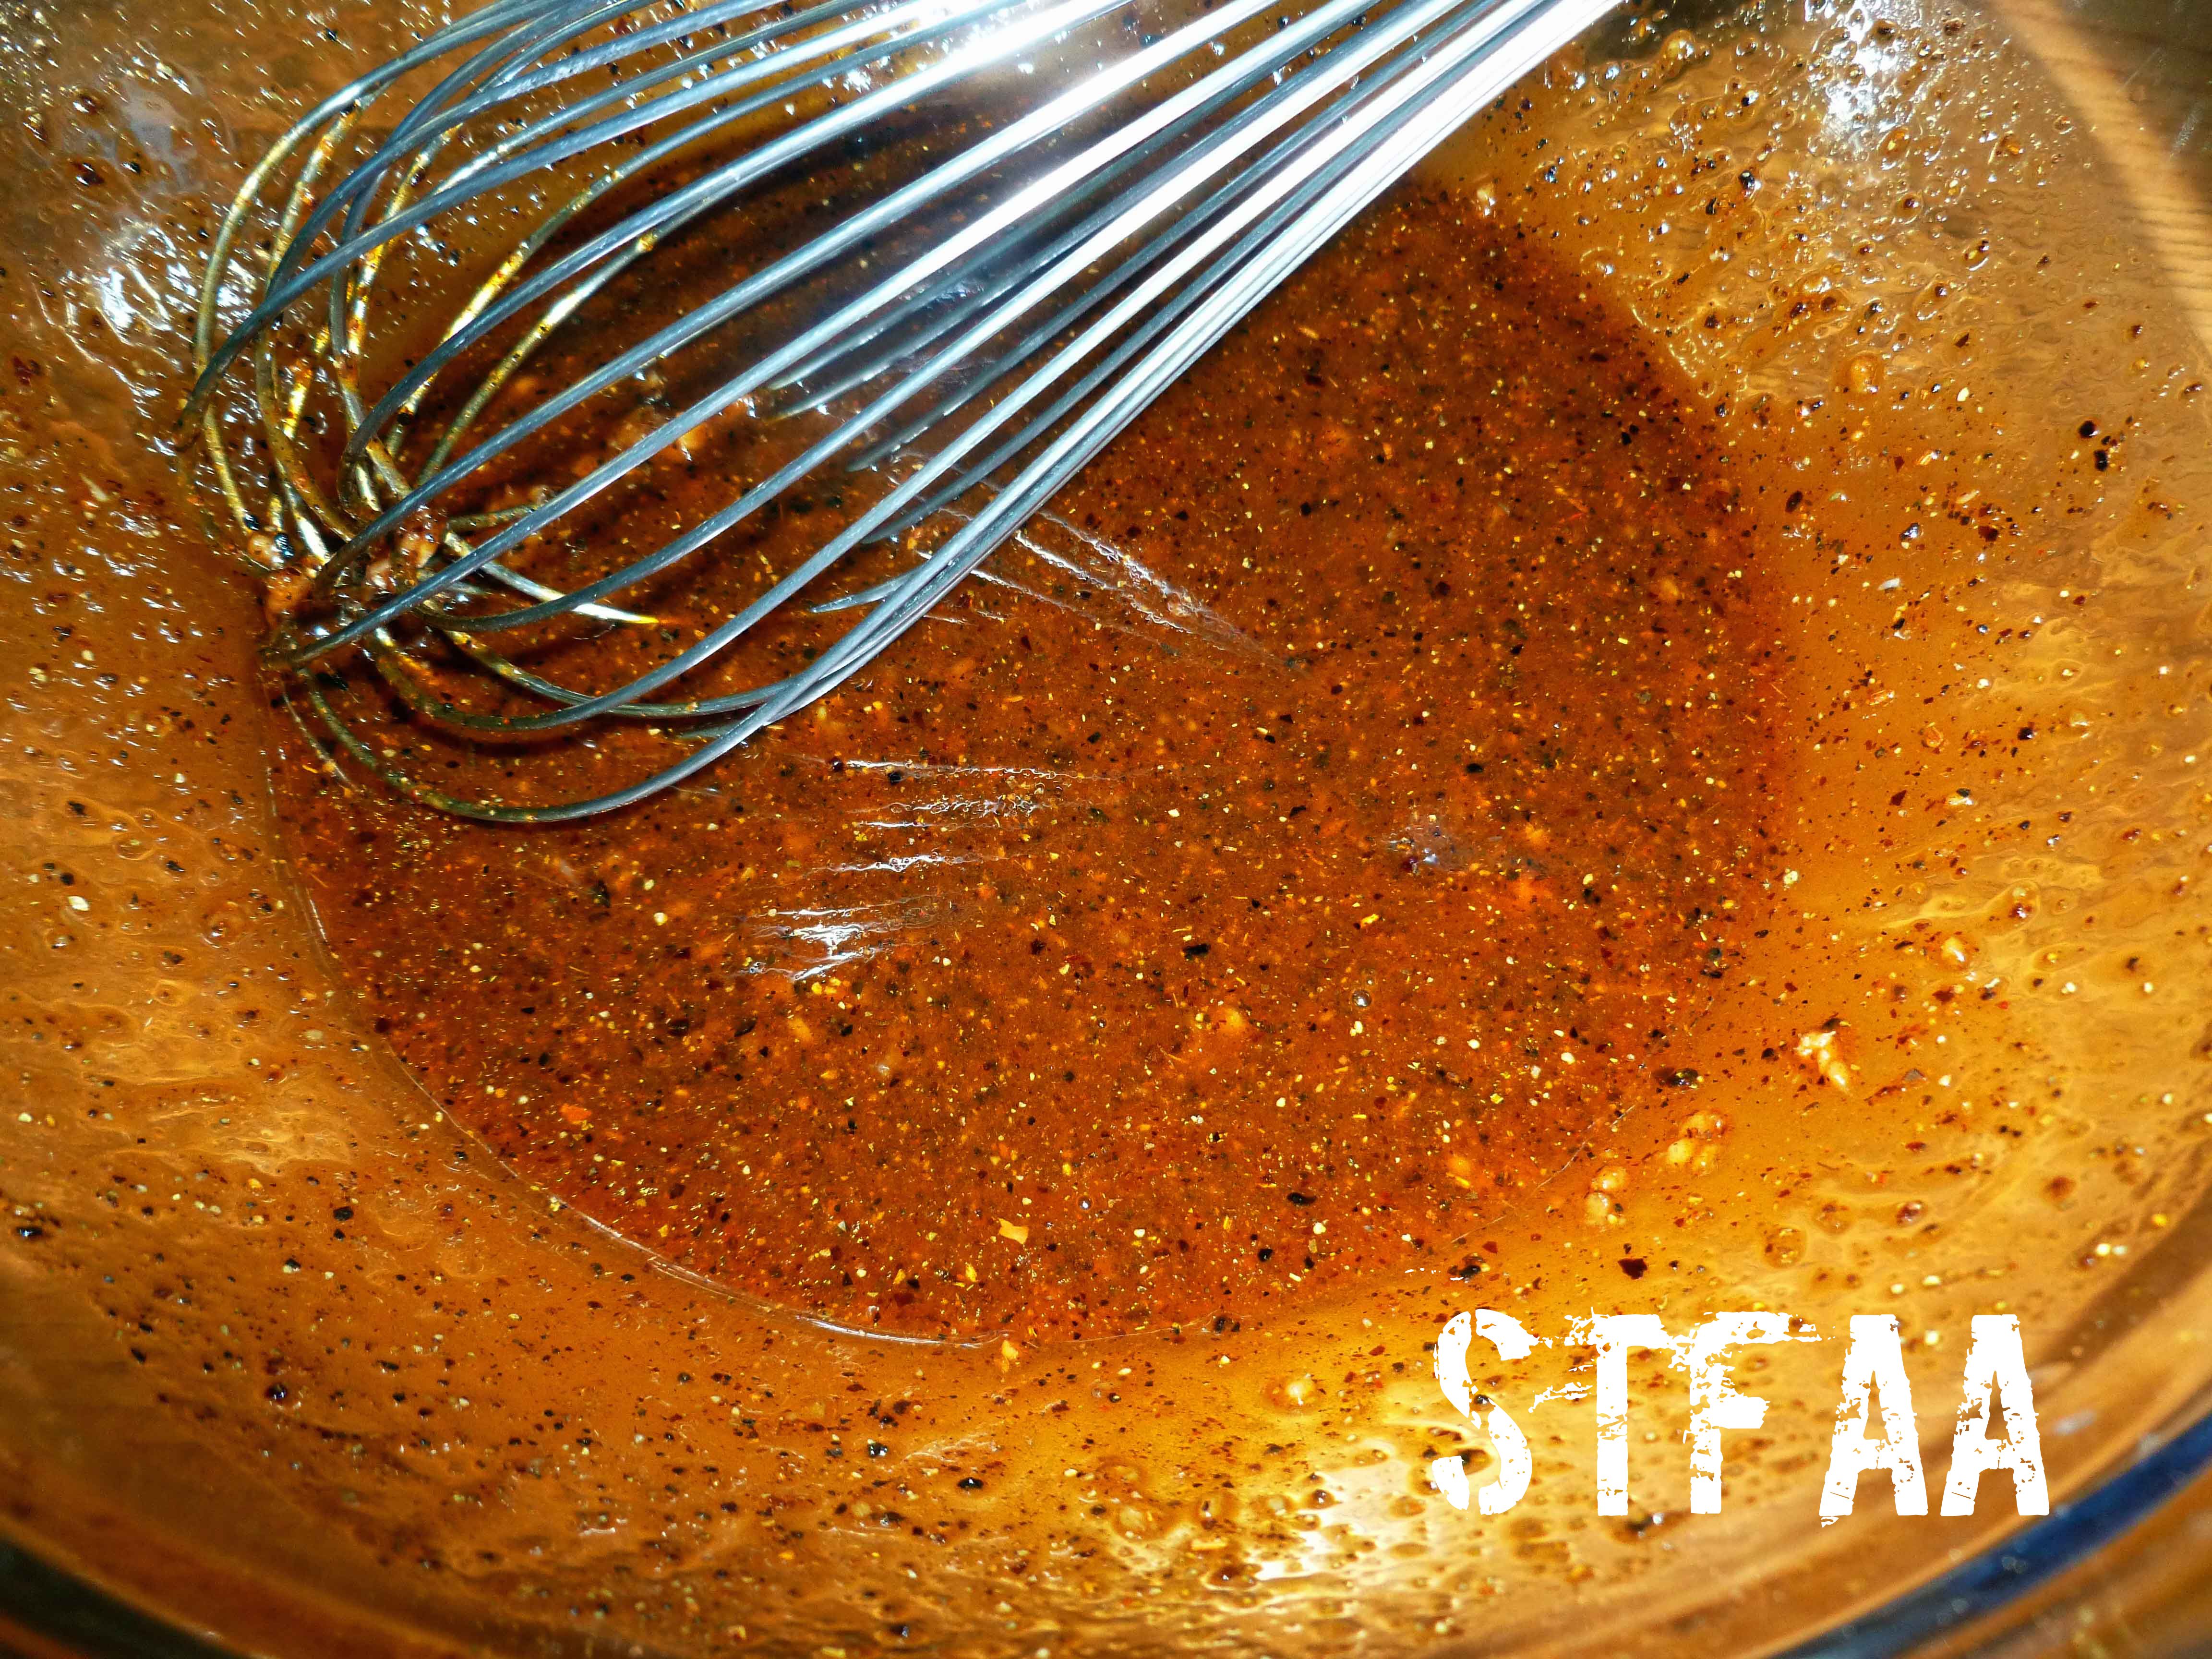
In a large stock pot, add the 3 quarts of cold water, the kosher salt, your homemade curing salt, white and brown sugar, pickling spice, coriander seed, mustard seed, and garlic. Bring to a boil over high heat, stirring until the salt and sugar have fully dissolved. Remove the pot from the heat.
In a food safe container large enough to hold the brisket and 6 quarts of water and which will also fit in your refrigerator, place the 3 quarts ice-cold water, and the brine. Place the container in the refrigerator until completely cool. I usually make the brine the day before and let it sit in the refrigerator overnight.
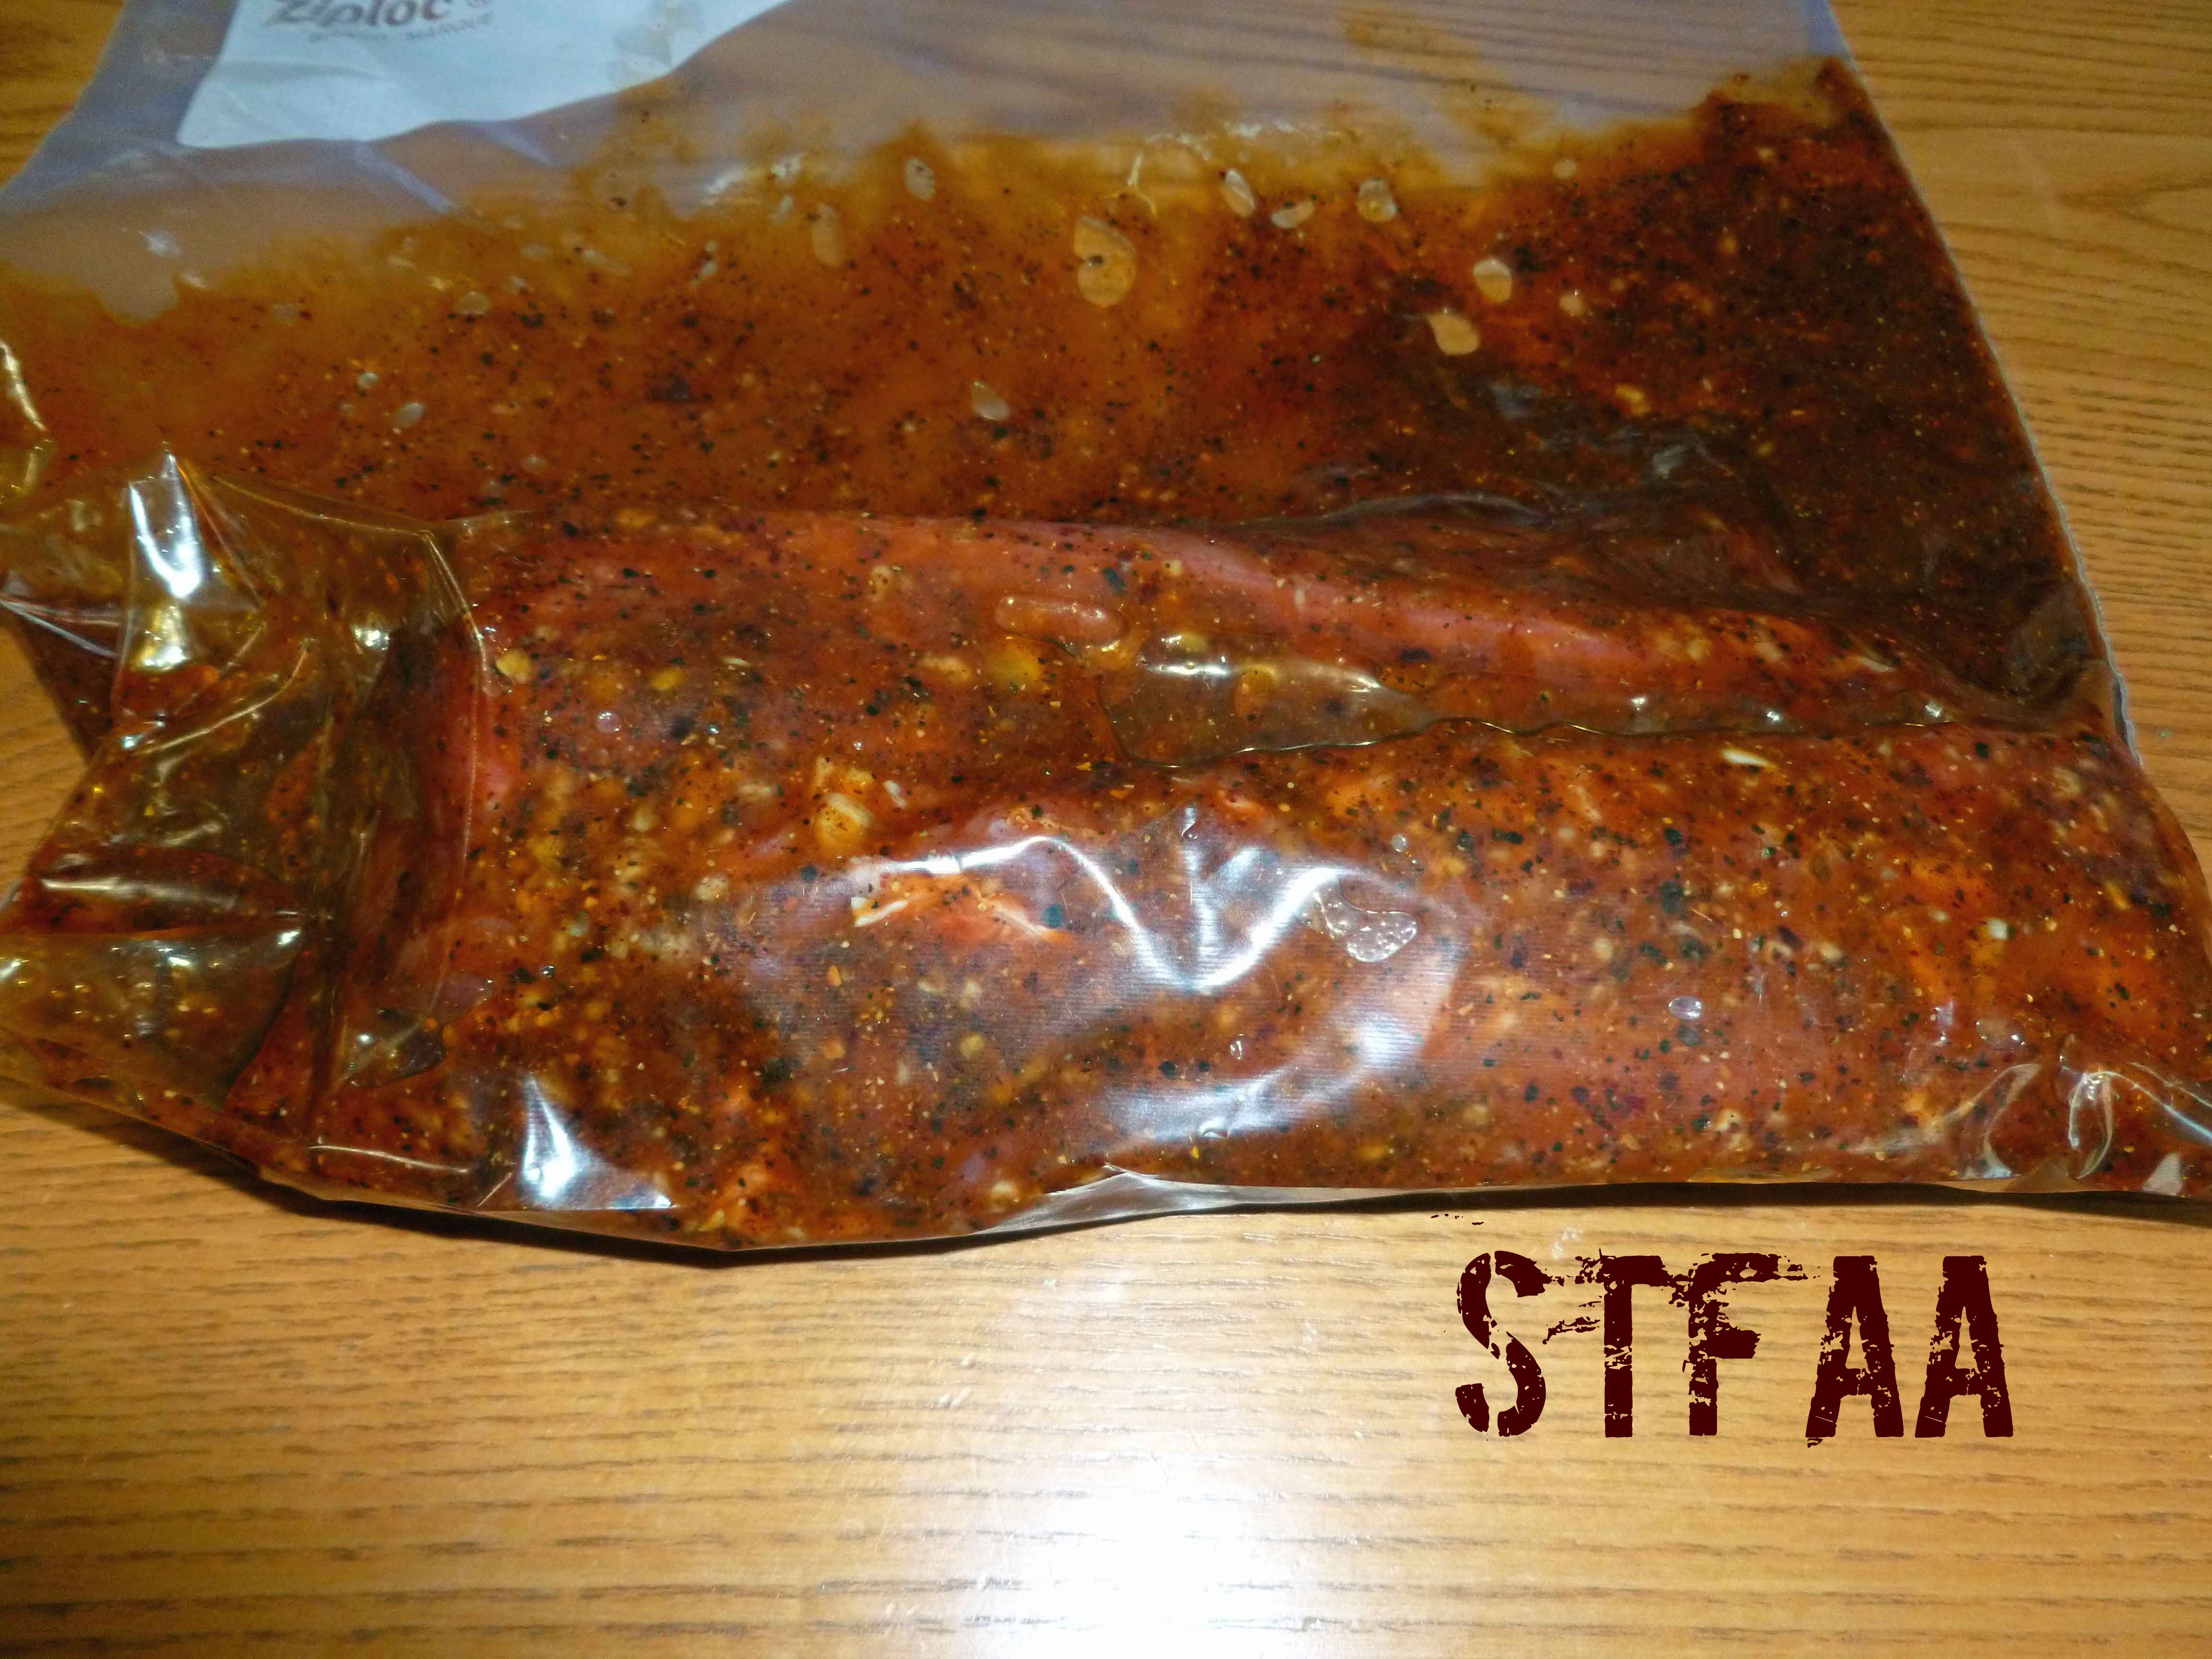
Trim the excess fat from the brisket leaving layer about a 1/4 inch thick remaining on the brisket. Submerge the brisket in the cooled brine. Depending on your container, you may need to cut it into two pieces to submerge it. You might also want to weigh it down with a plate.
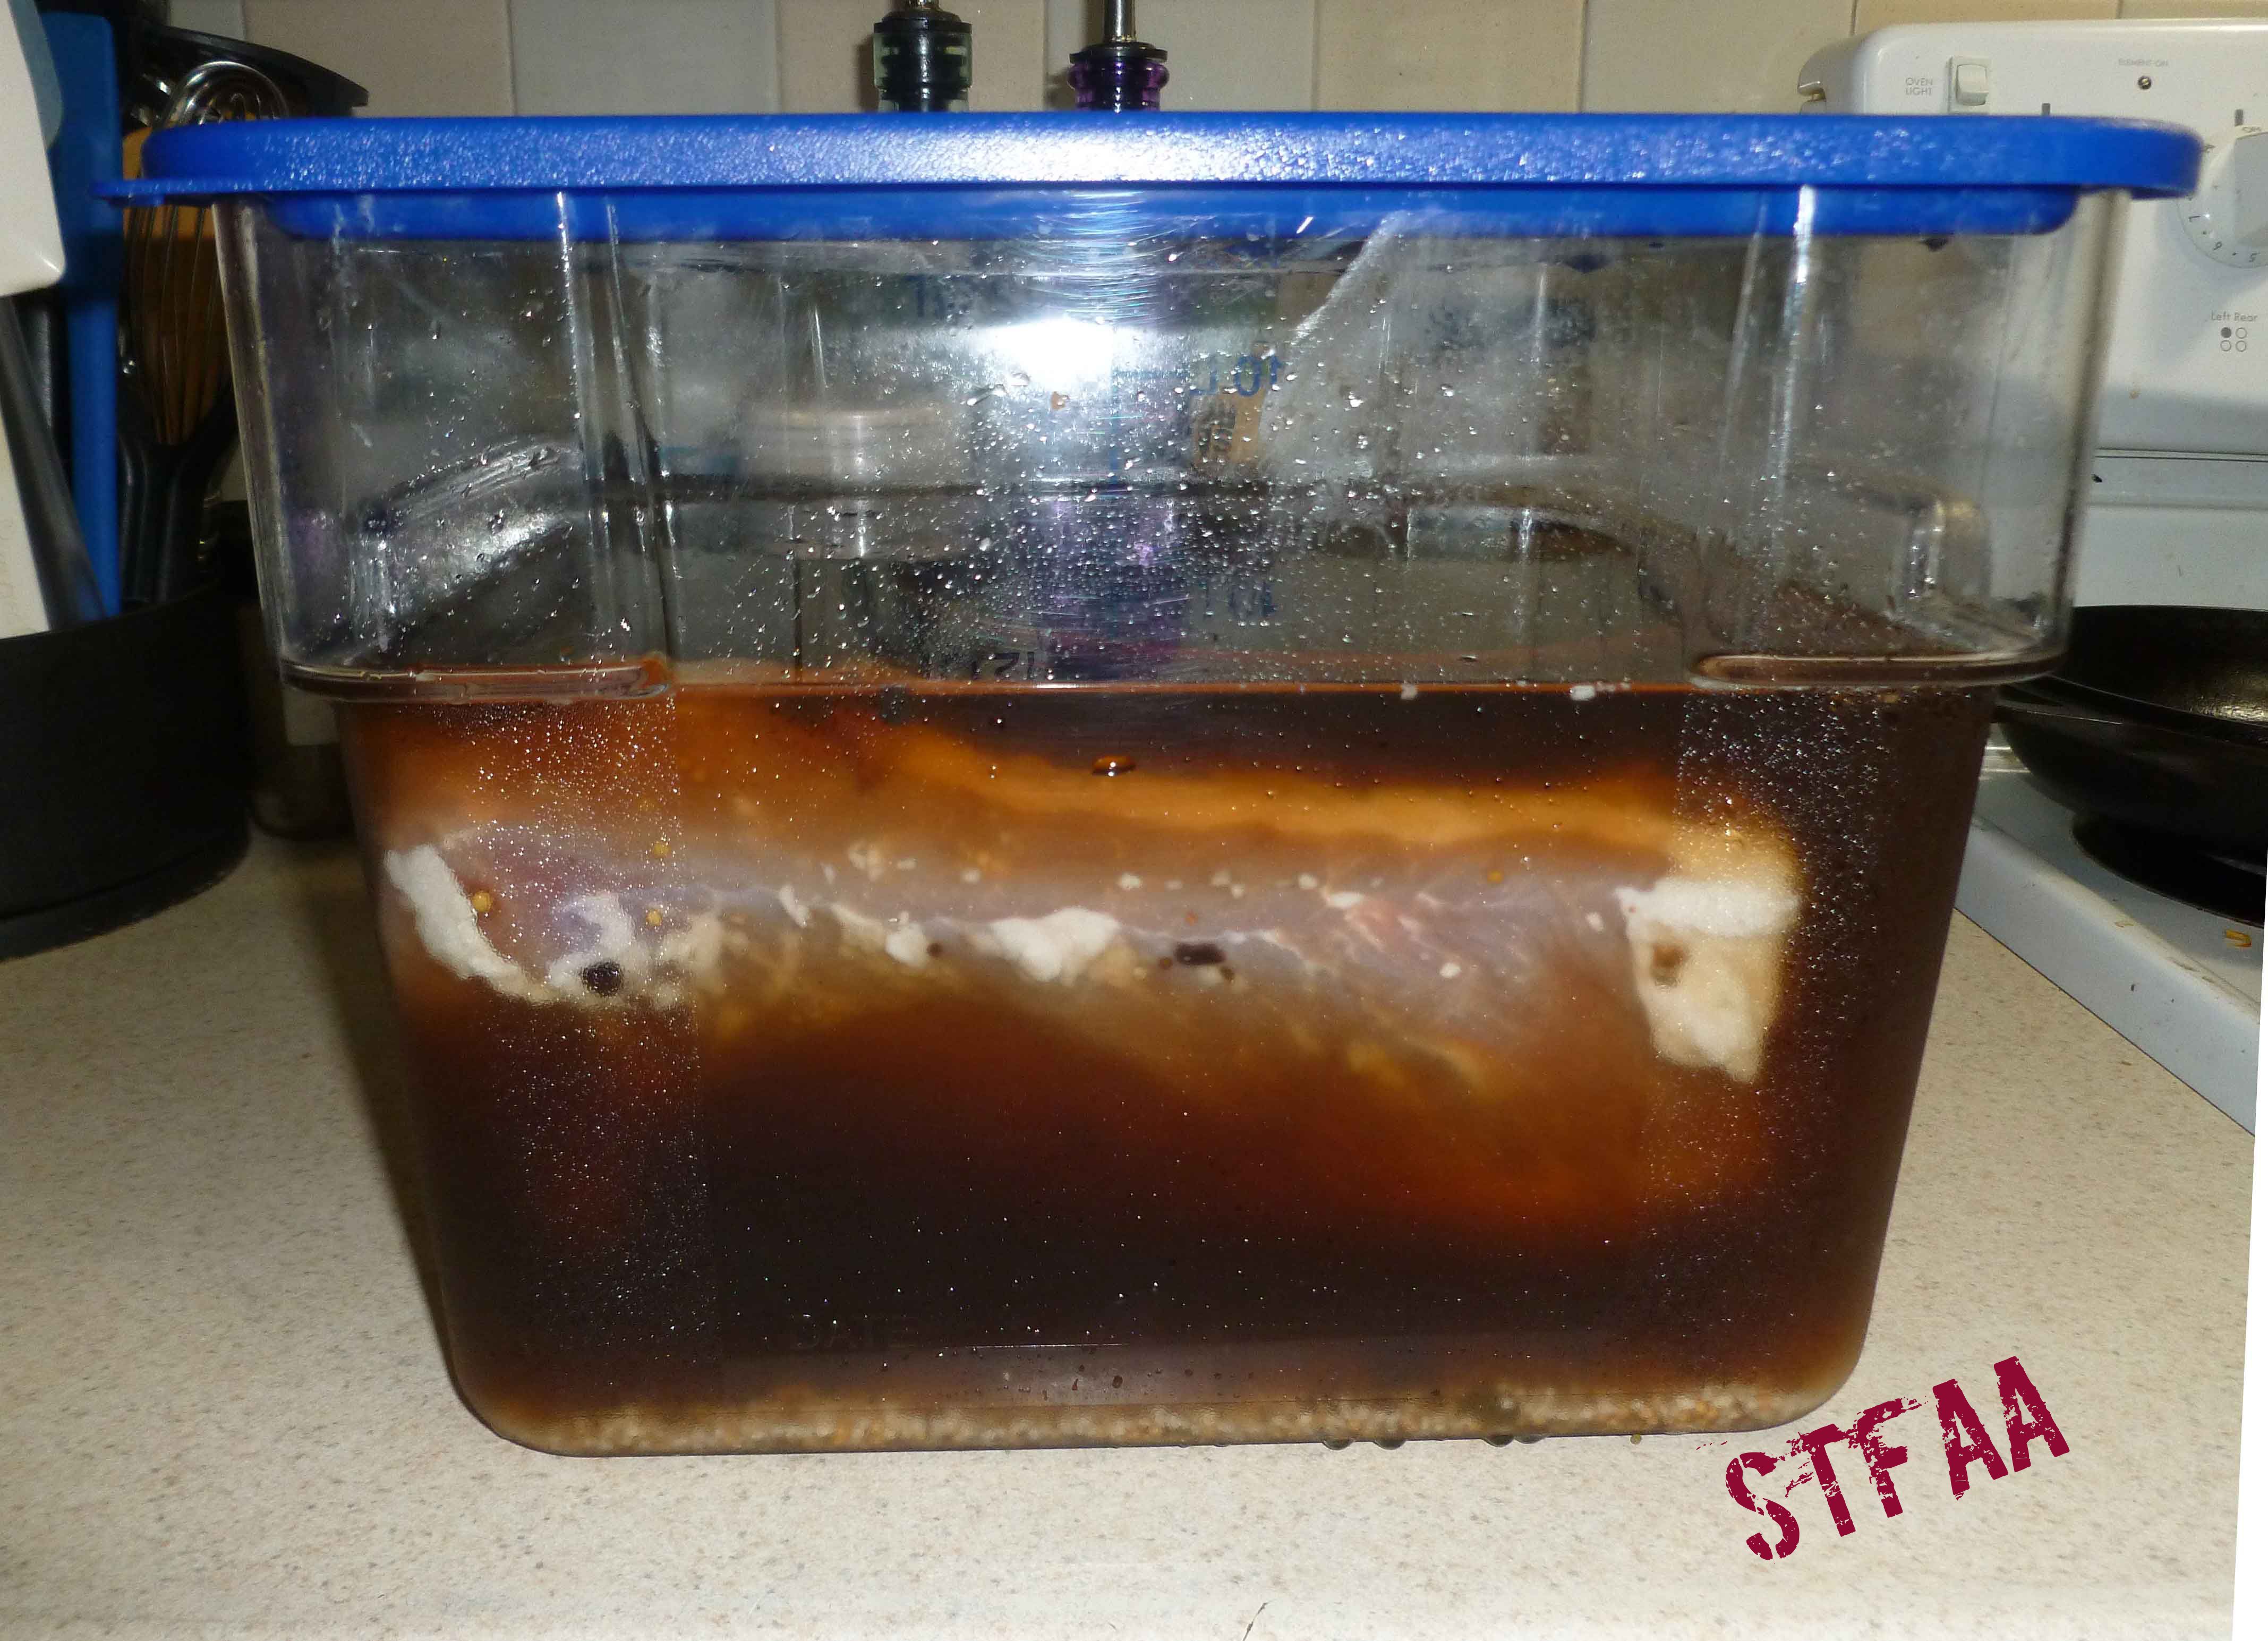
Refrigerate for 5 days, stirring the brine and turning the brisket over once a day. If any of the brisket pieces touch each other, make sure that you regularly turn them away from each other to expose all sides of the to the brine.
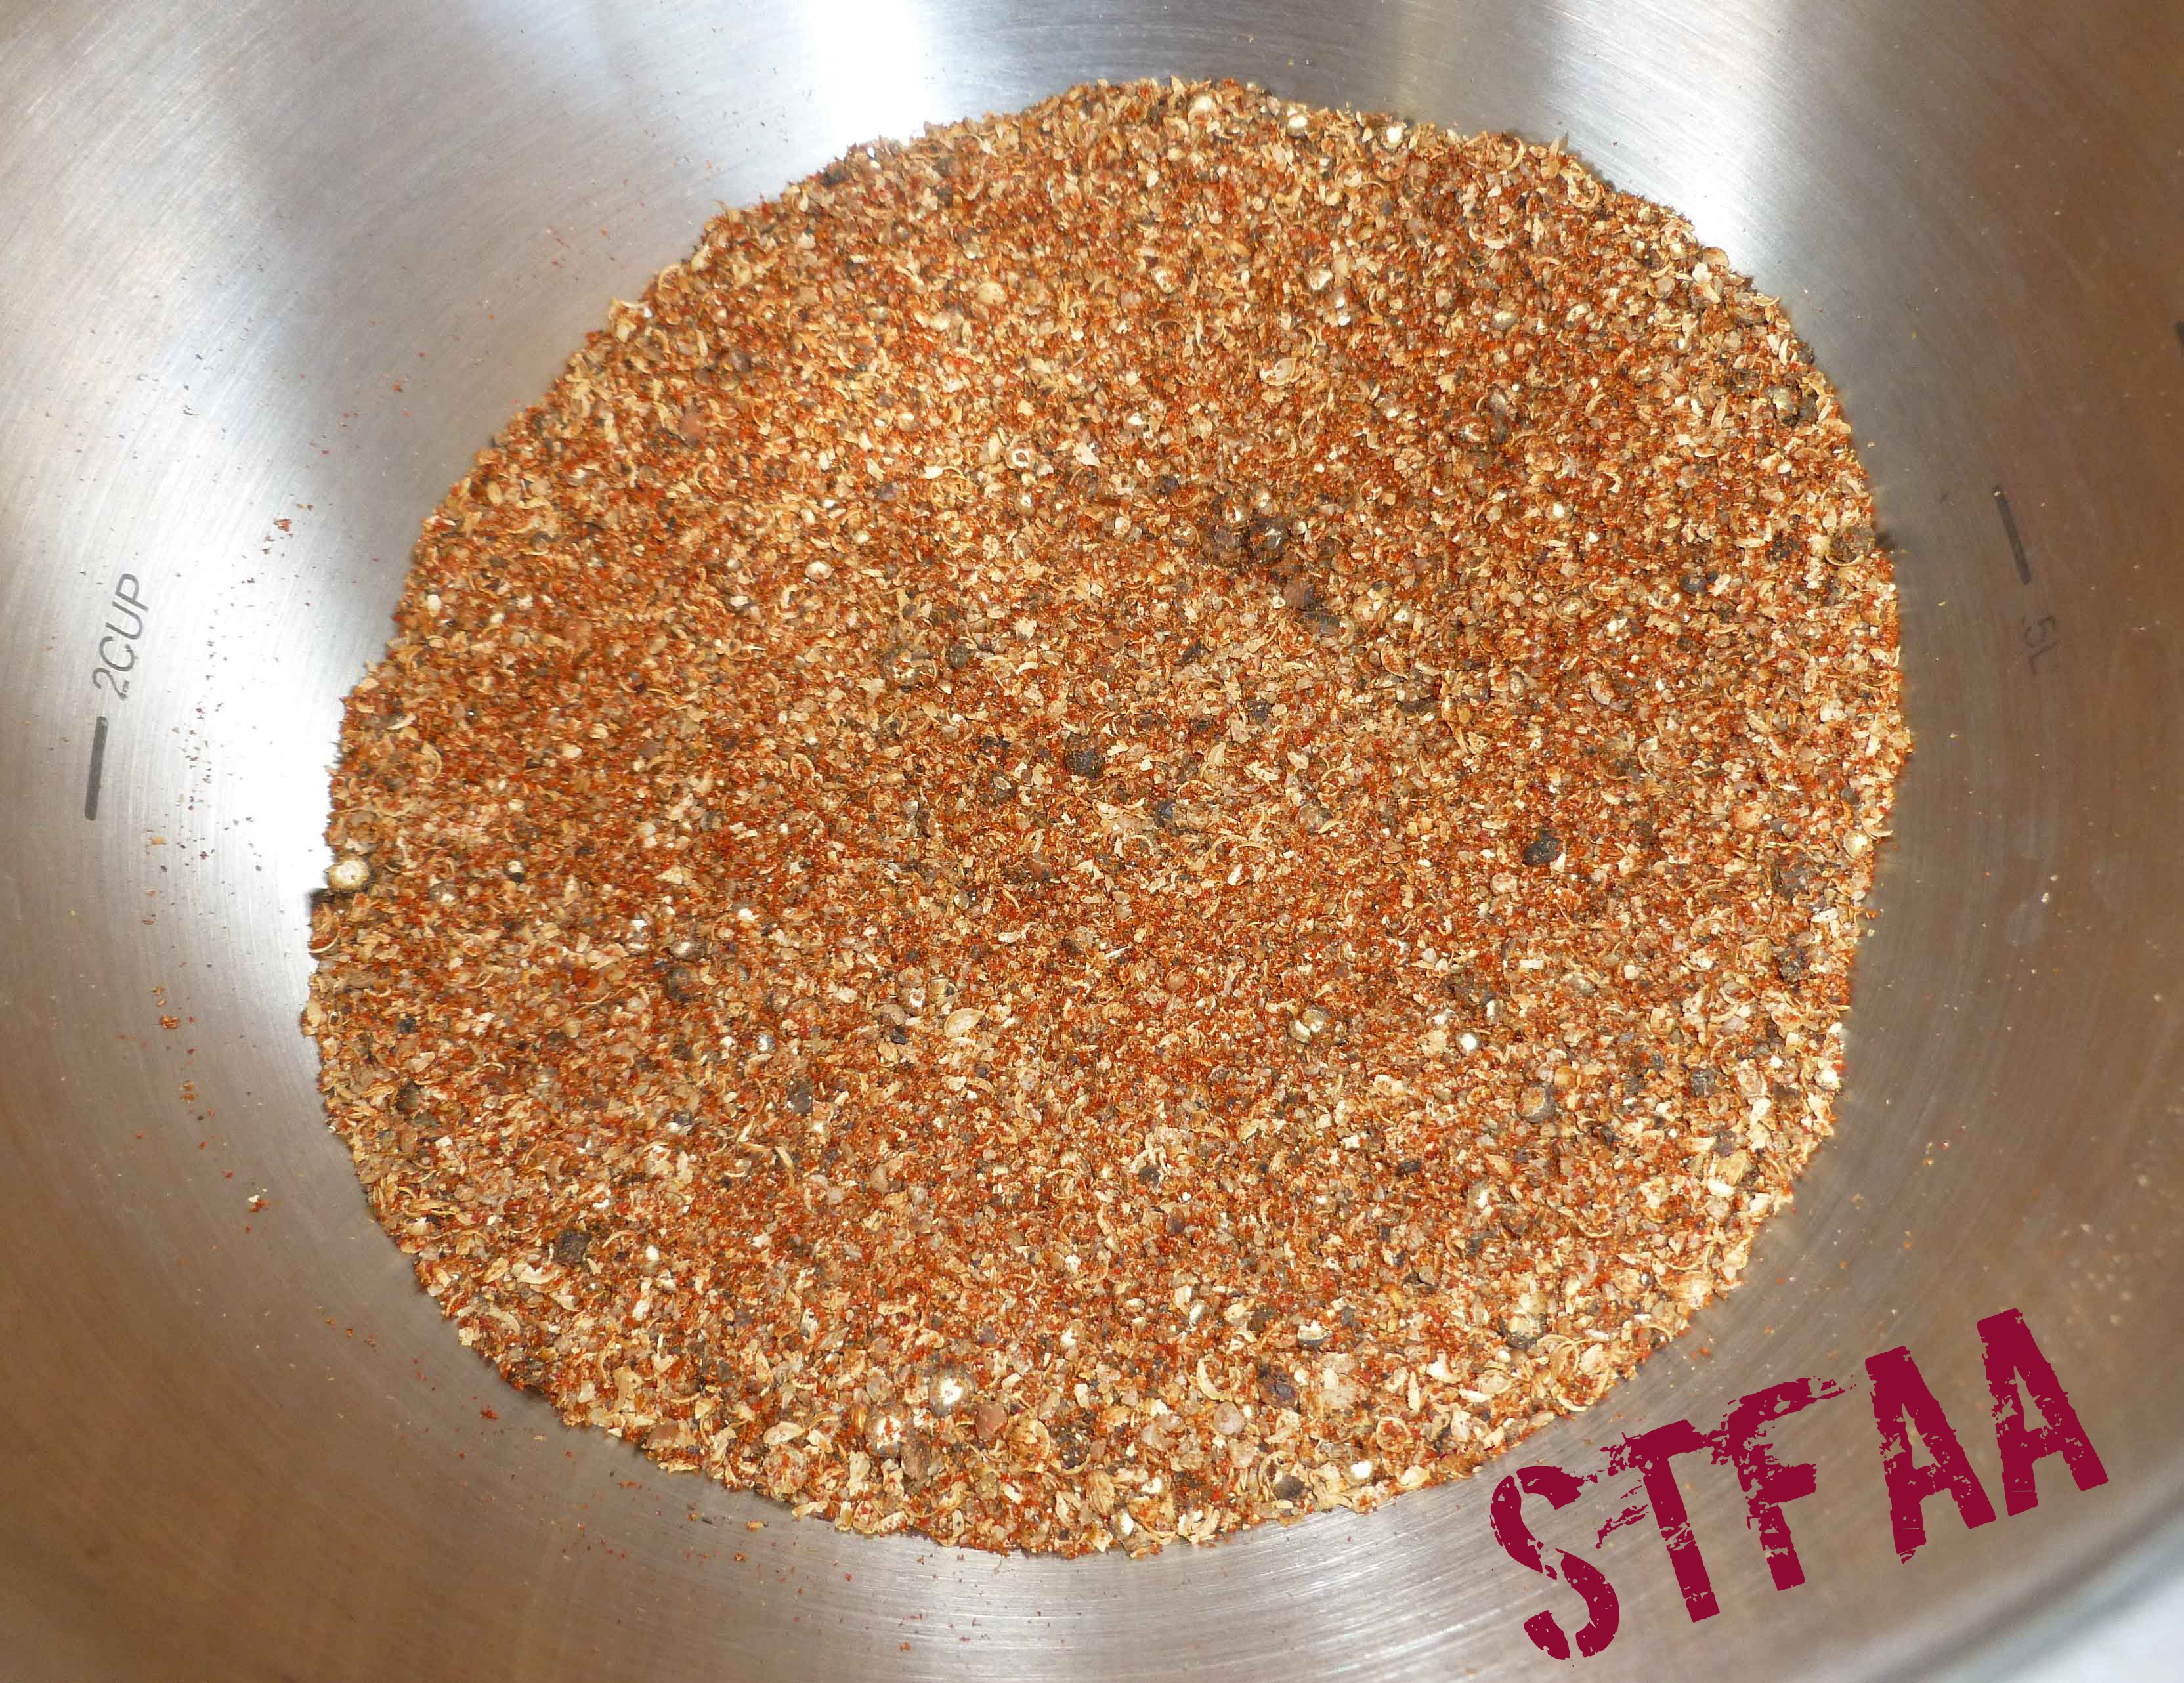
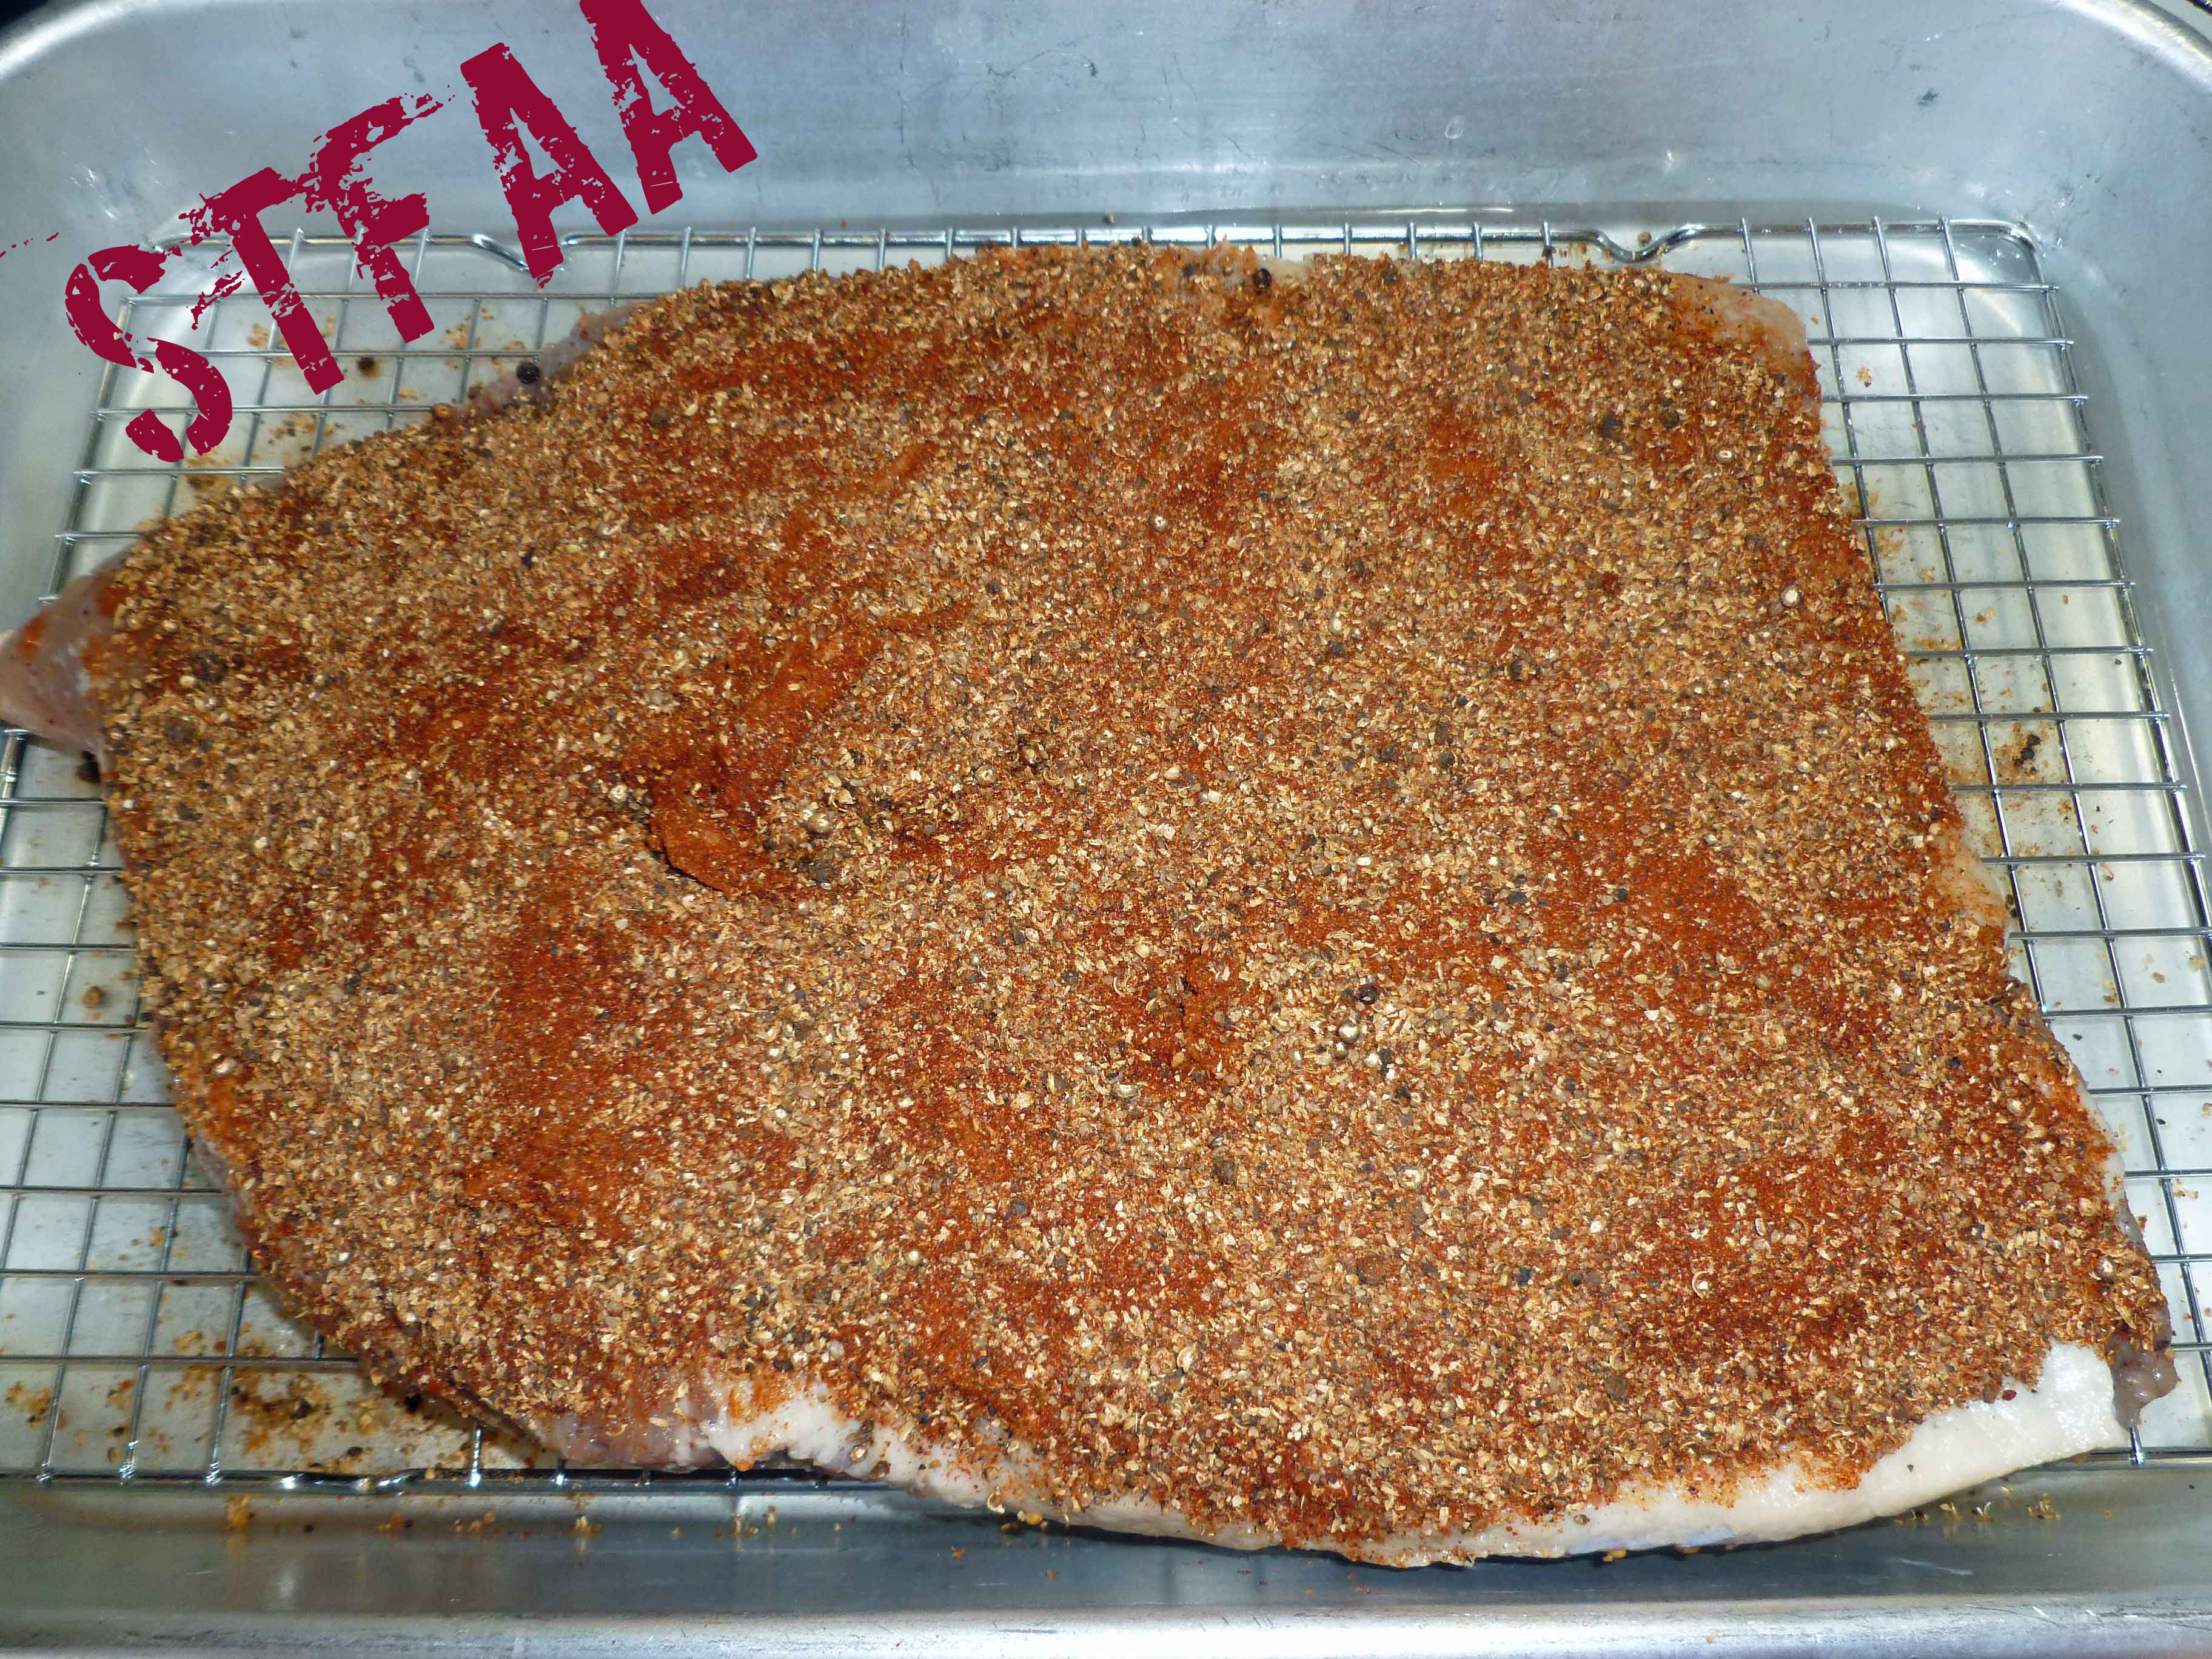
Make the spice rub on the day you plan to cook the pastrami after it has finished brining. Mix the ground coriander, ground black pepper, and smoked paprika in a small bowl.
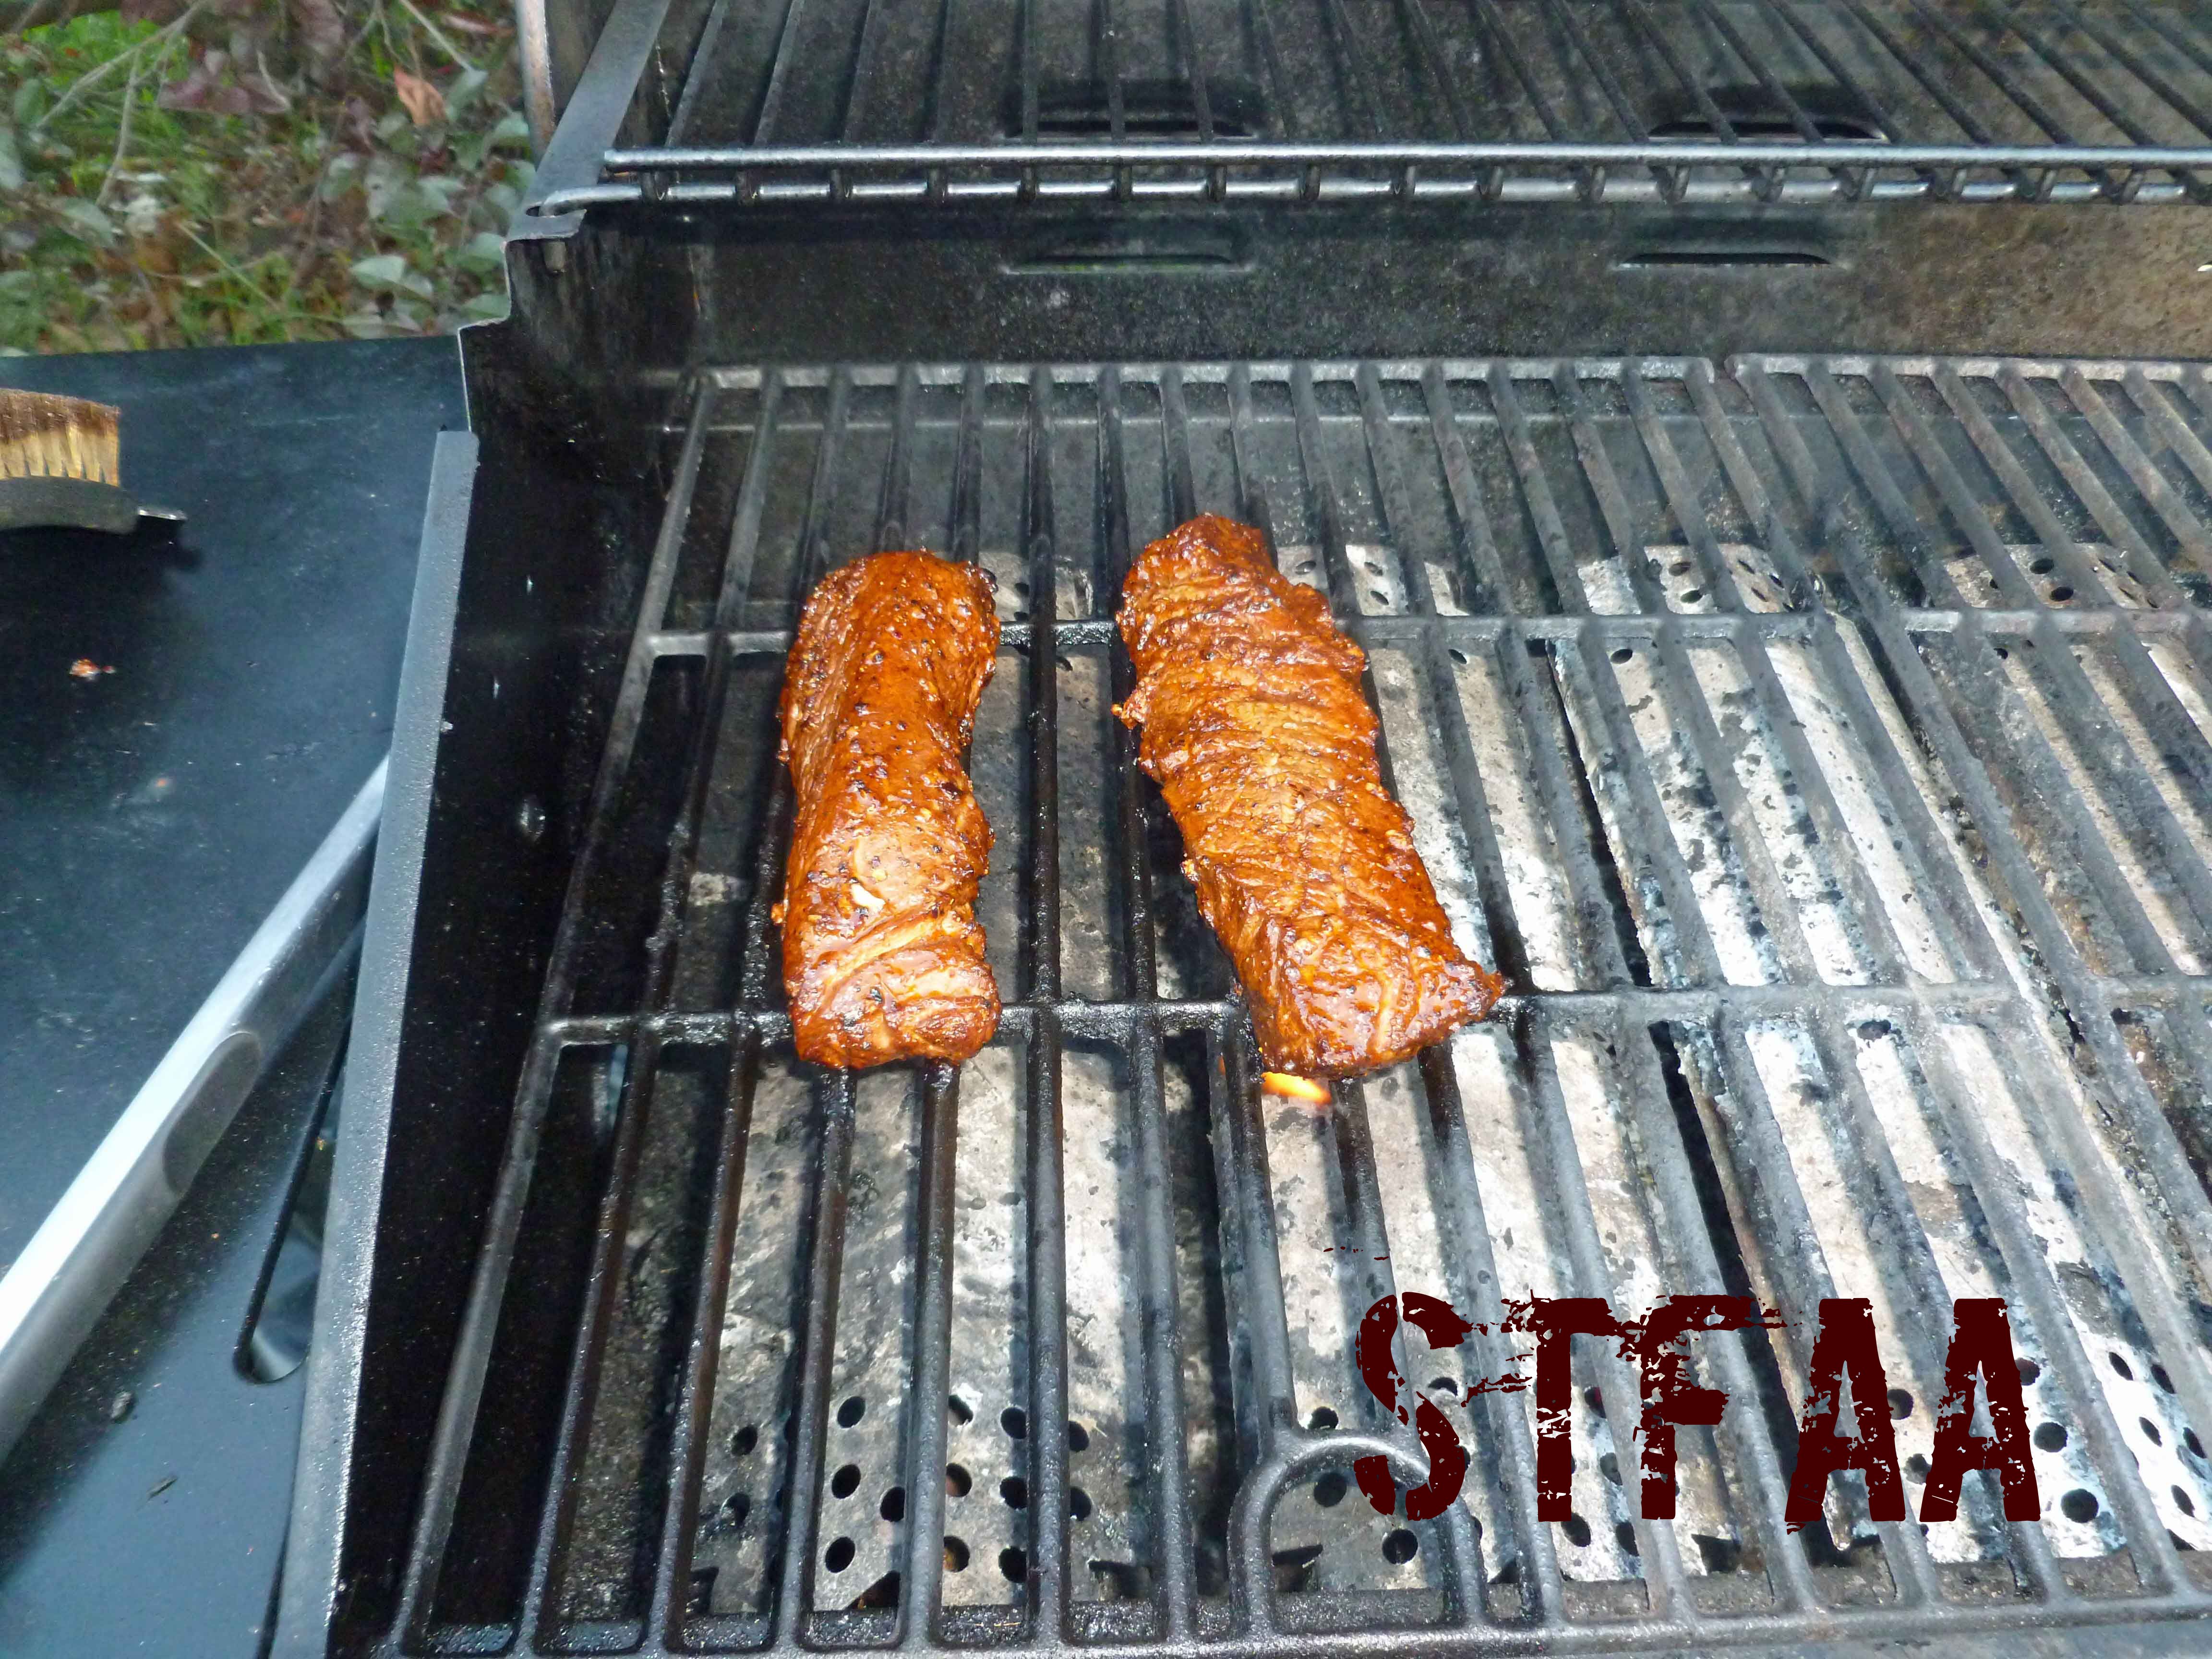
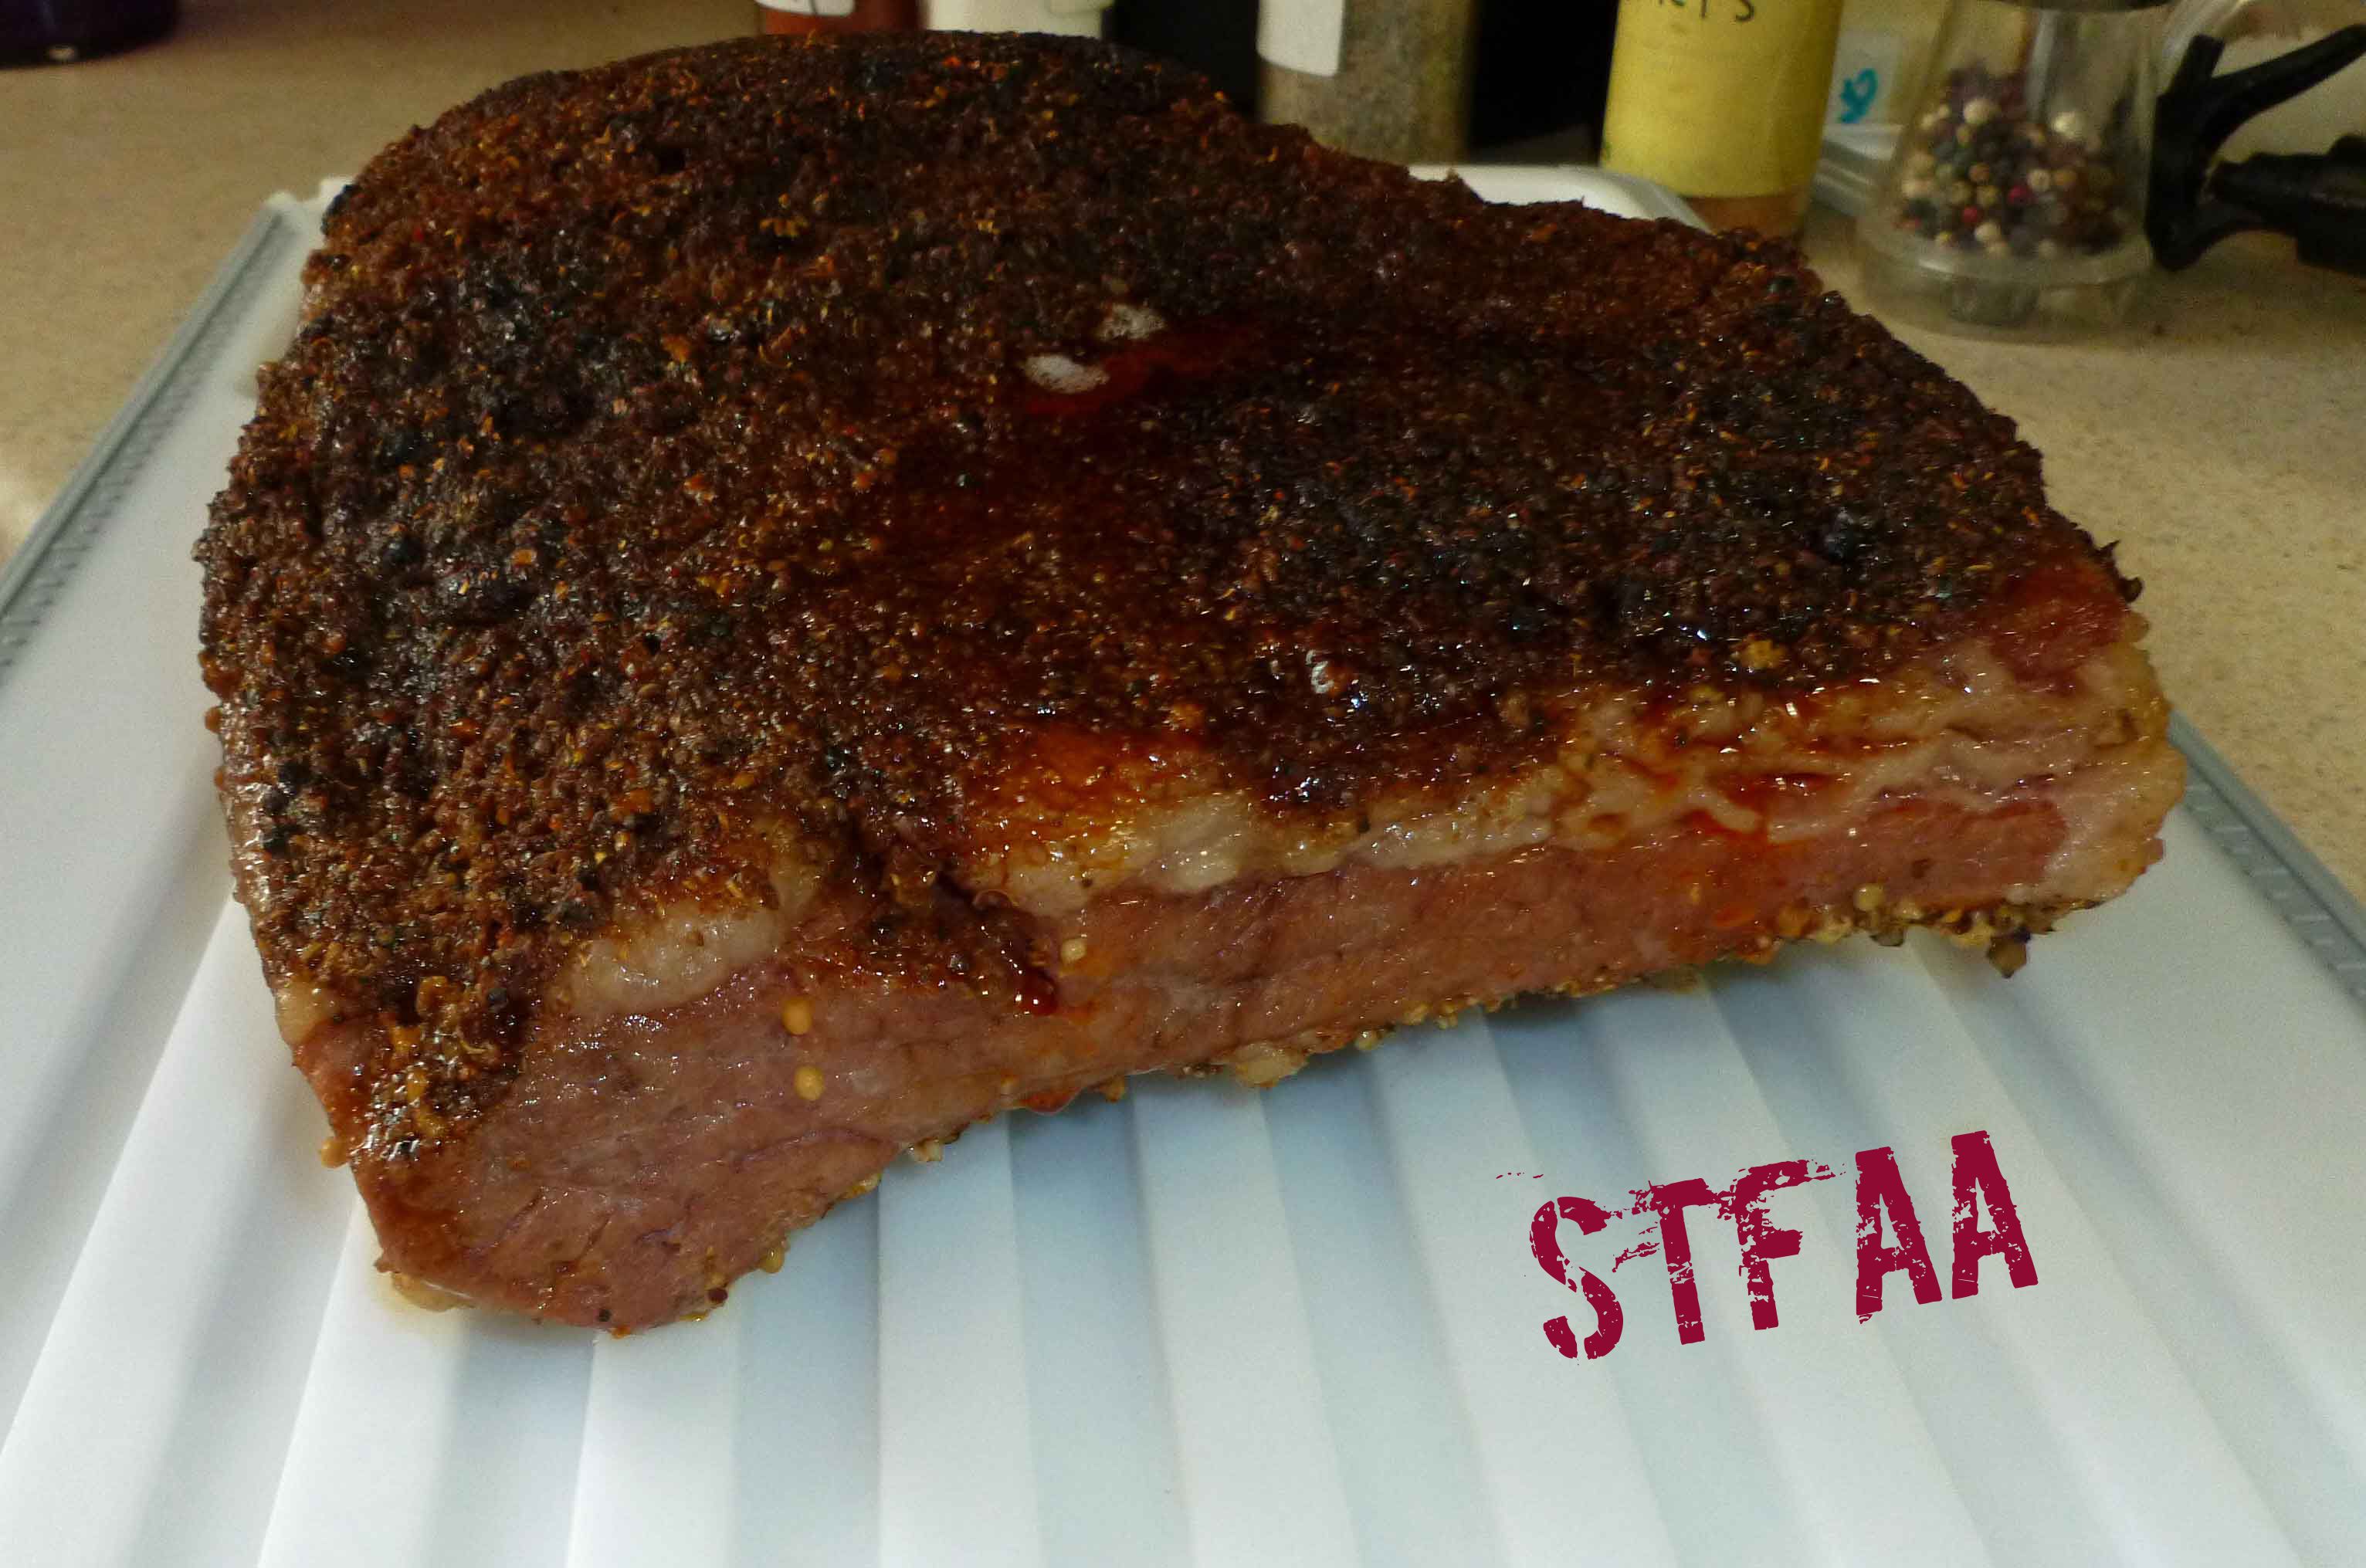
Remove the brisket from the brine and pat it dry. Rub a 1/4 cup of the spice rub evenly on the less fatty side of the brisket, then flip the brisket and rub the remaining spice mixture onto the fatty side. Let the brisket come to room temperature, which should take about 2 hours.
Preheat your oven to 300°F. Place a wire rack in a the bottom of a 12-by-15-inch roasting pan, and pour 4 cups cold water into the pan.
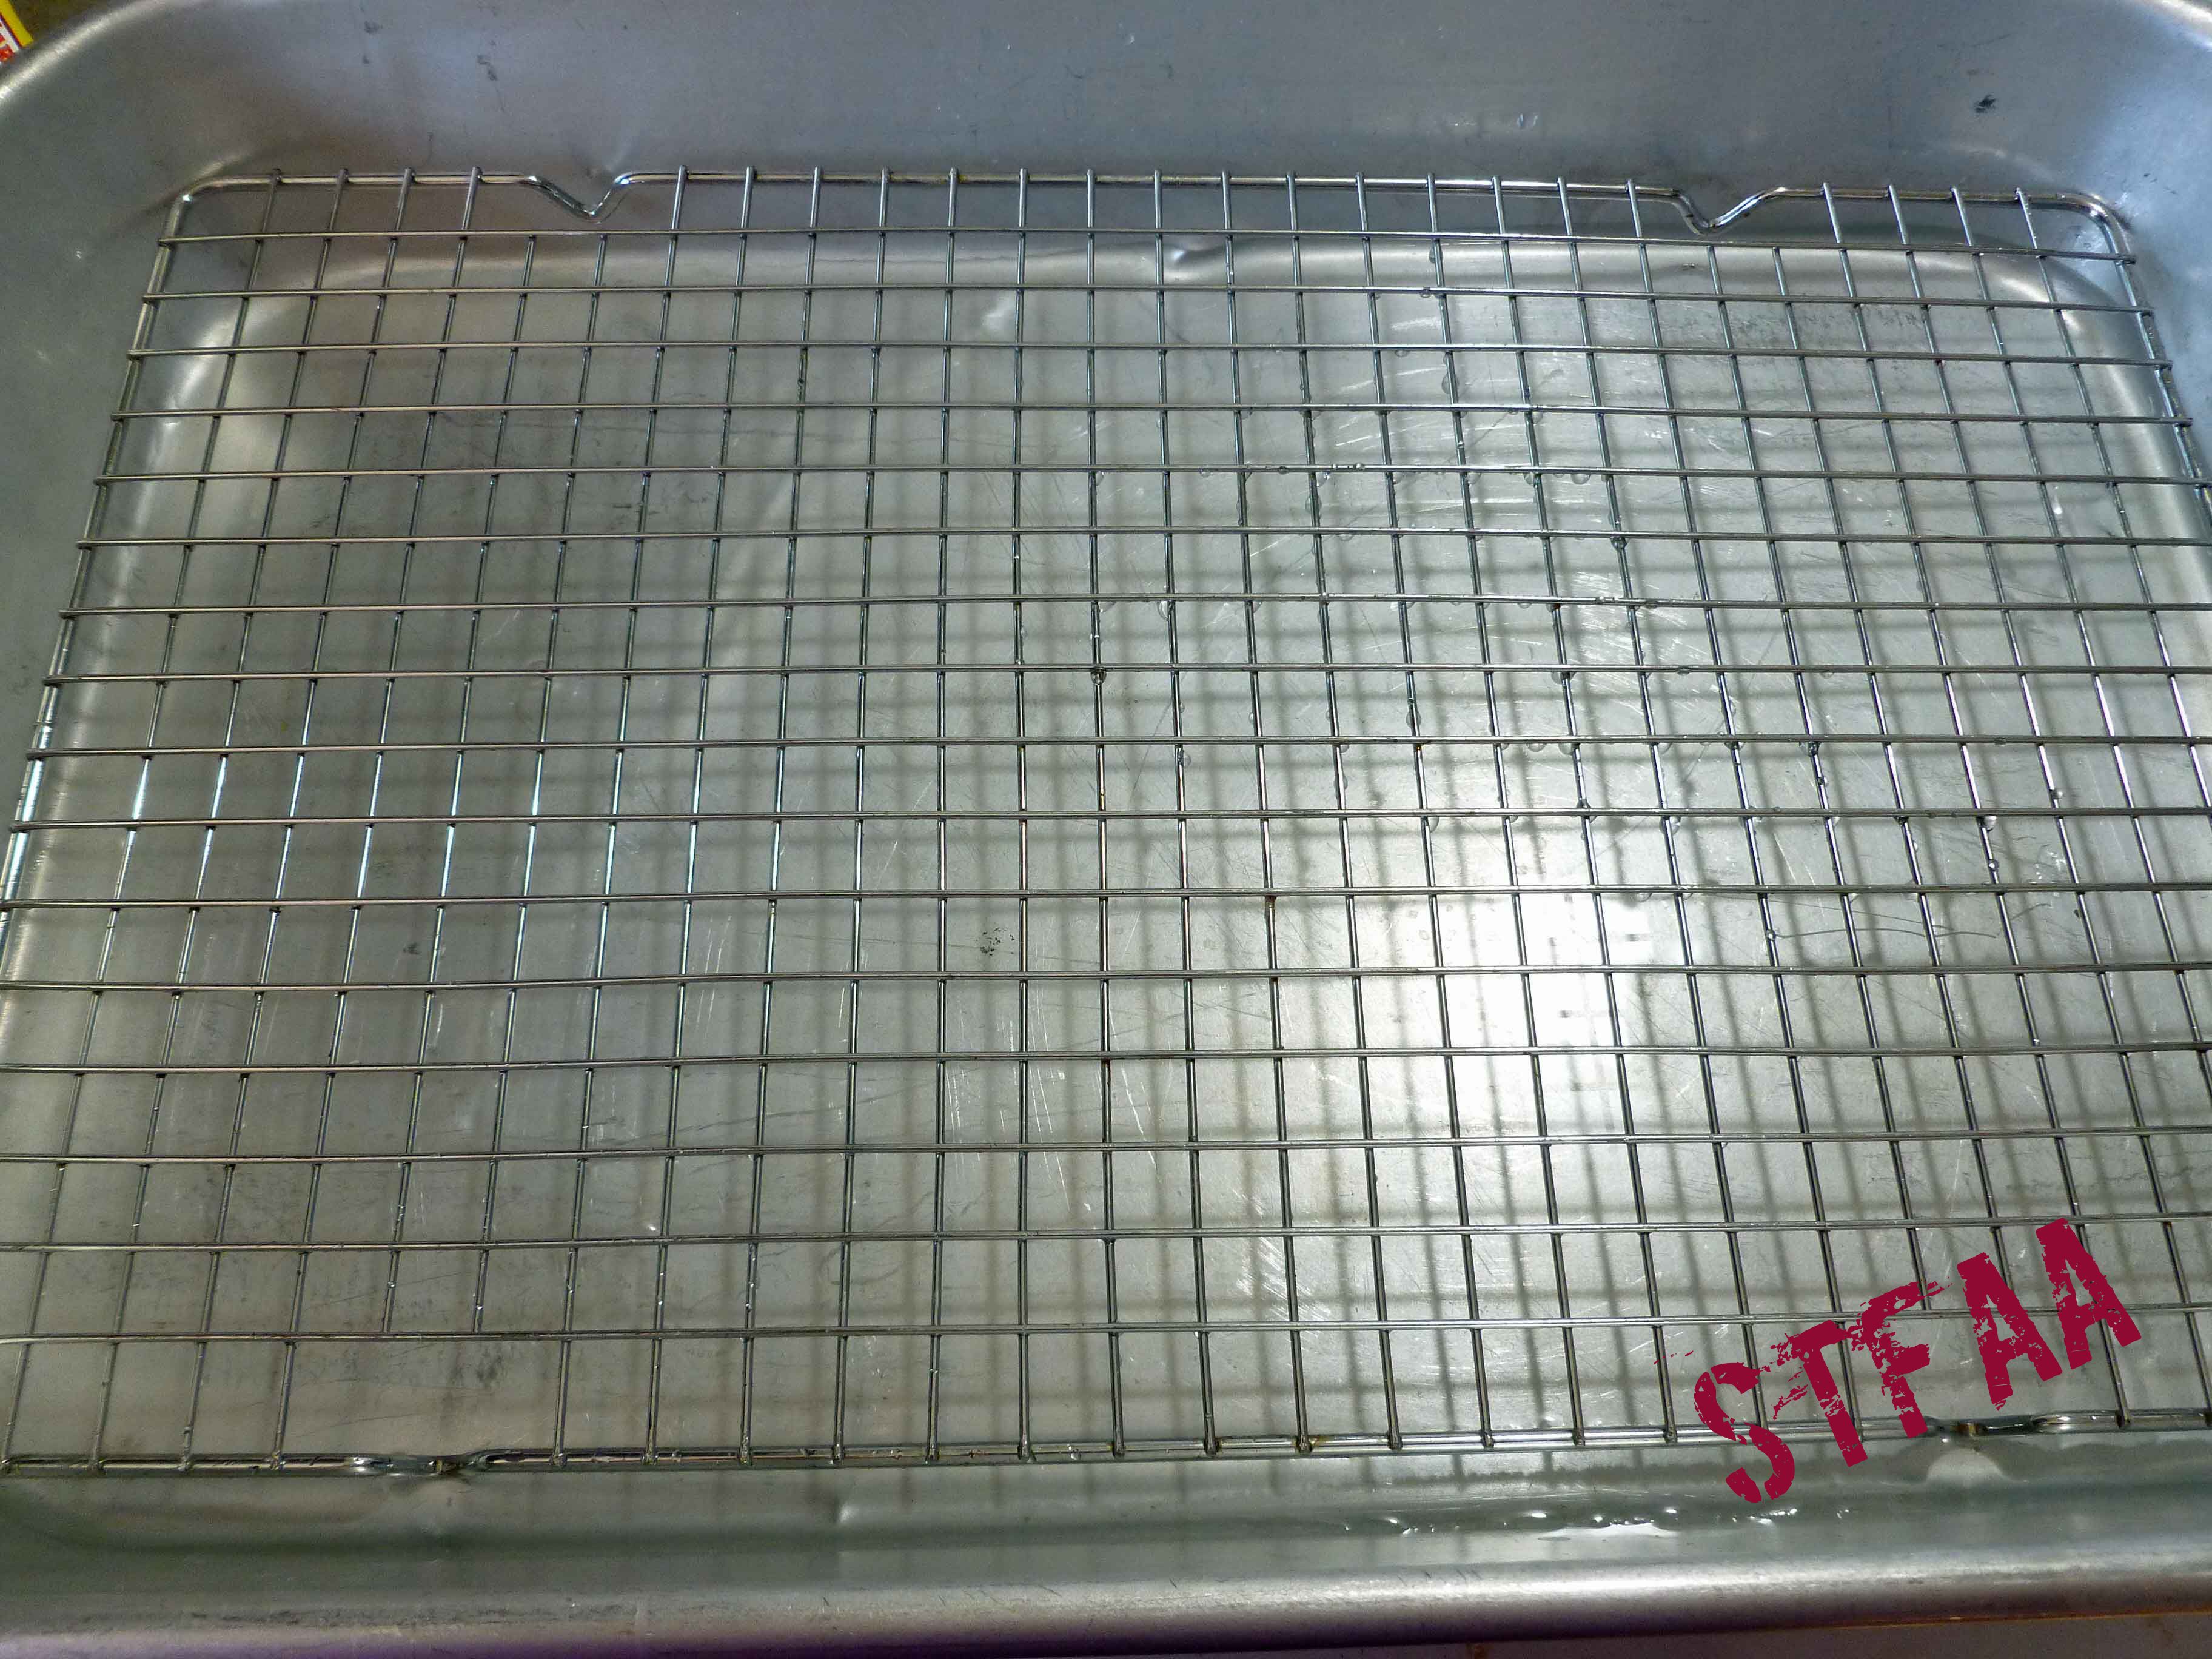
Place the brisket on the wire rack, with the fatty side up.
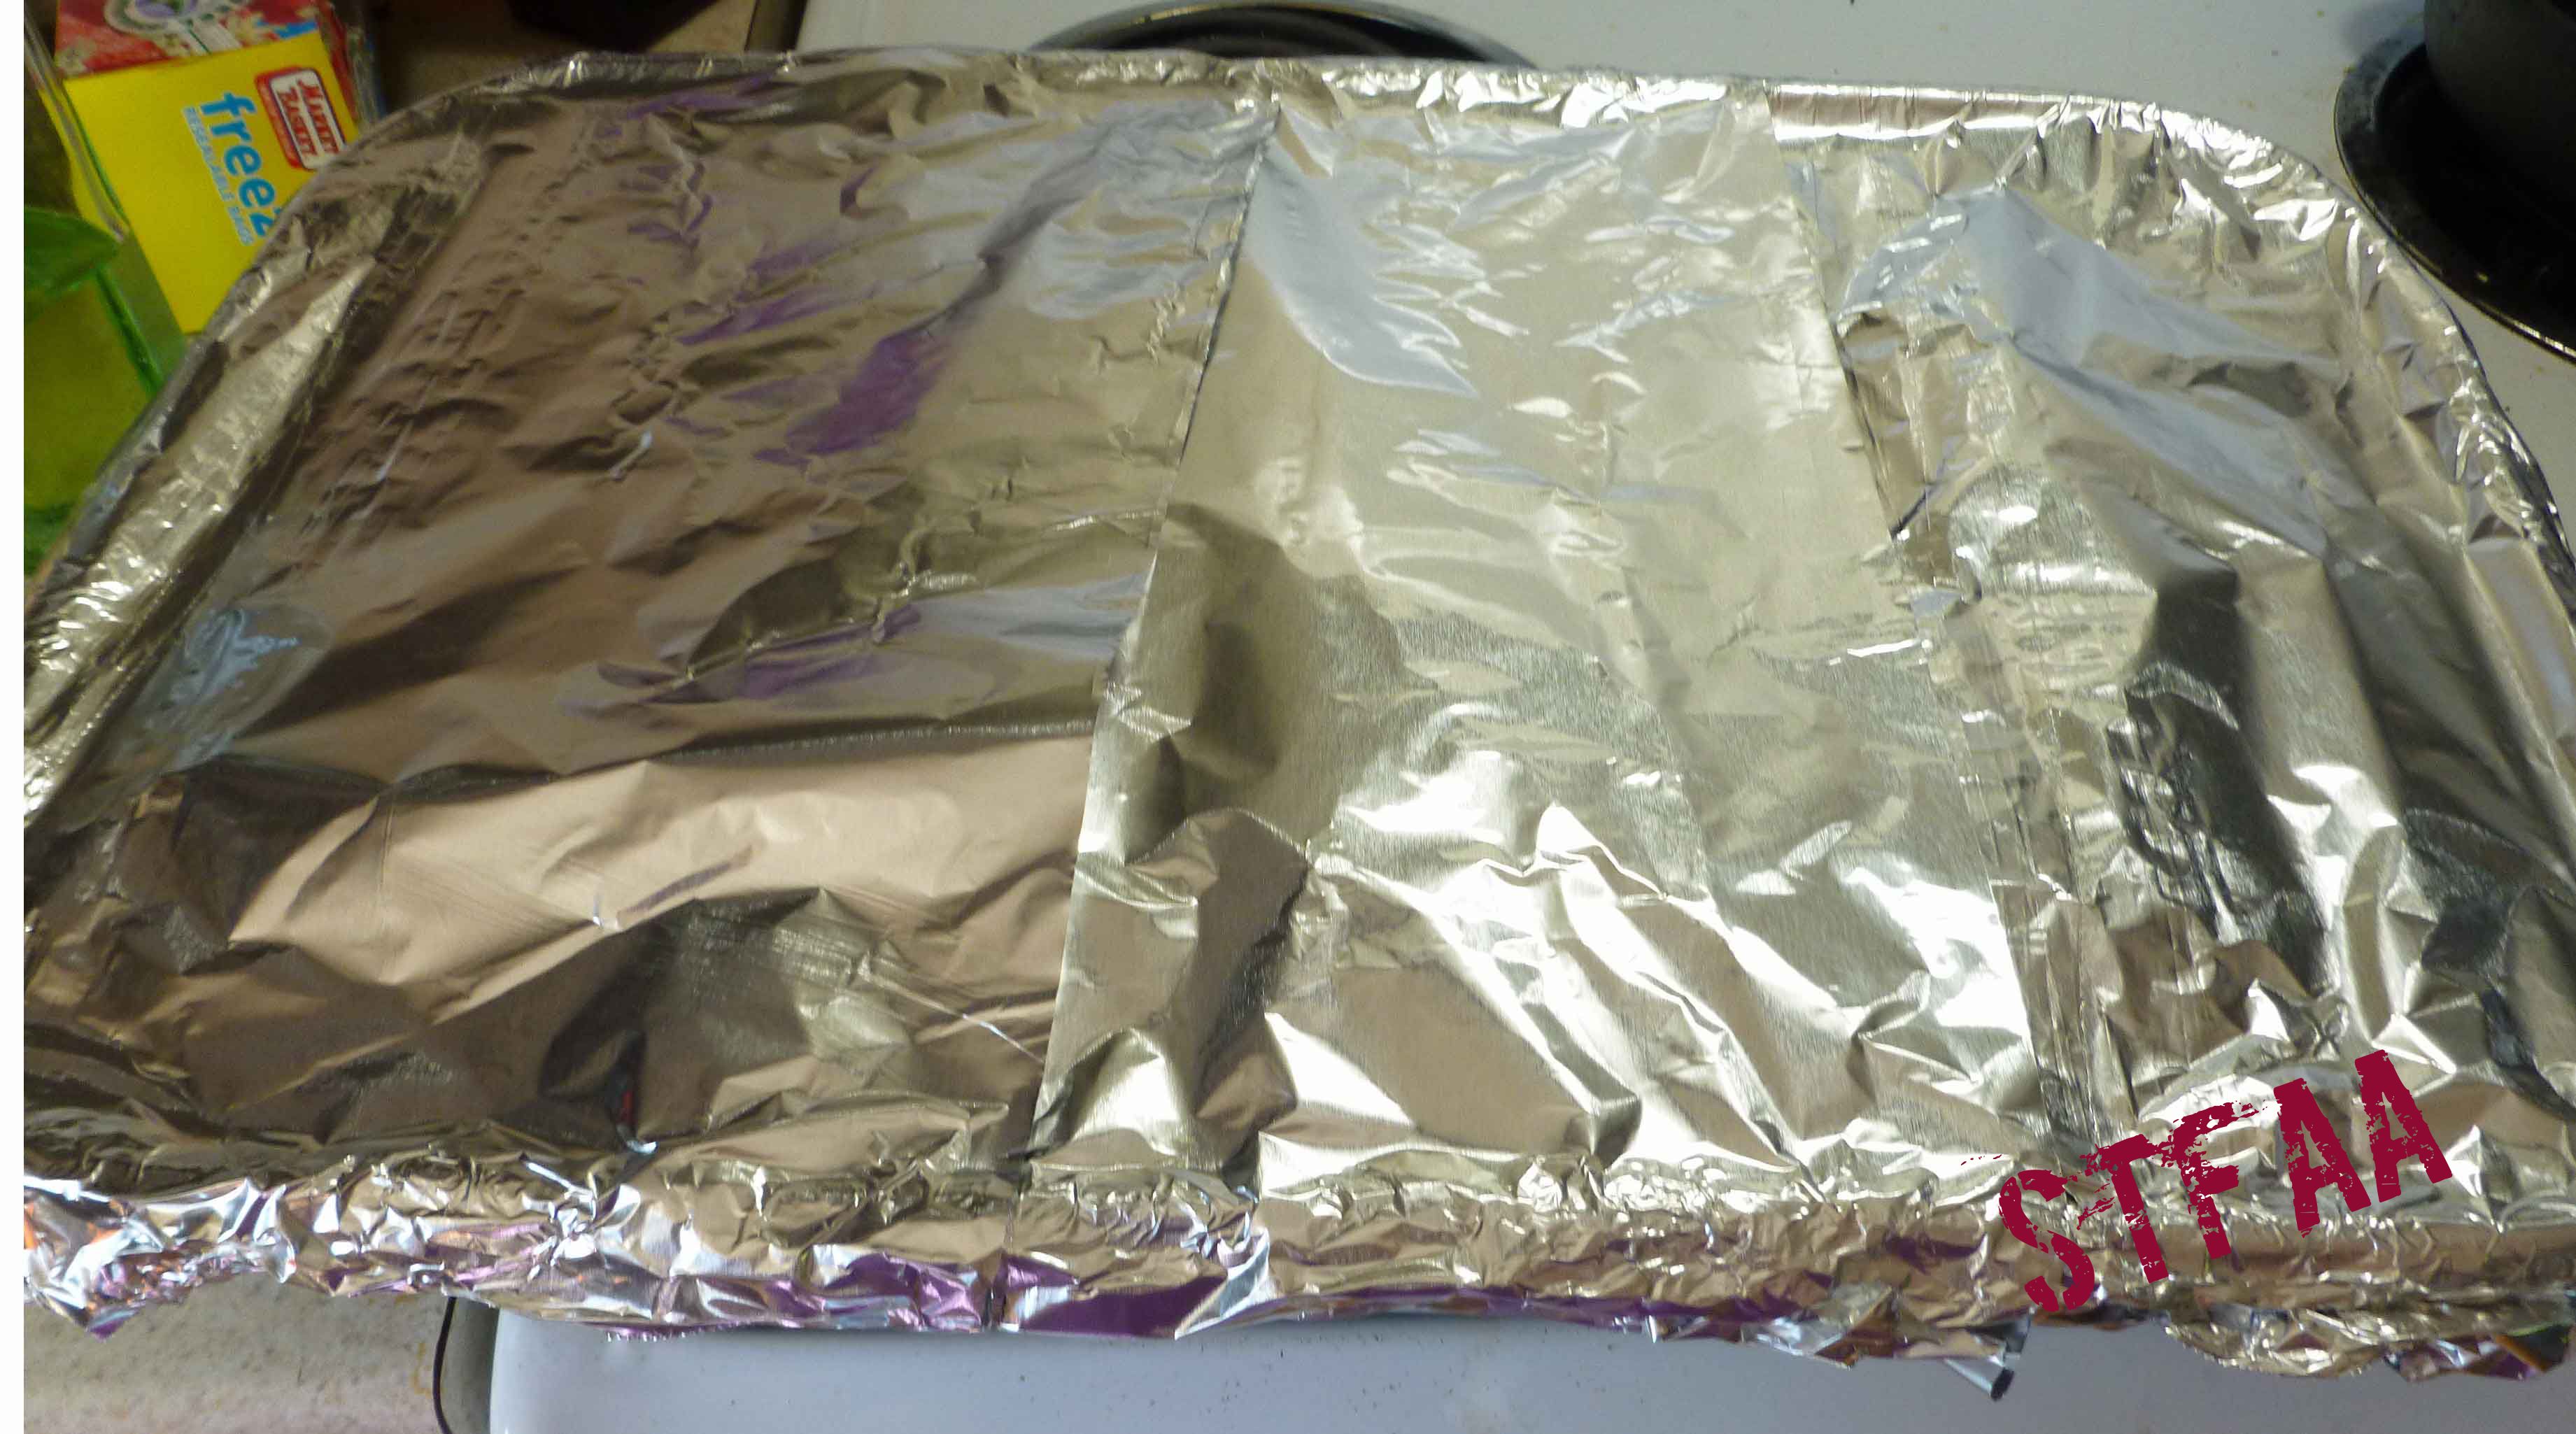
Cover the brisket and roasting pan with a double layer aluminum foil, and seal the foil around the edge of the roasting pan tightly.
Bake until the brisket reaches an internal temperature of 200°F. This should take about 1 hour per pound. Let the meat rest for at least 30 minutes before slicing.
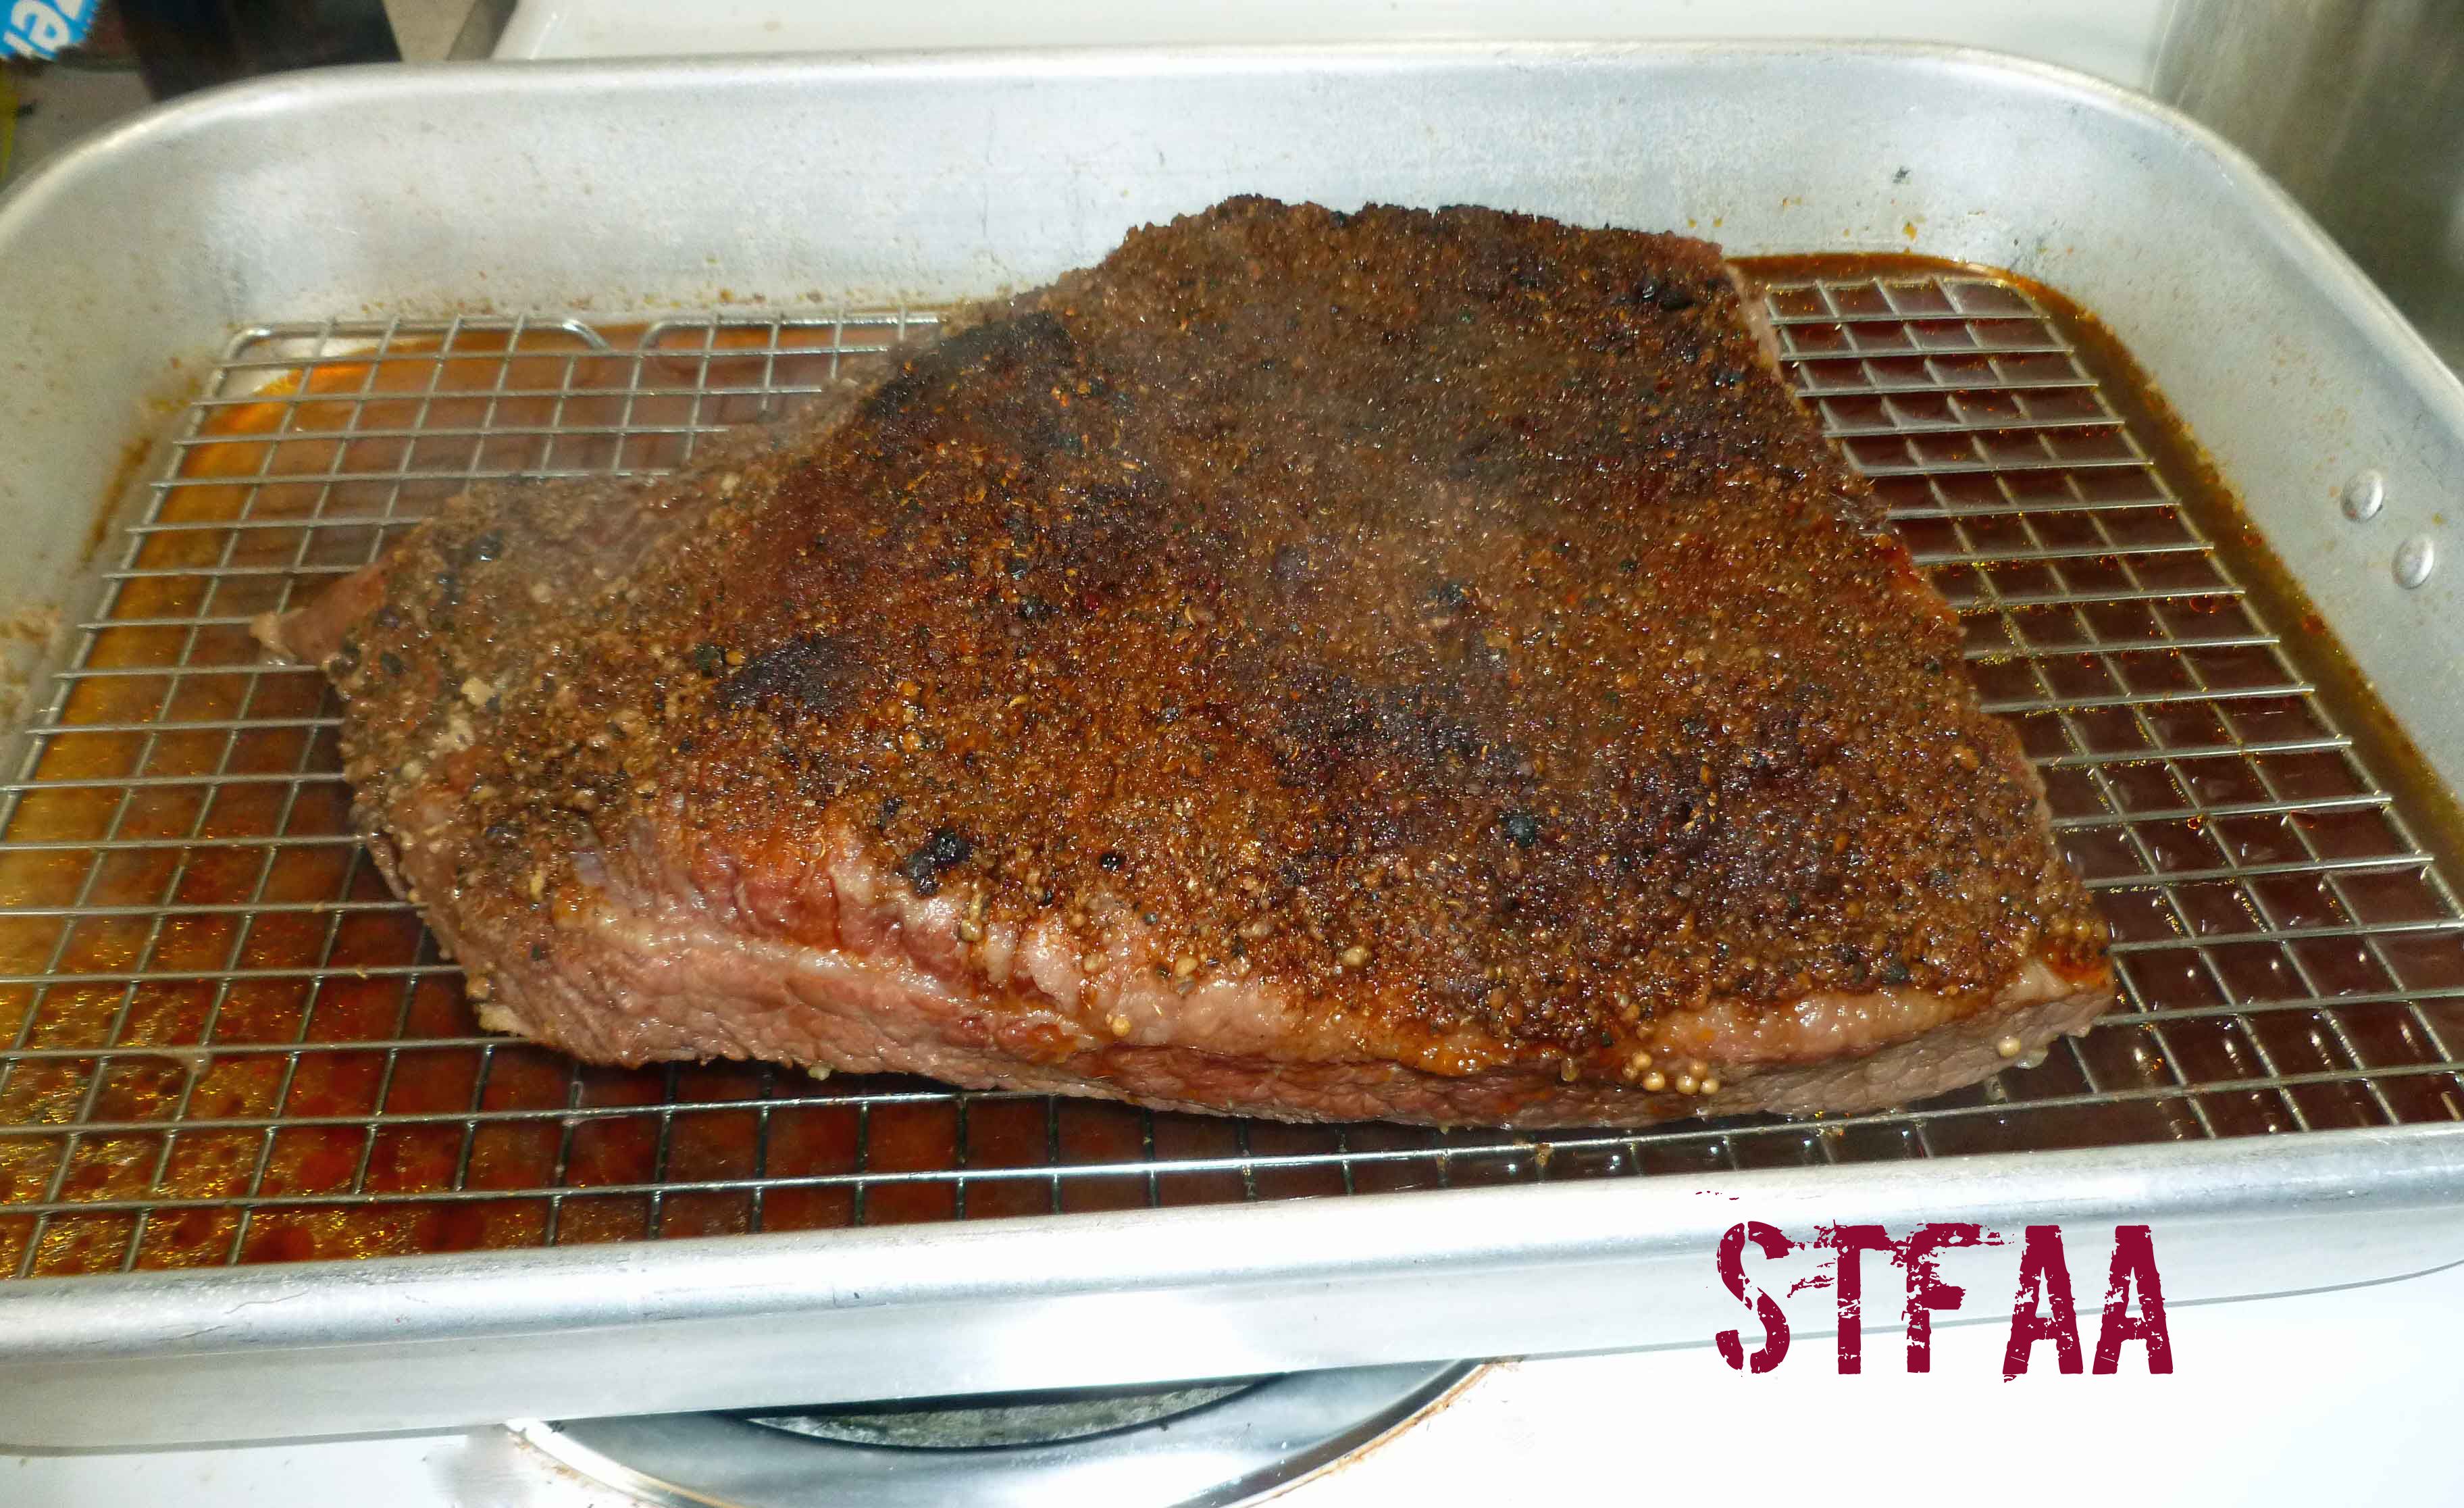
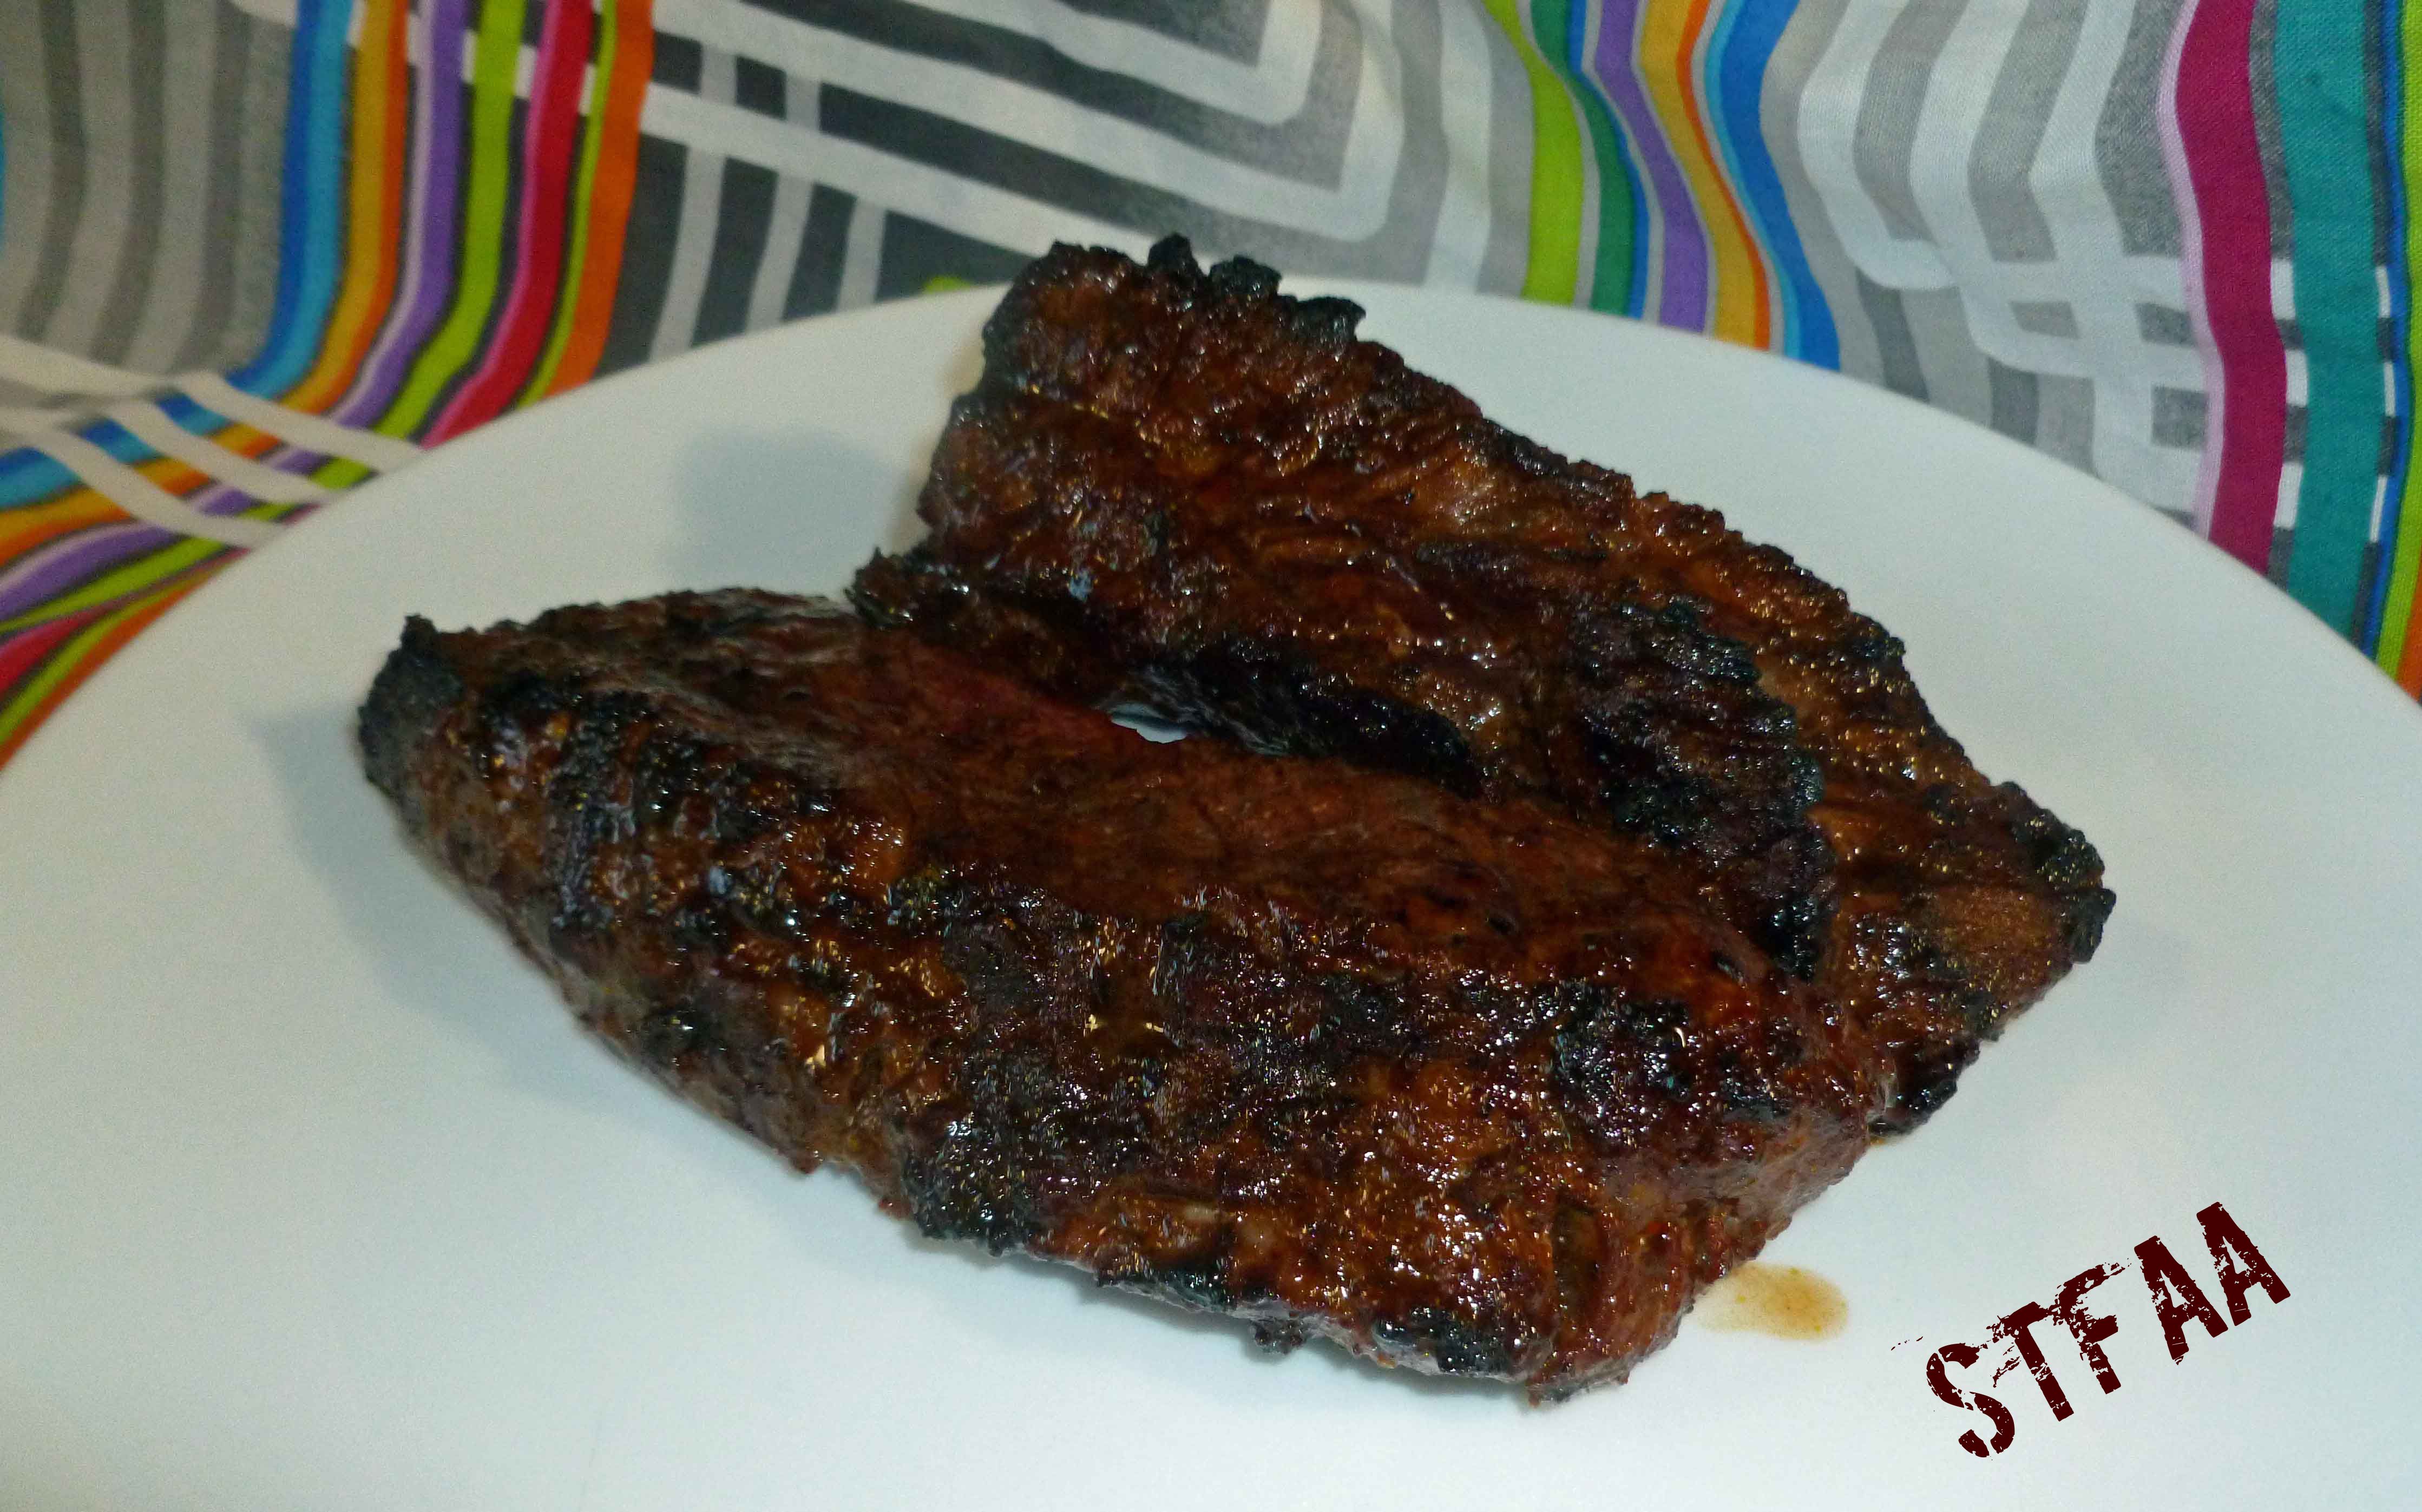
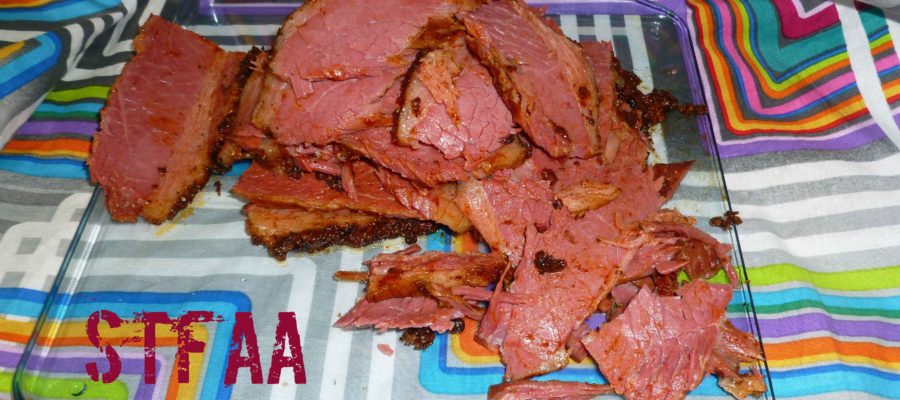
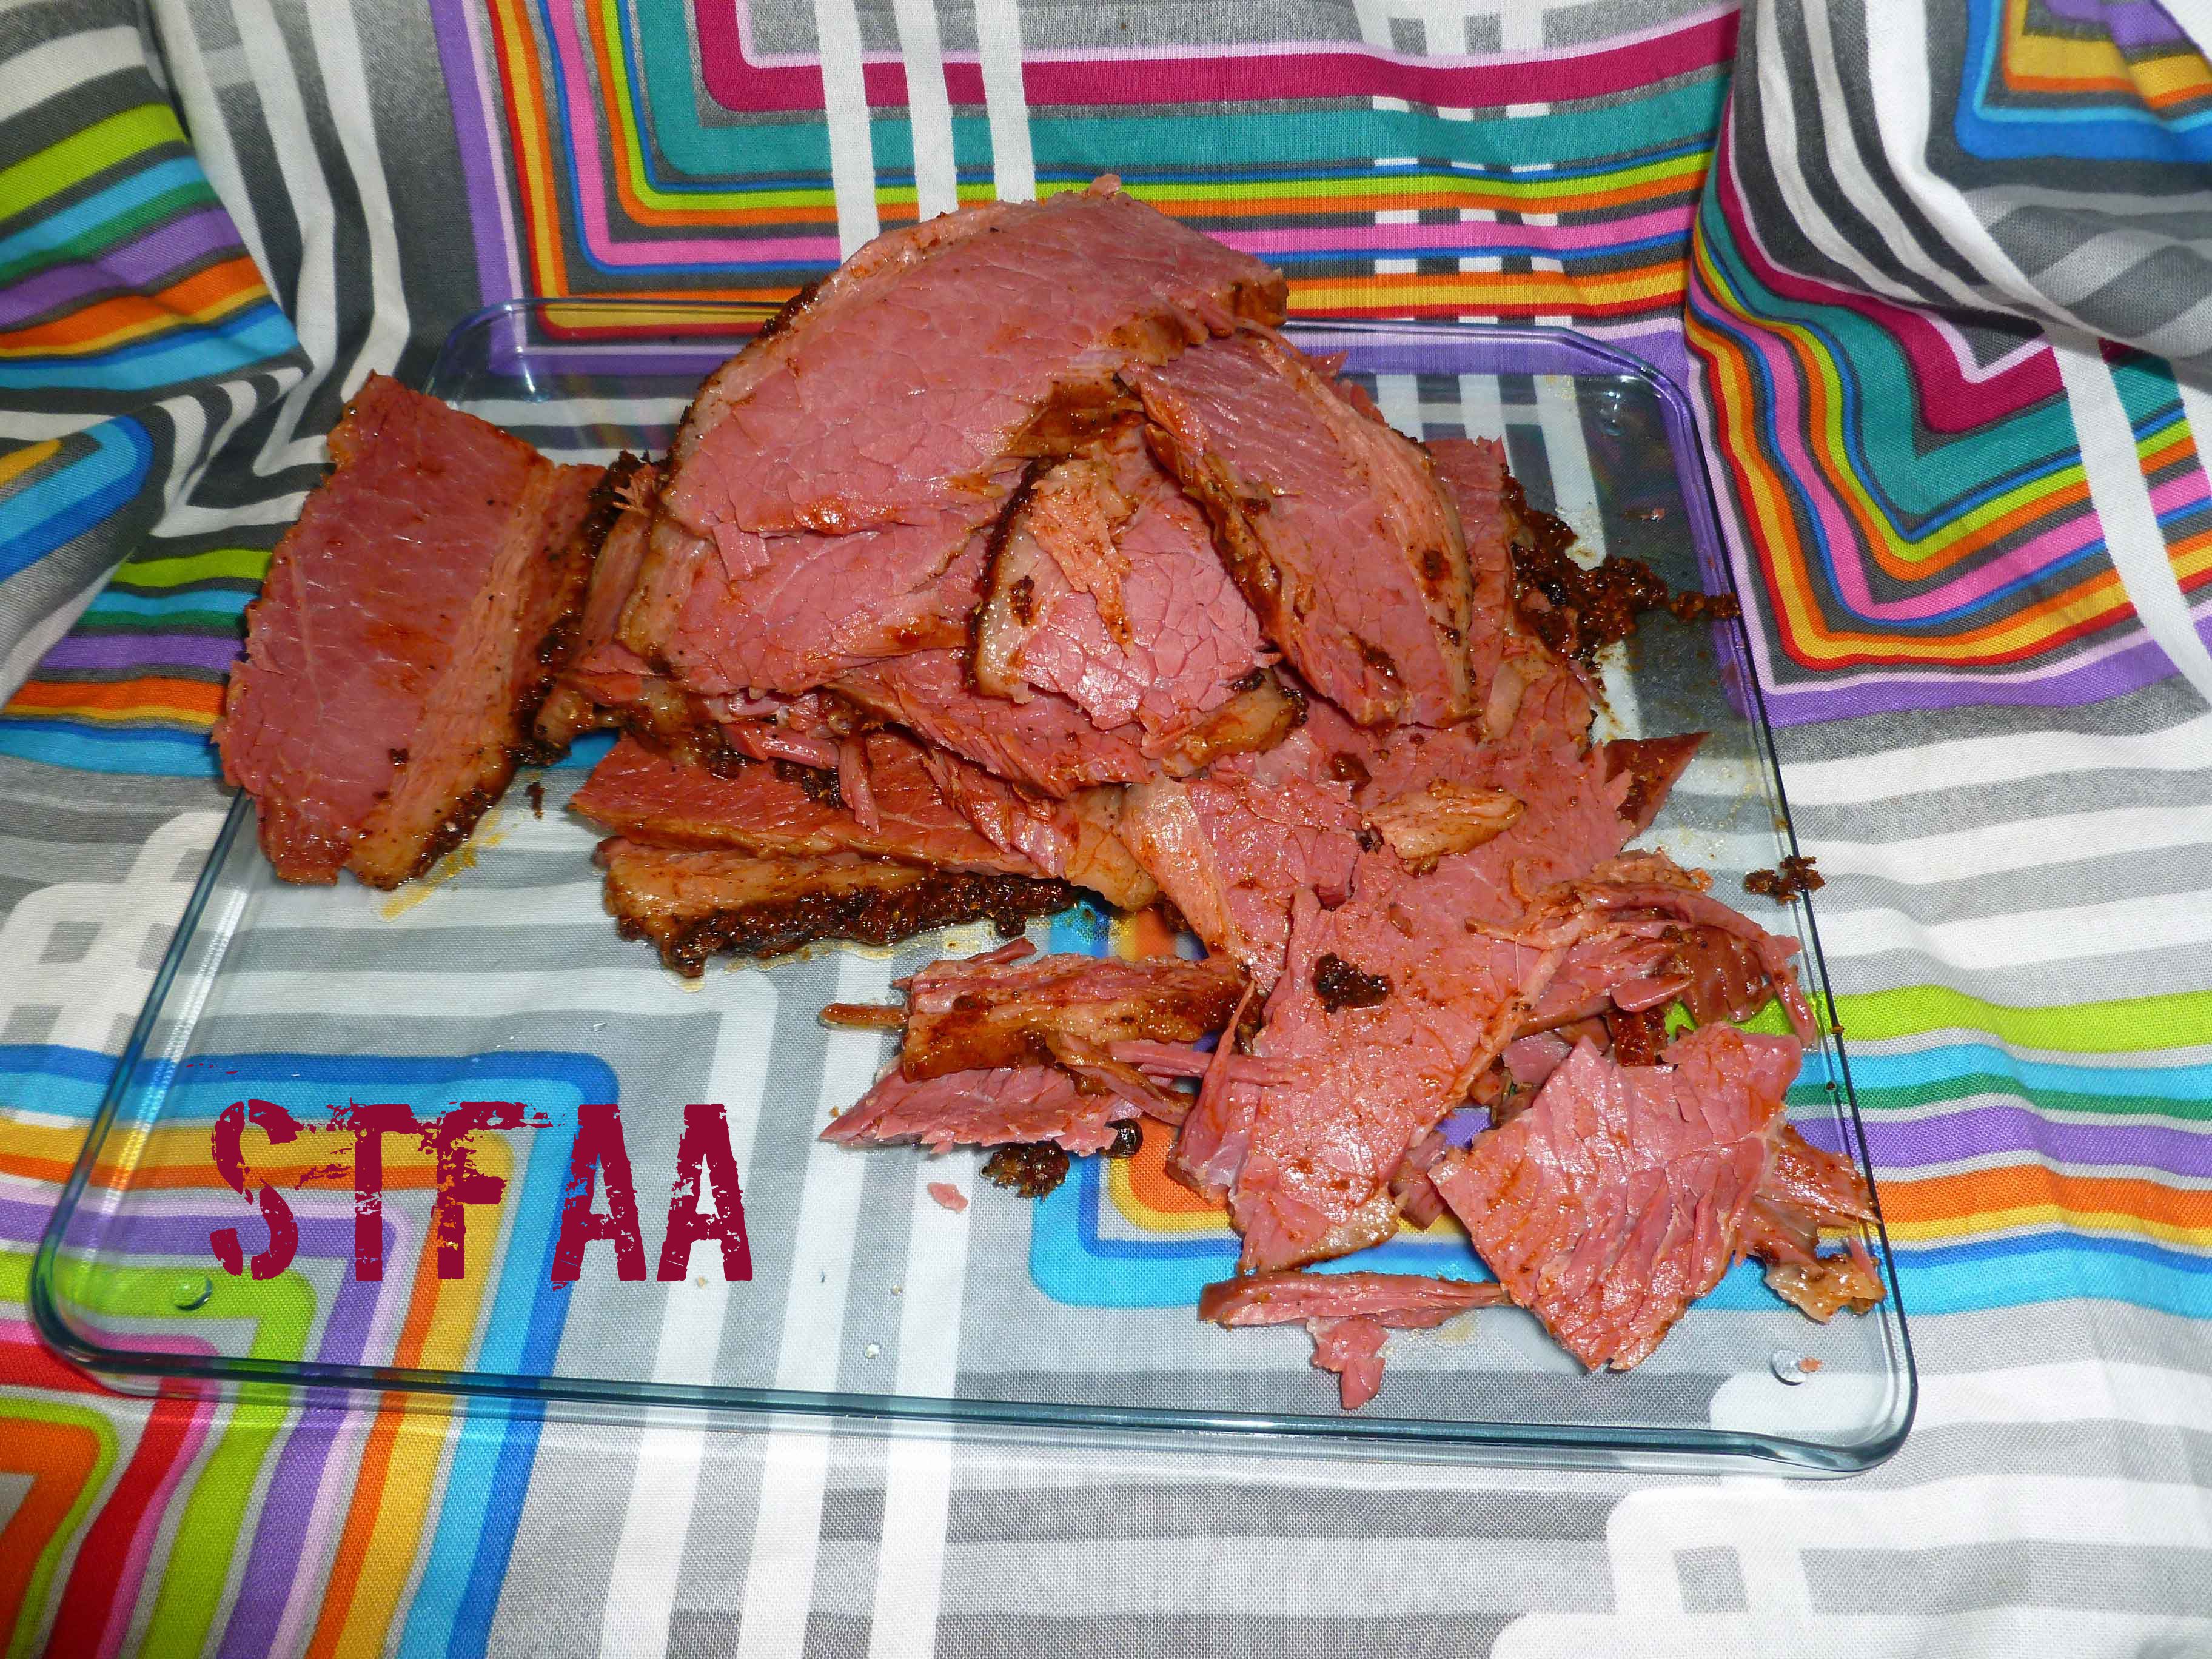
Without trimming the fat, slice the pastrami against the grain into 1/4-inch-thick slices. I found it easiest to use a deli slicer. You can keep the pastrami in the refrigerator for a week or in the freezer for 6 months, as long as it is tightly wrapped in plastic or foil. I used freezer zip top bags.
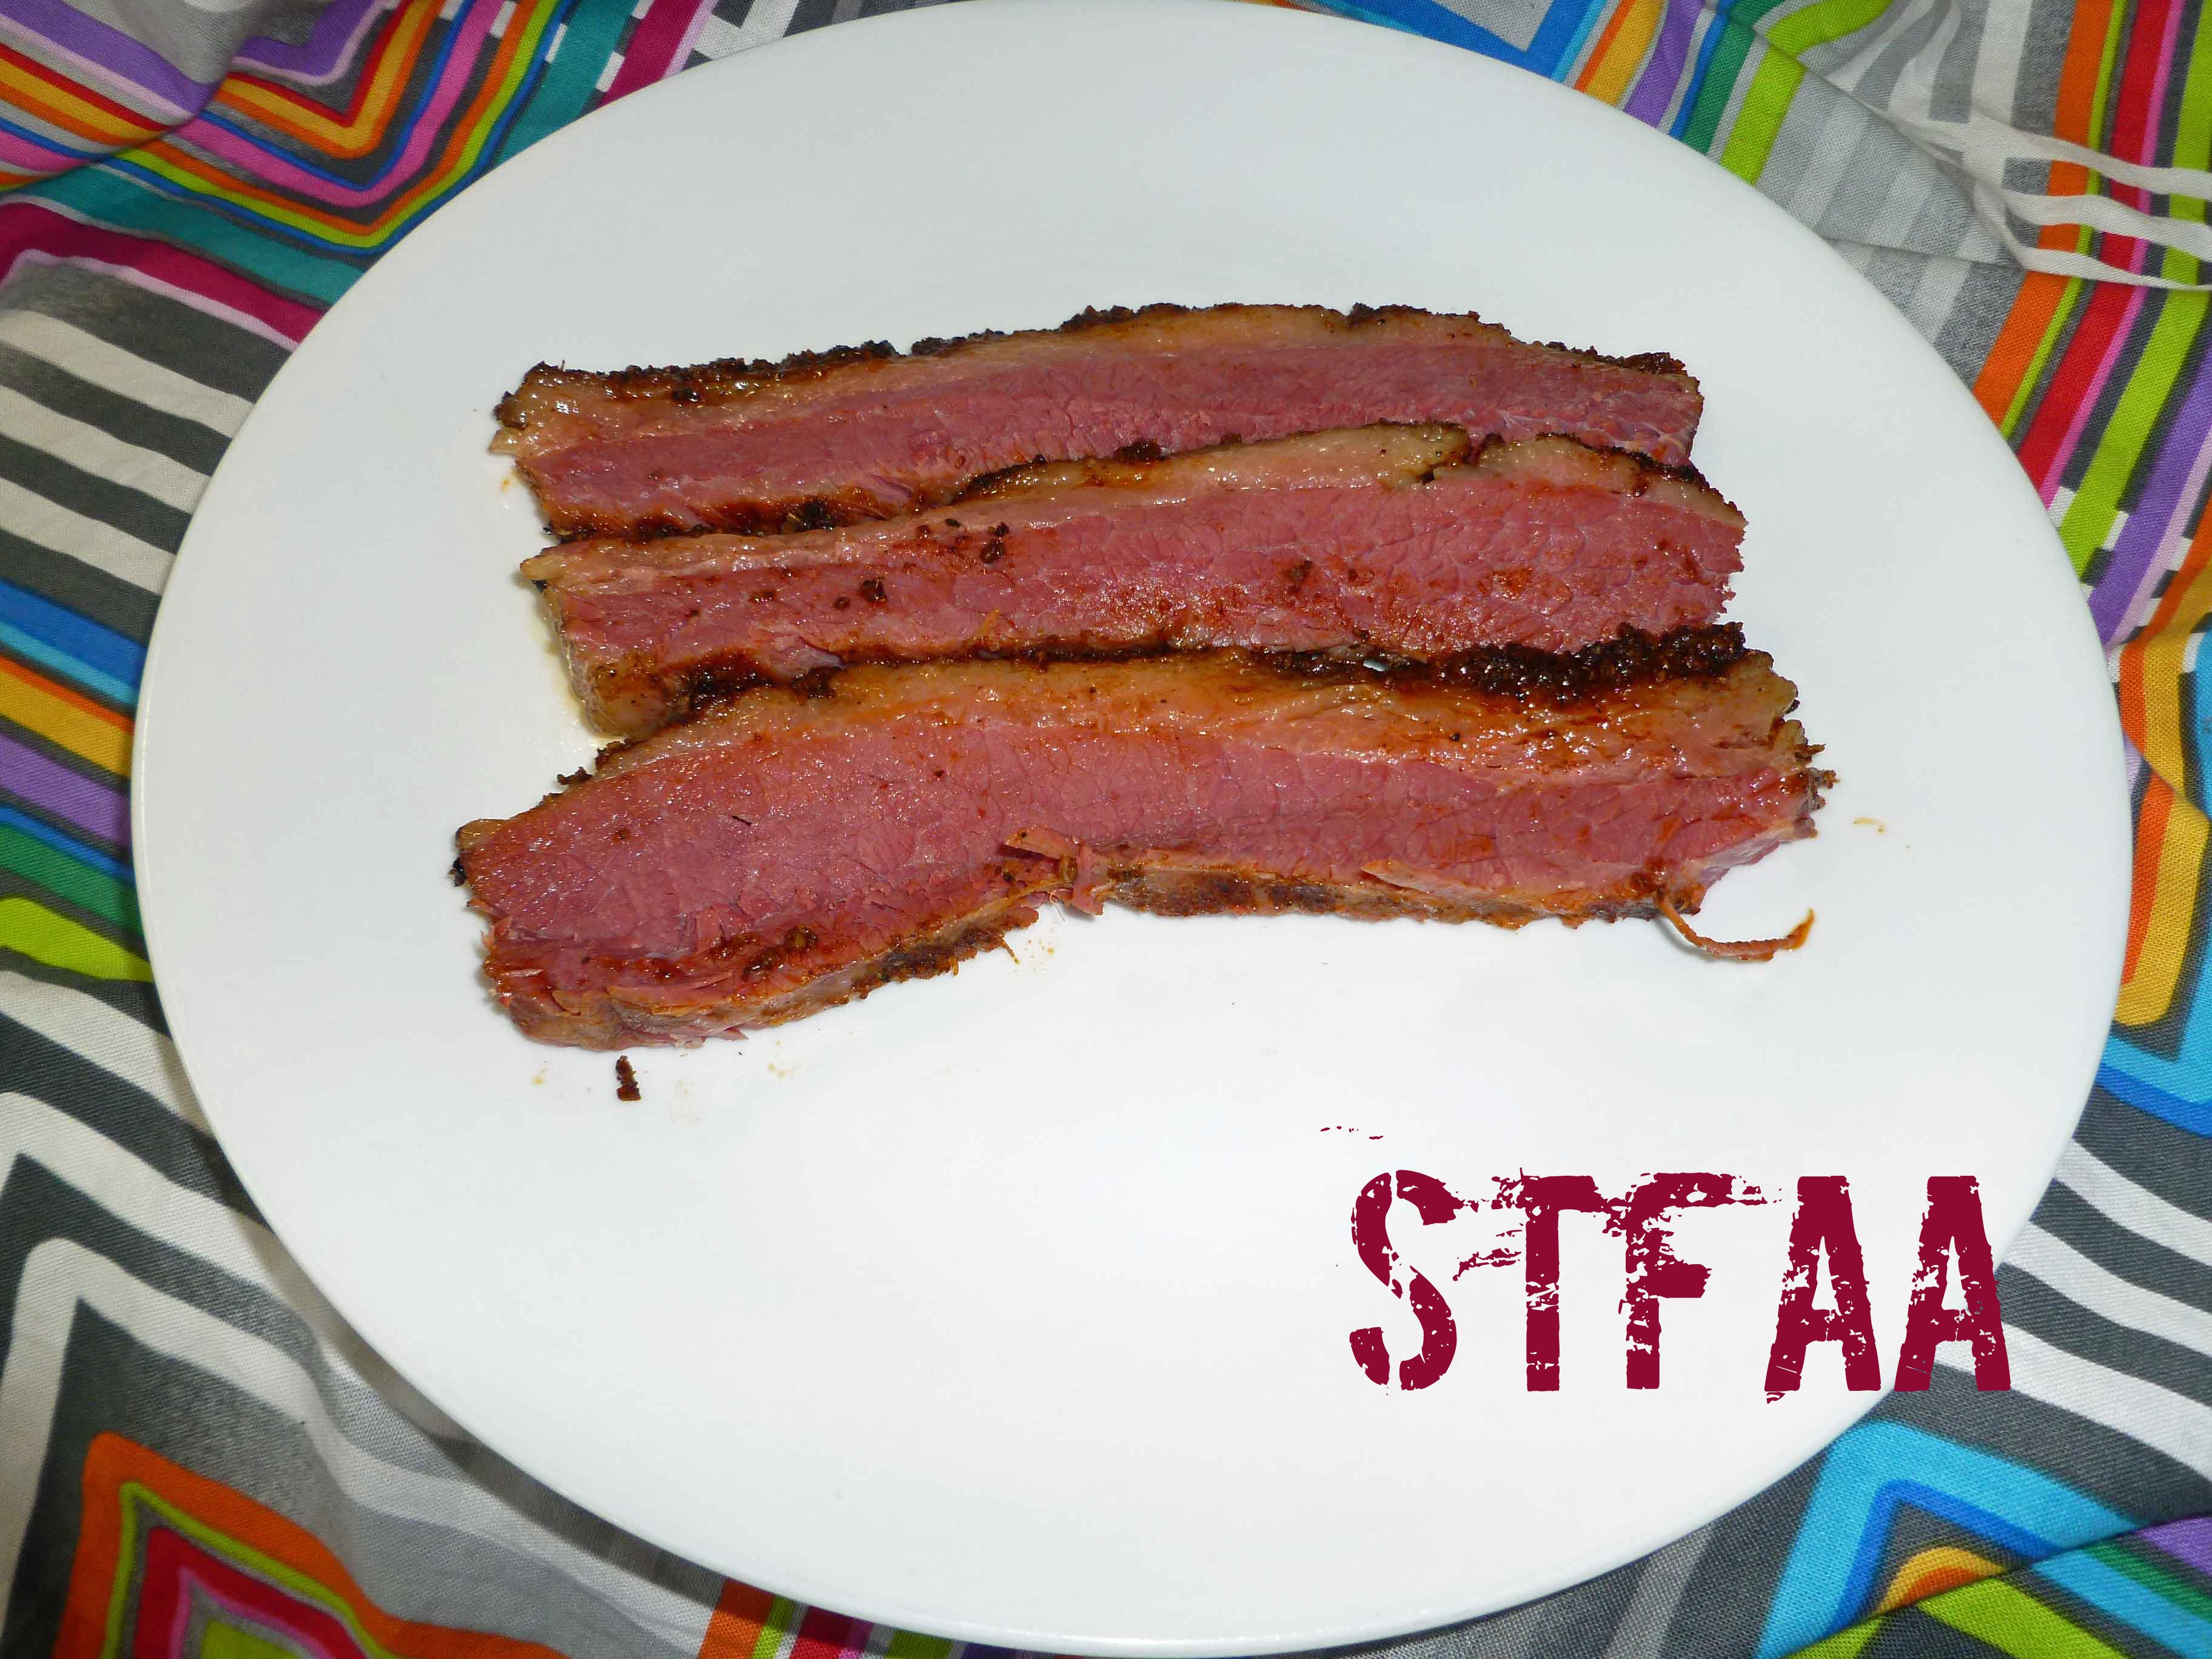
I like mine fried up to get some crispy bits after refrigerating or freezing. I haven’t got a safe bread yet, but it’s great in a homemade wrap with sauerkraut and thousand island dressing (Aquafaba Vegan Salad Dressing mixed with my homemade ketchup and relish). Enjoy!
Notice: Trying to access array offset on value of type bool in /home/maryzahc/public_html/adultfoodallergies.com/wp-content/plugins/wp-ultimate-recipe/helpers/models/recipe.php on line 254
- 1 kitchen scale
- 0.25 ounces sodium nitrite
- 3.68 ounces fine sea salt
- To make Curing Salt #1, or Prague Mix #1, or Instacure #1, you need a scale, with a digital readout going out two places. You need to be absolutely precise. To make 4 ounces of Curing Salt #1, you need to weigh out 0.25 ounces of sodium nitrite making sure you tare out or zero out your container, and 3.68 ounces of fine sea salt. Mix these together well, and store in a container that’s very clearly marked so that there is no confusion as to what it is. Do not ask for cups or teaspoon equivalents because I will not do it. This needs to be mixed as exactly as described, you cannot wing it or approximate. I cannot emphasize this enough, the proportions must be exactly as described here to be safe.
Notice: Trying to access array offset on value of type bool in /home/maryzahc/public_html/adultfoodallergies.com/wp-content/plugins/wp-ultimate-recipe/helpers/models/recipe.php on line 254
- 3-5 pound beef brisket
- 4 cups cold water
- 3 quarts cold water
- 2 cups kosher salt
- 1/4 cup Curing Salt #1 (DIY version or commercial version if you don’t have a corn allergy)
- 1 cup white sugar
- 3/4 cup brown sugar
- 2 TBS pickling spice
- 1 TBS whole coriander seed
- 1 TBS whole yellow mustard seed
- 1 TBS dried minced garlic
- 3 quarts ice cold water
- 1/4 cup freshly ground coriander seed
- 2 TBS freshly-ground black pepper
- 2 TBS smoked paprika
- In a large stock pot, add the 3 quarts of cold water, the kosher salt, your homemade curing salt, white and brown sugar, pickling spice, coriander seed, mustard seed, and garlic. Bring to a boil over high heat, stirring until the salt and sugar have fully dissolved. Remove the pot from the heat.
- In a large food safe container that will hold the brisket and 6 quarts of water and which will also fit in your refrigerator, place the 3 quarts ice-cold water, and the brine. Place the container in the refrigerator until completely cool (usually overnight).
- Trim the excess fat from the brisket leaving layer about a 1/4 inch thick remaining on the brisket. Submerge the brisket in the cooled brine. Depending on your container, you may need to cut it into two pieces to submerge it and weigh the pieces down with a plate.
- Refrigerate for 5 days, stirring the brine and turning the brisket over once a day. If any of the brisket pieces touch each other, make sure that you regularly turn them away from each other to expose all sides of the to the brine.
- Make the spice rub on the day you plan to cook the pastrami after it has finished brining. Mix the ground coriander, ground black pepper, and smoked paprika in a small bowl.
- Remove the brisket from the brine and pat it dry. Rub a 1/4 cup of the spice rub evenly on the less fatty side of the brisket, then flip the brisket and rub the remaining spice mixture onto the fatty side. Let the brisket come to room temperature.
- Preheat your oven to 300°F. Place a wire rack in a the bottom of a 12-by-15-inch roasting pan, and pour 4 cups cold water into the pan. Place the brisket on the wire rack, with the fatty side up. Cover the brisket and roasting pan with a double layer aluminum foil, and seal the foil around the edge of the roasting pan tightly.
- Bake until the brisket reaches an internal temperature of 200°F. This should take about 1 hour per pound. Let the meat rest for at least 30 minutes before slicing.
- Without trimming the fat, slice the pastrami against the grain into 1/4-inch-thick slices. Keep the pastrami in the refrigerator for a week or in the freezer for 6 months, as long as it is tightly wrapped in plastic or foil.