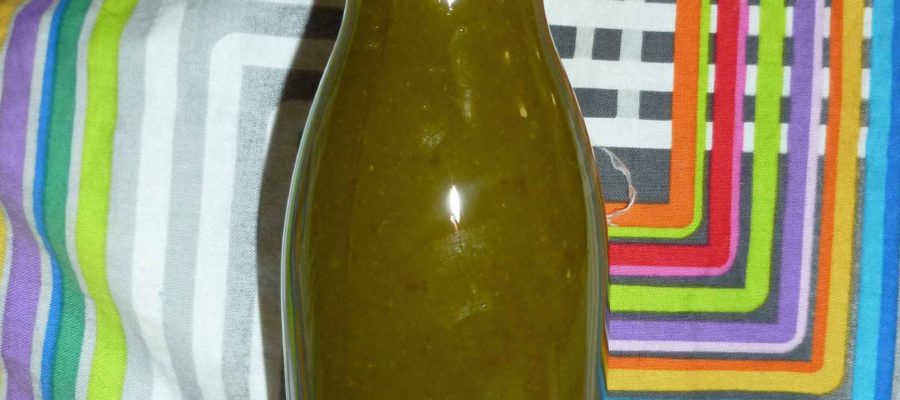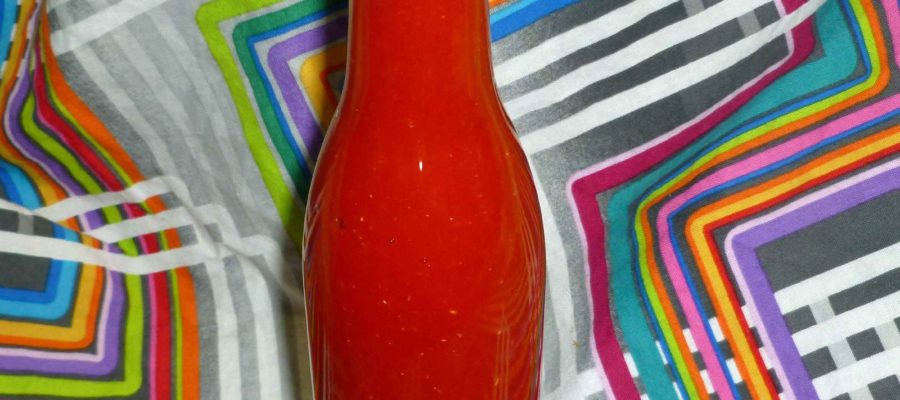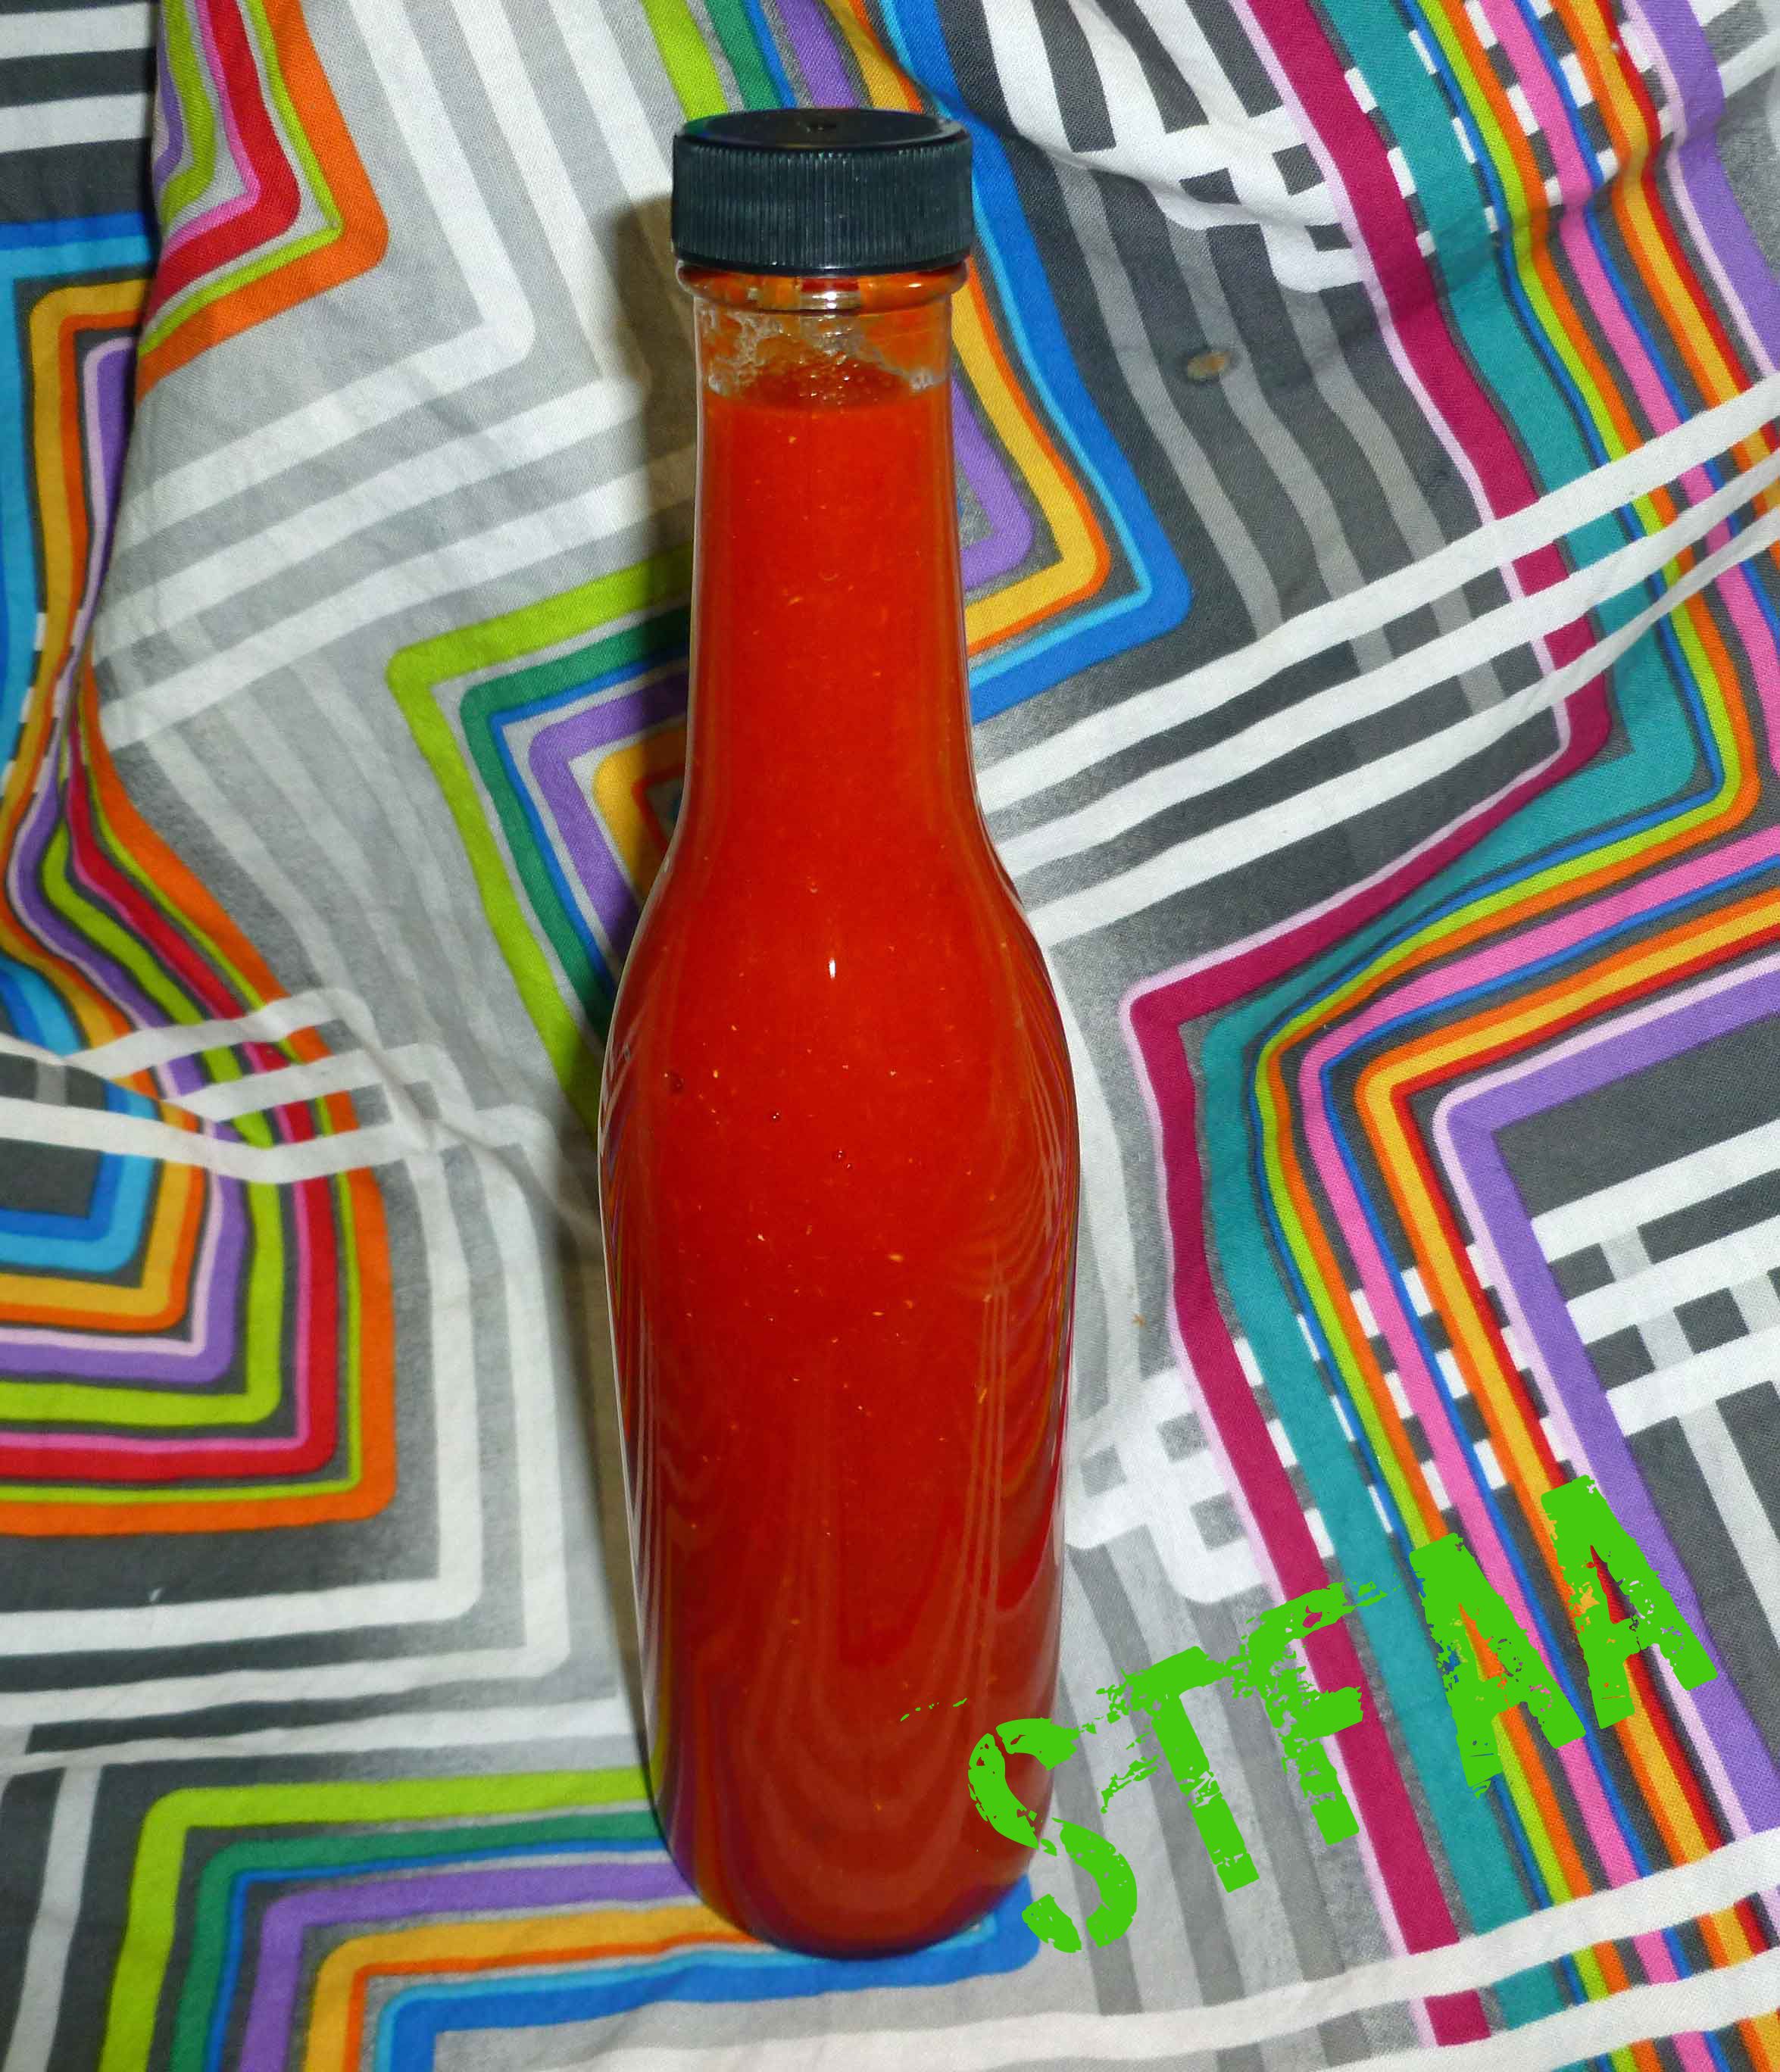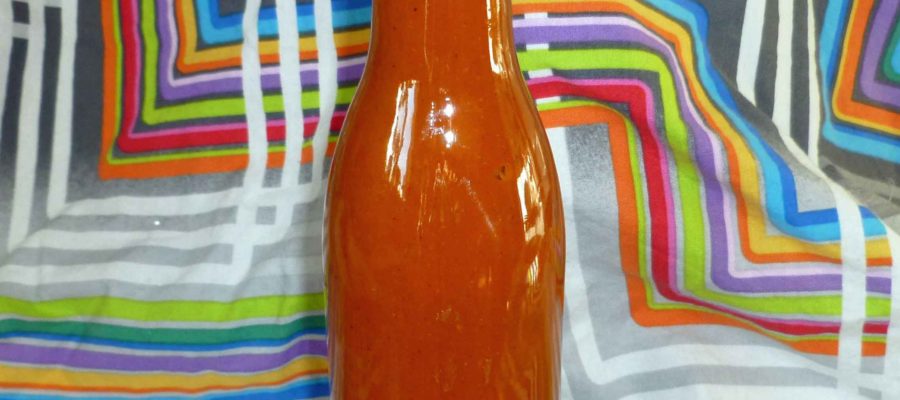
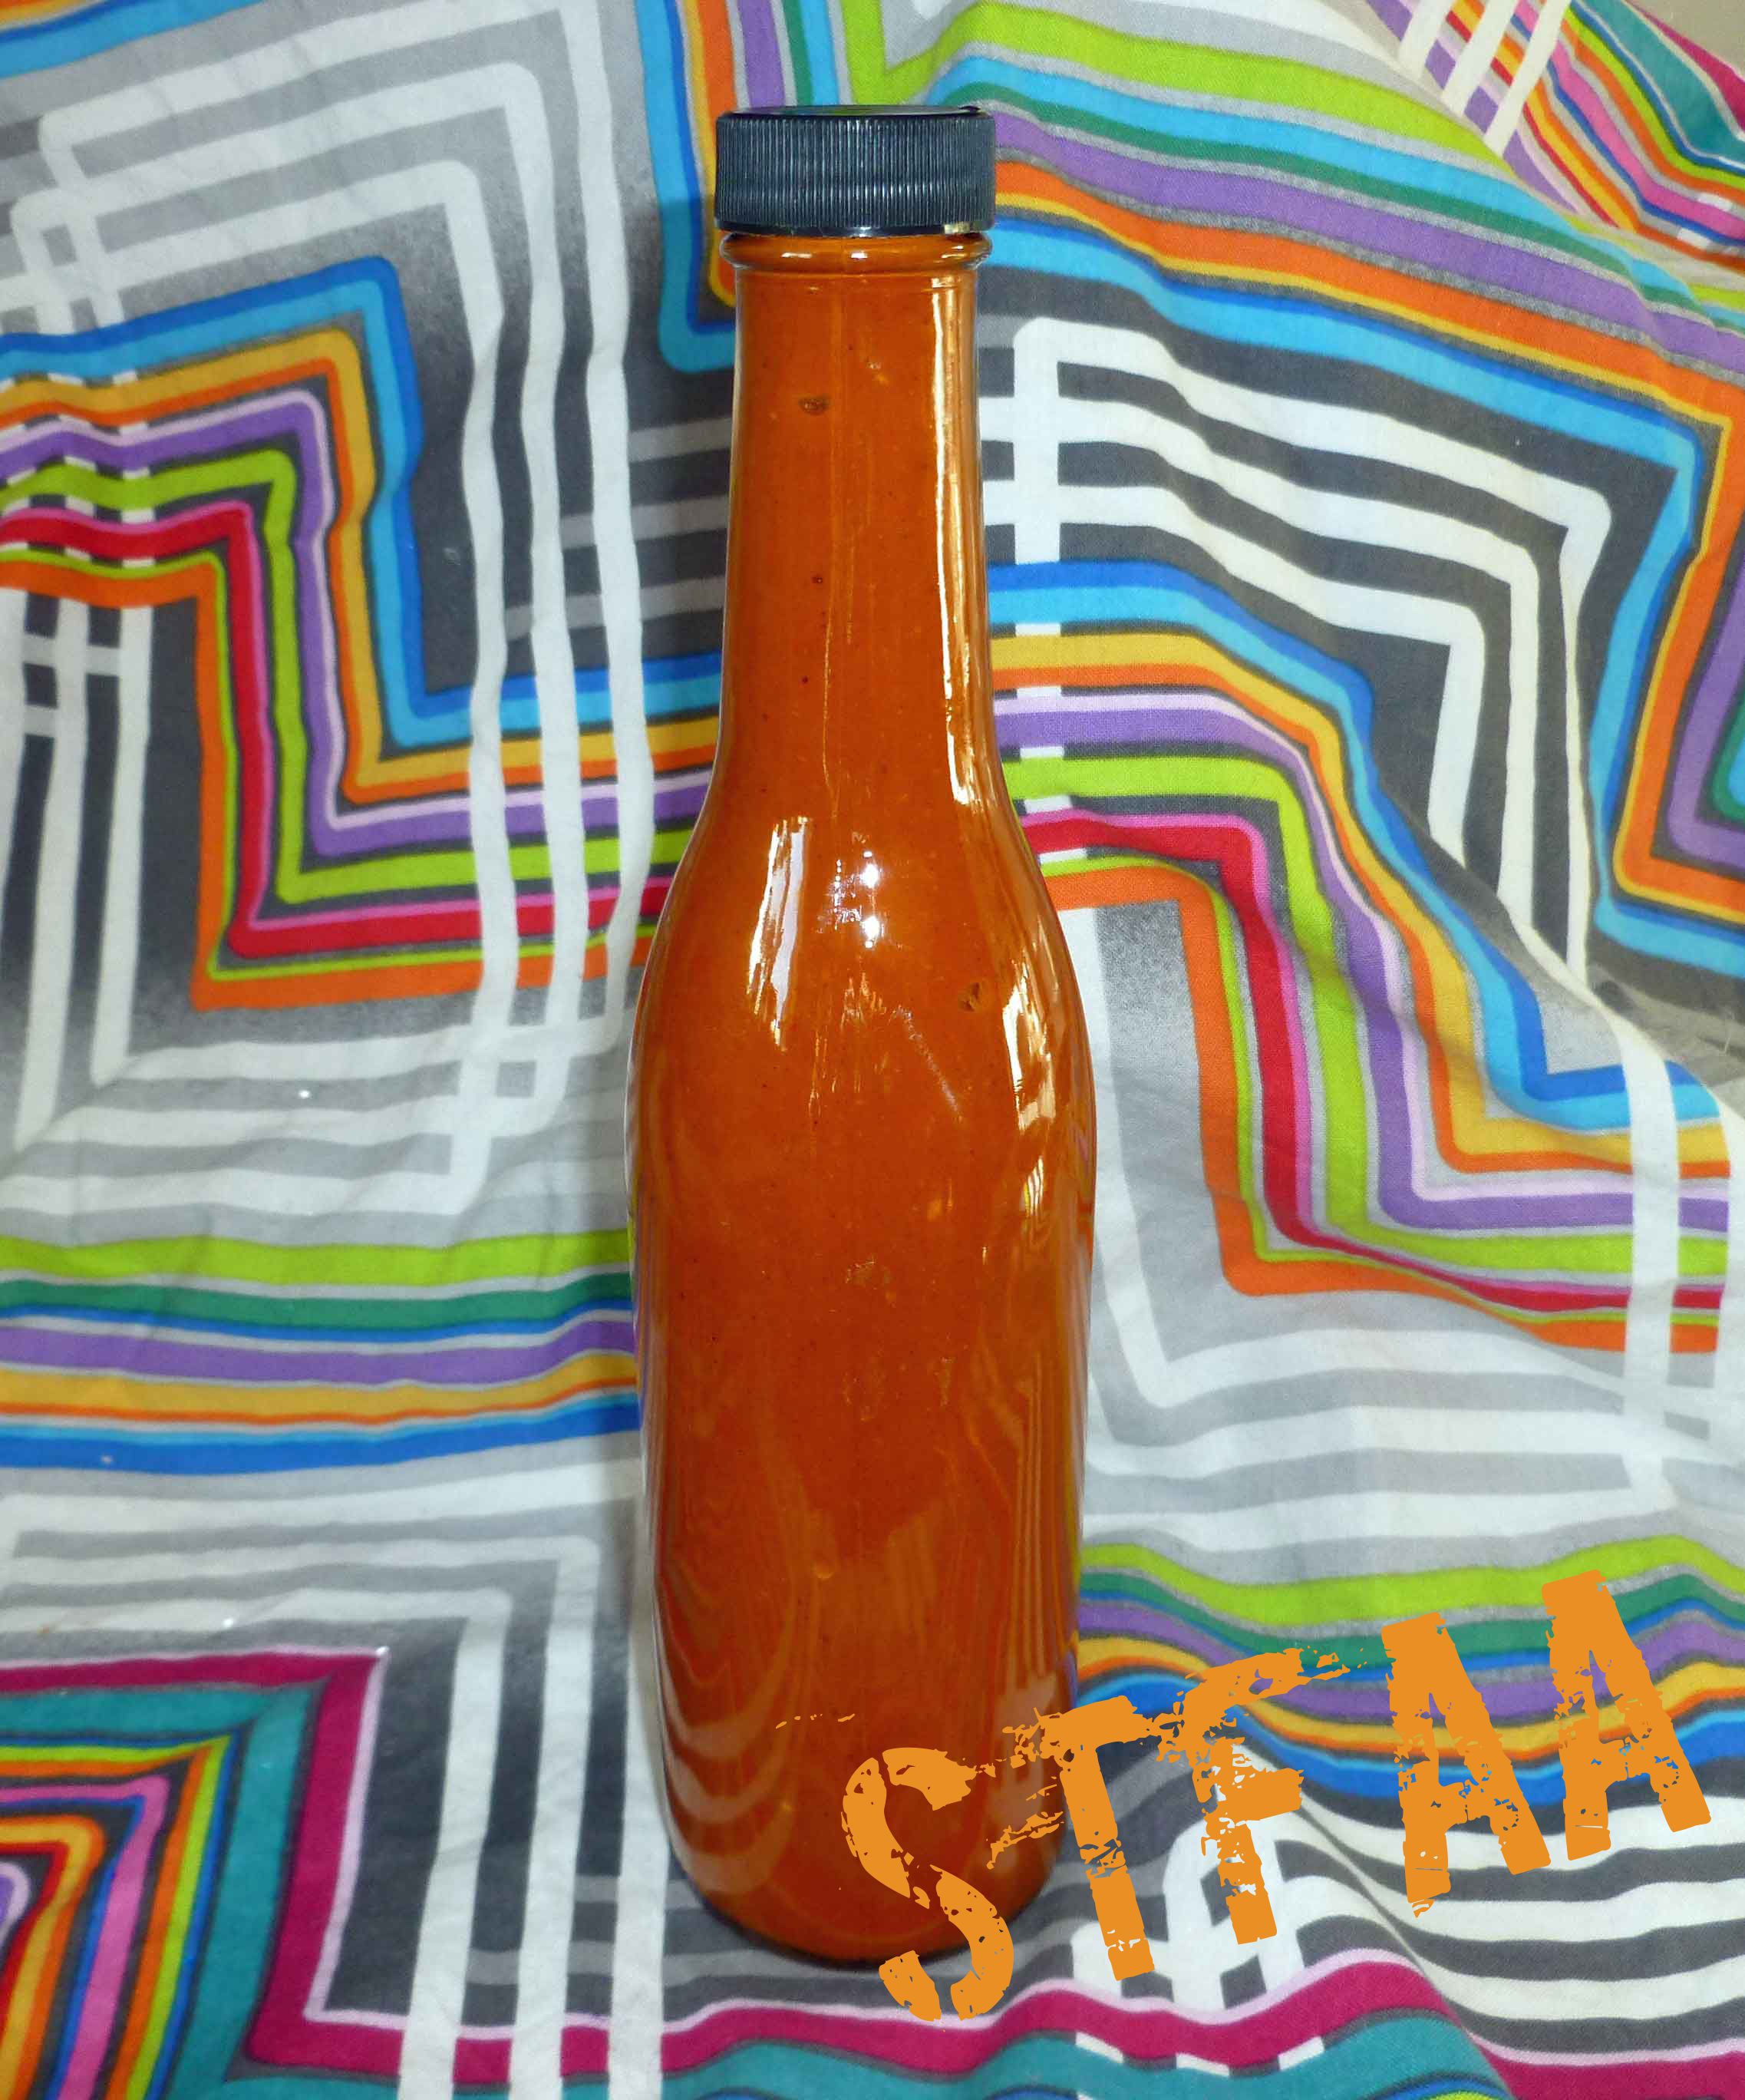
Okay, I know I’m going to be sorry because this is my last “get out of jail free post” I had saved up in case I was in a bind, but I’m kind of in a bind. So here we go with another hot sauce. Plus, you can’t have too many hot sauces anyway. This is made from the Indian Jwala finger peppers that MaryKate sent me from Seattle in the fall. I wanted to find an authentic Indian style hot sauce for these peppers, but didn’t really find much out there. So instead I made a curry inspired hot sauce. This is great for bumping up homemade curries, kormas, or dals. I used my DIY Curry Powder for this recipe, but any safe curry powder you have would be fine. If you can’t get your hands on fresh Indian Jwala finger peppers, any red chili pepper would be fine, such as red cayenne peppers or Fresno peppers.
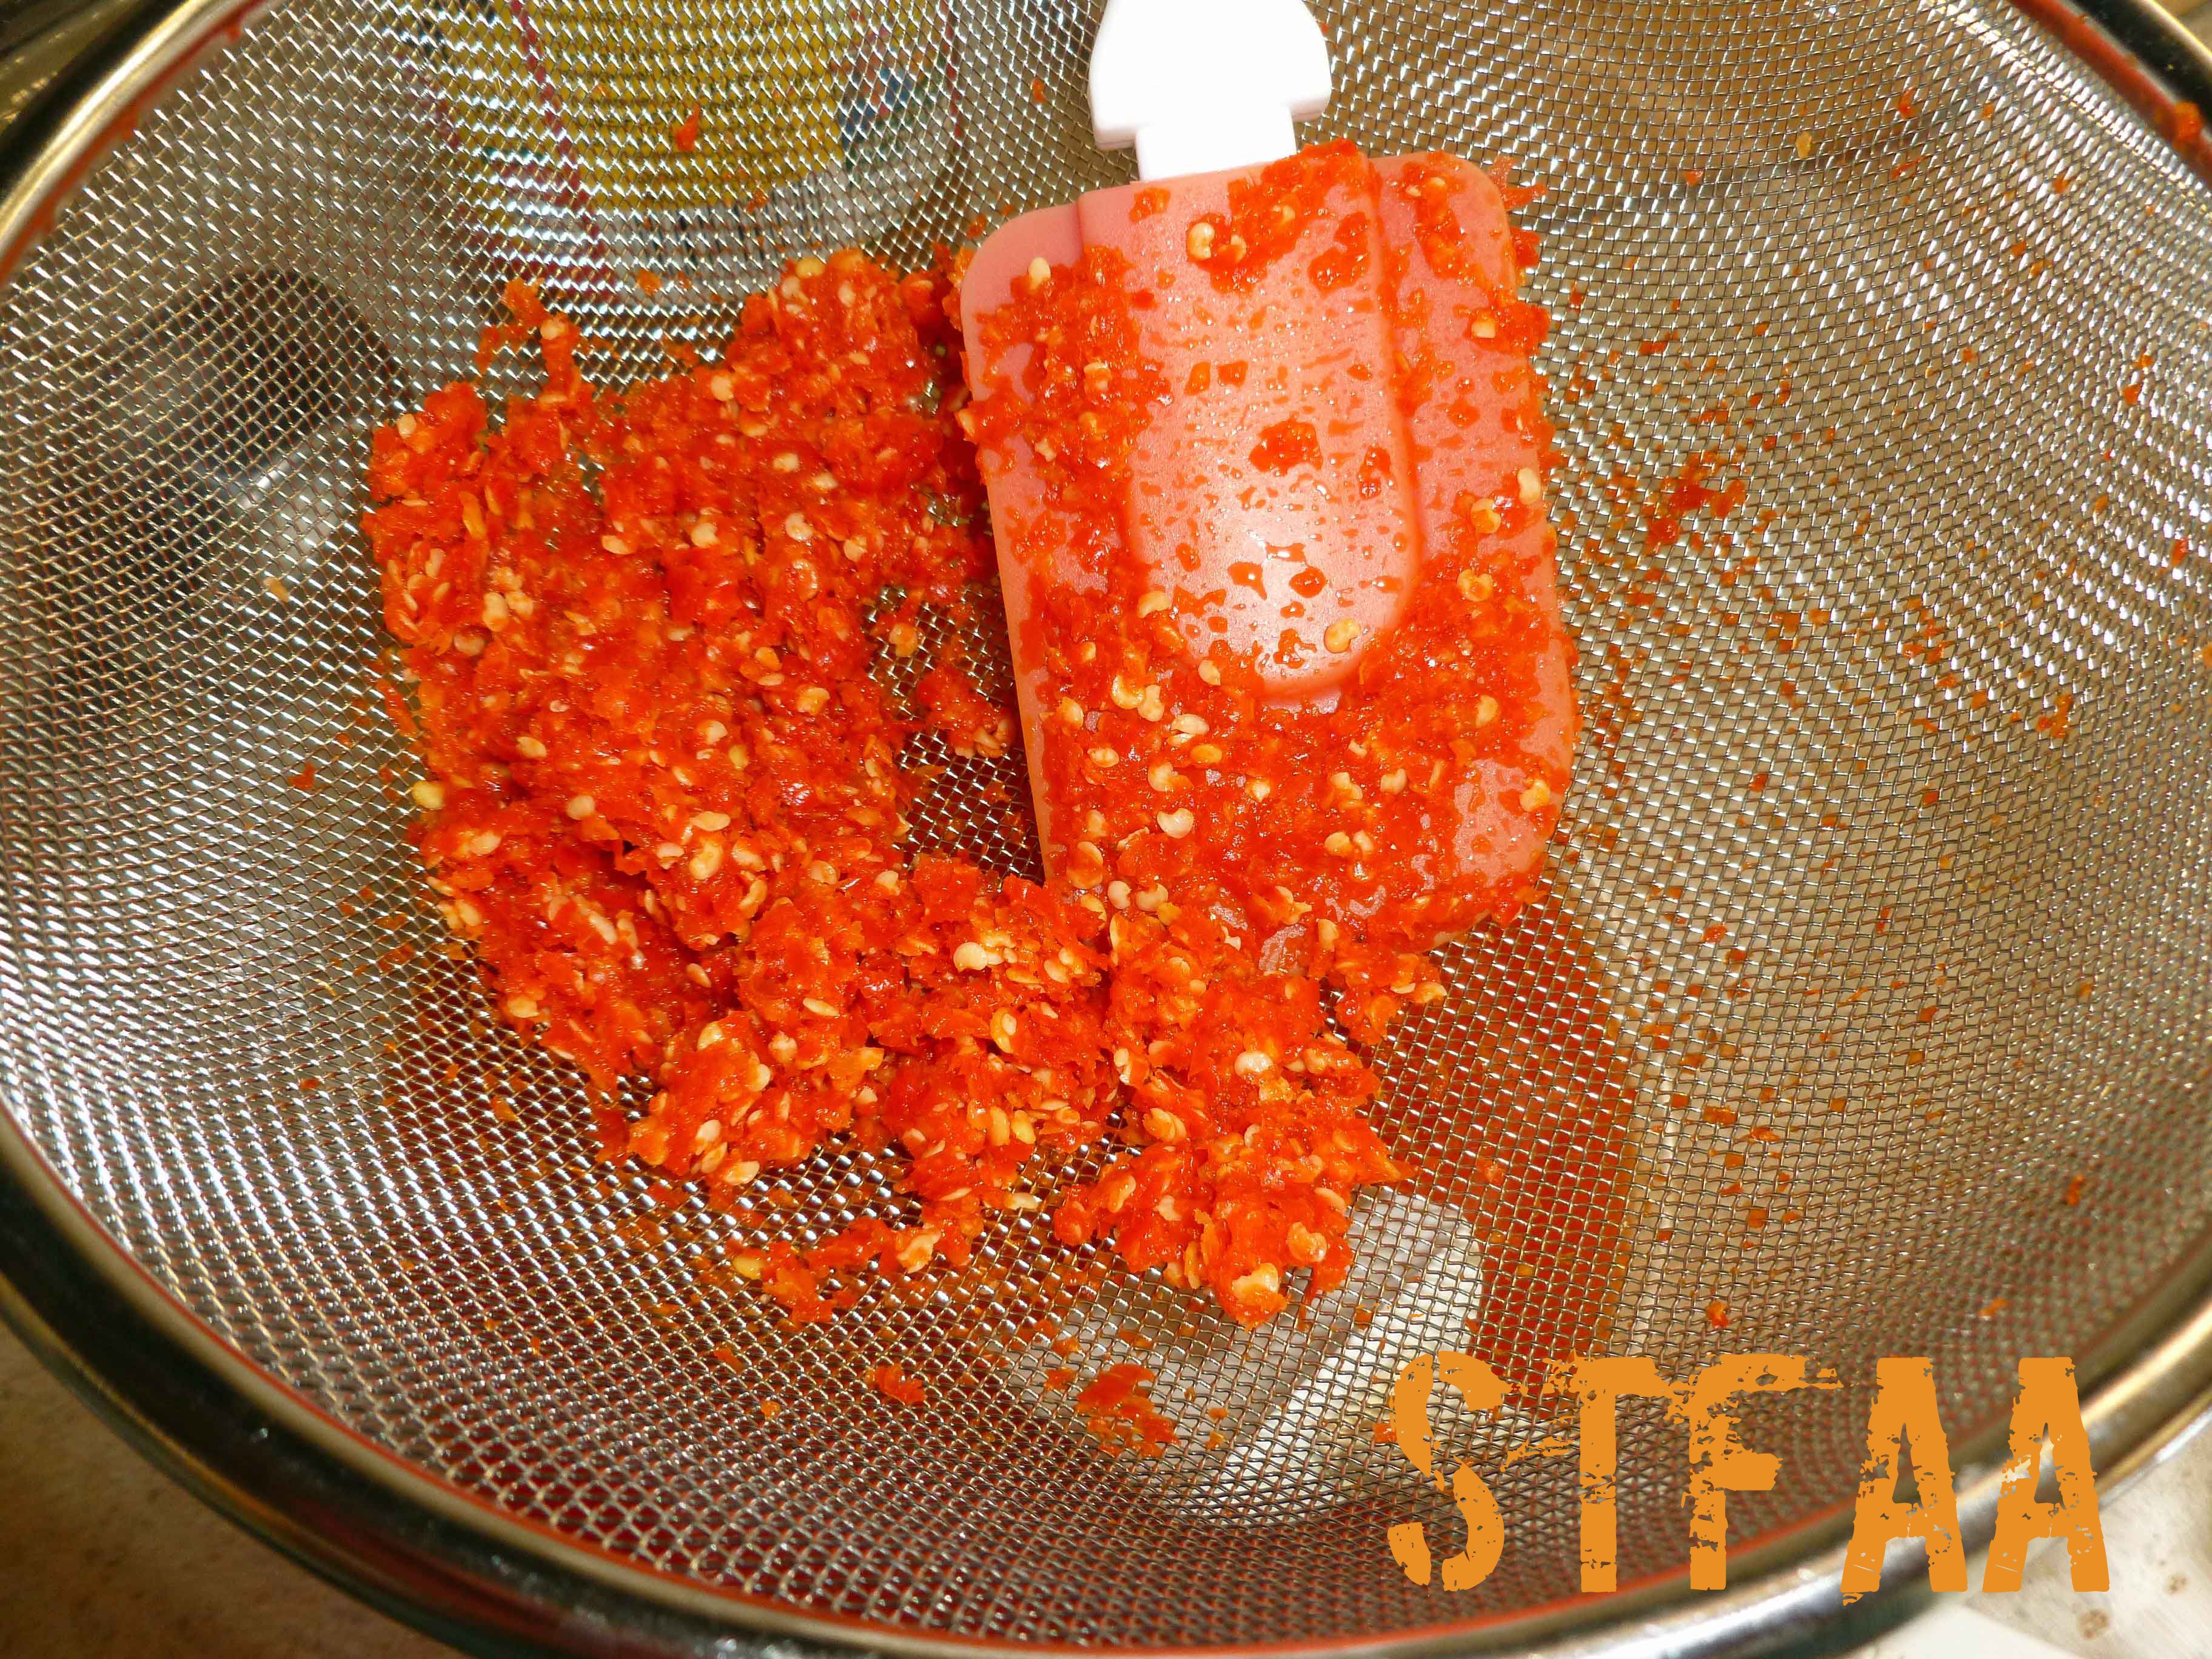
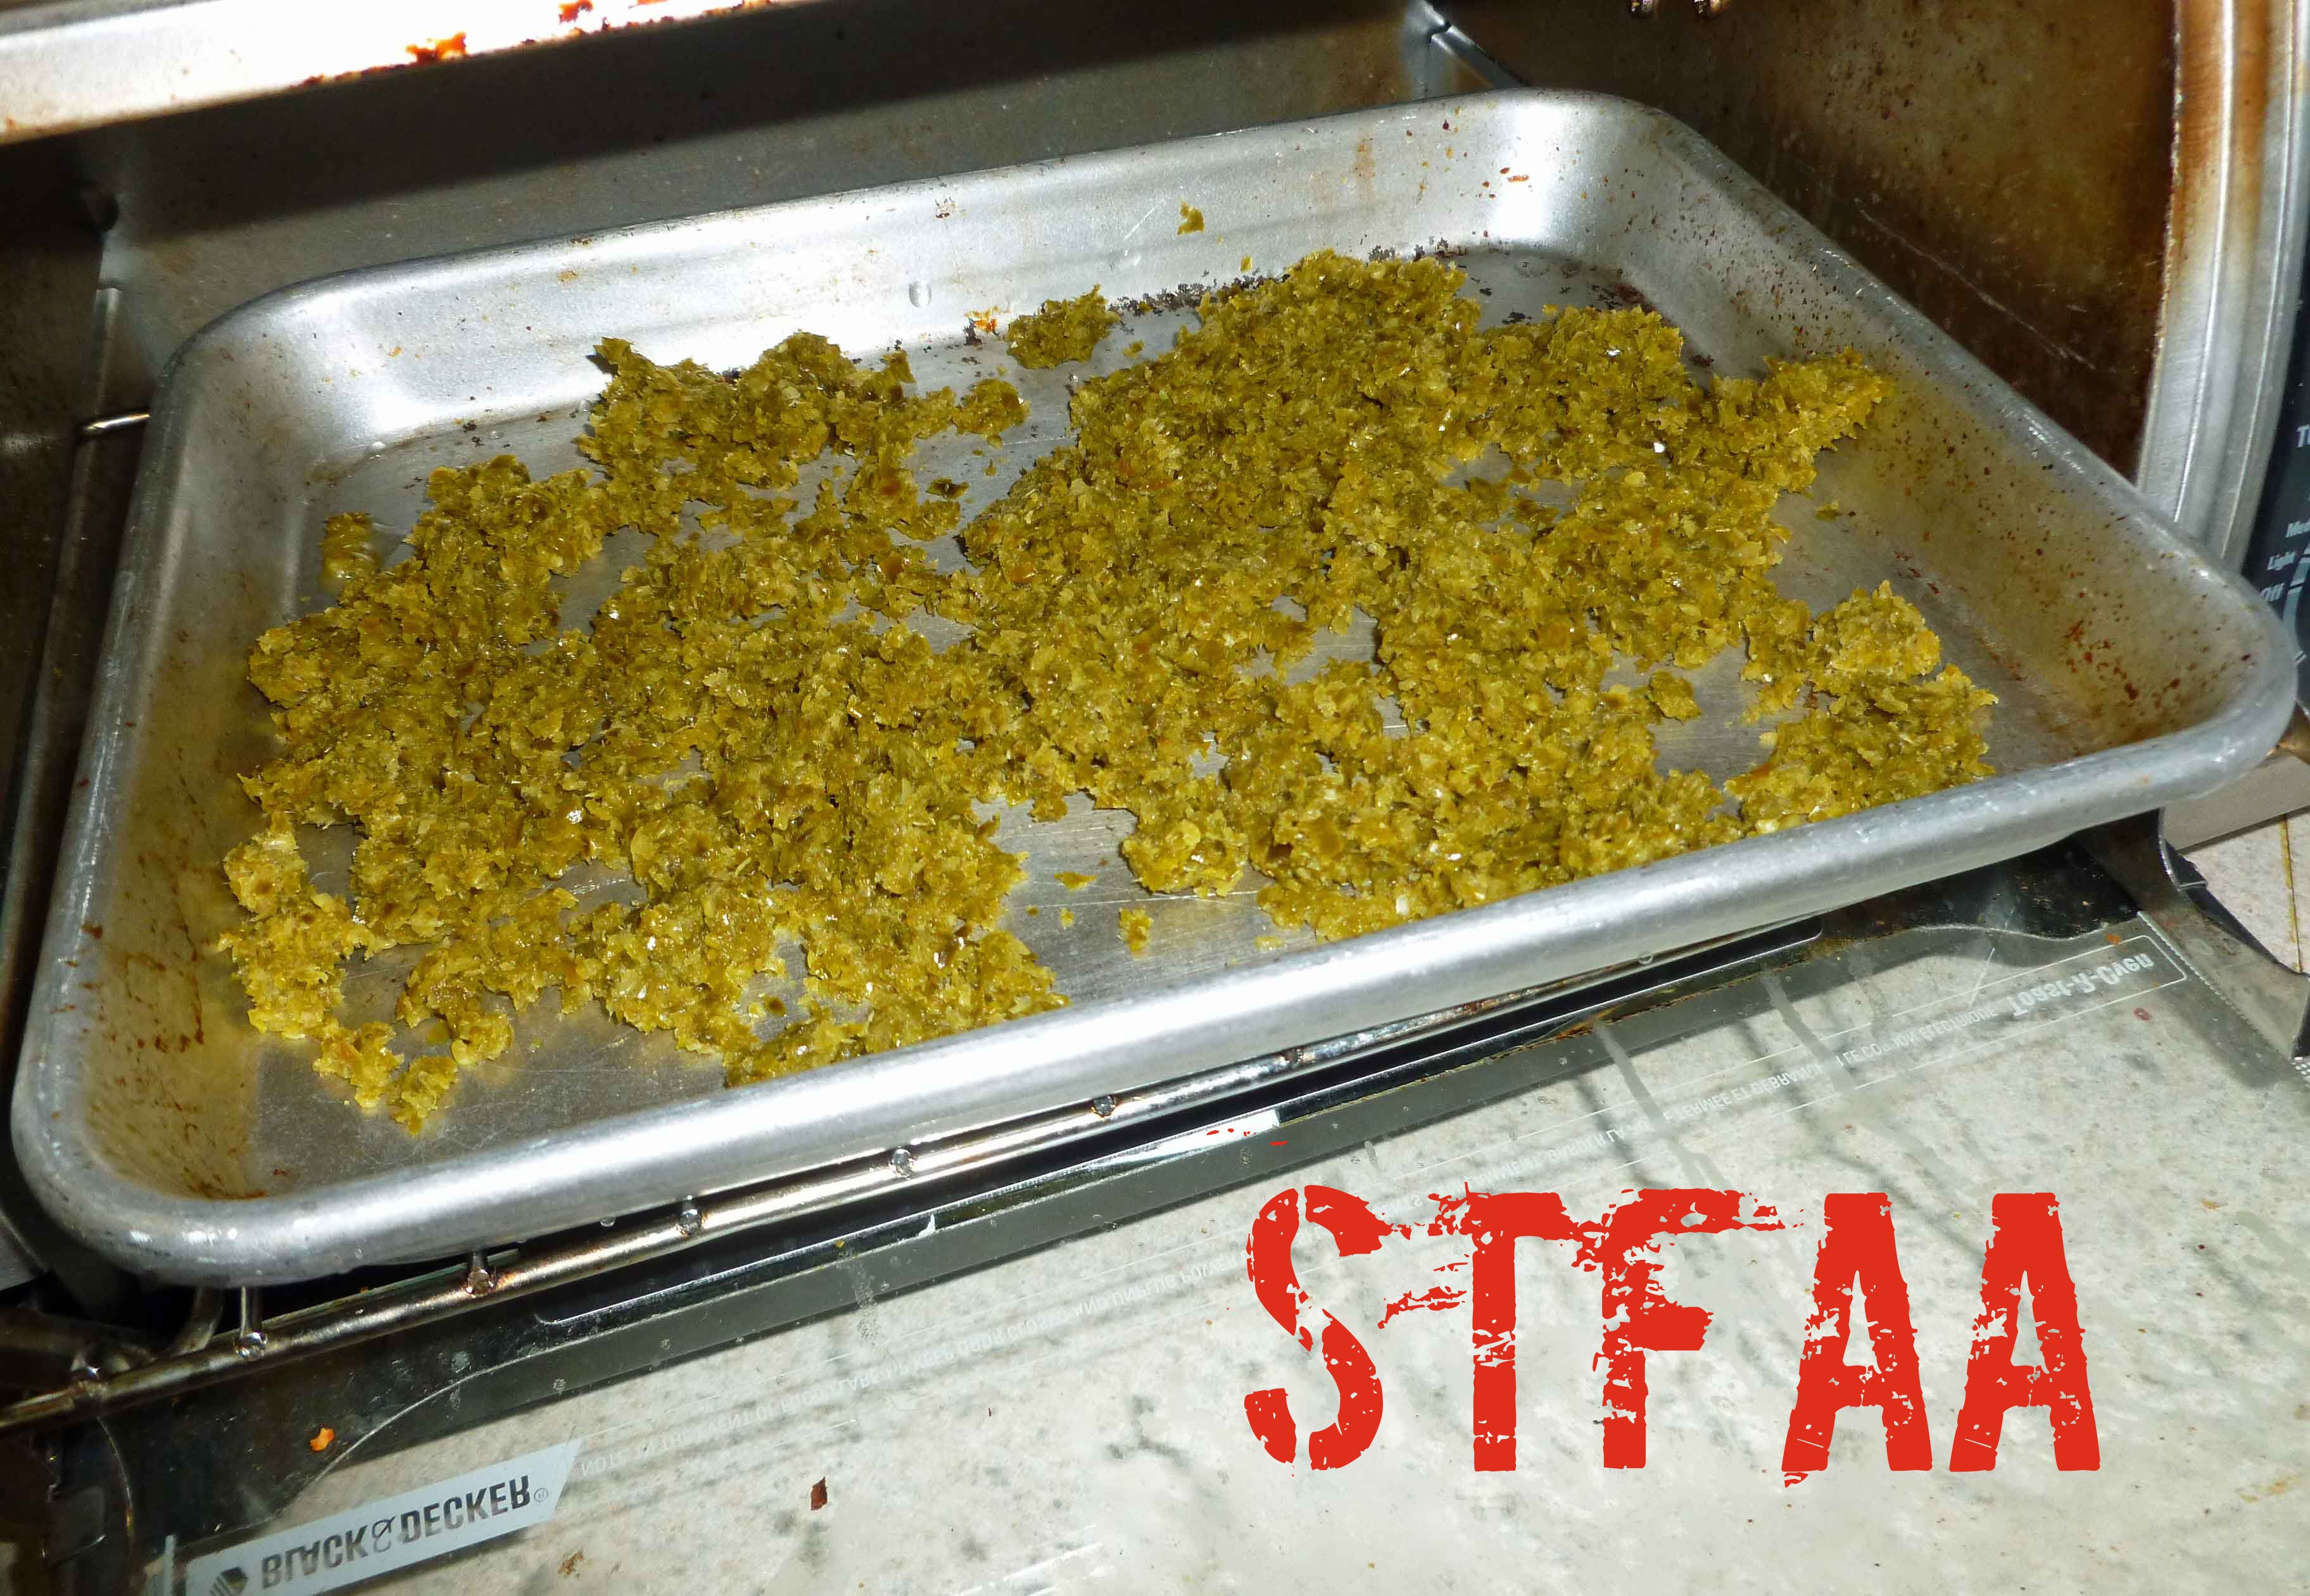
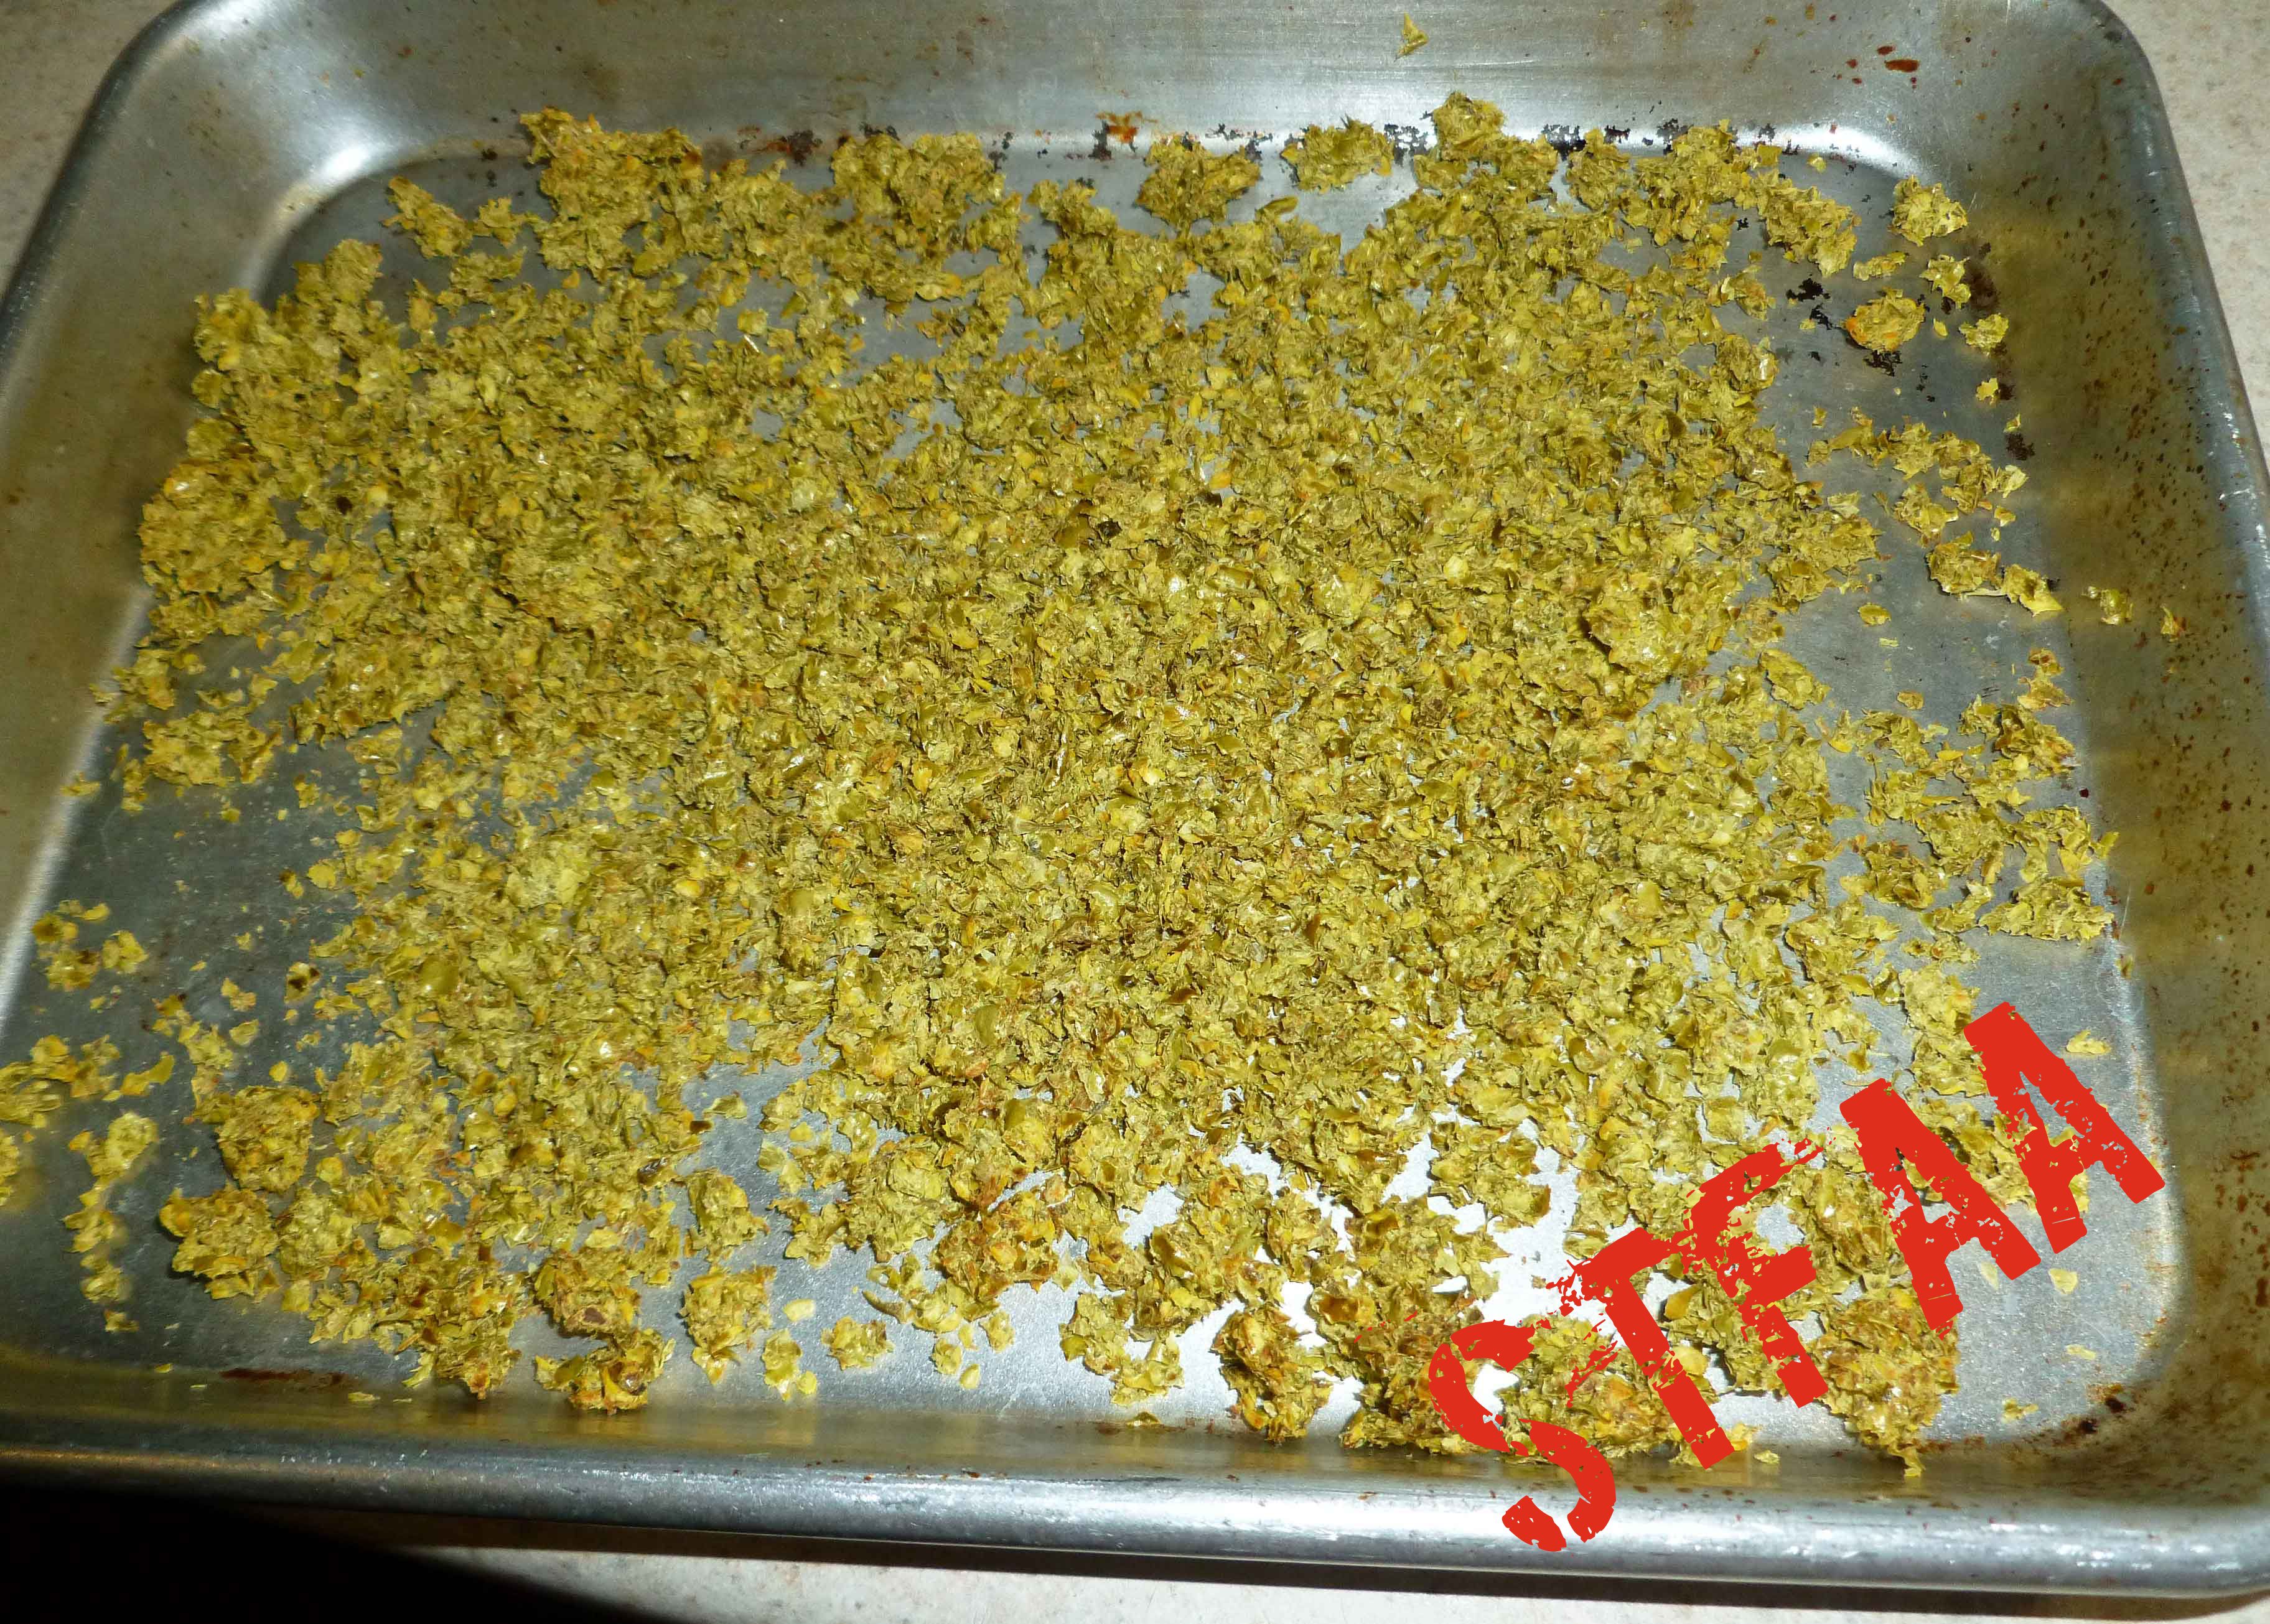
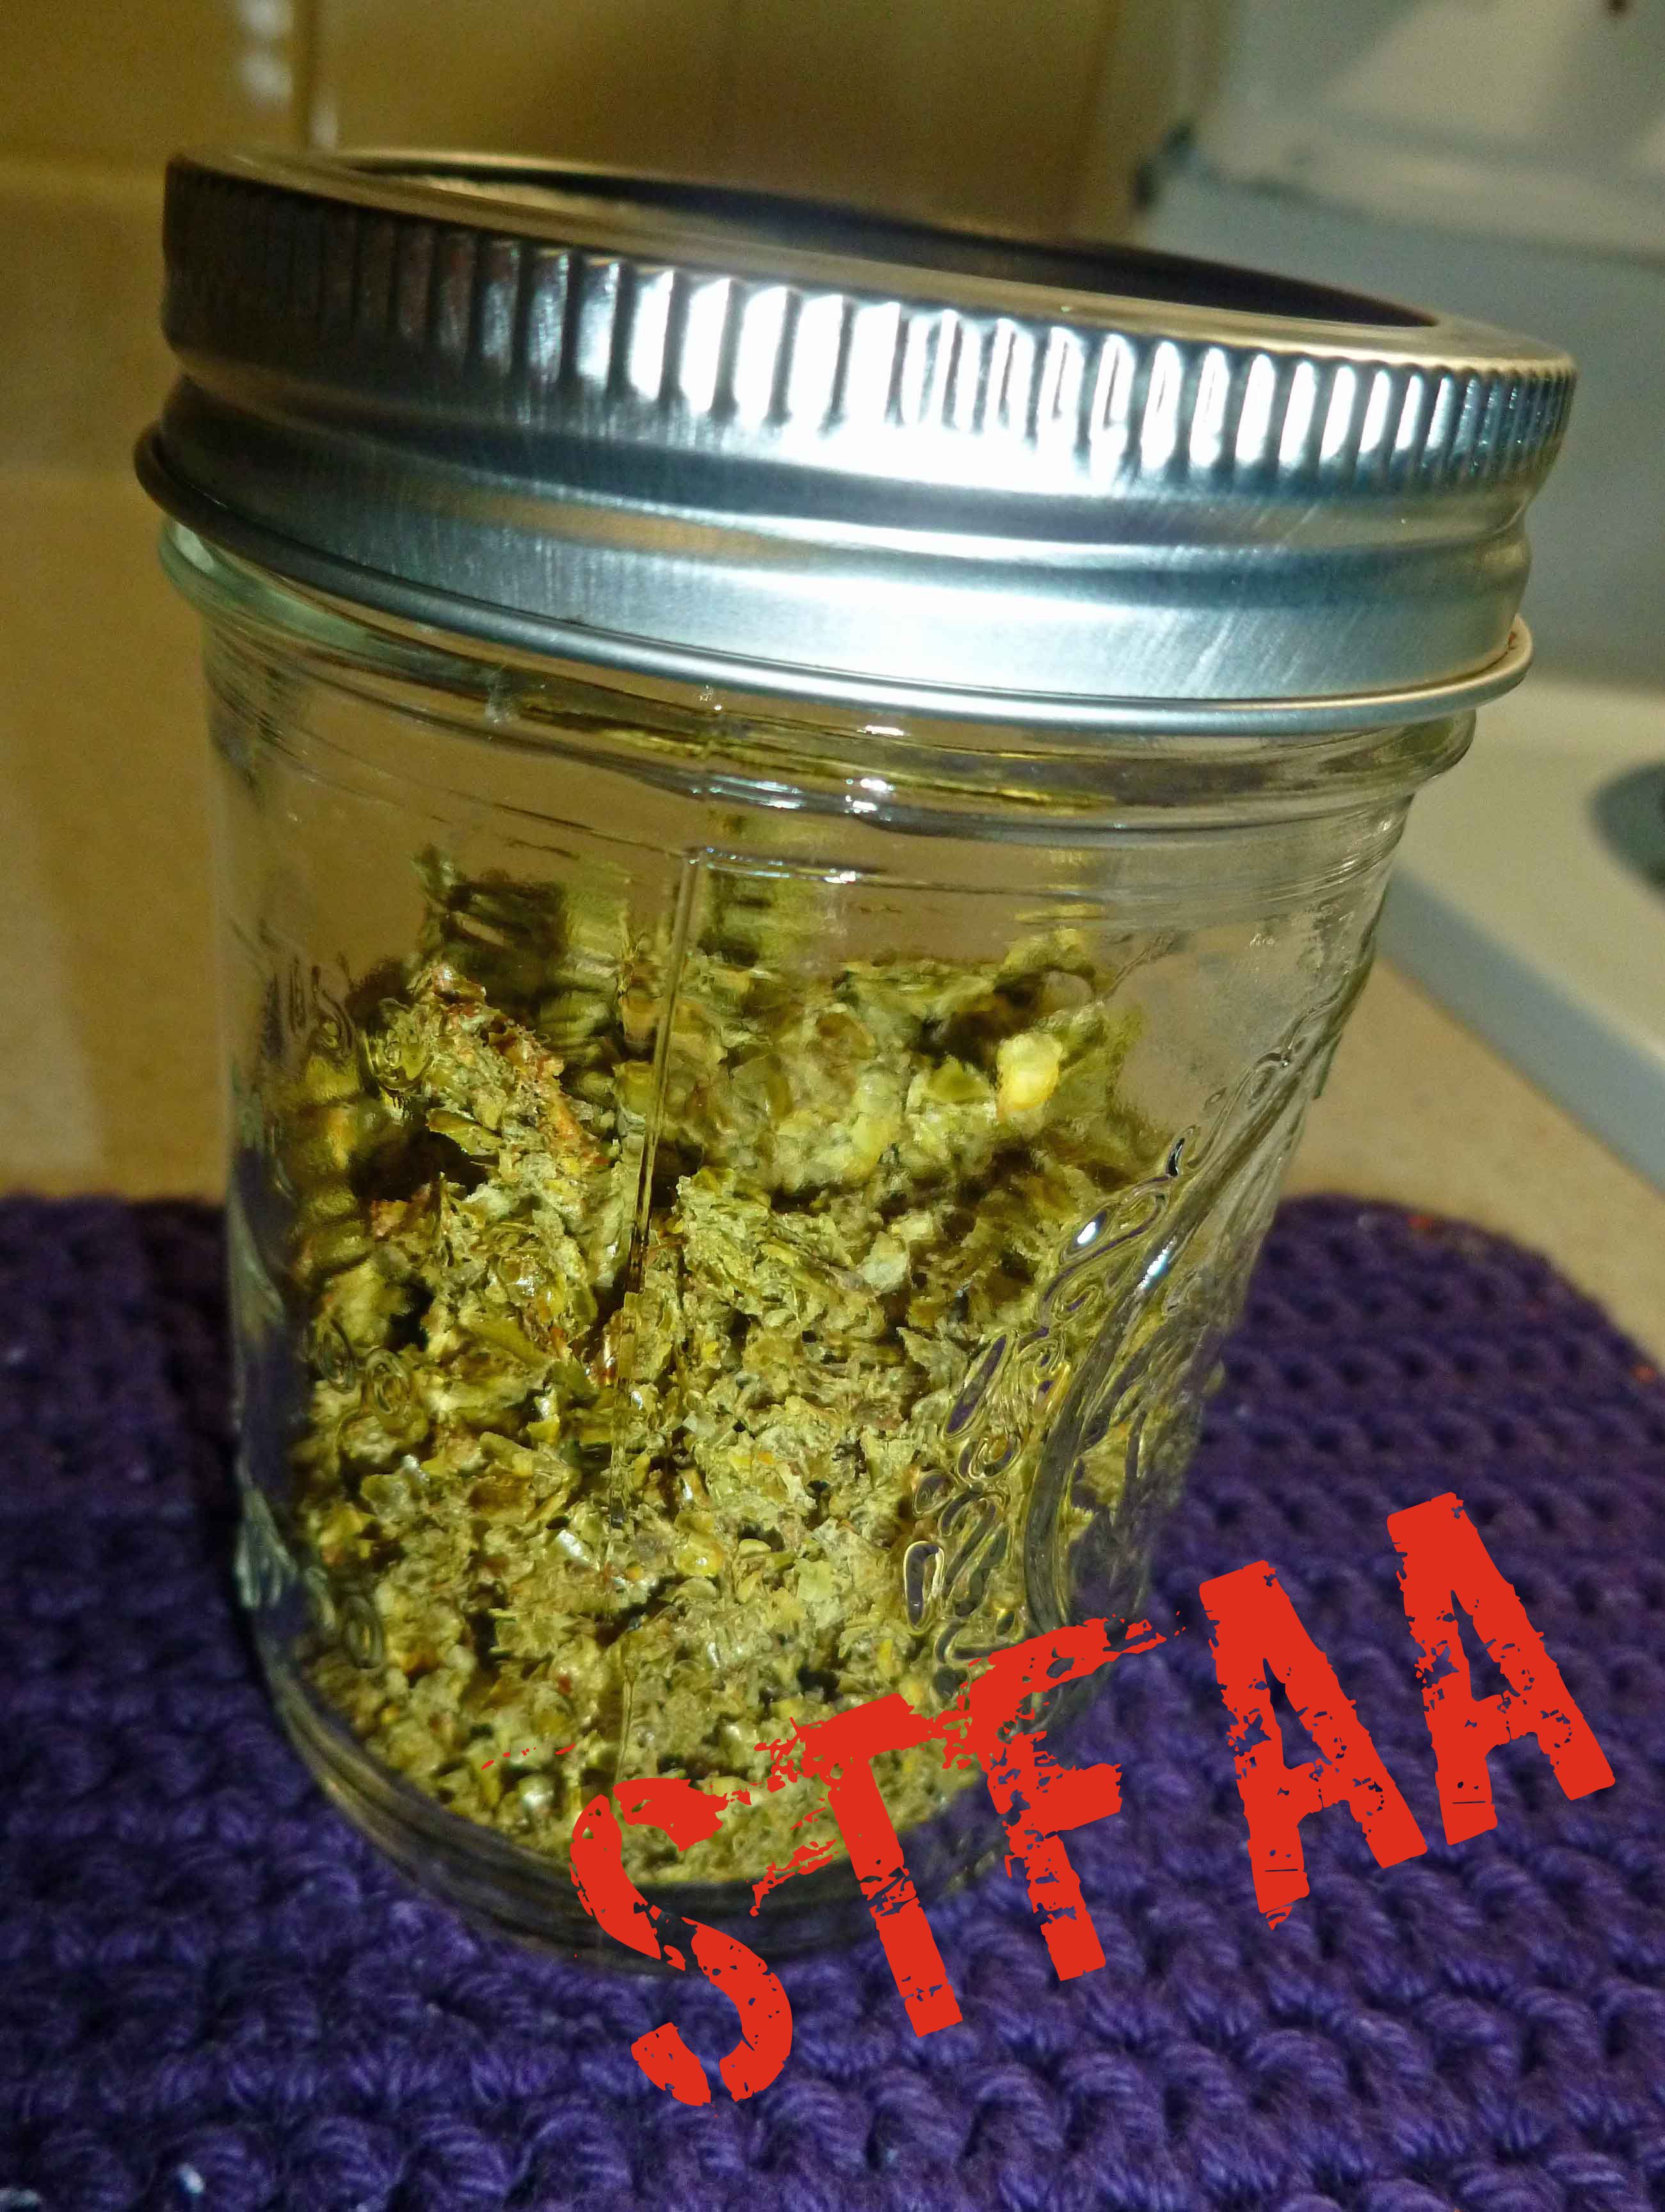
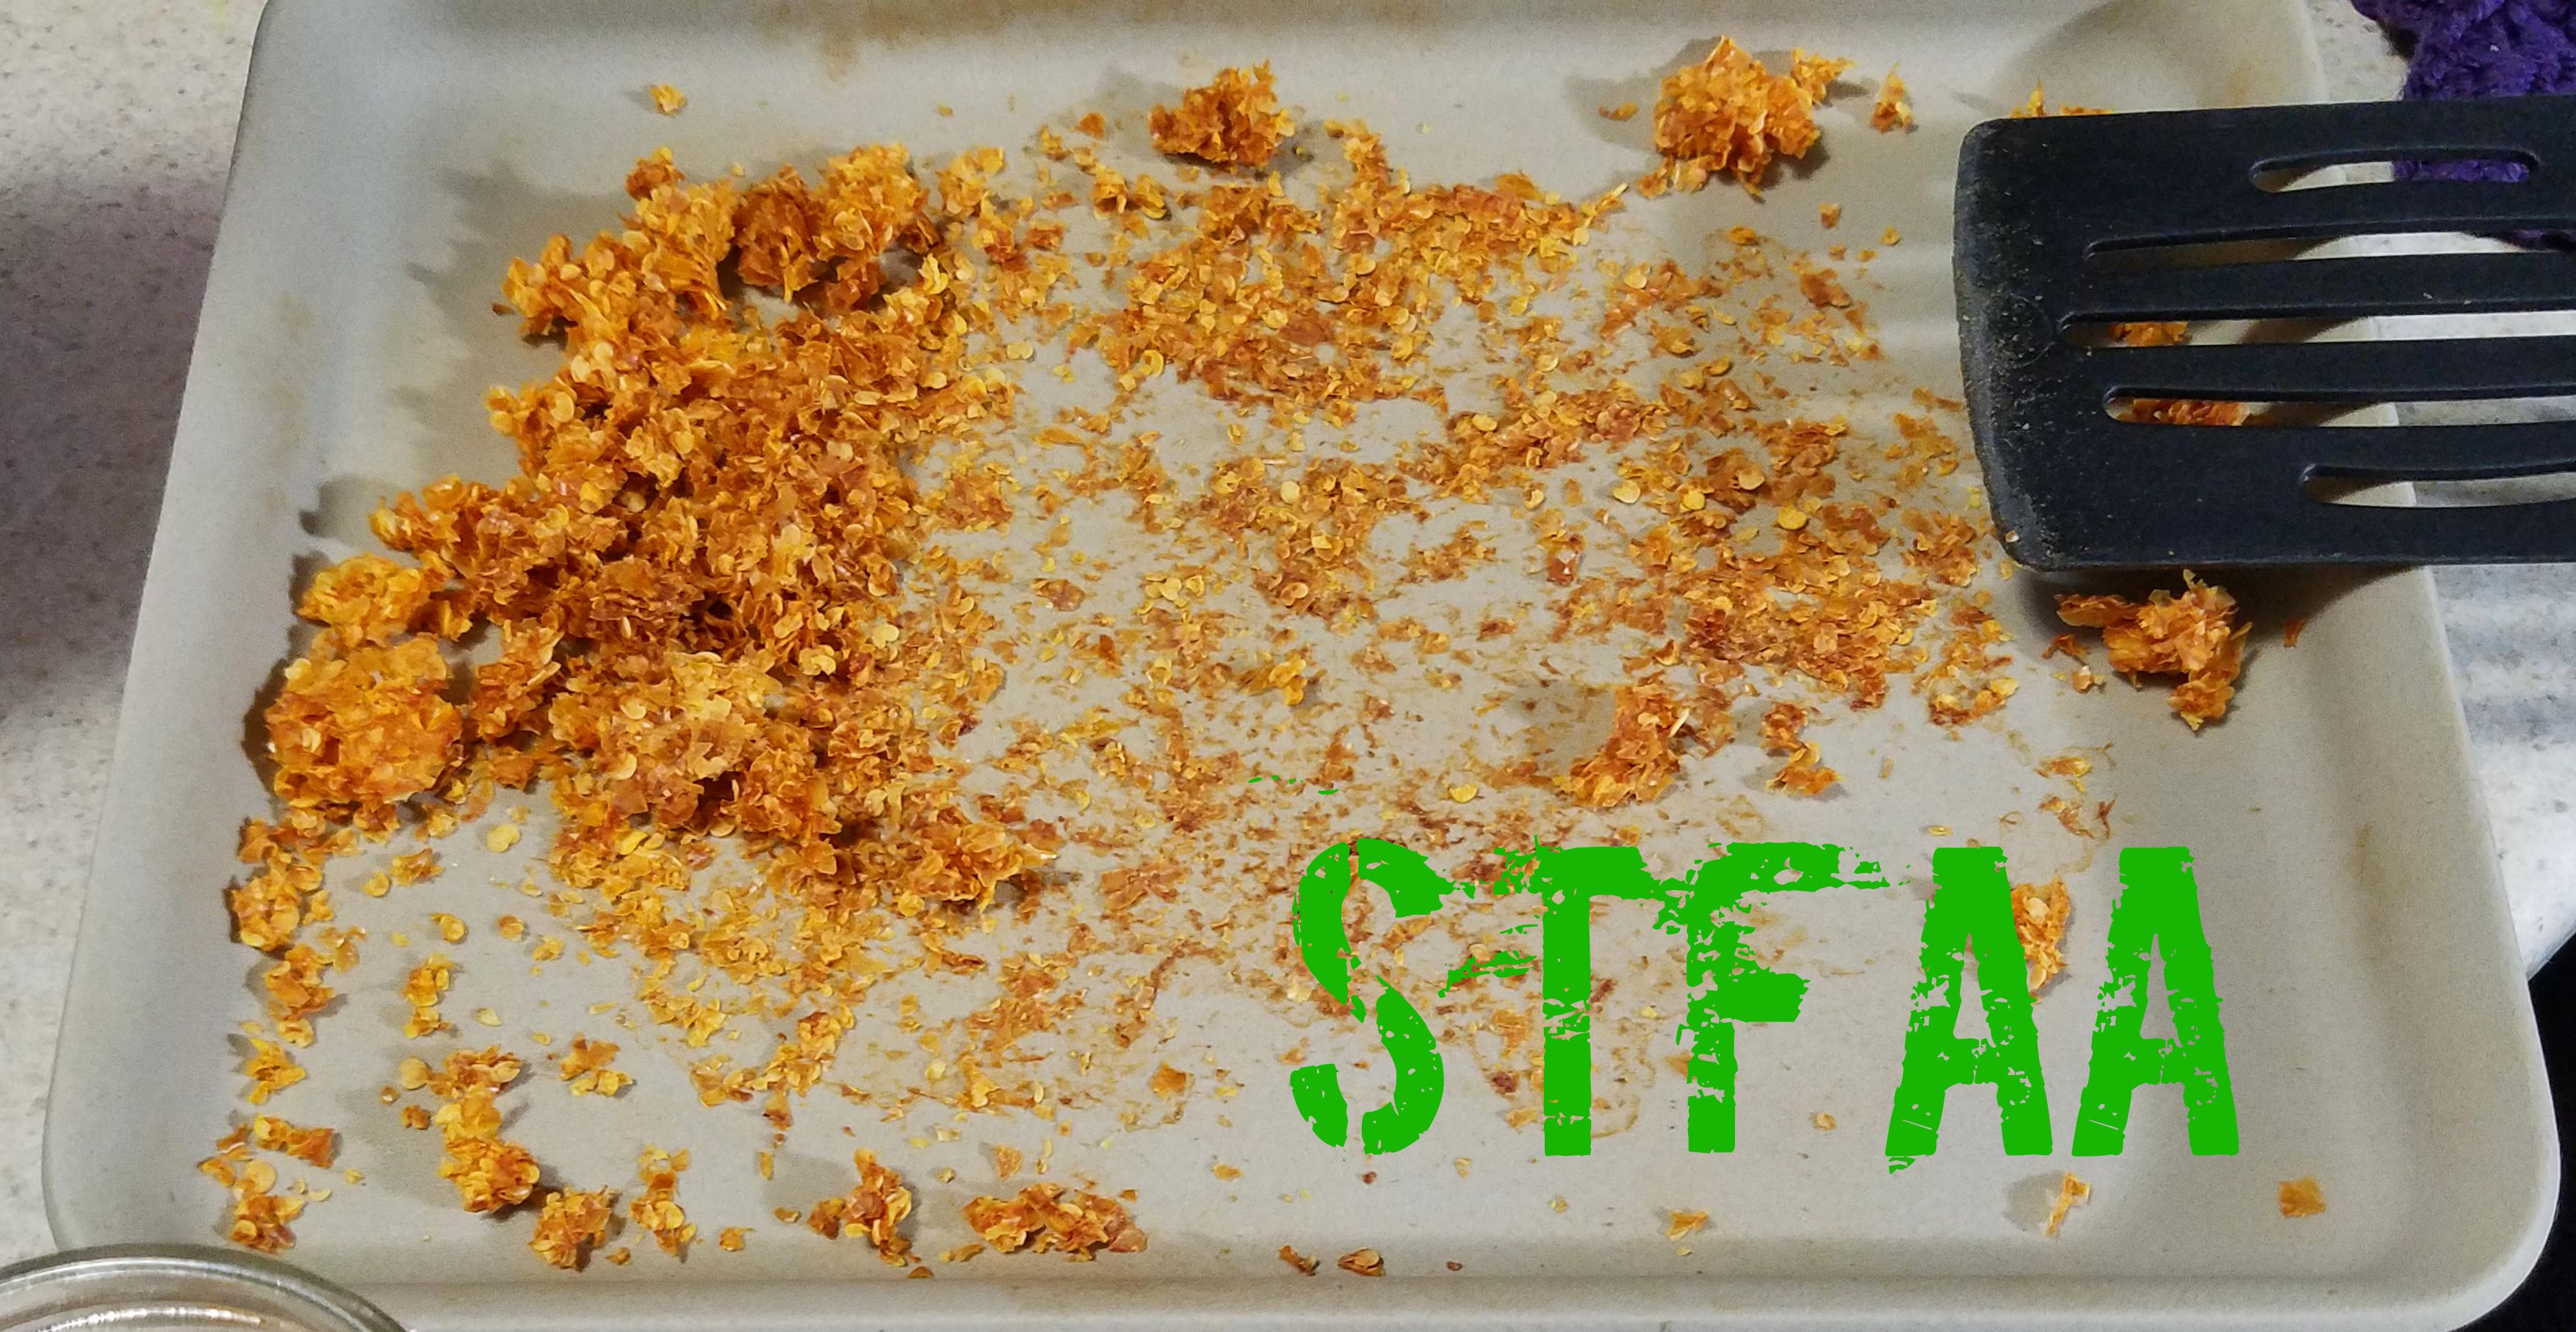
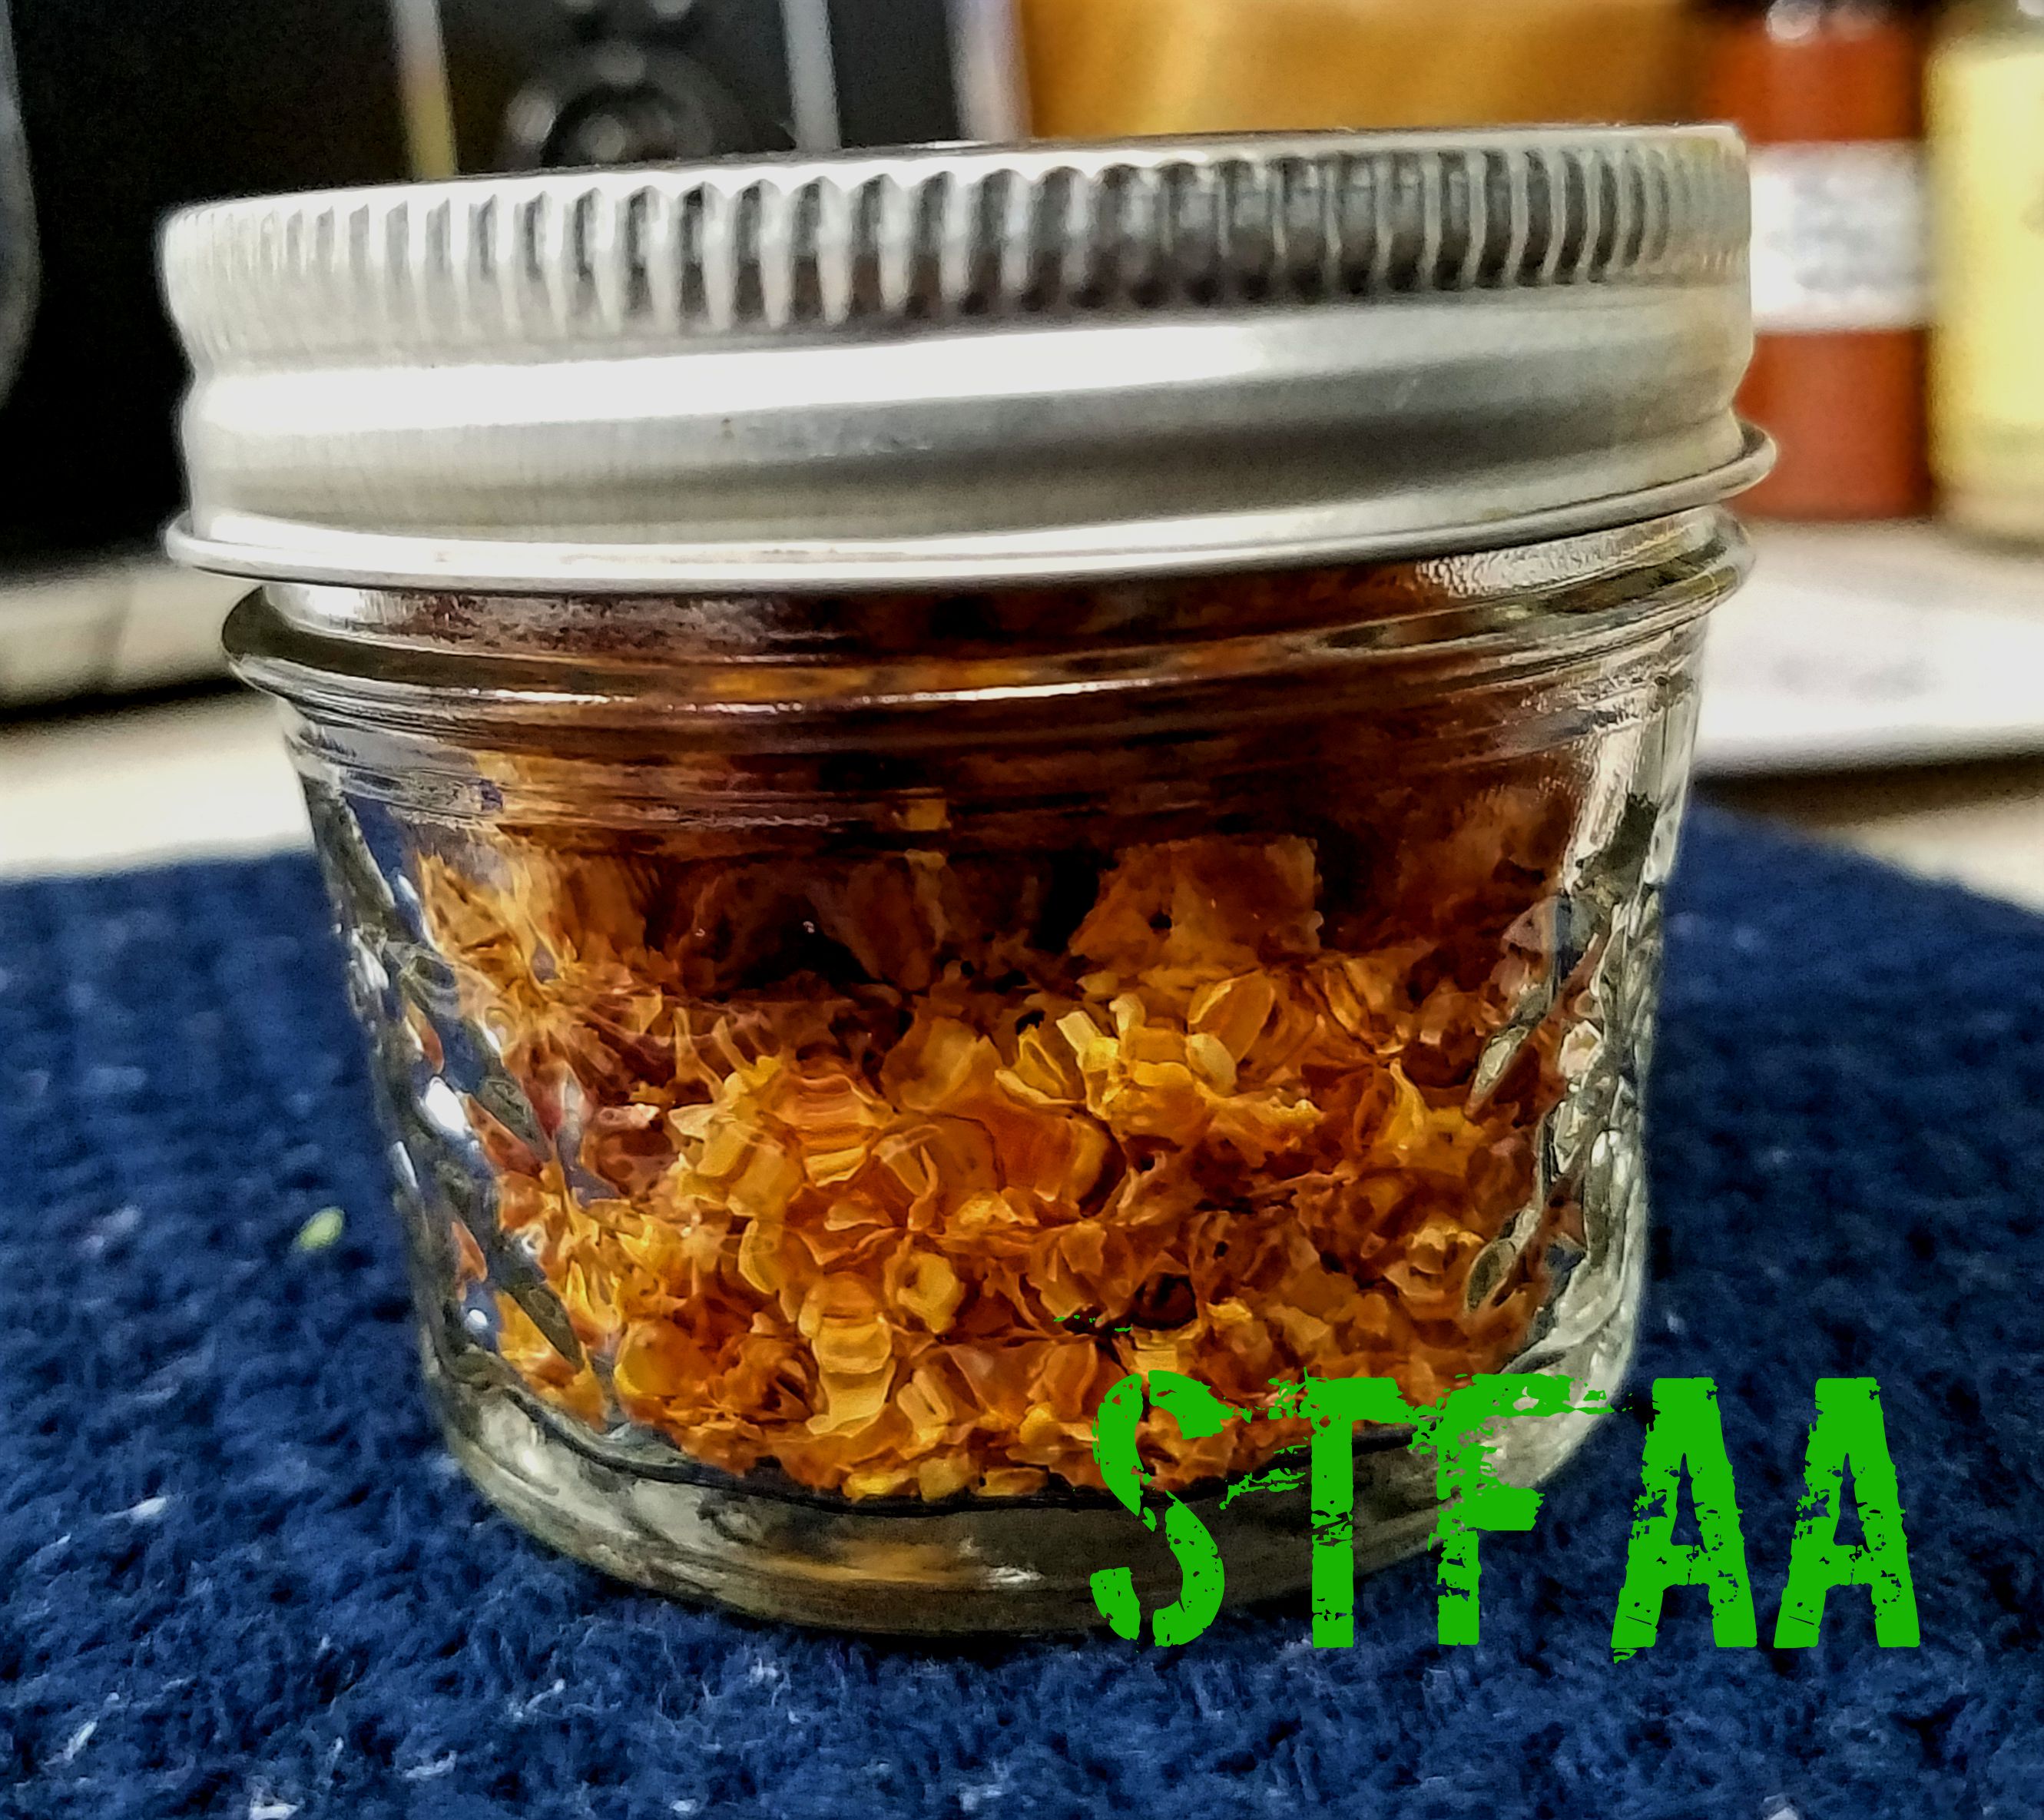
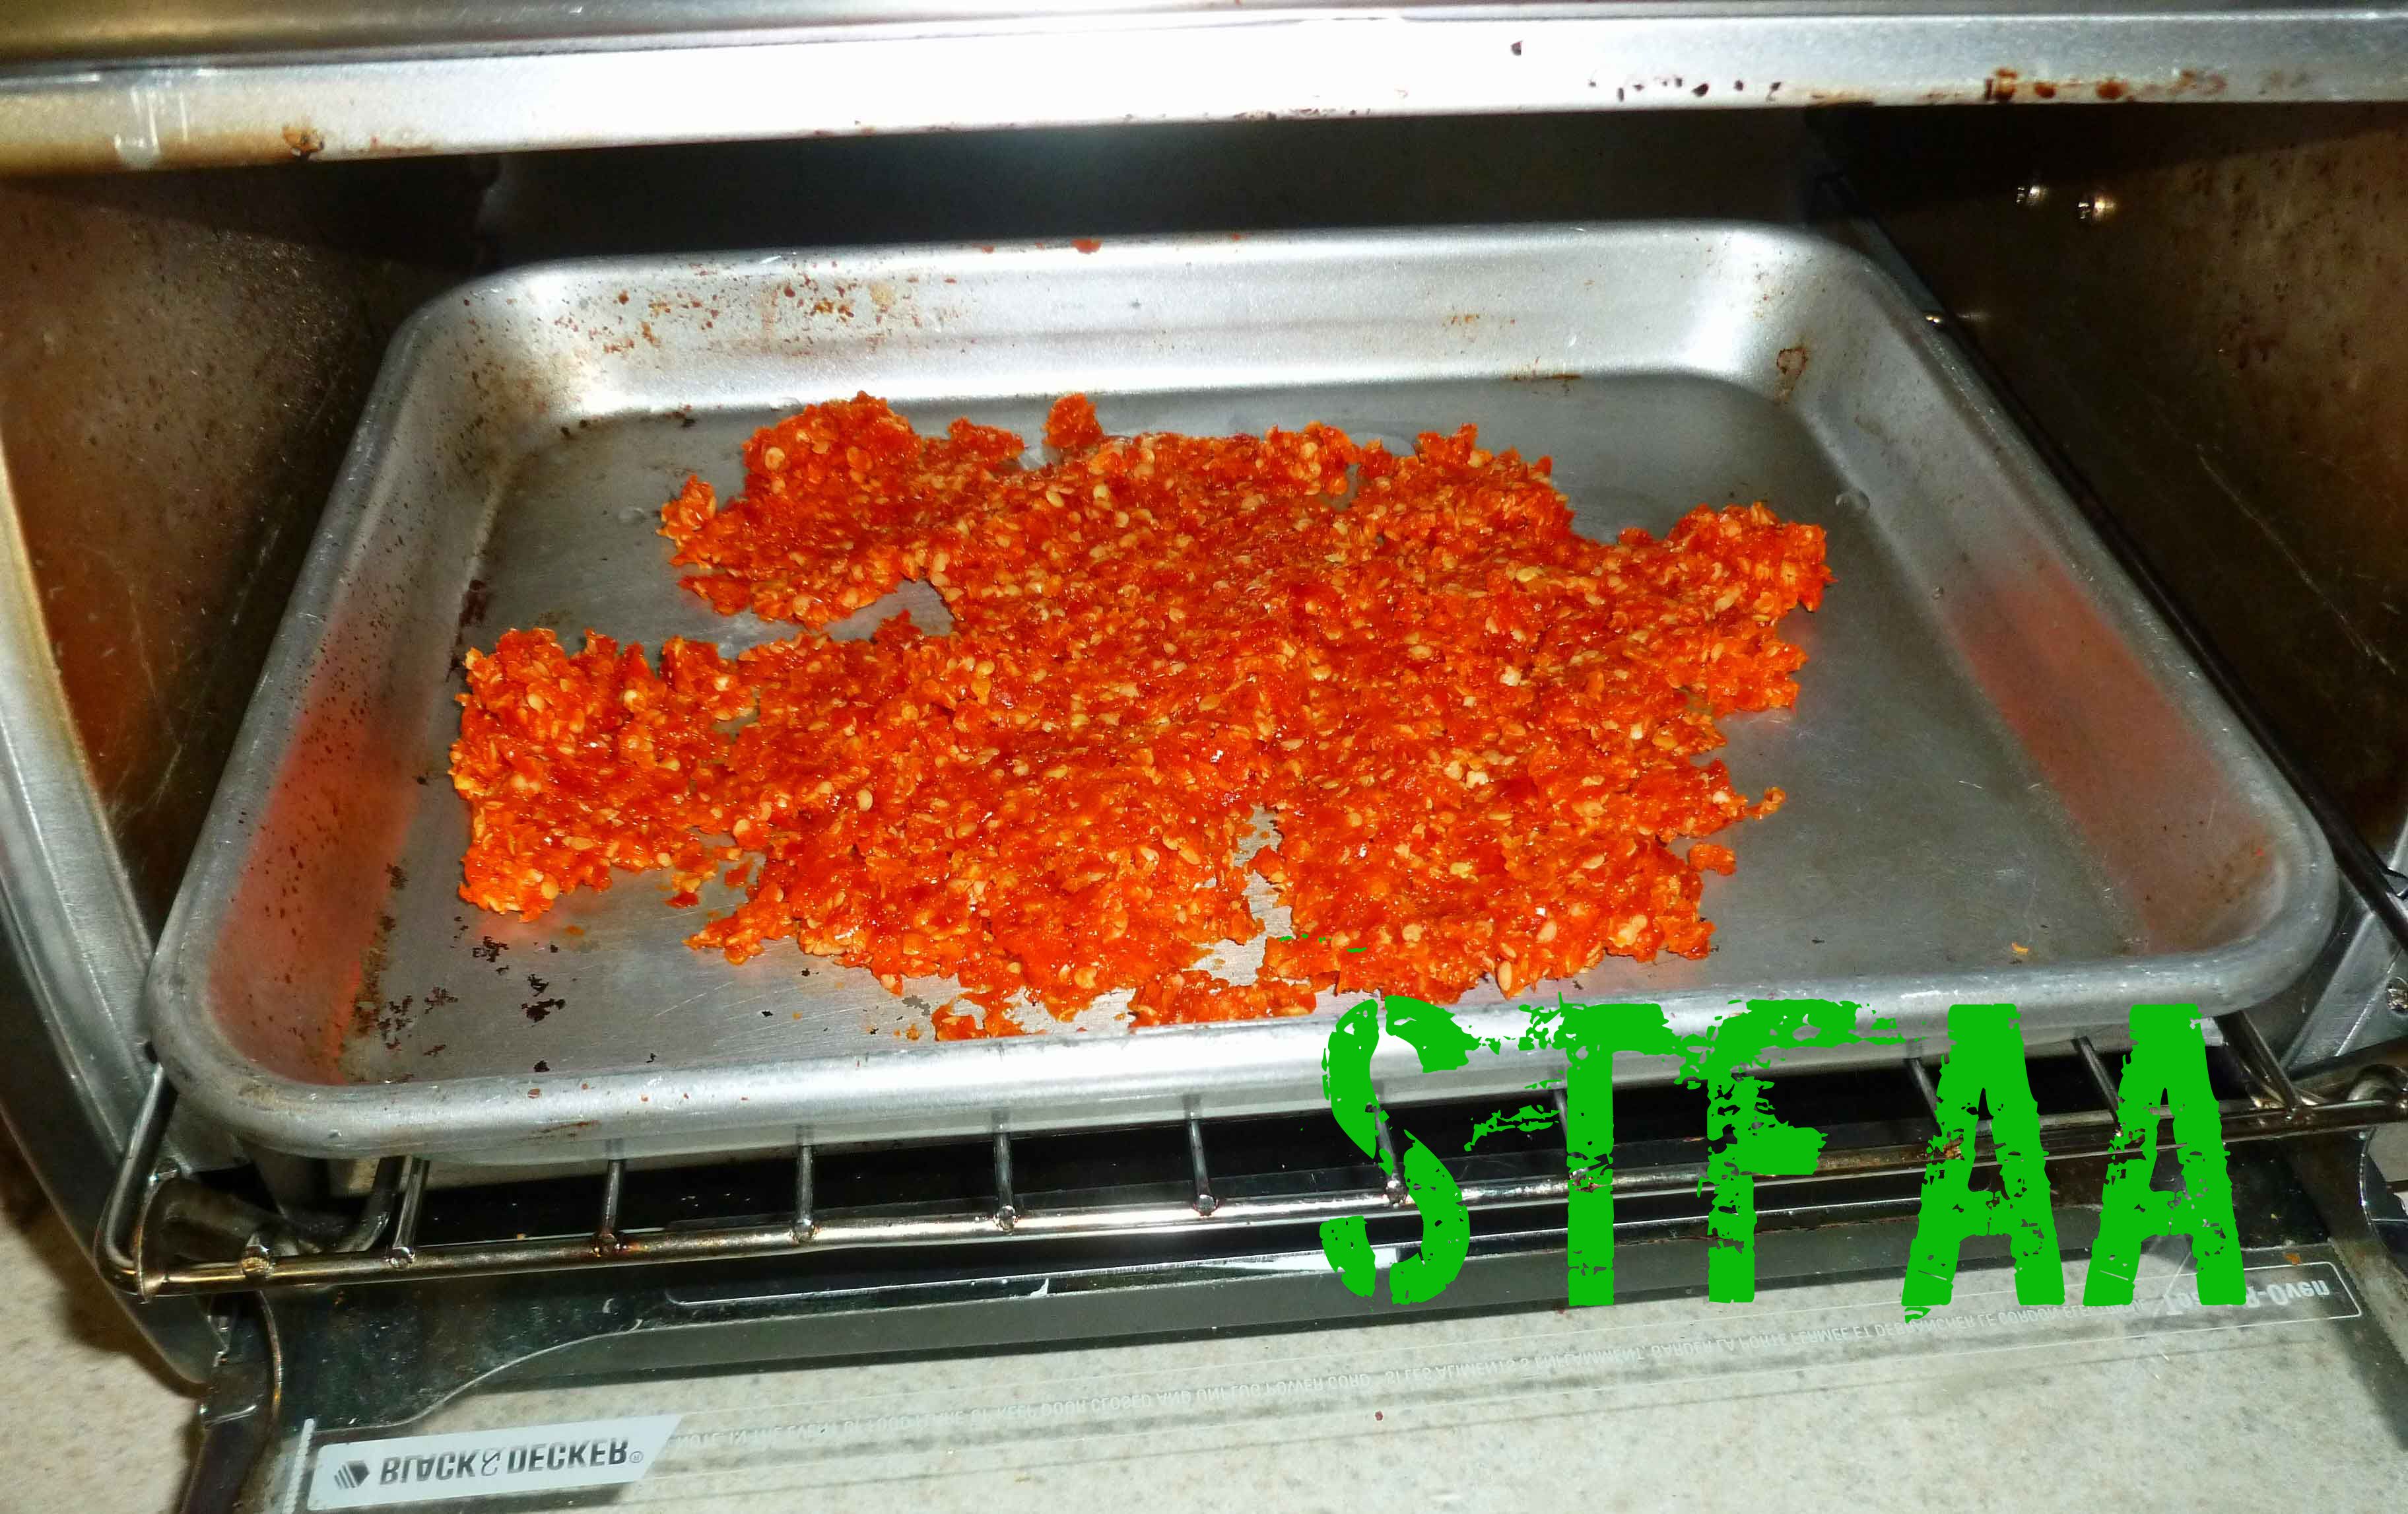
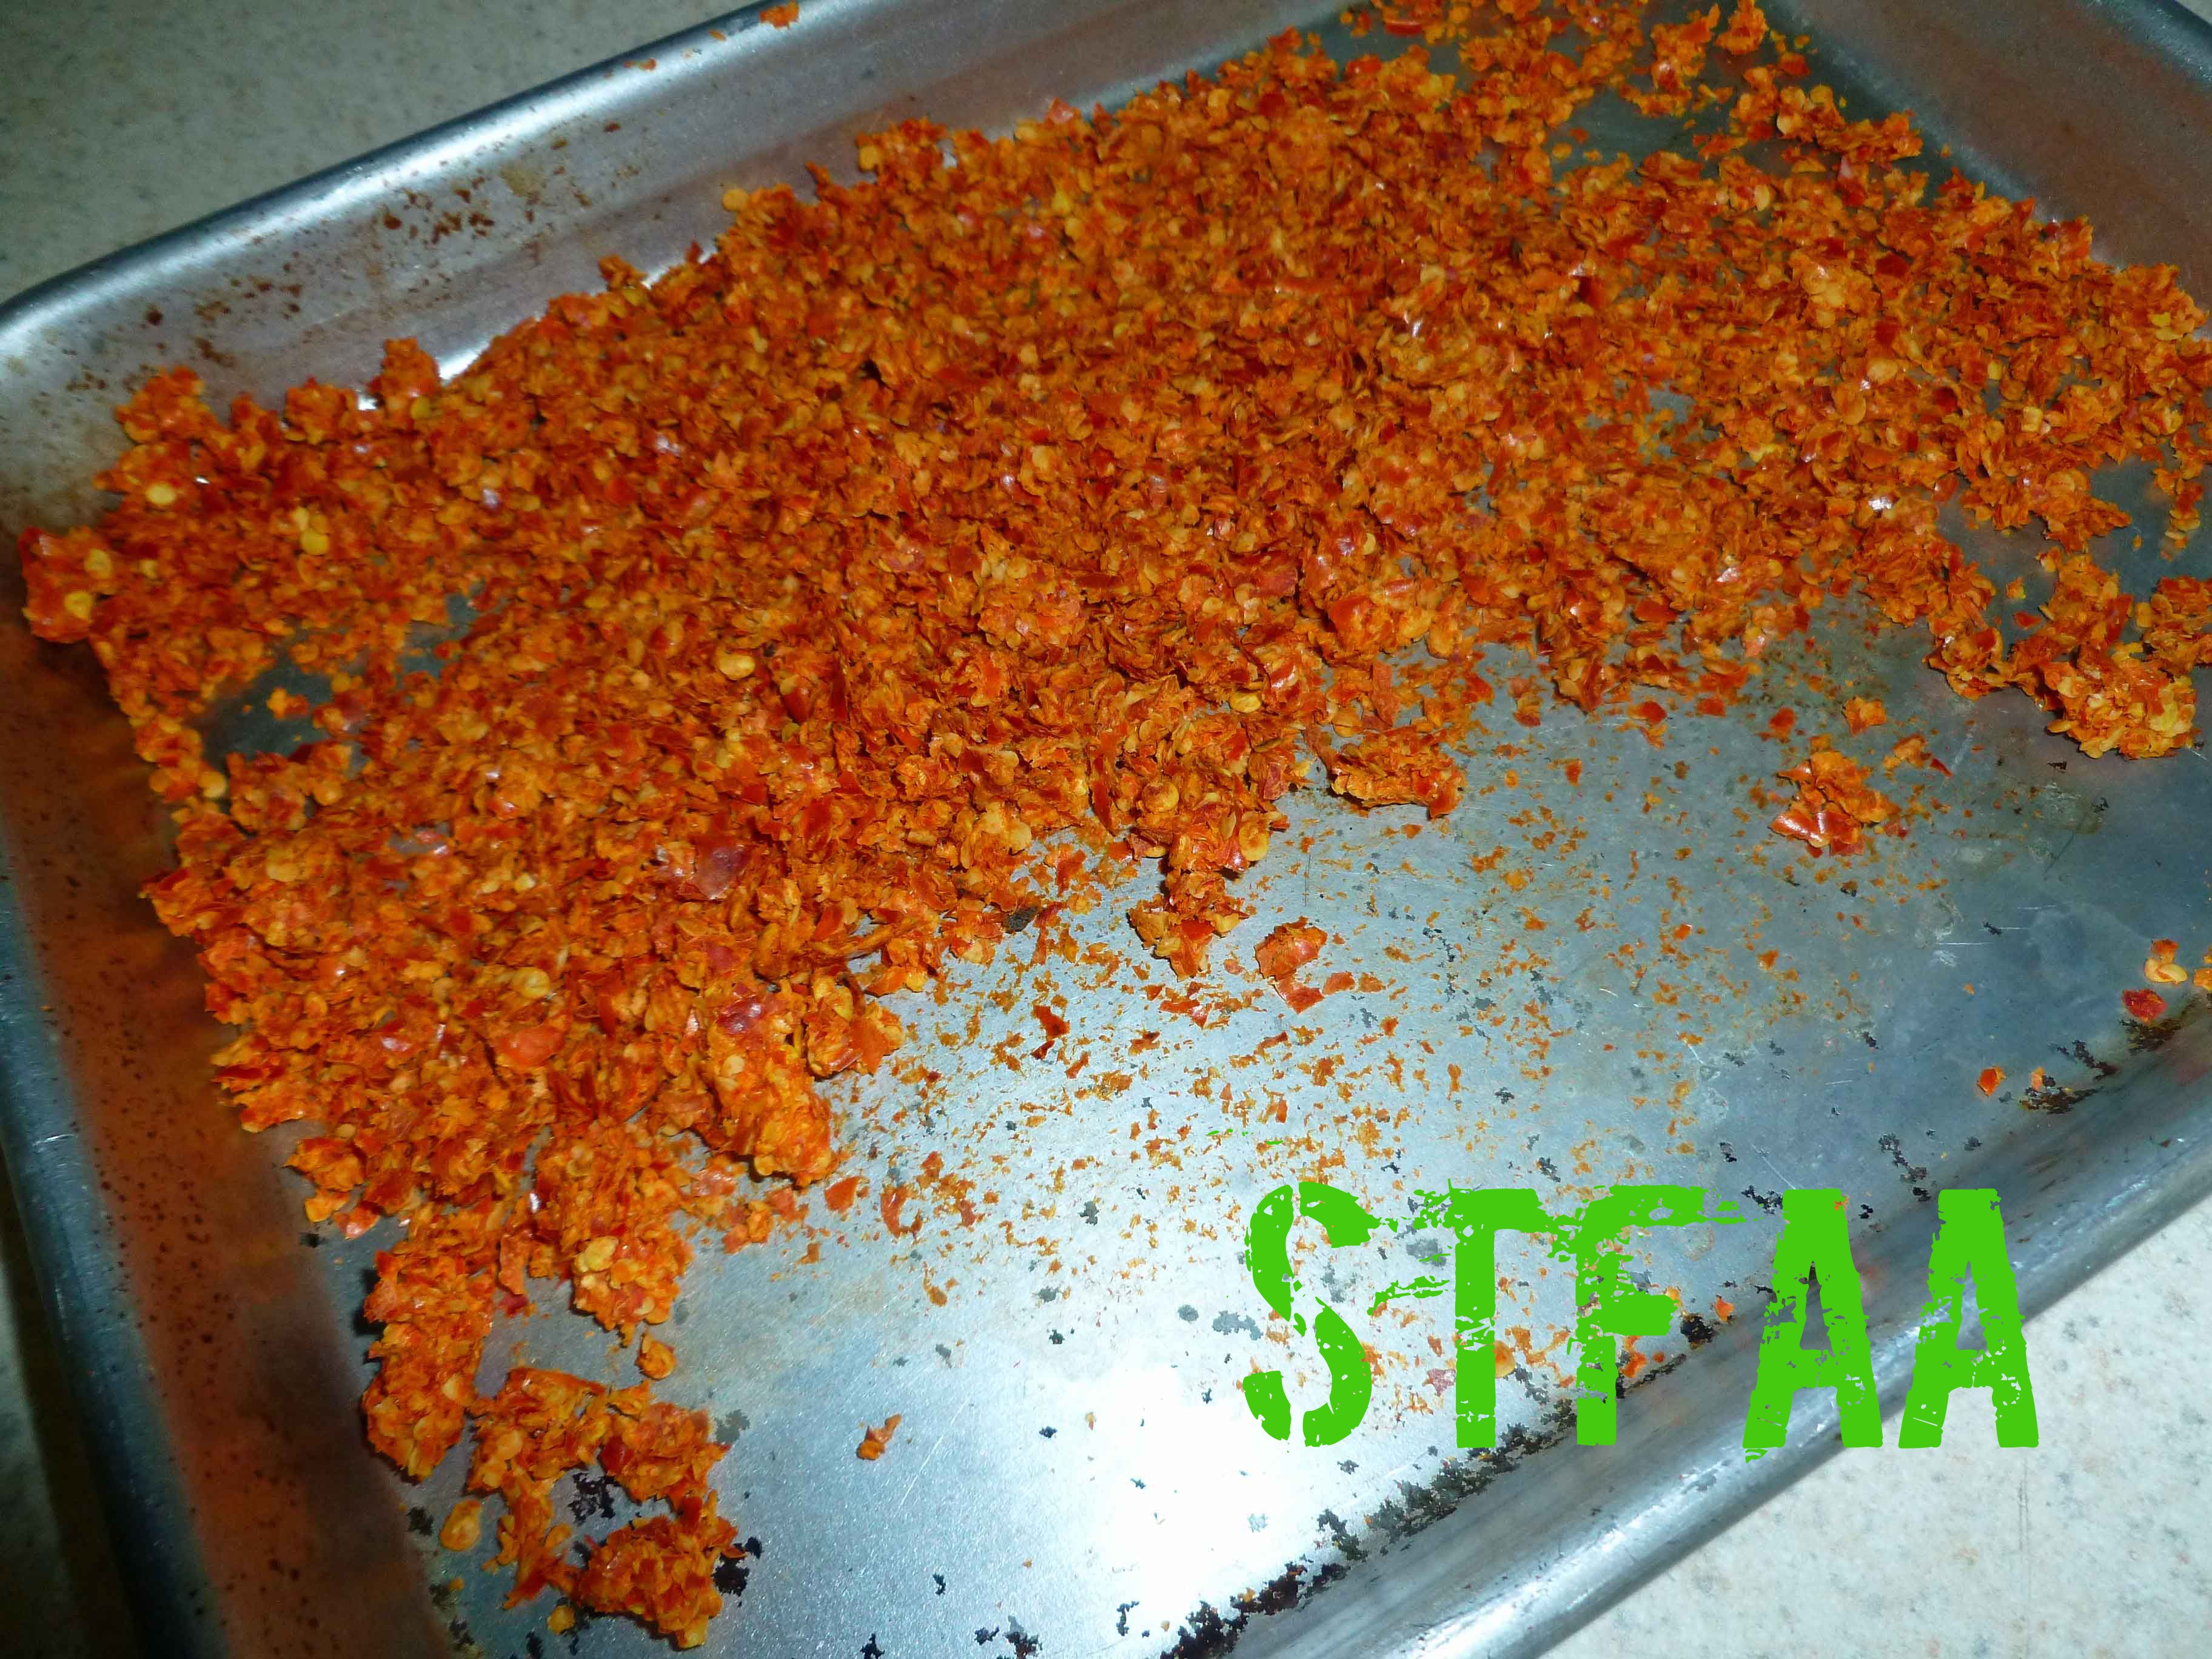
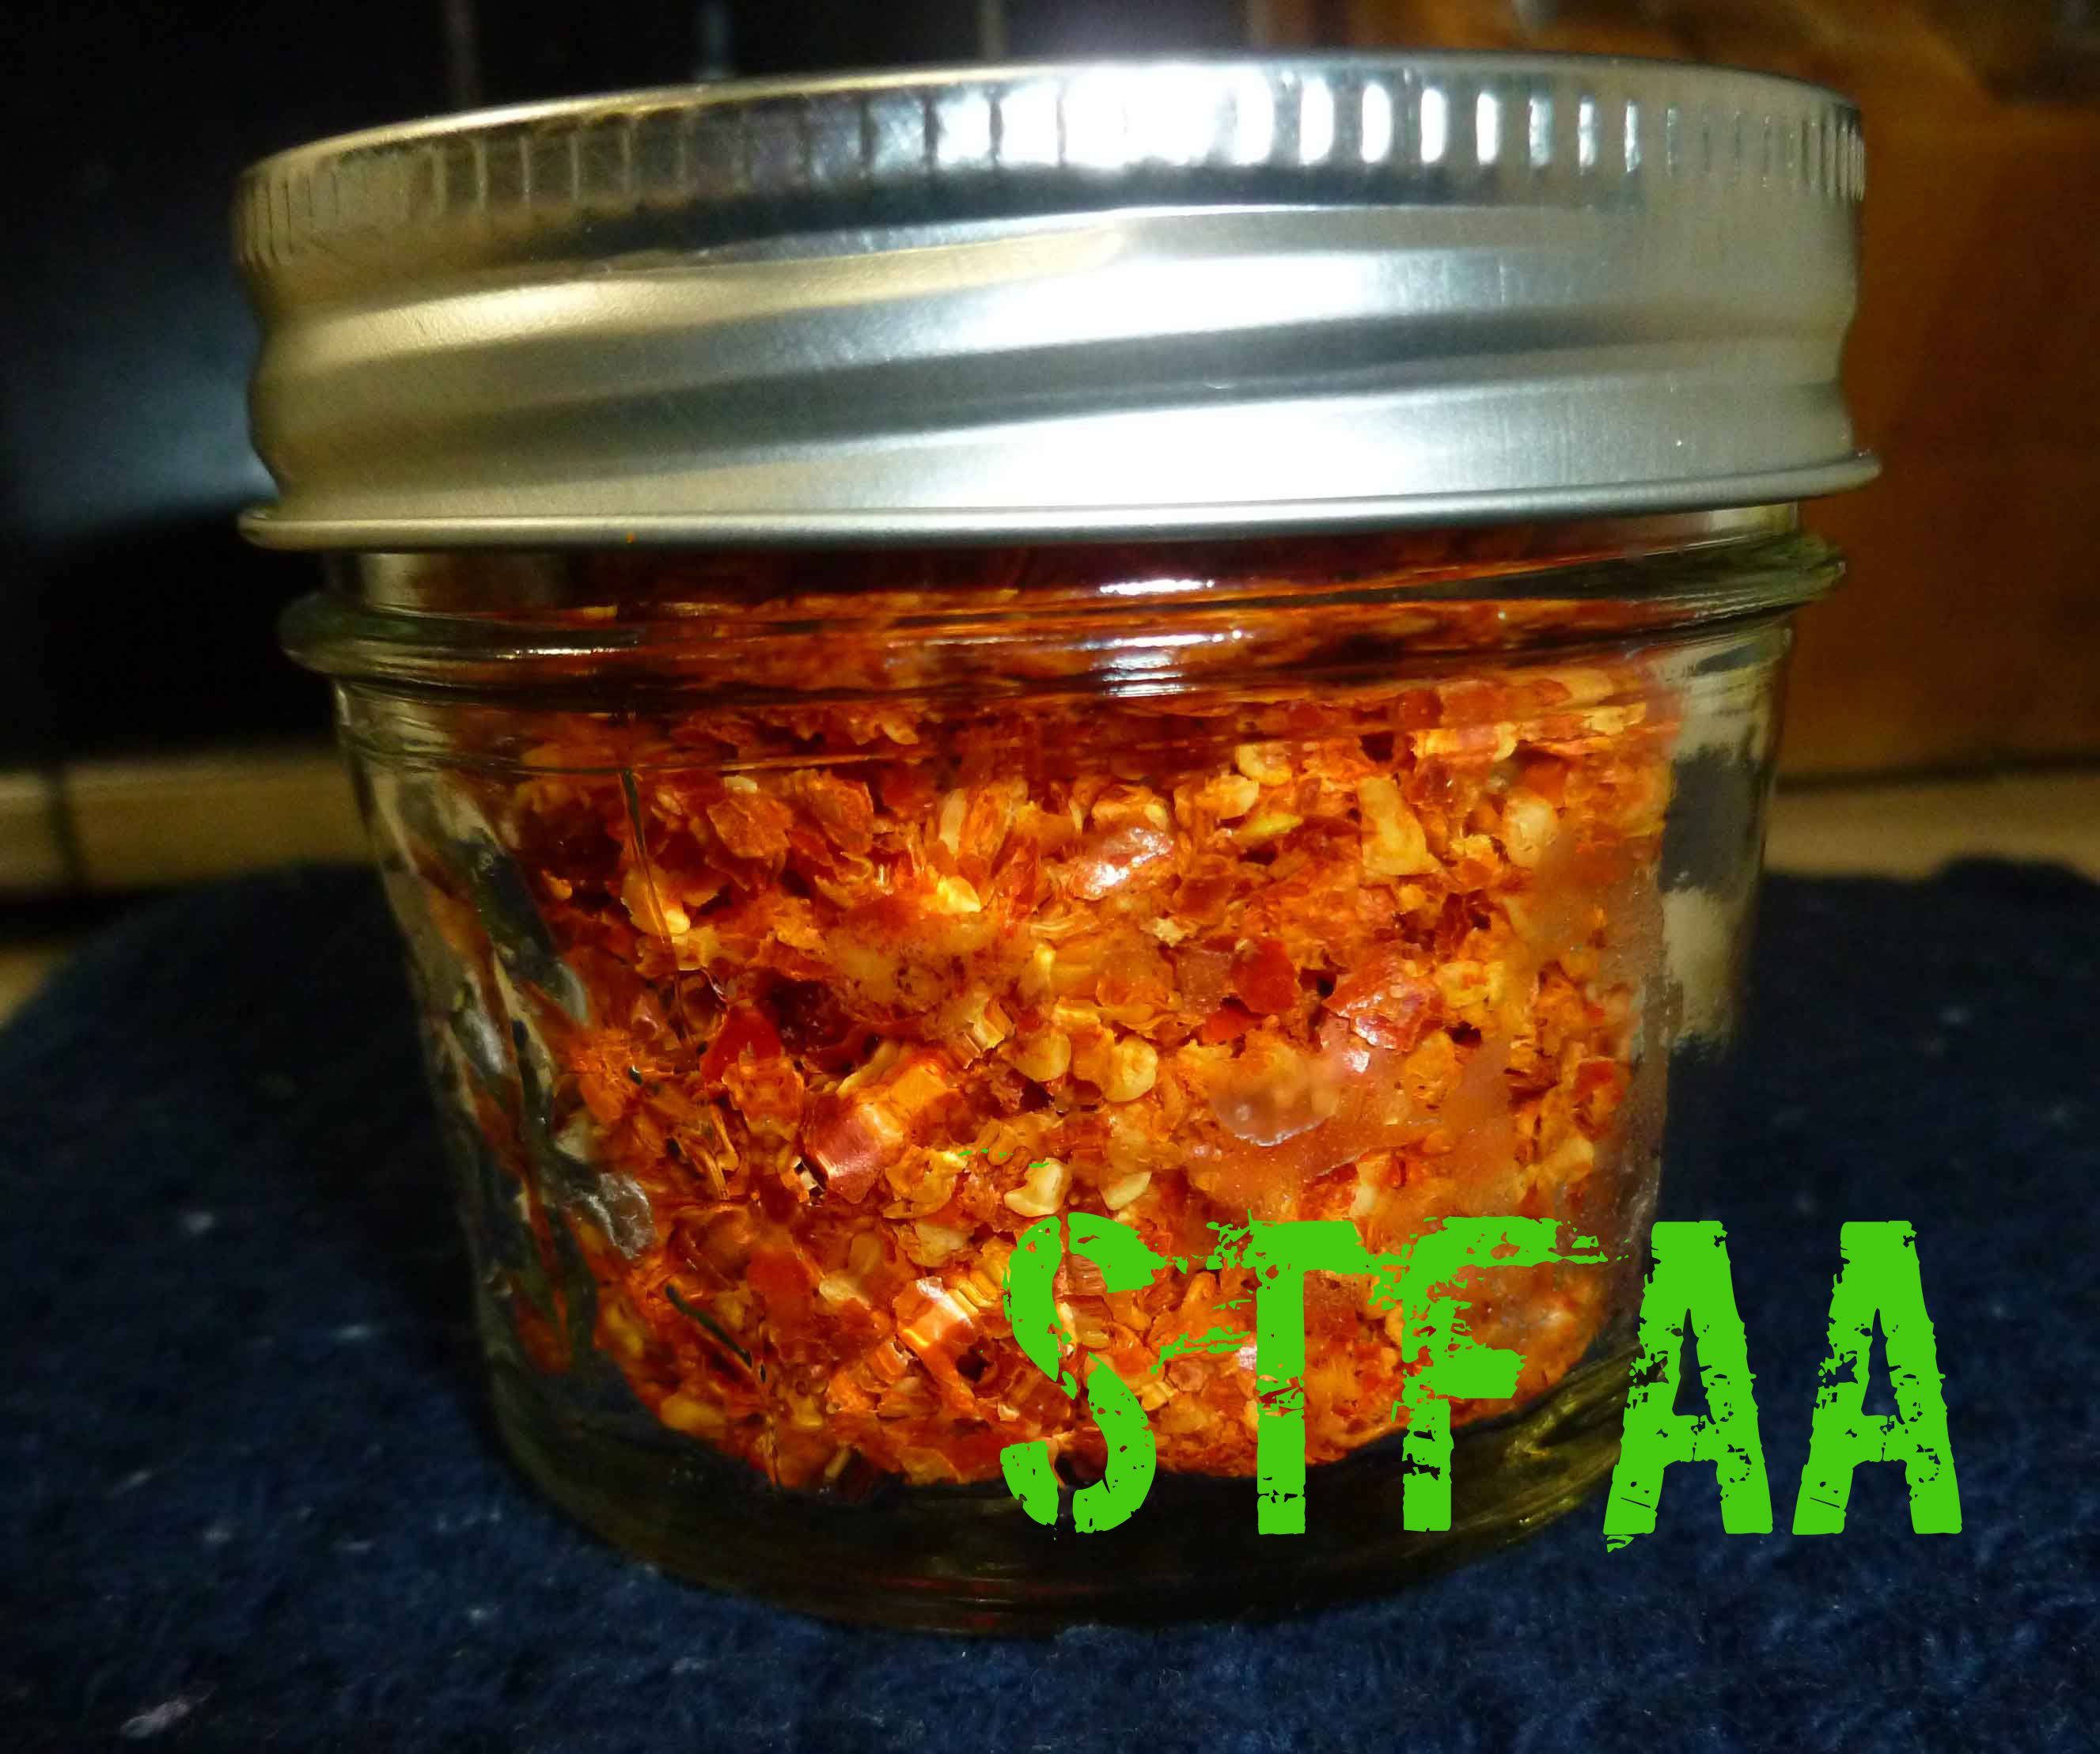
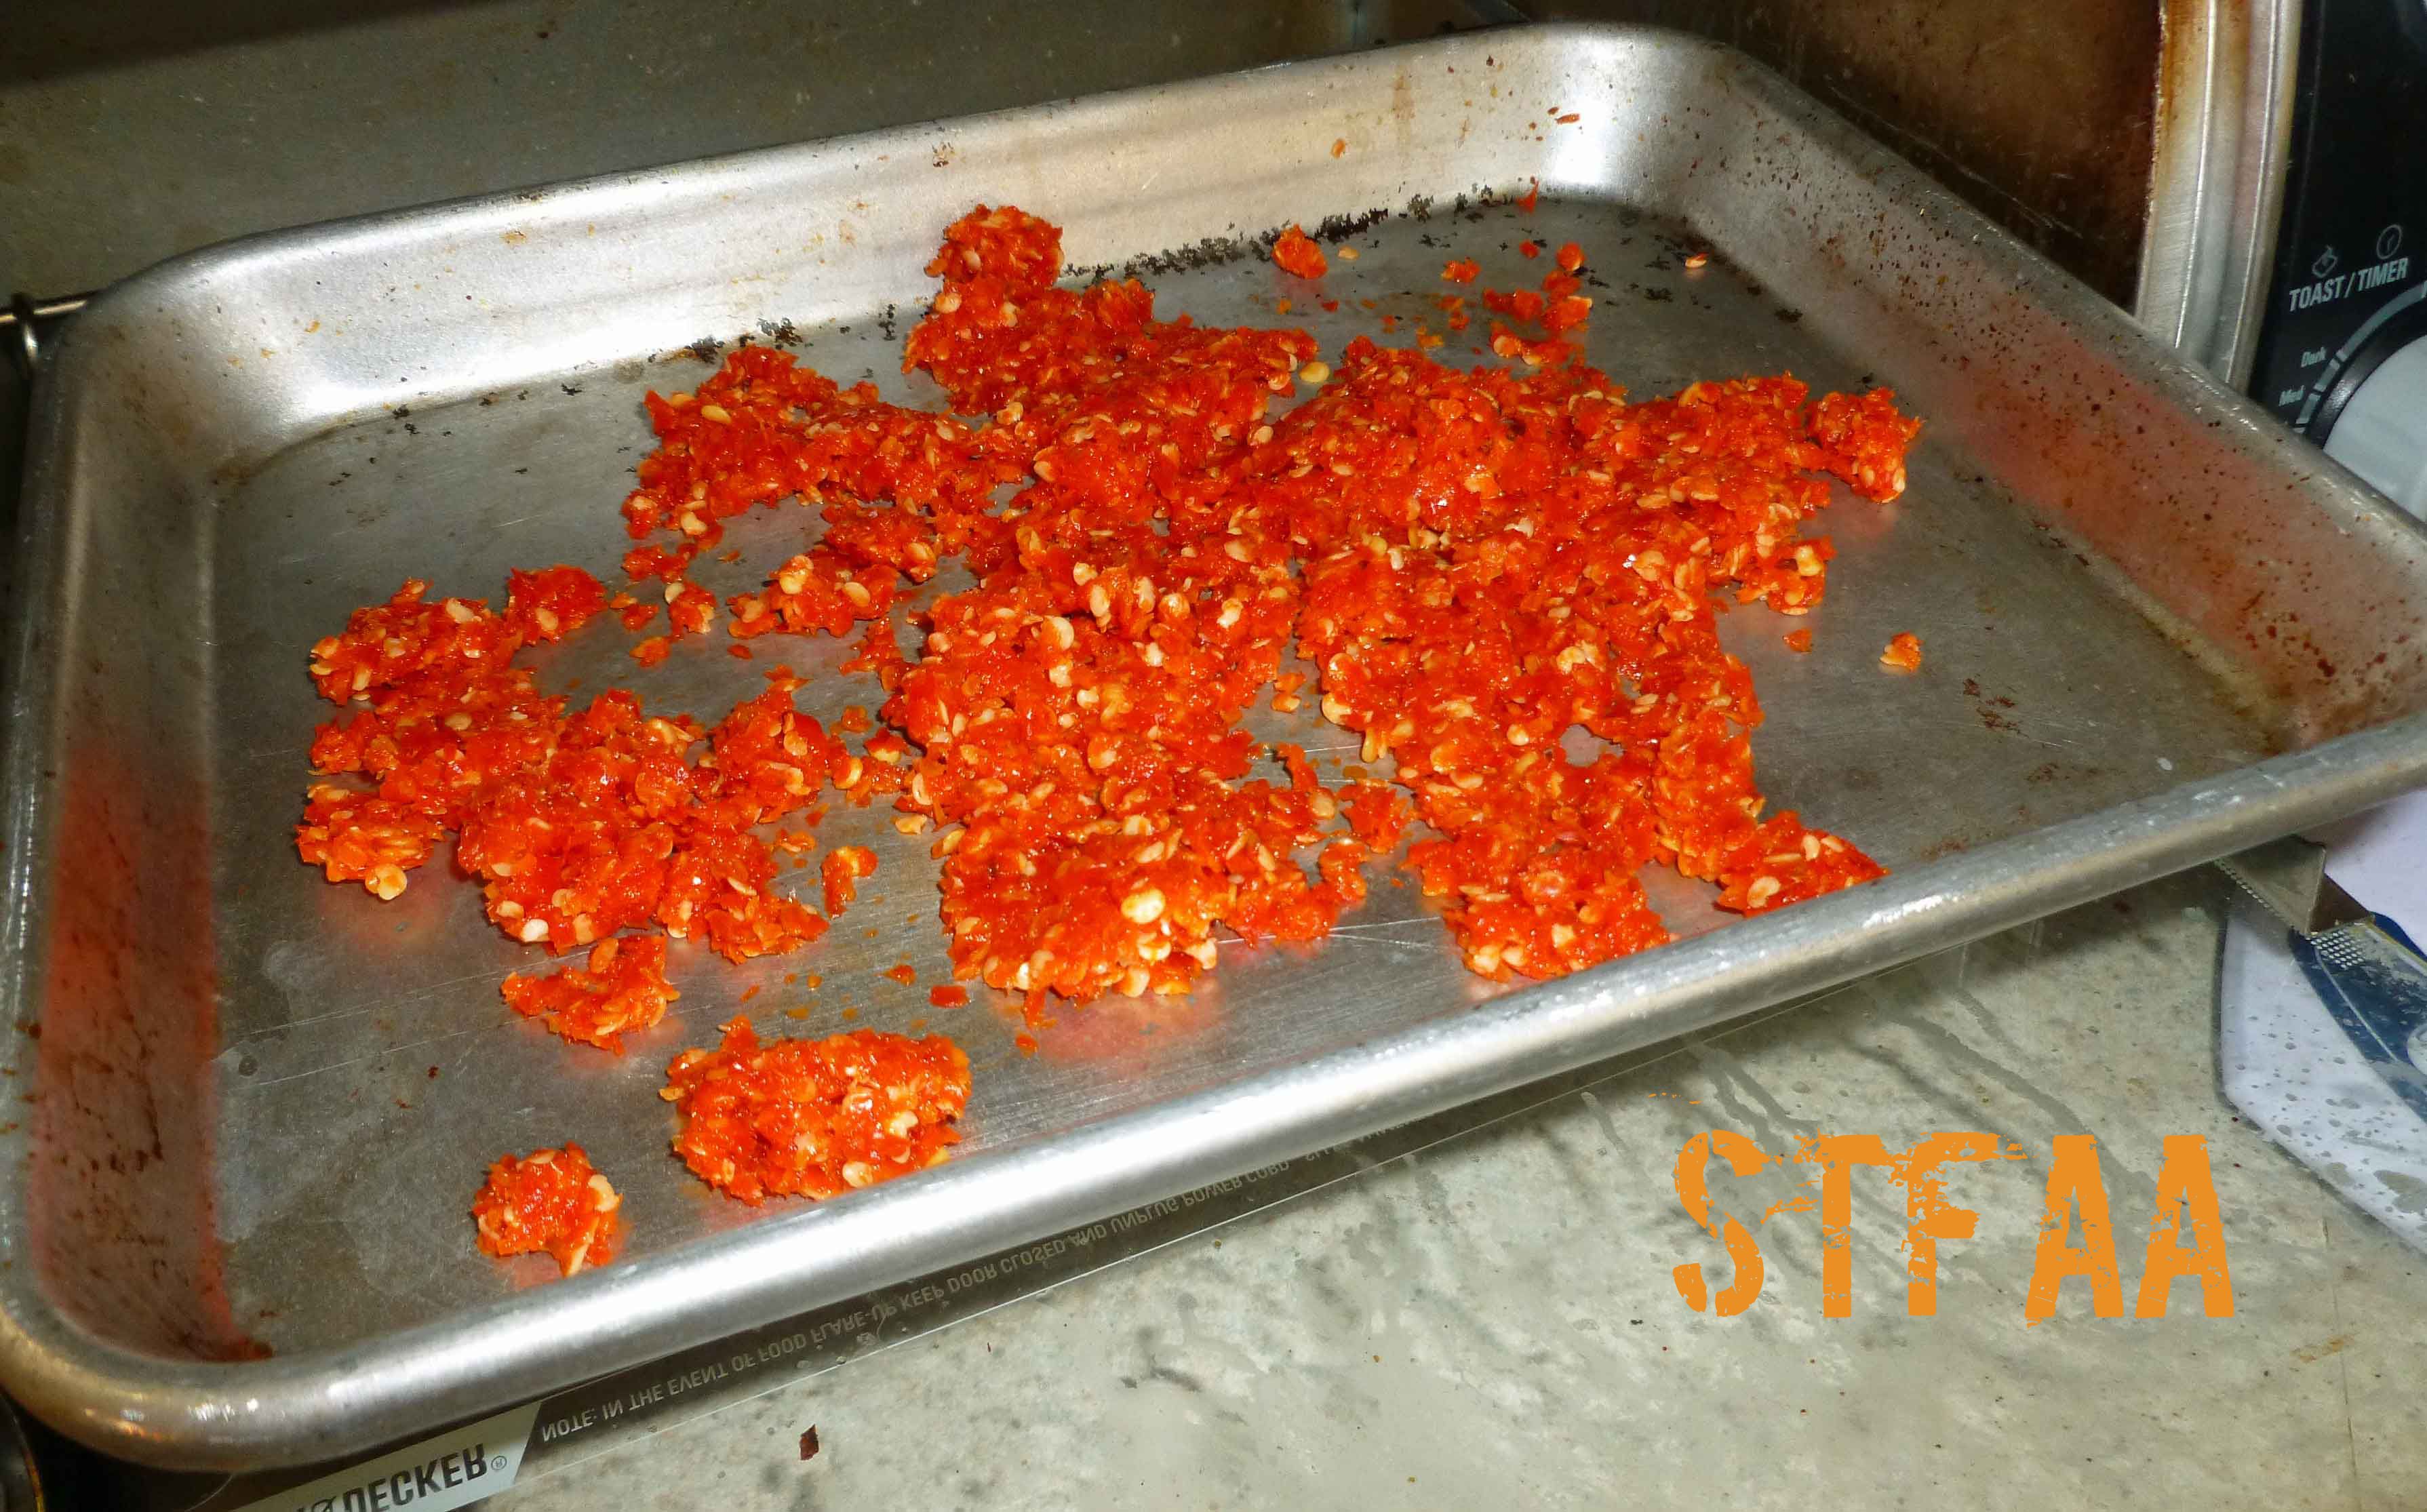
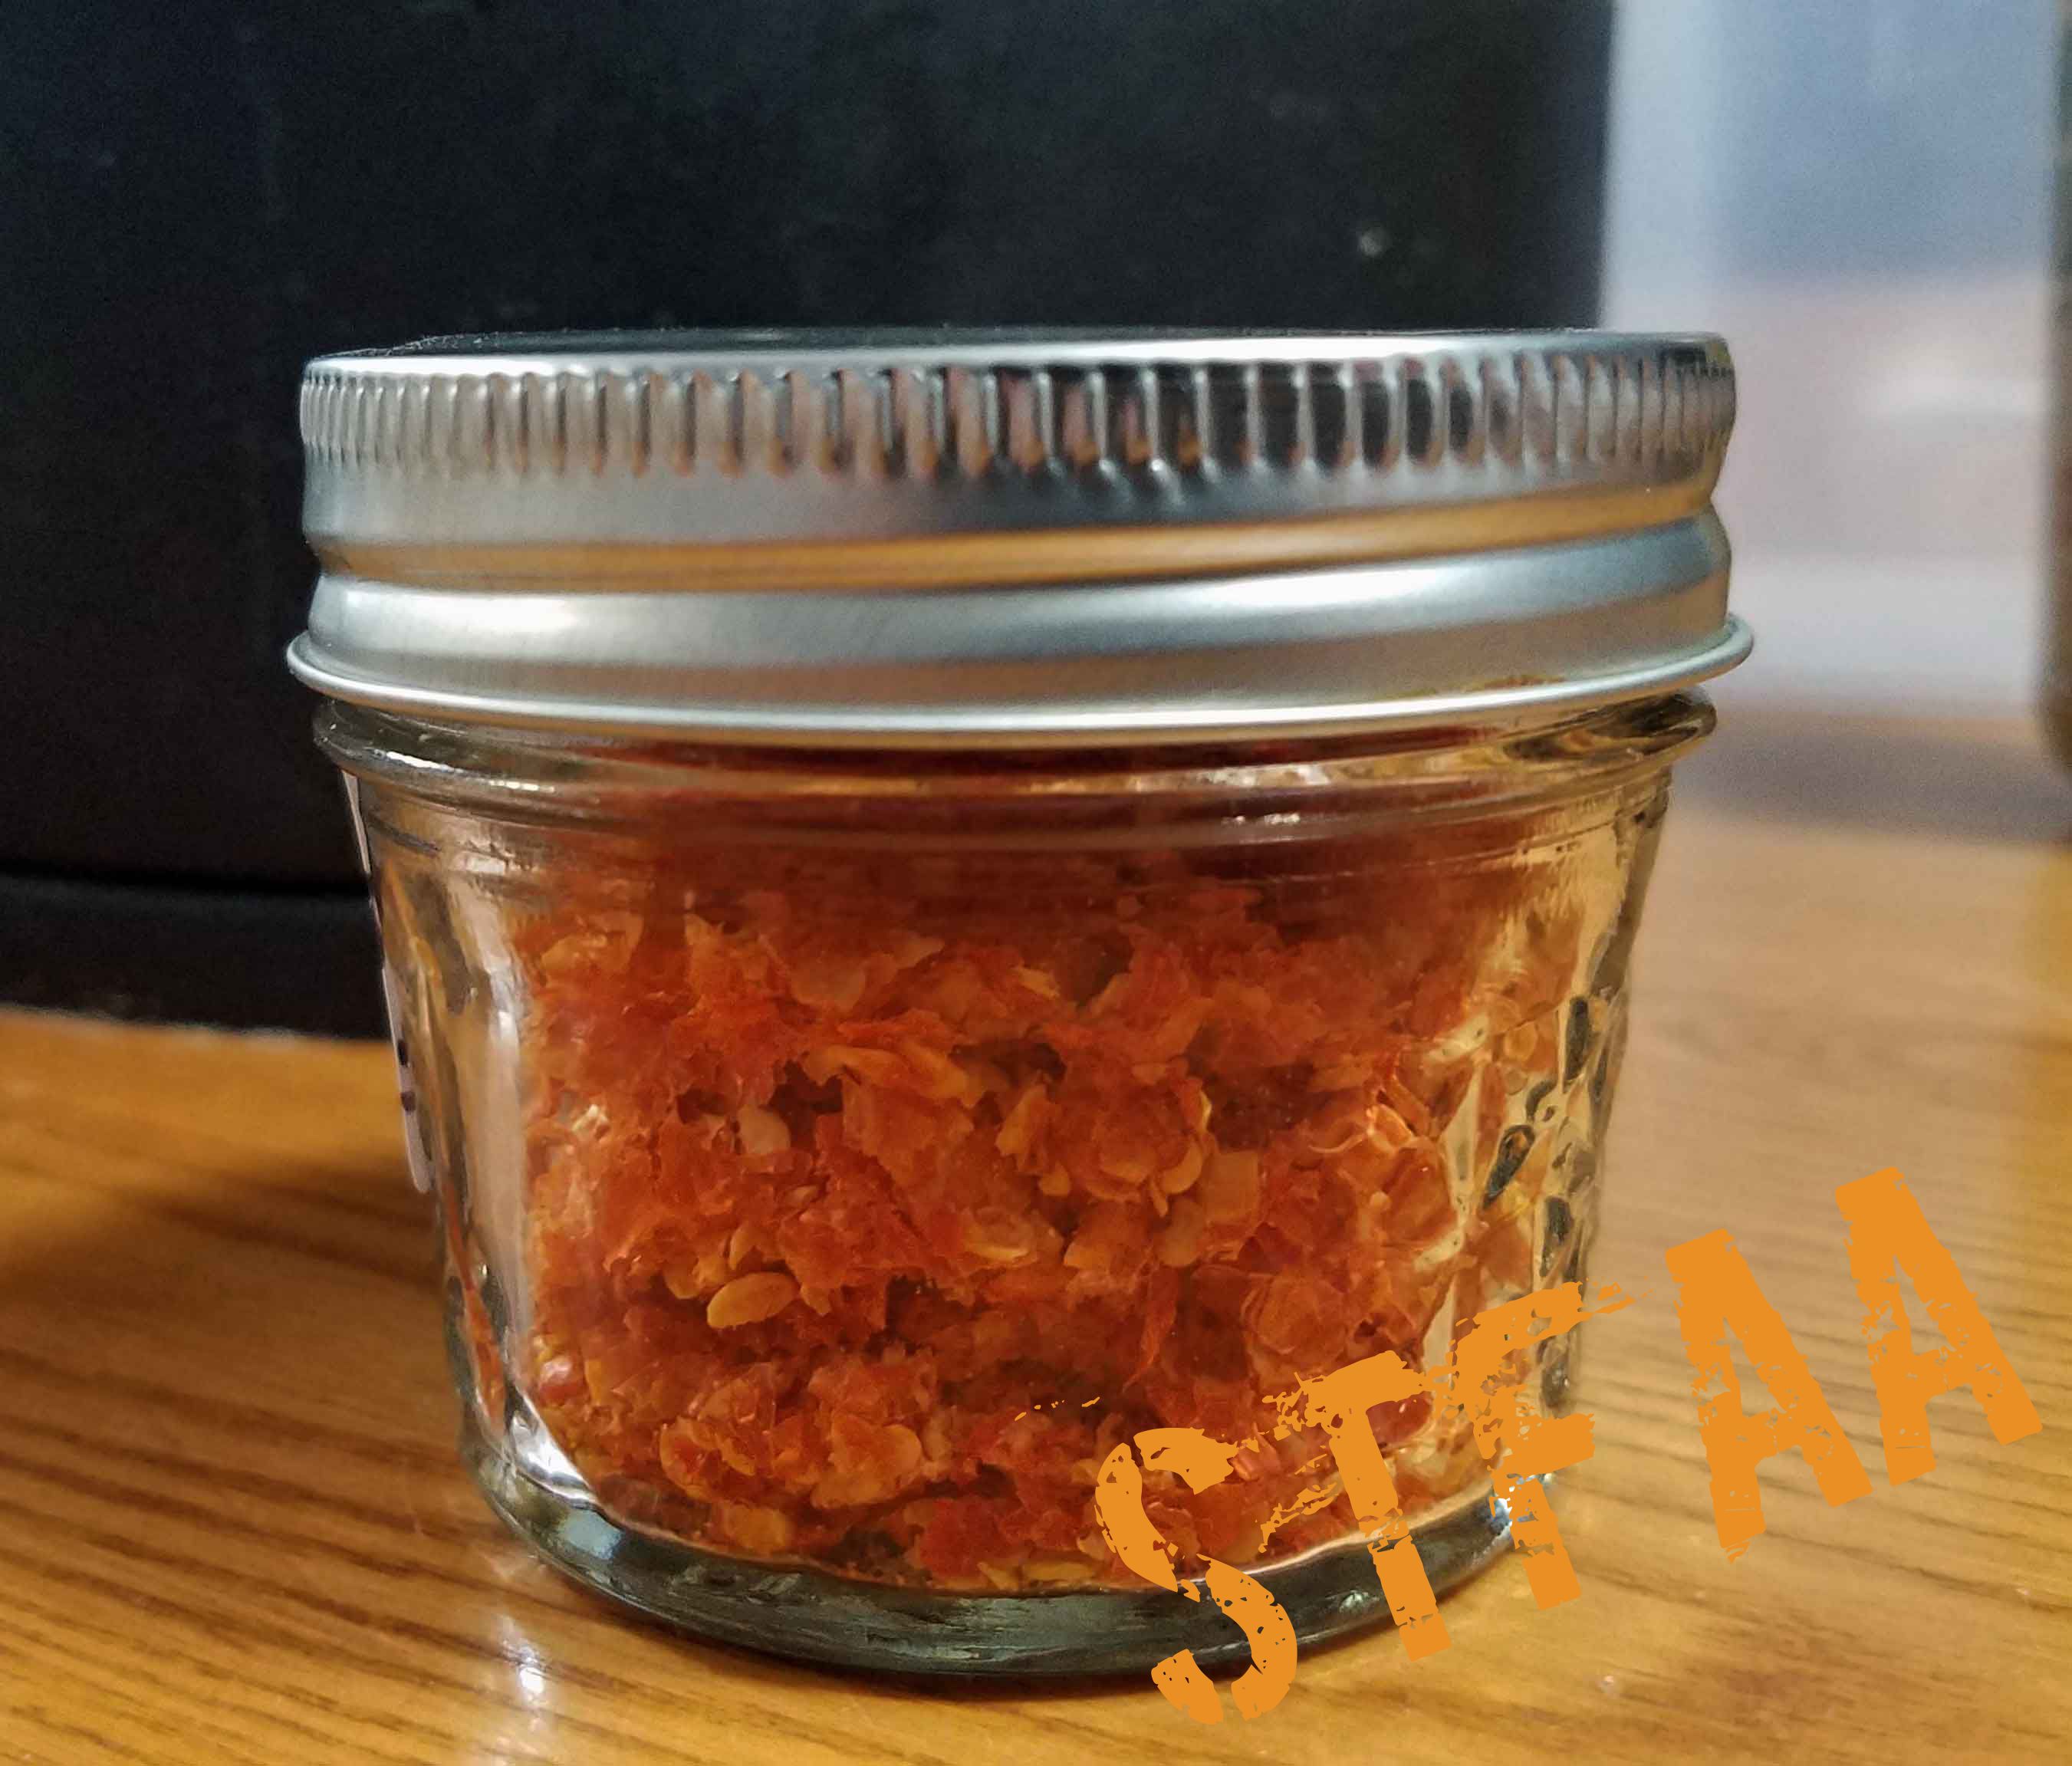
The other nice thing about making hot sauce is that you get two products for one. When you strain out the skins and seeds during the process, you can dry them in the oven or the dehydrator and get a nice crushed pepper mix to use in other spice mixes, rubs, or other recipes. No waste!

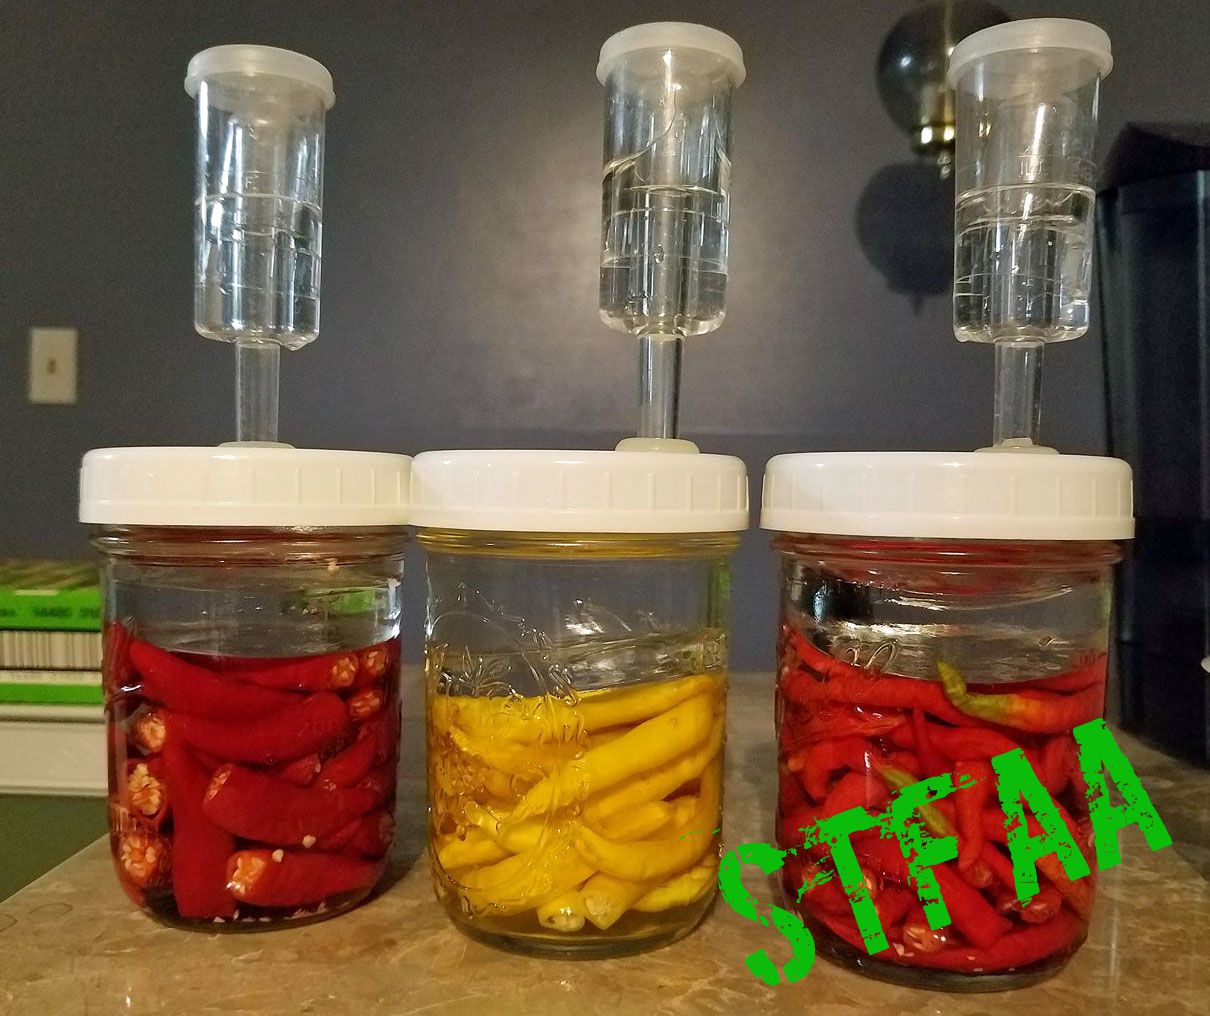
- 1 wide mouth pint jar
- 1 glass fermenting weight or 4 ounce canning jar
- 1 airlock lid for mason jar
- 1 blender
- 1 small sauce pan
- 1 kitchen scale measuring ounces
- 1 quart spring water (not tap water, it will interfere with fermentation)
- 1.8 ounces sea salt
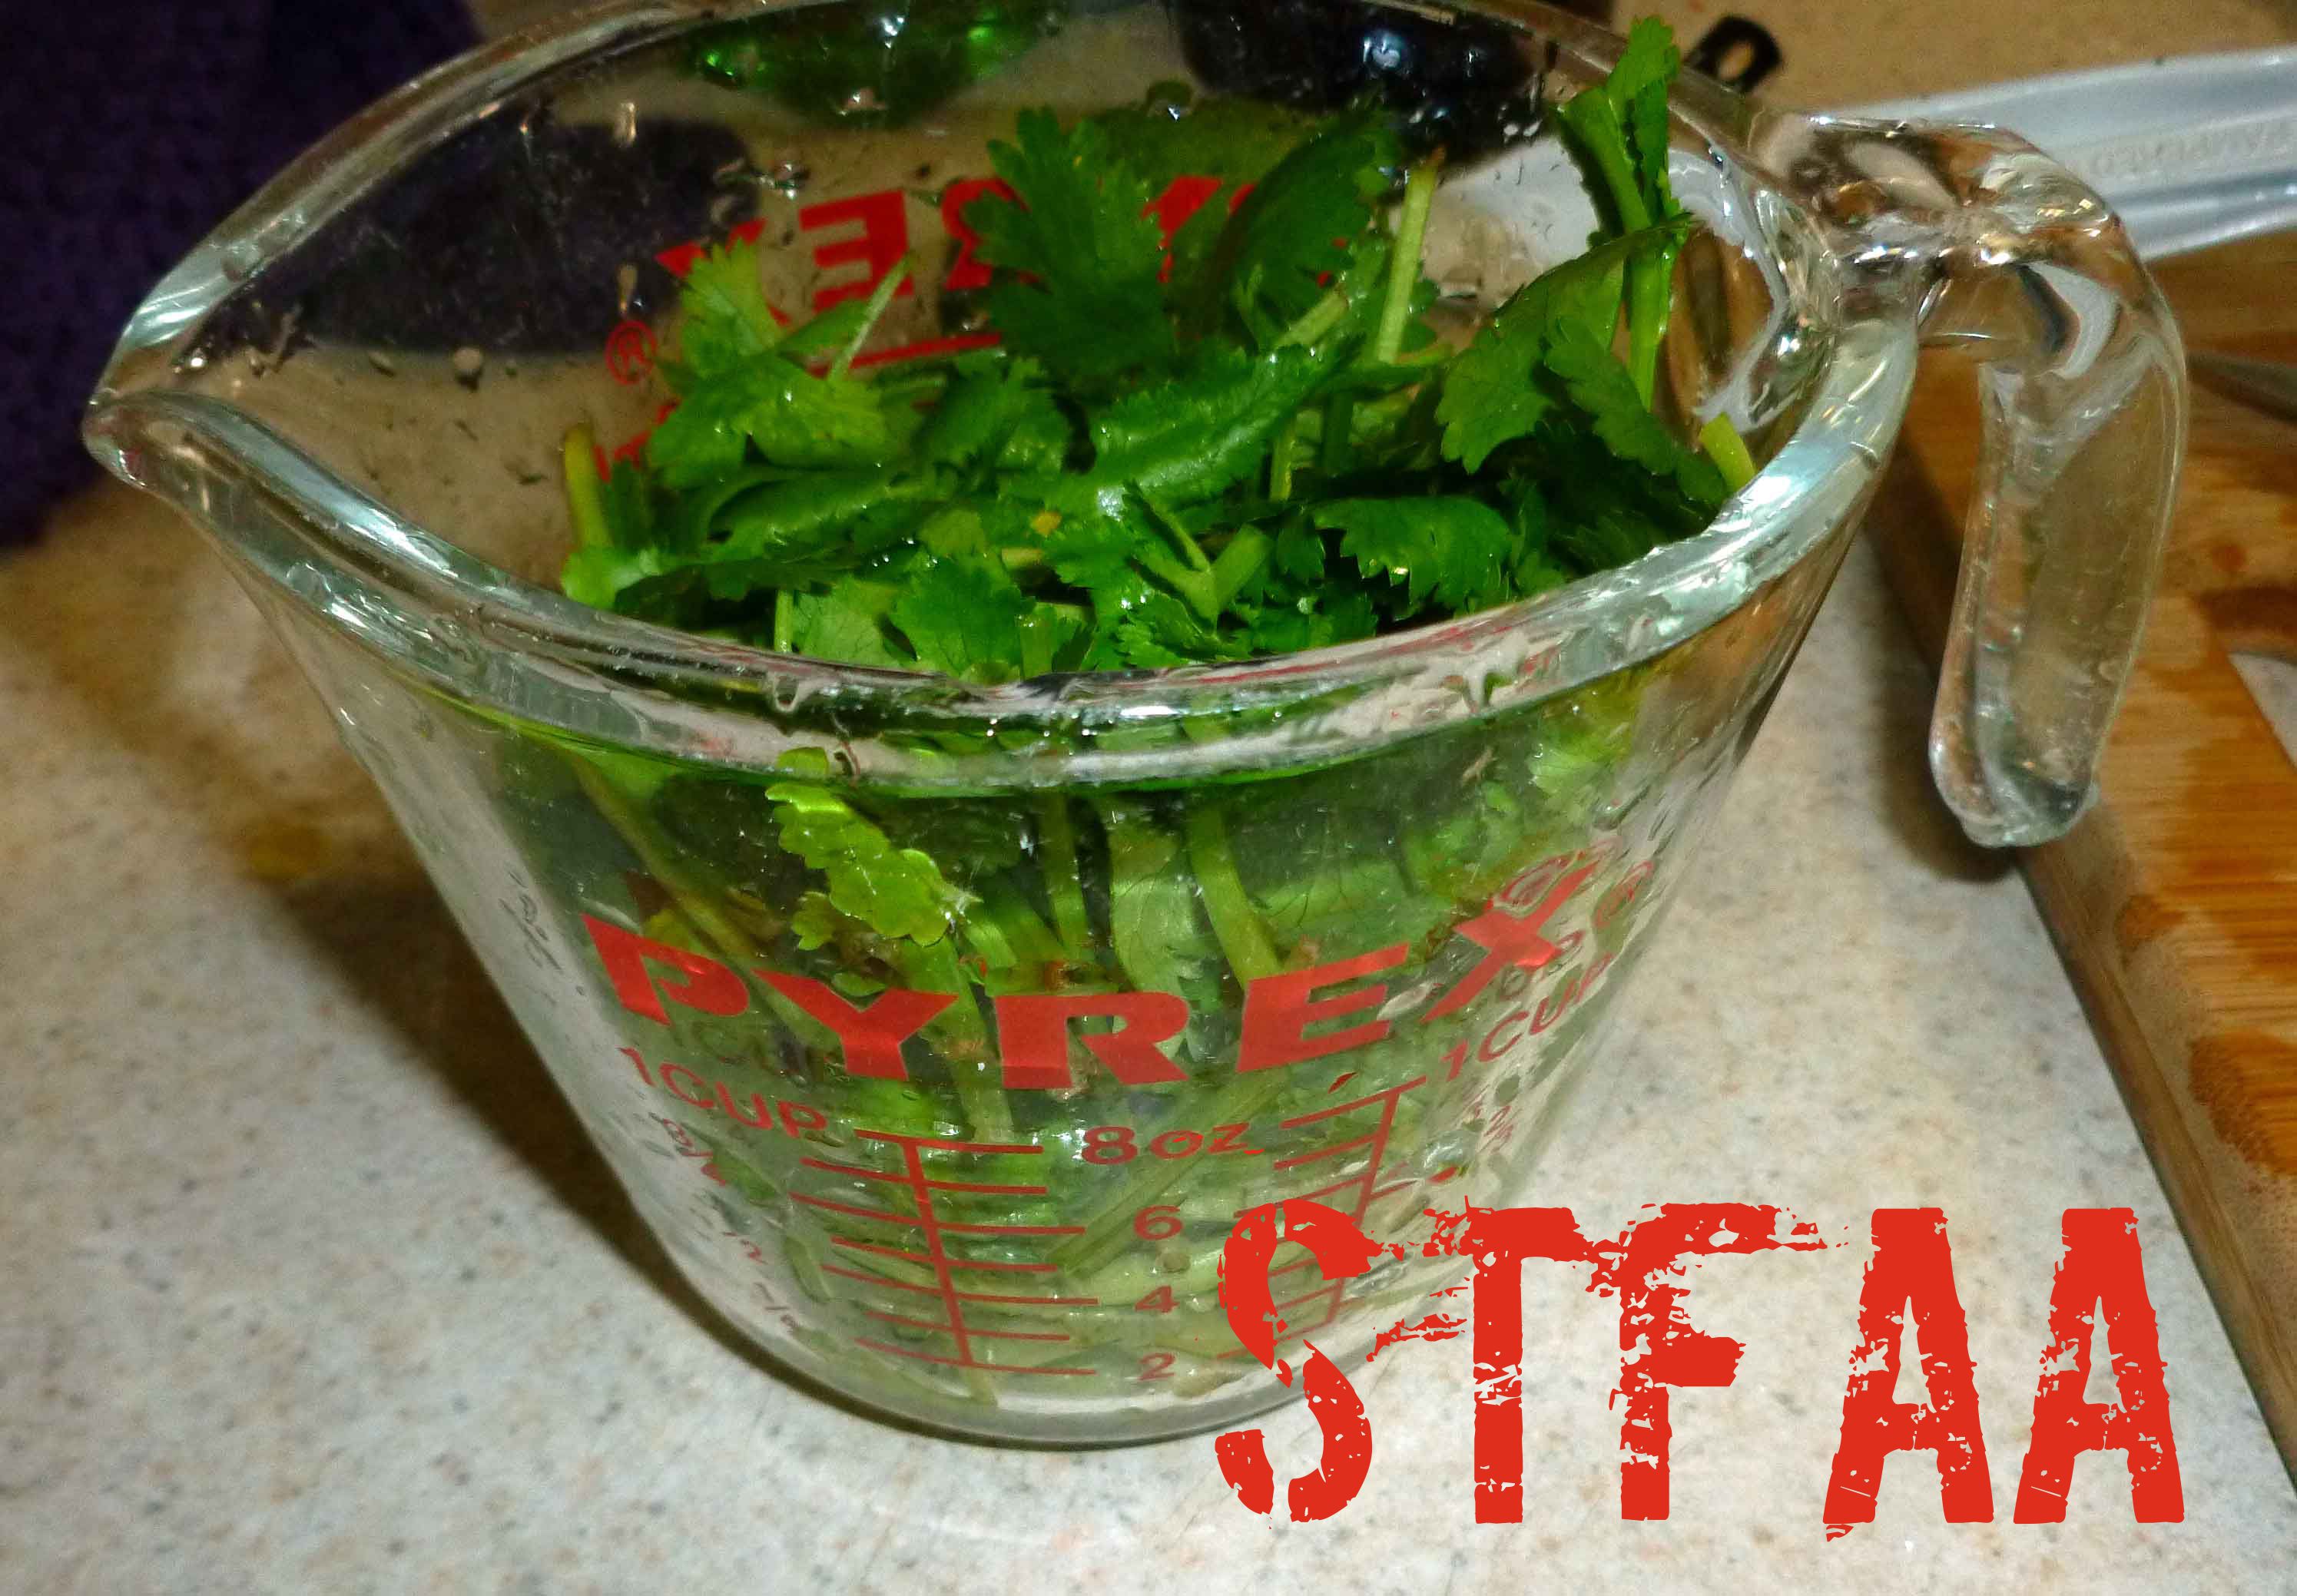
- 1 cup Indian jwala finger peppers washed and destemmed
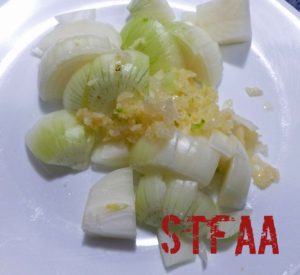
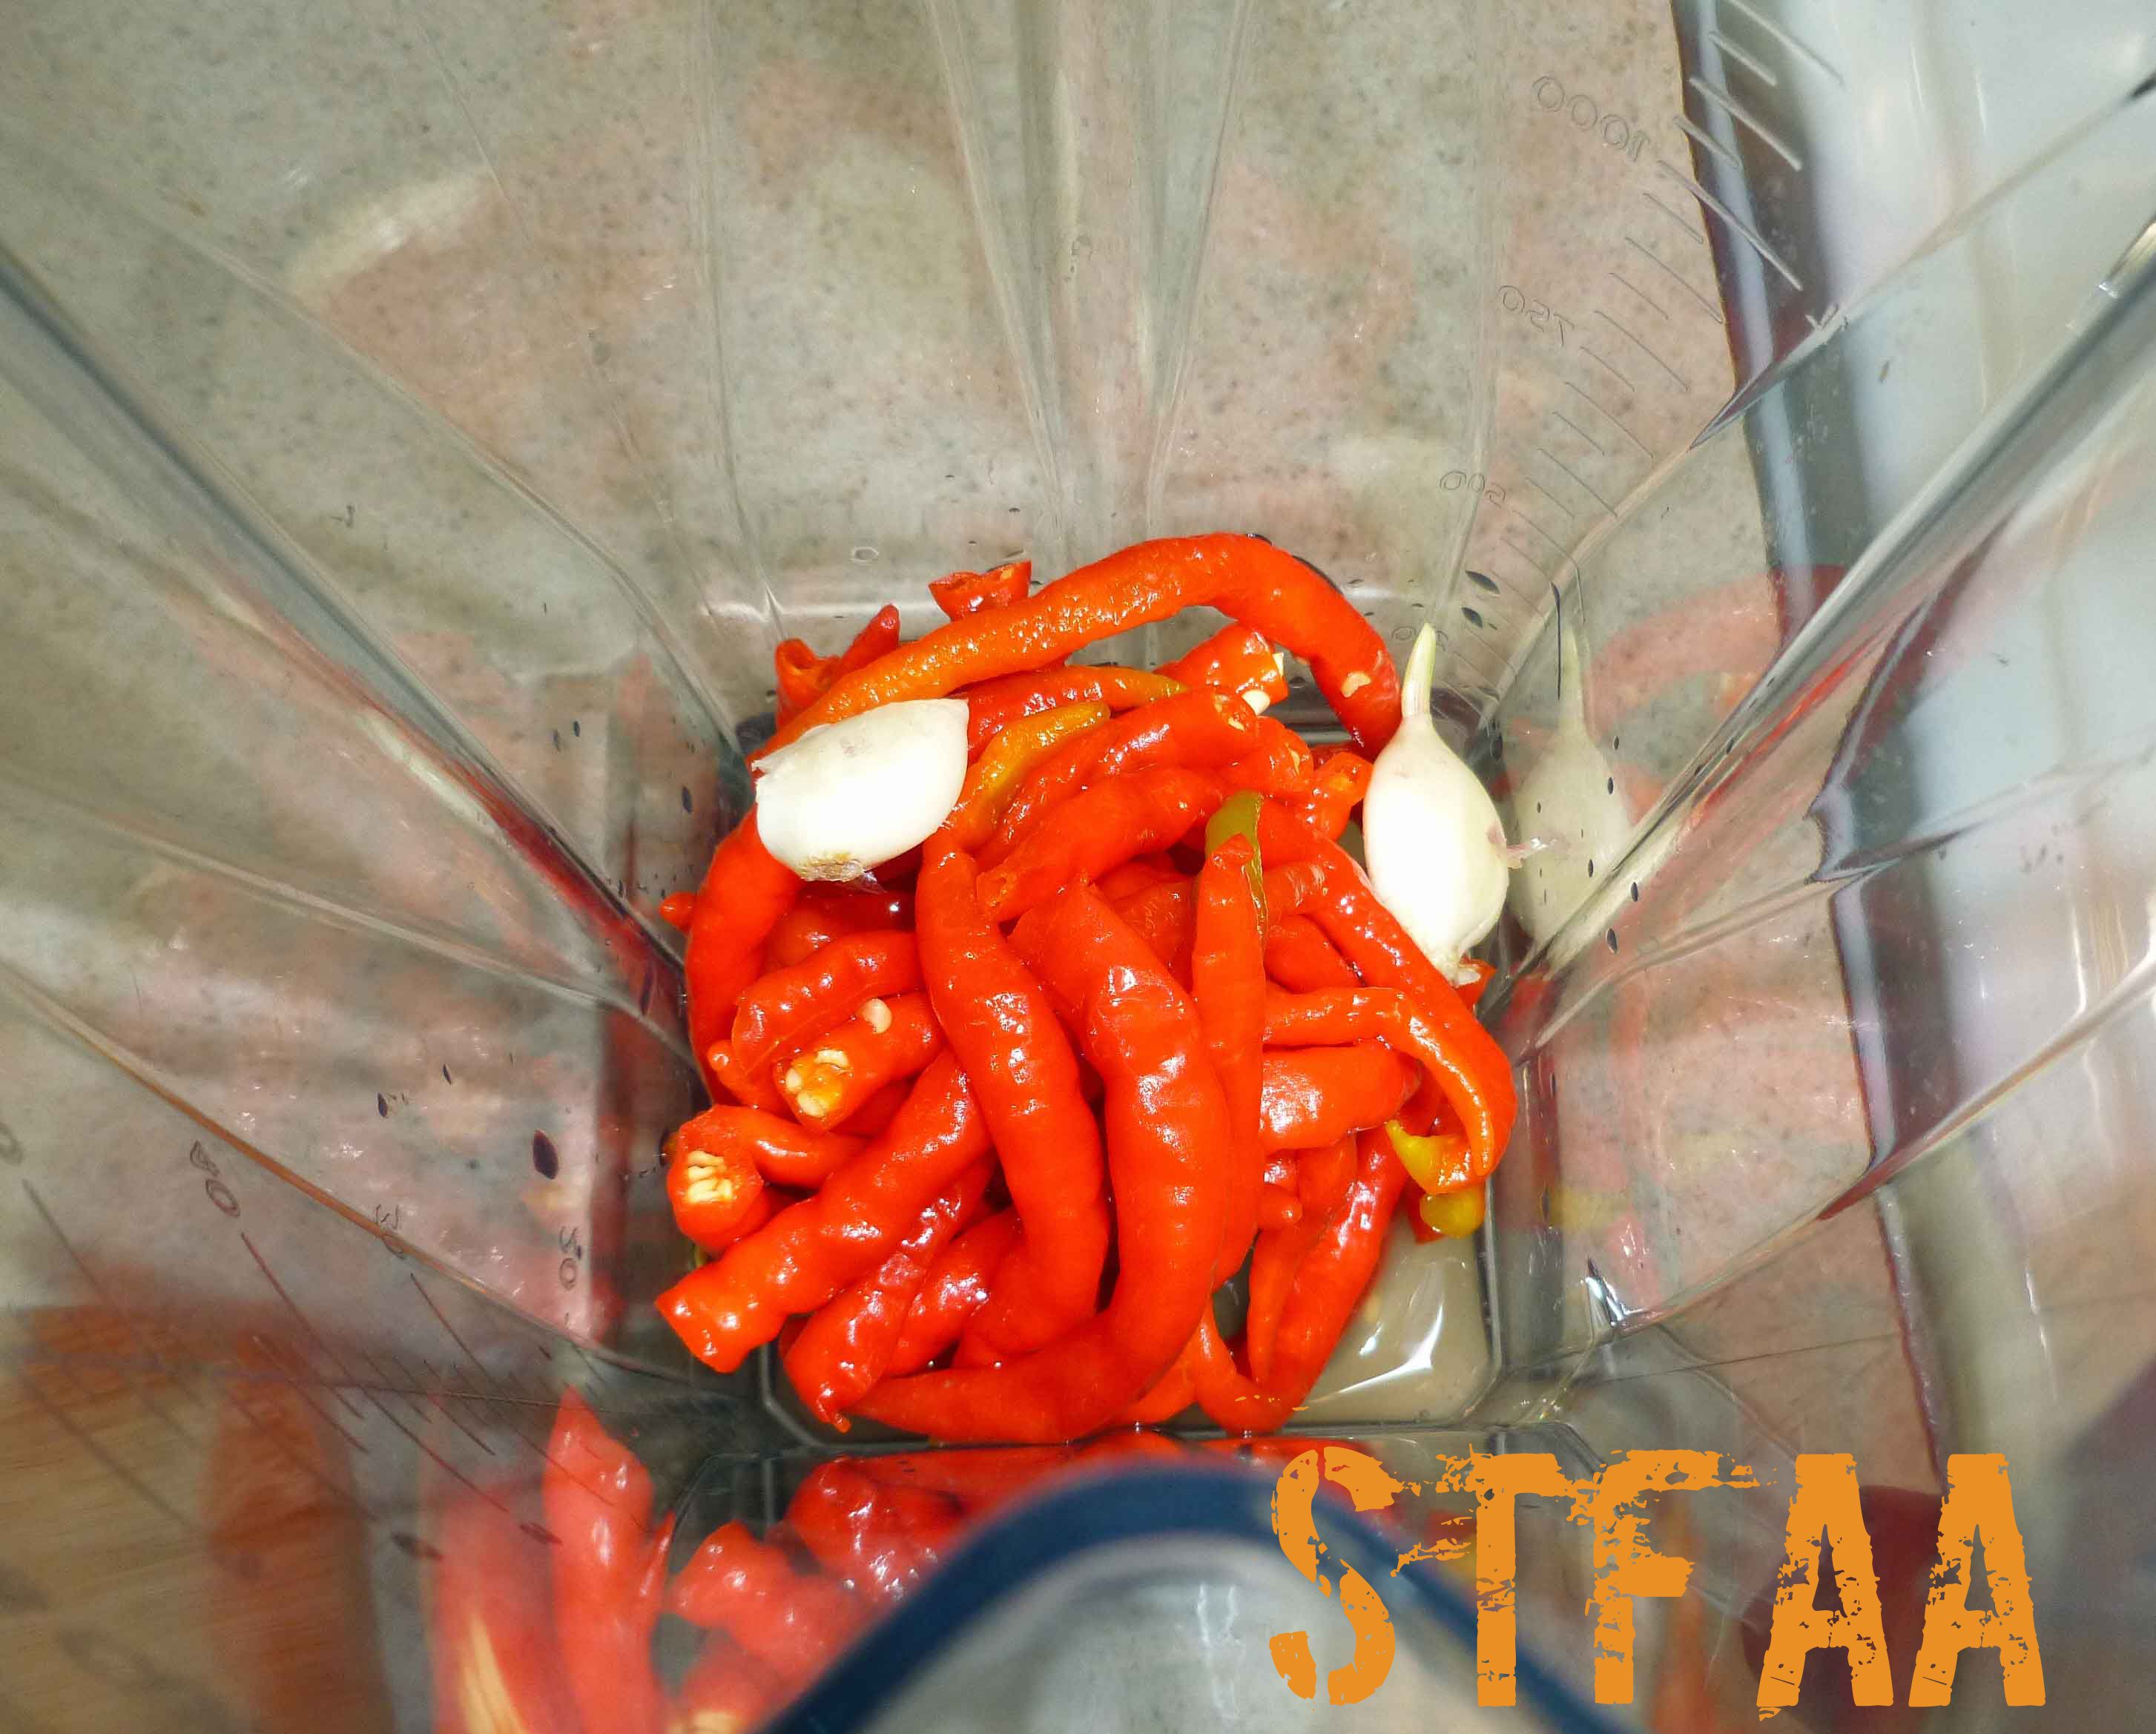
- 1 clove garlic peeled
- 3/4 cup apple cider vinegar divided (Bragg’s is most tolerated for those with corn allergies)
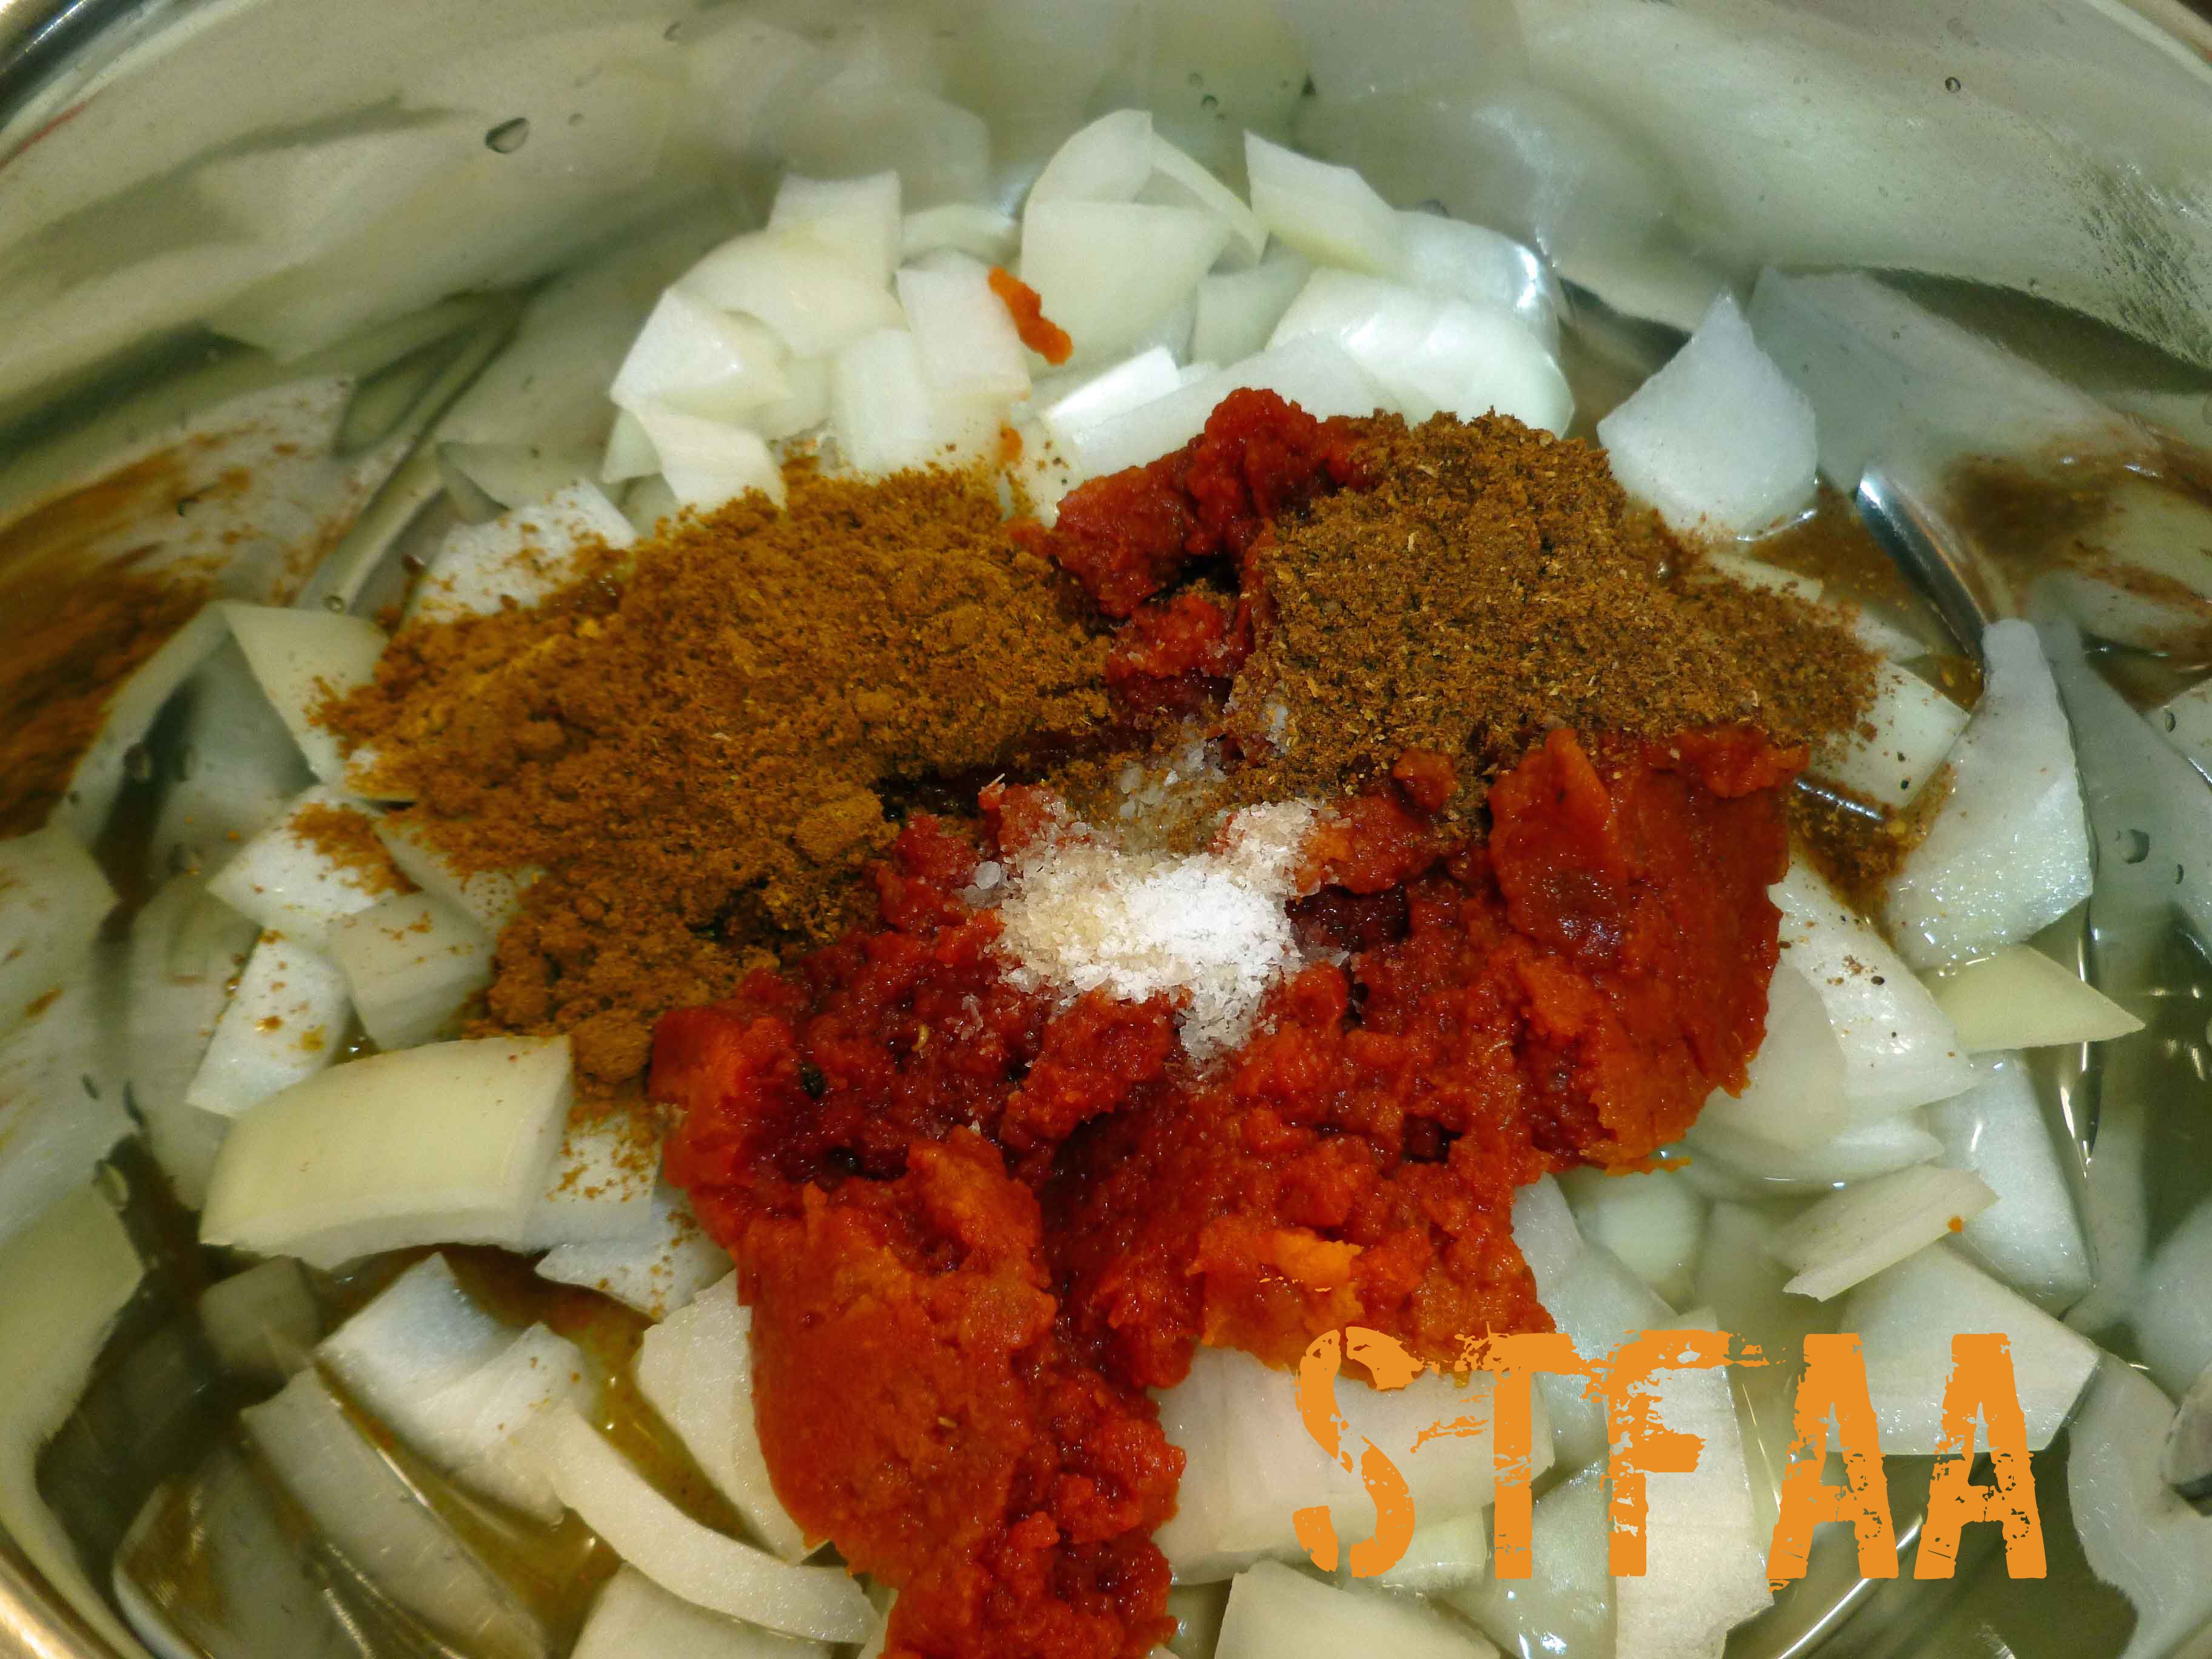
- 4 ounces tomato paste (I used my homemade tomato paste)
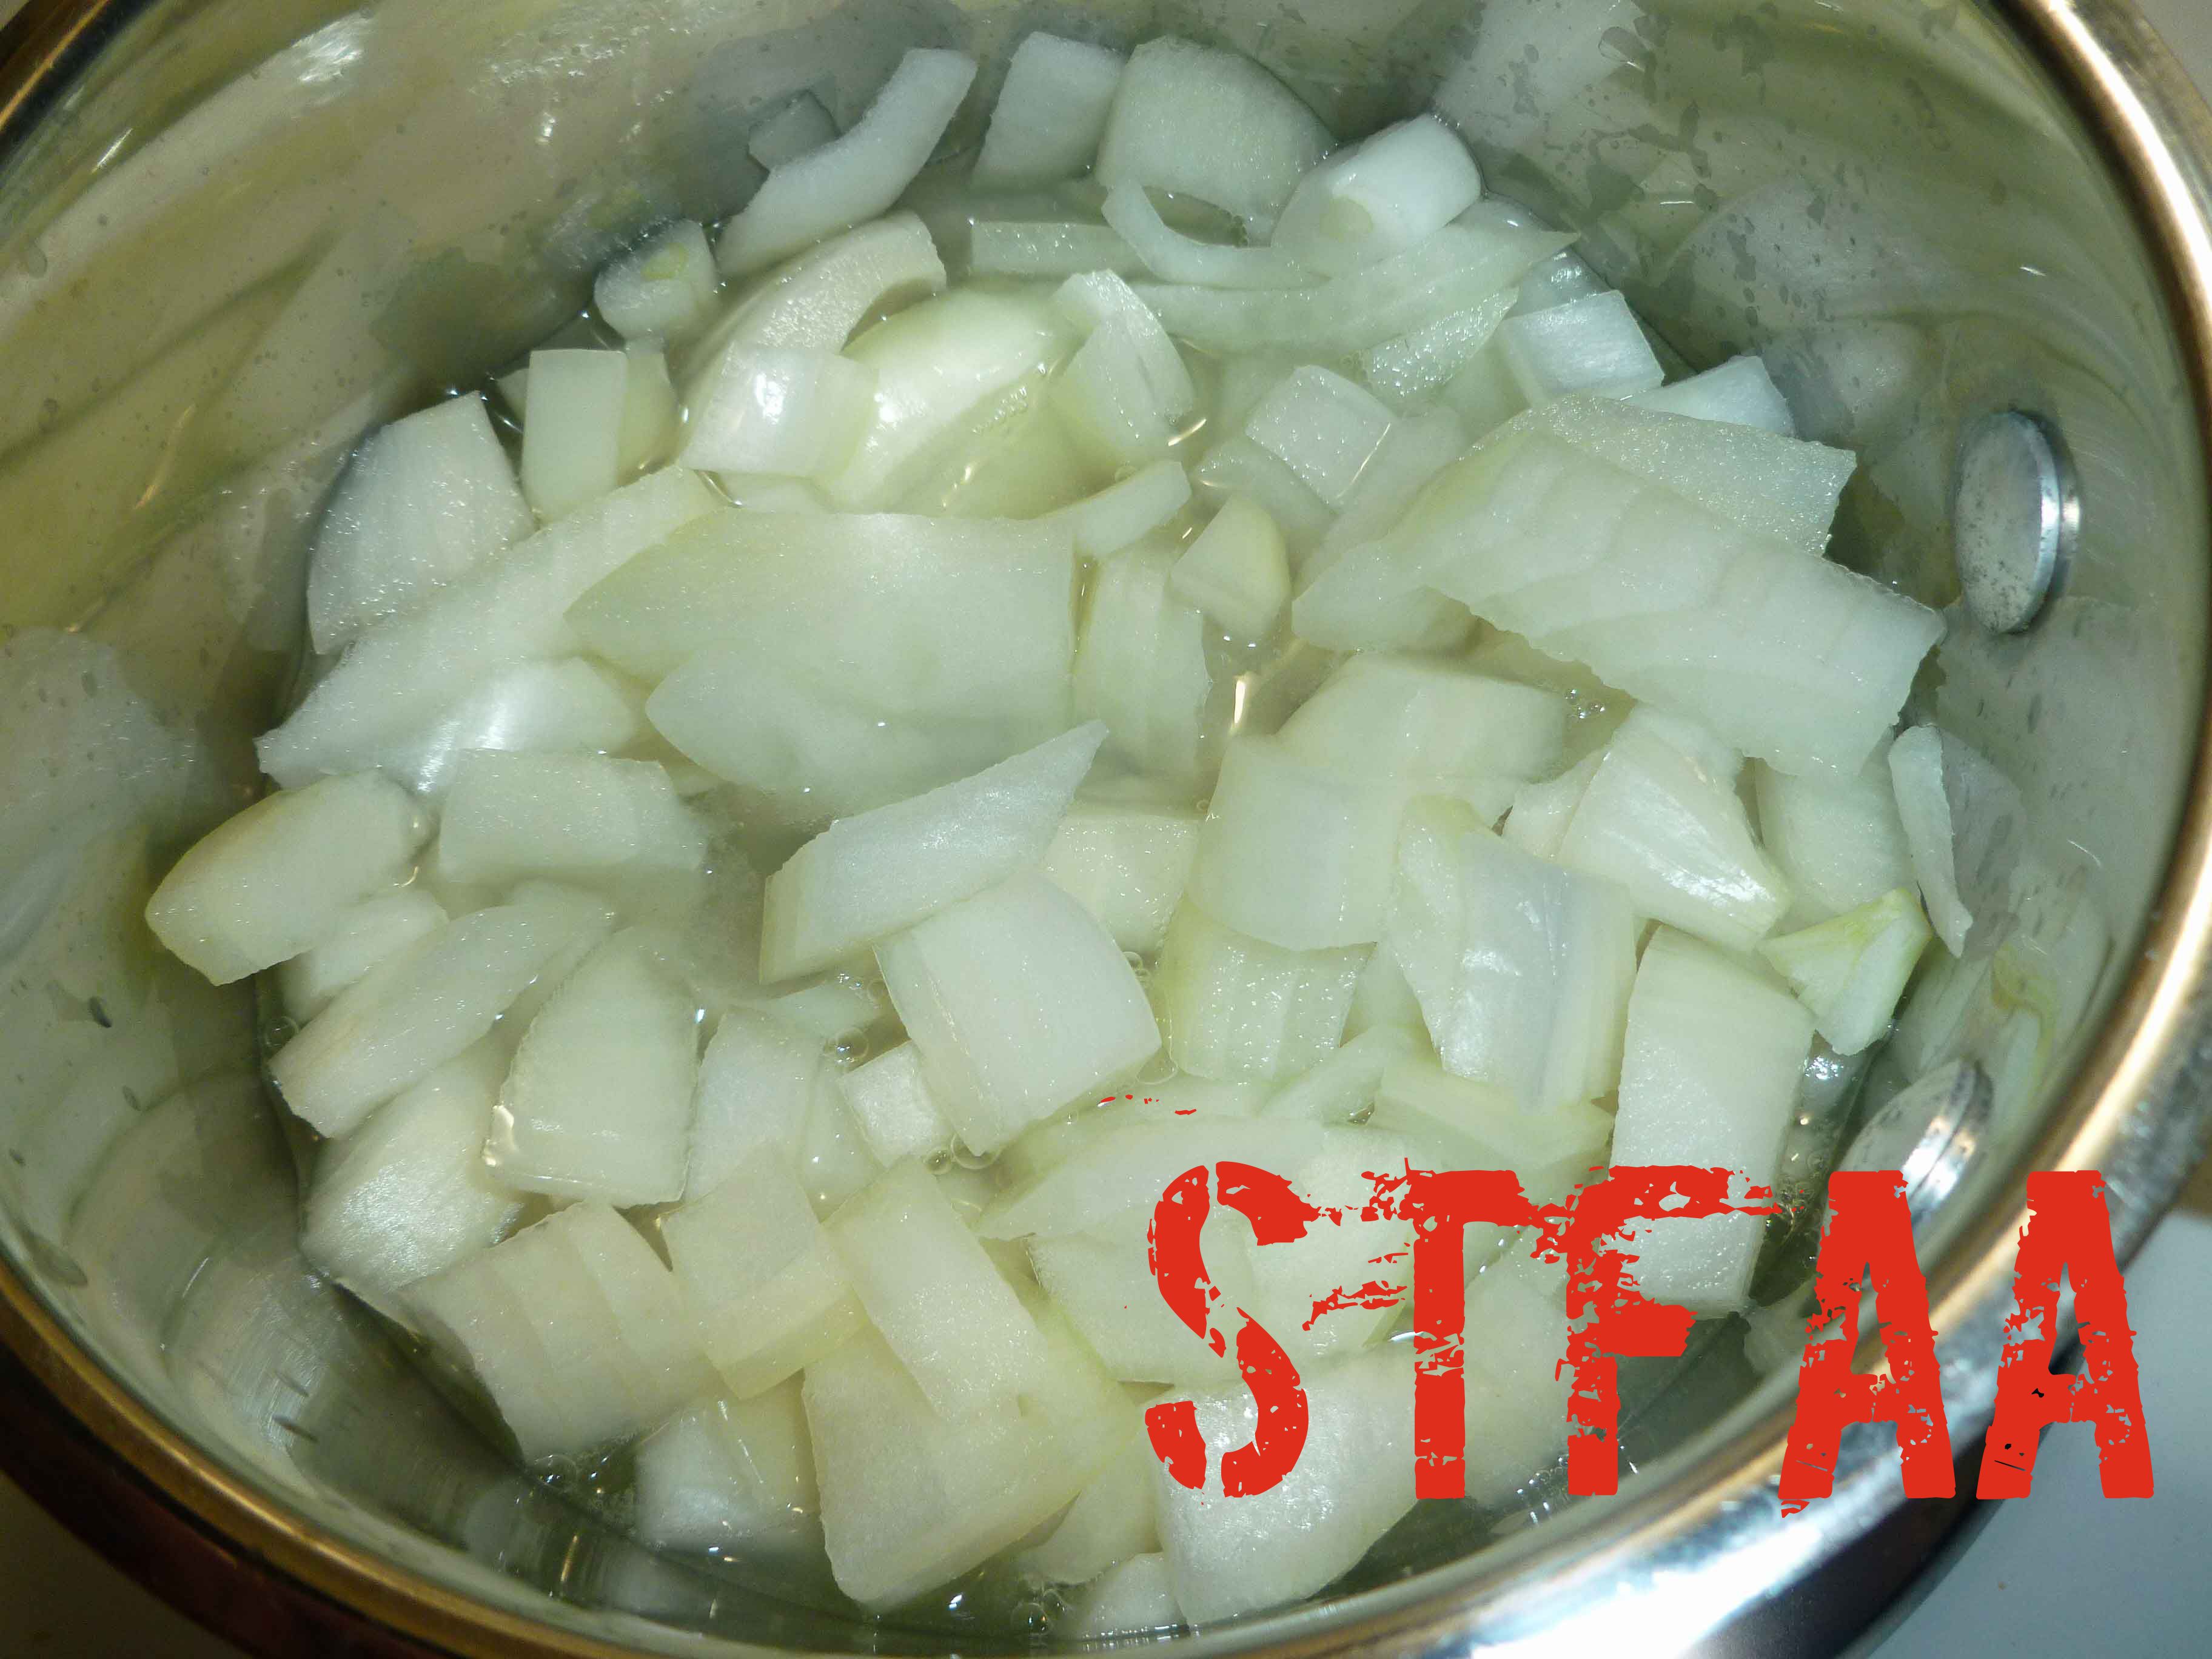
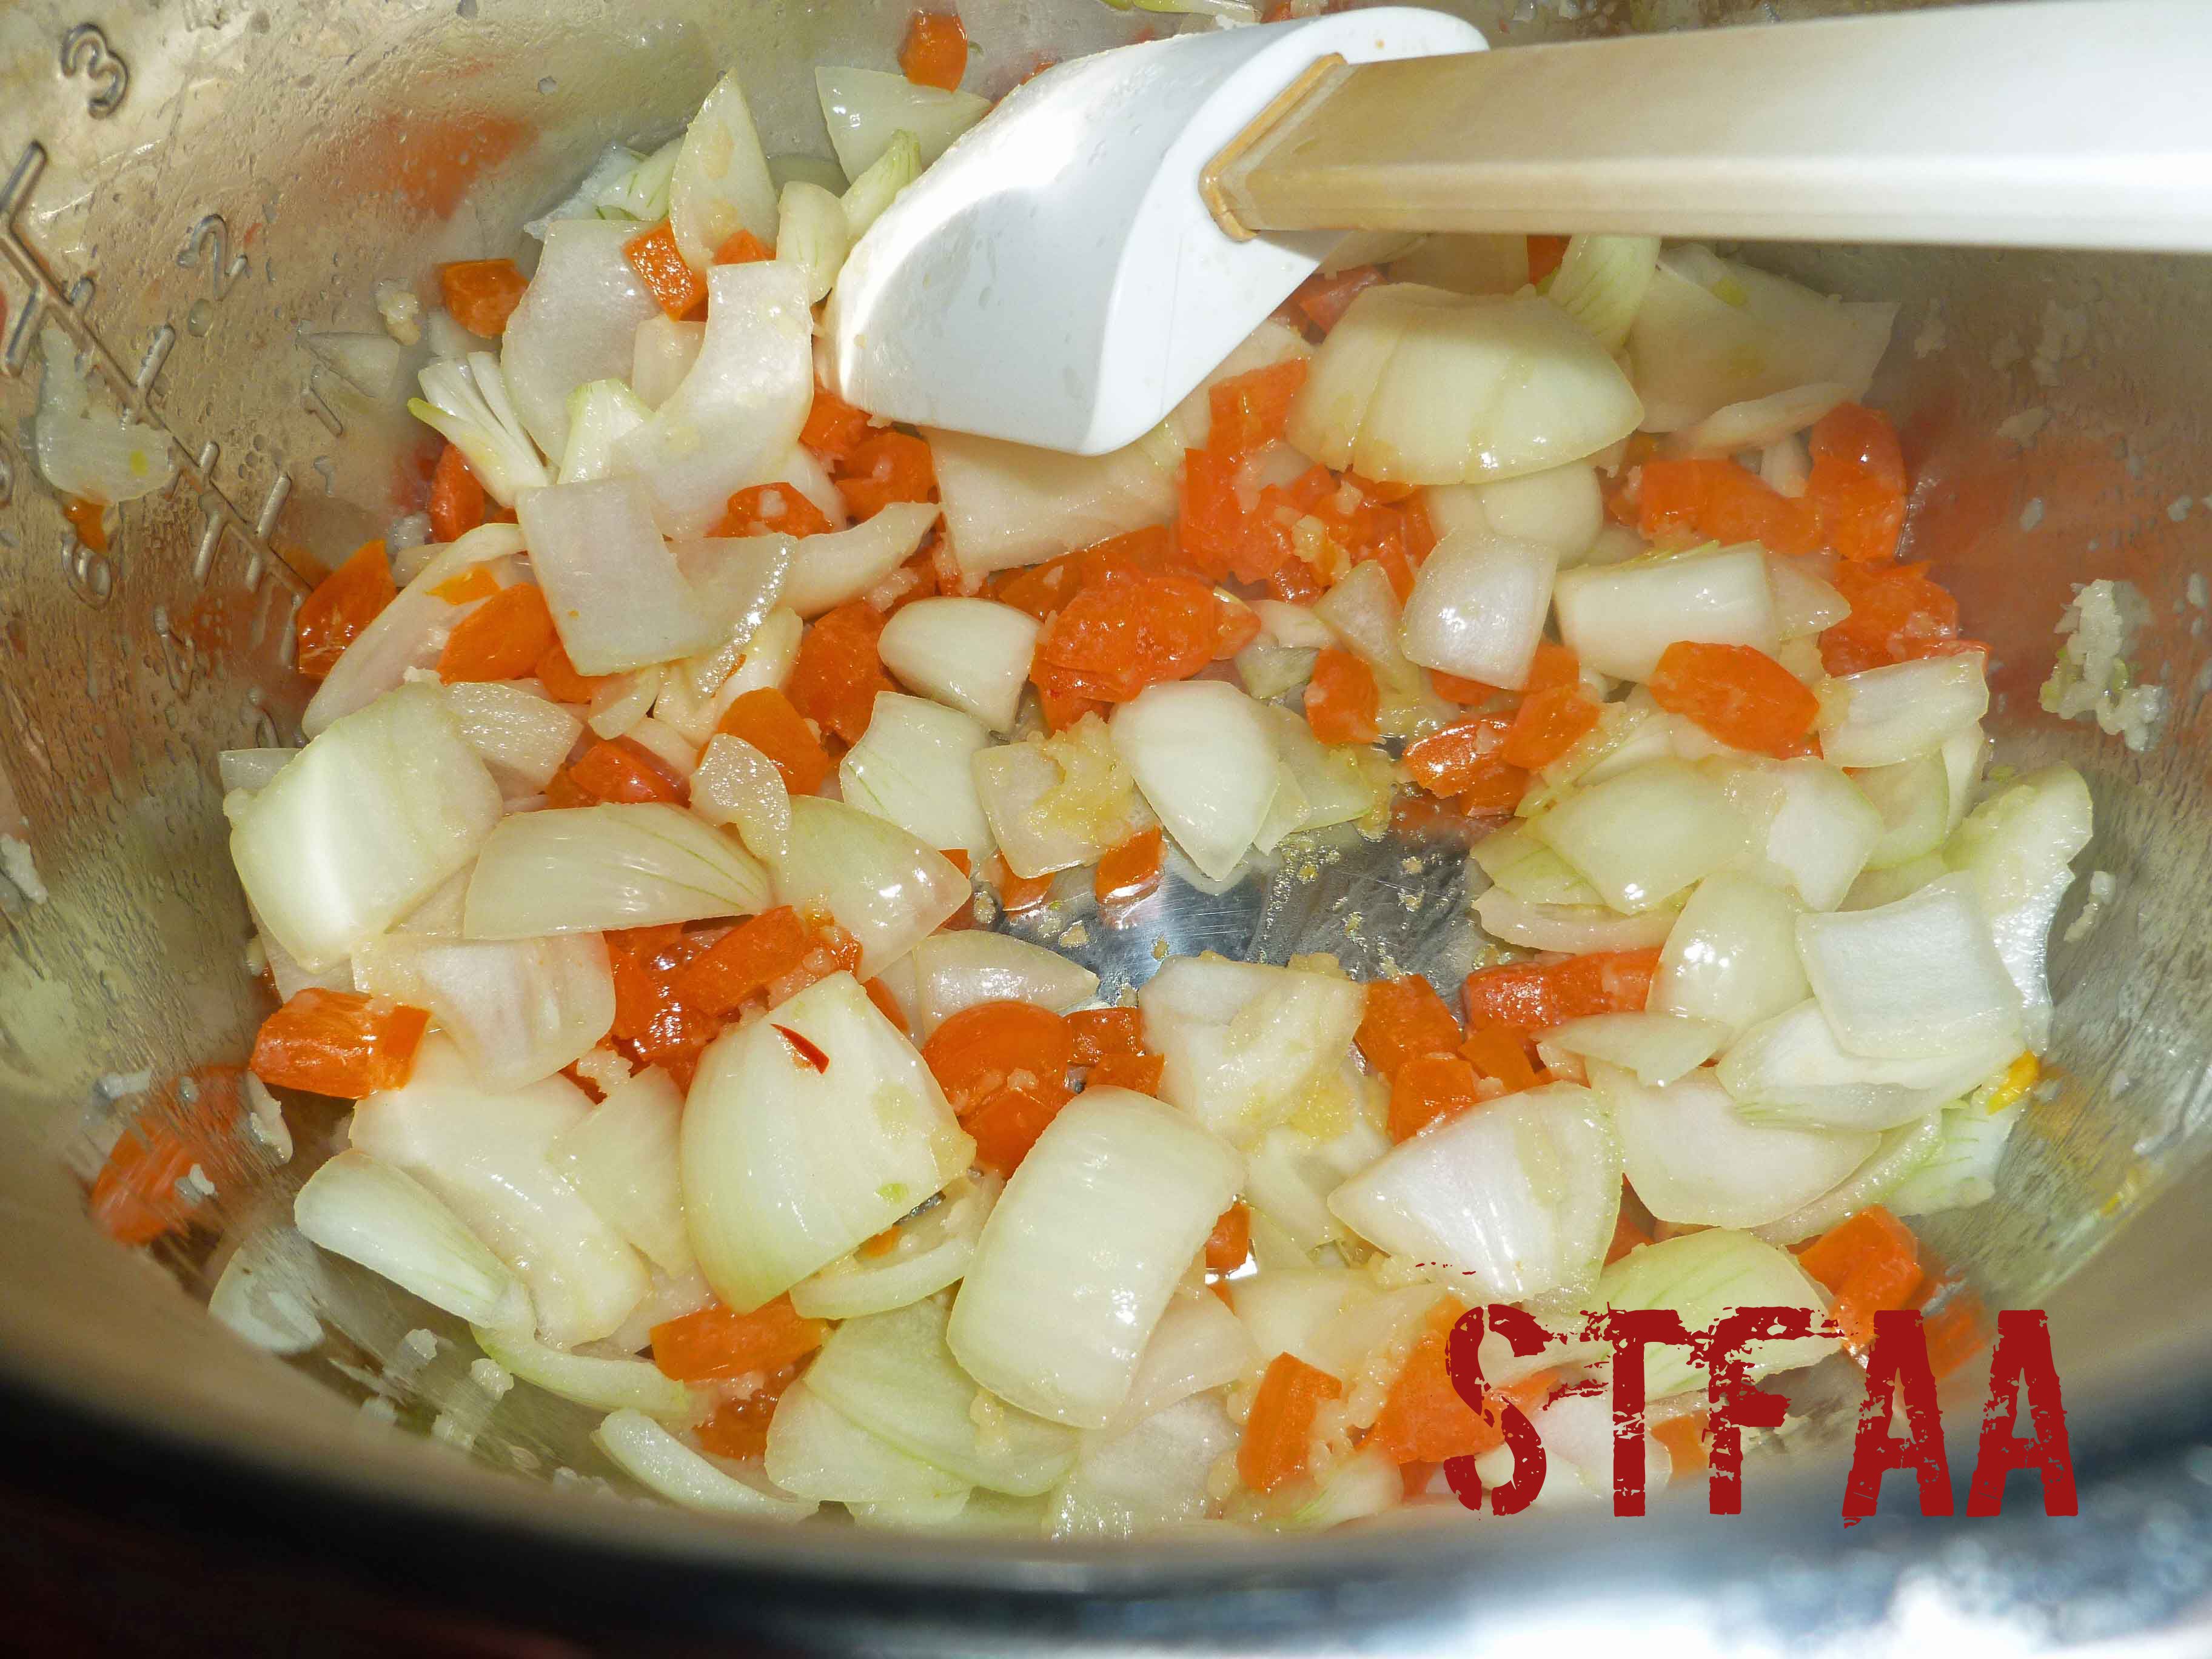
- 1 cup onions, chopped
- 1 Tablespoon curry powder
- 1 teaspoon garam masala, ground
- 1/4 teaspoon salt
- 1 Tablespoon brown sugar
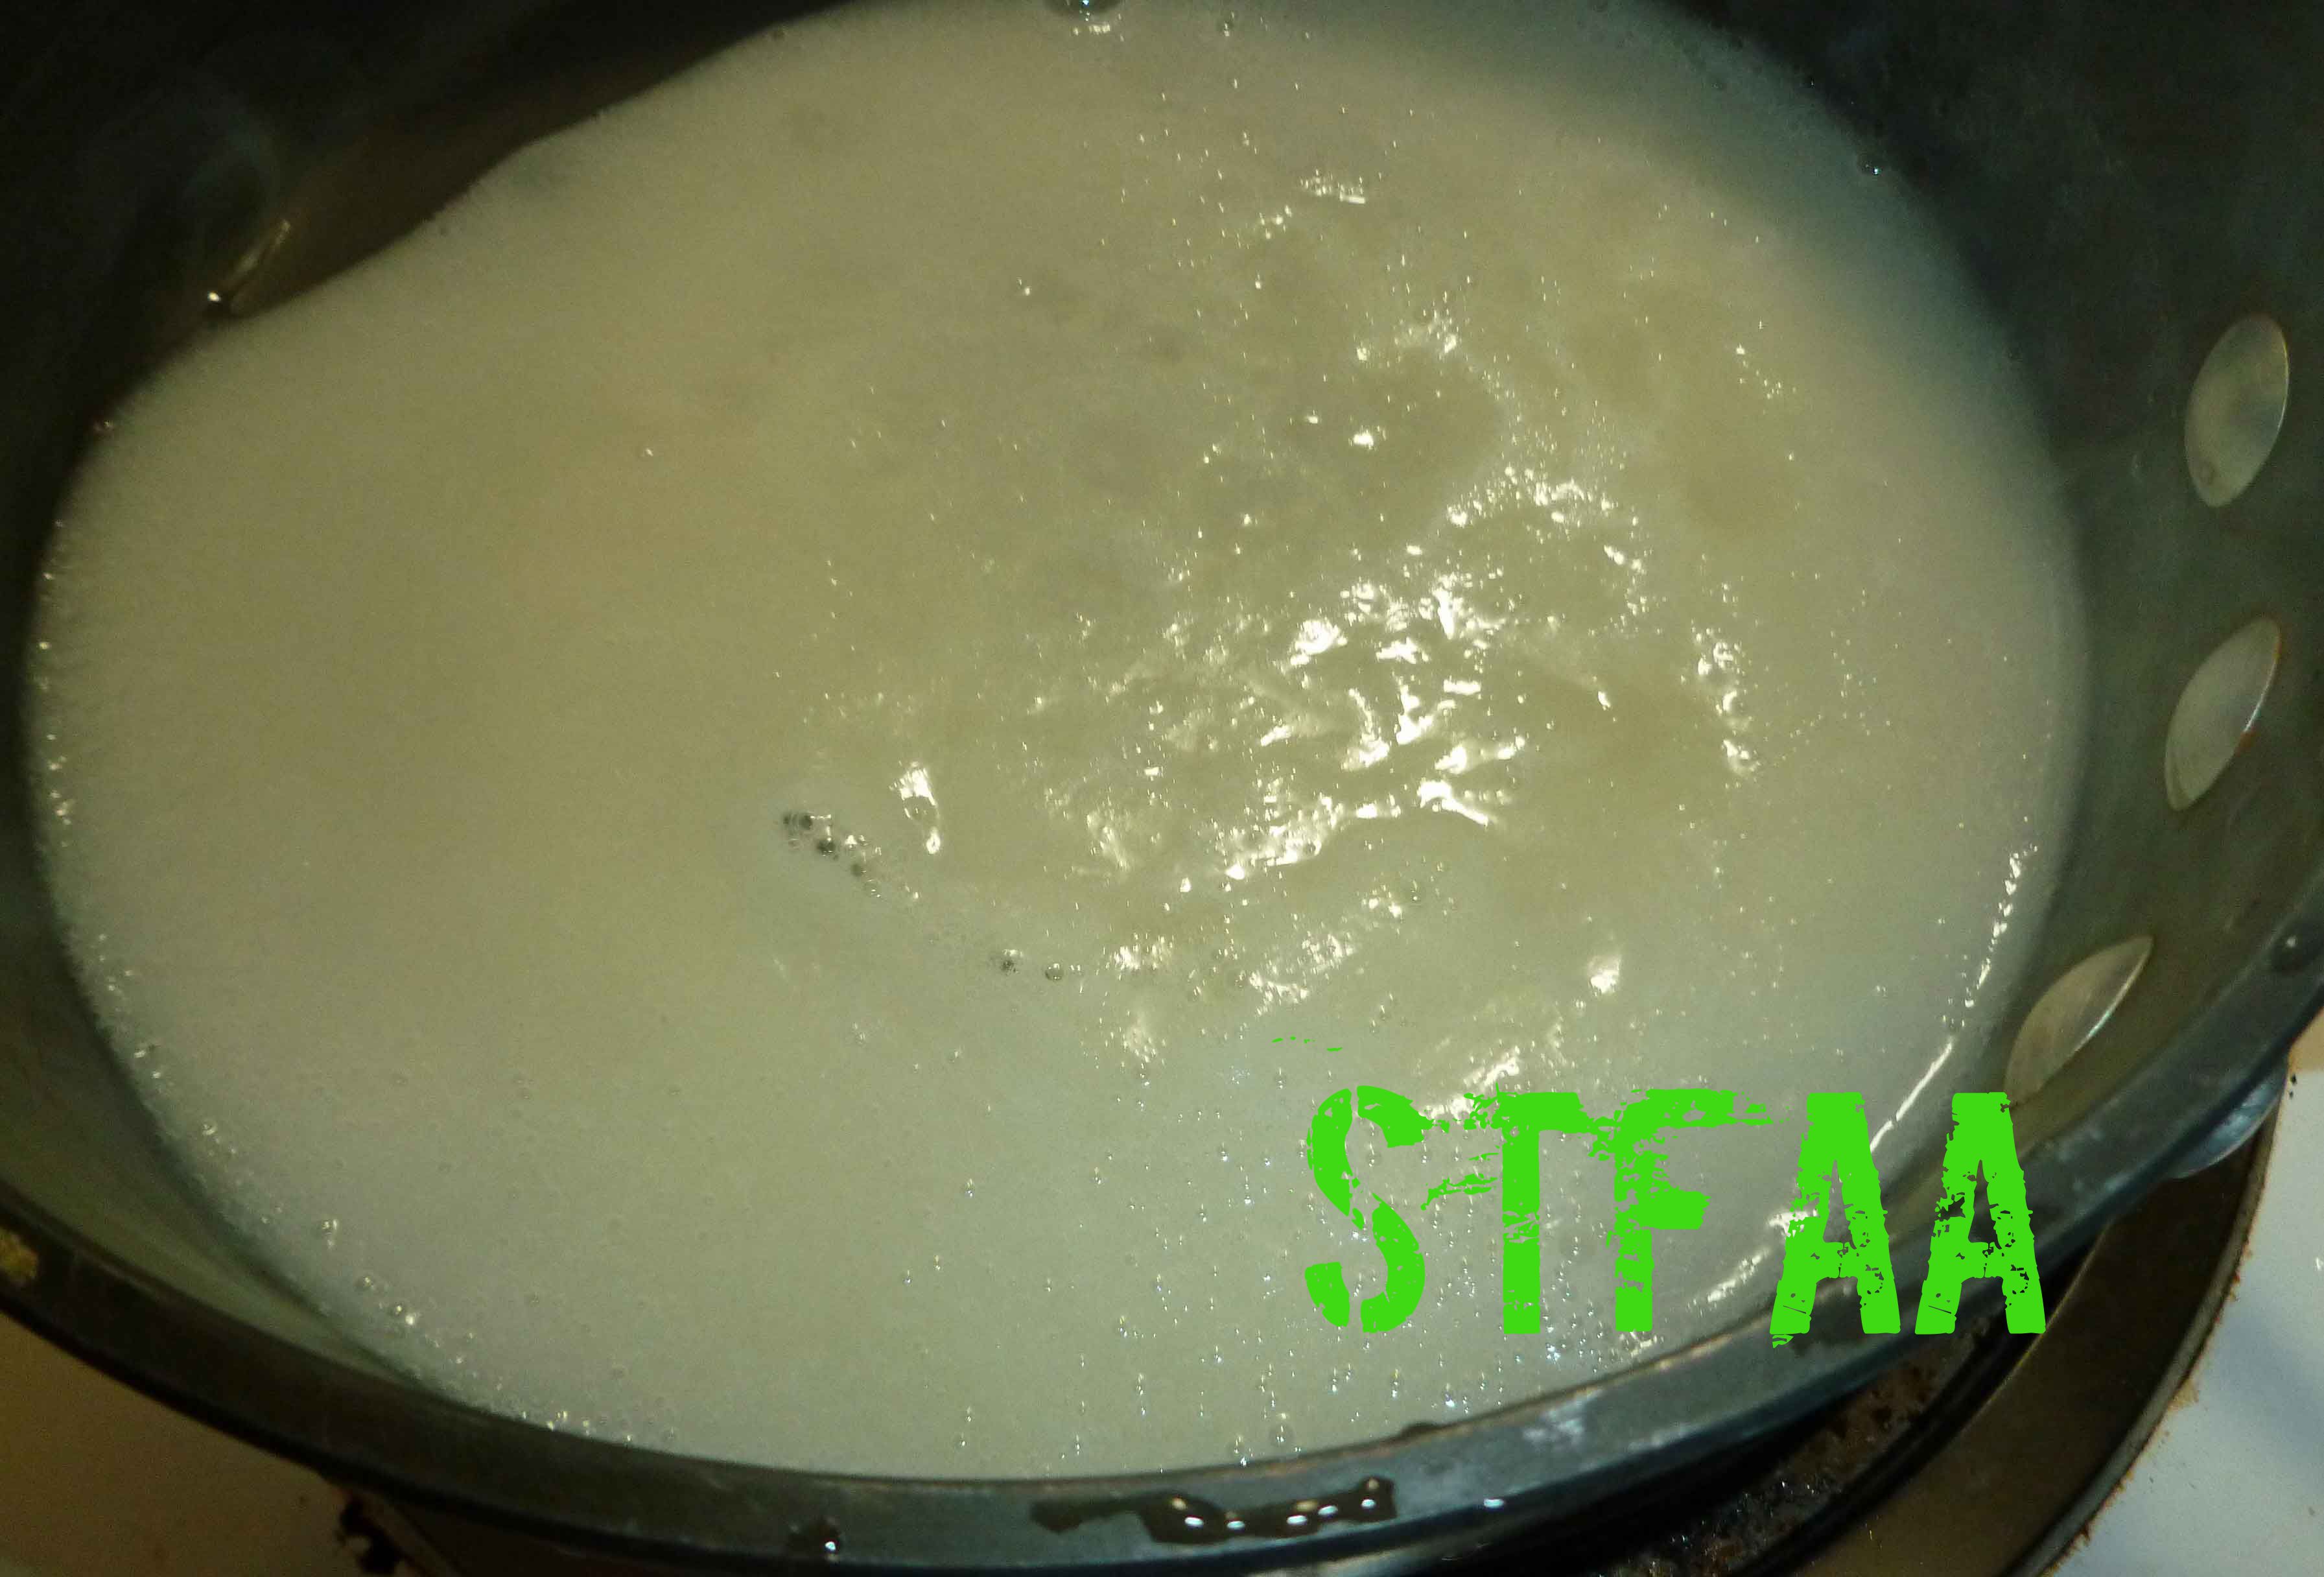
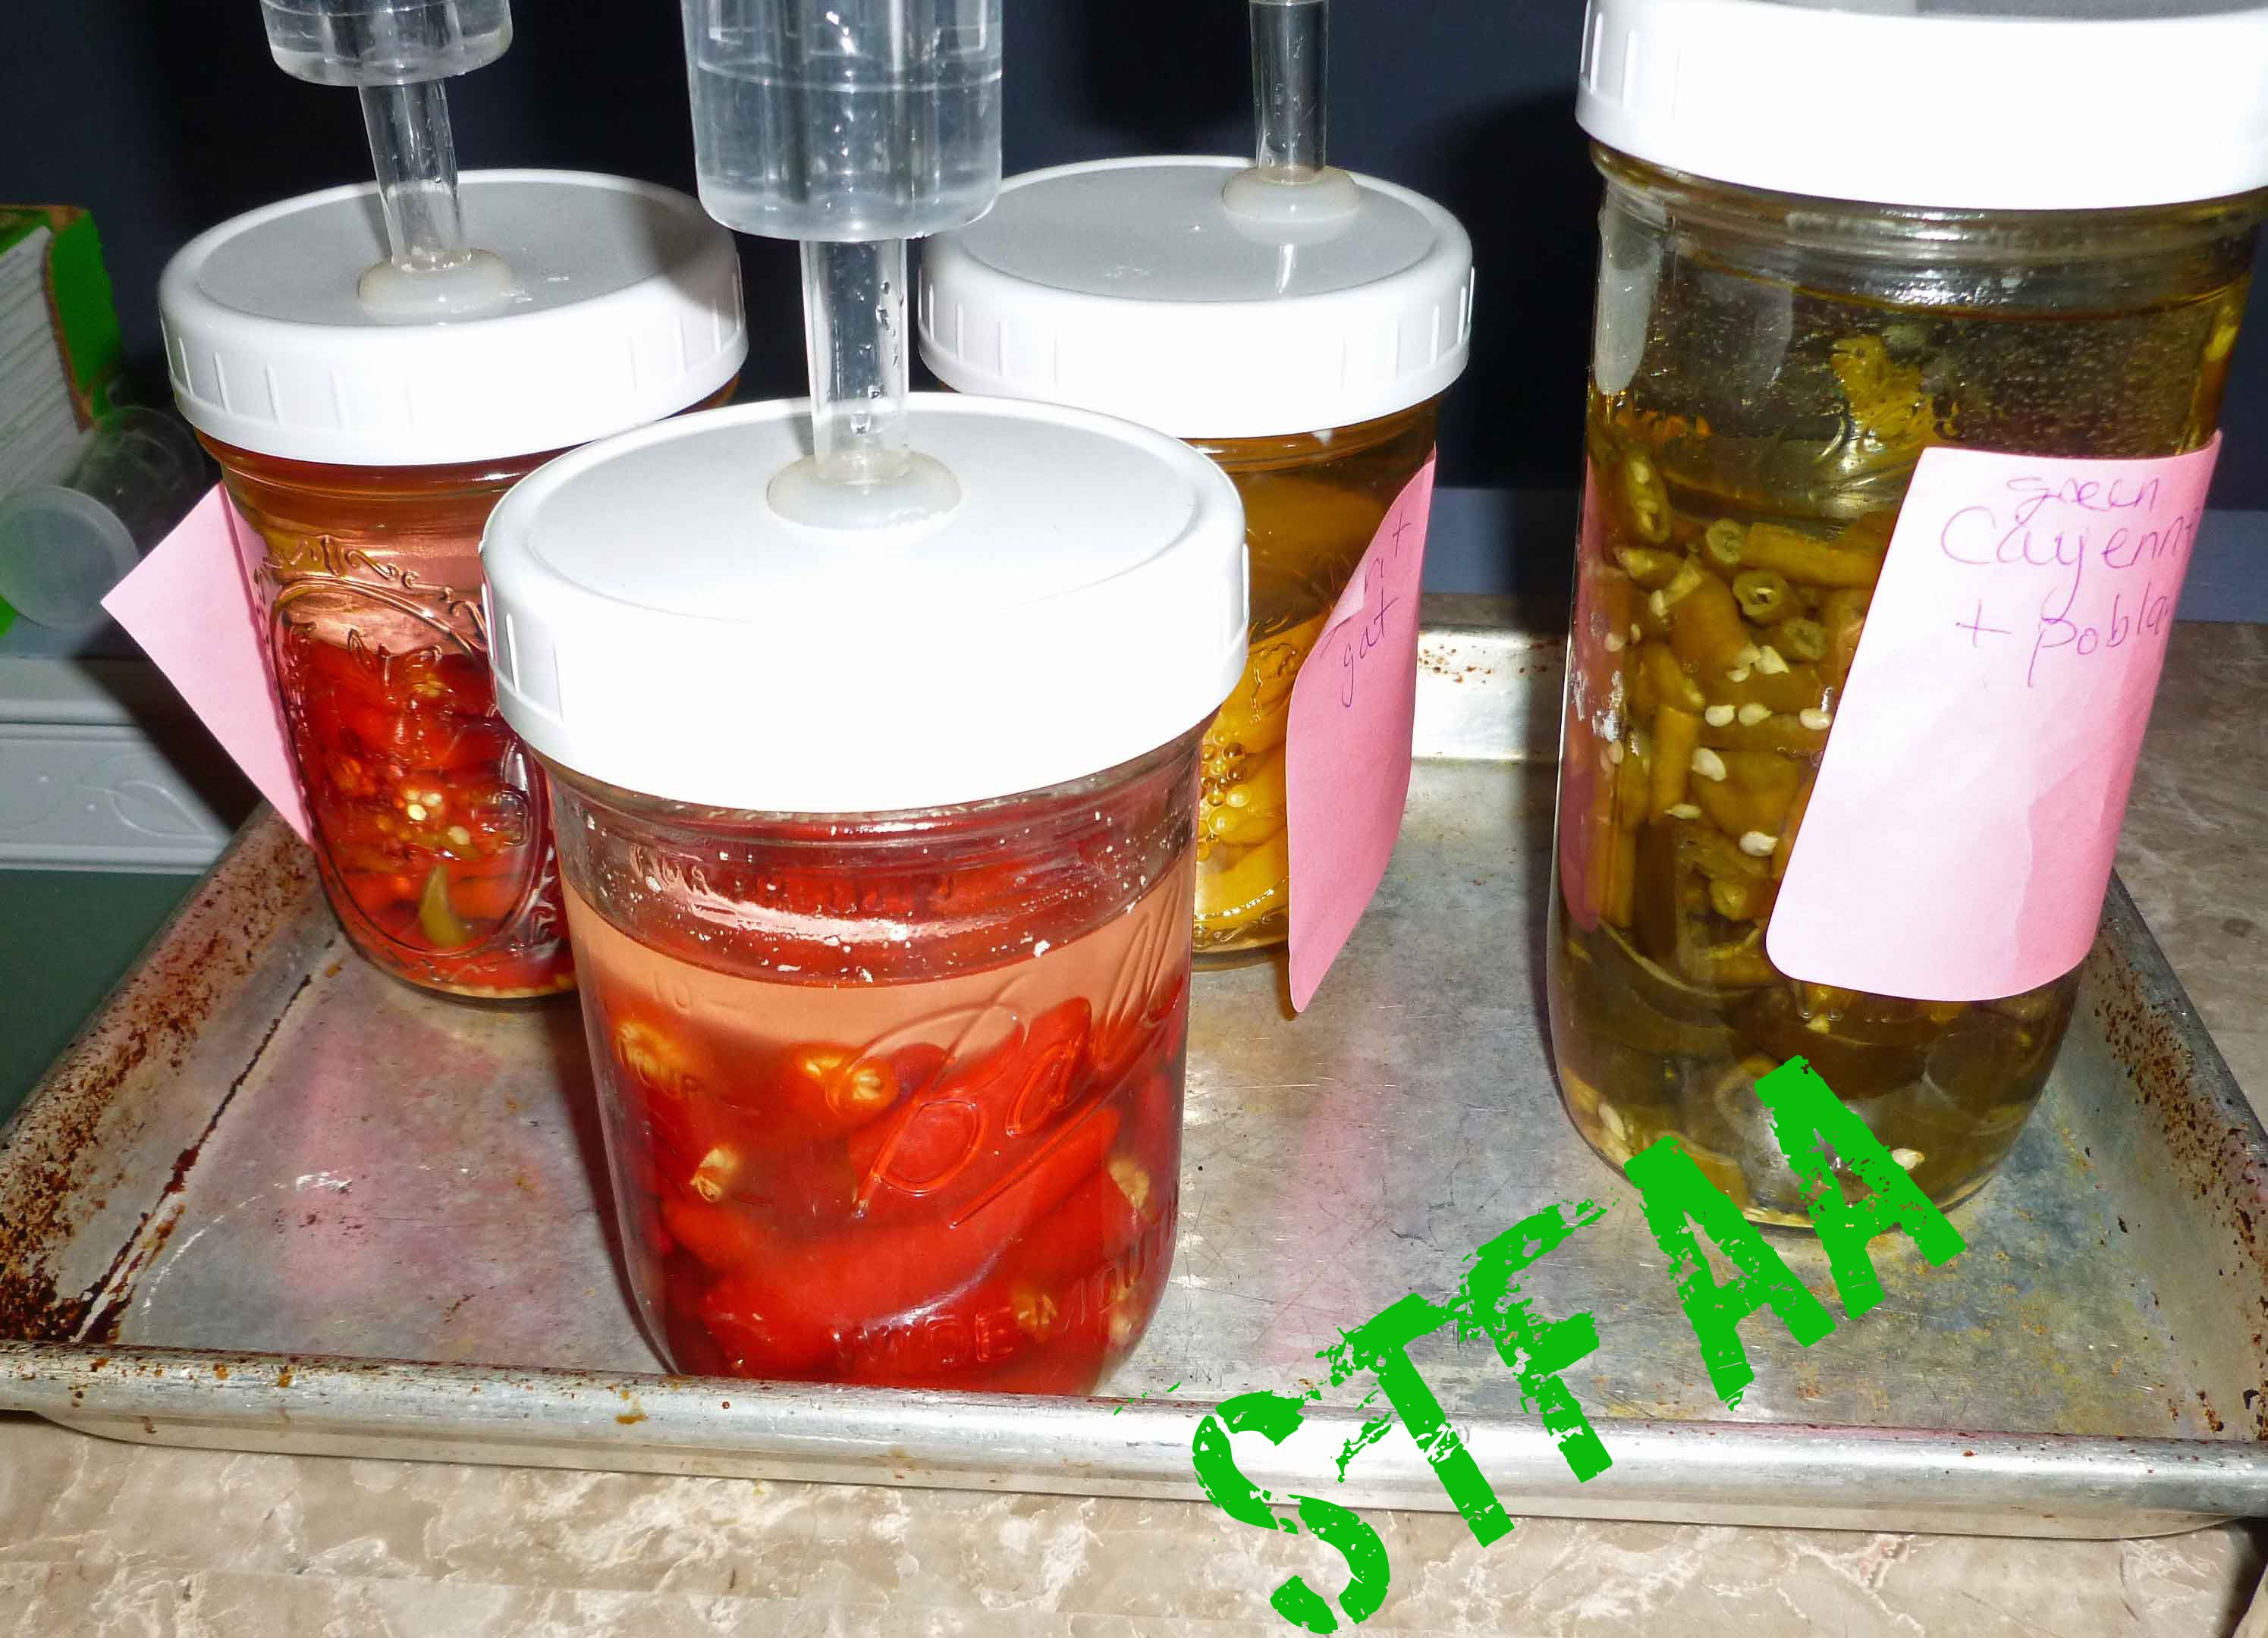
- Make brine by mixing spring water and salt in a container until salt is dissolved.
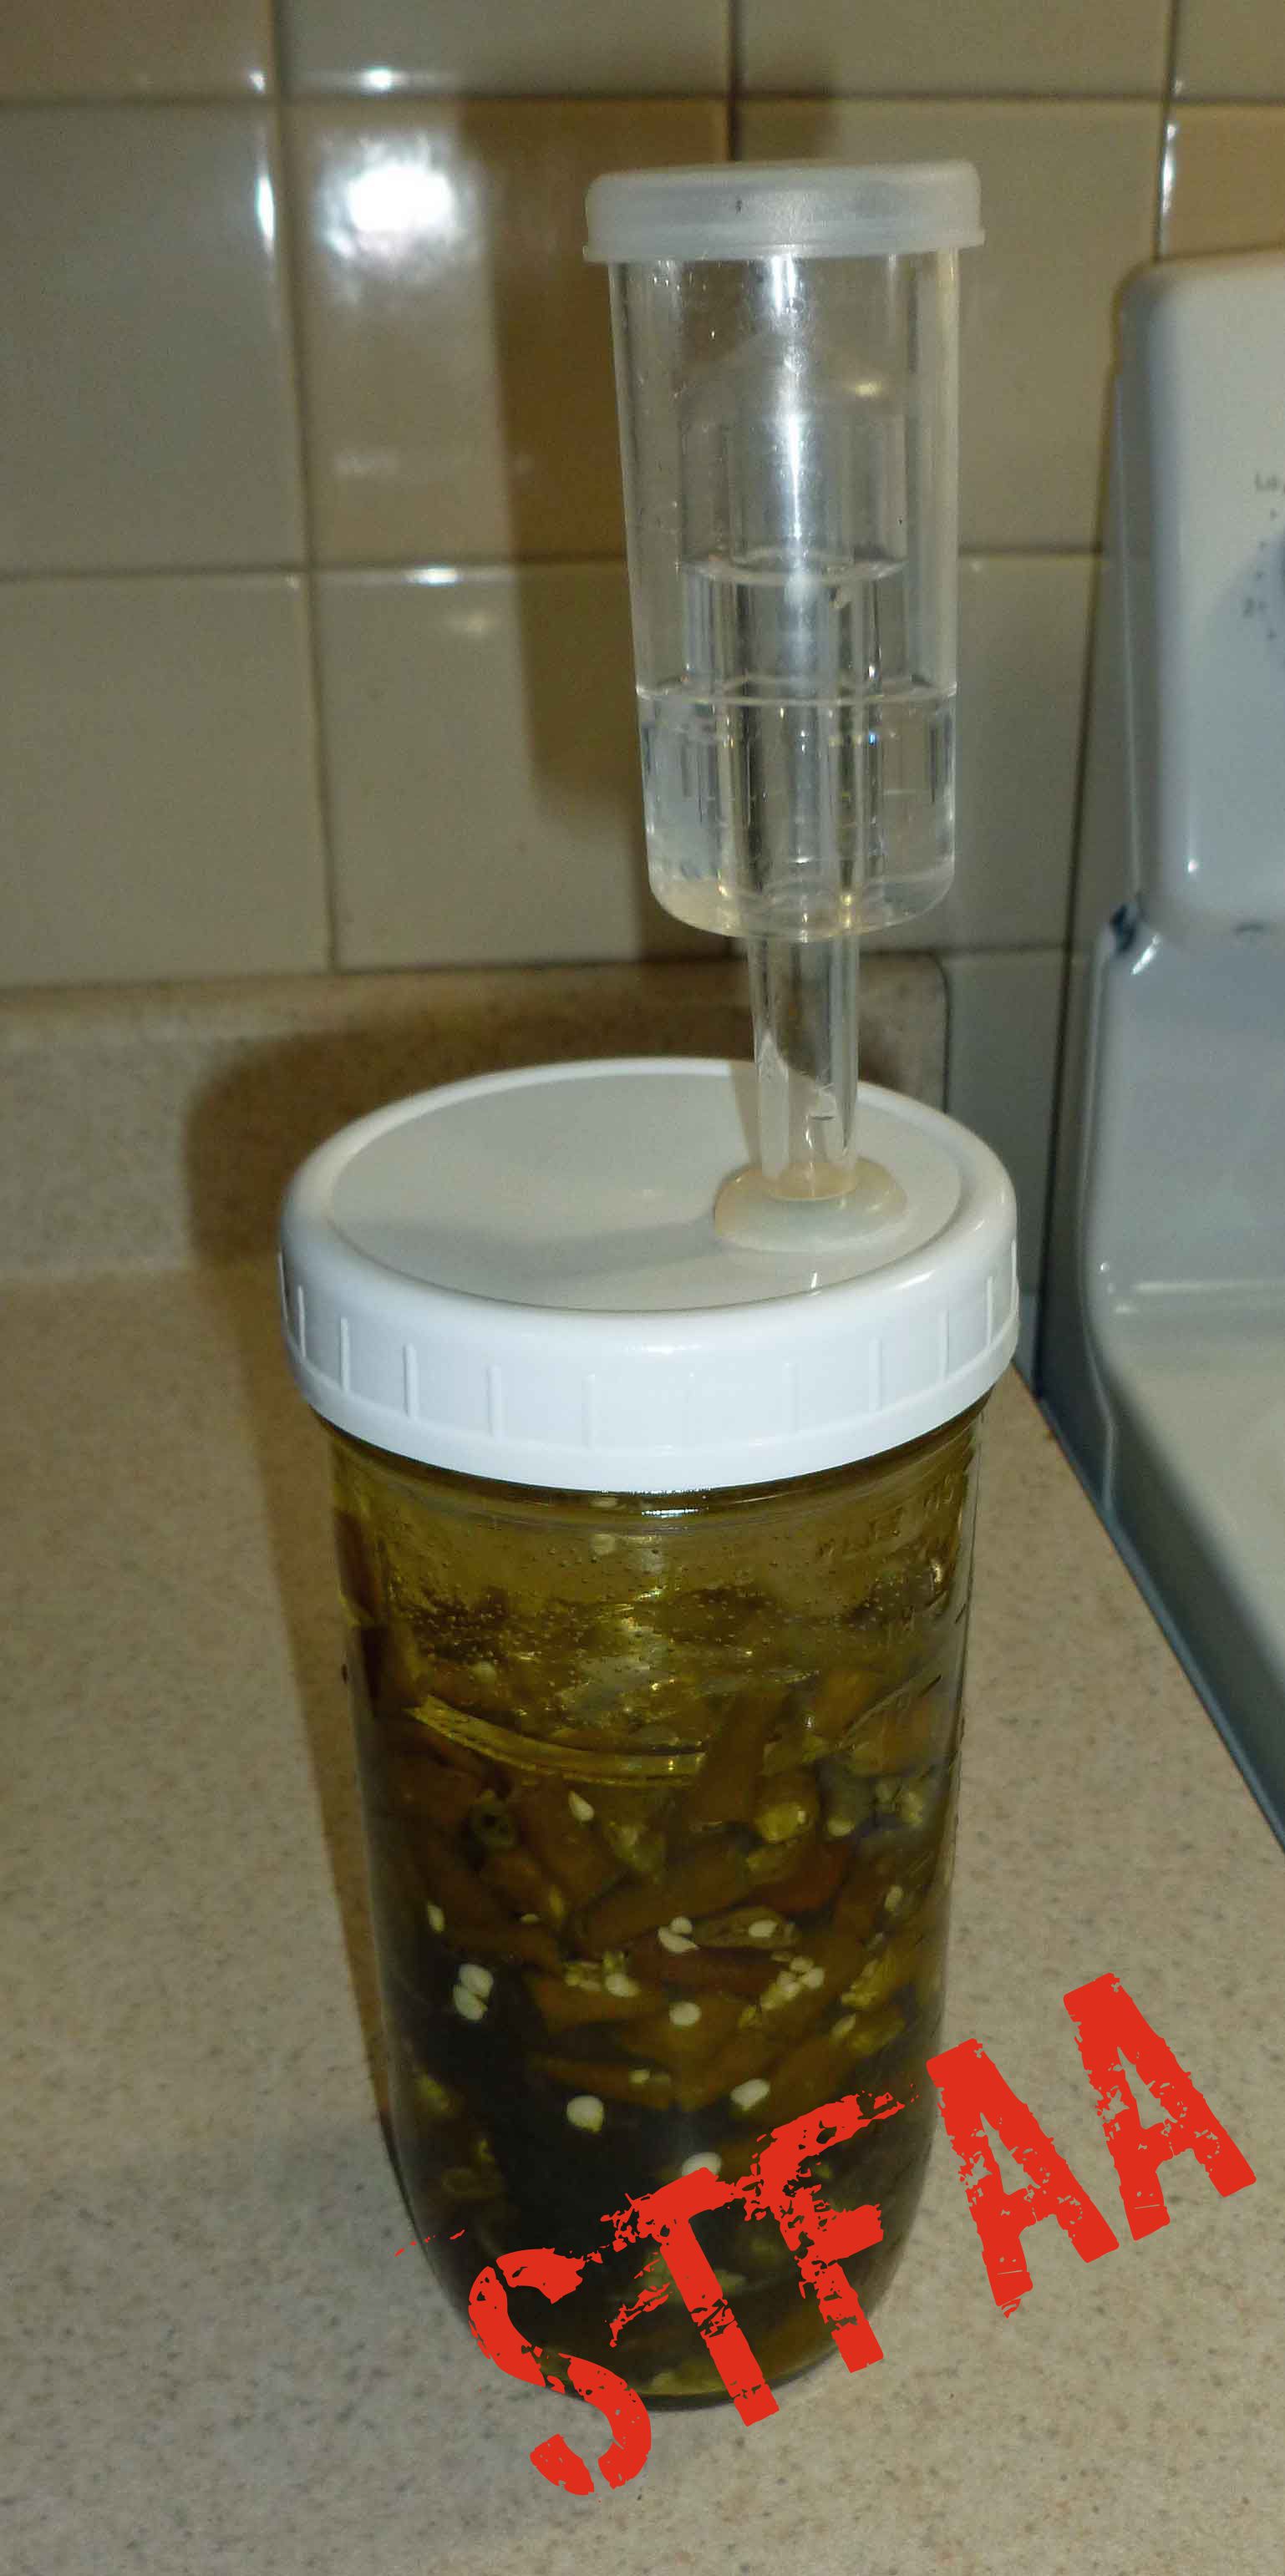
- lace peppers in pint jar and add glass weight or 4 ounce jar. Add brine until the weight is covered with brine by at least half an inch, or cover with brine and add 4 ounce jar full of brine to weight down peppers making sure that all peppers are submerged in brine. Place airlock on jar and add brine to airlock to seal.
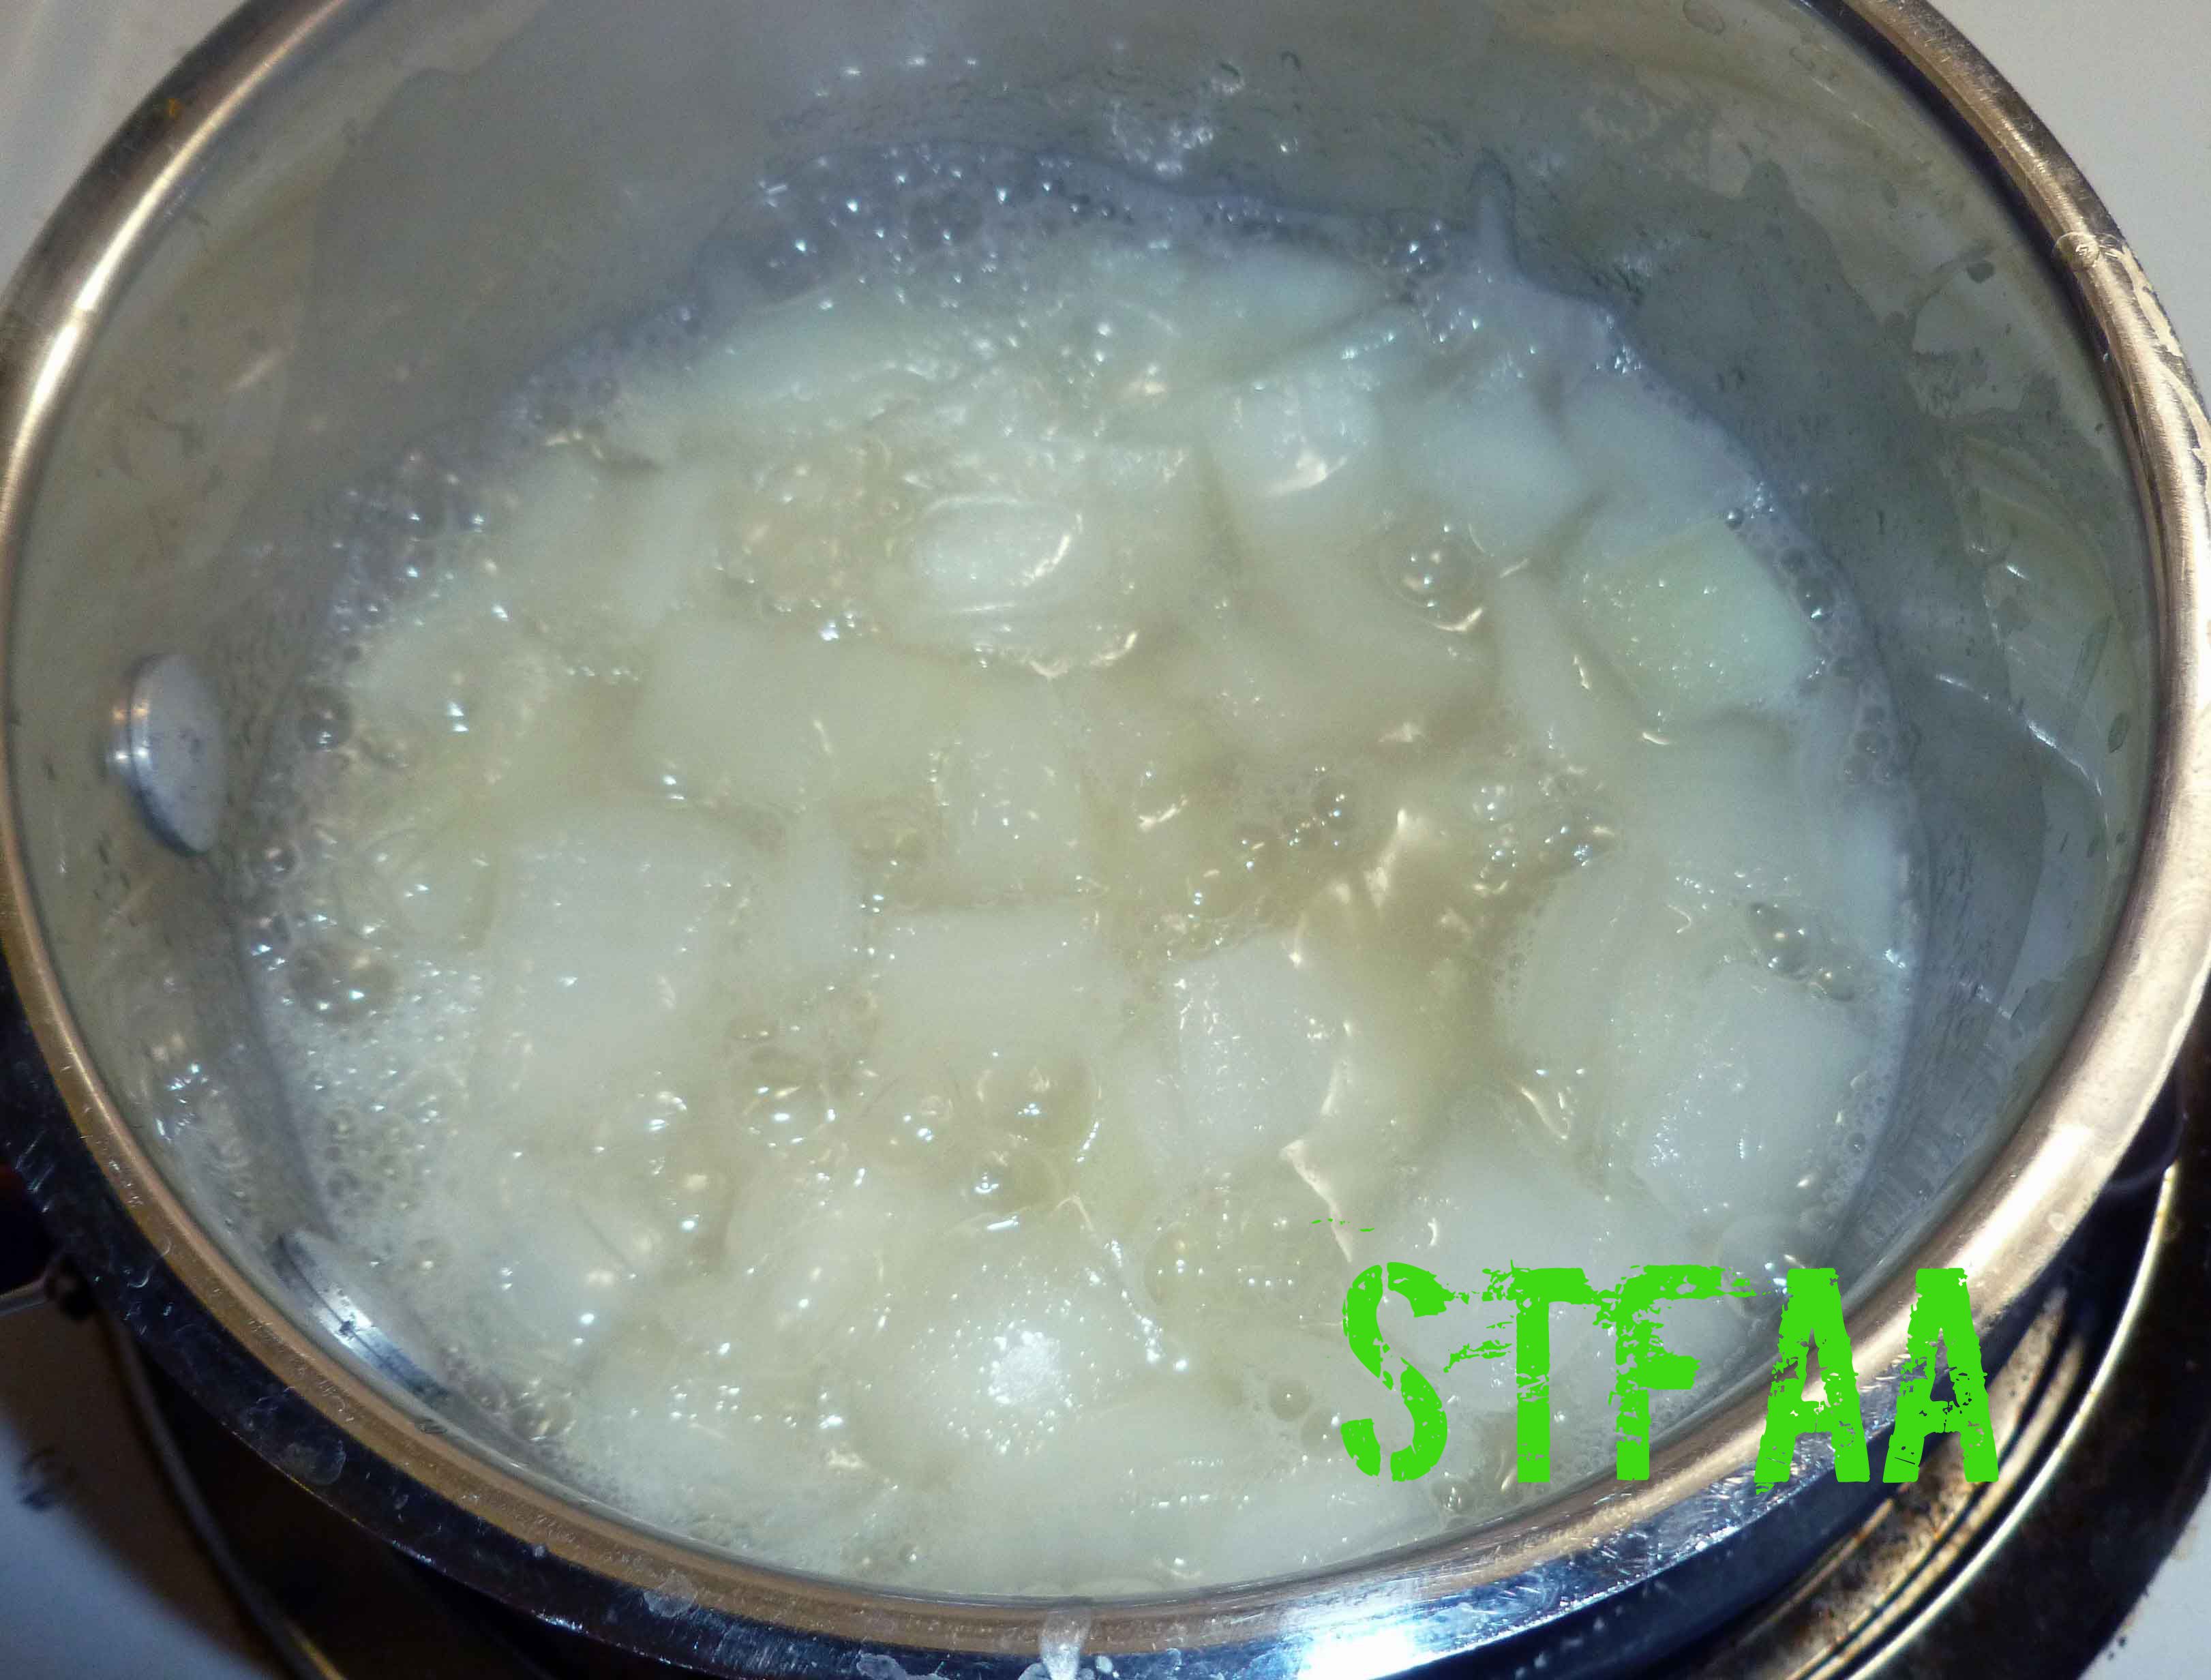
- Let ferment for 2 to 4 weeks at room temperature, checking daily to make sure the brine levels are okay. You may need to add brine as time goes on as the peppers must stay submerged at all times. If the peppers do not stay submerged, they could develop mold and you’ll need to throw it out and start all over.
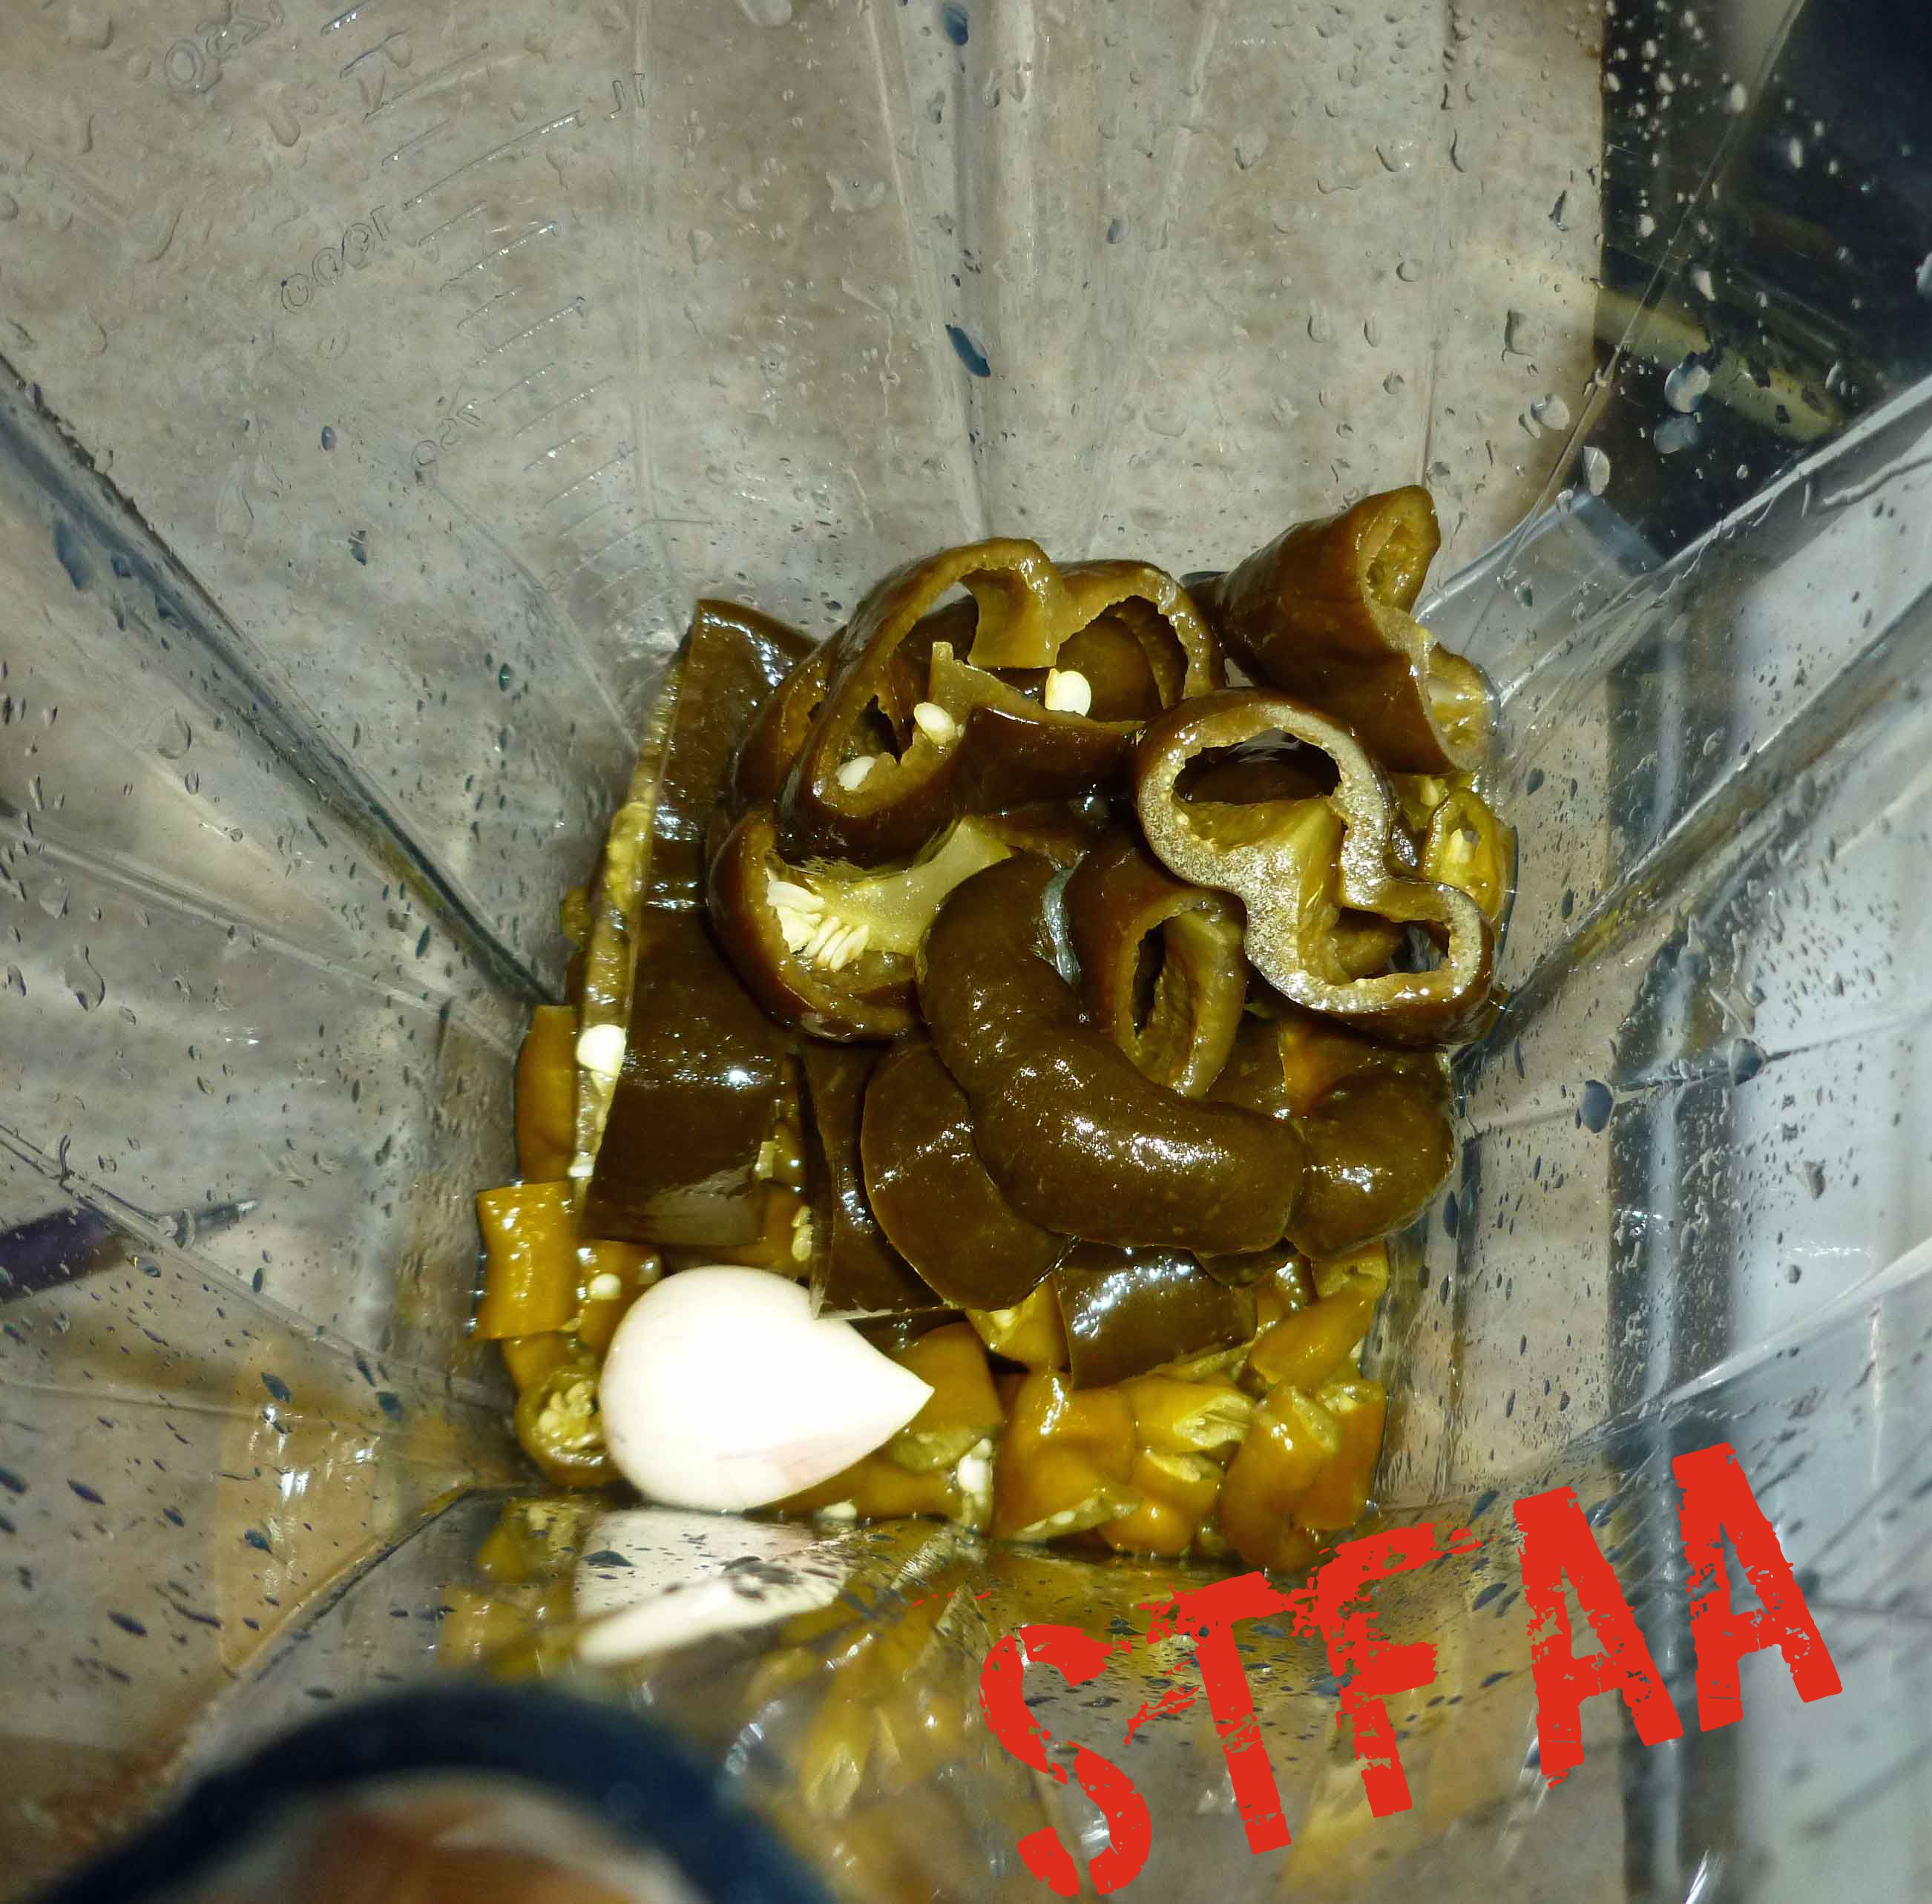
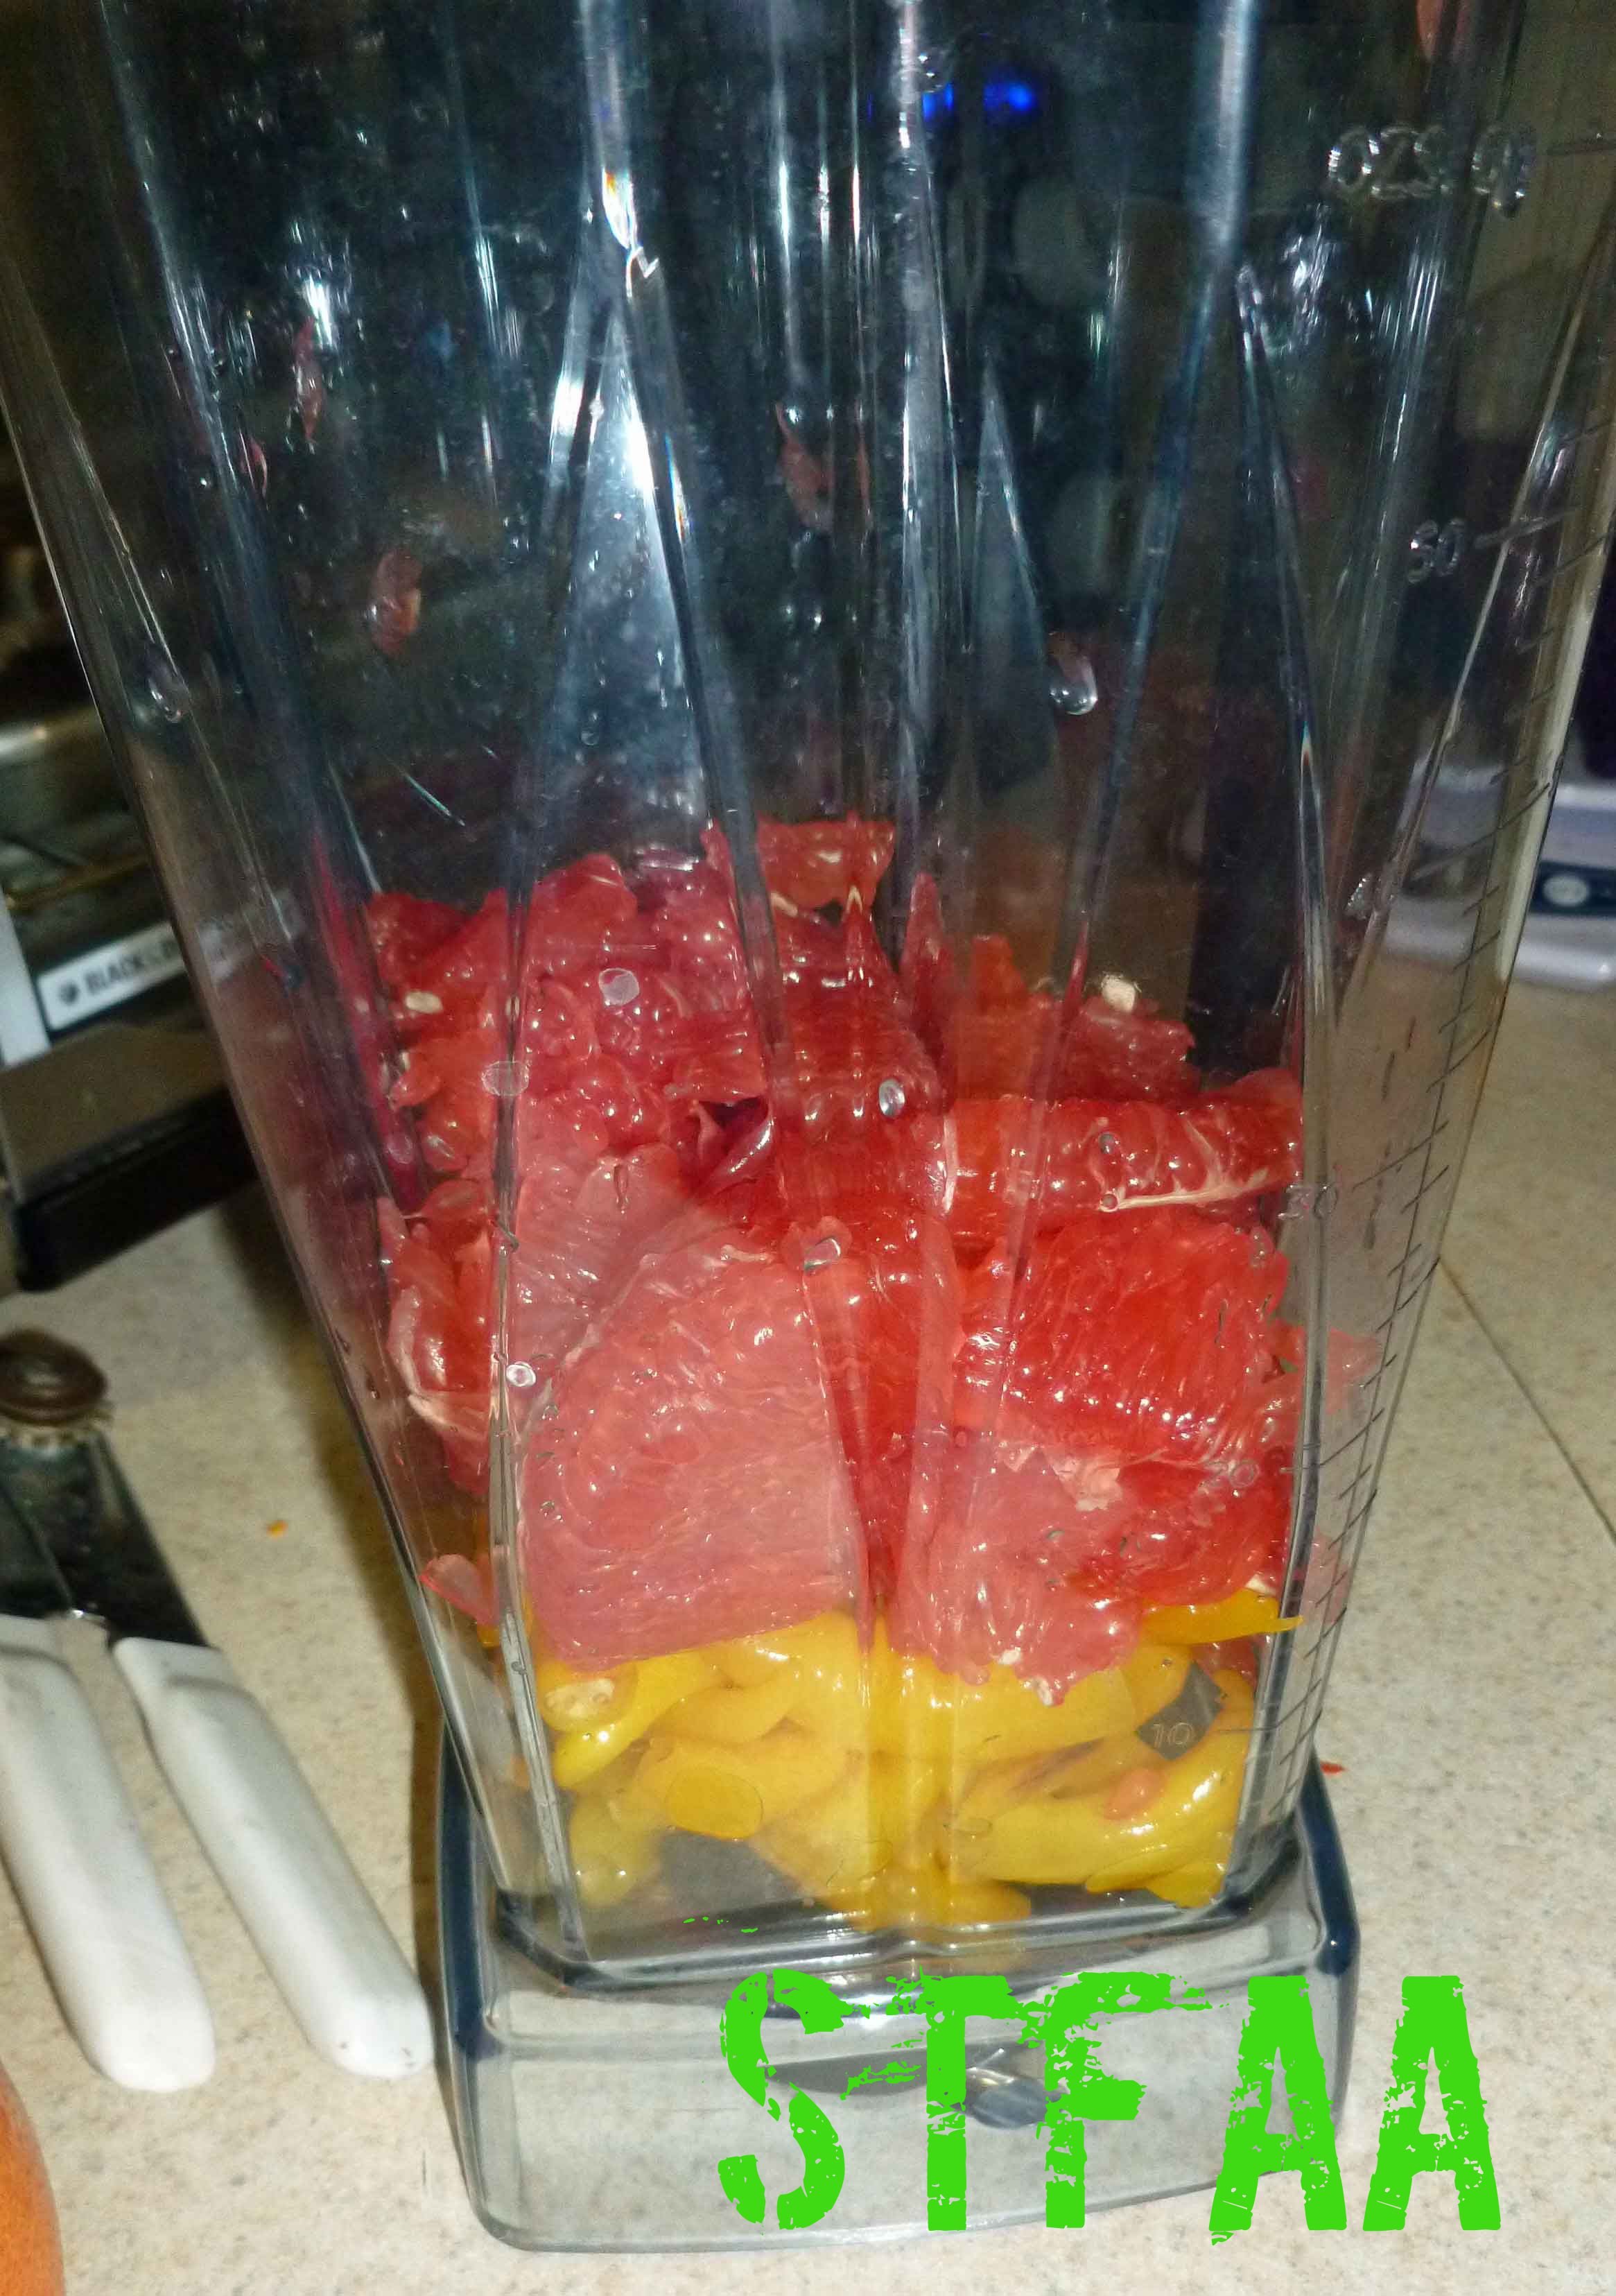
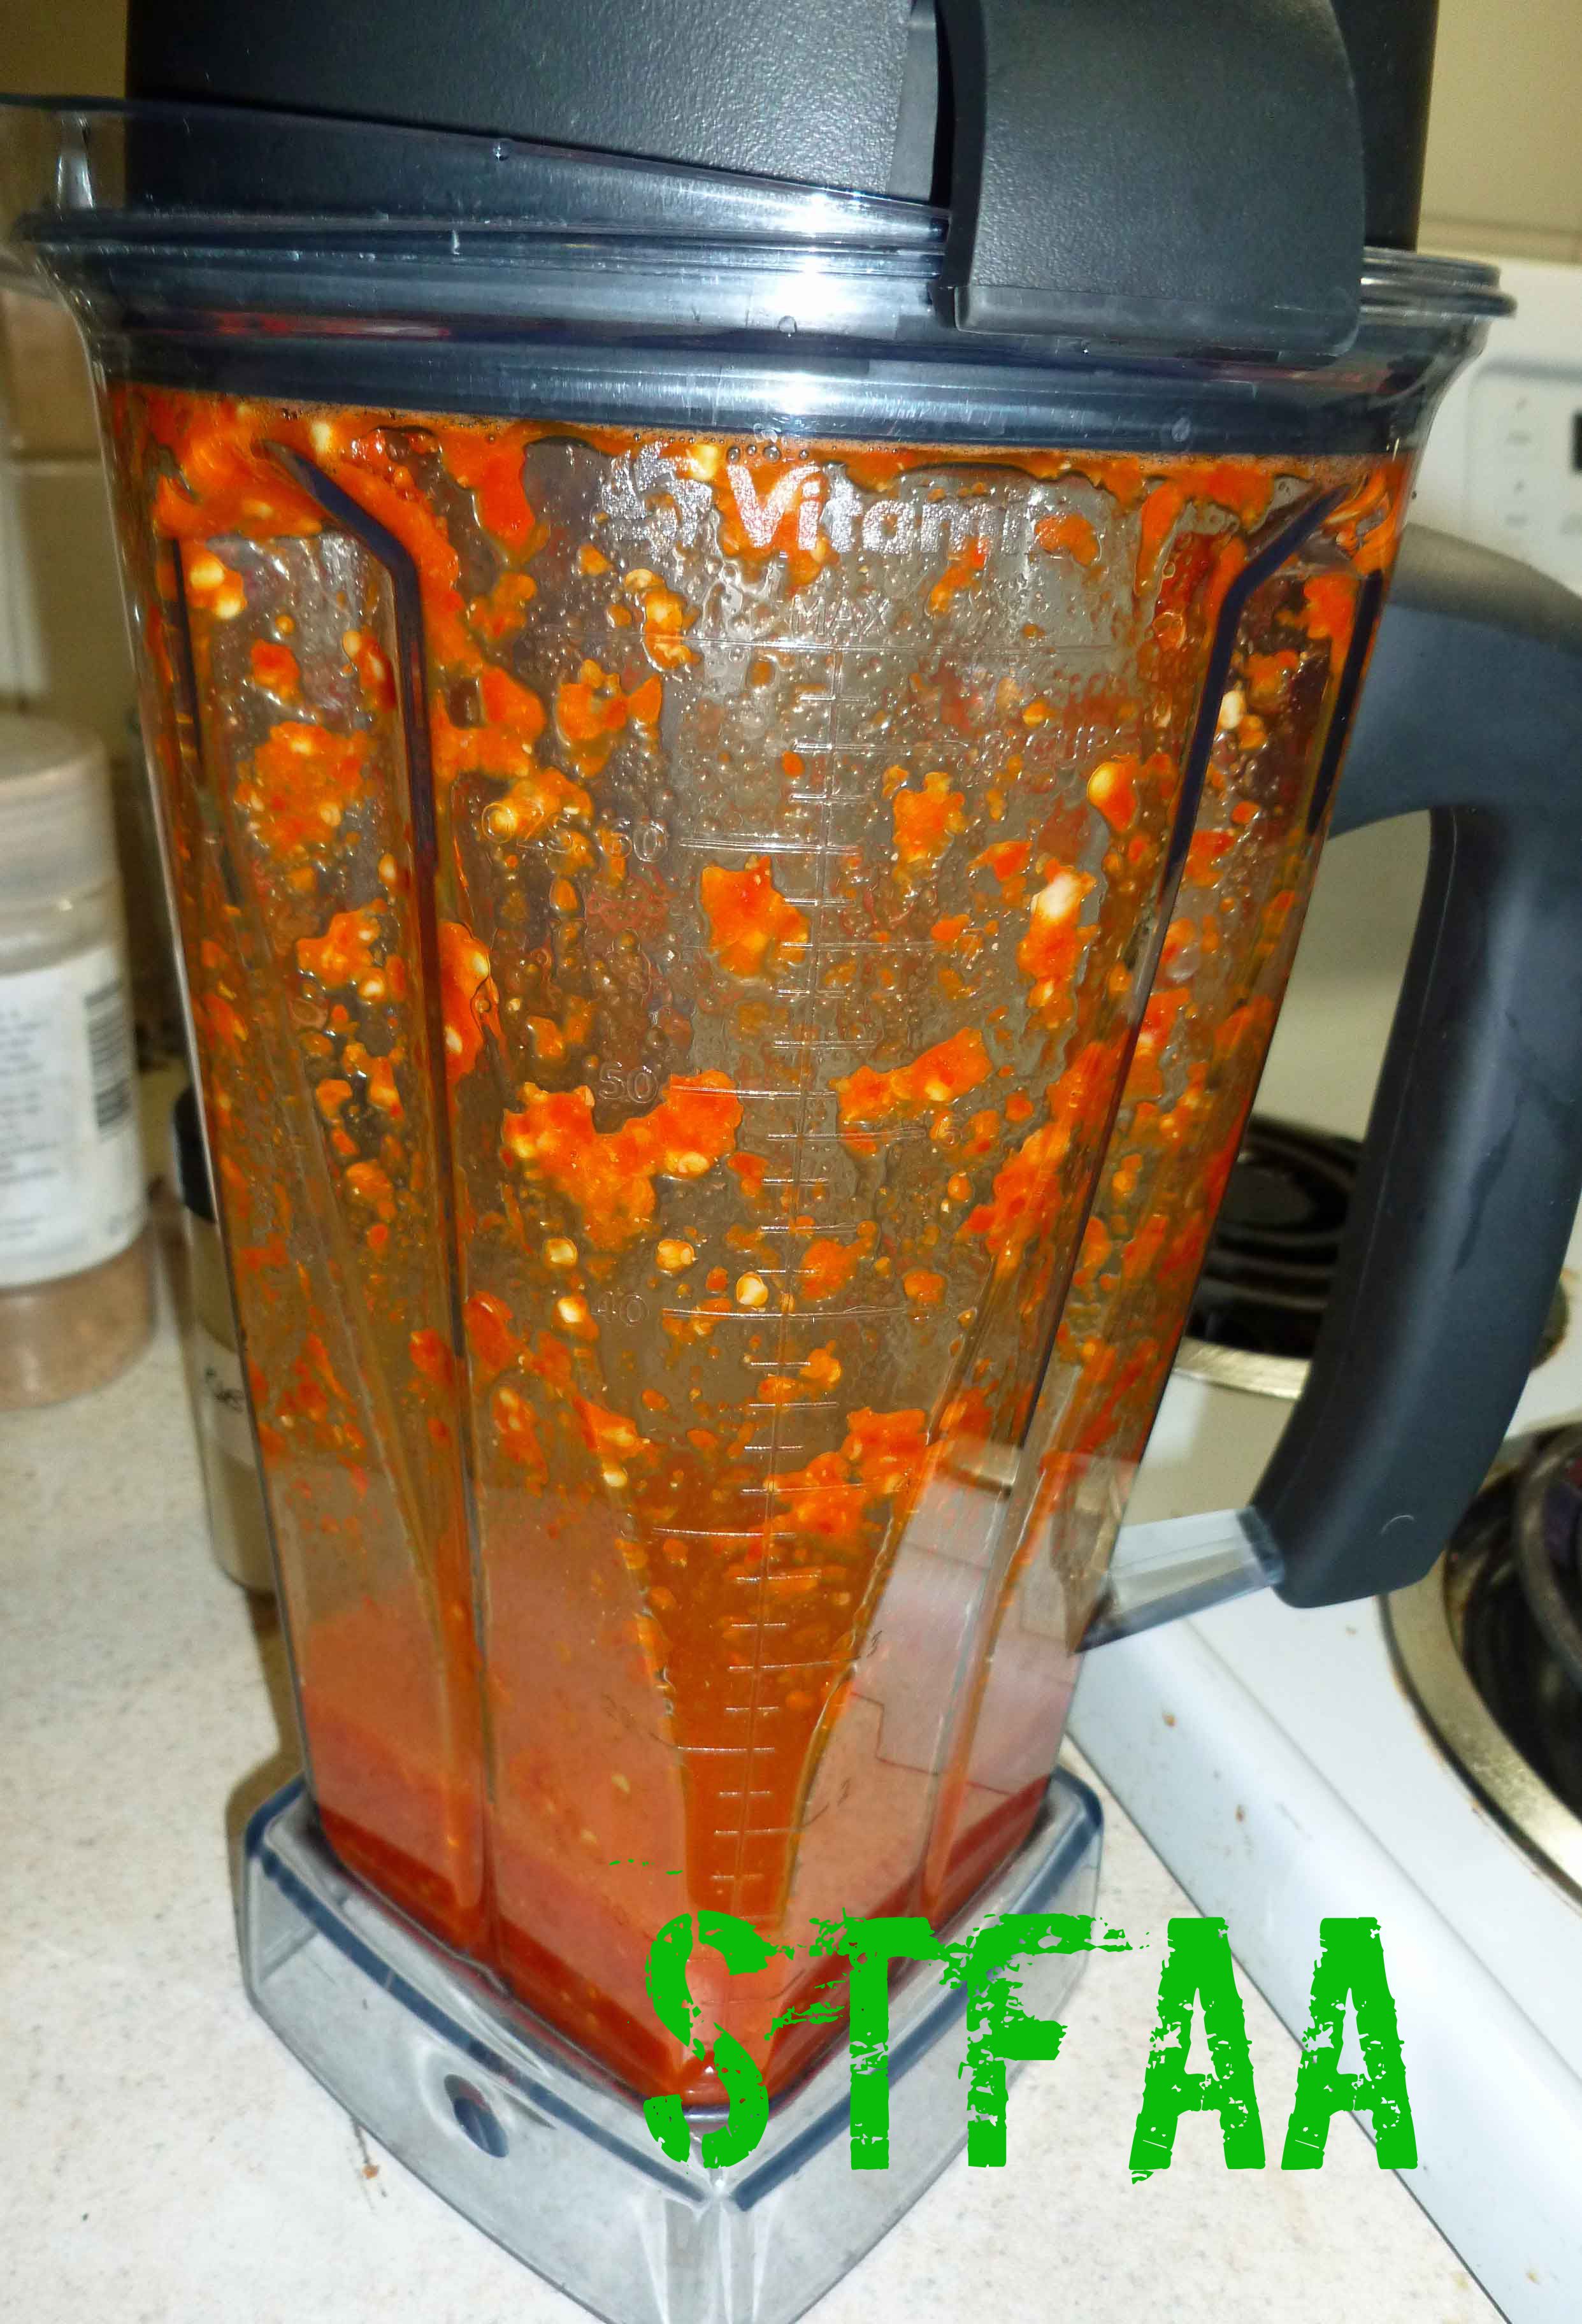
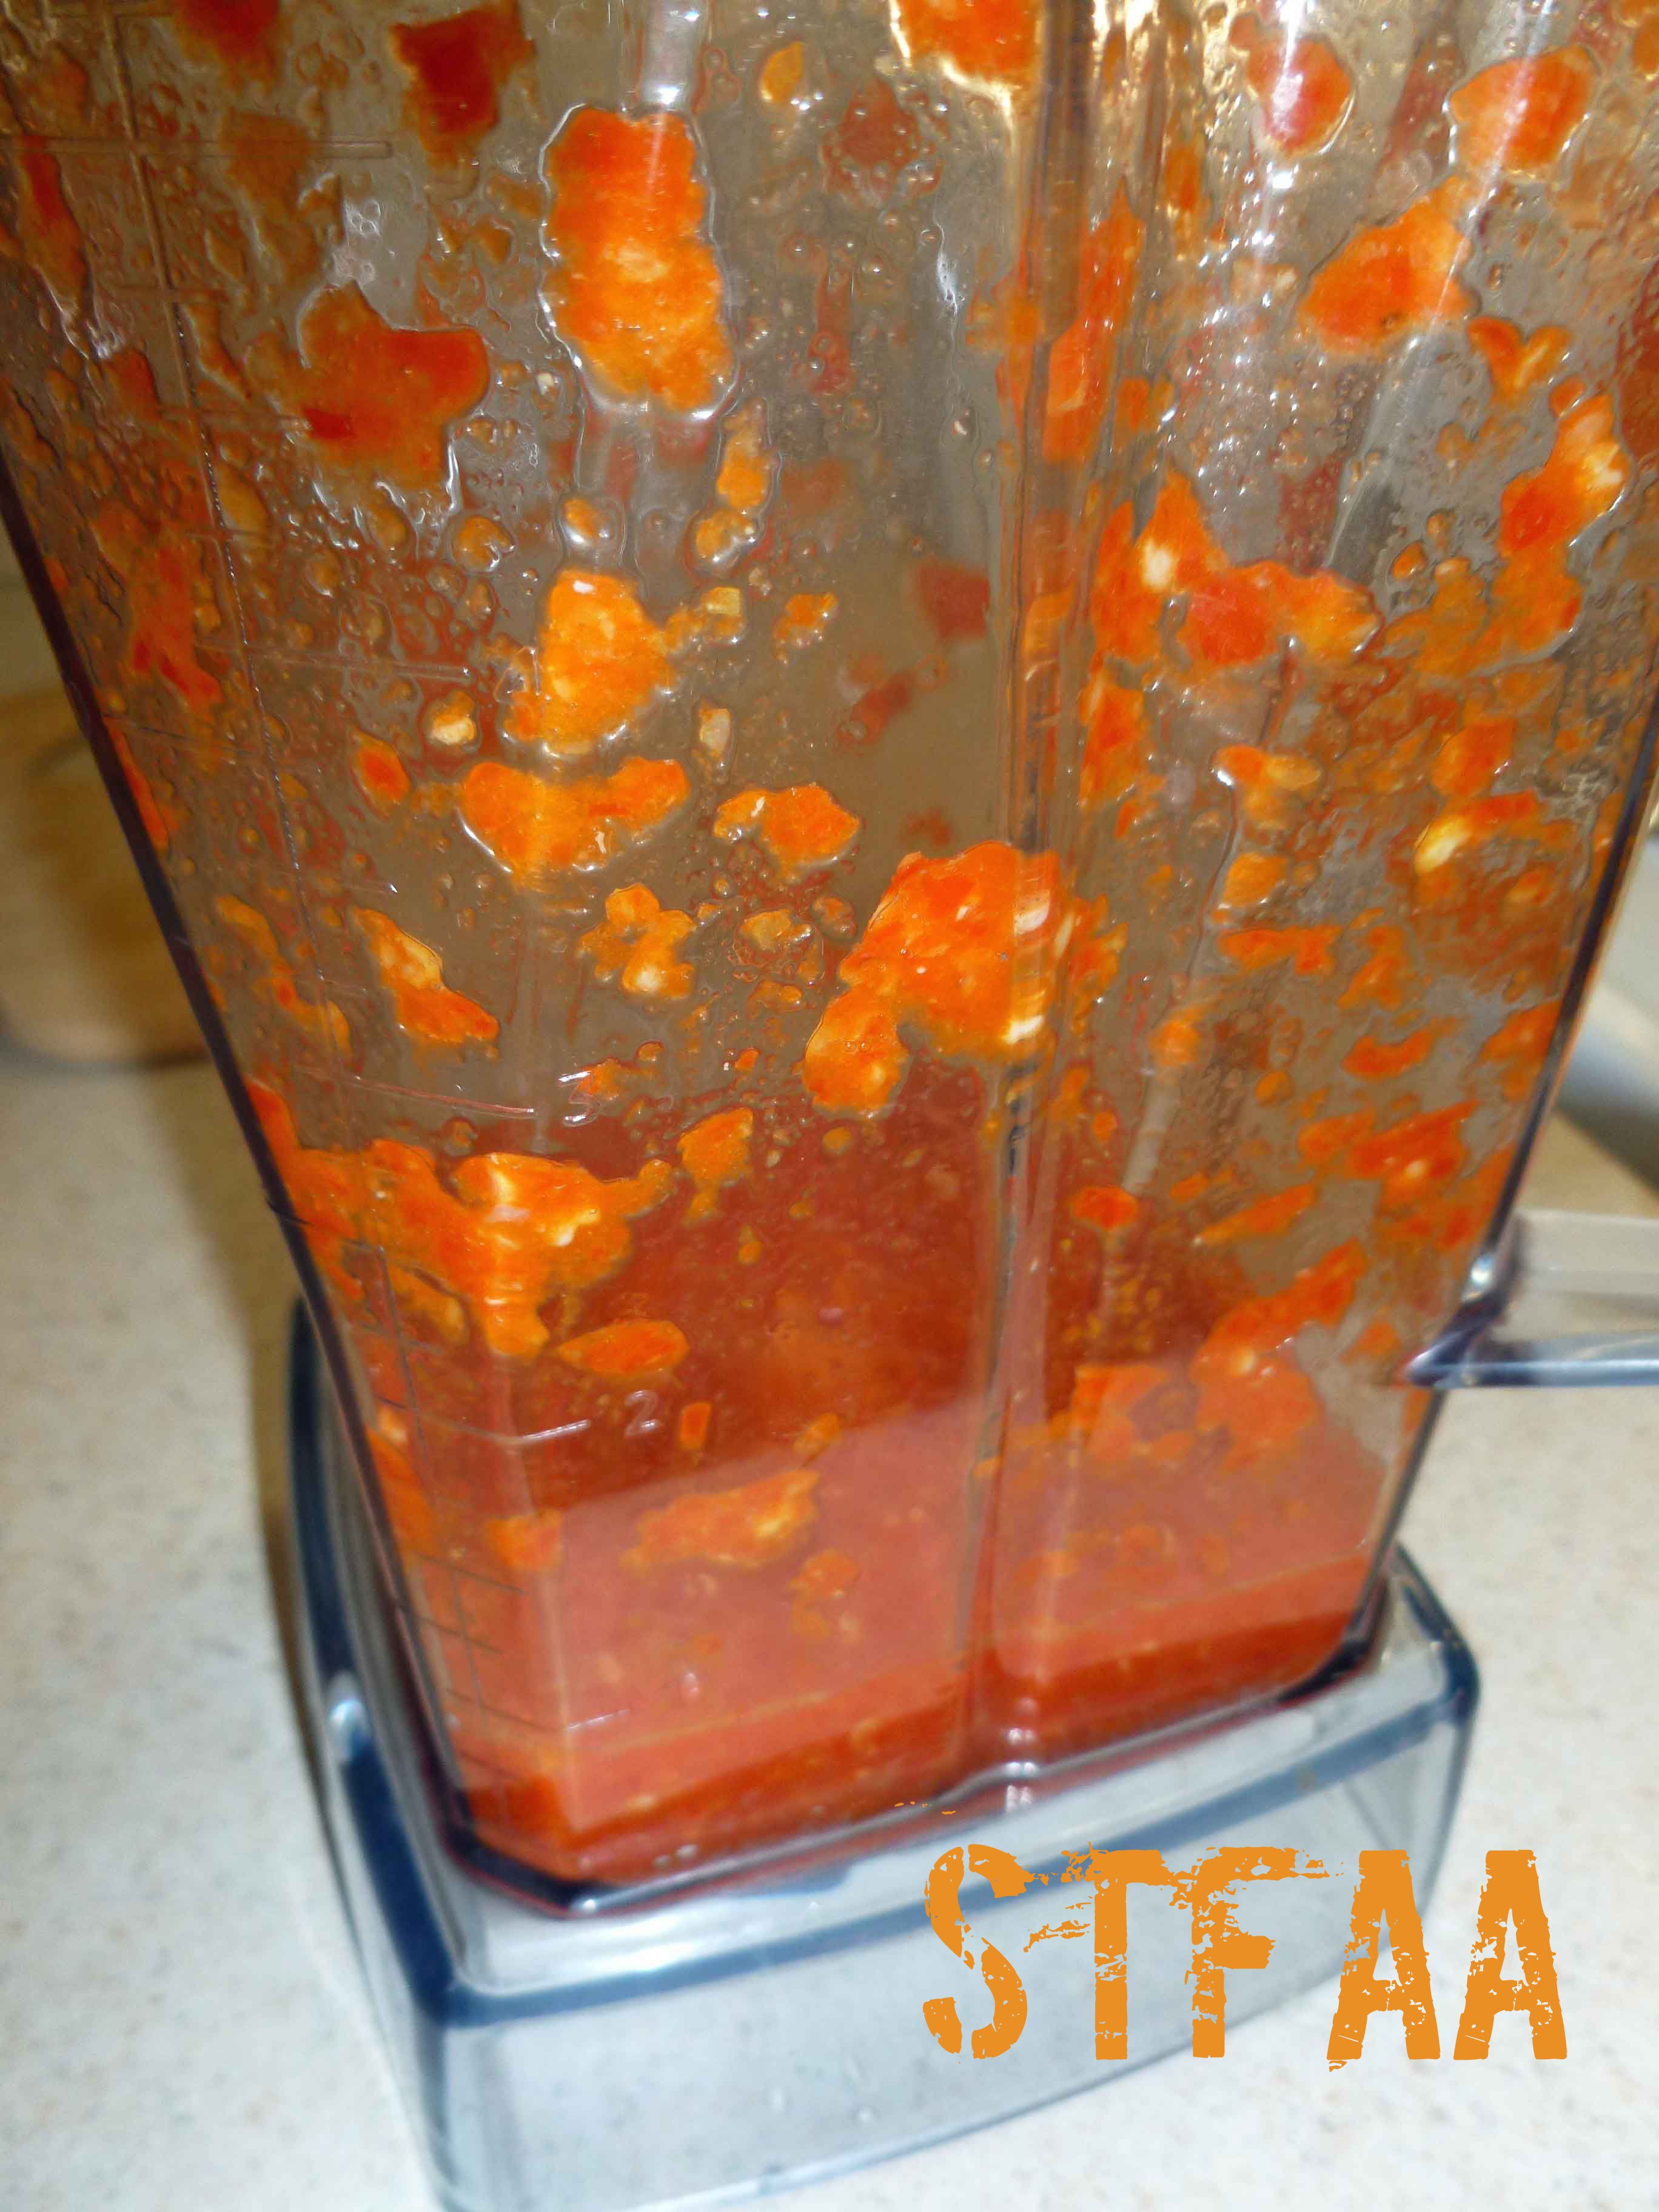
- Once your peppers are fermented, remove the airlock and and glass weight or glass jar. Drain brine. Place the peppers in a blender with the garlic clove and a 1/4 cup of the apple cider vinegar in the blender.
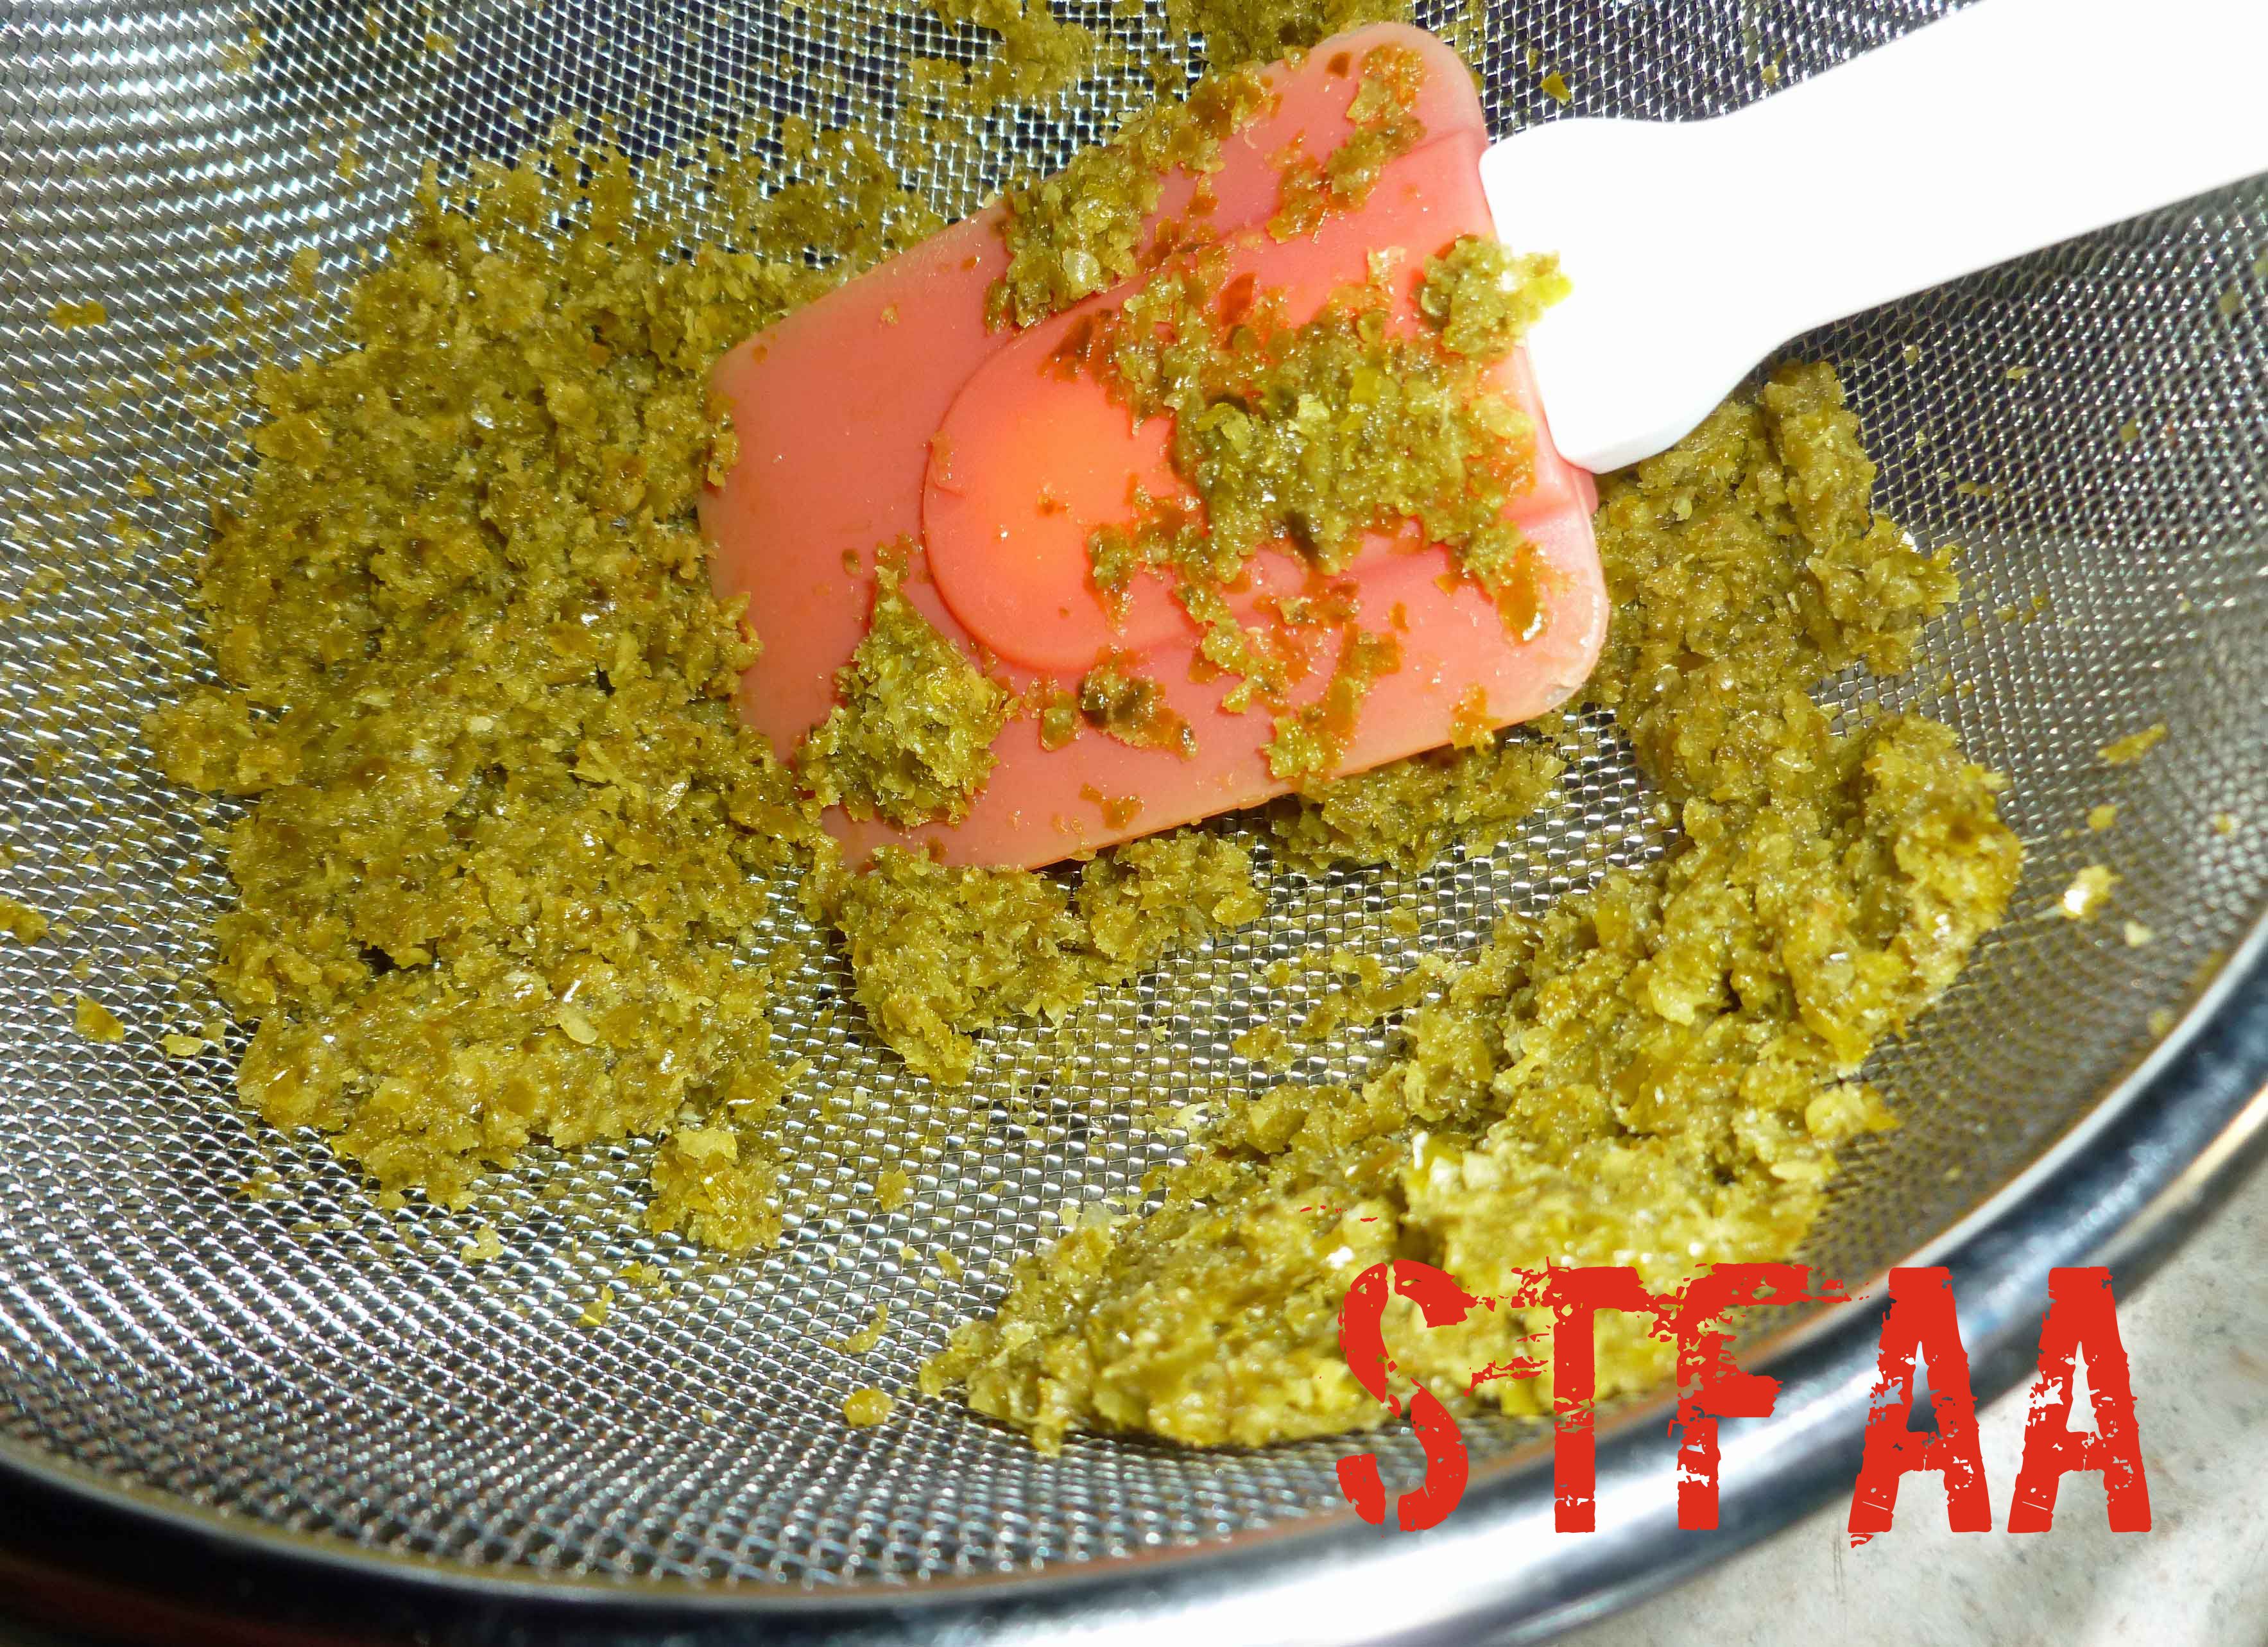
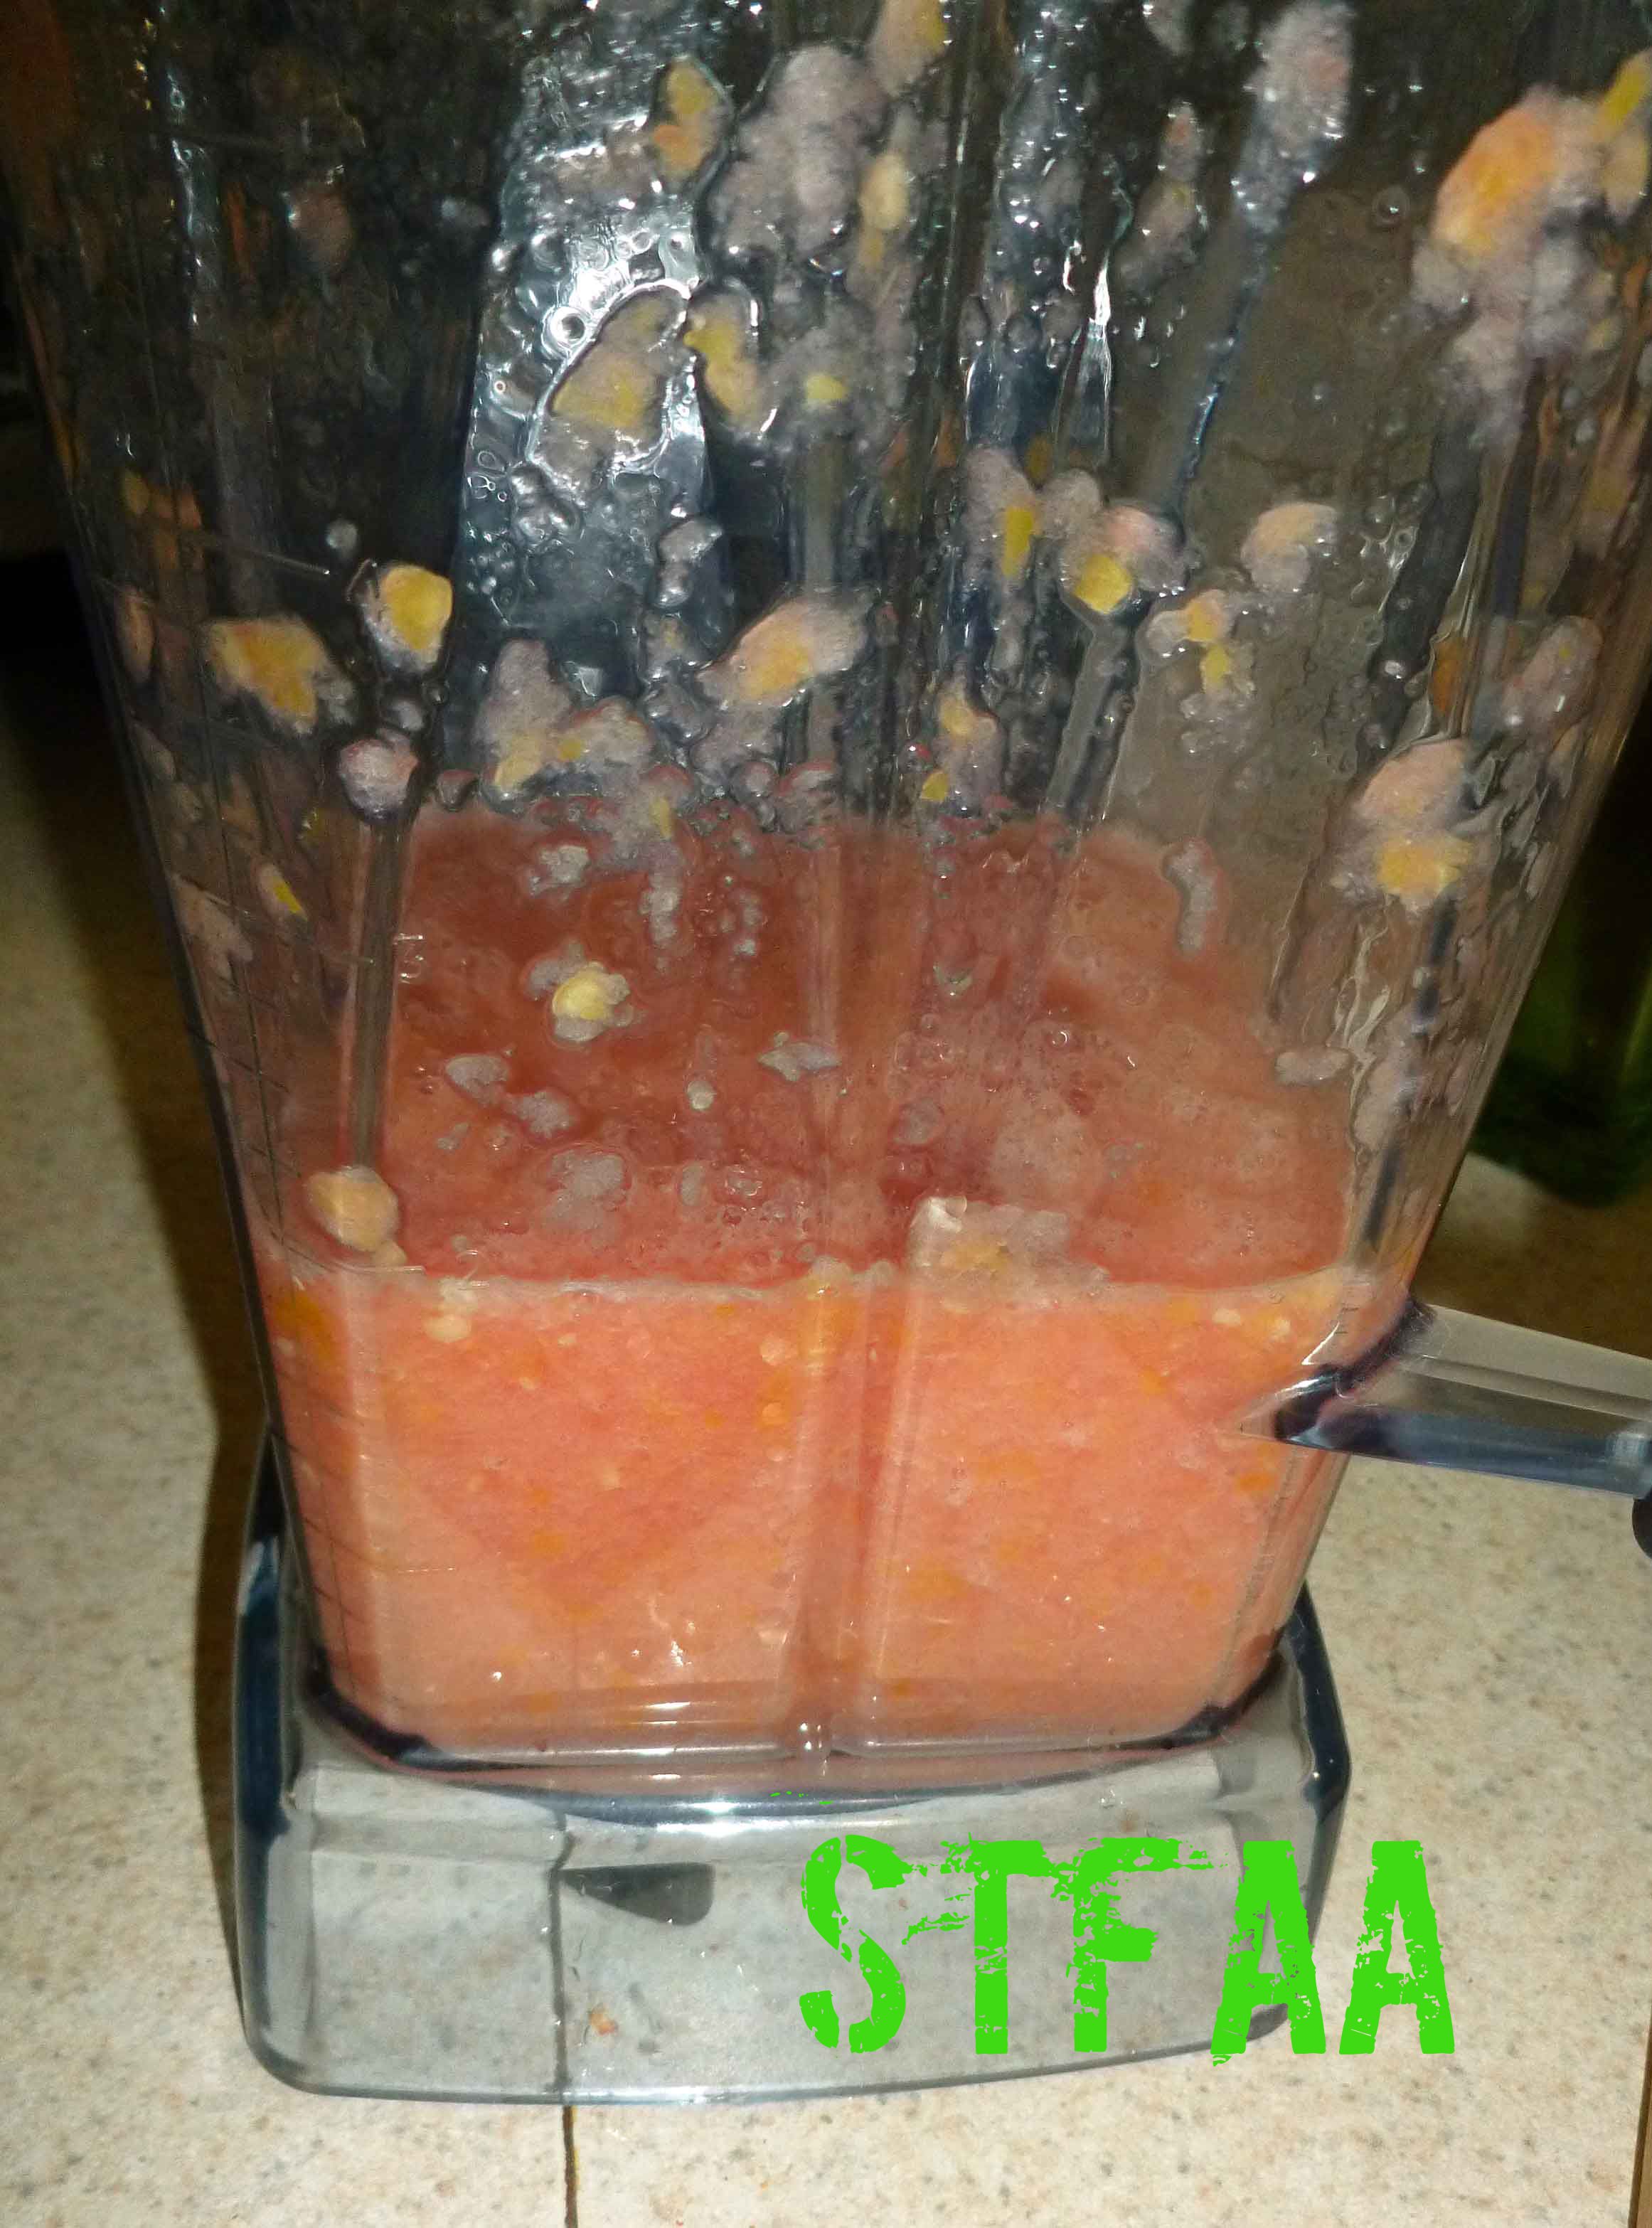
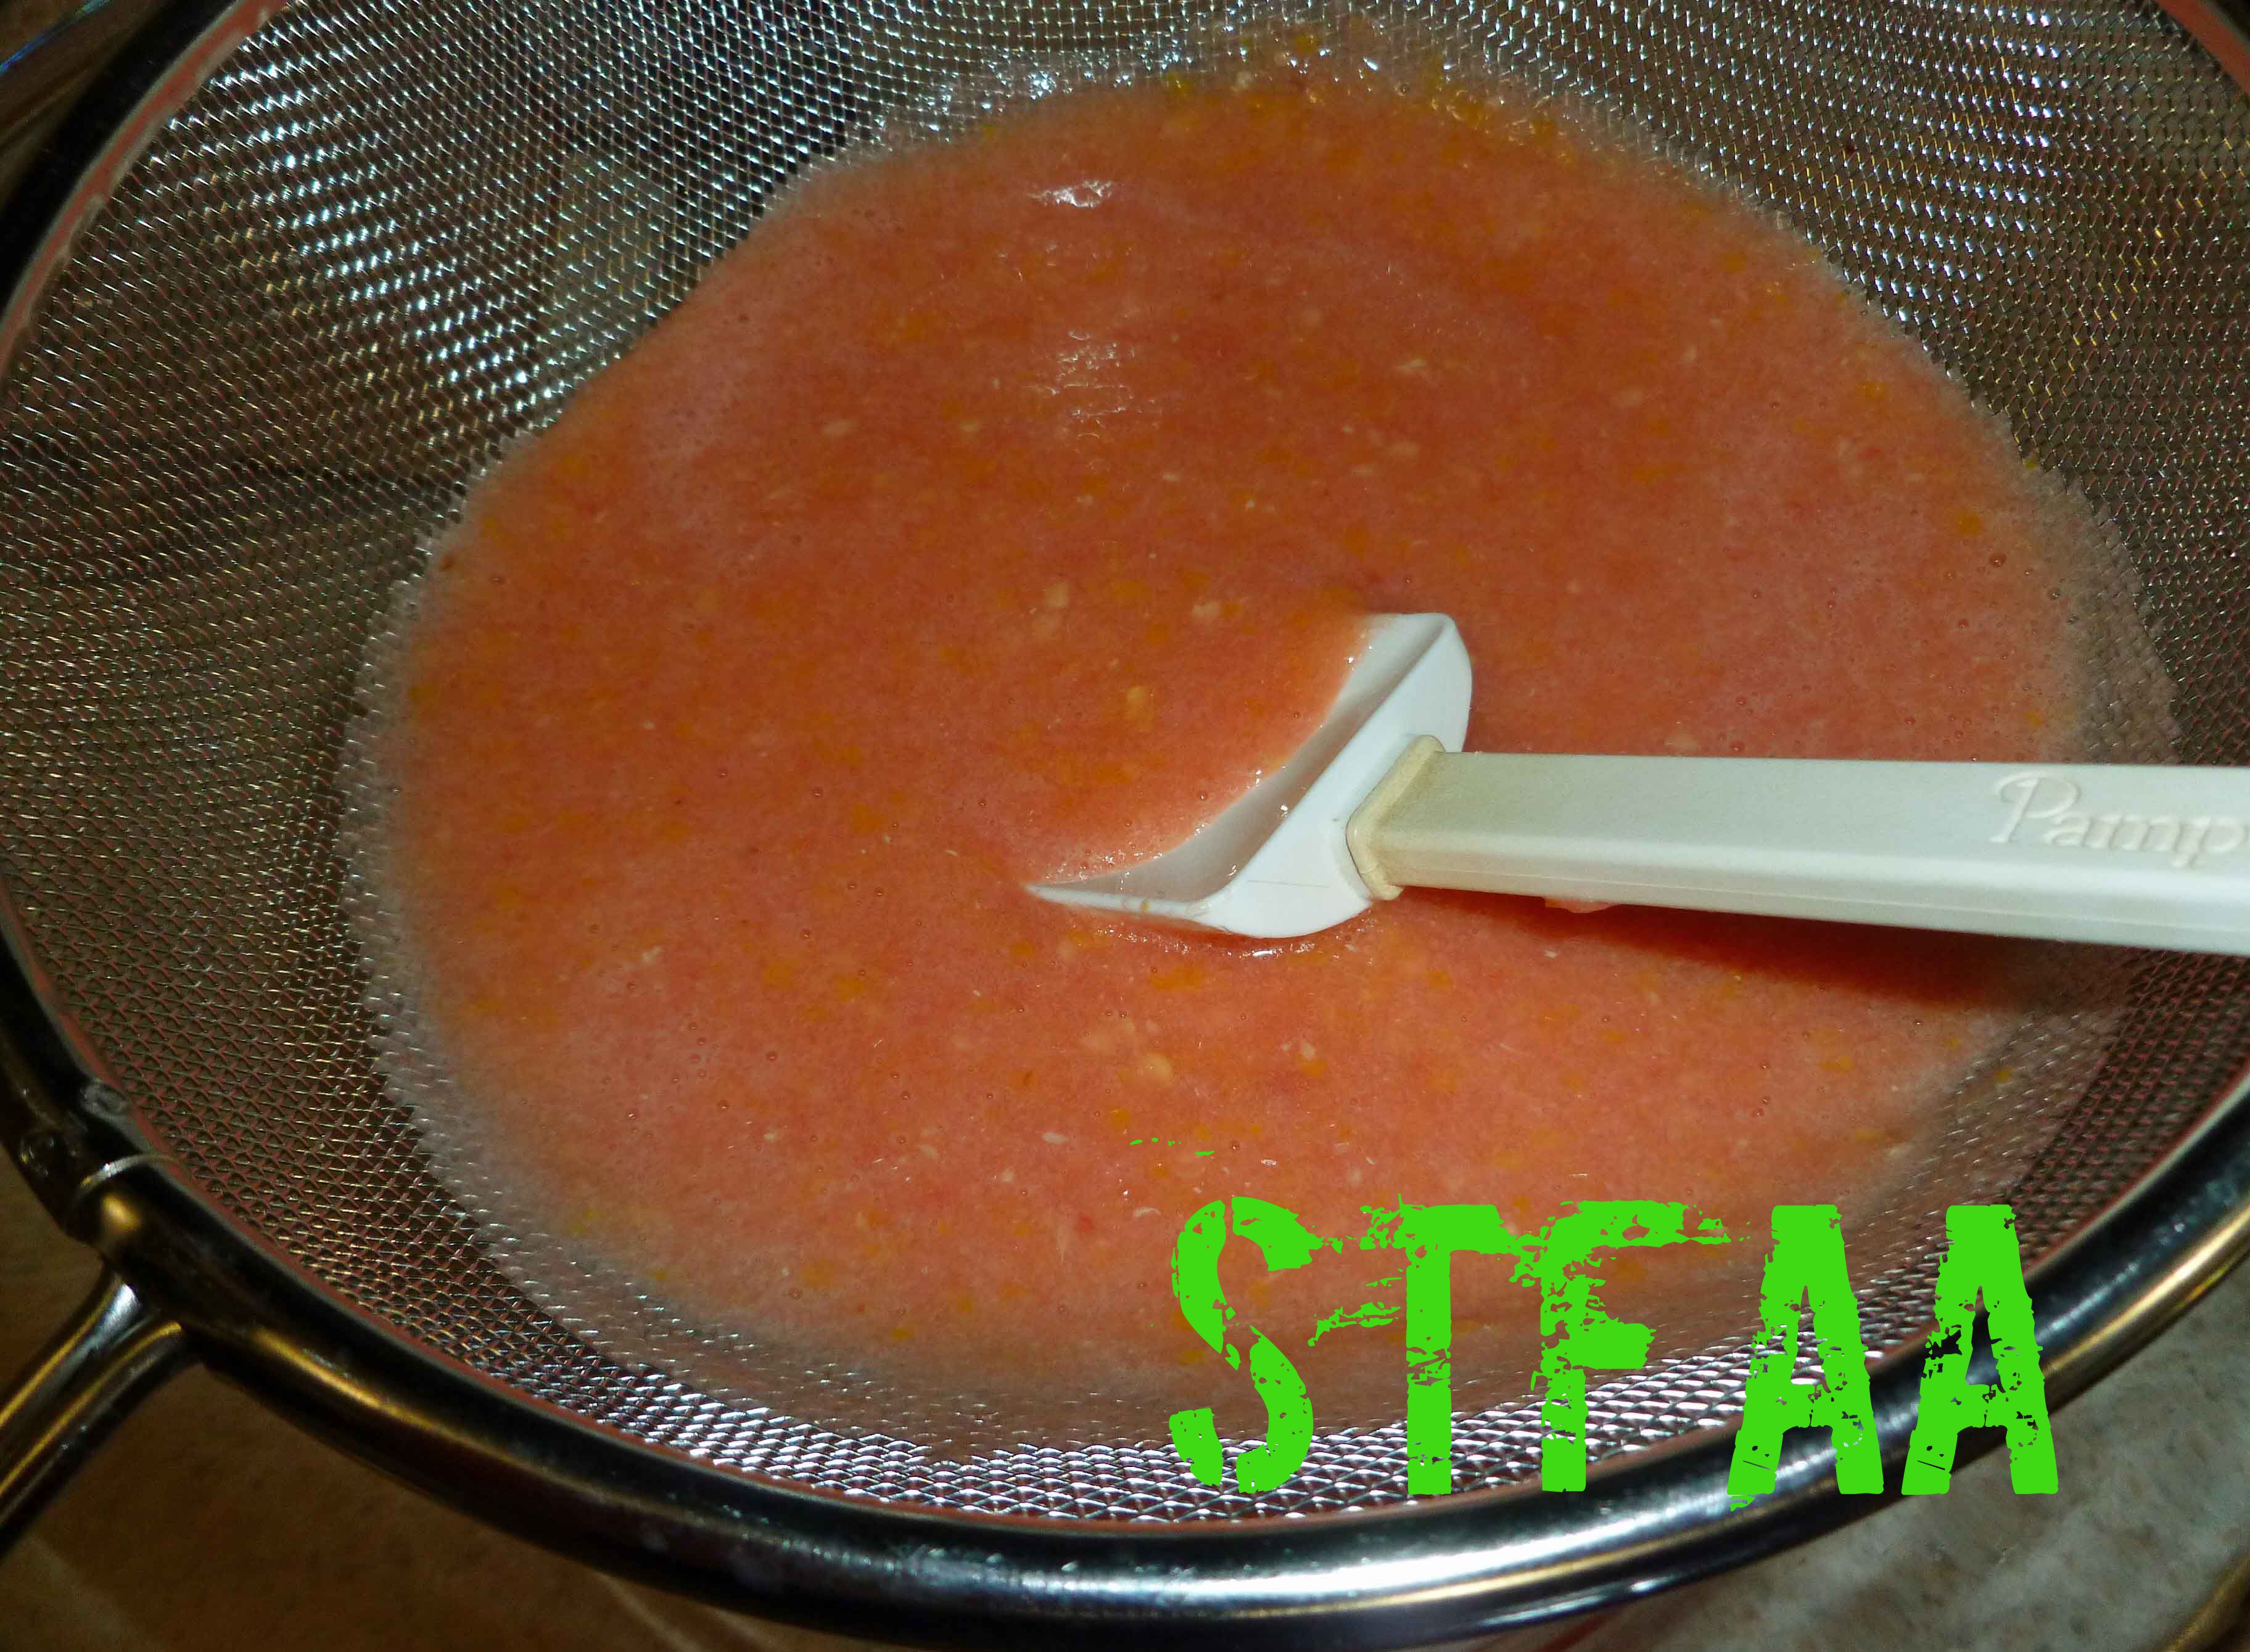
- Blend until the peppers are pureed, but not until the seeds have disappeared if you have a high performance blender. You want to leave the seeds whole enough to strain out.
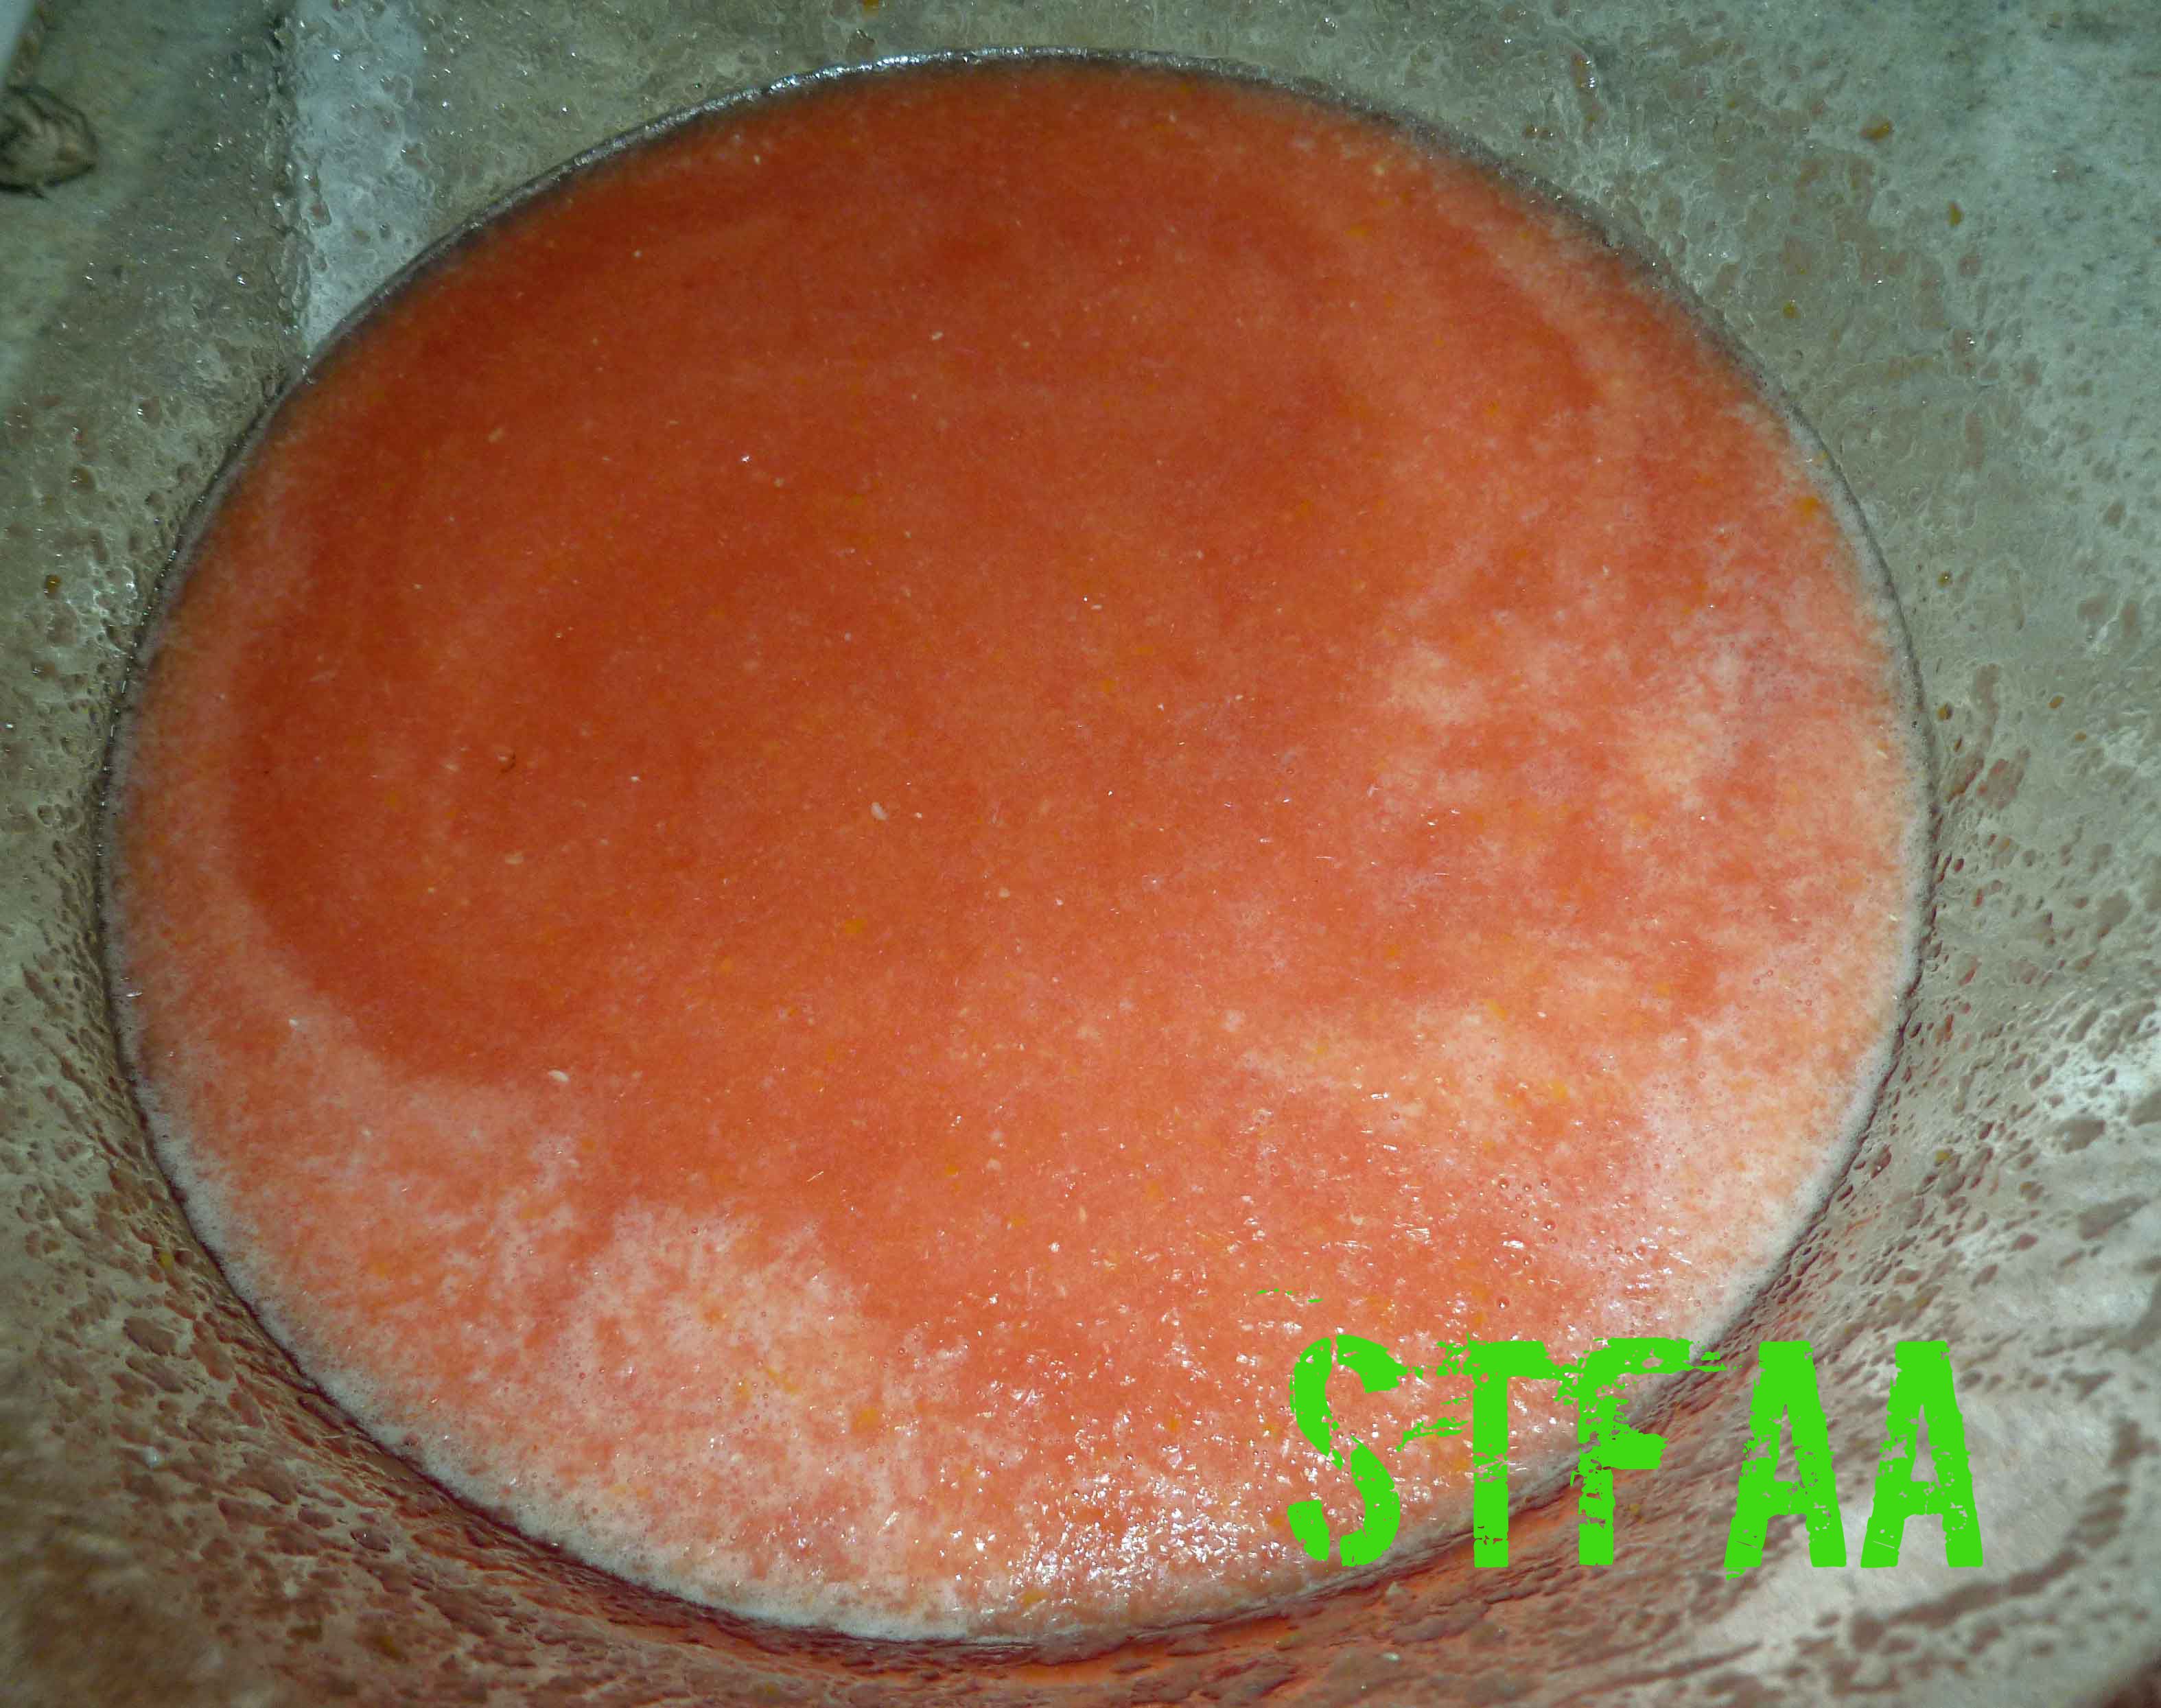
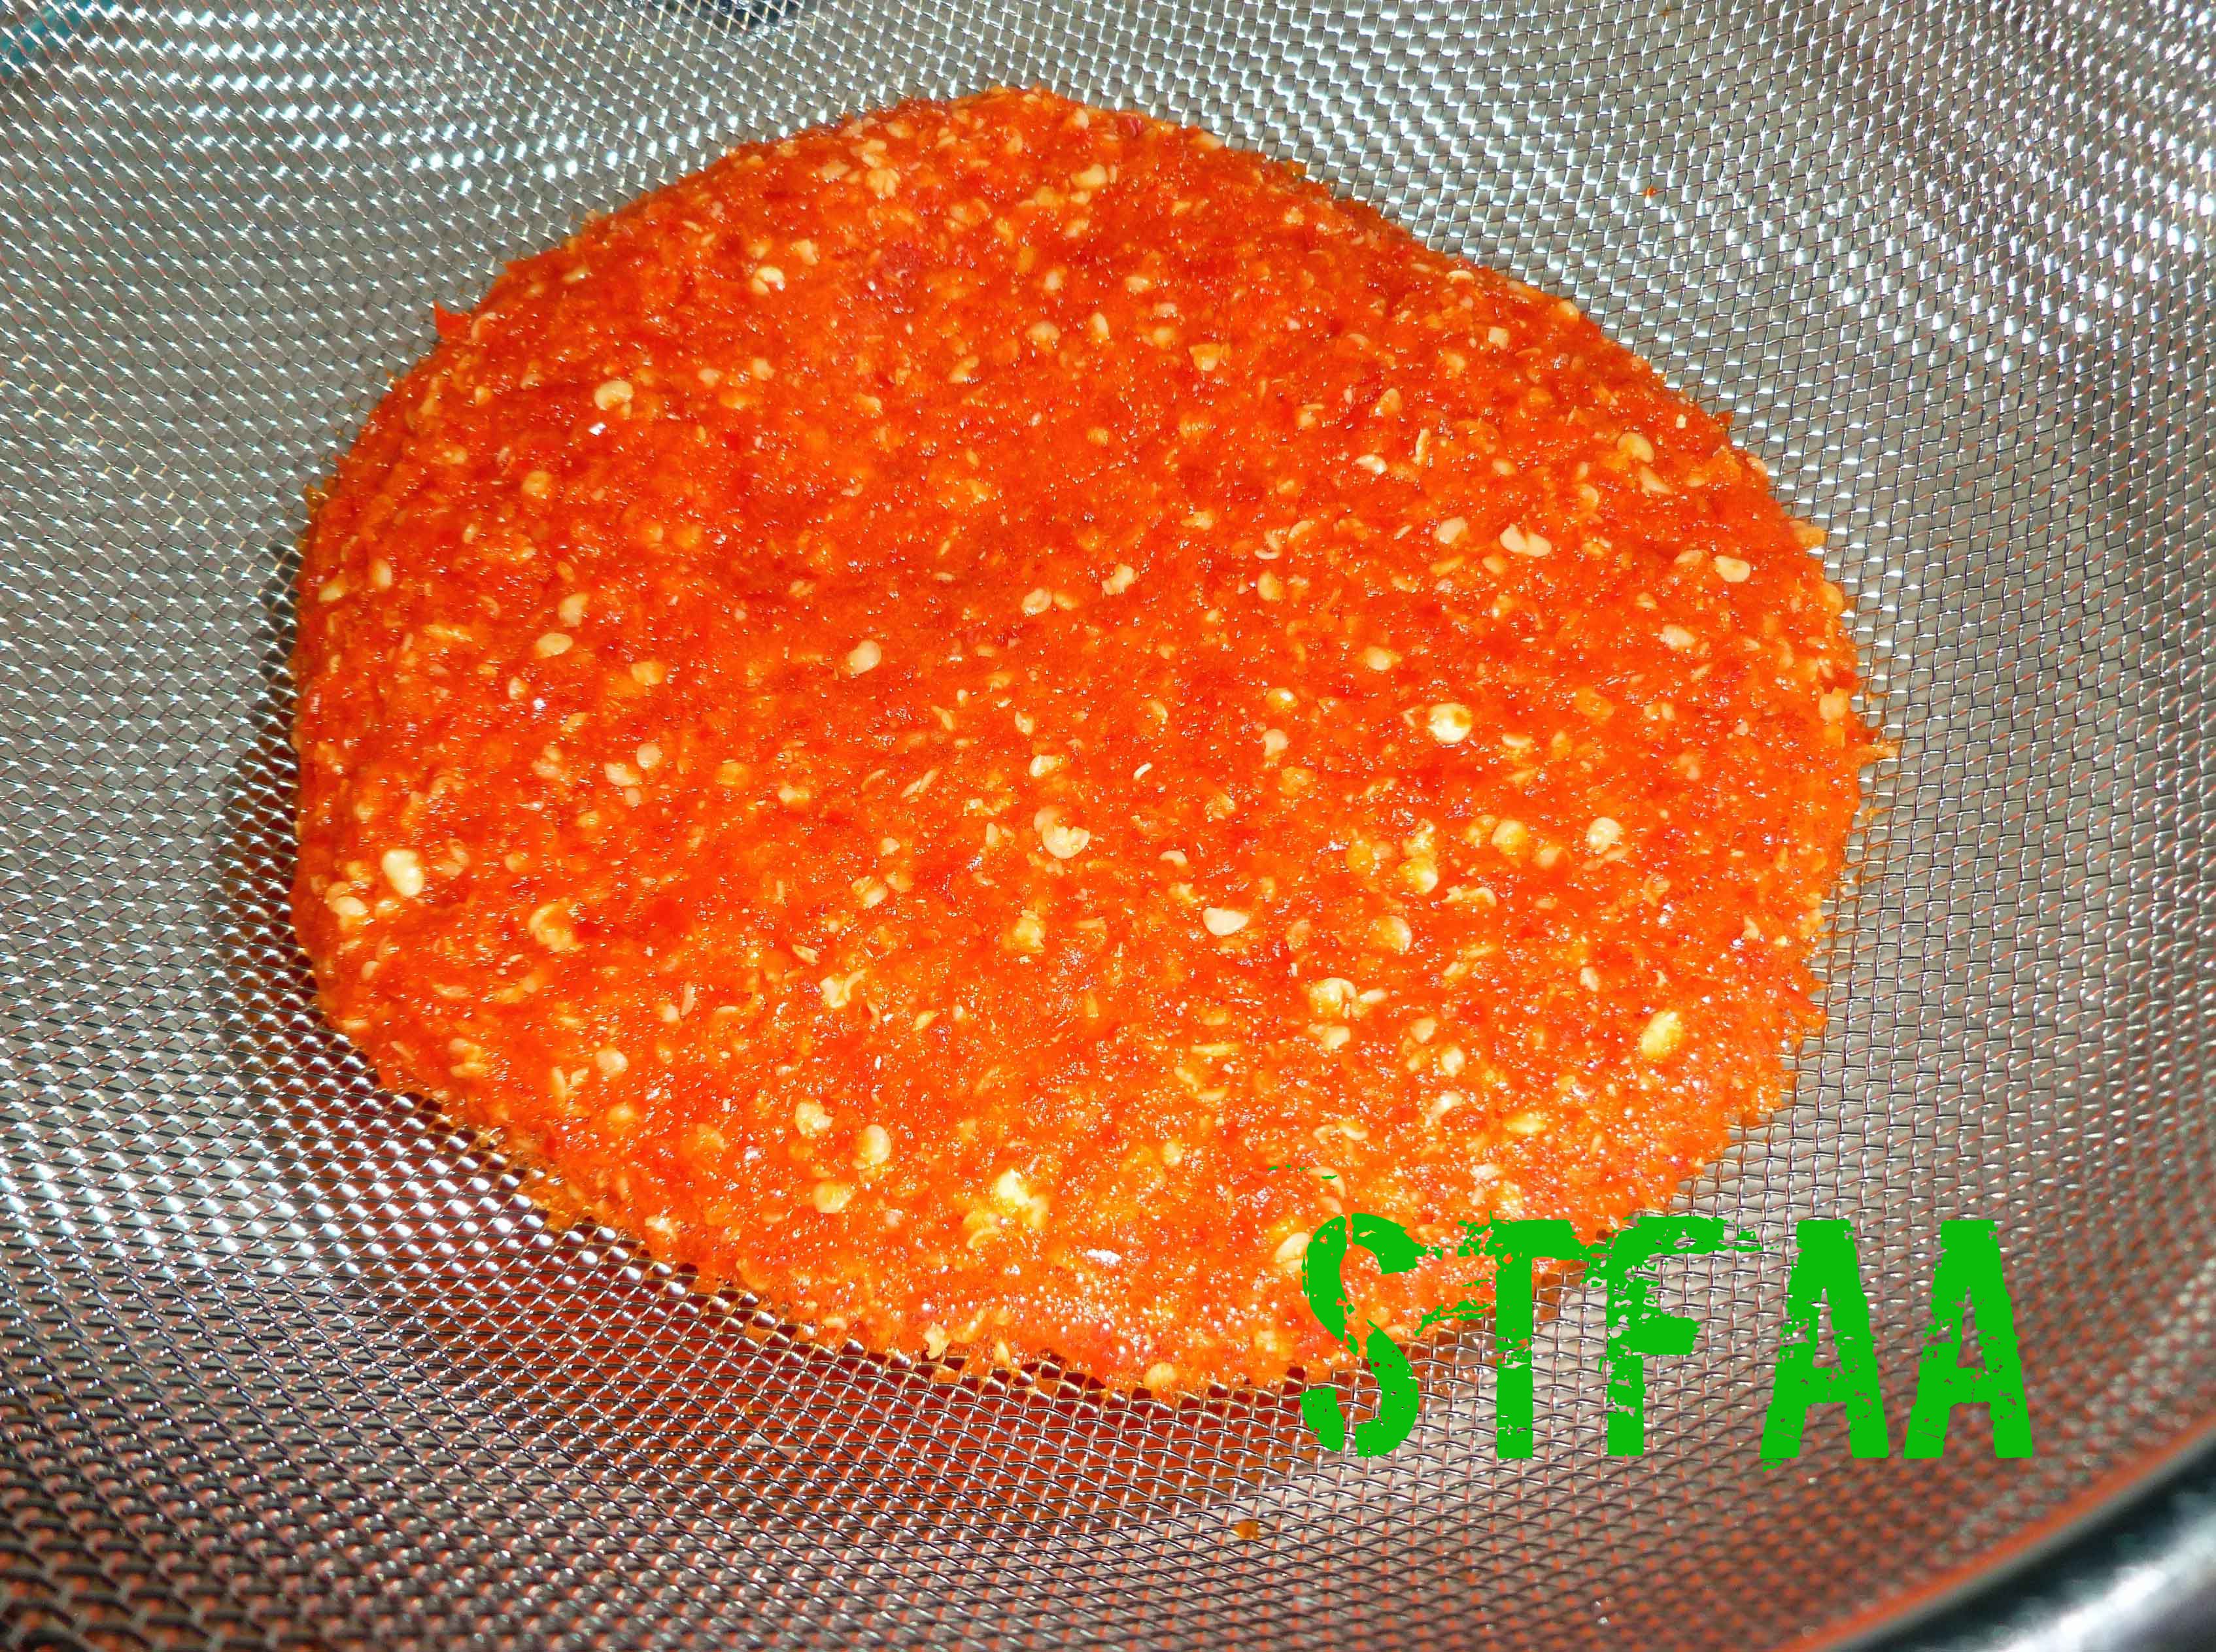
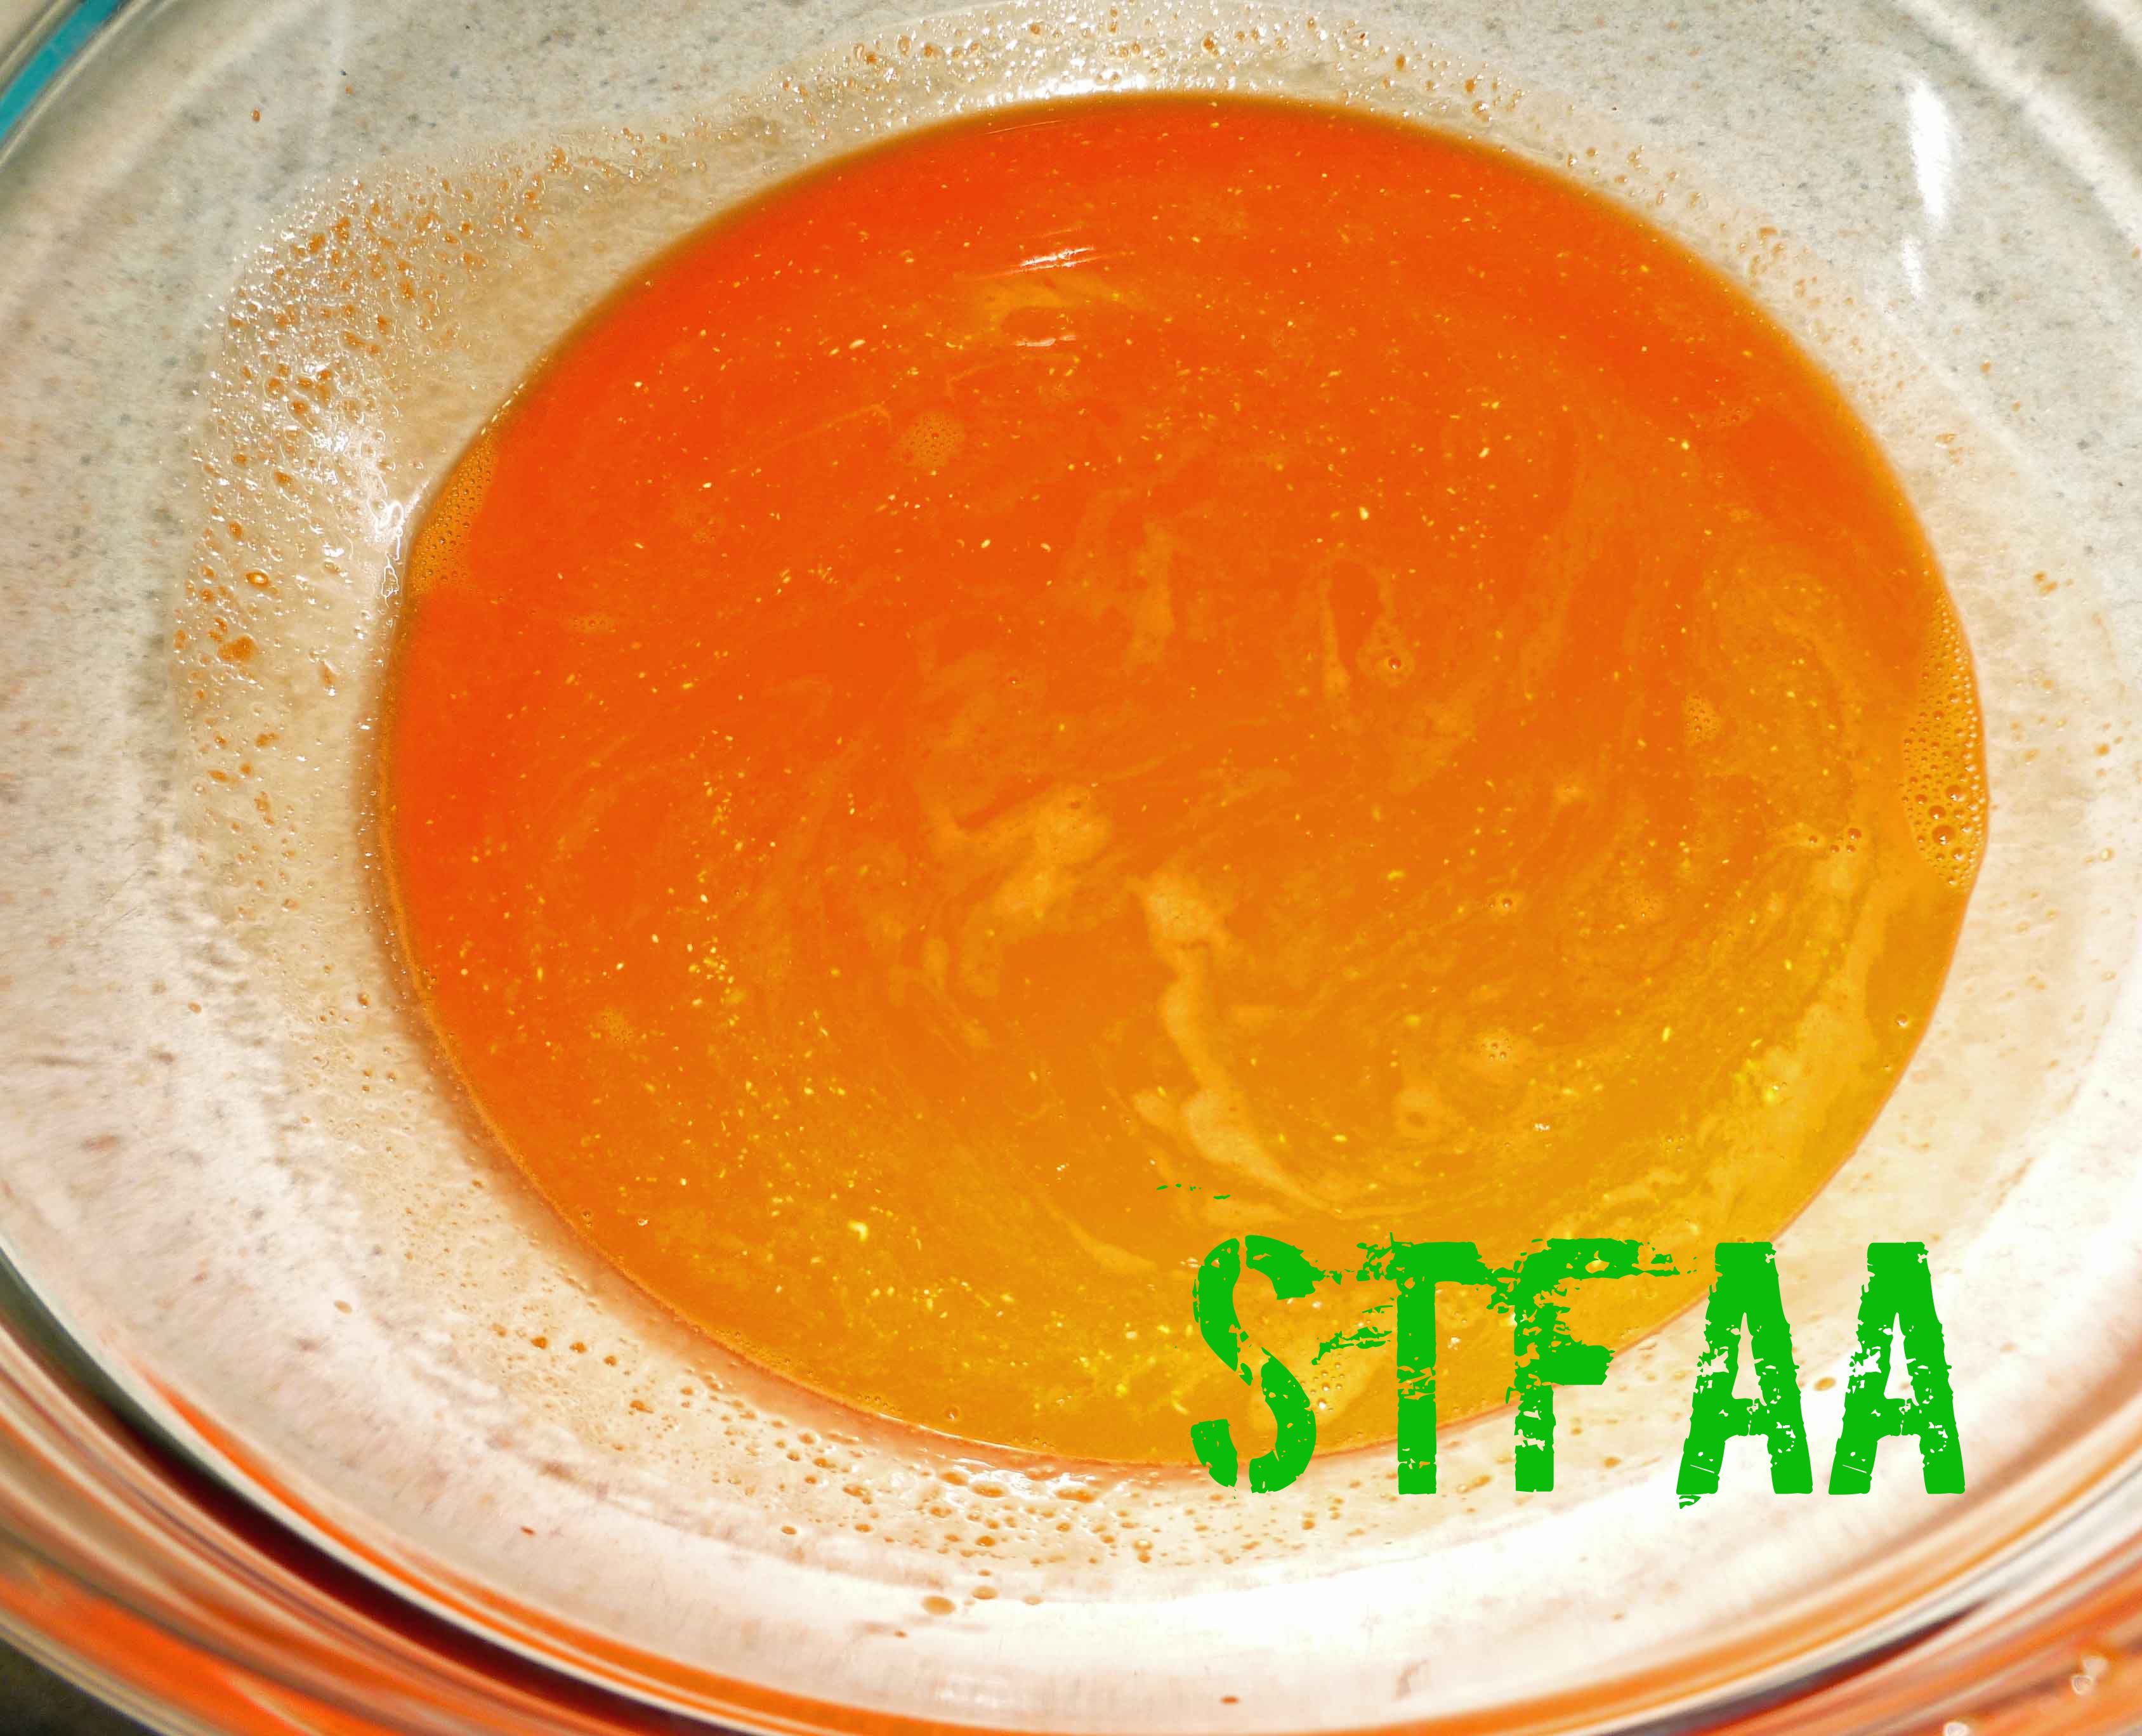
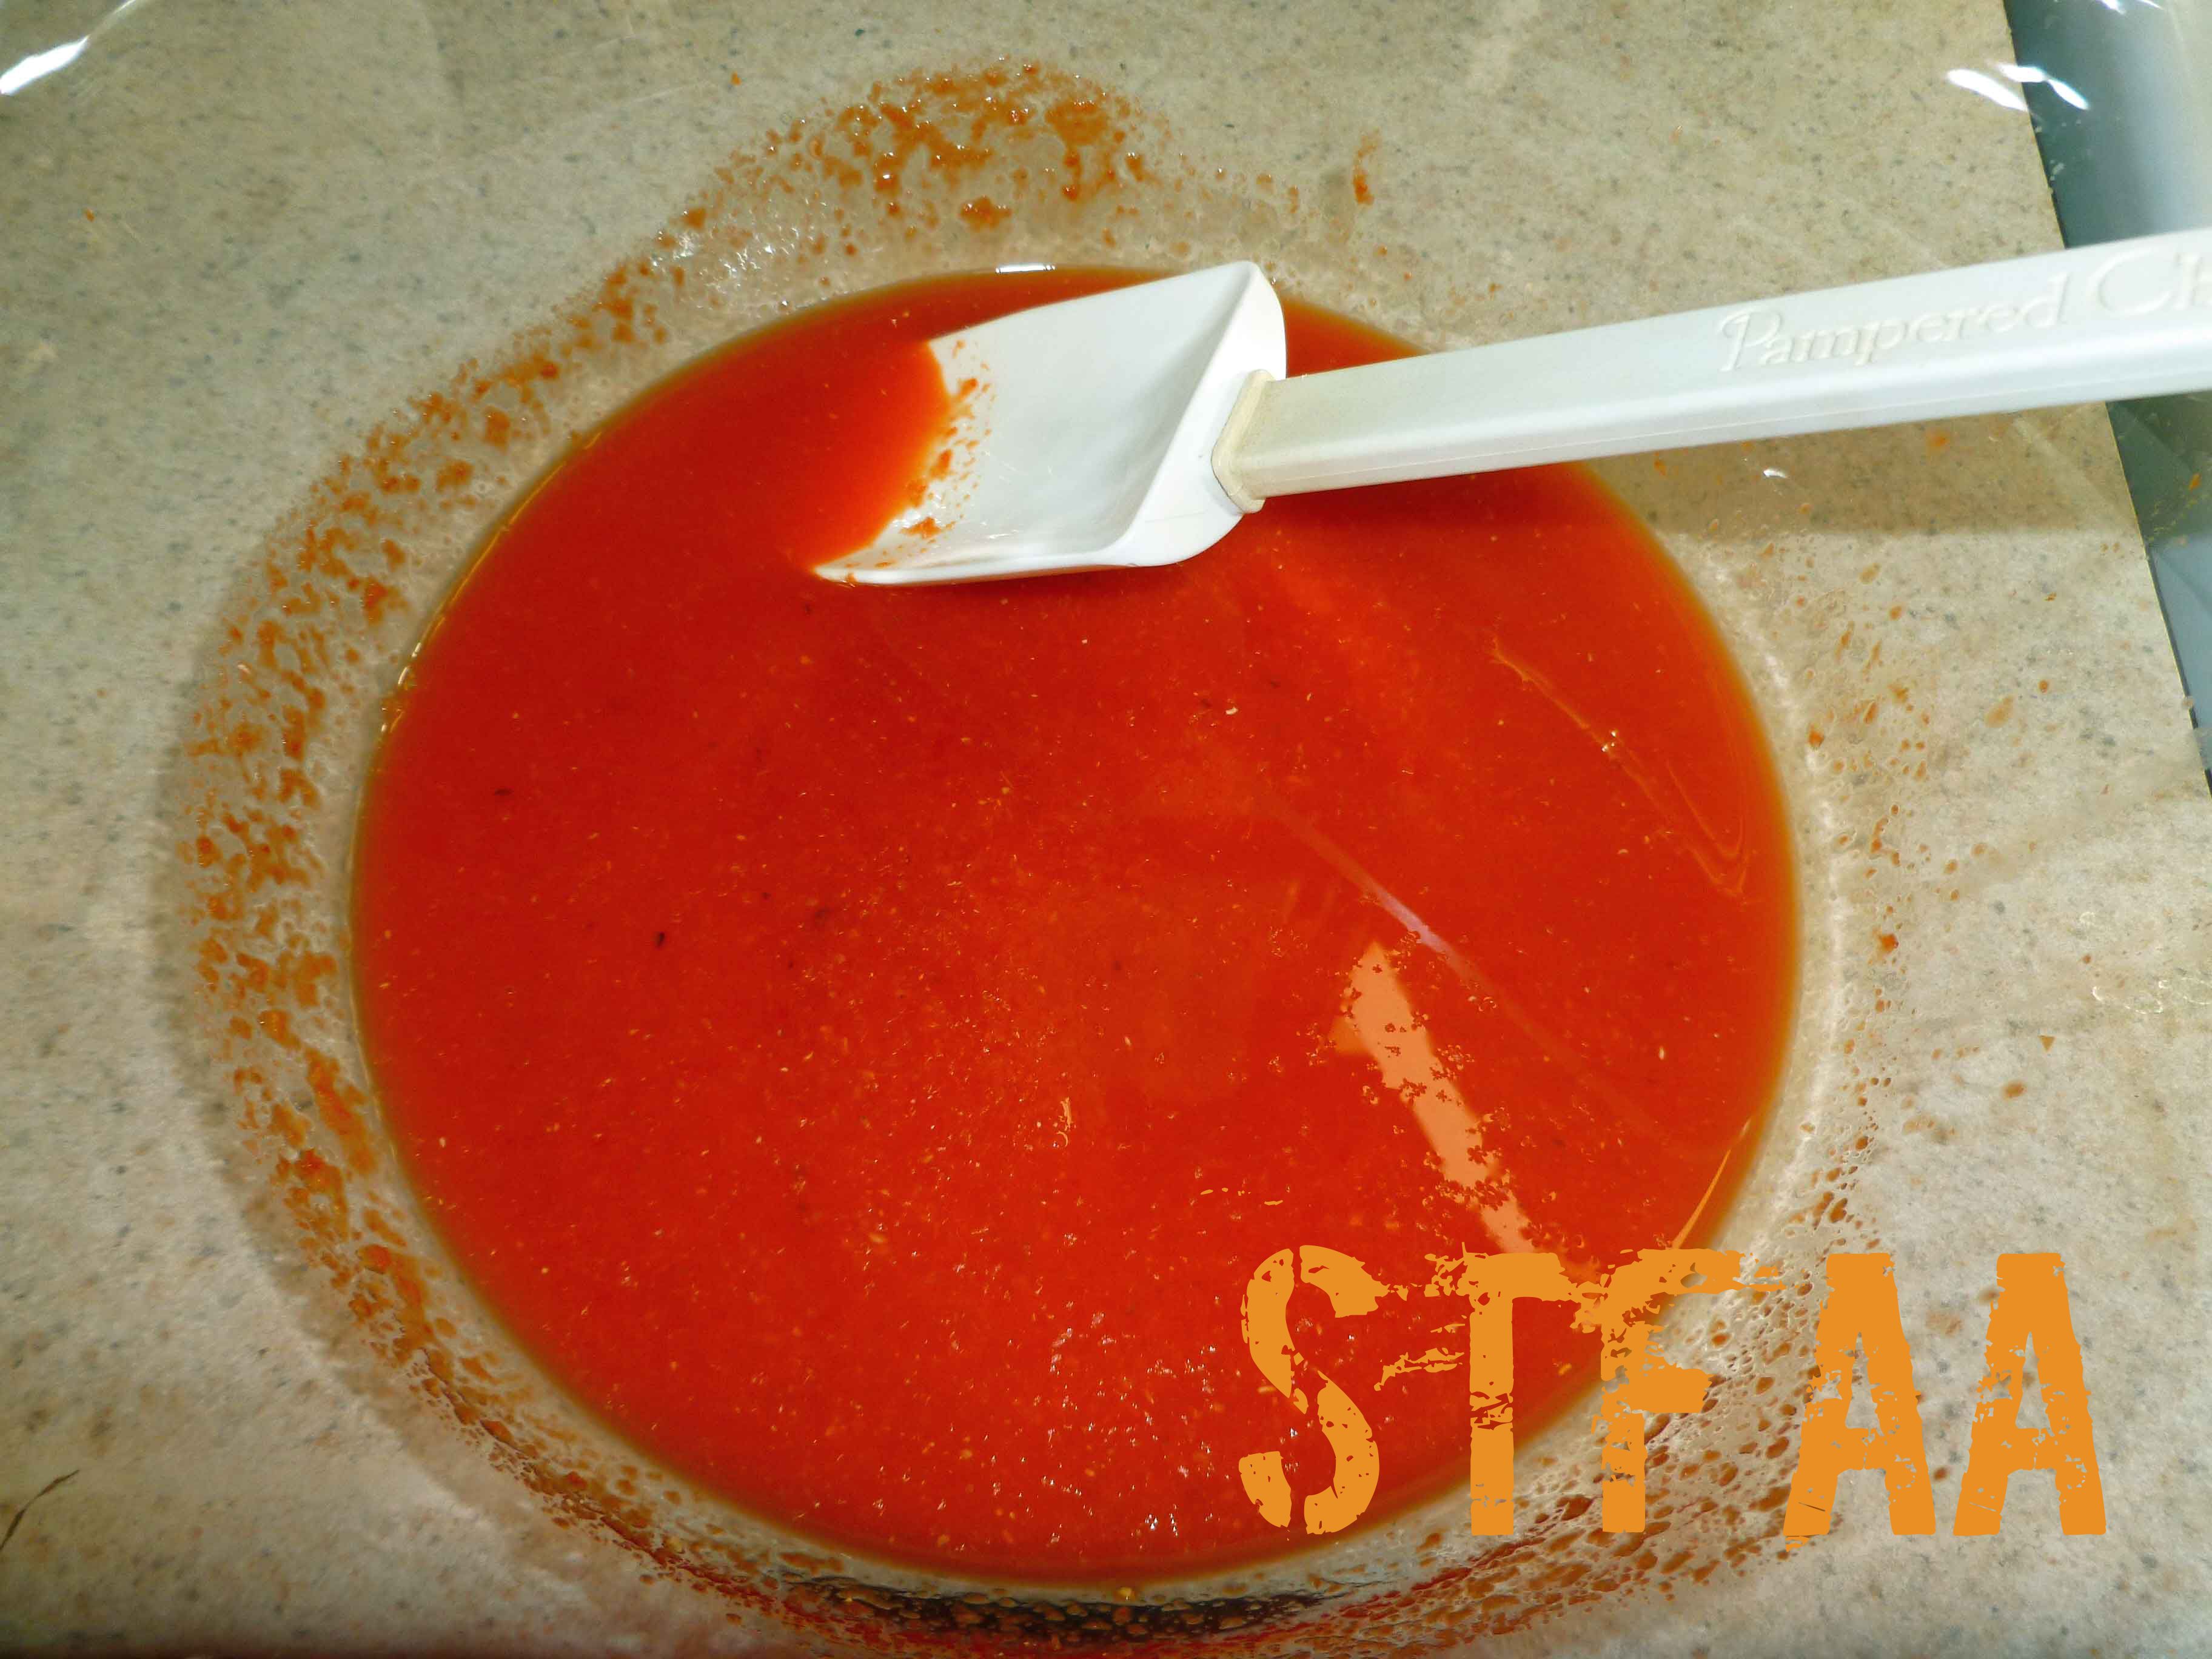
- Once you have pureed your peppers, place the puree in a fine mesh strainer over a bowl and use a spatula or the back of a spoon to press the liquid in your puree into the bowl, leaving the seeds and skins of the peppers behind. (Hint: dehydrate the seeds and skins remaining in the oven at the lowest temperature you can or in a dehydrator to make pepper flakes to use in other recipes).
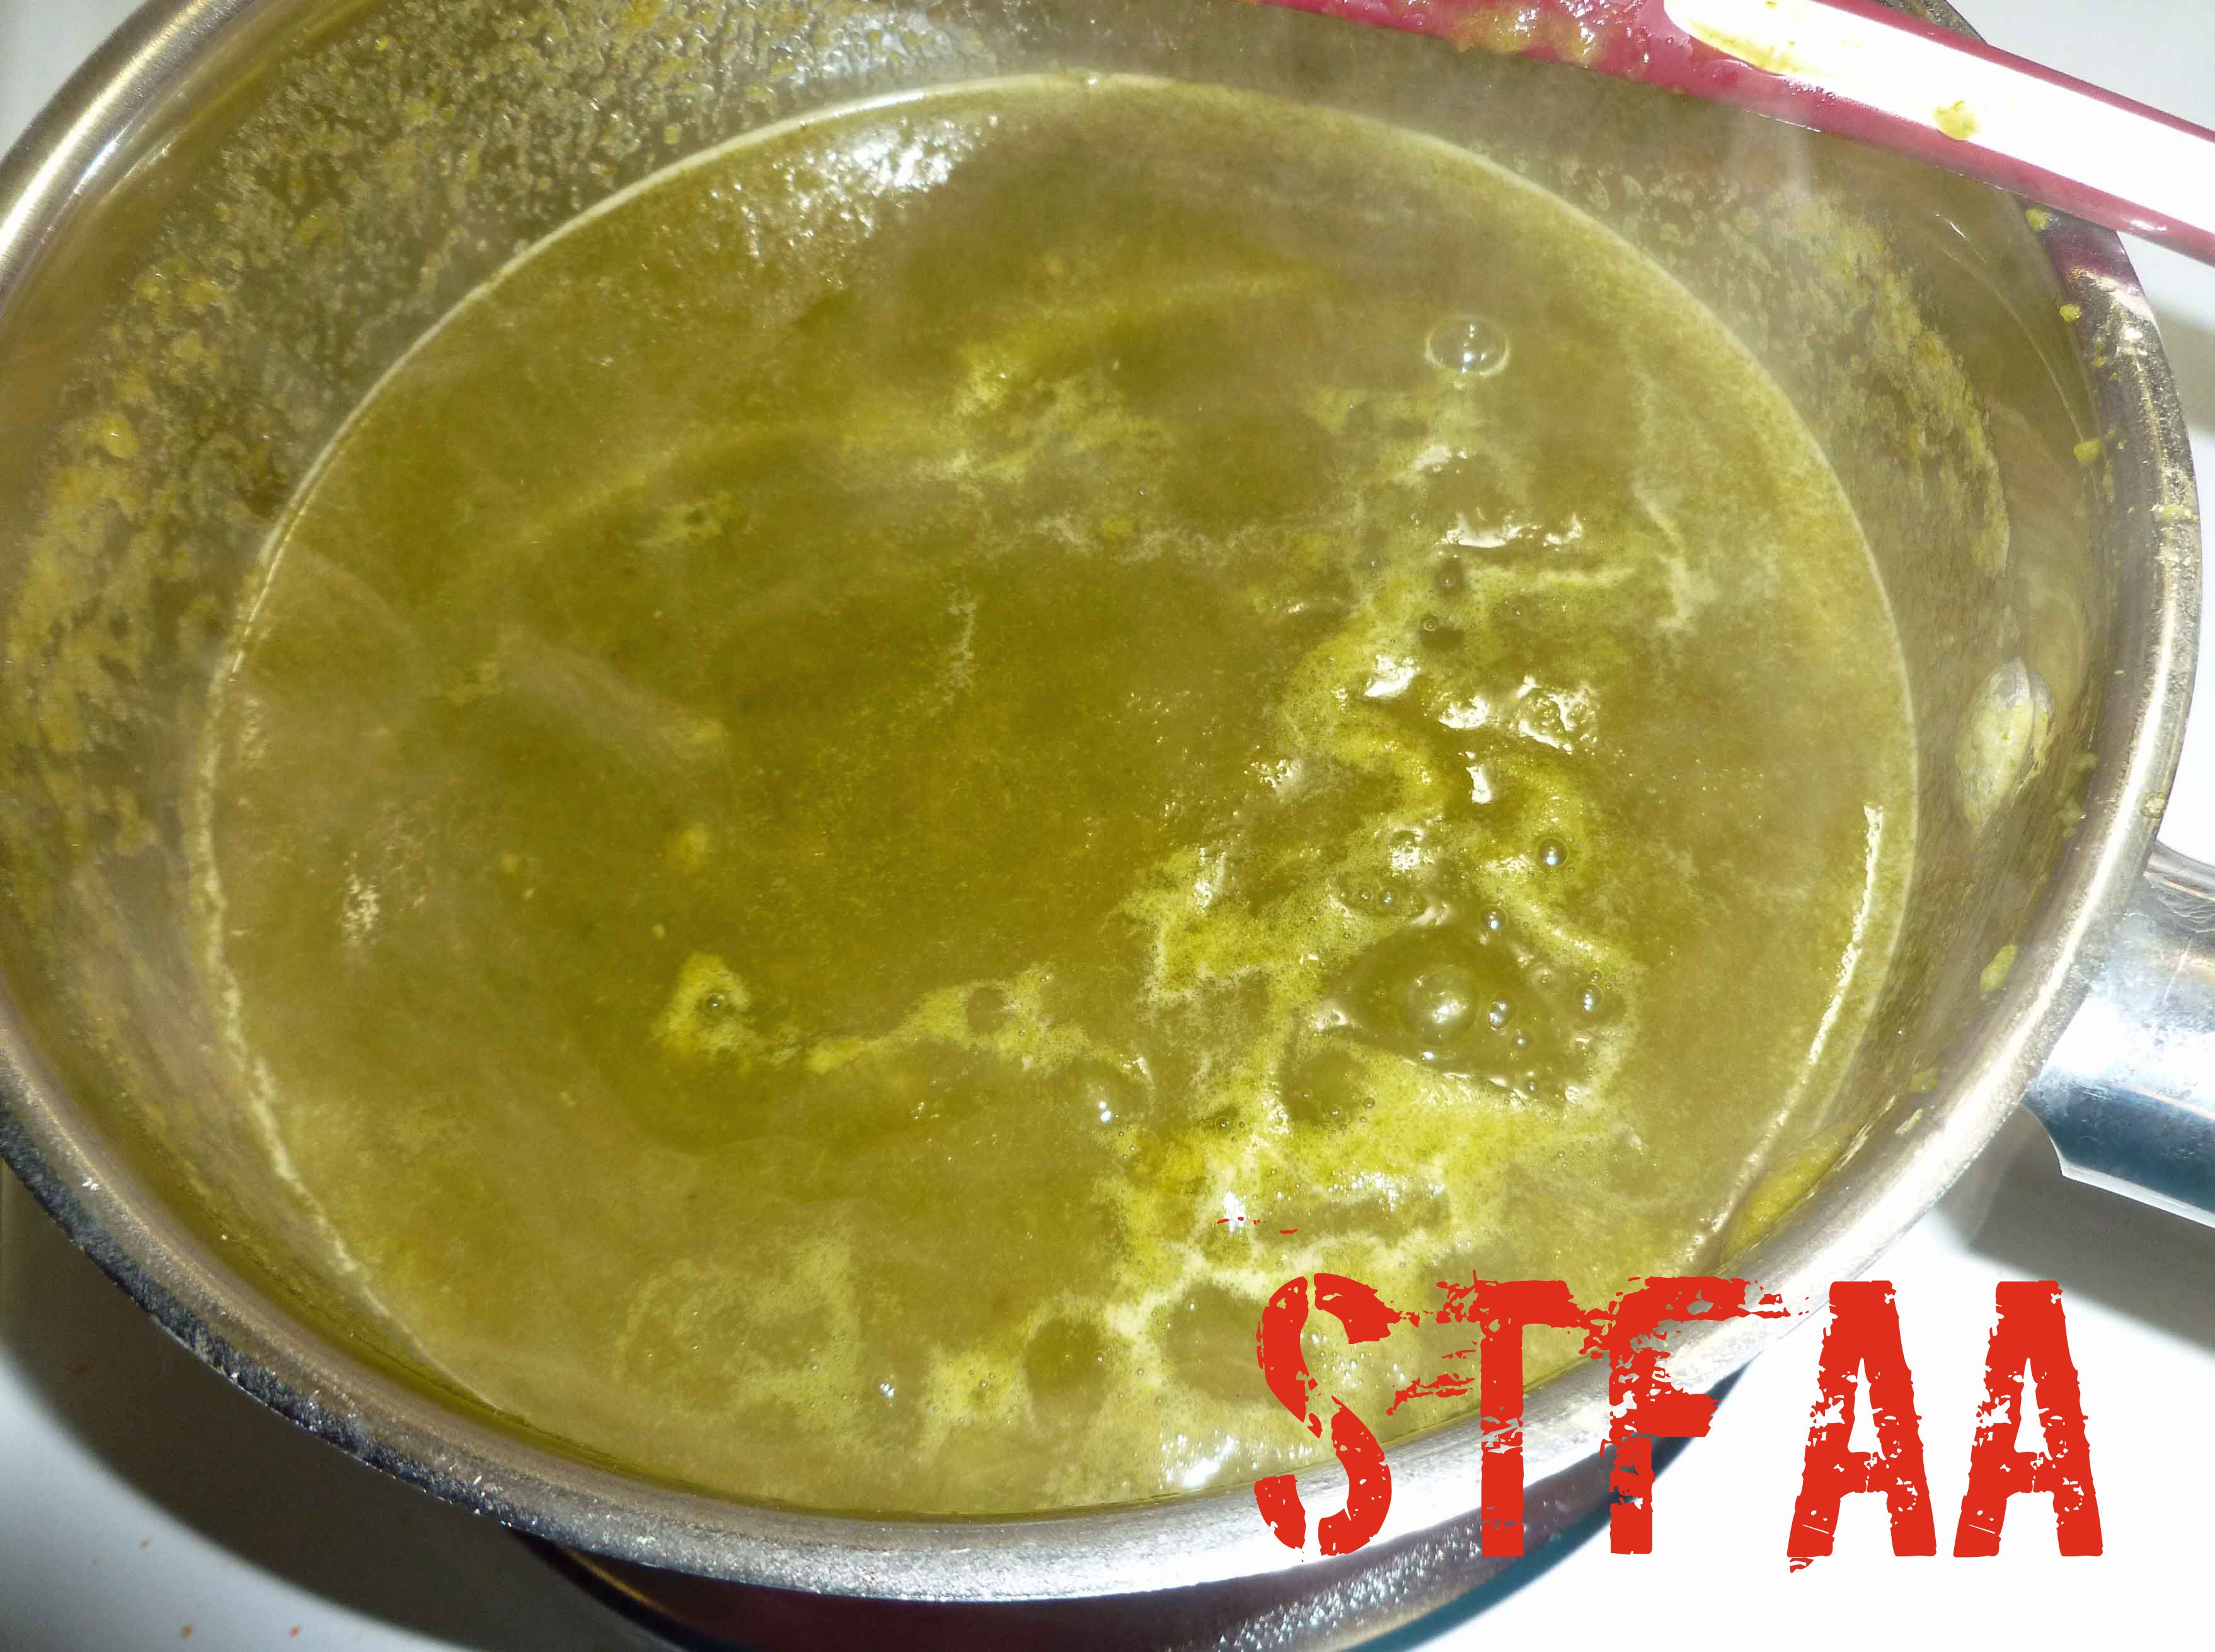
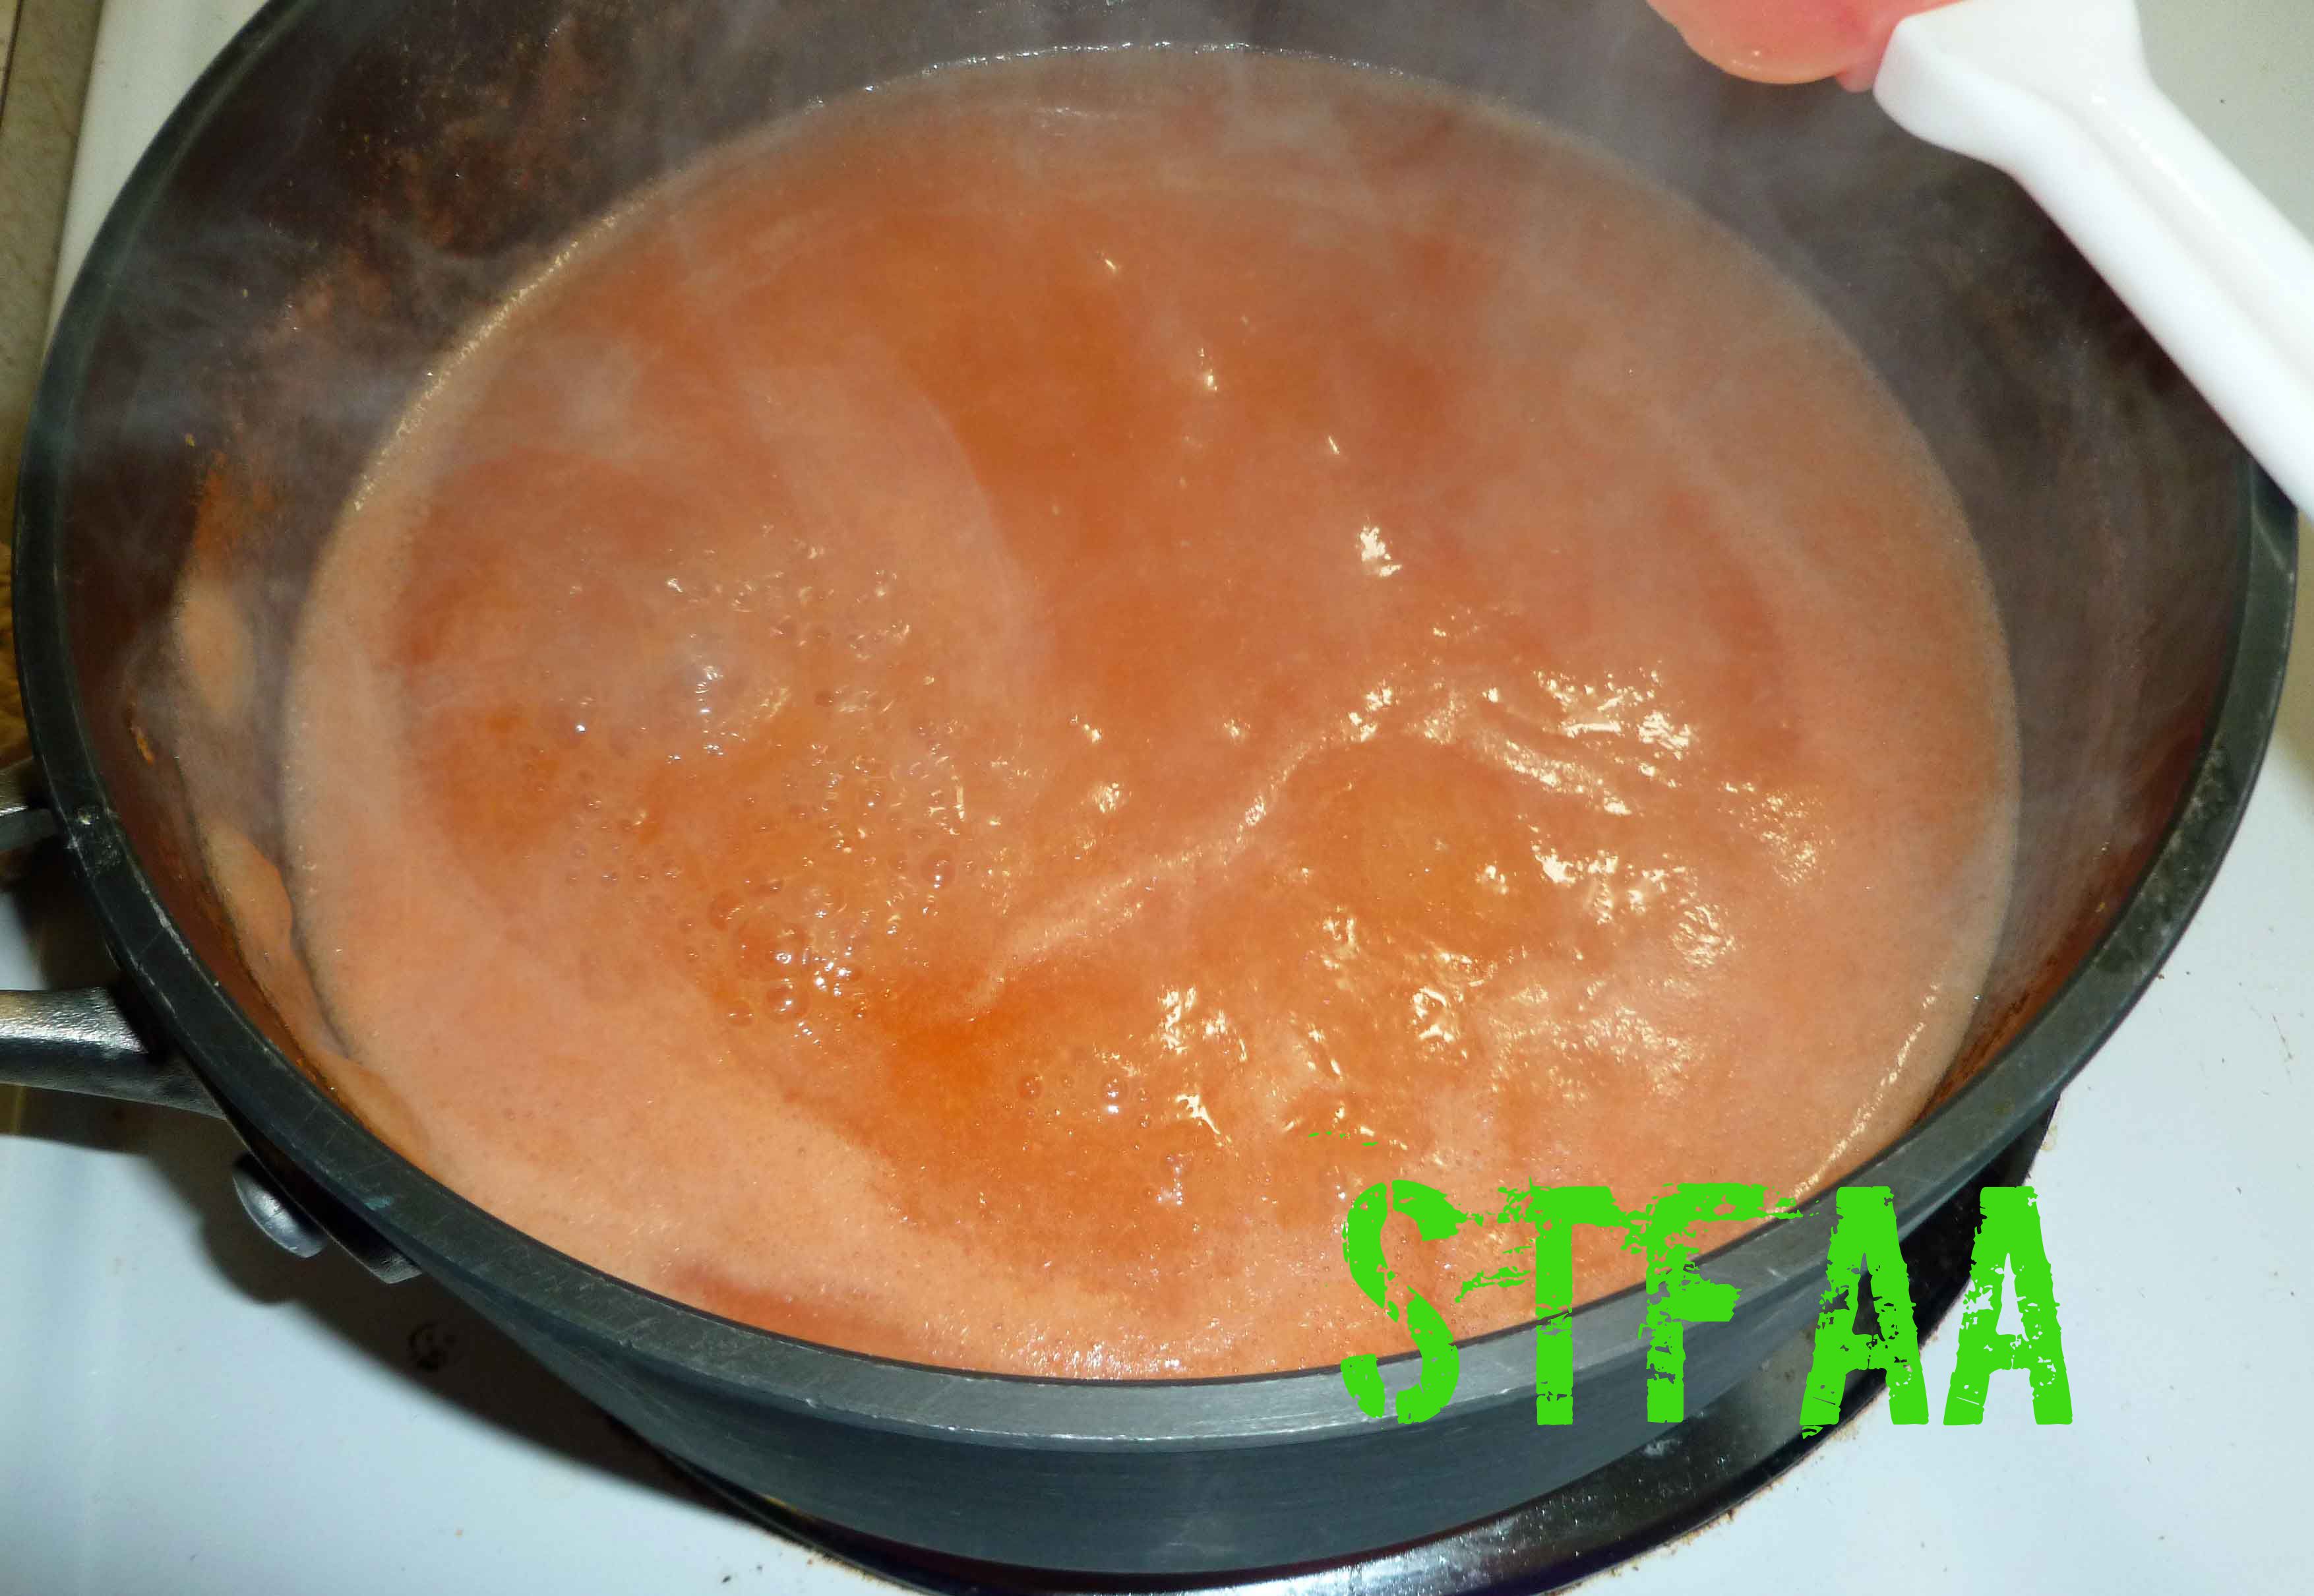
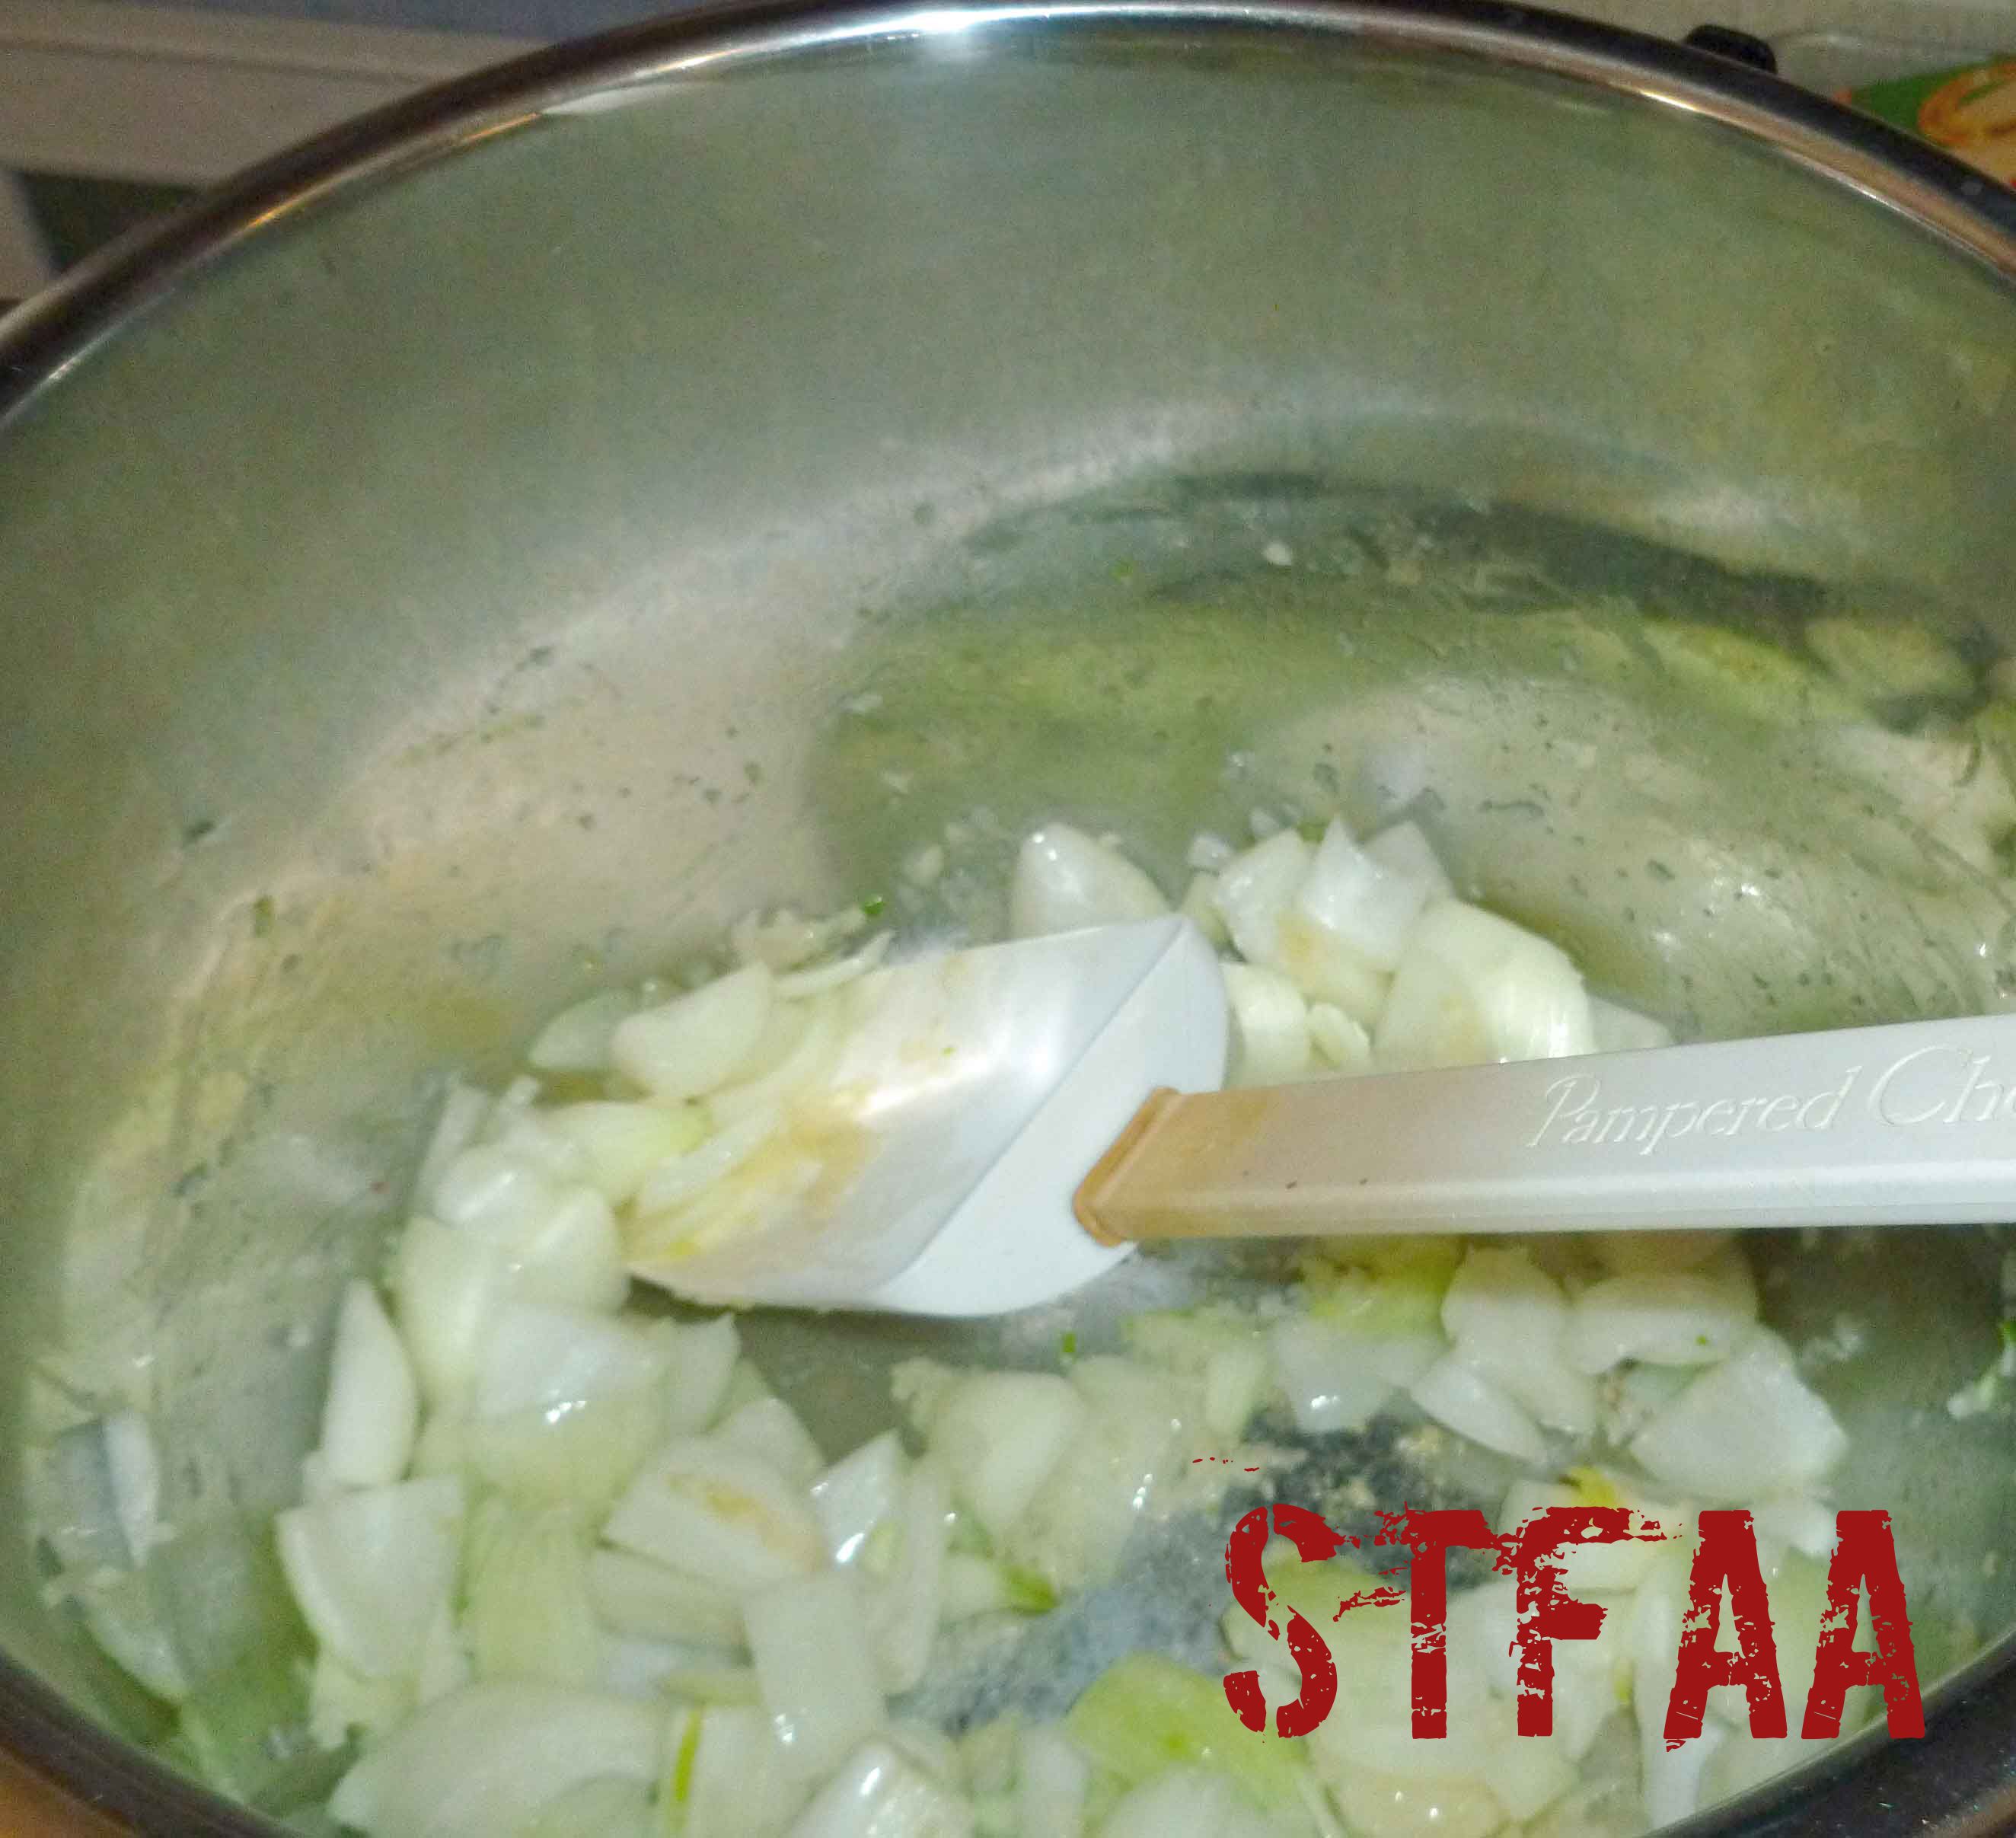
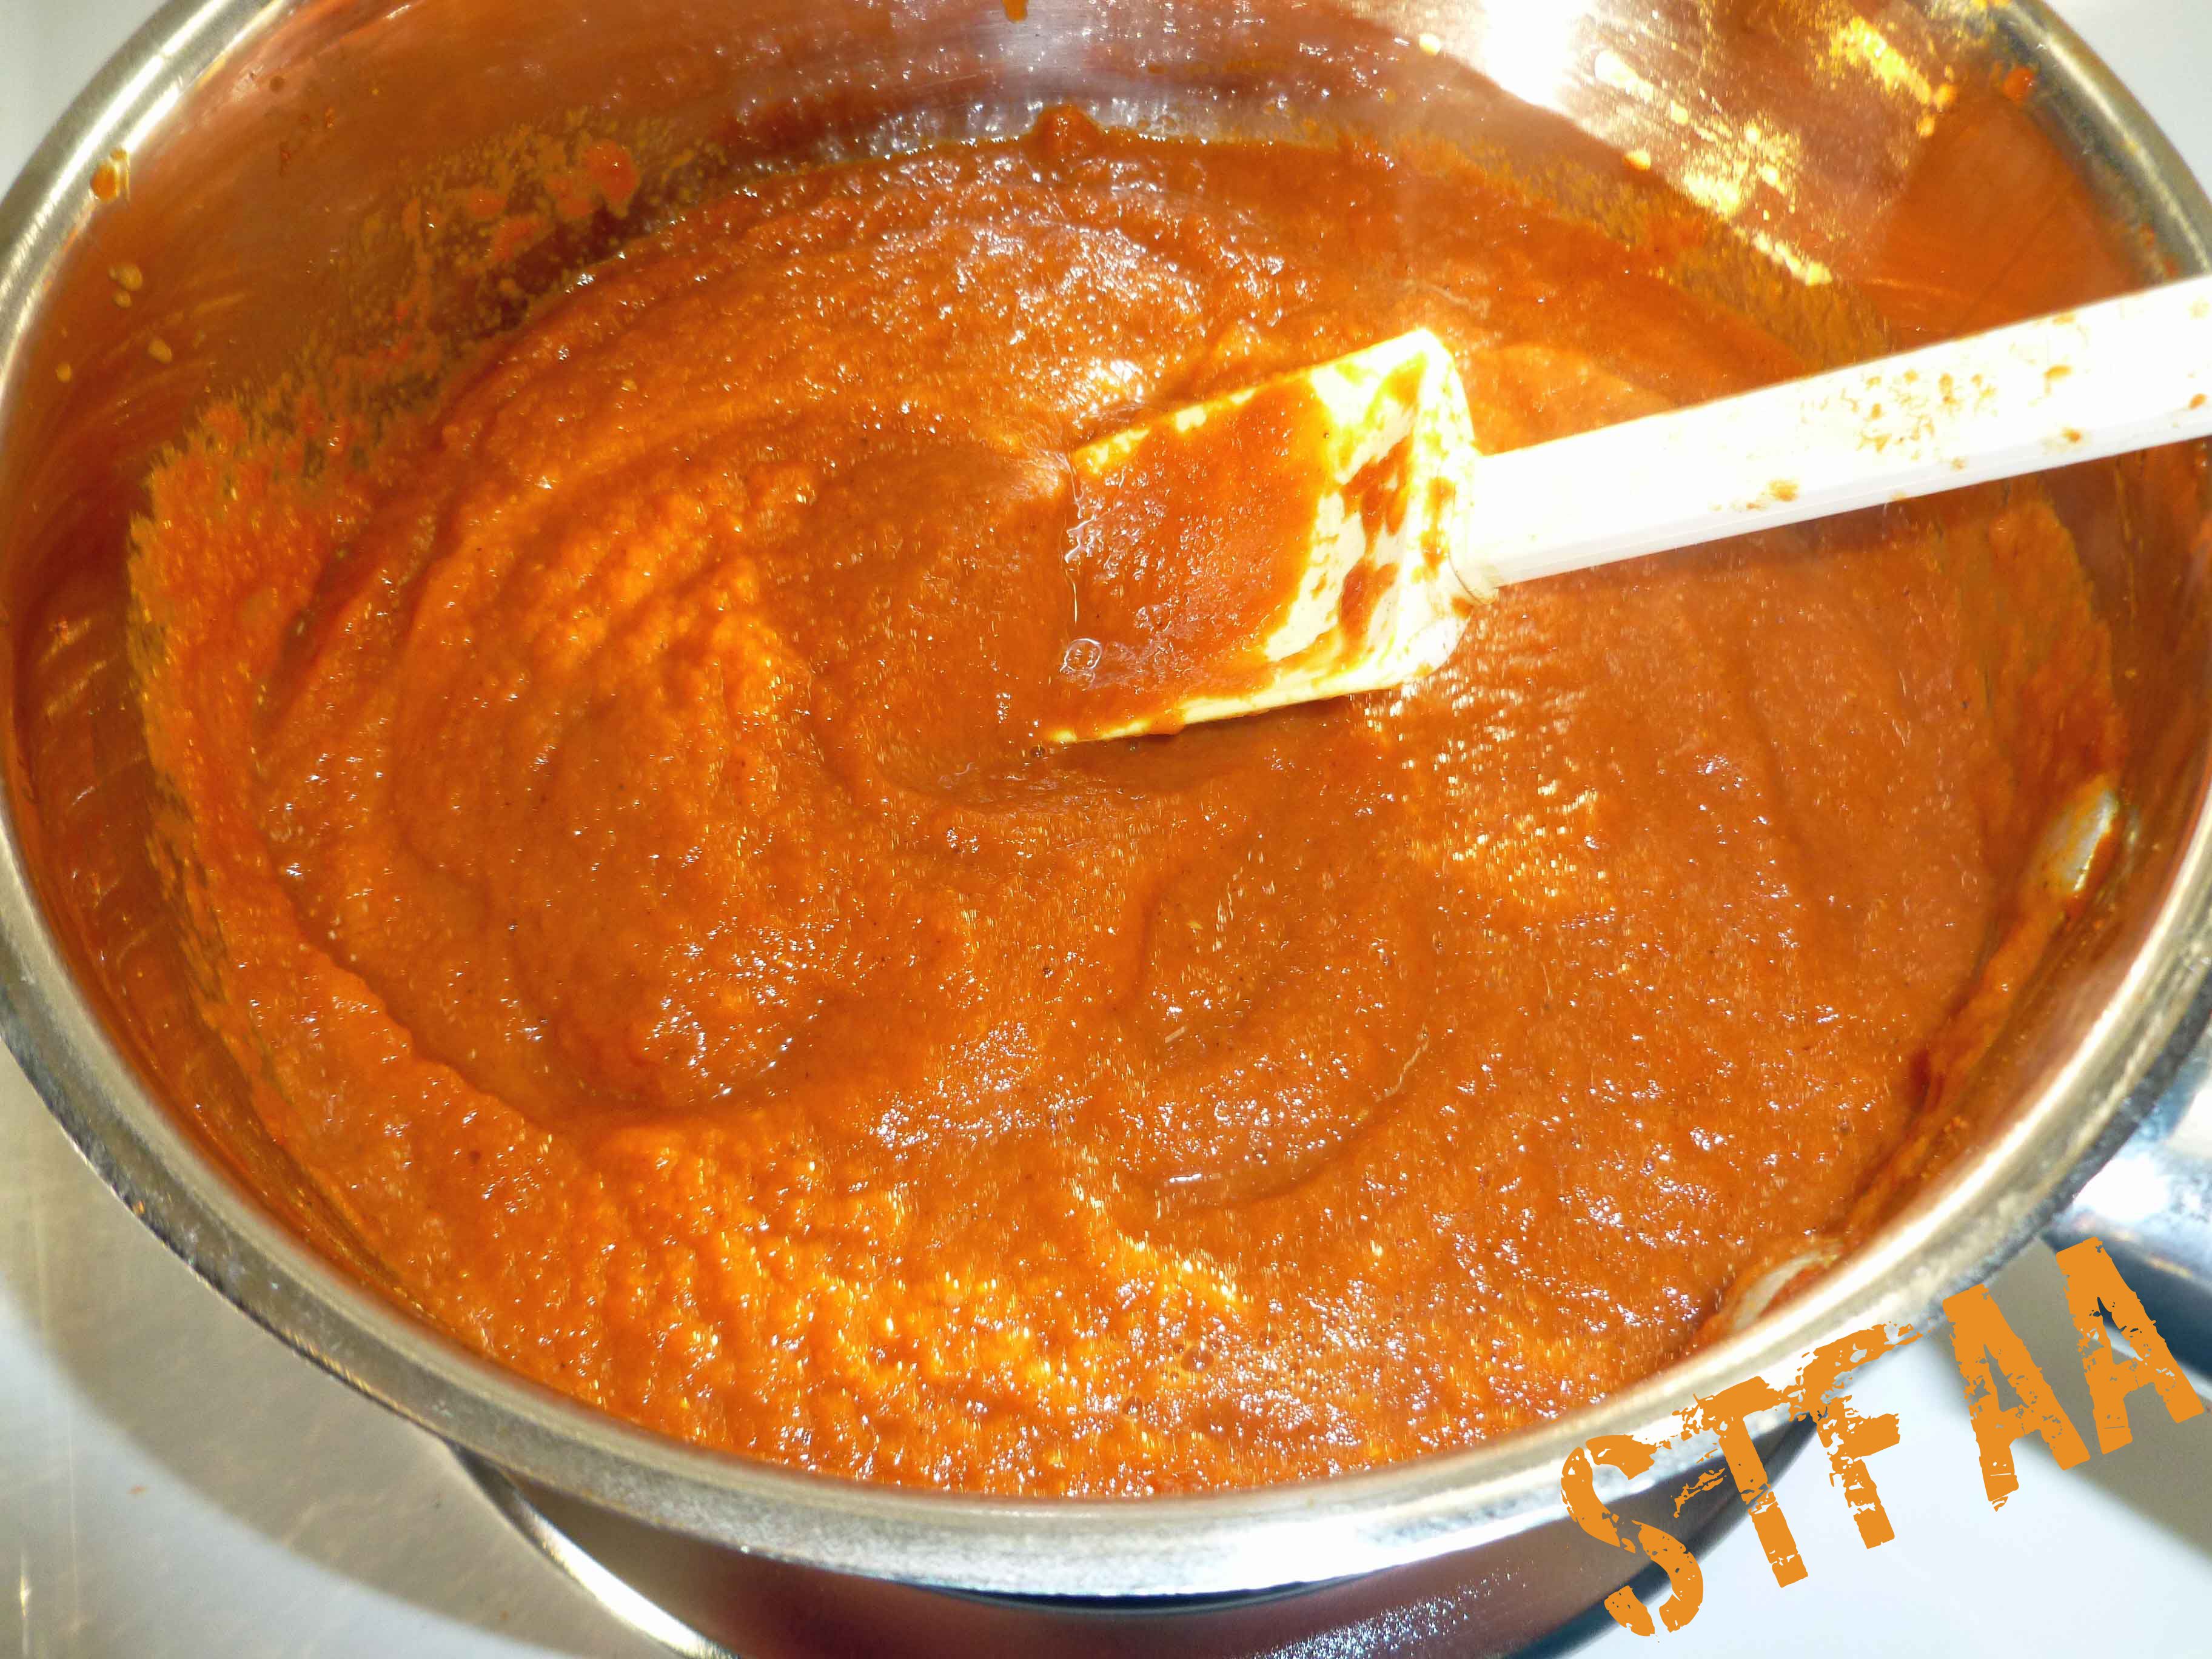
- Place the remaining ingredients (onions, tomato paste, 1/2 cup of apple cider vinegar, curry powder, garam masala, salt, brown sugar) and the strained pepper mixture into a sauce pan and simmer until the onions are soft.
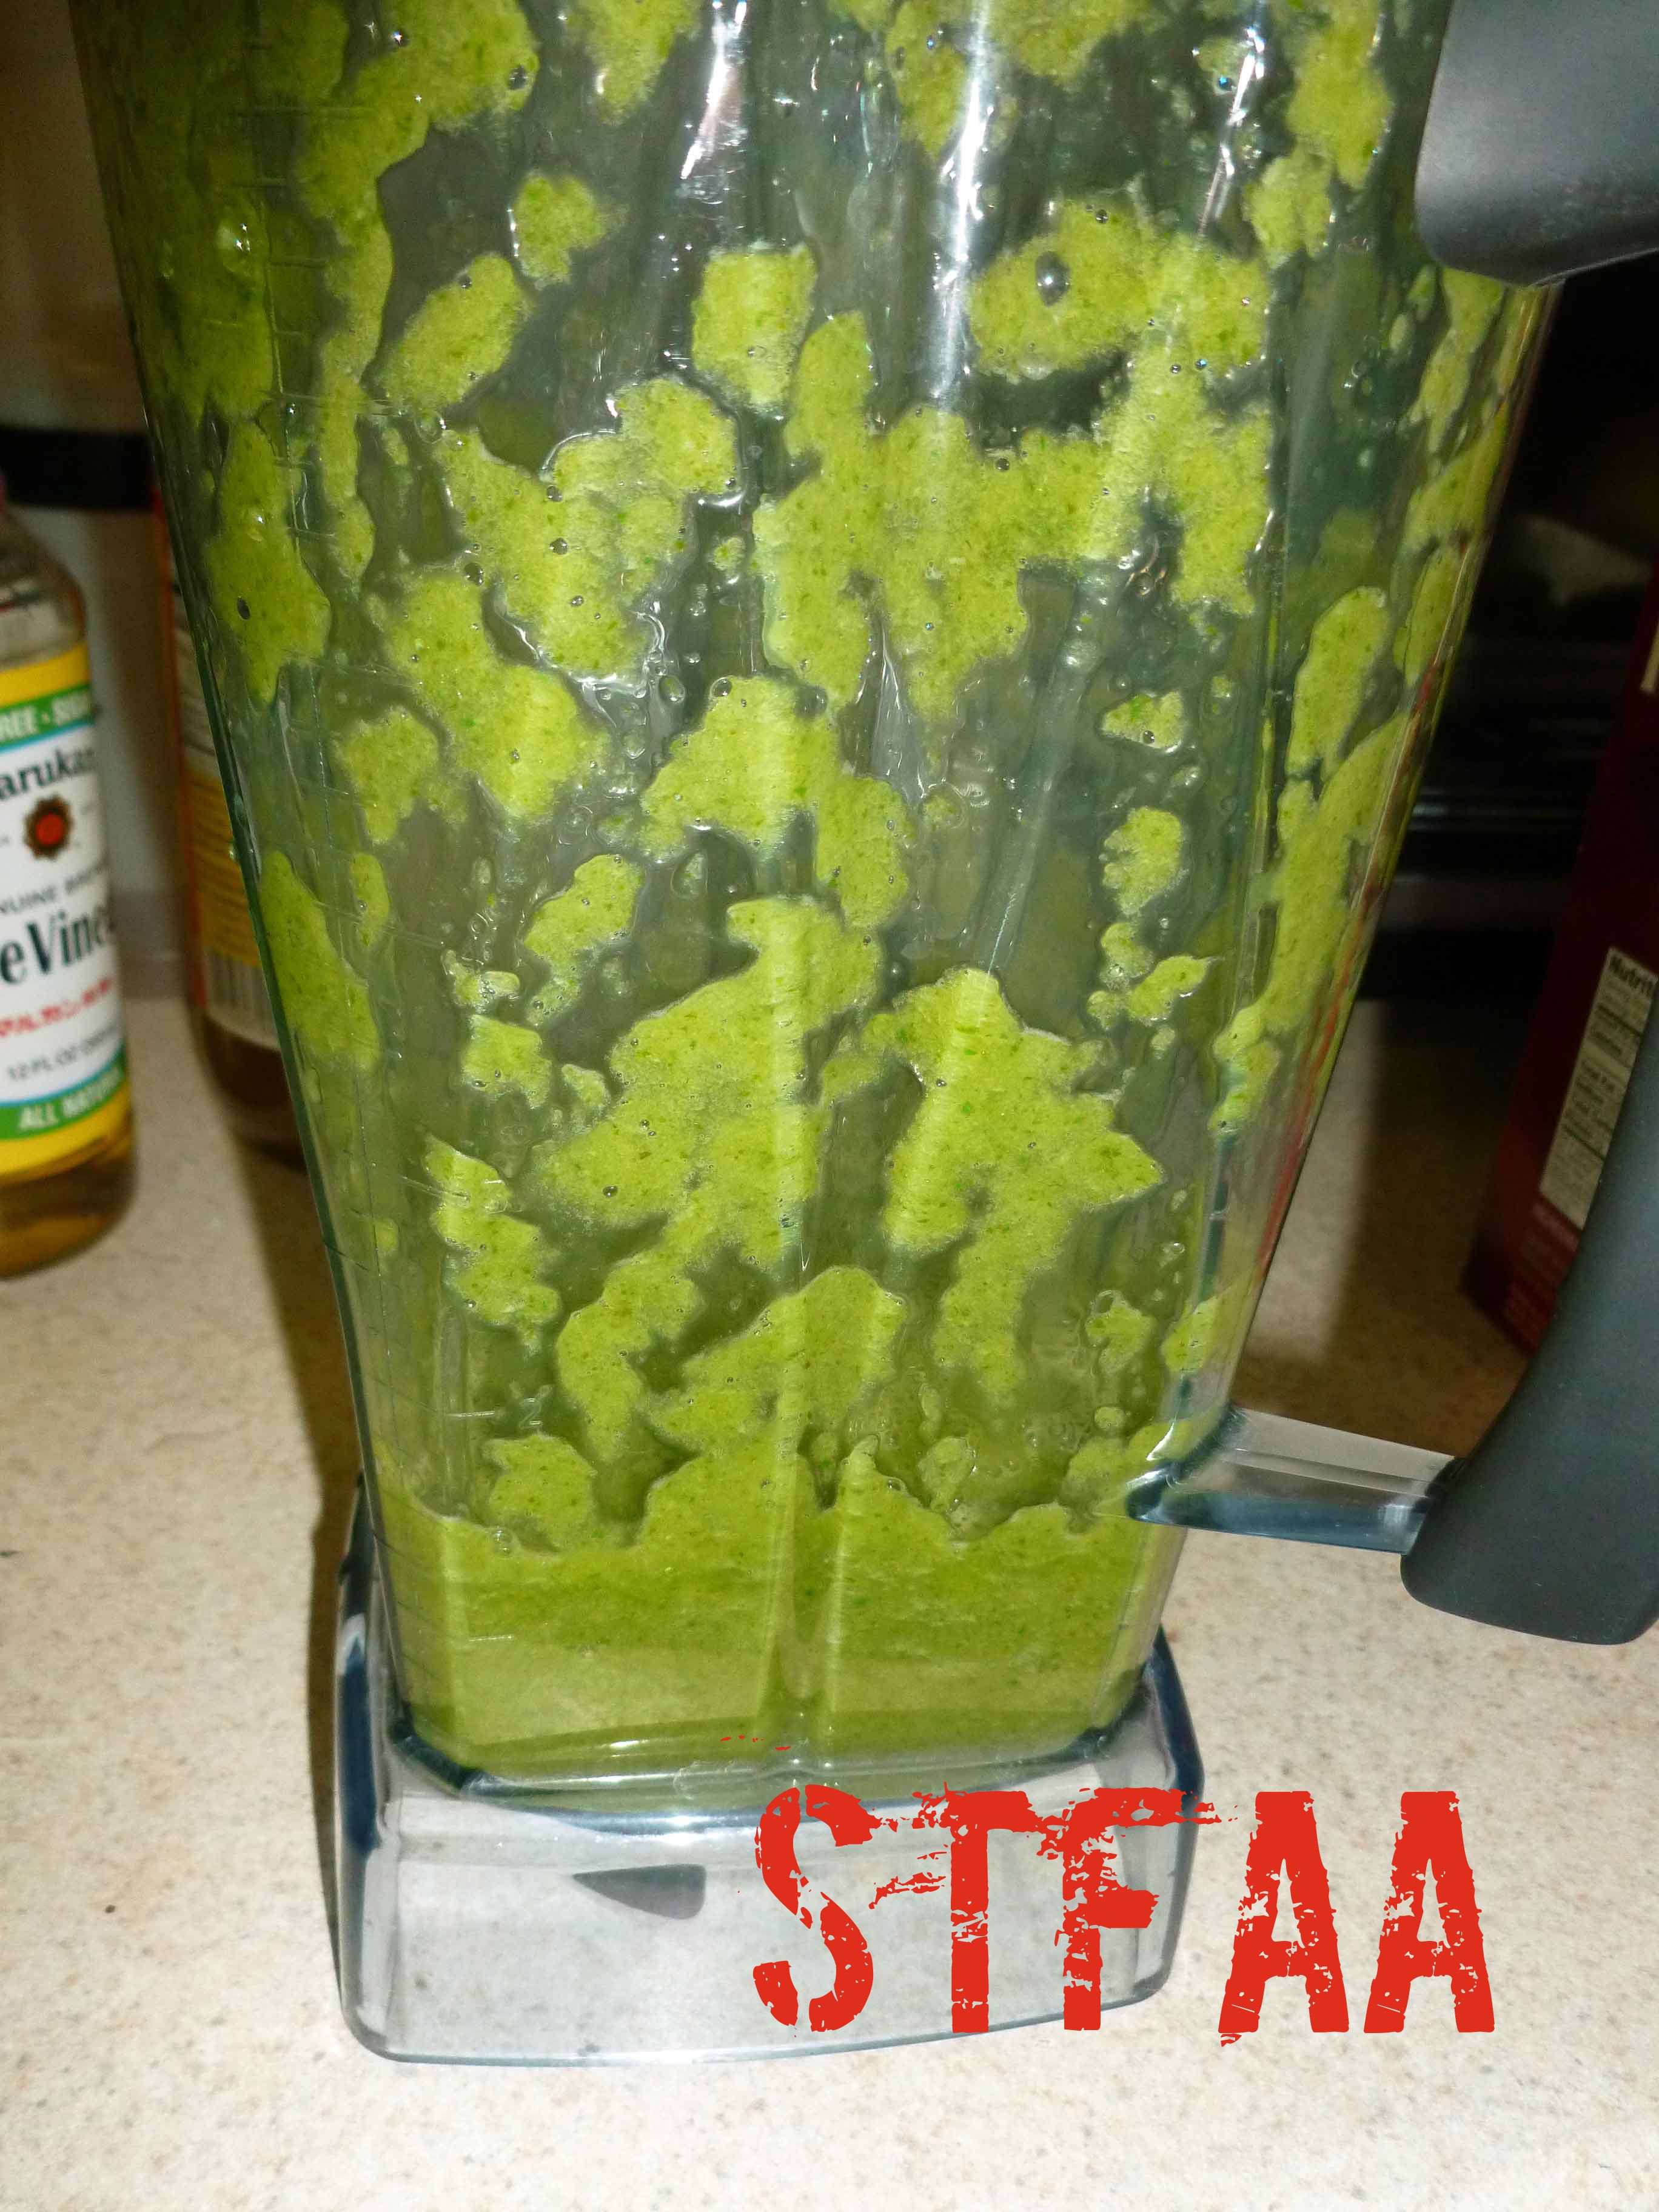
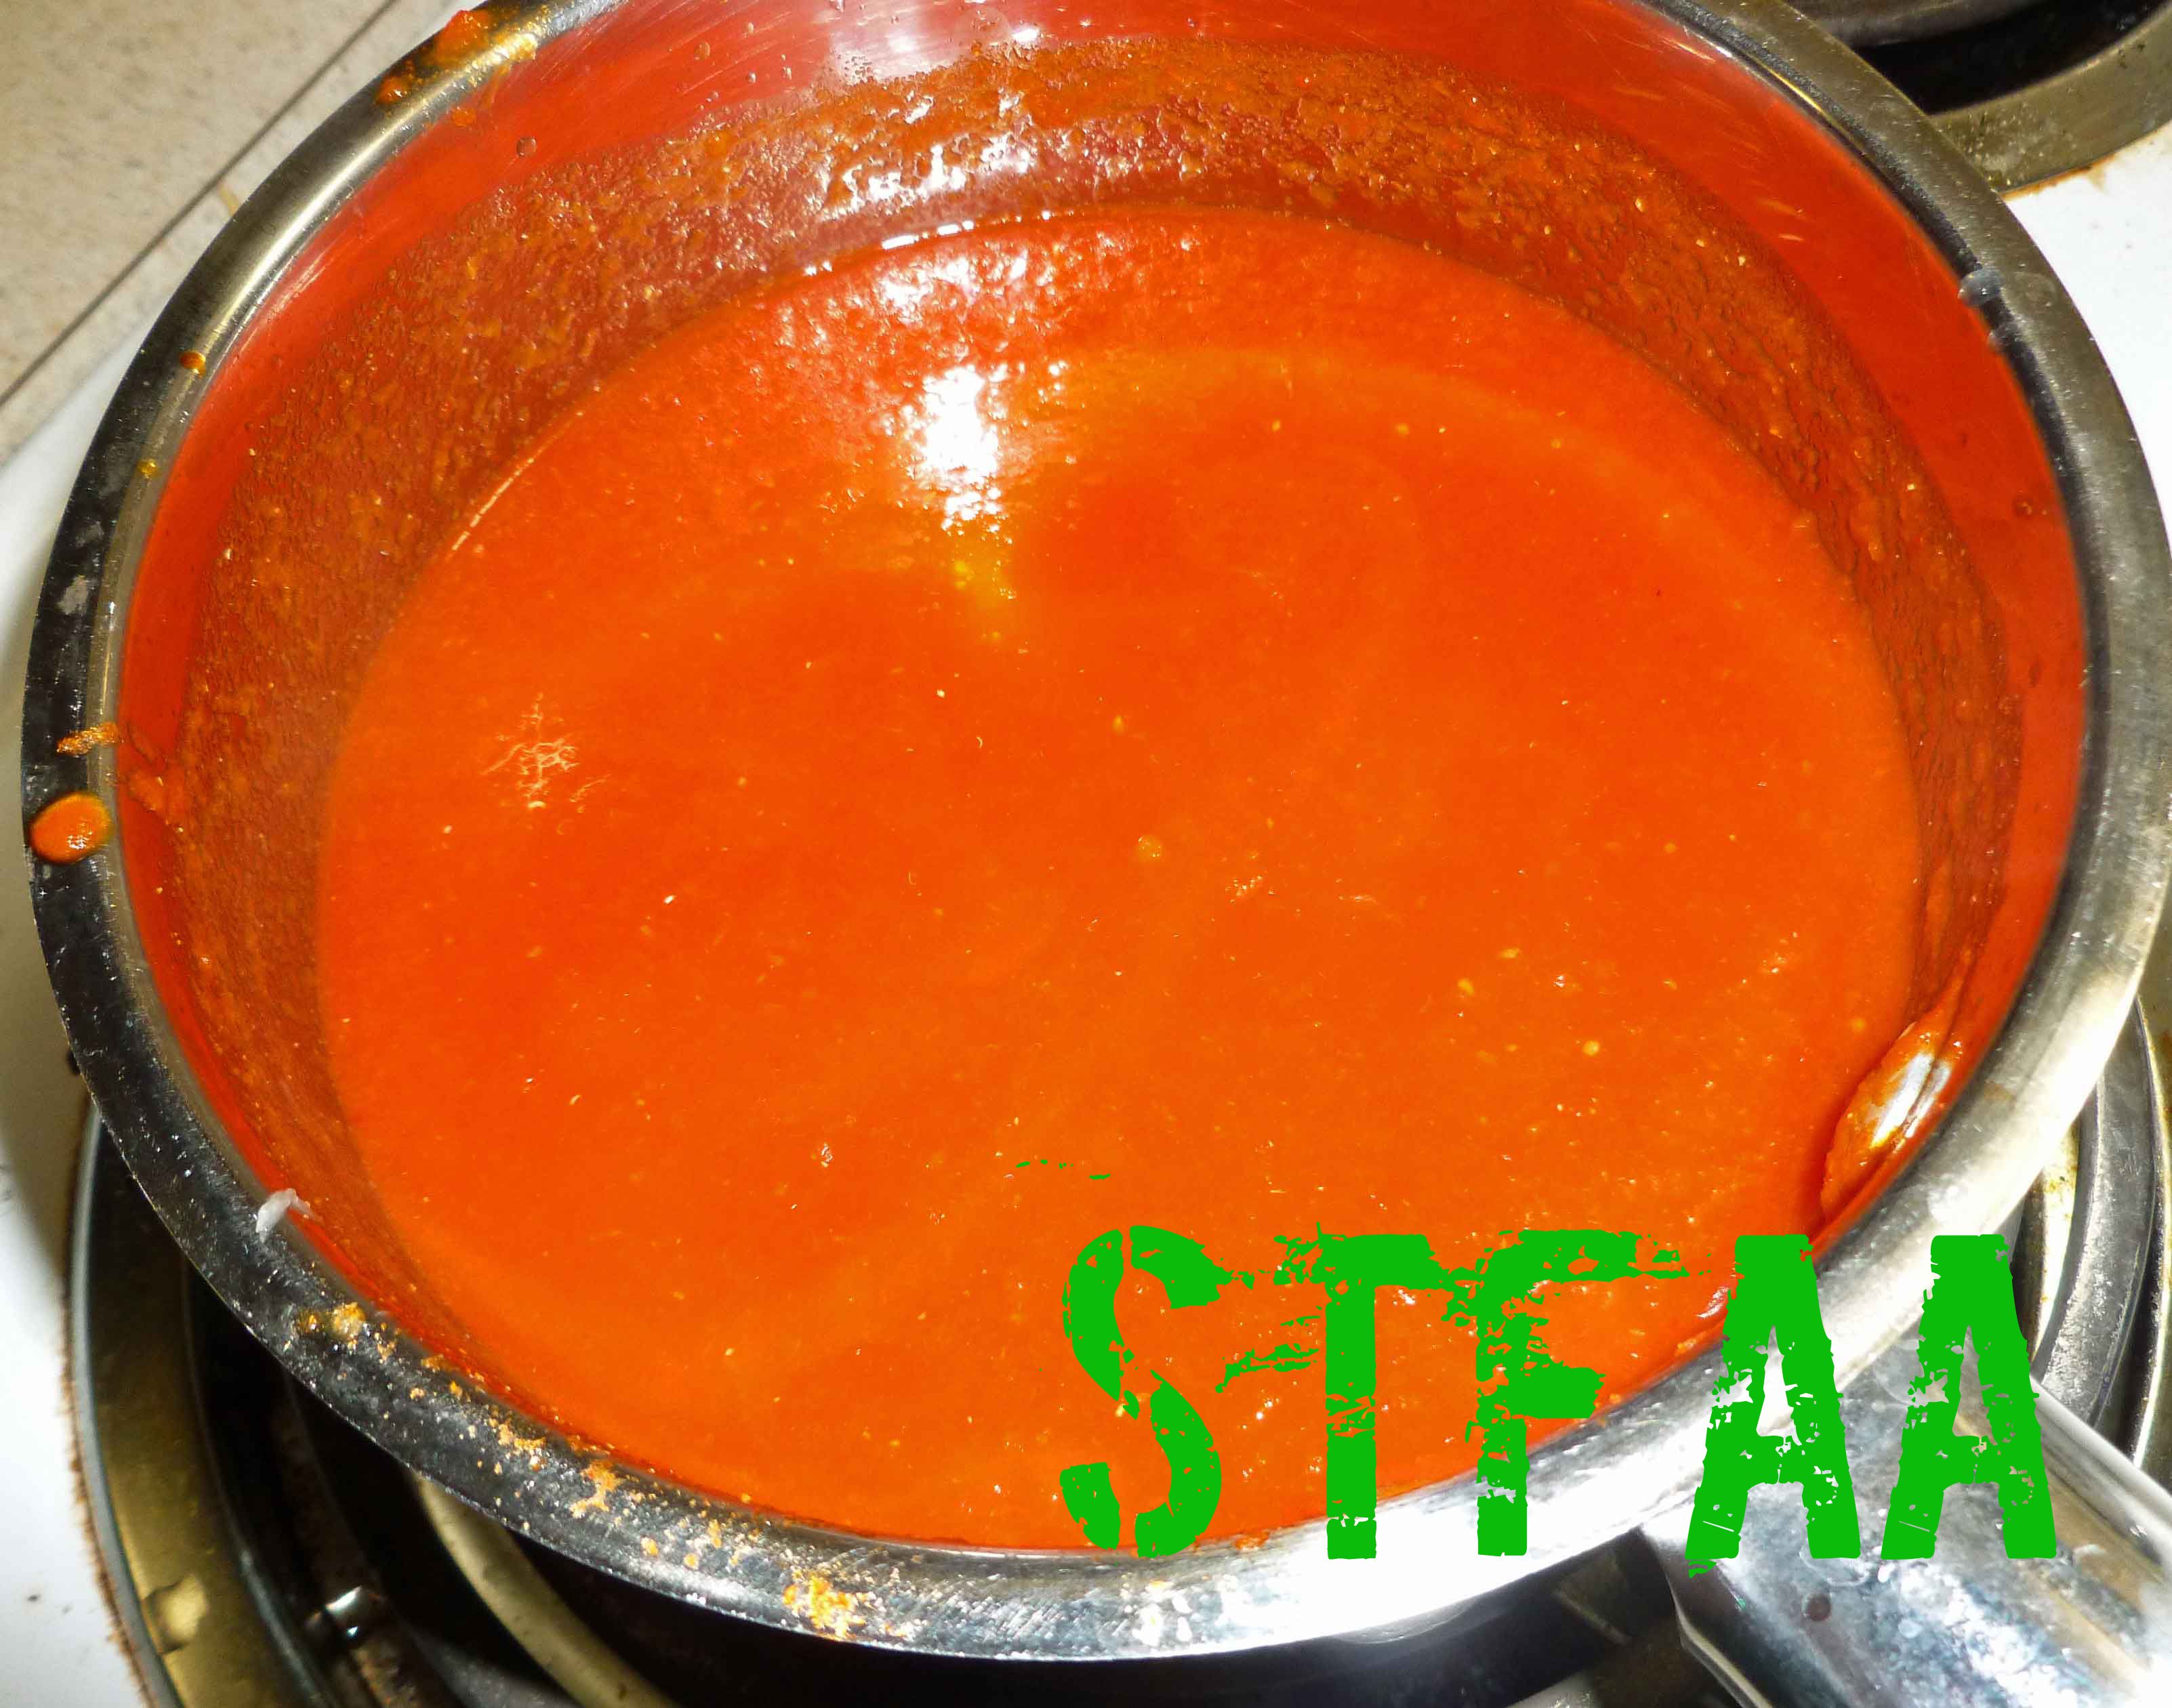
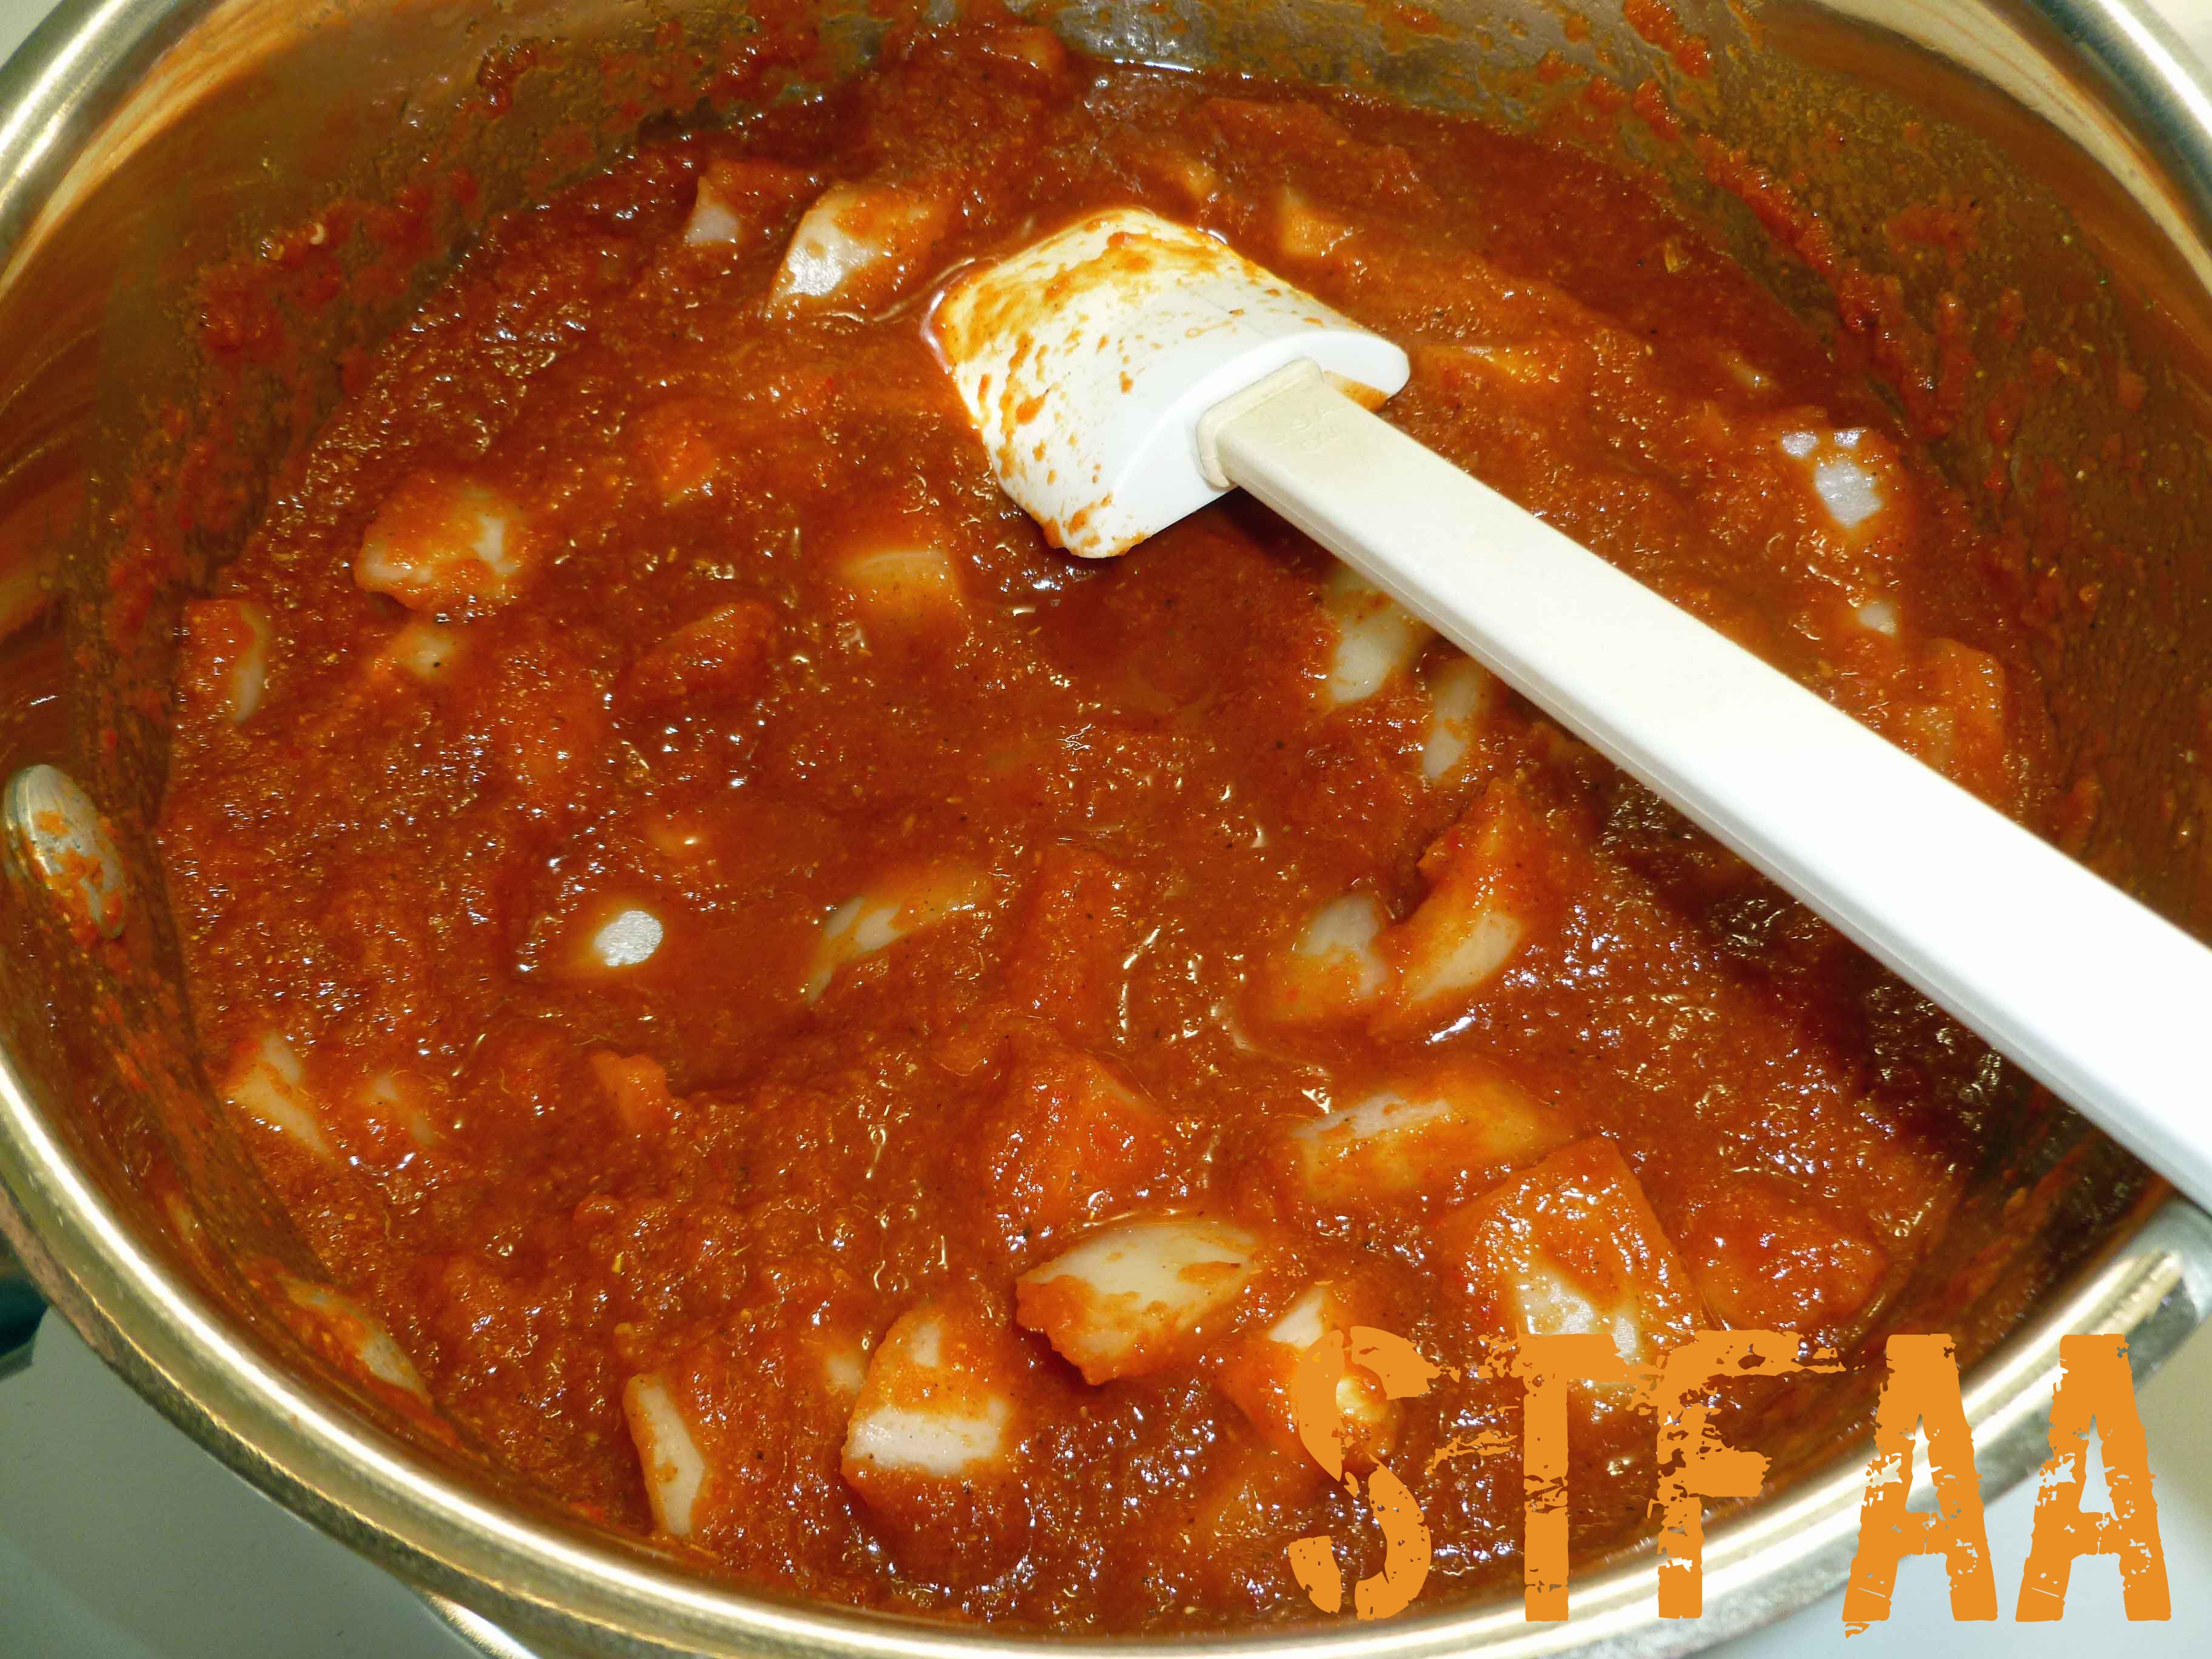
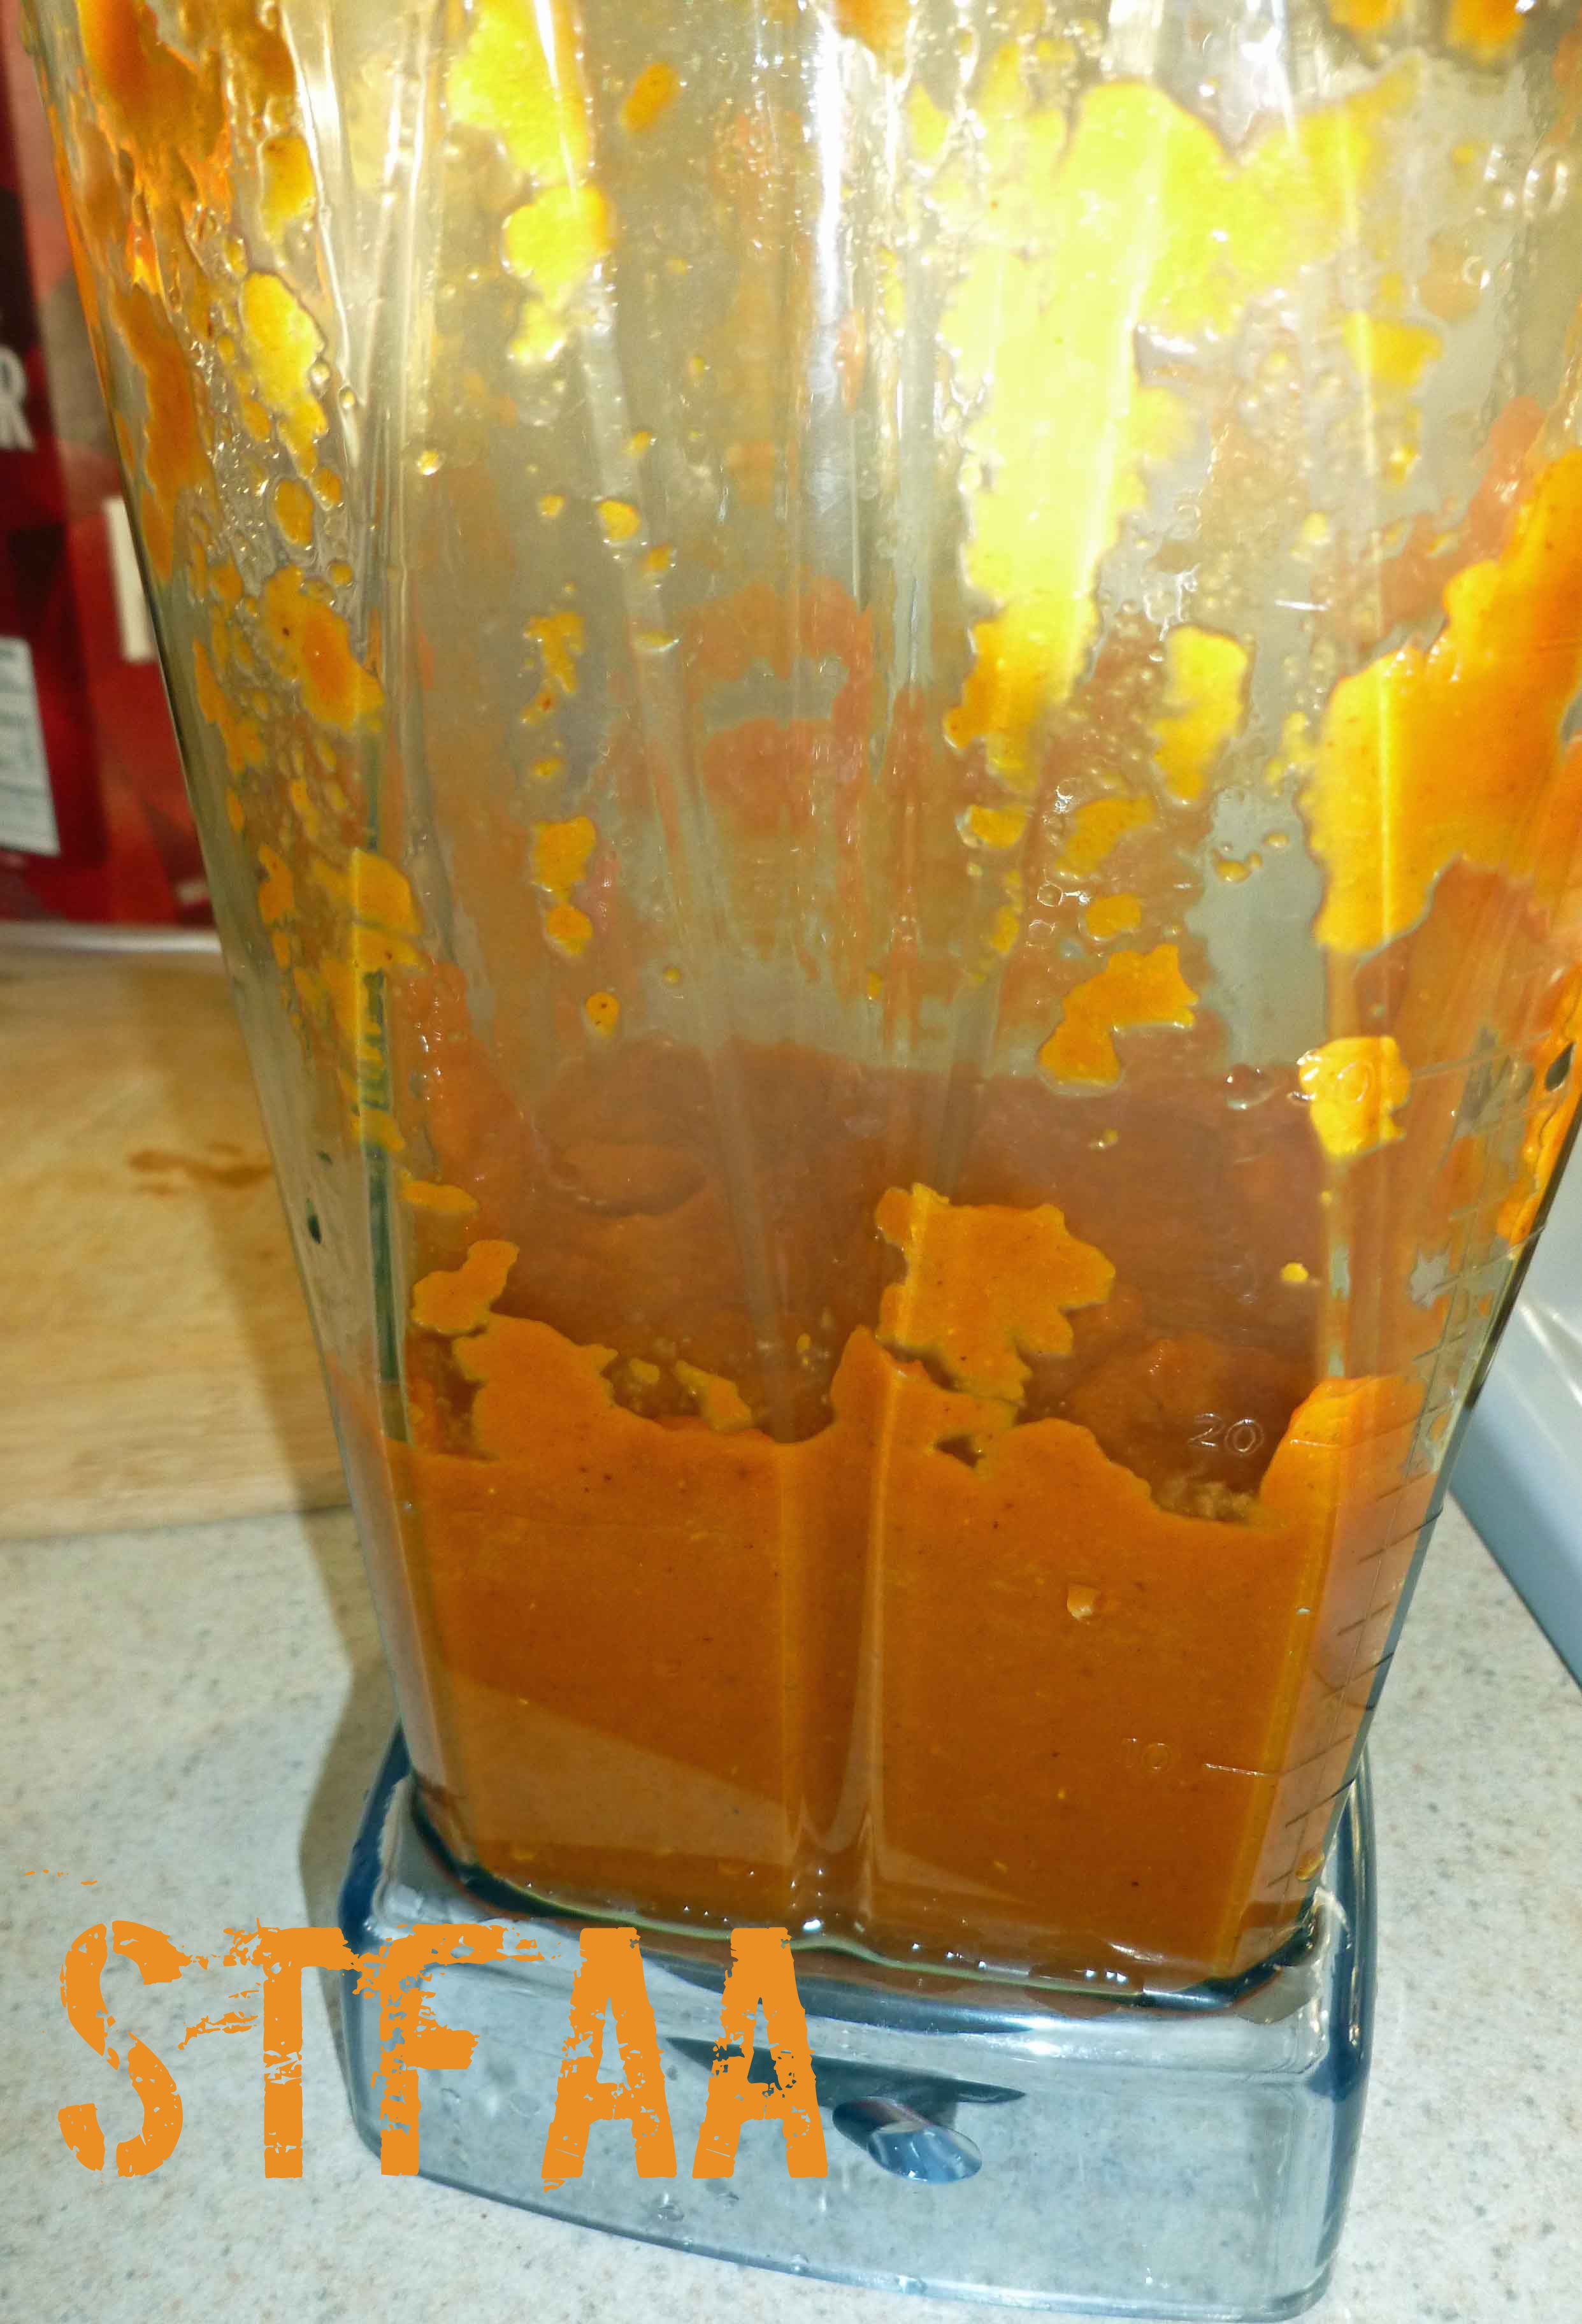
- Rinse out your blender container, and place the contents of the sauce pan into the blender and blend until completely pureed. Once pureed, return the mixture to the sauce pan and bring to a gentle boil for 2 to 3 minutes.
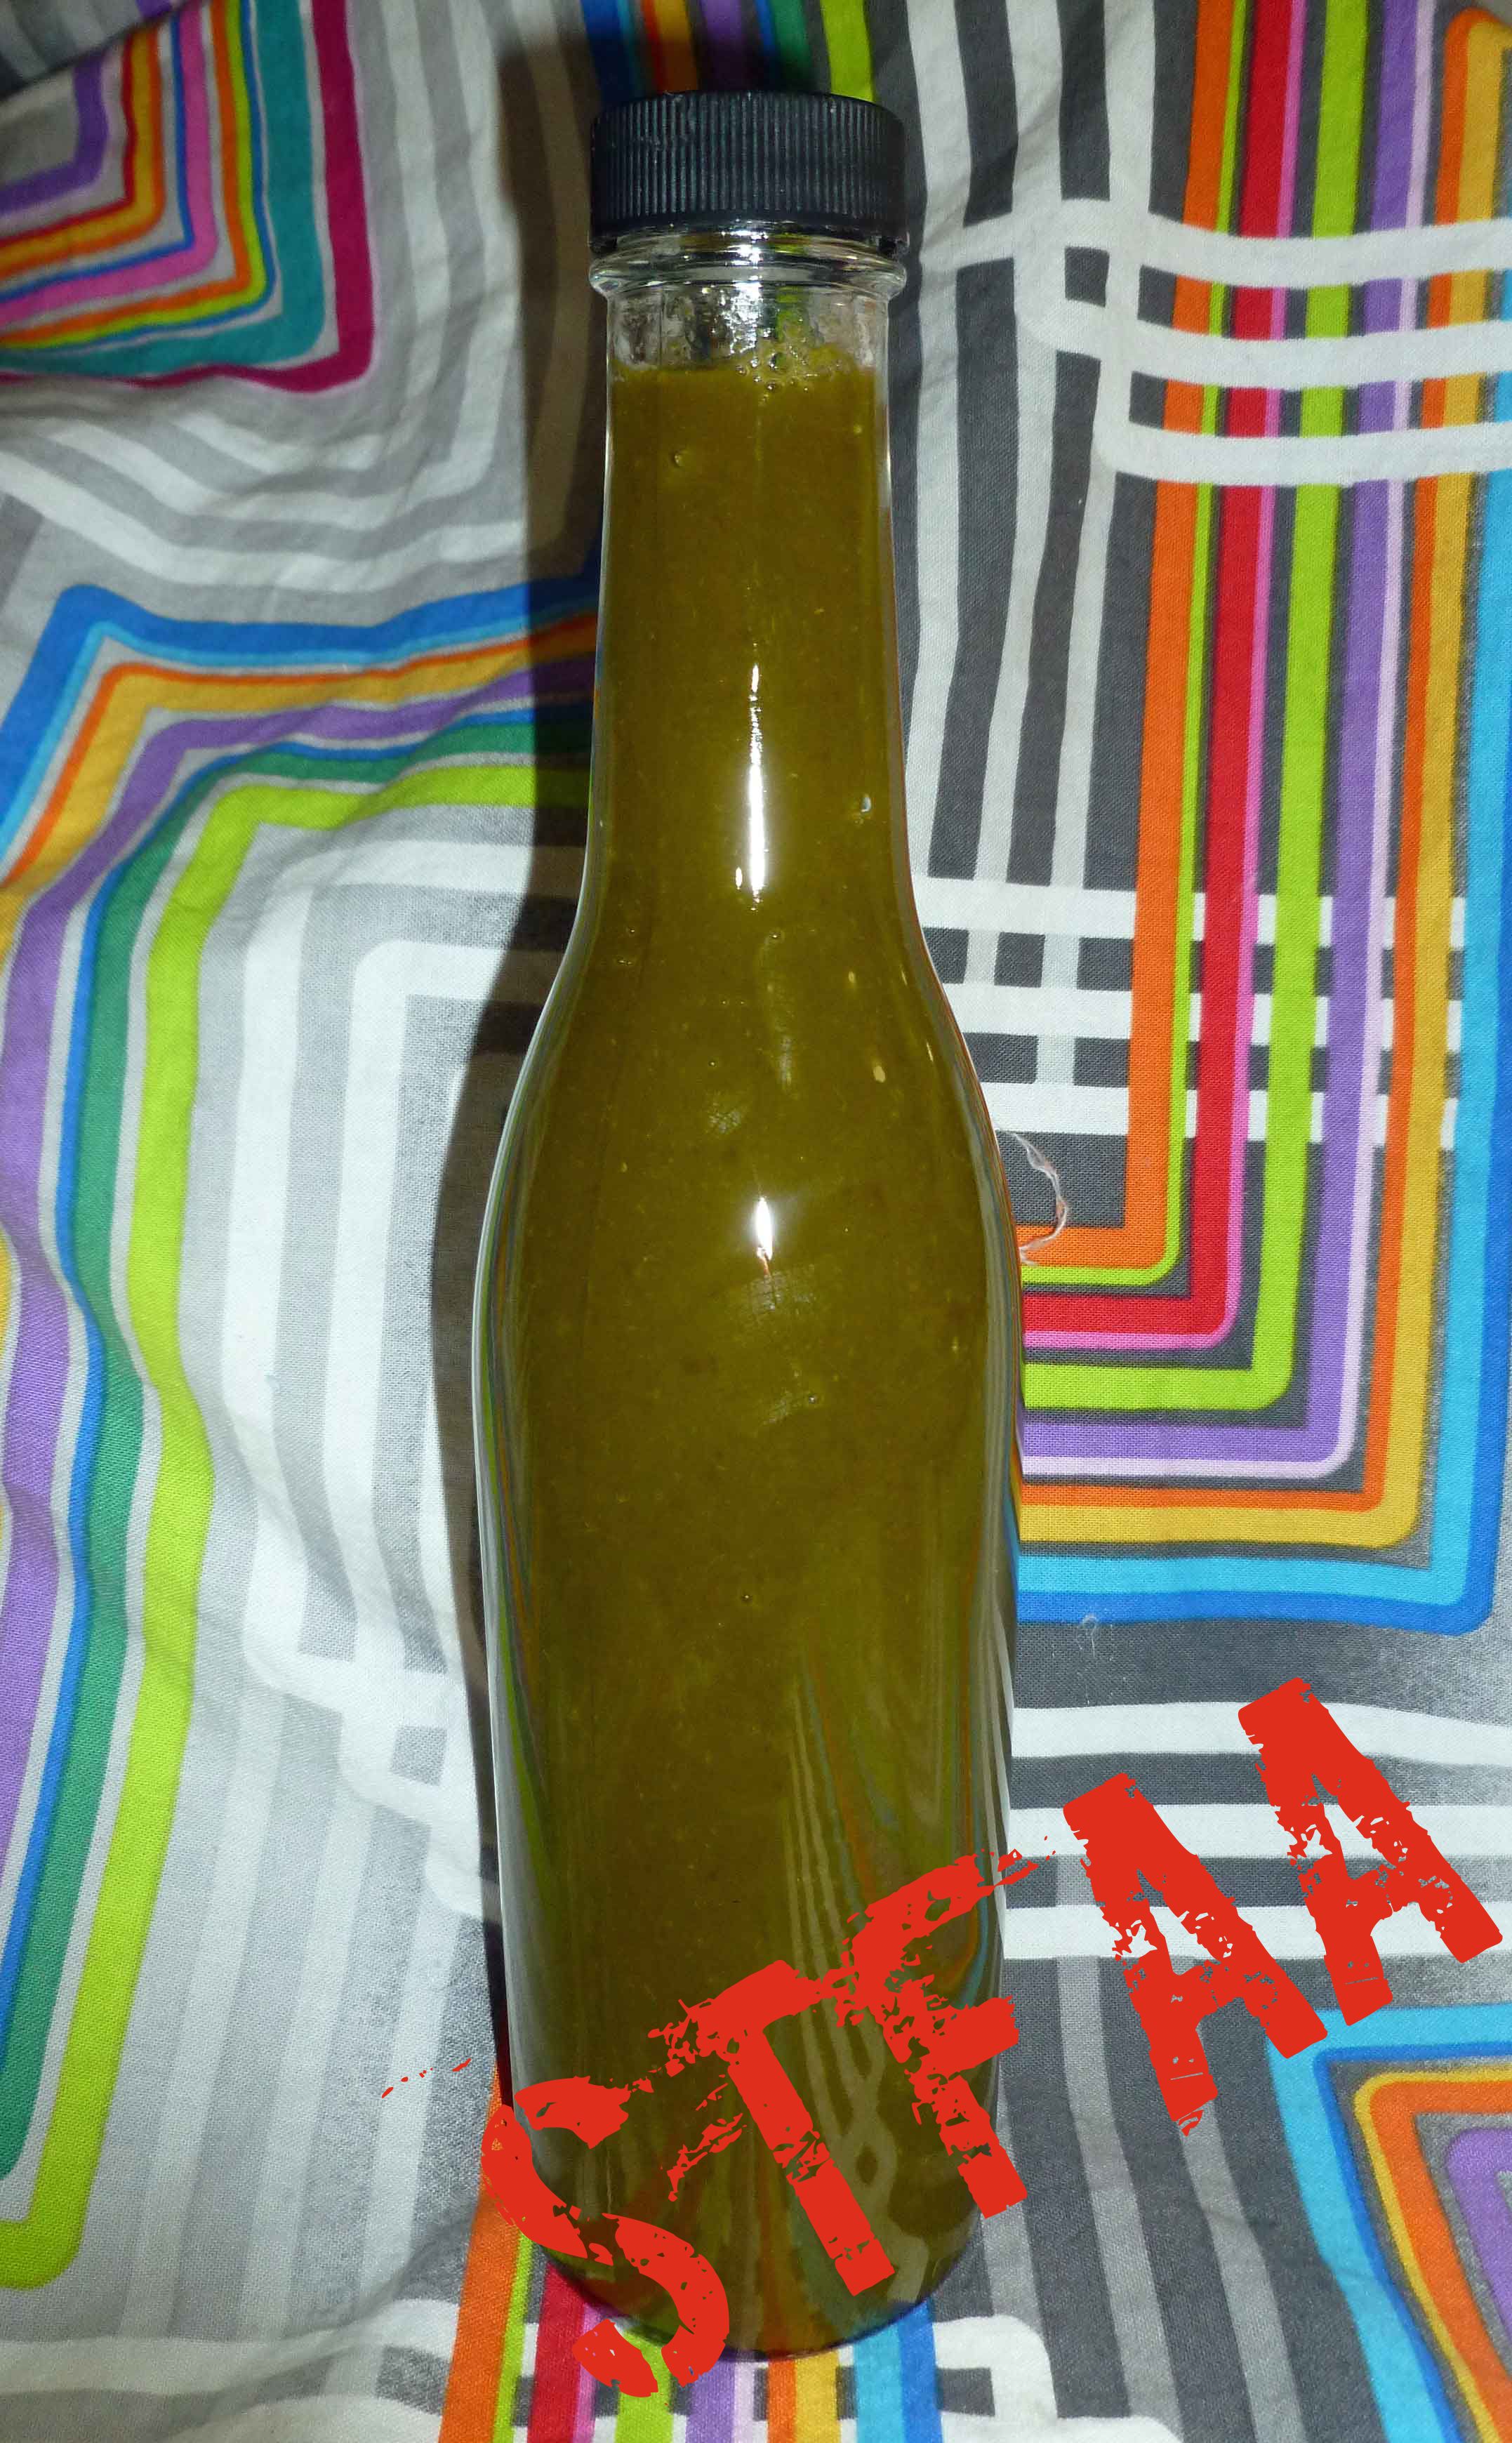
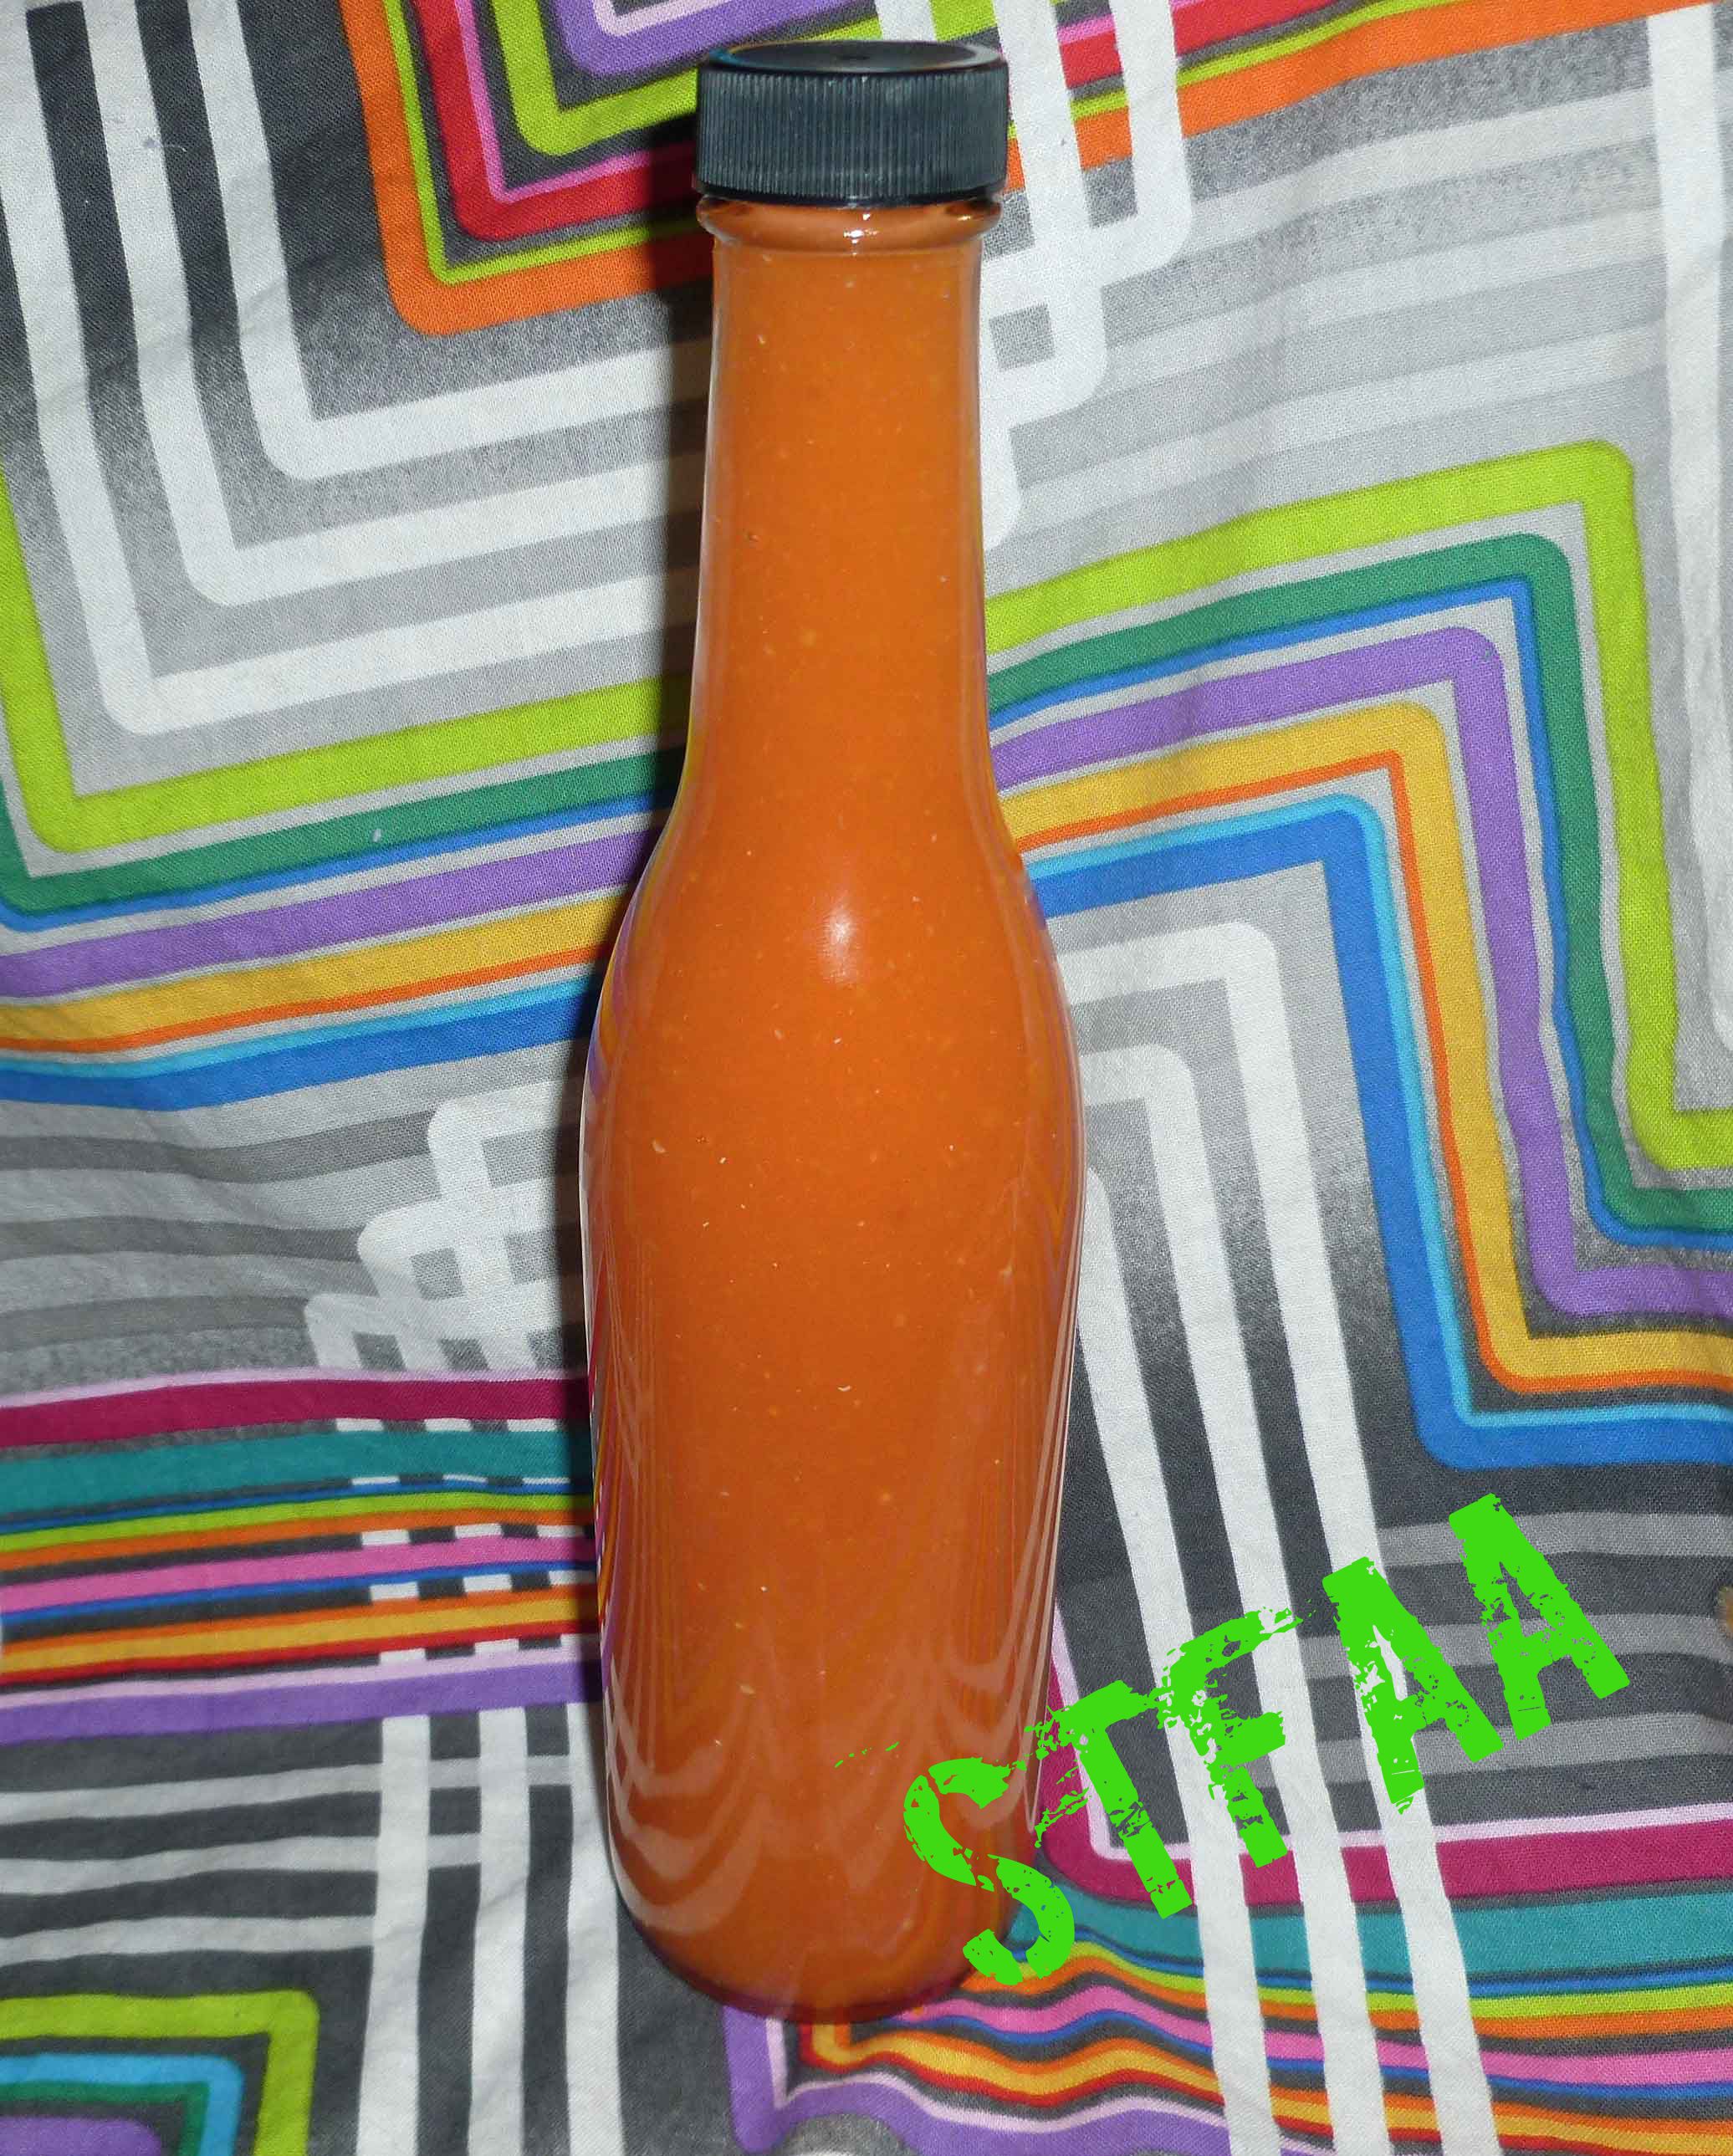
- Remove the sauce from heat and let cool before placing it a container to store in the refrigerator. Use it on everything.