Notice: Function _load_textdomain_just_in_time was called incorrectly. Translation loading for the wp-ultimate-recipe domain was triggered too early. This is usually an indicator for some code in the plugin or theme running too early. Translations should be loaded at the init action or later. Please see Debugging in WordPress for more information. (This message was added in version 6.7.0.) in /home/maryzahc/public_html/adultfoodallergies.com/wp-includes/functions.php on line 6121
WARNING – TREE NUTS – surviving the food allergy apocalypse (archive)

Tag: WARNING – TREE NUTS

Contains tree nuts such as cashews, almonds, walnuts, and pecans.

  • Morning Glory Overnight Oats

    Morning Glory Overnight Oats

    At the end of last year, I took a very cold trip out to the SeaTac airport area for a writing seminar with Anne Heffron. She walked us through a lot of exercises designed to help us figure out why we would take a very cold trip out to an airport hotel on a Friday night — why we say we want to write and don’t. Why we set ourselves goals and then flounder at them. To figure out what it is that writing means to us.

    A weird and wonderful night, I was really grateful for the long trip back home on the light rail because it let me process enough of that night that I could sleep when I got home. And I’m writing things — not things I want to share with the world, exactly, but I feel like this outlet I’ve been toying with since elementary school actually works for me instead of against me.

    So Anne is doing this wonderful experiment to more fully inhabit her own skin and the life around it. Part of it involved a change of diet. Hey, I know changes of diet. I understand missing things I used to be able to eat easily! She talks often of Morning Glory muffins as a thing that has been left behind. I don’t know, honestly, if Morning Glory muffins are THAT amazing or if they are a well-named food to be brought up again and again. I’ve never had a morning glory muffin. But I looked them up, and the flavor profile sounds pretty good — apples, carrots, coconut, cinnamon. All things I like. And since I’ve been trying to mix up breakfasts lately, I decided to be inspired by Anne’s left behind food and reinvent it a bit — into overnight oats.

    Morning glory oats are oatmeal but with so many different textures and flavors that your mouth and brain don’t get bored. I had everything to make this oatmeal in my house already, though I will admit that I haven’t tried this with rolled oats because I am so bored of them and I’m out and haven’t restocked. Many people with celiac cannot eat oats, so I tried this with quinoa flakes, as well. I think I personally like the steel-cut oats better because of texture, but the added protein from quinoa can’t hurt.

    If you can’t eat one of the many add-in items here, skip it! Make it nut-free by leaving out the walnuts (and coconut, if needed). Make it low FODMAPs by leaving out the applesauce (I think that would be the only thing — but I’m not an expert on FODMAPs). Adjust it however you need to suit you or your family.

    This recipe is written for one hearty serving. Increase as desired. I don’t usually find the glory in morning, but I do like this oatmeal.
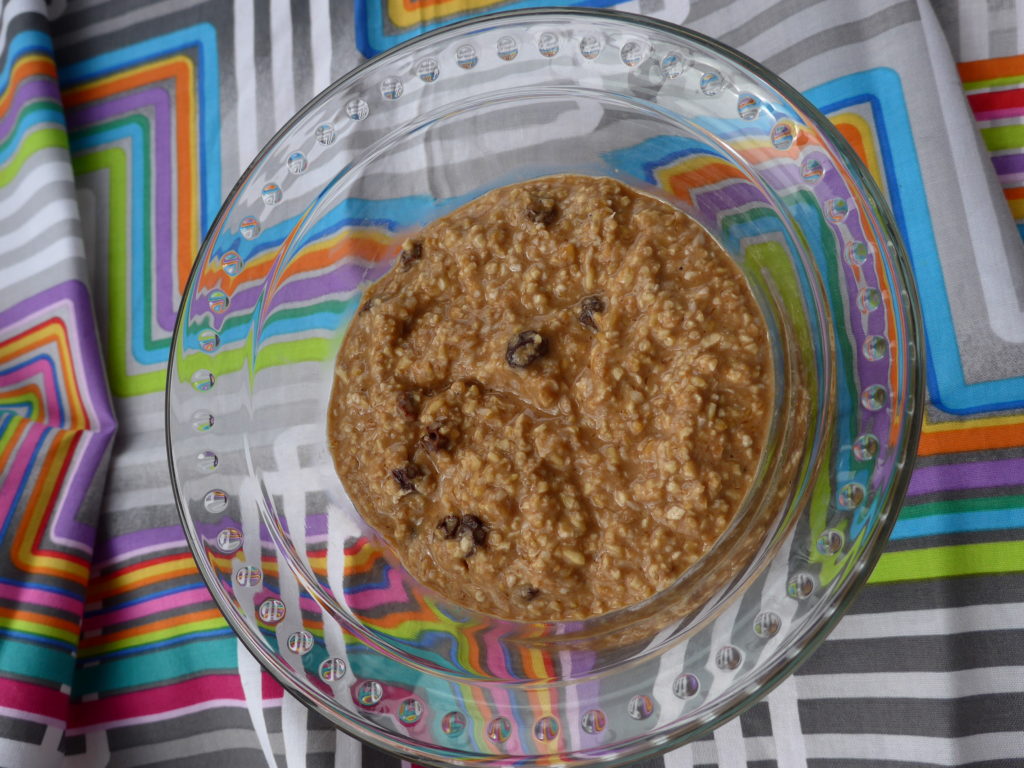
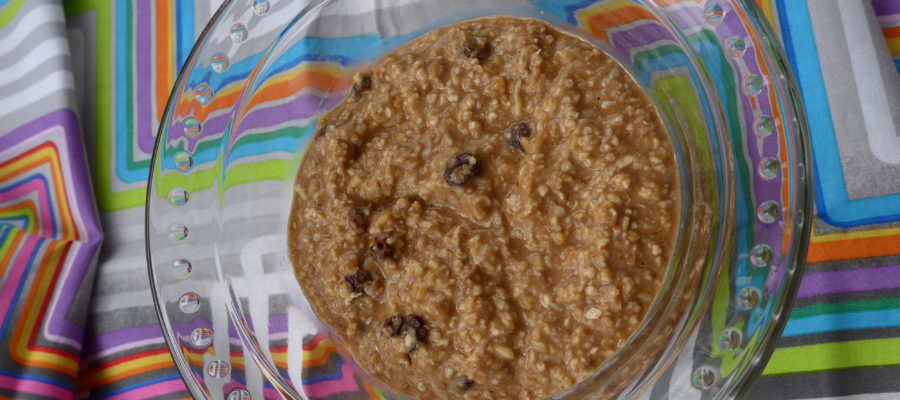
    In a clear bowl, light brown porridge with raisin, on a brightly colored backdrop
    Morning Glory oatmeal (if you note that you can’t see the orange of the carrots here, know that the only time I remembered to take photos was the time I left it out.)

    Notice: Trying to access array offset on value of type bool in /home/maryzahc/public_html/adultfoodallergies.com/wp-content/plugins/wp-ultimate-recipe/helpers/models/recipe.php on line 254
    Morning Glory Overnight Oats
    Print Recipe
    Servings Prep Time
    1 serving 10 minutes
    Cook Time Passive Time
    2-5 minutes 8+ hours
    Servings Prep Time
    1 serving 10 minutes
    Cook Time Passive Time
    2-5 minutes 8+ hours
    Morning Glory Overnight Oats
    Print Recipe
    Servings Prep Time
    1 serving 10 minutes
    Cook Time Passive Time
    2-5 minutes 8+ hours
    Servings Prep Time
    1 serving 10 minutes
    Cook Time Passive Time
    2-5 minutes 8+ hours
    Ingredients
    • 1/3 cup gluten-free steel-cut oats* I buy mine from GF Harvest because I trust their purity protocol
    • 2 oz applesauce about half one of those little cups I always keep around for GF baking
    • 3/4 teaspoon cinnamon
    • 1/2 teaspoon vanilla powder optional, but worth seeking out
    • 2 Tablespoons ground walnuts
    • 2 Tablespoons unsweetened shredded coconut
    • 2 Tablespoons raisins
    • 2-3 Tablespoons shredded carrot (just shred a small one and go with it)
    • 1/2 cup non-dairy milk I used flax milk and really liked it.
    Servings: serving
    Instructions
    1. Mix all ingredients together in a heat-proof container of your choice. If you can’t find your shredder, like me, just peel the carrots and then keep peeling the part you want to eat, too. Chop the peeled bits. Put in the fridge overnight.
    2. In the morning, stir and add more milk if needed. Heat and eat. If you’re using the steel-cut oats and want them softer, cook a little longer. If you’ve used rolled oats or quinoa flakes, just heat it.
    Recipe Notes

    *I’m gluten-intolerant & pretty sensitive, but I can tolerate most certified gf oats. I’ve used steel-cut purity protocol oats here, but you could substitute rolled oats or quinoa flakes for a different texture.
    Share this Recipe
     
    Powered byWP Ultimate Recipe
  • Chai Spiced Granola Bars

    Chai Spiced Granola Bars

    Chai Spiced Granola Bars
    Chai Spiced Granola Bars

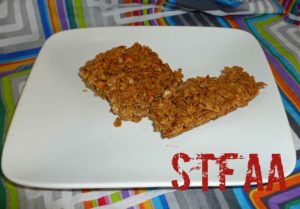
    I miss the convenience of buying a Nature Valley Granola bar, and calling it good for breakfast. Since they’re not safe for me, and since I needed to trial some cane syrup I bought, I went poking around the Interwebs and found this recipe that I modified. Sadly, the cane syrup was a big fail and caused a reaction. Yes, I know I can make cane syrup and I do. I just don’t want to. I was just hoping to have one damn ingredient component that I don’t have to make before I make the actual recipe. It was a big disappointment, although frankly, I was pretty sure it was going to be a fail as they use corn syrup in the facility where it is made. The original recipe uses honey (I don’t currently have a safe source), but homemade cane syrup will work since the commercial version did, and I’d be willing to try it with my safe molasses. You could also try maple syrup as a substitute, but I’m allergic to maple pollen so I haven’t bothered to trial a maple syrup from a safe source that doesn’t use canola or dairy as a defoamer as it’s boiling down to see if I can manage maple syrup if it’s pure. Anyway, let us know if you try different things and it works.

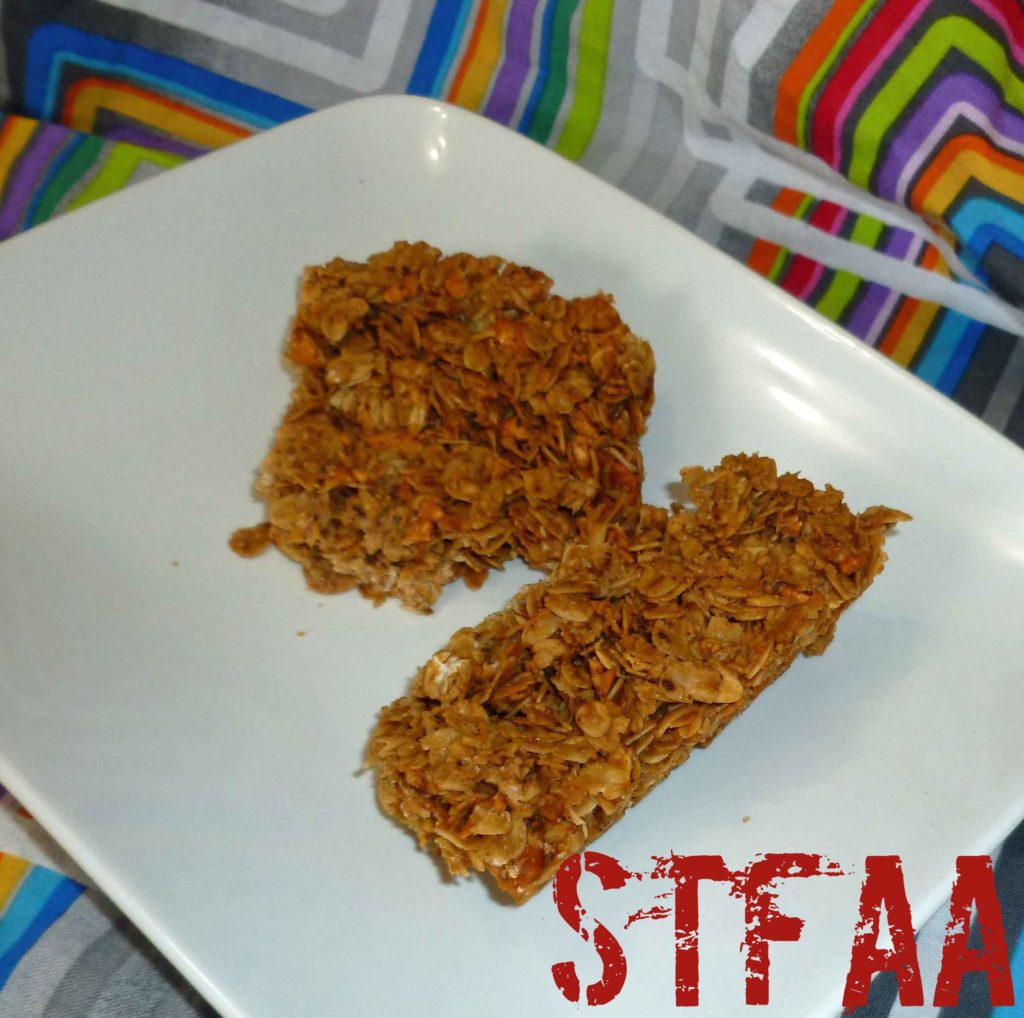
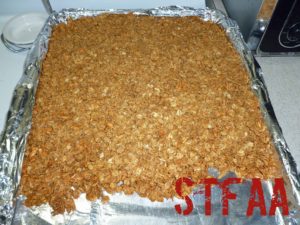
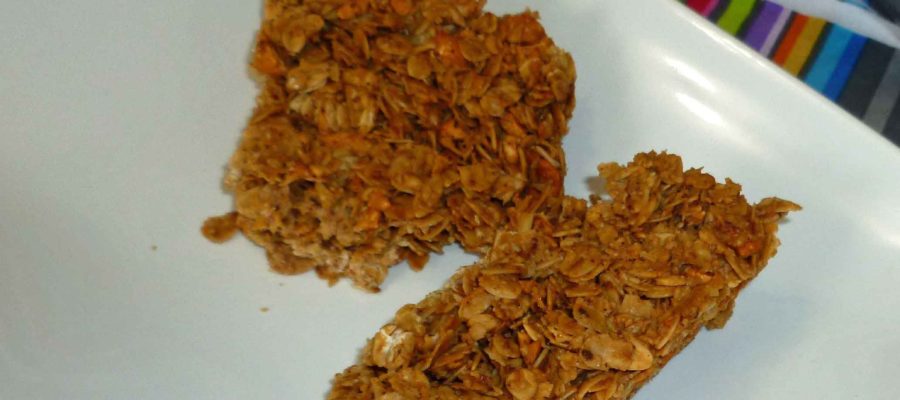
    I used cashews in this recipe, because it’s one of my safe nuts, but if you don’t do tree nuts, you could substitute other seeds, such as sunflower or pumpkin, or you could use dried fruit, such as raisins or dried cranberries. To give you another helpful hint, I made my bars way, way too thick. So they were sort of brick-like and broke into small pieces as I was cutting them. Which is good if you want granola cereal but not so much if you want them to be bars and you don’t want to try to gnaw on a brick. Make them thin. Spread them out across that whole cookie sheet.

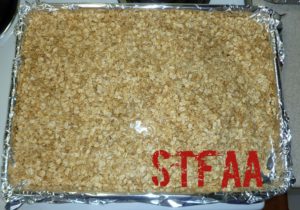
    Oats before toasting
    Oats before toasting
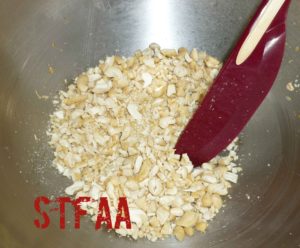
    Chopped cashews
    Chopped cashews
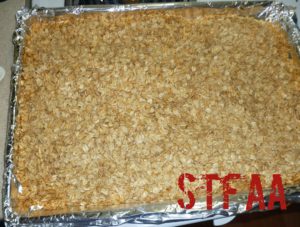
    Oats after toasting
    Oats after toasting
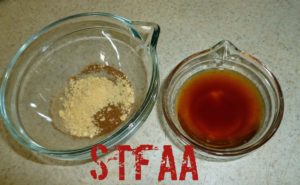
    Spices and vanilla extract
    Spices and vanilla extract to be added to the syrup and sugar mixture
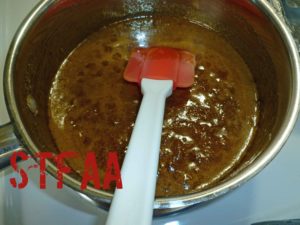
    Sugar and syrup mixture
    Sugar and syrup mixture
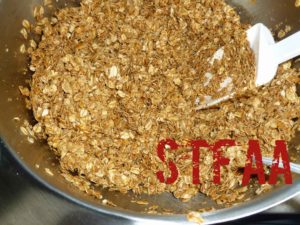
    Toasted oats and cashews coated with the syrup and sugar mixture
    Toasted oats and cashews coated with the syrup and sugar mixture
    Chai Spiced Granola Bars after baking
    Chai Spiced Granola Bars after baking (don’t make them this thick!!)
    Chai Spiced Granola Bars
    Chai Spiced Granola Bars
    Chai Spiced Granola Bars
    Chai Spiced Granola Bars
    Print Recipe
    Crunchy granola bars for a quick, easy breakfast or to use as shelf stable snacks while traveling.
    Servings Prep Time
    20-24 bars 45 minutes
    Cook Time
    40 minutes
    Servings Prep Time
    20-24 bars 45 minutes
    Cook Time
    40 minutes
    Chai Spiced Granola Bars
    Chai Spiced Granola Bars
    Print Recipe
    Crunchy granola bars for a quick, easy breakfast or to use as shelf stable snacks while traveling.
    Servings Prep Time
    20-24 bars 45 minutes
    Cook Time
    40 minutes
    Servings Prep Time
    20-24 bars 45 minutes
    Cook Time
    40 minutes
    Ingredients
    Ingredients
    • 7 cups rolled oats (not quick oats)
    • 1/2 cup grape seed oil (or other safe for you oil)
    • 1 teaspoon sea salt
    • 1 1/2 cups cashews (or mix of other safe for you nuts, seeds and/or dried fruit) chopped
    • 3/4 cup cane syrup (or other safe for you molasses, honey, maple syrup, rice syrup or here’s how to make it https://www.thekitchn.com/pantry-staples-diy-cane-sugar-131934 )
    • 3/4 cup brown sugar
    • 1 Tablespoon vanilla extract (I make my own with vanilla beans and vodka made from potatoes, as most commercial extract contains corn)
    • 2 teaspoons ground cinnamon
    • 1 teaspoon ground ginger
    • 1 teaspoon ground cardamom
    Equipment
    • 1 half size baking sheet (13×18 inches)
    Servings: bars
    Instructions
    1. Place your oven rack in the center of your oven and preheat it to 375°F degrees. Line your half size baking sheet with aluminum foil.
    2. Place oats, oil and sat in a large bowl and mix thoroughly until the oats are coated with the oil. Spread the oats on your baking sheet in an even layer and place in the oven. Stir them every 10 minutes or so until they are pale gold, which took me about 35 minutes in my oven. Take the oats out of the oven, and reduce your oven temperature to 300°F degrees.
    3. Place the chopped cashews (or other nuts, seeds or dried fruit) and the toasted oats in a large bowl. Keep the foil on the half size baking sheet, you’re going to use it later.
    4. Place the cane syrup (or other substitute) and brown sugar in a small saucepan over medium head, stirring frequently until the sugar is dissolved, about 10 minutes.
    5. Remove the syrup and sugar mixture from the heat, and add the vanilla, cinnamon, ginger and cardamom, stirring well.
    6. Add the syrup and sugar mixture to the bowl containing the cashews and toasted oats, and stir with a silicone spatula until the oats are completely coated with the syrup and sugar mixture.
    7. Pour the oat mixture on the baking sheet lined with foil, spreading it out into a thin even layer. Use a large metal spatula sprayed with safe for you oil and press the mixture into the baking sheet. Make sure your later is thin, flat and very tightly pressed together. Bake until golden about 40 minutes.
    8. Remove the baking sheet from the oven, and place it on a wire rack for about 10 minutes. Cut the bars using a metal spatula or a bread dough cutter/scraper, making sure you cut all the way through. Do not wait to cut the bars, or they won’t cut. Don’t remove the cut bars from the baking sheet until they cool all the way.
    Share this Recipe
    Powered byWP Ultimate Recipe
  • Gluten-free Vegan Almond or Cashew Brownie Cookies

    Gluten-free Vegan Almond or Cashew Brownie Cookies

    Gluten-free vegan brownie cookies -- cashew cookies on the left, almond cookies on the right
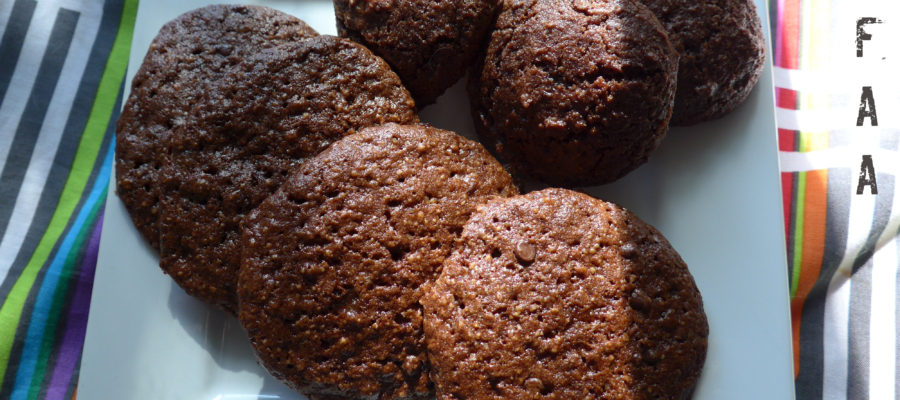
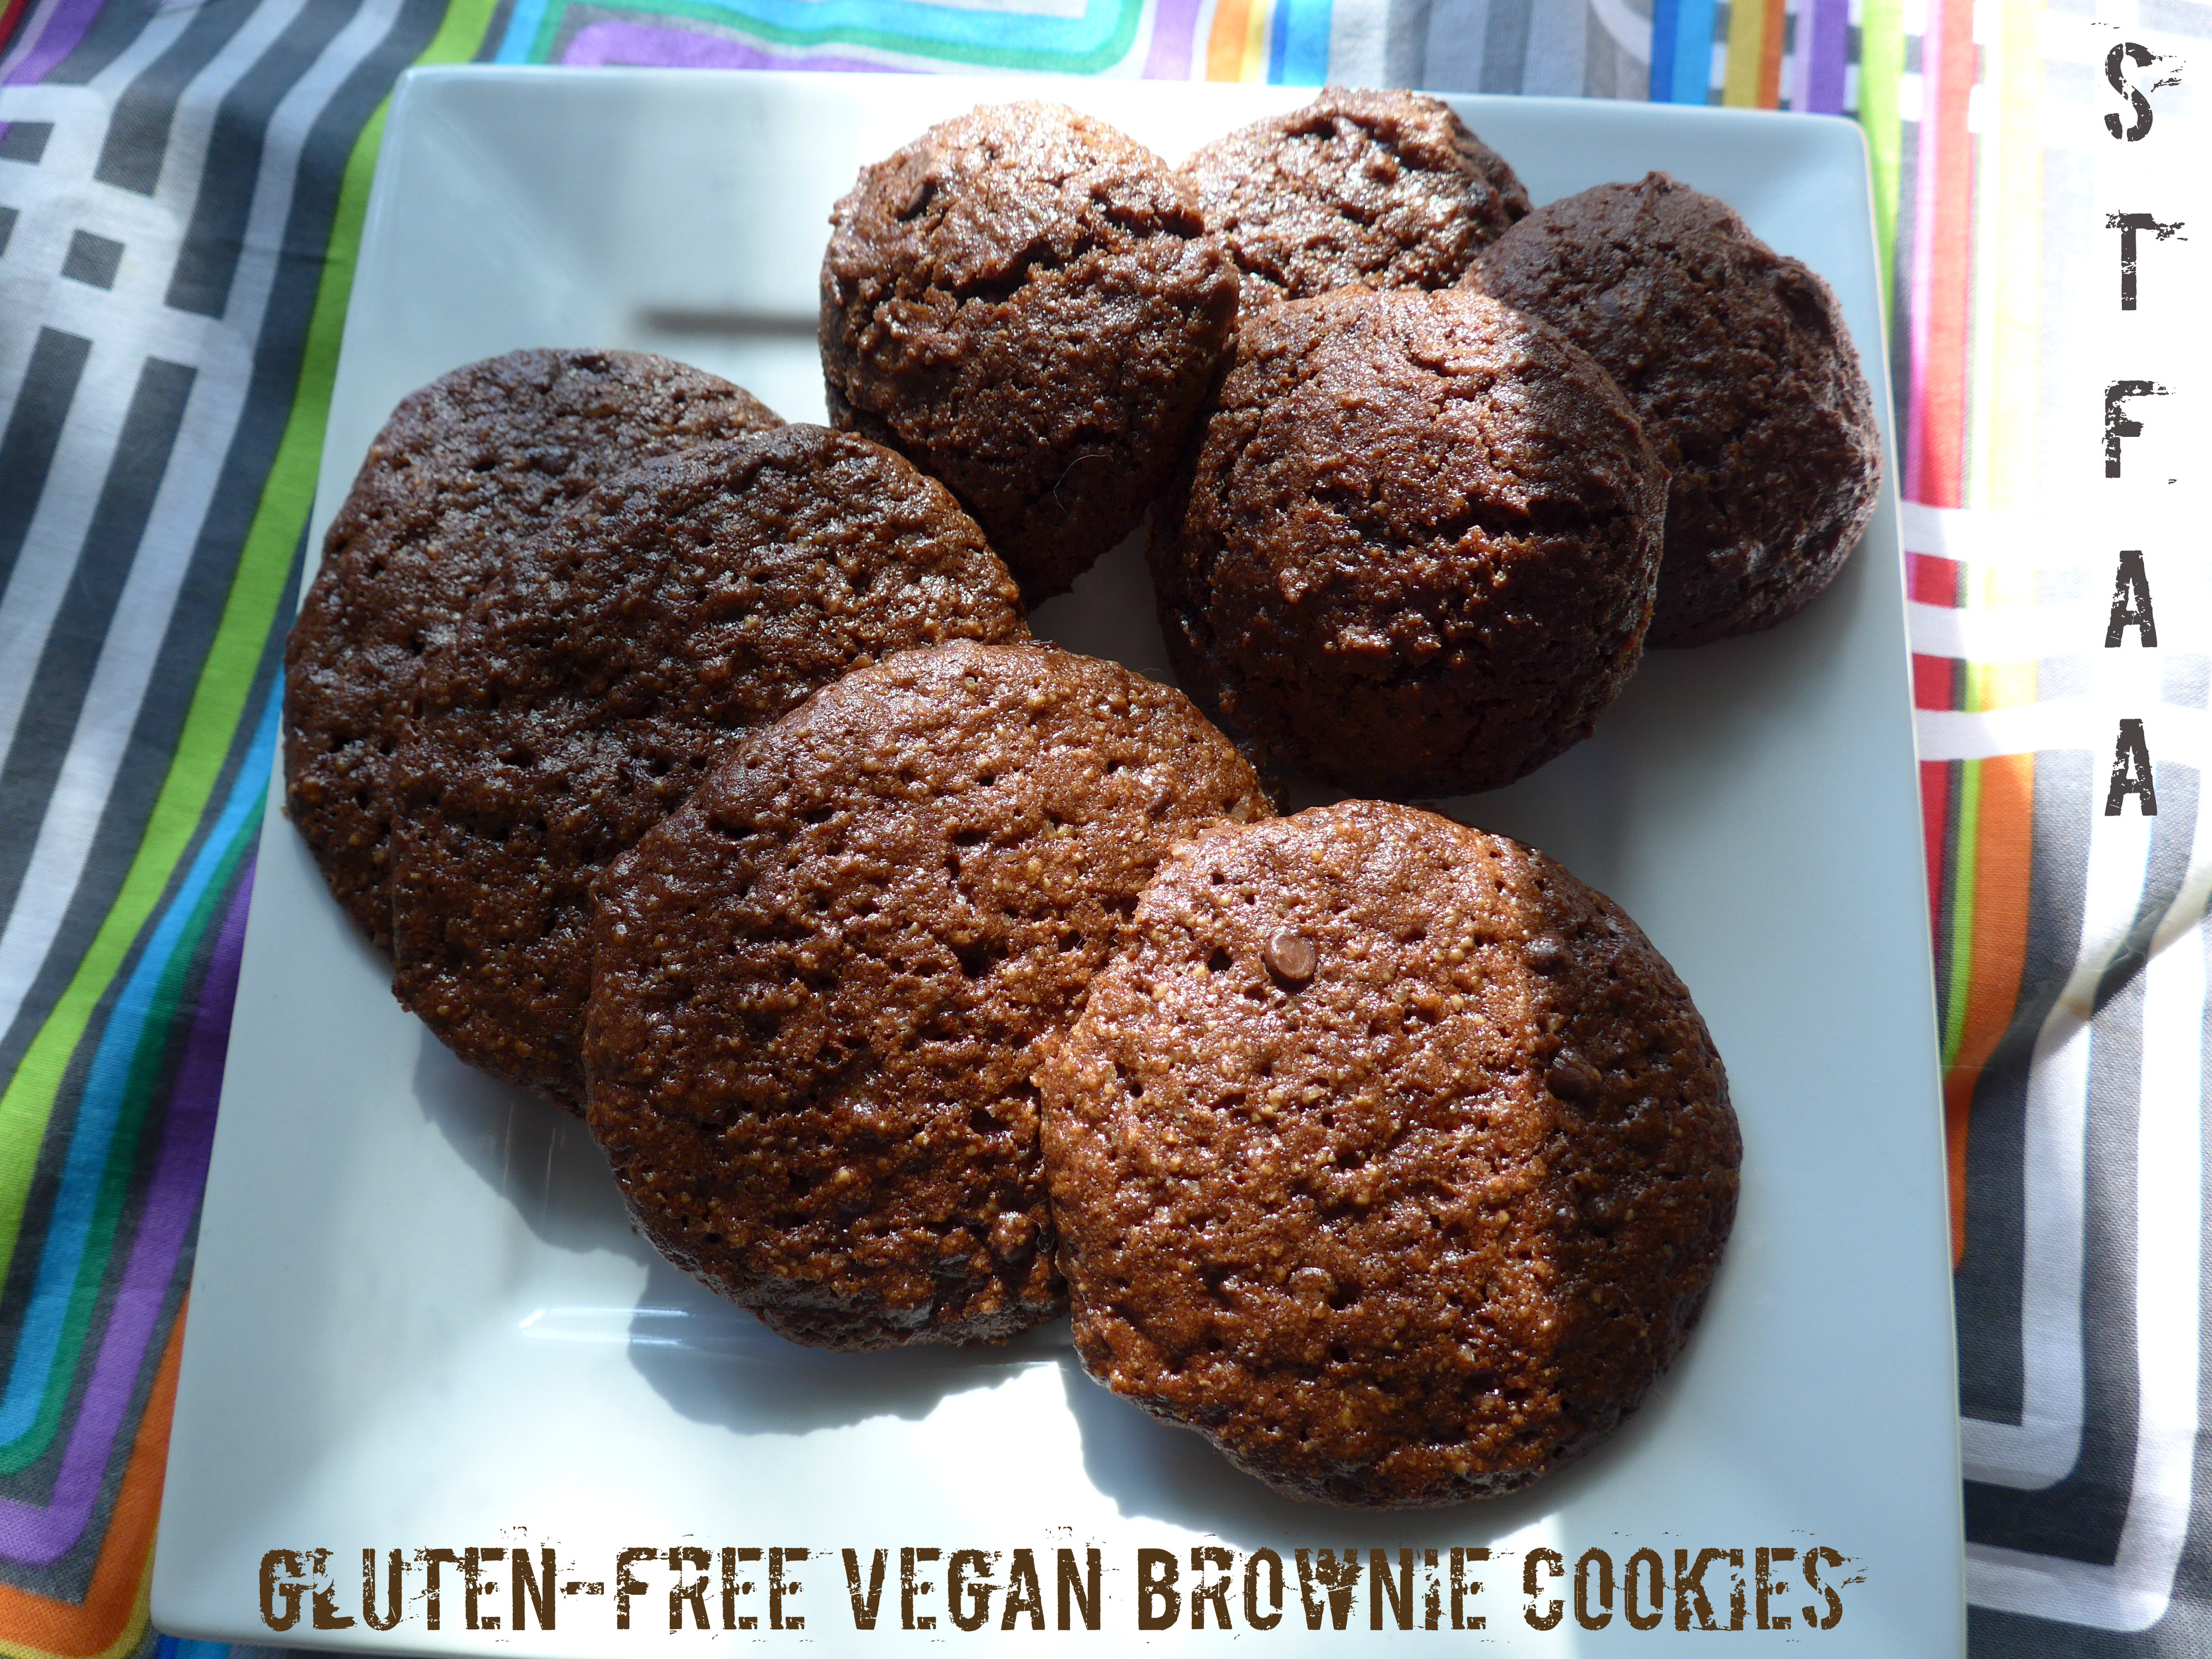
    Gluten-free vegan brownie cookies — cashew cookies on the left, almond cookies on the right

    So, back in 2012, I thought I’d achieved brownie nirvana with my At Last Brownies recipe. I’d perfected a “normal” baking brownie in the year before, and this was my great gluten-free version. Then Denise posted her Killer Brownies recipe, adjusted for her then-allergies.

    Lately, neither of these versions is working great for me. I find the flour mix in the At Last brownies no longer to my tastes, and Denise likes a more fudgy texture than I do. So for our update/re-do month, I thought I’d take on brownies again. Why not? Can you ever have too many brownie recipes?

    Changes from the original recipe include omitting the coconut, simplifying the flour mix, deciding not to measure the chocolate chips precisely, oh, and making cookies out of the mix. I kept the nut flour, as I like the richness and I’m not allergic to most tree nuts, but I’ve done two versions — one with almond, one with cashew. If you can’t do nuts, check out Denise’s prior recipe.

    On the cookies — this was more of a practical concern. Either my 8×8 brownie pan was gross and I got rid of when I moved, or it ended up in Oregon with a different family (our movers were… not great.) So I don’t have one. I did, however, have all the ingredients I wanted to work with, and I was too lazy to go out and buy one. So, cookies. On the upside, this gives you very portable and non-crumbly brownie-like food. On the downside, you don’t get the edges (which I love). I still love this recipe, but if you try it out in a brownie pan, please let me know how it went (and how long you baked it!).

    If you can eat both almond and cashews, how do you choose? Depends on what you want! The cashew brownie cookies will be thinner and more cookie-like. The almond brownie cookies will be thicker and more cake-like. They are both incredibly tasty. Maybe try both and tell me which you prefer.


    Notice: Trying to access array offset on value of type bool in /home/maryzahc/public_html/adultfoodallergies.com/wp-content/plugins/wp-ultimate-recipe/helpers/models/recipe.php on line 254
    Gluten-free Almond or Cashew Brownie Cookies
    Print Recipe
    Servings
    24-25 cookies
    Cook Time
    20 minutes
    Servings
    24-25 cookies
    Cook Time
    20 minutes
    Gluten-free Almond or Cashew Brownie Cookies
    Print Recipe
    Servings
    24-25 cookies
    Cook Time
    20 minutes
    Servings
    24-25 cookies
    Cook Time
    20 minutes
    Ingredients
    • 1 Tablespoon ground chia seeds
    • 4 Tablespoons water
    • 1.5 cups almond or cashew flour (ground nuts — Trader Joe’s sells both, and Bob’s Red Mill sells almond flour)
    • 1/2 cup sorghum flour
    • 1/2 cup + tapioca starch ADD ADDITIONAL 2 TABLESPOONS IF USING CASHEW (can sub with another starch if you don’t have tapioca, but this is one of the cheapest)
    • 1/2 cup cocoa powder
    • 1/2 teaspoon salt
    • 1/4 teaspoon baking soda
    • 1 cup brown sugar packed
    • 1/3 cup non-dairy milk (does not matter what kind — use what you like)
    • 1/4 cup oil (use a neutral-flavored oil. I’m playing with rice bran oil these days and I love it. Safflower or vegetable oil should also work fine)
    • 1 Tablespoon vanilla extract safe-for-you
    • 1/4-1 cup chocolate chips mini-chips work best, dark chocolate taste best, use whatever you have, is safe for you, and you like
    Servings: cookies
    Instructions
    1. Pre-heat oven to 350°F
    2. Mix the chia seeds and water together and set aside to gel.
    3. Mix dry ingredients — almond or cashew flour through sugar (REMEMBER TO ADD 2 TABLESPOONS OF STARCH IF USING CASHE FLOUR).
    4. Add the milk, oil, vanilla, and chia gel to the dry ingredients and mix until well-incorporated. Love the fact that you can’t over-mix gluten free batters. Add in the chocolate chips and mix well. This recipe is pretty forgiving for how many. I usually go for a generous 1/2 cup, plus a bit for luck.
    5. Portion out cookies — I use a 1 Tablespoon cookie scoop to make it as easy as possible — onto a cookie sheet lined with a silicon sheet or parchment paper. You will get 24-25 cookies, so two half sheets.
    6. Bake both sheets at once using two oven racks. Bake for 10 minutes, then switch the sheets (move the middle one to the top and top one down) and also spin them around at the same time. Bake for another 10 minutes.
    7. Remove from the oven and let them cool for 3-5 minutes before putting the cookies on a rack to cool completely.
    8. (Goes really well with ice cream.)
    Share this Recipe
     
    Powered byWP Ultimate Recipe


  • Vichyssoise — dairy-free

    Vichyssoise — dairy-free

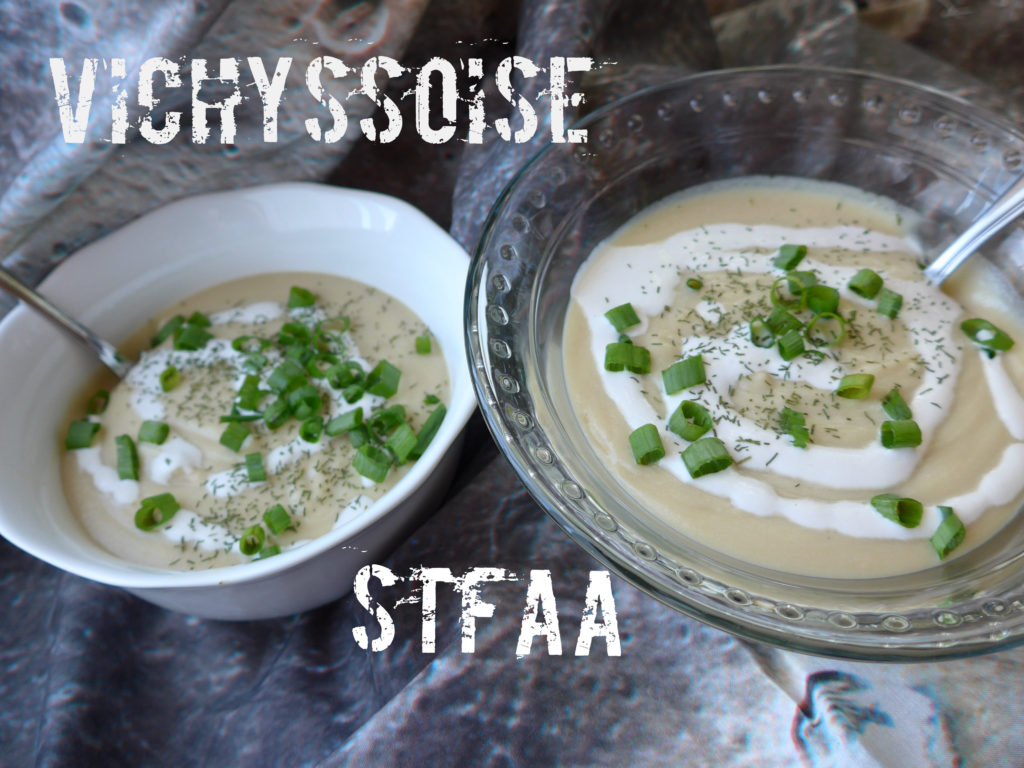
    Photo shows two bowls of soup
    Vichyssoise — cold potato cream soup with cashew cream, dill, and scallions on top

    I am cheating here. You should know that up front. It is still condiment month around here, but rules that we make for ourselves are made to be broken, right? I could work out a long reason to connect cold potato soup, Memorial Day observances, and condiments, but let’s not. Let’s say that it’s getting hot here — into the 80s (F), and I didn’t feel like any more tests of sweet and sour sauce, which heats up the kitchen cooking and isn’t even a meal when you’re done!

    So! Cold soup. I have tried a variety of cold soups over the years (avocado soup, gazpacho) and never been thrilled — I had an excellent gazpacho in Spain, but I’ve never been able to reproduce it. I think missing the Spanish heat, the low latitude sun, the glass of wine, and the cool dark bar might be the problem there! But this is potatoes, my raison de cuisiner, and I thought it would be a great way to supplement the spinach salads that are becoming a staple dinner around here. This is a smooth, velvety soup.

    I used the really great run down of vichyssoise at the Cafe Luna site as a starting place. I’ve made the soup dairy-free. It seems like it’s naturally gluten-free, but neither my version nor the inspiration are vegan, as chicken broth seems the common broth choice, and I had homemade broth to use. I think you could use a veggie broth, but I wouldn’t recommend a boxed one, as most are a bit bland, and you’d want to adjust the oil to add more fat for a smoother soup, I think. I’ve made a cashew cream for the milk substitute, as I find it the richest and most neutral milk substitute for cooking. Again, I think you could substitute other non-dairy milks — soy would work fine, I think. If you used almond milk, I’d add a bit of apple cider vinegar, which I often use to “cancel” the sweetness; this might also work for coconut milk. If you used rice milk, make your own with less water and add more olive oil.

    I strongly believe in garnish, and I really look forward to trying some of the fancier combinations in the link above. For this iteration, I’ve just used scallions and a sprinkle of dill on top.


    Notice: Trying to access array offset on value of type bool in /home/maryzahc/public_html/adultfoodallergies.com/wp-content/plugins/wp-ultimate-recipe/helpers/models/recipe.php on line 254
    Vichyssoise (dairy-free)
    Print Recipe
    Vichyssoise (dairy-free)
    Print Recipe
    Ingredients
    Cashew Cream
    • 3/4 cup raw cashew pieces (pieces are cheaper than whole), soaked overnight
    • 3/4 cup water
    • 1 teaspoon olive oil
    • 2 pinches kosher salt
    Soup
    • 1 medium onion about baseball sized, chopped
    • 2 Tablespoons olive oil
    • 1 1/2 teaspoons kosher salt
    • 1/2 teaspoon garlic powder
    • 2 lbs yellow potatoes, peeled and chopped
    • 6 cups chicken stock
    • soup toppings of choice
    Servings:
    Instructions
    1. Drain soaked cashews, and add to blender or food processor with water, olive oil, and salt. Blend until very smooth, then refrigerate.
    2. Add olive oil to soup pot and heat over medium heat. Add onions to hot oil along with salt. Cook, stirring often, until translucent but not yet browned.
    3. Add garlic and stir well. Then add potatoes, stir, and add broth. Cover pot and bring to a boil. Lower heat to simmer until potatoes are falling apart. The time for this will vary depending on the size of your potatoes, but plan 20-40 minutes for the average cubing sizes.
    4. Remove pot from heat and puree with a stick blender. If you don’t have a stick blender, cool the soup and then transfer to a regular blender, carefully, in batches if needed.
    5. Puree soup until smooth, and then add cashew cream and blend thoroughly.
    6. Chill until cold, and serve topped with whatever strikes your fancy. The photos here are a sprinkle of dill, a drizzle of cashew cream, and some chopped scallions.
    Share this Recipe
     
    Powered byWP Ultimate Recipe

    I do think that, in a pinch, vichyssoise might make an interesting sauce on a grain bowl — and therefore would be a condiment? If you try it, let me know!


  • Cashew Butter and Chocolate Cashew Butter

    Cashew Butter and Chocolate Cashew Butter

    Cashew Butter and Chocolate Cashew Butter
    Cashew Butter and Chocolate Cashew Butter

    So this is the last recipe post of breakfast month.  One of the things I miss having for breakfast is a toasted bagel or a toasted slice of bread with some thinly spread butter and some thickly spread peanut butter on top of that. The peanut butter gets all warm and gooey and it’s a quick filling breakfast. (Also, anyone who tells me I don’t need butter if I’m using nut butter is guilty of heresy, just saying.) Well, I haven’t managed a gluten-free, egg-free, dairy-free, and corn-free loaf of bread or bagels yet, but I’m one step closer to getting the ingredients I need. I already had a recipe for a margarine, Homemade Margarine, New and Improved, which works well on baked goods. I’m not allergic to peanuts, but I haven’t been able to buy a commercial peanut butter that’s safe for my cocktail of allergies or that I trust not to have issues with cross contamination in some time. I haven’t sourced safe raw peanuts yet, but I did have cashews I do well with, so I decided to go ahead and make cashew butter. And then I decided to mix some of it with cacao powder to try for something Nutella-esque (I’m allergic to hazelnuts and dairy, among other issues). I used this great tutorial from Tasty Yummies, but used my Vitamix to make the cashew butter.

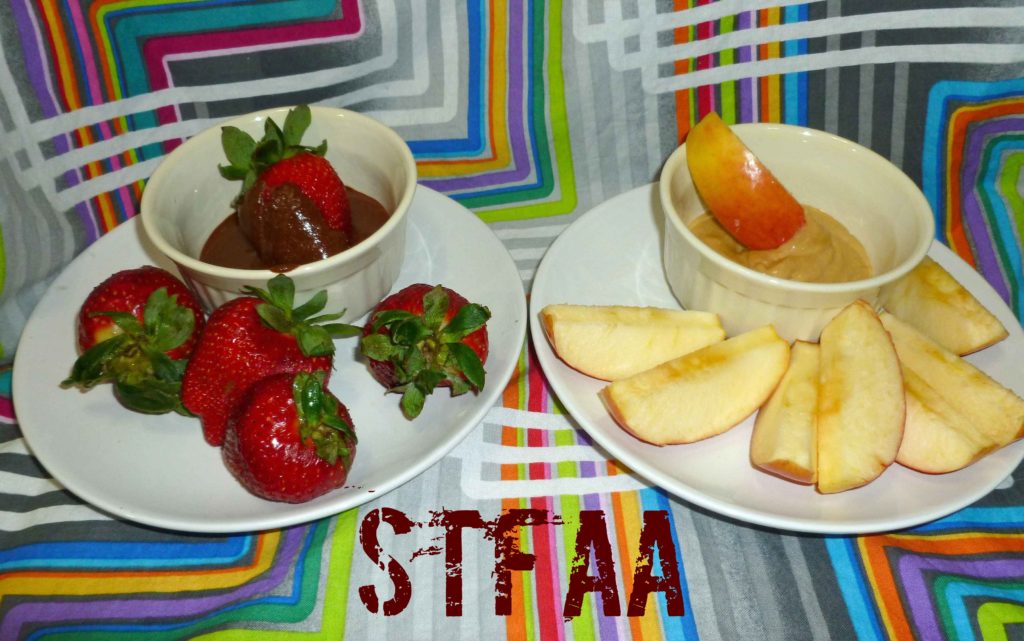
    It’s good. The chocolate cashew butter is not as sweet as Nutella, but it’s nice. And once I manage to make myself bread that I wouldn’t be ashamed to put on the blog, I’ll be even happier. But for now, I ate the plain cashew butter with an apple, and the chocolate cashew butter with strawberries, which isn’t all that bad either.

    Cashew Butter and Chocolate Cashew Butter
    Cashew Butter and Chocolate Cashew Butter

    Notice: Trying to access array offset on value of type bool in /home/maryzahc/public_html/adultfoodallergies.com/wp-content/plugins/wp-ultimate-recipe/helpers/models/recipe.php on line 254
    Cashew Butter and Chocolate Cashew Butter
    Print Recipe
    Makes a cup of each.
    Servings Prep Time
    2 cups 14 hours
    Cook Time
    10-15 minutes
    Servings Prep Time
    2 cups 14 hours
    Cook Time
    10-15 minutes
    Cashew Butter and Chocolate Cashew Butter
    Print Recipe
    Makes a cup of each.
    Servings Prep Time
    2 cups 14 hours
    Cook Time
    10-15 minutes
    Servings Prep Time
    2 cups 14 hours
    Cook Time
    10-15 minutes
    Ingredients
    Cashew Butter
    • 3 cups cashews
    • water (for soaking, if you are soaking)
    • 3-5 Tablespoons grapeseed oil (or other safe for you oil)
    • dash salt
    Additions for Chocolate Cashew Butter
    • 2-3 Tablespoons cacao or cocoa powder
    • 1 teaspoon sugar
    Equipment Needed
    • 1 high performance blender
    Servings: cups
    Instructions
    1. If you want to soak the cashews to clean them well, cover them with water in a bowl and soak for two hours. Drain cashews and dehydrate either in a dehydrator or a oven for 12 to 24 hours at 150°F or less, until dry or crisp. If you are not soaking your cashews, skip to the next step.
    2. Once your cashews are dry, roast them in a 325°F oven for about 10-15 minutes, watching them carefully so that they do not burn. You want them to be golden brown.
    3. Add your cashews to your blender, along with 3 Tablespoons of your safe oil. Start on the lowest speed, and slowly increase the speed to the highest speed, using the tamper if your blender comes with one. Add more oil if necessary. When the blender changes from a chugging sound to a low laboring machine, stop the blender.
    4. Remove the cashew butter and place equal amounts into two bowls. Mix a dash of salt into each bowl mixing well. One bowl is your now completed plain Cashew Butter. To the second bowl, add 2-3 Tablespoons of cacao powder to taste and the sugar, whisking it in. You also may need to add more oil at this point. This bowl is your Chocolate Cashew butter.
    5. Store in an air tight container or freeze it for longer storage.
    Share this Recipe
     
    Powered byWP Ultimate Recipe
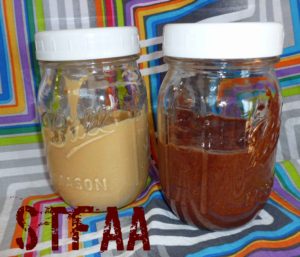
    Cashews after dehydrating and roasting
    Cashews after dehydrating and roasting
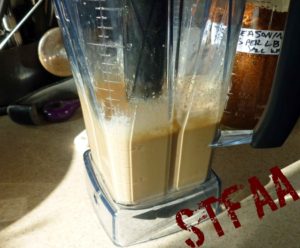
    Cashew butter after blending
    Cashew butter after blending
    Cashew Butter completed
    Cashew Butter completed
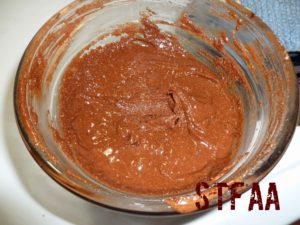
    Chocolate Cashew Butter completed
    Chocolate Cashew Butter completed
    Chocolate Cashew Butter
    Chocolate Cashew Butter
    Cashew Butter
    Cashew Butter

    Enjoy!

  • Garlic Potato Scallion Snacks

    Garlic Potato Scallion Snacks

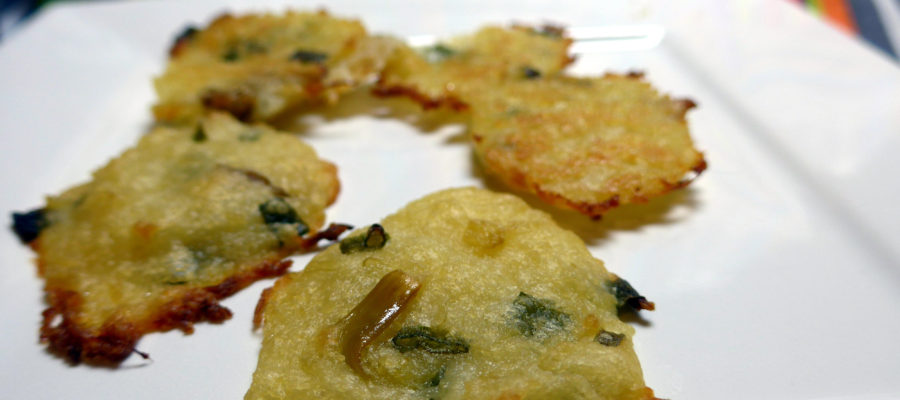
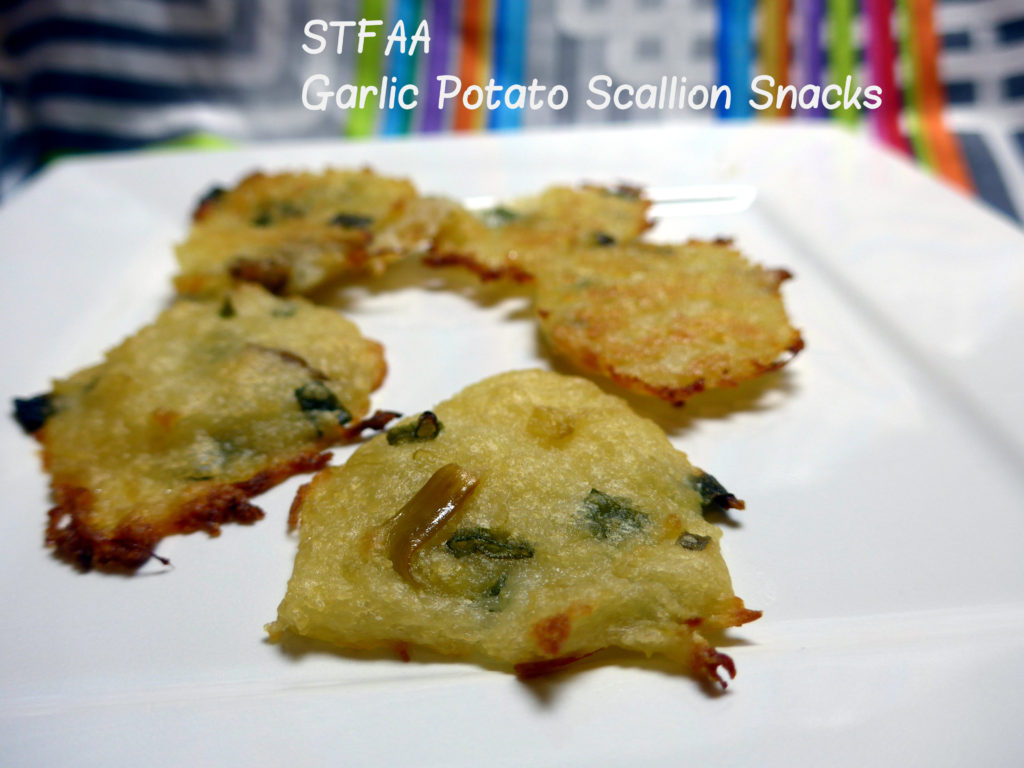
    Potato UFOs? Not quite crackers?
    Potato UFOs? Not quite crackers? Pardon the weird font — my computer’s acting weird.

    In February, we’ve decided to play with garlic. Mmmmm, garlic. It’ll keep the vampires away, but it’s also good for colds and such. I’m guessing, with the load of elephant garlic I just roasted, we’ll just keep people far enough away not to share germs? Garlic is such an excellent base flavor for so many things. I would guess that I use garlic, whether fresh or powder, in maybe 70% of the savory dishes in my kitchen? I love it so. Way back at the beginning of my food allergy journey, garlic was one of the foods I cut out, thinking it was an issue. Looking back, I figured out that it wasn’t — it was just heavily featured in many dishes that were also full of dairy, which is a problem. I know that garlic isn’t an easy or favored food for some people on restricted diets. I’m sorry! This isn’t your month here at Surviving the Food Allergy Apocalypse. I hope you learn something else, or, if it’s easier, come back on Fridays for links instead.

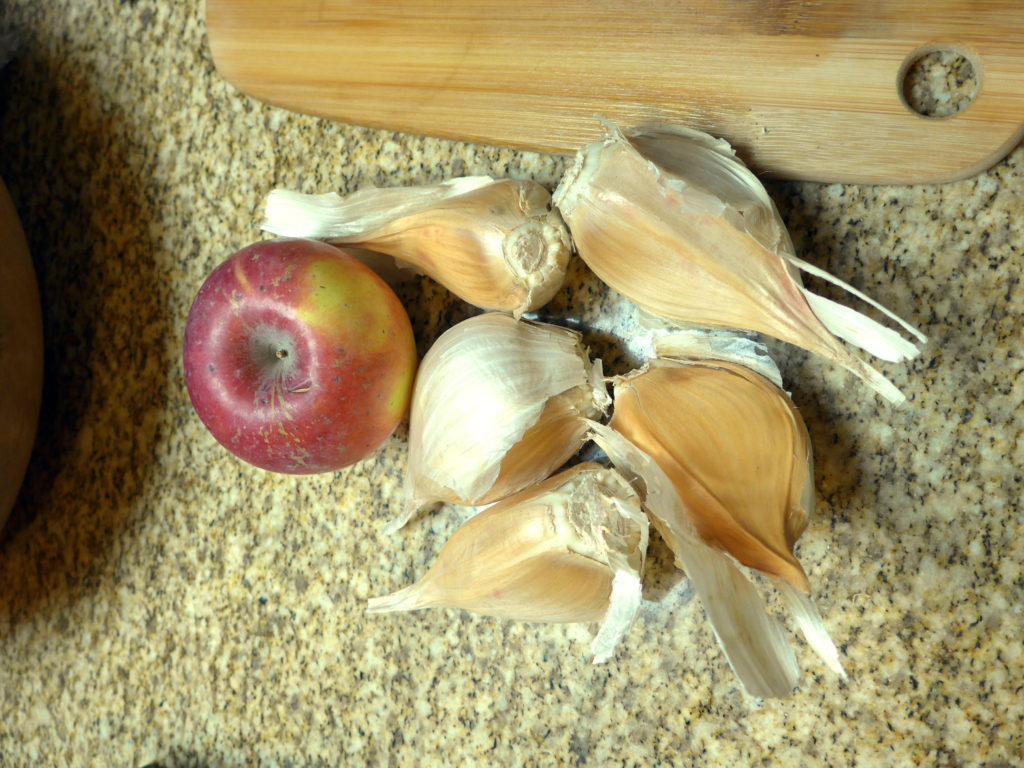
    This is elephant garlic. Each clove is about, what, half an apple or so? They are huge and mild and awesome.
    This is elephant garlic. Each clove is about, what, half an apple or so? They are huge and mild and awesome.

    Let me be honest — I do not know what to call this dish. I was fussing with the basic recipe, and I tried cooking it a variety of ways. The flavor is nice in all of them, but the “winning” version has the best texture, like a small flexible pancake snack, savory, not sweet. I’m sure you could top it with something, but it’s tasty all on its own. So is it okay if I call it just a snack? You could eat this while watching a game. Or just TV or a movie. I don’t advise eating it while playing a game, like a board or card game, as I think it would leave you with greasy fingers, leaving prints on the game bits.

    SO this is Garlic Potato Scallion Snacks. They are tasty and warm and not too labor intensive. Enjoy.


    Notice: Trying to access array offset on value of type bool in /home/maryzahc/public_html/adultfoodallergies.com/wp-content/plugins/wp-ultimate-recipe/helpers/models/recipe.php on line 254
    Garlic Potato Scallion Snacks
    Print Recipe
    Servings
    2 dozen “snacks”
    Servings
    2 dozen “snacks”
    Garlic Potato Scallion Snacks
    Print Recipe
    Servings
    2 dozen “snacks”
    Servings
    2 dozen “snacks”
    Ingredients
    • 1 head garlic
    • 1 Tablespoon olive oil
    • 1 pound potatoes yukon gold, peeled if you prefer
    • 1 Tablespoon salt
    • 2 Tablespoons vegan margarine, safe for you
    • 2 oz roasted garlic
    • 2 Tablespoons vegan cream cheese (I like Kite Hill, which is almond-based. Use what is safe for you.)
    • 2 Tablespoons glutinous rice flour (which does not actually contain gluten)
    • 2-4 Tablespoons vegetable stock
    • 1-2 Tablespoons olive oil
    Servings: dozen “snacks”
    Instructions
    1. Roast garlic. Chop off top of bulb, drizzle with olive oil, wrap in foil, and bake at 450º for 45 minutes. Let cool. If you are using elephant garlic, like in the photos, you can peel the cloves first, as I did.
    2. Boil potatoes in salted water until easily pierced with a fork. The time for this will depend on the size of the potatoes. I personally like to buy bigger potatoes and boil them whole, as I think I get the best texture this way
    3. Preheat oven to 350ºF. Line a baking sheet with parchment paper or a silicon baking sheet.
    4. When potatoes are done, drain and lightly mash. Add vegan margarine, vegan cream cheese, roasted garlic, and mash.
    5. Add rice flour and veggie stock and mash to completely combine. You should have a sticky mash when you are done, so don’t add too much veggie stock. I added it 1 Tablespoon at a time.
    6. Make approximately 1 Tablespoon drops onto your prepared baking sheet. Leave about 1 inch of space around each drop, as they will flatten out into pancakes. No need to flatten them yourself. Using the second tablespoon of olive oil, brush the top of each.
    7. Bake for approximately 25 minutes, until the edges have browned.
    Recipe Notes

    I’ve given a garlic measurement in ounces rather than cloves as garlic cloves differ drastically in size. Taste and adjust as you go, if you don’t have a kitchen scale.

    Share this Recipe
     
    Powered byWP Ultimate Recipe
  • Cashew-Ginger Hummus

    Cashew-Ginger Hummus

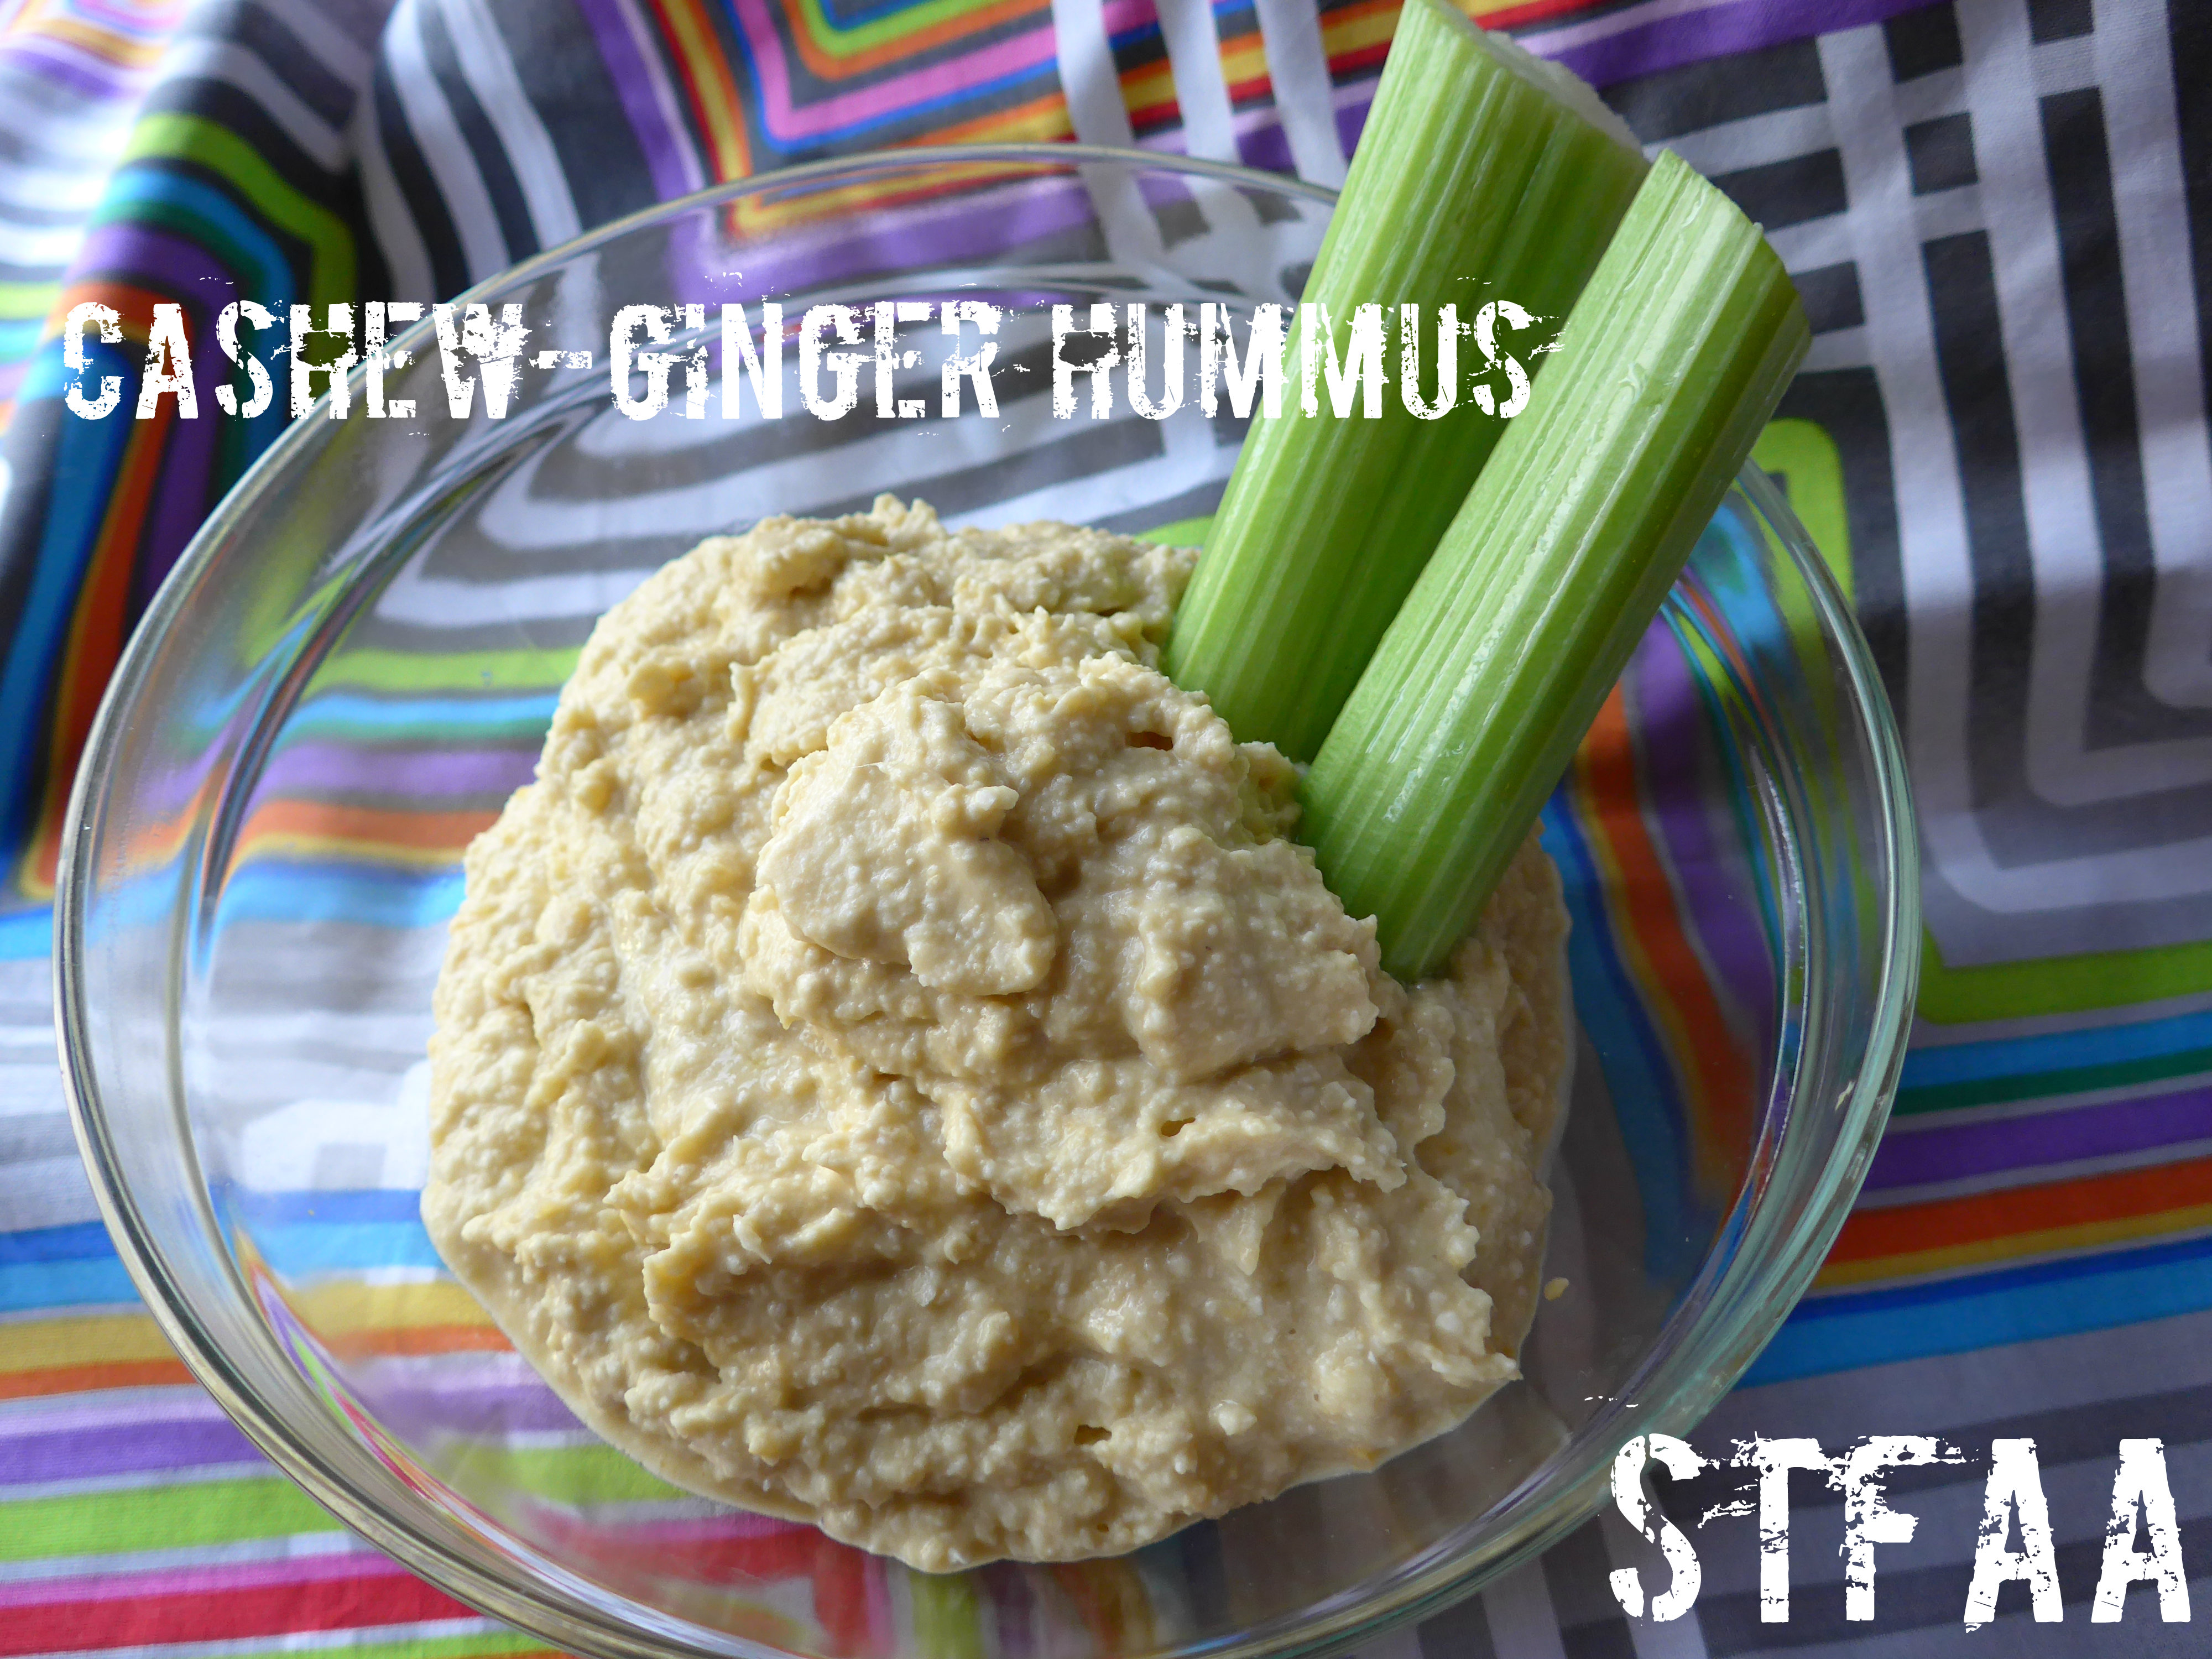
    This recipe came out of what I had in the house when I wanted to bring some hummus over to Denise’s for a gathering. Denise is allergic to sesame, an allergy I understand is becoming more common, but not allergic to cashews. I’m not sure how common this combo is, but if your diet allows you to have cashews, give this spin on hummus a try. It’s enough like “typical” hummus to please purists, and different enough to be exciting. I think the cashews are a creamier, more neutral flavor than tahini, and it makes the perfect backdrop for ginger to pop. This is a really great hummus for making sandwiches or veggie wraps out of — somehow, the ginger just stands up well in a salad-like situation. I also stop my homemade hummus before it becomes too smooth — I like a little more texture than commercial hummus generally has.

    Cashew-Ginger Hummus
    Cashew-Ginger Hummus

    Notice: Trying to access array offset on value of type bool in /home/maryzahc/public_html/adultfoodallergies.com/wp-content/plugins/wp-ultimate-recipe/helpers/models/recipe.php on line 254
    Cashew-Ginger Hummus
    Print Recipe
    This twist on hummus replaces tahini with ground cashews for more texture and a creamier texture, with ginger replacing garlic as the primary flavor. This hummus is most excellent as a sandwich spread.
    Prep Time
    10 minutes
    Prep Time
    10 minutes
    Ingredients
    • 1/2 cup raw cashews,
    • 1 Tablespoon fresh ginger see recipe for technique
    • 16 ounces garbanzo beans
    • 1/4 cup aquafaba (juice from can or cooking water from beans)
    • 1/4 cup olive oil
    • 1 teaspoon garlic chopped
    • 1 Tablespoon lemon juice
    • 1/2 teaspoon kosher salt
    Servings:
    Instructions
    1. Using a food processor, add the ingredients in order of the recipe — with one big exception! If your ginger is already ground, chopped, or microplaned, start with the cashews. If not, begin with the ginger.
    2. If beginning with the ginger, just pulse until it is all shredded.
    3. If beginning with the cashews, pulse until you have a fine powder if you like texture. If you want your hummus to be really smooth, go ahead and make cashew butter.
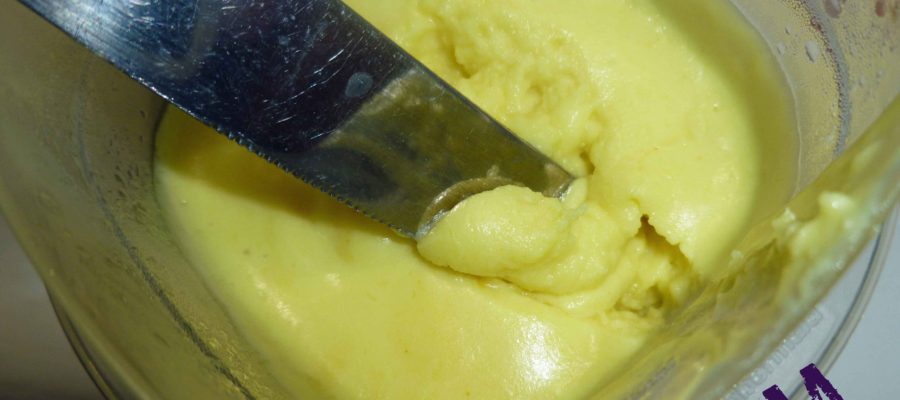
    4. Add the chickpeas and liquid and process. Then add everything else and process to your desired smoothness.
    5. Enjoy as a spread or as a dip. If you’re using good quality pure olive oil, this will get somewhat stiff in the fridge. A few minutes resting at room temperature will fix that.
    Share this Recipe
     
    Powered byWP Ultimate Recipe
  • Homemade Margarine, New and Improved

    Homemade Margarine, New and Improved

    Homemade Margarine, New and Improved
    Homemade Margarine, New and Improved

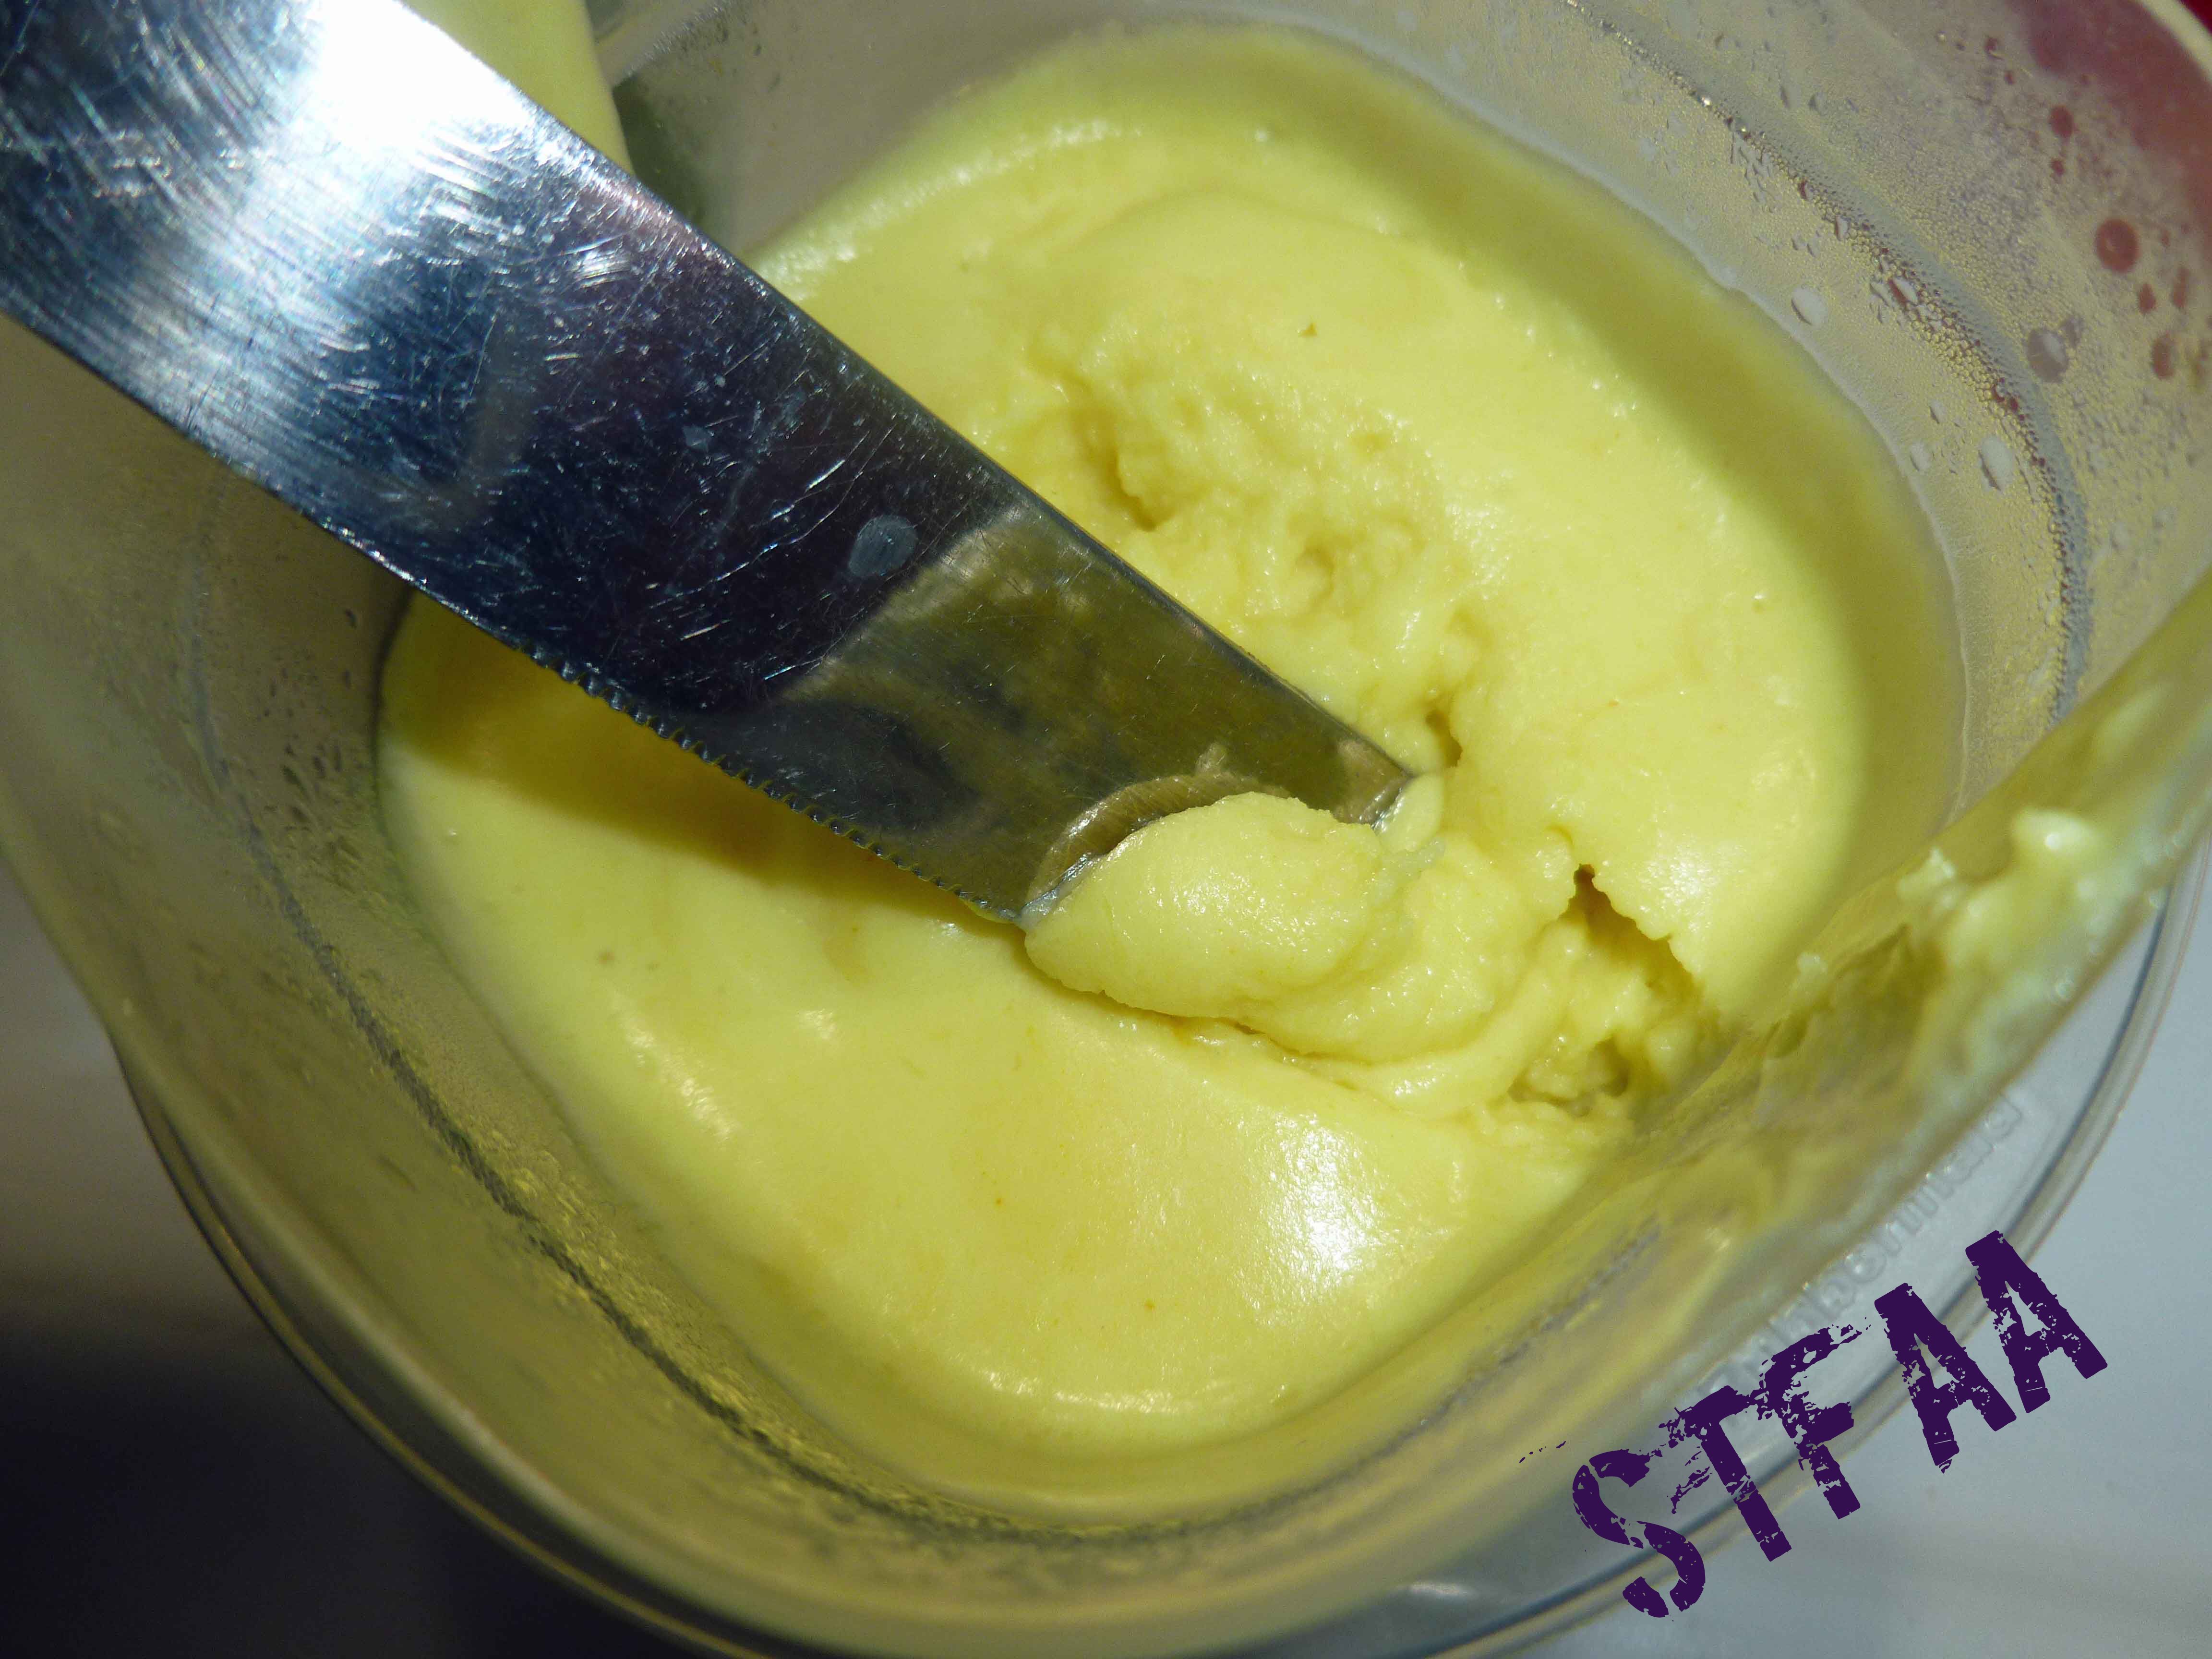
    Some of you may remember when I posted about my margarine experiments in a Whatever Wednesday post. I’ve been using it for a while, but I wasn’t completely happy with it. The psyllium husk powder I used as an emulsifier didn’t melt well when I wanted to use it for things like lobster and there were gummy bits. Since my experiments with making Aquafaba Vegan Salad Dressing went so well and worked so well to emulsify the oils, I started wondering about it. And then I saw a post for a recipe for a Vegan Aquafaba Butter that one of the people in the Vegan Meringue – Hits and Misses! Facebook group for aquafaba developed, but I don’t have a safe, solid fat other than home rendered lard and home rendered beef tallow due to my allergies. So I decided to go back and play with my original recipe and add aquafaba. I doubled the recipe and switched out some of the cashew milk for aquafaba. It worked, and the margarine is perfect. There’s no gummy bits, the butter is spreadable at refrigerator temperature on hot steamed veggies and potatoes, and it’s much more like butter than before. Now I just need to find a bread that works for me again, because I need to eat this with toast.

    Homemade Margarine, New and Improved on steamed broccoli
    Homemade Margarine, New and Improved on steamed broccoli
    Homemade Margarine, New and Improved on baked potato
    Homemade Margarine, New and Improved on baked potato

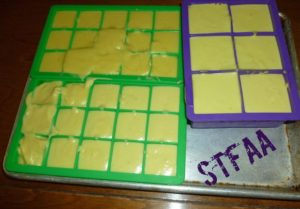
    My original post about my WW: Homemade Margarine Experiments has links to information about rendering your own lard and tallow, if you have to do it yourself. (I do, fricking corn). I also used silicone ice cube trays to freeze the margarine into cubes.  Once it’s hardened, I place it in to zip top bags to keep in the freezer.  It lasts longer and I can just grab a cube or two when I need them.

    Homemade Margarine, New and Improved in silicone ice cube trays before freezing
    Homemade Margarine, New and Improved in silicone ice cube trays before freezing

    Notice: Trying to access array offset on value of type bool in /home/maryzahc/public_html/adultfoodallergies.com/wp-content/plugins/wp-ultimate-recipe/helpers/models/recipe.php on line 254
    Homemade Margarine, New and Improved
    Print Recipe
    A replacement for margarine when you can’t have commercial products, commercial shortenings or coconut oil.
    Servings Prep Time
    2 cups 15 minutes
    Servings Prep Time
    2 cups 15 minutes
    Homemade Margarine, New and Improved
    Print Recipe
    A replacement for margarine when you can’t have commercial products, commercial shortenings or coconut oil.
    Servings Prep Time
    2 cups 15 minutes
    Servings Prep Time
    2 cups 15 minutes
    Ingredients
    • 2 ounces lard (I use my home rendered lard)
    • 2 ounces tallow (I use my home rendered tallow)
    • 1 cup olive oil
    • 1/3 cup cashew milk or other non-dairy milk (I use my homemade cashew milk)
    • 1/3 cup aquafaba (See aquafaba.com)
    • 1/2 teaspoon lemon juice (I used fresh squeezed lemon juice)
    • 1/2 teaspoon apple cider vinegar (Bragg’s is usually the safest option corn allergy wise)
    • 1 teaspoon sea salt
    • 1/4 teaspoon ground turmeric
    Servings: cups
    Instructions
    1. Melt lard and beef tallow together in a double boiler. While waiting for it to melt, add all the other ingredients except the olive oil in a blender.
    2. Once the lard and tallow are melted, add the olive oil to them, and stir to combine. Remove the double boiler from the heat.
    3. Start blending the ingredients in the blender, and through the hole in the lid, very slowly pour the lard, tallow, and olive oil mixture into the blender in a fine stream. Continue pouring until the whole mixture has been added to the blender and blend until completely mixed.
    4. Once it’s completely mixed, pour the margarine into a silicone ice cube tray, or into other freezer safe containers. Place the trays/containers into the freezer until the margarine sets. I empty the silicone ice cube trays into a zip top bag so that it lasts longer and I can grab a bit of margarine when I want.
    Share this Recipe
     
    Powered byWP Ultimate Recipe