Notice: Function _load_textdomain_just_in_time was called incorrectly. Translation loading for the wp-ultimate-recipe domain was triggered too early. This is usually an indicator for some code in the plugin or theme running too early. Translations should be loaded at the init action or later. Please see Debugging in WordPress for more information. (This message was added in version 6.7.0.) in /home/maryzahc/public_html/adultfoodallergies.com/wp-includes/functions.php on line 6121
WARNING – FISH – surviving the food allergy apocalypse (archive)

Tag: WARNING – FISH

Recipe contains fish or fish derivatives.

  • White Fish, Avocado, and Polenta Stacks

    White Fish, Avocado, and Polenta Stacks

    Fish. It's what's for dinner. And it's before I found my backdrops.
    Fish. It’s what’s for dinner. And it’s before I found my backdrops.

    This is the first official recipe from the West Coast Office of Surviving the Food Allergy Apocalypse, also known as “MaryKate’s kitchen in Seattle.” Also, Jack’s kitchen, and because we’re still unpacking and he gets home from work first, he’s actually done a lot more cooking in this kitchen than I have. But we’ve unpacked most things now, and I feel like I can finally make space to work. It’s a completely different layout with way less cabinet space (less than ideal), but with a large closet that helps some with storage. We still have more stuff than space.

    Seattle has been great so far. We’ve got all new grocery stores to explore, lots of seafood options, new produce (and a shocking lack of hash brown patties without wheat in them. I had no idea I was so spoiled in New Hampshire on that front). And new places to eat — more on that later.

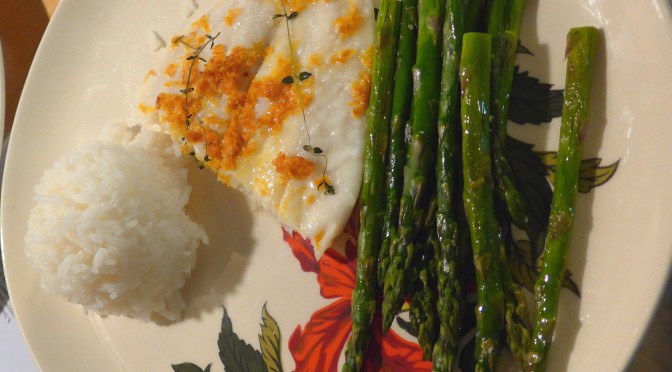
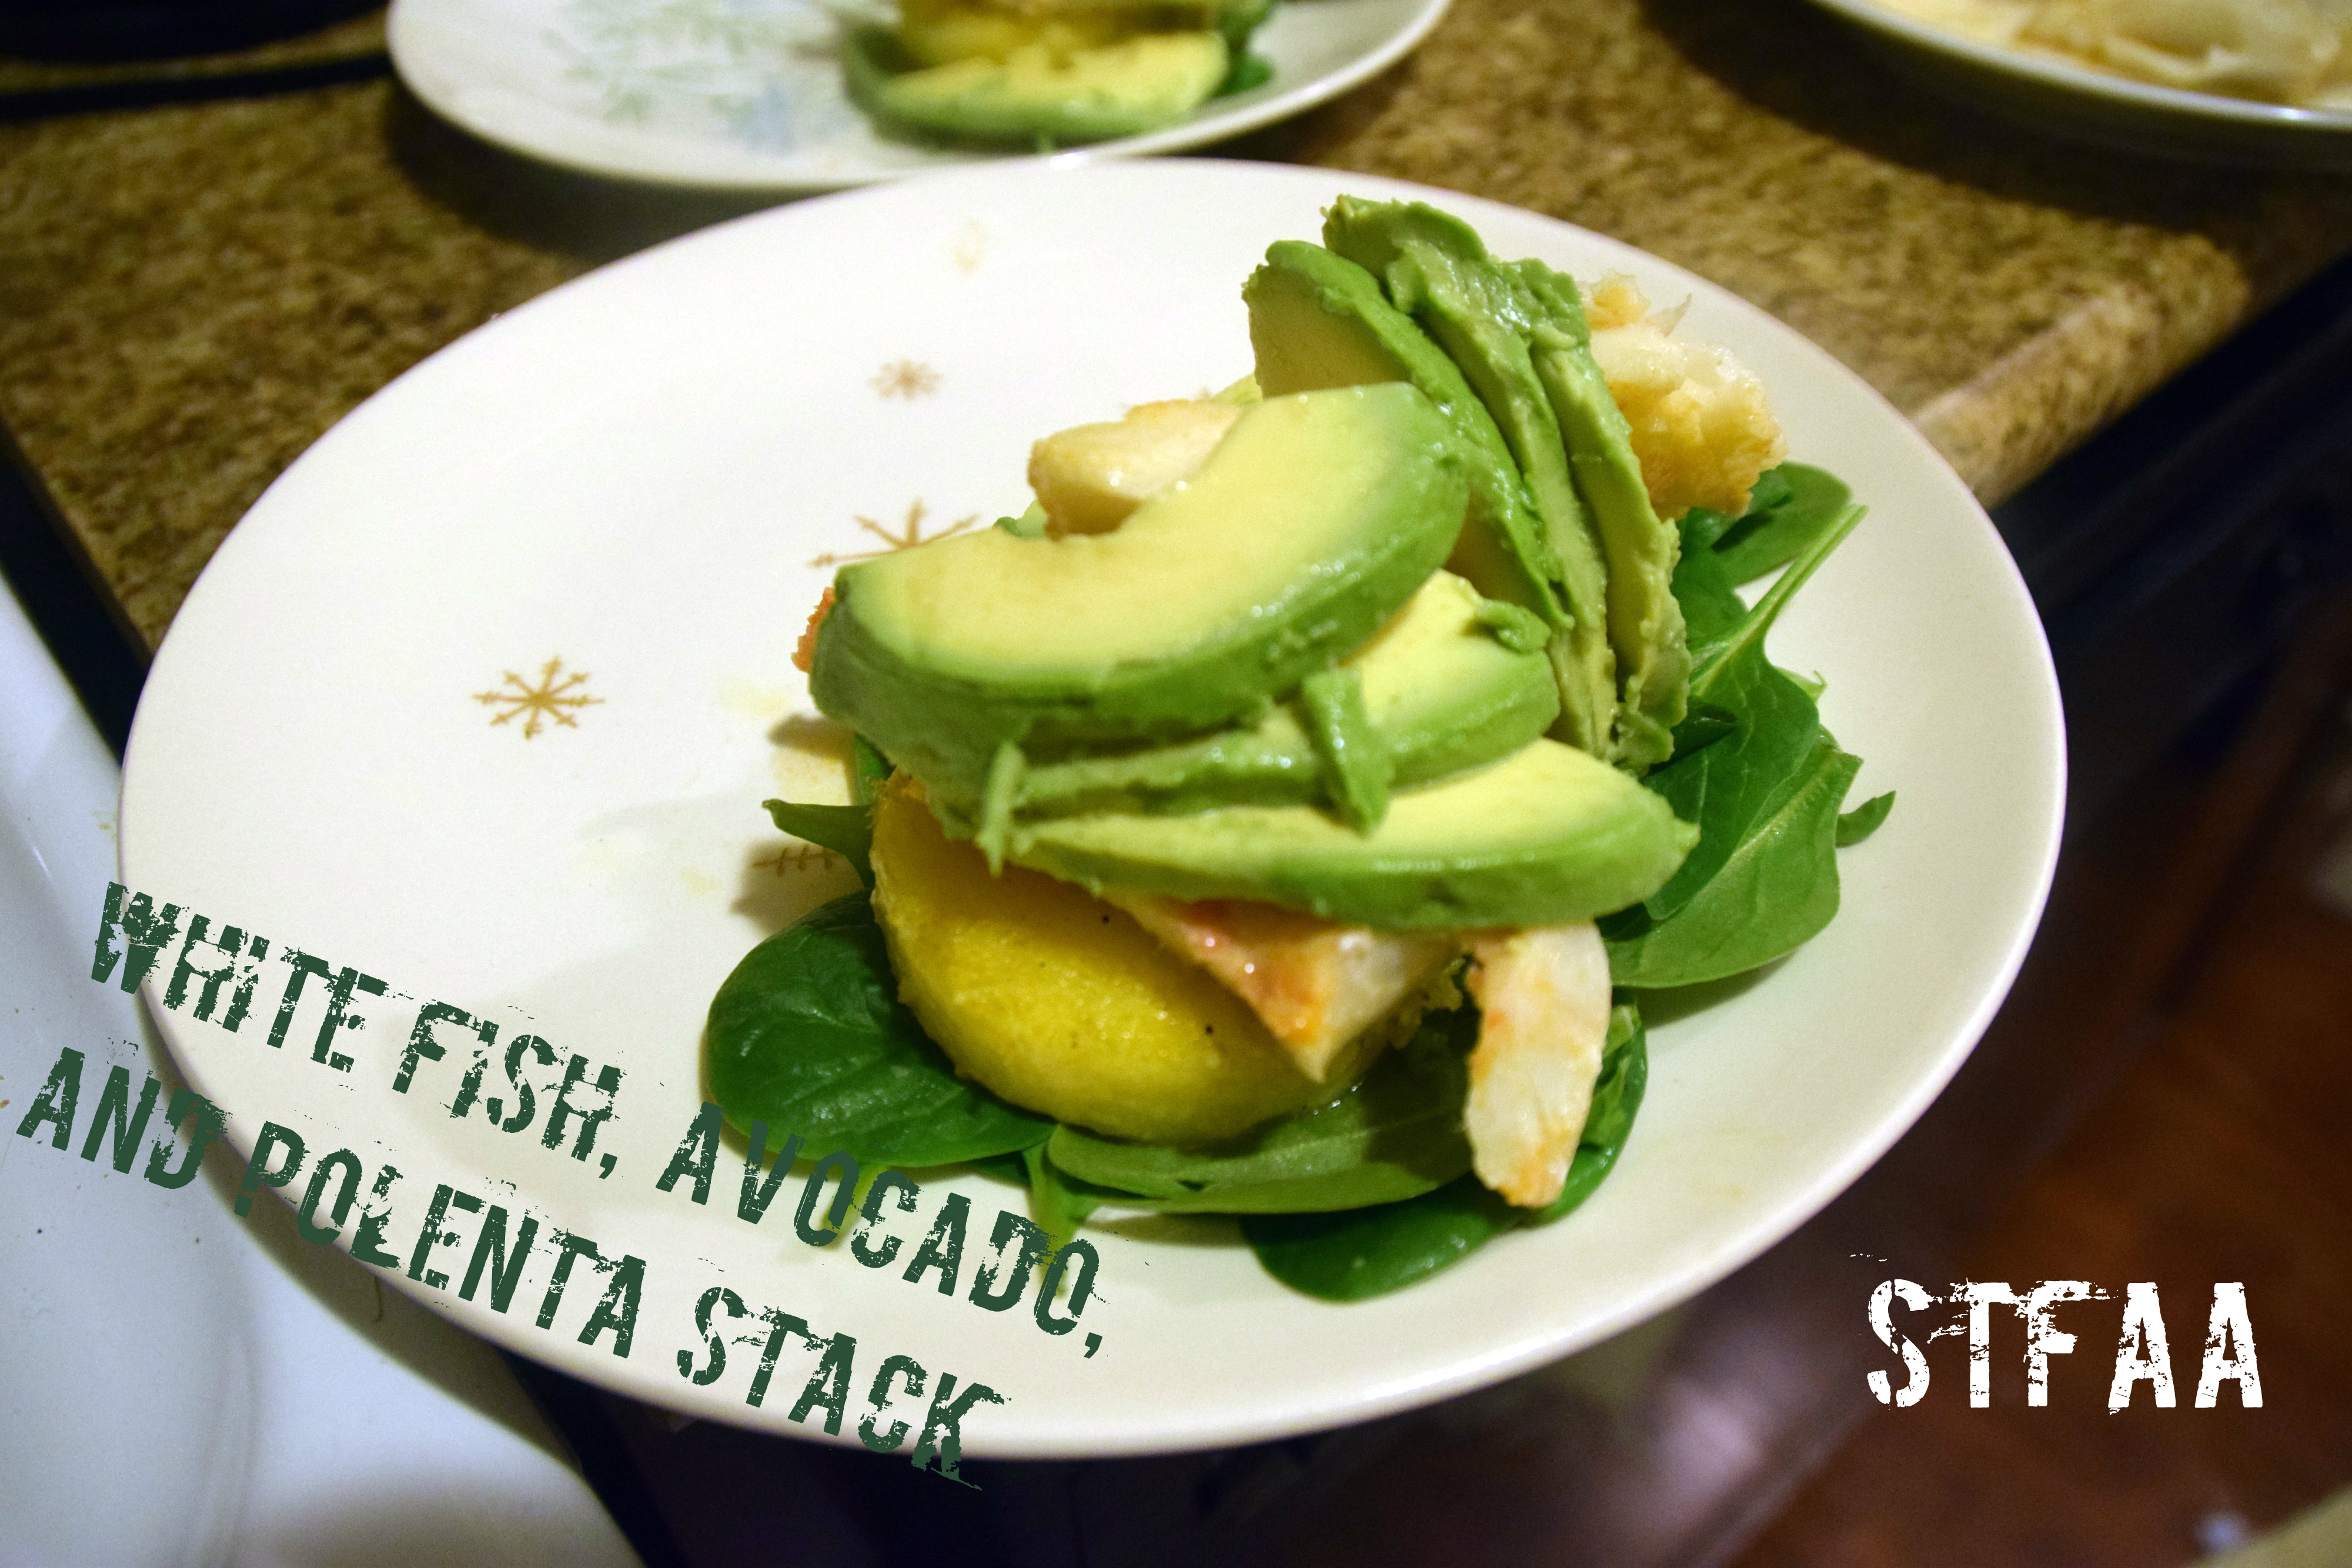
    So we’re in a new city, in new jobs, with new commute patterns. My days are actually longer, as my commute has increased four-fold — and I still can’t complain. In NH, I drove about 7 minutes across town. Now I take a bus about 30 minutes, with about a mile of walking total to and from bus stops. The hill TO the bus stop is… challenging. And an hour is a lot more time commuting. So quick dinners are an absolute necessity, but I’m not eating boring food. For this dinner, I’ve paired spicy poached fish with crispy polenta and creamy avocado for an utterly satisfying meal.

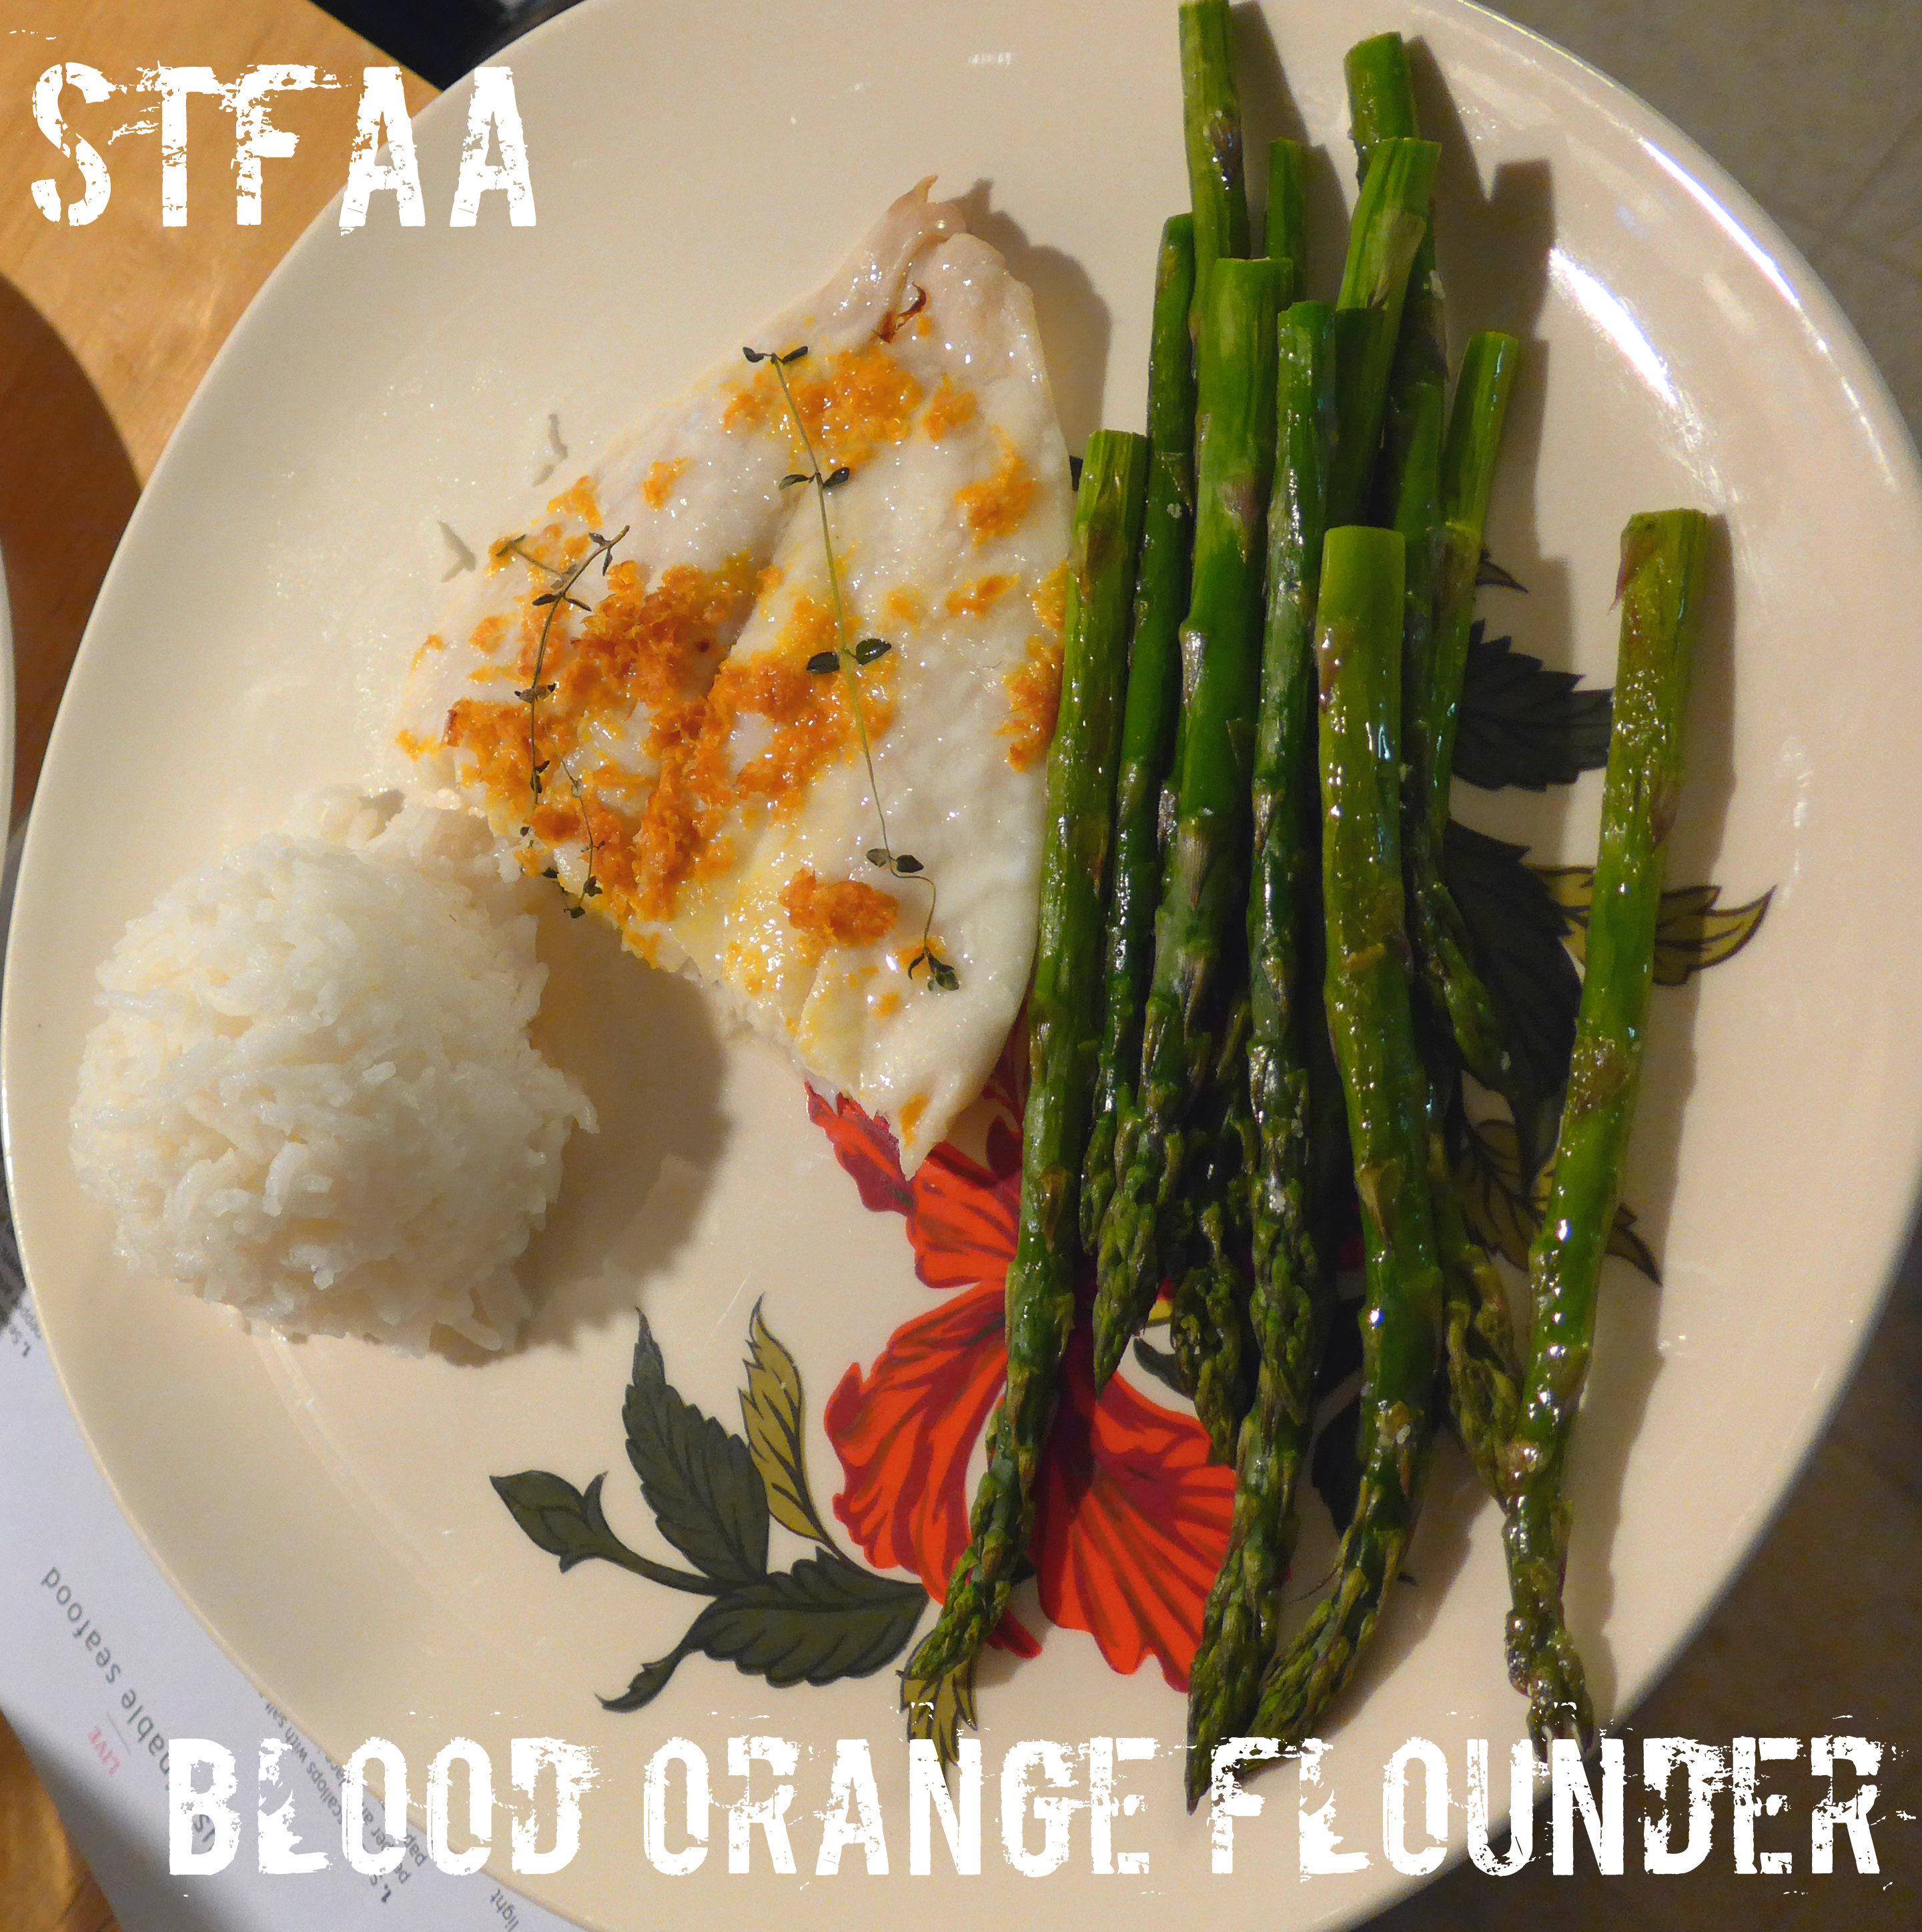
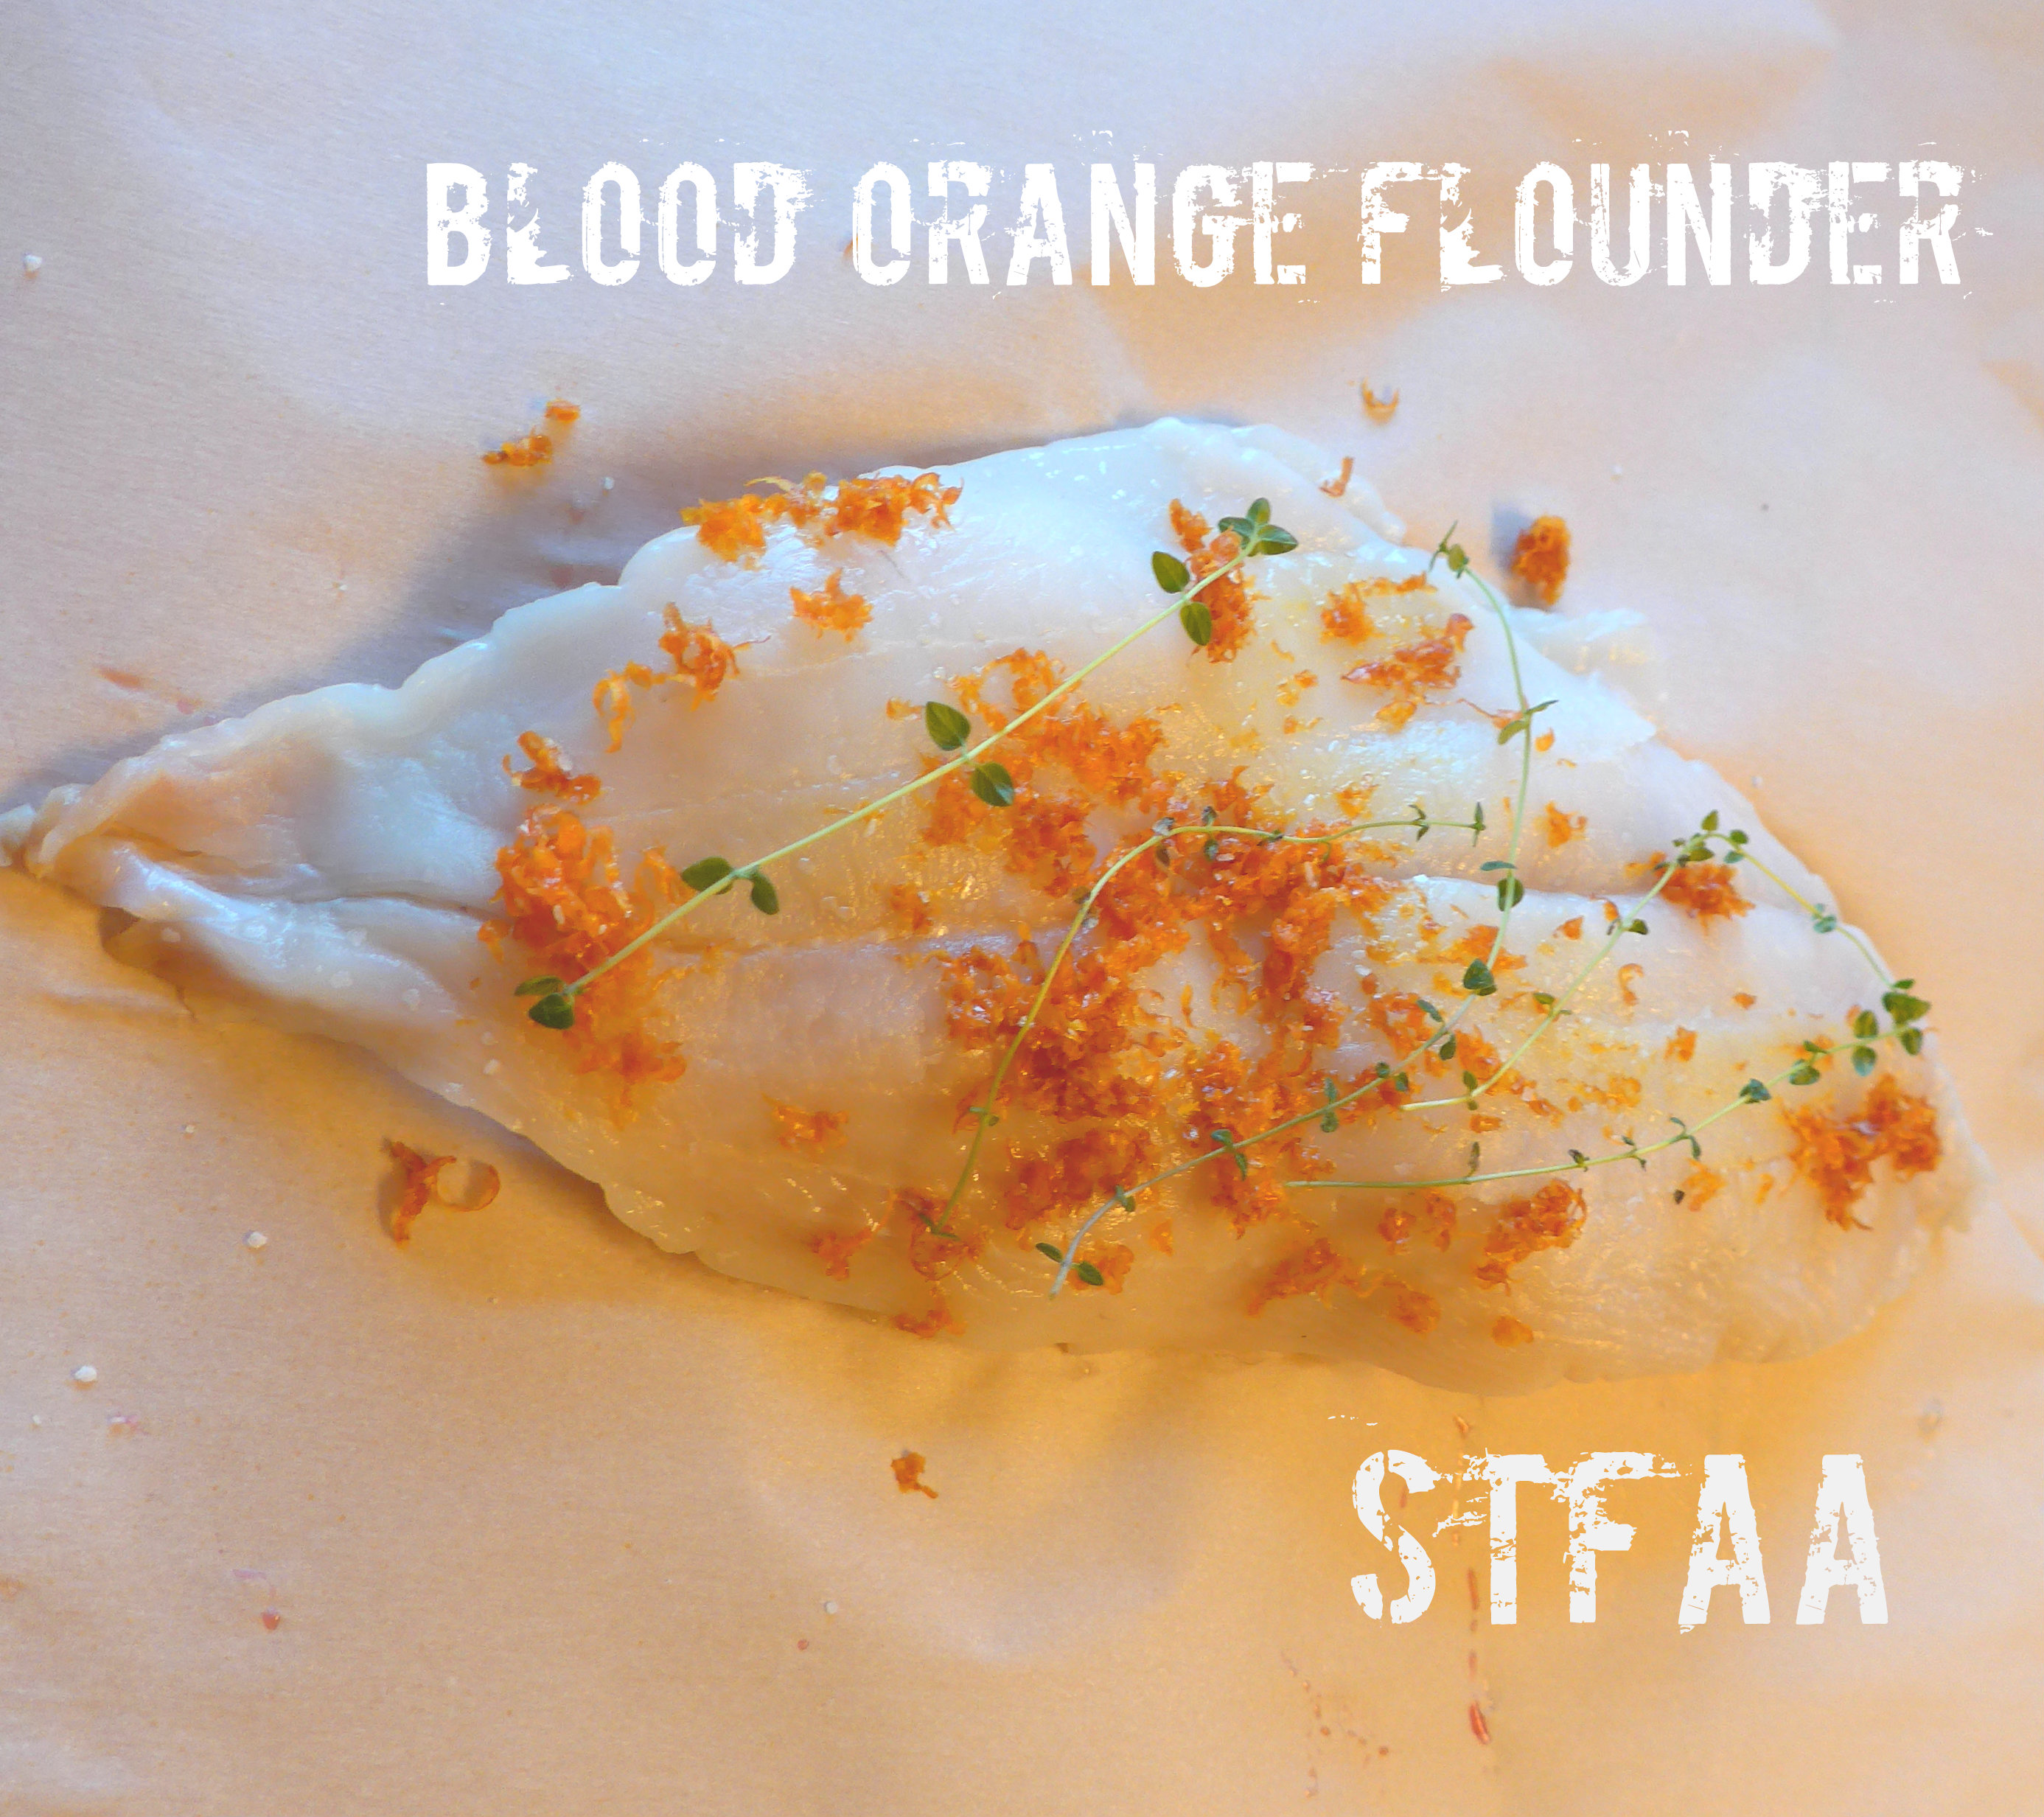
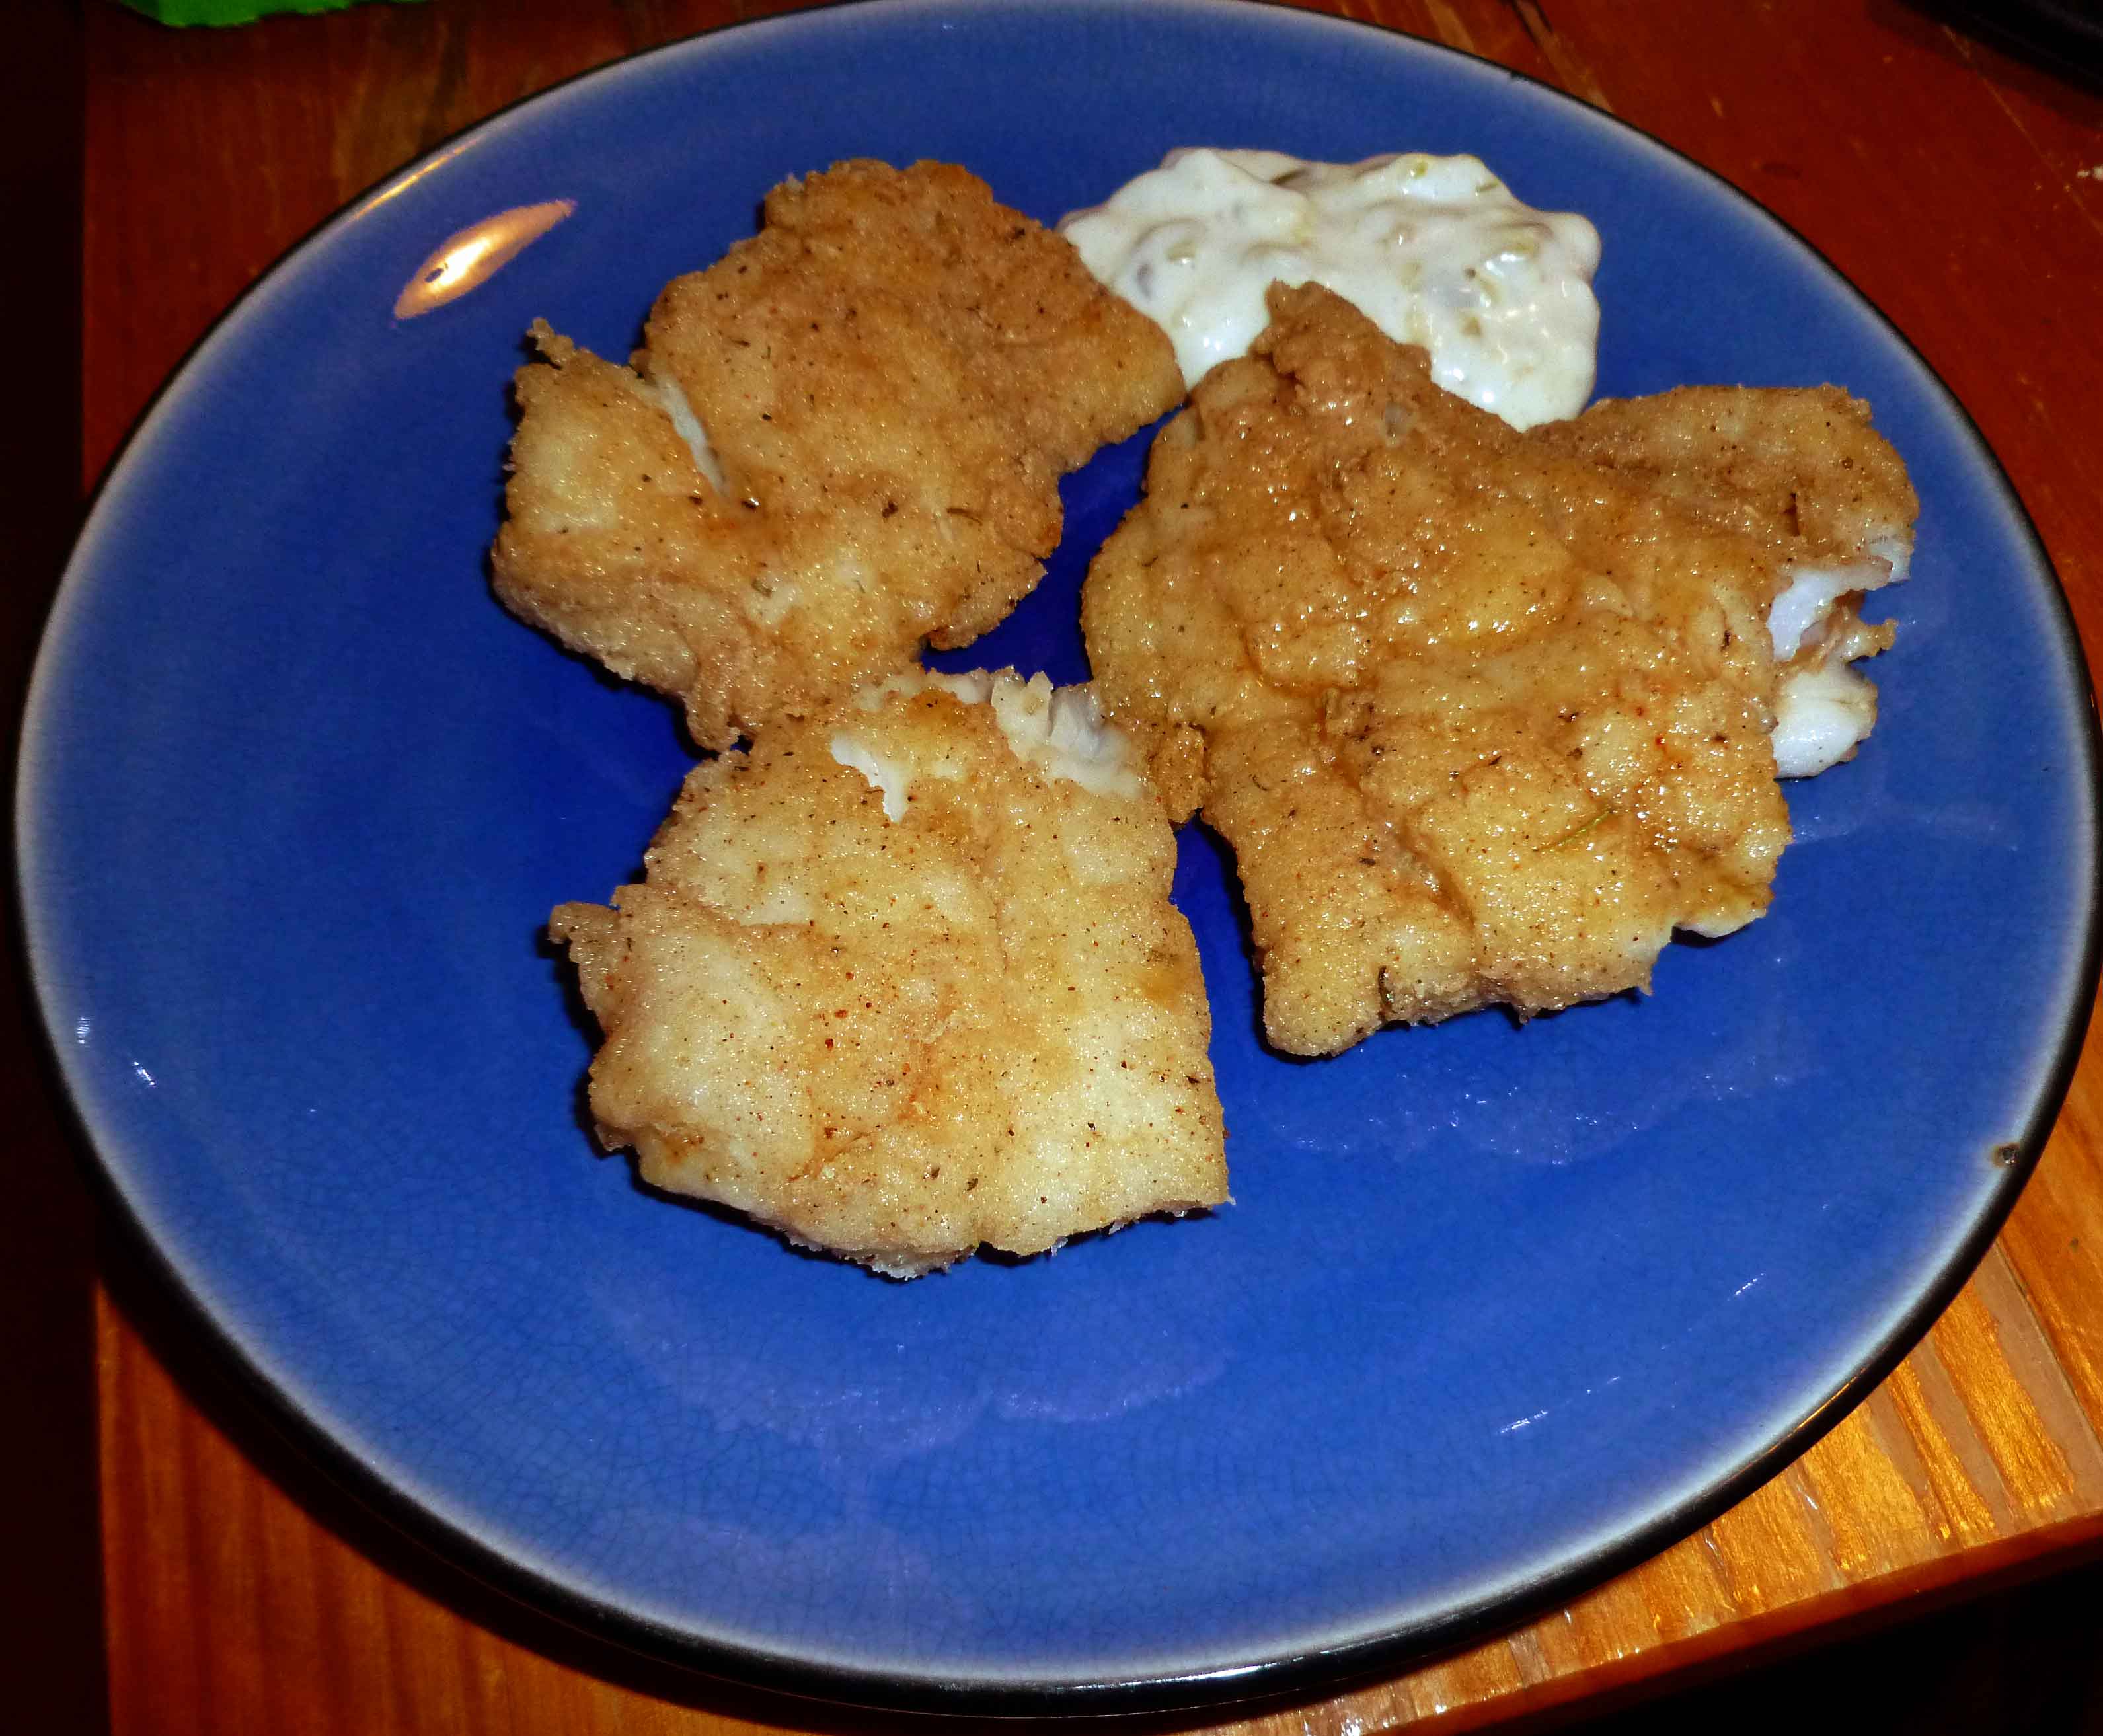
    Okay, I’ve called this a “stack,” but as you can see, it was really more of a pile. I envisioned a stack, but my plating skills, despite years of Top Chef watching, leave much to be desired. This is a really quick but impressive dinner that can take advantage of whatever fish and hot sauce you might have on hand. Poaching fish allows me to add a lot of subtle flavor with less danger of overcooking the fish than when I bake it — it’s right there, and I can watch it.

    If you’re allergic to fish: I’m sorry! This is not your recipe. Neither Denise nor I are allergic to fish, so we do eat it. It’s one of the things I’m enjoying most about west coast living so far.

    If you’re allergic to corn: This we can work with! But, as you know, being corn-allergic, it won’t be as convenient. Make a millet polenta (which is the basis for my Millet and Blueberry Breakfast polenta) and then crispy up cakes of this just as you would the tube of corn polenta. Sorry for the extra steps, but I know you’re used to it. Alternatively, consider serving the fish over a salad.

    Also feel free to adjust the ratios of hot sauce to olive oil on the fish, and the wine to stock in the poaching liquid. Use all hot sauce if you’re Denise! Use no wine if you don’t like it or don’t want to buy it. It will be fine. I’ve used a harissa in this version, because I think harissa is flavorful along with being spicy.

    Cod brushed with harissa
    Cod brushed with harissa

    Notice: Trying to access array offset on value of type bool in /home/maryzahc/public_html/adultfoodallergies.com/wp-content/plugins/wp-ultimate-recipe/helpers/models/recipe.php on line 254
    White Fish, Avocado, and Polenta Stacks
    Print Recipe
    A quick and relatively easy but quite tasty weeknight dinner
    Servings Prep Time
    4 people 20 minutes
    Cook Time Passive Time
    15 minutes 10 minutes
    Servings Prep Time
    4 people 20 minutes
    Cook Time Passive Time
    15 minutes 10 minutes
    Ingredients
    • 2 teaspoons olive oil
    • 1 roll prepared polenta
    • 2 pinches celery salt (about 1/8 teaspoon)
    • 1 handful cilantro stems and all
    • 1/2 cup stock or broth veggie or chicken, your choice
    • 3/4 cup white wine
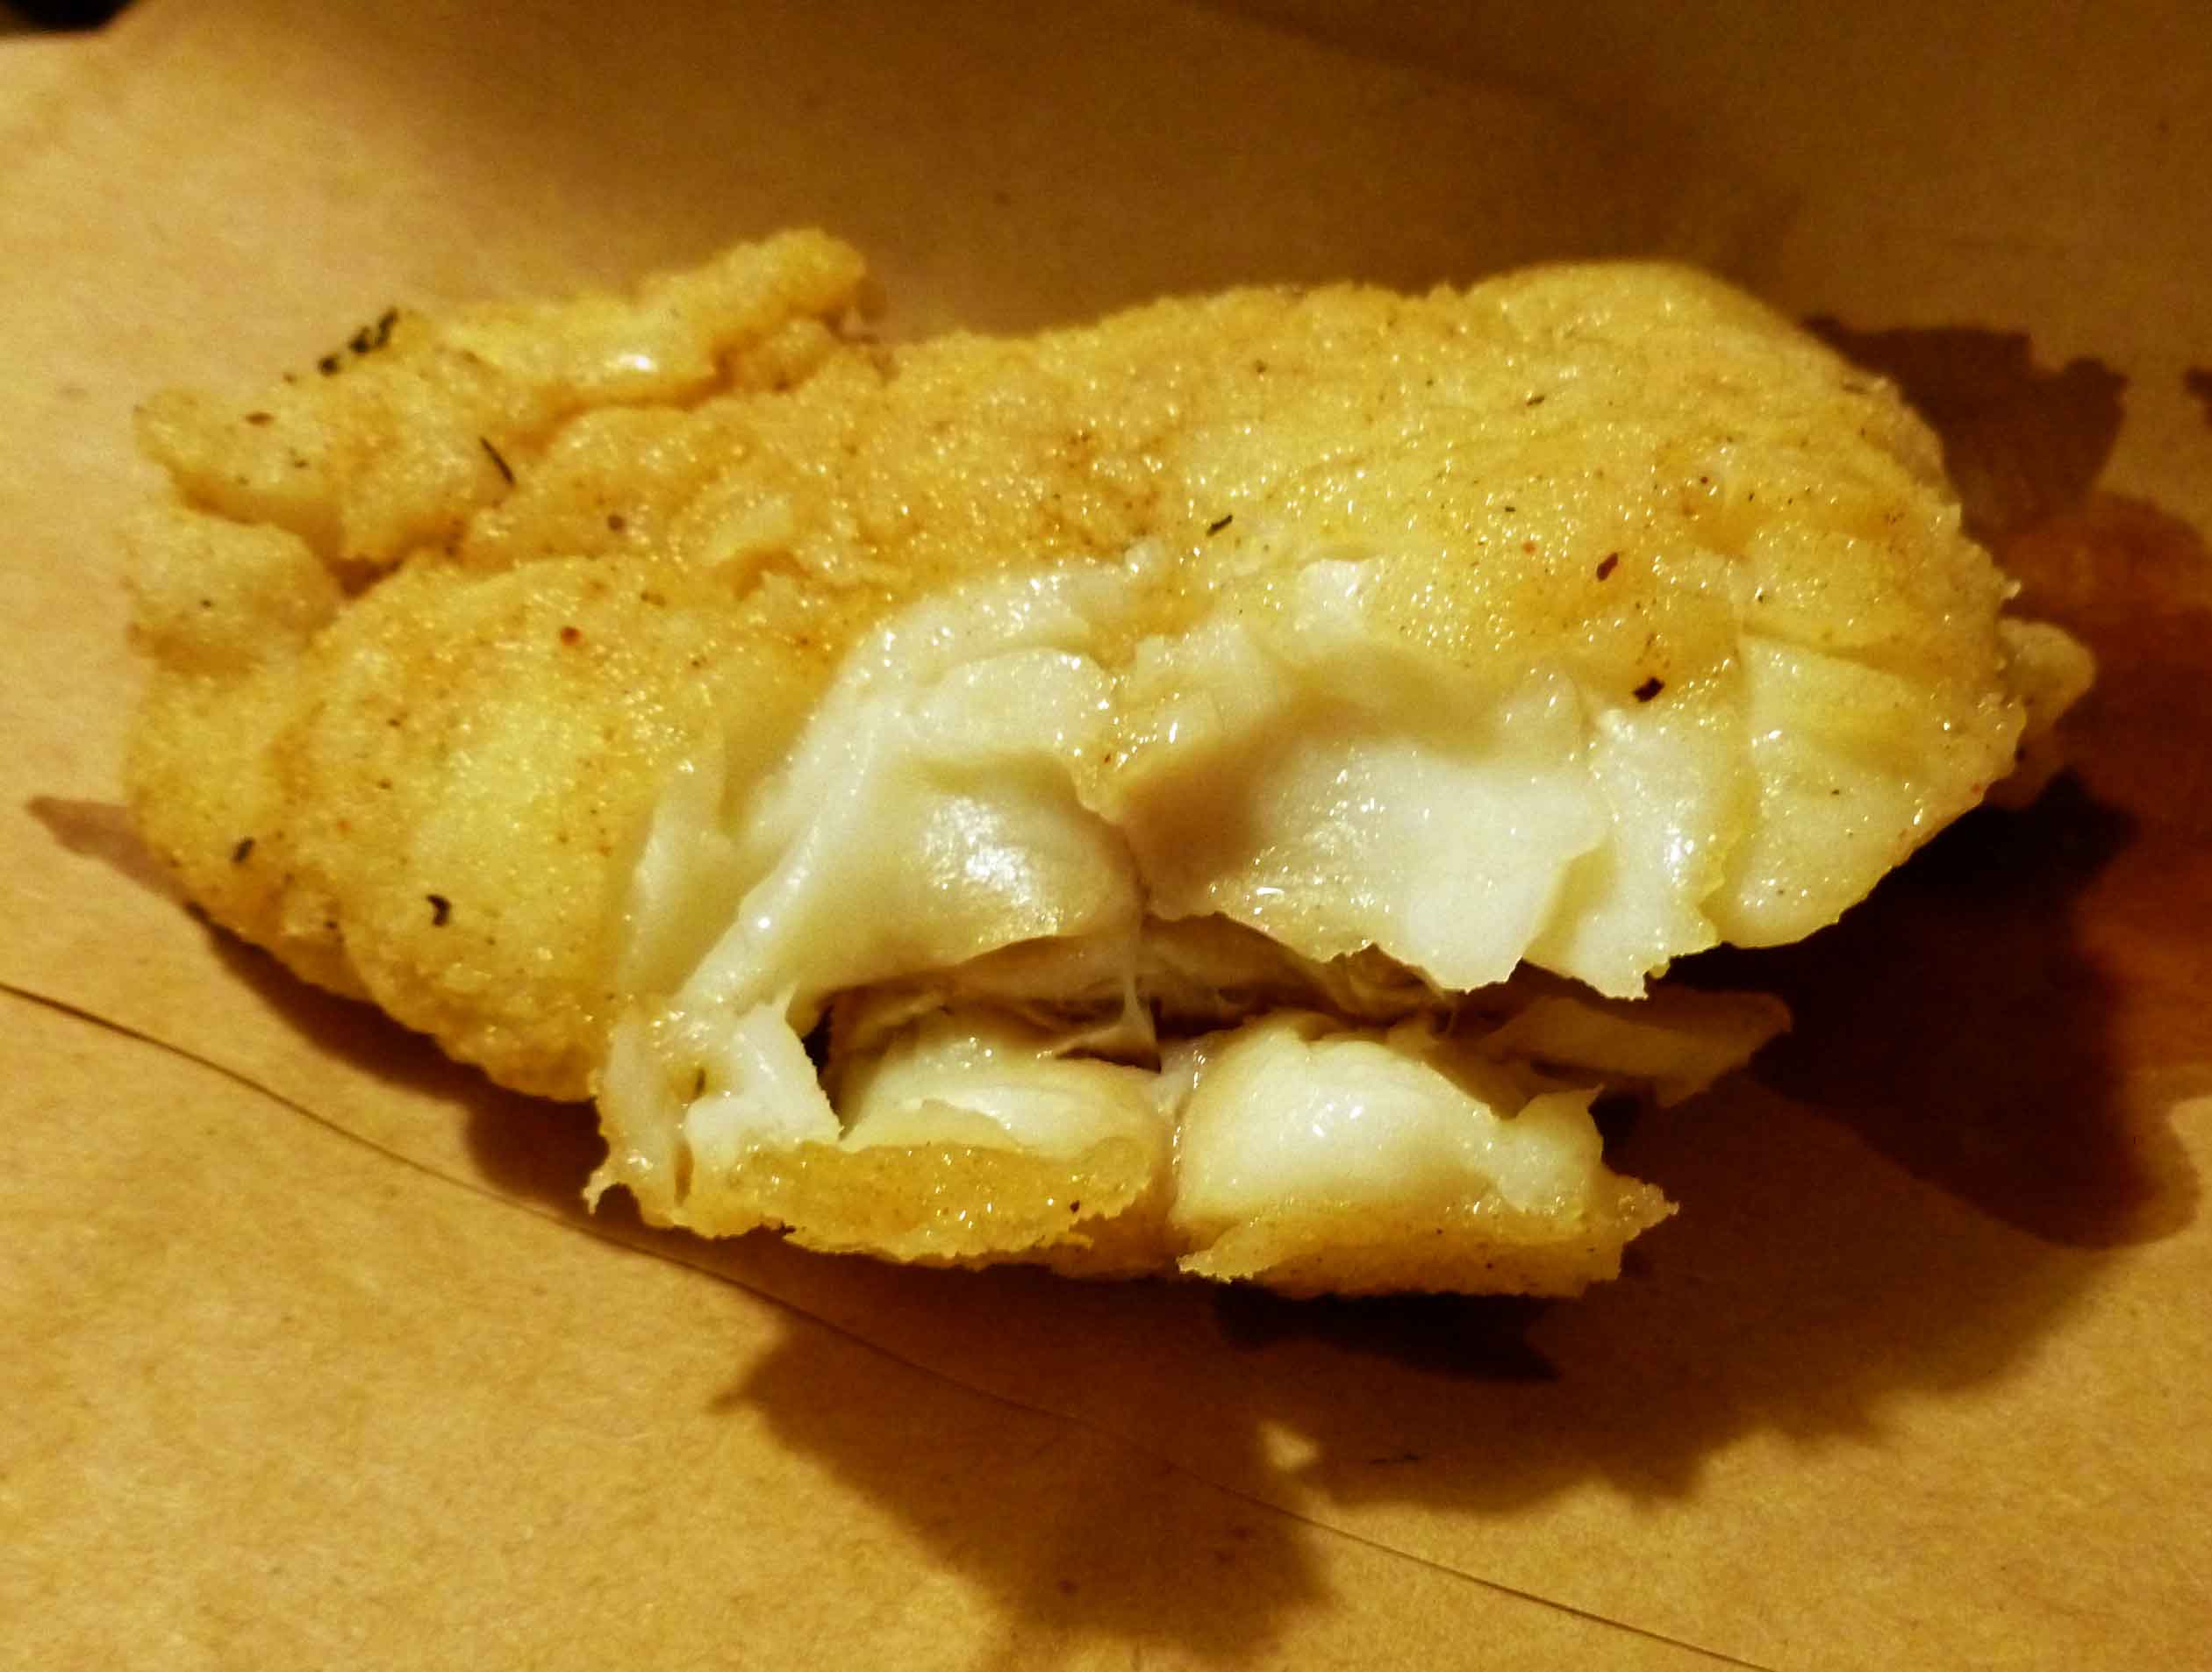
    • 1 pound white fish I used cod
    • 2 teaspoons hot sauce or chili paste I used harissa
    • 1-2 teaspoons olive oil (no, this is a separate 2 t)
    • 2 whole avocados
    • 1 fresh lemon
    • 1 pinch salt, for each avocado half
    • 4 handsful salad greens of your choice but argula and spinach would be my top choices
    Servings: people
    Instructions
    1. In a heavy skillet, heat about 2 teaspoons of olive oil over medium to medium-high heat. You want to crisp the polenta, not burn it, and you know your stove (and attention span) better than I do. If you really don’t like using fat, you can just use the barest amount necessary to coat the pan, but polenta crisps up better with a little extra oil.
    2. Slice the polenta, and when the oil is hot, place the slices in a single layer in the skillet.
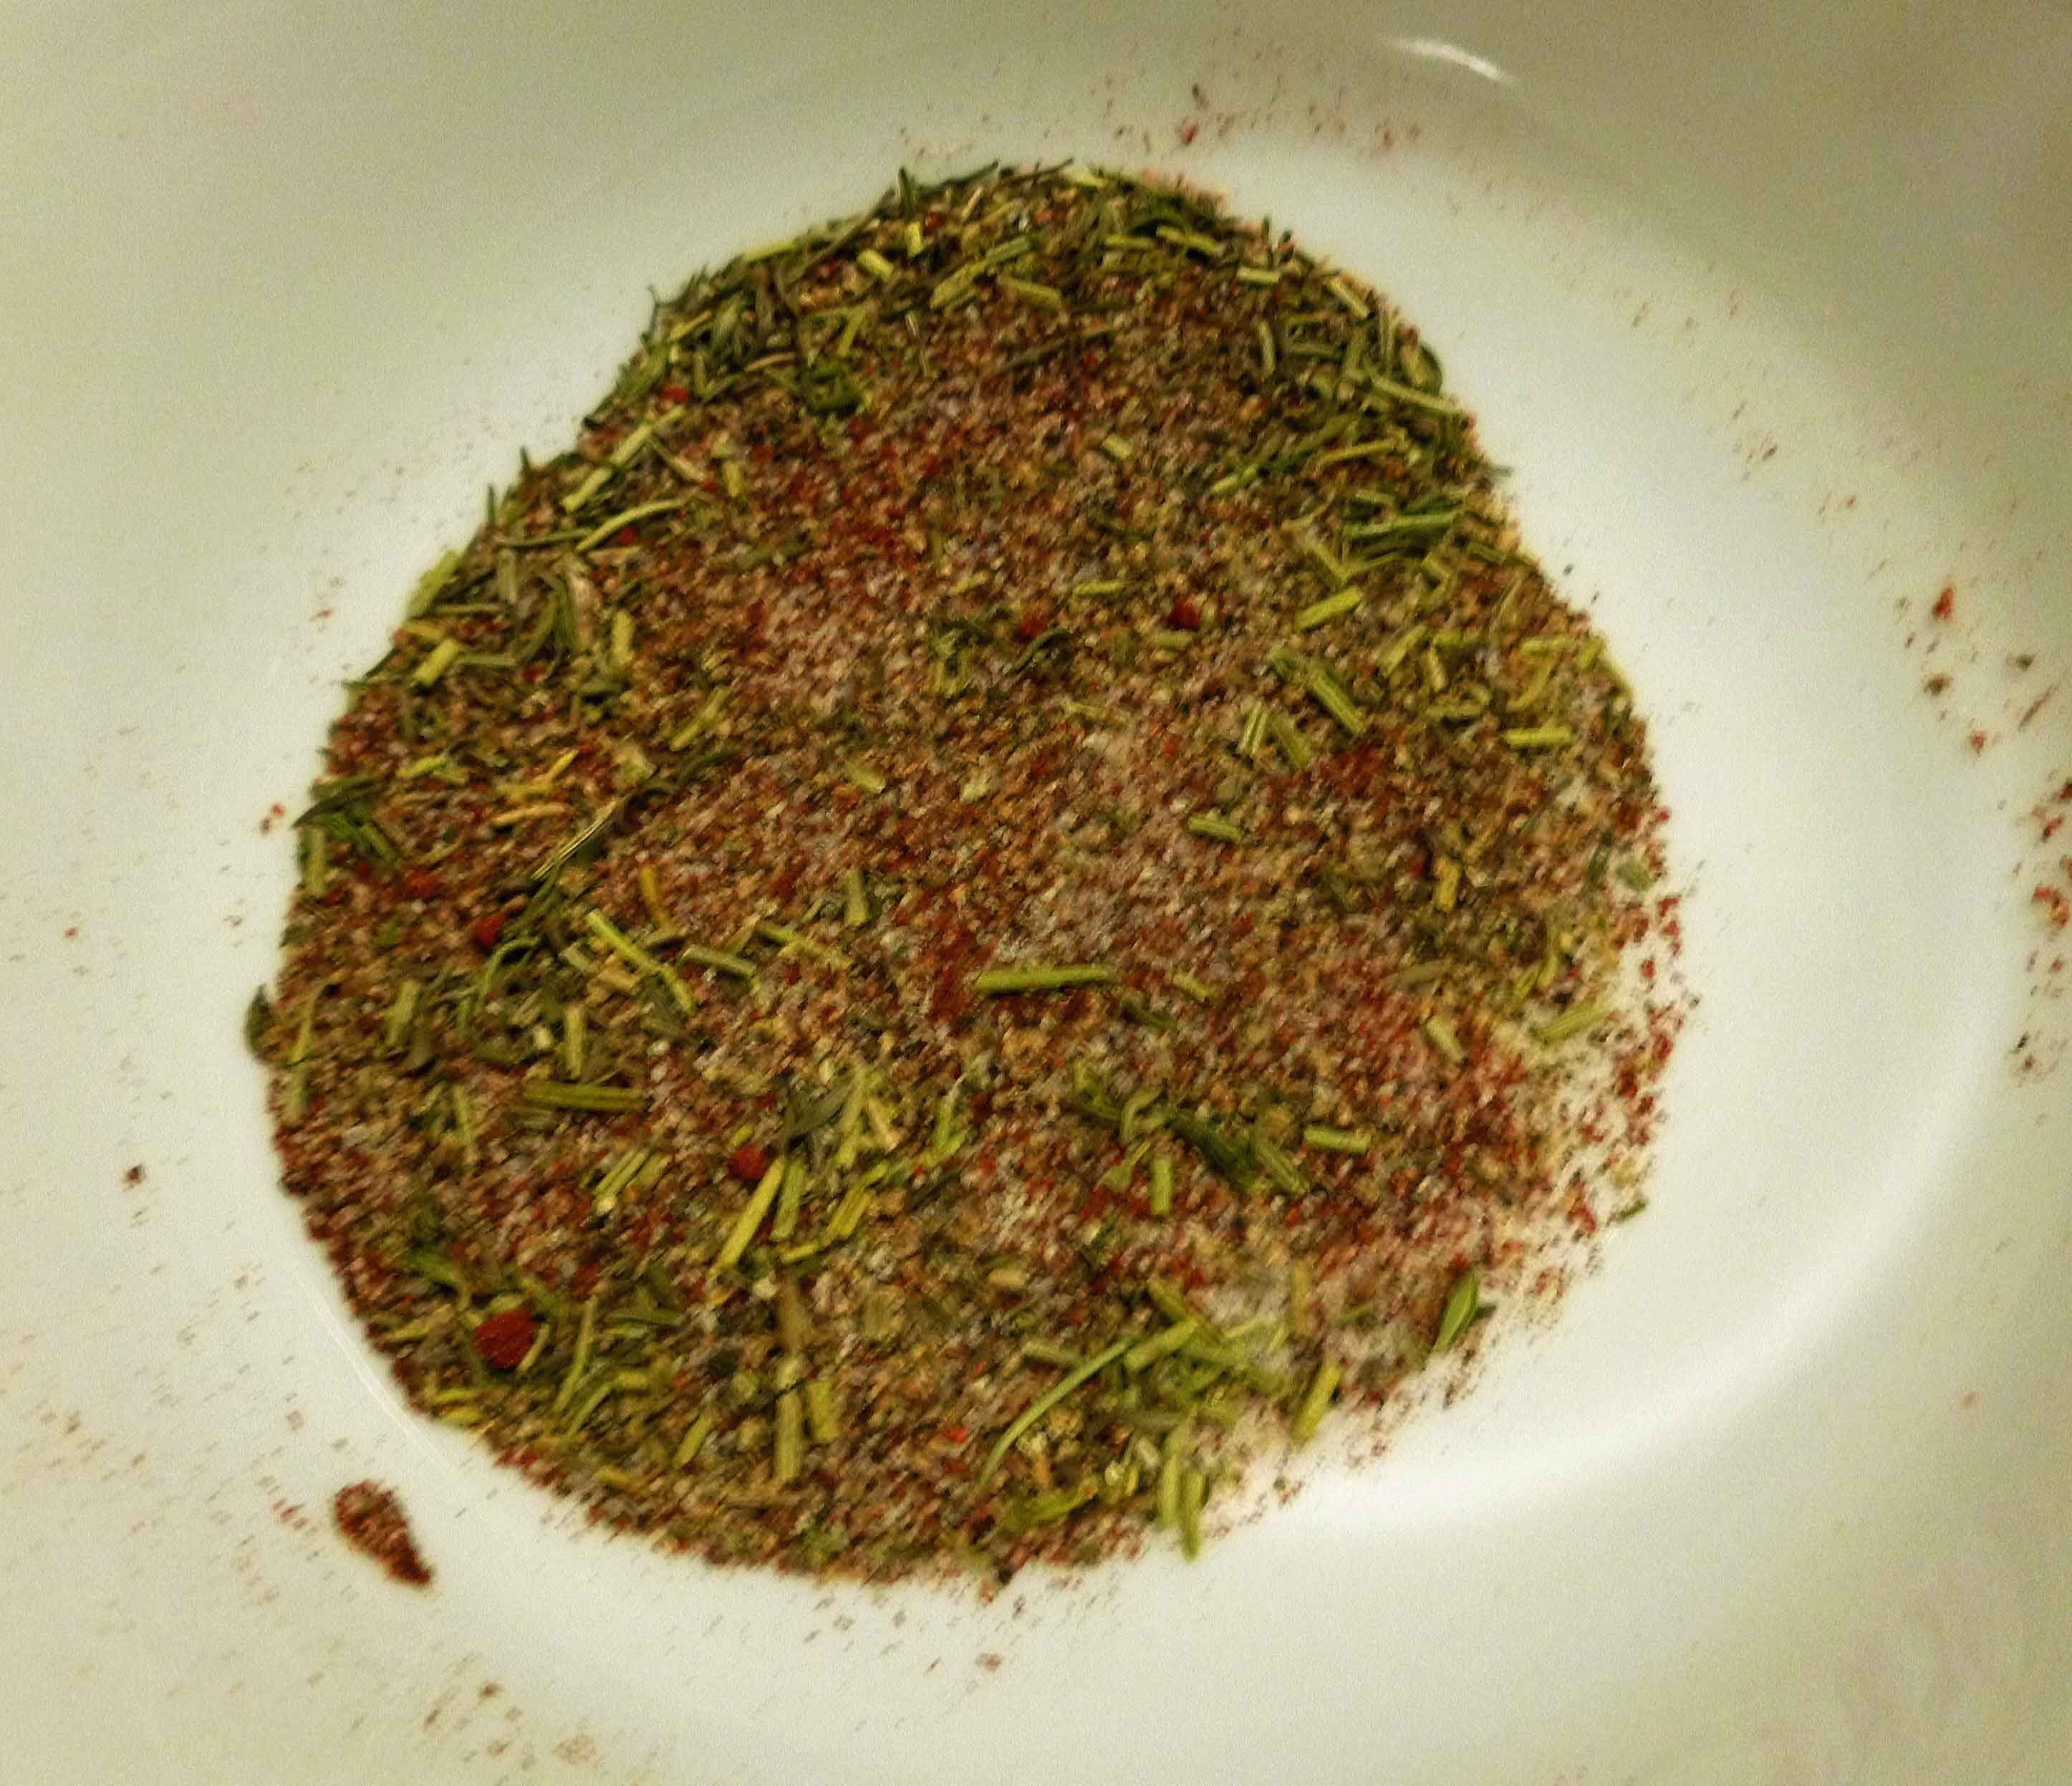
    3. Meanwhile, prepare the fish poaching liquid by adding the celery salt, cilantro, wine, and stock to another skillet, over medium heat.
    4. Cut the fish into serving-sized portions (so more or less match your polenta size).
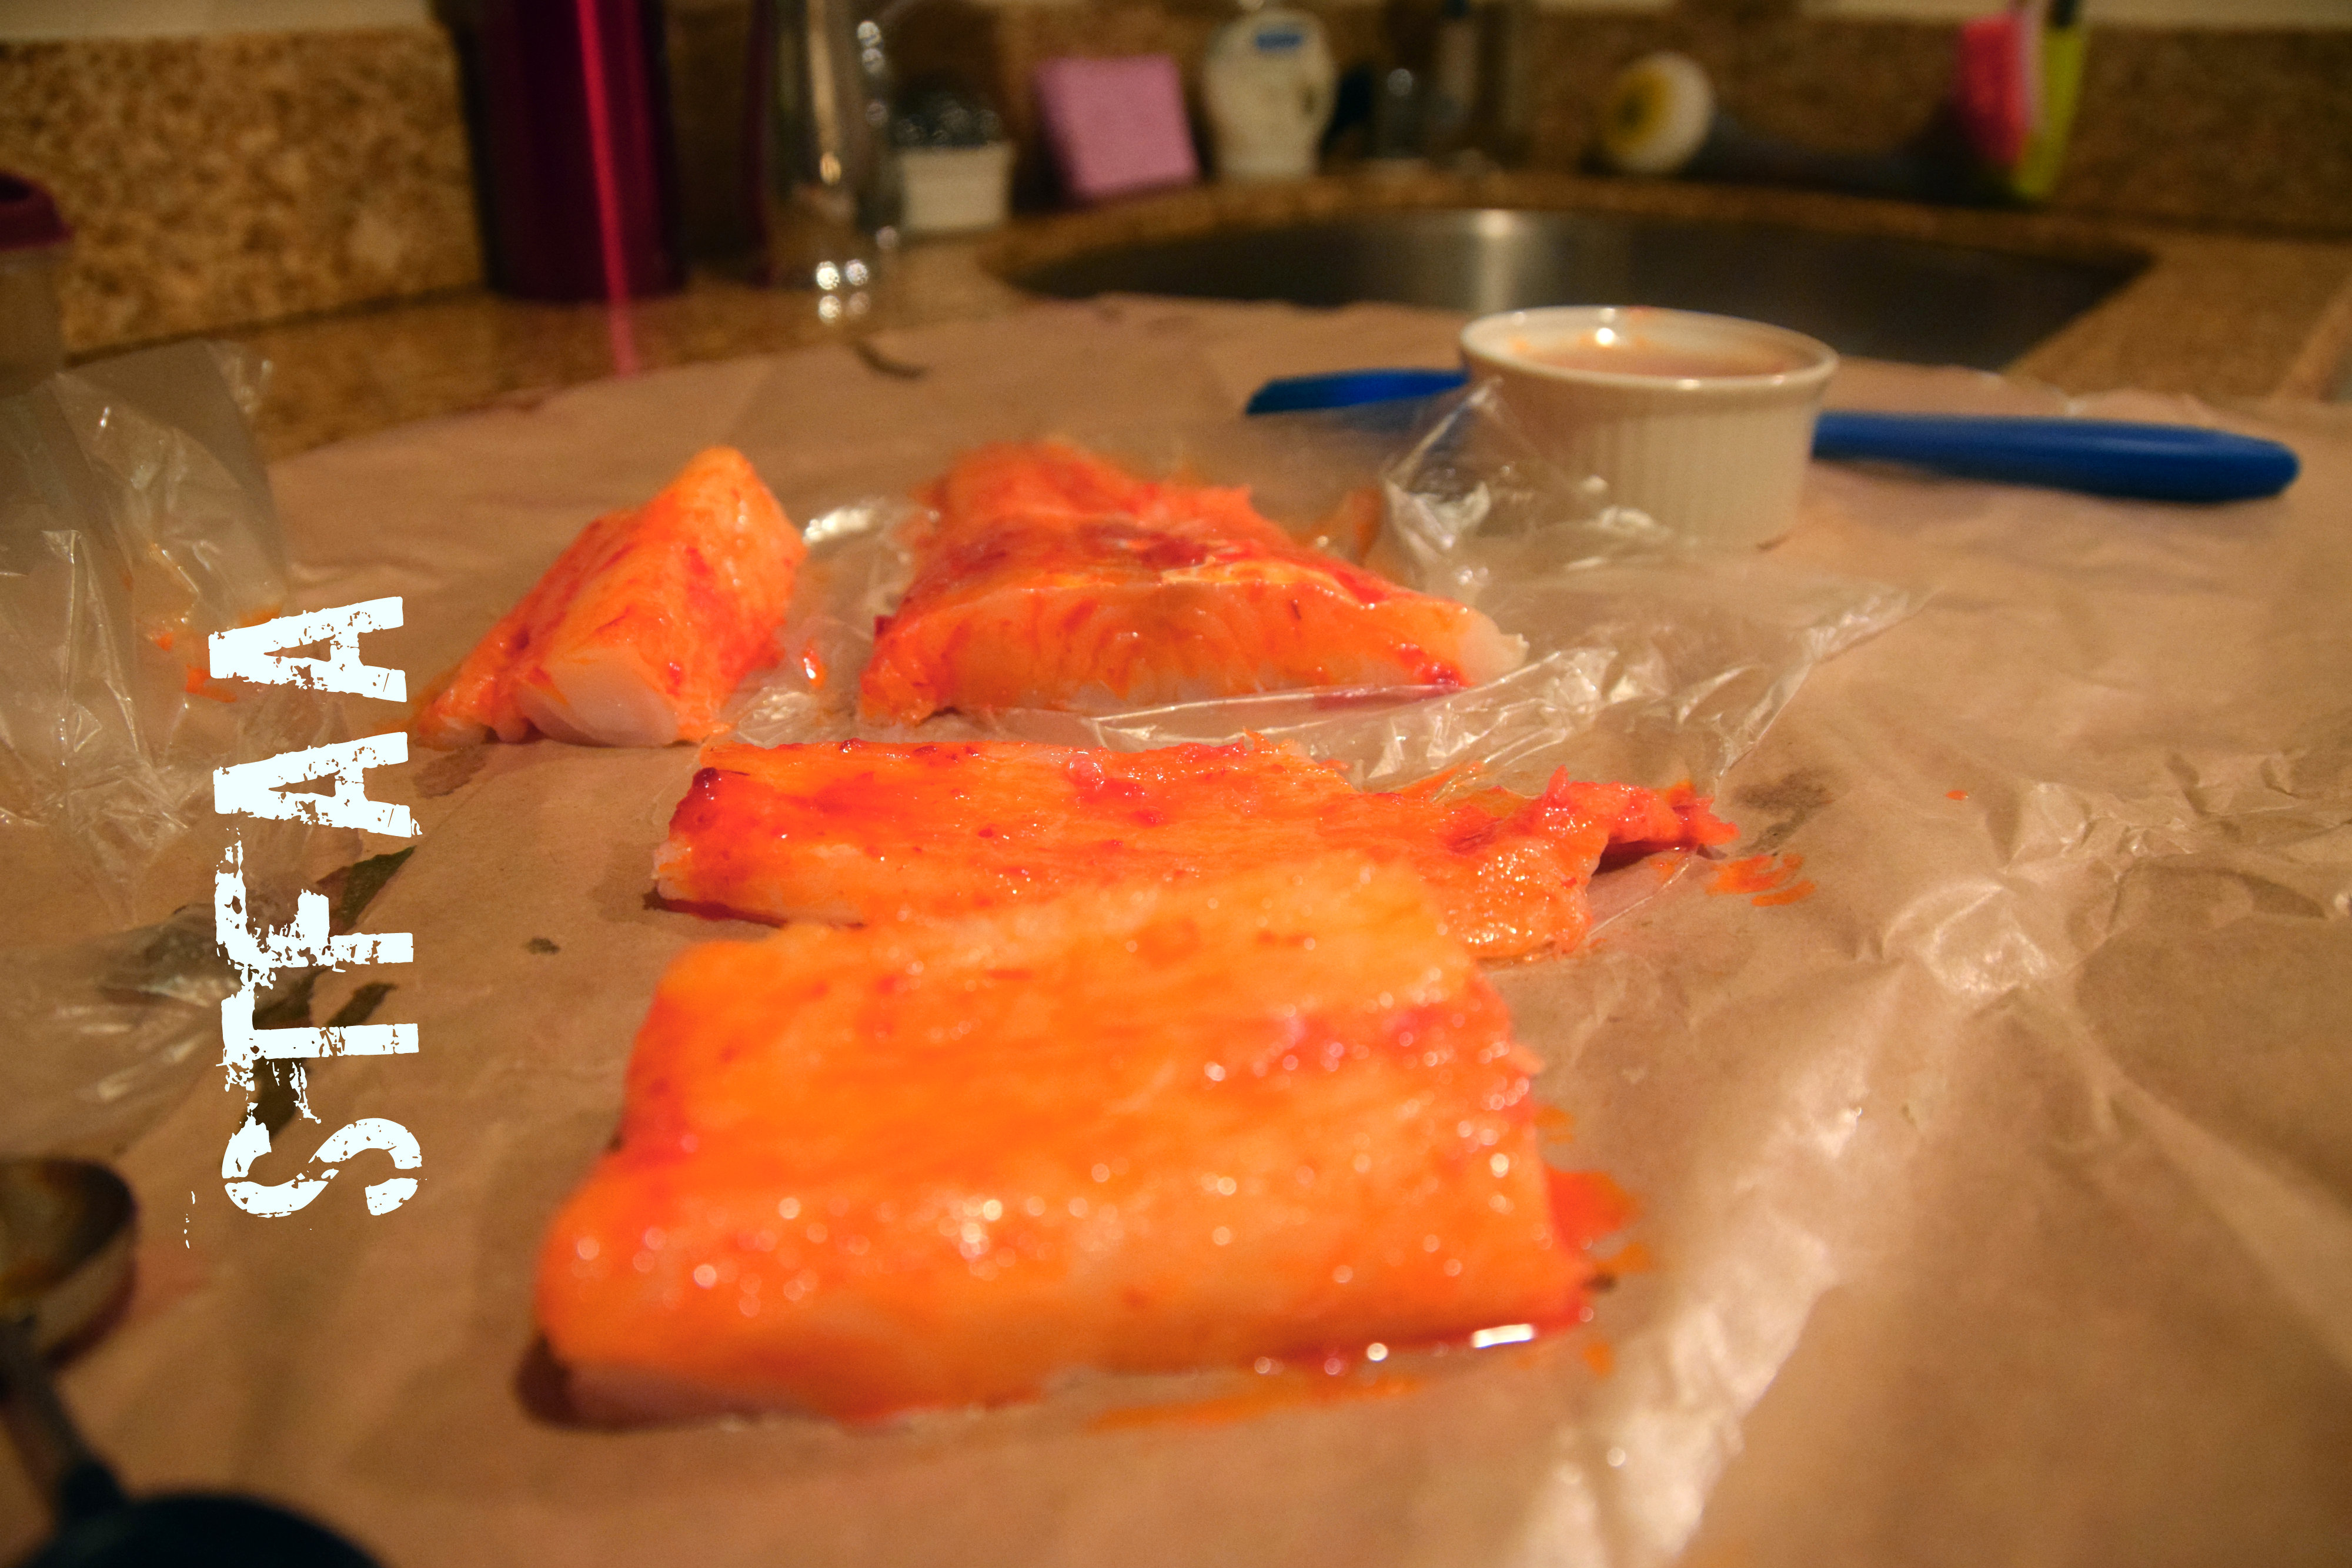
    5. Mix your hot sauce and olive oil and brush on the fish. If you like it hot, use less olive oil. If you like it mild, I wouldn’t go less than a 1:1 ratio of oli to sauce or you lose the flavor entirely. I think you likely don’t want an actual thin hot sauce like Tabasco here, but anything as thick as ketchup should work.
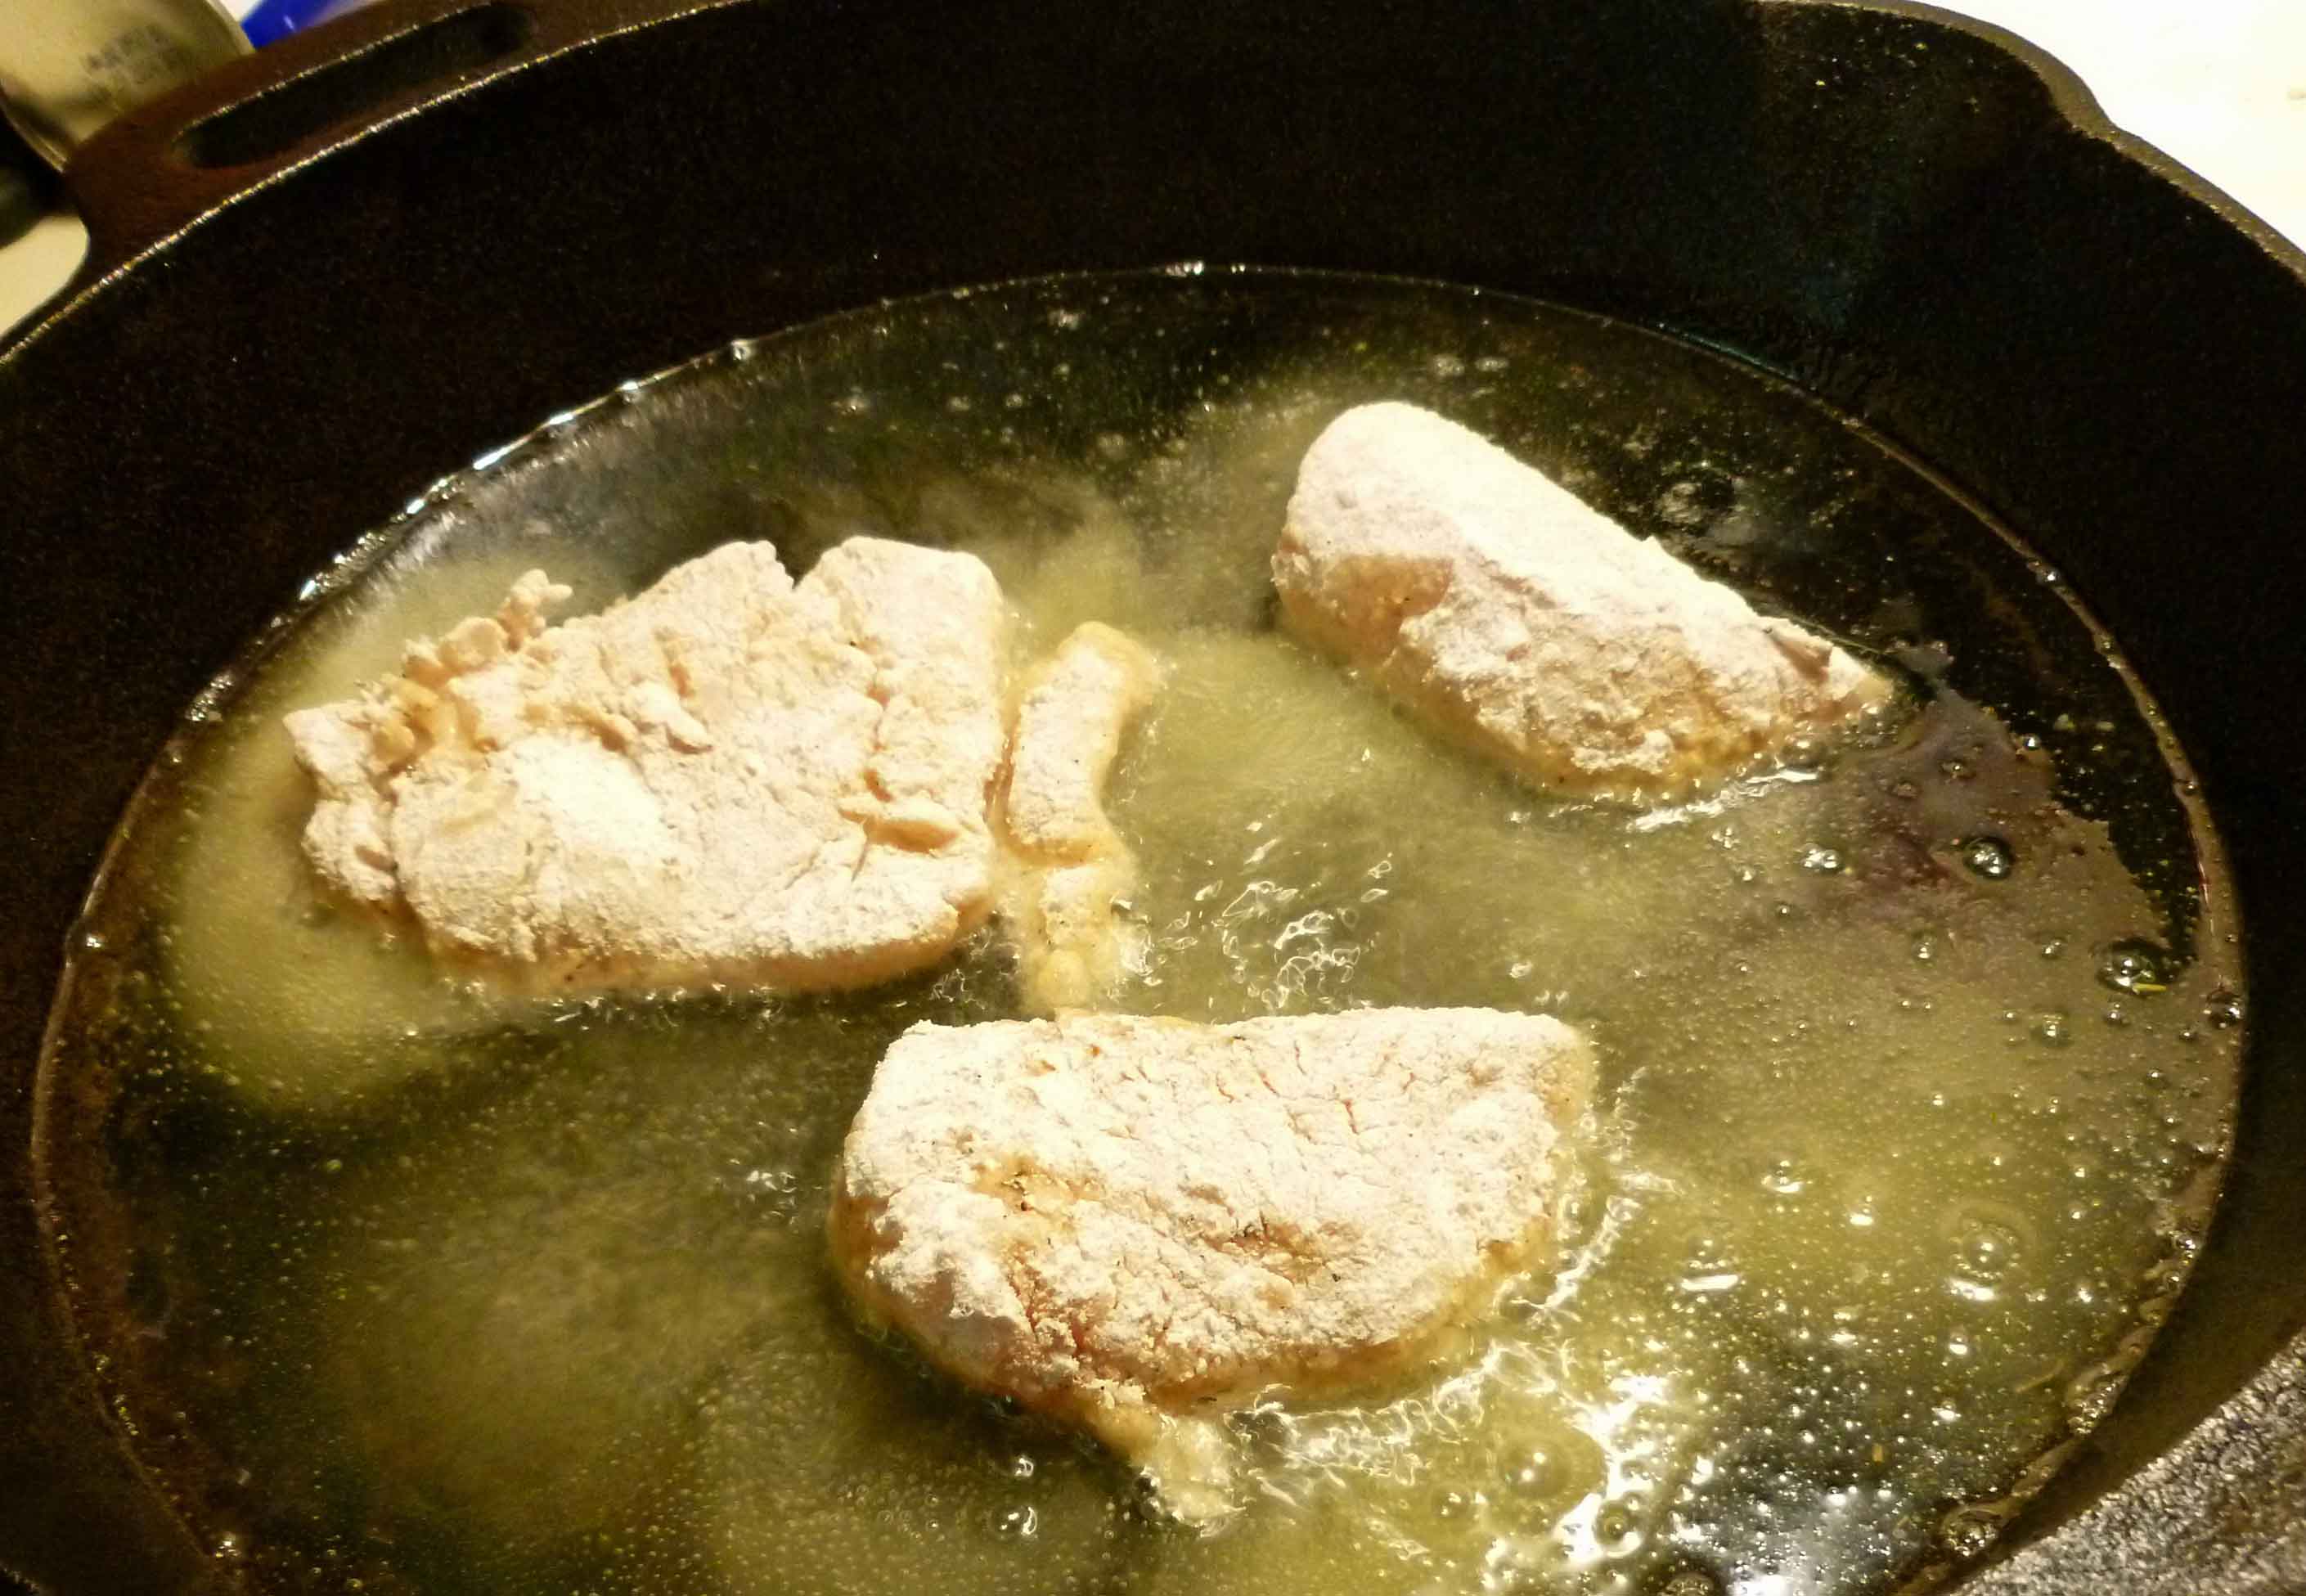
    6. When the poaching liquid is boiling, add the fish. Watch it. When it starts to turn opaque, flip it. This is my favorite way to cook fish because it is easier to watch what I’m doing and see when the fish is done.
    7. Flip the polenta cakes and crisp on the other side.
    8. Halve and slice the avocados. Squeeze lemon over each set of slices, and give each a pinch of salt. Save some lemon wedges for serving.
    9. Plate up. I stacked the polenta on top of the greens, with the fish and then the avocado on top. And it was good.
    Recipe Notes

    Again, feel free to adjust your ratios:

    To make it spicier, use more chili paste/hot sauce and less olive oil. And vice versa. If you don’t want to use wine, use all broth.

    Share this Recipe
     
    Powered byWP Ultimate Recipe
  • Turnip Kimchee

    Turnip Kimchee

    Turnip Kimchi

    Turnip Kimchi

    As some of you, who know me in real life and who read the blog regularly, know, I *may* have planted a little bit too much turnip in the garden this year. I planted Purple Top White Globe variety because hello, purple. They are more radishy than the turnip I normally eat from the grocery store. I tried to make a couple of different things in hopes that (a) it would work for the blog and (b) use up some turnip. The attempt at Cajun seasoned baked turnip curly fries were just so-so, not blog-worthy. The scalloped turnip recipe I tried was okay, but I think it will be a whole lot better if I throw it in the Vitamix and call it a turnip bisque once it’s pureed to oblivion, and if I add some Sriracha (my homemade version of course). So since the turnip is radishy, I decided to make a version of cubed radish kimchee, which usually uses daikon radish. So if you can’t find fresh daikon in your area, get yourself some Purple Top White Globe turnips and go to town. I used this recipe as a starting point. If you do not like spicy/hot food, maybe pass on this recipe. If you need it to be vegan or you’re allergic to fish, you can sub out the fish sauce with soy sauce or a soy sauce substitute if you have issues with soy, or or you can just use some extra juice from the turnip mixture, as explained below.

    Turnip Kimchee

    Normally, I do the step by step instructions with photos, but I have to go can a bunch of turnip in the pressure canner.  So here’s some of the in-process photos, and the recipe card.

    Peeled turnip being cut into cubes
    Peeled turnip being cut into cubes
    Turnip with salt and sugar resting bring the water out
    Turnip with salt and sugar resting to bring the water out
    Korean red pepper flake mixture
    Korean red pepper flake mixture
    Turnip combined with Korean red pepper flake mixture
    Turnip combined with Korean red pepper flake mixture
    Turnip combined with Korean red pepper flake mixture in jar, pressed down so there are no air pockets
    Turnip combined with Korean red pepper flake mixture in jar, pressed down so there are no air pockets
    Turnip Kimchi
    Turnip Kimchi
    Turnip Kimchi
    Turnip Kimchee
    Print Recipe
    A cubed kimchee using purple top white globe turnips instead of daikon
    Servings Prep Time
    1 half gallon jar 20 minutes
    Passive Time
    30 minutes
    Servings Prep Time
    1 half gallon jar 20 minutes
    Passive Time
    30 minutes
    Ingredients
    • 4 pounds purple top white globe turnips peeled, washed and diced in 3/4 inch pieces
    • 2 Tablespoons sea salt
    • 3 Tablespoons sugar
    • 6 cloves garlic minced
    • 1 teaspoon fresh ginger grated (use a ginger grater or a microplane zester)
    • 4-5 stalks spring onion or garlic scapes chopped (I had garlic scapes on hand, so that’s what I used)
    • 1/4 cup fish sauce (use a version safe for you, or substitute with soy sauce, soy sauce substitute, or more of the radish liquid)
    • 1/3 cup Korean red pepper flakes
    • 1/3 cup juice from turnip mixture (explained below)
    Servings: half gallon jar
    Instructions
    1. Peel turnips and rinse in cold water and pat dry. Cut the turnip into cubes about 3/4 of an inch. Place them in a large bowl.
    2. Sprinkle salt and sugar over the turnip and mix well. Place a cover or plastic wrap over the bowl and let it sit for 30 minutes. The salt and sugar will pull water out of the turnip. Once the 30 minutes is up, drain the juice from the turnip into a small bowl and set it aside. Leave the turnip cubes in the large bowl.
    3. In another small bowl, add the minced garlic, the grated ginger, the chopped green onions, the fish sauce, the Korean red pepper flakes, and 1/3 of a cup of the drained turnip juice. Whisk these ingredients together until well combined.
    4. Pour Korean red pepper flake mixture over the turnip cubes in the large bowl, scraping the small bowl clean so that all the Korean red pepper flake mixture gets added to the turnips. Mix the turnips and the Korean red pepper flake mixture well until the turnips are completely coated.
    5. Put the turnip mixture into a glass jar (I used a half gallon Ball mason jar), making sure that you scrape the bowl clean and all the Korean red pepper flake mixture goes into the jar with the turnips. Use a spoon or a spatula to press down the cubes to remove any air between them.
    6. You can either place it in the refrigerator and eat it right away or you can let it ferment by leaving it outside of the refrigerator for a few days. I use an airlock with a plastic cap and silicone gasket, but you can use a lid if you just remember to open it (burp it) twice a day, so that the pressure doesn’t build and the glass jar does not crack. When it starts fermenting, you may see little bubbles. After three to five days, store it in the refrigerator and enjoy.
    Share this Recipe
    Powered byWP Ultimate Recipe


  • Blood Orange Flounder

    Blood Orange Flounder

    Blood Orange Flounder with baked asparagus and jasmine rice
    Blood Orange Flounder with baked asparagus and jasmine rice

    Fish! I’m sorry for any of you who have fish allergies. I promise that we have plenty of non-fish recipes for you — hit the search bar up in the right-hand corner.

    I’ve recently discovered the Yankee Fisherman’s Co-operative in Seabrook — I’m pretty sure that the fish comes in the dock off the back and you take it right out the front door. It is FRESH. So when I was there and the flounder looked amazing, I figured I should learn how to cook flounder. Even if he was Ariel’s best friend.

    Flounder’s a very light-flavored fish, but it’s denser than tilapia, but not as “stiff” as cod. I liked it a lot. Because it’s a thin fillet, I decided to do parchment paper packets and citrus to add some flavor and keep the fish moist. I’ve layered the fish fillets over slices of blood orange, used the zest and some fresh thyme over top. Wrapped in parchment, the fish takes only about 15 minutes to cook to tender perfection.

    (I wrote directions for folding the parchment in the recipe, but if you want it to be really pretty, check out this tutorial.)

    Blood Orange Flounder, pre-baking. Zest and fresh thyme on top, and I swear there are whole orange slices beneath.
    Blood Orange Flounder, pre-baking. Zest and fresh thyme on top, and I swear there are whole orange slices beneath.

    Notice: Trying to access array offset on value of type bool in /home/maryzahc/public_html/adultfoodallergies.com/wp-content/plugins/wp-ultimate-recipe/helpers/models/recipe.php on line 254
    Blood Orange Flounder
    Print Recipe
    This light, tender fish is cooked in parchment paper packets with citrus to infuse flavor and prevent drying out.
    Servings Prep Time
    4 people 10 minutes
    Cook Time Passive Time
    15 minutes 15 minutes
    Servings Prep Time
    4 people 10 minutes
    Cook Time Passive Time
    15 minutes 15 minutes
    Ingredients
    • 1 pound flounder fillets
    • 1 large blood orange, zested and sliced thickly
    • 6-8 sprigs fresh thyme whole sprigs are fine
    Servings: people
    Instructions
    1. Pre-heat oven to 350ºF.
    2. My flounder was two fillets, so I made two separate parchment paper packets. You need sheets that will fit your fillet, longways, with at least 4 inches at either end.
    3. Layer 2-3 slices of orange (enough to support most of the fillet), with the fish fillet on top. Then sprinkle zest and fresh thyme over the top of each fillet.
    4. Fold the parchment packets. This is what I did — pull the width-wise edges together and fold over twice. At each end, fold the corners in (like wrapping a present) and fold under at least two times, more if your length allows.
    5. Place the packets on a baking sheet. Bake 15 minutes, and then test the fish with a fork to see if it is flaky. I served this with jasmine rice and asparagus baked at the same time as the fish.
    Share this Recipe
     
    Powered byWP Ultimate Recipe
  • Seared Tuna Steak Salad

    Seared Tuna Steak Salad
    Seared Tuna Steak Salad

    This is one of those areas where Denise and I diverge — neither of us is allergic to fish, but I love tuna, and she hates it. Conversely, she loves haddock, and I, eh, can’t get excited about it. If you’re pro-tuna, this might be your recipe.

    The first time I had tuna — and liked it — was when I was in Greece in college. The whole experience was amazing, and so was the food. I had a simple salad one day, when I wasn’t feeling great and wanted something light. It was just lettuce, with canned tuna in oil and a few tomatoes. So simple, but so amazing. It was such a difference from the mayo-covered tuna salads I’d seen growing up, and it opened me up to tuna.

    I first tried fresh tuna in sushi, and it’s still one of my favorites. But ordering tuna at a restaurant made me  consider making it at home. Once you get more used to not cooking it all the way through (that dries it out!), it is SUPER EASY and seems pretty fancy.

    This dish actually came out of leftover seared tuna. Normally, I make tuna for just me, as an occasional indulgence. But my grocery store was having a sale on some great-looking frozen tuna steaks, so I thought I’d give it a whirl as a mid-week dinner for me and my boyfriend.  I cooked the fish and served it with steamed asparagus and bamboo rice — it was quick and easy, even though I got home late that night.

    I overshot the amount of fish I needed, though. I’ve never had a leftover tuna steak before! Turns out, fresh tuna also makes an amazing salad. THAT is the recipe you’re getting today. But feel free to just buy too much fish for one dinner and make this salad the next day. Just scale the marinade up.

    This recipe serves ONE. Scale up appropriately.

    Seared Tuna Salad with unmixed dressing
    Seared Tuna Salad with unmixed dressing

    Tuna Steak Salad

    • 1/3 lb. tuna steak, about 1 1/4 inch thick (the exact amount of tuna is up to you! But if your steak is substantially thicker or thinner, adjust your cooking time accordingly)

    Marinade

    • 1/4 cup rice wine vinegar (look for unsweetened, unseasoned, for the most flexible version)
    • 1/4 cup faux tamari, or gluten-free soy sauce
    • 1/4 teaspoon (generous) garlic powder (I used roasted, from Penzey’s, as it’s my new favorite)
    • 1/4 teaspoon powdered ginger

    Salad Ingredients

    • 10 stalks or so steamed asparagus
    • 1 cup mixed greens (I don’t like lettuce, so I used a mix of baby kale, baby Swiss chard, and baby spinach, but the crunch of lettuce would be great)
    • 1 Tablespoon of pumpkin seeds, roasted and salted

    Dressing

    If your fish is vacuum-packed, slit the packaging before you defrost it (put it on a plate first, of course) in the fridge. I usually take it out the night before and give it the night and day in the fridge.

    Marinate the fish for about 20 minutes, 10 minutes per side. If I’m serving the fish with rice, this is about the perfect cooking time for rice. The fish takes about 5 minutes to cook, so get everything else ready before you start the cooking.

    The salad is easy — steam the asparagus, heap it and the greens on a plate. Make the dressing by mixing all the ingredients together with a whisk or fork — taste and adjust the seasonings as needed. If you are using salted pumpkin seeds, you won’t need more salt. If you aren’t, you might want a dash of salt at the end.

    Heat a well-seasoned cast iron skillet over medium-high heat until it is good and hot. You are going to sear the fish quickly, so make sure the pan is hot. If it’s a well-seasoned pan, you won’t need to add more oil.

    Sear the first side of the fish. For cooking steaks an inch and a quarter thick, 3 minutes the first side and 2 minutes the second should be about perfect. Baste it with the marinade right before you flip it. Because tuna changes color as it cooks, you can watch the fish to get the timing correct — watch the cooking up the side and flip it when it’s cooked about 1/4 of the way through.  Then take it off when it’s 1/4 of the way through the other side. The center of your fish should be warm, but pink.  That is perfect tuna.

    Add the tuna to the salad, sprinkle the salad with pumpkin seeds, and drizzle on the dressing.

    Enjoy!


  • Tod Mun (Thai Fish Cakes)


    Tod Mun (Thai Fish Cakes)
    Tod Mun (Thai Fish Cakes)


    Have I ever said how much I love Thai food? And that my first date with my husband was at a Thai place?  Because of the corn, wheat, and coconut allergies, going out for Thai food really isn’t an option anymore. And I miss it, very much. I used to order this appetizer often in the long, long ago before food allergies, and when Mary Kate and I talked about doing a Fry-Day for Thanksgiving this year, I decided to give it a shot. I was very happy. I may have even teared up because it was just like our local Thai joint’s version.

    Tod Mun:

    Makes about 10-15 or so.

    Cucumber Salad/Dipping Sauce:

    • 1 cup of Thai Hot and Sweet Dipping Sauce
    • 1 cucumber peeled and diced
    • 1 cup of cashews, toasted in a skillet or roasted in the oven (If you can have peanuts, use roasted peanuts. If you can’t have nuts, just leave them out.)

    Tod Mun:

    • 1 pound of Haddock (or other mild white fish, such as Pollock or Halibut)
    • 5 ounces of uncooked shrimp, peeled and tail off.
    • 2 Tablespoons of Thai Red Curry Paste (If you can use a commercial version, great, but if not, here’s a recipe for it.)
    • 1 Tablespoon of safe for you fish sauce (If you don’t have one you can leave it out).
    • 1 bunch of scallions, trimmed and chopped into small pieces
    • 1 chia egg (1 Tablespoon of ground or milled chia seed mixed with 3 Tablespoons of water)
    • safe oil for frying enough to fill the pot about 3 to 4 inches deep

    For the frying:

    • A pot deep enough to accommodate about 3 inches of oil and the frying thermometer, a thick stainless steel stock pot or an enameled dutch oven would be best. You also want a pot that’s tall enough that the edge is 4 or more inches above the oil level. It’s safer and there’s less splatter all around. We do not recommend using anything with Teflon or nonstick coatings. Of course, if you have an actual deep fryer appliance, use that.
    • frying thermometer (the link goes to the one we used)
    • tongs and/or slotted frying spoon/spider  (we used a silicone one rather than the traditional wire and bamboo, but I can’t find a picture of ours)
    • plate or cookie sheet, lined with paper towels

    Set up your frying pot, add your safe oil, and set up your thermometer. Start heating your oil over medium heat, as it will take some time to reach the right temperature.  You are aiming for about 350ºF.

    Chop your toasted/or roasted cashews and place them in a bowl. Add your your peeled and diced cucumber and the Thai Hot and Sweet Dipping Sauce, and mix well to combine.  Set aside.

    Cucumber Salad/Dipping Sauce
    Cucumber Salad/Dipping Sauce

    Chop the haddock into pieces small enough to put in your food processor.  Place the haddock and the shrimp in a food processor with the regular cutting blade and process until the haddock and shrimp forms a smooth paste. Empty the mixture into a large mixing bowl, making sure you scrape down all the sides of the food processor bowl carefully.  Also, wash your food processor parts immediately. You really don’t want the fish mixture to dry to your food processor bowl, cover and blade.

    Mix in the Thai Red Curry Paste and fish sauce, until well combined. Then add the scallions and chia egg, and mix thoroughly.

    Tod Mun mixture before frying
    Tod Mun mixture before frying

    Once your oil is hot and has reached 350ºF.  Use two large spoons to form a rough patty, and drop it into the oil. Depending on the size of your pot, you may only be able to do a few at a time. I had a 10 quart stockpot and I was only able to do about five at time.

    Use large spoons to make rough patties
    Use large spoons to make rough patties

    Fry them for about 4-5 minutes or until golden brown.. Place them to drain on the paper towels.

    Fried Tod Mun (Thai Fish Cakes)
    Fried Tod Mun (Thai Fish Cakes)
    Fried Tod Mun (Thai Fish Cakes)
    Fried Tod Mun (Thai Fish Cakes)

    Once you have fried all of them, serve them with the cucumber salad/dipping sauce.

    Tod Mun (Thai Fish Cakes)
    Tod Mun (Thai Fish Cakes)


    Enjoy!


  • Twice-Baked Meal Potatoes — Tuna Casserole Style

    Tuna Casserole Twice Baked Potato
    Tuna Casserole Twice Baked Potato

    This is another one of those posts that is a recipe, but more an idea than a straight-up, dictatorial recipe. When I was a kid, my mother would sometimes make “potato boats” for special occasions. It’s not that twice-baked potatoes are hard, but the baking things twice part does take time — and there’s the cooling off in between so that you can handle the potato. In college, a friend told me her family used to make meals of these potatoes. A meal made up of potatoes is right up my alley, and I was thinking all sorts of possibilities come out of this.

    So this is a tuna casserole-style potato boat meal, but there have to be an infinite number of other options. How big  is your imagination? How about a leftover chili twice-baked, topped with some vegan cheese? Or a jambalaya potato, stew potato, curried spinach potato? What do you have leftover in your fridge? (Bonus suggestion: While I tried really hard to do a twice-baked sweet potato, structurally, it was not possible. But leftover chili over a sweet potato is an incredible lunch combo.)

    For this recipe, though, I’m going with a reimagined classic, tuna casserole. In this version, the mashed potato takes the place of noodles, and I’ve made a mushroom duxelle sauce to use in place of the can of cream of mushroom soup, relying on a herbes de provence blend of herbs to elevate this to a more adult palate of flavor while not destroying the comfort food base. These can be prepared the day before and just baked the final time before serving.

    Potatoes in Process
    Potatoes in Process

    Tuna Casserole Twice-Baked Meal Potatoes

    Makes 4 potatoes

    • 4 large baking potatoes
    • 1 1/4 cup cooked chopped broccoli
    • 5 Tablespoons Earth Balance or other fat
    • 1/2 cup onion, diced
    • 8 oz white button mushrooms (one small package), cleaned and chopped
    • 1 Tablespoon herbes de provence blend of herbs
    • 1/2 teaspoon dry mustard
    • 1/2 cup + 1 Tablespoon non-dairy milk
    • Salt and Pepper to taste
    • 6 oz of safe for you tuna (watch out for soy, particularly, if that’s an allergen)

    Bake potatoes at 350°F for 90 minutes.

    If you need to, cook and chop the broccoli.

    In a large skillet, melt 3 tablespoons of your fat. Add the chopped onion and cook until translucent. Add the mushrooms, and cook until they’ve shrunk and released their moisture. Then add the herbs, dry mustard, and stir thoroughly. Add the additional 2 tablespoons of fat, melt it, and then add the non-dairy milk and cook for a few minutes. Taste and adjust the salt and pepper.

    When the potatoes are baked and then cool enough to handle, cut a slim slice off the top, length-wise, and scoop the cooked potato out into a bowl, being careful not to destroy the skin. Do this for all the potatoes. Add the mushroom mixture and mash the potatoes thoroughly, adding more non-dairy milk if needed. Mix in the broccoli and the tuna.

    Spoon the mixture back into your prepared potato skin shells, making a pretty mound on top of each.

    At this point, you can either cover these and refrigerate them, or you can proceed straight to the second baking.

    If you are baking potatoes that you’ve just prepared, they are at room temperature or warmer, so bake them at 350°F for 25 minutes uncovered.

    If you have refrigerated the potatoes overnight, cover them with foil and bake for 25 minutes at 350°F. Then uncover and bake 25 minutes longer.

    Enjoy with a little side salad — or just on their own.

  • Quick-ish Beef Pho

    Quick-ish Beef Pho, with Sriracha and Hoisin sauce
    Quick-ish Beef Pho, with Sriracha and Hoisin sauce

    So one of my pet peeves about the corn thing is no more going out for Vietnamese food, which is one of my favorite things ever. I actually made and pressure canned my own safe Hoisin sauce, and fermented my own Sriracha sauce so that I could still eat them. But you have to have stuff to eat the Hoisin and Sriracha on, and it’s winter, and we need pho. And we need an easy, quick-ish pho that it doesn’t kill you to make on a weeknight. You could do it the more traditional way, but again, we need dinner fast on a weeknight. This is why it’s good to have some of the Roasted Beef Stock around, either pressure canned, or in your freezer.

    Quick-ish Beef Pho

    Serves two really hungry people.

    For the broth:

    • 2 shallots (peeled, cut in half and broiled until browned)
    • 6 cups of Roasted Beef Stock or a commercial variety if you can get some that’s safe for your allergies
    • 1 cinnamon stick
    • 1 ounce (or a nice thick piece between an inch and two inches long) of fresh ginger root, peeled and sliced into a few pieces
    • 2 star anise (whole)
    • 5 cloves (whole)
    • 1 Tablespoon of fish sauce (optional) – make sure it’s safe for you
    • 1 Tablespoon of sugar

    For the fixings:

    • one half of a 16 oz package of rice noodles
    • a half pound of extra lean shaved steak
    • mung bean sprouts
    • a lime, sliced into wedges
    • fresh basil leaves or fresh chopped cilantro, or both
    • one half of a small red onion sliced very thinly
    • a Thai chili or two, sliced thinly

    Turn your oven to its broil setting or preheat your oven to 500°F. Move your oven rack to the highest setting, and place your peeled and halved shallots on a baking sheet and put them in the oven. Check them every three to five minutes until they are browned as shown below.

    Broiled Shallots on baking sheet
    Broiled Shallots on baking sheet

    While the shallots are broiling, place the Roasted Beef Stock in a stockpot, along with the cinnamon stick, sliced ginger, star anise, cloves, fish sauce, and sugar. Bring it to a boil, then turn it down to a simmer.  When the shallots having finished broiling, slice them into pieces and add them to the stock.

    Pho broth simmering away
    Pho broth simmering away

    In another stockpot, bring enough water to cover your rice noodles to a boil.  Add the rice noodles to the water and boil for 3-5 minutes or so until they are cooked to your liking, and then strain them.  At this point, I parcel them out in the bowls I intend to serve them in, as the noodles may stick together too much if you let them sit in one container (they will un-stick when you add the broth). Wash your mung bean sprouts and then put your preferred amount of sprouts in each soup bowl. Slice your red onion finely, and then add some to each soup bowl.

    Sliced red onion
    Sliced red onion

    Bring your pho broth back to a boil. At this point I scoop out the cinnamon, ginger, star anise, and cloves. There are two ways to approach your beef depending on your comfort level. First, you can add the raw shaved steak to the bowls and allow the heat of the pho broth being poured over it to cook it.  Second, you can put the beef in the pho stock and let it cook for just a bit before ladling it into the bowls. I tend to go for the first approach, but it’s up to you. Pick an approach and add your beef and pho broth to the bowls.  Place a couple of basil leaves, a lime wedge, some of the chopped cilantro, and the sliced thai chilis on top of the soup.

    Quick-ish Beef Pho before adding condiments
    Quick-ish Beef Pho before adding condiments

    Garnish with safe Hoisin, Sriracha, or chili garlic sauce to your taste, if you have safe versions.  Enjoy!

  • Pan-fried Haddock

    Pan-fried Haddock with Tartar Sauce
    Pan-fried Haddock with Tartar Sauce

    My apologies in advance to those of you with fish and shellfish allergies, but I’m from Maine originally, and I love, love seafood.  Although I have three confirmed shellfish allergies (crab, scallops, and clams), and one additional positive scratch test in the elimination/challenge confirmation process (lobster, I better not be allergic), I only appear to be anaphylactic with respect to soft-shell crab. I still avoid the other confirmed seafood allergies, because you never know (past reactions don’t predict future reactions) and because the symptoms I do get are bad enough, but I’m stubborn enough to continue eating fish or shellfish that aren’t on my confirmed or positive scratch test list. However, if a medical professional or your symptoms have made it clear that you can’t eat any shellfish or fish, don’t follow my lead because I can be an idiot when it comes to doing what I’m supposed to do for my own personal health, as we’ve previously established on this blog.

    With that said, let’s move on to the dish of the day. I’m a shellfish girl primarily, meaning I like(d) crabs, scallops, clams, shrimp, and lobster.  For me seafood really doesn’t mean fish, but I don’t mind a good piece of haddock. Haddock has to be cooked right or you get this dried out, tasteless piece of mushy cardboard. Since most of my shellfish favs are off limits these days, and the only way I can have haddock cooked at a restaurant is broiled with some lemon (since I’m allergic to dairy, wheat, and eggs) which tends to result in cardboard, I started buying some and cooking it at home. Haddock is also a standard offering in most fish departments in New England grocery stores.

    Haddock can be a tricky thing to cook because it’s really easy to overcook, and over-cooked haddock is, as stated above, a dried-out piece of mushy cardboard. I’ll do my best to explain, but it’s sort of a continuing learning process/practice makes perfect kind of thing.

    Pan-Fried Haddock

    Serves 4 adults

    • 2 pounds of fresh haddock (you can get previously frozen, but it won’t stay together as well and may fall apart as you’re frying it)
    • 1 cup of whole grain gluten-free flour mix (see recipe below or use what you like that you have already, or if you can have wheat this works with all-purpose flour as well, as I used to make this before the wheat thing)
    • spice mixture for flour (see below)
    • 2 Tablespoons of canola oil (or other oil safe for you and suitable for frying)
    • Canola oil (or other oil safe for you and suitable for frying), enough to fill the bottom of your skillet to the depth of a quarter of an inch

    Whole Grain Gluten-Free Flour Mix 

    This makes several cups of a whole grain gluten-free flour mix, but you only need a cup for this recipe. If you want, save it for another use, or cut back the amounts proportionately so that you make less.  Place the following ingredients in a large bowl and whisk them together thoroughly. Take out one cup for the recipe, and put the rest into an airtight container to store to use for anything that calls for gluten-free flour.

    • 100 grams of millet flour
    • 125 grams of white sorghum flour
    • 125 grams of oat flour
    • 75 grams of sweet or glutinous rice flour
    • 75 grams of tapioca starch

    Spice Mixture for flour

    Mix the following ingredients in a little bowl:

    • 1/2 teaspoon of salt
    • 1/8 teaspoon of paprika
    • 1/8 teaspoon of ground chipotle pepper
    • 1/8 teaspoon of ground black pepper
    • 1/8 teaspoon of rosemary (you might want to crunch it up into smaller pieces)
    • 1/8 teaspoon of cayenne pepper
    • 1/8 teaspoon of garlic
    • 1/8 teaspoon of thyme
    Spice Mixture for Flour
    Spice Mixture for Flour

    Take a large gallon ziploc bag, or a large bowl and mix the cup of whole grain gluten free flour and the spice mixture together.  I use a ziploc bag because I can just seal and shake after putting the fish in it without having to handle the fish (I use tongs) or get my hands all covered in flour.  Put the bag or the bowl aside for now.

    Put your skillet on the burned and pour enough oil in it so that there is about a quarter of an inch of oil in the bottom.  If you use a thick pan like my cast iron skillet and it’ll take a while to heat up, turn the heat on now to medium (about 5 or 6 on the dial).

    Take your haddock fillets, and cut them into pieces about 3-4 inches long.  I find that pan-frying a whole fillet is messy, somewhat dangerous (think splashing oil), and doesn’t work well because of the variable thicknesses of the fillet, resulting in either under-cooked fish in some parts or overcooked fish in others.  I choose where to cut based on the thickness trying to get pieces that are a consistent thickness.  Then I can fry the thinner pieces for less time and the thicker pieces longer so that hopefully nothing gets overcooked.

    Place your haddock pieces in a large bowl with the 2 Tablespoons of oil and toss them carefully to coat the haddock pieces with oil.

    You can test your oil to see if it’s hot enough by taking a tiny piece of the fish and putting it in the oil to see if it bubbles and sizzles (see the picture below for bubbling and sizzling around the edges of the fish). If your oil is hot and ready to fry, take 3 pieces of the haddock, and put them in the ziploc, and shake it to coat the pieces. (Or put them in the bowl if that’s what you’re using and cover them with flour.) Take the pieces and shake off the excess flour (I use tongs) and place the pieces of fish in the skillet.

    Haddock pieces frying in skillet
    Haddock pieces frying in skillet

    You should fry them, turning them once, until they are golden brown on each side, and so that the fish is just barely opaque, like this:

    Haddock after frying
    Haddock after frying

    It should no longer be translucent, but it should not be a bright solid white either, and the haddock should just flake away in layers at a touch as shown above.  If it’s overcooked, it won’t do that, it’ll be stiff at the touch and you’ll have to put effort into breaking off pieces with a fork.  I’d tell you how many minutes per side, but that’s dependent on how thick your haddock piece is, so I can’t really do that.  So again, it’s a practice makes perfect thing. Once the pieces are cooked, put them on a plate or cookie sheet lined with paper towels (this works best, I used paper lunch bags in the photo because I was out of paper towels), and let the oil drain off. (Also, you can take a tip from Alton Brown, as offered by Mary Kate, and put a cookie rack upside down on the paper towels, because it keeps the food off of the oil-soaked paper towels but it still drains the oil.  I’ll definitely try this next time.)

    Once all your haddock is fried, you can serve it with a little tartar sauce, which I make by mixing some Earth Balance Mindful Mayo, some relish, and a couple of drops of hot sauce.  Enjoy!

    Pan-fried Haddock with Tartar Sauce
    Pan-fried Haddock with Tartar Sauce