Notice: Function _load_textdomain_just_in_time was called incorrectly. Translation loading for the wp-ultimate-recipe domain was triggered too early. This is usually an indicator for some code in the plugin or theme running too early. Translations should be loaded at the init action or later. Please see Debugging in WordPress for more information. (This message was added in version 6.7.0.) in /home/maryzahc/public_html/adultfoodallergies.com/wp-includes/functions.php on line 6121
Vegetarian/Vegan – Page 6 – surviving the food allergy apocalypse (archive)

Tag: Vegetarian/Vegan

Recipes contain no animal products or by-products. Consider the sourcing of your ingredients if purity is important to you.

  • Homemade Pasta, Gluten-Free, Vegan & Gum-Free

    Homemade Pasta, Gluten-Free, Vegan & Gum-Free

    Homemade Pasta, Gluten-Free, Vegan & Gum-Free

    This was not an easy one, dear readers. It took nine (NINE!) attempts to get one I thought was blog worthy, and that could be done hand rolling or hand shaping the dough for those of you that aren’t crazy enough to buy every little kitchen gadget available.  We made spaghetti with the KitchenAid SNPA Pasta Maker Plates for Food Grinder Attachment kit (no affiliation with Amazon) that I bought literally 20+ years ago. I’m pretty sure it isn’t being made anymore, and those that are available second hand seem to be ridiculously exorbitantly priced. We made the fettuccine by rolling the dough out with a rolling pin and cutting it with a knife, and the little shell like things, vaguely reminiscent of Orecchiette, by forming them over my thumb. But if you’re looking for new kitchen toys, the new KitchenAid Pasta Press looks cool.

    I used a kitchen scale to weigh out the flours, as I found it easier to get a consistent result. I make my husband Shawn taste stuff because he still eats regular, non-allergy food so he has a more recent recollection of how stuff actually tastes, whereas I haven’t had wheat pasta in several years.  As we taste tested the attempts, we tasted it cooked plain, and then dressed it with a little olive, white pepper, and salt, as we didn’t want a sauce to interfere with the taste of the pasta. And lo, the version I am about to give you is good. I may want to try making a couple of batches and dehydrating it to see if I can get a shelf stable pasta to have in a pinch. If I do, and it works, I’ll let you all know.
    Dough when the right consistency to form into a ball
    Dough when it is the right consistency to form into a ball
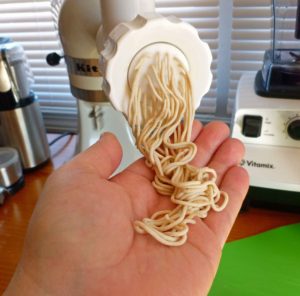
    Spaghetti being extruded from the KitchenAid
    Spaghetti being extruded from the KitchenAid
    Spaghetti before cooking
    Spaghetti before cooking
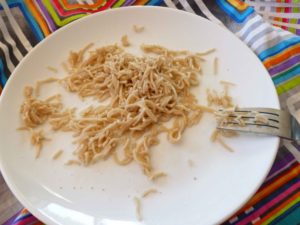
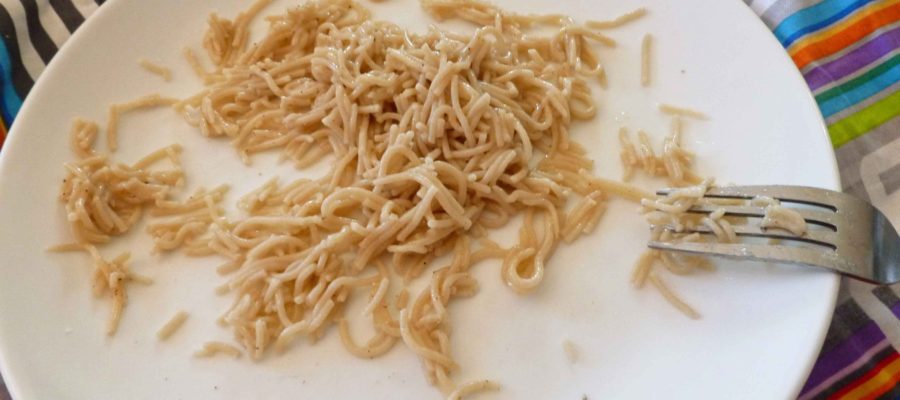
    Spaghetti after cooking
    Spaghetti after cooking
    Hand rolling and cutting fettuccine noodles
    Hand rolling and cutting fettuccine noodles
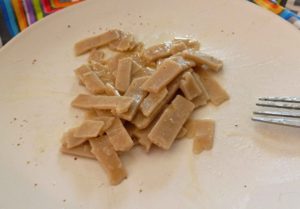
    Homemade Pasta, Gluten-Free, Vegan & Gum-Free
    Fettuccine after cooking
    Orecchiette-esque pasta
    Orecchiette-esque pasta before cooking
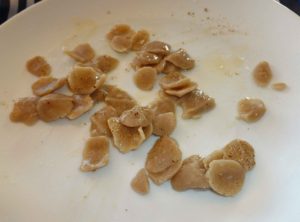
    Homemade Pasta, Gluten-Free, Vegan & Gum-Free
    Orecchiette-esque pasta after cooking

    Notice: Trying to access array offset on value of type bool in /home/maryzahc/public_html/adultfoodallergies.com/wp-content/plugins/wp-ultimate-recipe/helpers/models/recipe.php on line 254
    Homemade Pasta, Gluten-Free, Vegan & Gum-Free
    Print Recipe
    Servings Prep Time
    2 people 15 minutes
    Cook Time
    1-3 minutes
    Servings Prep Time
    2 people 15 minutes
    Cook Time
    1-3 minutes
    Homemade Pasta, Gluten-Free, Vegan & Gum-Free
    Print Recipe
    Servings Prep Time
    2 people 15 minutes
    Cook Time
    1-3 minutes
    Servings Prep Time
    2 people 15 minutes
    Cook Time
    1-3 minutes
    Ingredients
    • 50 grams sorghum flour
    • 50 grams superfine brown rice flour
    • 25 grams Otto’s Cassava flour
    • 1 tbsp grape seed or olive oil (or other safe for you oil)
    • 3 tbsp water
    • 3 tbsp aquafaba (see http://aquafaba.com/)
    • 1 tsp oil (for cooking water)
    • 1 tsp salt (for cooking water)
    Servings: people
    Instructions
    1. Mix sorghum, brown rice flour, and cassava flour in a bowl until well combined. Make a well in the center of the flour and add the oil, water, and aquafaba. Using a stand mixer with a paddle or a fork, mix well until the dough will hold together when kneaded.
    2. Use the dough in your pasta machine or extruder. If you don’t have any pasta machine or extruder, just roll out the dough with a rolling pin on a floured surface and cut your own noodles, or hand shape pieces of dough into various shapes. Here’s a neat site for hand shaping pasta -http://www.recipetips.com/kitchen-tips/t–793/cutting-and-shaping-pasta-by-hand.asp (Not all of them will work without gluten, but there’s some neat things to try.)
    3. Bring a pot of water to a hard rolling boil. Add salt and oil to the pot, and add the noodles. Boil for 1-3 minutes, and drain quickly. Fresh pasta cooks very quickly. Spaghetti cooked in a minute, and the hand rolled fettucine and hand shaped shell pieces took 3 minutes.
    Share this Recipe
     
    Powered byWP Ultimate Recipe


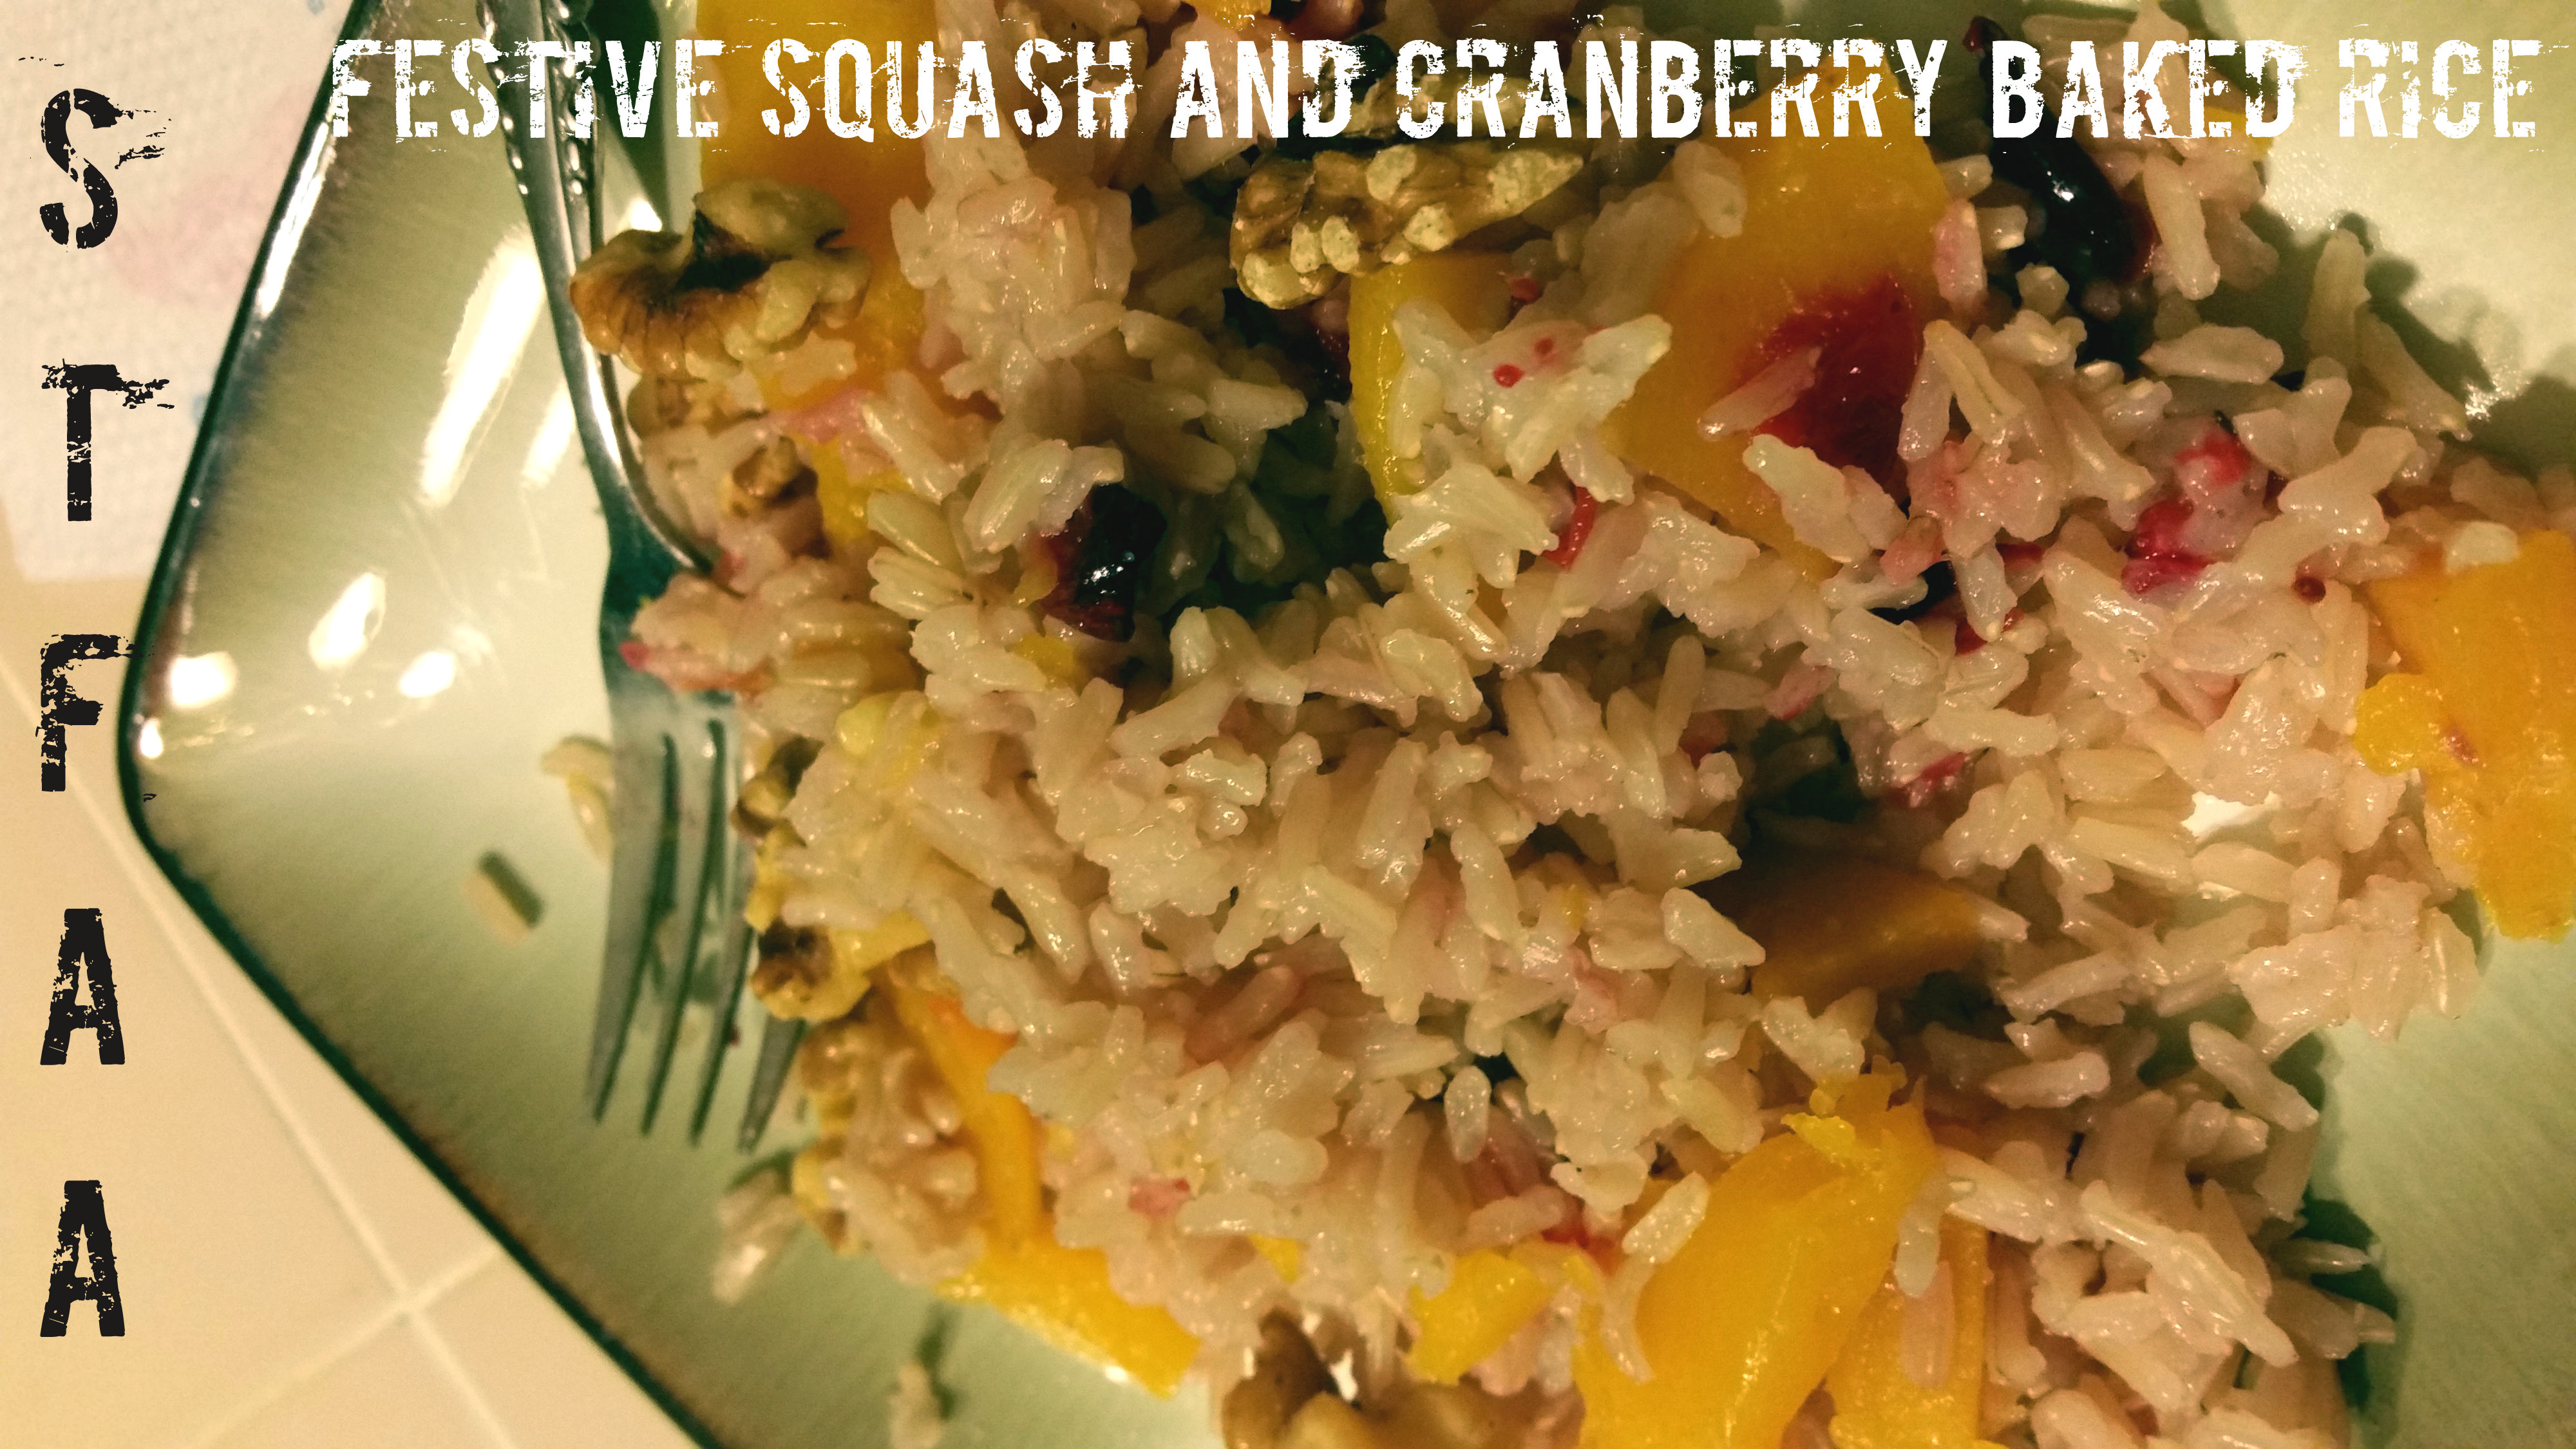
  • Festive Squash and Cranberry Baked Rice

    Festive Squash and Cranberry Baked Rice

    Festive Squash and Cranberry Baked Rice
    Festive Squash and Cranberry Baked Rice

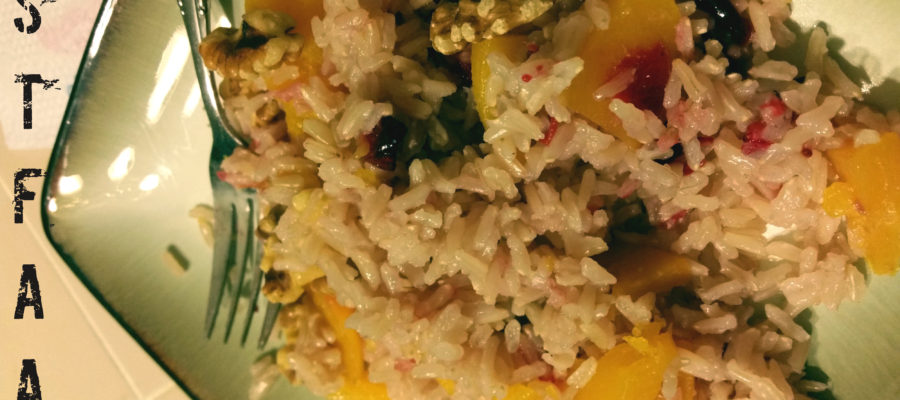
    So because I’m moving and combining households, I got rid of my rice cooker. THE HORROR. I think I may have mentioned before that I cannot, for the life of me, cook rice on the stovetop. This is why a friend gave me a rice cooker years ago. But I’m now without it for about three weeks until our households are actually combined. I still have rice, though.

    Years ago, I got a pamphlet from (I think) the canola oil council out in North Dakota, and it had a baked rice dish in it. I remember it being greasy, though,  probably because the pamphlet was about oil, not rice. So I looked up “baked rice” on the great wide internet, and I found Alton Brown’s recipe. I used this as the basis for a rice side dish full of fall flavors — butternut squash is earthy and a bit sweet, brown jasmine rice is worth hunting down, as it’s nutty but smoother than “regular” brown rice, and cranberries are fruity and tart and bright.

    I’ll apologize for the photos, as everything is in disarray right now. Denise and I have recipes for you through September, but we’re going to take a few weeks off in October to regroup as the blog goes bi-coastal.


    Notice: Trying to access array offset on value of type bool in /home/maryzahc/public_html/adultfoodallergies.com/wp-content/plugins/wp-ultimate-recipe/helpers/models/recipe.php on line 254
    Festive Squash and Cranberry Baked Rice
    Print Recipe
    Servings Prep Time
    6 servings 5 minutes
    Cook Time Passive Time
    45 minutes 45 minutes
    Servings Prep Time
    6 servings 5 minutes
    Cook Time Passive Time
    45 minutes 45 minutes
    Festive Squash and Cranberry Baked Rice
    Print Recipe
    Servings Prep Time
    6 servings 5 minutes
    Cook Time Passive Time
    45 minutes 45 minutes
    Servings Prep Time
    6 servings 5 minutes
    Cook Time Passive Time
    45 minutes 45 minutes
    Ingredients
    • 1 cup brown jasmine rice
    • 1 3/4 cup boiling water
    • 1 Tablespoon olive oil or vegan margarine
    • 1/2 teaspoon salt
    • 1/2 cup cranberries
    • 1 1/2 cups butternut squash chunks
    • 1-2 Tablespoons nuts optional
    Servings: servings
    Instructions
    1. Preheat oven to 375℉
    2. Add all the ingredients except water and nuts (optional!) to an oven-safe casserole dish. My cranberries are always frozen, but this is fine — just pick out any mushy ones.
    3. Bring water to a boil and pour over rice and other stuff.
    4. Cover tightly. This is easiest with a glass or glass-topped casserole dish as you can check it without letting the steam out, but if you don’t have one, foil works, too.
    5. Bake for about 45 minutes. The water should be completely absorbed. Remove from the oven, remove the lid, and fluff the rice with a fork so that the underside doesn’t over-steam.
    6. Top with nuts, if using, and serve.
    Recipe Notes

    **You can substitute white rice in this dish, but decrease the water to 1:1 (1 cup, in this case) and decrease the cooking time to 30 minutes. I like the brown jasmine rice, in particular, as it has the nuttiness of regular brown rice without the more fibrous texture, and the flavor compliments the squash.

    Share this Recipe
     
    Powered byWP Ultimate Recipe


  • Frozen Pesto Starter

    Frozen Pesto Starter

    Frozen Pesto Starter
    Frozen Pesto Starter

    Say that it’s the end of summer and you have unwisely planted roughly 30 green basil plants and 30 purple basil plants in your garden.  Now some of them didn’t make it because of transplant shock, the drought, or they got eaten by voles, slugs, or Japanese beetles, but that’s still a crap ton of basil. And say you didn’t make it any better by pinching diligently this year so that some of the plants are two to three feet high. What do you do? You don’t want to waste this basil. The basil I froze last year in oil turned dark and icky looking. So I went poking about the internet and found this post about preserving your basil and how to keep it green, including making pesto to freeze. I thought I could make pesto and freeze it, but then it’s pesto forever, and given my propensity for developing new allergies, I figured two ingredients in the freezer is safer. Then later on I can add garlic or cashew nuts when I’m ready to use it.  Or I can use in it applications where you just want some basil, but not necessarily pesto. So basically what I’ve made is a basil and olive oil paste that will store in the freezer easily and not turn black and icky looking.

    Yeah, this isn’t necessarily a normal recipe for us, but I’m pressed for time with harvest stuff, and some of you might be wanting to save a bit of summer for later if you’ve got an overabundance of basil in your garden or if you see some at a farmer’s market. I’ve got a step by step recipe card below, but here’s the photo play by play first.

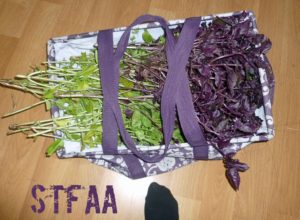
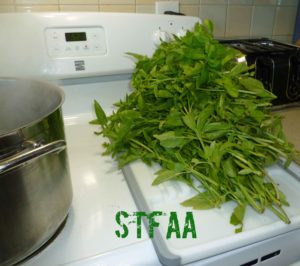
    This is the basil I picked yesterday (there is so much more in the garden, and I've included my foot for scale, ha)
    This is the basil I picked yesterday (there is so much more in the garden, and I’ve included my foot for scale, ha)
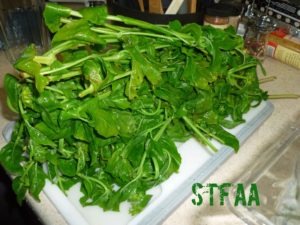
    Green basil after trimming out woody stems and discolored leaves
    Green basil after trimming out woody stems and discolored leaves
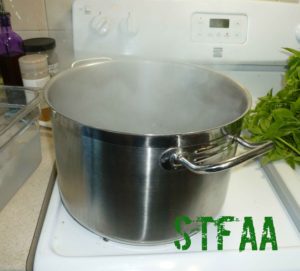
    Pot of boiling water for me to dip the basil in
    Pot of boiling water for me to dip the basil in
    Container of ice water to cool basil in
    Container of ice water to cool basil in
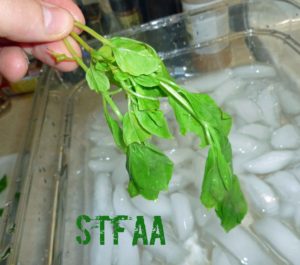
    Basil after dipping in boiling water just to the point that the leaves wilt
    Basil after dipping in boiling water just to the point that the leaves wilt
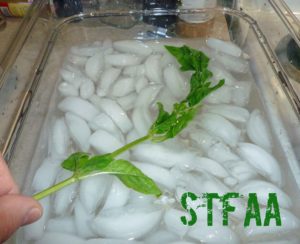
    Basil being cooled off in ice water (submerge it fully though)
    Basil being cooled off in ice water (submerge it fully though)
    All green basil after blanching and cooling
    All green basil after blanching and cooling
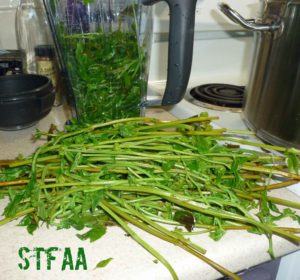
    Basil leaves in blender after being stripped from stems
    Basil leaves in blender after being stripped from stems
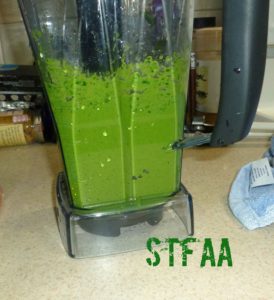
    Pesto starter (basil leaves with olive oil) after blending
    Pesto starter (basil leaves with olive oil) after blending
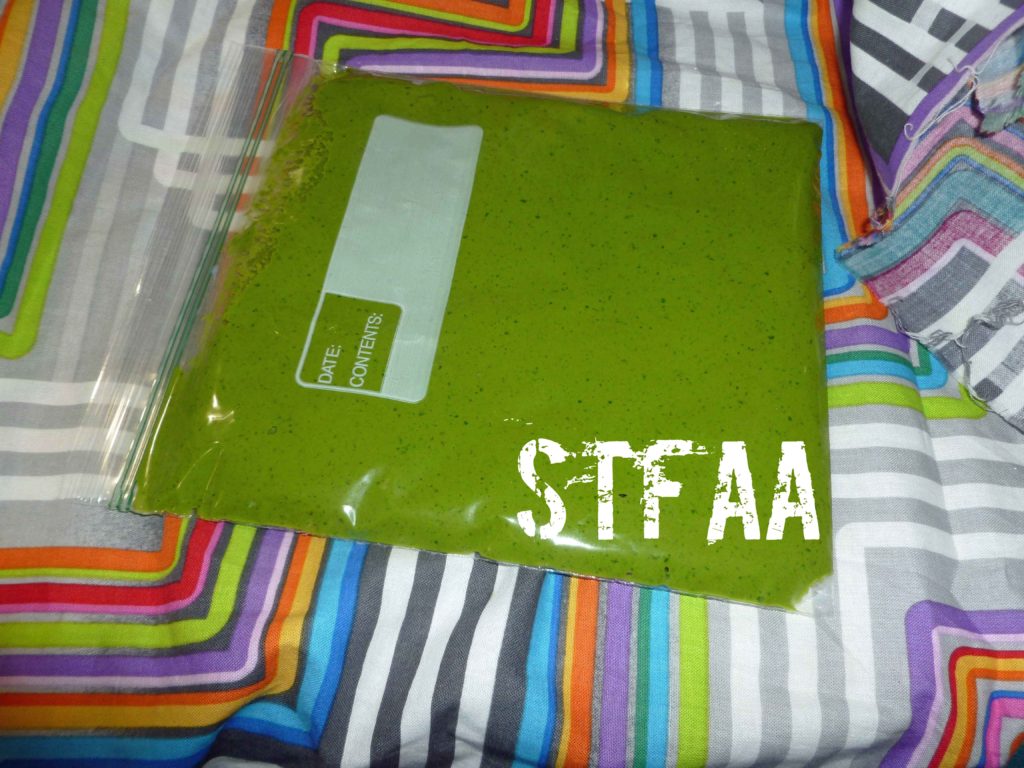
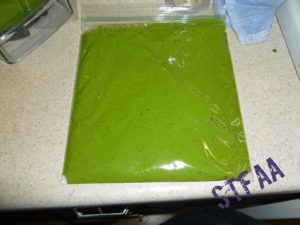
    Pesto started placed in zip top freezer bag ready to freeze
    Pesto started placed in zip top freezer bag ready to freeze
    Frozen Pesto Starter using purple basil
    Frozen Pesto Starter using purple basil
    Frozen Pesto Starter
    Frozen Pesto Starter
    Print Recipe
    Frozen fresh basil and olive oil paste to preserve the flavors of summer
    Frozen Pesto Starter
    Frozen Pesto Starter
    Print Recipe
    Frozen fresh basil and olive oil paste to preserve the flavors of summer
    Ingredients
    • fresh basil (you need enough that the leaves will blend in the blender)
    • olive oil (just enough to blend with the basil to form a paste)
    Servings:
    Instructions
    1. Rinse fresh basil and trim off any discolored leaves. Make sure remaining stems will fit the diameter of your pot.
    2. Place enough water in a pot, so that the water is three inches deep. Bring water to a boil.
    3. In another container, bowl or pot, add cold water and plenty of ice, making sure you can fit the stems of the basil it in submerged.
    4. Using tongs, place the basil in your boil water making sure it gets submerged until the leaves wilt. You will likely need to do this in batches. Using tongs, remove the basil and plunge it into the ice water until it has cooled. Take basil out of the ice water and set aside.
    5. Strip leaves off the stems and add the leaves to the blender. Add enough oil to make a paste and blend.
    6. Place paste in ice cube trays or in quart zip top freezer bags. Only fill the zip top bags half full so that you can spread the paste out to freeze in a thin, flat sheet so you can break off what you need without thawing the whole thing.
    Share this Recipe
    Powered byWP Ultimate Recipe


  • Gluten-free Vegan Blueberry Pancake Casserole

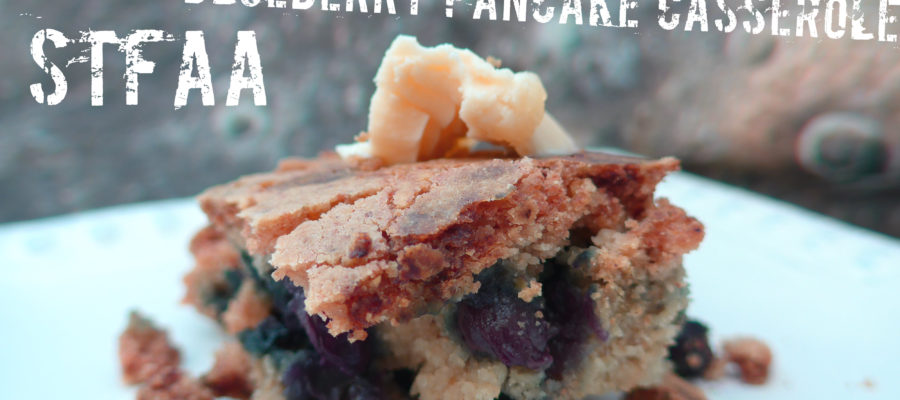
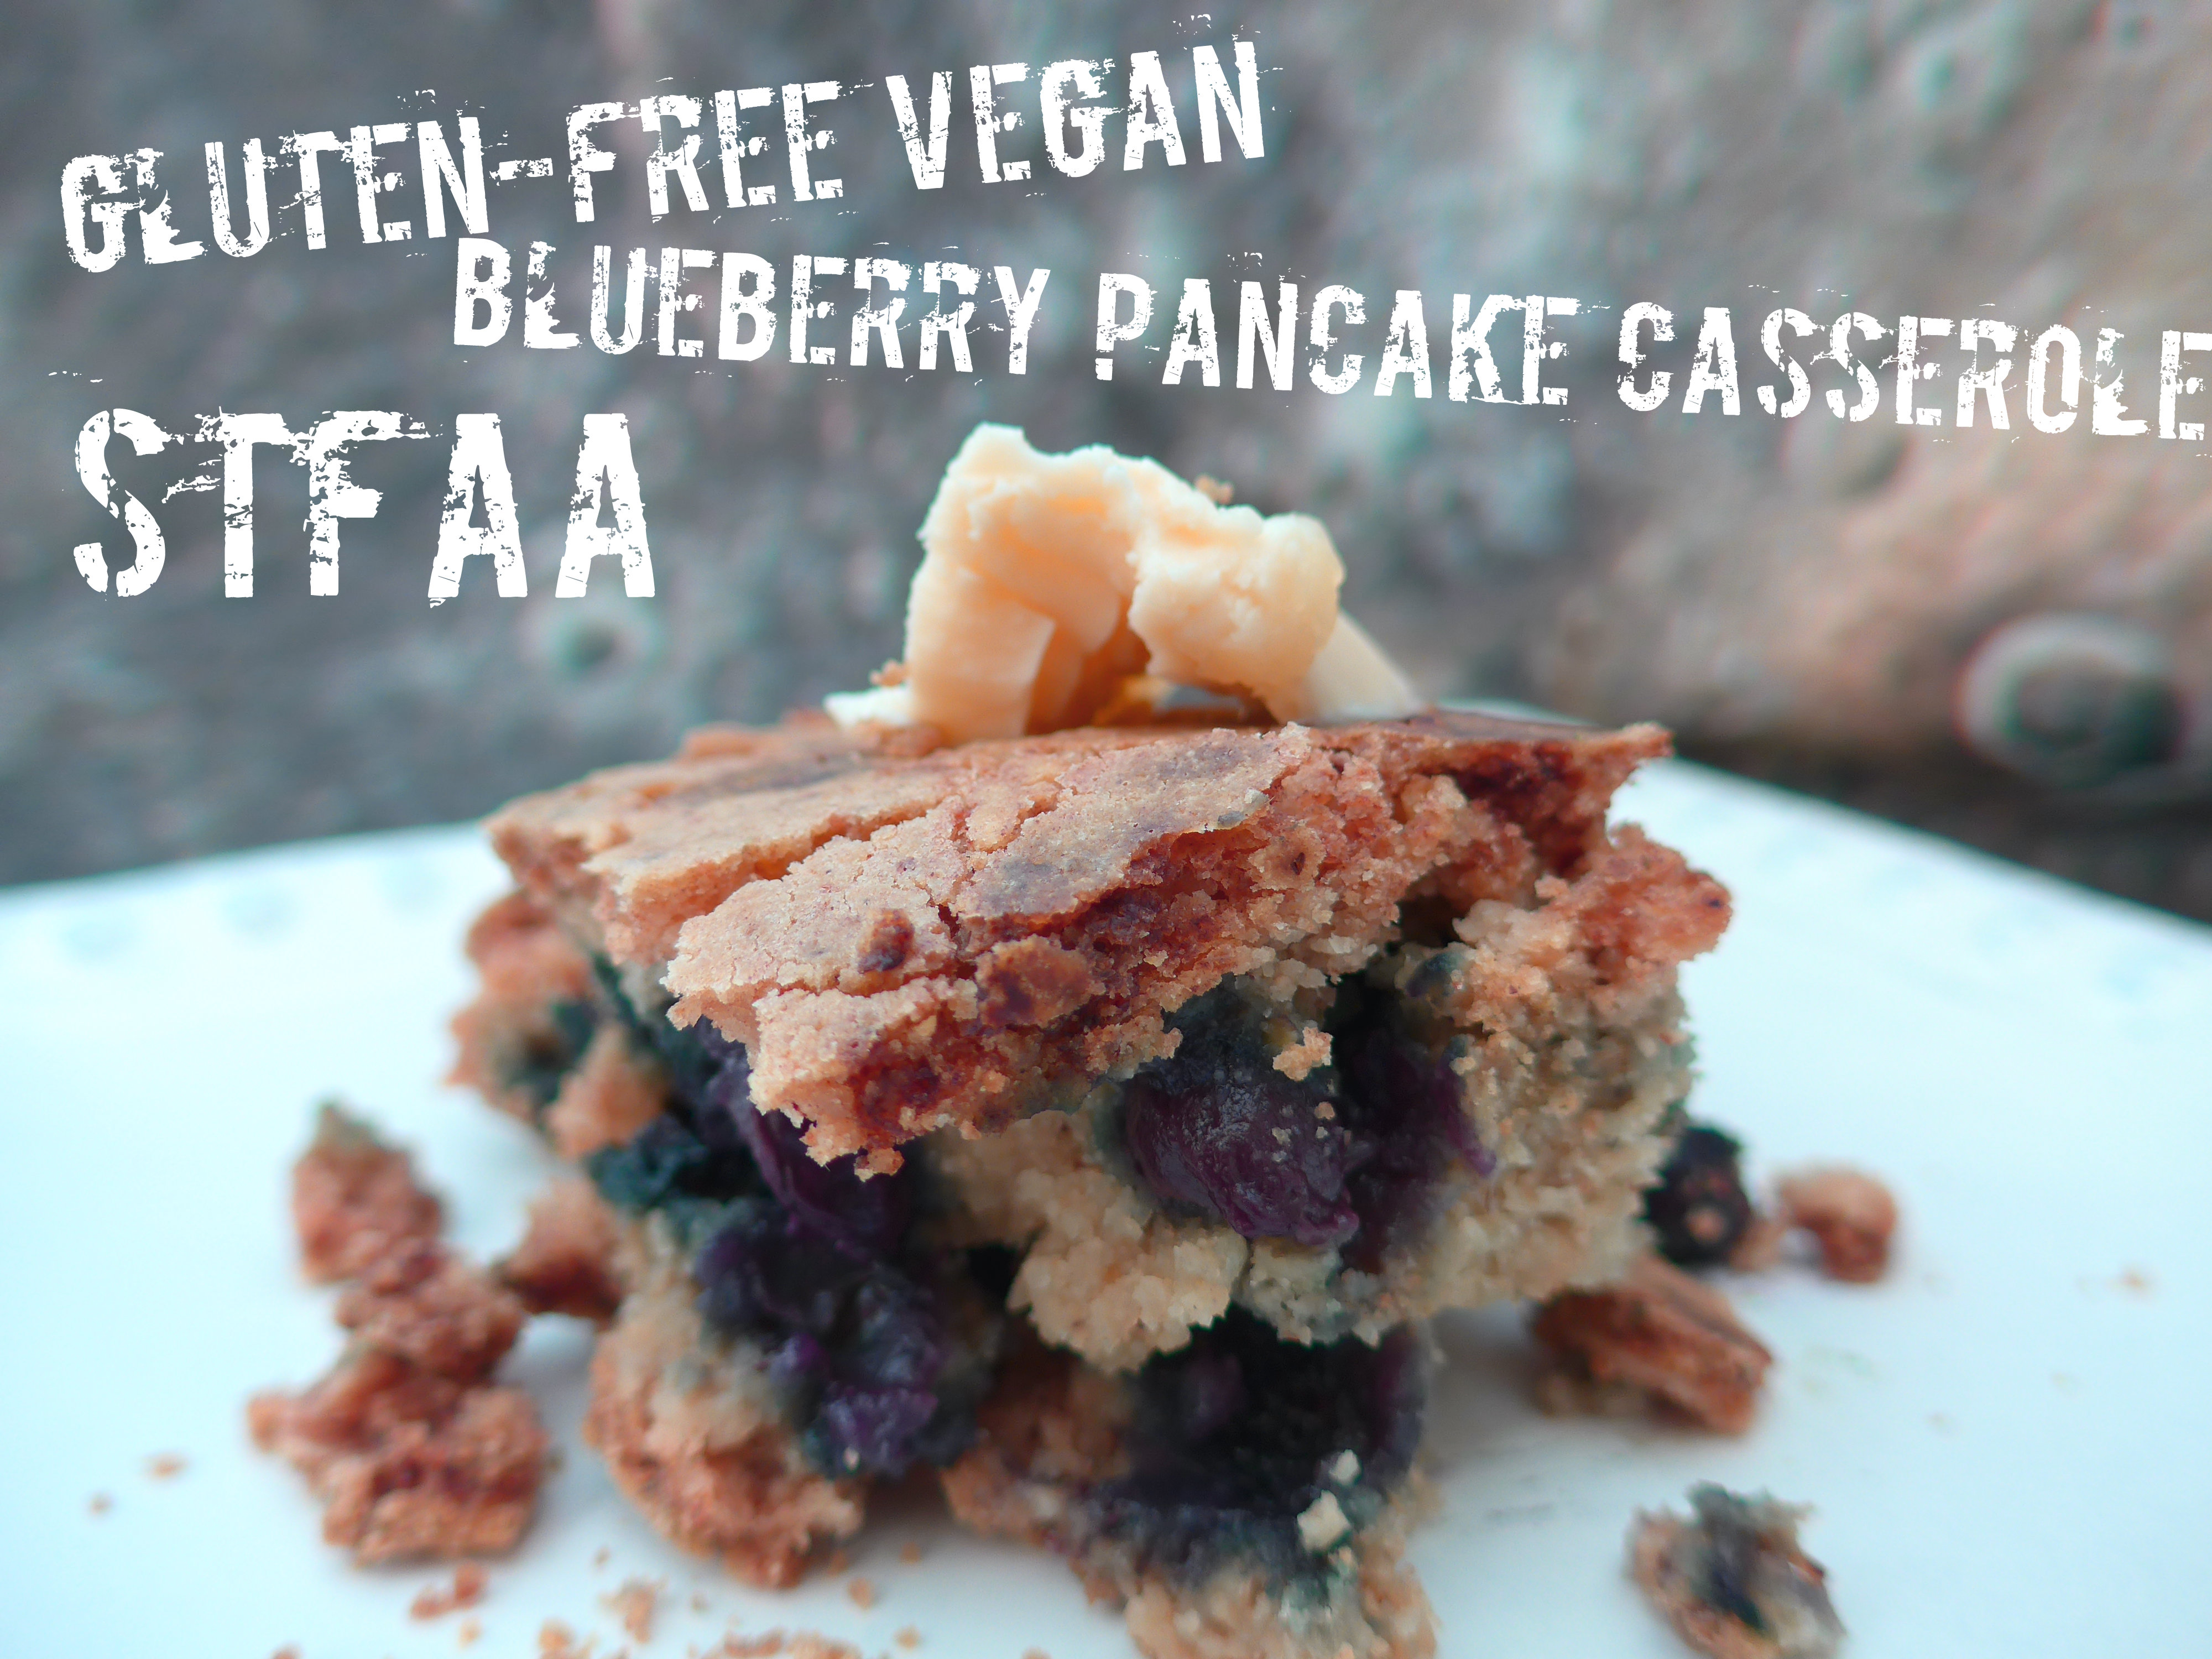
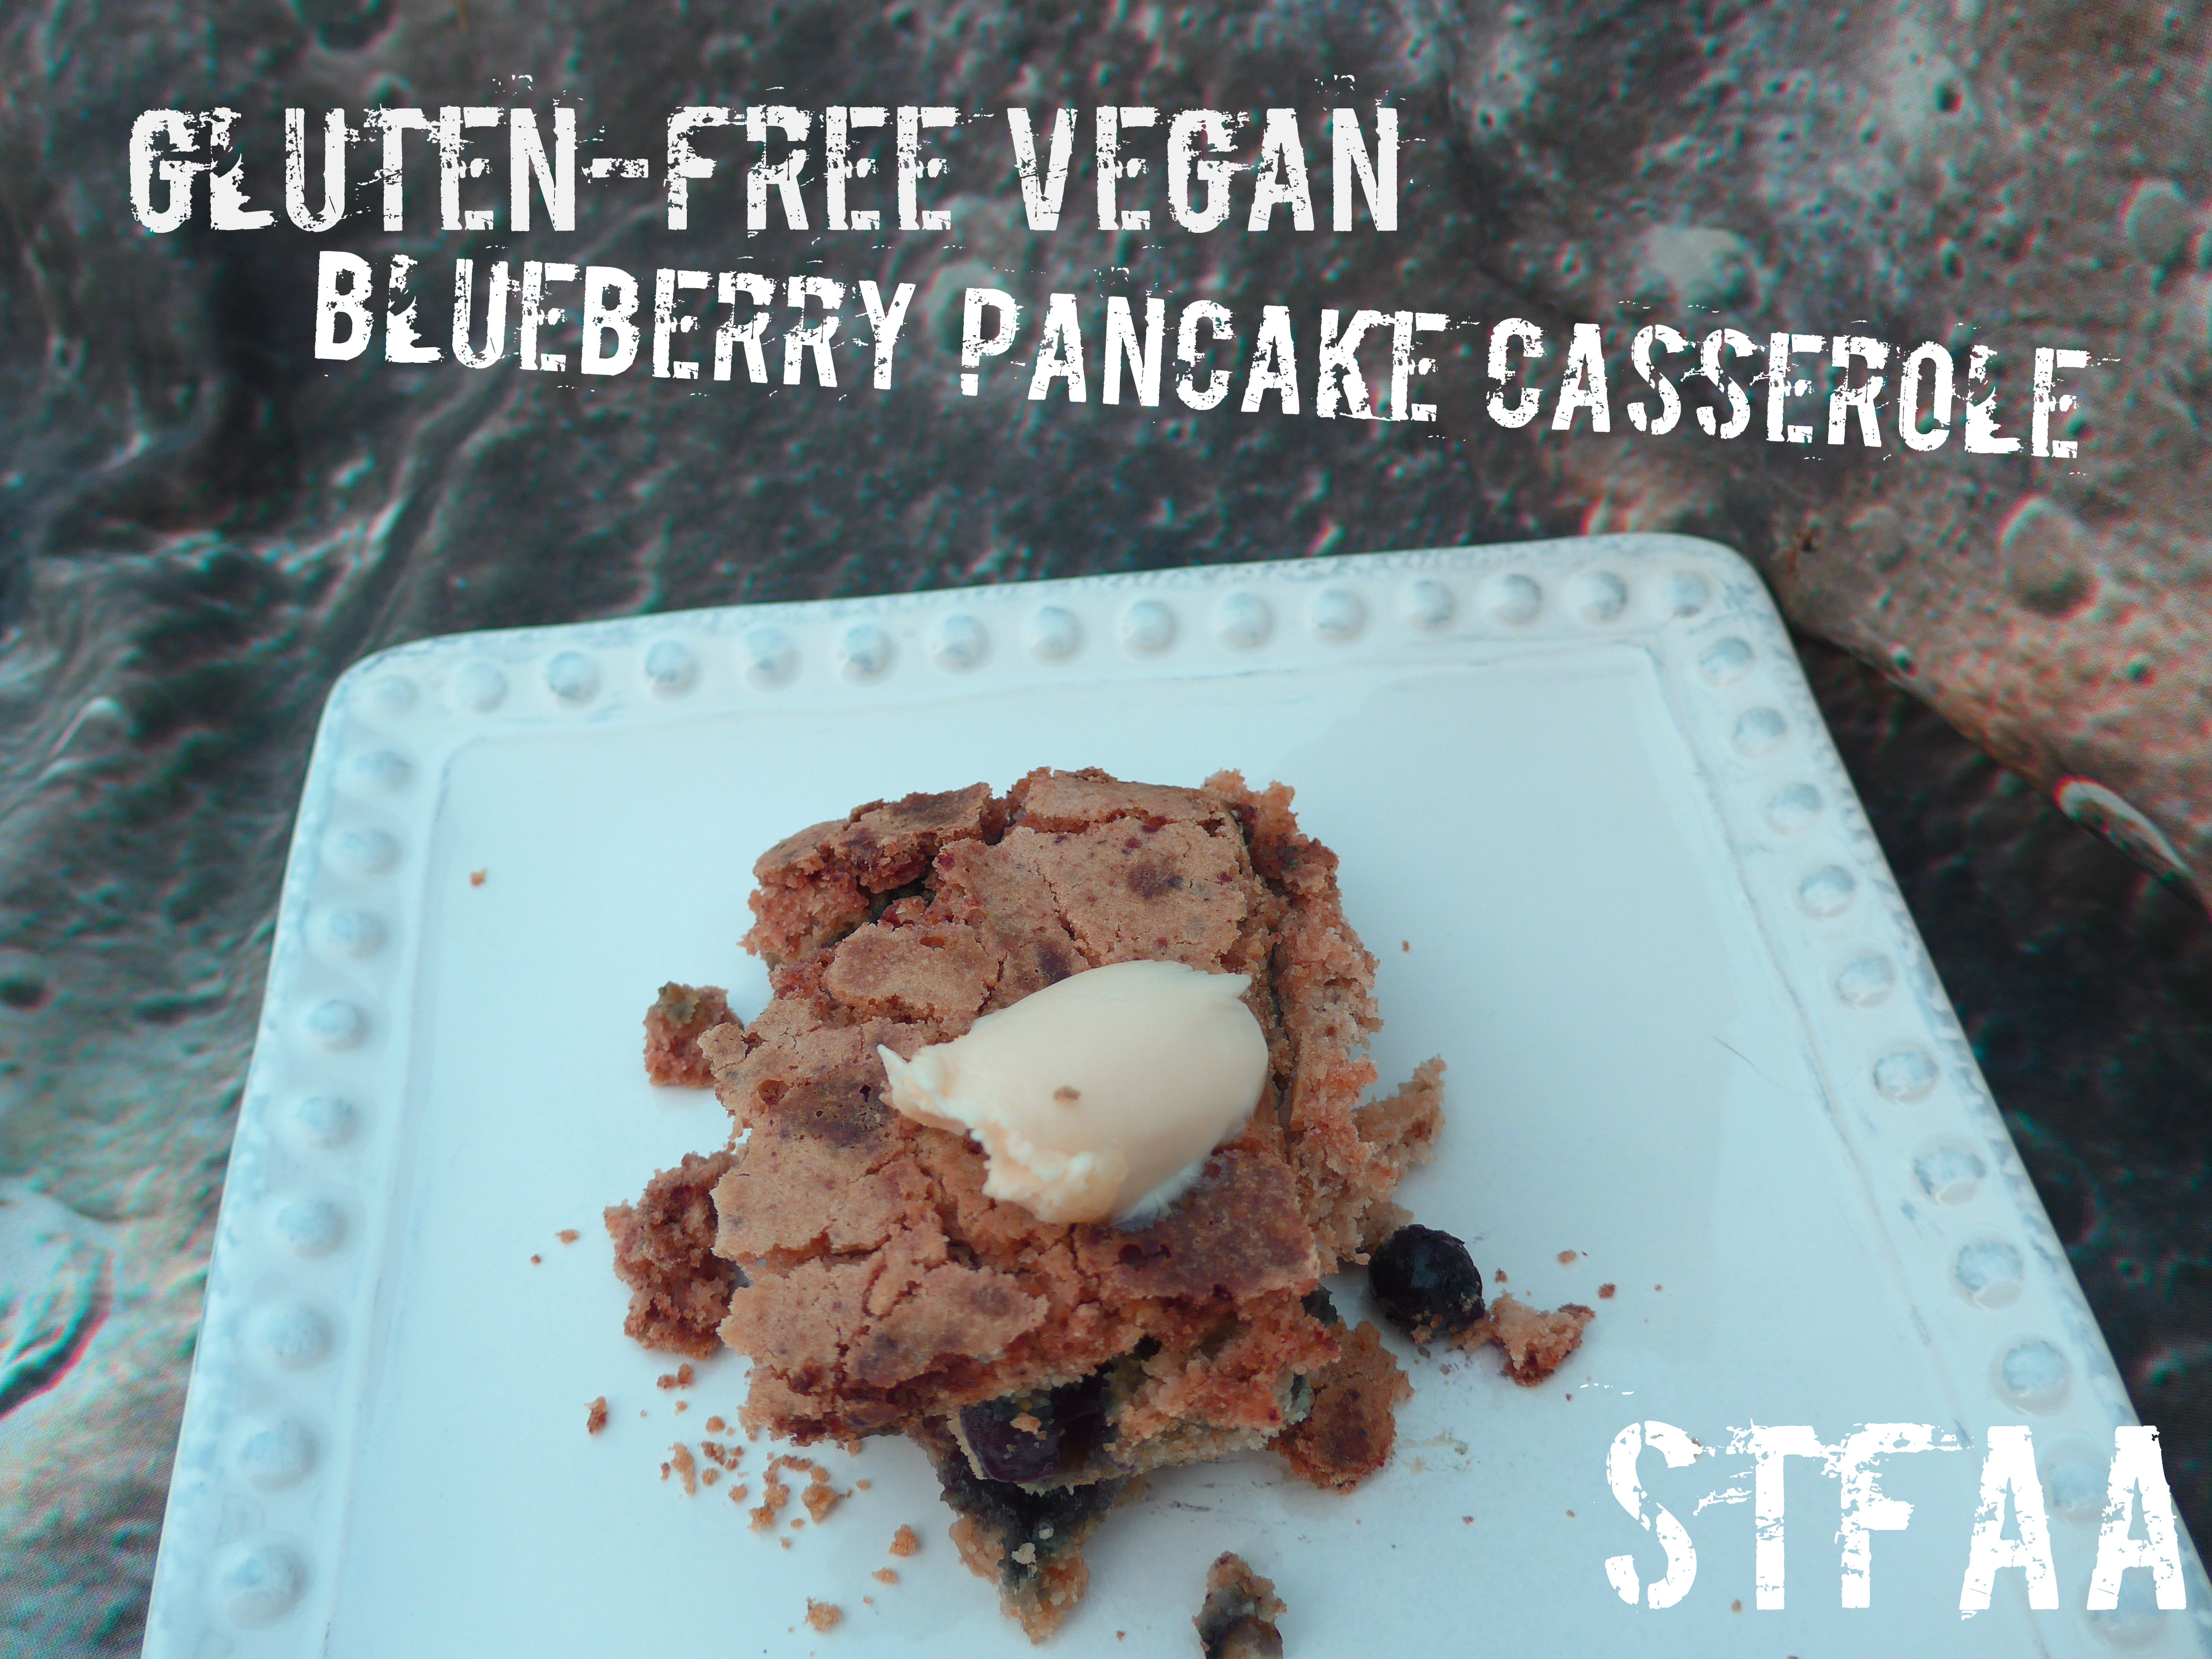
    Gluten-free Vegan Blueberry Pancake Casserole

    Blueberry Pancake Casserole
    Don’t forget the maple syrup!

    This is a recipe re-make. As I posted on Friday, I do use existing recipes as starting points for creating allergy-friendly dishes sometimes. I read this blueberry pancake casserole recipe on The Kitchn and could not. stop. thinking. about. it. Drooling.

    I love pancakes, but after I’ve made the second one, I’m ready to eat and be done cooking. Casserole seemed the perfect fix. But the recipe. It’s probably great, but it was mostly made up my things that make me ill. All-purpose (wheat) flour. Eggs. Buttermilk. Whole Milk. More flour. Butter. It did seem like a lot of things to fix.

    After a few experiments, let me say that it’s possible. Also, for some wonderful reason, this casserole actually tastes better re-heated. So you can absolutely make it the night before — I encourage you to.

    To be clear: This is not an original recipe. This is a heavily-modified version of this recipe at The Kitchn. I really wanted to eat this pancake casserole, so I figured out how to make it safe for me. Maybe you can do the same. I have not listed this as a tree nut-free recipe, as I used almond milk in every test, and I used creamed coconut in at least one version as a replacement for vegan margarine (weird sub, I know, but it worked). I have not noticed substantially different outcomes using different non-dairy milks, and if you can use soy milk, I have a feeling it will work well in this recipe. But if you try something different, please tell me how it works!

    Pancake 1


    Notice: Trying to access array offset on value of type bool in /home/maryzahc/public_html/adultfoodallergies.com/wp-content/plugins/wp-ultimate-recipe/helpers/models/recipe.php on line 254
    Gluten-free Vegan Blueberry Pancake Casserole
    Print Recipe
    Servings Prep Time
    8 servings 15 minutes
    Cook Time Passive Time
    45 minutes 55 minutes
    Servings Prep Time
    8 servings 15 minutes
    Cook Time Passive Time
    45 minutes 55 minutes
    Gluten-free Vegan Blueberry Pancake Casserole
    Print Recipe
    Servings Prep Time
    8 servings 15 minutes
    Cook Time Passive Time
    45 minutes 55 minutes
    Servings Prep Time
    8 servings 15 minutes
    Cook Time Passive Time
    45 minutes 55 minutes
    Ingredients
    • 2 Tablespoons ground flax seeds or ground chia seeds
    • 6 Tablespoons water
    • 2 1/2 cups gluten-free flour blend divided — 2 c and 1/2 cup
    • 1 teaspoon baking powder
    • 1 teaspoon baking soda
    • 1 teaspoon cinnamon
    • 2 Tablespoons sugar
    • 1/2 teaspoon kosher salt
    • 2 1/2 cups non-dairy milk (I usually use almond)
    • 2 Tablespoons lemon juice
    • 4 Tablespoons vegan margarine or creamed coconut (I know this seems like an odd alternative, but it works)
    • 1 1/2 cups blueberries (works okay with fresh or frozen — do not defrost)
    Servings: servings
    Instructions
    1. Grease a 13×9 baking dish. Pre-heat oven to 350°F.
    2. In a small bowl, mix the chia or flax seeds with the 6T water. Set aside.
    3. In a separate small bowl, whisk together the 1/2 cup GF flour, the baking soda, the baking powder, and the cinnamon.
    4. In a large bowl, mix 2 cups of gluten-free flour, sugar, salt, non-dairy milk, lemon juice, and the flax or chia “gel.” When well mixed, fold in the second flour mix.
    5. Pour into the prepared pan, and then sprinkle the blueberries over the top.
    6. Bake for about 45 minutes, until the top is dry. This casserole doesn’t pass the touch test (where the “cake” springs back if you poke it lightly) or the toothpick test (the blueberries mess it up, especially if they were frozen), but it should looke baked and done. Let it rest 10-15 minutes before cutting into it if you plan to eat right now. Otherwise, let it cool completely and cover it. Then re-heat for 10 minutes (if at room temp) or 20 minutes (if it was in the refrigerator) at 300°F in the morning.
    7. Serve with vegan margarine, if desired, and maple syrup (really not optional, as maple syrup is the point of pancakes).
    Share this Recipe
     
    Powered byWP Ultimate Recipe
  • Another DIY Spice Blend Round Up – Greek Seasoning, Prime Rib Seasoning, and Italian Seasoning

    Another DIY Spice Blend Round Up – Greek Seasoning, Prime Rib Seasoning, and Italian Seasoning

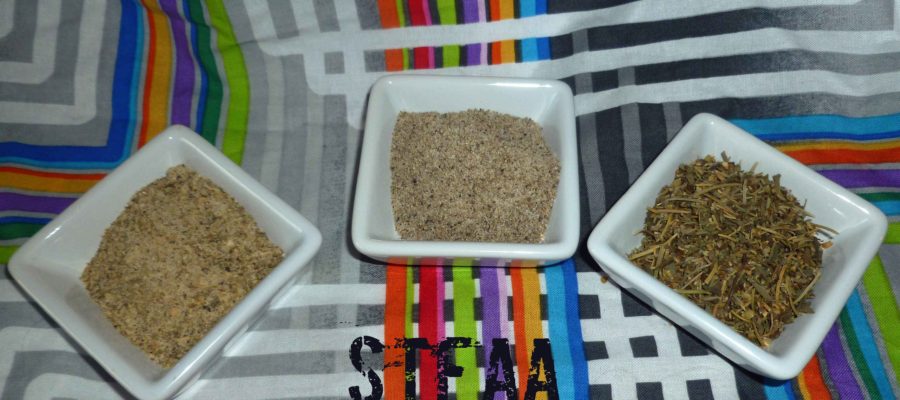
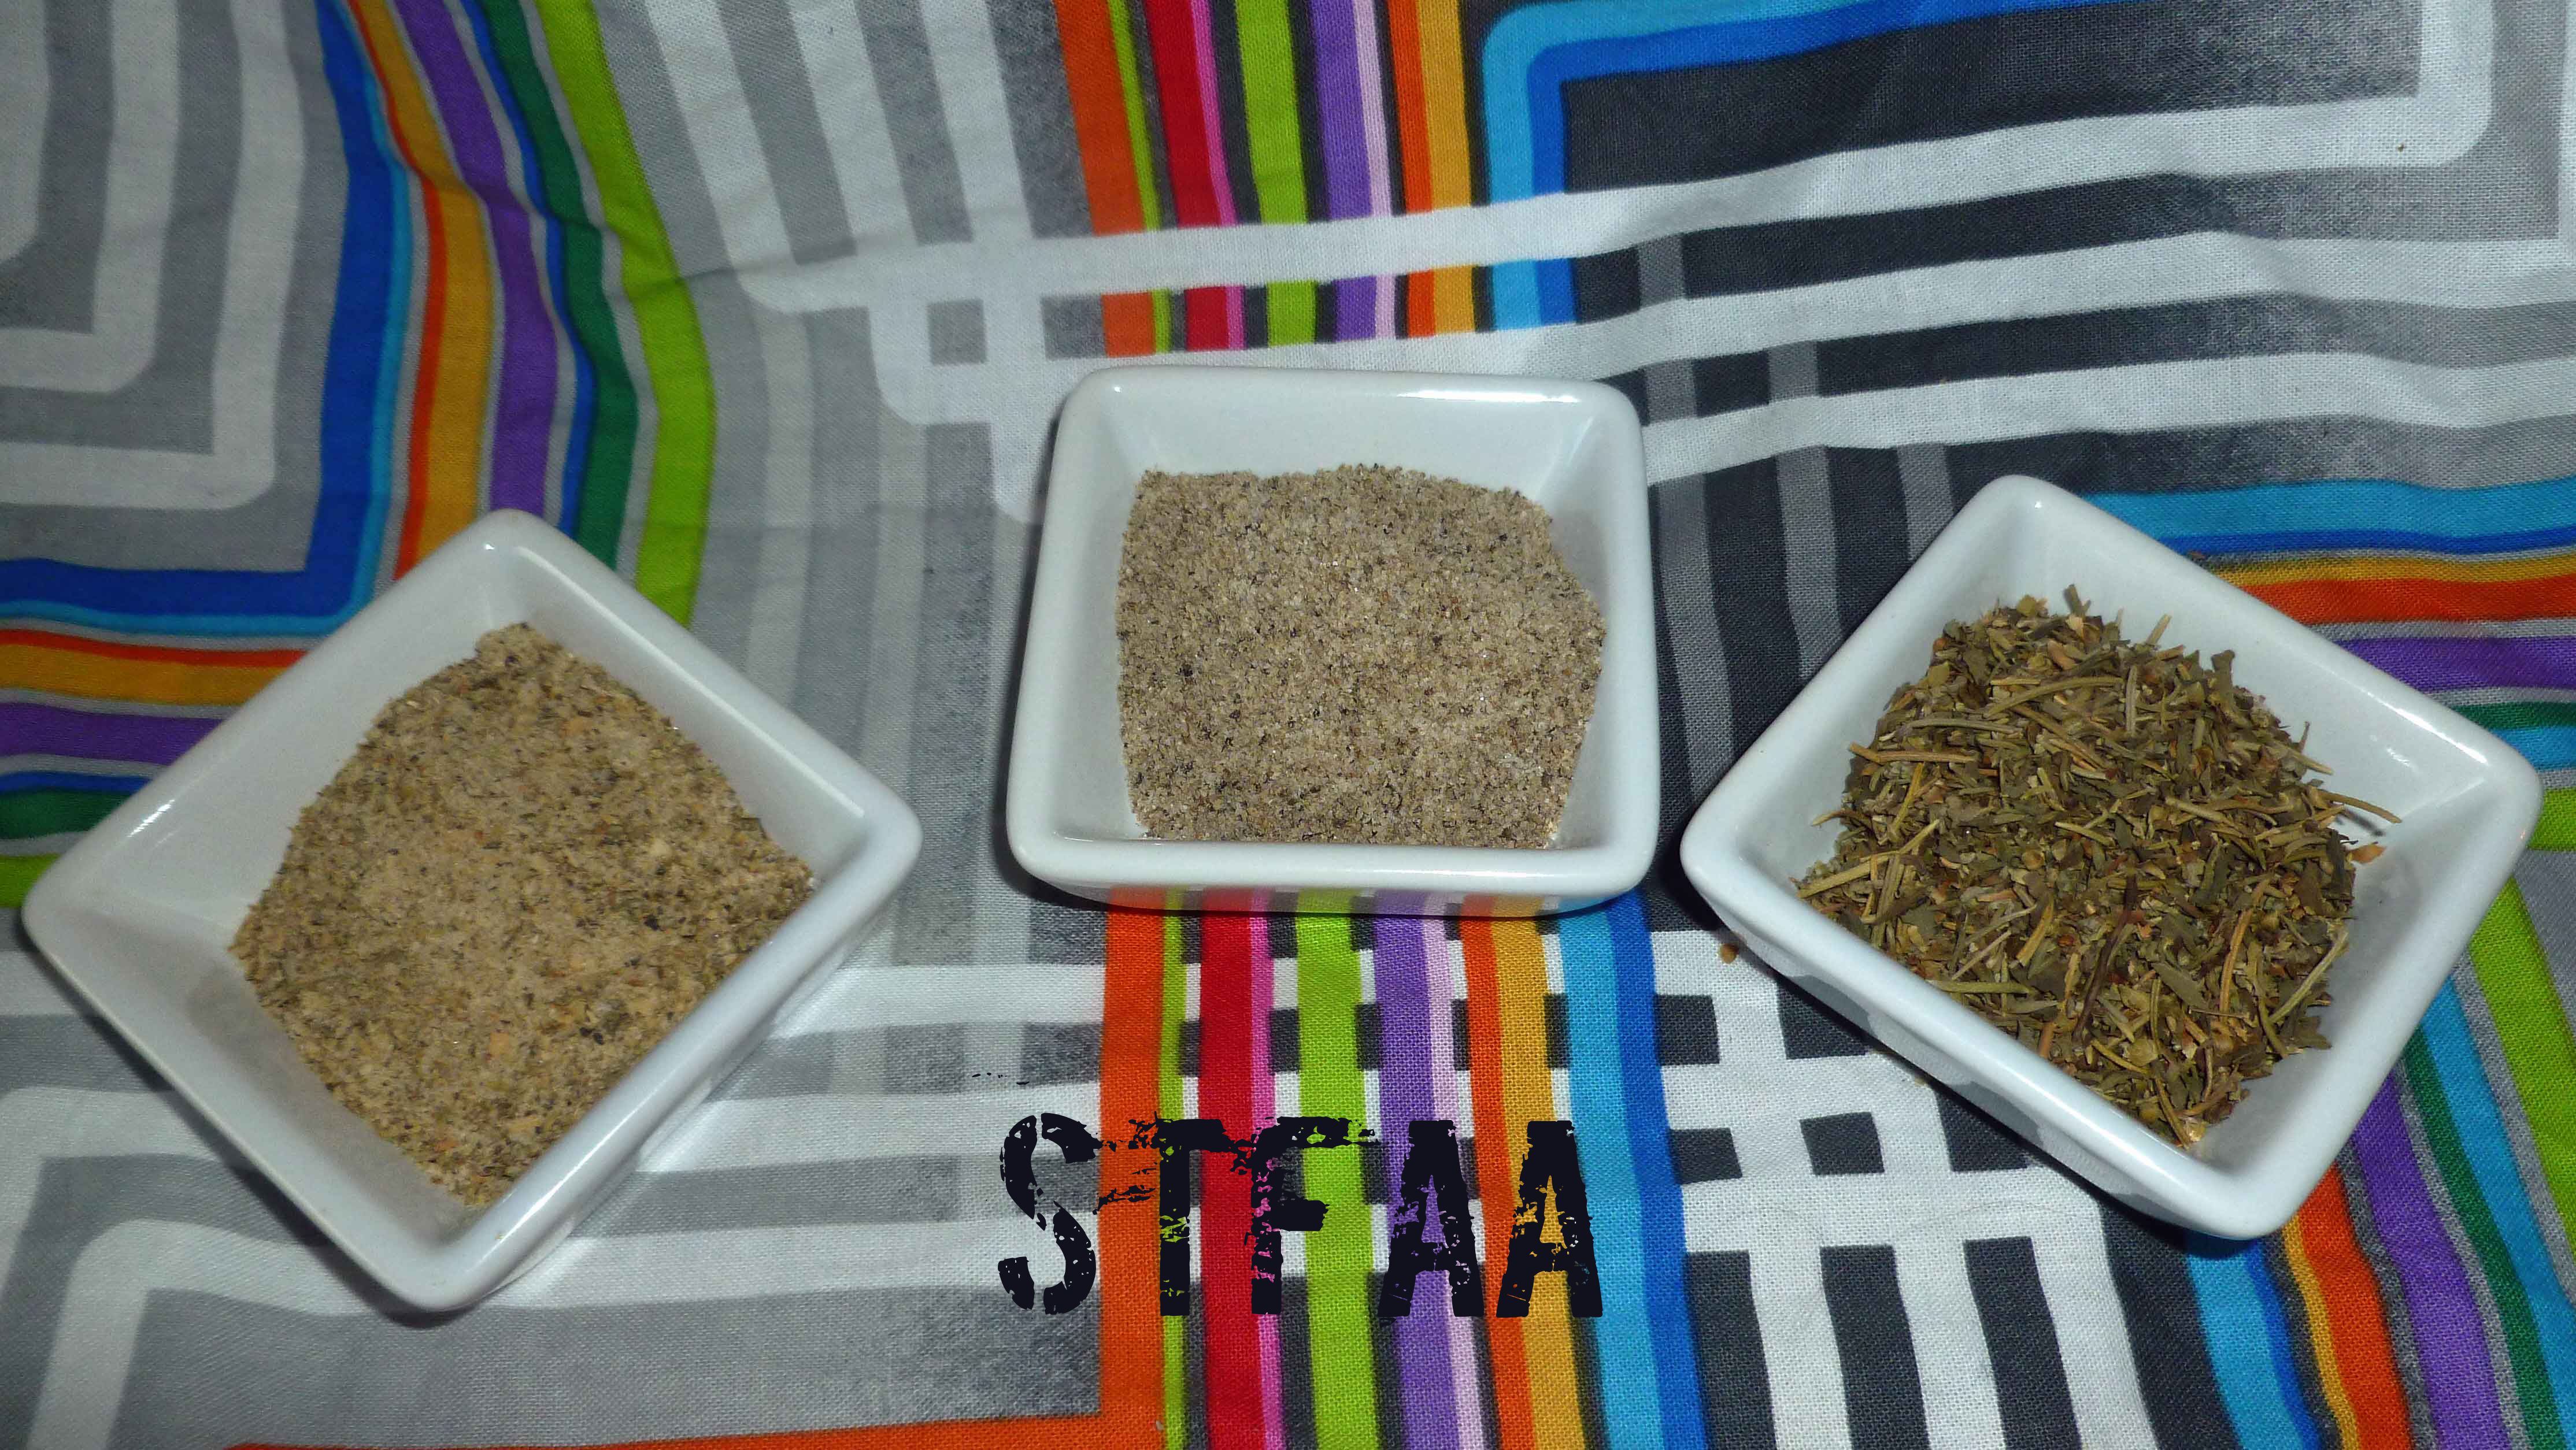
    From left to right: Greek Seasoning, Prime Rib Seasoning & Italian Seasoning
    From left to right: Greek Seasoning, Prime Rib Seasoning & Italian Seasoning

    Well, I’m a bit overwhelmed with other projects in real life right now and the recipe I wanted to make for you guys is not really going well. It needs at least two more attempts before I get it to a place that’s blog worthy. But fear not, there will be a post.

    Regular readers and my friends in real life are aware of my spice addiction. My collection has 186 entries on my google docs inventory spreadsheet and is housed by a bookshelf, a spice cabinet that’s 12″x12″x48″, and half an armoire style cabinet. One of the problems I encountered when the corn allergy hit was that many of my spice blends were no longer safe due to anti-caking agents and actual ingredients (citric acid) on the label, or that many of them I didn’t tolerate well anymore due to cross contamination issues. I do very well with Penzey’s or Frontier single spices, but blends can be an issue.  So I recreate my favorite blends. You may remember a prior post I did on spices DIY Spice Mix Day – Montreal Steak, Creamy Peppercorn, Singapore, and Full of Flavor Herb Mix.  Since I thought it might be helpful for other people, I decided to share three more of my mixtures that I use constantly.

    Greek seasoning is something I use almost daily. I put it in vinaigrette salad dressings, I toss vegetables with it and some olive oil and roast them, and I use it on steamed vegetables with a bit of olive oil instead of butter (I have a dairy allergy and I only use my homemade margarine for special occasions as it’s a pain to make). I keep a shaker on the table at home and one at work for lunches there. I make a pint jar of this at a time, but this recipe is a little less than cup and it’s easy to cut in half if you just want to try it.


    Notice: Trying to access array offset on value of type bool in /home/maryzahc/public_html/adultfoodallergies.com/wp-content/plugins/wp-ultimate-recipe/helpers/models/recipe.php on line 254
    Greek Seasoning
    Print Recipe
    Great for vegetables, salad dressings, and just as an every day seasoning in place of salt or pepper (although it has salt and pepper in it).
    Servings Prep Time
    3/4 cup 5 minutes
    Servings Prep Time
    3/4 cup 5 minutes
    Greek Seasoning
    Print Recipe
    Great for vegetables, salad dressings, and just as an every day seasoning in place of salt or pepper (although it has salt and pepper in it).
    Servings Prep Time
    3/4 cup 5 minutes
    Servings Prep Time
    3/4 cup 5 minutes
    Ingredients
    • 4 tbsp sea salt
    • 4 tbsp dried oregano (The Mediterranean variety is best in this blend)
    • 2 tbsp dried minced garlic
    • 2 tsp lemon peel powder
    • 2 tsp ground black pepper
    • 2 tsp dried marjoram
    Servings: cup
    Instructions
    1. Place all ingredients in a blender and blend until combined. Store in an airtight container. Enjoy!
    Share this Recipe
     
    Powered byWP Ultimate Recipe

    Prime Rib Seasoning is a blend that I use primarily for beef roasts. It’s unbelievable as a rub on prime rib roasts or other beef oven roasts, great to season stew beef before searing it and to season the beef stew itself, and I also use it to season pot roasts before searing and braising in the oven.


    Notice: Trying to access array offset on value of type bool in /home/maryzahc/public_html/adultfoodallergies.com/wp-content/plugins/wp-ultimate-recipe/helpers/models/recipe.php on line 254
    Prime Rib Seasoning
    Print Recipe
    Seasoning to use on prime rib and other beef roasts, beef stew, and pot roasts. (The blend itself is vegan, it’s the use that isn’t, but I bet it’d be great in a root vegetable stew).
    Servings Prep Time
    1/2 cup 5 minutes
    Servings Prep Time
    1/2 cup 5 minutes
    Ingredients
    • 3 tbsp celery seed
    • 2 tbsp sugar
    • 1 tbsp sea salt
    • 2 tsp ground black pepper
    • 2 tsp onion powder
    • 2 tsp garlic powder
    • 1 tsp arrowroot
    Servings: cup
    Instructions
    1. Place all ingredients in a blender and blend until celery seed is ground. Store in airtight container. Enjoy!
    Share this Recipe
     
    Powered byWP Ultimate Recipe

    Italian Seasoning is a blend that was always in your spice cabinet if you grew up where I did. It got added to all manner of crock pot creations, soups, stews, and tomato sauces. It was an easy way of adding basic seasonings, such as oregano, basil, thyme, rosemary, marjoram and sage, without actually having to buy all those seasonings. Since my husband does a lot of crock pot recipes, and since I still use Italian seasoning as a crutch at times, even though I have all that stuff in my spice cabinet, and since I’m concerning about cross contamination in blends, I mix up my own now. This recipe makes about a cup, but we make a quart at a time because we do fly through it pretty quickly. A quart might last us three months.


    Notice: Trying to access array offset on value of type bool in /home/maryzahc/public_html/adultfoodallergies.com/wp-content/plugins/wp-ultimate-recipe/helpers/models/recipe.php on line 254
    Italian Seasoning
    Print Recipe
    Basic Italian Seasoning blend
    Servings Prep Time
    1 cup 5 minutes
    Servings Prep Time
    1 cup 5 minutes
    Italian Seasoning
    Print Recipe
    Basic Italian Seasoning blend
    Servings Prep Time
    1 cup 5 minutes
    Servings Prep Time
    1 cup 5 minutes
    Ingredients
    • 2 tbsp dried marjoram
    • 2 tbsp dried thyme
    • 4 tsp dried rosemary (If whole, use a mortar and pestle or a spoon and a bowl to break into smaller pieces)
    • 4 tsp dried oregano (the Mediterranean variety is best here)
    • 4 tsp dried basil
    • 2 tsp dried rubbed sage
    Servings: cup
    Instructions
    1. Put all ingredients in a bowl and mix until thoroughly combined. Store in an air tight container. Voila!
    Share this Recipe
     
    Powered byWP Ultimate Recipe

    Go out and season your food! Let us know if there are blends you are missing that you’d like us to try to create/recreate for you.


  • Cold Roasted Vegetable Sauce

    Cold Roasted Vegetable Sauce

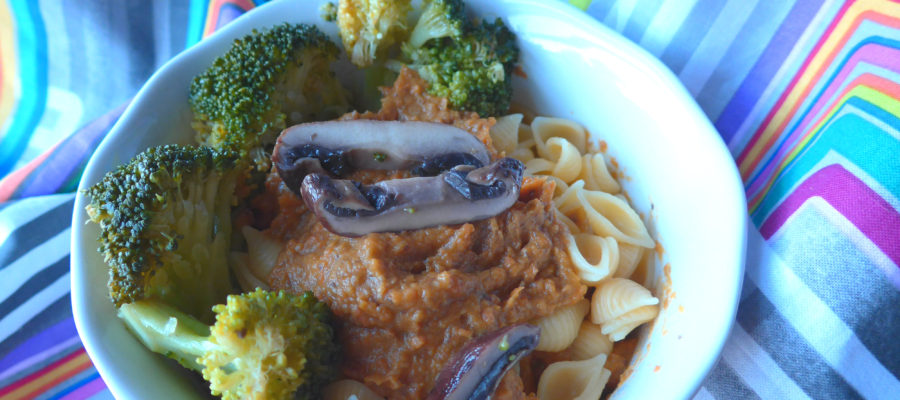
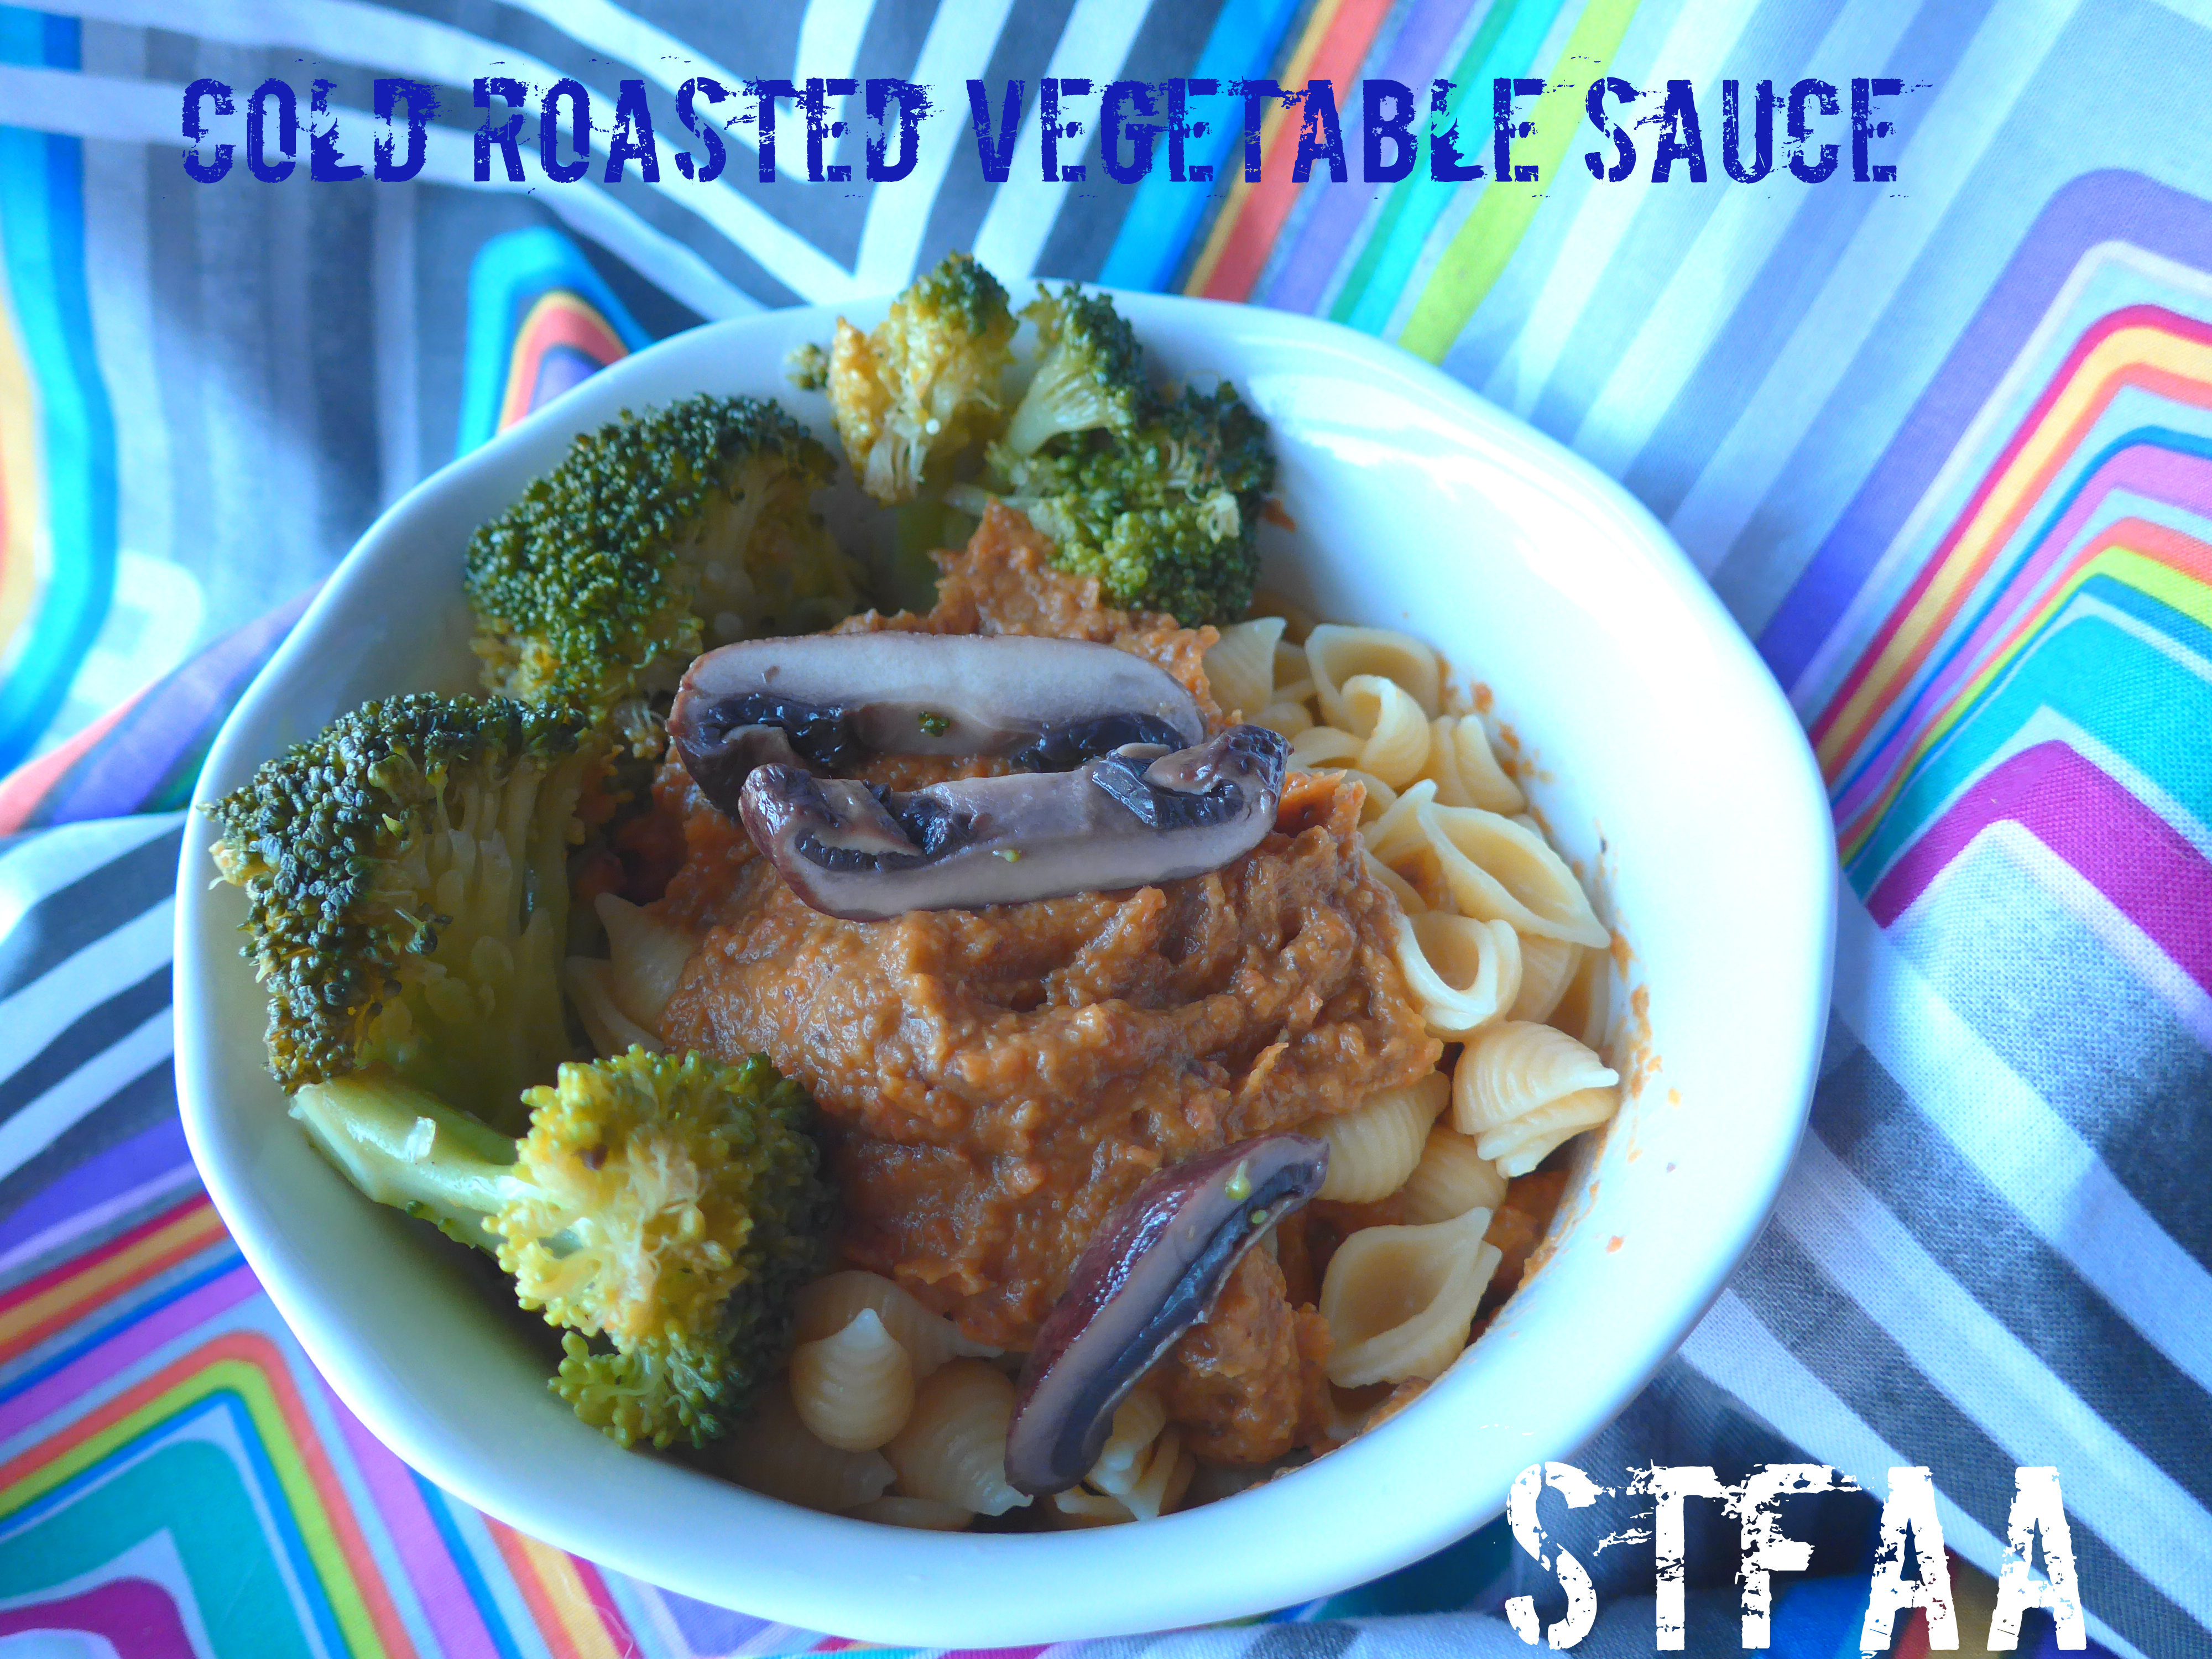
    Cold Roasted Vegetable Sauce, over quinoa pasta, with broccoli and a bit of mushroom
    Cold Roasted Vegetable Sauce, over quinoa pasta, with broccoli and a bit of mushroom

    It has been hot this summer. Hotter than normal, longer than normal, and I am frankly rather sick of hearing the AC drone on. I want to cook food! I want to want to eat hot food. But I don’t. It’s hot. So what I’ve been doing is heating the kitchen way up one day, cooking a bunch of food, and remixing it all week. So several pans of roasted veg, a big pot of grains, a bunch of spinach, and a few proteins. But I have gotten SO BORED with it.

    This week, I decided to mix it up and make a pasta salad with the roasted vegetables used as the sauce. It turned out rather well. You could add beans or meat for protein, and if you wanted extra greens, mix them in or serve them over top. Also, this is absolutely more of a recipe concept than a recipe, so use whatever vegetables you have around.

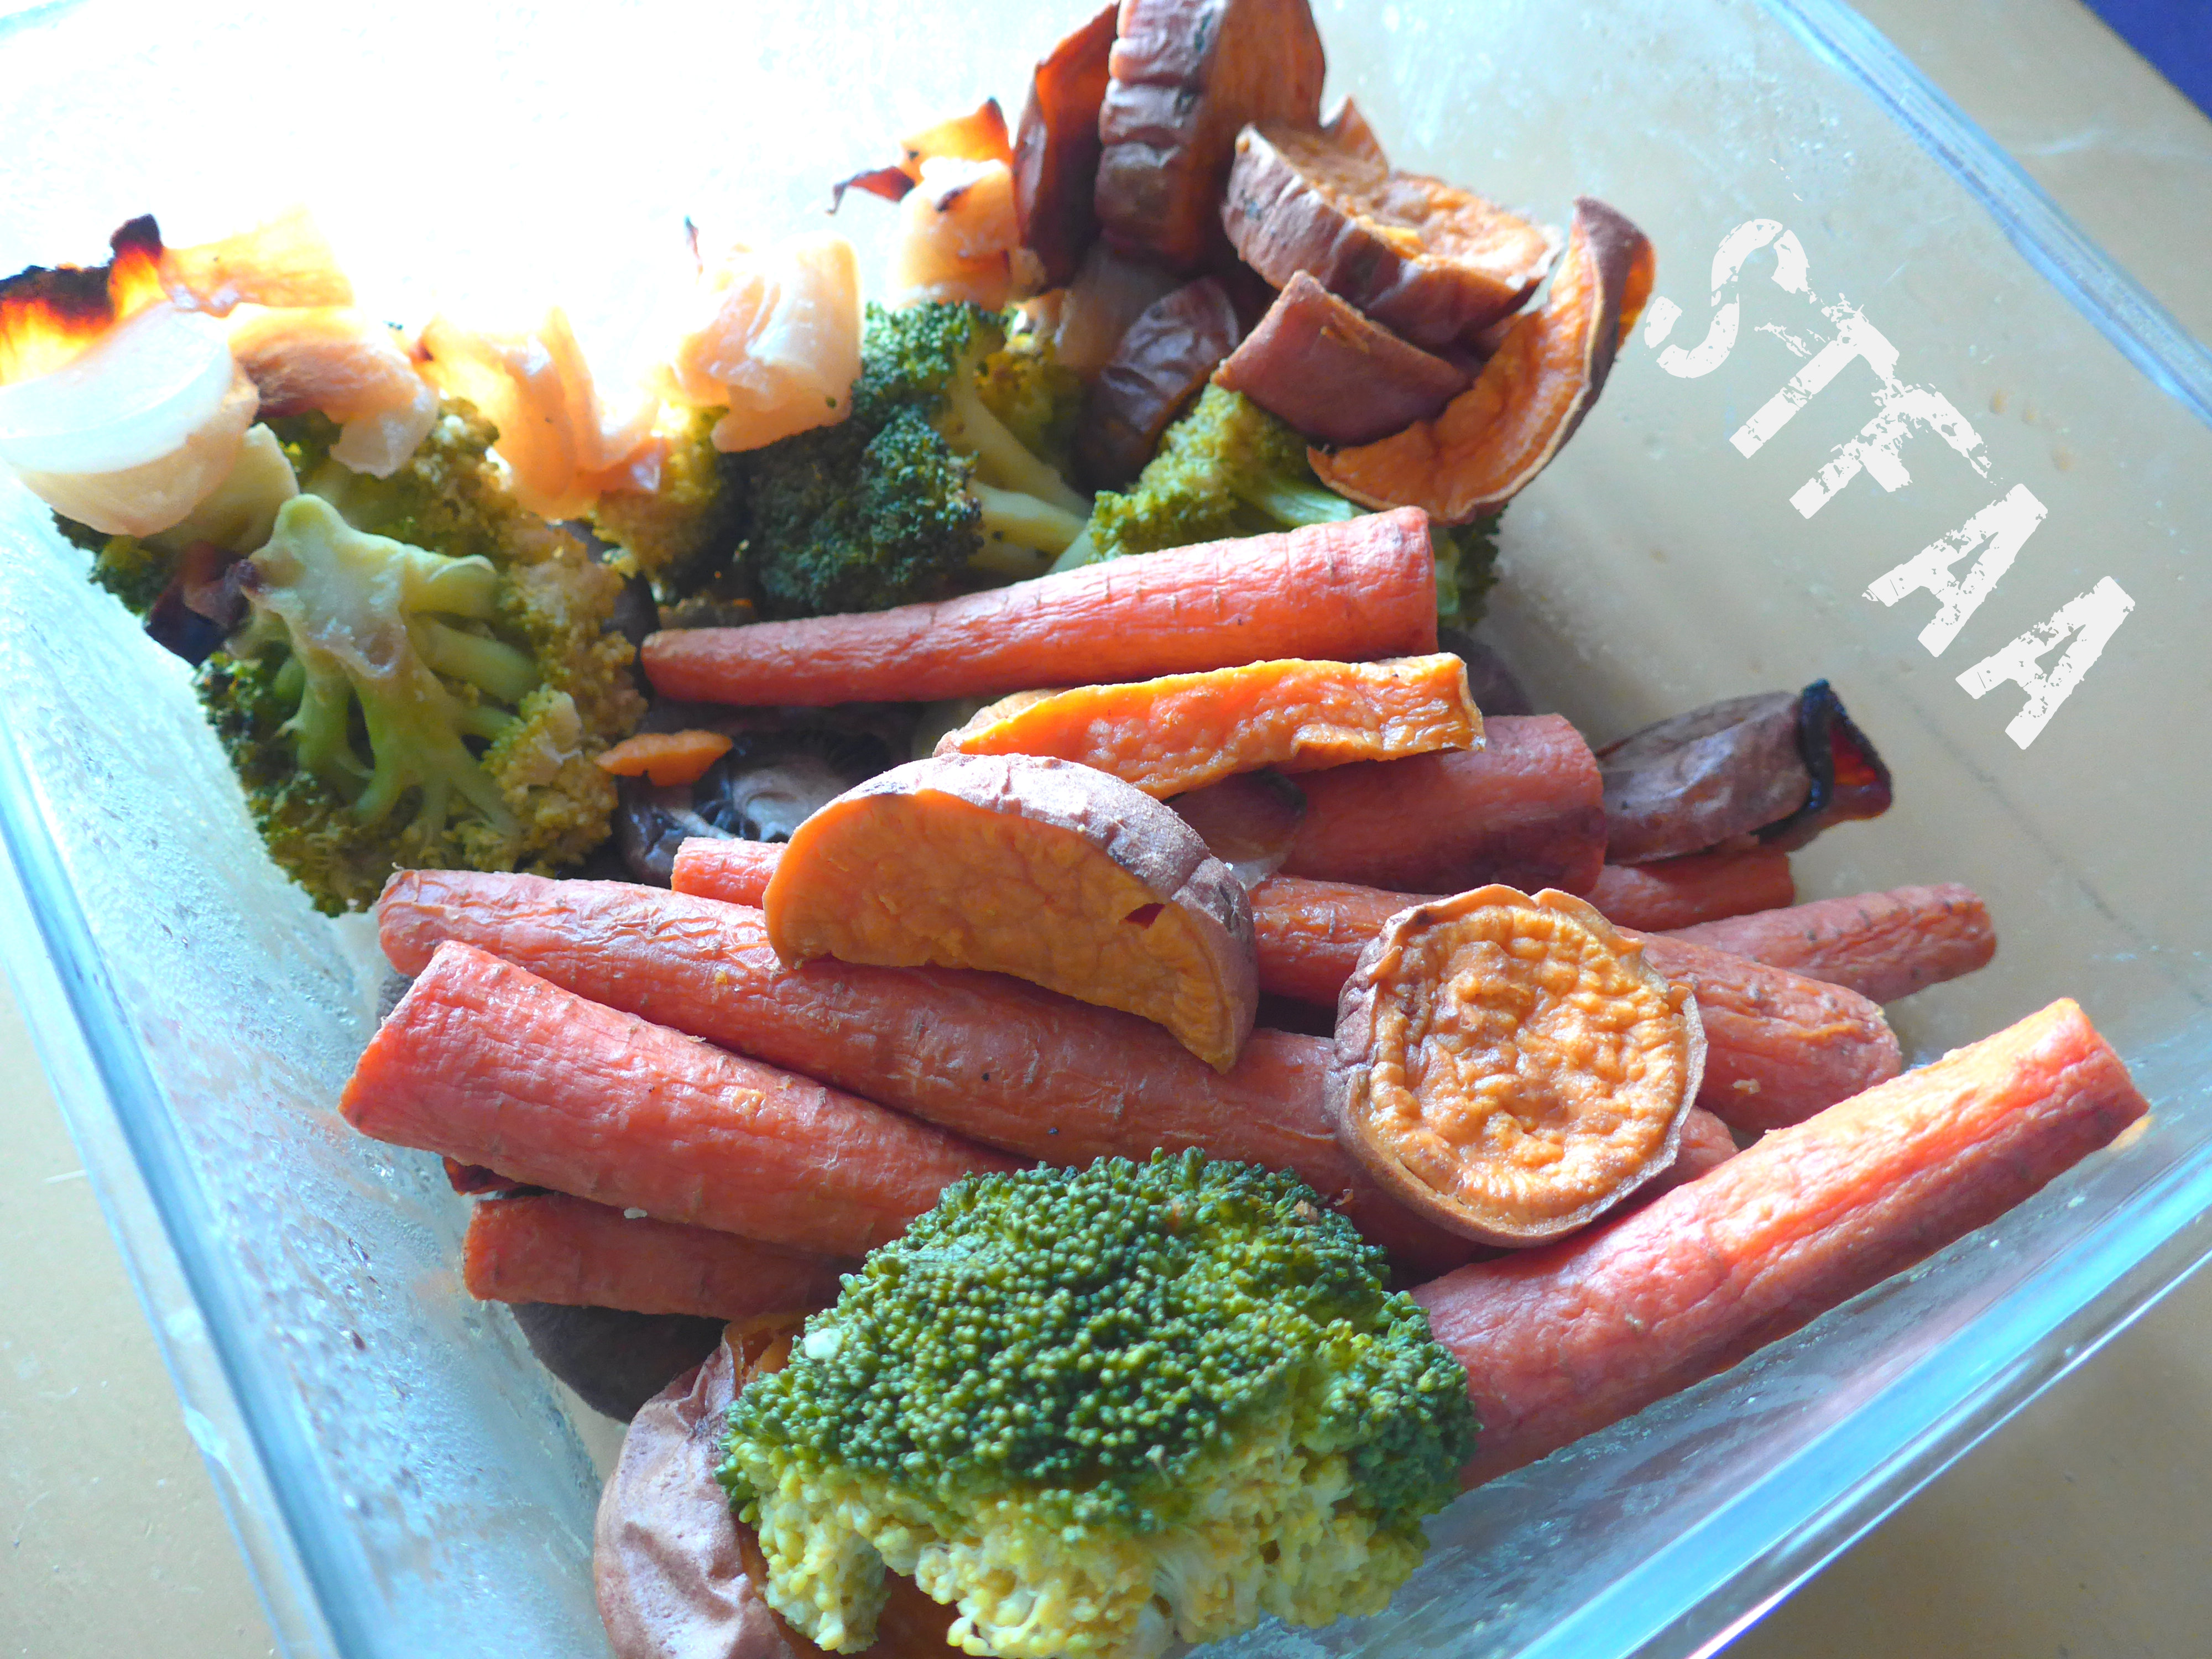
    I generally roast my vegetables at 425ºF on big sheet pans. I toss everything in a bit of olive oil and dust it with salt.  Size varies greatly, so if I don’t have a full pan of something, I try to group things that will cook in about the same amount of time. In less than an hour, I can do 3 or 4 pans, and it’s a ton of vegetables. I almost always throw a sweet potato in the mix, and I always, always, always roast onions because I love them and they add good base flavors to any dish.

    A slightly depleted batch of roasted veg for the week
    A slightly depleted batch of roasted veg for the week

    This recipe used about 1 sweet potato, about 1/2 of an onion, 4 skinnier carrots, and about half a package of mushroom caps (4 oz). I did not want to blend the broccoli in, but I chopped it up instead, maybe a cup of it. Serve over any pasta or grain of your choice, with added protein if that’s what you’re up for. The sauce isn’t pretty, but it tastes great.


    Notice: Trying to access array offset on value of type bool in /home/maryzahc/public_html/adultfoodallergies.com/wp-content/plugins/wp-ultimate-recipe/helpers/models/recipe.php on line 254
    Cold Roasted Vegetable Sauce
    Print Recipe
    Servings Prep Time
    3 meal-sized servings 10 minutes
    Servings Prep Time
    3 meal-sized servings 10 minutes
    Cold Roasted Vegetable Sauce
    Print Recipe
    Servings Prep Time
    3 meal-sized servings 10 minutes
    Servings Prep Time
    3 meal-sized servings 10 minutes
    Ingredients
    • 1 cup sweet potato, roasted
    • 1/2 cup onion roasted
    • 4 carrots small, roasted
    • 1/2-3/4 cup mushroom caps, roasted
    • 1/2 cup water
    • 1/4 cup olive oil
    Servings: meal-sized servings
    Instructions
    1. If you need to roast your vegetables, do so — see the post above for how I do it. Cool them.
    2. Add all vegetables and water to blender, gently puree, stirring as needed. When you need more liquid, add the olive oil. Blend until smooth. Taste and adjust seasonings. If you want a thinner sauce, add more water until you get the consistency where you want it.
    3. Serve over whatever sounds good — pasta or grains would be my suggestion (as that’s all I’ve tried). Add other vegetables to the mix as desired.
    Share this Recipe
     
    Powered byWP Ultimate Recipe
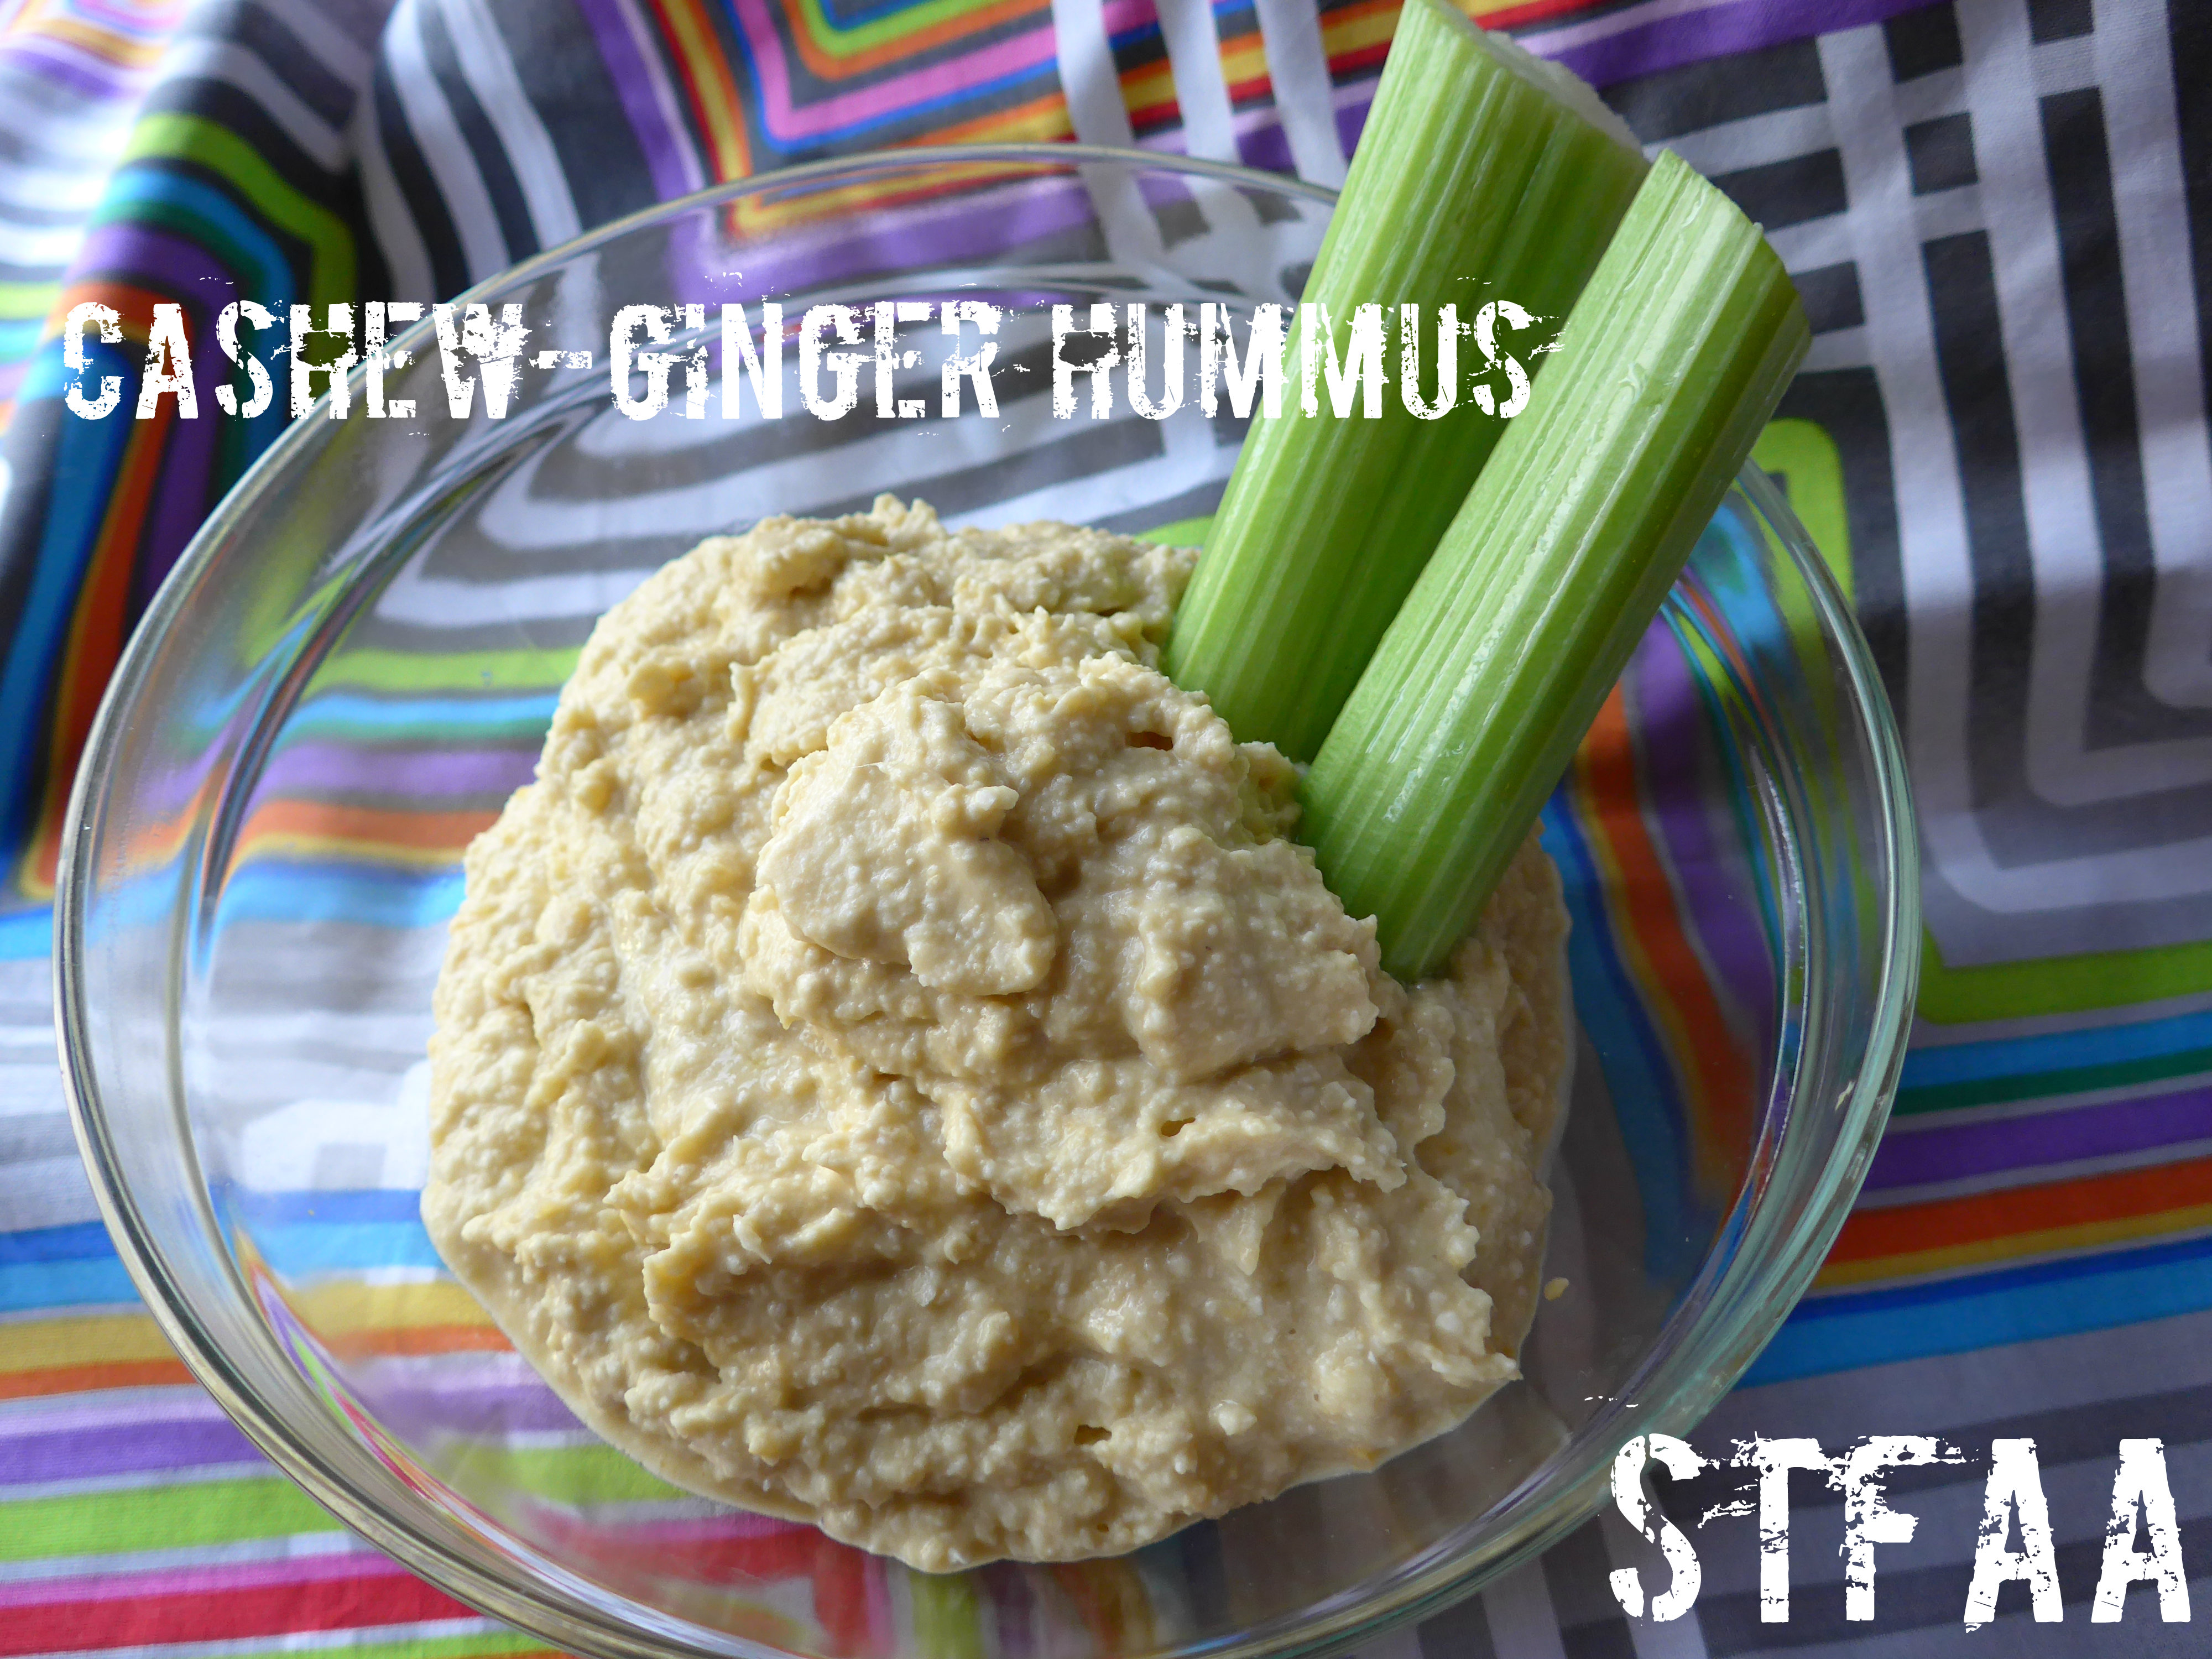
  • Cashew-Ginger Hummus

    Cashew-Ginger Hummus

    This recipe came out of what I had in the house when I wanted to bring some hummus over to Denise’s for a gathering. Denise is allergic to sesame, an allergy I understand is becoming more common, but not allergic to cashews. I’m not sure how common this combo is, but if your diet allows you to have cashews, give this spin on hummus a try. It’s enough like “typical” hummus to please purists, and different enough to be exciting. I think the cashews are a creamier, more neutral flavor than tahini, and it makes the perfect backdrop for ginger to pop. This is a really great hummus for making sandwiches or veggie wraps out of — somehow, the ginger just stands up well in a salad-like situation. I also stop my homemade hummus before it becomes too smooth — I like a little more texture than commercial hummus generally has.

    Cashew-Ginger Hummus
    Cashew-Ginger Hummus

    Notice: Trying to access array offset on value of type bool in /home/maryzahc/public_html/adultfoodallergies.com/wp-content/plugins/wp-ultimate-recipe/helpers/models/recipe.php on line 254
    Cashew-Ginger Hummus
    Print Recipe
    This twist on hummus replaces tahini with ground cashews for more texture and a creamier texture, with ginger replacing garlic as the primary flavor. This hummus is most excellent as a sandwich spread.
    Prep Time
    10 minutes
    Prep Time
    10 minutes
    Ingredients
    • 1/2 cup raw cashews,
    • 1 Tablespoon fresh ginger see recipe for technique
    • 16 ounces garbanzo beans
    • 1/4 cup aquafaba (juice from can or cooking water from beans)
    • 1/4 cup olive oil
    • 1 teaspoon garlic chopped
    • 1 Tablespoon lemon juice
    • 1/2 teaspoon kosher salt
    Servings:
    Instructions
    1. Using a food processor, add the ingredients in order of the recipe — with one big exception! If your ginger is already ground, chopped, or microplaned, start with the cashews. If not, begin with the ginger.
    2. If beginning with the ginger, just pulse until it is all shredded.
    3. If beginning with the cashews, pulse until you have a fine powder if you like texture. If you want your hummus to be really smooth, go ahead and make cashew butter.
    4. Add the chickpeas and liquid and process. Then add everything else and process to your desired smoothness.
    5. Enjoy as a spread or as a dip. If you’re using good quality pure olive oil, this will get somewhat stiff in the fridge. A few minutes resting at room temperature will fix that.
    Share this Recipe
     
    Powered byWP Ultimate Recipe
  • Gluten-Free Vegan Tortillas and/or Pita Chips

    Gluten-Free Vegan Tortillas and/or Pita Chips

    Gluten-Free Vegan Tortillas
    Gluten-Free Vegan Tortillas
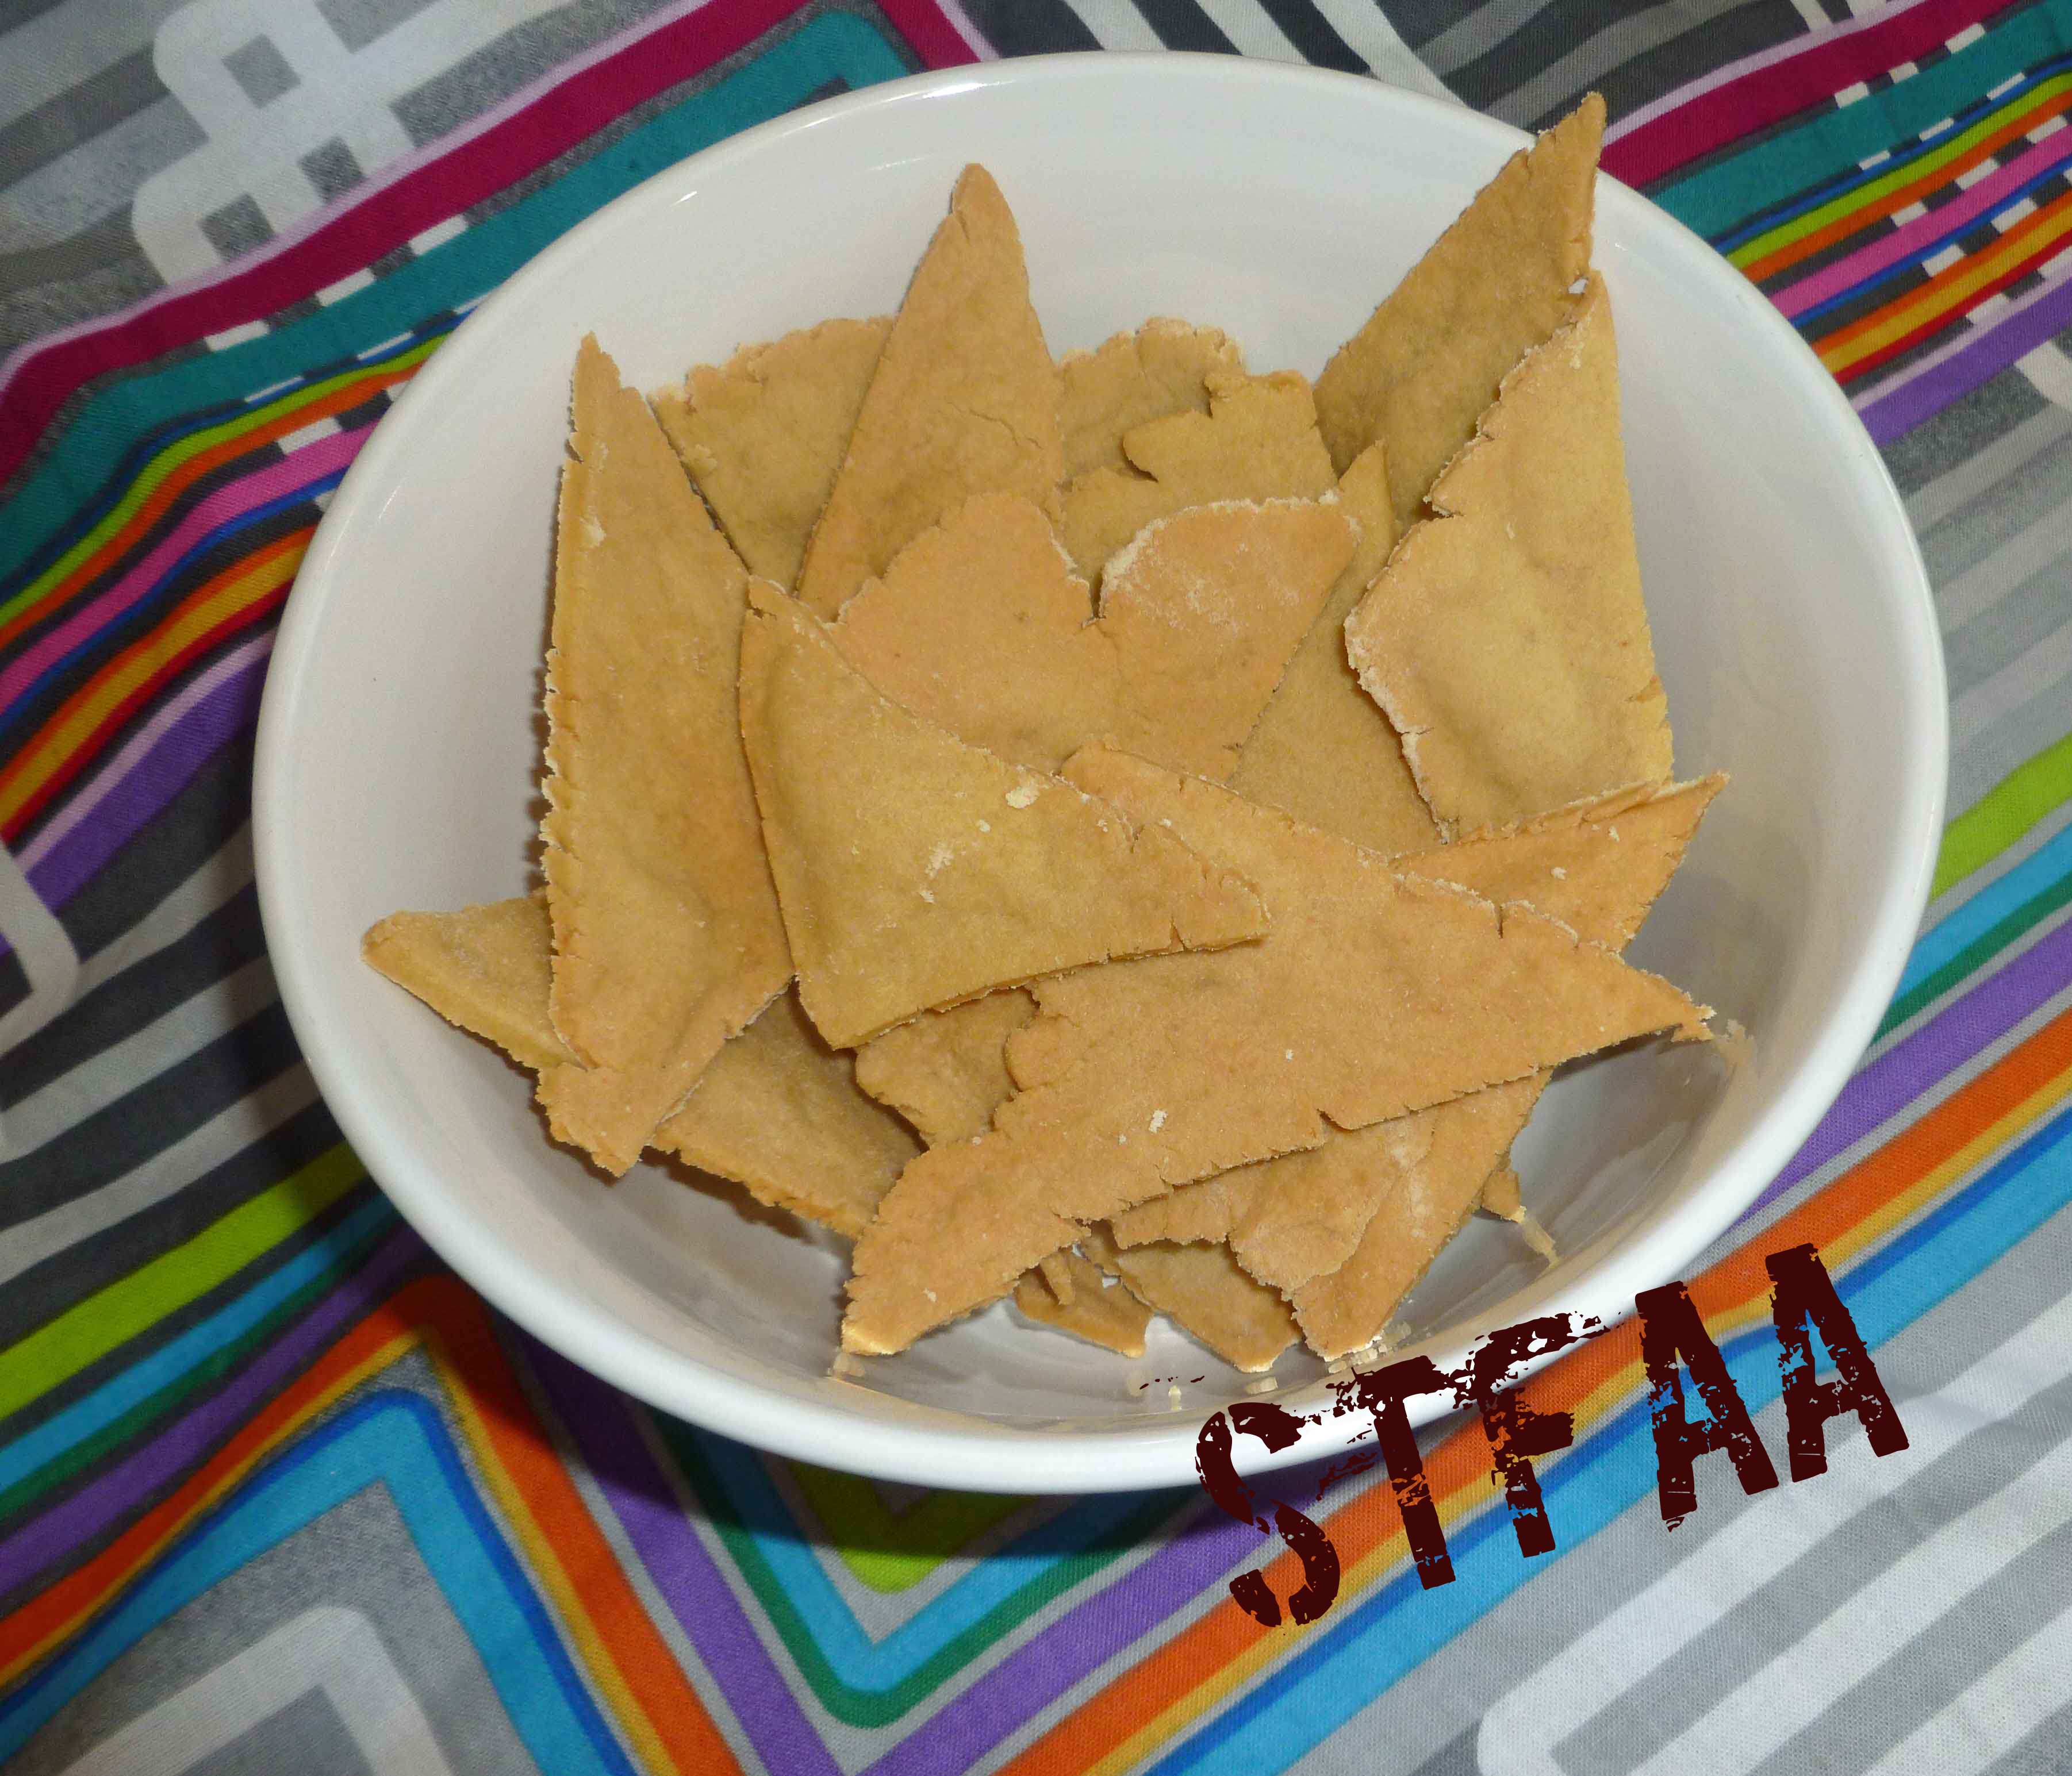
    Gluten-free Vegan Tortilla Chips
    Gluten-free Vegan Tortilla Chips

    Gluten-Free Vegan Tortillas and/or Pita Chips

    So you’re probably saying, ‘Denise, shouldn’t this be Gluten-Free Vegan Tortillas and Tortilla Chips, not Pita Chips’?  And yes, that would seem to make sense, except that the dough when baked tastes more like pita chips than tortilla chips.  If you baked or fried the tortillas after making them, maybe it’d be closer to tortilla chips, but I haven’t tried that yet. If you do, let us know.

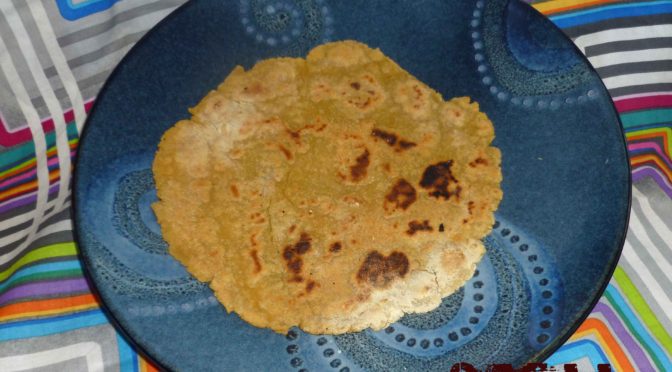
    This dough was originally designed to be baked to be chips, so there’s oil in it.  However, I decided to just roll some out and cook it like a tortilla to see what happened.  I got a pliable tortilla, which I hadn’t been able to do with other gluten-free tortilla experiments. So it’s not the most traditional tortilla, but hey, for a wheat-free, dairy-free, corn-free tortilla, that doesn’t break in half when you bend it and I might actually be able to make soft tacos, fajitas, and enchiladas again, whatever, I’m sold.  Just as a note, whether you decide to make the chips or the tortillas, you’re going to need parchment paper. These need to be rolled out really, really thin.

    You all know that my style is normally to give you every step with a picture and then give you the recipe card at the end. But, I was in a hurry and didn’t take as many pictures as I should have, and it’s much harder to do with two recipes in one post.  So I’ll give you what I have for in-process photos, and then the recipe cards.

    So first, the in-process photos of the tortillas:

    Tortilla after being flipped on skillet from parchment paper
    Tortilla after being flipped on skillet from parchment paper
    Tortilla cooking on cast iron skillet
    Tortilla cooking on cast iron skillet
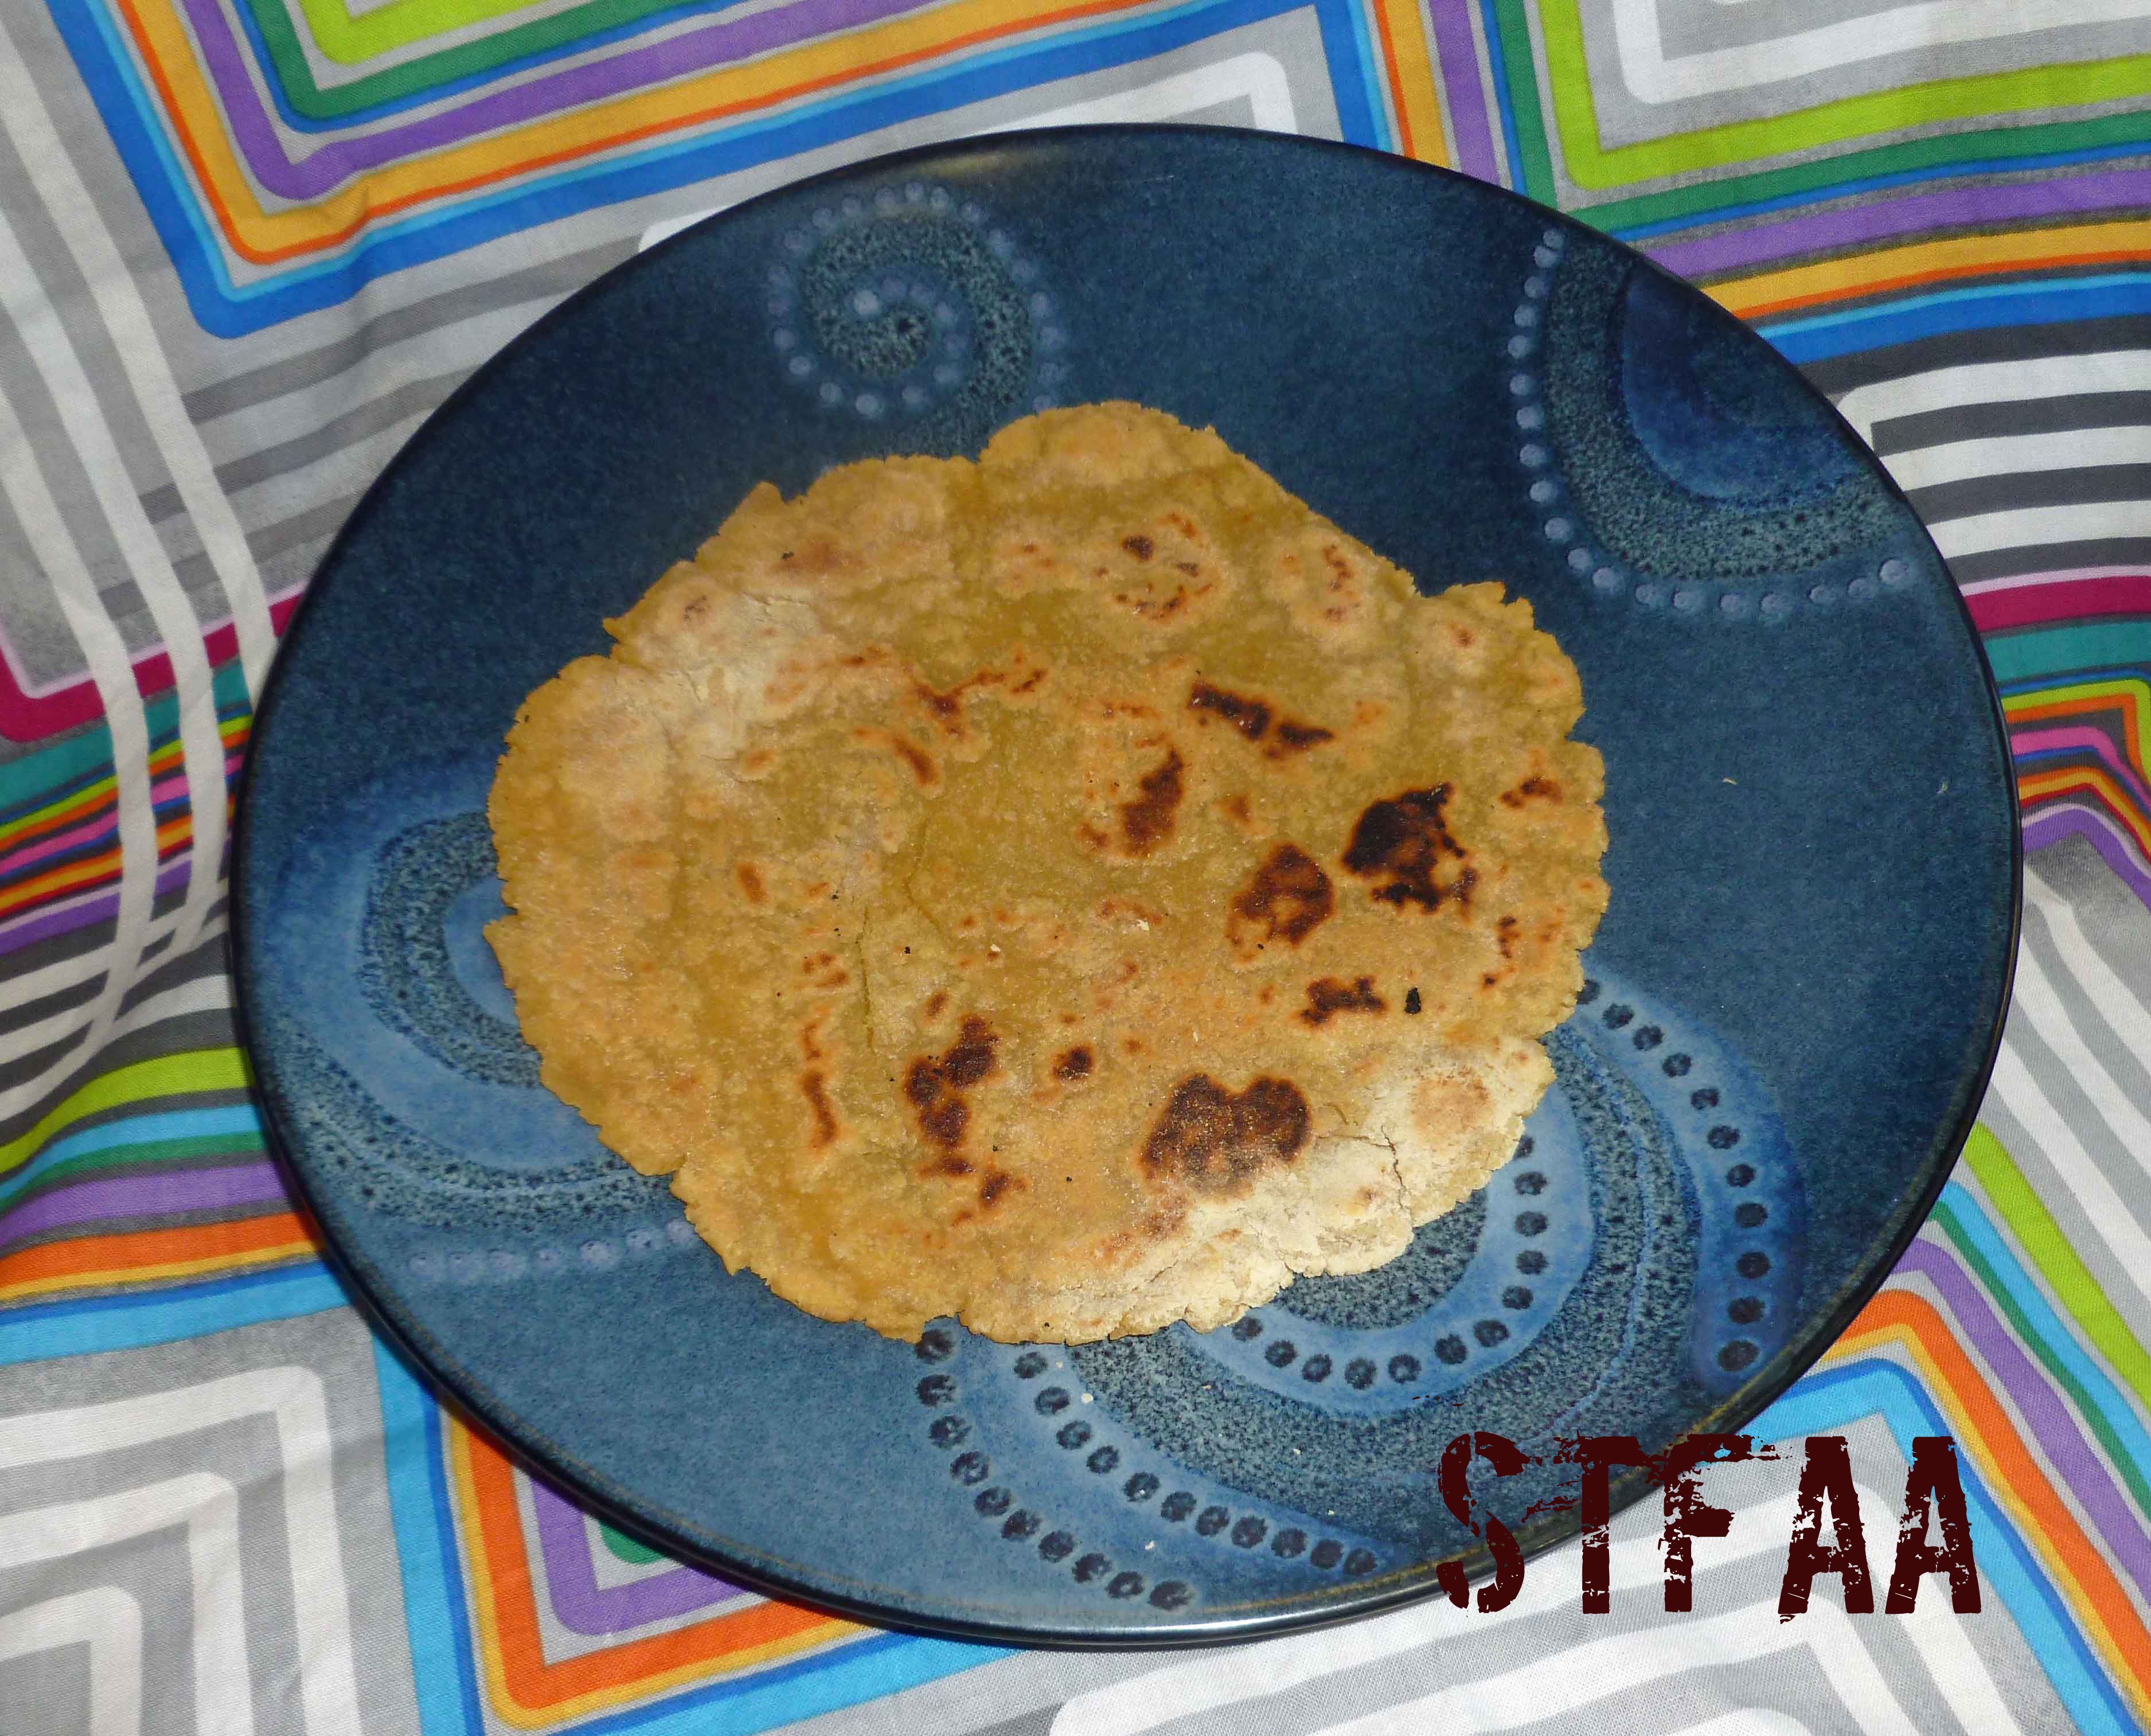
    Pliable tortilla! Yay!
    Pliable tortilla! Yay!

    Notice: Trying to access array offset on value of type bool in /home/maryzahc/public_html/adultfoodallergies.com/wp-content/plugins/wp-ultimate-recipe/helpers/models/recipe.php on line 254
    Gluten-Free Vegan Tortillas
    Print Recipe
    Servings Prep Time
    5 Tortillas 15 minutes
    Cook Time
    2-3 minutes a side
    Servings Prep Time
    5 Tortillas 15 minutes
    Cook Time
    2-3 minutes a side
    Gluten-Free Vegan Tortillas
    Print Recipe
    Servings Prep Time
    5 Tortillas 15 minutes
    Cook Time
    2-3 minutes a side
    Servings Prep Time
    5 Tortillas 15 minutes
    Cook Time
    2-3 minutes a side
    Ingredients
    • 1 15 ounce can drained and rinsed garbanzo beans (I used home canned. Save the aquafaba and freeze it for when you need it.)
    • 1 teaspoon salt
    • 1/4 cup olive or other safe-for-you oil
    • 1 cup glutinous rice flour (you’ll also need a bit extra for rolling out the dough)
    • cast iron skillet
    • blender
    • mixer
    • parchment paper
    Servings: Tortillas
    Instructions
    1. Place drained and rinsed garbanzo beans, the salt, and the olive oil into a blender, and blend until smooth. Place the mixture into a mixer and using the flat beater on medium low speed, slowly add the glutinous rice flour, beating until dough comes together.
    2. Using a piece of parchment paper dusted with some of the glutinous rice flour, roll out a portion of the dough about the size of an apple or to fit the size of your cast iron skillet, to a thickness of about an 1/8th of an inch.
    3. Place a cast iron skillet over medium low heat. When it is hot, use the parchment paper to transfer the tortilla to the skillet. Flip it onto the skillet and peel the parchment paper off. Cook the tortilla for 3-4 minutes each side or until it is golden brown.
    Share this Recipe
     
    Powered byWP Ultimate Recipe

    Now, here’s what I have for the pita chips:

    Pita Chips just out of the oven
    Pita Chips just out of the oven
    Pita Chip thickness after baking
    Pita Chip thickness after baking

    Notice: Trying to access array offset on value of type bool in /home/maryzahc/public_html/adultfoodallergies.com/wp-content/plugins/wp-ultimate-recipe/helpers/models/recipe.php on line 254
    Gluten-Free Vegan Pita Chips
    Print Recipe
    Servings Prep Time
    30-40 chips 15 minutes
    Cook Time
    25 minutes
    Servings Prep Time
    30-40 chips 15 minutes
    Cook Time
    25 minutes
    Gluten-Free Vegan Pita Chips
    Print Recipe
    Servings Prep Time
    30-40 chips 15 minutes
    Cook Time
    25 minutes
    Servings Prep Time
    30-40 chips 15 minutes
    Cook Time
    25 minutes
    Ingredients
    • 1 15 ounce can drained and rinsed garbanzo beans (I used home canned. Save the aquafaba and freeze it for when you need it.)
    • 1 teaspoon salt
    • 1/4 cup olive or other safe-for-you oil
    • 1 cup glutinous rice flour (you’ll also need a bit extra for rolling out the dough)
    • baking sheet
    • blender
    • mixer
    • parchment paper
    Servings: chips
    Instructions
    1. Preheat your oven to 375°F.
    2. Place drained and rinsed garbanzo beans, the salt, and the olive oil into a blender, and blend until smooth. Place the mixture into a mixer and using the flat beater on medium low speed, slowly add the glutinous rice flour, beating until dough comes together.
    3. You will need to do a couple of batches to bake all of the chips. Cover your baking sheet with a sheet of parchment paper. Dust the parchment paper with some of the glutinous rice flour. Roll out about a third of the dough to a thickness of about an 1/8th of an inch, the thinner the better. Use a sharp knife to score lines through the dough the size you’d like your chips, being careful not to cut through the parchment paper.
    4. Place the baking sheet in your preheated oven and bake for 25 minutes or until the chips are golden brown.
    Share this Recipe
     
    Powered byWP Ultimate Recipe

    Enjoy!