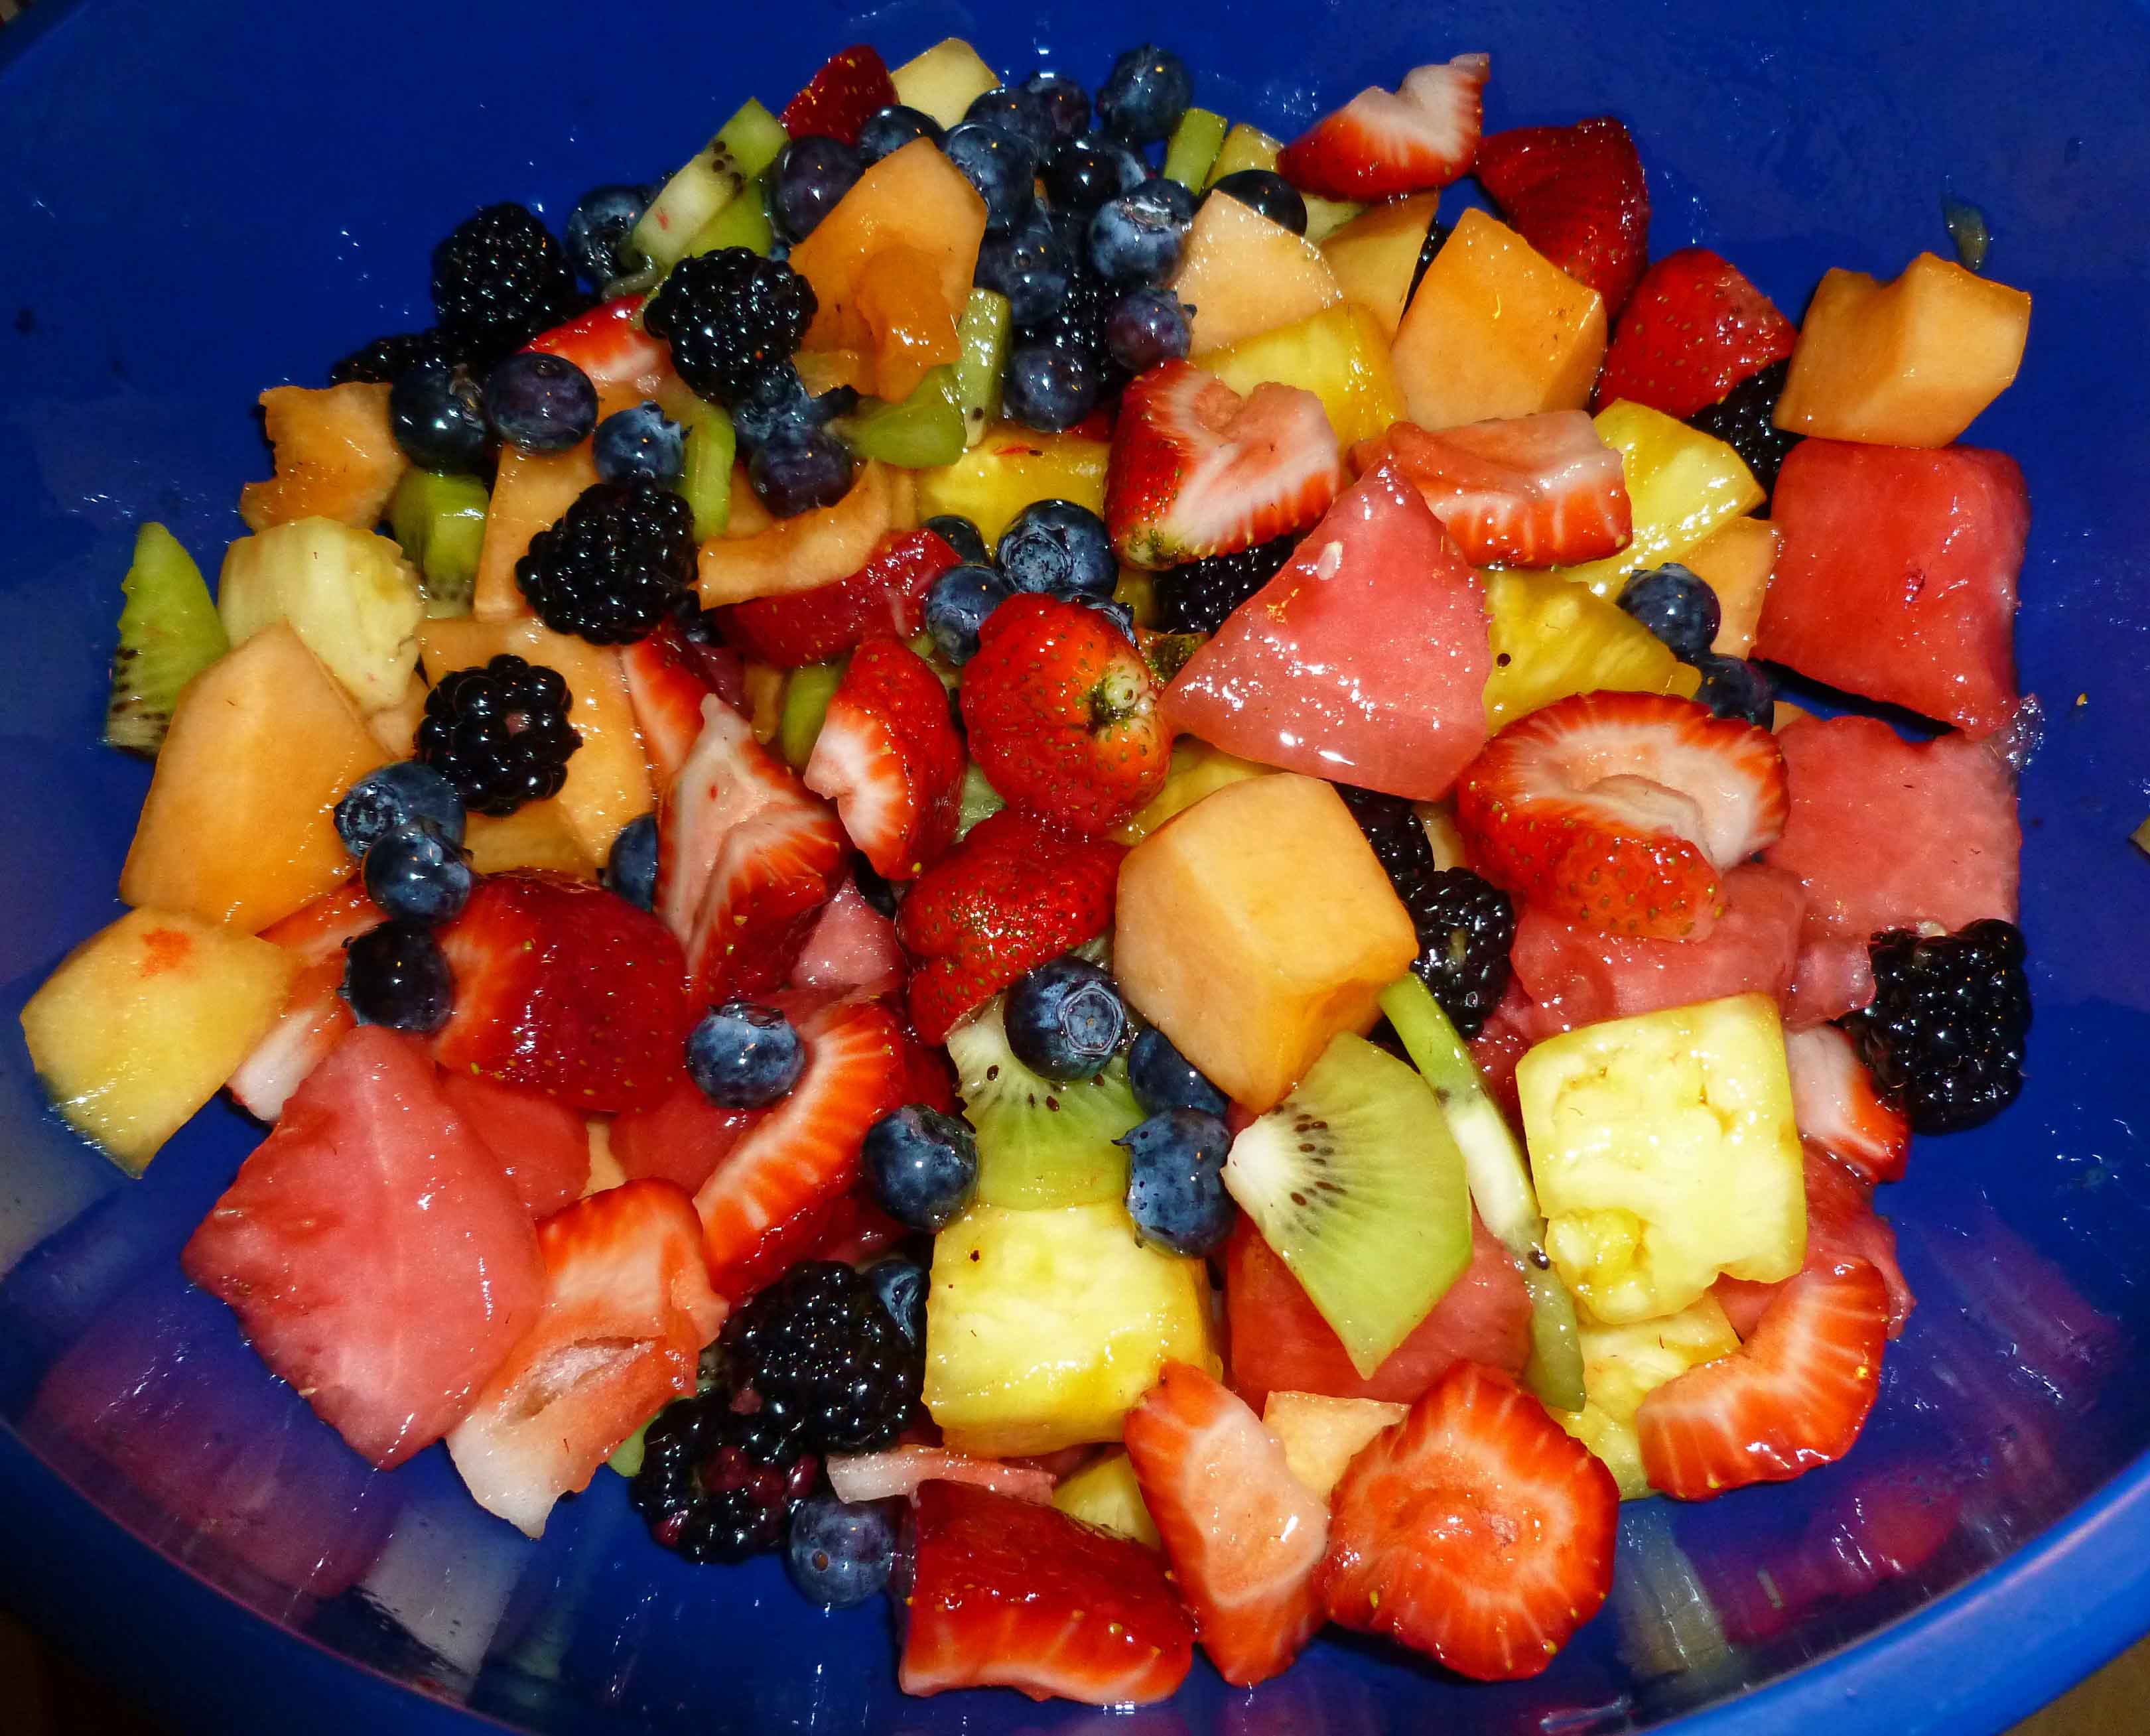
It’s summer still, although there’s been a fall-like chill in the air lately. So there’s still opportunities for cookouts and potlucks and all sorts of communal eating, and sometimes you need coleslaw. And with a dairy and egg allergy that can be challenging. Especially if one is anti-coleslaw with vinegar and oil dressing. As far as I’m concerned, coleslaw with vinegar and oil dressing is a salad with cabbage, it’s not coleslaw. Am I the only one with deeply held beliefs on coleslaw? (Yeah, probably.) In any case, my mom used to make this coleslaw dressing with Miracle Whip with a bit of milk, orange juice, and sugar that was the right sort of tangy, creamy and sweet all at the same time. And my mom doesn’t really cook, but seriously this dressing was perfect. I could eat buckets of this coleslaw back in the day before food allergies reared their ugly heads.
Now that Earth Balance has a vegan mayo that’s really good, I’ve been able to recreate my mom’s coleslaw dressing (see our review here). And it’s good and pretty close to the original.
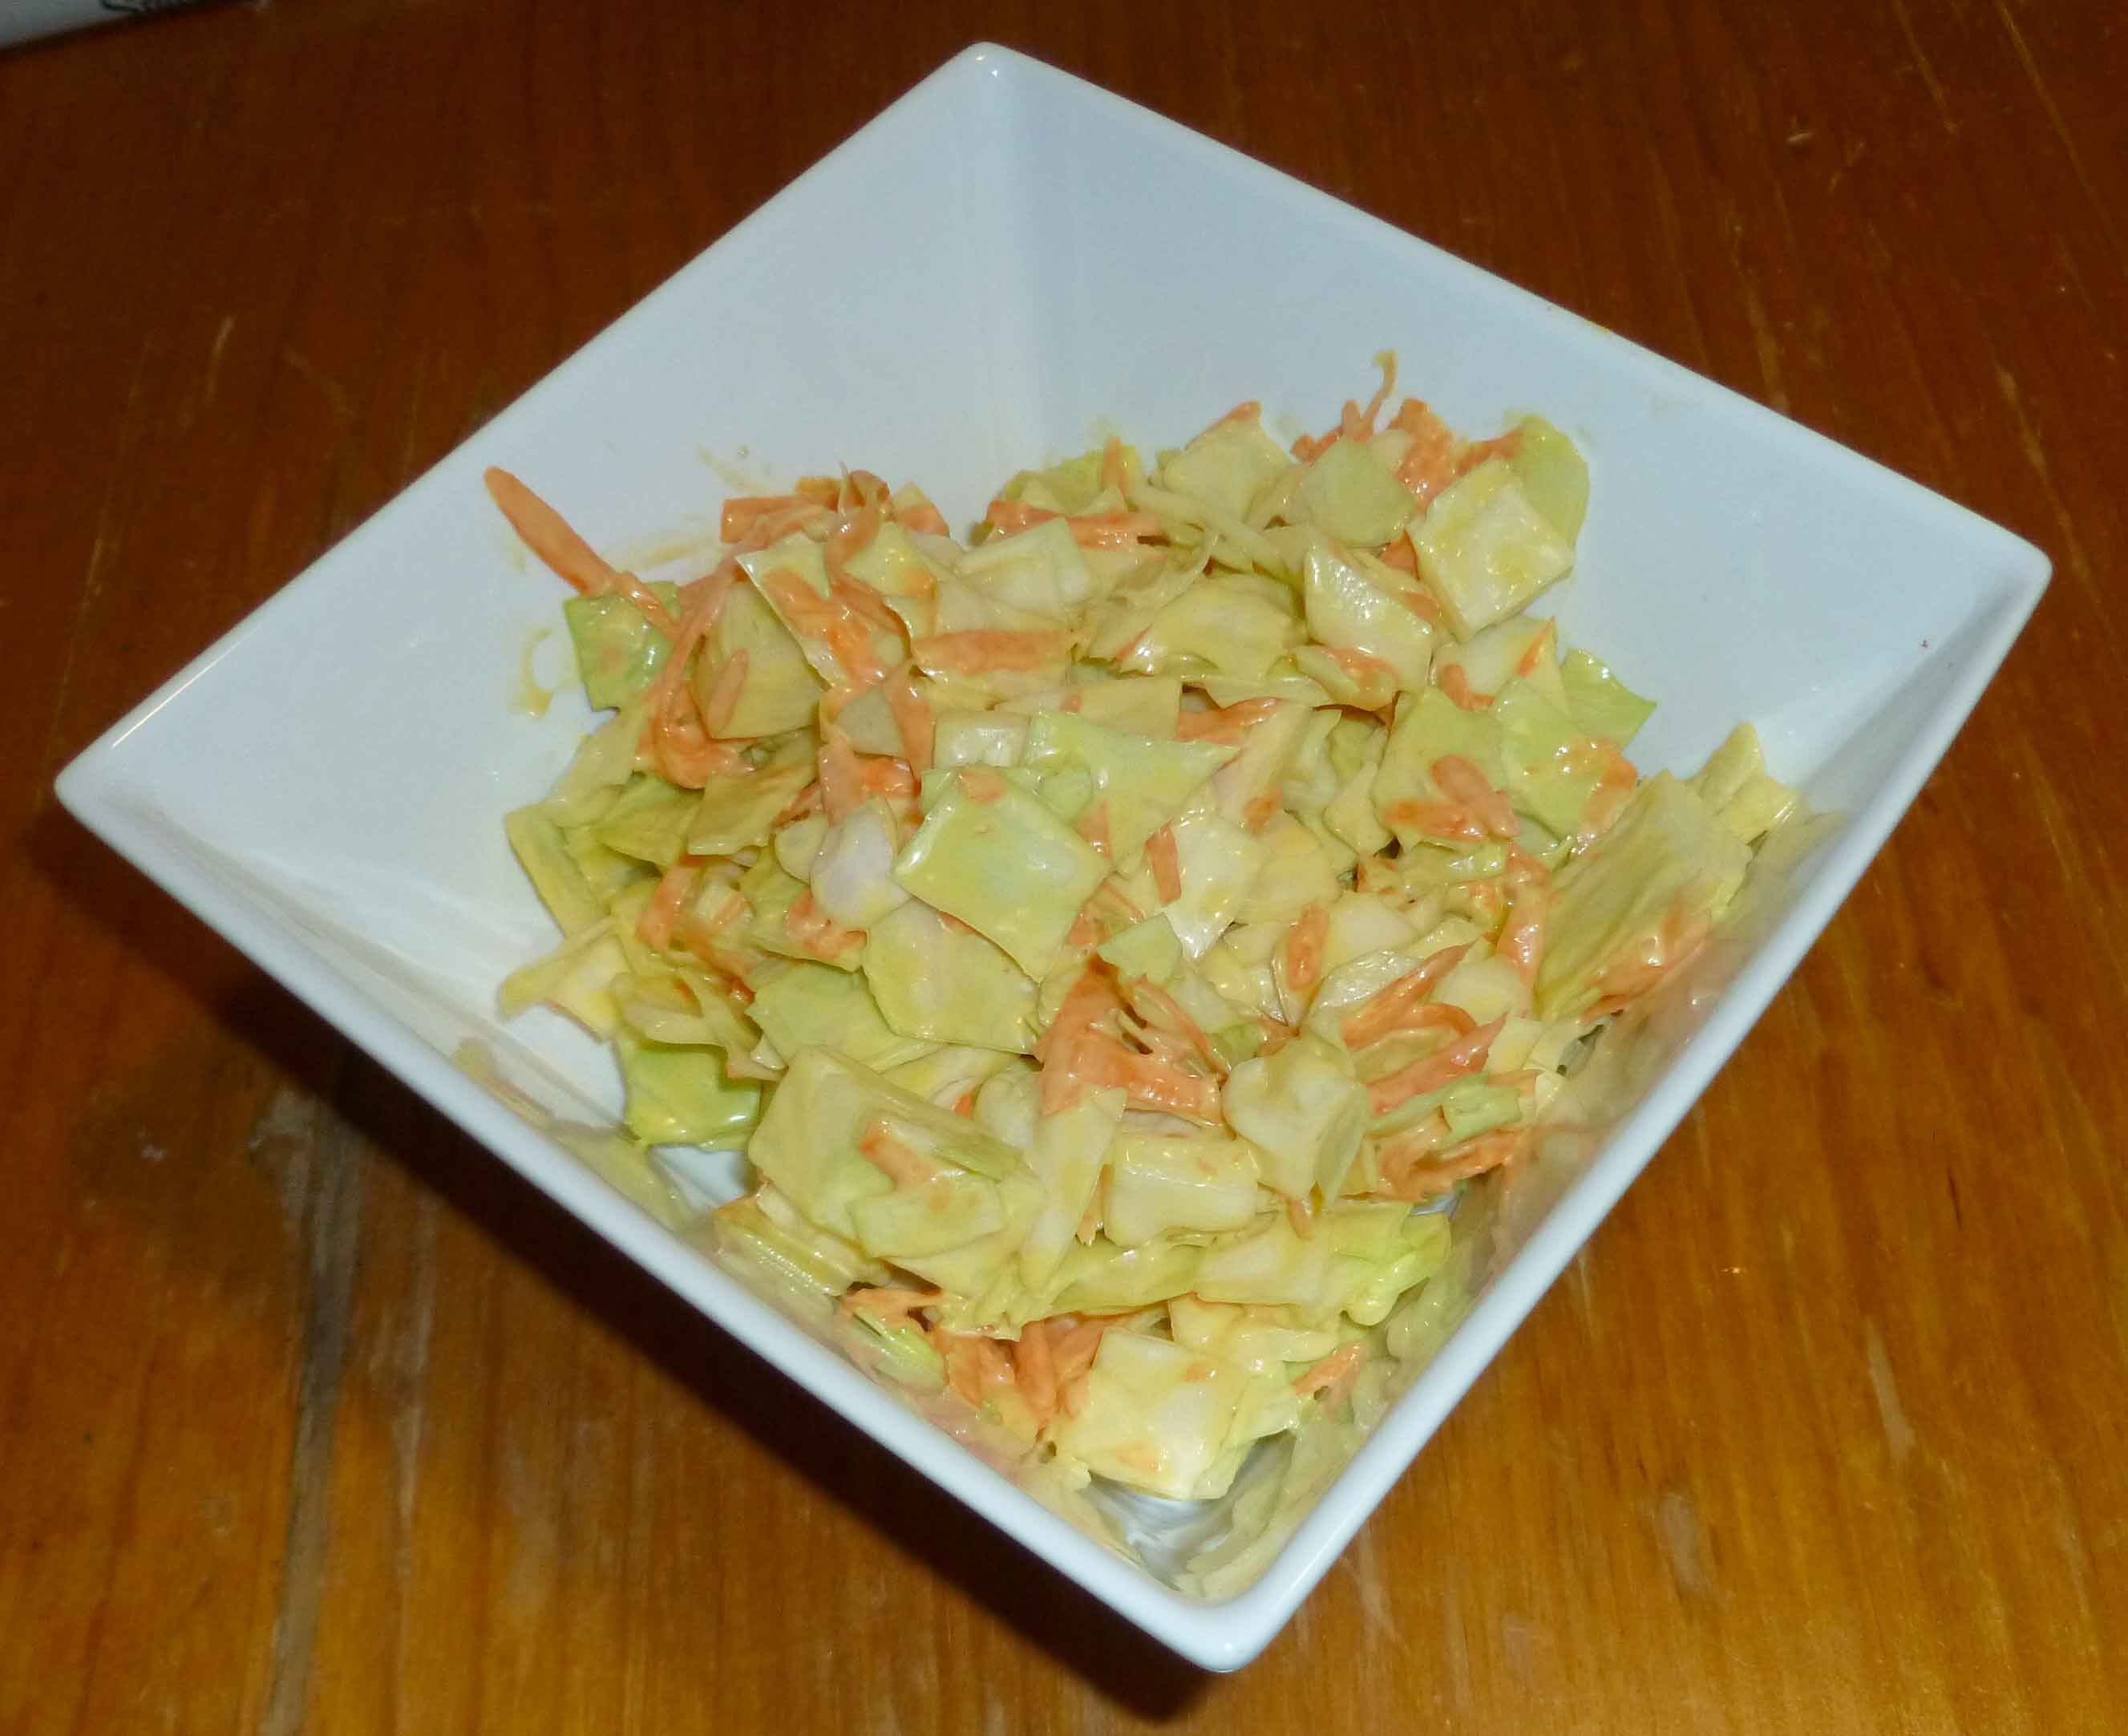
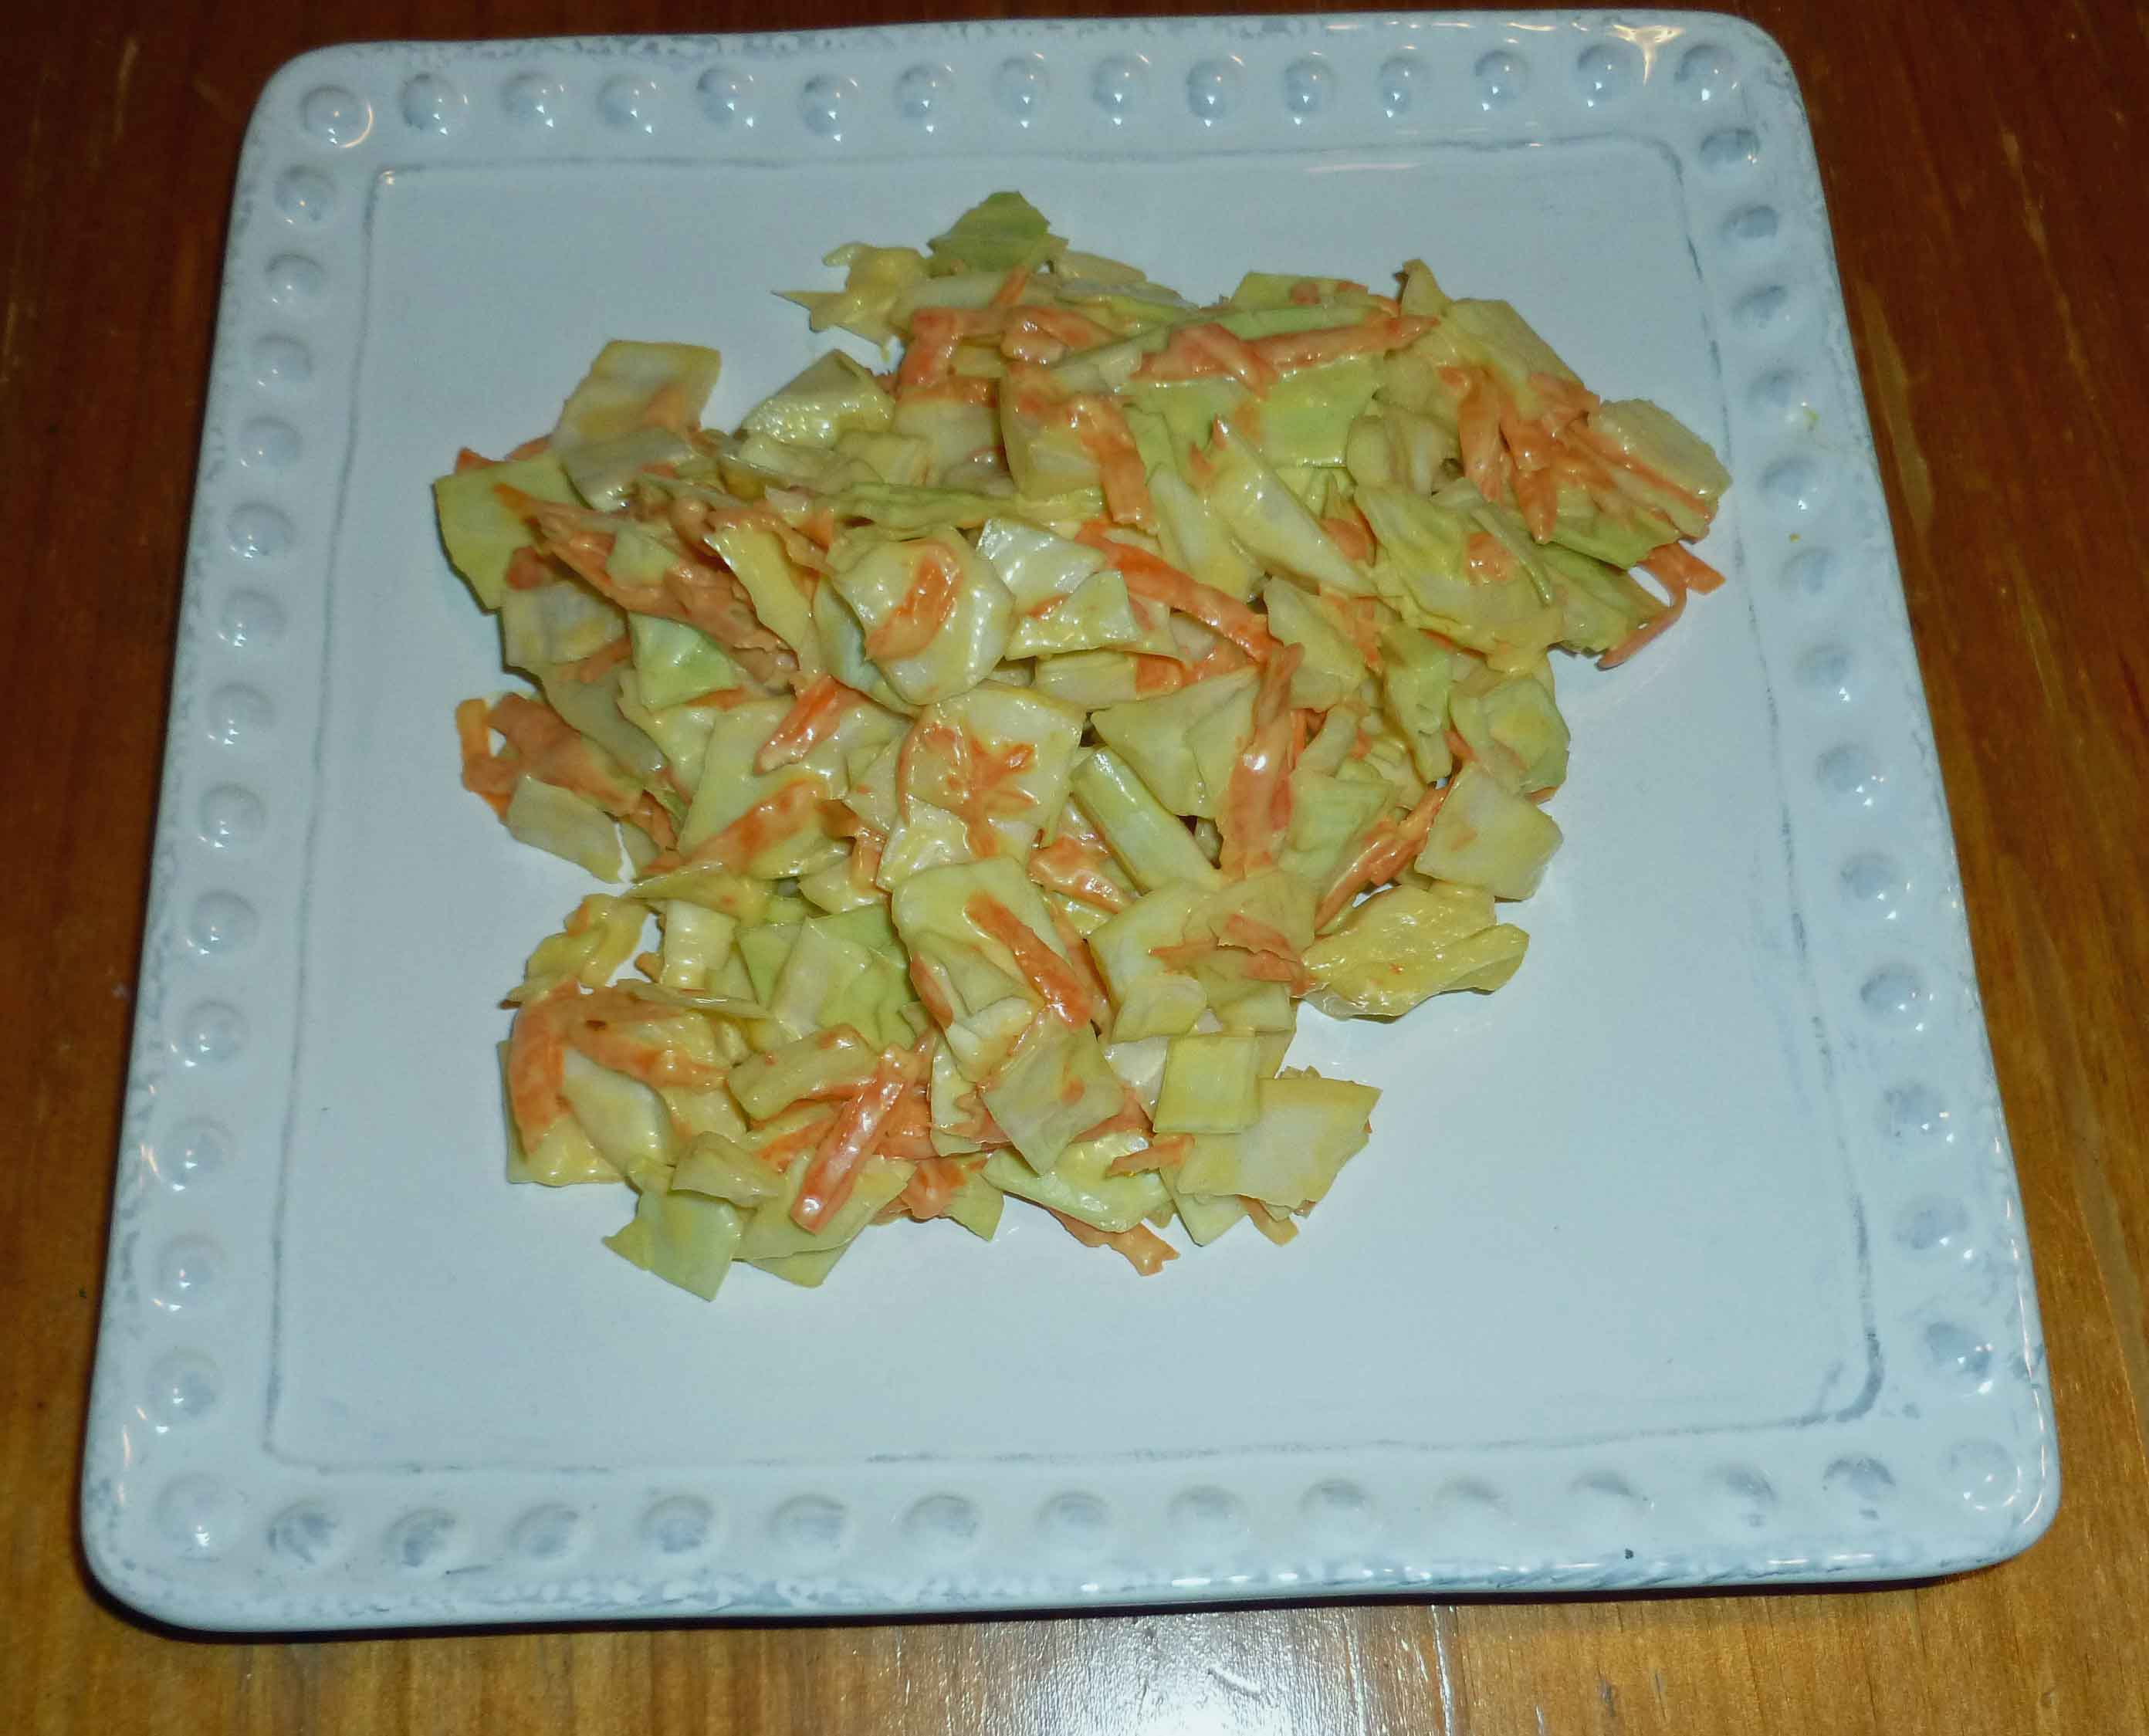
Not Quite Mom’s Coleslaw
- 6 cups of chopped cabbage
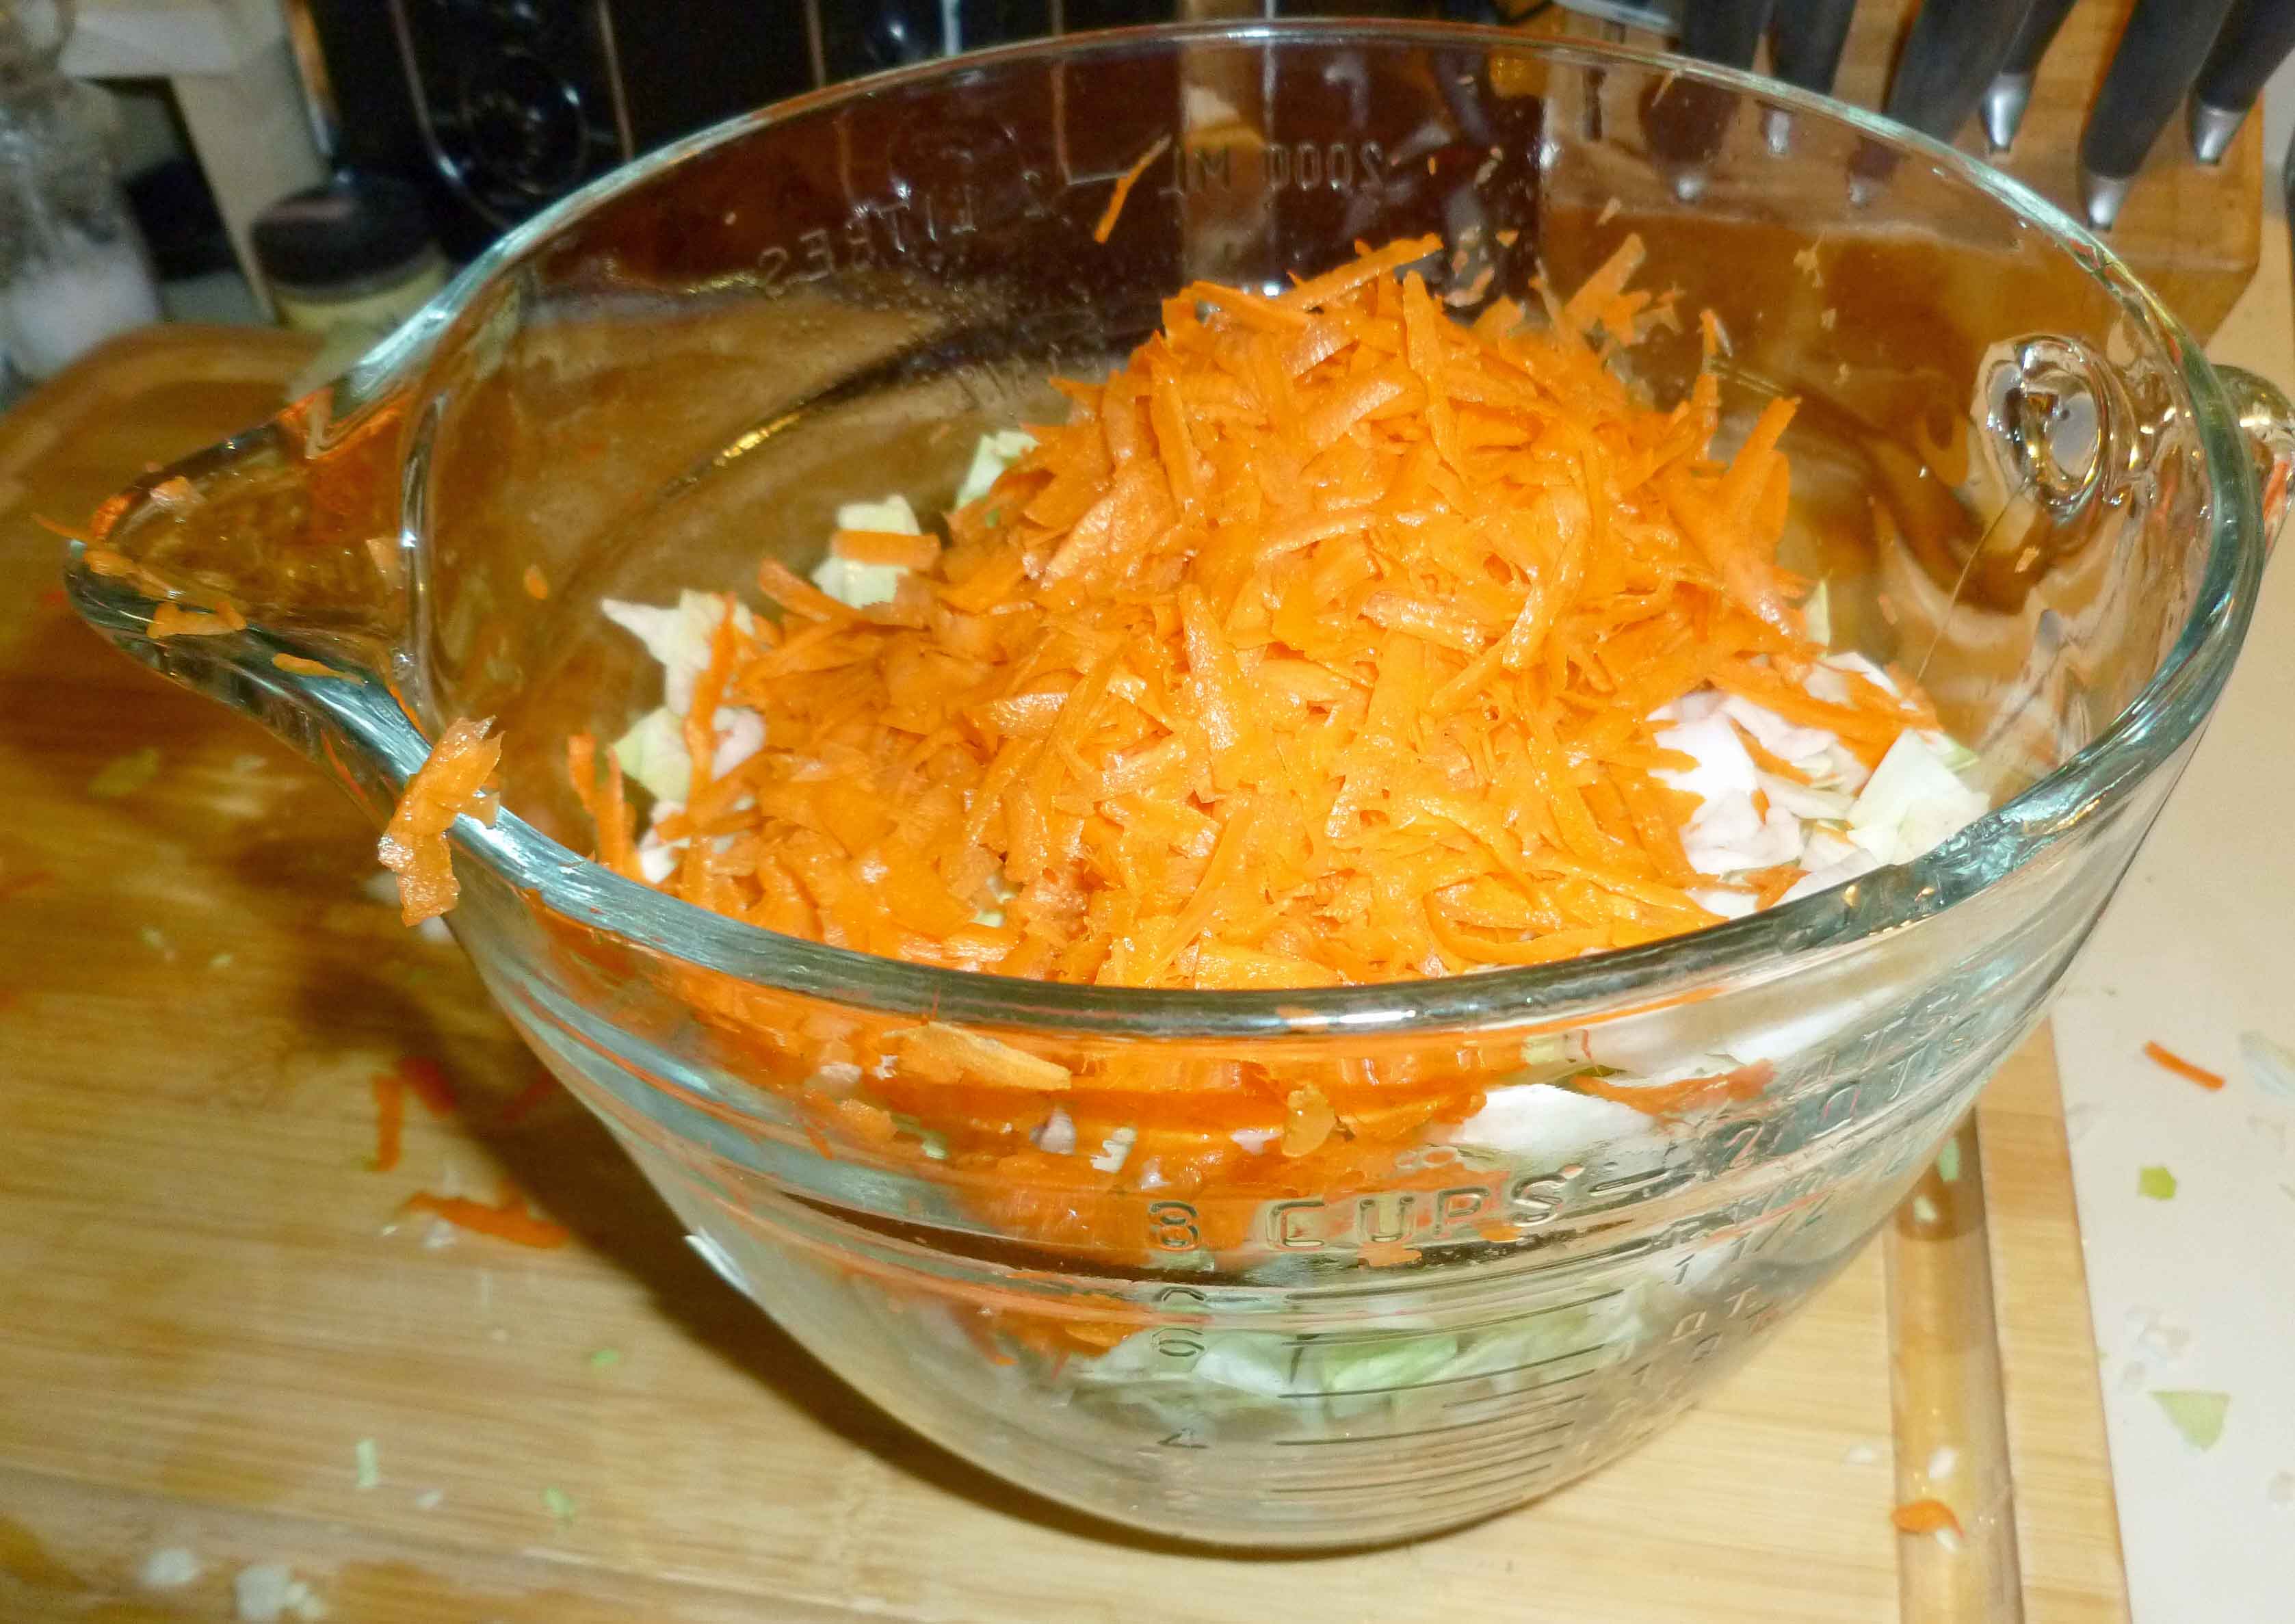
- 2 grated carrots
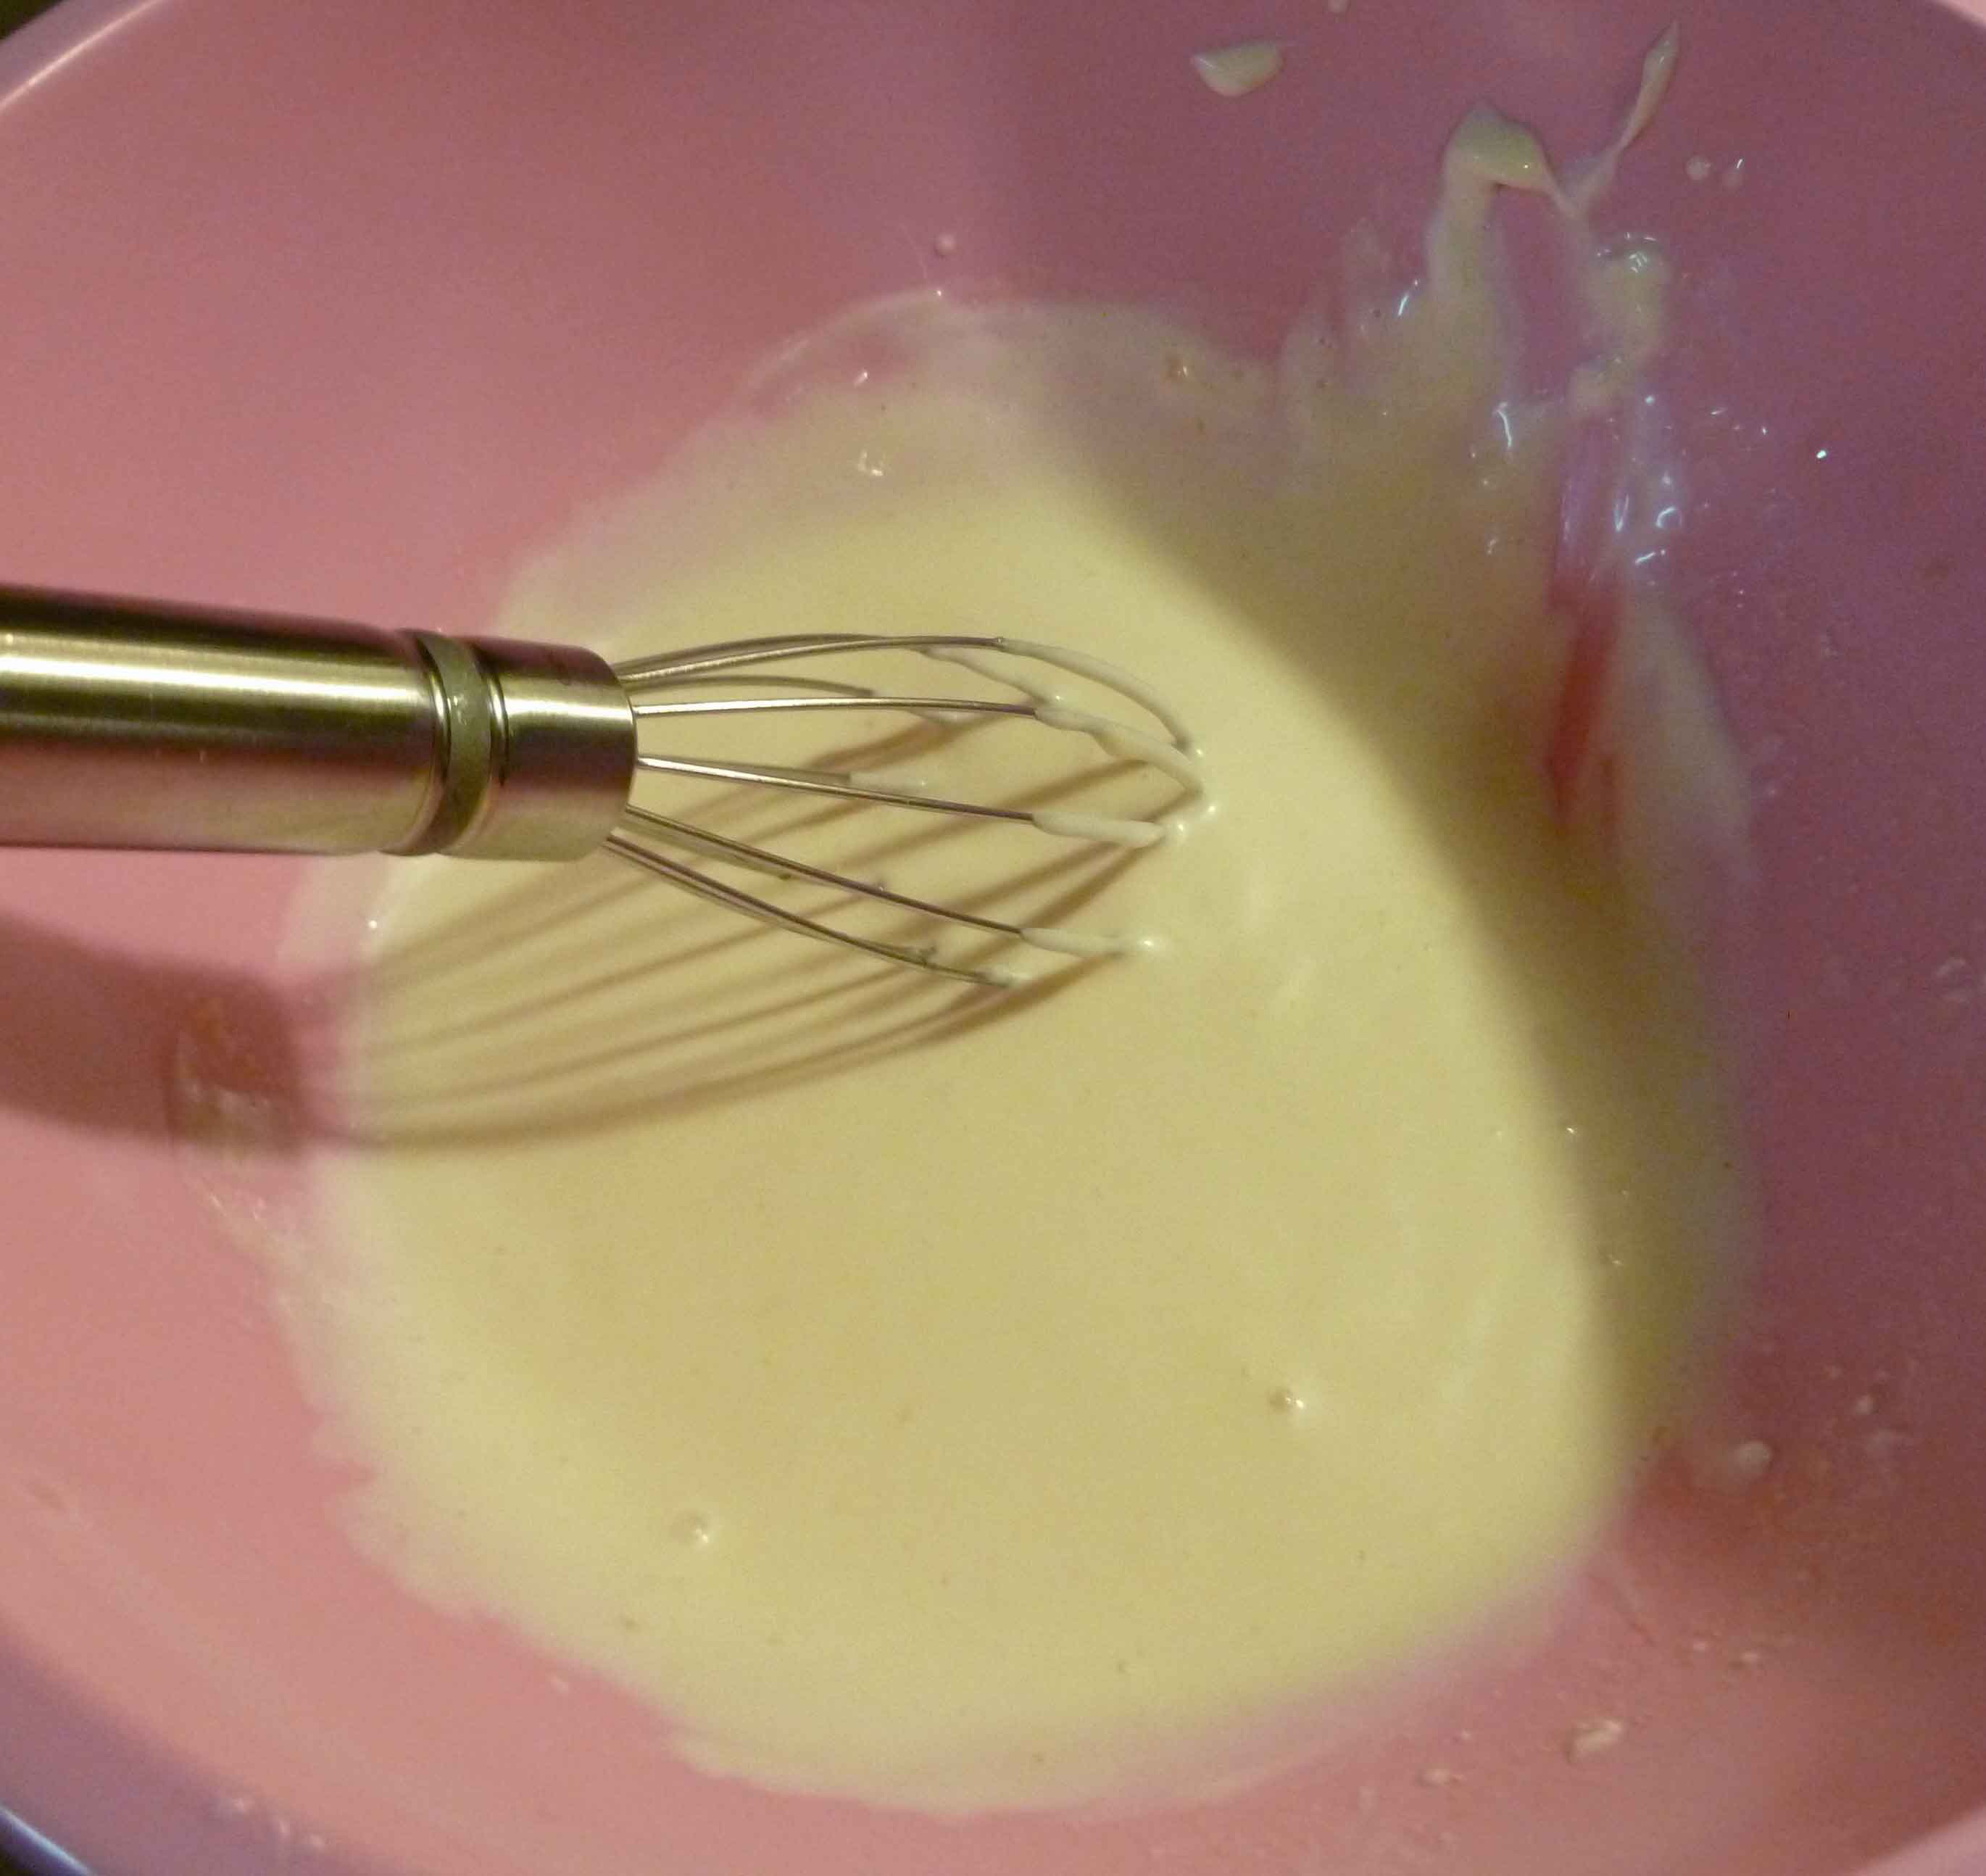
- 1/2 cup of Earth Balance Mindful Mayo Original
- 3 Tablespoons of orange juice (or lemon or lime if you like your dressing more tart)
- 1 teaspoon of sugar
Chop your cabbage however you like cabbage to be in coleslaw, but I like mine to be diced, about a half inch by a half inch.
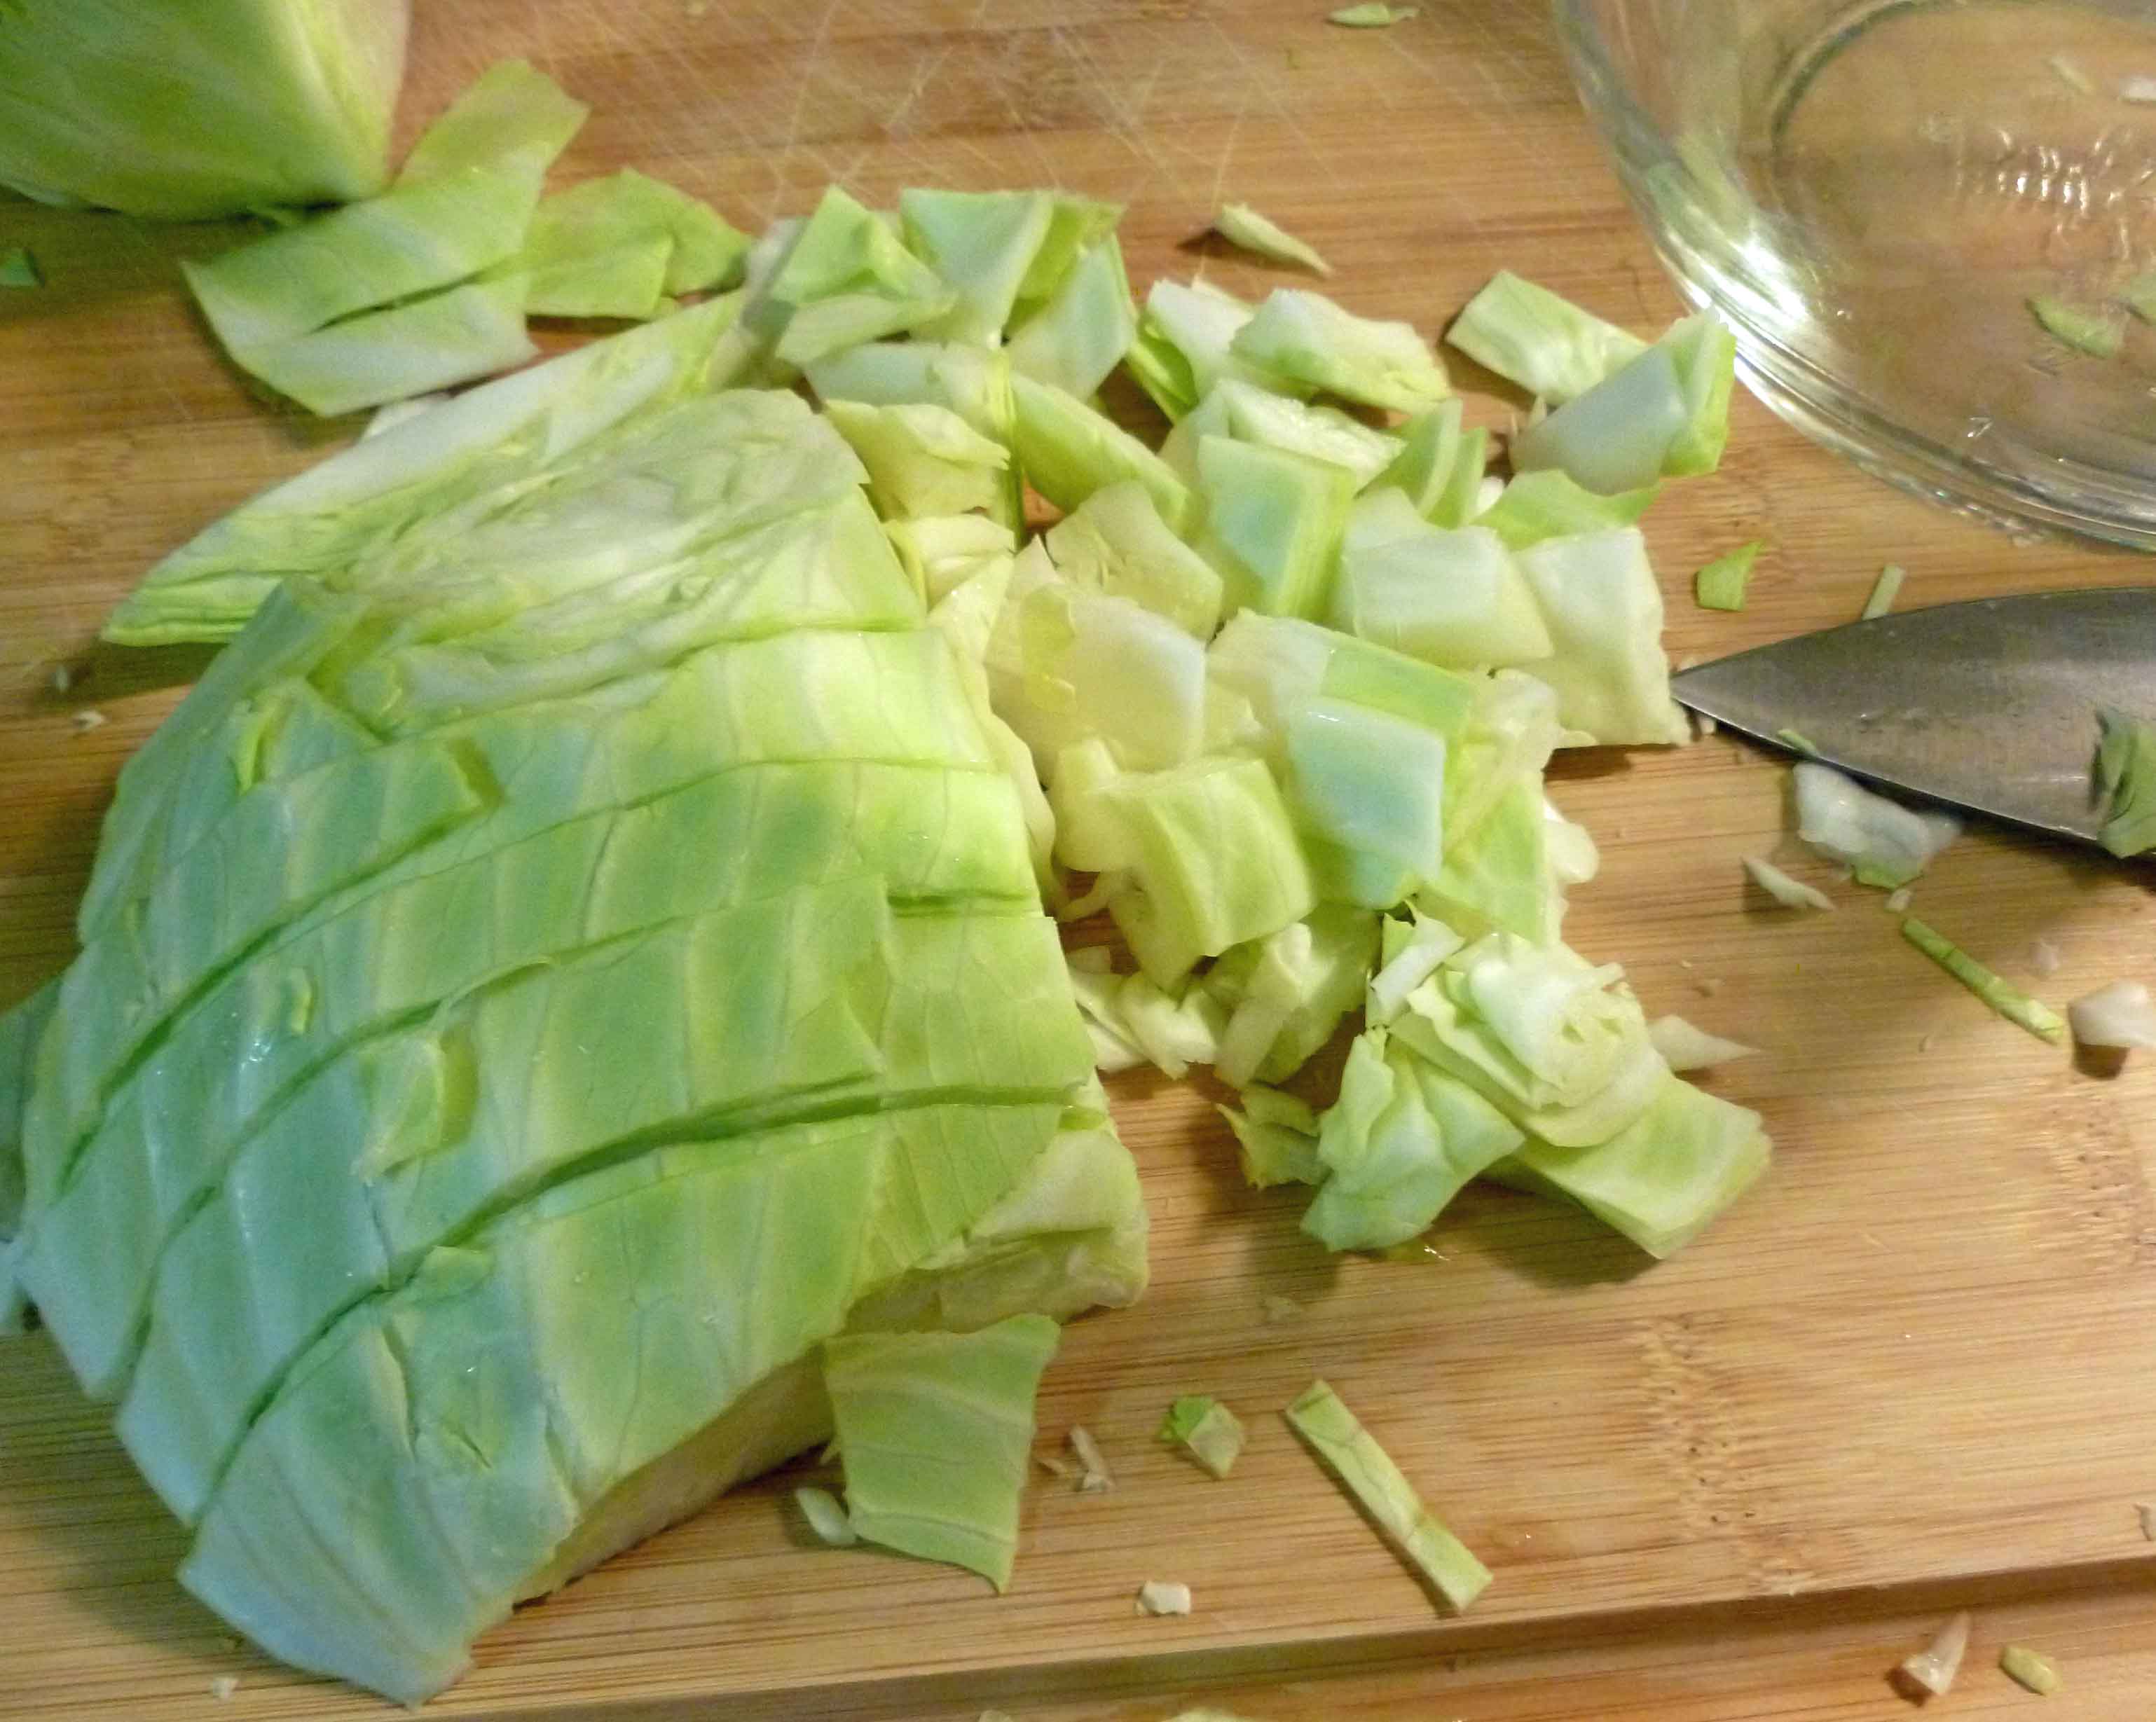
Once you have six cups of chopped cabbage, peel your carrots and use a large grater to grate them.
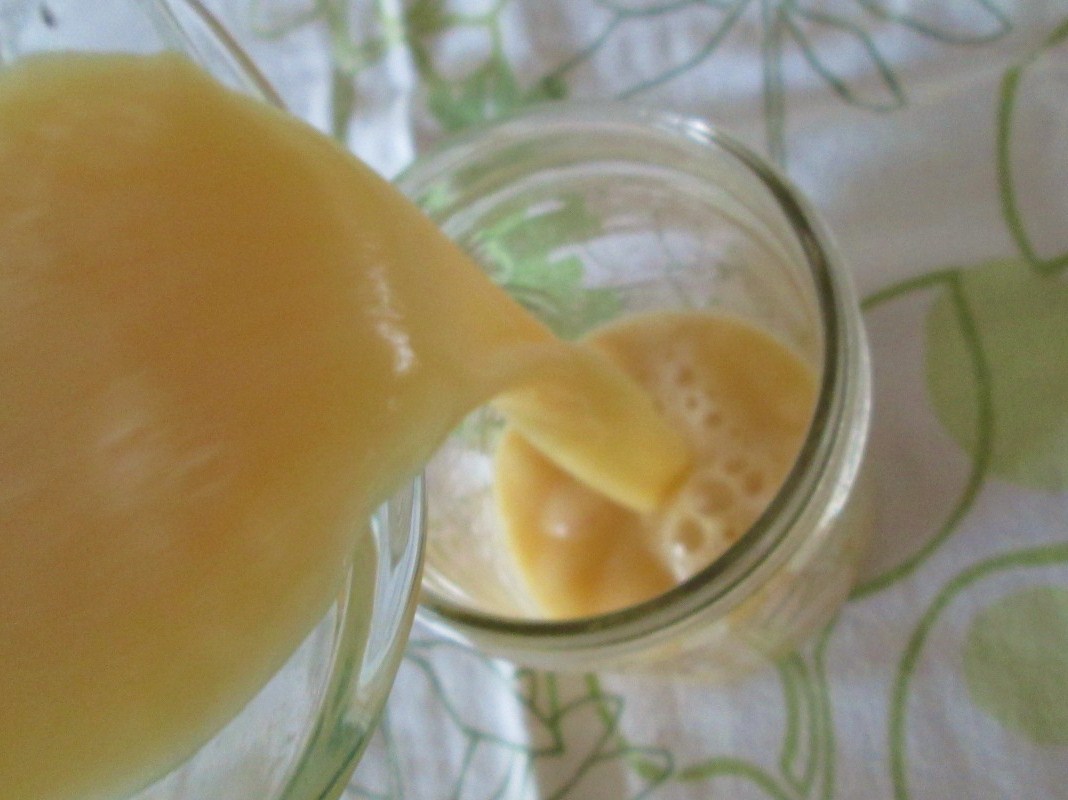
Then place your Earth Balance Mindful Mayo Original, the orange juice and the sugar into a small bowl and whisk the ingredients together until smooth.
Combine cabbage, carrots and dressing in a large bowl and mix together well. The orange color to the dressing doesn’t actually come from the orange juice, it comes from the grated carrots.
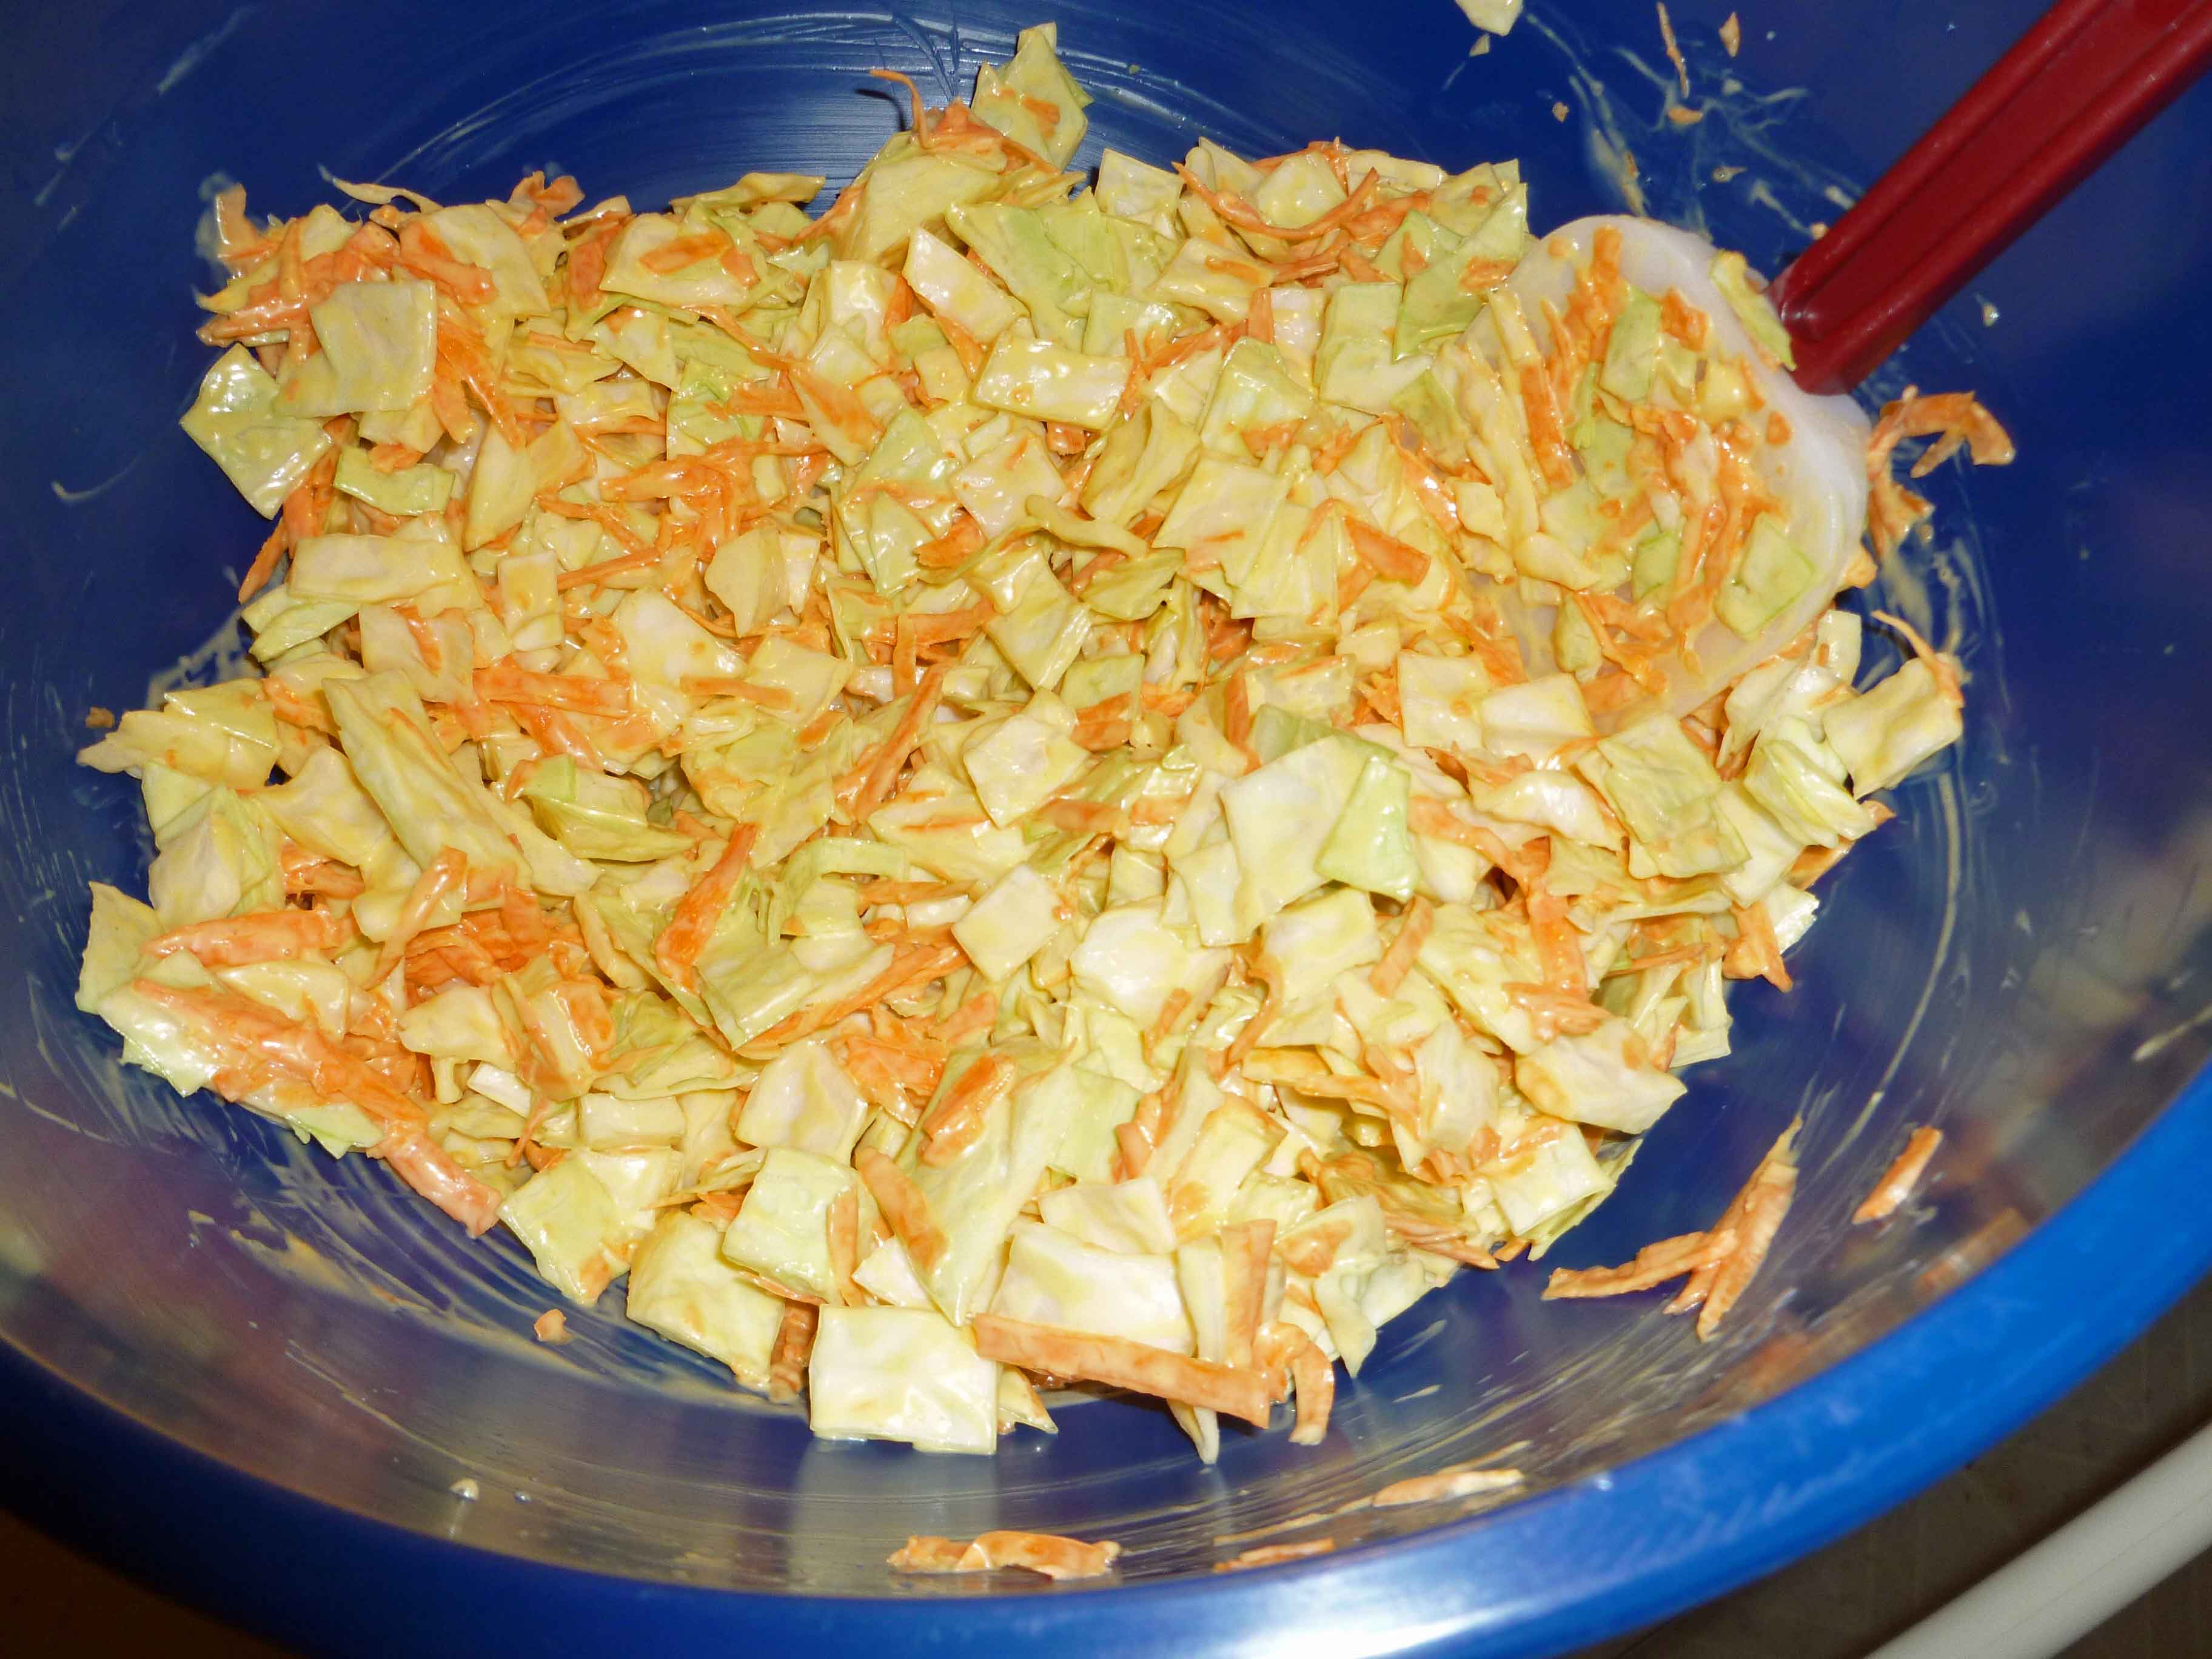
Serve and enjoy!