Notice: Function _load_textdomain_just_in_time was called incorrectly. Translation loading for the wp-ultimate-recipe domain was triggered too early. This is usually an indicator for some code in the plugin or theme running too early. Translations should be loaded at the init action or later. Please see Debugging in WordPress for more information. (This message was added in version 6.7.0.) in /home/maryzahc/public_html/adultfoodallergies.com/wp-includes/functions.php on line 6131 Vegetarian/Vegan – Page 10 – surviving the food allergy apocalypse (archive)
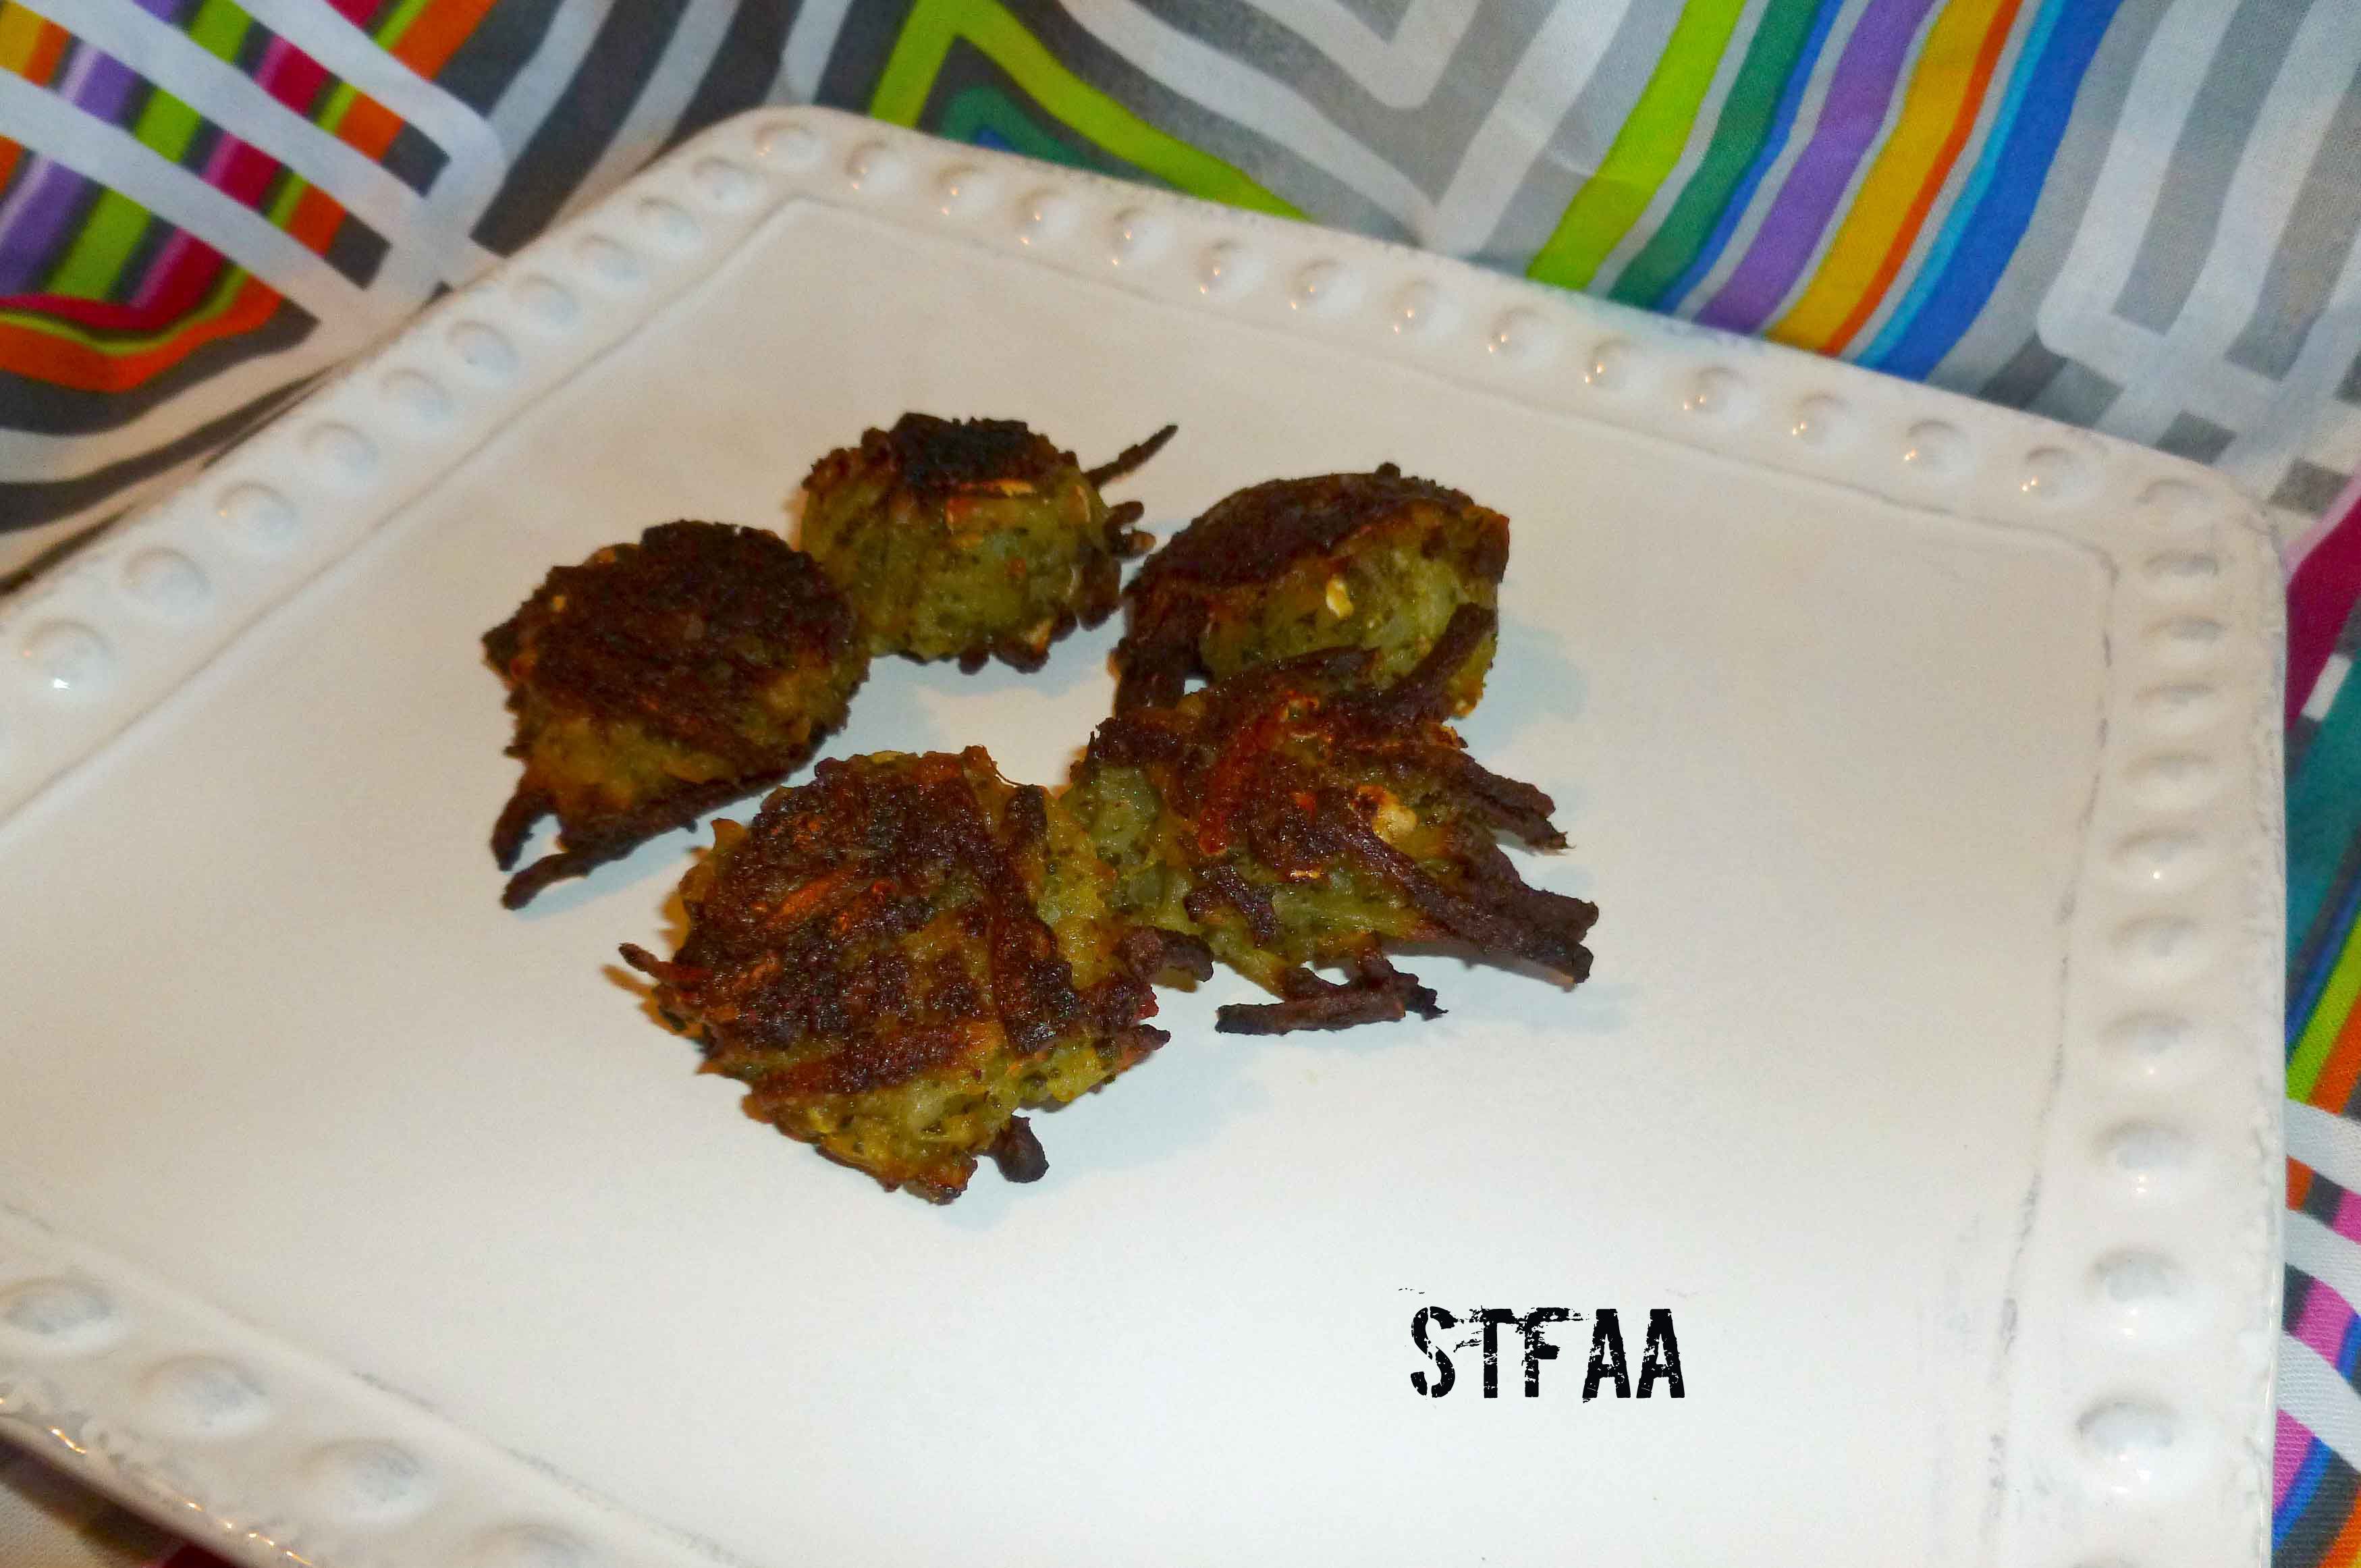
Here’s another more adult tater tot flavor, because I love cilantro and I made a whole lot of chimichurri sauce by accident, so this seemed like a good way to use up the extra. Again you could probably pan fry these instead of baking them, but baking seems a bit easier to me.
Chimichurri Spiced DIY Tater Tots
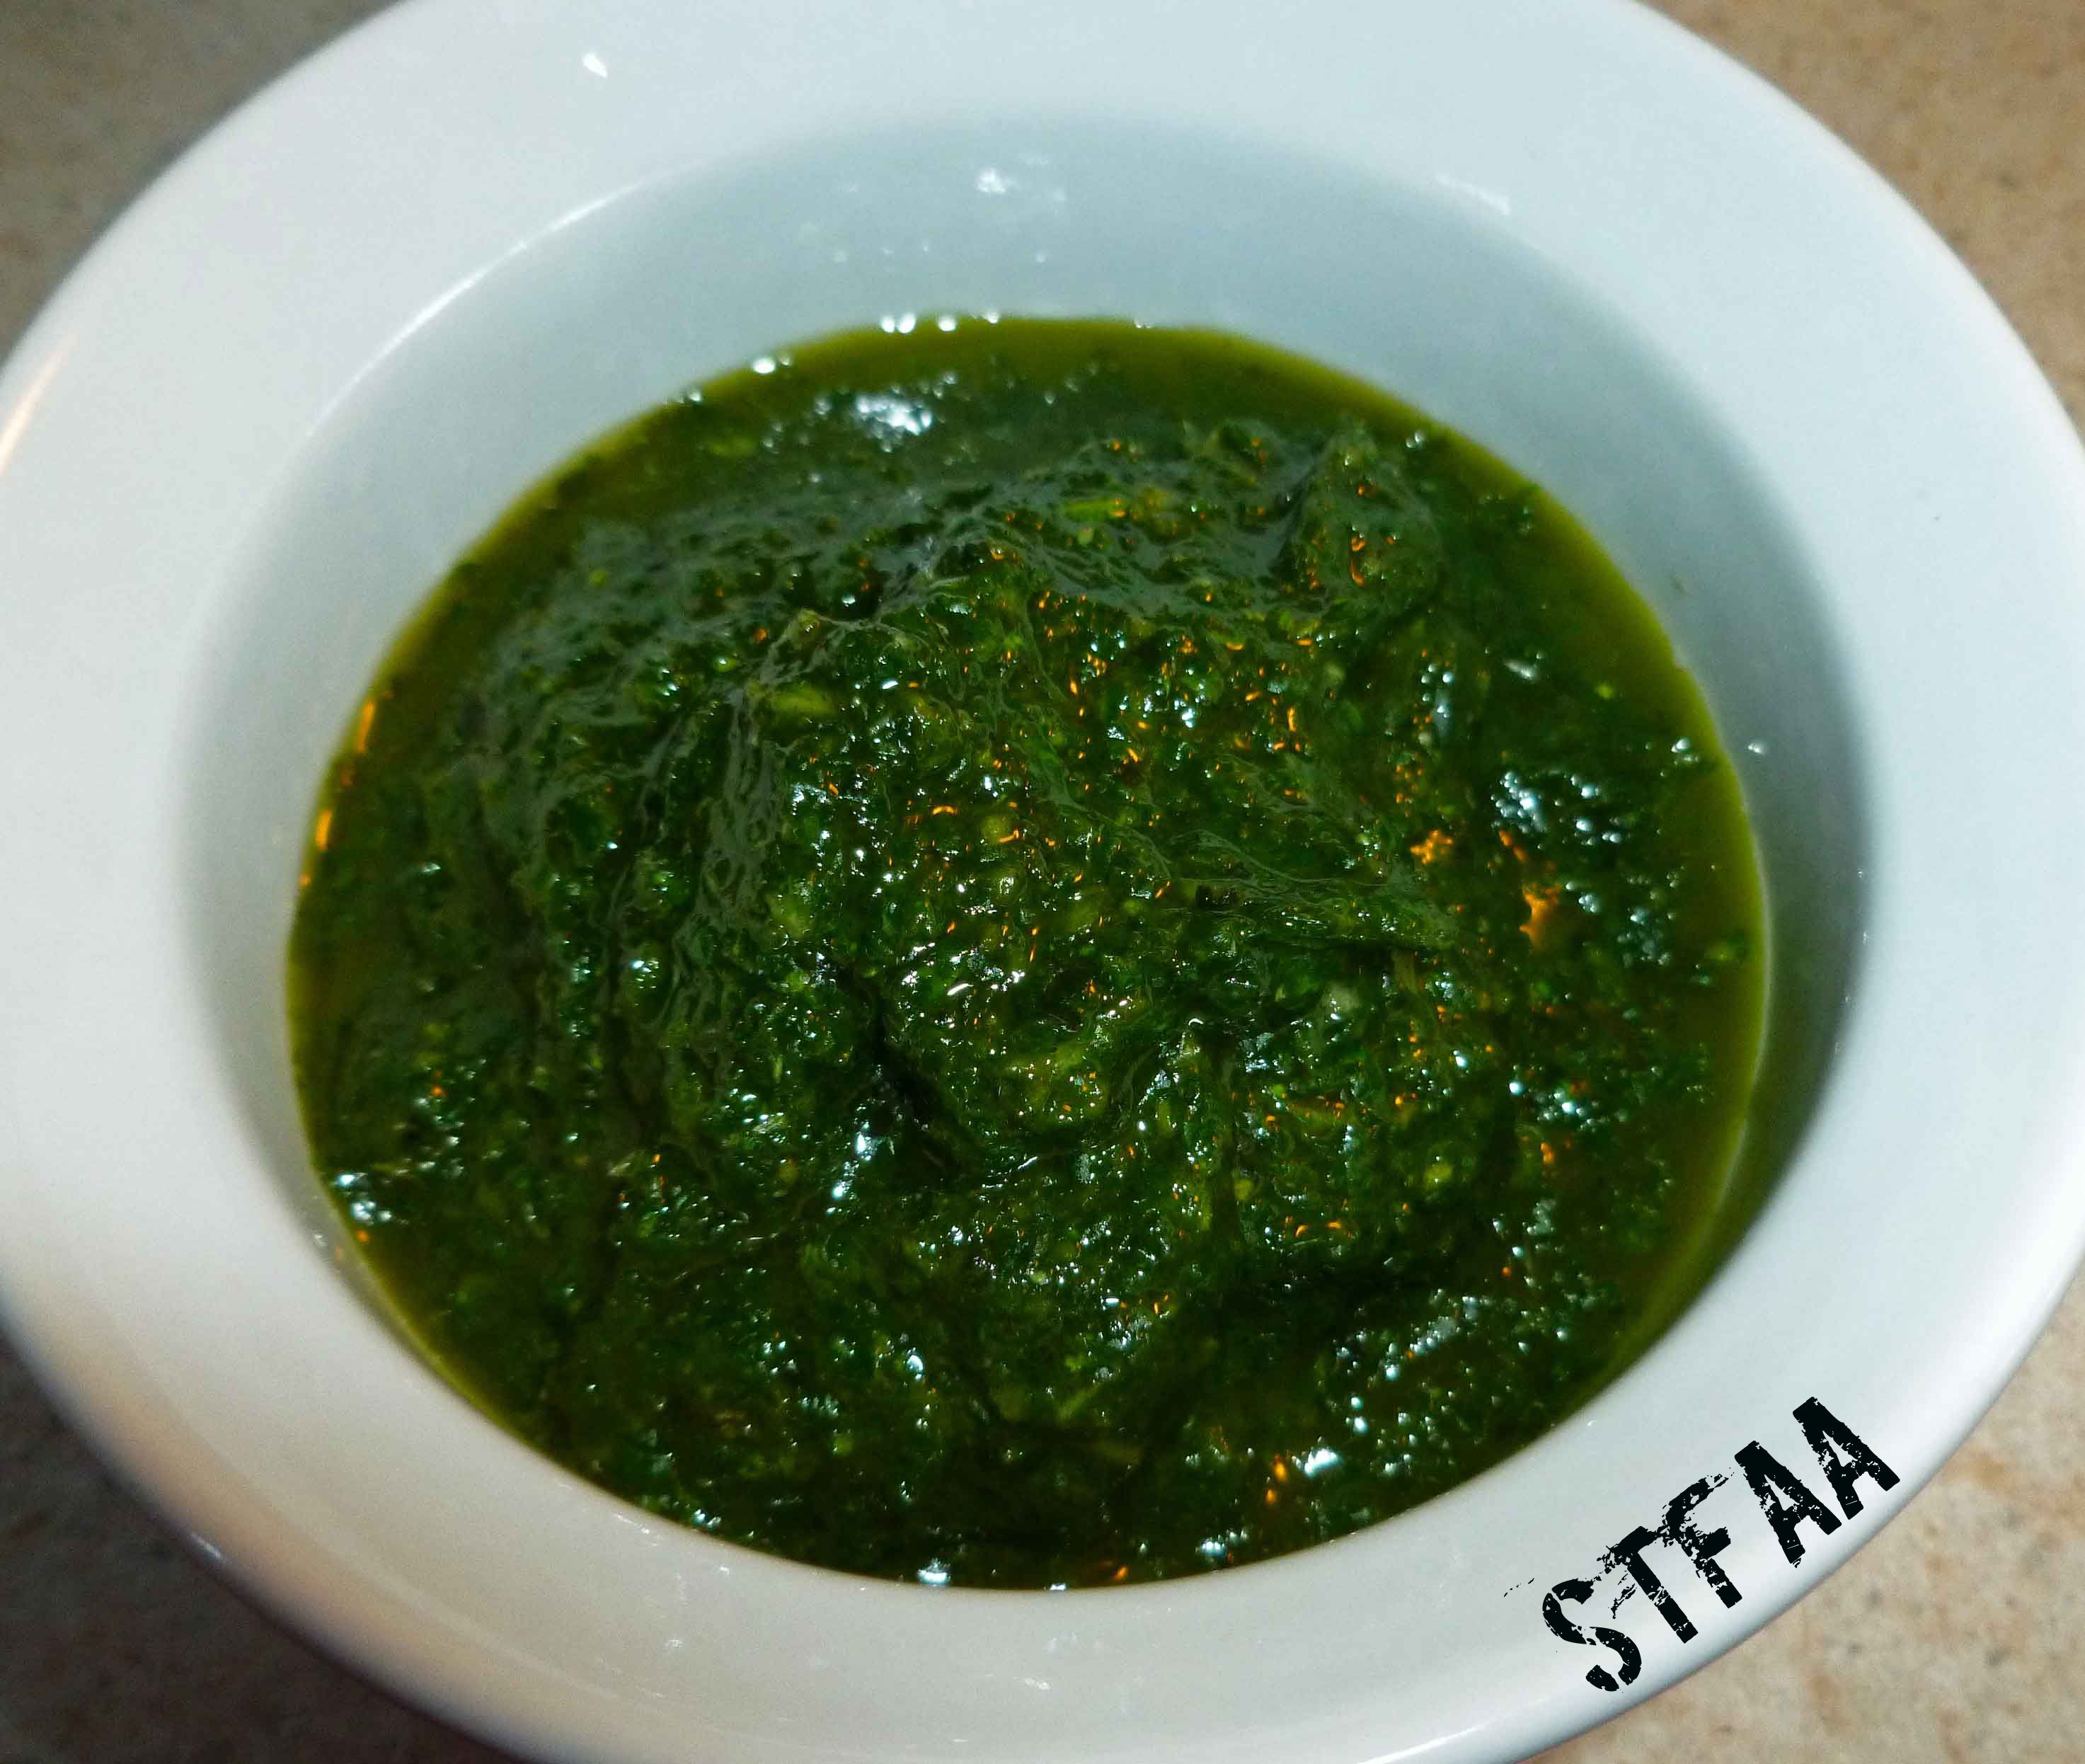
Chimichurri sauce:
2 cups of tightly packed chopped cilantro
2 garlic cloves
1/4 cup of olive oil
1/4 cup of white wine vinegar
1 teaspoon of Adobo seasoning – optional (If you don’t have Adobo seasoning or you don’t have a safe version, mix 1/8 cup of paprika, 1 1/2 Tablespoons of ground black pepper, 1 Tablespoon of onion powder, 1 Tablespoon of dried oregano, 1 Tablespoon of ground cumin, 1/2 Tablespoon of ground chipotle, and 1/2 Tablespoon of garlic powder, this makes half a cup of seasoning)
salt to taste
Put all the ingredients in the blender and puree it. You may not use all of it in this recipe. Marinate meat in it or coat vegetables with it and grill it or roast it, or put it in rice to flavor the rice. If you are worried you can’t use it all up, put it in an ice cube tray, freeze it, and store the cubes in a zip top bag in the freezer until you have a use for it.
Tater Tots:
4 large potatoes (I used russet)
1/4 cup of Chimichurri sauce (see above)
safe oil in a mister to grease pan and tater tots.
Preheat your oven to 400°F. Peel and wash your potatoes. Place the potatoes on a small baking sheet. Bake the potatoes for about an hour.
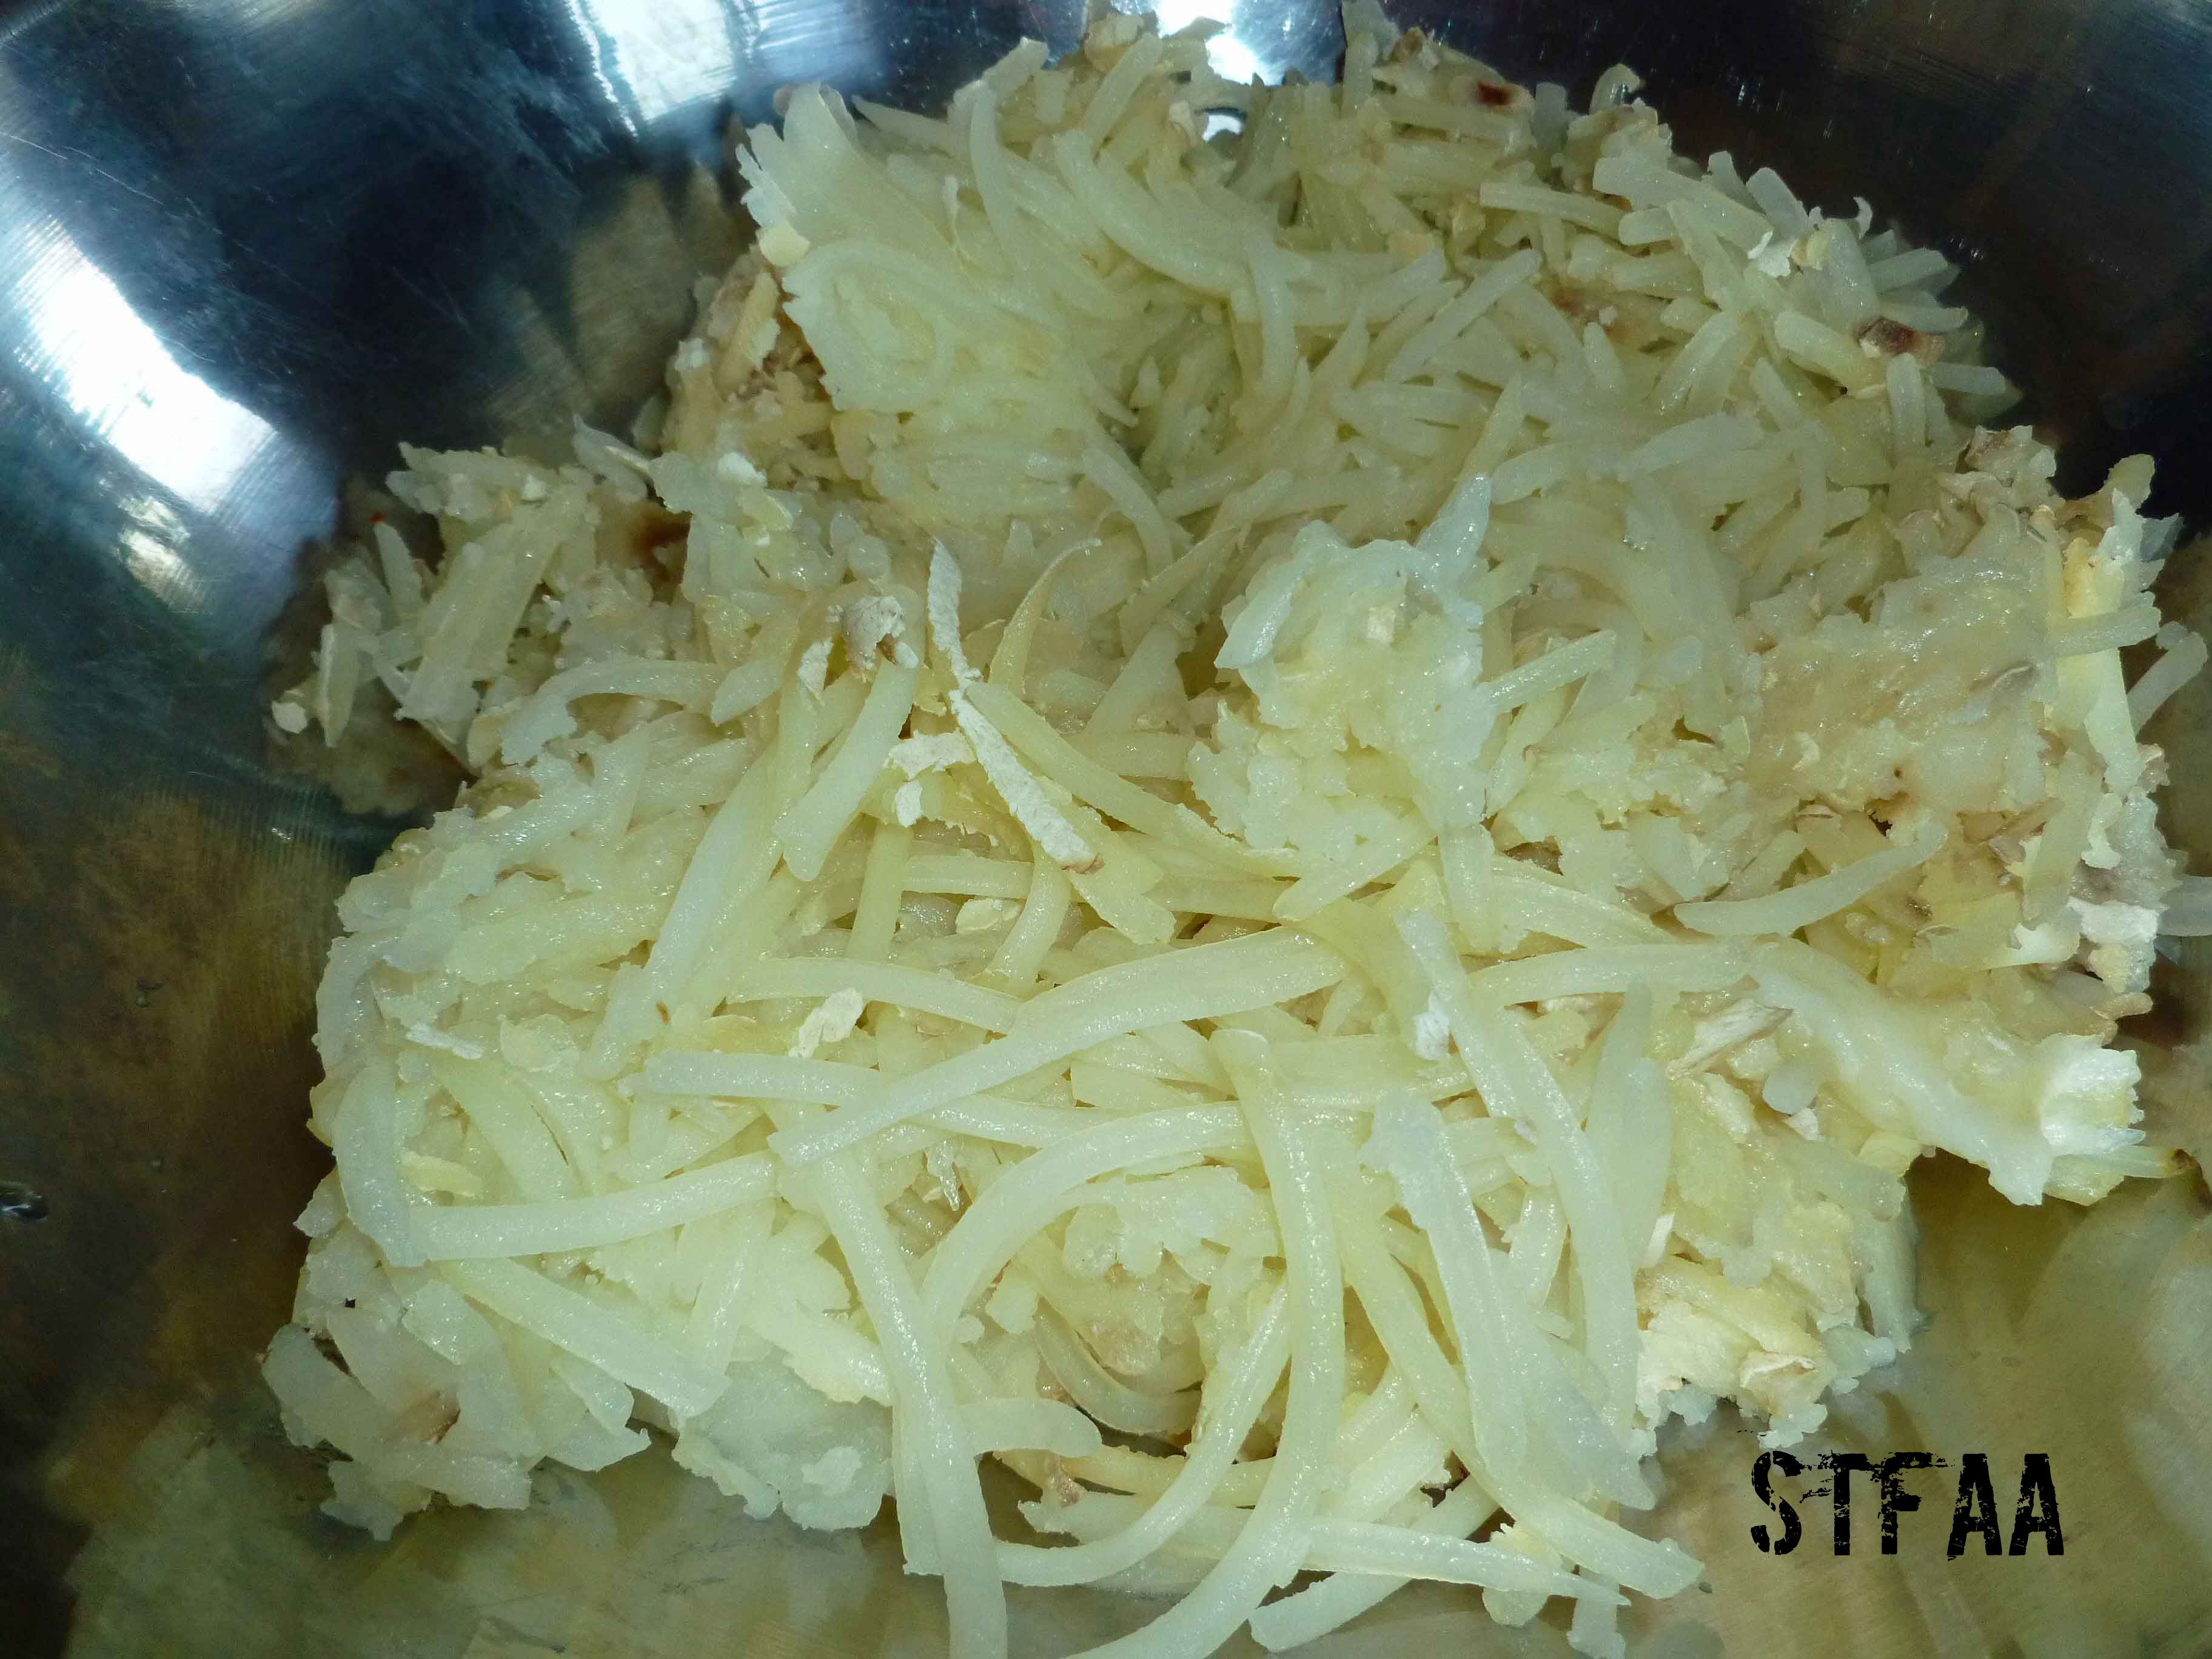
When the potatoes are ready to come out of the oven, remove the potatoes and turn the temperature on the oven to 425°F. If you’re using a large hand grater, you need to wait until the potatoes are cool so you don’t burn your fingers. Since I was using the grating blade on my food processor to grate the potatoes, I grated them while they were still hot. I sliced them lengthwise just enough to get them in the food processor, and grated them up.
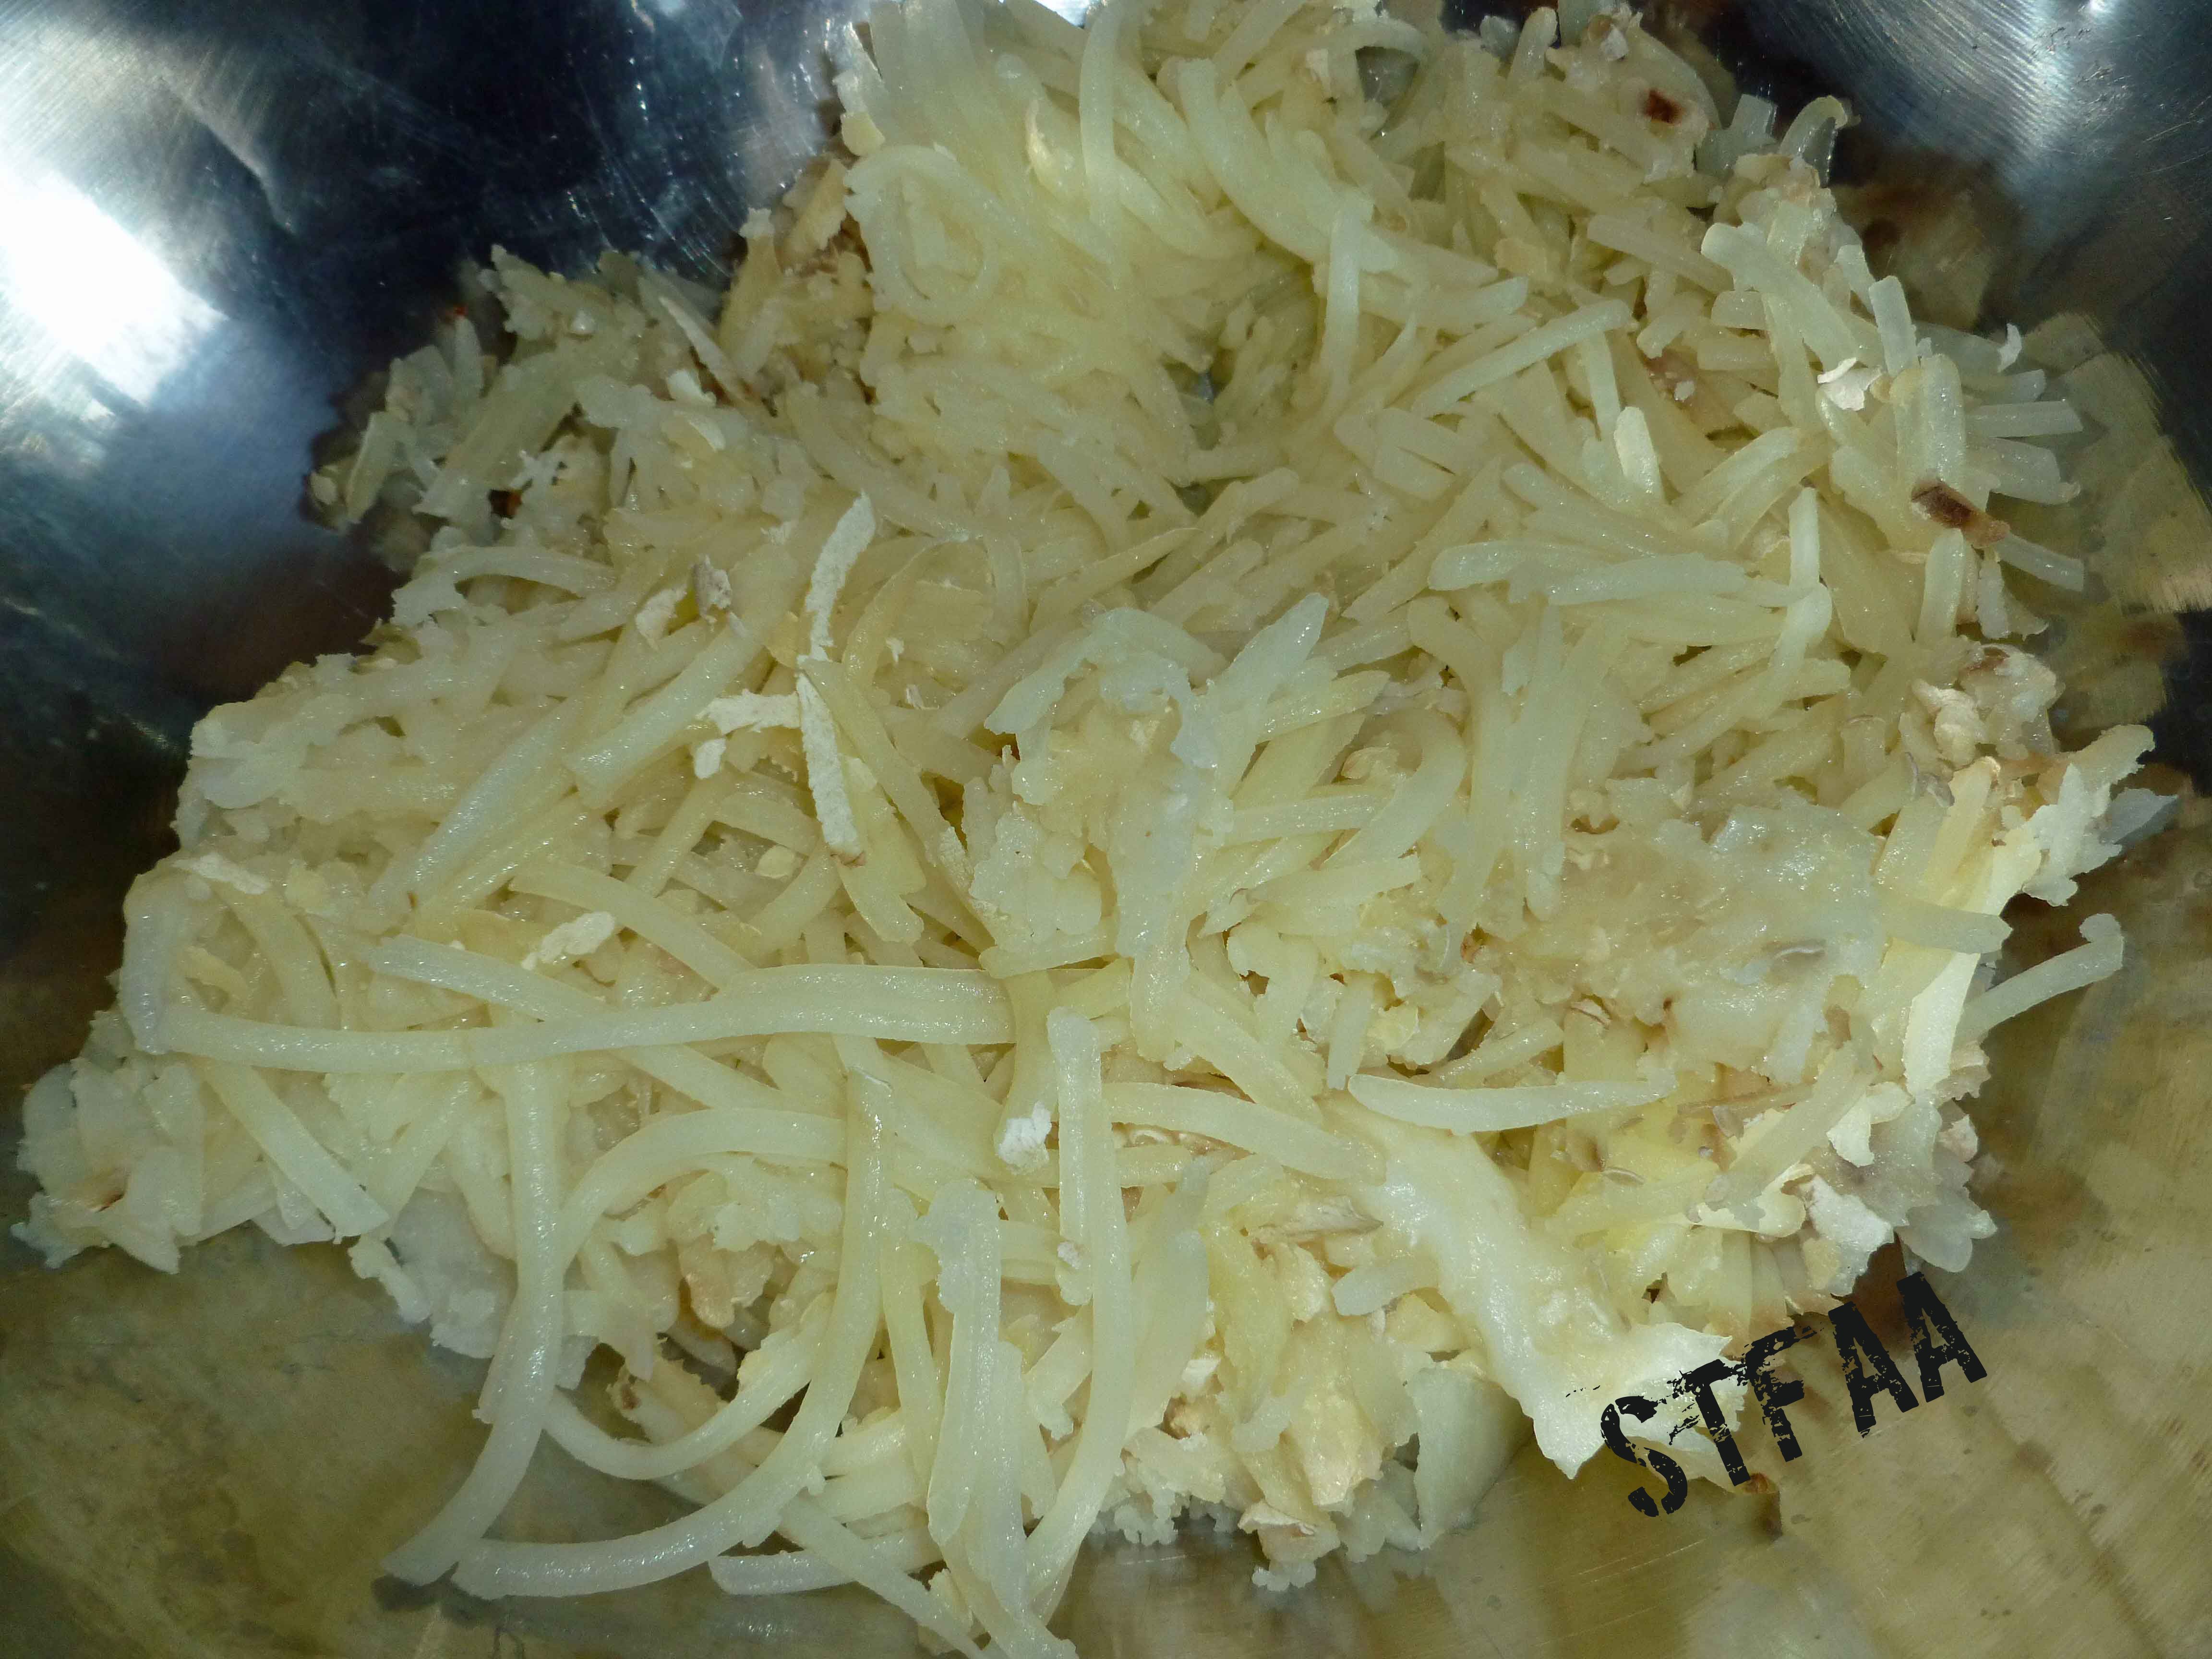
Grated potato after baking
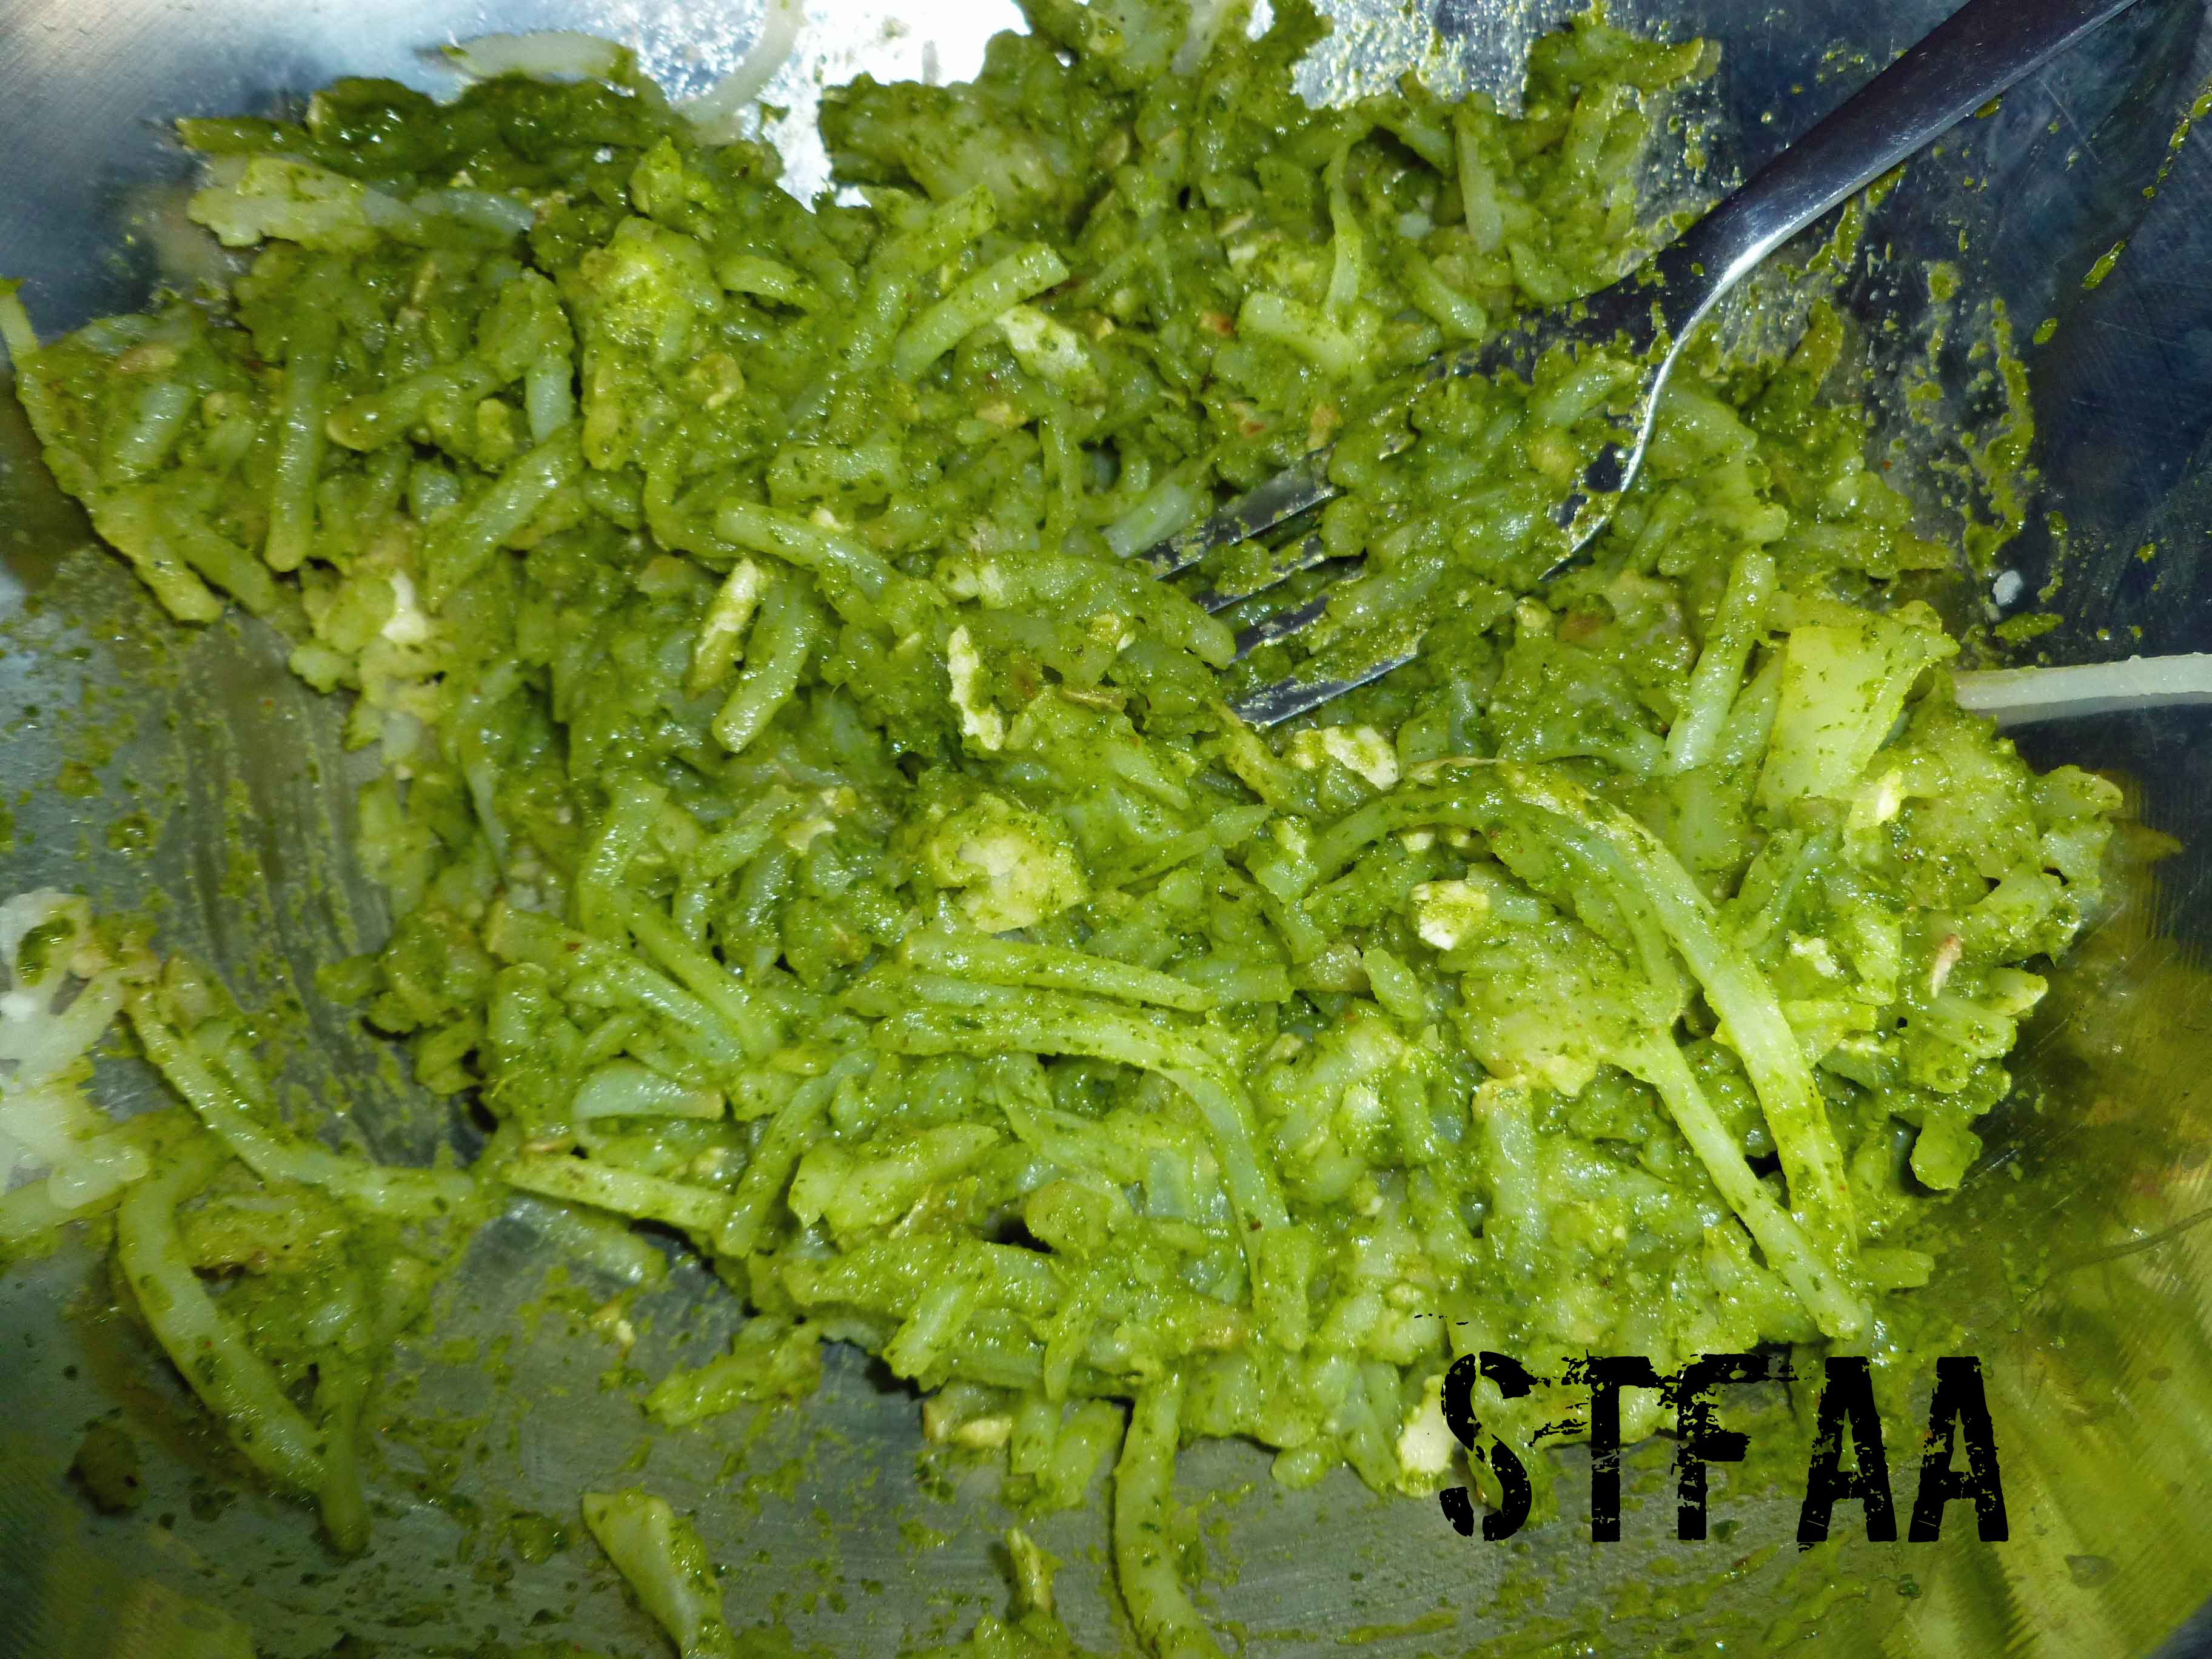
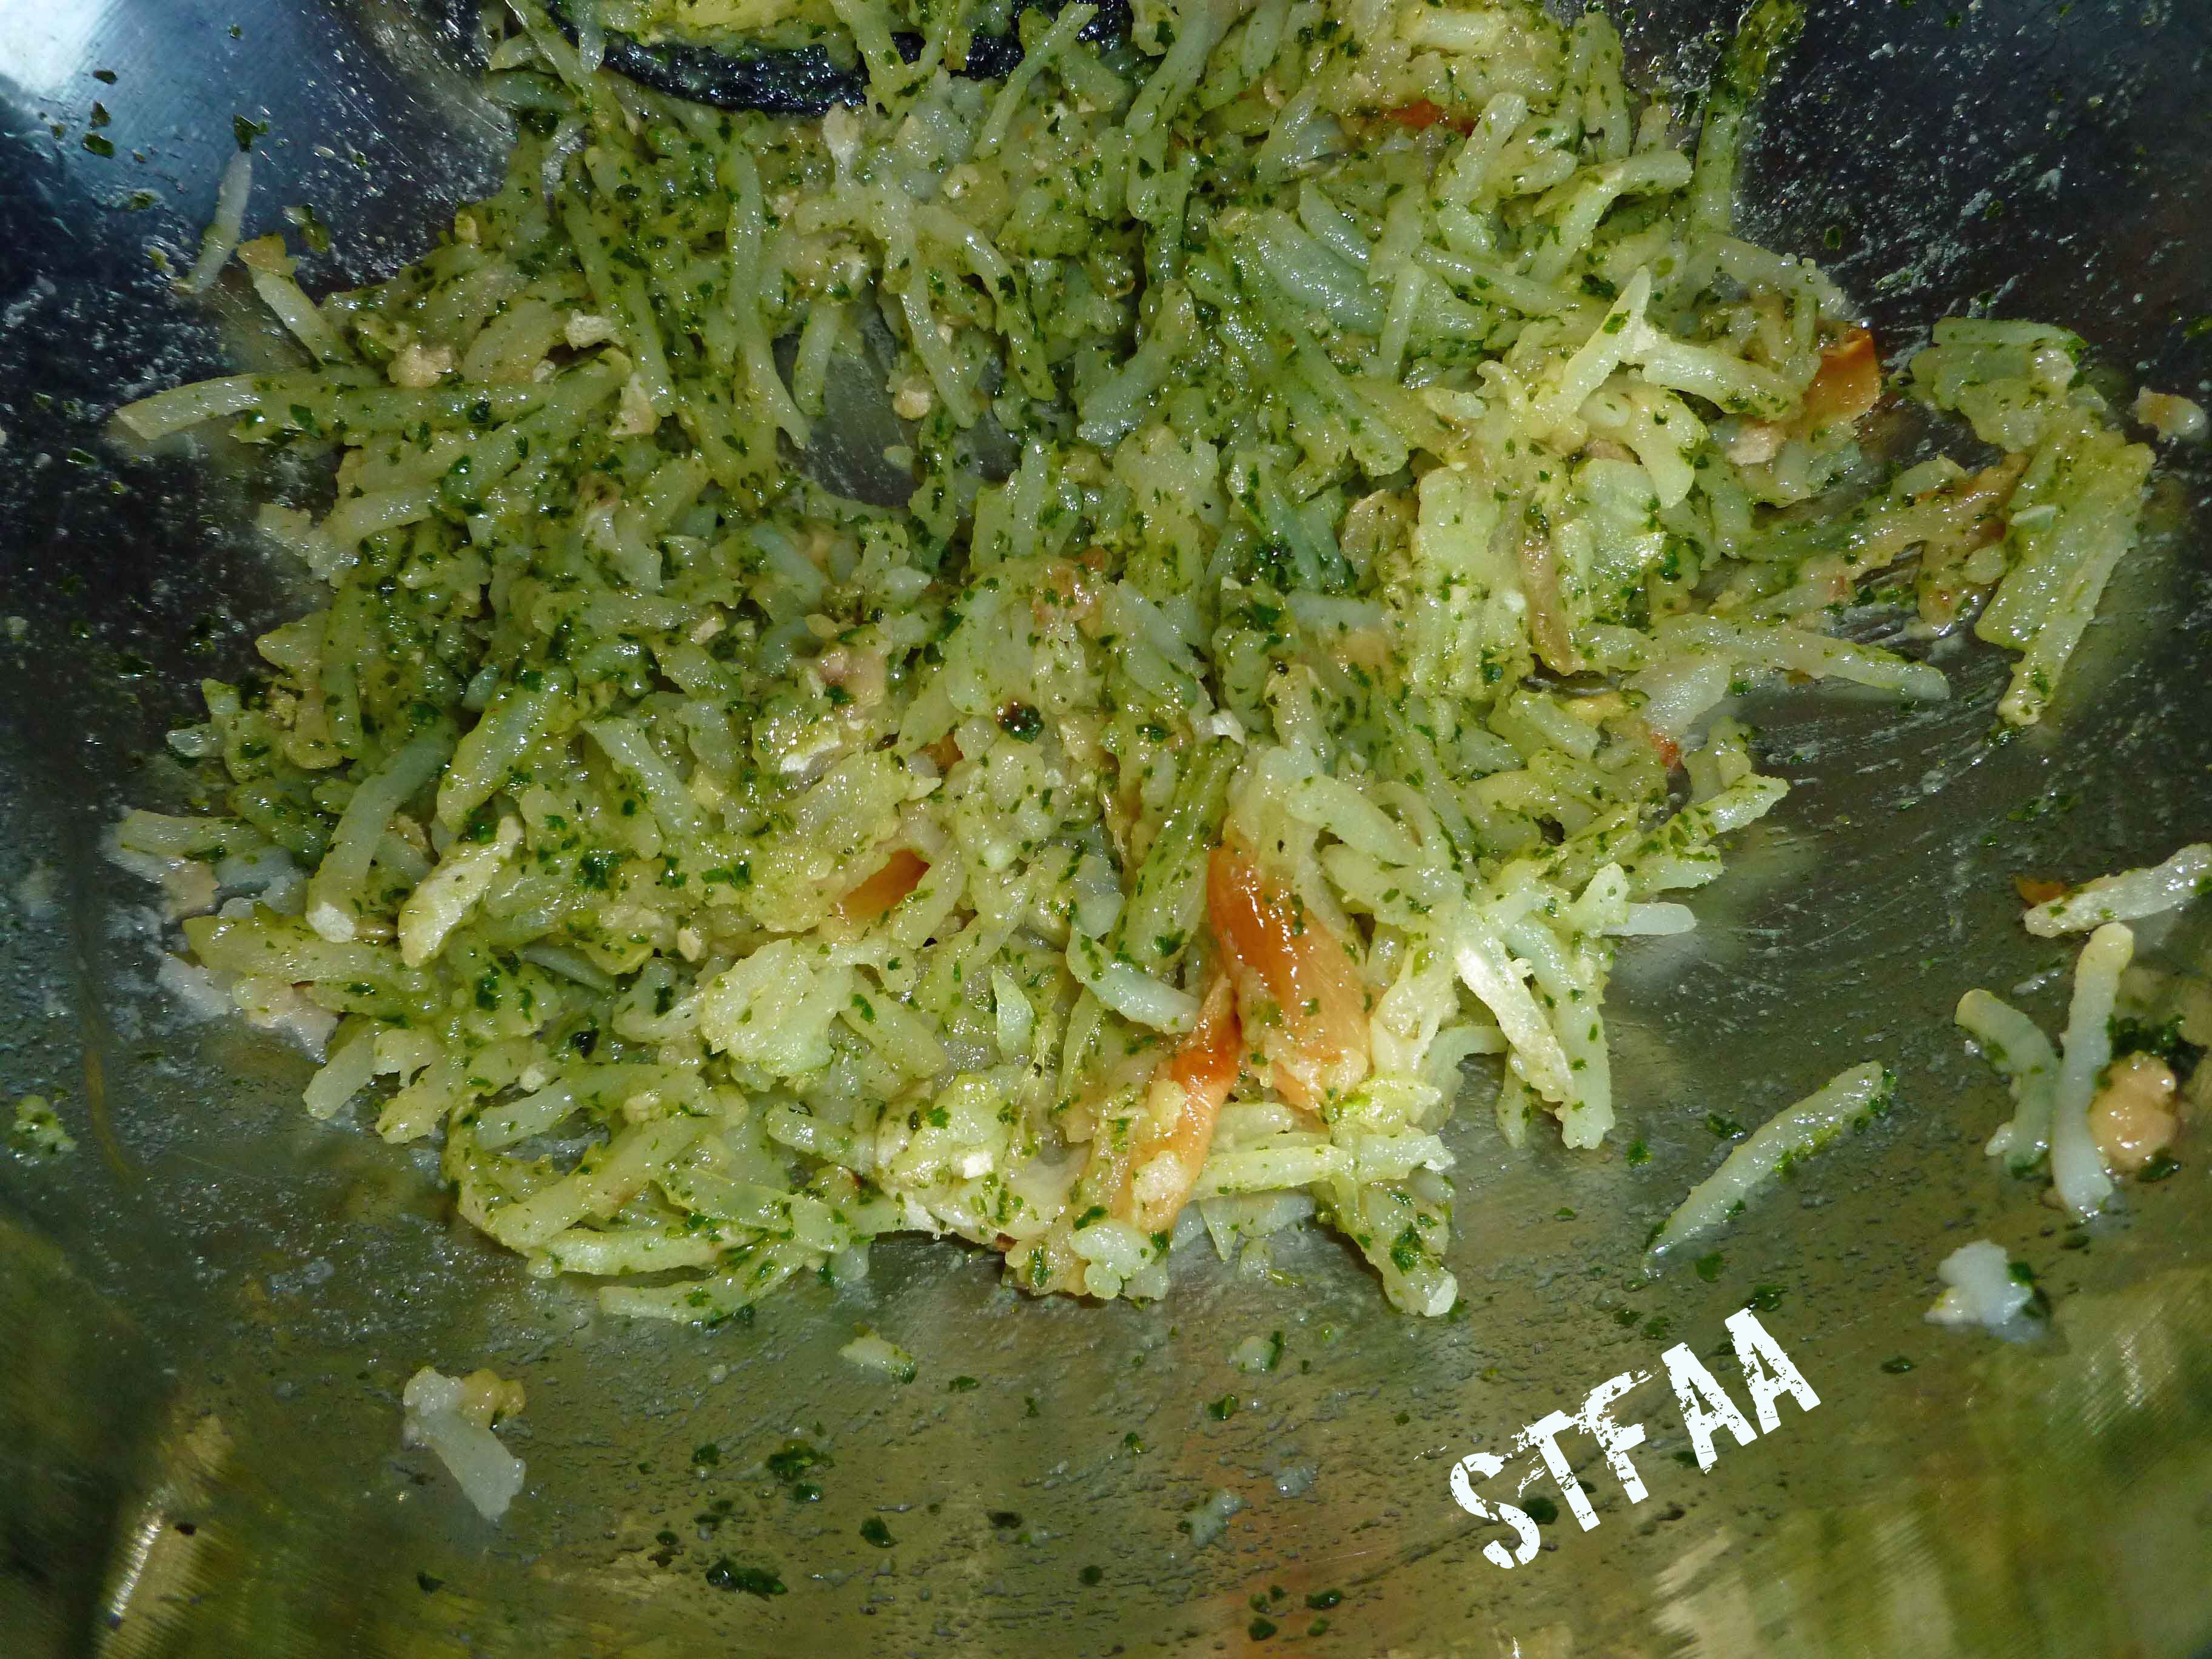
Some of the grated pieces may be too long, Feel free to chop them up a bit either with a knife or a potato masher. When the pieces are small enough for you, mix the chimichurri sauce into the potatoes until they are well combined.
Potato and chimichurri sauce mixture
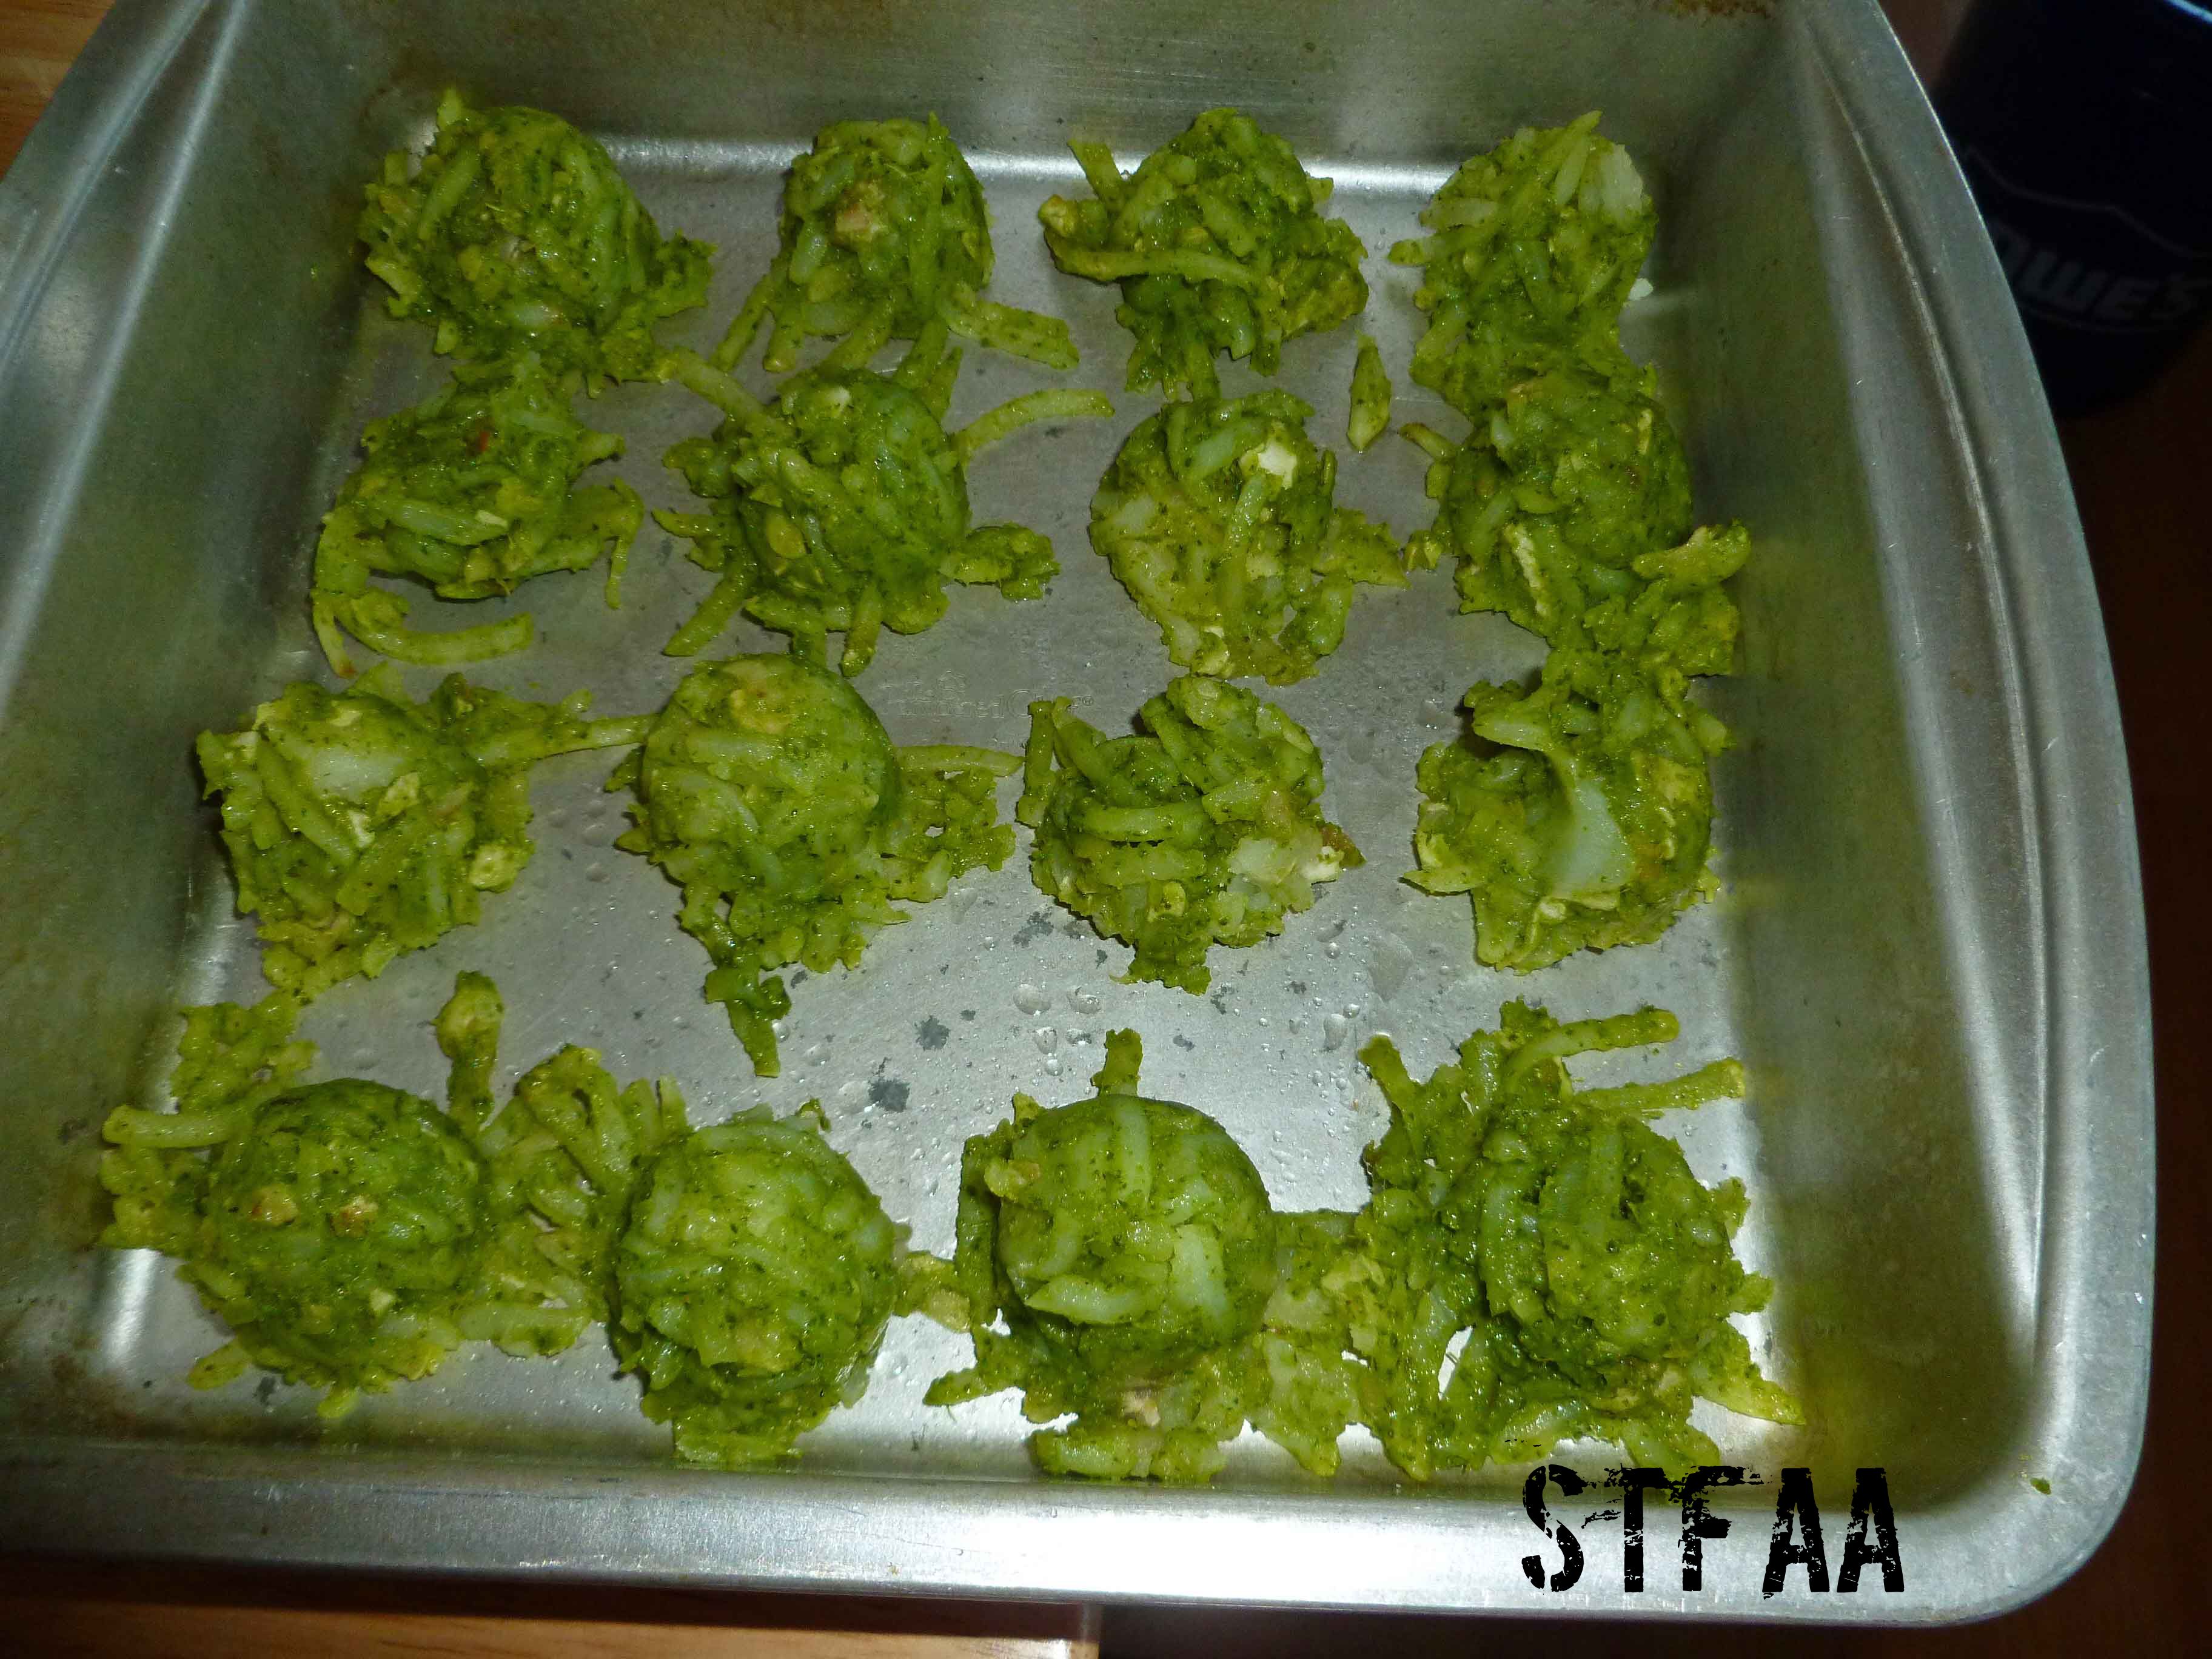
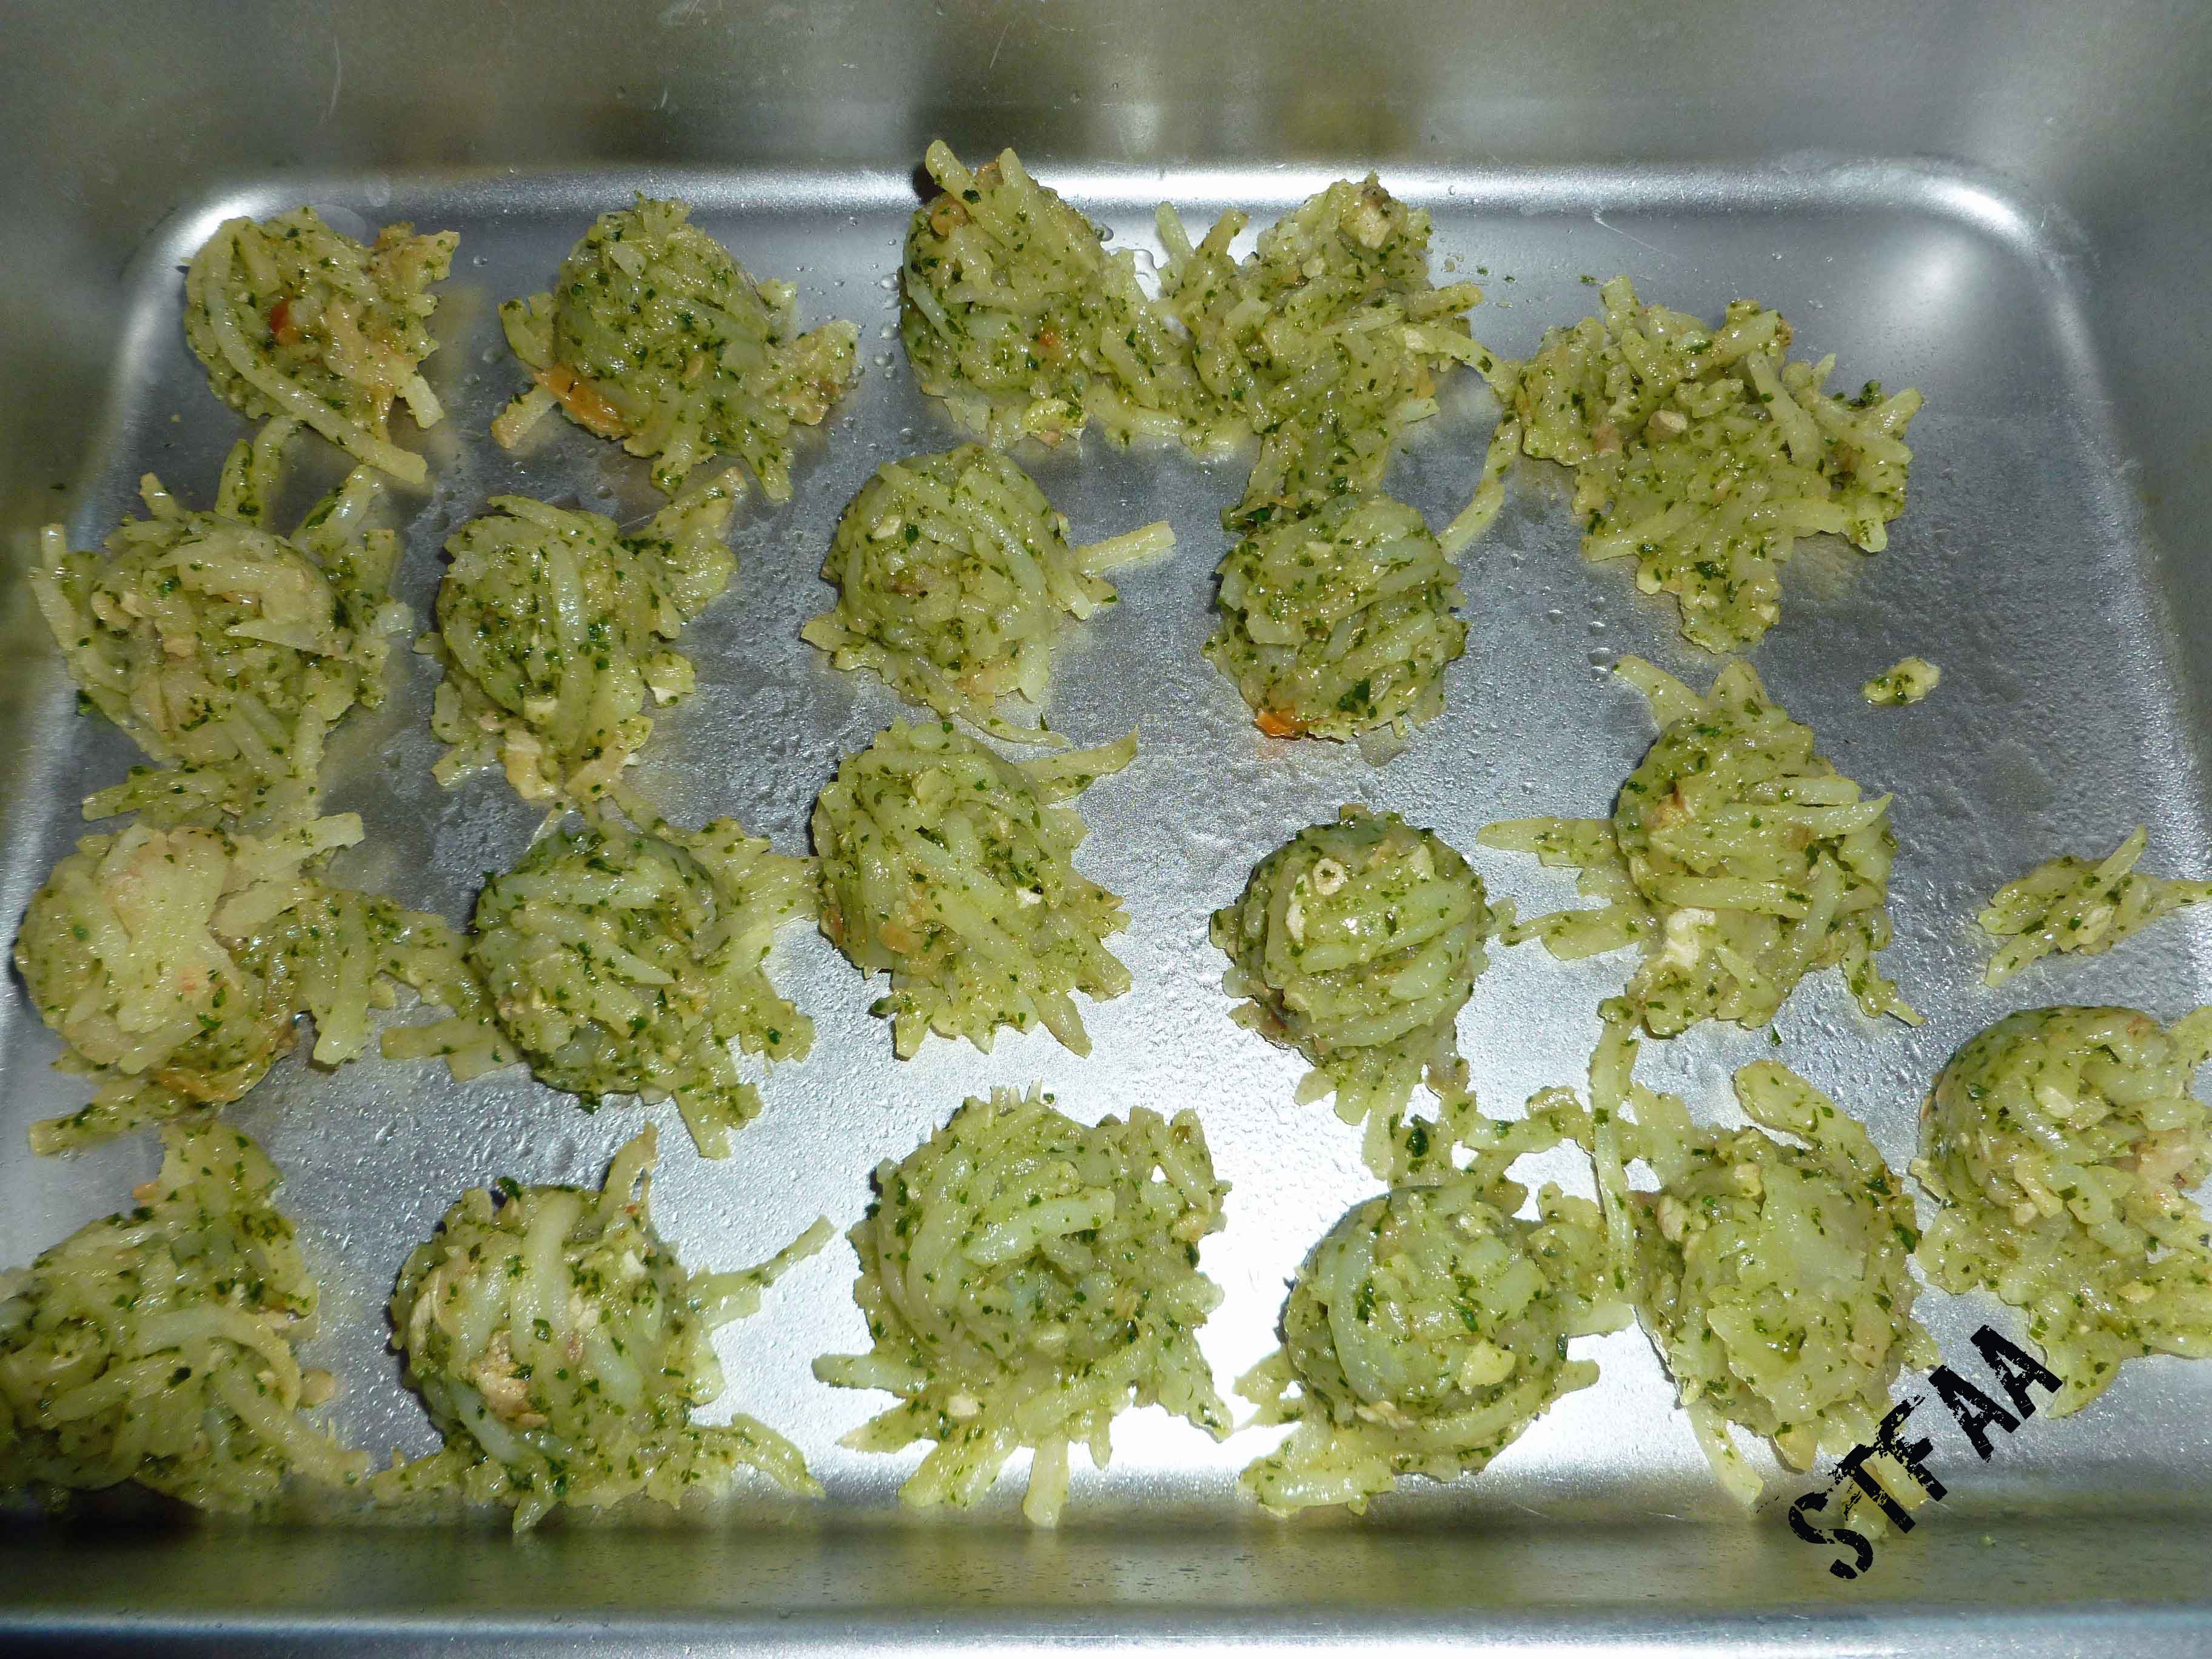
Spray your baking sheet with your safe oil in a mister. I used a small cookie scoop to portion out the tater tots, but you could use two teaspoons to drop the mixture on your baking sheet.
Chimichurri Spiced DIY Tater Tots before baking
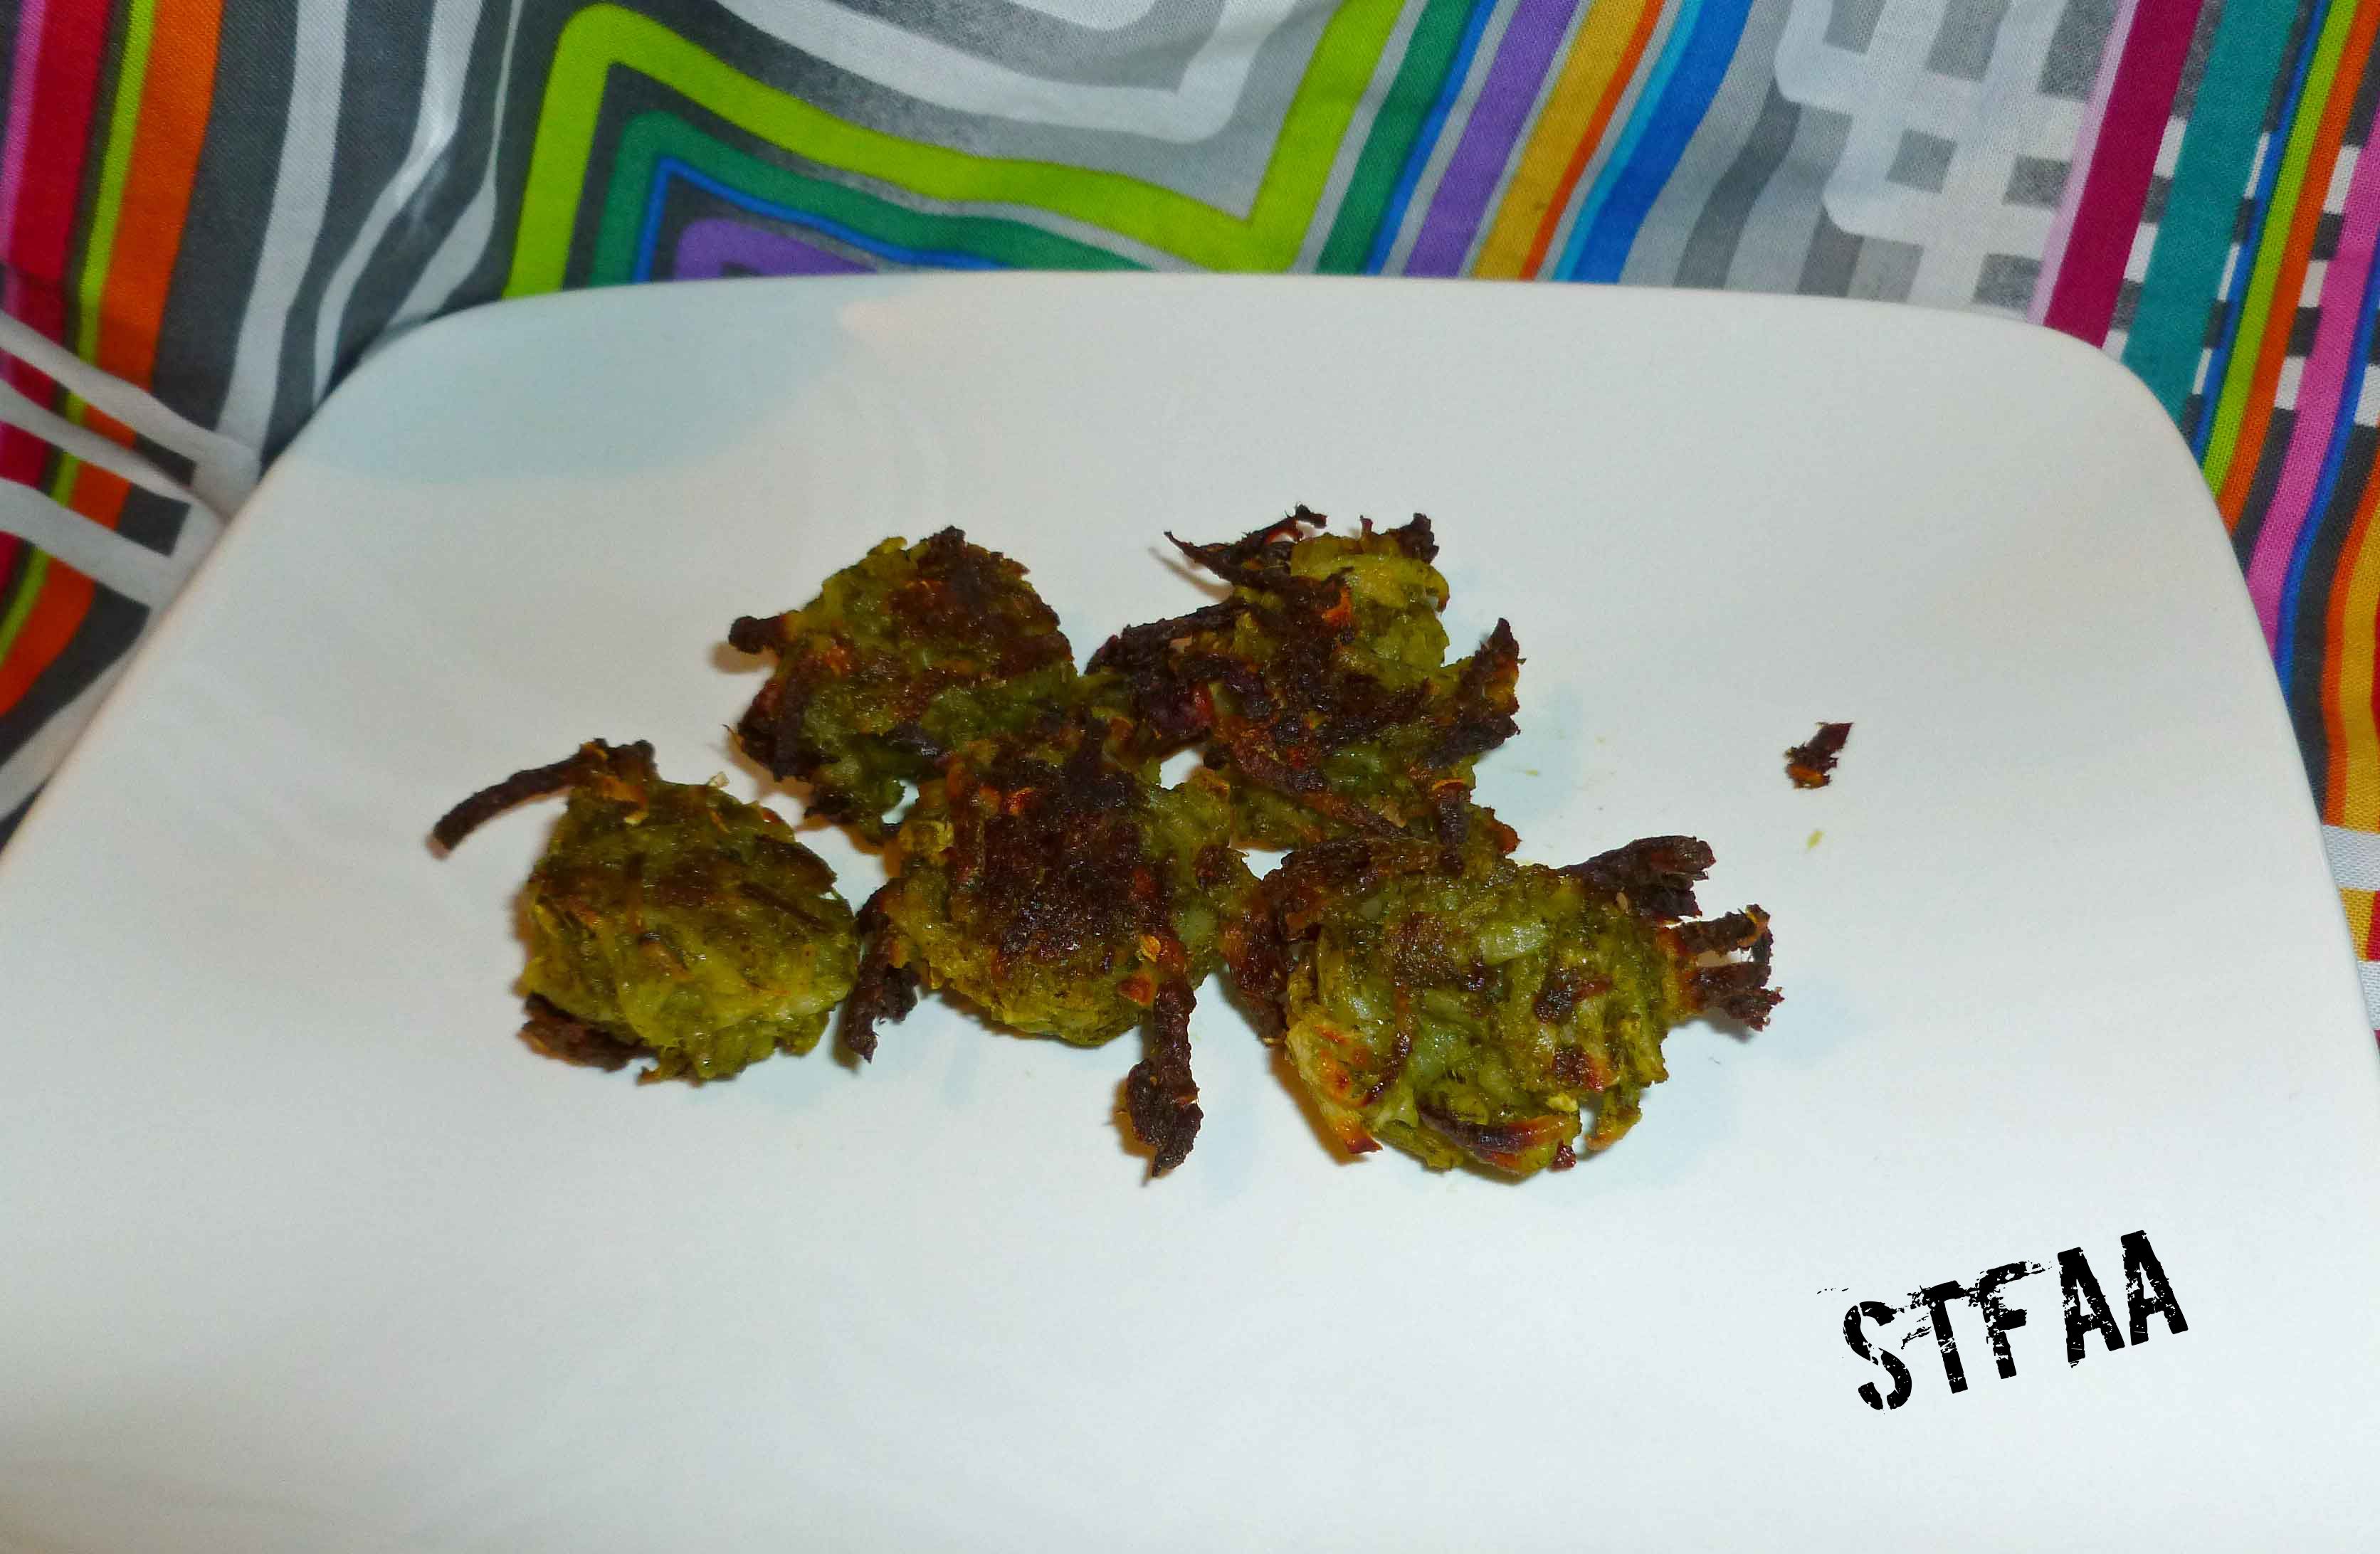
Use your oil mister to mist the top of the tater tots, and place the baking sheet in the oven for 25-30 minutes. Use some tongs or a spatula to turn them over, and then bake them for another 25-30 minutes. You want to watch them closely, as you’ll notice mine were a little on the brown side.
Chimichurri Spiced DIY Tater Tots after baking
Take them out of the oven, salt to taste, and enjoy!
I just planted a whole bunch of potatoes in the garden, so I’m going to need some recipes to deal with them. I decided to try to make some adult flavored tater tots. You’ll need a food processor or a blender, and if you don’t have food processor, a grater. I baked these, but you could also try pan frying them in safe oil.
Roasted Garlic and Pesto DIY Tater Tots
Pesto:
1 cup of tightly packed fresh basil leaves
1/4 teaspoon of salt
1/4 cup and 1 Tablespoon of olive oil
Put all ingredients in the blender or food processor and blend/process until pureed.
Preheat your oven to 400°F. Peel and wash your potatoes. Place the potatoes on a small baking sheet. Bake the potatoes for about an hour.
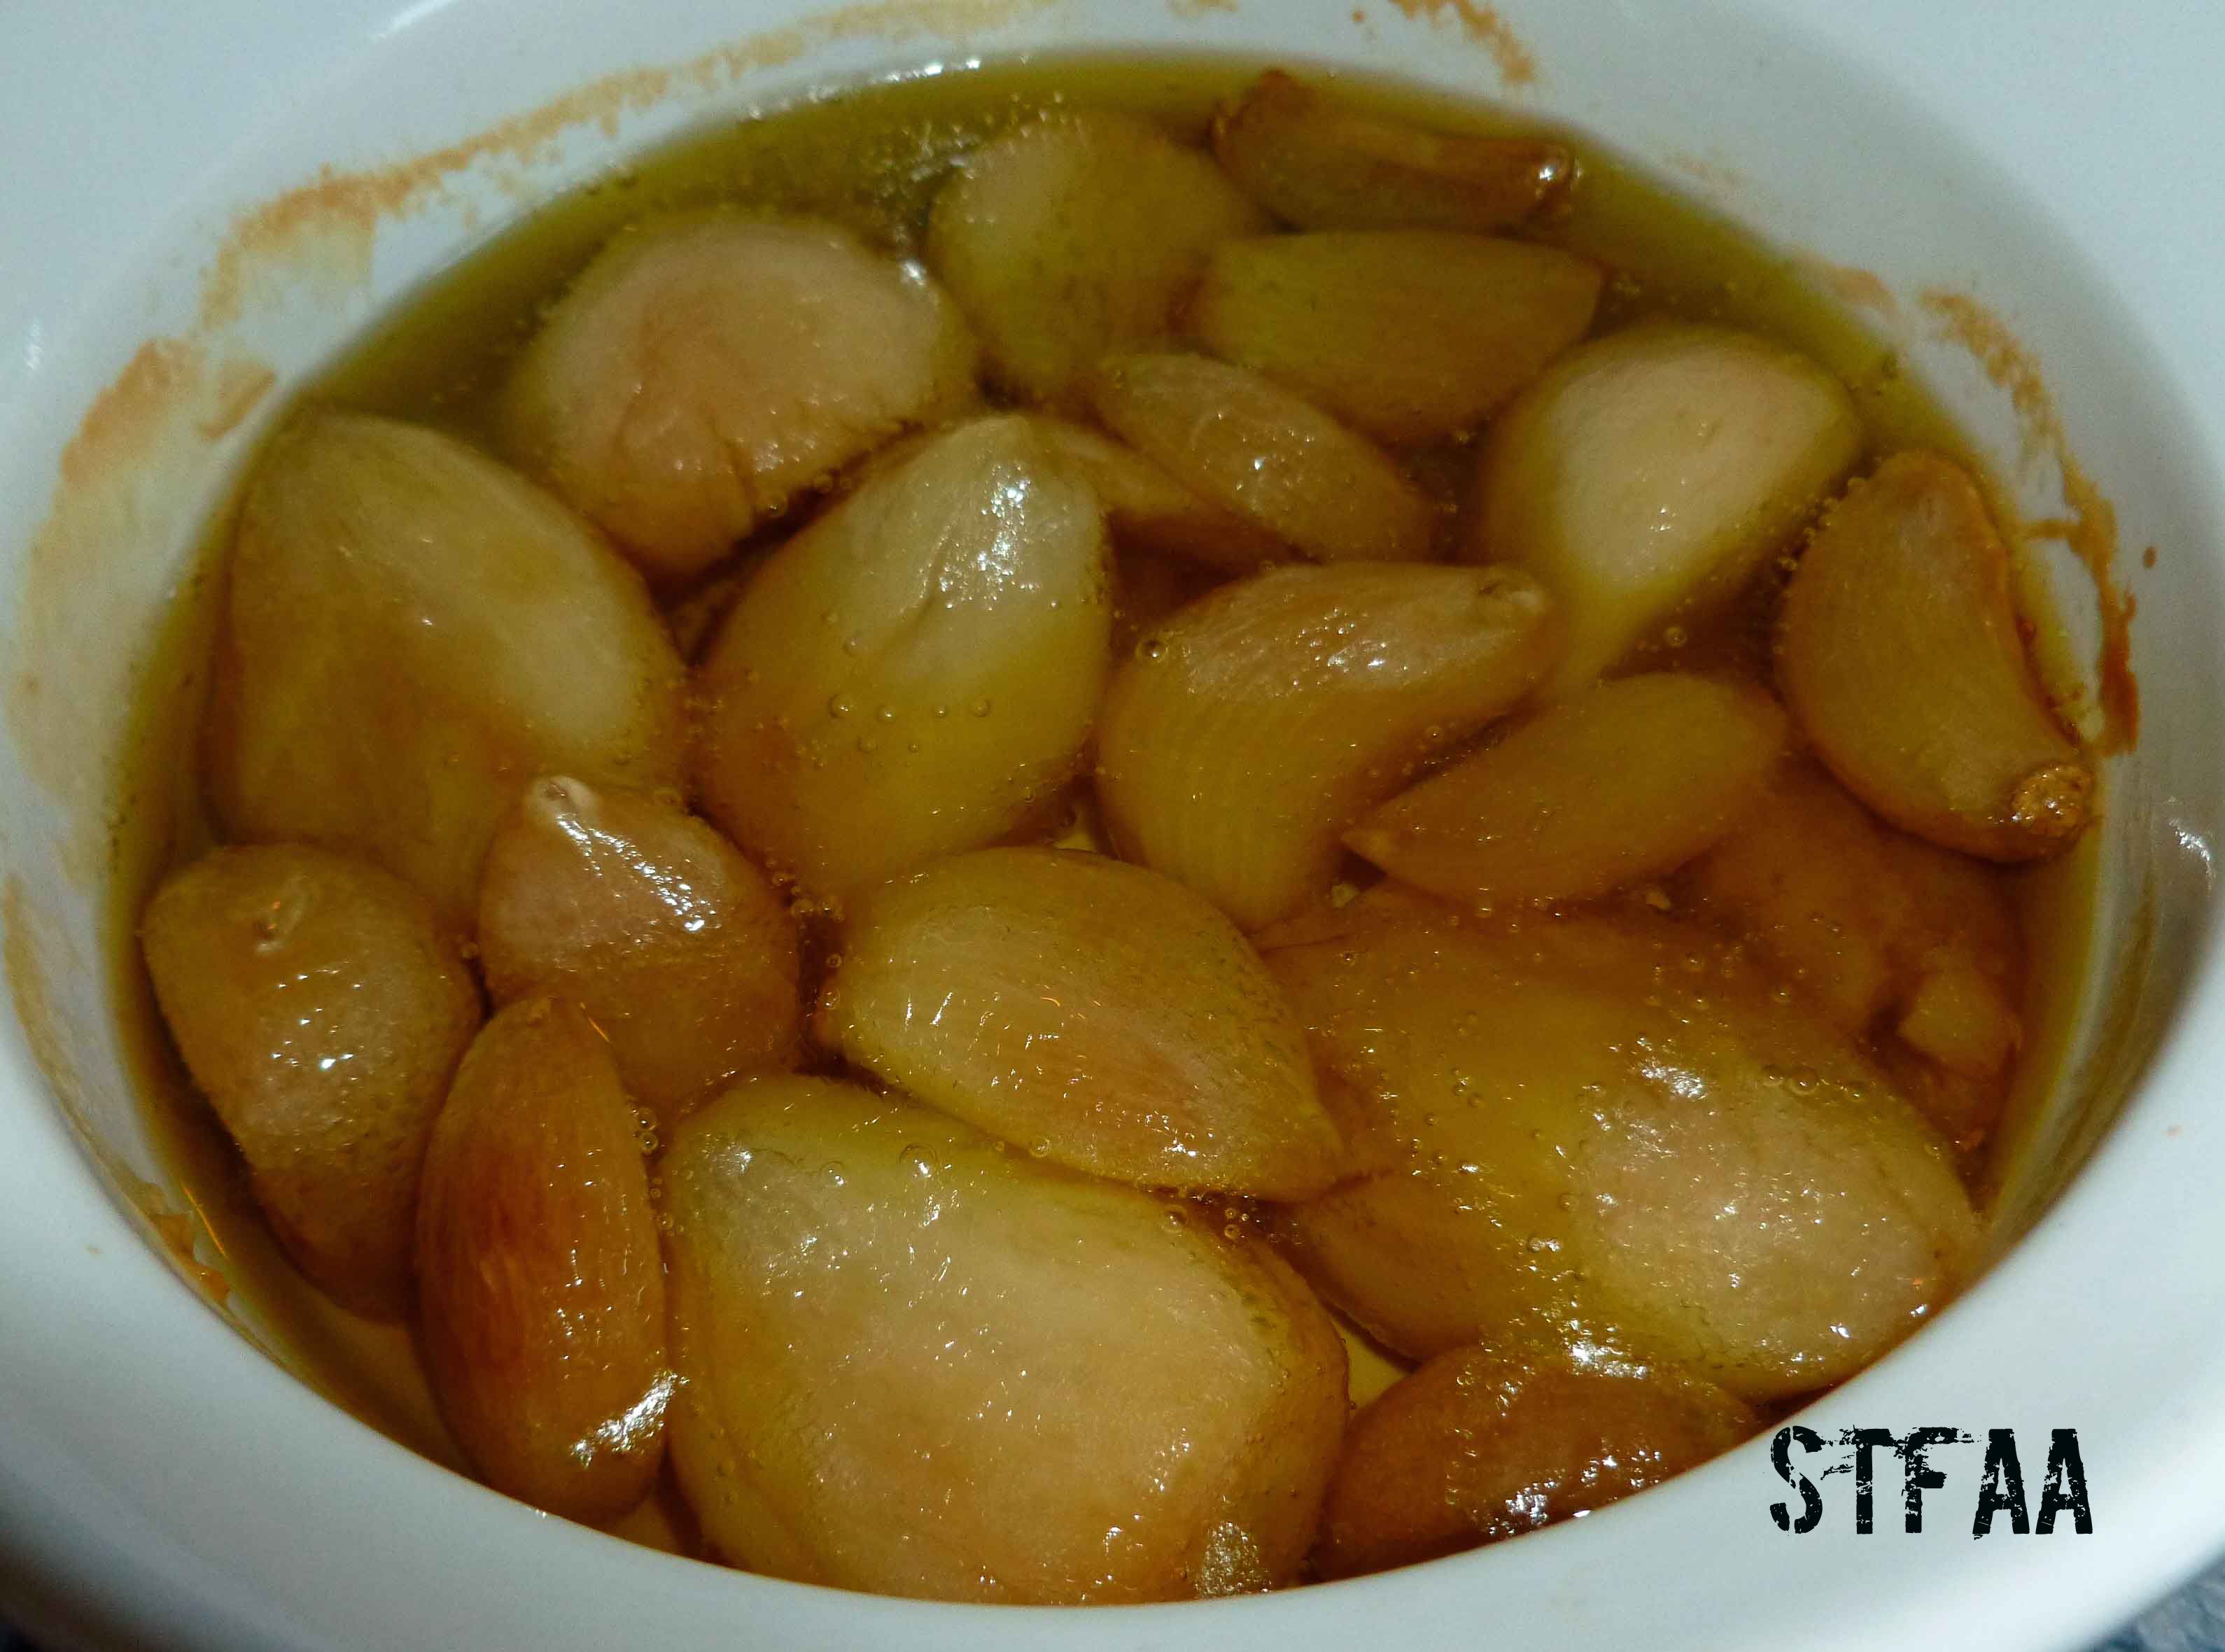
(NOTE: If I don’t already have roasted garlic, I prep the garlic as described in the link above and bake it at the same time as the potatoes.)
Garlic roasted in olive oil
When the potatoes (and possibly the garlic) are ready to come out of the oven, remove the potatoes and garlic and turn the temperature on the oven to 425°F. If you’re using a large hand grater, you need to wait until the potatoes are cool so you don’t burn your fingers. Since I was using the grating blade on my food processor to grate the potatoes, I cheated and did them hot. I sliced them lengthwise just enough to get them in the food processor, and grated them up.
Potatoes after grating
Some of the grated pieces may be too long, and you may want to chop them up a bit either with a knife or a potato masher. Mix the pesto sauce and the roasted garlic into the potatoes until they are well combined.
Potato, roasted garlic and pesto mixture
Spray your baking sheet with your safe oil in a mister. I used a small cookie scoop to portion out the tater tots, but you could use two teaspoons to drop the mixture on your baking sheet.
Roasted Garlic and Pesto DIY Tater Tots before baking
Use your oil mister to mist the top of the tater tots, and place the baking sheet in the oven for 25-30 minutes. Use some tongs or a spatula to turn them over, and then bake them for another 25-30 minutes. You want to watch them closely, as you’ll notice mine were a tad overcooked.
Take them out of the oven, salt to taste, and enjoy!
So I went away for a week and came back to New Hampshire summer. To be honest, as much as we complained about the cold, I wasn’t ready for full-on summer temperatures. If it stays this way, I’ll need to dig out the AC sooner, not later, just to get some sleep. It’s hot! It doesn’t help that my apartment holds the heat like an oven.
Why, if it’s hot, would I give you hot food — hot in temperature as well as full of spices? Well, first off, it’s not hot everywhere — I hear that if you live in either of the Dakotas or Wyoming, you got snow this weekend. Secondly, hot food is a great way to make it feel cooler. It’s all about contrasts. Actually, this curry tastes great hot or cold, so make it for dinner and eat the leftovers for lunches. Oh! And whether this is “spicy” or “full of spices” is entirely up to you — if you like spicy foods, buy a spicy curry powder. Otherwise, buy a regular or “sweet” curry powder and you get all the flavor without the heat. I always buy sweet curry powder because I can add some cayenne if I want things spicy. There IS coconut in here — Denise and I have both made curry with cashew milk, but never successfully without a nut milk. Let us know if you have a nut-free way to make an Indian-style curry.
This curry passes all my tests for a weeknight dinner — it takes less than 10 minutes to prep, and while cooking takes about 45 minutes total, only a few of those are active. You will need a skillet with a lid or a cover of foil. I have one skillet with a lid (finally), but I’ve found that because my cast iron skillet holds the heat better and is a slightly different shape, it works better than my lidded skillet. A sheet of heavy duty foil stands in for a lid here and lets the carrots steam to perfection.
Carrot Chickpea Curry
Carrot Chickpea Curry
1 Tablespoon olive oil
1/2 sweet onion (about 1/2 cup), chopped
1/4 teaspoon kosher salt
1 teaspoon chopped garlic (about 2 cloves)
5 carrots, peeled and sliced in rounds
1 can (15 oz.) chickpeas/garbanzo beans, drained and rinsed
1 Tablespoon curry powder
1 teaspoon cinnamon
4 teaspoons cilantro
3 Tablespoons coconut milk
1 teaspoon ginger
rice to serve curry over, if desired
Heat your pan over medium heat. When the pan is hot, add the olive oil. When the oil is hot, add the onions. Stir well to coat with oil, then sprinkle with salt. Cook, stirring occasionally, until the onions start to lightly brown.
Add the garlic and stir until fragrant. Then add the carrots and beans, and the curry and cinnamon. Stir everything well until the spices are fully spread over everything.
Now cover and cook for 15 minutes. There are two ways to do this — if you like browned bits, just let it go for the full 15 minutes. And I do mean browned, not burned. If you prefer no browned carrots or onions, stir it once or twice during the cooking time.
Then add the cilantro, coconut milk, and ginger. Stir well, and cook another 5-10 minutes, stirring every few minutes.
Serve over rice, or if you’re feeling less like rice, over greens for a salad.
Apparently it’s mango season. In browsing the grocery store flyers looking for inspiration, I noticed that two of our three chains had mangoes on sale. I’ve never eaten a mango before, but I’ve had mango juice and liked it. So I thought I’d give it a try. Why not, right?
According to the Mango Board, mangoes are ripe when they give a little under a gentle squeeze — like avocados. As I said on Friday, it’s really worth your time to watch the video before deciding you know how to cut a mango. You can make it a lot harder than it needs to be (I sure did), but mangoes are sweet and tropical and taste like summer. If your “spring” as been like ours in New England, you need a reminder that warmer weather is coming. Tropical mango flavor helps.
“Salsa” generally conjures up tomatoes, but fruit salsas are pretty amazing and seem to have a better, brighter balance of flavors for certain main dish meals. (And yes, I know that biologically tomatoes are a fruit, but US law says they are vegetables). Salsa isn’t the quickest thing ever, but the work that goes in pays amazing dividends in flavor.
This salsa is fine with chips, but if you want to really highlight it, serve it over a meal. Things I think would work well with the summer mango salsa:
Shrimp and rice, if you can do shellfish (this was my choice)
Chicken, pork, or fish, if any of those work for you
Black beans and rice
Let us know what you try so that, if it’s good, we can copy you. I have a feeling I’ll be making this a few more times, and I’d love some new ideas for what to serve it over.
Summer Mango Salsa
Summer Mango Salsa
1/2 of a sweet onion, finely diced (this should be between 1/3 and 1/2 cup — adjust according to your love for onion)
1/2 teaspoon kosher salt
2 Tablespoons lime juice (I wanted to give you a measurement, but I’ve had to use everything from 2 whole limes to 1/2 a lime to get 2T. It varies widely. I always buy limes in pairs, for whatever reason.)
1 serrano pepper (buy a size commensurate with your love of spice), stem, seeds, and inner membranes removed, diced very finely
1 mango, cut into small cubes
1 avocado, cut into small cubes
3 Tablespoons chopped cilantro
The order of the ingredients above is deliberate. I love onion in my salsa, but I don’t like it too strong. If you chop it first and then let it marinate in the lime juice while you fight with the mango, it mellows out a bit. I’m assuming that the acid “cooks” the onions a bit, as it does for fish in ceviche. If you’re a better food scientist than I am, I’d love to know if this is true; it could just be the power of suggestion.
For the best flavor profile, you want the onions and the chile diced very finely, as finely as you can manage, and the mango and avocado a good bit chunkier (but still, not too big). The onion and chile go into the lime juice first. The mango next, and last the avocado — the avocado will break down the more you stir it, and I like it pretty well intact.
Basically, chop everything up and mix it together in a bowl. This is a very fresh salsa, and it doesn’t need much time to meld — half an hour at room temperature seems to be enough, although it is great the next day. I doubt it would last all that much longer, but I’ve made it a few times now and I’ve yet to test that.
Hoisin sauce was just another well-loved condiment no longer within my grasp until I found a recipe and modified it to be safe for me. If you have a soy allergy (I don’t) try this with Mary Kate’s Soy-Free, gluten-free “Tamari Sauce” and let us know how it worked out for you.
Hoisin Sauce – Gluten-free with Soy-free option
Makes 1 cup.
1/2 of a 15 ounce can of Black Beans, rinsed and drained (I use my home canned, but use what’s safe for you.)
1 Tablespoon of either Sesame Oil, Chili Oil or other safe for you oil (I can’t use Sesame, so I made a homemade Chili oil with my safe oil.)
1/2 Tablespoon of minced Garlic
1/2 cup brown sugar
1/2 Tablespoon of Molasses
2 Tablespoons of Apple Cider Vinegar (Bragg’s is generally safest for those with corn allergies)
2 Tablespoons of Rice Vinegar
2 1/2 Tablespoons of Soy Sauce (I do well with San-J Tamari Gluten Free Soy Sauce, the alcohol is from cane sugar not corn, but if you can’t use soy, try Mary Kate’s recipe for a Soy-Free, gluten-free “Tamari Sauce” )
1 Tablespoon of water
1/8 teaspoon of crushed red pepper
In a food processor, purée the black beans into a fine paste. If it is too thick and doesn’t process well, add a little bit of water (1 teaspoon at a time) until you can continue to pulse the black beans. They should be puréed into mush.
In a non-reactive pan (I used an enameled cast iron pan), heat the oil until it is hot, but not yet smoking. Add the garlic and cook for about 2 minutes (don’t let it turn brown).
Once the garlic is cooked, add all ingredients to your pan and stir together really well. Bring to a boil, and then reduce heat to medium-low and simmer for 15 to 20 minutes. The sauce should coat and stick to the back of a wooden spoon when it is ready.
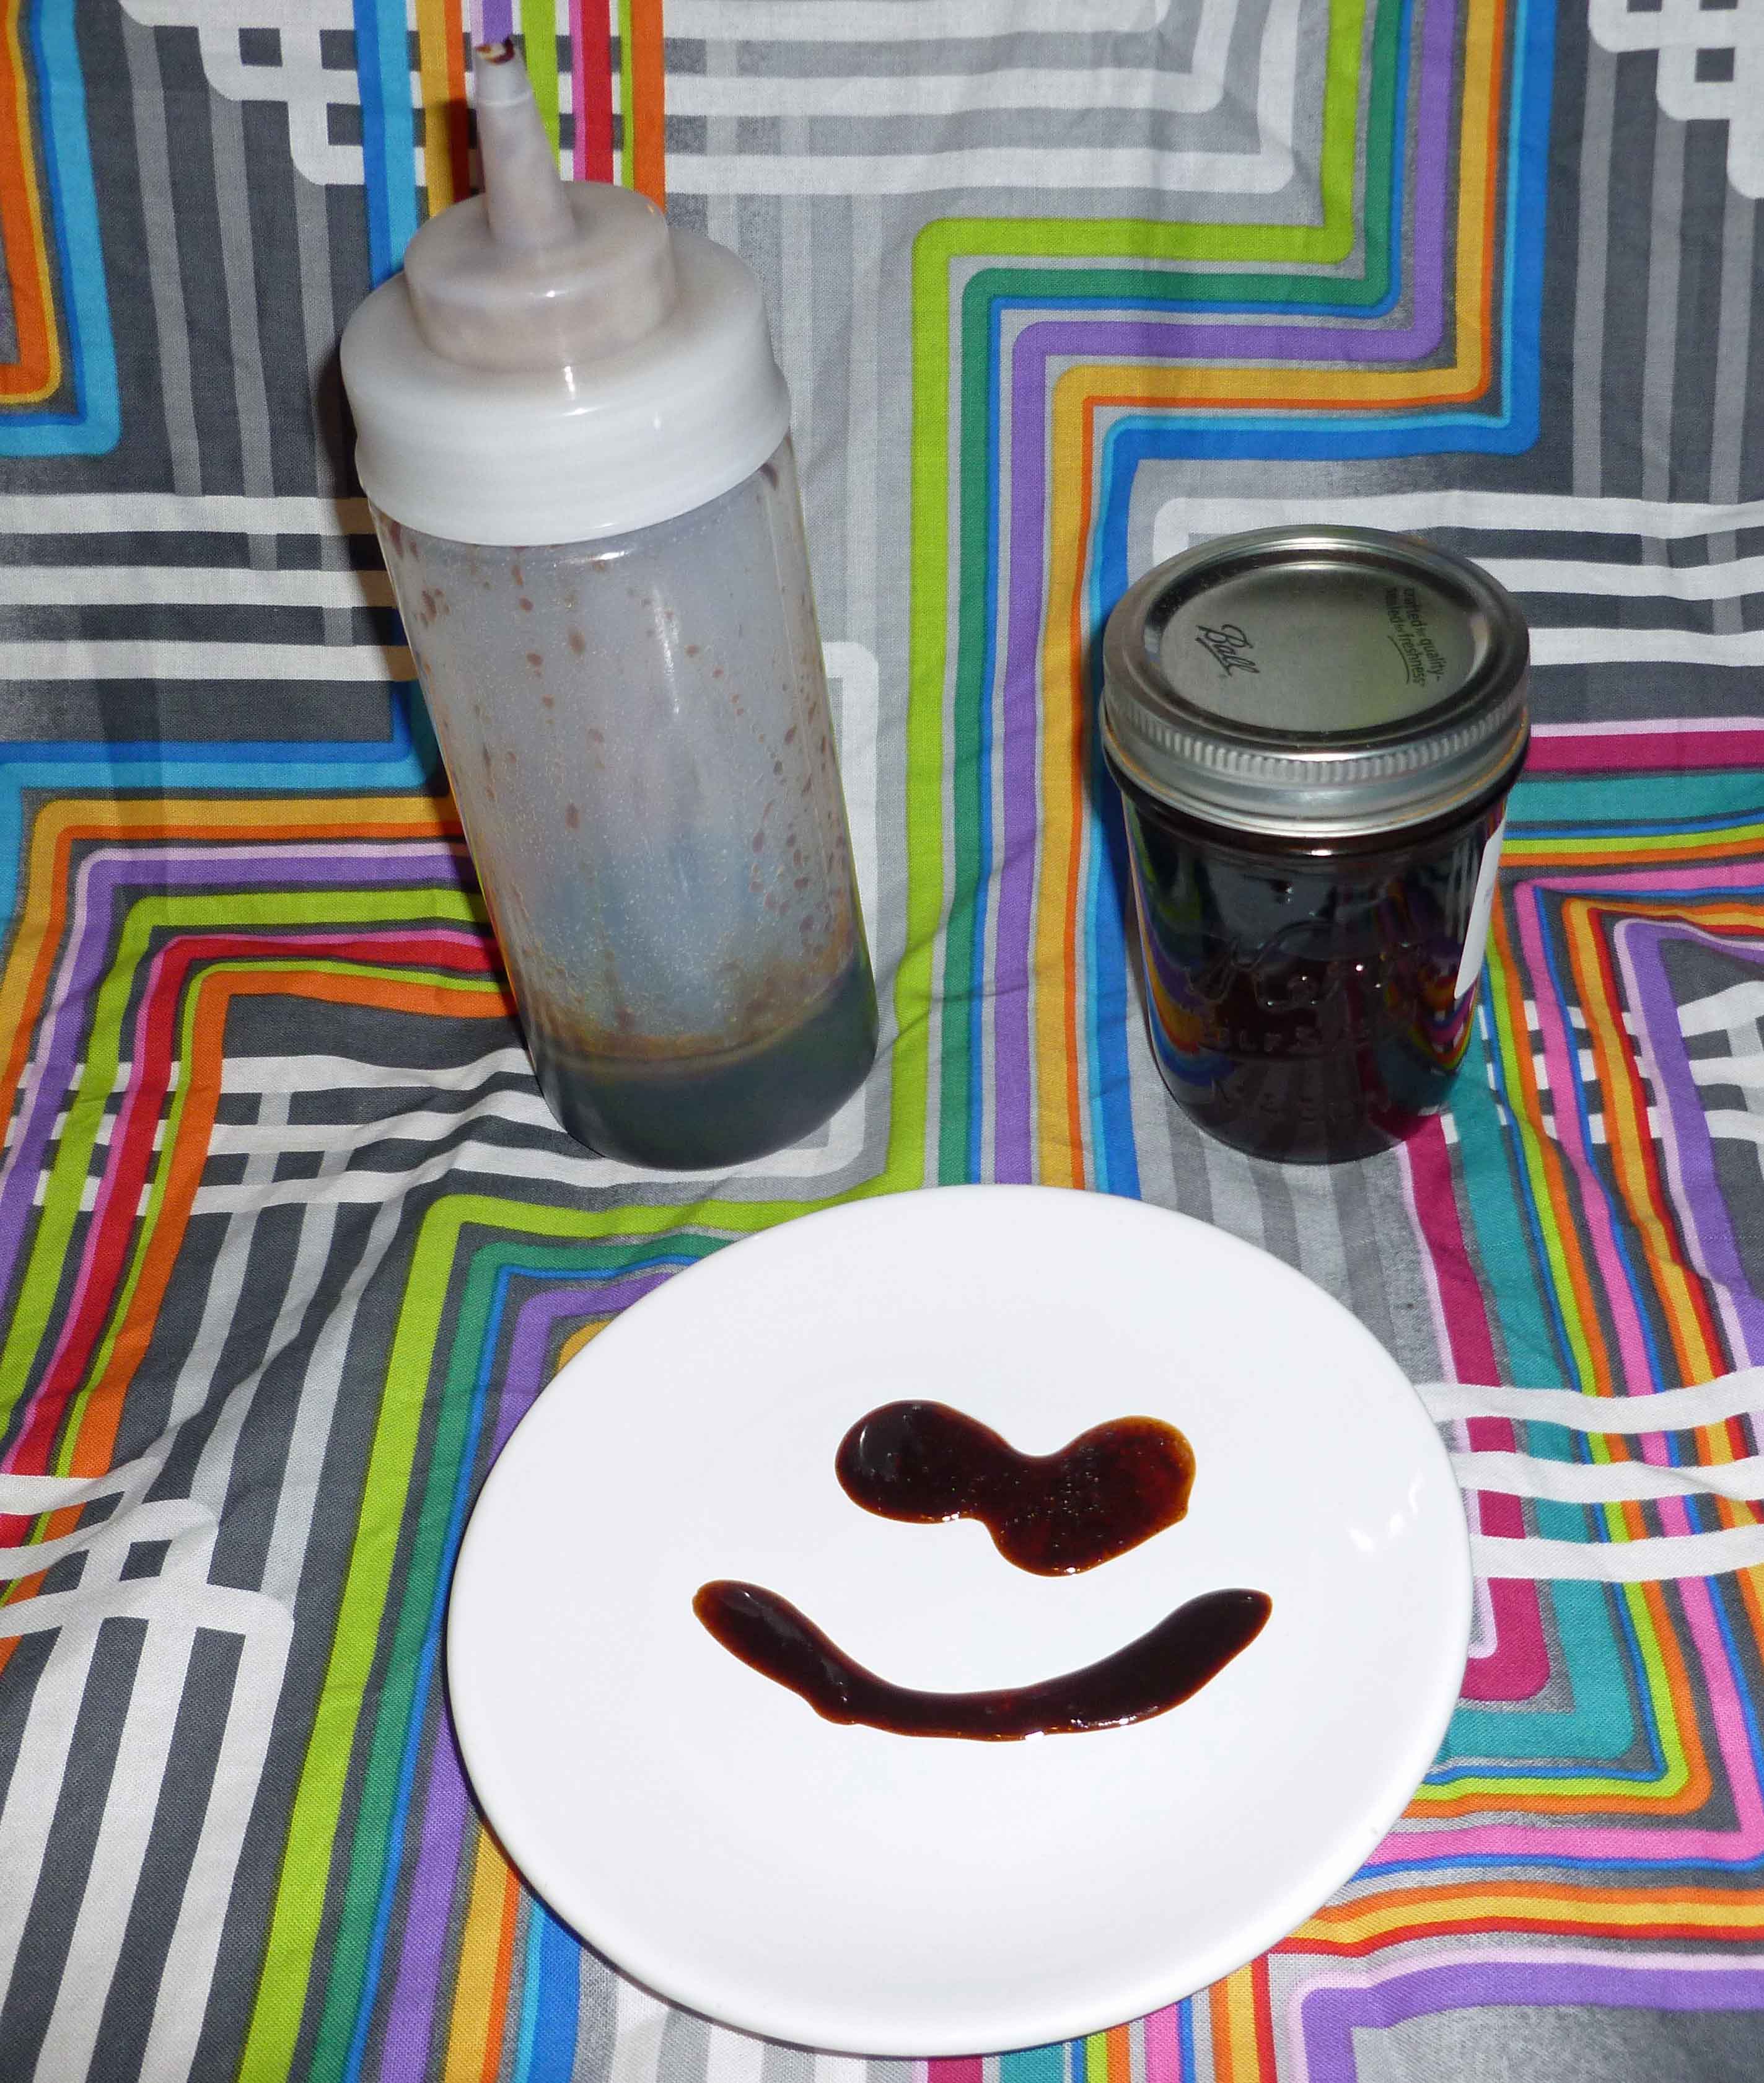
Remove from heat immediately and let it cool before placing it a container in the refrigerator. I put mine in a squeeze bottle so I can use it easily whenever I want.
Enjoy with all your favorite Asian and Asian-inspired dishes!
Red Wine Vinaigrette Using the Salad Dressing Recipe Theory
So, salad dressing. It’s one of those things that I can’t buy any more, my corn allergy pretty much blew any hope of being able to find a commercial product to buy out of the water. I don’t really use recipes any more, I tend to throw things in a blender and have at it, but you might want a slightly more careful approach at the beginning, but I’m pretty sure you’ll end up throwing stuff in a blender too after I explain this.
Salad Dressing Recipe Theory
The parts to a dressing recipe are the base, the acid, the emulsifier (sometimes), and your spices/flavors. Now, the conventional wisdom is that the ratio is 3 parts base to 1 part acid, and then add your emulsifier and flavors to taste. However, I think you should mix the ratio so that you like it. I tend to almost flip the proportions of base and acid, but feel free to fiddle those proportions as you wish. Also, this is not a table to be read from left to right across a row, as it’s not in any particular order. Also, I tend not to just pick one emulsifier or spice/flavors or I might even skip the emulsifier altogether when I do a dressing, and I may even put a combo of two of the acids.
fresh herbs – any of dill, parsley, cilantro, mint, scallions
silken tofu (if no soy allergy and if you can find one without corn in it)
Lemon Juice
jam or fruit preserve
minced onion or shallots
an avocado
Lime Juice
tahini (if you don’t have a sesame allergy)
dried herbs – any of marjoram, thyme, rosemary, oregano, basil,
chopped tomatoes
Orange Juice
tomato paste
dried chili powders – chipotle, ancho, jalapeno
raw cashews soaked and blended into cream (if you don’t have a nut allergy)
Pickle Juice – left over from my homemade fermented dill pickles or my home canned pickles
ground black pepper or peppercorns
sugar to sweeten
salt
For example, if I wanted to make a red wine vinaigrette, I’d use extra virgin olive oil, red wine vinegar and a bit of fresh squeezed lemon juice, some of my home made Dijon mustard, some garlic, marjoram, thyme, rosemary, oregano, basil, ground black pepper, salt and a bit of sugar, and blend it. If I wanted to make a Mexican spiced tomato vinaigrette, I’d use some chopped tomatoes and some extra virgin olive oil, some lime juice, maybe a bit of honey if I had a safe one, and some garlic, hot sauce, cilantro, oregano, basil, chipotle, black pepper, and salt, and blend it. I could also do an avocado ranch (I don’t have any safe yogurt, mayo or tofu to use as a base instead, although I could use cashews blended into a cream) using an avocado, some extra virgin olive oil, lemon juice and apple cider vinegar, and some garlic powder, onion powder, dill, salt, basil and red bell pepper flakes. Note that this combo didn’t use an emulsifier because the avocado has enough body on its own. You could also do an Asian themed dressing with some grapeseed oil, rice wine vinegar, minced scallions, soy sauce, ginger, garlic and Sriracha. See what kind of craziness you could come up with?
Now, I know what you’re saying – “Denise, Denise, how will we know if we got the proportions right? You’re not giving us enough information.” Yep. Because some of this stuff is trial and error. And the answer is you should taste it, and see how it is. If you like it, you got it right. If it needs something, fiddle with it. But, to give you a guideline, if the combination of your base and acid equals about 3 cups or so (because the ratio of the base and acid is up to you), I’d add a tablespoon or two of the emulsifier, and I’d add the spices/flavors to taste. Start with about a teaspoon of your combined spices/flavors and see if you like it, or if you need to add more.
But for those of you who want a conventional recipe, I’ll make an easy Red Wine Vinaigrette for you. But since you’re making it, if you don’t like something, leave it out. Also, I added a bit of paprika and crushed red pepper, because I’m Denise. God forbid that I don’t have some form of chili in a recipe, but I’ve marked them optional for you. Also, note that my proportions of base and acid are the way that I like dressing, so if you like a dressing with less acid (I like my dressing screaming) use 2 cups of extra virgin olive oil and 1 cup of red wine vinegar. (Yes, that’s still not 3 to 1, but if you need to it be 3 base to 1 acid, do the math).
Red Wine Vinaigrette, based on the Salad Dressing Recipe Theory
2 cups of red wine vinegar (I make my own, but make sure that you have a safe source)
1 cup of extra virgin olive oil (I do well with California Olive Ranch)
1 Tablespoon of prepared mustard (I use my homemade Dijon, make sure you get one that’s safe for you)
1 clove of minced garlic
1/2 teaspoon of marjoram
1/2 teaspoon of thyme
1/2 teaspoon of basil
1/2 teaspoon of oregano
1/2 teaspoon of sugar
salt and pepper to taste (I used a 1/4 teaspoon each)
optional: 1/8 teaspoon of paprika
optional: 1/4 teaspoon of crushed red pepper
Put it all in the blender.
Red Wine Vinaigrette Using the Salad Dressing Recipe Theory
Blend it. I start on low for a minute and then move it up to high, blending for at least a minute or two to make sure the oil incorporates with your emulsifier and base.
Red Wine Vinaigrette Using the Salad Dressing Recipe Theory
I then use a funnel and put it in an old wine bottle or vinegar bottle I’ve saved. You should store it in the refrigerator. Because California Olive Ranch is really good olive oil, it will solidify a bit in the refrigerator, so shake well, and let it sit on your salad a bit to warm up before eating.
This makes a good bit of salad dressing. Usually, I put it in two bottles and take half to work to leave in the refrigerator there (your salad doesn’t get all wilted and gross if you don’t dress it before you leave for work) and leave some at home. I could make it as needed, but with food allergies, we all have enough stuff to do and making an amount in volume saves time.
Red Wine Vinaigrette Using the Salad Dressing Recipe Theory
What are your favorite flavors and combinations? If you try out our “theory” let us know about combinations you come up with that you particularly enjoy. We’d love to see what inspired ideas you come up with!
One of the ways that food allergies have taken over my brain is that I’m always planning ahead — you have to. A lack of planning can mean not eating, which in my case leads to extreme crankiness or just a complete lack of functioning. I’m also completely incapable of deciding what to eat if I’m too hungry. So I usually know what’s for dinner — tonight and tomorrow night, maybe for the whole week, but certainly for any important dates or busy nights coming up.
On the other hand, life with food allergies also makes you pretty flexible — again, by necessity. So when I had plans to make Winter is Coming Chicken and Kale, I had chicken, polenta, and kale on hand. Or, rather, I thought I did. Turns out, hey, winter is ending and the chicken I’d defrosted (properly — in the fridge, though for two days instead of one) was not good.I don’t really know if it was bad when I bought and froze it or what, but that left me with kale and polenta, which is a really sad meal.
So I ended up making this soup. I’m just going to call it “kitchen sink soup” because that’s pretty much what went into it — everything but the kitchen sink. It turned out so well, though, that I thought I’d go ahead and share it. I wish that it were too late to post soup recipes, but it really isn’t. We’ve moved into cool and rainy, so soup is still all over my menu. If you live somewhere where it’s not soup weather? Yeah, don’t tell me about it, please. I love soup because it’s a one-pot, one-bowl meal that can be entirely balanced.
The key to this soup, I think, is the *right* amount of really good hot sauce for you. Even if you “don’t like spicy things,” you need the hot sauce — you will just add less. GOOD hot sauce will give you tons of flavor and it doesn’t need to have a kick. I’ve written the version for the light end — taste and add more as you see fit.
Soup pre- and post- kale awesomeness
Kitchen Sink Soup
2 teaspoons oil of your choice
1/2 an onion, chopped
pinch of salt
8 oz mushrooms, de-stemmed and broken (I prefer crimini)
3 carrots, chopped
3 celery stalks, sliced thin
15 oz of canned or cooked garbanzo beans
1 teaspoon good hot sauce (or as much as you want)
4 cups of vegetable broth
1 potato, peeled and chopped small
about 4 cups of kale, de-stemmed and shredded
Heat soup pot over medium heat. When the pot is hot, add the oil. When the oil is hot, add the onion and the pinch of salt. Cook, stirring regularly, until onion starts to brown.
Add the broken mushrooms. Breaking mushrooms rather than chopping them gives you bigger mushroom chunks and reduces the shrinkage. Cook until the mushrooms have sweated and darkened.
Add the carrots, celery, garbanzo, hot sauce, and vegetable broth. Stir well, and stir in the potato. Cover and bring to a boil, then reduce to a simmer and cook for 20 – 30 minutes — when the carrots and potatoes are cooked, you’re good.
Add the kale, stir, and let cook another 2-3 minutes until the kale is brighter green. Do NOT overcook the kale! Taste and adjust the hot sauce and salt if you need to.
Hey, here’s an ethnic mash-up for you. My Irish family always celebrated St. Patrick’s Day rather traditionally, in part because my grandfather’s birthday was the 16th and he loved the traditional corned beef and cabbage. Personally, though, I would survive just fine without ever seeing that again (there was an incident involving snow, Georgia, a cancelled party, and corned beef and cabbage for about 30 consumed by the six of us for, oh, about eternity. BLECH.)
However.
Potatoes in all their forms are one of my favorite things on earth. And I’m not actually all that Irish by blood. So I’ve been thinking of ways to mash my Chinese heritage and my Irish heritage into a dish, via midwest America, and I found it via Hanukkah’s latkes. Latkes are the best holiday food anyone has ever invented in the history of all things. Now the symbolism of latkes is focused on the oil not the potatoes, but for St. Patrick’s Day, it seems right to minimize the oil and focus on the potato, no? To hold everything together, instead of egg and flour, I’ve made a homemade sweet and sour sauce, with an added (optional) bonus of hot, and added broccoli for flavor and color (it’s green, right?).
So I bring you the Chinese-Irish St. Patrick’s Day Latke. It’s possible that the story here makes sense to exactly one person in the world (me), but the flavors will make sense to a lot more of you. These are vegan, gluten-free, ethnically diverse, and baked, because frying is just messy. I hope you enjoy them.
Raw latke materials
Chinese-Irish Baked Latkes
3/4 cup water
1/4 cup vinegar (cider or white, your choice)
1/4 cup ketchup
1/4 cup + 1 Tablespoon sugar
2 Tablespoons tomato paste
2 Tablespoons tapioca starch
1/2 teaspoon salt
1/2 teaspoon red pepper flakes (optional or adjust to your taste)
about 1 inch of a chunk of fresh ginger, peeled and smashed (I just use the pot lid to smash)
2 large baking potatoes, washed and peeled (1.5 to 2 lbs.)
1 large head of broccoli, trimmed (1/2 lb.)
oil to grease pans
First, make the sauce. Whisk all ingredients, water through ginger, together in a saucepan. Heat over medium-high heat until boiling, and cook, whisking regularly, to reduce to about 1/2 cup, total (a little less than half its original volume, and pretty thick). This takes 10-15 minutes. Strain out ginger and red pepper flakes (the taste of both stays in the sauce, I promise). Set aside while you prep the vegetables.
Preheat the oven to 425ºF. Prepare two pans by spraying or brushing with oil.
Wash the broccoli and potatoes. Peel the potatoes. Chop both into sizes that will fit in your food processor.
Put the broccoli through the shredder blade and then empty into a large mixing bowl. Peel the potatoes and then shred them. Wrap the shreds in a clean kitchen towel and squeeze as much liquid out as you possibly can. Twist and wring — you will be surprised how much liquid is in them, and this makes your patties soggy. Squeeze a little longer than you think you should. Empty them into the bowl as well (and rinse the towel).
Mix the broccoli and potatoes, then add the sauce. Mix. It seems as though it will not come together — but it will. I found a rubber spatula worked best for this, and I had already dirtied one scraping the sauce into the mix; so perfect.
latkes ready for oven
Scoop scant 1/4 cups of the mix onto the greased trays. Flatten these out and neaten up the edges. Don’t skip the neatening! Those bits will burn (as you can see in the photos). Bake on a center rack (not the bottom rack! Ask me how I know.) for 10 minutes, then flip all patties and bake for another 5-10 minutes (this seems to depend on the weight of the pan you are using).