It’s fall (I’m not discussing the “winter” word yet, although it snowed here yesterday) with all those yummy, carbohydrate-filled veggies available. This dish is pretty easy but seems complicated to those who aren’t in the know. Also, although this may seem like a lot, it’s great as leftovers. I even love it cold over a tossed salad a day or two later. Try it as a new side dish for Thanksgiving, or for other potlucks this winter.
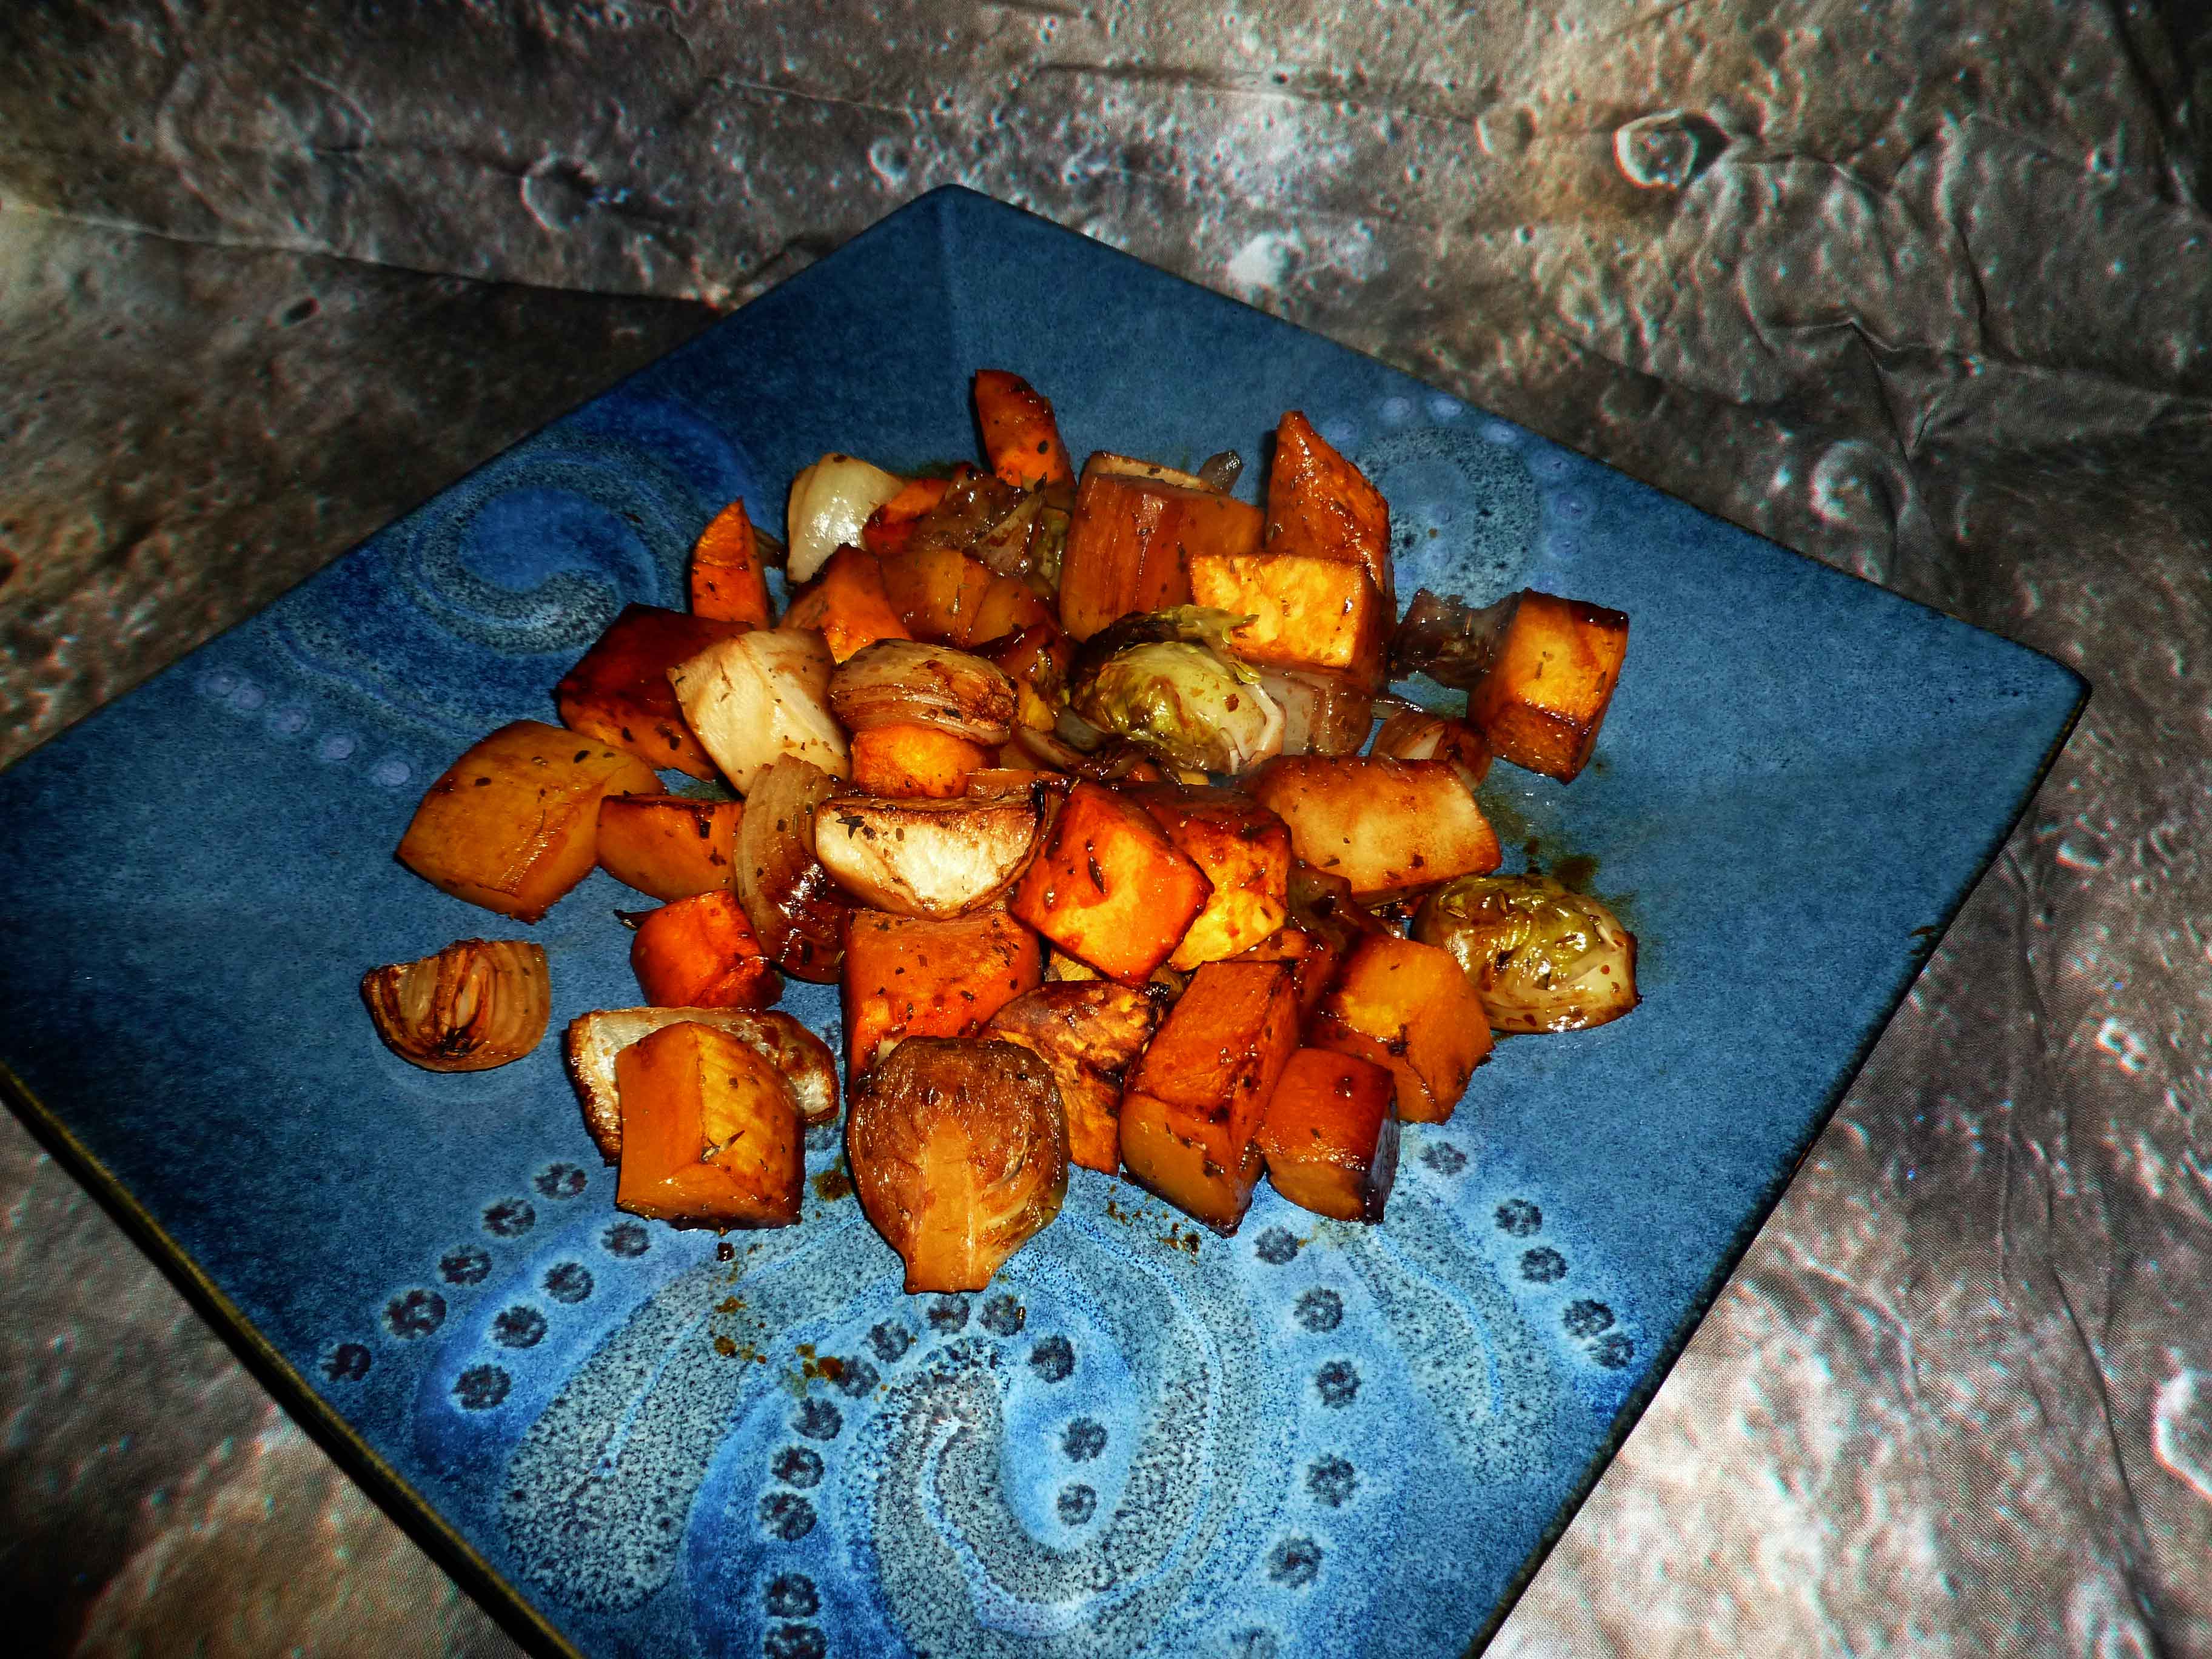
Roasted Autumn Vegetables with a Balsamic Glaze
Serves at least 4 in generous portions.
Balsamic Glaze:
- I cup of balsamic vinegar (be careful, get one without caramel color, which could be dairy, wheat or corn.)
- 1 1/2 Tablespoons of Italian Seasoning (or a bit of oregano, basil, marjoram, sage, rosemary, and thyme to add up to 1 1/2 Tablespoons)
- 2 Tablespoons of brown sugar
- 2 Tablespoons of olive oil
Vegetables:
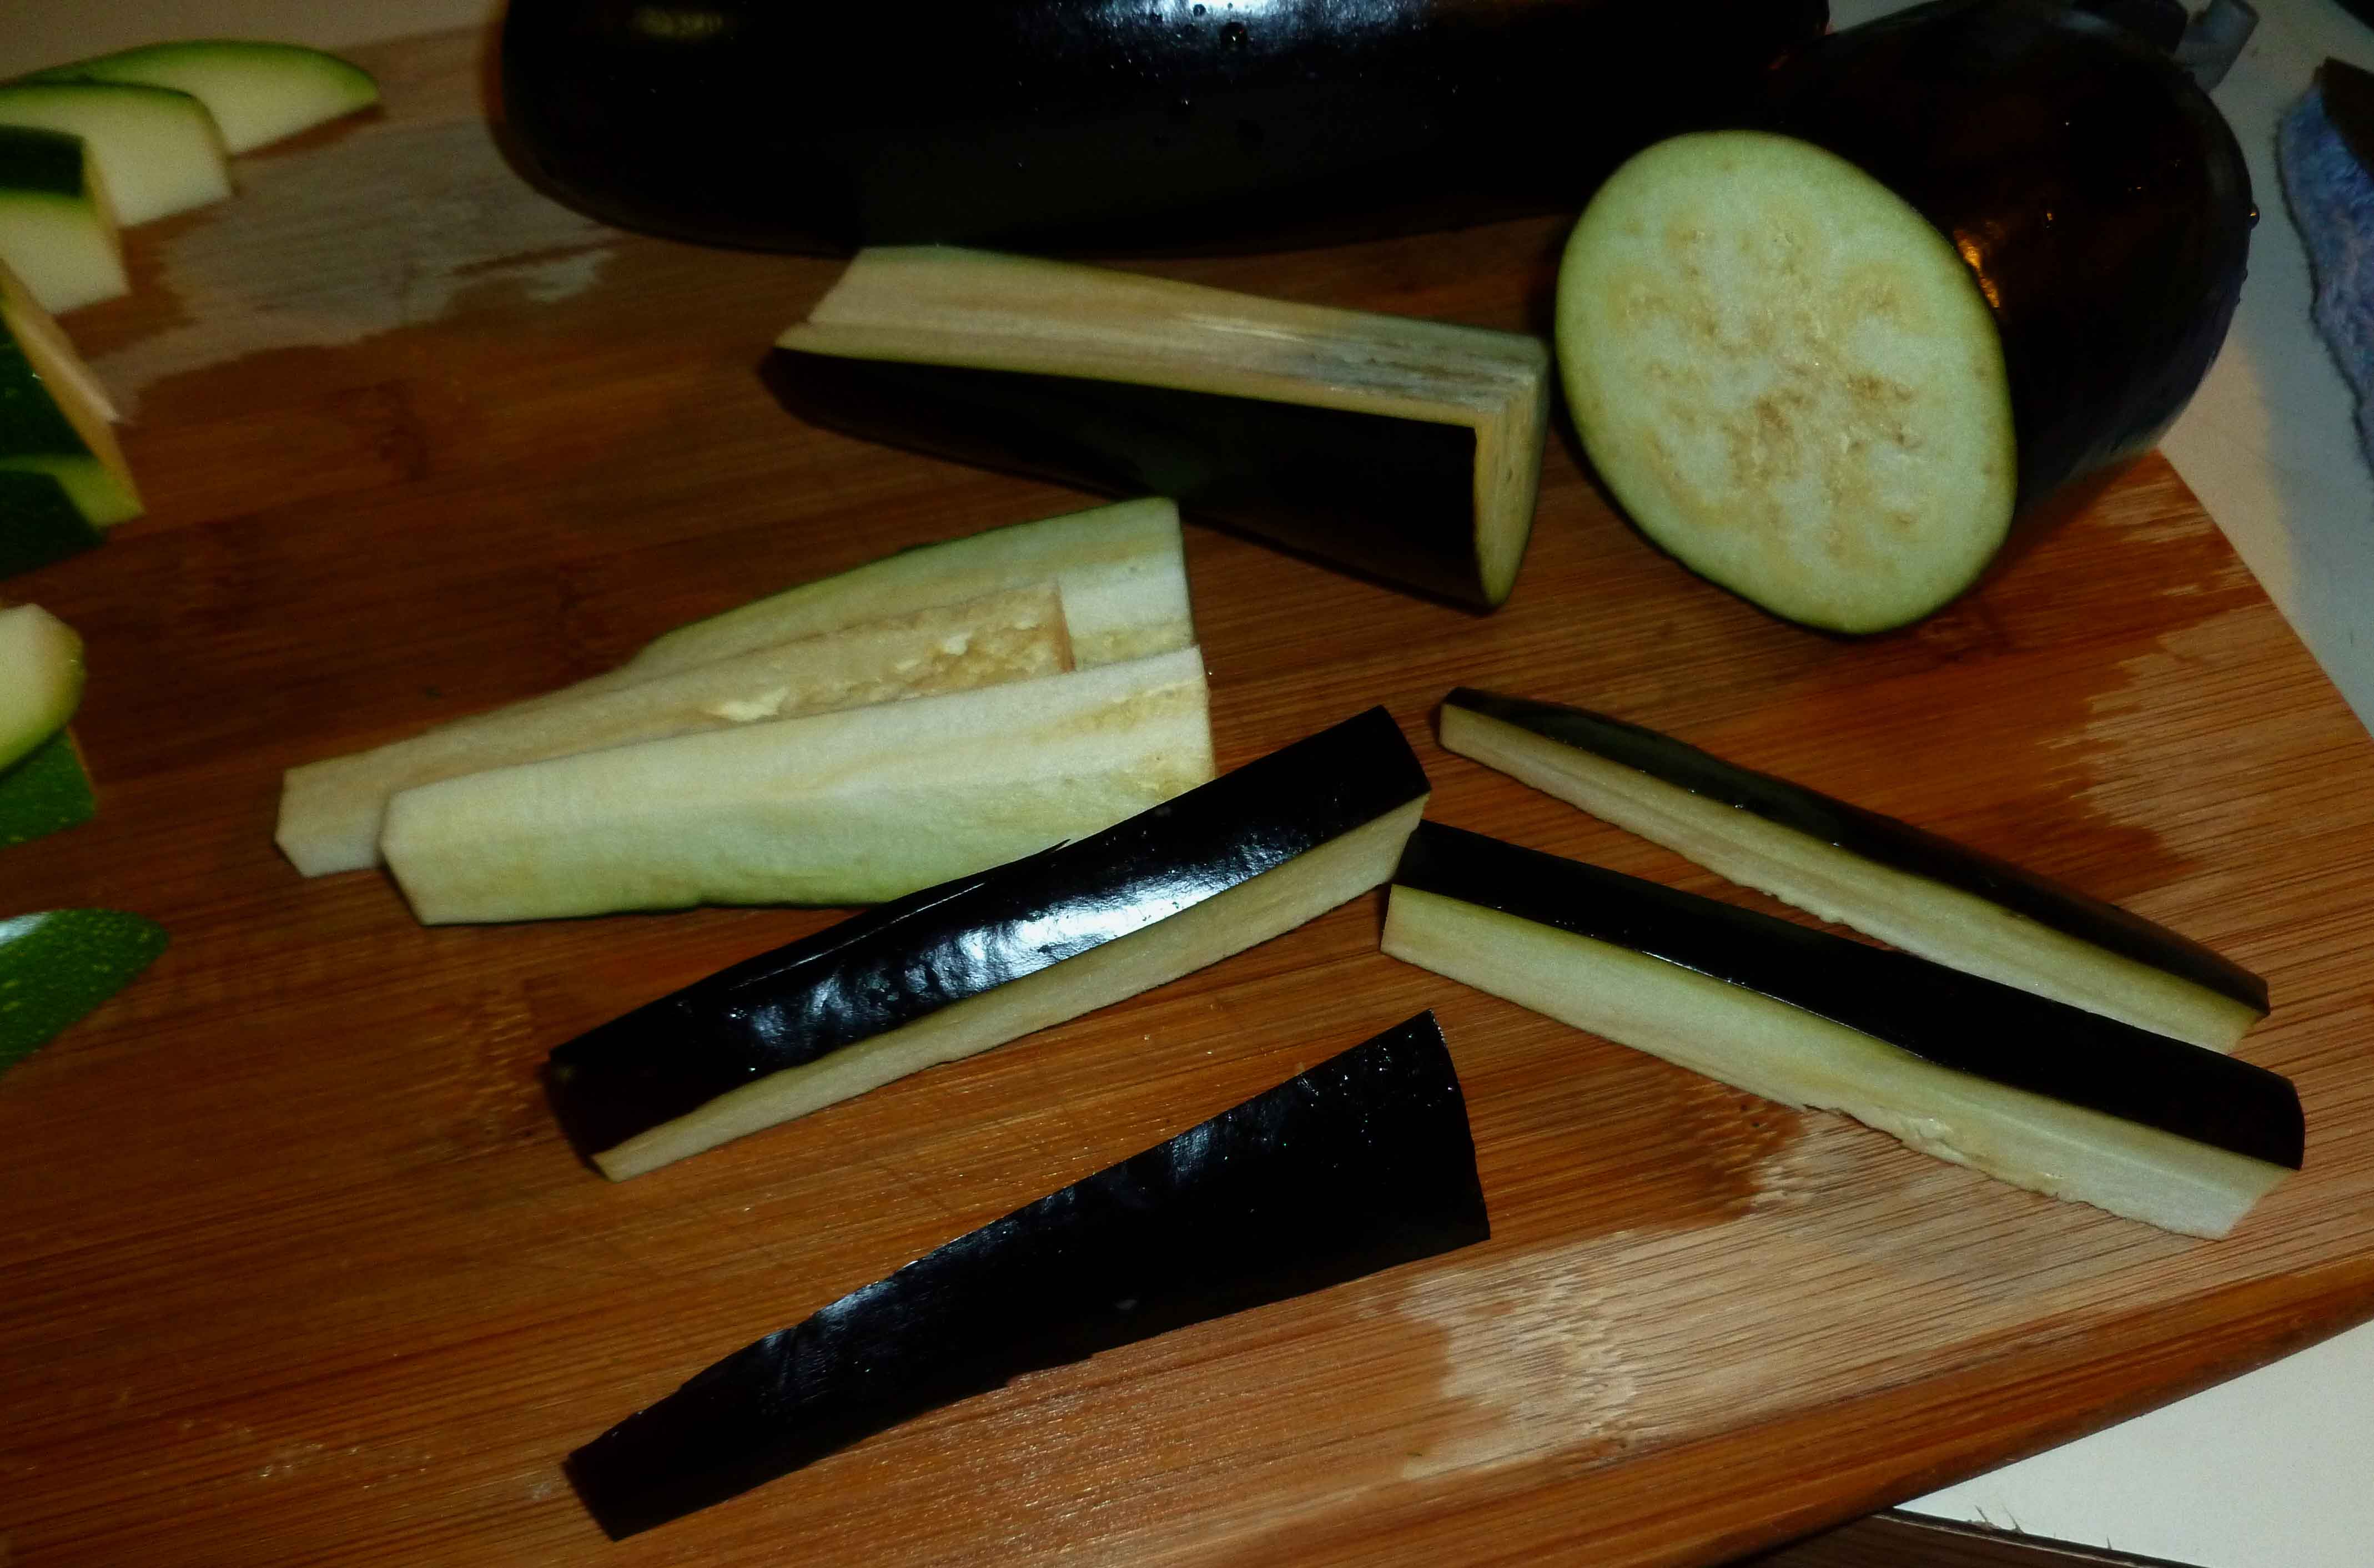
- 2 carrots, peeled and chopped into 1 inch chunks
- 2 small onions, peeled, cut in half and then each half cut into quarters
- 1 sweet potato, peeled and chopped into 1 inch chunks
- 1 small turnip (about the size of a large tomato), peeled and chopped into 1 inch chunks
- 1/2 of a butternut squash (or 1 20 oz bag of fresh peeled butternut squash), peeled and chopped into 1 inch chunks
- 2-3 cups of brussel sprouts, outer leaves removed if necessary and stems trimmed, and cut in half
Preheat your oven to 400°F. Using an oil mister, or a bit of oil and a paper towel, grease a sheet pan.
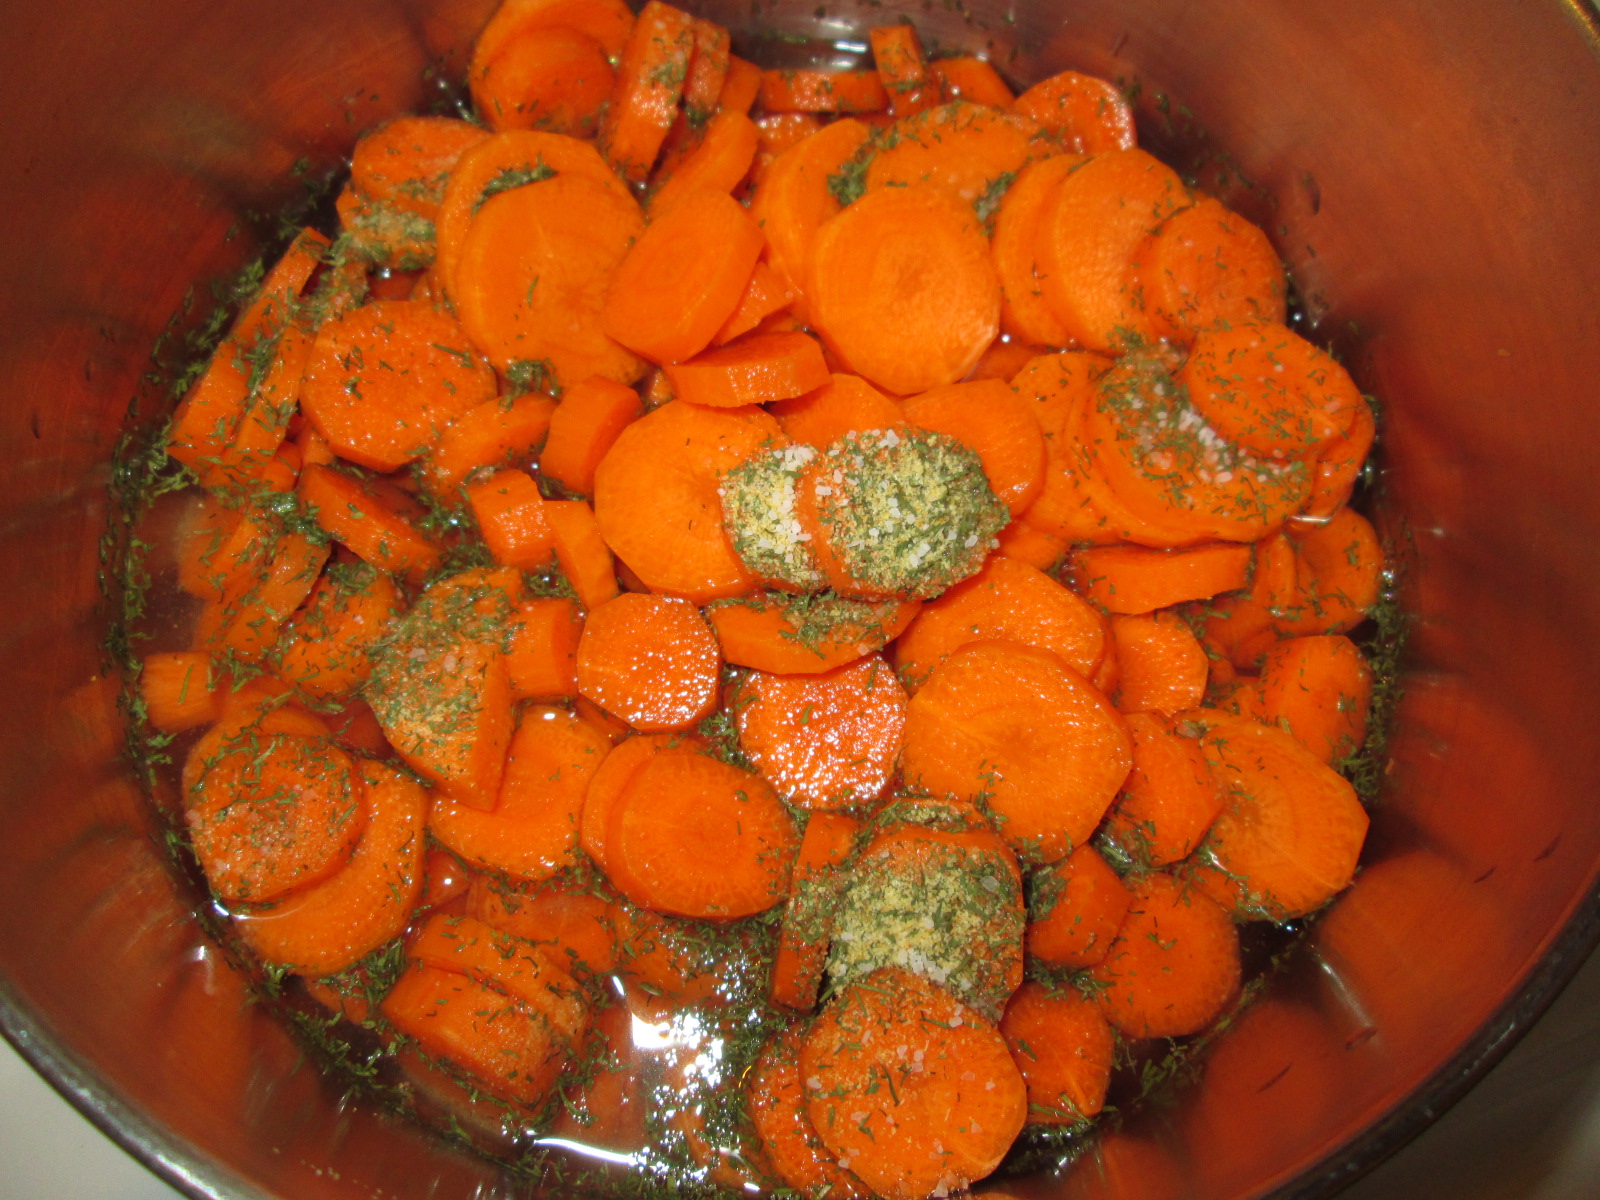
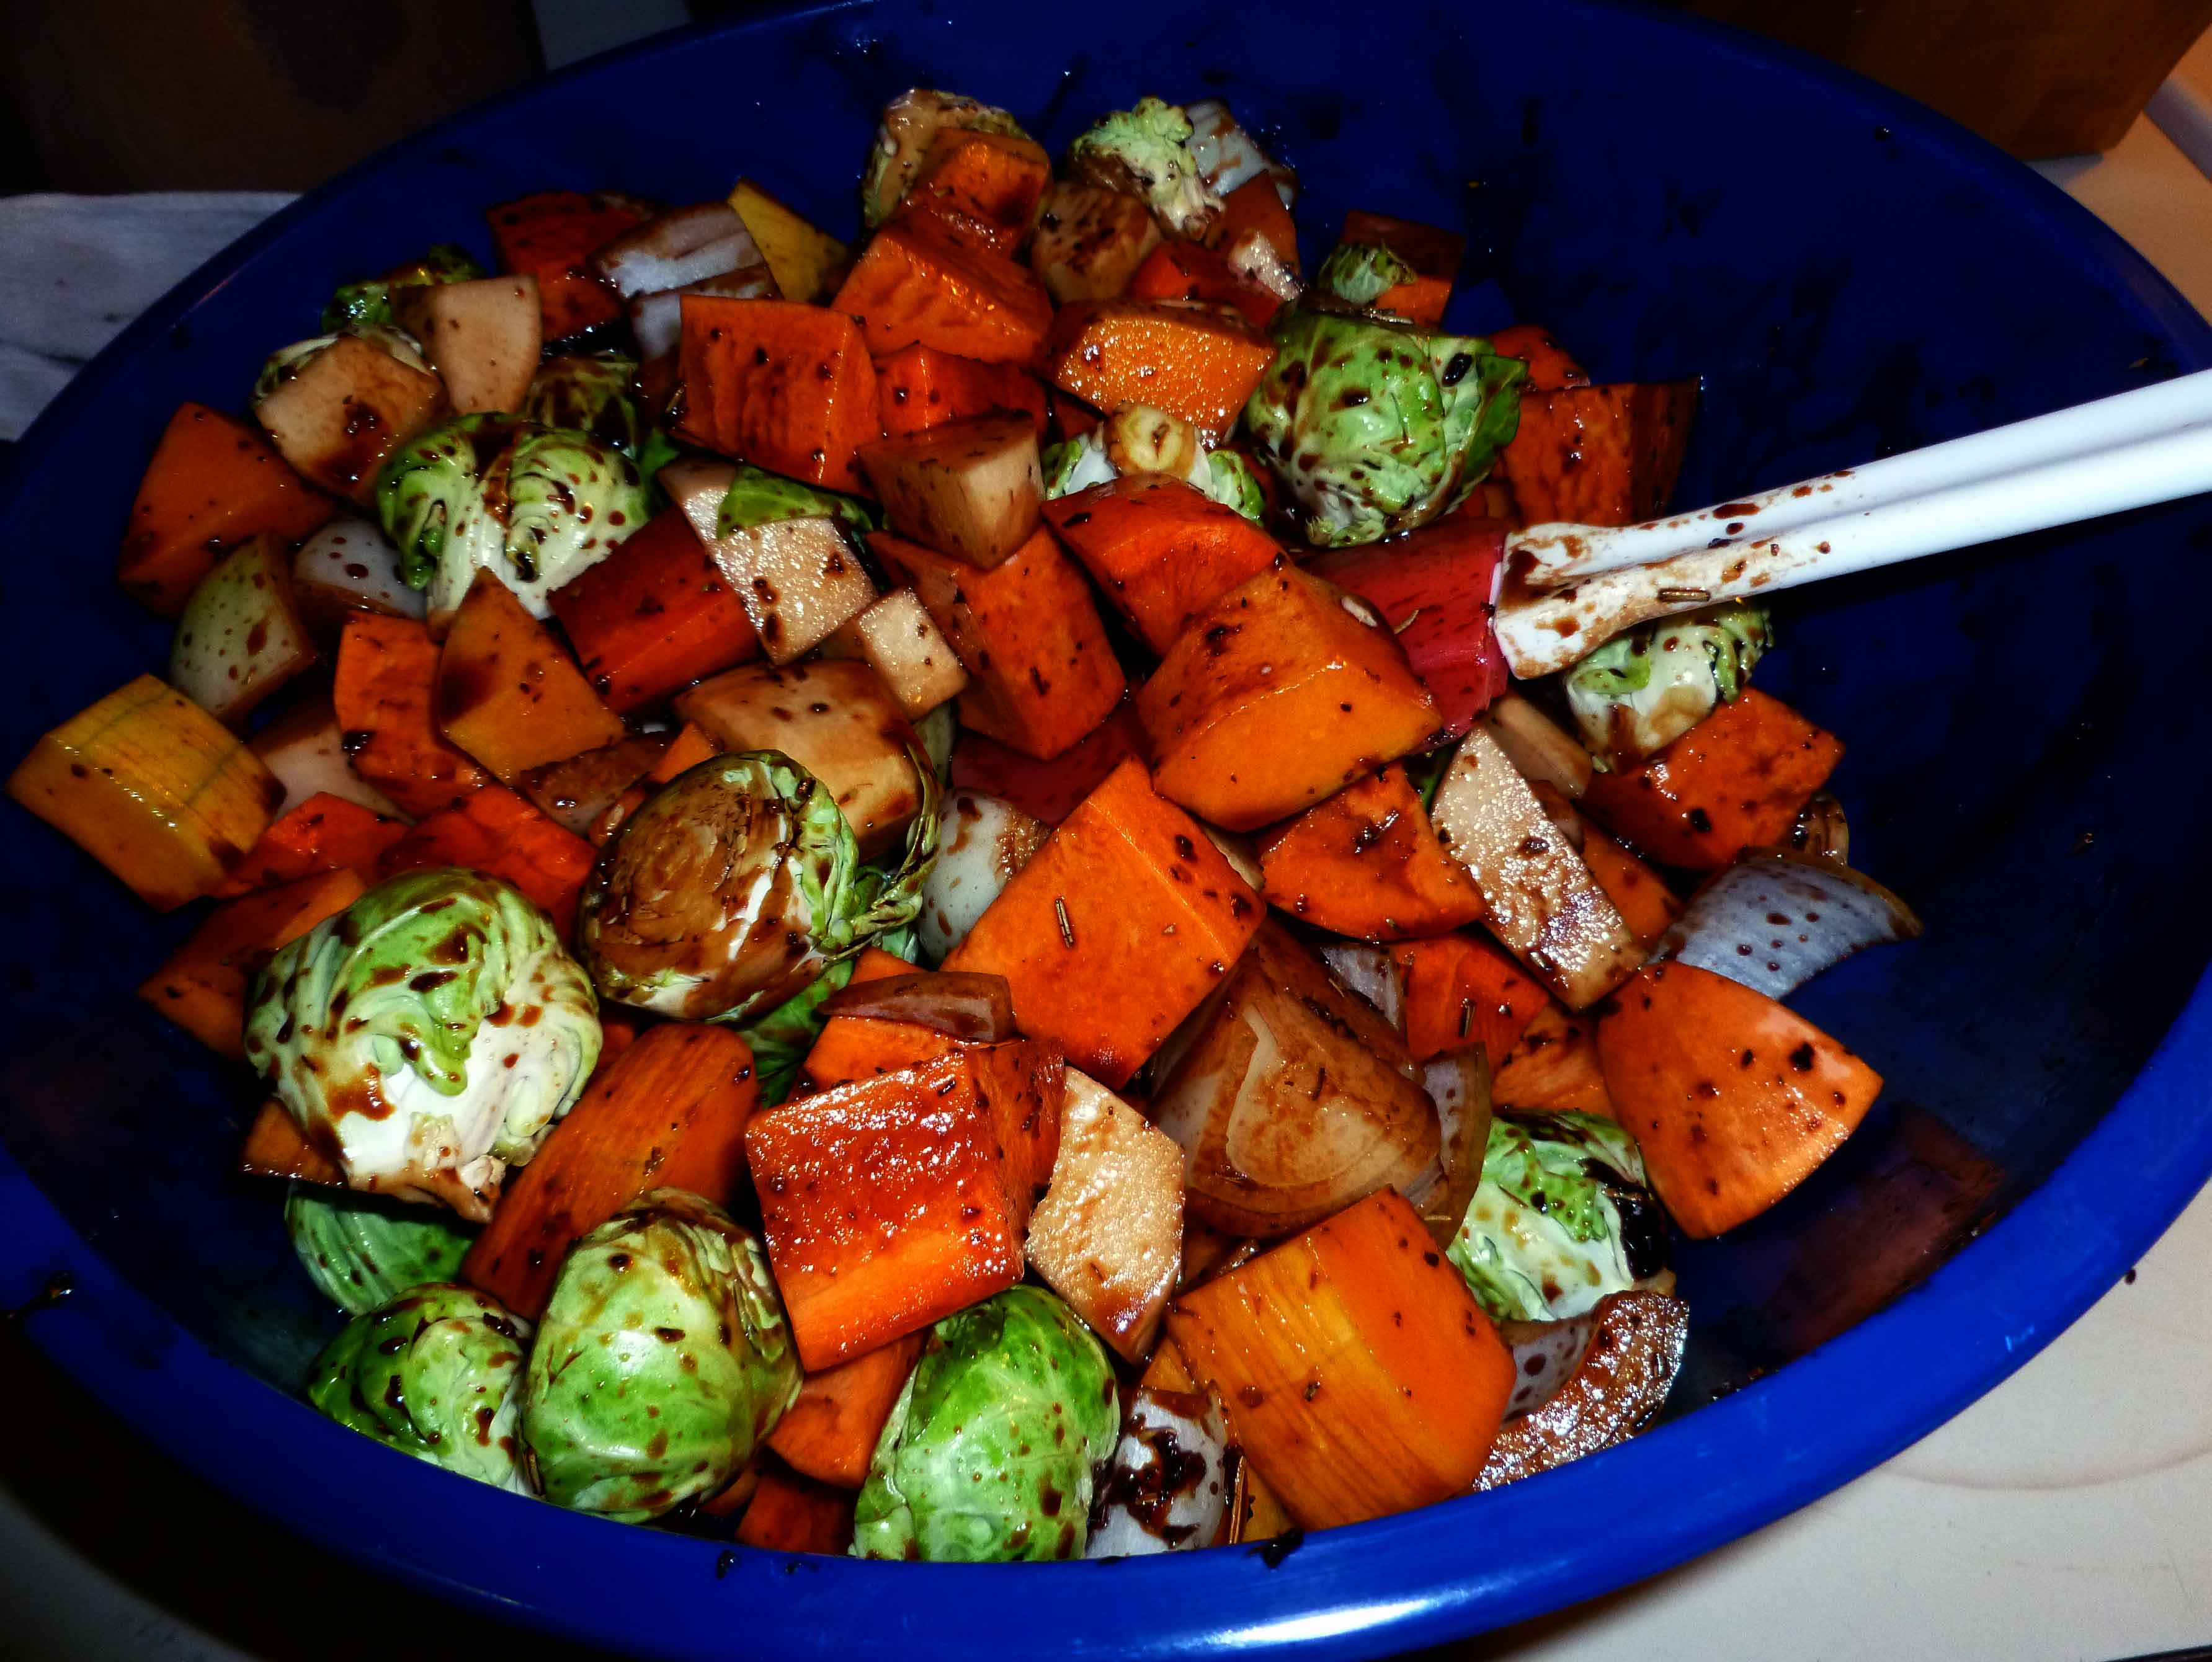
Prepare all your vegetables as discussed above and put them in a large heat safe bowl. You’re going to be tossing them with the glaze, so make sure you have room to stir and work. Put the bowl aside.

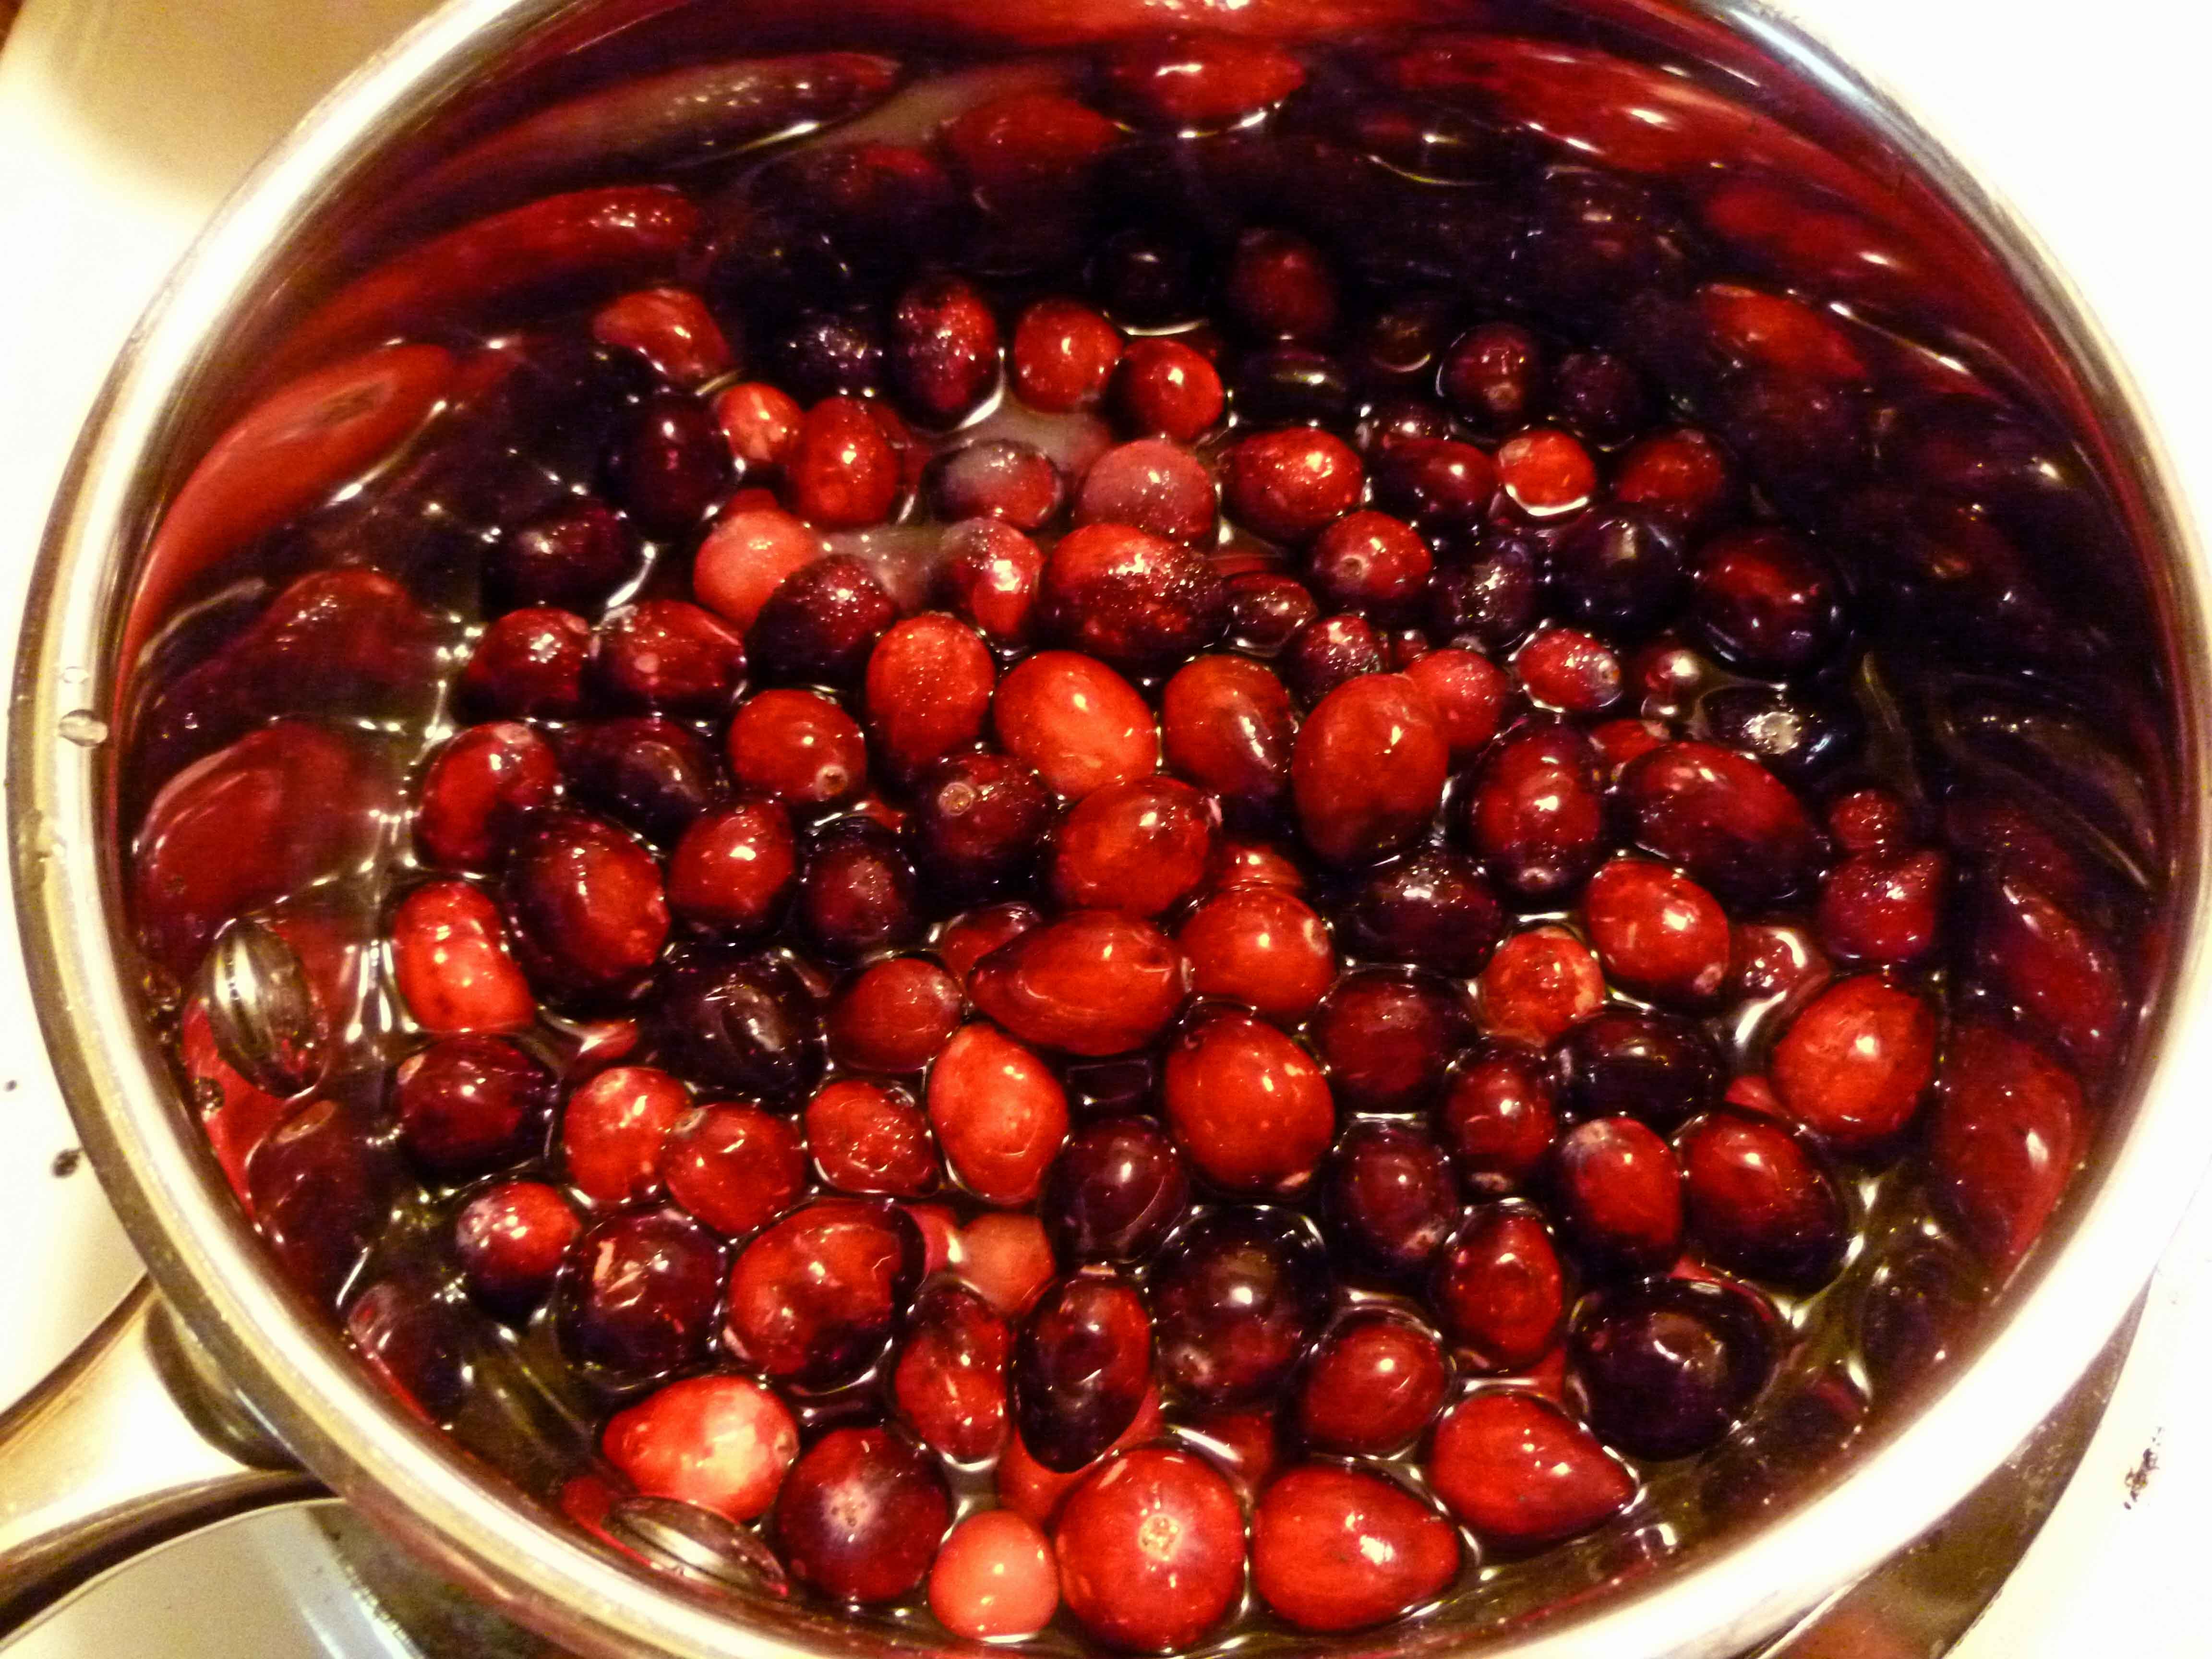
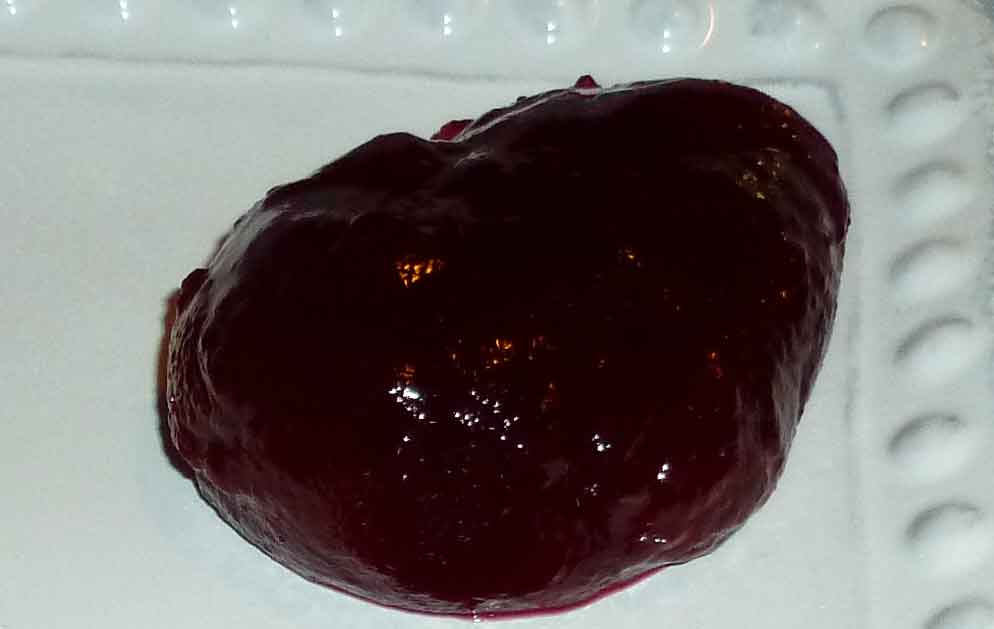
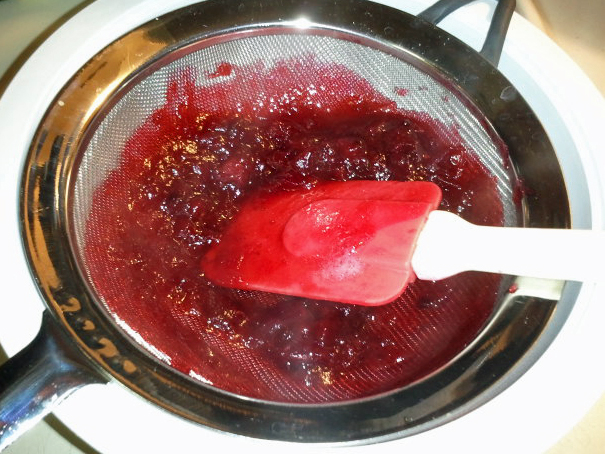
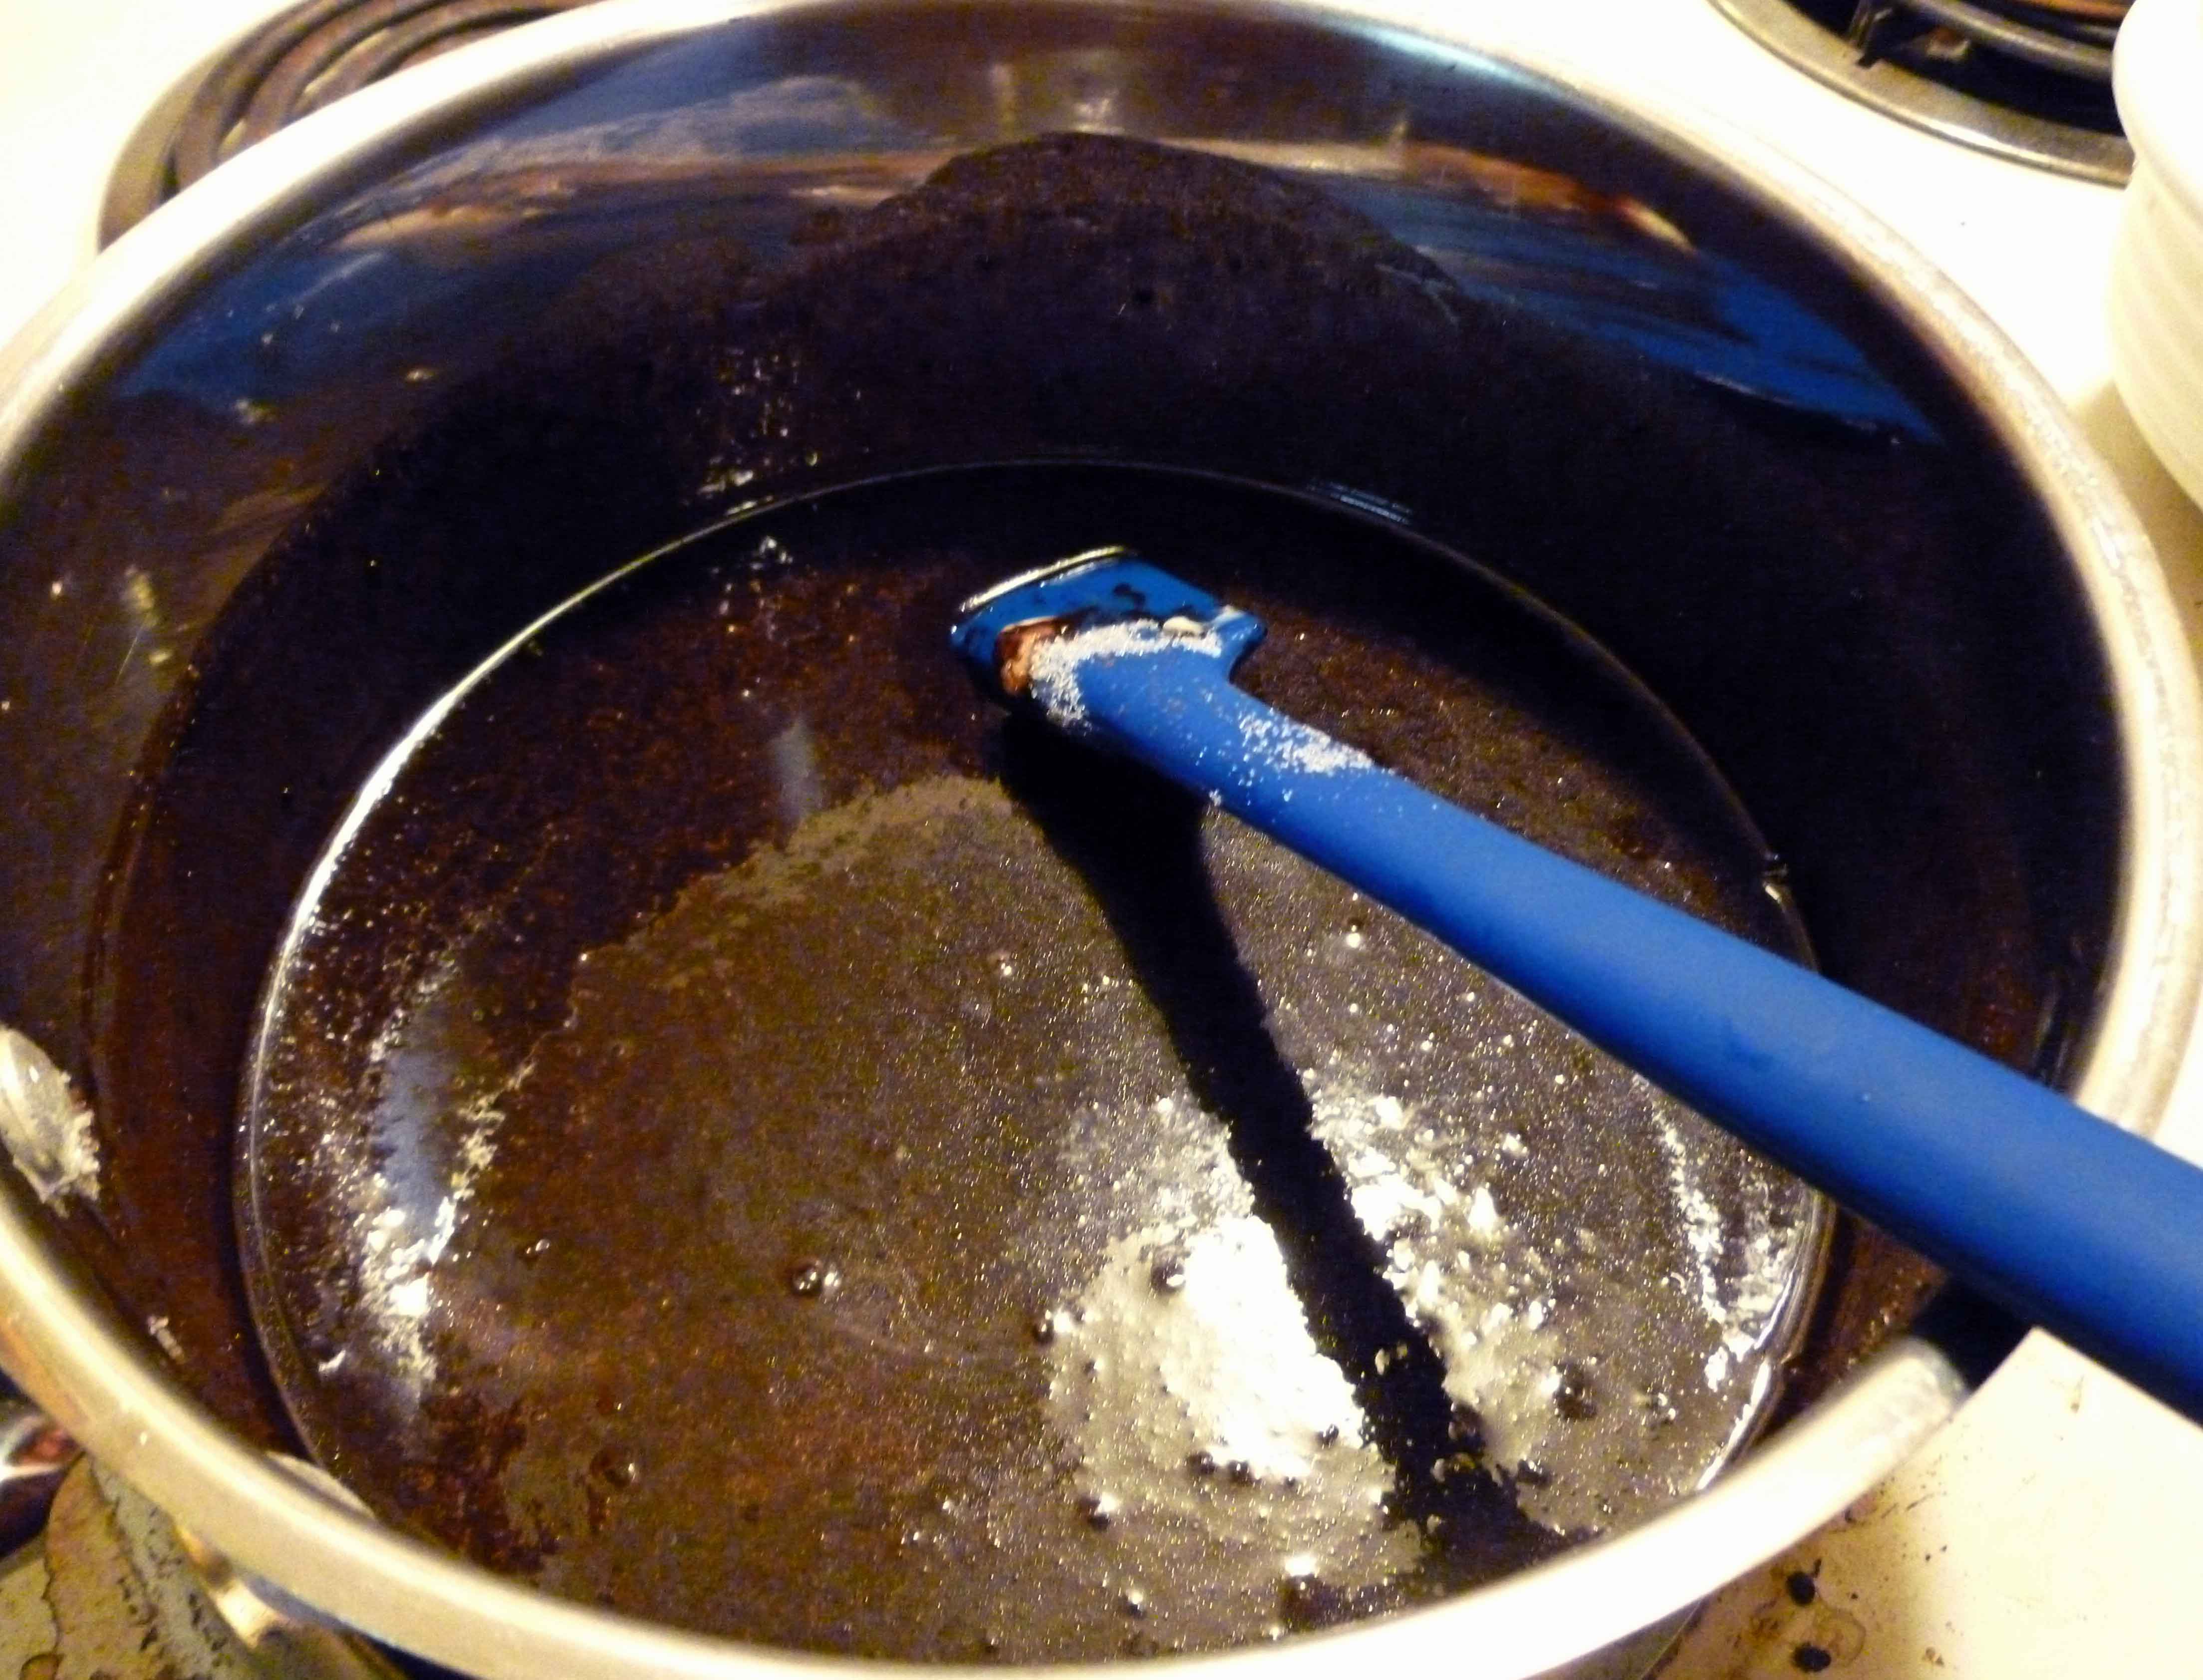
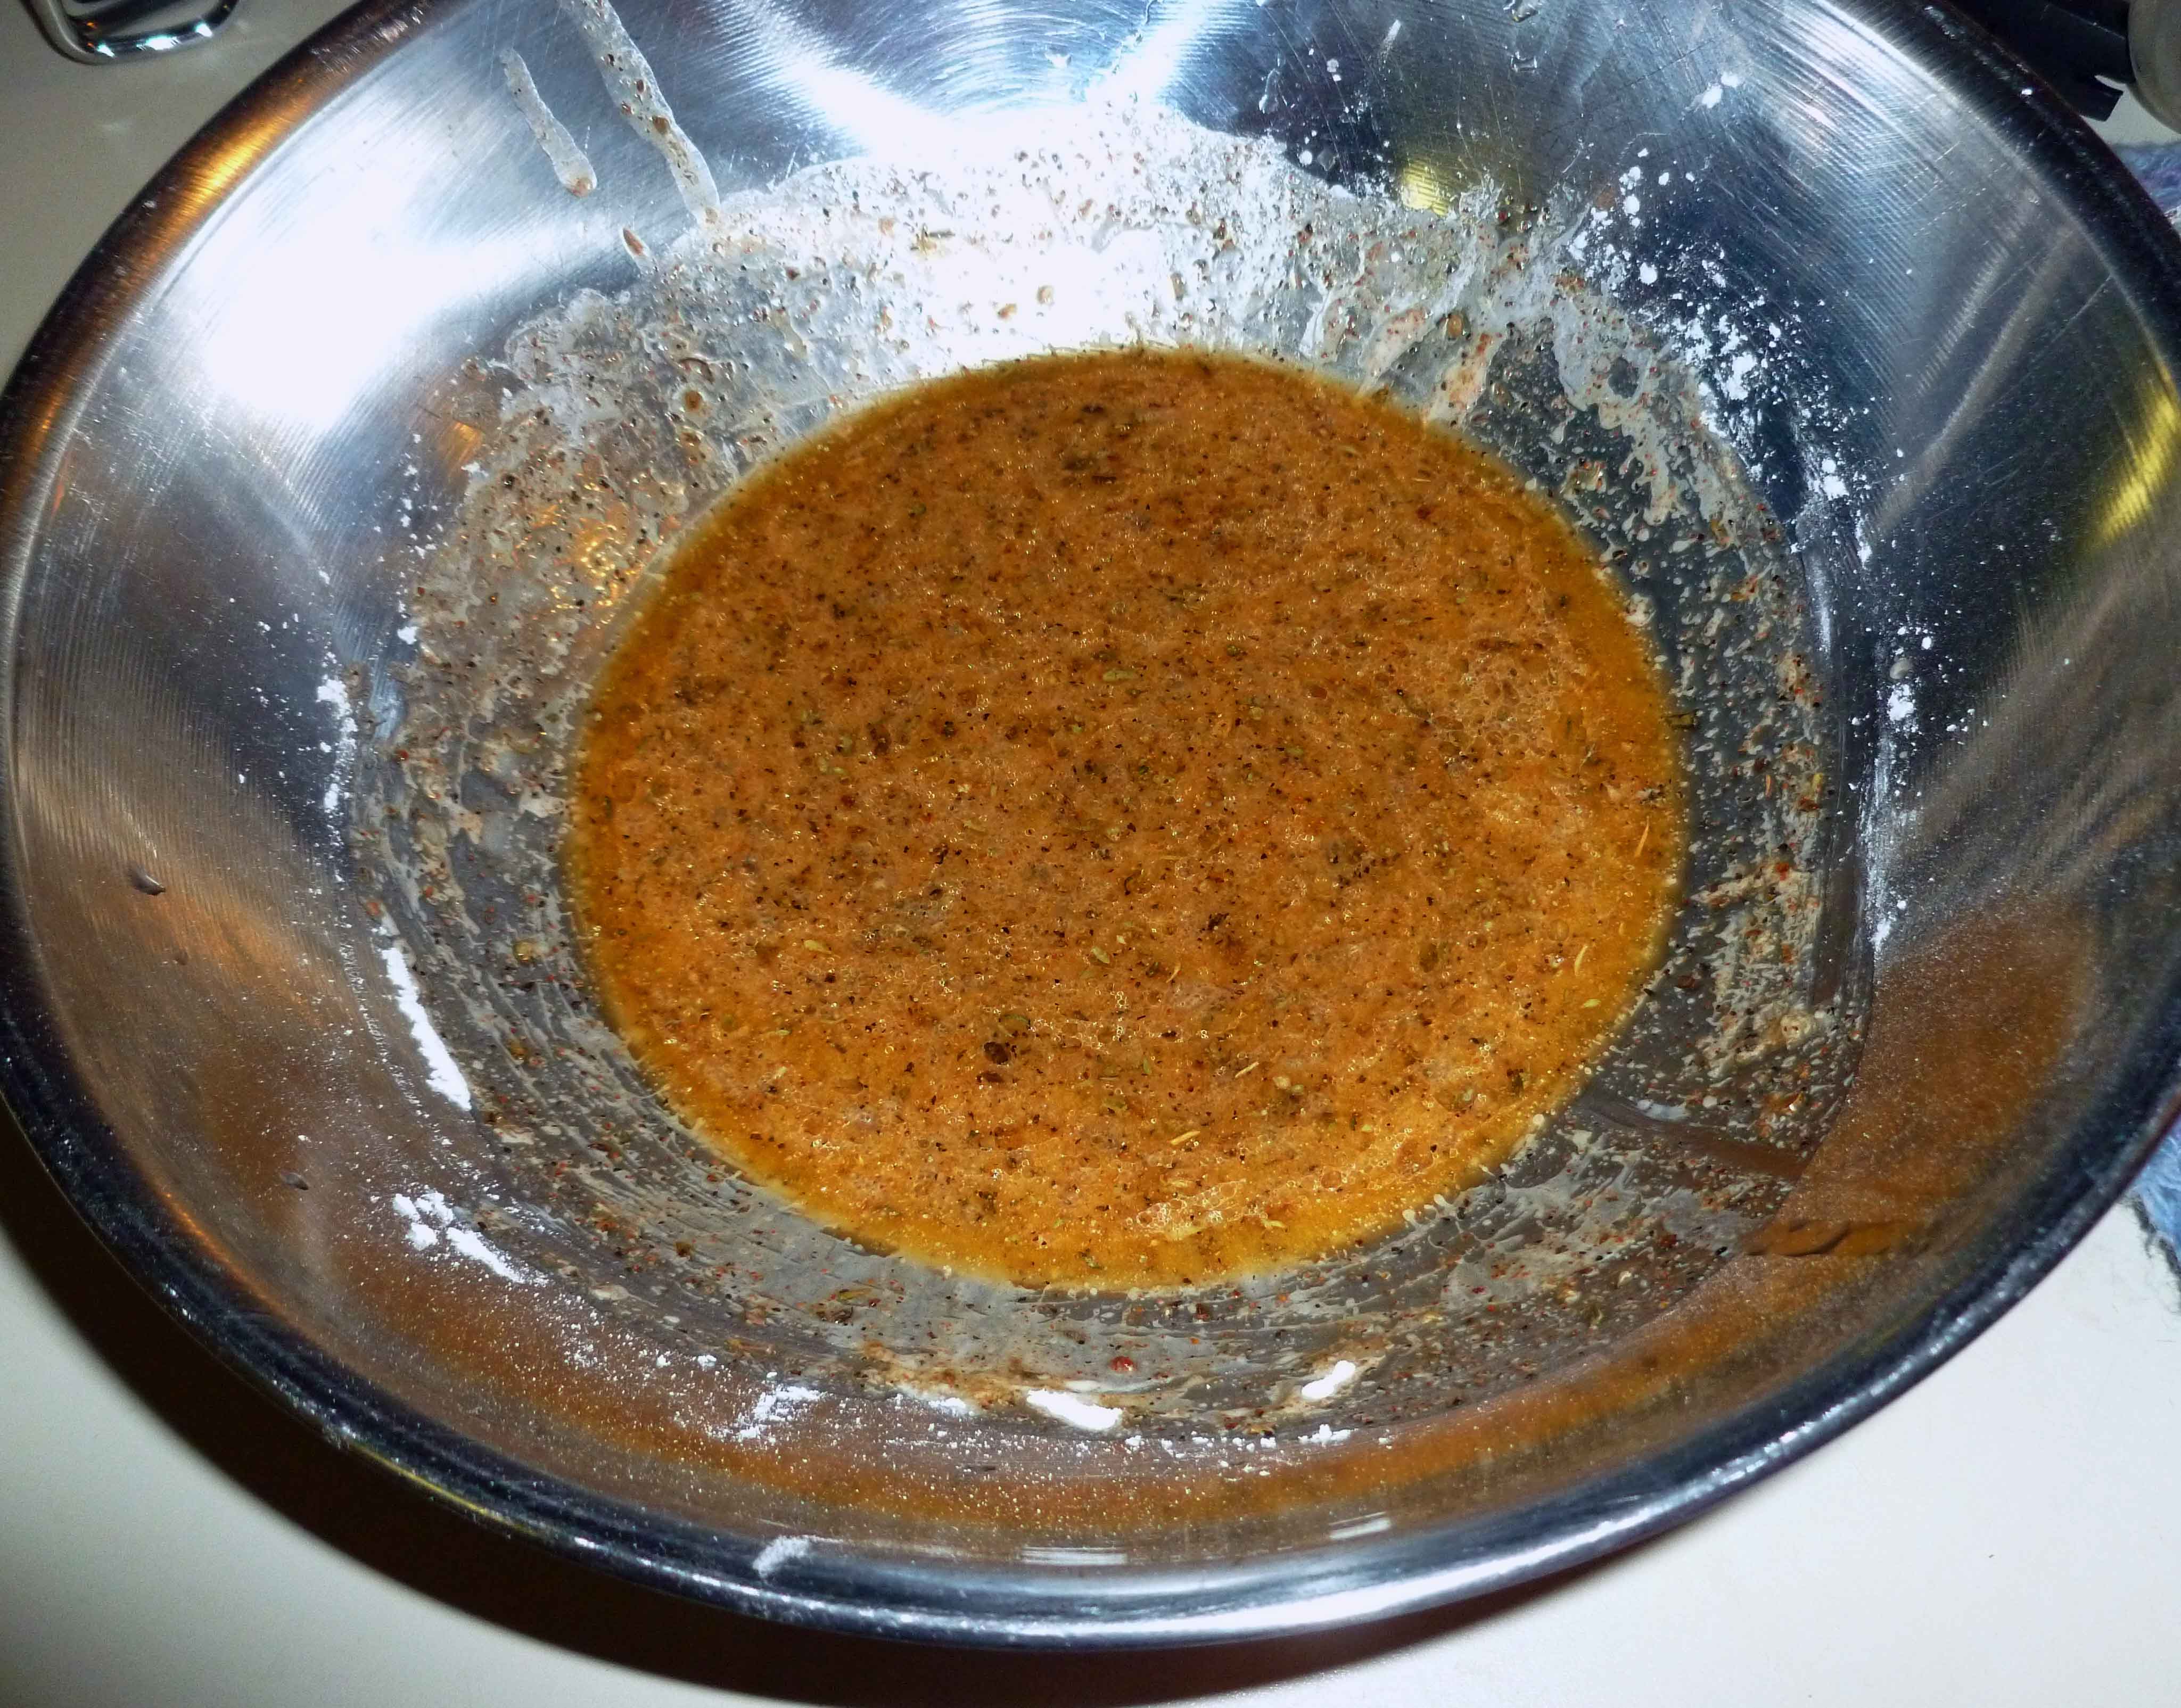
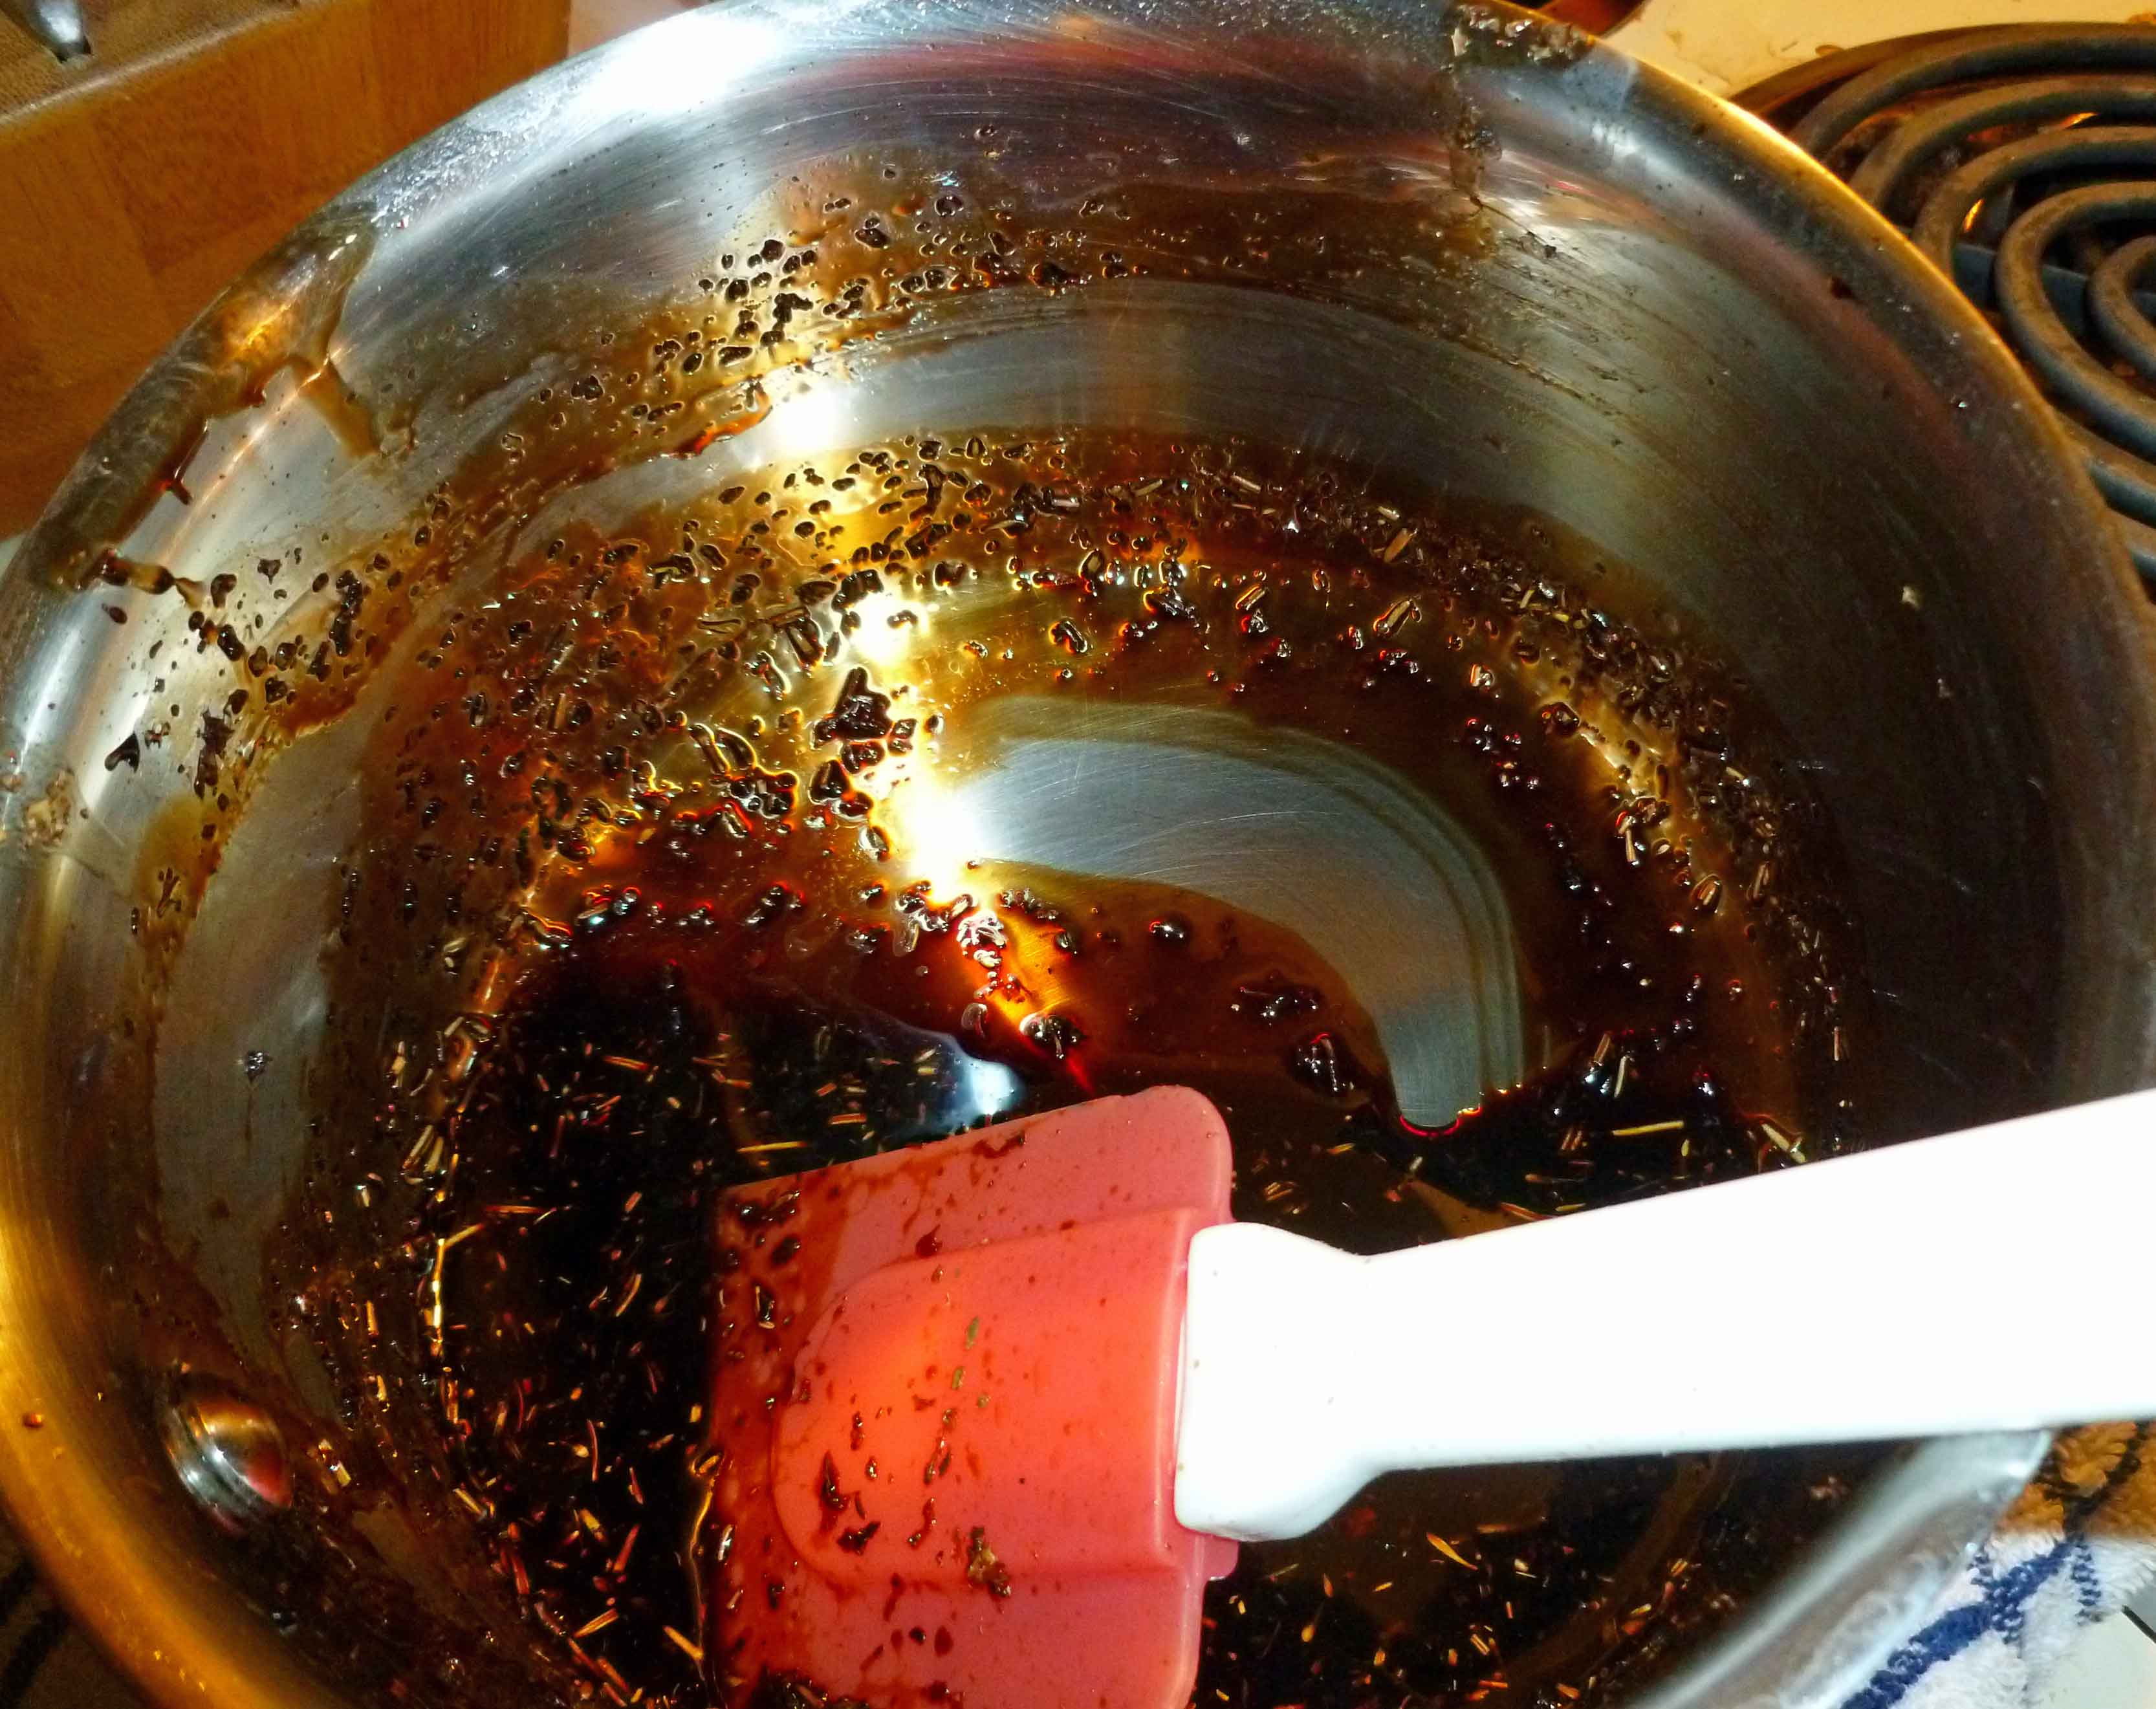
Using a small non-reactive saucepan, add your balsamic vinegar, Italian seasoning or spices, and the brown sugar. Over medium high heat, simmer the glaze at a low boil until the vinegar has reduced down to a slightly thicker syrupy consistency, as shown:
Once the glaze has reduced down, remove it from the heat and add the olive oil. Stir thoroughly.
Pour the glaze over the vegetables, scraping down the sauce pan so that all the glaze ends up in the bowl. Mix the vegetables and glaze thoroughly so that all the vegetables are coated.
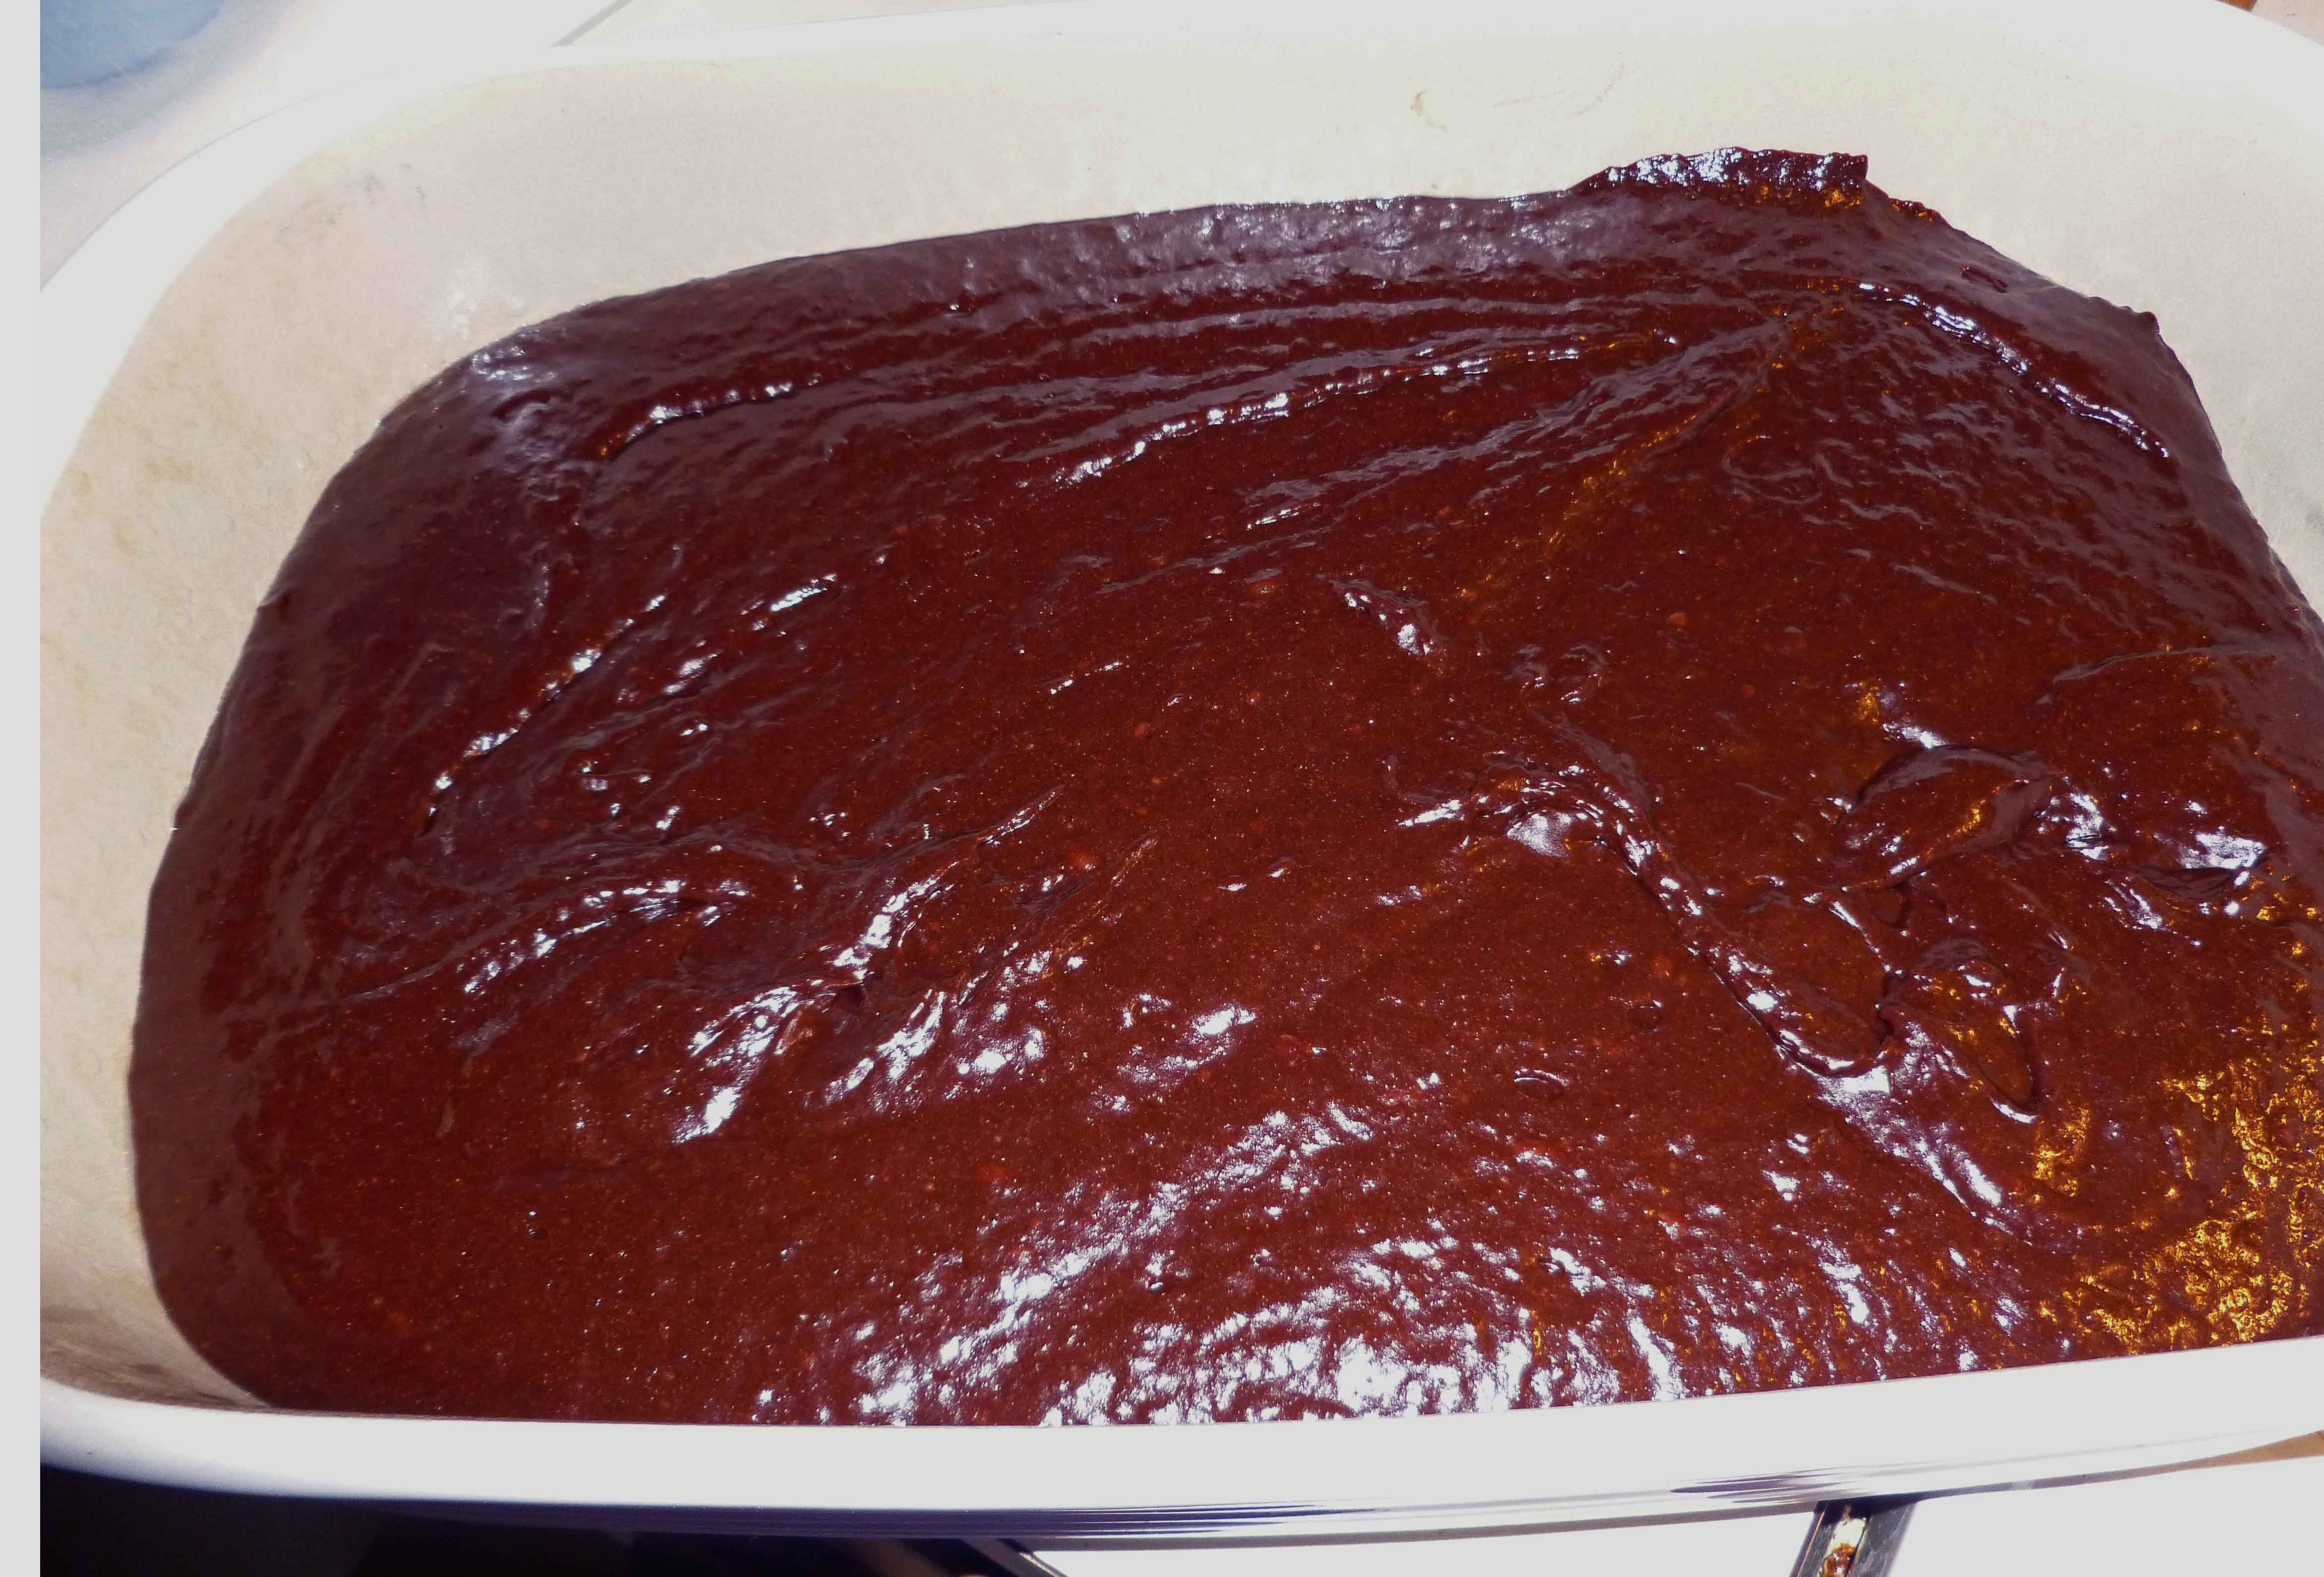
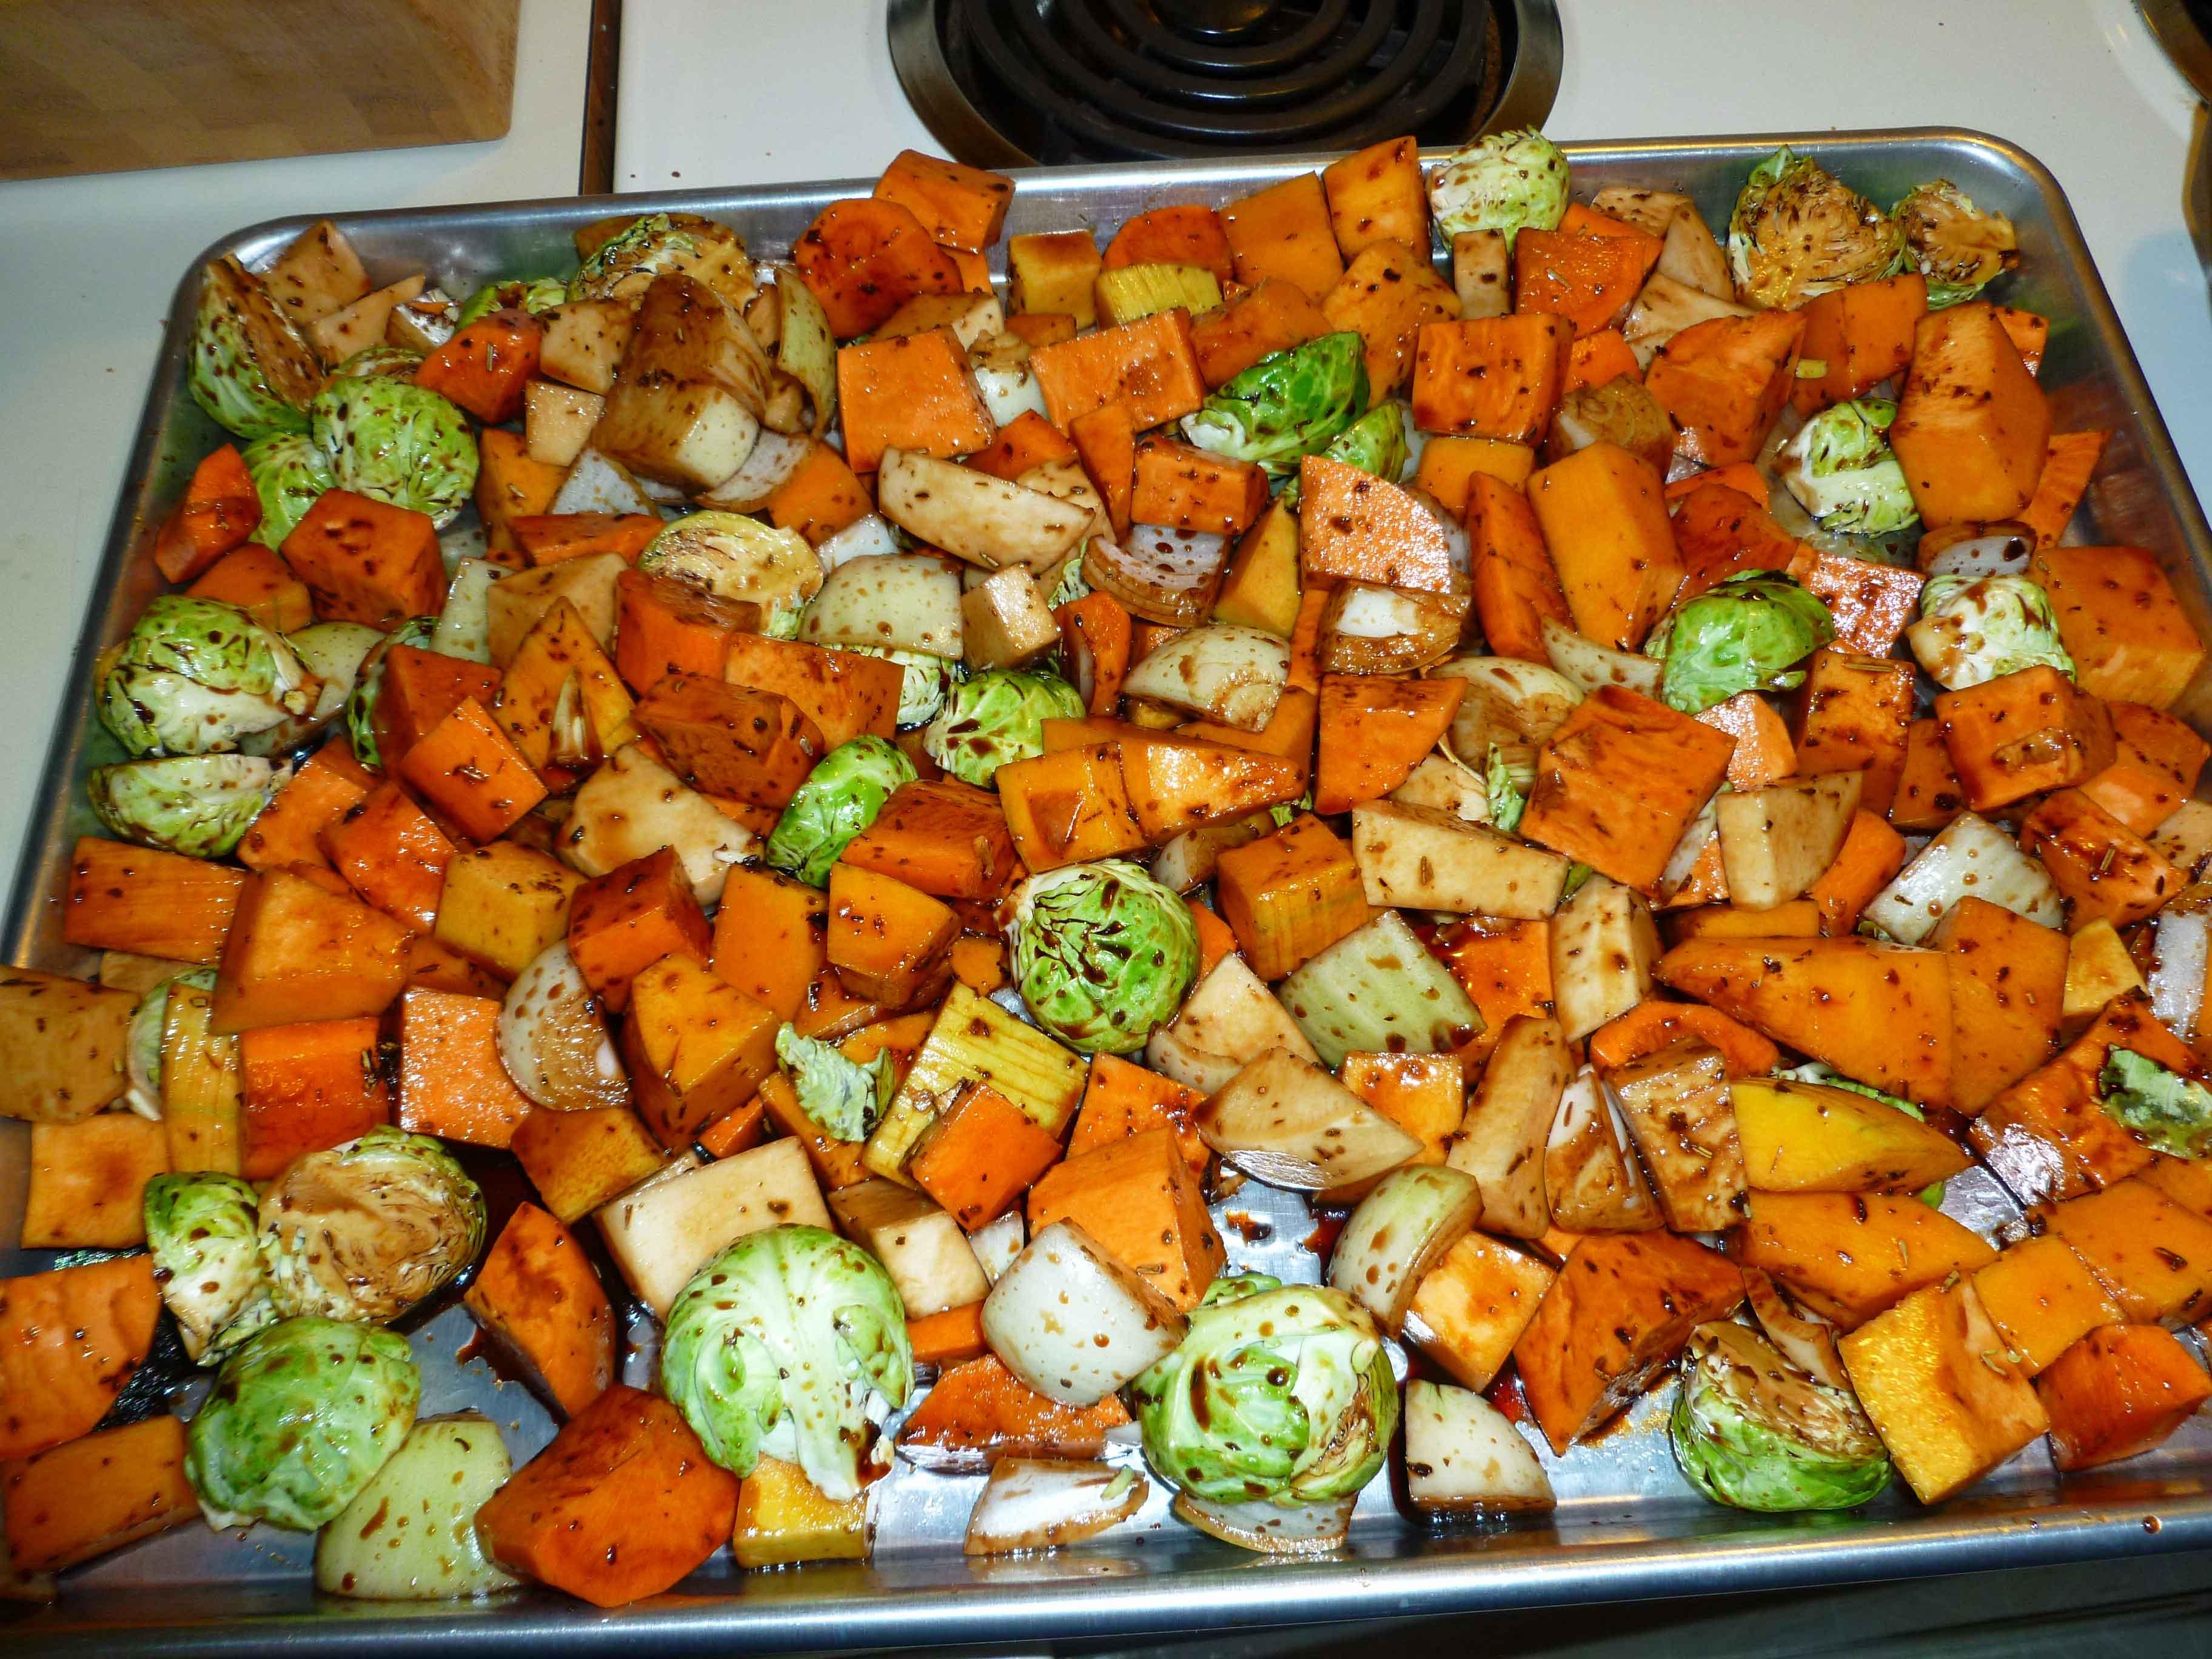
Pour the coated vegetables on the sheet pan and distribute them evenly.
Place them in the oven and cook until the vegetables are tender, about 45 minutes to an hour depending on how large your pieces are. You might want to test them with a fork.
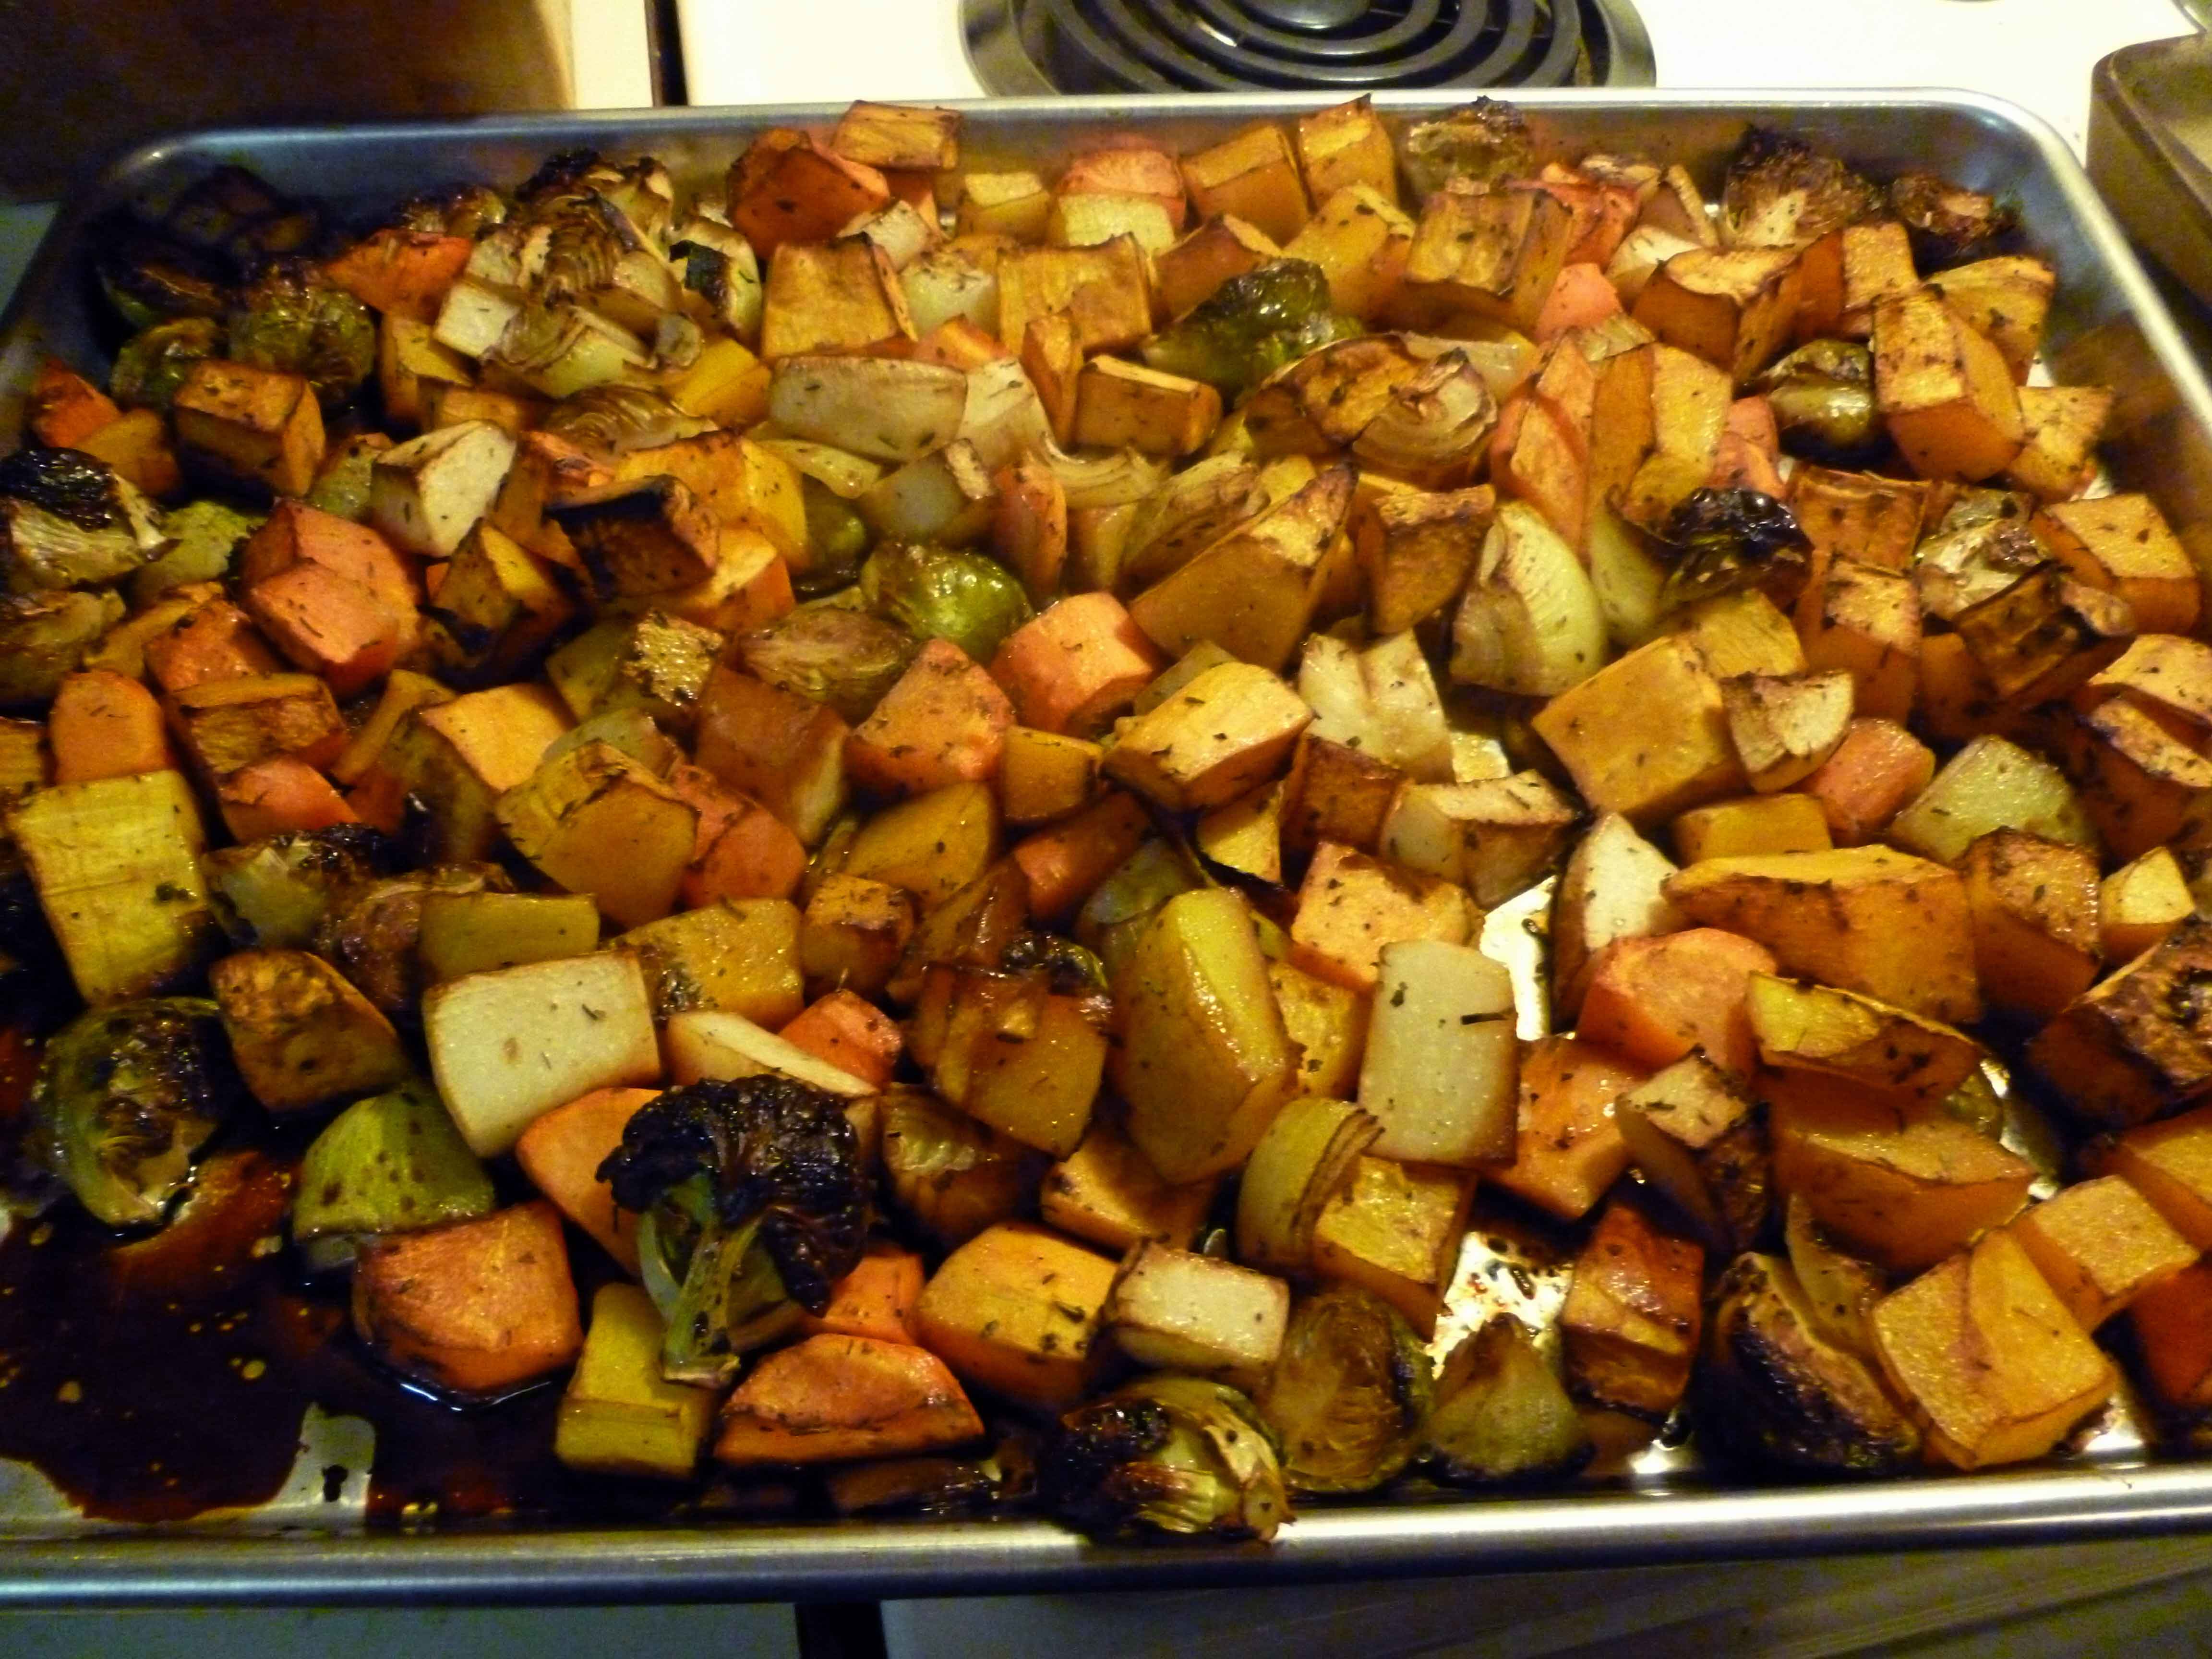
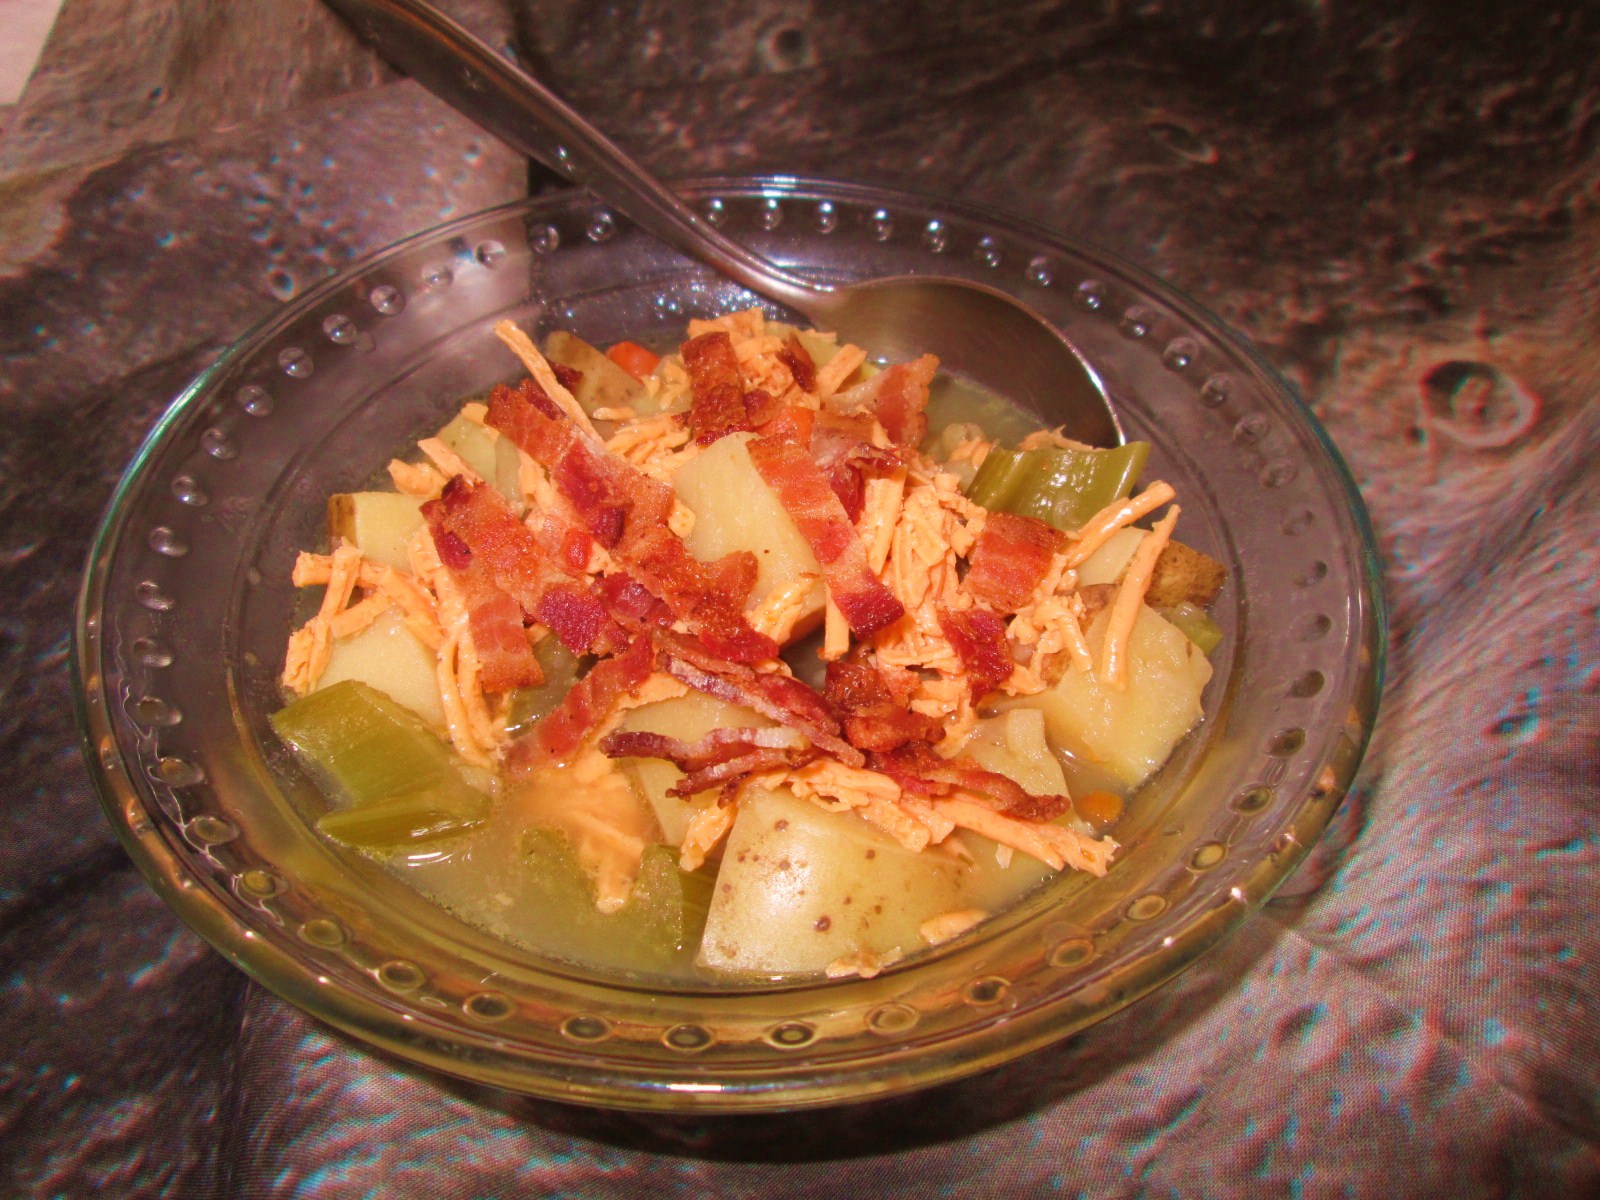
Enjoy!