Notice: Function _load_textdomain_just_in_time was called incorrectly. Translation loading for the wp-ultimate-recipe domain was triggered too early. This is usually an indicator for some code in the plugin or theme running too early. Translations should be loaded at the init action or later. Please see Debugging in WordPress for more information. (This message was added in version 6.7.0.) in /home/maryzahc/public_html/adultfoodallergies.com/wp-includes/functions.php on line 6121
Tree Nut-free – Page 14 – surviving the food allergy apocalypse (archive)

Tag: Tree Nut-free

Does not contain any tree nuts or coconut.

  • DIY Chili Powder

    DIY Chili Powder
    DIY Chili Powder

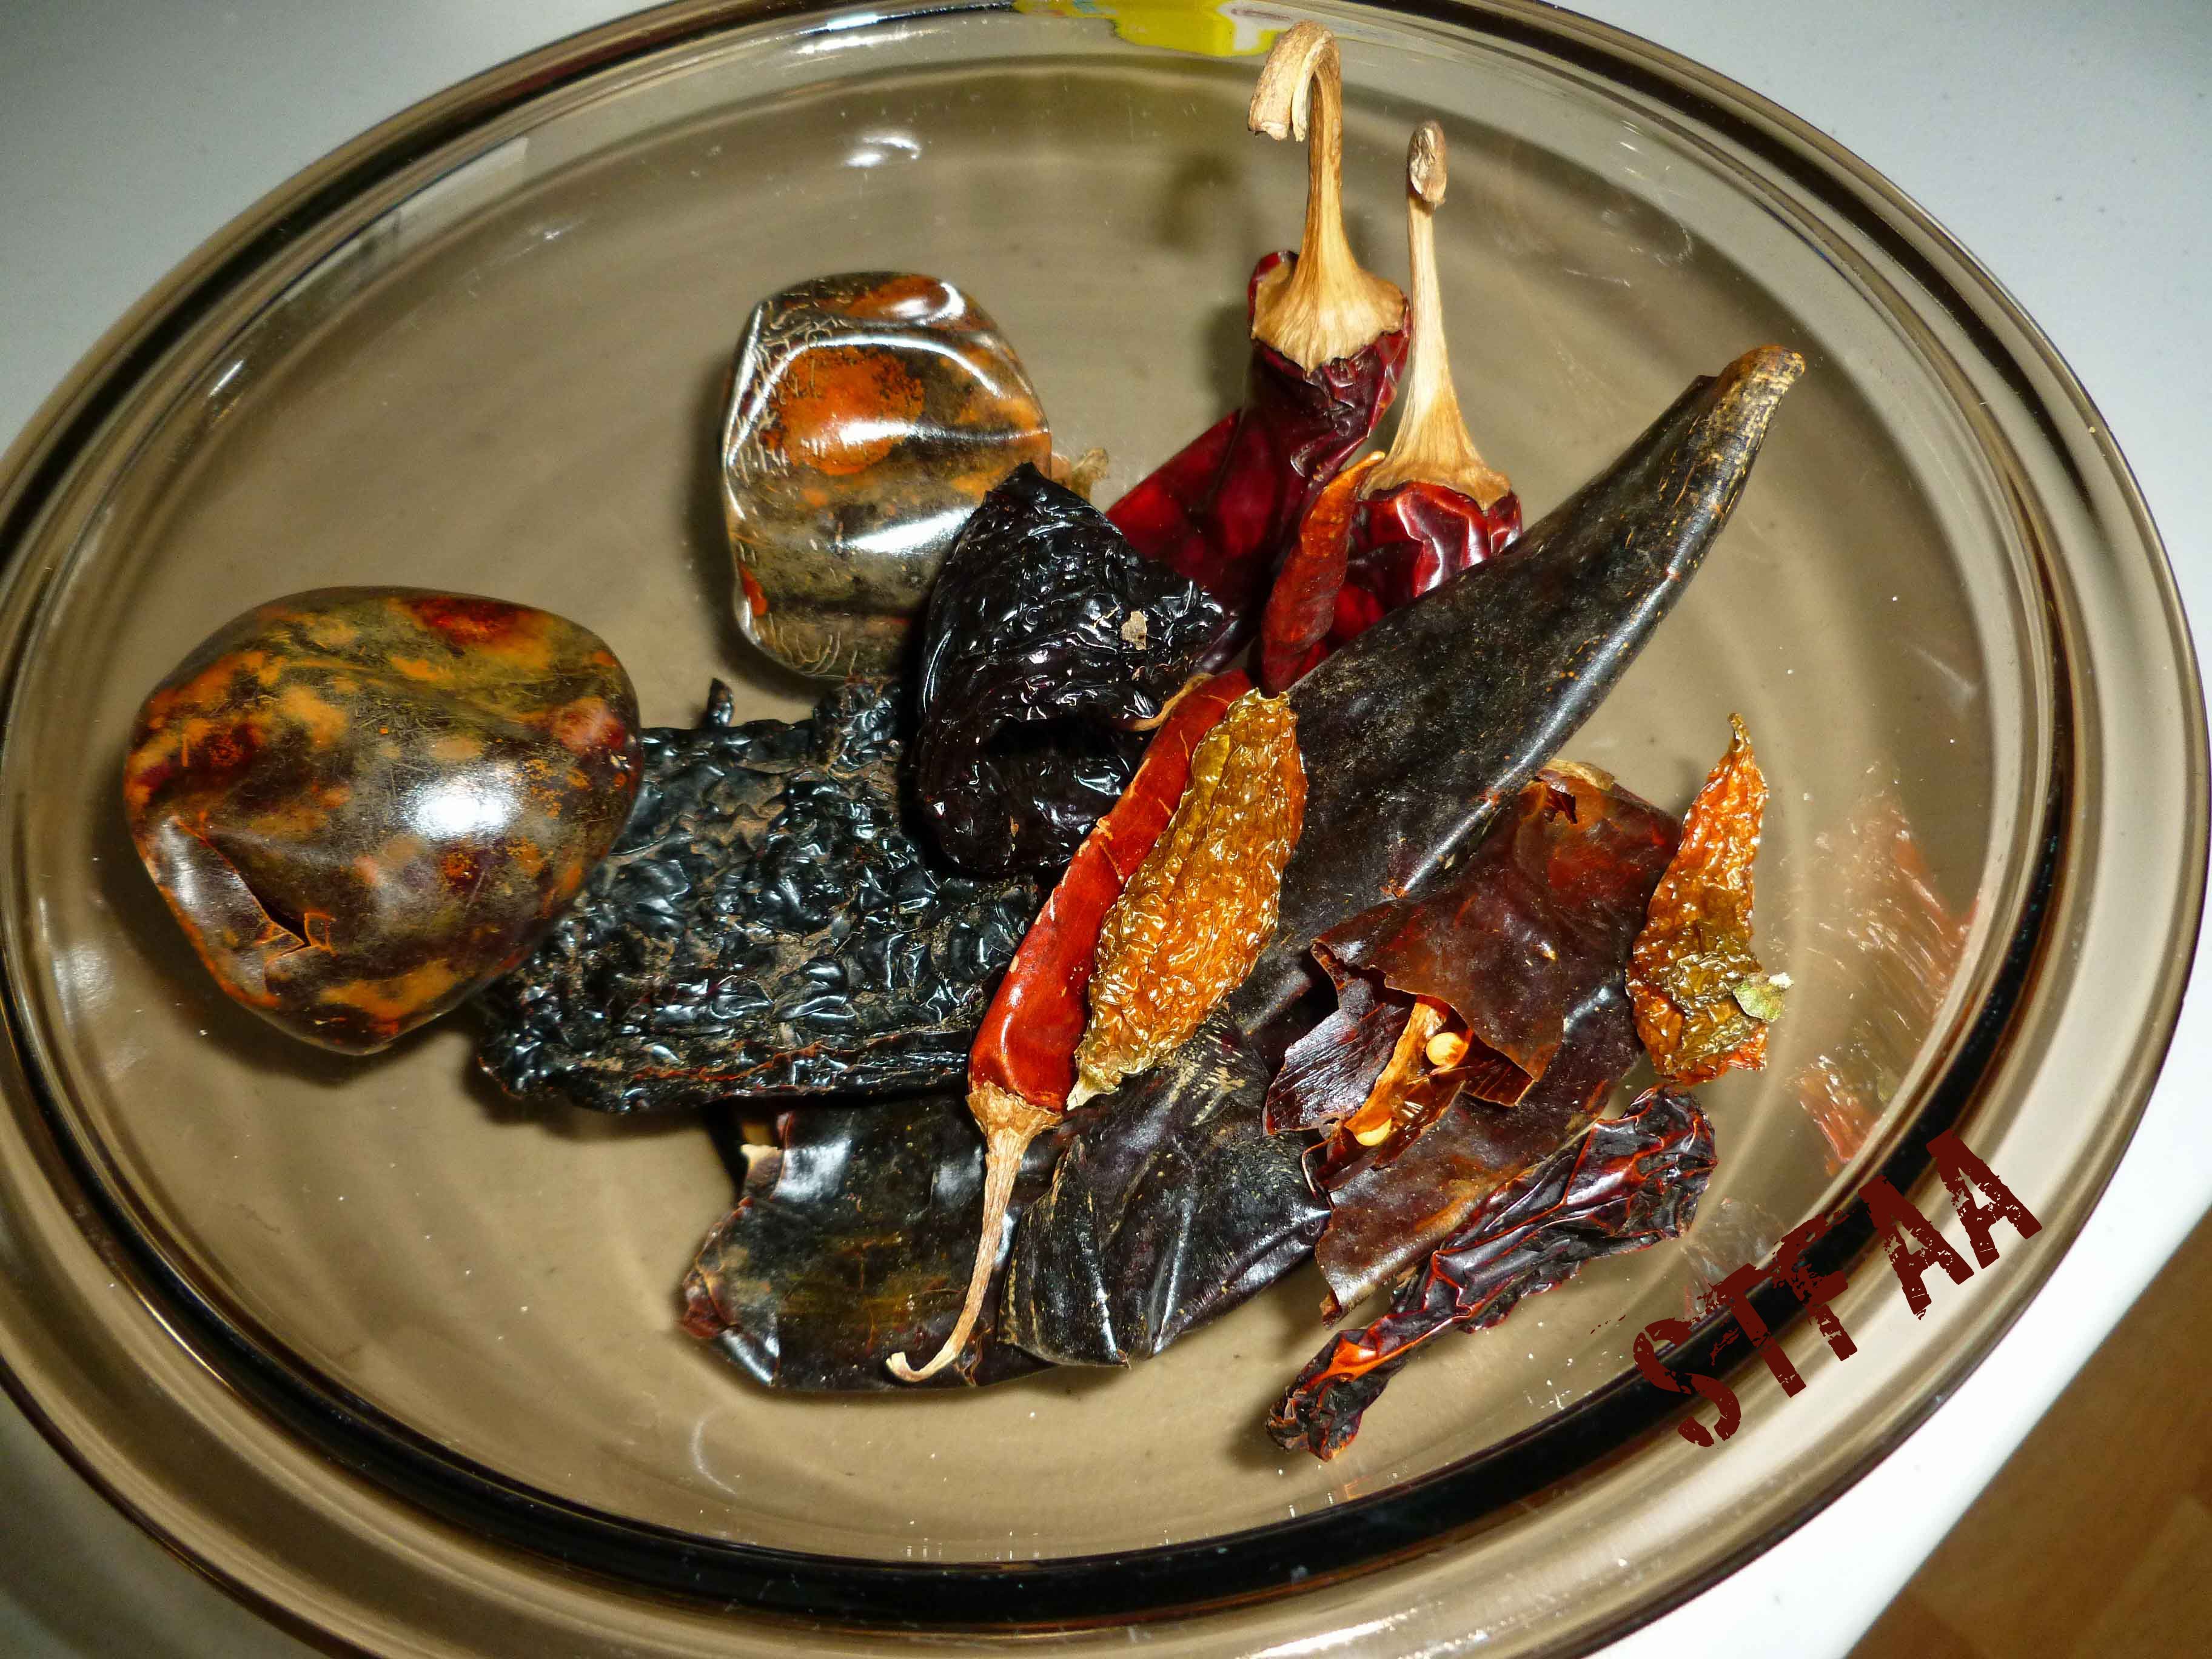
    If you’re like me (okay, probably not, as I have issues as outlined in my post, WW Kitchen Stories: Rosemary or Denise’s Spice Issues), you might have a few dried chiles kicking around. Or more than a few. Since I have so many, and since I was running low on chili powder, I started looking into how to make it. Although Mary S. of the green thumb gave me some chili powder that I tolerate after I mentioned I might do a Penzey’s order, it’s good to be able to make your own so that you know that there’s no anti-caking agents, disclosed or undisclosed, and less chance for cross contamination. Plus, I really have a crap ton of whole dried chiles, thanks in part to the harvest I got from Mary S. last year that I dehydrated.

    Although this might be a bit spicier than your normal chili powder, I tried to keep it in the realm of reasonable for those of you who are not fire breathers. Feel free to switch out dried peppers based on your own tastes and/or what you have on hand. You will need a blender or a food processor.
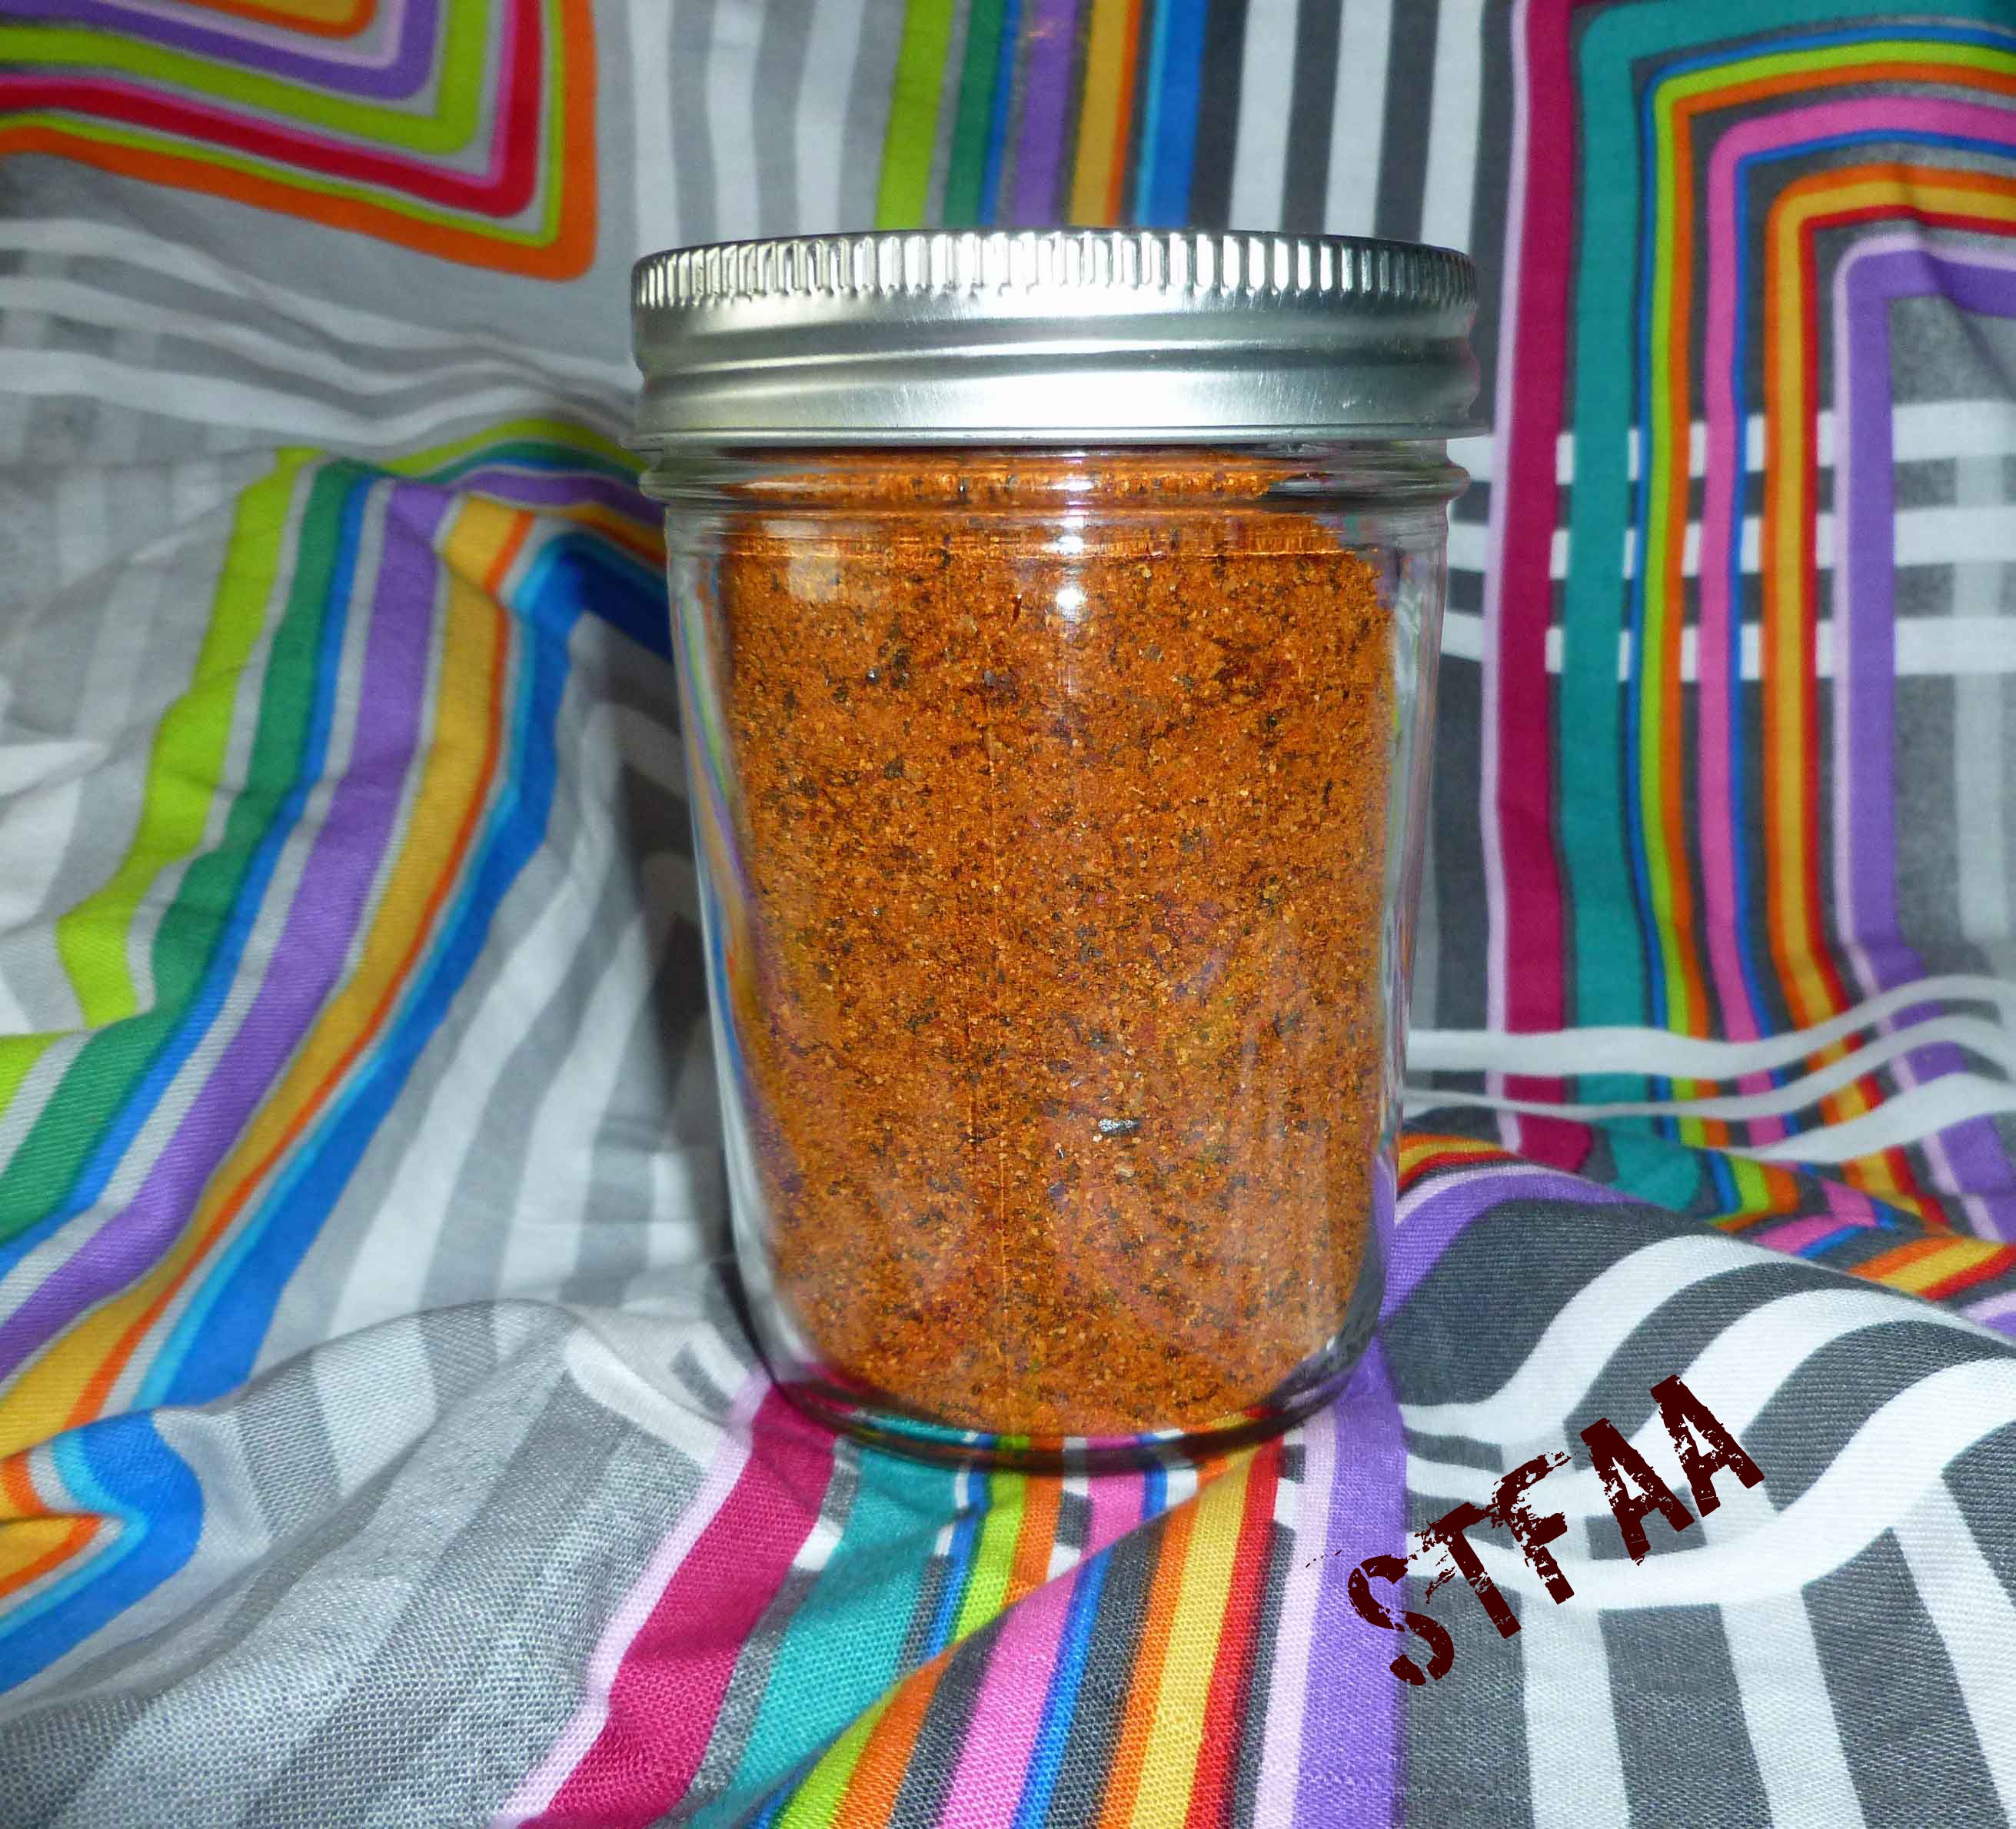
    DIY Chili Powder

    Makes 1 cup.

    • 2 dried, whole chipotle chiles
    • 2 dried, whole guajillo chiles
    • 2 dried, whole New Mexico chiles
    • 2 dried, whole ancho chiles
    • 2 dried, whole cascabel chiles
    • 2 dried, whole arbol chiles
    • 2 dried, whole habanero chiles
    • 2 Tablespoons of cumin seed
    • 2 Tablespoons of garlic powder
    • 1 Tablespoon of Mexican dried oregano (you can use plain oregano if you don’t have Mexican)
    • 1 Tablespoon of smoked paprika (you can use plain paprika if you don’t have smoked, but the smoked is nice)
    Whole Dried Chiles before prep
    Whole Dried Chiles before prep

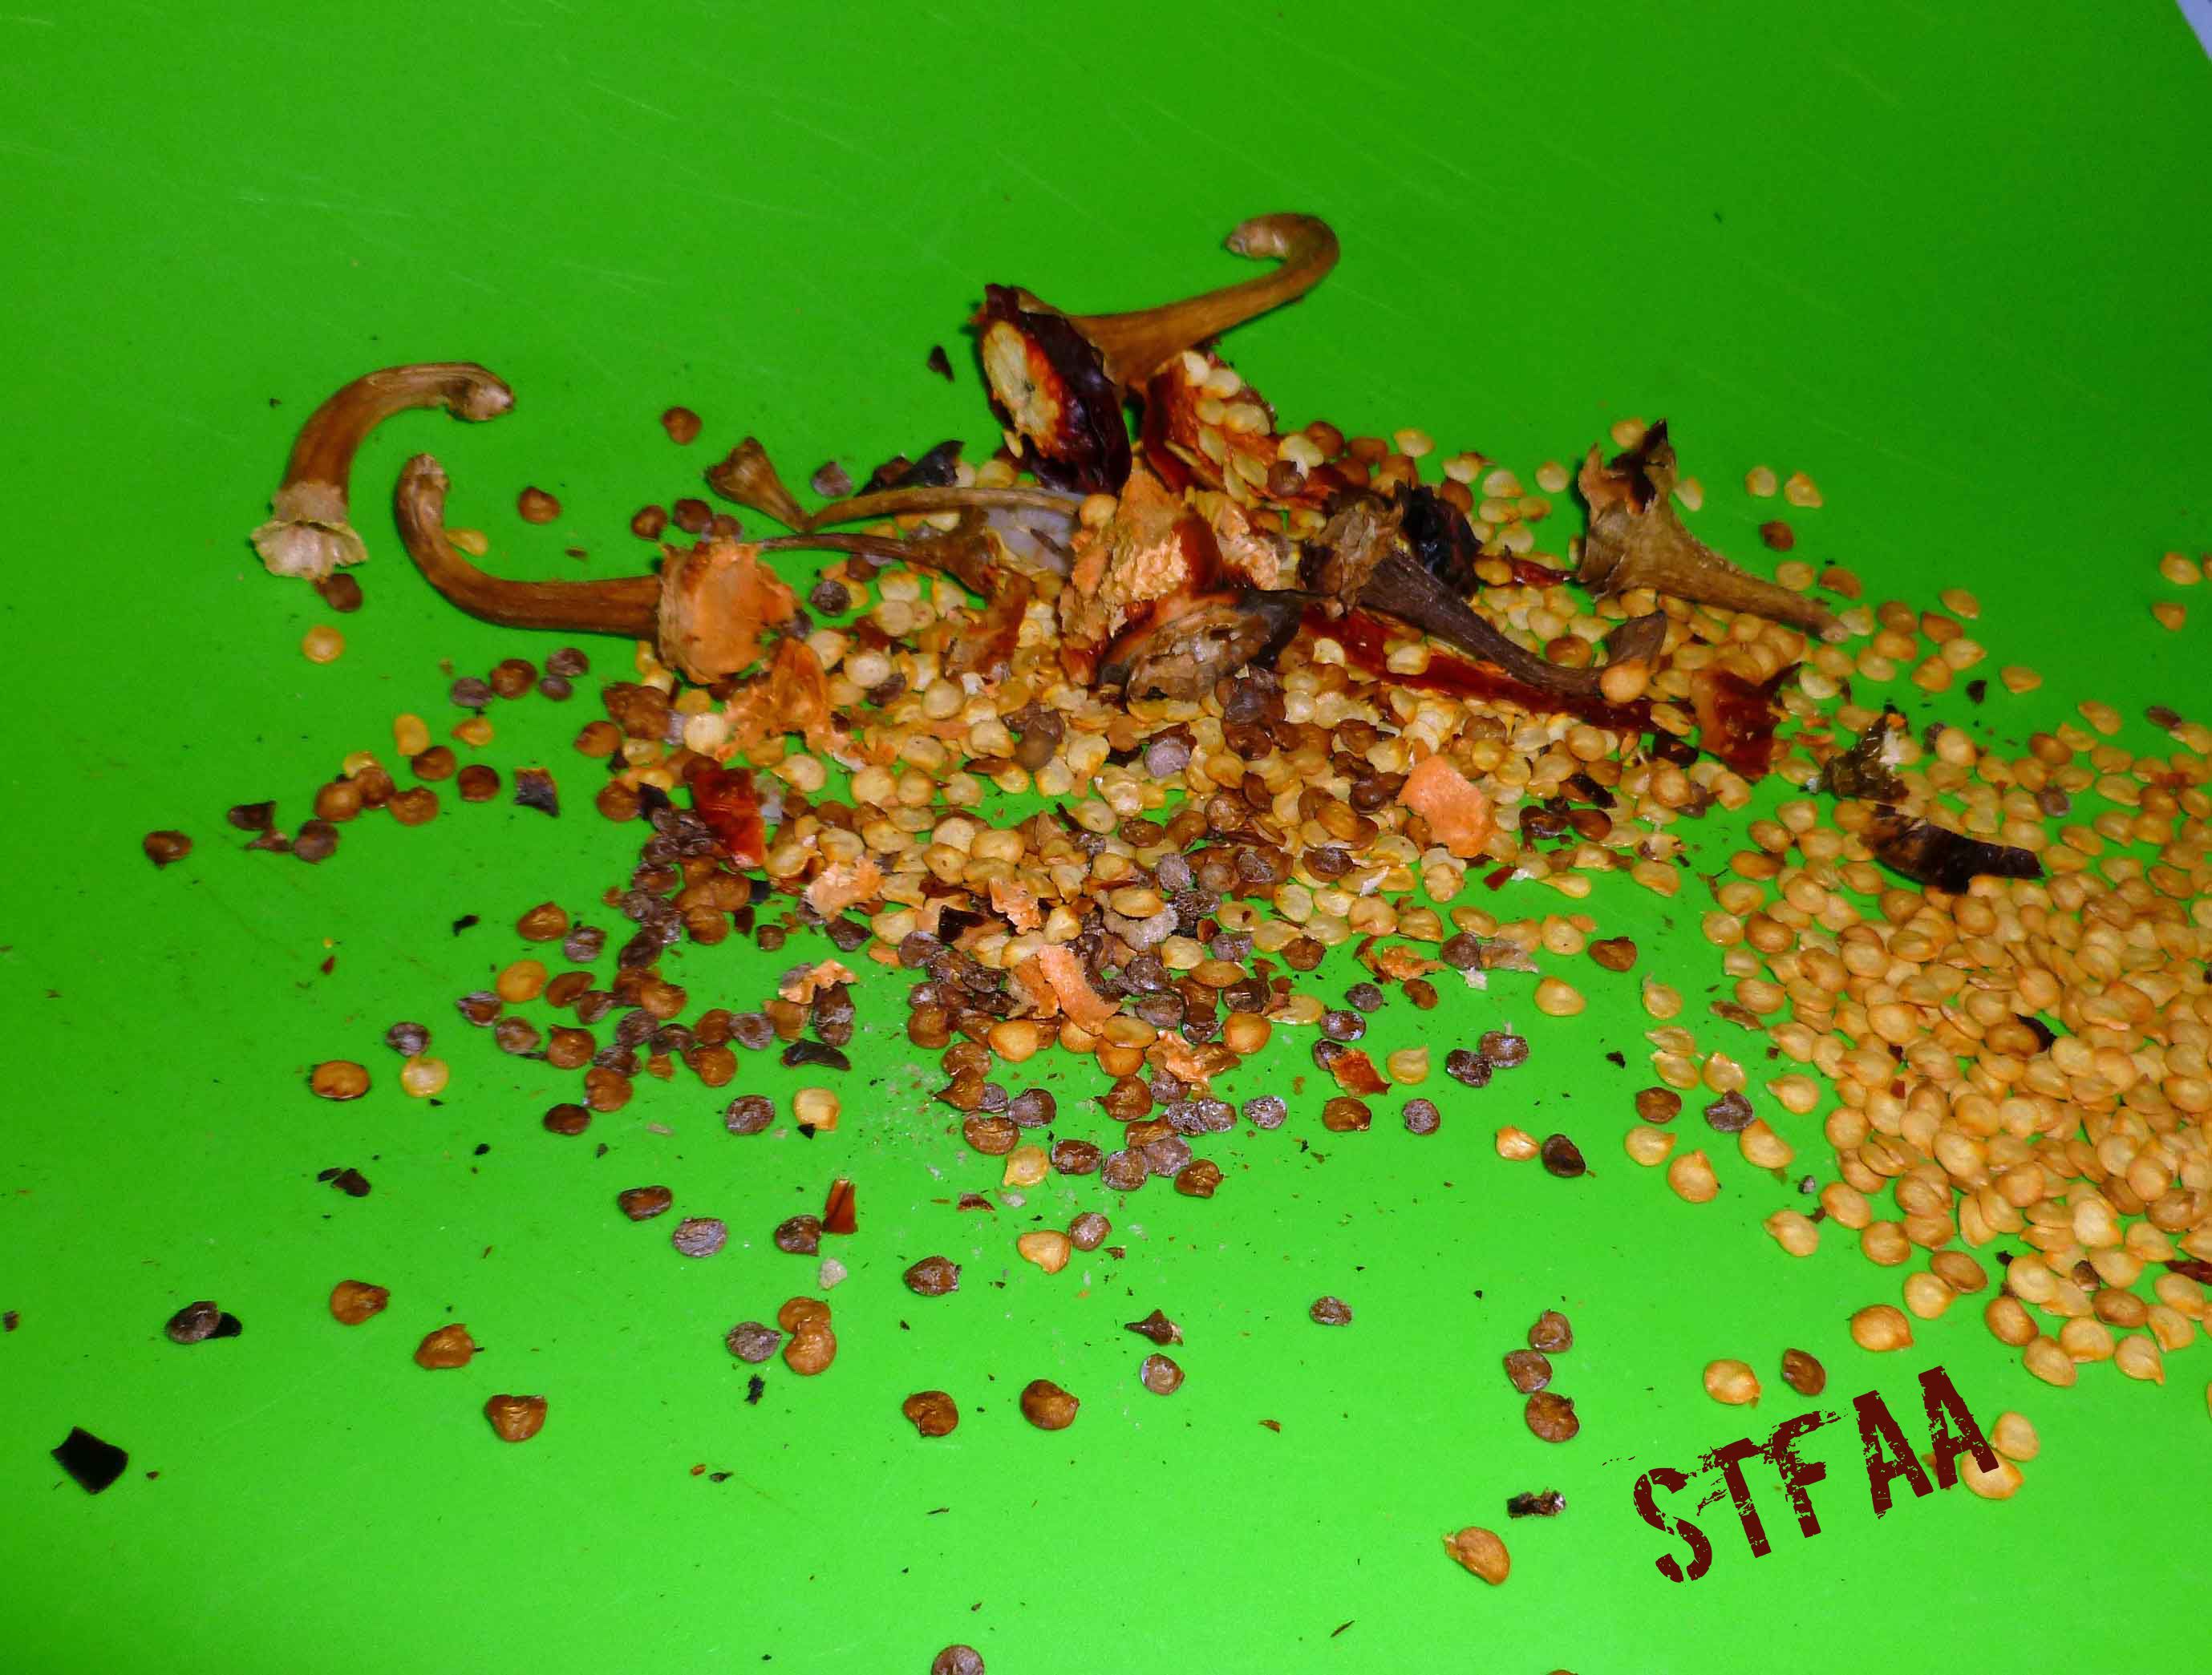
    Destem, seed, and slice the dried chiles.

    Destemmed, deseeded, and sliced dried chiles
    Destemmed, deseeded, and sliced dried chiles
    Stems and seeds removed from chiles to be discarded
    Stems and seeds removed from chiles to be discarded

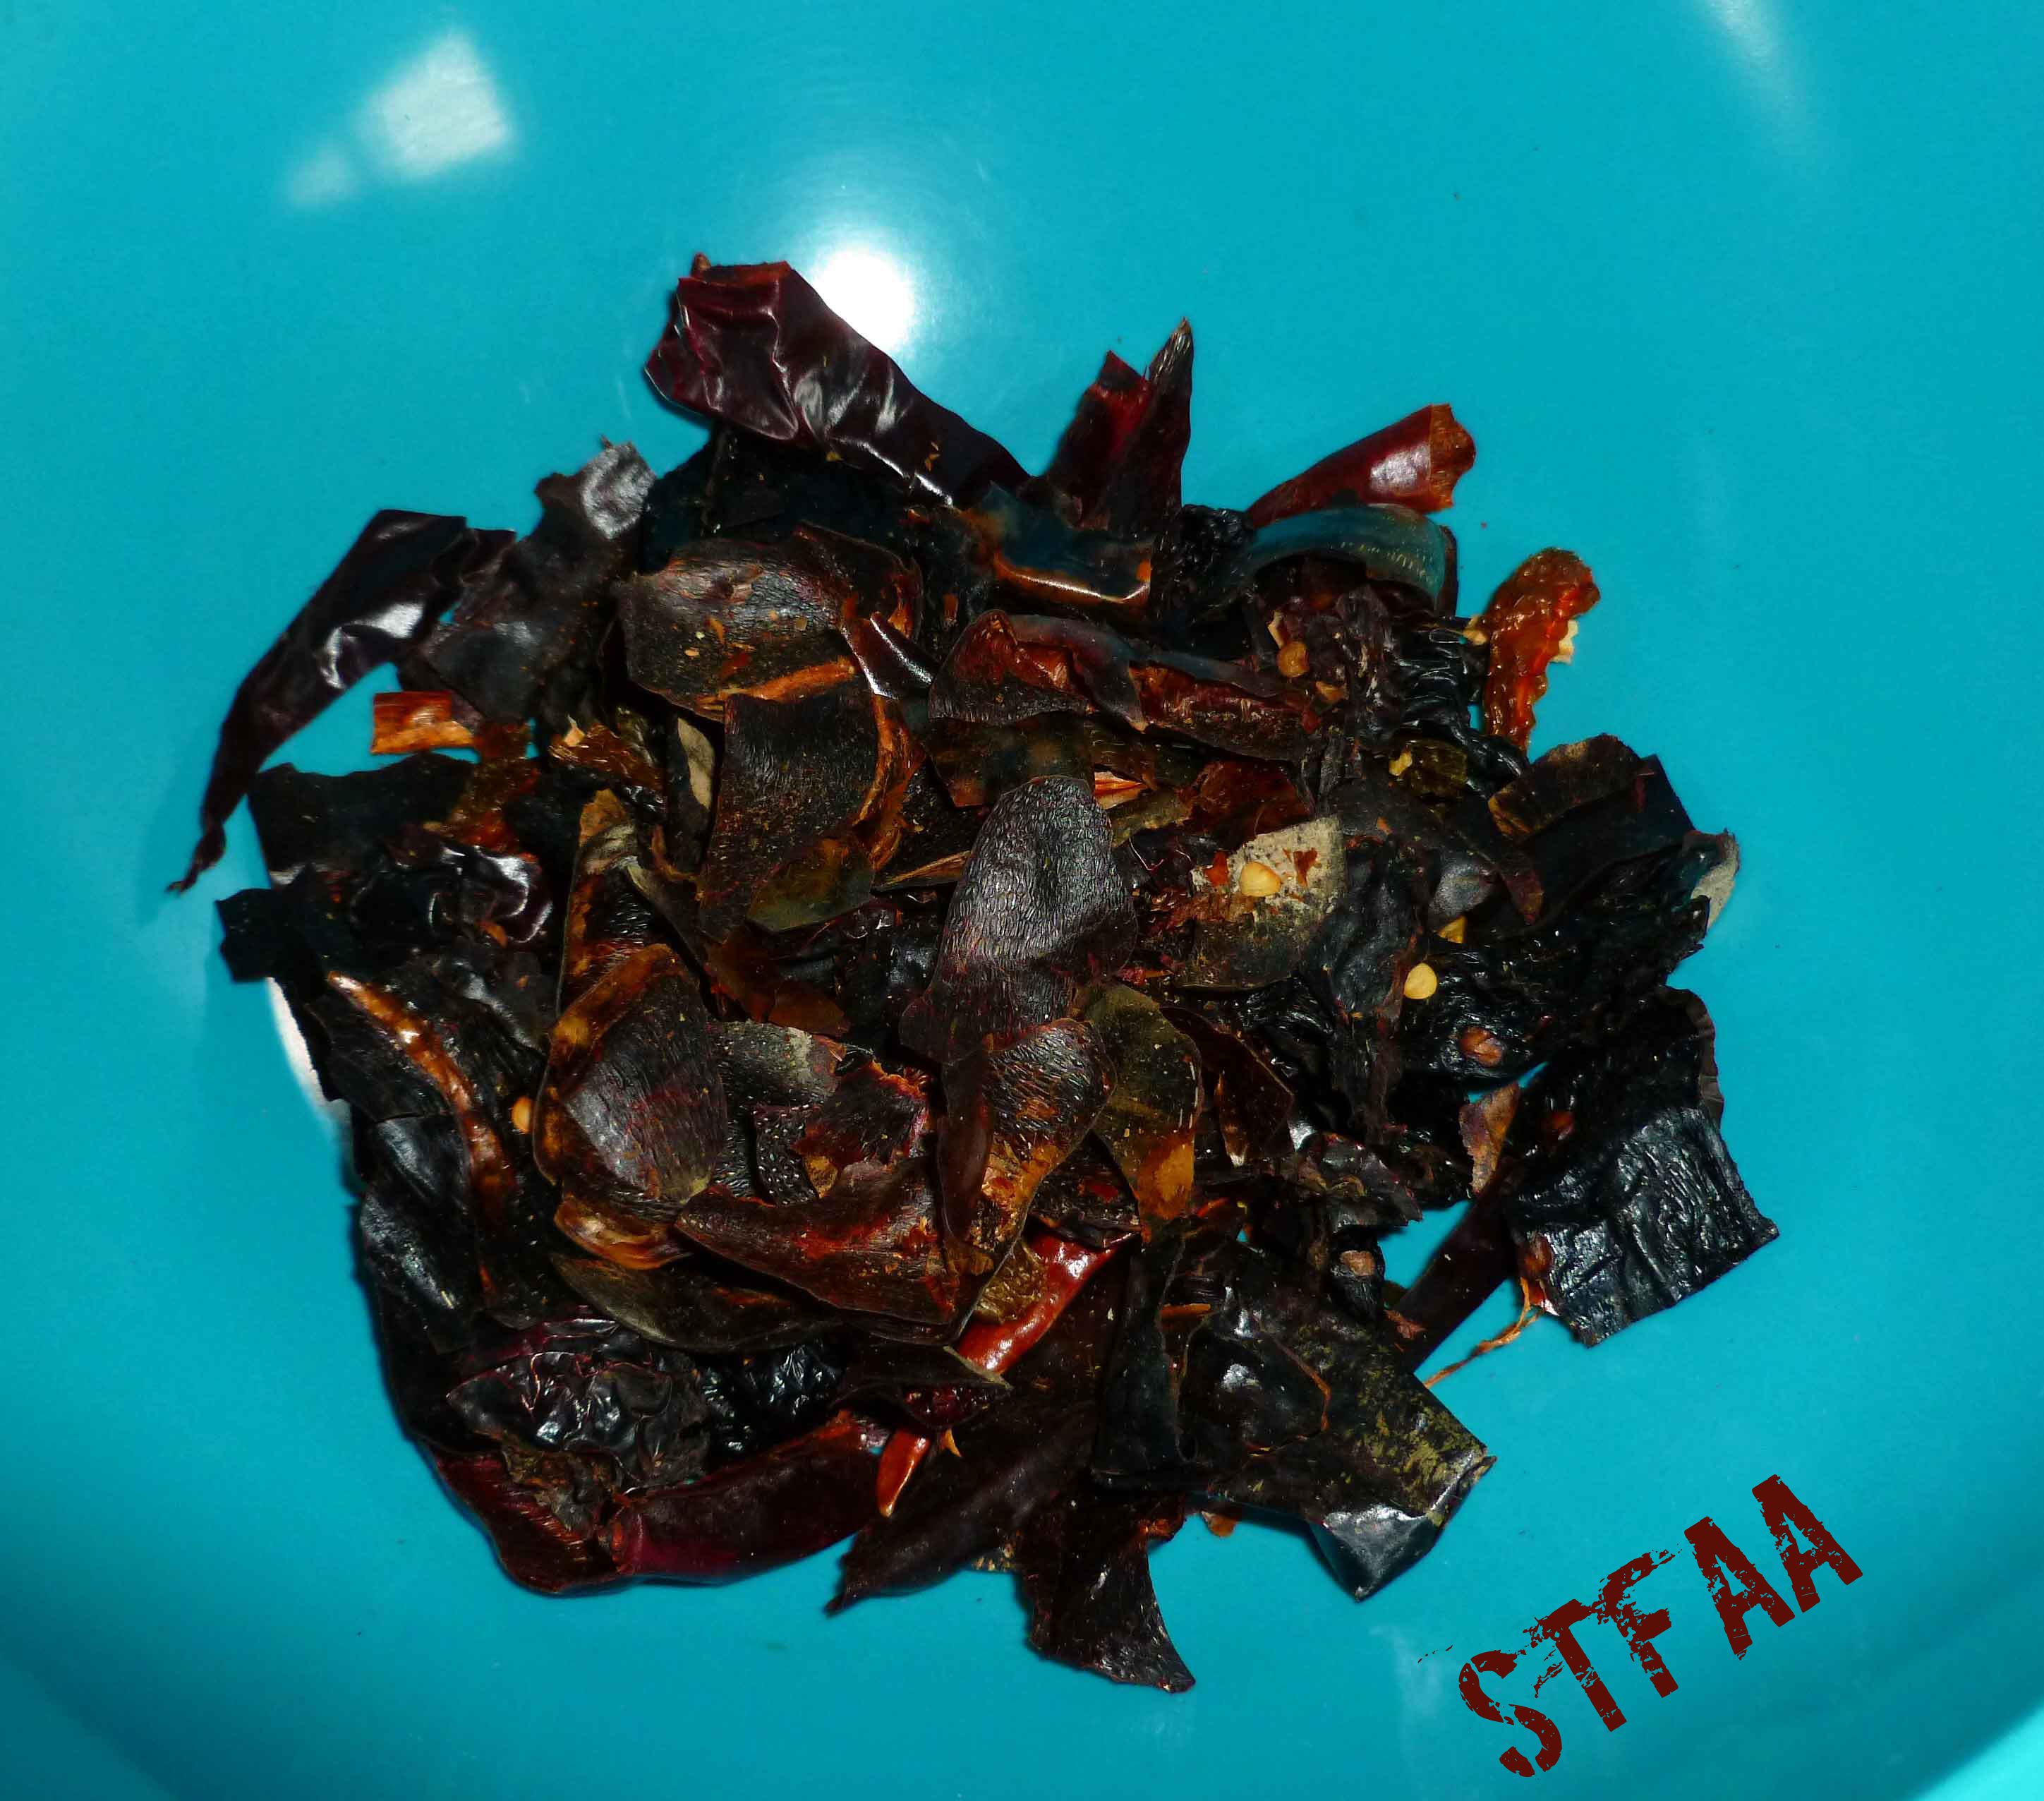
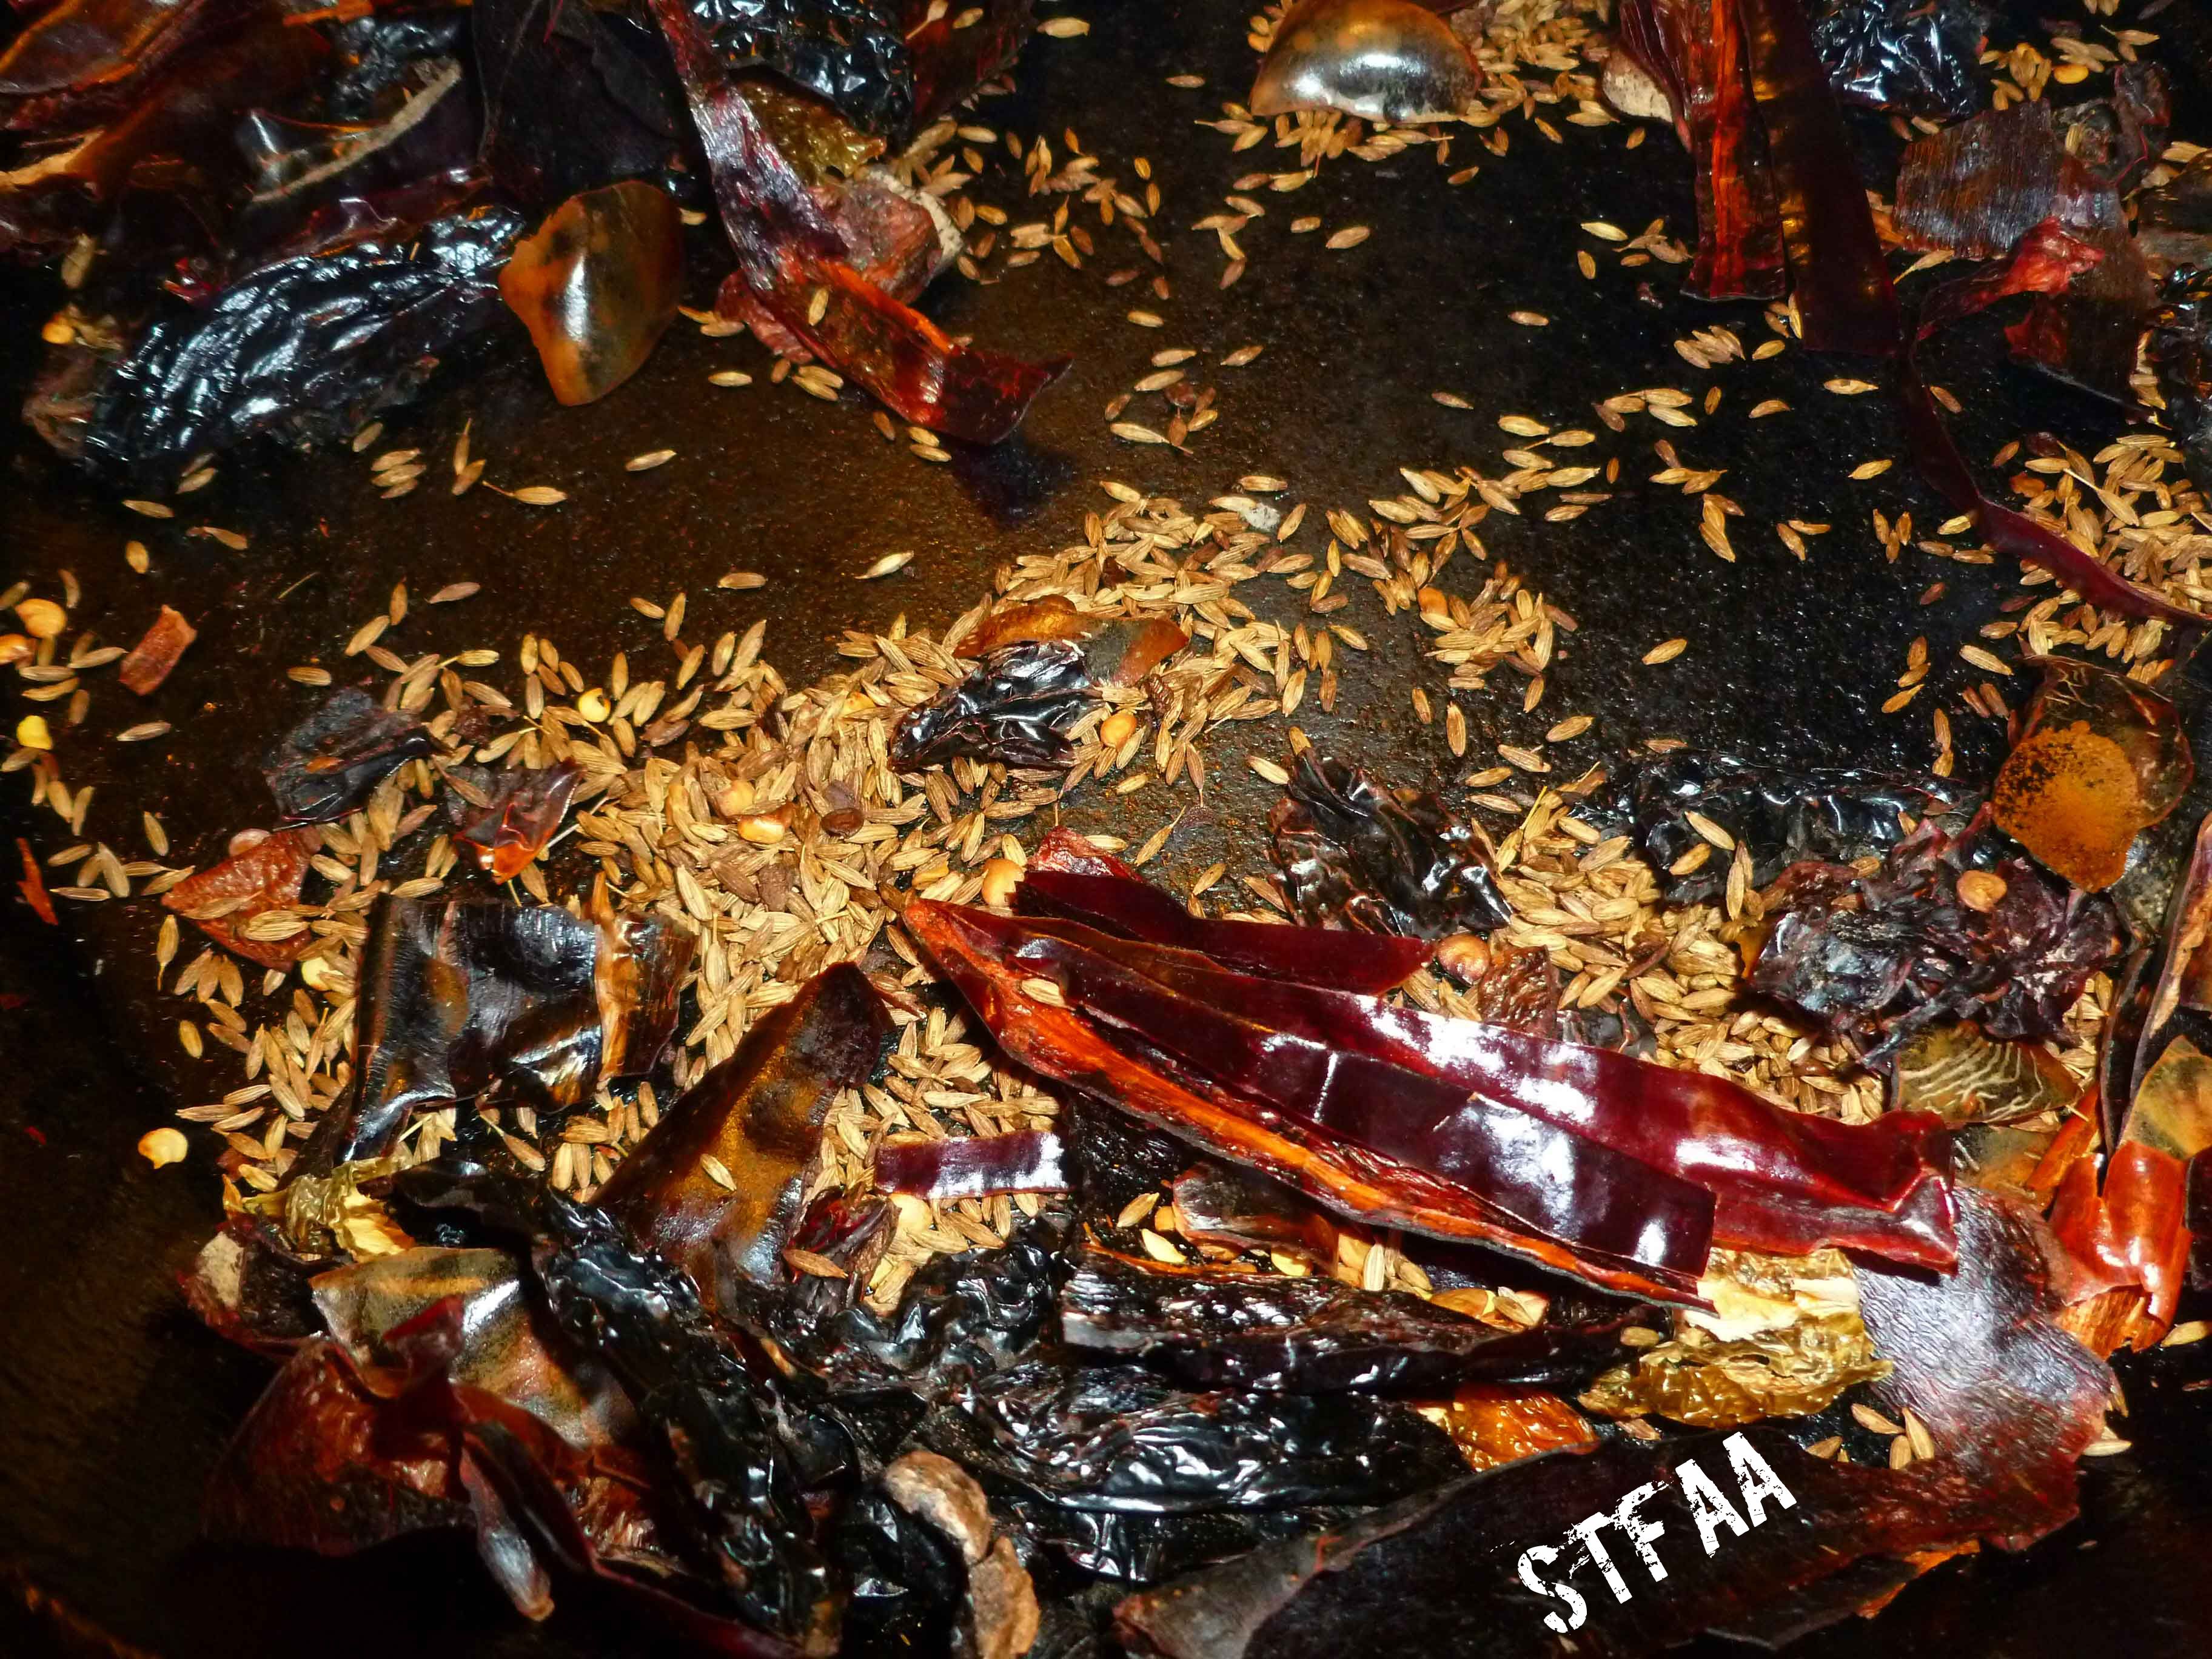
    Place the dried chiles and the cumin seed in a skillet over medium high heat.

    Dried chiles and cumin seed before toasting
    Dried chiles and cumin seed before toasting

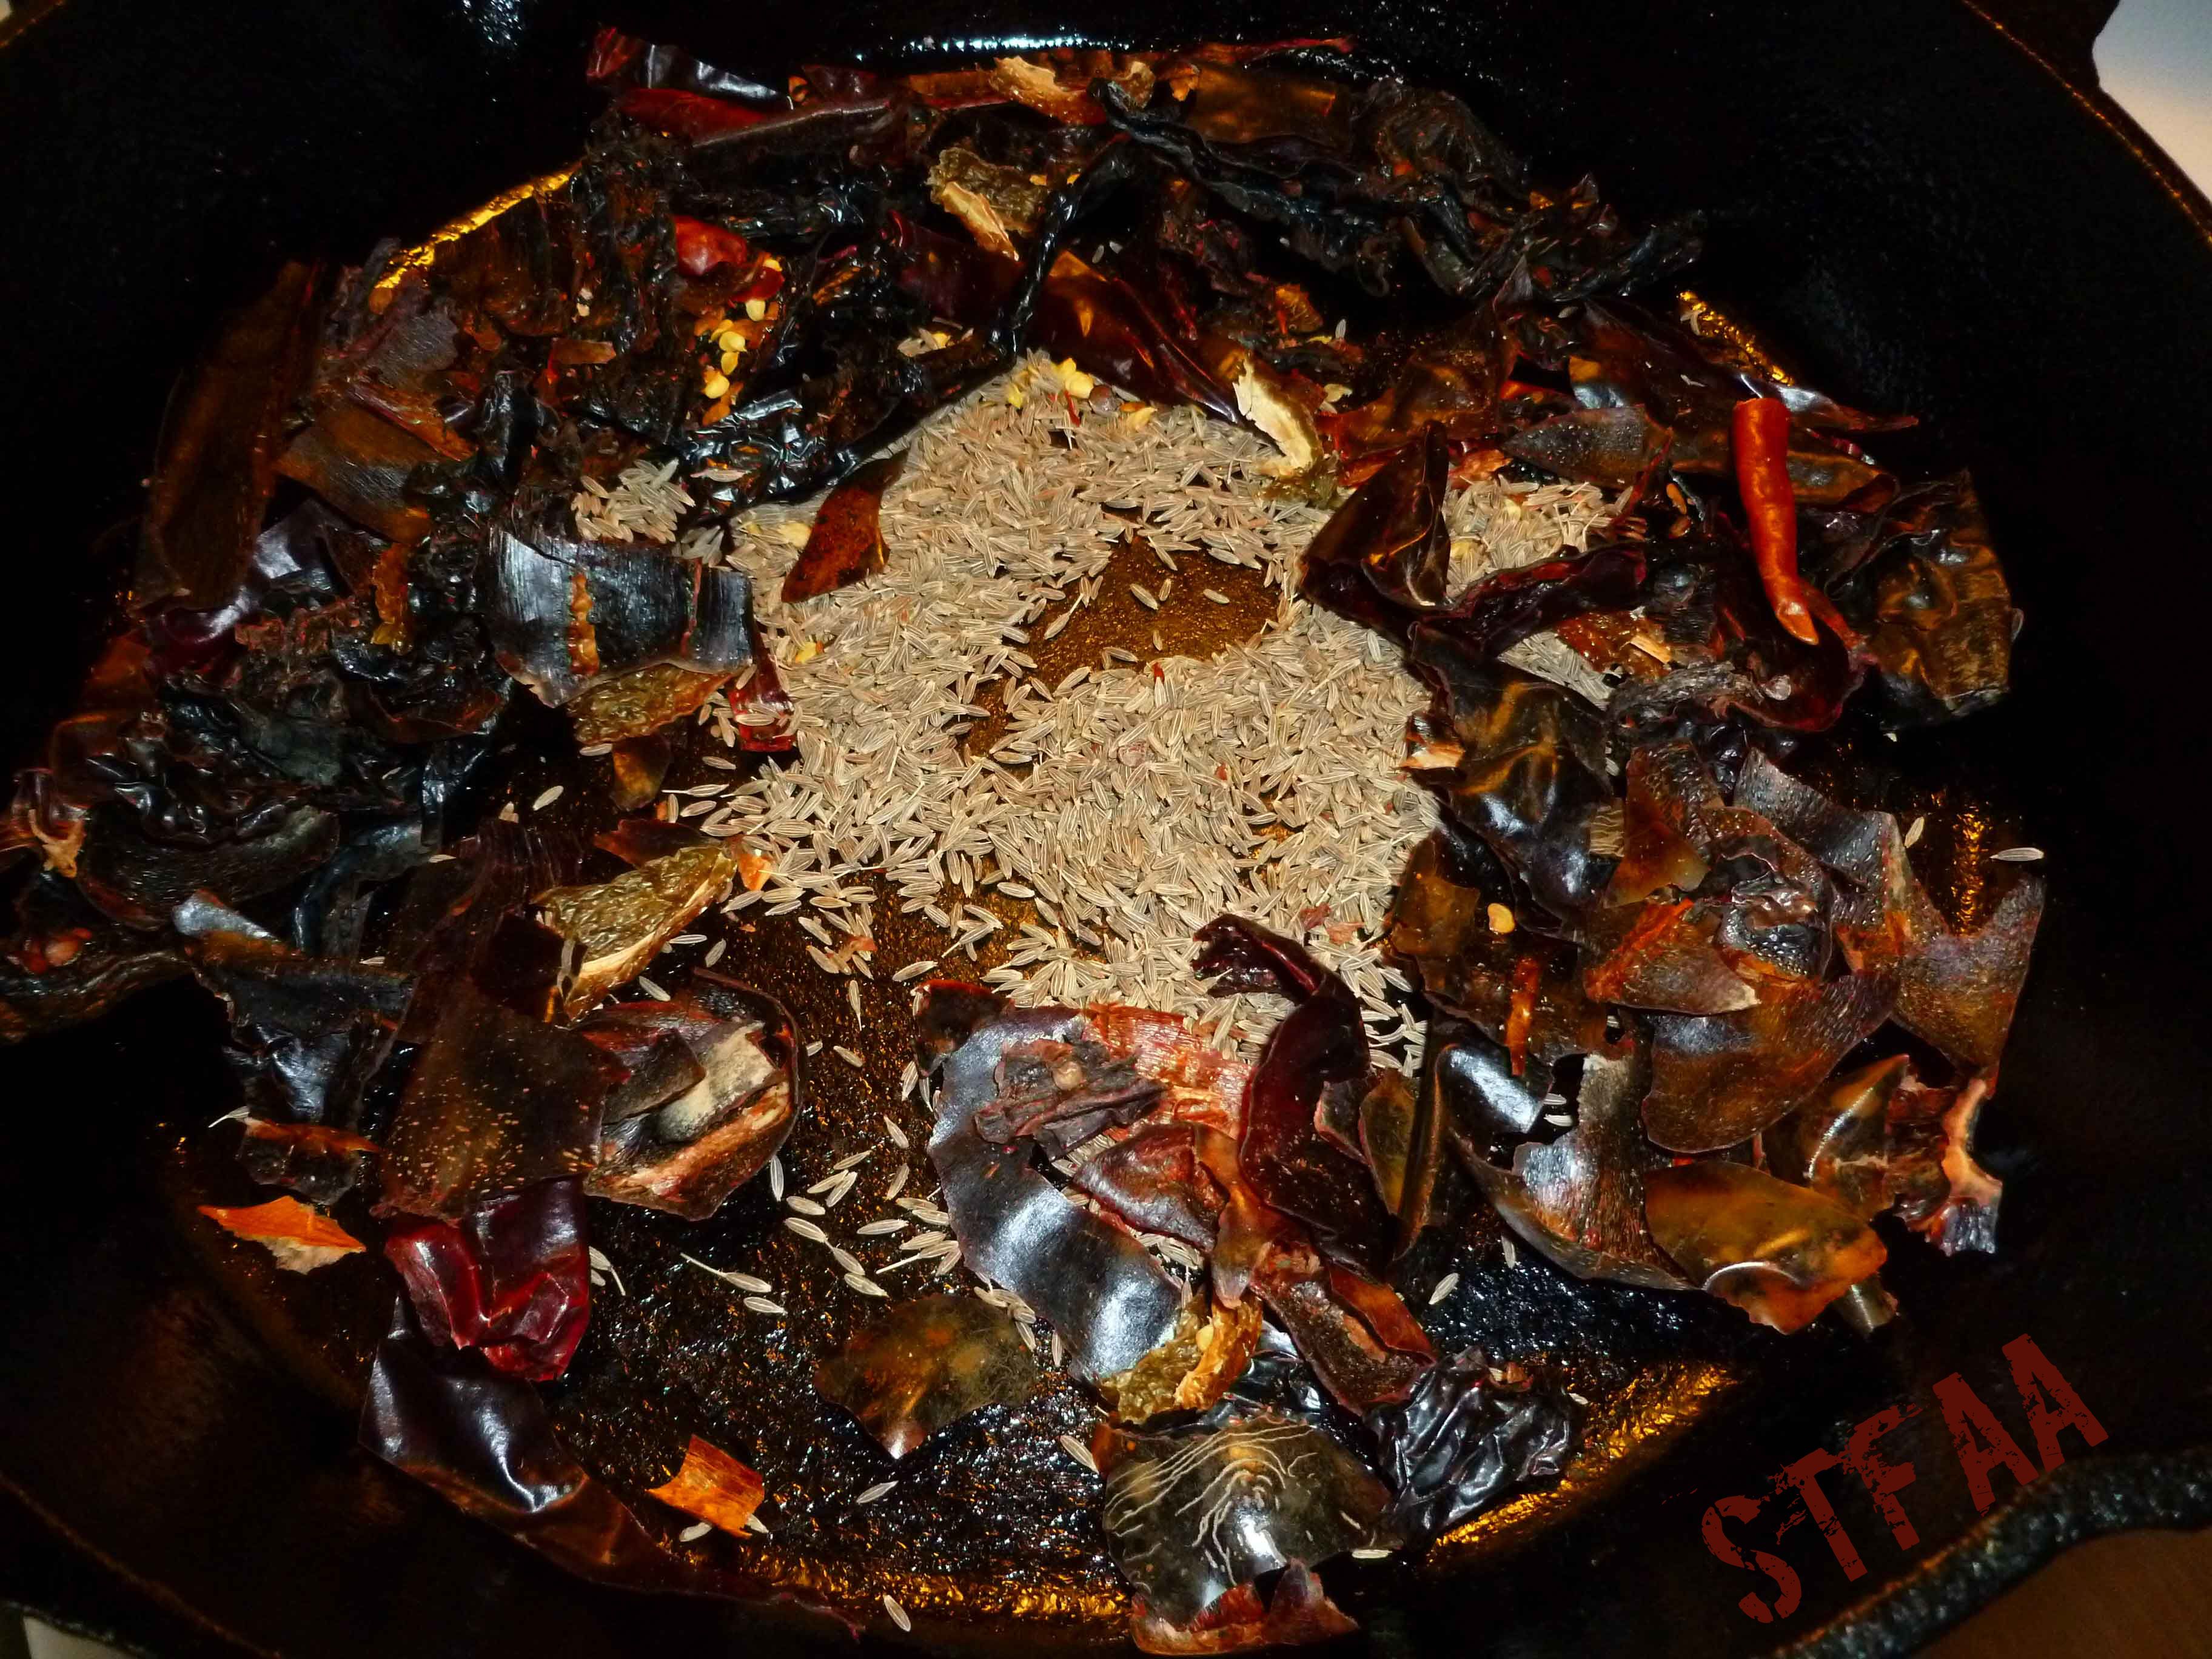
    Move the skillet around constantly to shift the cumin seed and chiles until you smell the cumin seed toasting.

    Dried chiles and cumin seed after toasting
    Dried chiles and cumin seed after toasting

    Remove the chiles and the cumin seed from the skillet, and allow them to cool completely.

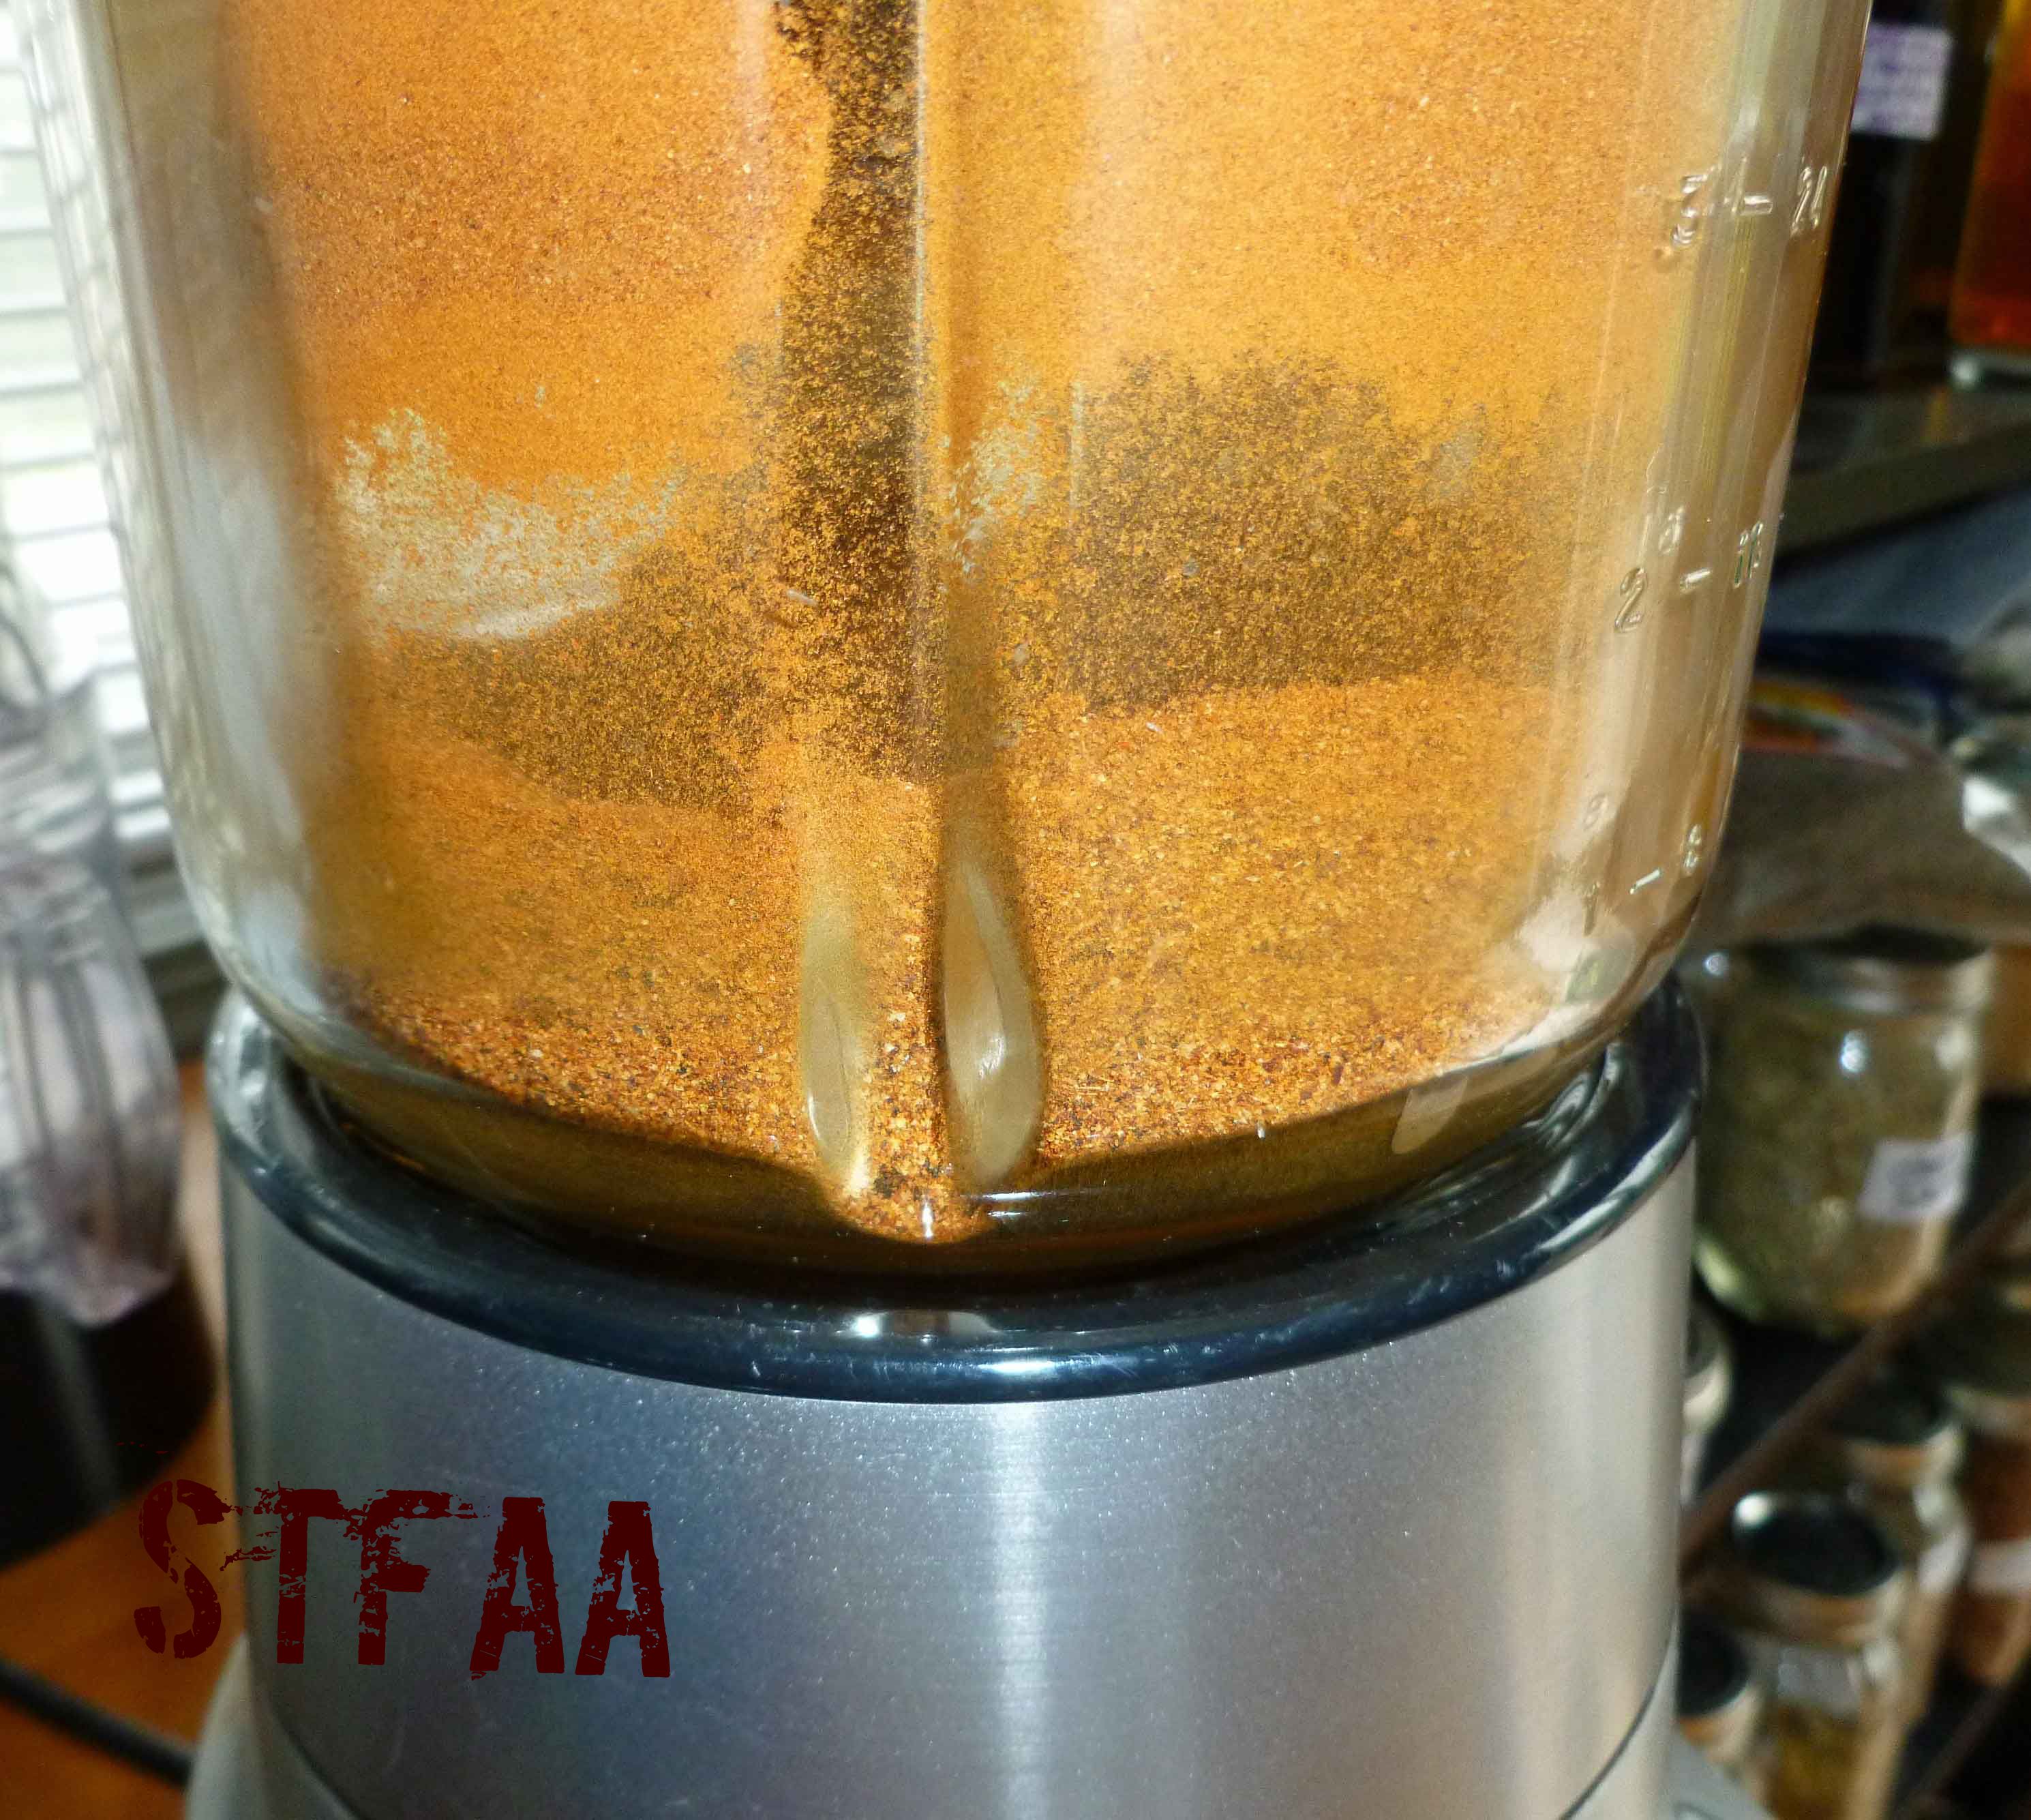
    Once cool, place the chiles, cumin seed, garlic powder, oregano and paprika into a blender or food processor.

    Dried chiles, cumin seed, garlic powder, oregano and paprika in blender
    Dried chiles, cumin seed, garlic powder, oregano and paprika in blender

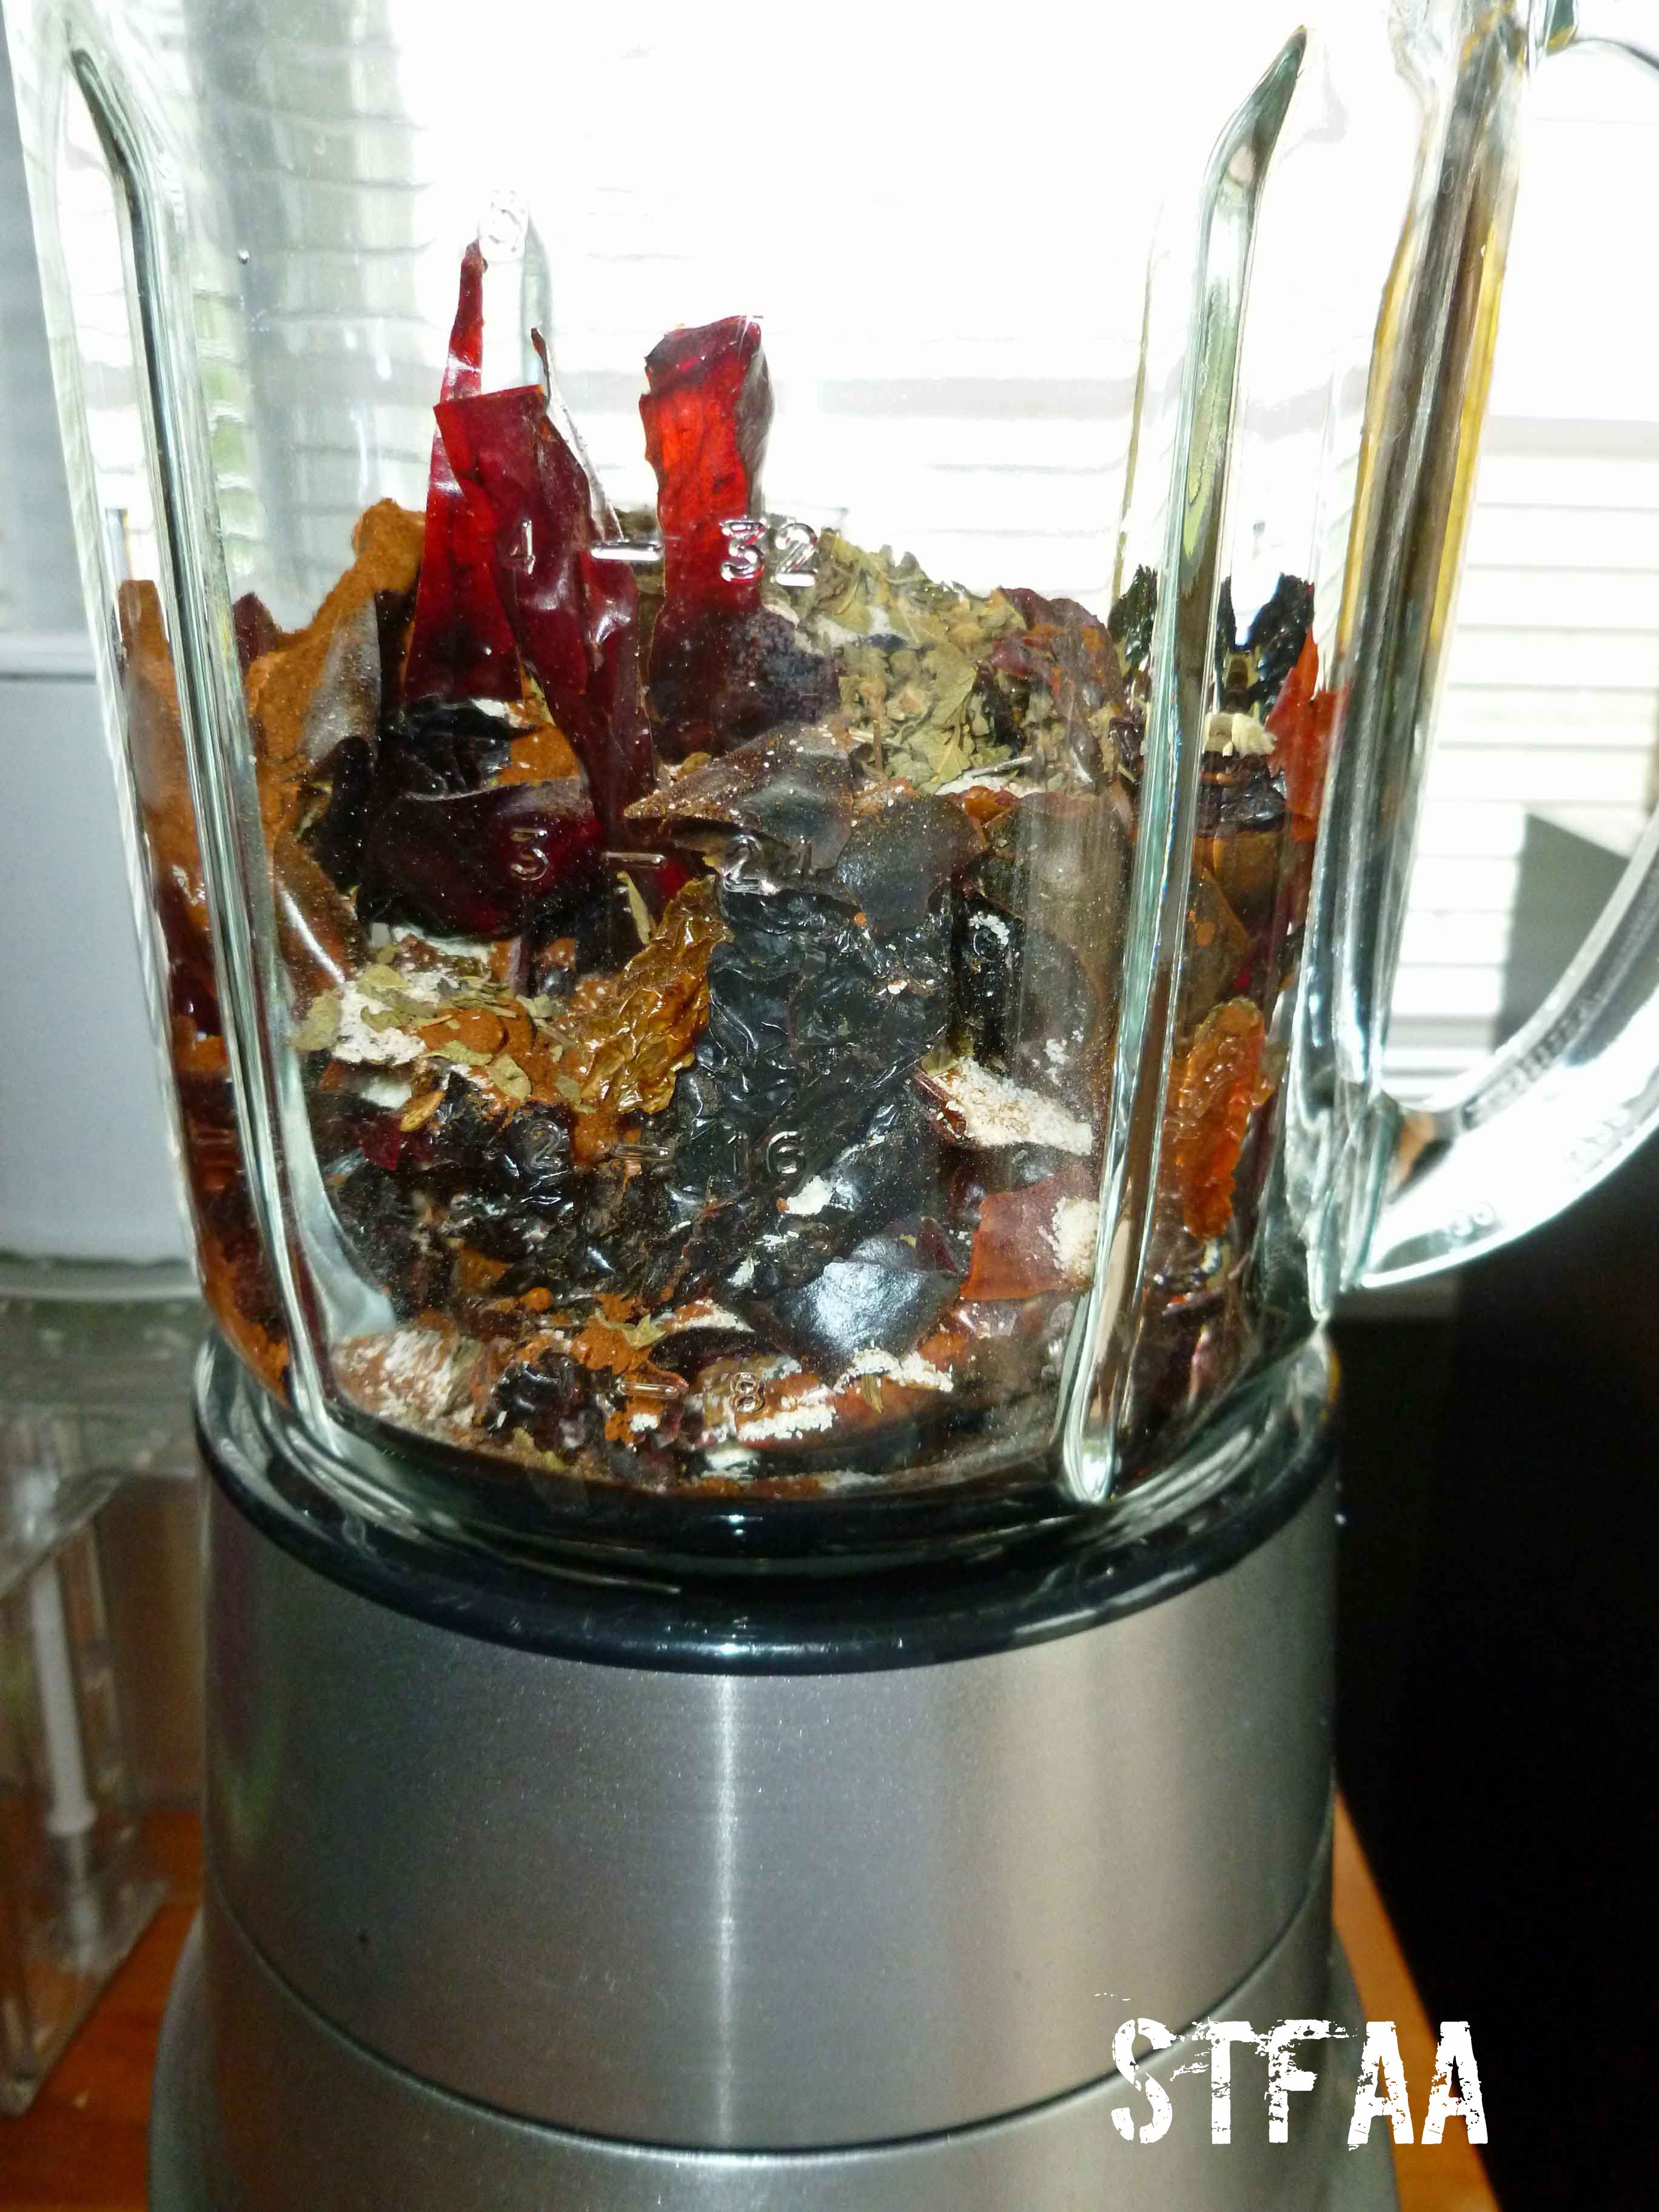
    Blend or process until you have a fine powder. Before opening the blender or food processor, let the powder settle for a few minutes. You really don’t want to gas yourself.

    DIY Chili Powder after blending
    DIY Chili Powder after blending
    DIY Chili Powder after blending
    DIY Chili Powder after blending

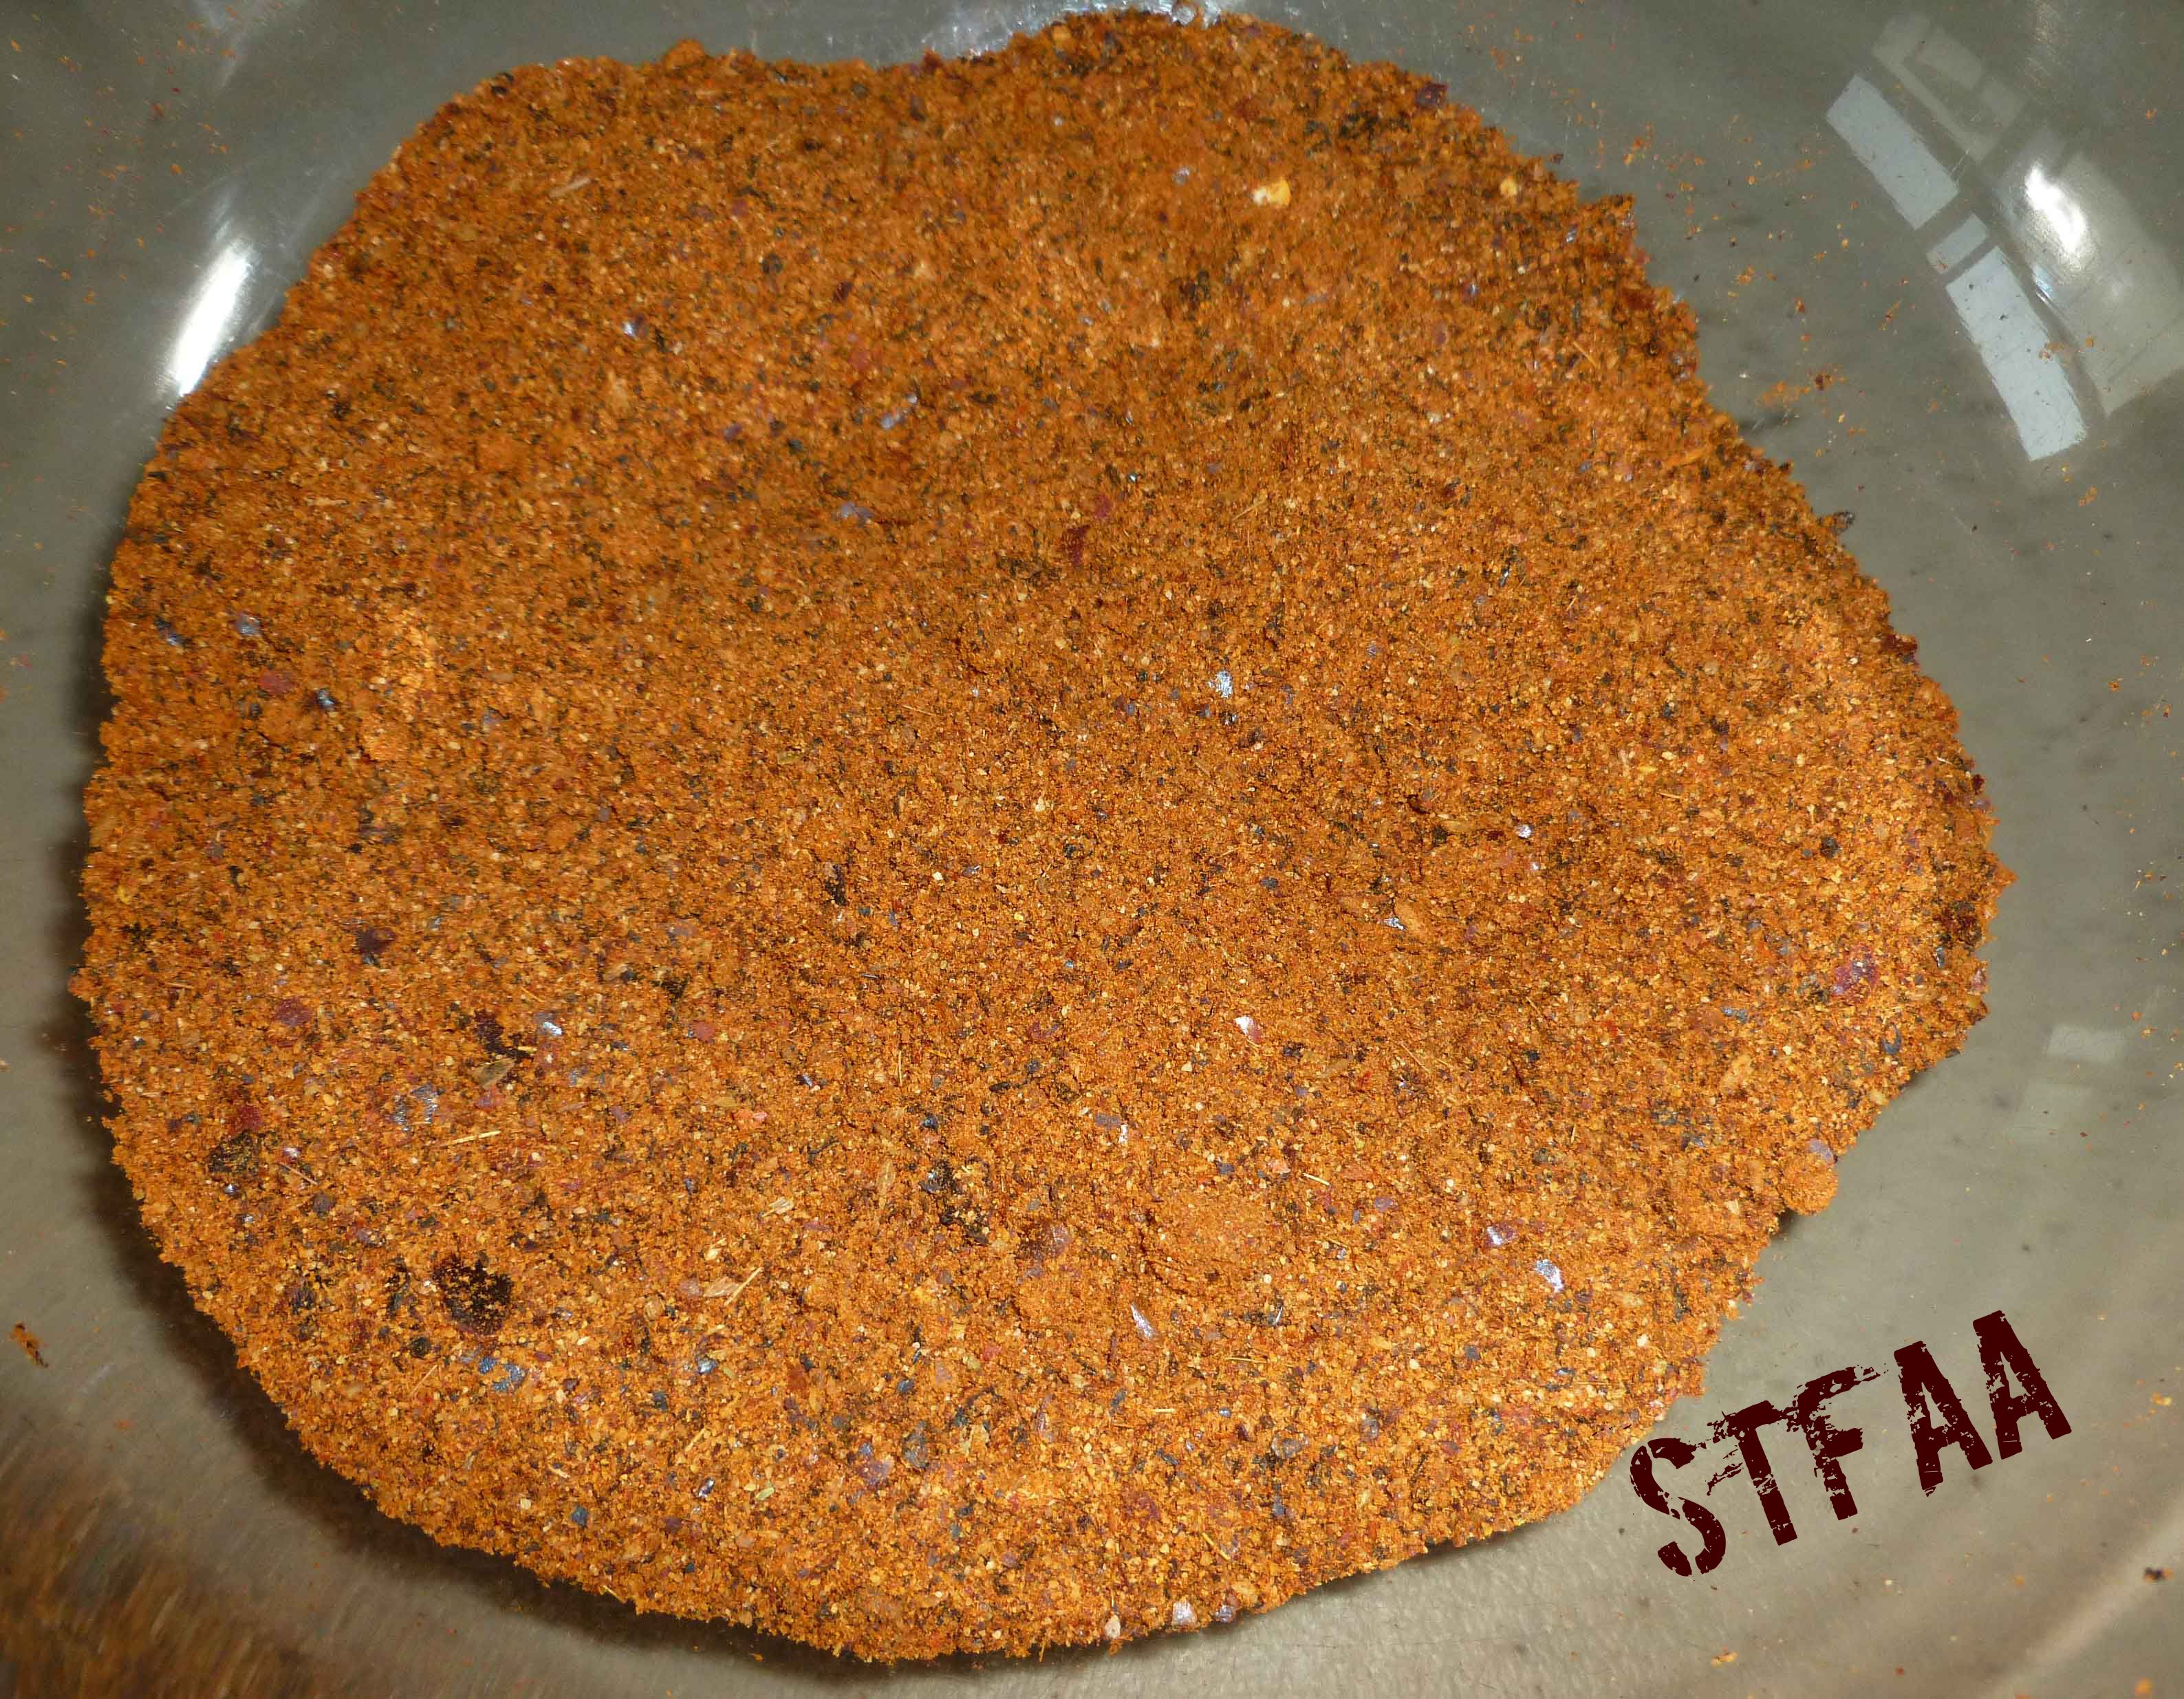
    Store your chili powder in an airtight container, and use as you would normally use chili powder.

    Enjoy!

  • Strawberry Mojito Fruit Leather (non-alcoholic!)

    Strawberry Mojito Fruit Leather
    Strawberry Mojito Fruit Leather

    I have a dehydrator! One of Denise’s friends is clearing things out, I guess, and when she asked if I wanted a dehydrator, I jumped on it. I’ve tried some straight up fruit so far, but I was most excited about making jerky and home-made fruit rollups, as well as drying some of my herbs this summer.

    I really like fruit leather as a snack. It’s almost as good as candy, and I had some ideas. First up: strawberry mojito. This is a super easy recipe — IF you have a dehydrator. If you don’t and want to try making these, ask around and see if you can borrow one. It takes about 8 hours to dehydrate these. You will need the liquid trays. This recipe is scaleable — I’m writing it for ONE dehydrator tray, but you’ll run it with four trays (at a minimum). Try other flavors, increase it by 4, or add other food to the other trays.

    AGAIN: THIS MAKES ONE TRAY. Scale up as needed, or try your own flavors.

    Strawberry Mojito Fruit Leather
    Strawberry Mojito Fruit Leather

    Strawberry Mojito Fruit Leather

    • 1 pound of strawberries, washed, with hulls and stems removed
    • 1/4 cup lime juice, fresh squeezed
    • 1 Tablespoon, packed, mint leaves, chopped finely

    Puree all ingredients in a blender or food processor. Pour slowly into dehydrator tray and tilt, if needed to spread it out. Dehydrate at medium (140ºF) for 8-10 hours (it may take longer if it’s humid.)

    Peel and eat. Will keep for about 2 weeks in airtight containers, maybe slightly longer. I wrapped mine in plastic wrap so that I’d get the experience of peeling them off the wrap — part of the remembered joys of fruit rollups.

    My apologies for the rather dull photos. I didn’t check them this time around and by the time I noticed all my “pretty” photos were blurry, I’d eaten all the fruit leather. They tasted great.

  • Chocolate Cinnamon Hard Candy

    Chocolate Cinnamon Hard Candy
    Chocolate Cinnamon Hard Candy

    Because I like transparency, you should know that this recipe was the result of a mistake. Yay serendipity!

    I wanted to make crunchy granola bars like the Nature Valley ones I liked before the food allergy apocalypse hit. But I wanted to make them not so breakfast-y and more of a treat or a snack. So I found a recipe for a crunchy granola bar and decided to add cocoa powder to the sticky mixture sticking it together. The recipe called for honey, but I don’t have a safe honey or maple syrup, so I made a cane sugar syrup used that instead.

    Well, I threw all the ingredients for the sticky stuff, i.e., the cane sugar syrup, brown sugar, cocoa powder, vanilla and cinnamon, all the saucepan and began heating it. But then it didn’t want to melt. So I thought that maybe the cocoa powder was too dry and I added a bit of grape seed oil. And the mixture still looked sugary, and I began to worry that the cocoa powder would burn. It was at this point that I read the actual directions for the mixture from the recipe I was trying to modify. It said to cook the sugar and sugar syrup first and then add the vanilla and cinnamon after. Oops. So I decided that I had enough sugar syrup to do it over, but I decided to see if I could get it to melt, and as I did that, I realized that it wouldn’t be accurate if I wrote it up without the do-over and I didn’t want anyone else to risk burning chocolate. So I quickly greased a small baking sheet and dumped the mixture on it so I could start over again with the sticky stuff for the granola bars. I thought it might end up like tootsie rolls, but when I came back to it after finishing the granola bar attempt (which also didn’t really work as it didn’t set up into bars, but might make a great cereal if I had a safe non-dairy milk, sigh), it was hard as a rock. I pried it off the cookie sheet and then put it in a zip top bag in the freezer for bit and then dropped the bag on the floor a couple of times to break it up into pieces. If you were smarter than me, which you are, you’d use a metal spatula or turner to divide the candy into smaller pieces when it’s cooled a bit but is still warm and pliable. Or put them into silicone candy molds.

    Chocolate Cinnamon Hard Candy

    • 3/4 cup of cane sugar syrup (You will need to make it ahead of time – there are two good recipes and I’ve used both before. The one from thekitchn.com makes about a quart, and the one from justapinch.com makes about two cups.) 
    • 3/4 cup of brown sugar (make sure it’s safe for you)
    • 4 Tablespoons of cocoa powder (make sure it’s safe for you)
    • 2 teaspoons of ground cinnamon
    • 1 Tablespoon of vanilla extract  (Here’s a bunch of recipes for vanilla extract, make sure to use safe alcohol if corn or wheat are an issue for you. I use either Vikingfjord  or Luksusowa Vodka because they are made only from potatoes, where some vodkas may also use grain or corn.)
    • 1/2 teaspoon of grape seed oil (or other safe oil for you)
    • enough grape seed oil to grease cookie sheet

    Grease small to medium cookie sheet with grape seed oil. I used a mister.

    Place all the ingredients in a saucepan over medium heat and stir constantly with a silicone spatula, so that you can scrape the bottom of the saucepan really well. Make sure that all ingredients get combined really well.

    Candy mixture well combined in saucepan
    Candy mixture well combined in saucepan

    Cook over medium heat until the brown sugar begins melting into the cane sugar syrup. I didn’t measure the temperatures, but if you’re using a candy thermometer, you’re probably aiming for somewhere between 250°F and 300°F.  Once the brown sugar is melting into the sugar syrup, pour the mixture onto your cookie sheet or into silicone candy molds.

    Chocolate Cinnamon Hard Candy cooling on cookie sheet
    Chocolate Cinnamon Hard Candy cooling on cookie sheet

    Once it is cooler, but still somewhat pliable, use a metal spatula or turner to cut the candy into pieces and let it cool. Or resort to the zip top bag method as described above.

    Large pieces of Chocolate Cinnamon Hard Candy about to be broken into smaller pieces
    Large pieces of Chocolate Cinnamon Hard Candy about to be broken into smaller pieces

    Enjoy! Also, it’s great with coffee.

    Chocolate Cinnamon Hard Candy
    Chocolate Cinnamon Hard Candy
  • Chopped Cobbish Salad in a Jar, gluten-free, allergy-friendly

    Chopped Cobbish Salad in Jars
    Chopped Cobbish Salad in Jars

    This recipe comes from two sources. First, a salad I read about on a menu and was really excited to try — until I was informed by our knowledgeable server that all the sauces and dressings at the restaurant were unsafe for me. How is it possible that not a single sauce was allergy-friendly? I don’t know. I was grateful to be steered away from food that would make me ill, and I ate my boring but properly cooked plain food instead. But I was still thinking about it, and figured I could absolutely whip up an awesome chopped salad. Secondly, after all the ingredients were chopped, it was so gorgeous that I thought I could use the “salads in mason jars” technique that is all over the food internets to make a) better photos, and b) lunch.

    Keeping salad in a mason jar allows you to put the dressing on the bottom and layer the ingredients so they do not get smushed or soggy. Layer something that won’t absorb the dressing and get soggy on the bottom — I put the chicken down there. Carrots, celery, corn, bacon on top of that. Avocado under tomato (so the acid would keep the avocado green), a sprinkle of Daiya cheddar shreds (absolutely optional), and some sprouts on top. Instead of croutons, I’ve used roasted fingerling potato slices. I served it all over spinach, but use whatever greens you prefer. The dressing in this case is a super simple cilantro-lime vinaigrette, using frozen chopped cilantro (but use fresh if you’ve got it!).

    Chop everything up. Add or replace ingredients as you choose — go for color. Think about your layers a bit, but layer it into jars and go to town. Lunch for days, in the time for one meal prep. It’s color, freshness, and portable flavor. This recipe makes about 4 pint jar salads (with the greens kept separate). You will likely have leftover potatoes and chicken.

    Plated salad over spinach
    Plated salad over spinach

    Chopped Cobbish Salad, in a jar, gluten-free, allergy-friendly

    • 4 teaspoons chopped cilantro (thawed, if previously frozen)
    • 2 teaspoons dijon mustard
    • 4 Tablespoons lime juice
    • 6 Tablespoons best-quality olive oil
    • 1/4 teaspoon salt
    • olive oil to coat
    • seasoned salt or spice mix of your choice
    • fingerling or other small potatoes, sliced thin or chopped small
    • chicken breast
    • mixed herb seasoning of your choice
    • 6 slices bacon, cooked
    • 3 carrots, peeled and chopped small, or shredded
    • 3 stalks celery
    • 1 ear corn, cooked and removed from cob, or 1/2 cup defrosted
    • grape or cherry tomatoes, sliced in half
    • 1 avocado, cubed
    • sprouts
    • spinach or other greens
    Can you see why this needed to be layered into a jar?
    Can you see why this needed to be layered into a jar?

    First, cook your cooked ingredients.

    Roasted potatoes for “croutons”: Pre-heat oven to 425°F. Wash and slice. Toss potatoes with olive oil and sprinkle with seasoned salt or other spice of your choice. Bake 20 minutes or until crispy. I can’t tell you how many of these to make — I always make a full pan because they make great snacks.

    Cook your chicken breasts. I prefer to grill them on my little electric grill, but you can always use this method.

    Cook your bacon until crispy, drain and crumble.

    Okay. Now on to the vegetables. You’re looking for about 1/2 a cup of each vegetable, divided up into 4 servings. Given that the corn and tomatoes are sort of pre-sized, aim to get everything else between those two sizes.

    Now mix up your dressing — whisk or put all the ingredients in a jar and shake. Add about 1-2 Tablespoons of dressing to each jar, depending on how much dressing you like (and remember you’ll be putting this over additional greens). Then layer in the rest of the food. I put the sprouts on top so I could pack them in. Cap it, put it in the fridge, and look forward to your next meal. When ready to serve, I tipped the jars over and shook them a little. Put the greens down on a plate and pour over the rest of the goodies. I pulled the sprouts aside so that I could use them to swipe the rest of the dressing out of the jar.

    The longest I’ve kept a jar salad around was 2 days — they might last a bit more, but I haven’t tried it yet.

    Jars flipped upside down to let the dressing mix in
    Jars flipped upside down to let the dressing mix in
  • Chimichurri Spiced DIY Tater Tots


    Chimichurri Spiced DIY Tater Tots
    Chimichurri Spiced DIY Tater Tots

    Here’s another more adult tater tot flavor, because I love cilantro and I made a whole lot of chimichurri sauce by accident, so this seemed like a good way to use up the extra. Again you could probably pan fry these instead of baking them, but baking seems a bit easier to me.

    Chimichurri Spiced DIY Tater Tots

    Chimichurri sauce:

    • 2 cups of tightly packed chopped cilantro
    • 2 garlic cloves
    • 1/4 cup of olive oil
    • 1/4 cup of white wine vinegar
    • 1 teaspoon of Adobo seasoning – optional (If you don’t have Adobo seasoning or you don’t have a safe version, mix 1/8 cup of paprika, 1 1/2 Tablespoons of ground black pepper, 1 Tablespoon of onion powder, 1 Tablespoon of dried oregano, 1 Tablespoon of ground cumin, 1/2 Tablespoon of ground chipotle, and 1/2 Tablespoon of garlic powder, this makes half a cup of seasoning)
    • salt to taste

    Put all the ingredients in the blender and puree it. You may not use all of it in this recipe. Marinate meat in it or coat vegetables with it and grill it or roast it, or put it in rice to flavor the rice. If you are worried you can’t use it all up, put it in an ice cube tray, freeze it, and store the cubes in a zip top bag in the freezer until you have a use for it.

    Tater Tots:

    • 4 large potatoes (I used russet)
    • 1/4 cup of Chimichurri sauce (see above)
    • safe oil in a mister to grease pan and tater tots.

    Preheat your oven to 400°F.  Peel and wash your potatoes. Place the potatoes on a small baking sheet.  Bake the potatoes for about an hour.

    When the potatoes are ready to come out of the oven, remove the potatoes and turn the temperature on the oven to 425°F.  If you’re using a large hand grater, you need to wait until the potatoes are cool so you don’t burn your fingers. Since I was using the grating blade on my food processor to grate the potatoes, I grated them while they were still hot. I sliced them lengthwise just enough to get them in the food processor, and grated them up.

    Grated potato after baking
    Grated potato after baking

    Some of the grated pieces may be too long, Feel free to chop them up a bit either with a knife or a potato masher.  When the pieces are small enough for you, mix the chimichurri sauce into the potatoes until they are well combined.

    Potato and chimichurri sauce mixture
    Potato and chimichurri sauce mixture

    Spray your baking sheet with your safe oil in a mister. I used a small cookie scoop to portion out the tater tots, but you could use two teaspoons to drop the mixture on your baking sheet.

    Chimichurri Spiced DIY Tater Tots before baking
    Chimichurri Spiced DIY Tater Tots before baking

    Use your oil mister to mist the top of the tater tots, and place the baking sheet in the oven for 25-30 minutes. Use some tongs or a spatula to turn them over, and then bake them for another 25-30 minutes. You want to watch them closely, as you’ll notice mine were a little on the brown side.

    Chimichurri Spiced DIY Tater Tots after baking
    Chimichurri Spiced DIY Tater Tots after baking

    Take them out of the oven, salt to taste, and enjoy!

  • Roasted Garlic and Pesto DIY Tater Tots


    Roasted Garlic and Pesto DIY Tater Tots
    Roasted Garlic and Pesto DIY Tater Tots

    I just planted a whole bunch of potatoes in the garden, so I’m going to need some recipes to deal with them. I decided to try to make some adult flavored tater tots.  You’ll need a food processor or a blender, and if you don’t have food processor, a grater. I baked these, but you could also try pan frying them in safe oil.

    Roasted Garlic and Pesto DIY Tater Tots

    Pesto:

    • 1 cup of tightly packed fresh basil leaves
    • 1/4 teaspoon of salt
    • 1/4 cup and 1 Tablespoon of olive oil

    Put all ingredients in the blender or food processor and blend/process until pureed.

    Pesto after blending or processing
    Pesto after blending or processing

    Tater Tots:

    • 4 large potatoes (I used russet)
    • 2 Tablespoons of Pesto (see above)
    • 1/4 cup of roasted garlic (here’s how to do it)

    Preheat your oven to 400°F.  Peel and wash your potatoes. Place the potatoes on a small baking sheet.  Bake the potatoes for about an hour.

    (NOTE: If I don’t already have roasted garlic, I prep the garlic as described in the link above and bake it at the same time as the potatoes.)

    Garlic roasted in olive oil
    Garlic roasted in olive oil

    When the potatoes (and possibly the garlic) are ready to come out of the oven, remove the potatoes and garlic and turn the temperature on the oven to 425°F.  If you’re using a large hand grater, you need to wait until the potatoes are cool so you don’t burn your fingers. Since I was using the grating blade on my food processor to grate the potatoes, I cheated and did them hot. I sliced them lengthwise just enough to get them in the food processor, and grated them up.

    Potatoes after grating
    Potatoes after grating

    Some of the grated pieces may be too long, and you may want to chop them up a bit either with a knife or a potato masher.  Mix the pesto sauce and the roasted garlic into the potatoes until they are well combined.

    Potato, roasted garlic and pesto mixture
    Potato, roasted garlic and pesto mixture

    Spray your baking sheet with your safe oil in a mister. I used a small cookie scoop to portion out the tater tots, but you could use two teaspoons to drop the mixture on your baking sheet.

    Roasted Garlic and Pesto DIY Tater Tots before baking
    Roasted Garlic and Pesto DIY Tater Tots before baking

    Use your oil mister to mist the top of the tater tots, and place the baking sheet in the oven for 25-30 minutes. Use some tongs or a spatula to turn them over, and then bake them for another 25-30 minutes. You want to watch them closely, as you’ll notice mine were a tad overcooked.

    Take them out of the oven, salt to taste, and enjoy!


  • Beef Satay – Gluten-free with Soy-free option

    Beef Satay - Gluten-free with Soy-free option
    Beef Satay – Gluten-free with Soy-free option

    I used to order chicken satay all the time, before the chicken and corn allergies reared their ugly heads. Since I can’t have chicken, and I’ve been craving satay, I decided to try the beef version to see if that would get rid of the craving, which it did. It was so yummy. If you can have chicken, try it with chicken too and let me know how it was, so I can live through you vicariously. If you have a soy allergy (I don’t), try this with Mary Kate’s Soy-Free, gluten-free “Tamari Sauce” and let us know how it worked out for you.

    Beef Satay – Gluten-free with Soy-free option

    • 1 to 2 pound flank steak

    Beef Satay Marinade:

    • 4 cloves of garlic, peeled
    • 1 small onion, peeled and diced roughly (it’s going in the blender or food processor, so don’t stress over it)
    • 1 Tablespoon of Sriracha (use a safe version for you, I ferment my own at home, since I don’t have a safe version)
    • 3 Tablespoons of Soy Sauce (I do well with San-J Tamari Gluten Free Soy Sauce, the alcohol is from cane sugar not corn, but if you can’t use soy, try Mary Kate’s recipe for a Soy-Free, gluten-free “Tamari Sauce” )
    • 4 Tablespoons of a safe oil for you (I used grape seed and olive oil because I ran out of grape seed in the middle)
    • 3 Tablespoons of brown sugar
    • 1 teaspoon of dried lemongrass (if you’ve got fresh, use it, but it’s often hard to get here)
    • 1 1/2 Tablespoons of ground coriander
    • 2 Tablespoons of ground turmeric

    Equipment:

    • food processor or blender
    • a baking rack
    • a sheet pan safe for the broiler
    • bamboo skewers (optional)
    • food safe and safe for you food prep gloves – you’ll need them to put the beef on skewers or you’ll have really yellow fingers as turmeric stains, which is a vast understatement.

    Place all the marinade ingredients in a food processor or blender, and puree them into oblivion. They should be the consistency of a smoothie when you’re finished.

    Beef Satay marinade pureed into oblivion
    Beef Satay marinade pureed into oblivion

    Cut your flank steak across the grain into long strips about an inch and a half wide, as these will end up going onto skewers. Place the flank steak and the marinade into a zip top bag, making sure that the marinade covers all pieces of the flank, and squeezing out any air.

    Beef Satay marinating in a zip top bag
    Beef Satay marinating in a zip top bag

    Marinate overnight, or at least 4-5 hours. When I made them, I marinated them in the morning for that evening’s dinner. I’d say that they marinated for about 10 to 11 hours and that worked fine.

    If you’re using the bamboo skewers, it’d be a really good idea to soak them in water for an hour or two before cooking them. I soaked them for about 15 minutes and it was clearly not enough time, as some of the sticks charred and burned a bit (okay, a lot).

    Once your flank steak is finished marinating, turn on your oven’s broiler and let it heat up. I put the oven rack in the top-most position, but you may need to move it down one depending on the height of your baking rack and baking sheet. Place the baking rack on the baking sheet, and put on your food safe prep gloves. Over a surface that won’t stain, or you don’t care if it stains (I used a cutting board), slide the strips of beef on to the skewers and put them on the rack.

    Flank steak skewered but before cooking
    Flank steak skewered but before cooking

    When you have skewered all the beef strips, place the baking sheet in the oven and broil for 5 minutes, or until you see some crispy bits and then flip the skewers over, and broil on the other side for 5 minutes. It make take more or less time depending on how hot your oven is, or how thick your flank steak is, but you’re looking for an internal temperature of 135°F for medium rare if you’ve got a thermometer.

    Beef Satay after broiling
    Beef Satay after broiling

    It make take more or less time depending on how hot your oven is, or how thick your flank steak is, but you’re looking for an internal temperature of 135°F for medium rare if you’ve got a thermometer.

    Beef Satay - Gluten-free with Soy-free option
    Beef Satay – Gluten-free with Soy-free option

    Enjoy!


  • Summer Mango Salsa

    Summer Mango Salsa
    Summer Mango Salsa

    Apparently it’s mango season. In browsing the grocery store flyers looking for inspiration, I noticed that two of our three chains had mangoes on sale. I’ve never eaten a mango before, but I’ve had mango juice and liked it. So I thought I’d give it a try. Why not, right?

    According to the Mango Board, mangoes are ripe when they give a little under a gentle squeeze — like avocados. As I said on Friday, it’s really worth your time to watch the video before deciding you know how to cut a mango. You can make it a lot harder than it needs to be (I sure did), but mangoes are sweet and tropical and taste like summer. If your “spring” as been like ours in New England, you need a reminder that warmer weather is coming. Tropical mango flavor helps.

    “Salsa” generally conjures up tomatoes, but fruit salsas are pretty amazing and seem to have a better, brighter balance of flavors for certain main dish meals. (And yes, I know that biologically tomatoes are  a fruit, but US law says they are vegetables). Salsa isn’t the quickest thing ever, but the work that goes in pays amazing dividends in flavor.

    This salsa is fine with chips, but if you want to really highlight it, serve it over a meal. Things I think would work well with the summer mango salsa:

    • Shrimp and rice, if you can do shellfish (this was my choice)
    • Chicken, pork, or fish, if any of those work for you
    • Black beans and rice

    Let us know what you try so that, if it’s good, we can copy you. I have a feeling I’ll be making this a few more times, and I’d love some new ideas for what to serve it over.

    Summer Mango Salsa
    Summer Mango Salsa

    Summer Mango Salsa

    • 1/2 of a sweet onion, finely diced (this should be between 1/3 and 1/2 cup — adjust according to your love for onion)
    • 1/2 teaspoon kosher salt
    • 2 Tablespoons lime juice (I wanted to give you a measurement, but I’ve had to use everything from 2 whole limes to 1/2 a lime to get 2T. It varies widely. I always buy limes in pairs, for whatever reason.)
    • 1 serrano pepper (buy a size commensurate with your love of spice), stem, seeds, and inner membranes removed, diced very finely
    • 1 mango, cut into small cubes
    • 1 avocado, cut into small cubes
    • 3 Tablespoons chopped cilantro

    The order of the ingredients above is deliberate. I love onion in my salsa, but I don’t like it too strong. If you chop it first and then let it marinate in the lime juice while you fight with the mango, it mellows out a bit. I’m assuming that the acid “cooks” the onions a bit, as it does for fish in ceviche. If you’re a better food scientist than I am, I’d love to know if this is true; it could just be the power of suggestion.

    For the best flavor profile, you want the onions and the chile diced very finely, as finely as you can manage, and the mango and avocado a good bit chunkier (but still, not too big). The onion and chile go into the lime juice first. The mango next, and last the avocado — the avocado will break down the more you stir it, and I like it pretty well intact.

    Basically, chop everything up and mix it together in a bowl. This is a very fresh salsa, and it doesn’t need much time to meld — half an hour at room temperature seems to be enough, although it is great the next day. I doubt it would last all that much longer, but I’ve made it a few times now and I’ve yet to test that.

    Enjoy your plate of summer.