Notice: Function _load_textdomain_just_in_time was called incorrectly. Translation loading for the wp-ultimate-recipe domain was triggered too early. This is usually an indicator for some code in the plugin or theme running too early. Translations should be loaded at the init action or later. Please see Debugging in WordPress for more information. (This message was added in version 6.7.0.) in /home/maryzahc/public_html/adultfoodallergies.com/wp-includes/functions.php on line 6131 ingredient – surviving the food allergy apocalypse (archive)
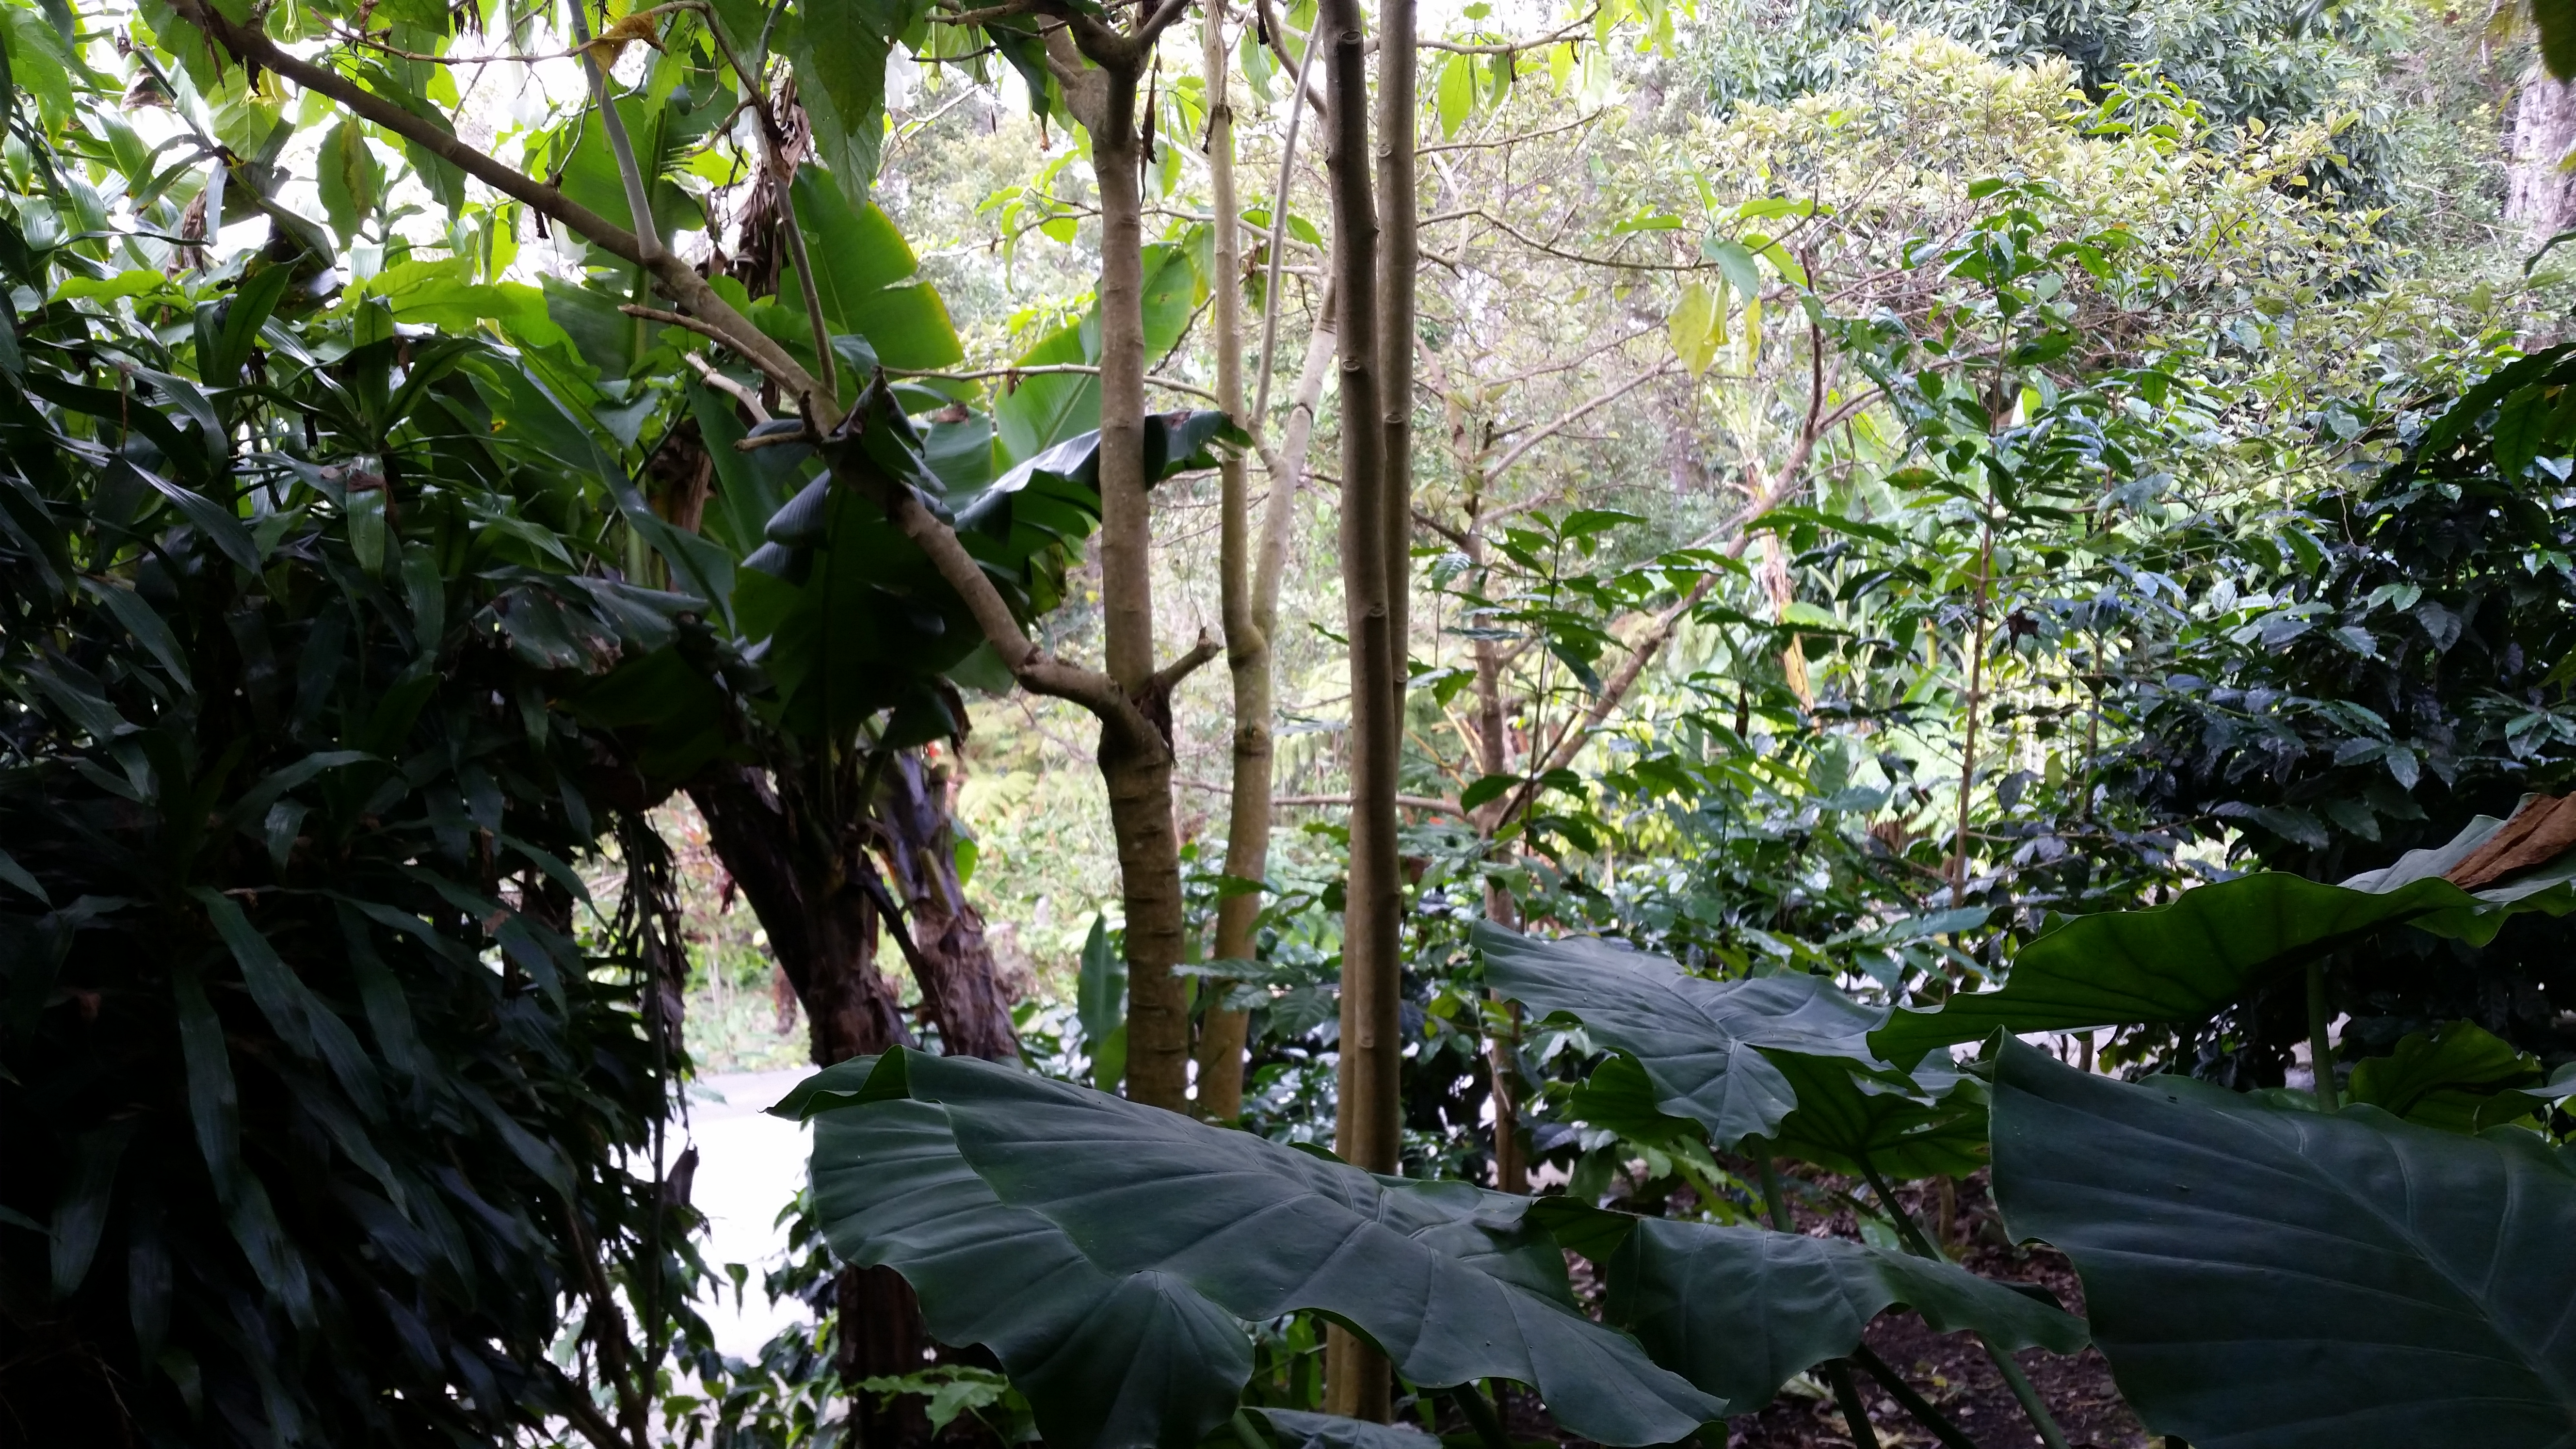
This is where my coffee grows. Photo taken at Mountain Thunder Coffee, February 2018.
Coffee. Coffee. Blog post. Coffee. Tea drinkers, go here. This post isn’t about the history or origins of coffee, but about making one great cup each weekend when mornings suck a lot less. Denise will laugh at the entire idea of ONE cup of coffee, but we do both love it in different quantities. Coffee is great because it’s not an allergen for most people — but drinking coffee out can have its pitfalls — most coffee shops serve treats (gluten, egg, dairy) and milk and nut milks. Coffee can be processed with ingredients that cause some people issues — I haven’t hit those yet, luckily. So here’s my coffee journey.
In 2016, as regular readers of the blog know, I moved across the country to Seattle, a city well-known for its coffee culture. In part, this is climate. I learned to really drink coffee in Oregon, my first foray into the Pacific Northwest, where winters are grey and damp and only a hot beverage will get you through the days. In Eugene, you can’t go half a block without hitting coffee, at least not near the university. Seattle’s not that different, though a lot of the shops are Starbucks. I’ve seen the first espresso cart that came to the city (imported from Italy, it’s now in the collections at the Museum of History and Industry), and every time we get to try a new coffee house, I get a little excited. I’ve become a coffee snob, but that doesn’t mean I’d turn down archaeologist coffee.
For the most part, I’m a simple coffee drinker. I learned to make mochas at my sandwich shop job last century, and while I did not like coffee much, I loved complicated coffee beverages. But I truly love the taste of coffee now, and most days, I want a cup of black drip coffee or an Americano (espresso + water). Occasionally, I like a good almond milk latte, and there’s one place that makes a great cappuccino with almond milk.
But my home coffee game has definitely gotten more complicated. I’ve owned drip brew coffee makers (messy to clean a reusable filter & makes too much) and French presses (terrible to clean). I went through an instant espresso phase (and still keep that around for baking. I don’t drink a lot of coffee, but I need that cup.
I tend to only make coffee on the weekends — in the past, I’d drink coffee at work no matter how terrible it was. (Fun side note, I was banned from making coffee at a former job because I made it too strong). But work now, we have excellent amazing coffee from a local roaster, Pine Drop.
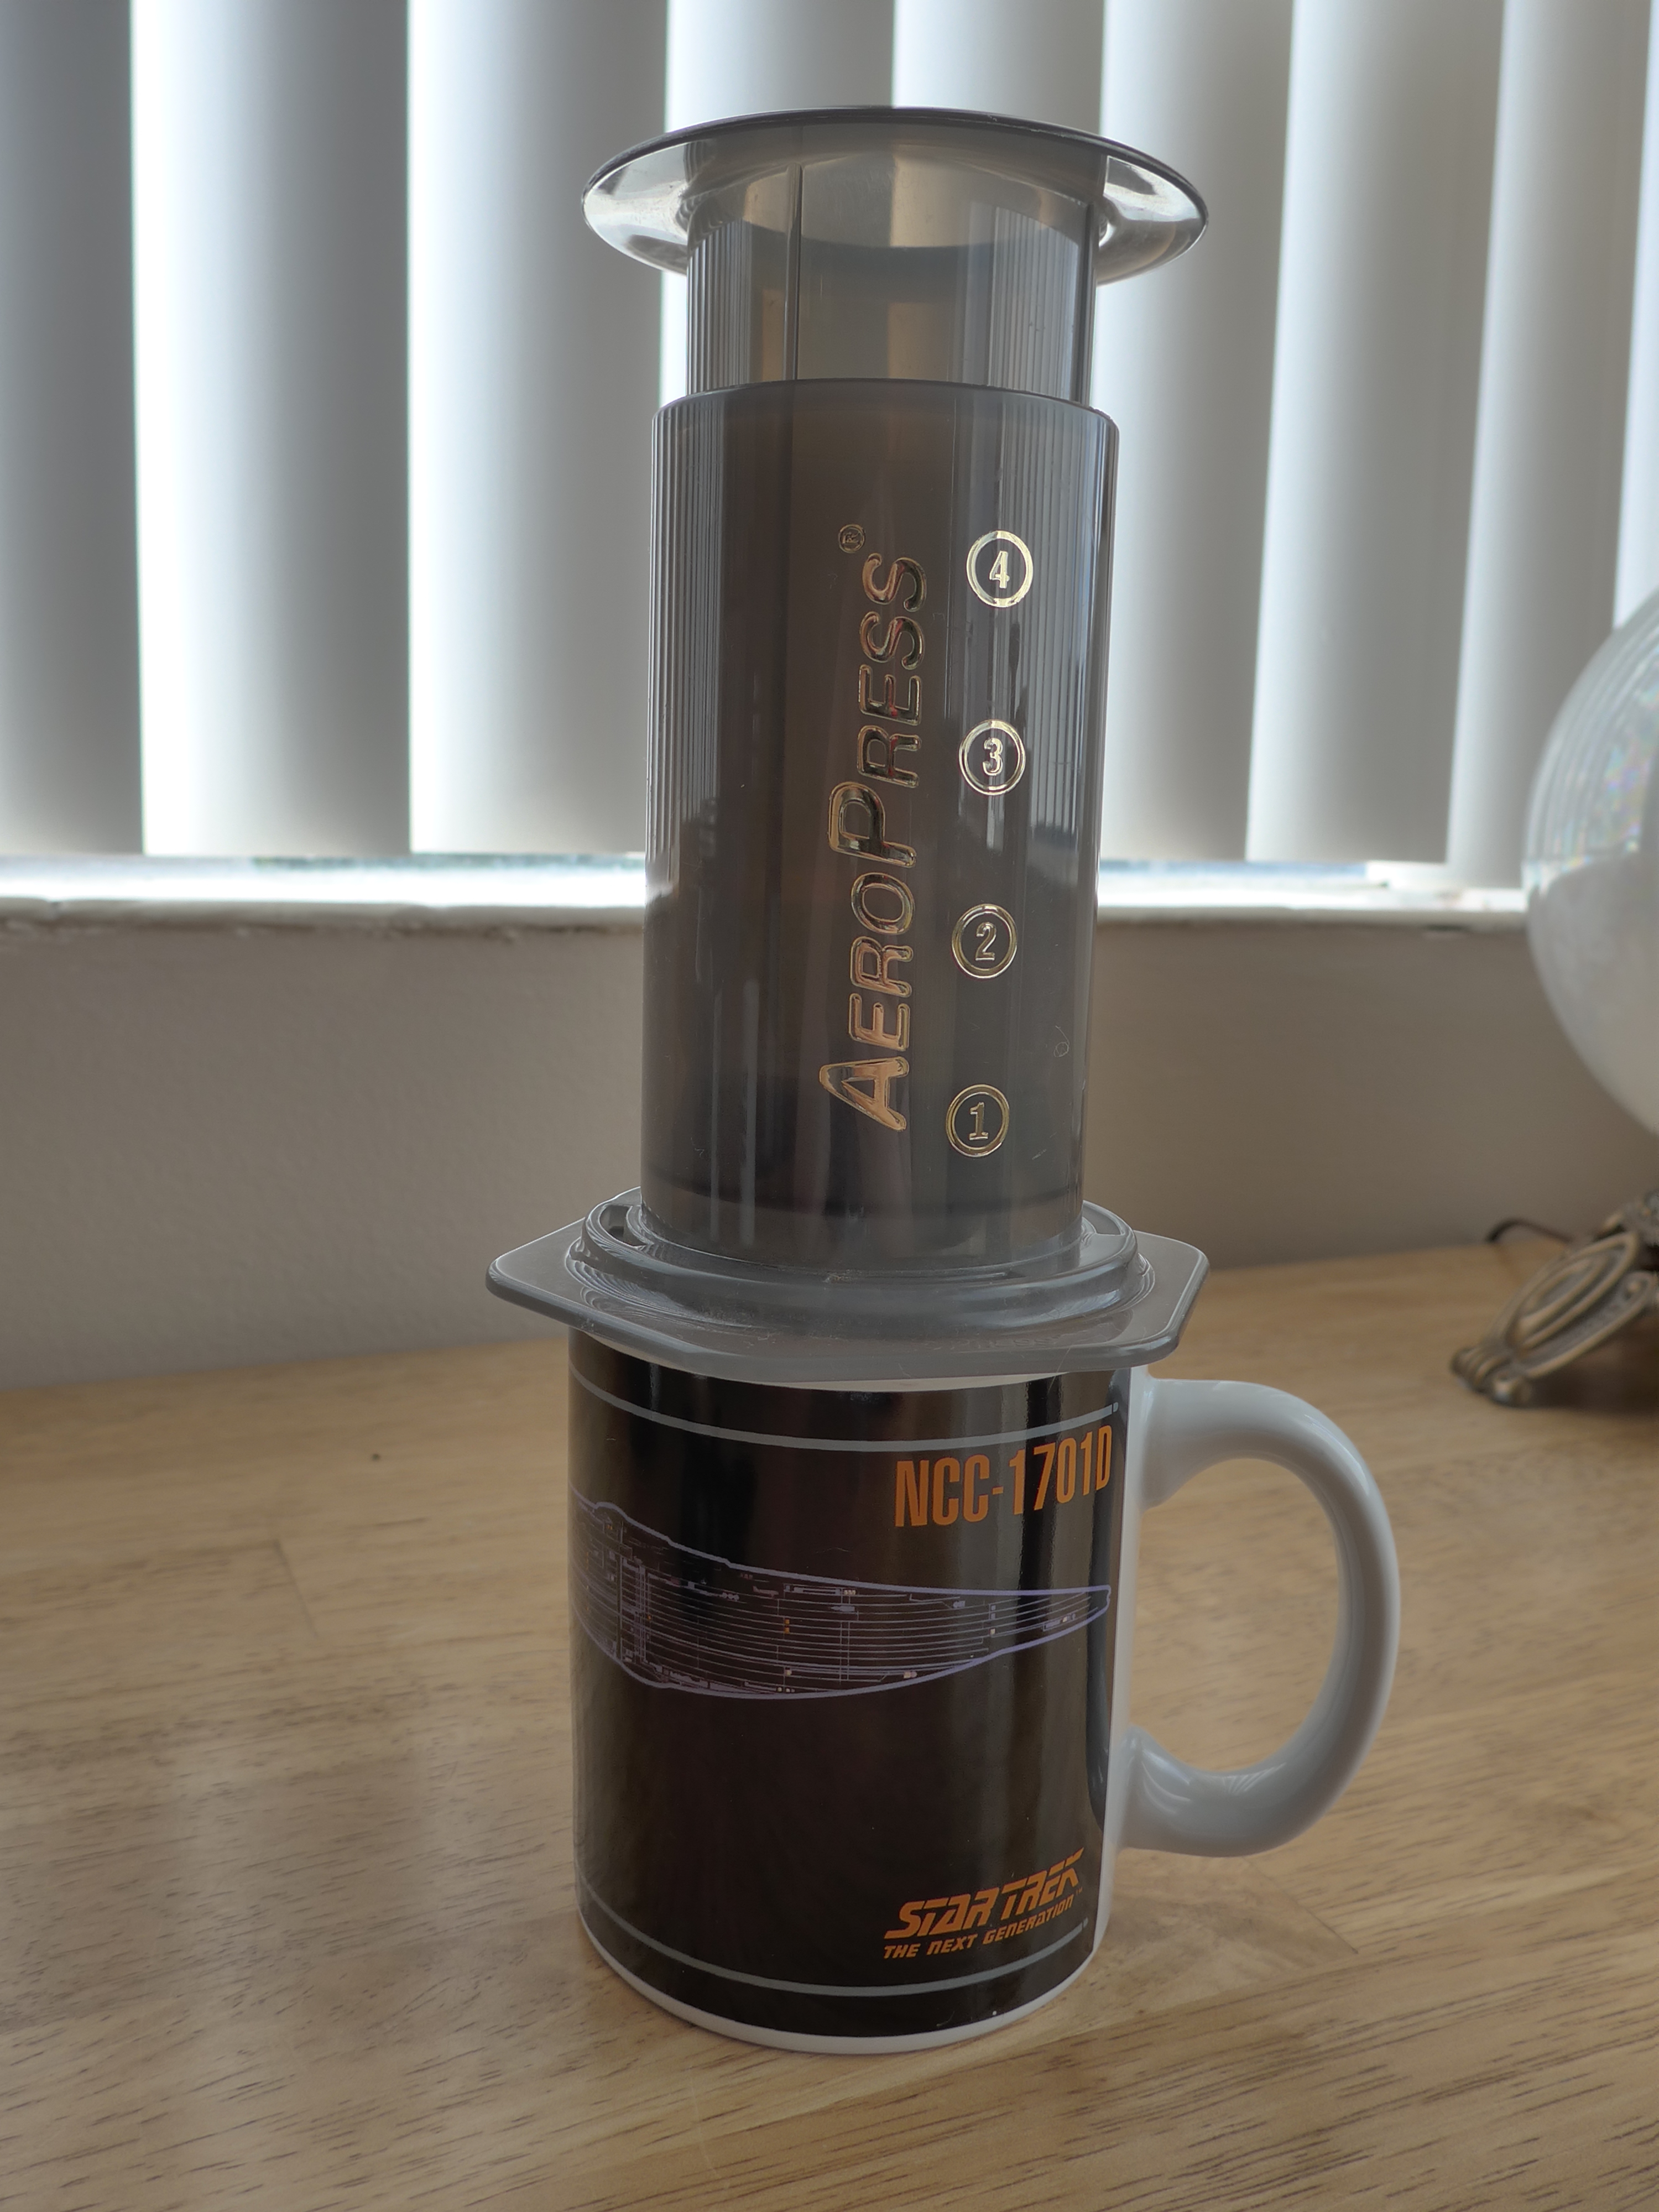
Aeropress. Star Trek mug.
After some research, I decided that an Aeropress might be the best fit for me. This tube system would travel well, and making only one cup means that you’re almost never going to drink cold coffee. Making coffee in the Aeropress feels like a game. Cleaning it is a breeze, as the coffee just pops out into the trash or compost. And the coffee itself is good.
JavaPresse coffee grinder and lovely beans.
But after I determined that Jack wasn’t suddenly going to become a coffee drinker in Seattle, I started buying whole beans because my ground coffee was getting stale. I bought a small burr hand grinder, as I hate noise in the mornings. When we went to Hawai’i, toured a Kona coffee plantation, got hyped on samples, and bought fancy coffee I adore.
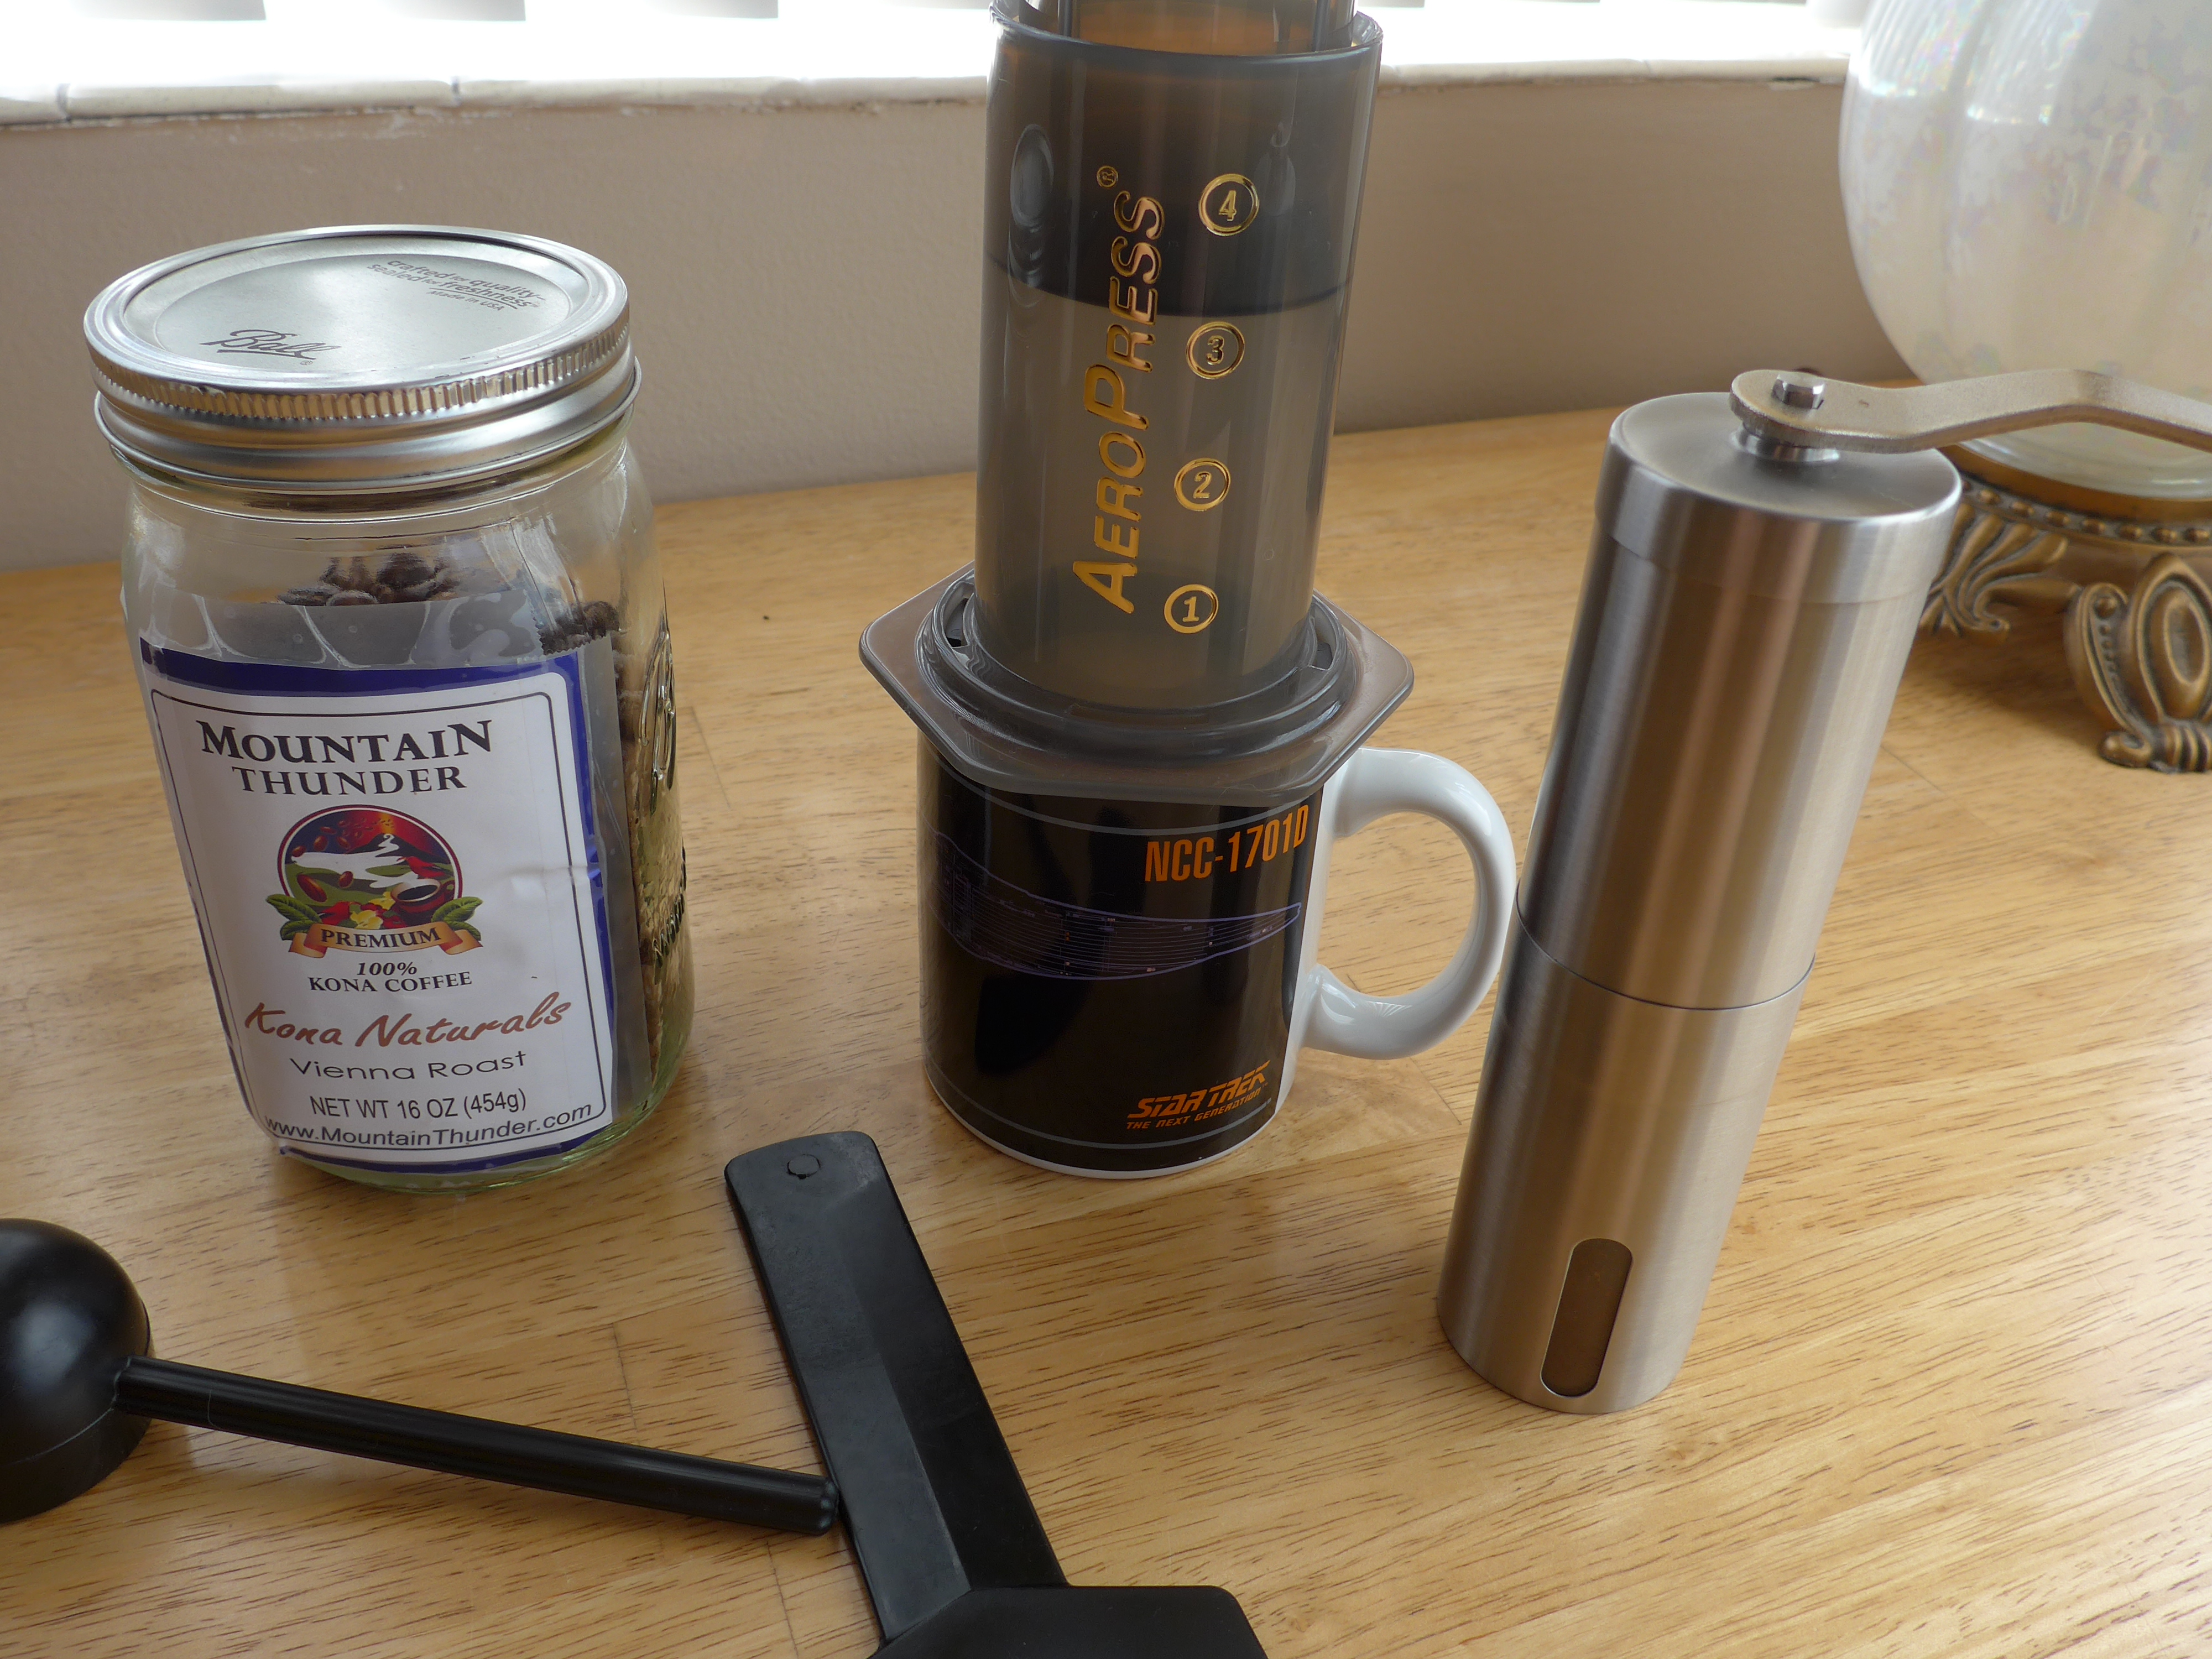
My coffee set up, minus the electric kettle
So this is my hipster weekend coffee routine:
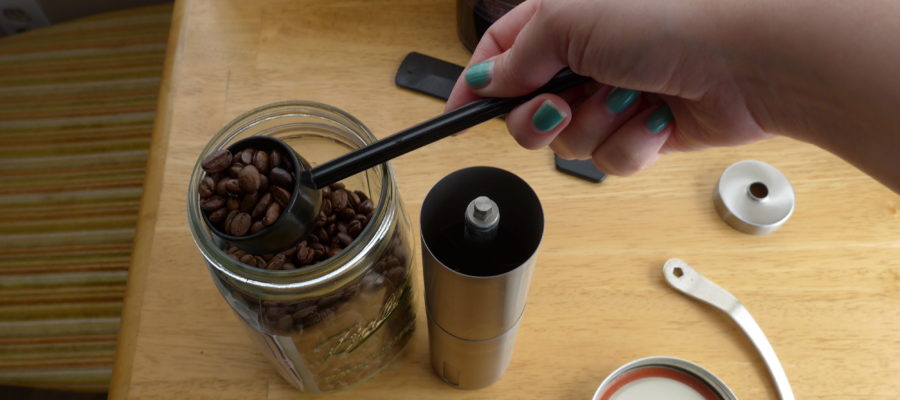
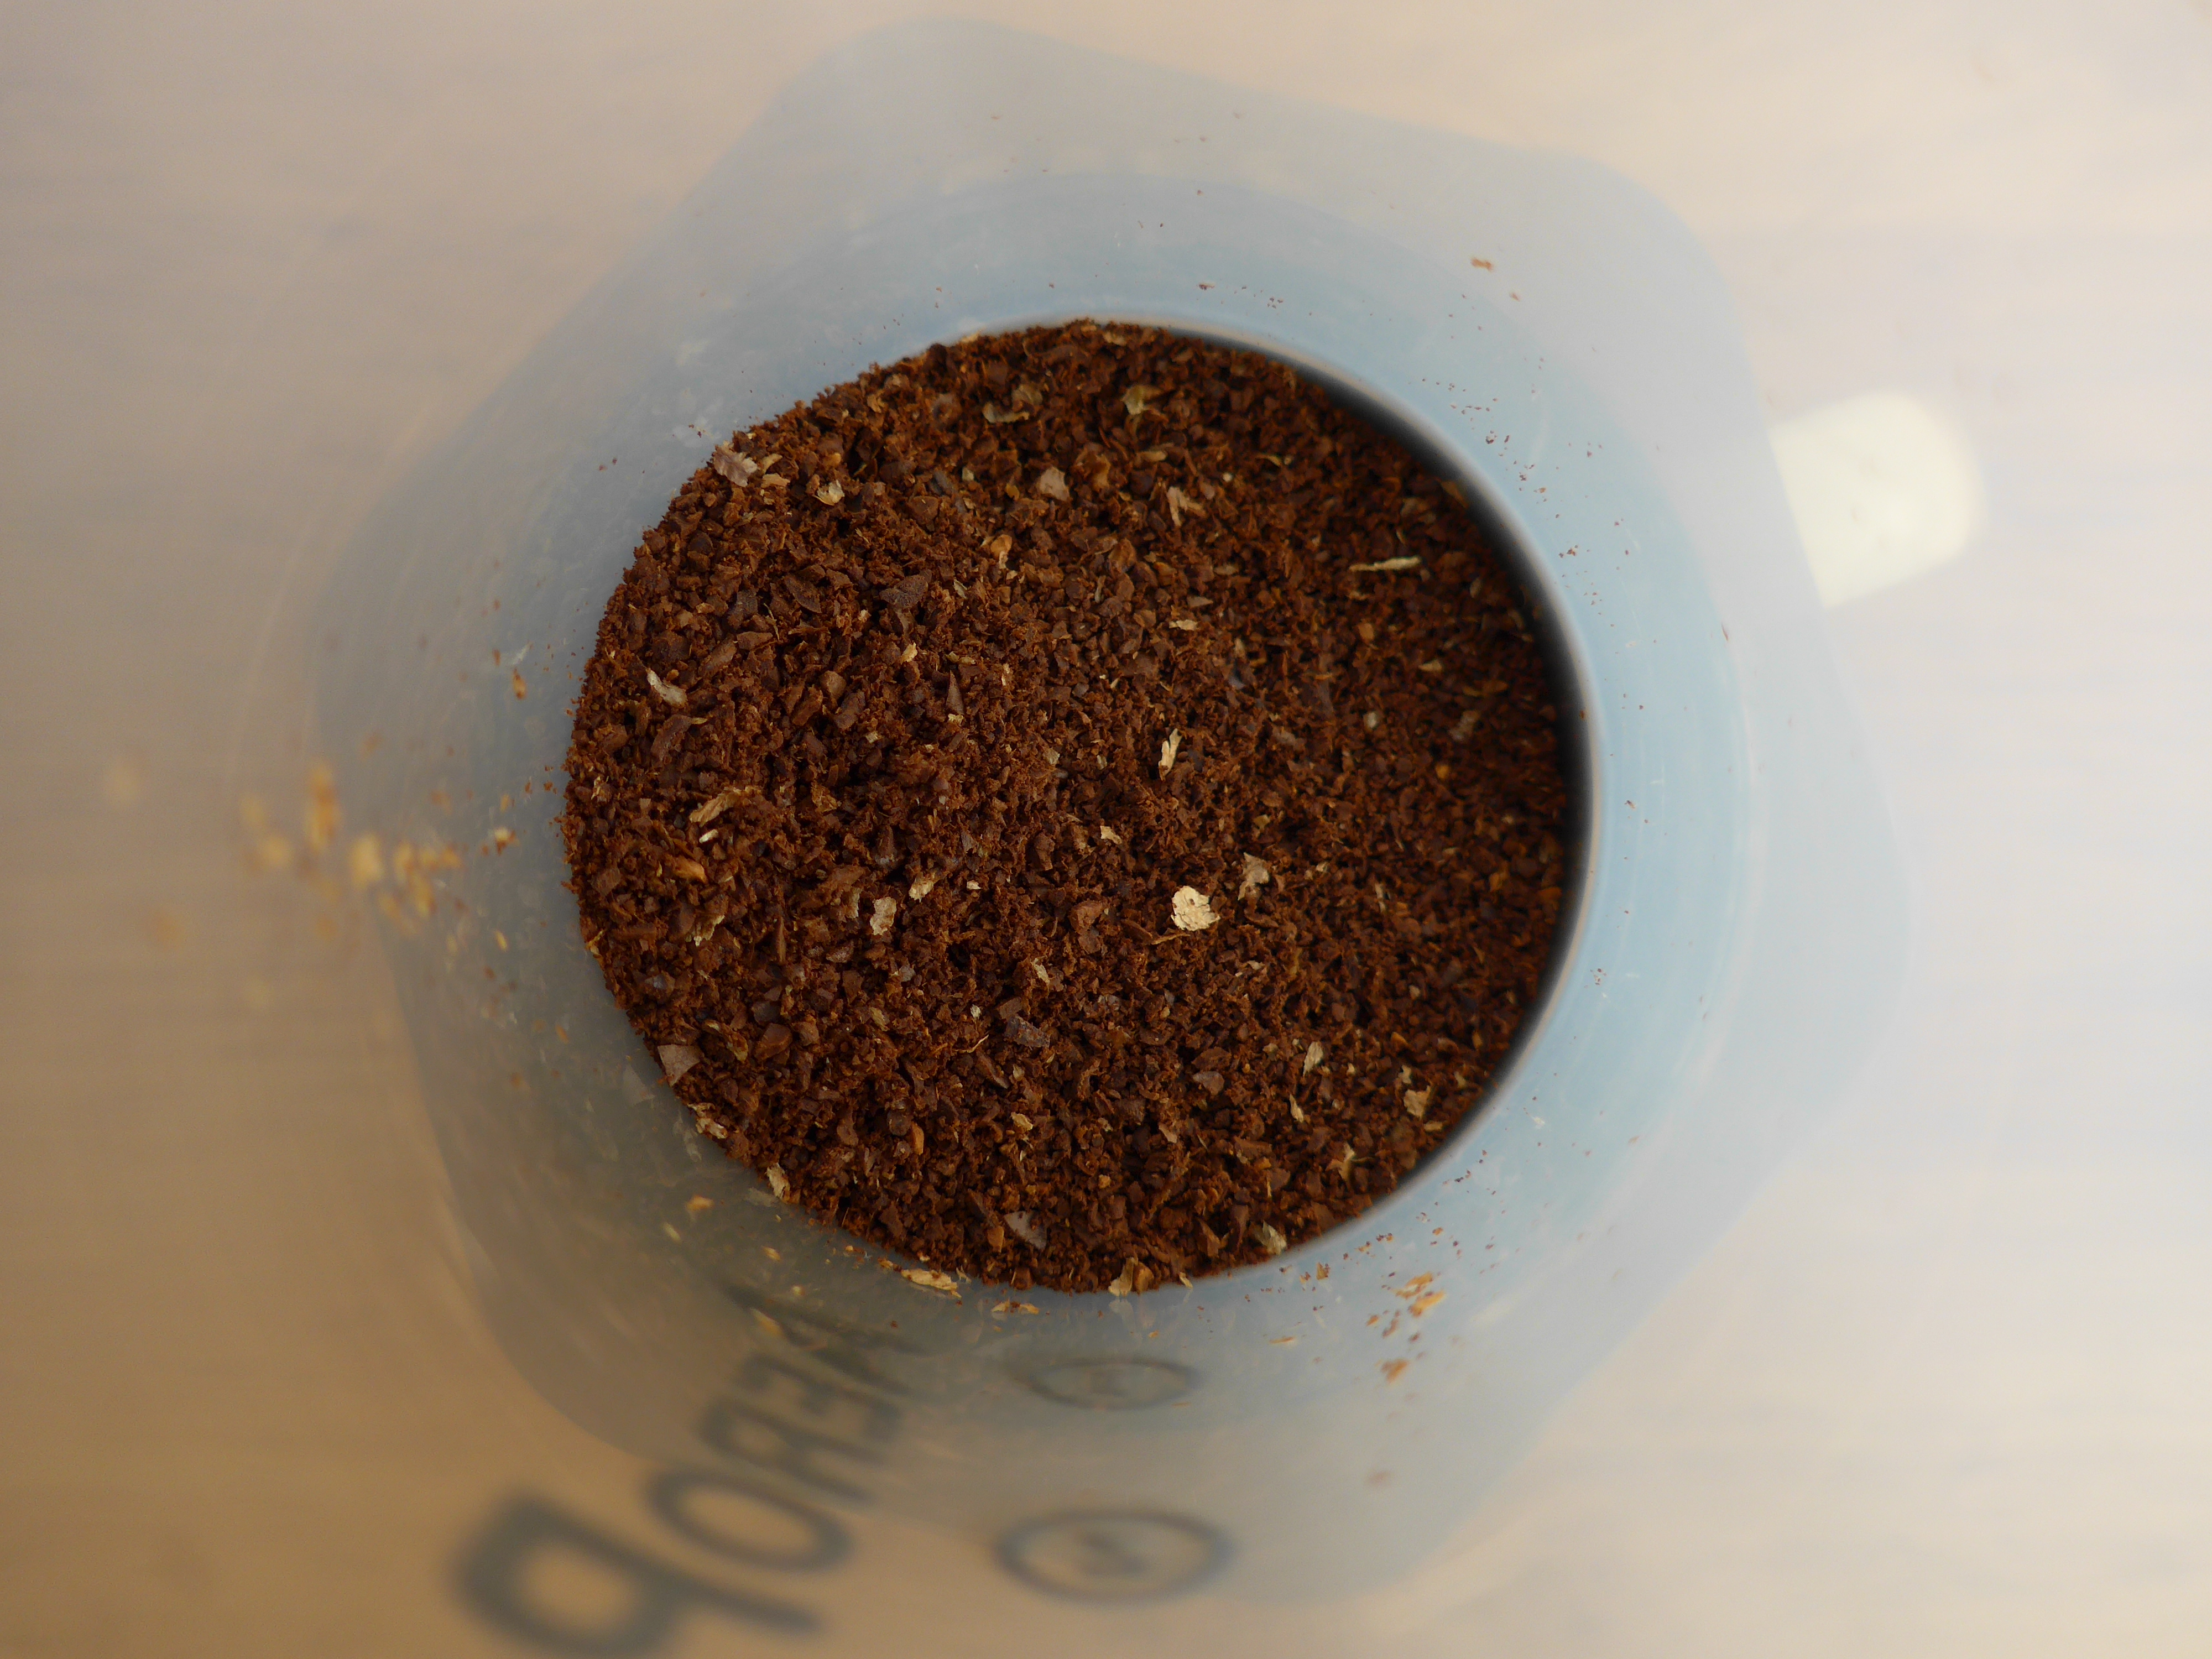
I hand-grind about 2 Tablespoons of Kona coffee from a plantation I personally toured in my burr grinder. This takes about 2 minutes. Meanwhile, I heat up water to 185 degrees in my adjustable thermostat electric kettle. I put a paper filter in my Aeropress and set it atop one of several Star Trek mugs, and I press out one shot of coffee. I then add a bit more water for an intense Americano, or occasionally I steam some almond milk for a homemade latte.
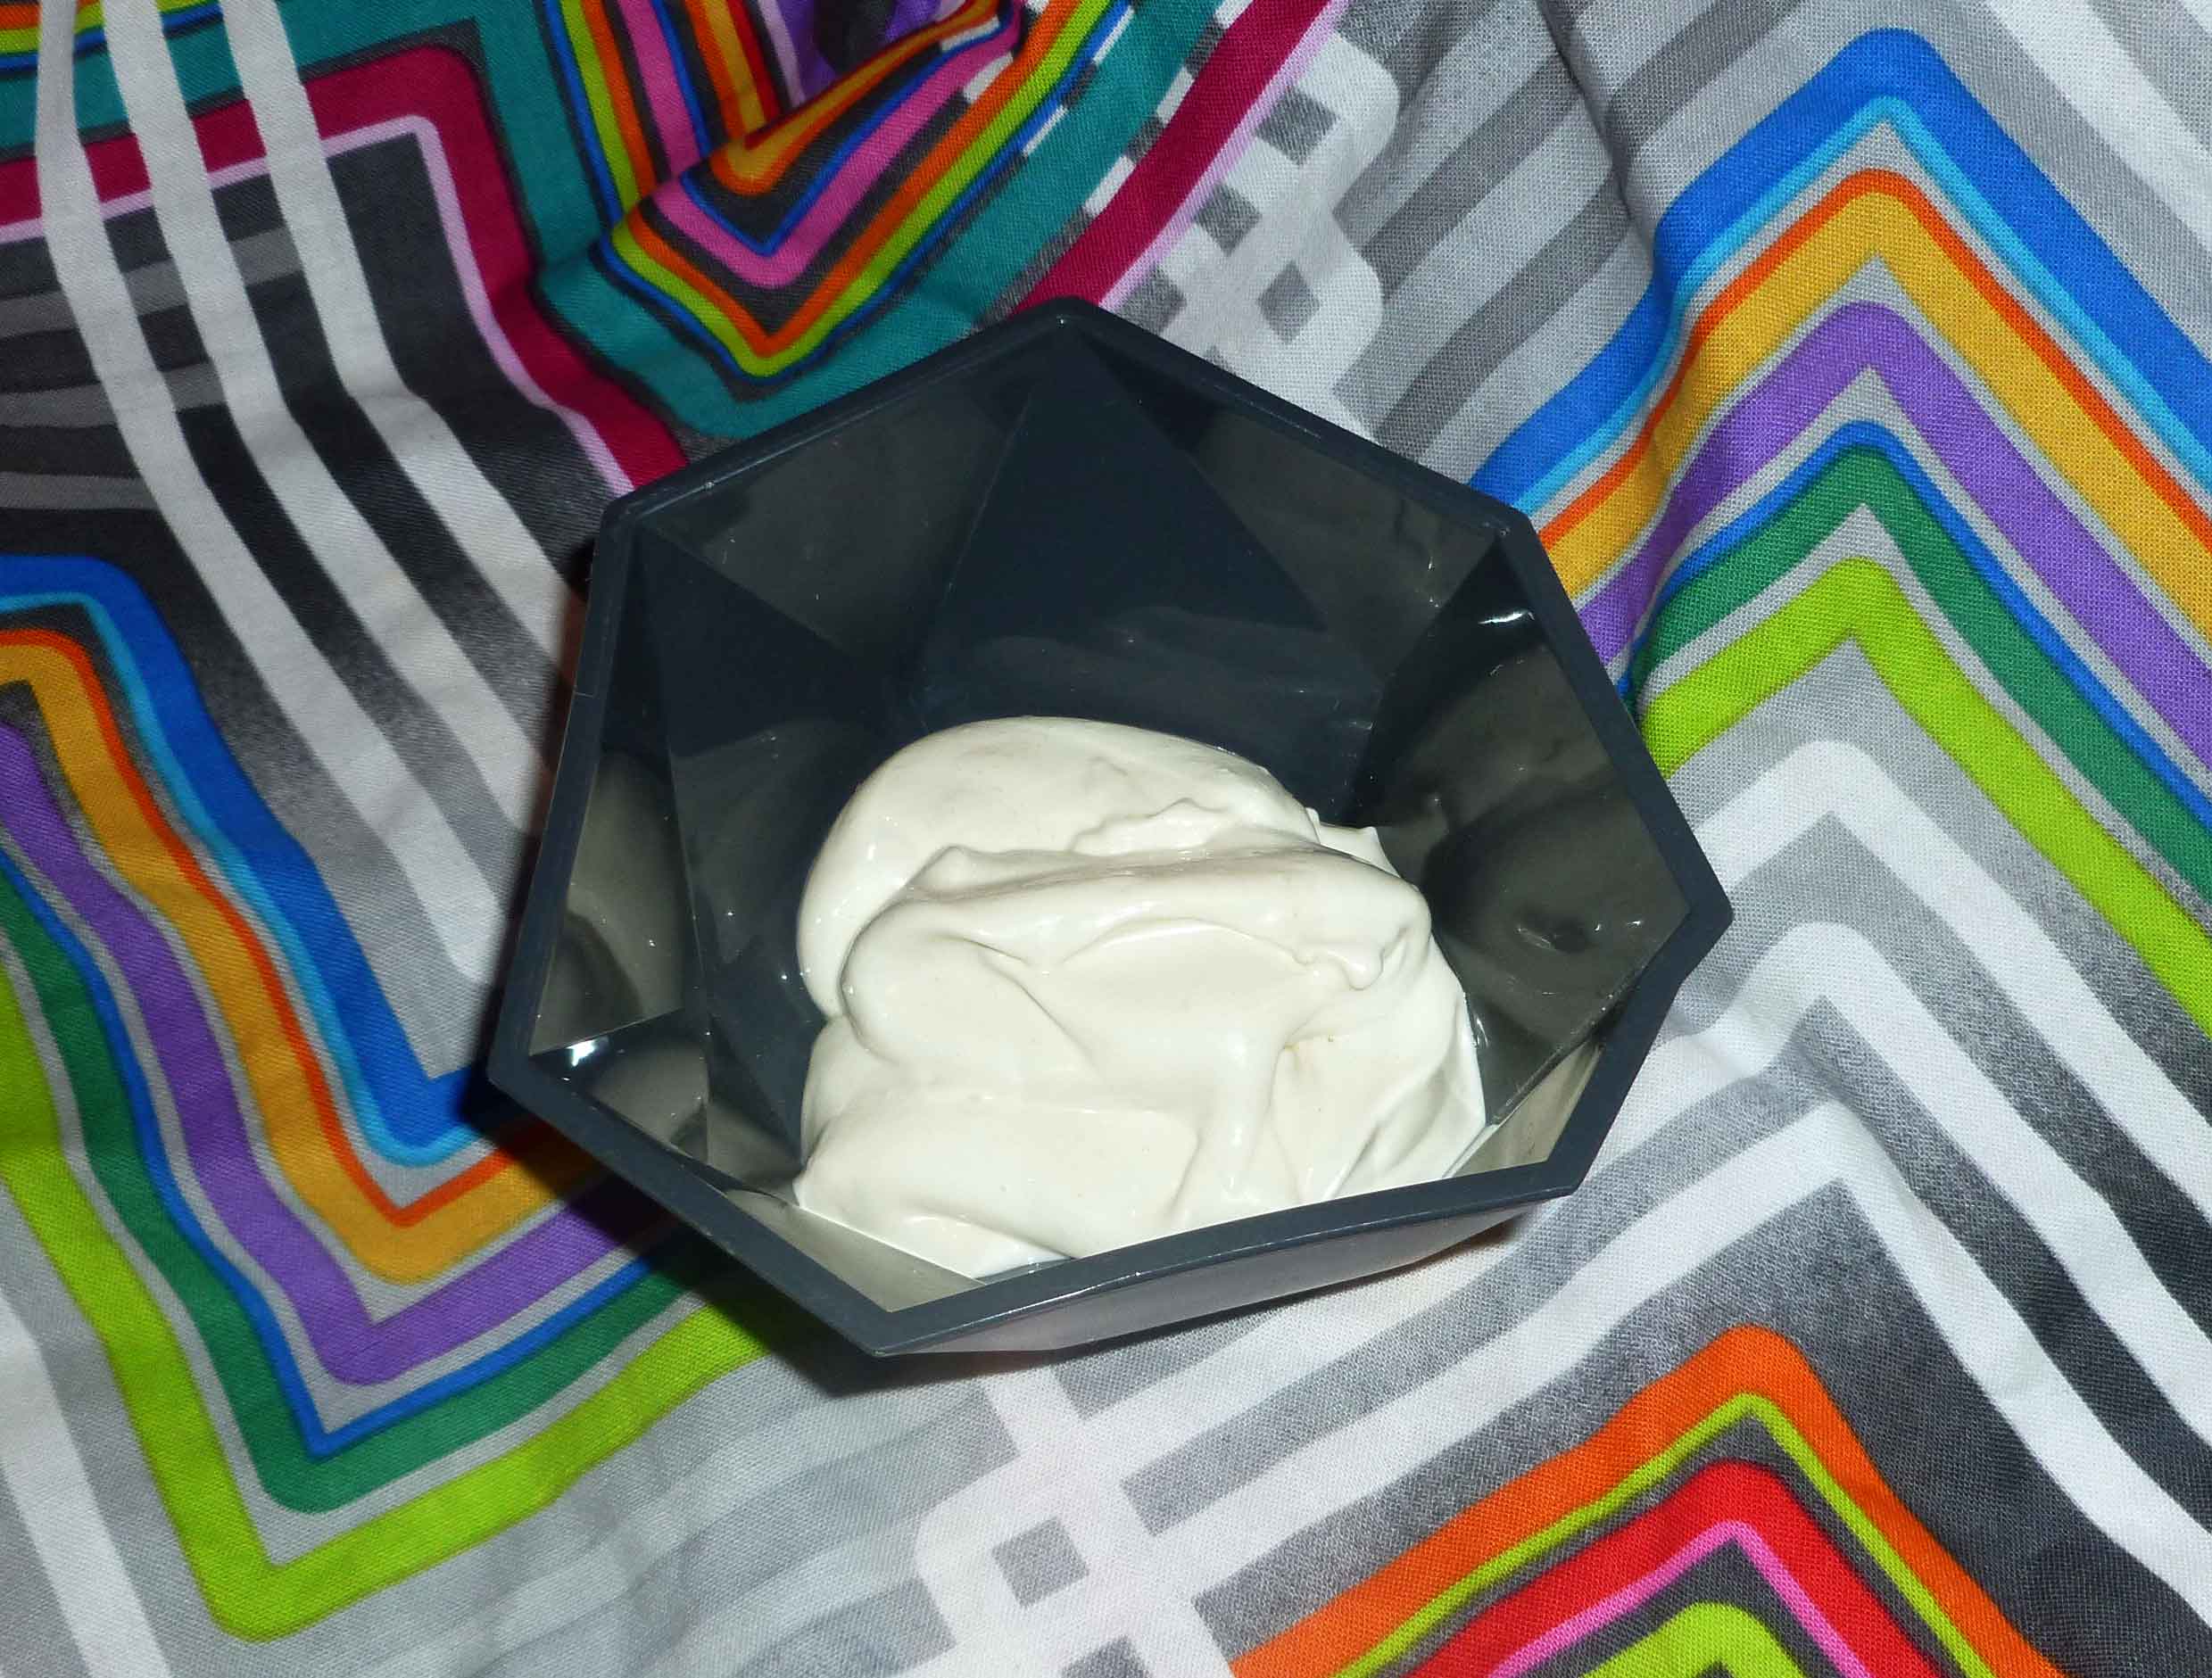
So with the corn allergy all of the vegan mayonnaise products are a big no-no for me, as canola is notoriously cross-contaminated with corn, and I started to react to my favorite product. I haven’t had a safe mayonnaise in over a year. When I saw the aquafaba experiments with mayo, it rang a bell as a lot of the vegan products have pea protein, so I thought I’d give it a go. Only problem was, in order to get some aquafaba, I had to find time to pressure can some garbanzo beans at home, as I don’t really have a safe commercial garbanzo bean product I can buy. A few weeks ago I canned some garbanzo beans, but I just managed to find time to do the experiment recently. I used this recipe to start, but I modified it a bit because I was looking for a flavor that was more like Miracle Whip, as that was my mayo/salad dressing product of choice when I could still eat eggs, milk, and corn (I have more allergies, but those are the problem children for commercial mayo products). When I think of all the things I can make again, I seriously want to cry. Many thanks to Peanut Butter & Vegan for the post on using aquafaba for mayo to get me started. As suggested by the original post, I used an immersion (stick) blender, but if you try it in a regular blender, let me know how that goes.
Aquafaba Vegan Salad Dressing
Makes about 1 cup.
about 1/4 cup of aquafaba (the liquid from a can of garbanzo beans)
1/2 Tablespoon of lime or lemon juice (I used lime because I had limes in the house, but no lemons)
1/2 Tablespoon and 1/2 teaspoon of apple cider vinegar (I used Bragg’s as it is generally safest for people with corn allergies)
3/4 teaspoon of salt
1/2 teaspoon of ground mustard
1/4 teaspoon of sugar
dash of paprika
3/4 cup of safe for you, neutral tasting oil (I used grapeseed oil)
In a small bowl or measuring cup that isn’t much bigger in circumference than your immersion blender, add the aquafaba, lime juice, apple cider vinegar, salt, mustard, sugar and paprika. Mix with the immersion blender for a few seconds so that the ingredients are all combined. Slowly drizzle in the oil, while the immersion blender is running, moving the immersion blender around when the mixture becomes thick to make sure all the oil gets incorporated. Once the mixture is nice and thick, place the salad dressing in a container and place it in the fridge, where it will continue to thicken.
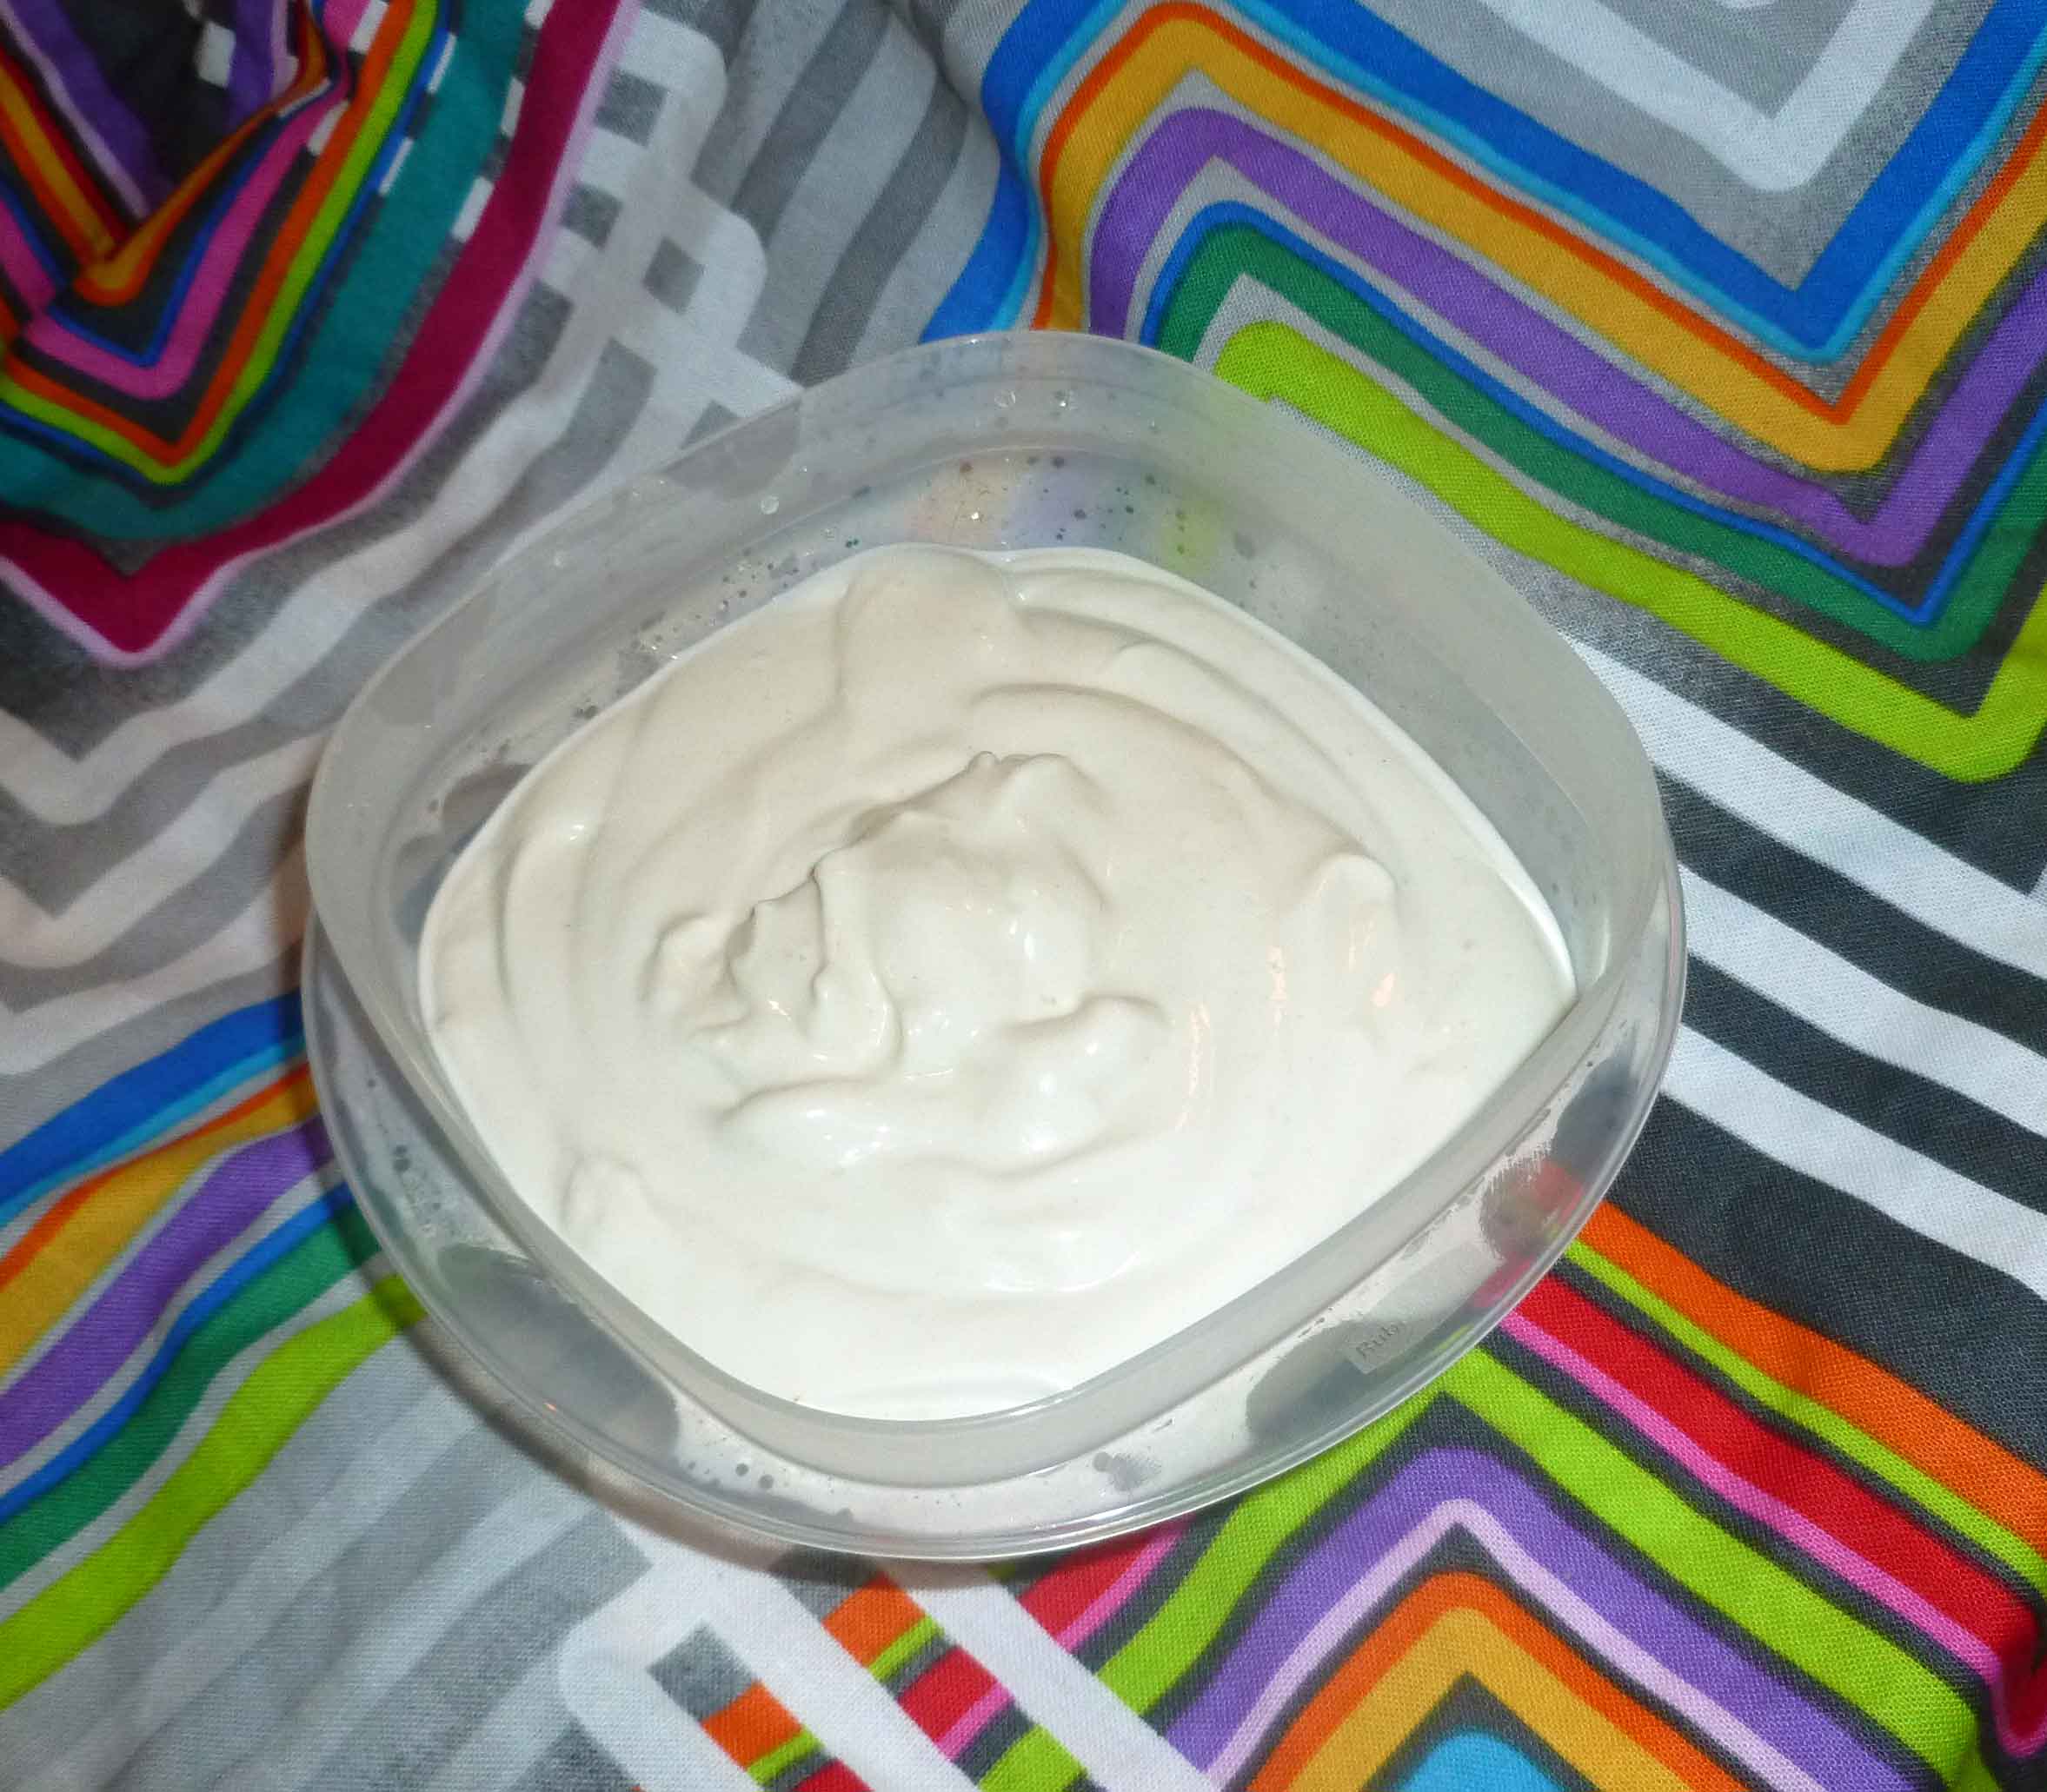
Aquafaba Vegan Salad Dressing
Yay!! You have salad dressing! Go forth and make yummy dishes that require mayo/salad dressing like substances!
Whatever Wednesday: The citrus is in. Go eat it all.
THE CITRUS IS IN!
I assume, given that I’m in New England, that if the citrus is here, the citrus is everywhere (at least in the USA). I’m also assuming that there is some left. My fridge looks like I bought it all. In the photo, blood oranges, cara cara oranges, Meyer lemons, and some limes. I’m not sure what the limes are for, honestly, given that I bought the lemons. But limes were on the shopping list, so I bought them, too. This is a great time to make some fruit-flavored gummy candy.
So far, I’ve baked fish with a cara cara orange (not highly recommended) and baked some shrimp with Meyer lemon (really good). I’ve had a lot of lemon water, and made a strawberry and blood orange smoothie for magical amounts of vitamin C. Blood oranges really are amazing, and I can highly recommend them as both seasonal and gorgeous to eat. Oh, and they’re pretty allergen-free.
Strawberry and blood orange smoothie
(Yes, that’s a Grumpy Bear glass. It suited the mood of the day — until I was done with the smoothie.)
So one of the more recent traumatic events (okay, not really traumatic, but annoying certainly) was the purging of my spice cabinet of things I can’t use any more as a result of the corn and wheat allergies. If you know me in real life, I’m a tad obsessive about my spices. I have a four-shelf stand-alone cabinet in the kitchen that contains nothing but spices, spice mixes, and vinegar and oils. There may or may not be an inventory spreadsheet on my Google drive with 157 items on it so that I can get to it on my phone while I am grocery shopping. I’m also frankly surprised and disappointed that I haven’t made it on some platinum frequent order program with Penzey’s spices, given my order volume (tongue firmly in cheek, I love them). But in any case, I had to get rid of a few of my favorite mixes, Penzey’s or otherwise, mostly because they contained citric acid or other problematic ingredients for me. So I played around, did some Google-fu, and experimented and came up with the following mixes that make me happy.
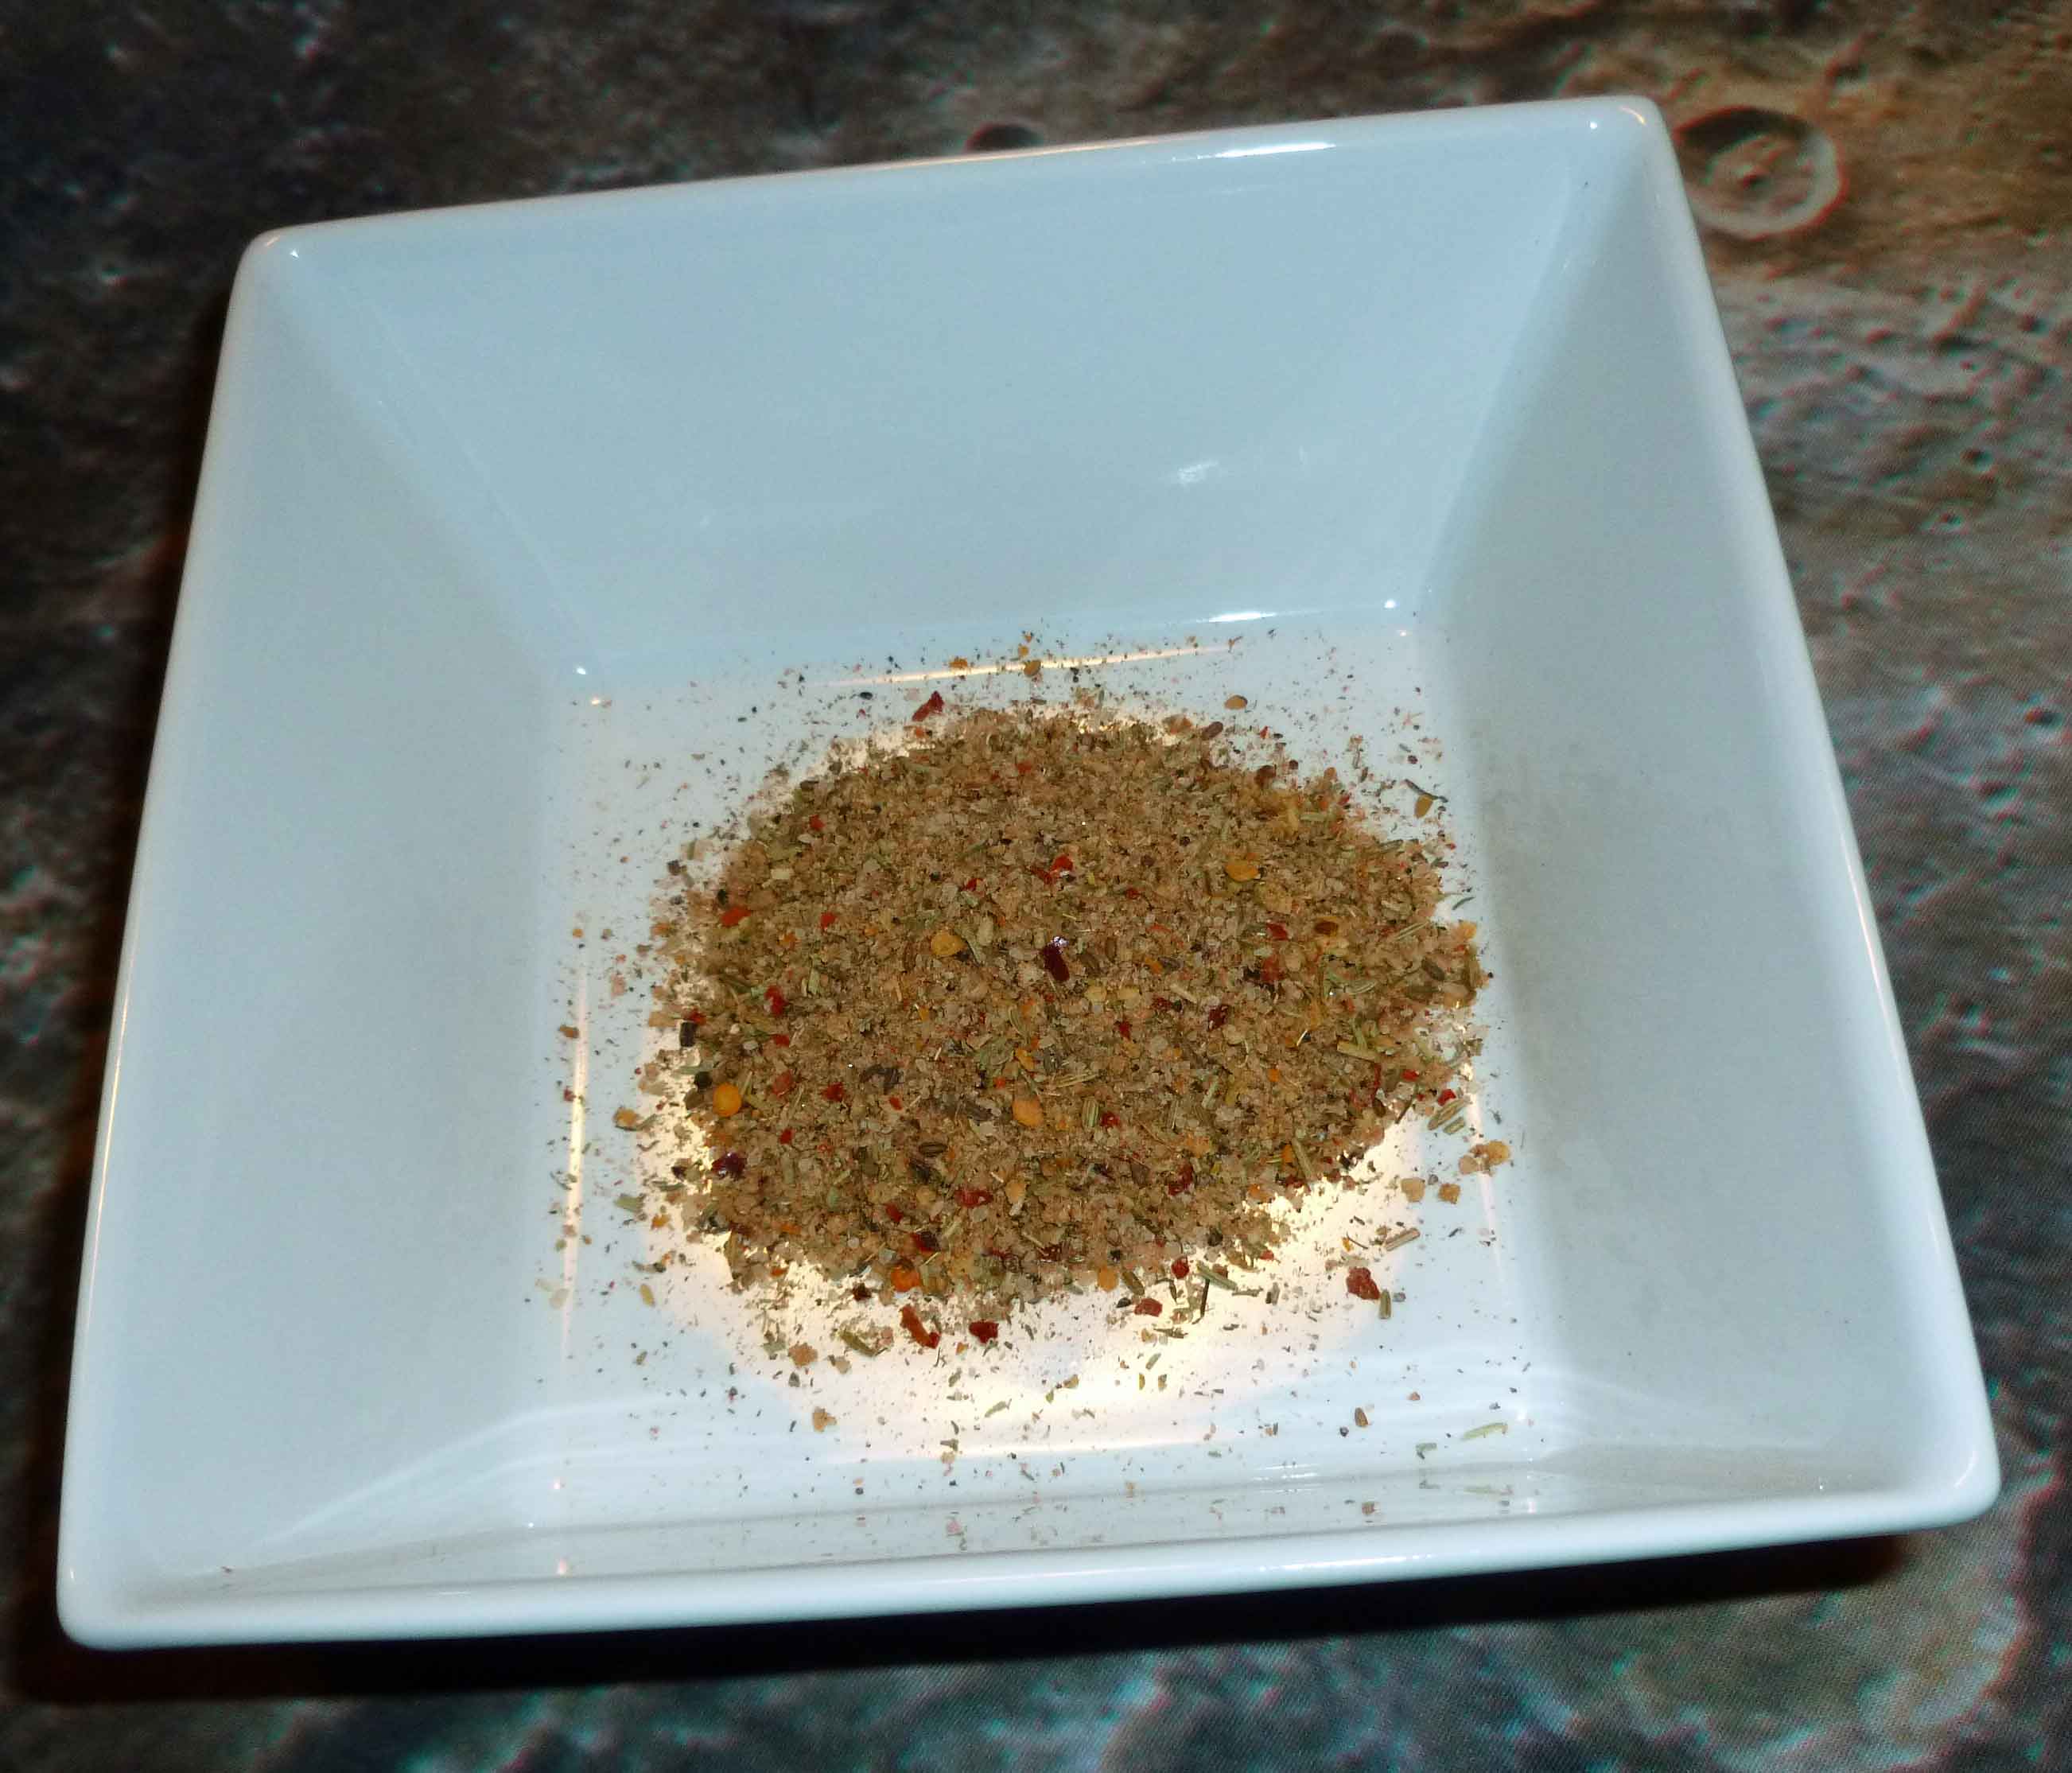
DIY Montreal Steak Seasoning
4 Tablespoons of Kosher Salt
1 Tablespoon of black peppercorns
1 Tablespoon of dried minced onion
1 Tablespoon of dried thyme
1 Tablespoon of dried rosemary
½ Tablespoon of dried minced garlic
½ Tablespoon of crushed red pepper flakes
2 teaspoons of fennel seed
1 teaspoon of dill seed
1 teaspoon of paprika
Put this in a blender or spice/coffee grinder, or use my trick where you take a pint mason canning jar, put all the spices in the jar and screw the blender blade assembly to the jar and put it on blender. Using any and all methods, blend until fairly well ground as shown below and put in a spice jar and store. I use this as a rub for beef, pork and chicken.
DIY Montreal Steak Seasoning
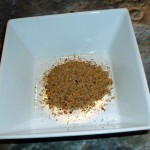
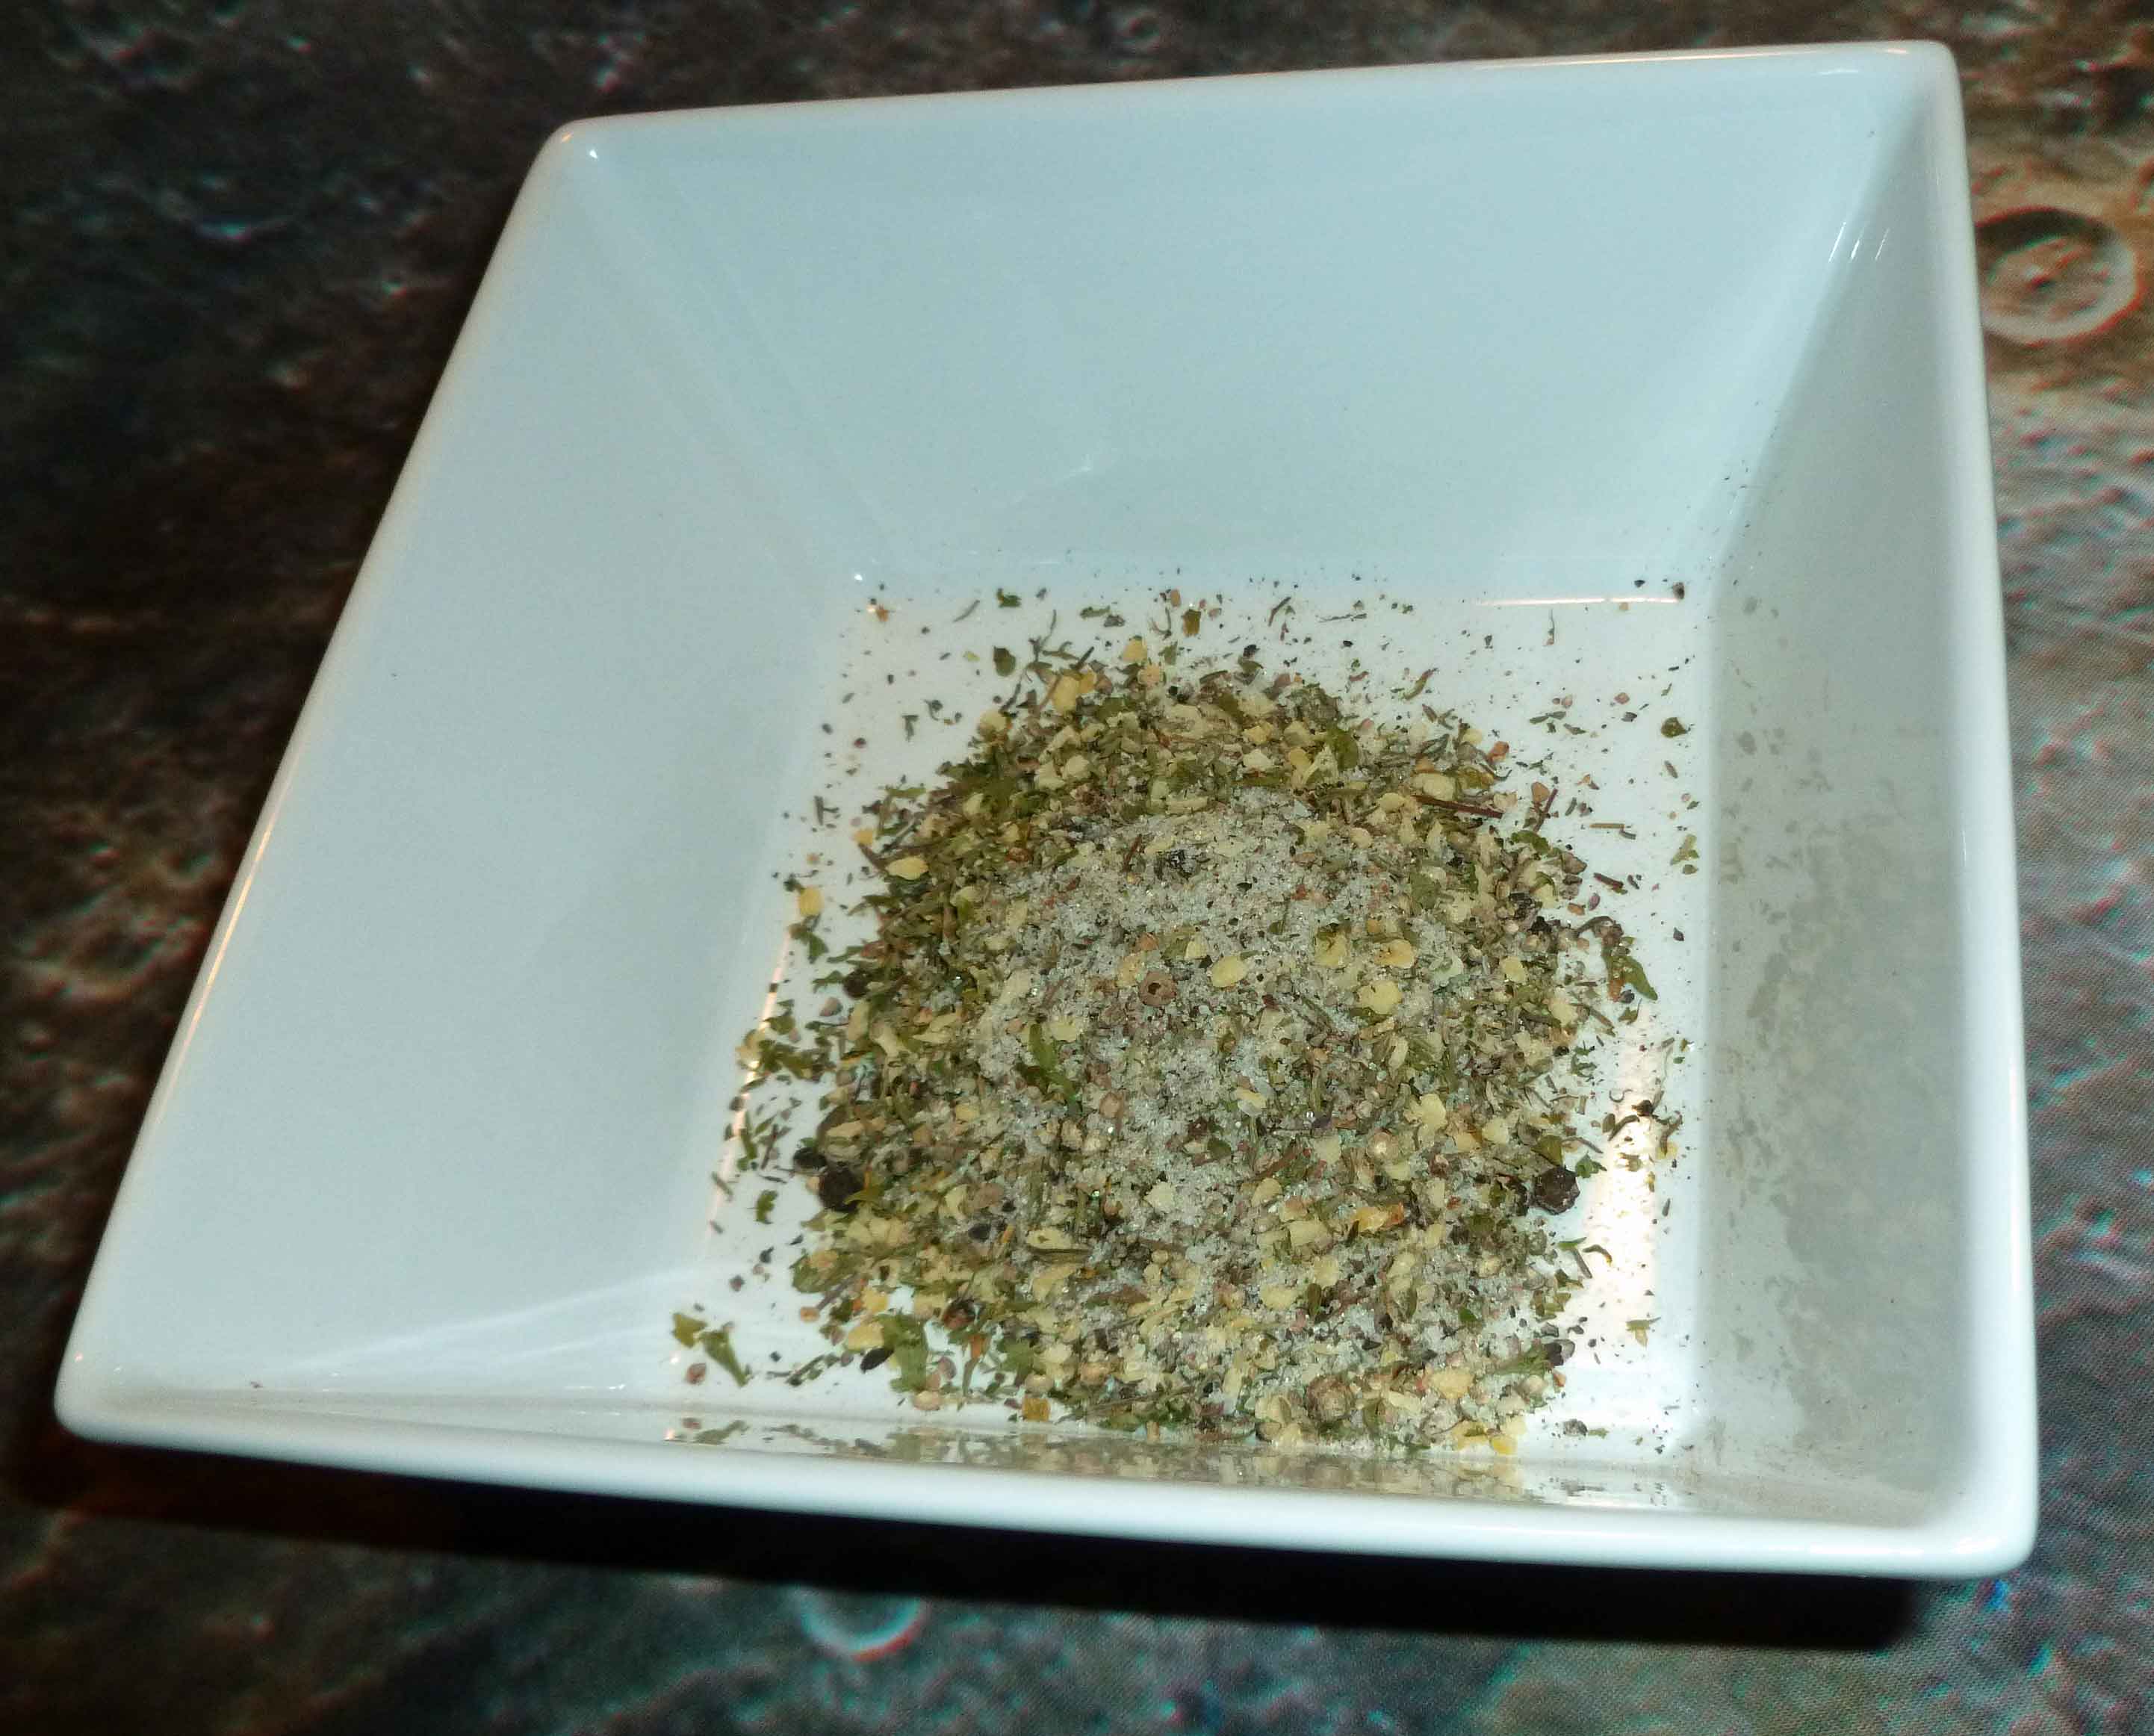
DIY Creamy Peppercorn Dressing Mix
¼ cup of black peppercorns ground coarsely (in a blender or spice/coffee grinder, or use my trick where you take a pint mason canning jar, put the spices in the jar and screw the blender blade assembly to the jar and put it on blender)
⅛ cup of sugar
⅛ cup of dried minced garlic
⅛ cup of dried thyme
⅛ cup of dried parsley.
2 ½ Tablespoons of salt
DIY Creamy Peppercorn Dressing Mix
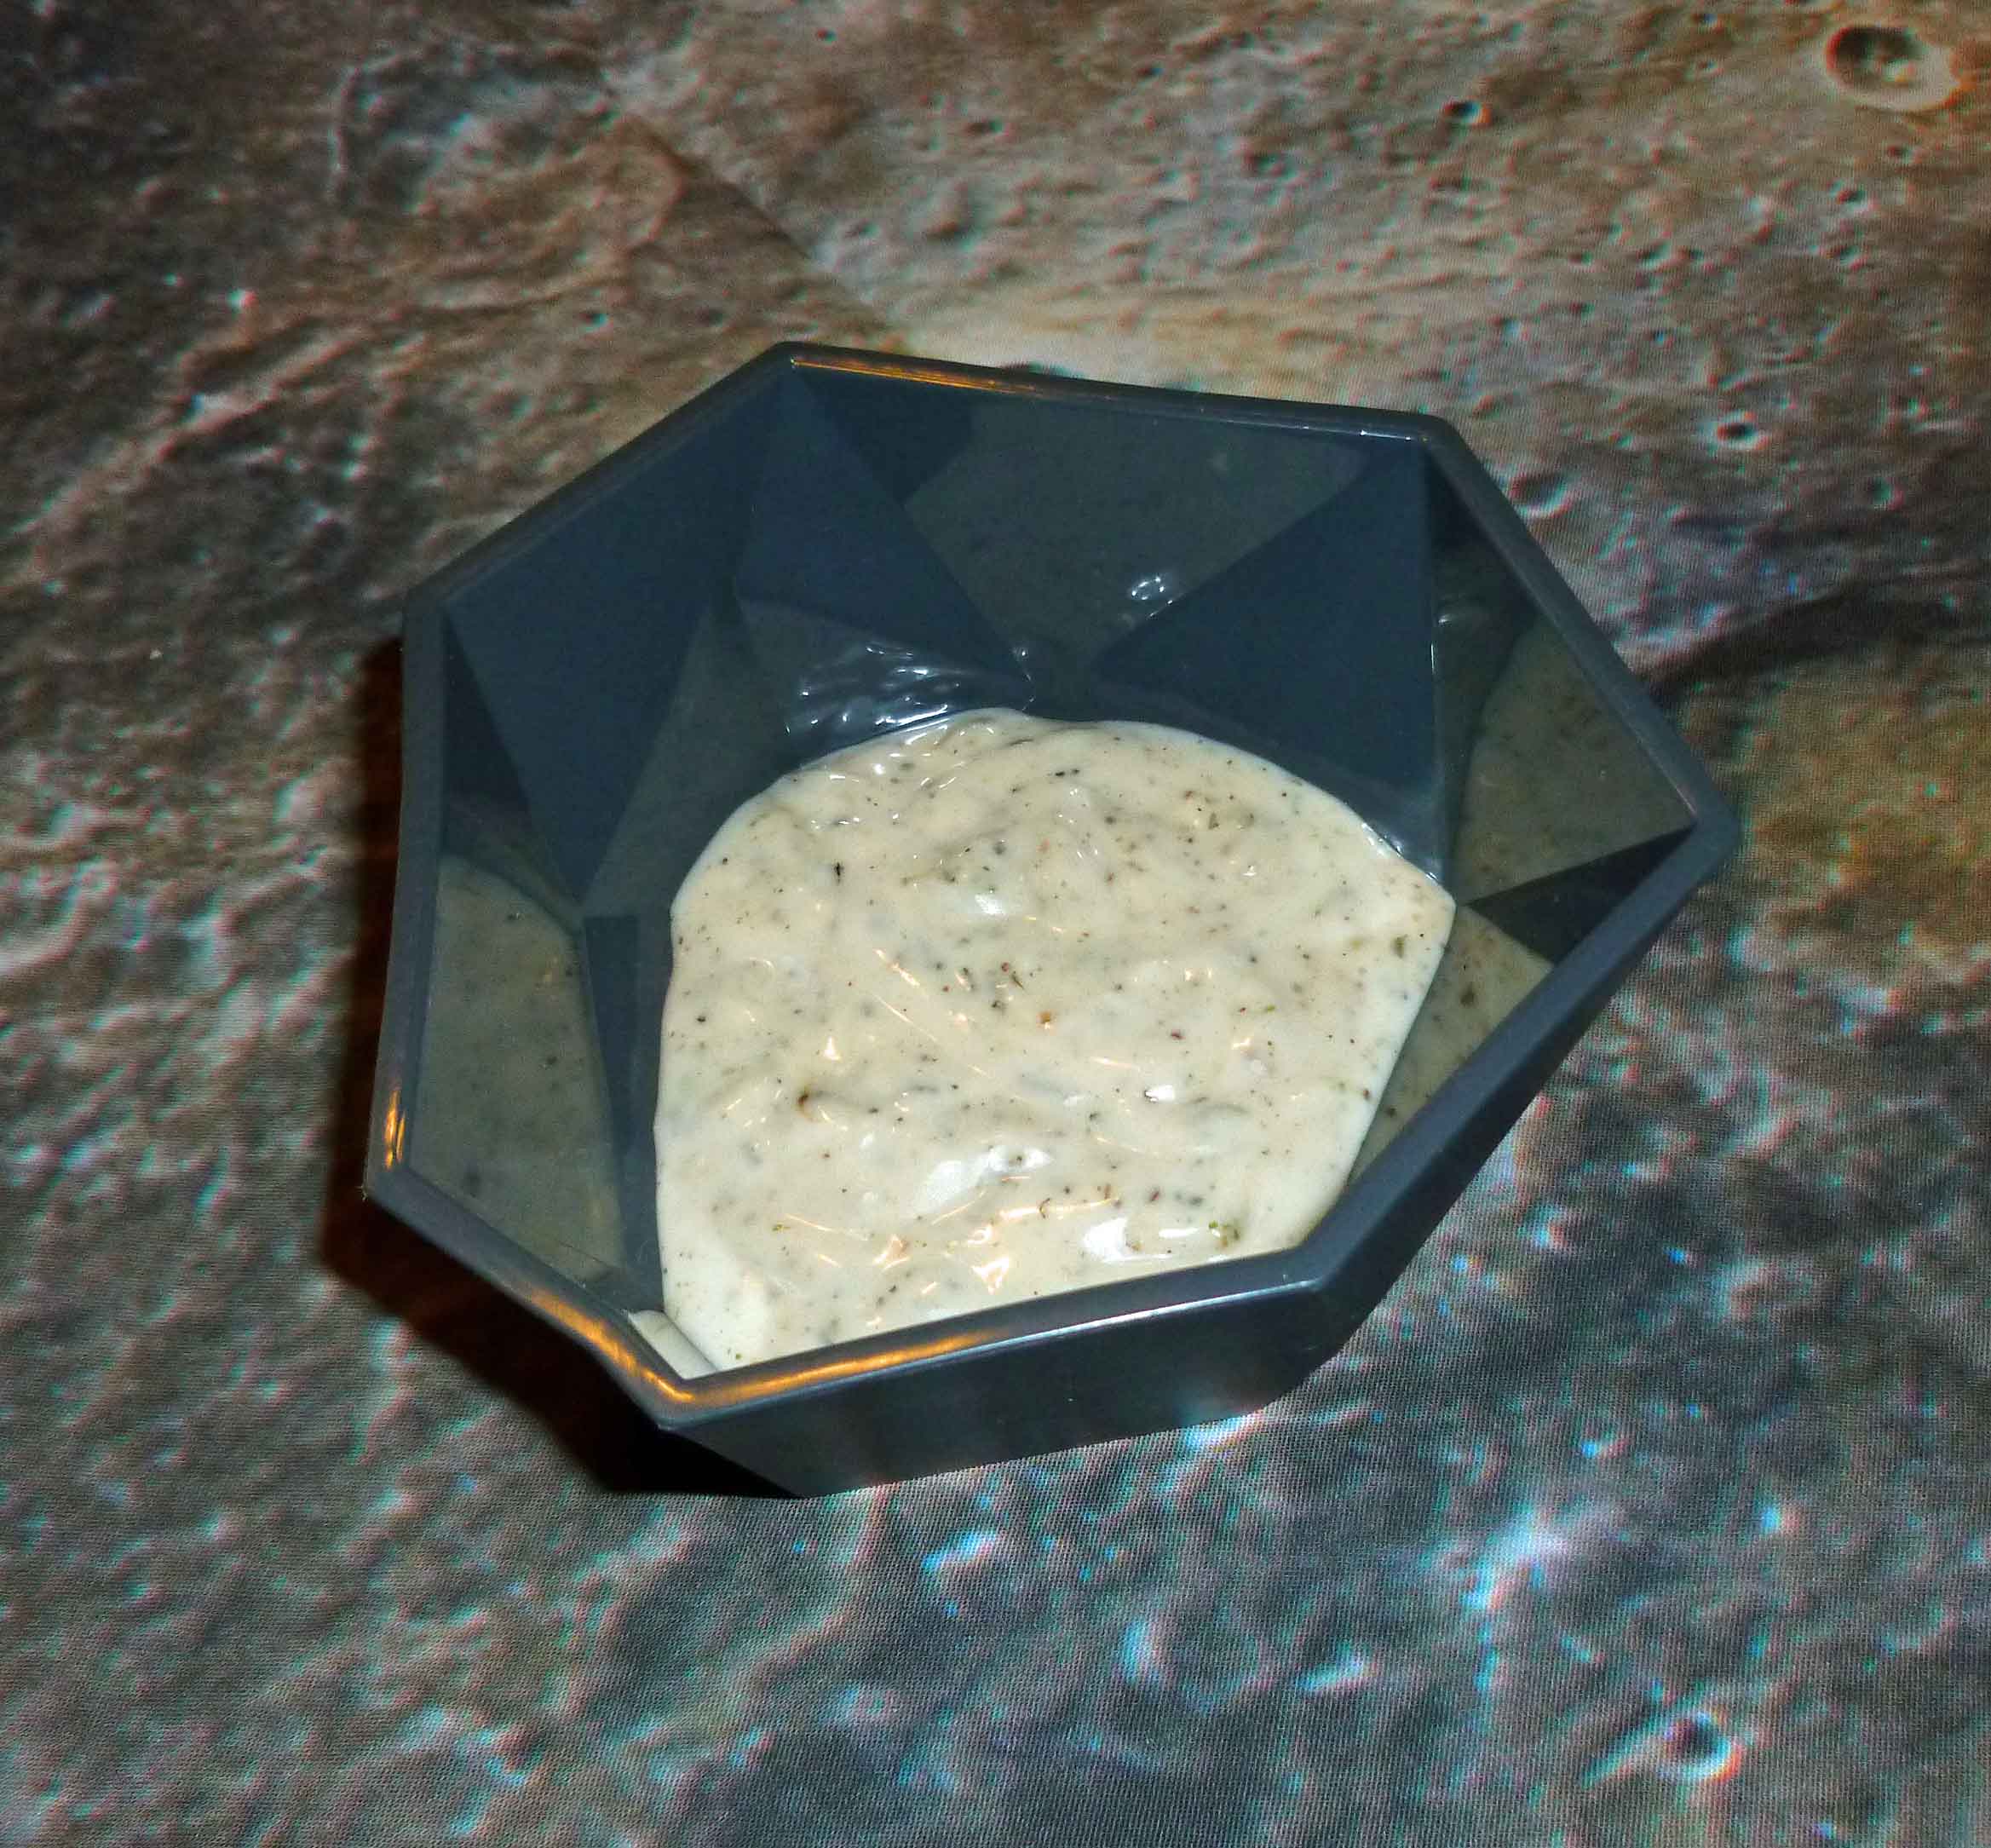
Put all ingredients in a bowl spices in a bowl and whisk together thoroughly. Put in a spice jar to store. To use, mix 1 Tablespoon of Creamy Peppercorn Dressing Mix in 2 Tablespoons of water and let stand five minutes. Mix in ½ cup Earth Balance Mindful Mayo and enjoy. If you can have dairy and eggs, use 1/4 cup of mayo and 1/4 cup of sour cream 🙂
Creamy Peppercorn Dressing using Earth Balance Mindful Mayo
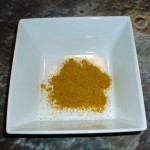
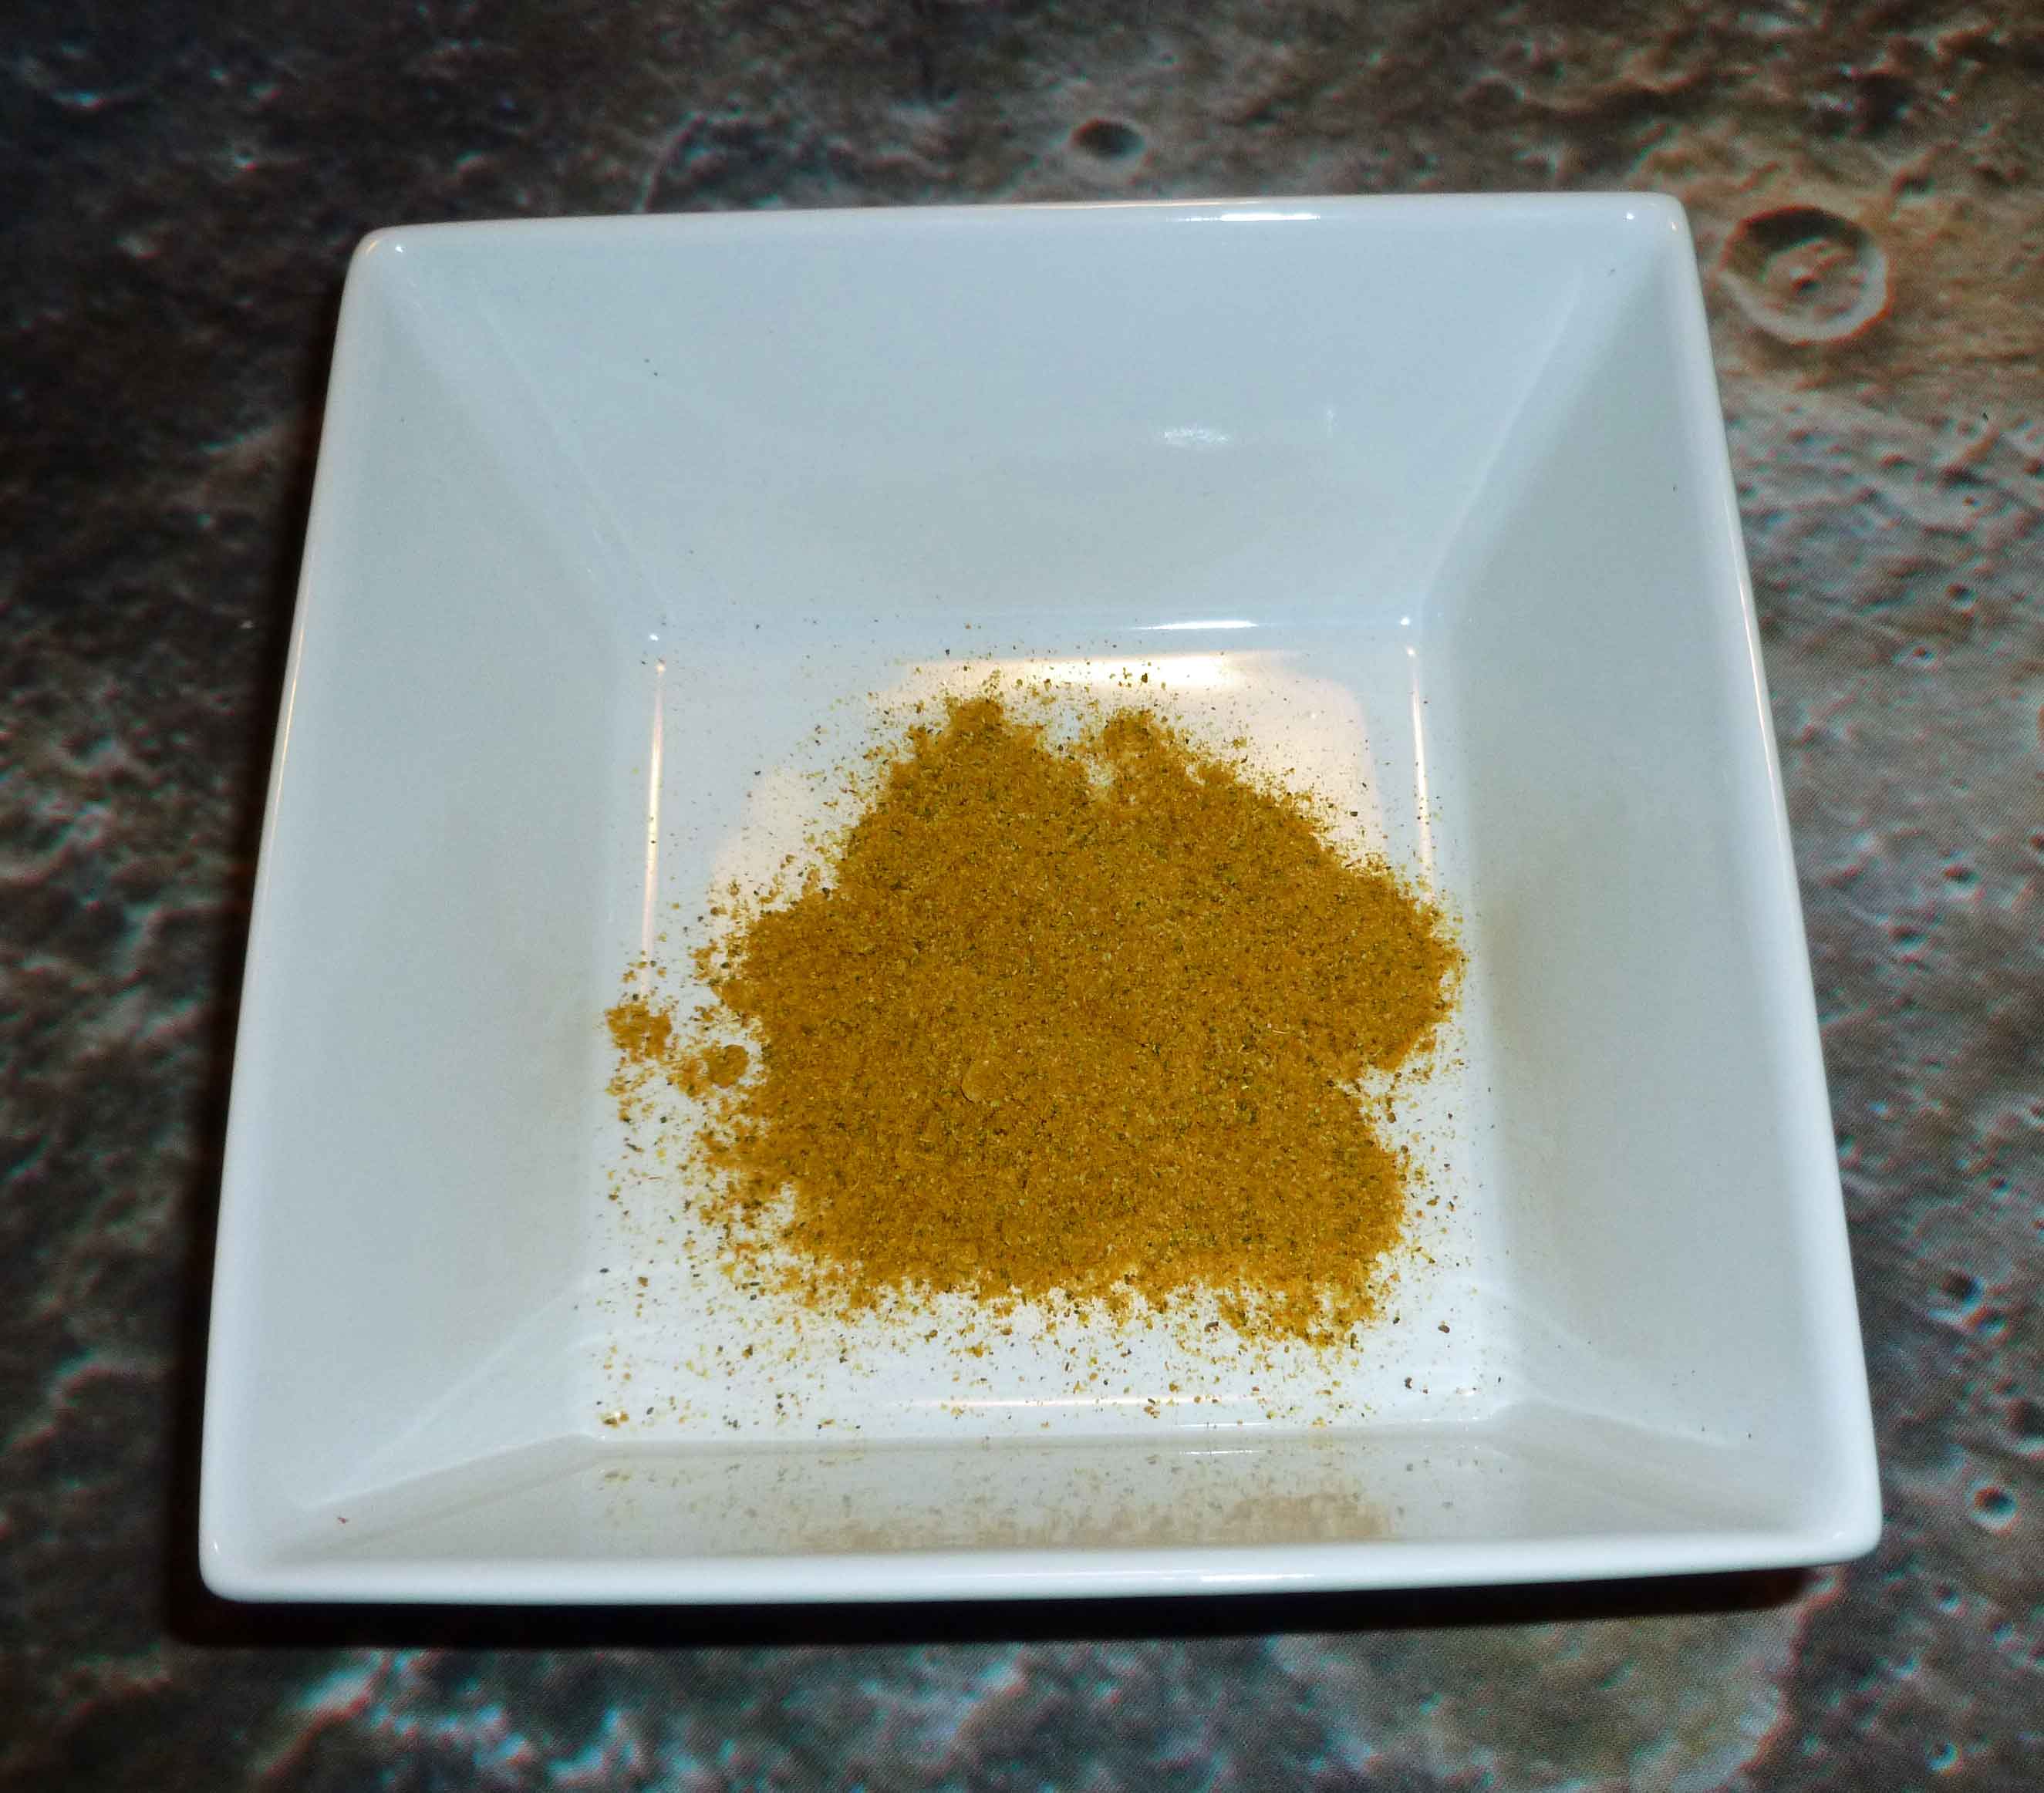
DIY Singapore Seasoning
2 Tablespoons of lemon peel powder (you can get this from Penzey’s or grind up dried lemon peel in your spice/coffee grinder)
½ Tablespoon of black pepper
1 teaspoon of garlic powder
1 teaspoon of onion powder
1 teaspoon of tumeric
½ teaspoon of ground coriander
½ teaspoon of ground cumin
½ teaspoon of ground ginger
¼ teaspoon of ground nutmeg
¼ teaspoon of ground fennel
¼ teaspoon of ground cinnamon
⅛ teaspoon of ground fenugreek
⅛ teaspoon of ground white pepper
⅛ teaspoon of ground cardamom
⅛ teaspoon of ground cloves
⅛ teaspoon of ground cayenne red pepper
Put all ingredients in a bowl spices in a bowl and whisk together thoroughly. Put in a spice jar to store. You can use this as a spice rub for chicken or pork or to flavor rice noodles.
DIY Singapore Seasoning
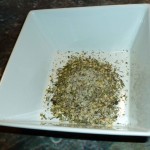
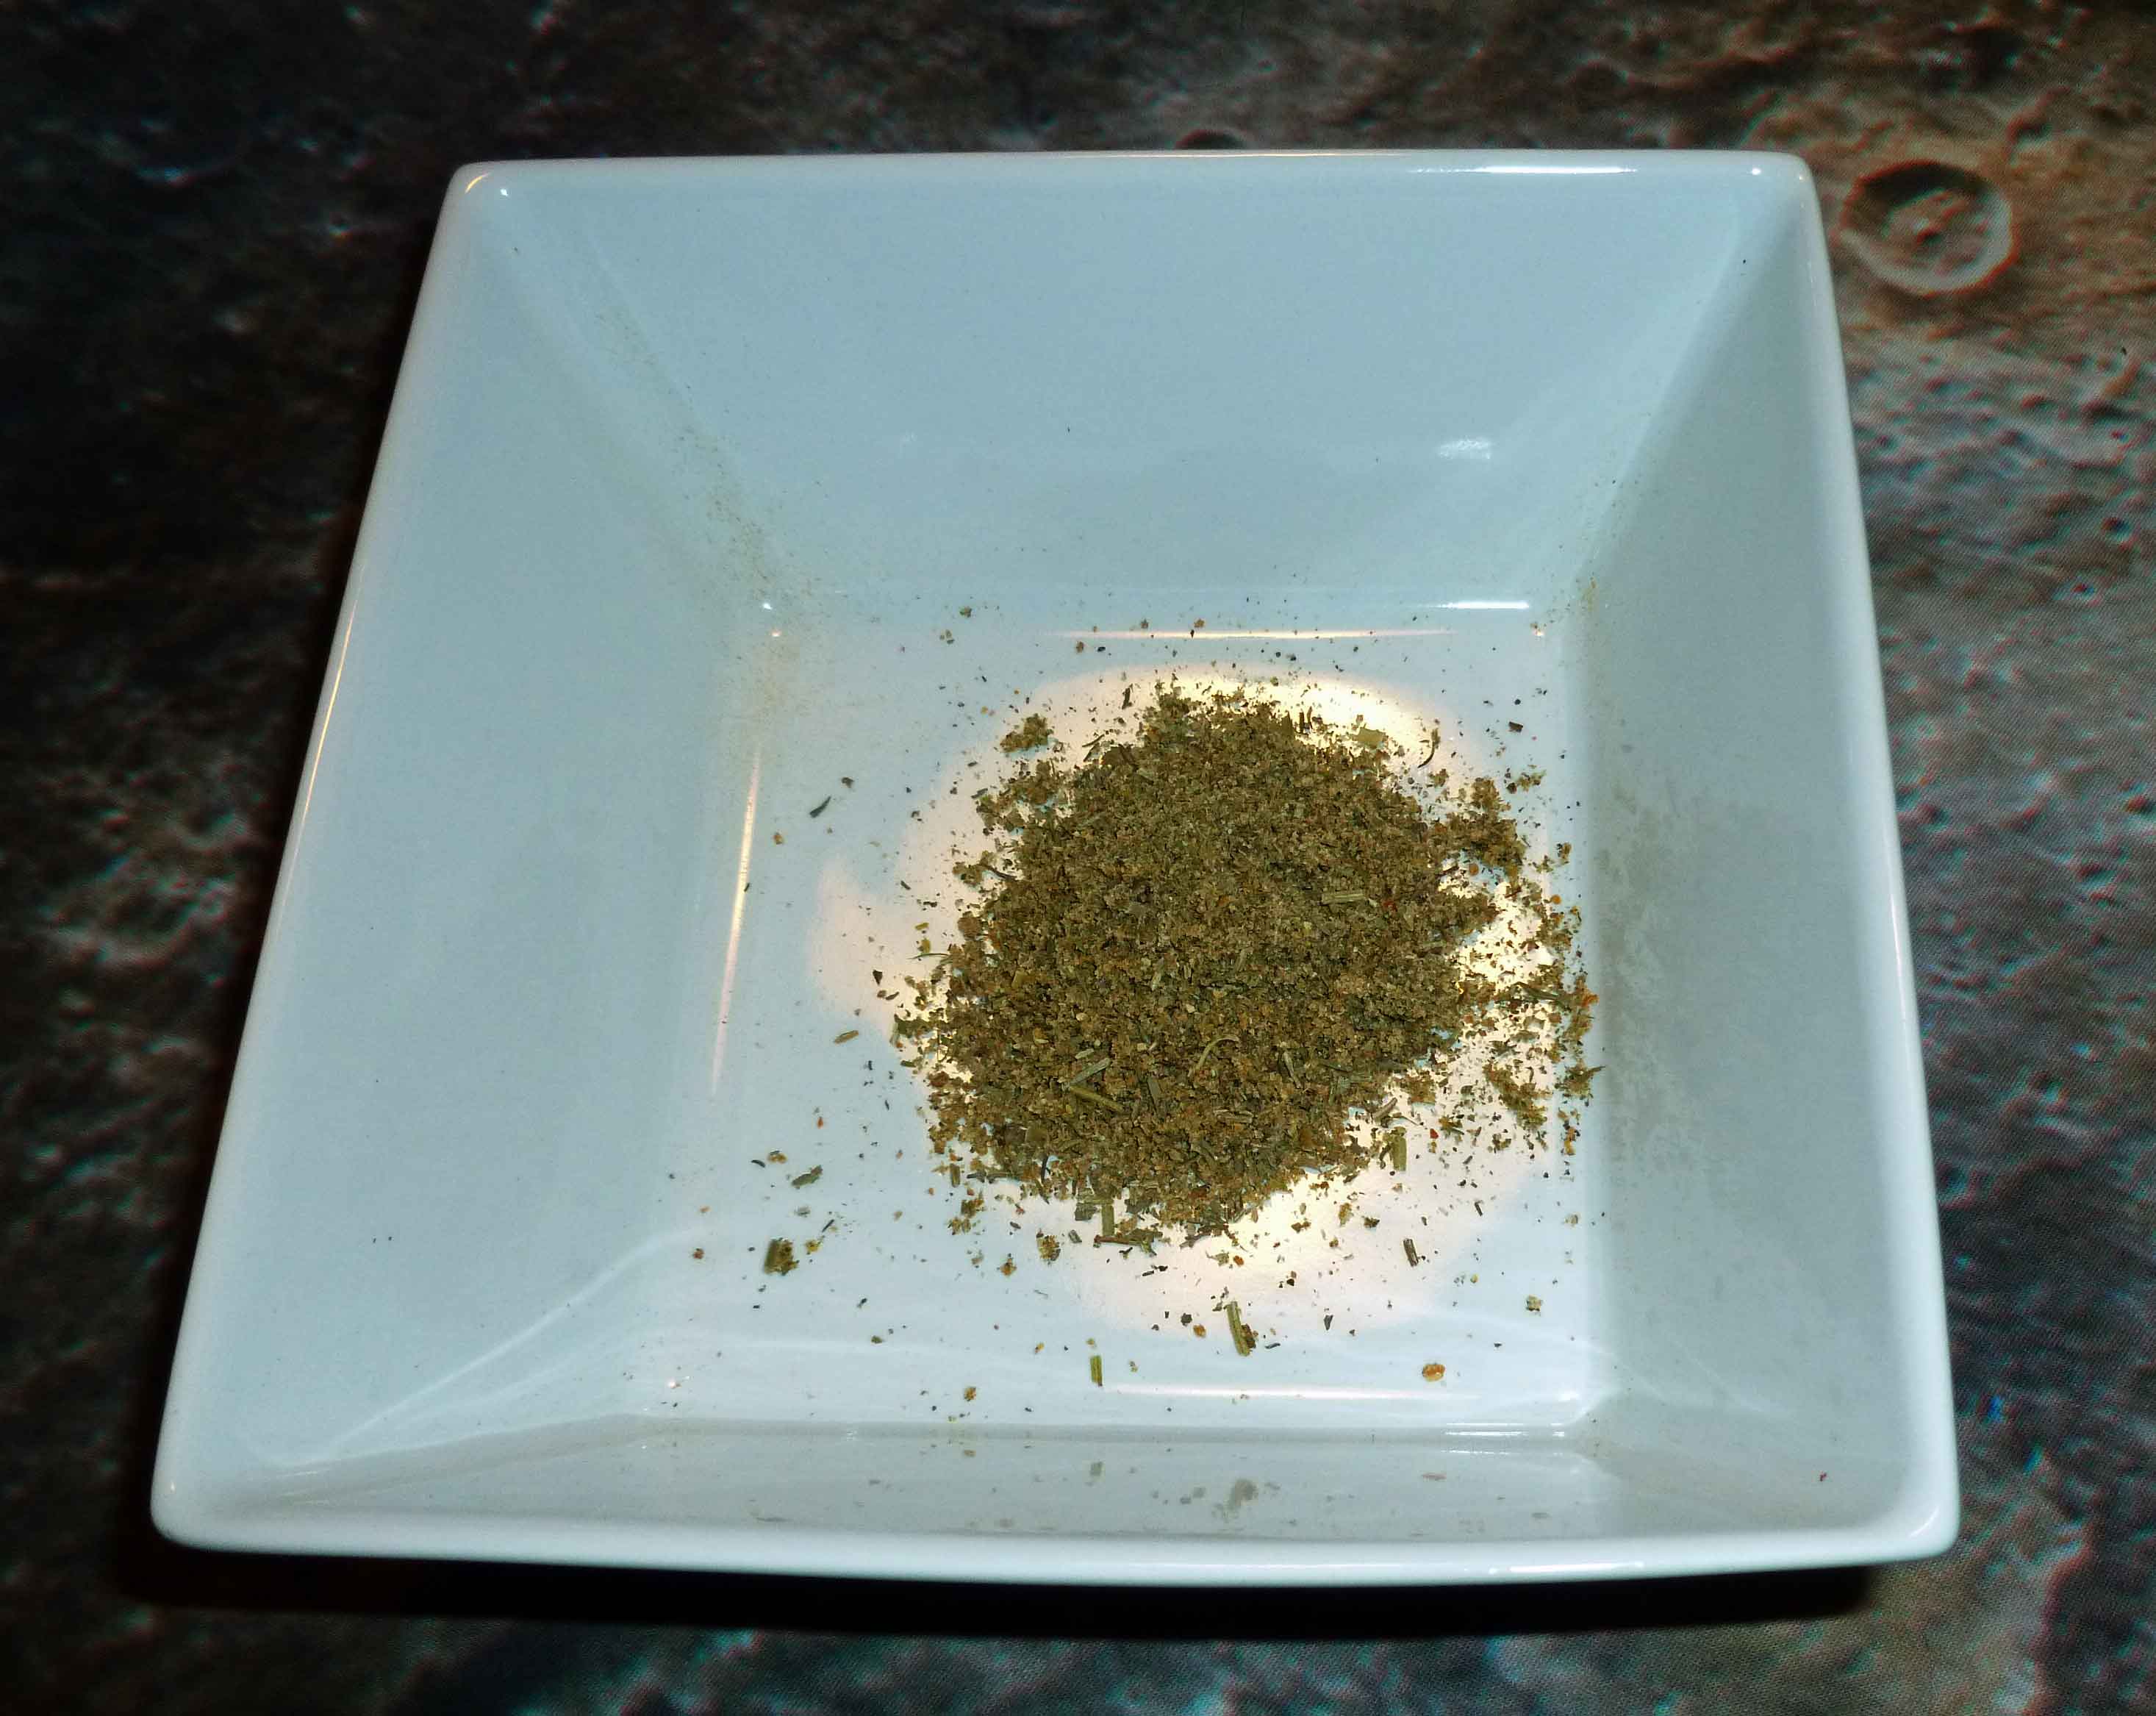
Full of Flavor Herb Mix
Penzey’s has a Mural of Flavor spice mix that I love, but it has citric acid (corn) in it, so it’s out for me now. I came up with the following mix to replace it.
1 ½ Tablespoons of dried minced shallots
1 teaspoon of thyme
1 teaspoon of rosemary
1 teaspoon of basil
1 teaspoon of chives
½ teaspoon of onion powder
½ teaspoon of garlic powder
½ teaspoon of lemon peel
¼ teaspoon of ground coriander
½ teaspoon of green peppercorns
½ teaspoon of dill weed
¼ teaspoon of lemon peel powder (you can get this from Penzey’s or grind up dried lemon peel in your spice/coffee grinder)
¼ teaspoon of black pepper
¼ teaspoon of orange peel
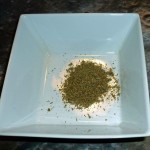
Put this in a blender or spice/coffee grinder, or use my trick where you take a pint mason canning jar, put all the spices in the jar and screw the blender blade assembly to the jar and put it on blender. Using any and all method, blend until it is ground to a coarse consistency (not powder) as shown below and put in a spice jar and store. I use this on vegetables, in soups, on beef, pork, chicken and fish. It’s a great all-purpose spice blend.
Full of Flavor Herb Mix
Hope you guys enjoy these spice mixes. If you’ve got some of your own, please share!
Since we’ve focused this month on recipes inspired by cuisine from the continent of Asia (I know, we never said there was a theme, but there was. We’re wily like that.), I thought tea would make another good subject for another research-based (some might say “nerdy”) post. Tea is the second most popular drink in the world. In the world, people — second only to water. I know I’m part of that statistic. I was only an occasional tea drinker until graduate school. You know what’s colder than a New England winter? A Pacific Northwest winter. I know, the thermometer says it’s warmer, but it’s wet and sinks into your bones. So you drink hot beverages — coffee, hot chocolate, and TEA.
And why not? Tea, at its root, is an easy drink to make — pour hot water over some leaves. It works with a variety of leaves, in fact, giving us tea (leaves from the camellia sinesis plant) and tisanes, which are commonly called “herbal teas” in the US.
The Miracle of Green Tea
I would guess that most people drink tea because they like the taste — and there are so many varieties that I imagine nearly anyone can find something that they enjoy. But tea has been used for centuries as part of Traditional Chinese Medicine, and Western medicine is now studying the potential health benefits of tea. One meta-study (review of all the other studies to gather the data in a single place for analysis) assembled the following list of tea’s benefits:
Recent human studies suggest that green tea may contribute to a reduction in the risk of cardiovascular disease and some forms of cancer, as well as to the promotion of oral health and other physiological functions such as anti-hypertensive effect, body weight control, antibacterial and antivirasic activity, solar ultraviolet protection, bone mineral density increase, anti-fibrotic properties, and neuroprotective power.
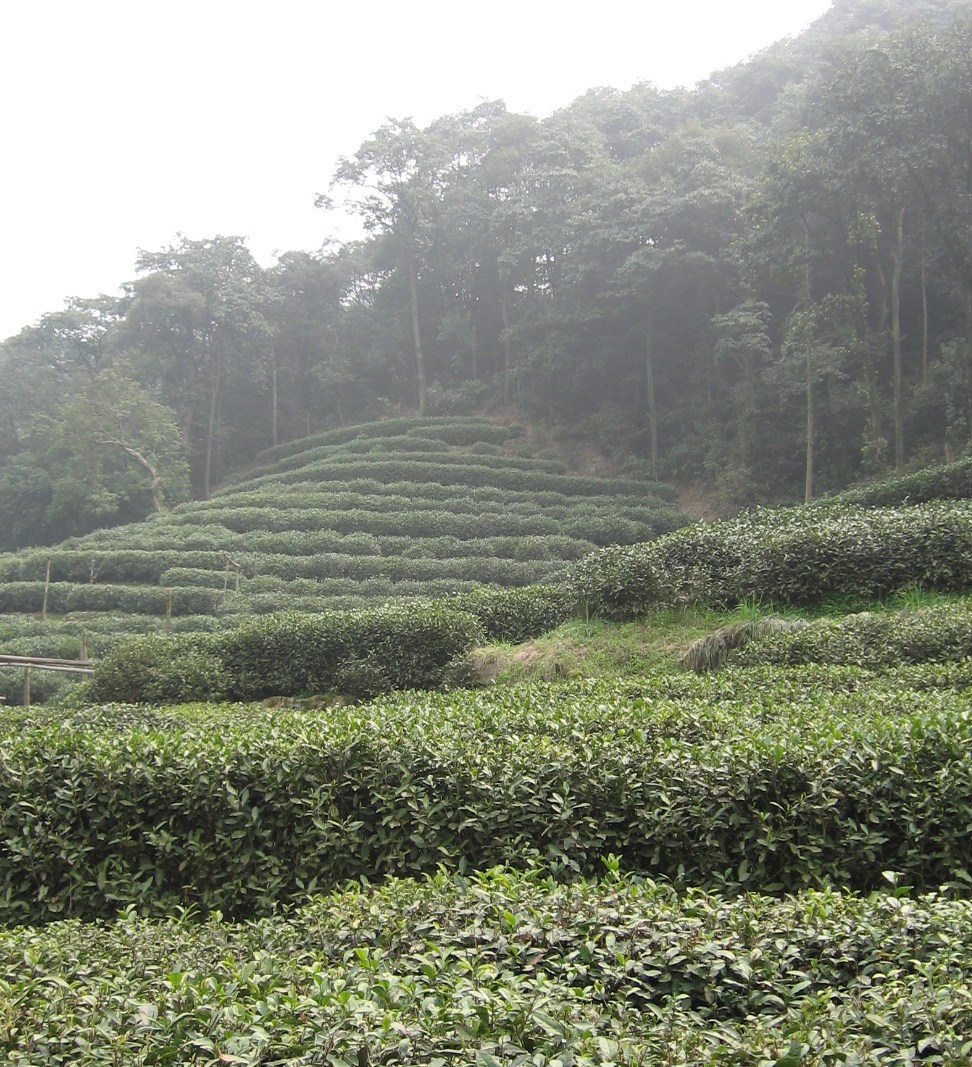
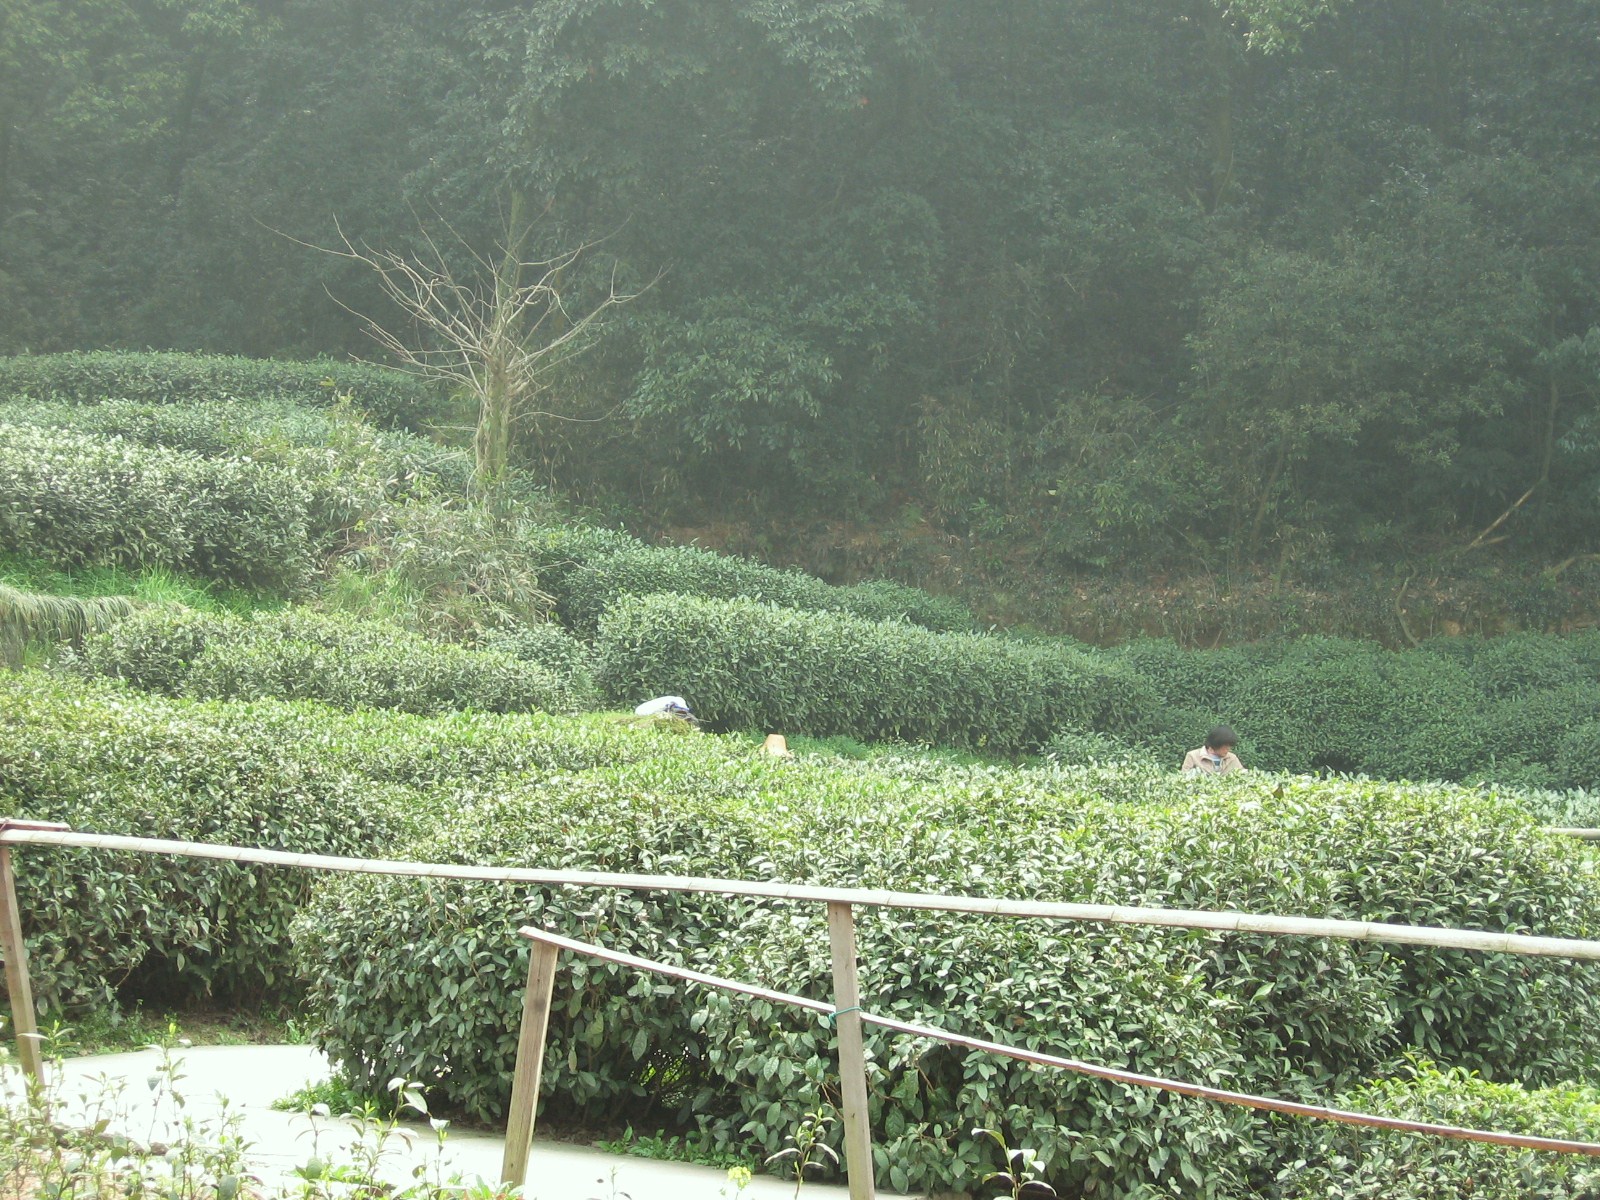
But what IS tea? Tea is the leaves or leaf buds of the camellia sinesis plant, which, left to its own devices becomes a tree, but is generally kept pruned to about waist-height for ease of harvesting. Tea is harvested by hand, with the leaves being picked every few weeks. The earliest harvests are generally the most prized, and different seasons produce different teas.
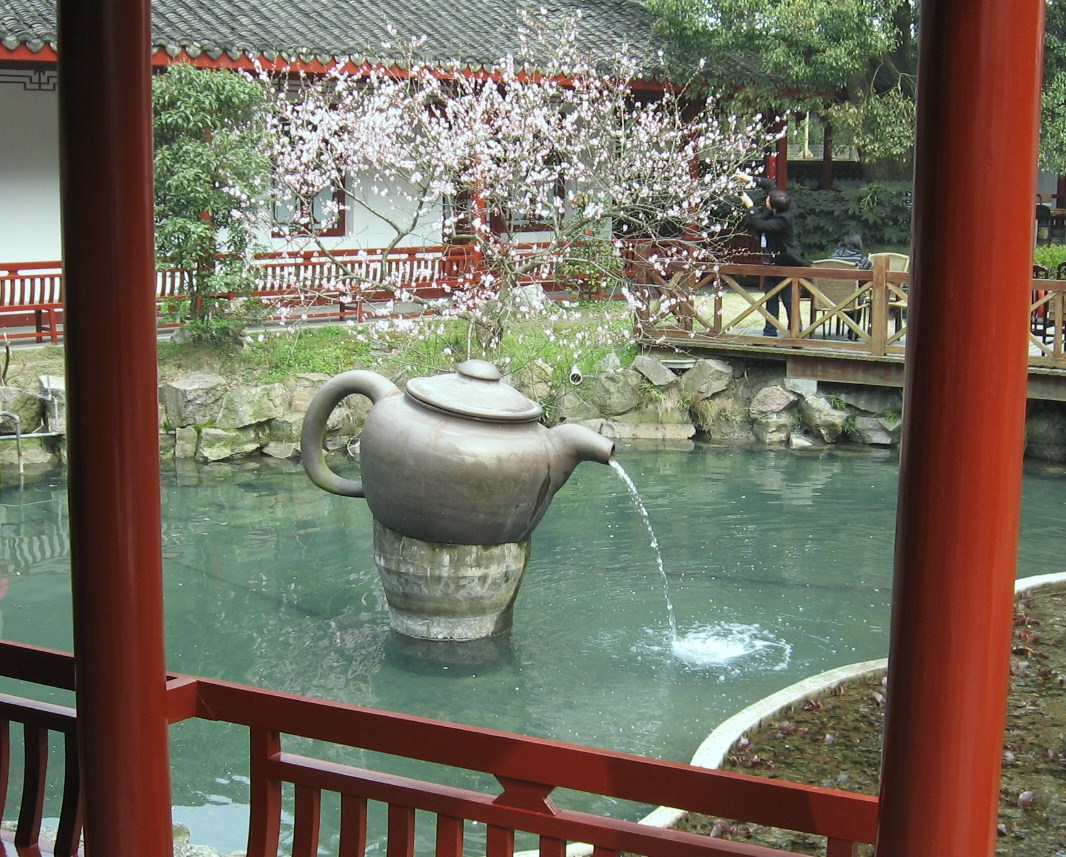
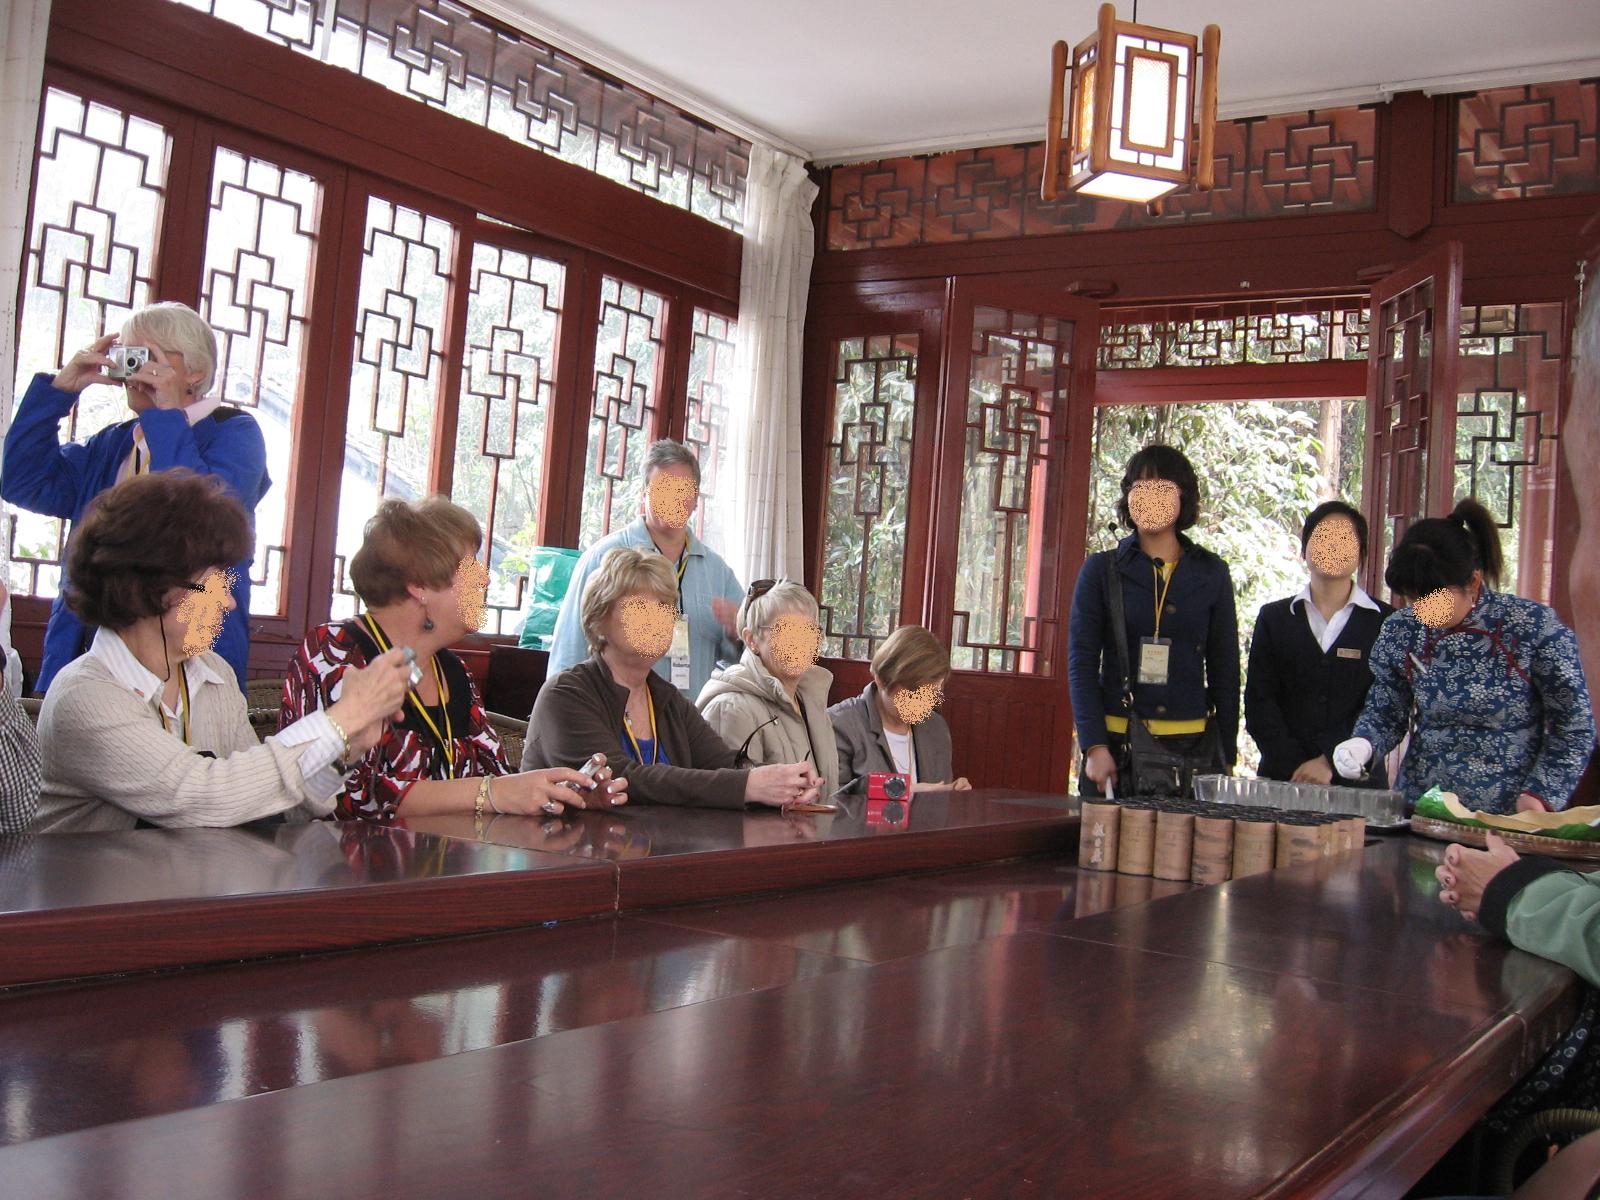
In 2009, I took a trip to China, and we visited a tea plantation near Suzhou, site of all the photos I’ve punched into this post. At the plantation, we were ushered into a lovely building, with a courtyard teapot fountain (top photo) and a tea tasting room that looked out over the bushes. All the tea here is picked by hand and processed (dried) on site. They produced 4 grades of tea, and the top two (Empress and Grade A) are never exported. Quality tea leaves like these can be re-used up to 5 times, so about all day.
Chinese Tea Plantation, near Suzhou
Tea is native to China, and the Chinese drink their tea green — unoxidized. Tea was oxidized and compressed for trade, but the Chinese traders considered this an inferior version of the drink. Tea hit a cultural high point during the Tang Dynasty (618-907 CE), when it was used for social ceremonies as well as in Buddhist ceremonies. Lu Yu wrote what may be the first tea manifesto, in which tea appreciation, using Taoist and Buddhist principles, could enhance one’s life — help you live your philosophy, and enjoy the moment. To this end, specialized tea wares, including ceramics, began to be developed Japanese Buddhist monks studying in China at this time discovered tea and its ceremonies, which they brought back to Japan.
As Japan’s tea culture flourished, the Manchu or Qing Dynasty in China changed the ethnicity and dominant traditions of the ruling classes. The Manchu were the primary market for the “inferior” oxidized teas that earlier Chinese dynasties traded at the borders — the precursor to what we know as black tea. They drank their tea dark, strong and with milk — fermented mare’s milk. This is the tea culture that the British Empire first encountered, and explains the popularity of black tea with milk as tea spread to Europe.
Boston Tea Clipper — click image for original site
Tea spread first to Europe, and then to England, which is how it becomes part of the story of the US. The first sale of tea in London was in 1658, and tea became a fixture of British life when Charles II married Portuguese Princess Catherine of Braganza, a tea drinker. Chinese tea was traded through the Dutch, who had a monopoly on tea, and even when the Chinese began to trade directly with British merchants, it wasn’t enough. Tea was popular everywhere, including in the British colonies, including the one Denise and I both live in now.
The 1773 Boston Tea Party, besides being an important historical landmark event, seems to be a high point for high school history, given how well it is remembered (I vaguely remember a re-enactment class, and I grew up in the South. If you ever get a chance, go to the Old South Meeting House re-enactment in Boston — it’s worth the trip.) The really short version? The colonists were tired of being taxed by the British, and began to boycott their imports. The Dutch were more than happy to sell their tea without a tax, so to undercut them, the British decided to empty some warehouses of tea at low cost to the colonists. The colonists? Didn’t take the bait. They asked the governor to send the three ships back to England without unloading. When the governor refused, the Sons of Liberty, dressed as Native Americans, boarded the ships and dumped the tea overboard.
Tea bushes, near Suzhou, China
Tea was also the beginning (and end result) of another war — the Opium Wars of 1839-1842 in which British traders tried to make back the money they paid the Chinese for tea by importing Indian opium into China. China lost, and badly, not only paying for the war, but giving Hong Kong to the British. Remember when Hong Kong was “repatriated,” if that’s the right term? In 1997? All over TEA.
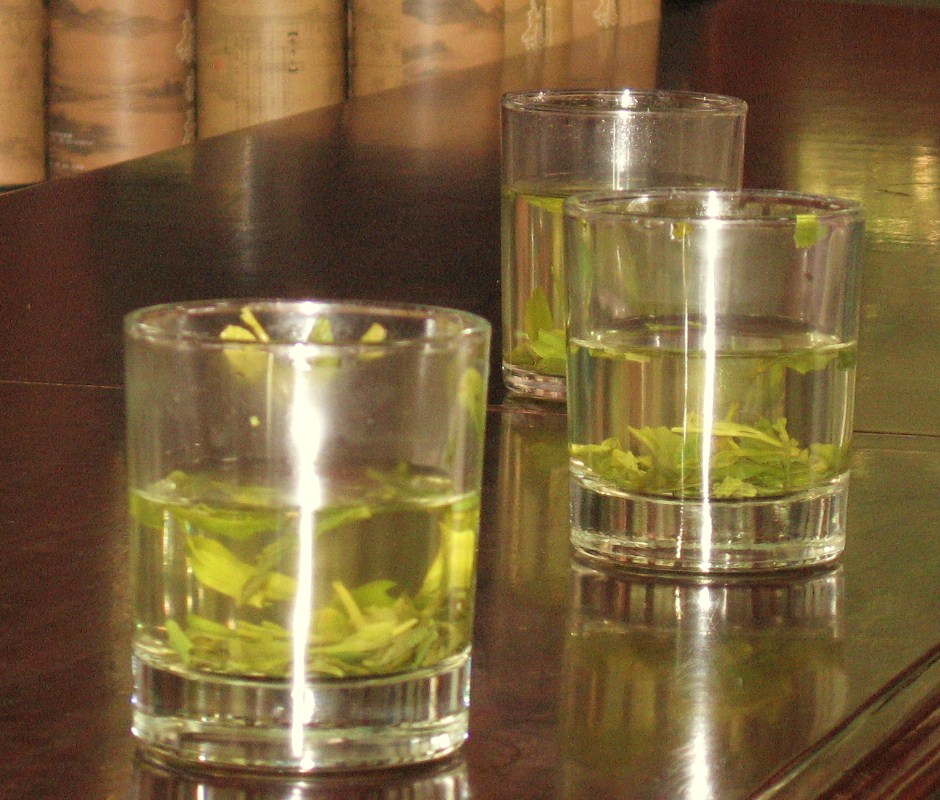
Tea Tasting Room. Please ignore the blurred faces– none of these people asked to be on the internets.
As part of the great sales pitch at the tea tasting room in Suzhou, we were given tea to taste, but also demonstrations of green tea’s detoxifying power — but wait, it also absorbs fat! And this dirt in the water! According to my journal notes, green tea steam can be a great eye moisturizer (I had forgotten all this, but allergy season is a great time to test it out), and green tea bags can be used to absorb fat in a soup stock (I never tried this either, but there’s no time like the present).
Fresh tea leaves contain about 4% caffeine, and scientists have speculated that it may be a chemical defense system for the plant. Tea also contains flavinoids, vitamins, and polysaccharides, as well as amino acids. One of these amino acids is L-Theanine, an amino acid that naturopaths say stress depletes in your body, but which provides a calm, alert, and focused mental state. I want a calm, alert, and focused mental state, don’t you? That may be why I drink so much tea.
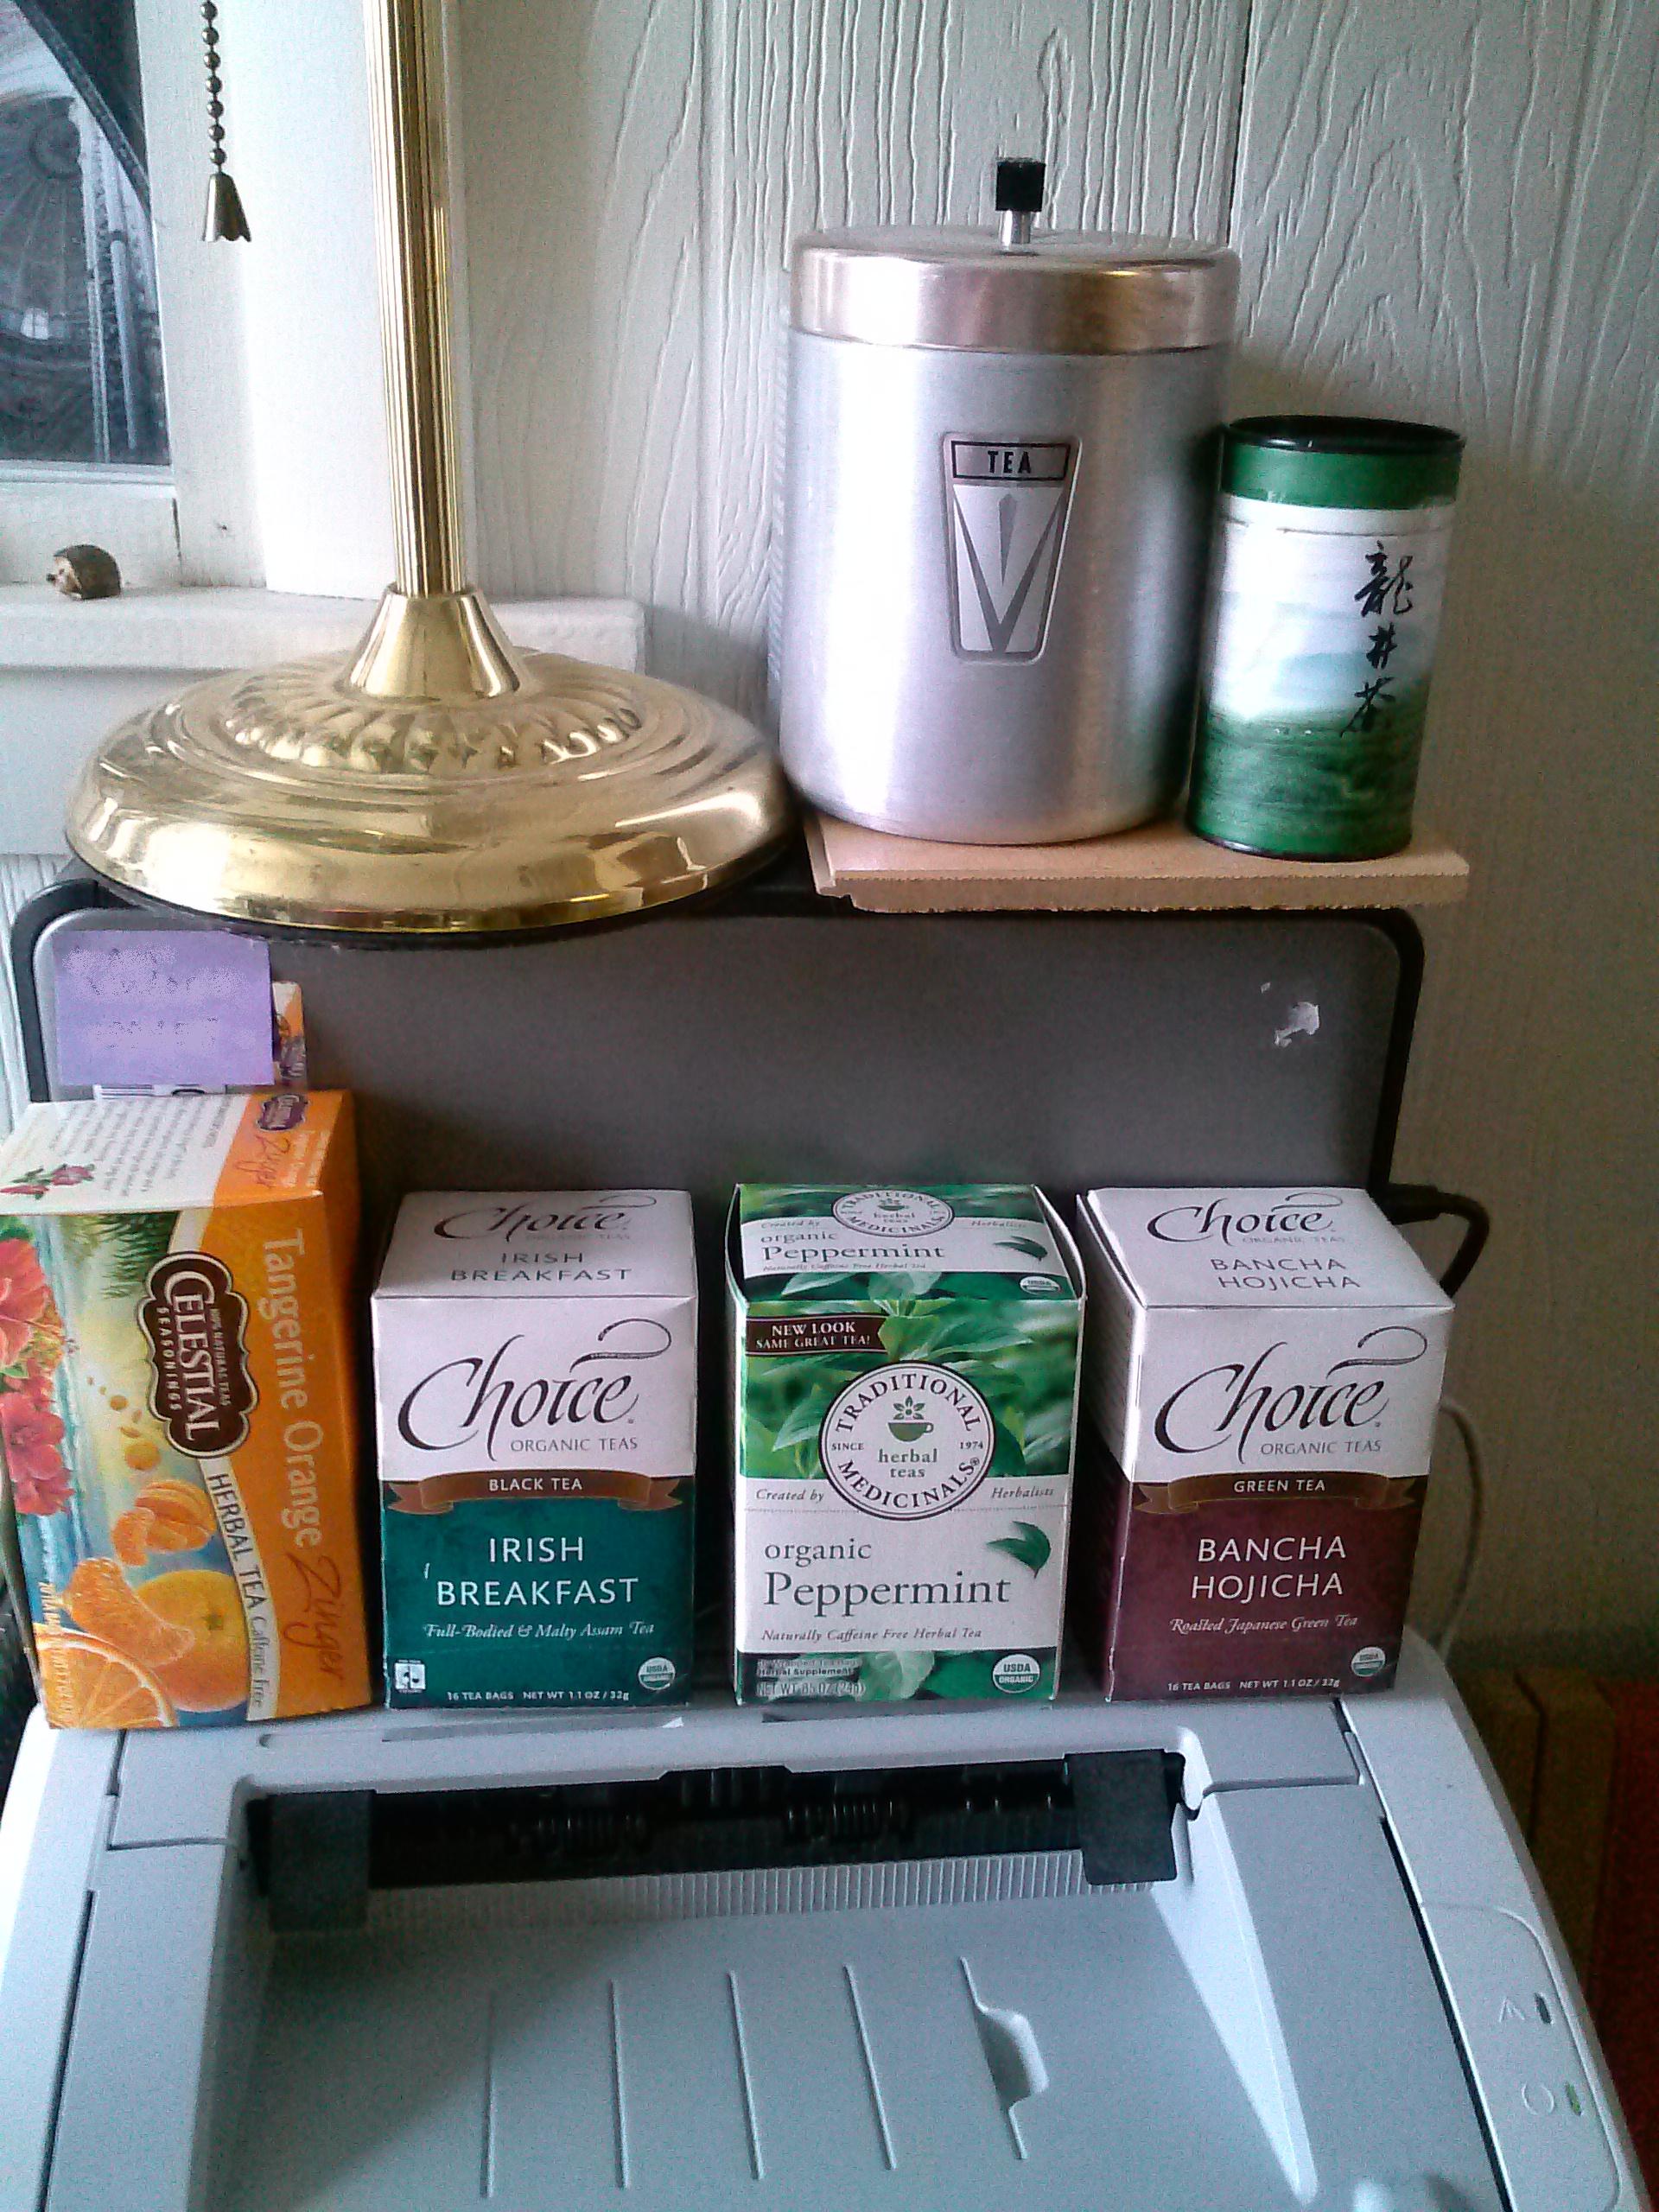
Office Tea Stash (does not include additional plain black tea and a few others in the closet)
Given all this, what teas do I drink? I admit that, lovely as loose tea is, it’s not my go-to tea method. I usually have tea bags in my purse (always) or carry-on bag (when flying). The photo above is just my collection of teas at work, where they take up valuable real estate on the printer. The small green canister up there was the last bit of tea from my trip to China, and the aluminum canister holds all the many assorted teas and tisanes I’ve collected over time. The boxes include two tisanes — a Celestial Seasonings Tangerine Zinger and a peppermint, which is great for all the digestive fun that can come with food allergies and intolerances. The two teas are Irish Breakfast and Bancha Hojicha. Bancha hojicha is a toasted/roasted Japanese green tea better known in my office as “magic tea,” as it was introduced to me as a hangover cure (my hangover was from benedryl, sadly, but you know what? It works, so it IS magic). I did look up Irish Breakfast tea versus English Breakfast tea — both are black tea blends, they are just different blends. The internet consensus seems to be that IB is stronger than EB, possibly with higher concentrations of Assam tea (Indian tea).
Starting with Lu Yu, there have been many theories and philosophies on how to make the best, most perfect, most enlightening cup of tea. There is an actual international standard for making tea for tasting — ISO 3103. (Wikipedia link –the official ISO is a pay-to-read site). Green tea should be steeped in water just under boiling, not quite boiling, as it can become bitter — this seems to be even more true with the lesser quality leaves that tend to be found in mass produced green tea bags. At home, I admit, I like the ritual of my tea kettle, but I rarely make a pot of tea. At work, I use the hot water spigot, and it’s even less ritualistic, but I’m in it for the taste.
So. Tea. Do you drink it? What do you love? What did I miss that you still want to know? Please ask. I probably read about it and just couldn’t fit it in.
The very first known instance of the word maple (though, at the time it was “mapul”) was in Chaucer’s The Knight’s Tale in Canterbury Tales where it is just part of a list of all the trees in the woods. Maple trees (genus: Acer, Latin for sharp, as in the points of the leaves — related to the base word for “acerbic), are all over the northern hemisphere, and are one of the foliage trees that bring the leaf peppers up to New Hampshire, Vermont, Ontario and Quebec.
But for all that, as pretty as a maple can be in full autumnal bloom, the real genius of the genus maple is the sugar maple that brings us this glorious Maple Weekend in New Hampshire.
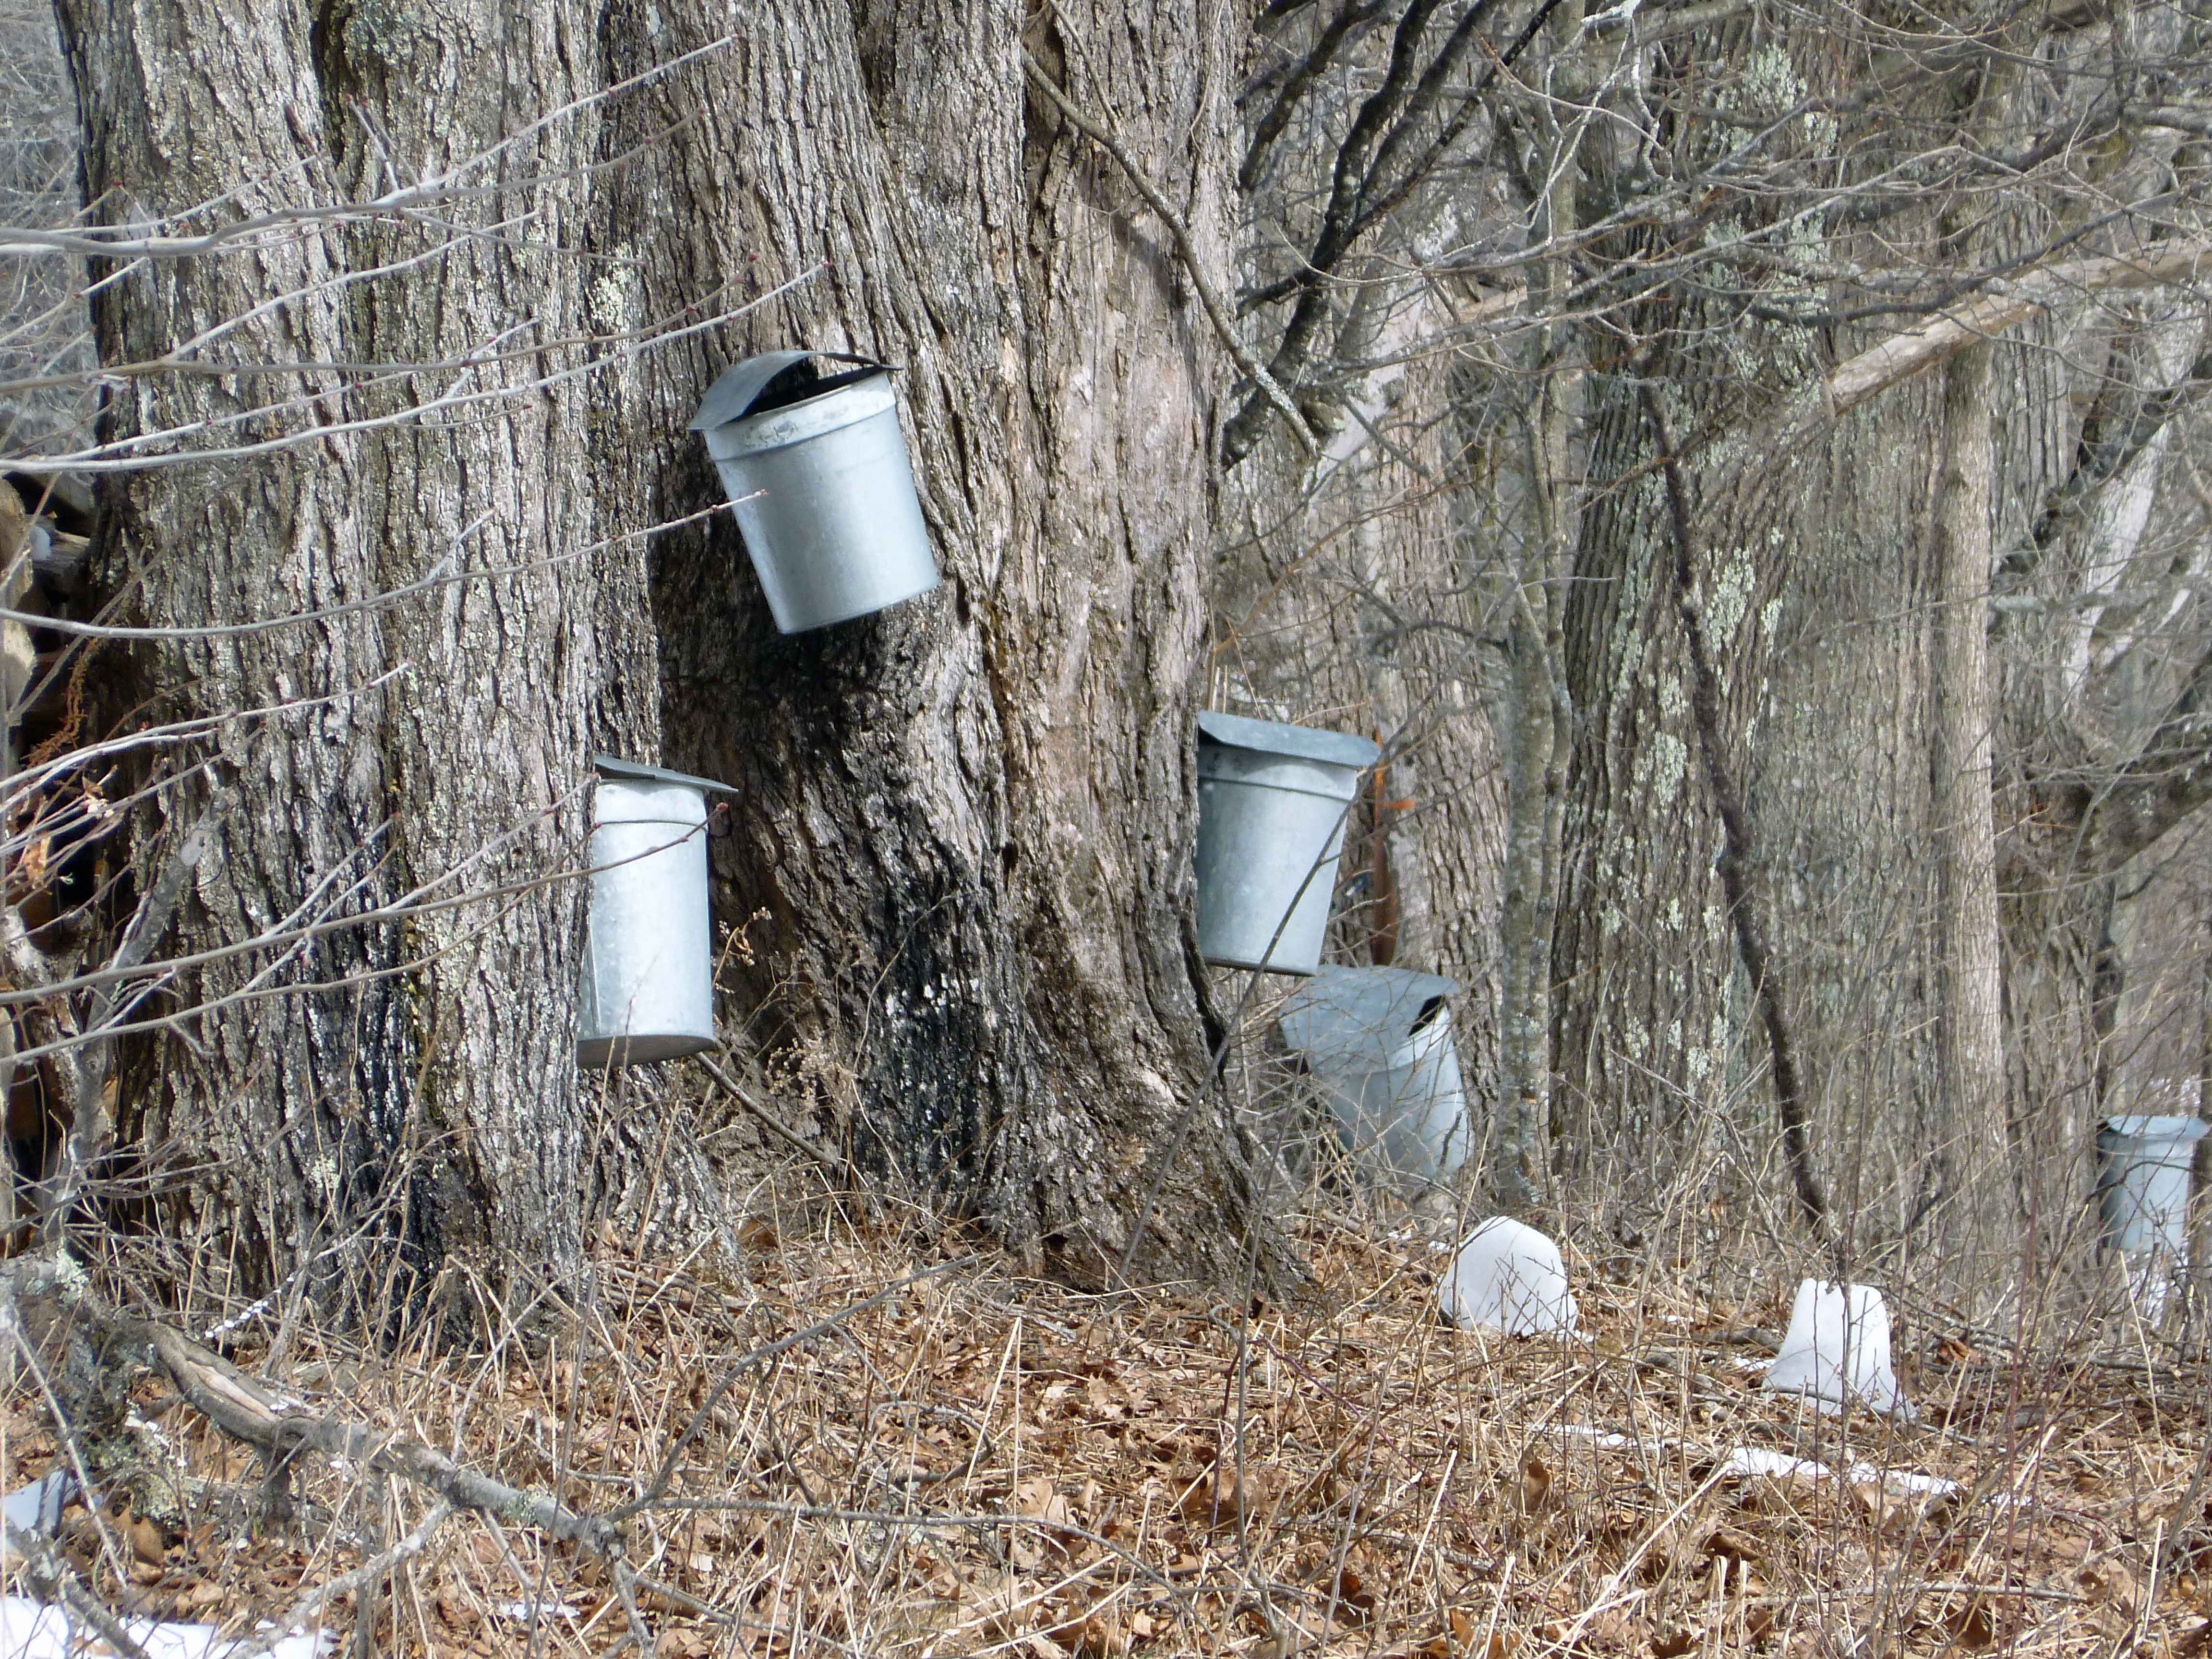
Old-School Sap Buckets
Knowledge of the hidden treasure in the maple tree predates European settlement on the North American continent — French explorer Jacques Cartier mentions the trees in a 1540 report, and mentions of the “distilled sap” are found by 1606 in the writings of Canadian explorers. It seems, though, that the native people of these areas mostly went beyond syrup to sugar, which makes sense, as anyone who’s tried to take gifts of maple syrup home on a plane could attest. Maple sugar is much easier to transport, being dry and compact.
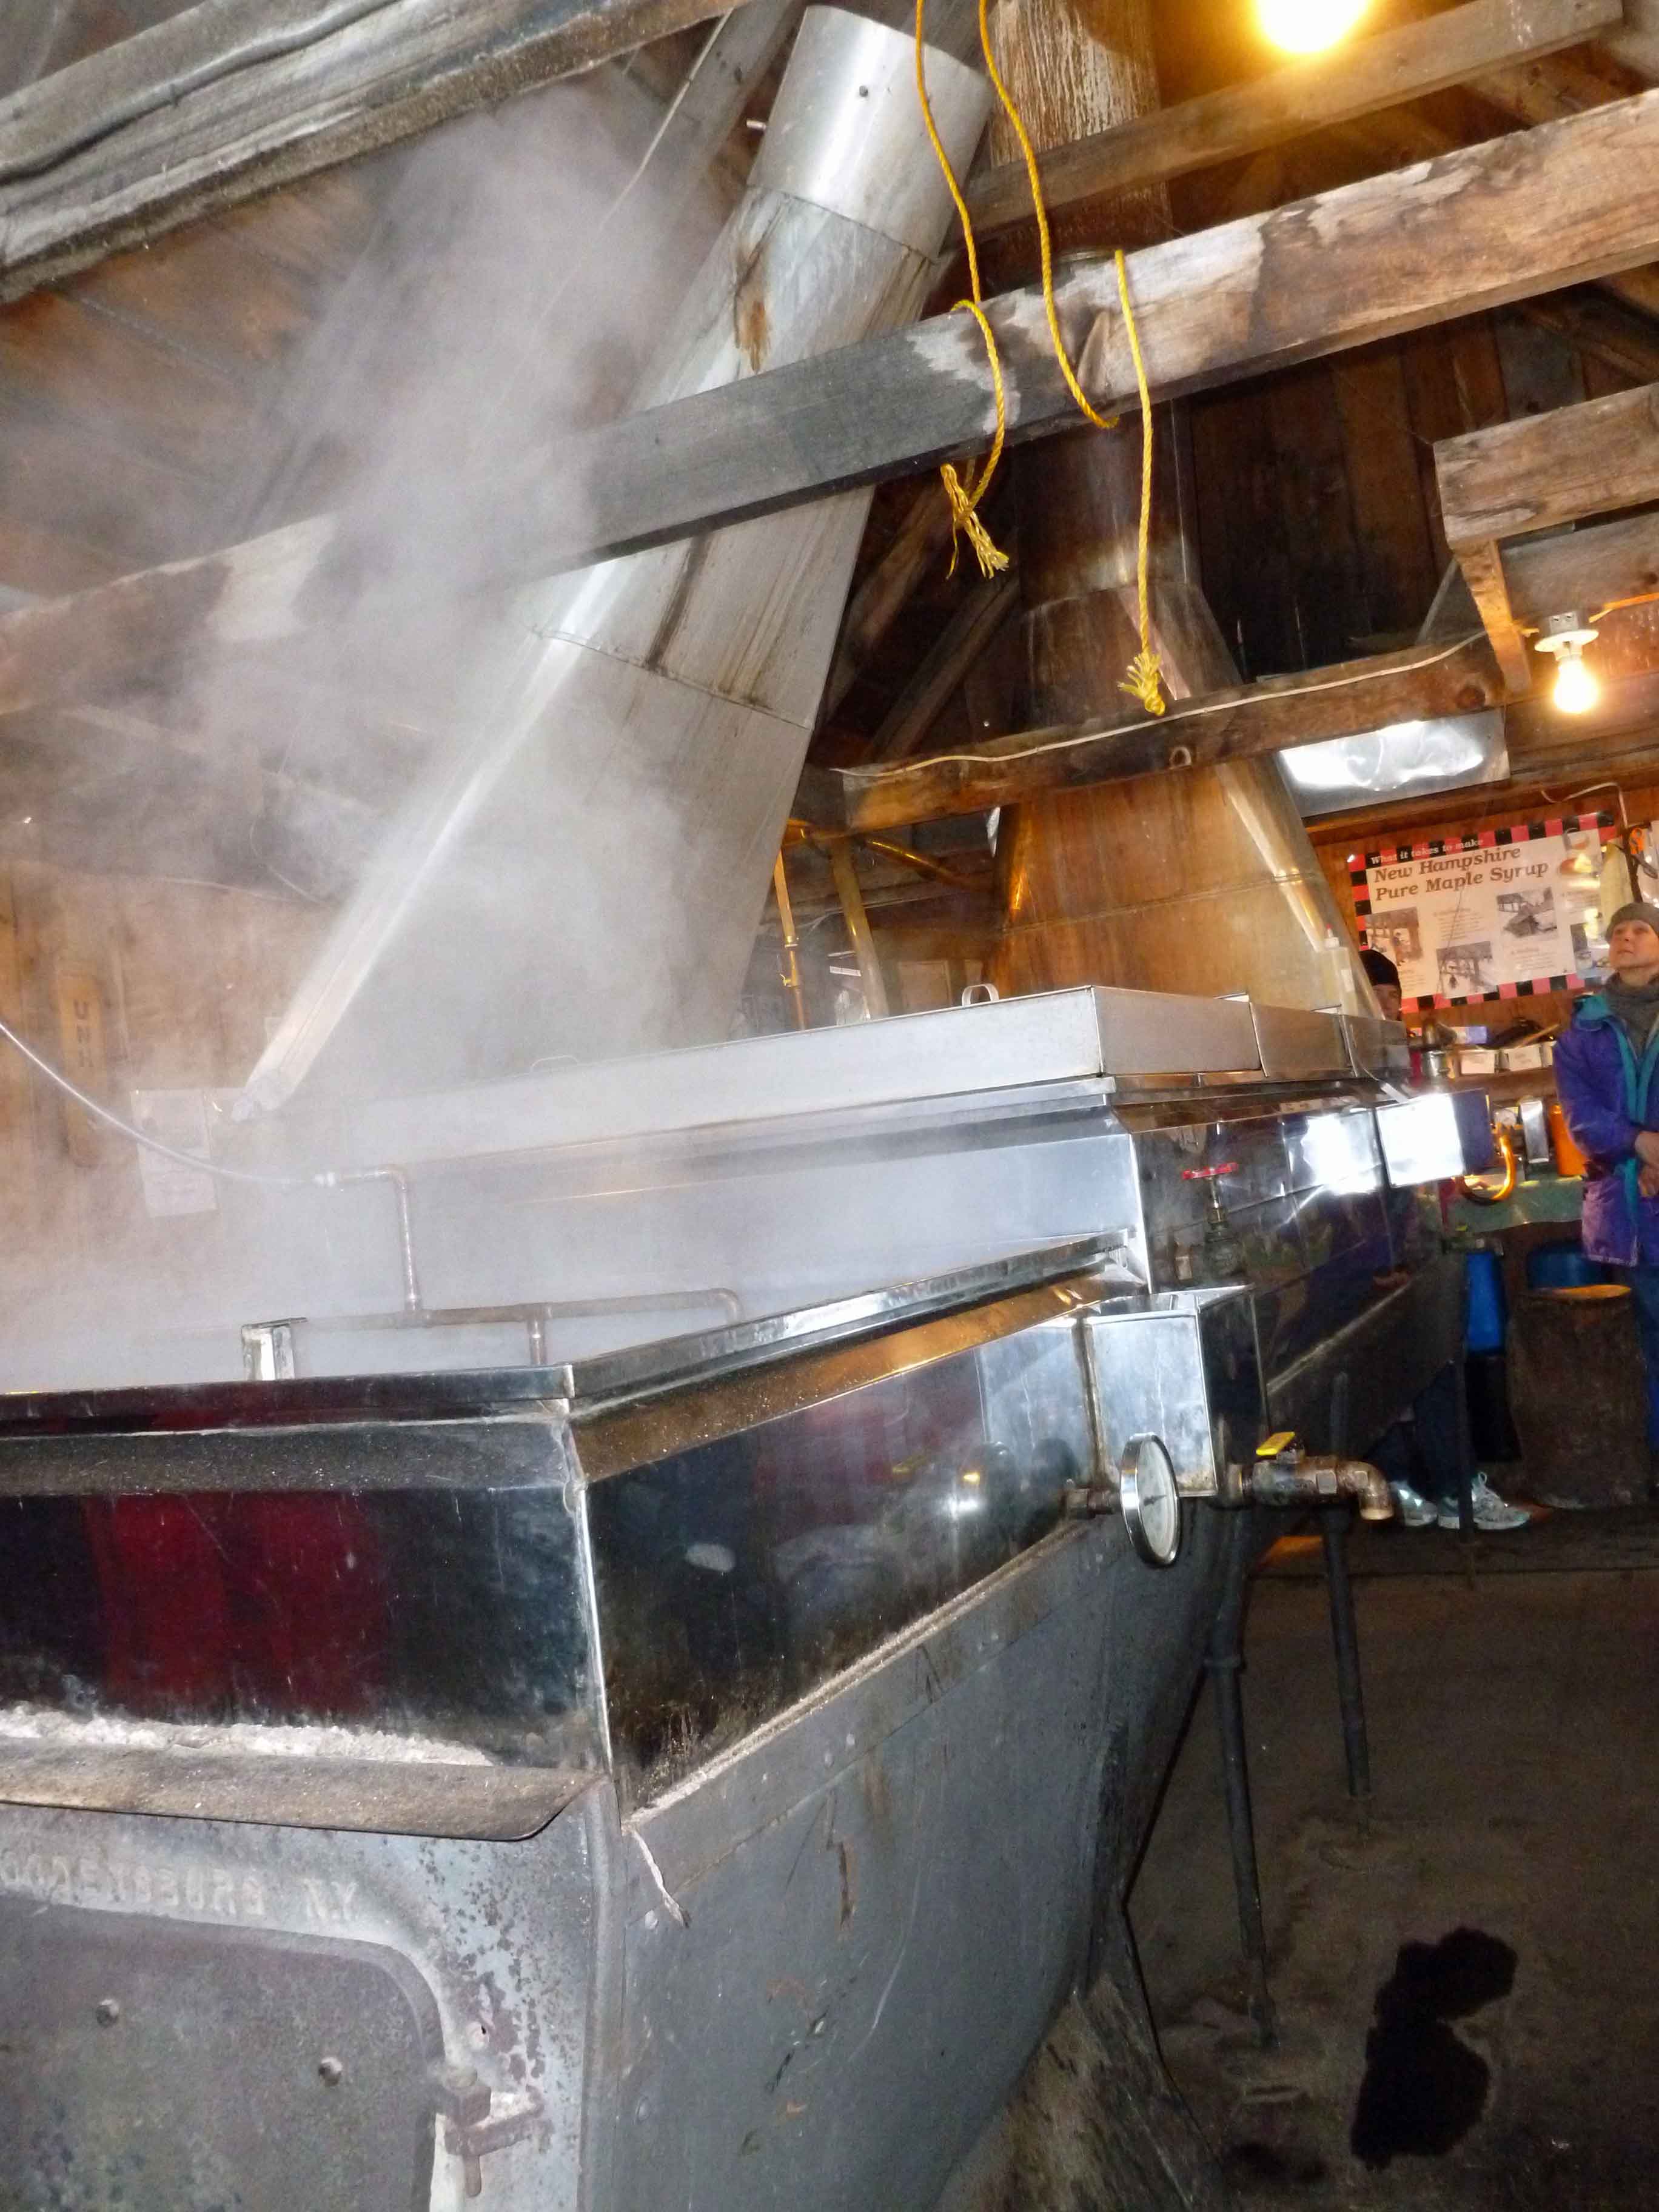
evaporation
The process of making syrup and sugar from maple sap pretty much boil down to the same thing — the removal of water from the sap. Accounts vary on exactly how much sap is needed to make syrup, but it’s something around 40 gallons of sap boiling down to a gallon of syrup. Concentrate it down to dry sugar and you can see why maple sugar has a rather high price tag. But it didn’t always. Maple sugar was promoted by abolitionists as a great local alternative to slave-produced cane sugar. (Does this particular line of reasoning strike anyone else as rather modern? The more things change…) When cane sugar was taxed as an import, maple sugar and cane sugar were about the same price, but by the end of the 19th century, producers in New England were producing primarily syrup, not sugar, from their maple sap.
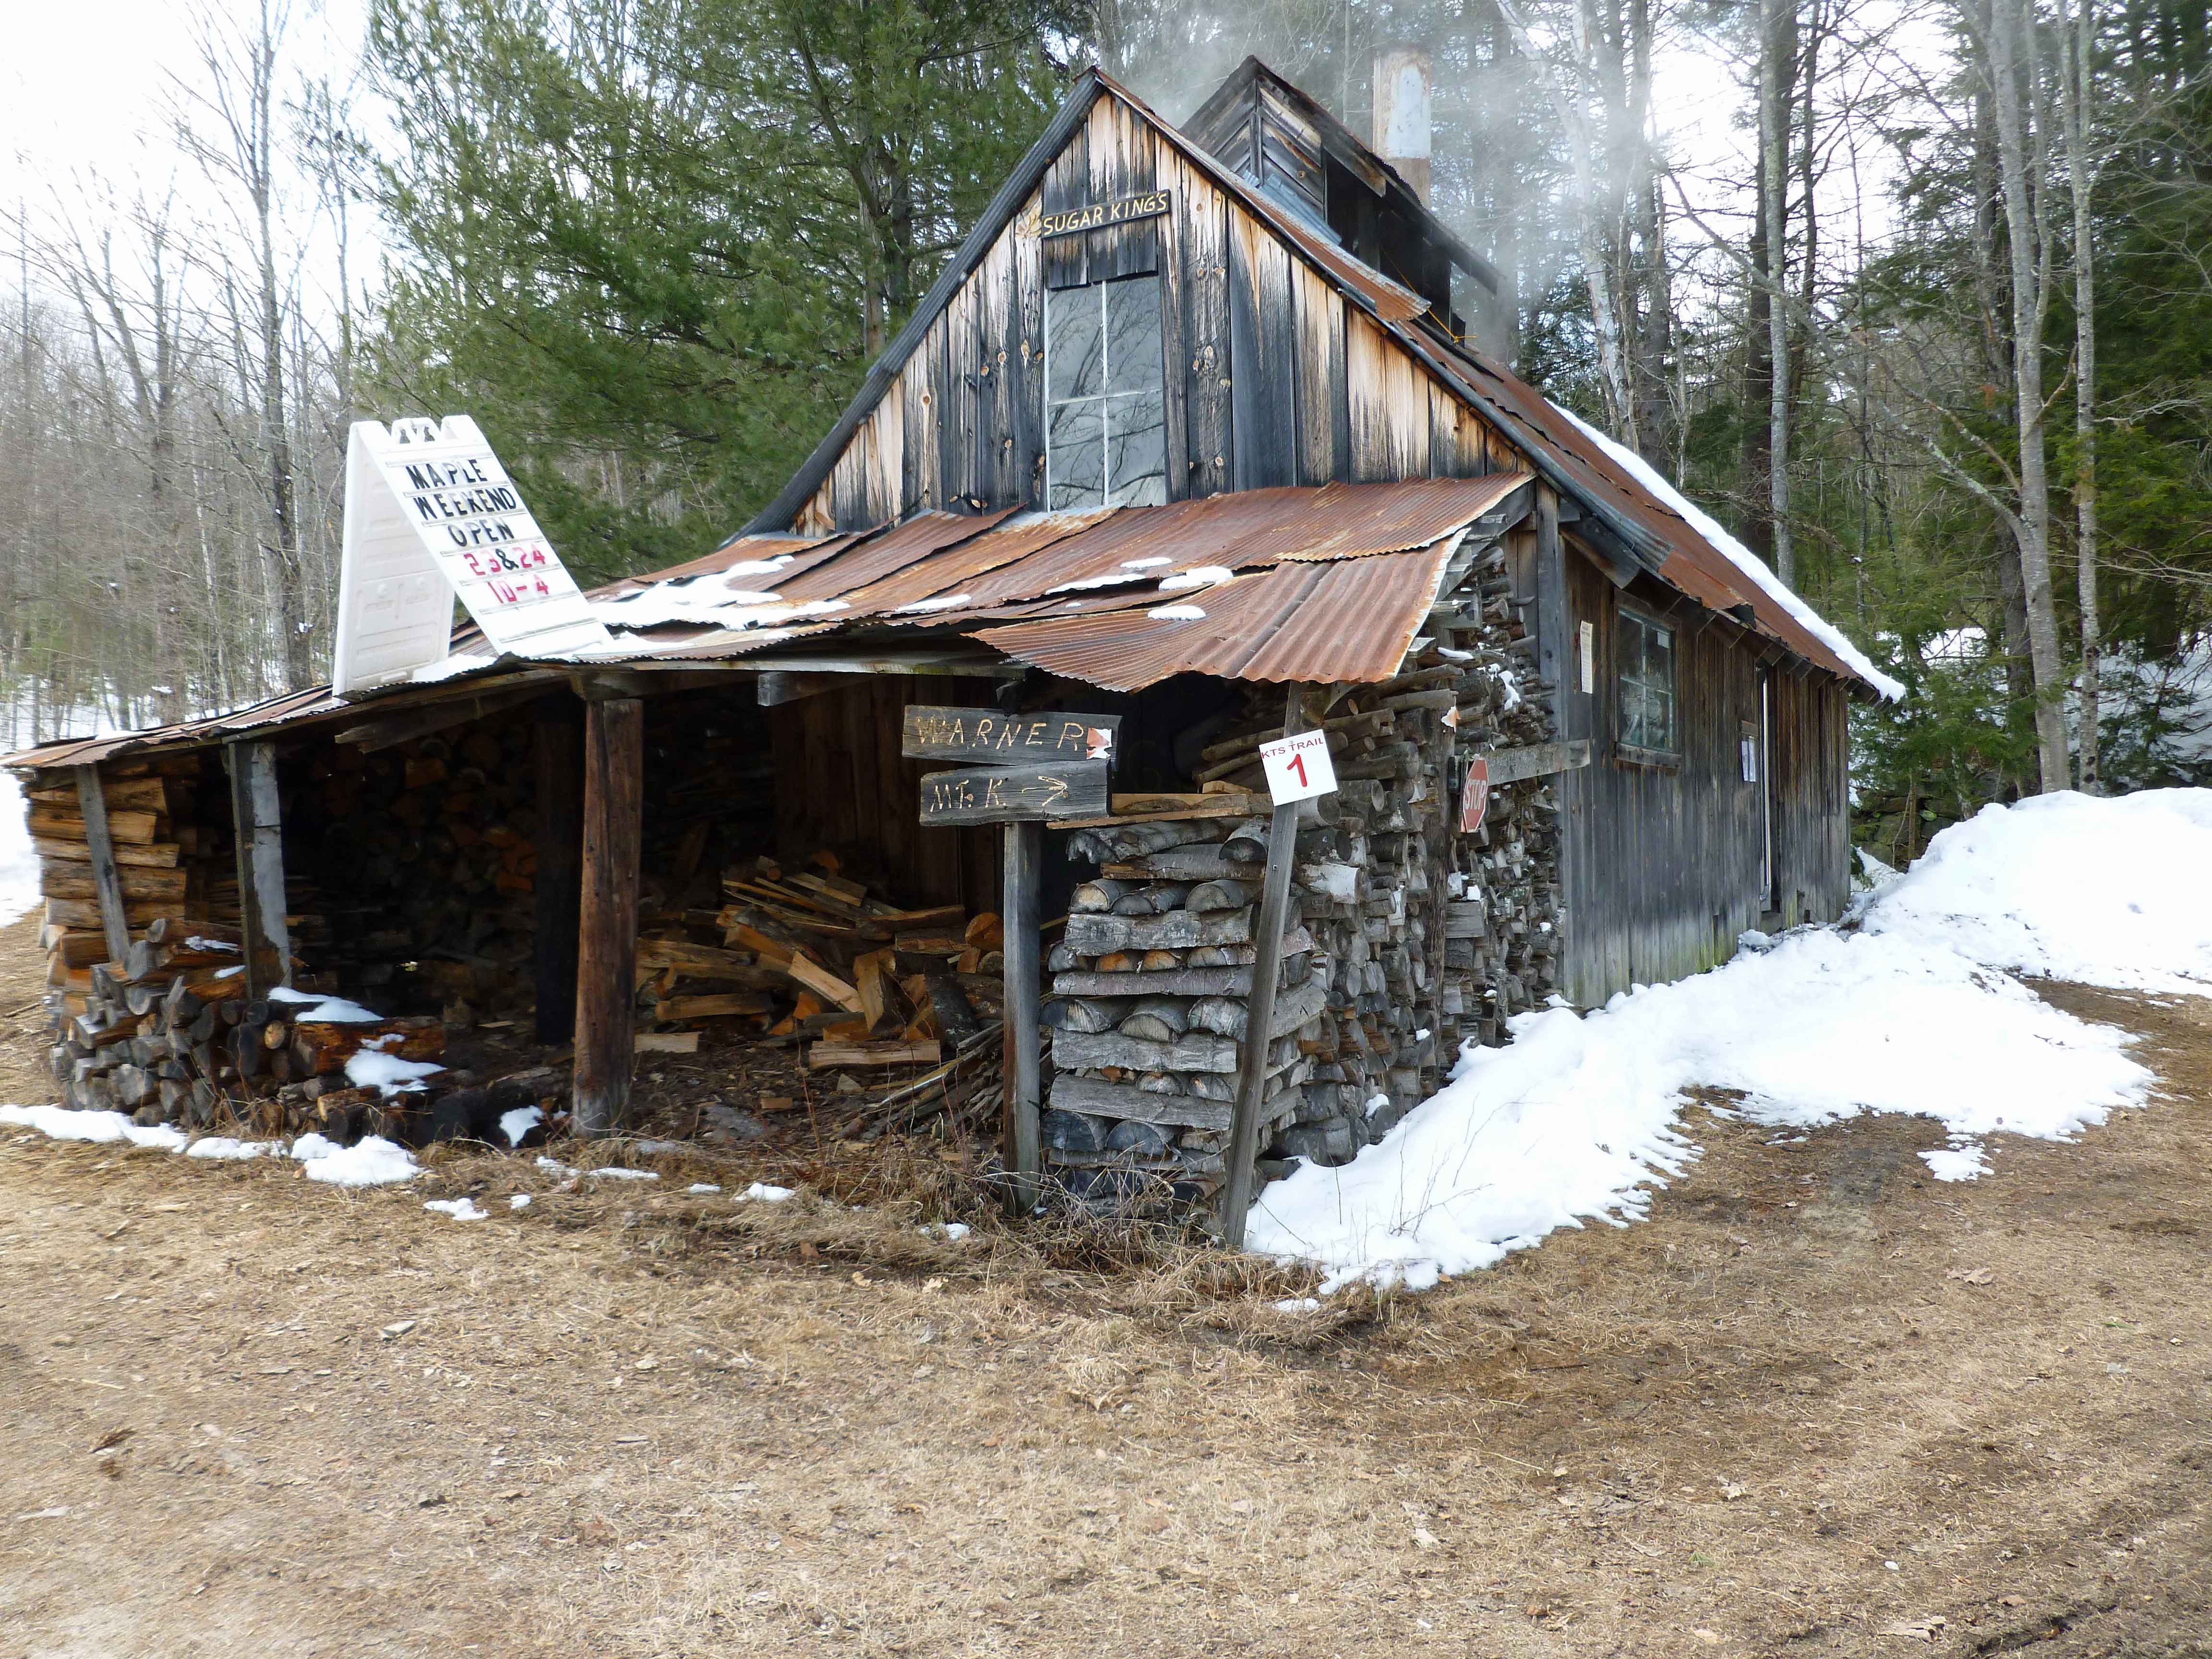
Over the years, technology has refined the processing of maple, with the current high-end technology being reverse osmosis — the removal of about 75% of the water from the sap before it is boiled into syrup, reducing the processing time considerably. Some sugar shacks are running r.o., but not all of them. The one we visited was doing it old school, just wood fire and long boiling.
All the technology in the world can’t make the weather behave, though, and 2012, which was remarkably warm, was a bad year for maple syrup production, reducing output everywhere but Maine. New Hampshire still produced 76,000 gallons of maple syrup, but that was down from 120,000 gallons in 2011. Can you imagine 120,000 gallons of maple syrup? Are you imagining a giant vat of syrup right now? I am. Apparently, though, this weather’s been pretty great for maple sap, so we were promised a good Maple Weekend.
Sap Tree
Denise and I drove out to Warner to the Courser Farm Sugar Shack, which has apparently been open since 1957. Have you ever been to a sugar shack? It’s a fun winter experience — they really are shacks, with all the ventilation that the word implies, and specifically chimneys and vents up top. You can see a working shack as you approach — the steam and smoke give them away. Inside, they are remarkably cozy, especially on Maple Weekend — you’ll likely be handed a small cup with a shot of syrup in it, still warm, as you enter. The owners and likely a neighbor or two will be hanging out and chatting, keeping the fires going, watching the sap become syrup. They smell pretty amazing, too — sweet, though not quite syrupy, tinged with wood smoke.
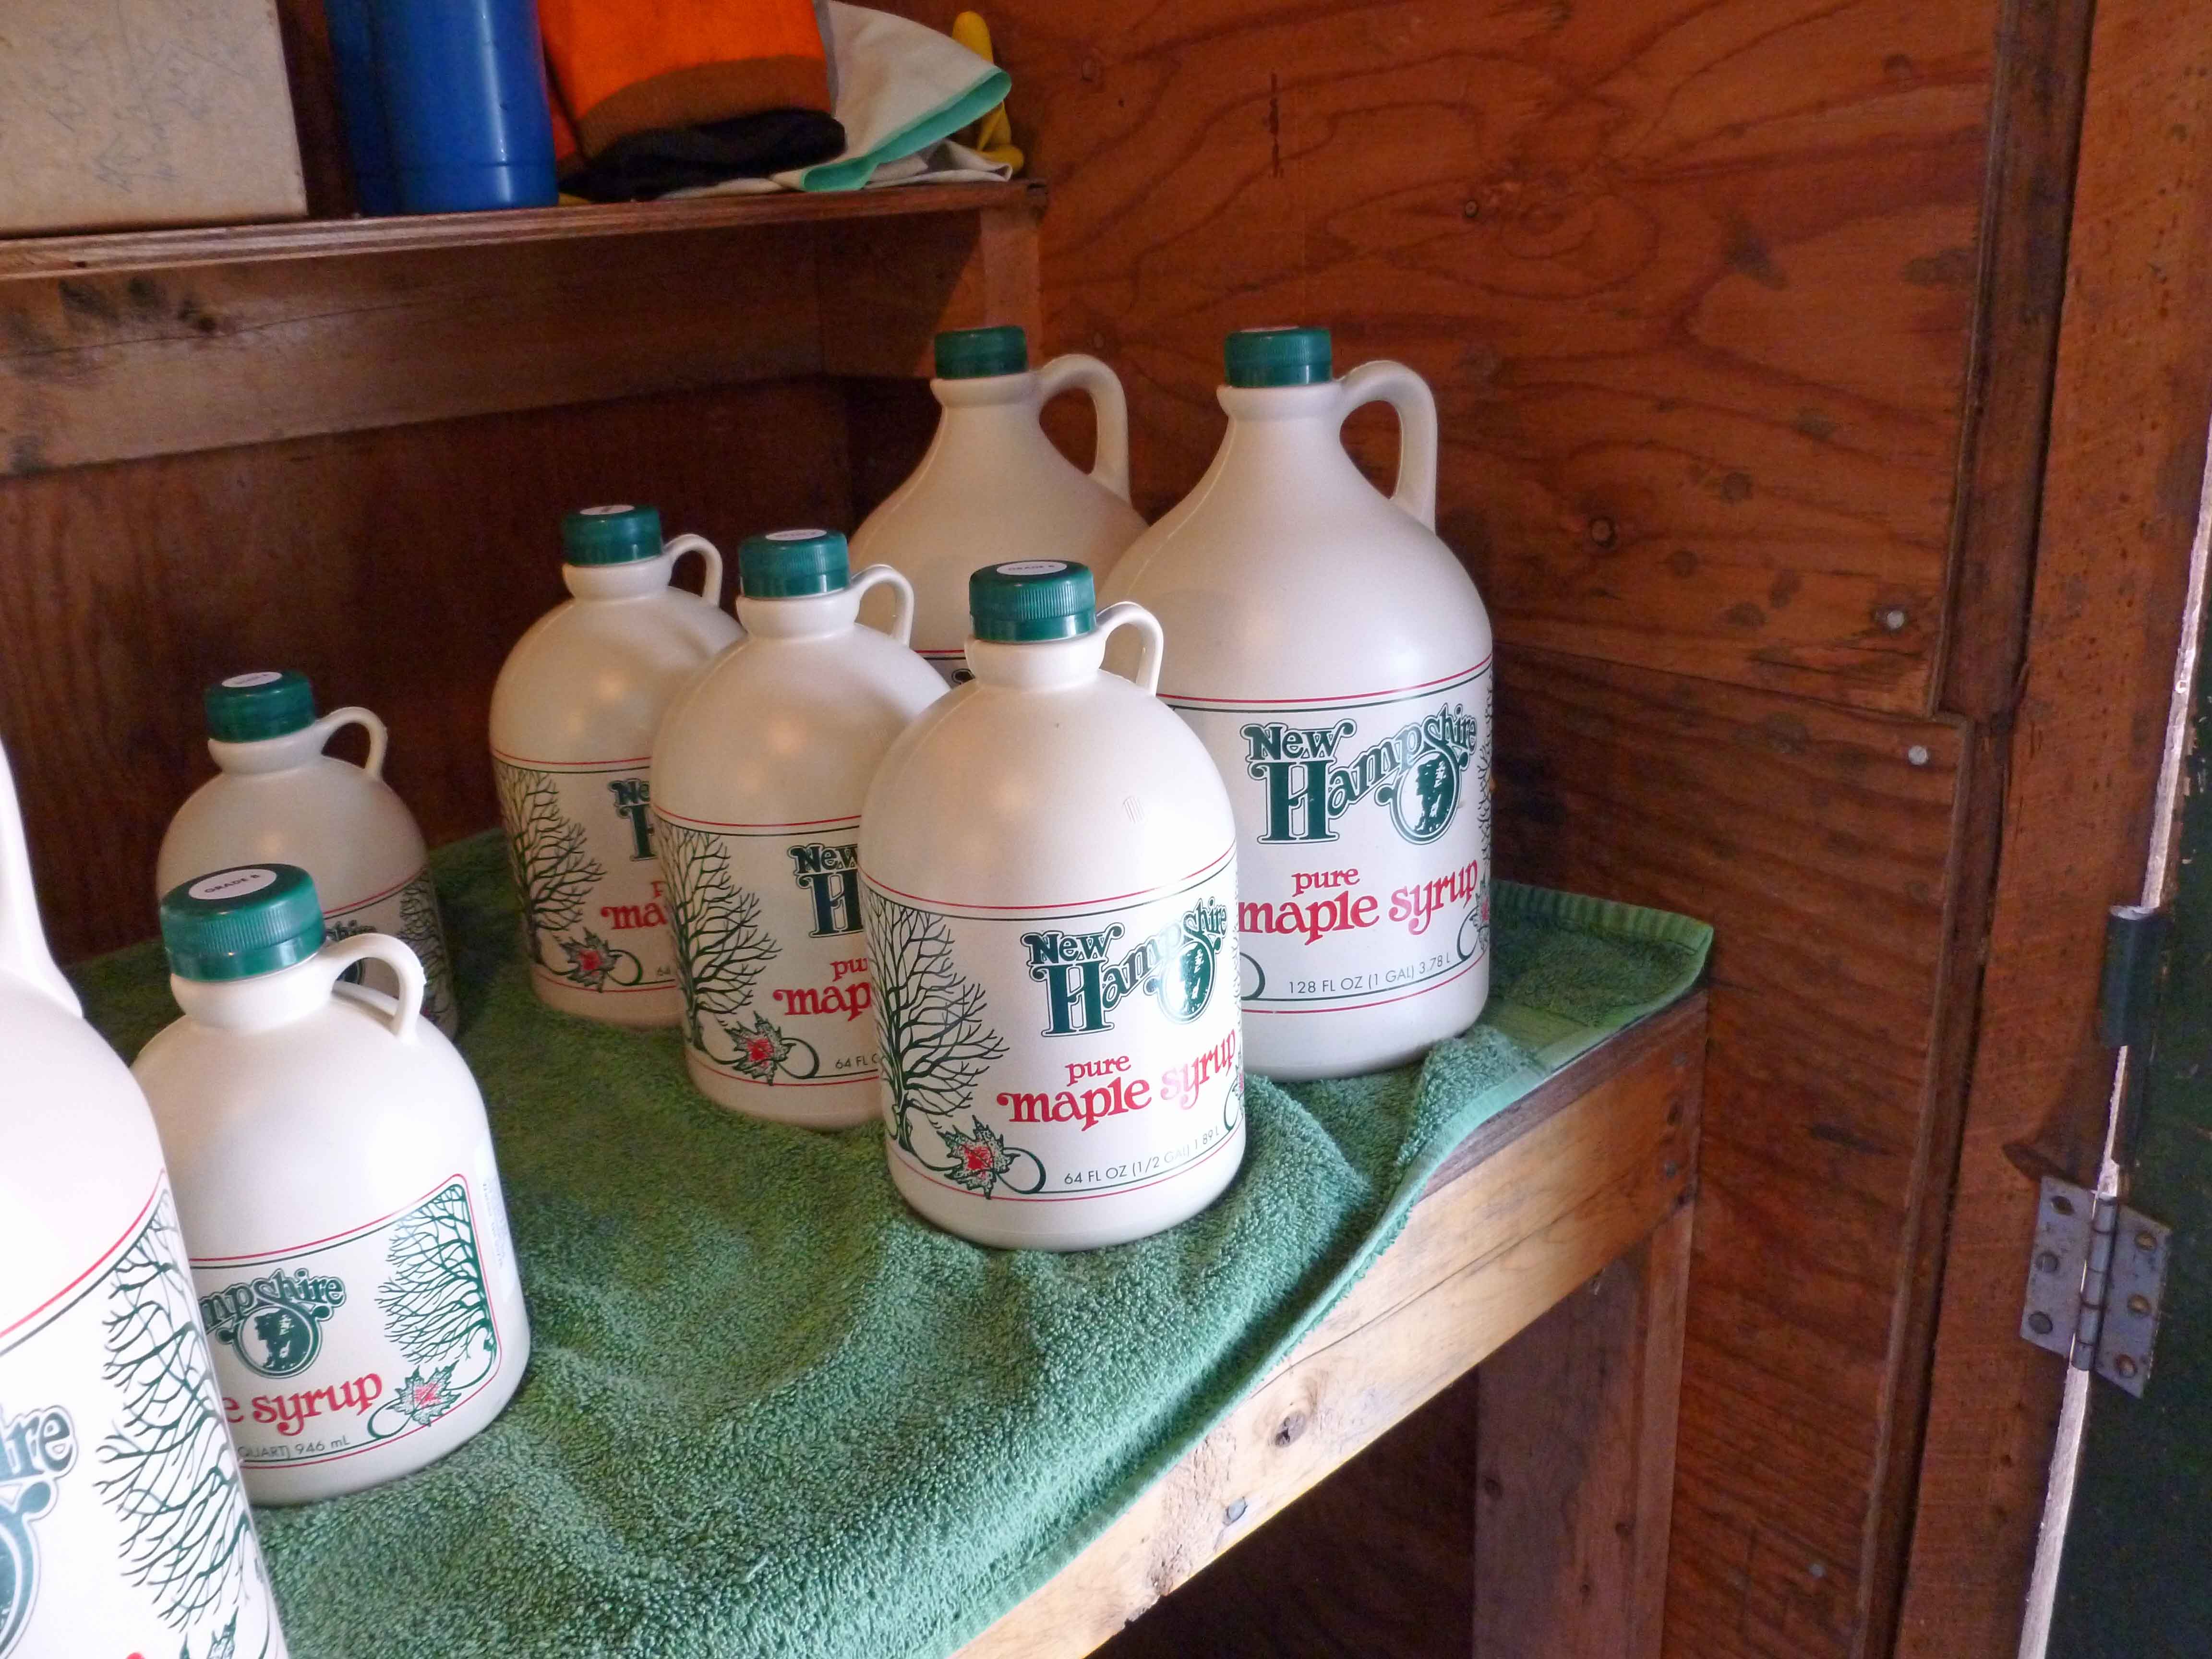
Maple syrup is graded — both by color and letter. Syrup gets darker as the season goes on (from light to medium to dark amber) and grade B is the end of the season, recommended mostly for cooking.
If you want to visit a sugar shack, and you live in the northern tier of North America, look at your local agricultural department’s website. So far as I can tell from a quick search, you can get locally-made maple syrup as far west as Wisconsin, as well as all over New England.
So you’ve got your syrup. What do you do with it now? Maple syrup is a common liquid sweetener in vegan baking and cooking, making a good substitute for honey. If you’re feeling really industrious, try making maple cream from your syrup. It’s labor-intensive, but if you’ve never had it? It will blow your mind. Honestly, though, I think it’s best straight up over pancakes or waffles. I will warn, though, that it’s addictive — once you’ve gone to pure maple syrup rather than “pancake syrup,” you will be hard-pressed to go back. Try it out with Denise’s recipes for gluten-free pancakes and waffles!
Want to learn how to tap a tree in your backyard? Start here.
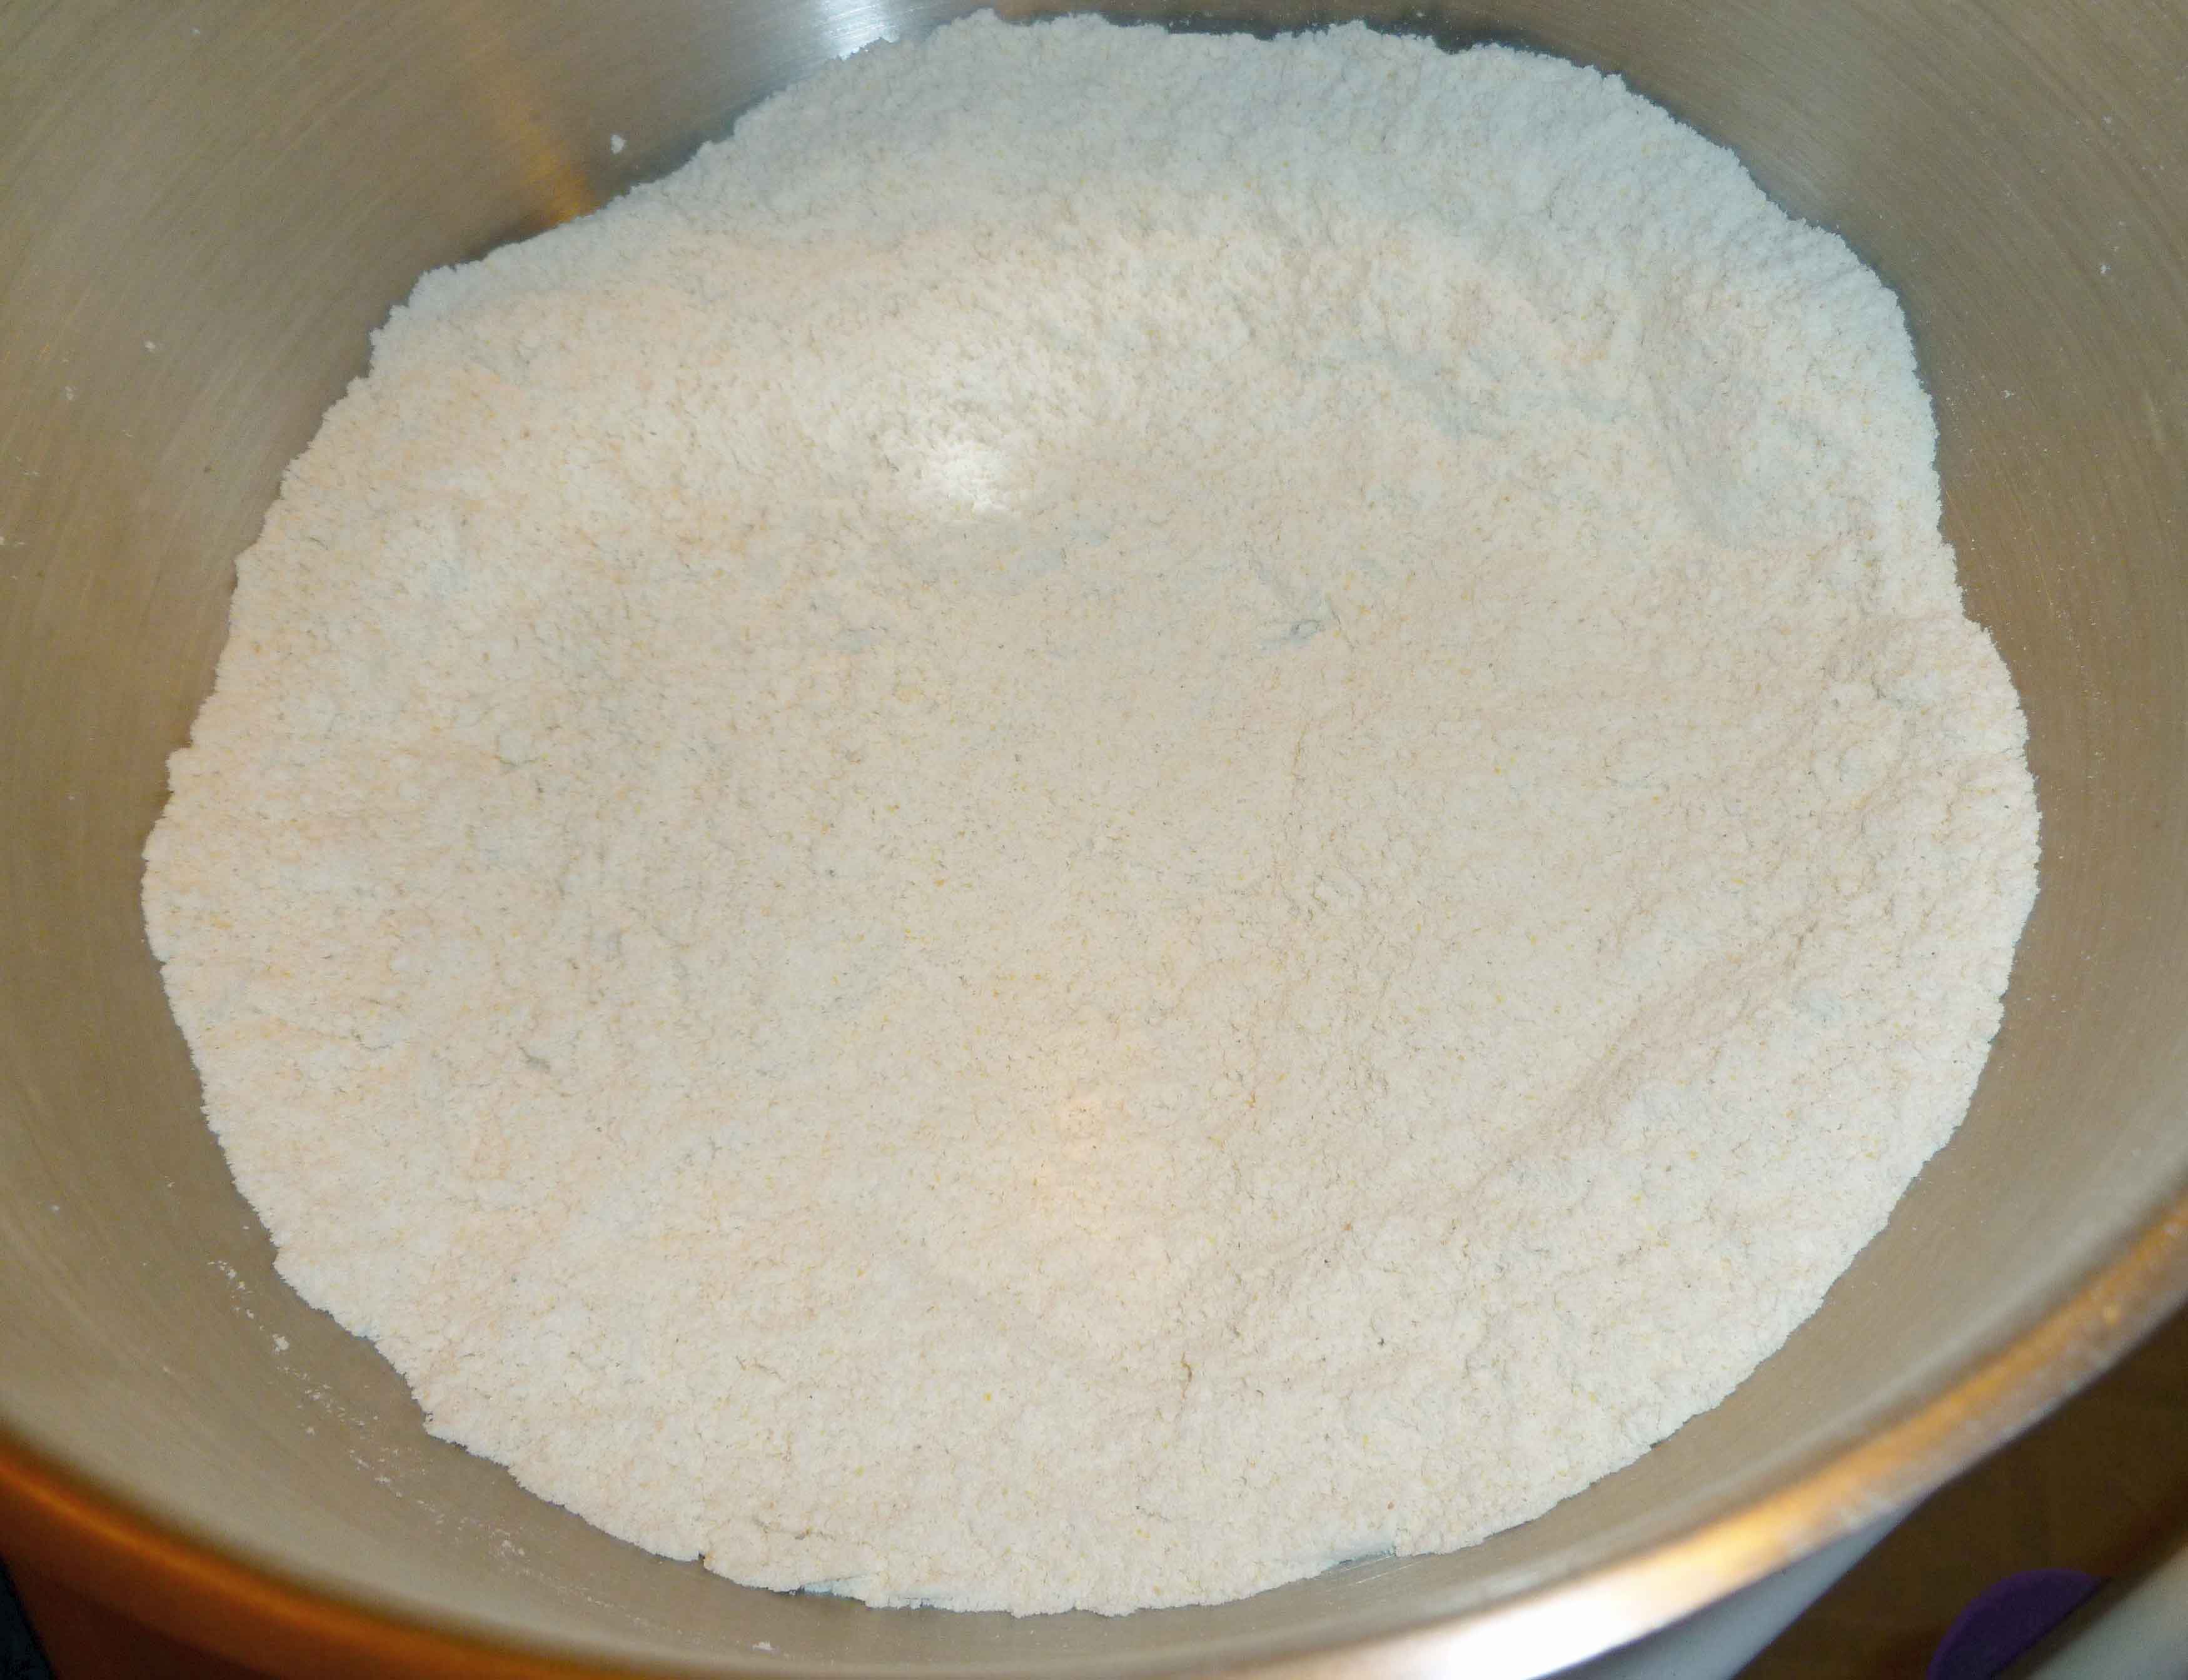
Using method that the Gluten Free Girl and the Chef have provided on their blog to make an all-purpose flour mix, I made up the following flour mix to make the waffles and pancake recipes that will be posted for our Hangover Breakfast series. (These recipes will be posted on April 1st, keep your eyes out for them!) I used a kitchen scale and I used a glass measuring cup zeroed out on the scale thinking that I could give you the cup equivalents. The thing is, it worked out that all the amounts were not a full measurement of anything and were really weird amounts. If you’re going to do any serious gluten free baking, you probably need to get a kitchen scale. This can be used as an all purpose mix, but I chose these flours with waffles and pancakes in mind. To use a regular recipe with this mix, exchange 140 grams of this mix to every 1 cup of regular flour.
Gluten Free Flour Mix for Waffles and Pancakes
Makes about 3 1/2 cups of flour mix.
50 grams of Oat flour
50 grams of Sorghum flour
50 grams of Millet flour
50 grams of Masa Harina flour (a type of corn flour)
150 grams of Sweet Rice flour
150 grams of Potato Starch
Measure out each of the flours carefully, and place into a large mixing bowl. Using a whisk, mix the flours and starches together until they are very well mixed. Store in an airtight container until you are ready to use it. Enjoy!