Notice: Function _load_textdomain_just_in_time was called incorrectly. Translation loading for the wp-ultimate-recipe domain was triggered too early. This is usually an indicator for some code in the plugin or theme running too early. Translations should be loaded at the init action or later. Please see Debugging in WordPress for more information. (This message was added in version 6.7.0.) in /home/maryzahc/public_html/adultfoodallergies.com/wp-includes/functions.php on line 6121
Gluten-free – Page 5 – surviving the food allergy apocalypse (archive)

Tag: Gluten-free

Contains no wheat or gluten.

  • Revised Gluten-Free and Dairy-Free Pancakes

    Revised Gluten-Free and Dairy-Free Pancakes

    Revised Gluten-Free and Dairy-Free Panackes
    Revised Gluten-Free and Dairy-Free Panackes

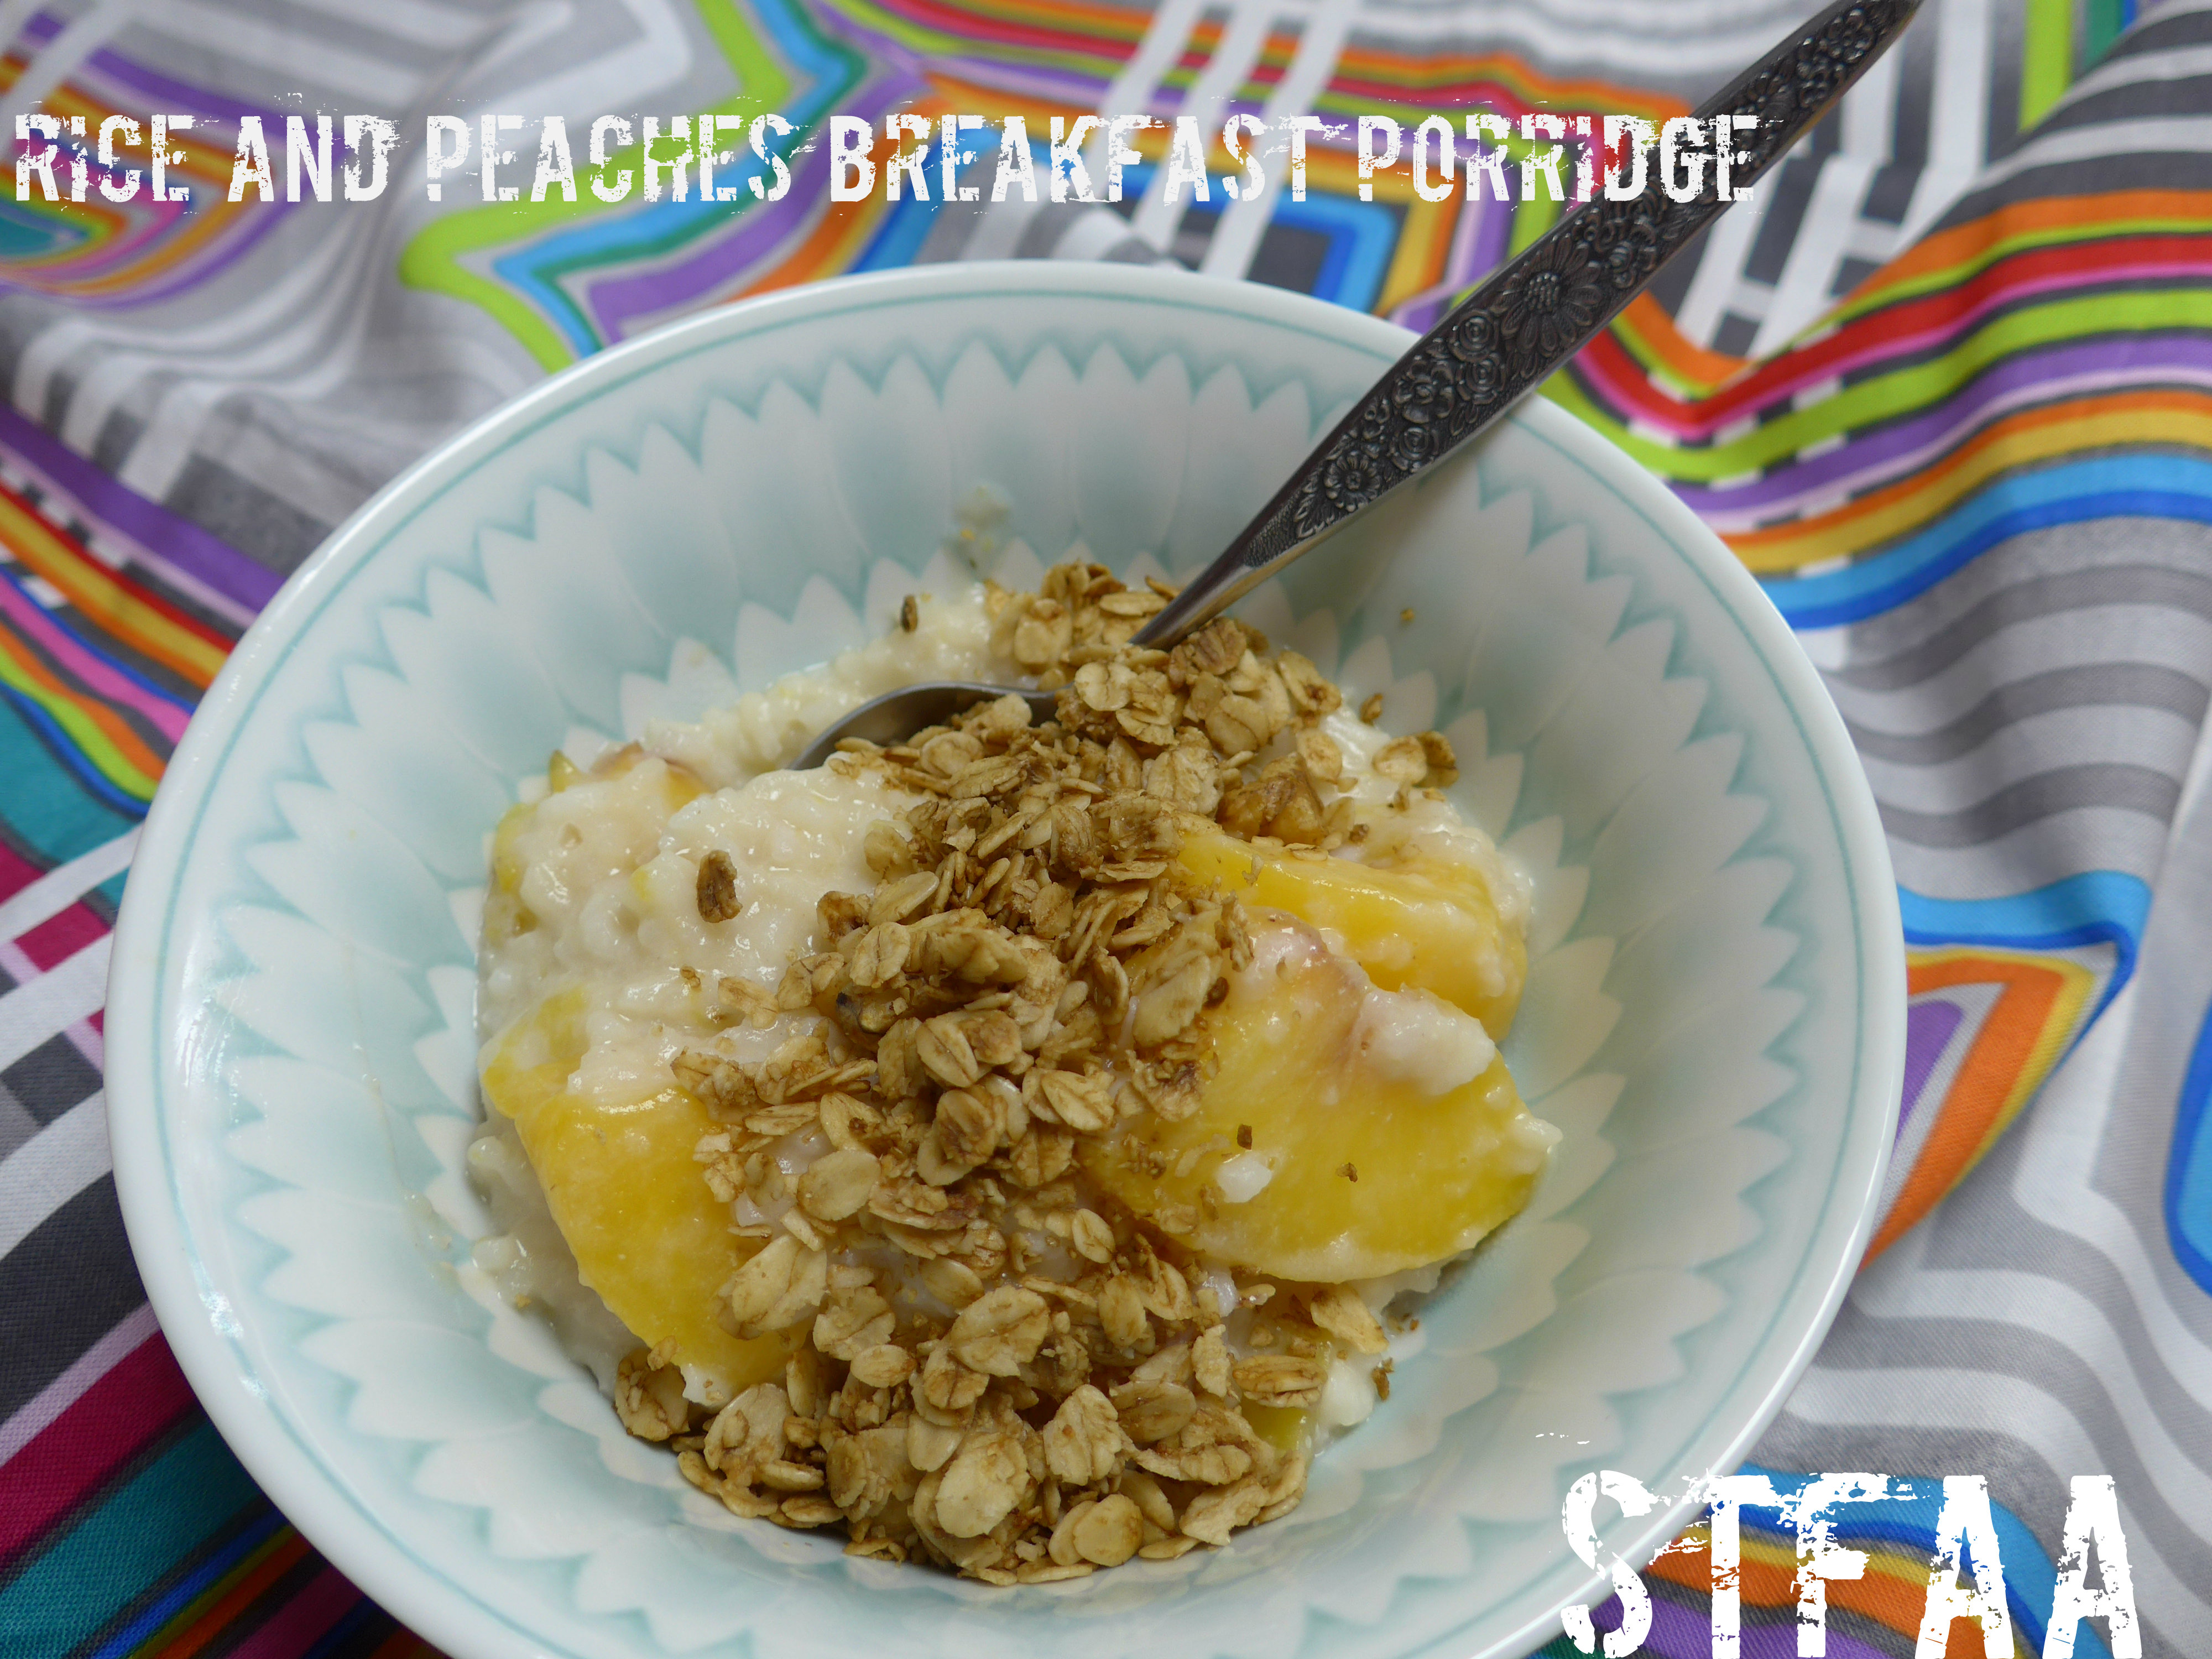
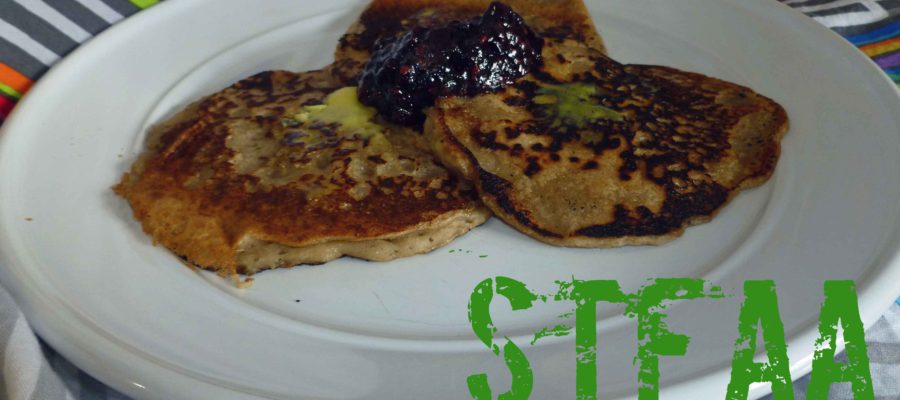
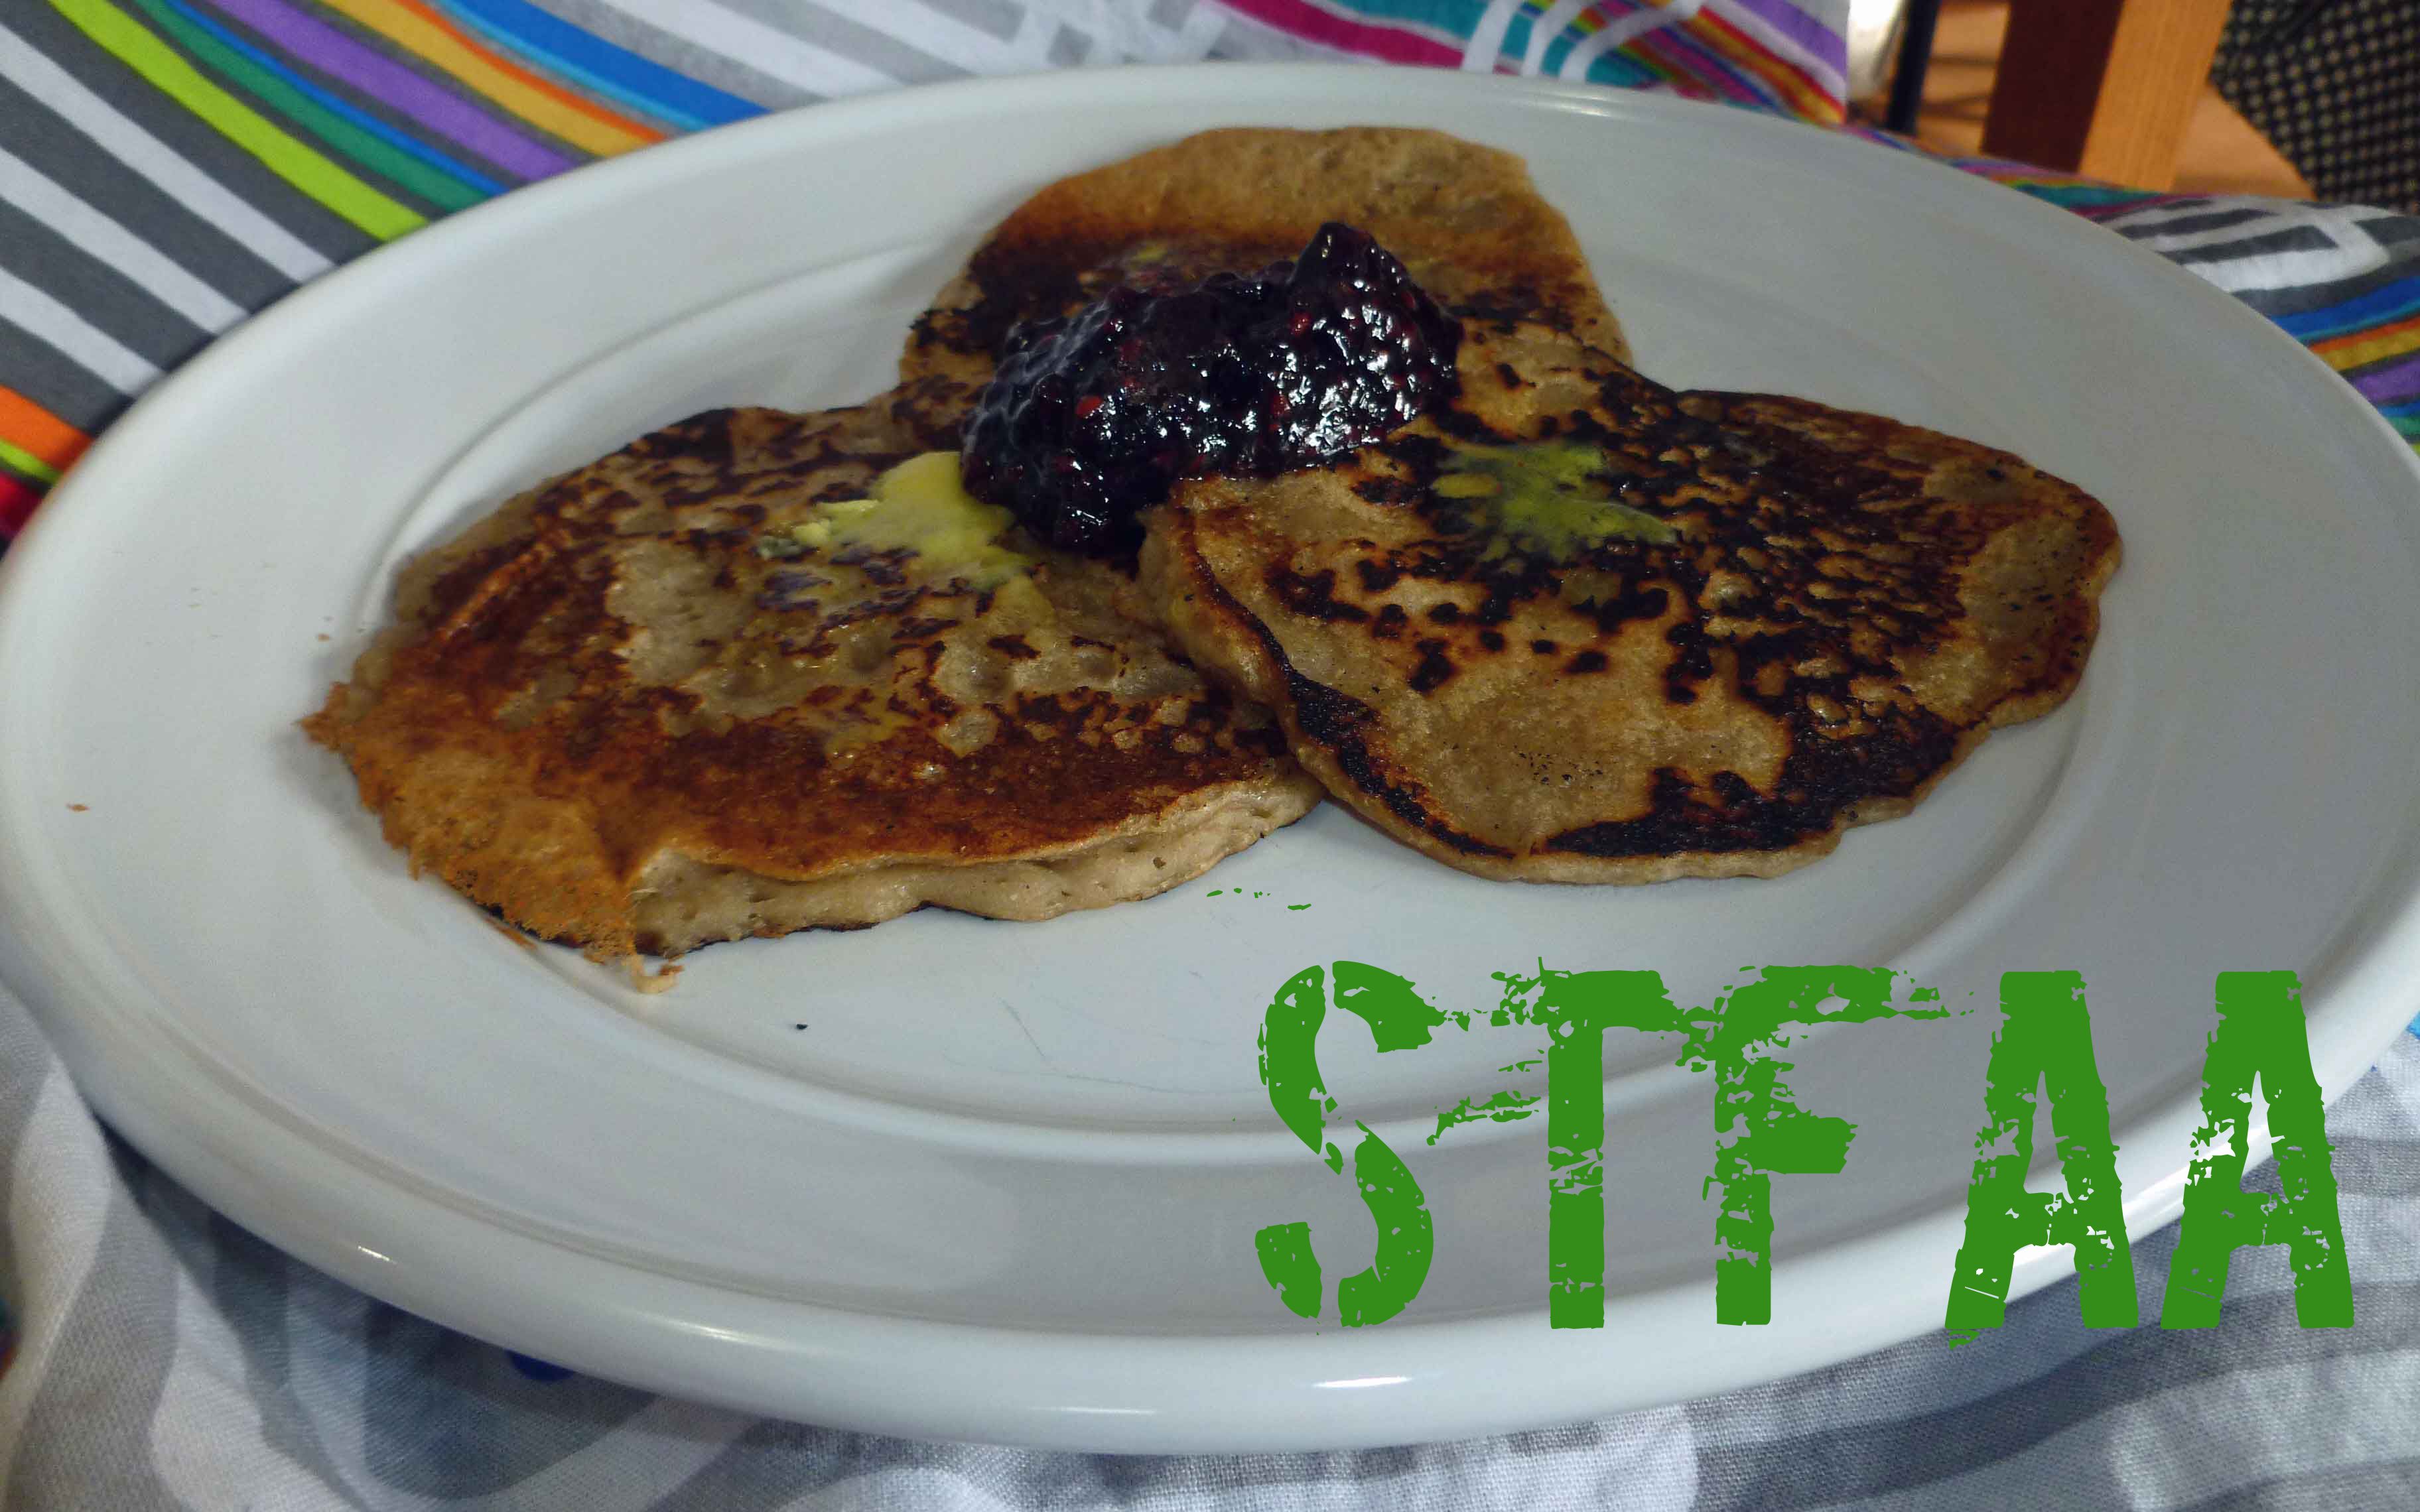
    When we first started the blog, I was allergic to less stuff than I am now. When I first devised this recipe, I wasn’t allergic to corn yet, and I didn’t suspect chia seed as being potentially problematic (it’s on the suspect list, but I haven’t done a food challenge to verify yet). As a result, the original version of my Gluten-Free and Dairy-Free Pancakes recipe contains a bunch of stuff that I can’t eat now. Recently I was craving pancakes and realized that I hadn’t revised the recipe on the blog to be safe for my current allergies when I tried to harass my poor, long suffering husband into making them for me.  So then, hey, pancake recipe revision! You can also dress these up anyway you want, add blueberries, apples and cinnamon, and use whatever jam, jelly or syrup might be safe for you as a topping. You can also make up a batch, let them cool, put plastic wrap or parchment paper in between them and put them in a container in the freezer and then warm them up in the oven or microwave when you want an easy breakfast.

    I used the Gluten-free, Rice-free, Potato-free Flour Mix below, which I actually use as an all purpose flour, and I’m quite happy with it. I make a batch and store it in mason jars so that I have it on hand.


    Notice: Trying to access array offset on value of type bool in /home/maryzahc/public_html/adultfoodallergies.com/wp-content/plugins/wp-ultimate-recipe/helpers/models/recipe.php on line 254
    Gluten-free, Rice-free, Potato-free Flour Mix
    Print Recipe
    Servings Prep Time
    9 cups 15 minutes
    Servings Prep Time
    9 cups 15 minutes
    Gluten-free, Rice-free, Potato-free Flour Mix
    Print Recipe
    Servings Prep Time
    9 cups 15 minutes
    Servings Prep Time
    9 cups 15 minutes
    Ingredients
    • 2 cups sorghum flour
    • 2 cups oat flour
    • 2 cups millet flour
    • 2 cups tapioca starch
    • 1 cup arrowroot starch
    Servings: cups
    Instructions
    1. Measure all ingredients and place in a large mixing bowl. Using a whisk, mix the ingredients until well combined. Place in an air tight storage container and use in baking recipes.
    Share this Recipe
     
    Powered byWP Ultimate Recipe

    Revised Gluten-Free and Dairy-Free Pancakes

    Revised Gluten-Free and Dairy-Free Panackes
    Revised Gluten-Free and Dairy-Free Pancakes
    Print Recipe
    Makes about 10 to 12 – 4 inch pancakes.
    Servings Prep Time
    4 people 10 minutes
    Cook Time Passive Time
    20 minutes 30 minutes
    Servings Prep Time
    4 people 10 minutes
    Cook Time Passive Time
    20 minutes 30 minutes
    Ingredients
    Dry Ingredients
    • 1 1/2 cups Gluten-free, Rice-free, Potato-free flour mix (see recipe card in the post or you can try your normal gluten free flour mix)
    • 1 teaspoon sea salt
    • 3 Tablespoons brown sugar
    • 1 3/4 teaspoons baking powder (here’s a corn free version – https://wholenewmom.com/health-concerns/make-your-own-baking-powder/)
    Wet Ingredients
    • 1/3 cup water
    • 1 teaspoon vanilla extract (I make my own with vanilla beans and vodka made from potatoes, as most commercial extract contains corn)
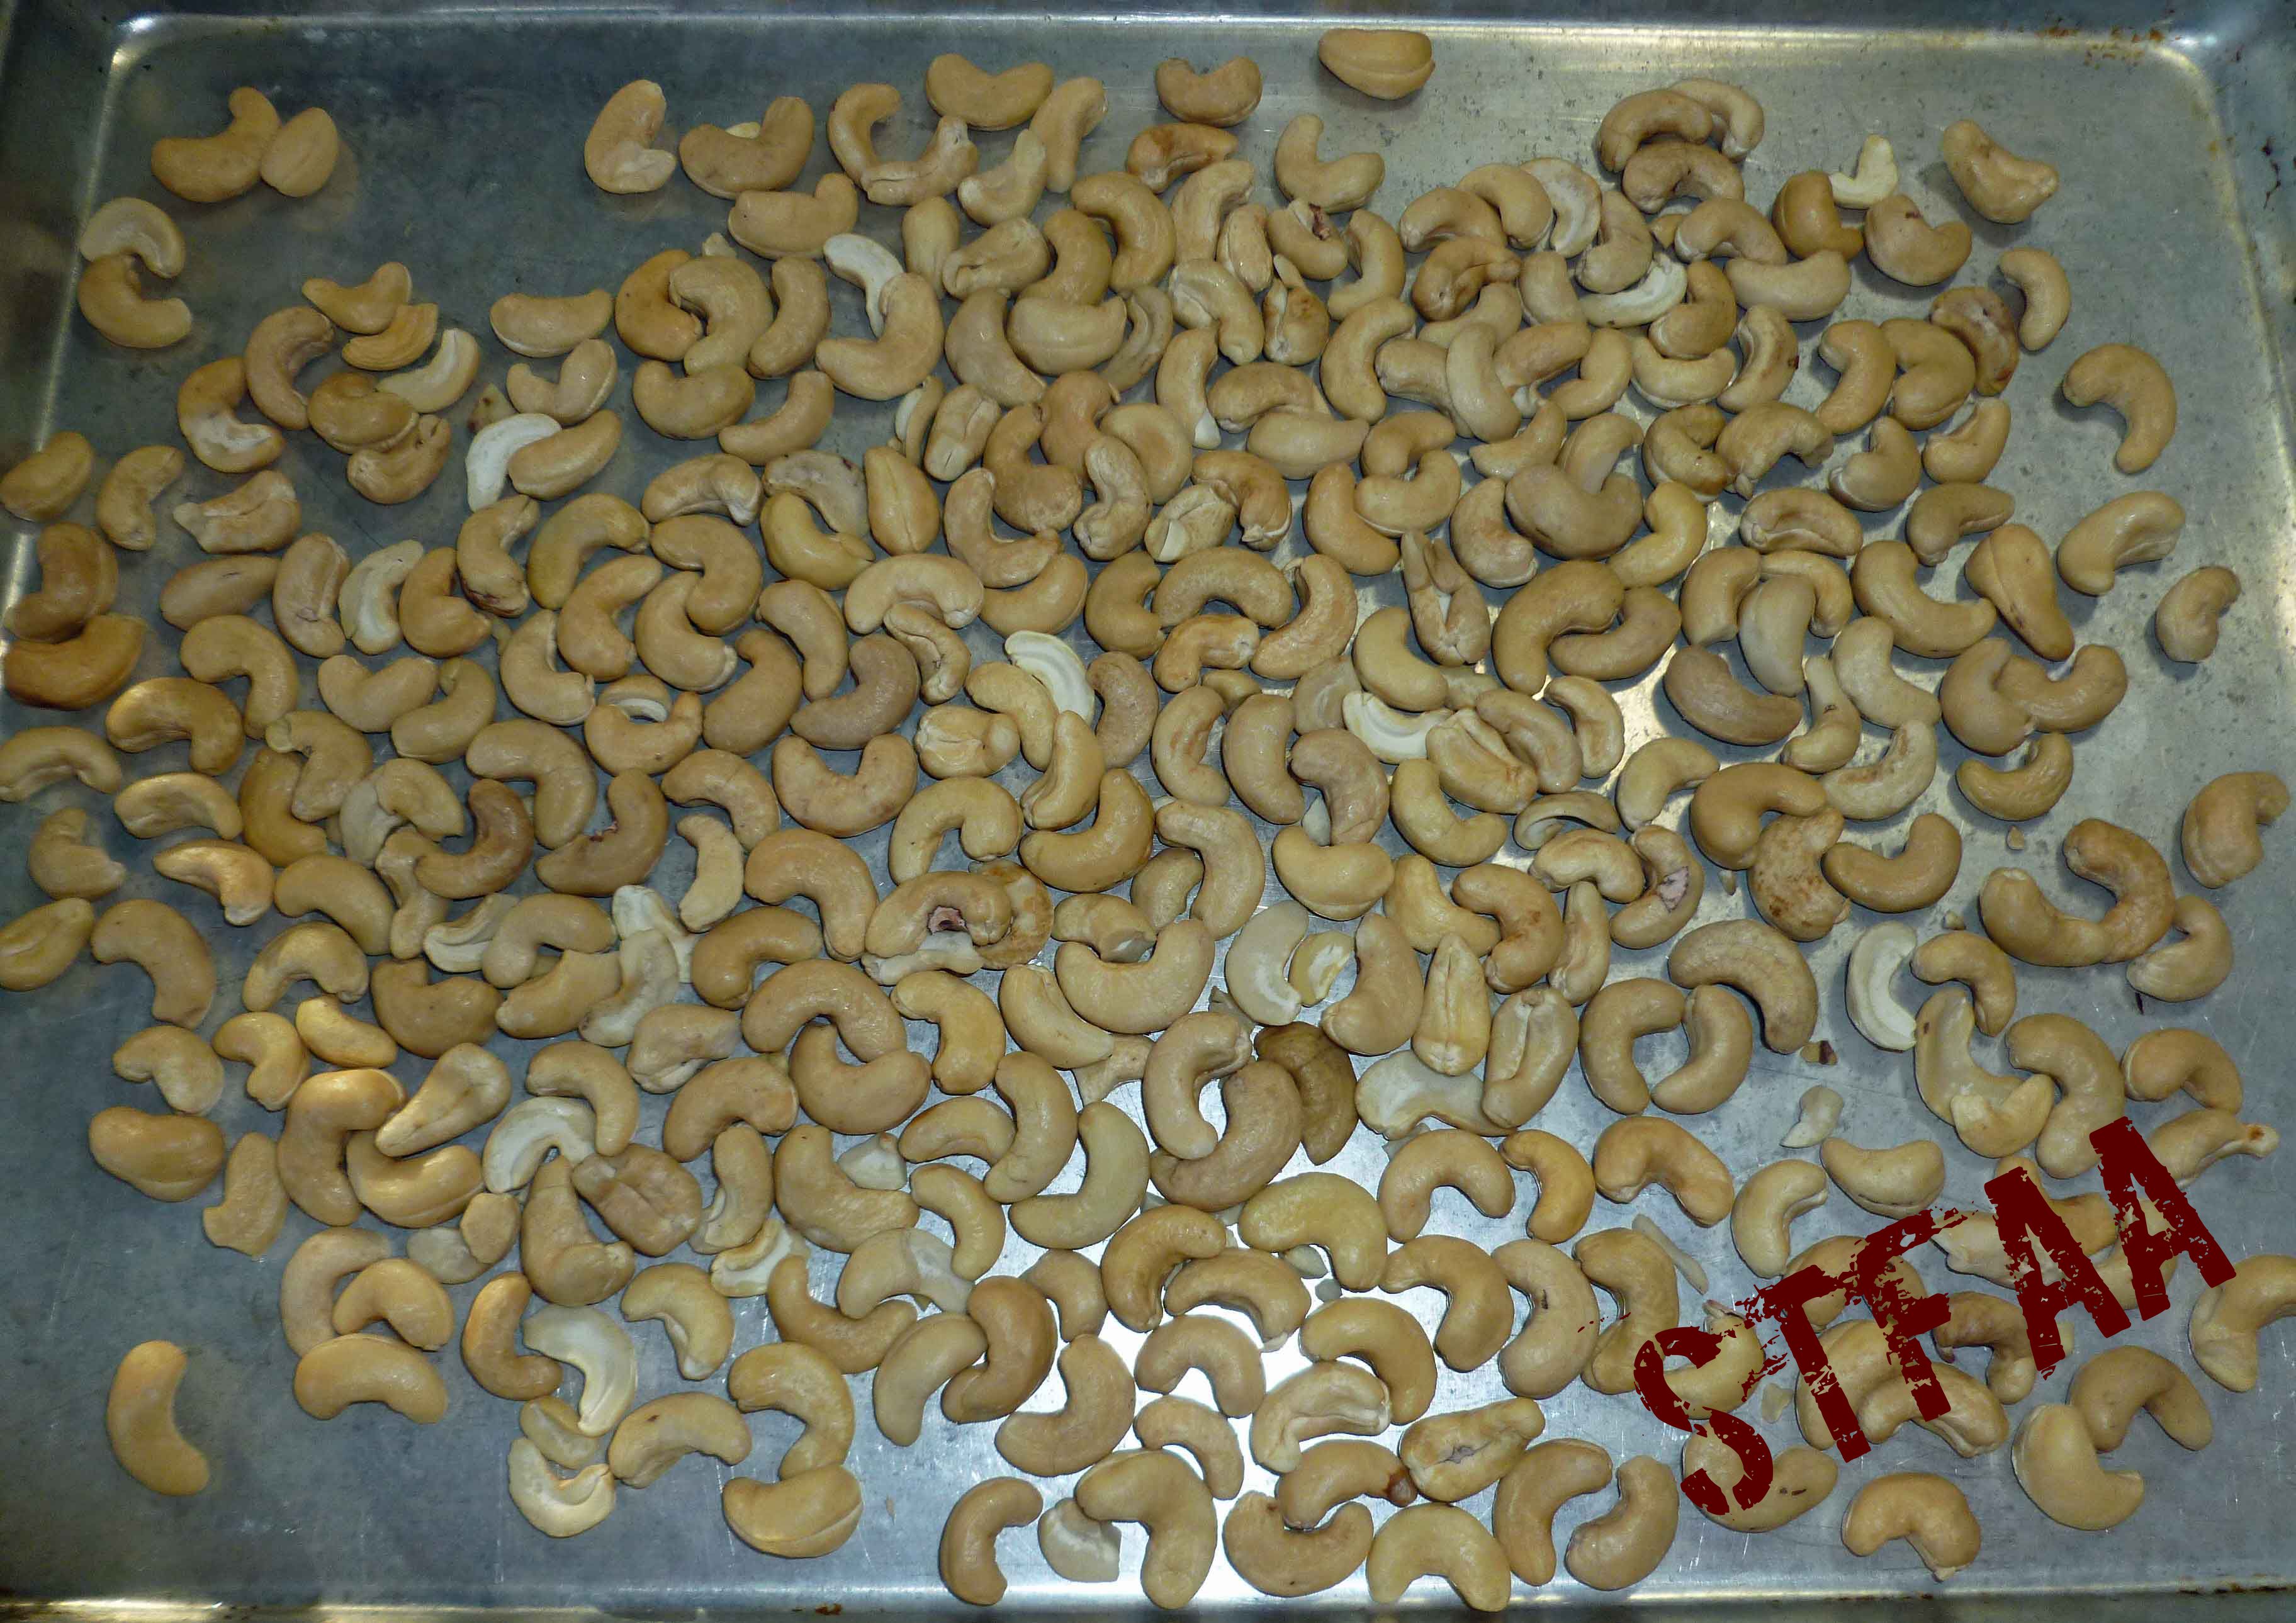
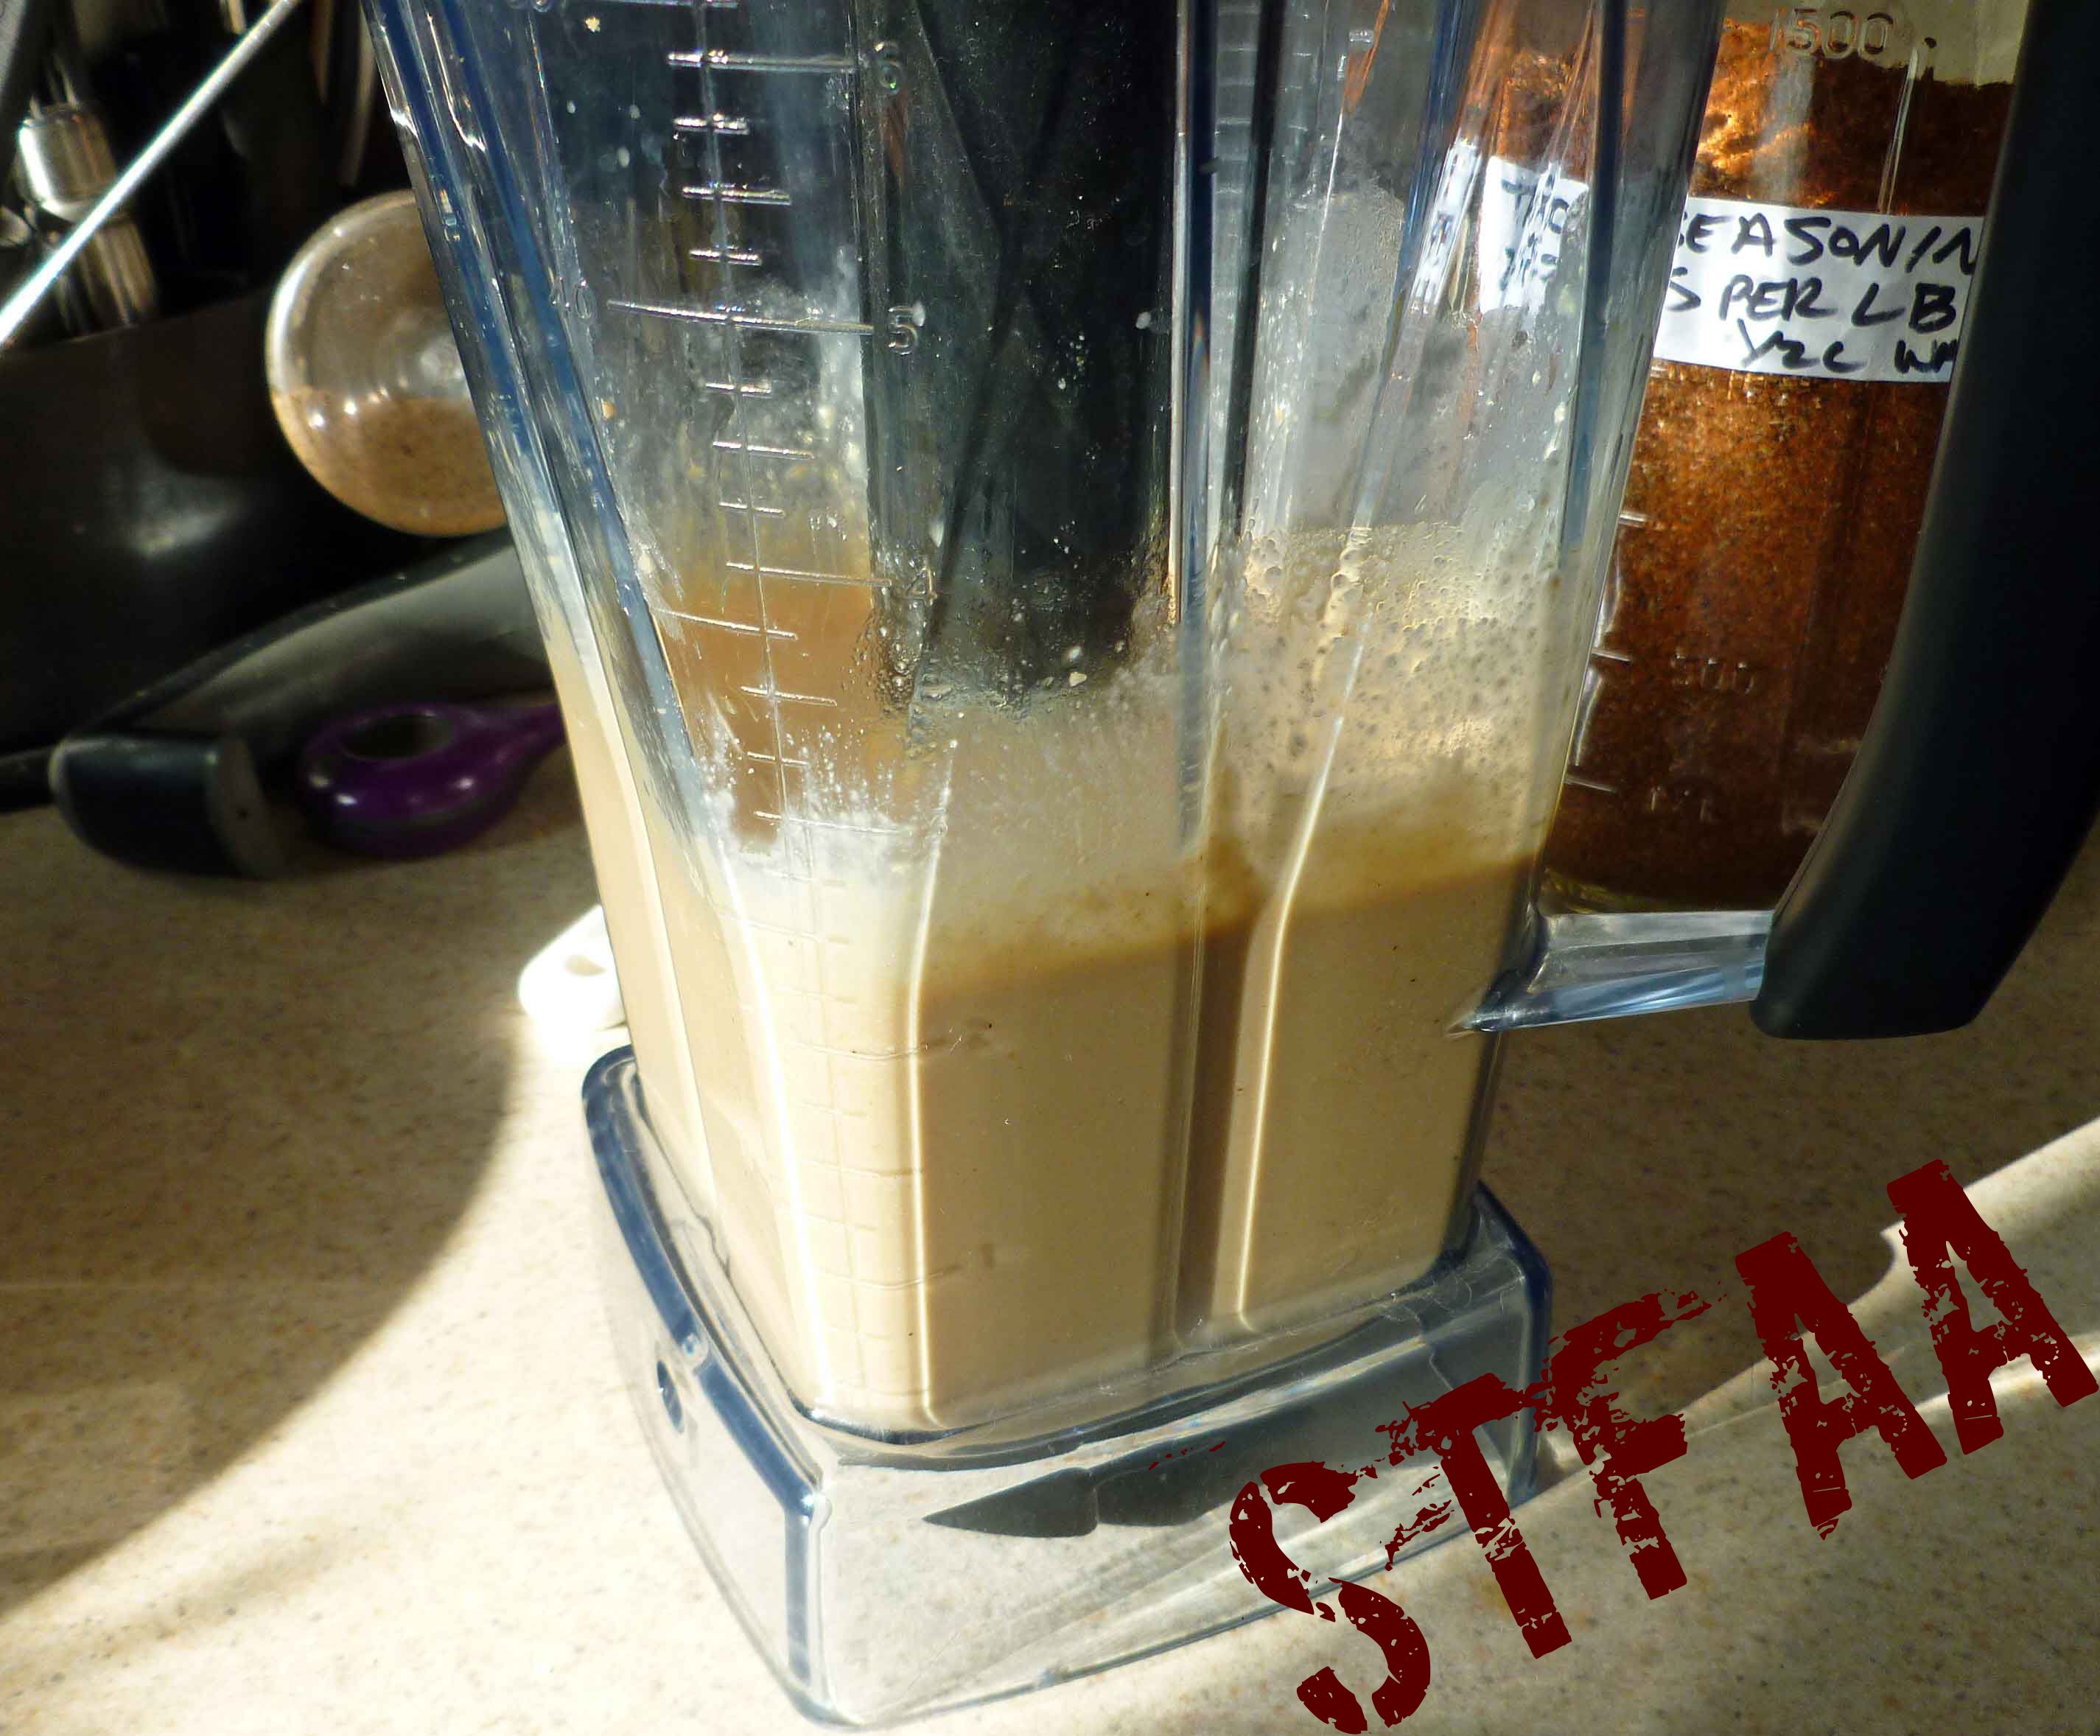
    • 1 1/4 cup non-dairy milk (I use homemade cashew or rice milk)
    • 3 Tablespoons safe oil (I used grape seed oil or olive oil)
    • 1 teaspoon psyllium husk powder
    Other equipment
    • oil for greasing the skillet
    • skillet
    Servings: people
    Instructions
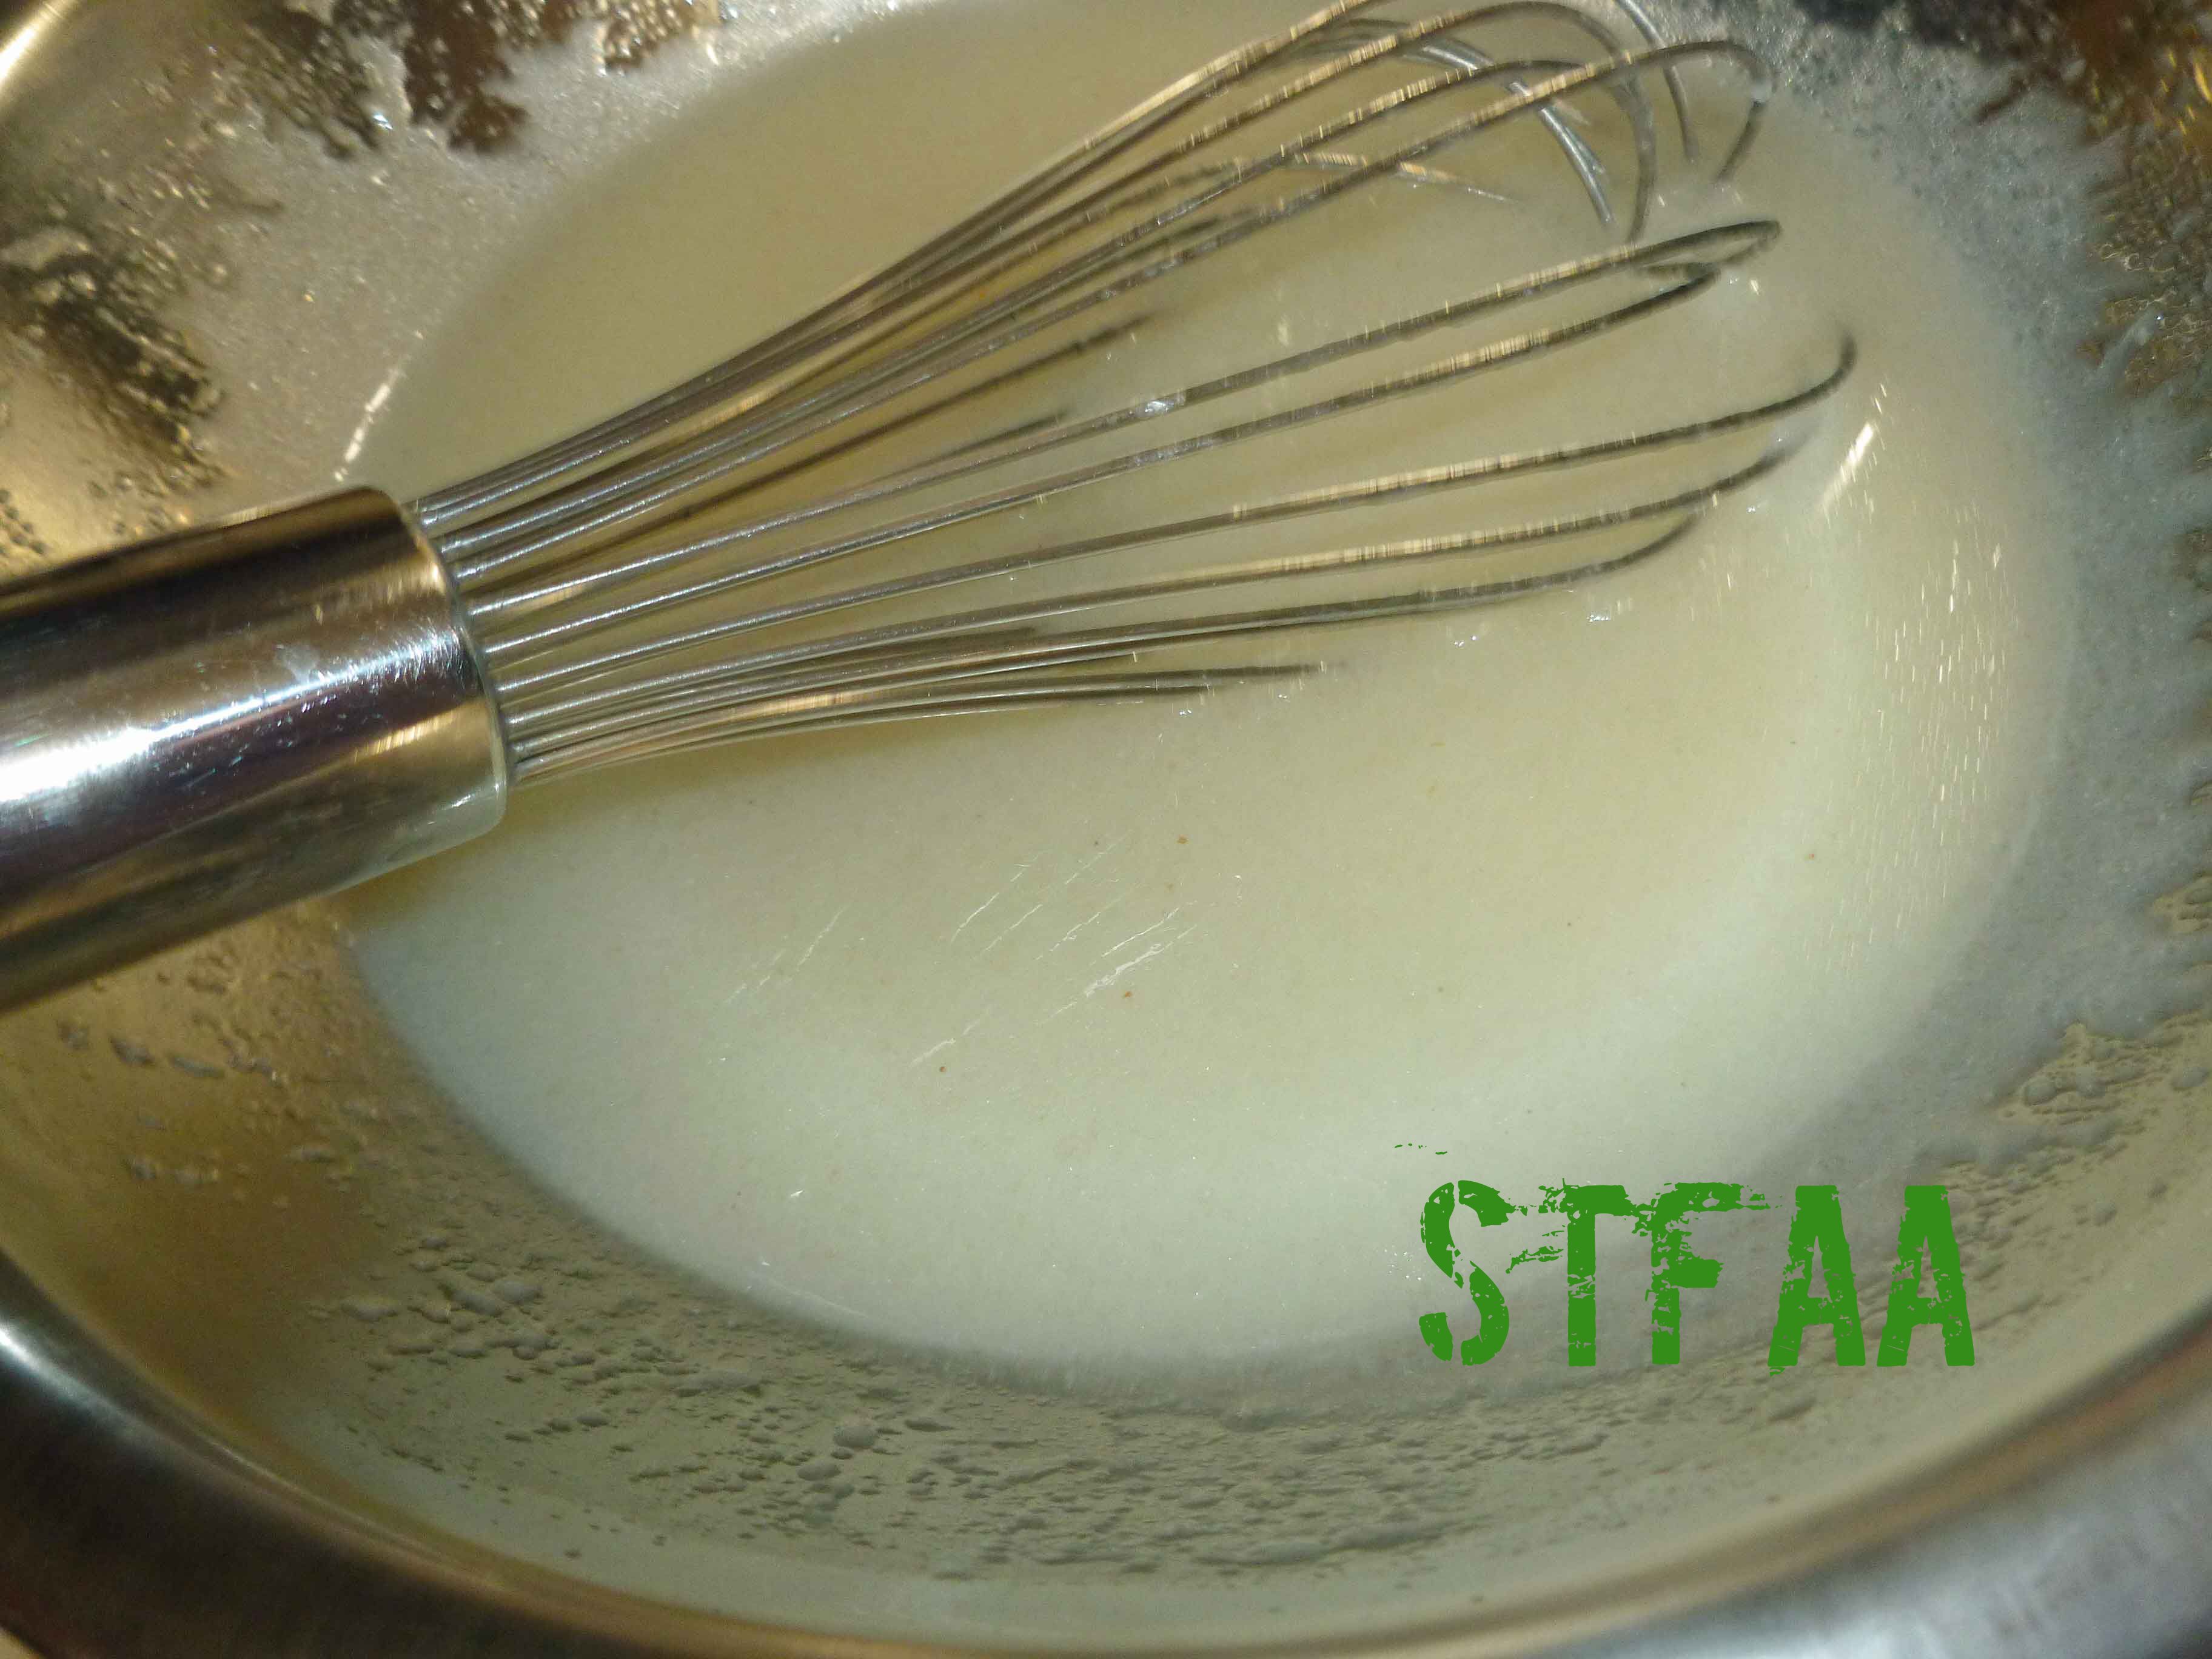
    1. Place water, vanilla extract, non-dairy milk, oil, and psyllium husk powder (Wet Ingredients) in a smaller bowl and whisk together until smooth. Let mixture sit for about 30 minutes so that the psyllium can gel.
    2. Measure out flour, salt, baking powder and brown sugar (Dry Ingredients) and place in a large bowl. Whisk ingredients together until they are well incorporated into each other.
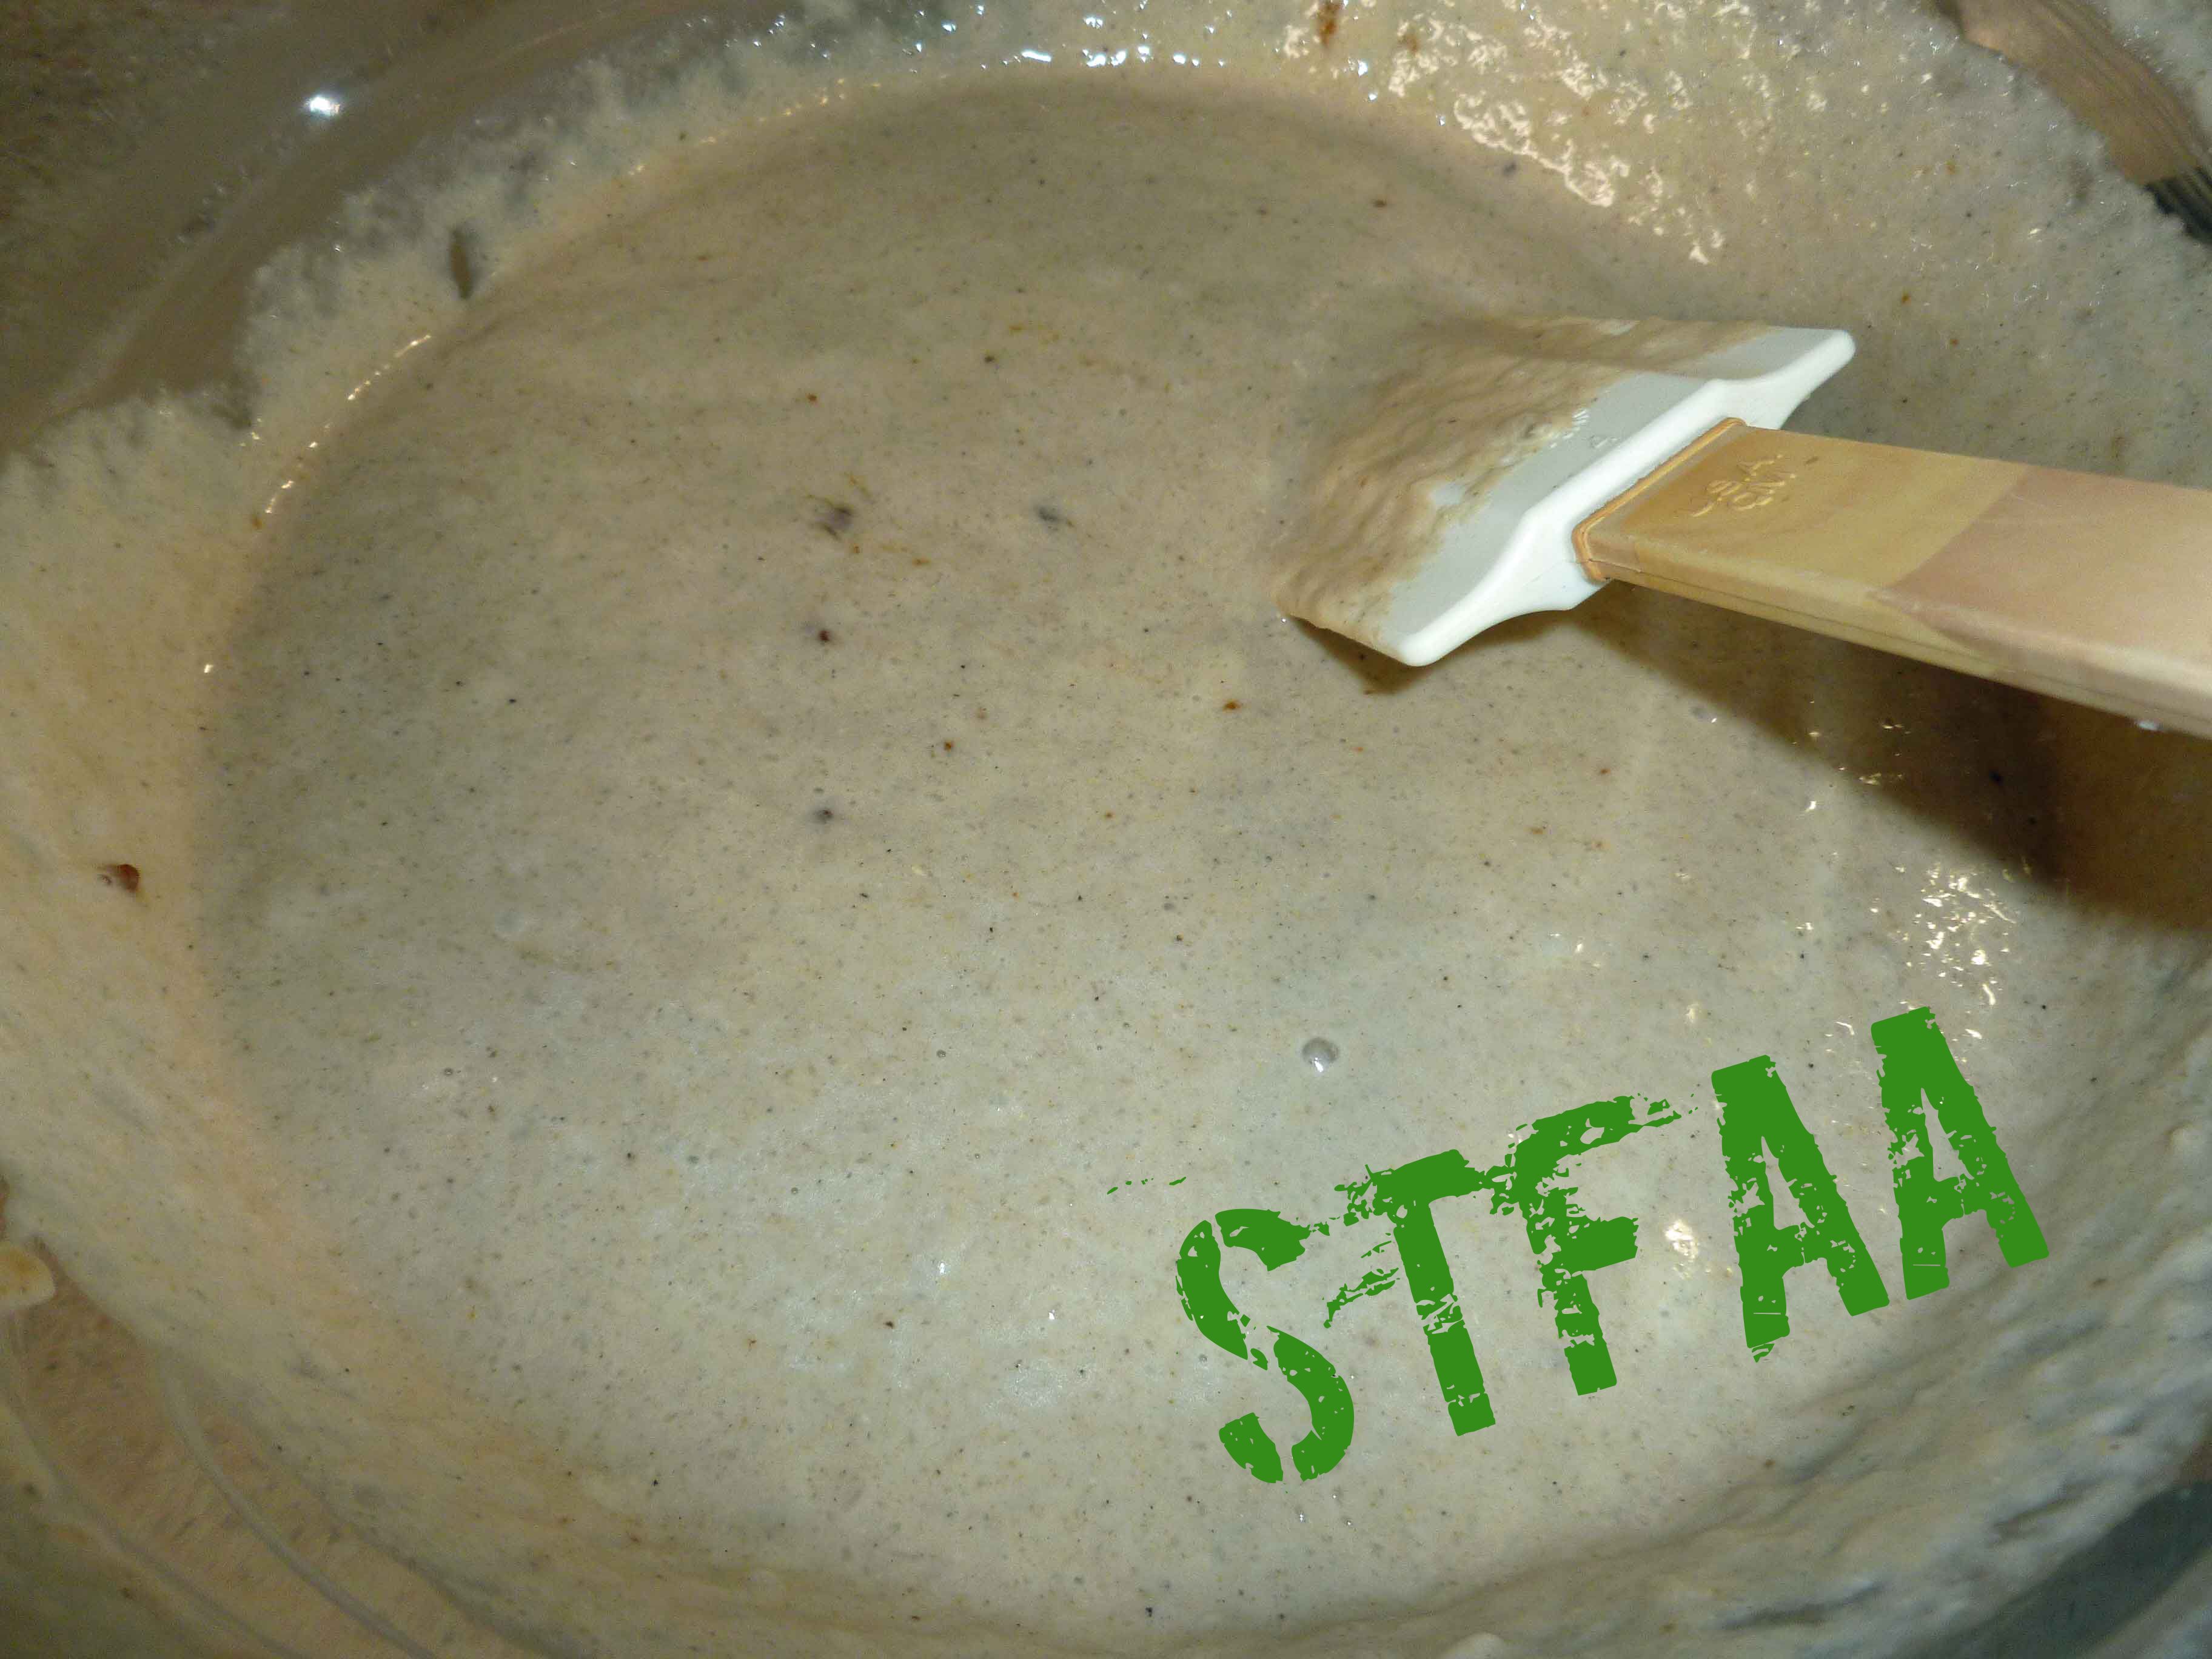
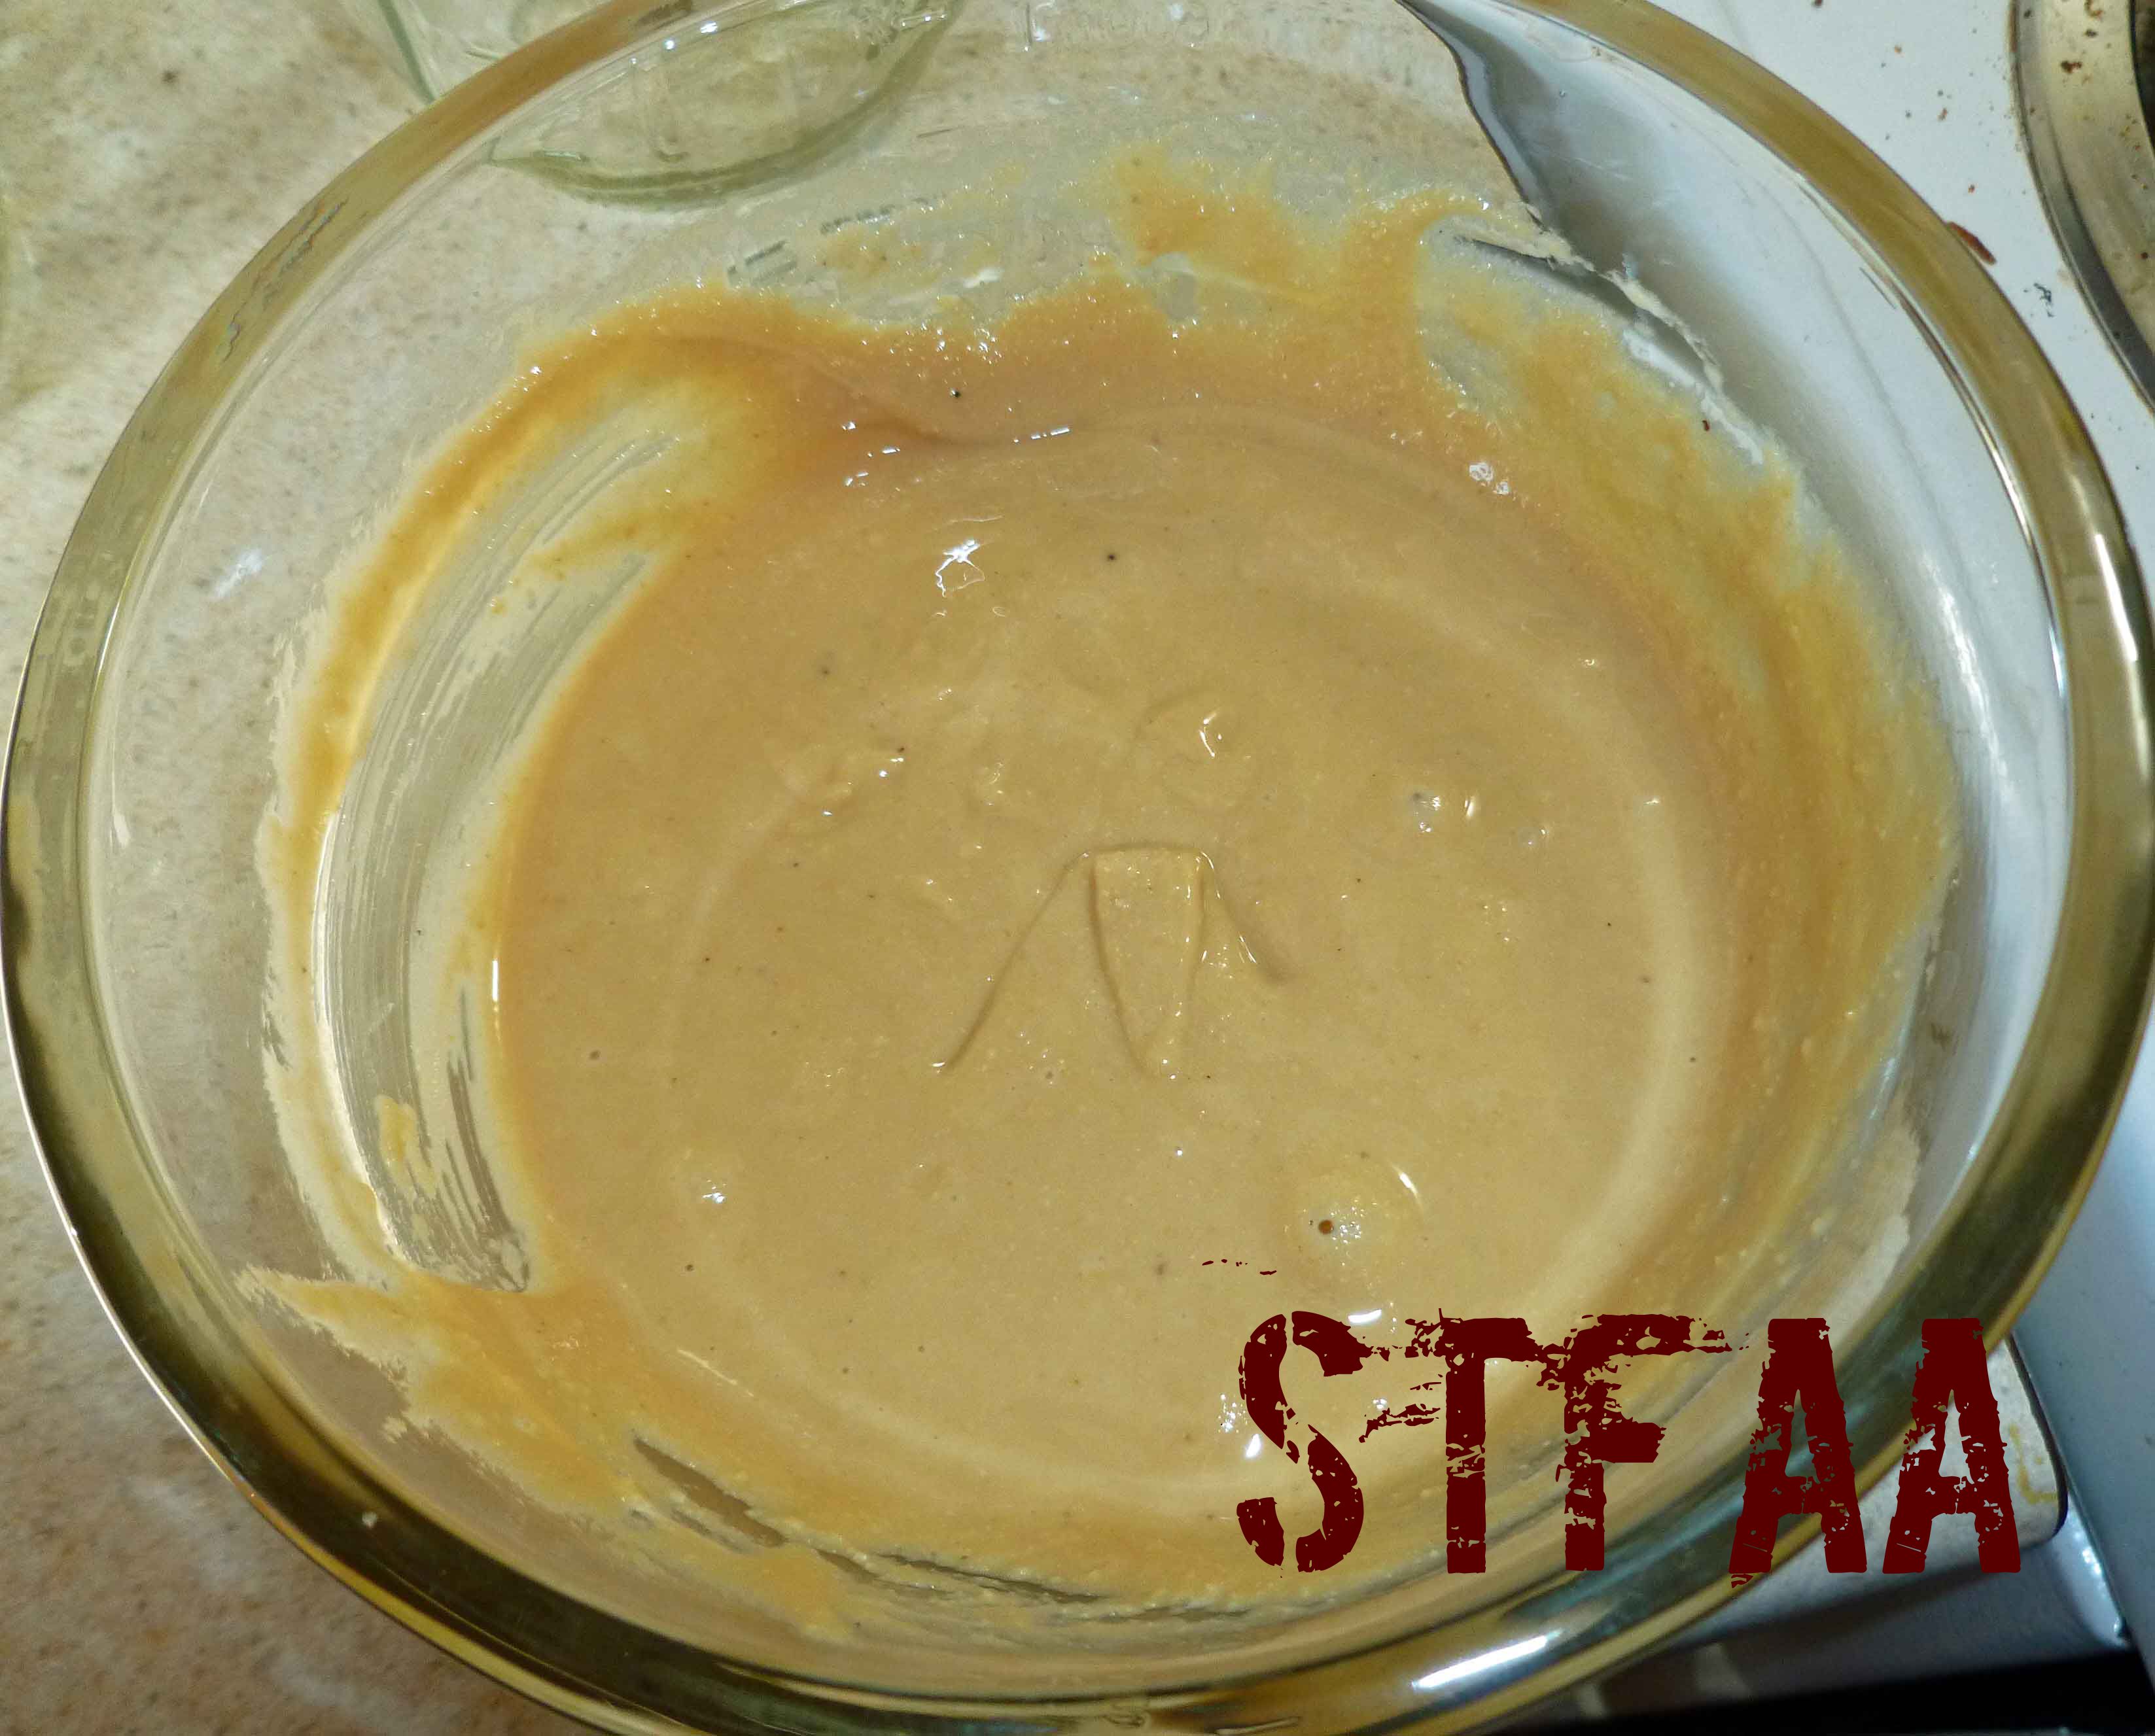
    3. When psyllium in wet ingredients has gelled, pour wet ingredient mixture into the dry ingredient mixture and whisk them together until most of the lumps are gone.
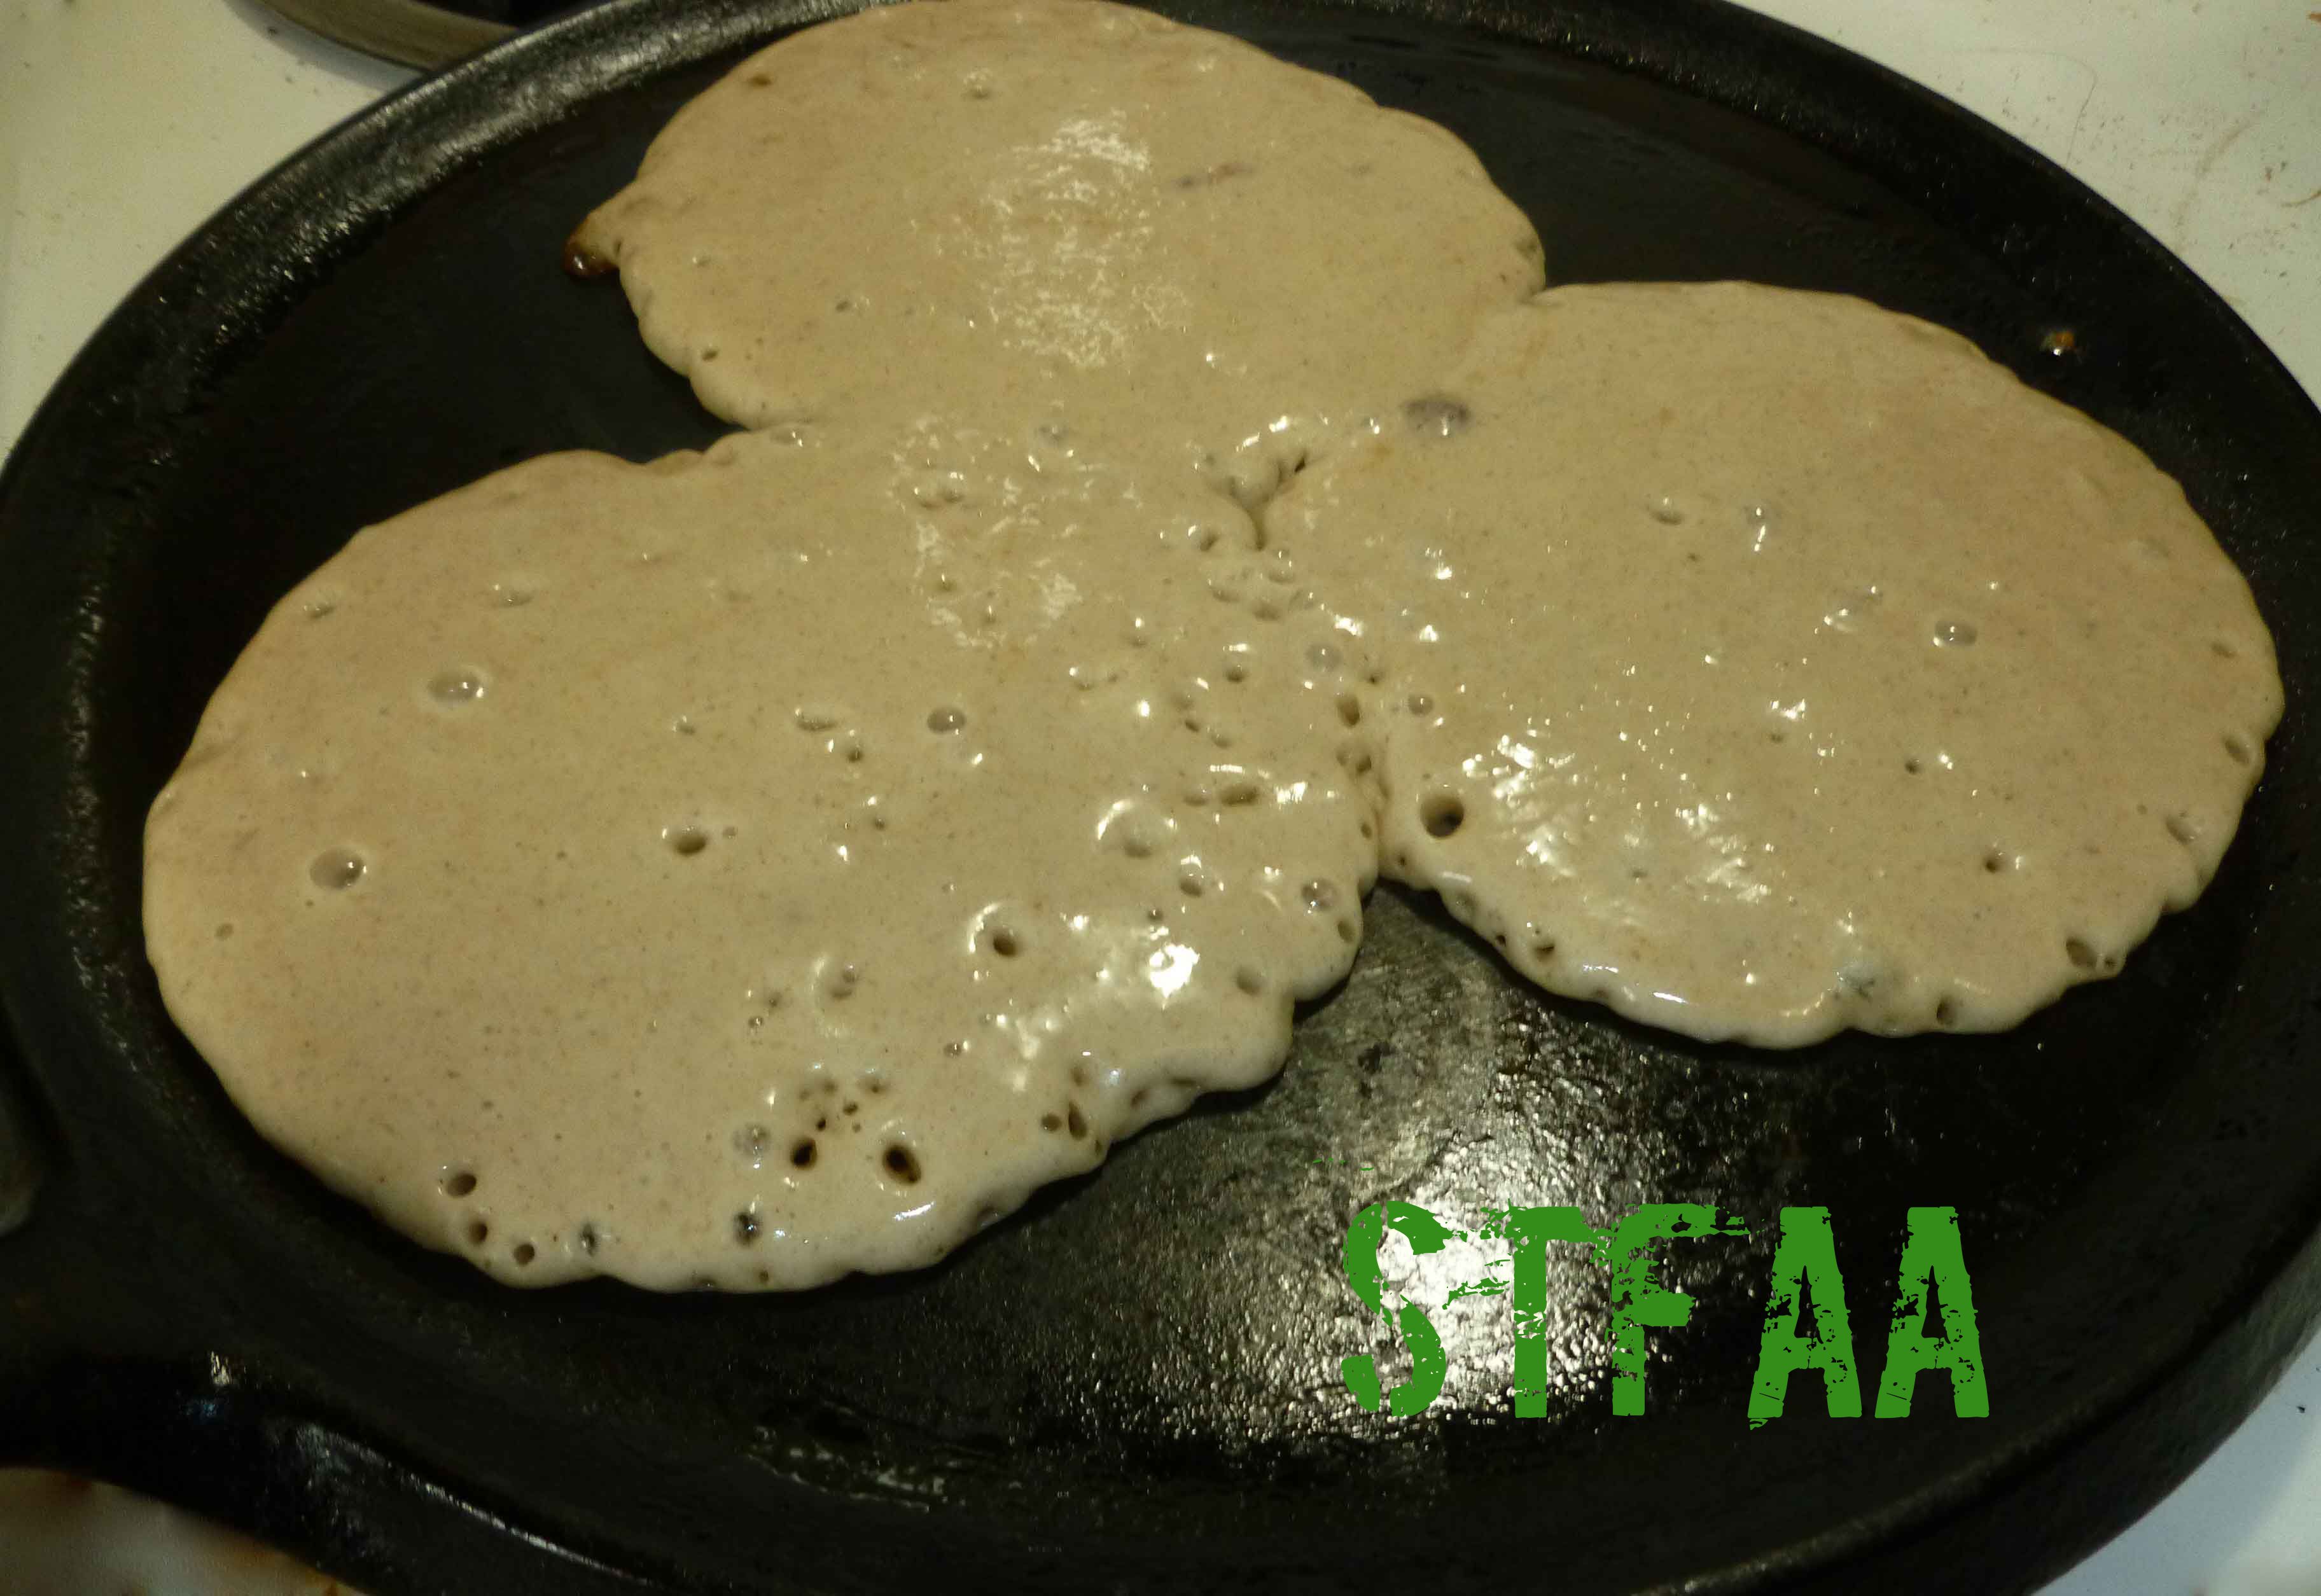
    4. Heat your skillet over medium low to medium heat, depending on your burner strength.  When your skillet is hot, add a bit oil to the skillet and grease it. Then scoop some of the pancake batter into the skillet.  I used a Pampered Chef large scoop that holds about 3 Tablespoons of batter to portion out the pancakes into the skillet.
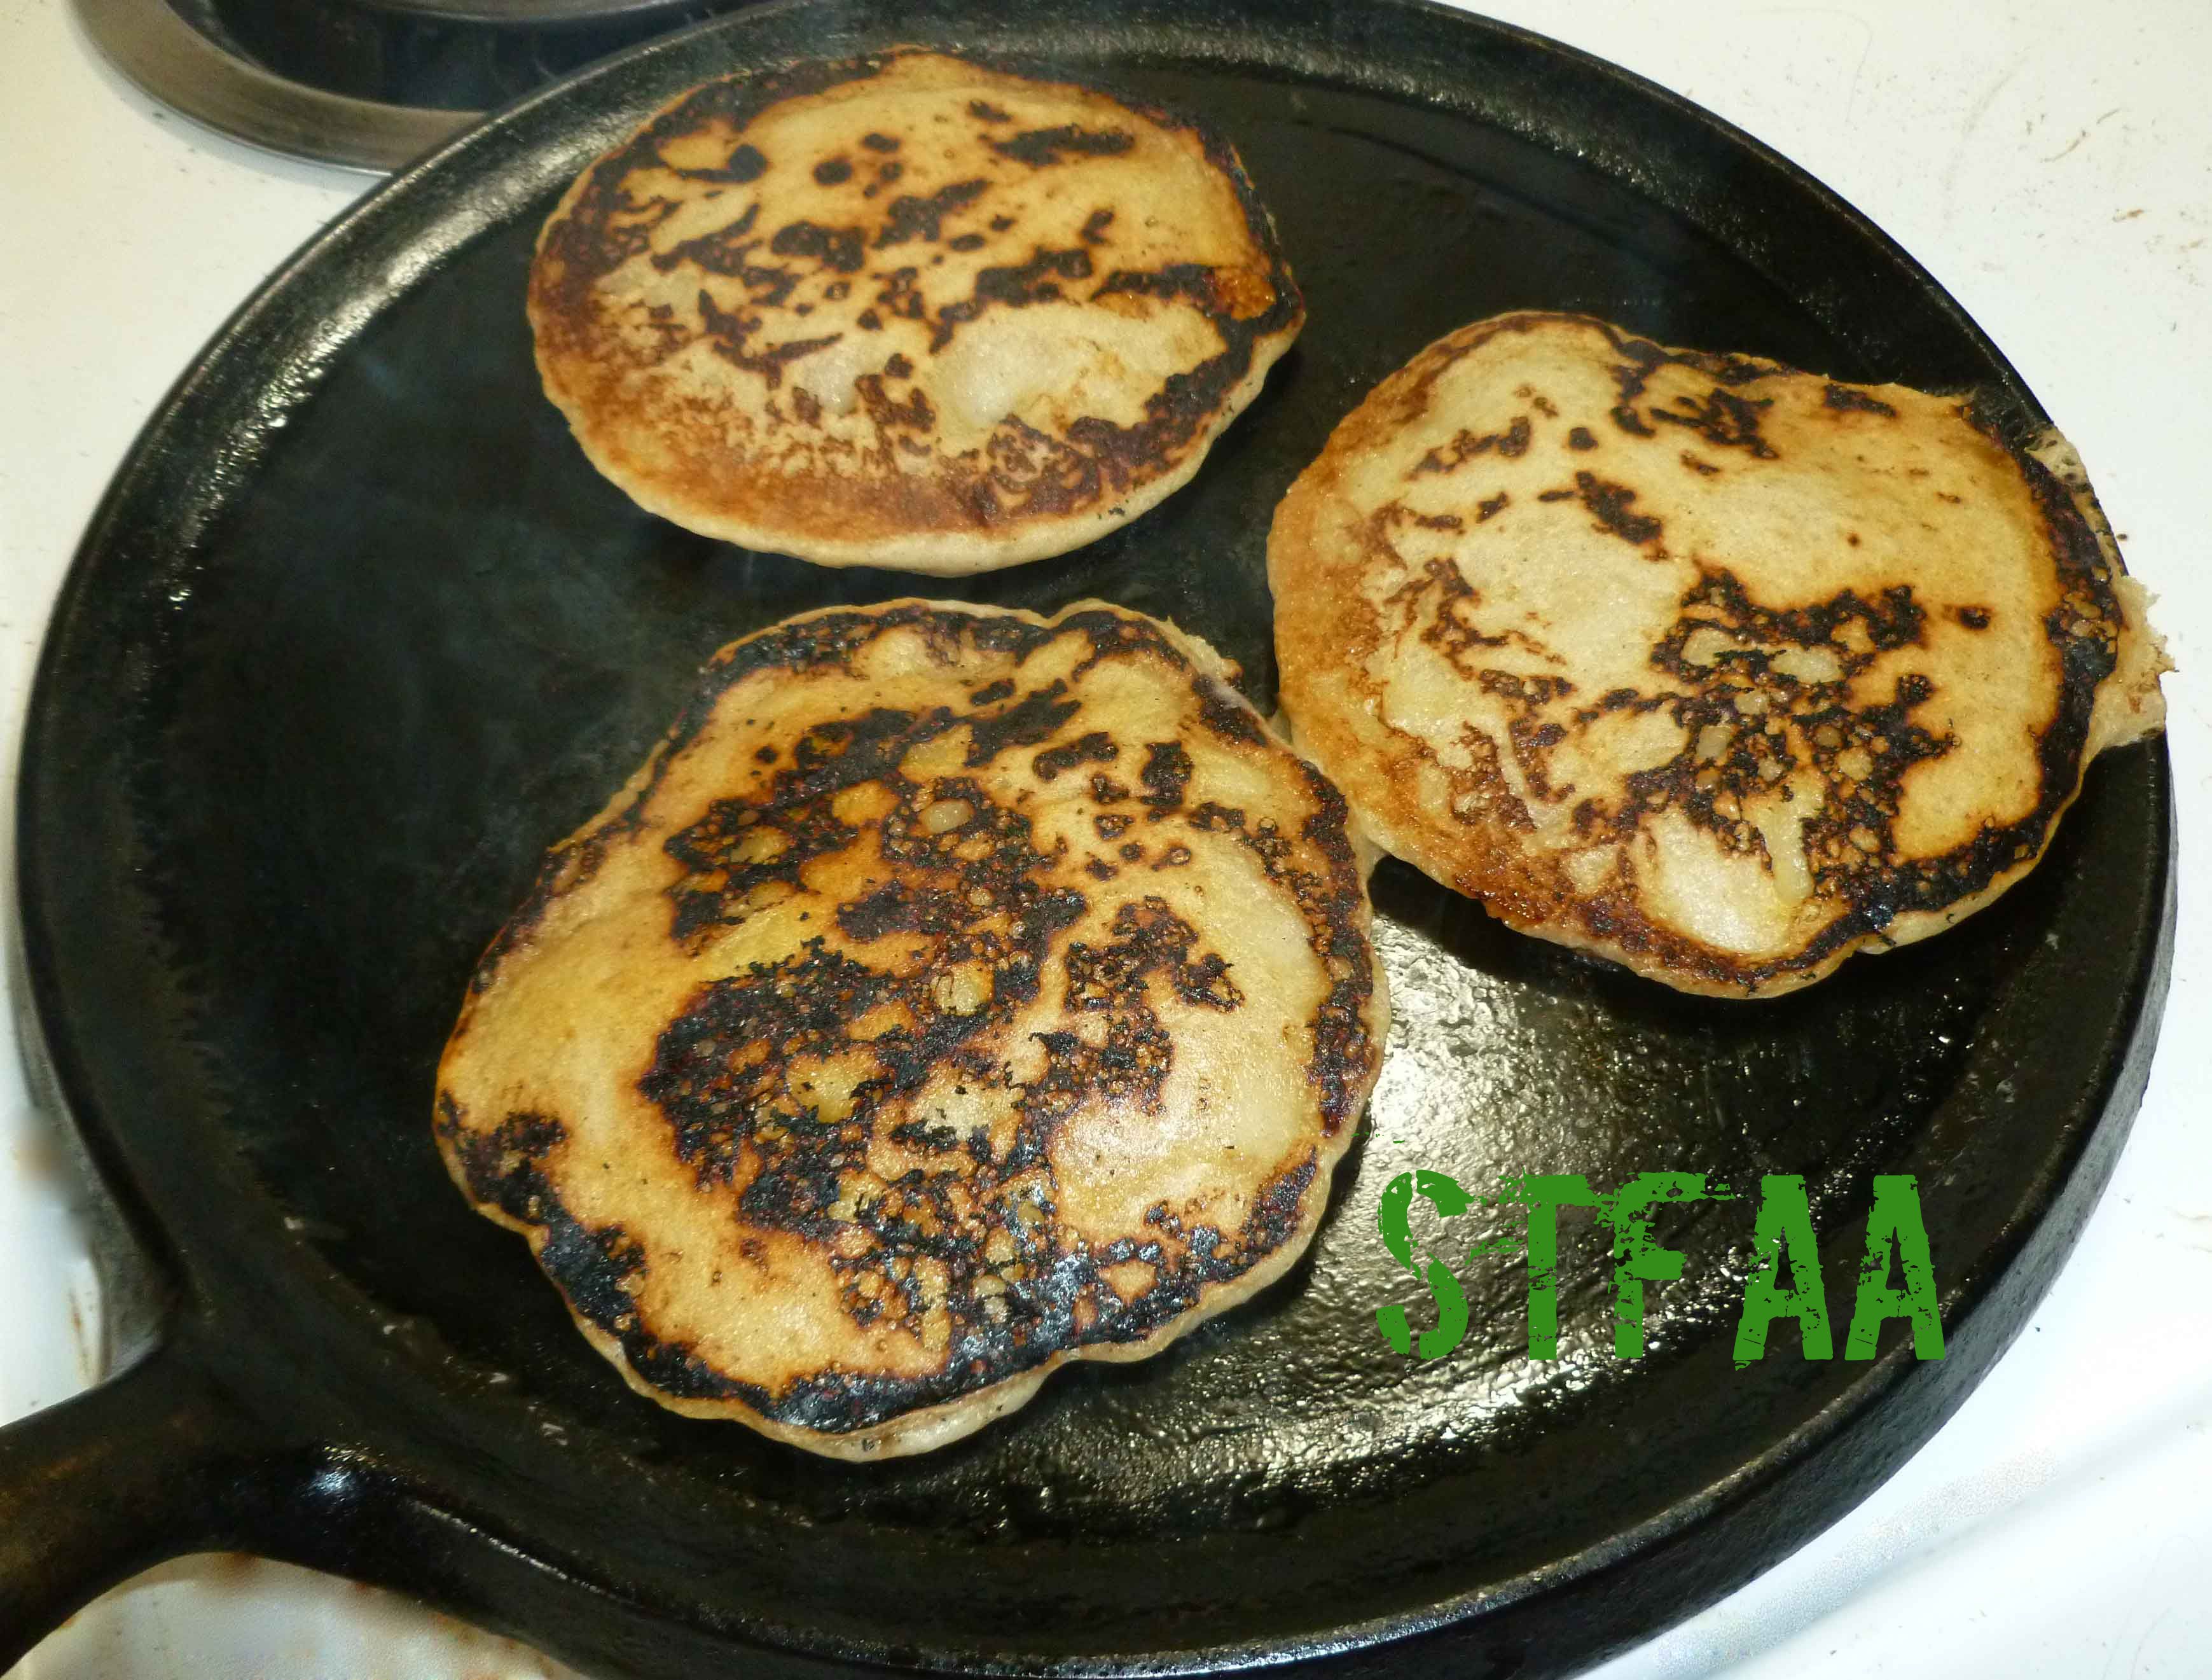
    5. Cook until the edges of the pancake look dry and there are bubbles in the batter.  You can use a spatula to gently lift up an edge to see how brown the pancakes are underneath. When they are a nice deep golden brown, flip them and cook until the other side is a nice deep golden brown.
    Share this Recipe
    Powered byWP Ultimate Recipe
    Wet Ingredients after psyllium husk gels
    Wet Ingredients after psyllium husk gels
    Pancake batter
    Pancake batter
    Pancakes on skillet
    Pancakes on skillet
    Pancakes after flipping
    Pancakes after flipping


  • Vichyssoise — dairy-free

    Vichyssoise — dairy-free

    Photo shows two bowls of soup
    Vichyssoise — cold potato cream soup with cashew cream, dill, and scallions on top

    I am cheating here. You should know that up front. It is still condiment month around here, but rules that we make for ourselves are made to be broken, right? I could work out a long reason to connect cold potato soup, Memorial Day observances, and condiments, but let’s not. Let’s say that it’s getting hot here — into the 80s (F), and I didn’t feel like any more tests of sweet and sour sauce, which heats up the kitchen cooking and isn’t even a meal when you’re done!

    So! Cold soup. I have tried a variety of cold soups over the years (avocado soup, gazpacho) and never been thrilled — I had an excellent gazpacho in Spain, but I’ve never been able to reproduce it. I think missing the Spanish heat, the low latitude sun, the glass of wine, and the cool dark bar might be the problem there! But this is potatoes, my raison de cuisiner, and I thought it would be a great way to supplement the spinach salads that are becoming a staple dinner around here. This is a smooth, velvety soup.

    I used the really great run down of vichyssoise at the Cafe Luna site as a starting place. I’ve made the soup dairy-free. It seems like it’s naturally gluten-free, but neither my version nor the inspiration are vegan, as chicken broth seems the common broth choice, and I had homemade broth to use. I think you could use a veggie broth, but I wouldn’t recommend a boxed one, as most are a bit bland, and you’d want to adjust the oil to add more fat for a smoother soup, I think. I’ve made a cashew cream for the milk substitute, as I find it the richest and most neutral milk substitute for cooking. Again, I think you could substitute other non-dairy milks — soy would work fine, I think. If you used almond milk, I’d add a bit of apple cider vinegar, which I often use to “cancel” the sweetness; this might also work for coconut milk. If you used rice milk, make your own with less water and add more olive oil.

    I strongly believe in garnish, and I really look forward to trying some of the fancier combinations in the link above. For this iteration, I’ve just used scallions and a sprinkle of dill on top.


    Notice: Trying to access array offset on value of type bool in /home/maryzahc/public_html/adultfoodallergies.com/wp-content/plugins/wp-ultimate-recipe/helpers/models/recipe.php on line 254
    Vichyssoise (dairy-free)
    Print Recipe
    Vichyssoise (dairy-free)
    Print Recipe
    Ingredients
    Cashew Cream
    • 3/4 cup raw cashew pieces (pieces are cheaper than whole), soaked overnight
    • 3/4 cup water
    • 1 teaspoon olive oil
    • 2 pinches kosher salt
    Soup
    • 1 medium onion about baseball sized, chopped
    • 2 Tablespoons olive oil
    • 1 1/2 teaspoons kosher salt
    • 1/2 teaspoon garlic powder
    • 2 lbs yellow potatoes, peeled and chopped
    • 6 cups chicken stock
    • soup toppings of choice
    Servings:
    Instructions
    1. Drain soaked cashews, and add to blender or food processor with water, olive oil, and salt. Blend until very smooth, then refrigerate.
    2. Add olive oil to soup pot and heat over medium heat. Add onions to hot oil along with salt. Cook, stirring often, until translucent but not yet browned.
    3. Add garlic and stir well. Then add potatoes, stir, and add broth. Cover pot and bring to a boil. Lower heat to simmer until potatoes are falling apart. The time for this will vary depending on the size of your potatoes, but plan 20-40 minutes for the average cubing sizes.
    4. Remove pot from heat and puree with a stick blender. If you don’t have a stick blender, cool the soup and then transfer to a regular blender, carefully, in batches if needed.
    5. Puree soup until smooth, and then add cashew cream and blend thoroughly.
    6. Chill until cold, and serve topped with whatever strikes your fancy. The photos here are a sprinkle of dill, a drizzle of cashew cream, and some chopped scallions.
    Share this Recipe
     
    Powered byWP Ultimate Recipe

    I do think that, in a pinch, vichyssoise might make an interesting sauce on a grain bowl — and therefore would be a condiment? If you try it, let me know!


  • Yellow Hot Dog Mustard

    Yellow Hot Dog Mustard

    Yellow Hot Dog Mustard
    Yellow Hot Dog Mustard

    Yellow Hot Dog Mustard

    It’s summer. It’s grilling season finally in New Hampshire – Shawn hauled the grill out of the garage and the patio furniture out of the shed yesterday. We need condiments. This is a pretty basic and easy mustard recipe. I’ve modified it from a canning recipe and made it allergy safe for me, but it’s small enough that you can just throw it in a jar and put it in your fridge to use as you wish.  However, you need to make this recipe 24 to 48 hours in advance, as freshly made mustard is awful and bitter, you have to wait for the flavors to mellow out.  If you take out the turmeric, which is mostly there for coloring, you can also play around with the recipe to make more flavors.  Try adding other spices like wasabi or chipotle peppers, some cranberries or raspberries, sundried tomatoes or roasted garlic, or hot sauces. Let us know what fabulousness you come up with.

    You’ll need to sterilize your jar and keep it warm so that the glass doesn’t break when you put the hot mustard into it. Here are directions from the National Center for Home Food Preservation. If you don’t have a canning pot with a rack, use a large enough pot that you can place the jar in it with enough water to cover it by an inch, and place a folded tea towel in the bottom of the pot. The tea towel will prevent the direct heat from the bottom of the pot from weakening or breaking the jar while you sterilize it. The picture shows a 4 ounce jar because I canned a bunch of it, but if you use 4 ounce jars you’ll need two.

    Enjoy!


    Yellow Hot Dog Mustard
    Yellow Hot Dog Mustard
    Print Recipe
    A standard condiment to have for summer
    Servings Prep Time
    8 ounces 5 minutes
    Cook Time Passive Time
    8 minutes 24 hours
    Servings Prep Time
    8 ounces 5 minutes
    Cook Time Passive Time
    8 minutes 24 hours
    Yellow Hot Dog Mustard
    Yellow Hot Dog Mustard
    Print Recipe
    A standard condiment to have for summer
    Servings Prep Time
    8 ounces 5 minutes
    Cook Time Passive Time
    8 minutes 24 hours
    Servings Prep Time
    8 ounces 5 minutes
    Cook Time Passive Time
    8 minutes 24 hours
    Ingredients
    • 1/2 cup ground yellow mustard seed (I grind my own to prevent issues with anti-caking agents)
    • 1/2 cup water
    • 1/2 cup apple cider vinegar (Bragg’s is safest for those with a corn allergy)
    • 3/4 teaspoon sea salt
    • 1/4 teaspoon ground turmeric
    • 1/8 teaspoon garlic powder
    • 1/8 teaspoon ground paprika
    • 8 ounce jar
    Servings: ounces
    Instructions
    1. Sterilize your jar and keep it warm.
    2. Place all the ingredients in a small sauce pan, and whisk together until smooth. The mustard mixture will be very watery at this point.
    3. Bring the mustard mixture to boil over medium-high heat. Boil for 7-8 minutes, stirring occasionally.
    4. Remove the saucepan from the heat and let the mustard cool for 5 minutes. The mustard will thicken slightly during this time, but will probably not be as thick as you want it to be. It will continue to thicken over the the next 24 hours, so don’t worry.
    5. Place the mustard in the sterilized jar. Place the lid on the jar and let it cool to room temperature before storing your mustard in the refrigerator.
    Share this Recipe
    Powered byWP Ultimate Recipe

    Yellow Hot Dog Mustard
    Yellow Hot Dog Mustard
  • Onion Barbecue Sauce

    Onion Barbecue Sauce

    For condiment month, I really wanted to make a barbecue sauce. I’ve tried a handful out here on the west coast, but nothing I’ve loved. In fact, I’m not sure I’ve had a favorite in years, except for the family secret sauce of my old neighbor. And since he isn’t giving it up, I was thinking maybe I don’t need one favorite. Maybe I need that six pack of possibilities you get at a BBQ restaurant. This is one of that six pack.

    I’d set out to make a mustard-y sauce, though I ended up at a different destination. That’s how sauce works! I made a crock pot of caramelized onions (if you like onions and you’re not doing this, you really should!), and before I could freeze the extras, I realized that they would be an excellent base for a sauce. We used this on pulled pork (also done in the crockpot) and it was an excellent match. I think this sauce would also be good on chicken, though I haven’t yet tried it. I would personally want a more tomato-based and acidic sauce for beef.

    Basically you puree this sauce and then thin it down to your desired consistency. My onions had only olive oil and salt in them. I did use prepared mustard and ketchup — Maille Dijon is my go-to mustard (mainly because I visited one of their stores in Paris in 2010, where they have mustard on tap and it was amazing. I find mine at most grocery stores, both here in Seattle and back in New Hampshire.) For ketchup, we just buy one of the organic lines that uses sugar rather than corn syrup. If corn is one of your allergens, likely you haven’t found safe ketchup or mustard, but you likely have learned to make them. As with all recipes, make sure your ingredients are safe-for-you.

    The only other interesting ingredient in here is the michiu, a Chinese cooking wine that’s close to 20% alcohol, but more importantly, about 15% salt. You can replace this with any rice wine, or even a rice vinegar, but then taste it and add salt to your taste. This is the primary salt in of this sauce.

    Jam jar of onion bbq sauce with a dollop of sauce on a cabbage leaf anchored by a whole yellow onion.
    Onion Barbecue Sauce

    Notice: Trying to access array offset on value of type bool in /home/maryzahc/public_html/adultfoodallergies.com/wp-content/plugins/wp-ultimate-recipe/helpers/models/recipe.php on line 254
    Onion Barbecue Sauce
    Print Recipe
    Prep Time
    10 minutes
    Prep Time
    10 minutes
    Onion Barbecue Sauce
    Print Recipe
    Prep Time
    10 minutes
    Prep Time
    10 minutes
    Ingredients
    • 1 cup caramelized onions
    • 2 Tablespoons balsamic vinegar make sure this is gluten-free if that’s important for you
    • 2 Tablespoons michiu
    • 2 Tablespoons mustard Dijon preferred
    • 2 Tablespoons molasses
    • 3 Tablespoons olive oil
    • 3 Tablespoons ketchup
    • 1 Tablespoon vegetable broth
    • 1/4 teaspoon ancho chili powder
    Servings:
    Instructions
    1. Puree onions and mix all ingredients in a food processor. Process until smooth. Taste, and add more broth if you want a thinner sauce. Adjust salt and chili powder if needed.
    Share this Recipe
     
    Powered byWP Ultimate Recipe
  • Vanilla Pear Caramel Butter

    Vanilla Pear Caramel Butter

    Vanilla Pear Caramel Butter
    Vanilla Pear Caramel Butter

    So, I’m still working on a corn-free, dairy-free, and coconut-free safe-for-me caramel that doesn’t have dates in it because (a) sourcing wheat-free dates can be hard, and (b) I freaking hate dates (I know, that’s weird). In the meantime, I’ve been making do with this Vanilla Pear Caramel Butter that I canned up in the fall. It’s amazingly amazing. However, for those of you who aren’t into canning, making 7 eight ounce jars of something that you need to store in your freezer may not be the way to go. So I’m cutting back the recipe for you, so that you can store it more easily, if you can keep from eating it that long. If I weren’t canning it, I’d freeze it up into some of those large silicone ice cube trays (no affiliation with Amazon) which hold about half a cup.  That way, once they’ve frozen, you can pop them out into a safe-for-you zip top freezer bag and you can grab a cube to defrost whenever you need it.

    It’s unbelievable on chocolate cake, or any other dessert that just needs a bit of caramel sauce. I may or may not have just eaten a couple of spoonfuls when I needed a treat, since candy is nonexistent for me unless I make it. I suppose I could make some claim about it being “healthier” because it’s fruit, but it’s still got a fair bit of sugar in it, so that negates that idea. Also, it’s for dessert. Live a little.

    Vanilla Pear Caramel Butter
    Vanilla Pear Caramel Butter
    Print Recipe
    Great caramel sauce desserts
    Servings Prep Time
    1.5 pints 20 minutes
    Cook Time Passive Time
    20 minutes 6-8 hours
    Servings Prep Time
    1.5 pints 20 minutes
    Cook Time Passive Time
    20 minutes 6-8 hours
    Vanilla Pear Caramel Butter
    Vanilla Pear Caramel Butter
    Print Recipe
    Great caramel sauce desserts
    Servings Prep Time
    1.5 pints 20 minutes
    Cook Time Passive Time
    20 minutes 6-8 hours
    Servings Prep Time
    1.5 pints 20 minutes
    Cook Time Passive Time
    20 minutes 6-8 hours
    Ingredients
    • 3 1/2 pounds pears peeled, cored, and chopped
    • 1/4 cup water
    • zest of half a lemon
    • juice of half a lemon
    • 1 1/2 cups brown sugar
    • 1 teaspoon vanilla extract (I make my own with vanilla beans and vodka made from potatoes, as most commercial extract contains corn)
    • crock pot
    Servings: pints
    Instructions
    1. Place pears, water, lemon zest, and lemon juice in a nonreactive stock pot. Bring to a boil over medium-high heat. Once you’ve reached a boil, reduce the heat and and simmer gently, stirring occasionally, until the pears are soft (about 20 minutes).
    2. Using an immersion blender, blend until you have a texture like apple sauce. Don’t complete liquefy the pears.
    3. Place the pear mixture into a slow cooker. Add the brown sugar, and mix until the sugar is dissolved. Prop the lid of the slow cooker open with a wooden spoon, and let the mixture reduce on low. Depending on the size of the slow cooker this will go faster or slower, it make take as long as 8 hours. Check it every two hours to see how it’s doing and stir it. The finished pear butter will be thick and hold its shape on a spoon. Stir in vanilla extract.
    Share this Recipe
    Powered byWP Ultimate Recipe


  • Lemon Herb Sauce

    Lemon Herb Sauce

    Welcome to May! Here at Surviving the Food Allergy Apocalypse, it is condiment month. A great condiment be tailored to your food allergy needs and can make the difference between an okay meal and an awesome meal. Check out our condiment category to see what we’ve posted before (a personal favorite of mine is the Thai dipping sauce — it’s amazing), and stick around this month for some great new flavors.

    There’s a place in Massachusetts — Life Alive! — an old-school vegetarian restaurant that Jack and I discovered back a few years ago. It was a great place to go with food allergies, as everything was made in house, everyone who worked there knew what was in each sauce, everything was made to order and modifiable. What I loved about it, though, was that it was a ton of veggies over grains with a sauce and the bowls were terrific.

    Grain bowls are the ultimate easy meal. They can be modified no matter what you have in the house — so long as you have vegetables. When I lived alone, I used the grain bowl meal at the end of the week to use up leftovers, bits of veg, everything left in the fridge. Jack and I make them on purpose now, though, and make extras for leftovers.

    There are two keys to a great grain bowl — a combination of warm and cool/raw ingredients (e.g. cook the sweet potatoes, lightly steam the kale, leave the celery raw) and a great sauce. You can use commercial dressings, if you have safe-for-you dressing. But a good sauce really takes it over the top, and it is easy. This version is based on my vague memories of the lemon sauce at Life Alive, as well as being a finally-measured version of the sauce I’ve been making for a few months. You can definitely mess with this — mix up the nut or seed butters, play around with the herbs, even change up the citrus if you’re feeling bold! But mostly, enjoy.

    lemon herb sauce drizzled over a kale leaf propped up on lemon slices and basil
    lemon herb sauce

    Notice: Trying to access array offset on value of type bool in /home/maryzahc/public_html/adultfoodallergies.com/wp-content/plugins/wp-ultimate-recipe/helpers/models/recipe.php on line 254
    Lemon Herb Sauce
    Print Recipe
    This sauce gets a richness and depth of flavor from a seed (or nut) butter and nutritional yeast, an odd but tasty ingredient that’s worth seeking out — most grocery stores have it, but you often have to ask. Red Star is the most common brand, but is not safe for the corn allergic. Do NOT get brewer’s yeast. It’s not the same thing.
    Servings Prep Time
    6 servings 10 min
    Servings Prep Time
    6 servings 10 min
    Ingredients
    • 1/4 cup nutritional yeast
    • 1 Tablespoon seed or nut butter I used sunflower seed butter
    • 3 Tablespoons lemon juice
    • 6 Tablespoons olive oil
    • 1 Tablespoon dried chives
    • 1/4 teaspoons celery salt
    • 1 Tablespoon dried basil
    Servings: servings
    Instructions
    1. Mix all ingredients well — a whisk or fork works best.
    Share this Recipe
     
    Powered byWP Ultimate Recipe

    One note — if you want this to be a salad dressing instead of a sauce for a grain bowl, consider adding a bit more lemon juice and olive oil to thin it out some. Also keep in mind that if you make this ahead of time, it’ll need to come to room temperature so the olive oil isn’t solid. (Okay, so maybe that was two notes.)


  • Cashew Butter and Chocolate Cashew Butter

    Cashew Butter and Chocolate Cashew Butter

    Cashew Butter and Chocolate Cashew Butter
    Cashew Butter and Chocolate Cashew Butter

    So this is the last recipe post of breakfast month.  One of the things I miss having for breakfast is a toasted bagel or a toasted slice of bread with some thinly spread butter and some thickly spread peanut butter on top of that. The peanut butter gets all warm and gooey and it’s a quick filling breakfast. (Also, anyone who tells me I don’t need butter if I’m using nut butter is guilty of heresy, just saying.) Well, I haven’t managed a gluten-free, egg-free, dairy-free, and corn-free loaf of bread or bagels yet, but I’m one step closer to getting the ingredients I need. I already had a recipe for a margarine, Homemade Margarine, New and Improved, which works well on baked goods. I’m not allergic to peanuts, but I haven’t been able to buy a commercial peanut butter that’s safe for my cocktail of allergies or that I trust not to have issues with cross contamination in some time. I haven’t sourced safe raw peanuts yet, but I did have cashews I do well with, so I decided to go ahead and make cashew butter. And then I decided to mix some of it with cacao powder to try for something Nutella-esque (I’m allergic to hazelnuts and dairy, among other issues). I used this great tutorial from Tasty Yummies, but used my Vitamix to make the cashew butter.

    It’s good. The chocolate cashew butter is not as sweet as Nutella, but it’s nice. And once I manage to make myself bread that I wouldn’t be ashamed to put on the blog, I’ll be even happier. But for now, I ate the plain cashew butter with an apple, and the chocolate cashew butter with strawberries, which isn’t all that bad either.

    Cashew Butter and Chocolate Cashew Butter
    Cashew Butter and Chocolate Cashew Butter

    Notice: Trying to access array offset on value of type bool in /home/maryzahc/public_html/adultfoodallergies.com/wp-content/plugins/wp-ultimate-recipe/helpers/models/recipe.php on line 254
    Cashew Butter and Chocolate Cashew Butter
    Print Recipe
    Makes a cup of each.
    Servings Prep Time
    2 cups 14 hours
    Cook Time
    10-15 minutes
    Servings Prep Time
    2 cups 14 hours
    Cook Time
    10-15 minutes
    Cashew Butter and Chocolate Cashew Butter
    Print Recipe
    Makes a cup of each.
    Servings Prep Time
    2 cups 14 hours
    Cook Time
    10-15 minutes
    Servings Prep Time
    2 cups 14 hours
    Cook Time
    10-15 minutes
    Ingredients
    Cashew Butter
    • 3 cups cashews
    • water (for soaking, if you are soaking)
    • 3-5 Tablespoons grapeseed oil (or other safe for you oil)
    • dash salt
    Additions for Chocolate Cashew Butter
    • 2-3 Tablespoons cacao or cocoa powder
    • 1 teaspoon sugar
    Equipment Needed
    • 1 high performance blender
    Servings: cups
    Instructions
    1. If you want to soak the cashews to clean them well, cover them with water in a bowl and soak for two hours. Drain cashews and dehydrate either in a dehydrator or a oven for 12 to 24 hours at 150°F or less, until dry or crisp. If you are not soaking your cashews, skip to the next step.
    2. Once your cashews are dry, roast them in a 325°F oven for about 10-15 minutes, watching them carefully so that they do not burn. You want them to be golden brown.
    3. Add your cashews to your blender, along with 3 Tablespoons of your safe oil. Start on the lowest speed, and slowly increase the speed to the highest speed, using the tamper if your blender comes with one. Add more oil if necessary. When the blender changes from a chugging sound to a low laboring machine, stop the blender.
    4. Remove the cashew butter and place equal amounts into two bowls. Mix a dash of salt into each bowl mixing well. One bowl is your now completed plain Cashew Butter. To the second bowl, add 2-3 Tablespoons of cacao powder to taste and the sugar, whisking it in. You also may need to add more oil at this point. This bowl is your Chocolate Cashew butter.
    5. Store in an air tight container or freeze it for longer storage.
    Share this Recipe
     
    Powered byWP Ultimate Recipe
    Cashews after dehydrating and roasting
    Cashews after dehydrating and roasting
    Cashew butter after blending
    Cashew butter after blending
    Cashew Butter completed
    Cashew Butter completed
    Chocolate Cashew Butter completed
    Chocolate Cashew Butter completed
    Chocolate Cashew Butter
    Chocolate Cashew Butter
    Cashew Butter
    Cashew Butter

    Enjoy!

  • Rice and Peaches Breakfast Porridge

    Rice and Peaches Breakfast Porridge

    Originally, my plan for this week had been to post a granola recipe, but I’m still fighting with it. I’ve made granola! It’s perfectly edible. It’s cheaper than the stuff at the store. But it’s still rather boring. So instead, while I perfect that, I’ve made a porridge that you can top with rather uninspired granola. This porridge is based on things I normally have in the house — for some reason, I almost always have frozen peaches. I also frequently have leftover rice. Ta-da! Rice porridge — with a hint of vanilla, and some granola on top for crunch. Bonus for tax day — this is a cheap breakfast.

    I imagine most types of fruit would work well in this, and any type of milk (even cow’s milk, if that’s your thing). The only key is to cook the whole thing slowly, over lower heat, for slightly longer time. That way, the milk doesn’t burn, the rice breaks down, and the fruit retains its texture. Top this with your granola, nuts if you eat them, different fresh fruit, or anything else that excites you. It’s morning — may as well do whatever will make you happy, right? Enjoy a slightly different take on breakfast.

    rice and peaches breakfast porridge
    rice and peaches breakfast porridge

    Notice: Trying to access array offset on value of type bool in /home/maryzahc/public_html/adultfoodallergies.com/wp-content/plugins/wp-ultimate-recipe/helpers/models/recipe.php on line 254
    Rice and Peaches Breakfast Porridge
    Print Recipe
    Servings
    2 servings
    Cook Time
    30 minutes
    Servings
    2 servings
    Cook Time
    30 minutes
    Rice and Peaches Breakfast Porridge
    Print Recipe
    Servings
    2 servings
    Cook Time
    30 minutes
    Servings
    2 servings
    Cook Time
    30 minutes
    Ingredients
    • 2 cups peaches fresh or frozen
    • 1 teaspoon vanilla extract
    • 1/2-3/4 cups non-dairy milk I used almond
    • 1 cup cooked rice
    Servings: servings
    Instructions
    1. Mix all ingredients in a medium saucepan over medium low heat. Cook, stirring frequently, until fruit is cooked and rice has thickened the non-dairy milk.
    2. Top with granola, nuts, or more fruit, and serve warm. Also great reheated.
    Share this Recipe
     
    Powered byWP Ultimate Recipe