Notice: Function _load_textdomain_just_in_time was called incorrectly. Translation loading for the wp-ultimate-recipe domain was triggered too early. This is usually an indicator for some code in the plugin or theme running too early. Translations should be loaded at the init action or later. Please see Debugging in WordPress for more information. (This message was added in version 6.7.0.) in /home/maryzahc/public_html/adultfoodallergies.com/wp-includes/functions.php on line 6121 Gluten-free – Page 4 – surviving the food allergy apocalypse (archive)
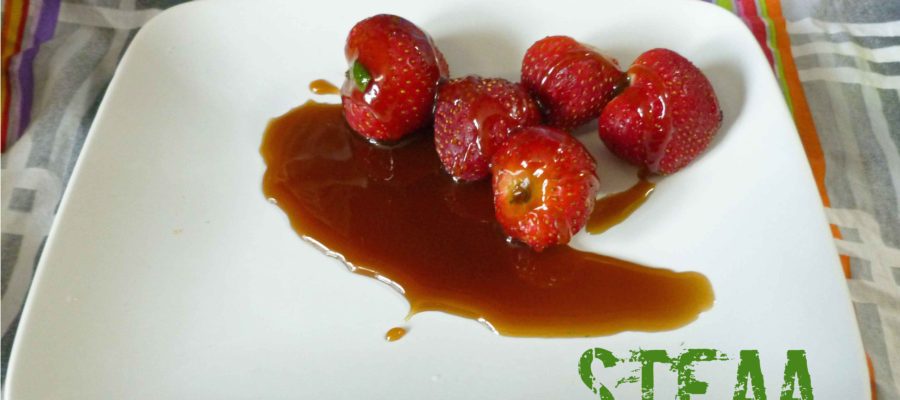
So this month is “Try a cooking technique we’ve never used before” month on the blog. I got a cast iron abelskiver pan originally to try to make an Indian dish called paniyaram, but I’m in the middle of the apple apocalypse. We’re having a bumper crop this year, and I haven’t had time to sort out a recipe in between trying to can as much as I can (pun not intended). So, since I have a ton of apple butter, I give you abelskiver stuffed with apple butter. But you can use any jam or other filling you want. You can also use this as a funky dessert, just throw some powdered sugar over them, or drizzle them with a chocolate or caramel sauce. Go wild.
Gluten-free & Vegan Abelskiver (Stuffed Pancakes)
Print Recipe
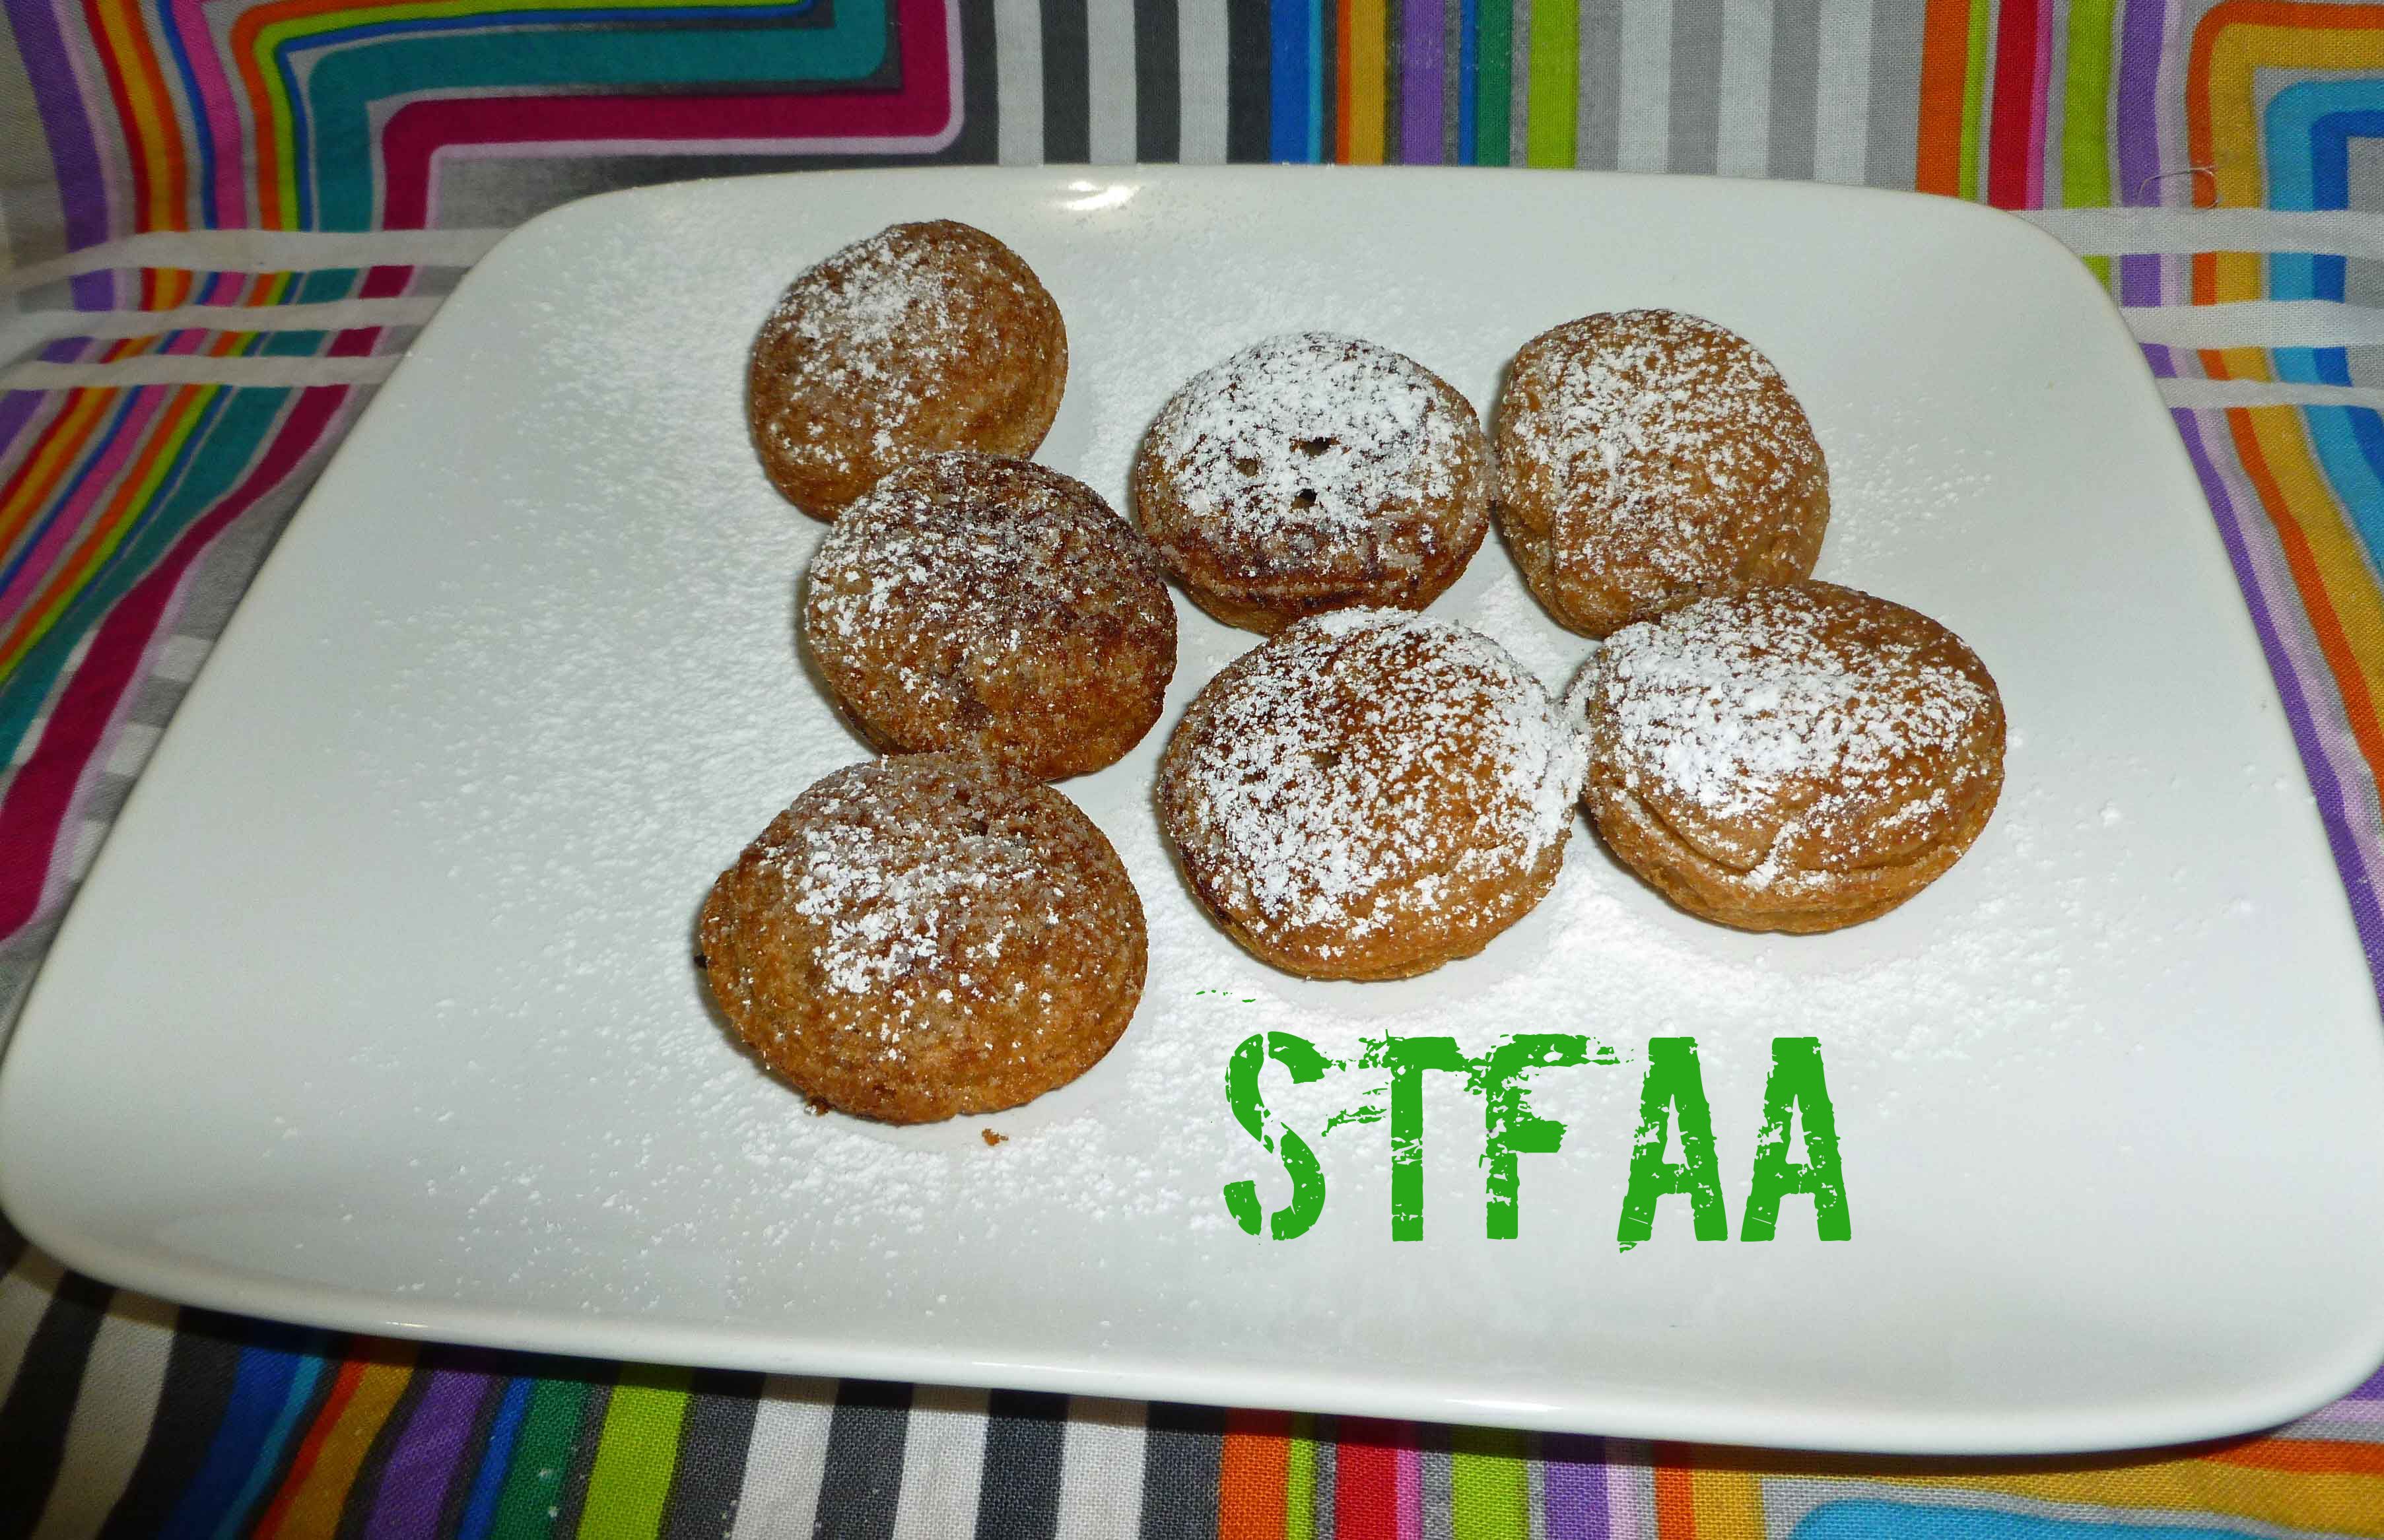
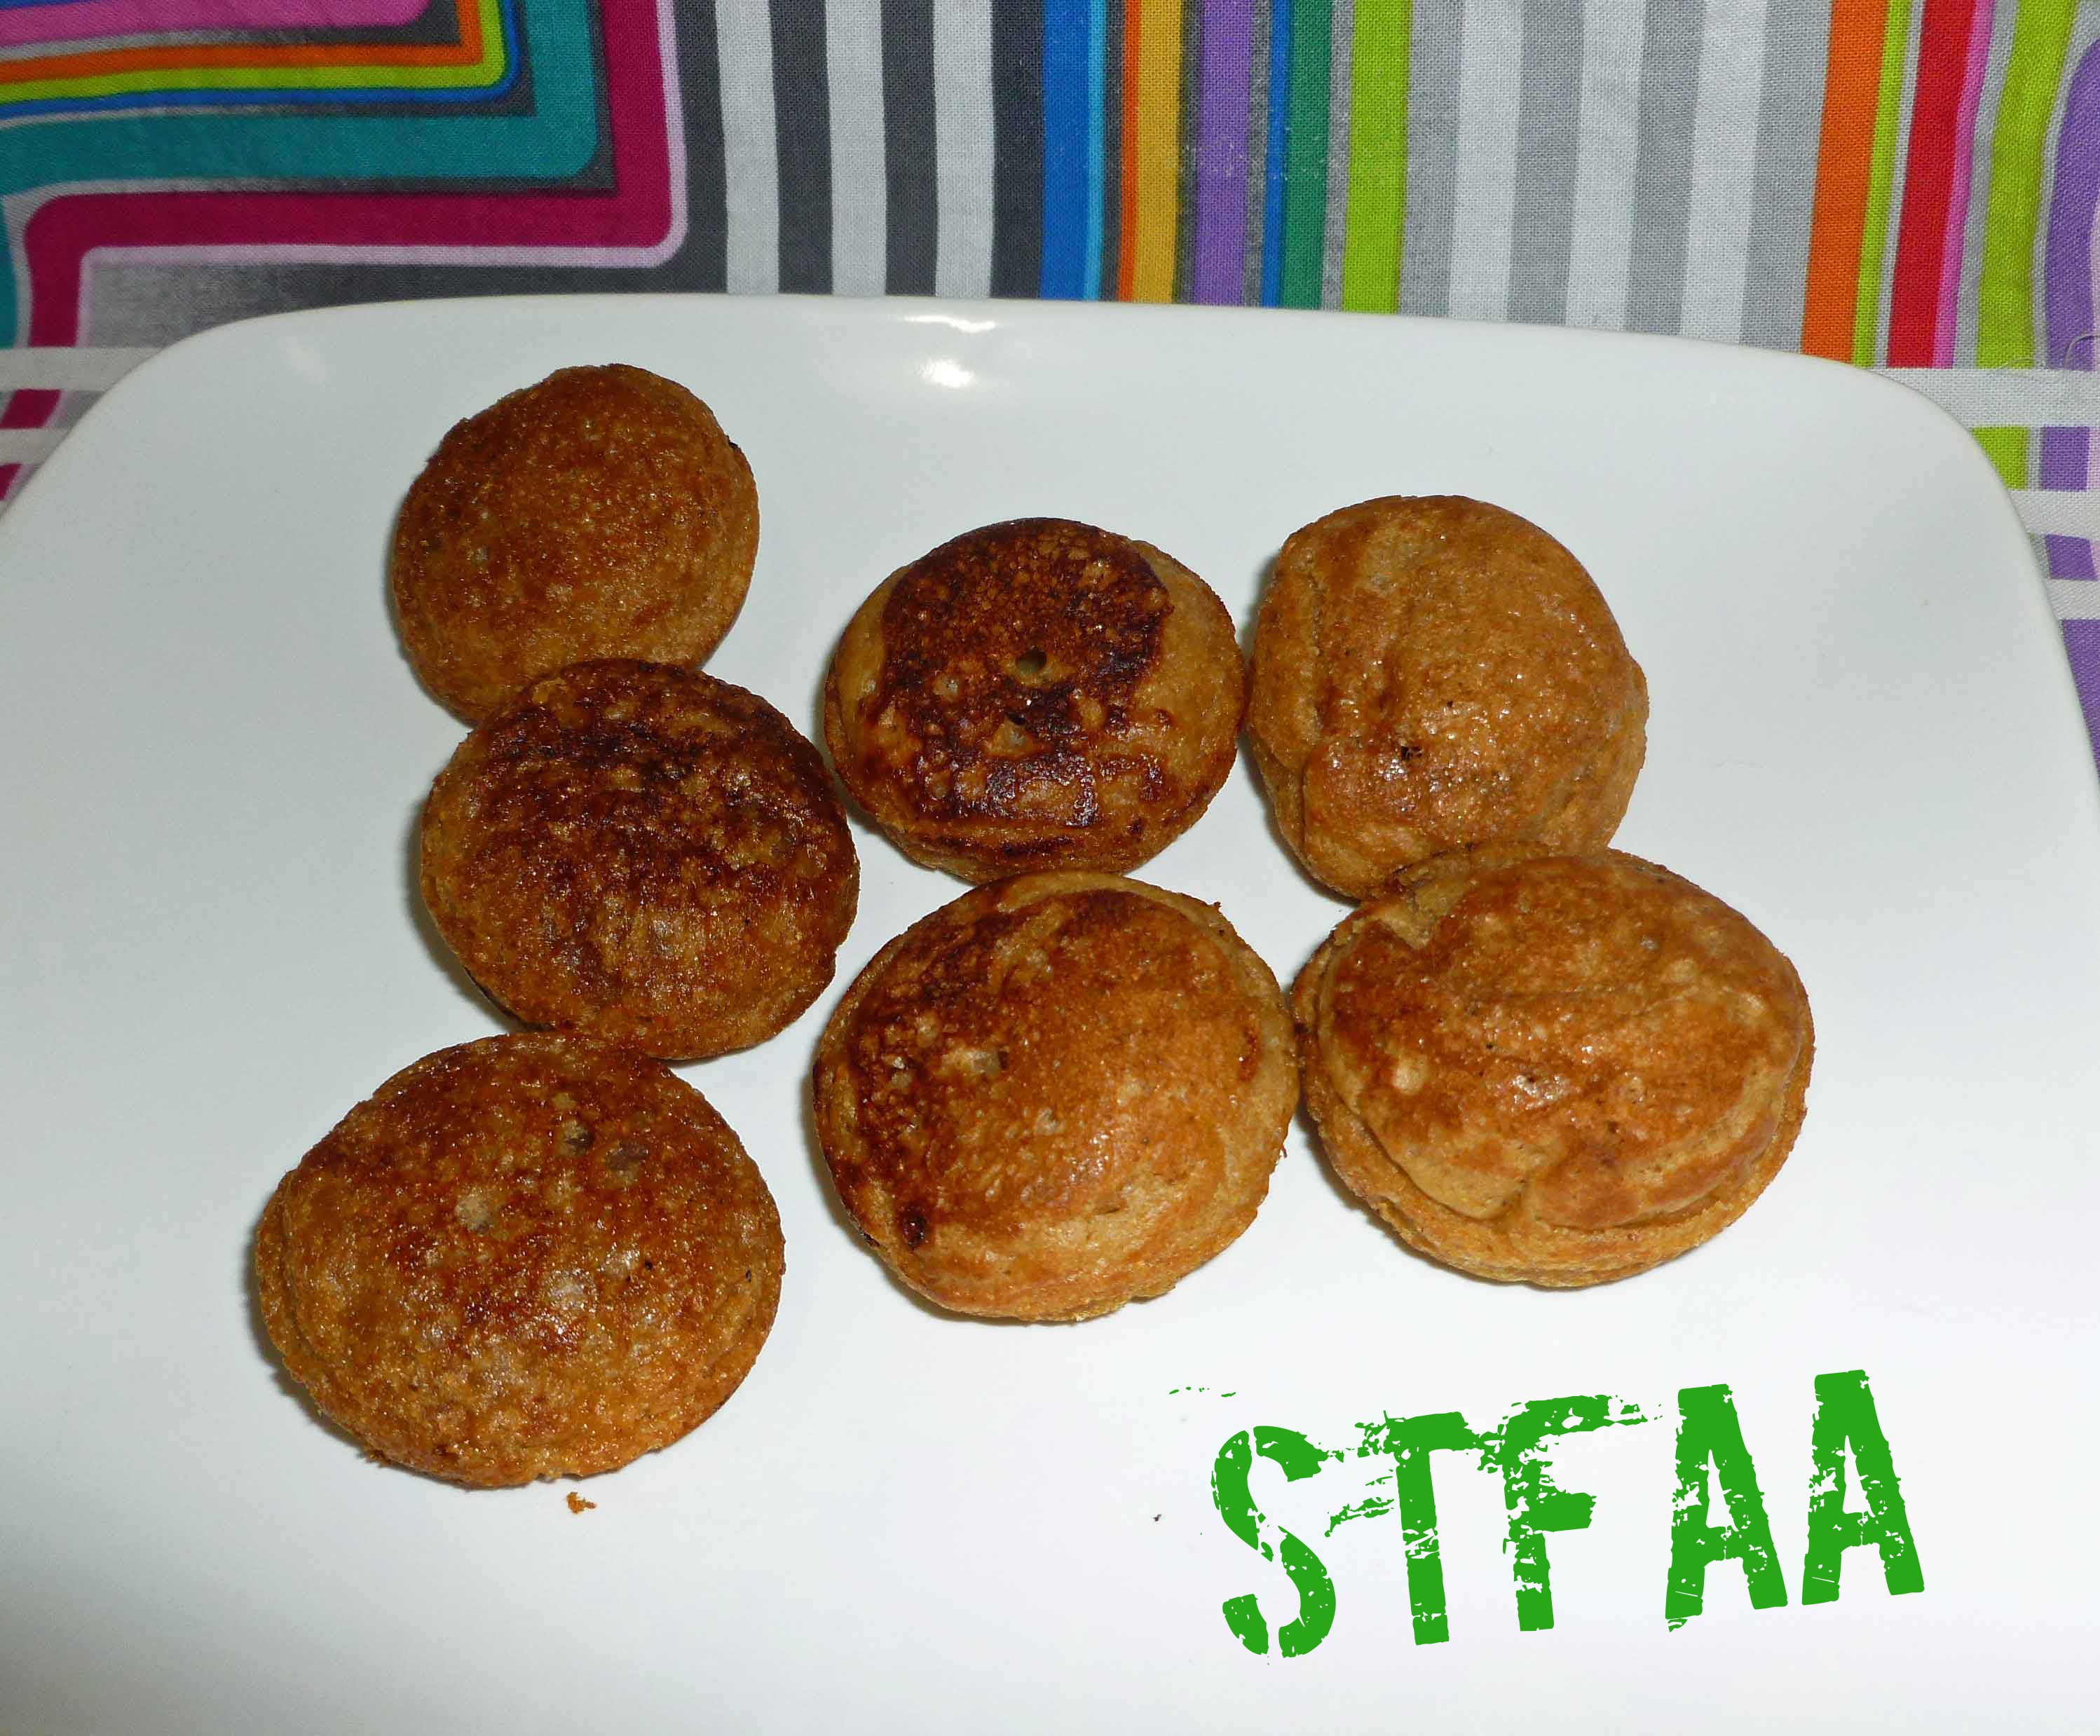
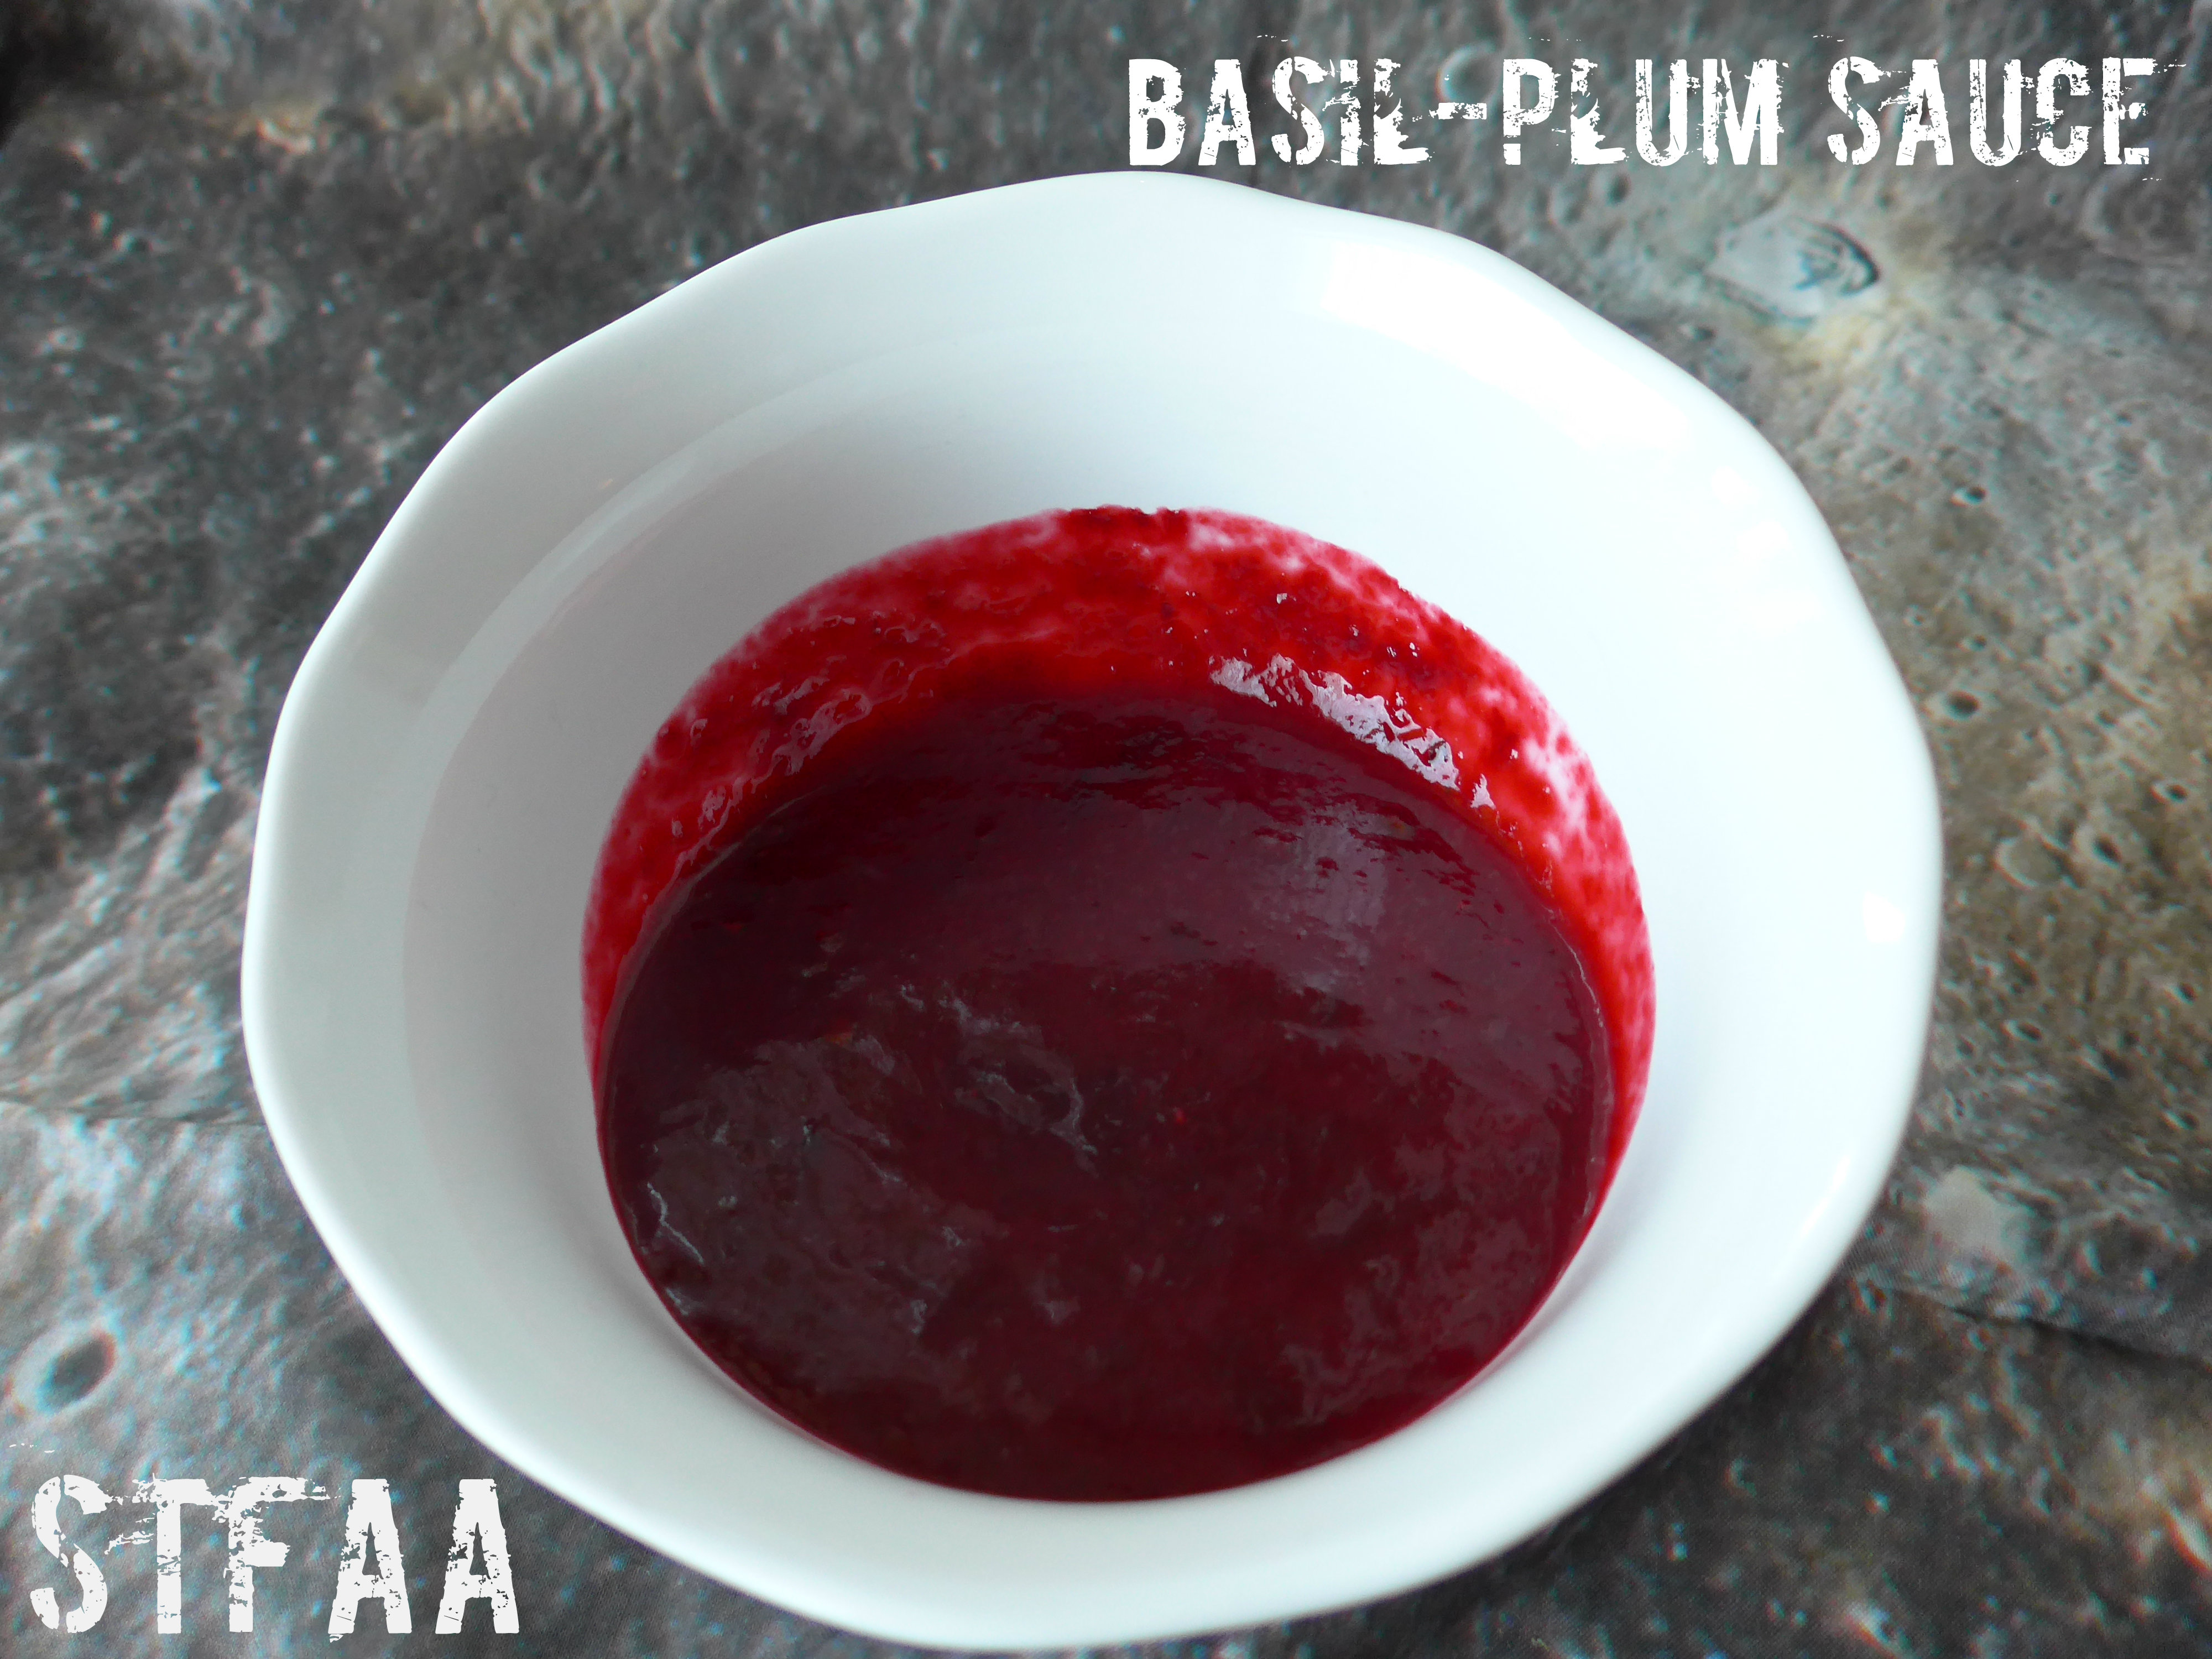
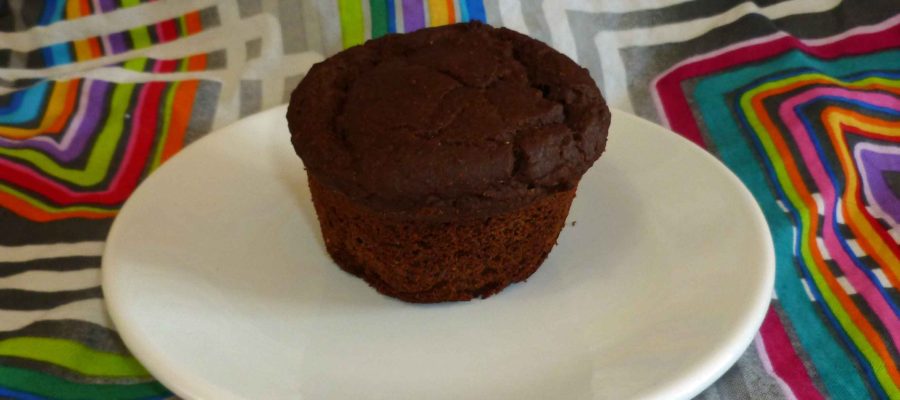
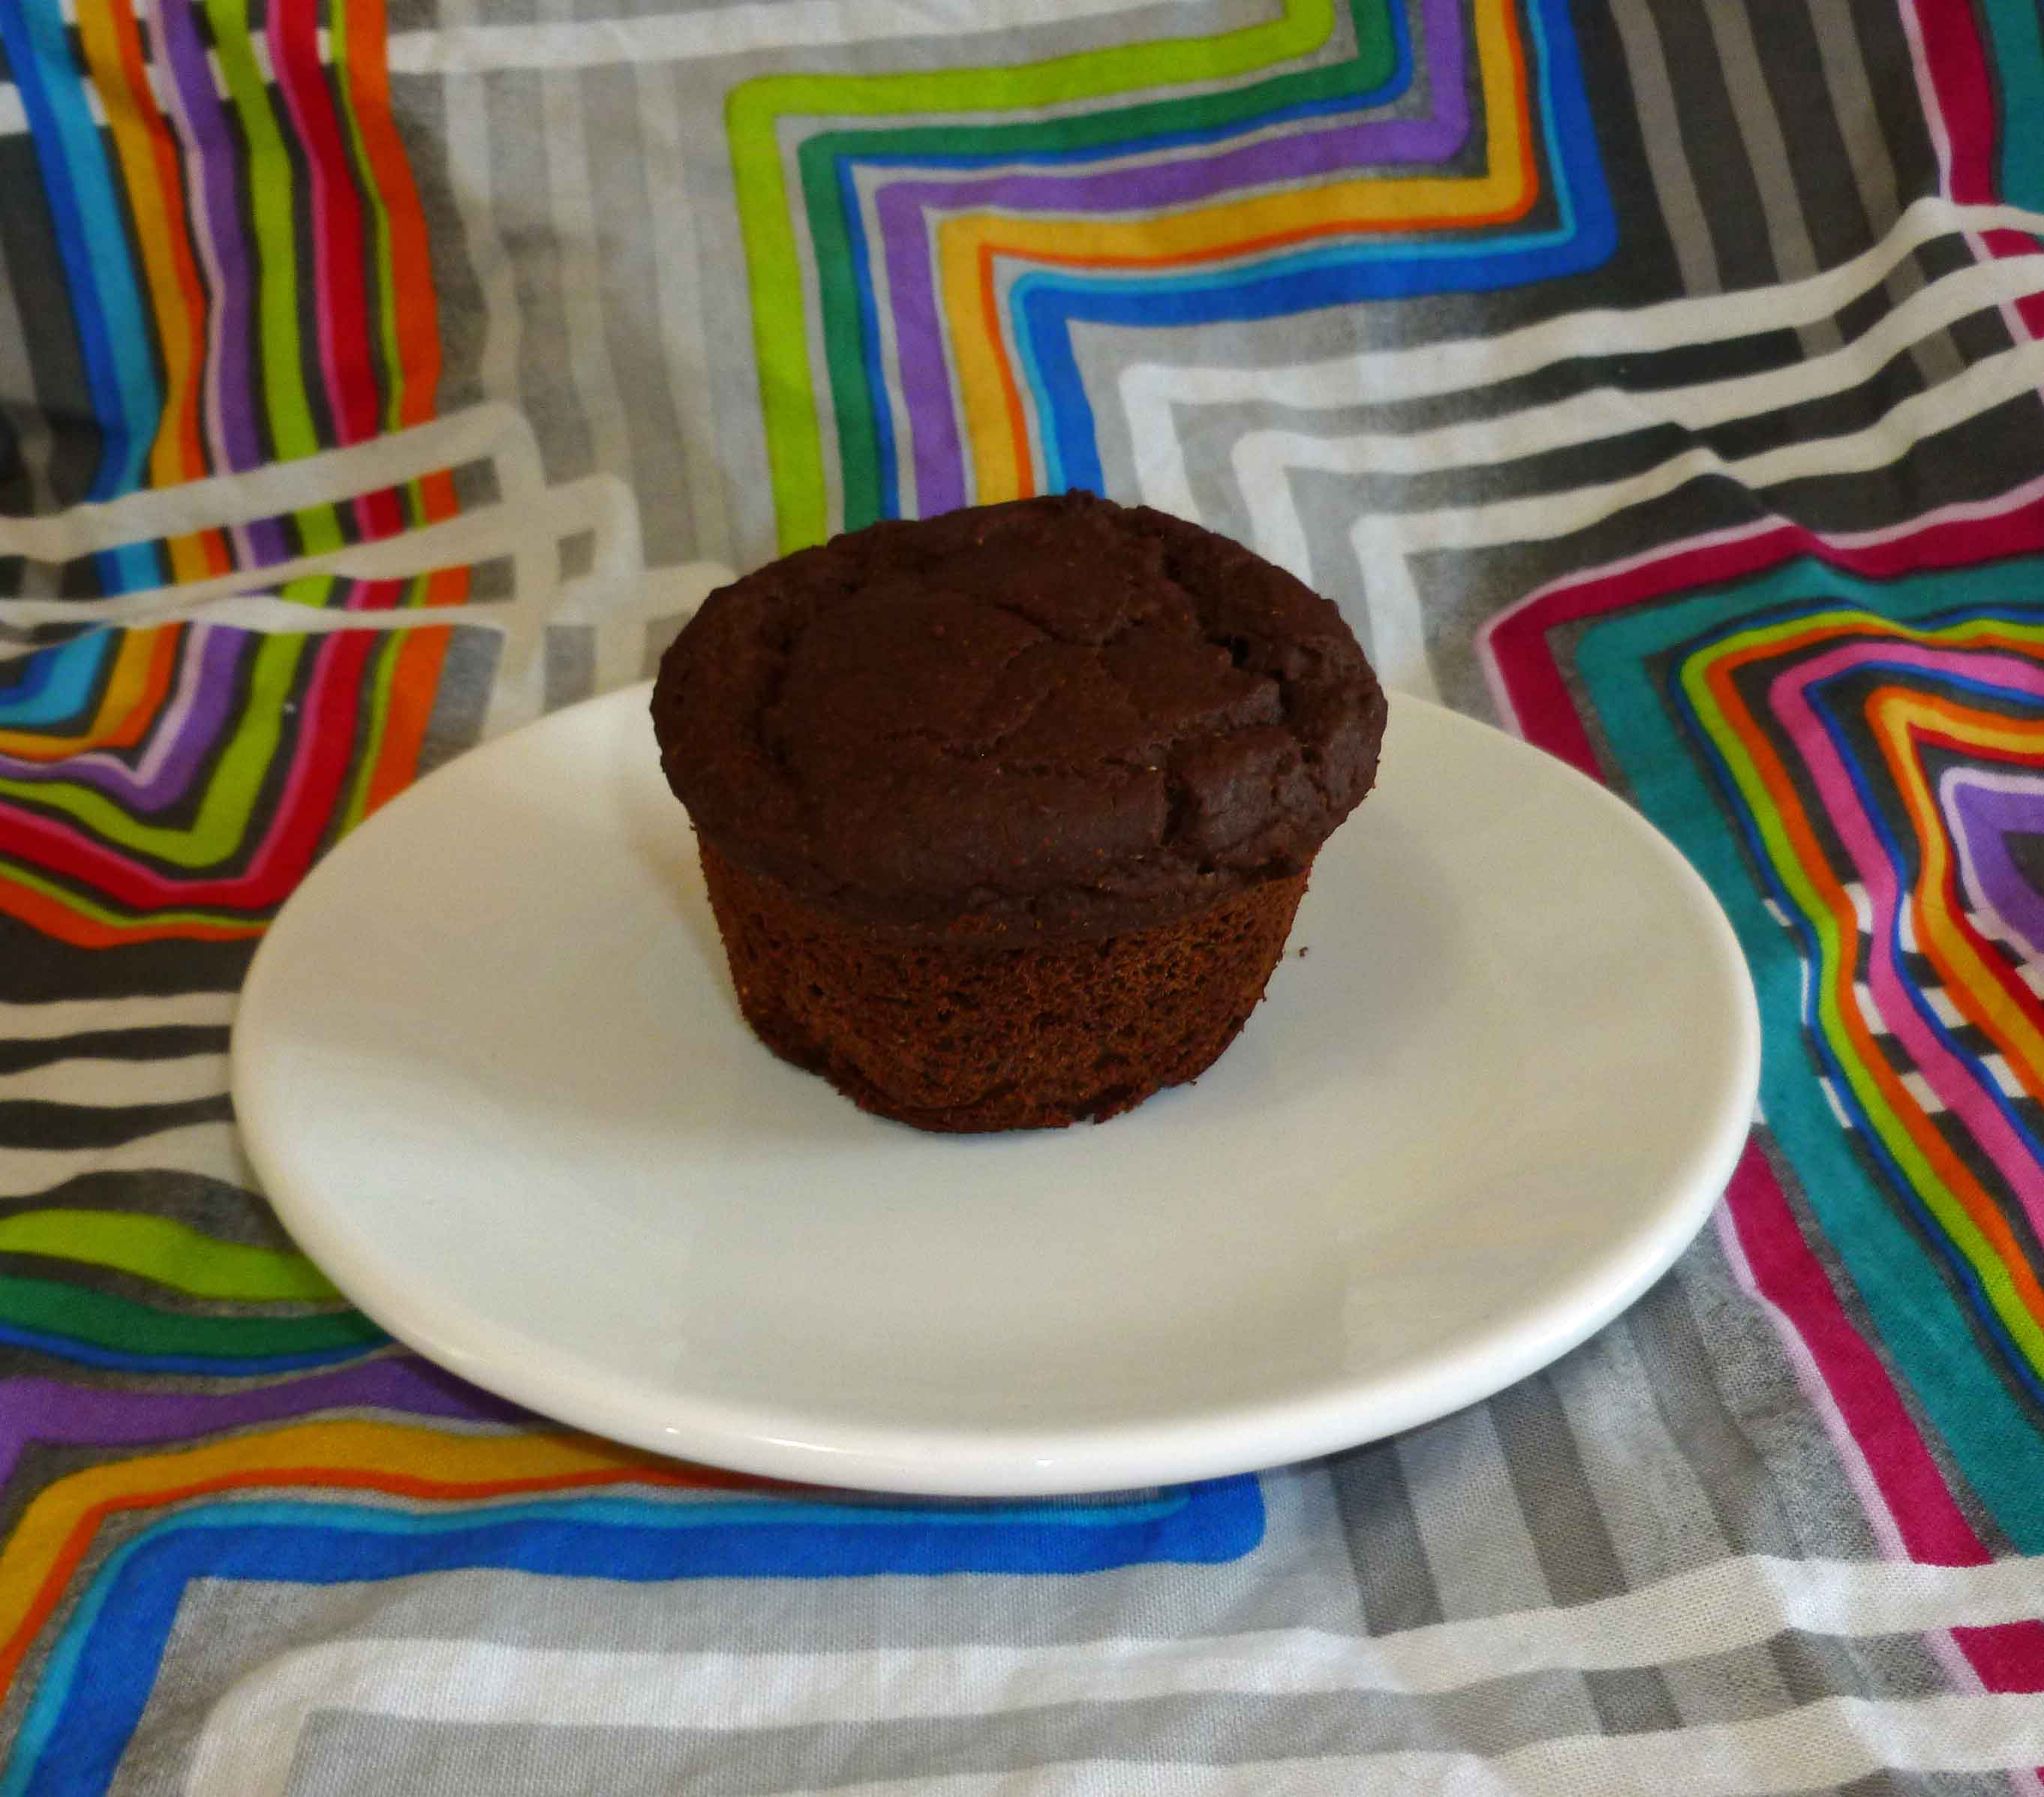
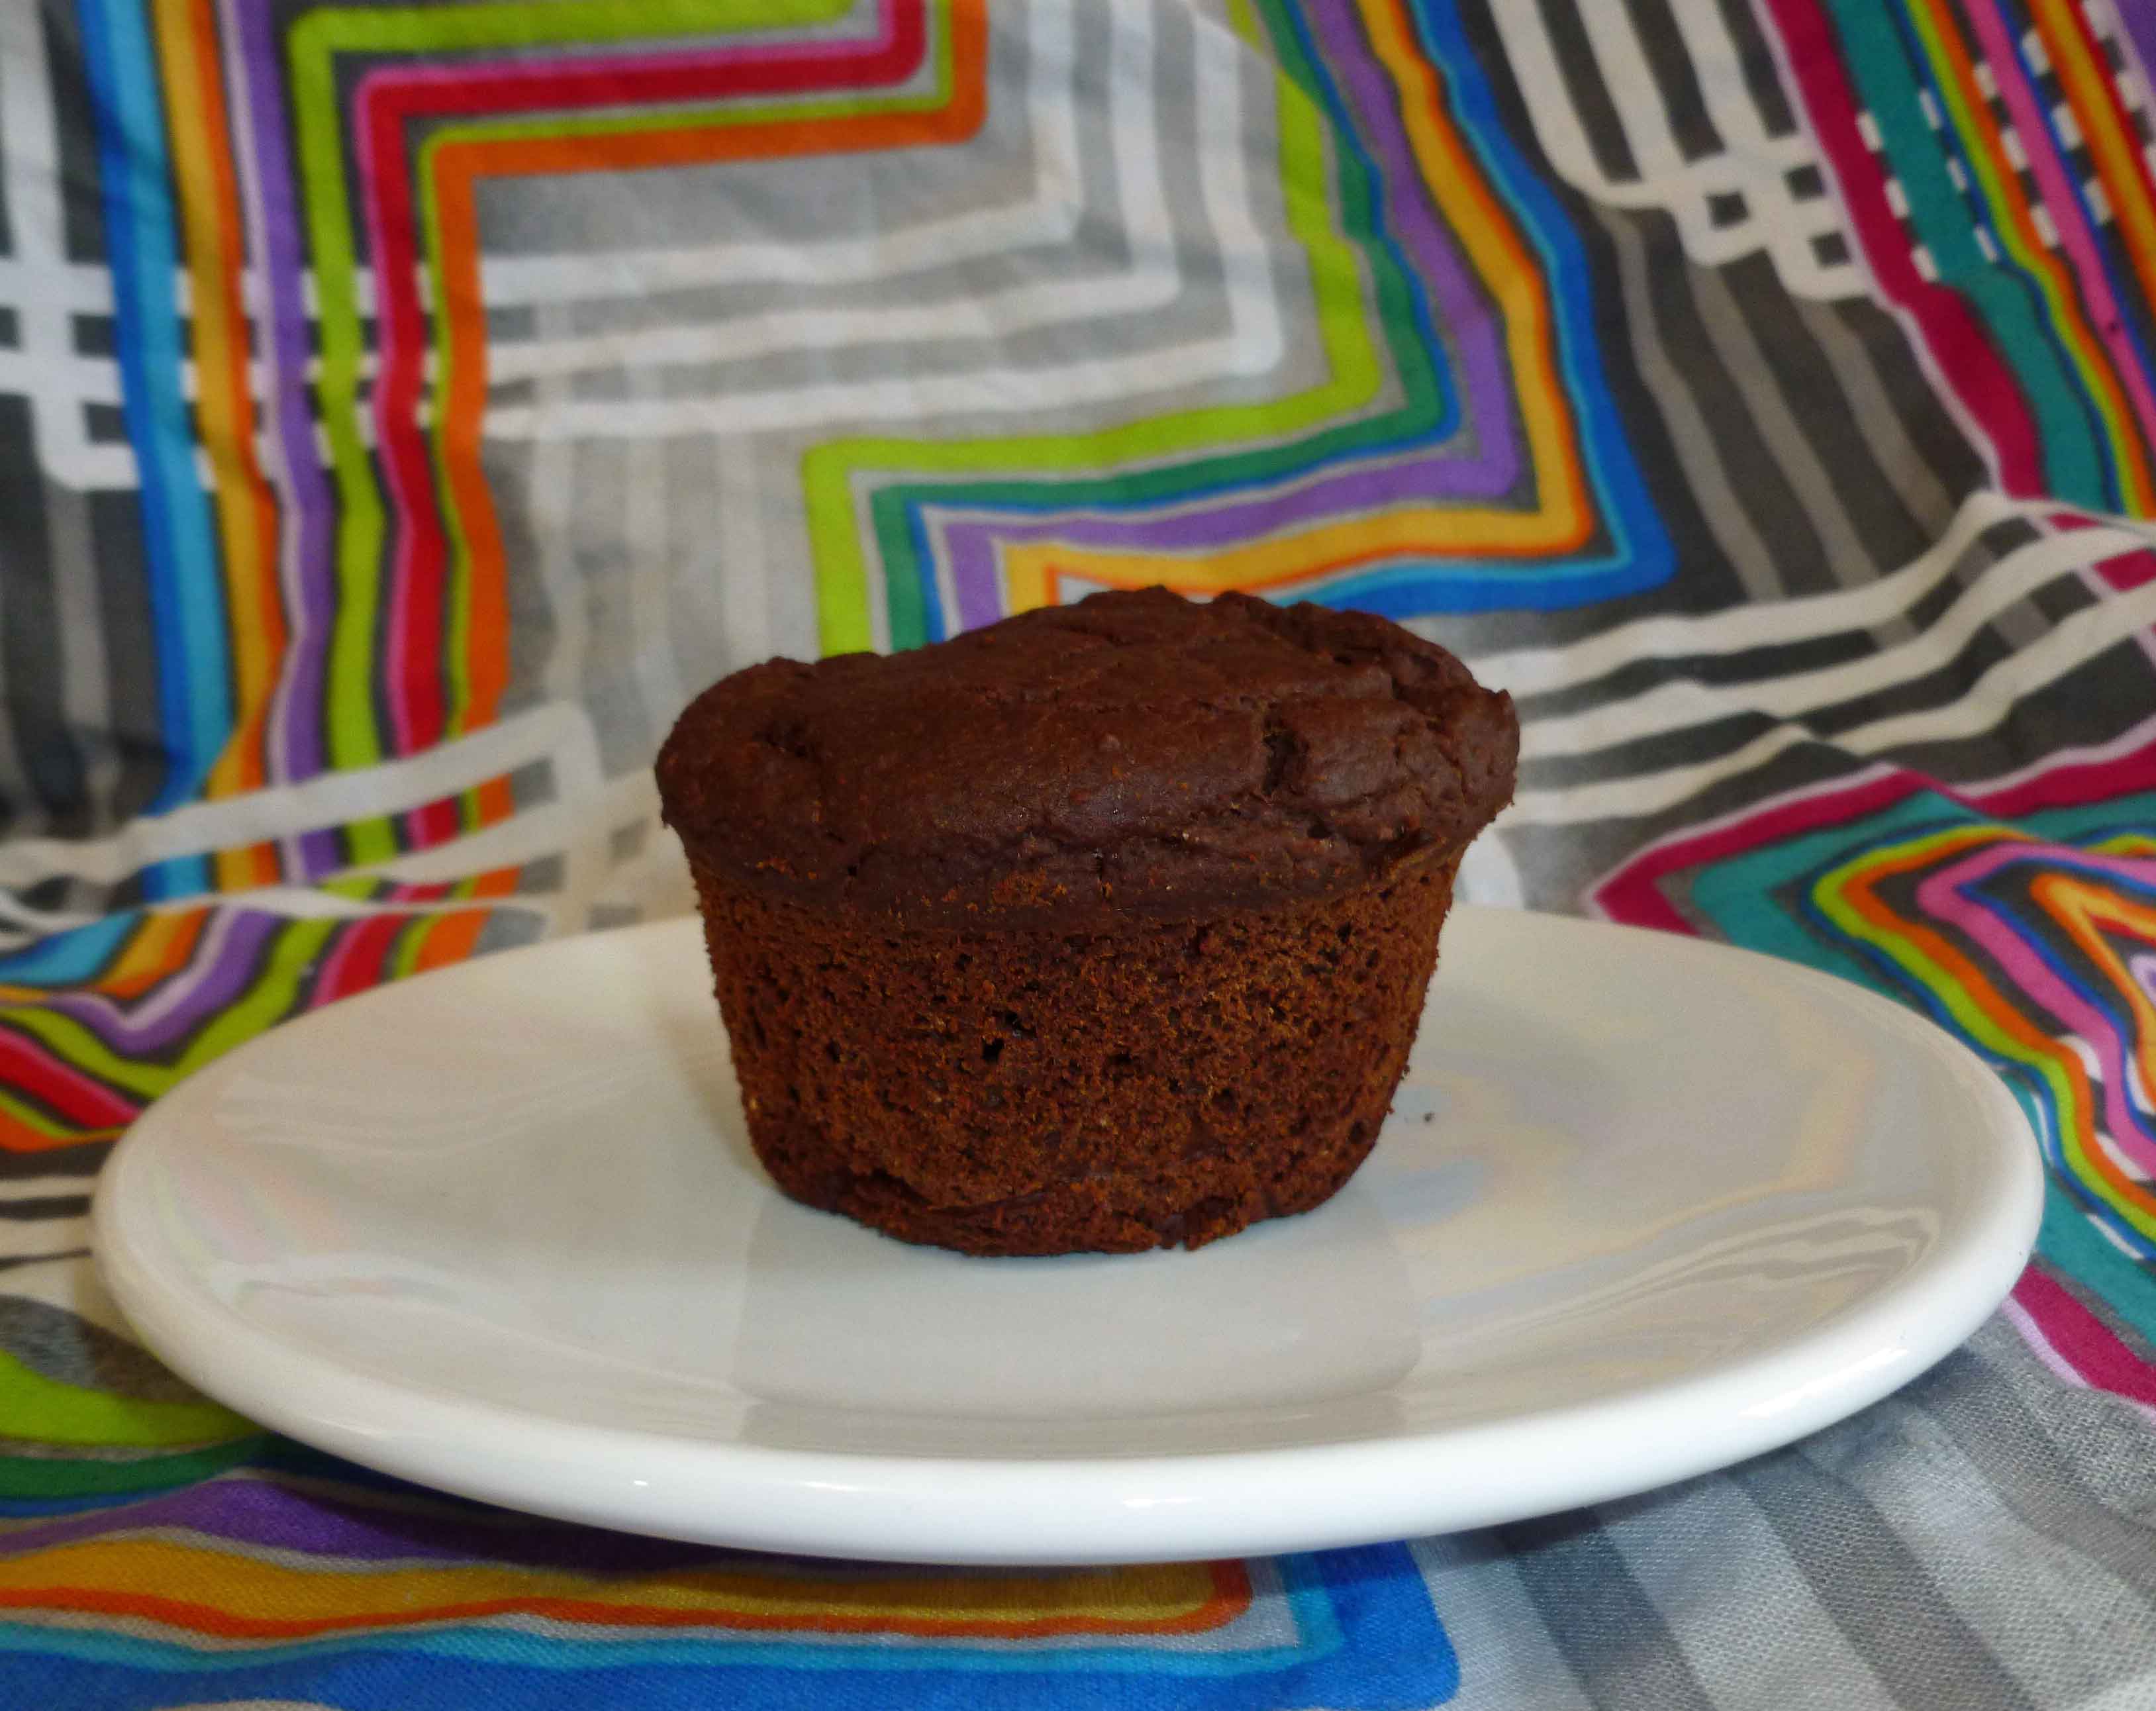
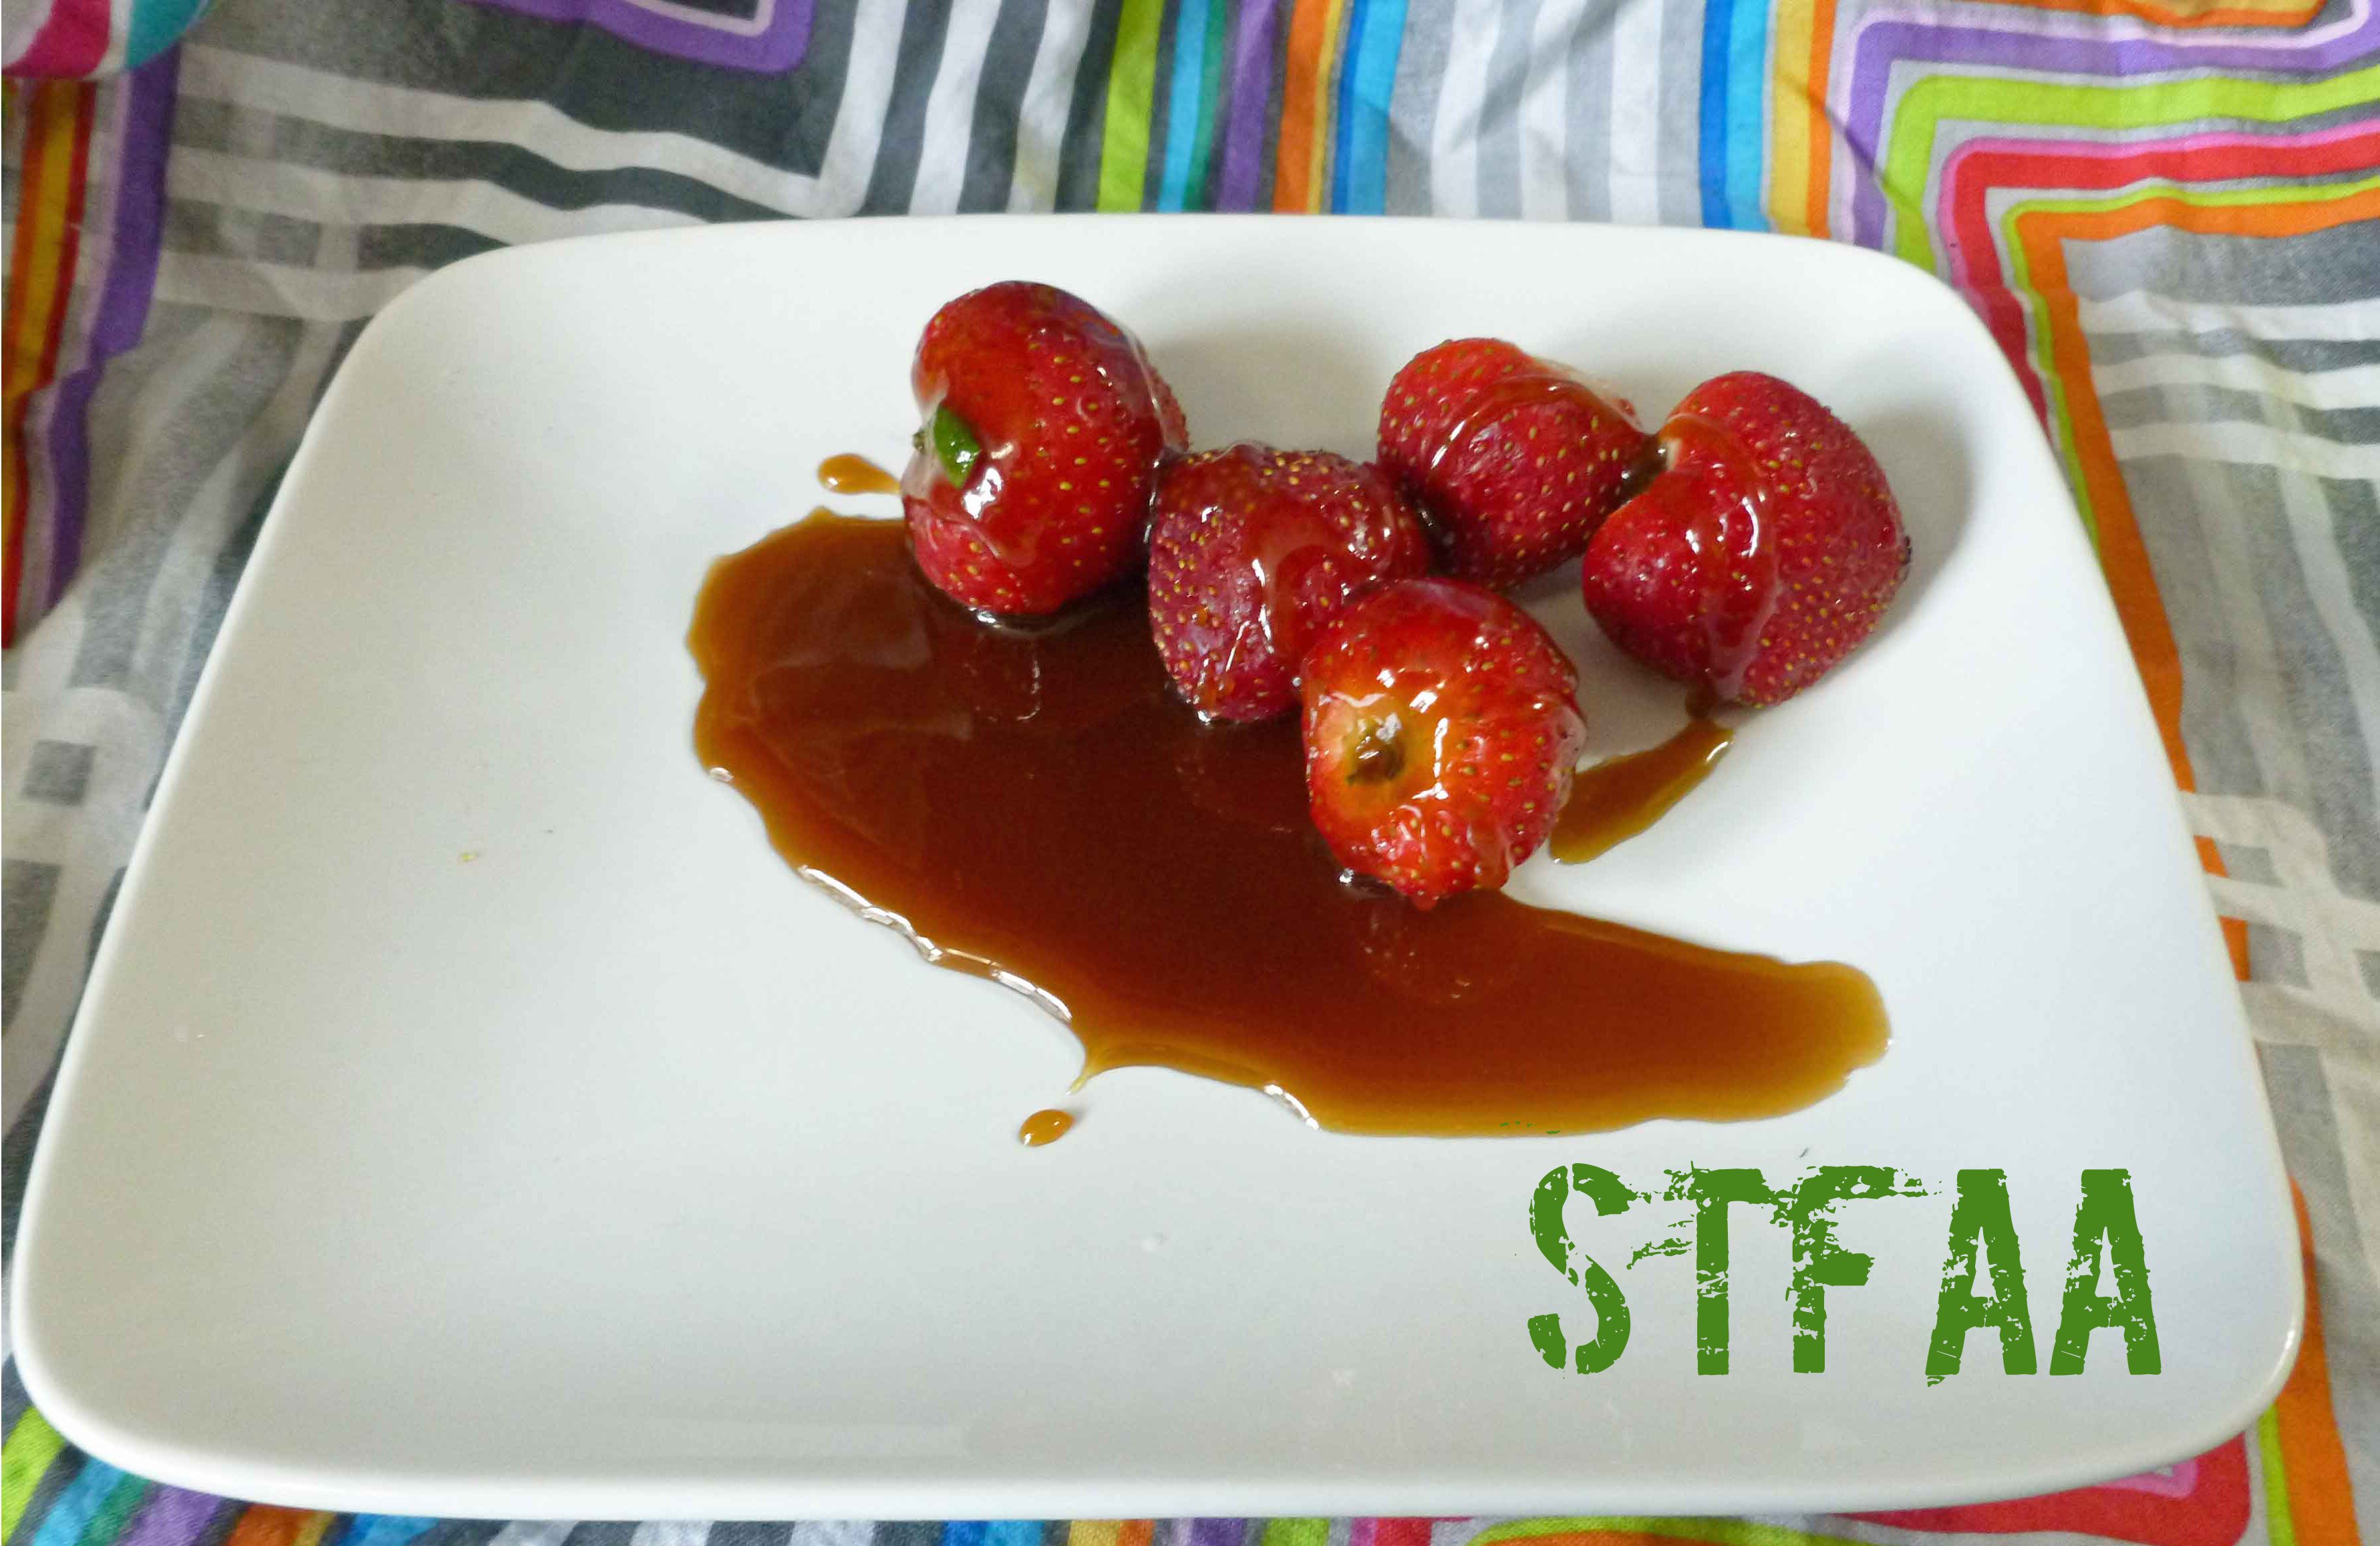
A neat treat on a fall day with your choice of jam, for either breakfast or dessert. If using for dessert, you could sprinkle them with powdered sugar or dress them with a dessert sauce.
1 1/2cupsGluten-free, Rice-free, Potato-free flour mix(see recipe card in the post or you can try your normal gluten free flour mix)
1teaspoonsea salt
3Tablespoonsbrown sugar
2teaspoonsbaking powderhere’s a corn free version – https://wholenewmom.com/health-concerns/make-your-own-baking-powder/
Wet Ingredients
1/3cupwater
1 1/4cupnon-dairy milkI use homemade cashew or rice milk
1teaspoonvanilla extract(I make my own with vanilla beans and vodka made from potatoesas most commercial extract contains corn)
3Tablespoons safe for you oilI used grape seed oil or olive oil
1teaspoonpsyllium husk powder
Other Ingredients
oil to grease pan
1jar applebutter or jam of your choice
Equiptment
abelskiver pan
Servings: abelskiver
Instructions
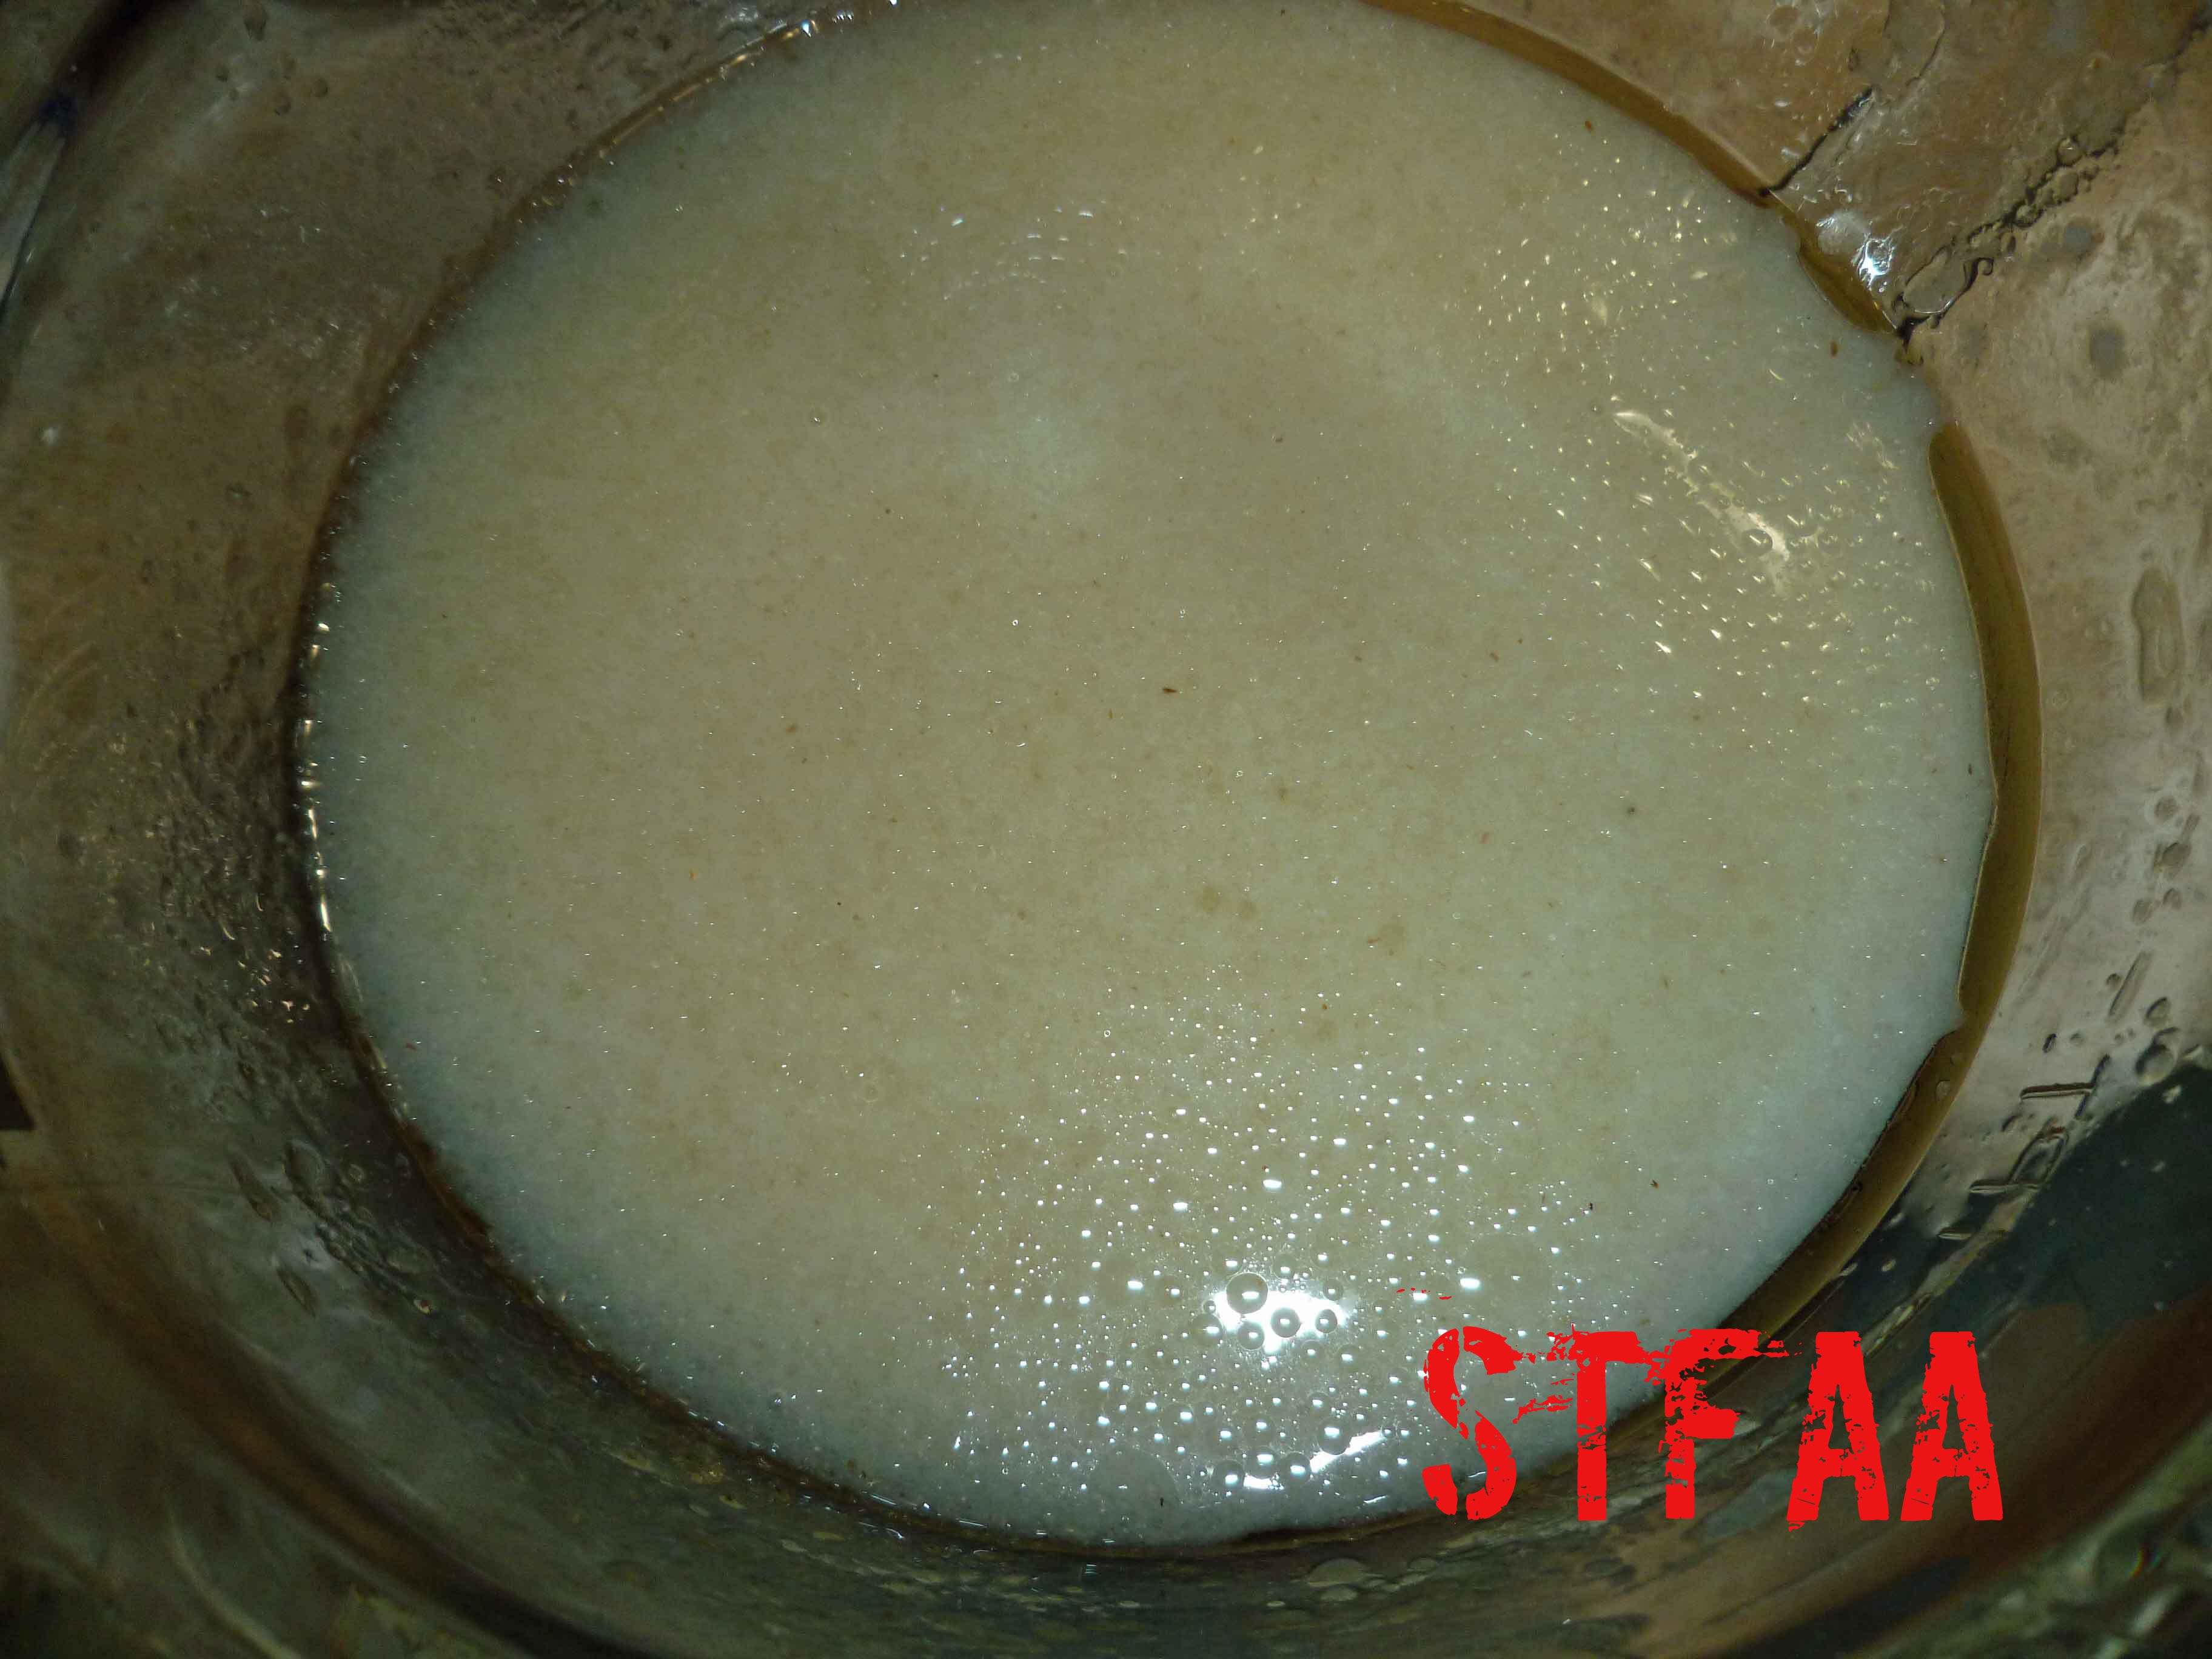
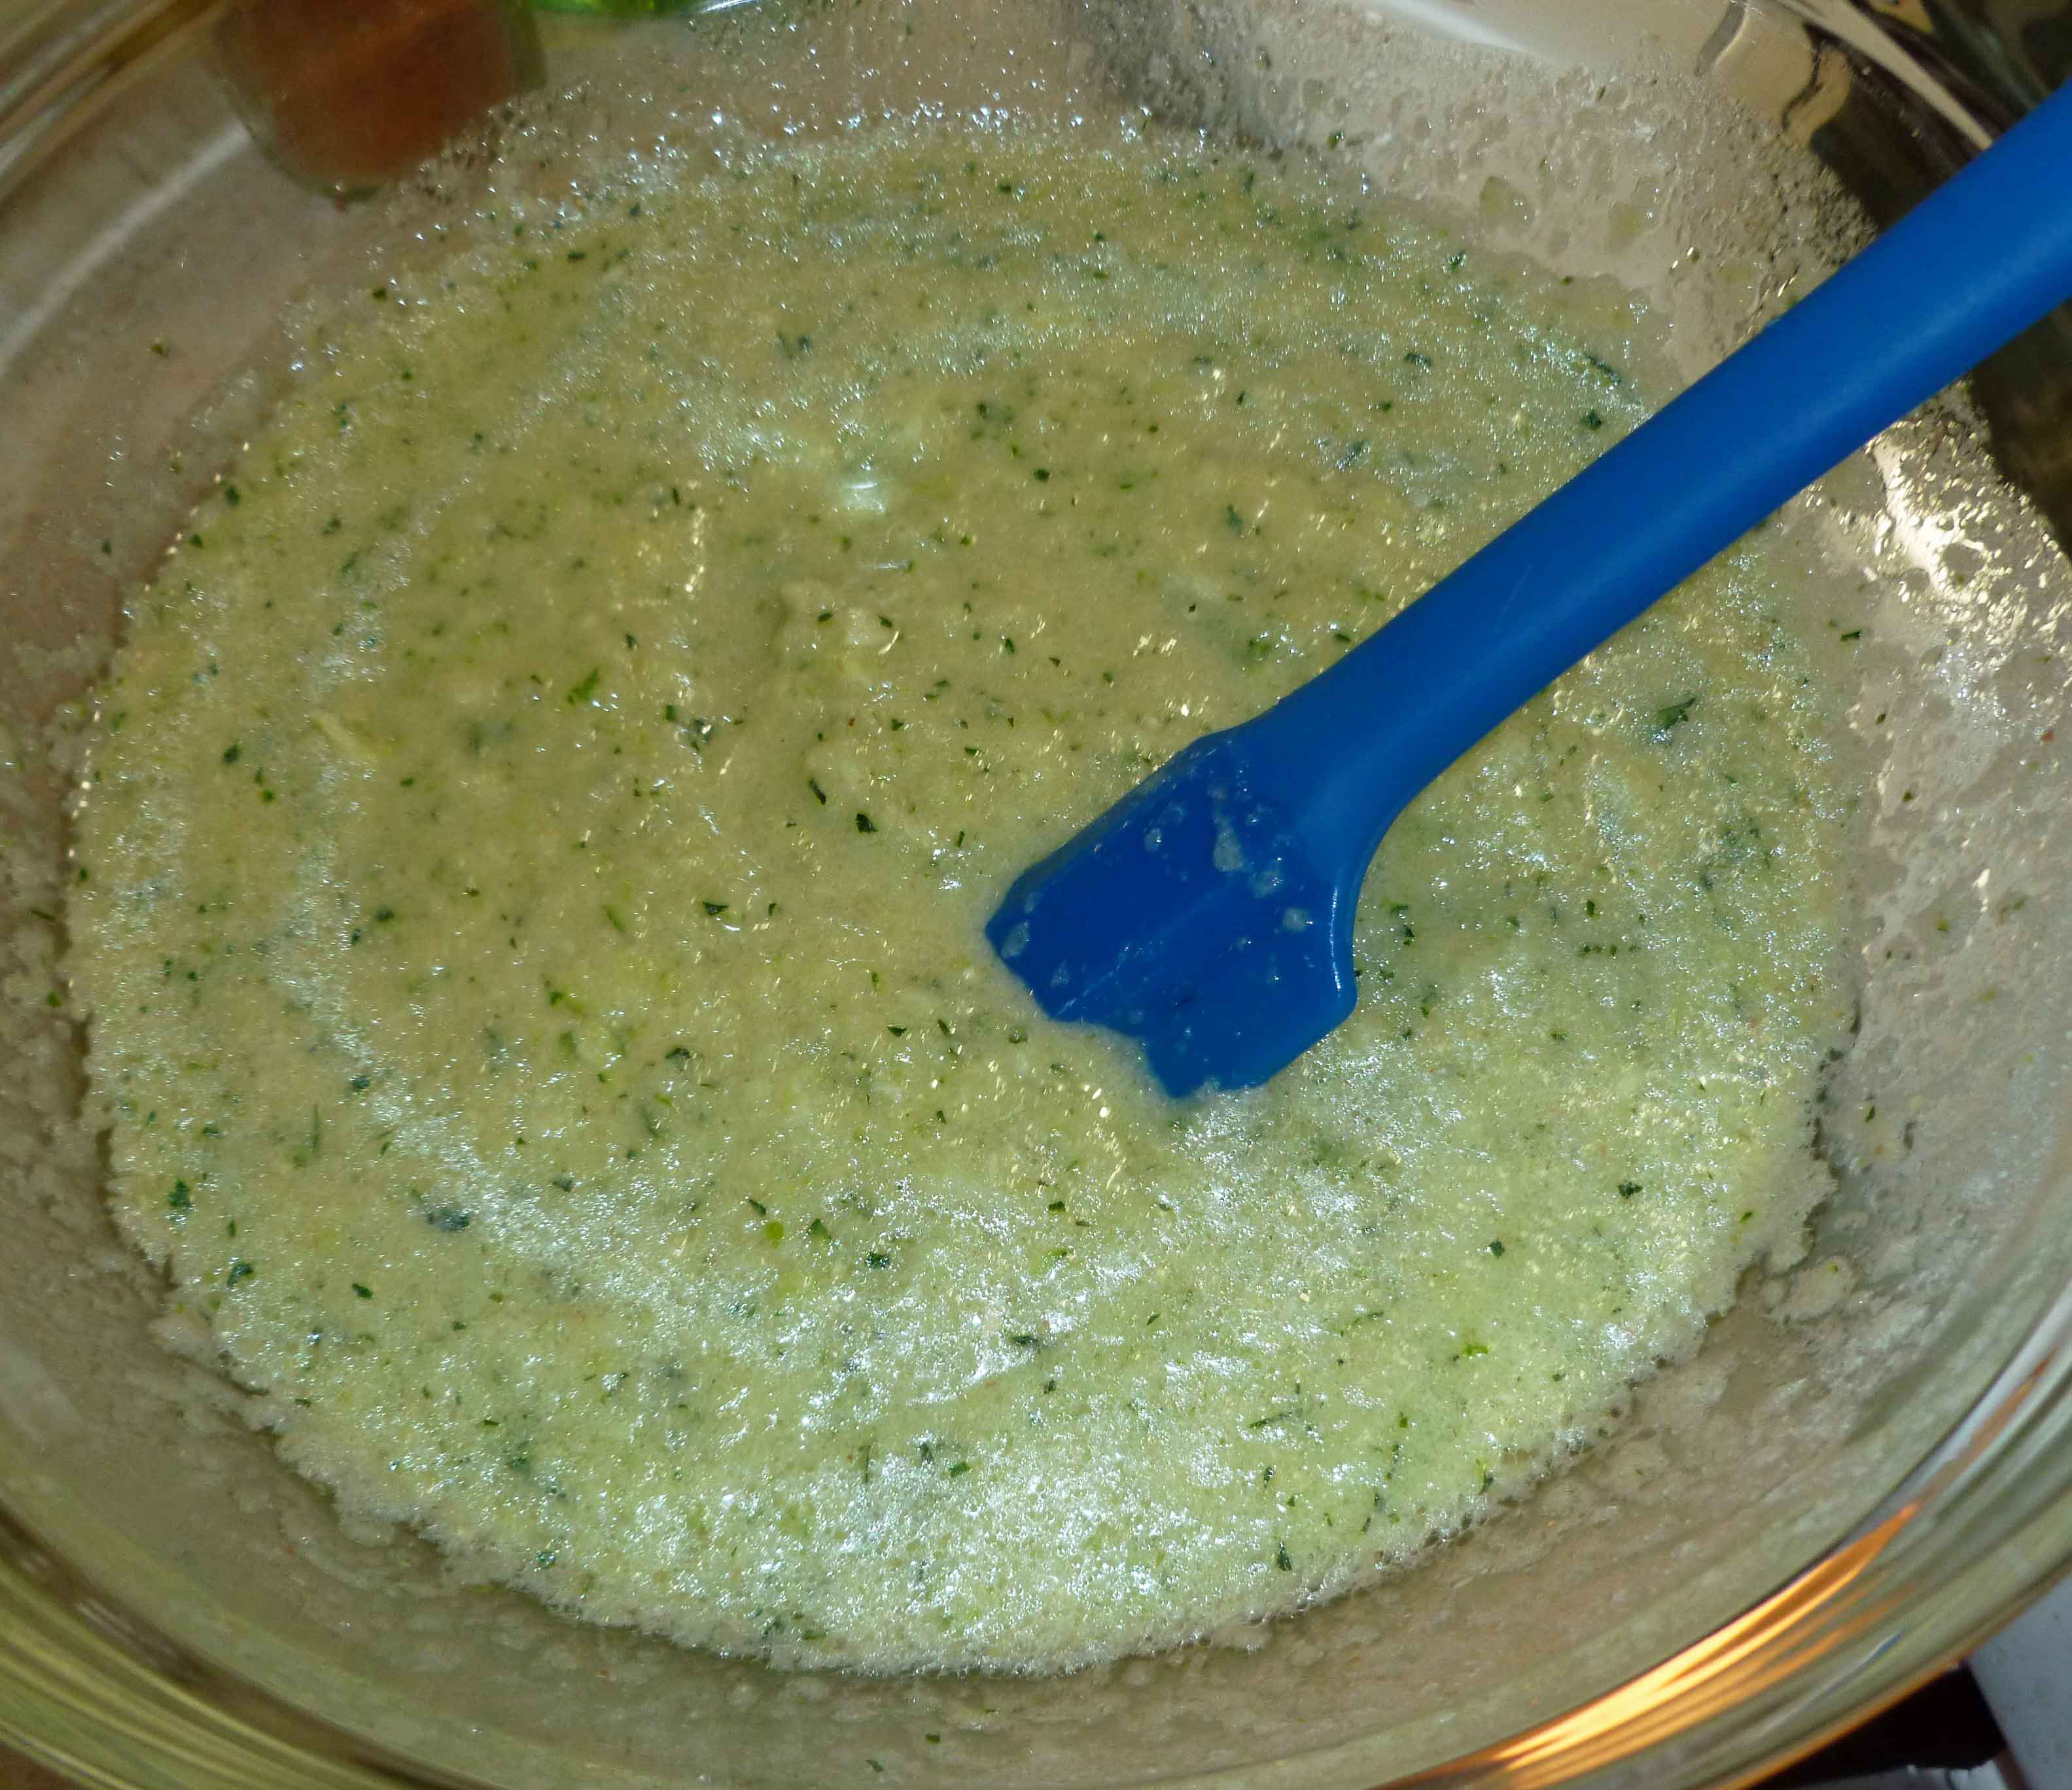
Place water, vanilla extract, non-dairy milk, oil, and psyllium husk powder (Wet Ingredients) in a smaller bowl and whisk together until smooth. Let mixture sit for about 30 minutes so that the psyllium can gel.
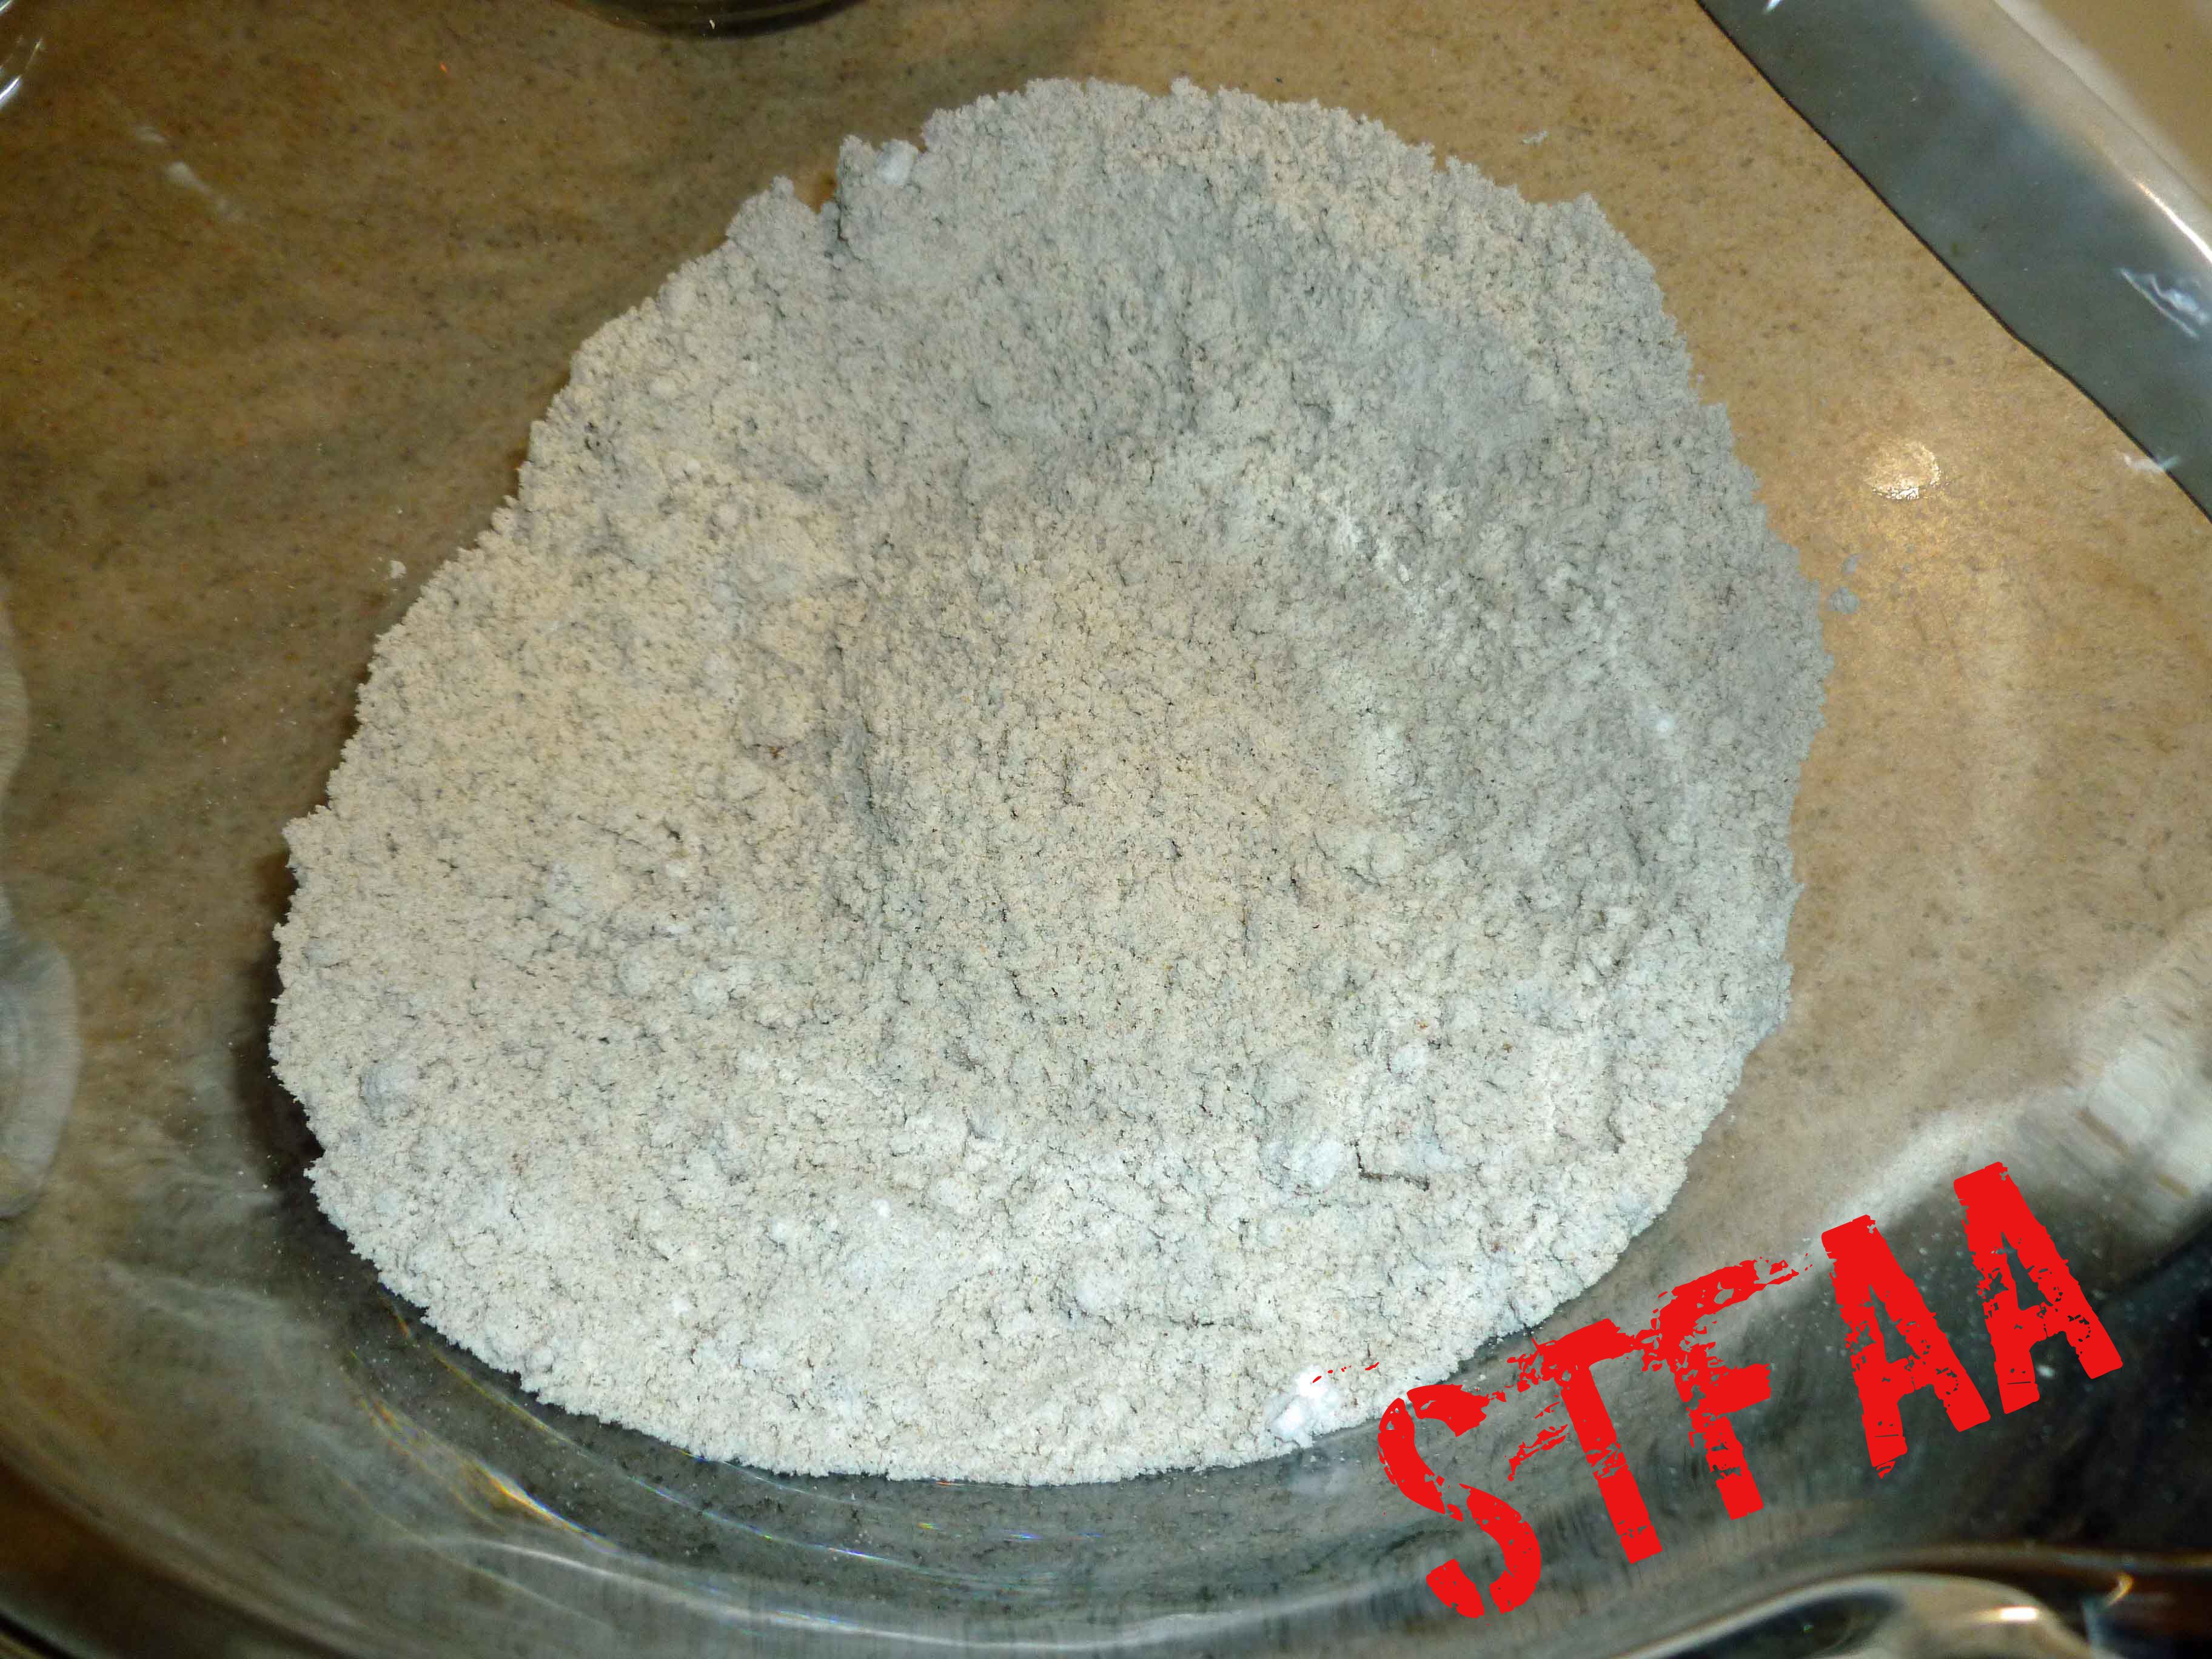
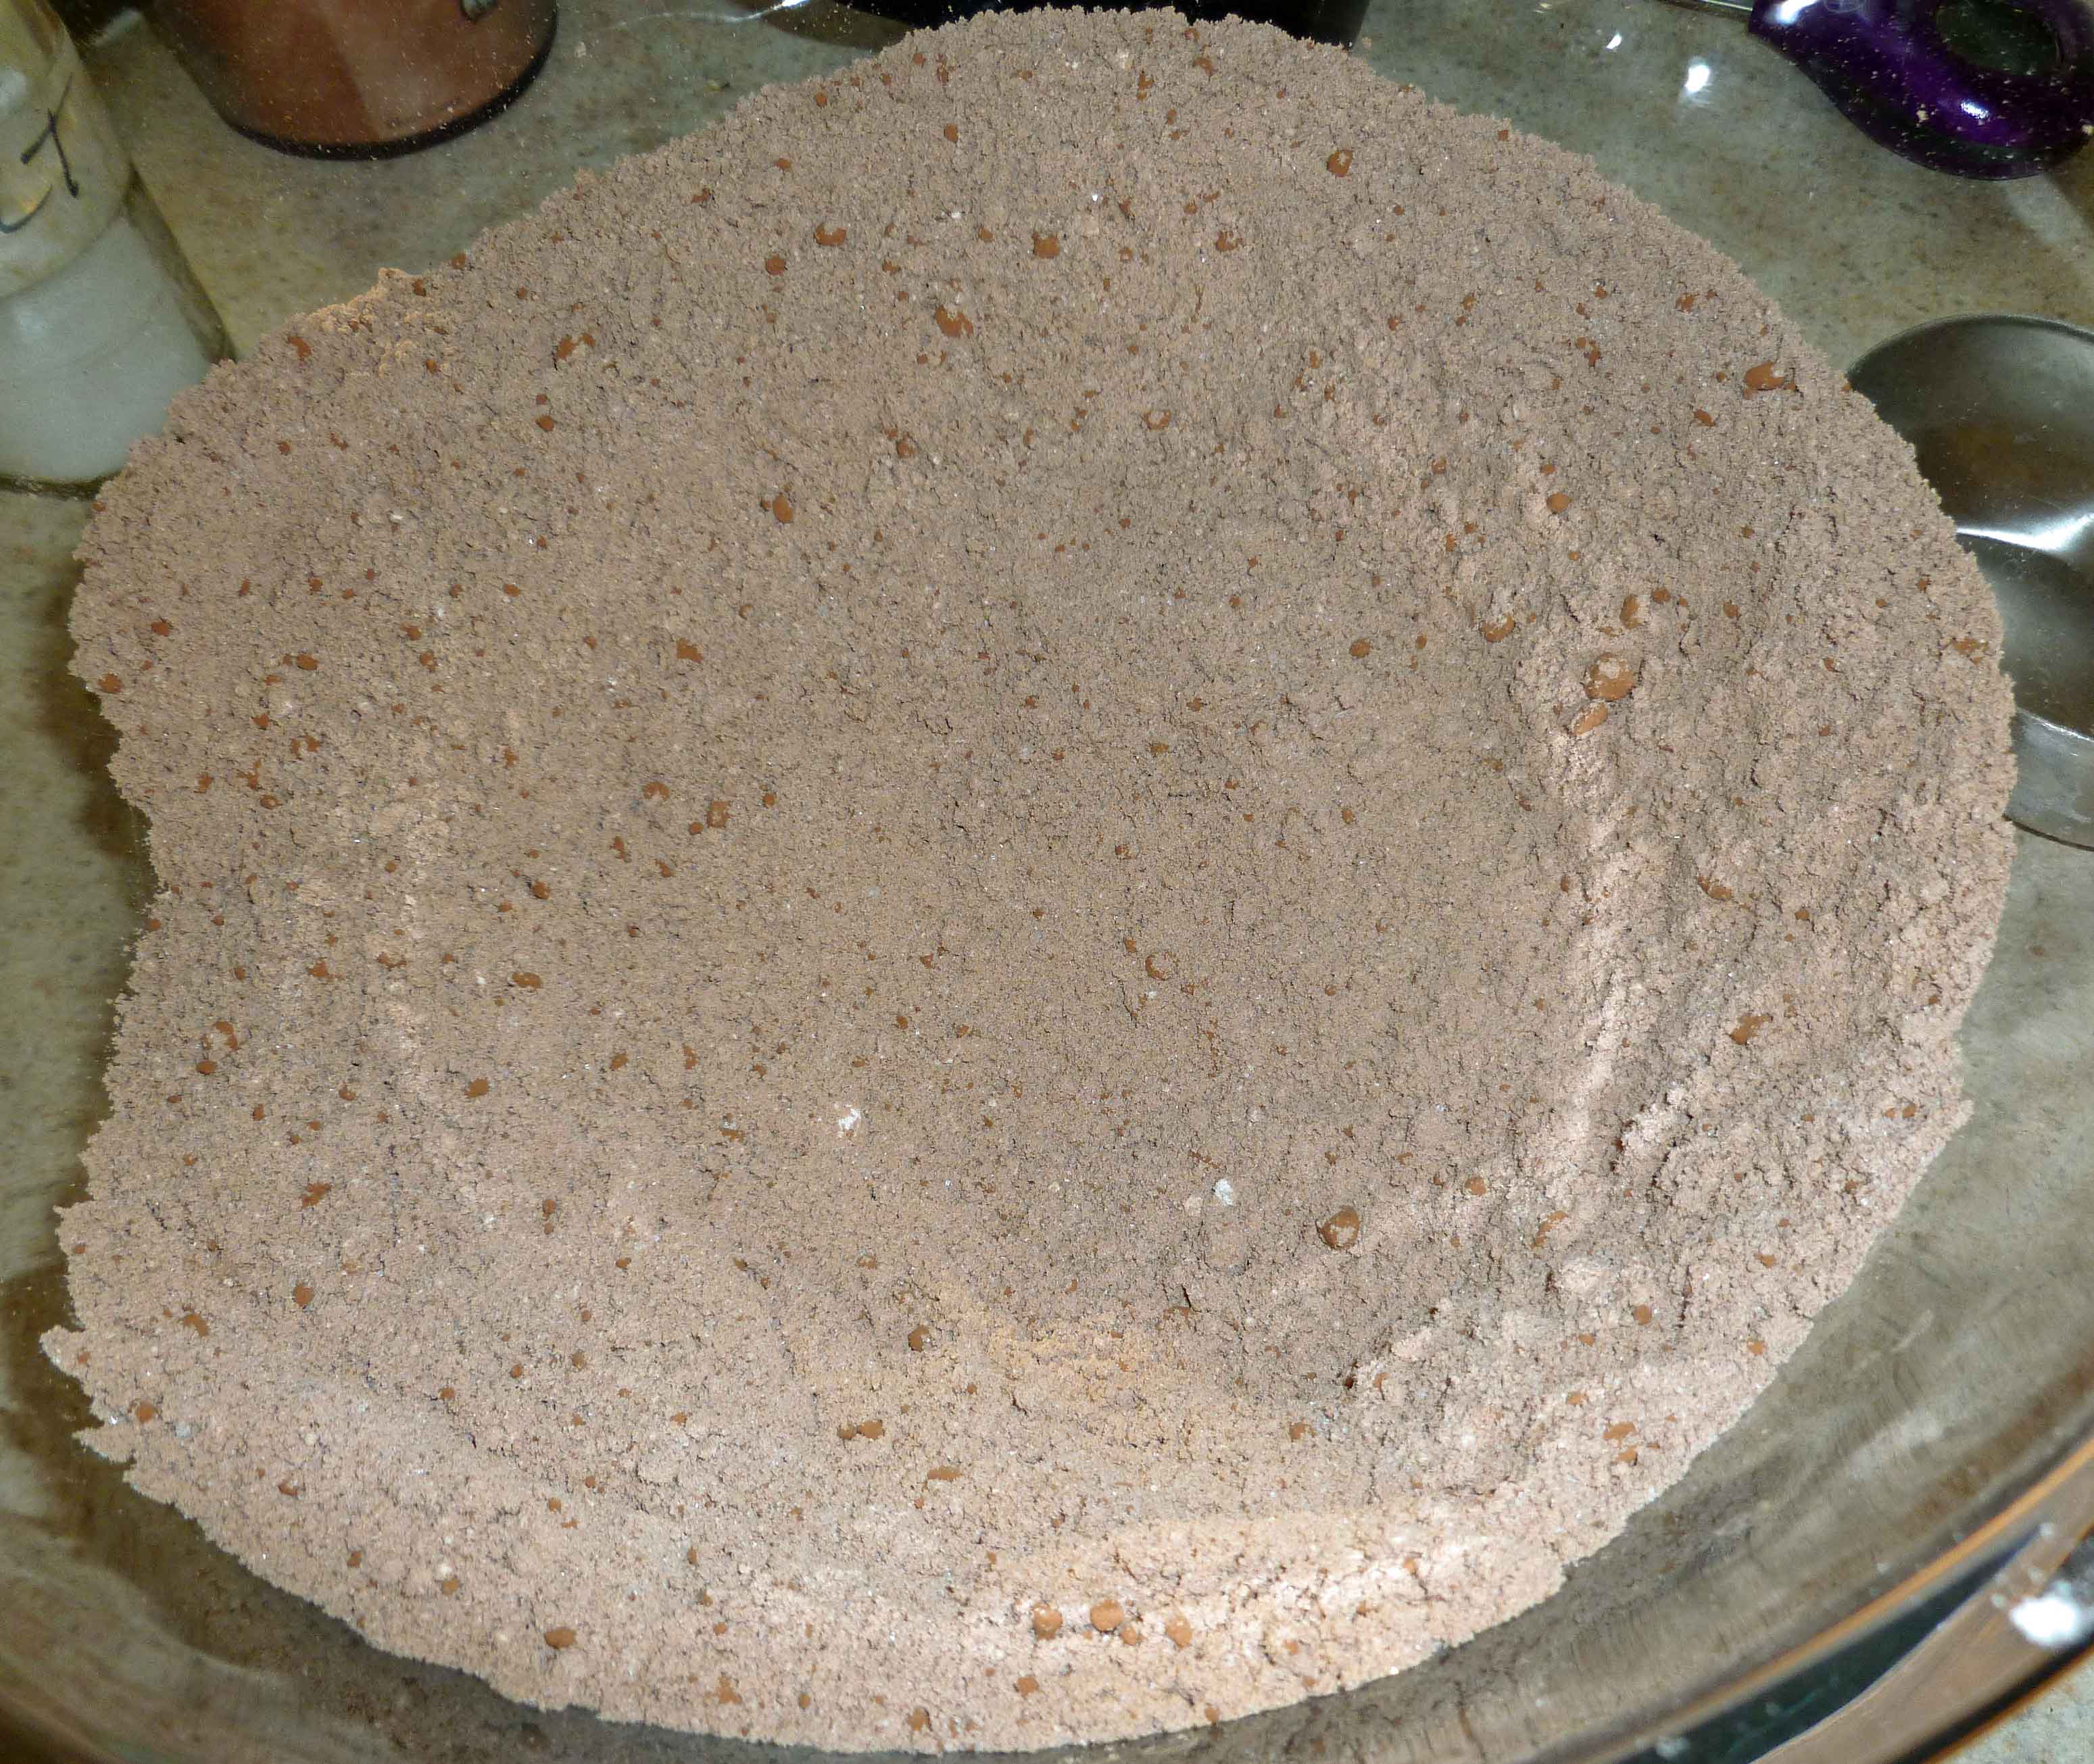
Measure out flour, salt, baking powder and brown sugar (Dry Ingredients) and place in a large bowl. Whisk ingredients together until they are well incorporated into each other.
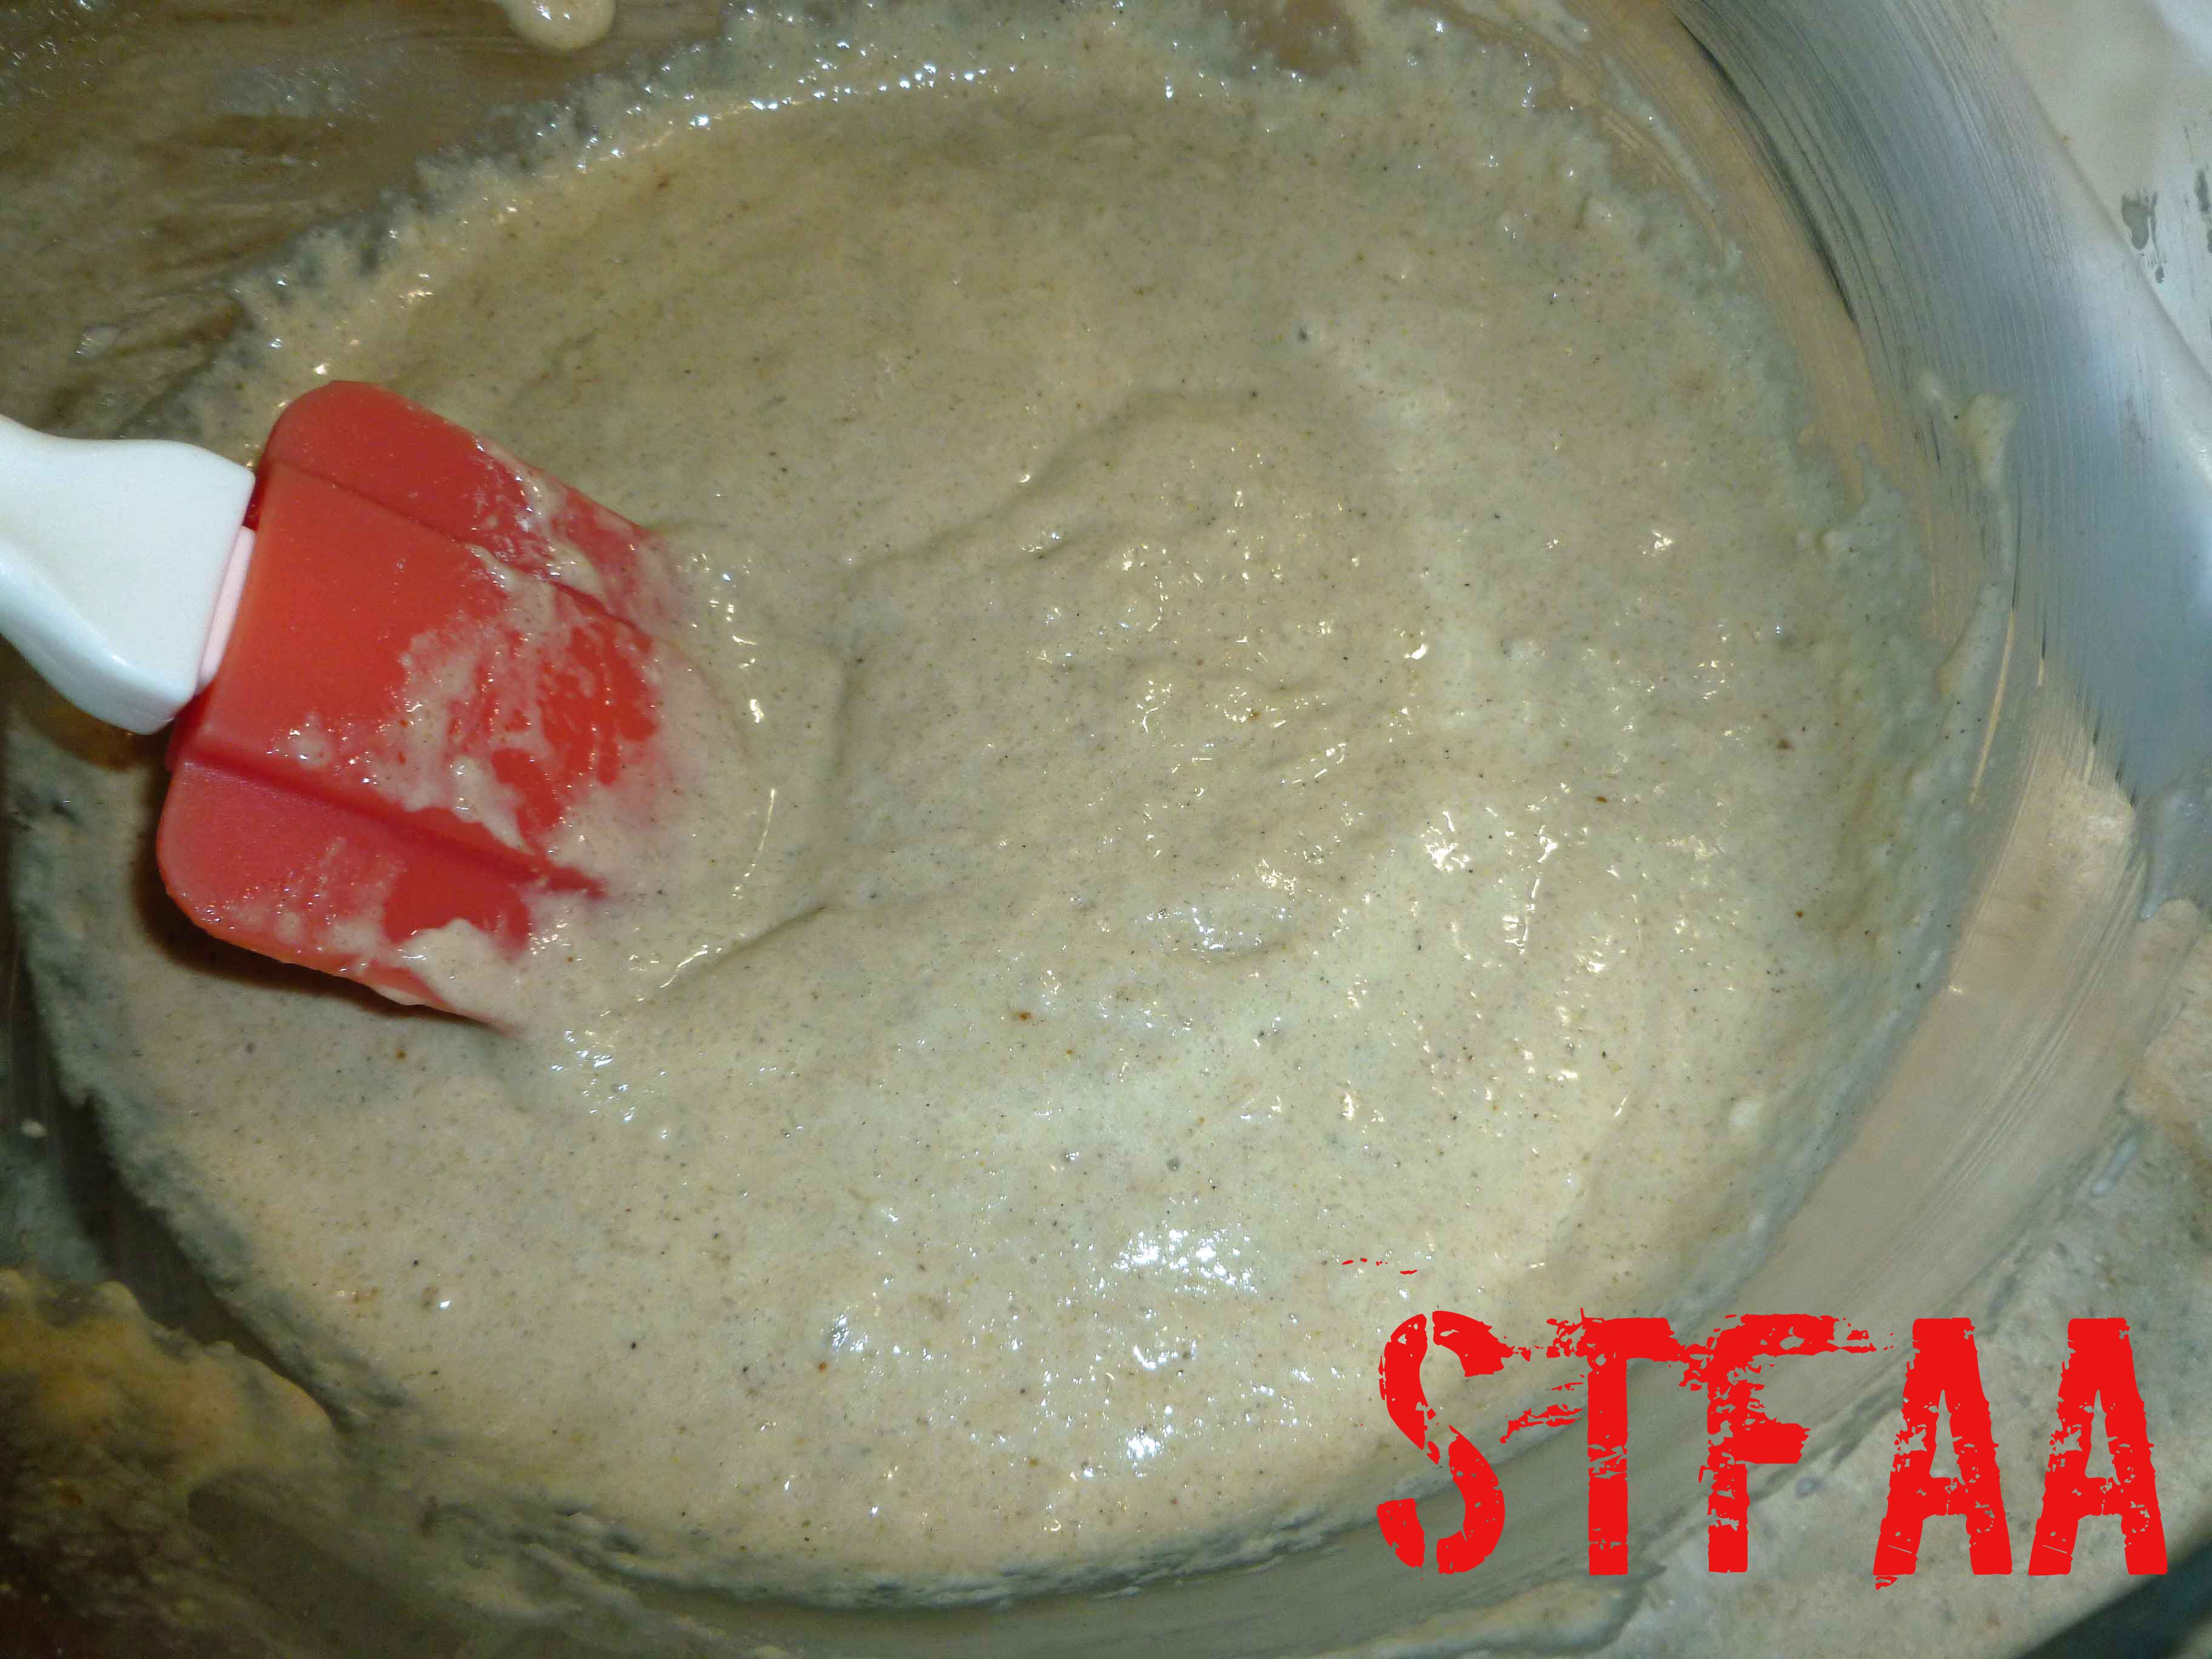
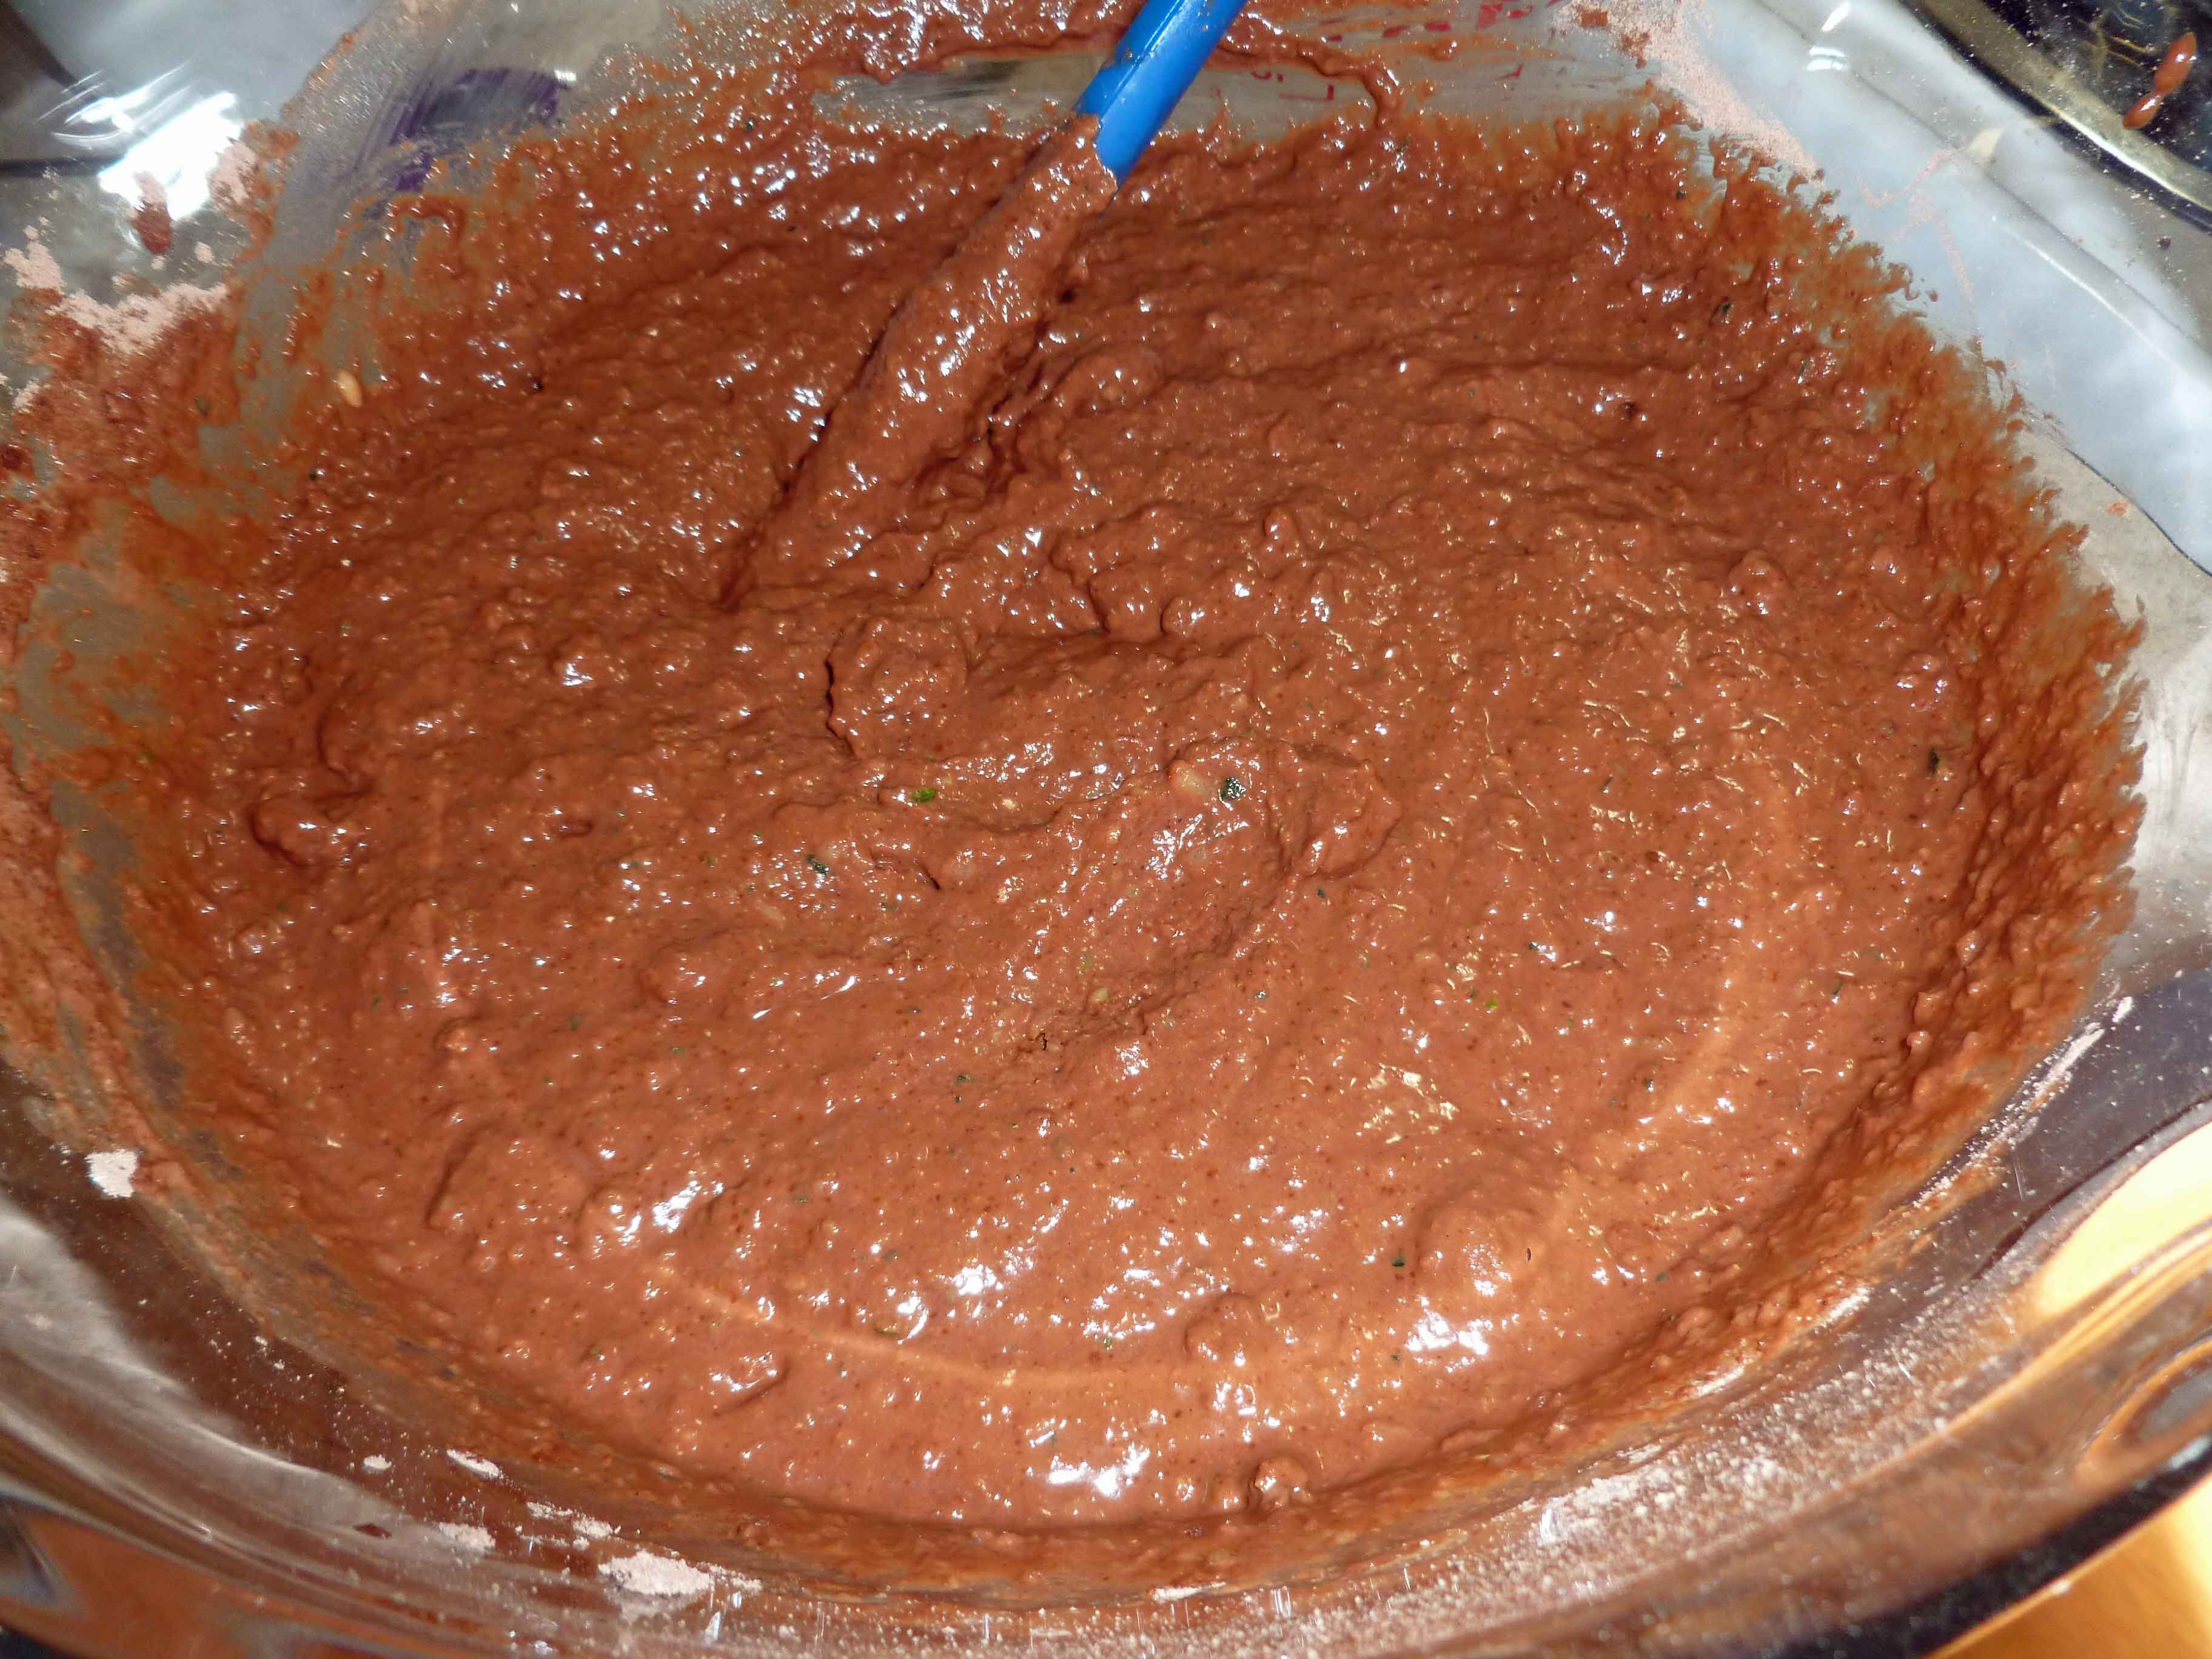
When psyllium in wet ingredients has gelled, pour wet ingredient mixture into the dry ingredient mixture and whisk them together until most of the lumps are gone.
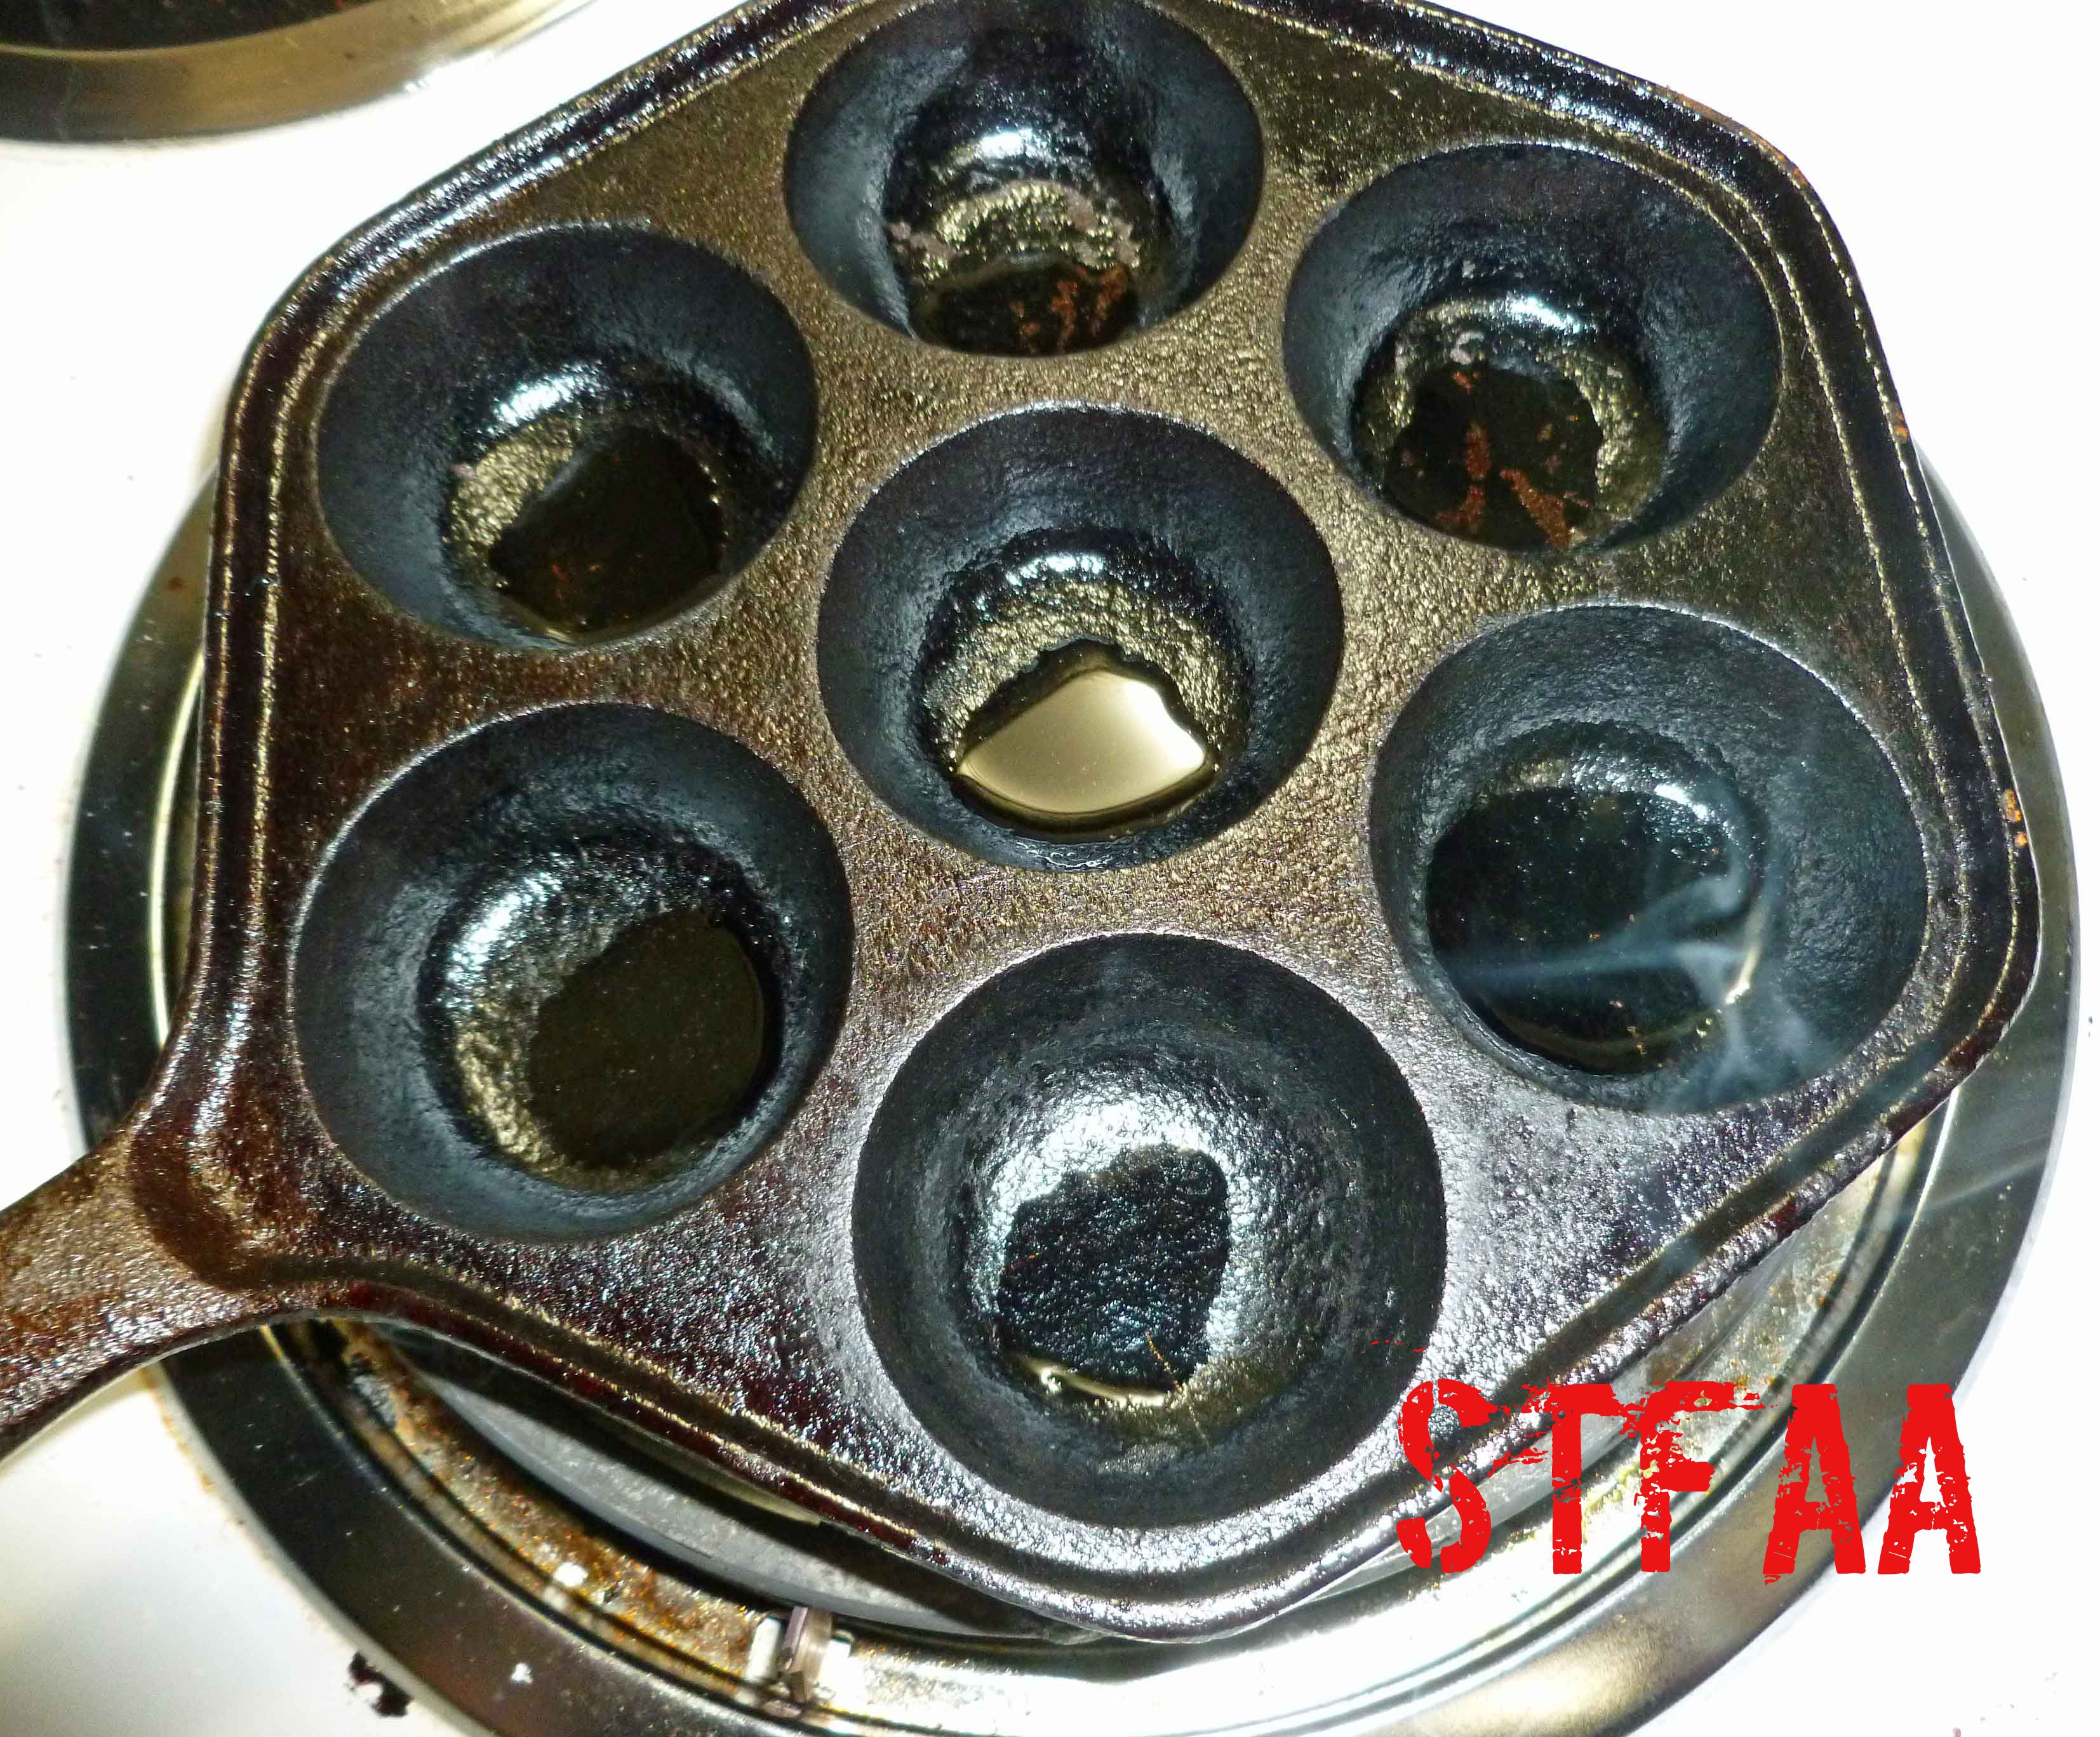
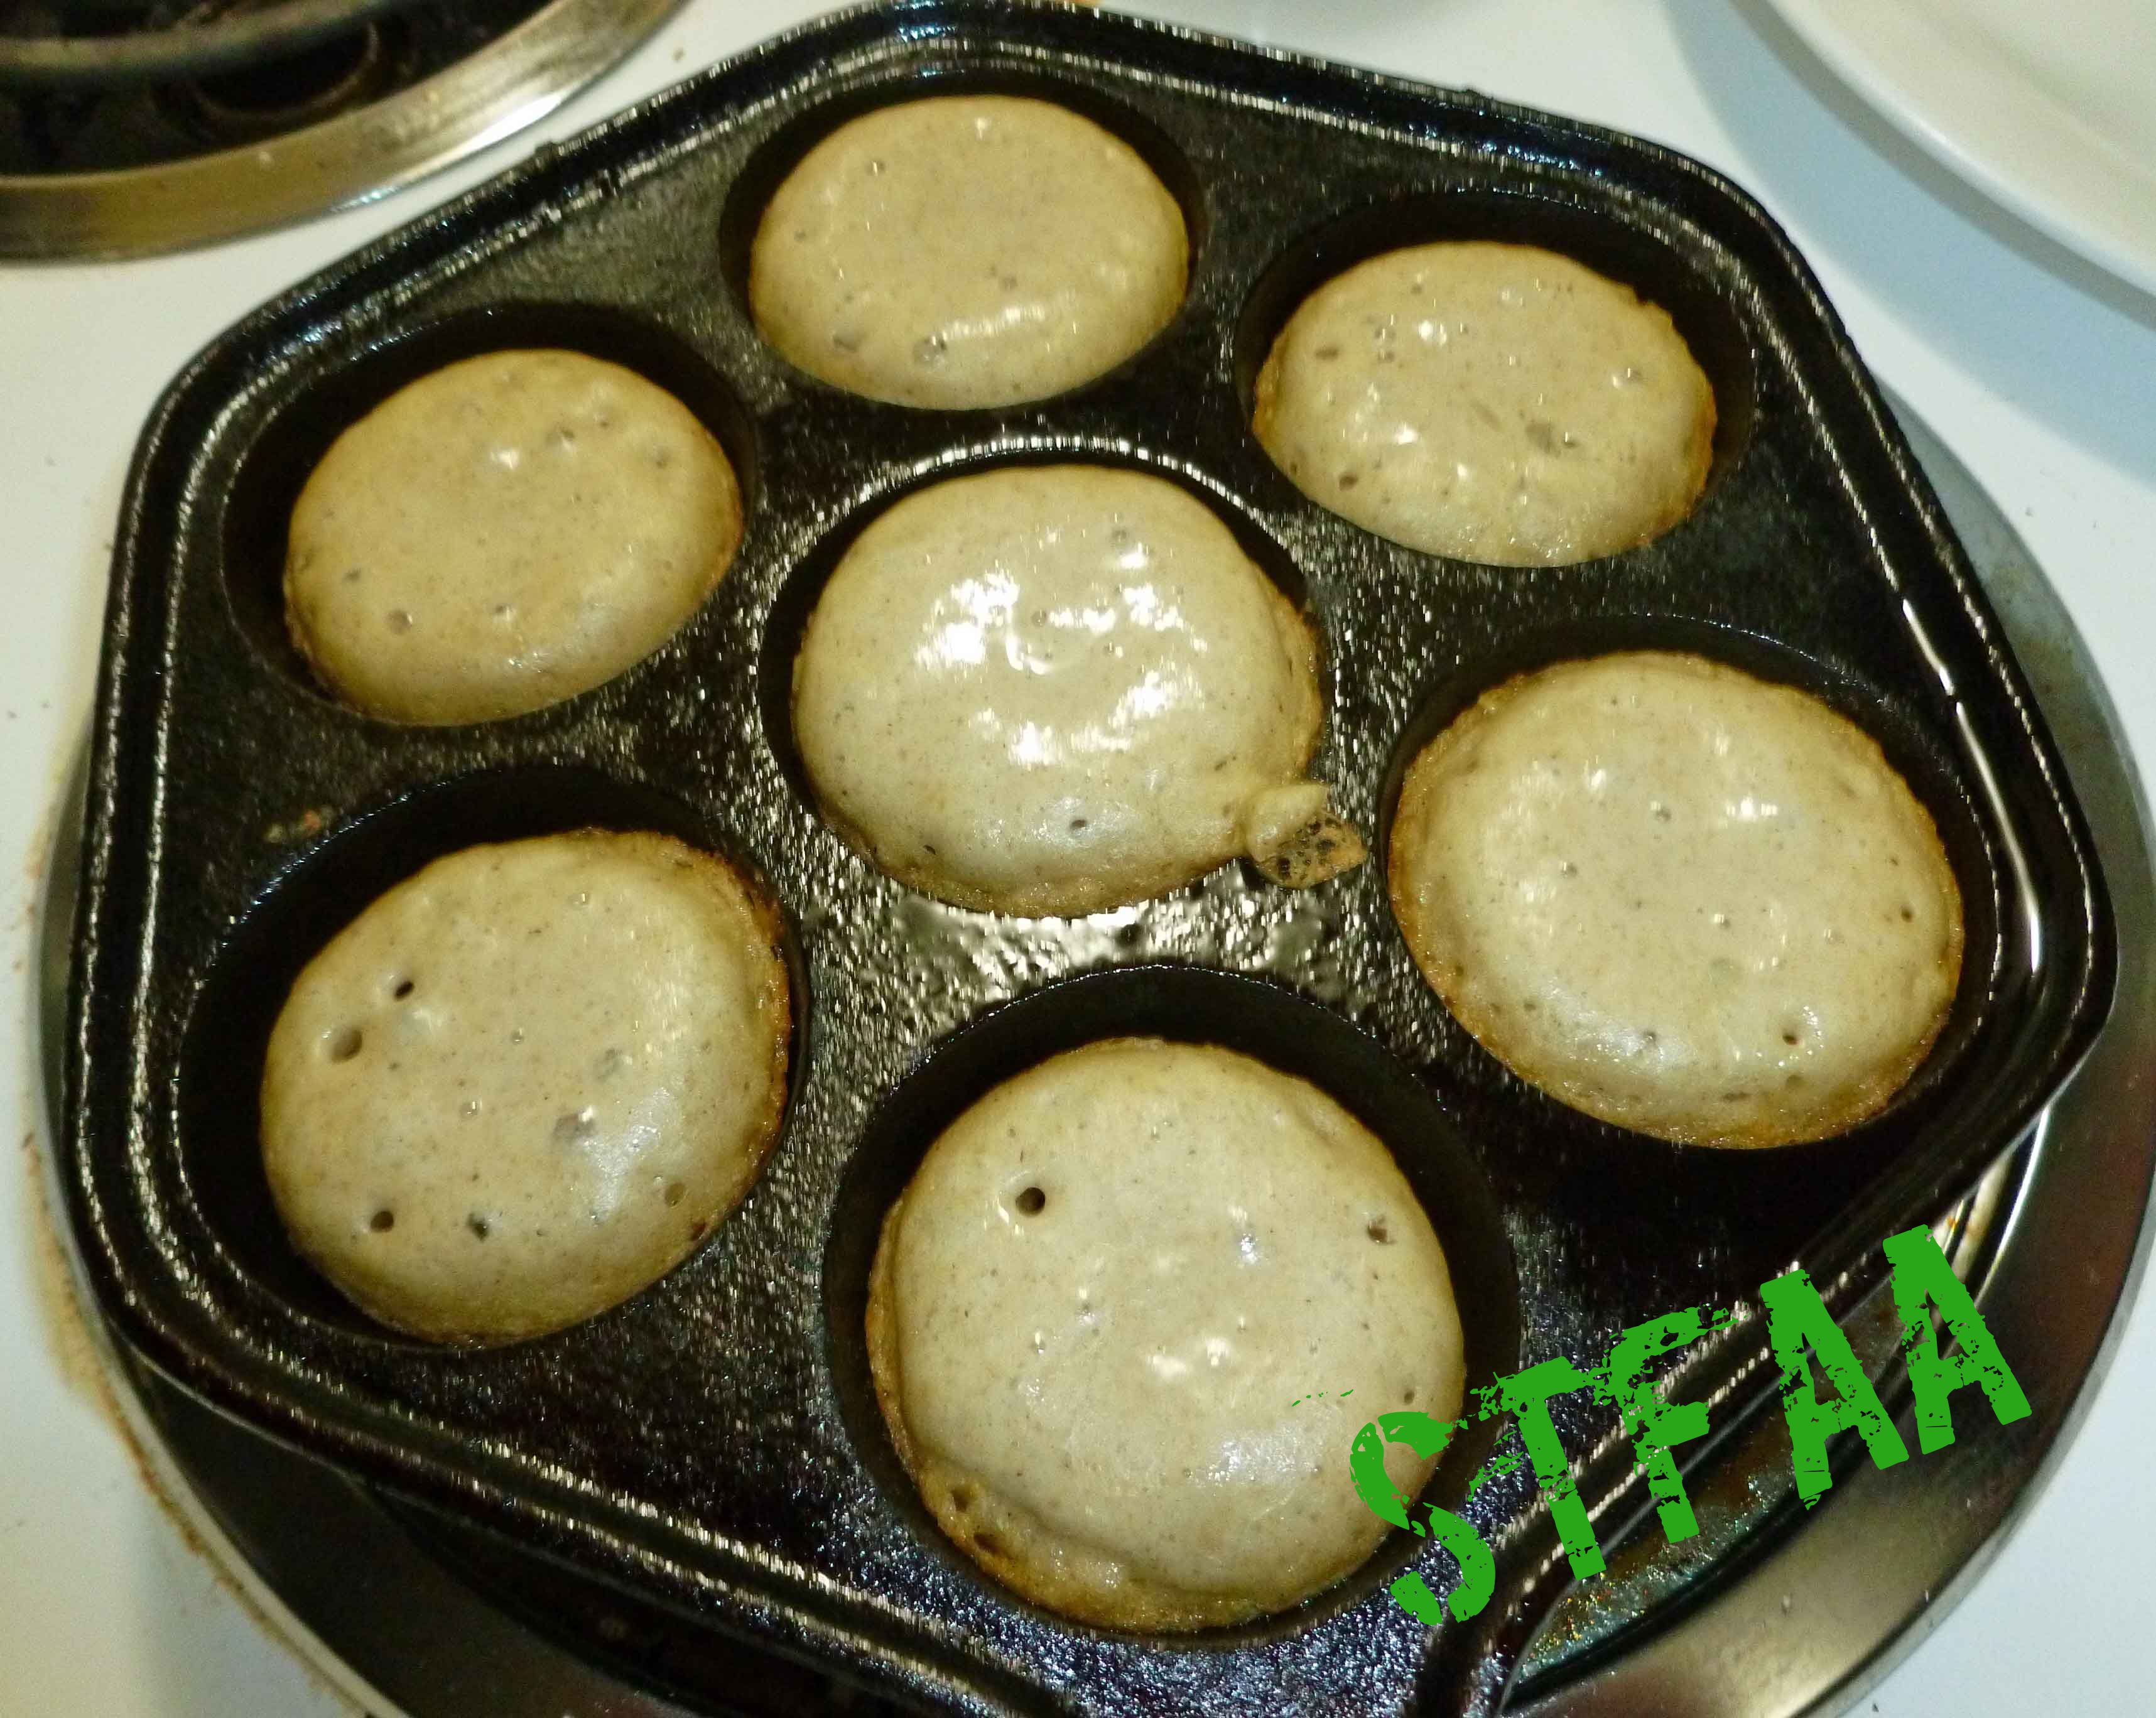
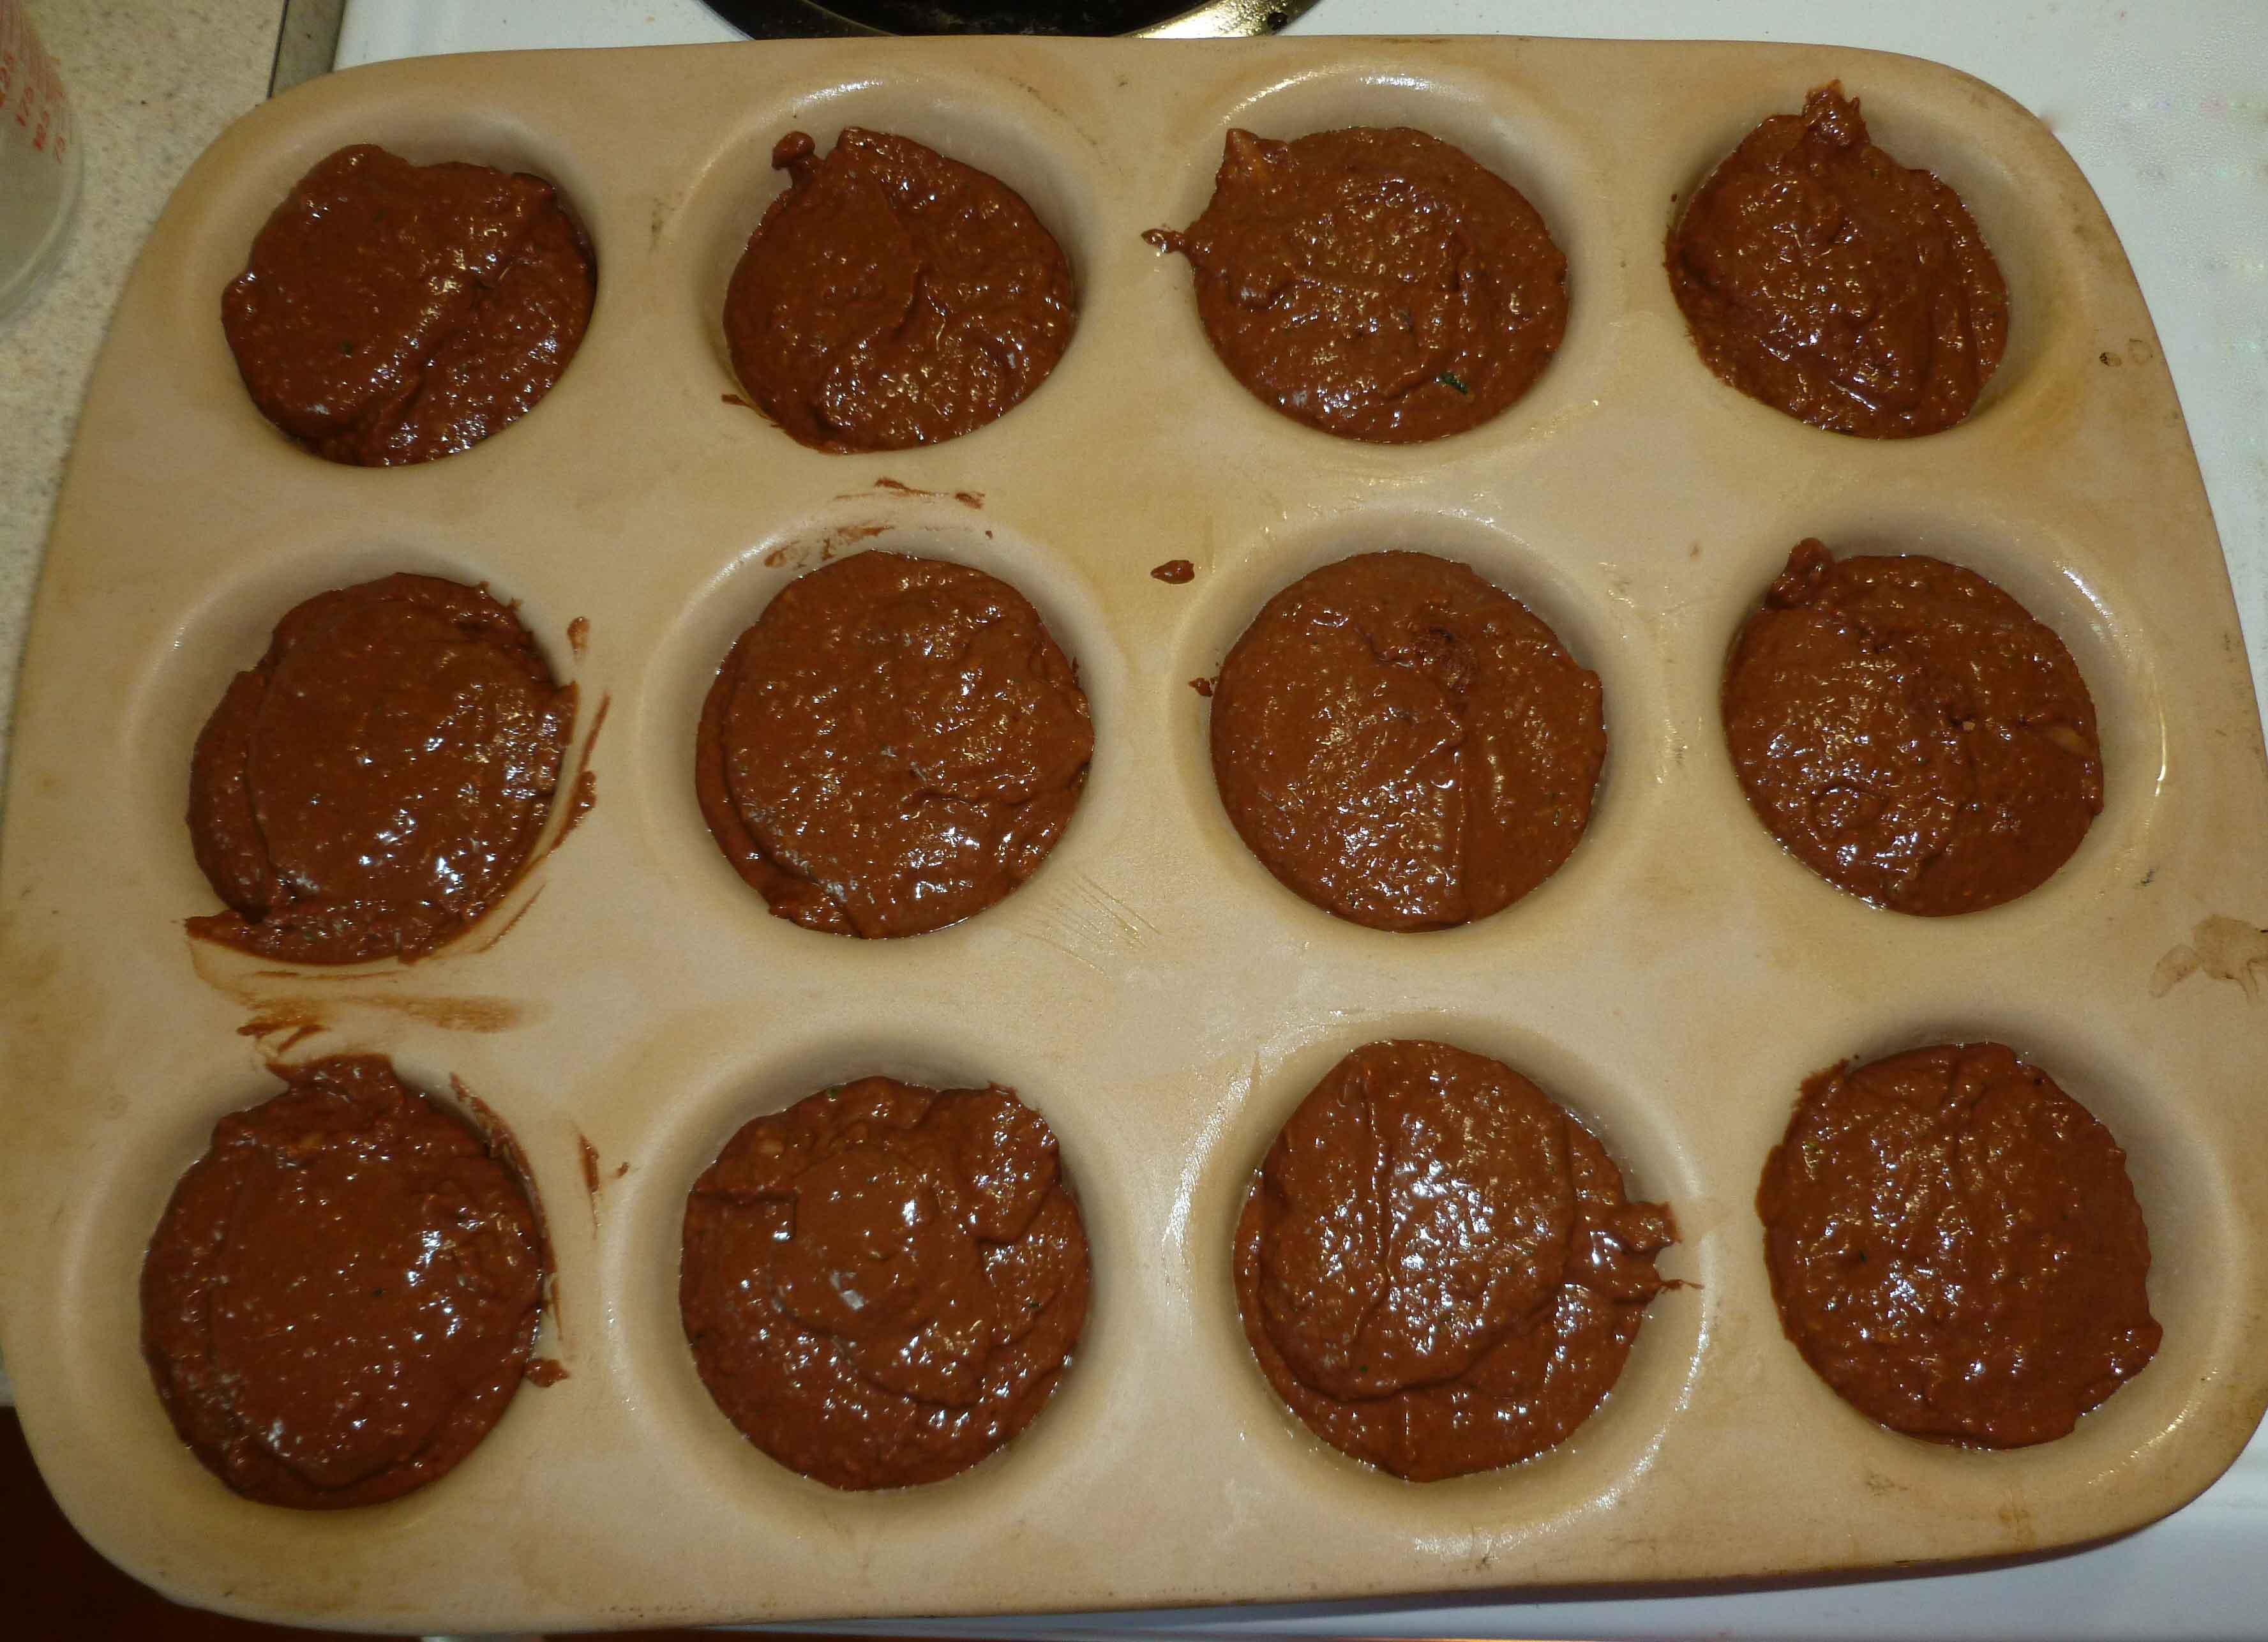
Heat your skillet over medium low heat, depending on your burner strength. When your skillet is hot, add a bit oil to each of the abelskiver wells, about 1/2 a teaspoon each. (Yes, this looks and sounds like a lot but is correct).
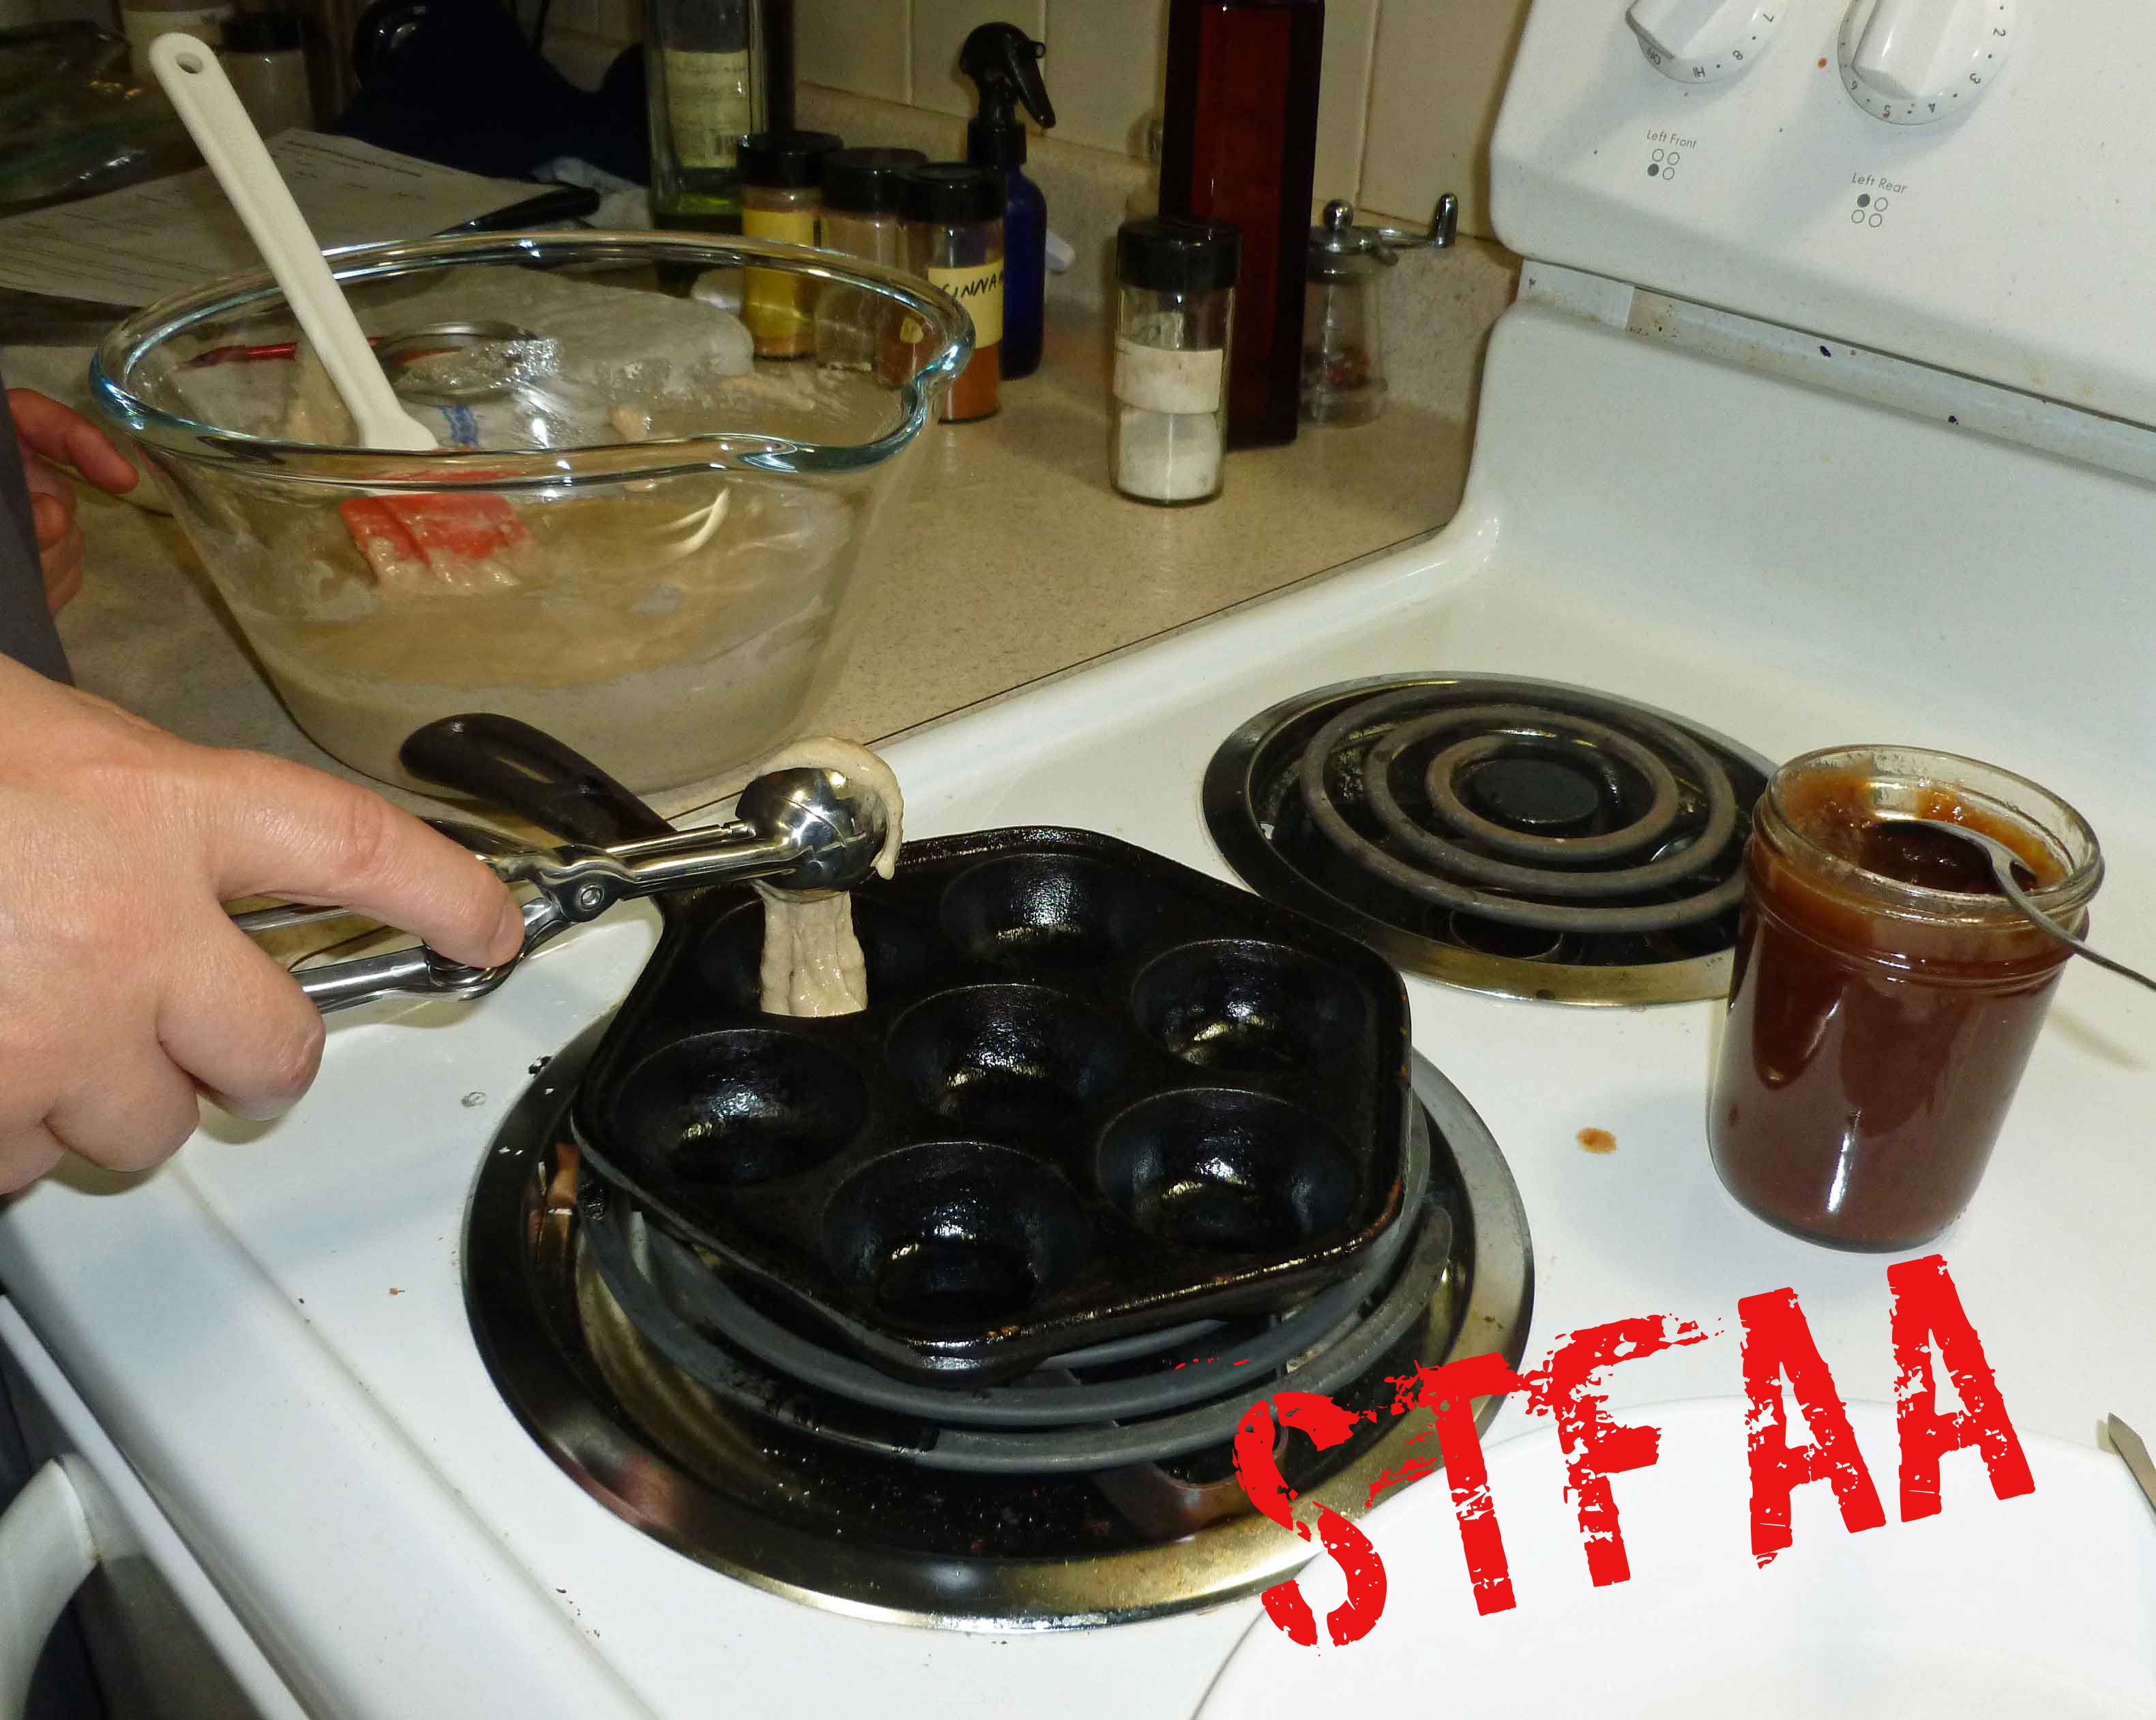
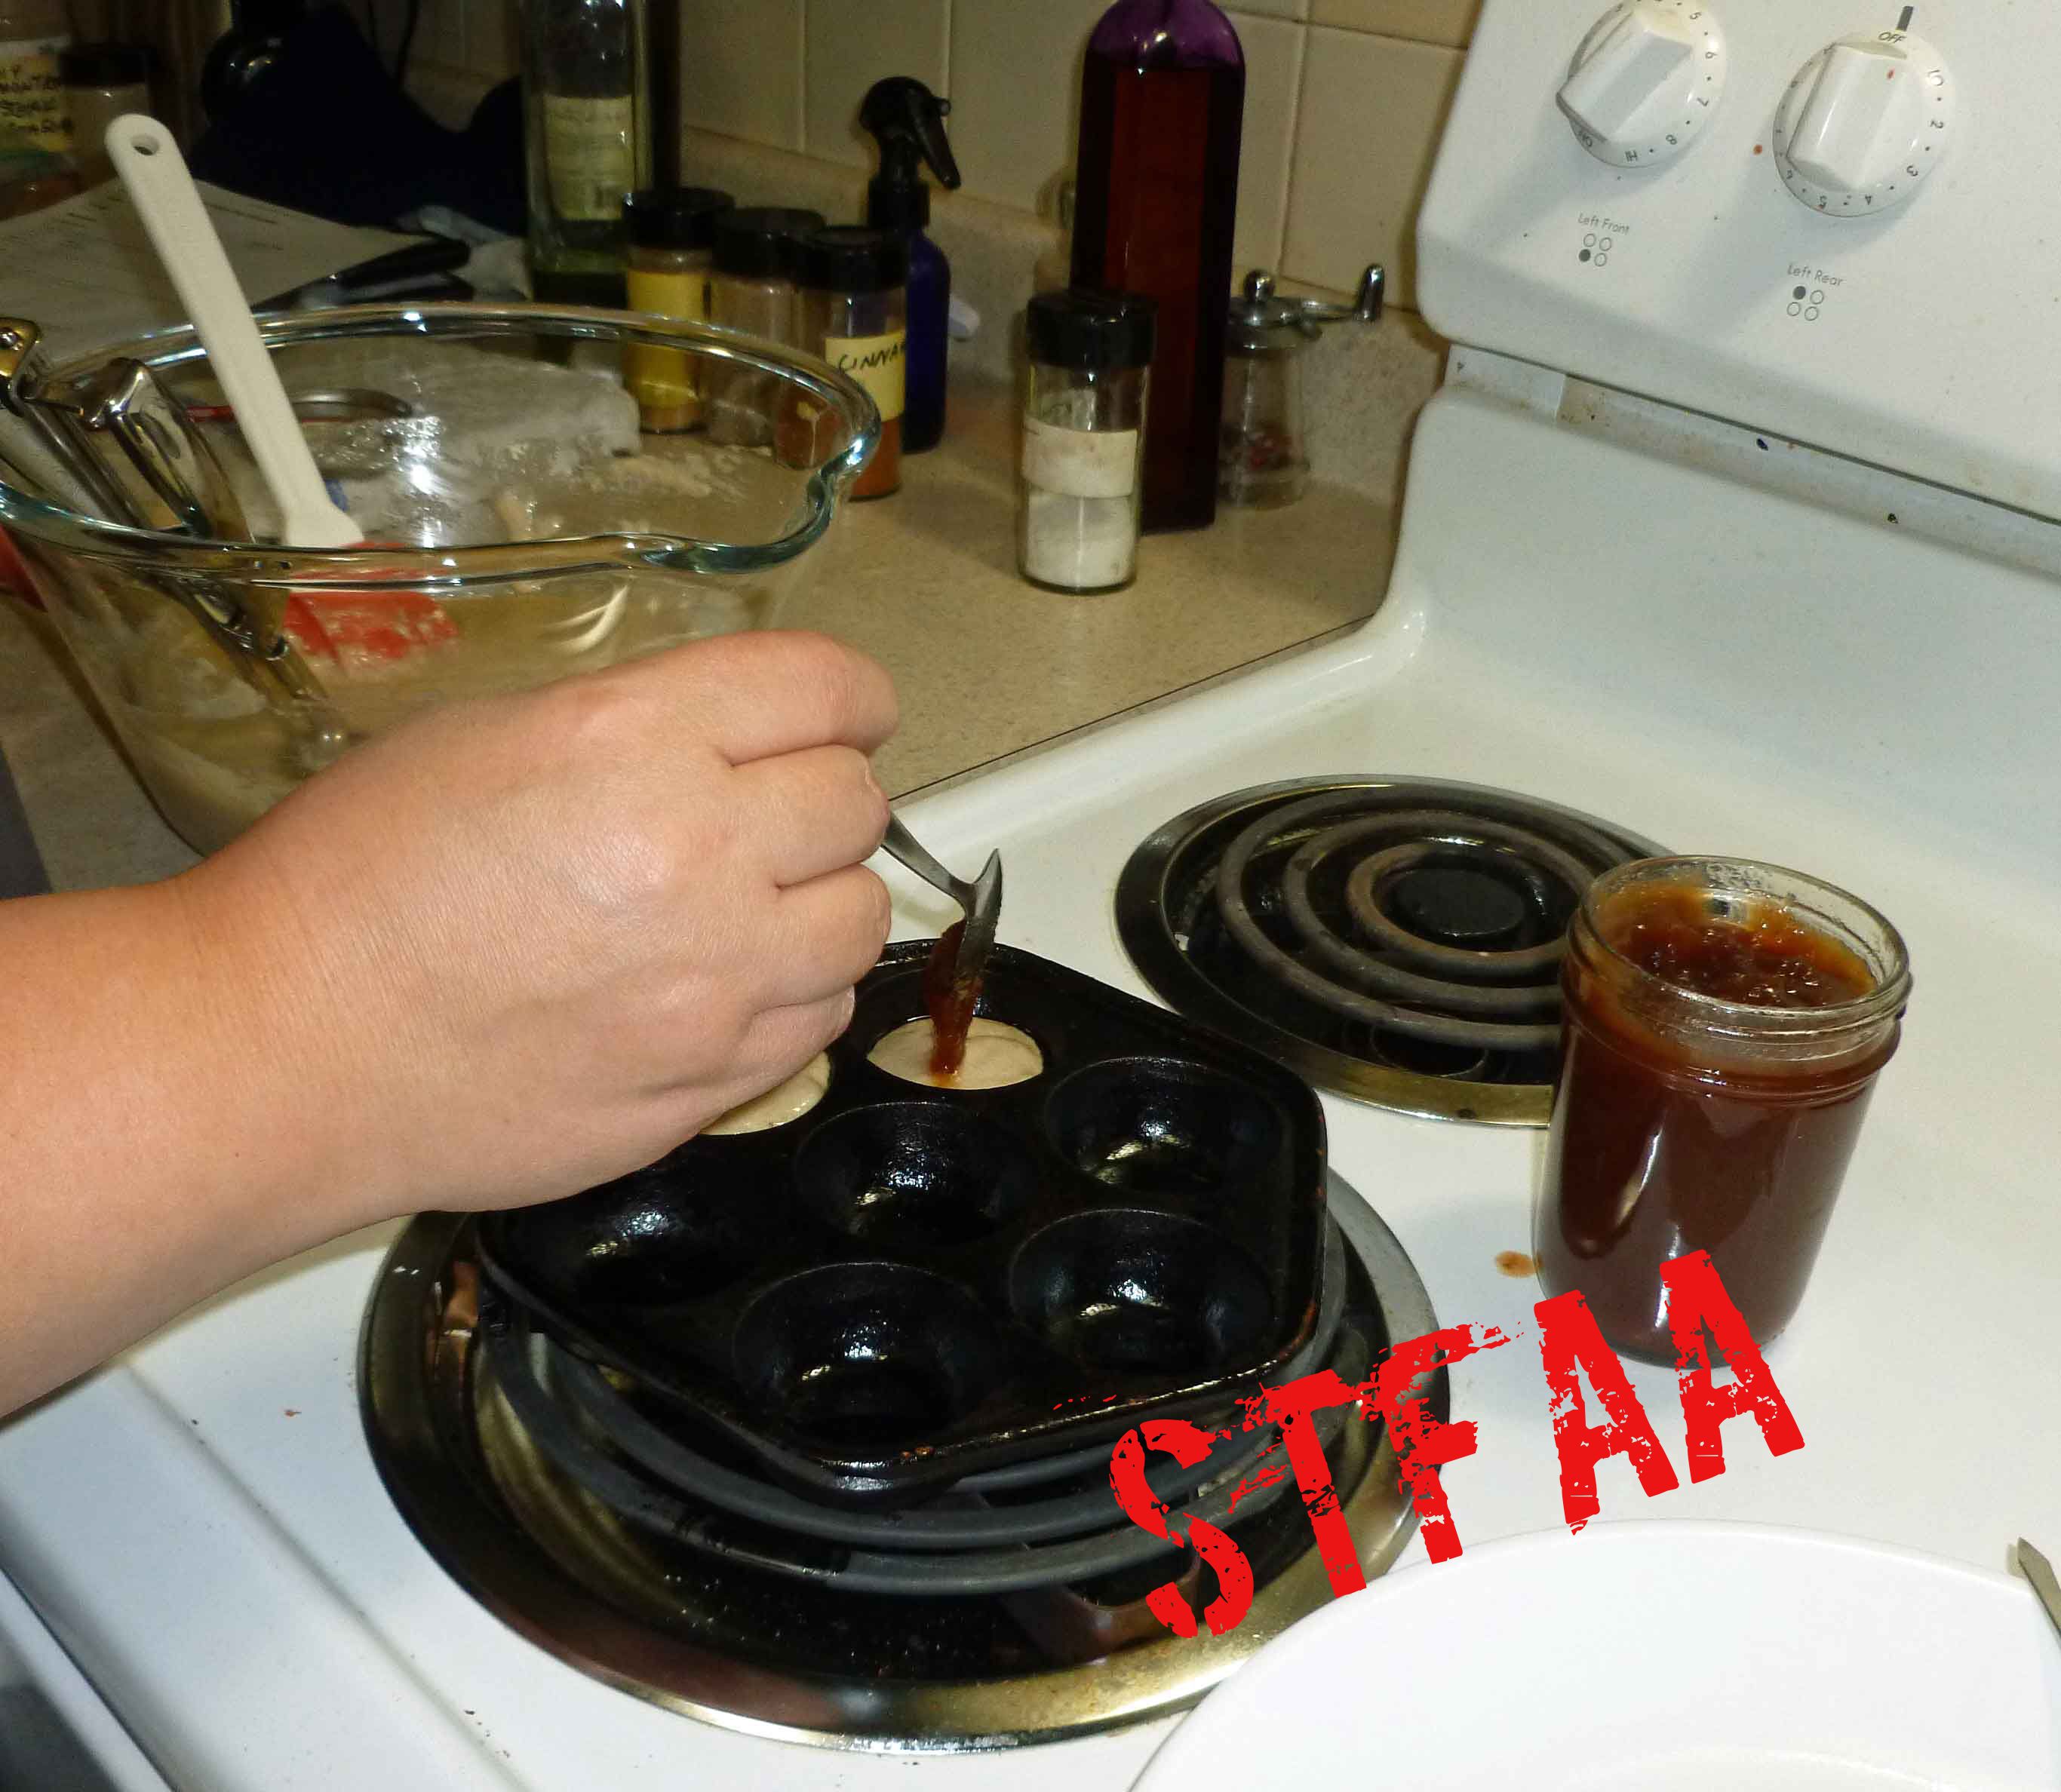
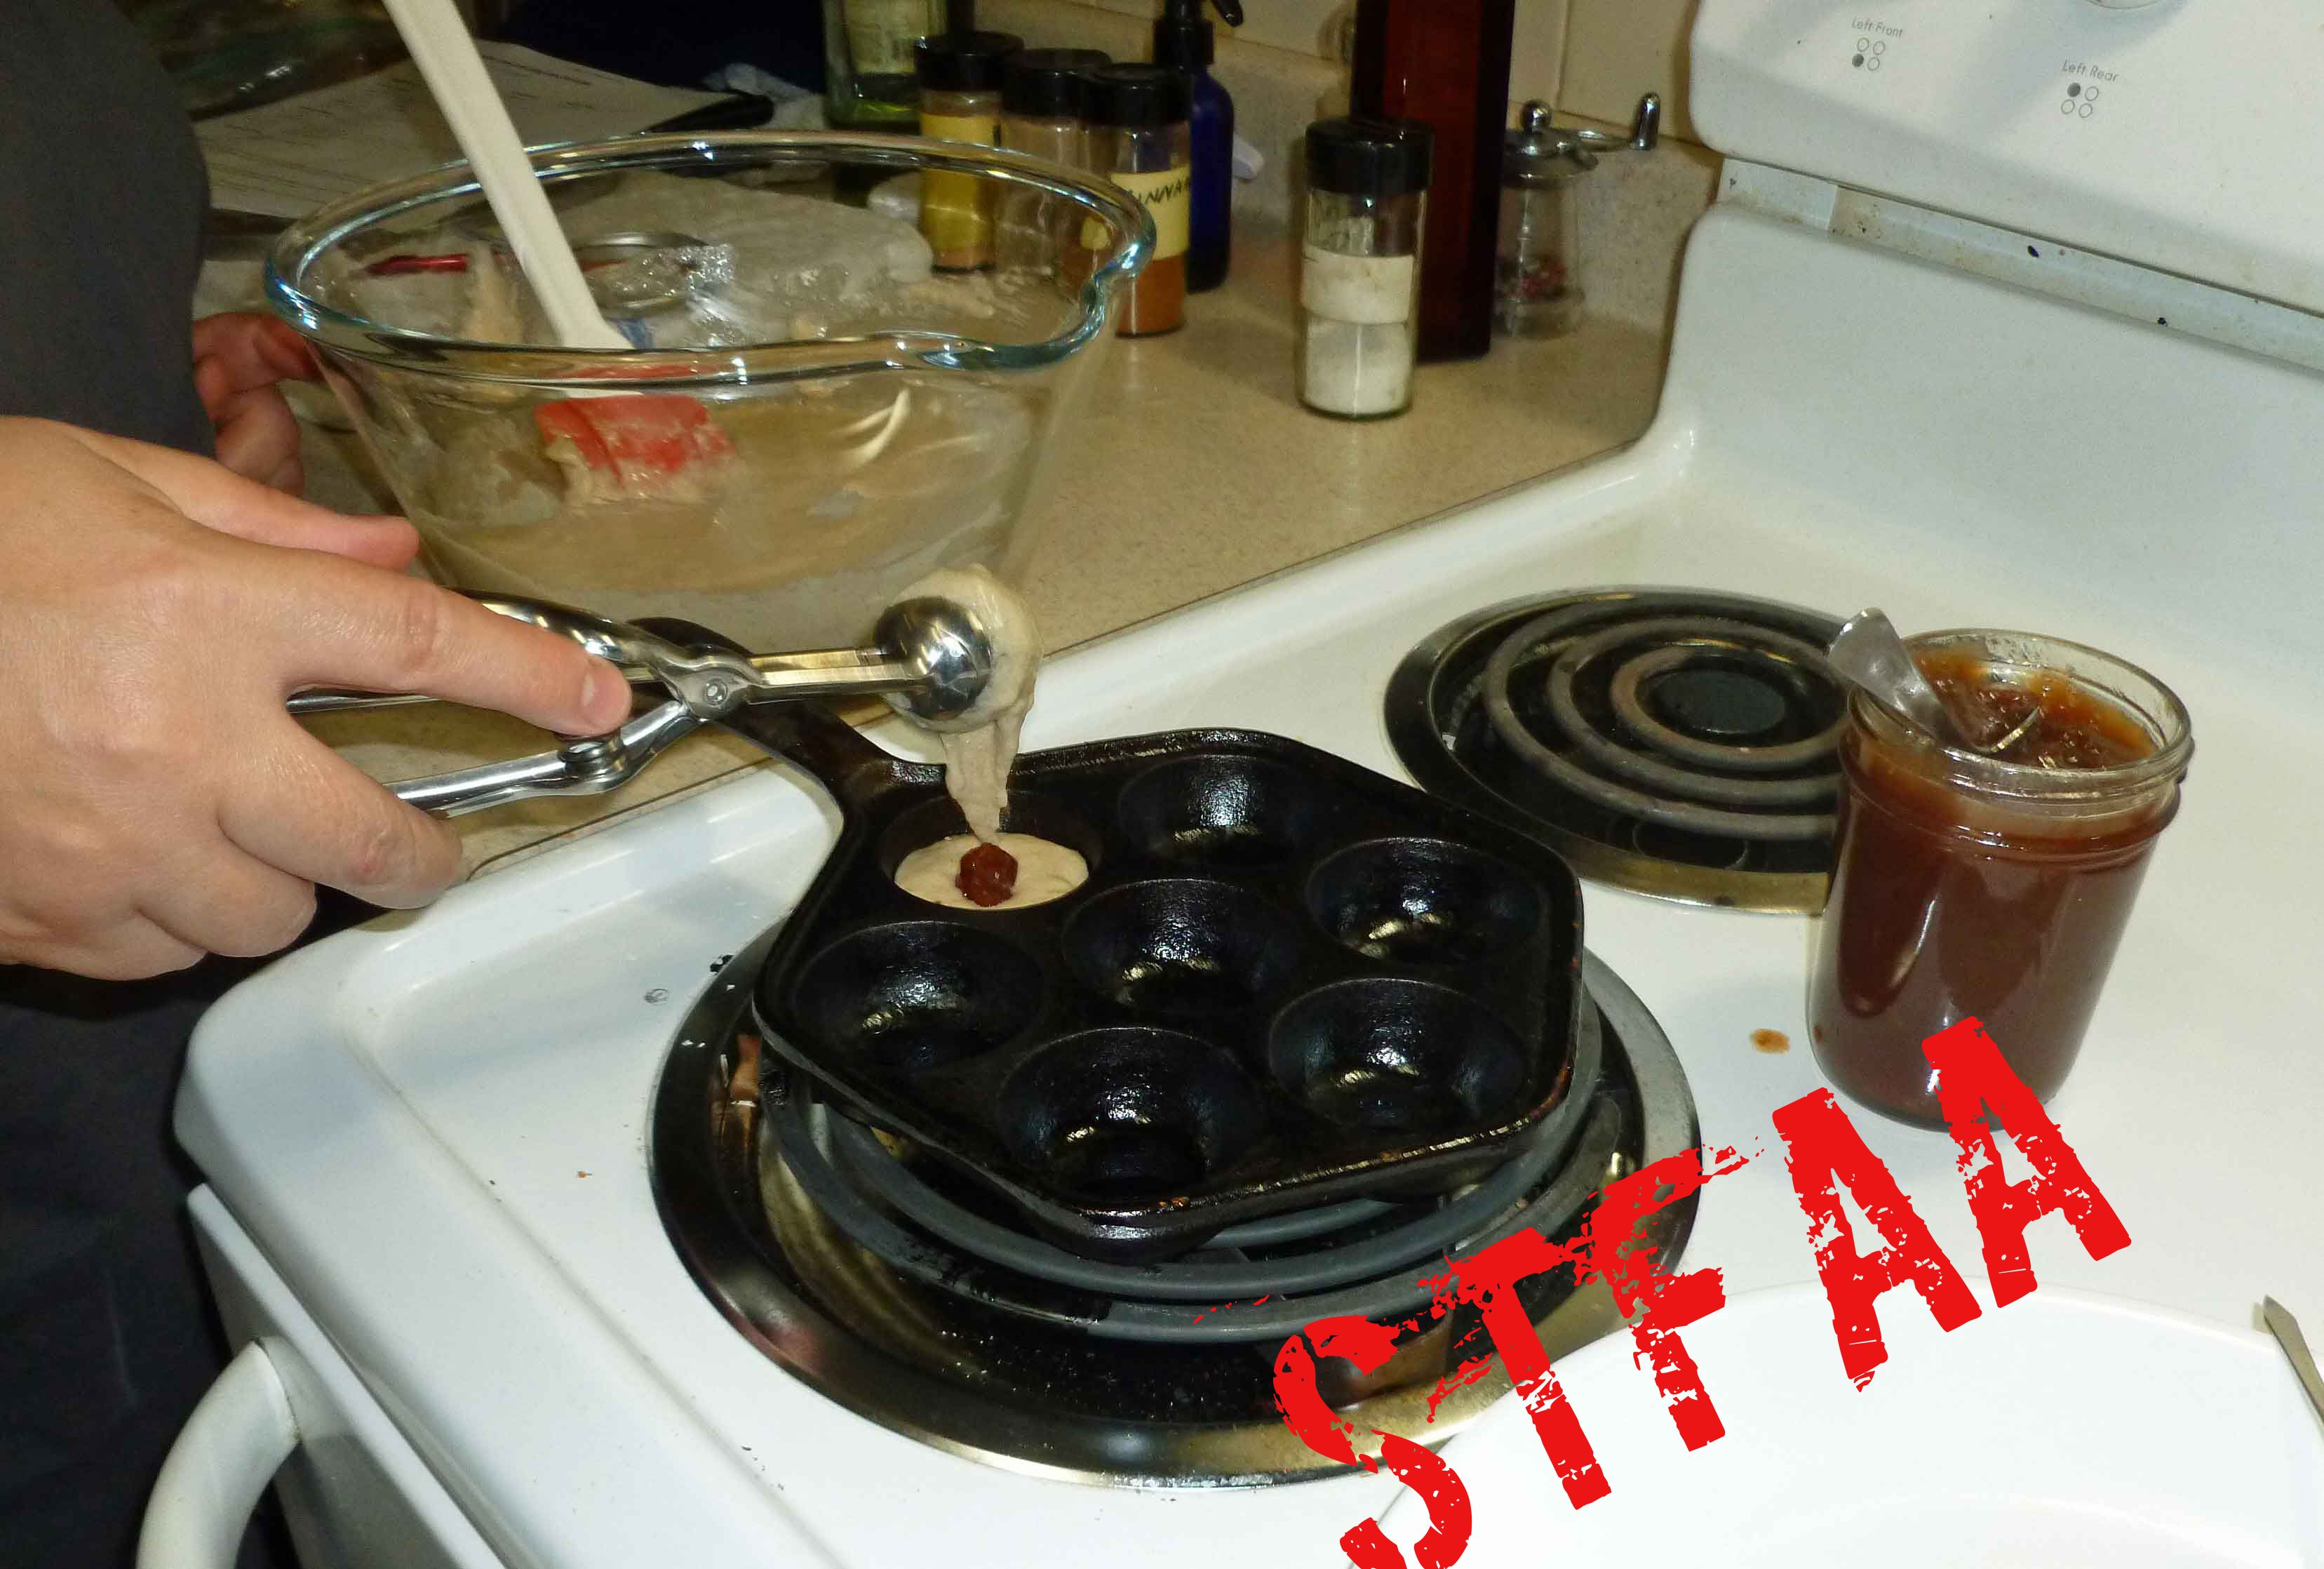
Scoop some of the pancake batter into one of the abeskiver wells. You want about 1/2 of a tablespoon, and then add about half of a teaspoon of apple butter, or your choice of jam. Then add about another 1/2 of a tablespoon of pancake batter. I used a Pampered Chef small scoop that holds about a tablespoon and only filled it halfway.
Cook until the edges of the ableskiver look dry and there are bubbles in the batter. You can use a small silverware spoon or a bamboo skewer to flip the abeskiver. Cook until the other side is a nice deep golden brown.
Notice: Trying to access array offset on value of type bool in /home/maryzahc/public_html/adultfoodallergies.com/wp-content/plugins/wp-ultimate-recipe/helpers/models/recipe.php on line 254
Measure all ingredients and place in a large mixing bowl. Using a whisk, mix the ingredients until well combined. Place in an air tight storage container and use in baking recipes.
Dry IngredientsWet IngredientsAbelskiver BatterAbelskiver pan with oil in each wellAdding first part of batterAdding apple butterAdding second part of batterAbelskiver ready to flipAbelskiver after flippingAbelskiver ready to eat!
This month, we were aiming to be inspired by what’s growing where we live. For Denise, this means what her garden is producing. For me, it means actually making time to go to the farmer’s market. I love the farmer’s market, but I’m rather lousy at managing to go shopping at a specific time every week. I’ve managed to make it about once a month so far this summer.
At the end of August, we have everything up here. The first thing that drew me in was basil, which I love, but most often ends up in pesto, which I don’t like much. Since we also have amazing stone fruits, I decided to pair basil with late summer plums and make a sauce. This sauce tastes like summer to me, and while it’s not a flavor that would pair with most vegetables perfectly, it seems to pair perfectly with pork and chicken, if you eat meat, and would likely be great on tofu and tempeh as well, if you eat soy products. It might also be good on sweet potatoes, but I haven’t tried it. I appreciate how fabulously easy it is to make dinner more interesting with a good sauce.
Straining the basil-plum sauce
The sauce takes about 40 minutes to make, but most of that is just cooking over low heat. You’ll end up with something of a consistency of a thin ketchup, a fruity acidity and very lightly floral (basil) flavor.
Notice: Trying to access array offset on value of type bool in /home/maryzahc/public_html/adultfoodallergies.com/wp-content/plugins/wp-ultimate-recipe/helpers/models/recipe.php on line 254
Mix plums, water, and oil in a saucepan, cover and heat over low heat for 10 minutes.
Stir well, and cover and cook for 10 more minutes.
Partially cover (leave the saucepan lid ajar) and cook for 5 more minutes.
Add 1 Tablespoon of basil, stir well, and cook uncovered for 5 more minutes, smashing the plum flesh down a bit if it’s still not saucy enough.
Remove the sauce from the pan to a large measuring cup or heat-safe bowl, and then strain it back into the sauce pan. This will remove the basil you just added, though it’s infused flavor, but it will also remove the plum skins and a bit of the fiber.
Add in the last 1T of basil, the pinch of salt, and the liquid sweetener. Stir well.
On the lowest setting, reduce the sauce by about 1/3 of the volume, letting it thicken up a bit. Now’s the time to taste it and see if the salt level is right — if you need to add more, cook it just long enough to dissolve the salt.
Should keep for about a week in the fridge, longer in the freezer (but I’m not sure how long).
So it’s farmer’s market/garden produce theme month here on the blog, and I have some zucchini to use. Not as many as I would like as my squash plants are not cooperating this year, but many of you may be swimming in them. This recipe uses puréed zucchini. I grate it first, measure out two cups and then purée it in my food processor. For those of you with mini humans, this will be a great way to hide veggies if you have to do so, as you can’t really tell the zucchini is in there. This is definitely a muffin, not a cupcake, so there’s a fair bit less sugar, as I wanted to eat them for breakfast without a huge sugar high.
Enjoy!
Chocolate Zucchini Breakfast Muffins
Print Recipe
When you have too much zucchini, and you’d like a little chocolate with breakfast without so much sugar.
1 1/2cupsGluten-free, Rice-free, Potato-free flour mix(see our post here for the recipe – http://adultfoodallergies.com/whoopie-pies-gluten-free-with-vegan-option/
1/2 cup sorghum flour
3/4 cupcacao powder(I do well with Wilderness Family Naturals Cacao Powder)
1/2 cup sugar
1/2teaspoonsea salt
1Tablespoonbaking powder(here’s a recipe for a corn-free one – http://wholenewmom.com/health-concerns/make-your-own-baking-powder/)
Wet Ingredients
1cupnon-dairy milk(I used homemade cashew milk, but homemade rice milk will work too)
1/4cupsafe for you oil(I used grapeseed oil)
3Tablespoonsaquafaba(see http://aquafaba.com/)
1/2 teaspoonpsyllium husk
2cups grated zucchini which is then pureed
Servings: muffins
Instructions
Preheat oven to 425°F. Grease a 12 cup muffin pan with some of your safe oil.
Add all the dry ingredients to a large bowl and whisk together until well combined. In another bowl, add all the wet ingredients and whisk until well combined.
Pour the wet ingredients into the dry ingredients, and using a spoon or spatula, blend the two about 20 seconds or so, do not over mix. Fill the muffin cups about two thirds to three quarters full.
Bake 25-30 minutes depending on your pan (metal needs less time, stoneware needs more) or until a toothpick inserted into the middle of one of the center muffins comes out clean. Remove them from the oven, and as soon as they are cool enough to handle, turn them out of the pan onto a rack to cool.
Last week was really not my week. I was in a bad mood and things kept happening to reinforce that, plus I was super busy and not sleeping well, and all around, it did not go well. I need my sleep, people. I am not a nice person without it. So I don’t know why I thought last minute tweaks to this recipe would work. They did not. It was disgusting. Jack ate some of it, but… nope. No more excuses — you want recipes, right?
I went back to my original recipe and this is much better. This is not a fancy recipe — it’s a pretty simple kale salad with an easy vinaigrette dressing that plays up kale’s intense flavor and texture and dressed up with some dried cranberries. Now, I know kale’s had its day in the sun, but I love it and will keep eating it. I don’t really love how chewy raw kale is, so when I make salads, I microwave the kale really briefly just to soften it up. That’s perfect for me — let me know how it works for you. The dressing is super thick and intended to really stick to the kale leaves. The cranberries will sink to the bottom, though, so scoop up.
Notice: Trying to access array offset on value of type bool in /home/maryzahc/public_html/adultfoodallergies.com/wp-content/plugins/wp-ultimate-recipe/helpers/models/recipe.php on line 254
First, rehydrate the cranberries by just covering them with boiling water and letting them sit for 10 minutes.
Chop the kale. I tend to destem the whole bunch after washing and spin it through my salad spinner to dry it. Then I grab handsful and do a really rough chiffonade (slice thin). If the leaves were big, I then chop perpendicular to the original cuts a few times. About 1.5 leaves per person seems perfect for a side salad.
In a microwave-safe bowl, heat the kale on high for 10 seconds. Stir and do it again. In 20 seconds, your kale should be a bit brighter green and much more tender, but if not, do a few more seconds — microwave intensity varies widely.
Mix the dressing ingredients, except the oil, well. Then drizzle in the oil. Taste and adjust the seasonings — you might want more sugar if your balsamic is particularly intense.
Drain the cranberries, and toss the cranberries and lightly cooked kale with the dressing.
If you eat tree nuts, walnuts or almonds are a nice addition to this salad, but are totally optional.
Last summer, I got behind in the garden and let some of the radishes go to seed. I was okay with that because the bees loved those flowers and I just let them be for the bees (yes, I know that’s an awful phrasing, but I couldn’t help it). So, doing what plants inevitably do after pollination, they produced seed pods. They looked so interesting, but I didn’t know what you could do with them or if they were edible. After they were hard, dried out, and nasty, and it was too late, I was paging through The Joy of Pickling by Linda Ziedrich (no affiliation with Amazon) to see if what else I could do with daikon radish, and discovered a radish pod pickle which supposedly dates from 1824. When I was pouring over seed catalogs to plan for spring in January, I found this purple Dragontail Radish (no affiliation with Burpee) that you grow just for the pod. It was purple, and I was already curious about it. What was I supposed to do? Of course I ordered some seeds. And I got purple radish pods ranging from 6 to 18 inches long. And then of course, I flaked on harvesting some of the regular radishes again, so I had a bunch of very pretty little green seed pods about 2 inches long.
Dragontail and regular radish seed podsDragontail and regular radish seed pods
I modified the recipe in The Joy of Pickling by Linda Ziedrich to make it a fridge pickle for quick eating and added some whole coriander seed to give it a lemony taste. They are lovely. If you can’t find radish pods and want to give this recipe a go, I’d try it with sliced radishes as well, the flavor profile will be the same.
1dried arbol pepperSliced in half, you can use other dried chili peppers you may have on hand)
1clovegarlic, peeled and sliced(I used two garlic scapes because I had them to use up)
1 1/2cupsapple cider vinegar(Braggs is most tolerated for those allergic to corn)
1 1/2cupswater
2 1/2teaspoonssalt
1/2teaspoontarragon(If fresh, use one sprig)
1teaspoonwhole coriander seed
Servings: quart
Instructions
Place radish seed pods, chili peppers, garlic or garlic scapes, tarragon, and coriander seed in quart jar.
Place apple cider vinegar, water, and salt in a small sauce pan and bring to a boil.
Pour hot apple cider vinegar mixture into jar to covering radish pods. Place lid on jar, cool to room temperature and place in the refrigerator. You can eat them the next day, but for the full flavor to steep in it might take a day or two.
We were supposed to rework recipes this month, but nothing I want to work with is actually lending itself to rehabilitation. I was stuck. Then my friends at Treehouse Bakery in Phoenix posted this amazing photo of stacks of sprinkle cookies (see July 28th) and I was obsessed. The bakery is vegan, but I don’t think this recipe was gluten-free, so I started digging. And baking. And running out of sprinkles.* ALL THE SPRINKLES. Which is kind of the whole point of this whole recipe.
I modified this not allergy-safe/friendly recipe to make it gluten-free, dairy-free, and egg-free. To make this easier, I’ve used a commercial baking mix from Bob’s Red Mill (the 1-to-1 rather than their original bean-based recipe, and this one contains xanthan), psyllium as the egg replacer, and Earth Balance margarine.
This results in a thick crispy cookie that is also light and airy. I’m not sure that’s the traditional texture (I’m not sure I ever had a sprinkle cookie?), but I quite liked it. If you make a lot of cookies, I can highly recommend getting a 1 tablespoon serving scooper — it makes the fussy part of making cookies much less finicky. Any restaurant supply store has every possible size serving scoop you could ever want.
Gluten-free Vegan Sprinkle Cookies Notice: Trying to access array offset on value of type bool in /home/maryzahc/public_html/adultfoodallergies.com/wp-content/plugins/wp-ultimate-recipe/helpers/models/recipe.php on line 254
Gluten-free Vegan Sprinkle Cookies
Print Recipe
Gluten-free Vegan Sprinkle Cookies
Print Recipe
Ingredients
3/4cupEarth Balance soy-free margarine
1/2cupsugar
1/2cupconfectioners sugar
1/4cupoil
2teaspoonsvanilla
2cupsgluten-free flour mix(I used Bob’s 1-to-1 Mix, which contains xanthan gum)
1/2teaspoonbaking soda
1/2teaspoonsalt
1Tablespoonpsyllium huskground
rainbow sprinklescheck that they are safe for you!
cupAbout 1rainbow sprinkles
Servings:
Instructions
Pre-heat oven to 350°F.
Mix together the margarine and sugars until well-blended. Don’t soften the margarine — it is soft enough!
Add oil and vanilla and mix well.
In a separate bowl, mix together the dry ingredients EXCEPT sprinkles. Add to the margarine/sugar mix in two batches, mixing well. You should have a relatively stiff dough, but very malleable.
In 1 Tablespoon lumps, make round balls and roll in sprinkles. Flatten slightly and space evenly on a cookie sheet lined with parchment or silicone mats.
Bake at 350F for 25-30 minutes. Cookies *will not* brown. Do not overbake — they will look slightly dry on top, but still be soft.
Well, I loved the original version of out Better Than Sex Vegan Rum Caramel Sauce. Loved it. Seriously. And then the corn allergy reared its ugly head, and then I had to put maple syrup on the suspect list because of a few odd reactions (and I’m already allergic to maple pollen), so using corn syrup, Earth Balance, and maple syrup became a problem for me. I still haven’t verified the maple issue because most maple syrups use dairy or canola (which is a problem for those with corn allergies) as a defoamer and I’ve not bothered to track down a producer that doesn’t use a defoamer yet. So since I had to rework the recipe due to corn anyway, I left out the maple syrup. If you don’t have issues with either corn or maple, feel free to use the old recipe — it was great. This recipe requires that you make dark cane syrup ahead of time, but the recipe makes extra so you can have it on hand.
Combine all ingredients in a saucepan which has a cover. Stir and bring to a boil. Reduce heat to simmer, place the lid on the saucepan, and simmer for three minutes.
Remove the lid of the saucepan, and using a candy thermometer, boil until the syrup reaches 235°F to 240°F (soft ball stage). It is better to be a few degrees under than to go over 240°F.
Once it has reached 240°F, remove the sauce pan from the heat, and allow to cool for at least an hour. Then pour the syrup into glass jars to store, place the lids on the jars, and store them in your cupboard.
1/2cupdairy free margarine(You can use Earth Balance, your own homemade vegan version, or if you aren’t vegan and have a corn and coconut allergy, you can use our homemade margarine – http://adultfoodallergies.com/homemade-margarine-new-and-improved/)
1/2cupdark cane syrup(See recipe in post.)
1Tablespoonvanilla extract(I make my own with vanilla beans and vodka made from potatoes, as most commercial extract contains corn)
4Tablespoons rum(Be very careful, as many alcohols can have corn and wheat/gluten. I do well with Rhum Barbancourt Reserve Speciale.)
Servings: cups
Instructions
Place all ingredients in sauce pan. Stir ingredients over low-medium heat and stir until all ingredients dissolve.
Sauce will thicken and it is ready when it coats the back of a metal spoon and drips off it in long slow drips. Do not let it get too hot or have it on the heat for too long or it will begin to sugar back out. If it does, lower the temperature and add a couple of teaspoons of water.
Gluten-free vegan brownie cookies — cashew cookies on the left, almond cookies on the right
So, back in 2012, I thought I’d achieved brownie nirvana with my At Last Brownies recipe. I’d perfected a “normal” baking brownie in the year before, and this was my great gluten-free version. Then Denise posted her Killer Brownies recipe, adjusted for her then-allergies.
Lately, neither of these versions is working great for me. I find the flour mix in the At Last brownies no longer to my tastes, and Denise likes a more fudgy texture than I do. So for our update/re-do month, I thought I’d take on brownies again. Why not? Can you ever have too many brownie recipes?
Changes from the original recipe include omitting the coconut, simplifying the flour mix, deciding not to measure the chocolate chips precisely, oh, and making cookies out of the mix. I kept the nut flour, as I like the richness and I’m not allergic to most tree nuts, but I’ve done two versions — one with almond, one with cashew. If you can’t do nuts, check out Denise’s prior recipe.
On the cookies — this was more of a practical concern. Either my 8×8 brownie pan was gross and I got rid of when I moved, or it ended up in Oregon with a different family (our movers were… not great.) So I don’t have one. I did, however, have all the ingredients I wanted to work with, and I was too lazy to go out and buy one. So, cookies. On the upside, this gives you very portable and non-crumbly brownie-like food. On the downside, you don’t get the edges (which I love). I still love this recipe, but if you try it out in a brownie pan, please let me know how it went (and how long you baked it!).
If you can eat both almond and cashews, how do you choose? Depends on what you want! The cashew brownie cookies will be thinner and more cookie-like. The almond brownie cookies will be thicker and more cake-like. They are both incredibly tasty. Maybe try both and tell me which you prefer.
Notice: Trying to access array offset on value of type bool in /home/maryzahc/public_html/adultfoodallergies.com/wp-content/plugins/wp-ultimate-recipe/helpers/models/recipe.php on line 254
1.5cupsalmond or cashew flour(ground nuts — Trader Joe’s sells both, and Bob’s Red Mill sells almond flour)
1/2cupsorghum flour
1/2 cup +tapioca starchADD ADDITIONAL 2 TABLESPOONS IF USING CASHEW (can sub with another starch if you don’t have tapioca, but this is one of the cheapest)
1/2cupcocoa powder
1/2teaspoonsalt
1/4teaspoonbaking soda
1cup brown sugarpacked
1/3cupnon-dairy milk(does not matter what kind — use what you like)
1/4cupoil(use a neutral-flavored oil. I’m playing with rice bran oil these days and I love it. Safflower or vegetable oil should also work fine)
1Tablespoonvanilla extractsafe-for-you
1/4-1cupchocolate chipsmini-chips work best, dark chocolate taste best, use whatever you have, is safe for you, and you like
Servings: cookies
Instructions
Pre-heat oven to 350°F
Mix the chia seeds and water together and set aside to gel.
Mix dry ingredients — almond or cashew flour through sugar (REMEMBER TO ADD 2 TABLESPOONS OF STARCH IF USING CASHE FLOUR).
Add the milk, oil, vanilla, and chia gel to the dry ingredients and mix until well-incorporated. Love the fact that you can’t over-mix gluten free batters. Add in the chocolate chips and mix well. This recipe is pretty forgiving for how many. I usually go for a generous 1/2 cup, plus a bit for luck.
Portion out cookies — I use a 1 Tablespoon cookie scoop to make it as easy as possible — onto a cookie sheet lined with a silicon sheet or parchment paper. You will get 24-25 cookies, so two half sheets.
Bake both sheets at once using two oven racks. Bake for 10 minutes, then switch the sheets (move the middle one to the top and top one down) and also spin them around at the same time. Bake for another 10 minutes.
Remove from the oven and let them cool for 3-5 minutes before putting the cookies on a rack to cool completely.