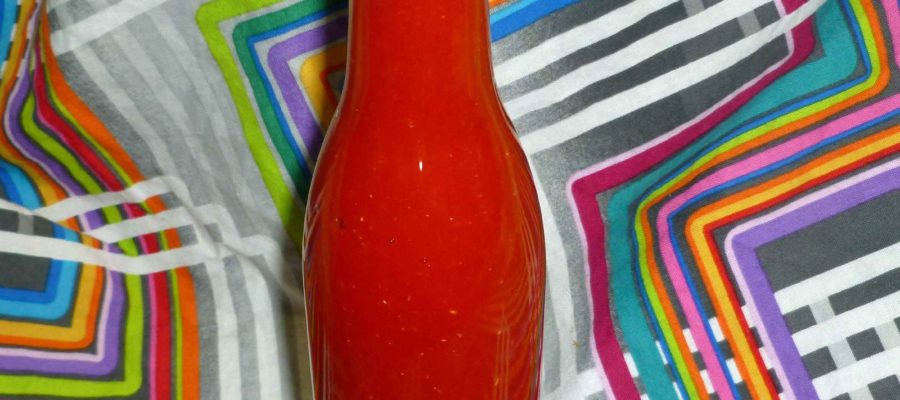
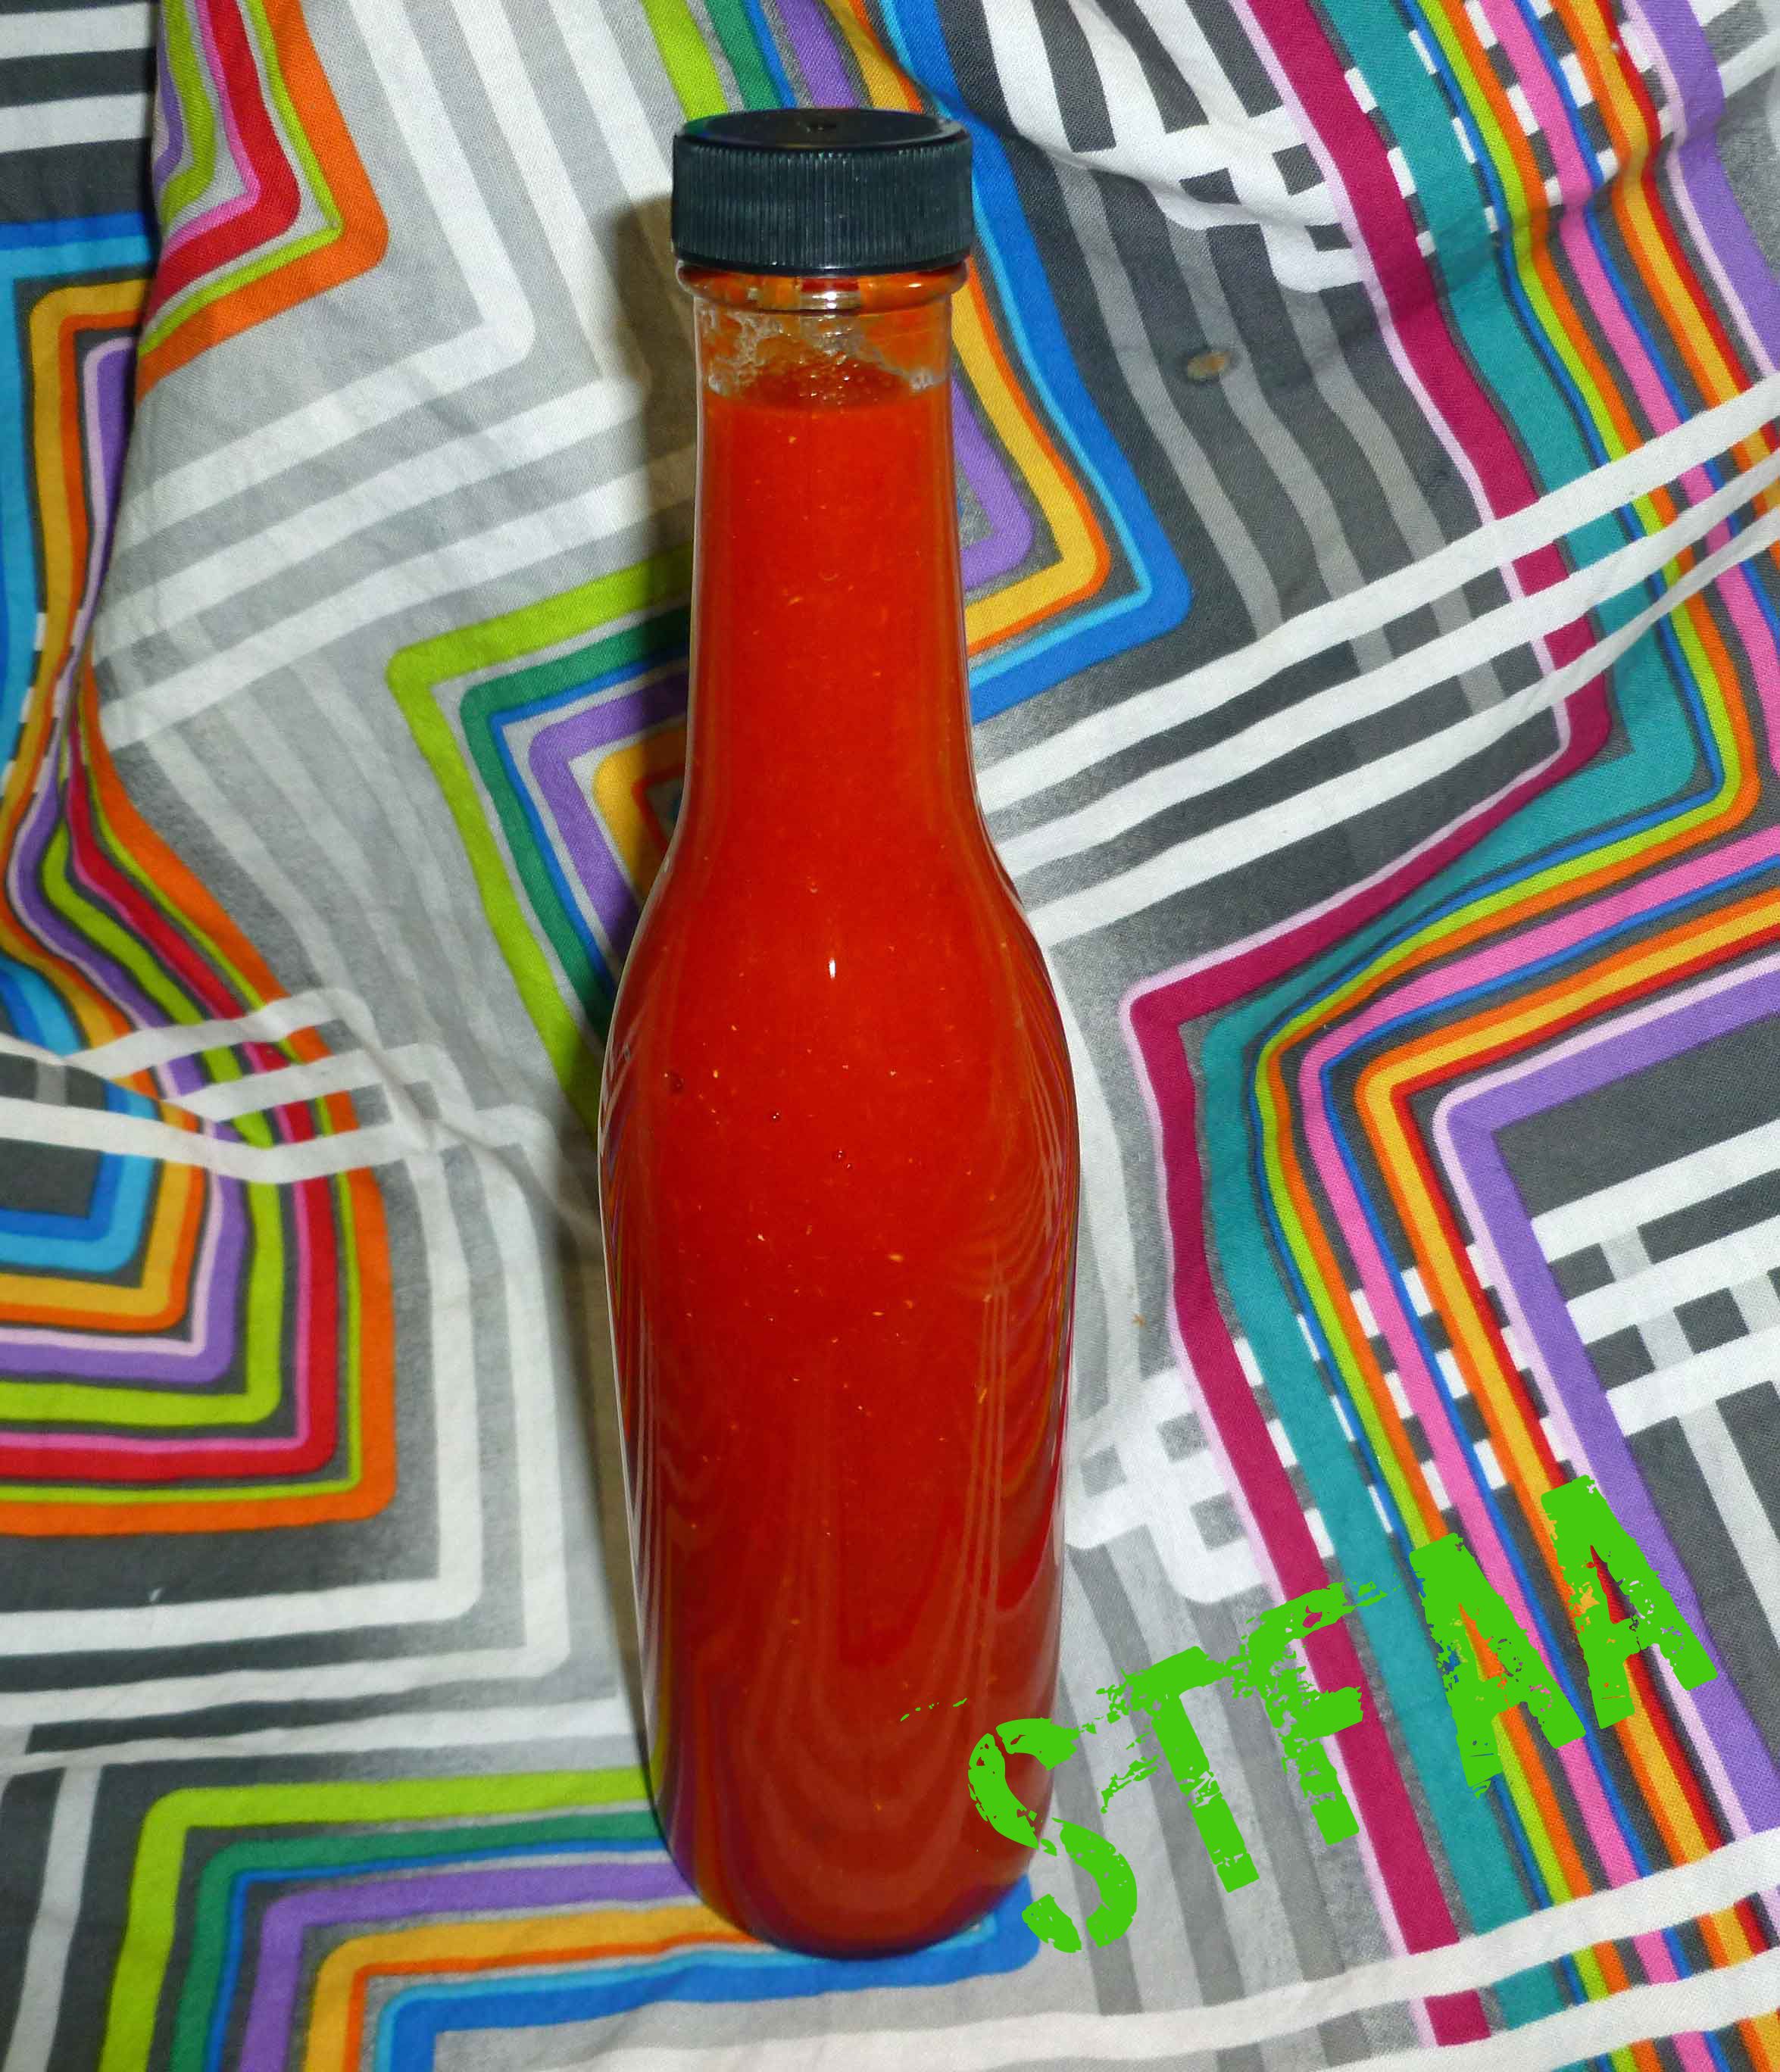
Chili Lime Hot Sauce
So, it’s still the Elements theme month. (Yes, I know, what were we thinking?!) We decided that I would do Fire for obvious reasons. I am to spicy food as MaryKate is to potatoes. I have a dried chili collection. Before the corn allergy hit, I had a commercial hot sauce collection, with about 20 or so bottles in the fridge. Now my collection is all homemade! Fire was always going to be my baby when we came up with this wacky theme month.
One of the hot sauces in my late, dearly lamented commercial hot sauce collection was Cholula Chili Lime hot sauce. It was lovely. It was great on anything, fried foods, grilled meats, tacos, in salsa, etc. So since MaryKate very generously shipped me three different kinds of chili peppers from a farmers market in Seattle at the end of September and I had set some of them up to ferment, I decided that this would be one of hot sauces I’d try to replicate. I used the Targu Mures peppers, which is a rare small hot Paprika type pepper from Transylvania, and is about the size of an Serrano pepper, close to a Cayenne pepper in heat, and bright red. But you could use any red chili that strikes your fancy or heat tolerance.
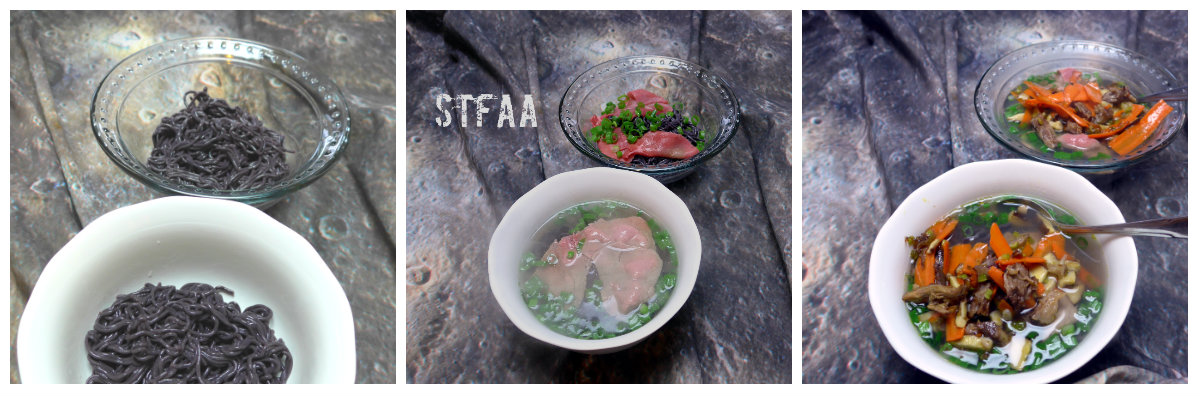
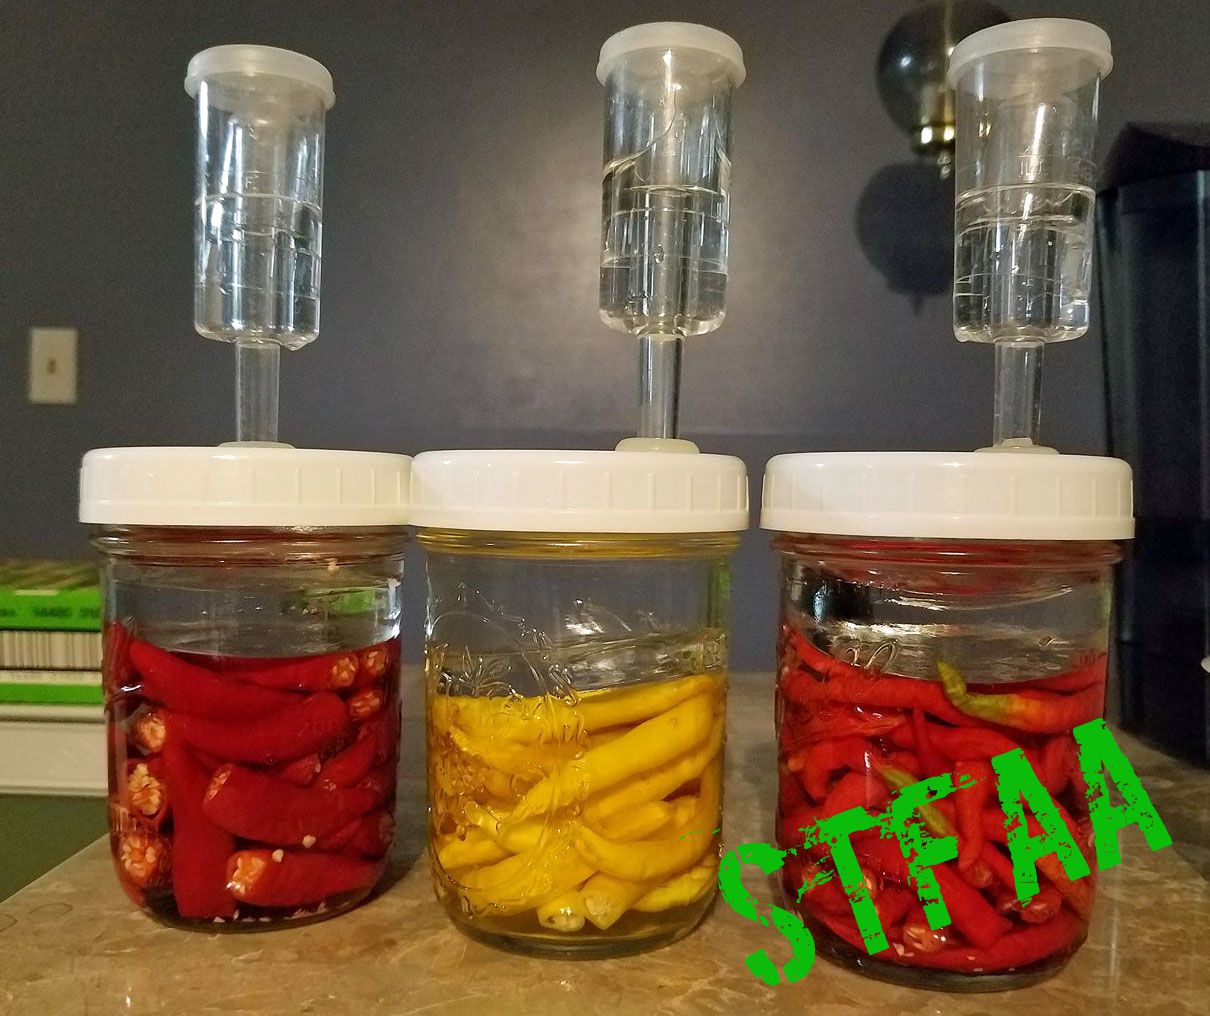
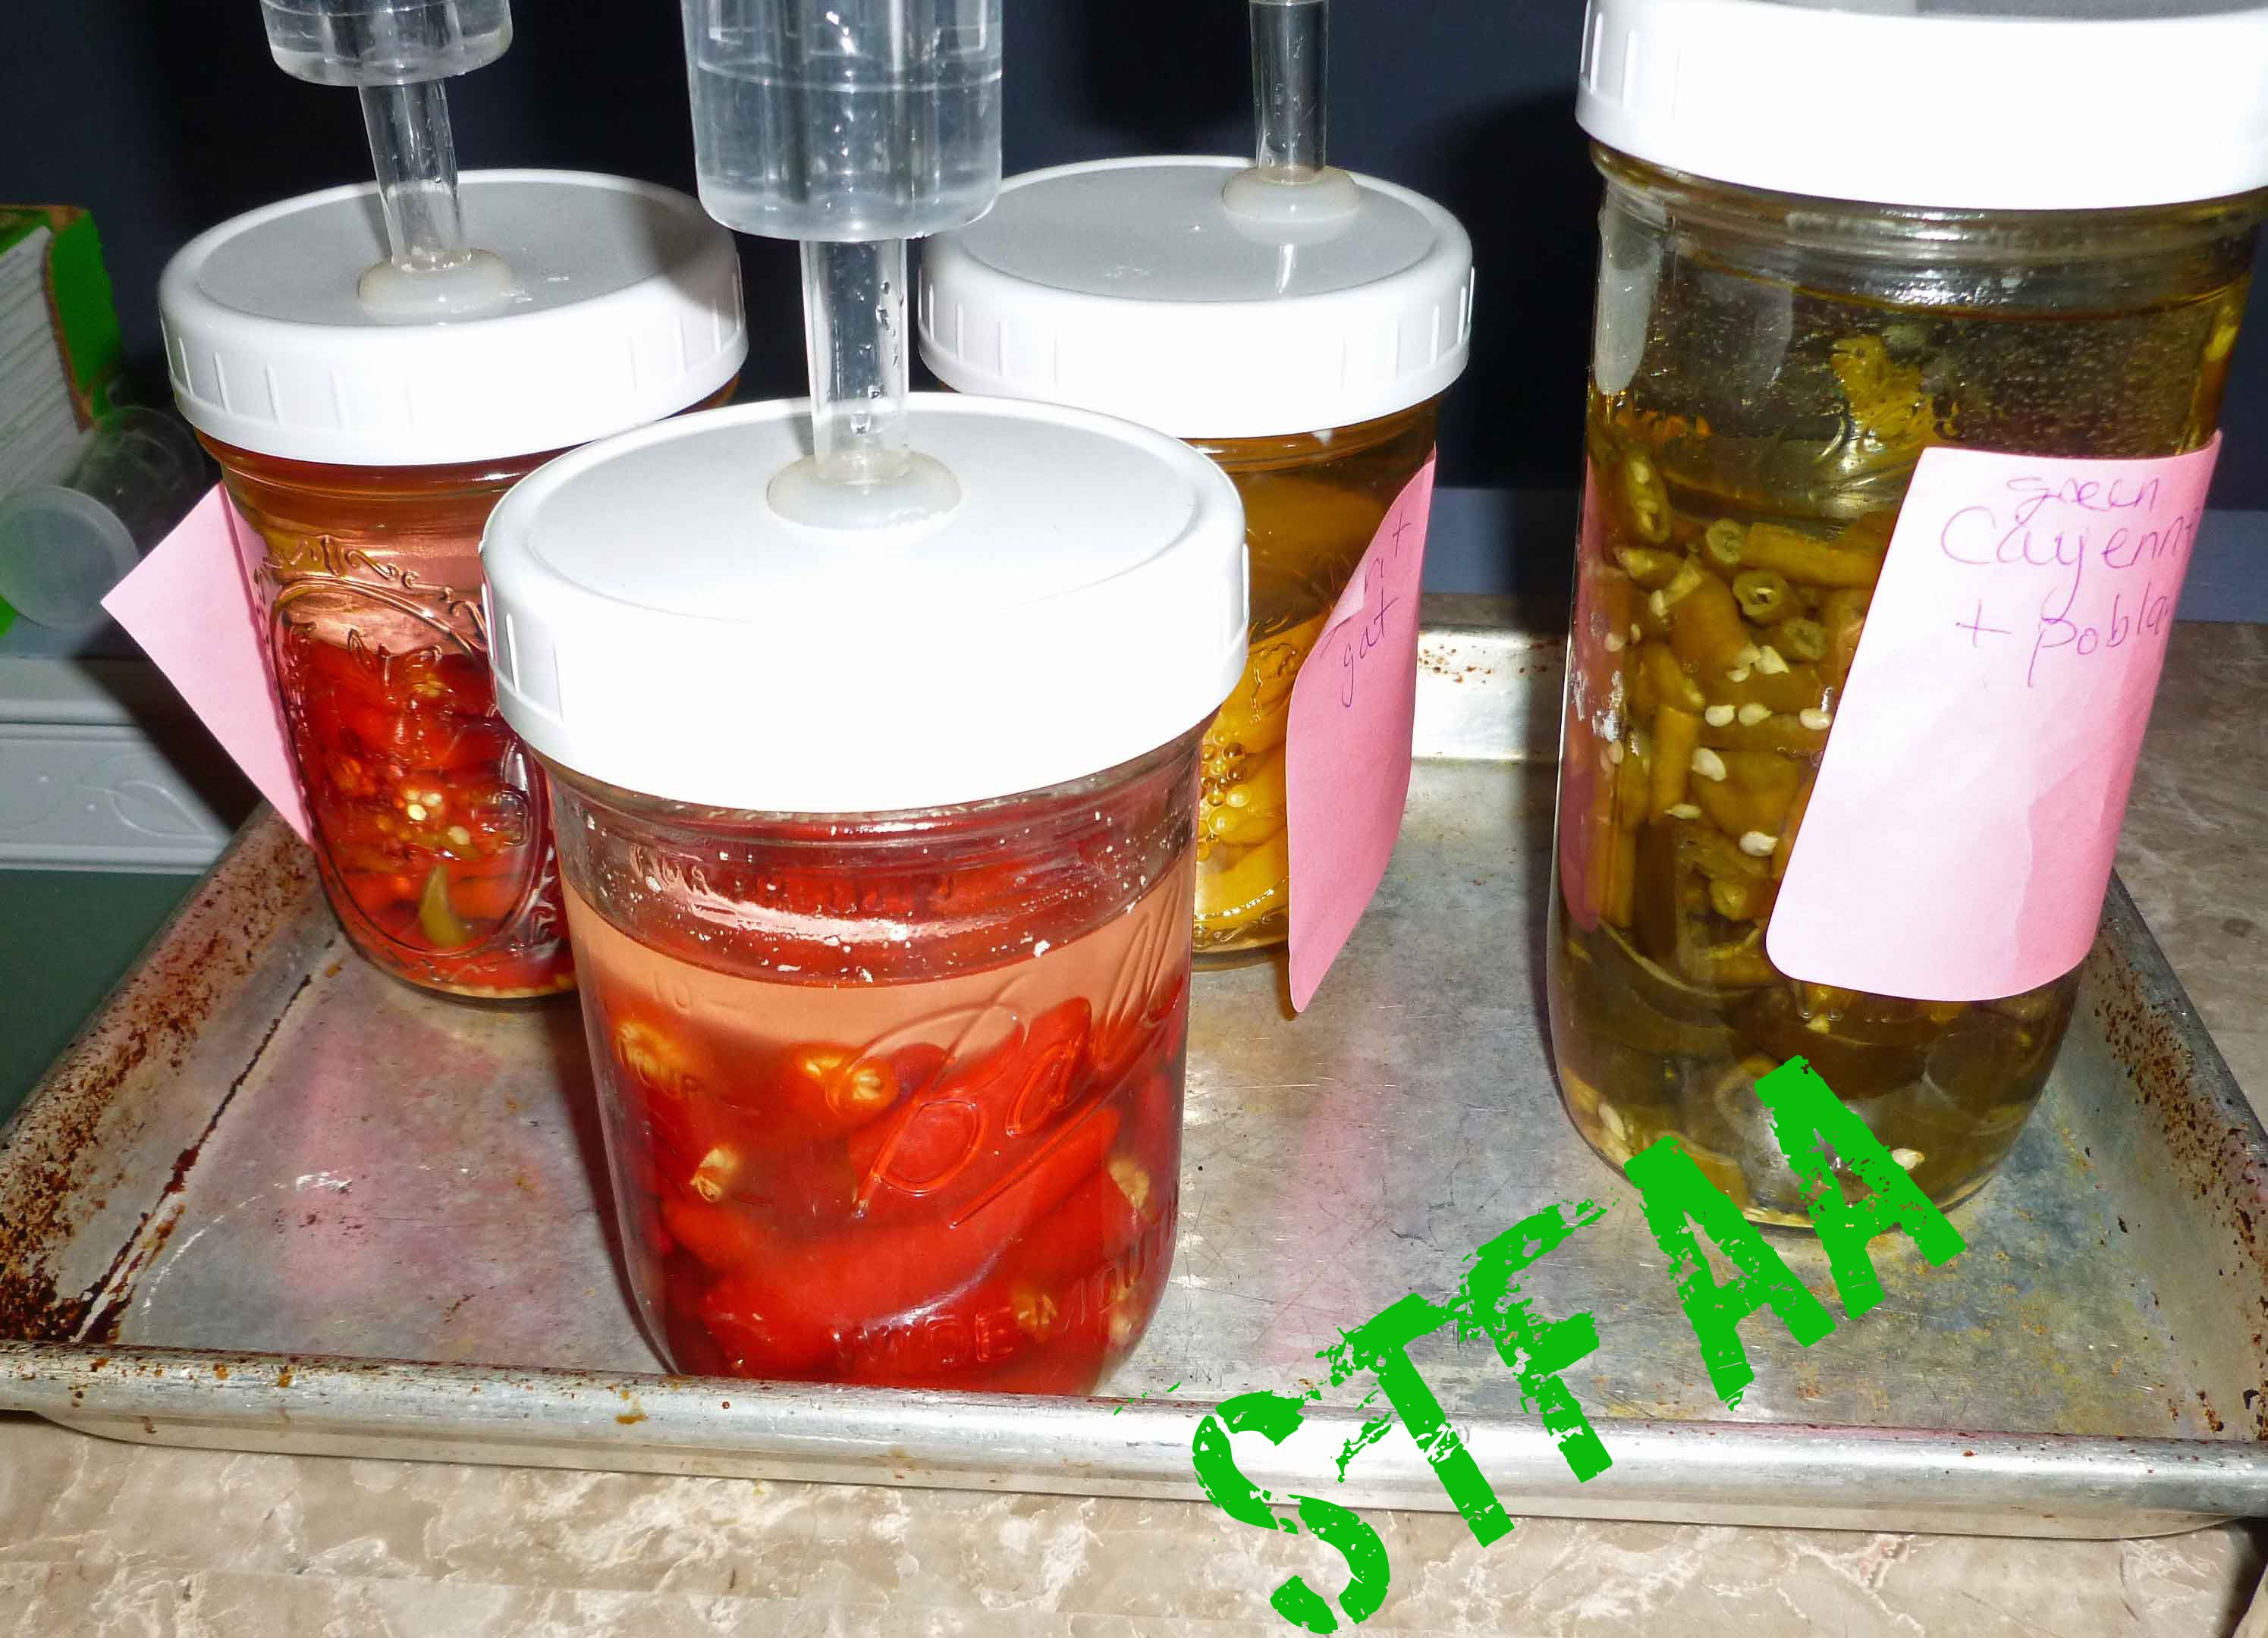
I had to learn to ferment when I lost corn because I wasn’t sure how I could manage without hot sauce. You can make hot sauce without fermenting, but if you want a Tabasco or Sriracha style sauce, fermenting is necessary. Fermenting is easier than it looks. You don’t really need airlock lids for your mason jars but it makes your life a lot easier because you don’t have to babysit the ferments. The airlock allows the carbon dioxide that builds up from the fermenting processing to be expelled, without allowing fresh air that could have yeast or mold spores to get in. Releasing the carbon dioxide is important because if you have the lid of a mason jar tightly sealed, the glass can crack under pressure and let pepper juice leak all over your counter. Ask me how I know. You can get the lids online, if you do a search a bunch of options will pop up, or you can commit to “burping” your ferments every day. Some people use a non-latex nitrile medical glove over the top of the jar and put a pin prick in a finger, but I’m not so sure about doing that in the context of a corn allergy, therefore I use the airlock lids as showing in the pictures below. You do need to make sure that the peppers stay under the brine, so I use either glass fermentation weights or smaller 4 ounce jars that I can fill with brine and weigh down the peppers in my wide mouth pint or quart jars. If the peppers rise above the brine, you are risking mold and spoilage.
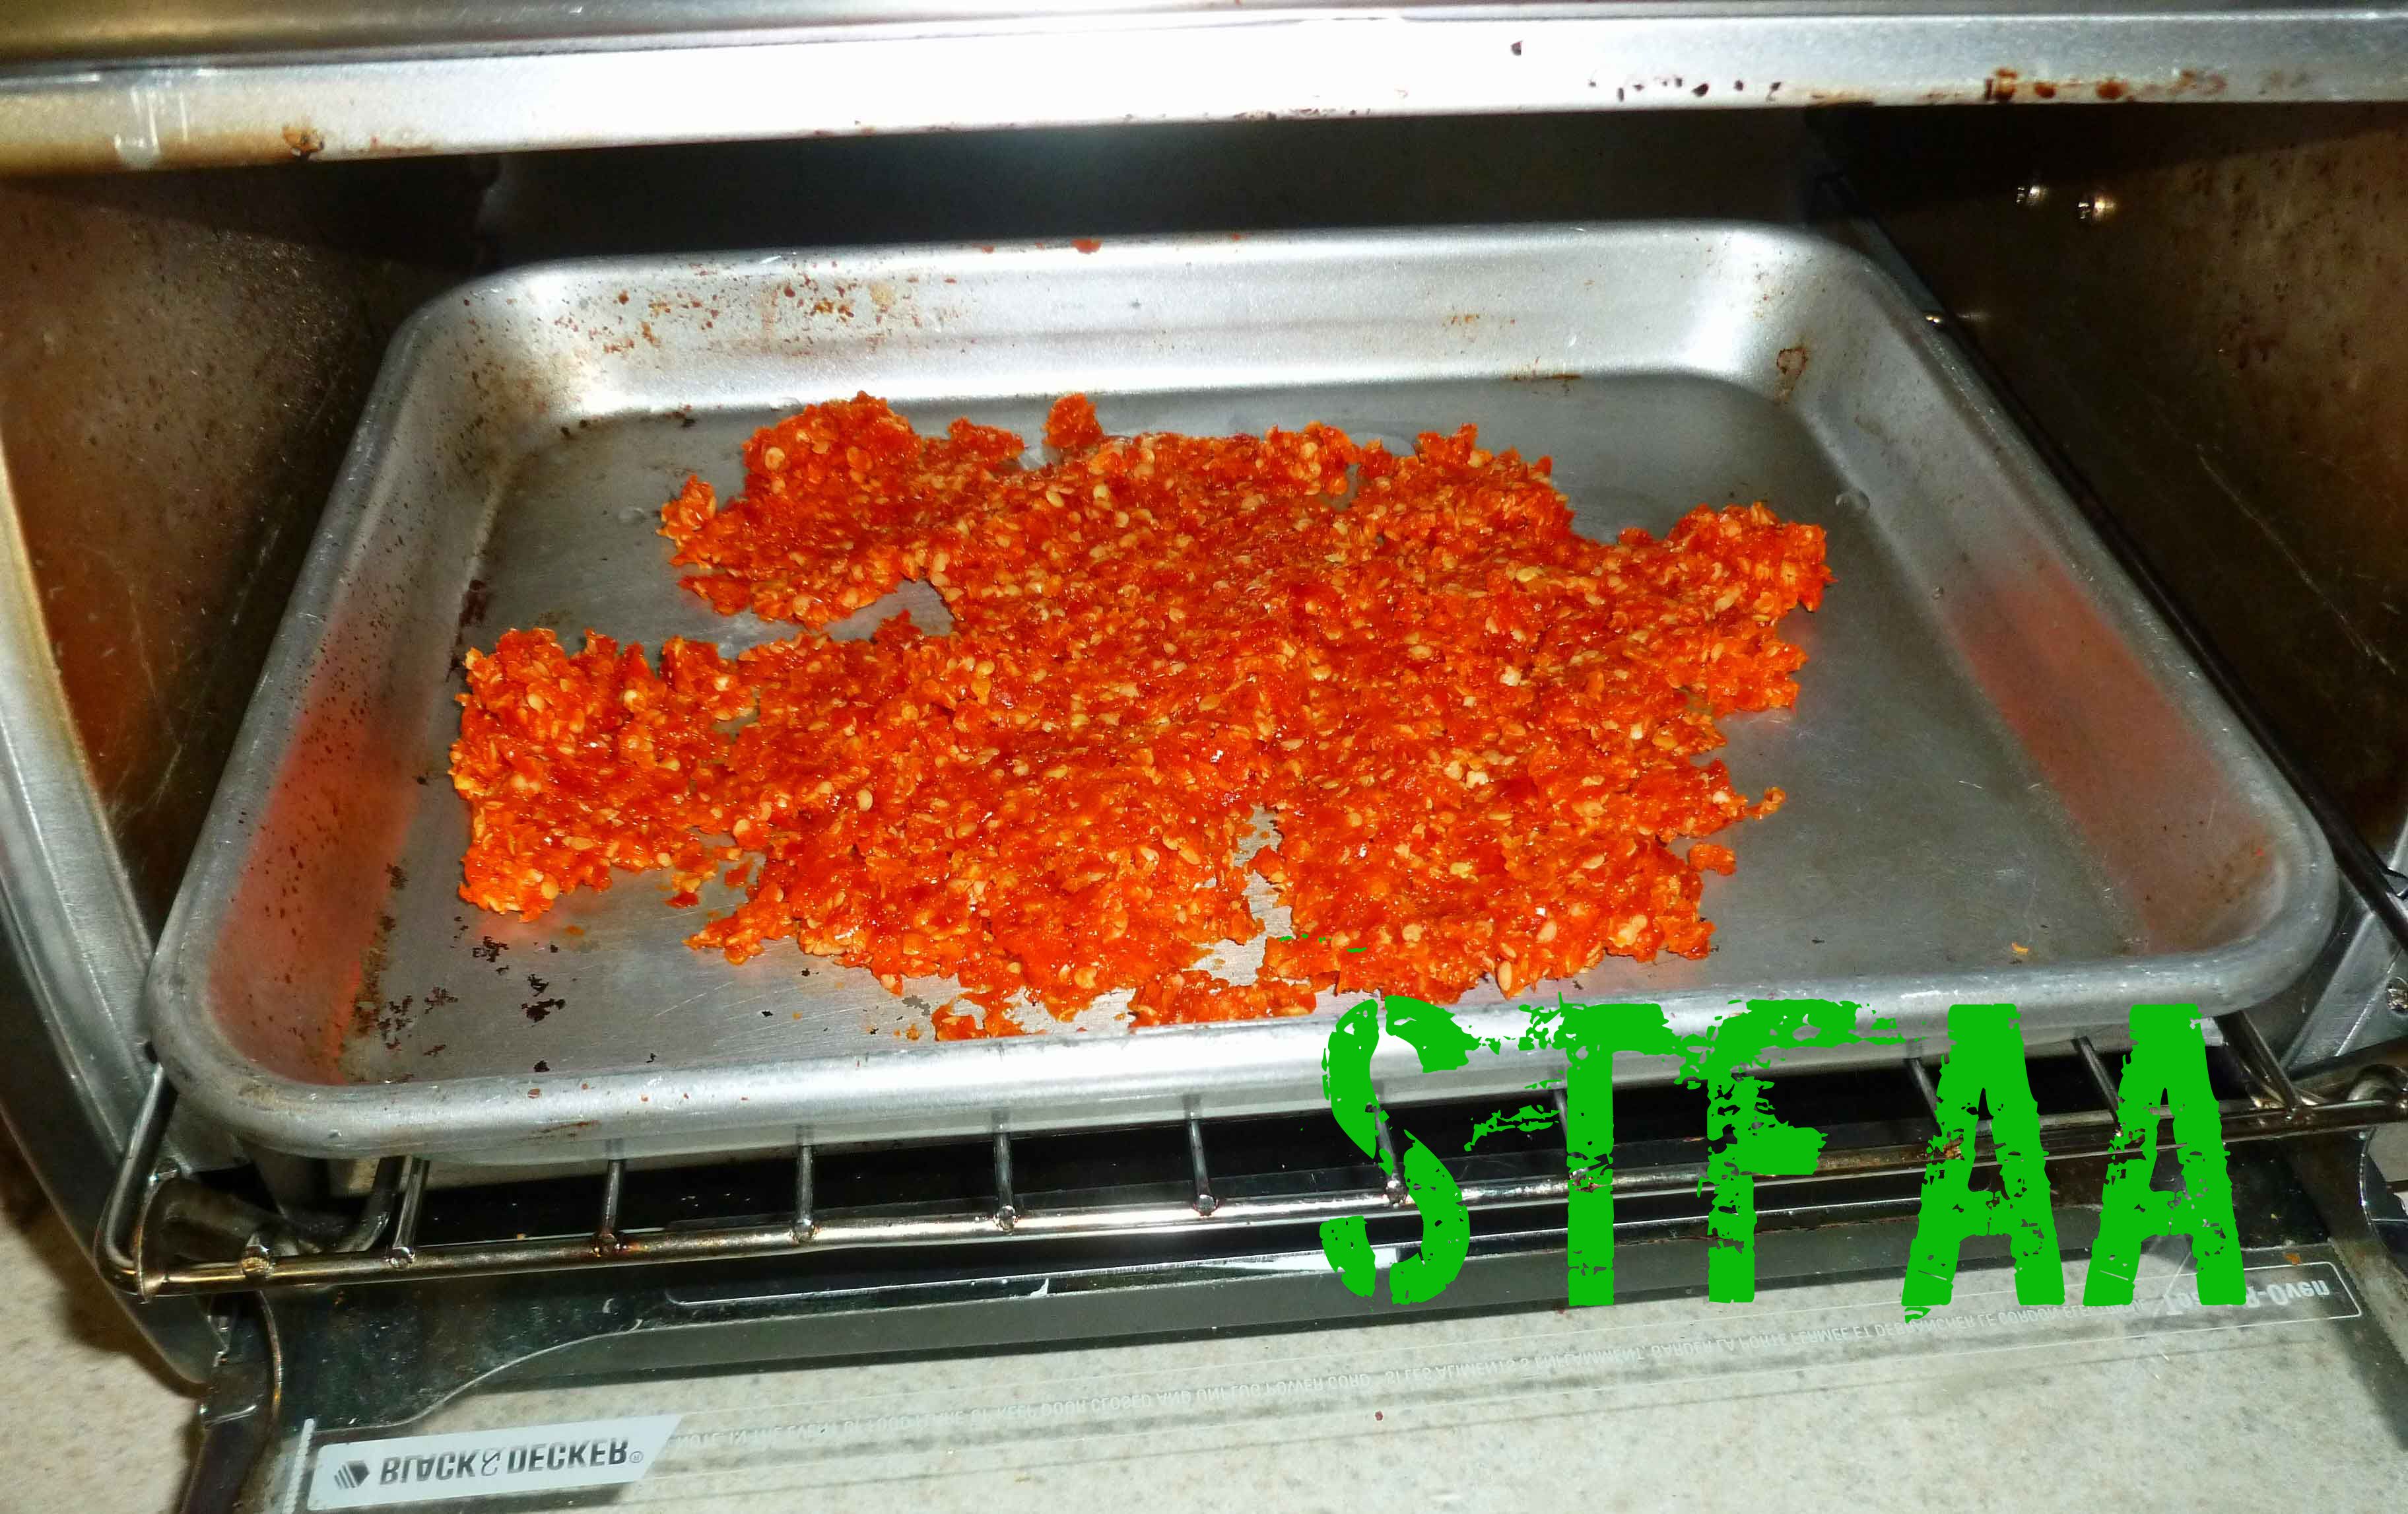
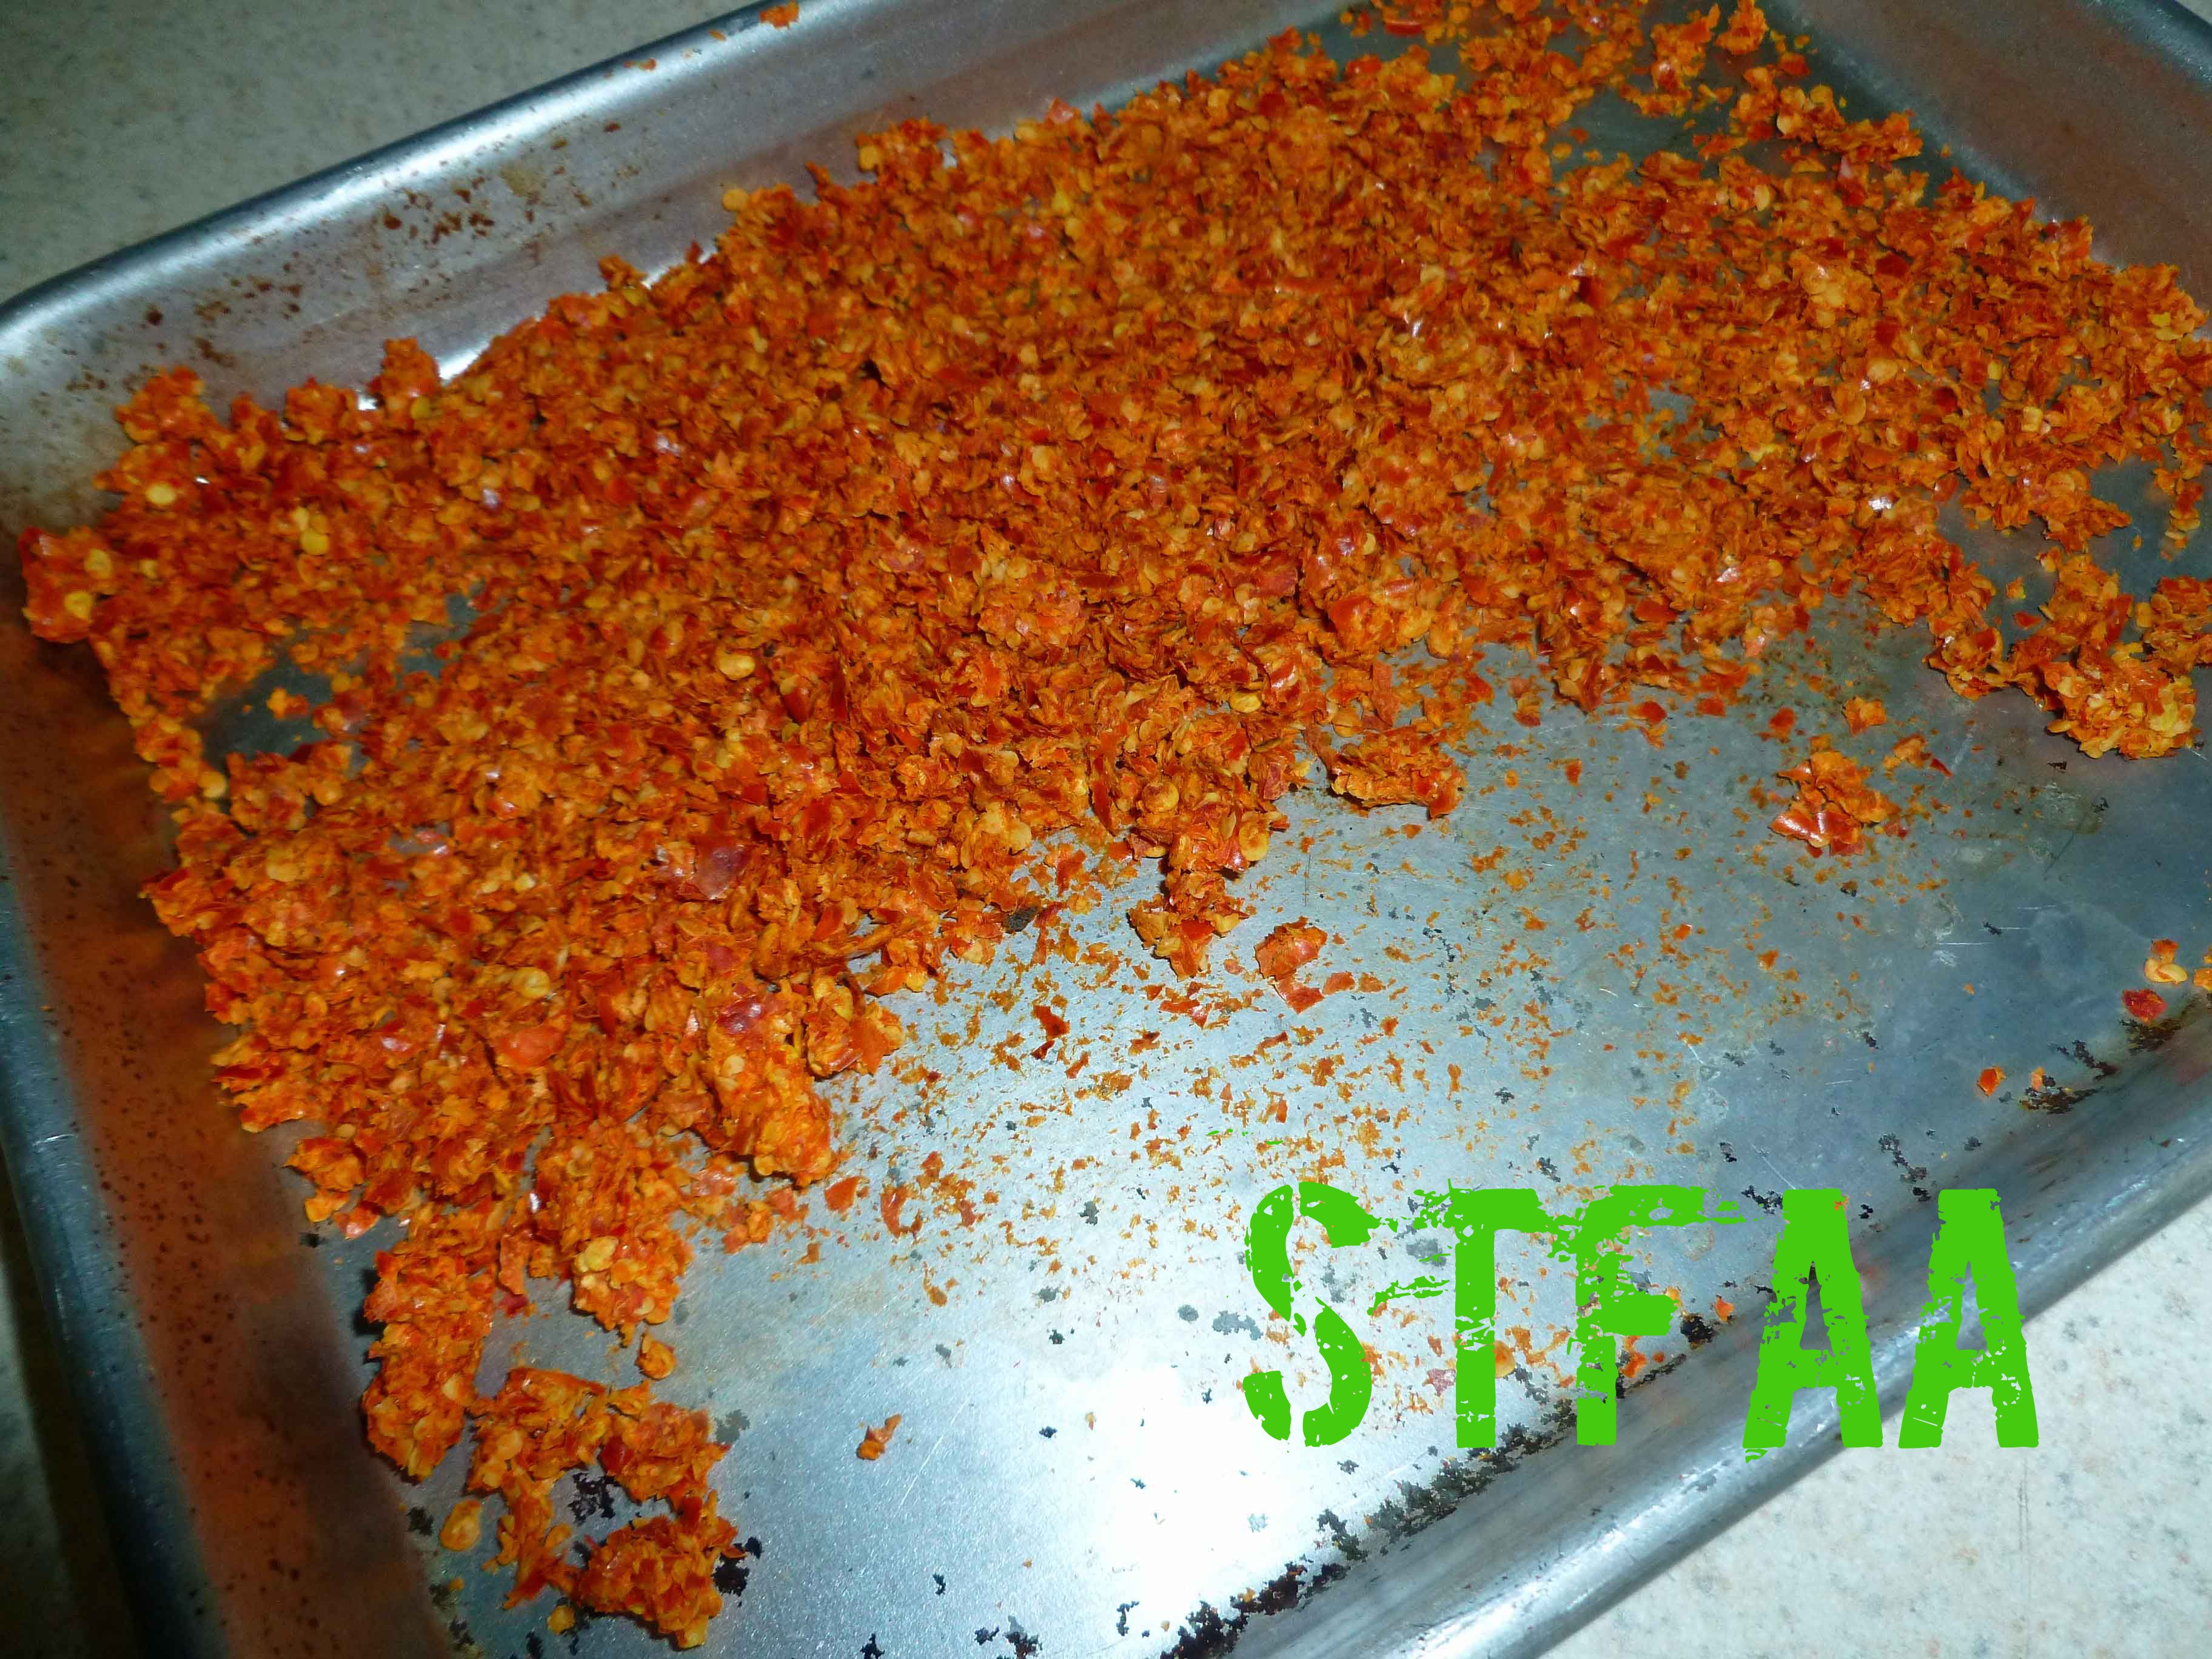
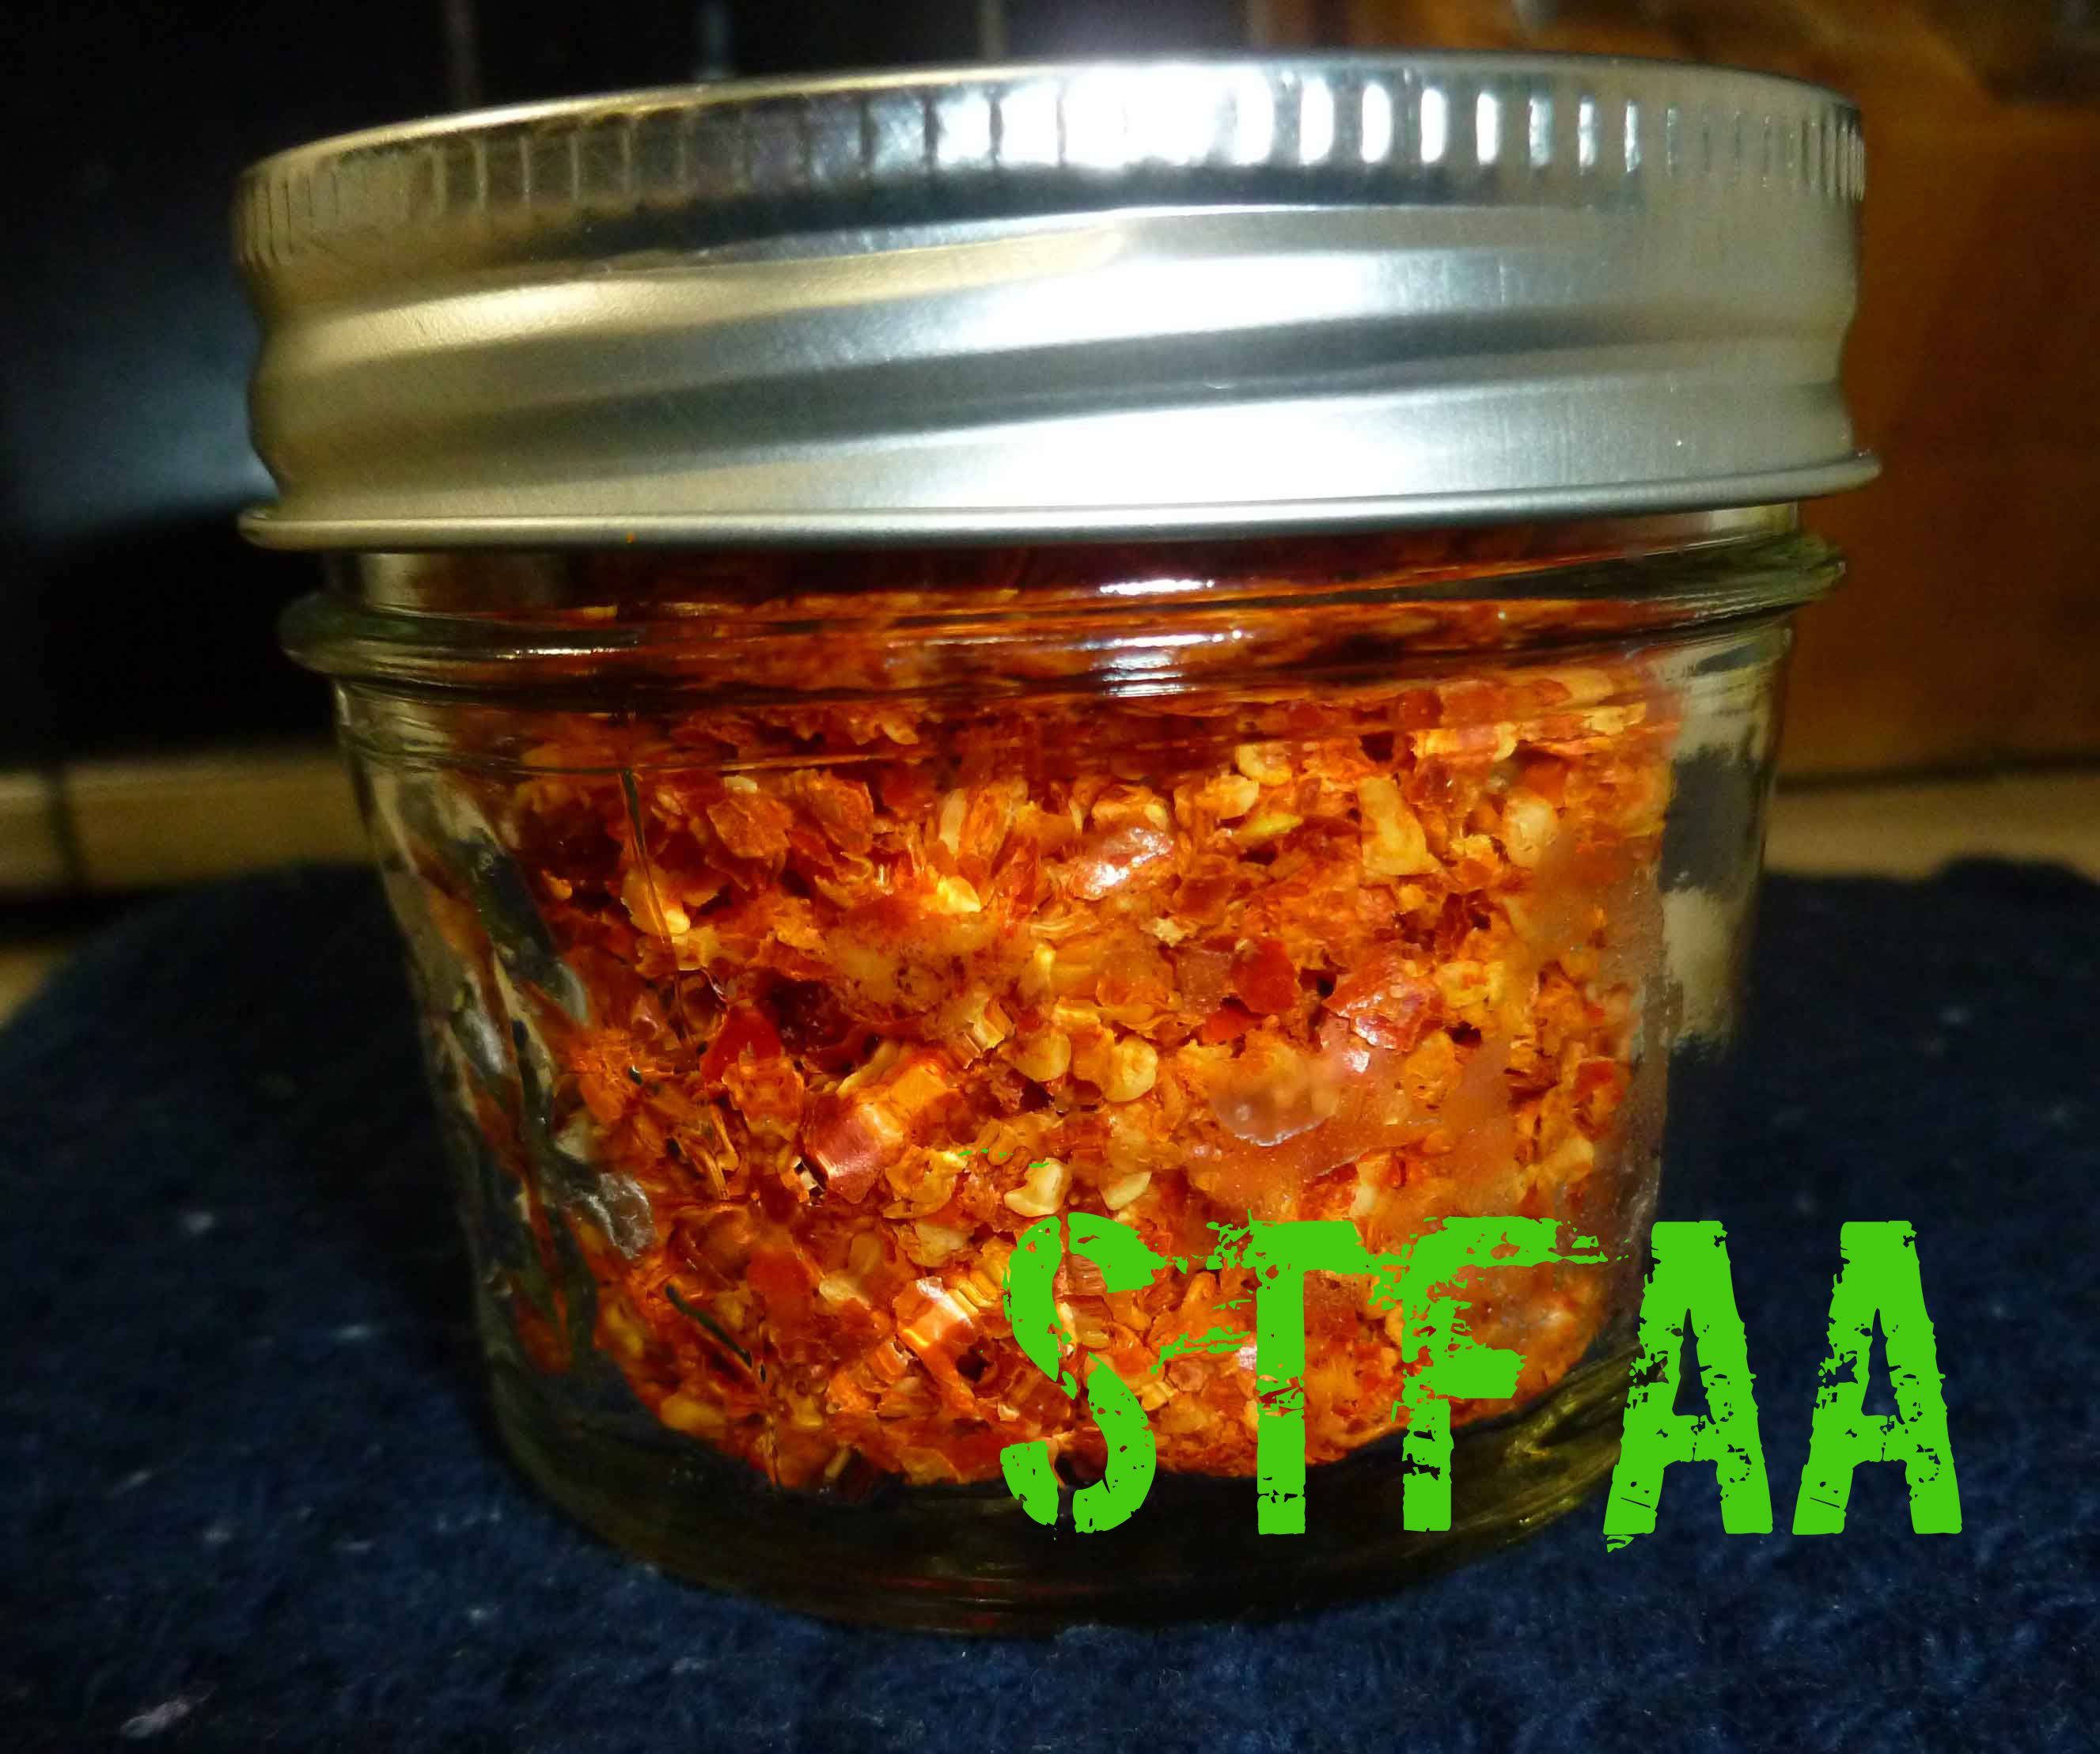
The other nice thing about making hot sauce is that you get two products for one. When you strain out the skins and seeds during the process, you can dry them in the oven or the dehydrator and get a nice crushed pepper mix to use in other spice mixes, rubs, or other recipes. No waste!

- 1 wide mouthed pint jar
- 1 glass fermenting weight or 4 ounce canning jar
- 1 airlock lid for mason jar
- 1 blender
- 1 small sauce pan
- 1 kitchen scale measuring ounces
- 1 quart spring water (not tap water, it will interfere with fermentation)
- 1.8 ounces sea salt
- 1 cup hot red chili peppers (I used Targu Mures, but you can use Fresno, Red Jalapenos, etc.)
- 4 ounces tomato paste (I used my homemade tomato paste)
- 1 clove garlic
- 3 limes, juiced and divided
- 1 Tablespoon brown sugar
- 1 teaspoon brown sugar
- 1/4 teaspoon salt
- Make brine by mixing spring water and salt in a container until salt is dissolved.
- Wash peppers and cut the stems off so that the seed cavity is visible. Placed washed peppers in pint jar and add glass weight or 4 ounce jar. Add brine until the weight is covered with brine by at least half an inch, or cover with brine and add 4 ounce jar full of brine to weight down peppers making sure that all peppers are submerged in brine. Place airlock on jar and add brine to airlock to seal.
- Let ferment for 2 to 4 weeks at room temperature, checking daily to make sure the brine levels are okay. You may need to add brine as time goes on as the peppers must stay submerged at all times. If the peppers do not stay submerged, they could develop mold and you’ll need to throw it out and start all over.
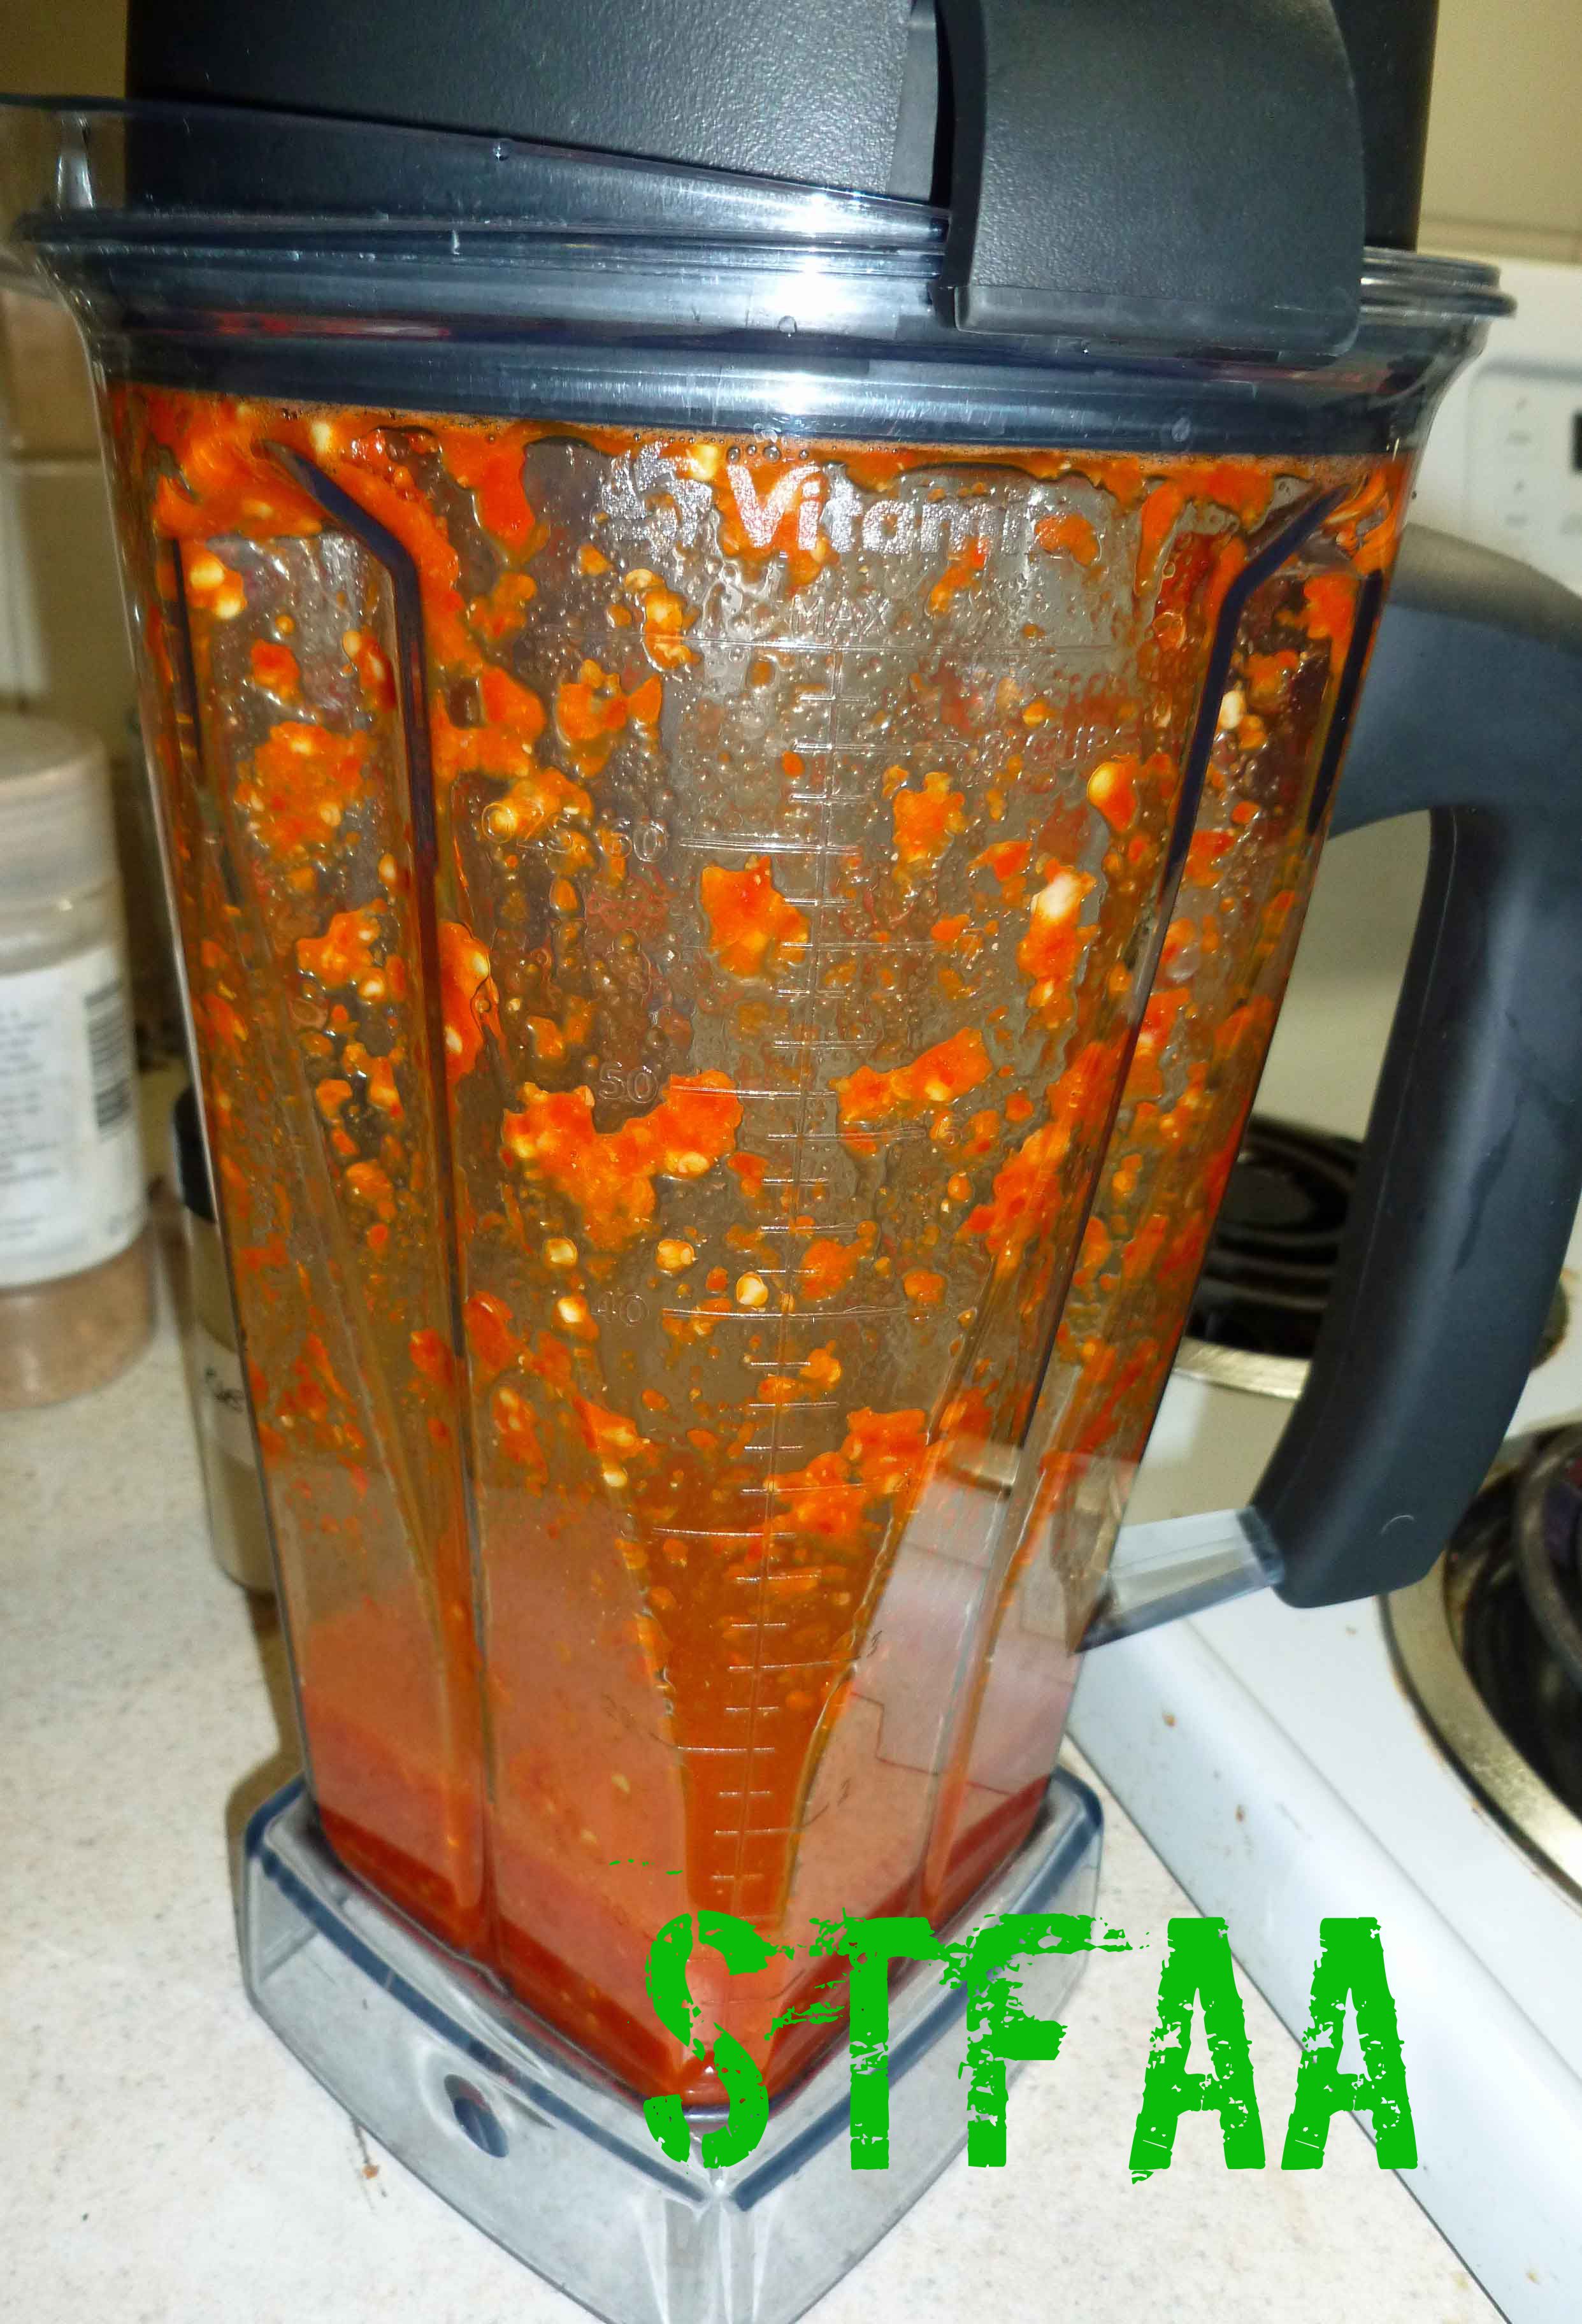
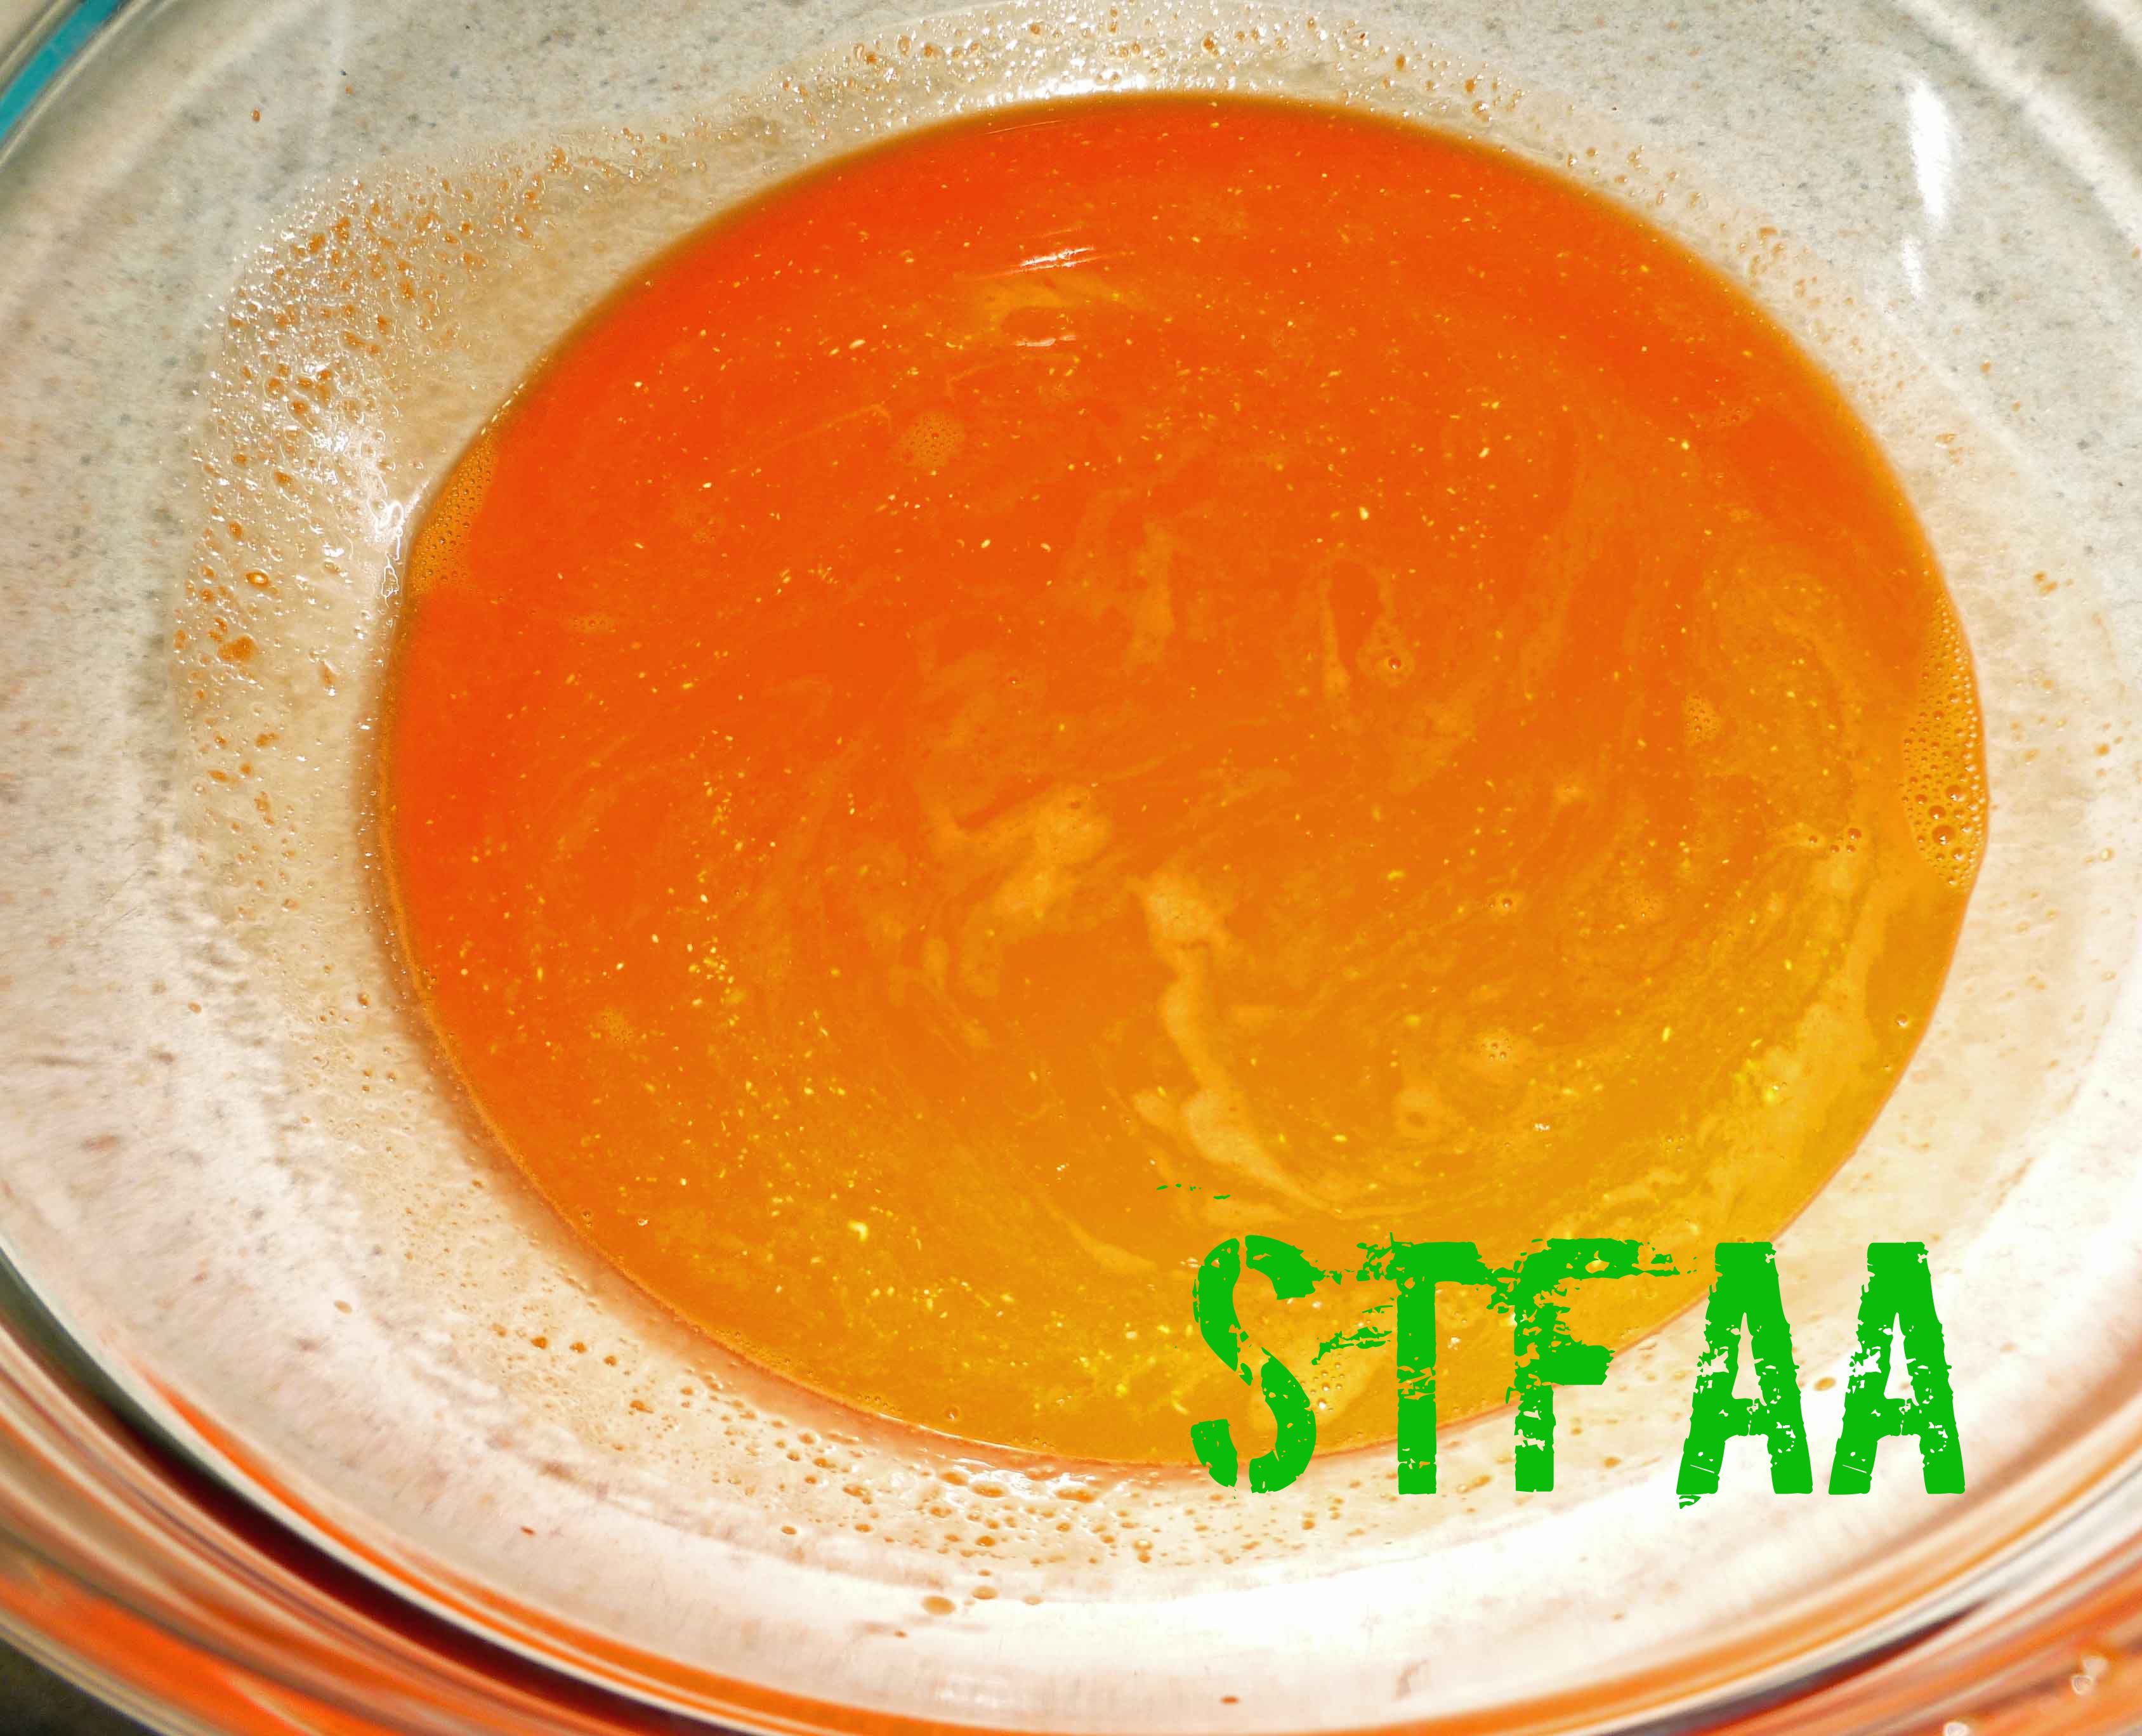
- Once your peppers are fermented, remove the airlock and and glass weight or glass jar. Drain brine. Place the peppers in a blender with the garlic clove and the juice of 1 lime.
- Blend until the peppers are pureed, but not until the seeds have disappeared if you have a high performance blender. You want to leave the seeds whole enough to strain out.
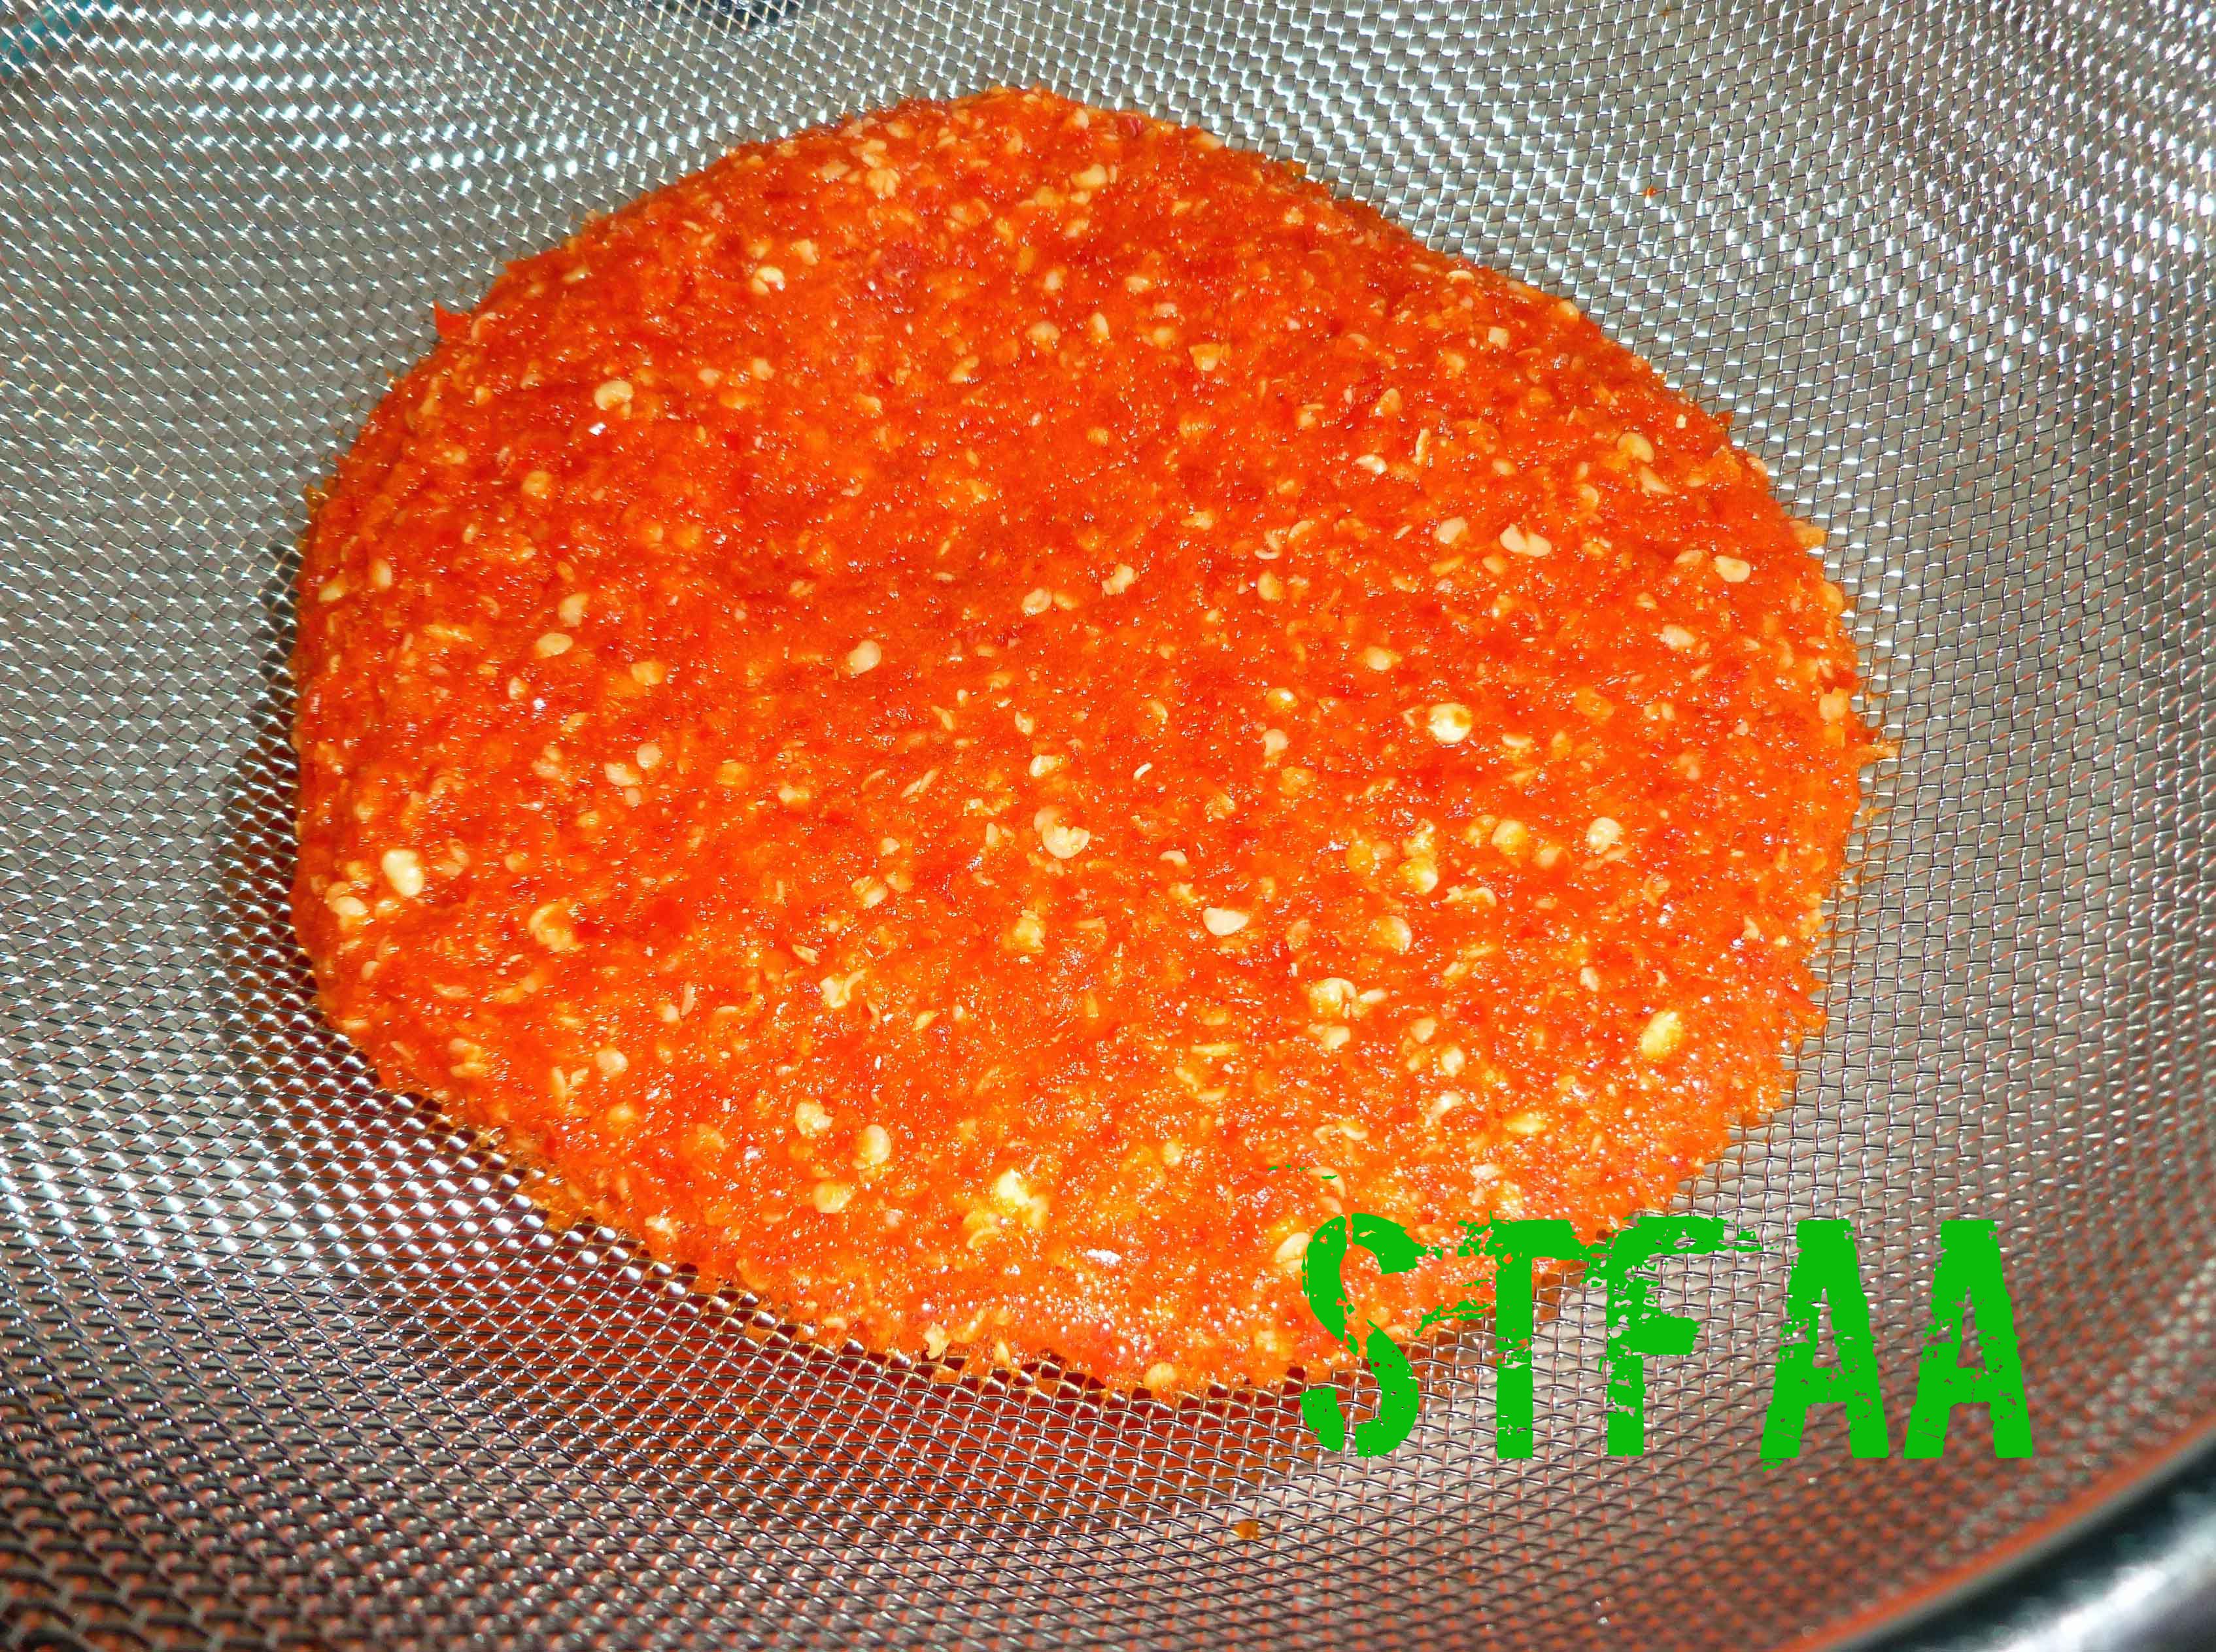
- Once you have pureed your peppers, place the puree in a fine mesh strainer over a bowl and use a spatula or the back of a spoon to press the liquid in your puree into the bowl, leaving the seeds and skins of the peppers behind. (Hint: dehydrate the seeds and skins remaining in the oven at the lowest temperature you can or in a dehydrator to make crushed red pepper to use in other recipes).
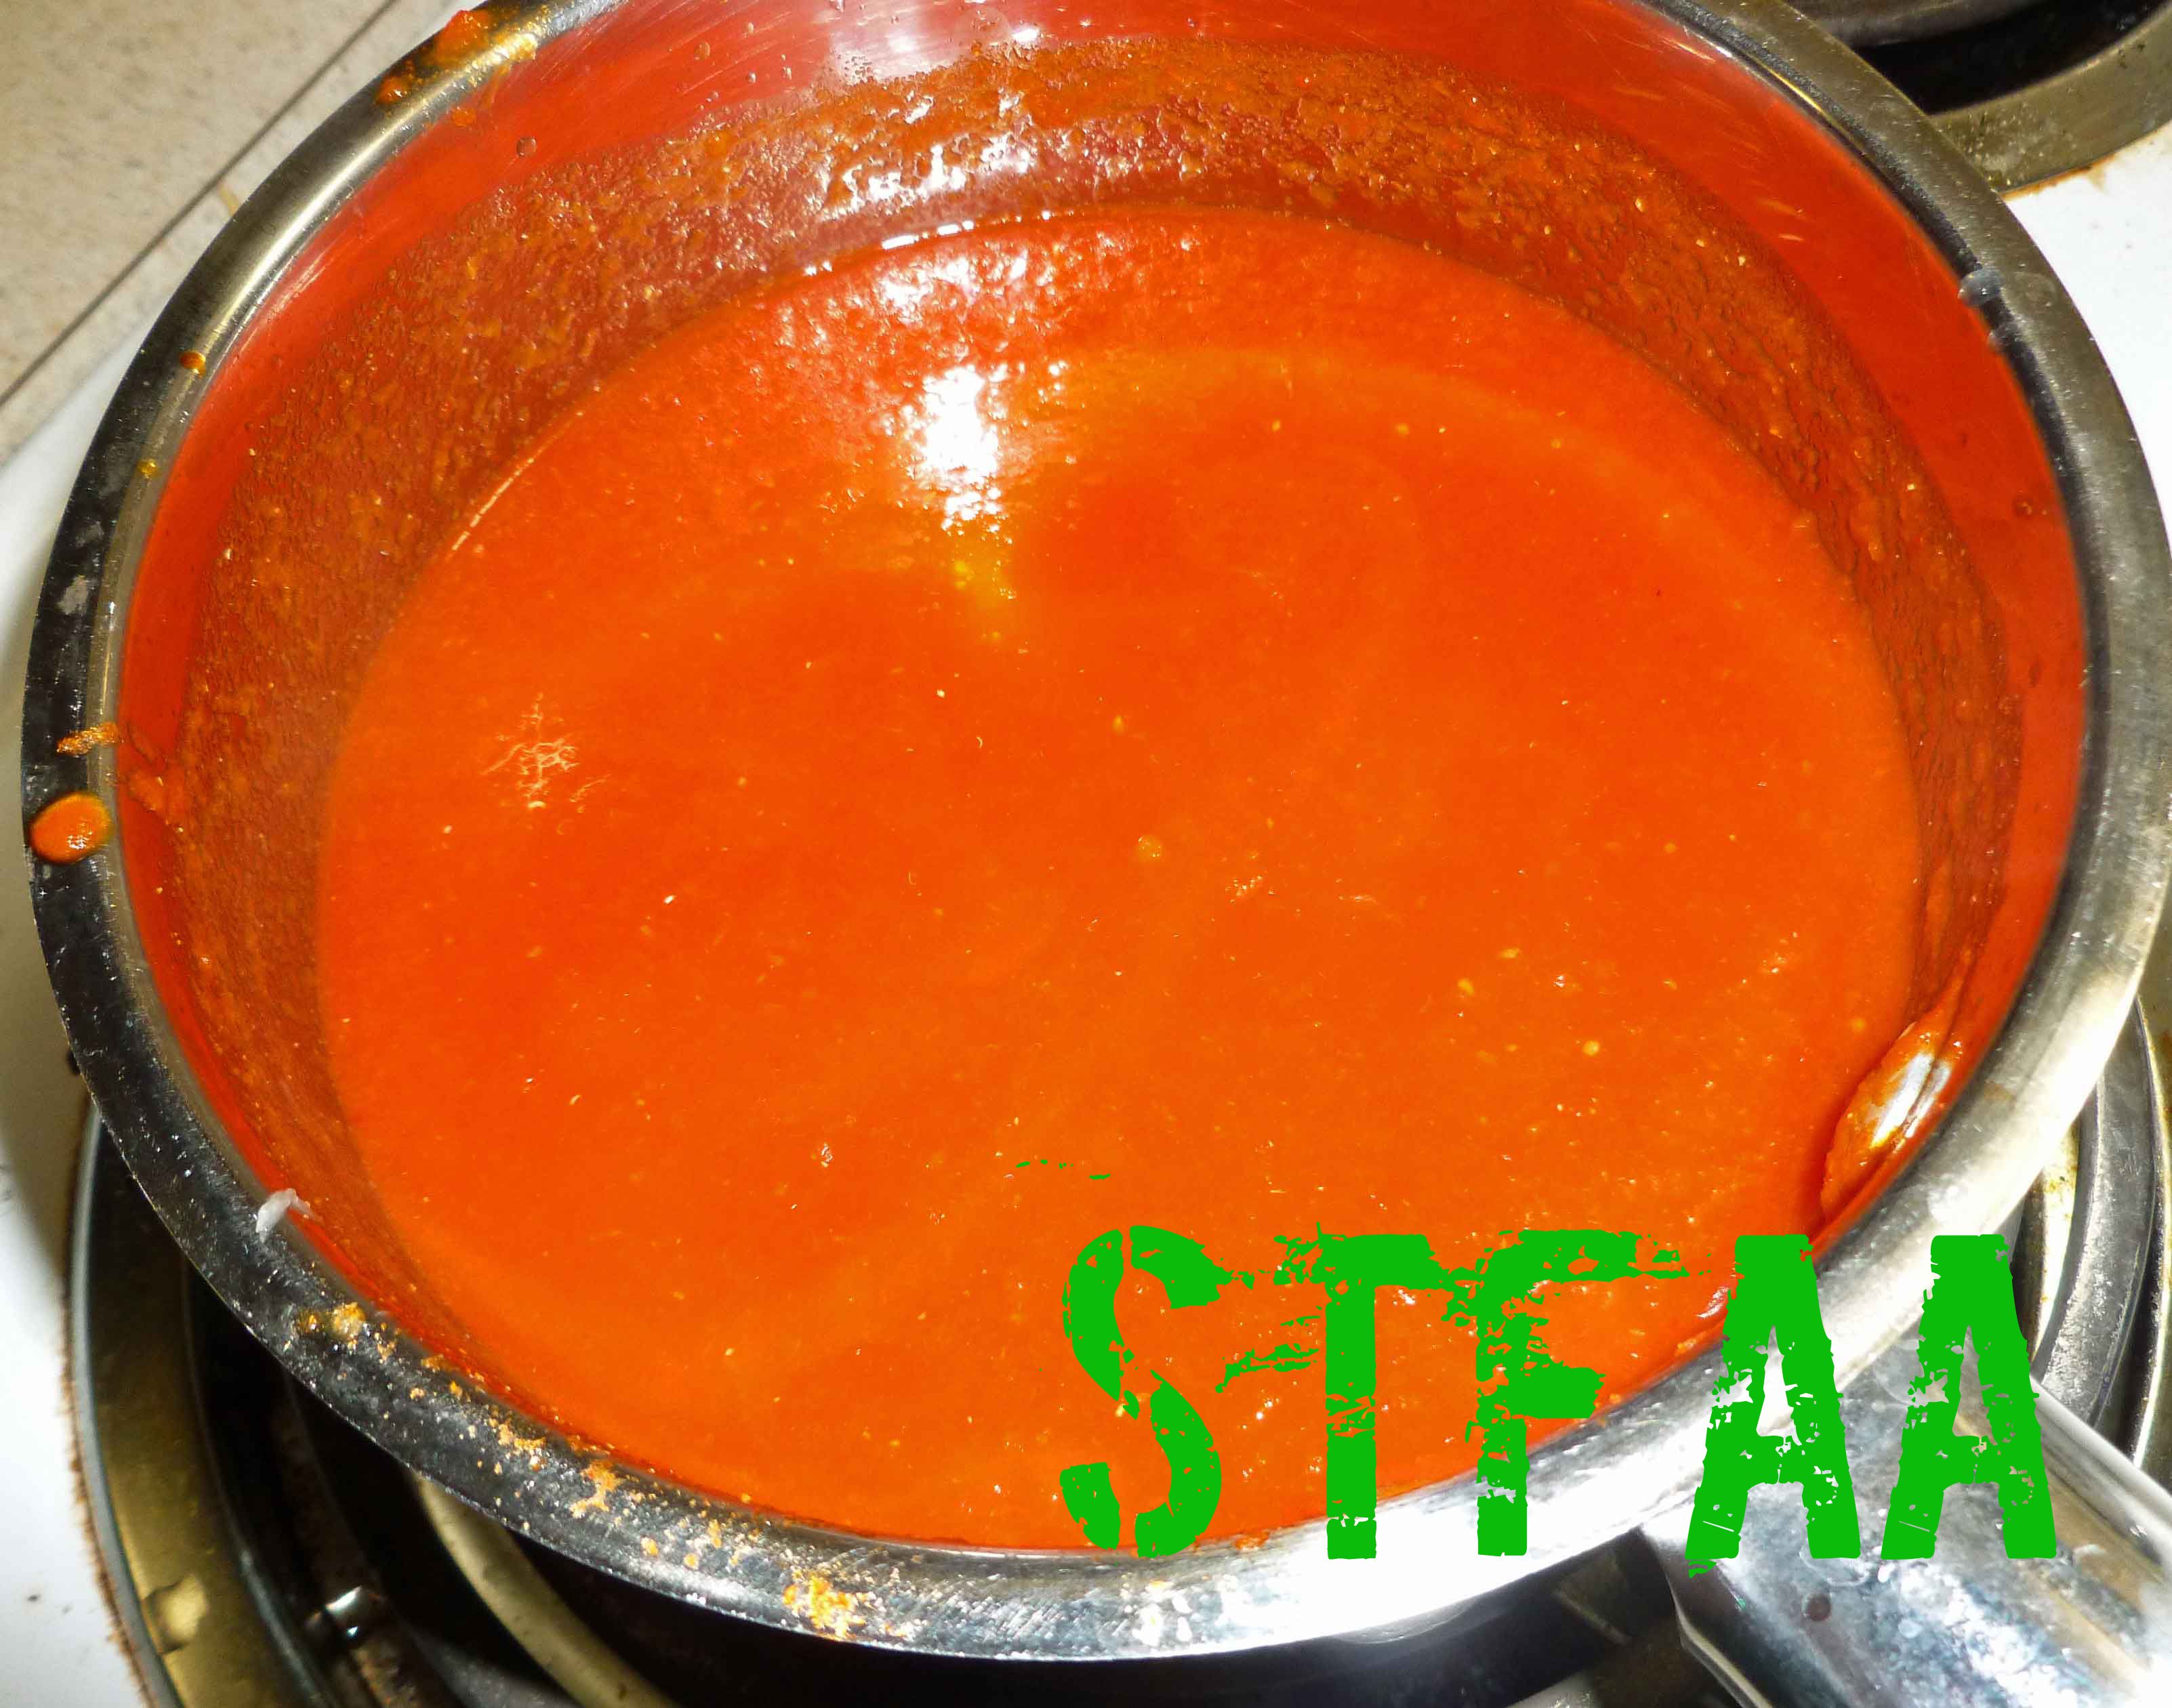
- Place the strained puree in a sauce pan, with the juice of the remaining two limes, the tomato paste, the brown sugar, and the salt. Mix well and bring to a gentle boil over medium heat, and continue to gently boil stirring occasionally for 2 to 3 minutes. You can add additional sugar or salt to taste, if necessary.
- Remove the sauce from heat and let cool before placing it a container to store in the refrigerator. Use it on everything.