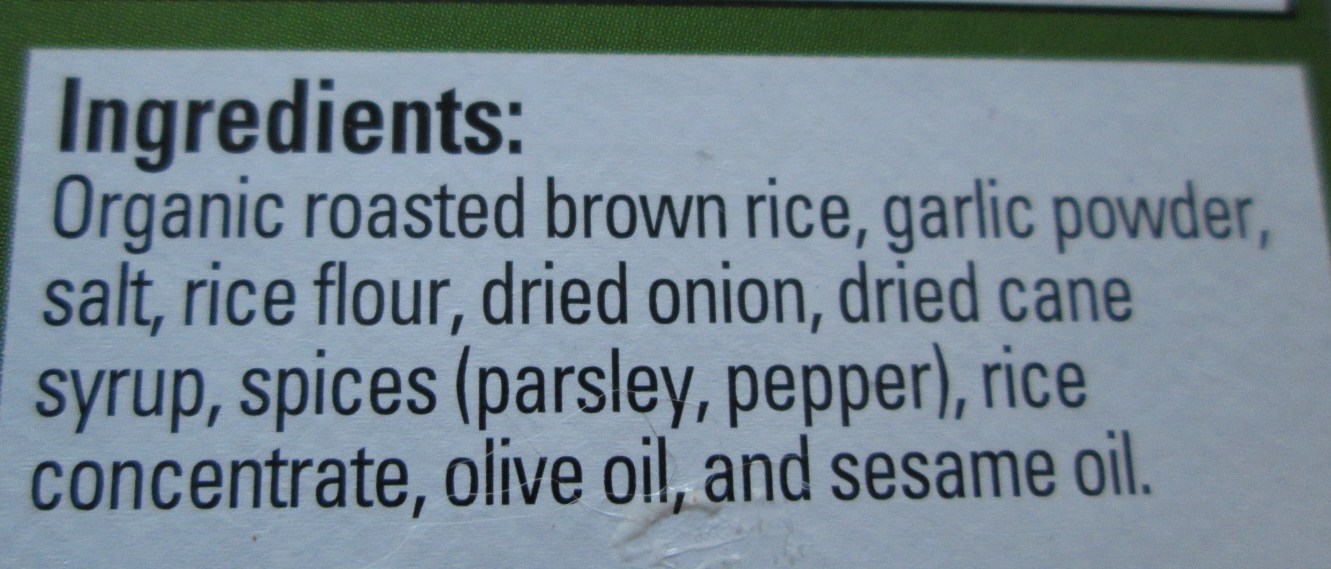
So one of the more recent traumatic events (okay, not really traumatic, but annoying certainly) was the purging of my spice cabinet of things I can’t use any more as a result of the corn and wheat allergies. If you know me in real life, I’m a tad obsessive about my spices. I have a four-shelf stand-alone cabinet in the kitchen that contains nothing but spices, spice mixes, and vinegar and oils. There may or may not be an inventory spreadsheet on my Google drive with 157 items on it so that I can get to it on my phone while I am grocery shopping. I’m also frankly surprised and disappointed that I haven’t made it on some platinum frequent order program with Penzey’s spices, given my order volume (tongue firmly in cheek, I love them). But in any case, I had to get rid of a few of my favorite mixes, Penzey’s or otherwise, mostly because they contained citric acid or other problematic ingredients for me. So I played around, did some Google-fu, and experimented and came up with the following mixes that make me happy.
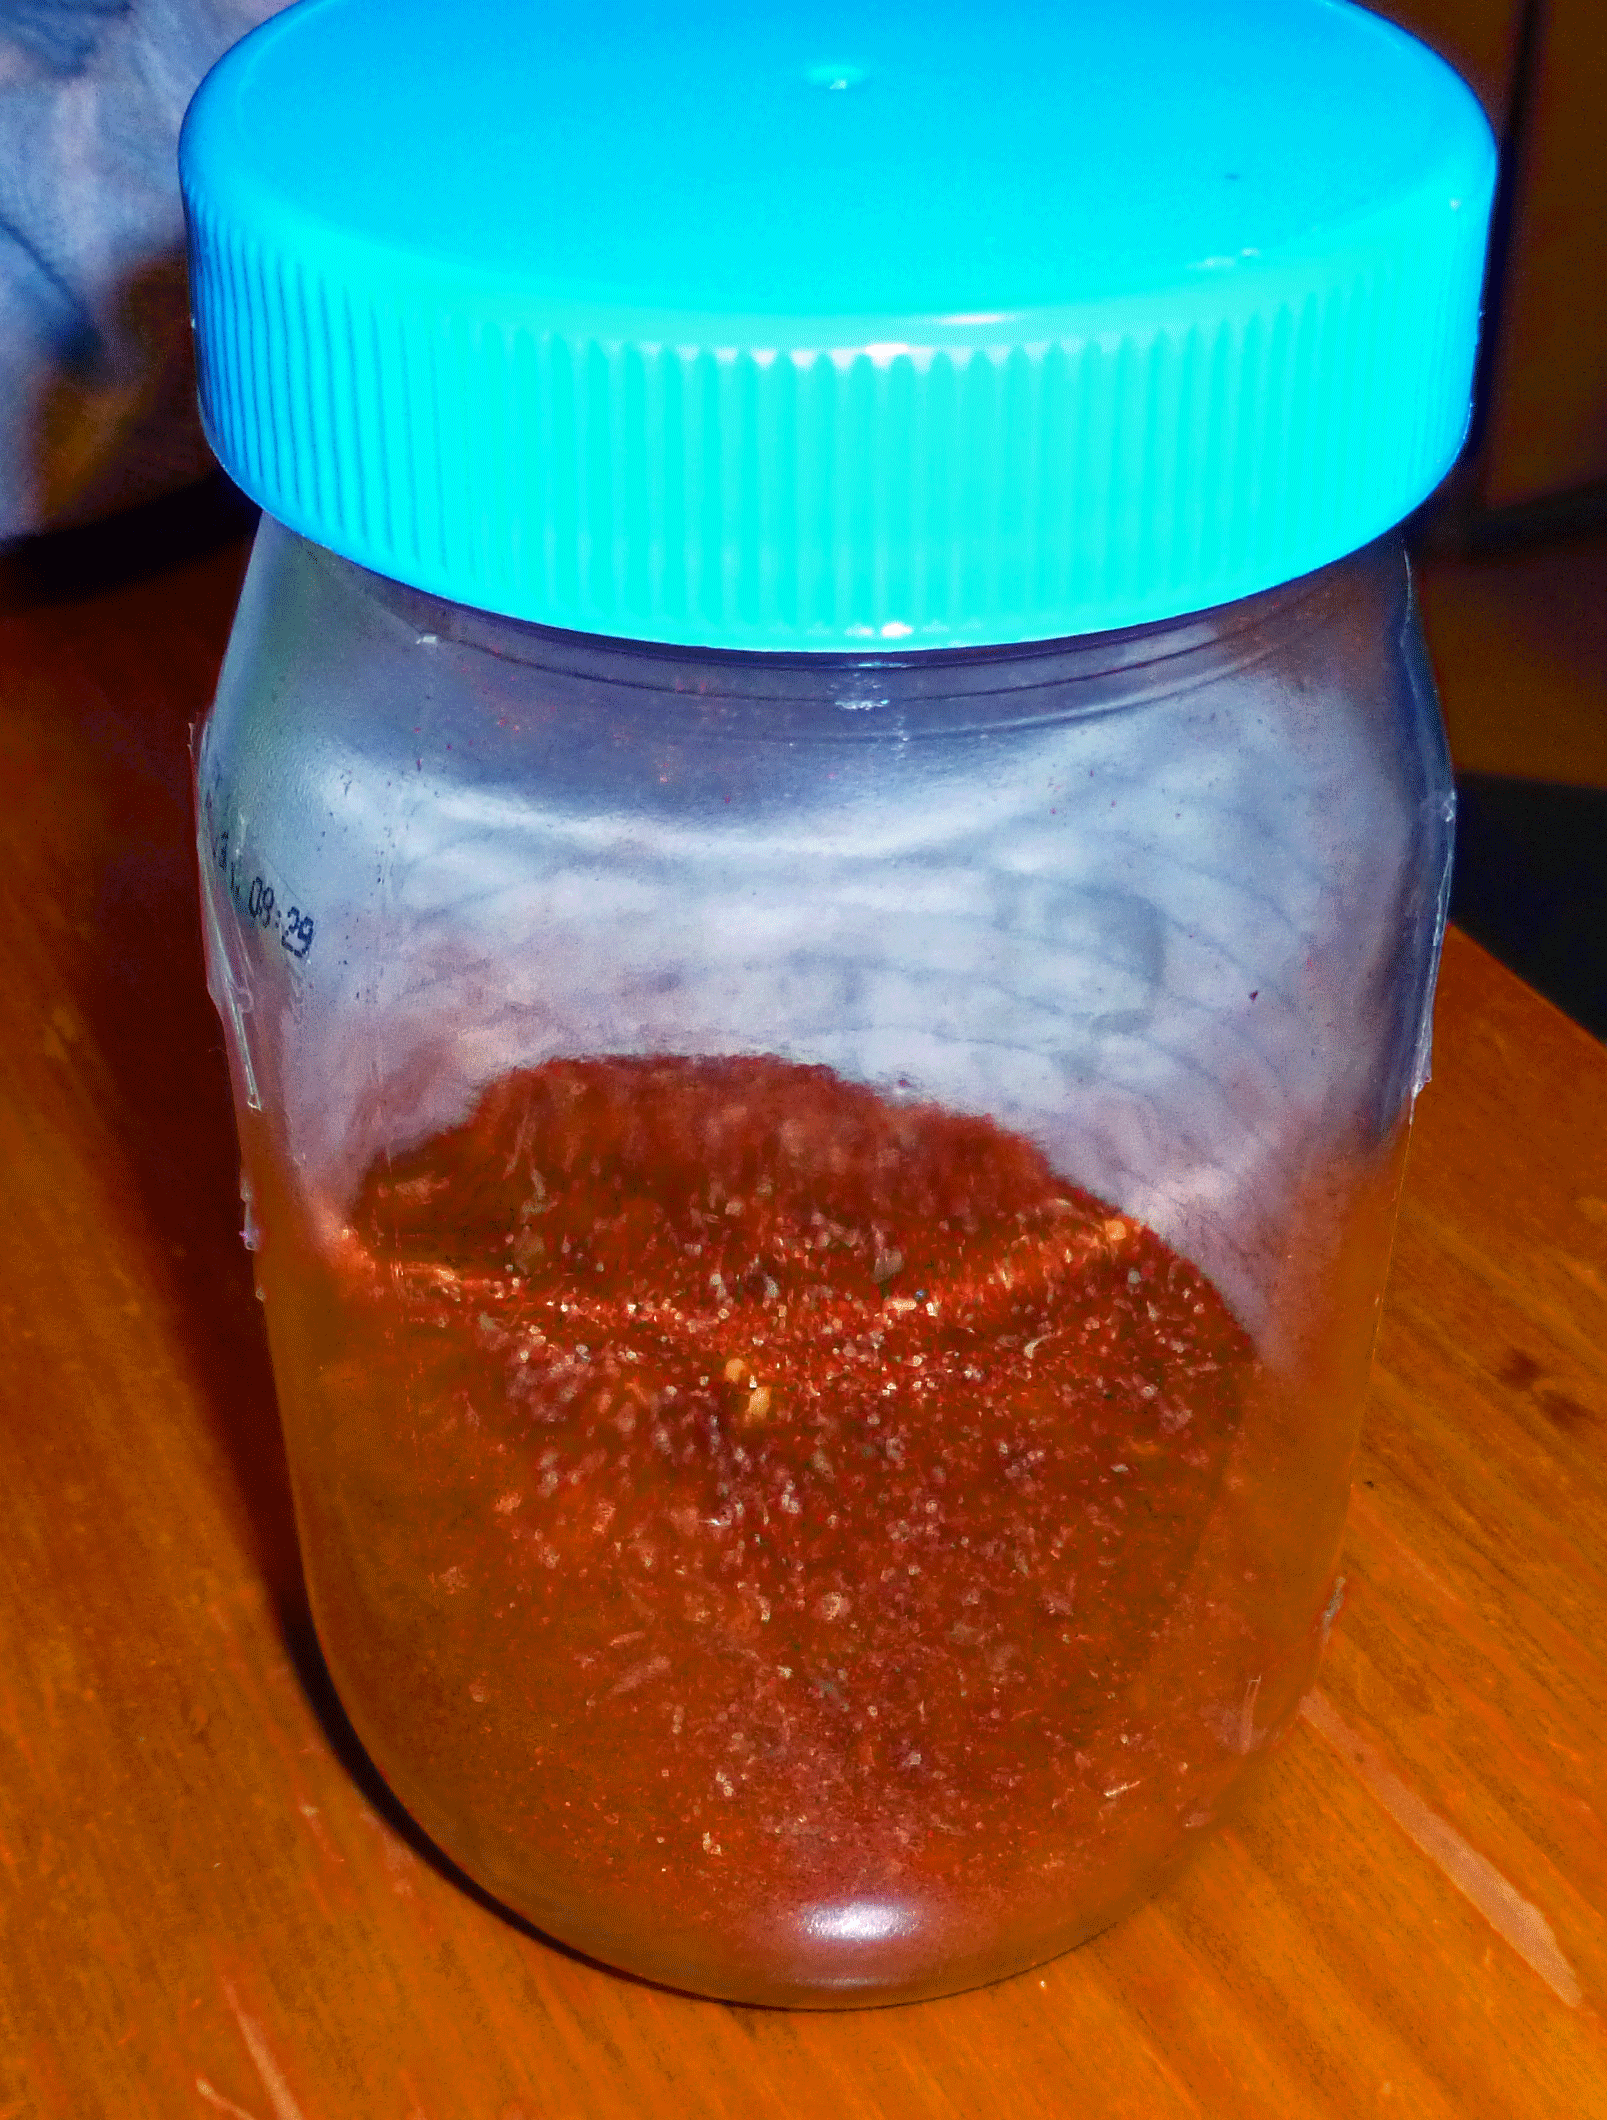
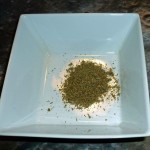
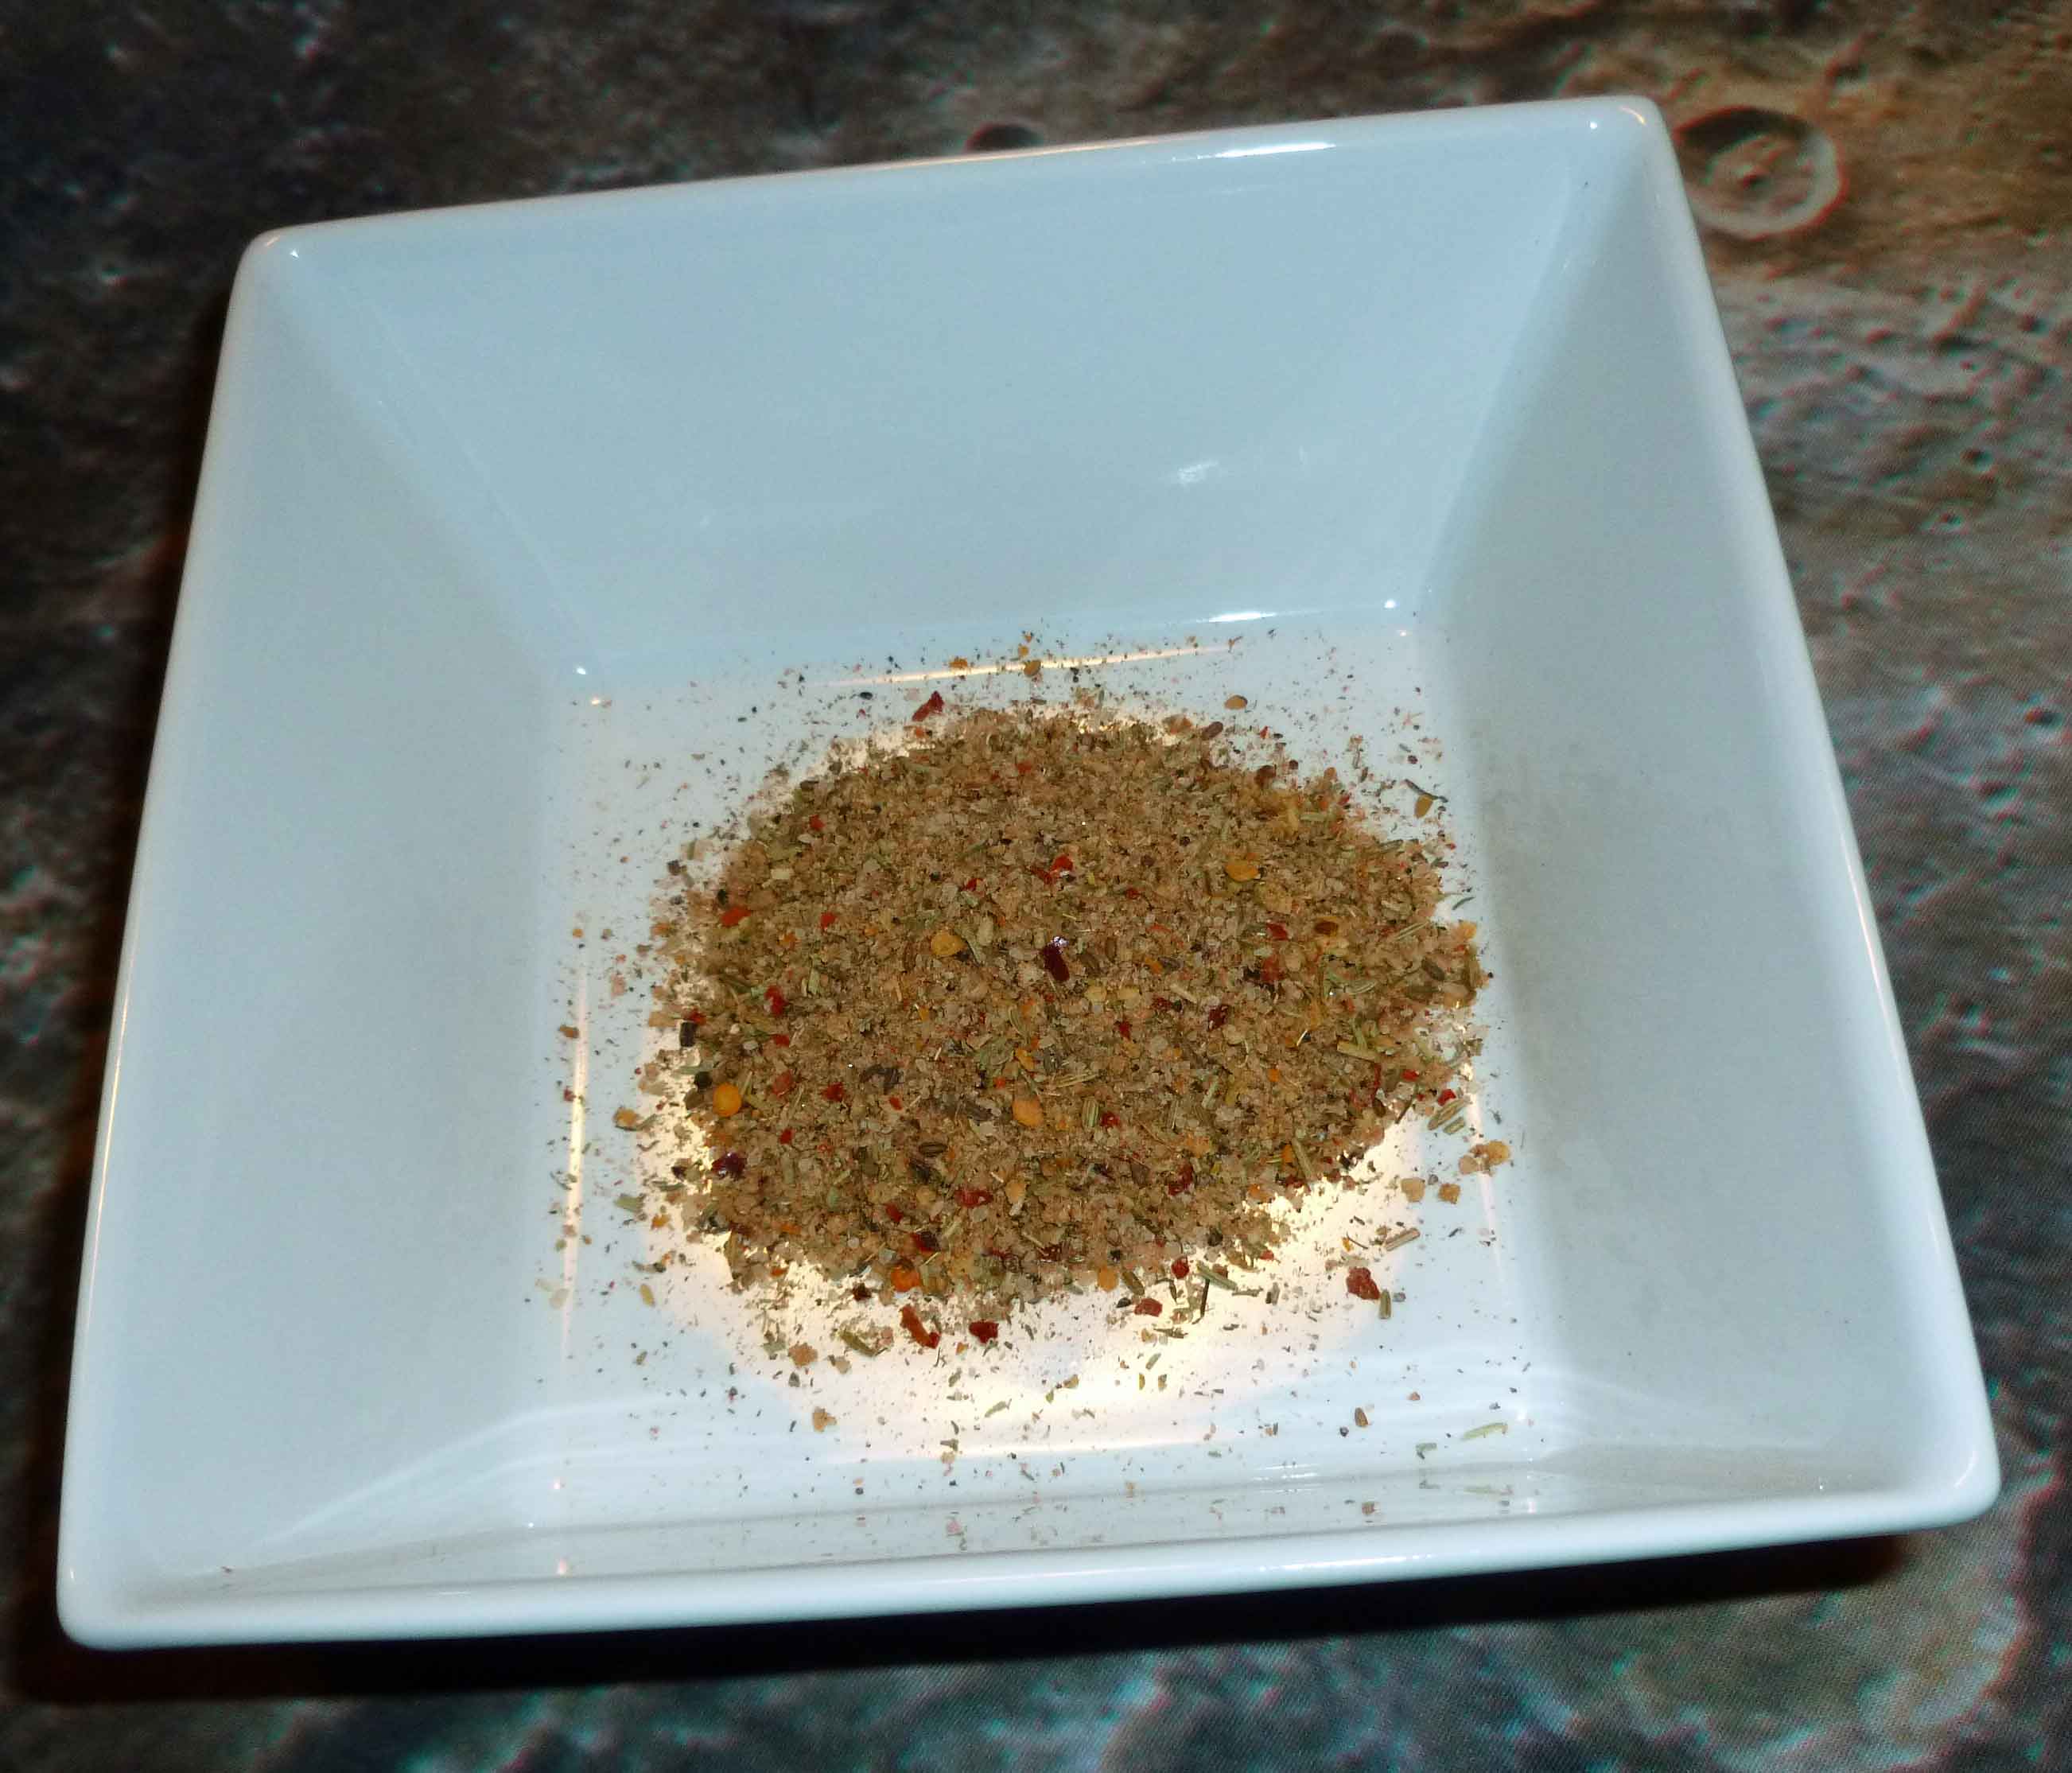
DIY Montreal Steak Seasoning
- 4 Tablespoons of Kosher Salt
- 1 Tablespoon of black peppercorns
- 1 Tablespoon of dried minced onion
- 1 Tablespoon of dried thyme
- 1 Tablespoon of dried rosemary
- ½ Tablespoon of dried minced garlic
- ½ Tablespoon of crushed red pepper flakes
- 2 teaspoons of fennel seed
- 1 teaspoon of dill seed
- 1 teaspoon of paprika
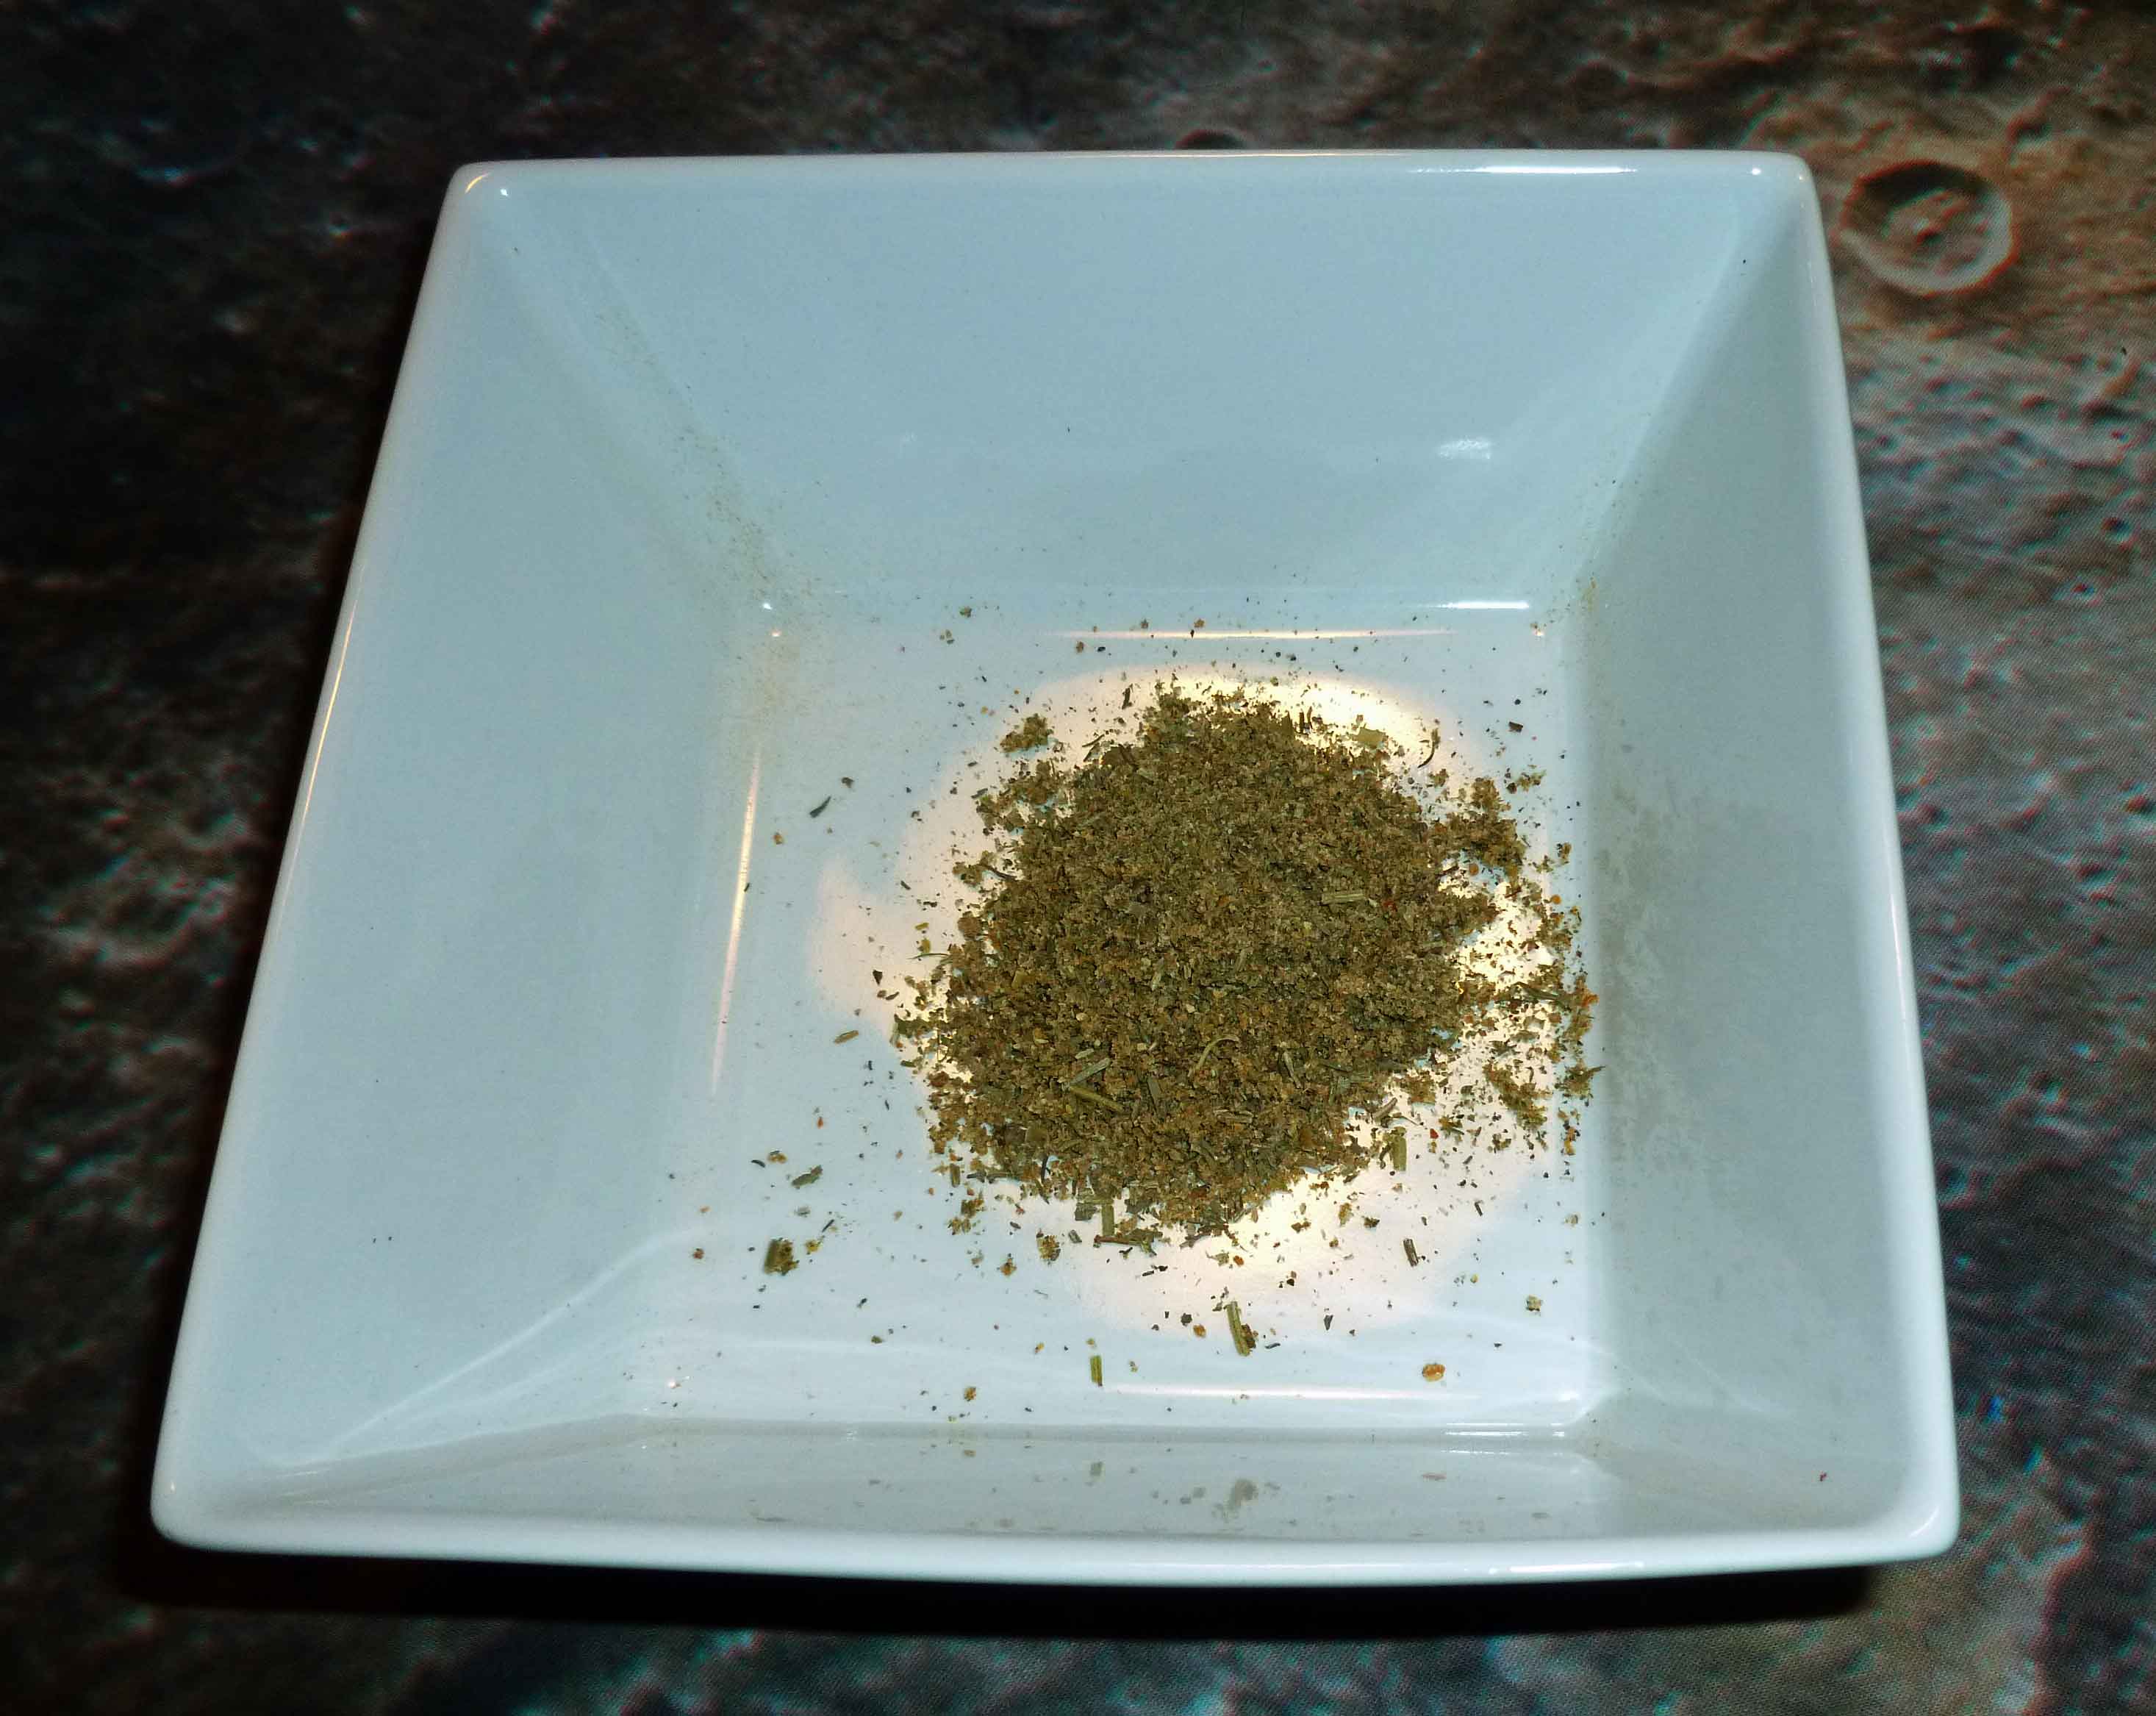
Put this in a blender or spice/coffee grinder, or use my trick where you take a pint mason canning jar, put all the spices in the jar and screw the blender blade assembly to the jar and put it on blender. Using any and all methods, blend until fairly well ground as shown below and put in a spice jar and store. I use this as a rub for beef, pork and chicken.
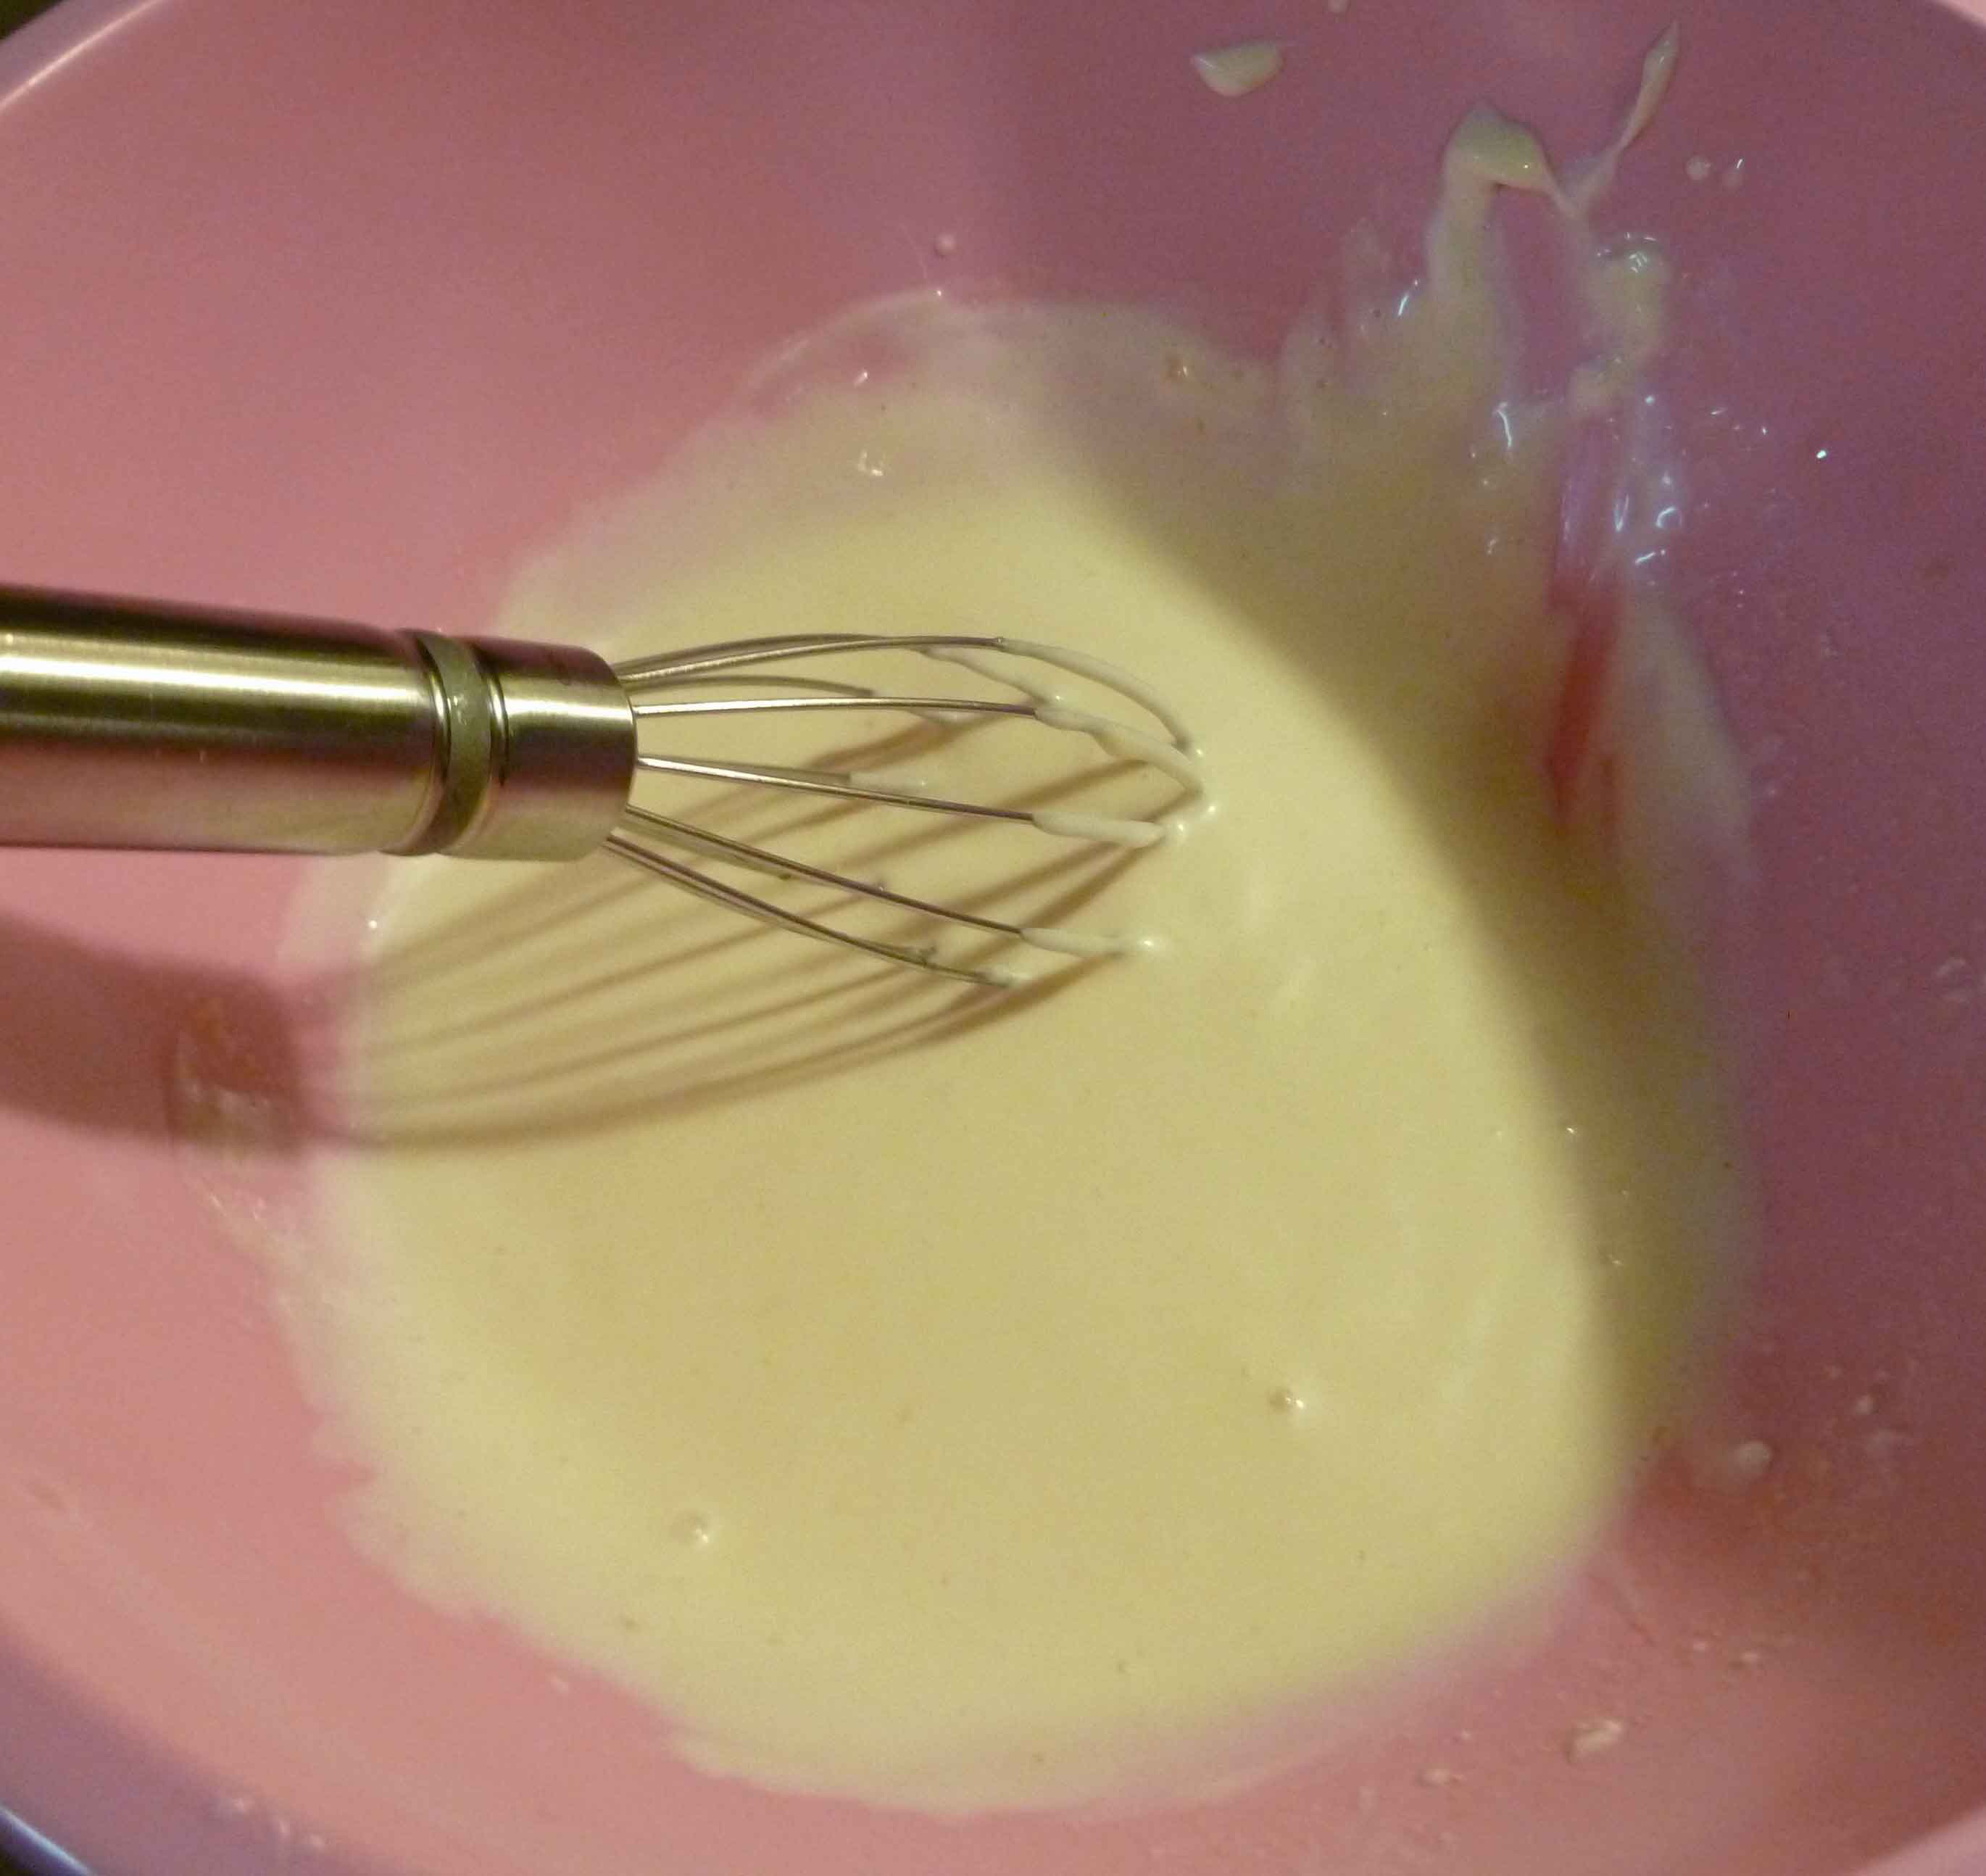
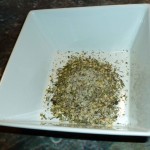
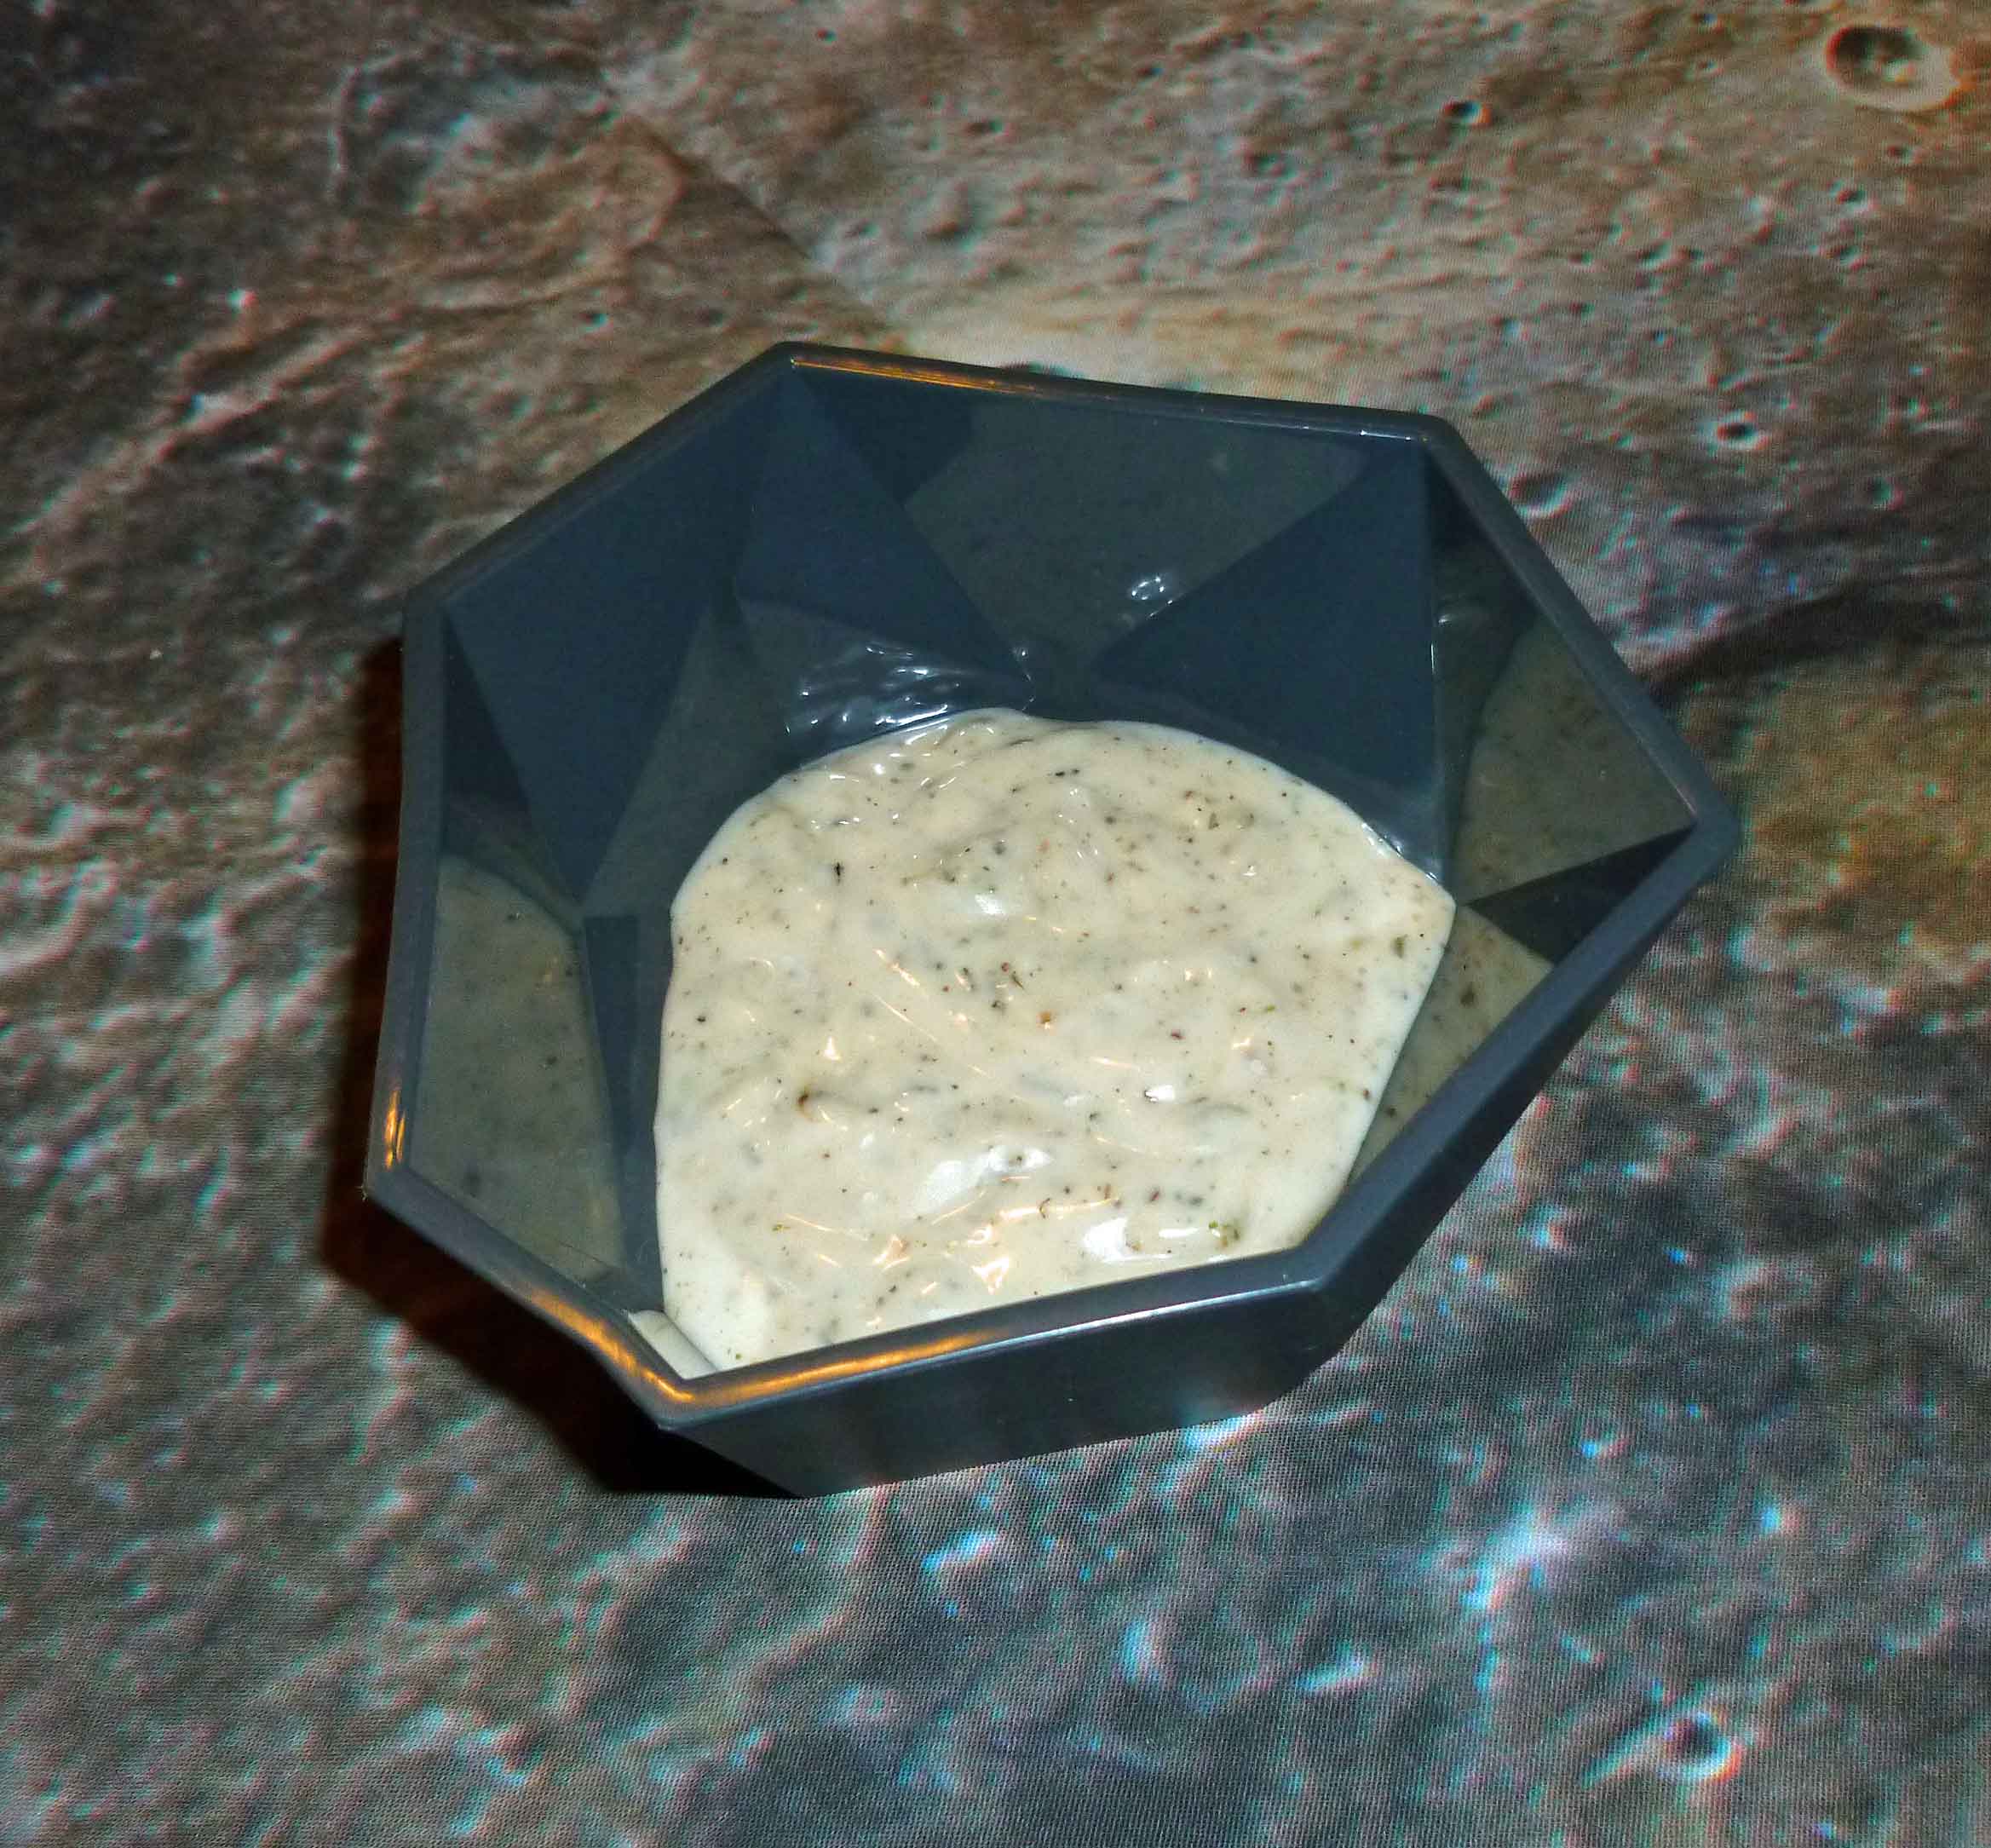
DIY Creamy Peppercorn Dressing Mix
- ¼ cup of black peppercorns ground coarsely (in a blender or spice/coffee grinder, or use my trick where you take a pint mason canning jar, put the spices in the jar and screw the blender blade assembly to the jar and put it on blender)
- ⅛ cup of sugar
- ⅛ cup of dried minced garlic
- ⅛ cup of dried thyme
- ⅛ cup of dried parsley.
- 2 ½ Tablespoons of salt
Put all ingredients in a bowl spices in a bowl and whisk together thoroughly. Put in a spice jar to store. To use, mix 1 Tablespoon of Creamy Peppercorn Dressing Mix in 2 Tablespoons of water and let stand five minutes. Mix in ½ cup Earth Balance Mindful Mayo and enjoy. If you can have dairy and eggs, use 1/4 cup of mayo and 1/4 cup of sour cream 🙂
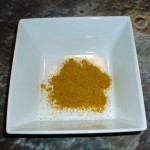
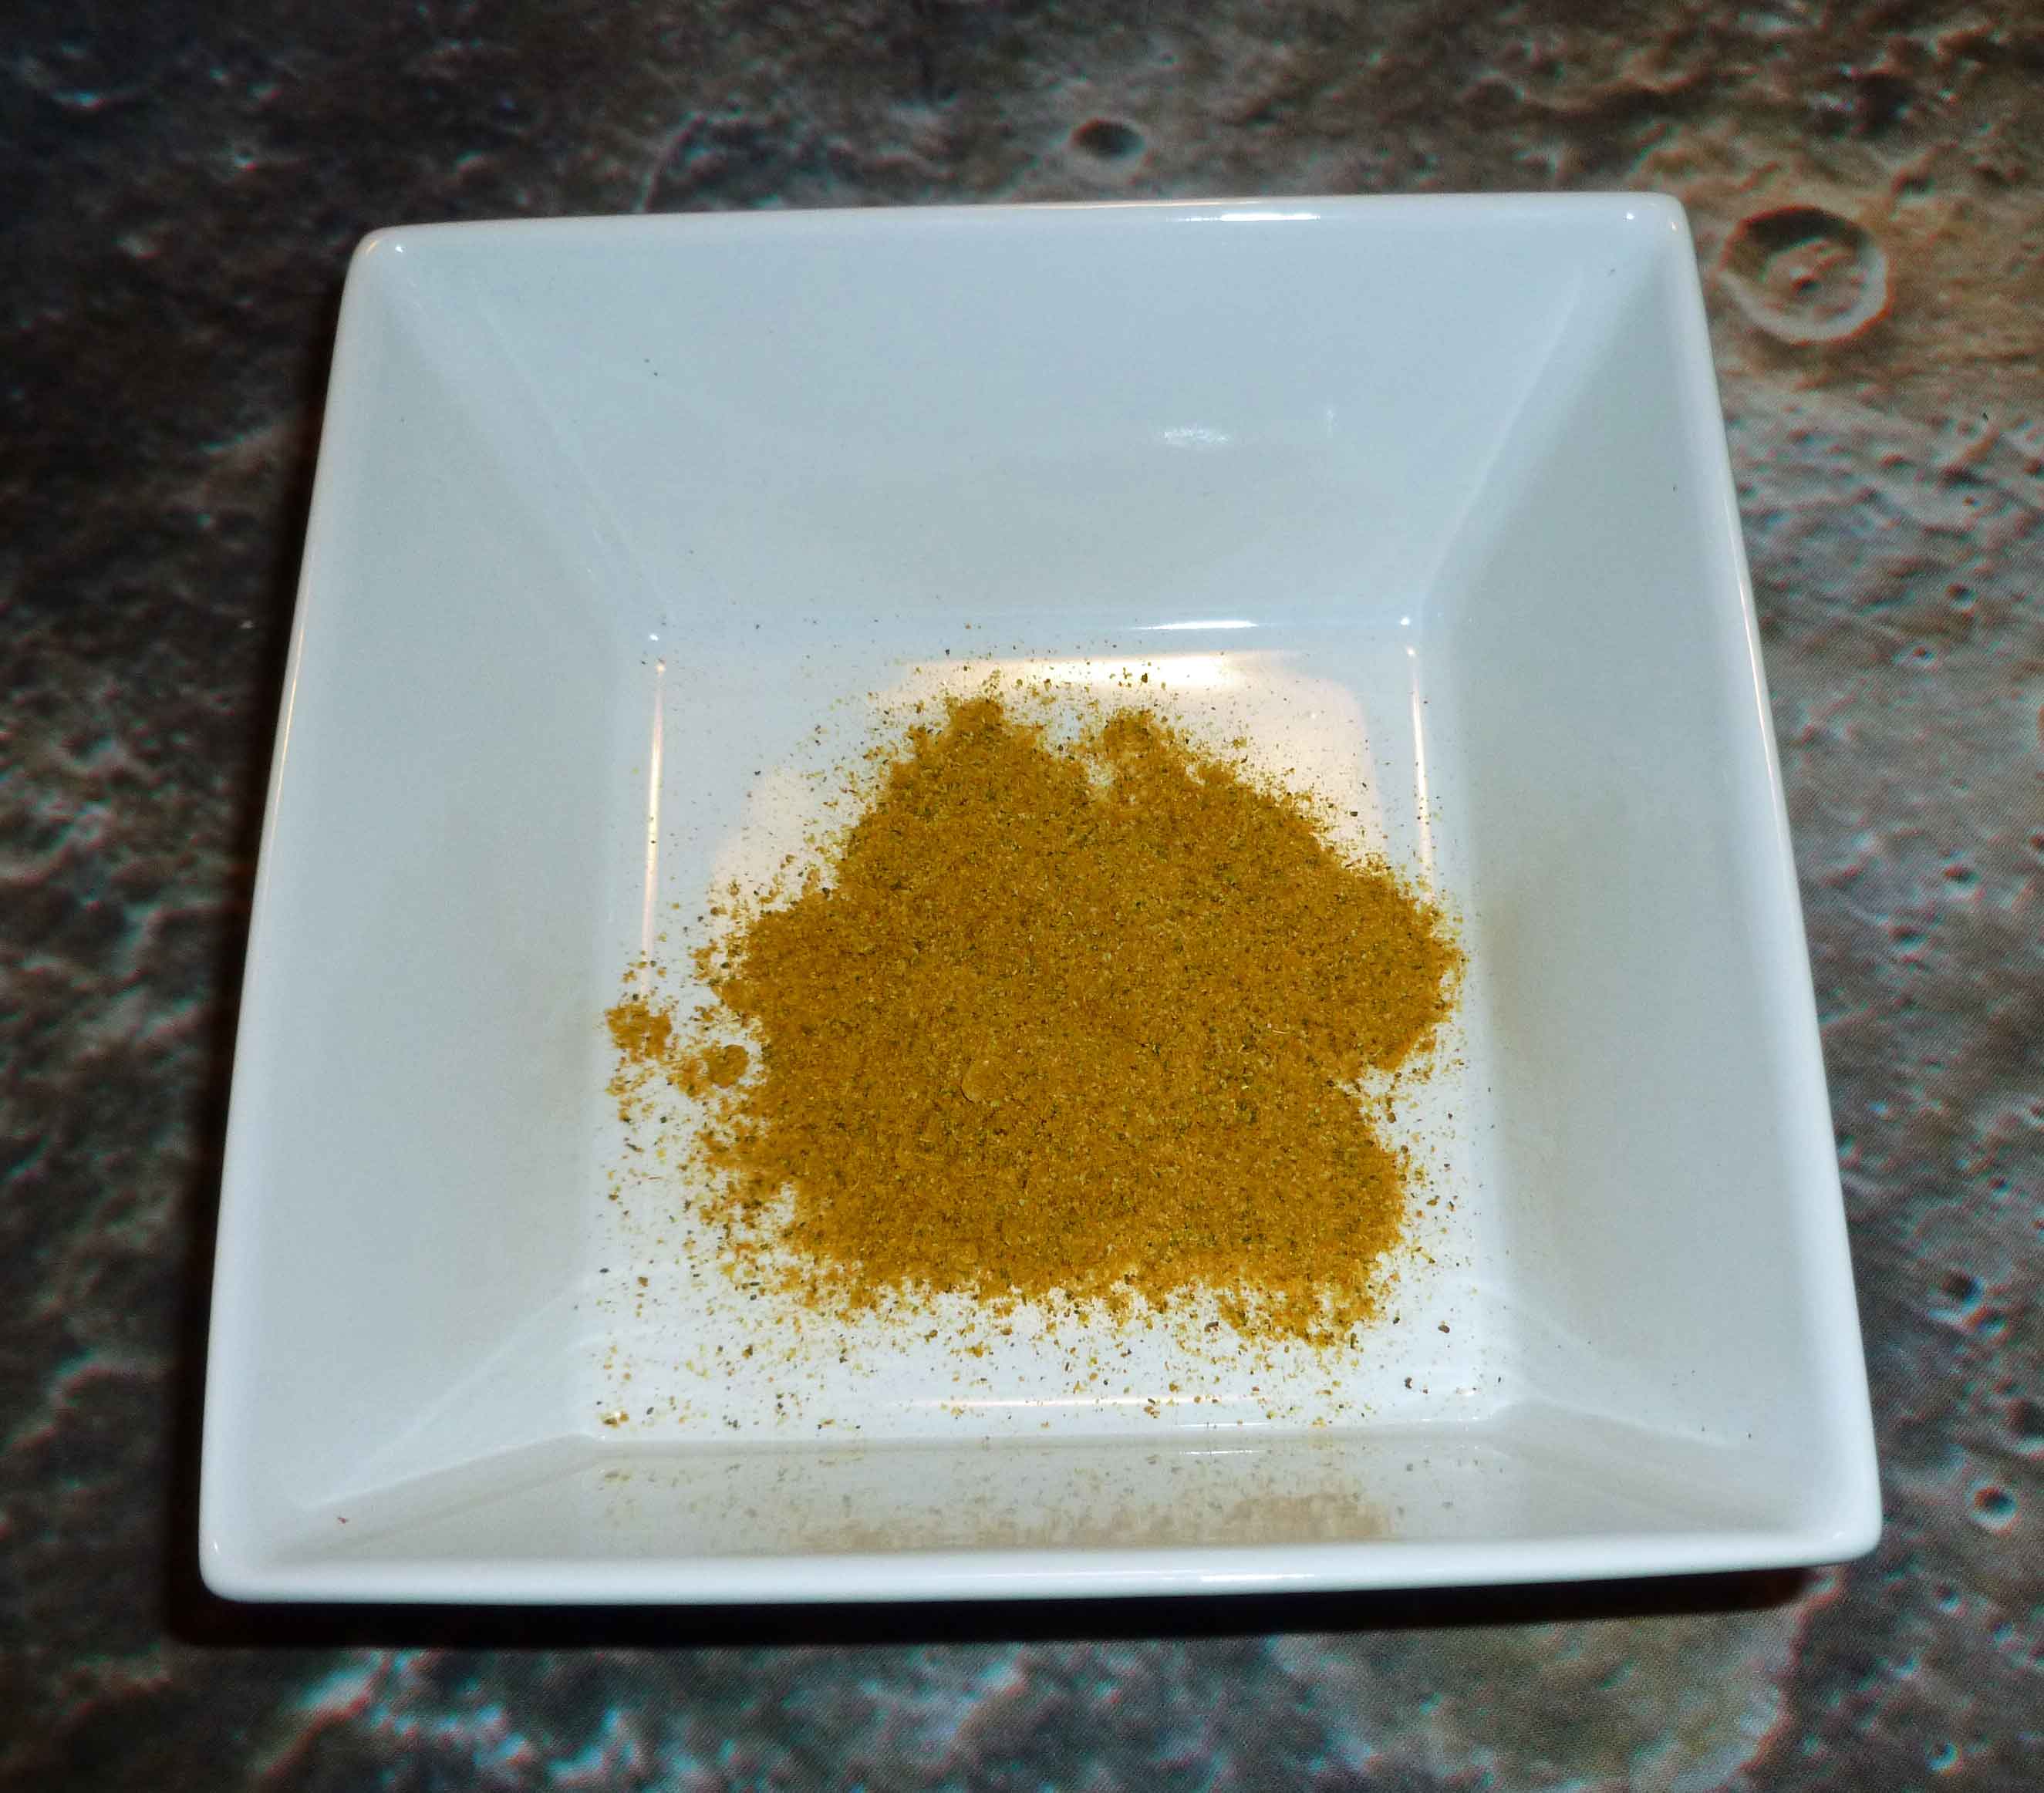
DIY Singapore Seasoning
- 2 Tablespoons of lemon peel powder (you can get this from Penzey’s or grind up dried lemon peel in your spice/coffee grinder)
- ½ Tablespoon of black pepper
- 1 teaspoon of garlic powder
- 1 teaspoon of onion powder
- 1 teaspoon of tumeric
- ½ teaspoon of ground coriander
- ½ teaspoon of ground cumin
- ½ teaspoon of ground ginger
- ¼ teaspoon of ground nutmeg
- ¼ teaspoon of ground fennel
- ¼ teaspoon of ground cinnamon
- ⅛ teaspoon of ground fenugreek
- ⅛ teaspoon of ground white pepper
- ⅛ teaspoon of ground cardamom
- ⅛ teaspoon of ground cloves
- ⅛ teaspoon of ground cayenne red pepper
Put all ingredients in a bowl spices in a bowl and whisk together thoroughly. Put in a spice jar to store. You can use this as a spice rub for chicken or pork or to flavor rice noodles.
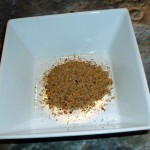
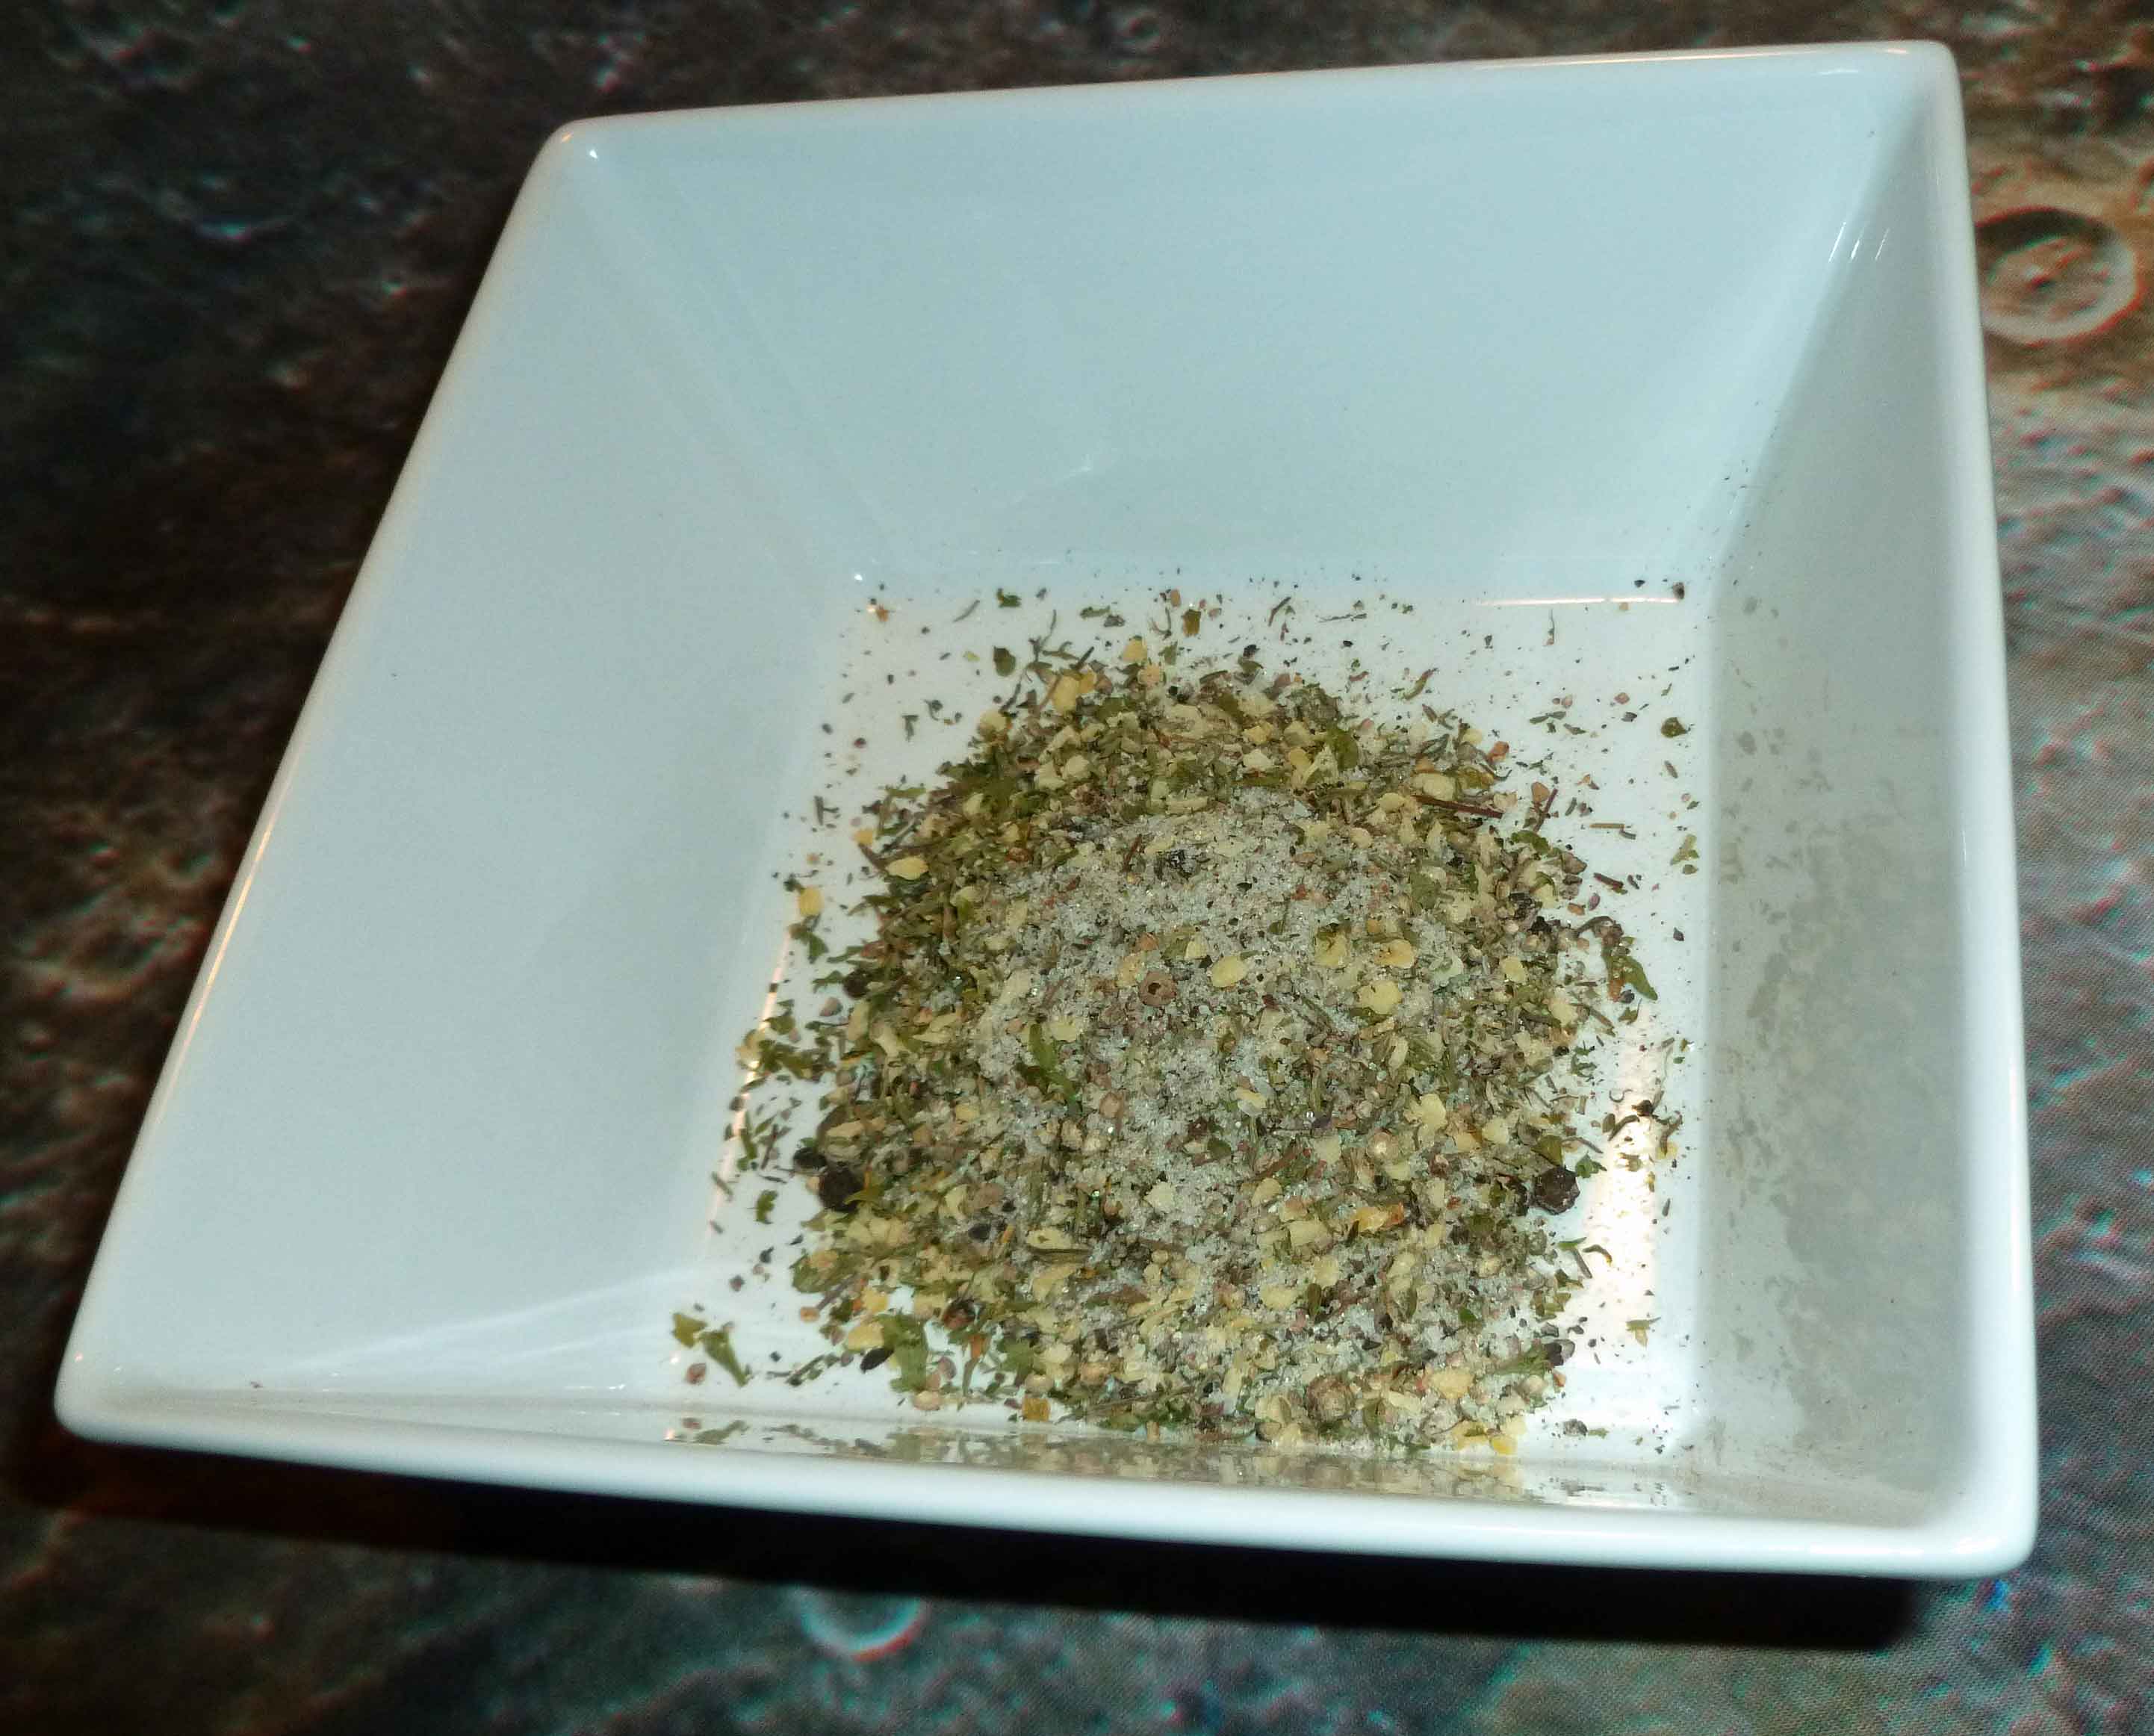
Full of Flavor Herb Mix
Penzey’s has a Mural of Flavor spice mix that I love, but it has citric acid (corn) in it, so it’s out for me now. I came up with the following mix to replace it.
- 1 ½ Tablespoons of dried minced shallots
- 1 teaspoon of thyme
- 1 teaspoon of rosemary
- 1 teaspoon of basil
- 1 teaspoon of chives
- ½ teaspoon of onion powder
- ½ teaspoon of garlic powder
- ½ teaspoon of lemon peel
- ¼ teaspoon of ground coriander
- ½ teaspoon of green peppercorns
- ½ teaspoon of dill weed
- ¼ teaspoon of lemon peel powder (you can get this from Penzey’s or grind up dried lemon peel in your spice/coffee grinder)
- ¼ teaspoon of black pepper
- ¼ teaspoon of orange peel
Put this in a blender or spice/coffee grinder, or use my trick where you take a pint mason canning jar, put all the spices in the jar and screw the blender blade assembly to the jar and put it on blender. Using any and all method, blend until it is ground to a coarse consistency (not powder) as shown below and put in a spice jar and store. I use this on vegetables, in soups, on beef, pork, chicken and fish. It’s a great all-purpose spice blend.
Hope you guys enjoy these spice mixes. If you’ve got some of your own, please share!