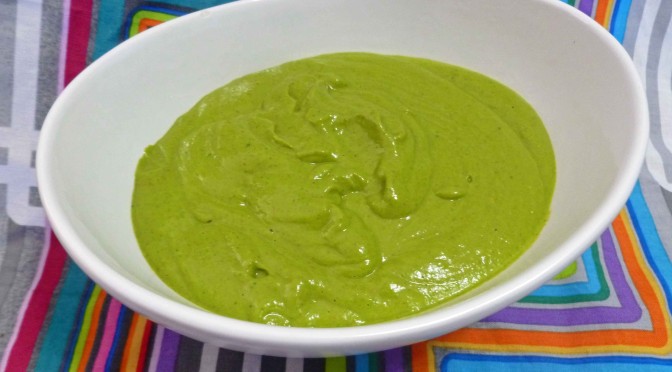
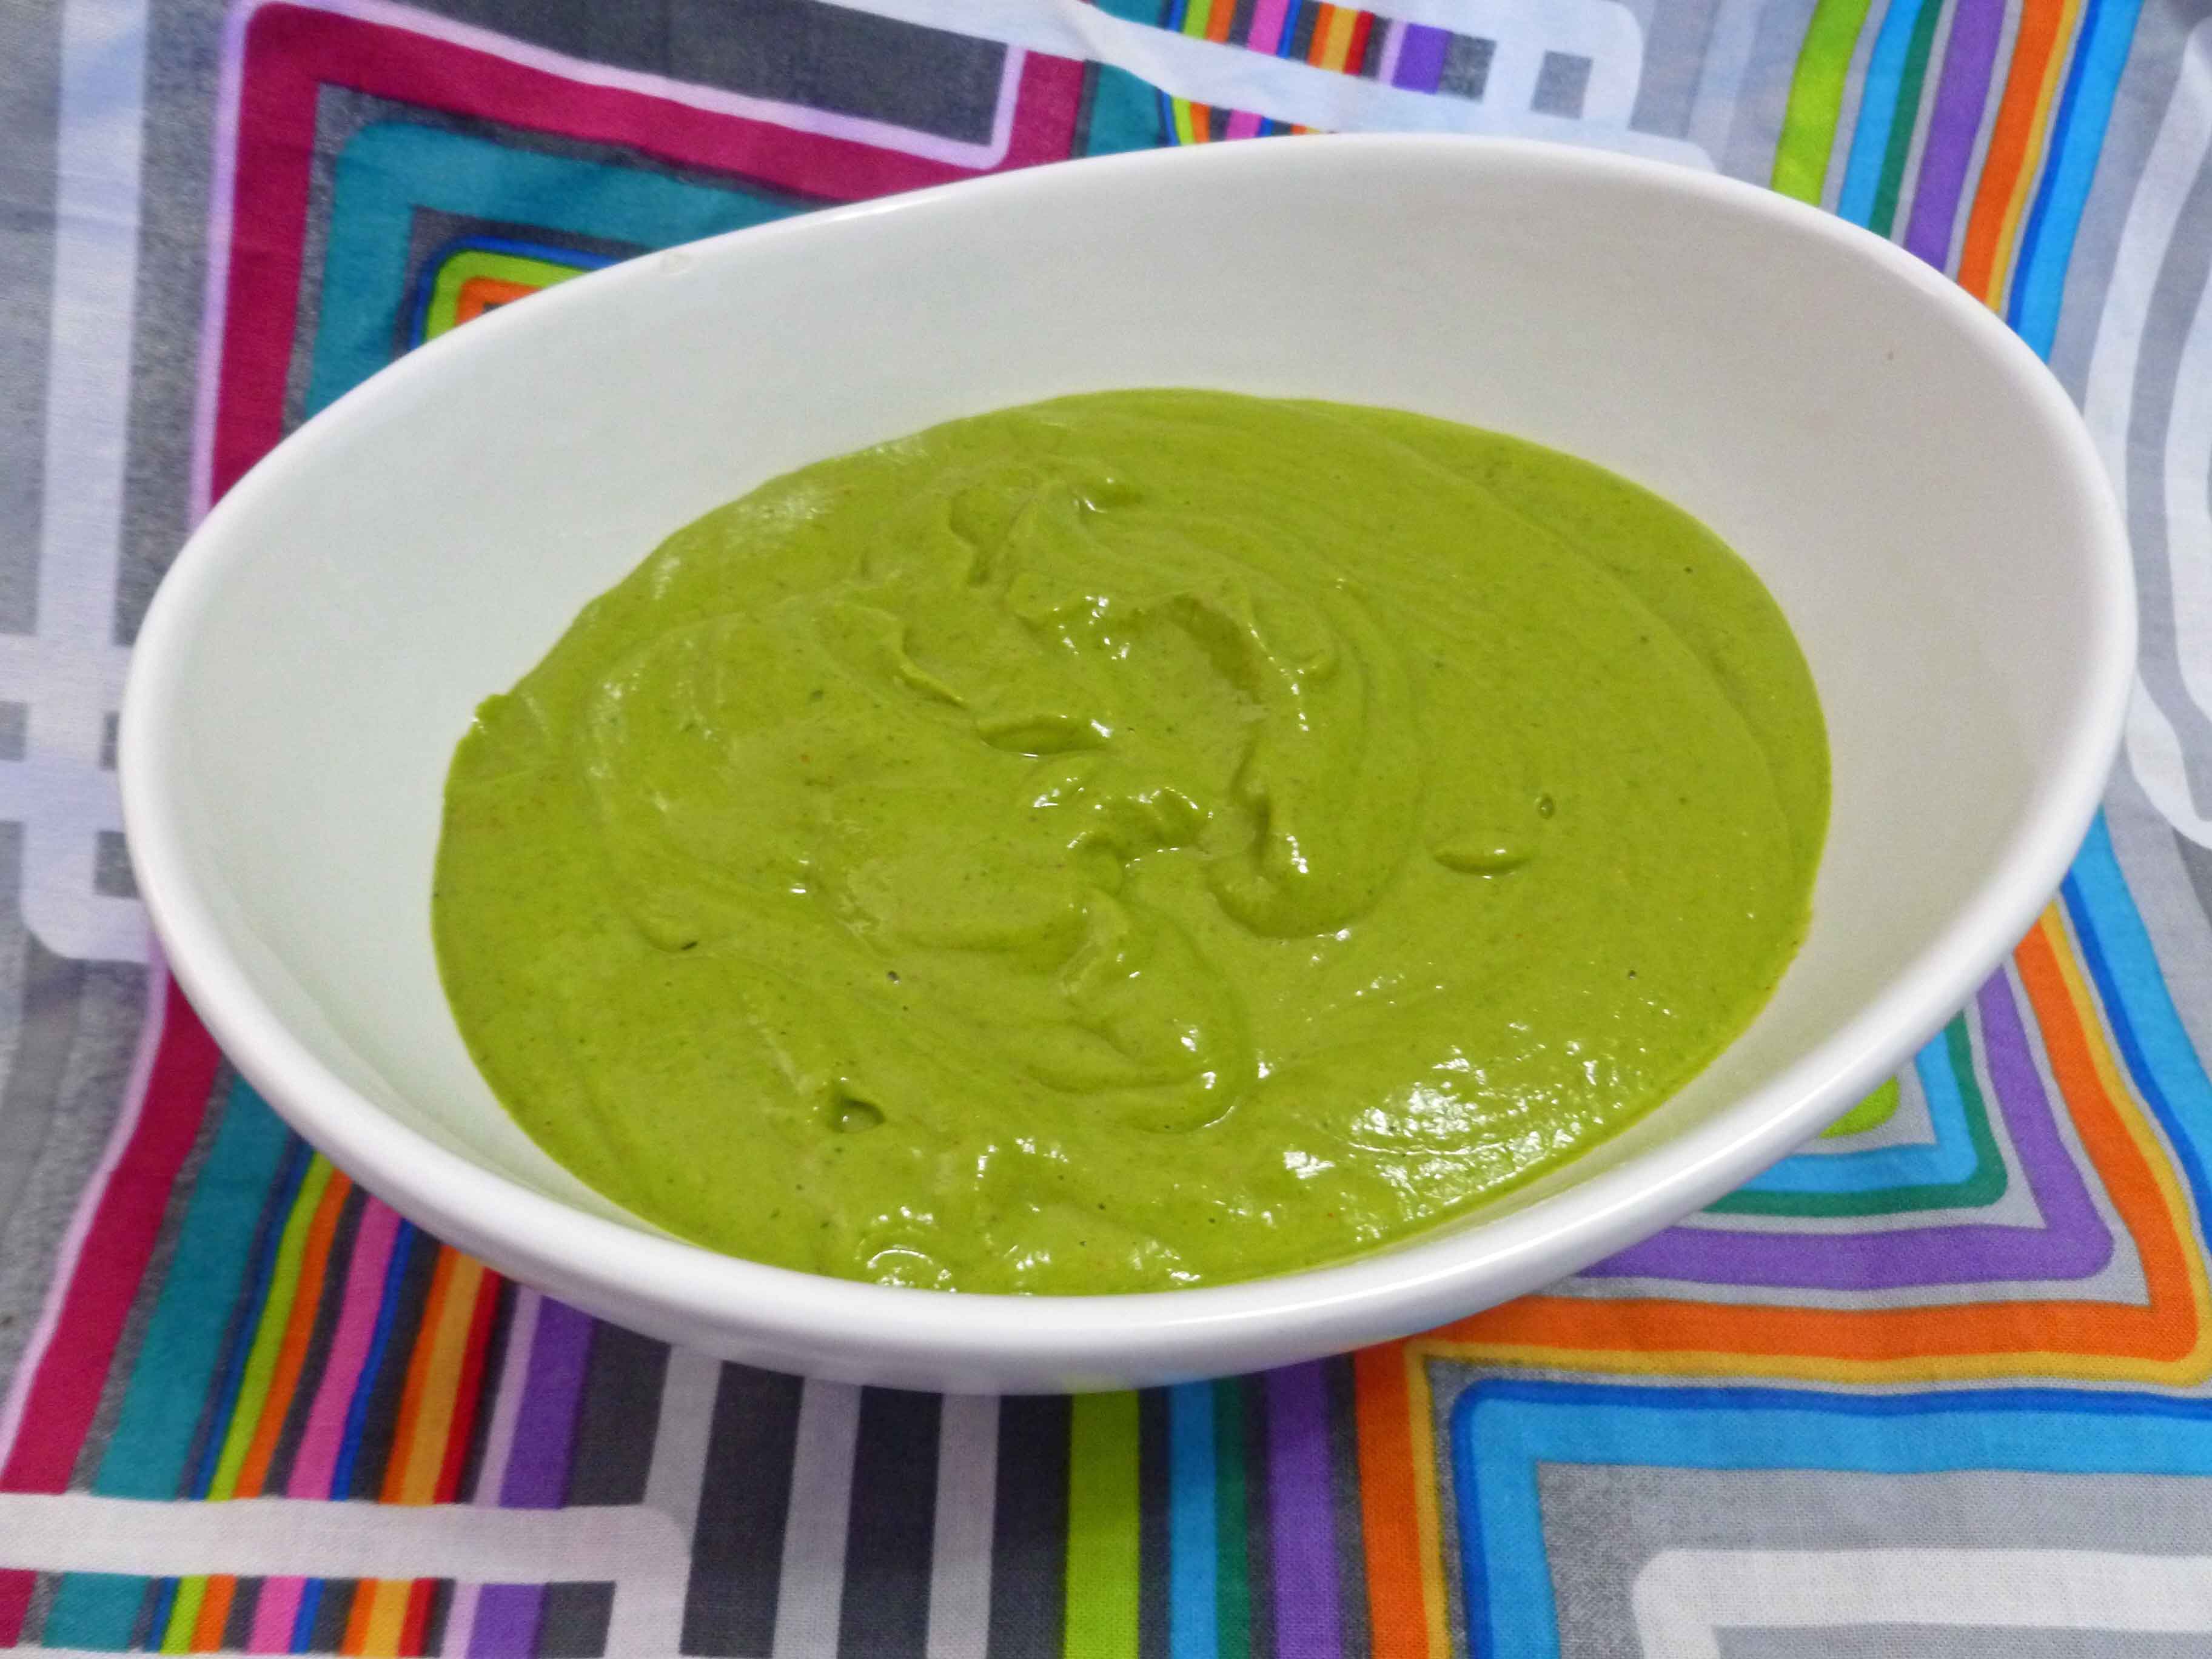
Cilantro Avocado Salad Dressing or Sauce
I love cilantro and avocado, and I was looking for a new salad dressing because I have a tendency to fall into a rut. I either make my standard vinaigrette out of habit or use my Thai Hot and Sweet Dipping Sauce because I’ve got a bunch of it canned up and it’s easy, and really good on salad. So I decided I’d try something different. If you like cilantro and avocado, it’s yummy and will be pretty much great on everything you can think of.
Cilantro Avocado Salad Dressing or Sauce
Makes 3 cups
- 2 cups of tightly packed chopped cilantro
- 2 garlic cloves, peeled and trimmed
- 1/4 cup of olive oil
- 1/2 cup of white wine vinegar
- 1/4 cup of water
- 1/2 cup fresh squeezed lime juice (I used two limes)
- 2 Tablespoons of Adobo seasoning – optional (If you don’t have Adobo seasoning or you don’t have a safe version, mix 1/8 cup of paprika, 1 1/2 Tablespoons of ground black pepper, 1 Tablespoon of onion powder, 1 Tablespoon of dried oregano, 1 Tablespoon of ground cumin, 1/2 Tablespoon of ground chipotle, and 1/2 Tablespoon of garlic powder, this makes half a cup of seasoning)
- salt to taste
- 2 avocados
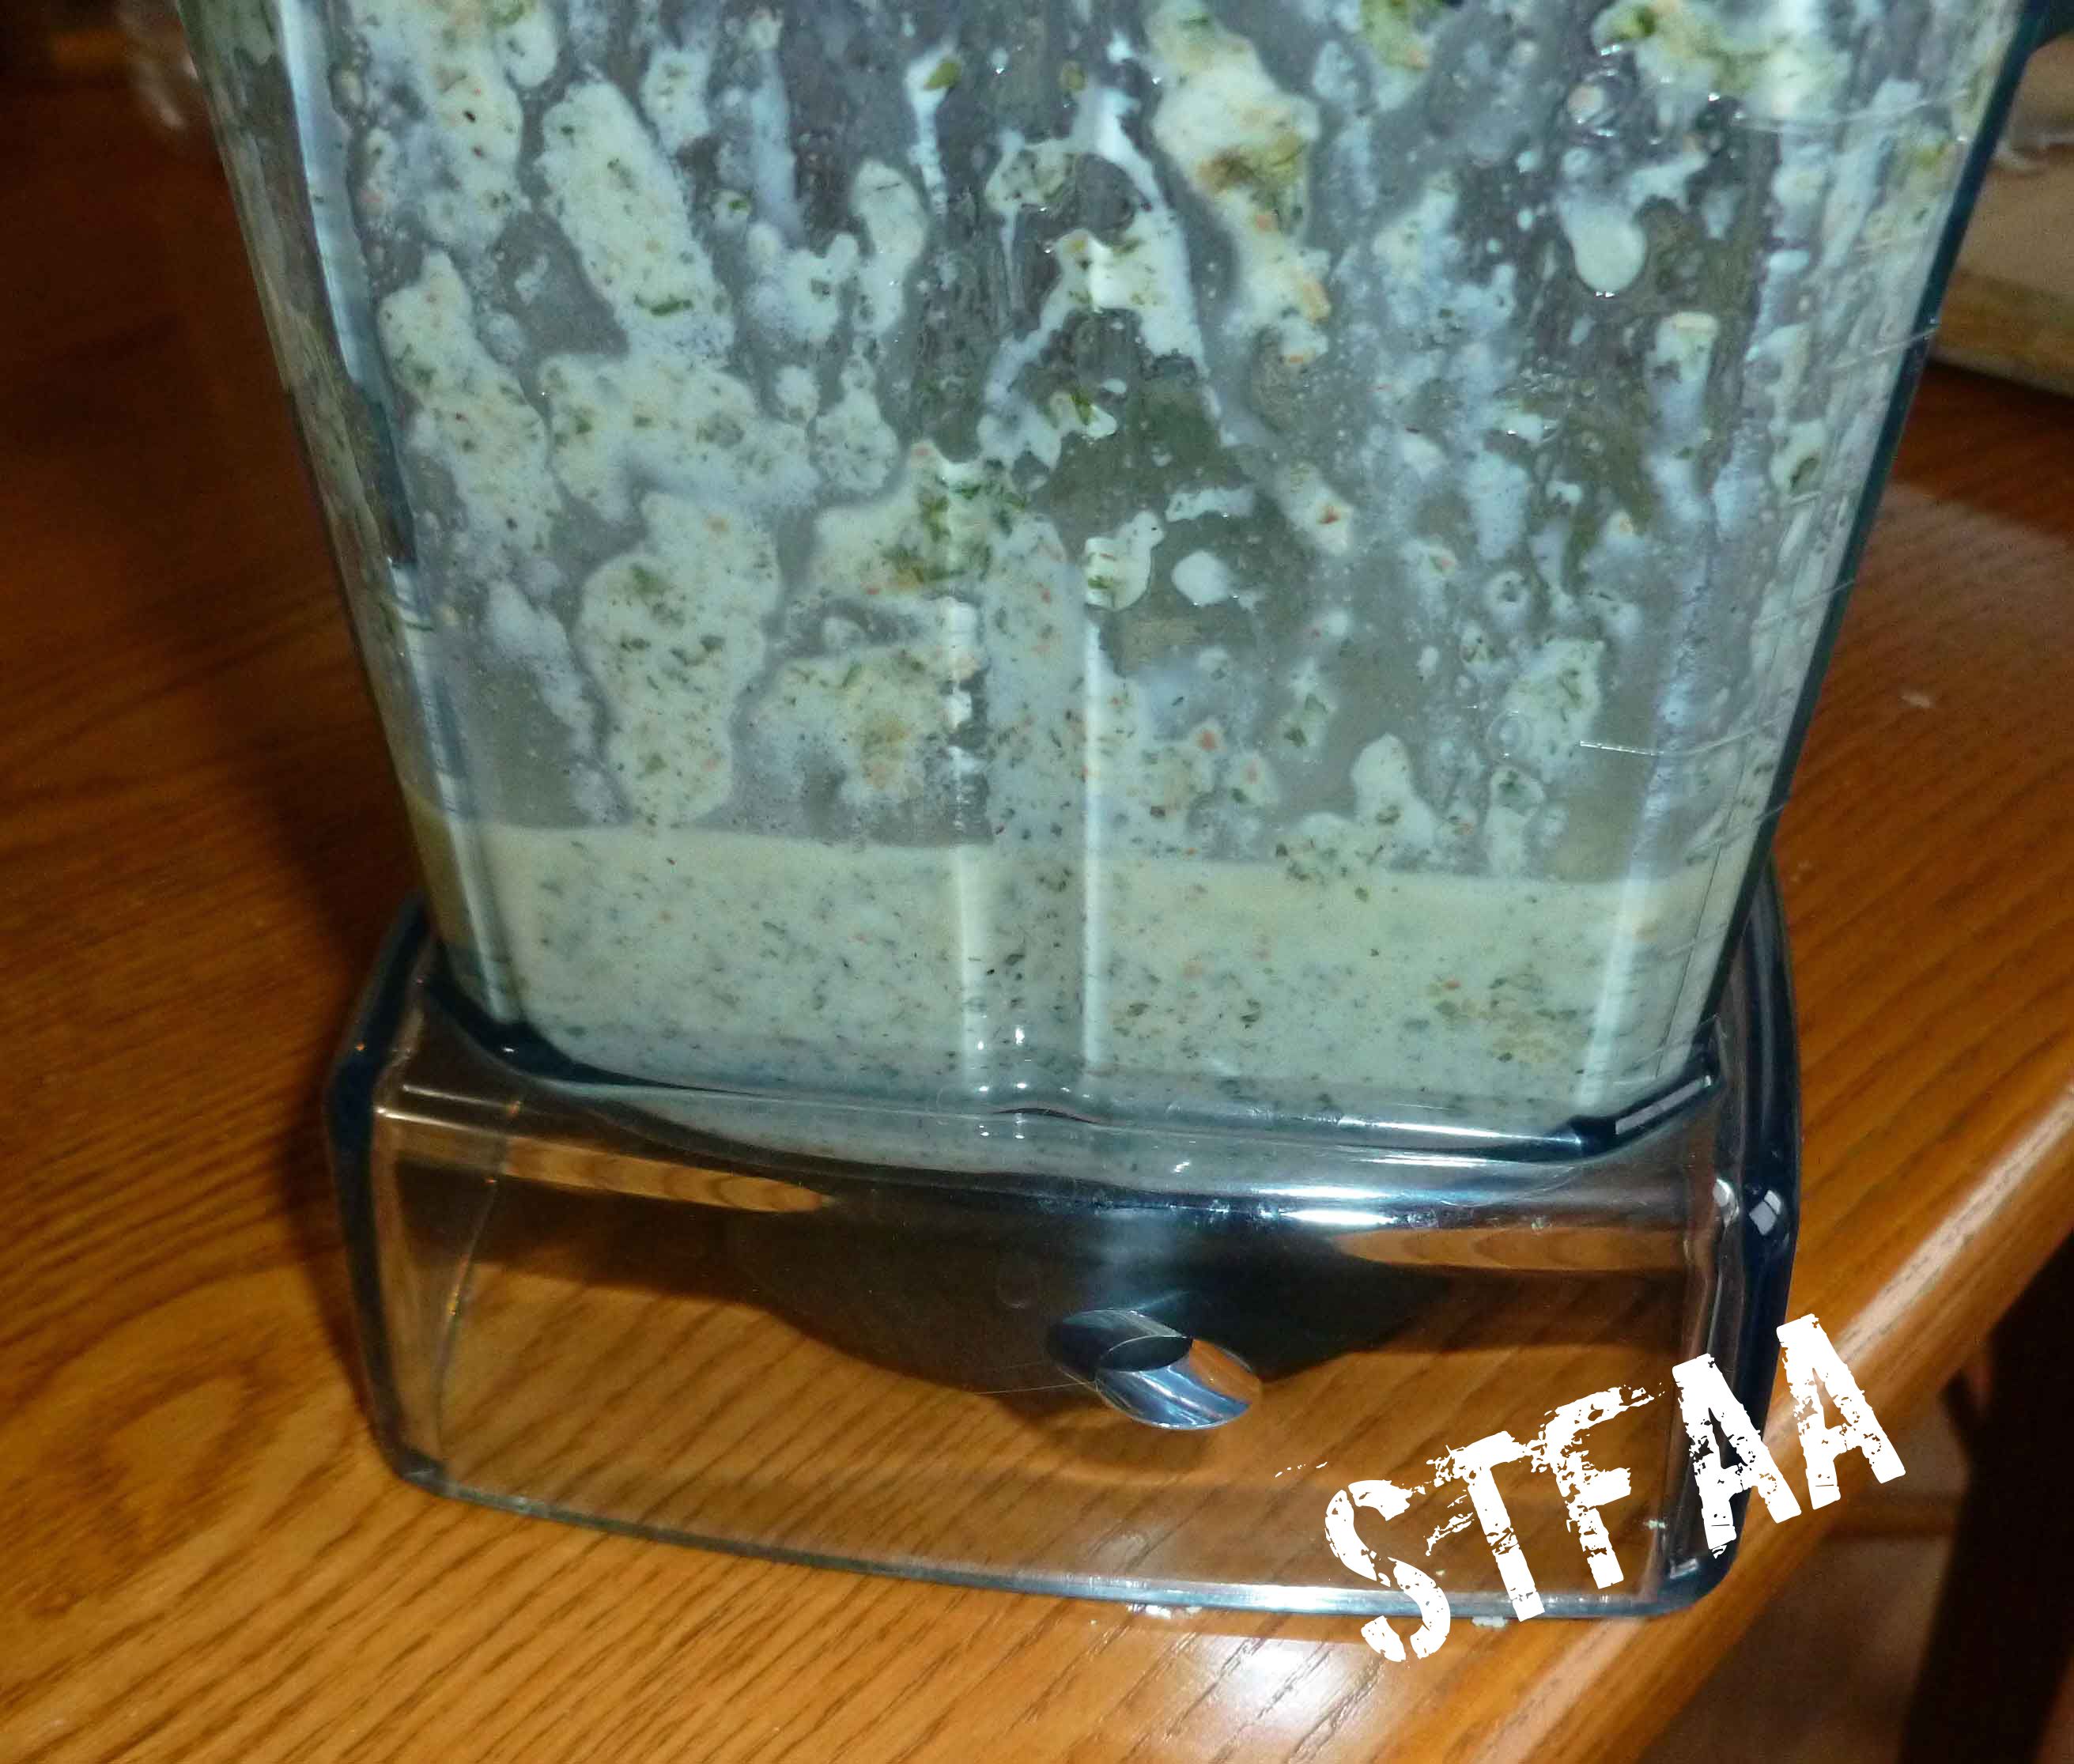
Put all the ingredients in the blender and puree it. I went overboard with my Vitamix so you can’t see the cilantro. If you want larger pieces of cilantro, put all the ingredients except for 1 cup of cilantro in the blender first, blend, and then add the reserved cilantro and blend judiciously to leave more visible bits.
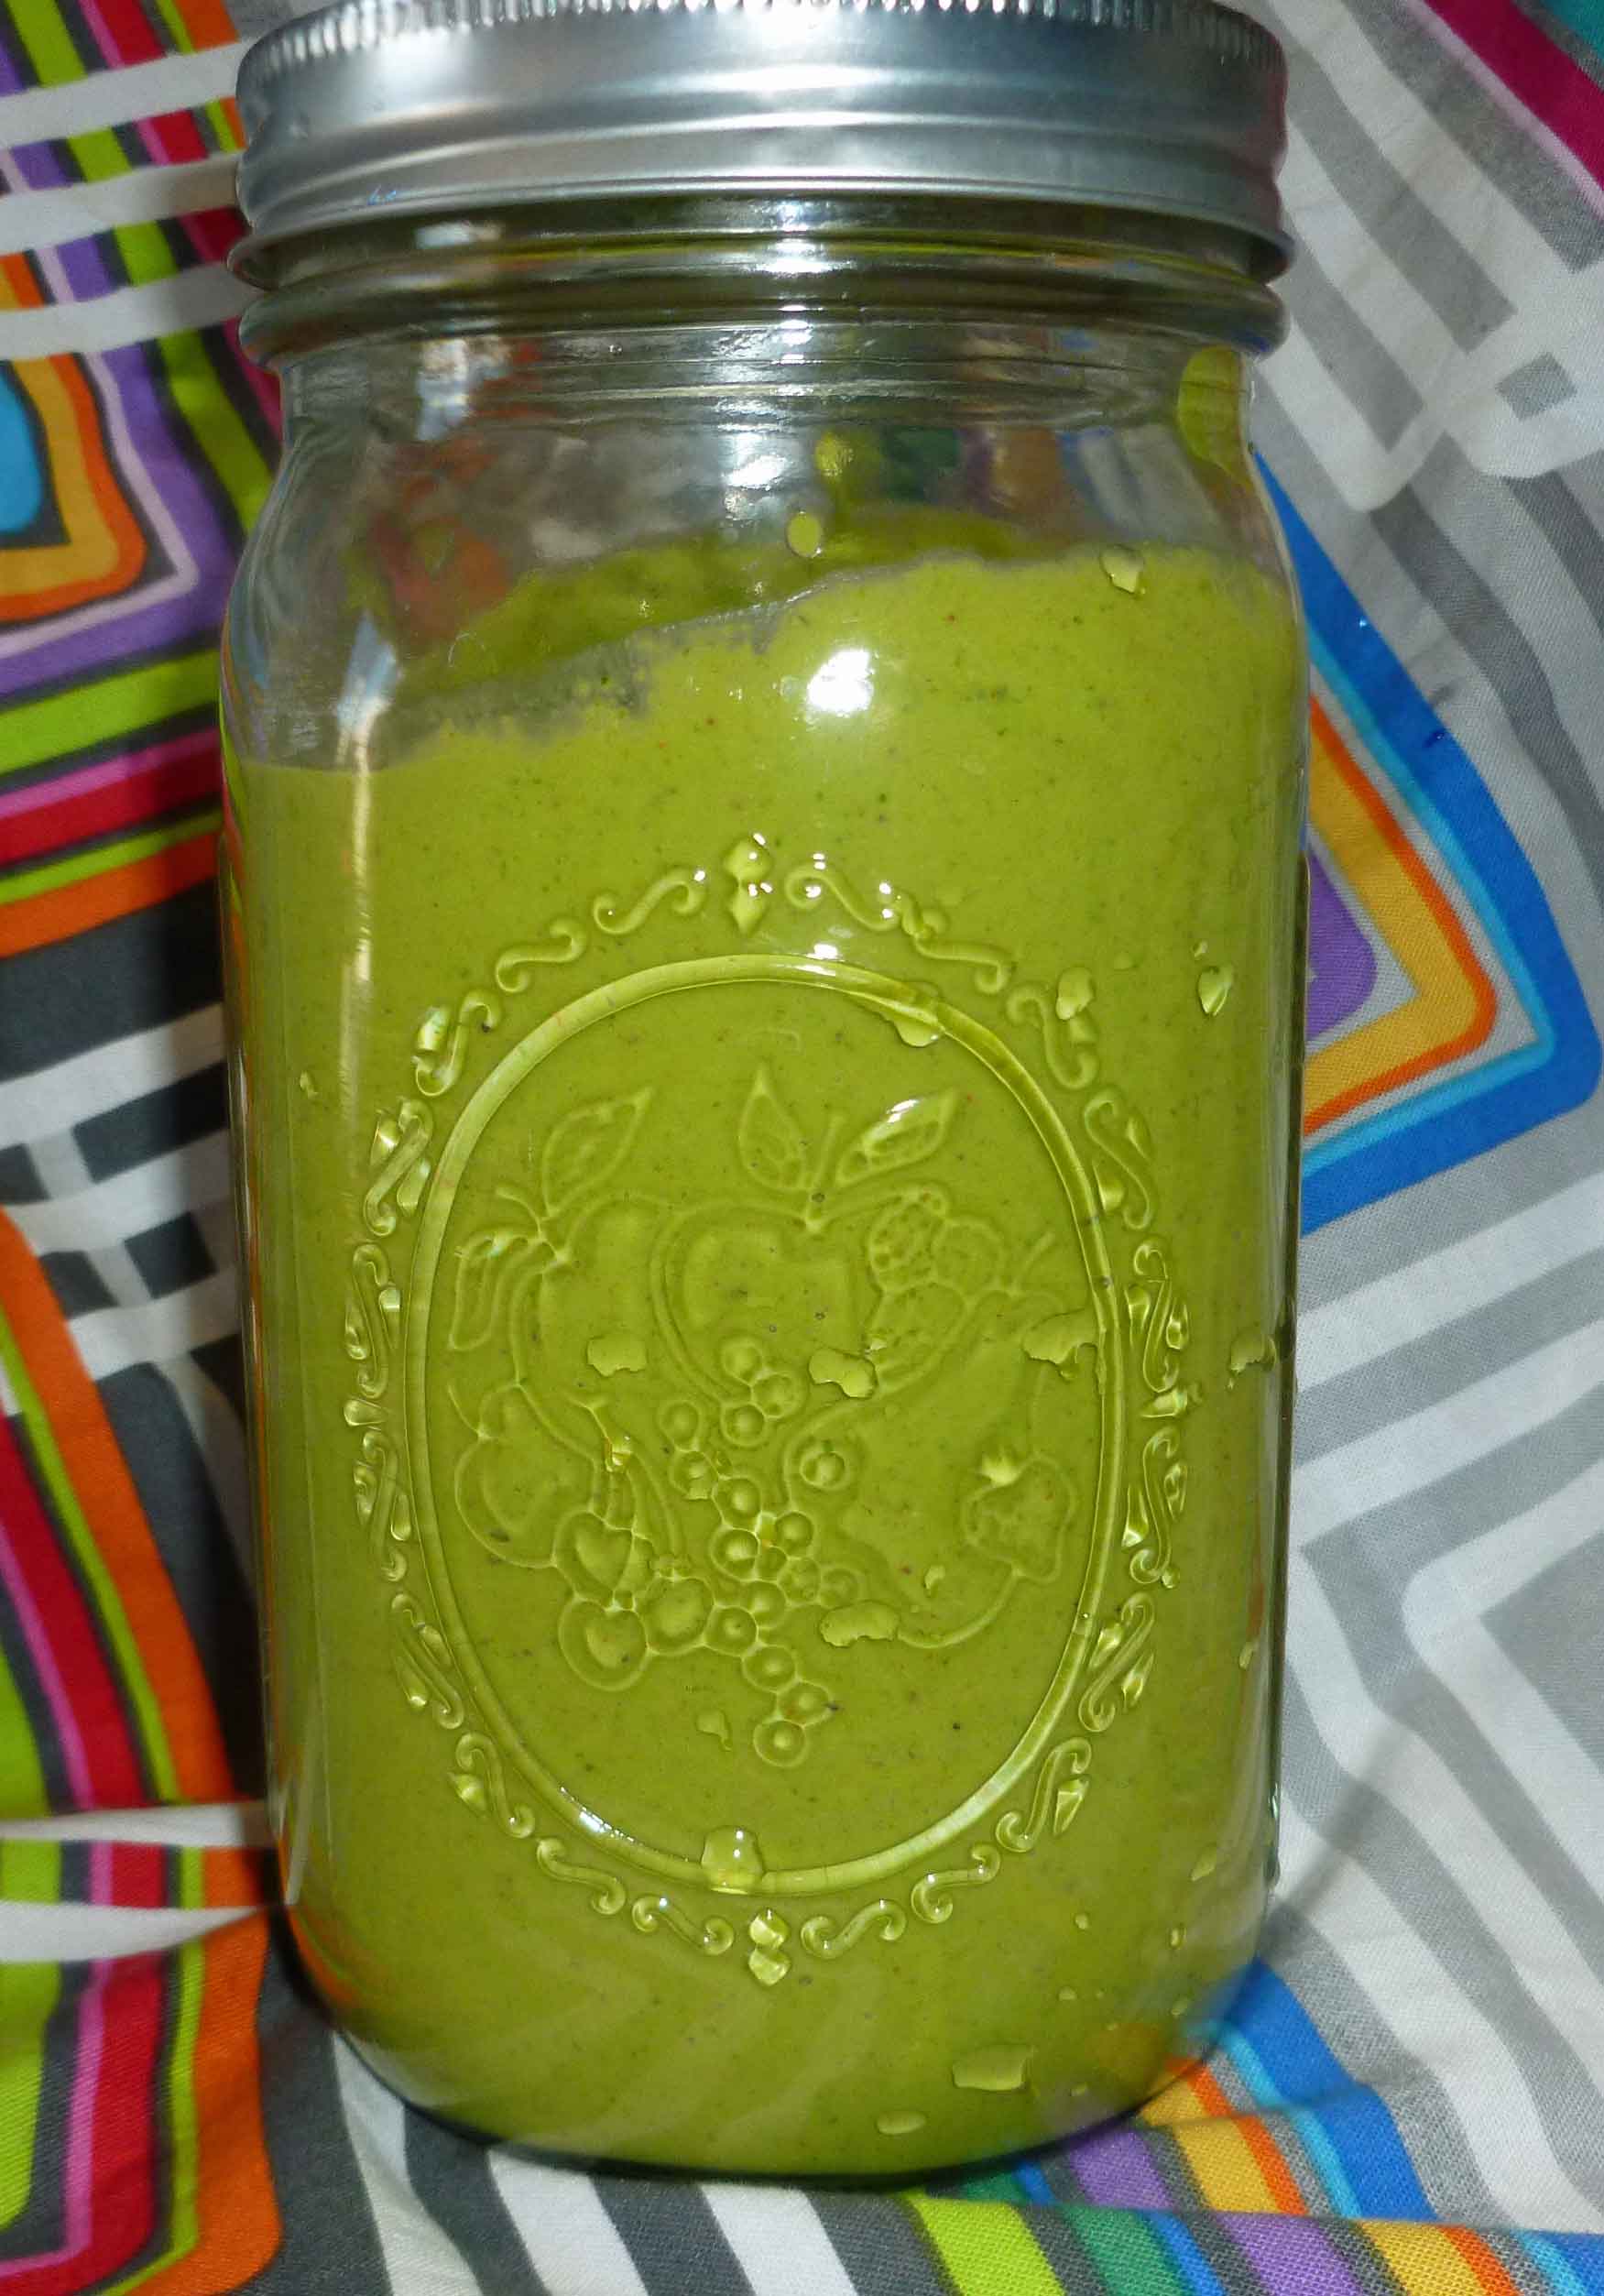
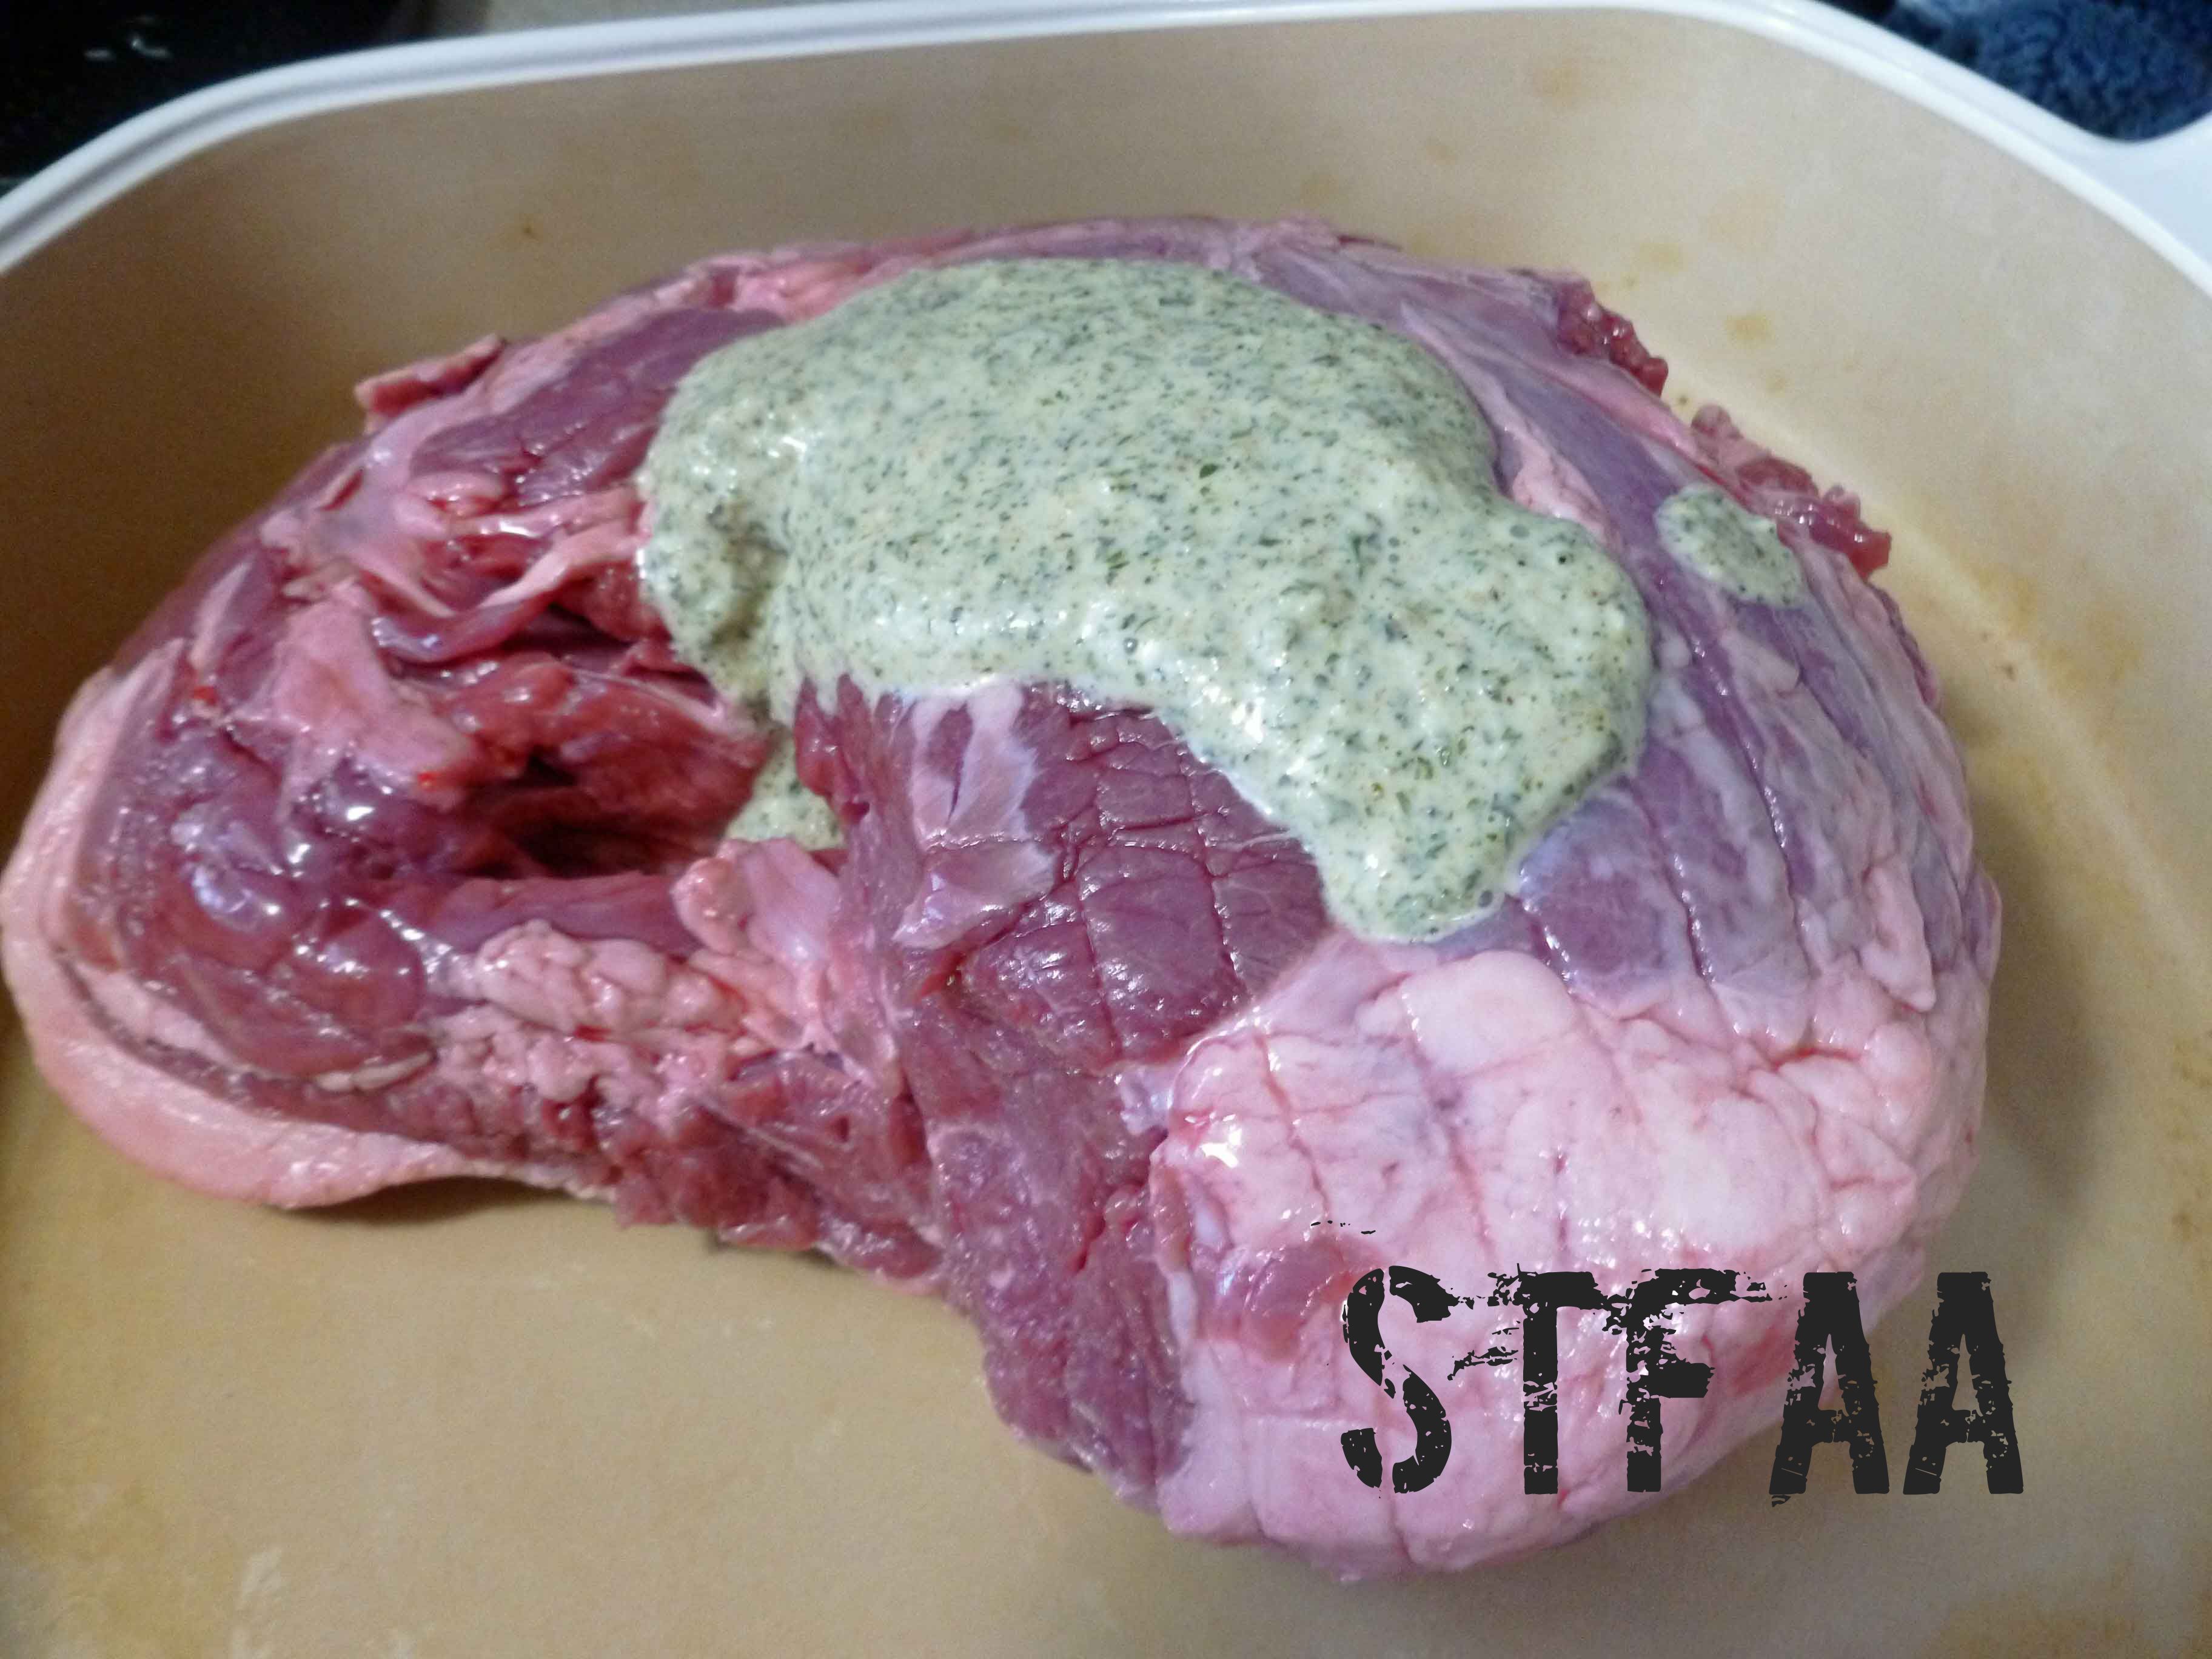
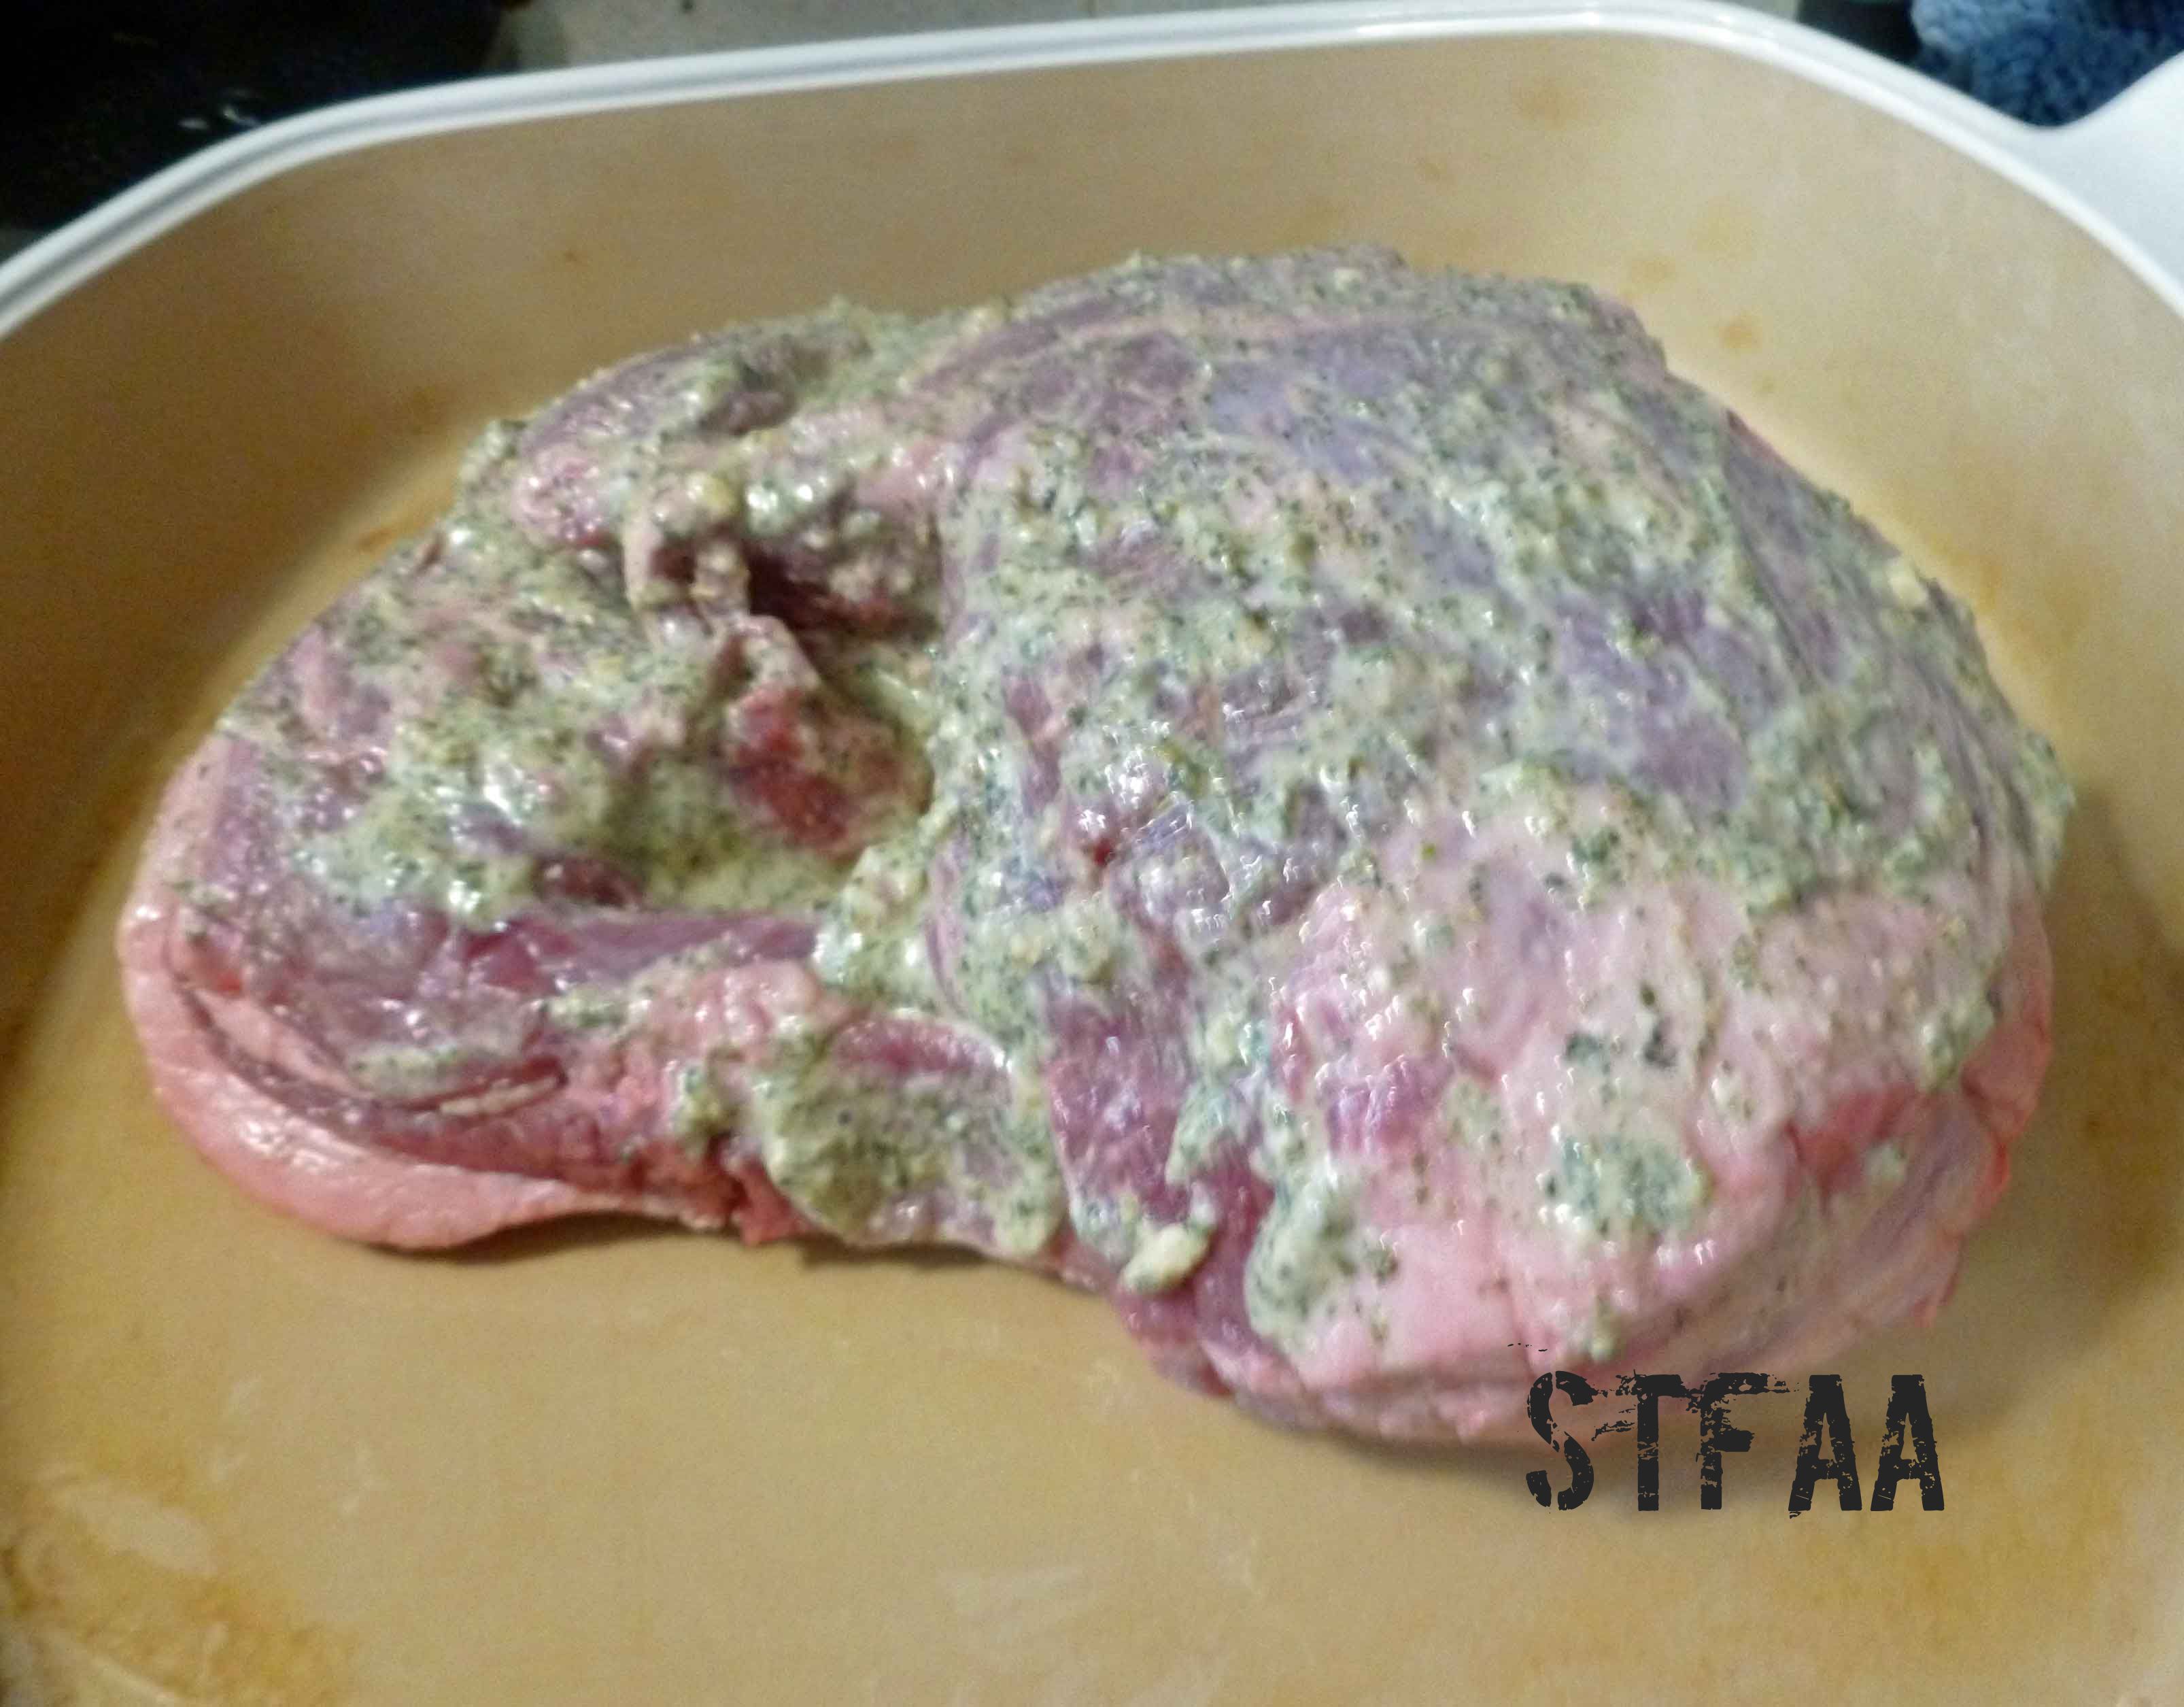
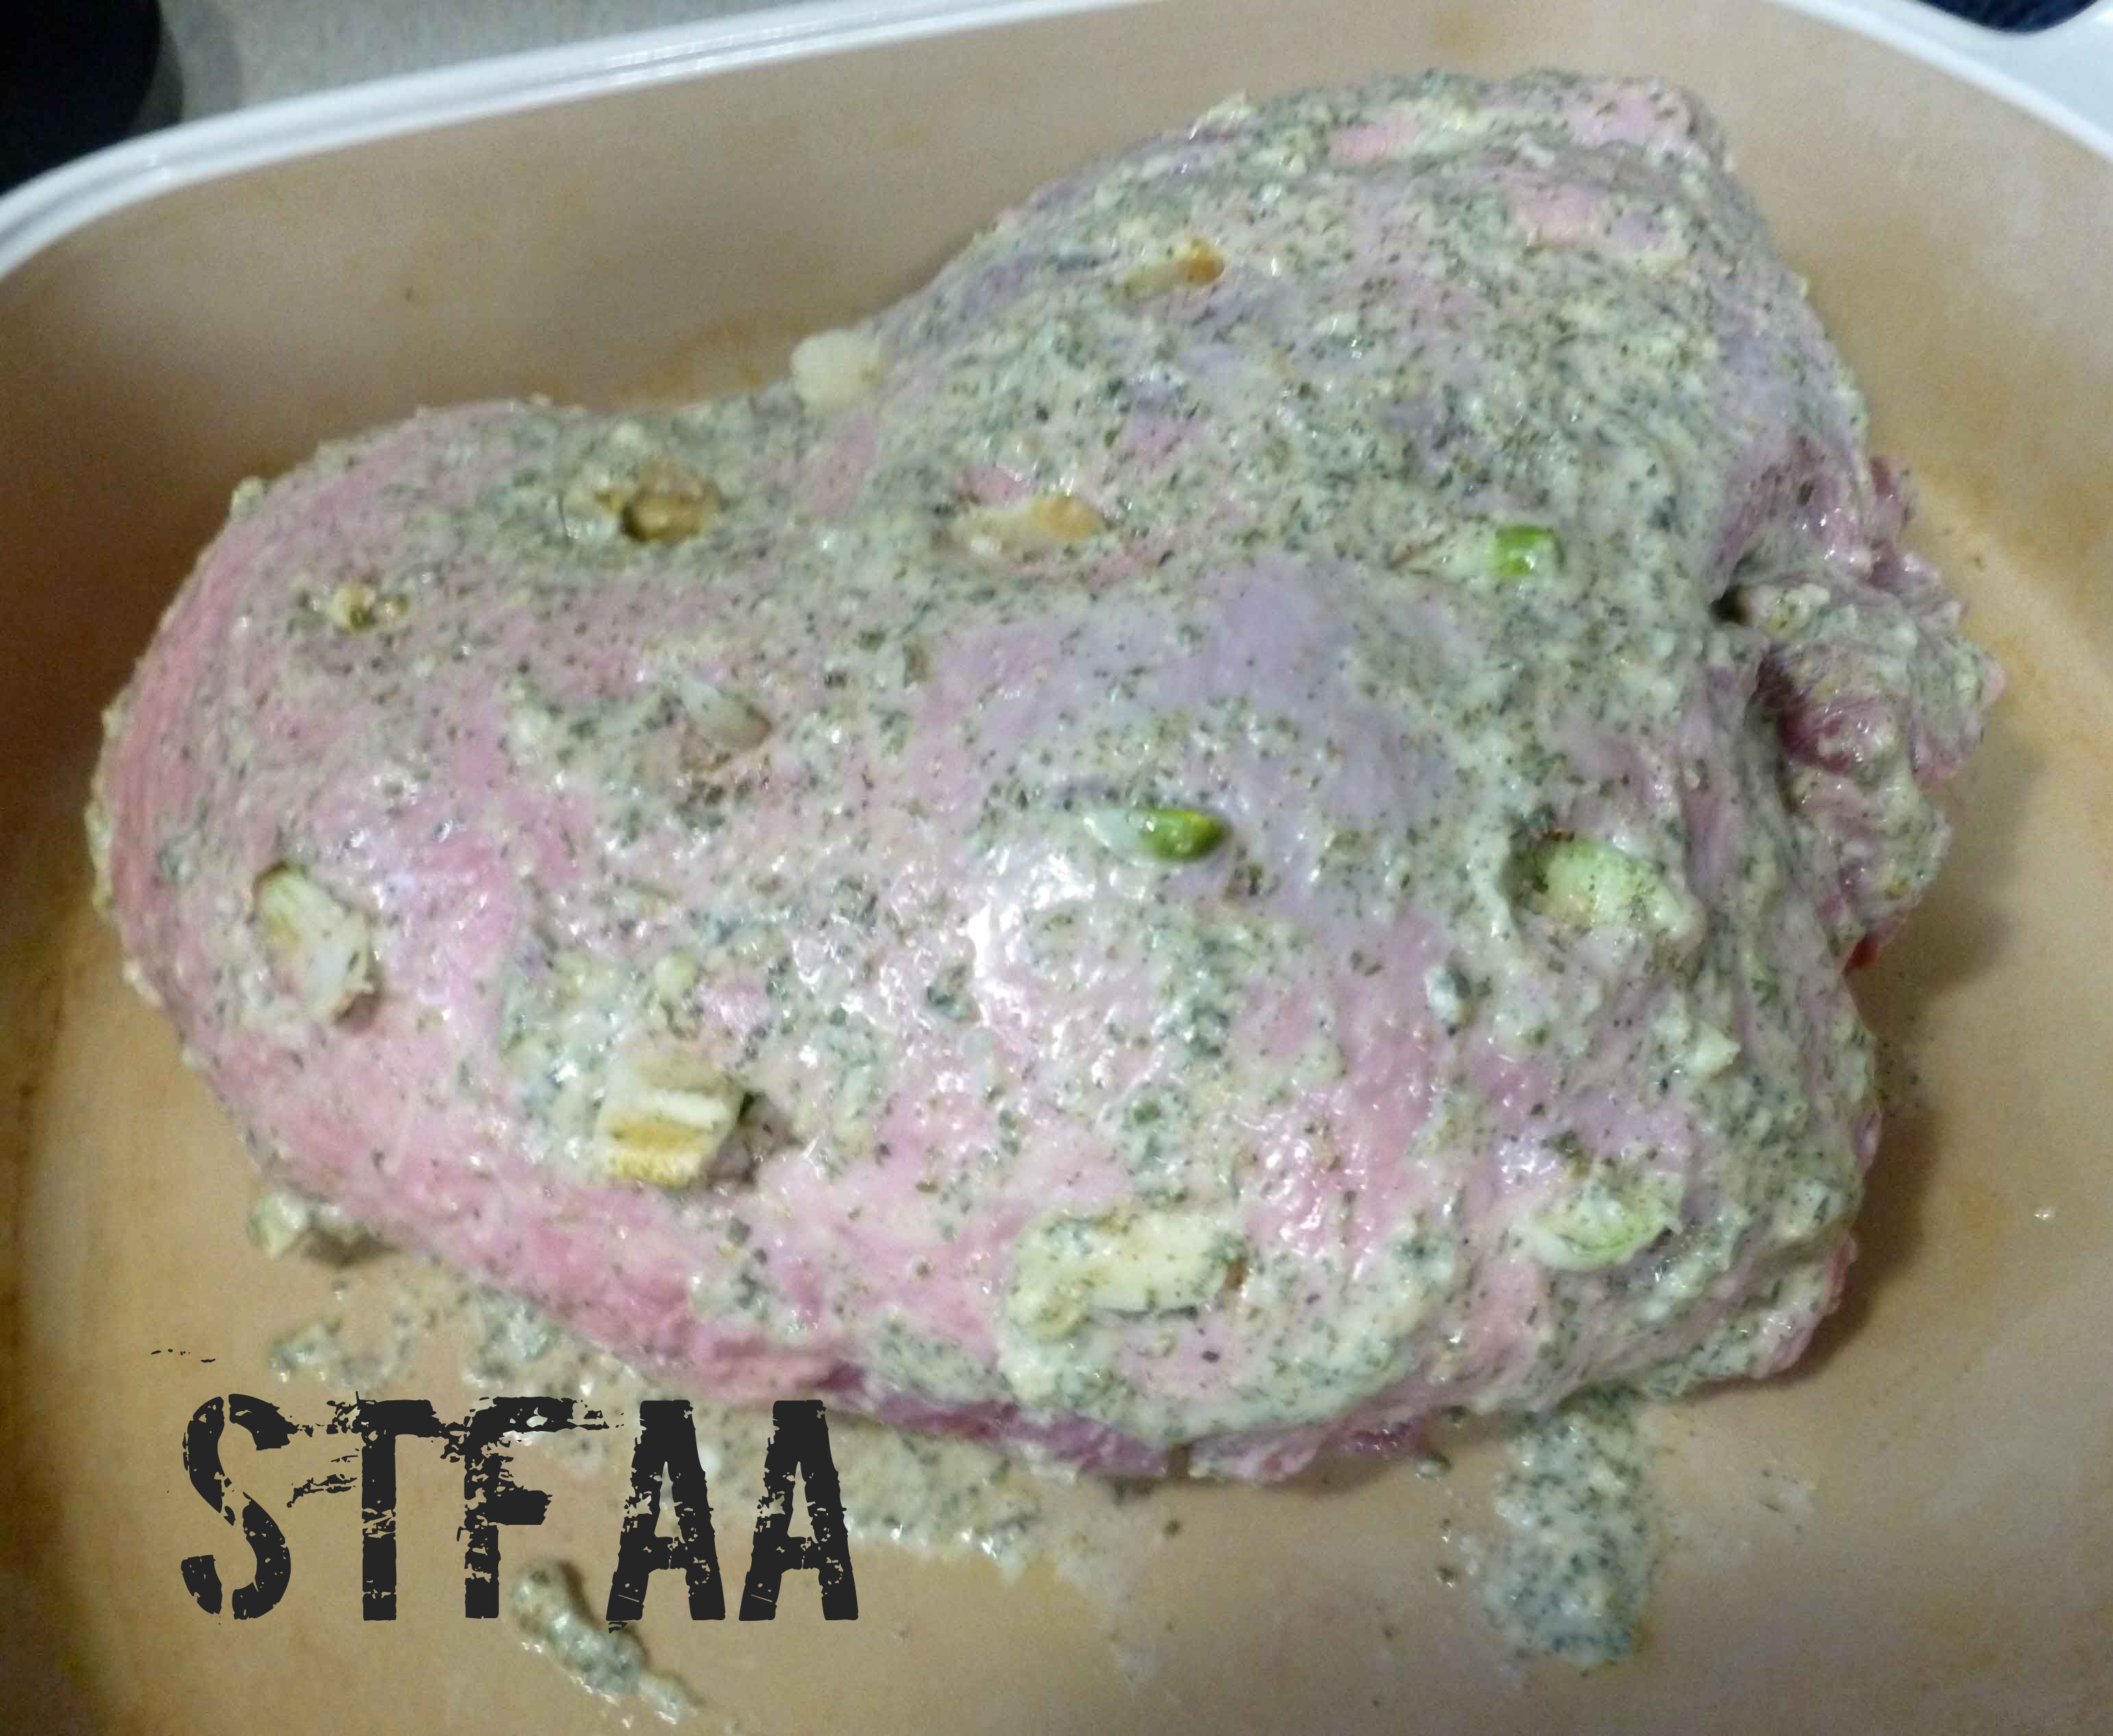
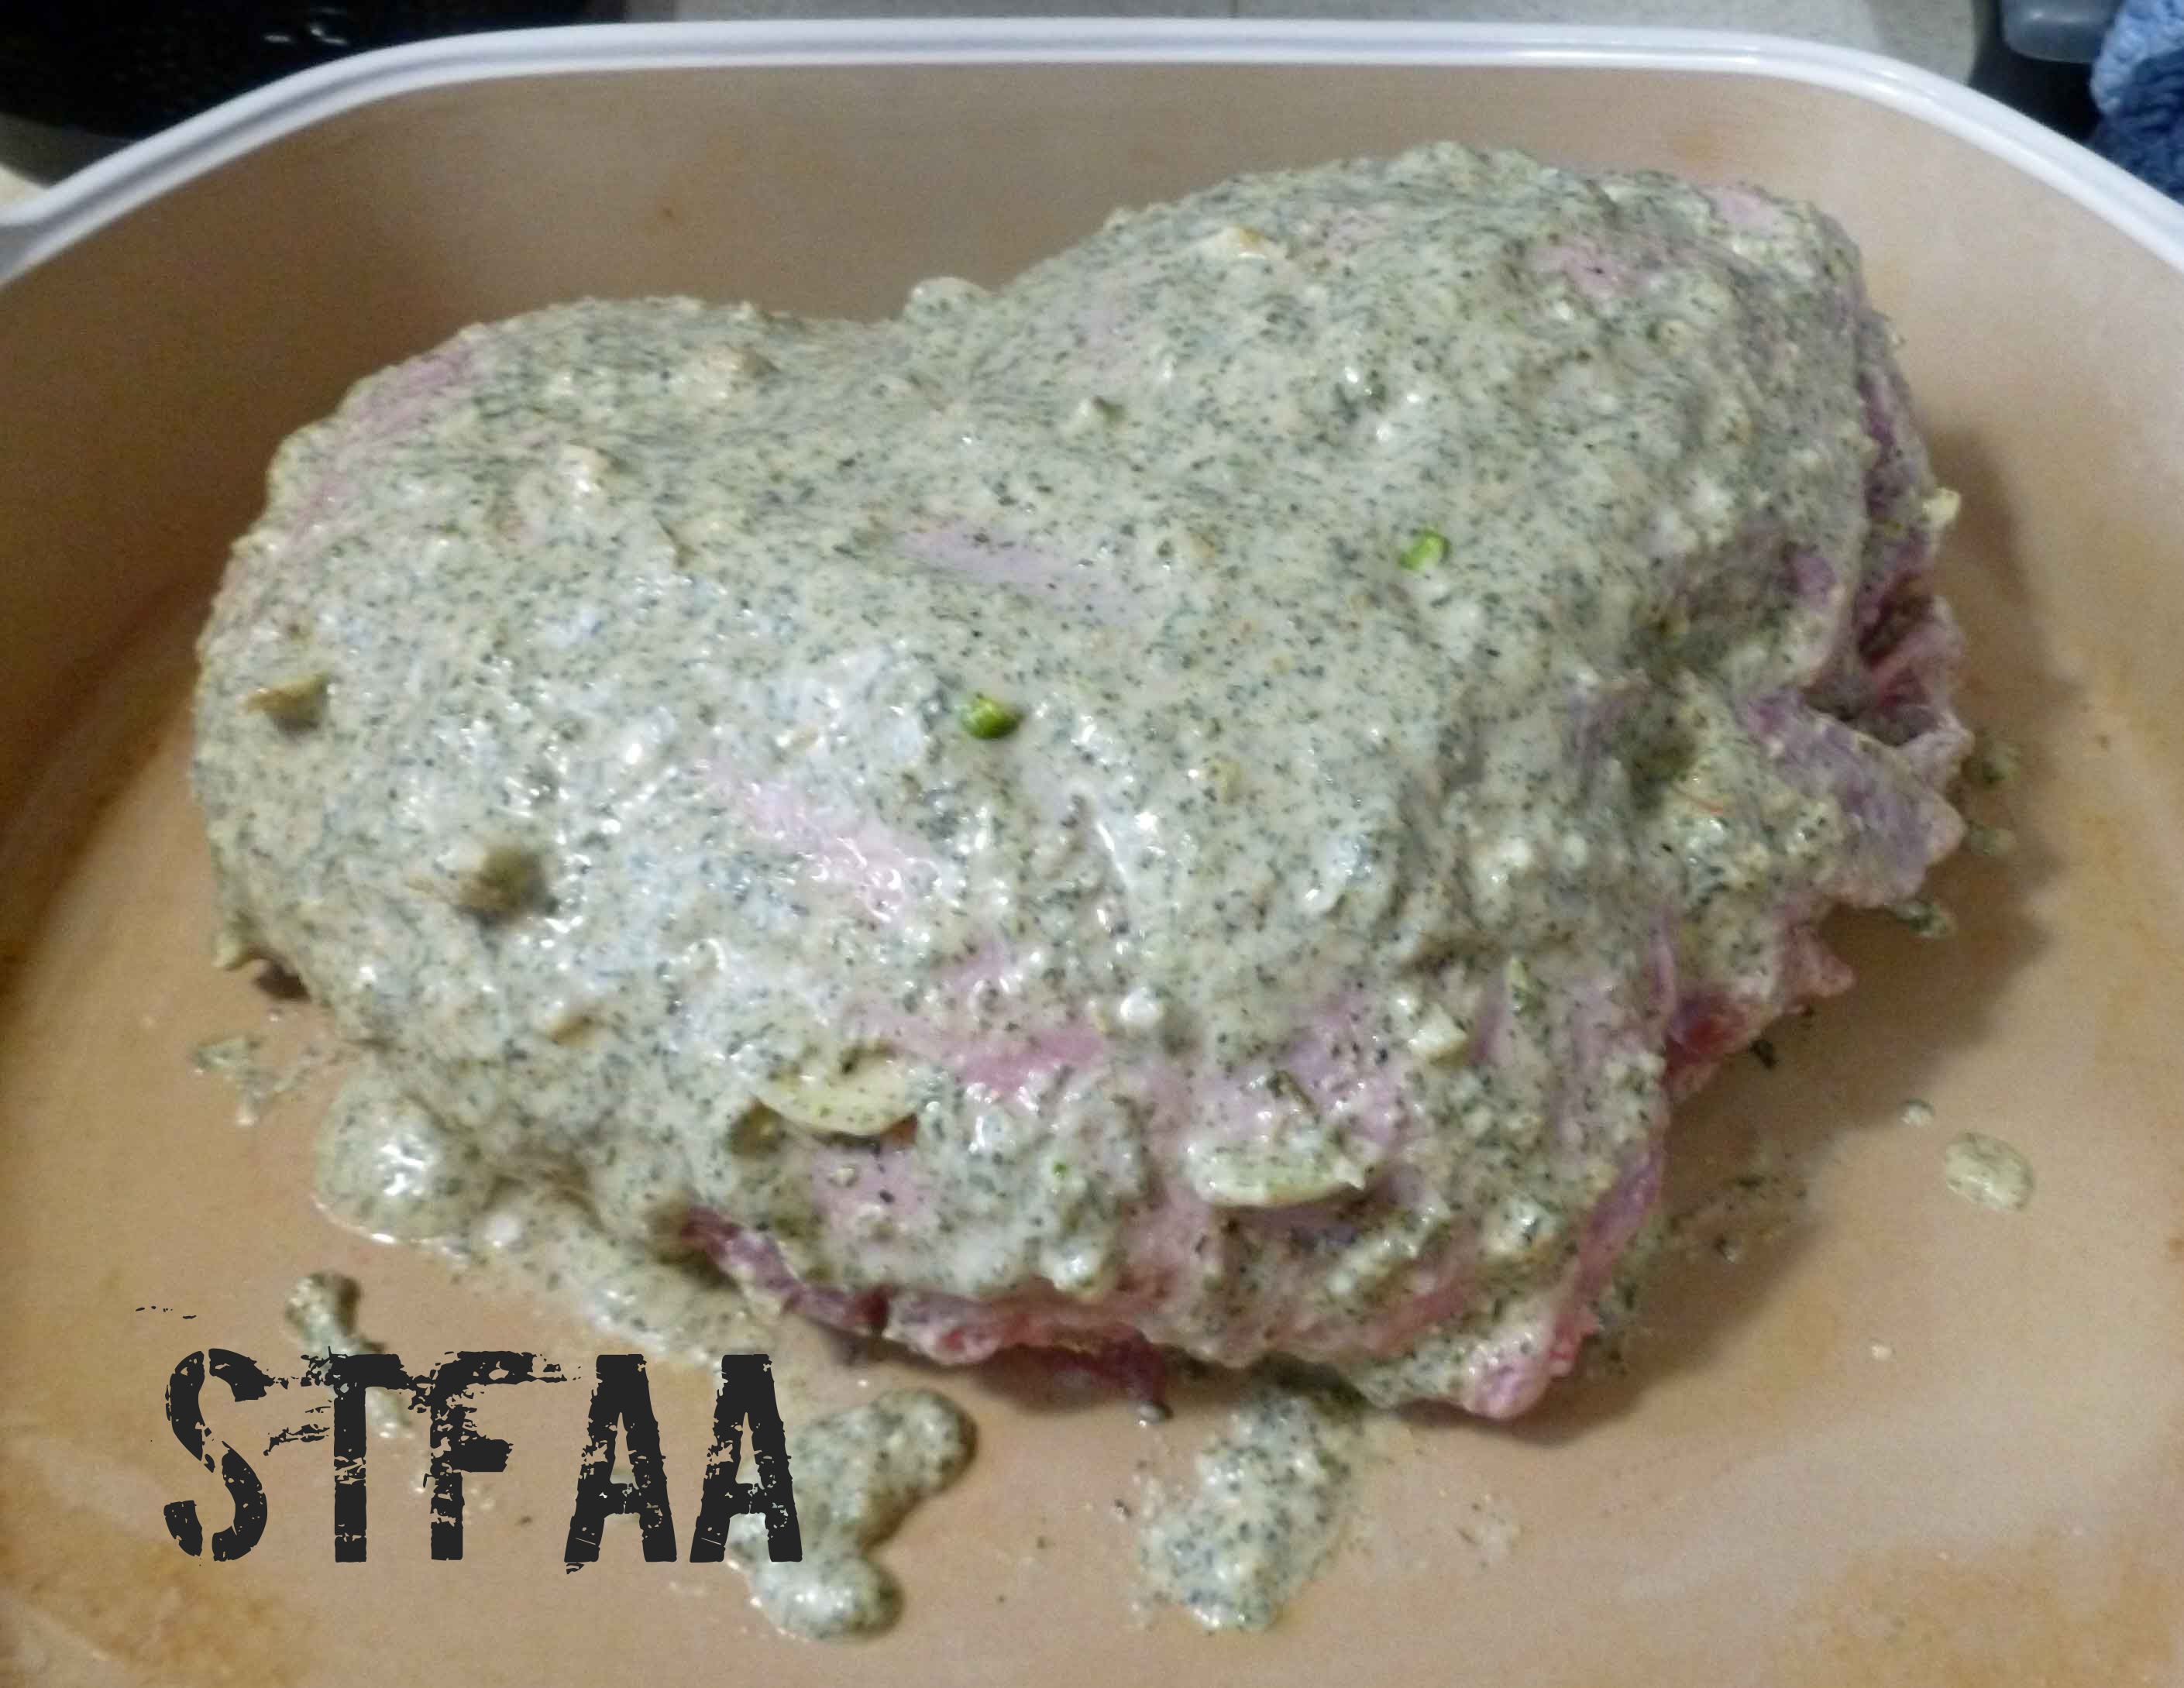
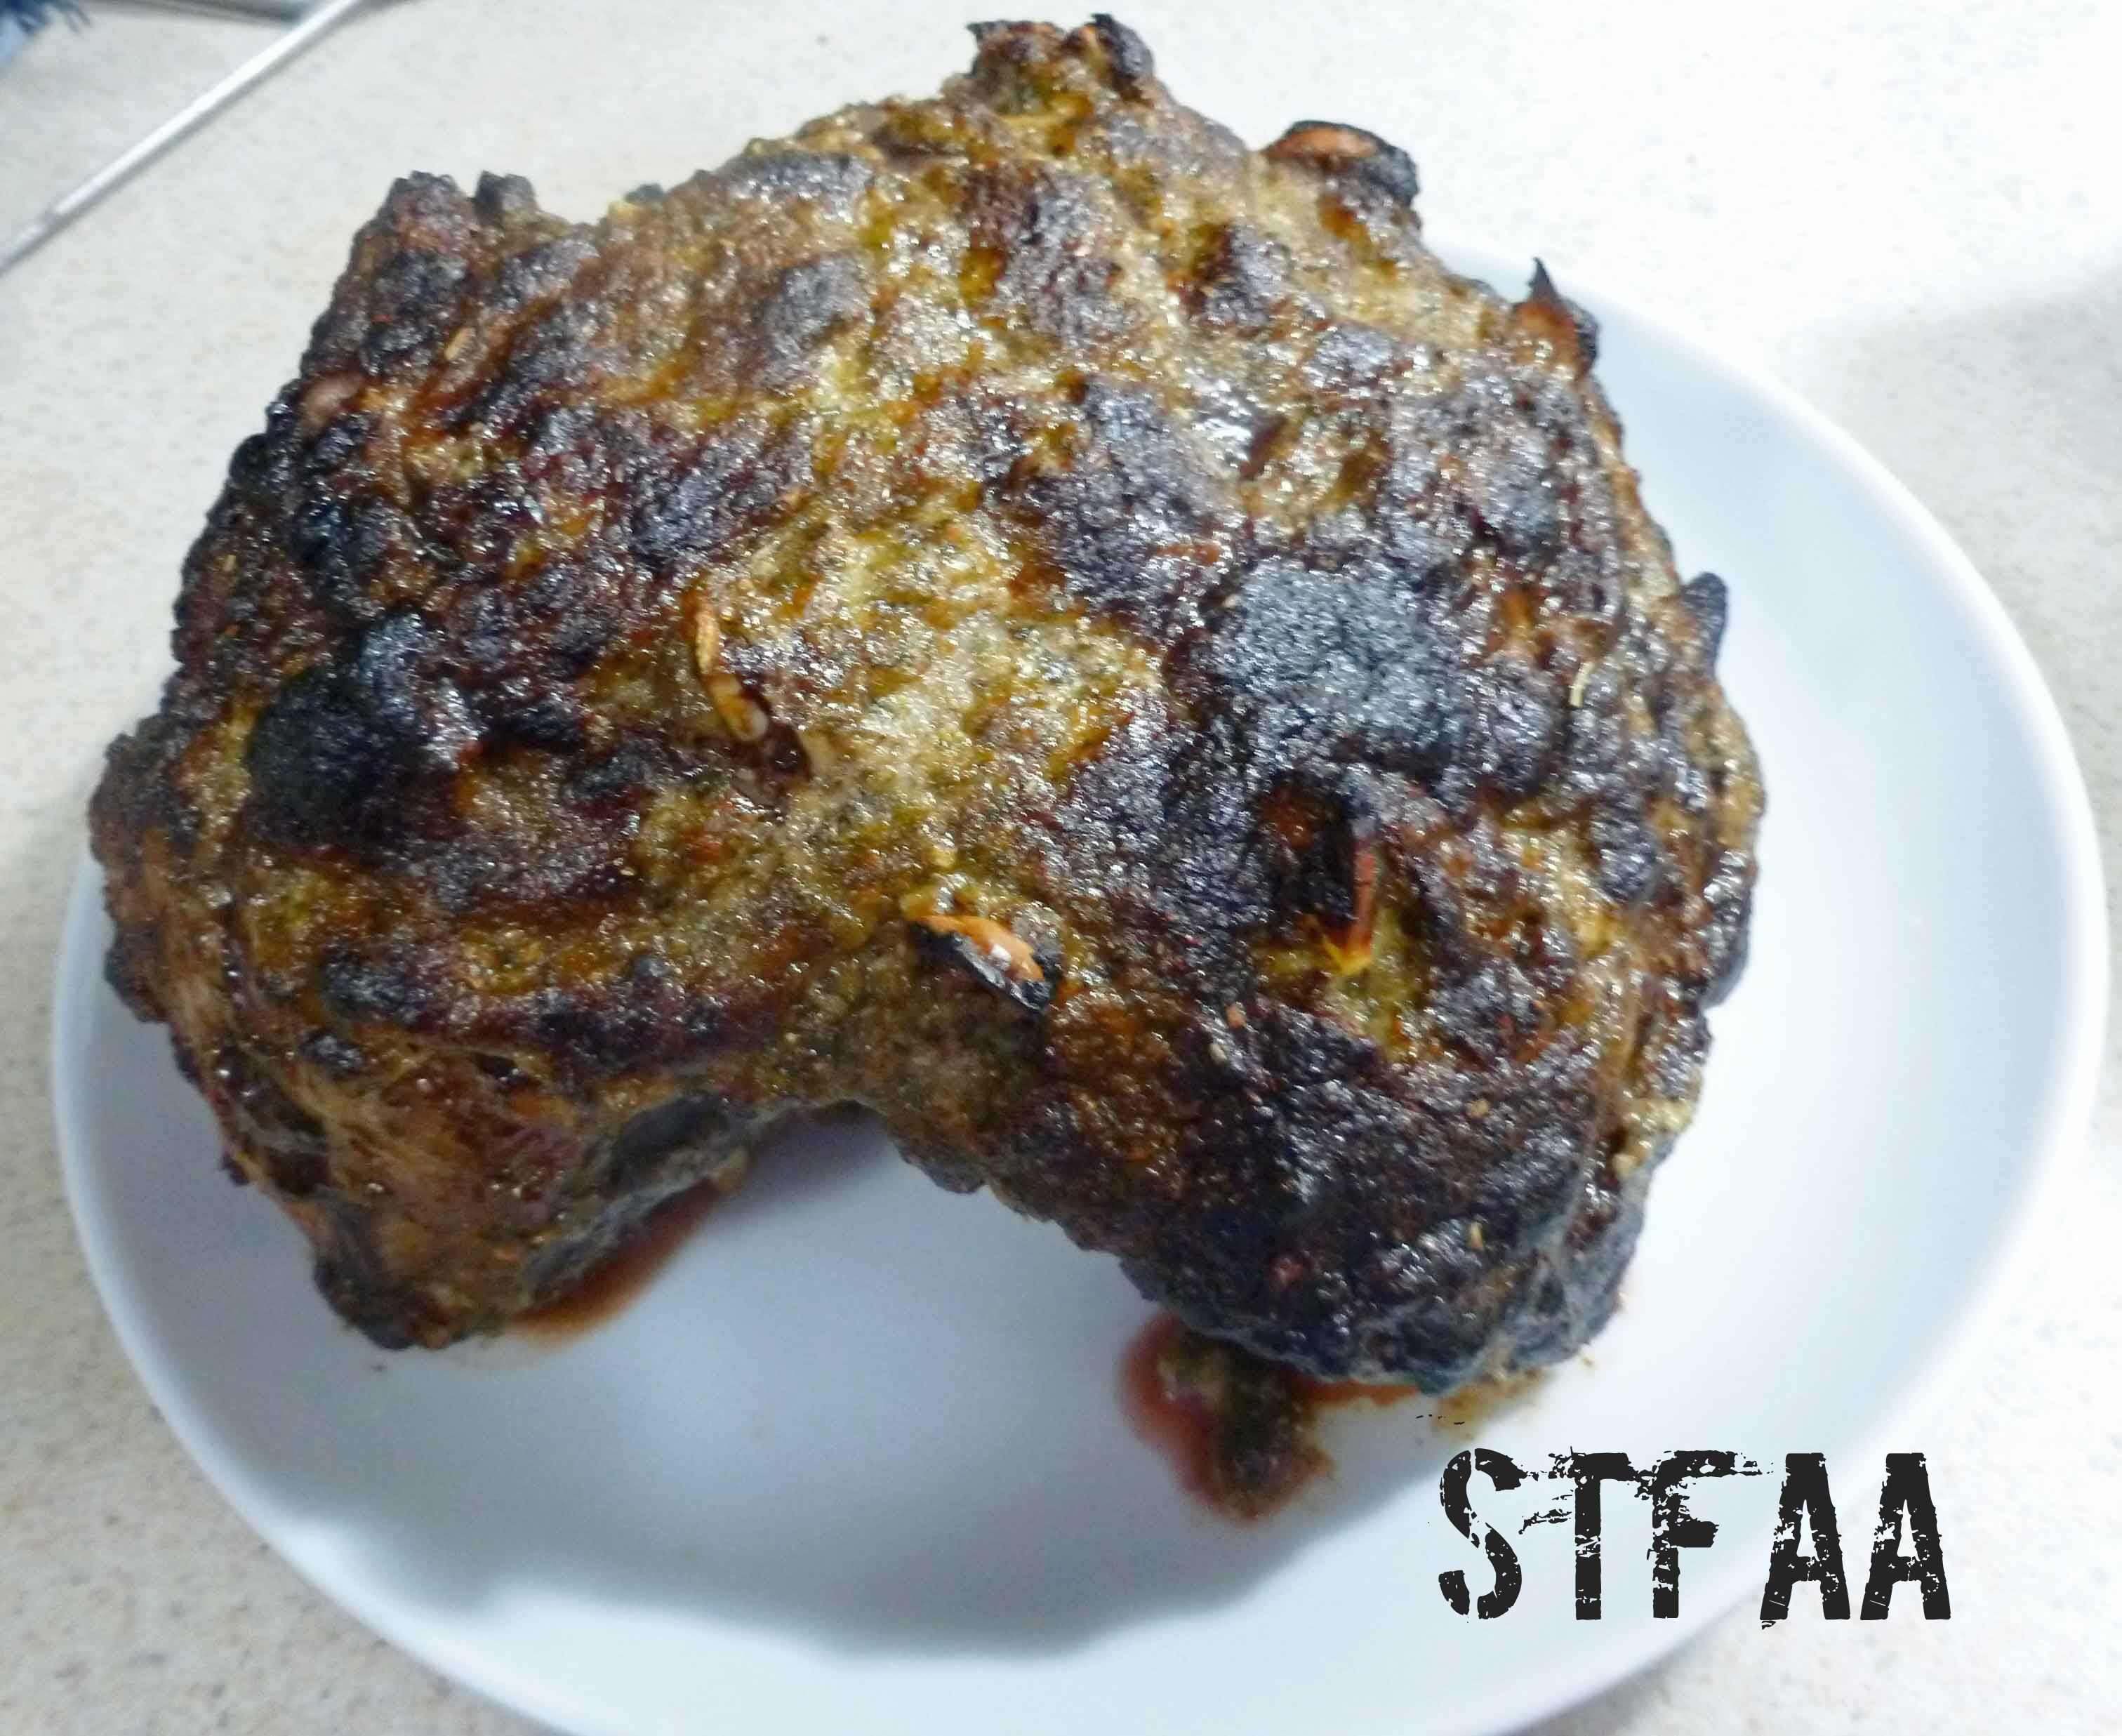
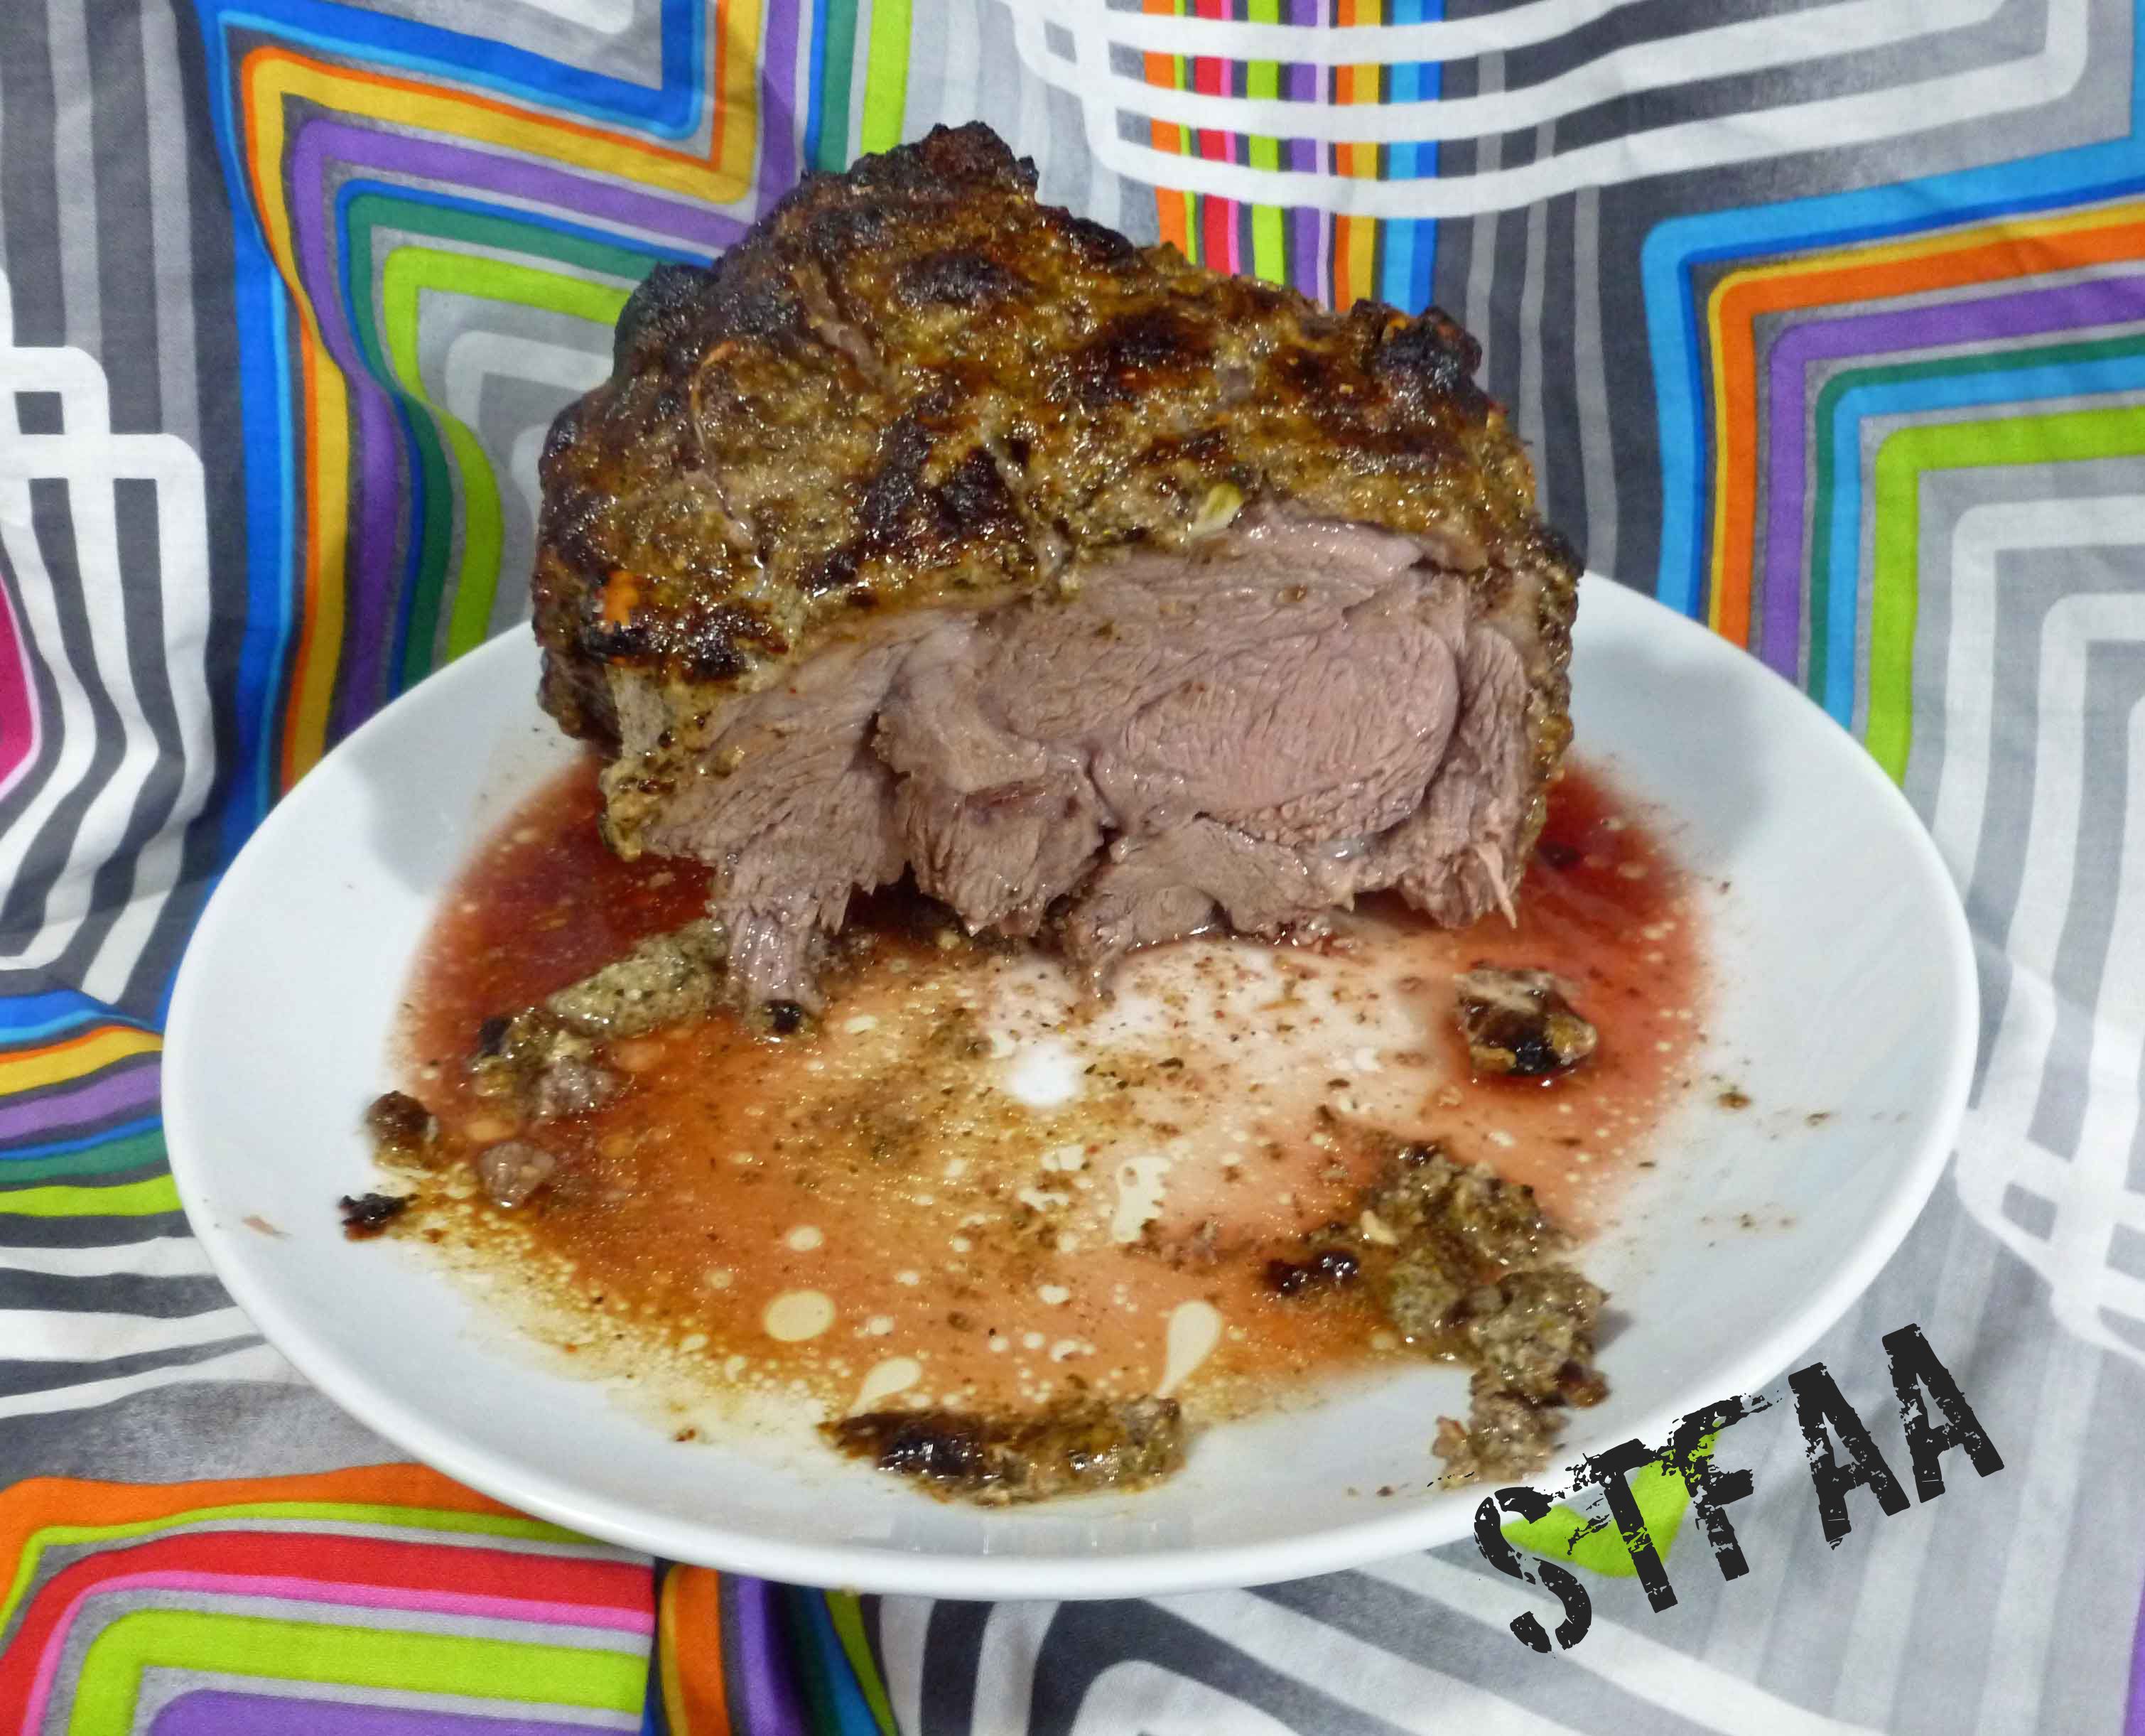
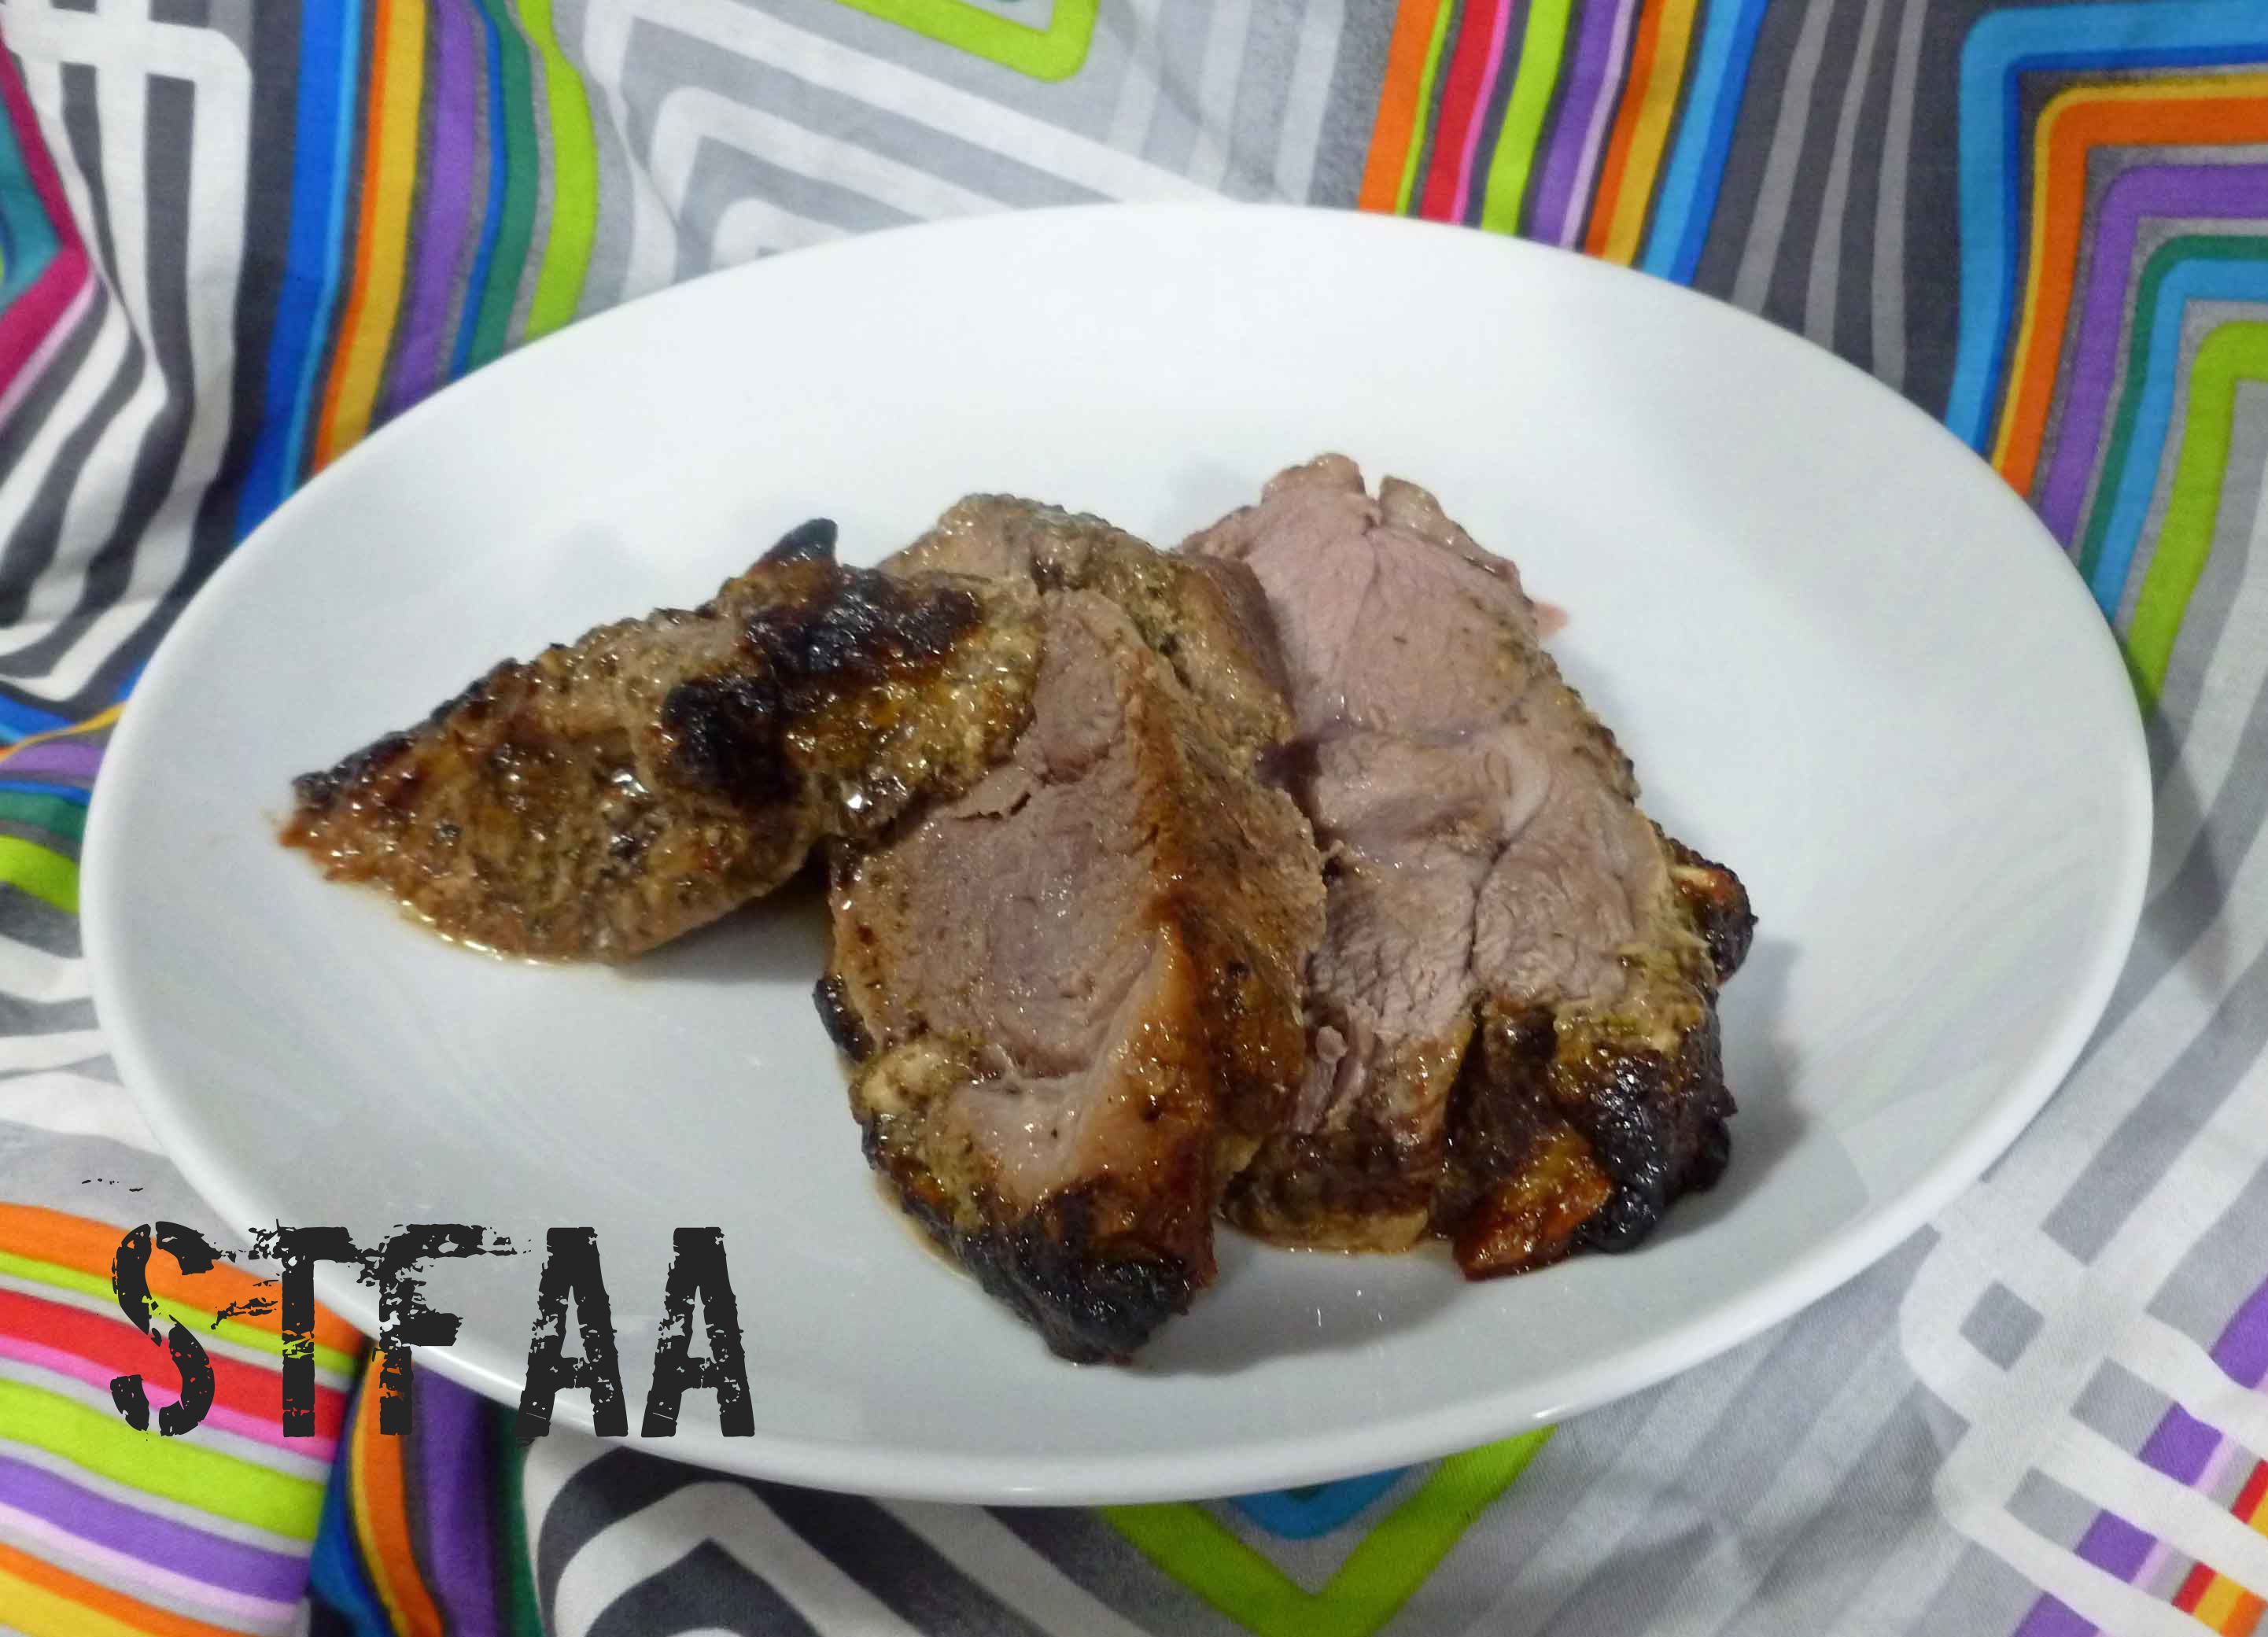
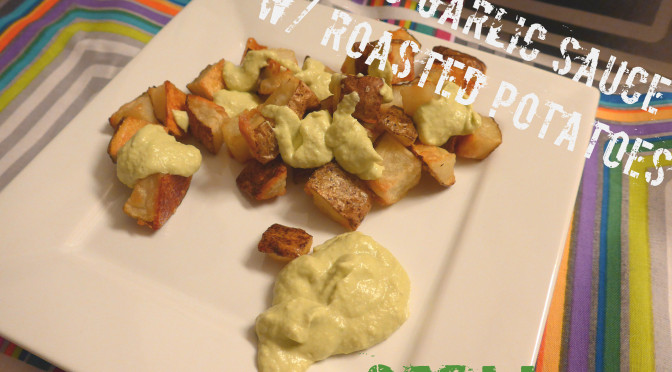
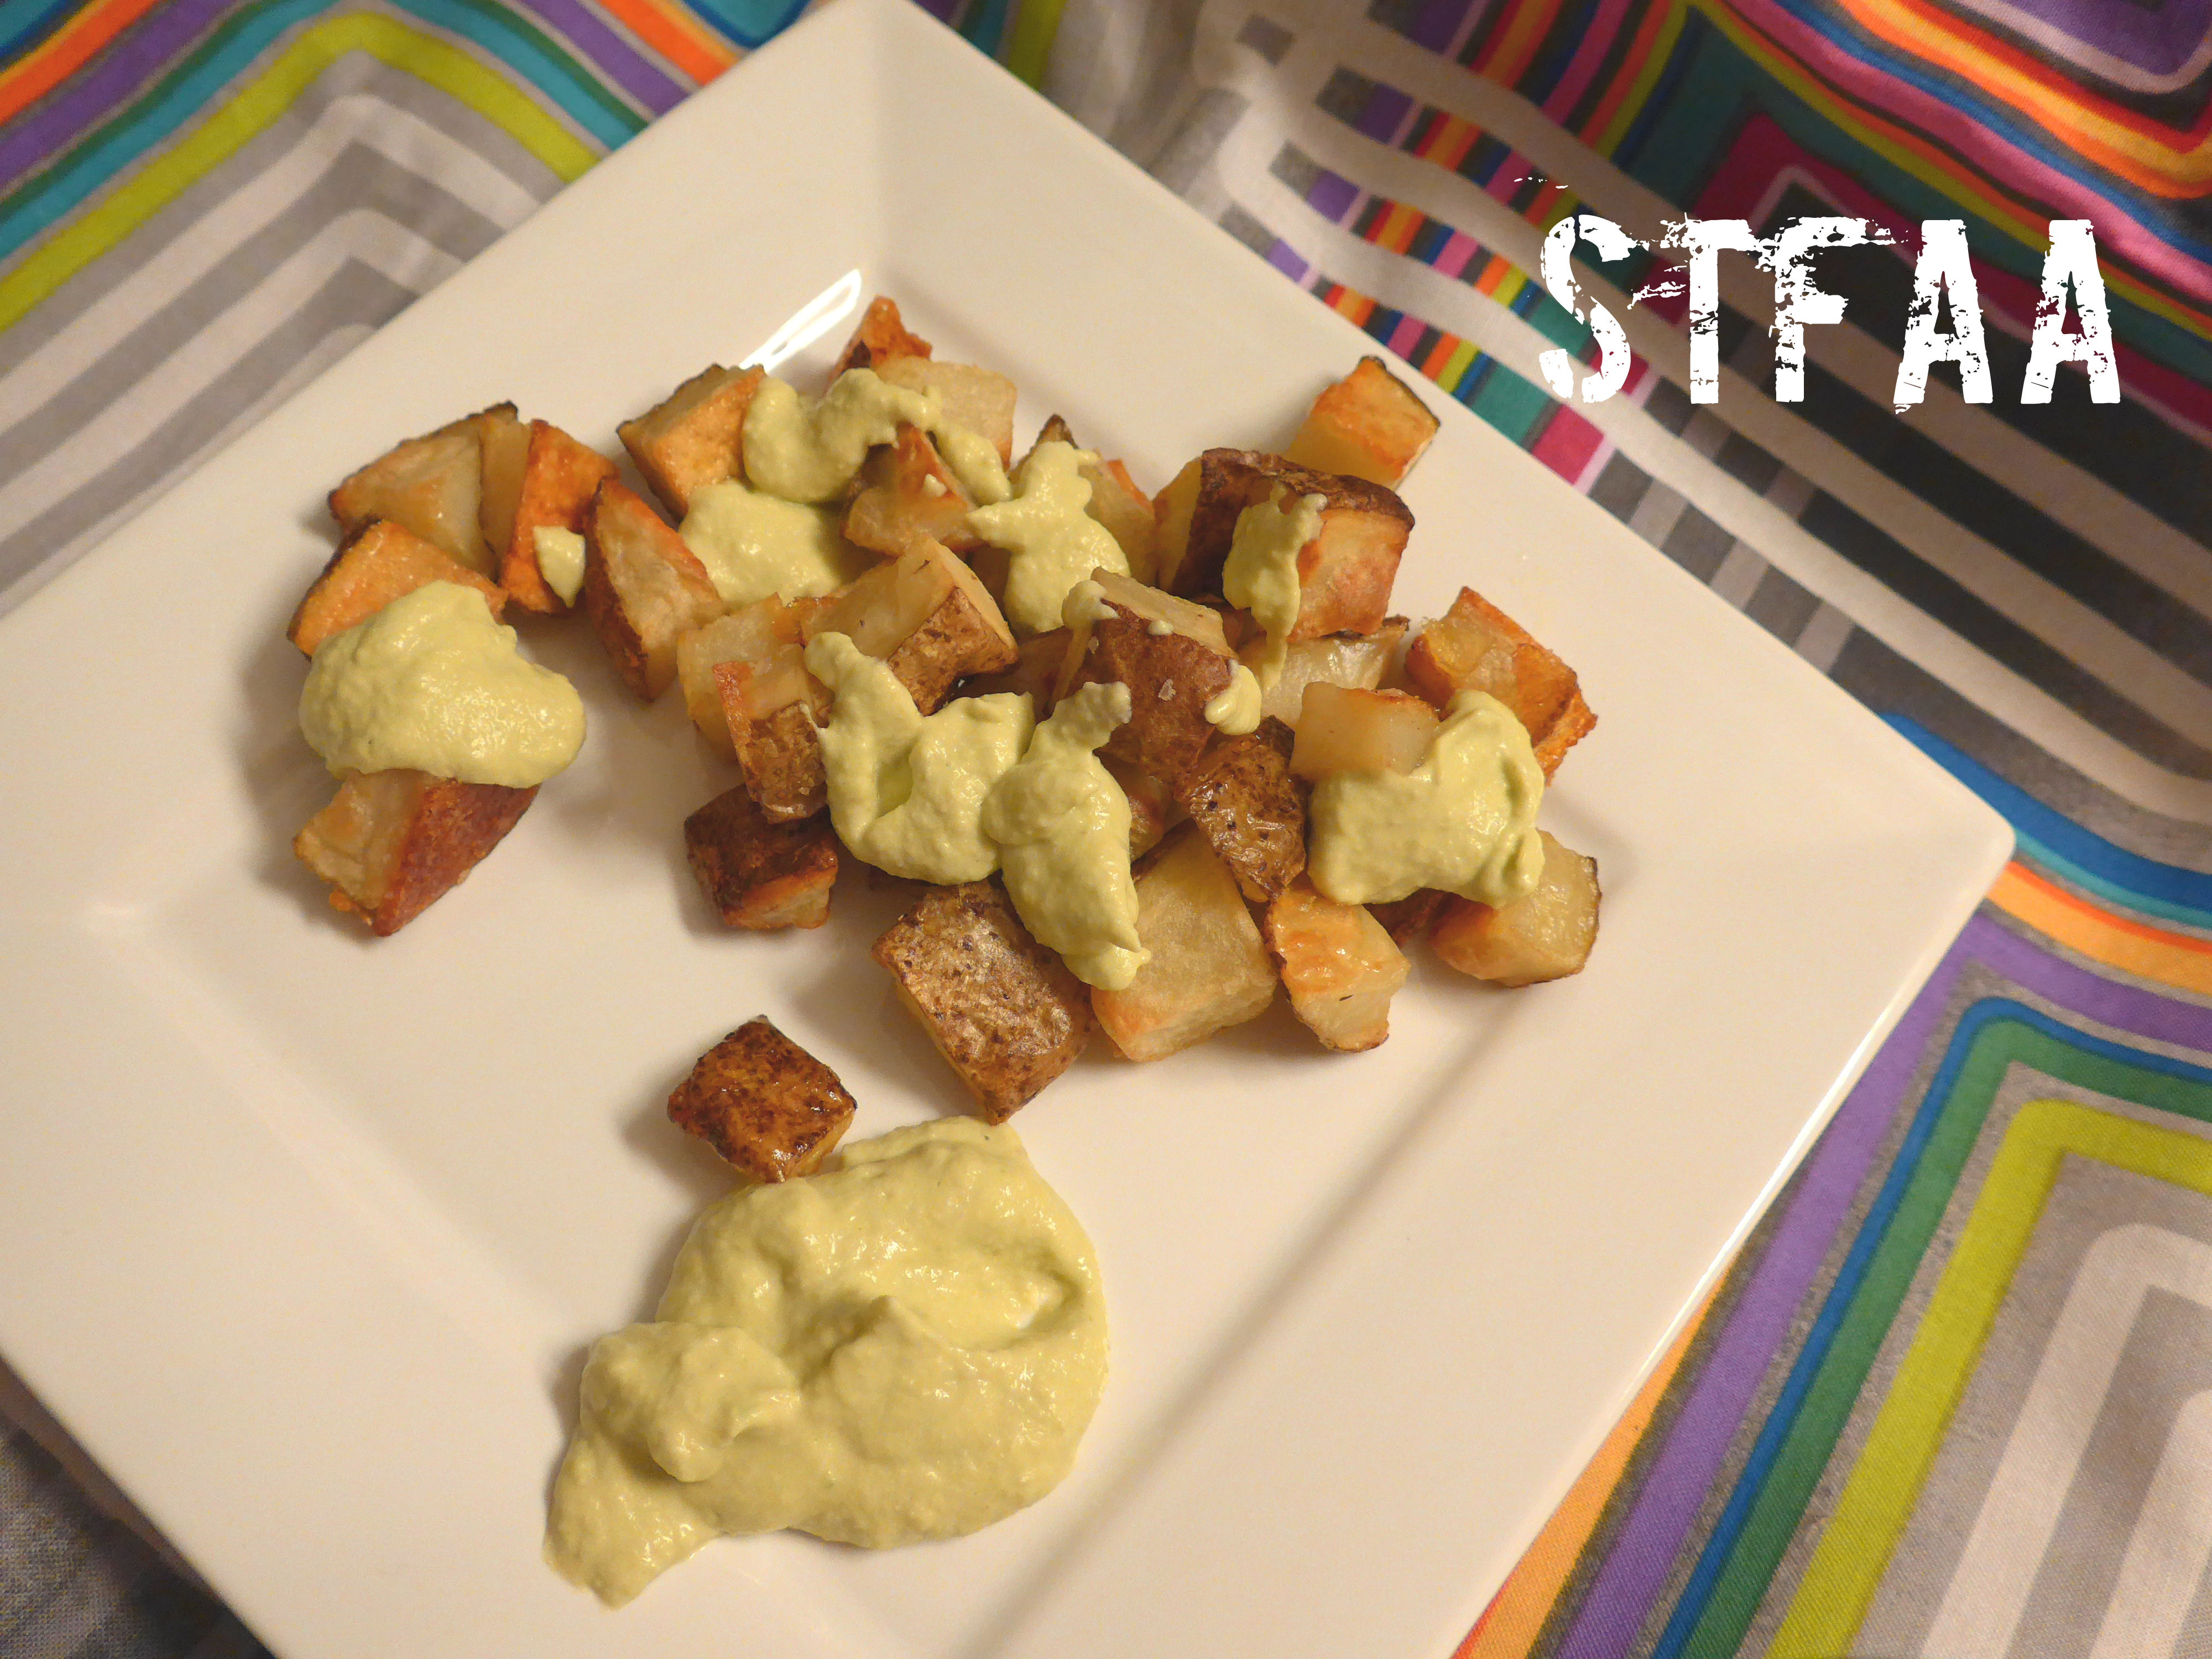
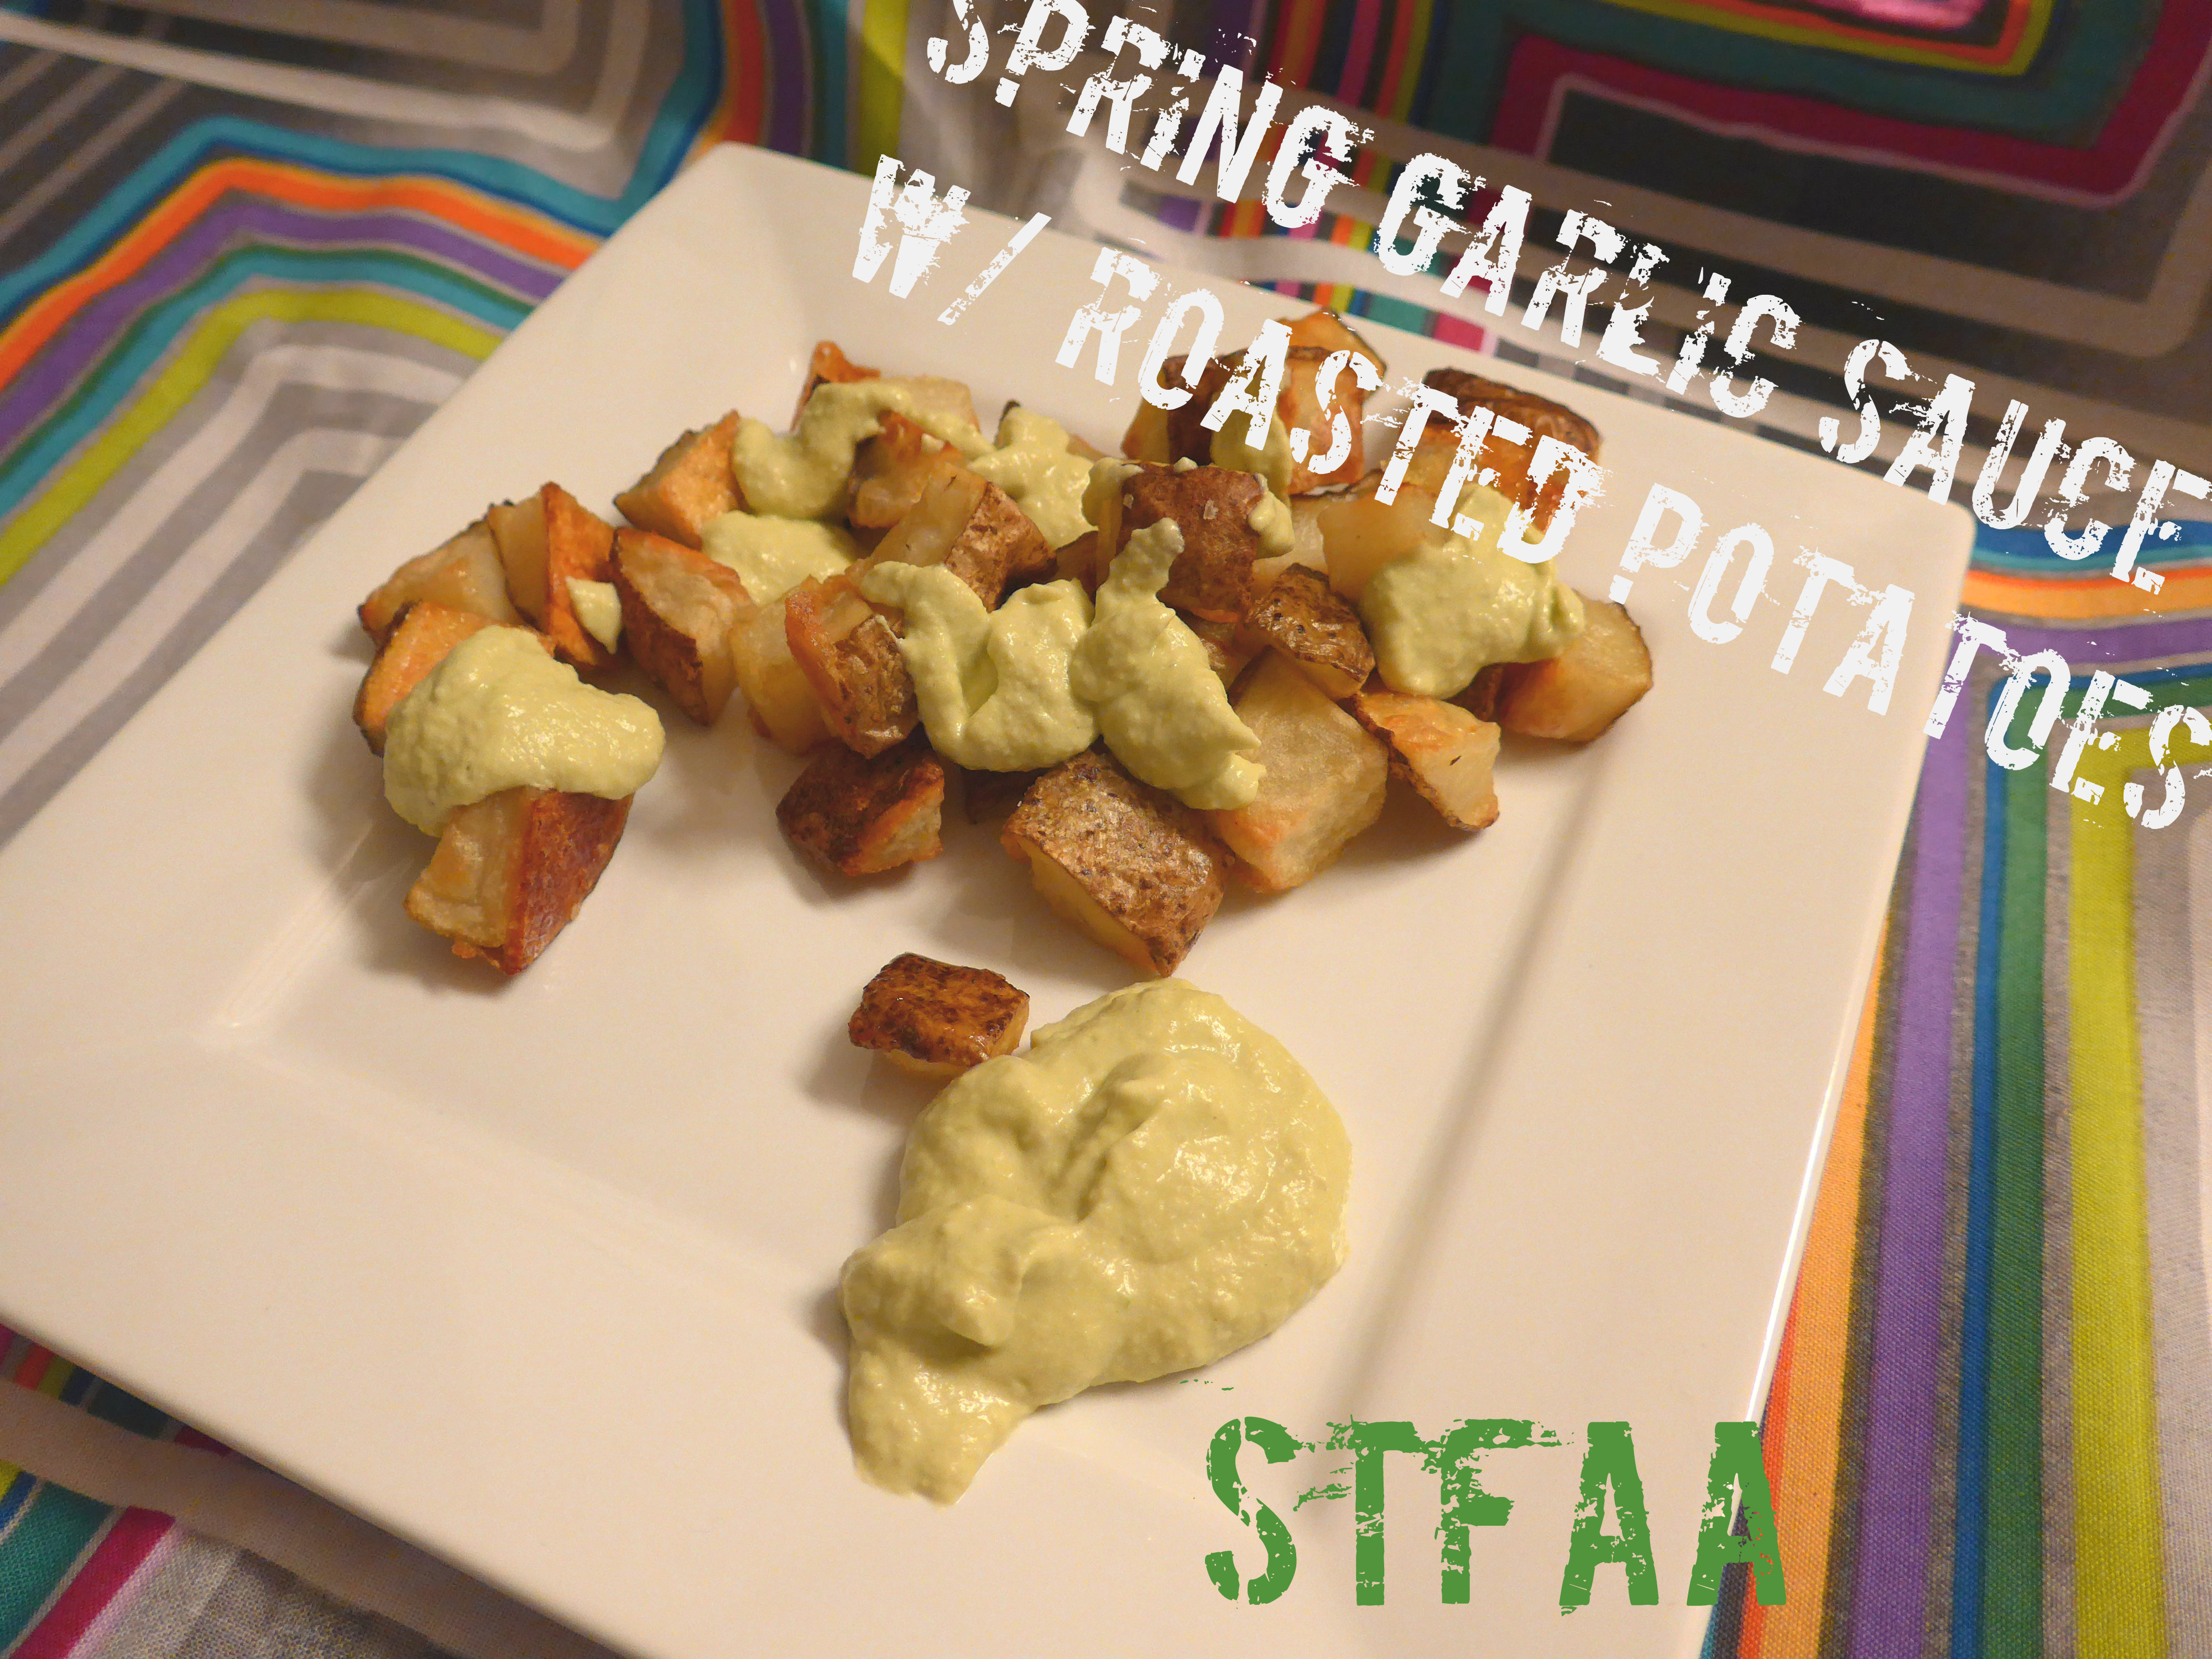
Use it on tossed salads, as a dipping sauce for fries or chips, or a garnishing sauce for fajitas, tacos, or burritos if you have safe tortillas, or on baked potatoes or sweet potatoes. Use it as condiment sauce for steak, pork, or chicken. If you are worried you can’t use it all up, it freezes well.
Notice: Trying to access array offset on value of type bool in /home/maryzahc/public_html/adultfoodallergies.com/wp-content/plugins/wp-ultimate-recipe/helpers/models/recipe.php on line 254
- 2 cups fresh cilantro chopped and tightly packed
- 2 avocados peeled and pitted
- 2 cloves garlic peeled and trimmed
- 1/4 cup olive oil
- 1/2 cup white wine vinegar or use other safe for you vinegar
- 1/4 cup water
- 1/2 cup lime juice fresh squeezed
- 2 tbsp Adobo seasoning If you don’t have Adobo seasoning or you don’t have a safe version, mix 1/8 cup of paprika, 1 1/2 Tablespoons of ground black pepper, 1 Tablespoon of onion powder, 1 Tablespoon of dried oregano, 1 Tablespoon of ground cumin, 1/2 Tablespoon of ground chipotle, and 1/2 Tablespoon of garlic powder, this makes half a cup of seasoning
- 1 pinch salt to taste
- Put all the ingredients in the blender and puree it. If you want larger pieces of cilantro, put all the ingredients except for 1 cup of cilantro in the blender first, blend, and then add the reserved cilantro and blend judiciously to leave more visible bits.
- Use it on tossed salads, as a dipping sauce for fries or chips, or a garnishing sauce for fajitas, tacos, or burritos if you have safe tortillas, or on baked potatoes or sweet potatoes. Use it as condiment sauce for steak, pork, or chicken. If you are worried you can’t use it all up, it freezes well.


