Notice: Function _load_textdomain_just_in_time was called incorrectly. Translation loading for the wp-ultimate-recipe domain was triggered too early. This is usually an indicator for some code in the plugin or theme running too early. Translations should be loaded at the init action or later. Please see Debugging in WordPress for more information. (This message was added in version 6.7.0.) in /home/maryzahc/public_html/adultfoodallergies.com/wp-includes/functions.php on line 6121
Allergy Information – Page 2 – surviving the food allergy apocalypse (archive)

Category: Allergy Information

General reference information, research, or educational material on allergies.

  • Shaking it up: New Directions for Surviving the Food Allergy Apocalypse

    Shaking it up: New Directions for Surviving the Food Allergy Apocalypse

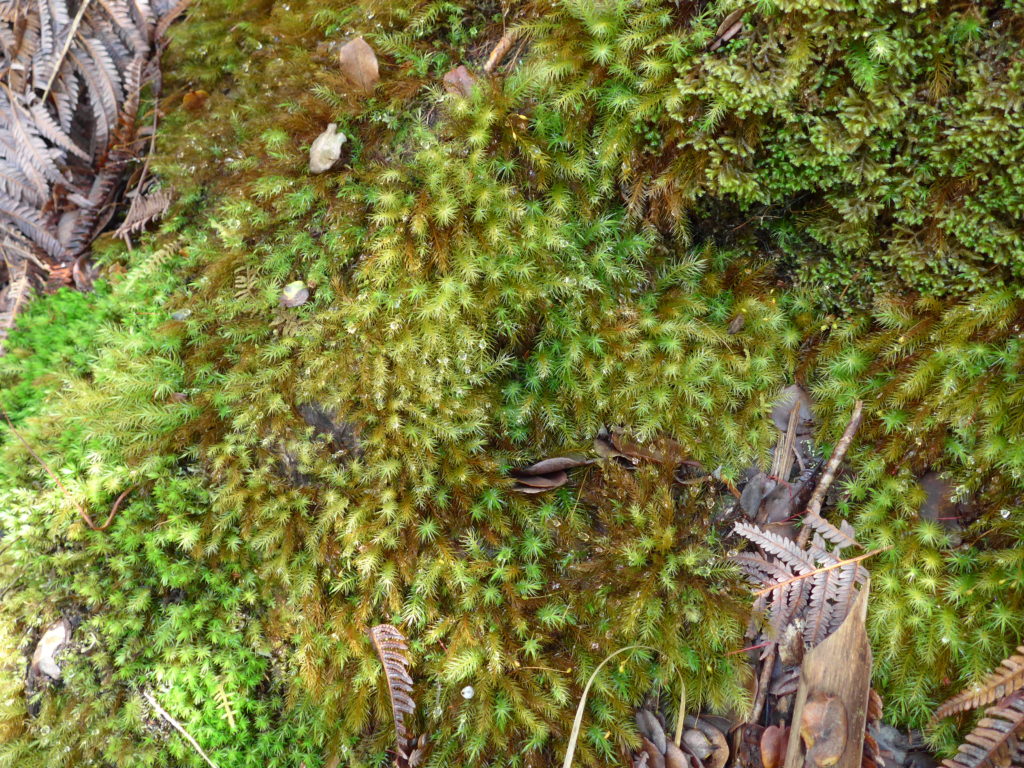
    Loads of bright green mosses (or moss-like plants -- I'm not a biologist) from a Hawai'i rainforest
    Hawai’i grows some incredible moss.

    Surviving the Food Allergy Apocalypse was born out of frustration-fueled conversations Denise and MaryKate started about 6 years ago. First we bitched about giving up foods we loved. Then we started talking foods we could still have; meeting, spreadsheet(s), blog. Logical progression, right?

    Denise is a lawyer. MaryKate is an historian. But we were both frustrated by the changing landscape we faced. Eating isn’t a hobby that you can just give up when it becomes difficult — food is required to live. Neither of us first faced food “allergies” through anaphylaxis, either — Denise saw asthma flares and MaryKate had primarily gastrointestinal issues. We both believe, based on research and experience, that there’s a continuum of ways in which our bodies can over-react or adversely react to food. While anaphylaxis is the scariest and deadliest of them, it is not the only medically-significant issue people face in relation to food. While we happily share our own experiences (even the unhappy ones) here, we are not doctors, dieticians, or medical professionals of any sort. We live with food allergies.

    We (well, MaryKate) will only offer this one piece of medical advice: Don’t go gluten-free before you get the blood test for celiac. Knowledge is power.

    Anyone reading our blog came here because they have food allergies or intolerances or because they know someone who does. We write because we love food, we eat food, and we want flavor. We do not want to be bored and bland based on our limitations. We started writing recipes because we did not find what we wanted to eat. We’re adults who face food allergies after life lived without them, with adult palates, who mostly eat with other adults. We want spice and flavor and “weird” vegetables.

    We’re also adults with full-time jobs, relationships, homes, friends, and lives outside this blog. Since we started writing, Denise bought a house with space for an ever-expanding garden so she can grow corn-free foods, which she then has to preserve for the freaking long winters of New Hampshire. MaryKate moved across the country to a new city, new job, new climate, new life. Things have changed, and we want the blog to change *with* us and stay relevant to us and where we are.

    So moving forward, we’re going to do a few things:

    Say good-bye to Fabulous Food Allergy Friday. We think this is what social media is for — and 5.5 years of these posts have resulted in a lot of dead links on our blog. So we’re going to step up and become better users of social media. This blog has a Facebook page — follow us here for the easiest access to what we’re reading. You can also follow both of us on Twitter (Denise, MaryKate), Denise on Pinterest, and MaryKate on Instagram.

    Look for about two recipe posts a month moving forward. We’re scaling back on recipes so that we can improve what we put out for you. We will be reworking old recipes, updating the formatting so that you will have access to printable recipes for all our posts, as well as continuing to work on new recipes.
    We’ll try our hands at some different types of writing and different types of posts. We don’t just cook. We eat, too! Look for posts on what we eat, how we cook, how we plan, what it takes for us to eat safely in the world (hint: a lot of it is making our own food). What do we eat when we’re sick? When we crave comfort foods? What are our best tools and tricks? We’re going to try to tell you.
    We’ll going to round up all our household cleaning and personal care posts, review them to see what still works for us and what doesn’t, and create some updates. Even if you’re not allergic, if you’re looking at making more products at home, we’ve got you covered — we’ve talked about making soap, the super basics, all the way through face moisturizer. Maybe you can tell us if we’re missing anything.
    And while you’re following us on social media, why not tell us what you want to know? Tell us if you find the blog accessible and searchable.
  • 2018-1-19 Fabulous Food Allergy Friday

    2018-1-19 Fabulous Food Allergy Friday

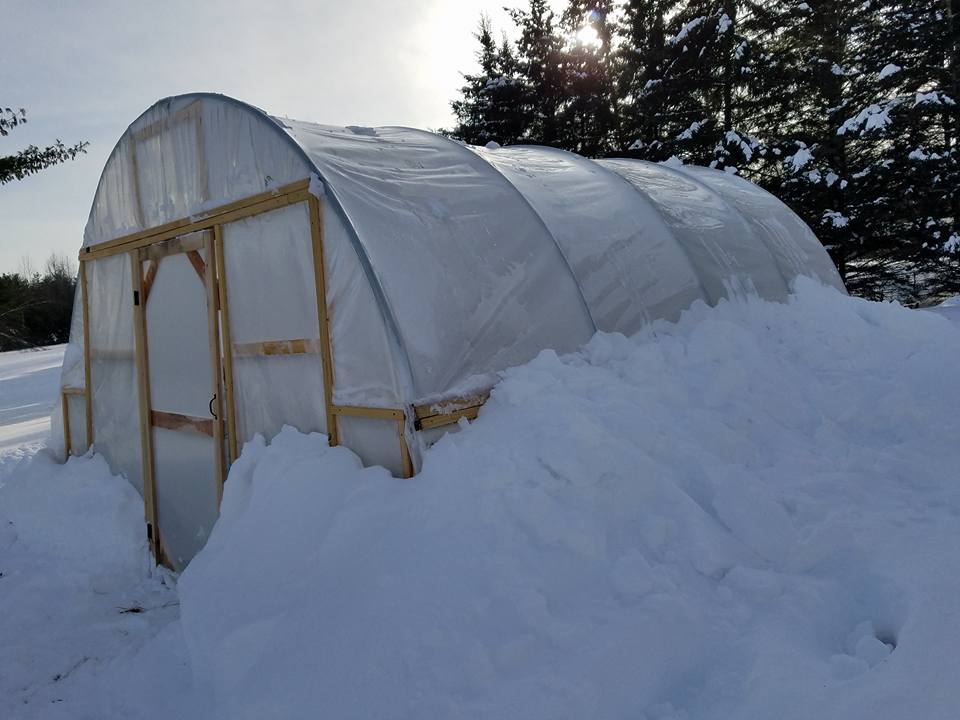
    Denise's greenhouse in snow in New Hampshire
    Denise’s greenhouse in snow in New Hampshire

    Okay, this is not food allergy related, but since MaryKate and I are both knitters, some of our local readers are knitters, and MaryKate is interested in architecture, I give you this article: See an Entire Northern Ireland Village Knitted Out of Wool.

    My friend Kristin A just went to Arizona and when she returned, she told me about a mesquite flour she had heard about at a museum which is part of the legume family. I’m always interested in new ingredients and flours so I did my Google-fu and found this article about it. I may try it. 

     Stay warm and have a great weekend!

  • Mushroom Hash

    Mushroom Hash

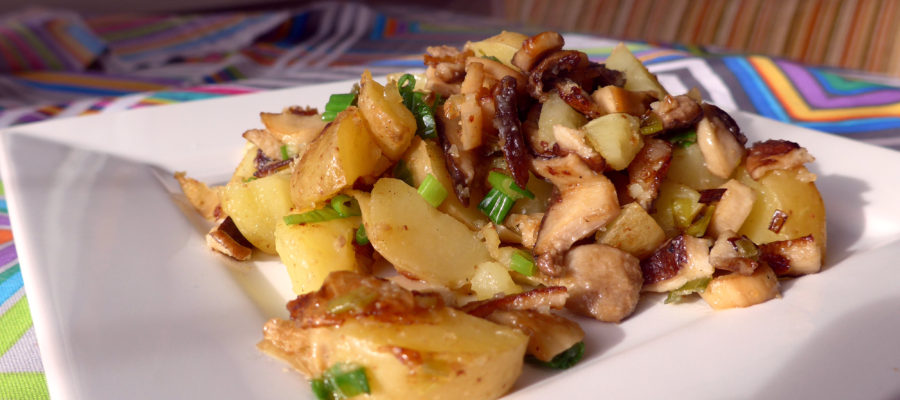
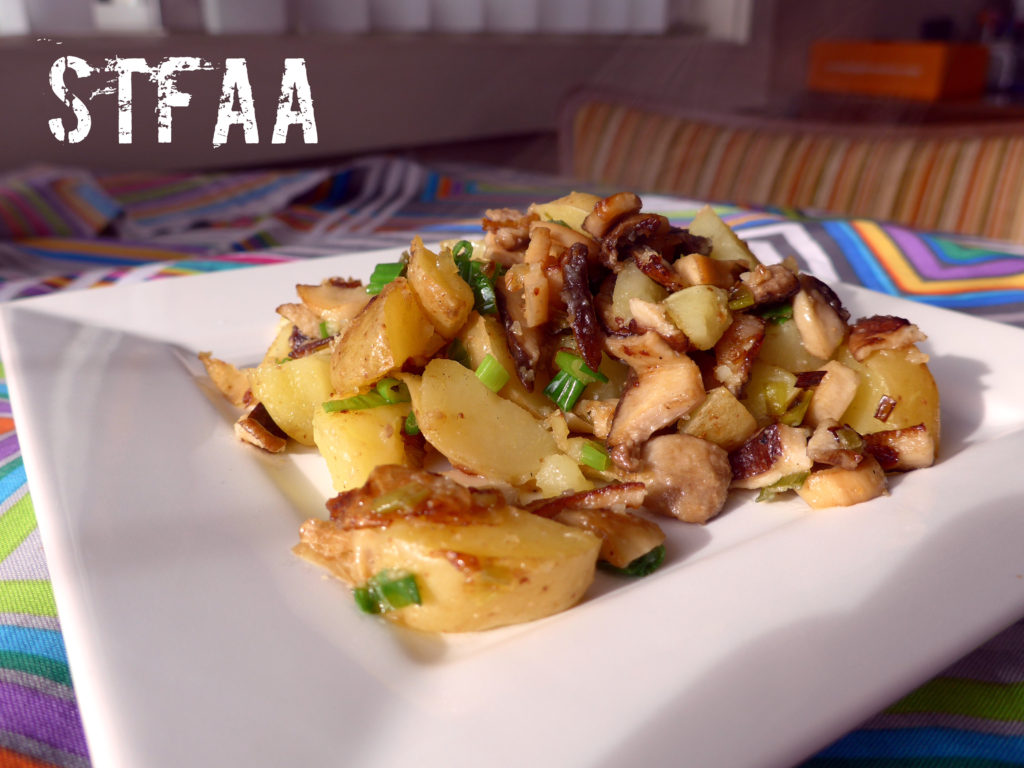
    Mushroom Hash, earthy food for elements month

    So for the “earth” side of our elements challenge, I knew from the start that I’d be using mushrooms, the earthiest food I love (and that Denise hates). Adding to the incentive, it’s mushroom “season” in the Pacific Northwest, meaning even our normal grocery stores have chanterelles (though at great cost)! I did not use chanterelles in this dish, just because I think they would be lost a bit on the mix and they are too spendy for that. (If you haven’t had chanterelles, you probably either don’t like mushrooms or haven’t been in the PNW during fall — they are amazing, and worth the price IF they are fresh.)

    The mixed mushrooms I used here included mainly easy-to-find grocery store mushrooms. I used cremini (often sold as “baby bellas”), a few leftover white button mushrooms, some shitakes, and some king oyster mushrooms, my newest favorite. You can use whatever is available to you that you like, but if you see the king oysters, try them. They have a great texture for stir fry and sauteing. Check out this list of mushrooms and maybe try a new one in this recipe.
    I also used my personal perennial favorite ingredient for all things: potatoes. They are grown underground, so they are definitely “earthy” too, right? If you can get them, yukon gold potatoes are my favorite for hash because of their texture. Any waxy potato (yellow or red) will work, but the textures will vary subtly. In this hash, I’ve parboiled the potatoes before frying them. I used a trick I learned in the Farm to Table Asian Secrets cookbook: adding vinegar to the boiling water helps the cooked potatoes hold together when you cut them after boiling.

    For this recipe, you’ll need a pot to boil the potatoes in and a skillet. You should have plenty of time to clean and chop your mushrooms while the potatoes cook, and then time to chop the cooked potatoes while the mushrooms cook. I’ve done the hash over medium heat because I don’t want to burn things, but if you’re brave, a higher heat will give you more sear on the vegetables, more like a professional kitchen and better taste. Let me know if you do it that way.

    For me, this is ultimate comfort food. First, potatoes are my go-to comfort food, but crisping them in oil and mixed with mushrooms, I also feel fancy and indulgent.


    Notice: Trying to access array offset on value of type bool in /home/maryzahc/public_html/adultfoodallergies.com/wp-content/plugins/wp-ultimate-recipe/helpers/models/recipe.php on line 254
    Mushroom Hash, vegan, gluten-free
    Print Recipe
    Servings
    2 servings
    Servings
    2 servings
    Mushroom Hash, vegan, gluten-free
    Print Recipe
    Servings
    2 servings
    Servings
    2 servings
    Ingredients
    • 1/2 lb potatoes waxy, Yukon gold preferred
    • 6 cups water approximately — cover potatoes
    • 2 Tablespoon vinegar any kind works — don’t use anything expensive here!
    • 1 Tablespoon salt
    • 1 Tablespoon oil maybe a little more
    • 2 cups mixed fresh mushrooms
    • 5 scallions
    • 1/2 teaspoon garlic powder
    • 2 teaspoons oil (not a repeat ingredient!)
    Servings: servings
    Instructions
    1. Wash potatoes and put in large sauce pan with water, vinegar, and salt. Bring to a boil and then turn down to a low boil. Cook potatoes until tender (can you stab a knife into them? Then they are done.) This will vary depending on the size of your potatoes, but texture-wise, boiling them whole is the right call.
    2. Wash and dry mushrooms. How you do this depends on the mushroom, but with most of them I just run them under water and rub the visible dirt off with my fingers and then path them dry with a towel or paper towel. Chanterelles, I soak and swirl for a few minutes.
    3. Chop mushrooms or break into bite-sized pieces.
    4. Chop scallions and separate the whites from the greens. Light green goes with white. You will cook the whites and use the greens as garnish.
    5. Add 1T of oil to your skillet over medium heat. Add the garlic powder to it and the onion whites, stirring well. When it is shimmery, add the mushrooms and stir well to coat with the oil. If you need to, add a bit more oil to fully coat the mushrooms, but stir them well first.
    6. Cook mushrooms, stirring frequently but not constantly, for up to 10 minutes. They will start to brown and smell very earthy — that’s what you’re looking for.
    7. While they cook, drain and cool the potatoes enough to touch. I lay them out on the cutting board to cool. Chop them into hash-sized pieces. Think dice.
    8. Push the mushrooms aside and dump the potatoes into the center of the pan. Add about 2 teaspoons of oil, and stir just the potatoes until the oil is coating them. Spread them out, mostly piling the mushrooms on top. Let them sit and cook for about 5 minutes, and then stir and cook for a bit more — as much time as you can give them to crisp up and meld with the mushrooms.
    9. Just before taking the hash off the heat, stir in the scallion greens and taste. Add salt and pepper if needed. Serve hot.
    Share this Recipe
     
    Powered byWP Ultimate Recipe
  • Guest Post: Pasta Bake

    Guest Post: Pasta Bake

    Can I admit I punted on this one? My big plan for Comfort Food month was set back in August. I was going to do MY best comfort food, potatoes, and then one from my neighborhood — I was going to learn to make ramen. There is a line of gluten-free ramen noodles that I quite like, made from different types of rice. I got a book on the history of ramen, and a cookbook. I can highly recommend both. But what I learned is that those lines outside restaurants making authentic ramen are well-deserved. Ramen is a complicated (if worthwhile) process, with a soup base that must be made before preparing a broth that then becomes soup to which you add noodles and toppings. Definitely try it — with all the variations, it’s likely you’ll find some that suit your allergies. But it was not my next recipe.

    So ANYWAY, that’s why Jack made this recipe. And from here on out, it’s all him. As a note, this is why we use #allergyfriendly instead of “allergy-free” on the blog — this recipe uses boxed gluten-free penne pasta and commercial vegan cheese (and we tend to use a jarred sauce), so it is likely not suitable for some allergies (corn). But if it works for you, it’s a great Sunday meal that also makes Monday’s lunch. We probably eat this recipe at least once a month, and while pasta is Jack’s comfort food, I definitely see the appeal. –MaryKate

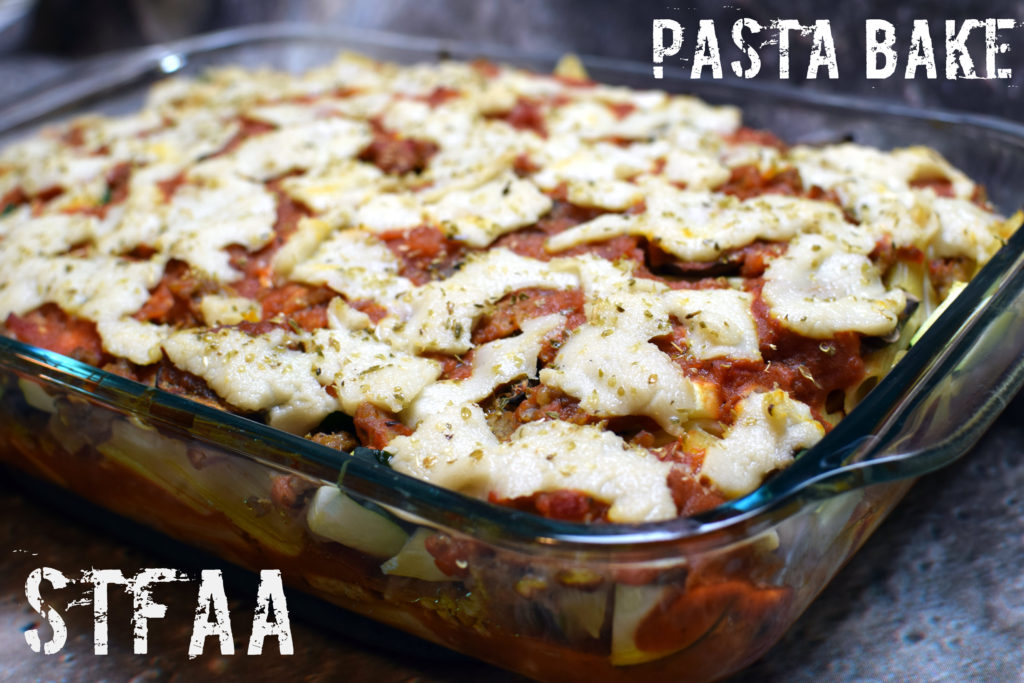
    Pasta Bake -- gluten-free and allergy-friendly
    Pasta Bake — gluten-free and allergy-friendly

    Hi there! I’m Jack, and I live with MaryKate, so I feed her from time to time. This pasta bake has emerged as one of her favorite comfort foods – which is lucky for me, because it’s one of the few dishes I can make without checking every step of a recipe twelve times. (According to her, I declared on our first date that “I don’t cook”, which I don’t really remember but would have been reasonably accurate at the time as a statement of bare fact, if not general philosophy or intent.) (He said that. I was there. — MK)

    The pasta bake began as a gluten- and lactose-filled attempt at baked ziti. It has made the transition to allergy-friendly status quite well, thanks mostly to the pasta and cheese alternatives on the market, and also thanks to MaryKate’s suggestions of what else to add. Feel free to omit veggies and/or meat, and use the sauce, pasta, and cheese brands of your choice. We’ve even mixed in some almond ricotta from Artisan Vegan Cheese by Miyoko Schinner for a creamier, lasagna-like texture.

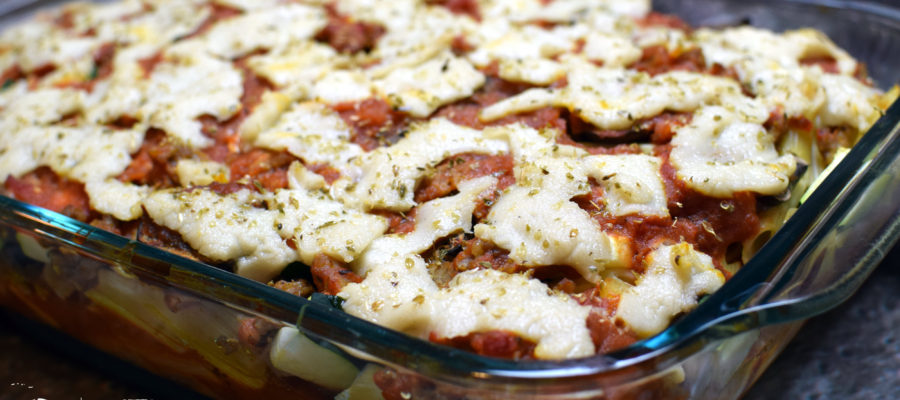
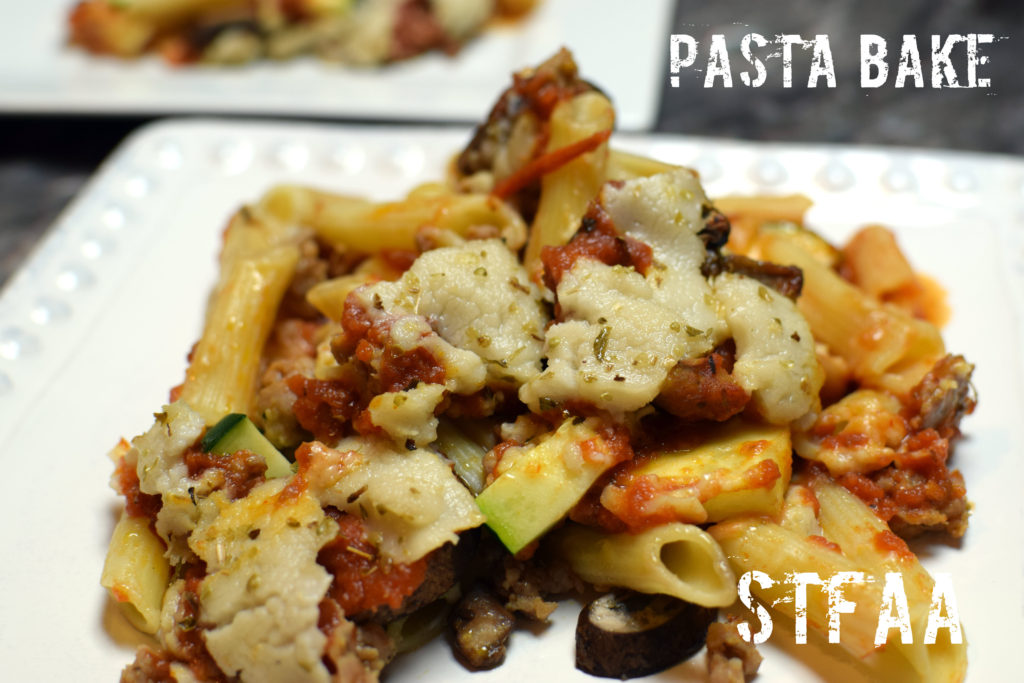
     For me, pasta is comfort food. We had it at least once a week when I was a kid, and it’s quick and easy to make while also being warm and filling. I’ve even come to like the vegan cheese. The easiest version of this is pasta, sauce, and cheese, but adding zucchini and mushrooms gives it great texture, and the sausage adds more flavor and protein.
    Pile o' pasta bake
    Pile o’ pasta bake

    Notice: Trying to access array offset on value of type bool in /home/maryzahc/public_html/adultfoodallergies.com/wp-content/plugins/wp-ultimate-recipe/helpers/models/recipe.php on line 254
    Pasta Bake
    Print Recipe
    Servings Prep Time
    6 large servings 20 minutes
    Cook Time Passive Time
    35 minutes 35 minutes
    Servings Prep Time
    6 large servings 20 minutes
    Cook Time Passive Time
    35 minutes 35 minutes
    Pasta Bake
    Print Recipe
    Servings Prep Time
    6 large servings 20 minutes
    Cook Time Passive Time
    35 minutes 35 minutes
    Servings Prep Time
    6 large servings 20 minutes
    Cook Time Passive Time
    35 minutes 35 minutes
    Ingredients
    • 12 oz gluten-free penne
    • 1 medium zucchini quartered lengthwise and sliced every 1/4 inch
    • 8 oz mushrooms sliced, we like baby Bellas
    • 8 oz ground sausage or beef optional — leave out or use vegan sub for a vegan casserole
    • 36 oz garlic pasta sauce
    • 12 oz vegan mozzarella cheese substitute we love Miyoko’s Kitchen vegan moz
    • oregano to taste
    Servings: large servings
    Instructions
    1. Brown and drain meat.
    2. Boil penne until it’s just barely soft, about 4 minutes.
    3. Drain and rinse pasta.
    4. Put half the penne in a 9″ x 12″ baking pan. Layer on 1/2 of the zucchini and mushrooms, then 1/2 of the sausage or beef, sauce, and mozzarella. Sprinkle generously with oregano.
    5. Repeat previous step for a second layer.
    6. Bake at 350°F for 35 minutes.
    Share this Recipe
     
    Powered byWP Ultimate Recipe
  • 2017-07-07 Fabulous Food Allergy Friday

    2017-07-07 Fabulous Food Allergy Friday

    Flowers in Denise's backyard
    Flowers in Denise’s backyard

    AND… we’re back. Hope you all had a good June — not sure what happened, given that it flew by faster than time should ever go.

    So, what have we been reading? I, MaryKate, have been checking out more food allergy bloggers like “Nope, Can’t Eat That Either” (a title I absolutely love). I’m also reading Civil Eats, for people who are into food and the politics and production of food (start with that link about the Amazon purchase of Whole Foods). More recipes coming from us starting next week.

    The garden is in and we’ll see what I (Denise) get. We’ve had storms, I’ve had a lot of vole damage, and I’m being stalked by deer and rabbits. But while I wait for the summer and fall harvests, the garlic I put in last year have produced a ton of garlic scapes and I’m looking for new ways to use them.  I found this White Bean and Garlic Scape Dip that looks simple and yummy and an easy refrigerator pickle, which will make them last longer, Pickled Garlic Scapes.

    Have a great weekend everyone!


  • June Break Alert

    June Break Alert

    Lupins grown from seed in Denise's side garden
    Lupins grown from seed in Denise’s side garden

    Because Denise is busy planting the back 40 and dealing with some minor but annoying medical stuff, we’ve decided to take the month of June off.

    We may do some tinkering around here in the meantime, so don’t be surprised if you check in and things change a bit. But please meet us back here on Monday, July 3rd, for a new recipe and we’ll be back to working on providing you with our links from poking around the internet for Fabulous Food Allergy Fridays on July 7th. In fact, sign up for emails and we’ll deliver our new posts directly to your inbox!

    In the meantime, maybe browse the archives, and use our 2013-05-24 Fabulous Friday Finds – BBQ Recipe Roundup Edition to enjoy yourselves over the next few weeks!

  • WW: Why Hot Pot is the Allergy-Friendly, Interactive Meal You’ve Been Waiting For

    WW: Why Hot Pot is the Allergy-Friendly, Interactive Meal You’ve Been Waiting For

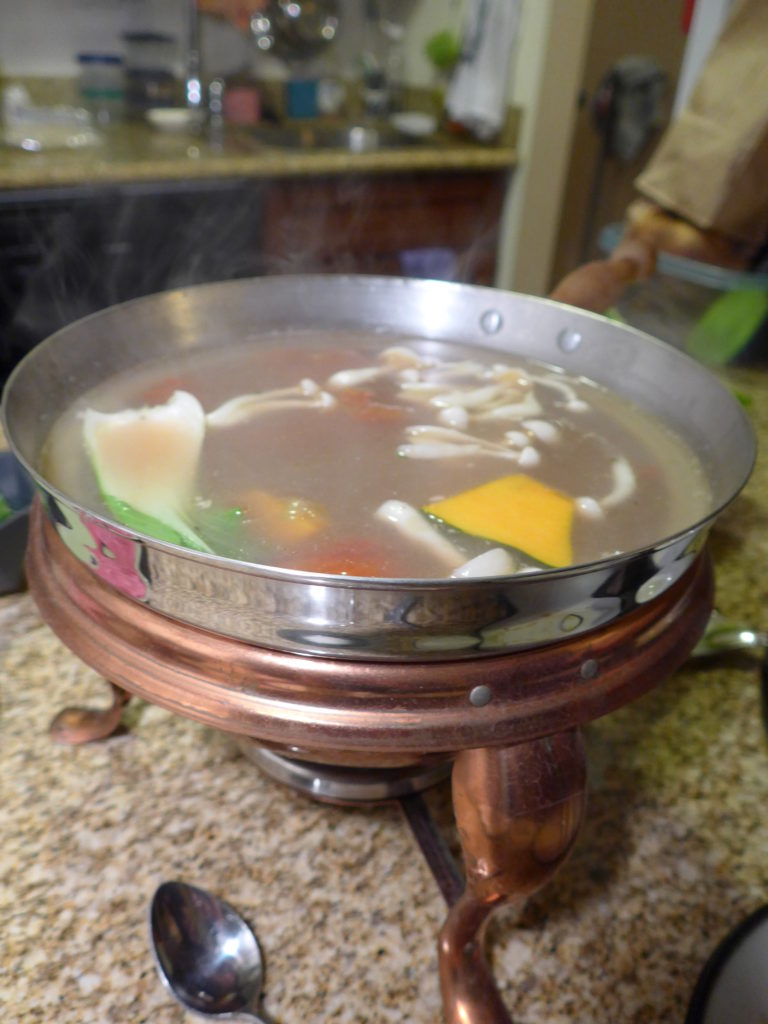
    Steamy hot Pot
    Steamy Hot Pot

    This past holiday season, my boss’ treat to our small staff was a trip to a local hot pot restaurant. With a little effort, we were able to work around my food allergy issues, and it was a really great staff lunch. Well, except for the being too full to walk afterwards part.

    I started thinking about how hot pot could be adapted and made at home. It’s not horribly hard, it turns out, and thanks to my need to packrat all of my parents’ 1970s entertaining supplies when I moved out, I had so equipment that could be adapted to home-style hot pot. I used a chafing dish, though I also have a fondue pot, and I think the latter might allow for more heat. Both the chafing dish and the fondue pot are designed for small cans of Sterno fuel. A portable electric burner is used at most of the local hot pot restaurants, though a few have tables with built-in burners. An electric wok or frying pan would also be an excellent option.

    But I’ve labeled this post “Kitchen Stories” because it includes this pot. My parents were very social people, and they were married for a good number of years before kids. All of the 1970s-era cookbooks I’ve collected feature things like my parents’ chip-and-dip set (white and gold grapes) and things like this chafing dish, in a less tarnished state. Those types of parties, with large spreads of food, are a feature of my early childhood. But while we got a bit of the food, we soon went off to bed. I remember the chafing dish primarily from Friday night dinners during Lent, when my mom would make cheese fondue for a meatless dinner.

    Like all of the outdated kitchen stuff that ended up in the basement, I scavenged this chafing dish when I left home (difference between the chafing dish and a fondue pot — the water pan between the heat and the food that spreads out the heat). It’s been used a few times, but mostly it has served as a decorative piece in my kitchen, and it’s rather terribly tarnished. Good tip — a paste of salt and white vinegar helps a ton to take the tarnish off copper). It felt really good to use something I just paid to move across the country, and the hot pot is an amazing use.

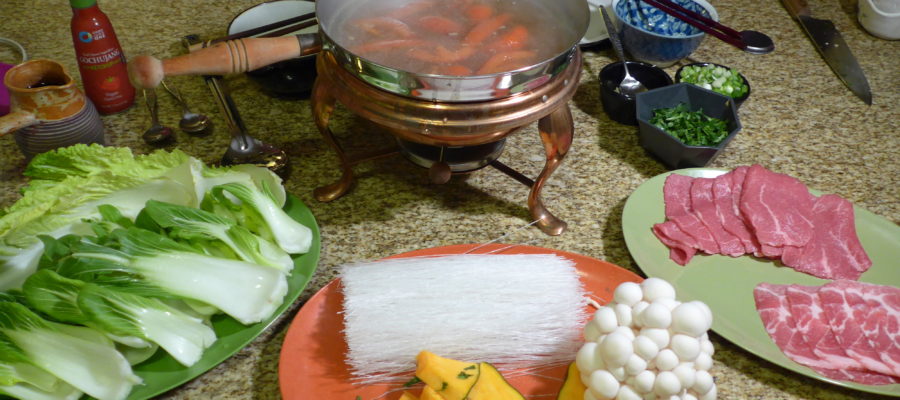
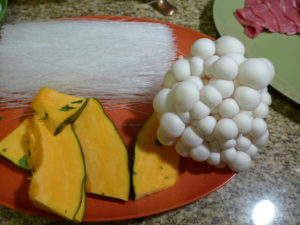
    Glass noodles, thinly-sliced squash (not thinly sliced enough), and mushrooms
    Glass noodles, thinly-sliced squash (not thinly sliced enough), and mushrooms

    The basic idea of hot pot, if you haven’t had the joy of the experience, is that a tasty broth is heated to boiling and then used as the vehicle for cooking a host of raw meats, seafoods, vegetables, and noodles, which are then eaten with a personalized dipping sauce. The remainder of the feast is soup. What’s awesome about this — well, actually, there are two things. First off, hot pot is an experience as well as a meal, and it’s fun. But the second thing, and what is moving me to write about it and post, is that if you make this all at home, you can customize it to suit you. Exclude your allergens, cater to your tastes, accommodate a variety of people’s needs.

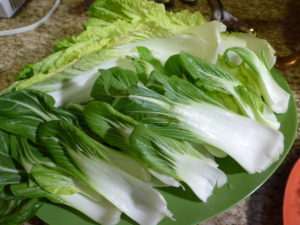
    Napa cabbage and baby bok choy
    Napa cabbage and baby bok choy

    For my homemade hot pot, I started with homemade chicken stock. I think beef would be more traditional, but I had the chicken bones and veggies around. Because of the style of dipping sauce I wanted to use, I used roasted garlic and fresh ginger in the stock, as well as extra peppercorns. I did not use much salt. Your broth can be customized to your tastes!

    For hot pot dinner, I reheated the broth to a good boil before adding it to the chafing dish. I added the tomatoes to the broth, as that was an addition in our broth at the restaurant that I really liked, plus we had them in the house. In retrospect, I would have boiled the squash for a bit on the stove top, too.

    For table top cooking, we had thinly sliced pork butt and steak, which I can buy locally. Hot pot slicing is about a thick deli slice thickness. If you’re slicing at home, I’d suggest freezing the meat you’re using for 15-20 minutes and using a Very Sharp Knife. We had small mushrooms (enoki would be my recommendation), napa cabbage, baby bok choy, and some winter squash, though this didn’t cook through very well.

    Tamari (in our maple syrup crock), the little Nessie soup ladle, and gluten-free gochujang
    Tamari (in our maple syrup crock), the little Nessie soup ladle, and gluten-free gochujang

    Dipping sauces can be customized to your tastes, but for our use we had tamari (gluten-free soy sauce), scallions, minced garlic, sesame oil, cilantro, and red pepper flakes. Mix them up and figure out what suits your tastes! Or try any other dipping sauce you have on hand. It’s all about experimentation with flavors.

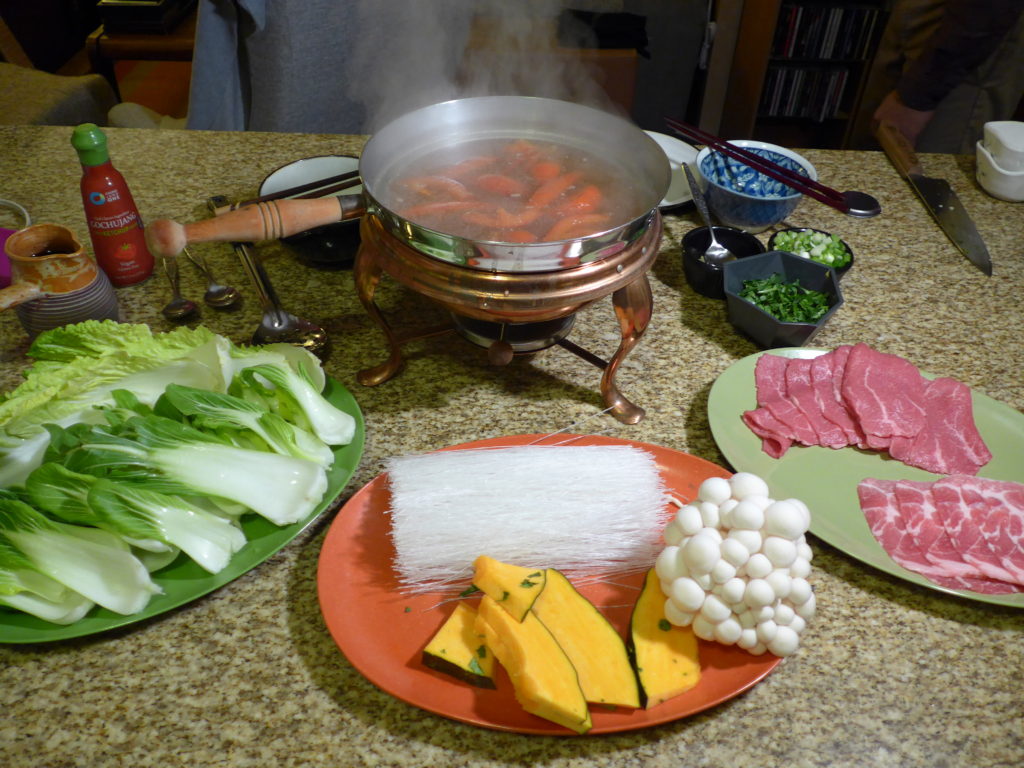
    The Hot Pot spread.
    The Hot Pot spread.


    Hot pot is fun and adaptable and is definitely worth a try. If you do try it — or if you go out to a place where you can find food that meets your needs, let us know about it in the comments!

  • Garlic Double Header: Toum Sauce and Garlic Sorghum Flatbread

    Garlic Double Header: Toum Sauce and Garlic Sorghum Flatbread

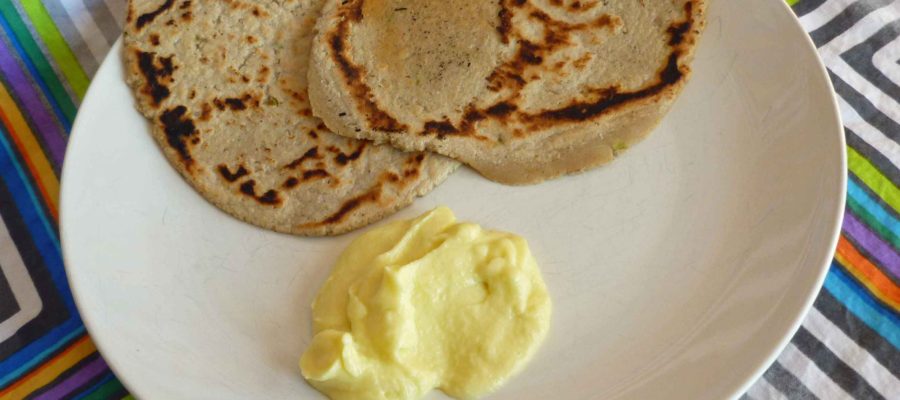
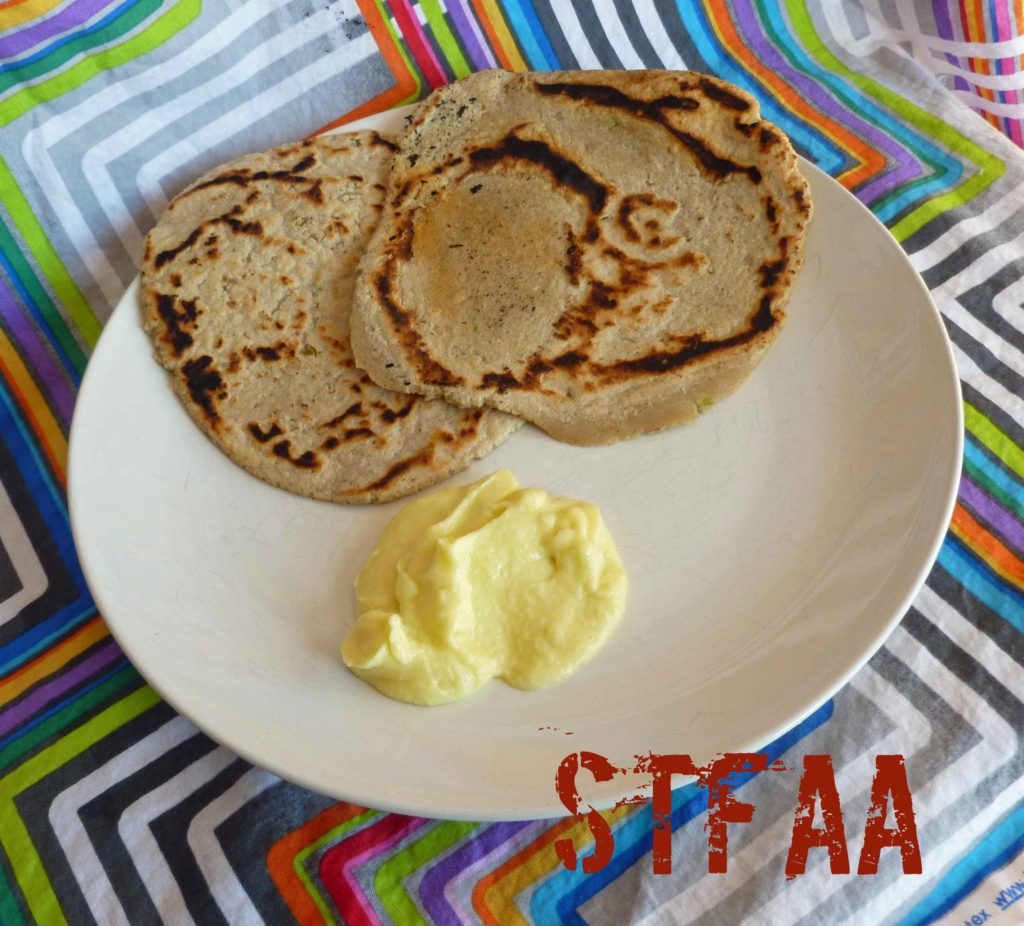
    Toum Sauce & Garlic Sorghum Flatbread
    Toum Sauce & Garlic Sorghum Flatbread

    It’s our last garlic post of Keeping the Vampires Away month, so I decided to do a double header. And they actually go great together, although you’re going to have to make heroic efforts to get rid of the aroma once you’re finished eating. The great thing about these two recipes is that they use very few ingredients, which is fairly infrequent in allergy cooking.

    Toum Sauce (Lebanese Garlic Sauce)

    The toum sauce is pretty easy and the only ingredient that’s a bit out of the mainstream is the aquafaba which helps it emulsify easily. In researching recipes for toum sauce, some state that using extra virgin olive oil can result in the sauce having a bit of a bite and that grape seed oil doesn’t emulsify well. Since those are my only two safe oils, I chose extra virgin olive oil, and I didn’t mind a bit of a bite.  However, if you have a lighter safe oil, you might want to try it. It’s great to use on sandwiches, falafel, grilled foods, and flatbread. I even put it on salad.

    I didn’t want to make huge amounts so I used an immersion blender, but I think there is enough volume that you can try it in a regular blender as well. I also used the elephant garlic that MaryKate sent me from Seattle, but regular garlic will work.

    Toum Sauce (Lebanese Garlic Sauce)
    Toum (Lebanese Garlic Sauce)
    Print Recipe
    An allergy friendly version to use on shawarma, falafel, grilled foods, and flatbread. I even put it on salad.
    Servings Prep Time
    1 1/2 cups 15 minutes
    Servings Prep Time
    1 1/2 cups 15 minutes
    Ingredients
    • 6-8 cloves garlic (or 1 clove of elephant garlic)
    • 1 teaspoon salt
    • 2 Tablespoons aquafaba (see http://aquafaba.com/)
    • 1 Tablespoon water
    • 1 teaspoon lemon juice (I used freshly squeezed)
    • 1 cup olive oil
    Servings: cups
    Instructions
    1. Peel and trim ends of garlic cloves and roughly chop. Place in small container if using a stick blender or in the blender if using a regular blender. Add salt, aquafaba, water, and lemon juice.
    2. Blend until the garlic, salt, aquafaba, water, and lemon juice is a thick paste. You want the garlic to be completely pureed.
    3. Once the garlic is completely pureed, continue to blend, and very slowly pour olive oil into the mixture as it blends, and the mixture will thicken. Store in the refrigerator.
    Share this Recipe
    Powered byWP Ultimate Recipe
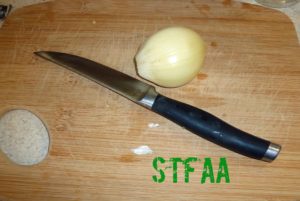
    One clove of the elephant garlic MaryKate sent me with a steak knife for size reference
    One clove of the elephant garlic MaryKate sent me with a steak knife for size reference
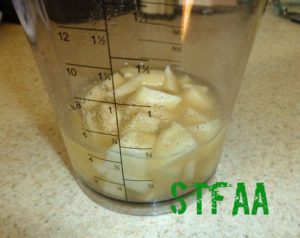
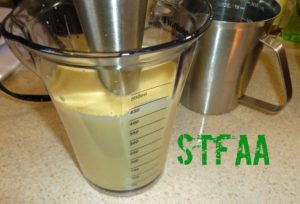
    Garlic, salt, aquafaba, water, and lemon juice before blending
    Garlic, salt, aquafaba, water, and lemon juice before blending
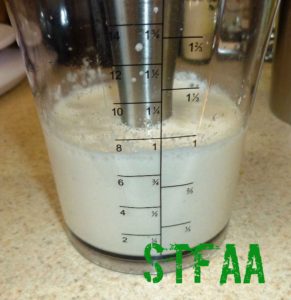
    Garlic, salt, aquafaba, water, and lemon juice after blending
    Garlic, salt, aquafaba, water, and lemon juice after blending
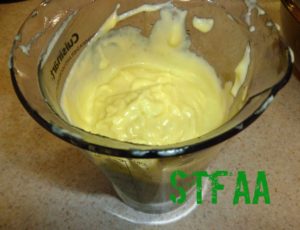
    Blending garlic mixture with olive oil
    Blending garlic mixture with olive oil
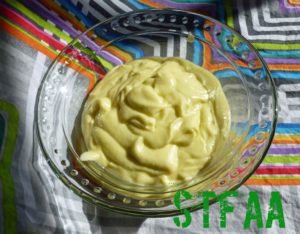
    Finished toum sauce after blending
    Finished toum sauce after blending
    Toum Sauce (Lebanese Garlic Sauce)
    Toum Sauce (Lebanese Garlic Sauce)

    Garlic Sorghum Flatbread

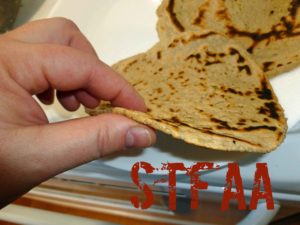
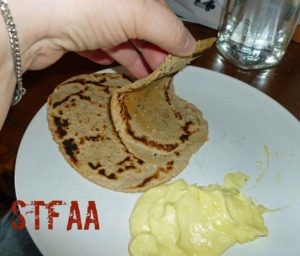
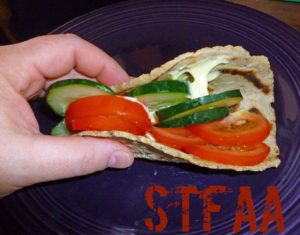
    Although I’ve modified this recipe from Book of Yum a bit by adding garlic and scallions, I’ve got to give credit where credit is due. I’ve made flatbreads (or roti in Indian cuisine) from other recipes and have not been as successful. Although the recipe is very simple, the technique of cooking half the flour with water is what makes the resulting flatbread nicely pliable. I was able to make them very thin and wrap them around some veggies without them breaking. Plus they were really awesome just dipped in the toum sauce by themselves.

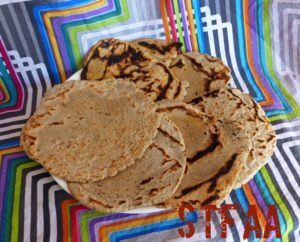
    Garlic Sorghum Flatbreads except the two I ate while cooking :)
    Garlic Sorghum Flatbread
    Print Recipe
    A simple flatbread you can use as a wrap, tortilla, or just to munch on.
    Servings Prep Time
    6-8 flatbreads 20 minutes
    Cook Time Passive Time
    3-5 minutes 10-15 minutes
    Servings Prep Time
    6-8 flatbreads 20 minutes
    Cook Time Passive Time
    3-5 minutes 10-15 minutes
    Ingredients
    • 2 cups sorghum flour
    • 2 cups water
    • 1 teaspoon salt
    • 6-8 cloves garlic or 1 clove of elephant garlic
    • 2 scallions
    • roux whisk (helpful to have)
    Servings: flatbreads
    Instructions
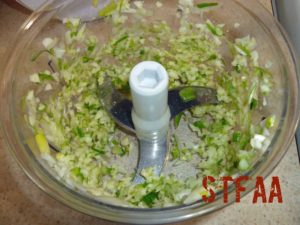
    1. Peel and trim your garlic. Trim the ends of the scallions and any wilted bits of green. Chop garlic and scallions very finely, you want very small pieces but not a paste. I used a manual food processor but you can do it with a knife.
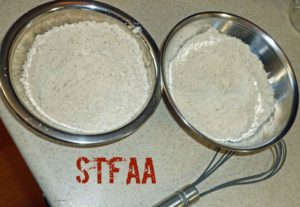
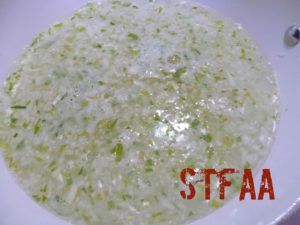
    2. Measure place one cup of the sorghum flour in two bowls, so that the flour is divided to add as needed. In a sauce pan or deep skillet, add the garlic and scallions, salt, and two cups of water. Bring the water to just below a boil in the pan, and add one cup of the flour to the water in a slow stream, using the roux whisk to blend in the flour.
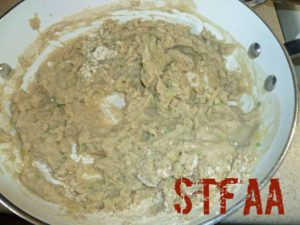
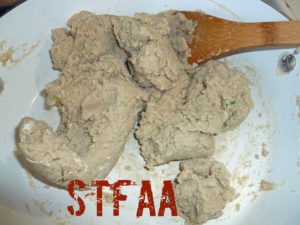
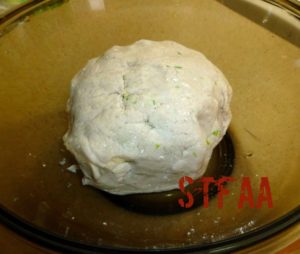
    3. Reduce the heat to low. Using a wooden spoon, stir the other cup of flour into the pan, until it forms a dough ball. Keep stirring and mixing until the dough forms a rubbery texture. Remove the dough and place in a heat safe bowl. Let the dough rest for 10-15 minutes or until it is cool enough to touch.
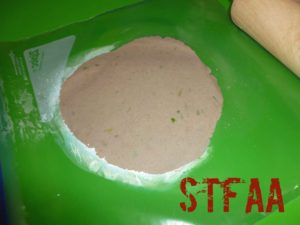
    4. Form into small balls, a little bigger than the size of a ping pong ball, and place back into the bowl. I used a gallon size freezer safe ziptop bag, with the sides cut out to roll the dough out between with a rolling pin. You could also use a tortilla press, but I don’t have one. Roll the dough out to about an 1/8th of an inch.
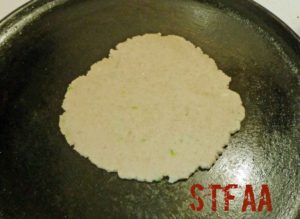
    5. Place a cast iron skillet over medium-low to medium heat (depends on your stove and your skillet, you may need to adjust. Cook until the texture changes on the top of the flatbread (it will look a bit dry and cracked) and until you have light brown spots on the side being cooked. Turn the flat bread and cook the other side. Repeat until all your flatbreads are cooked.
    Share this Recipe
    Powered byWP Ultimate Recipe
    Mince garlic and scallions very finely
    Mince garlic and scallions very finely
    Measure out sorghum, one cup in each bowl and get roux whisk ready
    Measure out sorghum, one cup in each bowl and get roux whisk ready
    Add water to saucepan and add garlic and water, bringing just below boiling.
    Add water to saucepan and add garlic and water, bringing just below boiling.
    Slowly add one cup of sorghum flour and mix in with whisk
    Slowly add one cup of sorghum flour and mix in with whisk
    Turn heat to low and mix in second cup with wooden spoon until it forms a rubbery dough
    Turn heat to low and mix in second cup with wooden spoon until it forms a rubbery dough
    Let dough rest in heat safe container
    Let dough rest in heat safe container
    Roll out dough between a ziptop bag with the sizes cut out once cool enough to handle
    Roll out dough between a ziptop bag with the sizes cut out once cool enough to handle
    Cook on cast iron skillet over medium heat
    Cook on cast iron skillet over medium heat
    Flatbread ready to flip (note dry texture around edges)
    Flatbread ready to flip (note dry texture around edges)
    Flatbread after flipping
    Flatbread after flipping
    Garlic Sorghum Flatbreads except the two I ate while cooking :)
    Garlic Sorghum Flatbreads except the two I ate while cooking 🙂

    Enjoy!