Notice: Function _load_textdomain_just_in_time was called incorrectly. Translation loading for the wp-ultimate-recipe domain was triggered too early. This is usually an indicator for some code in the plugin or theme running too early. Translations should be loaded at the init action or later. Please see Debugging in WordPress for more information. (This message was added in version 6.7.0.) in /home/maryzahc/public_html/adultfoodallergies.com/wp-includes/functions.php on line 6121
Side Dishes – Page 4 – surviving the food allergy apocalypse (archive)

Category: Side Dishes

Side dish, noun: a portion of food served in addition to the main dish. These recipes will not contain dairy, eggs, gluten, wheat or hazelnuts. If we use a top 8 allergen, we will use a tag warning of its use.

  • Vegetable Samosas and Cilantro Dipping Sauce


    Vegetable Samosas with Cilantro Dipping Sauce
    Vegetable Samosas with Cilantro Dipping Sauce

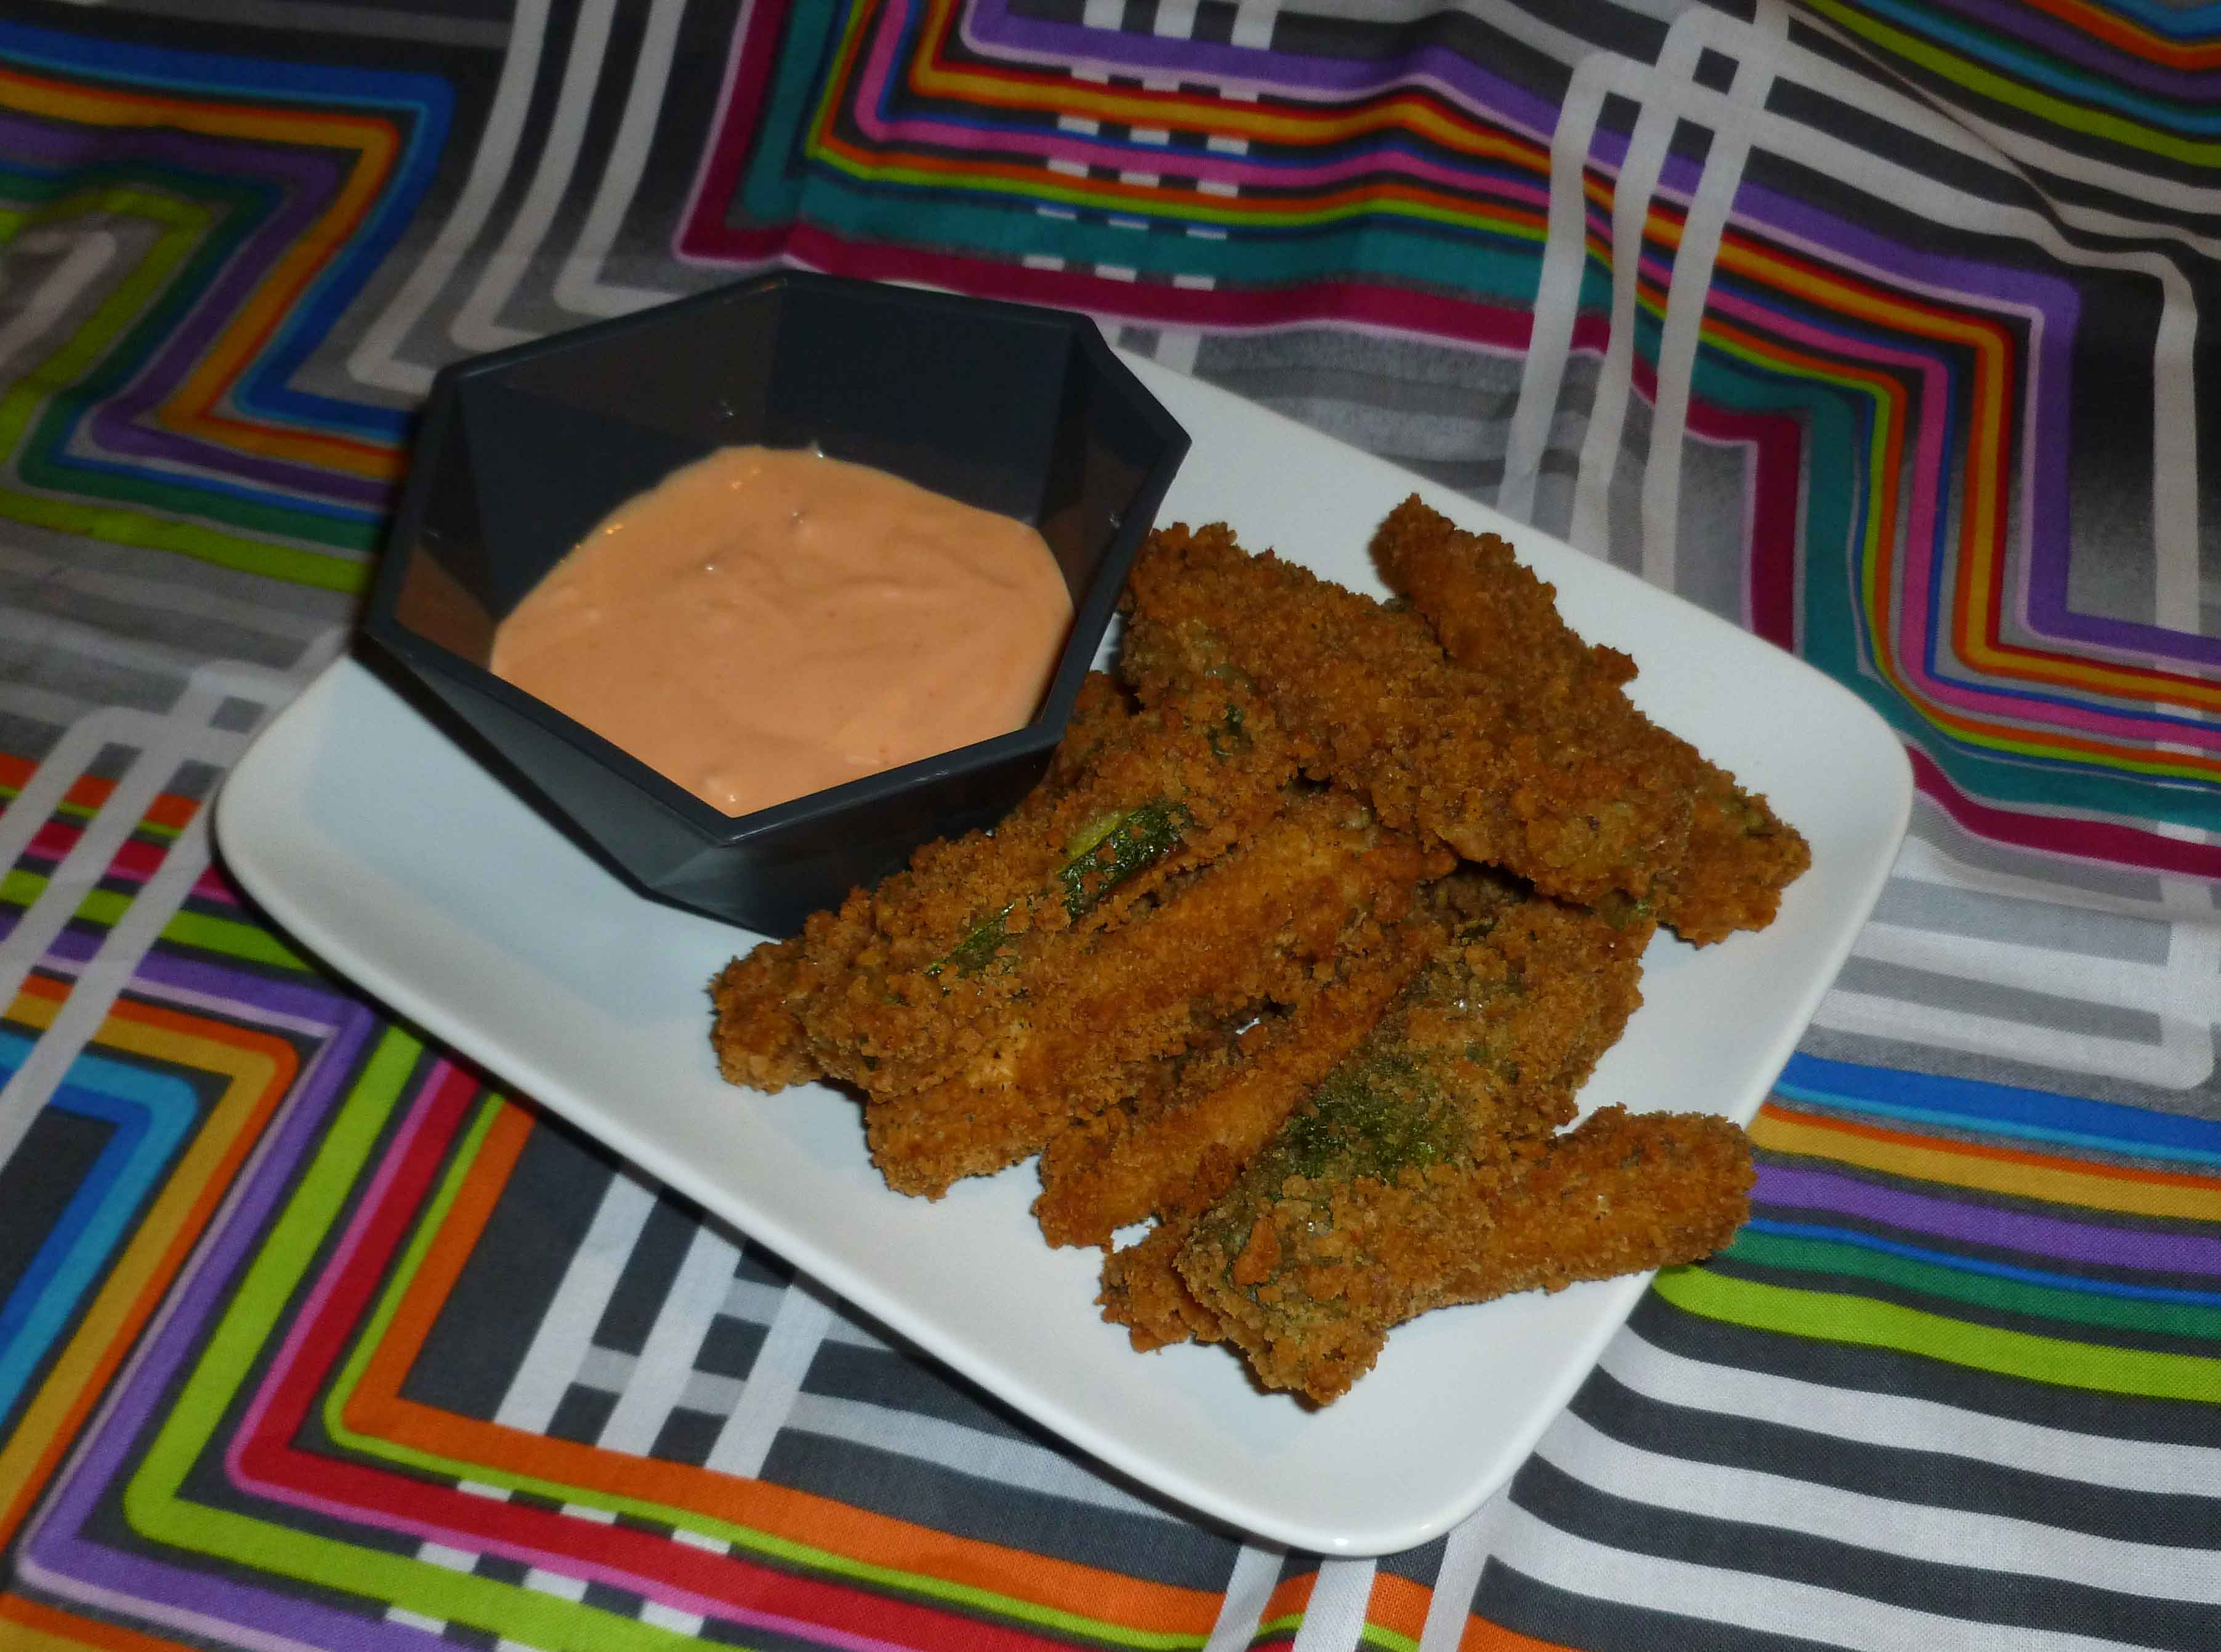
    Indian food, I so miss Indian food. It’s so yummy, and there aren’t a lot of Indian places that would be safe for me between the dairy and coconut thing, even if the corn thing weren’t an issue. Once of my very favorite appetizers to get were Vegetable Samosas. I love them. It’s been a long, long time, so it was time to get around to trying to recreate a safe version. Now I really wanted them to have that egg roll/fried dough/pastry crust type consistency, but without gluten it’s really freaking hard to do. My attempts ended up either being like bad pie crust when I tried baking them, or they flaked apart in the oil when I tried deep frying them. So, not wanting to wait for eternity until I managed to cobble together a dough in the Goldilocks zone, I decided to try rice paper. I love Vietnamese fresh spring/summer rolls, so I have a ton of rice paper in the house. I knew you could fry rice paper wrapped spring rolls, although I’d never done it before, so I decided to just wing it. Apparently you don’t deep fry rice paper wrapped spring rolls. You ever want to see a spring roll bubble up like it has tumors, just deep fry one of these. After doing research on how you’re actually supposed to do it, they came out pretty good, other than being shaped like spring rolls instead of cone or triangle shaped like samosas. Let me know what you think.

    Vegetable Samosas and Cilantro Dipping Sauce

    Makes about 14, more or less.

    Do the sauce first so that it’s all ready to go so that you can eat when you’re done frying.

    Cilantro Dipping Sauce:

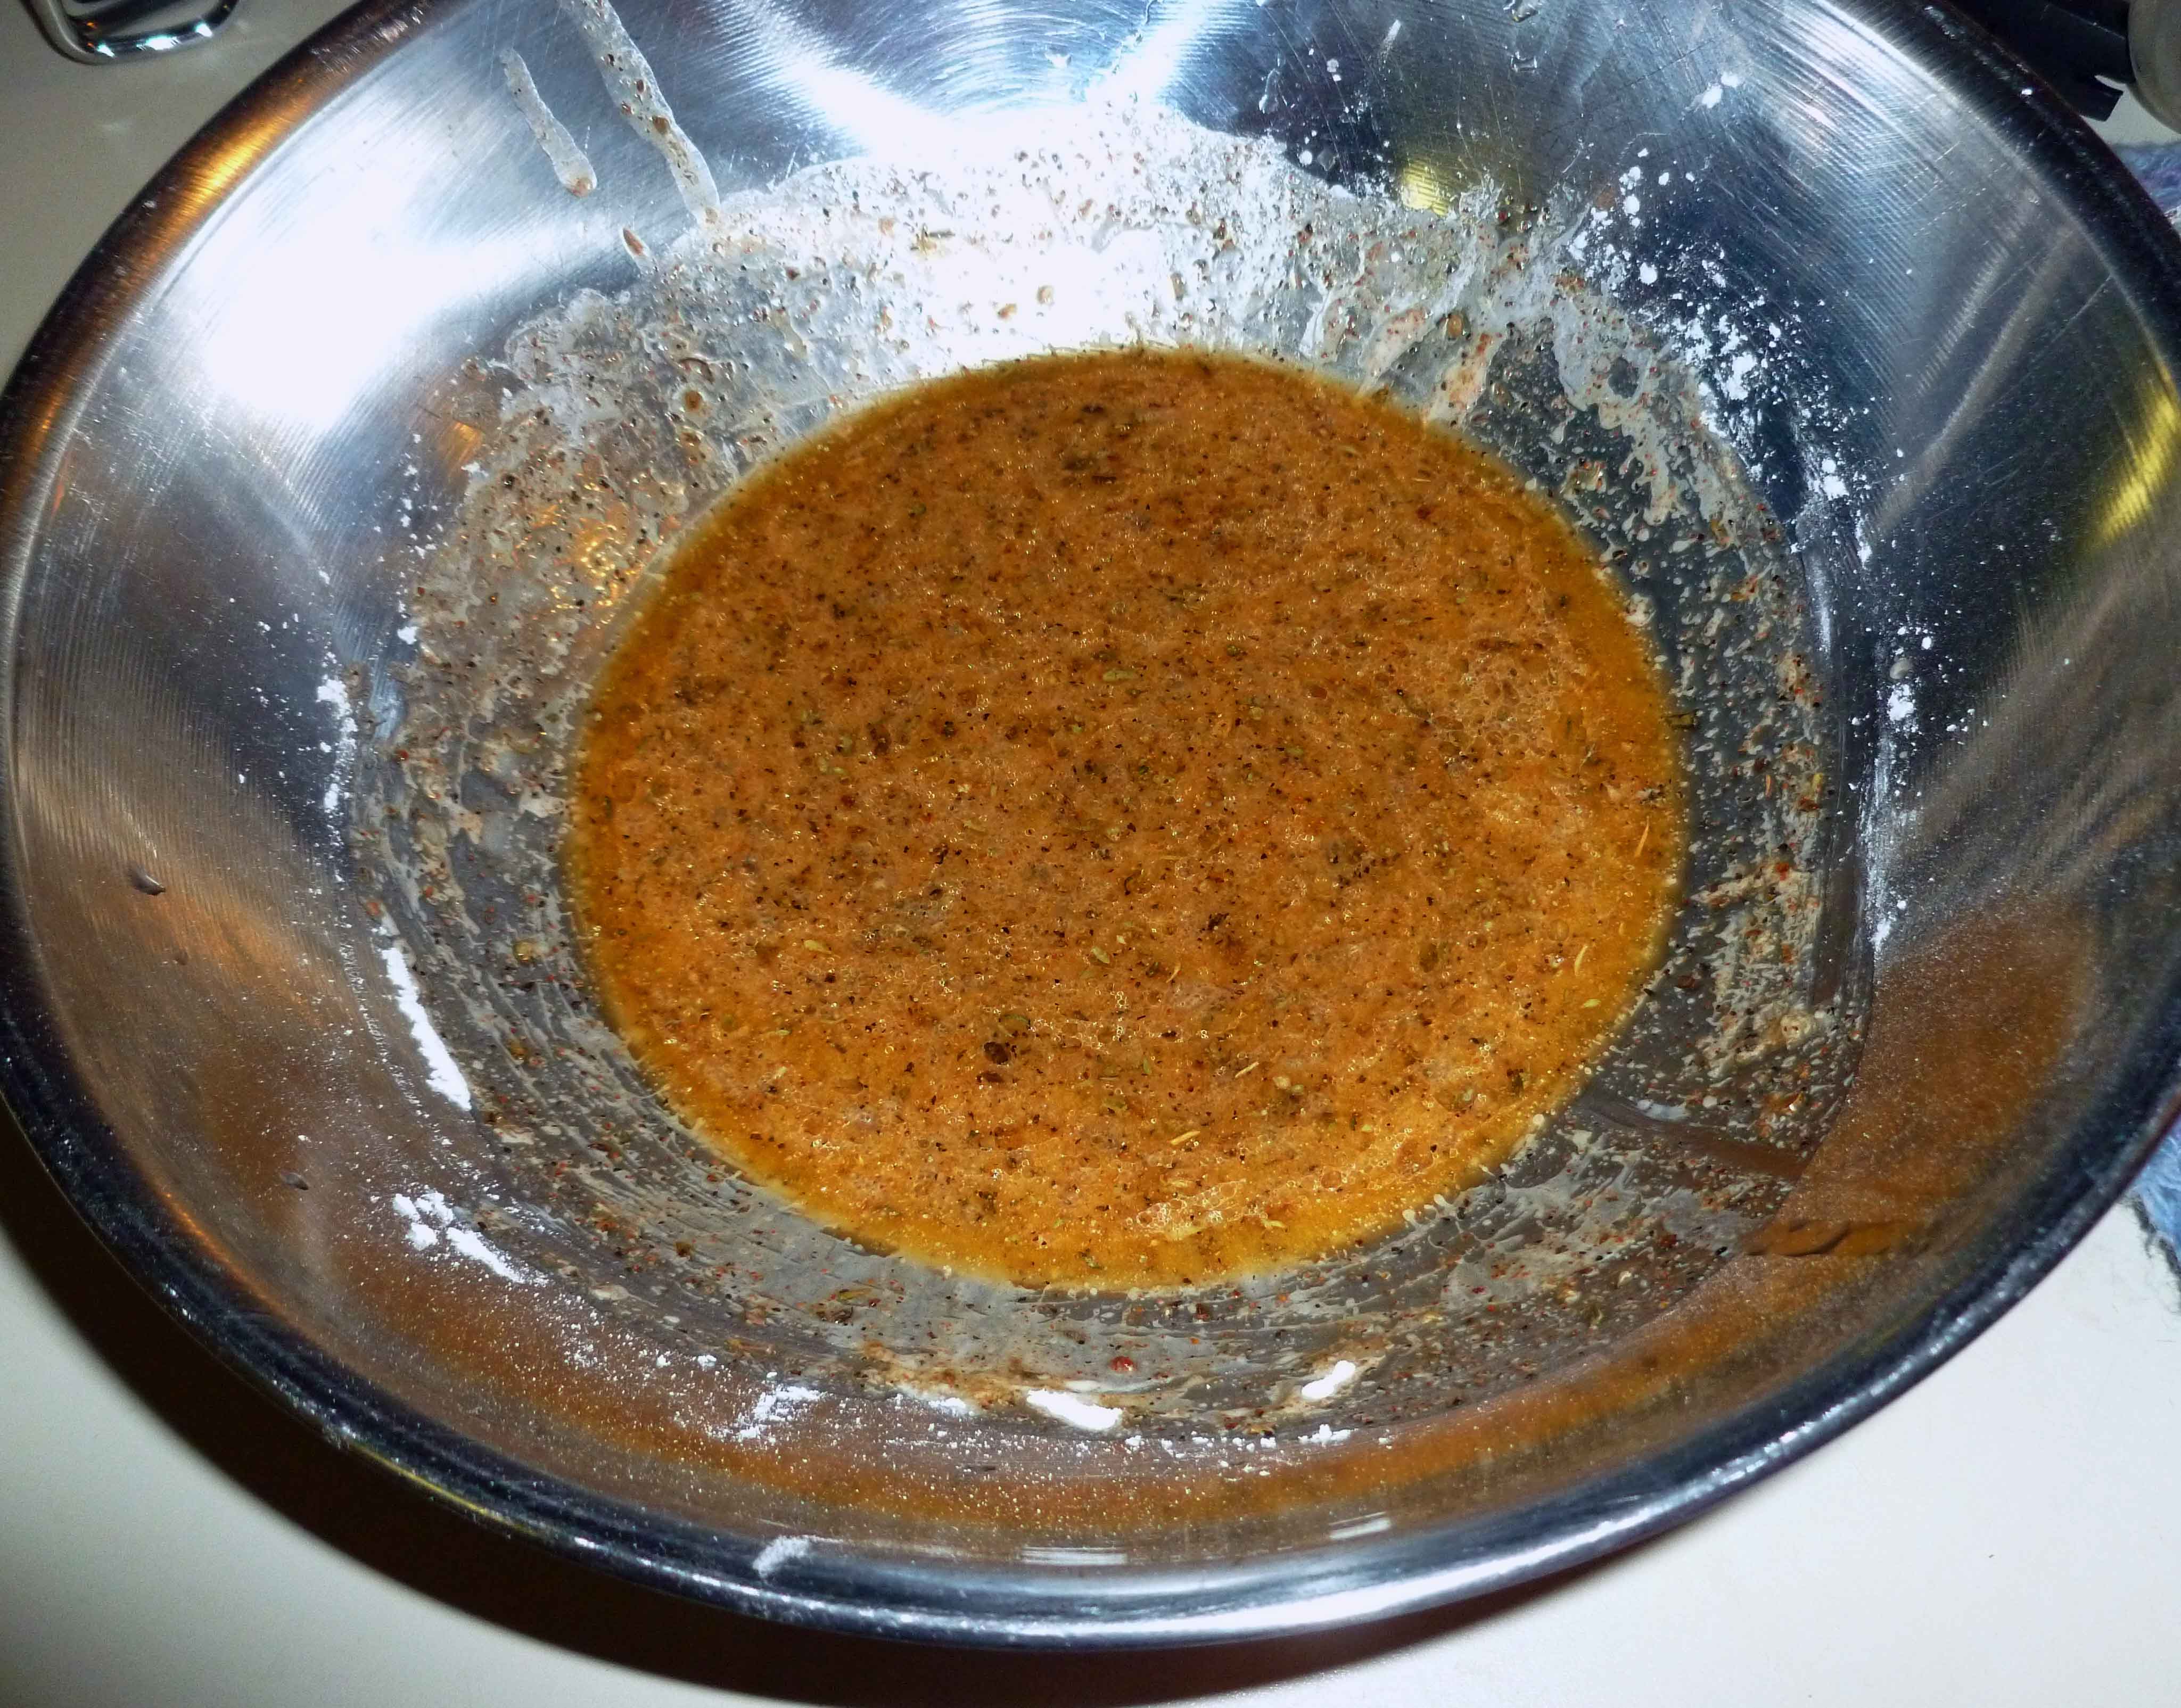
    • 2 cups of tightly packed chopped cilantro
    • 1 garlic clove
    • 1 jalapeno pepper (use half a habanero if you want to kick things up a bit) de-stemmed, seeded, and minced
    • 1/2 inch long piece of peeled ginger
    • 1 teaspoon garam masala (I used Penzey’s version, but I’m sure there are a ton of recipes on the interwebs)
    • 1 teaspoon olive oil
    • 4 Tablespoons of lemon juice (or the juice of one lemon)
    • 1/2 teaspoon of salt

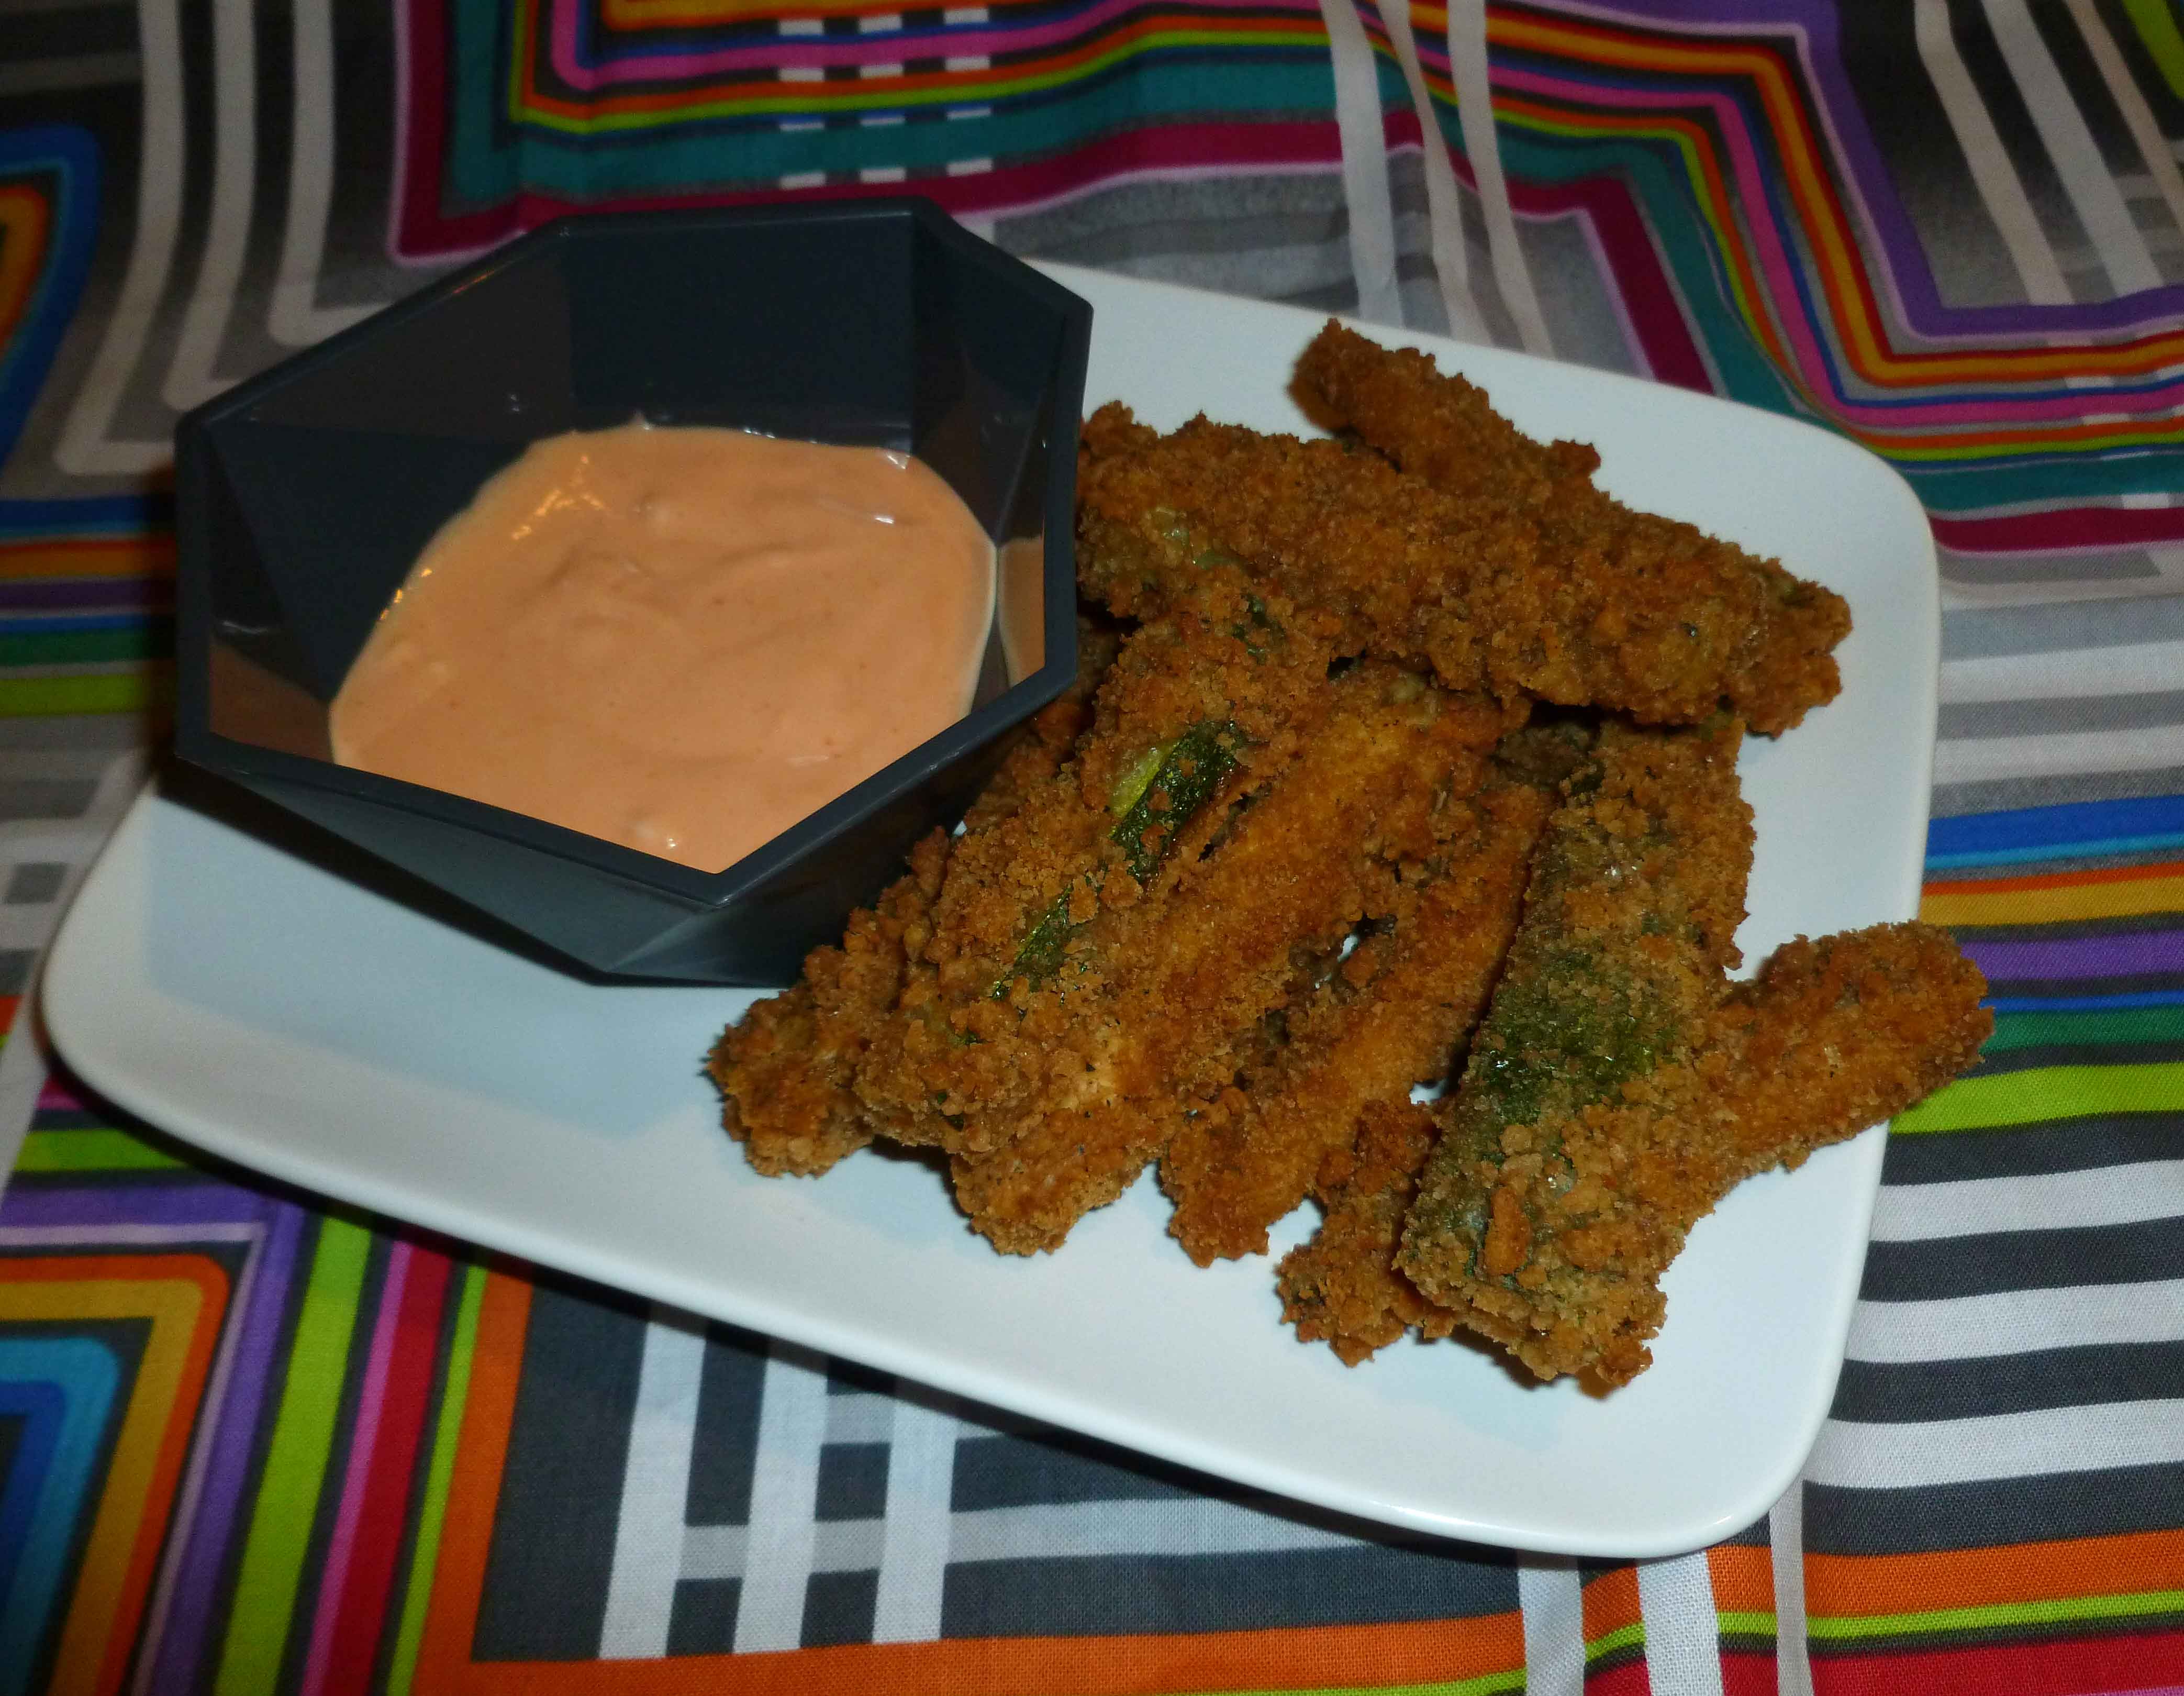
    Put all the ingredients in a blender or food processor. Blend until smooth. (Ta-dah! That was easy wasn’t it?) Put in a container and pop it in the refrigerator until you’re ready for it. (The picture below is all fancy, you get a lot more sauce than that.)

    Cilantro Dipping Sauce
    Cilantro Dipping Sauce


    Samosas:

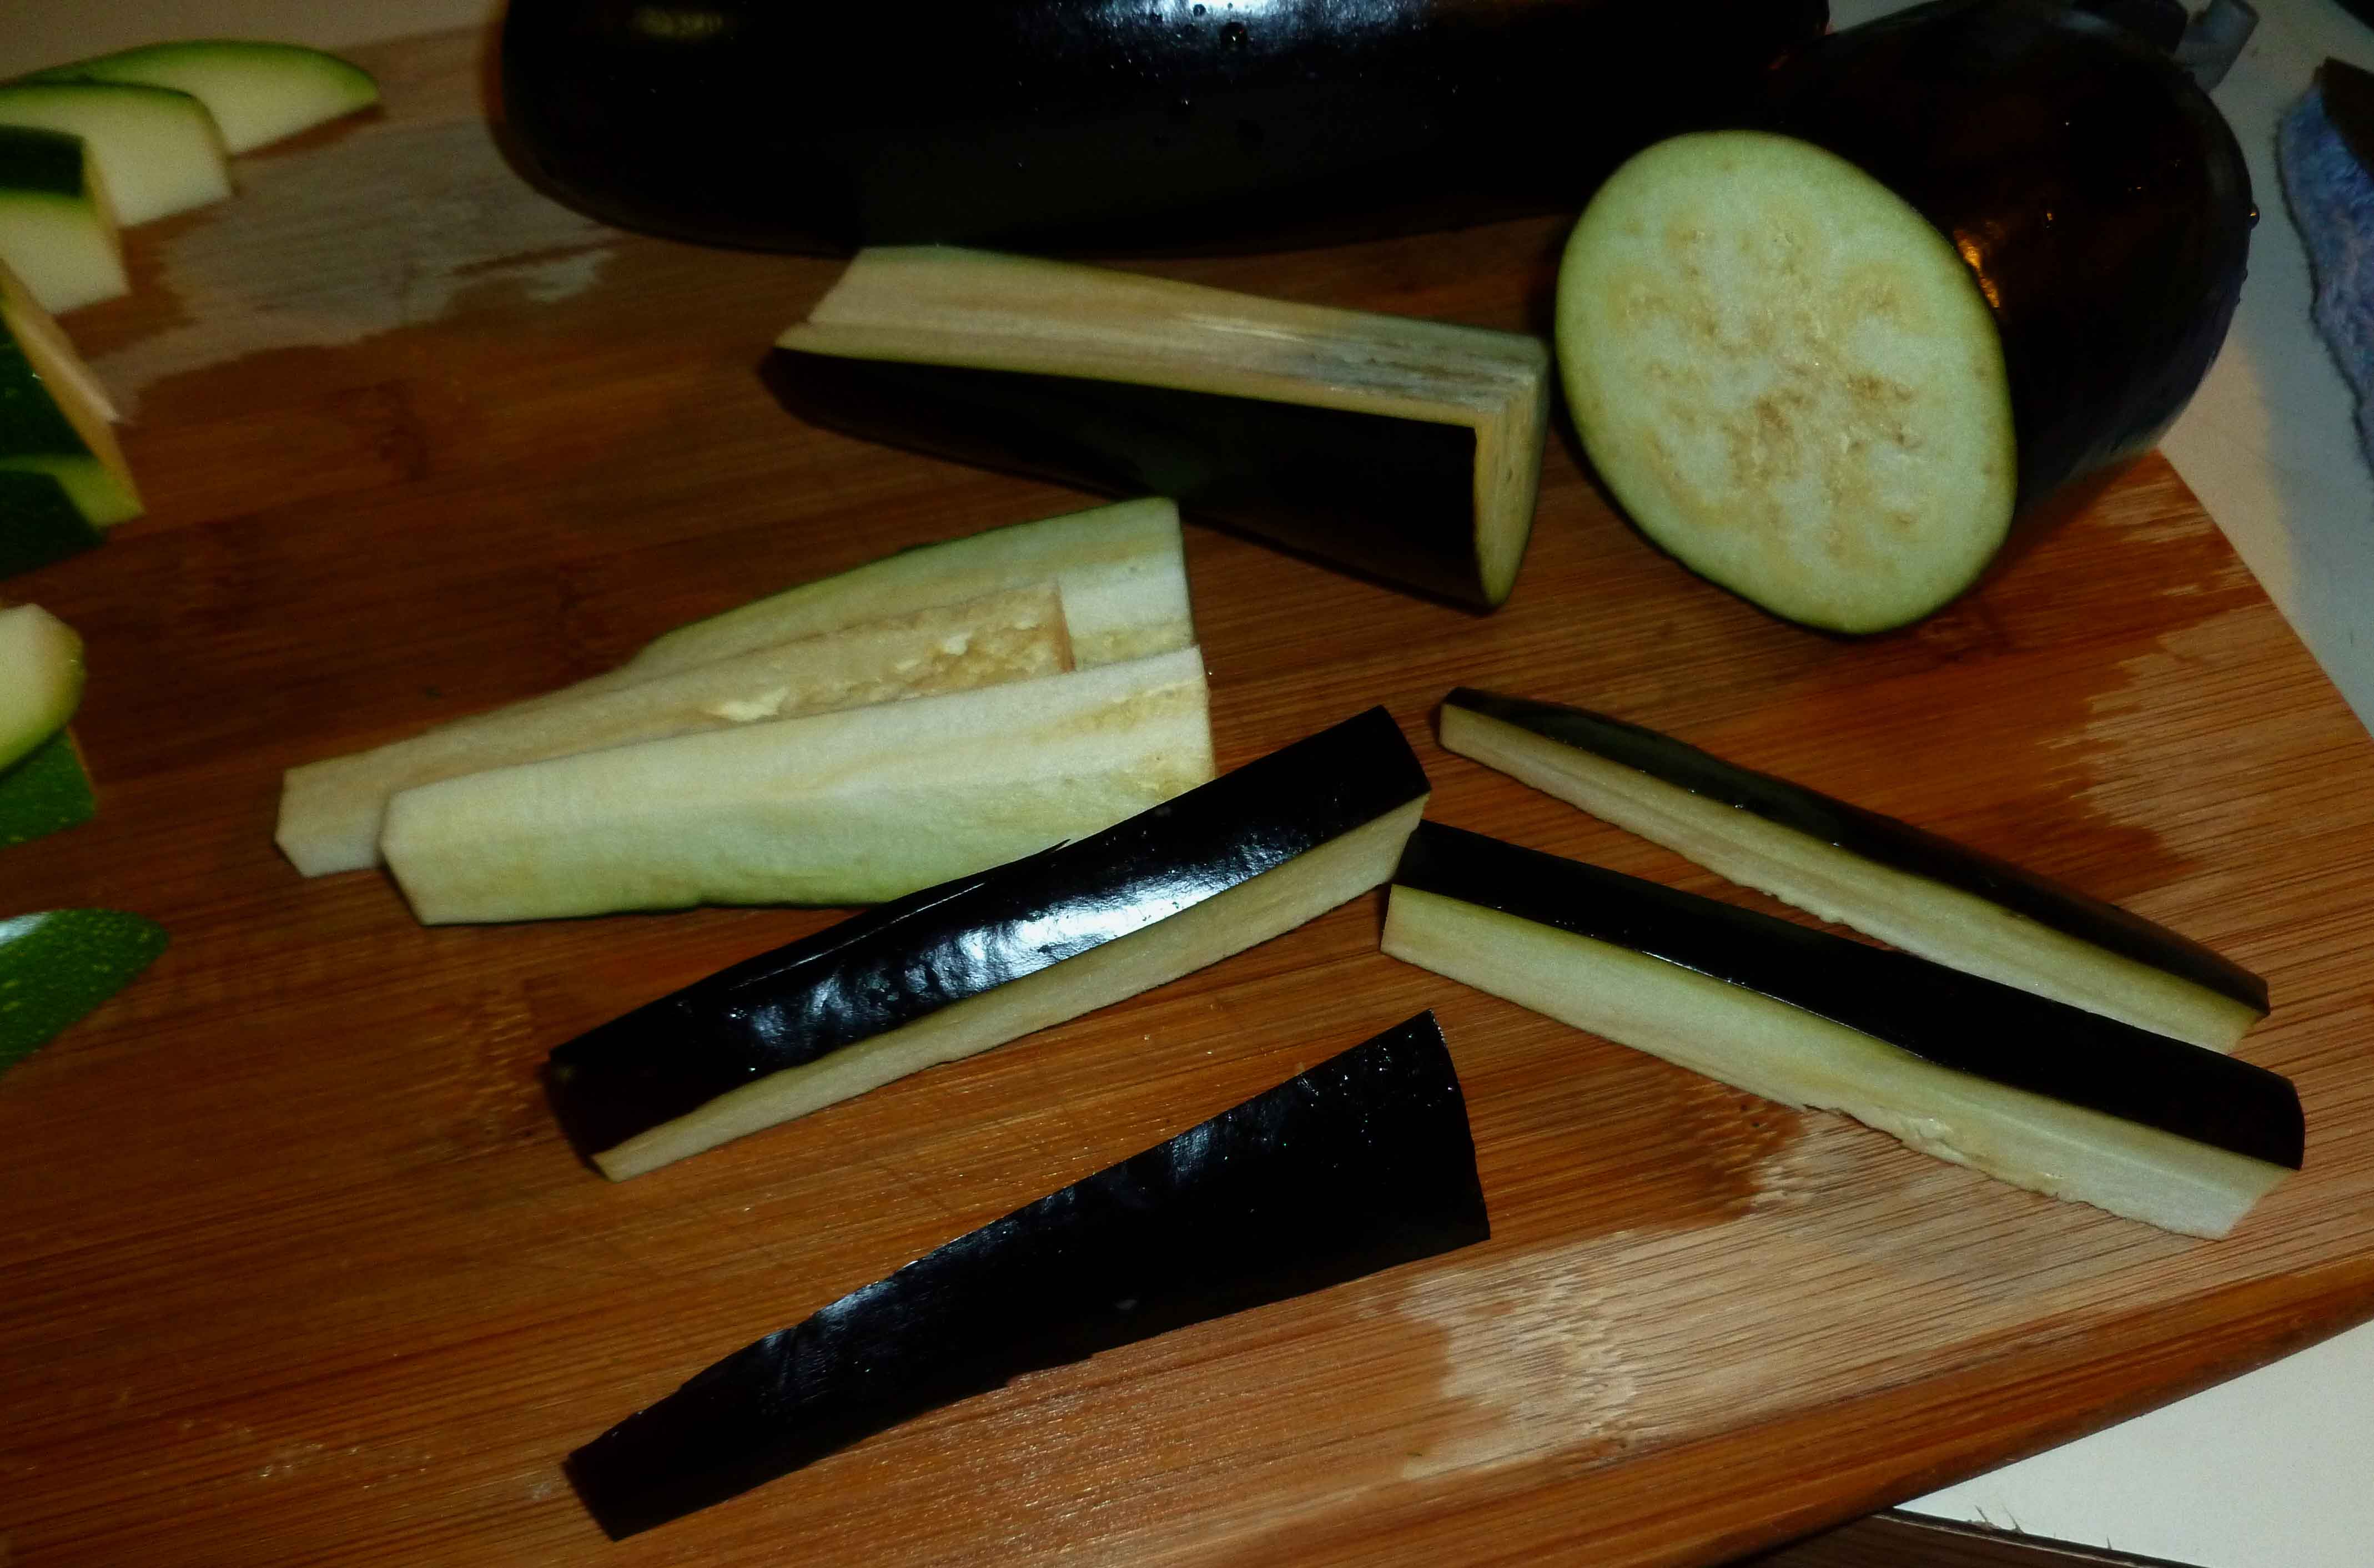
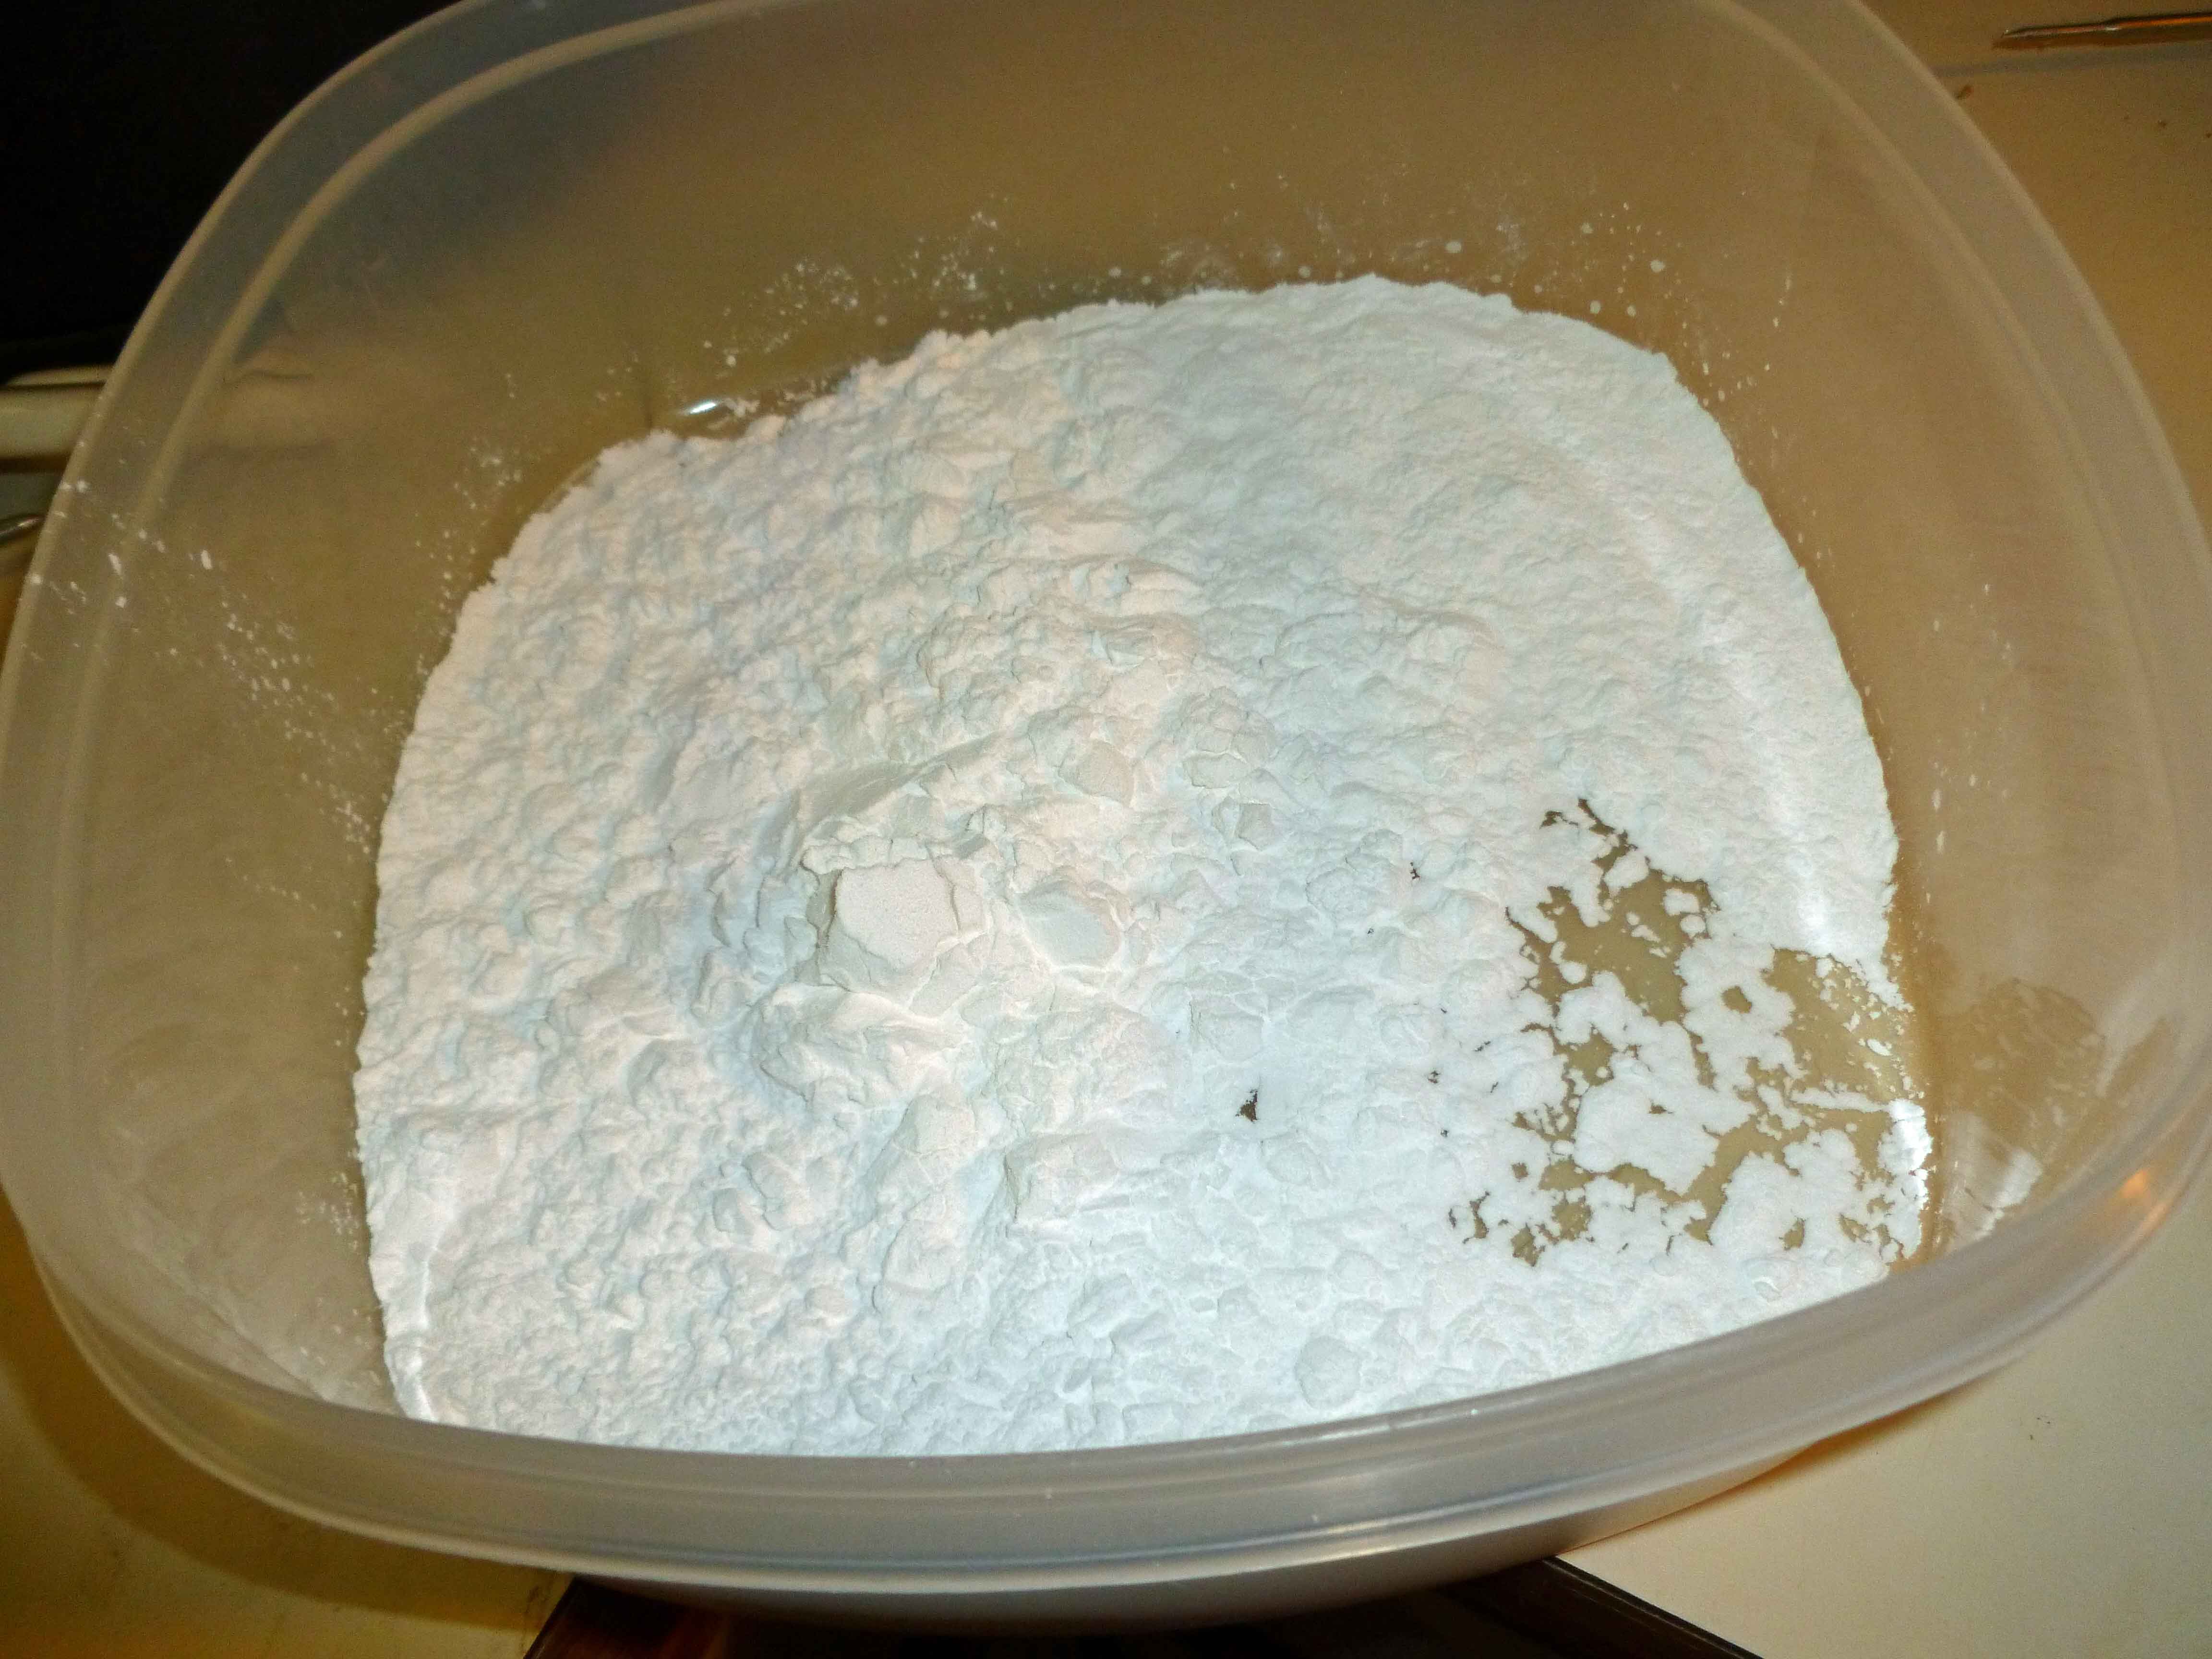
    • 3 potatoes, washed, peeled, cubed, and boiled (like you’re making mashed potatoes)
    • 1/2 cup green peas (or whatever other vegetable you’d like in it)
    • 1 teaspoon of grated fresh ginger
    • 1 clove of garlic, minced, or whatever it is when you put it through a garlic press
    • 2 Tablespoons of fresh chopped cilantro
    • 1 jalapeno pepper (or the other half of that habanero if you used it for the dipping sauce) de-stemmed, seeded, and minced
    • 1 teaspoon of garam masala
    • 1 teaspoon of salt
    • 1/2 teaspoon of cumin seeds
    • 2 Tablespoons of lemon juice (or the juice of half a lemon)
    • Spring Roll Rice Paper Wrappers (Round 22cm) – the link is here so you can see what you’re looking for, but we’re not affiliated with Amazon in anyway. Also, any brand will do.
    • safe for you oil to use for frying

    Once you’ve got your potatoes washed, peeled, cubed, and boiled, you’re going to want to give them a fairly rough mash.  You don’t want them smooth, lumpy is good.

    Potatoes, roughly mashed
    Potatoes, roughly mashed

    Let them cool for a bit. In the meantime, get all your other ingredients (except the rice paper and oil) in a bowl large enough for the ingredients and the potatoes. When your potatoes have cooled a bit (you can stick them in the fridge to hurry that along), mix the potatoes with the other ingredients so that they are well combined.

    Samosa filling
    Samosa filling

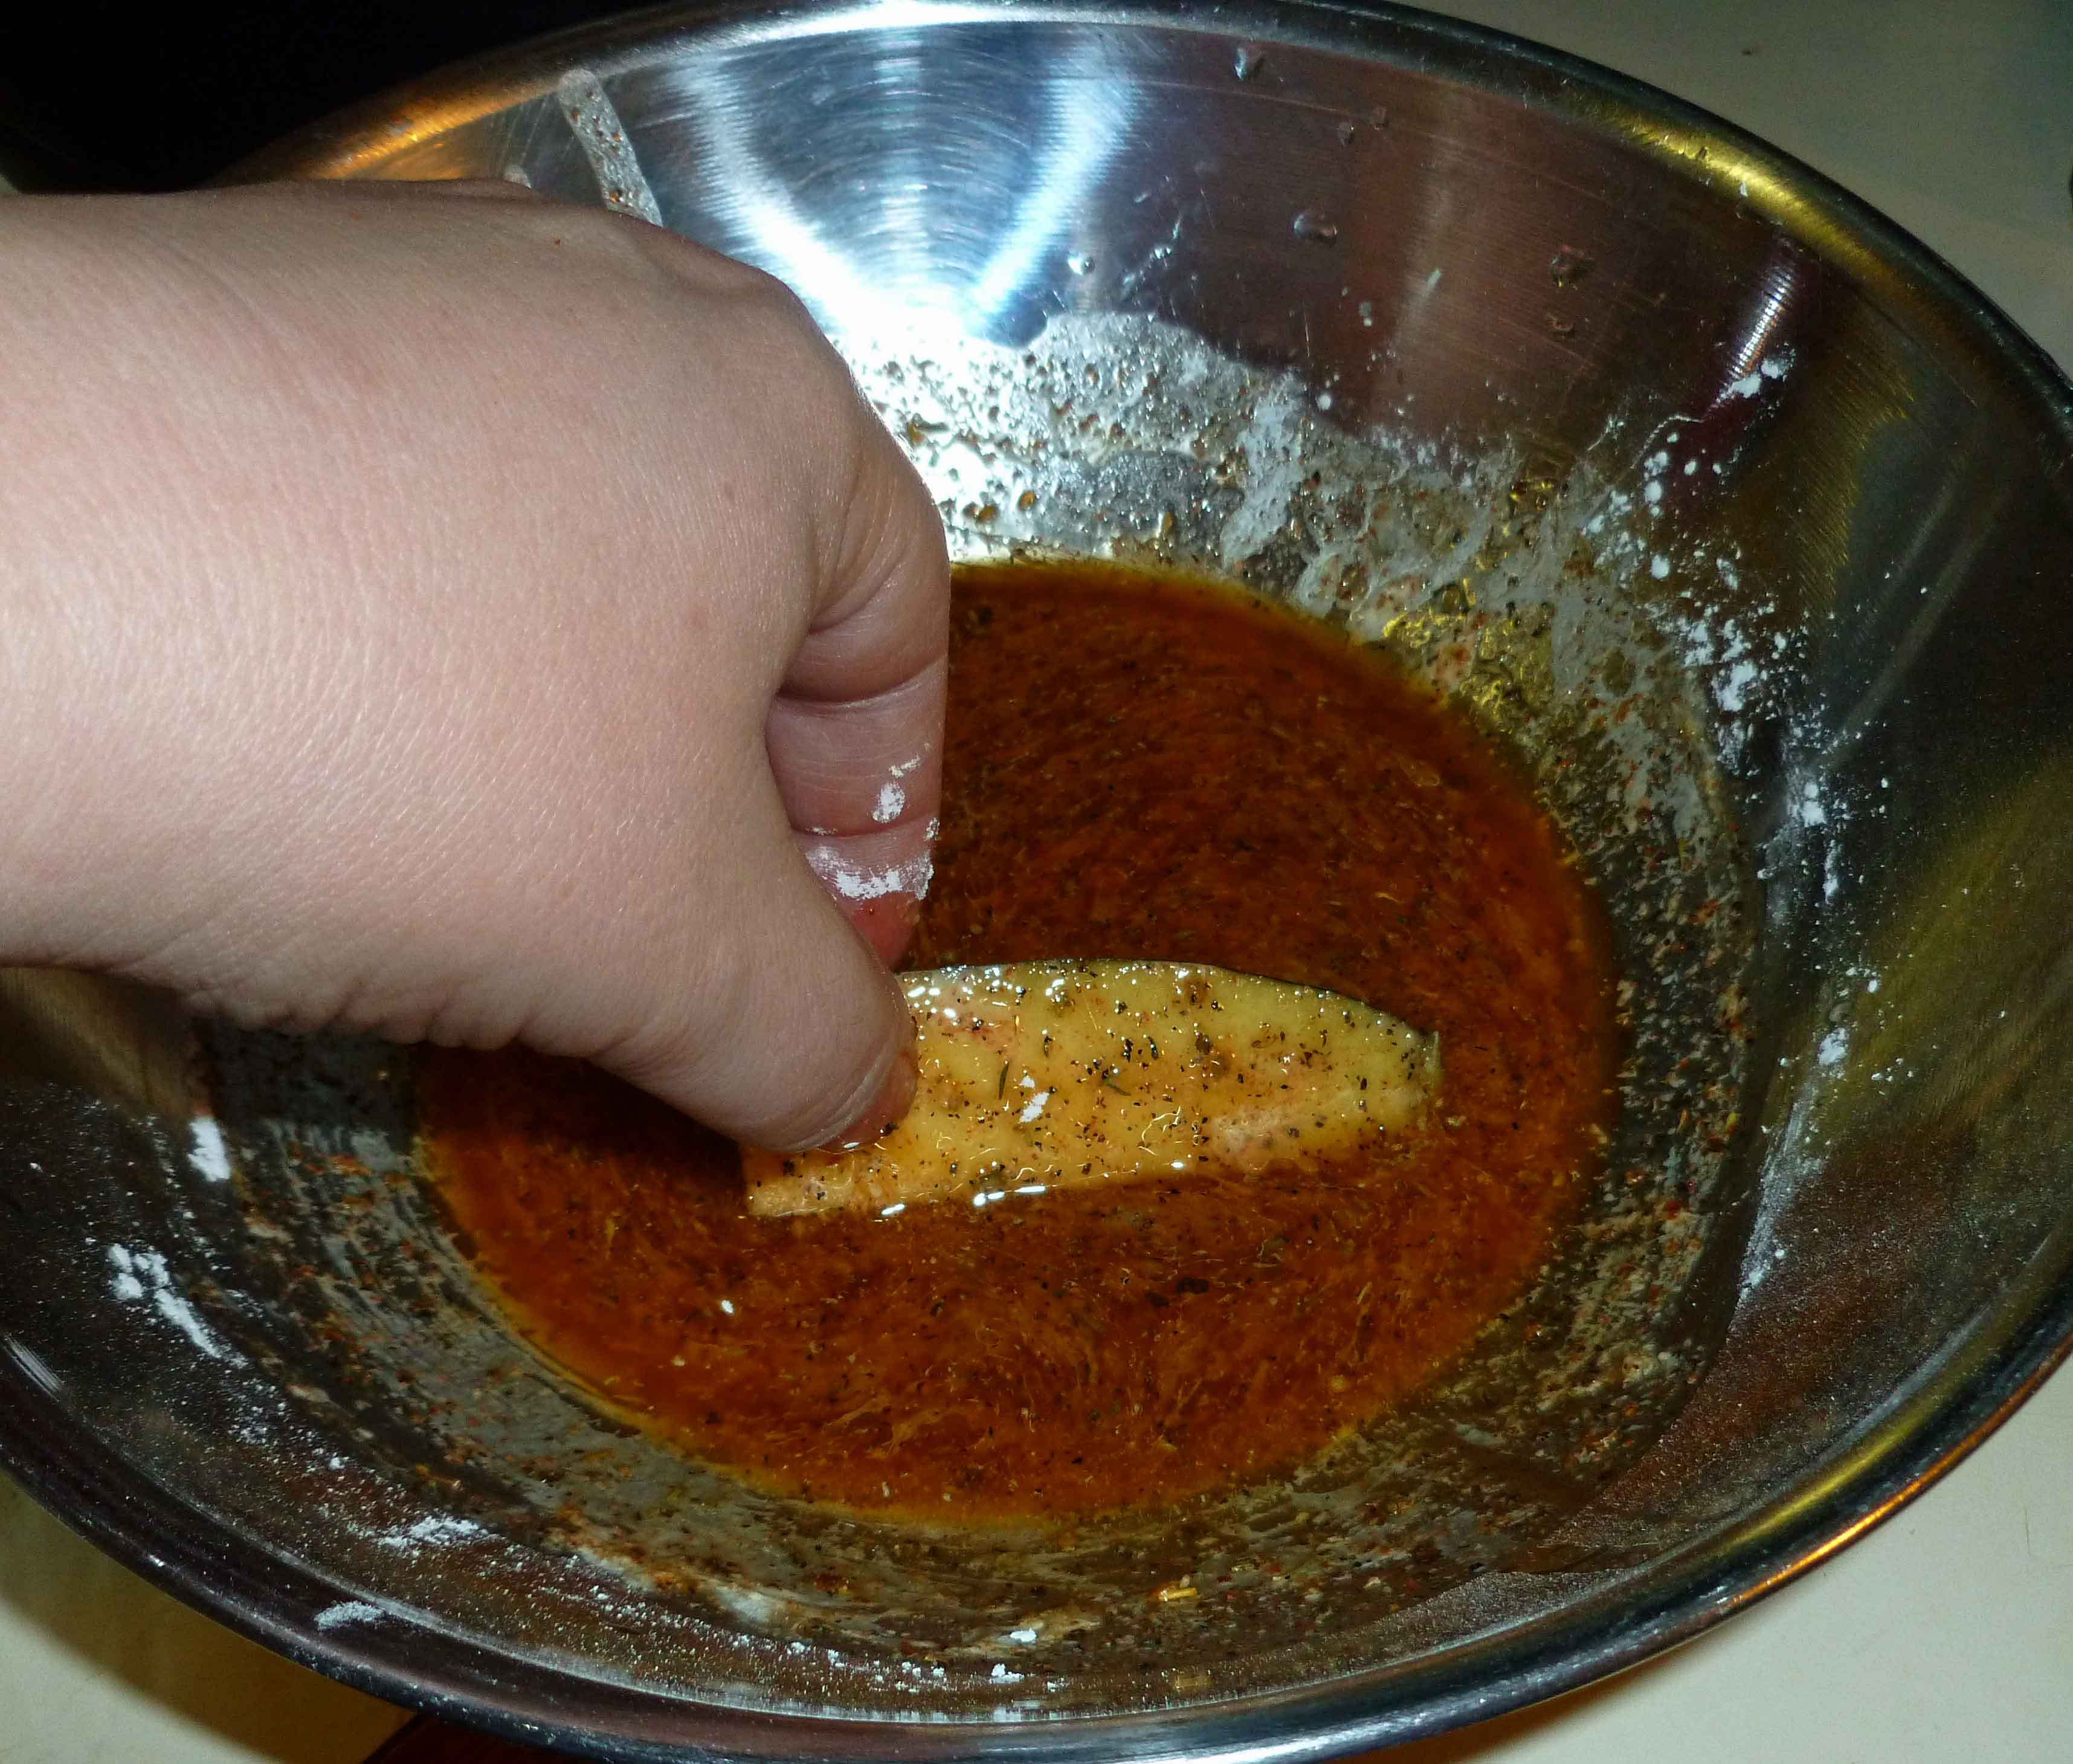
    Now to assemble your samosas. You’ll need a bowl of warm water (I use the water as hot as I can get it out of the tap) big enough for you to dip the rice paper in. You’ll also need a smooth clean surface to place your rice paper after moistening it. I used my dough rolling mat, but you can just use a plate if it’s big enough. Also, you’ll need a tray or sheet pan with some parchment paper or waxed paper on it to store your completed samosas until you’re ready to fry.

    Dip your rice paper into the water, making sure that the entire surface is moistened.

    Moistening your rice paper
    Moistening your rice paper

    Be careful that you don’t let the rice paper fold against itself, I’ve never been talented enough to get it back apart again, although I’m told it’s possible. Lay the rice paper out flat on your working surface.

    Rice paper getting ready for filling
    Rice paper getting ready for filling

    Place some filling on your rice paper. I used about two tablespoons. You can use more or less depending on your preference, you’re just going to make more or less samosas.

    Samosa filling on rice paper
    Samosa filling on rice paper

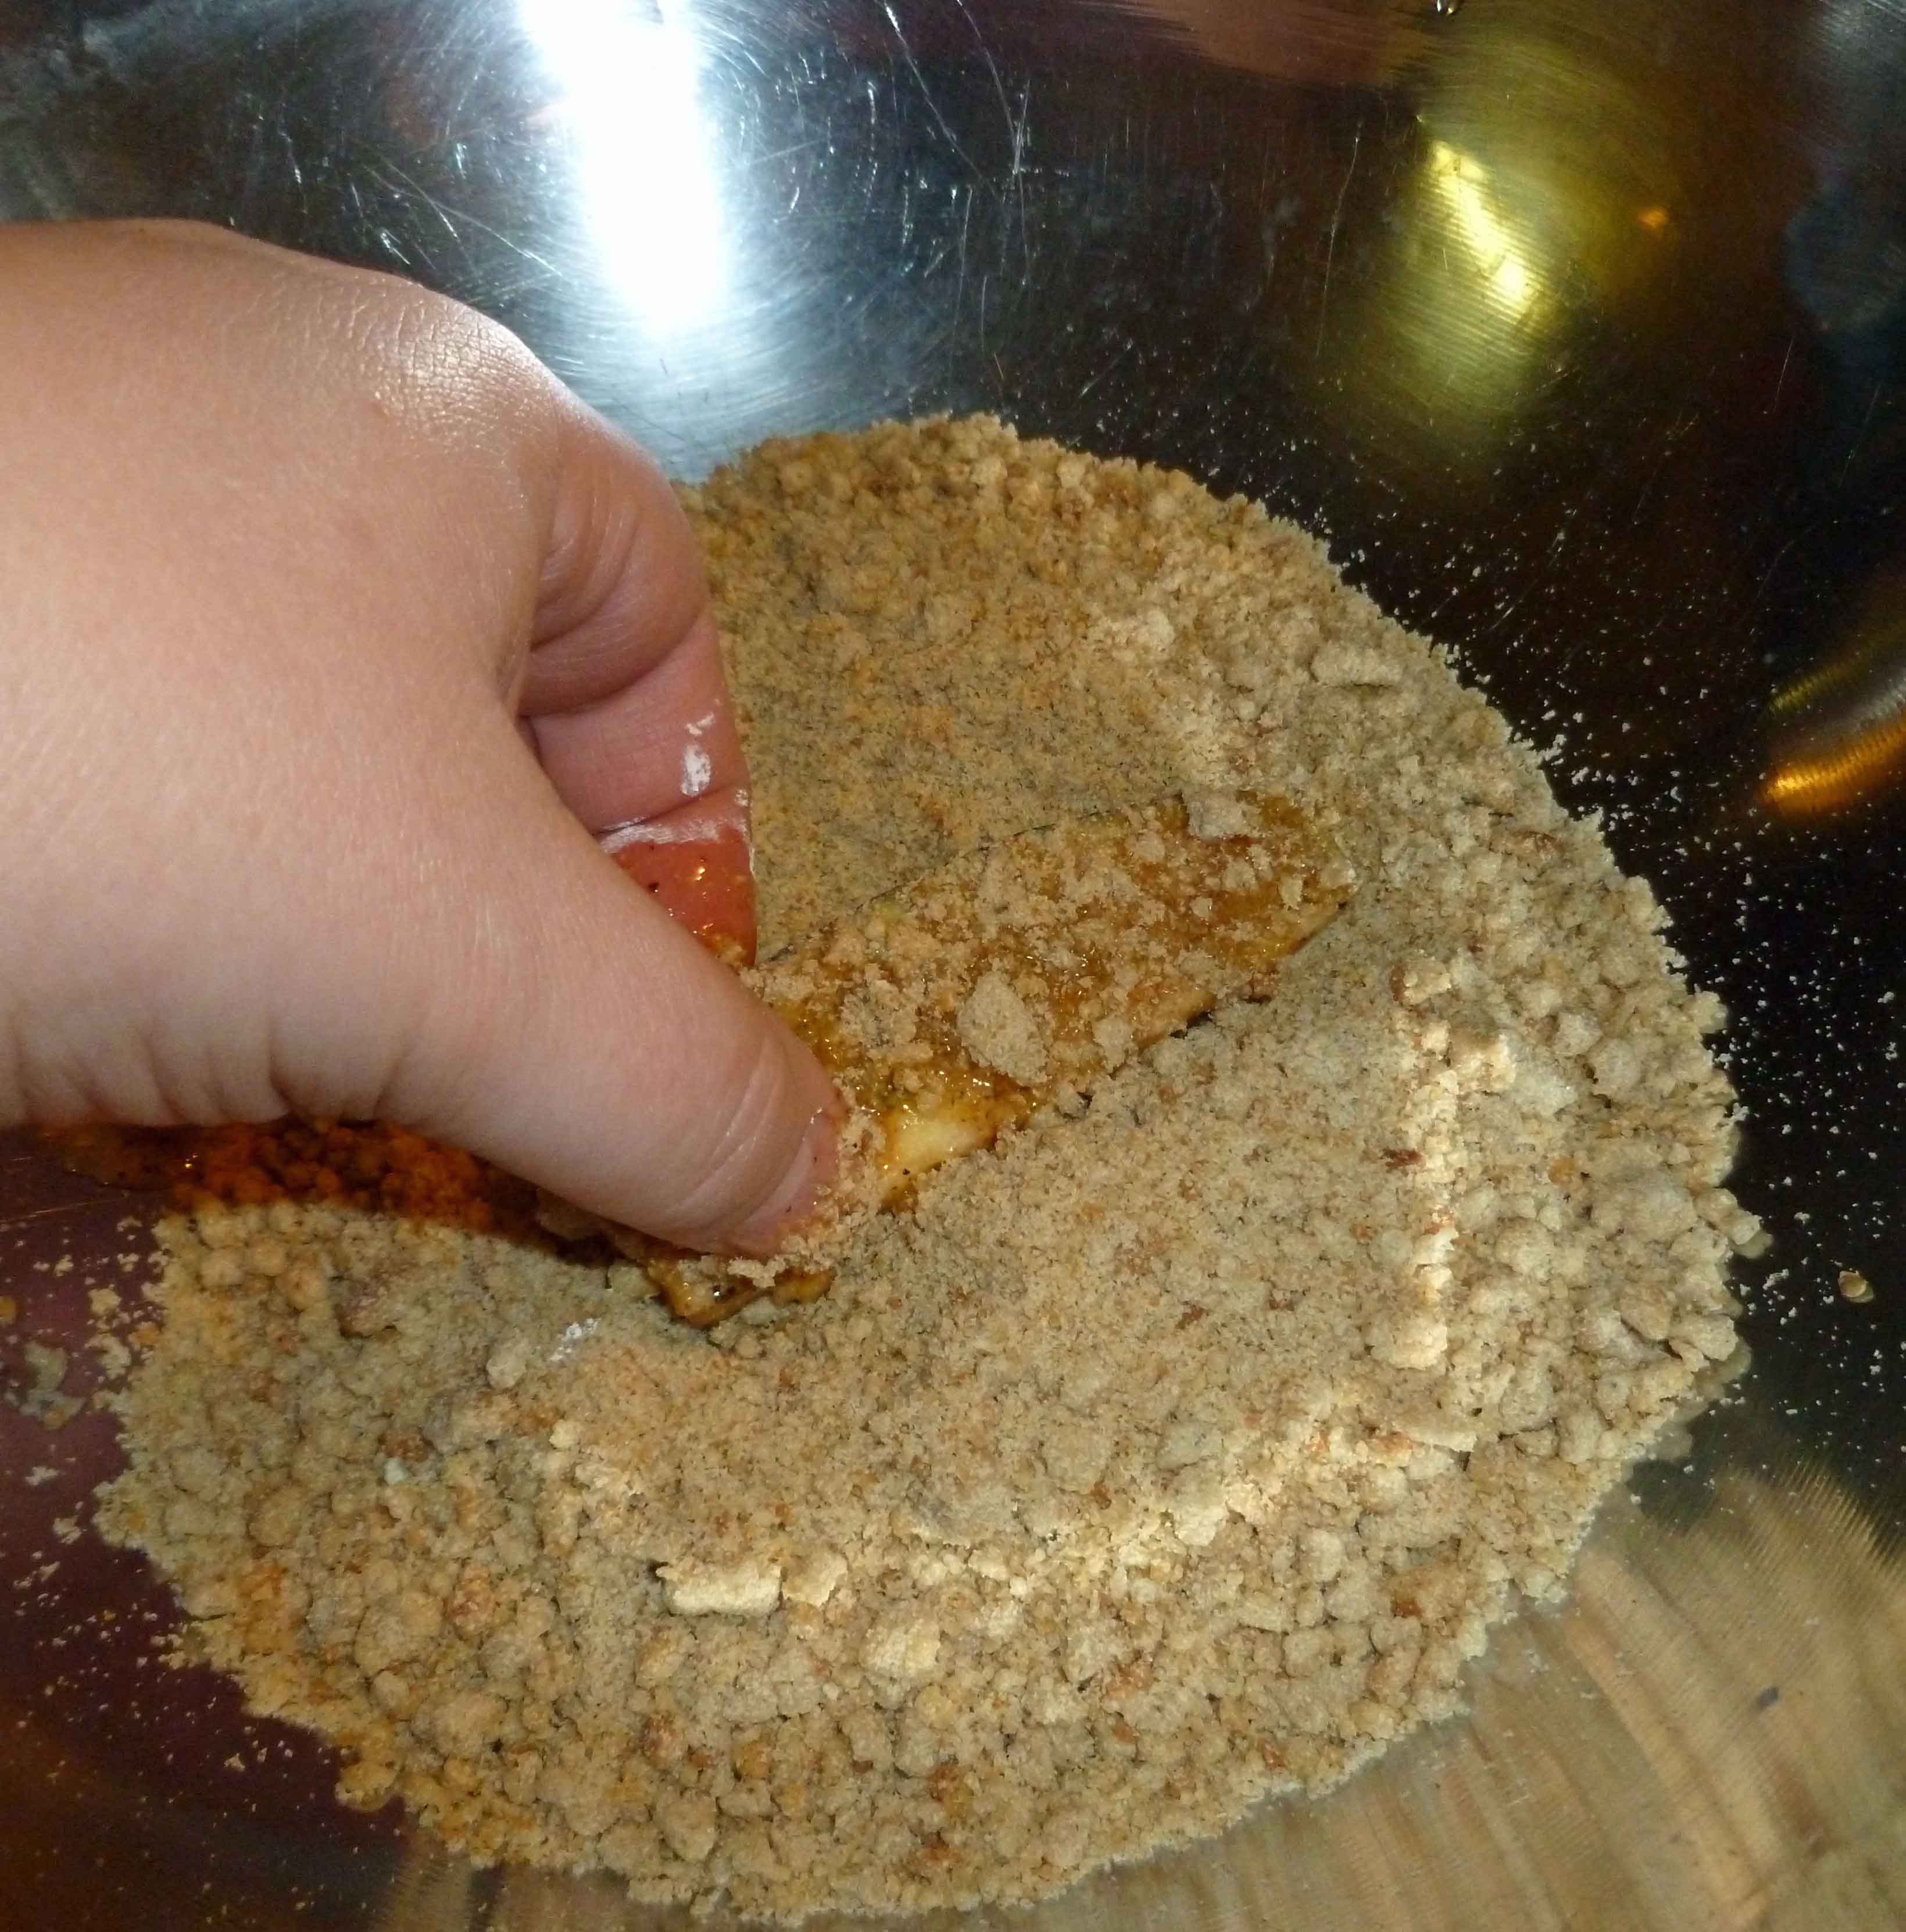
    Fold the two sides over the samosa filling, making it so that the sides angle in towards the top, making it somewhat triangular.

    Sides folded over the samosa filling
    Sides folded over the samosa filling

    Fold the bottom edge up over the samosa filling.

    Folding bottom edge up over filling
    Folding bottom edge up over filling

    Roll the filling over the rest of the rice paper, like you’re rolling up a sleeping bag, or a burrito, depending on your arbitrary cultural reference. The end should stick to the roll.

    Completed samosa
    Completed samosa

    Repeat the process until you have lots of samosas ready to fry.

    Samosas ready to fry
    Samosas ready to fry

    Now we need to prepare a place to stash our samosas once they’ve been fried. Cover another tray or sheet pan, with a couple layers of paper towels, and then place a cookie rack on it upside down so that the cookie rack is laying on the paper towels (more oil gets absorbed this way).

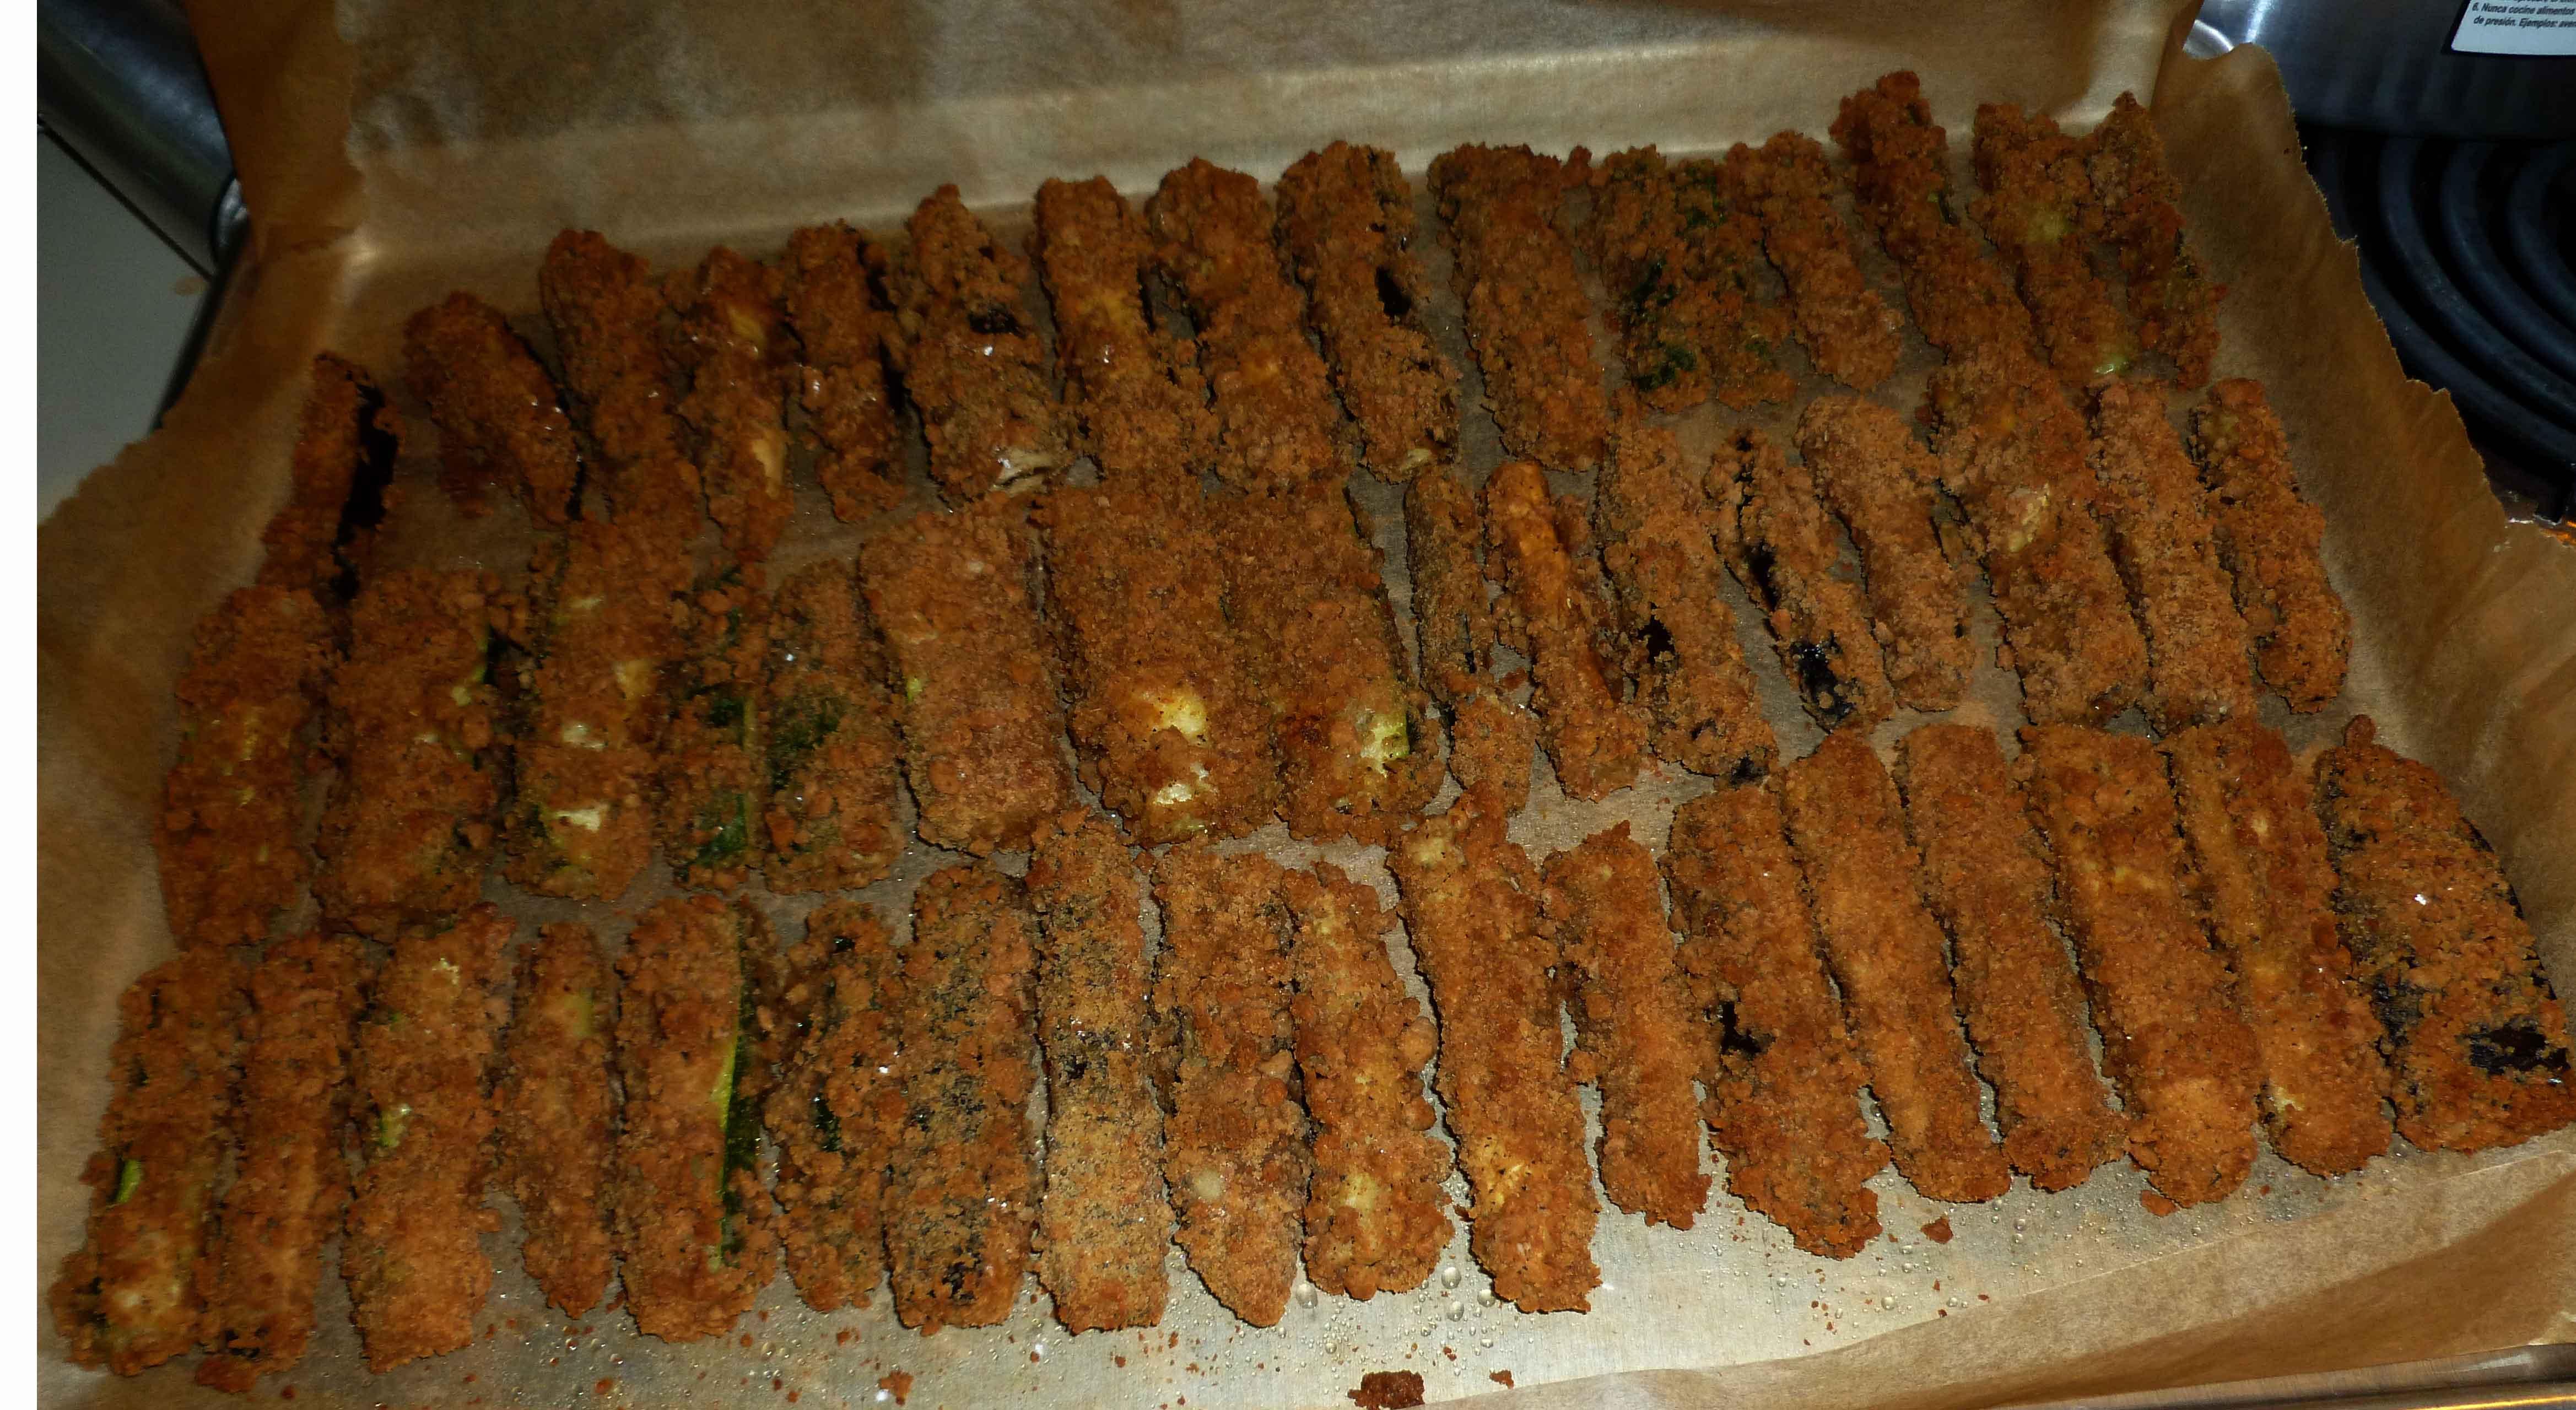
    In a frying pan, pour enough oil that when you put a samosa in it, the oil will only go half way up the side of the samosa and does not cover the samosa. Less oil is better than more. Heat your oil over medium low to medium heat. Be very careful to space them out, because if they touch each other the rice paper will rip when you try to separate them, and then you’ll have filling in your oil, which will burn up into little dark bits and cover the outside of your samosas. Look at the pictures and then ask me how I know, haha.

    Samosas frying
    Samosas frying

    Also, these are going to take so much longer than you imagine. I don’t know if its the rice paper or if it’s the moisture content in the potatoes, but expect to be frying for some time.  Also, don’t go any higher than medium on the heat, otherwise you’ll get really big bubbles on your wrappers potentially causing holes and scorching. As you’re frying turn them occasionally with a pair of tongs to make sure they cook evenly.  When the rice paper wrappers look like this, they’re done:

    Fried Samosas
    Fried Samosas

    Yours will not have the little burned bits on the outside because you will be more careful about keeping them separated than I was, but if you do have little burned bits, they don’t affect the taste of your samosas. Although the rice paper wrapper is a different texture than a dough or pastry wrapper, they had a good bit of crunch and were yummy.  Enjoy!

  • Making Bacon, Squared (i.e. two versions)

    Home cured bacon
    Home cured bacon

    Bacon. It’s bacon, how do you live without bacon? Unfortunately, commercial bacon has dextrose, sodium erythorbate, ascorbates, and other corn ingredients. At the beginning of my corn-free life, I would cheat a bit, but then I would get a blister on my foot a couple days later, and I eventually decided that it had to go. So no bacon. For months and months. And then I started Googling how to make bacon, and looking for pins on Pinterest. It didn’t look that hard. And compared to fermenting (which I very much enjoy, so this is not a slam), it seemed much less evil scientist-bubbling concoctions, and more of a dry rub marinade in the fridge for several days longer than you would normally. What was the worst that could happen? I mean, besides making myself sick, and that was going to happen if I ate commercial bacon anyway. But I still didn’t do it because I was going to have to make a special effort to get some pork belly, and it’s not like I don’t have enough other stuff to do. But one day, Mary Kate and I were dubbing around at the Saigon Market in Nashua and we saw some pork belly all packaged up and ready to bring home. So I bought it, and I made some bacon. It was good, but I thought the recipe needed some tweaking. So I called McKinnons in Salem and ordered five pounds of pork belly. And I then played around some more.

    Now that I’m done experimenting, I’ve got two versions to share with you, one that’s a more basic cure, and one that’s a bit more savory. I like them both, but I prefer the basic cure, as I tend to be a traditionalist about my bacon.

    In all likelihood, you are going to special order the fresh pork belly. Some grocery stores may be cooperative, or you might have to go to a specialty butcher store.

    Making Bacon (two versions)

    • 2 lbs of pork belly, skin removed
    • 3 tablespoons sea salt
    • 3 tablespoons brown sugar

    For a basic cure, you will add:

    • 2 teaspoons whole peppercorns

    For a more savory cure, you will add:

    • 2 teaspoons whole peppercorns
    • 1 garlic clove, minced
    • 1 tsp rosemary
    • 1 tsp celery seed
    • 1 tsp dried thyme
    • 2 bay leaves

    Put the salt, brown sugar, and the spices for your choice of cure in a blender or food processor, with the exception of the garlic clove in the savory cure. Blend or process until the peppercorns are well ground. If you’re using the savory cure, mince the garlic clove and set it aside.

    If your pork belly still has the skin on it, as shown below, you will need to remove it. (The picture below shows five pounds of pork belly. I used it to make approximately two pounds of each bacon cure and one pound of salt pork, the recipe for which will be posted in the not too distant future.)

    Five pounds of boneless pork belly before the skin is removed
    Five pounds of boneless pork belly before the skin is removed

    Using a very sharp knife, remove the skin cutting it as thinly as you can manage. You don’t want to waste any of the pork belly.

    Removing the skin from the pork belly
    Removing the skin from the pork belly

    Once you have trimmed off the skin, your pork belly will look like the picture below:

    Pork belly with the skin removed
    Pork belly with the skin removed

    Rinse the pork belly in very cold water and pat it dry with a paper towel. If you are doing the savory cure, now is the time to mix your ground salt, sugar and spice mixture in a bowl with the minced garlic. Spread half your salt, sugar, and spice mixture on a large piece of parchment paper, a large casserole dish, or a sheet pan, whatever you have in your kitchen that’s large enough to accommodate your piece of pork belly. Place the pork belly into the salt, sugar and spice mixture, and pour the remaining mixture over the top of the pork belly. Rub the mixture all over the pork, making sure to get every inch covered.

    Put the pork belly in a 1 gallon resealable plastic bag, and add any of the excess salt, sugar, and spice mixture from your parchment paper, casserole dish, or sheet pan to the bag. Close the bag and shake it up to evenly distribute and coat the pork belly with the mixture. After shaking, try to remove as much of the air from the resealable plastic bag as you can so that the spice mixture stays on the pork belly and reseal it.

    Pork belly coated with salt, sugar, and spice mix in resealable plastic bag
    Pork belly coated with salt, sugar, and spice mix in resealable plastic bag

    Place the bag on a plate, tray or small sheet pan so that it can be placed in your refrigerator and stay level. Refrigerate for five to seven days, flipping the bag once a day, until the pork feels firm throughout. The longer you let the pork belly cure, the saltier it will be. I preferred a cure of five days.

    When the pork belly is finished curing, remove the pork belly from the resealable plastic bag and wash off the salt, sugar and spice mixture thoroughly under cold water. Pat your pork belly dry with paper towels.

    You now have a choice to make. You can slice the bacon as is and then cook it, which appears to be the closest to commercial bacon, and was often referred to as “green bacon” in recipes I saw. Or you can smoke or roast the bacon. I don’t have a smoker, so I’ve not tried smoking it. I did do one batch of the roasted bacon, but I think I prefer the green bacon.

    Green bacon:

    We got a meat slicer as a wedding gift because my husband really wanted one, so it went on the registry. It was really helpful in slicing the green bacon.

    "Green" bacon sliced
    “Green bacon” sliced

    I fried some in my cast iron skillet over medium heat, as you would normally cook bacon.  The home cured bacon seems to take longer than commercial bacon to cook.

    "Green" bacon frying in cast iron
    “Green”bacon” frying in cast iron

    Which results in yummy looking bacon:

    Fried "green" bacon
    Fried “green bacon”

    Or you can use the oven method to cook your bacon, and you get yummy bacon too:

    "Green" bacon cooked in the oven
    “Green bacon” cooked in the oven

    Roasting the Bacon:  When your bacon has cured, and you’ve rinsed and patted it dry with paper towels, pre-heat your oven to 200°F. Place the bacon in a 9 x 13″ roasting pan and roast until you’ve reached an internal temperature of 150°F. This will take between an hour and a half and two hours.

    Bacon roasted in the oven
    Bacon roasted in the oven

    You don’t want to cook the meat, so once it reaches 150°F, remove the bacon from the oven. Let the bacon cool to room temperature. 

    Once your bacon has been roasted or smoked and has cooled, wrap it up in parchment paper and put it in the refrigerator until it has completely chilled. Once chilled, you can slice it and fry it up or use the oven method to cook your bacon. In the picture below, I used a chef’s knife and my knife skills aren’t all that great so the slices are a bit thicker than I would have liked. Which is why I decided to drag out the meat slicer in later experiments.

    Roasted bacon after chilling and slicing
    Roasted bacon after chilling and slicing

    We cooked the bacon two ways here too, frying it and using the oven method.

    Roasted Bacon, cooked two ways, fried and using the oven method
    Roasted Bacon, cooked two ways, fried and using the oven method

    Smoking the Bacon: Again, I have not tried this because I don’t have a smoker, but one of the recipes I found gives the following directions. When your bacon has cured, and you’ve rinsed and patted it dry with paper towels, smoke it over hickory or apple wood at a very low temperature until bacon reaches an internal temperature of 150°F or about three hours. Let bacon cool to room temperature. Once your bacon has been roasted or smoked and has cooled, wrap it up in parchment paper and put it in the refrigerator until it has completely chilled. Once chilled, you can slice it and fry it up or use the oven method to cook your bacon.

    My husband and I both preferred the oven method for cooking the bacon and we both preferred the “green bacon”, but you should experiment and see what you like best. Here’s a chart for how long your bacon will keep from the USDA. The bacon cures presented here would fall under “Bacon cured without nitrites.” I don’t want to weigh in on the nitrites being good or bad issue, it’s just that I can’t get seem to get my hands on curing salt that doesn’t also have corn (dextrose) in it.

    I hope this helps those of you who can’t get commercial bacon for whatever reason. Enjoy, I did 🙂

  • Eat Your Veggies for Breakfast Patties

    Eat Your Veggies Patties
    Eat Your Veggies Patties

    Everyone who knows me for a little while knows that I live for potatoes. I will eat them in almost any form, any time of day, and many meals in a row — and multiple forms in one meal, if that happens to be an option. I’ve posted other potato recipes here, but this may be one of my favorite.

    See, about two years ago, I found a good hash brown patty. Cheap, no weird ingredients, and while they did not cook quickly, they could be left alone while I did the rest of the stuff that needs to get done in the mornings. But that was two years ago, and I’m still eating them. As much as I love the potatoes, I was actually (shhhhh, don’t call out the heresy) getting bored of the same hash browns every morning. I thought maybe I could work something else out, something that would keep the potato part of my breakfast ritual, but add in some additional veggies.

    This is what I worked out — this is a soft potato pancake with a great texture from the zucchini and carrots, and a nice savory profile. If potatoes for breakfast aren’t your thing (heresy!), these make a great side dish, as well.

    Cooking Potato Magic
    Cooking Potato Magic

    Eat Your Veggies for Breakfast Patties

    • 4 medium potatoes, peeled and cubed (about 1.75 lbs.)
    • 3 teaspoons salt
    • 1/3 cup non-dairy milk, warmed
    • 1 Tablespoon Earth Balance soy-free margarine (or safe-for-you substitute)
    • 1/4 cup green scallion tops, chopped (about one bunch worth)
    • 1/2 lb. carrots, shredded (organic if possible — this makes a big difference in taste)
    • 1/2 lb. zucchini, shredded
    • 1-1/2 teaspoons dill
    • 1/4 teaspoon garlic powder
    • 1/2 teaspoon turmeric
    • freshly-ground black pepper, to taste
    • 2 teaspoons balsamic vinegar (beware of malt — gluten — added to cheaper versions)
    • 1 Tablespoon ground psyllium husk
    • oil of your choice, for sauteeing, less than 1/4 cup overall, but it’ll depend on the size of your pan and how many batches of potatoes you do

    Place potatoes in a saucepan and cover with cold water. Add salt. Bring water to a boil, then reduce to a simmer and cook until potatoes are tender. If you salt the water well, you may not need to add more salt to the recipe over all

    Chop scallions and shred the carrots and zucchini.

    Heat a skillet over medium heat, add a tablespoon or so of oil — you want enough to coat the bottom of the pan, but not deeply. Add the carrots, dill, and garlic powder, stir and sauteé over medium for a few minutes. Then add the zucchini, stir well, and when the carrots are tender but still have a bit of crunch, you’re done.

    In another pan, over low, heat the non-dairy milk and margarine or fat just until warm and melted.

    Drain the potatoes and mash with the non-dairy milk and margarine. Then mix in the scallions, carrots, zucchini in with the mashed potatoes, adding the turmeric, psyllium husk, and vinegar, and mixing very well. Taste and adjust the seasonings if you need to.

    Form patties of about 1/4 cup each — I used a measuring cup to scoop and then formed the patties with my hands. This made about 15 patties, which is so perfect for a work week of breakfasts. The patties are all cooked, but to make them awesome, you’ll pan fry them right before eating.

    Now, you can cook these immediately, if you’re a morning person and did all this in the morning, but you can also refrigerate the patties you just made (put wax paper between the layers and cover them, airtight) and pan fry them fresh and hot in the morning.

    Either way, heat your skillet first, over medium, then add a skim-coat of oil. If you’re cooking them just after making them, 2-3 minutes per side should give you a nice golden brown crust on each side. If they are coming out of the fridge, it took 8 minutes for the first side, 6 for the second, using a cast iron skillet over medium heat, to get a perfect crust and thoroughly heat the patties throughout.

  • Be My Vegan Valentine Dinner

    Be My Vegan Valentine Dinner
    Be My Vegan Valentine Dinner

    So Denise posted a Meat-Eater’s Menu for Romance last week. But we know that not all of our readers are meat eaters — and I tend to vacillate. What if you or your significant other don’t eat meat? No fear! I’ve got a tasty vegan menu for sharing — or indulging in by yourself. This is my version of a refined plate, with subtle and complimentary flavors for a fine dining feel in your safe, allergen-free home: Grilled Coriander-Cumin Portabella Mushrooms, Toasted Garlic Green Beans, and Wine-Baked Red Potatoes.

    There is nothing hard about this menu, but the timing is important to get everything to come out at the same time. So I’m going to give you each dish’s ingredients up front, then break down the timing by doing all the instructions for the meal as a whole instead of each dish. Hopefully that won’t be too confusing since I’ve told you up front, and timing’s always the hardest part for me.

    Since I’ve not made a dessert either, I’d echo Denise in suggesting a fine bar of chocolate to share, a pint of your favorite safe ice cream, or check out our desserts category for ideas. I’d tell you that this is heart-healthy or some other such cheesy pun-age, but who knows? It’s tasty, and allergen-free, plus animal-free. Enjoy.

    Artistic Plating, my best attempt
    Artistic Plating, my best attempt

    Be My Vegan Valentine Dinner

    Wine-Baked Red Potatoes (adapted from an Edward Espe Brown recipe)

    • 2 pounds small red potatoes — look for about ping-pong ball size or smaller
    • 10 cloves of garlic, peeled
    • 5-10 sprigs of fresh herbs (dill, rosemary, or thyme are recommended — buy whatever you like best and looks freshest)
    • about half a bottle of red or white wine, your choice (but don’t get something sweet). I had some of each, so I used about 1/4 a bottle of red table wine, and about the same amount of a chardonnay. Pick something you like OR if you don’t drink wine regularly, get a table wine — a blend of wines that should be neither too dry nor sweet.
    • 3/4 cup non-dairy milk or cream — if you make your own, just cut the amount of water in half

    Toasted Garlic Green Beans

    • 1/2 pound (be generous with this) green beans
    • 1/4 cup oil (I used olive oil — you will use about half of this for the mushrooms)
    • 2 Tablespoons chopped garlic
    • salt to taste

    Grilled Cumin-Coriander Portabella Mushrooms

    • 4 mushrooms, washed and de-stemmed
    • 2 Tablespoons brown sugar
    • 1/2 teaspoon salt
    • 1/2 teaspoon ground cumin
    • 1 teaspoon ground coriander
    • pinch of cayenne (optional, but adjust for your desired spice-level)
    • (you will be adding some oil to this from the green bean recipe)

    Cooking times:

    • The potatoes are going to take about 2 hours — they can go more, if you want, but do not plan for less.
    • The green beans themselves will take maybe 10 minutes, but the garlic will take about a half an hour before you cook the beans.
    • The mushrooms will take about 8 minutes if you have a two-sided grill (like a Foreman grill), and about 13 if you’re using a skillet or grill pan.
    • IF you time it right, this will all be done in 2 hours, with a few periods of activity but a lot of downtime. We’re working in the order of these bullets — potatoes, garlic, green beans, mushrooms.

    To begin, preheat the oven to 375F. Wash and scrub your potatoes. If you were unable to find smaller red potatoes, cut the ones you have down to approximately the size of ping-pong balls. You need a baking dish that will hold all of your potatoes in a single layer with a little space around them — I have an 8.5″ by 11″ glass dish that is perfect for this.

    IMG_0929Lay your herbs out on the bottom of the baking dish so that you have an evenly dispersed layer. Put your potatoes on top. Throw the whole garlic cloves in scattered around the dish. Then add your wine — it should come about halfway up the potatoes, which is why I haven’t given you an actual measurement — just pour it in until you have enough.

    IF your potatoes are cut, add salt and pepper now. If they aren’t, I prefer to add the salt and pepper at the table. Cover the dish with foil, but don’t scrunch it too tight — you want some of the steam to escape, but not most of it. Put the potatoes in the oven and set the timer for an hour. Now go find something to do for an hour. You are not needed here.

    One hour later …

    Reset your timer for 30 minutes. Leave the potatoes alone. They still don’t need you.

    Put a skillet, cast iron if you’ve got it, over medium low heat and let it heat empty. When the skillet is hot, add 1/4 cup of olive oil. Let the oil heat up, and then turn it down to low. Add your 2 Tablespoons of chopped garlic and stir. Stir it every 10 minutes or so over the next half hour — you are aiming for a golden brown garlic here.

    Golden brown garlic, almost perfect
    Golden brown garlic, almost perfect

    While the garlic cooks, rinse your green beans and trim the ends off. Set these aside to drain and dry while the garlic cooks.

    Depending on your speediness, you probably have 15 minutes or so to clean up some dishes or go read some internet.

    When your timer goes off, check on your garlic first — is it golden brown? If so, tilt your pan and skim out the garlic, leaving the oil behind. Set the toasted garlic aside. If it’s not quite done yet, move on to the potatoes, but keep an eye on the garlic.

    Take your potatoes out of the oven, or just open the oven and slide the rack out so you can reach the potatoes. Remove the foil. Add the cashew or almond or soy cream or milk, whatever you’re using. Put or push the potatoes back in the oven, leaving the foil off. Set the timer again, for another 30 minutes.

    If you haven’t removed the garlic, it should be done now. You can safely leave the oil on over the heat — you’ll be cooking the beans in about 15 minutes.

    Turn on your grill or put your grill pan over medium to medium-high heat.

    If you need to wash your mushrooms, do so. Then mix up the spice mix, making sure to incorporate the spices into the brown sugar. Tip your skillet up and scoop out about half of the oil into the spice mix. You don’t need to be exact here, but it should be about 2 Tablespoons if you’d rather measure. Mix the oil into the spices well. Brush the tops of the mushrooms well with this mix, and then liberally baste the interiors of the mushrooms with the oil-spice mix.

    Turn the heat in the skillet for the green beans up to medium, and add the green beans. Stir occasionally.

    If you’re using the grill pan or skillet for cooking the mushrooms, start now — tops down. You’ll cook them for 6-10 minutes on the first side, and another 5-8 on the other. If you’re using an electric grill, you only need about 7 or 8 minutes total. Plan accordingly.

    This should net you three lovely decadent vegetable dishes all done at the same approximate time. Slice the mushrooms, sprinkle the garlic over the green beans, and cut the potatoes in half and salt if they weren’t salted before cooking. Light some candles for ambiance, add some amusing conversation, and enjoy a nice dinner with someone special — or add a good movie and call yourself special. Hey, no judgements.

    Happy Dinner
    Happy Dinner — good food is for everyone
  • Boneless Rib Eye Roast & Sides – the Meat-eater’s special Valentine’s Day Dinner

    Boneless Rib Eye Roast, Garlic Mashed Potatoes and Oven Roasted Asparagus
    Boneless Rib Eye Roast, Garlic Mashed Potatoes and Oven Roasted Asparagus

    So, here’s the thing, I pretty much can’t go out to dinner anymore with the whole corn thing. Makes it hard to go out for a romantic dinner, if all I can do is sip a glass of wine and watch my husband eat his dinner. Fun right? So that might mean finding a non-food related activity or it might mean cooking at home instead. Because some of you might want the nice dinner, and I can’t think of anything fun to do in winter in New Hampshire on Valentine’s Day, cooking at home it is. Shawn is a carnivore, so I’m doing a really nice rib eye roast (two weeks early, just for you guys), but Mary Kate will be supplying a Vegetarian/Vegan option next week. We’ll have you covered. (Also, I would totally make this for myself if I was single, leftovers are awesome!)

    The rib eye roast is a bit pricey, but my thought was that it’s still cheaper than going out to dinner, having appetizers, an entree, dessert, and drinks. I’m also going to you some options for side dishes, Garlic Mashed Potatoes, and Oven Roasted Asparagus. I’m not handling dessert, I’m still having complications with respect to having safe fats to use for baking, and you should just get some chocolate if it’s safe for your allergies from the Dancing Lion (yo, anyone getting me presents for Valentine’s, hint, hint, not that my husband reads this blog).

    One thing that’s really helpful is a probe meat thermometer. Seriously. Get one now, if you’re sick of your meat and poultry being overcooked. I mean it. Why waste your hard earned money on overcooked food? Isn’t making all our food hard enough? Okay, I’m off the soap box, but seriously, do it. Or at least get one of these so you can check the temp periodically. (No affiliation with Amazon whatsoever, but their site has good pictures and descriptions.)

    Garlic Mashed Potatoes

    1/3 cup of roasted garlic (Here’s how to do it, takes an hour, do a bunch ahead of time and store it in a jar in your fridge or freeze it so you can use when you want it without the aggravation).

    Amount of Garlic I roasted, you don't need this much, but it's good to have
    Amount of Garlic I roasted, you don’t need this much, but it’s good to have
    Roasted Garlic in a pint jar
    Roasted Garlic in a pint jar
    • 5-6 large potatoes, peeled and cut into 2″-3″ inch square chunks
    • 2-3 Tablespoons of extra virgin olive oil (if you have a safe margarine or butter, you can use that, I don’t, unfortunately.)
    • 1/4 cup of non-dairy milk (I’m using homemade cashew milk, but use what works for you.)

    Save a couple of the roasted garlic cloves to one side so you can use it as a garnish if you want to get all fancy about it. Place your peeled and chunked potatoes in a large pot.

    Peeled and chunked potatoes in a pot
    Peeled and chunked potatoes in a pot

    Cover them with enough water that the potatoes are submerged by an inch or so. Bring the potatoes to a boil on high, and then turn down to medium high (about 7-8 on my dial). Continue to cook until the potatoes are fork tender.  Drain in a strainer/colander and place the cooked potatoes back in the pot.

    Potatoes cooked fork tender and placed back in pot
    Potatoes cooked fork tender and placed back in pot

    Mash the potatoes with a potato masher. Add the garlic (with exception of the cloves for the garnish), the olive oil, and the non-dairy milk and mash the new ingredients into the potatoes until all the ingredients are thoroughly mixed. Either place the potatoes in a decorative serving dish with the garlic cloves on top, or place some on the plate with a garlic clove as a garnish.

    Garlic Mashed Potatoes in a Serving Dish
    Garlic Mashed Potatoes in a Serving Dish

    Oven Roasted Asparagus

    • a bundle of asparagus
    • 2 Tablespoons of extra virgin olive oil
    • 1 teaspoon of Penzey’s Greek Seasoning (or use about an 1/8 of a teaspoon each of salt, garlic, lemon peel, black pepper, Turkish oregano, marjoram, and mix it together.)

    Preheat oven to 400° F. Wash and trim the asparagus, and then cut it into 1-2″ inch pieces.

    Asparagus cut in pieces
    Asparagus cut in pieces

    Place them in a bowl. Drizzle the asparagus with the extra virgin olive oil and the seasoning mix. Using a silicone spatula, toss the asparagus in the bowl until it is thoroughly coated with oil and seasoning mix.

    Asparagus in bowl being tossed with oil and seasonings
    Asparagus in bowl being tossed with oil and seasoning

    Spread them out on a baking sheet, making sure to scrape down the bowl so that the oil and seasoning end up on the asparagus on the baking sheet.  Put the baking sheet in the oven and bake for approximately 30 minutes until asparagus is tender.

    Asparagus after roasting
    Asparagus after roasting

    Boneless Rib Eye Roast

    • 3-5 pound boneless rib eye roast
    • about 1-2 teaspoons of Penzey’s English Prime Rib Rub (or use an 1/8 of a teaspoon each of salt, ground celery seed, sugar, ground black pepper, onion powder, garlic powder, and arrowroot and mix it together).

    Based on this recipe, you need to cook the roast for about 15-18 minutes per pound after the initial 15 minutes as described below, and will need to rest for 15-20 minutes after you remove it from the oven.  Calculate how long that will be based on your roast size to figure out when you need to begin cooking to have the roast be ready to serve at the time you wish to eat. An hour before you intend to begin cooking in order to have the roast cooked and rested by the time you wish to eat, take the roast out of the refrigerator and place it on the counter to bring it to room temperature.

    Preheat your oven to 450° F. Take a baking pan, and place a rack in it.

    Cooling Rack on a baking sheet
    Cooling Rack on a baking sheet

    Season your roast with your spice mix by rubbing it all over the roast.   Place the meat on the rack, with the fat side up.

    Roast with spice rub and placed on rack
    Roast with spice rub and placed on rack

    Place the roast in the oven for 15 minutes, then turn the oven temperature down to 325° F.  Place your probe thermometer through the center of the roast, making sure it is going through the very center.

    Roast after 15 minutes and placement of probe thermometer
    Roast after 15 minutes and placement of probe thermometer

    Continue to roast for 15-18 minutes per pound or until the thermometer reaches 125°F for an internal temperature. This is fairly rare, but as the roast rests the internal temperature will continue to rise for another 5 to 10 degrees.  If you like more of a medium rare, wait until the internal temperature reaches 135° F. Take the roast out of the oven.

    Completed Roast after cooking
    Completed Roast after cooking

    Tent it with aluminum foil and let it rest for 15-20 minutes. Do not cut the roast before it has had a chance to rest. I mean it. Seriously.  Otherwise, you’ll lose all the moisture.  Once the roast has rested properly, cut the strings on the roast and remove them, and then cut the roast into slices.

    Cutting Roast into slices
    Cutting Roast into slices

    Plate up your roast and sides and eat up while asking your husband, partner or date to say something outlandishly romantic. Mine doesn’t do it, but it’s fun to watch the facial contortions, as I make unreasonable demands. Remind me to tell you about the time I nagged him to write me a poem for almost a year and a half. Oh and the sculpture, too.

    Boneless Rib Eye Roast, Garlic Mashed Potatoes and Oven Roasted Asparagus
    Boneless Rib Eye Roast, Garlic Mashed Potatoes and Oven Roasted Asparagus
  • Roasted Autumn Vegetables with a Balsamic Glaze

    Roasted Autumn Vegetables with Balsamic Glaze
    Roasted Autumn Vegetables with Balsamic Glaze

    It’s fall (I’m not discussing the “winter” word yet, although it snowed here yesterday) with all those yummy, carbohydrate-filled veggies available. This dish is pretty easy but seems complicated to those who aren’t in the know.  Also, although this may seem like a lot, it’s great as leftovers.  I even love it cold over a tossed salad a day or two later. Try it as a new side dish for Thanksgiving, or for other potlucks this winter.

    Roasted Autumn Vegetables with a Balsamic Glaze

    Serves at least 4 in generous portions.

    Balsamic Glaze:

    • I cup of balsamic vinegar (be careful, get one without caramel color, which could be dairy, wheat or corn.)
    • 1 1/2 Tablespoons of Italian Seasoning (or a bit of oregano, basil, marjoram, sage, rosemary, and thyme to add up to 1 1/2 Tablespoons)
    • 2 Tablespoons of brown sugar
    • 2 Tablespoons of olive oil

    Vegetables:

    • 2 carrots, peeled and chopped into 1 inch chunks
    • 2 small onions, peeled, cut in half and then each half cut into quarters
    • 1 sweet potato, peeled and chopped into 1 inch chunks
    • 1 small turnip (about the size of a large tomato), peeled and chopped into 1 inch chunks
    • 1/2 of a butternut squash (or 1 20 oz bag of fresh peeled butternut squash), peeled and chopped into 1 inch chunks
    • 2-3 cups of brussel sprouts, outer leaves removed if necessary and stems trimmed, and cut in half

    Preheat your oven to 400°F.  Using an oil mister, or a bit of oil and a paper towel, grease a sheet pan.

    Prepare all your vegetables as discussed above and put them in a large heat safe bowl.  You’re going to be tossing them with the glaze, so make sure you have room to stir and work. Put the bowl aside.

    Veggies in Bowl
    Veggies in Bowl

    Using a small non-reactive saucepan, add your balsamic vinegar, Italian seasoning or spices, and the brown sugar.  Over medium high heat, simmer the glaze at a low boil until the vinegar has reduced down to a slightly thicker syrupy consistency, as shown:

    Balsamic Glaze after reducing
    Balsamic Glaze after reducing

    Once the glaze has reduced down, remove it from the heat and add the olive oil.  Stir thoroughly.

    Pour the glaze over the vegetables, scraping down the sauce pan so that all the glaze ends up in the bowl.  Mix the vegetables and glaze thoroughly so that all the vegetables are coated.

    Mixing Veggies and Glaze to coat
    Mixing Veggies and Glaze to coat

    Pour the coated vegetables on the sheet pan and distribute them evenly.

    Veggies spread evenly on pan
    Veggies spread evenly on pan

    Place them in the oven and cook until the vegetables are tender, about 45 minutes to an hour depending on how large your pieces are. You might want to test them with a fork.

    Veggies after roasting
    Veggies after roasting

    Enjoy!

  • Maple Dill Carrots

    Maple Dill Carrots, close up. Photo by J. Andrews
    Maple Dill Carrots, close up. Photo by J. Andrews

    I made this recipe one day when I needed comfort food and then made it about 10 more times in the next month. Carrots and dill are just a great combination, and carrots lend themselves to sweetness. The maple is well-balanced by the garlic, and I find the combination rather addictive. I’ve tweaked the fine details of this recipe, but it’s really very forgiving, overall. It would make a good, crowd-pleasing side dish for Thanksgiving, and I have to think it might appeal to picky kids (but it has not been field tested on children, because generally people don’t offer their kids up for experimentation).

    Maple Dill Carrots

    Recipe makes ~3 servings if this is the only vegetable side dish.

    • 1 lb. carrots, peeled and sliced (go organic here if you can — they are noticeable sweeter and more carrot-y, which makes a difference in this recipe)
    • 1 teaspoon dill
    • 1/4 to 1/2 teaspoon garlic powder (adjust according to your audience)
    • 1 Tablespoon Earth Balance (or butter or margarine of your choice)
    • 1 Tablespoon real maple syrup

    Place sliced carrots in a saucepan, with water enough to boil (should basically reach the bottom of the top layer of carrots, but not completely cover them). Add dill and garlic. Bring to a boil and then simmer until carrots are soft, 5-10 minutes.

    Carrots and Spice
    Carrots and Spice

    Drain the carrots — lots of the dill and garlic drain off, but the flavor is boiled in. Add the Earth Balance and maple syrup, and purée. I use a stick blender and do a bit of a half-assed job of it (Denise calls it “rustic”) so that there are some whole carrots and some chunks in the purée. That’s just how I like it. Feel free to purée more or less, as suits your tastes.

    Serve hot. Serve often.

    Maple Dill Carrots
    Maple Dill Carrots
  • Baked Eggplant and Zucchini Fries with Spicy Mayo Dipping Sauce

    Baked Eggplant and Zucchini Fries with Spicy Mayo Dipping Sauce
    Baked Eggplant and Zucchini Fries with Spicy Mayo Dipping Sauce

    So my friend Mary, the kale whisper, managed to procure about 5 pounds of eggplants for me, or, in other words, a crap ton of eggplants, from her neighbor’s garden. Because she’s just that awesome and cool.  So I made and canned 5 pints of Eggplant Caponata and 6 quarts of a version of Ratatouille, but I still had some eggplant and zucchini left. So I decided to try this recipe from the Gourmande in the Kitchen, but make it dairy, egg, and almond free too, since I’m allergic to all those things, and use up the zucchini.

    Baked Eggplant and Zucchini Fries with Spicy Mayo Dipping Sauce
    • 1 small eggplant about 7 inches long, sliced into pieces about 3 inches long and about 1/3 of an inch thick
    • 1 small zucchini about 7 inches long, sliced into pieces about 3 inches long and about 1/3 of an inch thick

    First dry dredge:

    • 1/2 cup of arrowroot starch (you could also use tapioca or corn starch, but corn is out for me, since I’m allergic to it)

    Second wet dredge:

    • 2 Tablespoons of safe Adobo seasoning (If you don’t have Adobo seasoning, mix 1/8 cup of paprika, 1 1/2 Tablespoons of ground black pepper, 1 Tablespoon of onion powder, 1 Tablespoon of dried oregano, 1 Tablespoon of ground cumin, 1/2 Tablespoon of ground chipotle, and 1/2 Tablespoon of garlic powder, this makes half a cup of seasoning).
    • 2 teaspoons of salt
    • 1/3 of a cup of arrowroot starch
    • 1/3 of a cup of olive oil
    • 2/3 of a cup of water

    Third dry dredge:

    • 2 cups of gluten free bread crumbs

    Spicy Mayo Dipping Sauce:

    • 1/2 cup of Earth Balance Mindful Mayo (or other mayo that’s safe for you)
    • 1 Tablespoon of Sriracha, or your other favorite hot sauce

    Preheat your oven to 425°F.  Place a piece of parchment paper on a baking sheet and use an oil mister to spray the parchment paper.  You can skip the parchment paper, and just spray oil on the baking sheet, but it will be easier to clean up.

    Wash, trim and slice your zucchini and eggplant into pieces about 3 inches long and about a 1/3 of an inch thick.

    Sliced Zucchini
    Sliced Zucchini
    Sliced Eggplants
    Sliced Eggplants

    Place the arrowroot starch for the first dry dredge in a flat bottomed container with enough room to move the pieces around to coat.

    Arrowroot Starch - first dry dredge
    Arrowroot Starch – first dry dredge

    Place the ingredients for the second wet dredge in a shallow bottomed bowl and whisk them together.  Make sure the bowl has enough room to move the pieces around to coat them.

    Wet mixture - second dredge
    Wet mixture – second dredge

    Place the bread crumbs for the third dry dredge in a container with enough room to move the pieces around to coat.

    Dip each piece of zucchini or eggplant in the first dry dredge (arrowroot starch), then in the second wet dredge (arrowroot, water, oil and spices mix), then in the third dry dredge (the bread crumbs) and place them on the baking sheet.

    First Dredge
    First Dredge
    Second Dredge
    Second Dredge
    Third Dredge
    Third Dredge

    Once all the pieces are coated, place baking sheet in the oven and bake for 30-40 minutes until crispy.

    Fries after baking
    Fries after baking

    While your fries are baking, mix Earth Balance Mindful Mayo and your favorite hot sauce in a dipping bowl.

    Baked Eggplant and Zucchini Fries with Spicy Mayo Dipping Sauce
    Baked Eggplant and Zucchini Fries with Spicy Mayo Dipping Sauce

    Enjoy!