Notice: Function _load_textdomain_just_in_time was called incorrectly. Translation loading for the wp-ultimate-recipe domain was triggered too early. This is usually an indicator for some code in the plugin or theme running too early. Translations should be loaded at the init action or later. Please see Debugging in WordPress for more information. (This message was added in version 6.7.0.) in /home/maryzahc/public_html/adultfoodallergies.com/wp-includes/functions.php on line 6131 Allergy-Friendly Recipes – Page 8 – surviving the food allergy apocalypse (archive)
To set the scene, it’s New Hampshire. It’s December. We got about a foot of snow in the past week and we’re expected to get a bit more soon. It’s freaking cold. So I need a hot drink, preferably with alcohol. I’ve been seeing posts about chai hot chocolate and hot chocolate red wine, but those sounded a bit heavy. So I decided to try an orange chai red wine, sort of like a mix between sangria and mulled wine, but with a chai spice flavor profile. I didn’t know that my idea was actually pretty close to a German spiced wine called Glühwein until I started poking around. Mine doesn’t have brandy or other spirits in it, and I have a few more spices in mine. It’s a pretty thing on a cold afternoon, and great for a wintry get-together. For those of you who are vegan, you’ll need to investigate your wine carefully, and for those of you who are more sensitive than I am corn-allergy wise, you’ll need to be careful in your wine choices. I do well about 75% of the time as long as I avoid American wines, but your mileage may vary.
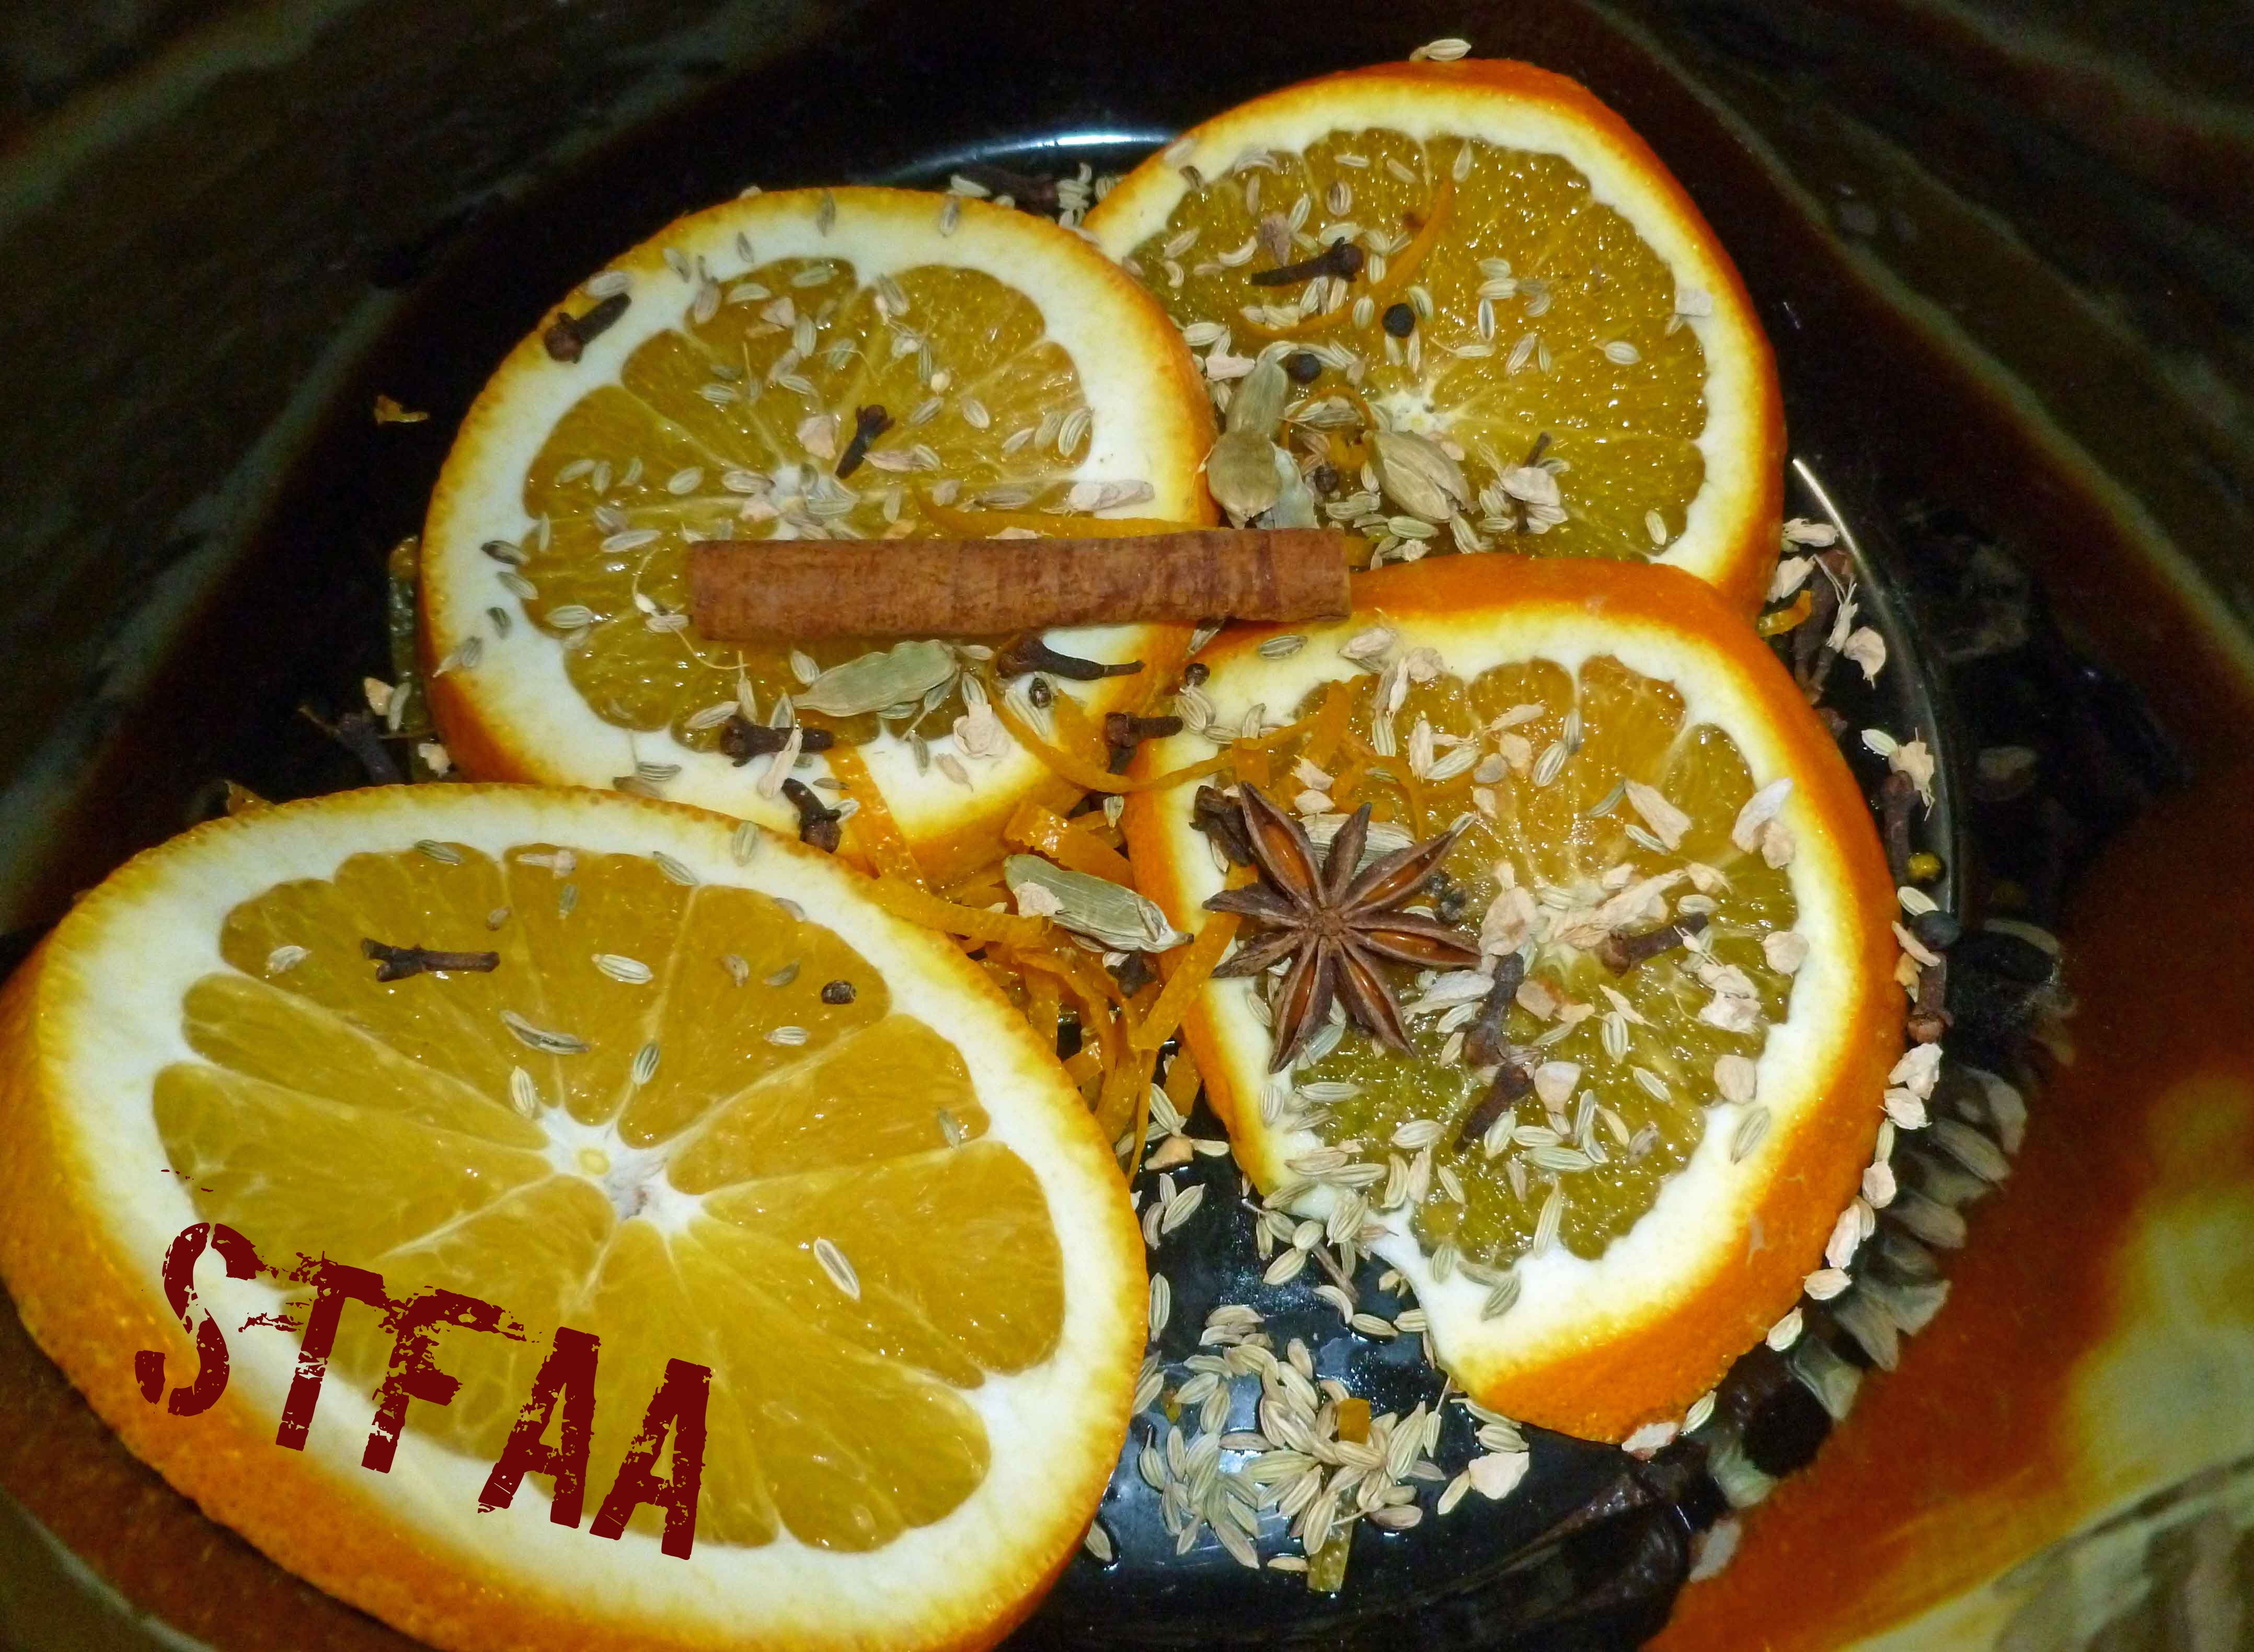
Orange Chai Spiced Wine
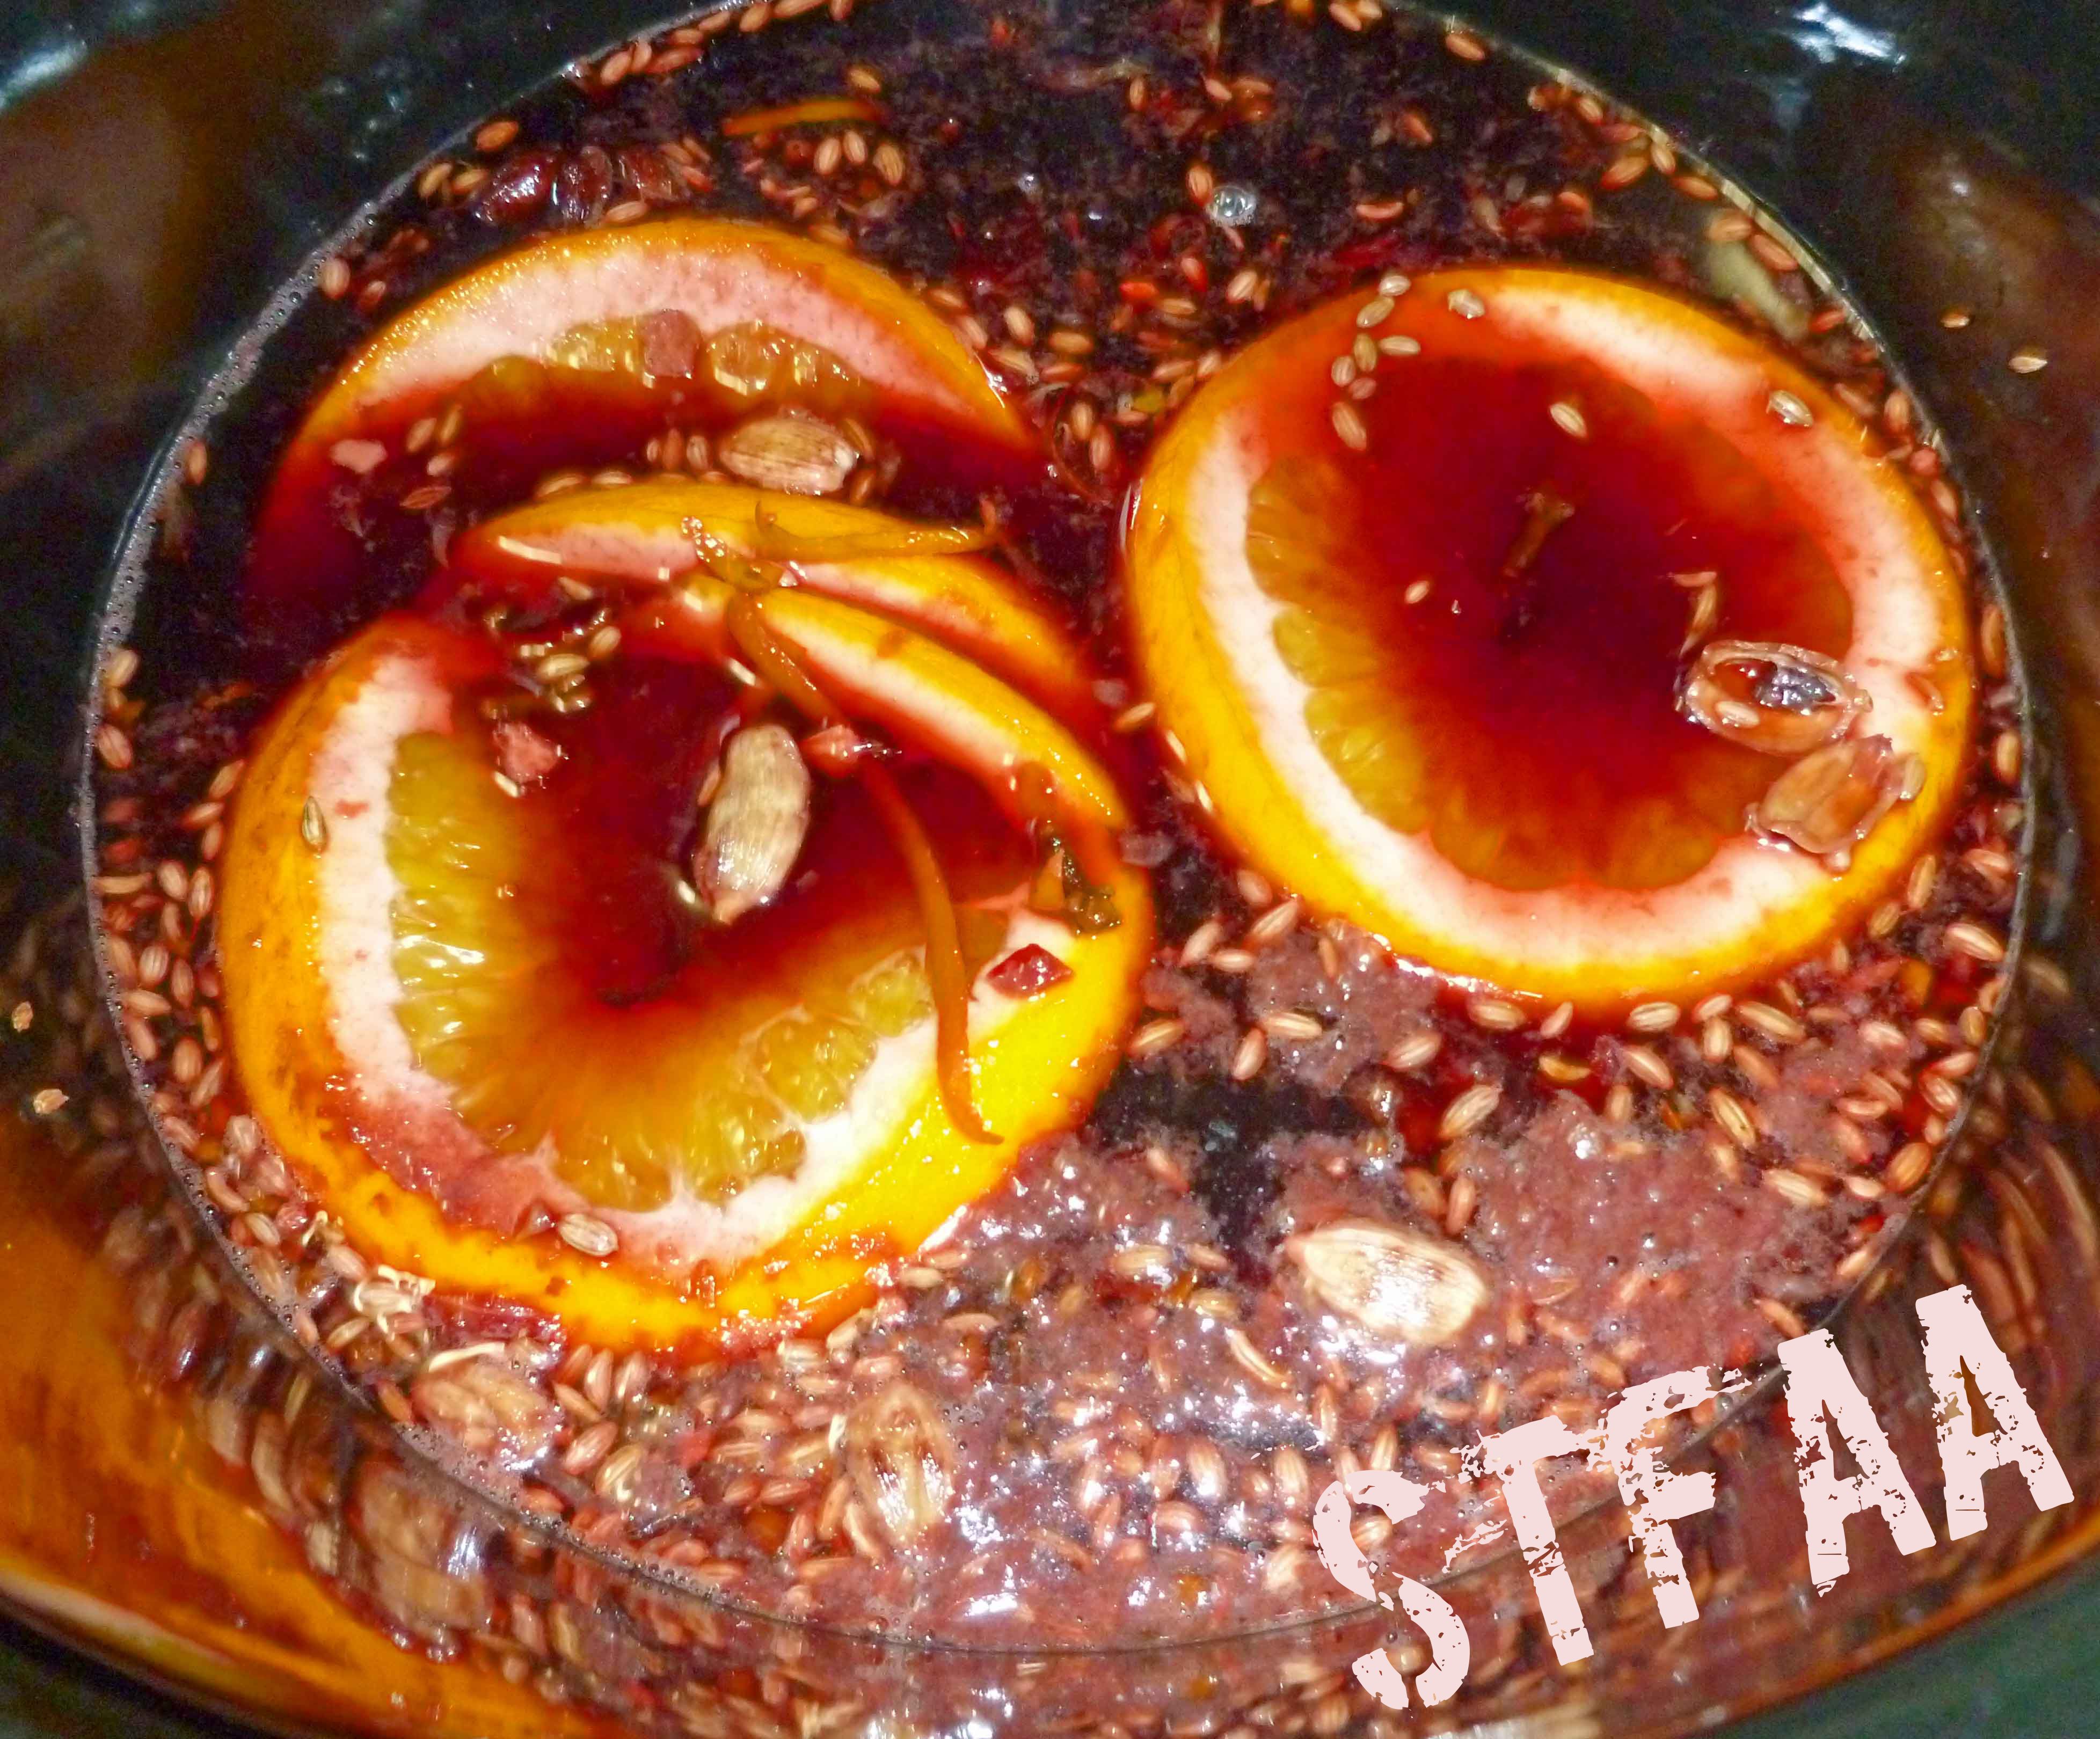
The complete recipe is in the card below, but this is a pretty easy one. Juice and zest some oranges (I used a julienne peeler for removing the zest easily with a strainer), slice part of an orange, and throw the zest, juice, orange slices, spices, sugar and wine in a crock pot on low for a hour. After cooking, I strained out the spices and used the orange slices for garnishing the glasses. I have a bit left over, and I may braise some pork in it because it was totally delicious.
Using a julienne peeler to zest the orangesSlices and spices in crockpotOrange Chai Spiced Wine after cooking but before strainingOrange Chai Spiced Wine after straining with an orange slice for garnish Notice: Trying to access array offset on value of type bool in /home/maryzahc/public_html/adultfoodallergies.com/wp-content/plugins/wp-ultimate-recipe/helpers/models/recipe.php on line 254
Orange Chai Spiced Wine
Print Recipe
A lovely drink for cold winter parties in the crock pot.
1bottlered wine24.5 ounce or 750 ml, fruity red wine such as Merlot, Zinfandel, or Cabernet Sauvignon
1cinnamon stick
1tspwhole fennel seed
1/2tspwhole cloves
2whole black peppercorns
1star anise whole
5green cardamom pods, smashed
1/2tspcracked dried ginger
4tbspbrown sugar
3-4 quart crock pot
Servings: people
Instructions
Wash your oranges carefully. Using a julienne peeler or a regular vegetable peeler, peel thin strips of the zest off of the orange, being careful not to peel too deeply and get into the white pith. Add about a tablespoon’s worth of peeled zest to the crock pot.
Cut one of the oranges in half, and slice one half thinly to add slices to the crockpot. Juice the remaining oranges until you have about 1 cup of orange juice to add to the crock pot.
Add all spices, brown sugar and wine to the crock pot, and put on low for 1 hour.
Strain out spices, but save orange slices for garnish. Add an orange slice to glass and pour wine into glass and serve. Enjoy!
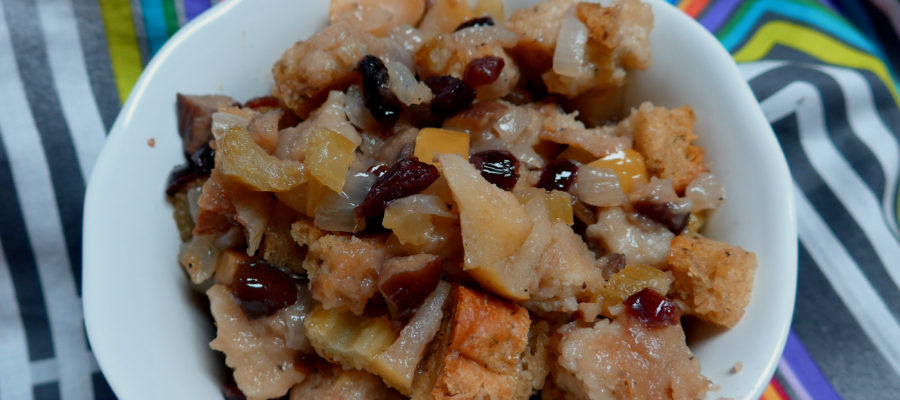
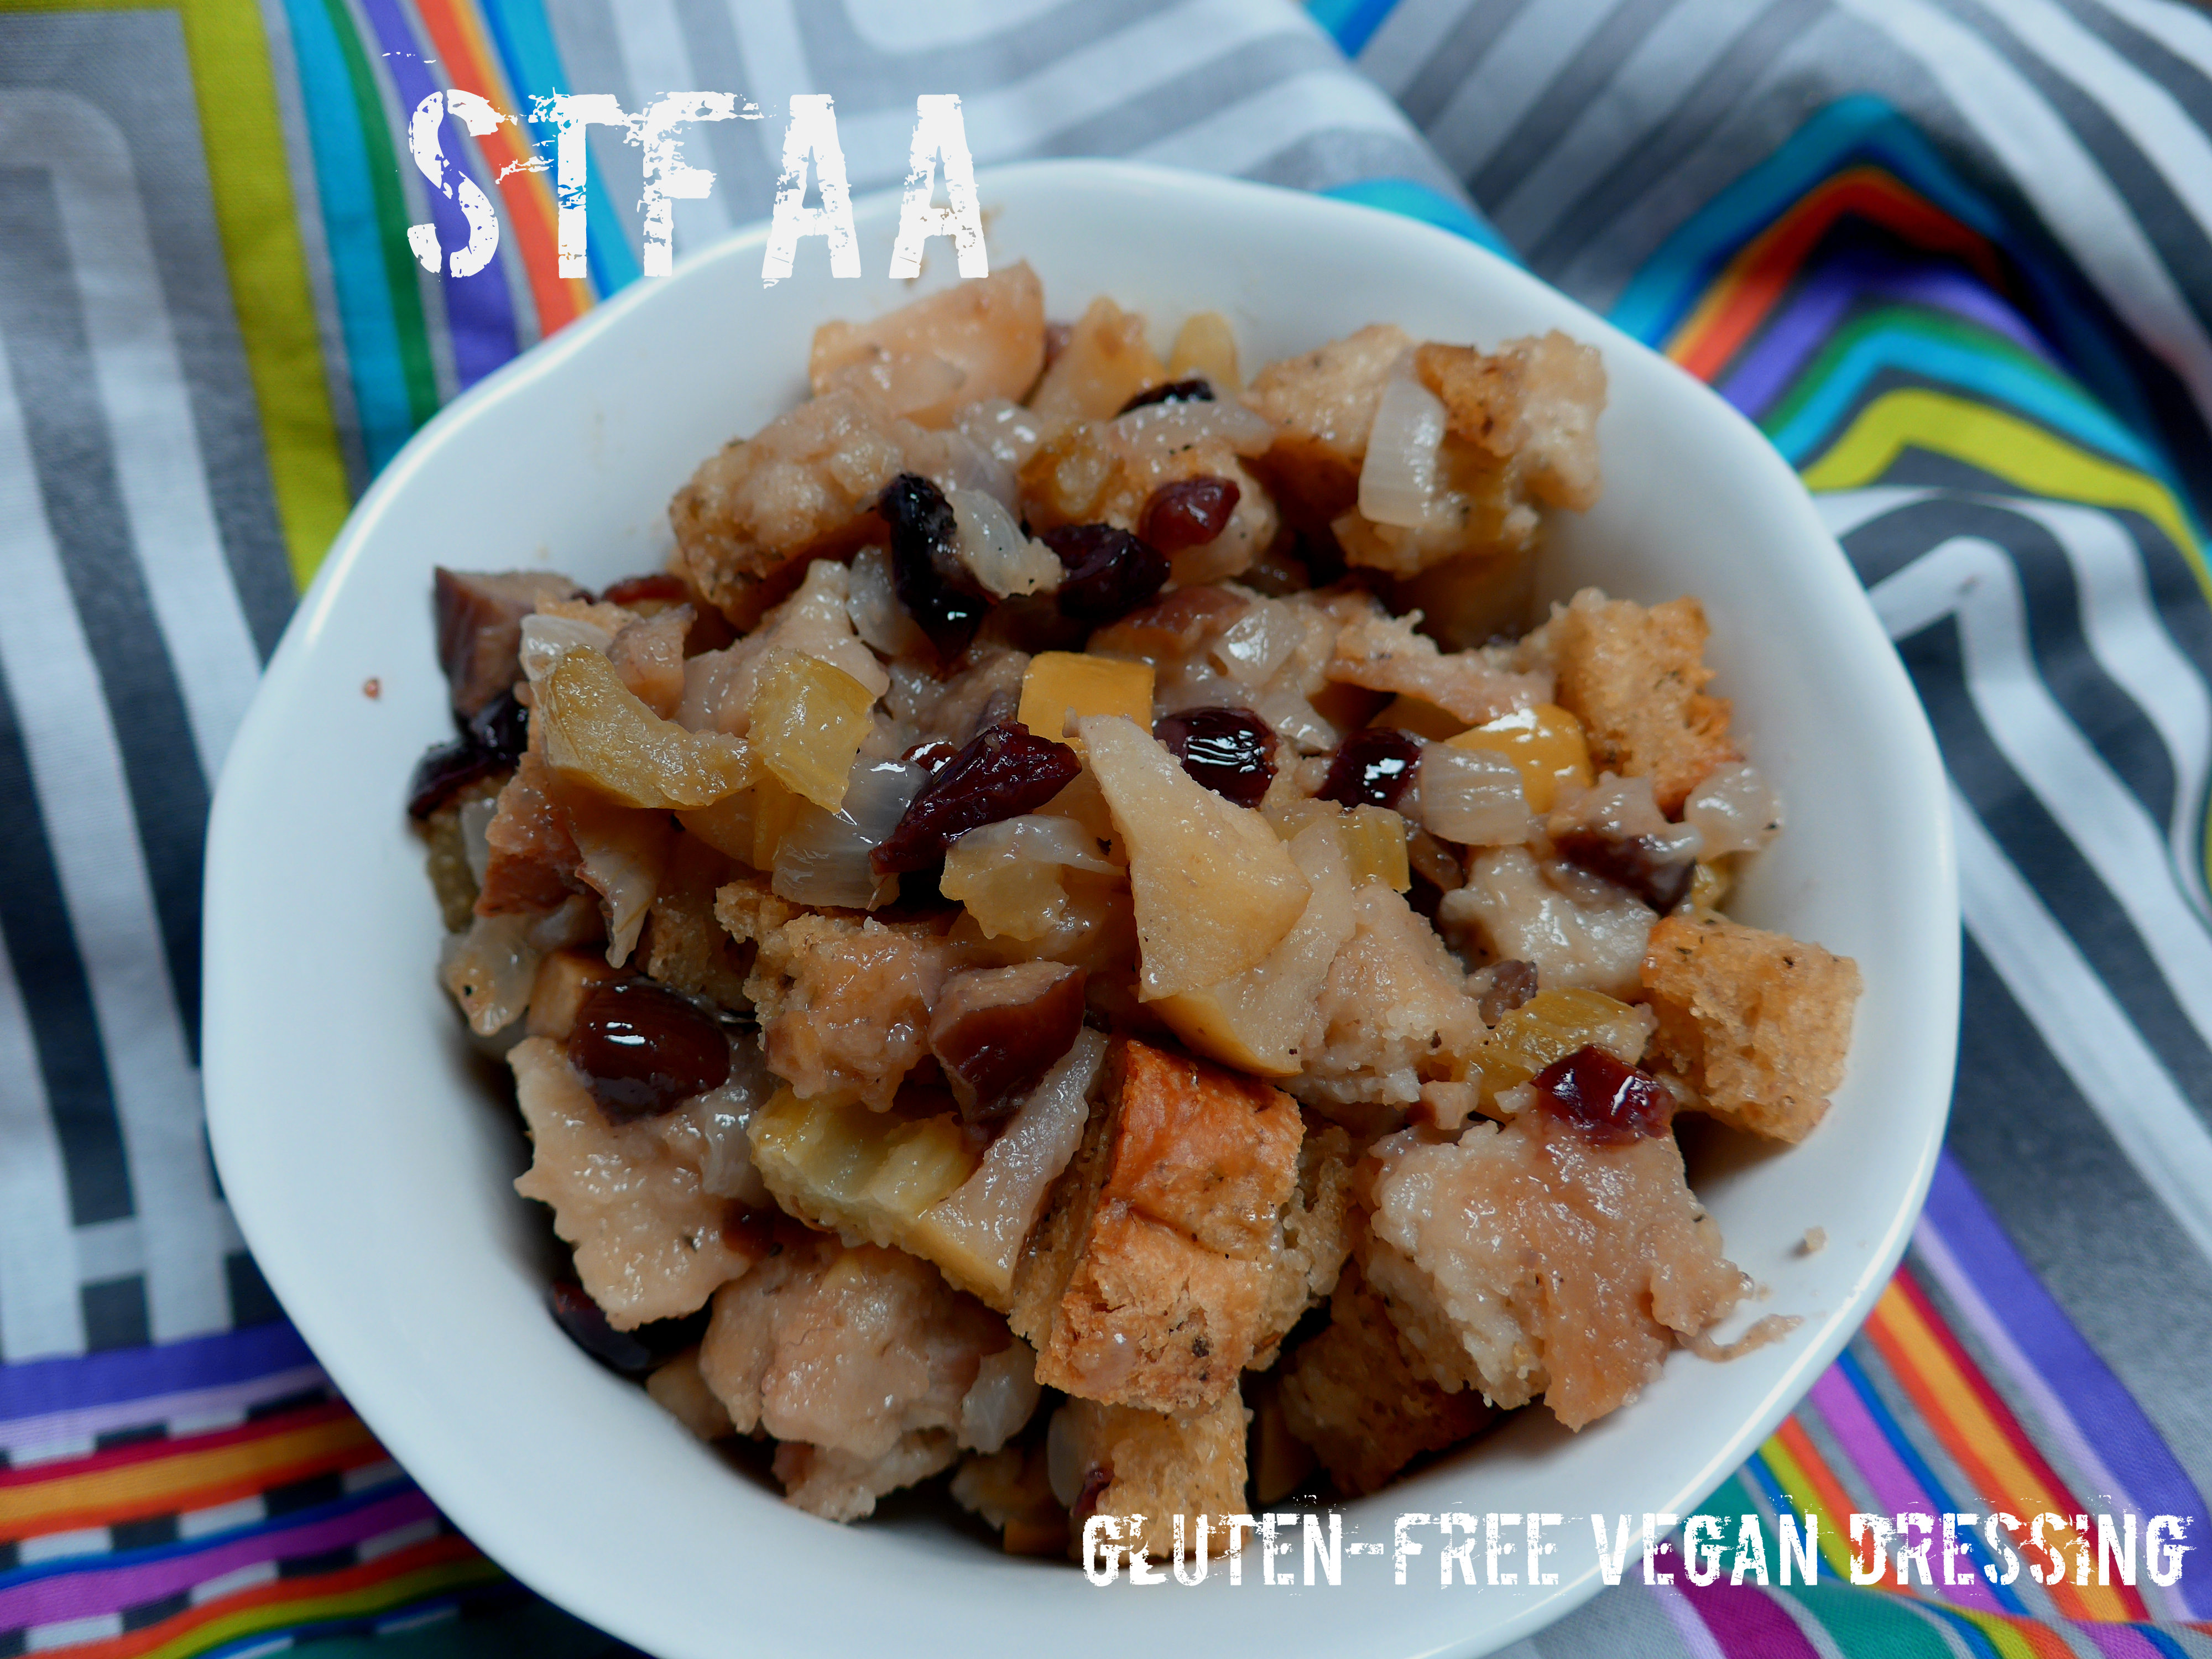
So years ago, Denise and I posted a poll (which no longer works) as we disagree about whether the bread dish served with large birds is properly called “dressing” or “stuffing.” Denise argues that it’s stuffing. I argue that it’s stuffing IF it is stuffed into something (bird or vegetable, I don’t mind which) and it’s dressing if it isn’t. So, by that logic, this is a dressing. But by other people’s reckoning, this is a stuffing. No matter what you call it, it’s quite tasty and makes a great side dish that reheats well. I realize the timing of this might seem weird — most people think of stuffing/dressing as a Thanksgiving dish. But I was trying to make more space in the freezer and using up gluten-free breads that I didn’t love as toast, plus an excess of certain other ingredients in the house.
And that’s a key — you will need bread. Whether you make your own gluten-free bread, buy a packaged product, or are lucky enough to have a local bakery that accommodates your allergy needs, you will need bread. The lucky thing is that this is actually a great dish to use up edible but slightly disappointing bread experiments! For the right texture for dressing, bread must be thoroughly dried out and then rehydrated, and gluten-free bread is awesome at drying out, isn’t it? I remember my mom laying out bread slices on a clean towel on top of the dryer about a week before Thanksgiving, but I just threw mine in the oven at 250ºF for about an hour. Keep this in mind — you can either prep ahead and dry your bread out, or you can build in extra time the day you make your dressing. Everything else in this dish is a pantry staple in my house.
Like our Mini Thanksgiving casserole version of dressing, this one also contains celery and chestnuts, but unlike with that one, you could leave the chestnuts out here and make a nut-free version, if that’s your need. This one also has dried cranberries, which are really awesome, and uses veggie broth to stay vegan. If you like it, I’d suggest mushroom broth for the best flavor.
Notice: Trying to access array offset on value of type bool in /home/maryzahc/public_html/adultfoodallergies.com/wp-content/plugins/wp-ultimate-recipe/helpers/models/recipe.php on line 254
2cupsgluten-free bread cubesdried out. Check for other allergens.
2Tablespoon fat of choice
1 1/2cupscelerychopped
1 1/2cupsonionchopped
1/2cupdried cranberries,rehydrated by soaking in hot water 15 minutes
5ozchestnuts,chopped (optional)
1wholeapple,cored and chopped, peeled if you prefer
~1cupvegetable broth
Servings: servings
Instructions
If you need to dry out your bread crumbs, you have a few options. 1. Set the bread out on a rack and leave it out for a few days. 2. Bake at 250ºF for about an hour, directly on the rack. 3. Toast on low and let cool completely standing up (don’t let it steam against a plate). Choose based on the amount of time you have now. Cut the bread into cubes.
Preheat oven to 350ºF.
In the oil/margarine/fat (I use vegan margarine), cook the onions until translucent. Add the celery, cook for a few minutes. Then add the cranberries, chestnuts, and apple, cooking for 2-3 minutes between each addition.
In a bowl, mix the bread and vegetables. Mix well. Slowly add the broth, stirring, until there is just a tiny bit more than what the dried bread absorbs — maybe a tablespoon or so. Pour into a greased baking dish. You can do this round casserole style (deep) or in a 9×13 pan (shallow), which will change the texture. The deep dish will be more casserole-like and the shallow dish will be more bread-y and crispy.
Cover and bake 30 minutes. Remove the cover and bake another 15 minutes, until top of bread bites are crisp. Serve hot.
Spritz or Cookie Press Cookies – Gluten-Free, Dairy-Free, and Egg-Free
I’m not a baker in general. MaryKate is a much better baker than I am and she’s more into it. I’m more of a “get an appetizer instead of dessert” kind of woman. But around the holidays I kind of want some sort of cookie. A couple of weeks ago when I was developing my Homemade Pasta, Gluten-Free, Vegan & Gum-Free recipe, I was going through my assortment of kitchen toys looking for the pasta attachments for the KitchenAid, and I came across my Pampered Chef Cookie Press that I bought years ago out of nostalgia. My mom had one (which she probably doesn’t even remember having) that I used to use when I was a kid. And after I found it, I kept thinking about it, so I developed this recipe. It’s probably the closest I will ever get to having a shortbread buttery kind of cookie again. If you don’t have a cookie press, Pampered Chef has one that is a twist style now, but I like the gun ones better. Here’s an example of the gun style (no affiliation with Amazon), which is very similar to the one I have.
Full disclosure: I’m using psyllium husk in this recipe instead of chia, because chia is currently on the suspect list as a potential new allergy. Sigh. If you can still use chia (or flax, I’m allergic to flax too), I’m pretty sure that would work too. Also, I’m using my Homemade Margarine, New and Improved in this recipe because it’s all I have (note: I use cashew milk in my margarine recipe, but you can use any non-dairy milk in it). If you don’t have a corn or coconut allergy or react to palm, and you can use either Earth Balance margarine or a vegetable shortening, give it a go. If you decide to use shortening, I’d add a tablespoon of water or non-dairy milk because shortening is dryer than margarine.
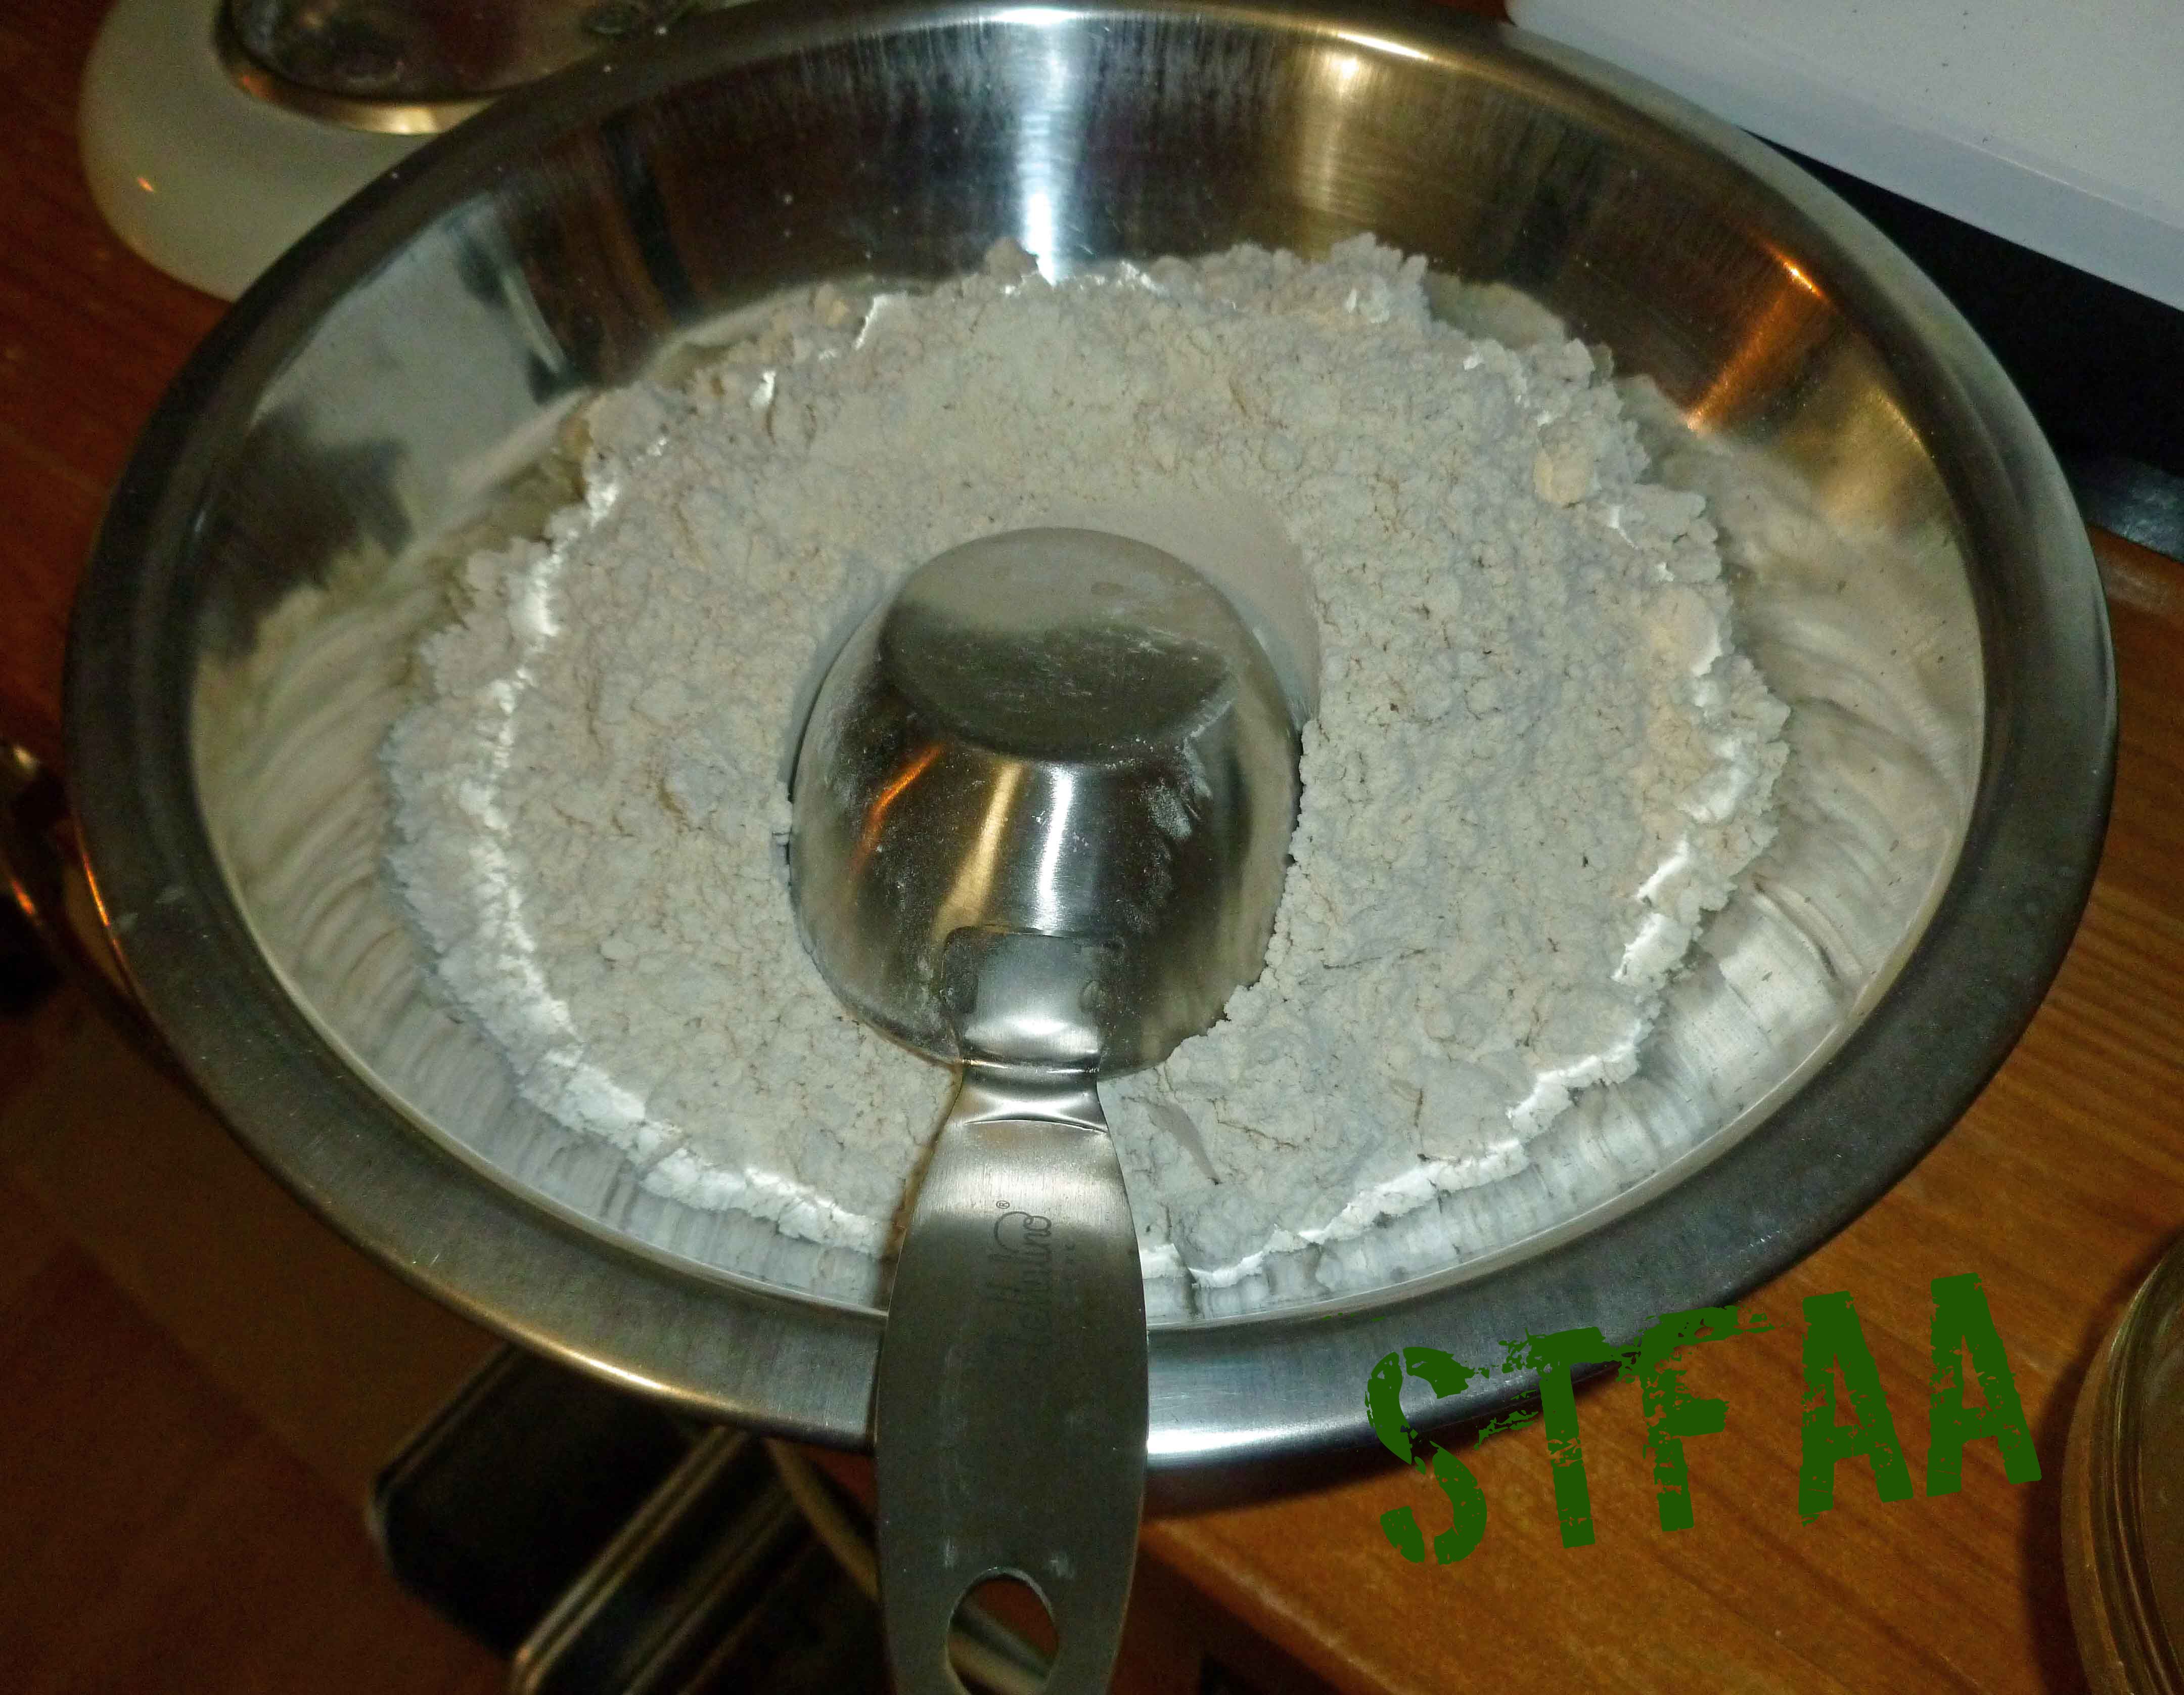
I modified my normal all purpose gluten-free flour blend because the millet gave the cookies more of a whole grain taste than I was going for. The mix below makes 4 1/2 cups, but you only need 3 1/2 cups for the cookies.
Notice: Trying to access array offset on value of type bool in /home/maryzahc/public_html/adultfoodallergies.com/wp-content/plugins/wp-ultimate-recipe/helpers/models/recipe.php on line 254
Gluten-Free Flour Blend for Spritz or Cookie Press Cookies
Gluten-Free Flour Blend for Spritz or Cookie Press Cookies Notice: Trying to access array offset on value of type bool in /home/maryzahc/public_html/adultfoodallergies.com/wp-content/plugins/wp-ultimate-recipe/helpers/models/recipe.php on line 254
Spritz or Cookie Press Cookies – Gluten-Free, Dairy-Free, and Egg-Free
Print Recipe
You can still have a holiday classic, even with allergies
1tsppsyllium husk(or ground chia seed or flax seed)
2tspvanilla extract(I make my own with vanilla beans and vodka made from potatoes, as most commercial extract contains corn)
1 tspwater(if using shortening, add a tablespoon)
1 1/2cupshomemade margarine, Earth Balance margarine or vegetable shortening(Earth Balance margarine and vegetable shortening are generally not safe for corn, coconut, or palm allergies)
1/4cupbrown sugar
3/4cupwhite sugar
1/4tspsea salt
3 1/2cups Gluten-Free Flour Mix for Spritz or Cookie Press Cookies
Servings: dozen
Instructions
Preheat oven to 375°F.
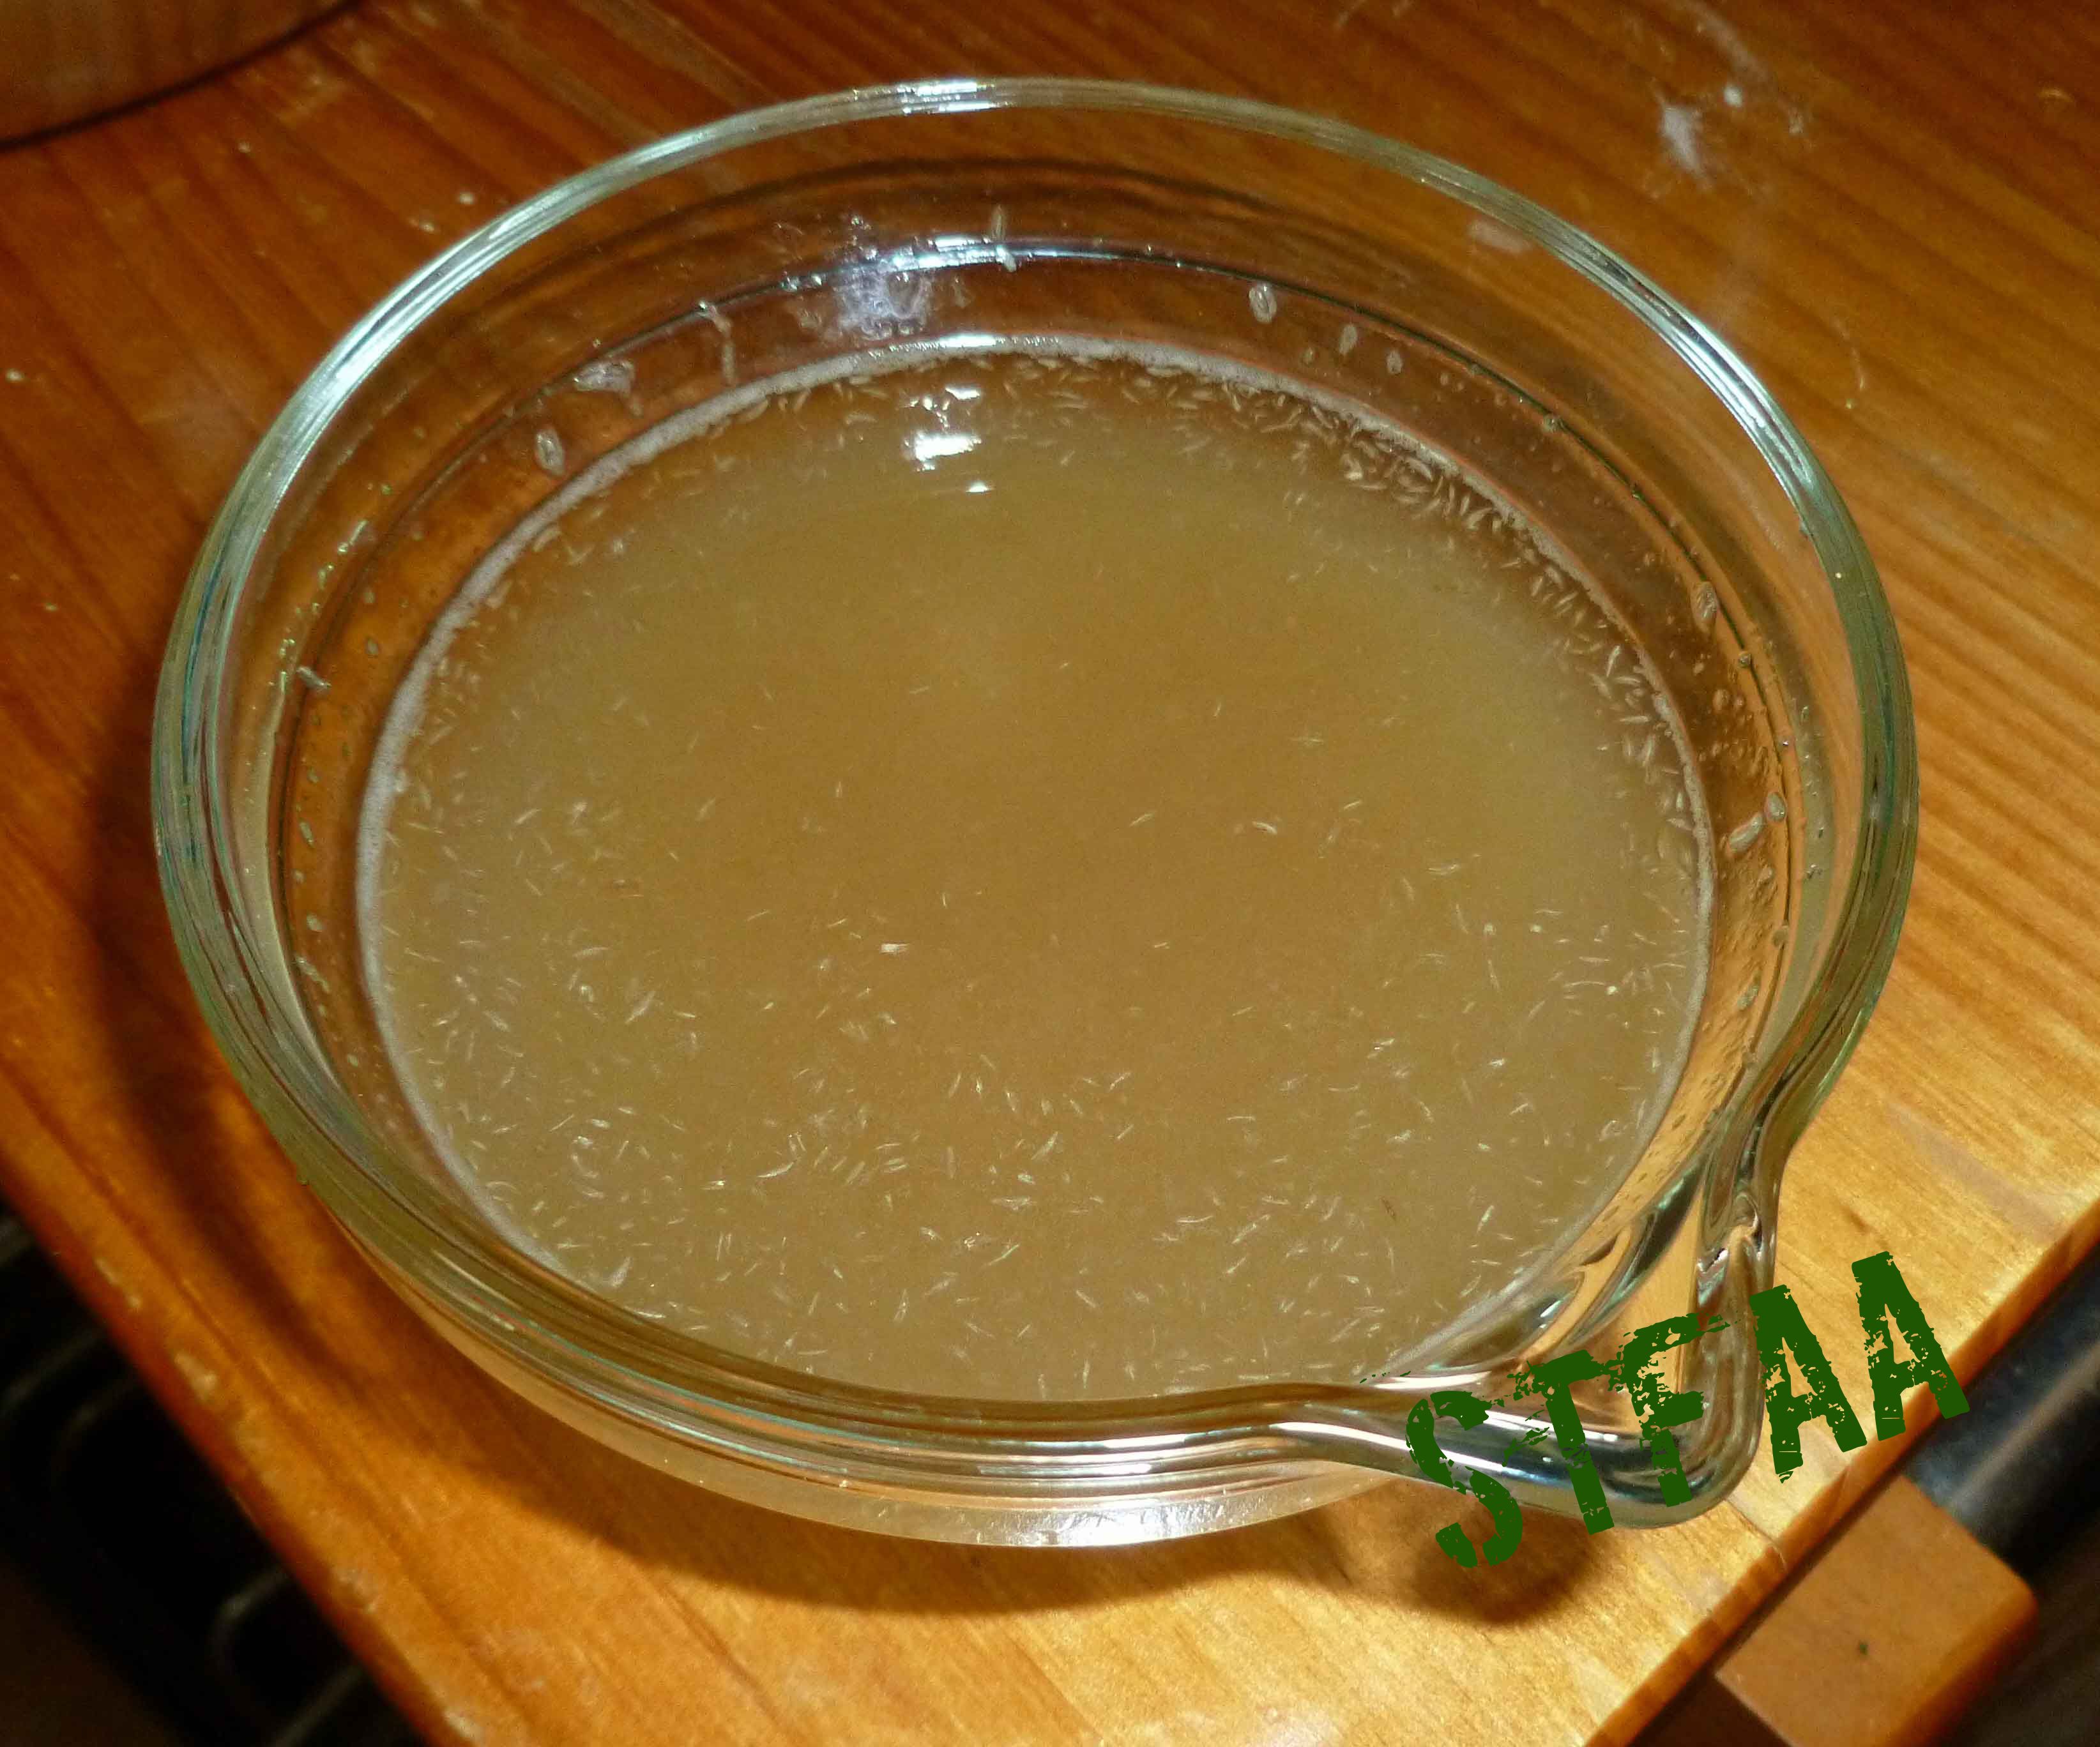
Mix aquafaba, psyllium, vanilla extract, and water in a small bowl and set aside to let it gel. Add salt to flour mixture in a large bowl and set aside.
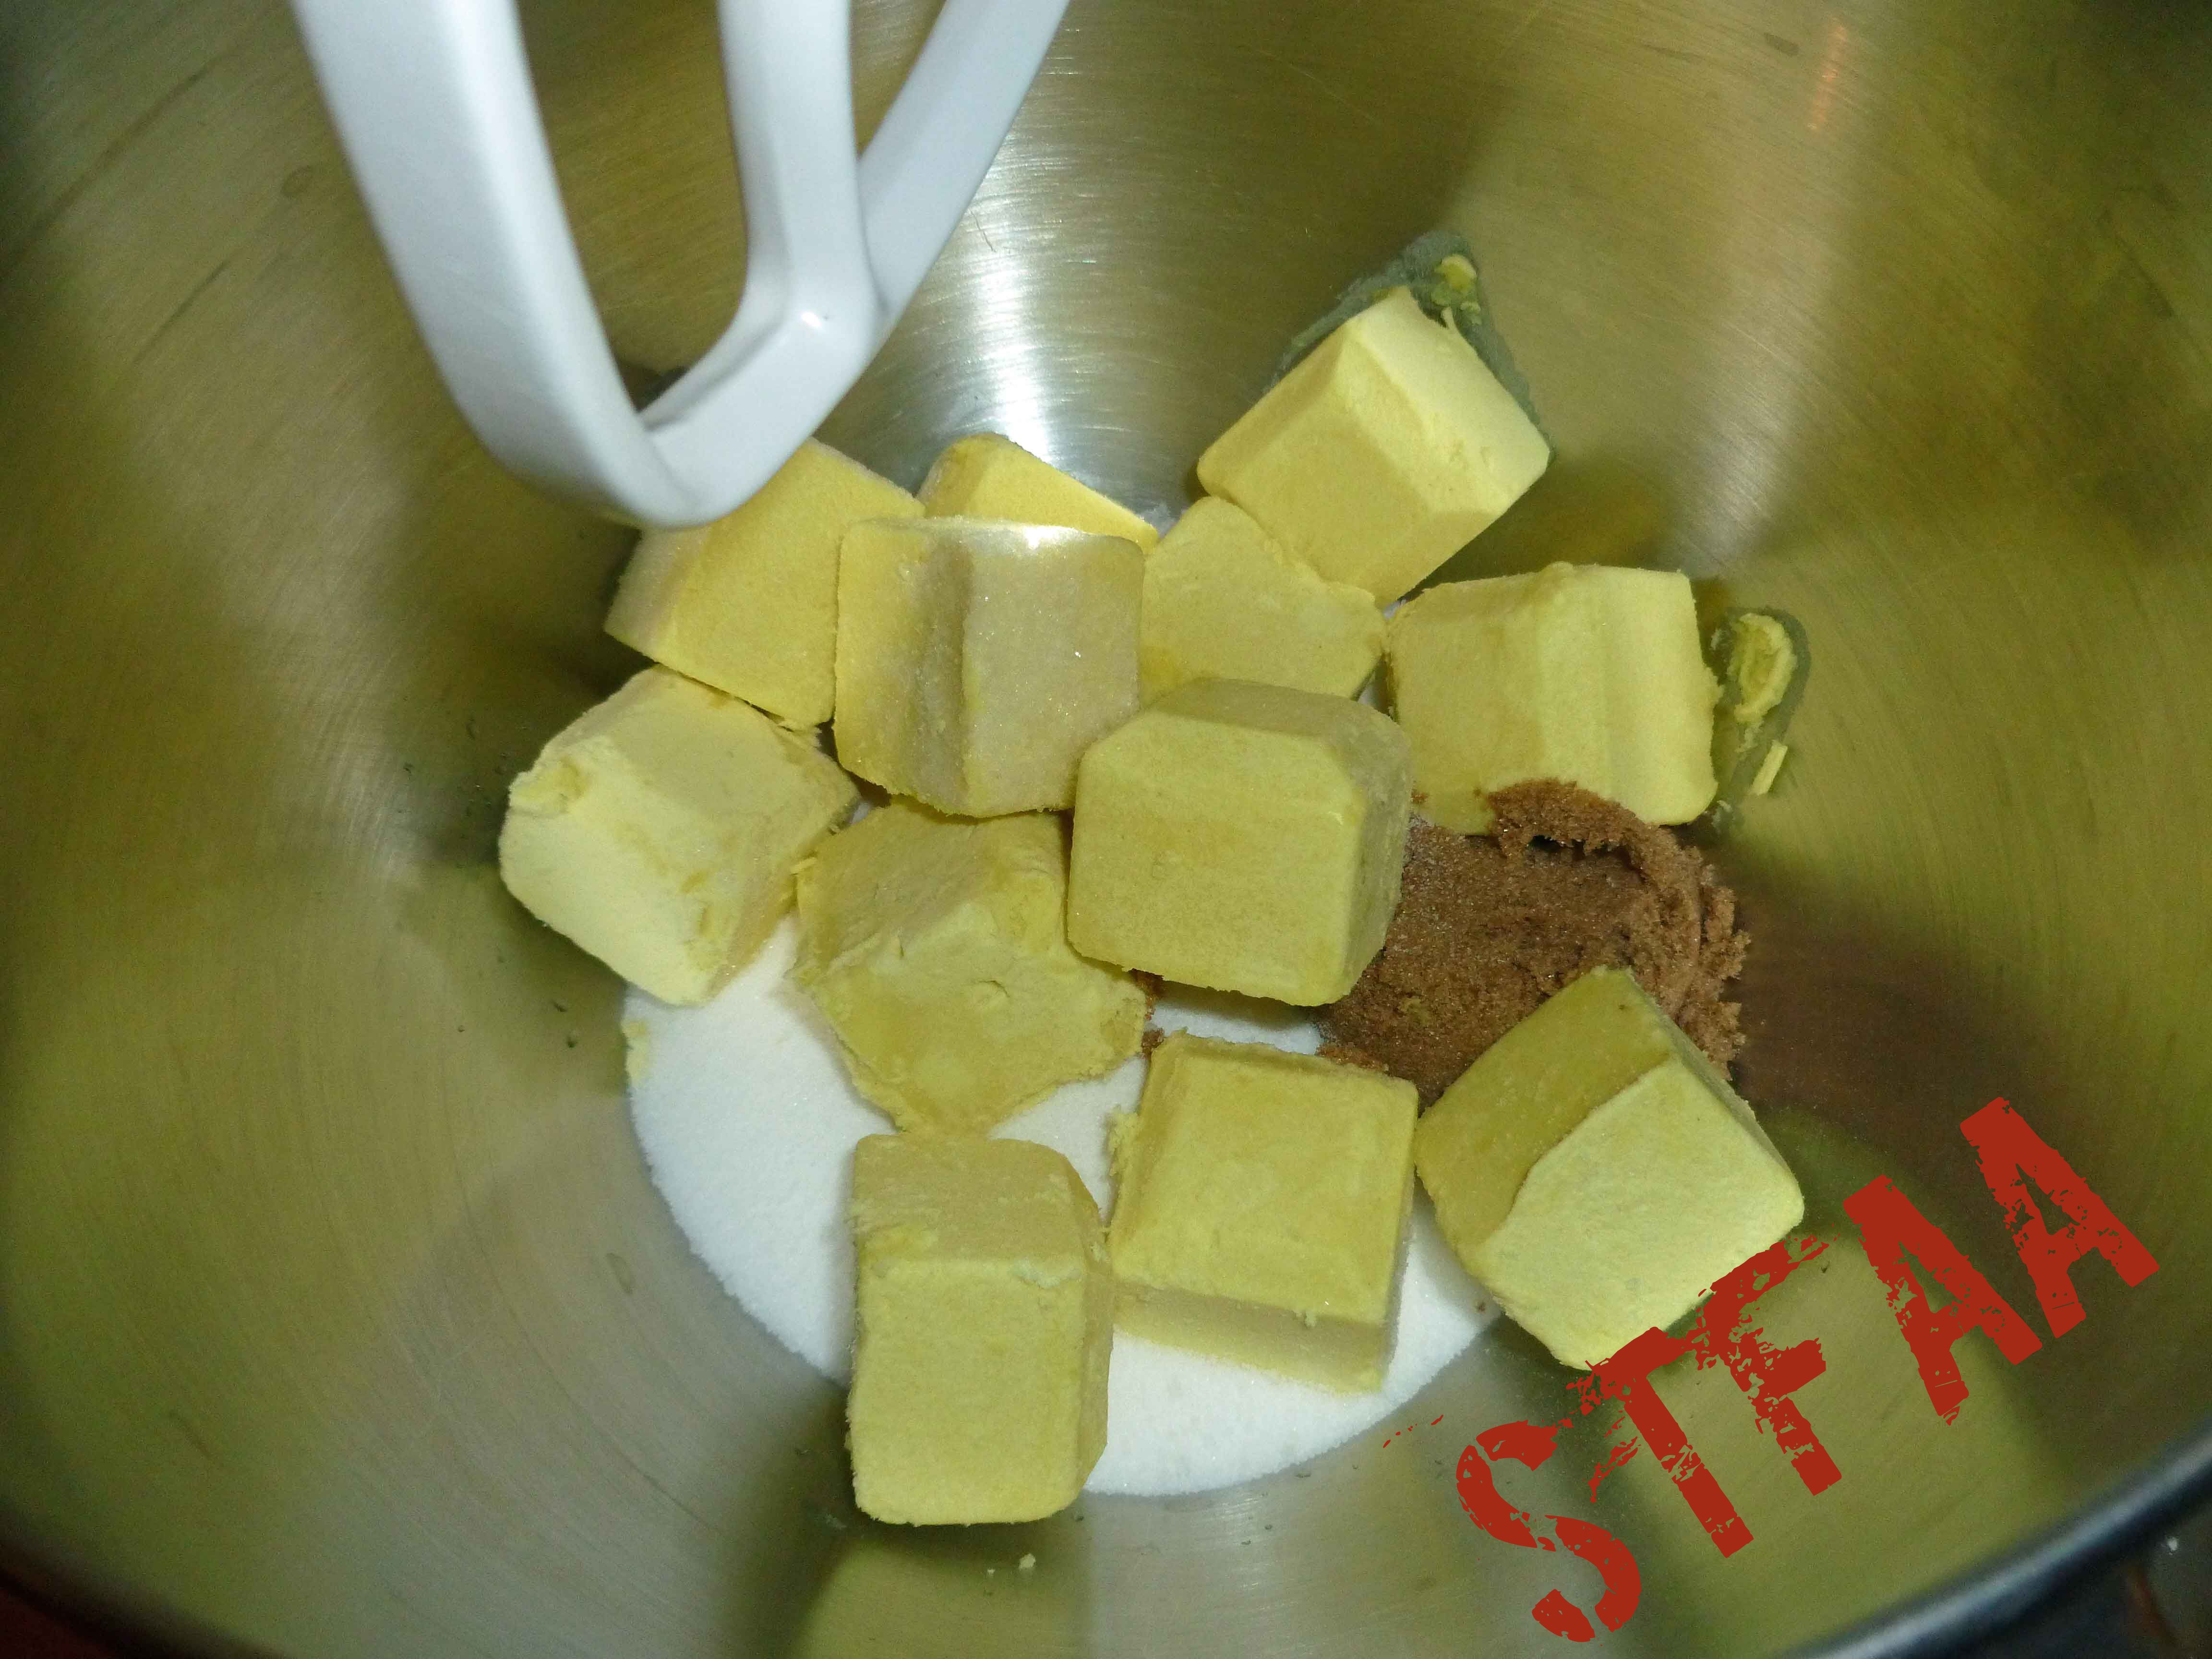
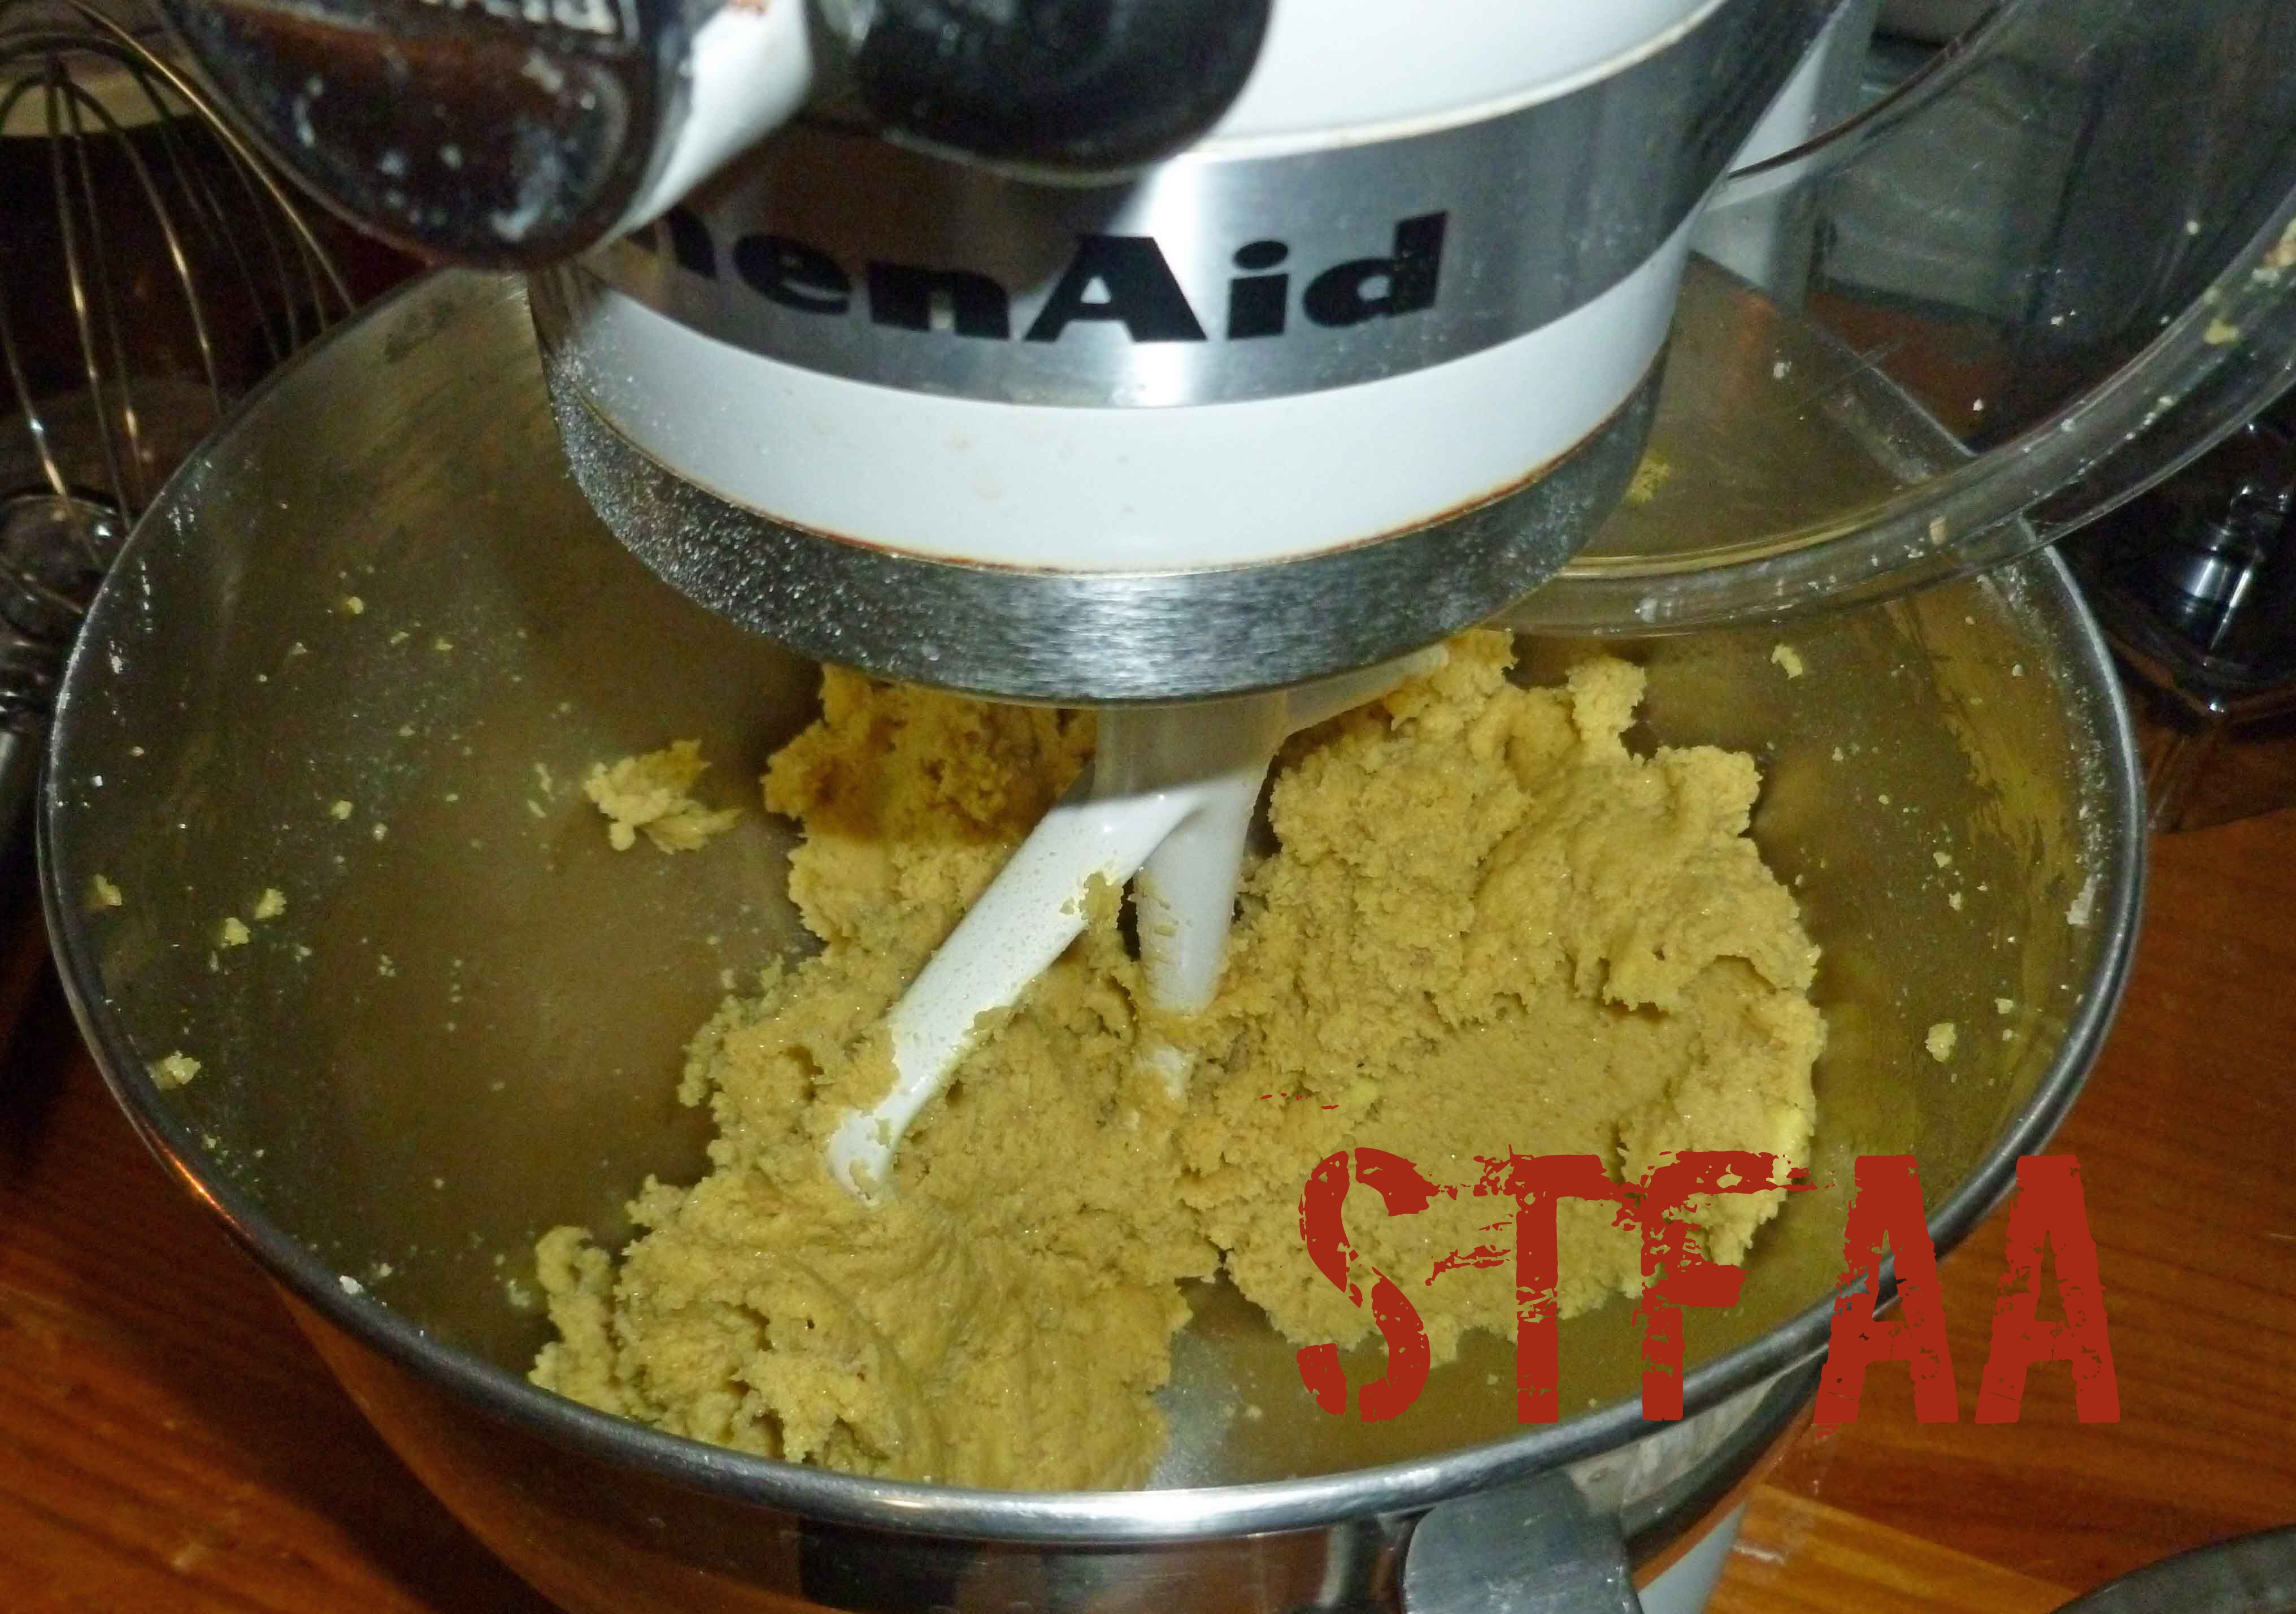
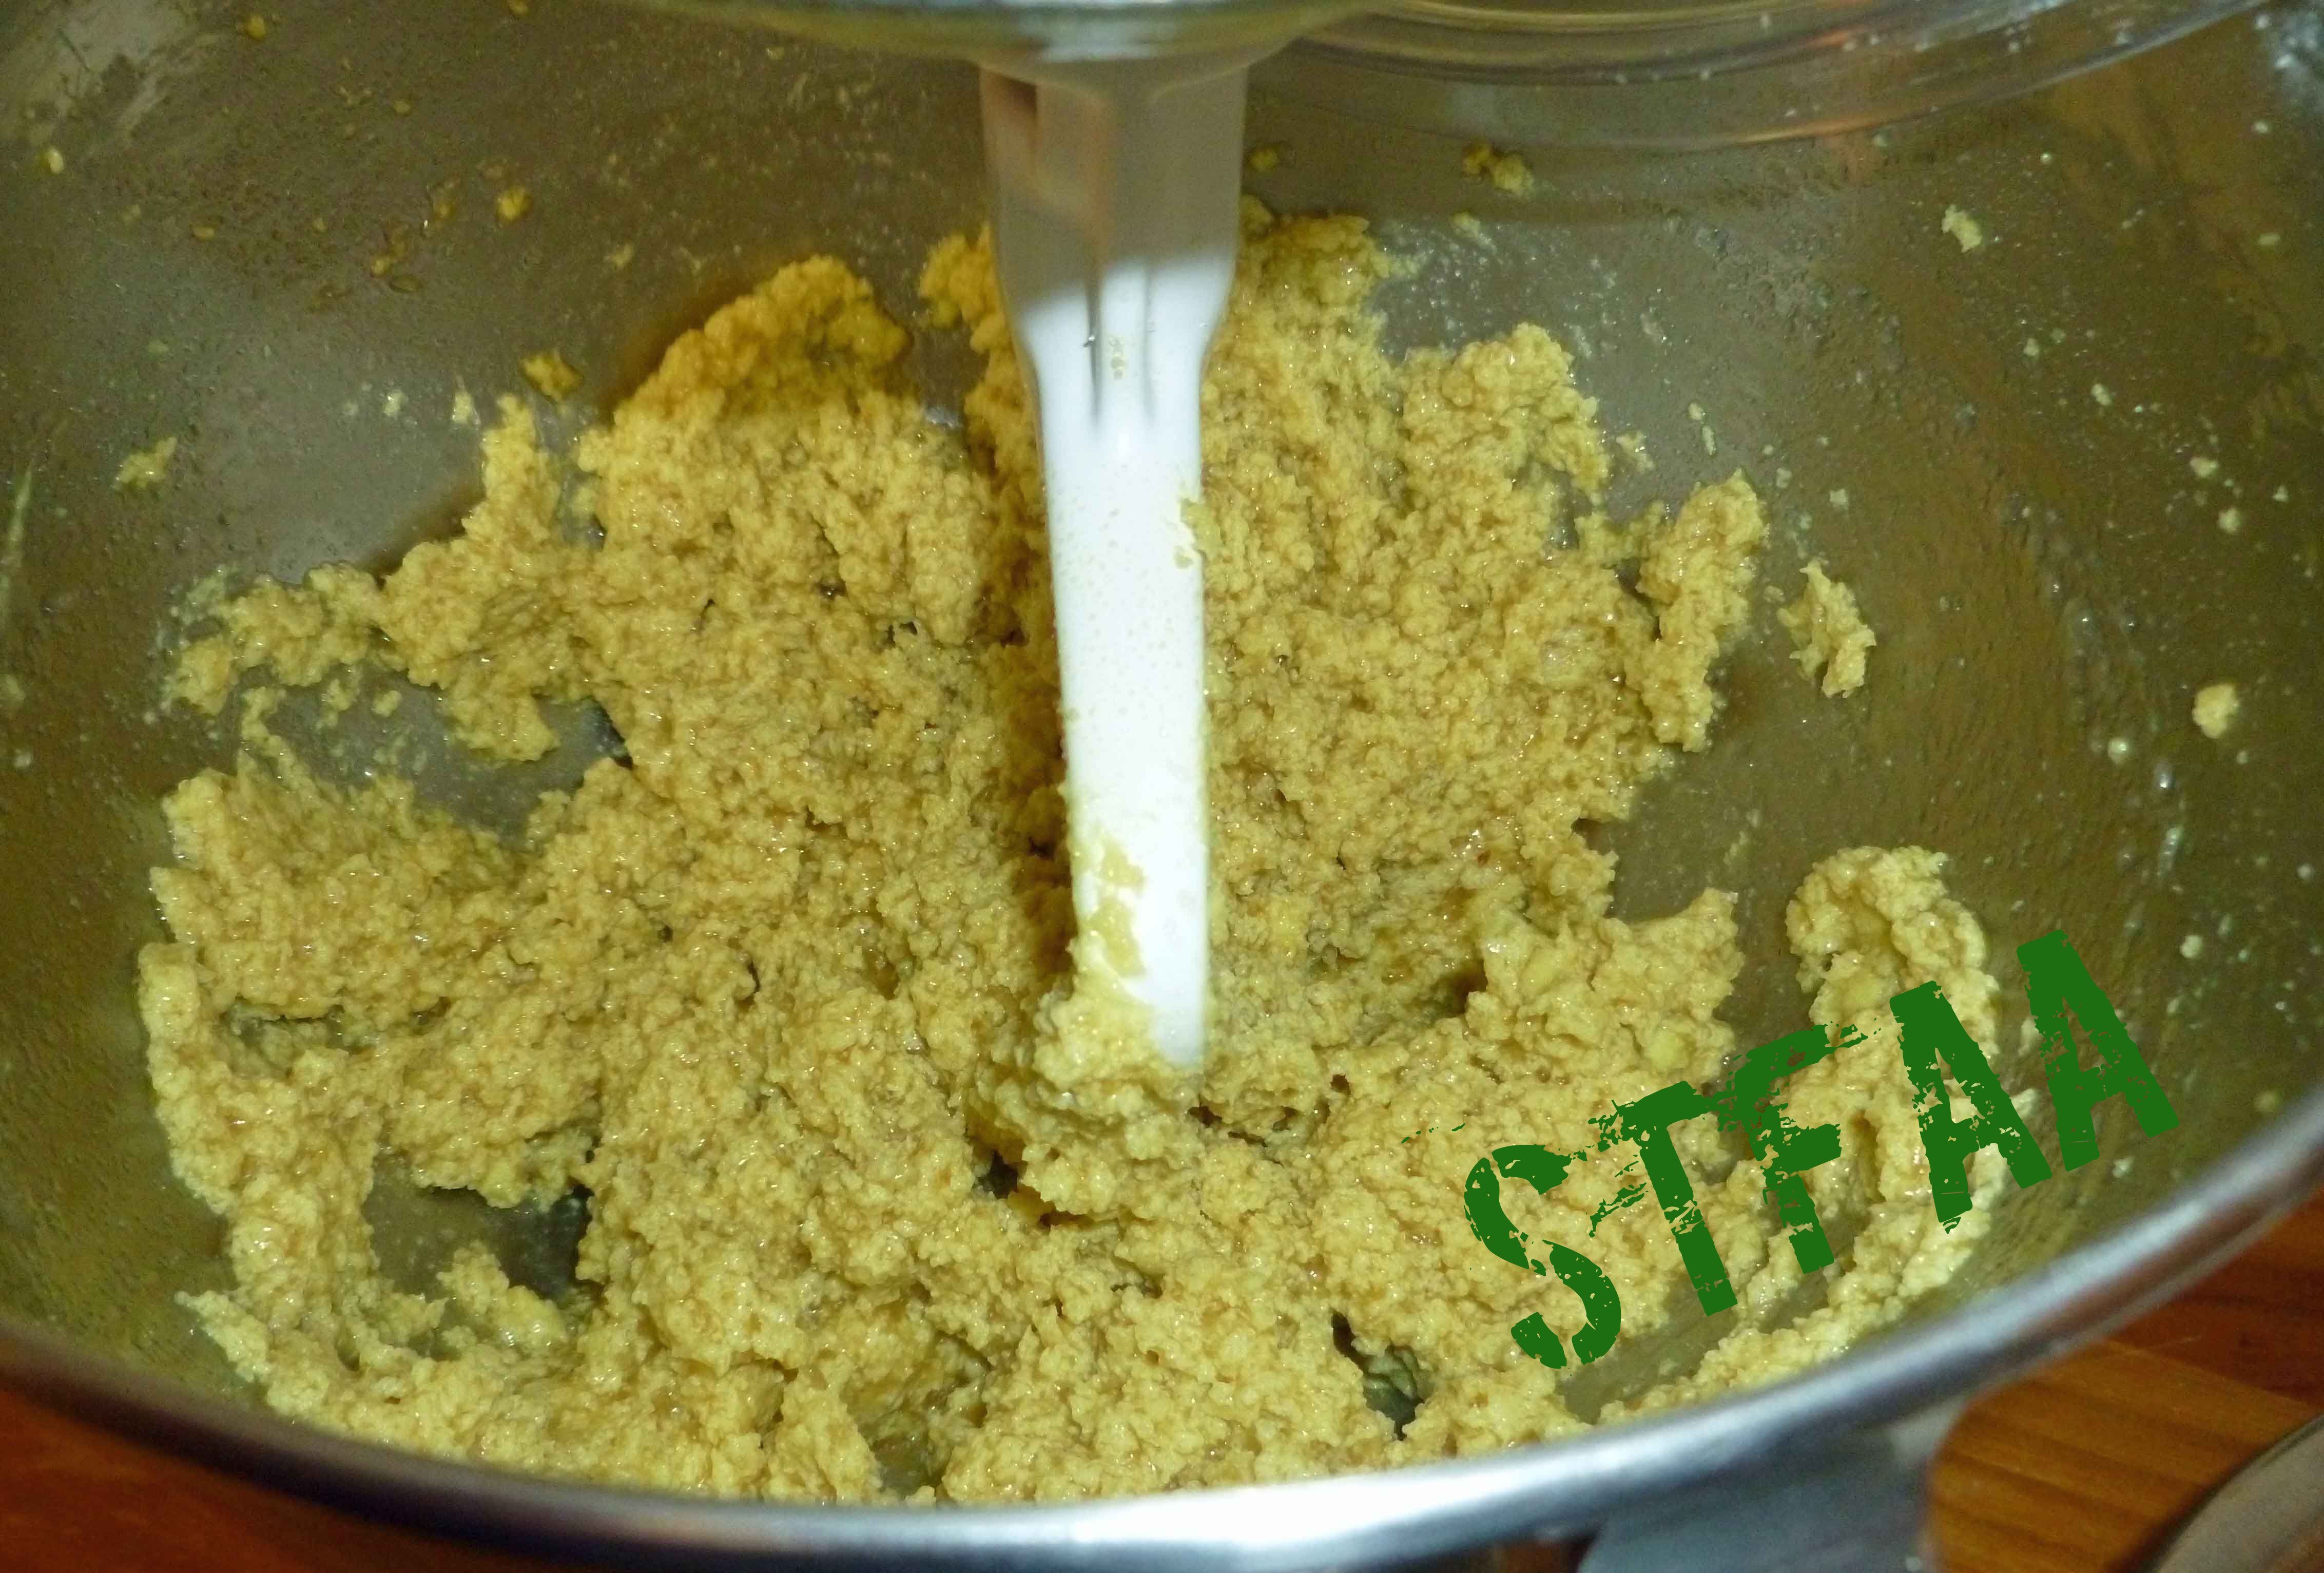
Using a stand mixer and the beater blade, cream margarine or shortening with brown sugar and white sugar until well combined. Scrape down sides and add aquafaba/psyllium/vanilla extract/water mixture to the bowl. Beat together until well combined, scraping down the sides as necessary.
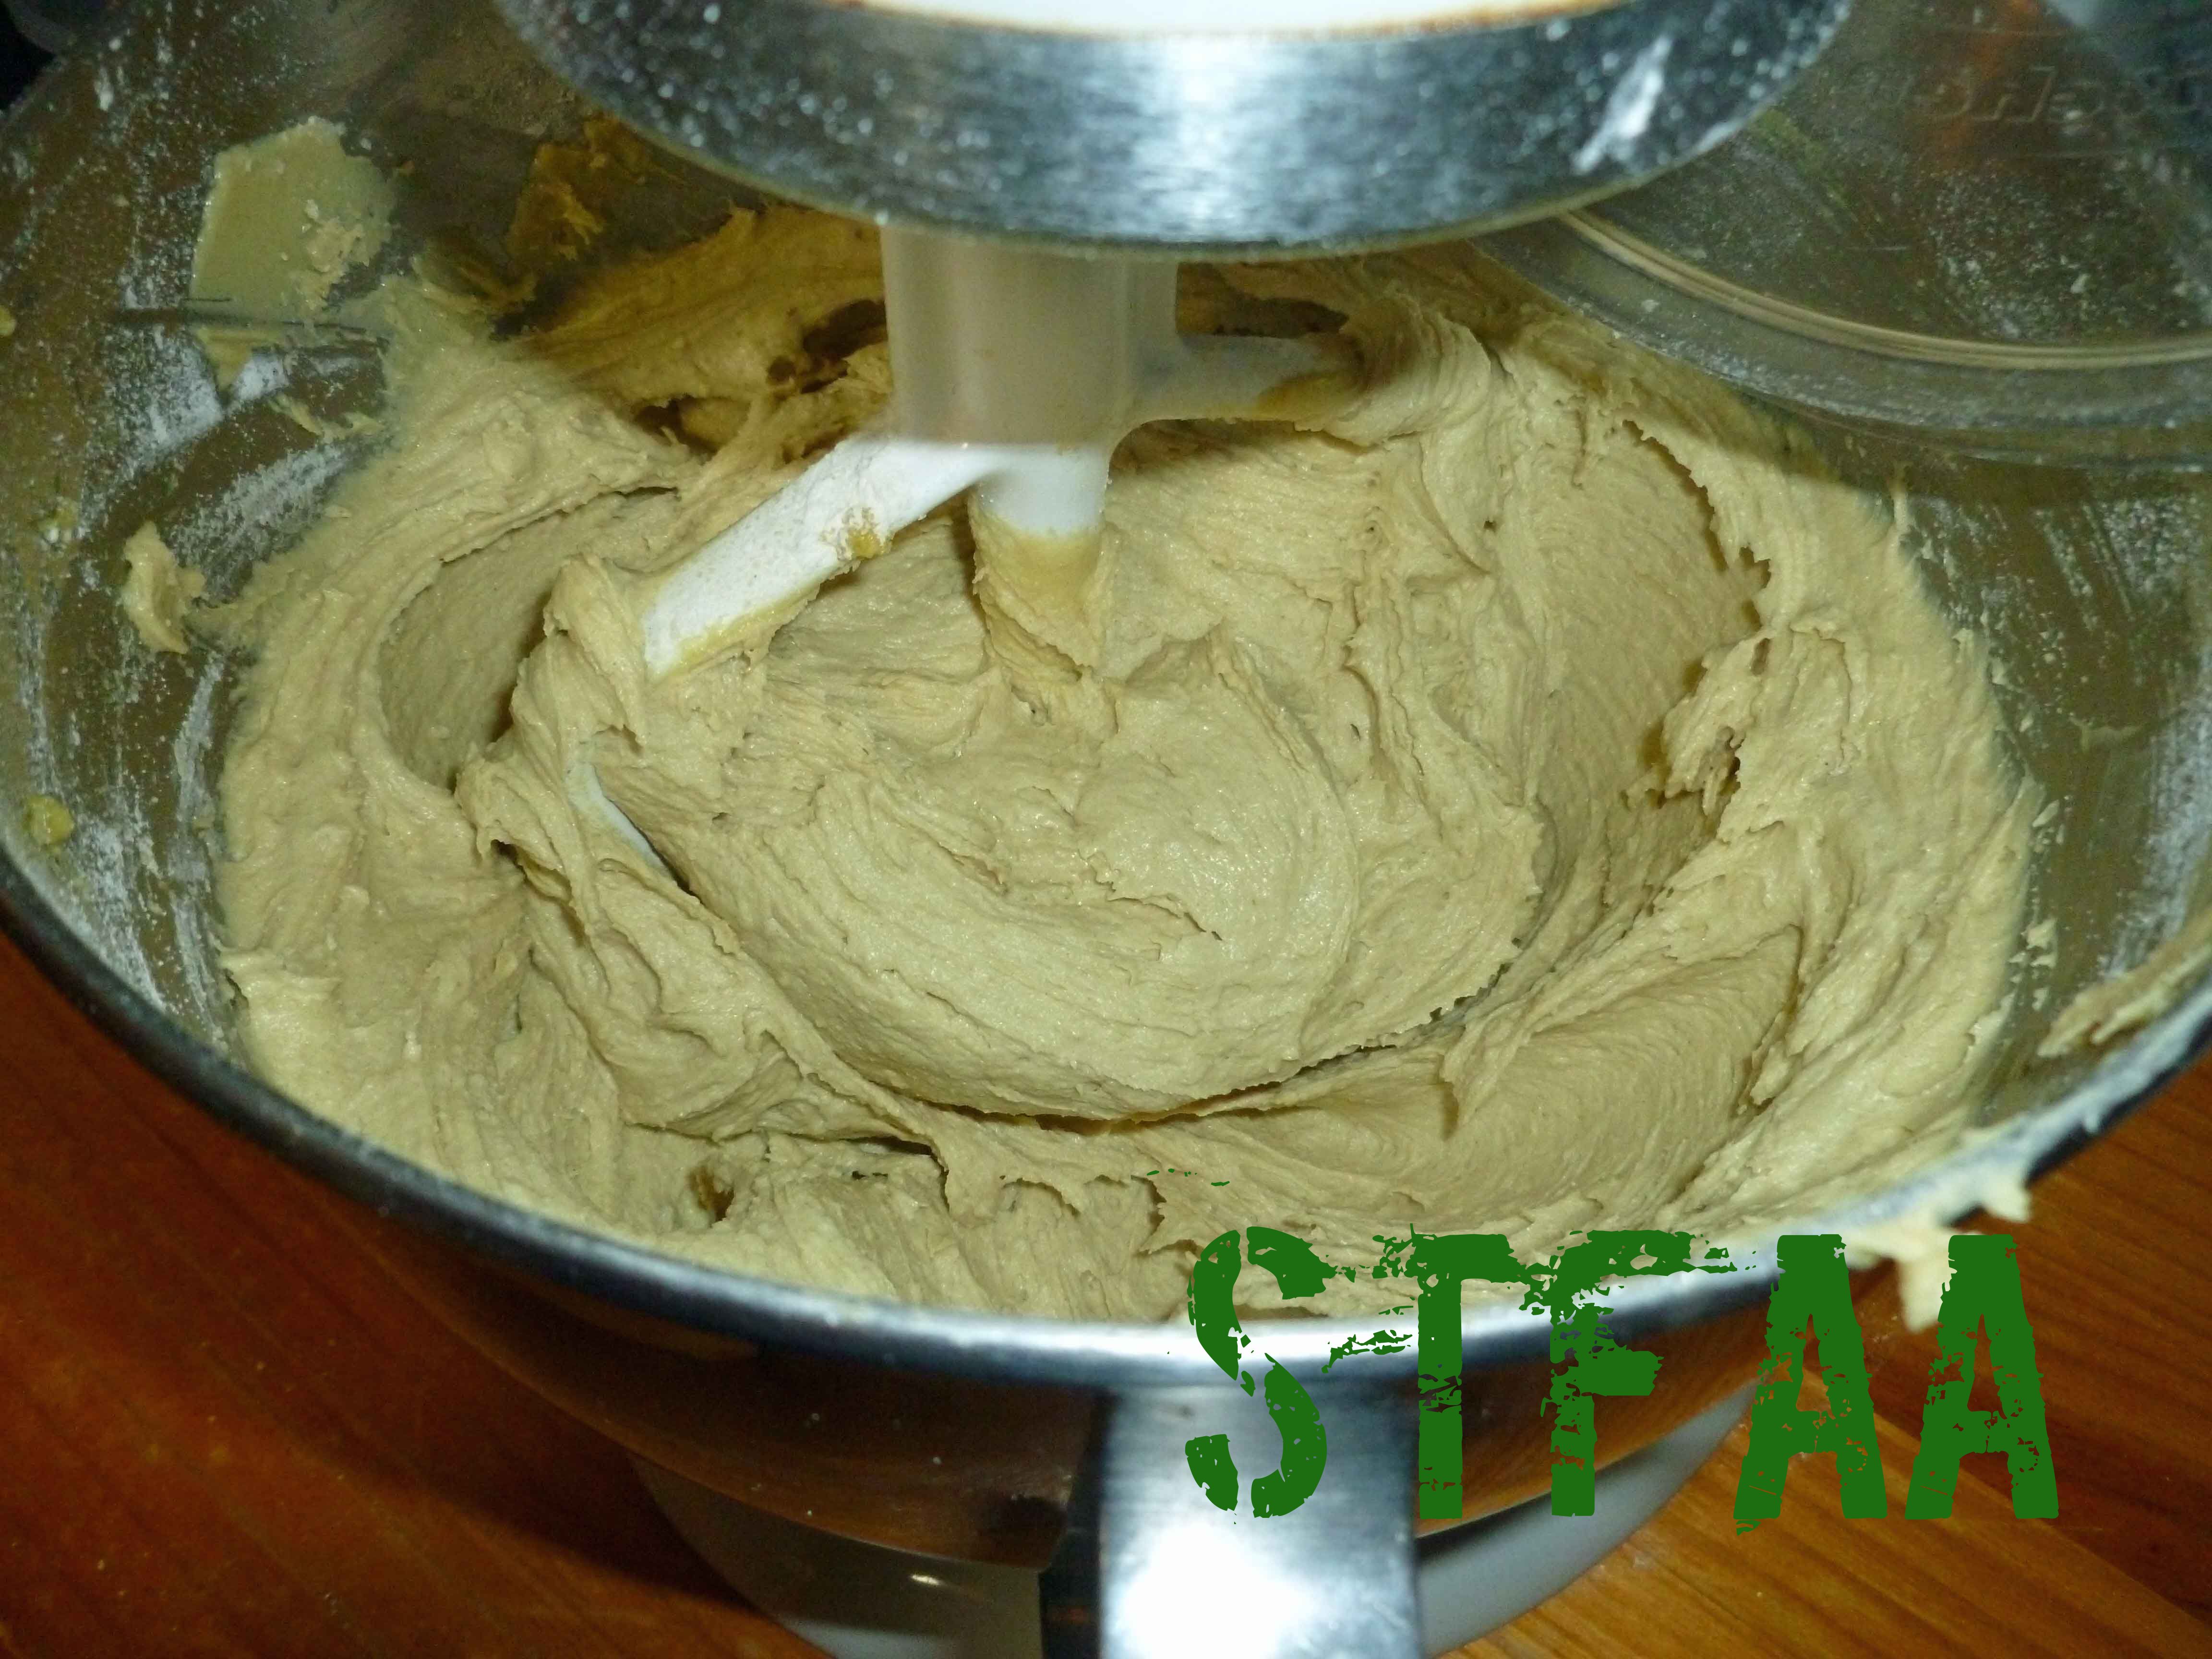
Add the flour mixture a cup or so at a time, beating it in as you go, scraping down the sides as necessary. Once all the flour is well incorporated, put the dough in your cookie press and spritz/press your cookies onto cookie sheets.
If you are baking on metal cookie sheets, bake for 15-17 minutes depending on your oven. If you are using baking stones, bake for 19-21 minutes, depending on your oven.
Let cool on cookie sheet or baking stone for two minutes before removing to cool on a rack.
Aquafaba/Psyllium mixtureHomemade Margarine and Brown and White Sugar before mixingHomemade Margarine and Sugar Mixture after beatingHomemade Margarine and Sugar Mixture, after adding Aquafaba/Psyllium MixtureSpritz or Cookie Press Cookie dough after all flour mixture has been addedSpritz or Cookie Press Cookie dough after pressed onto cookie sheets before bakingSpritz or Cookie Press Cookies after bakingSpritz or Cookie Press Cookies after bakingSpritz or Cookie Press Cookies cooling on rackSpritz or Cookie Press Cookies – Gluten-Free, Dairy-Free, and Egg-Free
Everything about winter here in Seattle screams “eat hot food with warming spices.” I thought I knew what I was getting into, weather-wise, as I lived in Oregon for three years. You know what Seattle has that Eugene, OR does not? WATER. Puget Sound and multiple lakes. From the hill we live on, we can see the mist rising off the water (and blowing up the hill at us). It is chilly in a very wet way.
Chicken thighs are cheaper and easier to cook without drying out than chicken breasts. But they can be greasy. So to get around that, these are cooked, cooled, and warmed again to allow for straining off most of the fat. This is either a good make ahead recipe (the night before) or make it in the morning and reheat it for dinner.
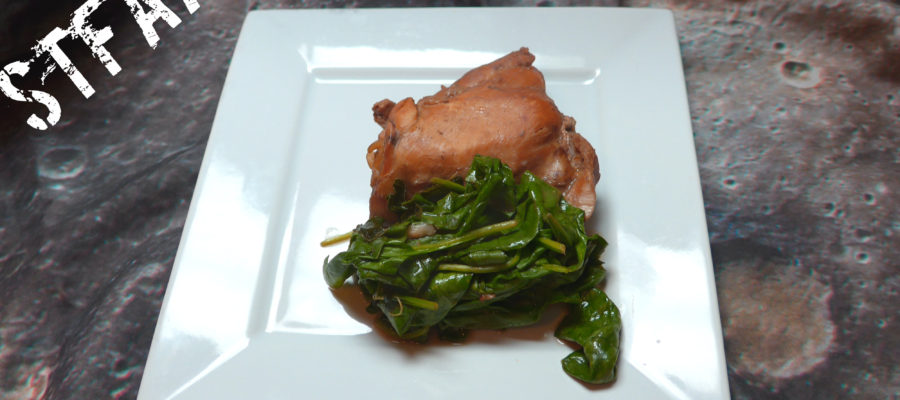
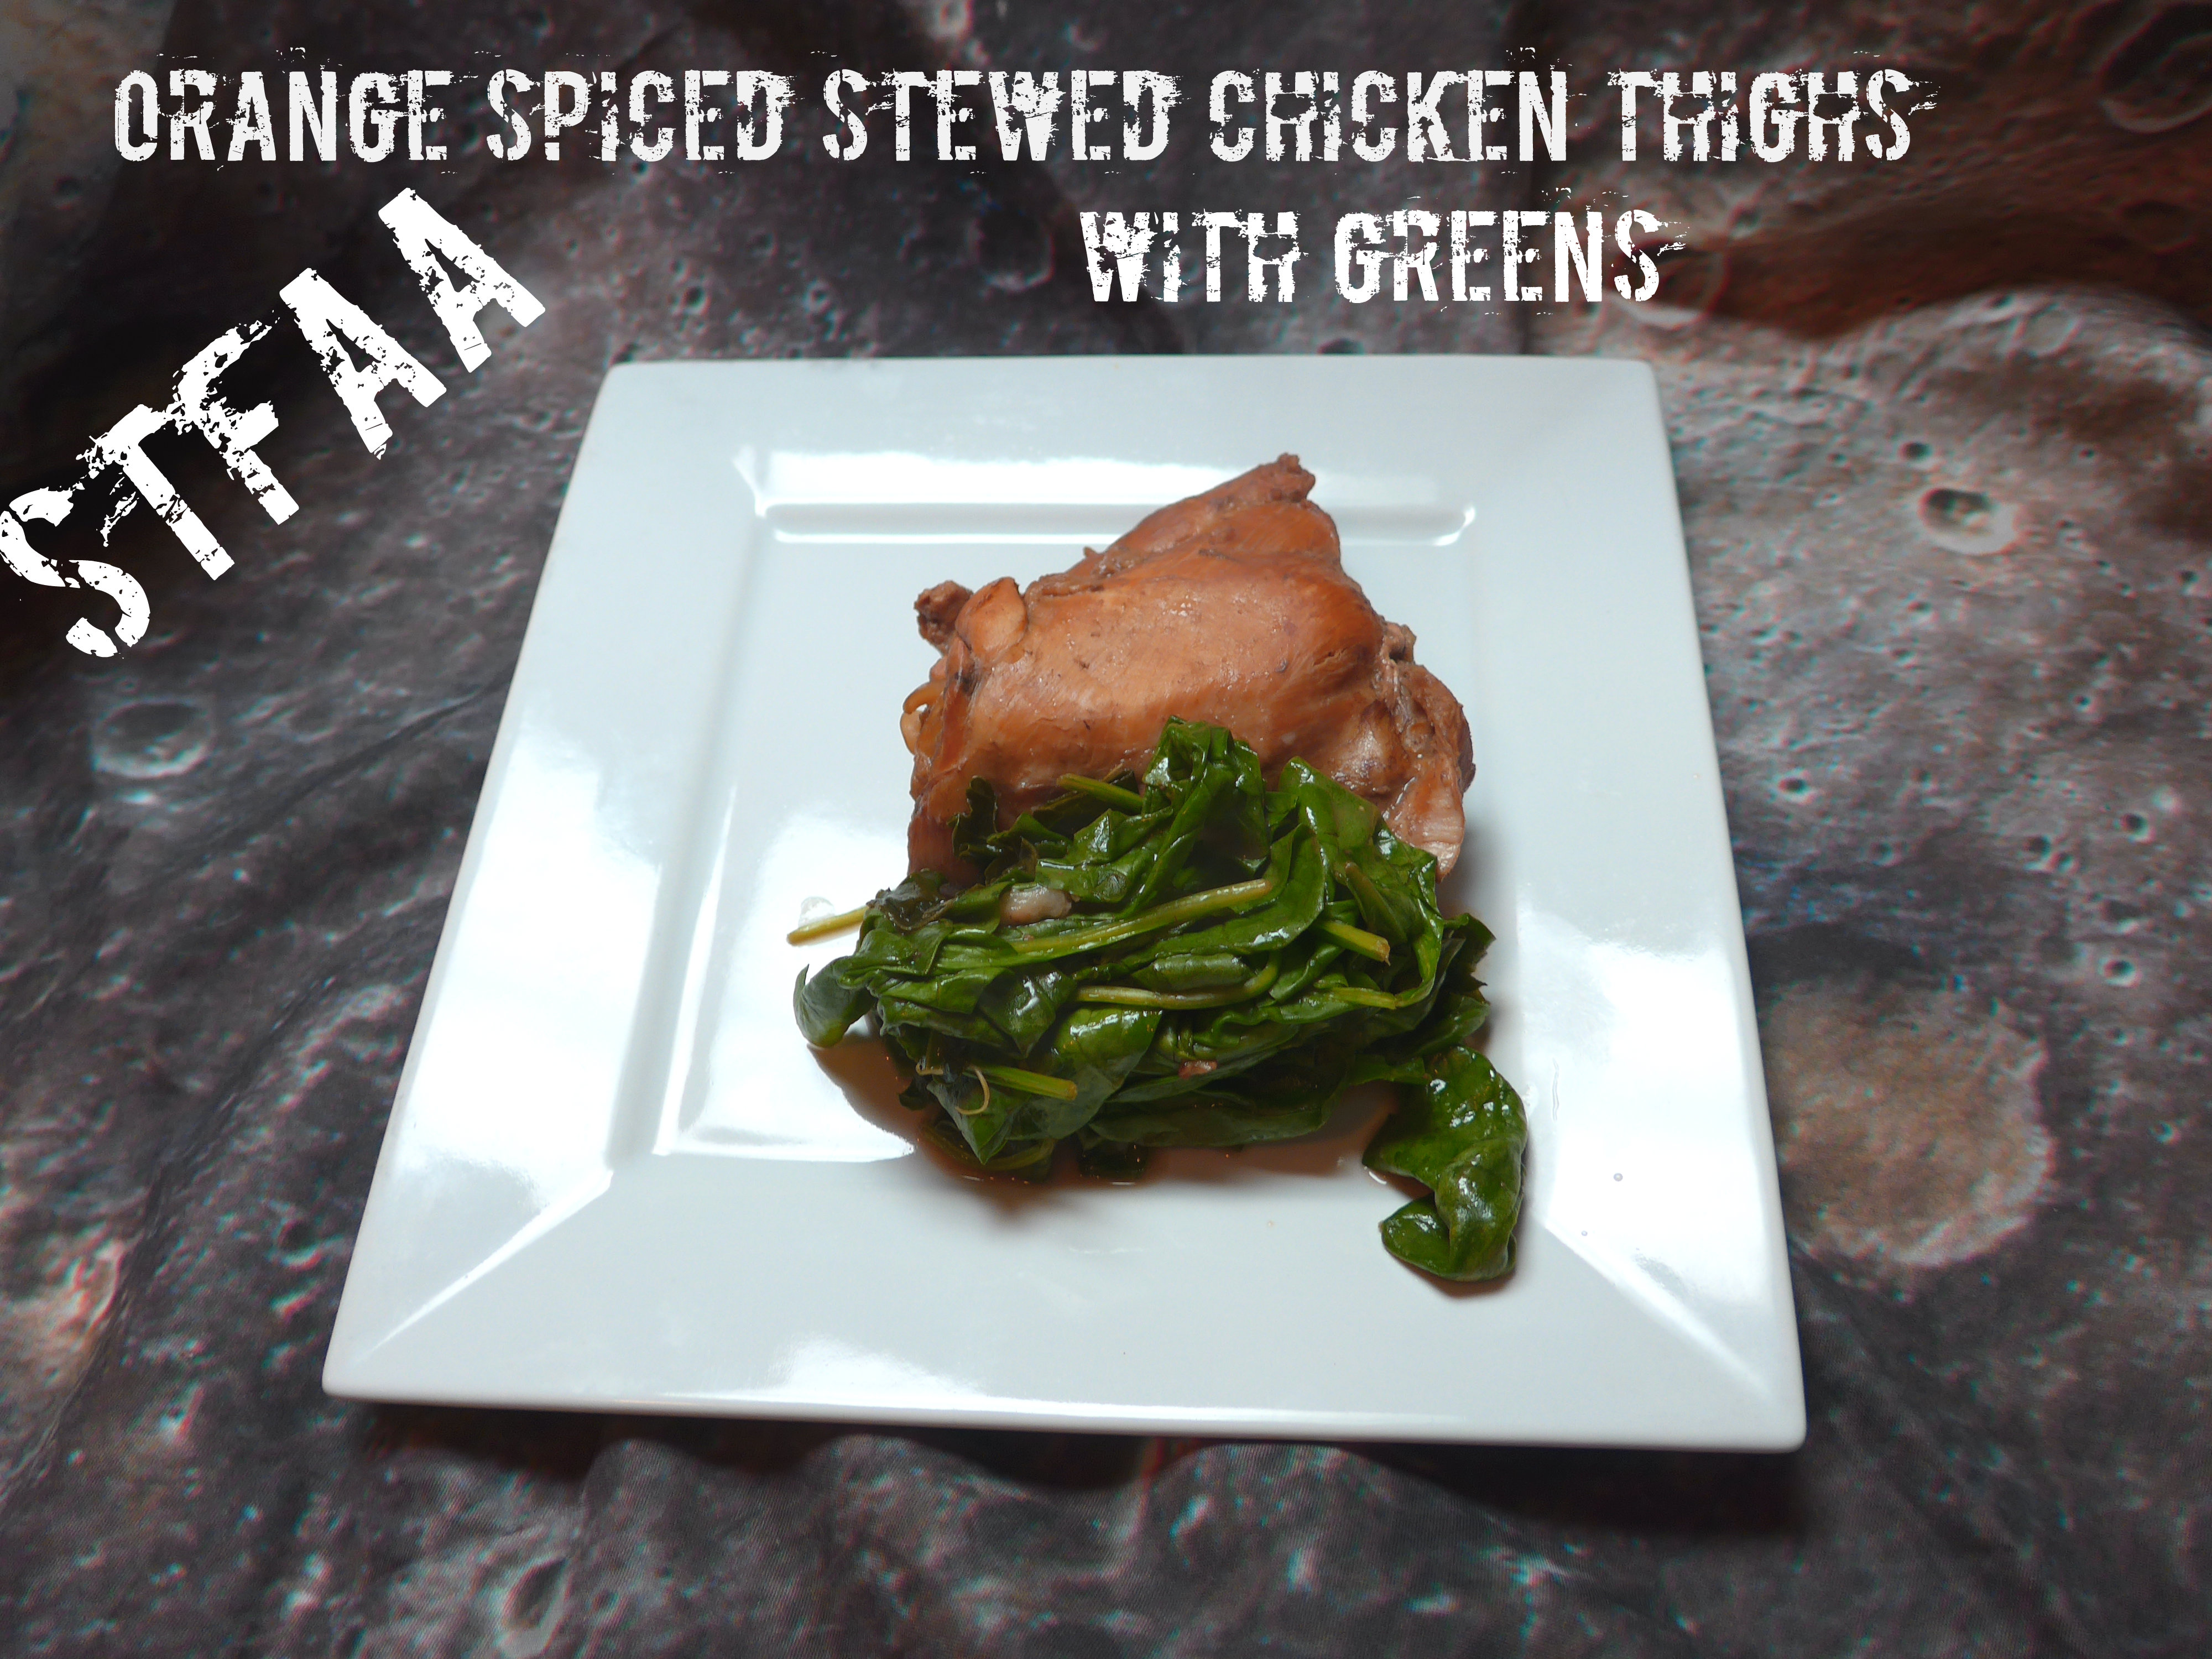
This chicken is based on wanting spice flavors and winter — and I totally understand why citrus is such a good winter flavor, as it’s great and sunny. I mixed these two up to stew chicken thighs, adding greens right at the end to absorb the flavor. I served this with a bit of dressing I’m working on, and I think mashed parsnips would also be a great side. It made for an easy Sunday dinner to start the week off warmly.
Notice: Trying to access array offset on value of type bool in /home/maryzahc/public_html/adultfoodallergies.com/wp-content/plugins/wp-ultimate-recipe/helpers/models/recipe.php on line 254
Orange Spiced Stewed Chicken Thighs
Print Recipe
This stewed chicken recipe does call for cooking, cooling, and then reheating the meat and sauce after straining or skimming off the fat. Plan accordingly.
This stewed chicken recipe does call for cooking, cooling, and then reheating the meat and sauce after straining or skimming off the fat. Plan accordingly.
1wholestar anise(or enough pieces to approximate 1)
1teaspoonwhole peppercorns
3wholecloves
3whole cardamom pods
2bagsblack tea
1cuporange juice
2poundschicken thighsbone in, skin off
freshly ground pepperto taste
2cupsmixed cooking greensroughly chopped
Servings: people
Instructions
Add water and whole spices to a large pot. Bring to a boil, then add tea bags, turn off heat, and cover. Steep 15 minutes.
Remove tea bags and whole spices. Add orange juice, bring to a boil.
Add chicken thighs, and bring again to a boil. Reduce heat to a simmer. If liquid covers the chicken only part way (likely), cook 15 minutes, covered, then flip chicken and cook for another 15 minutes, covered. Cook a final 15 minutes, uncovered.
Now remove the chicken from the juice and cool all of it for at least a few hours or overnight. This will allow you to remove the excess fat from the cooking liquid. Skim or strain it out.
Bring the cooking liquid back to a boil and then add the chicken thighs. Turning the heat down, simmer for about 15 minutes.
Add the greens (I used spinach and kale here) and cook until the greens are wilted — this will depend on your greens, but 5-15 minutes is a good guess for anything short of collard greens (don’t use collards — they require a different cooking method). Spinach, kale, and chard are all good options.
Okay, so remember when I made a bunch of ham on the outside, but roast pork on the inside, roasts in an attempt to make ham? And I gave up and made Cure Your Own Ham Steaks? I found this post on Pelletsmoking.com that has a Ham Brining 101 post that finally helped me wet cure a whole ham that’s ham all the way through. I can make a whole ham for the holidays again!
Pelletsmoking.com uses commercial curing salt in its recipe, but all commercial curing salt is dyed pink for safety and contains dextrose which is generally derived from corn. As I discussed in my Cure Your Own Pastrami post, I ended up having to make my own. If you’re not allergic to corn, use the commercial stuff. If you are allergic to corn, make your own below, but be aware you’re messing with dangerous stuff and do it exactly as I describe below, so you don’t poison yourself.
Making Curing Salt:
To make Curing Salt #1, or Prague Mix #1, or Instacure #1, you need a scale, with a digital readout going out two places. You need to be absolutely precise. The mixture must be 6.25% sodium nitrite (I got mine on Amazon, make sure it’s food grade) and 93.75% salt. To make 4 ounces of Curing Salt #1, you need to weigh out 0.25 ounces of sodium nitrite making sure you tare out or zero out your container, and 3.68 ounces of salt (I used Diamond Crystal Fine All Natural Sea Salt, again no affiliation with Amazon). Mix these together well, and store in a container that’s very clearly marked so that there is no confusion as to what it is. Do not ask me for cups or teaspoon equivalents because I will not do it. This needs to be mixed as exactly as described, you cannot wing it or approximate. I cannot emphasize this enough, the proportions must be exactly as described here to be safe.
Curing Salt #1
Once you’ve made your Curing Salt #1, it’s time to make the ham!
Cure Your Own Whole Ham
Brining the Ham:
Fresh Picnic Pork Shoulder or Bston Butt, 8-10 pounds
1 1/2 gallons of distilled or filtered water
1 cup and 2 Tablespoons of kosher salt or sea salt
2 cups of brown sugar, packed firmly
3 tablespoons Curing Salt #1
marinade injector
Rub Ingredients:
4 tablespoons brown sugar, packed firmly
1/4 teaspoon of ground nutmeg
20 or so whole cloves
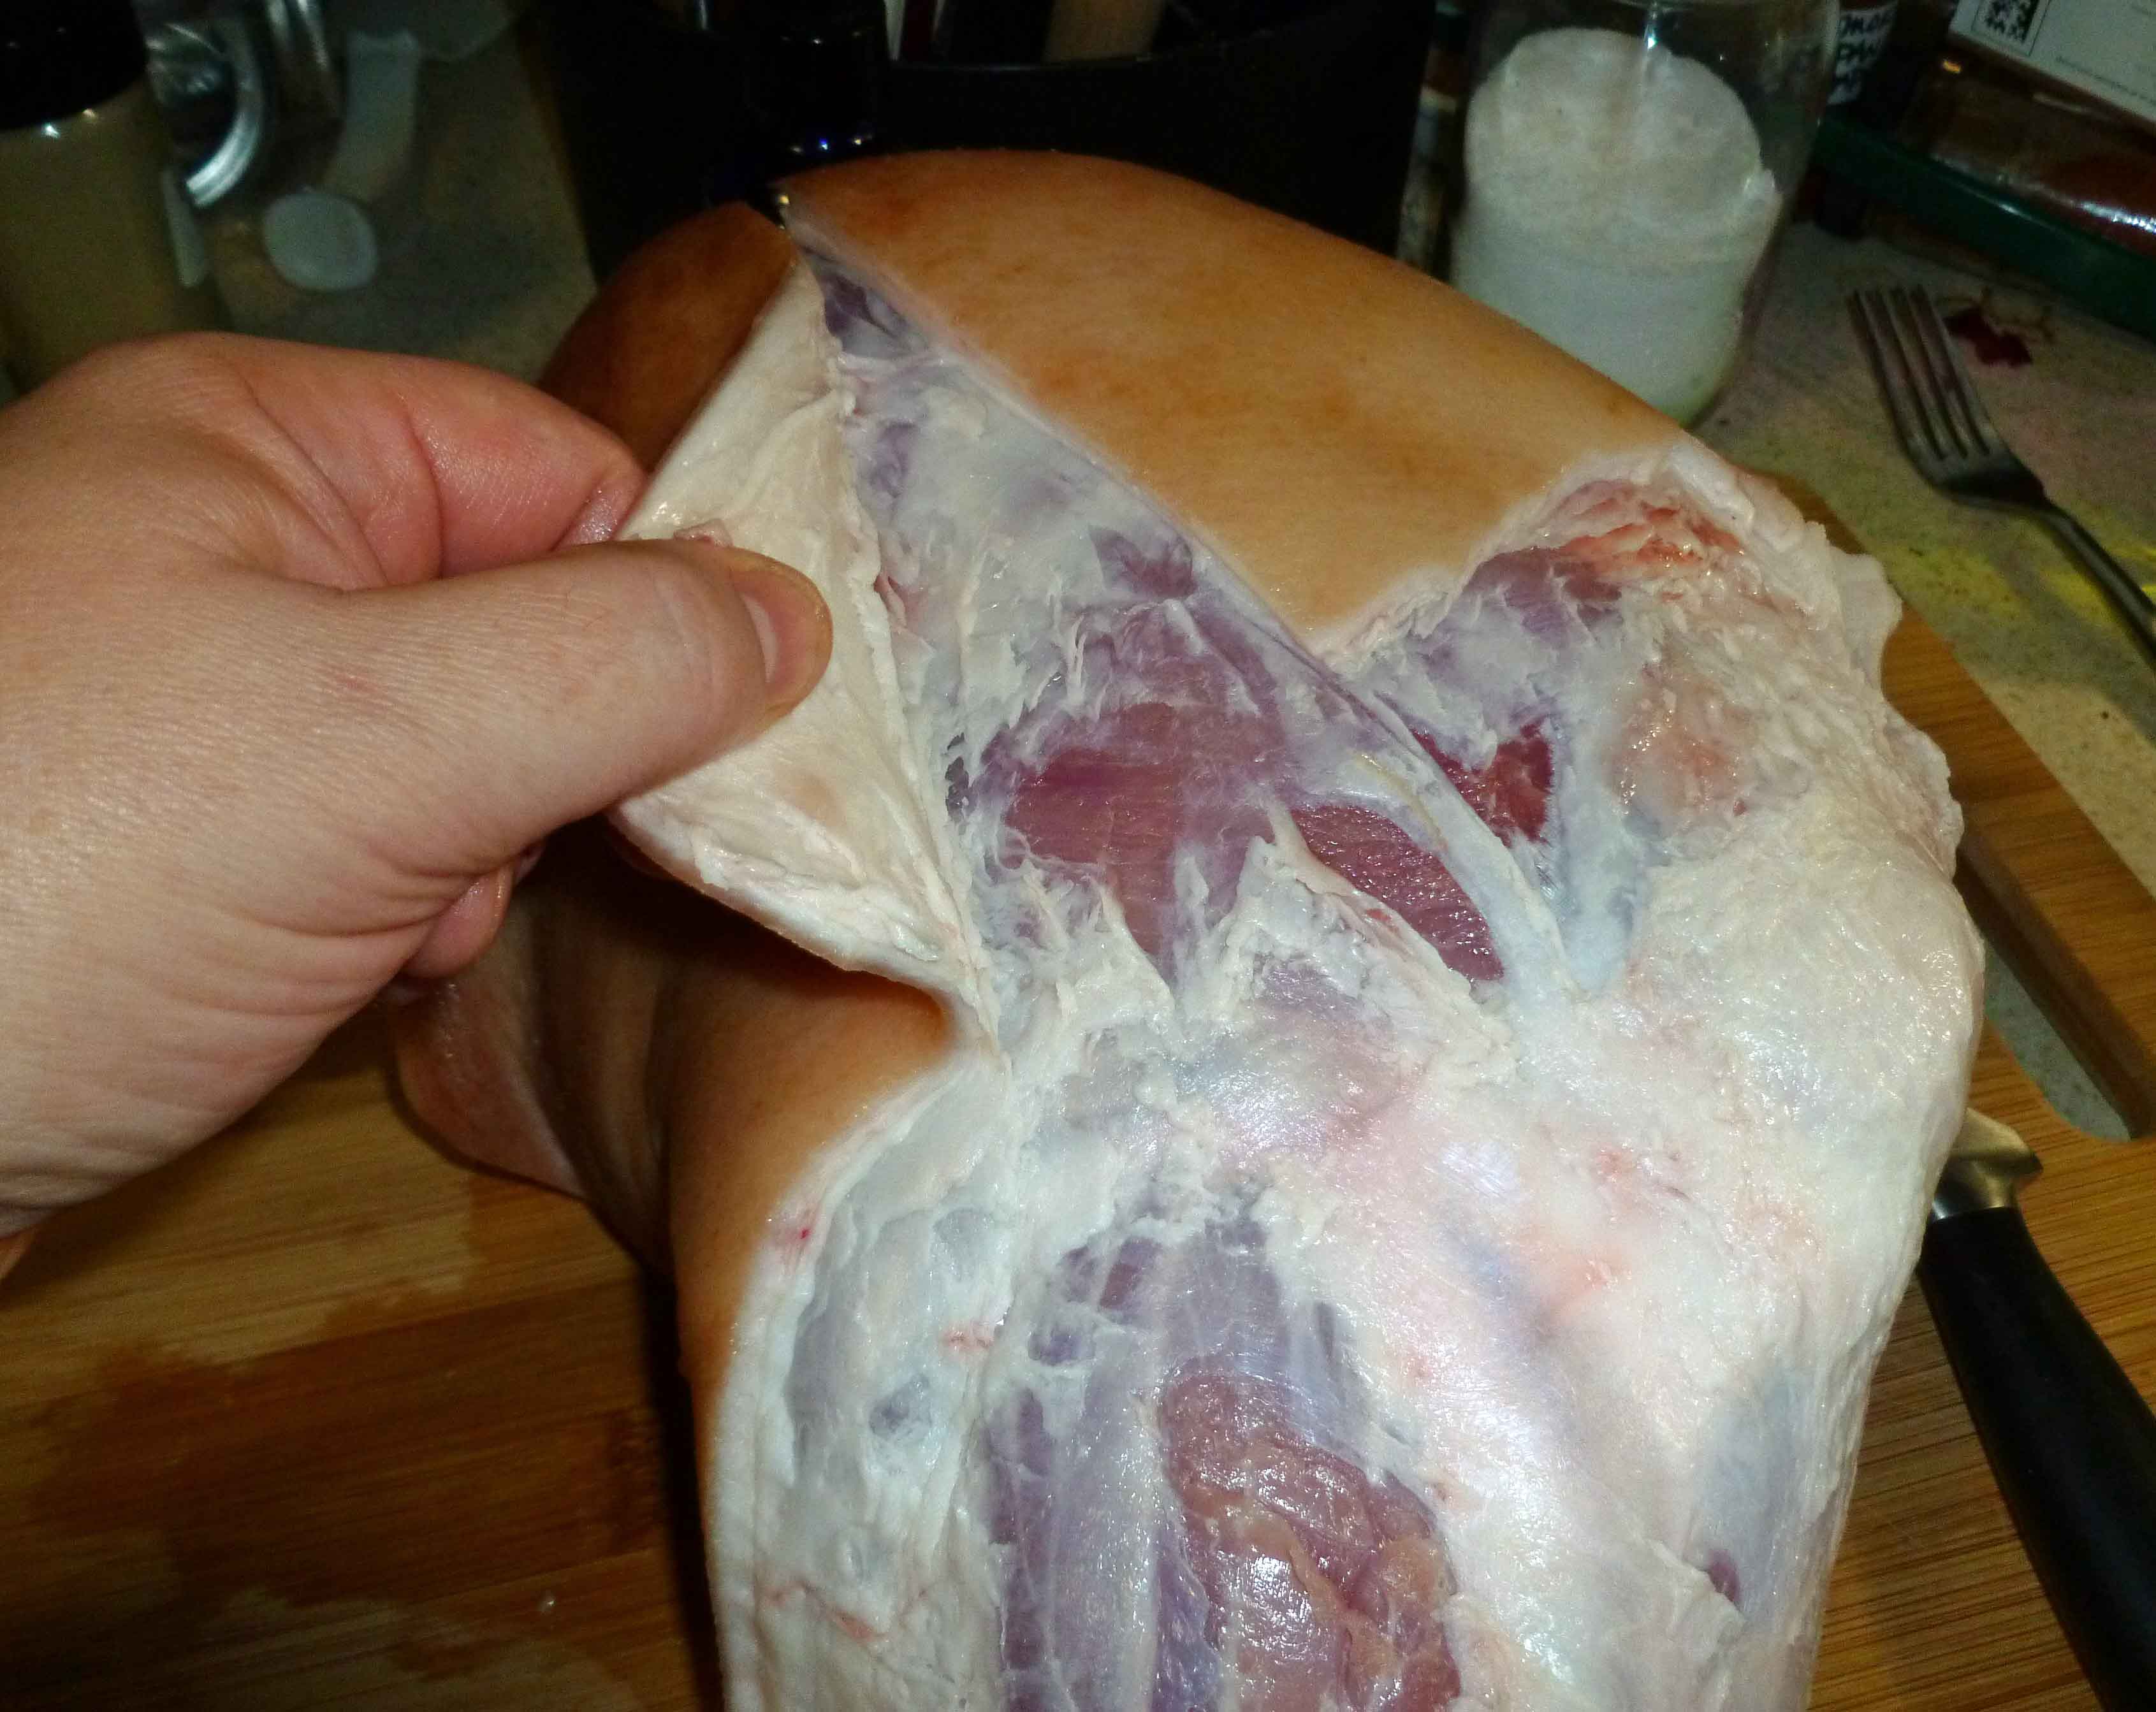
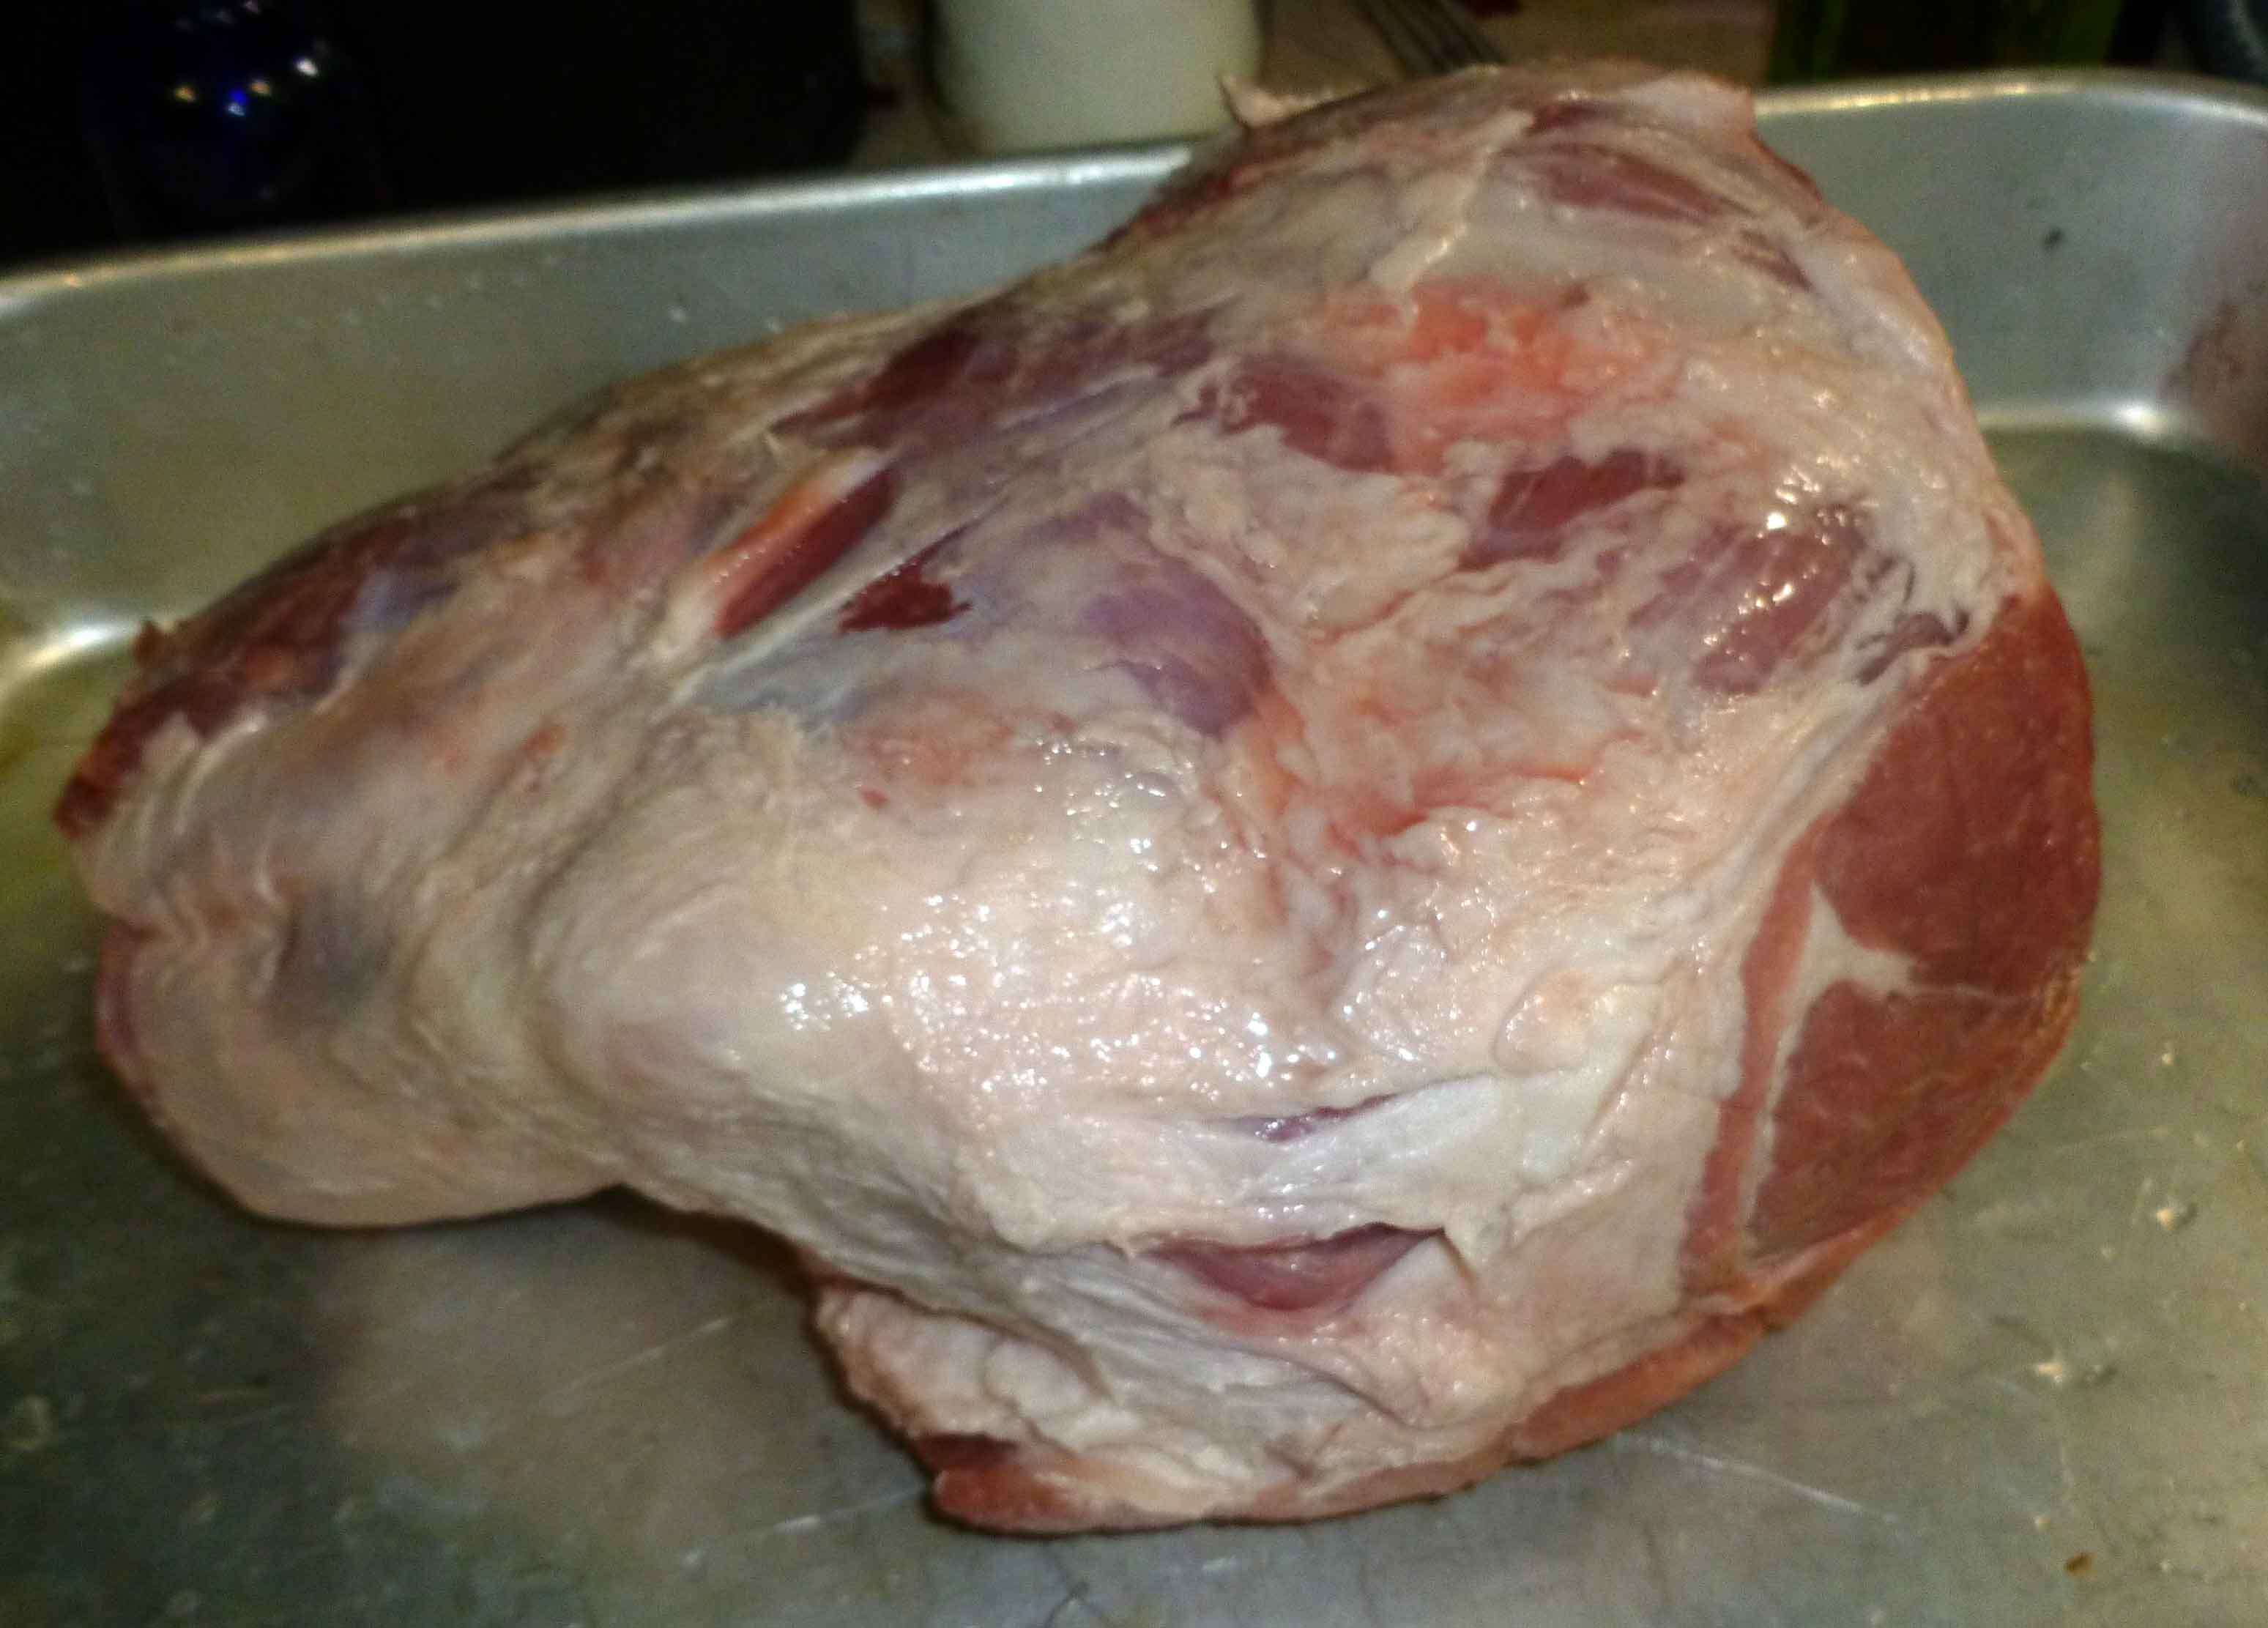
To prepare the pork shoulder for brining, the skin and some of the fat should be removed. Use a boning knife to trim the skin from the shoulder.
Trimming the skin and fat from the pork shoulderPork shoulder after skin and fat has been trimmed
Mix your water, salt, brown sugar and curing salt together in a container large enough to submerge your pork shoulder completely under the surface. I frequent restaurant supply stores and use 12 quart Cambro food storage containers (again, no affiliation with Amazon). Mix all ingredients until they have dissolved completely to form your brine.
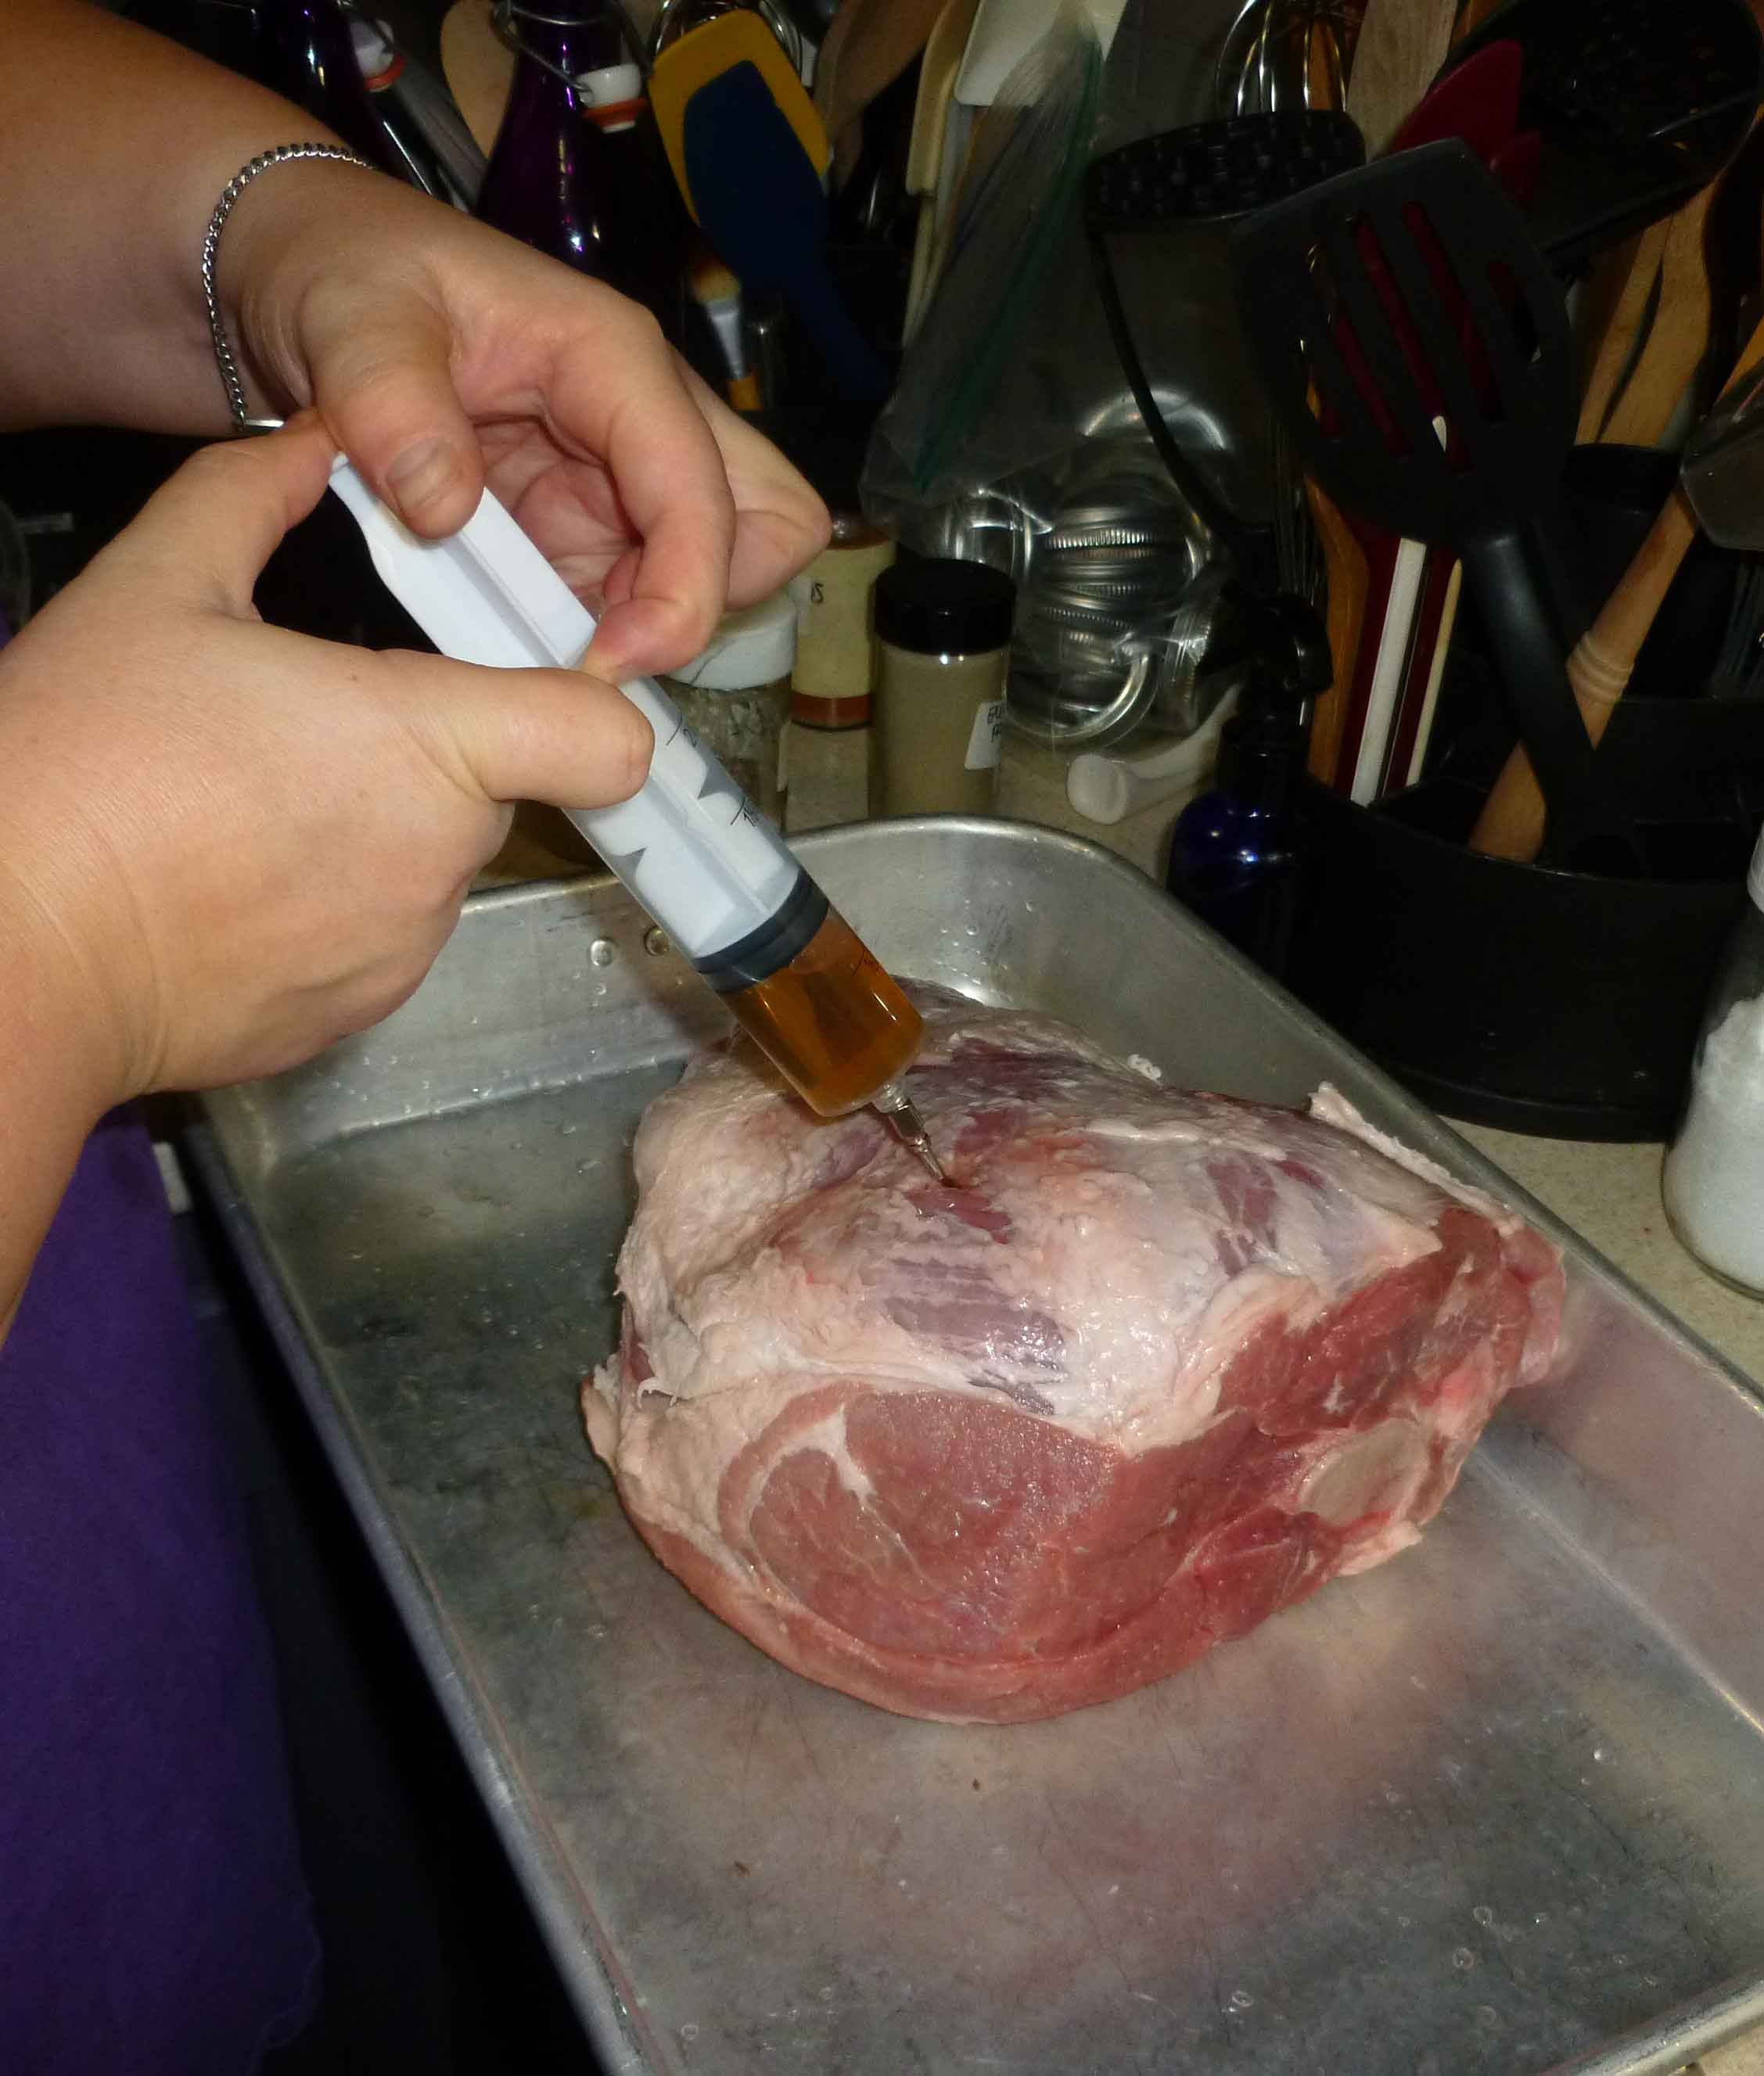
Measure out 32 ounces of the brine into a separate container. This is going to be injected into the pork. Place your pork into a container or roasting pan that will hold any brine run off. Use your marinade injector to inject the entire 32 ounces of brine into the pork, injecting evenly across and on both sides. Make sure that you inject thoroughly around the bones if you have them, to prevent bone souring. Also, if a some of the brine seeps out, that’s okay, but if it’s a lot, collect it and re-inject it.
Brine being injected into the pork
After injecting the pork with your brine, submerge the pork in your large container with the brine, using a heavy plate to weigh it down if necessary. Cover the container and place in a 37°- 40°F refrigerator to cure for 4-7 days. Turn the ham over halfway through the curing process.
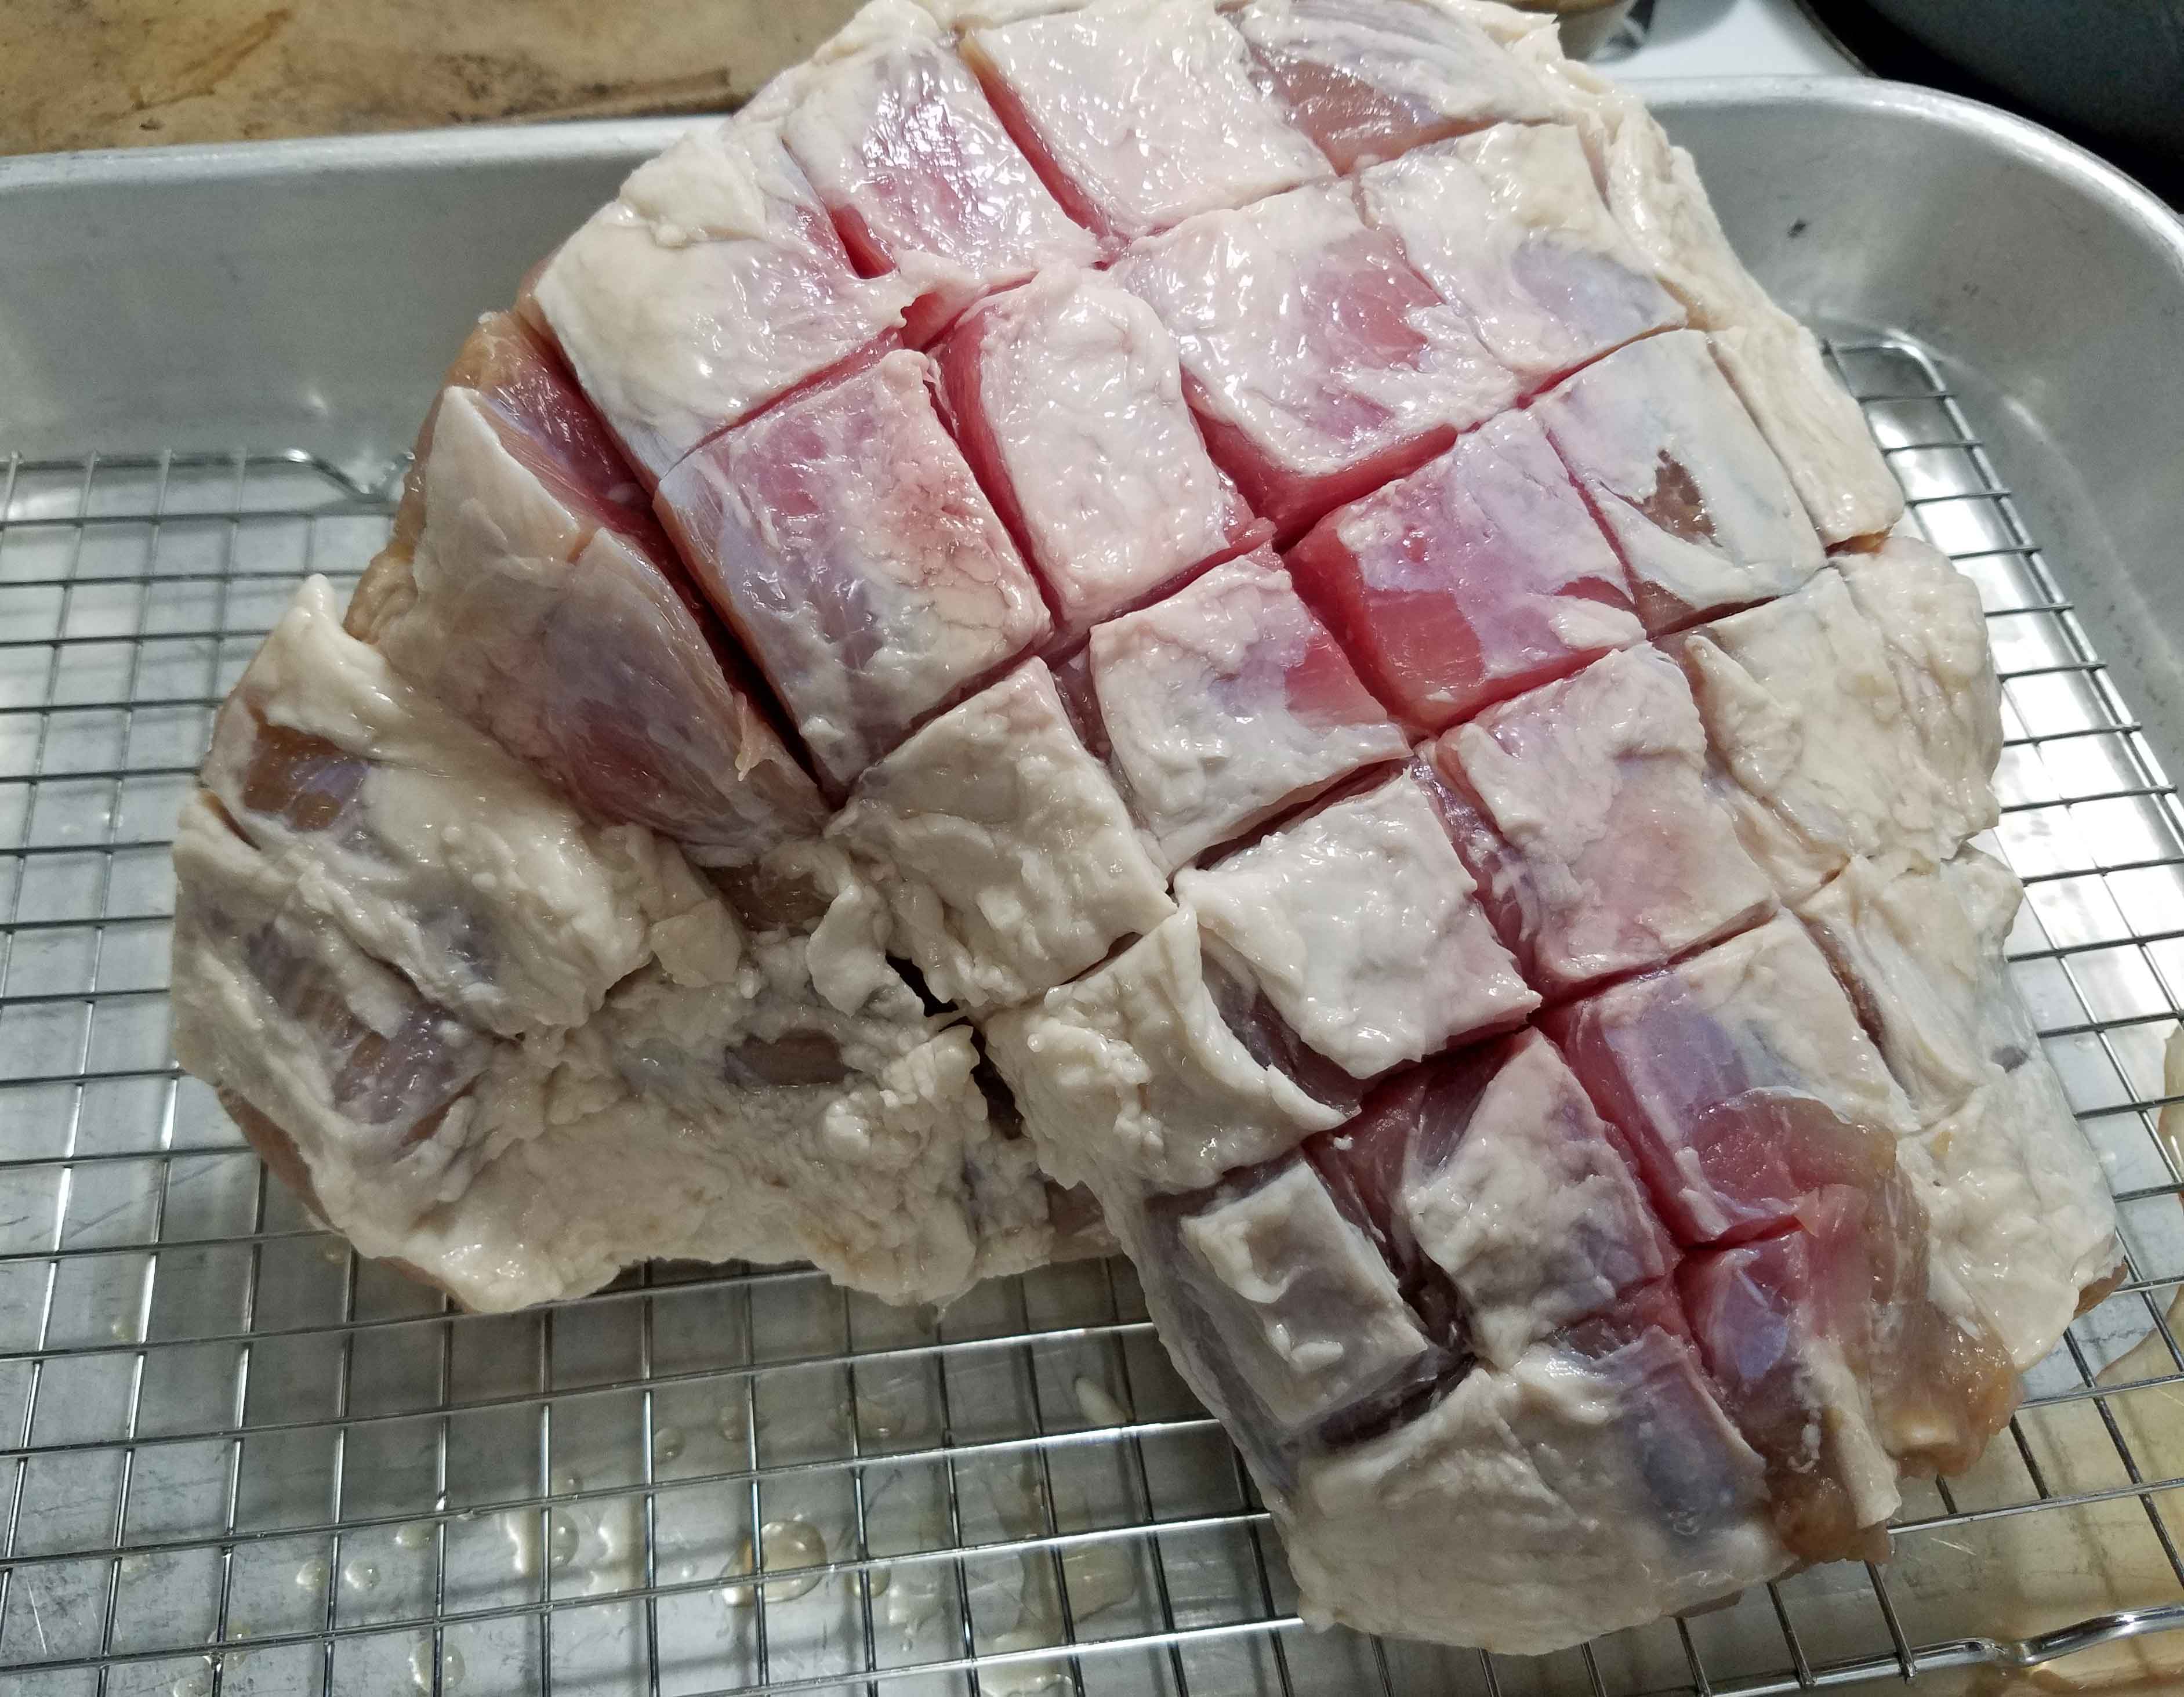
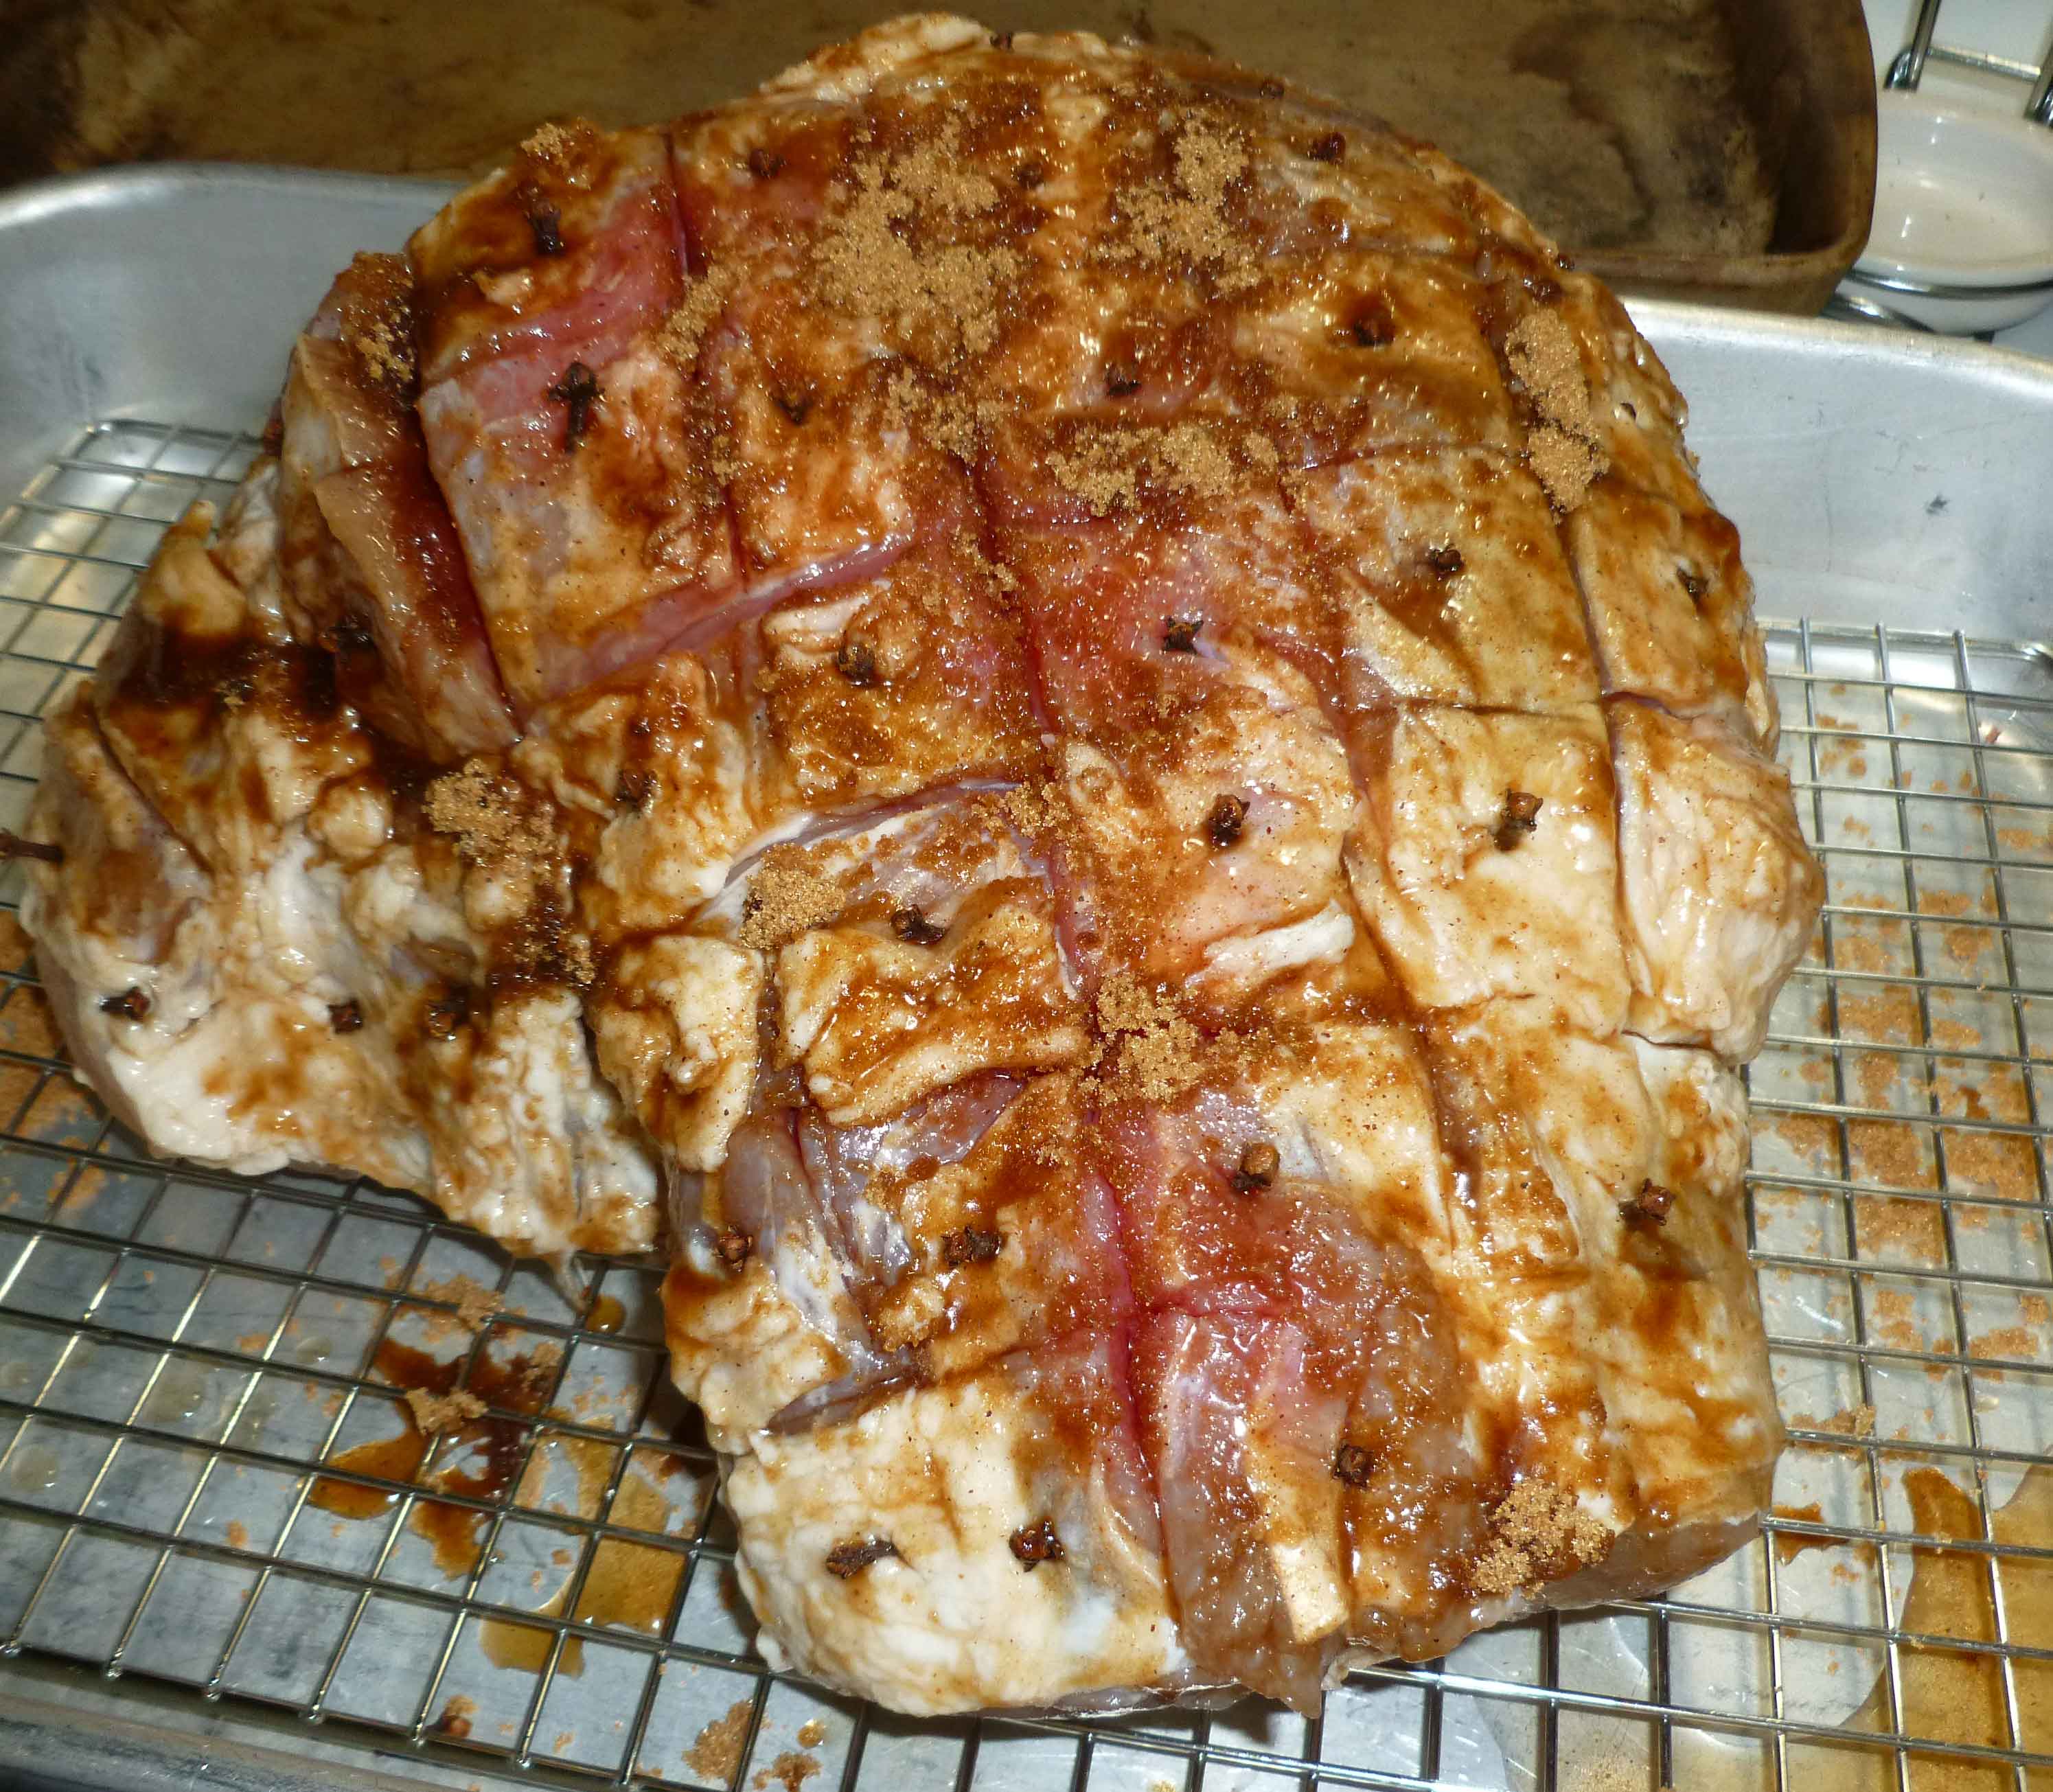
After you’ve completed brining the pork, take the ham out of the brine and place it in a roasting pan. Score the shoulder in a grid pattern with your knife. This is decorative but it gives a good outline for where to place your cloves.
Ham scored
Mix the brown sugar and nutmeg listed in your rub ingredients together in a small bowl. Cover the surface of the ham with your rub. Then insert a clove in each scored square in the ham.
Ham after rub and cloves inserted before cooking
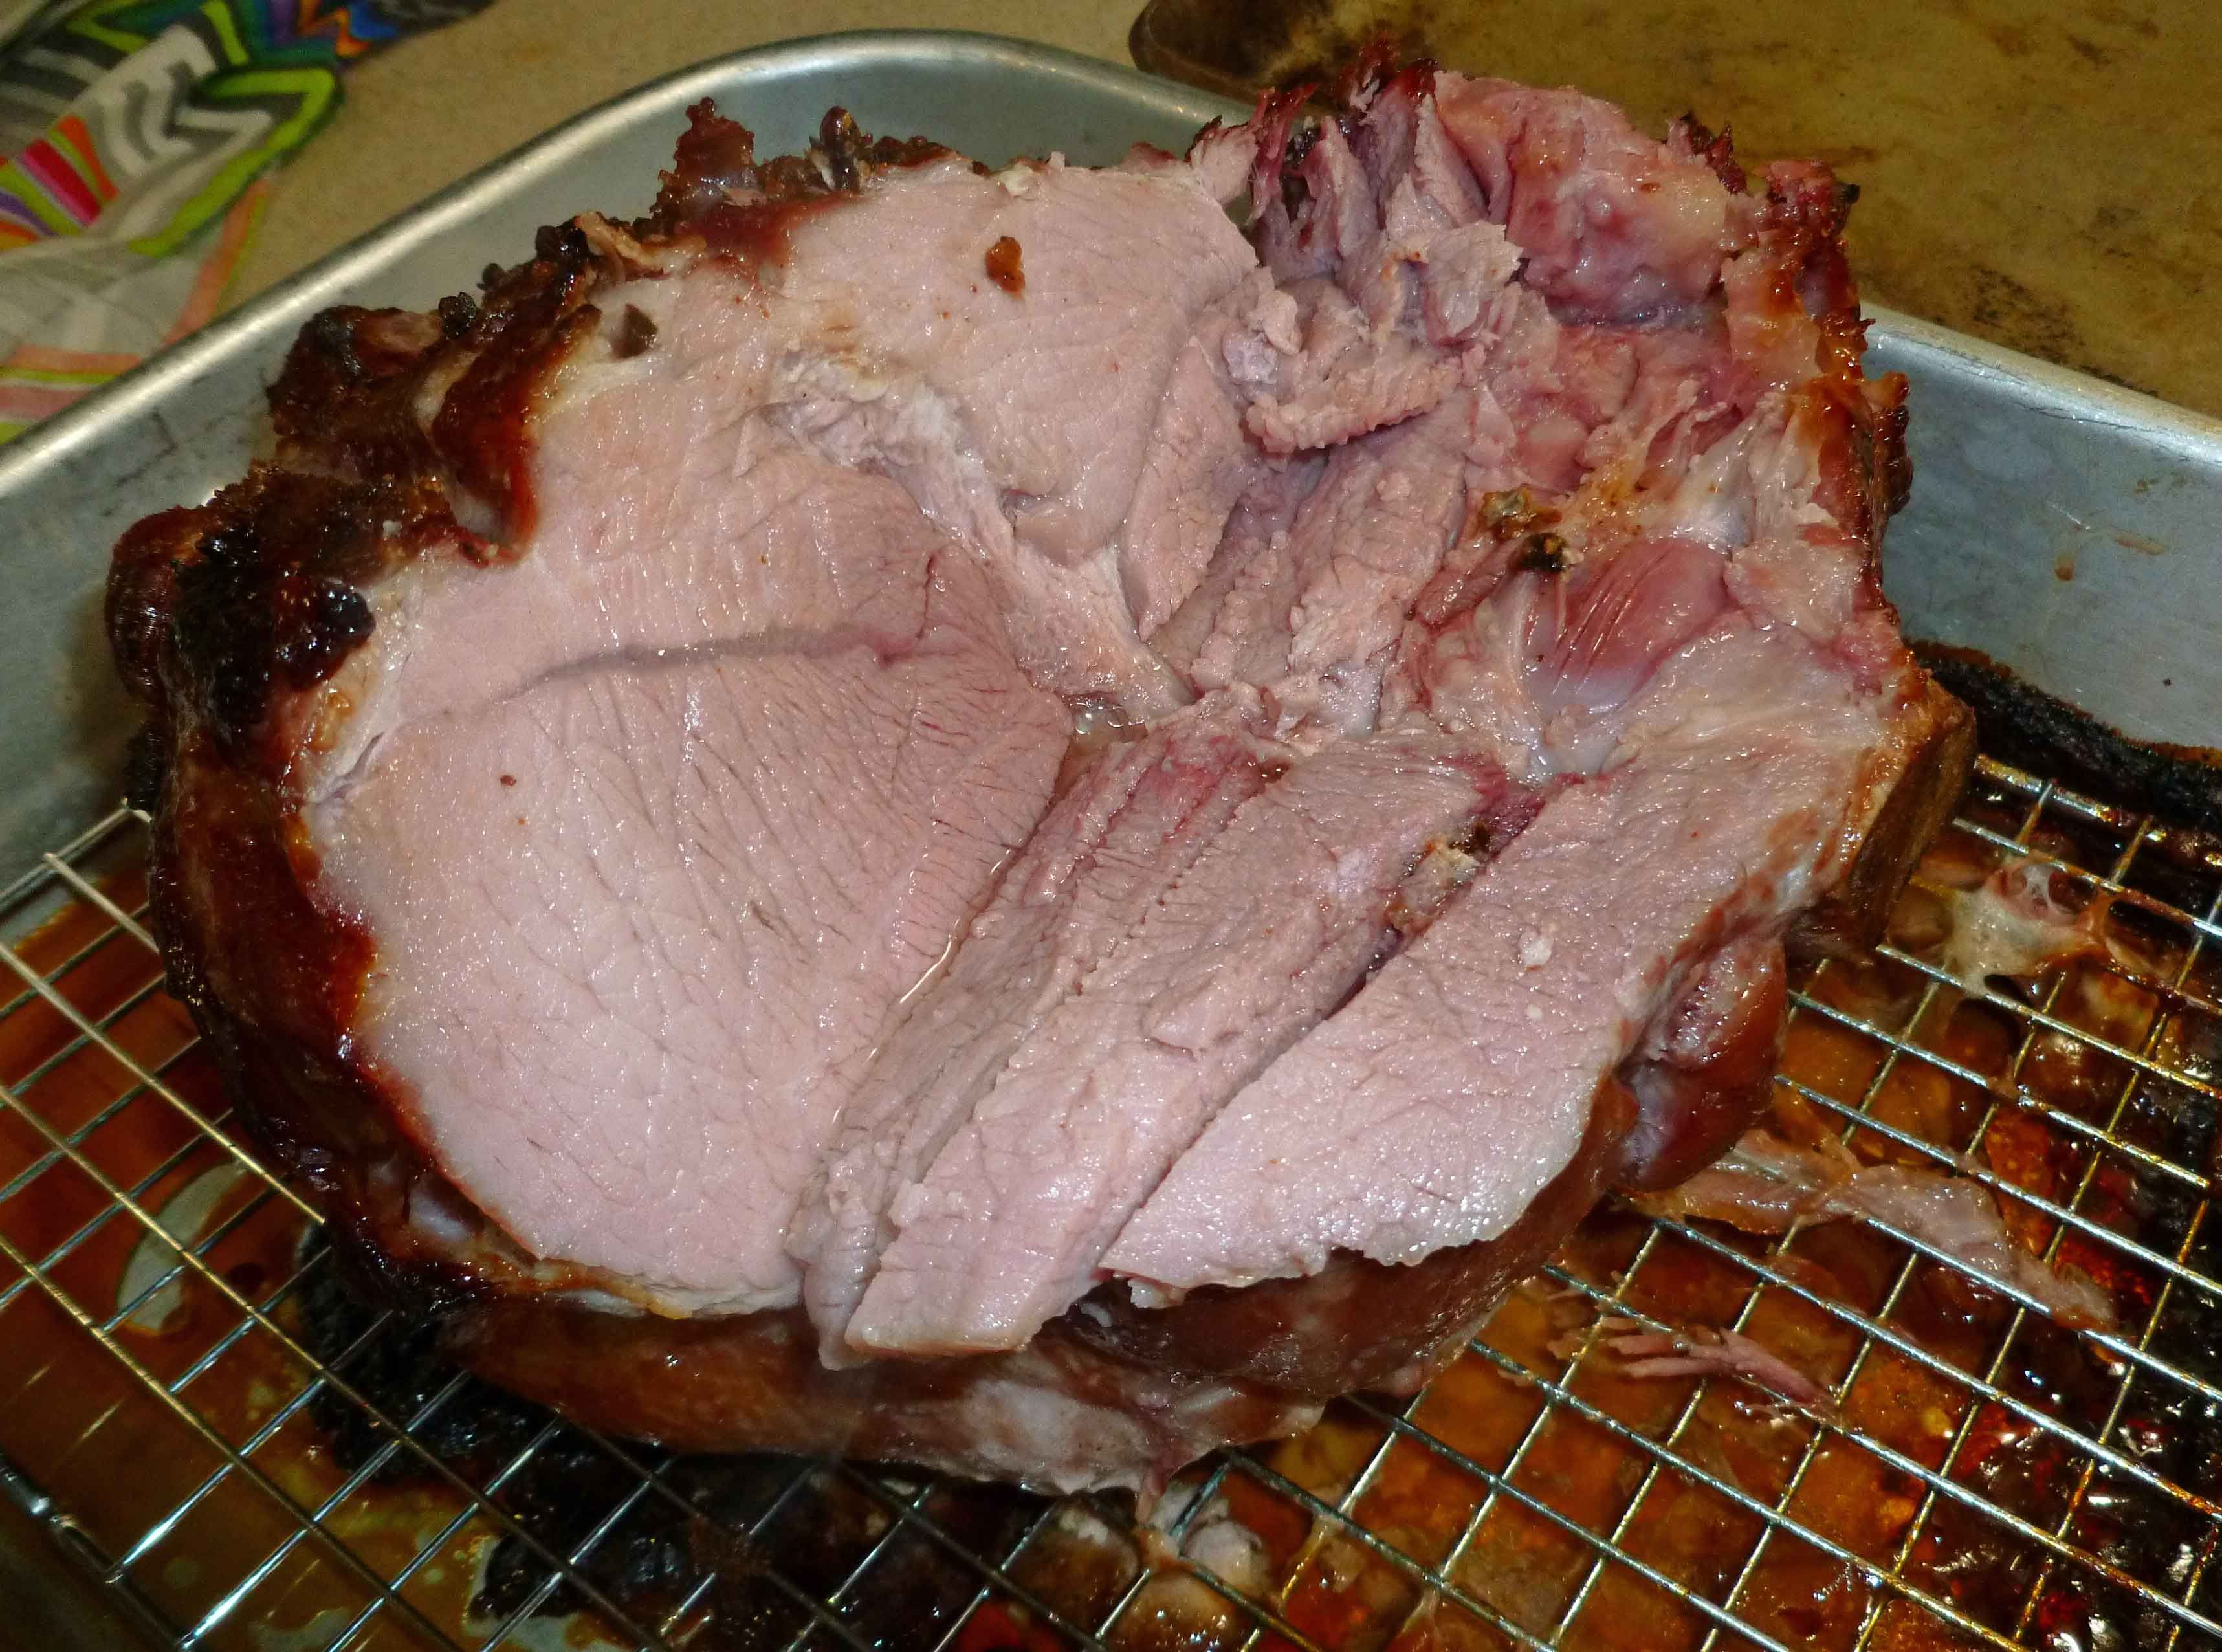
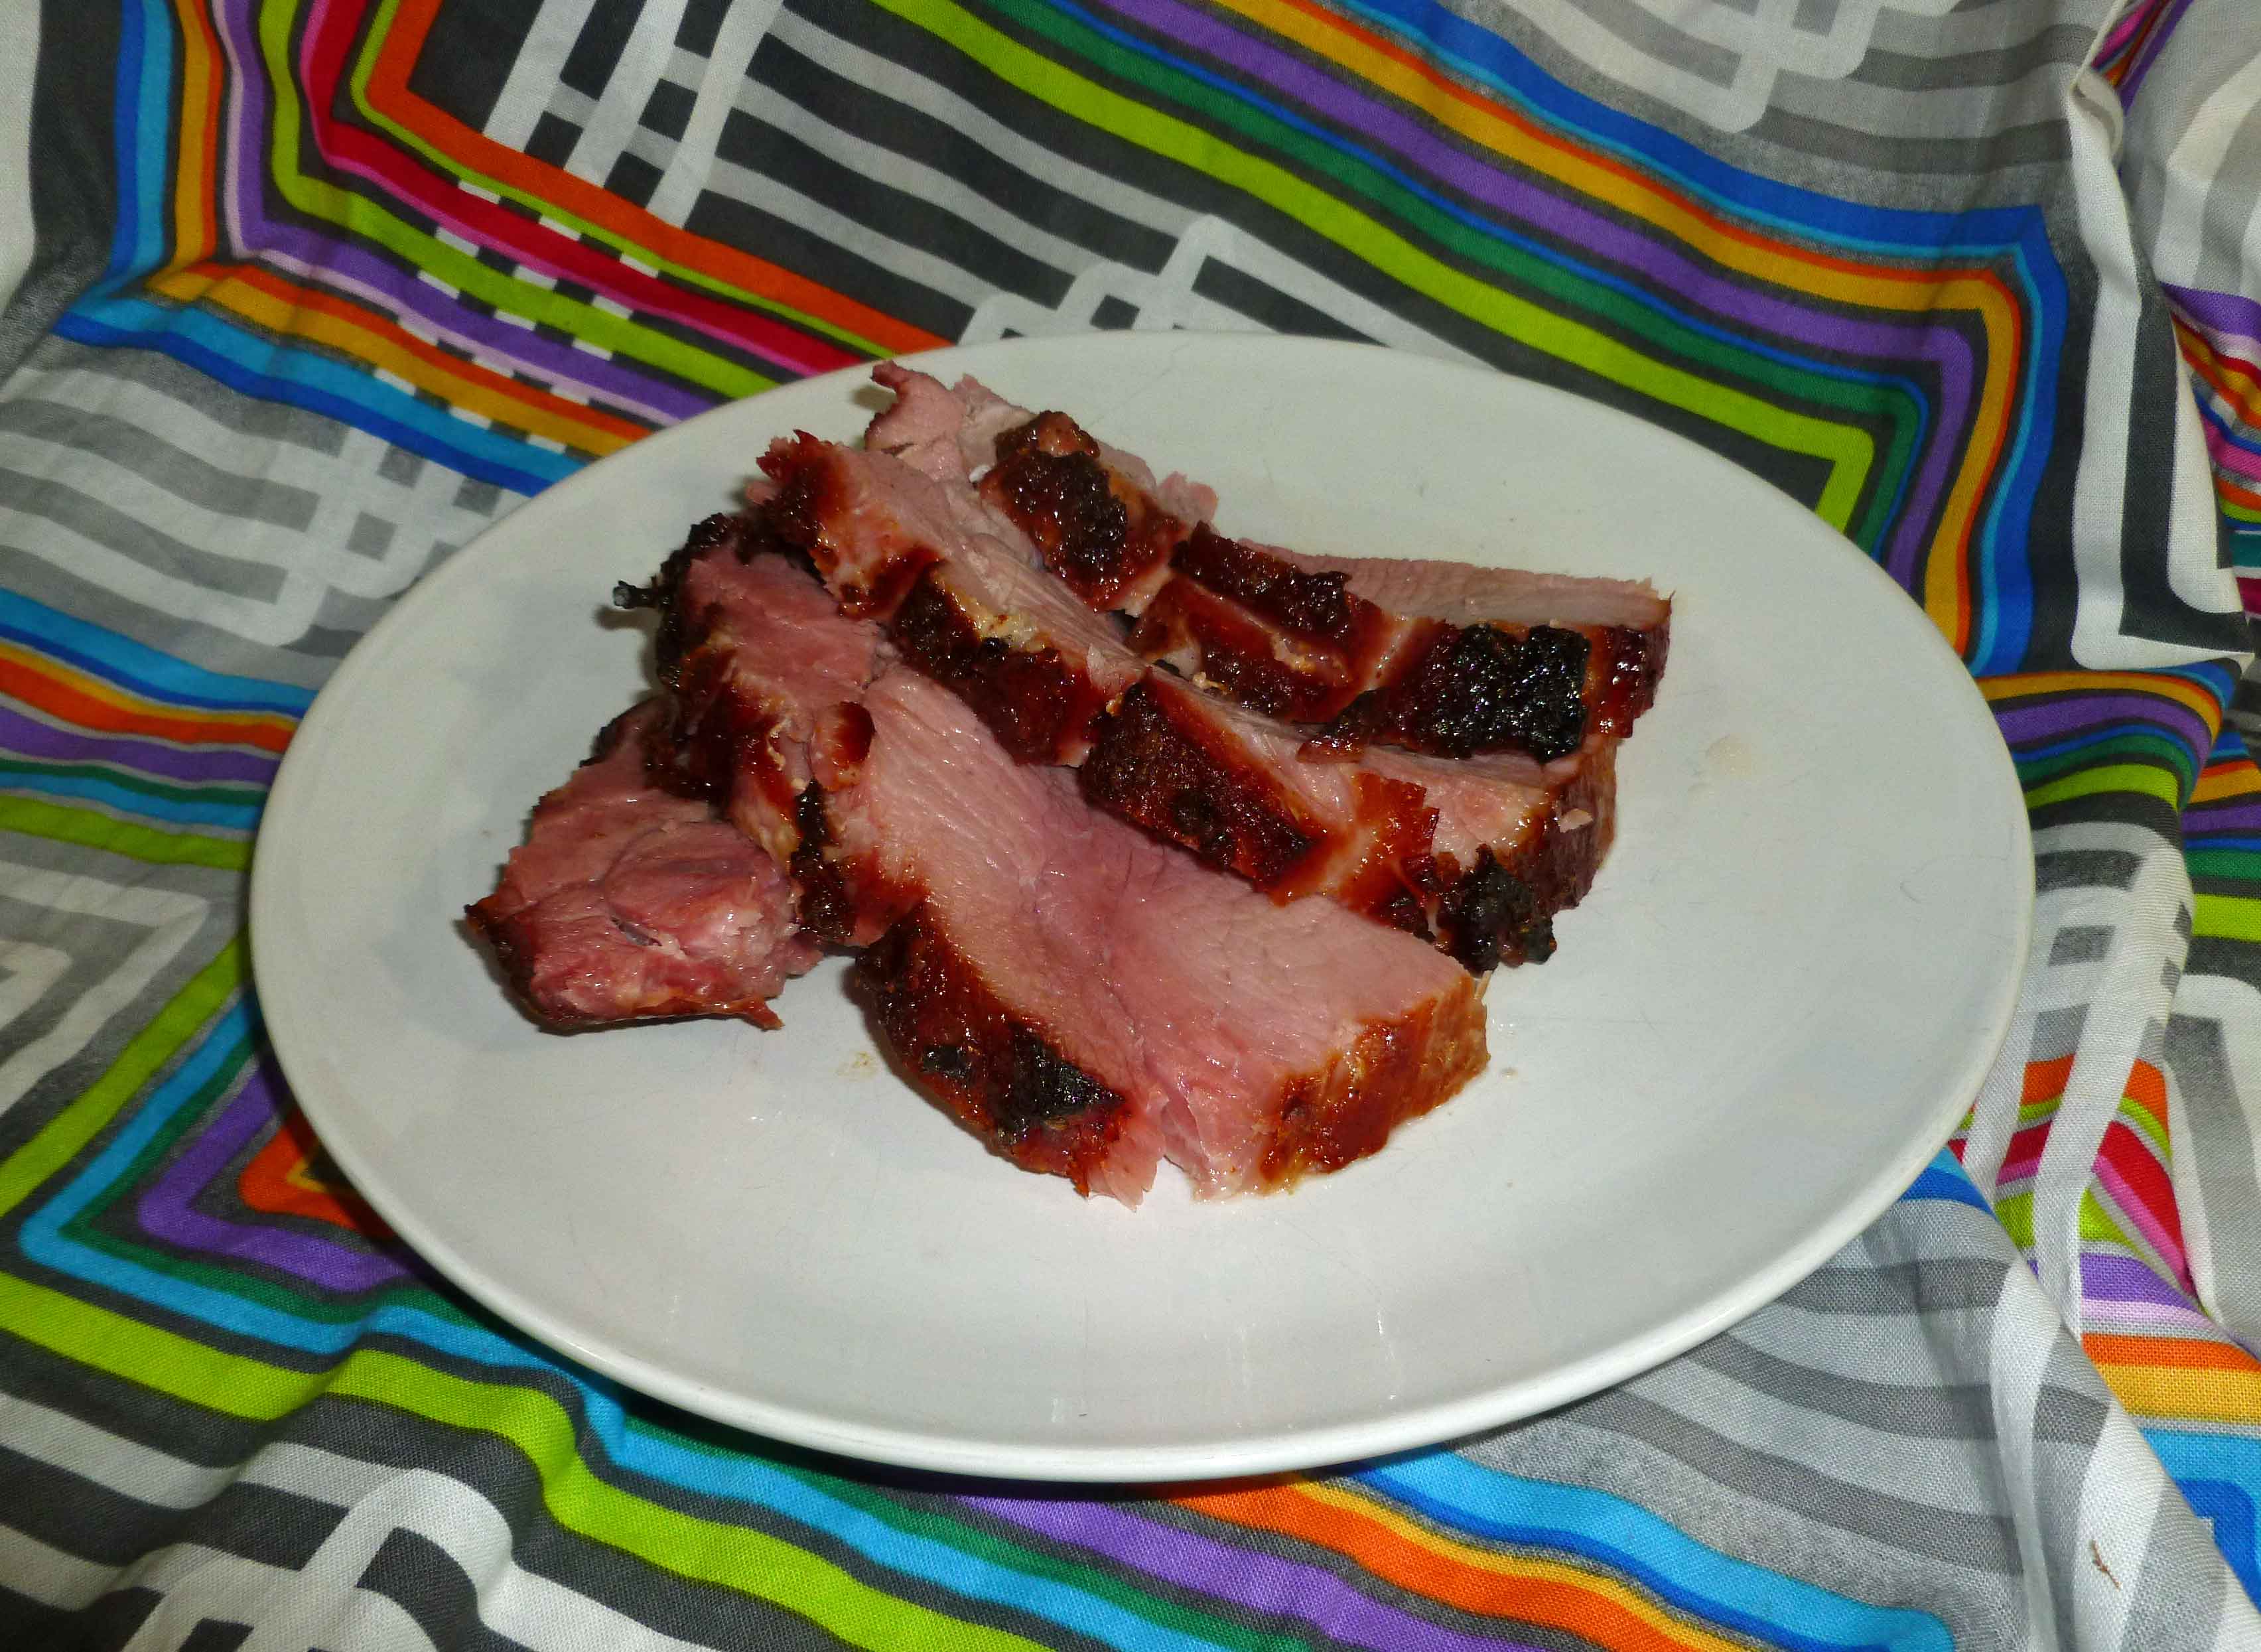
Bake at 325°F for 35-40 minutes a pound until the internal temperature is 165°F.
Cure Your Own Whole HamCure Your Own Whole Ham
Enjoy!
Notice: Trying to access array offset on value of type bool in /home/maryzahc/public_html/adultfoodallergies.com/wp-content/plugins/wp-ultimate-recipe/helpers/models/recipe.php on line 254
DIY Curing Salt #1
Print Recipe
Make Curing Salt #1, or Prague Mix #1, or Instacure #1, without dextrose which is corn derived, so that you can cure your own safe meat.
To make Curing Salt #1, or Prague Mix #1, or Instacure #1, you need a scale, with a digital readout going out two places. You need to be absolutely precise. To make 4 ounces of Curing Salt #1, you need to weigh out 0.25 ounces of sodium nitrite making sure you tare out or zero out your container, and 3.68 ounces of fine sea salt. Mix these together well, and store in a container that’s very clearly marked so that there is no confusion as to what it is. Do not ask for cups or teaspoon equivalents because I will not do it. This needs to be mixed as exactly as described, you cannot wing it or approximate. I cannot emphasize this enough, the proportions must be exactly as described here to be safe.
Notice: Trying to access array offset on value of type bool in /home/maryzahc/public_html/adultfoodallergies.com/wp-content/plugins/wp-ultimate-recipe/helpers/models/recipe.php on line 254
1 1/8cupskosher or sea salt(1/8 cup is 2 Tablespoons)
2 cupsbrown sugarpacked firmly
3tbspCuring Salt #1
1Marinade Injector
Rub Ingredients
4tbspbrown sugar
1/4tsp ground nutmeg
20 whole cloves
Servings: people
Instructions
Use a boning knife to trim the skin from the shoulder.
Mix water, salt, brown sugar and curing salt together in a container large enough to submerge your pork shoulder completely under the surface. Measure out 32 ounces of the brine into a separate container. Use your marinade injector to inject the entire 32 ounces of brine into the pork, injecting evenly across and on both sides. Make sure that you inject thoroughly around the bones if you have them, to prevent bone souring.
Submerge the pork in your large container with the brine, using a heavy plate to weigh it down if necessary. Cover the container and place in a 37°- 40°F refrigerator to cure for 4-7 days. Turn the ham over halfway through the curing process.
To cook the ham after brining, score the shoulder in a grid pattern with your knife. Mix the brown sugar and nutmeg listed in your rub ingredients together in a small bowl. Cover the surface of the ham with your rub. Then insert a clove in each scored square in the ham.
Bake at 325°F for 35-40 minutes a pound until the internal temperature is 165°F.
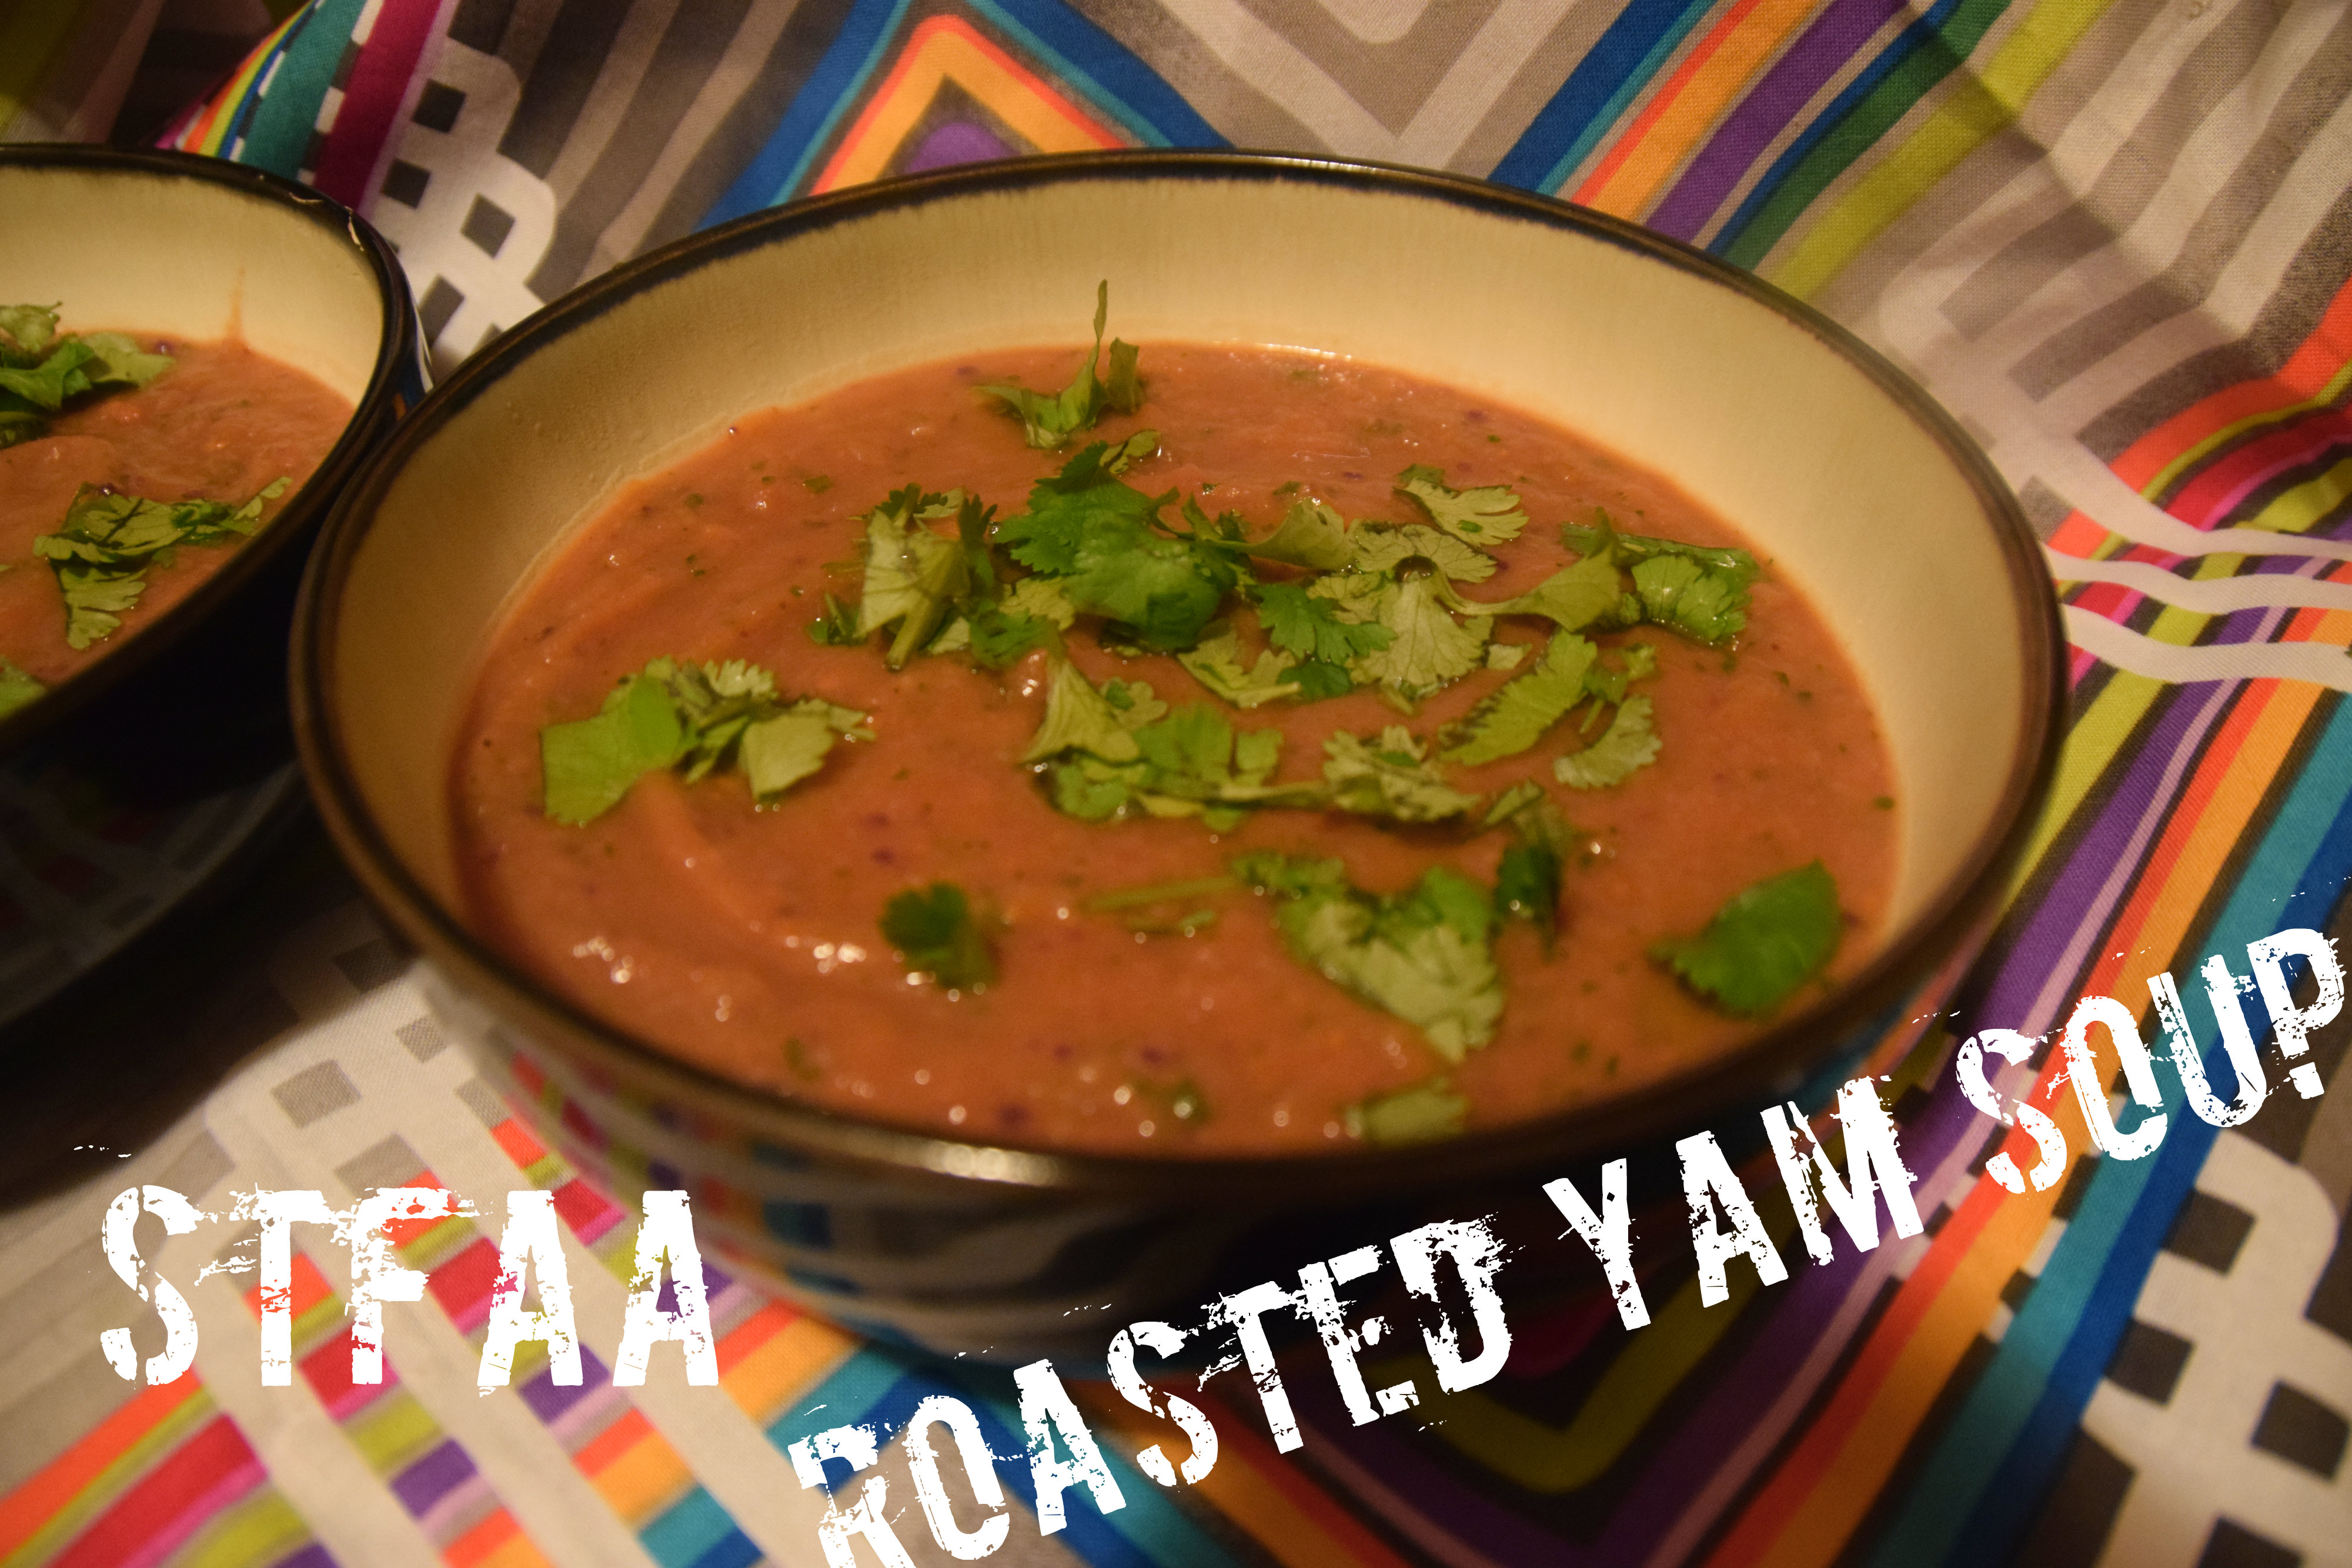
IMPORTANT CONTENT NOTE: Those of you who hate cilantro, sorry. Please go Google one of the 100,000 other root vegetable soups out there. I know, your condition is genetic, and I’m sorry for you. This soup lives and breathes cilantro, and if you leave it out, there will be no point in making this particular soup recipe. Come again?
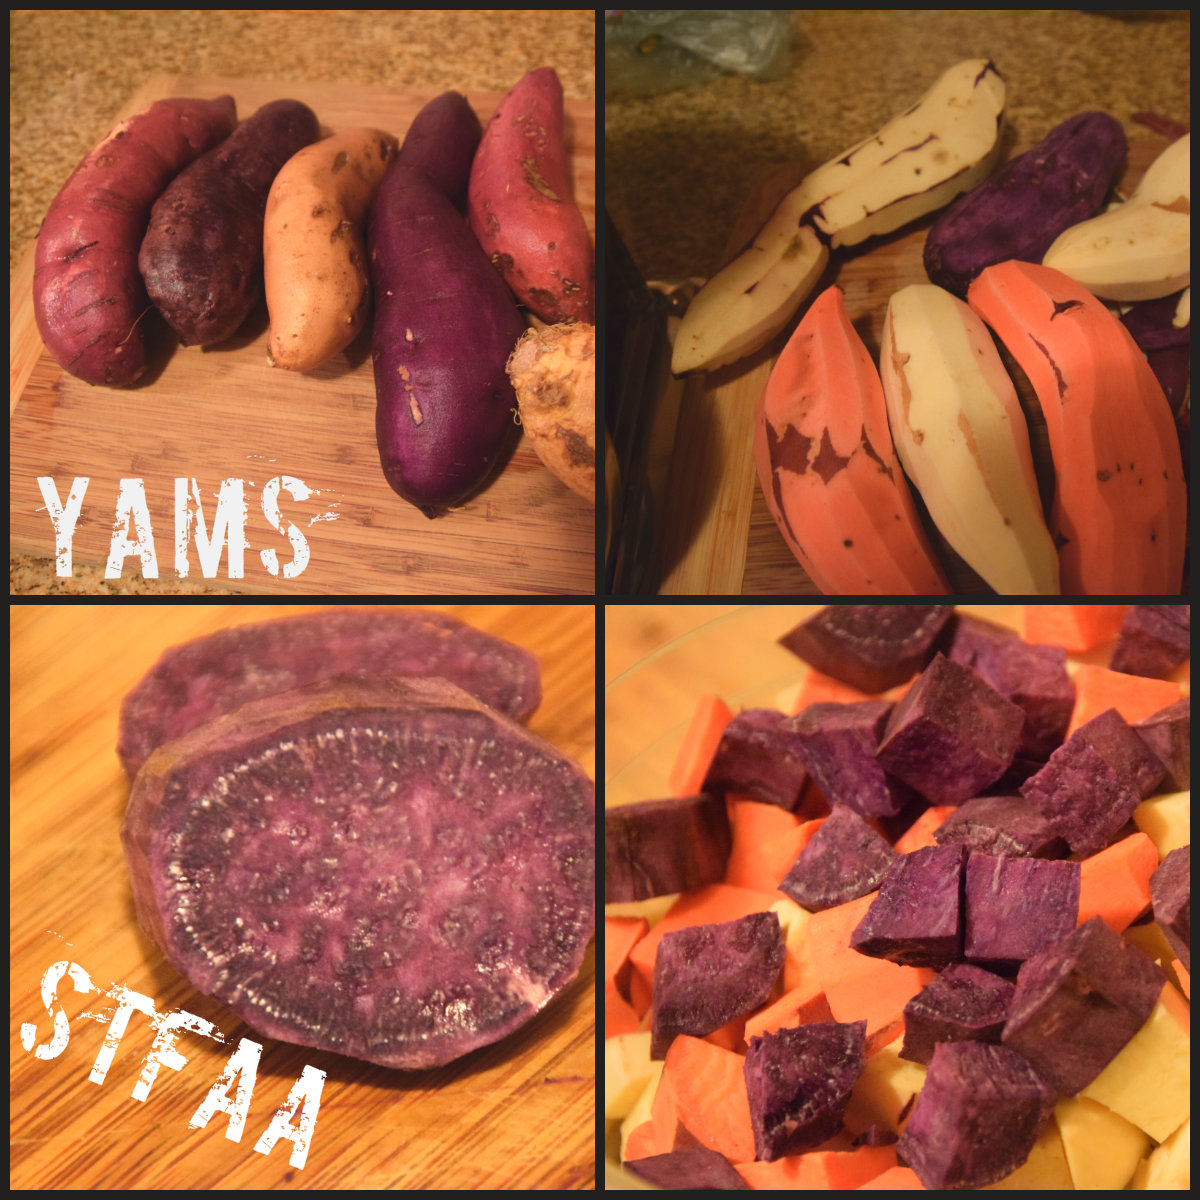
For those of you still here, hi. Welcome to another edition of “MaryKate made soup, and it’s not very pretty, but I swear it tastes good anyway.” I’m your host, MaryKate, and, yes. I made soup. In my first months here in Seattle, I’m exploring new grocery stores and new ingredients, and as it is fall, there are so many root vegetables out. Most of them I know, but I’m seeing so many different things beyond just “sweet potatoes” and “yams.” To be honest, I don’t care which they are — I buy and bake any of them. But recently, I’ve found myself with 1 or 2 each of 4 different kinds of tubers all labeled “yam” with no other identifying information. In order to compare them, I’ve roasted them — and they are different! Starchier, sweeter, more mild. And all the colors! Yam love. Honestly, the most impressive flavor were the boring white ones — a bit sweeter and starchier than regular sweet potatoes, and really tasty.
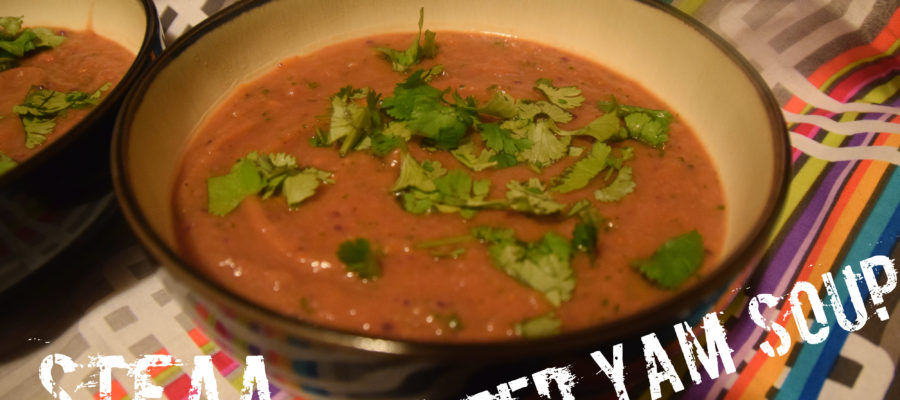
Blending these into soup was a great decision. The cilantro lightens the earthy flavor of the tubers and really makes it something different — hearty, but not heavy, and somehow, fresh.
Notice: Trying to access array offset on value of type bool in /home/maryzahc/public_html/adultfoodallergies.com/wp-content/plugins/wp-ultimate-recipe/helpers/models/recipe.php on line 254
3.5lbs.yams and sweet potatoesGet everything you can find — why not?
1/2lb.rutabega
1-2Tablespoonsolive oil
1teaspoonkosher salt
3/4cuponion
6cupsvegetable stock
1cup cilantrochopped + more for garnish
Servings: servings
Instructions
Preheat oven to 450ºF.
Peel and chop yams, sweet potatoes, rutabega, and onion. Go for about 1/2 inch cubes, but really, just try to get them all about the same size.
Put all chopped vegetables into a bowl. Add the olive oil and salt and stir to coat. Start with the smaller amount of olive oil, but add more if you need it. You don’t want greasy, but you do want everything fully coated.
Bake for 30-45 minutes, until all the vegetables begin to brown. This is where so much flavor is born.
When you have about 15 minutes left of cooking, heat your stock and cilantro in a large soup pot over medium-low heat.
When the roasted vegetables are done and the soup stock is simmering, add the veg to the stock. Stir well, and then puree. A stick blender is the easiest way to do this, but use a blender if that’s what you’ve got. When you have a nice thick puree, heat thoroughly (takes only a few minutes) and stir well.
Serve with an added sprinkle of cilantro for extra flavor.
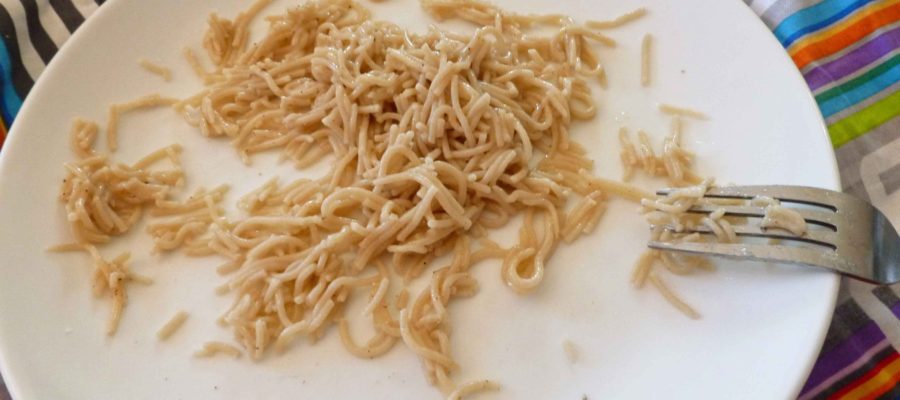
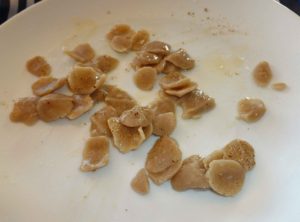
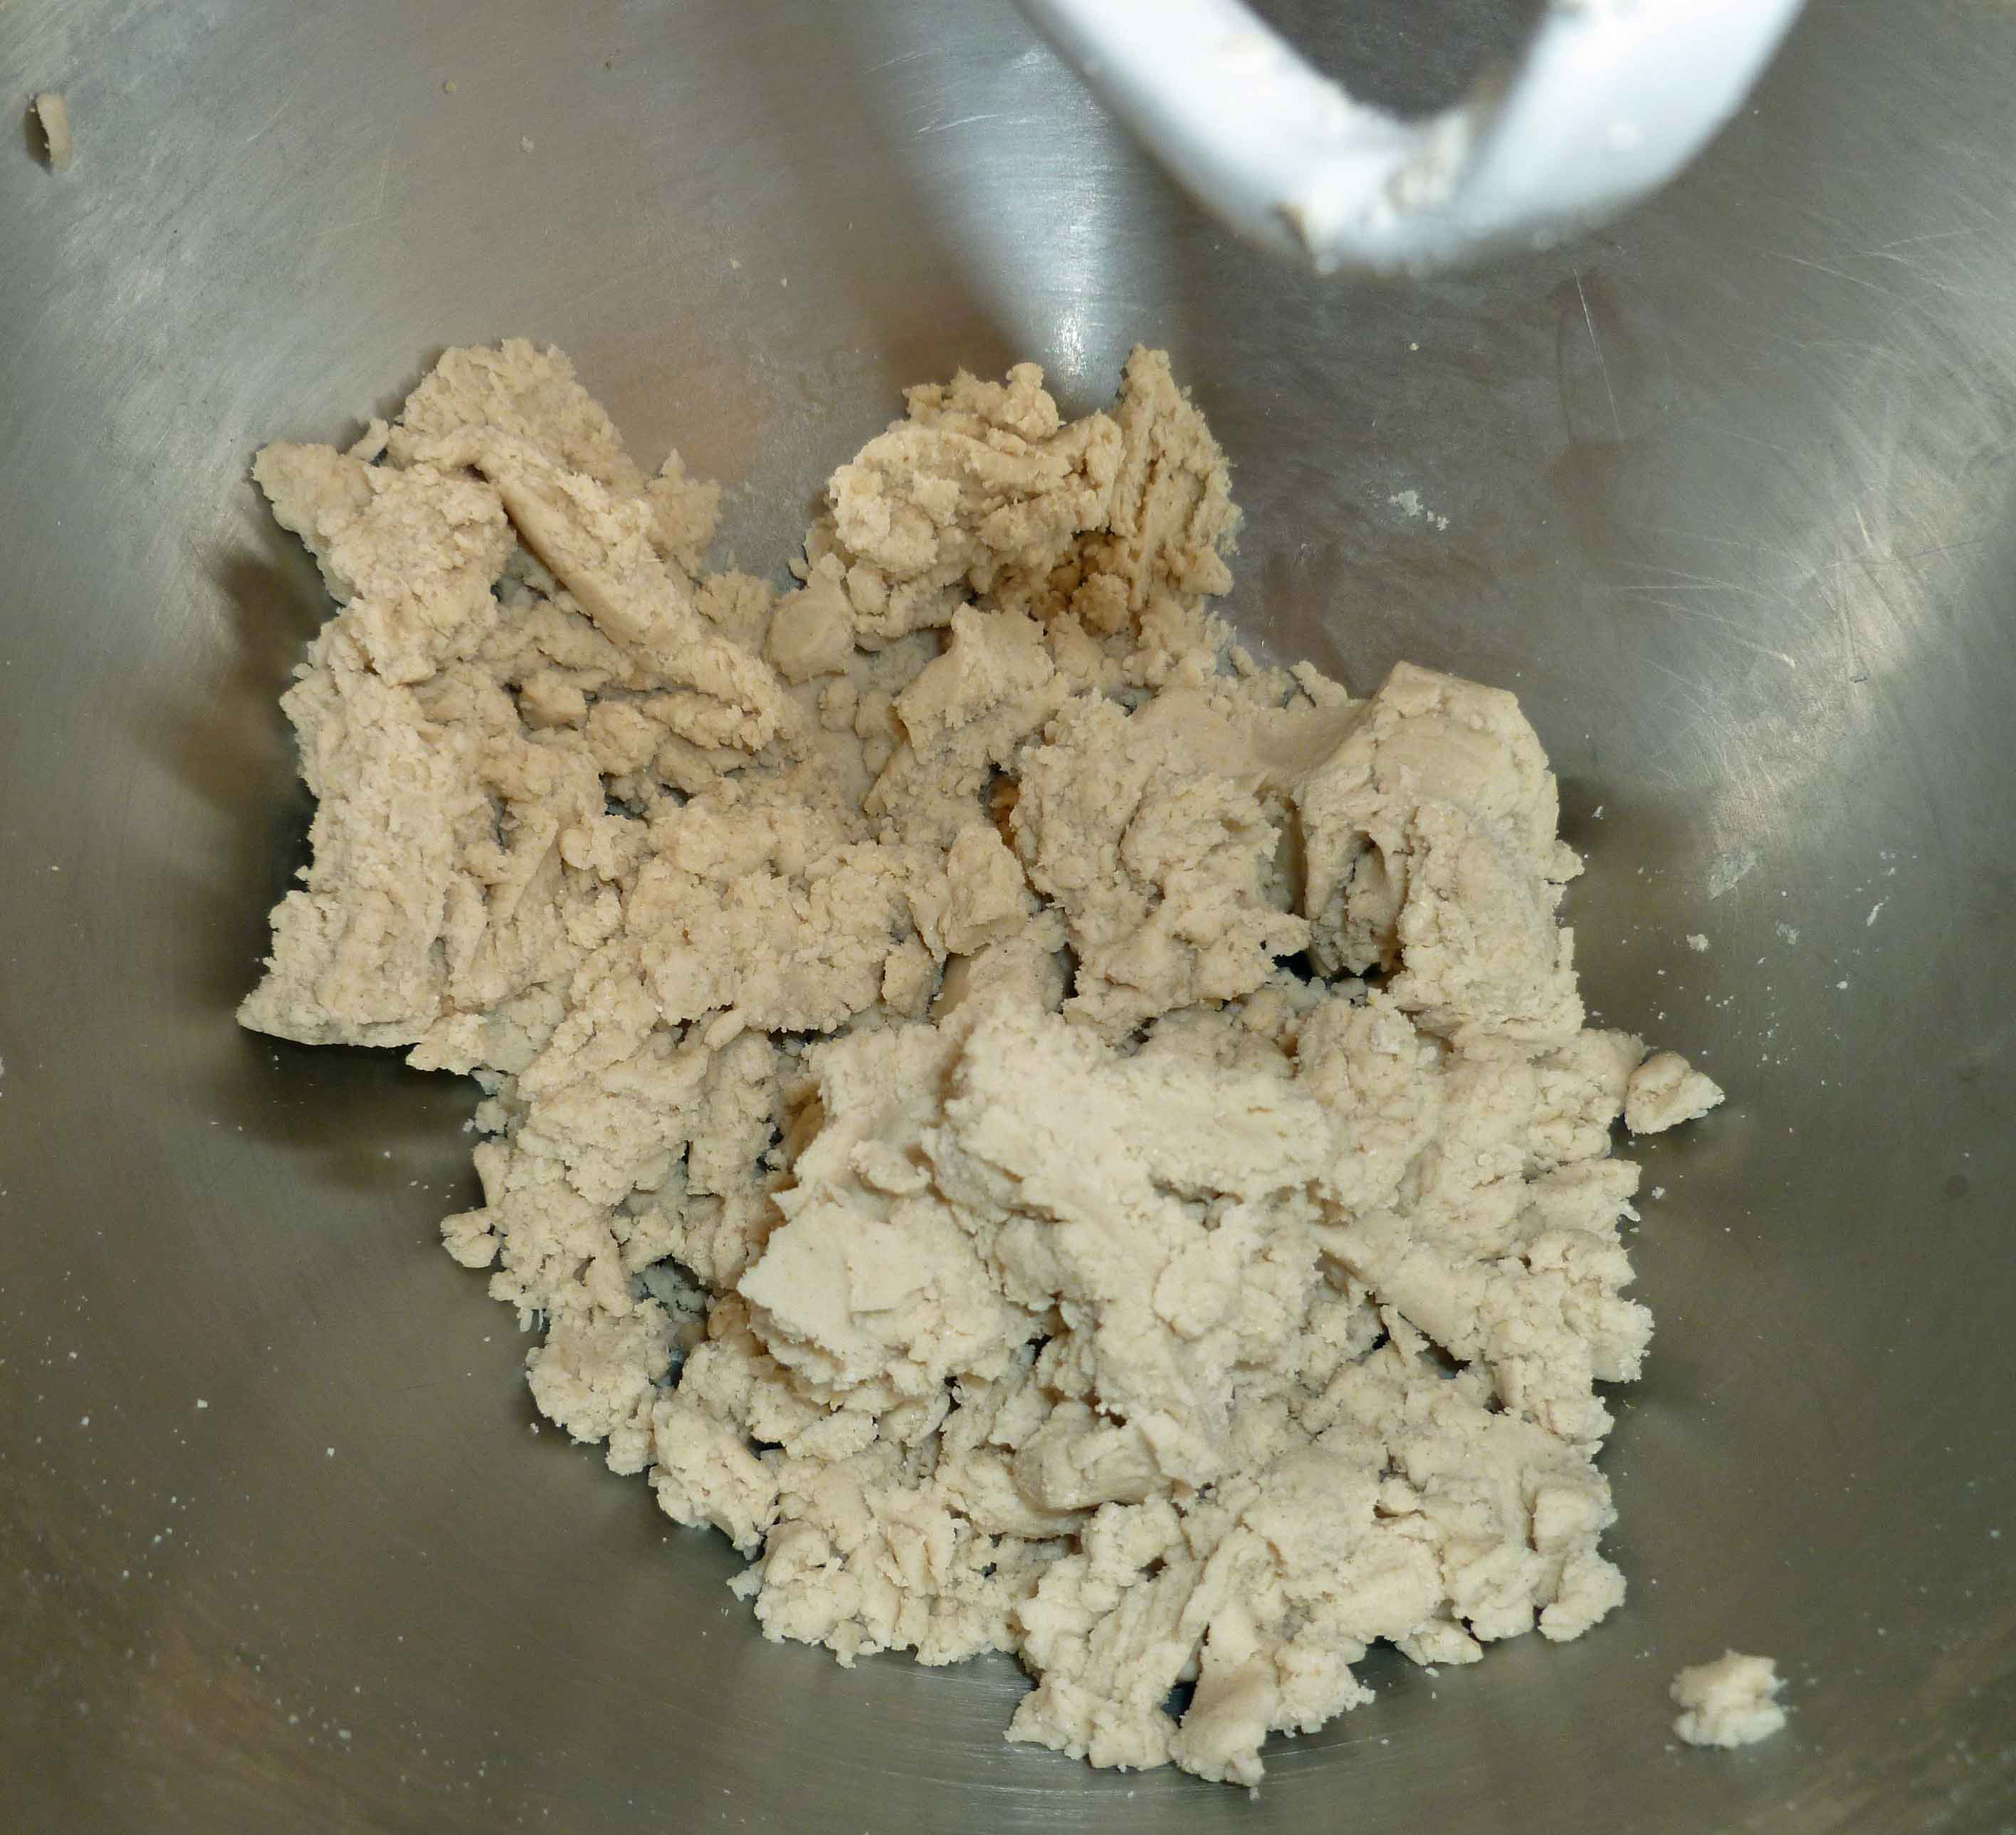
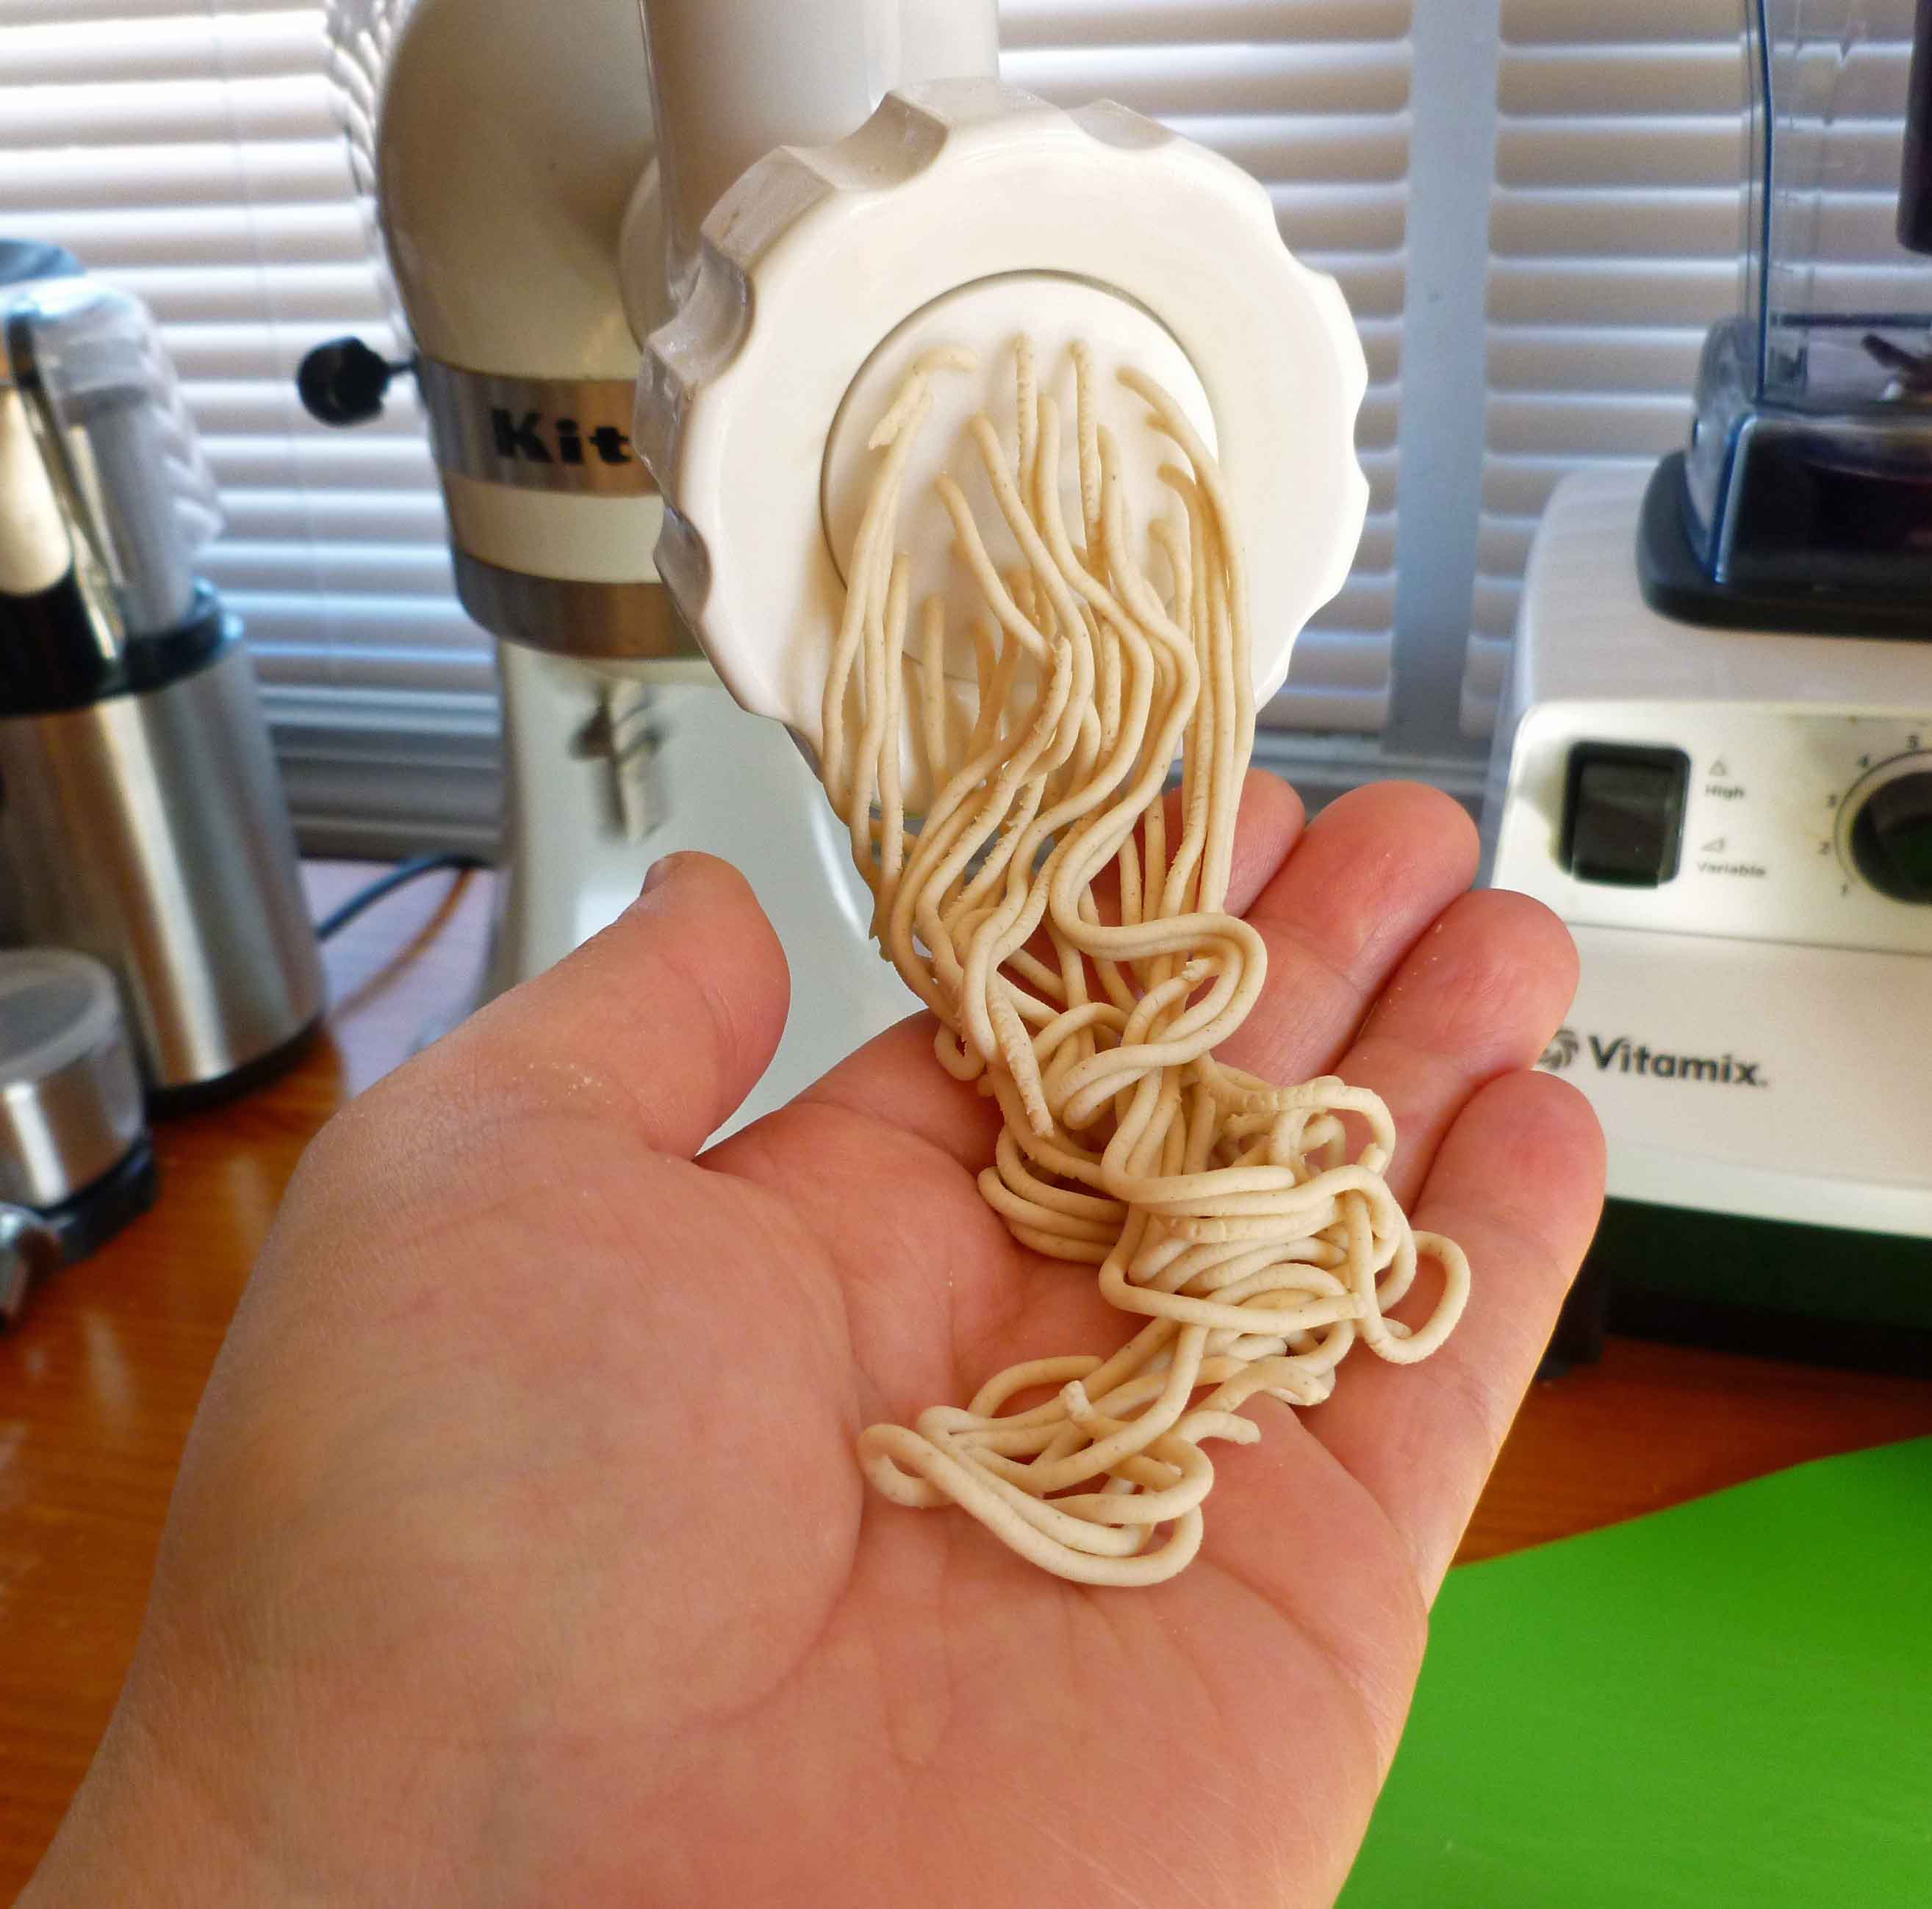
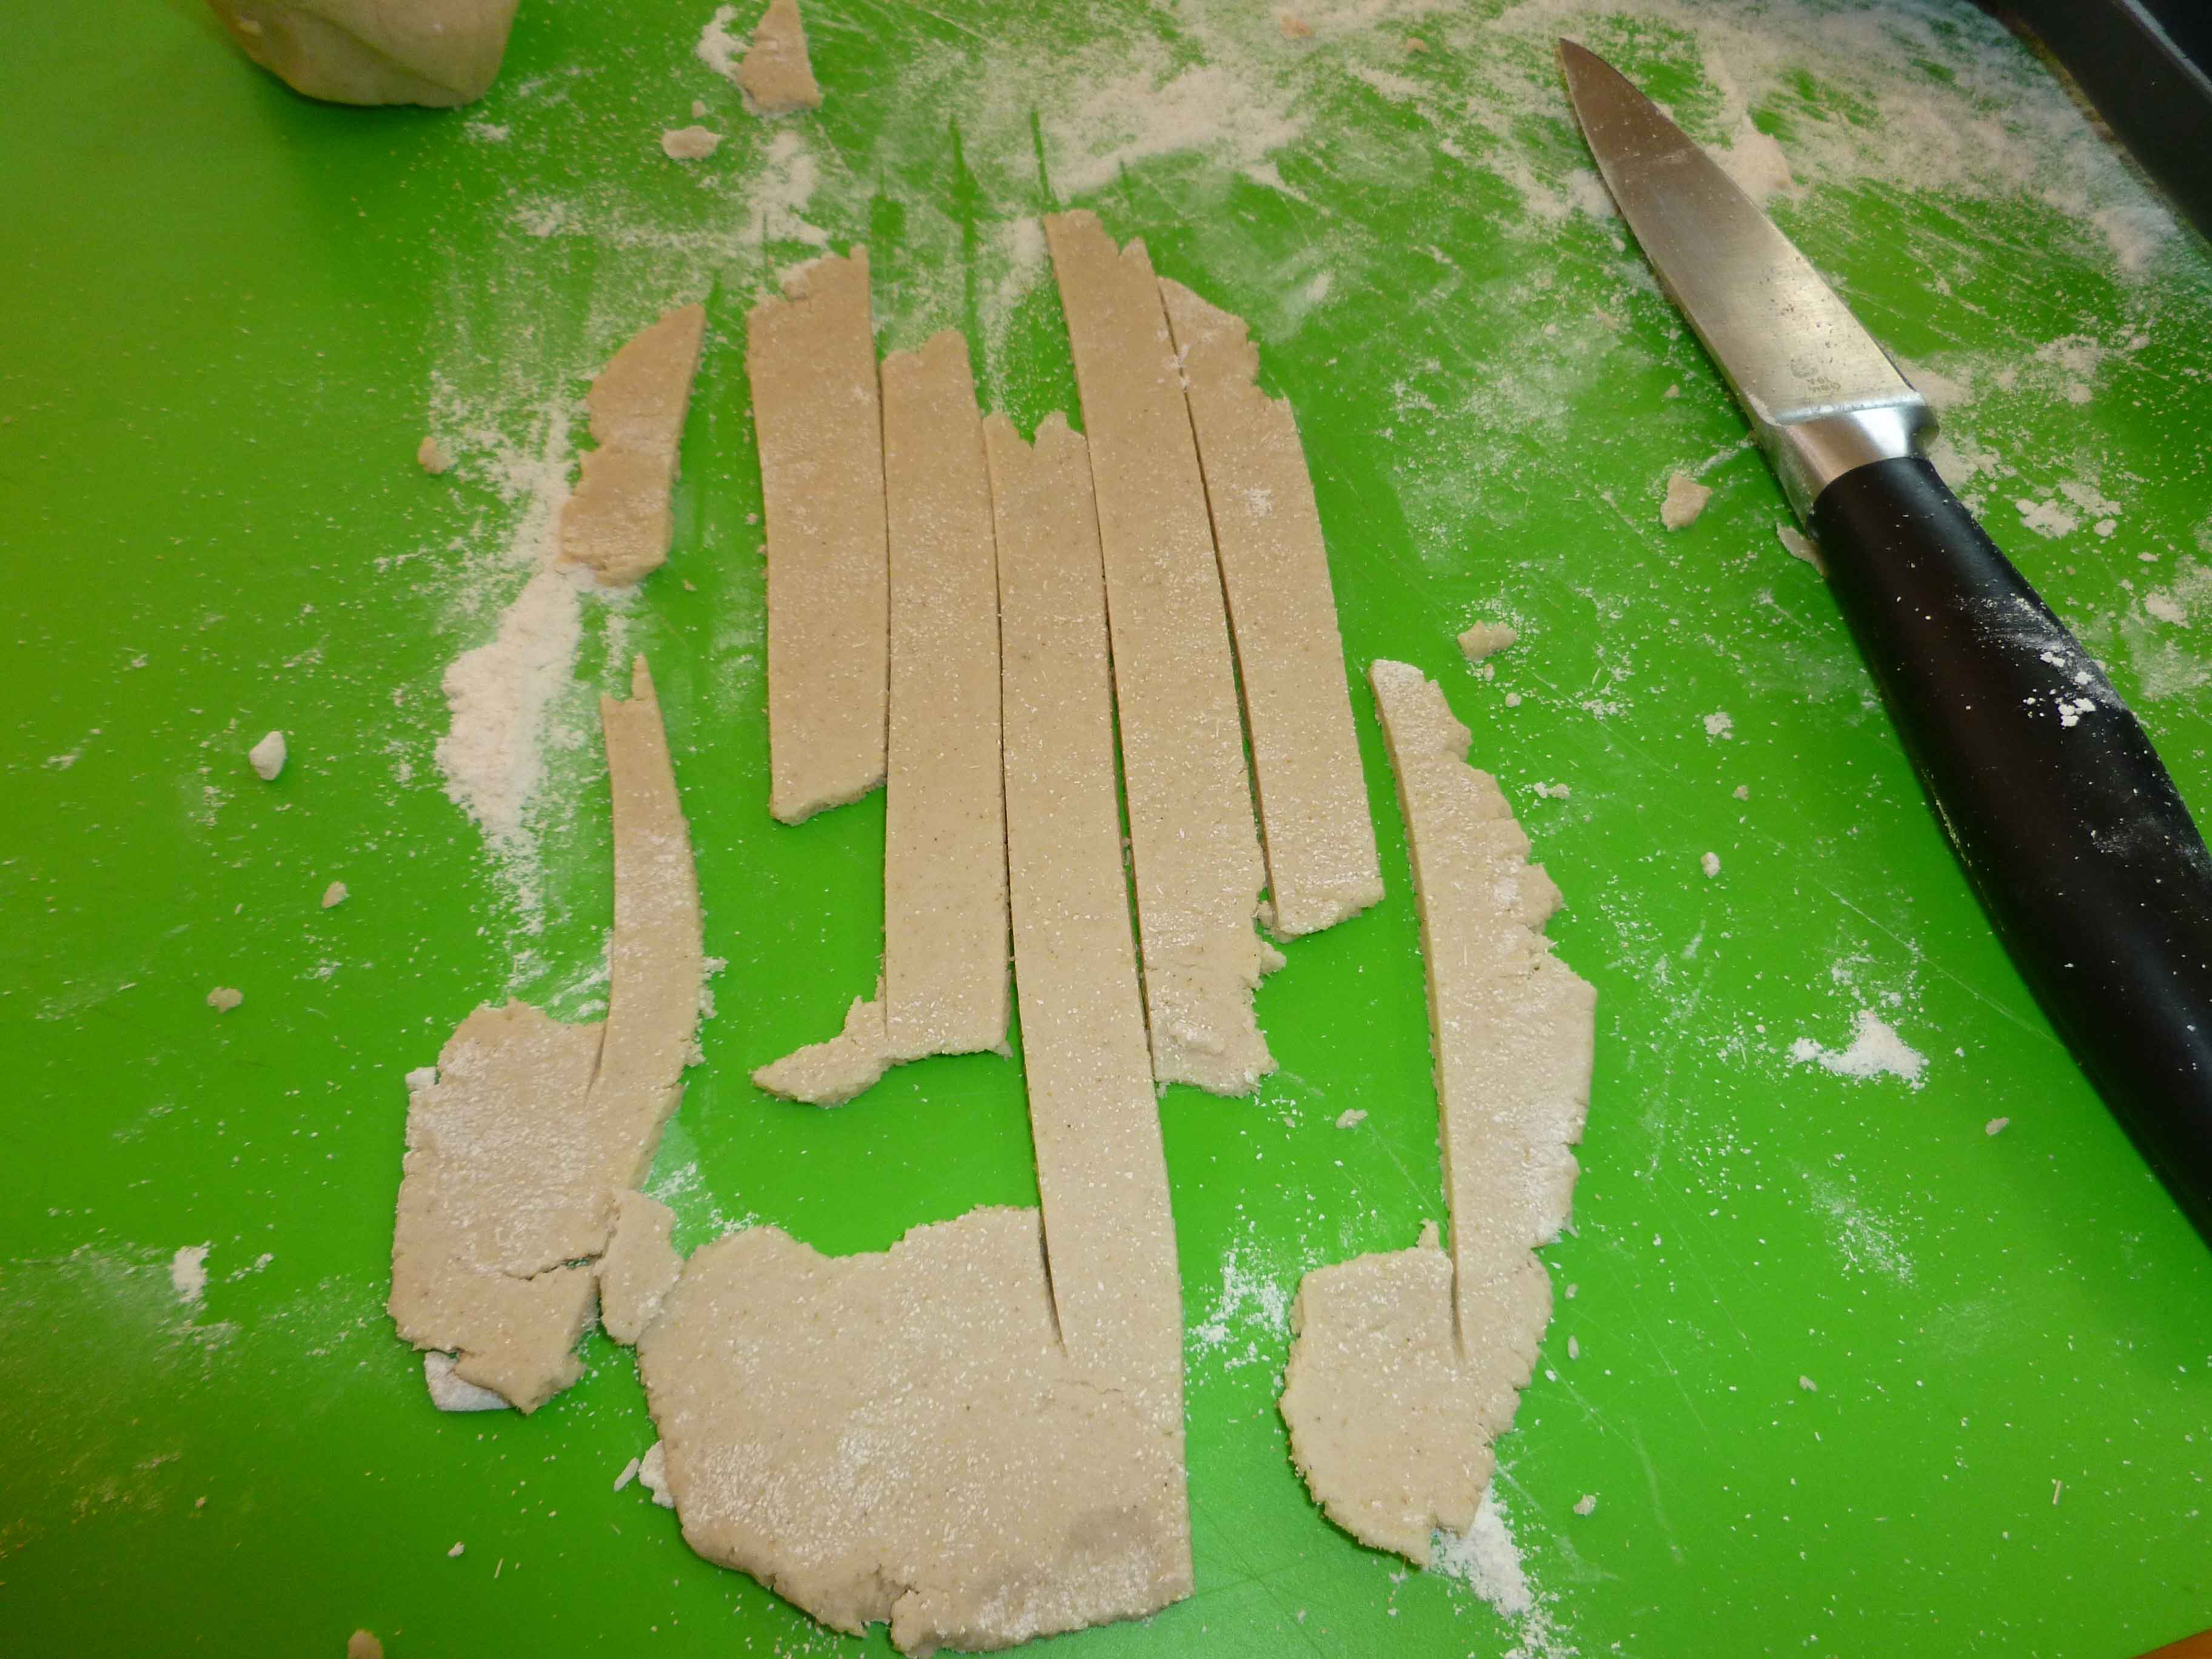
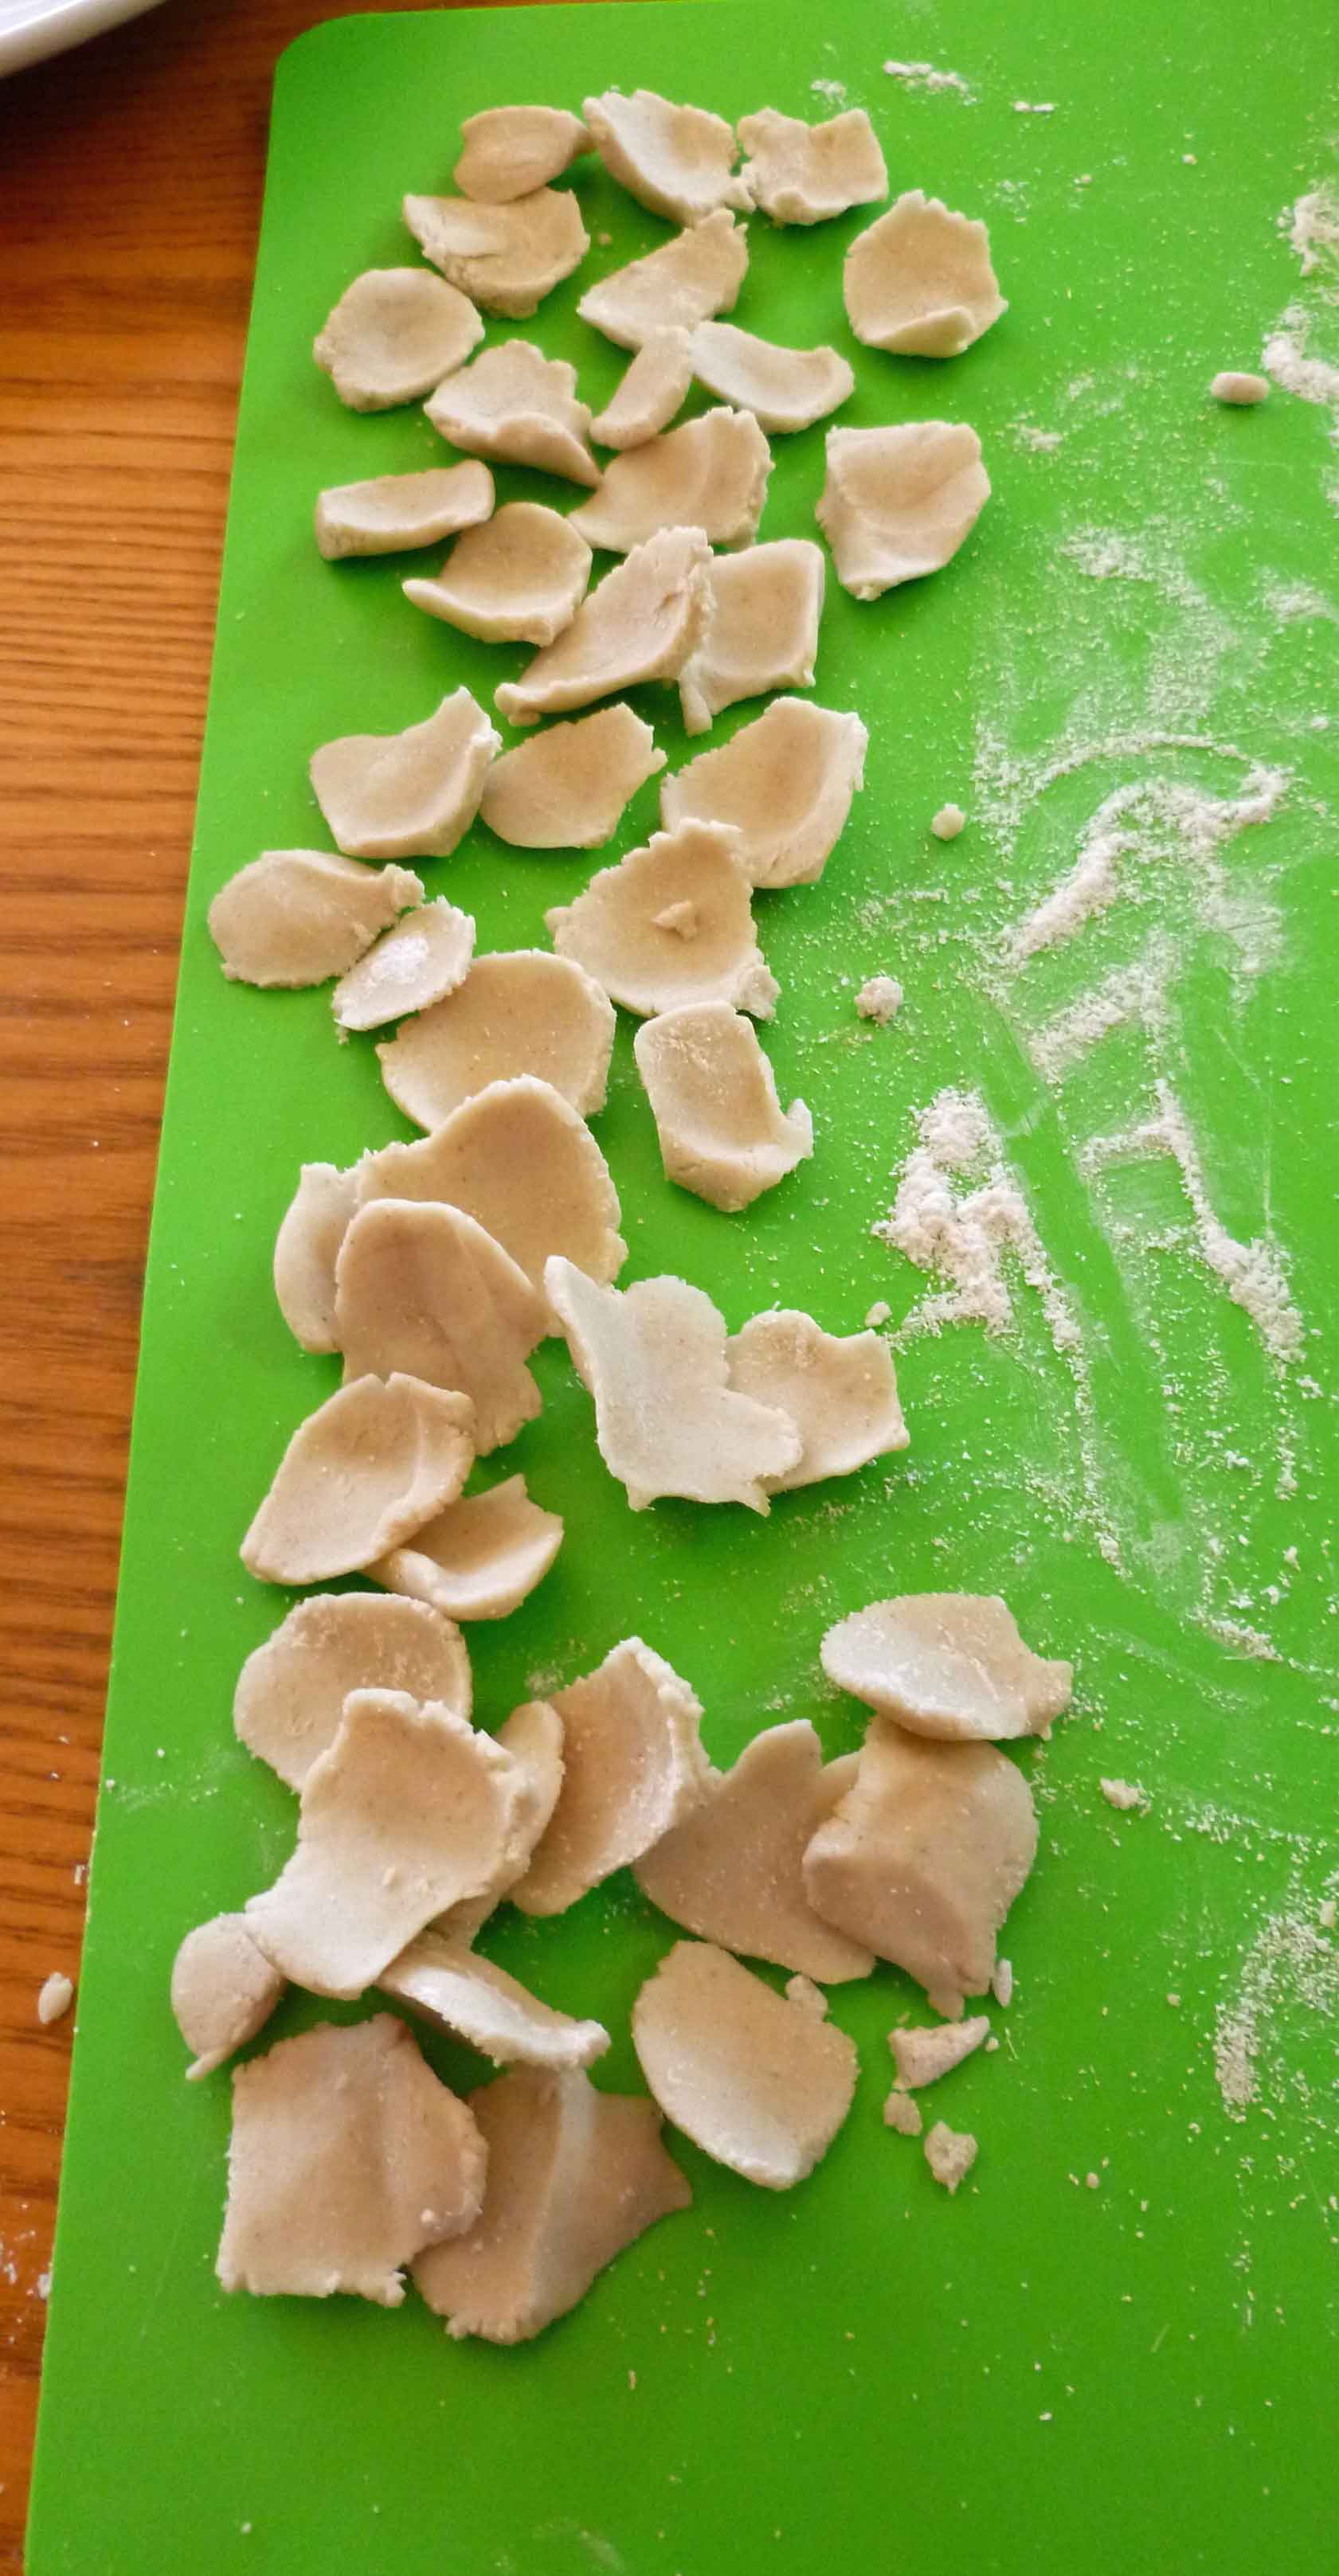
This was not an easy one, dear readers. It took nine (NINE!) attempts to get one I thought was blog worthy, and that could be done hand rolling or hand shaping the dough for those of you that aren’t crazy enough to buy every little kitchen gadget available. We made spaghetti with the KitchenAid SNPA Pasta Maker Plates for Food Grinder Attachment kit (no affiliation with Amazon) that I bought literally 20+ years ago. I’m pretty sure it isn’t being made anymore, and those that are available second hand seem to be ridiculously exorbitantly priced. We made the fettuccine by rolling the dough out with a rolling pin and cutting it with a knife, and the little shell like things, vaguely reminiscent of Orecchiette, by forming them over my thumb. But if you’re looking for new kitchen toys, the new KitchenAid Pasta Press looks cool.
I used a kitchen scale to weigh out the flours, as I found it easier to get a consistent result. I make my husband Shawn taste stuff because he still eats regular, non-allergy food so he has a more recent recollection of how stuff actually tastes, whereas I haven’t had wheat pasta in several years. As we taste tested the attempts, we tasted it cooked plain, and then dressed it with a little olive, white pepper, and salt, as we didn’t want a sauce to interfere with the taste of the pasta. And lo, the version I am about to give you is good. I may want to try making a couple of batches and dehydrating it to see if I can get a shelf stable pasta to have in a pinch. If I do, and it works, I’ll let you all know.
Dough when it is the right consistency to form into a ballSpaghetti being extruded from the KitchenAidSpaghetti before cookingSpaghetti after cookingHand rolling and cutting fettuccine noodlesFettuccine after cookingOrecchiette-esque pasta before cookingOrecchiette-esque pasta after cooking Notice: Trying to access array offset on value of type bool in /home/maryzahc/public_html/adultfoodallergies.com/wp-content/plugins/wp-ultimate-recipe/helpers/models/recipe.php on line 254
1tbspgrape seed or olive oil(or other safe for you oil)
3tbspwater
3tbspaquafaba(see http://aquafaba.com/)
1tspoil(for cooking water)
1tsp salt(for cooking water)
Servings: people
Instructions
Mix sorghum, brown rice flour, and cassava flour in a bowl until well combined. Make a well in the center of the flour and add the oil, water, and aquafaba. Using a stand mixer with a paddle or a fork, mix well until the dough will hold together when kneaded.
Use the dough in your pasta machine or extruder. If you don’t have any pasta machine or extruder, just roll out the dough with a rolling pin on a floured surface and cut your own noodles, or hand shape pieces of dough into various shapes. Here’s a neat site for hand shaping pasta -http://www.recipetips.com/kitchen-tips/t–793/cutting-and-shaping-pasta-by-hand.asp (Not all of them will work without gluten, but there’s some neat things to try.)
Bring a pot of water to a hard rolling boil. Add salt and oil to the pot, and add the noodles. Boil for 1-3 minutes, and drain quickly. Fresh pasta cooks very quickly. Spaghetti cooked in a minute, and the hand rolled fettucine and hand shaped shell pieces took 3 minutes.
Fish. It’s what’s for dinner. And it’s before I found my backdrops.
This is the first official recipe from the West Coast Office of Surviving the Food Allergy Apocalypse, also known as “MaryKate’s kitchen in Seattle.” Also, Jack’s kitchen, and because we’re still unpacking and he gets home from work first, he’s actually done a lot more cooking in this kitchen than I have. But we’ve unpacked most things now, and I feel like I can finally make space to work. It’s a completely different layout with way less cabinet space (less than ideal), but with a large closet that helps some with storage. We still have more stuff than space.
Seattle has been great so far. We’ve got all new grocery stores to explore, lots of seafood options, new produce (and a shocking lack of hash brown patties without wheat in them. I had no idea I was so spoiled in New Hampshire on that front). And new places to eat — more on that later.
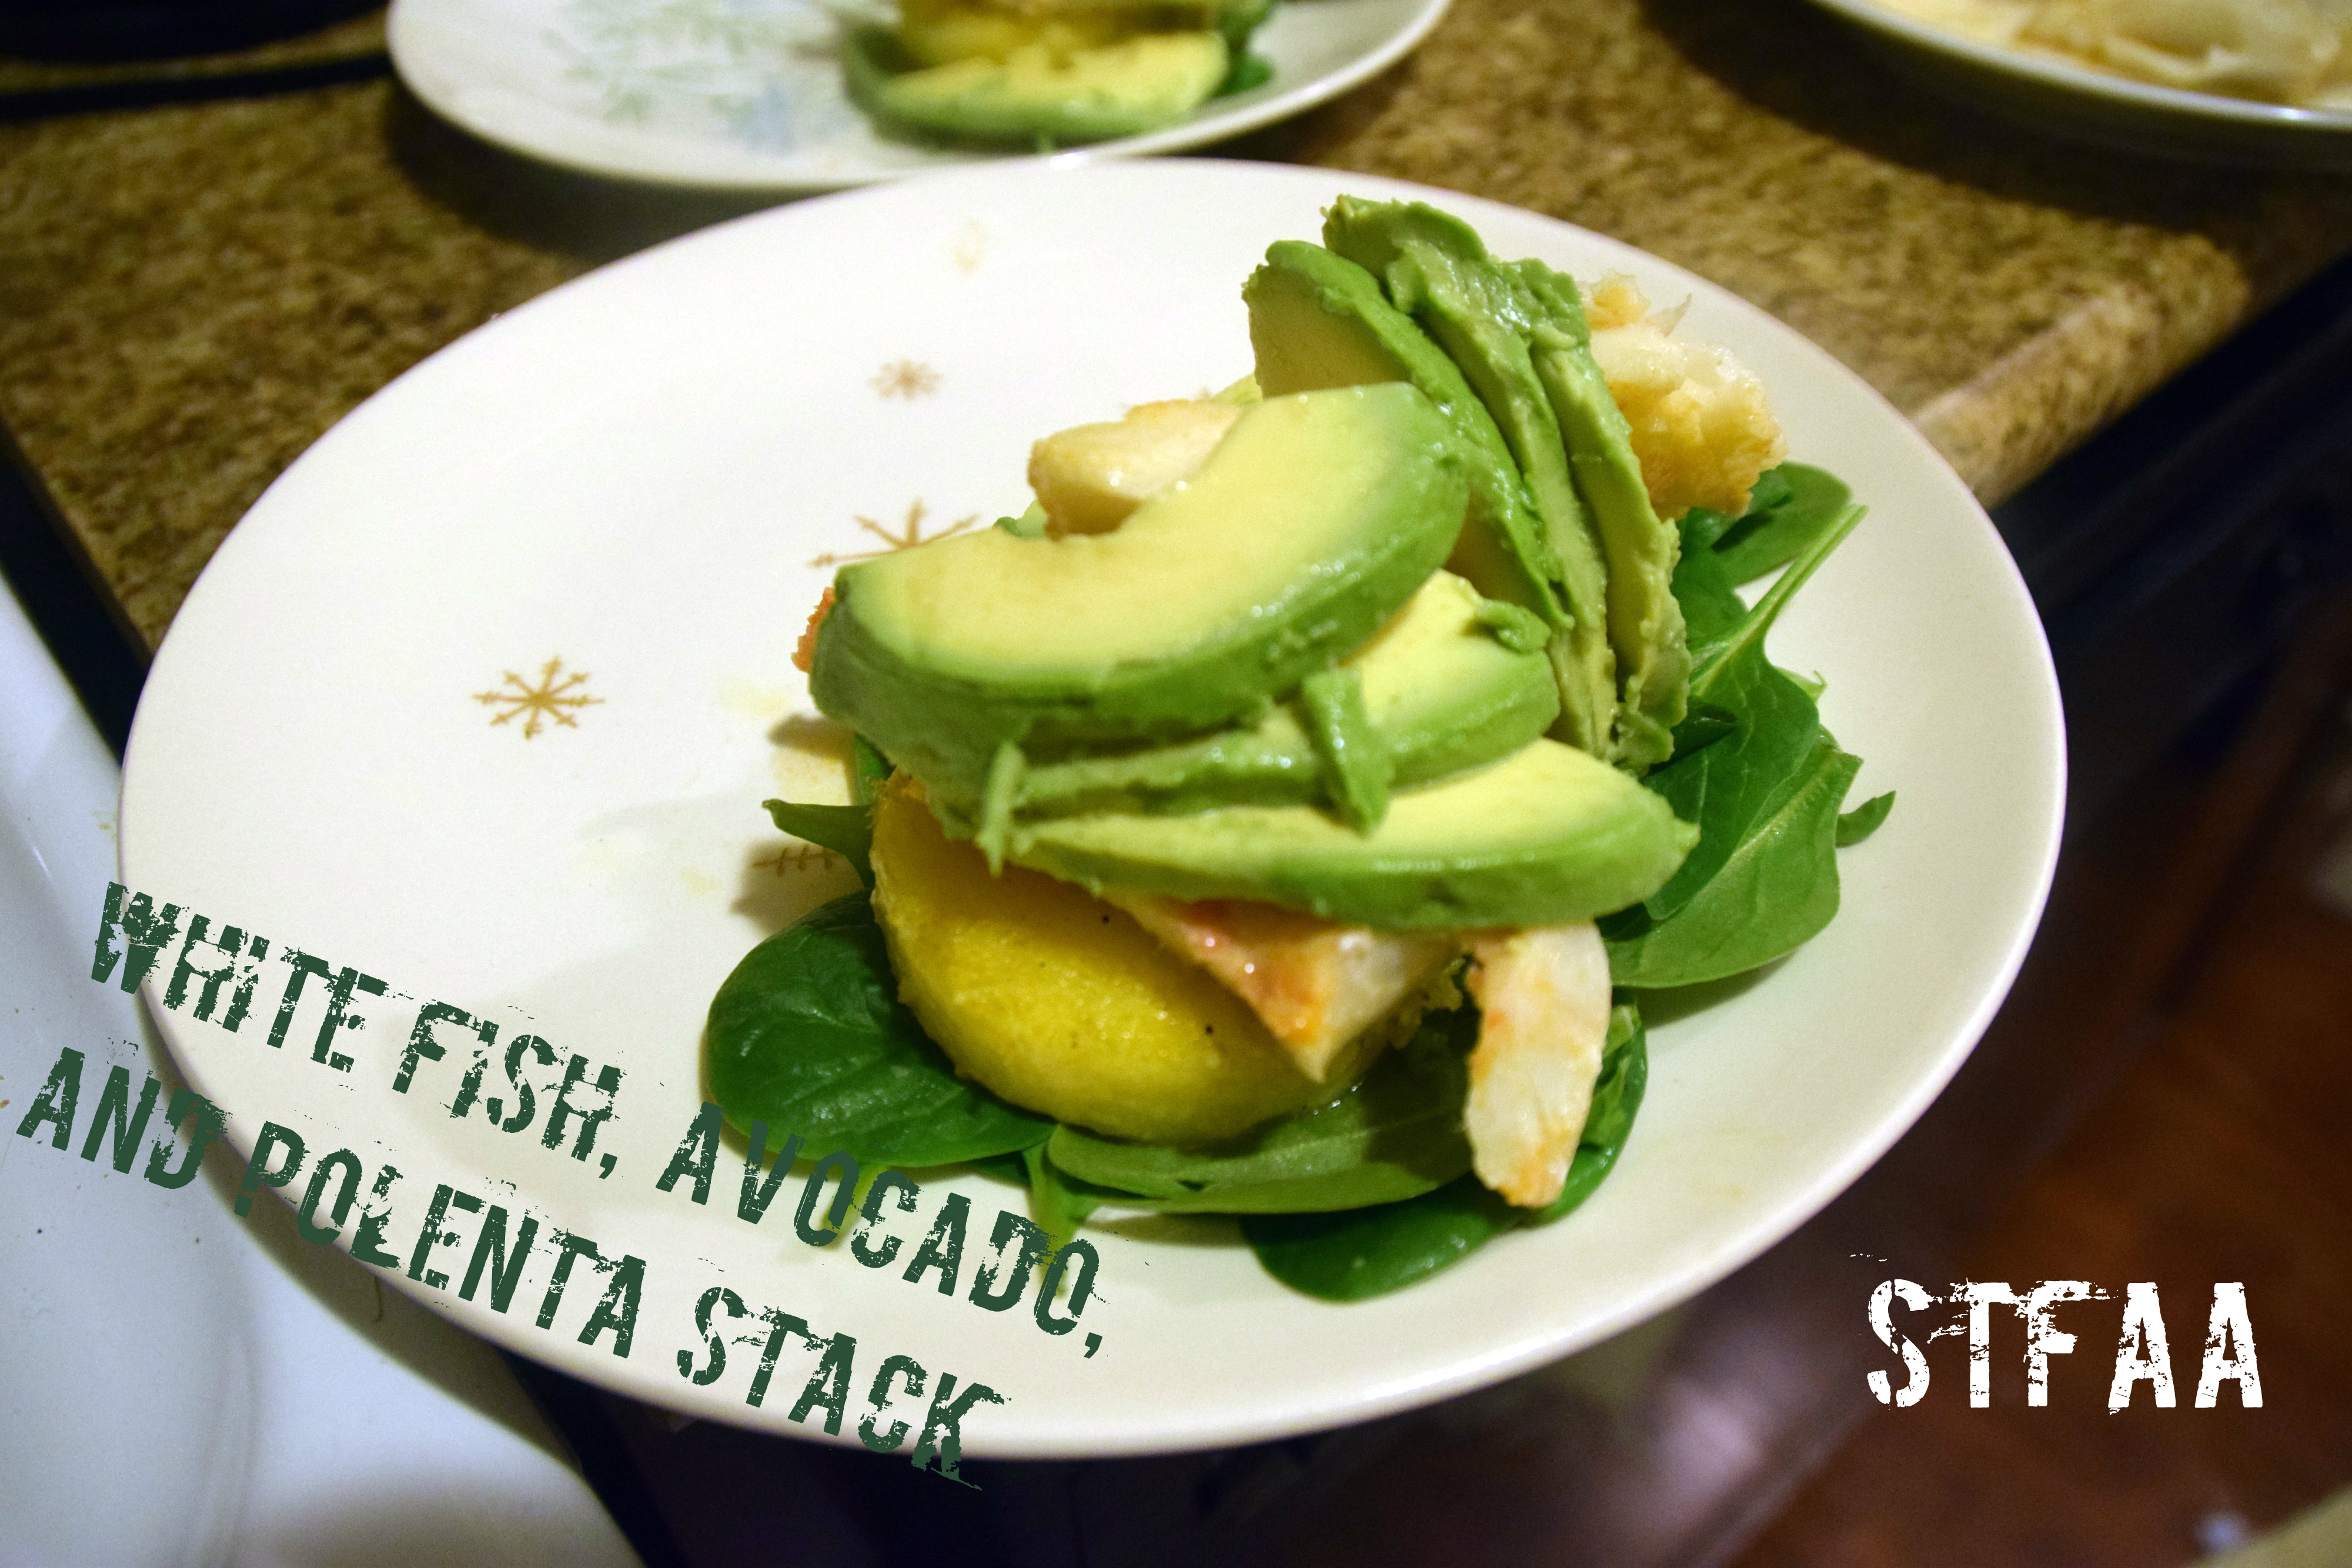
So we’re in a new city, in new jobs, with new commute patterns. My days are actually longer, as my commute has increased four-fold — and I still can’t complain. In NH, I drove about 7 minutes across town. Now I take a bus about 30 minutes, with about a mile of walking total to and from bus stops. The hill TO the bus stop is… challenging. And an hour is a lot more time commuting. So quick dinners are an absolute necessity, but I’m not eating boring food. For this dinner, I’ve paired spicy poached fish with crispy polenta and creamy avocado for an utterly satisfying meal.
Okay, I’ve called this a “stack,” but as you can see, it was really more of a pile. I envisioned a stack, but my plating skills, despite years of Top Chef watching, leave much to be desired. This is a really quick but impressive dinner that can take advantage of whatever fish and hot sauce you might have on hand. Poaching fish allows me to add a lot of subtle flavor with less danger of overcooking the fish than when I bake it — it’s right there, and I can watch it.
If you’re allergic to fish: I’m sorry! This is not your recipe. Neither Denise nor I are allergic to fish, so we do eat it. It’s one of the things I’m enjoying most about west coast living so far.
If you’re allergic to corn: This we can work with! But, as you know, being corn-allergic, it won’t be as convenient. Make a millet polenta (which is the basis for my Millet and Blueberry Breakfast polenta) and then crispy up cakes of this just as you would the tube of corn polenta. Sorry for the extra steps, but I know you’re used to it. Alternatively, consider serving the fish over a salad.
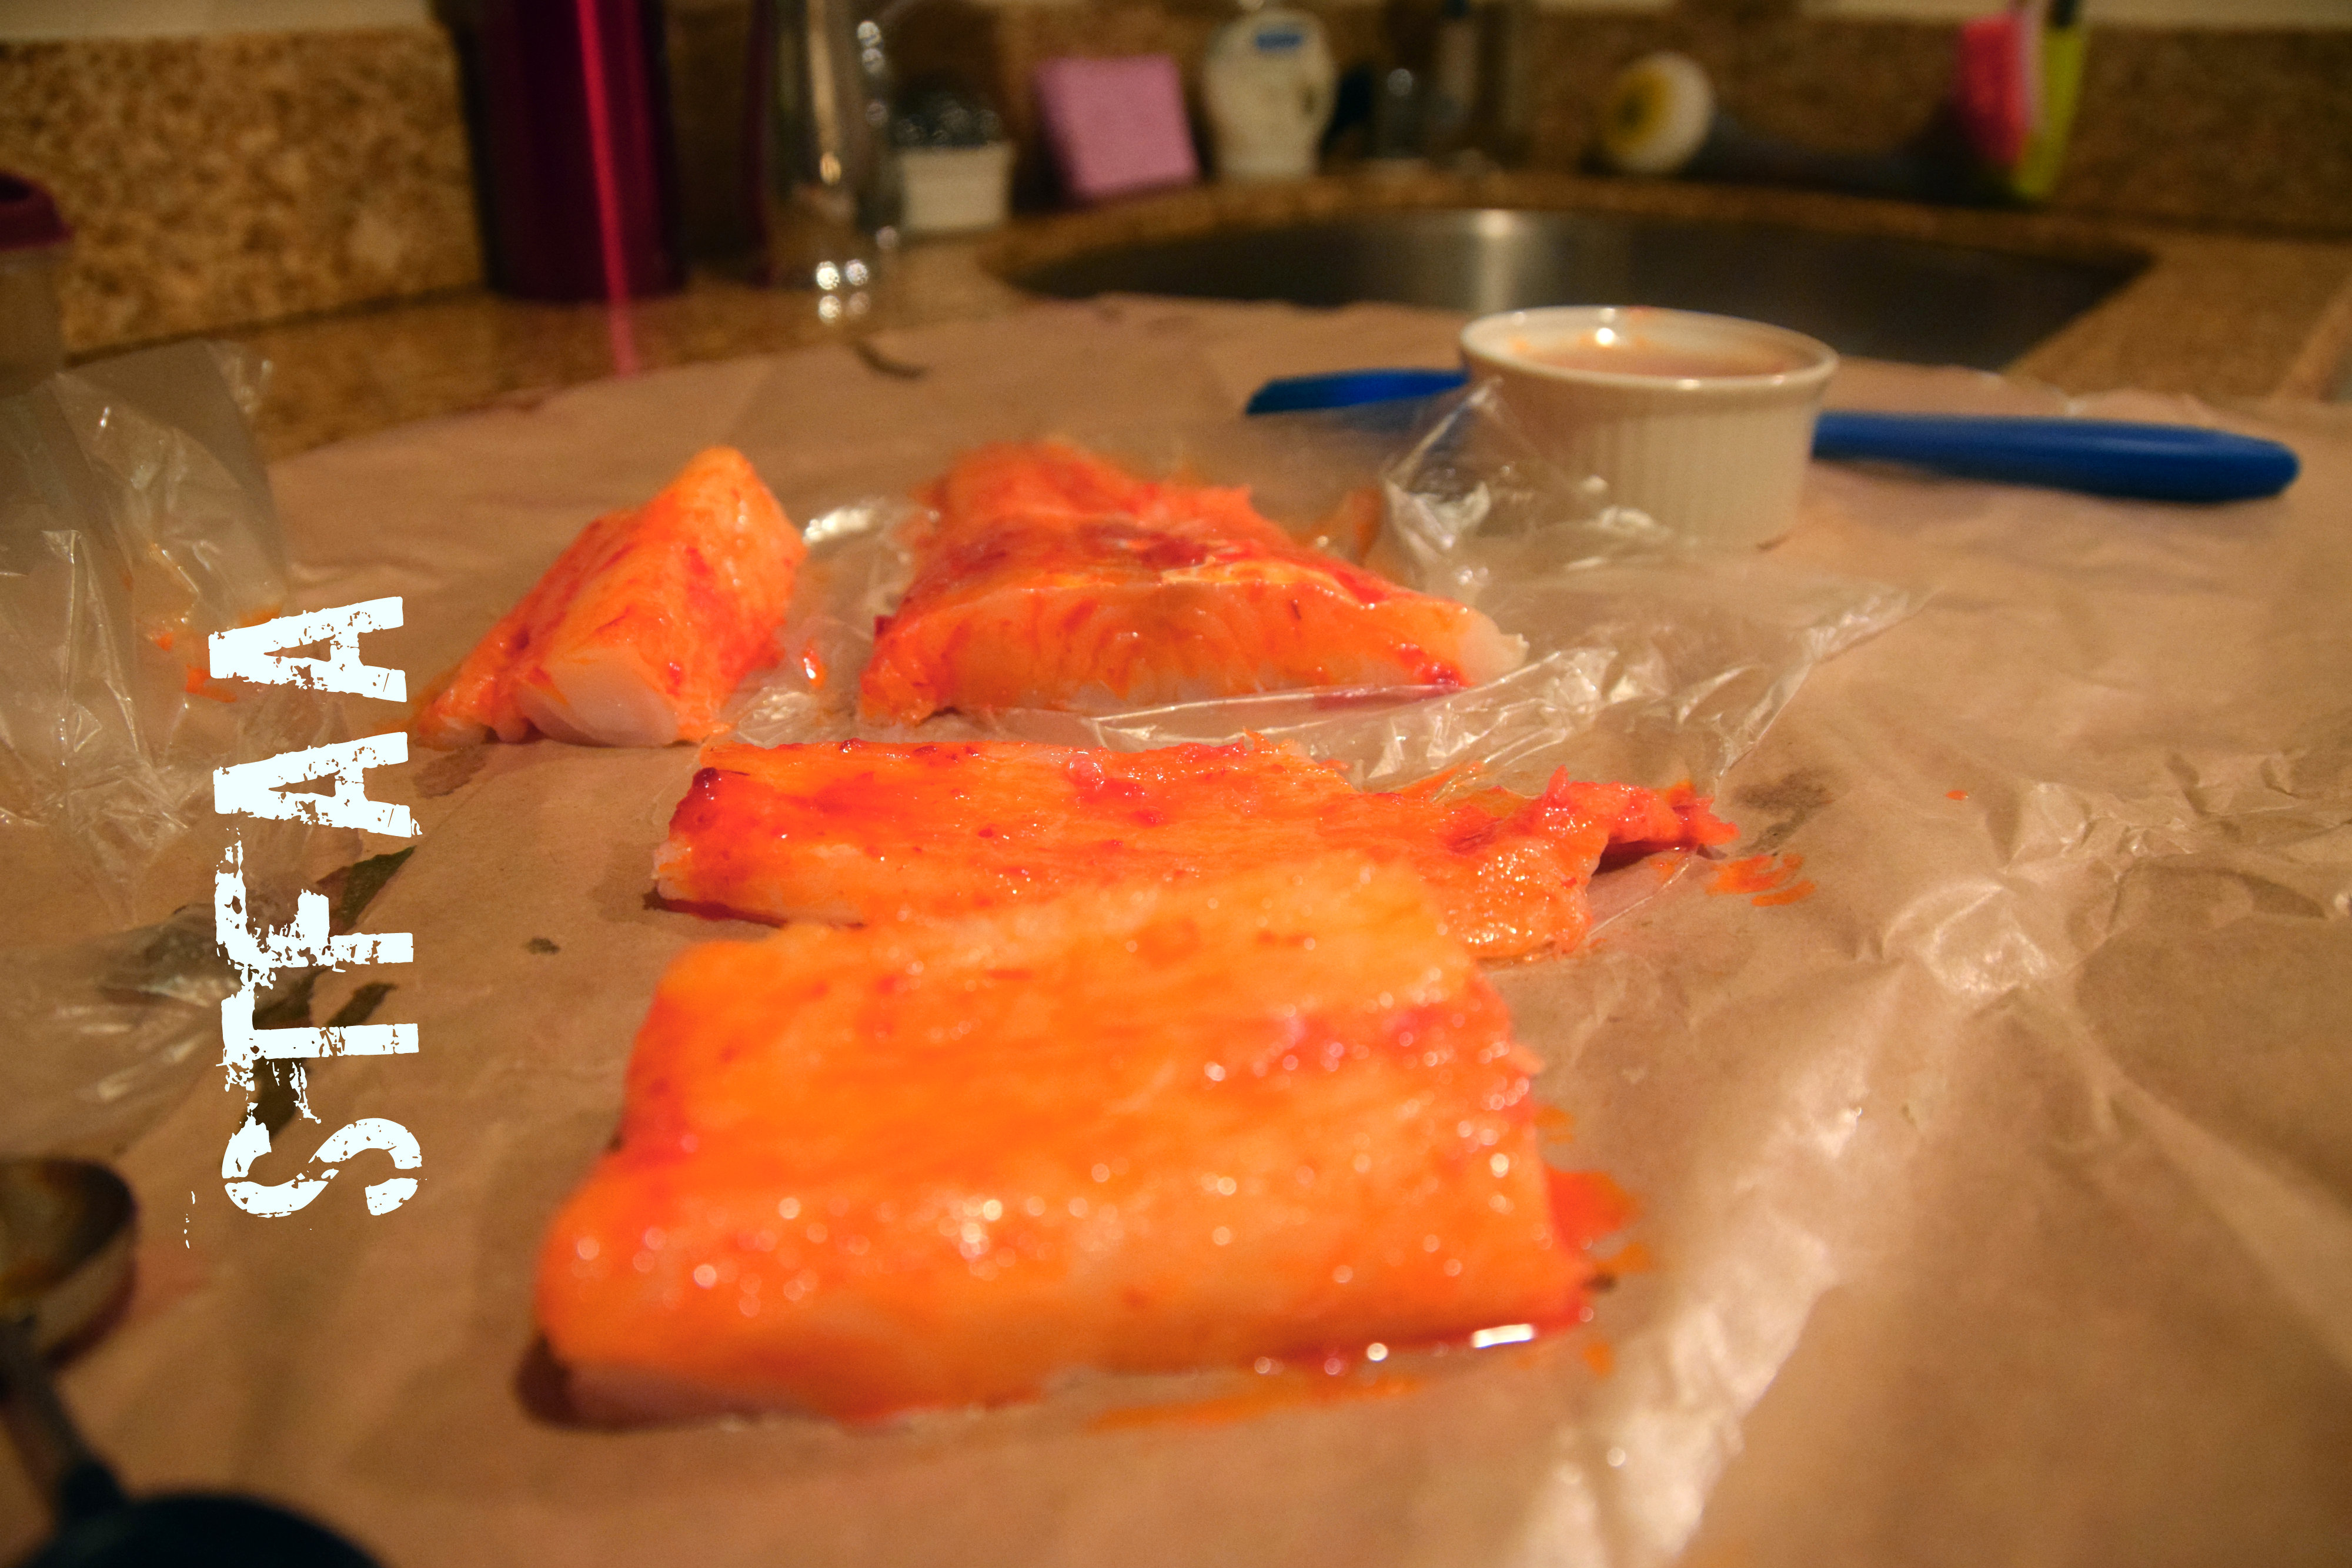
Also feel free to adjust the ratios of hot sauce to olive oil on the fish, and the wine to stock in the poaching liquid. Use all hot sauce if you’re Denise! Use no wine if you don’t like it or don’t want to buy it. It will be fine. I’ve used a harissa in this version, because I think harissa is flavorful along with being spicy.
Cod brushed with harissa Notice: Trying to access array offset on value of type bool in /home/maryzahc/public_html/adultfoodallergies.com/wp-content/plugins/wp-ultimate-recipe/helpers/models/recipe.php on line 254
White Fish, Avocado, and Polenta Stacks
Print Recipe
A quick and relatively easy but quite tasty weeknight dinner
1/2cupstock or brothveggie or chicken, your choice
3/4cupwhite wine
1poundwhite fishI used cod
2teaspoonshot sauce or chili pasteI used harissa
1-2teaspoonsolive oil(no, this is a separate 2 t)
2wholeavocados
1fresh lemon
1pinch salt, for each avocado half
4handsfulsalad greens of your choicebut argula and spinach would be my top choices
Servings: people
Instructions
In a heavy skillet, heat about 2 teaspoons of olive oil over medium to medium-high heat. You want to crisp the polenta, not burn it, and you know your stove (and attention span) better than I do. If you really don’t like using fat, you can just use the barest amount necessary to coat the pan, but polenta crisps up better with a little extra oil.
Slice the polenta, and when the oil is hot, place the slices in a single layer in the skillet.
Meanwhile, prepare the fish poaching liquid by adding the celery salt, cilantro, wine, and stock to another skillet, over medium heat.
Cut the fish into serving-sized portions (so more or less match your polenta size).
Mix your hot sauce and olive oil and brush on the fish. If you like it hot, use less olive oil. If you like it mild, I wouldn’t go less than a 1:1 ratio of oli to sauce or you lose the flavor entirely. I think you likely don’t want an actual thin hot sauce like Tabasco here, but anything as thick as ketchup should work.
When the poaching liquid is boiling, add the fish. Watch it. When it starts to turn opaque, flip it. This is my favorite way to cook fish because it is easier to watch what I’m doing and see when the fish is done.
Flip the polenta cakes and crisp on the other side.
Halve and slice the avocados. Squeeze lemon over each set of slices, and give each a pinch of salt. Save some lemon wedges for serving.
Plate up. I stacked the polenta on top of the greens, with the fish and then the avocado on top. And it was good.
Recipe Notes
Again, feel free to adjust your ratios:
To make it spicier, use more chili paste/hot sauce and less olive oil. And vice versa. If you don’t want to use wine, use all broth.