Notice: Function _load_textdomain_just_in_time was called incorrectly. Translation loading for the wp-ultimate-recipe domain was triggered too early. This is usually an indicator for some code in the plugin or theme running too early. Translations should be loaded at the init action or later. Please see Debugging in WordPress for more information. (This message was added in version 6.7.0.) in /home/maryzahc/public_html/adultfoodallergies.com/wp-includes/functions.php on line 6131 Allergy-Friendly Recipes – Page 2 – surviving the food allergy apocalypse (archive)
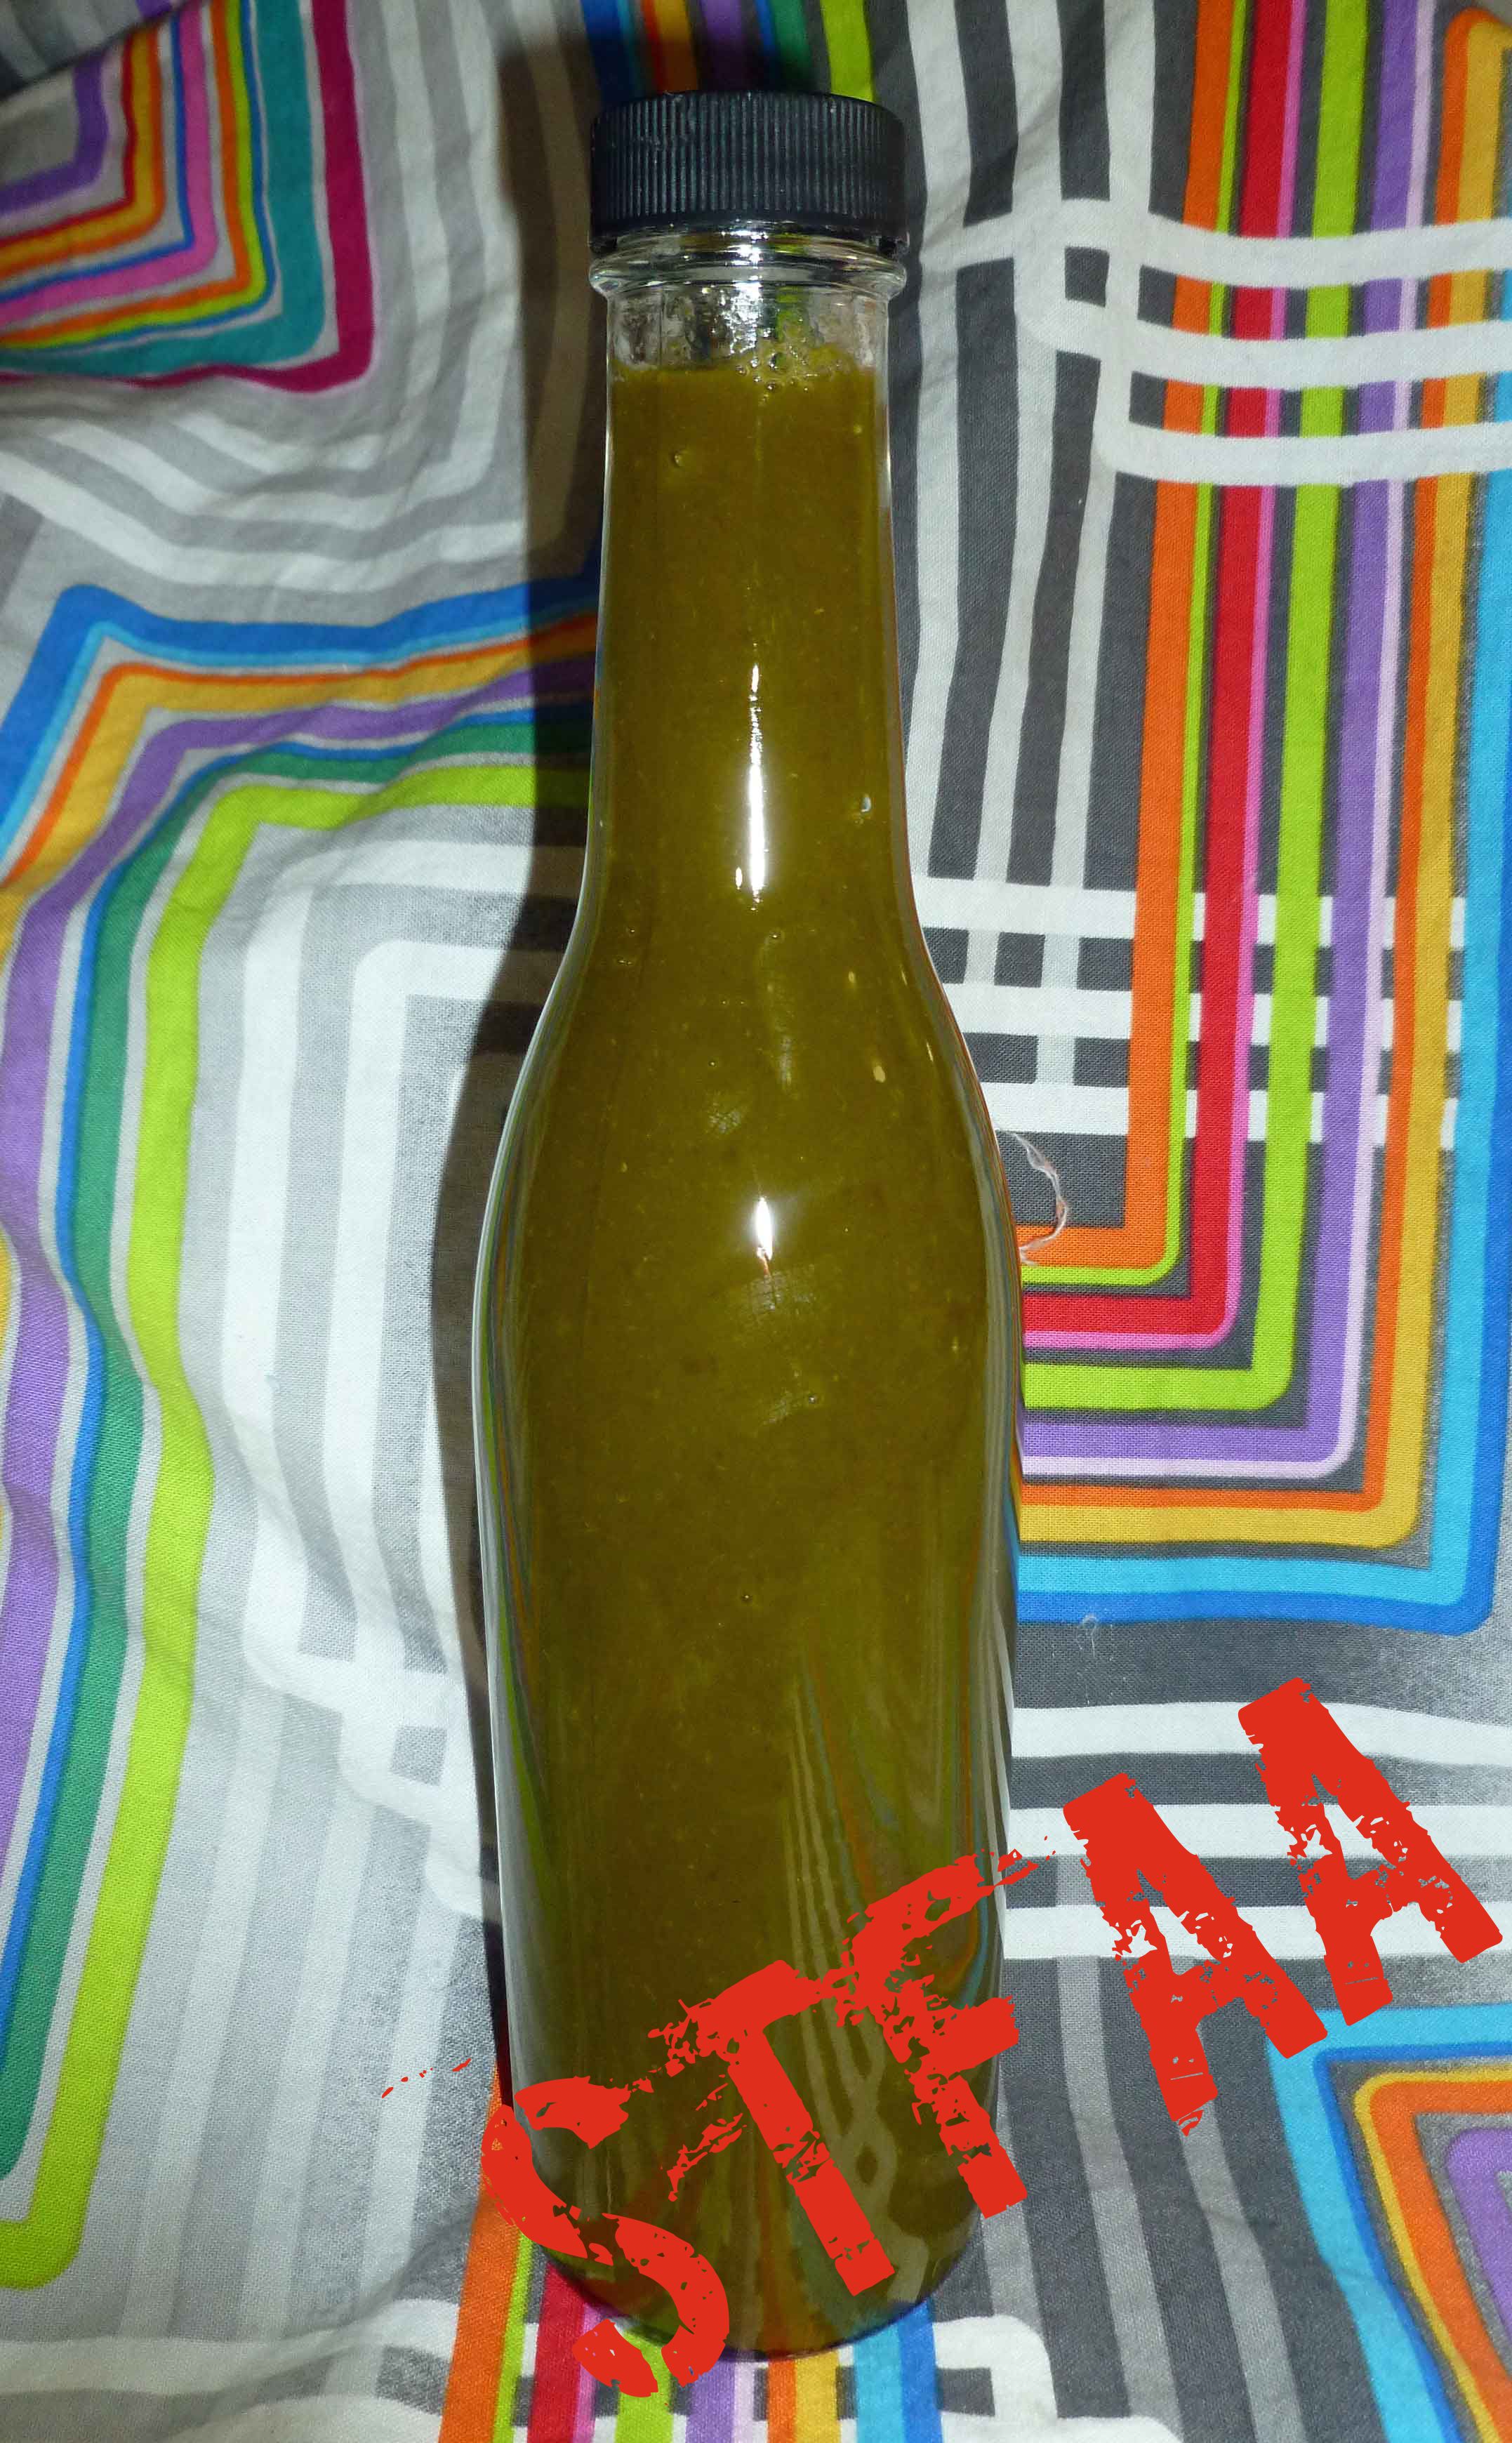
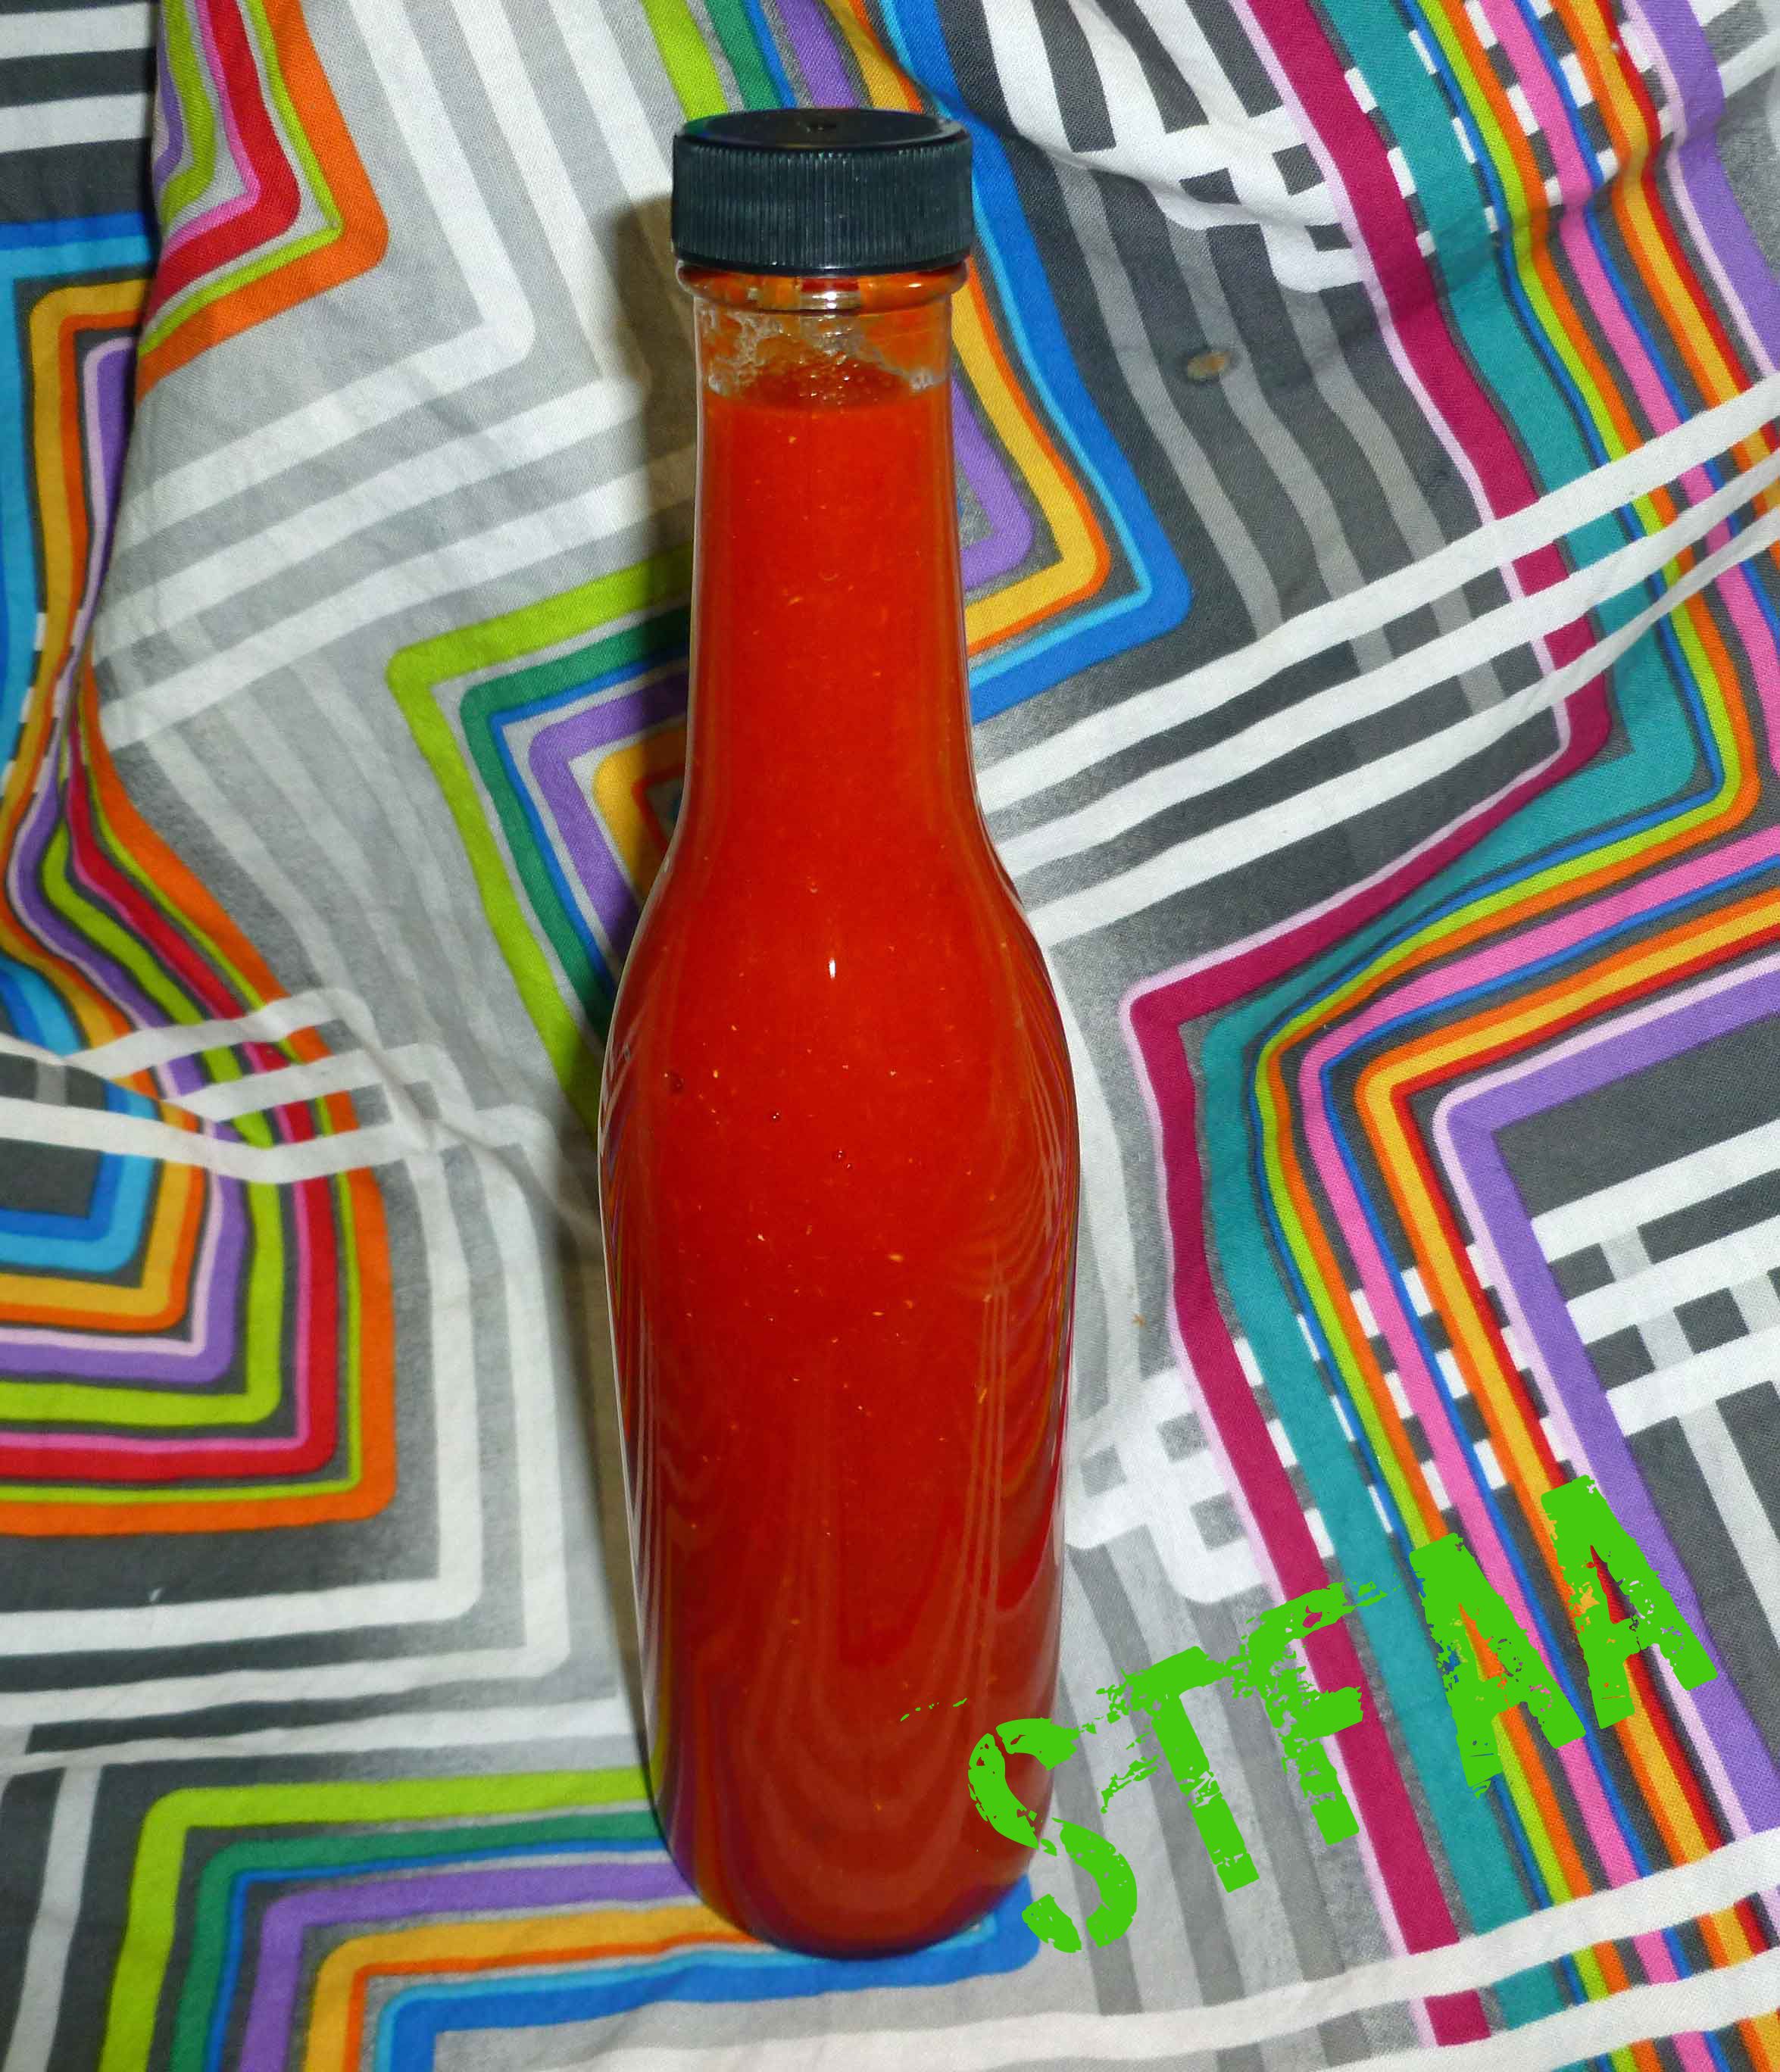
Here’s the thing: It’s been crazed here, and I’ve been flaking a bit on blog-related recipe development. So I’m giving you another hot sauce recipe I developed in the fall. These peppers came from a mix of peppers that Mary S and I grew this summer, green cayennes (they hadn’t ripened to red before being picked to avoid the frost) and poblanos. This one is a bit milder than my normal hot sauces as the poblanos are fairly mild, but it’s really flavorful and great on all kinds of things, whether as a dipping sauce for pork chops, Mexican inspired dishes, or Thai inspired dishes.
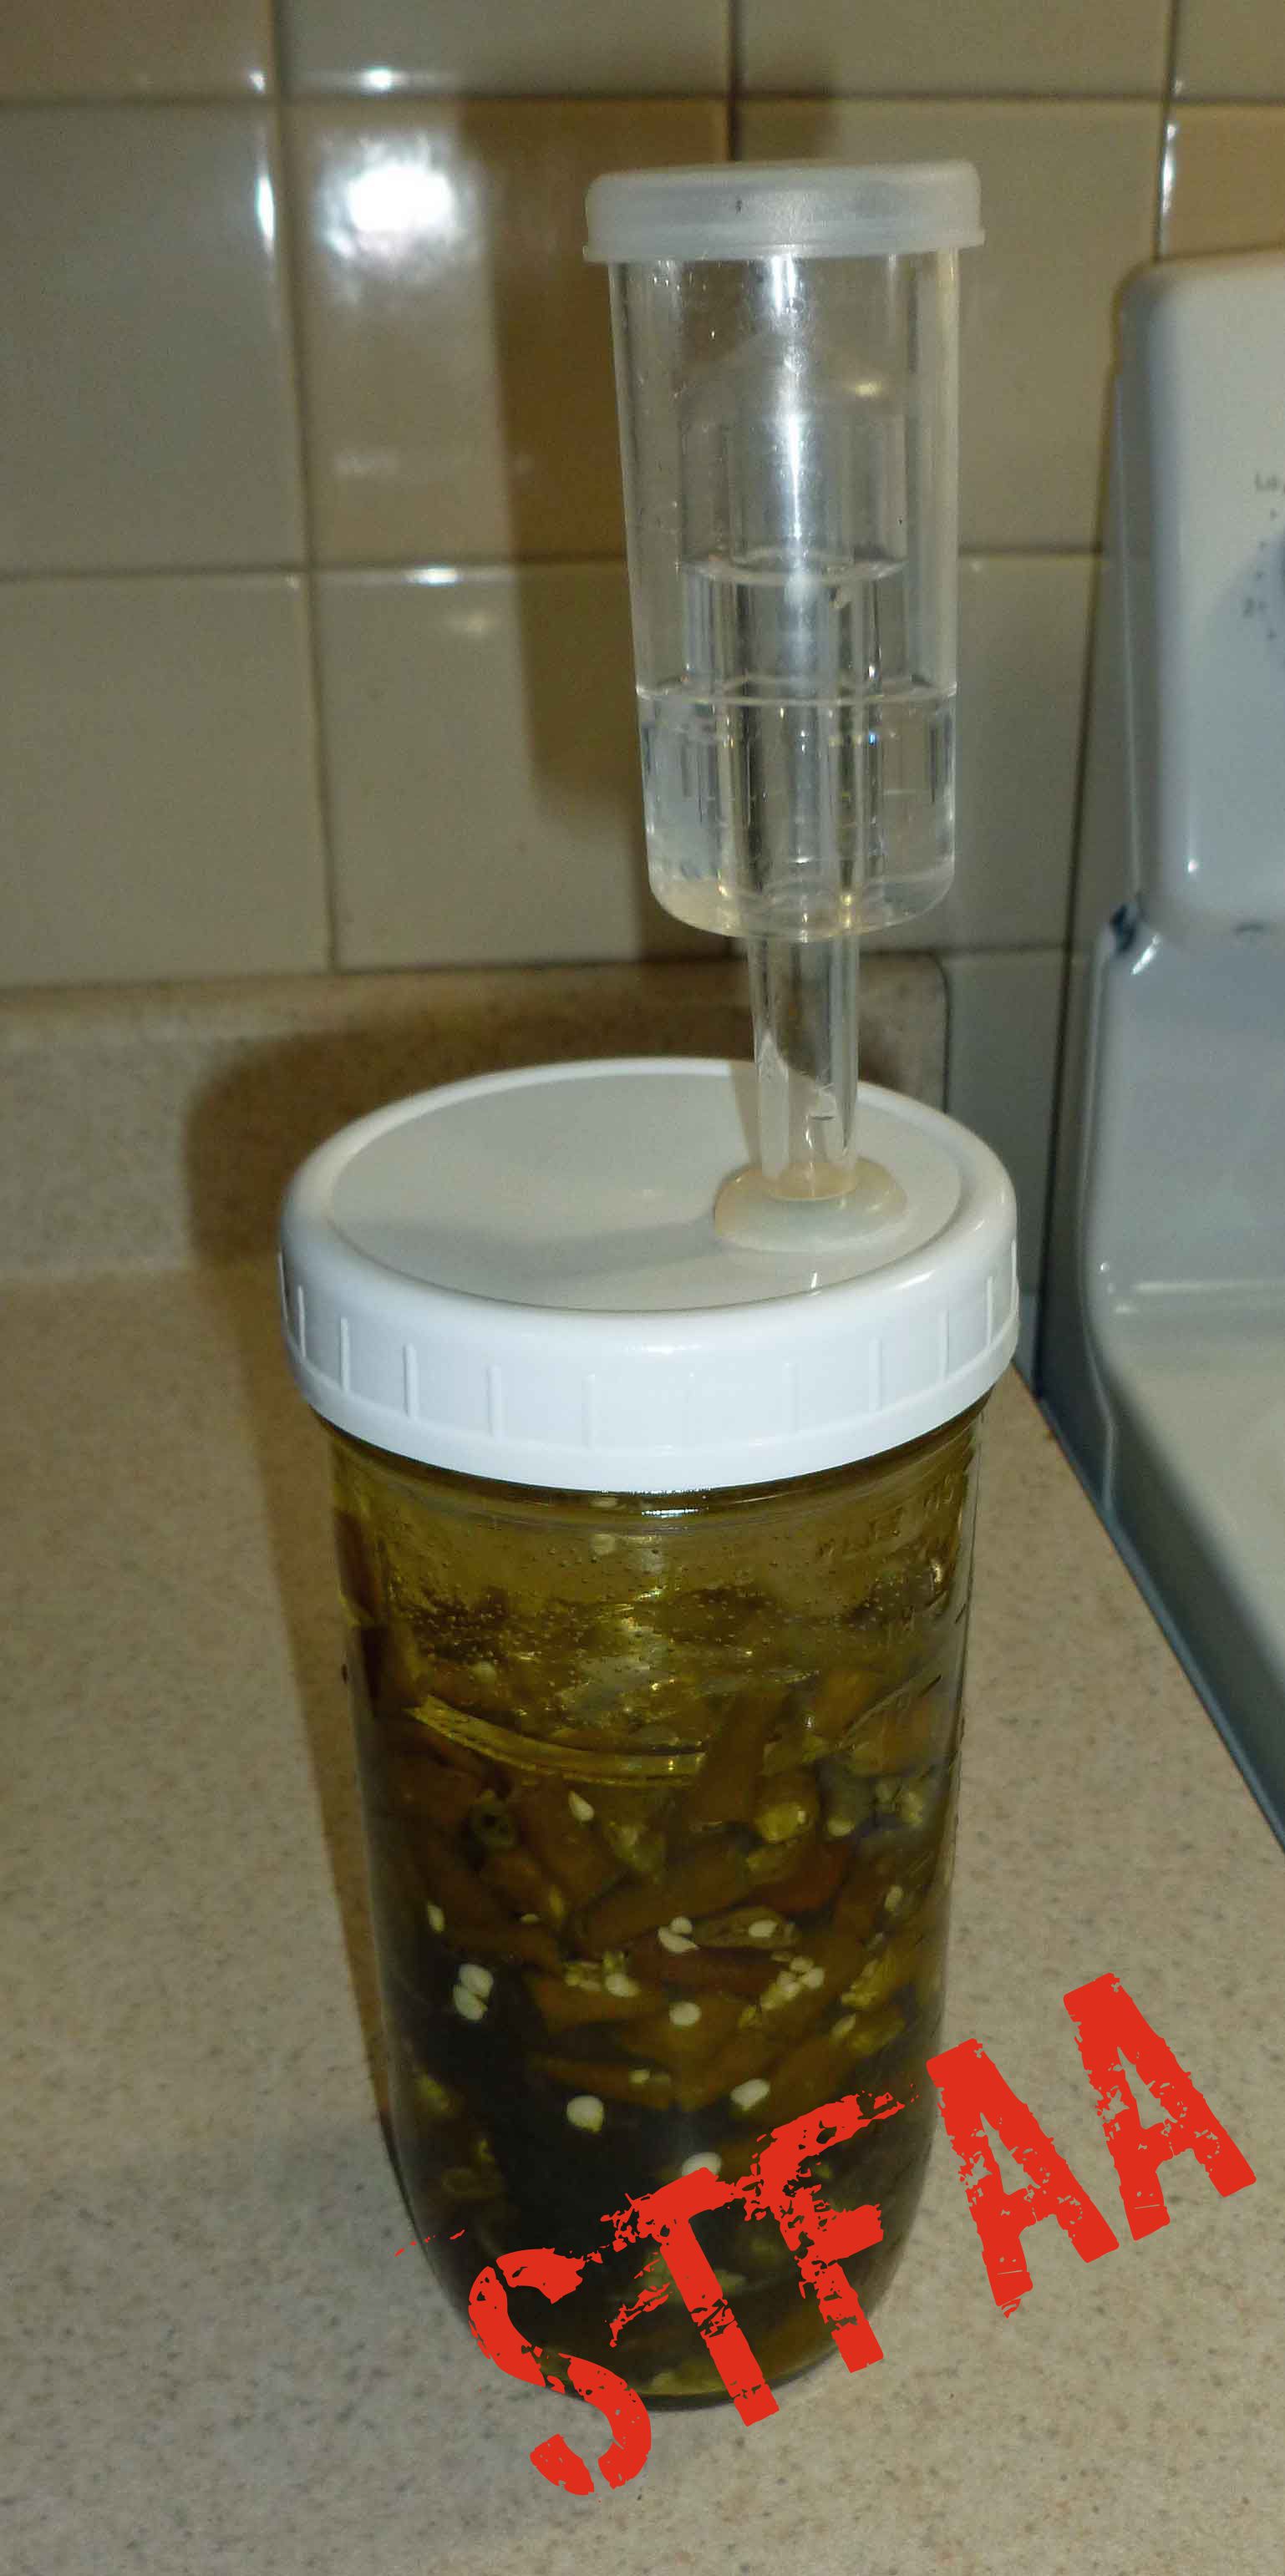
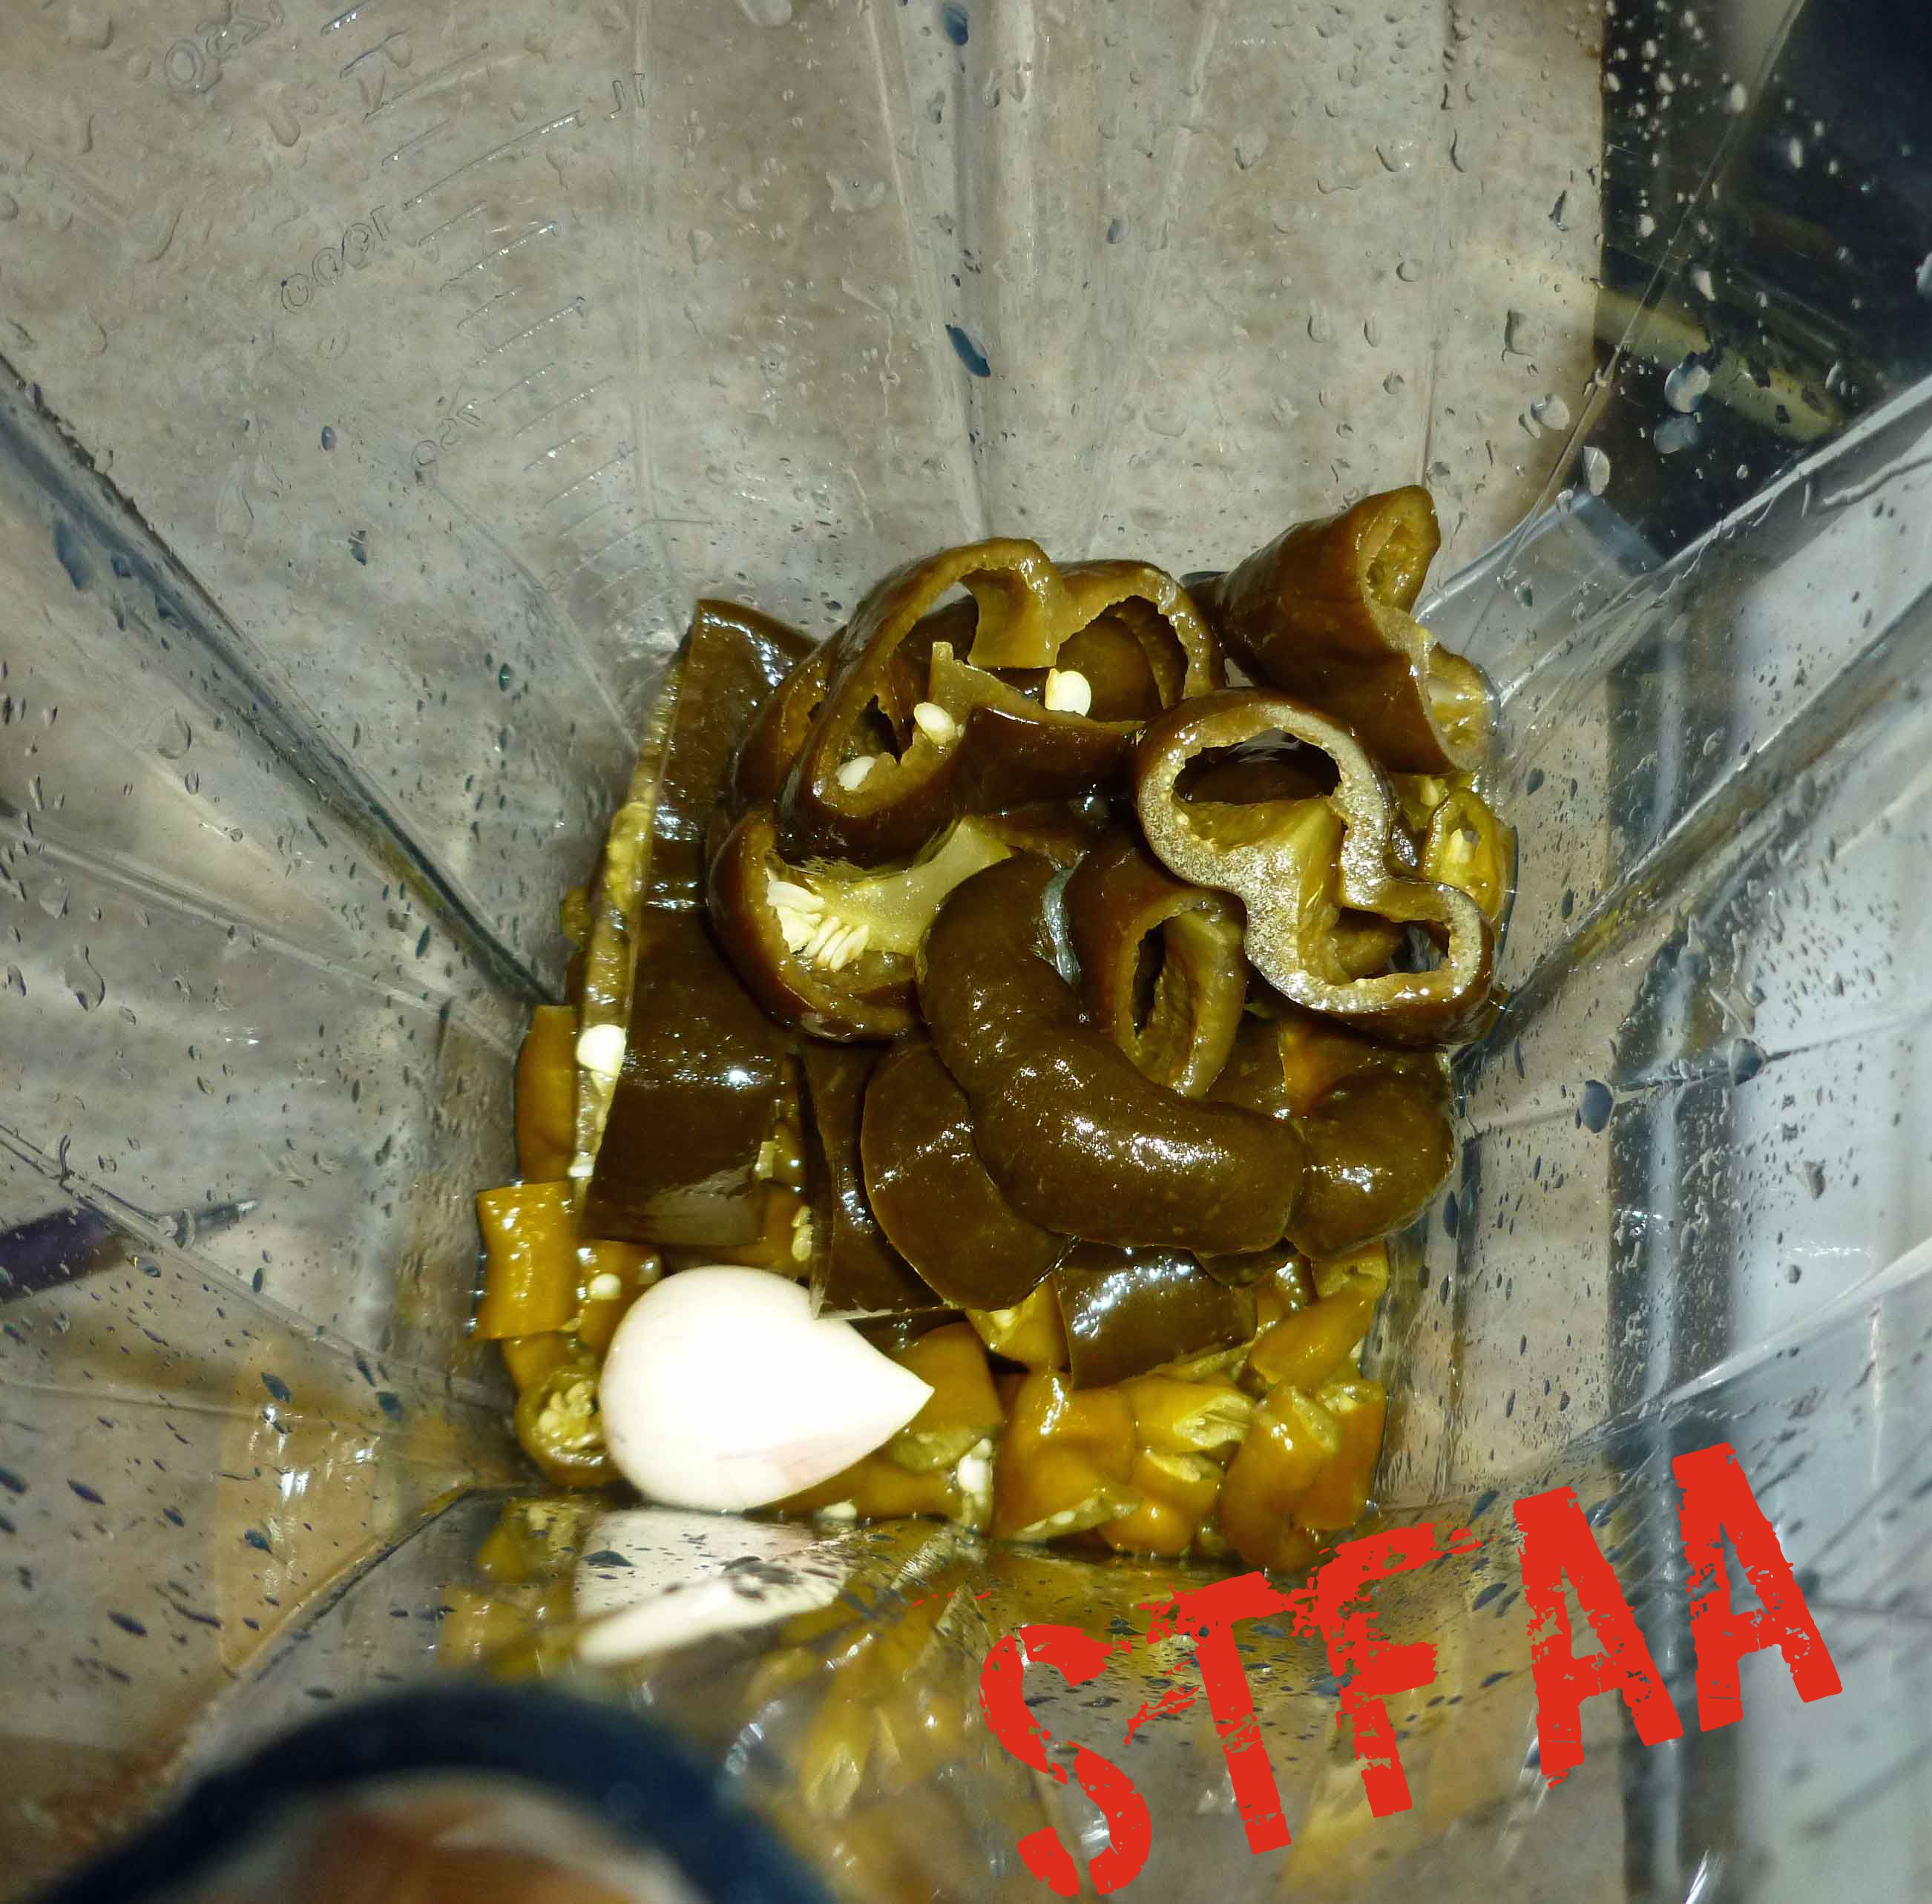
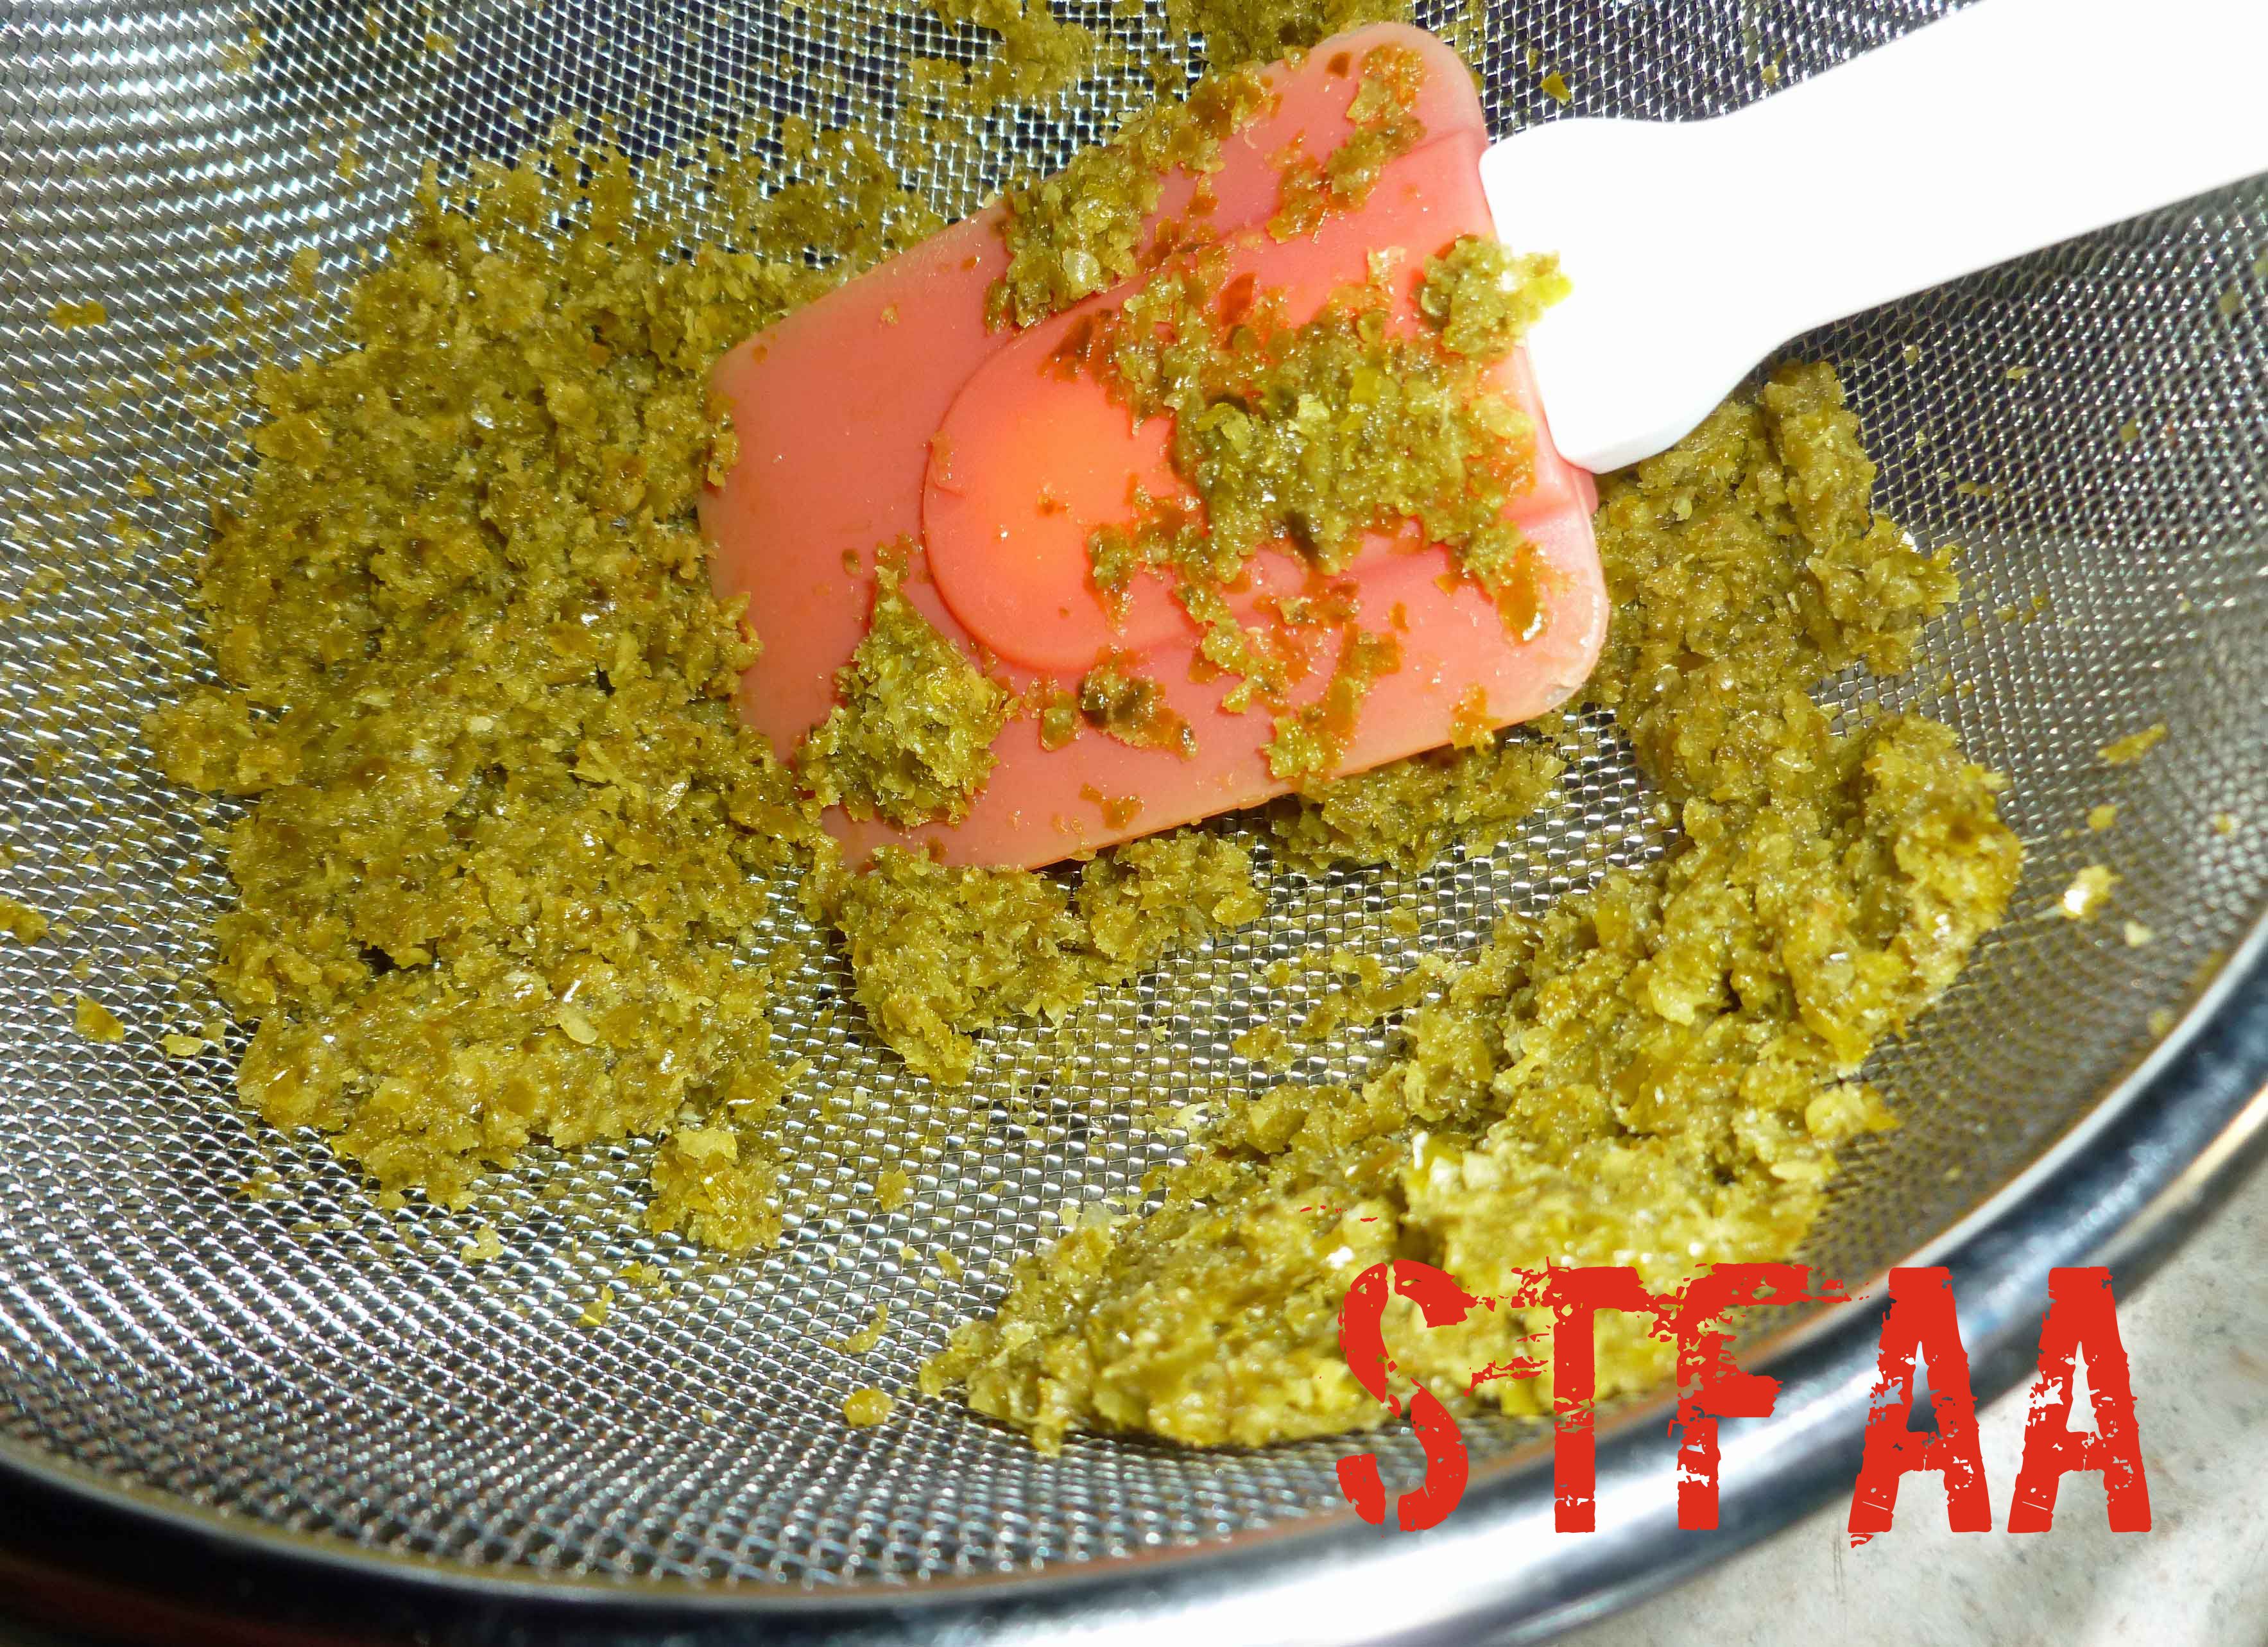
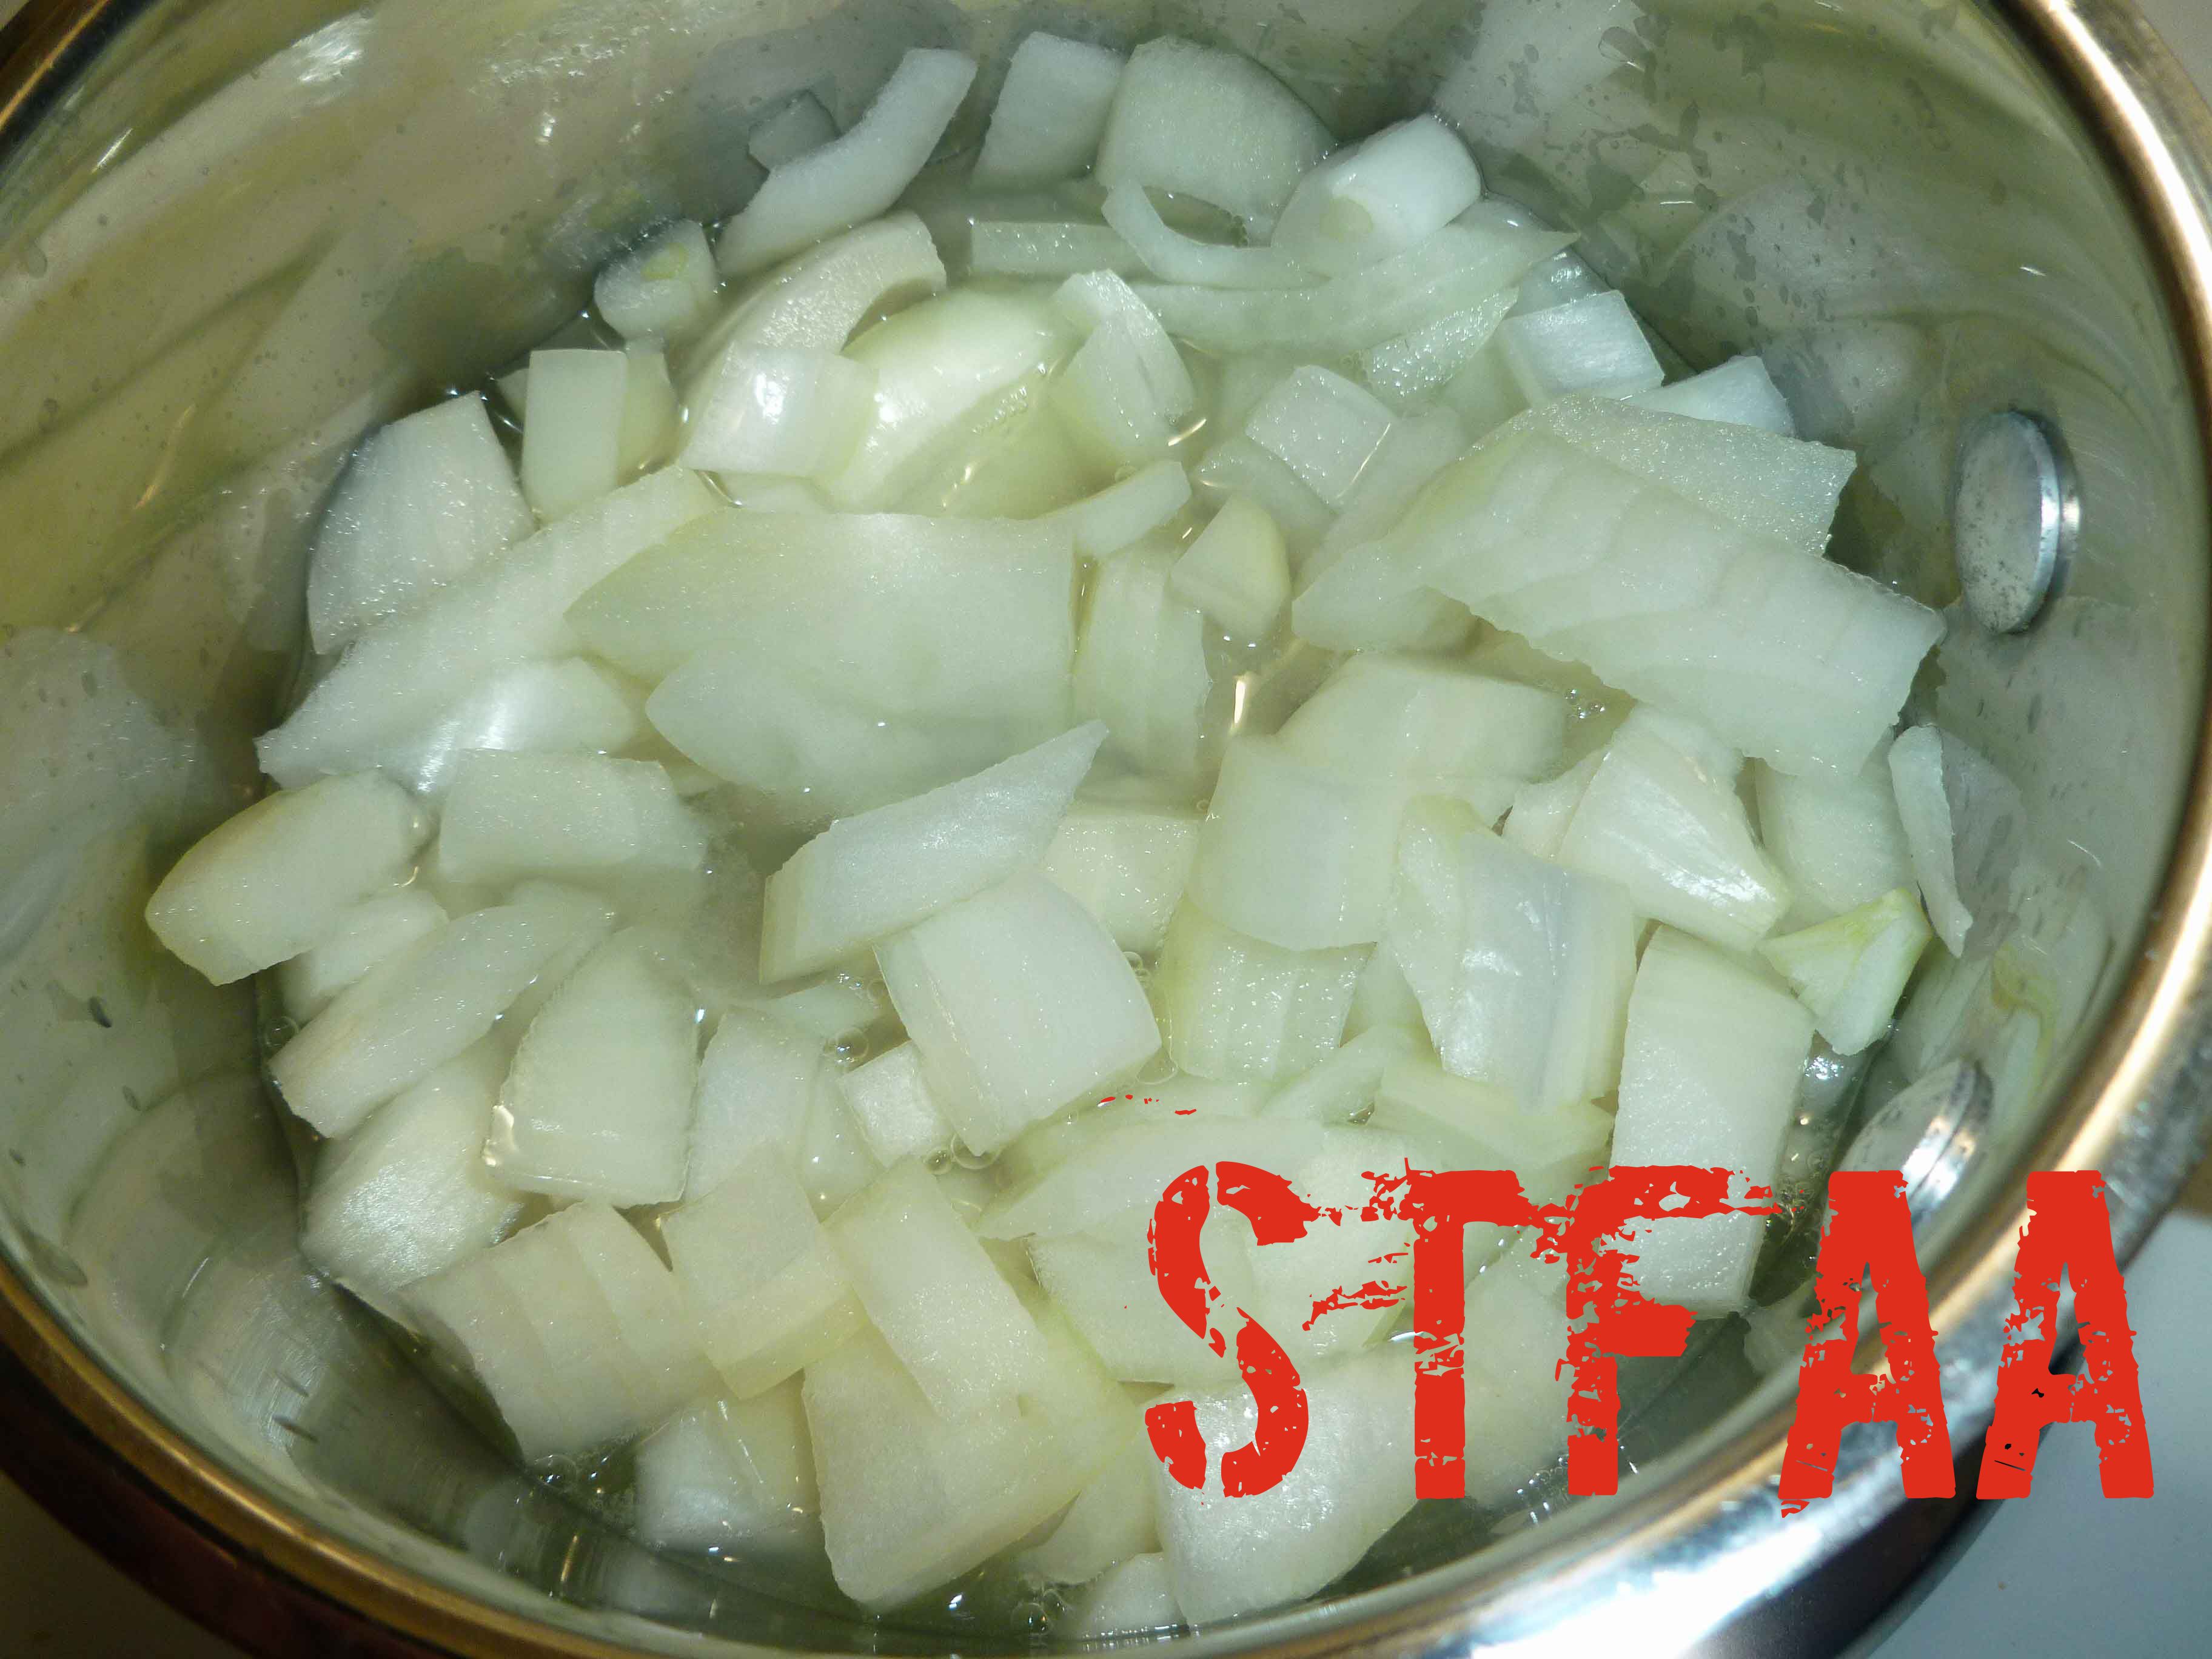
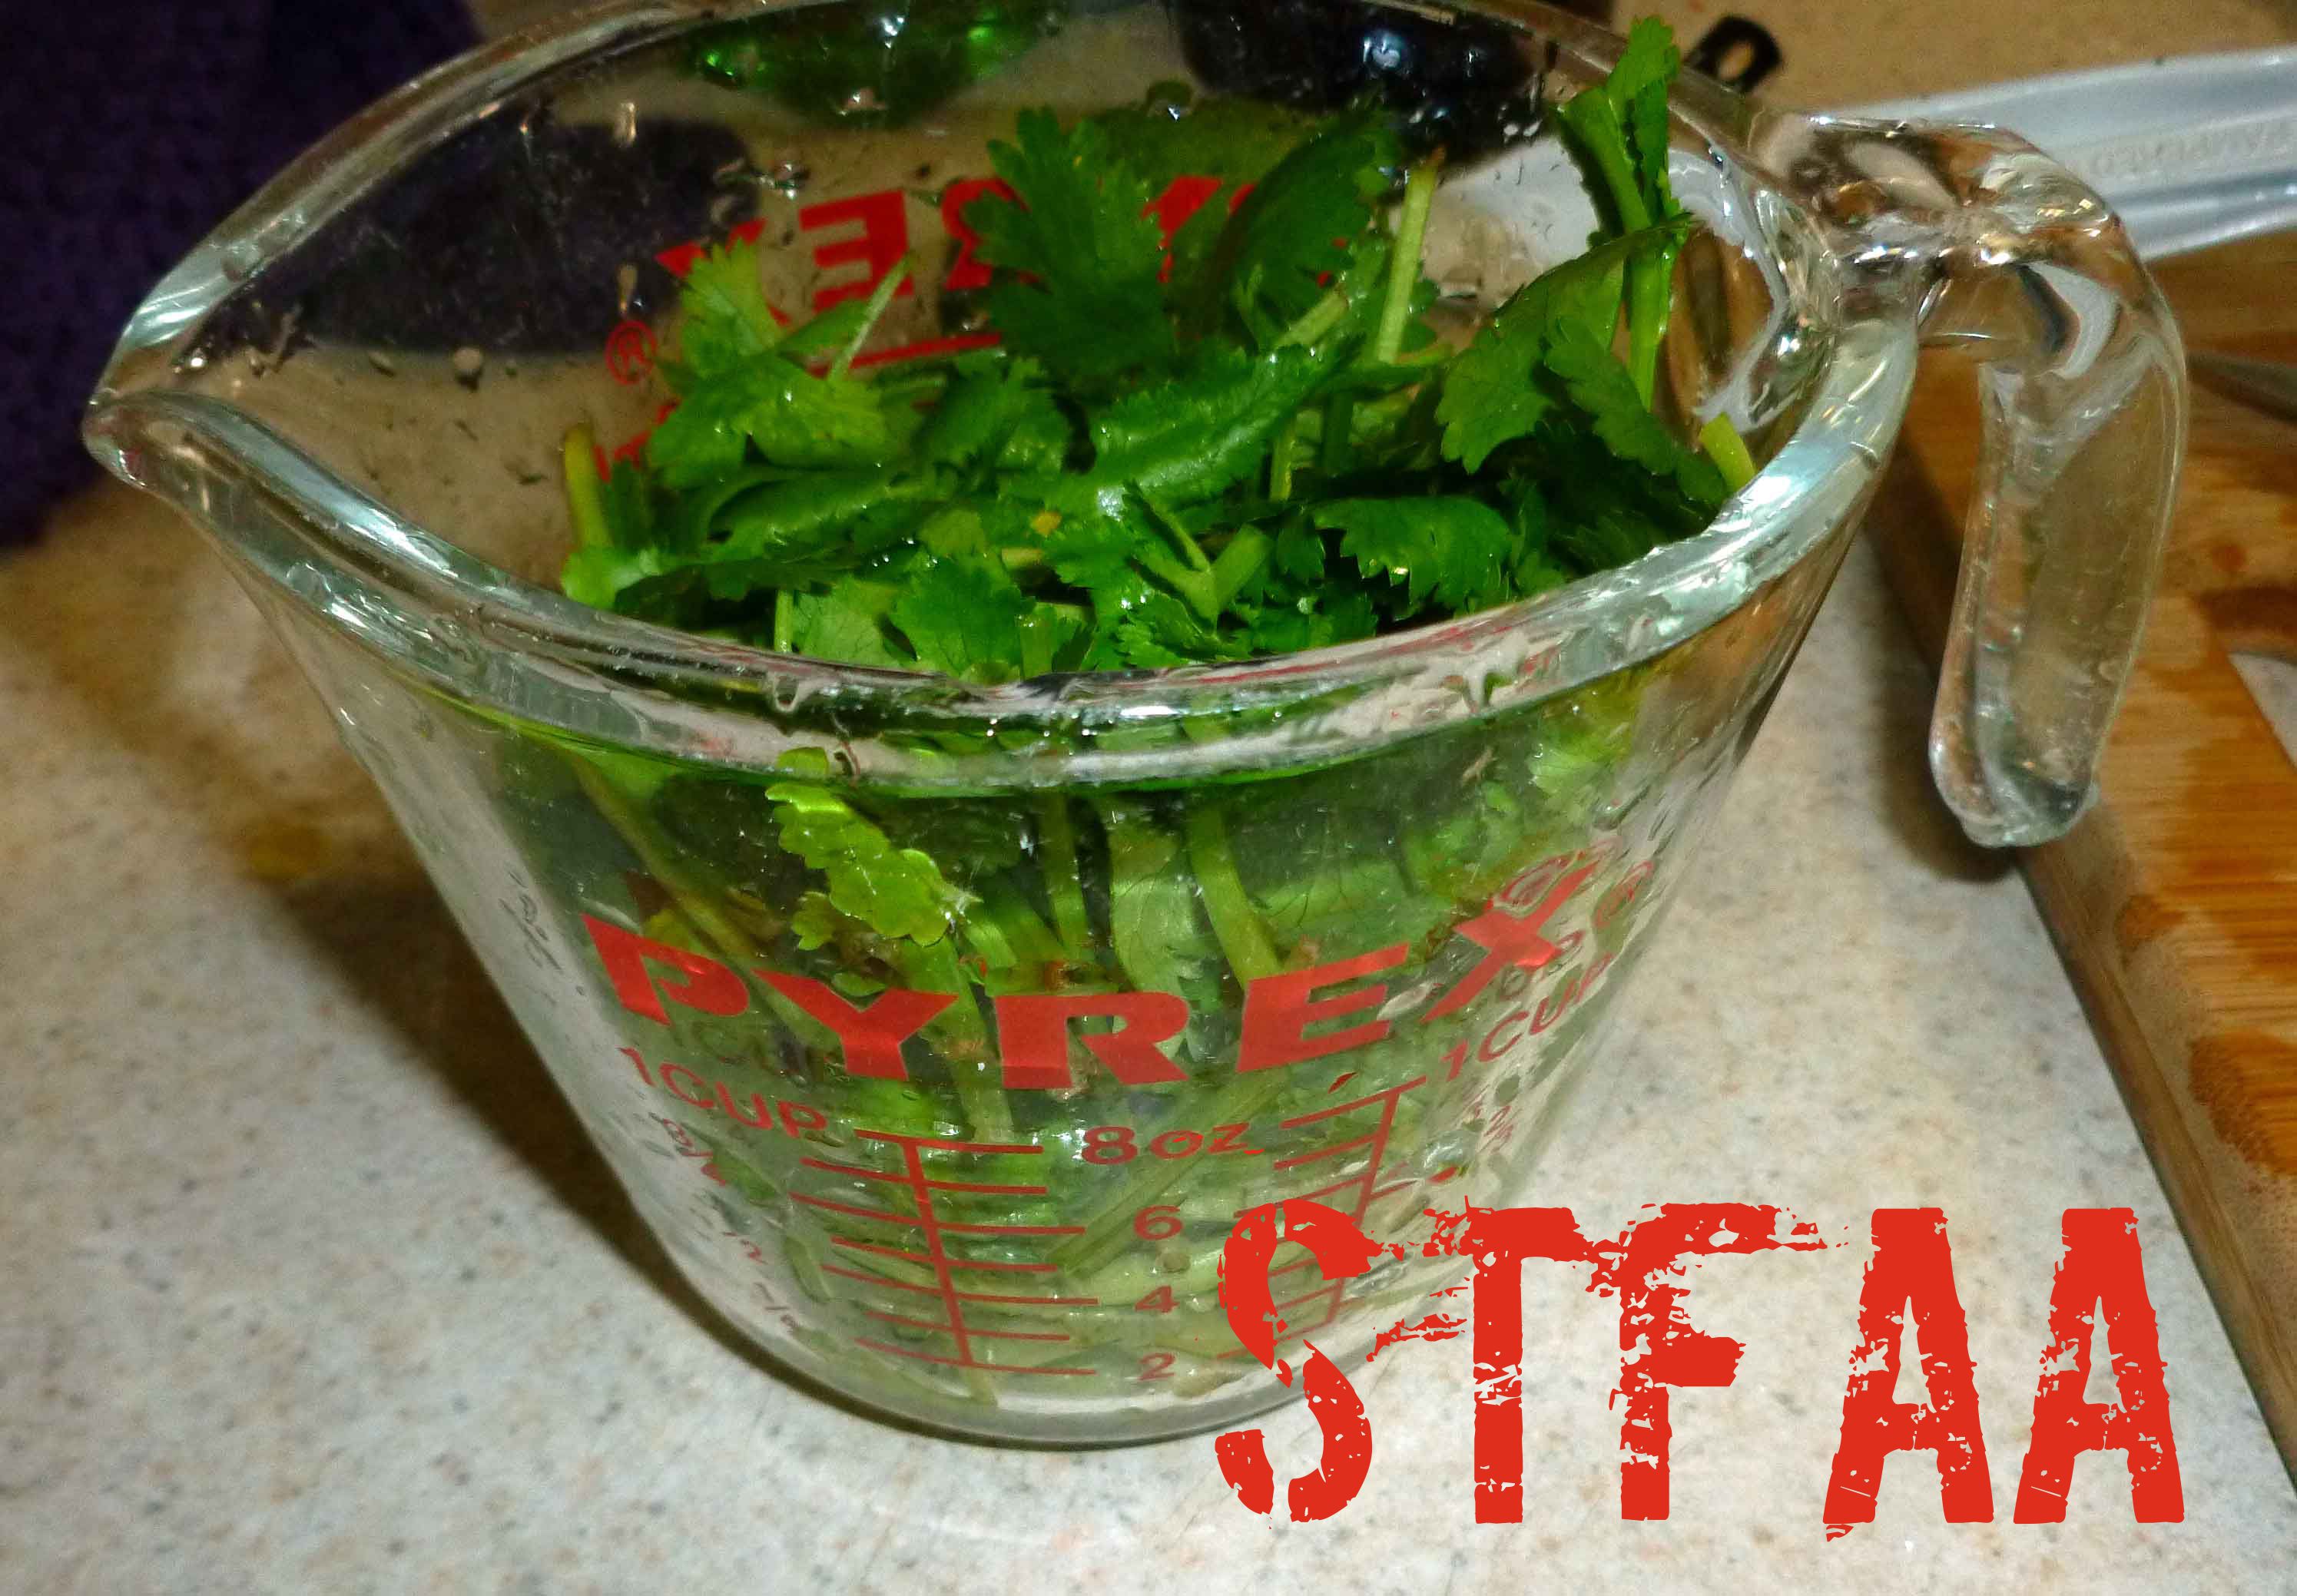
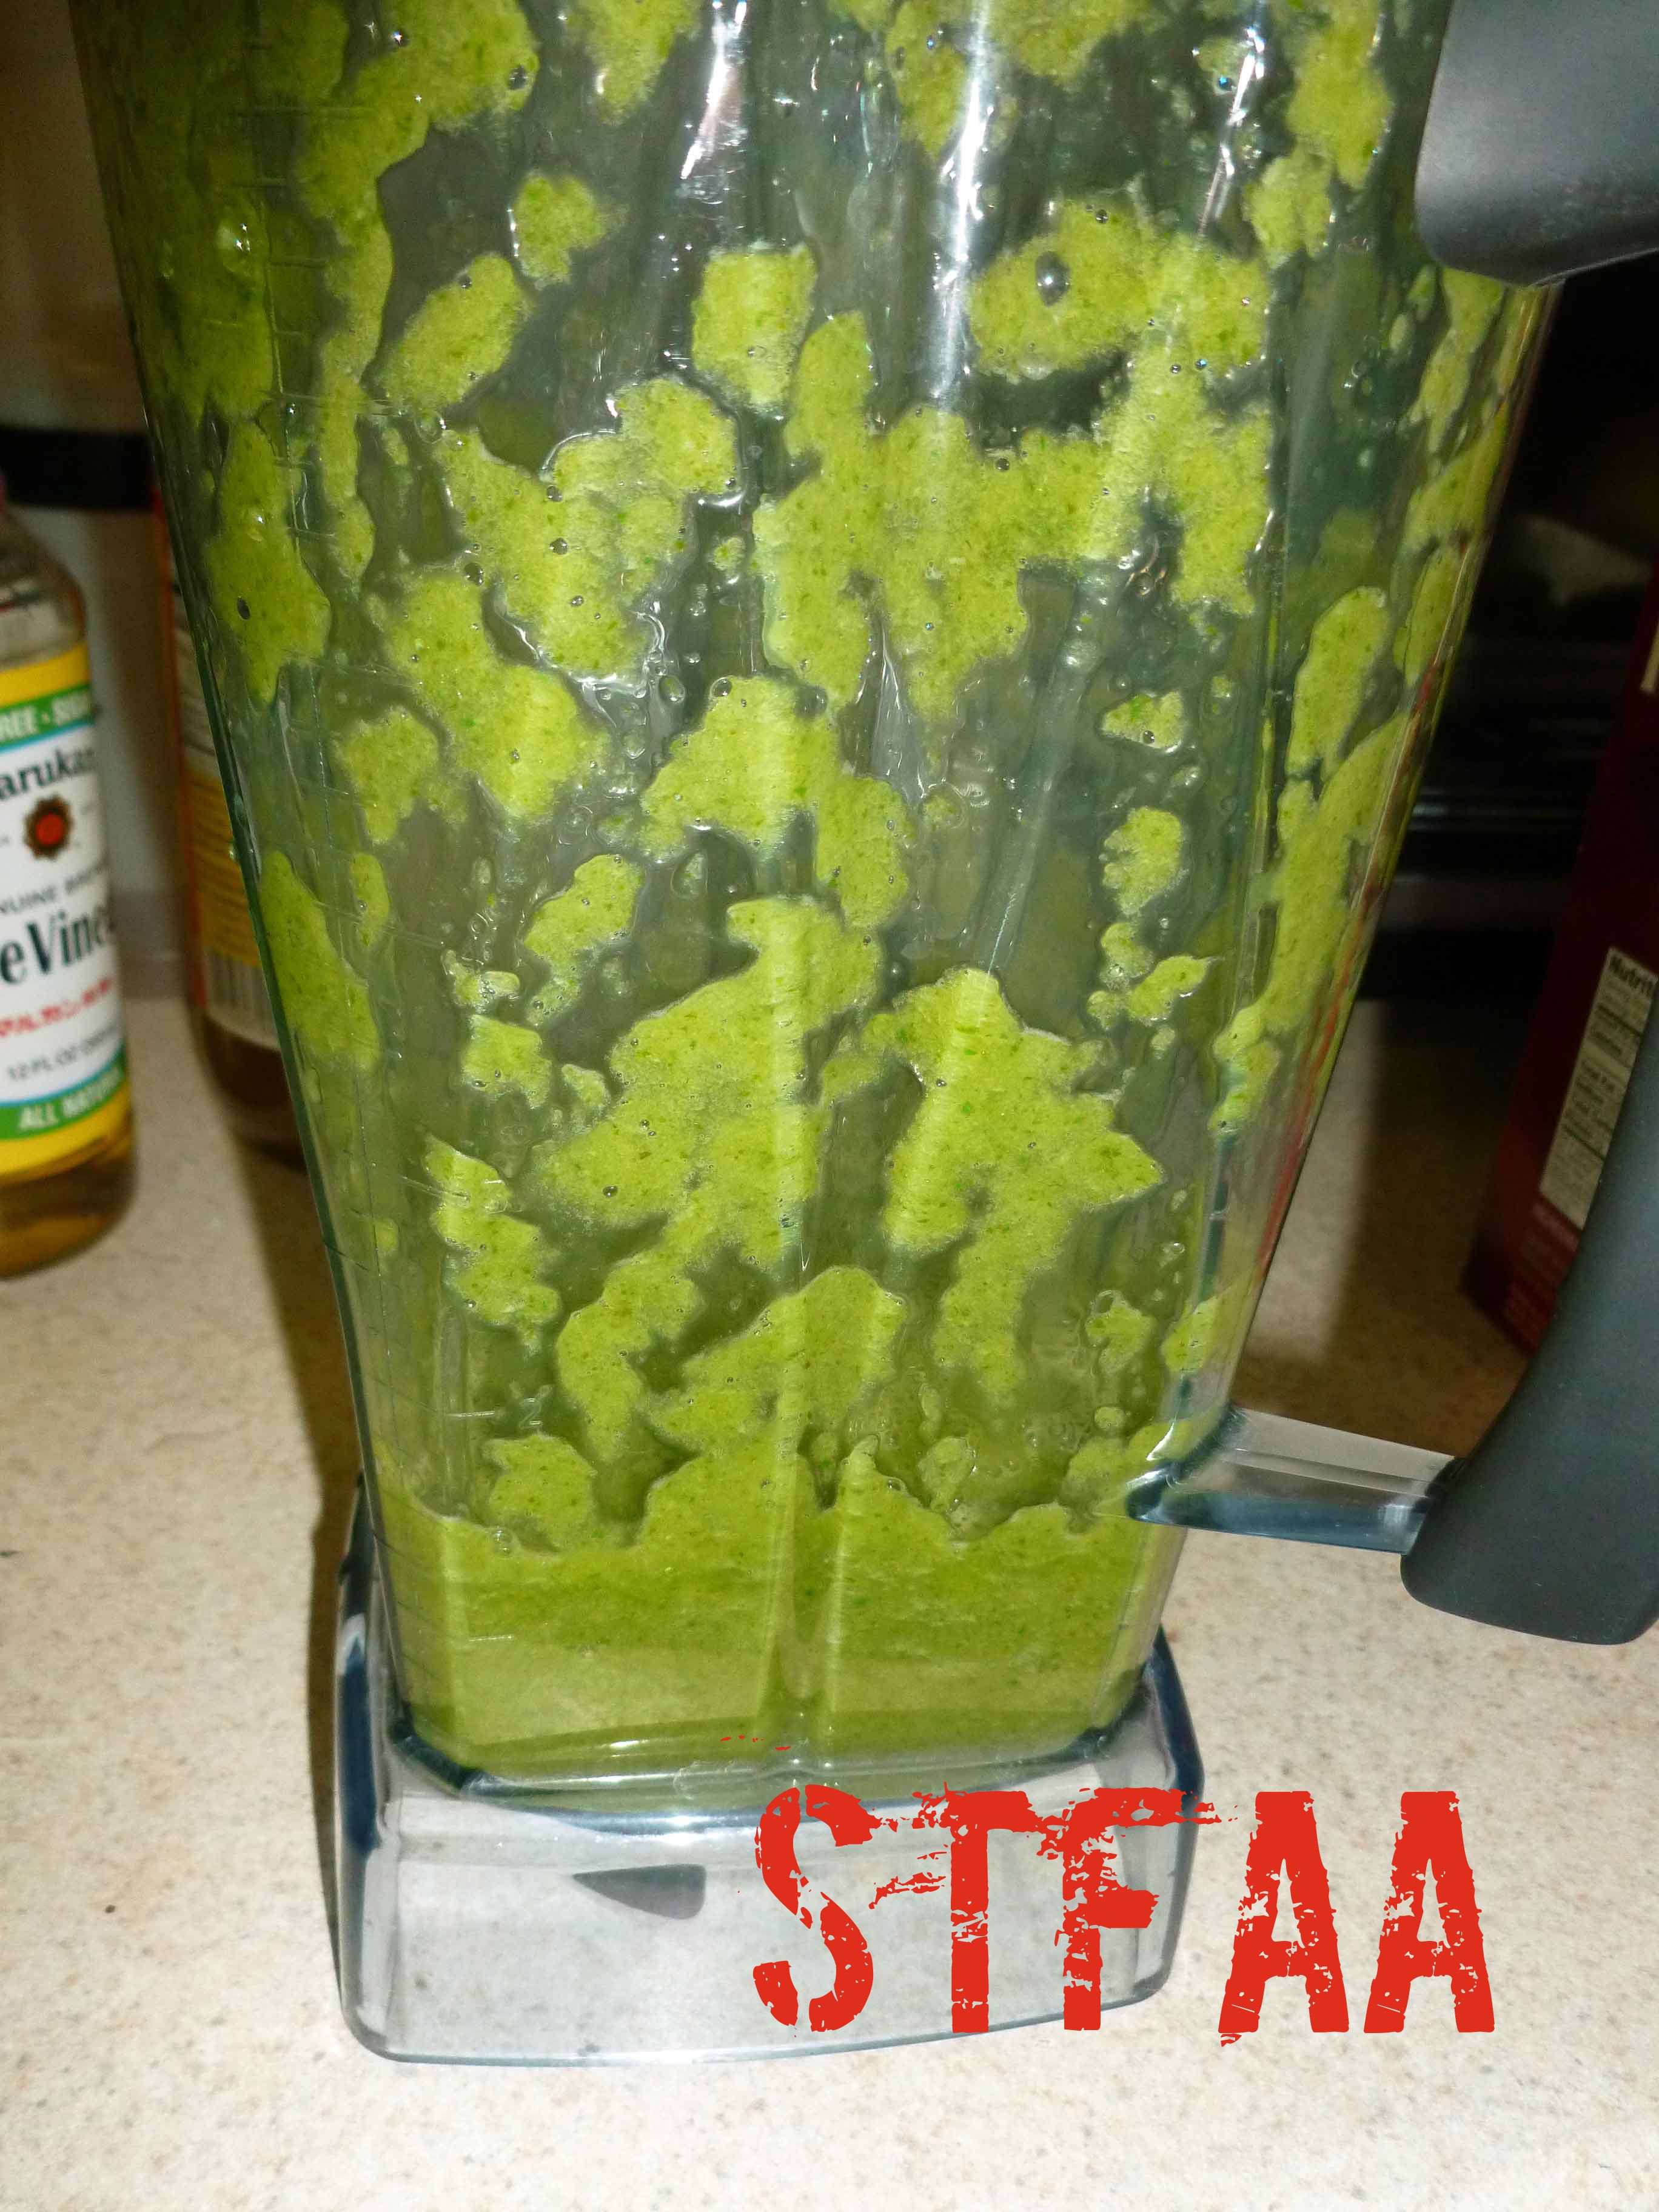
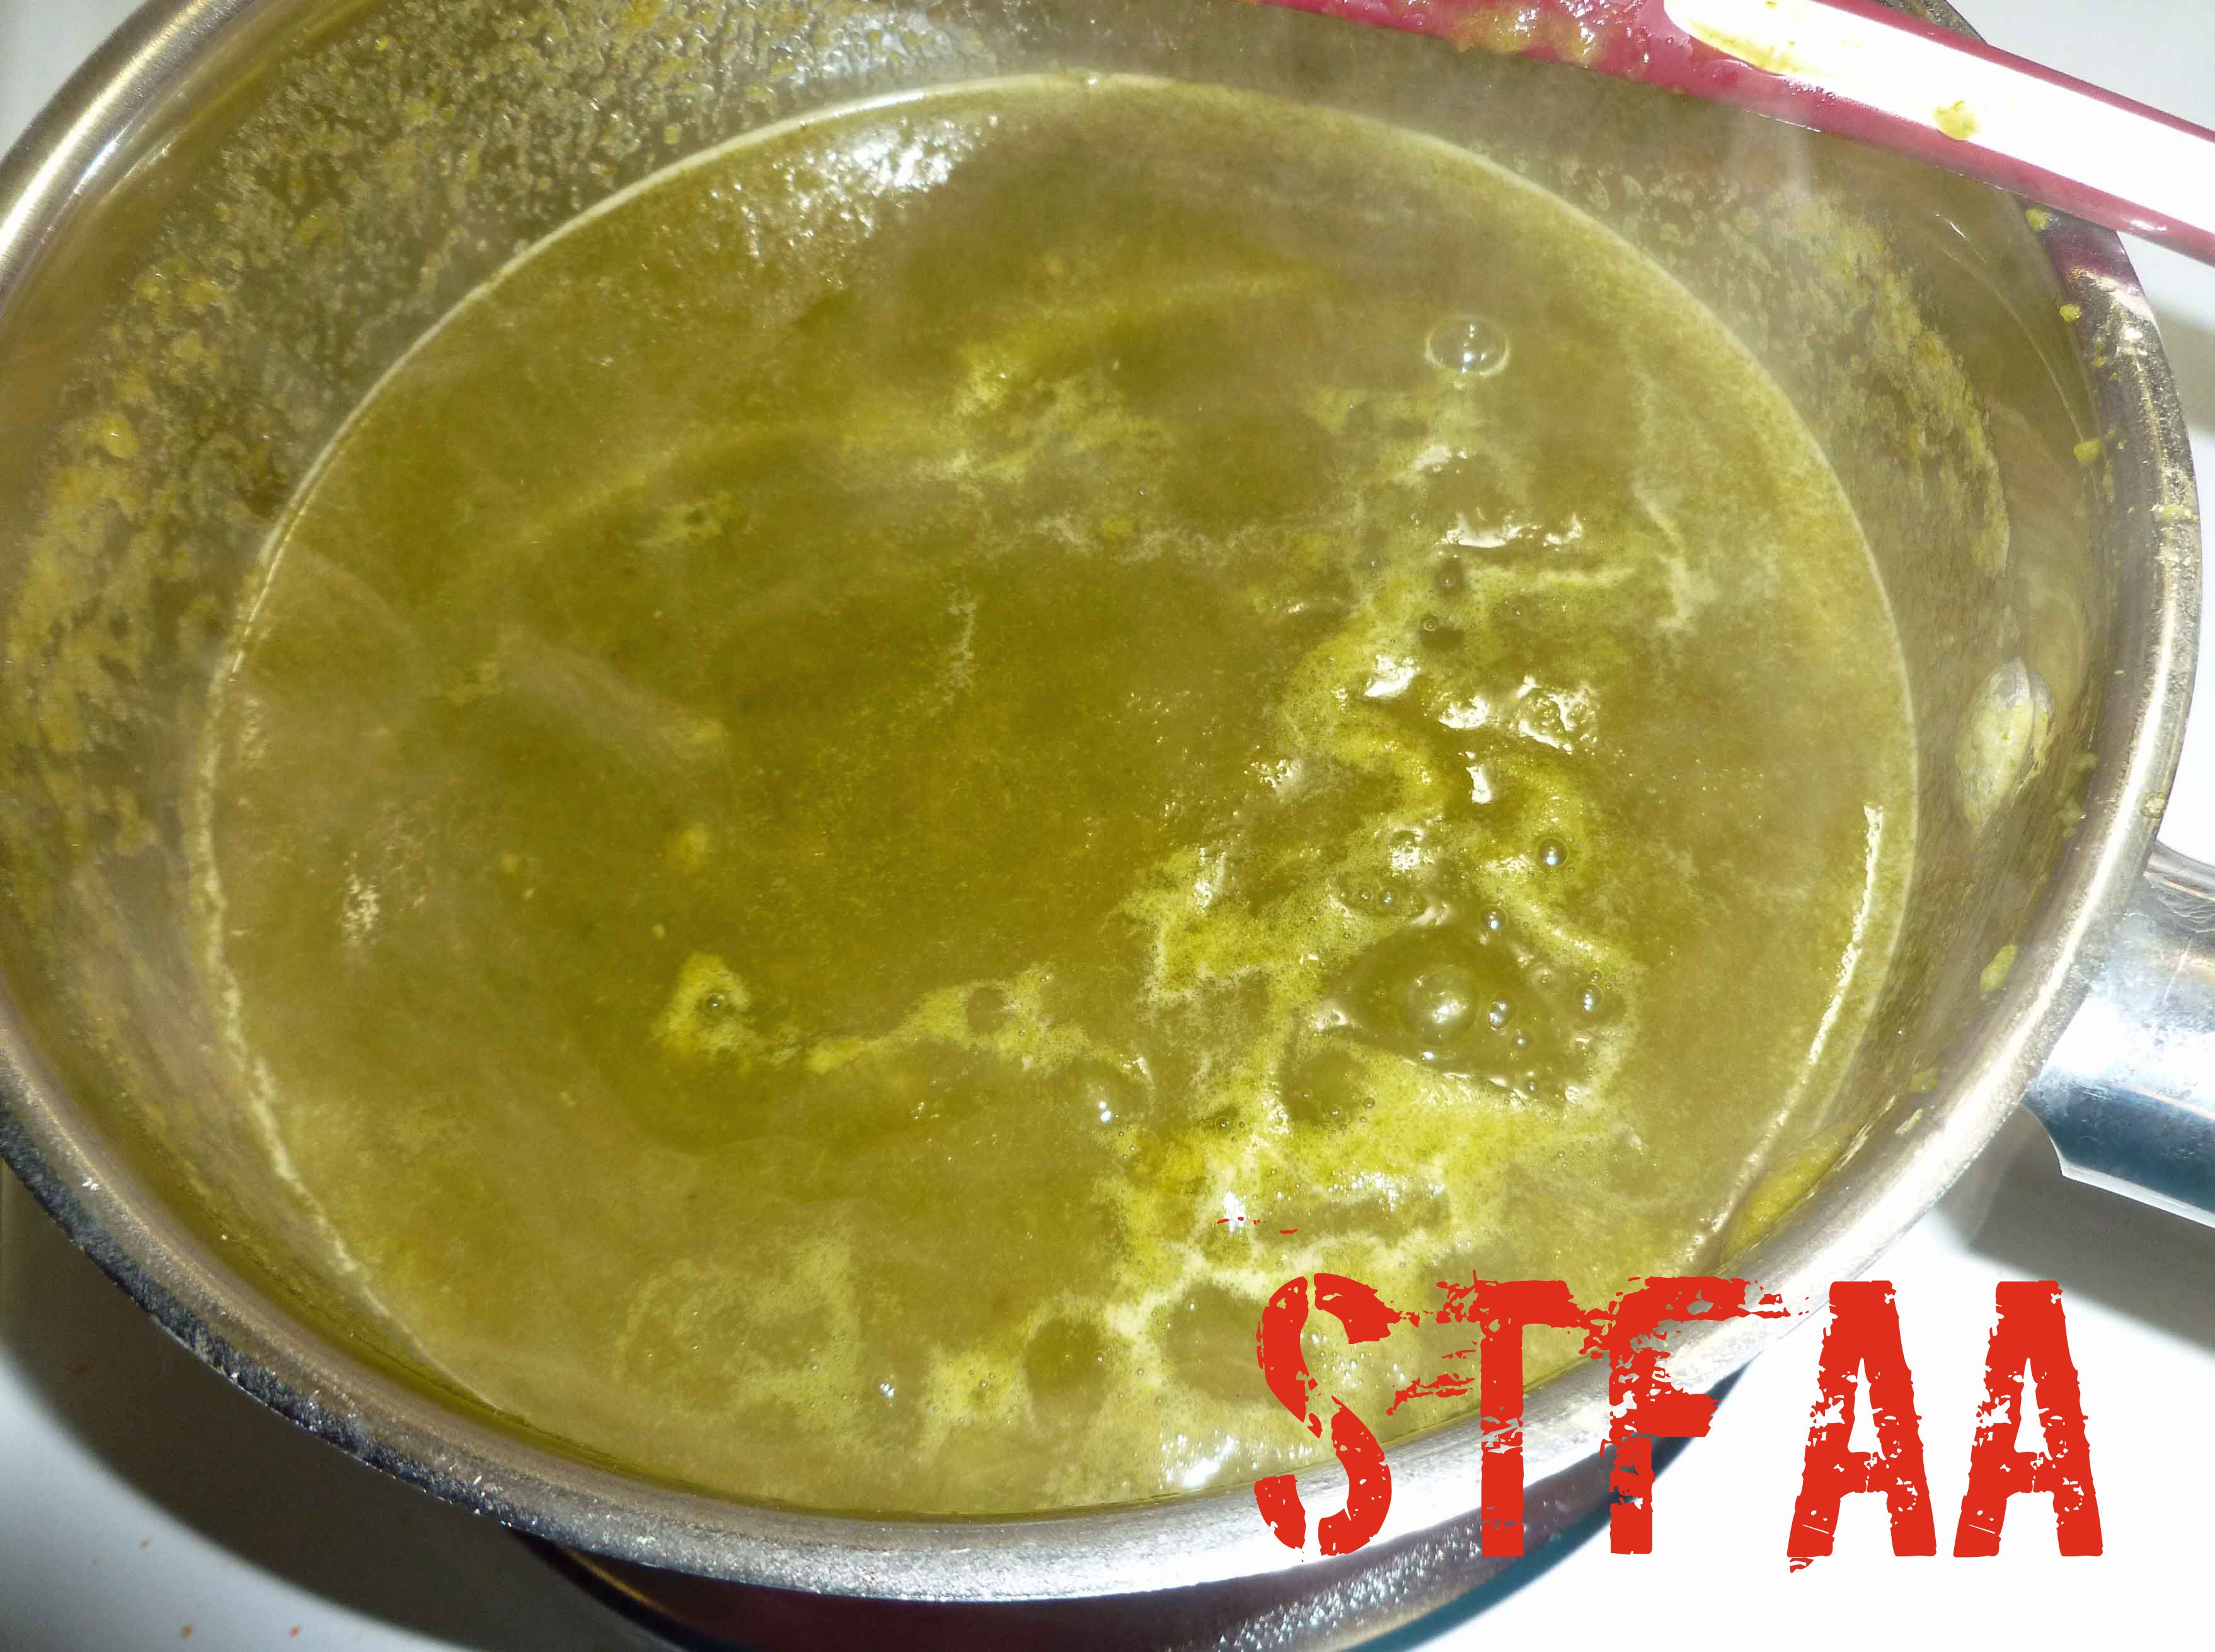
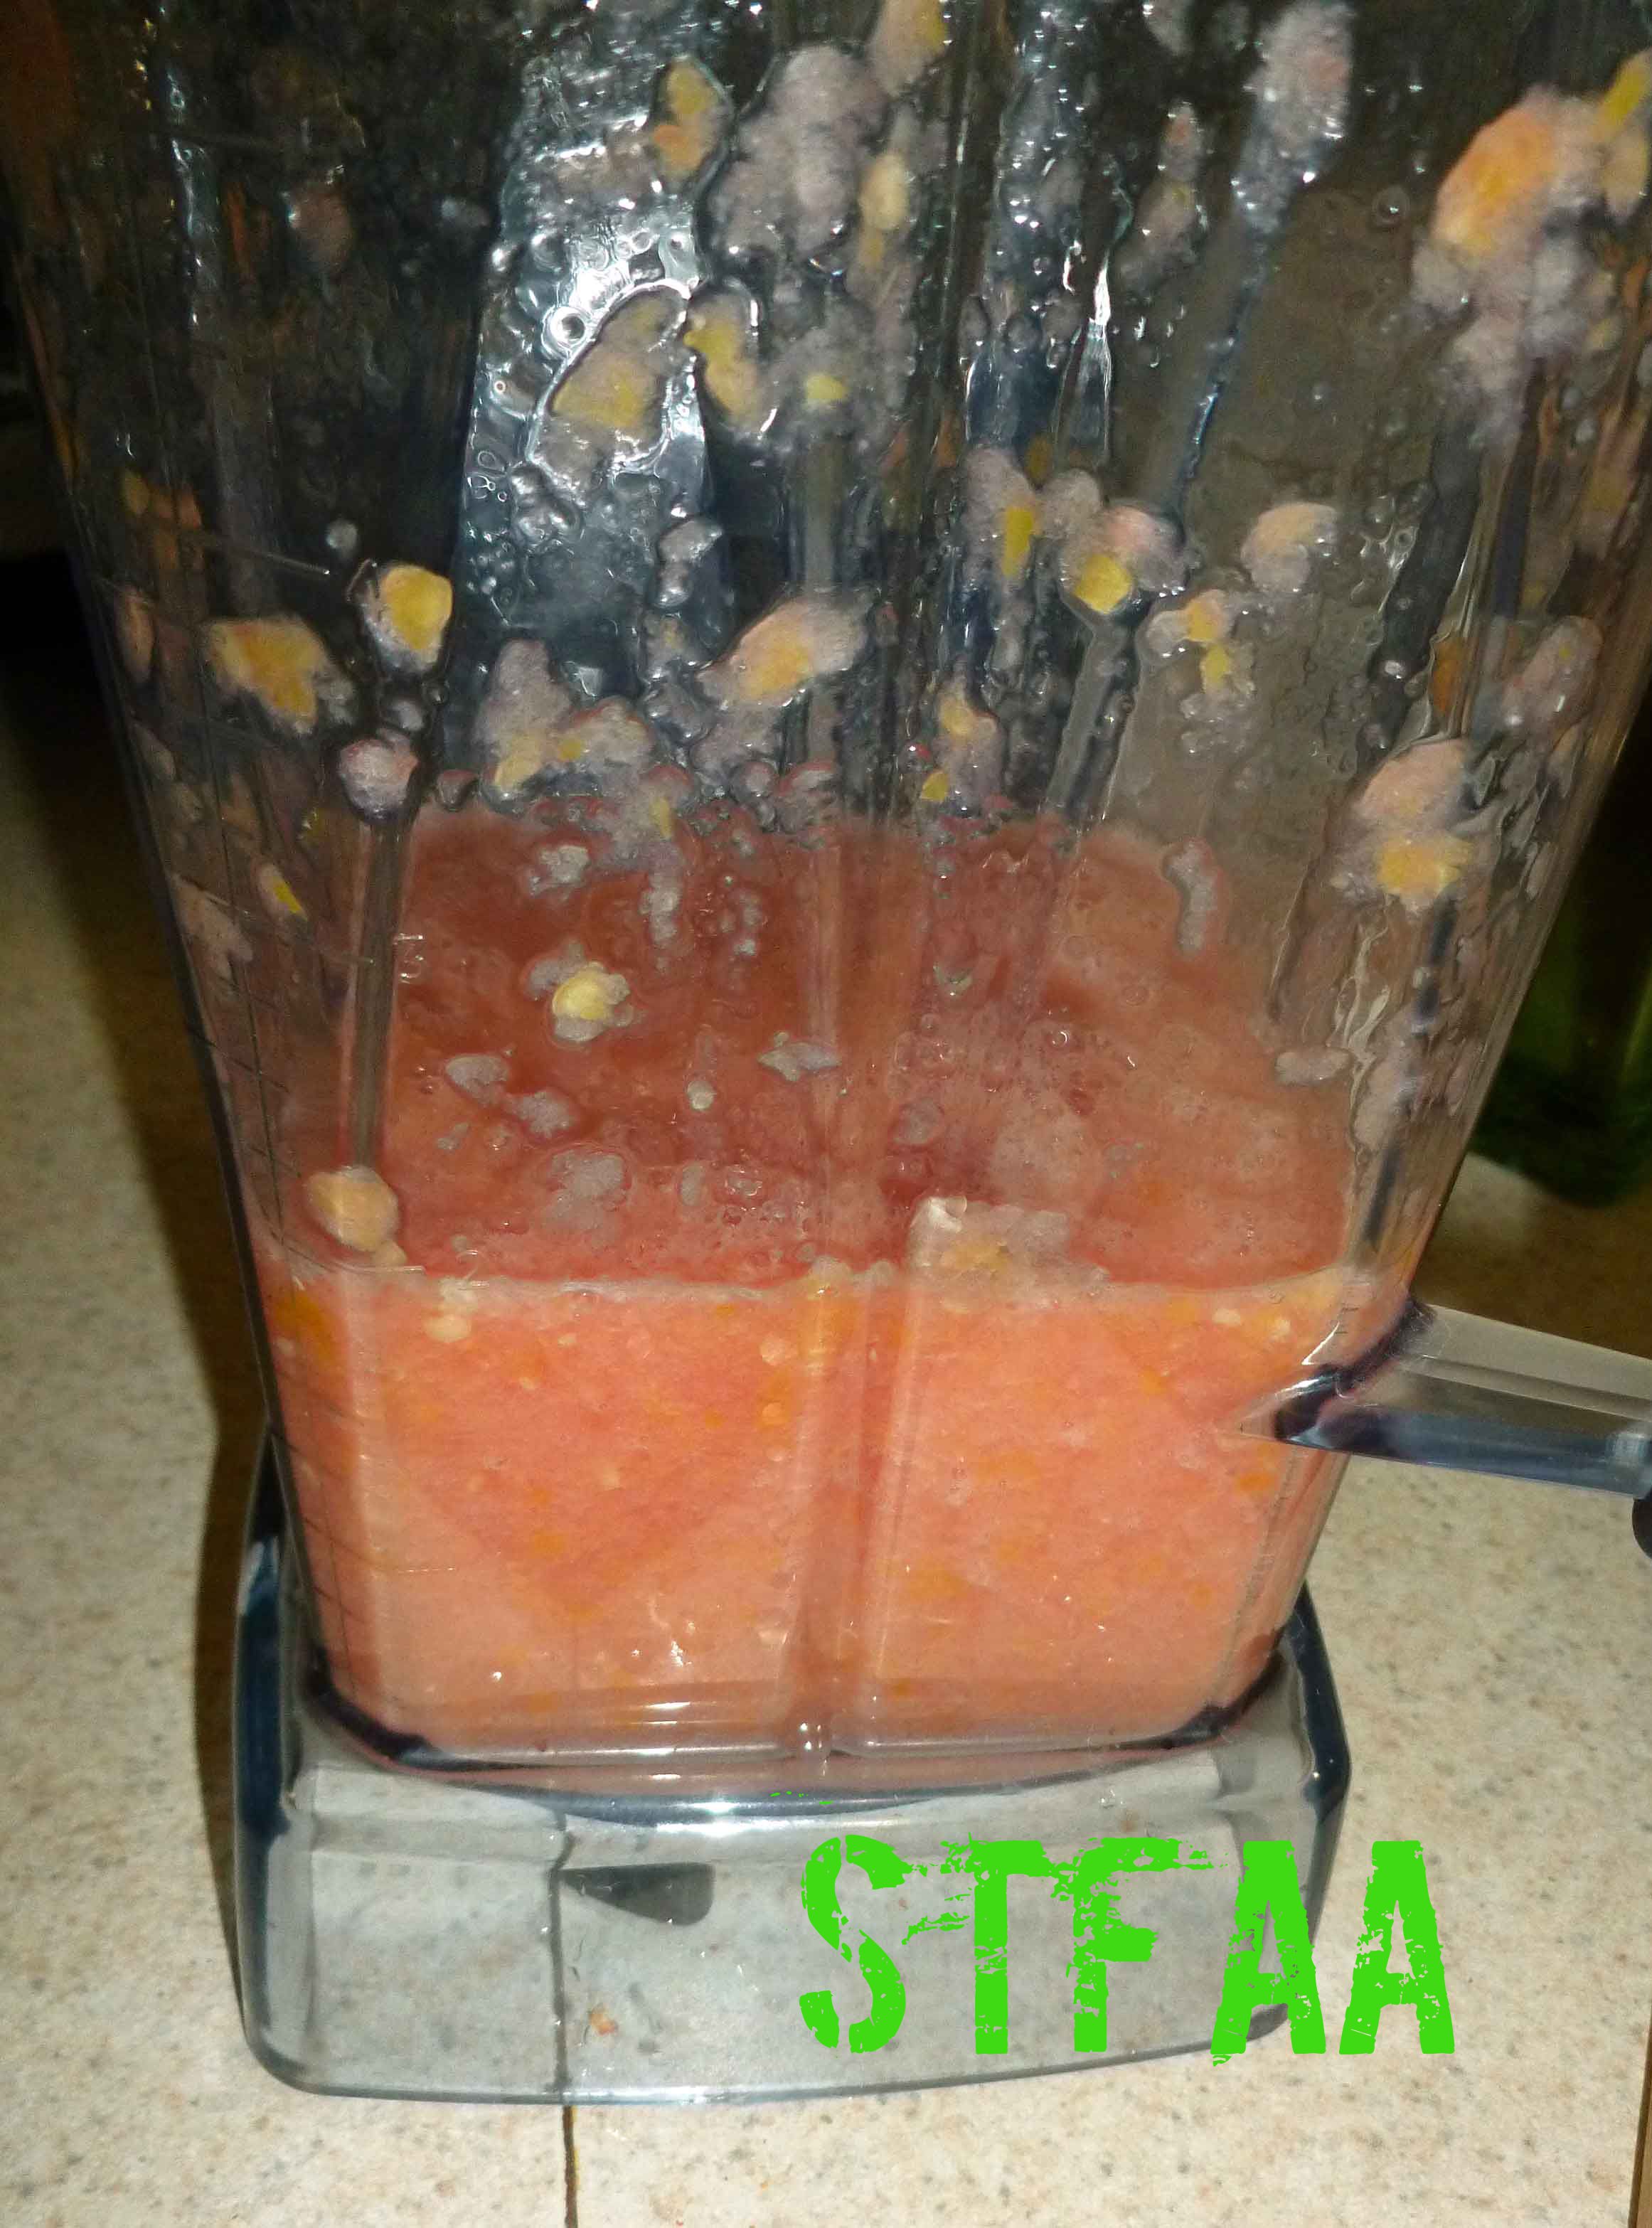
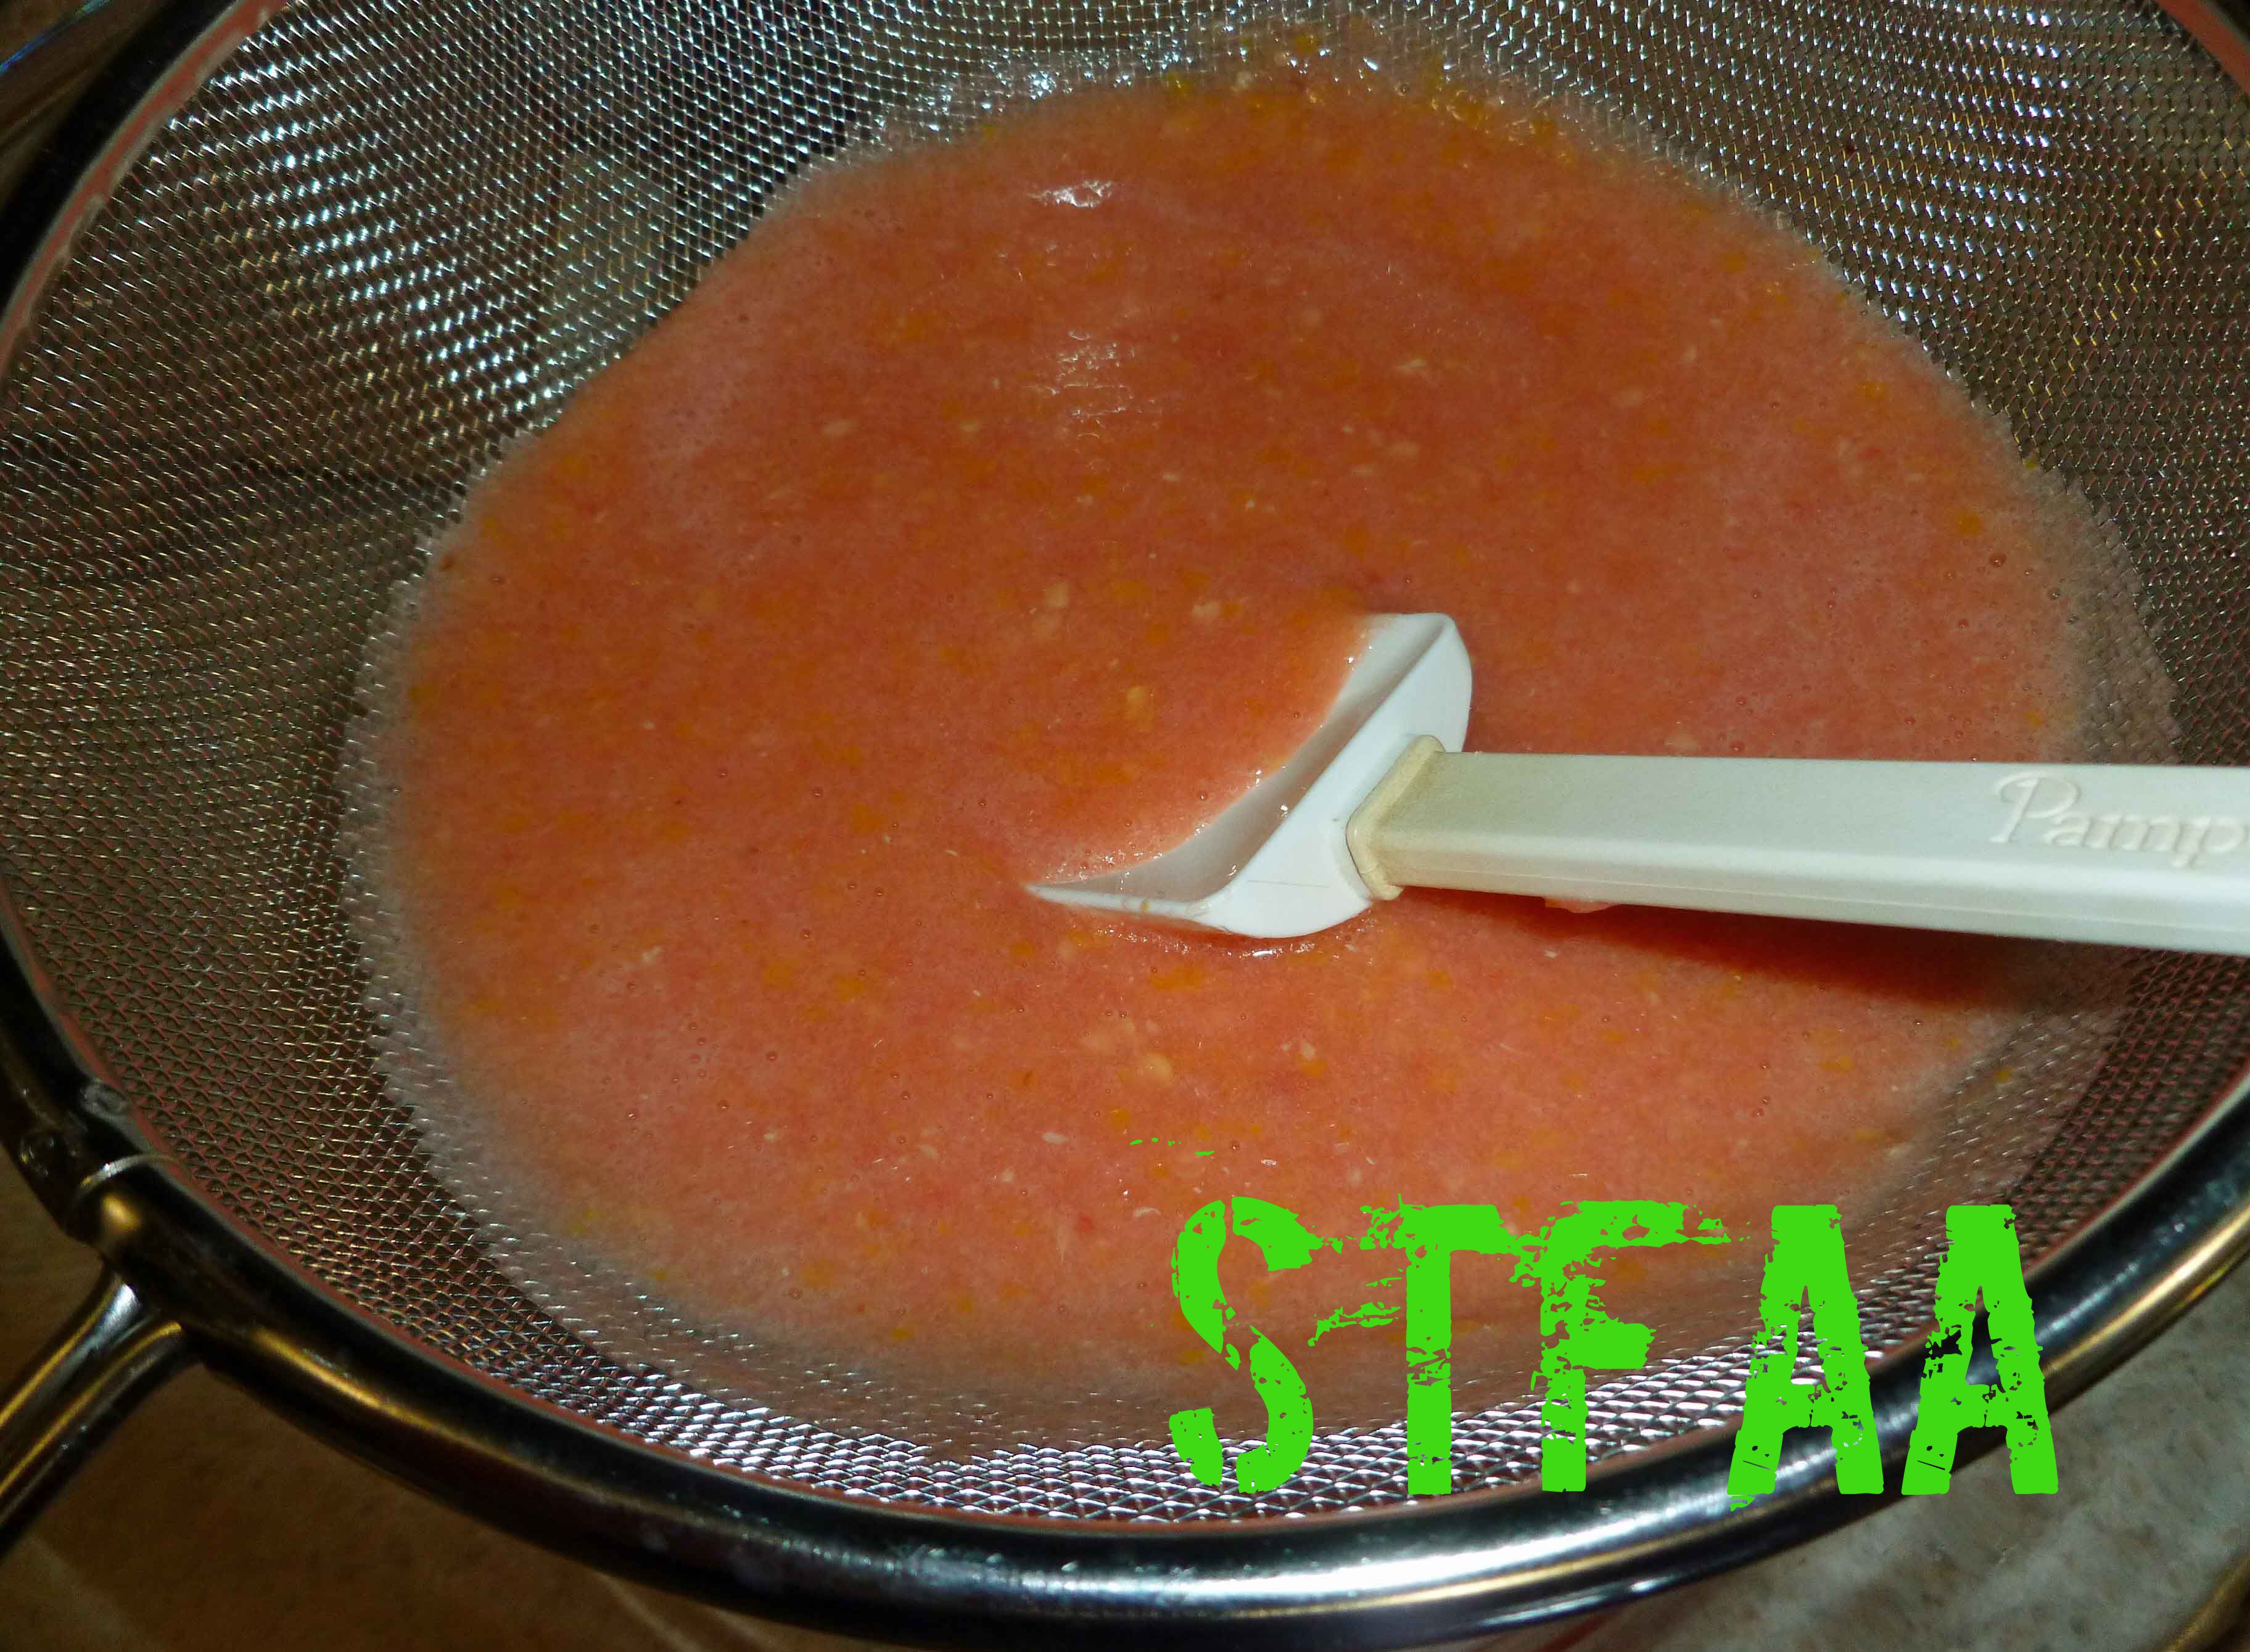
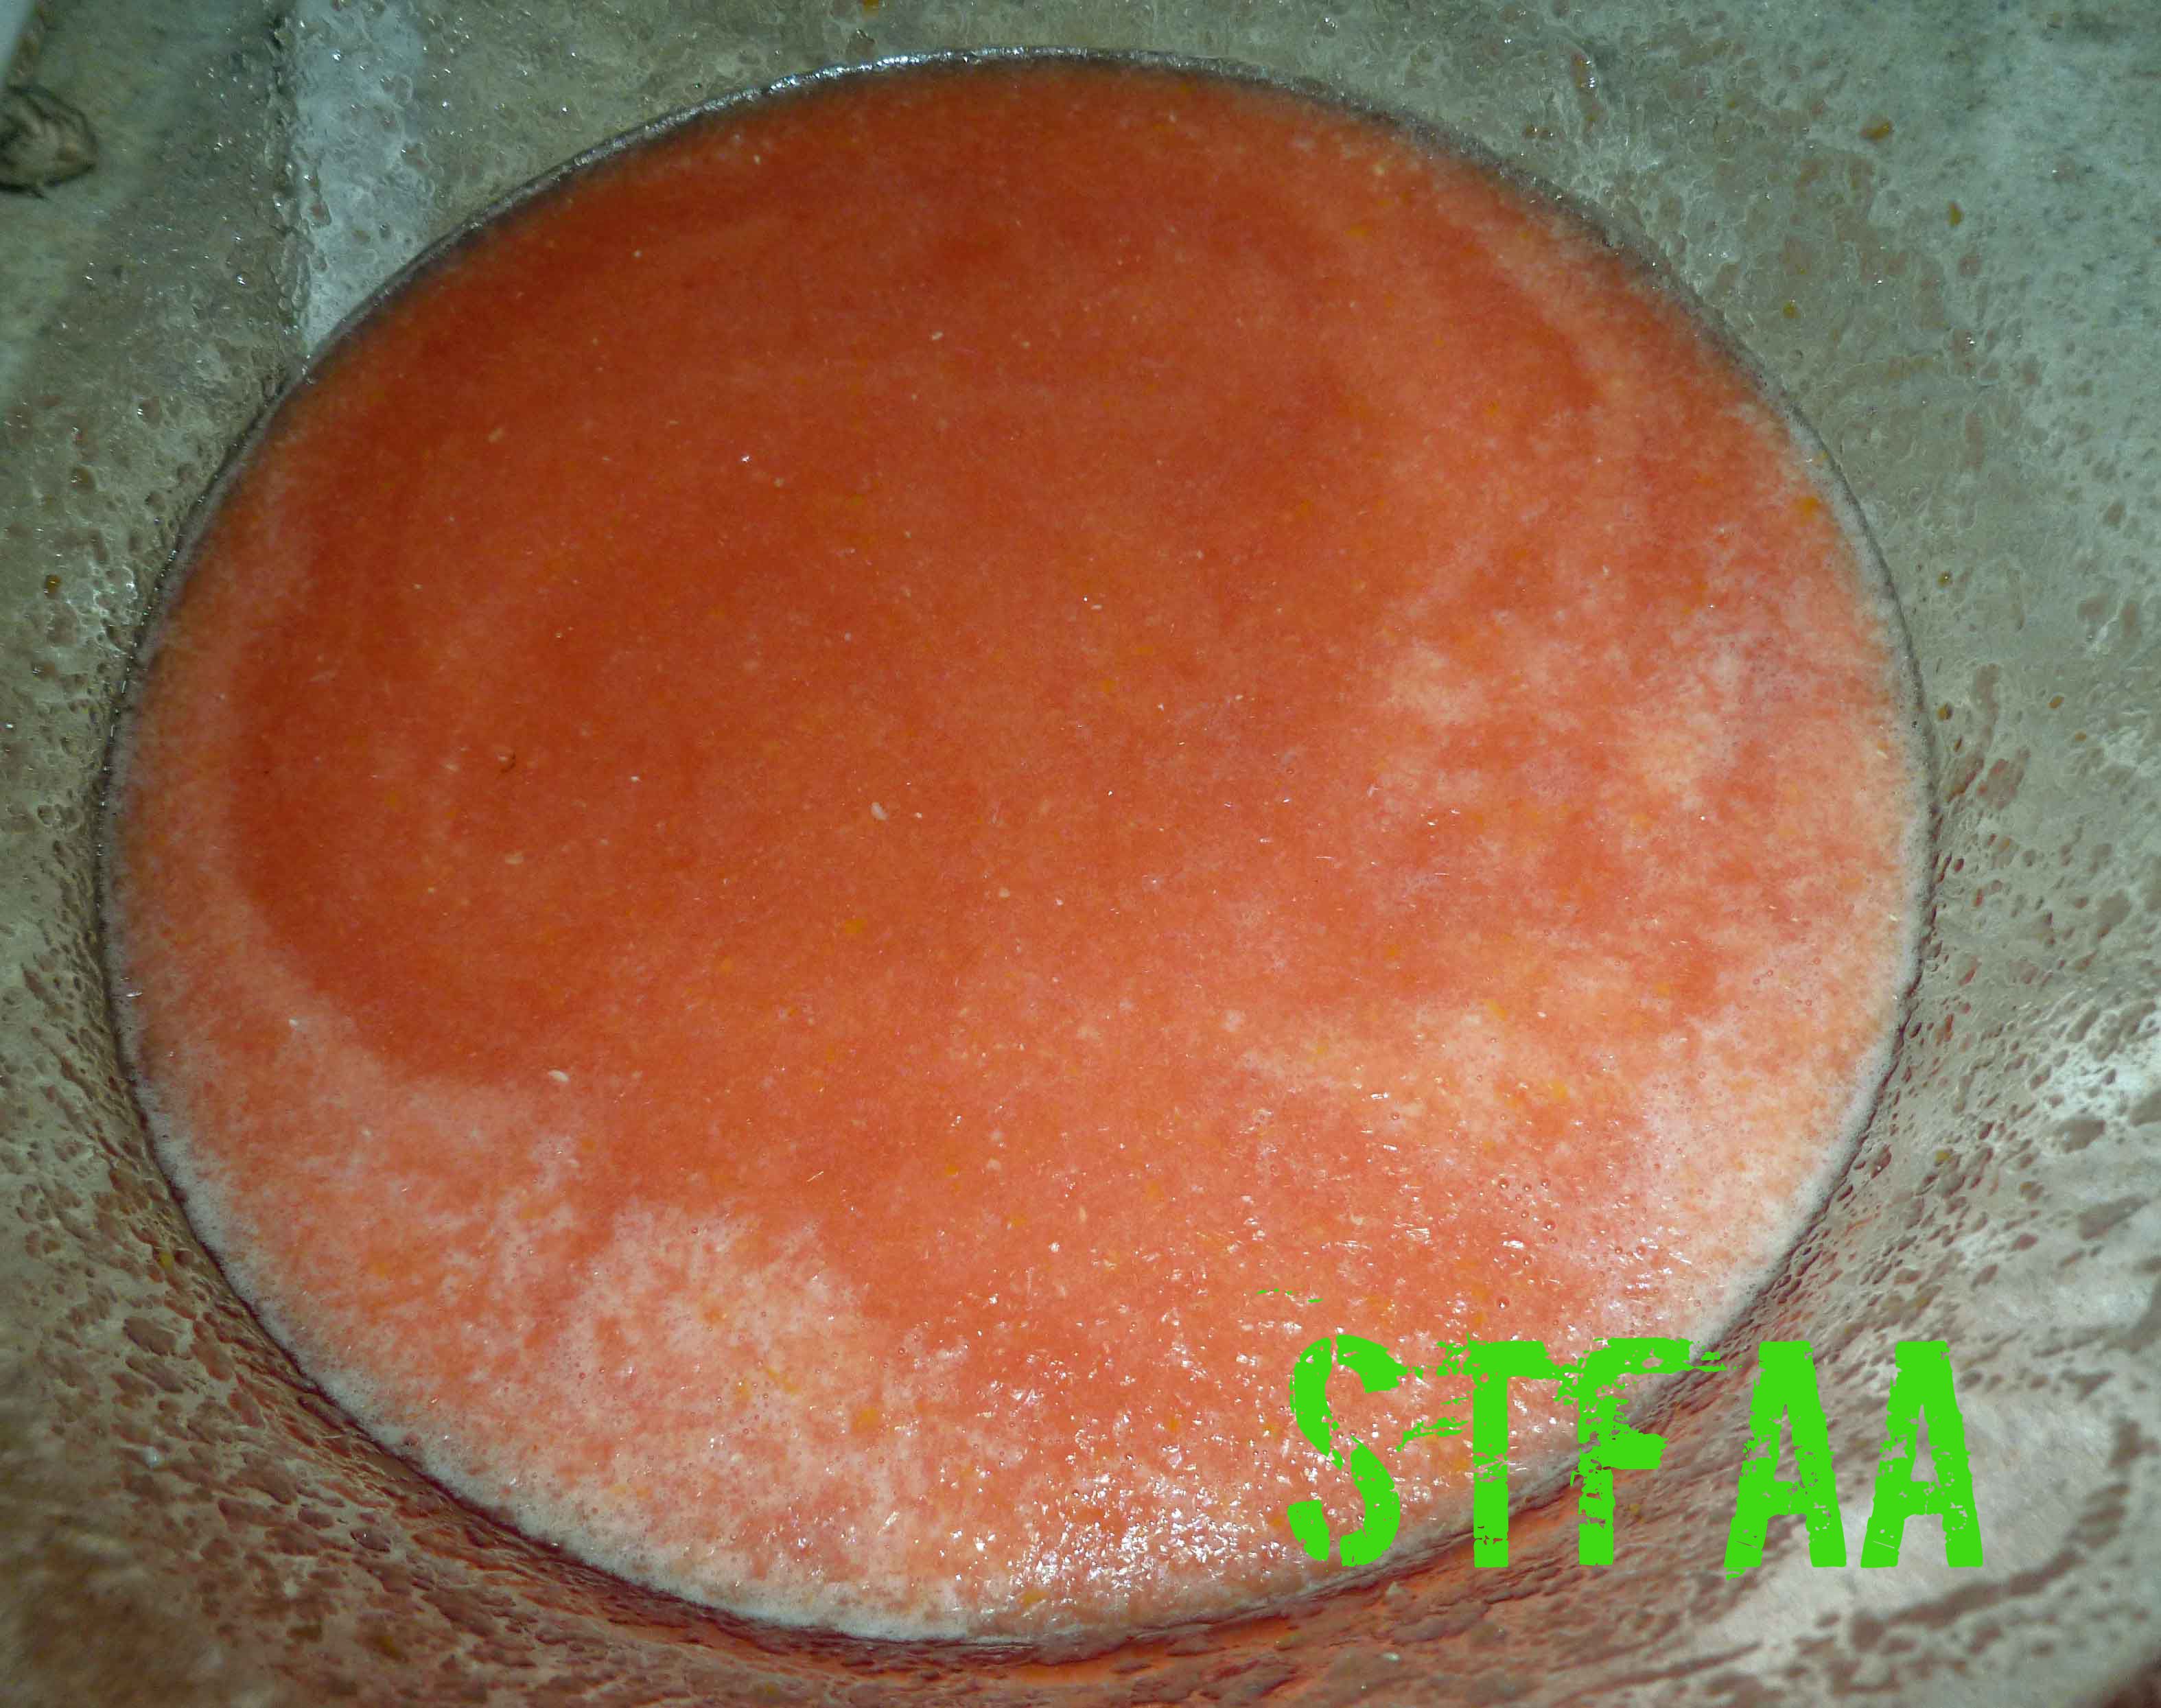
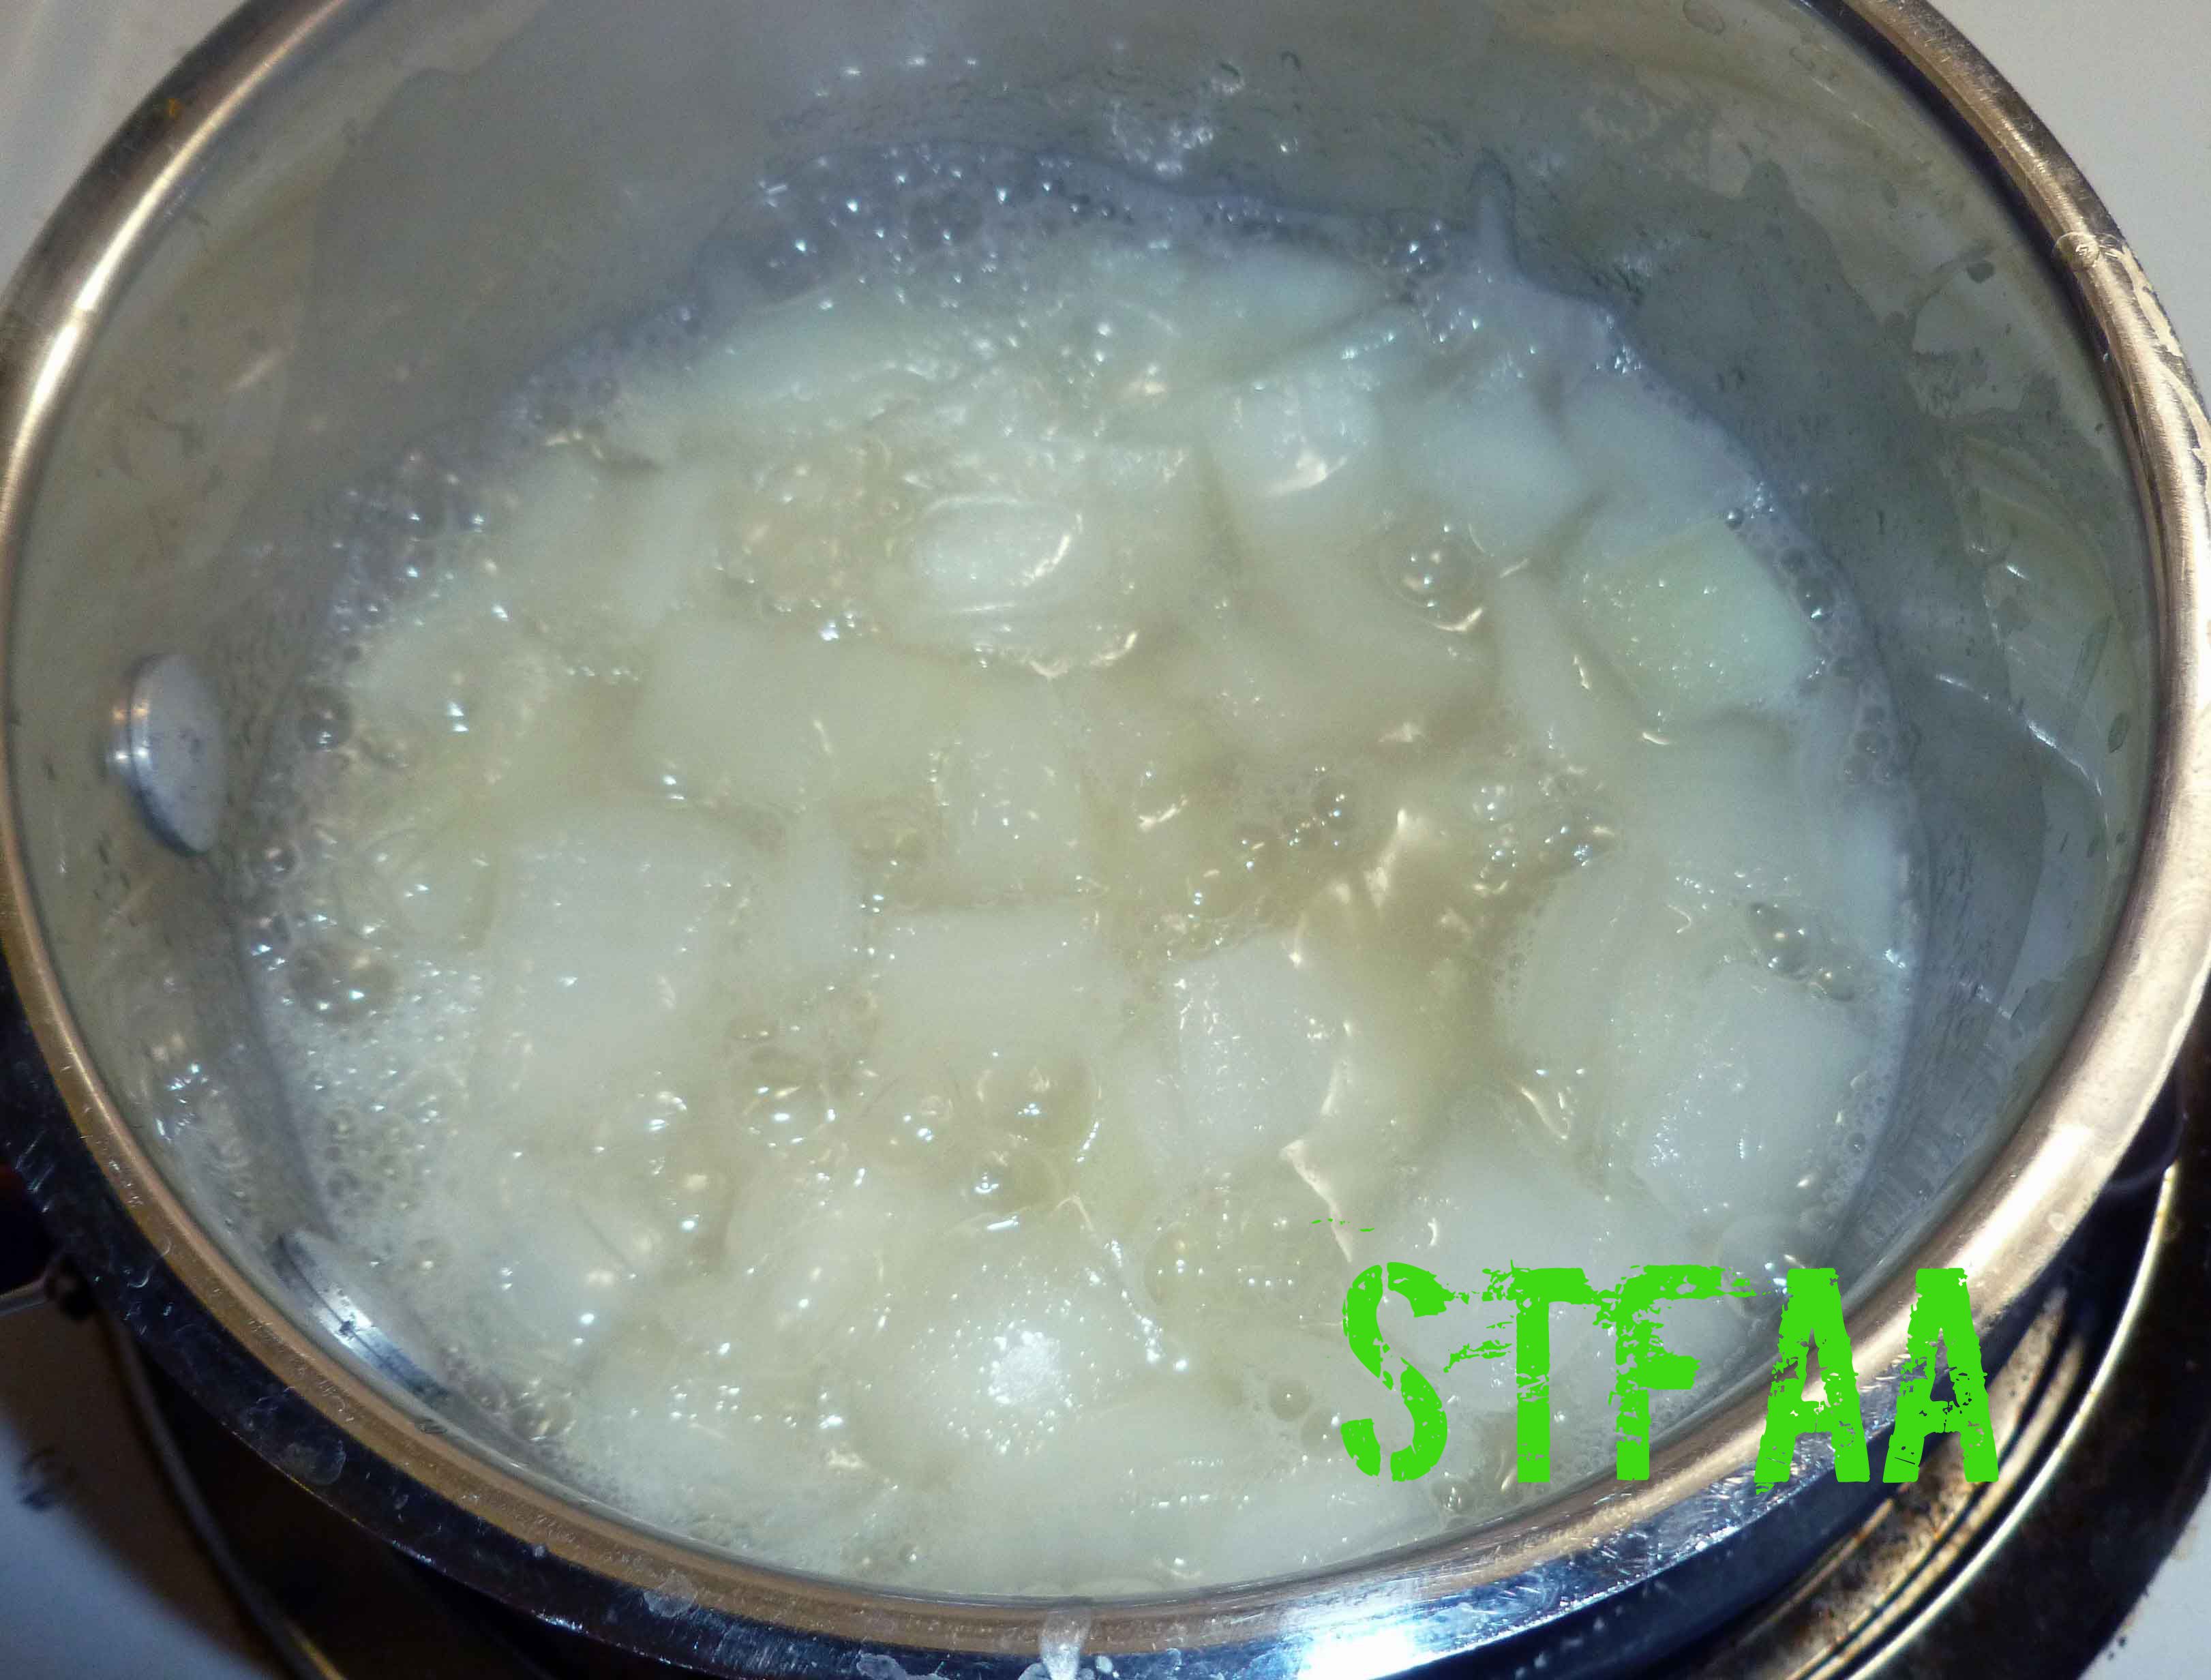
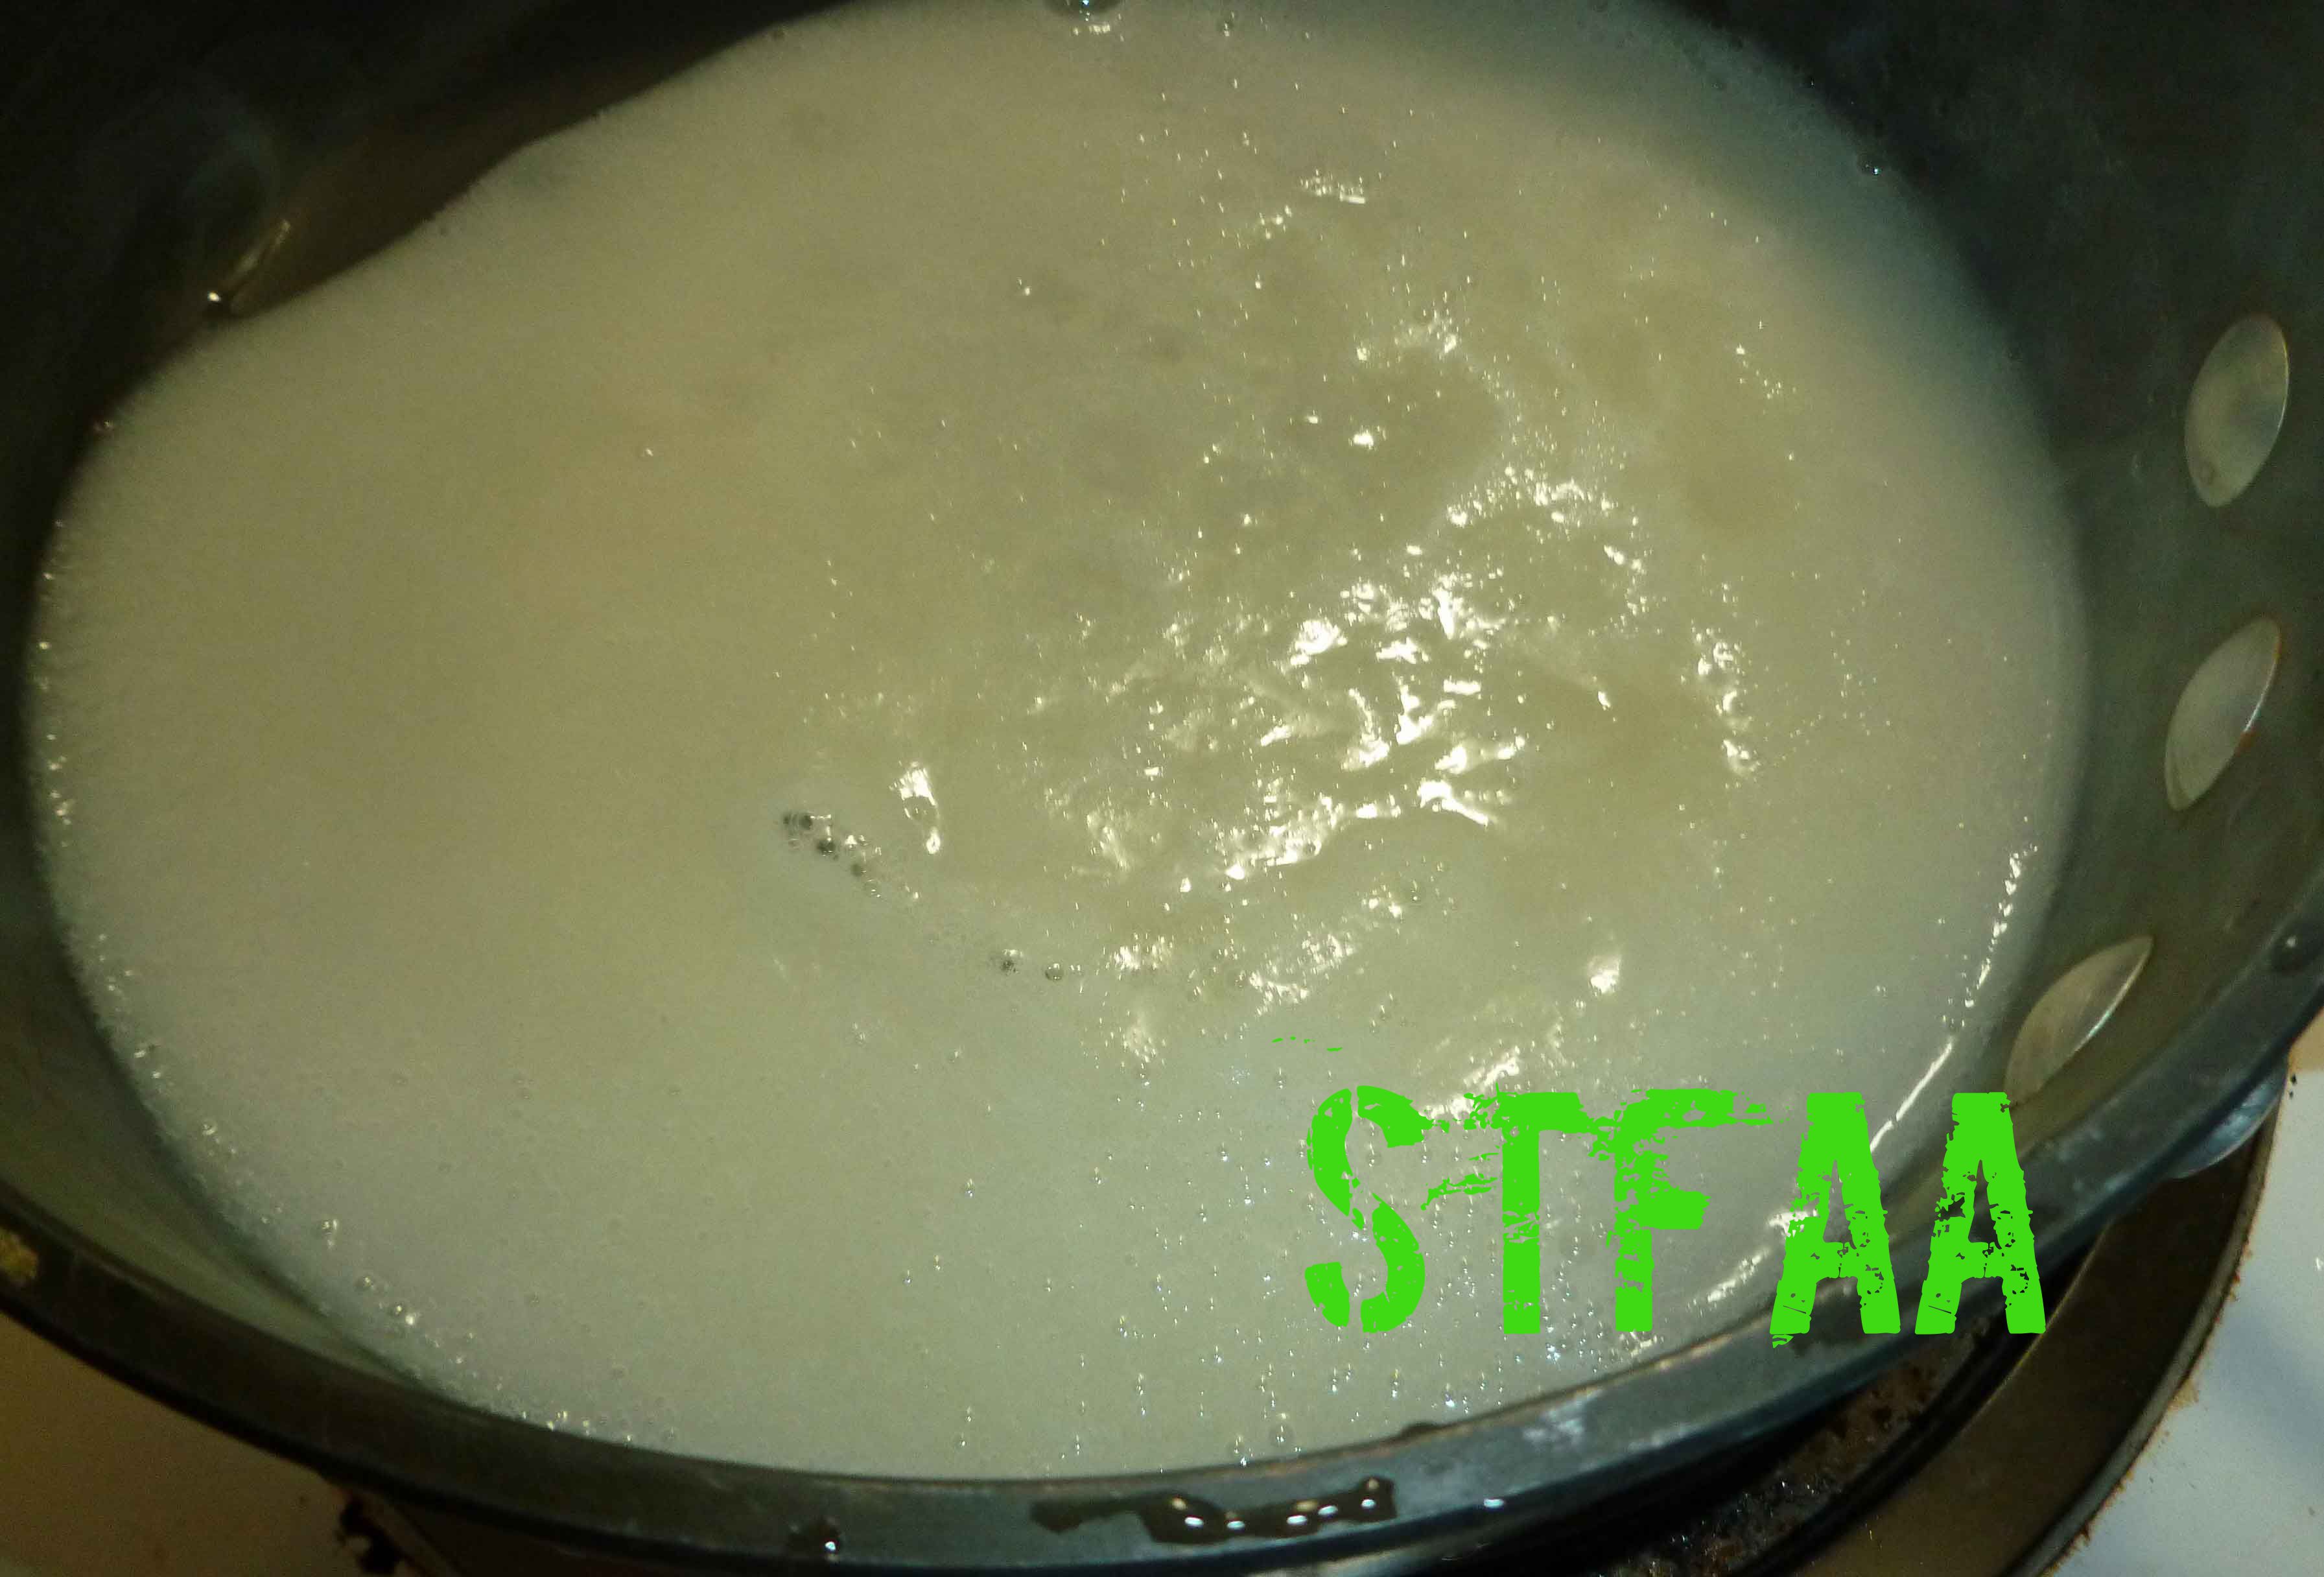
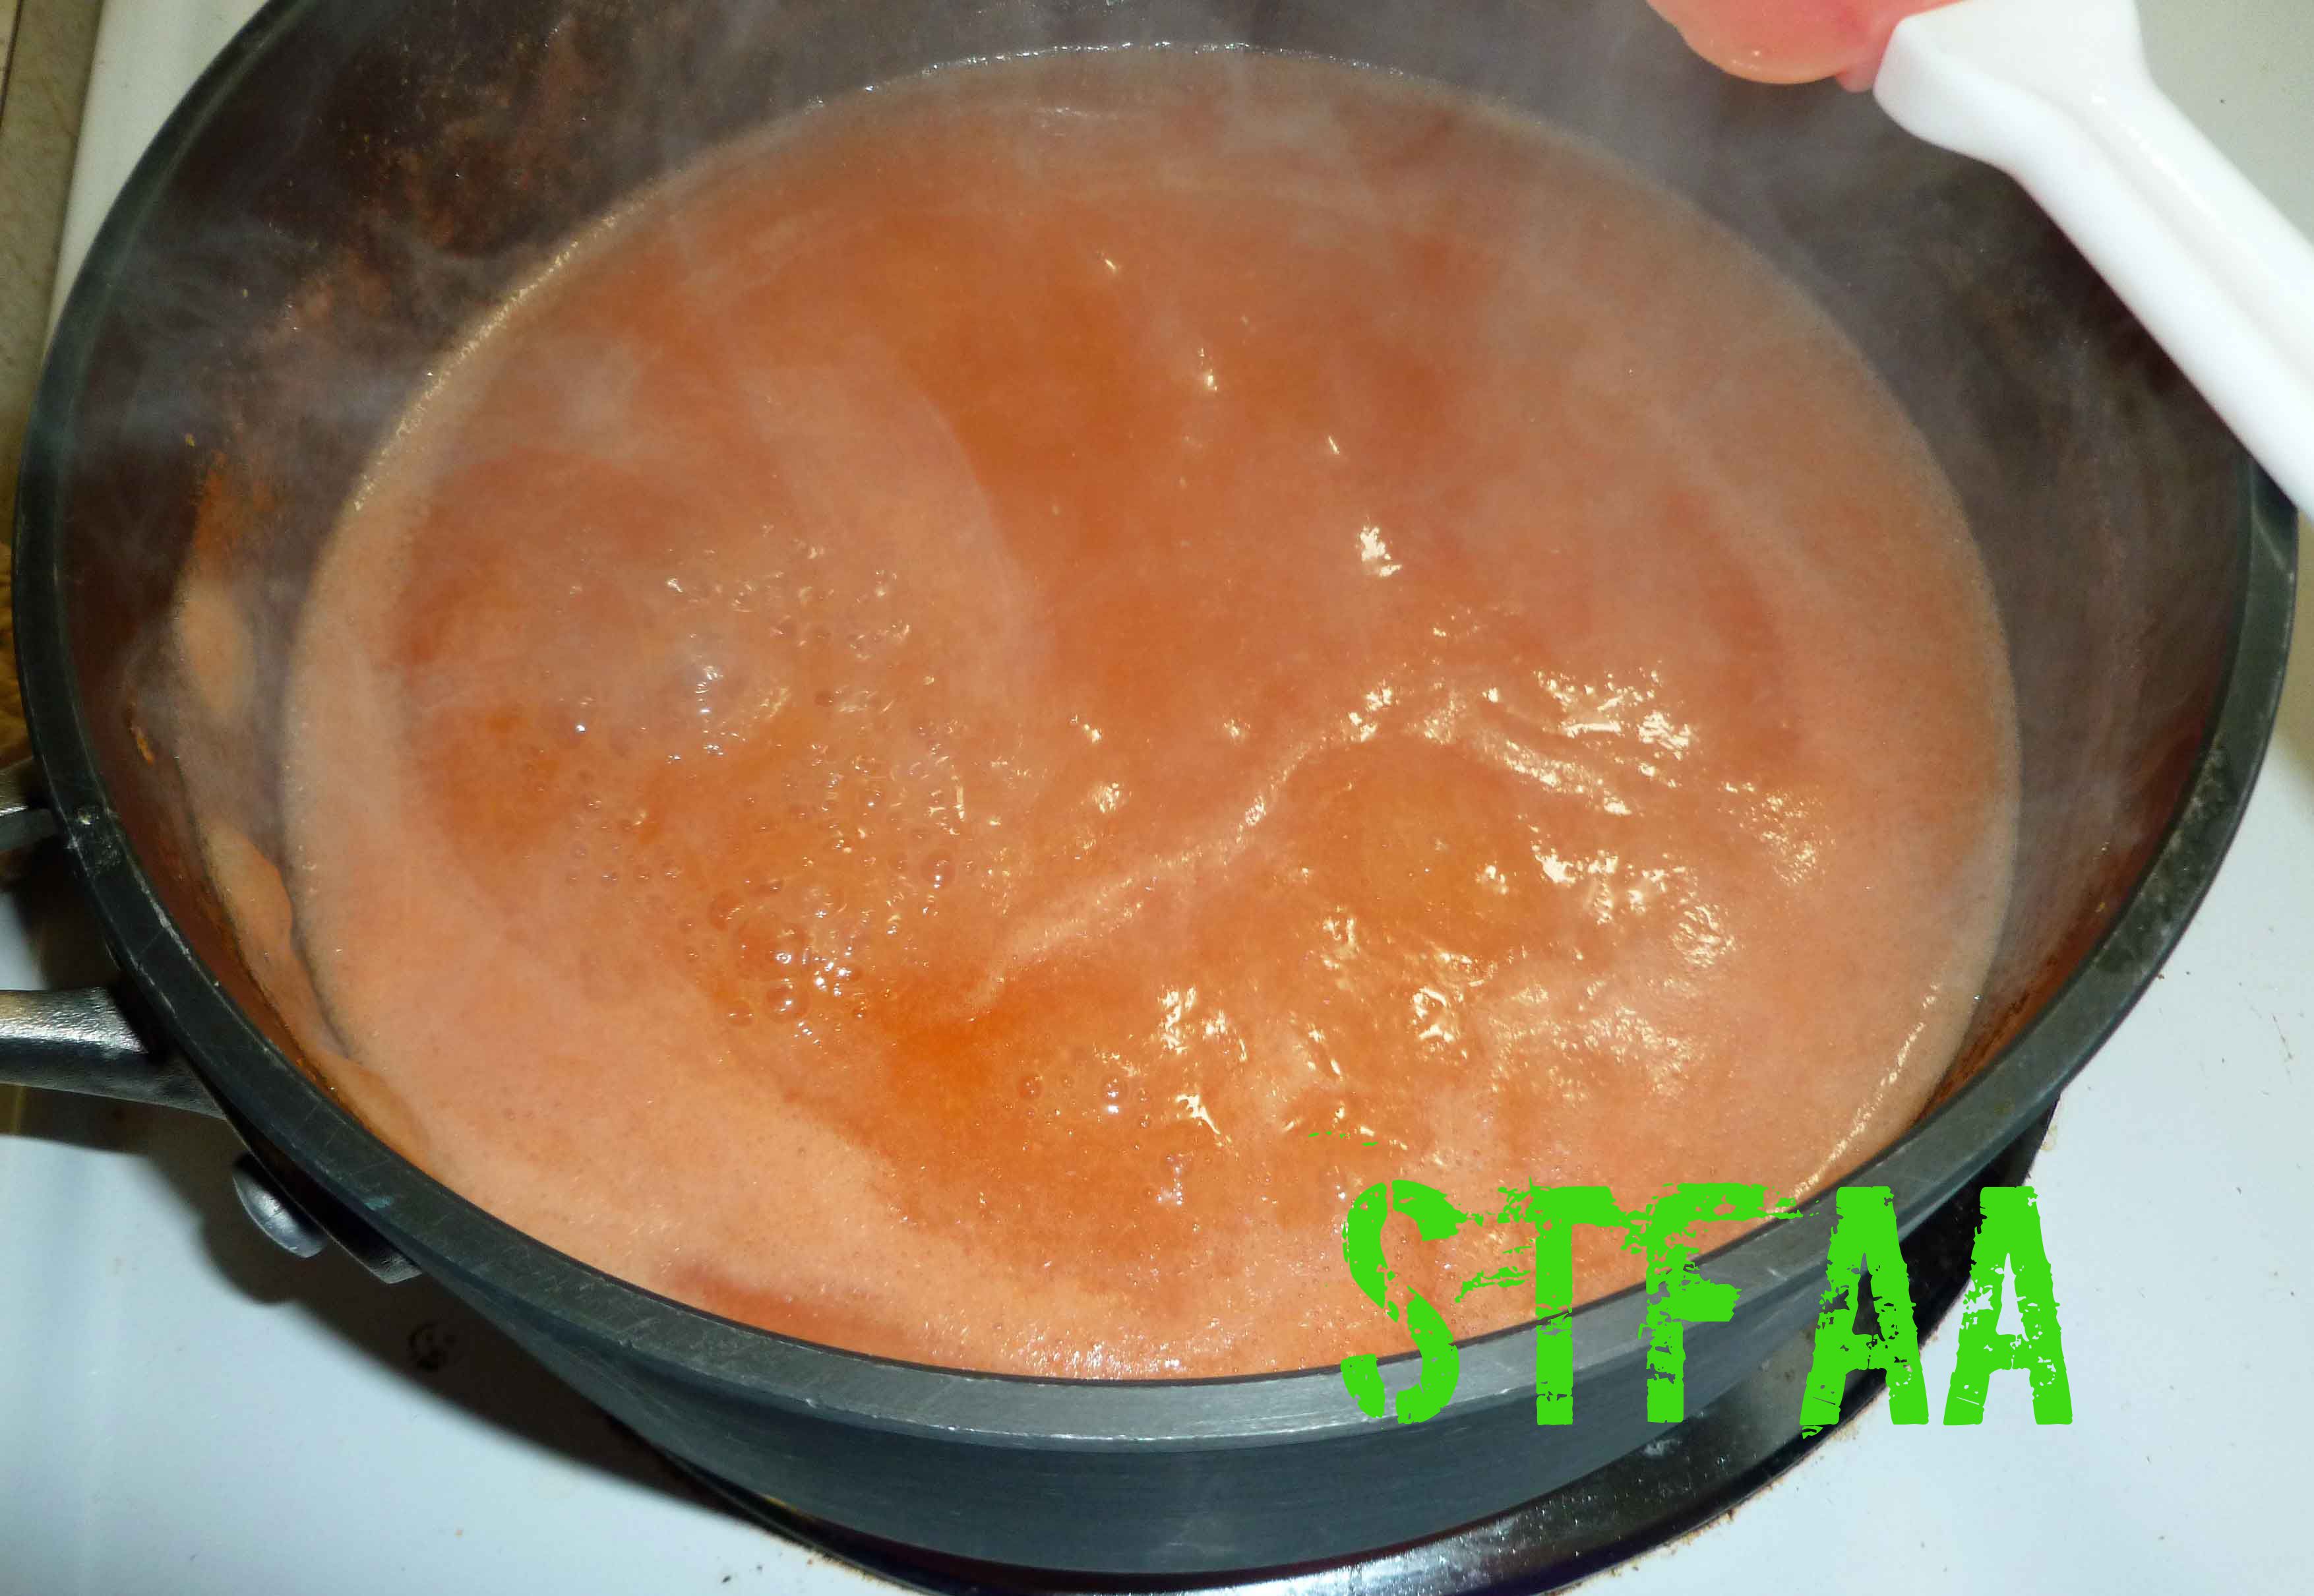
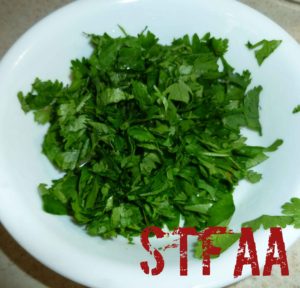
Peppers after fermentingPeppers, garlic, and juice of 2 limes in blenderPushing pulp through strainer to strain out skin and seedsStrained peppers, garlic, and lime juiceOnions, salt and juice of 3 limes in small sauce panCilantro, chopped and tightly packedCilantro and onion mixture after blendingCilantro and onion mixture and strained pepper mixture with sugar simmeringCilantro Lime Green Cayenne Hot Sauce
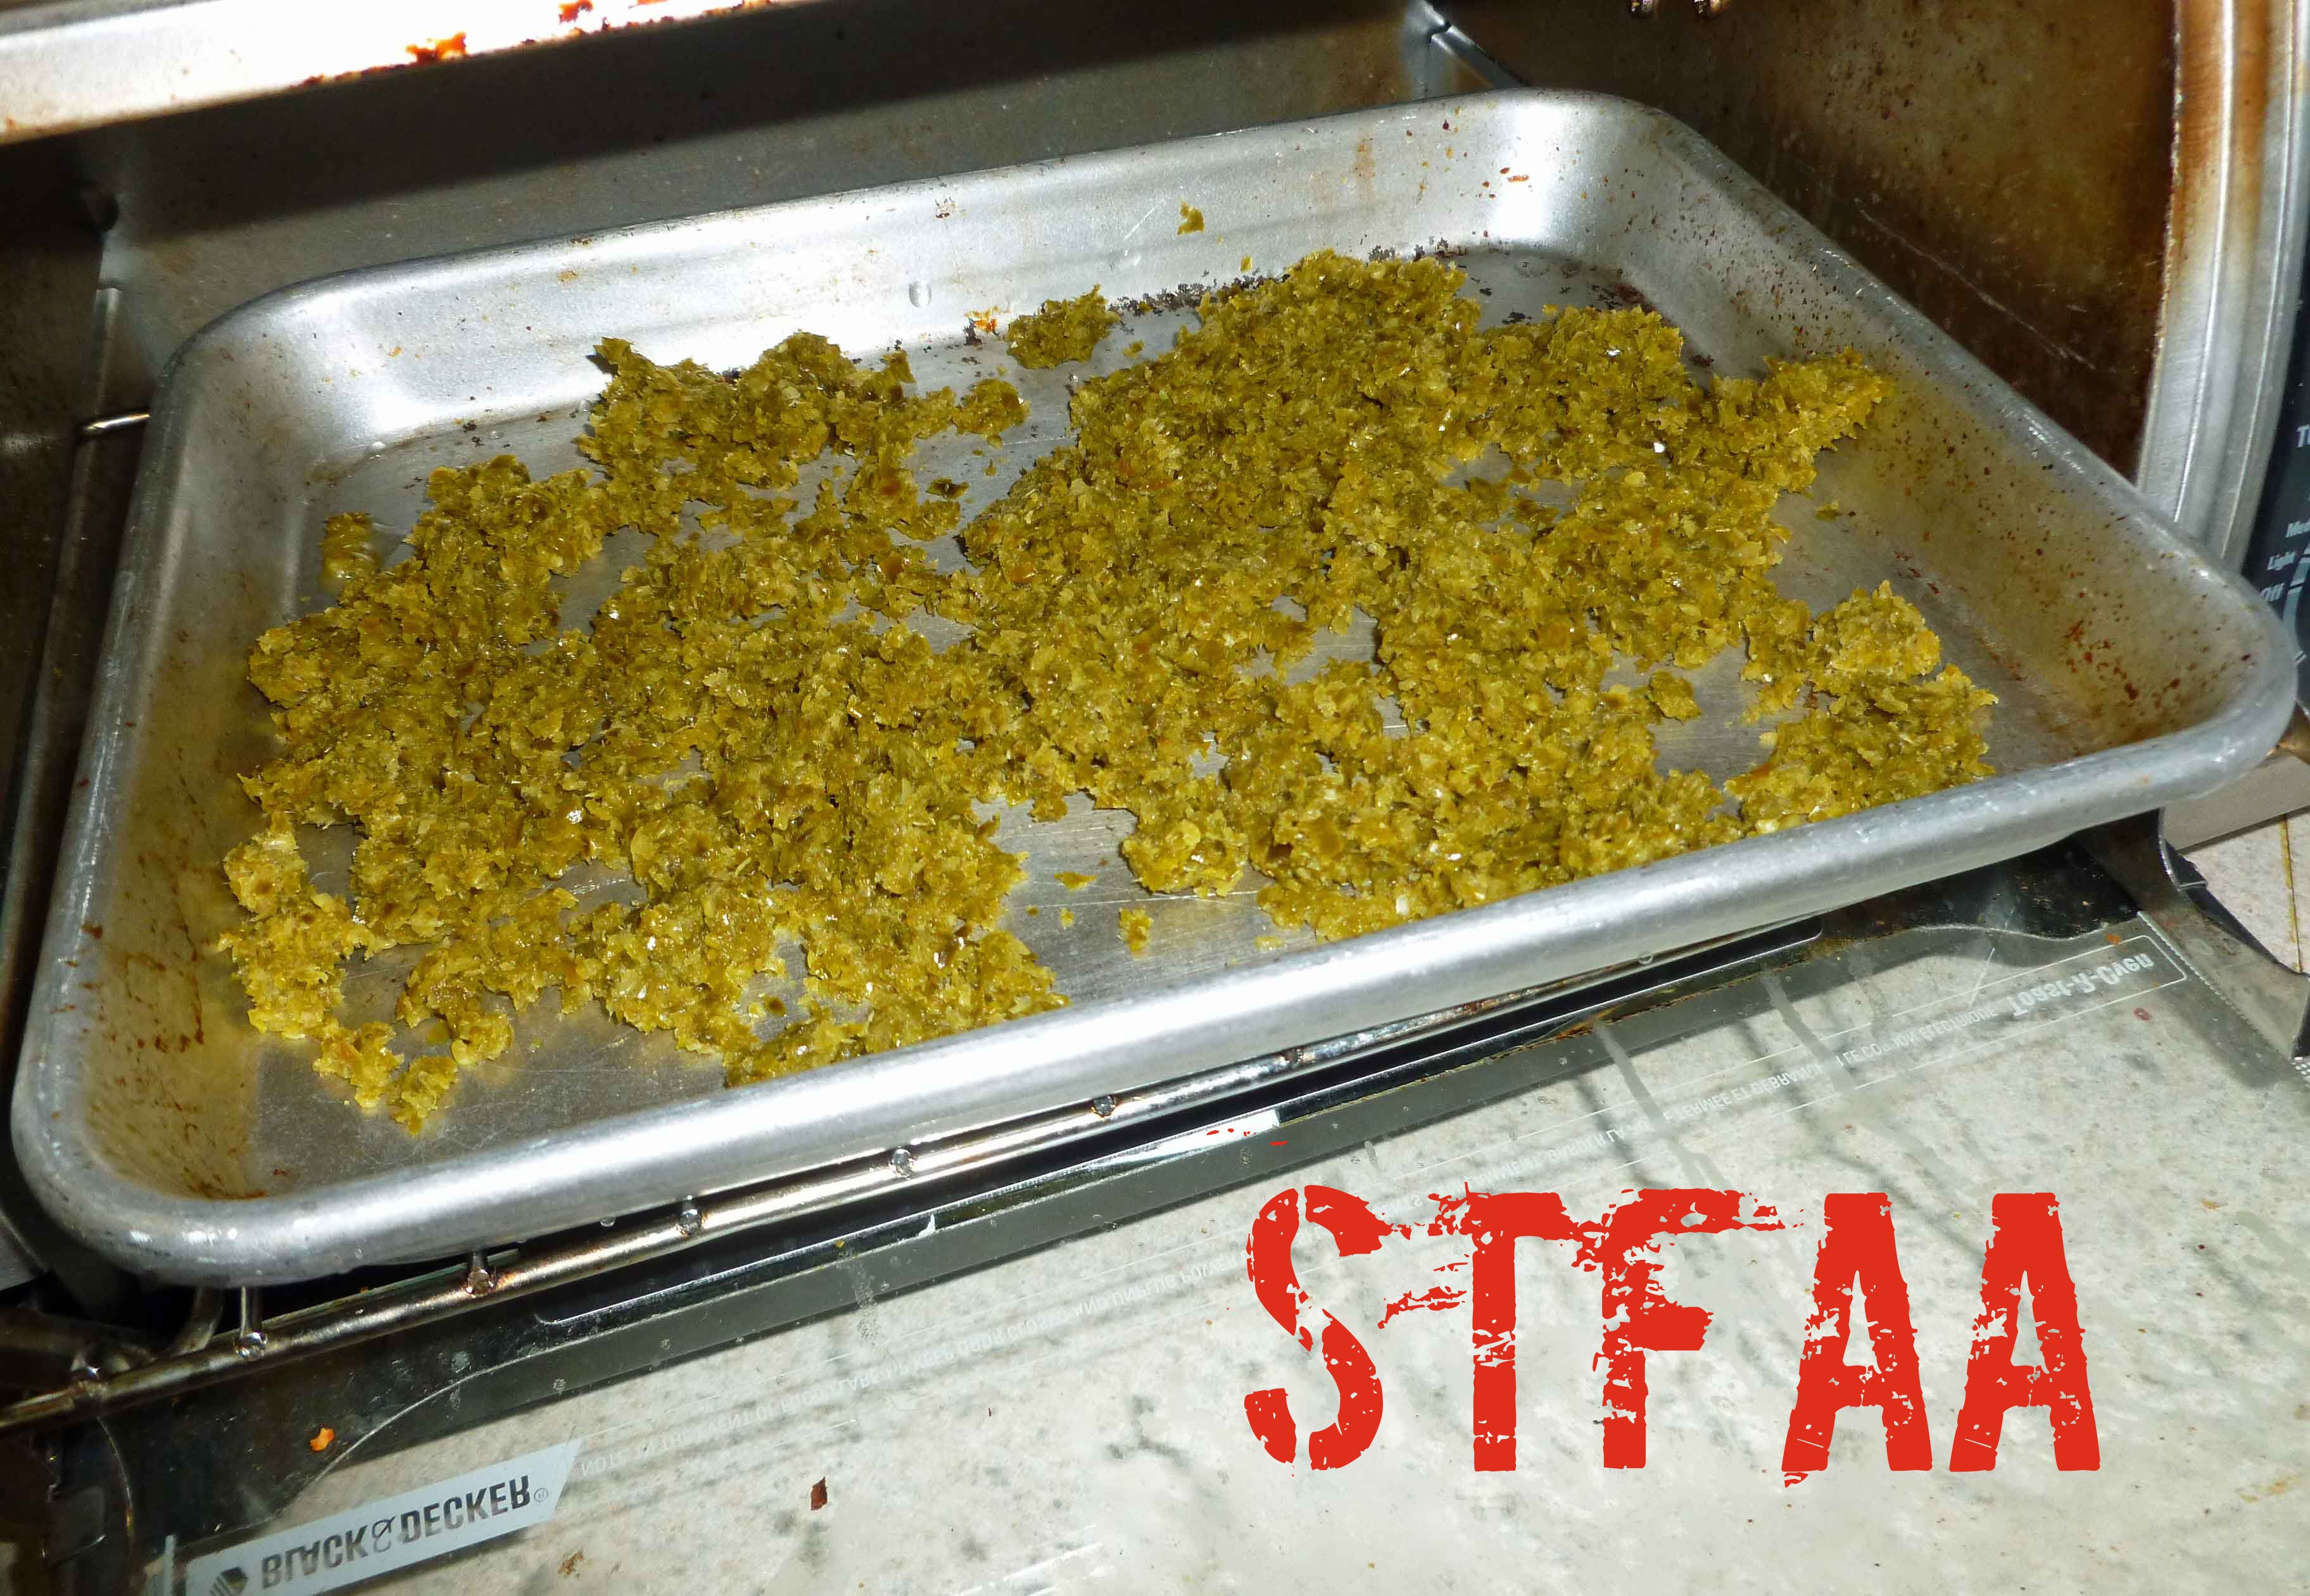
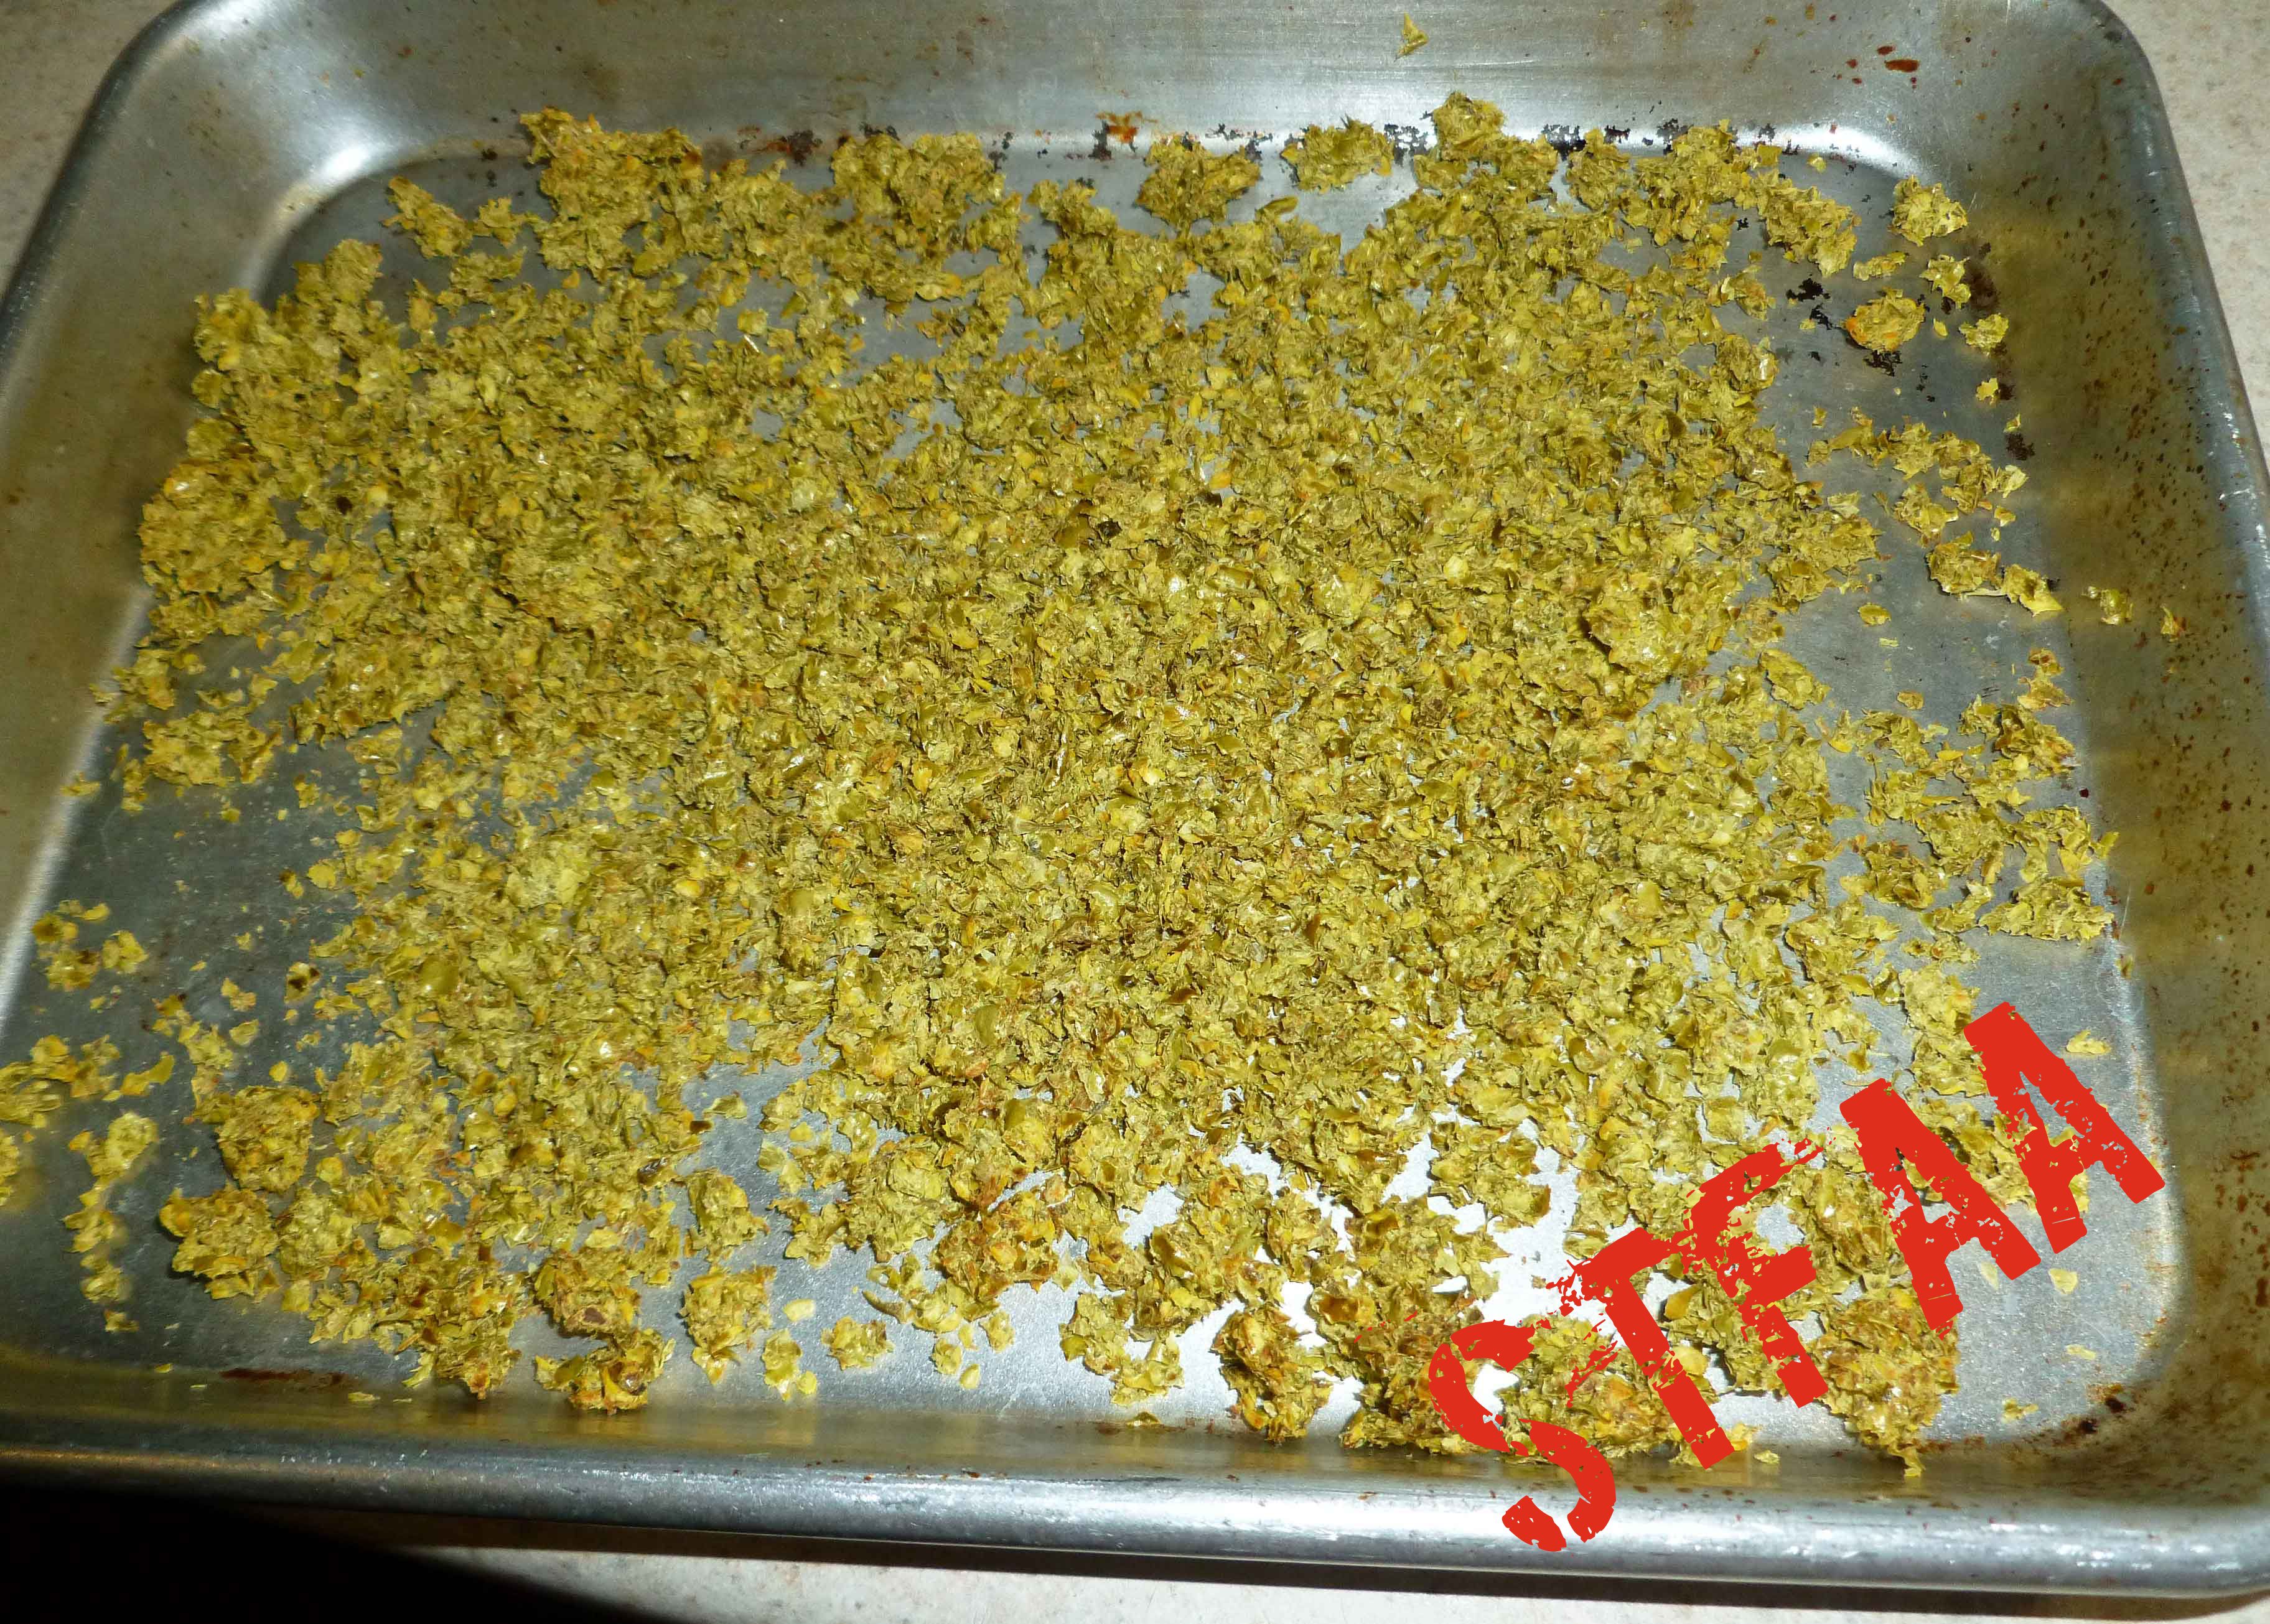
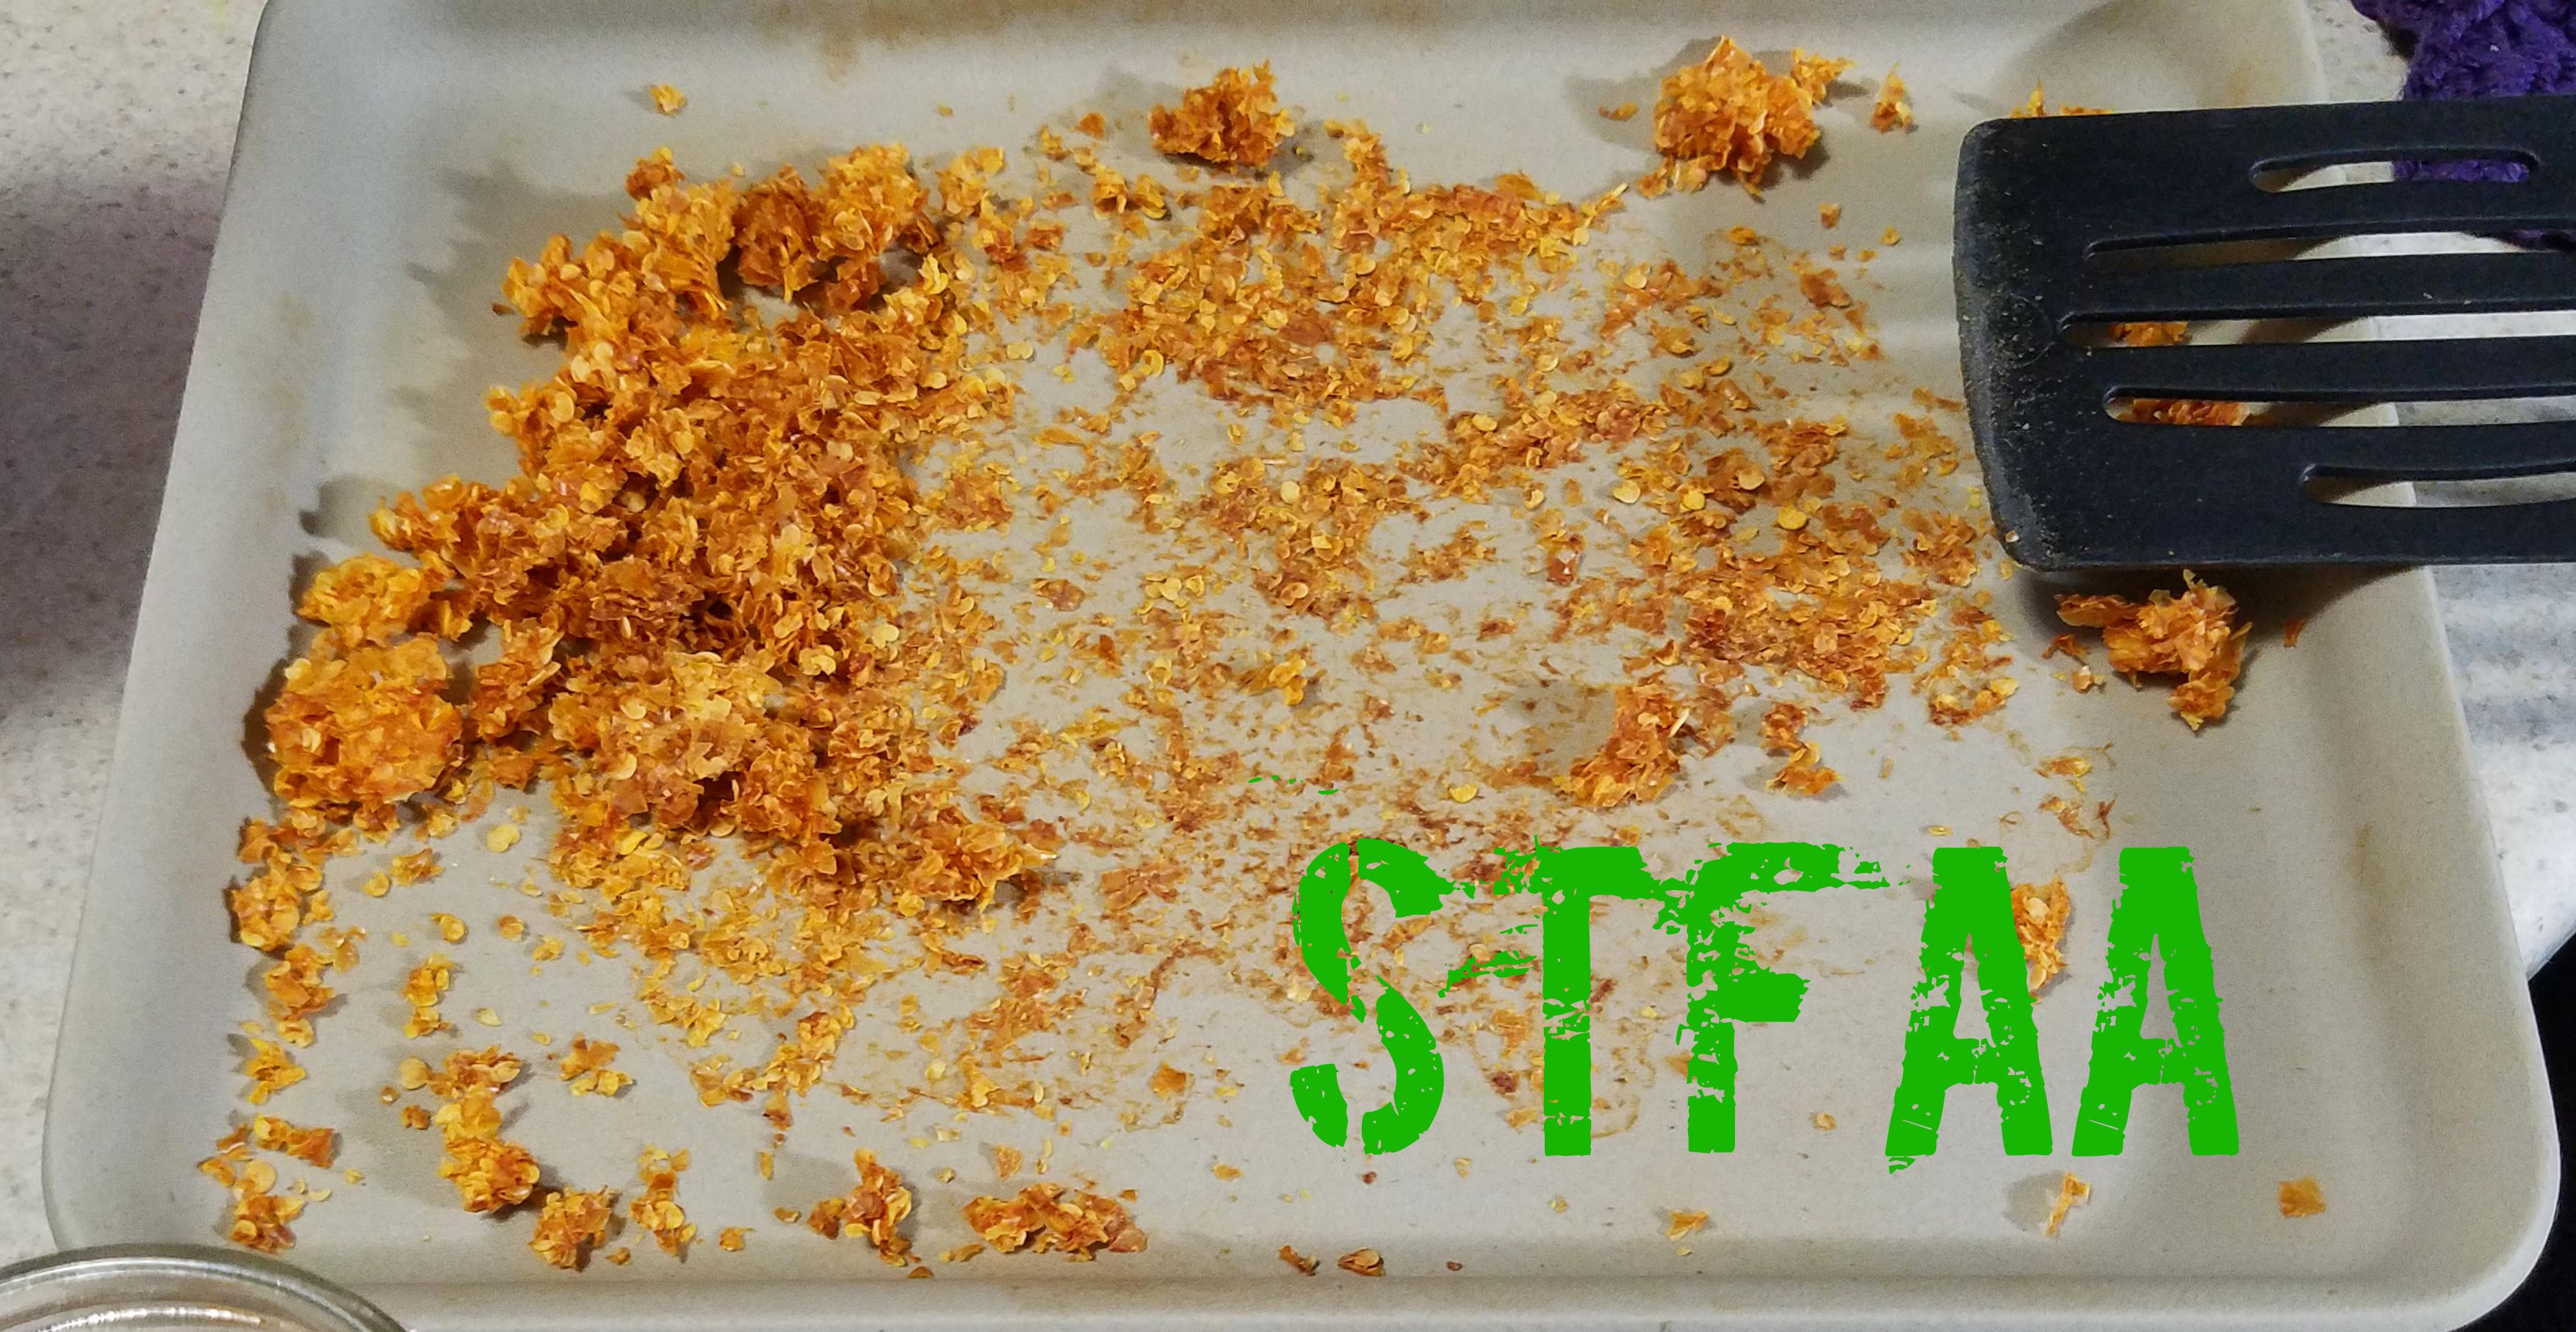
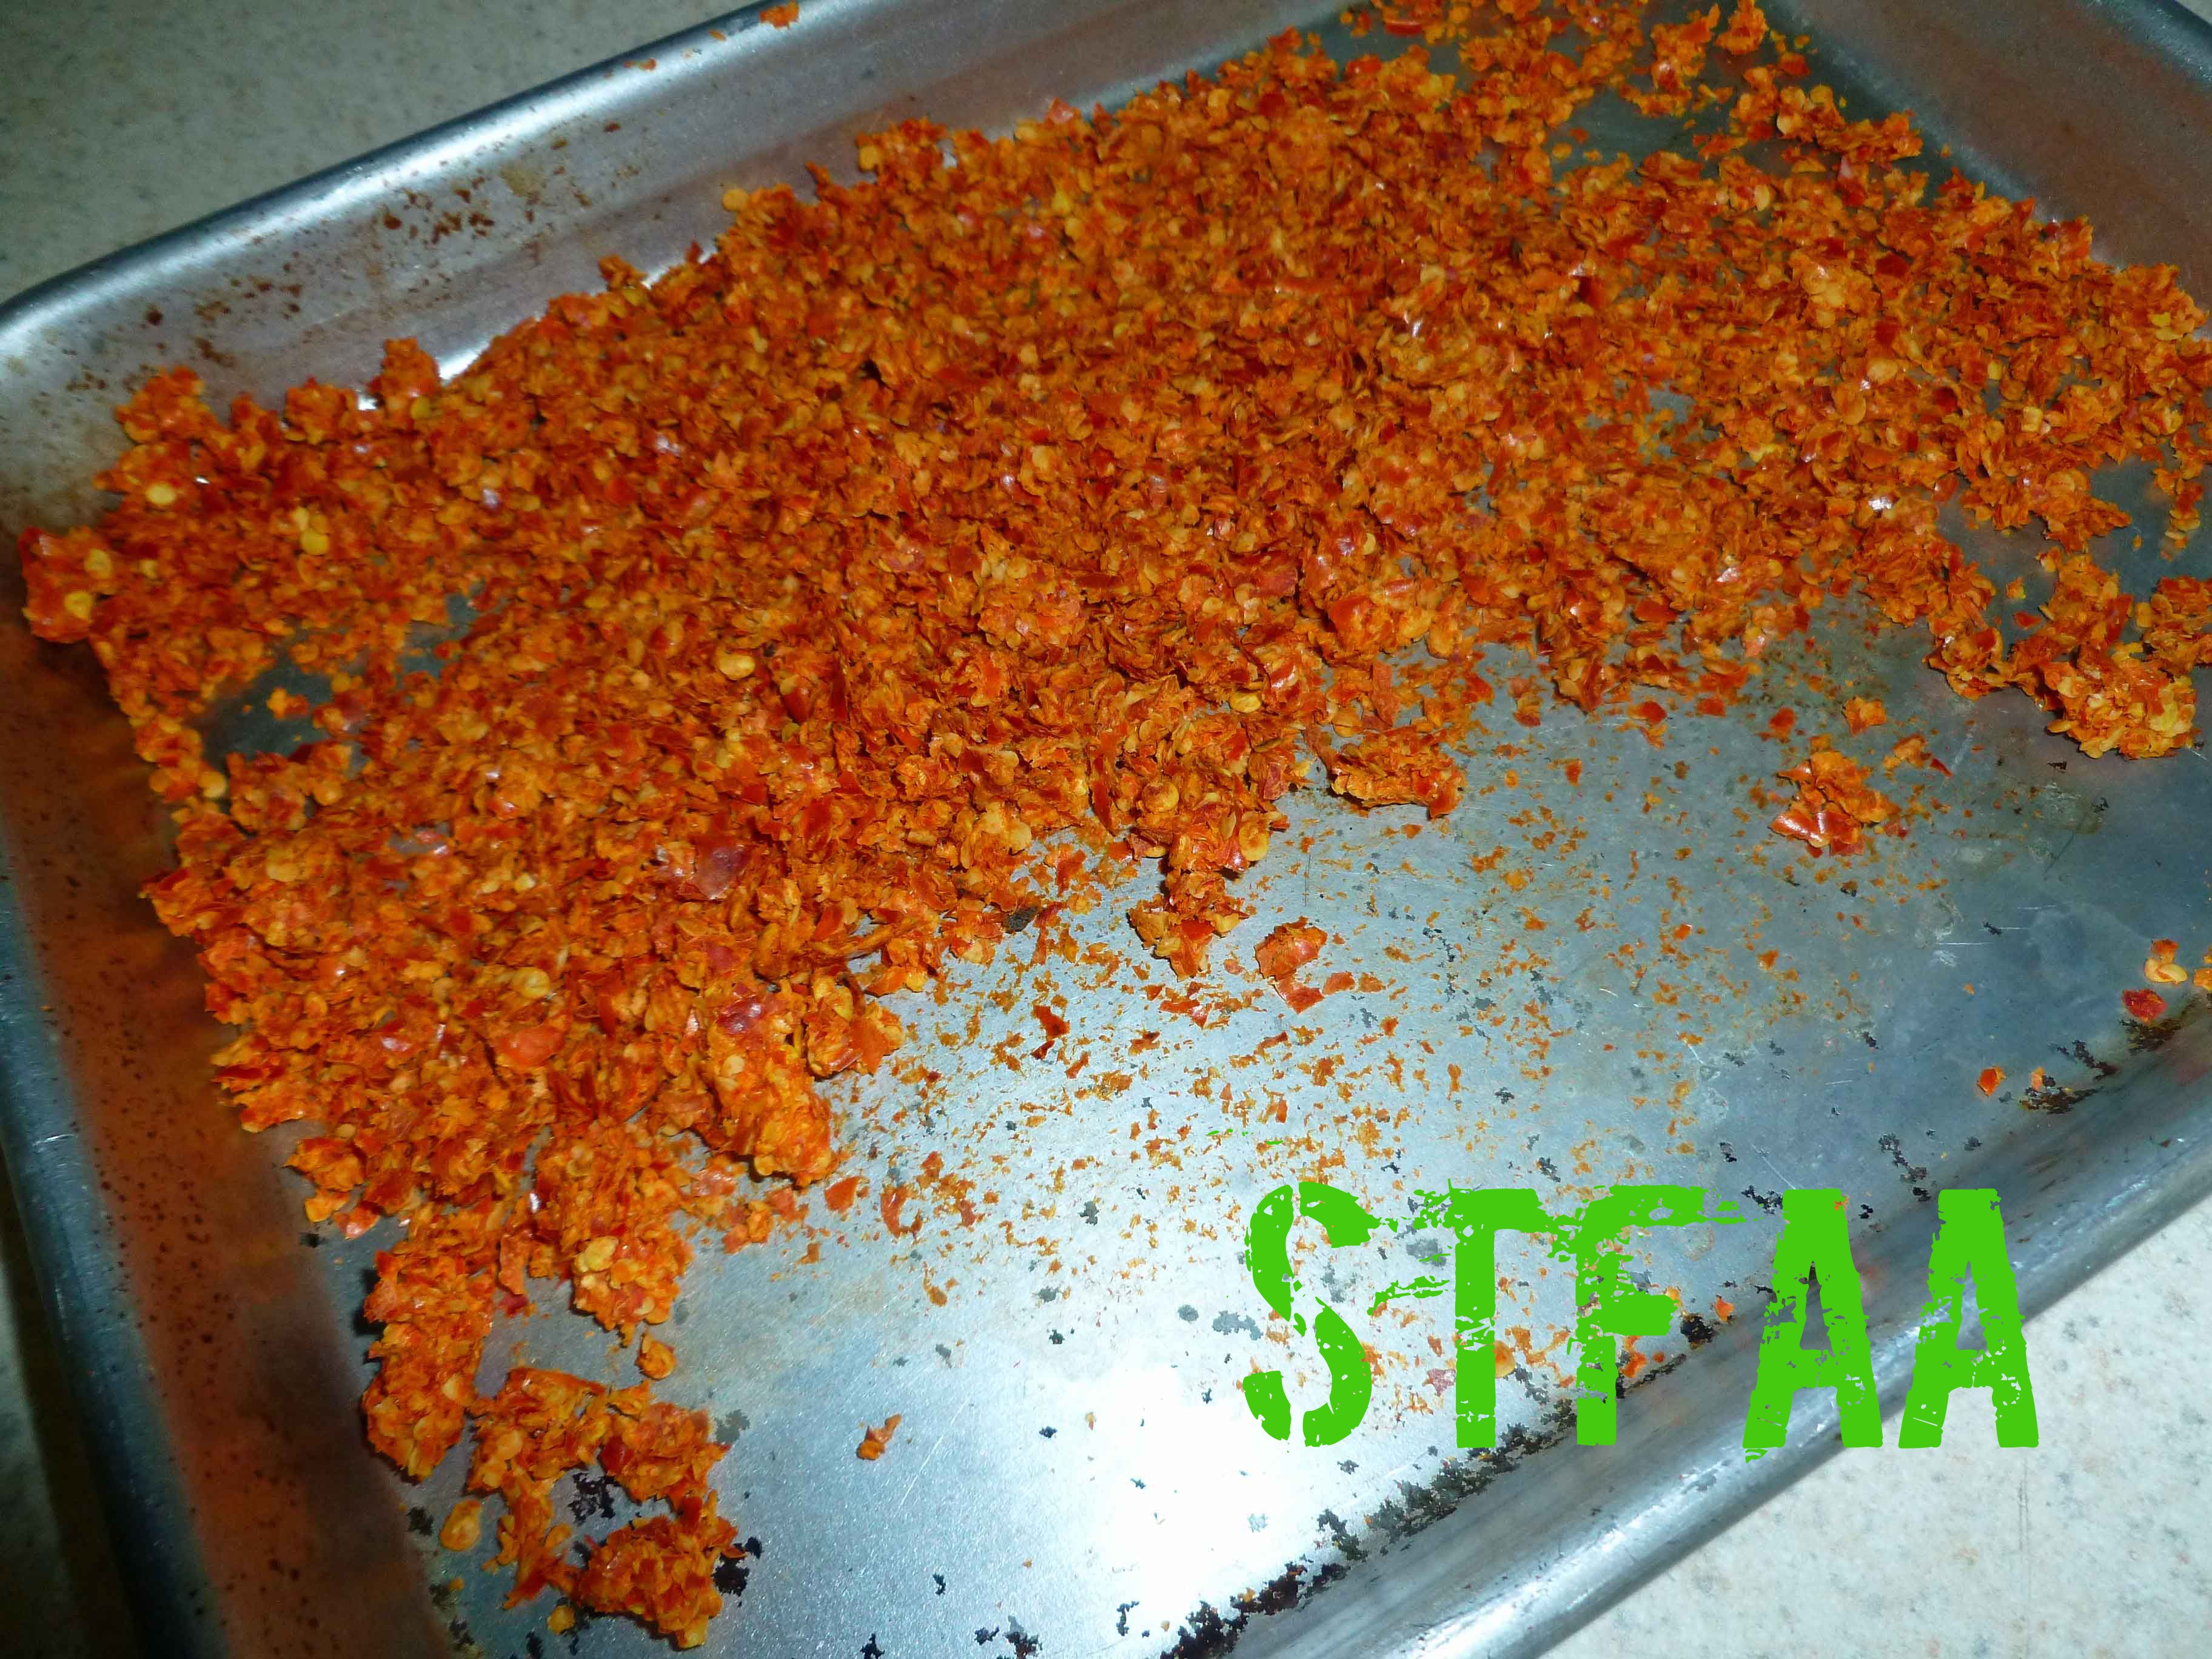
The other nice thing about making hot sauce is that you get two products for one. When you strain out the skins and seeds during the process, you can dry them in the oven or the dehydrator and get a nice crushed pepper mix to use in other spice mixes, rubs, or other recipes. No waste!
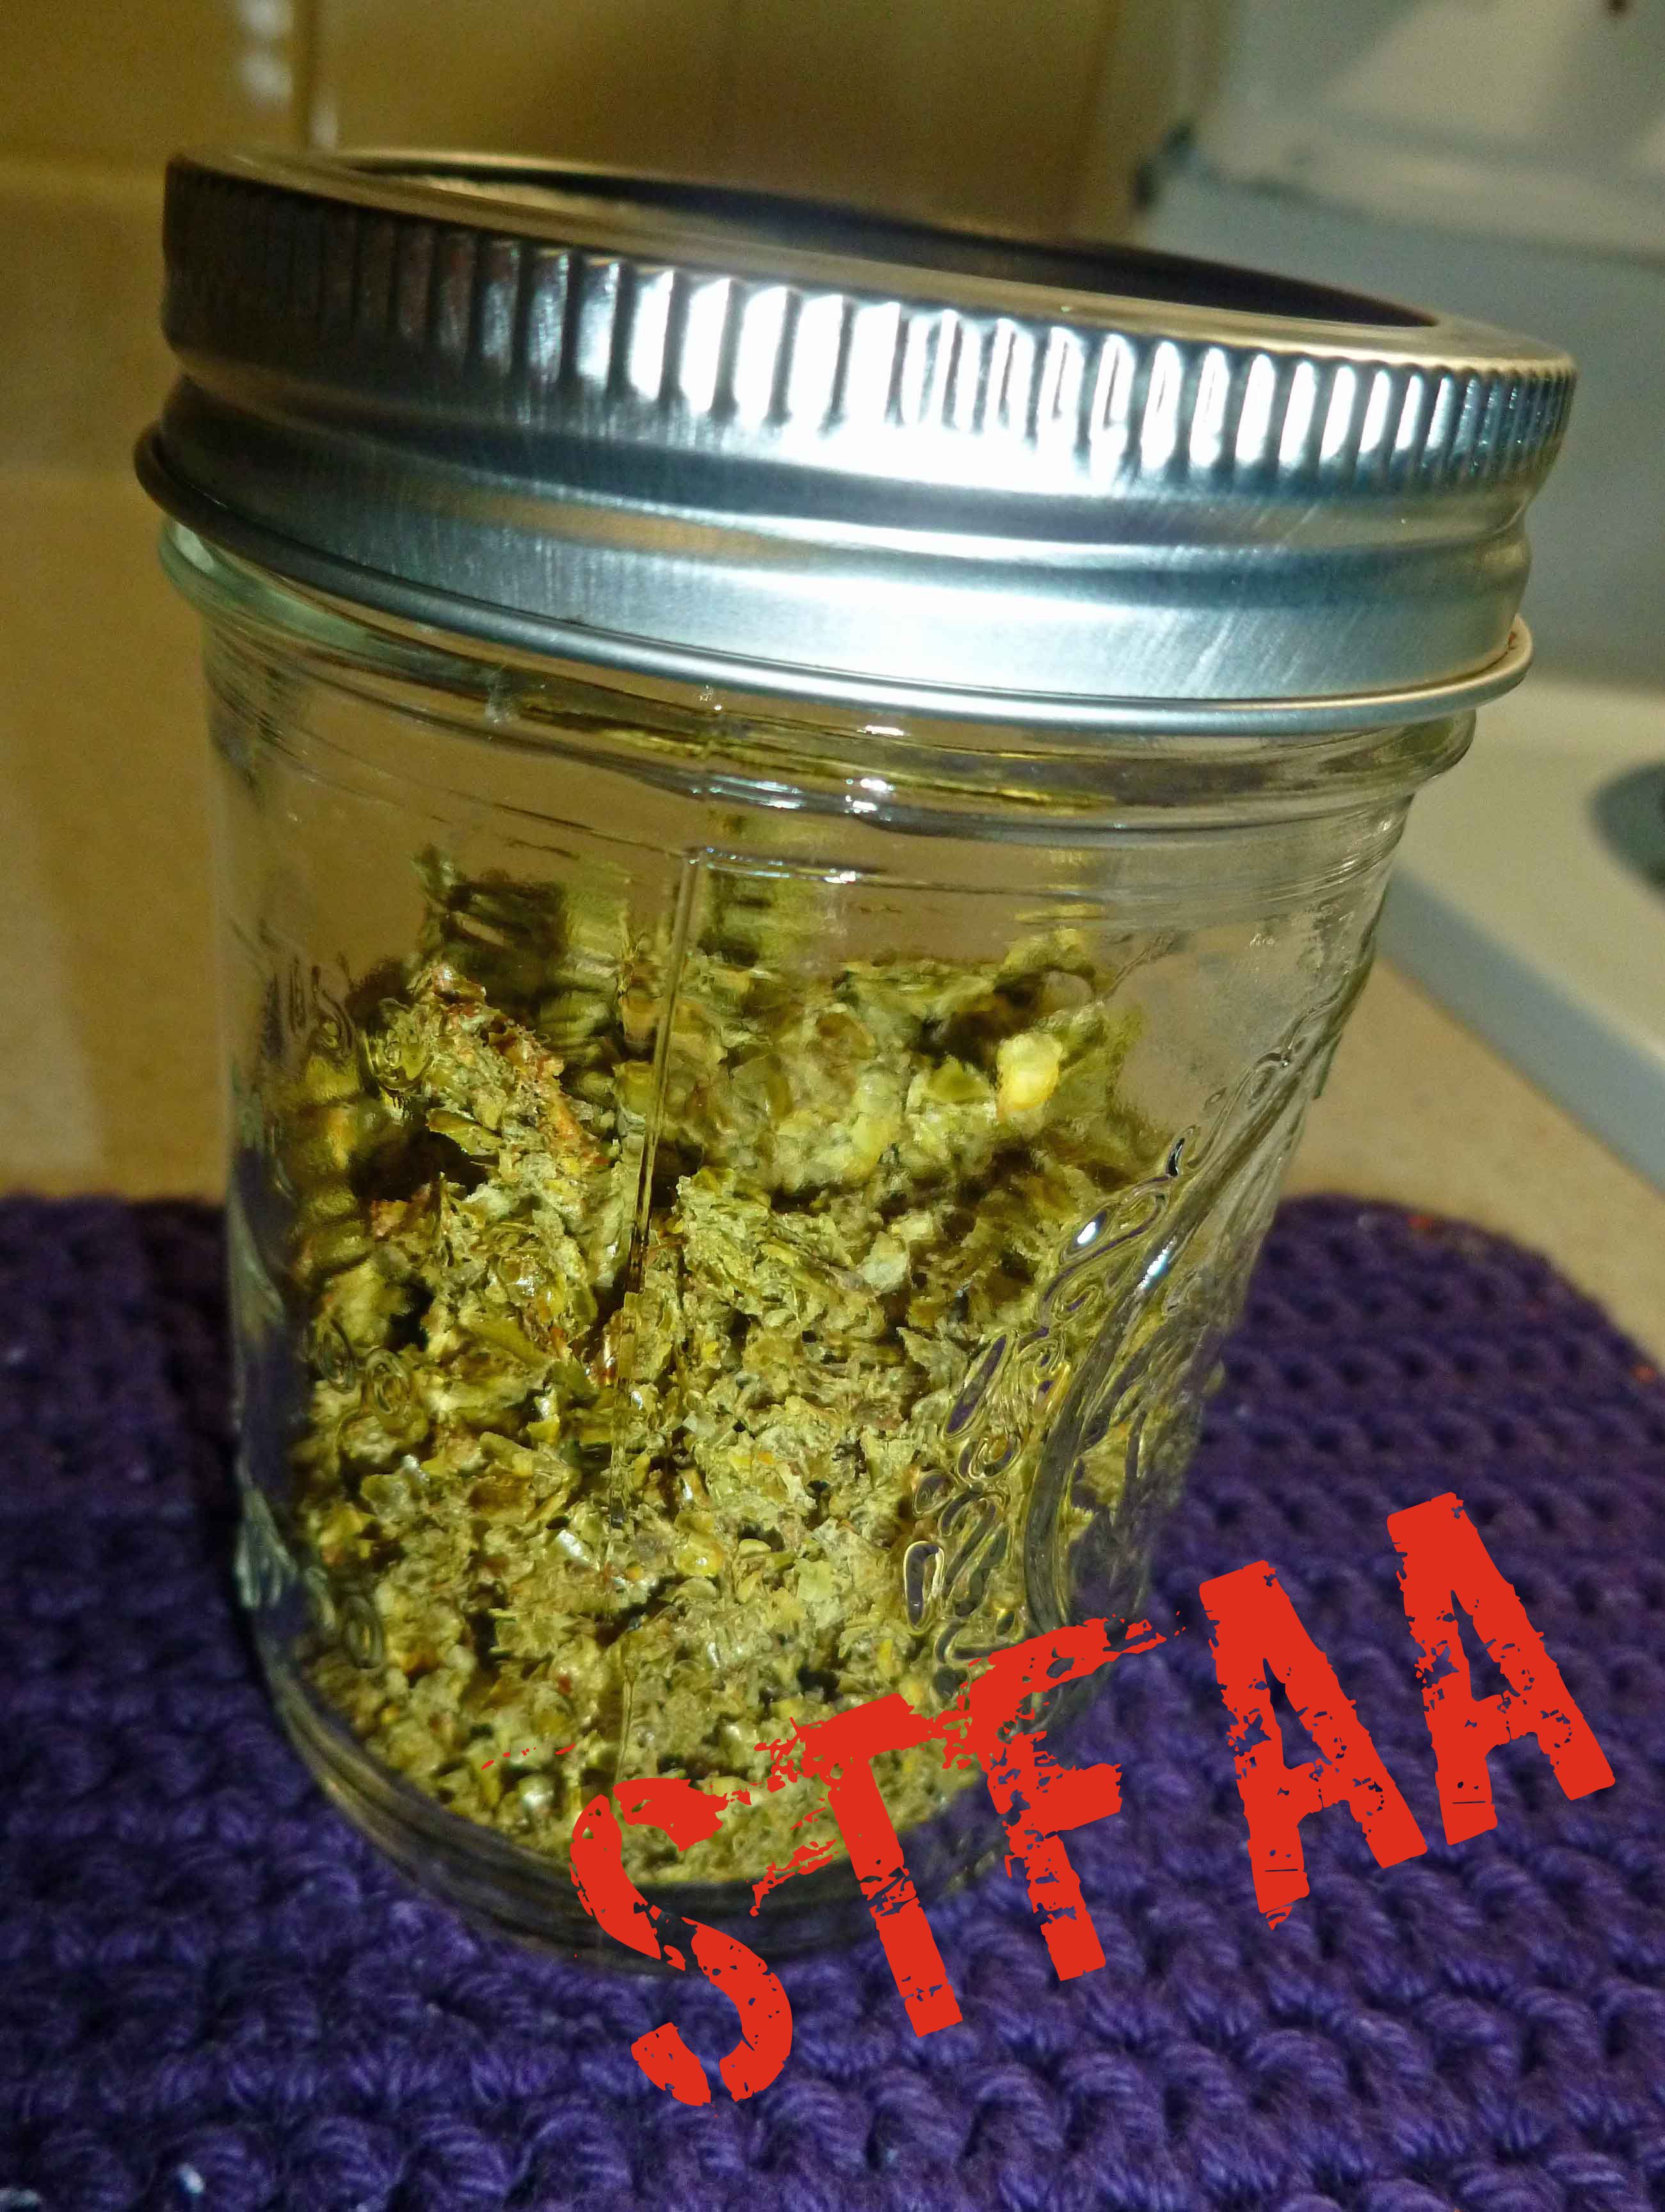
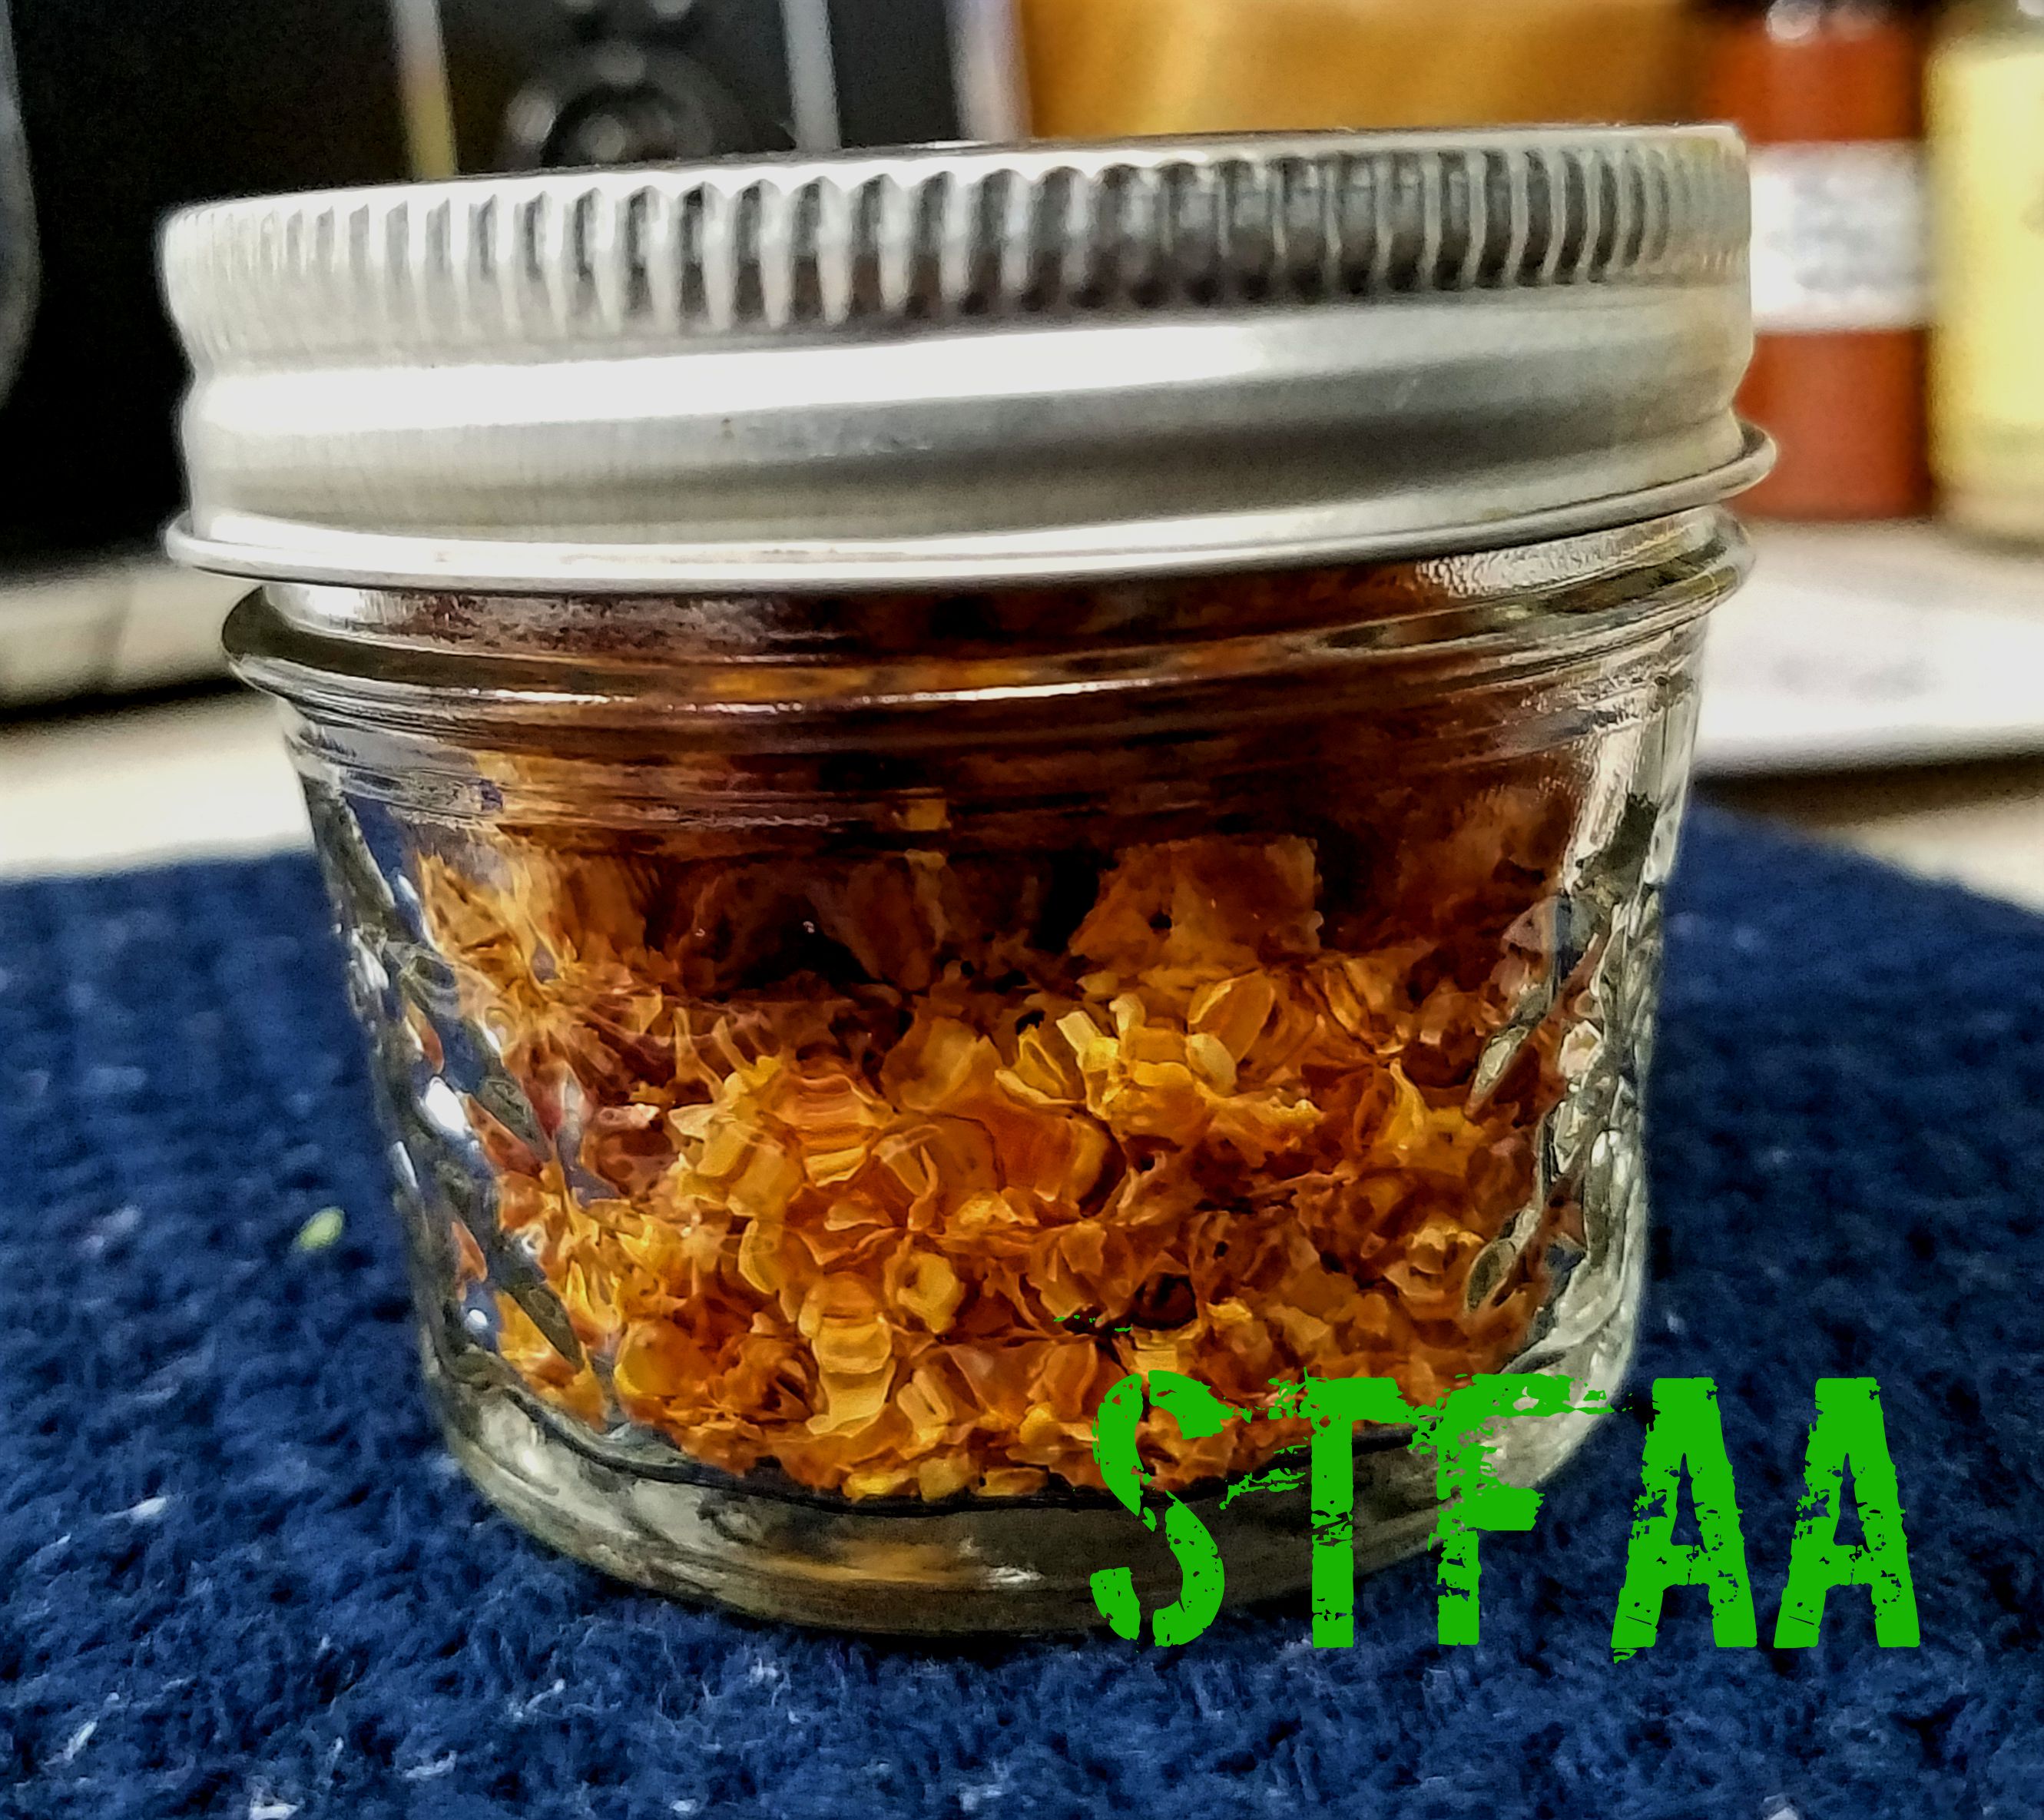
Strained out pepper skin and seeds before drying in the ovenPepper skins and seeds after dryingGreen Cayenne and Poblano Pepper Flakes
Cilantro Lime Green Cayenne Hot Sauce
Print Recipe
A milder hot sauce with a lot of flavor you can use in a lot cuisines and dishes.
1quartspring water (not tap water, it will interfere with fermentation)
1.8ouncessea salt
Hot Sauce Ingredients
1cupgreen cayenneswashed, destemmed and sliced into half inch pieces
1cuppoblanoswashed, destemmed, de-seeded, and chopped
1clovegarlicpeeled
5limes juiced (divided)
1cup onions, chopped
1/4teaspoonsea salt
1cupcilantrowashed, chopped, and tightly packed
2Tablespoons brown sugar
Servings: ounces
Instructions
Fermenting the peppers
Make brine by mixing spring water and salt in a container until salt is dissolved.
Place peppers in pint jar and add glass weight or 4 ounce jar. Add brine until the weight is covered with brine by at least half an inch, or cover with brine and add 4 ounce jar full of brine to weight down peppers making sure that all peppers are submerged in brine. Place airlock on jar and add brine to airlock to seal.
Let ferment for 2 to 4 weeks at room temperature, checking daily to make sure the brine levels are okay. You may need to add brine as time goes on as the peppers must stay submerged at all times. If the peppers do not stay submerged, they could develop mold and you’ll need to throw it out and start all over.
Making the Hot Sauce
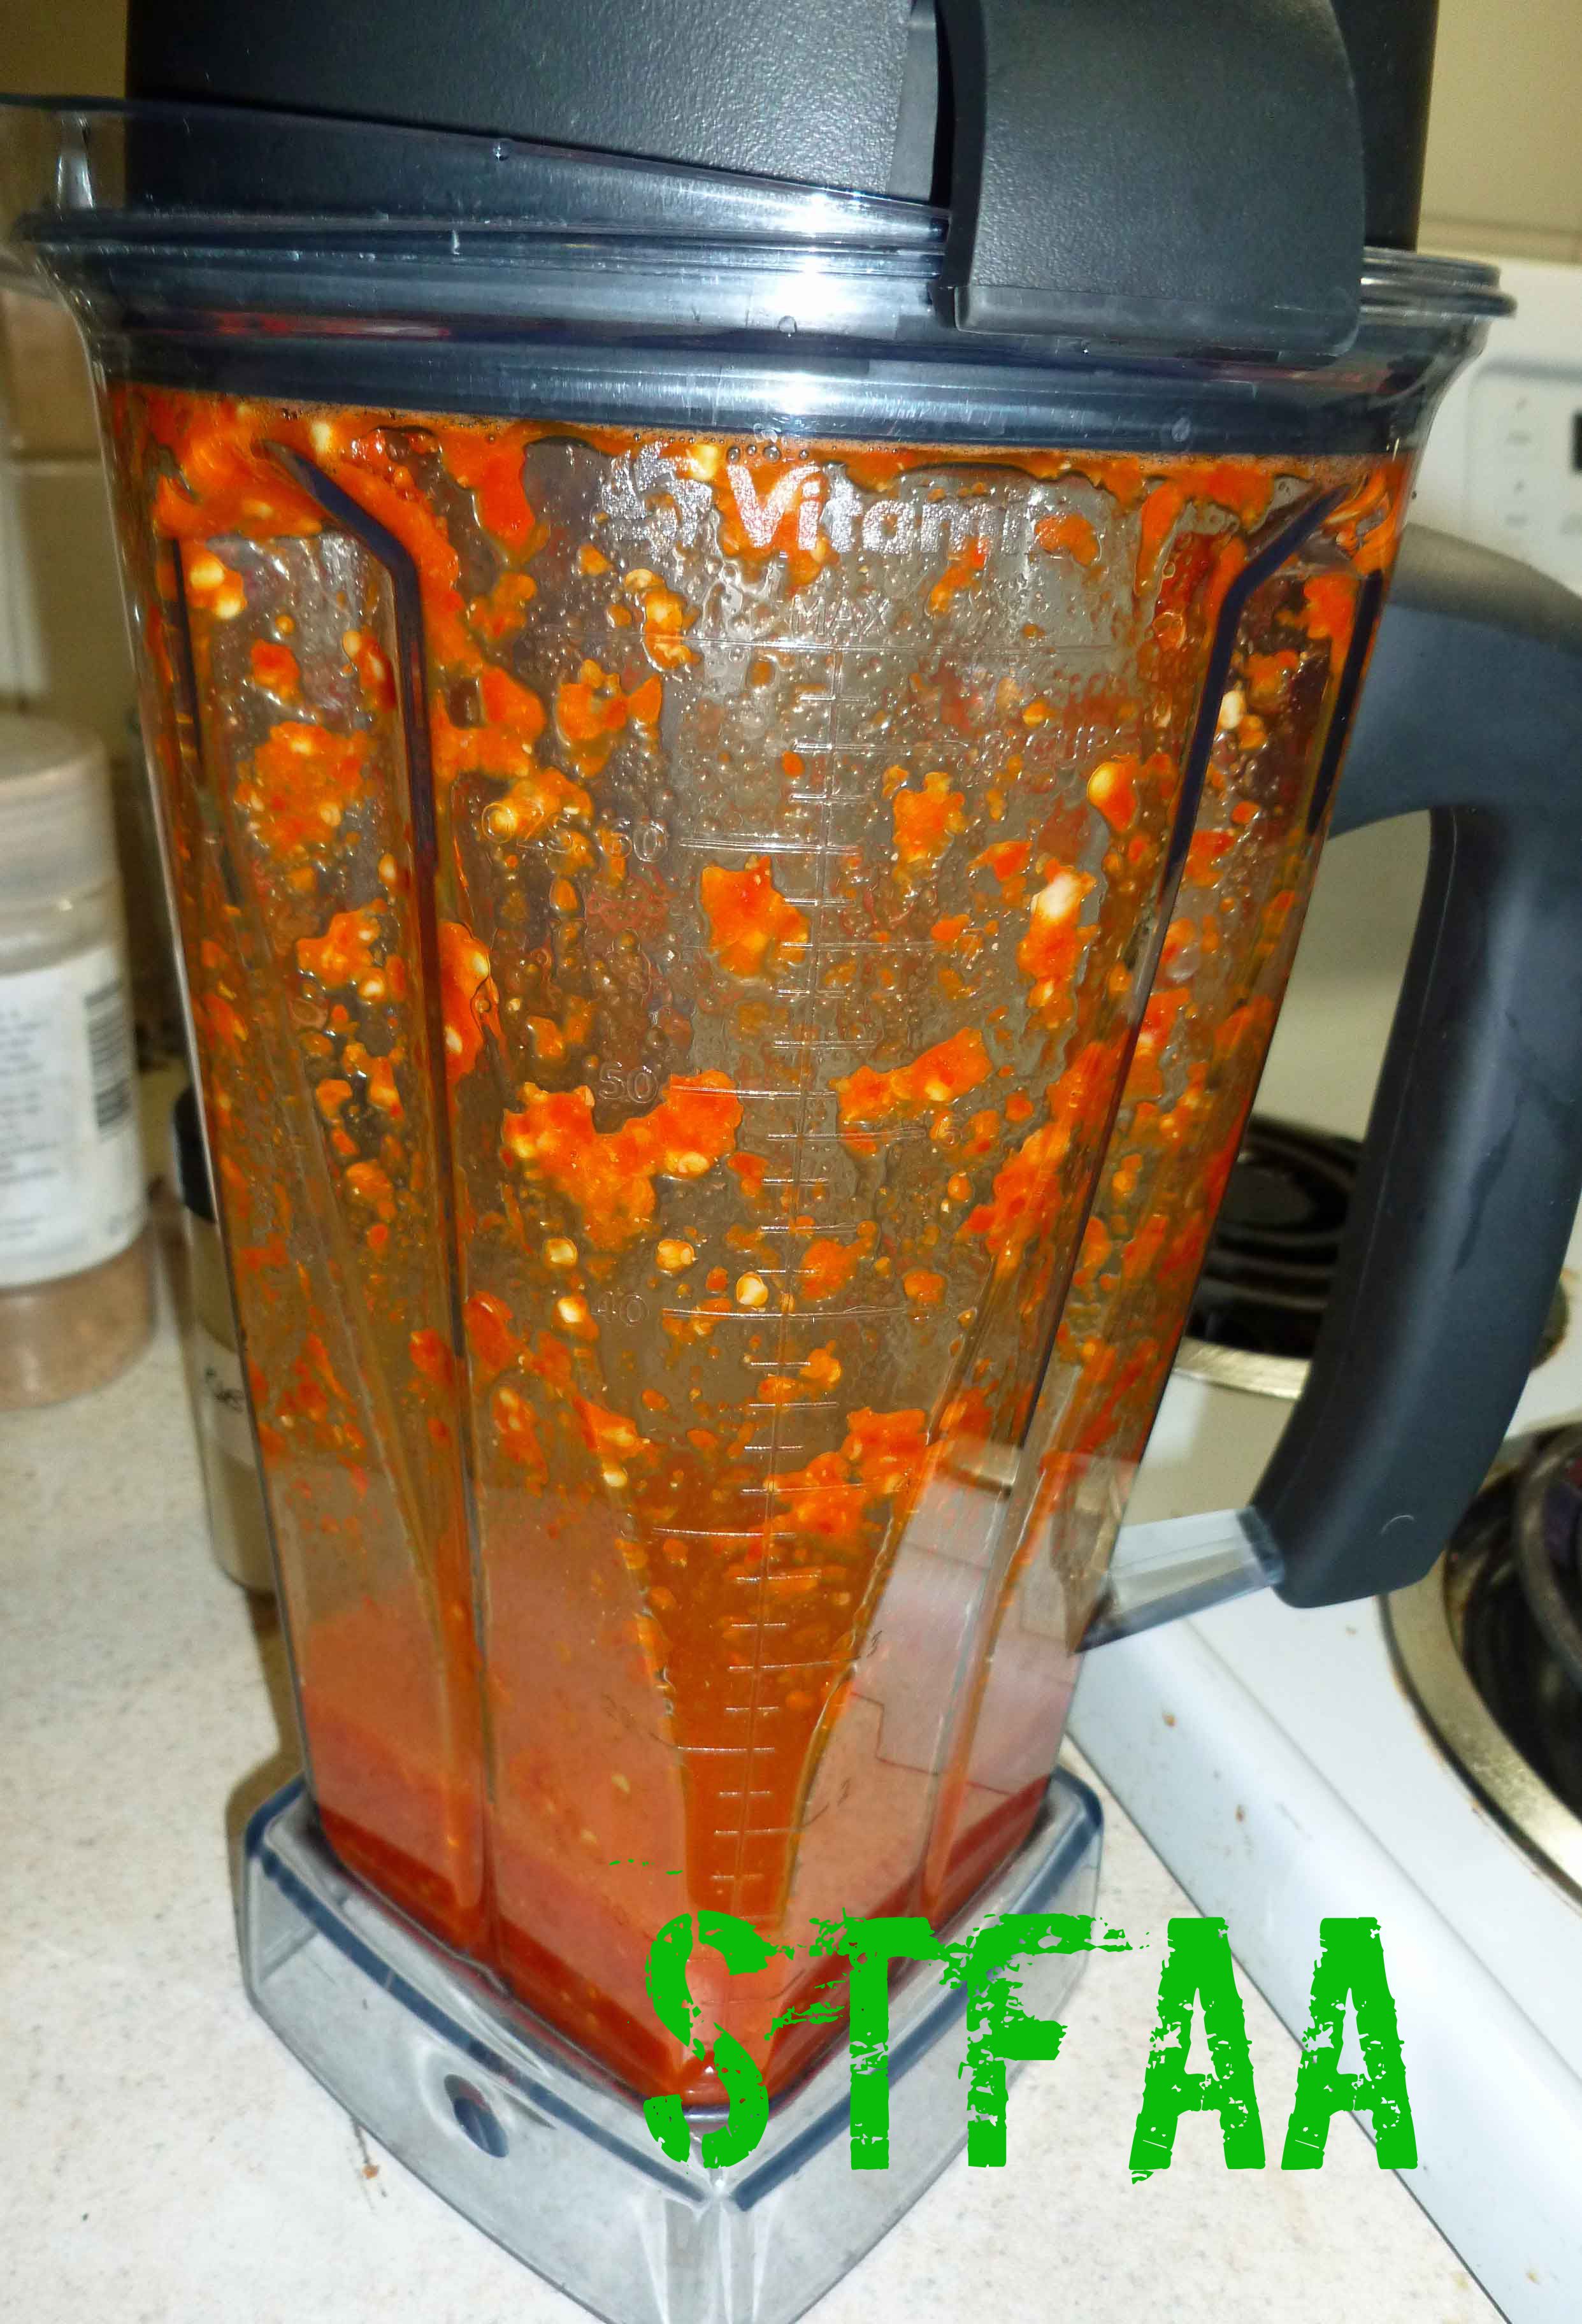
Once your peppers are fermented, remove the airlock and and glass weight or glass jar. Drain brine. Place the peppers in a blender with the garlic clove and the juice of two of the limes.
Blend until the peppers are pureed, but not until the seeds have disappeared if you have a high performance blender. You want to leave the seeds whole enough to strain out.
Once you have pureed your peppers, place the puree in a fine mesh strainer over a bowl and use a spatula or the back of a spoon to press the liquid in your puree into the bowl, leaving the seeds and skins of the peppers behind. (Hint: dehydrate the seeds and skins remaining in the oven at the lowest temperature you can or in a dehydrator to make pepper flakes to use in other recipes).
Place the onions, juice of 3 limes, and 1/4 teaspoon of salt in a small sauce pan and cook over medium heat until the onions are soft. Once the onions are soft, place the contents of the sauce pan into the blender with the chopped cilantro and blend until smooth.
Place the onion puree mixture back into a sauce pan, and add the strained pepper mixture and bring to a gentle boil for 2-3 minutes.
Remove the sauce from heat and let cool before placing it a container to store in the refrigerator. Use it on everything.
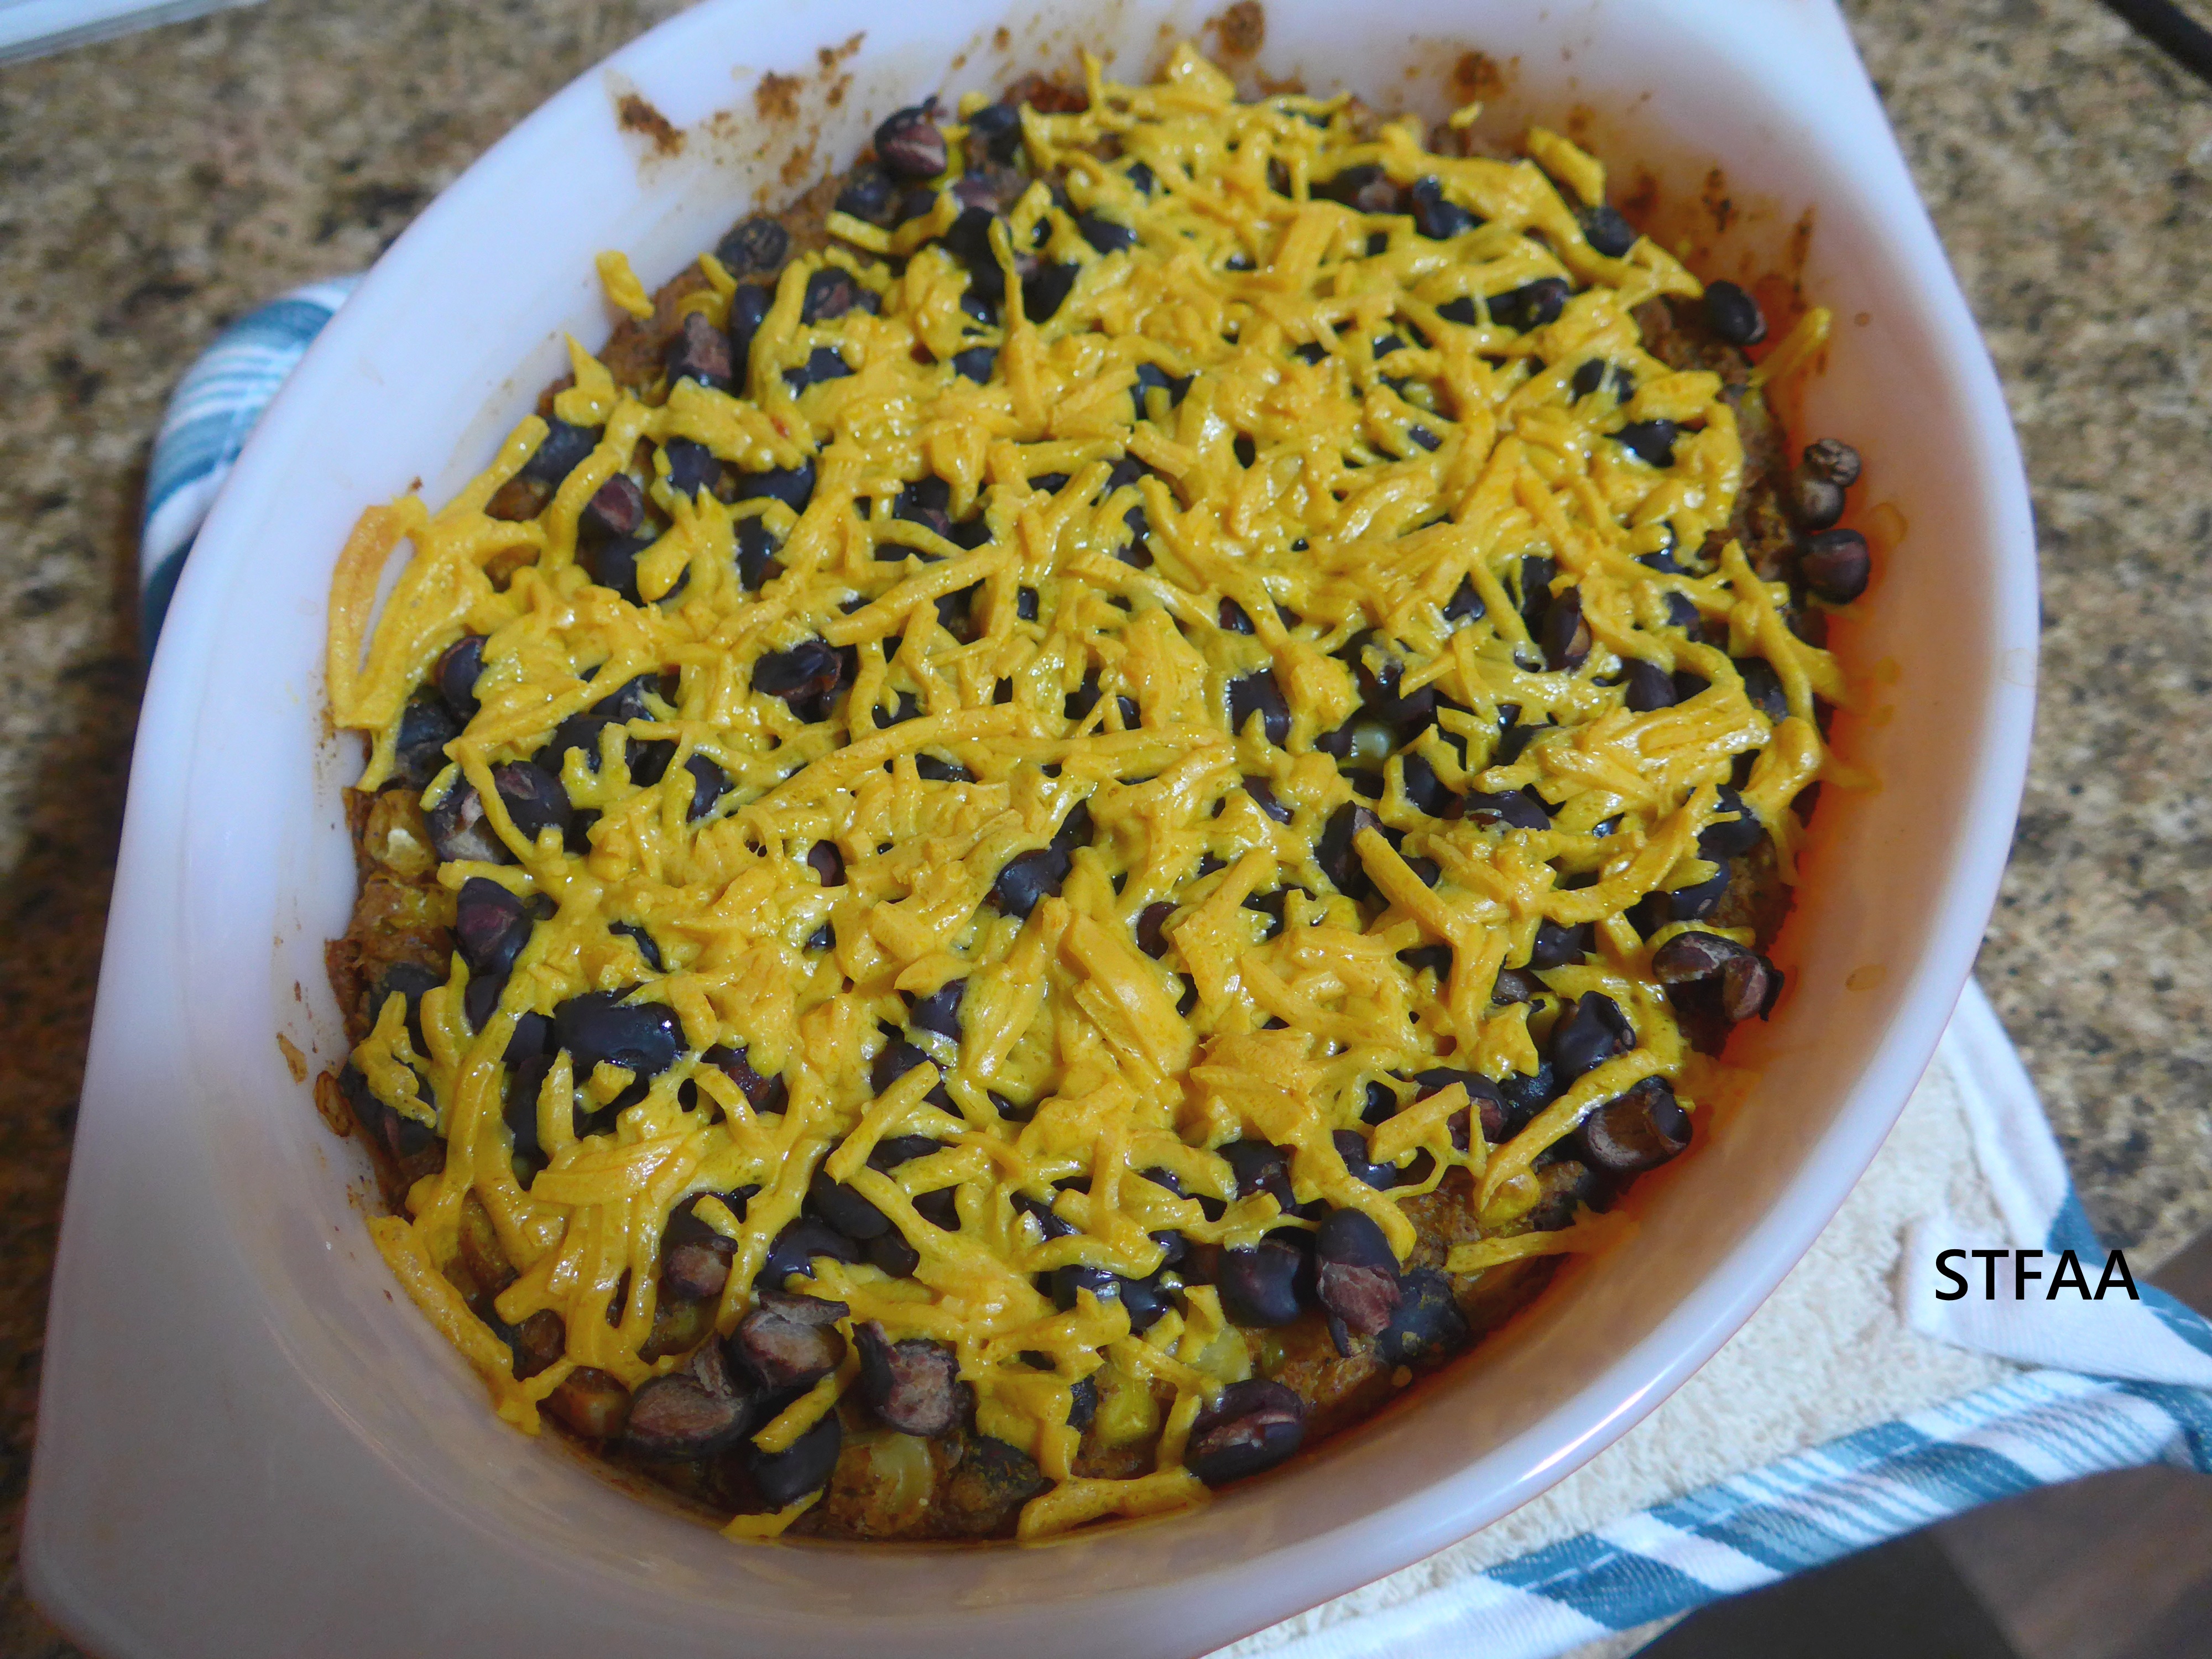
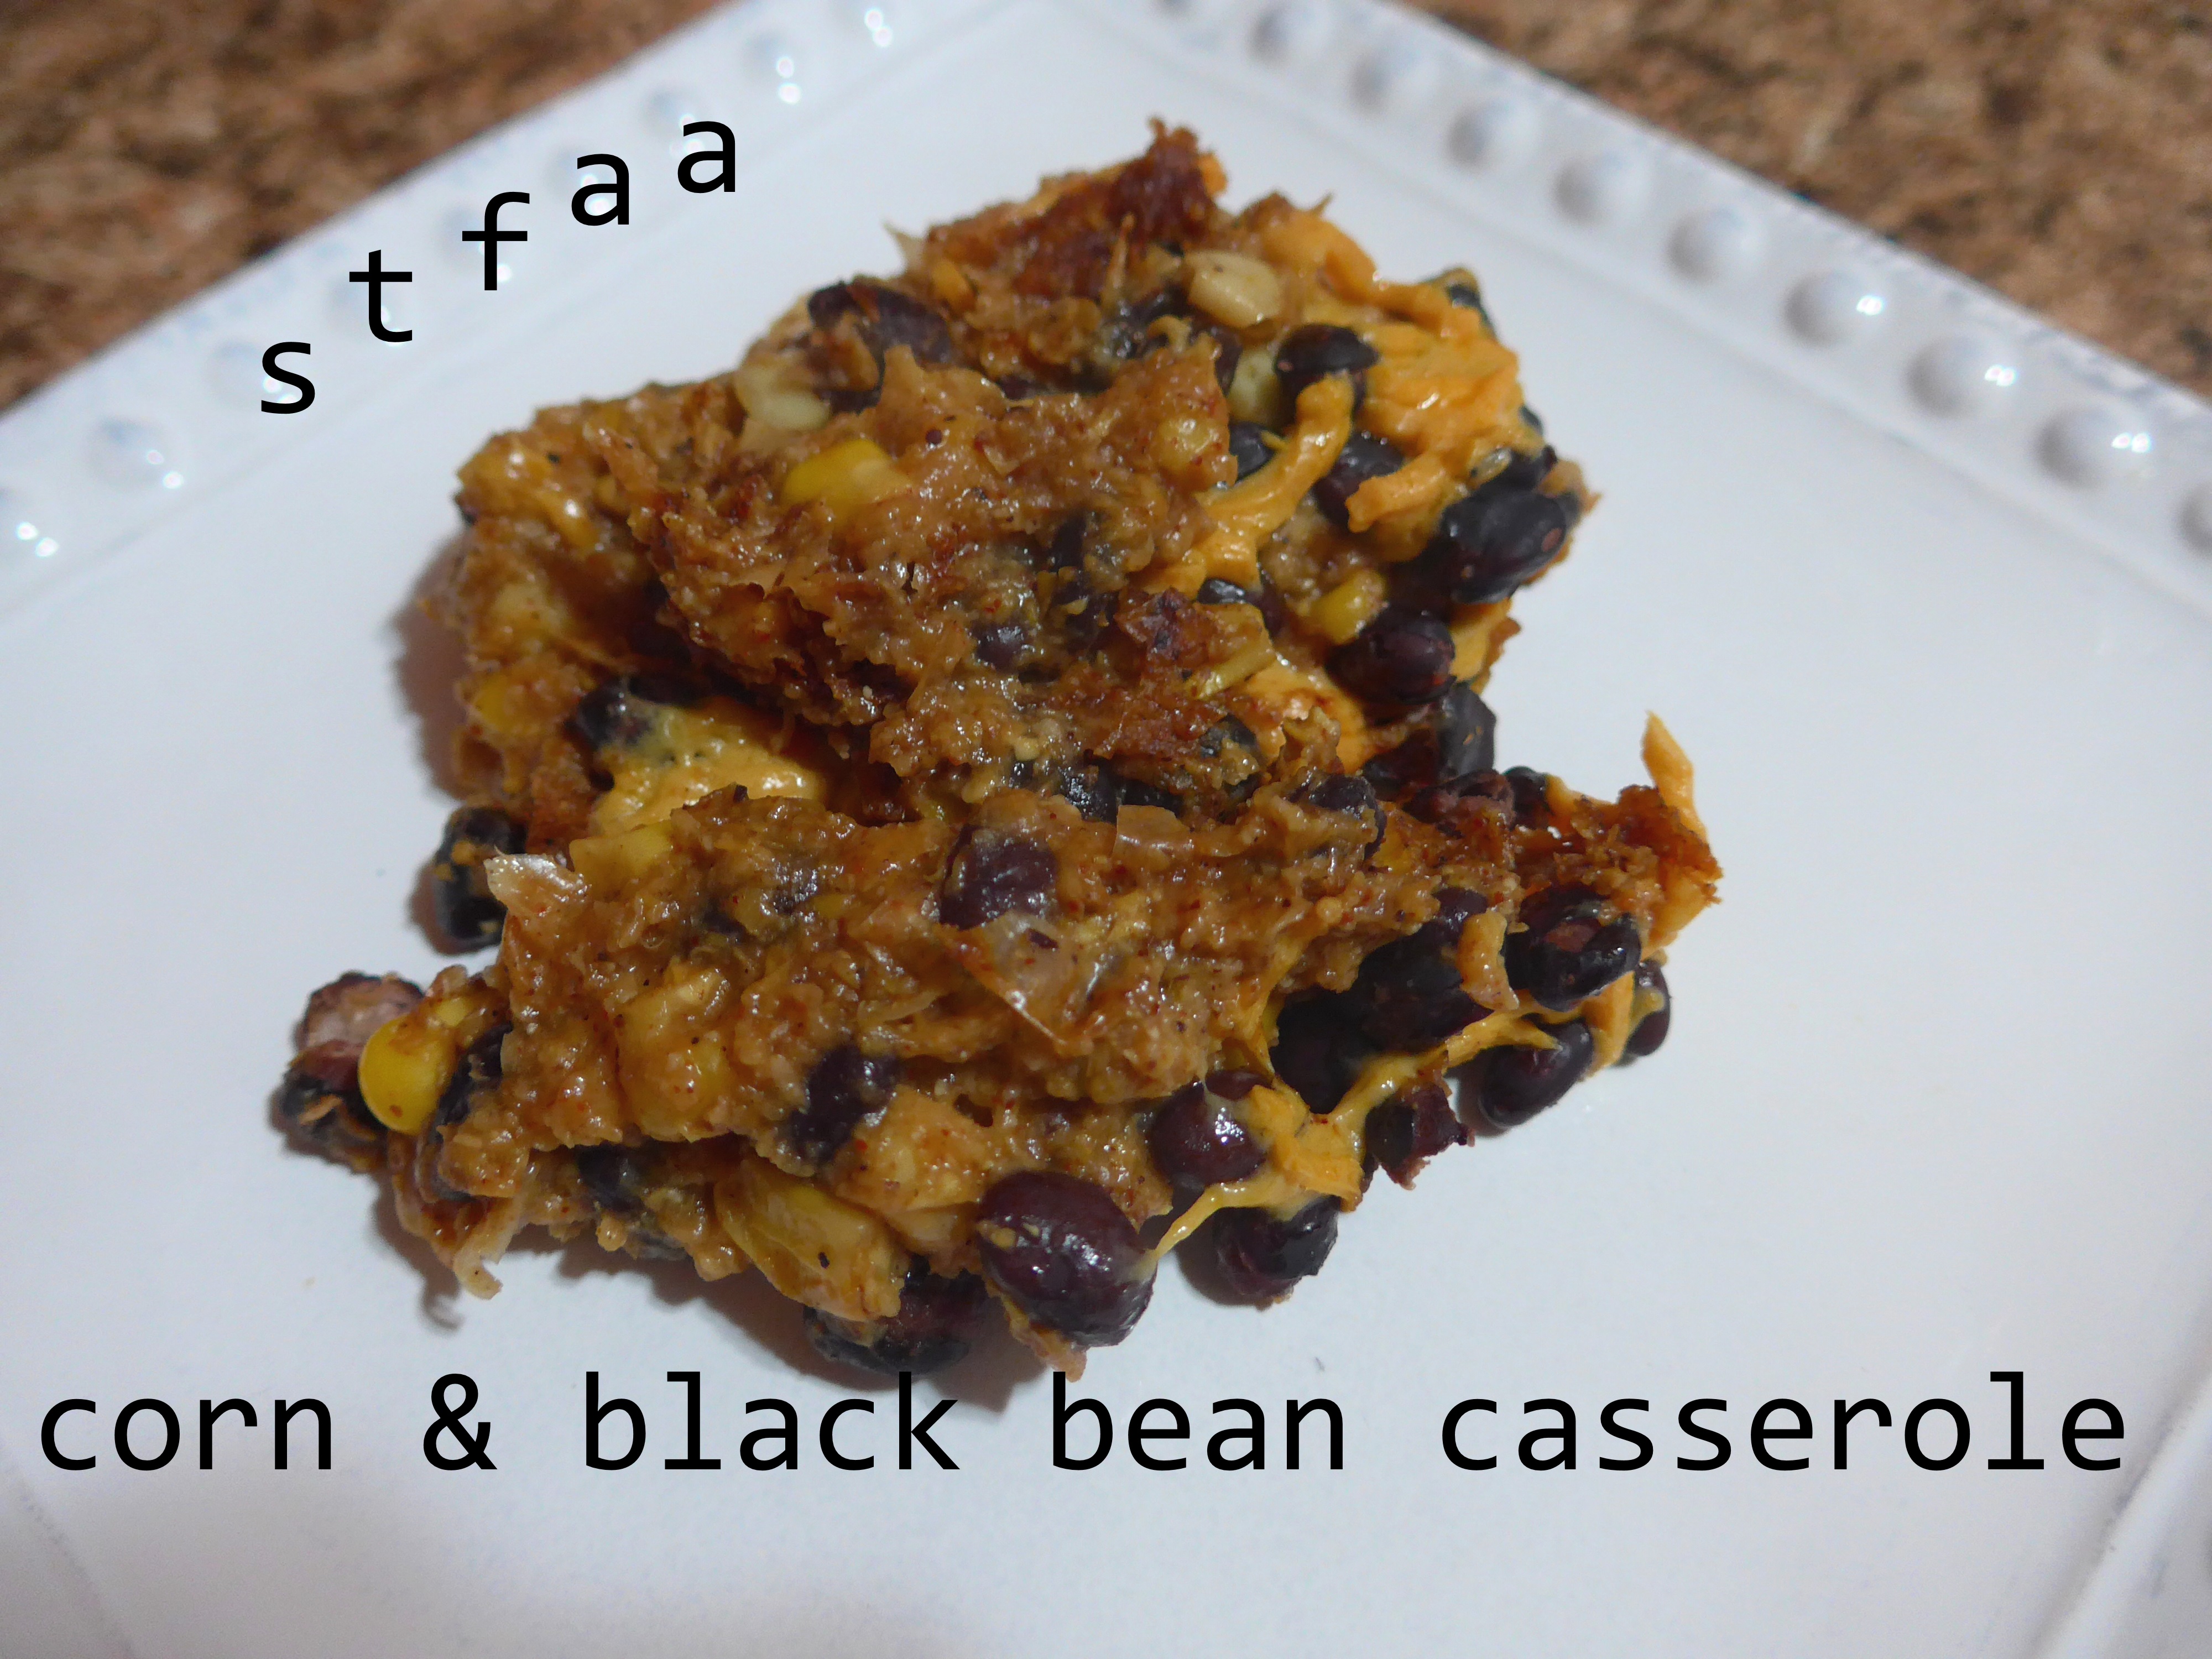
So this post needs to be quick, as I’ve spent the past two weeks moving and I’m exhausted. But this dinner was also quick — and hot and comforting. Well, the prep work is quick. It does take about an hour to bake. Keep that in mind. This is the first thing I made in the oven of our new apartment, in the midst of trying to figure out where everything goes.
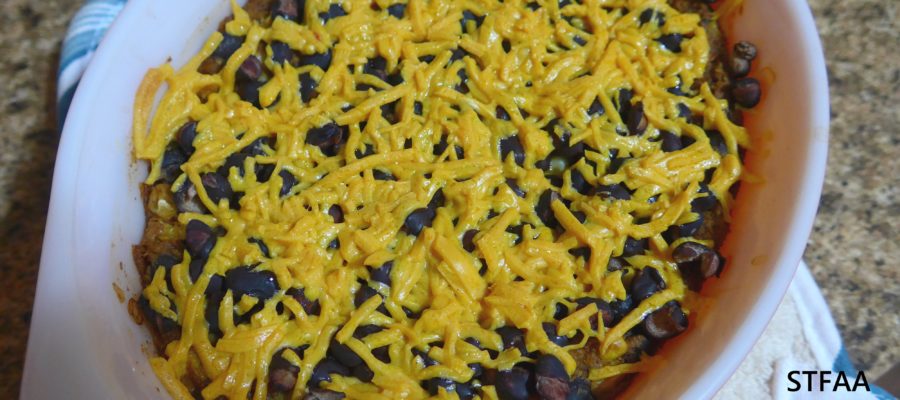
This casserole is based on a vegan corn casserole I made for Thanksgiving this year. Jack’s family makes some interesting corn dish for Thanksgiving based on ingredients that we don’t get out here on the west coast, but frozen corn is easy enough to find. I tweaked the original recipe only to use almond milk instead of soy. For a non-holiday, I’m too lazy to make a fancy side dish (by “fancy,” I mean something that takes an hour to bake and still requires a main course). But I thought it might be easy enough to turn this into a main dish with a few tweaks. Corn goes well with black beans, and that combination sort of screams chili powder to me, so that’s what I’ve added, along with a black bean, lime juice, and vegan cheese shred “topping” added at the end.
So this is a casserole approved for weeknight making, but not for nights you get home late or starving. Plan on maybe 15 minutes prep and an hour ten minutes baking. But your whole meal is done (feel free to add a salad on the side, of course).
(I hope I don’t need to say it, but this one is obviously not appropriate for the corn-allergic.)
Notice: Trying to access array offset on value of type bool in /home/maryzahc/public_html/adultfoodallergies.com/wp-content/plugins/wp-ultimate-recipe/helpers/models/recipe.php on line 254
3cupsfrozen corn(I will divide this below into 2 cups defrosted, one cup left frozen)
1Tablespoonchili powder
1Tablespoonneutral oil(I use safflower — just not olive or coconut here)
2teaspoonsbaking powder
2Tablespoons corn meal
2-3Tablespoonsnon-dairy milk(yes, this will be used separately later)
1canblack beansdrained and rinsed
1-2teaspoonslime juice
1/4-1/3cupshredded vegan cheese(I used Daiya brand cheddar style shreds)
Servings: people
Instructions
First, PREPARE:
Preheat oven to 350ºF.
Grease a 1.5 quart baking dish (you do not need a lid for this recipe).
Get out your blender.
Defrost 2 cups of your corn. I do this by rinsing it with hot water for a minute in a colander — I’m going to use the colander to drain black beans as well, and this is quicker than the microwave.
Add to the blender the arrowroot and non-dairy milk. Pulse this until mixed. I find adding the arrowroot first keeps it IN the milk.
Add the chili powder and 2 cups of defrosted corn. Pulse this down into a rough puree.
Then add the oil, baking powder, and corn meal. Blend well. Add the extra few tablespoons of non-dairy milk to get a pourable consistency. I want to say “like pudding,” but that’s wrong, as you want pudding to be smooth and you want this to be “sandy,” which sounds unappetizing until it’s baked.
Pour this into your prepared dish.
Take 1/2 cup of the black beans and set them aside. Add the rest of them, along with the last cup of corn, and mix that into your corn mush. Now into the oven, uncovered.
Bake 60 minutes.
Meanwhile, mix that last half cup of black beans with the lime juice. Let it sit, but you will pour out any extra lime juice before adding.
At 60 minutes, you should have a nicely baked top (and probably still need a few minutes in the center, which is fine). Drain the lime juice (the beans needn’t be dry, just don’t pour lime juice on your casserole) and spread the beans out on top. Then add a good sprinkle of the vegan cheese shreds — the range is because you want cheese everywhere, but not too thick, and the size of the casserole makes a difference here. Back into the oven for another 10-15 minutes, until the cheese is nice and melted. Then serve and enjoy!
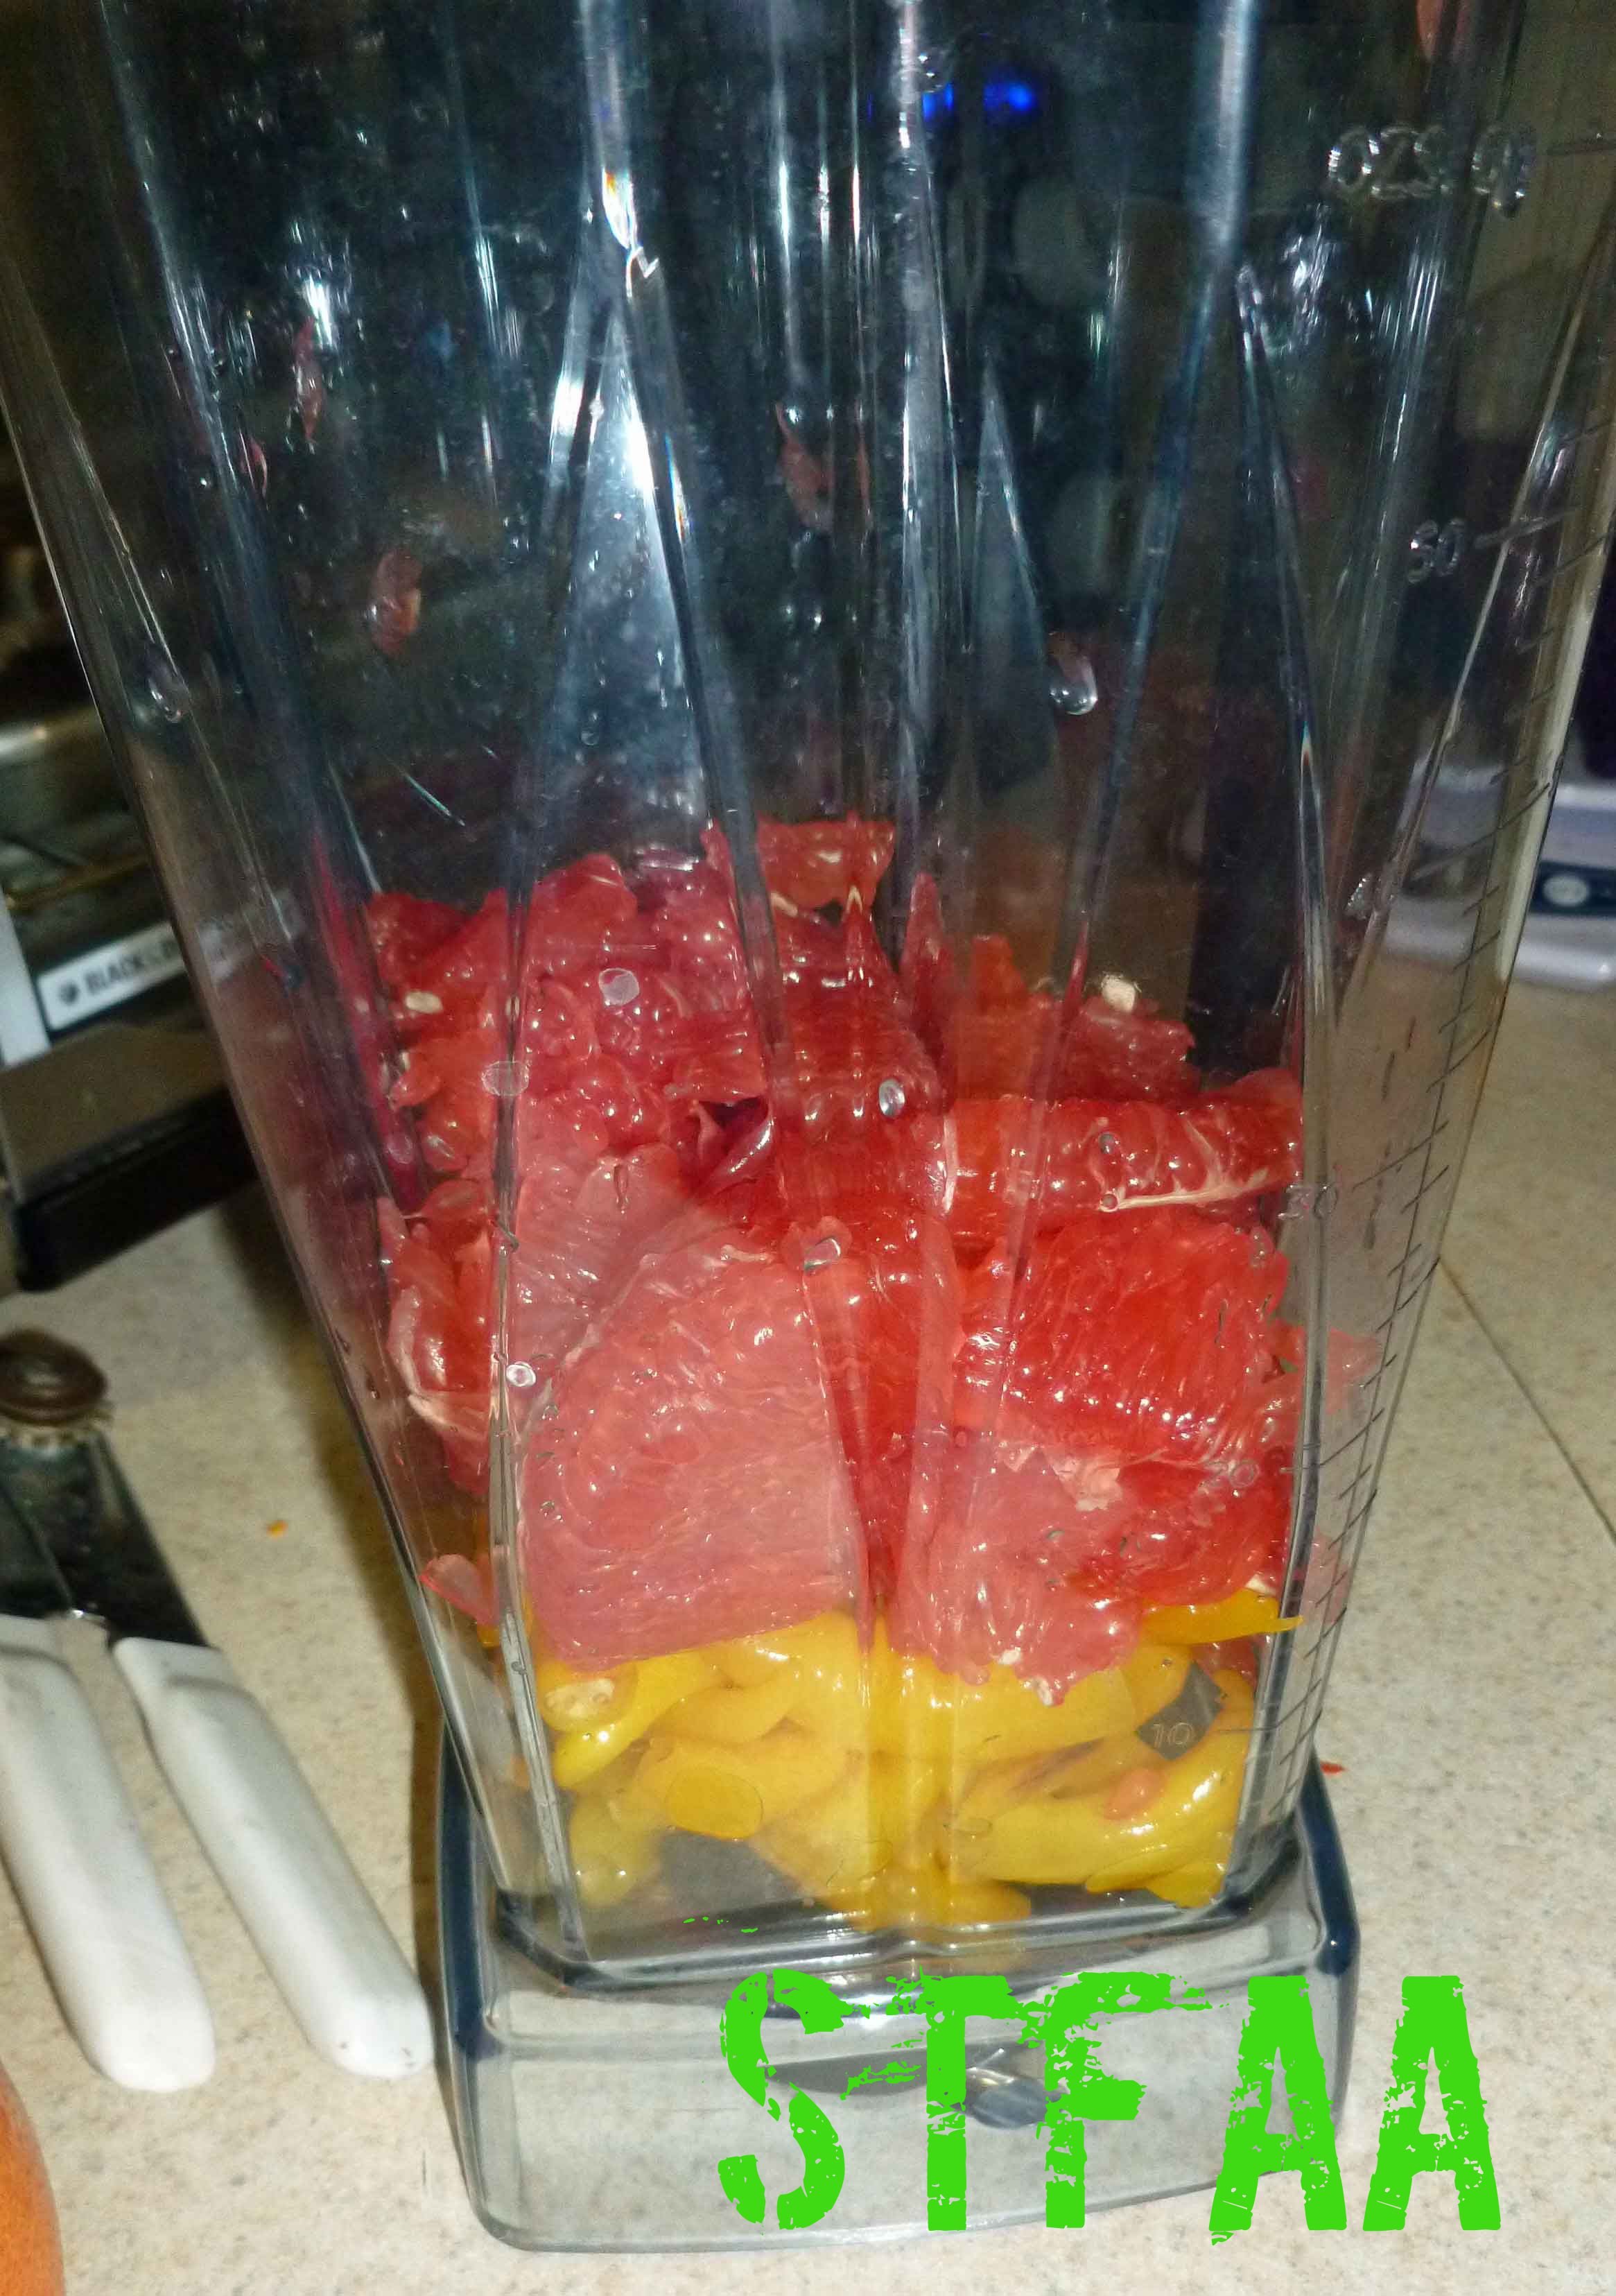
It’s cold here. We had that ridiculous storm, there’s a ton of snow (literally and figuratively) outside. So hot sauce might make it all better, so I’m sharing one of the hot sauces I made from the peppers MaryKate sent me from Seattle in the fall. She sent me some Sarit Gat peppers, which according to a seed catalog, is a native to Kosovo. Sarit Gat peppers are apparently known and available in Europe but they don’t have much a presence in North America. The peppers are uniform, canary-yellow, and have the approximate heat and shape of a cayenne. I ended up pickling some, dehydrating some as whole chilies, and I set up some to ferment. (Because they also seem pretty rare, I also saved a bunch of seeds, we’ll see how it goes in the spring.) When it came time to make a hot sauce, I thought about yellow hot sauces I had seen in the past, but didn’t feel like making a mango or pineapple based sauce. And then I remembered the Marie Sharps Habanero Grapefruit Pulp Hot Sauce that I used to buy in the time before the corn allergy and decided to try to make something similar. It was a great flavor profile. The citrus in it was great on almost anything.
So I gave it a whirl. The grapefruits I had in the house were pink grapefruits so that’s what I used, but if you want a more “yellow” and a less sweet sauce, you could use white grapefruits.
Hot peppers at the beginning of the fermenting processPeppers after fermentingPeppers, grapefruit pulp, and garlic in blenderPeppers, grapefruit pulp, and garlic after blending
Strained peppers, grapefruit pulp, and garlicOnion mixture after cooking until softOnion mixture after being pureed in blenderOnion and pepper mixtures combined and brought to a gentle boilPink Grapefruit Sarit Gat Hot Sauce
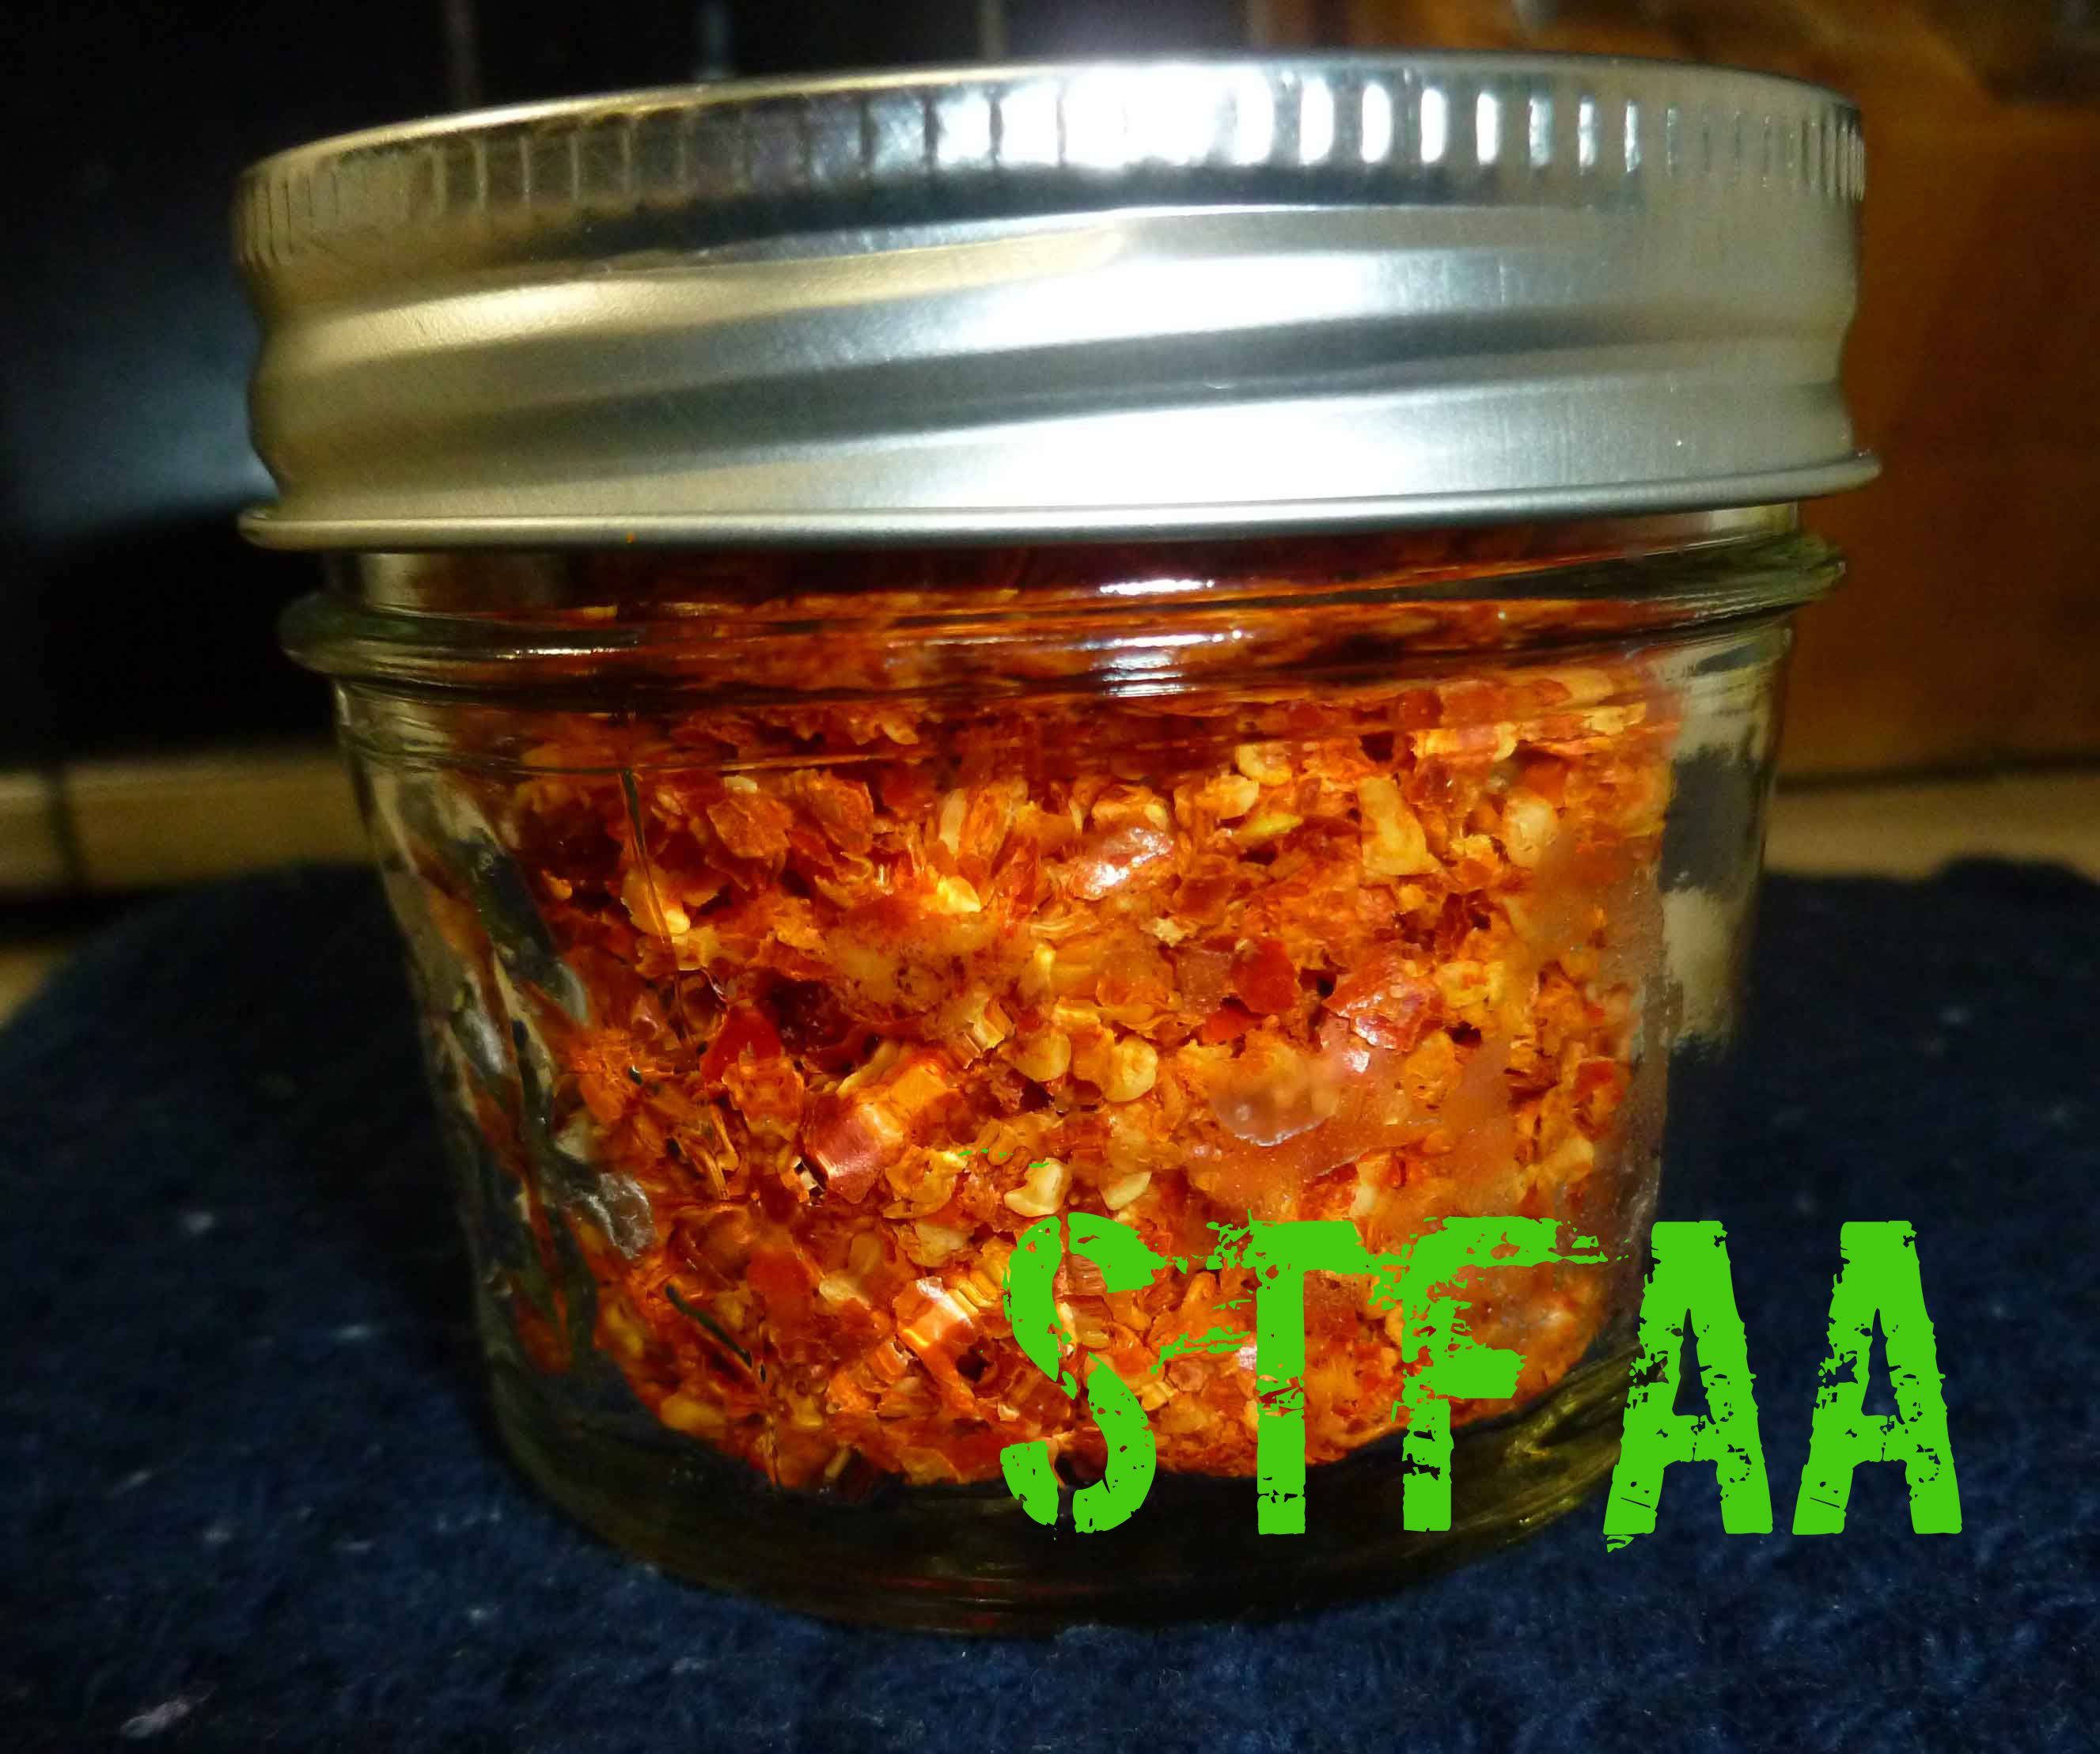
The other nice thing about making hot sauce is that you get two products for one. When you strain out the skins and seeds during the process, you can dry them in the oven or the dehydrator and get a nice crushed pepper mix to use in other spice mixes, rubs, or other recipes. No waste!
Pepper skins and seeds after dryingSarit Gat Pepper Flakes
Pink Grapefruit Sarit Gat Hot Sauce
Print Recipe
Another hot sauce reminiscent of one of Denise’s commercial favorites in the time before corn.
1quartspring water(not tap water, it will interfere with fermentation)
1.8ouncessea salt
Hot Sauce Ingredients
1cuphot yellow chili peppers(I used Sarit Gat eppers, but you can use habaneros or another yellow chili)
1clovegarlic
1grapefruitPeeled and the pulp removed from the section membranes
1lime, juiced
1/4cupapple cider vinegar(Bragg’s is the safest for those with corn allergies)
1cup chopped onions
1/4teaspoonsea salt
Servings: ounces
Instructions
Fermenting the Peppers
Make brine by mixing spring water and salt in a container until salt is dissolved.
Wash peppers and cut the stems off so that the seed cavity is visible. Placed washed peppers in pint jar and add glass weight or 4 ounce jar. Add brine until the weight is covered with brine by at least half an inch, or cover with brine and add 4 ounce jar full of brine to weight down peppers making sure that all peppers are submerged in brine. Place airlock on jar and add brine to airlock to seal.
Let ferment for 2 to 4 weeks at room temperature, checking daily to make sure the brine levels are okay. You may need to add brine as time goes on as the peppers must stay submerged at all times. If the peppers do not stay submerged, they could develop mold and you’ll need to throw it out and start all over.
Making the Hot Sauce
Once your peppers are fermented, remove the airlock and and glass weight or glass jar. Drain brine. Place the peppers in a blender with the garlic clove and the grapefruit pulp.
Blend until the peppers are pureed, but not until the seeds have disappeared if you have a high performance blender. You want to leave the seeds whole enough to strain out.
Once you have pureed your peppers, place the puree in a fine mesh strainer over a bowl and use a spatula or the back of a spoon to press the liquid in your puree into the bowl, leaving the seeds and skins of the peppers behind. (Hint: dehydrate the seeds and skins remaining in the oven at the lowest temperature you can or in a dehydrator to make pepper flakes to use in other recipes).
Place the onions, lime juice, apple cider vinegar, and 1/4 teaspoon of salt in a small sauce pan and cook over medium heat until the onions are soft. Once the onions are soft, place the contents of the sauce pan into the blender and blend until smooth.
Place the onion puree mixture back into a sauce pan, and add the strained pepper and grapefruit mixture and bring to a gentle boil for 2-3 minutes.
Remove the sauce from heat and let cool before placing it a container to store in the refrigerator. Use it on everything.
So, for me, the key to quick weeknight meals lies in advance prep, whether it be making basic ingredients ahead of time (like soup stocks) or finding staples that are safe for me. Because my allergies are pretty basic and don’t include corn (and soy is something I’m mildly reactive to), I can use most canned ingredients. Not canned foods, but ingredients like beans and tomatoes and pumpkin are safe for me. This makes weeknight meals a little easier for me. Denise has to can everything from scratch.
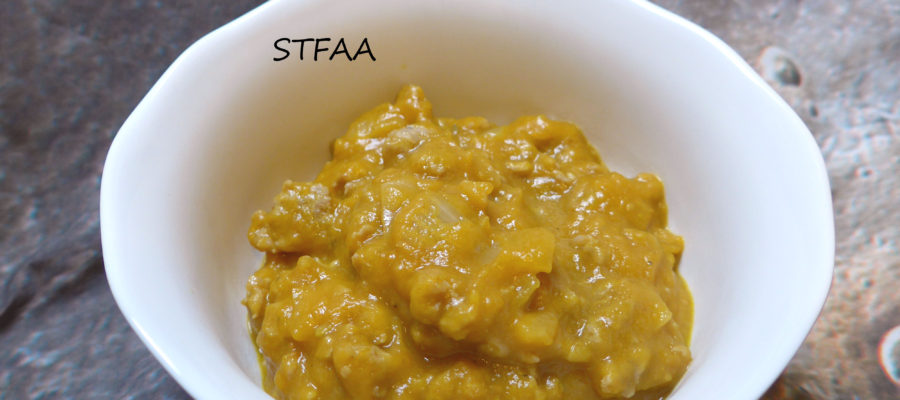
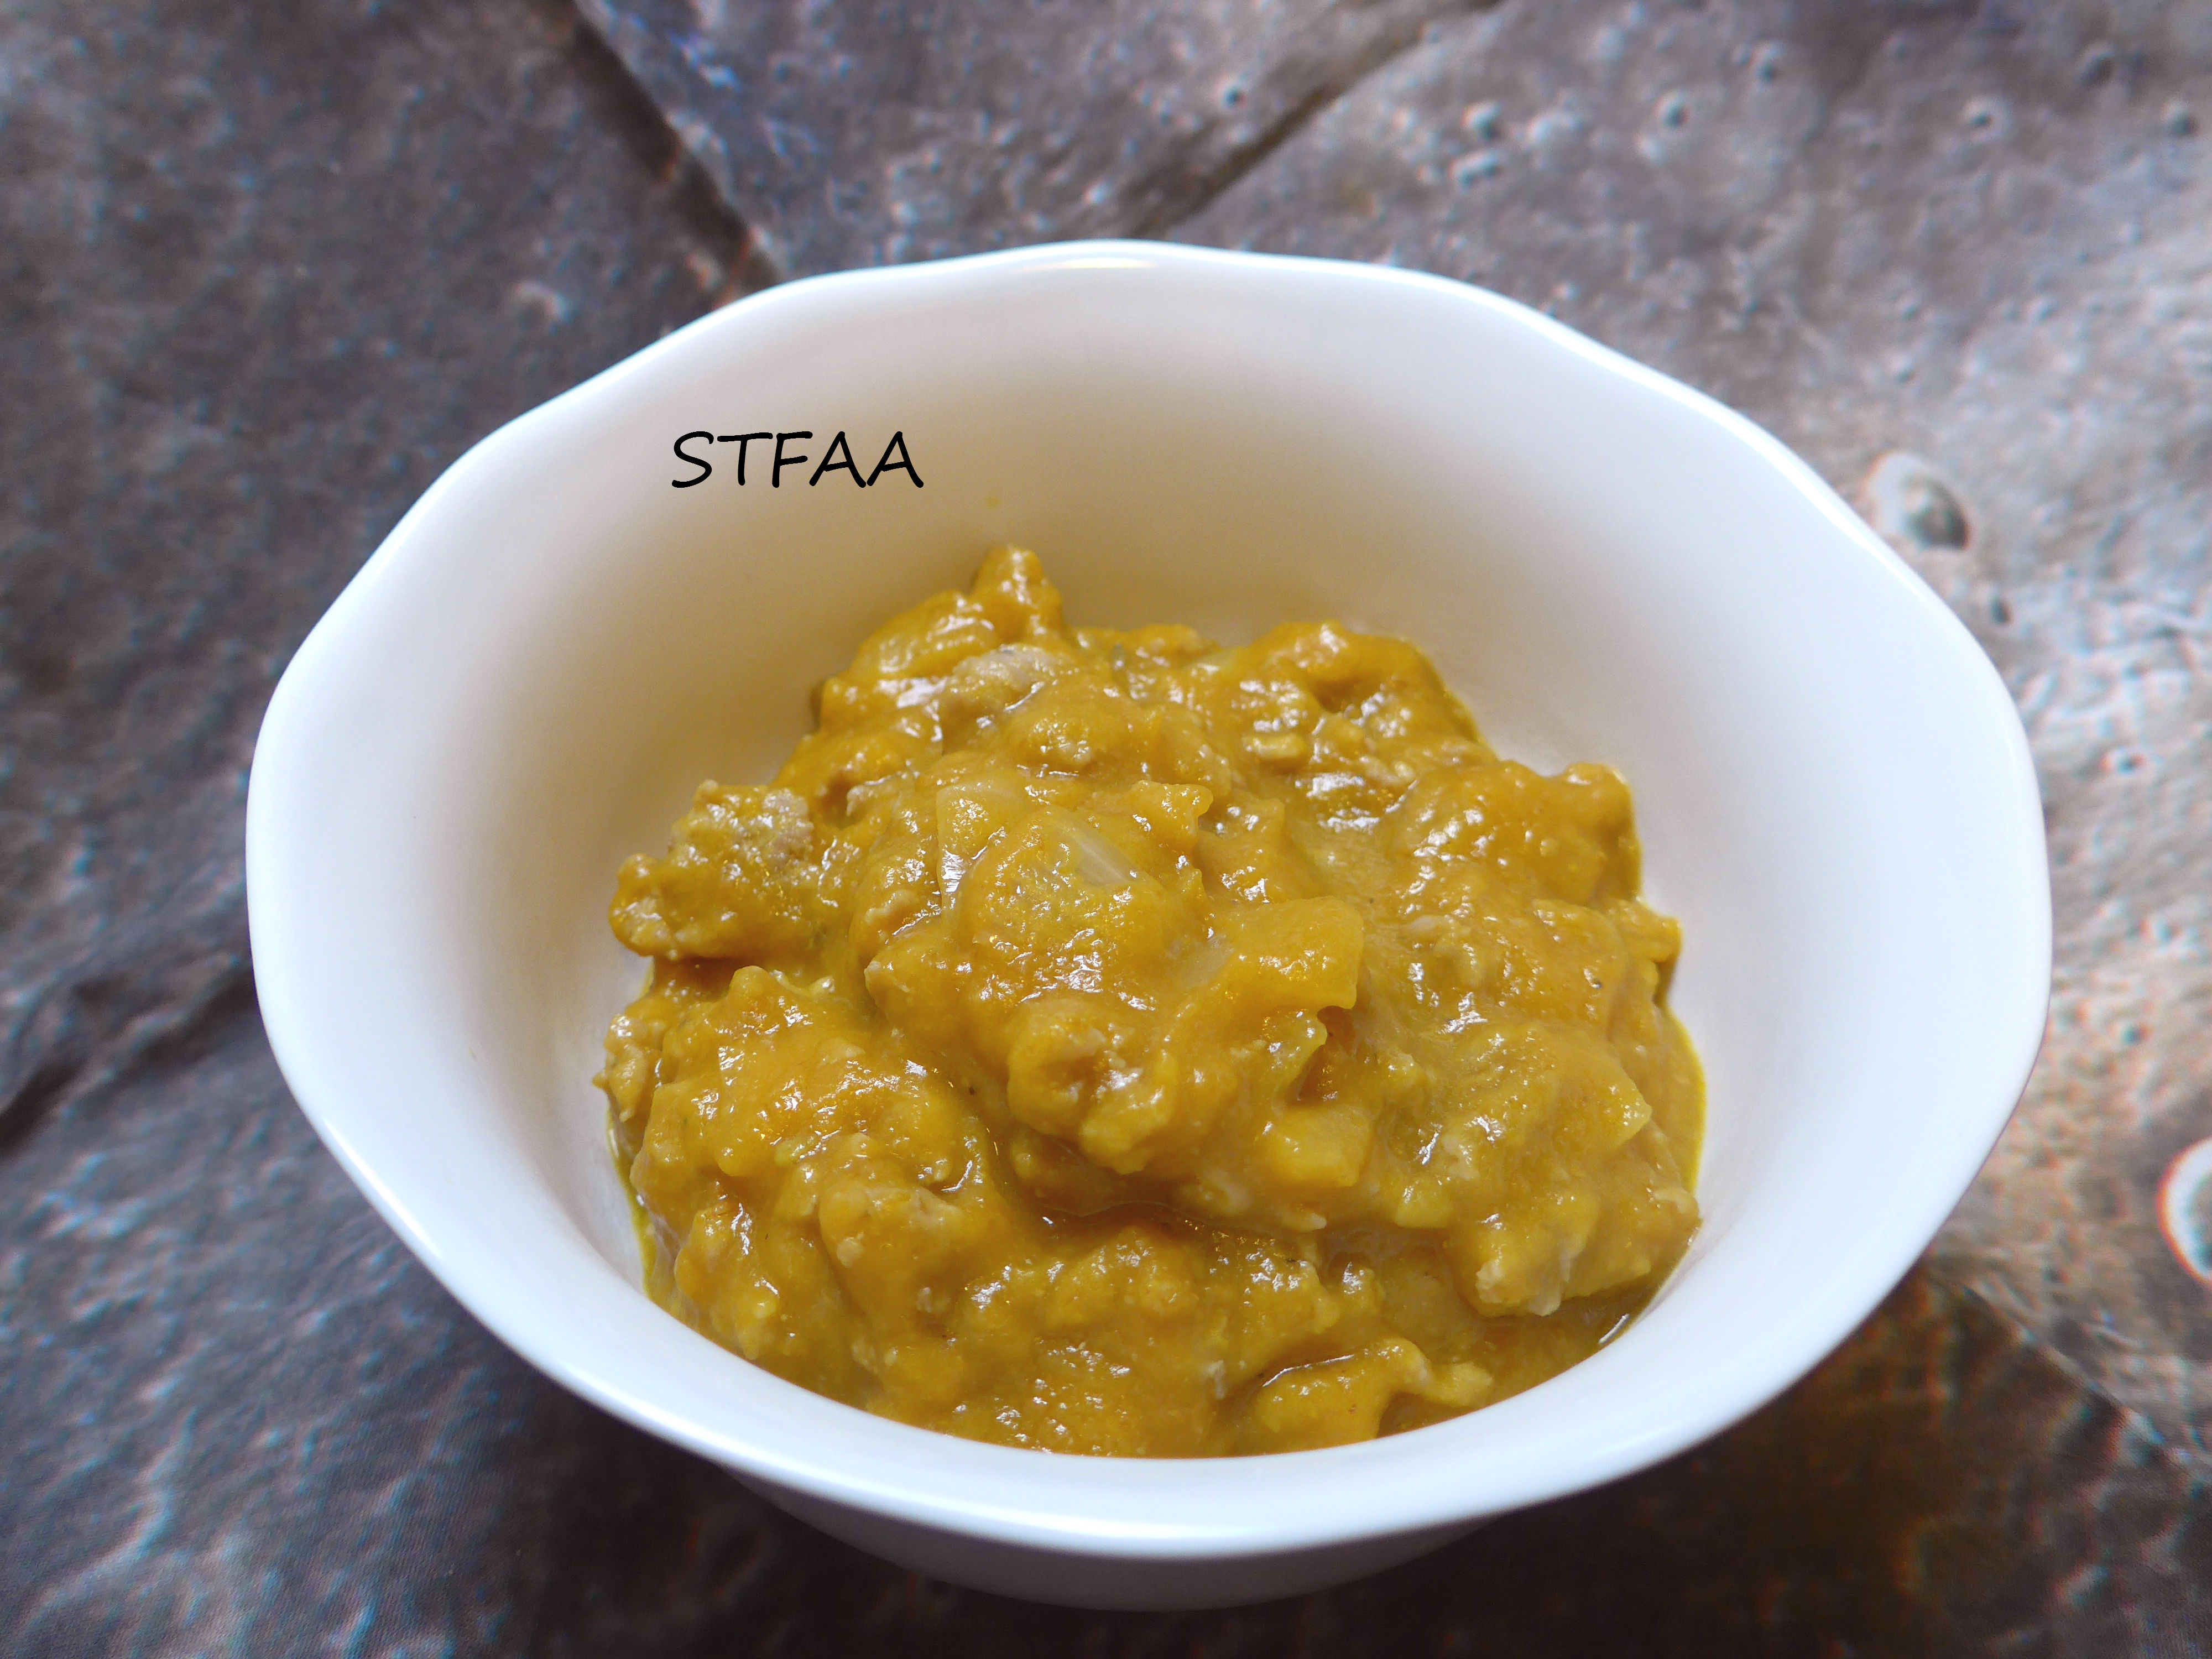
For this quick meal, I used 5 ingredients I almost always have on hand: onion (often pre-chopped and frozen for quick use later), olive oil, sausage from a local market that makes a great flavorful one (I try to keep one pound in the freezer), canned pumpkin, and chicken or veggie stock — I always have one of these on hand.
I’ve sauteed the onion and sausage, left the bit of fat in the pan (it is about a tablespoon or so for this brand — if it’s really greasy, maybe drain it — and then used the pumpkin and stock to make thick creamy sauce with no cream. This would be great on pasta, grains, or over veggie noodles of whatever sort tickle your fancy. Plus, it’s 5 ingredients and only 15-20 minutes to cook. I really like the pumpkin in this because it gives the sauce a rich texture, creamy and filling.
Notice: Trying to access array offset on value of type bool in /home/maryzahc/public_html/adultfoodallergies.com/wp-content/plugins/wp-ultimate-recipe/helpers/models/recipe.php on line 254
1-2teaspoonsolive oil(or whatever your favorite oil is)
1/2cup chopped onion
1lb sausageWe use a local pork sausage that is safe for me, but choose your favorite safe brand or your own recipe
1canpumpkin pureeNOT pie filling. This should just be pumpkin, 15 oz of it.
1cupchicken or vegetable stock
4servingscooked grains or pasta
Servings: servings
Instructions
In a cast iron skillet over medium-low heat, add the onions and 1 teaspoon of olive oil. Stir. If the onions are not all coated with olive oil, add up to another teaspoon. Because the sausage will have its own fat, you want to use the minimum amount of oil here.
Add the sausage and stir as it cooks until it breaks up. Cook until there is no more pink to it.
Add the pumpkin and smash it in a little. Then start adding the chicken or vegetable stock and stirring until you have a good consistency. If you need to add more or less than called for, do it. Get a good thick sauce, and then simmer it for about five minutes. Taste and add seasoning if needed.
Serve over cooked pasta or grains. Or spaghetti squash, zucchini noodles, whatever floats your boat.
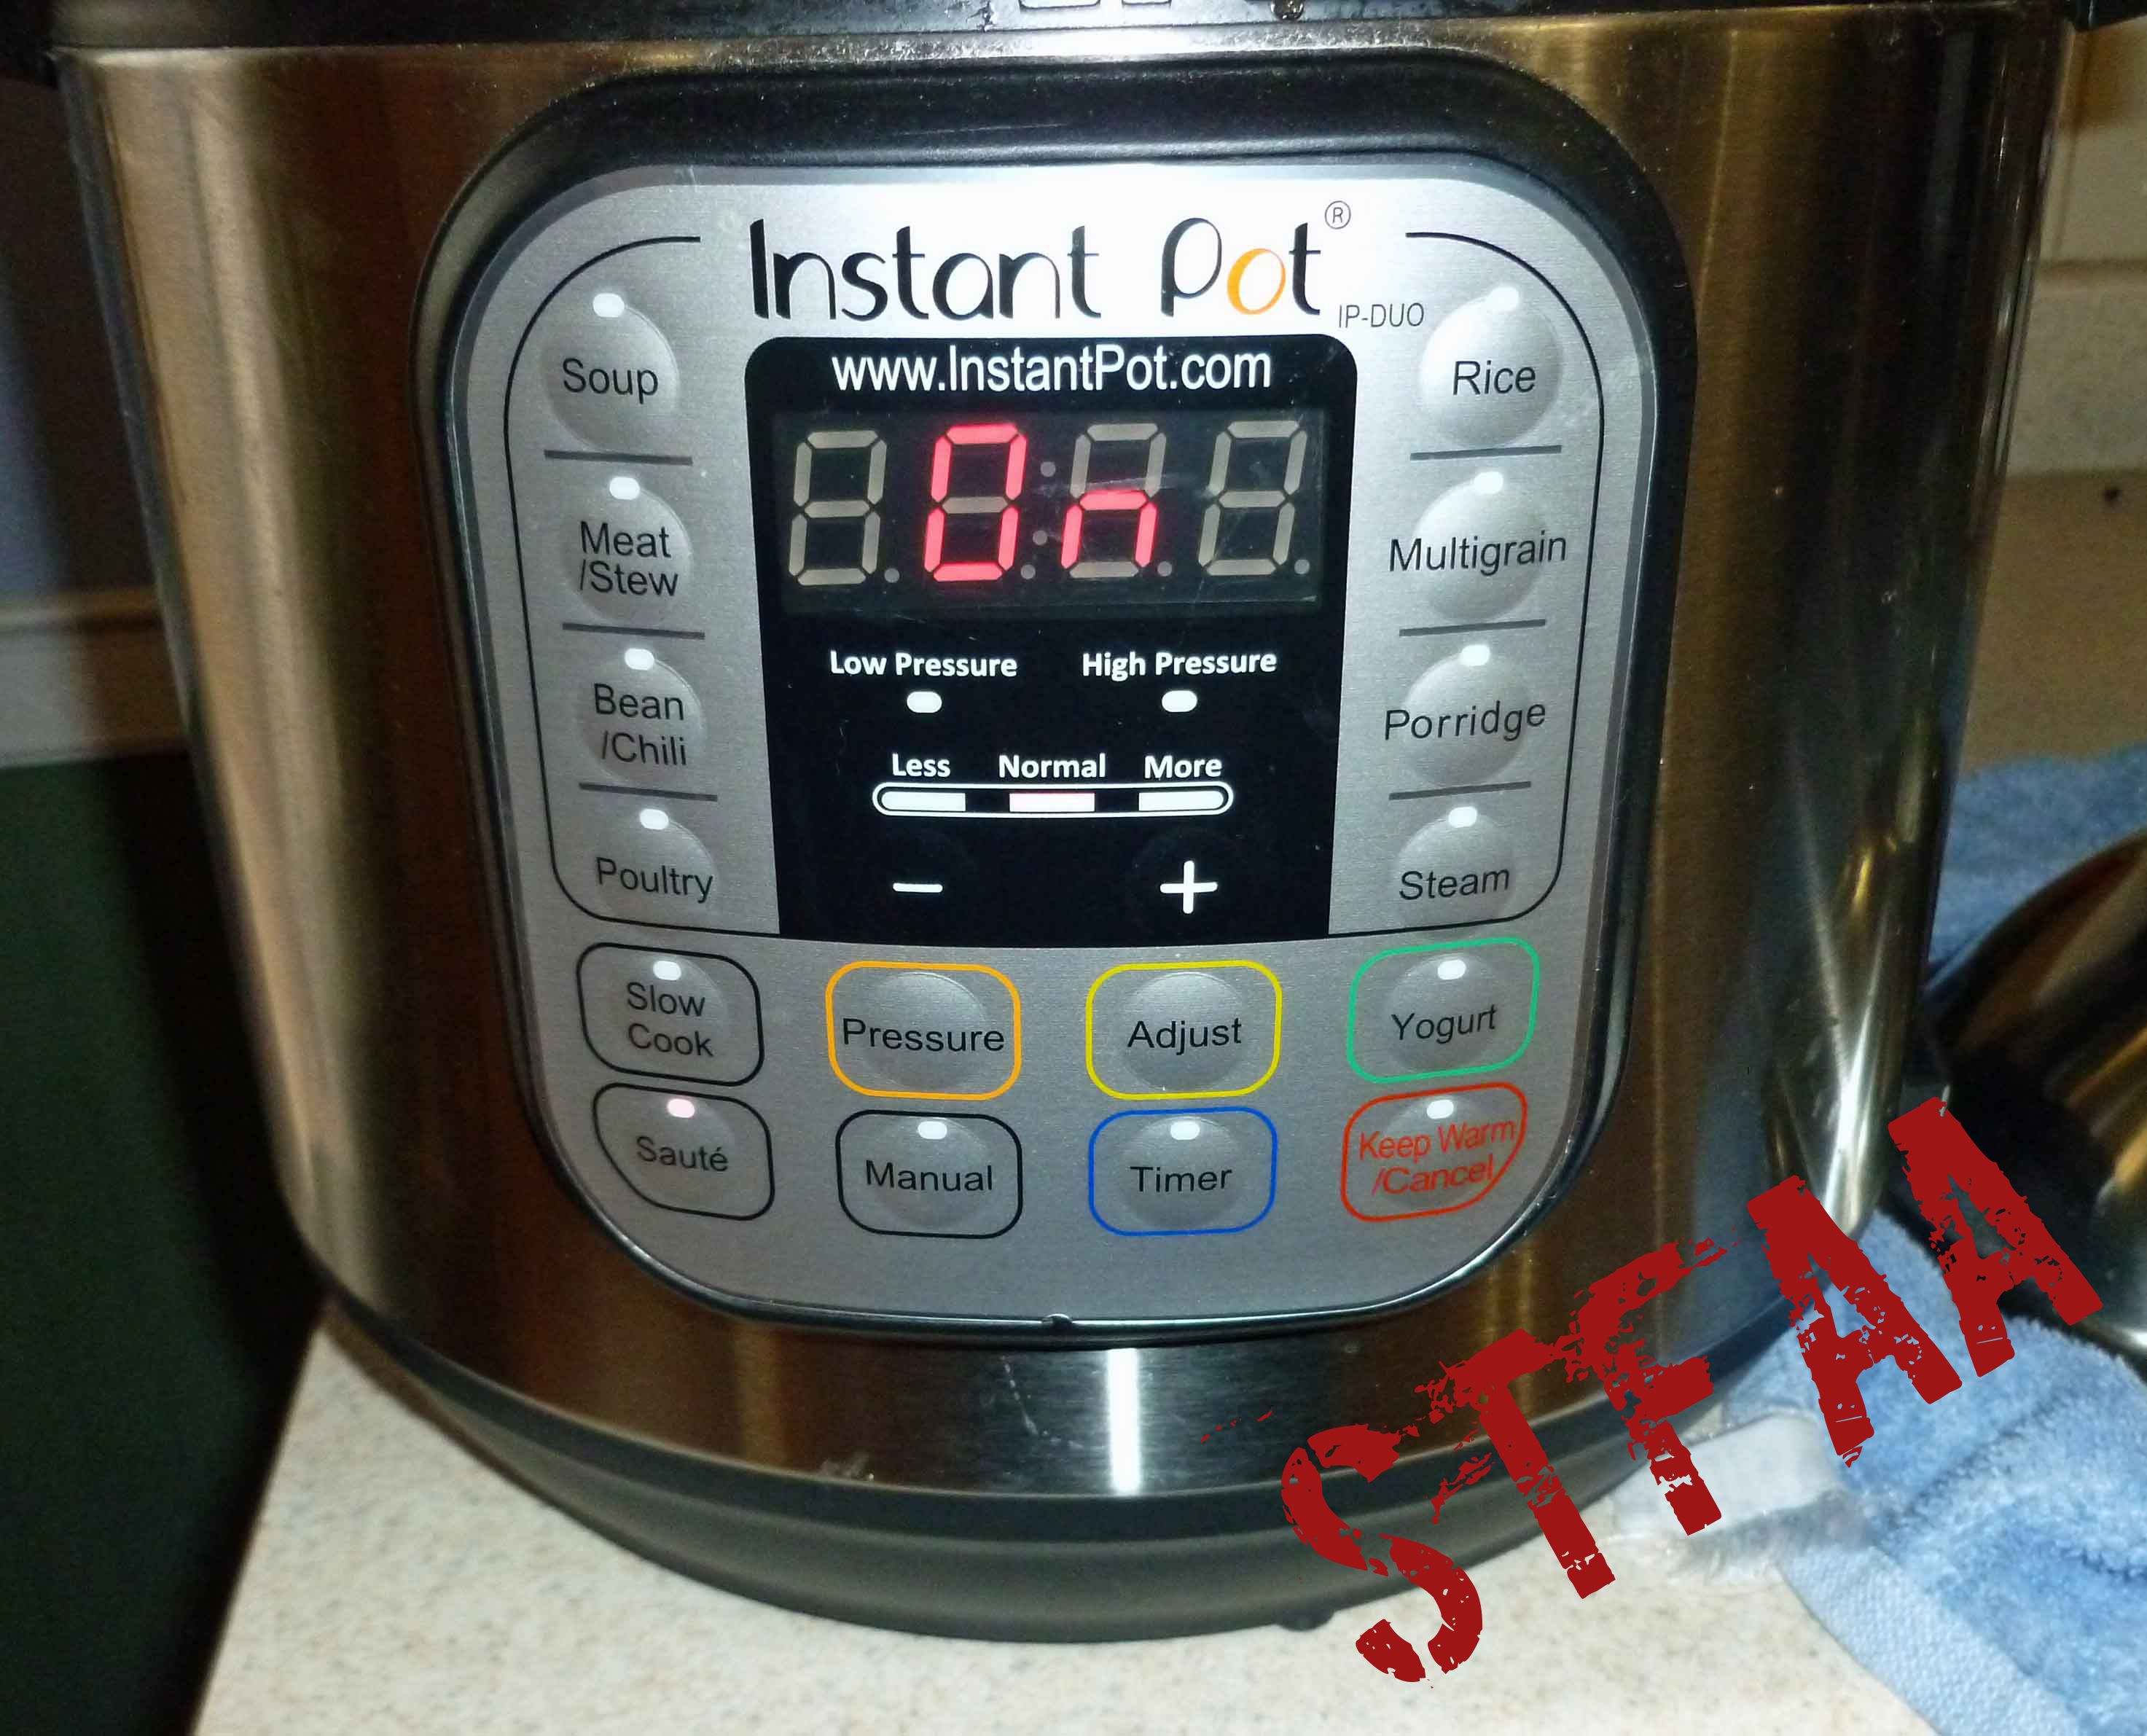
Since this week’s theme is quick work-night dinners, I thought it might be time to introduce my use of the Instant Pot since I’ve had it for about a year and half now. I know that I’m a kitchen gadget junkie, but I love this thing and I’m considering getting a second one as they just came out with a 8 quart version (mine is the Instant Pot DUO60 6 Quart 7-in-1). I love my crock pots too, but they take advance planning and being around to babysit them. And despite all my food prep during harvest season, advance planning is not something that I’m good at when it comes to work night dinners. I come home from work, read my mail, change out of my work clothes, dub around with some other task, and then I decide somewhere between 5:30 p.m. and 7:30 p.m. that I ought to think about what I might want for dinner. I basically decide what to eat about 5 minutes before I start making it. What I love about the Instant Pot is that I can make things that would normally take a lot longer and a lot of babysitting on the stove by throwing things in the Instant Pot, sealing it up, setting a timer, and walking away to go do something else while it cooks. There’s a lot less spilling and a lot less potential for me to burn myself or my potholders. If you don’t have an Instant Pot, you can do this in a rice cooker just saute the onions, garlic and peppers in a skillet instead and then add them to the cooker. Or you can do the whole thing on the stove top, as you would normally cook rice but you’ll have to watch it carefully and you may need more water as it cooks.
You can use this as a main dish, adding some tomatoes, avocados, and cucumbers on top with some cashew cream if you want. If you have some safe tortillas, you could also wrap in it in a tortilla with whatever fixings you’d like. Or you can use it as a side dish and the leftovers as a quick lunch.
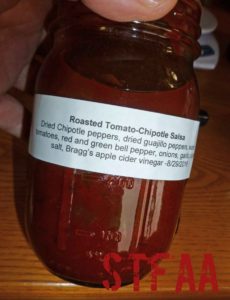
The only warning I will impart is that if you’re cooking for friends who may not have the spice tolerance you do, watch your salsa choice. I used a home canned Roasted Tomatillo Chipotle Salsa which had a good bite, but was a bit much for some of my friends who attended a pot luck I recently hosted.
Instant Pot Black Beans and Rice
I did a slide show of my “mise en place” just for fun, and to take up less space:
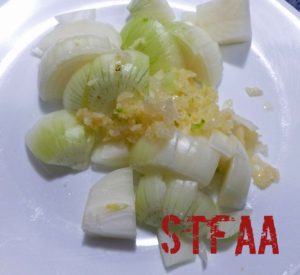
Onions and Garlic
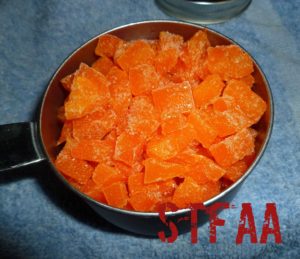
Frozen orange bell peppers
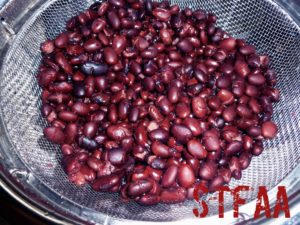
Canned black beans, rinsed and drained
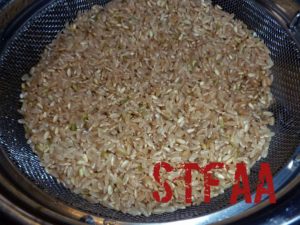
Brown Rice, rinsed and drained
Home canned salsa
Cumin and salt
Chopped cilantro
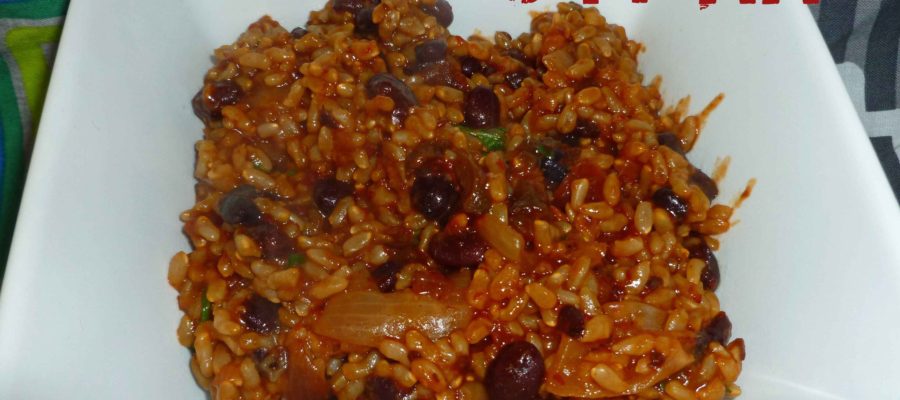
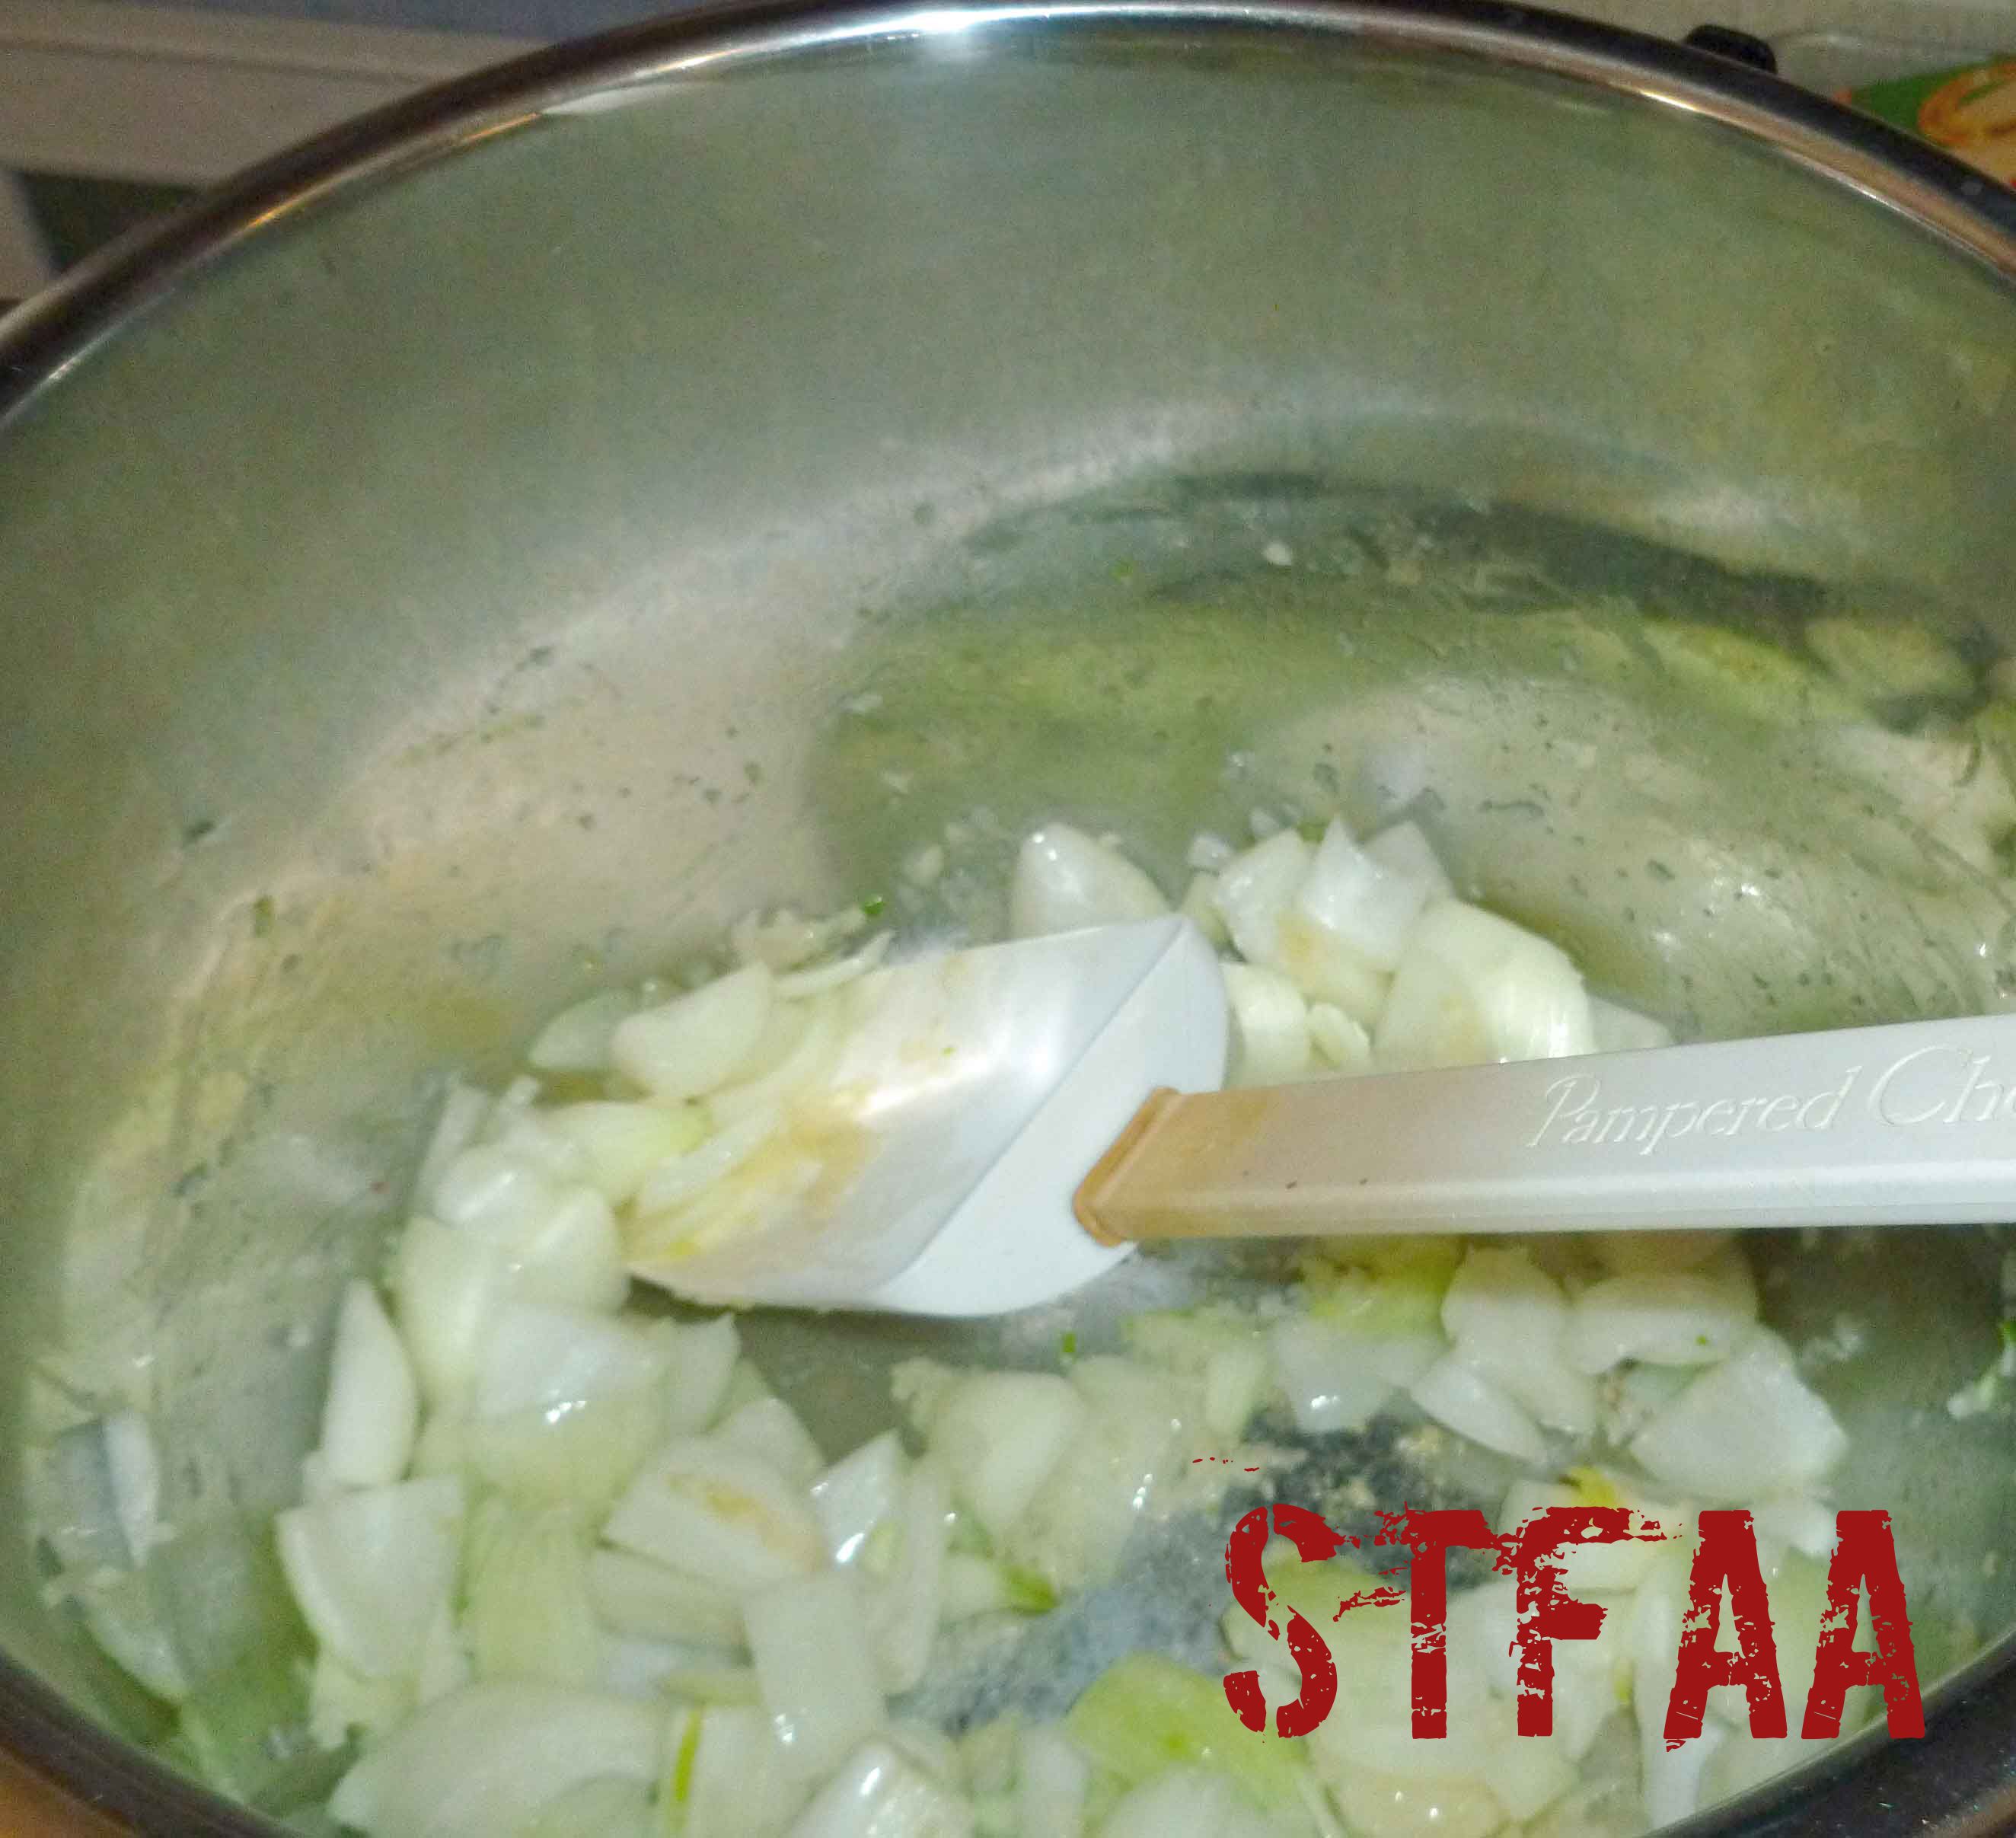
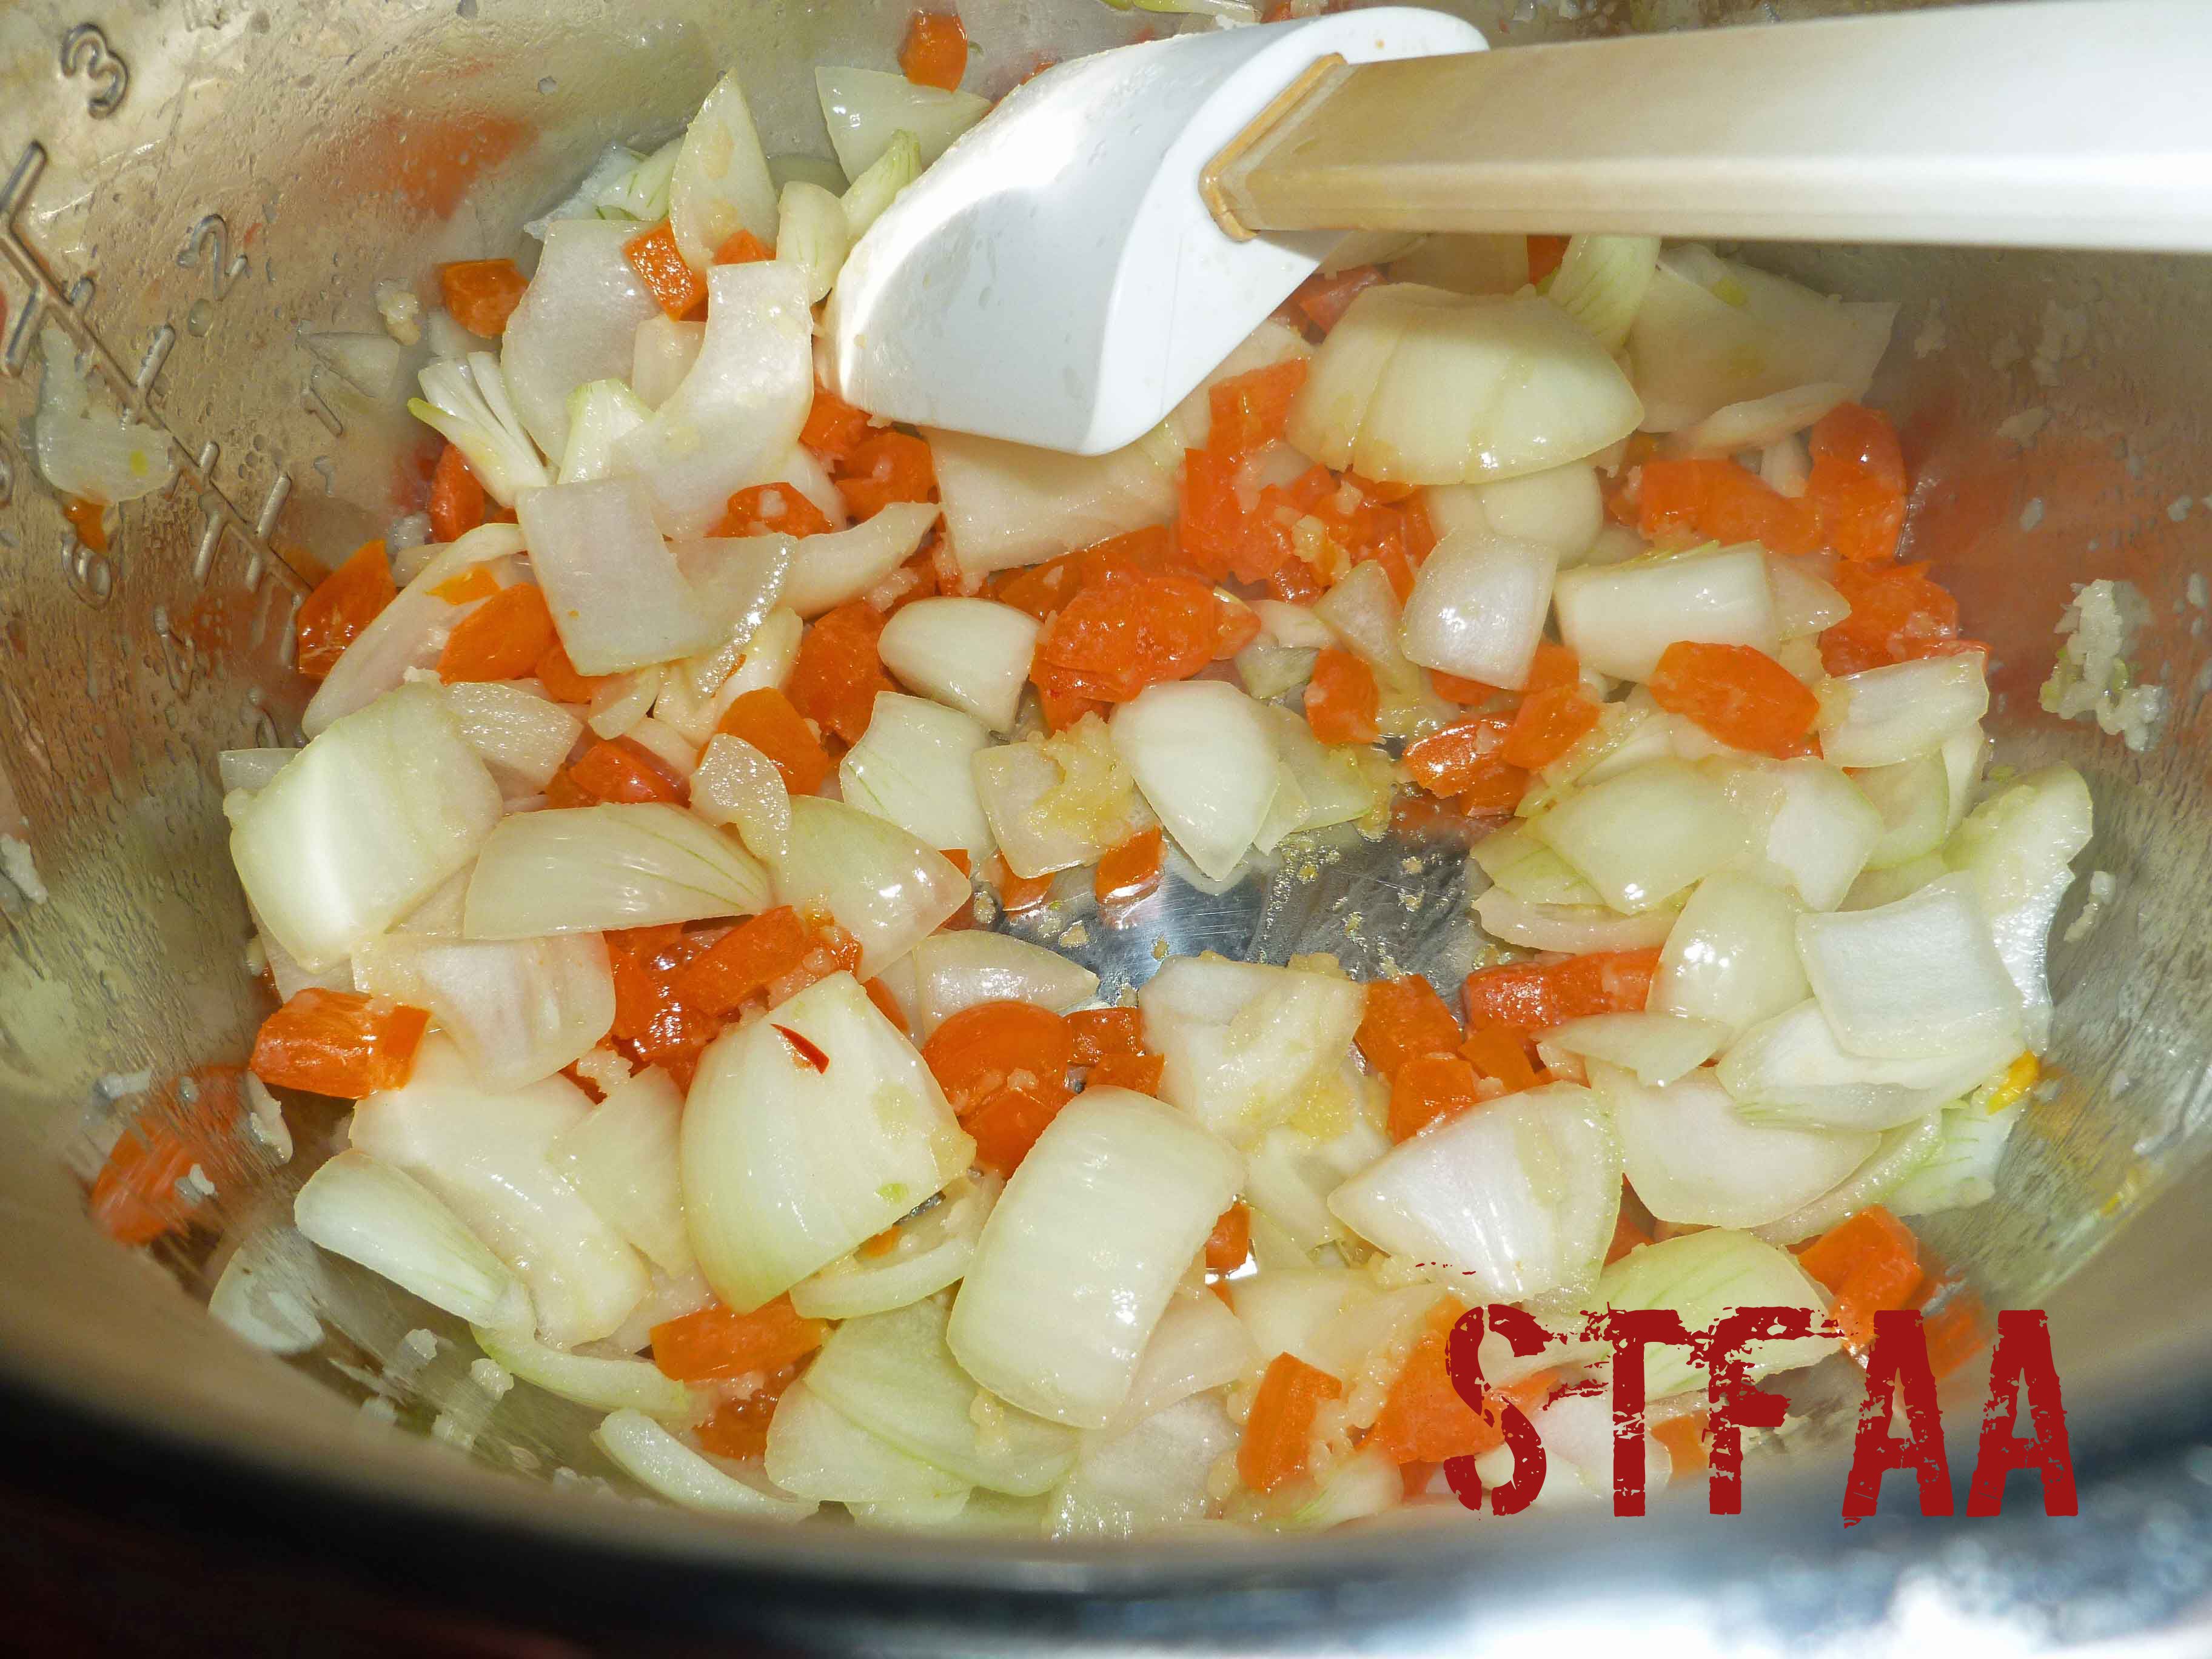
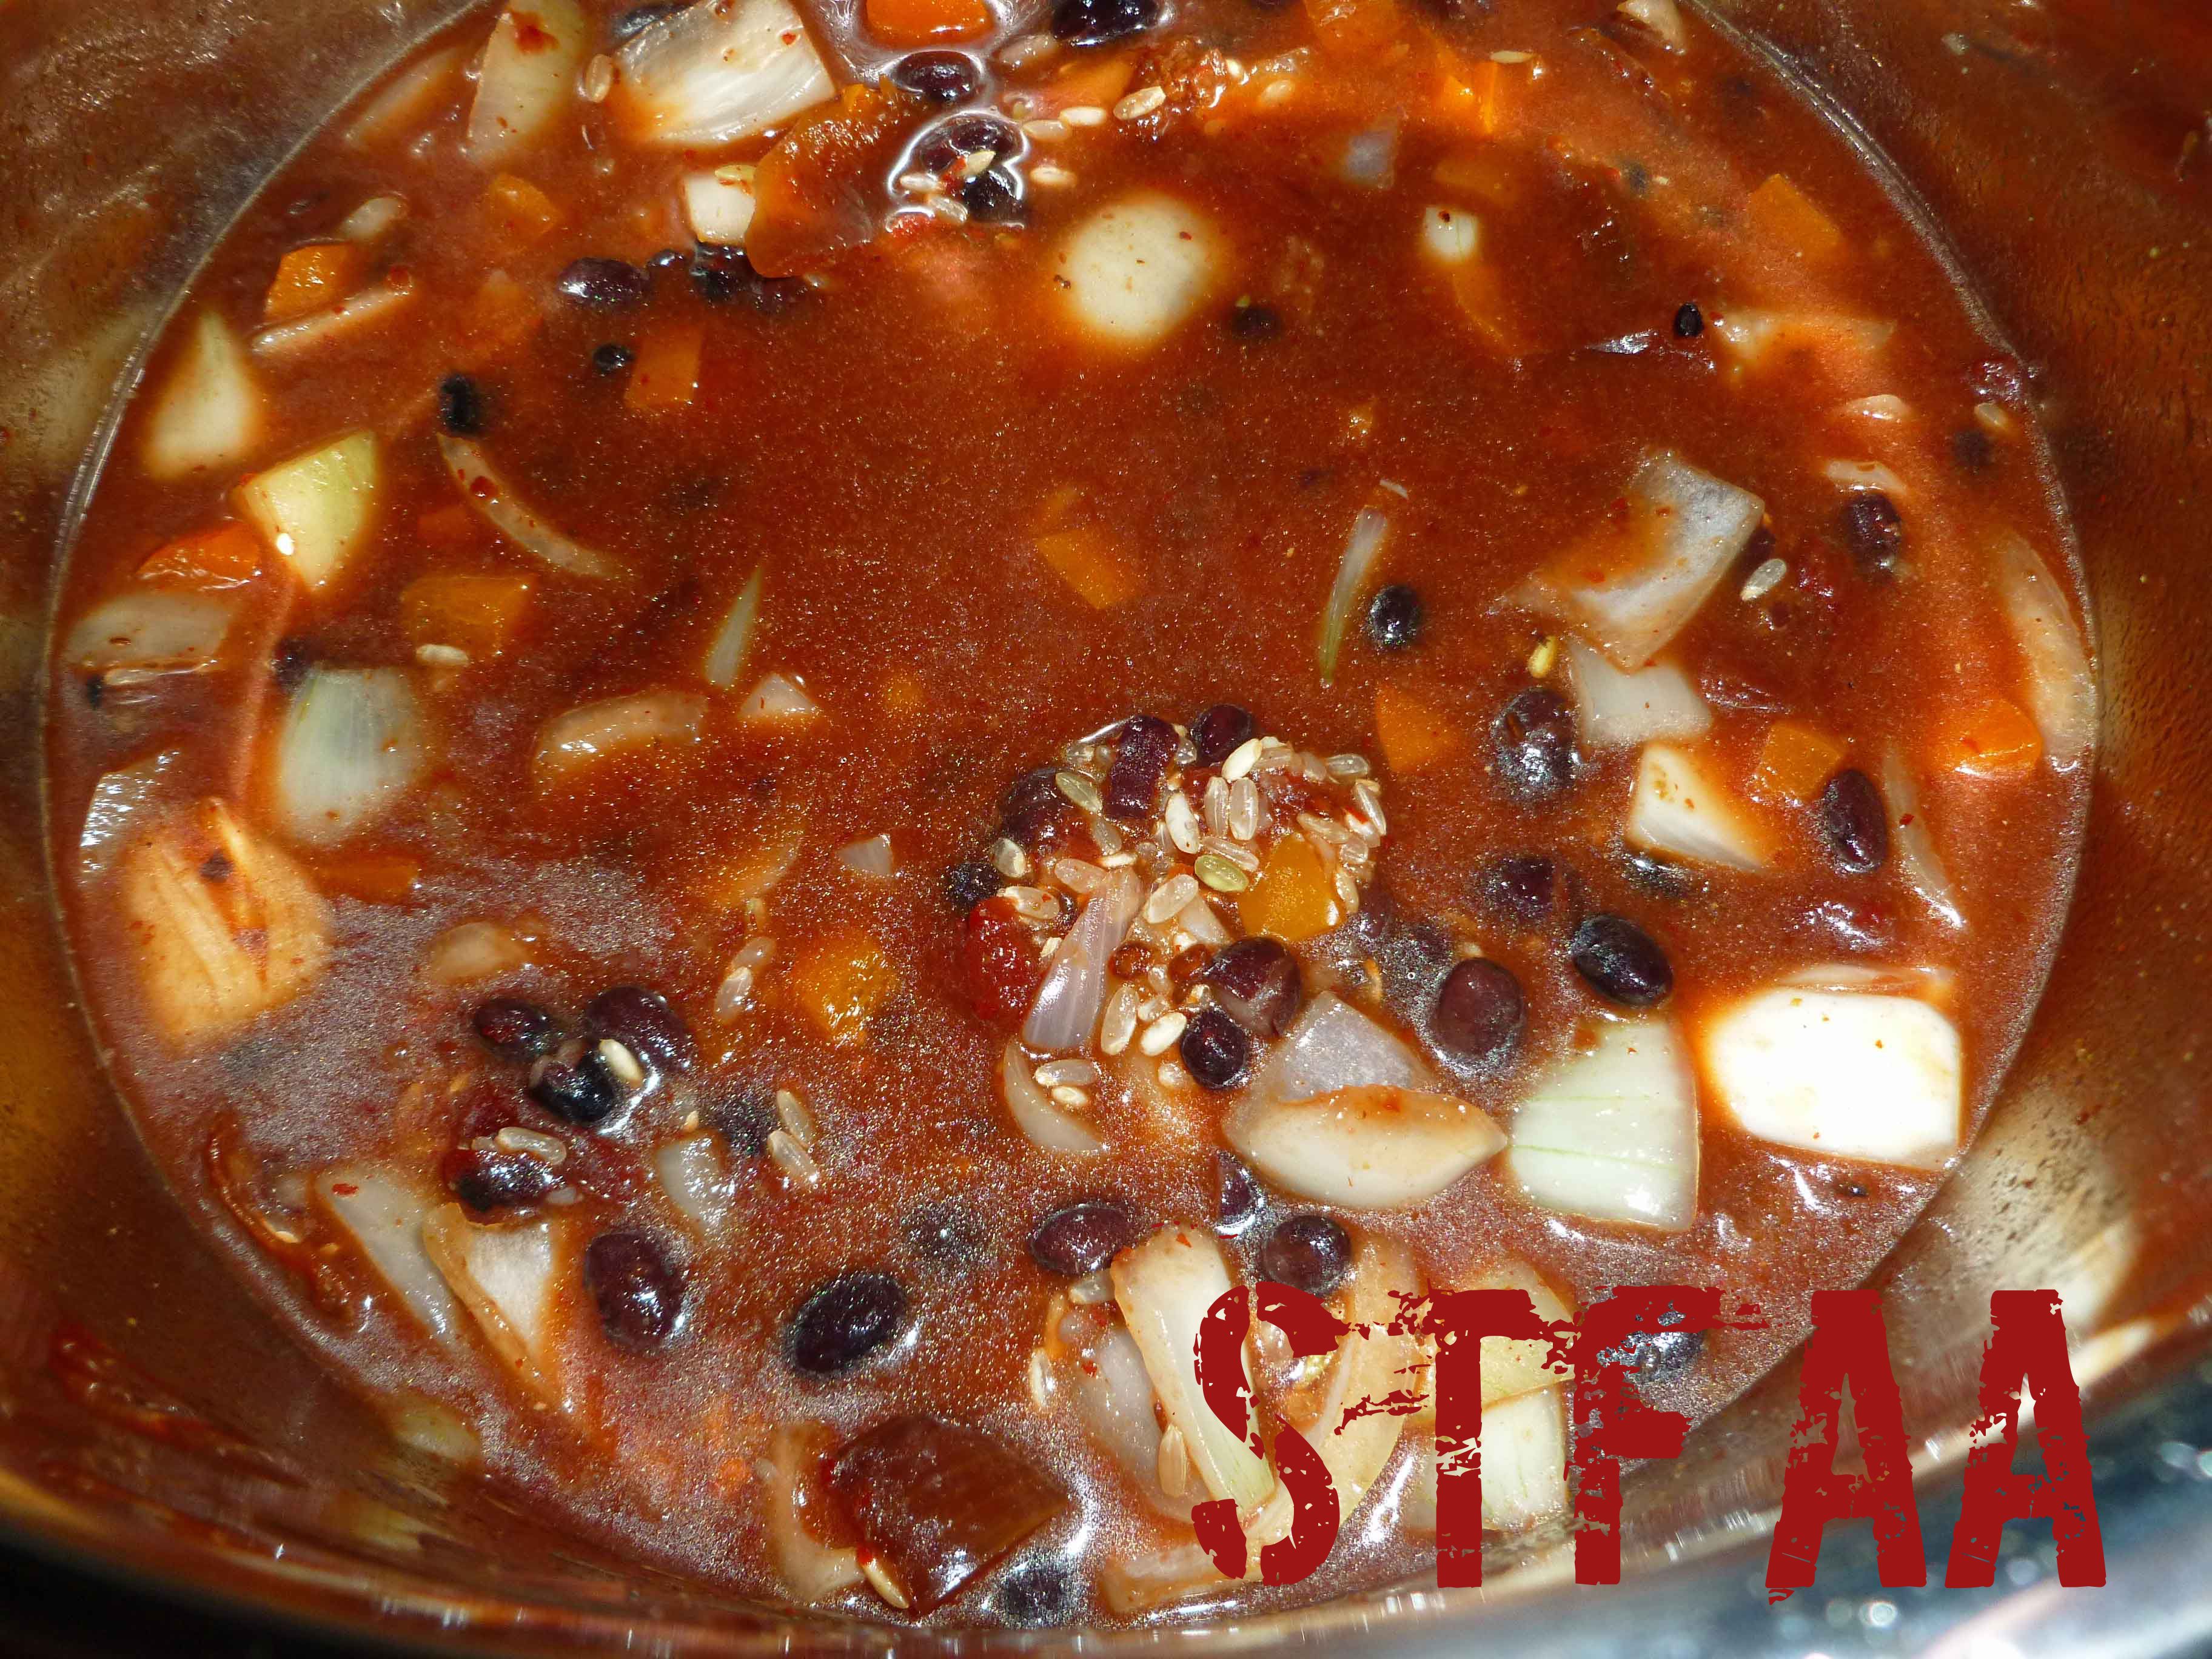
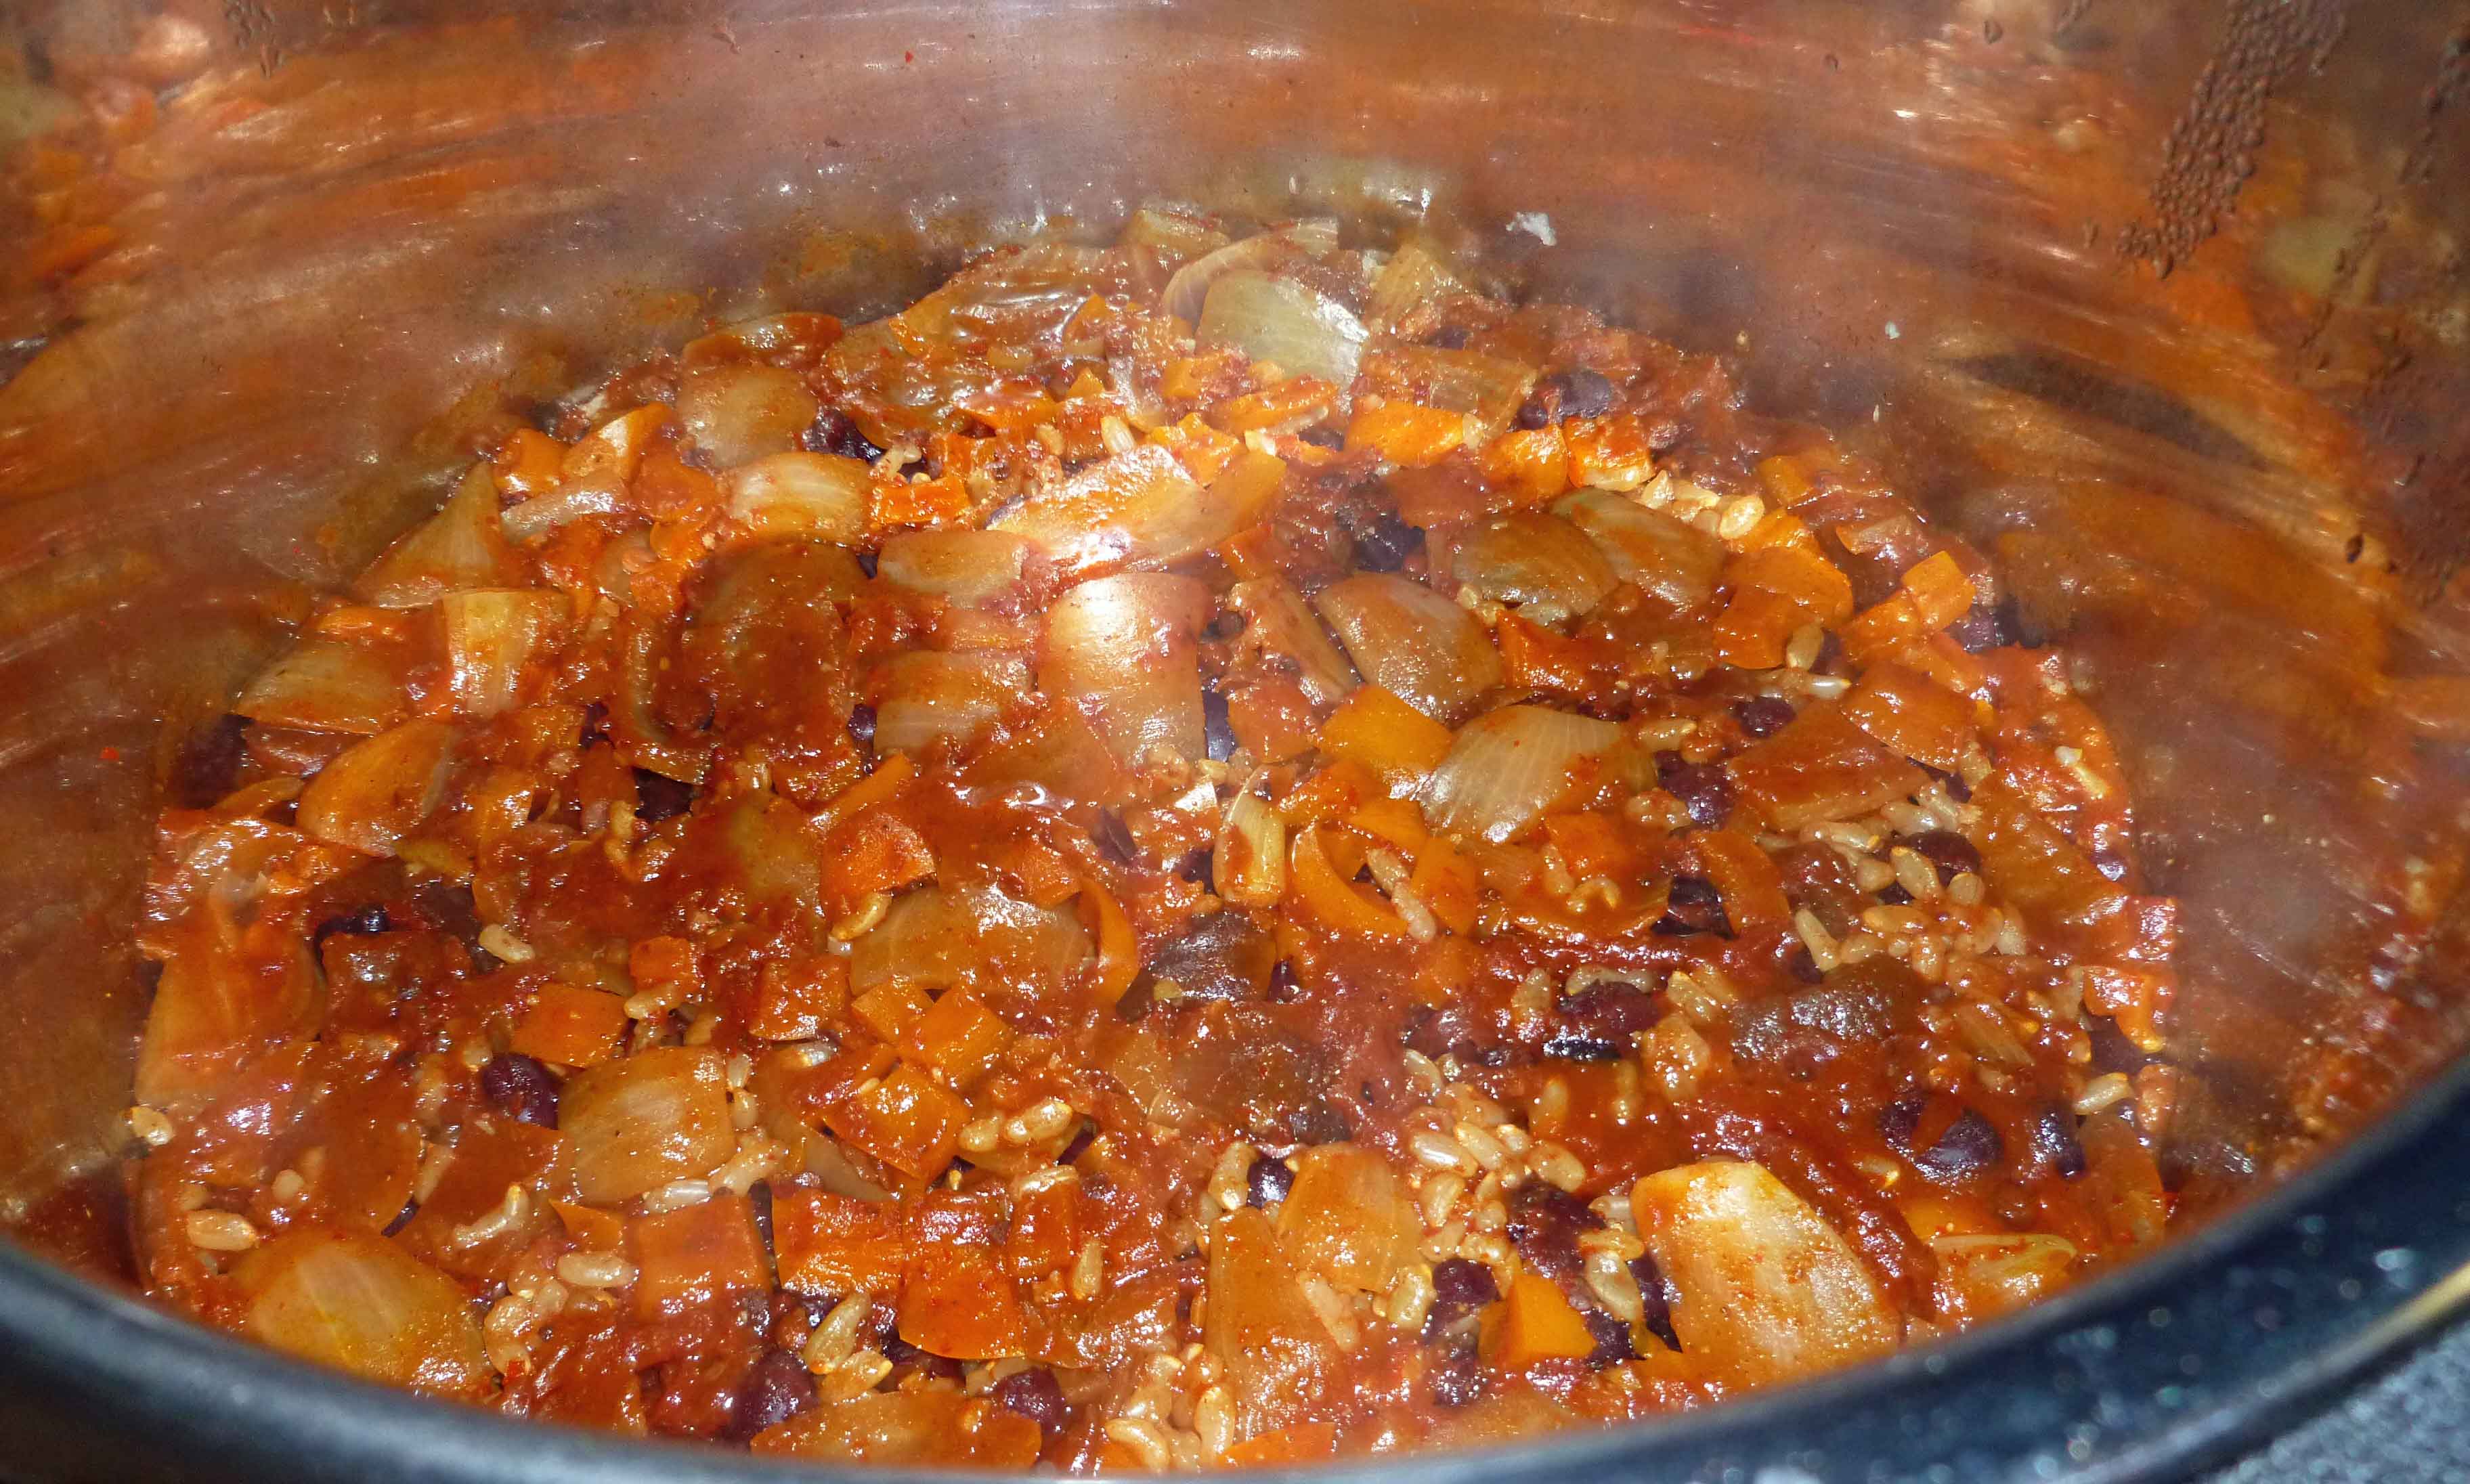
Instant Pot DUO60 6 Quart 7-in-1 buttonsOnions and garlic sauteing in Instant PotOnions, garlic and orange bell pepper sauteing in Instant PotMixture after adding all other ingredients but before cookingInstant Pot Black Beans and Rice after cooking in the Instant PotInstant Pot Black Beans and Rice
Instant Pot Black Beans and Rice
Print Recipe
An easy weeknight meal on its own or wrap in safe for you tortillas with lettuce and tomatoes.
2Tablespoonsgrape seed oil(or other safe for you oil)
1largeonion, peeled and chopped
4clovesgarlic, minced
1cupbell pepper, seeded and chopped(optional – I often have chopped bell peppers in my freezer as I chop up the extras from recipes and freeze them so they don’t go to waste.)
2cups brown rice(rinsed well)
2cupswater
2cups salsa(I used my home canned salsa)
1canblack beans, drained and rinsed(I used my home canned beans)
1teaspooncumin
1/2teaspoon sea salt
1/4cupcilantro, chopped
Instant Pot
Servings: people
Instructions
Place oil in Instant Pot. Press the “Saute” button and wait until it says hot. Add onion and garlic and saute until onions begin to become translucent. Stir often being careful not to burn garlic. Add bell pepper and saute for a minute or so. (If frozen, saute until it softens a bit).
Add rice, water, salsa, black beans, cumin, and salt and stir well.
Make sure your silicon ring is in the lid properly, and place lid on Instant Pot and turn the steam release handle to sealing. Press the Manual button and press the plus button for high pressure, and set the time to 28 minutes.
Once the clock has run down, you can either use natural cool down release or you can turn the steam release handle to venting to release the pressure. Once the pressure has been released, remove the lid and stir in the cilantro. At this point, you’re all set to serve!
December’s theme is “food for all those days between Thanksgiving and New Year’s that aren’t holidays.” Or, to be less wordy (never my strong suit): quick work-night meals. Meals that you can prepare after a long day at work or doing whatever it is you do that makes you tired. You still have to eat, right?
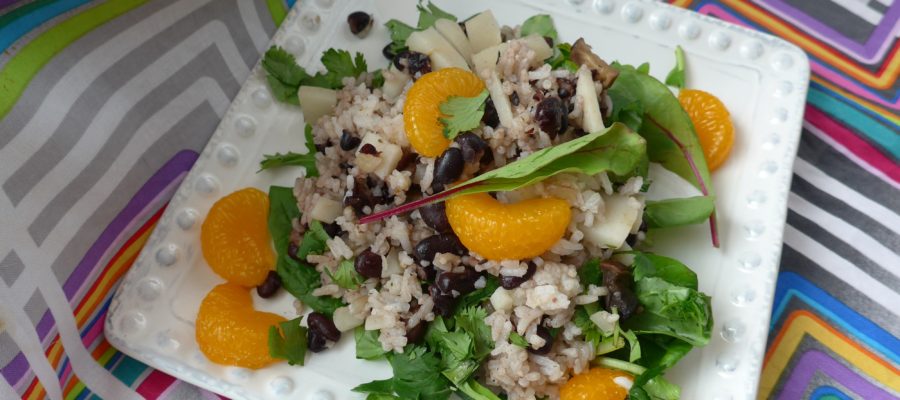
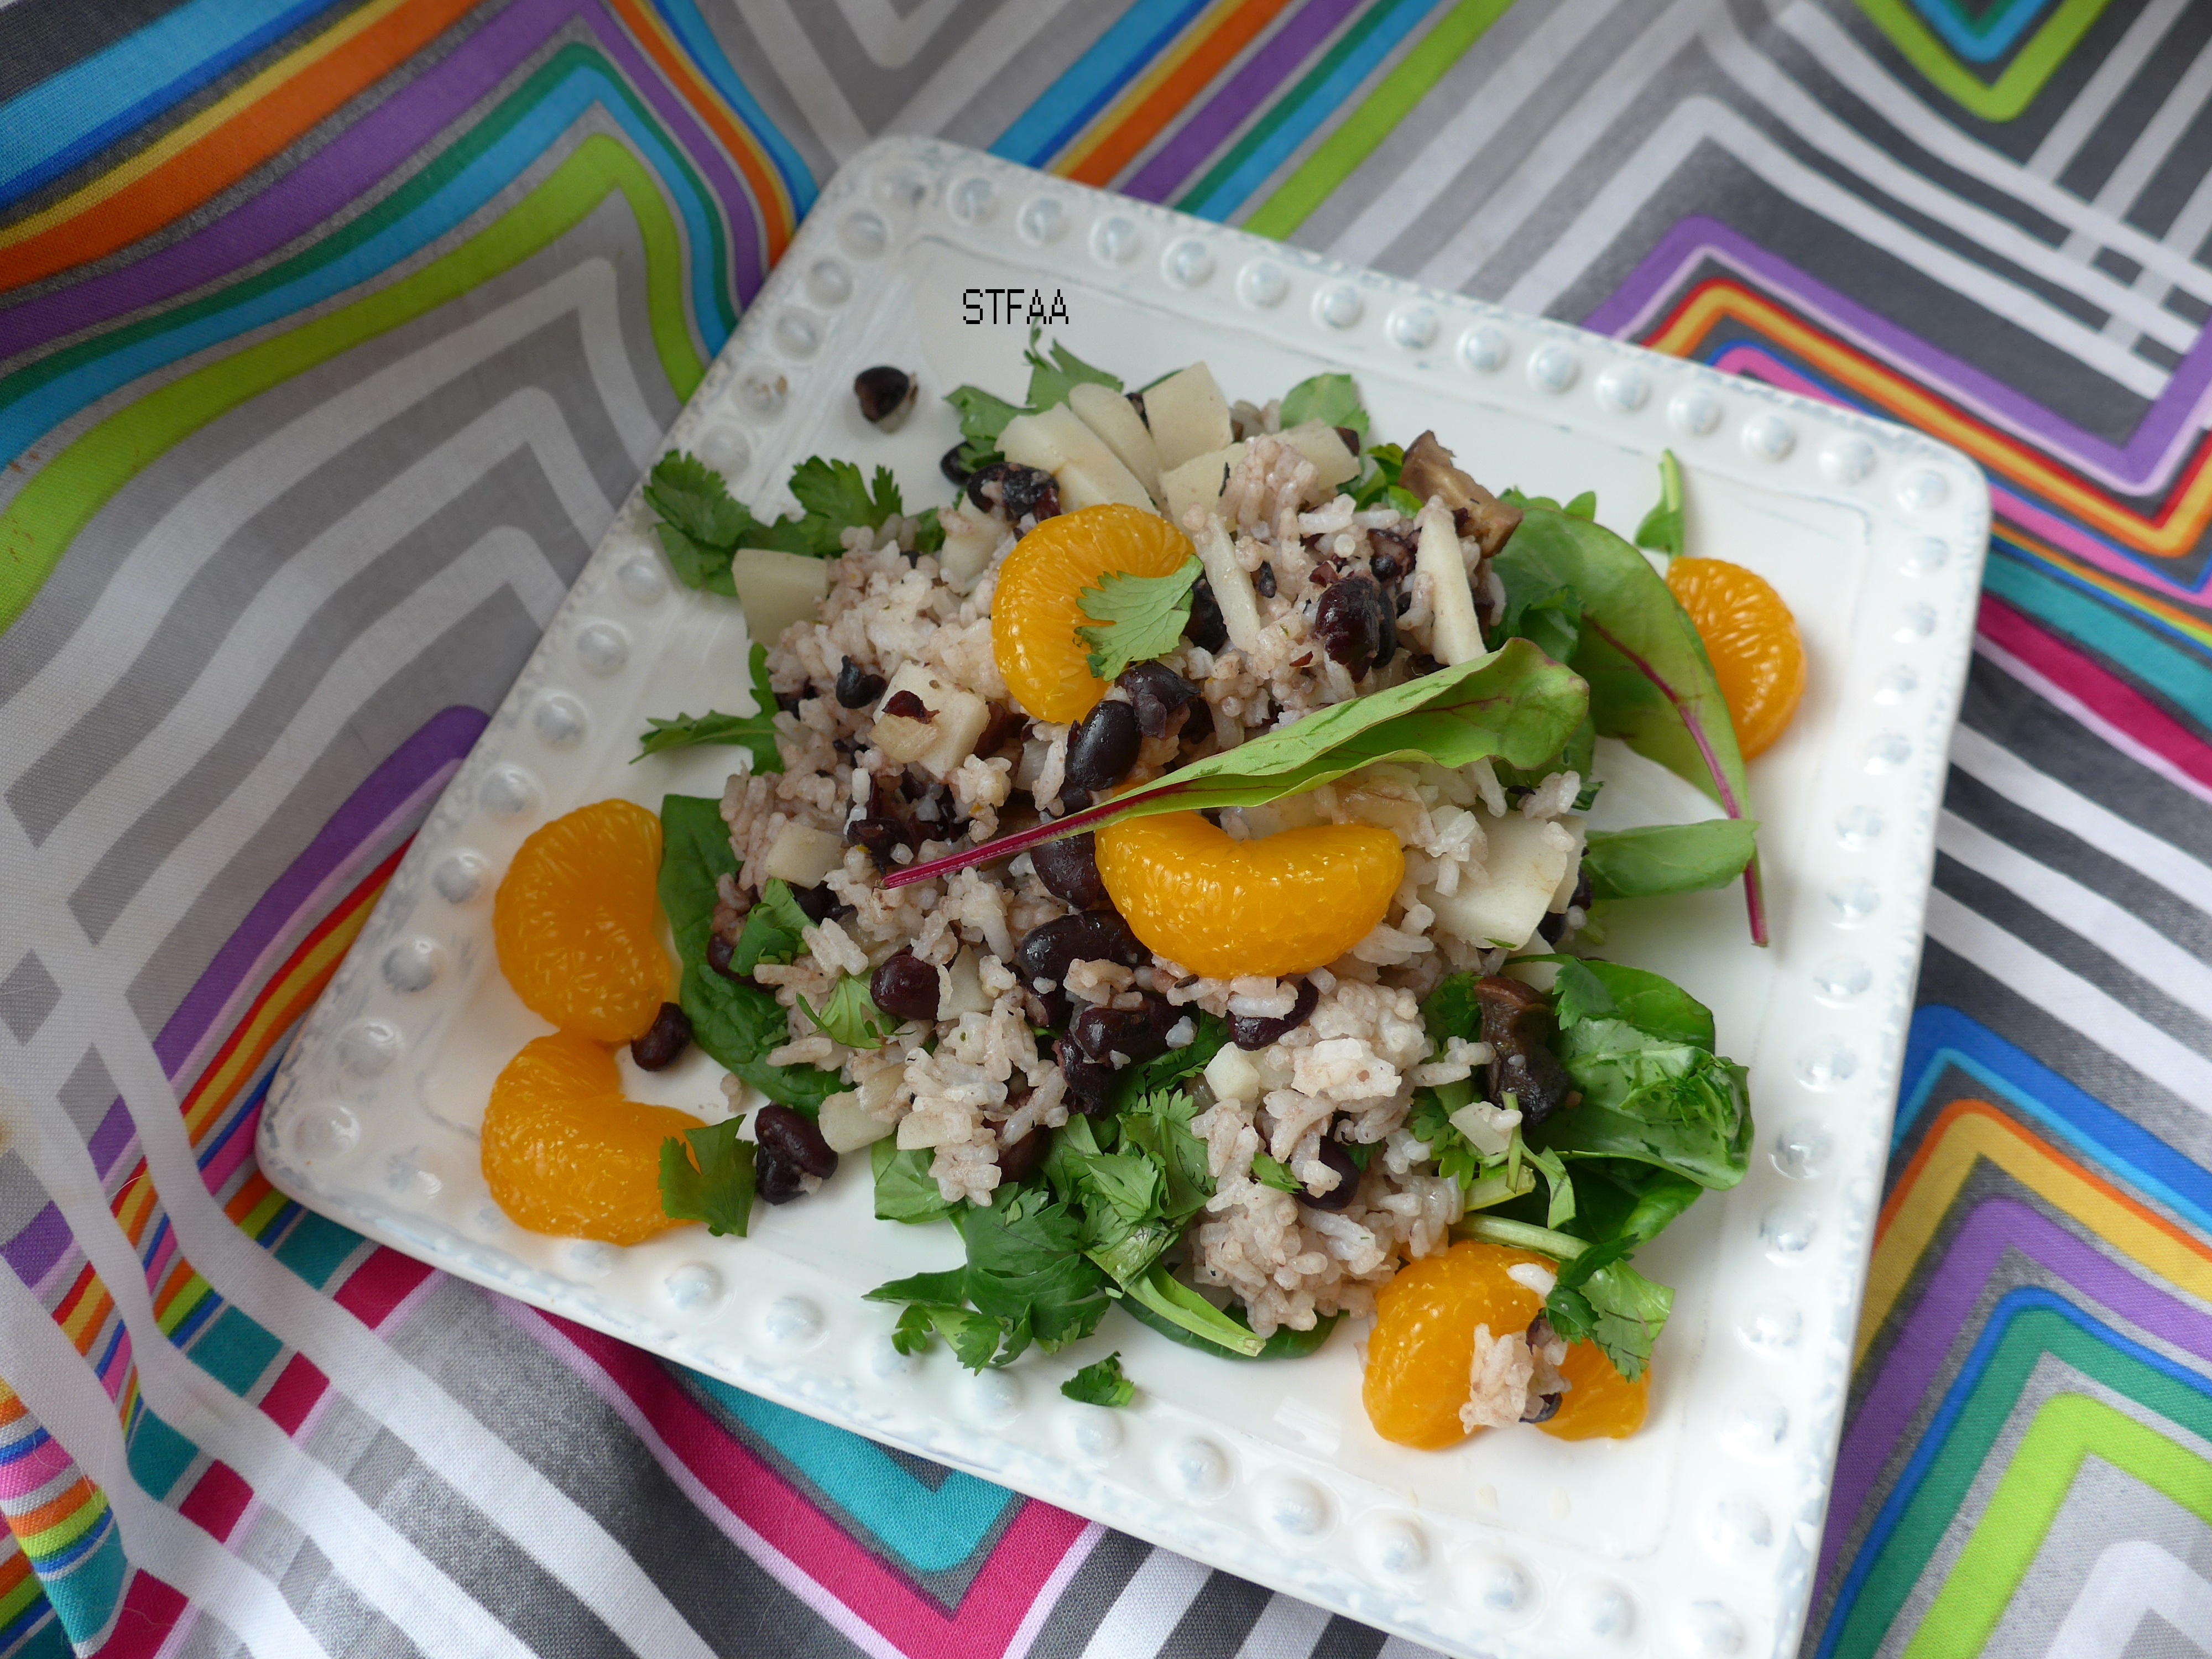
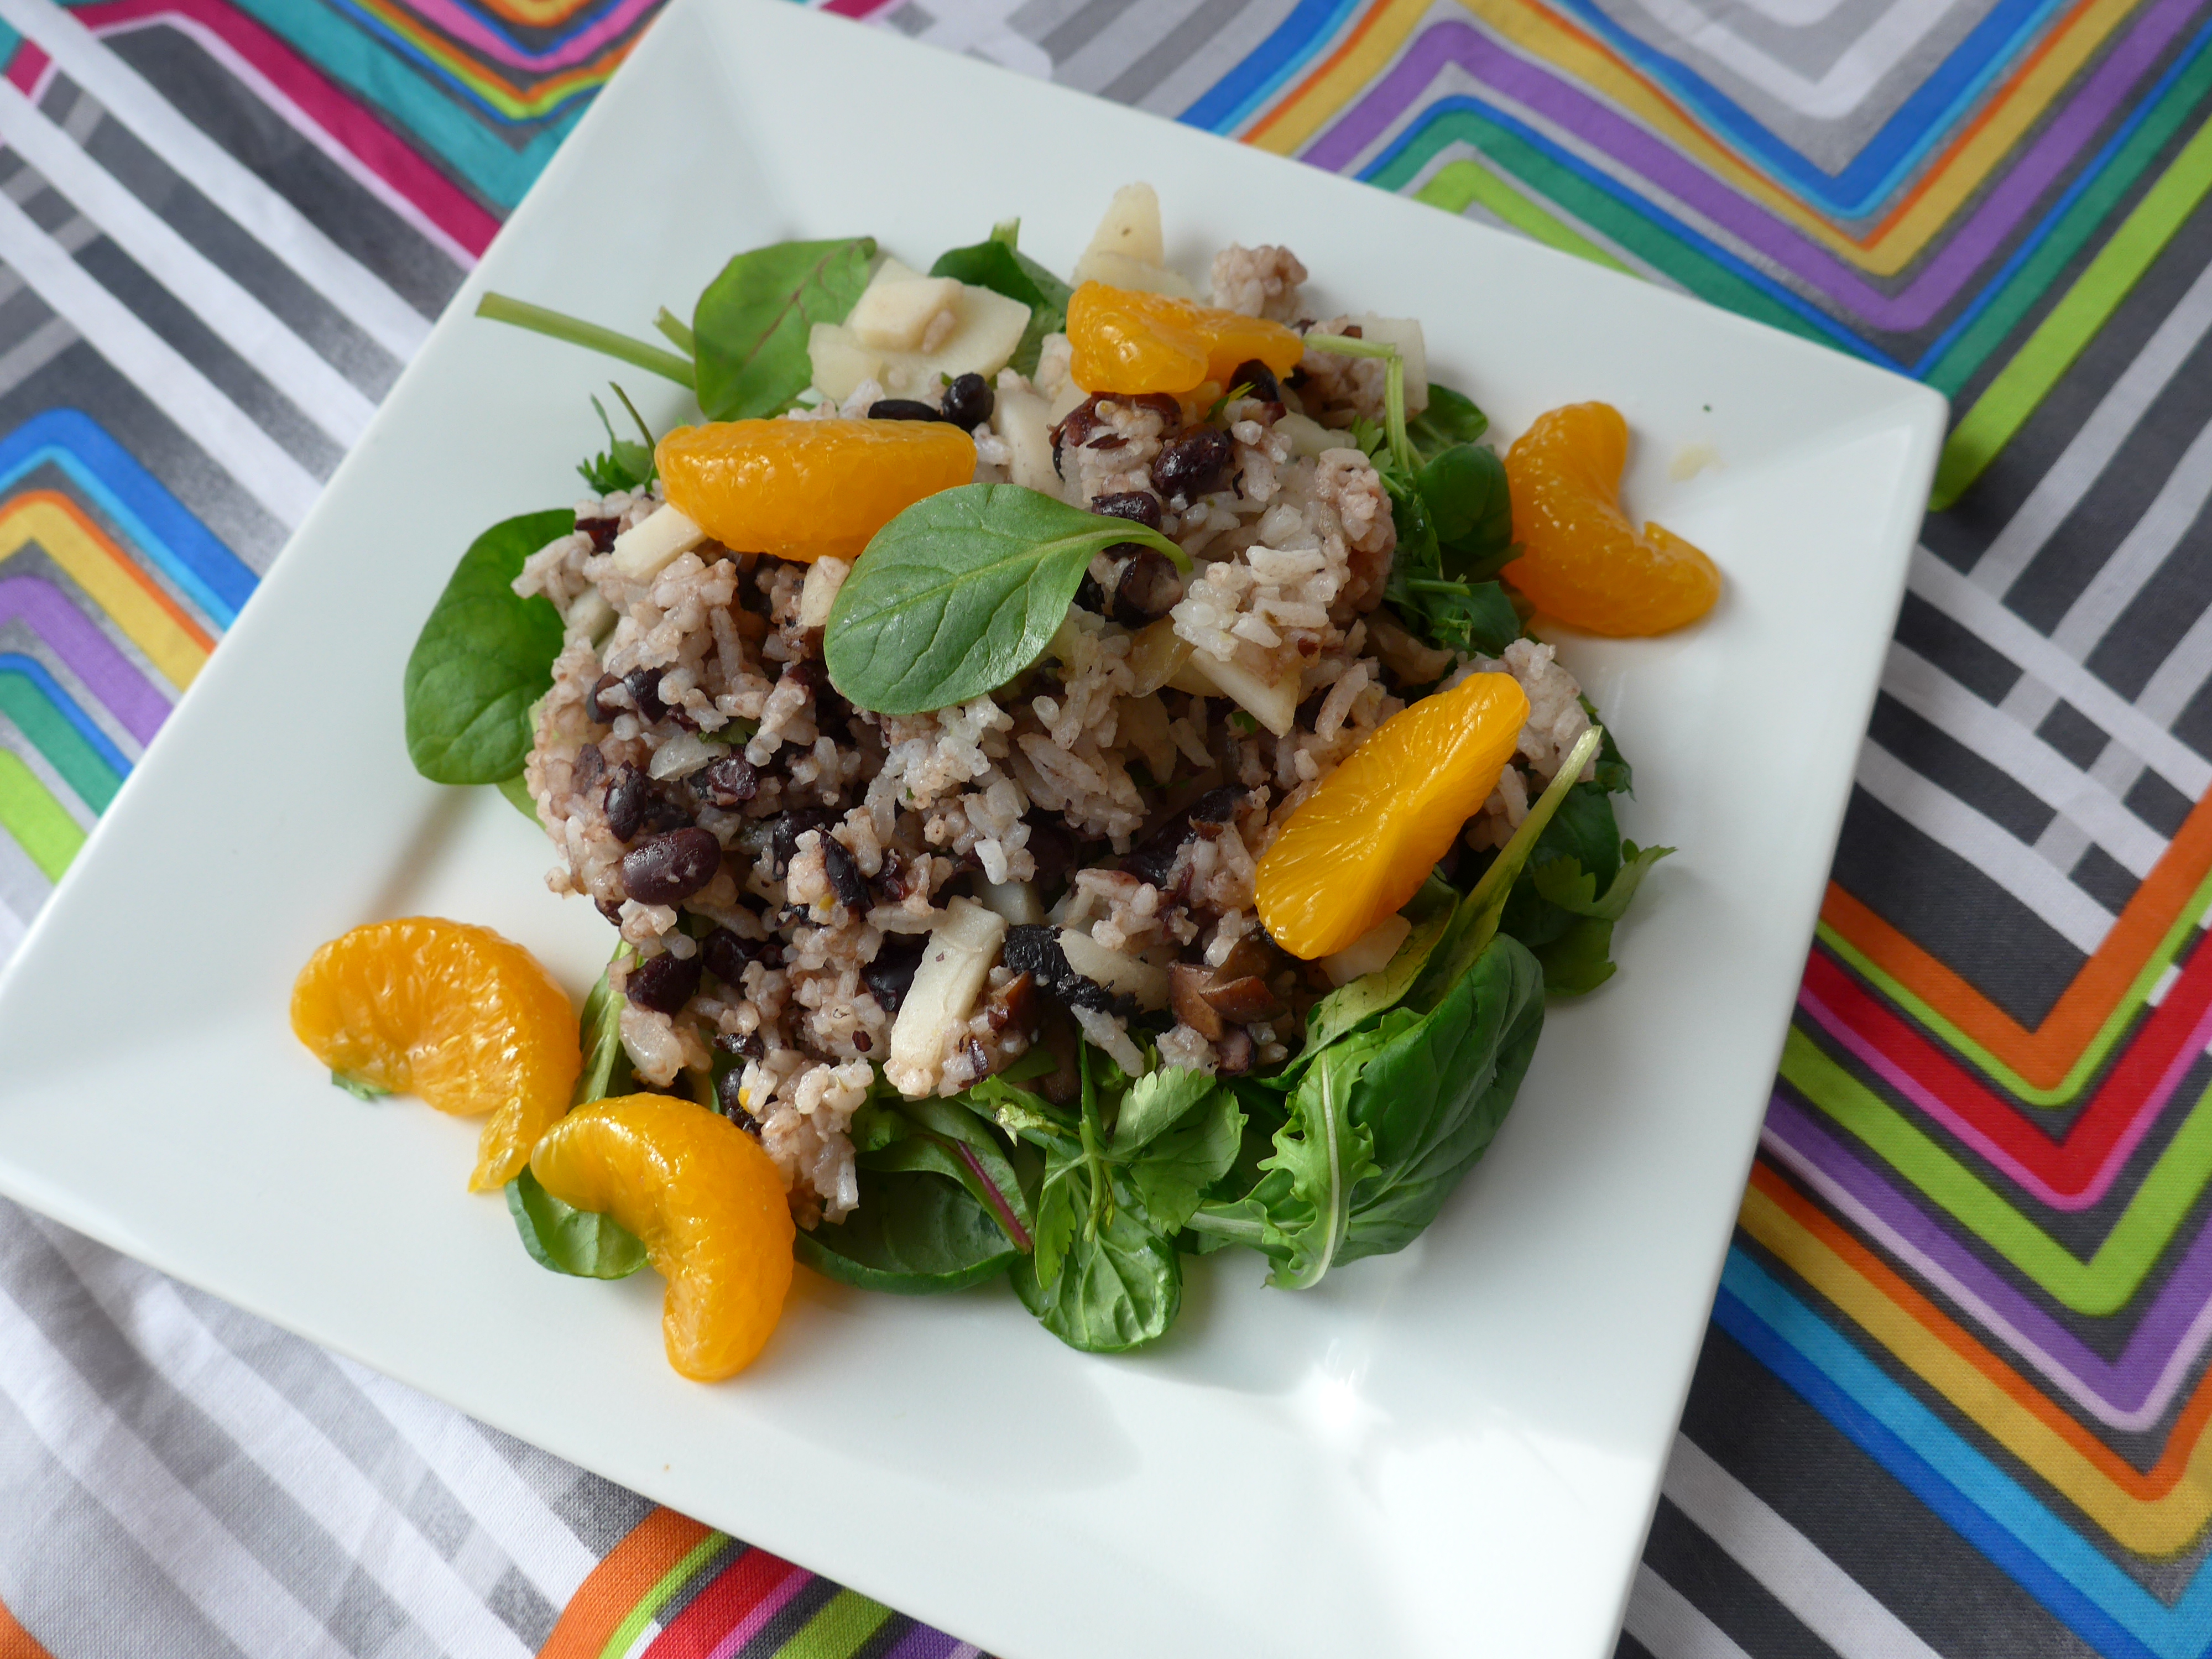
Today’s recipe is more of a “recipe.” This is salad for people who want to eat more vegetables, maybe even specifically more greens, but also really want hot food. Who has time to make food AND a salad? Well, honestly, with salad boxes, I guess anyone, but I don’t actually really like salad. So in this dish, I have topped some mixed greens (spinach and baby chard mixed with some arugula) with a hot rice skillet using leftover rice mixed with black beans, earthy mushrooms, crunchy veg (either water chestnuts or jicama — you pick) just a touch of onion, olive oil, vinegar, and cilantro — and topped all of that with oranges.
What you get is a simple one skillet (assuming you have rice already — if not, it’s two pots. Sorry.) meal heavy on the vegetables, low on the salt, with straightforward flavors. It’s hearty and satisfying but not heavy. Perfect for between food-heavy holidays, right?
Notice: Trying to access array offset on value of type bool in /home/maryzahc/public_html/adultfoodallergies.com/wp-content/plugins/wp-ultimate-recipe/helpers/models/recipe.php on line 254
1-2Tablespoon vinegarI liked white wine vinegar for this
1cupwater chestnuts or jicamachopped
1cupcilantroroughly chopped
1canmandarin orangesor 2 segmented oranges
5cupsmixed greens of your choice
Servings: servings
Instructions
If you don’t have cooked rice, make some. You don’t really need leftover rice for this. I just like to cook a large pot and use it during the week.
In a skillet, heat 1 tablespoon of olive oil over medium heat. You’ll use the other in a few minutes. When the oil is hot, add the onions. Cook until translucent.
Add the chopped mushrooms, and stir well to coat with oil. Cook until they shrink and give up their moisture.
Add the black beans. Stir well. Then add the rice. Add the second tablespoon of oil and mix until the rice and beans are well incorporated. Add the vinegar.
Stir in the water chestnuts/jicama and cilantro. Remove from heat and let the mixture sit for about 5 minutes, until the crunchy vegetables are warmed.
Taste the mixture and adjust the seasoning if necessary — salt, pepper, more oil and vinegar, whatever appeals.
Serve the rice mixture over your mixed greens with the oranges on top. If needed, you can add an oil and vinegar dressing or a bit of orange juice, but I don’t find this needs it.
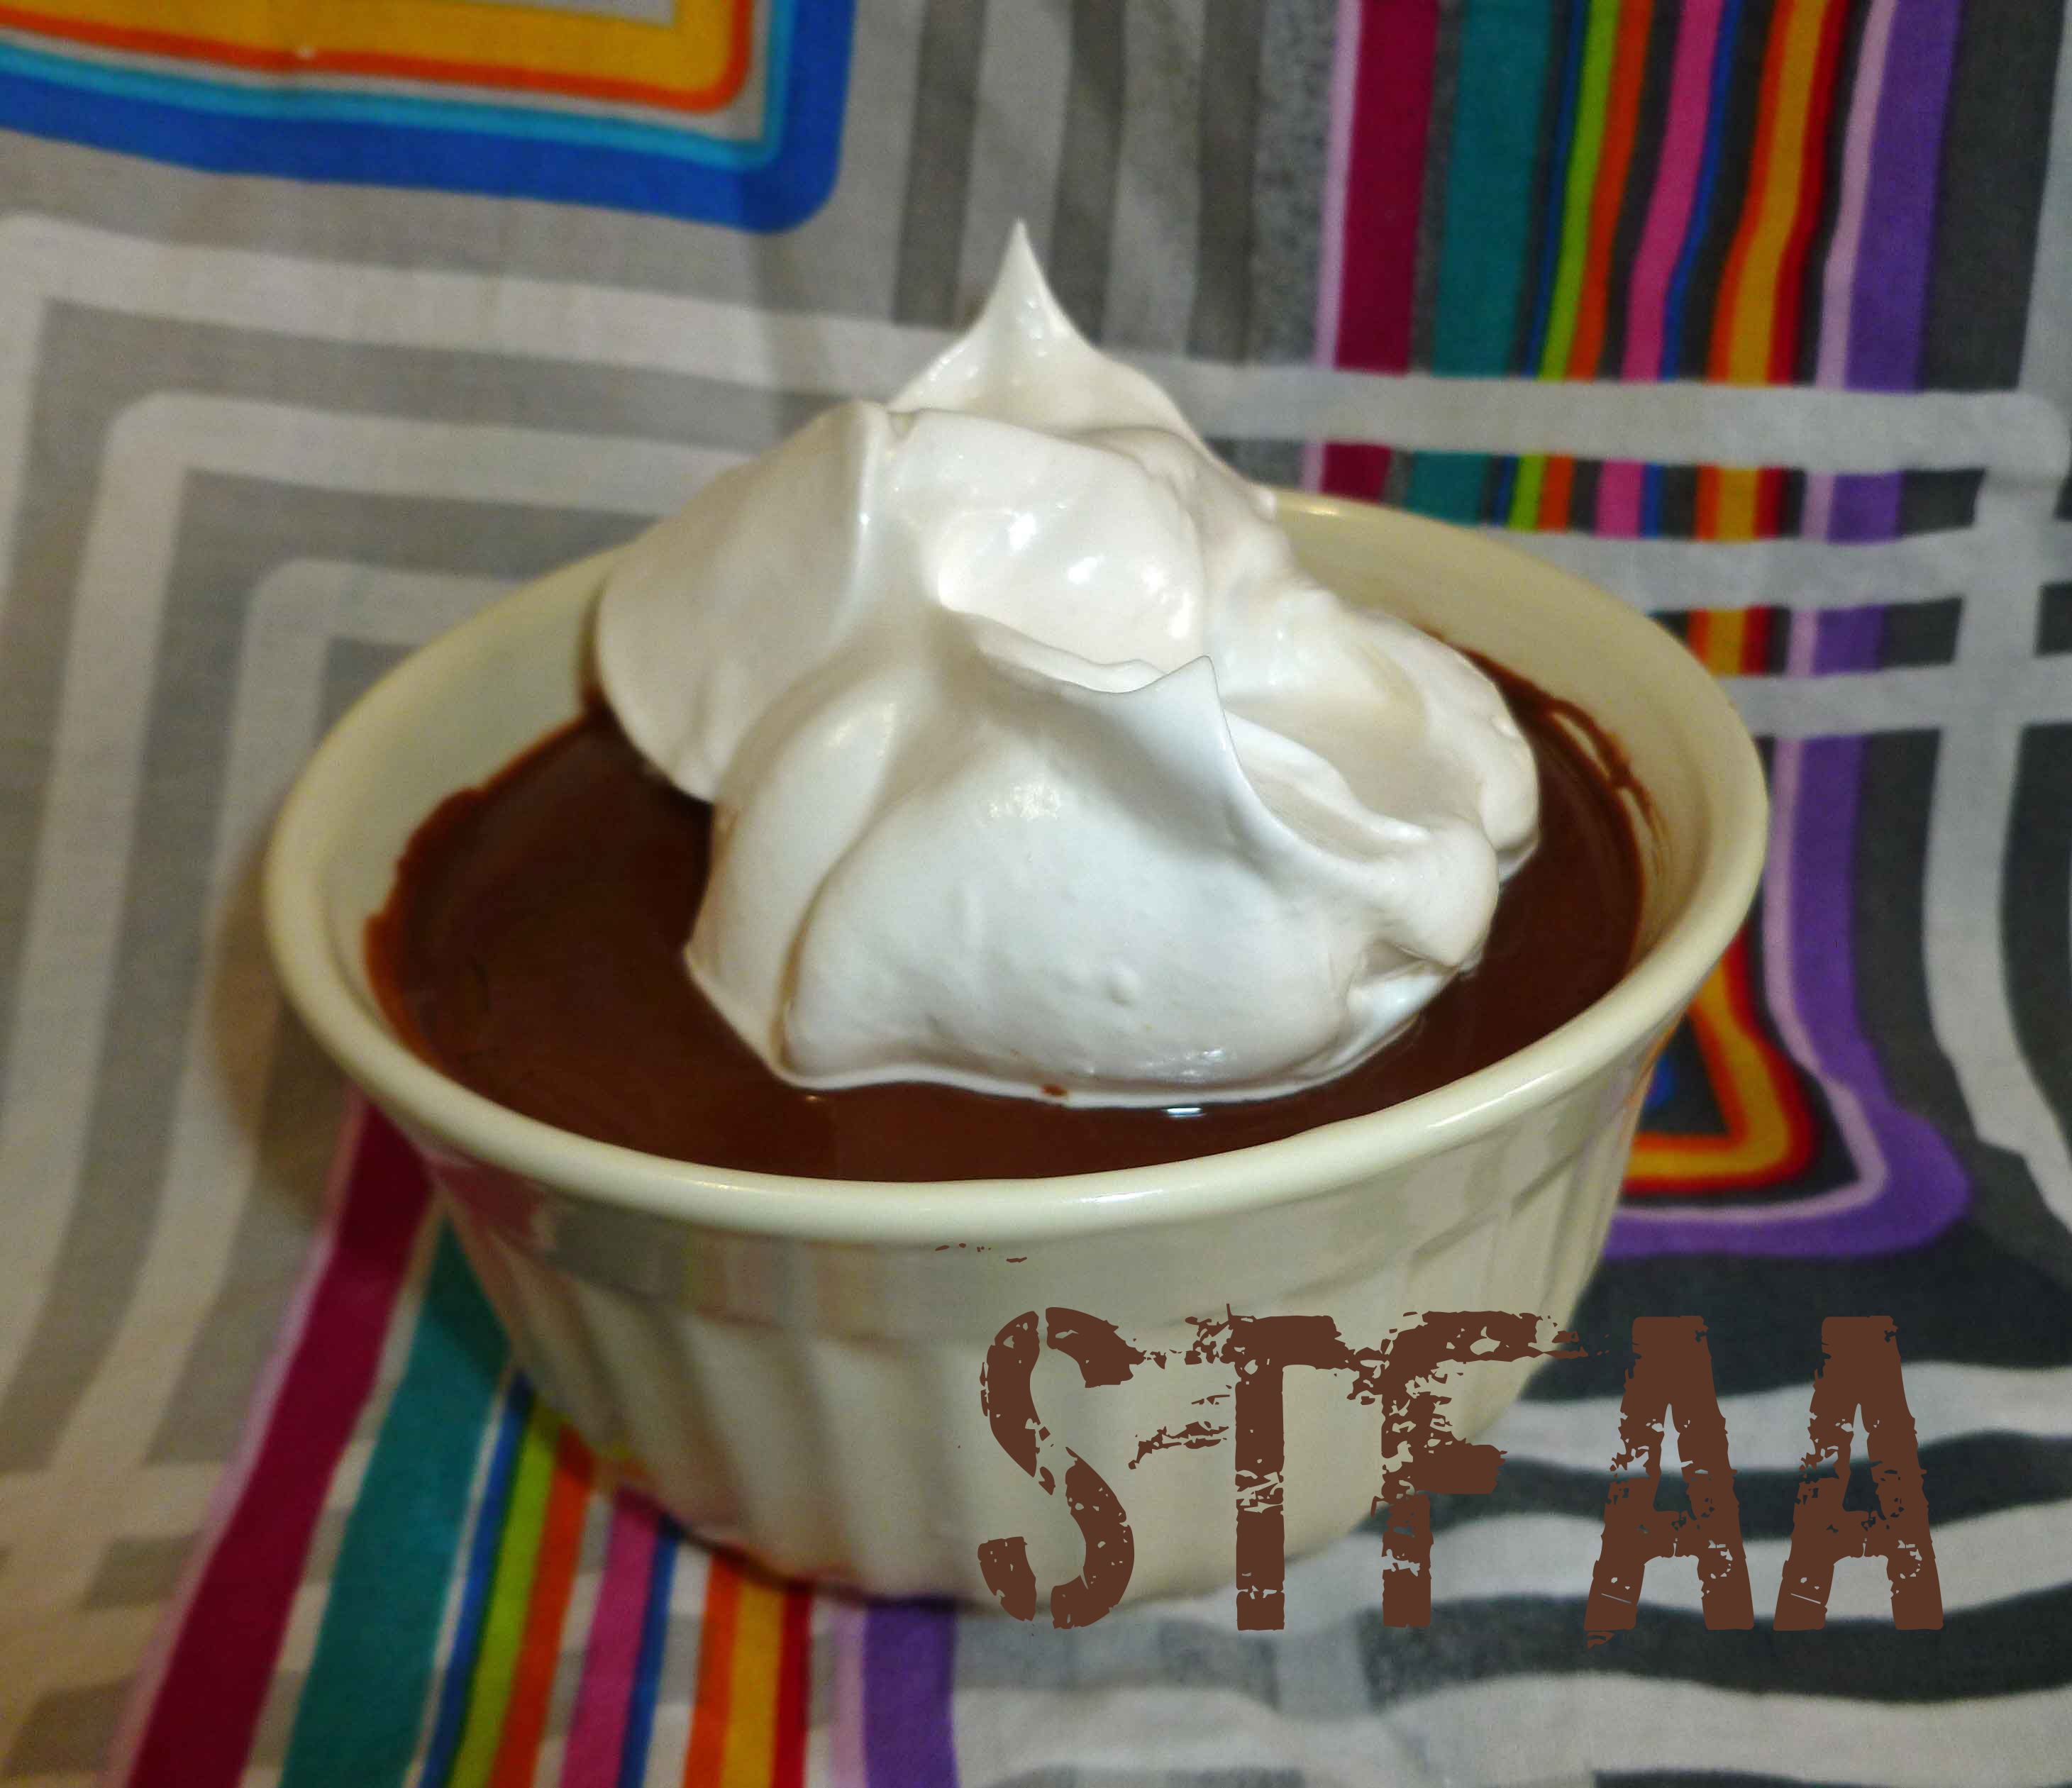
Chocolate Pudding, Vegan and Gluten-Free with Vegan Whipped Topping, also gluten-free
Well, it’s our last Element of our Element theme month post, Air! Let’s face it, my air options were fairly limited, unless I wanted to get all lawyerly and make up an argument about why some ingredient was air related. And so as not to subject you all to that, I made a chocolate pudding dessert with a whipped topping because it incorporates air. I’m pretty pleased with how both came out, and I’m thinking that in future I could blind bake a pie crust, cook the pudding a little longer and have a chocolate cream pie.
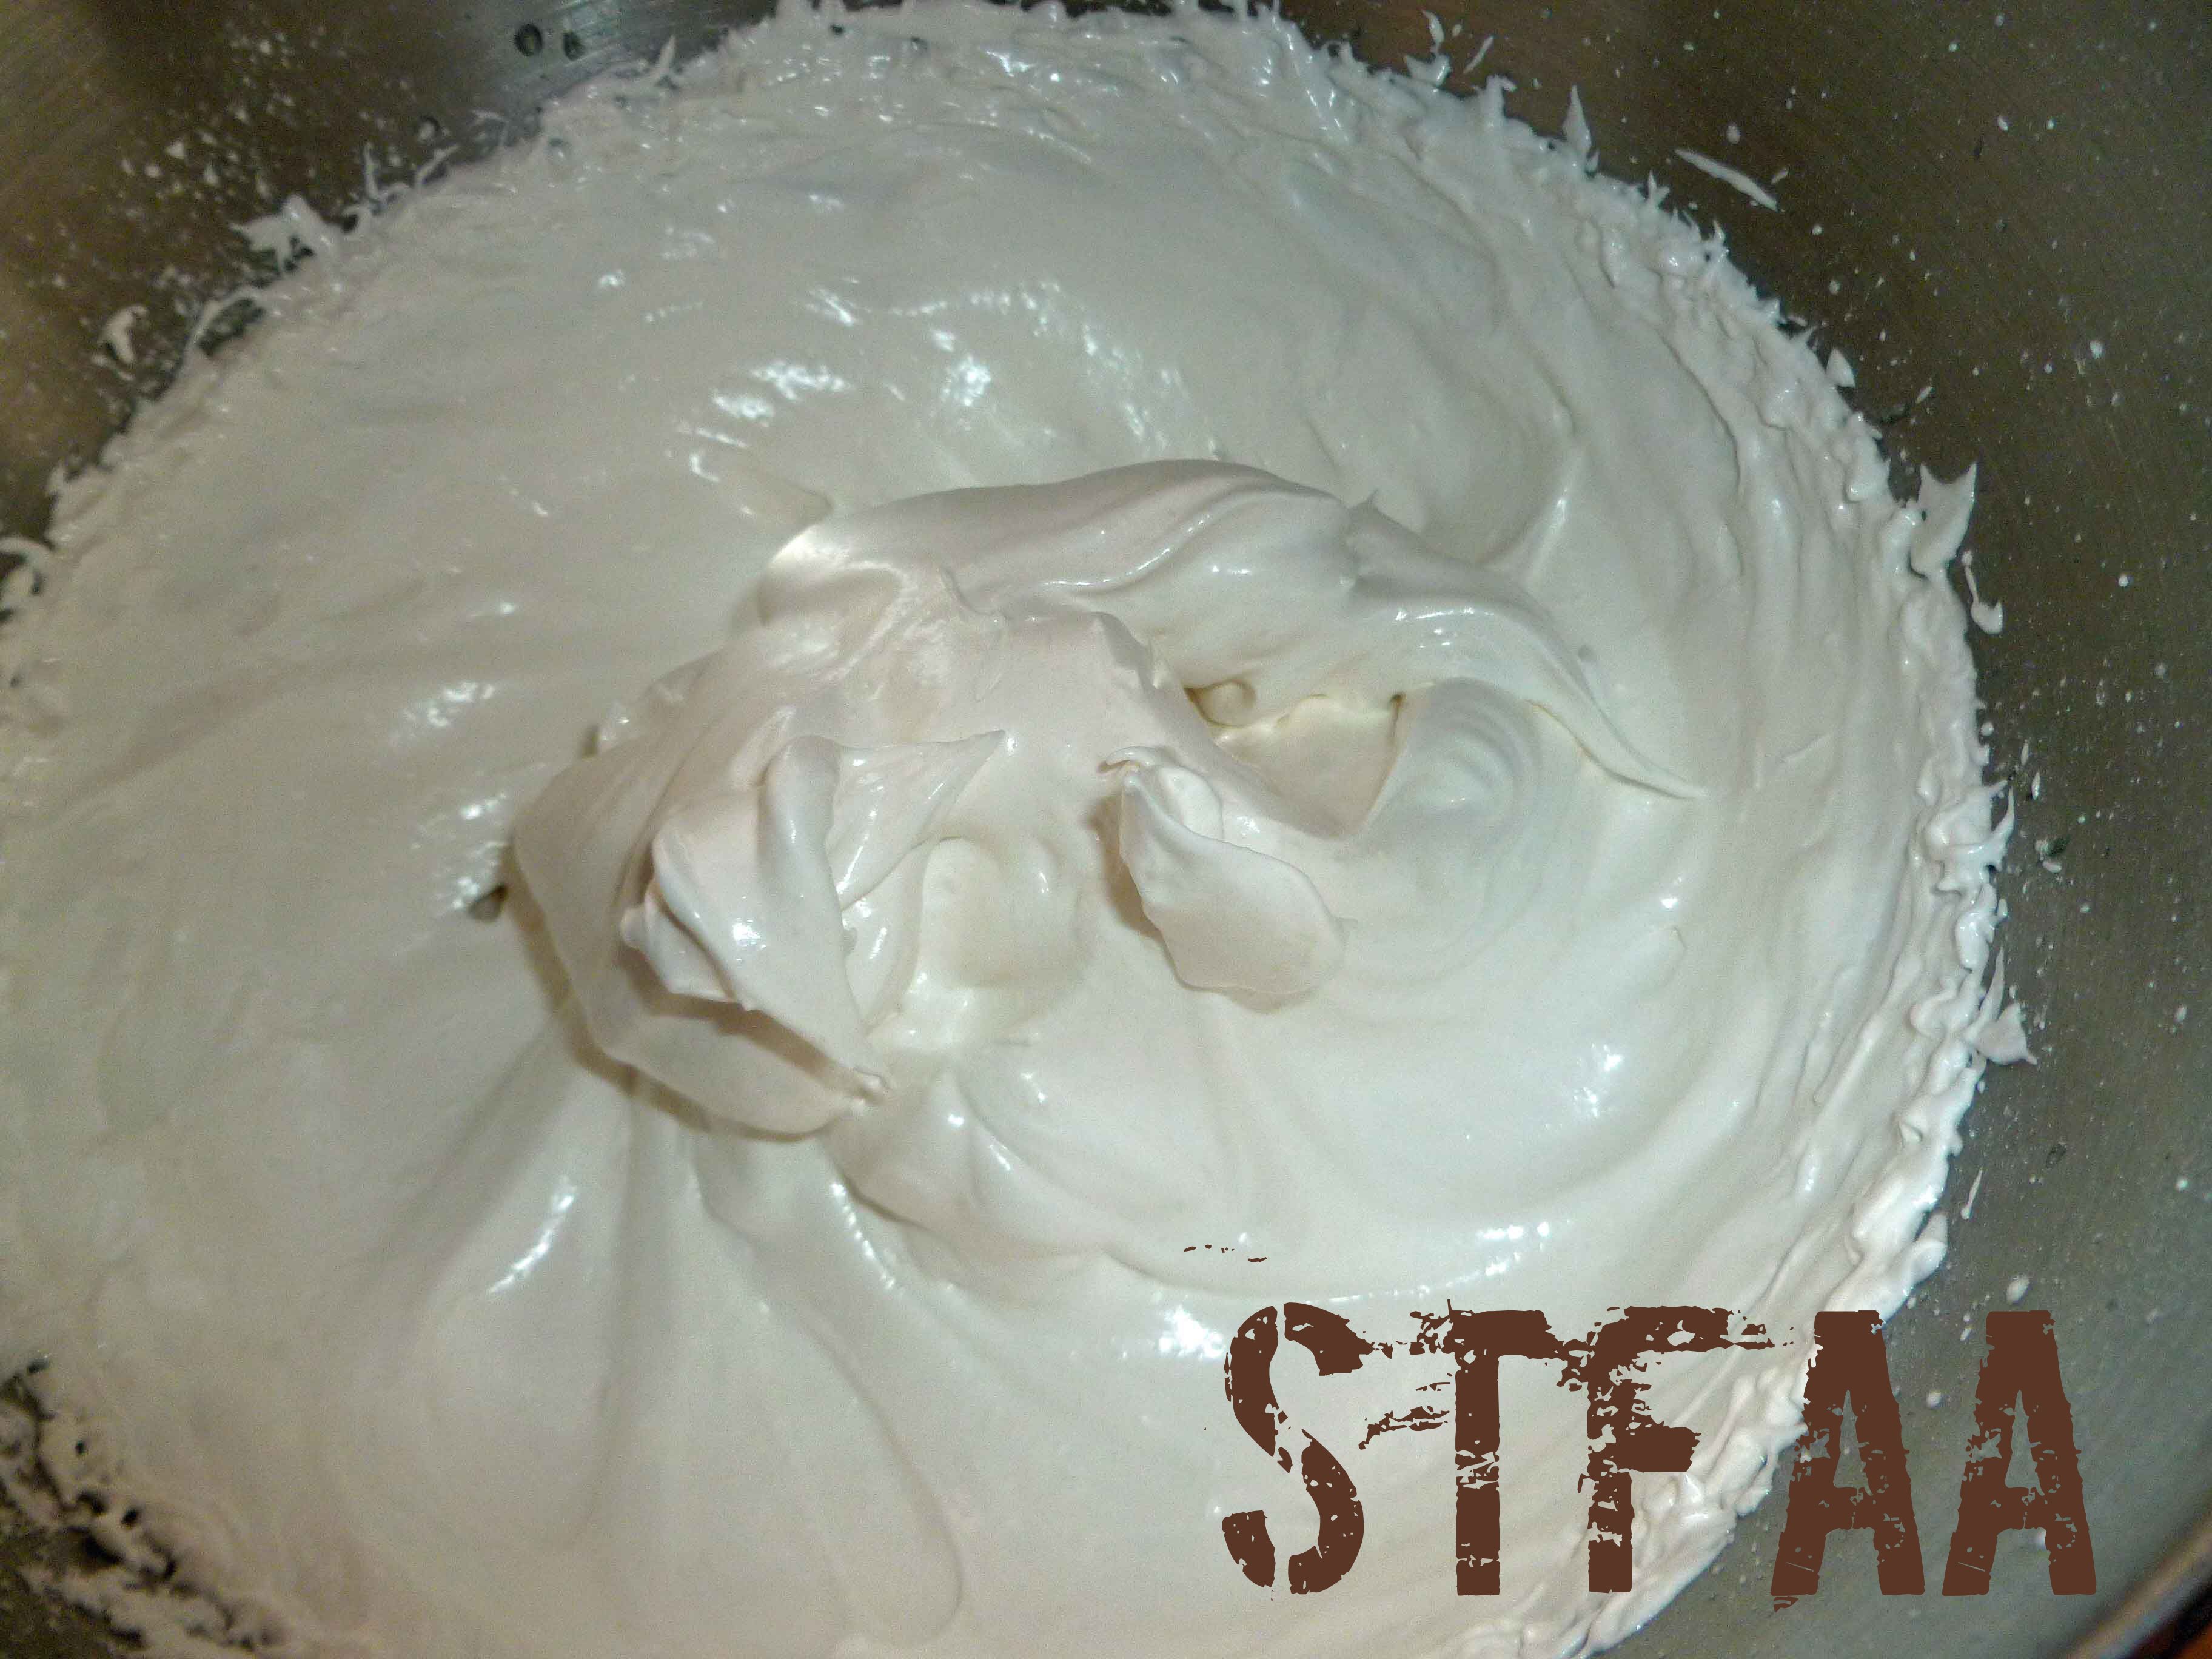
I didn’t take in process photos of the pudding because it’s pudding and most people have a fair amount of experience what pudding is supposed to look like. So the in process photos focused on the Vegan Whipped Topping so you’d know what each stage looks like. Also, you want to make the Vegan Whipped Topping just before serving, as it does start getting liquid-y after time passes, although it can be re-whipped. Also you can also use a torch to caramelize the topping if you want.
Chocolate Pudding, Vegan and Gluten-Free with Vegan Whipped Topping, also gluten-free
Chocolate Pudding with Whipped Topping, both Vegan and Gluten-Free!
2/3cupcacao powder(I do best with Wilderness Family Naturals)
5Tablespoonstapioca starch
1cup sugar
1/4 teaspoonsalt
1Teaspoon vanilla extract(I make my own with vanilla beans and vodka made from potatoes, as most commercial extract contains corn)
Servings: servings
Instructions
Place all ingredients except vanilla extract in a large saucepan, and whisk them together, until completely mixed with no or very few lumps.
Bring to a boil over medium heat, stirring constantly, until the mixture thickens to a pudding consistency. Remove from heat, add vanilla extract, and stir it in. You may wish to pour the pudding into individual serving dishes to cool at this point, or place it in a large bowl. Place the pudding in the refrigerator to cool (at least six hours or so).
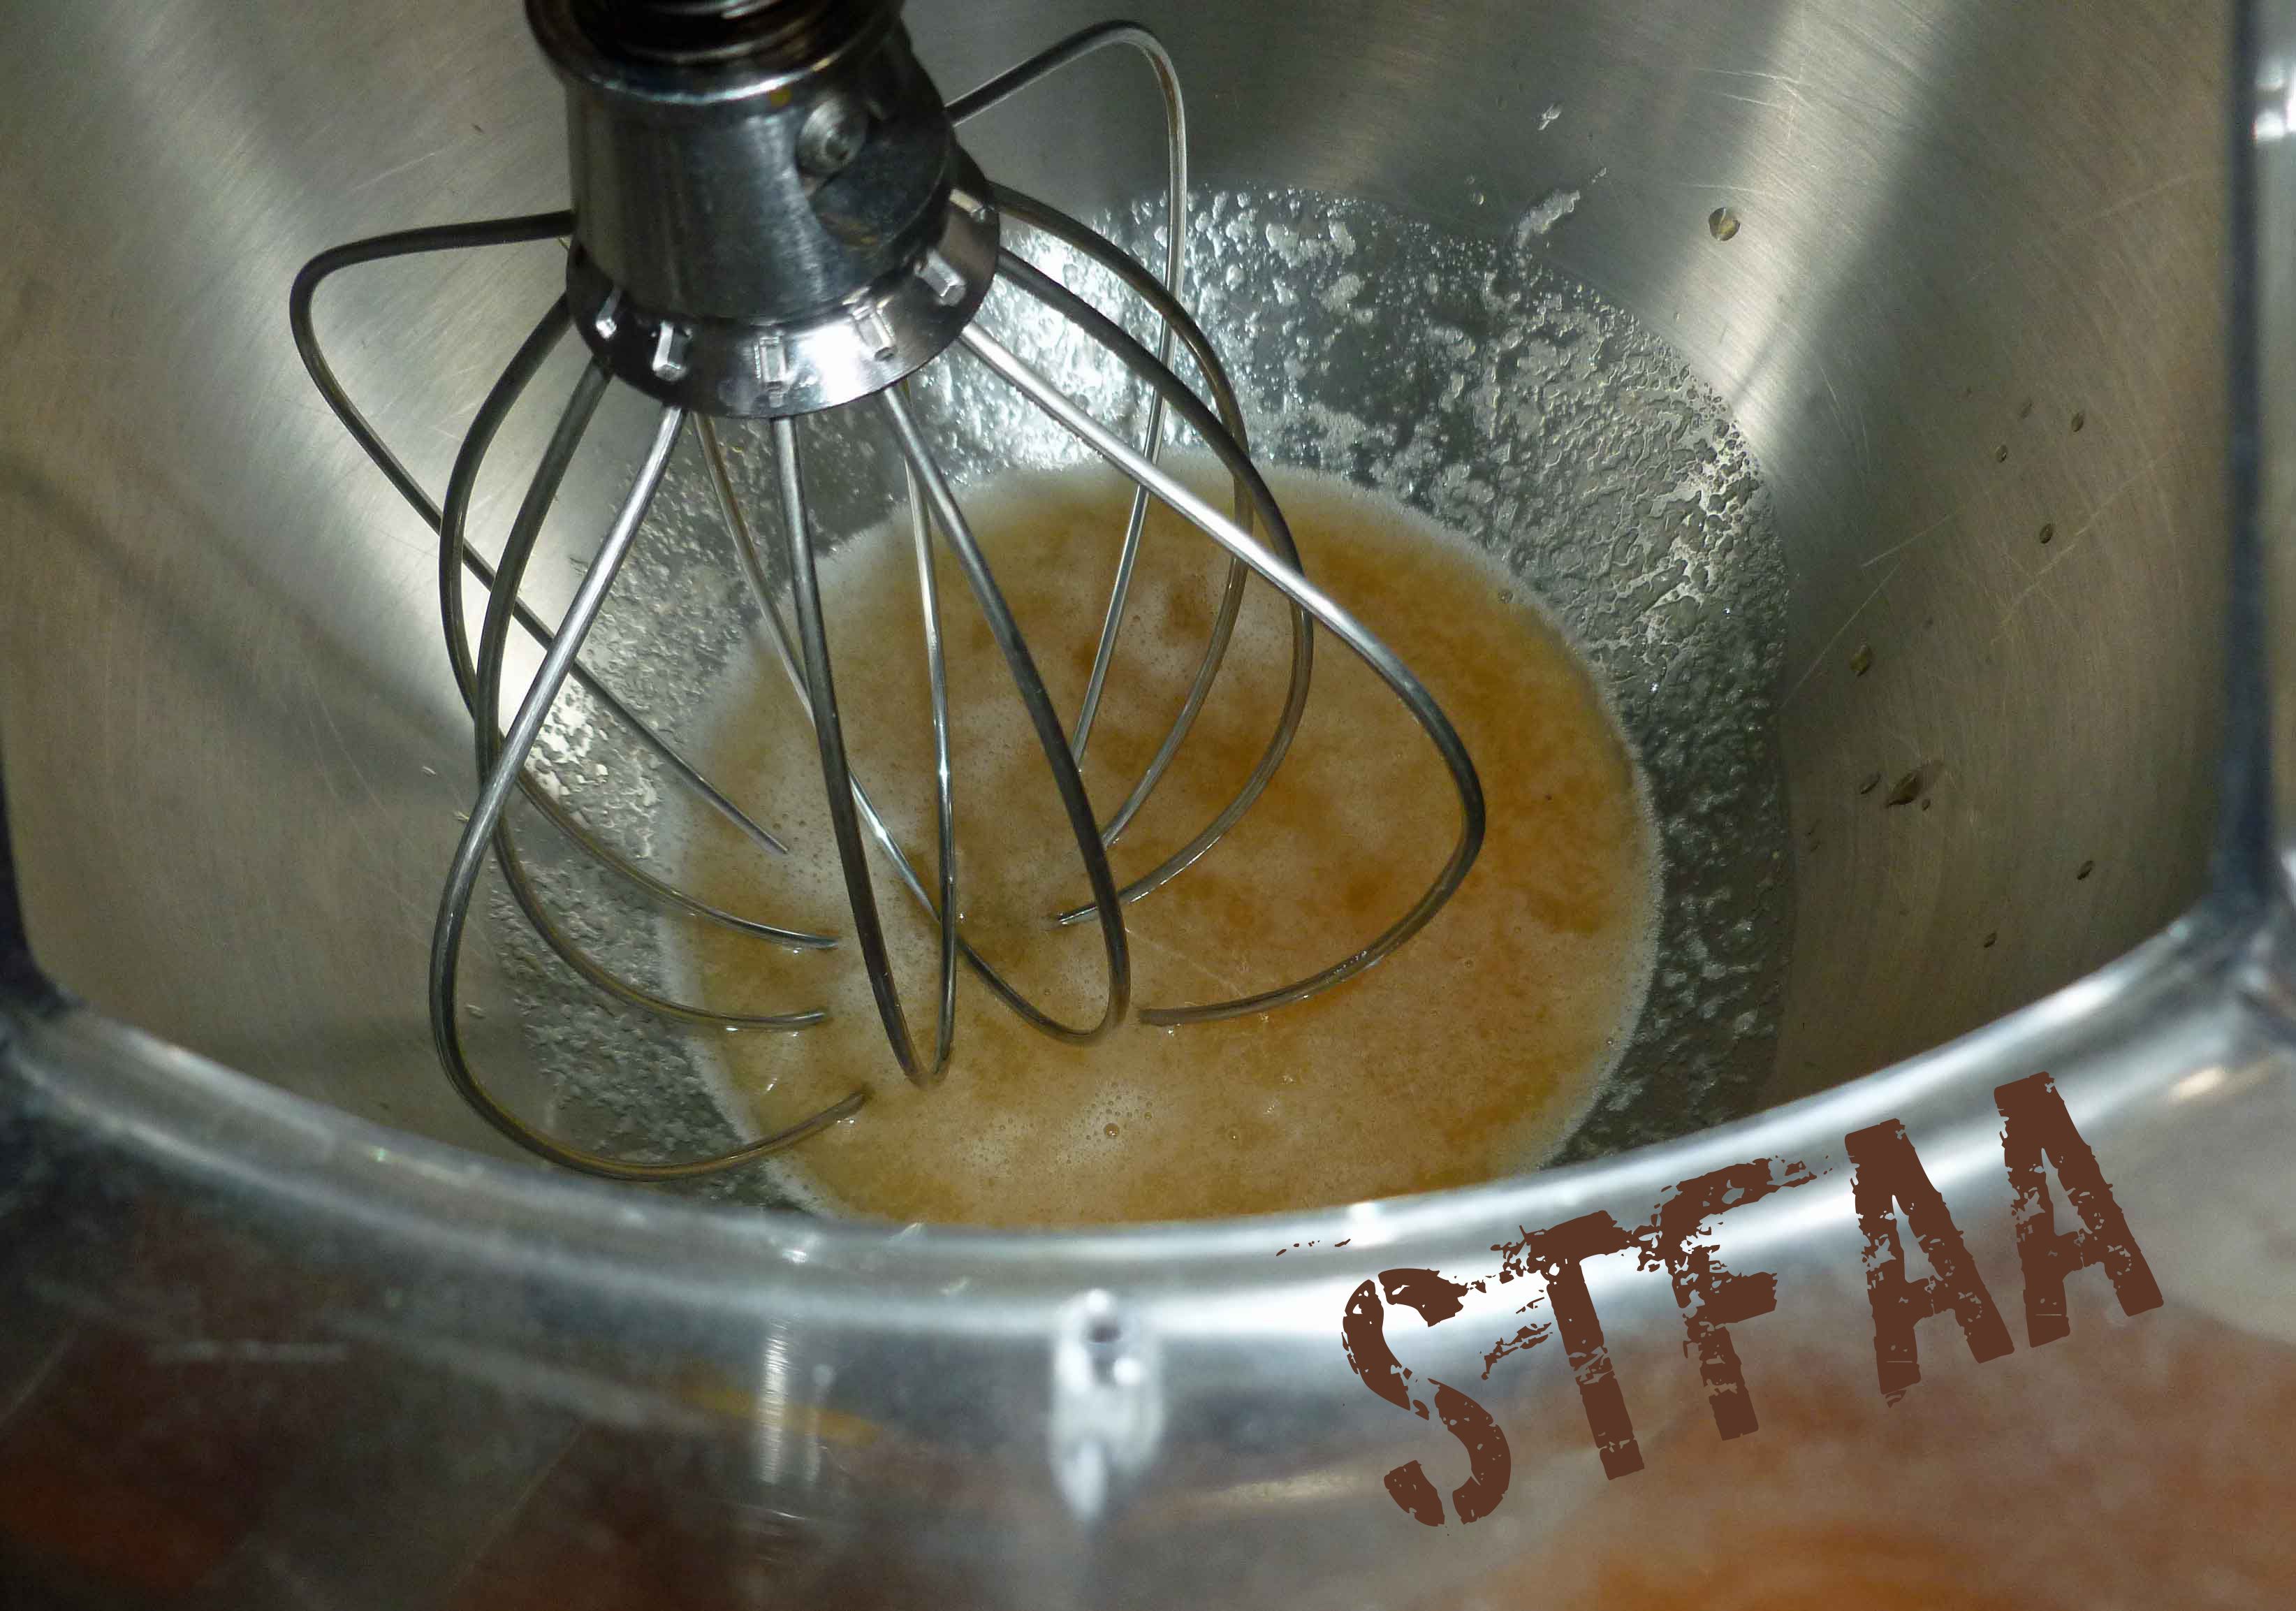
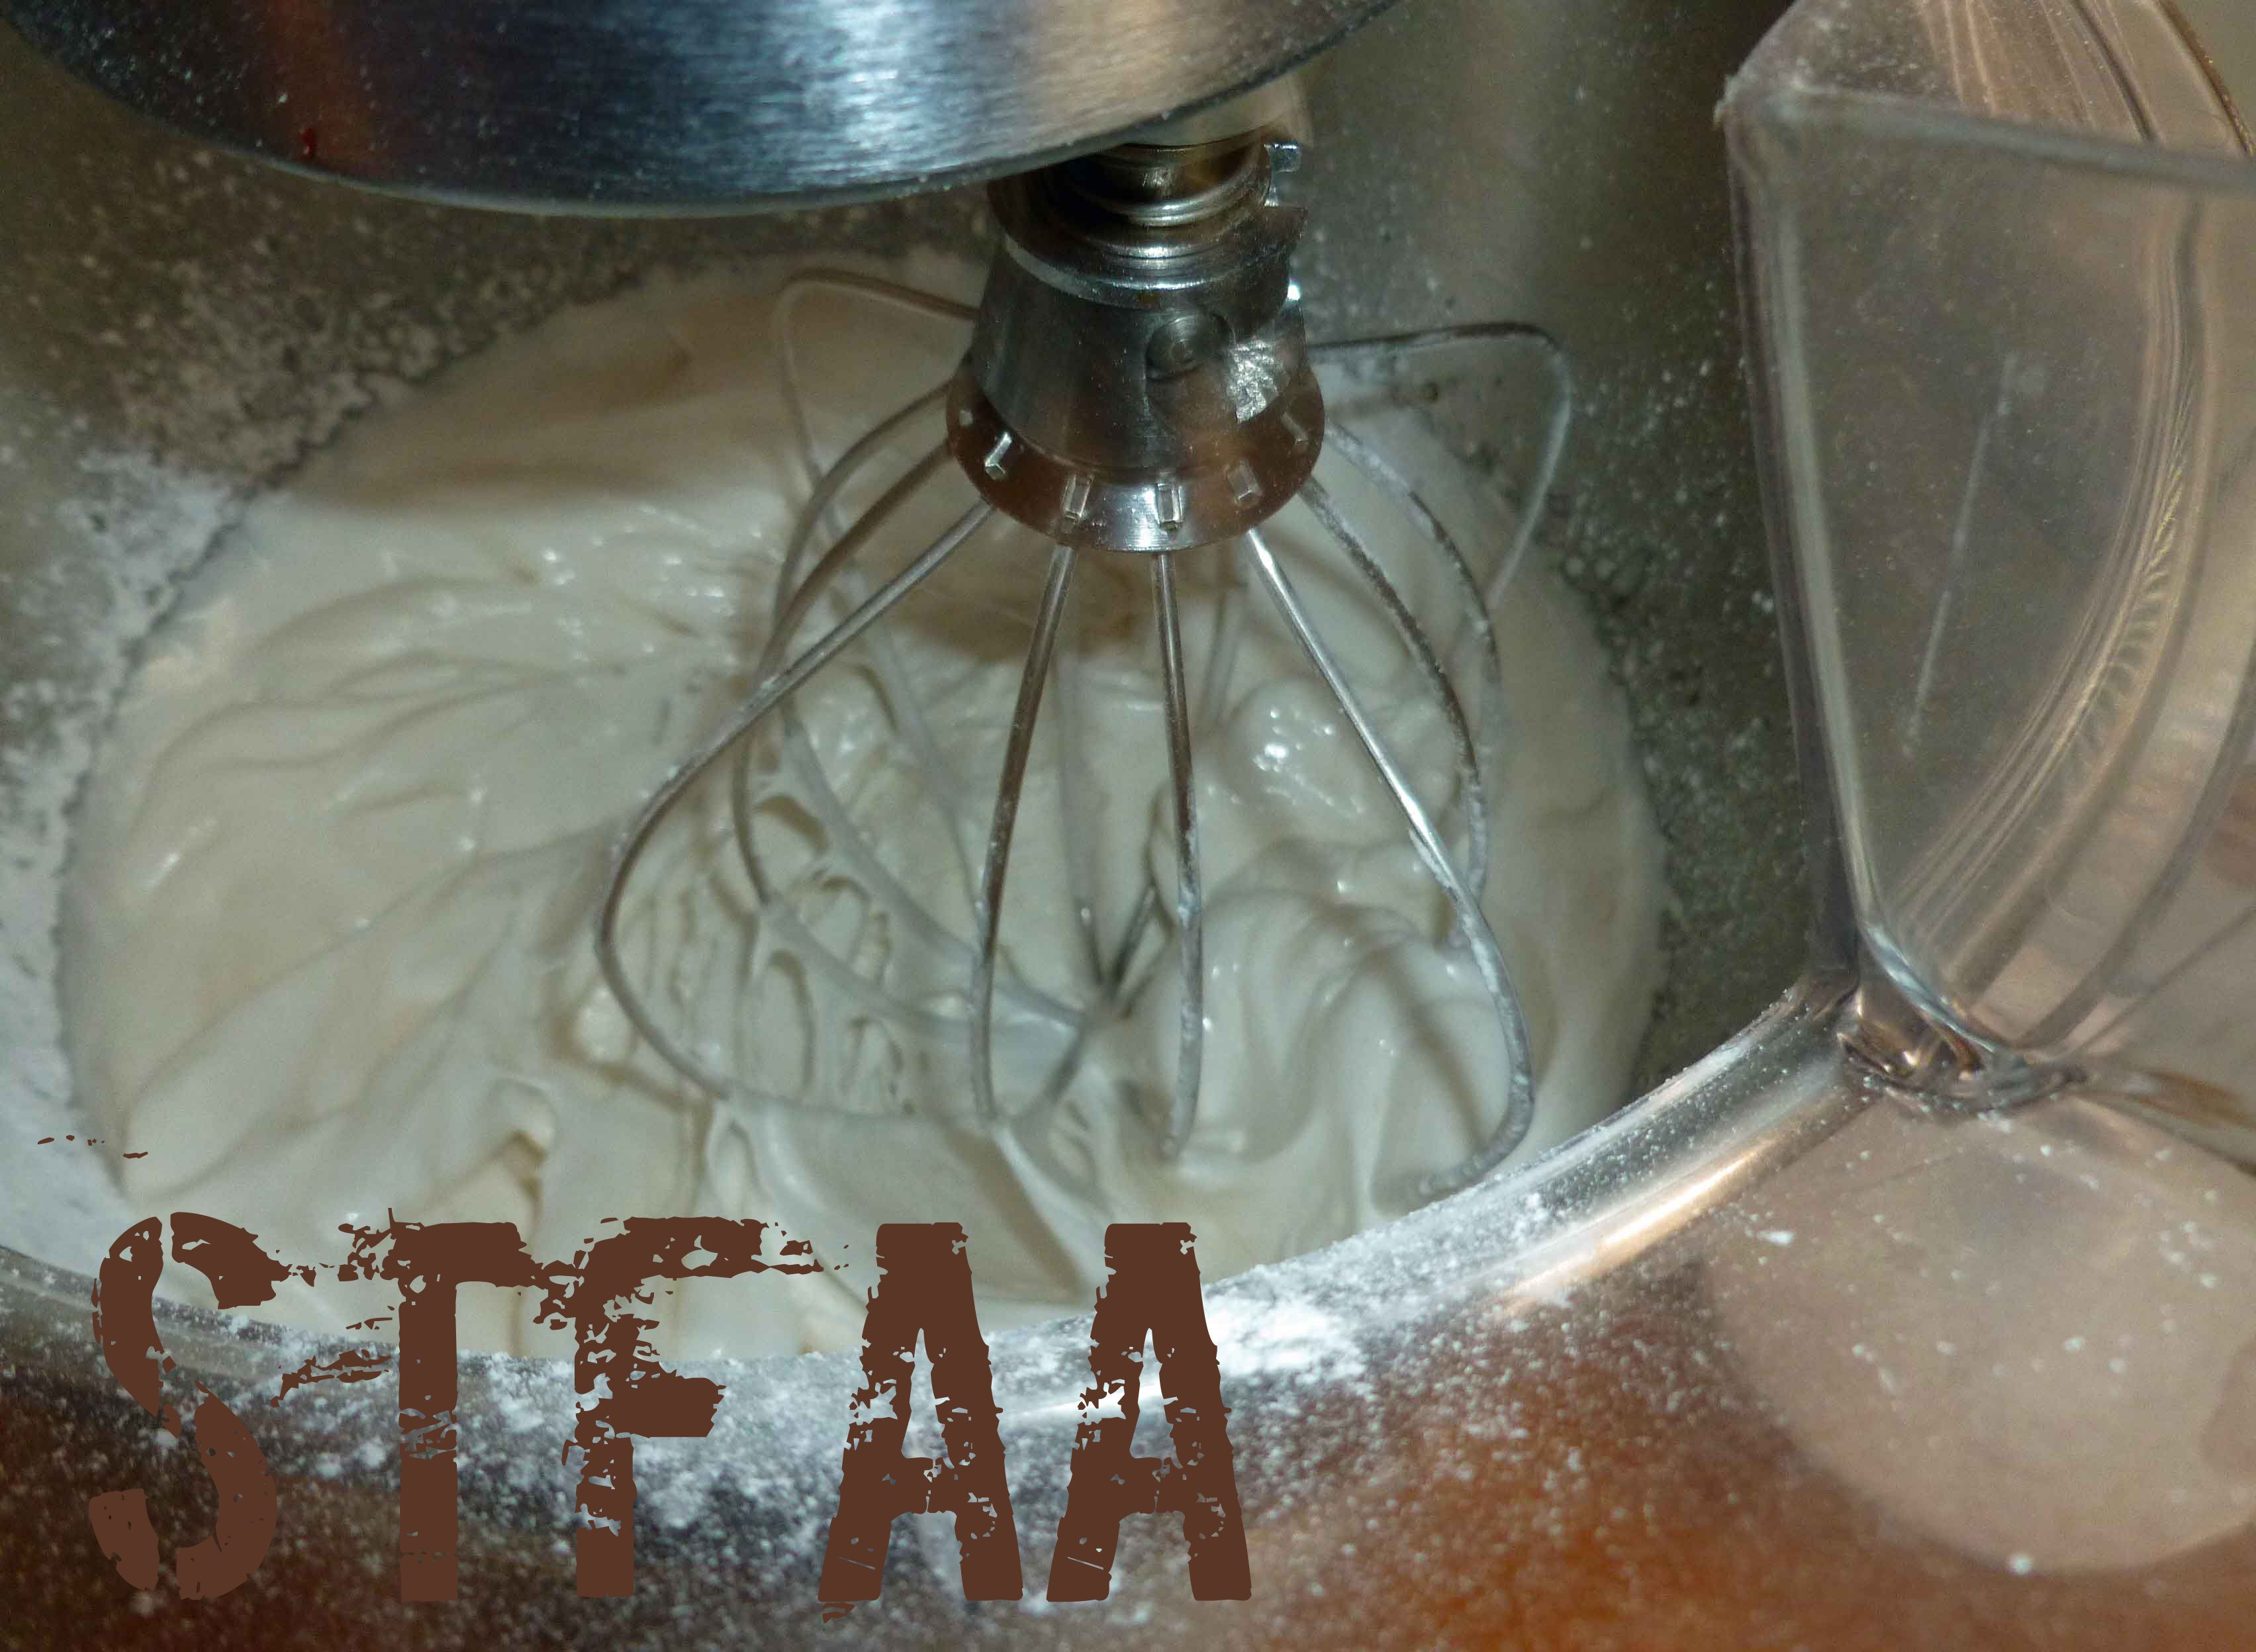
Aquafaba, cream of tartar, and vanilla extract before mixingAquafaba mixture when frothy enough to start adding sugarAquafaba mixture when all sugar is added but still needs beatingVegan Whipped Topping with stiff peaks
1/2cupaquafaba(the liquid from a can of garbanzo beans, see aquafaba.com)
1teaspoonvanilla extract(I make my own with vanilla beans and vodka made from potatoes, as most commercial extract contains corn)
1/4teaspooncream of tartar
3/4cup powdered sugar(if you are allergic to corn, you can make your own with 2 cups of sugar, a tablespoon of tapioca starch, and a blender)
stand mixer
Servings: cups
Instructions
Place whisk beater on your stand mixer. Make sure mixer bowl is clean, as any oil can cause problems with the aquafaba whipping. I wipe my bowl out with Bragg’s apple cider vinegar before starting to make sure there is no oil residue.
Place the aquafaba, vanilla extract, and cream of tartar in your stand mixer’s bowl. Beat on high for 1 minute until it starts to get frothy. Add the sugar a spoonful at a time while the mixer is running, very, very slowly. Continue to beat until stiff peaks are formed, this may take 5 to 10 minutes or so, depending on your mixer.
So, it’s still the Elements theme month. (Yes, I know, what were we thinking?!) We decided that I would do Fire for obvious reasons. I am to spicy food as MaryKate is to potatoes. I have a dried chili collection. Before the corn allergy hit, I had a commercial hot sauce collection, with about 20 or so bottles in the fridge. Now my collection is all homemade! Fire was always going to be my baby when we came up with this wacky theme month.
One of the hot sauces in my late, dearly lamented commercial hot sauce collection was Cholula Chili Lime hot sauce. It was lovely. It was great on anything, fried foods, grilled meats, tacos, in salsa, etc. So since MaryKate very generously shipped me three different kinds of chili peppers from a farmers market in Seattle at the end of September and I had set some of them up to ferment, I decided that this would be one of hot sauces I’d try to replicate. I used the Targu Mures peppers, which is a rare small hot Paprika type pepper from Transylvania, and is about the size of an Serrano pepper, close to a Cayenne pepper in heat, and bright red. But you could use any red chili that strikes your fancy or heat tolerance.
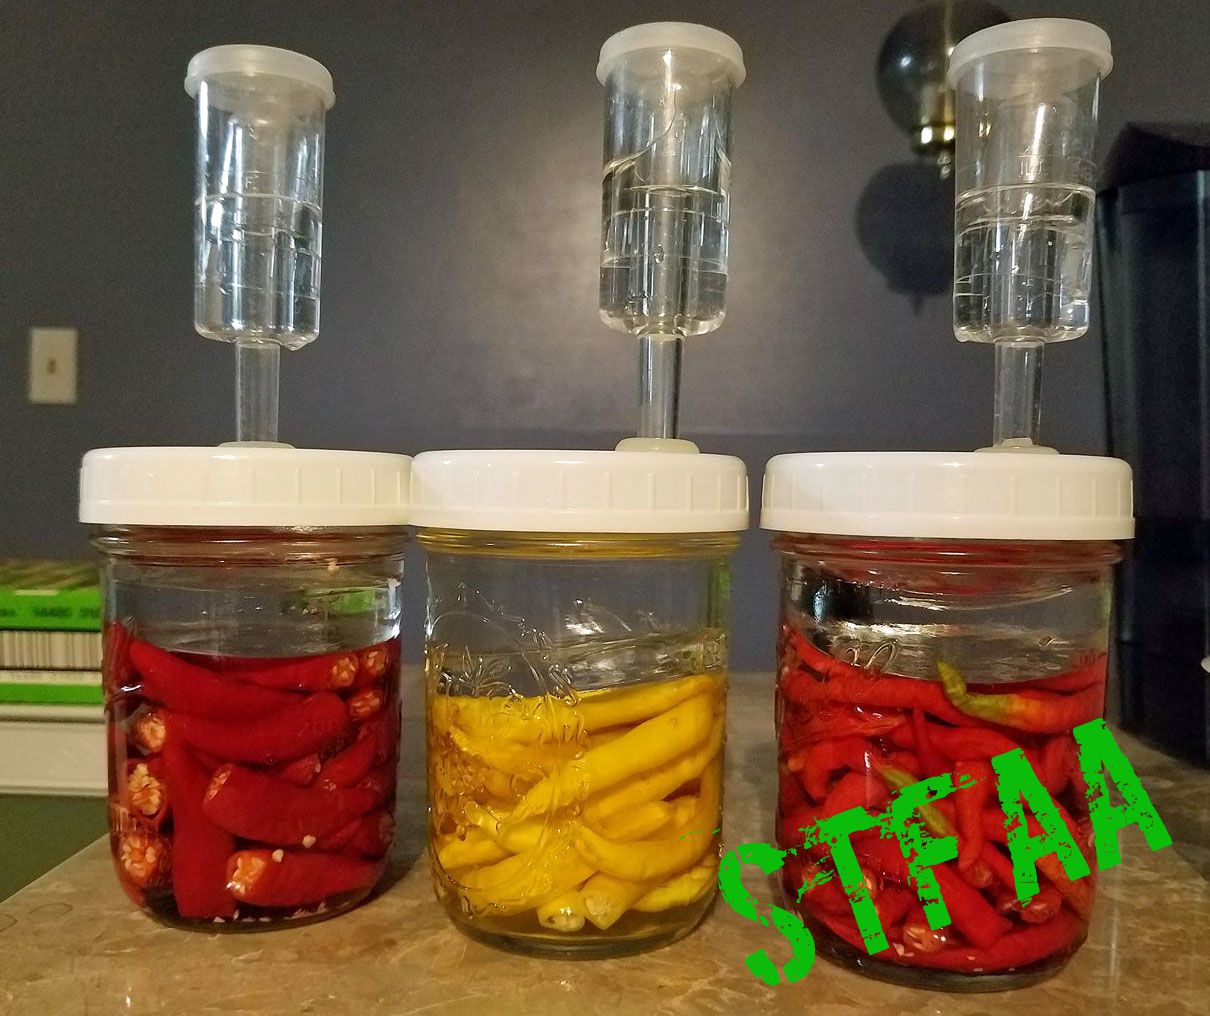
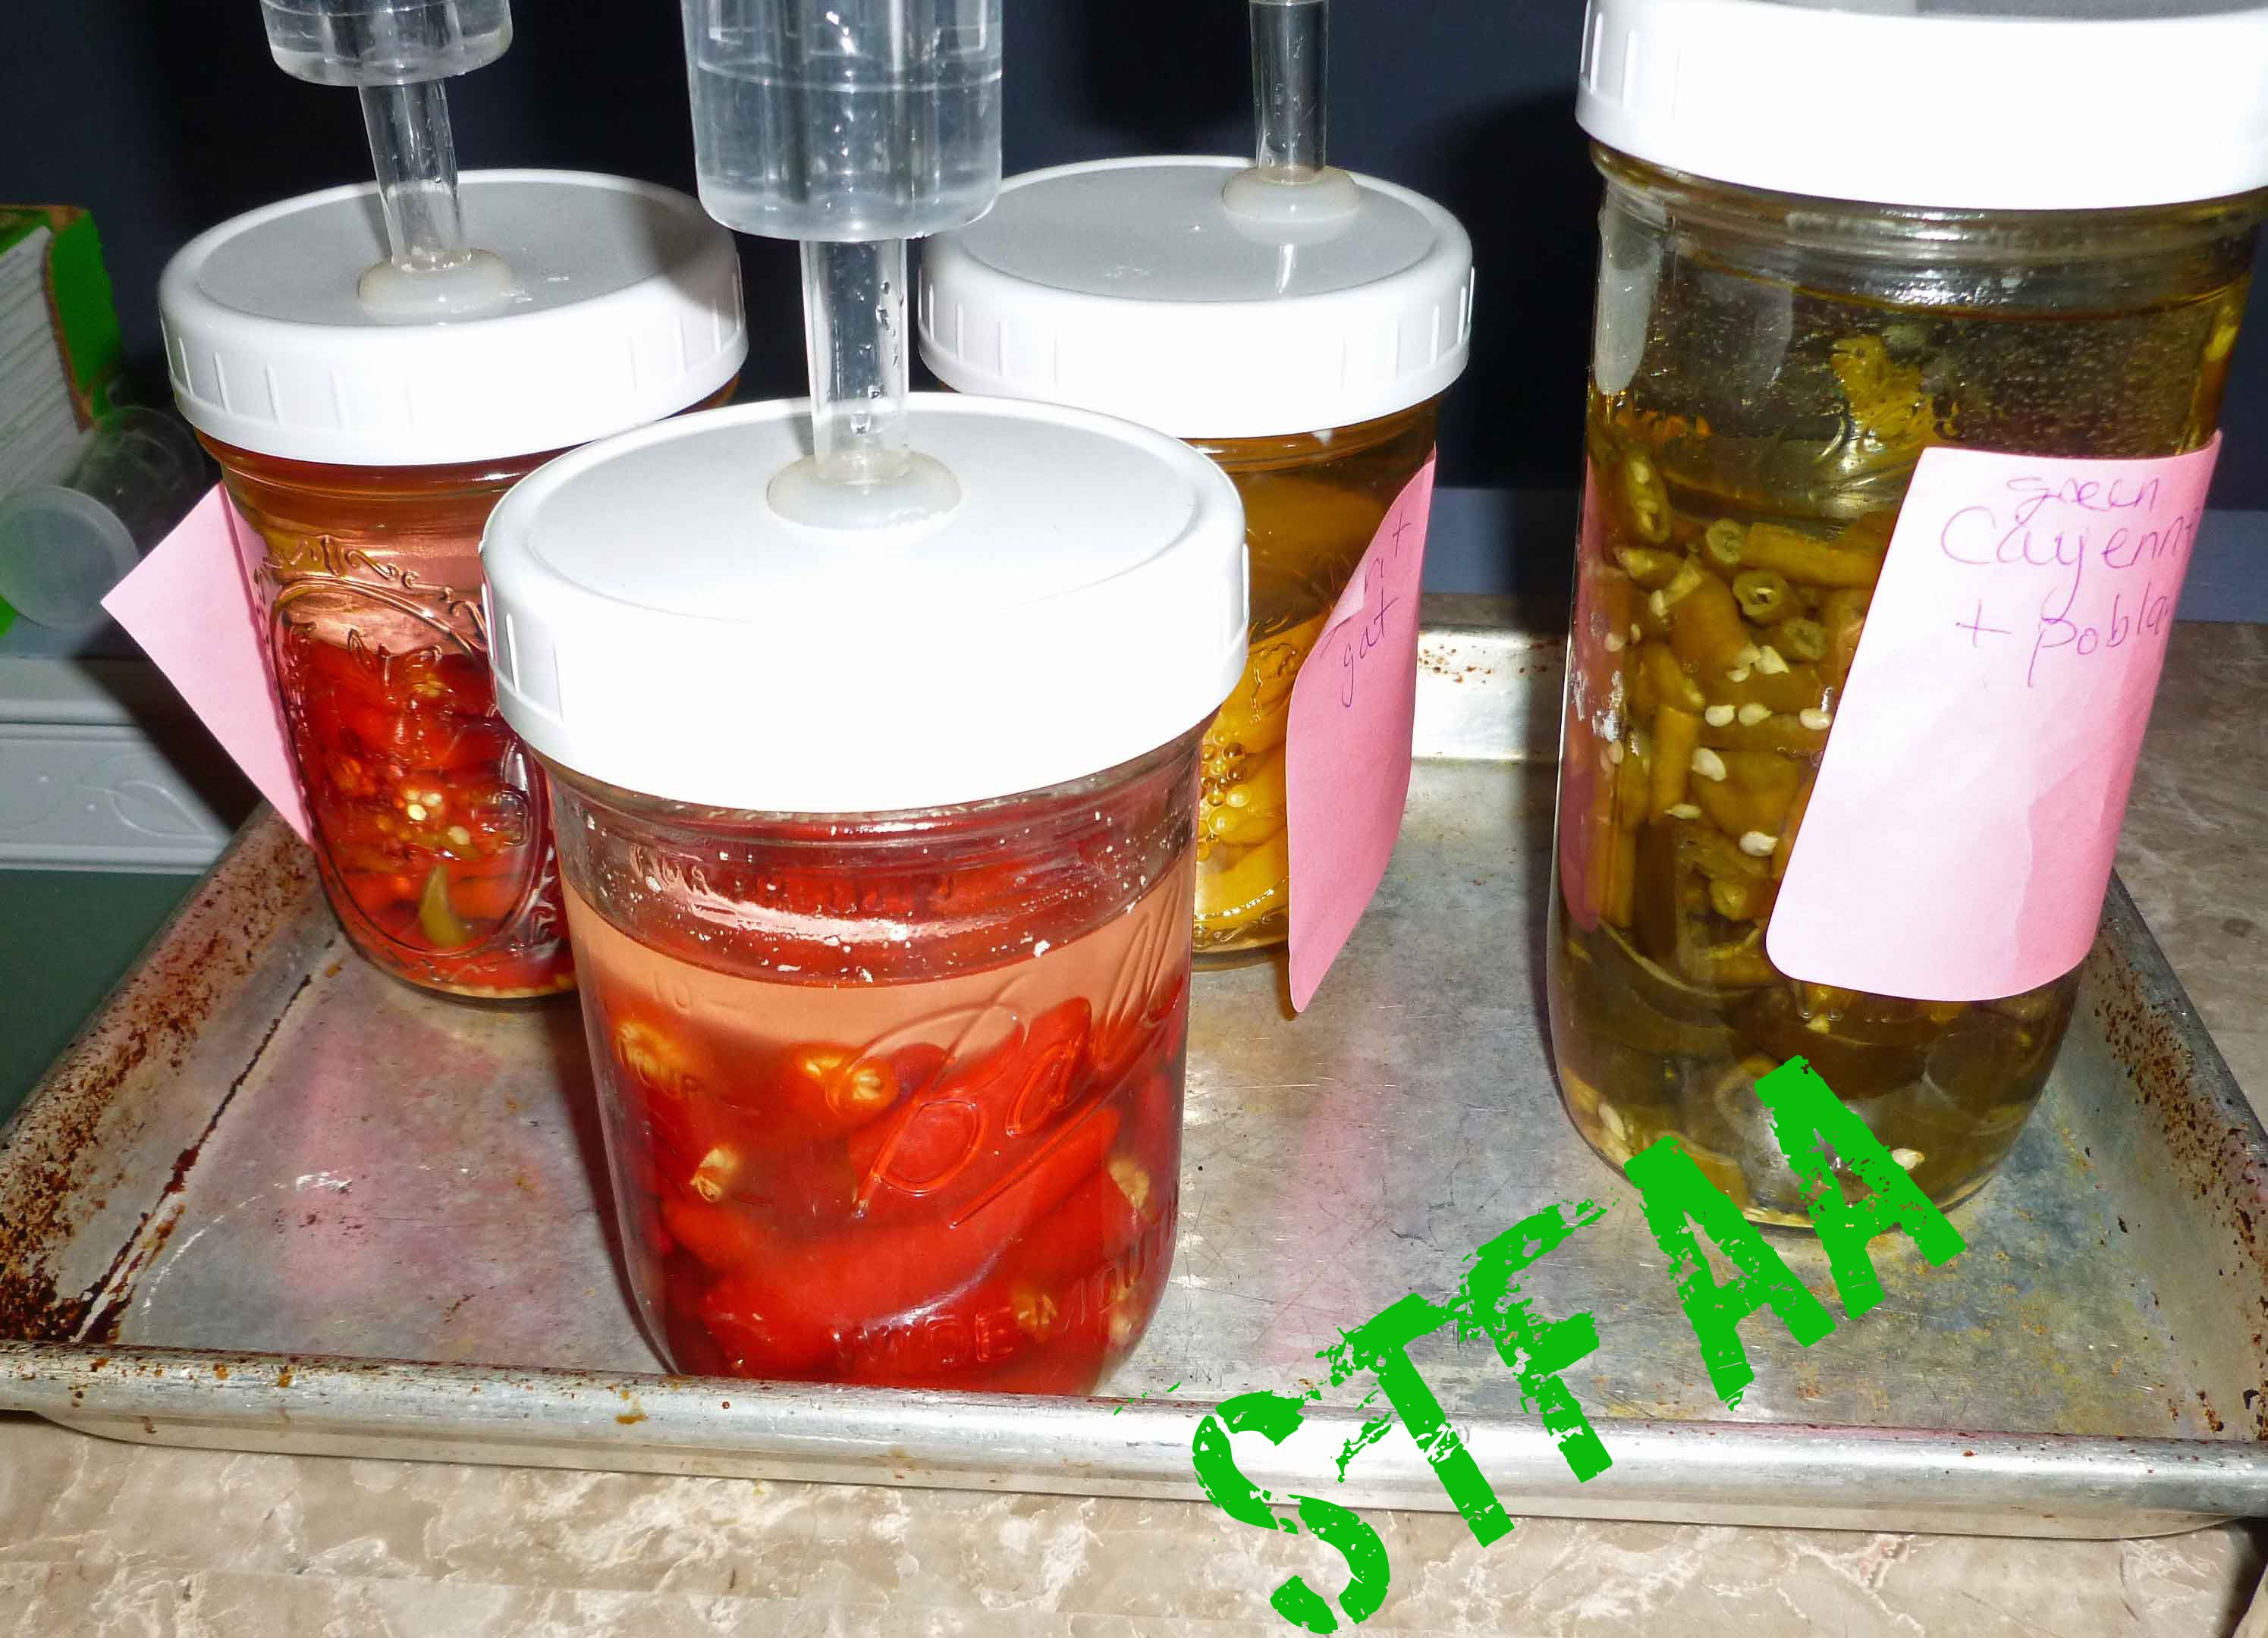
I had to learn to ferment when I lost corn because I wasn’t sure how I could manage without hot sauce. You can make hot sauce without fermenting, but if you want a Tabasco or Sriracha style sauce, fermenting is necessary. Fermenting is easier than it looks. You don’t really need airlock lids for your mason jars but it makes your life a lot easier because you don’t have to babysit the ferments. The airlock allows the carbon dioxide that builds up from the fermenting processing to be expelled, without allowing fresh air that could have yeast or mold spores to get in. Releasing the carbon dioxide is important because if you have the lid of a mason jar tightly sealed, the glass can crack under pressure and let pepper juice leak all over your counter. Ask me how I know. You can get the lids online, if you do a search a bunch of options will pop up, or you can commit to “burping” your ferments every day. Some people use a non-latex nitrile medical glove over the top of the jar and put a pin prick in a finger, but I’m not so sure about doing that in the context of a corn allergy, therefore I use the airlock lids as showing in the pictures below. You do need to make sure that the peppers stay under the brine, so I use either glass fermentation weights or smaller 4 ounce jars that I can fill with brine and weigh down the peppers in my wide mouth pint or quart jars. If the peppers rise above the brine, you are risking mold and spoilage.
Hot peppers at the beginning of the fermenting processHot peppers at the end of the fermenting process, about 4 weeksPeppers after blendingPeppers being strainedPeppers after seeds and skins strainedCompleted Chili Lime Hot SauceChili Lime Hot Sauce
The other nice thing about making hot sauce is that you get two products for one. When you strain out the skins and seeds during the process, you can dry them in the oven or the dehydrator and get a nice crushed pepper mix to use in other spice mixes, rubs, or other recipes. No waste!
Wet chili skin and seeds going into a toaster ovenChili flakes (skins and seeds after drying)Crushed red pepper
Chili Lime Hot Sauce
Print Recipe
A hot sauce reminiscent of one of Denise’s commercial favorites in the time before corn.
1quart spring water(not tap water, it will interfere with fermentation)
1.8ouncessea salt
Hot Sauce Ingredients
1cup hot red chili peppers(I used Targu Mures, but you can use Fresno, Red Jalapenos, etc.)
4ouncestomato paste(I used my homemade tomato paste)
1clovegarlic
3limes, juiced and divided
1Tablespoonbrown sugar
1teaspoon brown sugar
1/4teaspoonsalt
Servings: ounces
Instructions
Fermenting the Peppers
Make brine by mixing spring water and salt in a container until salt is dissolved.
Wash peppers and cut the stems off so that the seed cavity is visible. Placed washed peppers in pint jar and add glass weight or 4 ounce jar. Add brine until the weight is covered with brine by at least half an inch, or cover with brine and add 4 ounce jar full of brine to weight down peppers making sure that all peppers are submerged in brine. Place airlock on jar and add brine to airlock to seal.
Let ferment for 2 to 4 weeks at room temperature, checking daily to make sure the brine levels are okay. You may need to add brine as time goes on as the peppers must stay submerged at all times. If the peppers do not stay submerged, they could develop mold and you’ll need to throw it out and start all over.
Making the Hot Sauce
Once your peppers are fermented, remove the airlock and and glass weight or glass jar. Drain brine. Place the peppers in a blender with the garlic clove and the juice of 1 lime.
Blend until the peppers are pureed, but not until the seeds have disappeared if you have a high performance blender. You want to leave the seeds whole enough to strain out.
Once you have pureed your peppers, place the puree in a fine mesh strainer over a bowl and use a spatula or the back of a spoon to press the liquid in your puree into the bowl, leaving the seeds and skins of the peppers behind. (Hint: dehydrate the seeds and skins remaining in the oven at the lowest temperature you can or in a dehydrator to make crushed red pepper to use in other recipes).
Place the strained puree in a sauce pan, with the juice of the remaining two limes, the tomato paste, the brown sugar, and the salt. Mix well and bring to a gentle boil over medium heat, and continue to gently boil stirring occasionally for 2 to 3 minutes. You can add additional sugar or salt to taste, if necessary.
Remove the sauce from heat and let cool before placing it a container to store in the refrigerator. Use it on everything.