Notice: Function _load_textdomain_just_in_time was called incorrectly. Translation loading for the wp-ultimate-recipe domain was triggered too early. This is usually an indicator for some code in the plugin or theme running too early. Translations should be loaded at the init action or later. Please see Debugging in WordPress for more information. (This message was added in version 6.7.0.) in /home/maryzahc/public_html/adultfoodallergies.com/wp-includes/functions.php on line 6131 Allergy-Friendly Recipes – Page 15 – surviving the food allergy apocalypse (archive)
As I said a couple of weeks ago, I’m drowning in apples. In addition to all the apple canning projects I’ve been doing, I’m trying to cook with them too. So I came up with doing a pork loin with a rub using apple pie/mulled cider spices on a bed of onions and apples.
Autumn Spiced Pork Loin
4 pound whole pork loin
2 large or 3 medium onions, peeled and diced into 1/2 inch pieces
2 large or 3 medium apples, peeled, cored and diced into 1/2 inch pieces.
Small amount of safe for you oil to grease a 9 inch by 13 inch roasting pan with.
Rub for pork loin:
3 Tablespoons of brown sugar
1/2 teaspoon of sea salt
1/2 teaspoon of ground black pepper
1/2 teaspoon of ground cinnamon
1/4 teaspoon of ground nutmeg
1/4 teaspoon of ground allspice
Preheat oven to 375°F. Use your safe oil to grease a roasting pan. Place ingredients for the rub (brown sugar, sea salt, black pepper, cinnamon, nutmeg and allspice) in a small bowl and mix thoroughly with a fork.
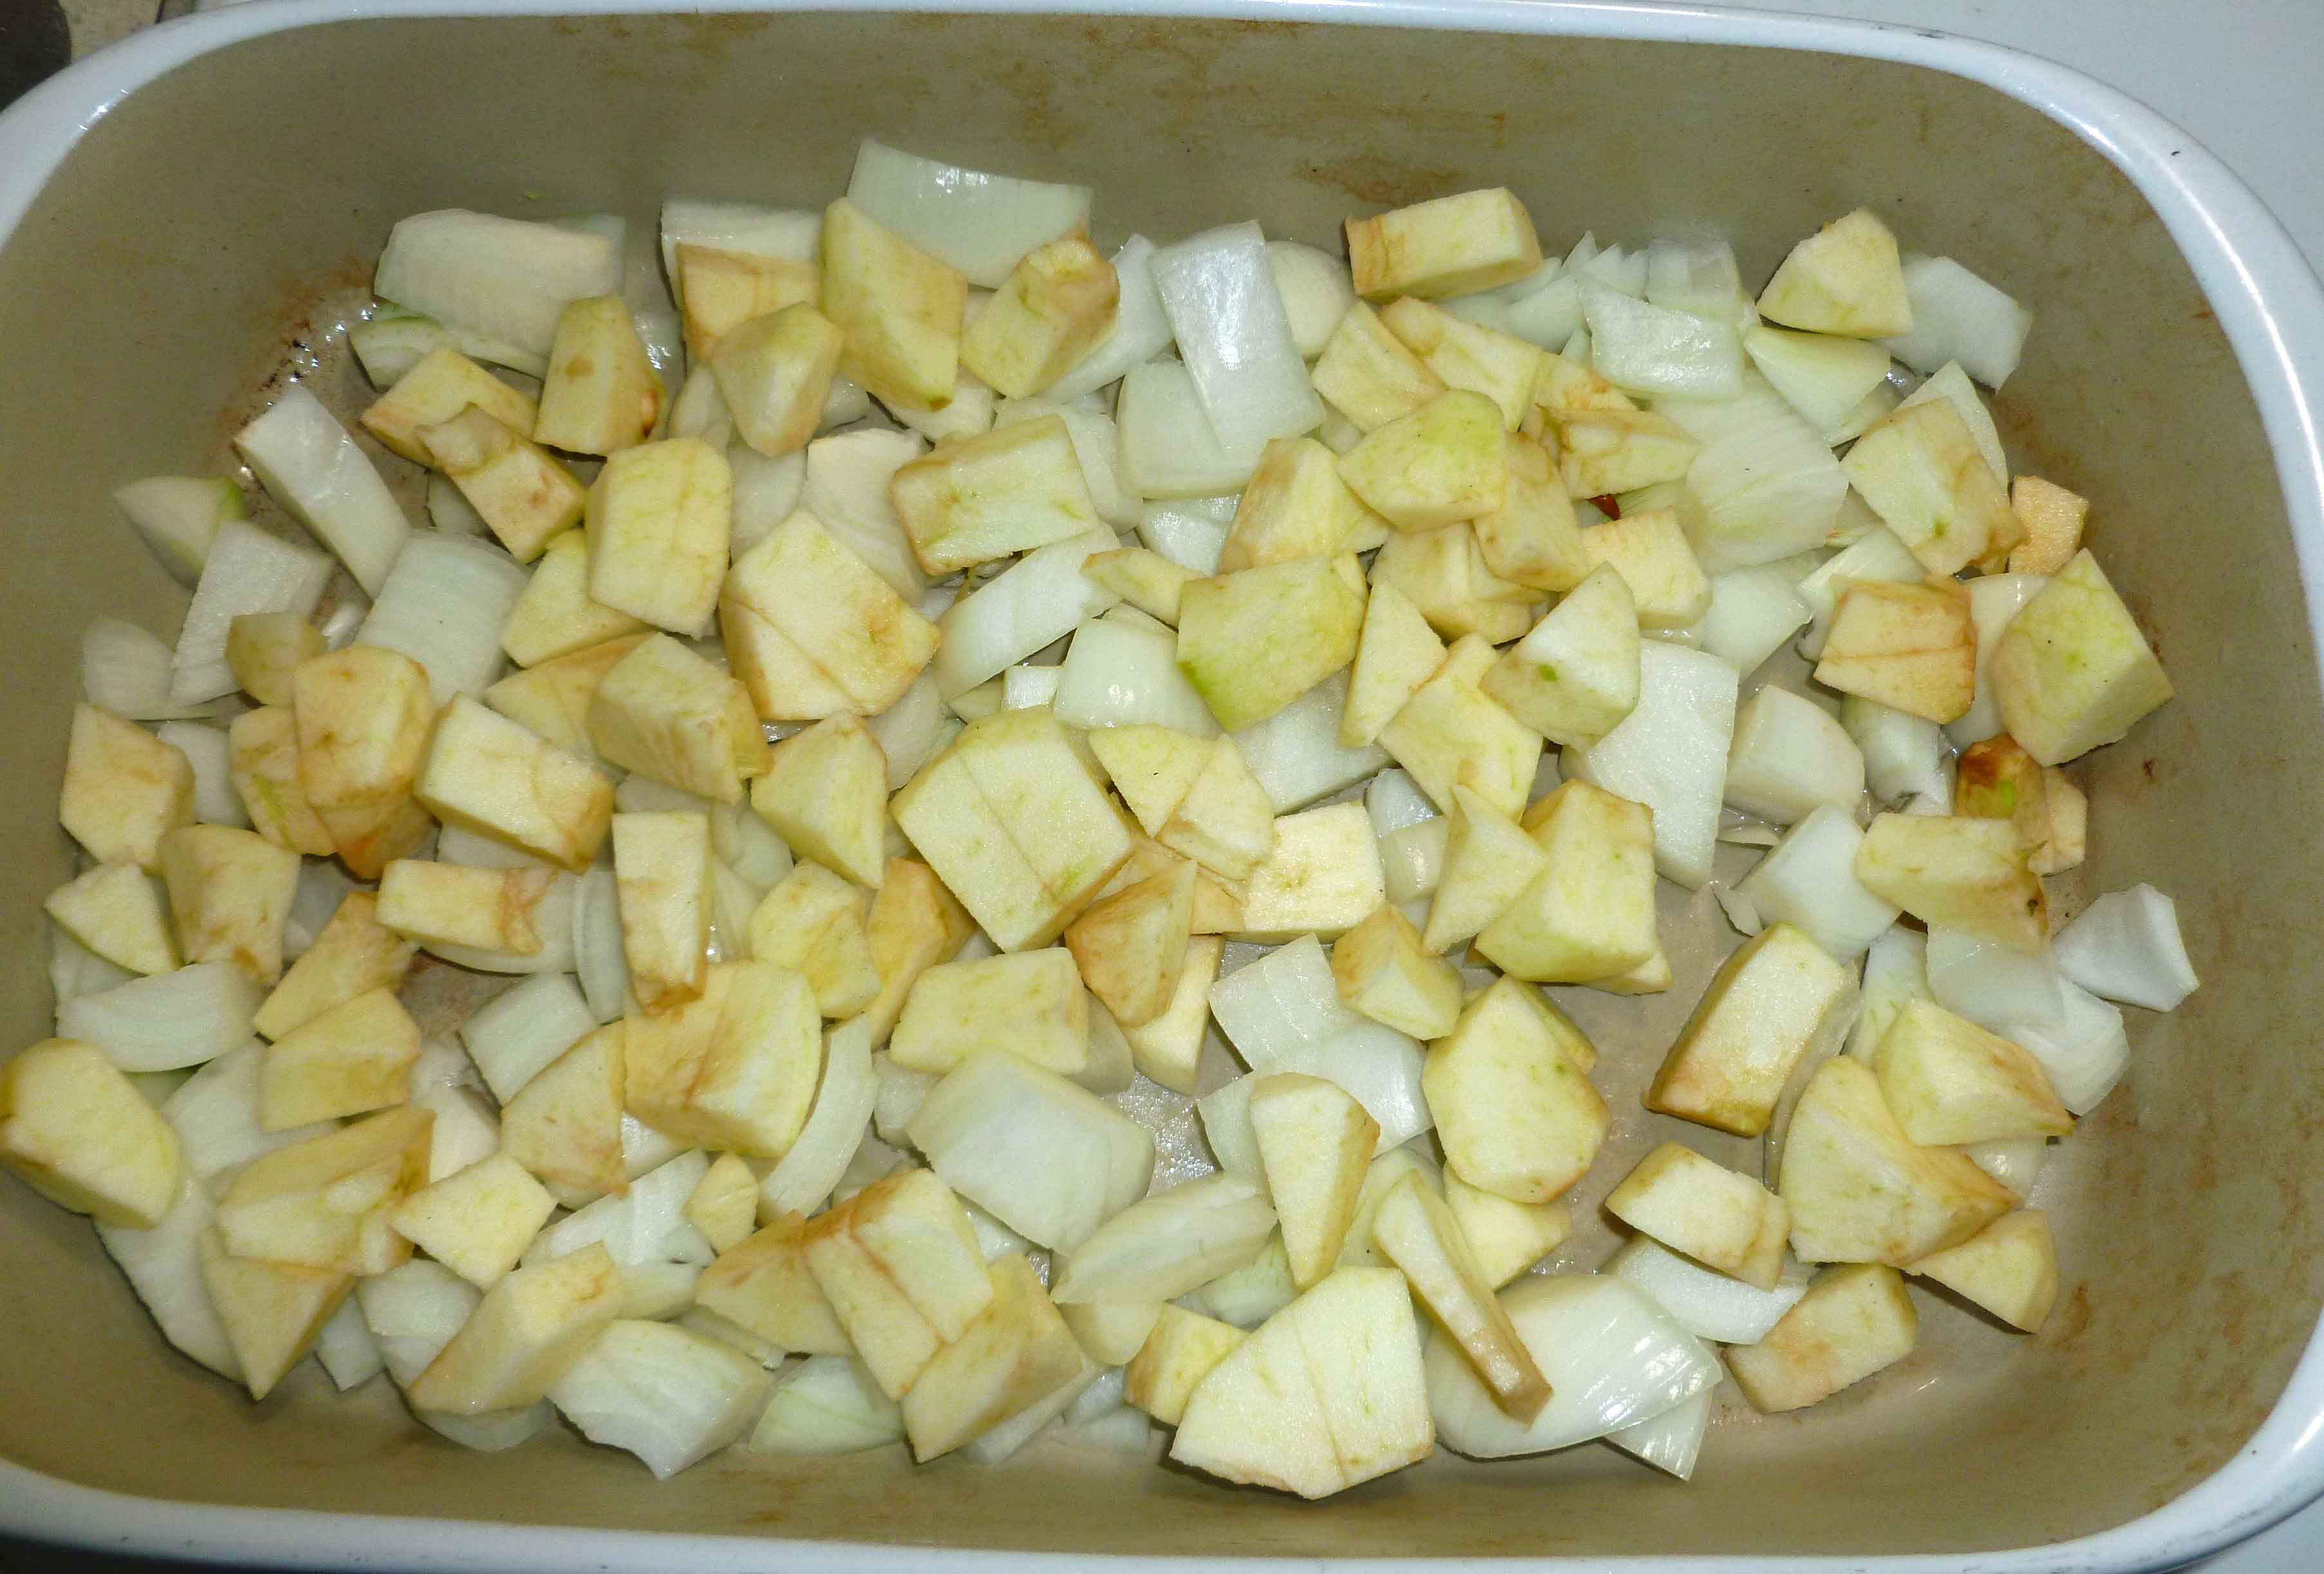
Place diced onions and apples in the bottom of the roasting pan.
Apples and onions in roasting pan
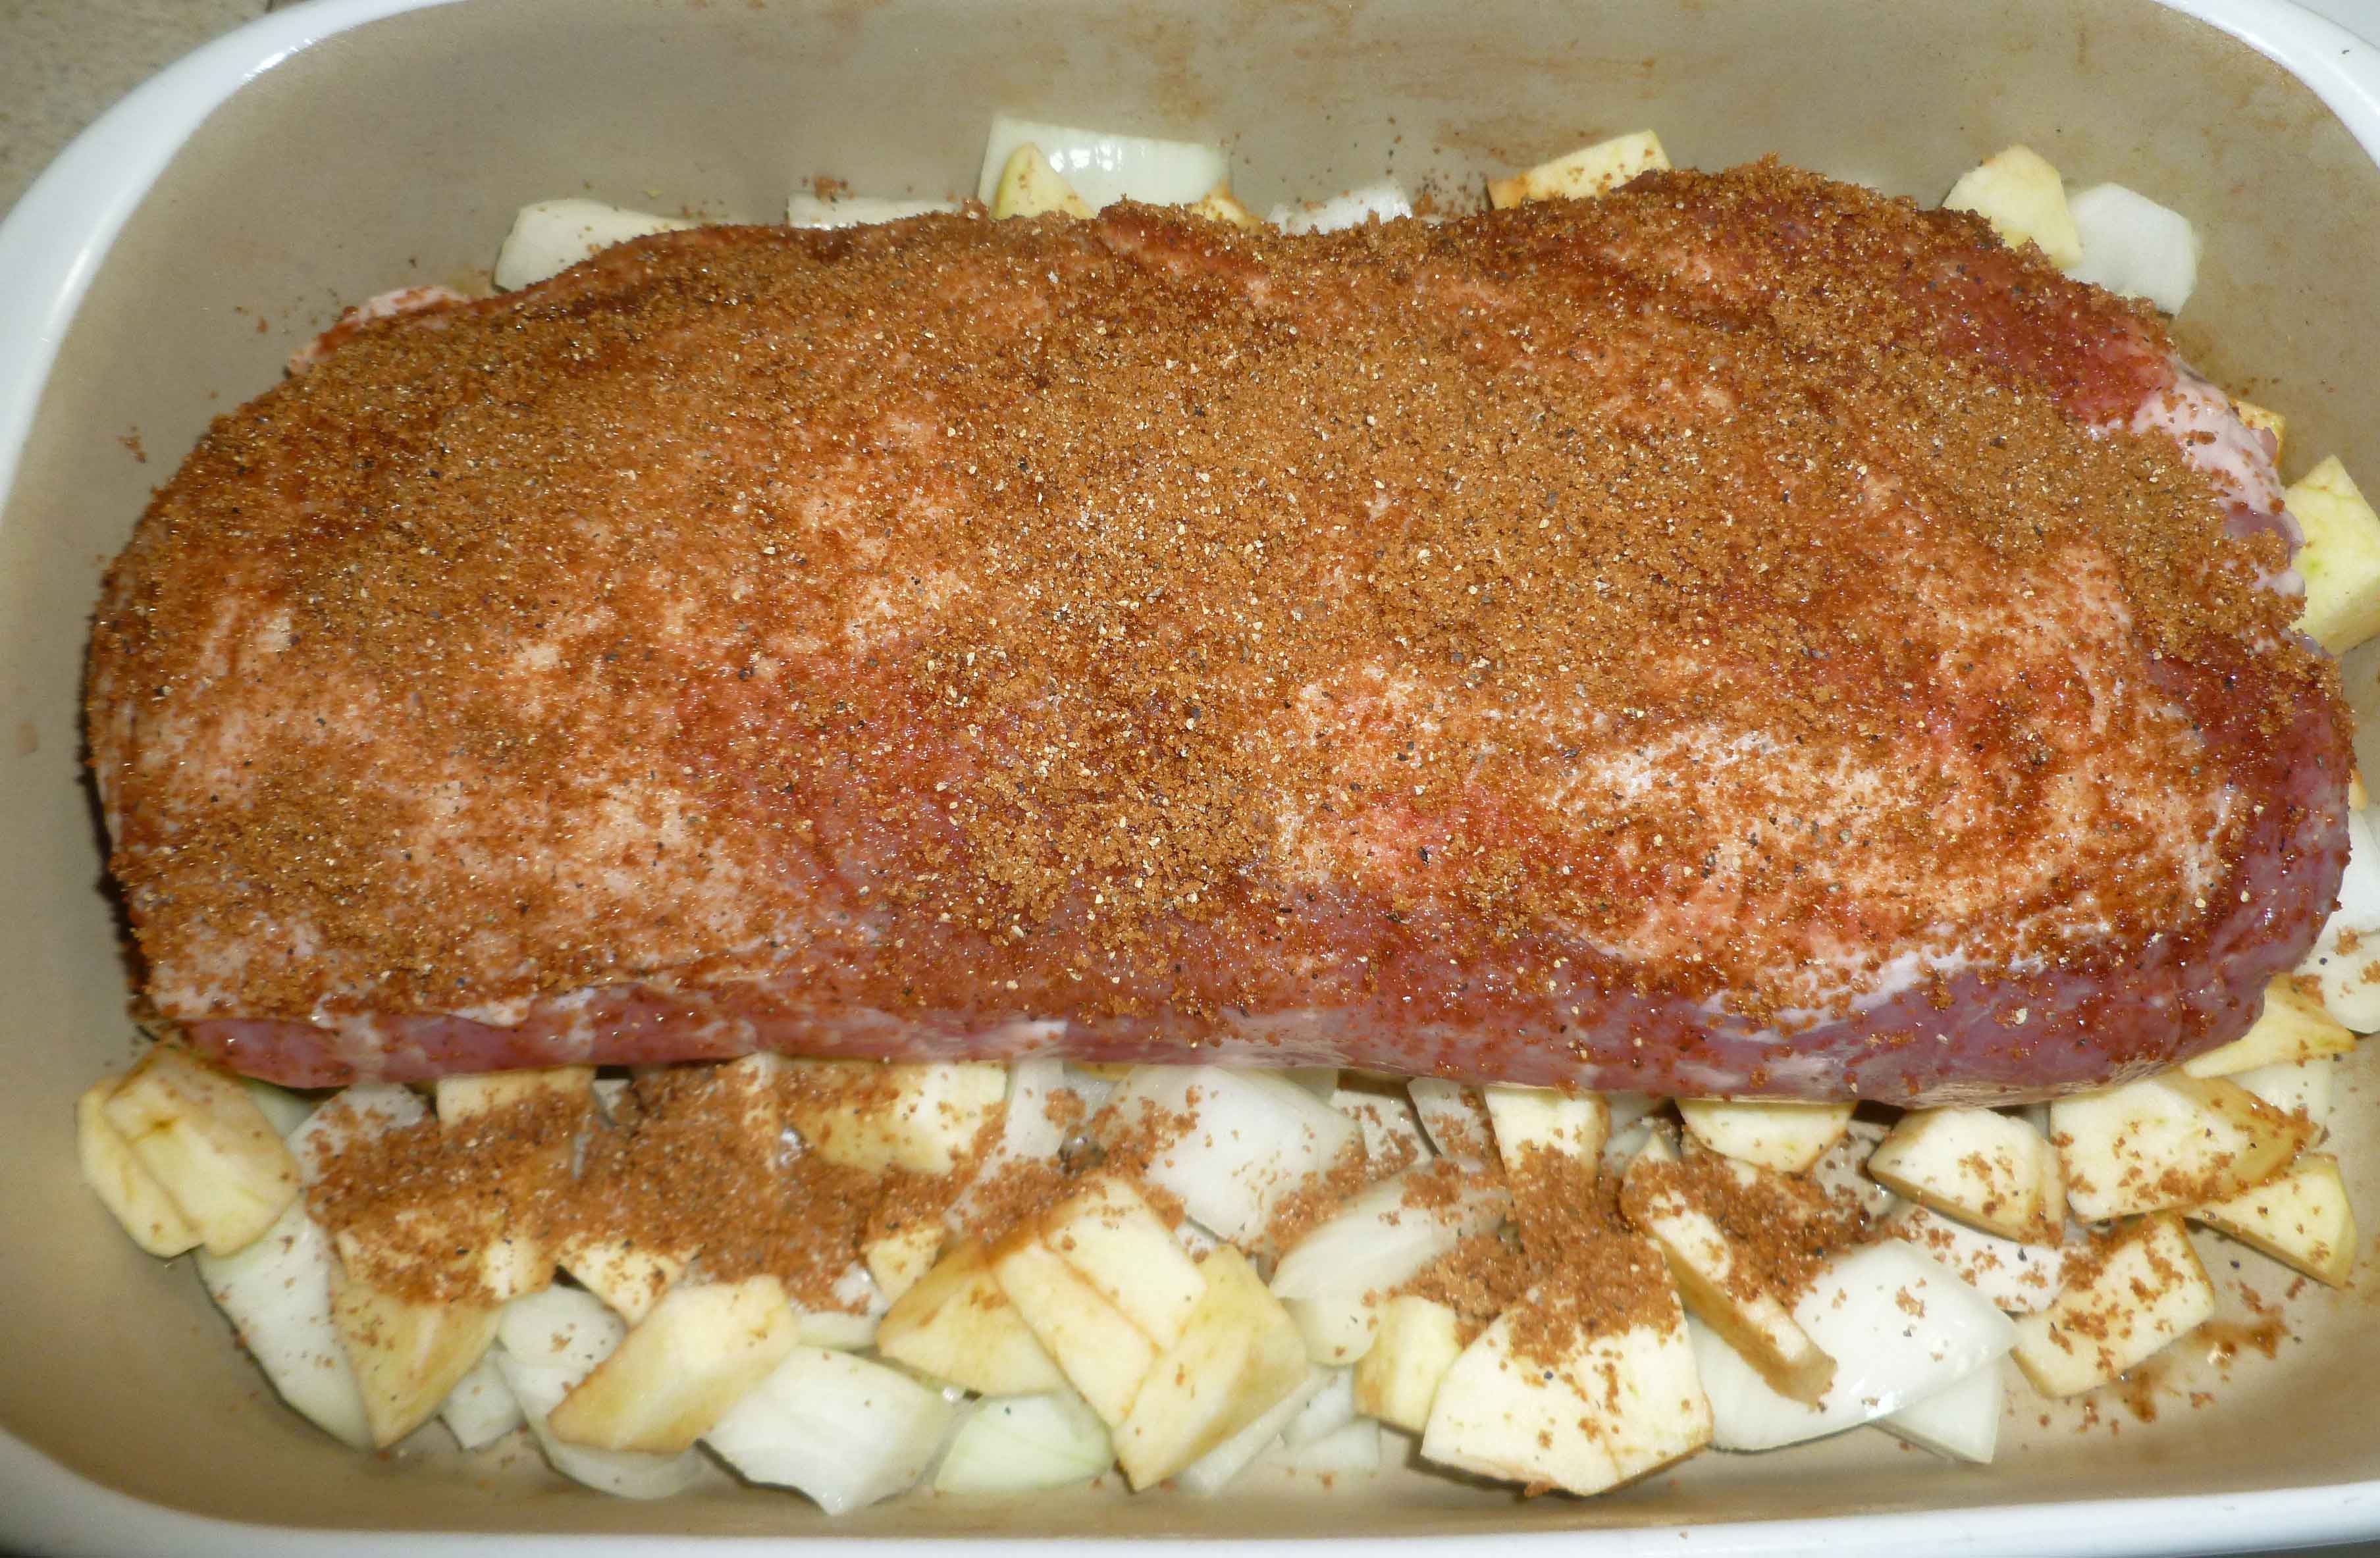
Place pork loin on top of diced onions and apples.
Pork loin in roasting pan on apples and onions
Cover top of pork loin with spice rub. It’s okay if you get a bit on the apples and onions.
Pork loin with rub
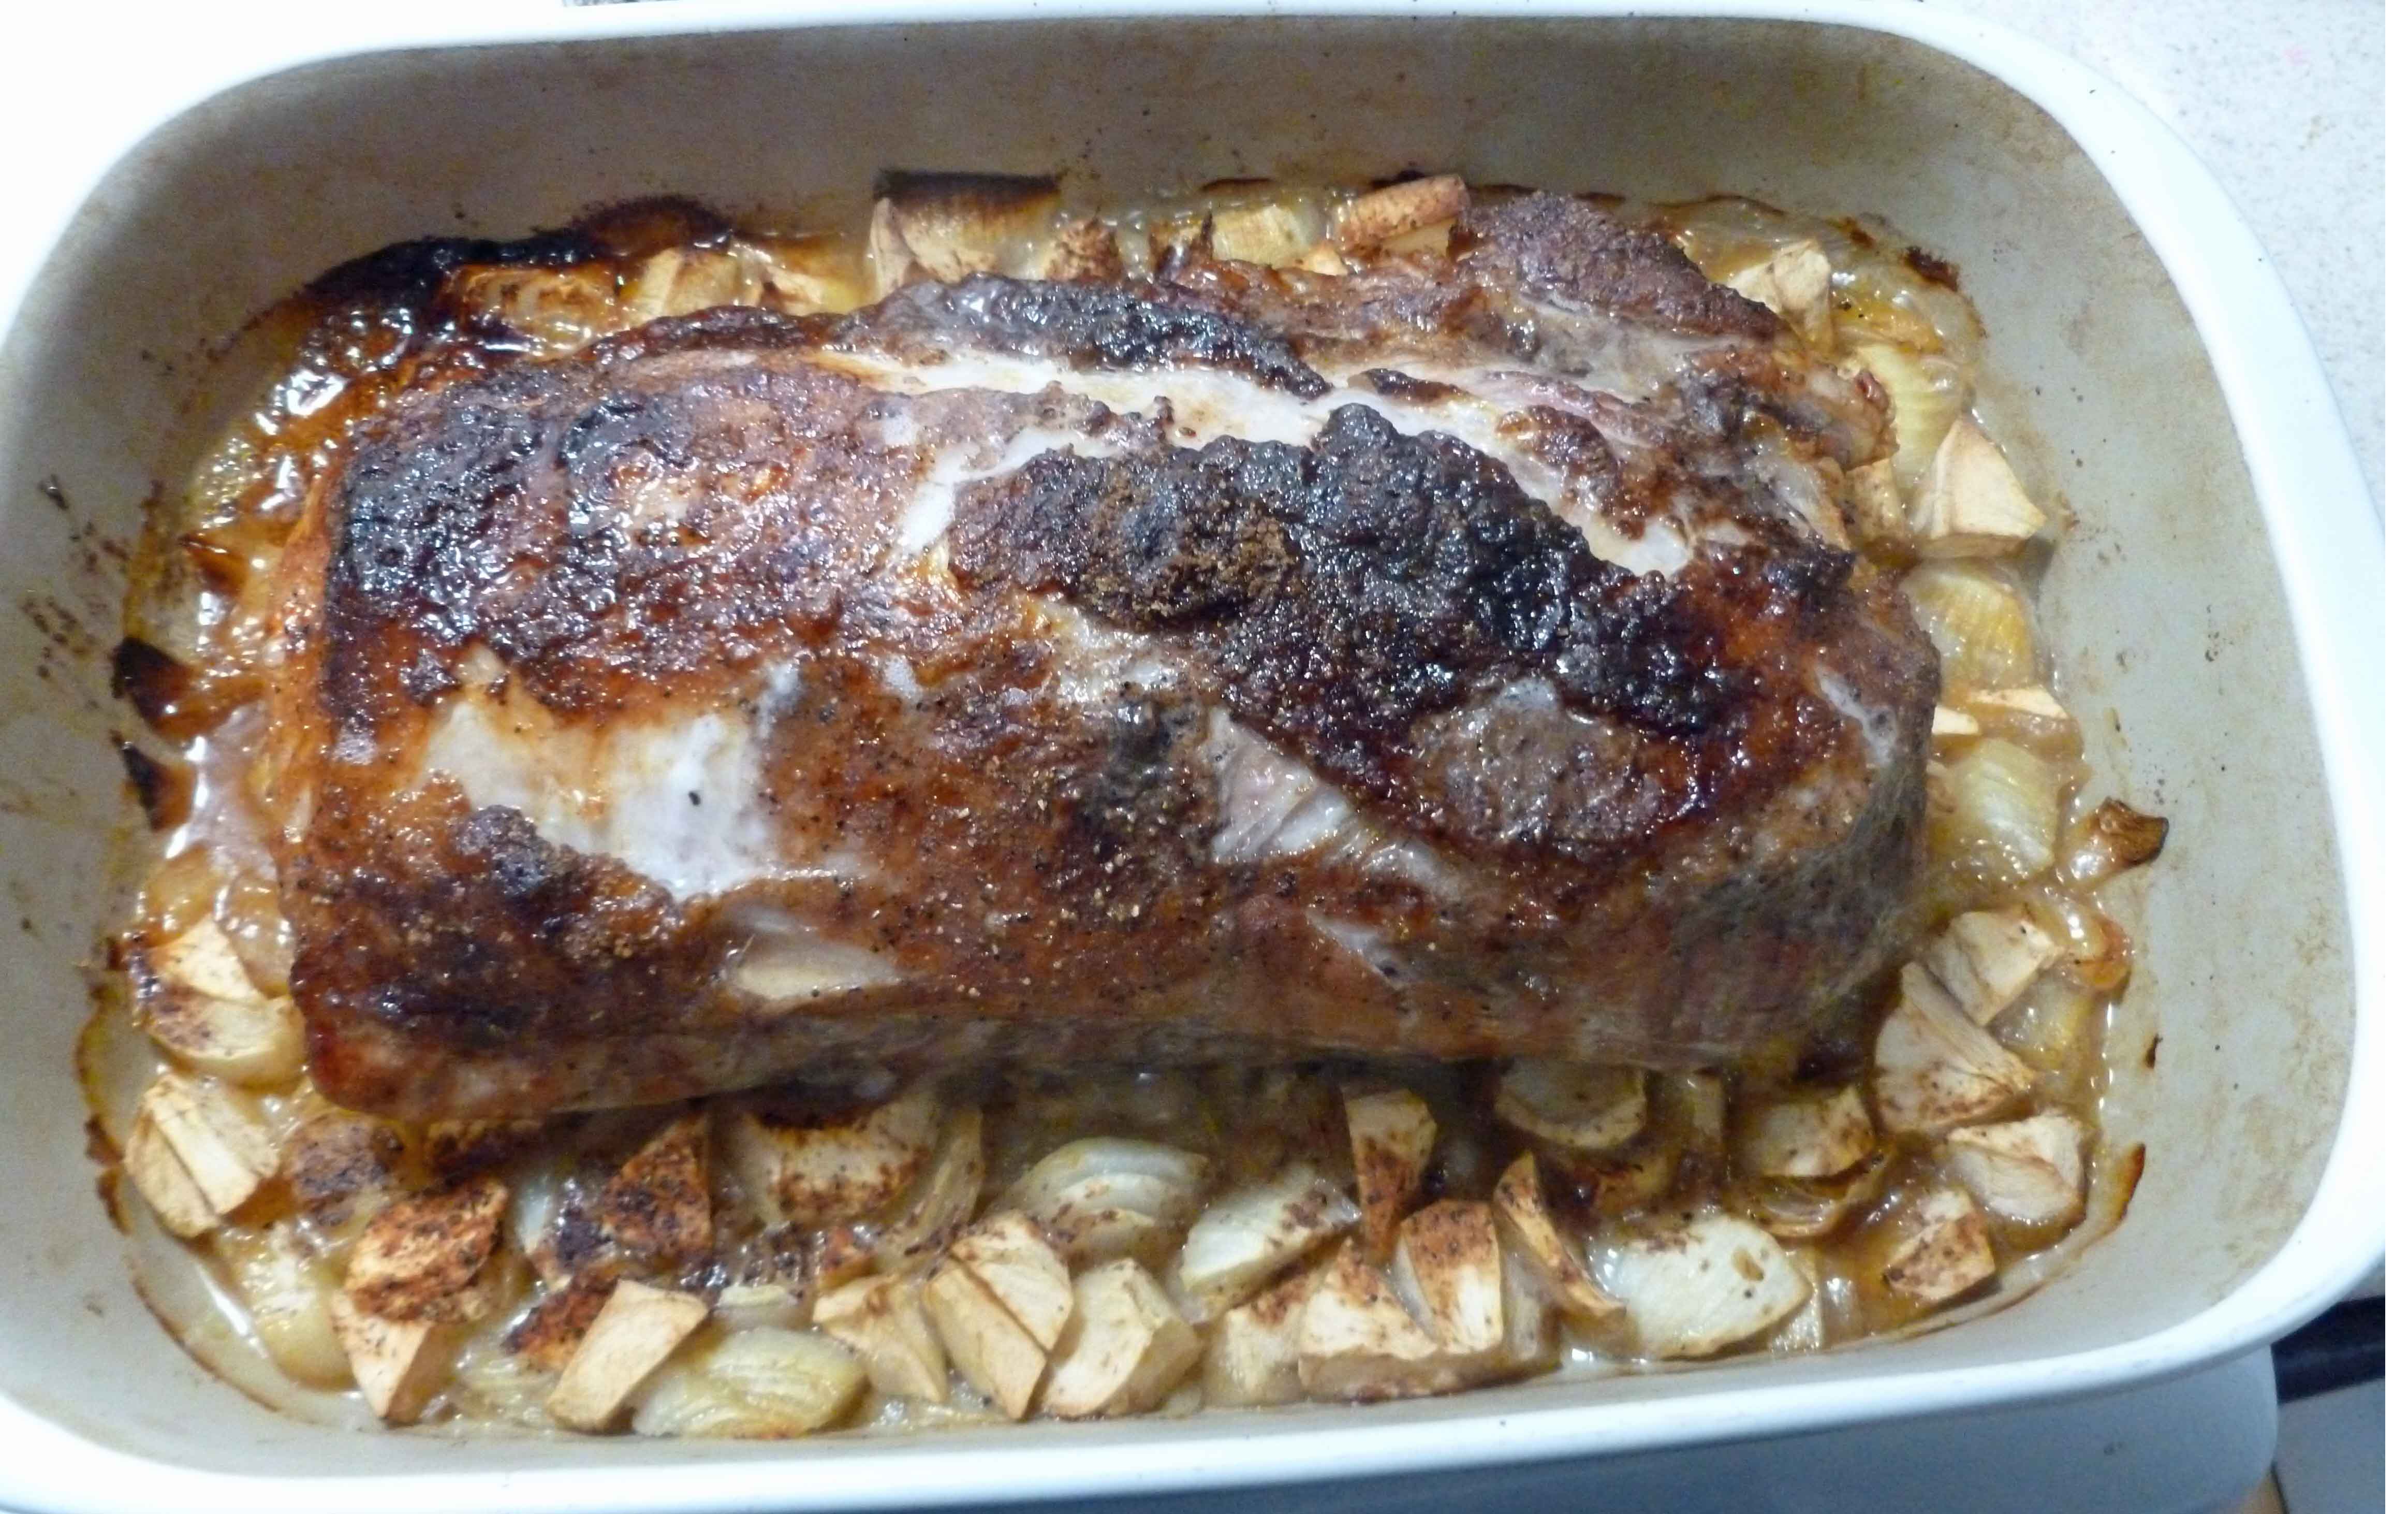
Place the roasting pan in oven and cook until the internal temperature is at least 161°F. In order to get the correct internal temperature in my oven with a four pound pork loin, it took 1 hour and 45 minutes. If you have a much smaller pork loin, like the one to two pound pork loins you generally find at the grocery store, I’d start with 45 minutes and check the temperature at that time.
Once you’ve reached the correct internal temperature, remove the pork loin from the oven and let it rest for a few minutes.
Pork loin after roasting
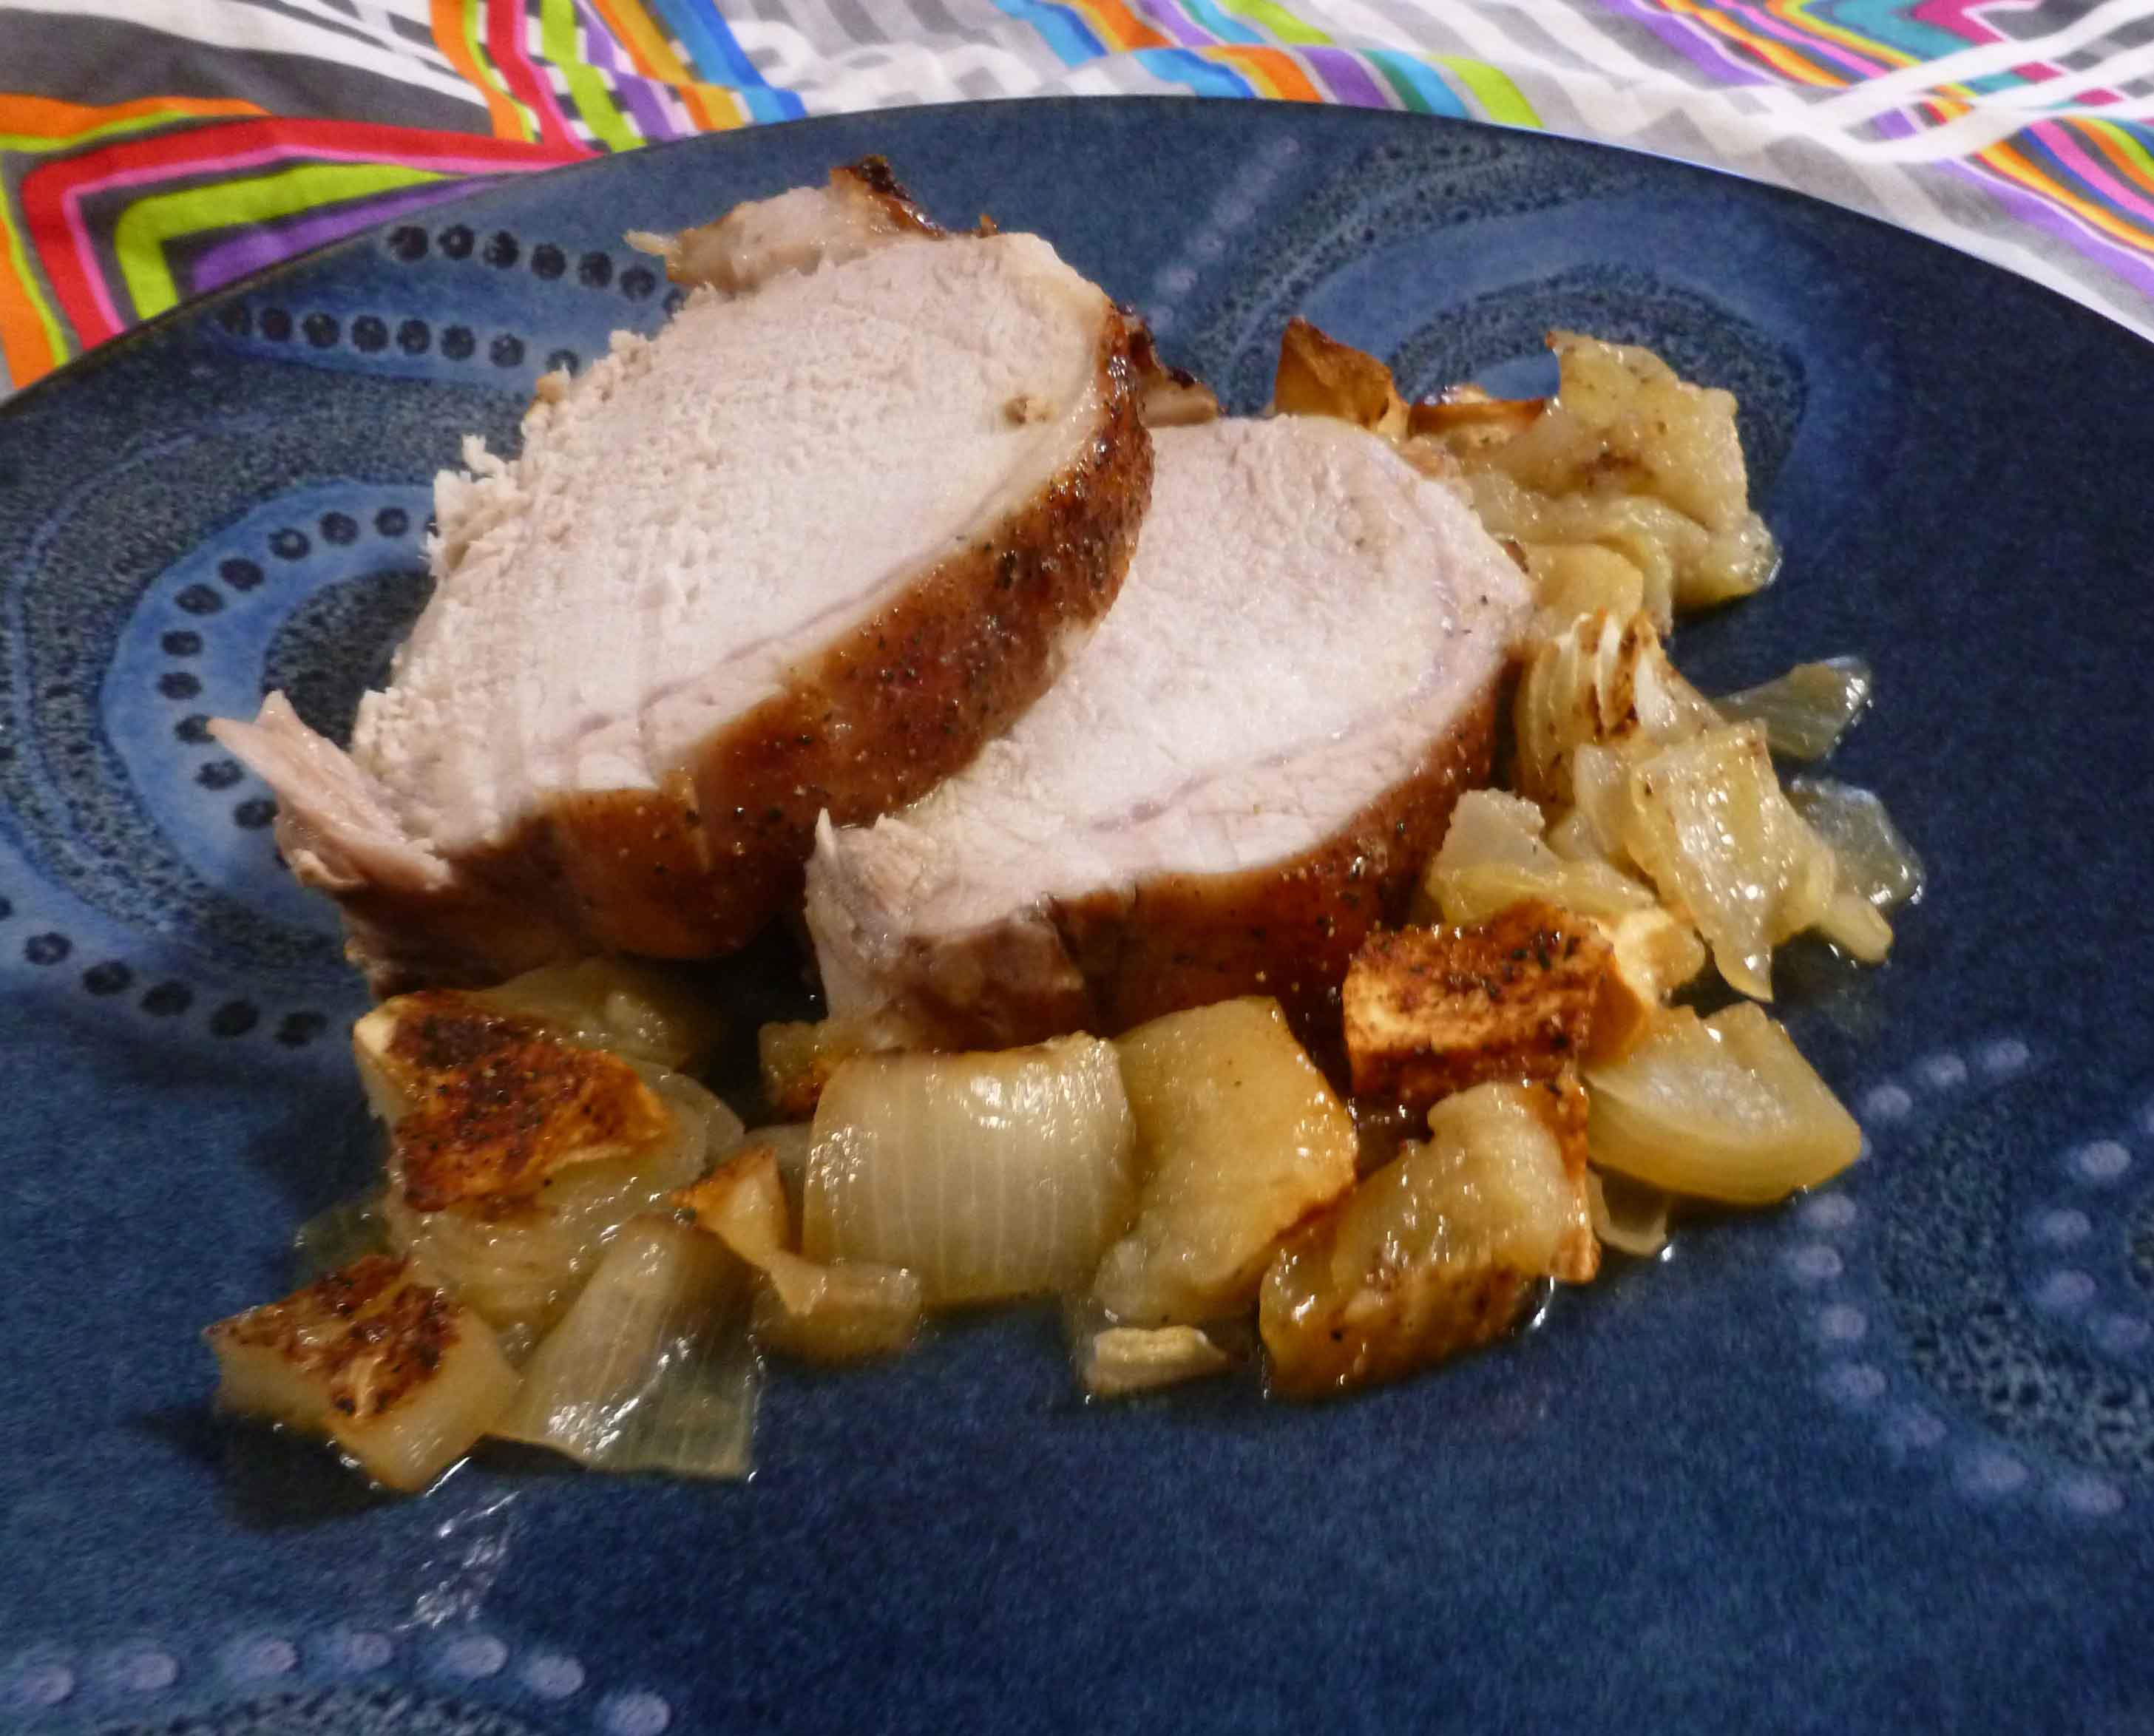
Slice the pork loin and serve with some of the roasted apples and onions.
My friend Laurie sent me the sample packet of Anti-Grain flours for my birthday, and the first thing that came to mind for apple flour (which is literally just dehydrated apples — an easy ingredient list to tackle) was pancakes. I love pancakes. Denise did pancakes a while back, but I thought pancakes with an apple flour base would be a nice change of pace.
I also wondered if aquafaba (chickpea brine) as an egg replacer might make a lighter, fluffier pancake, than chia or flax eggs. I tried it, but wasn’t thrilled with the results — I mean, it tasted great, but the texture wasn’t what I wanted. So I whipped the brine, which made all the difference. Admittedly, this adds an extra step and an extra bowl to your pancake adventure. As much as I hate dishes (and I don’t own a dishwasher), this extra bowl is worth it.
I’ve used a mix of oat flour and sorghum flour. If you cannot tolerate gluten-free oats, use all sorghum.
Apple Cinnamon Gluten-Free Vegan Pancakes
serves 4
1/2 cup gluten-free oat flour (can sub sorghum, if you can’t tolerate oats)
1/4 cup apple flour
1/4 cup sorghum flour
1 Tablespoon tapioca starch
1 teaspoon baking powder
1/8 teaspoon baking soda
1/8 teaspoon salt
1 teaspoon cinnamon
1 1/2 Tablespoons brown sugar
2 Tablespoons oil (I prefer the flavor of coconut, but use what works for you)
1 cup non-dairy milk (I generally use almond)
1/2 cup of whipped aquafaba foam (chickpea brine whipped into an airy foam)
Oil for the skillet or pan
Whisk the dry ingredients together.
Add the oil and non-dairy milk and whisk.
Fold in the aquafaba foam.
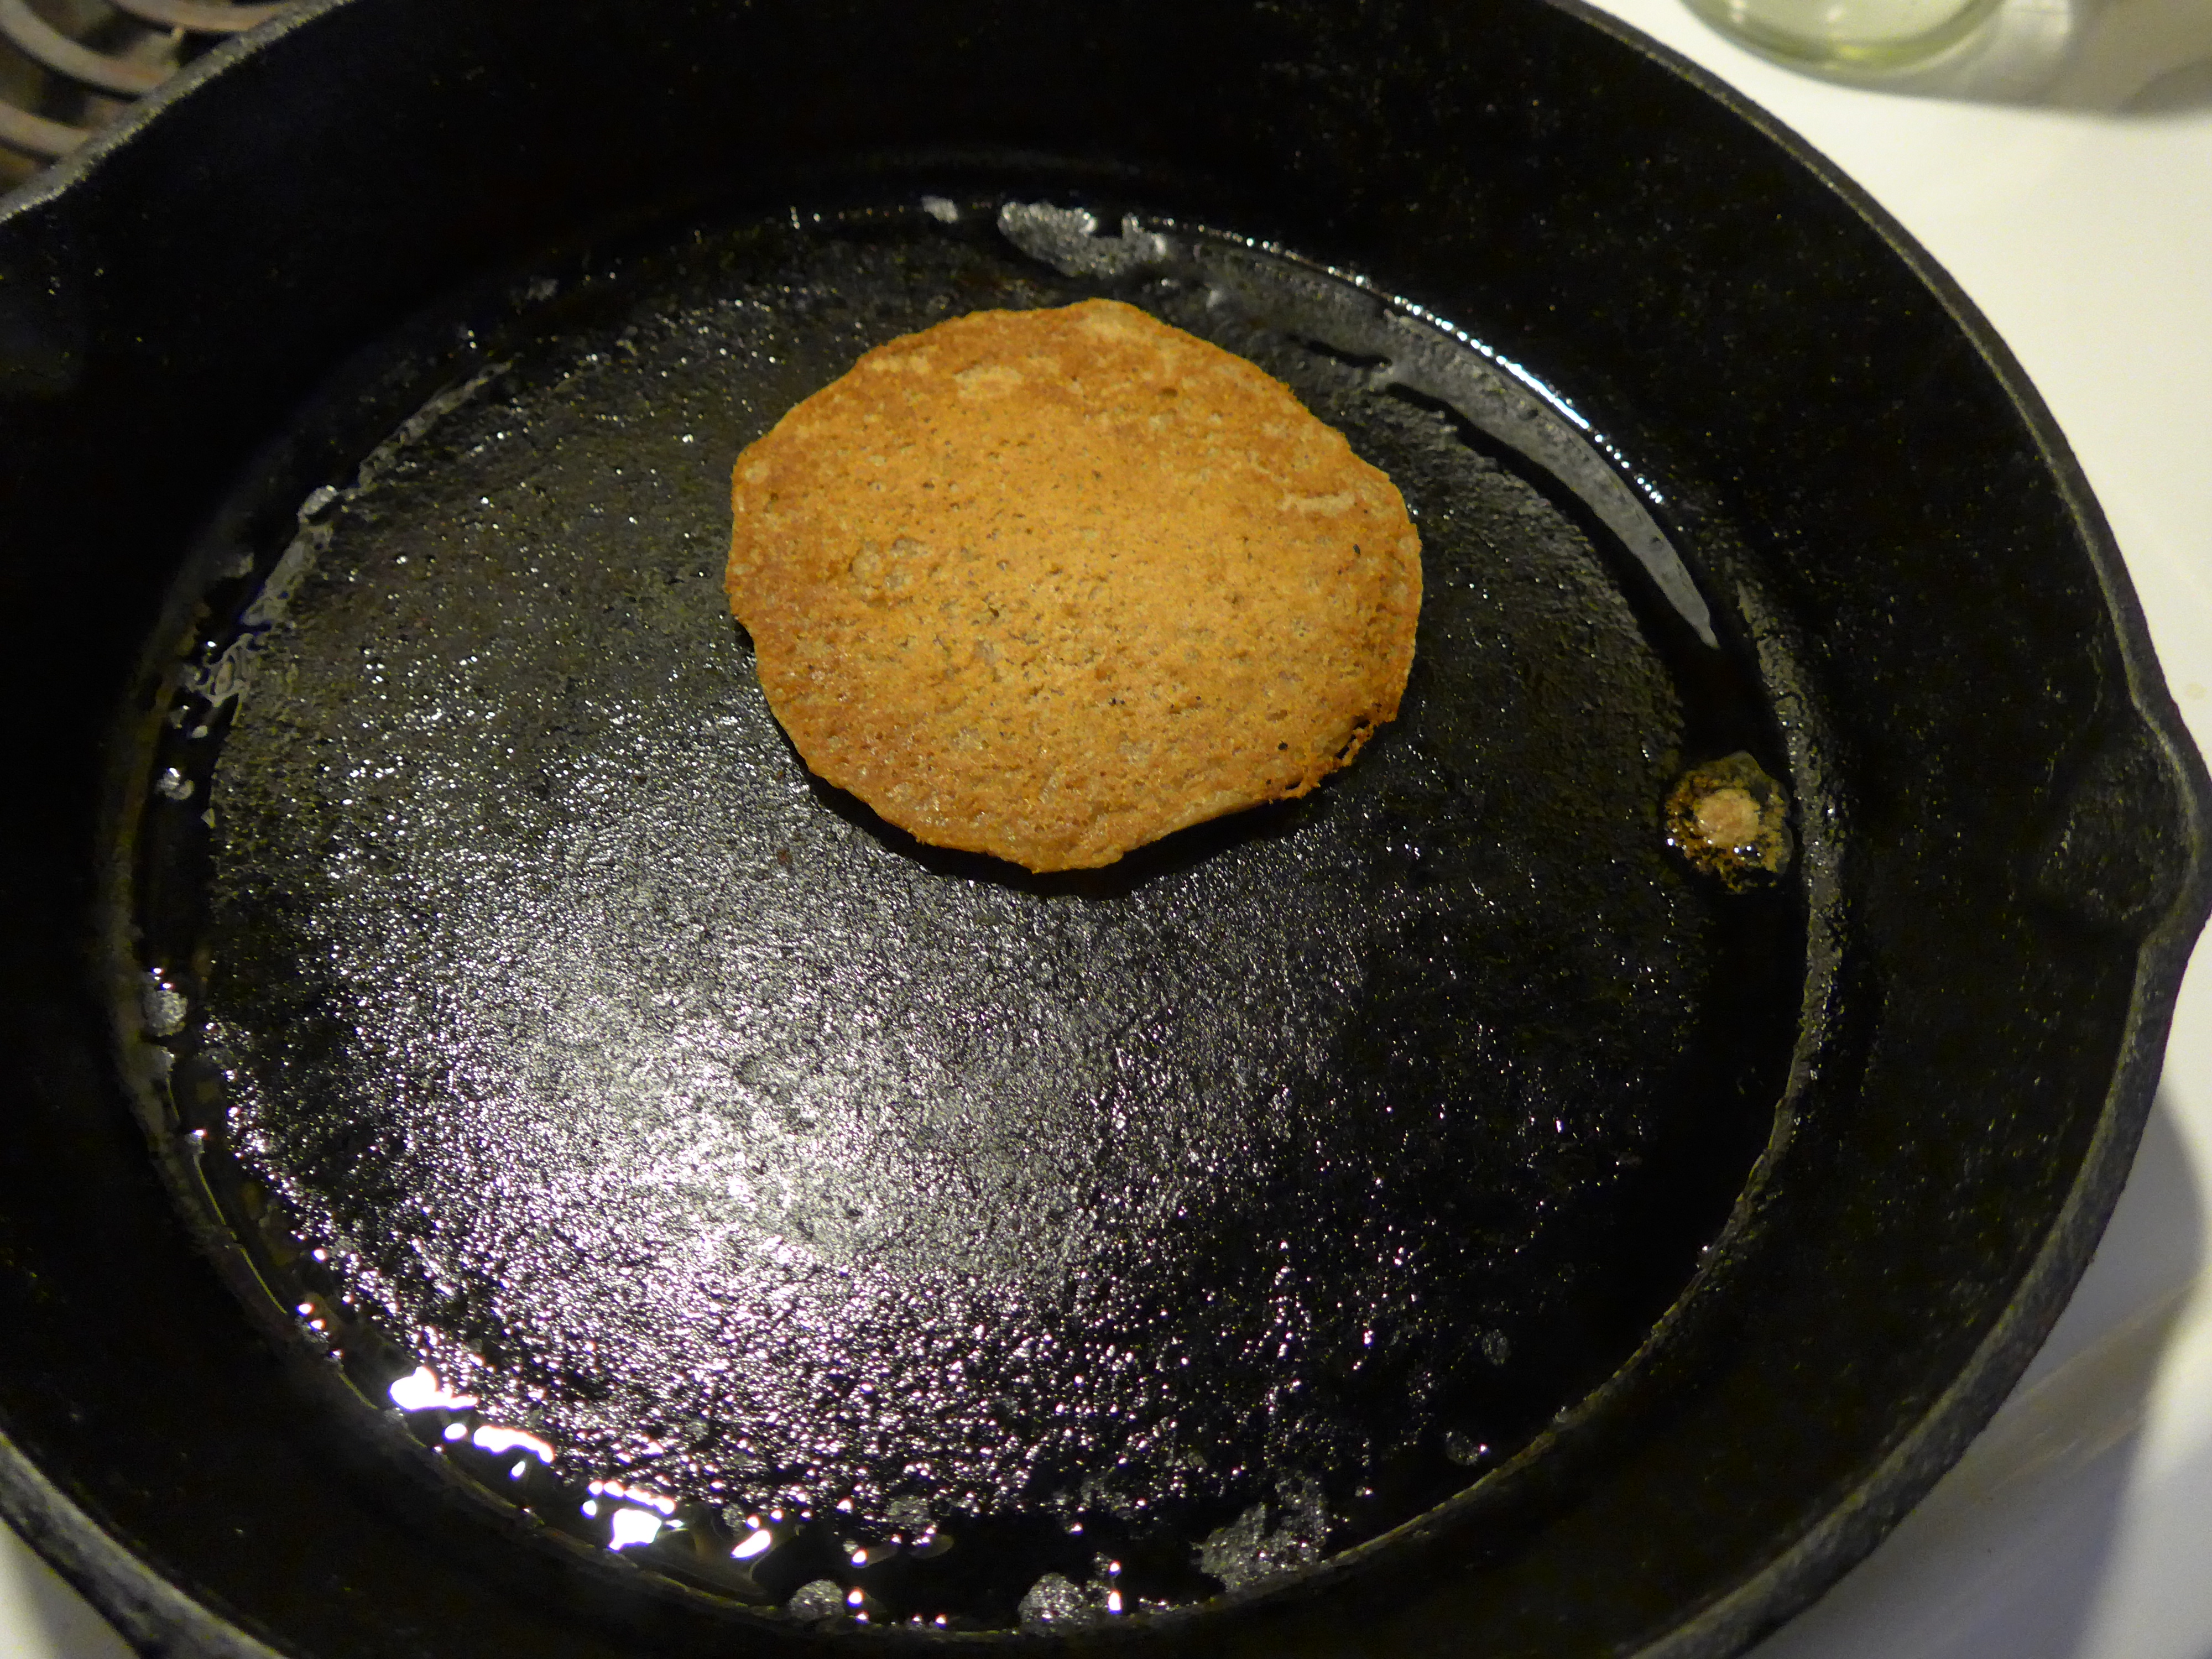
Heat the skillet or pan over medium heat and lightly oil it. Pour batter in , about 2 Tablespoons at a time. About like this:
(That’s a 12-inch cast iron skillet, for reference).
When the pancake is slightly dry at the edges, that is usually when you can flip it. I’d give you cooking times, but it seems to vary so much from batch to bath that it’s better to look for doneness. If you want to make all the pancakes and keep them warm, put them in a pan in a low (200ºF) oven to keep them warm.
This makes about 4 servings, depending on how hungry you are. I’m really not sure what a “proper” serving of pancakes is — enough that you’re not hungry when you’re done, I suppose. Top with whatever butter or margarine is safe for you, and maple syrup, if you can have it. Jam is also quite nice on pancakes.
IF you have leftover pancakes, these reheat well, and also taste pretty great cold.
As some of you know, I bought a house in January with a lot of fruit trees. So now I have a lot of apples. I may very well drown in them. Besides the massive amounts of canning I’ve been doing, I thought I’d looking into using them in a savory dish too. And since I needed to use my DIY Curry Powder in something, I figured why not shoot two birds with one stone. After looking at a few different recipes I decided I wanted less of a soup feel and more of a bisque feel, so I decided to use the homemade cashew milk I had in the freezer. If you have a safe commercial dairy replacement product, feel free to use it (I don’t) or if you can have coconut milk (I can’t) that might also work well. Free feel to make it work for you.
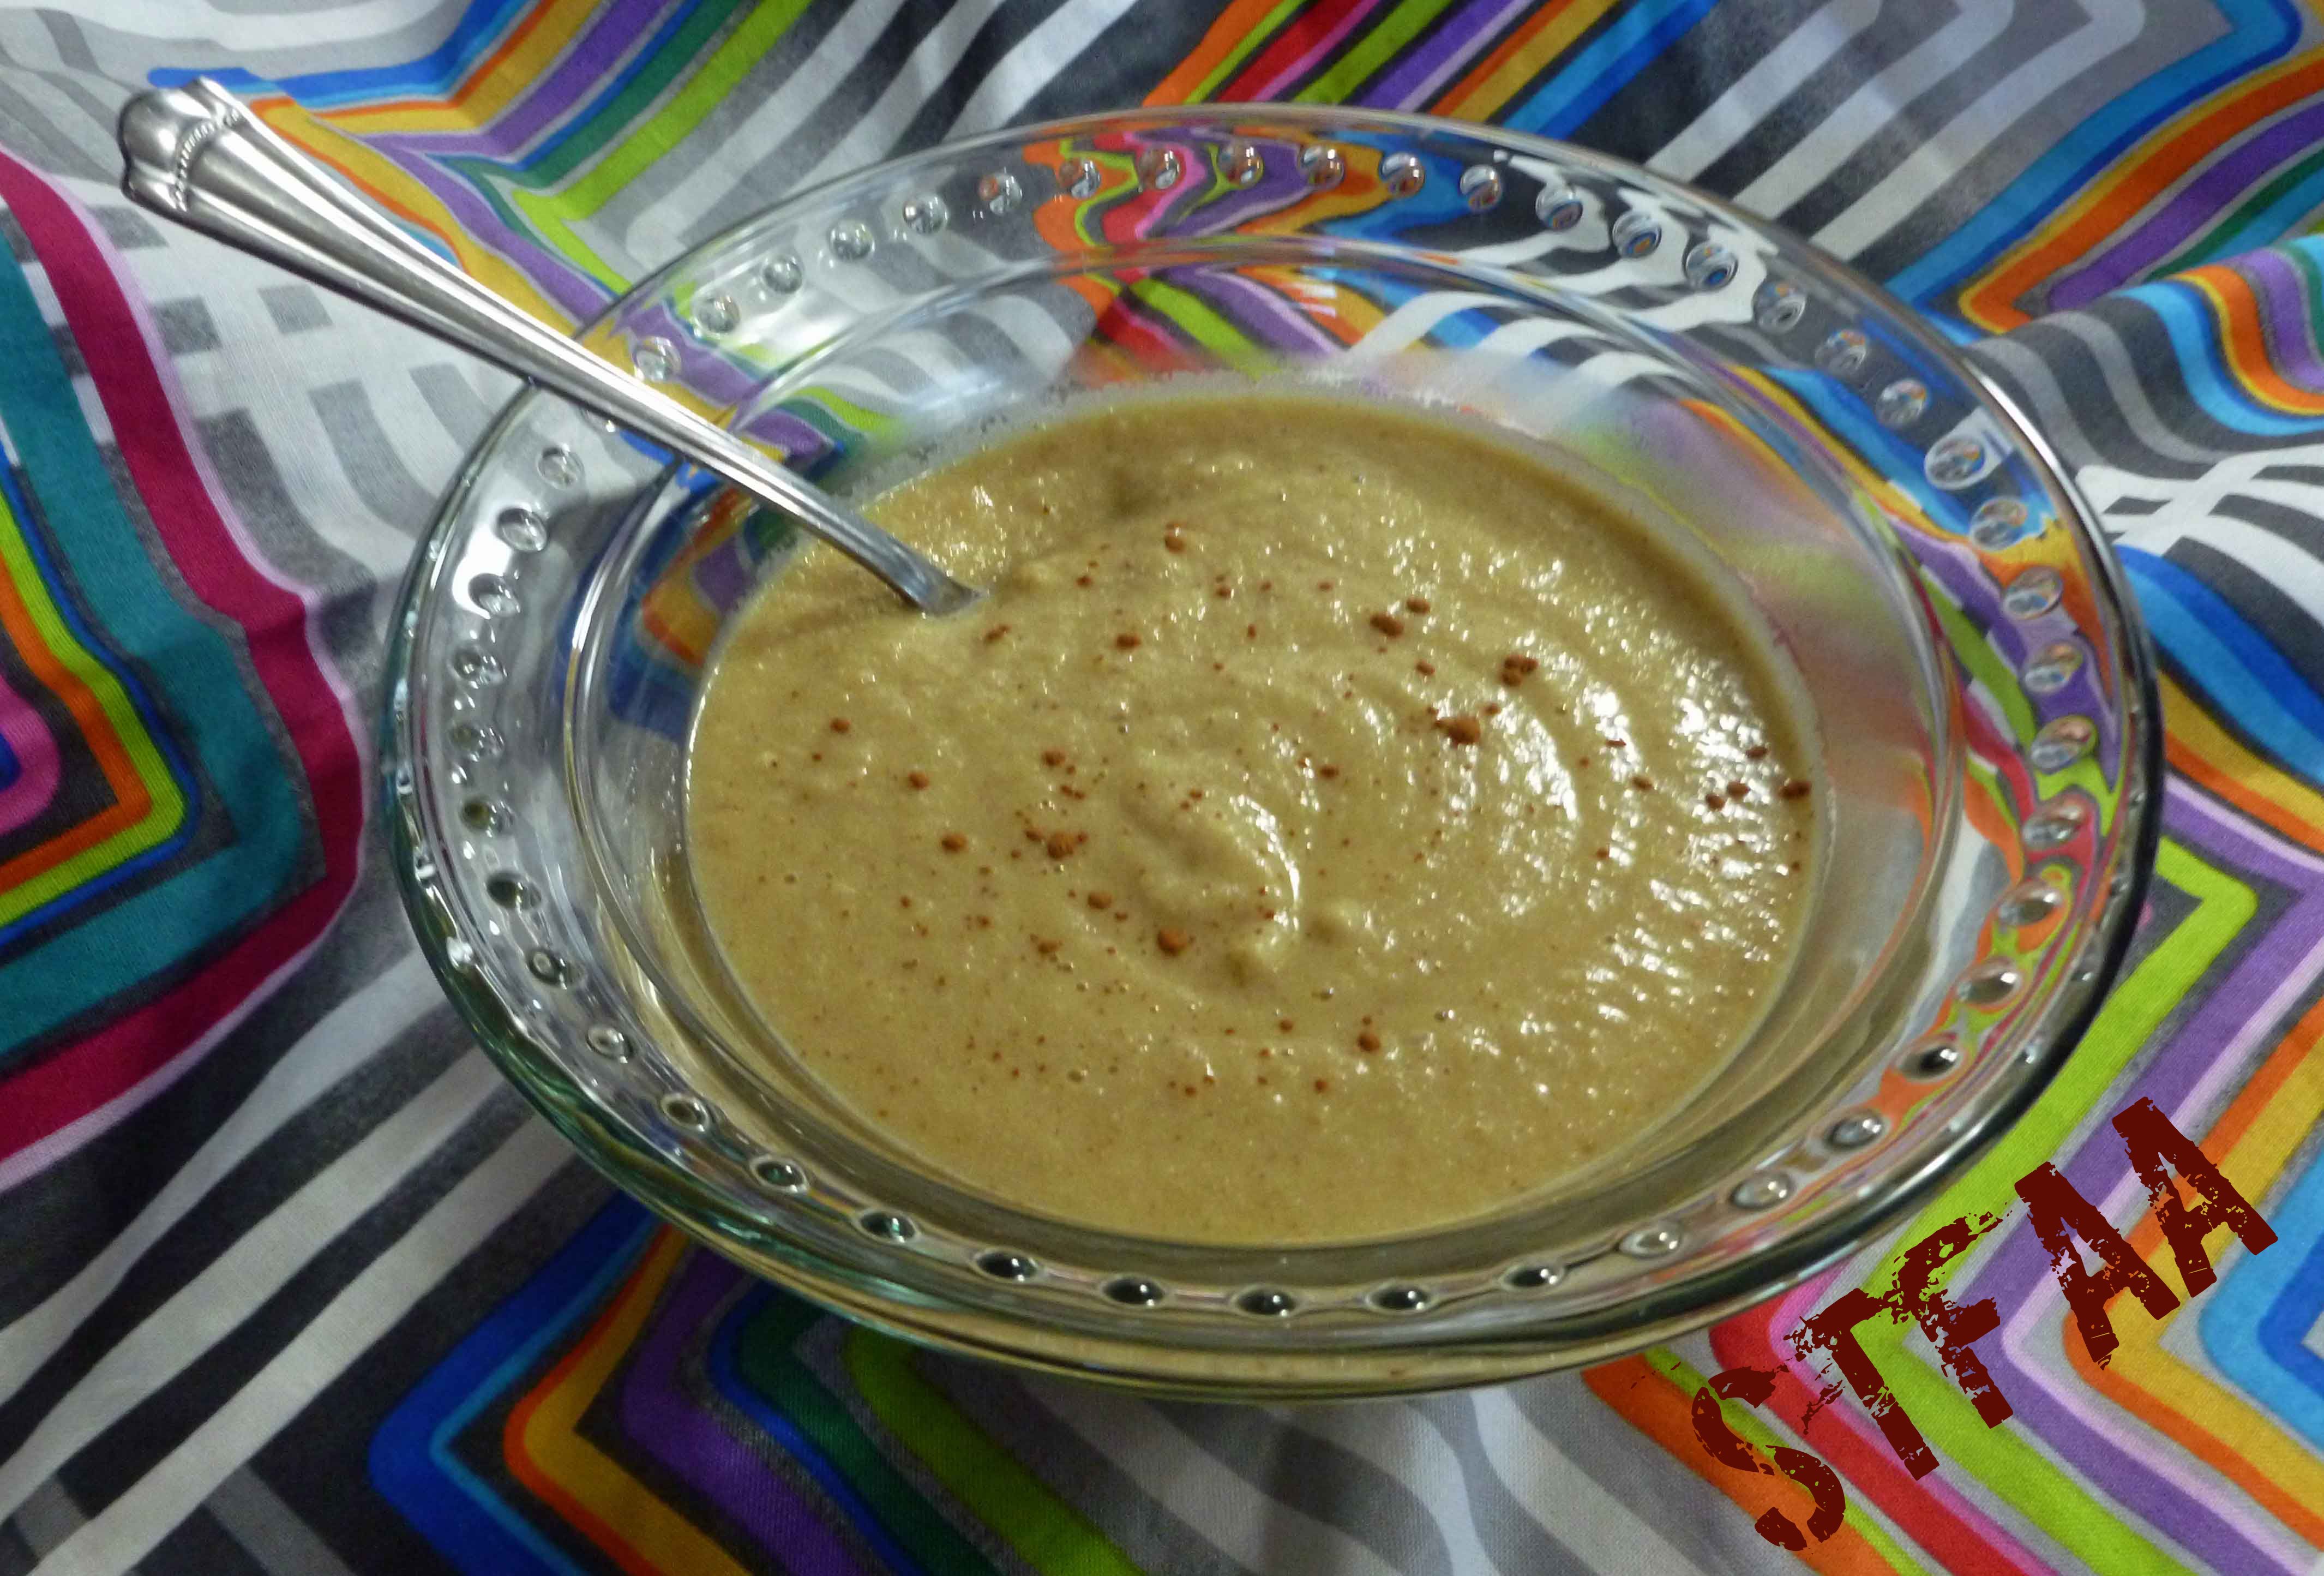
Curried Apple Bisque
I medium onion, finely diced
2 Tablespoons of olive oil (or other safe for you oil)
1 1/2 cups of homemade cashew milk or other replacement dairy product (for cashew milk, I use this recipe, except I leave everything out except the cashews and water)
a bit of cinnamon to garnish if you wish
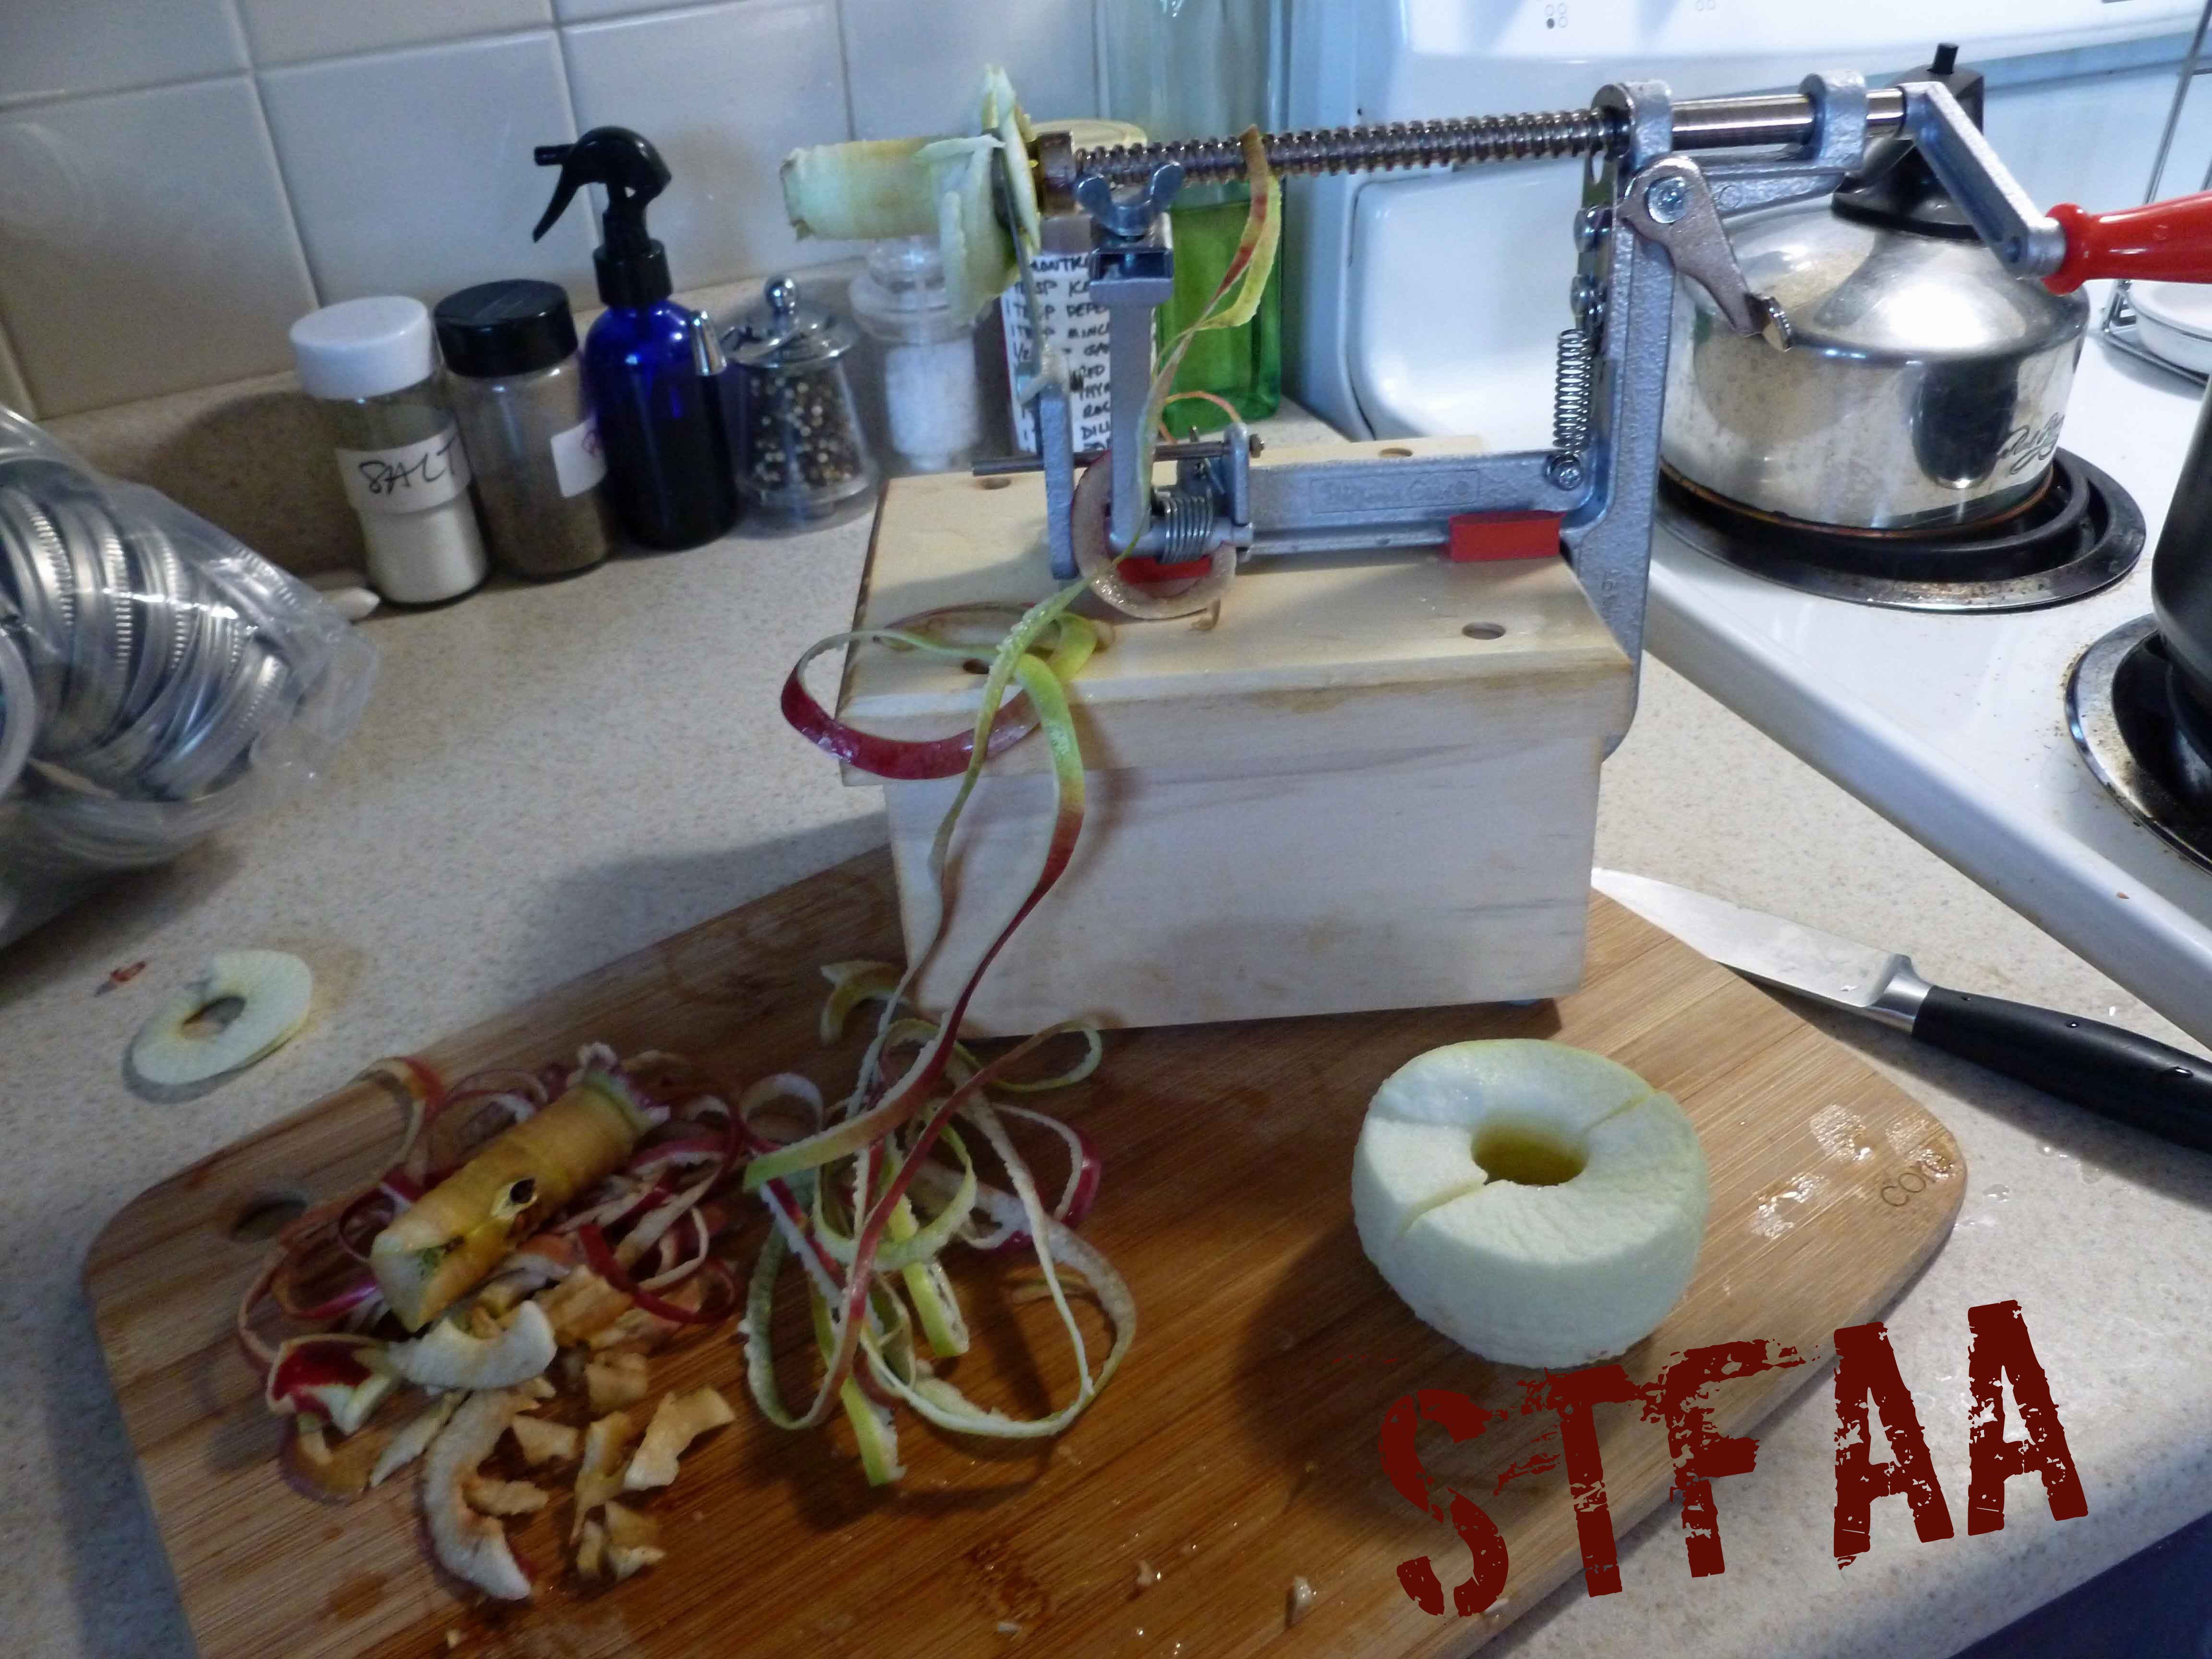
Peel, core and slice your apples. I have this lovely apple peeler, corer, and slicer, that makes it really easy to do, but a knife works fine too.
Peeling and coring apples
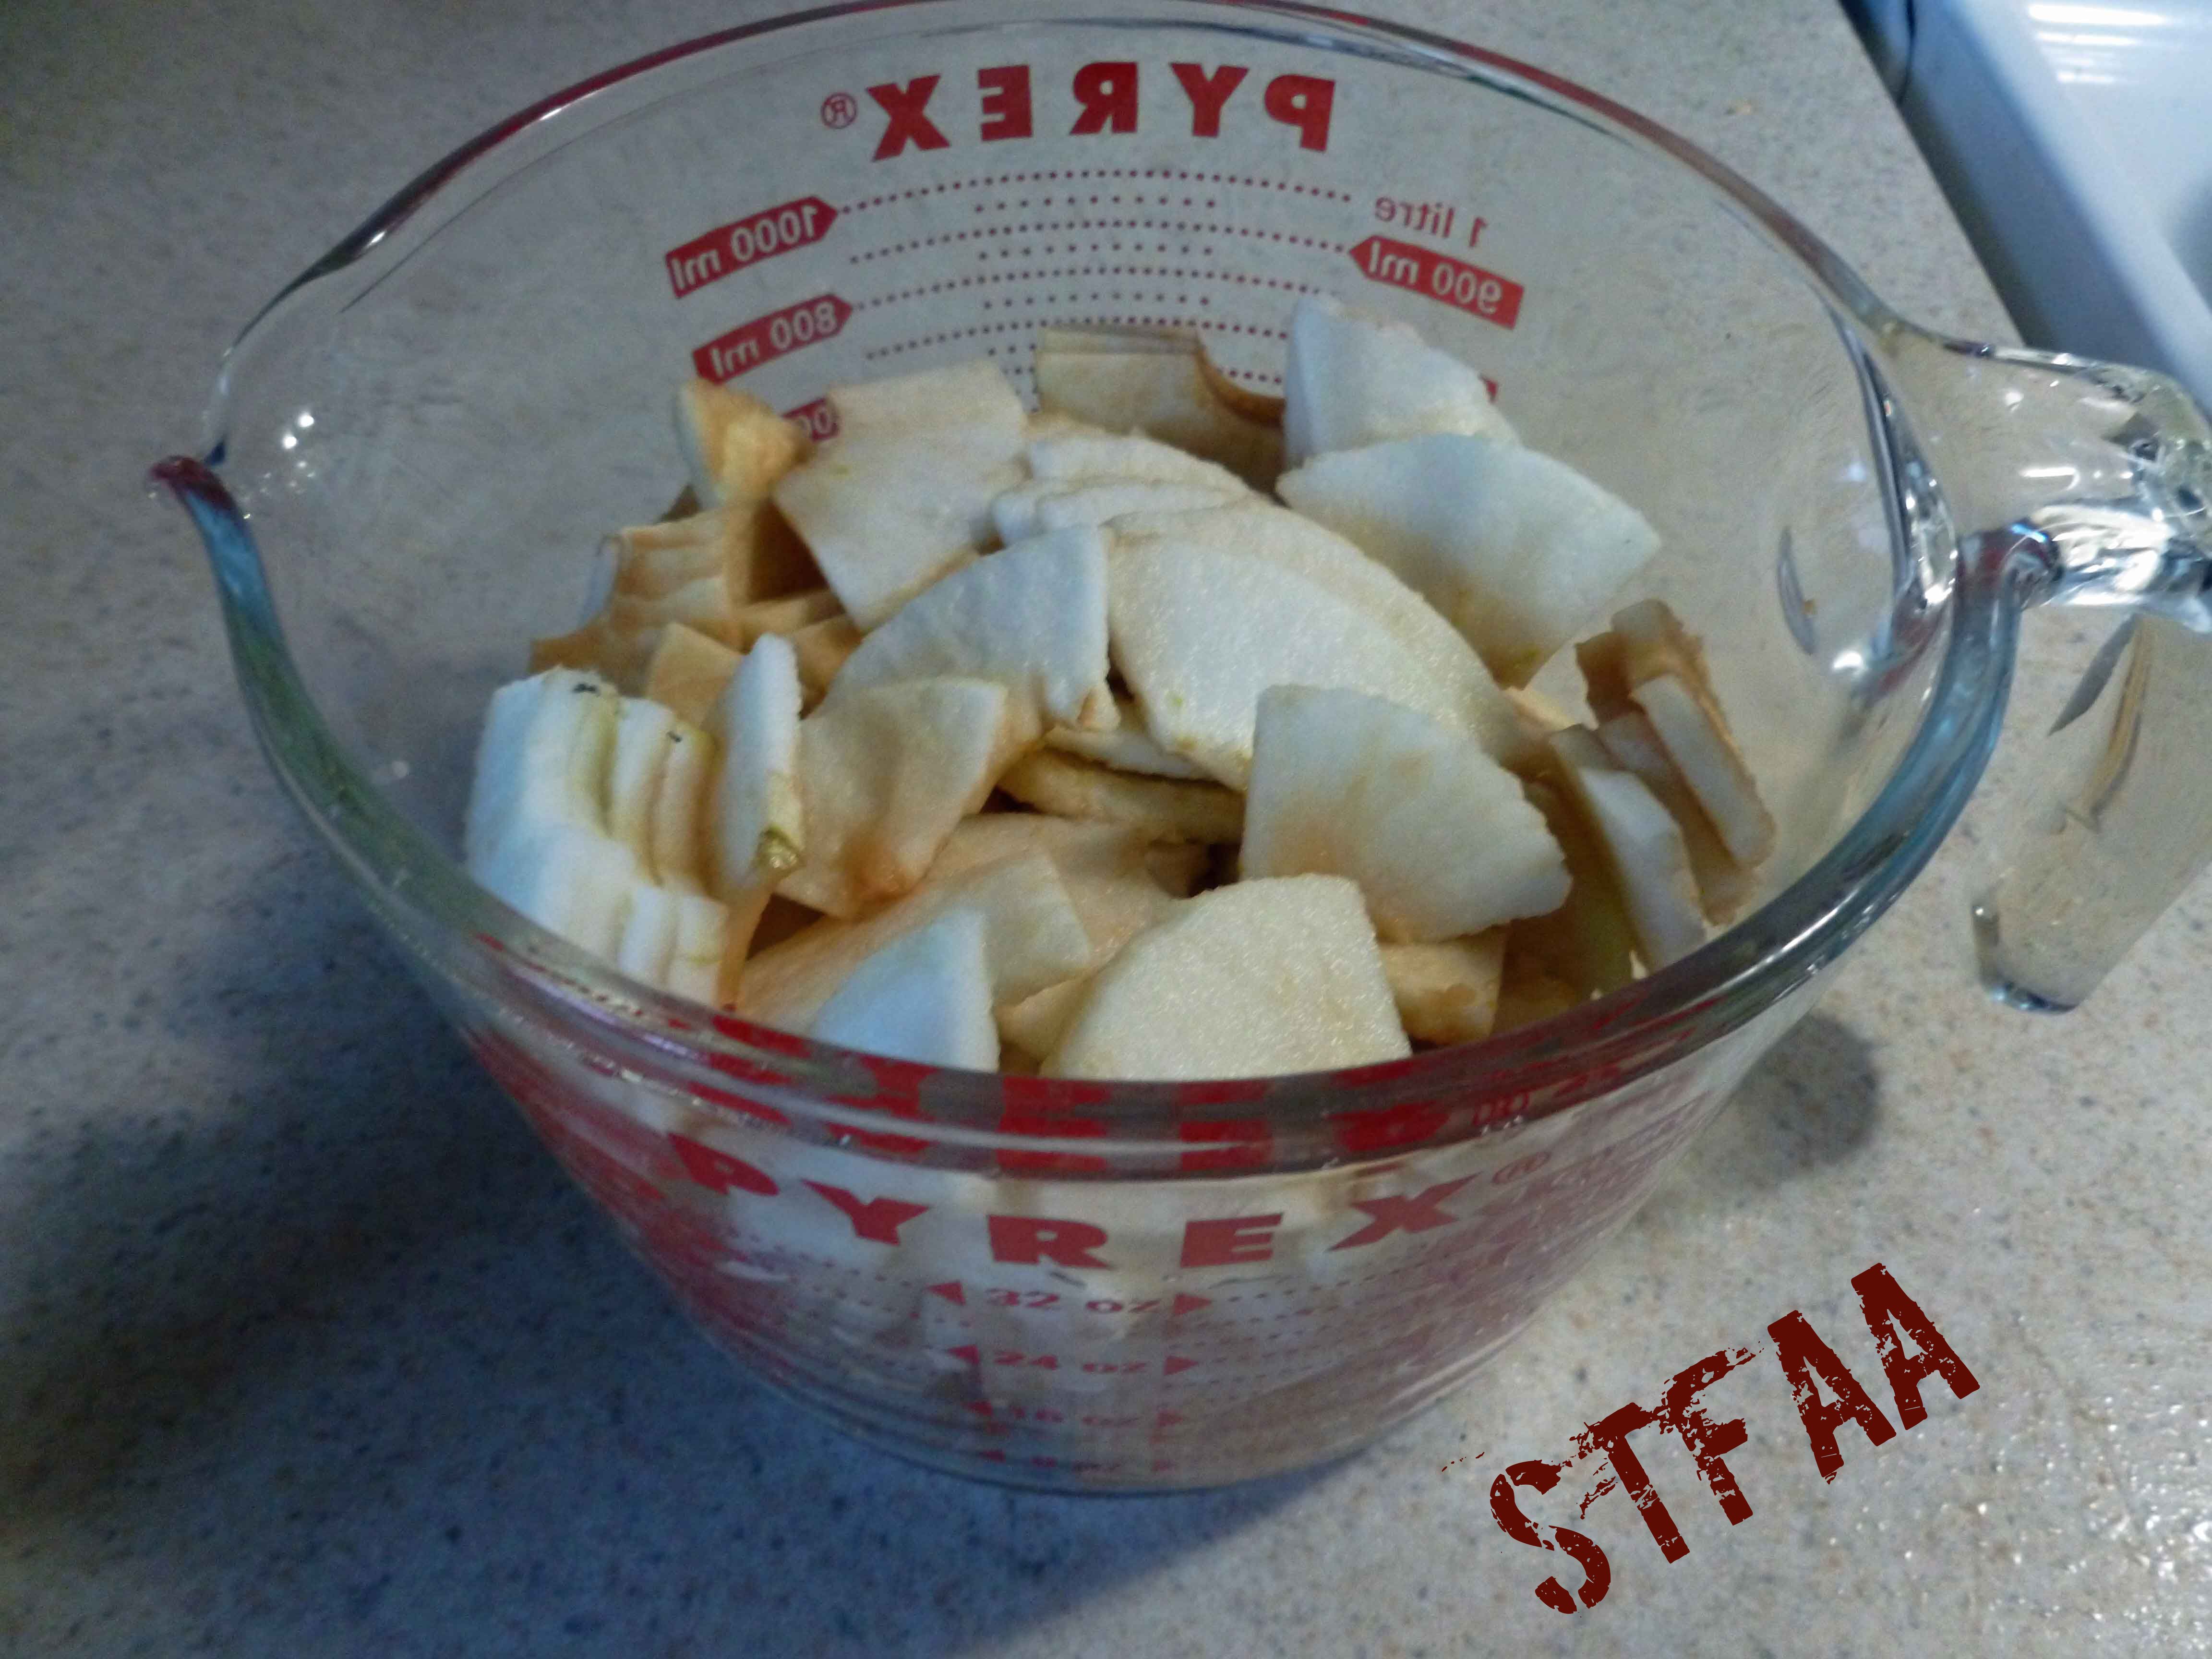
Peeled, cored and sliced apples
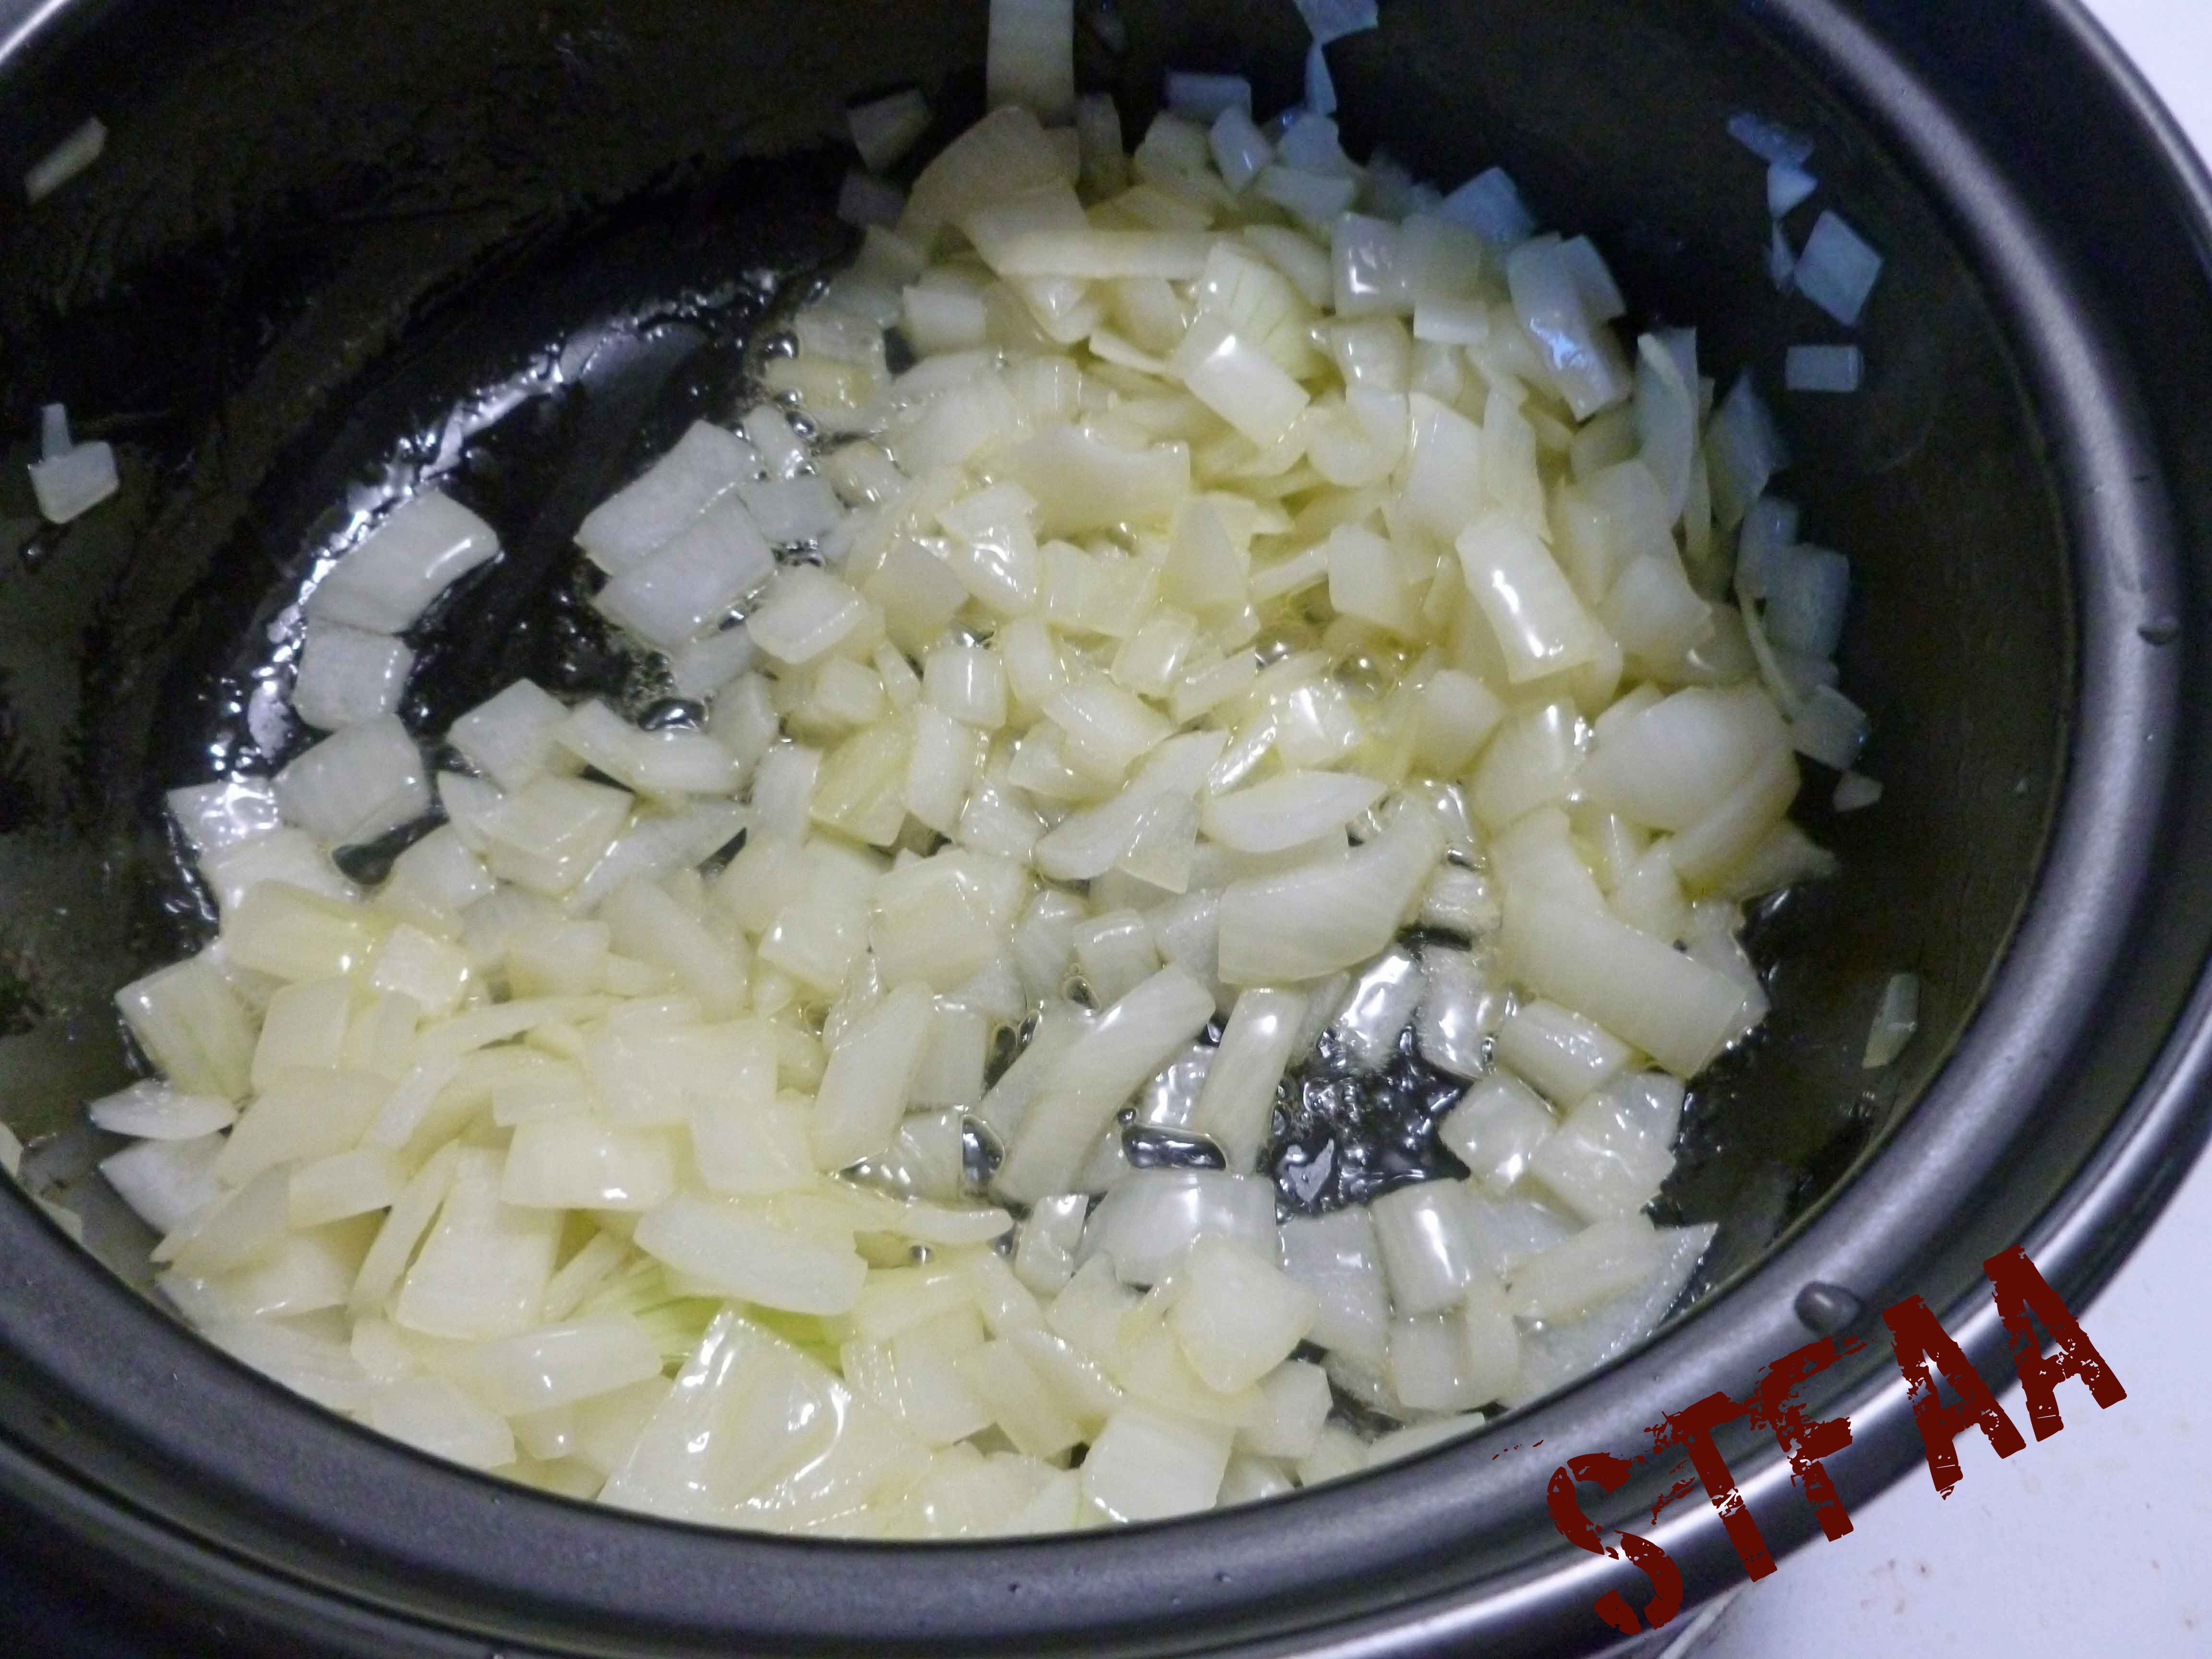
In a small saucepan, saute the onion in the olive oil, until tender and it starts to look translucent.
Sauteed onions
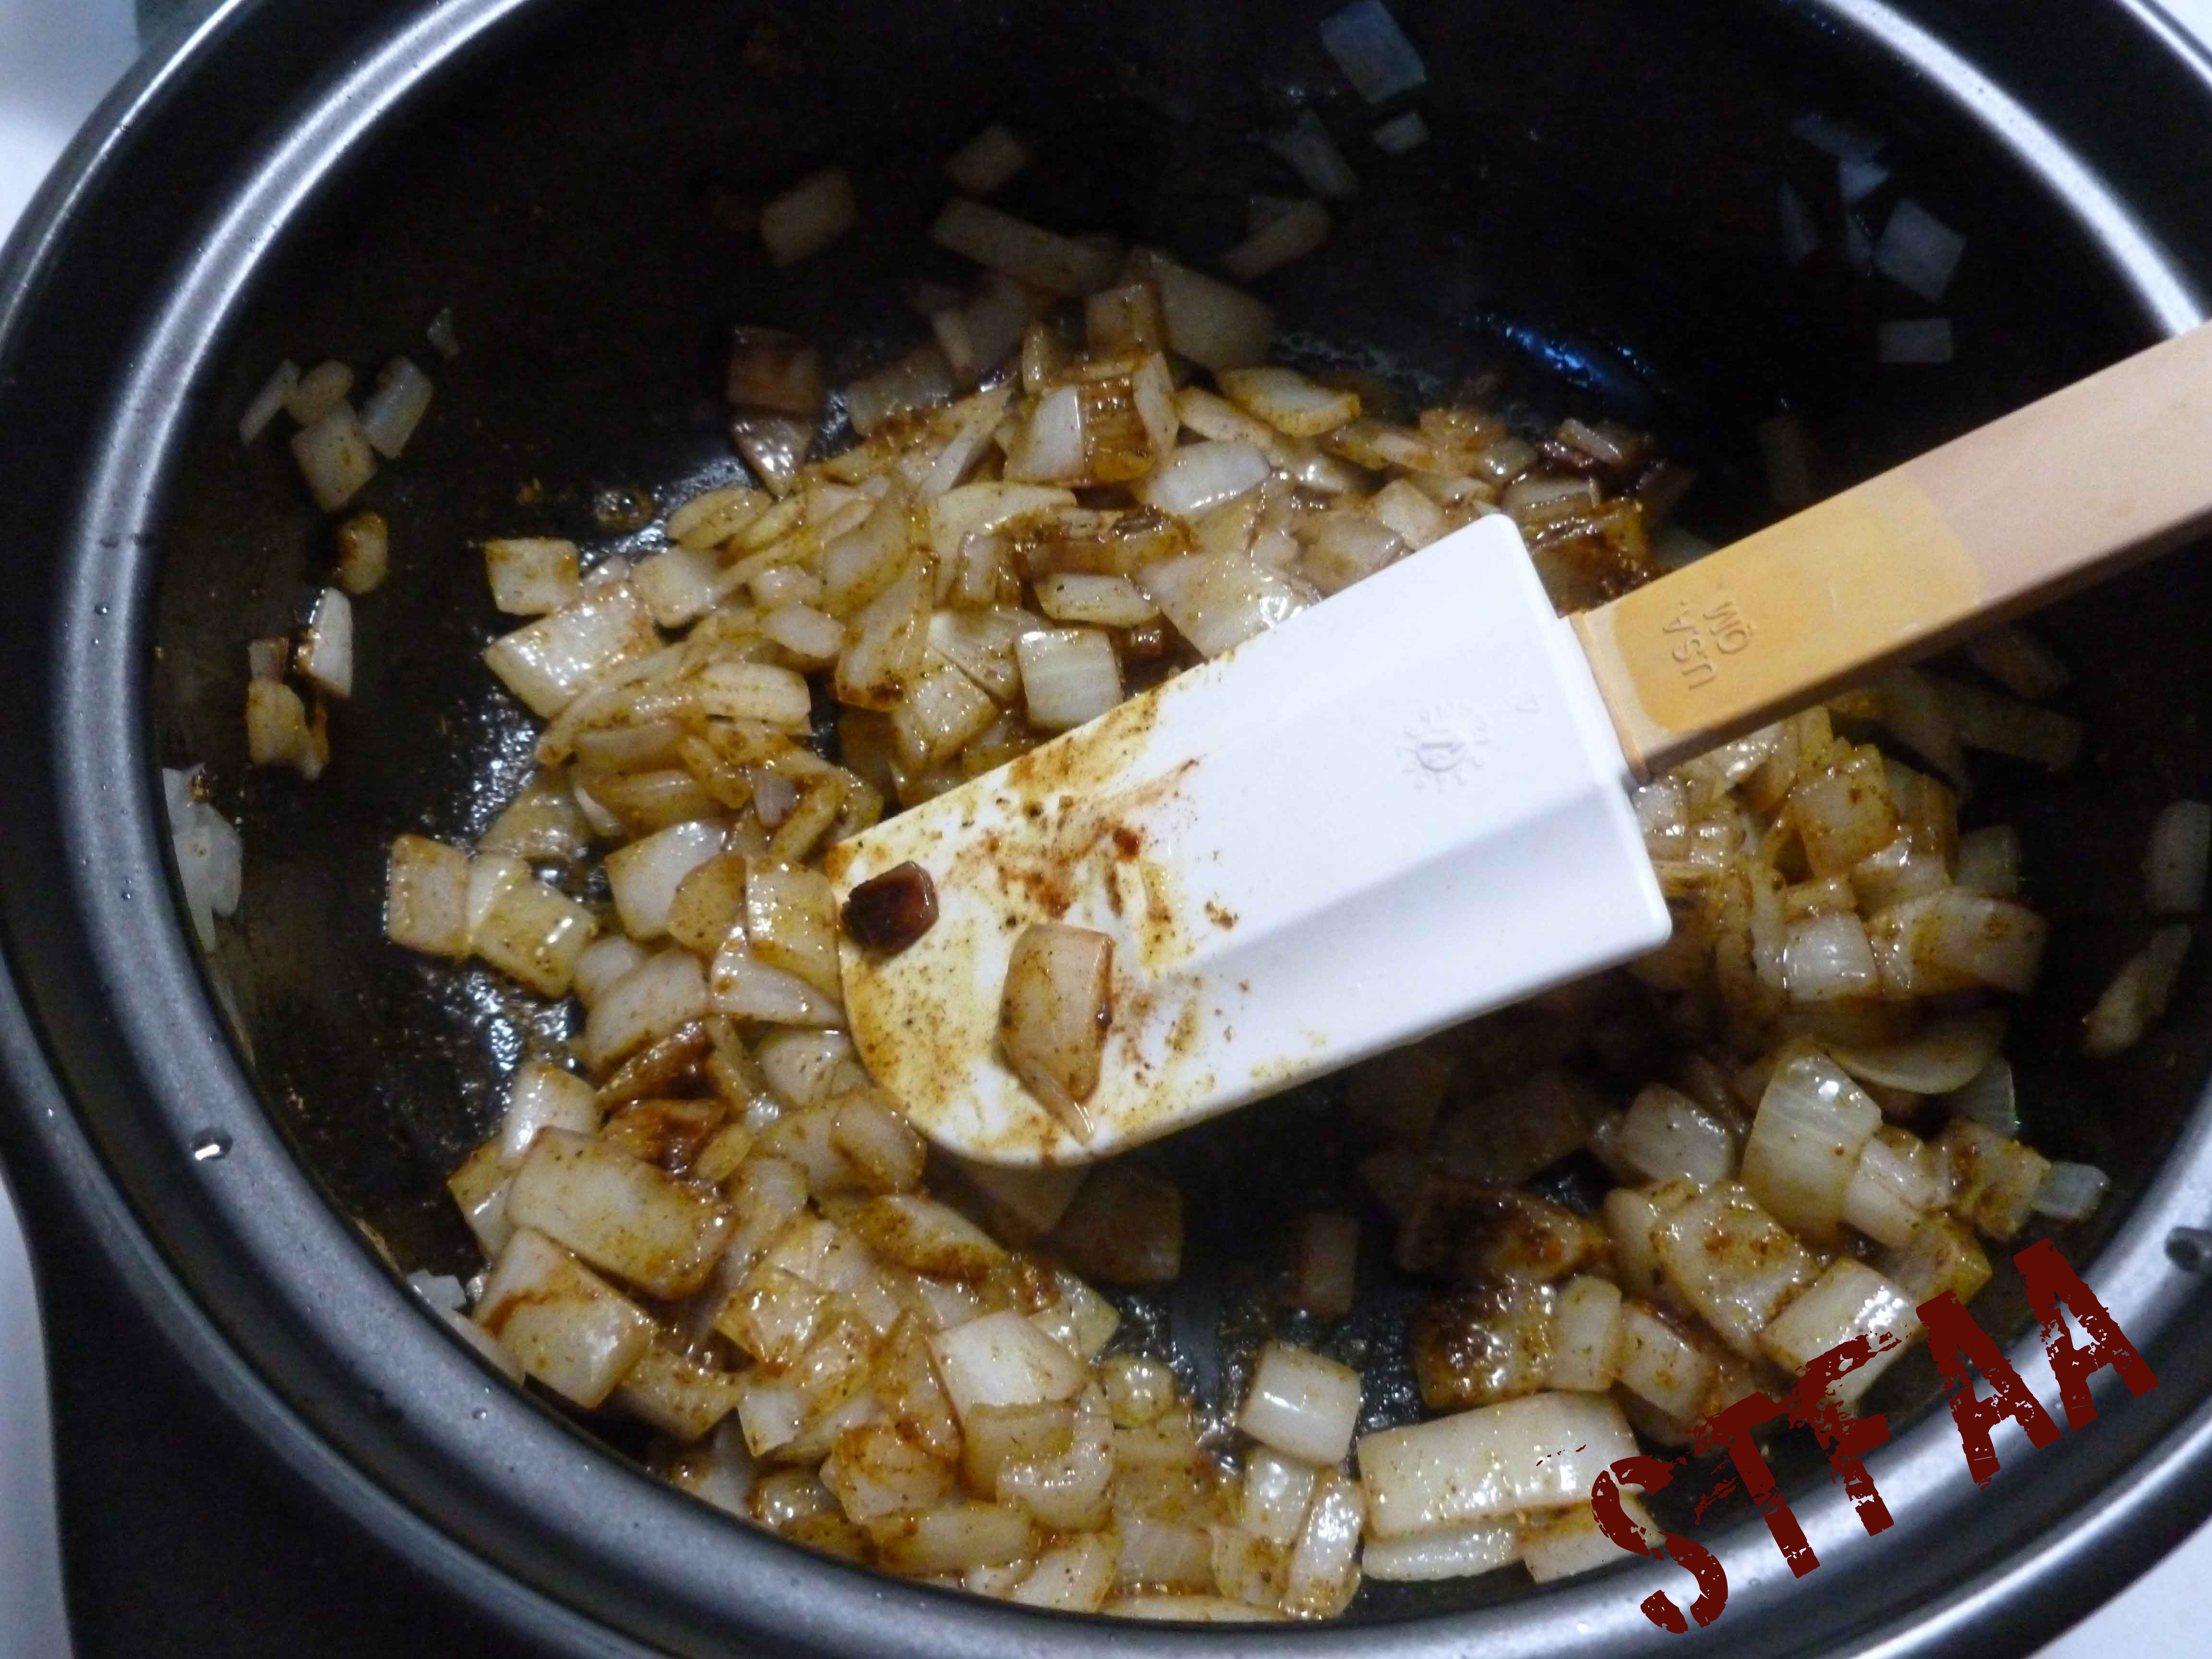
Once the onions are sauteed, add the curry powder, cinnamon, salt, cayenne pepper, and ground clove to the onions. Mix the spices in well and cook for a minute or so. It’s going to smell amazing.
Onion and spice mixure
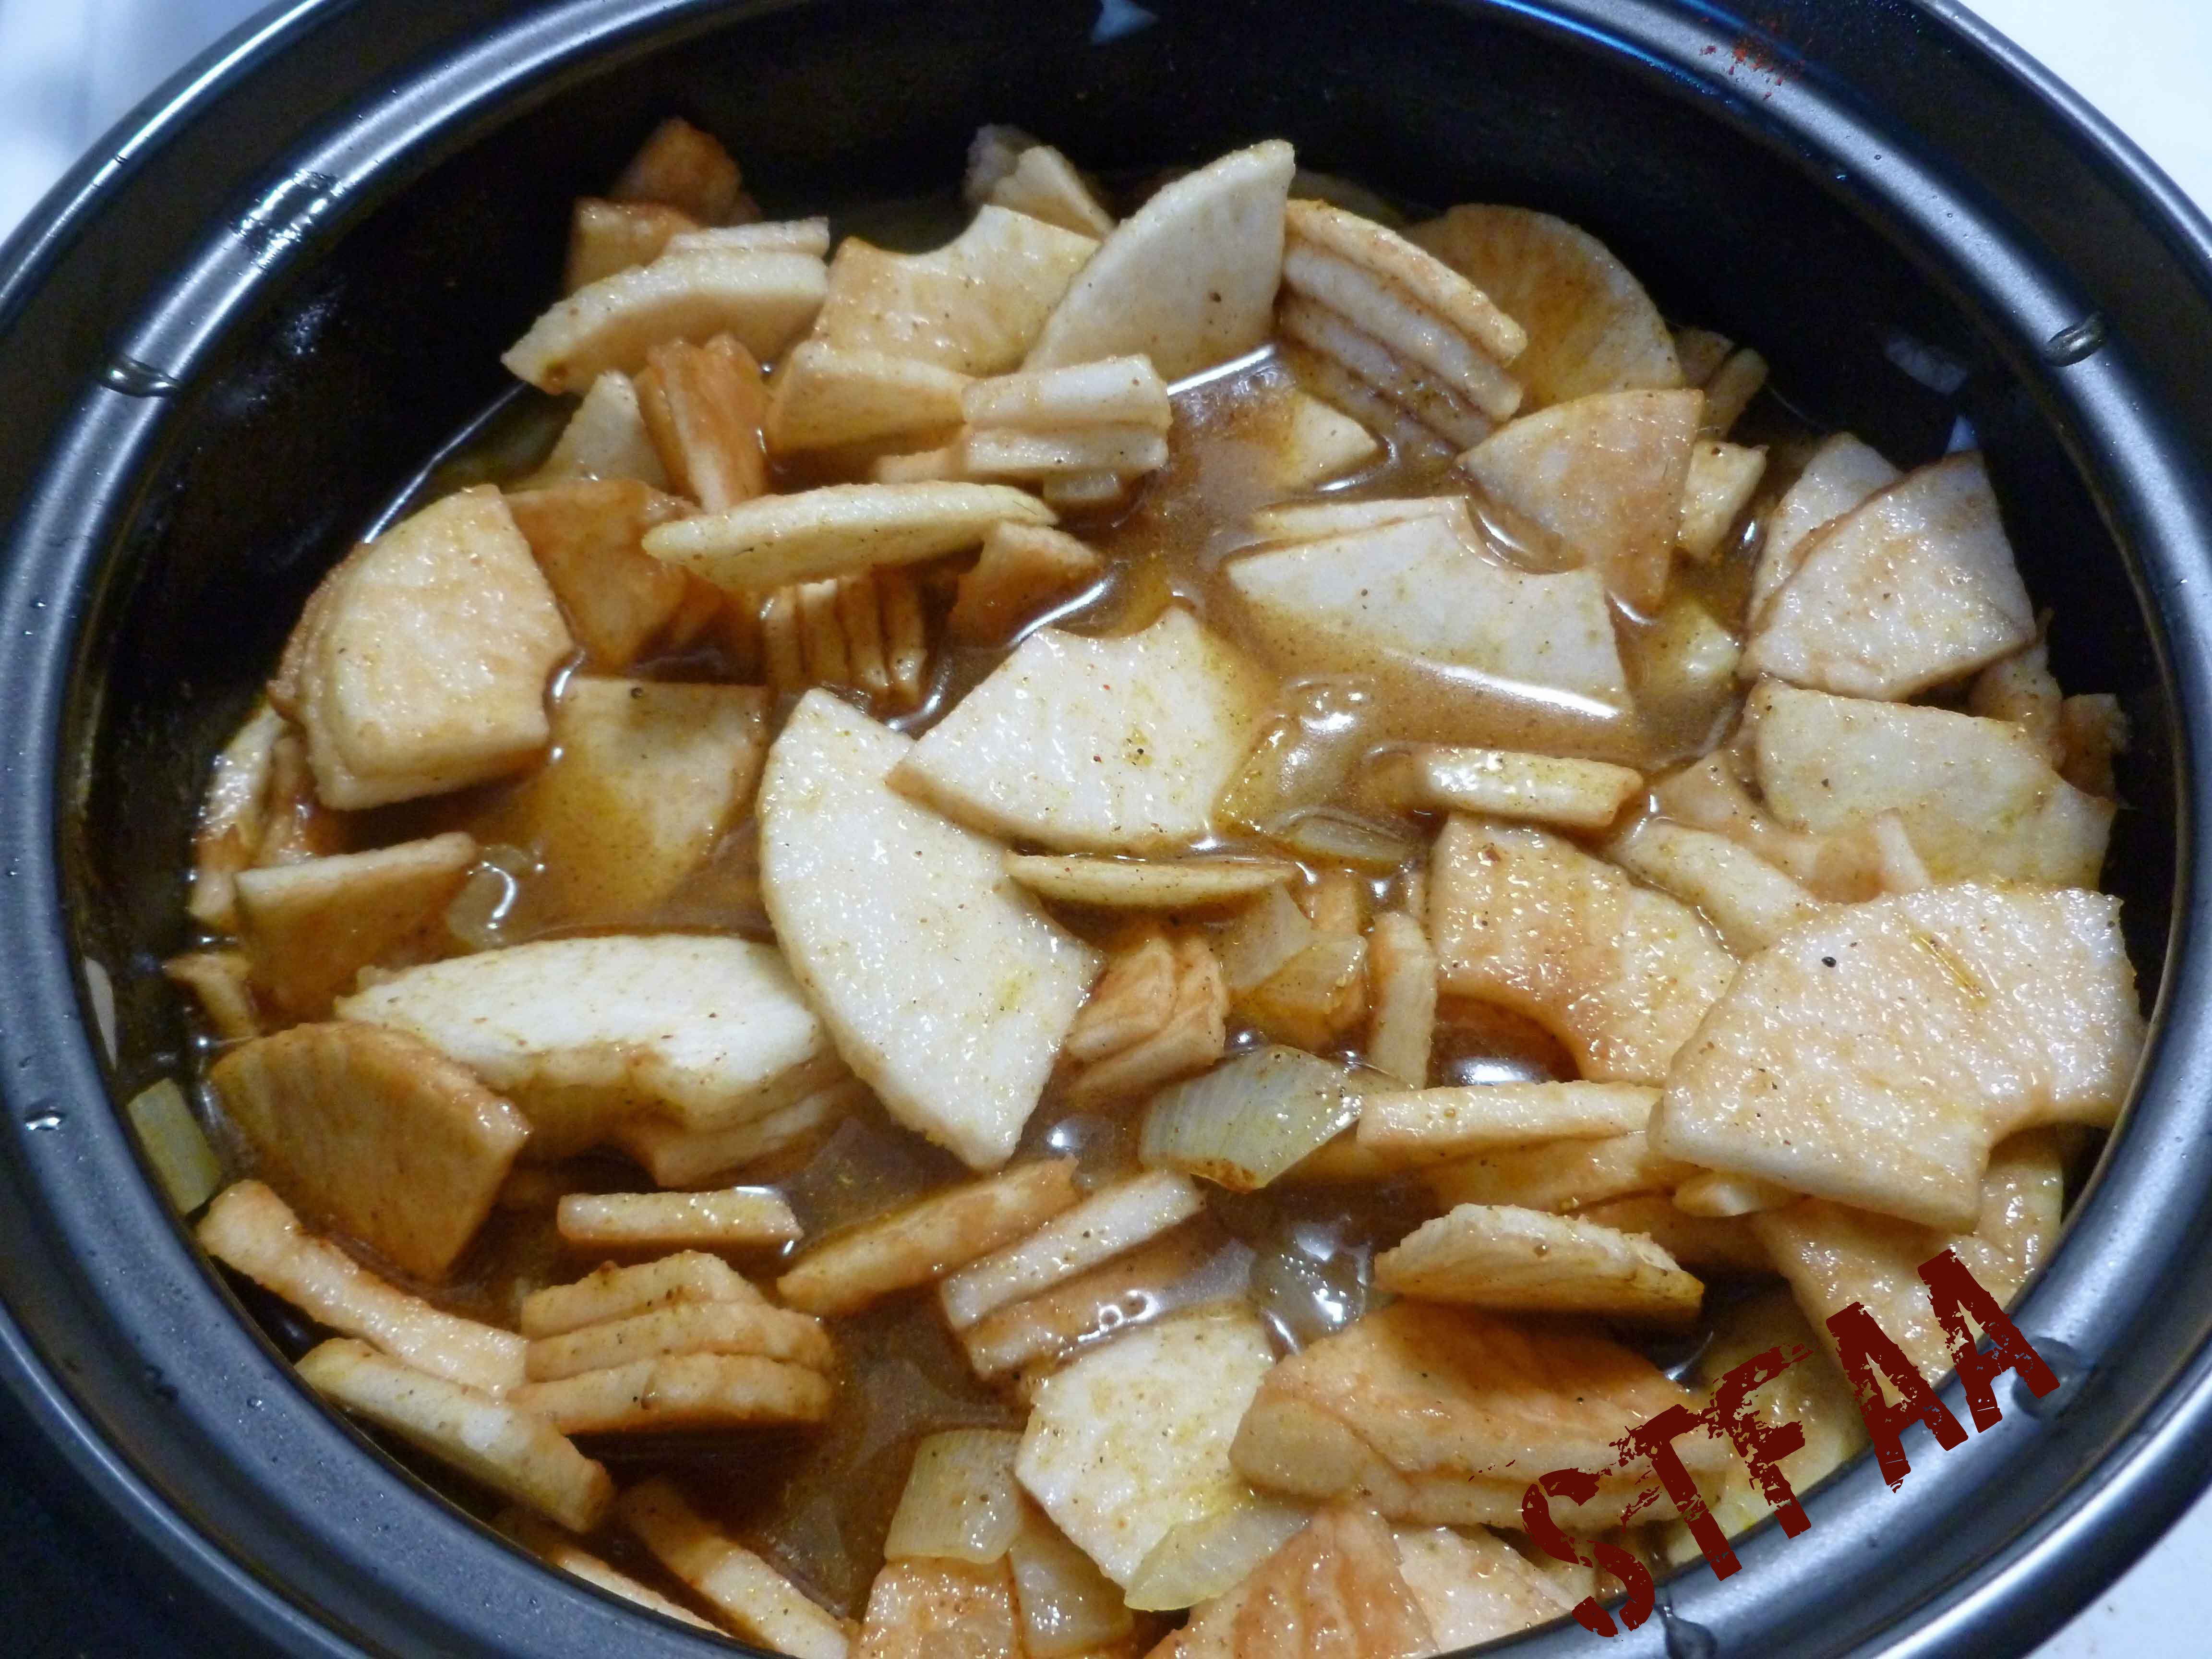
Add the apples and the vegetable stock to the broth.
Apples and vegetable stock added to the onion and spice mixture
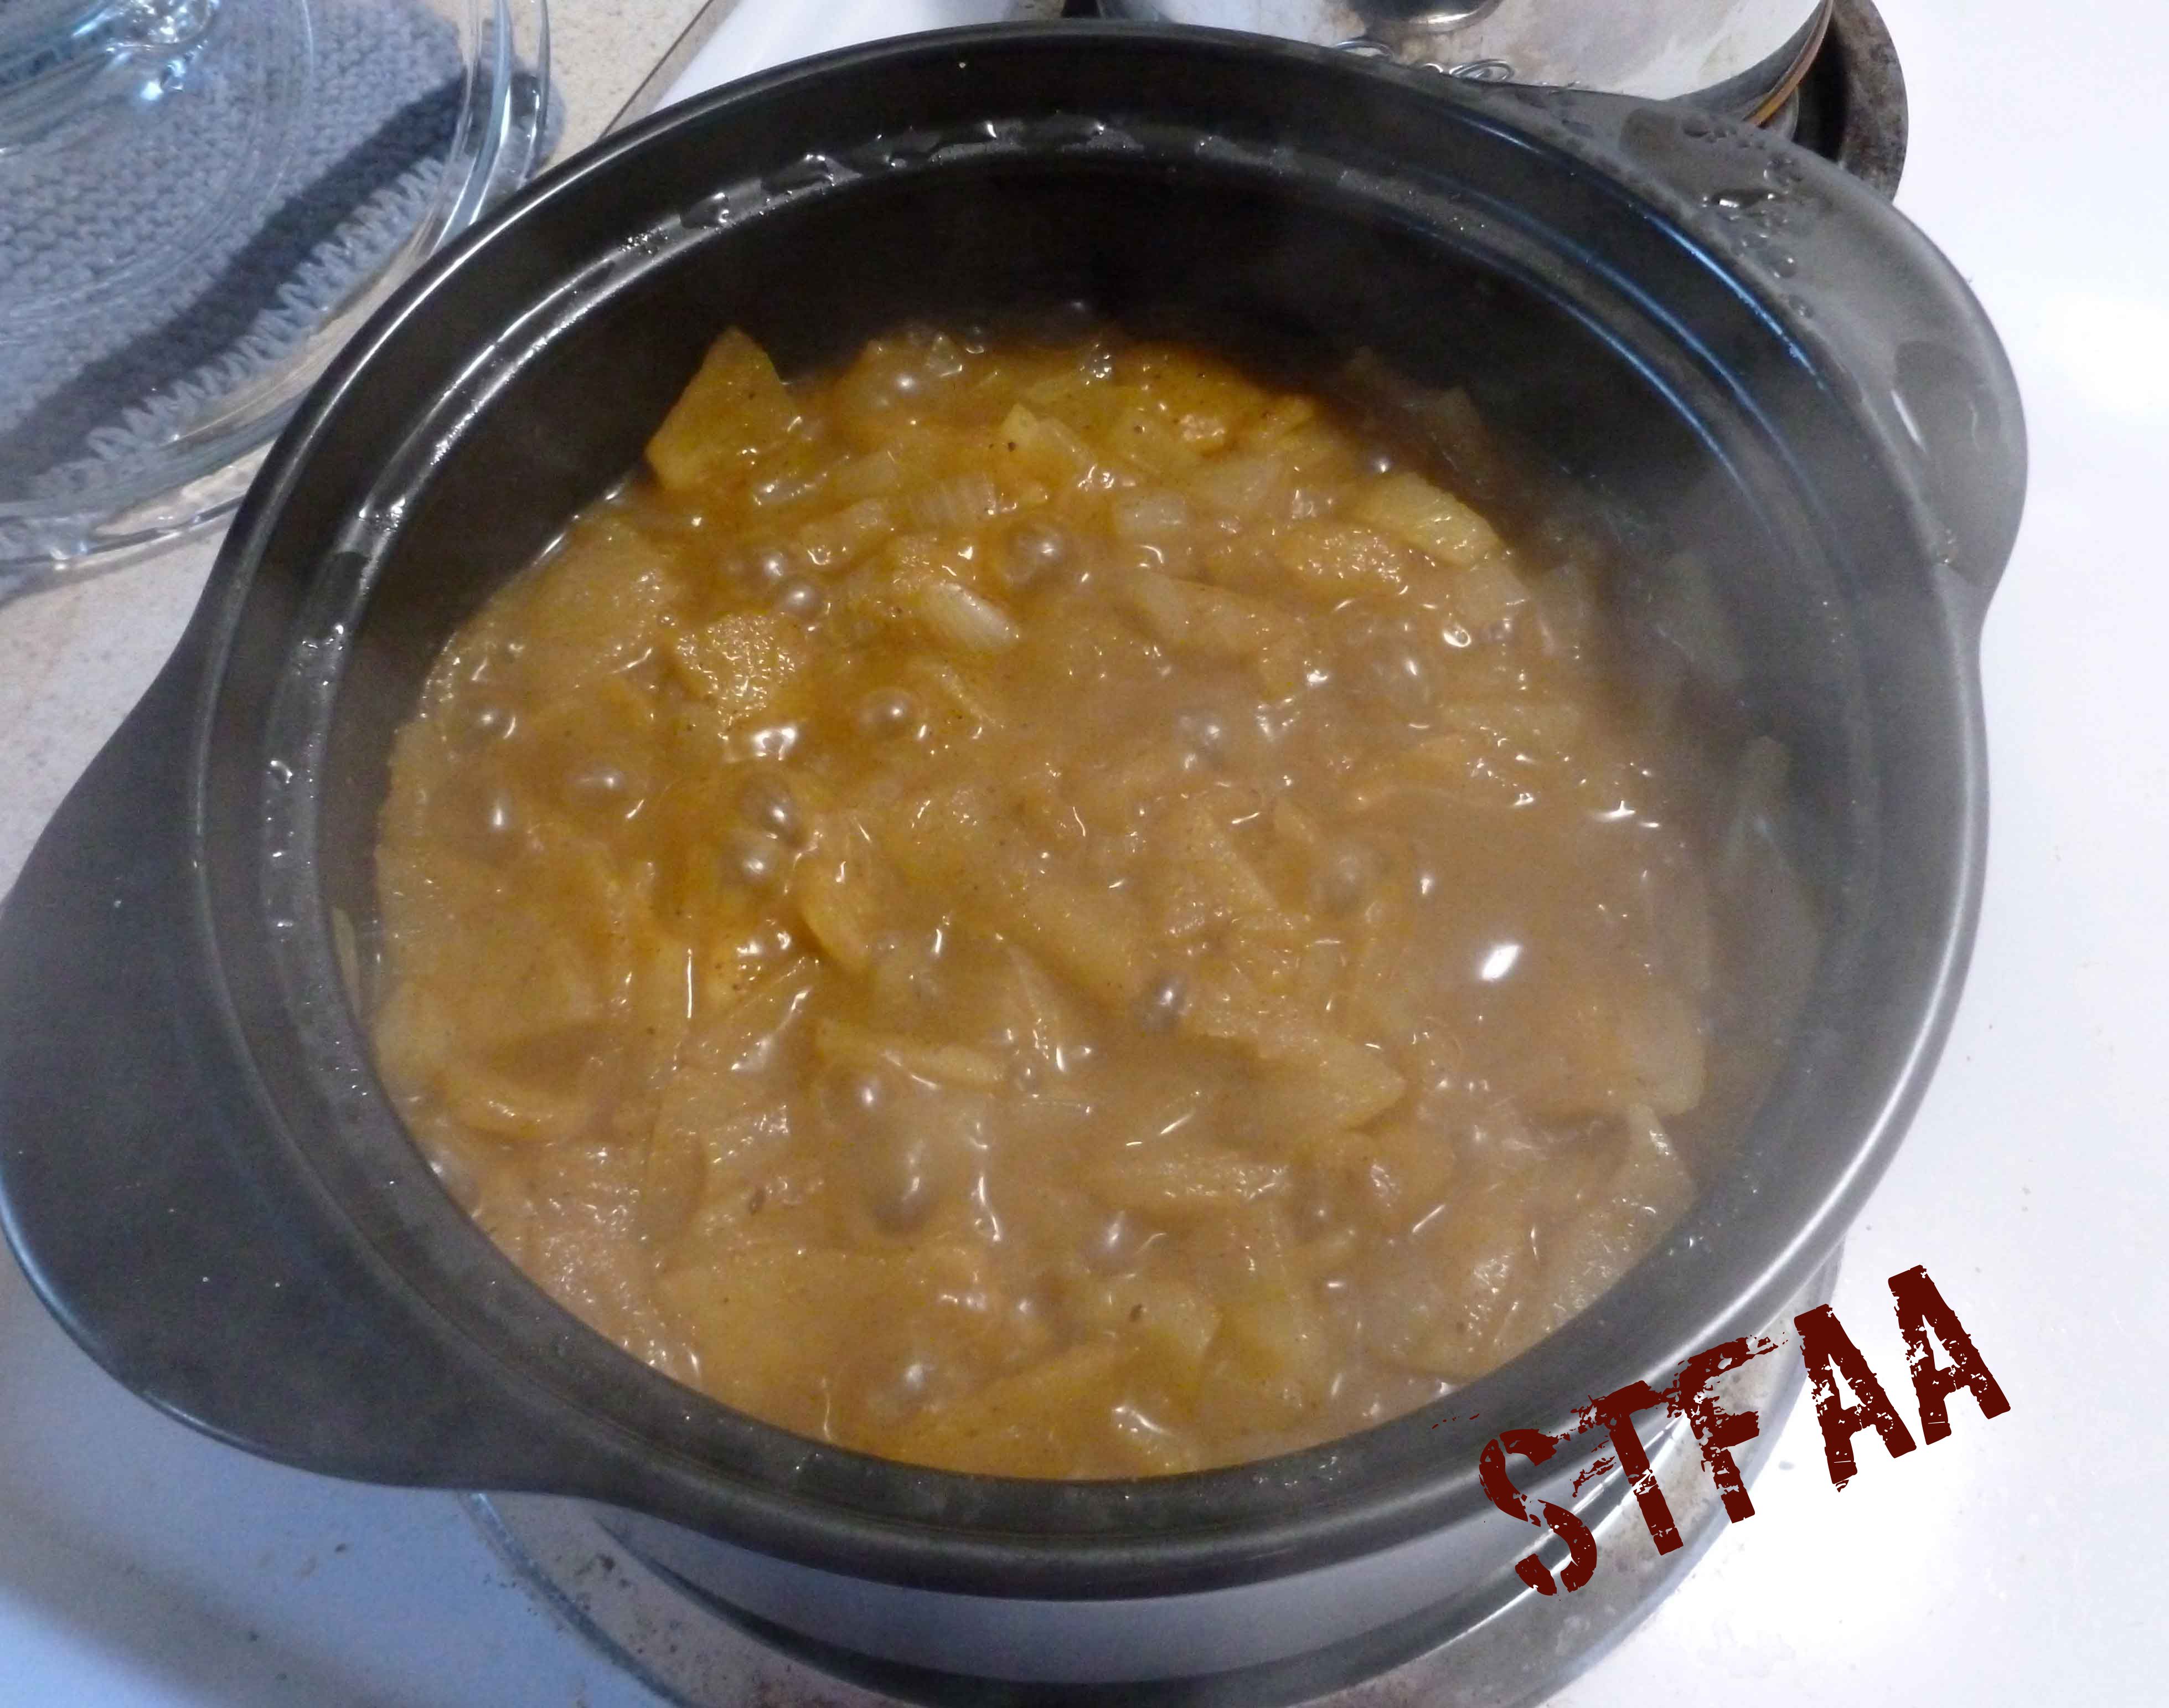
Bring the mixture to a boil and then reduce the heat and simmer. Simmer until the apples are tender and soft.
Apples cooked until tender and soft
Add your cashew milk and either place the bisque into a blender and puree, or use a stick blender to puree the apples in the pot. I used a stick blender. If you used a blender, return the pureed mixture to the pot. In either case, once you’ve blended the apples, bring the bisque back to a simmer and then serve.
You can garnish with a shake of cinnamon if you like.
I occasionally want to use rice milk in cooking, but I really dislike all the commercial rice milks that I’ve tried. I find them thin and flavorless. But in trying to use up some leftover rice, I discovered that by adjusting the amount of water (and using really good rice, I could make a thick, almost cream-like rice milk that worked pretty well in baking. I still don’t really like rice milk for drinking — there’s something sort of “dry” about the flavor. That’s odd, I know, but that’s the best description I can come up with.
Anyway, any time I’m making rice and think I’ll have time for rice milk later in the week, I make a cup or two extra. It doesn’t take that much longer in the rice cooker. I’ll take the leftover rice and let it soak in mason jars overnight, and then blend it up the next day. If you strain it, it’s nice and smooth (depending on what you want to use it for, consider not straining it. It seems to add some bulk to bread and cake unstrained, but none of those recipes are blog-ready, I’m still playing.) But I hate throwing out the pulp and wondered if I could season it and make crackers out of it.
It worked! But they really have more of a chip texture than a cracker, so I’m calling these chips. I did these in the dehydrator, but if you don’t have one, I’m guessing that doing this on low in the oven would work. The times I’ve given will be wrong, though. I didn’t try this because I’ve not made them yet this summer when it was cool enough to want to use the oven. You can also use whatever seasoning you like, but I don’t really recommend a salt-free one. Those turned out really bland. I tried a bunch of the seasonings in my kitchen, and I’ve listed what I liked best.
On rice: I use a brown jasmine rice I buy in large bags at the Asian market in Nashua. Brown jasmine is my “all-purpose” rice at this point in time. It’s likely that the brown rice adds to the leftover pulp, so I would suggest using brown rice for this. But if you try it with a white rice — or something else, please let us know in the comments. You do get rice cream (which is easily thinned down to rice milk) and crackers out of this, so it’s a 2-for-1 recipe.
I did not give an exact number of chips, as it’s come out a little different each time for me, despite all attempts to create stringent measurements. Since this is basically a way to use up something you’d throw out otherwise, maybe a little uncertainty is okay?
Fill a quart mason jar with the rice, lightly packing it in. Fill the jar with water. Put it in the fridge overnight. I’m not 100% sure it needs to be refrigerated, but better safe than sorry. The rice will soak up a lot of this water, and I think it makes a smoother milk.
Empty the water and about half the rice from the jar into your blender. Add a cup of water and blend. If you need more water, add it, but your goal is to blend the smoothest rice milk with the least amount of water here. You will need more, but add it gradually
Repeat with the other half of the rice, but add about 1 1/2 cups of water to begin, as you don’t have leftover soaking water.
Now strain the rice milk through a fine sieve. Keep stirring the mush to drain as much milk as possible out of the rice pulp.
I usually get about a quart of rice cream out of this.
With the leftover pulp, drop in about 1 Tablespoon blobs onto the fruit roll trays of your dehydrator (or onto a cookie sheet if you’re trying the oven). Sprinkle generously with seasoning.
Run the dehydrator at 155ºF for 9 hours, and check to see if your chips are crispy. They may need a little more time when it’s humid out. Lock these up in an airtight container to keep.
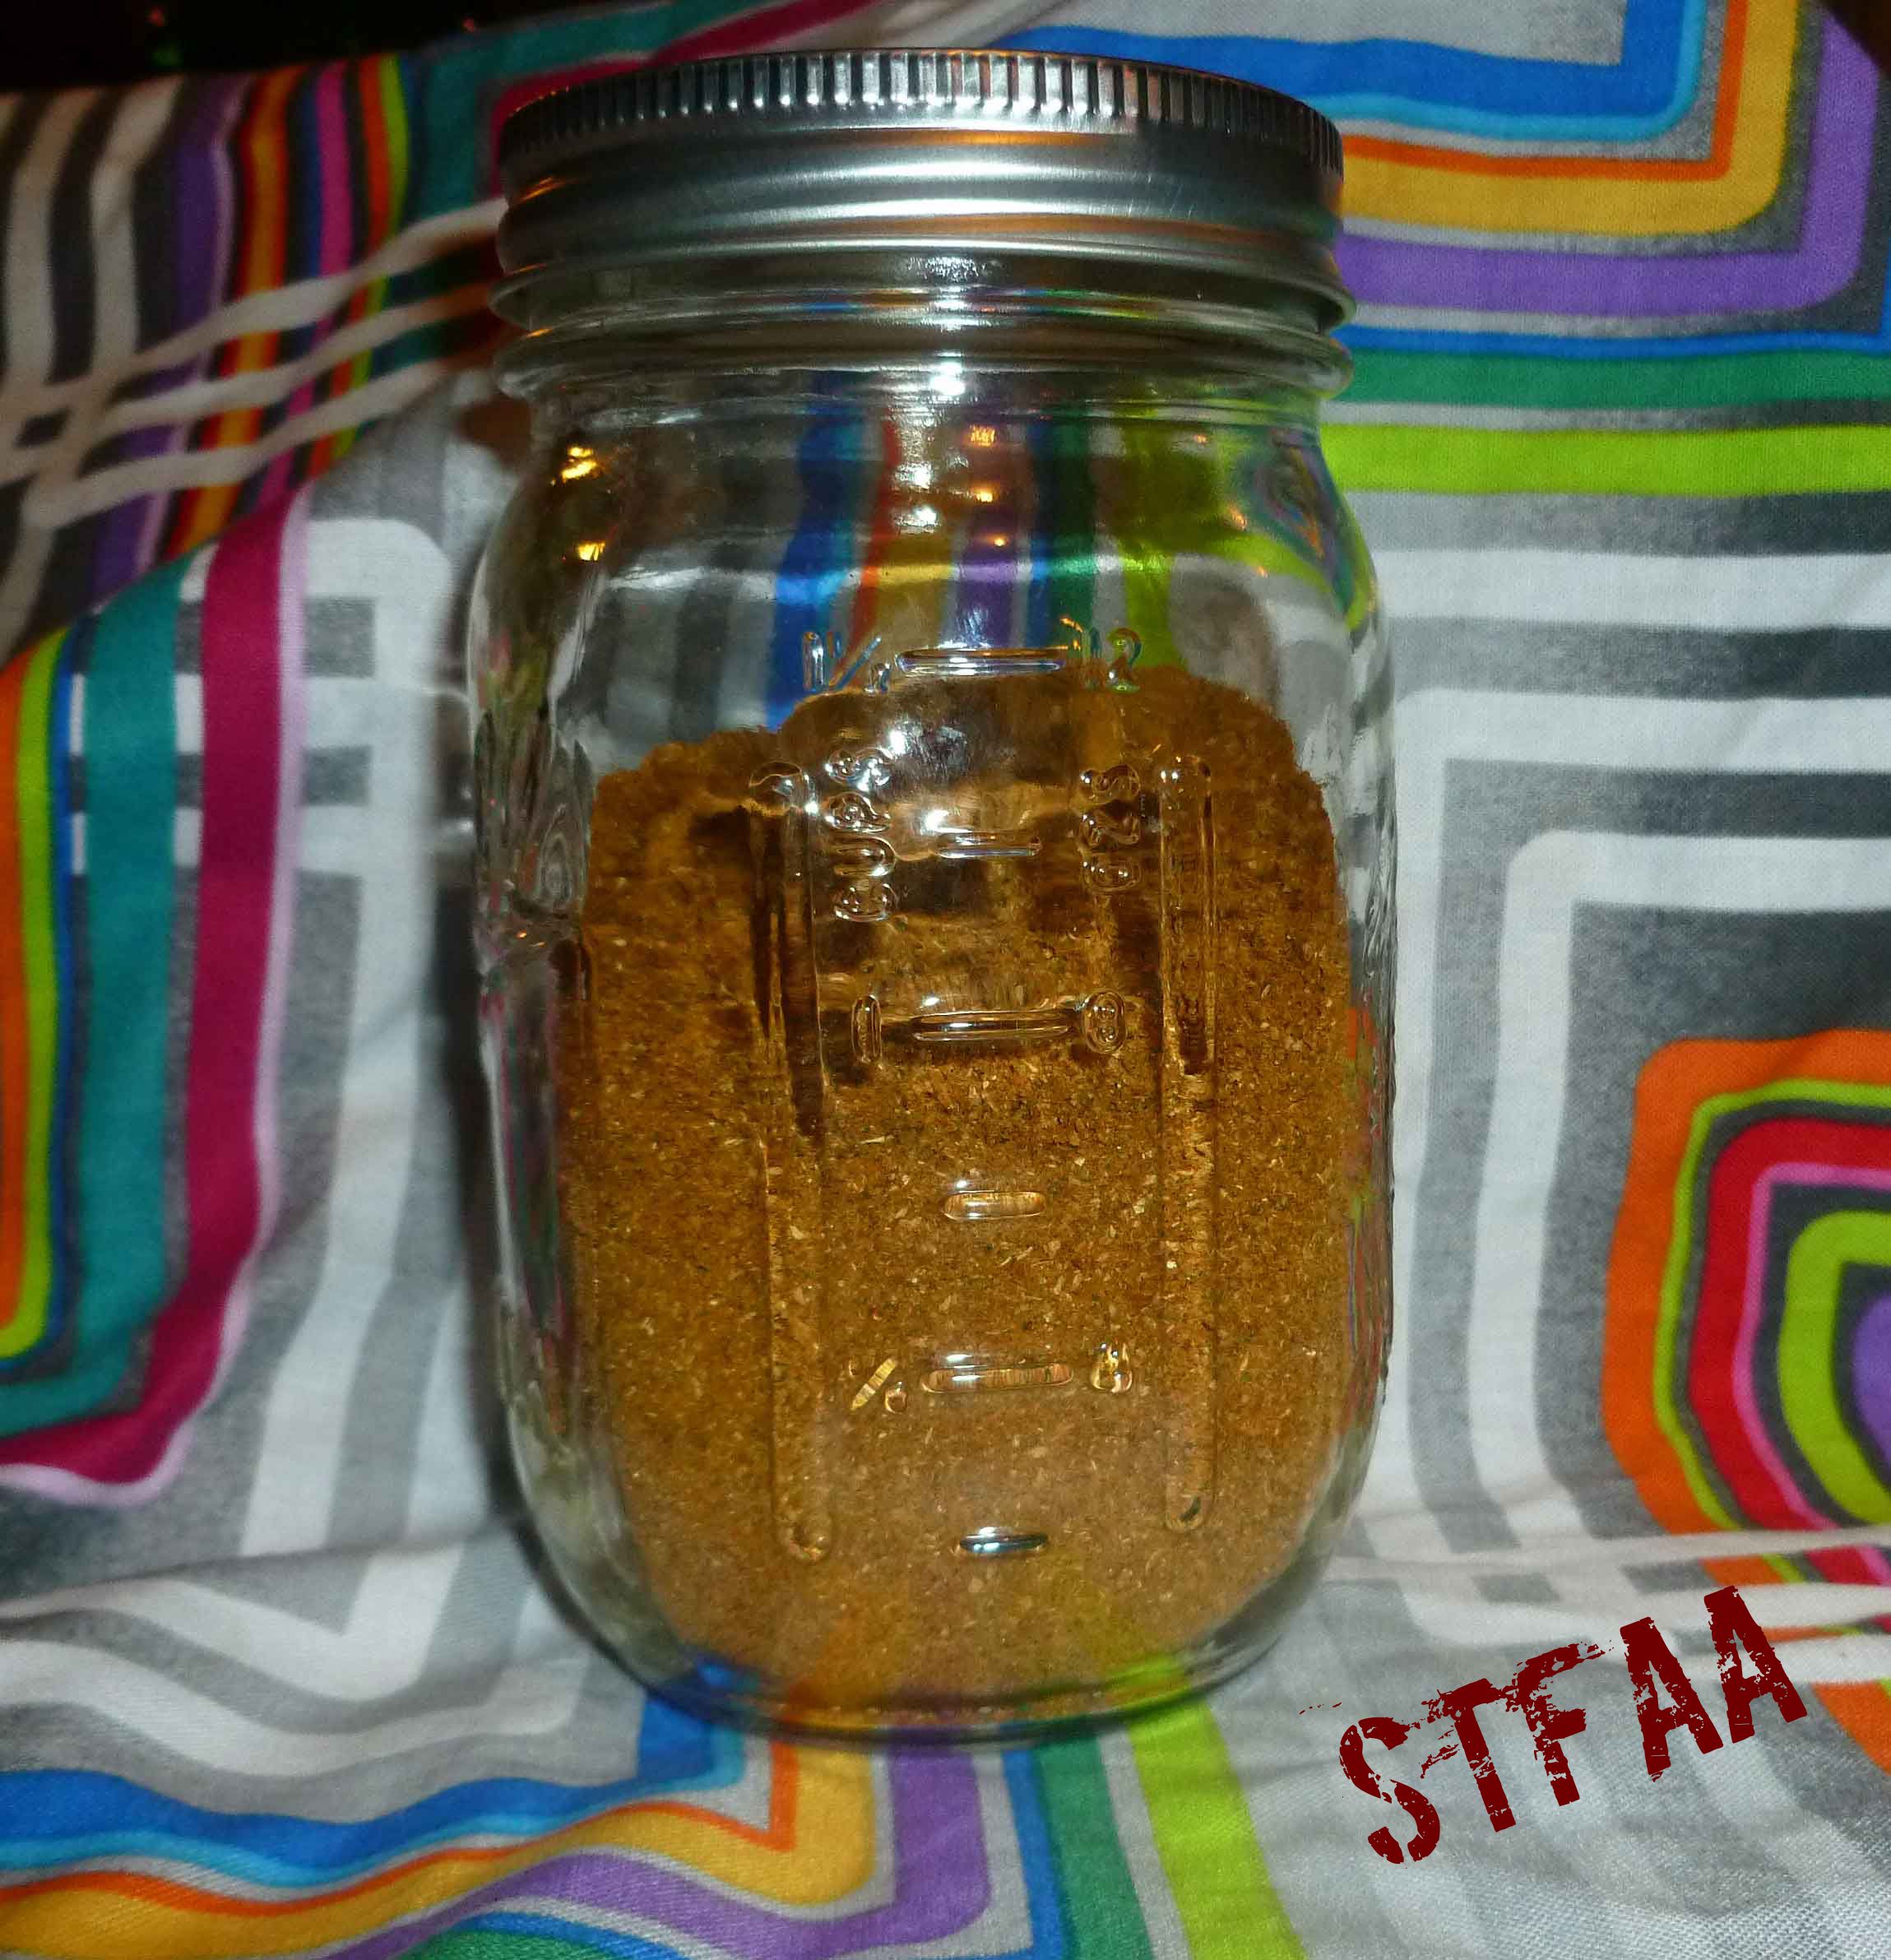
Besides the fact that I have a spice obsession (as outlined in my post, WW Kitchen Stories: Rosemary or Denise’s Spice Issues) and it seems dumb to pay for blends when you already have all the stuff to make the blend, I’m getting to the point after the cumin scare that I’m going to try to make as much stuff from whole spices as I can, so that there’s less chance for adulteration with undisclosed allergens, anti-caking agents, or cross contamination. There’s only a few ground spices in here, but my plan is to eventually only buy whole spices and grind all my own stuff.
I tried to keep it reasonable for non-fire breathers, but you control how much curry powder you add to stuff. Start small and then taste, you can always add more, but you can’t really subtract easily. Also, if you want to make it a bit hotter, add 3 or 4 more dried chiles to the mix. Be aware that you will need a blender or a coffee/spice grinder to make this.
DIY Curry Powder
Makes about 1 cup.
6-8 dried chiles (I used Sanaam, but Arbol or Japones would work fine)
5 Tablespoons of coriander seed
4 Tablespoons of cumin seeds
2 Tablespoons of fennel seeds
2 teaspoons of black mustard seed
4 green cardamom pods
1/2 teaspoon of whole cloves
1/4 teaspoon of black peppercorns
1″ piece of cinnamon stick
1 Tablespoon of ground Turmeric
1 teaspoon of ground ginger
1 teaspoon of ground fenugreek seed
1/4 teaspoon of ground nutmeg
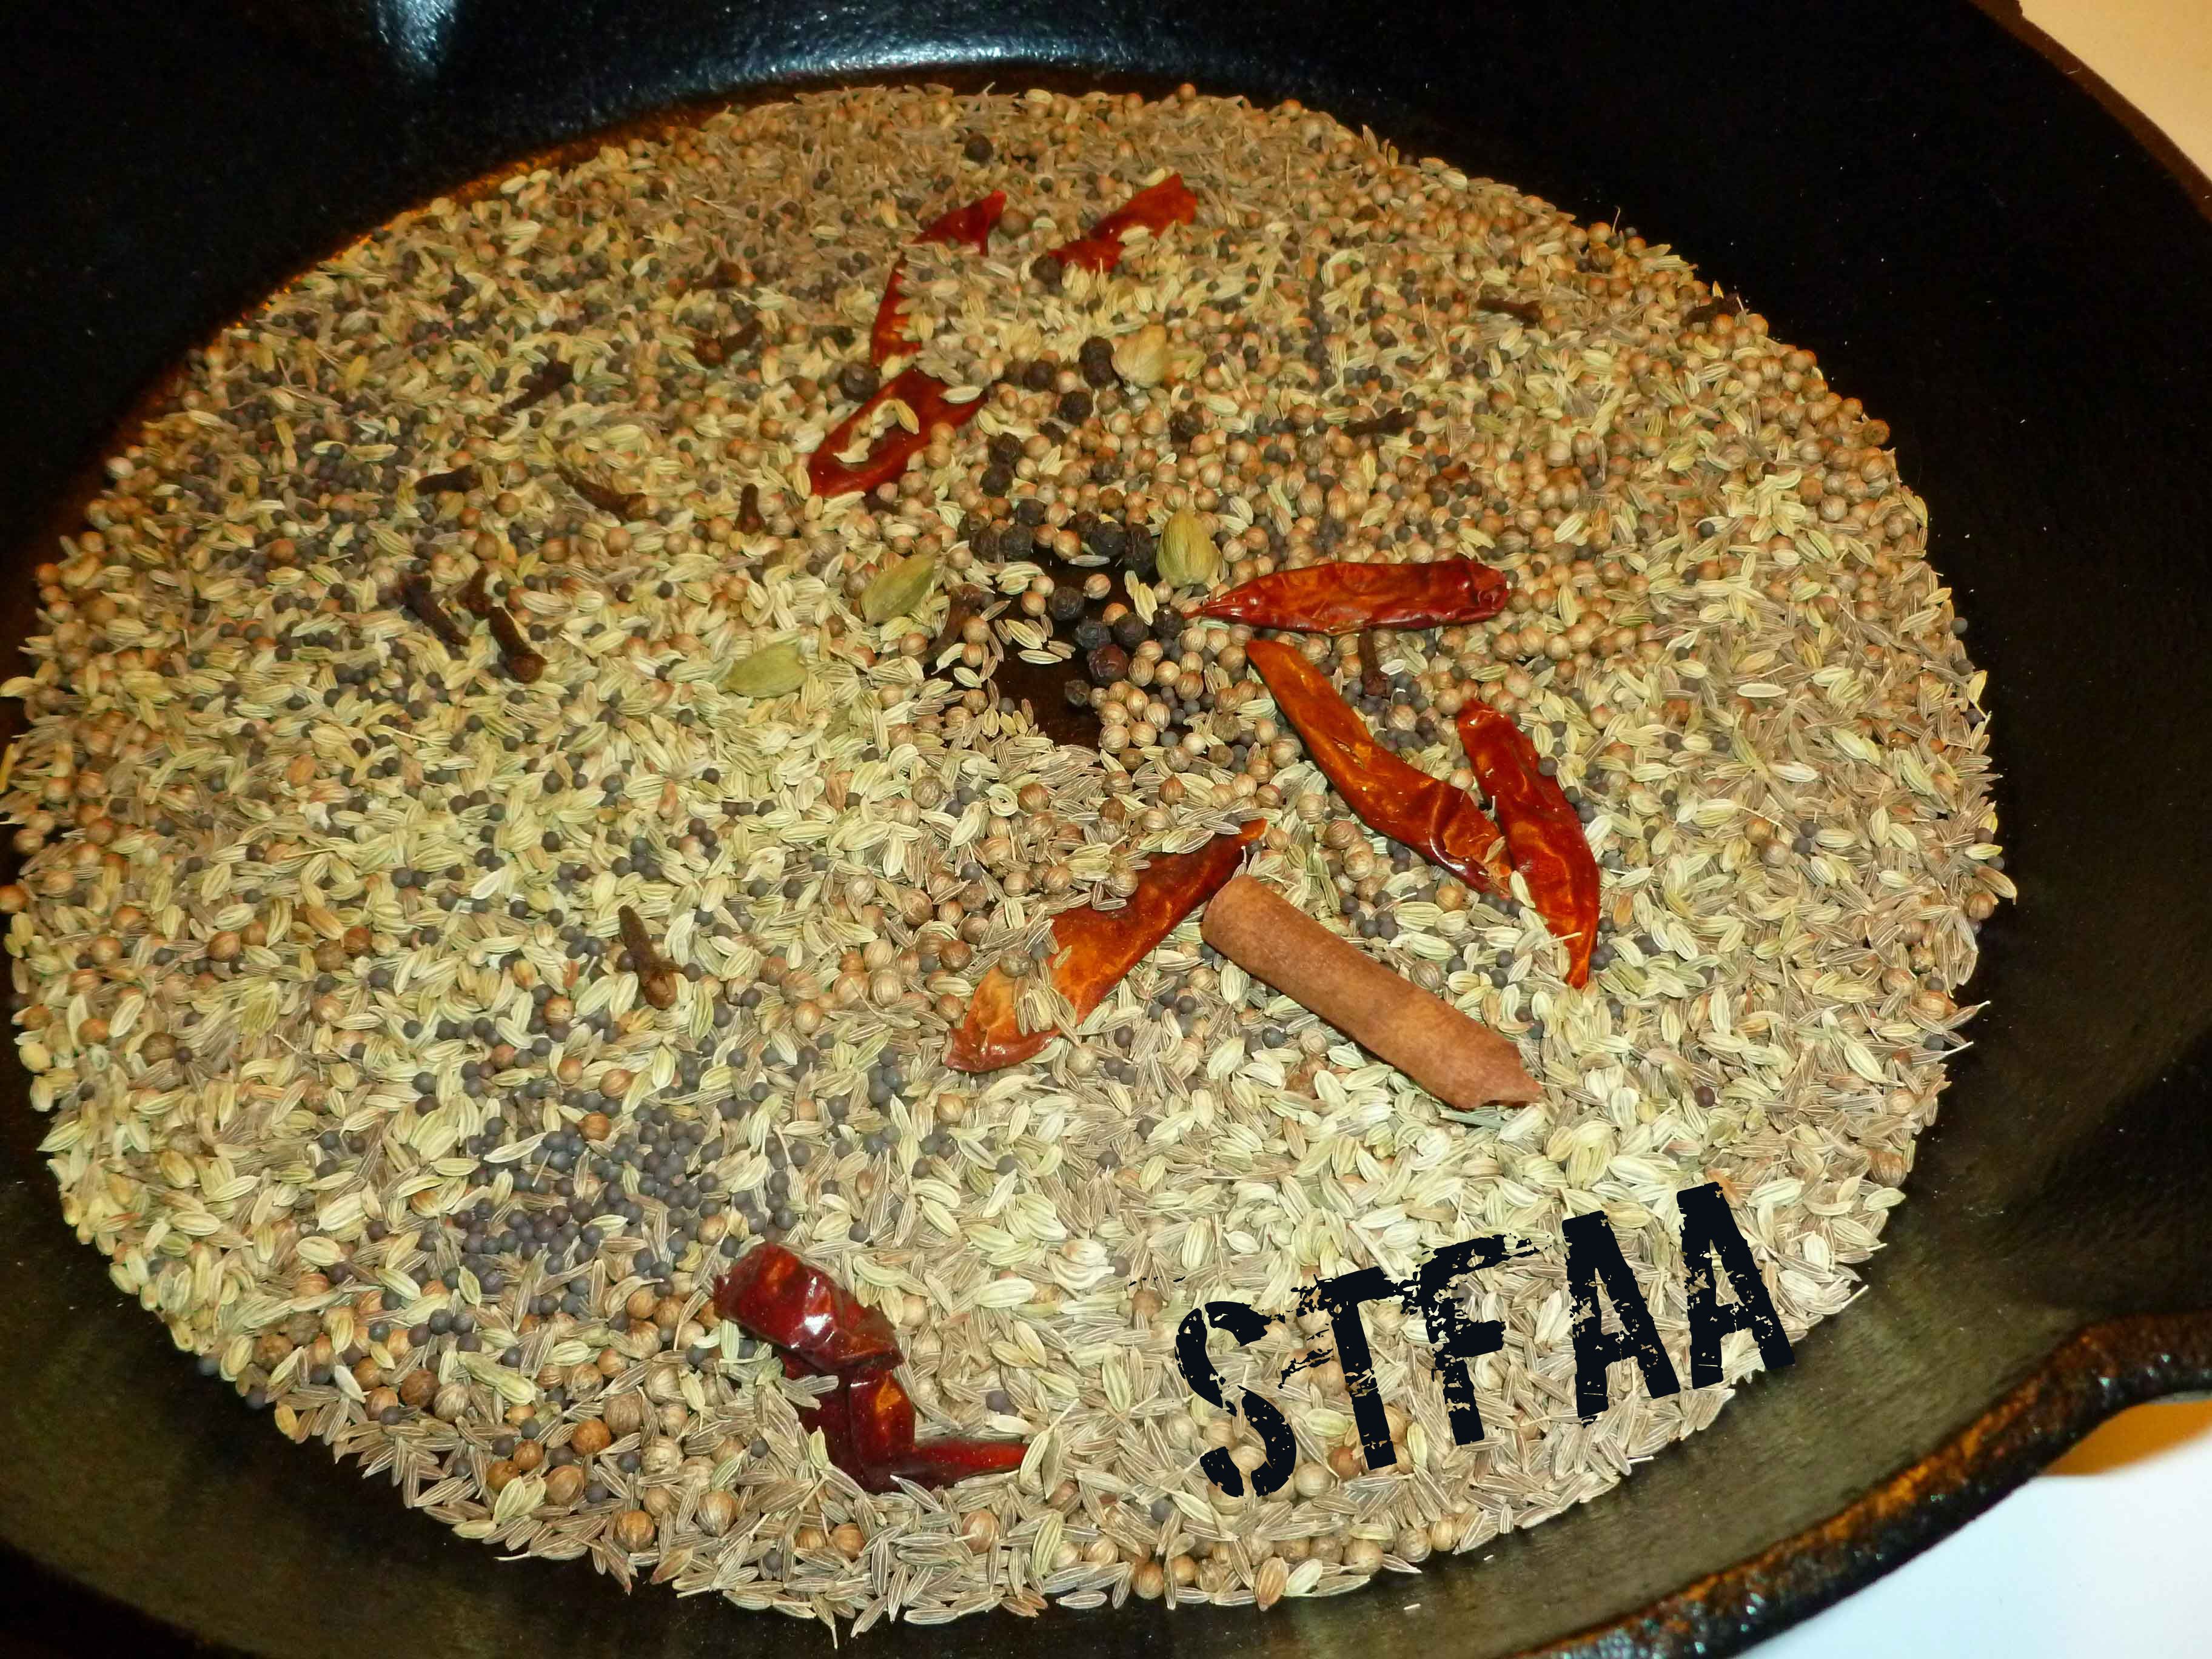
Destem the chiles if necessary. Place the chiles, coriander seed, cumin seeds, fennel seeds, black mustard seed, green cardamom pods, cloves, black peppercorns, and cinnamon stick in a skillet over medium heat.
Seeds, spices, and chiles in skillet before toasting
Move the skillet around constantly to shift the seeds, spices and chiles until you smell the cumin seed toasting, some of the seeds popping and the spices darken.
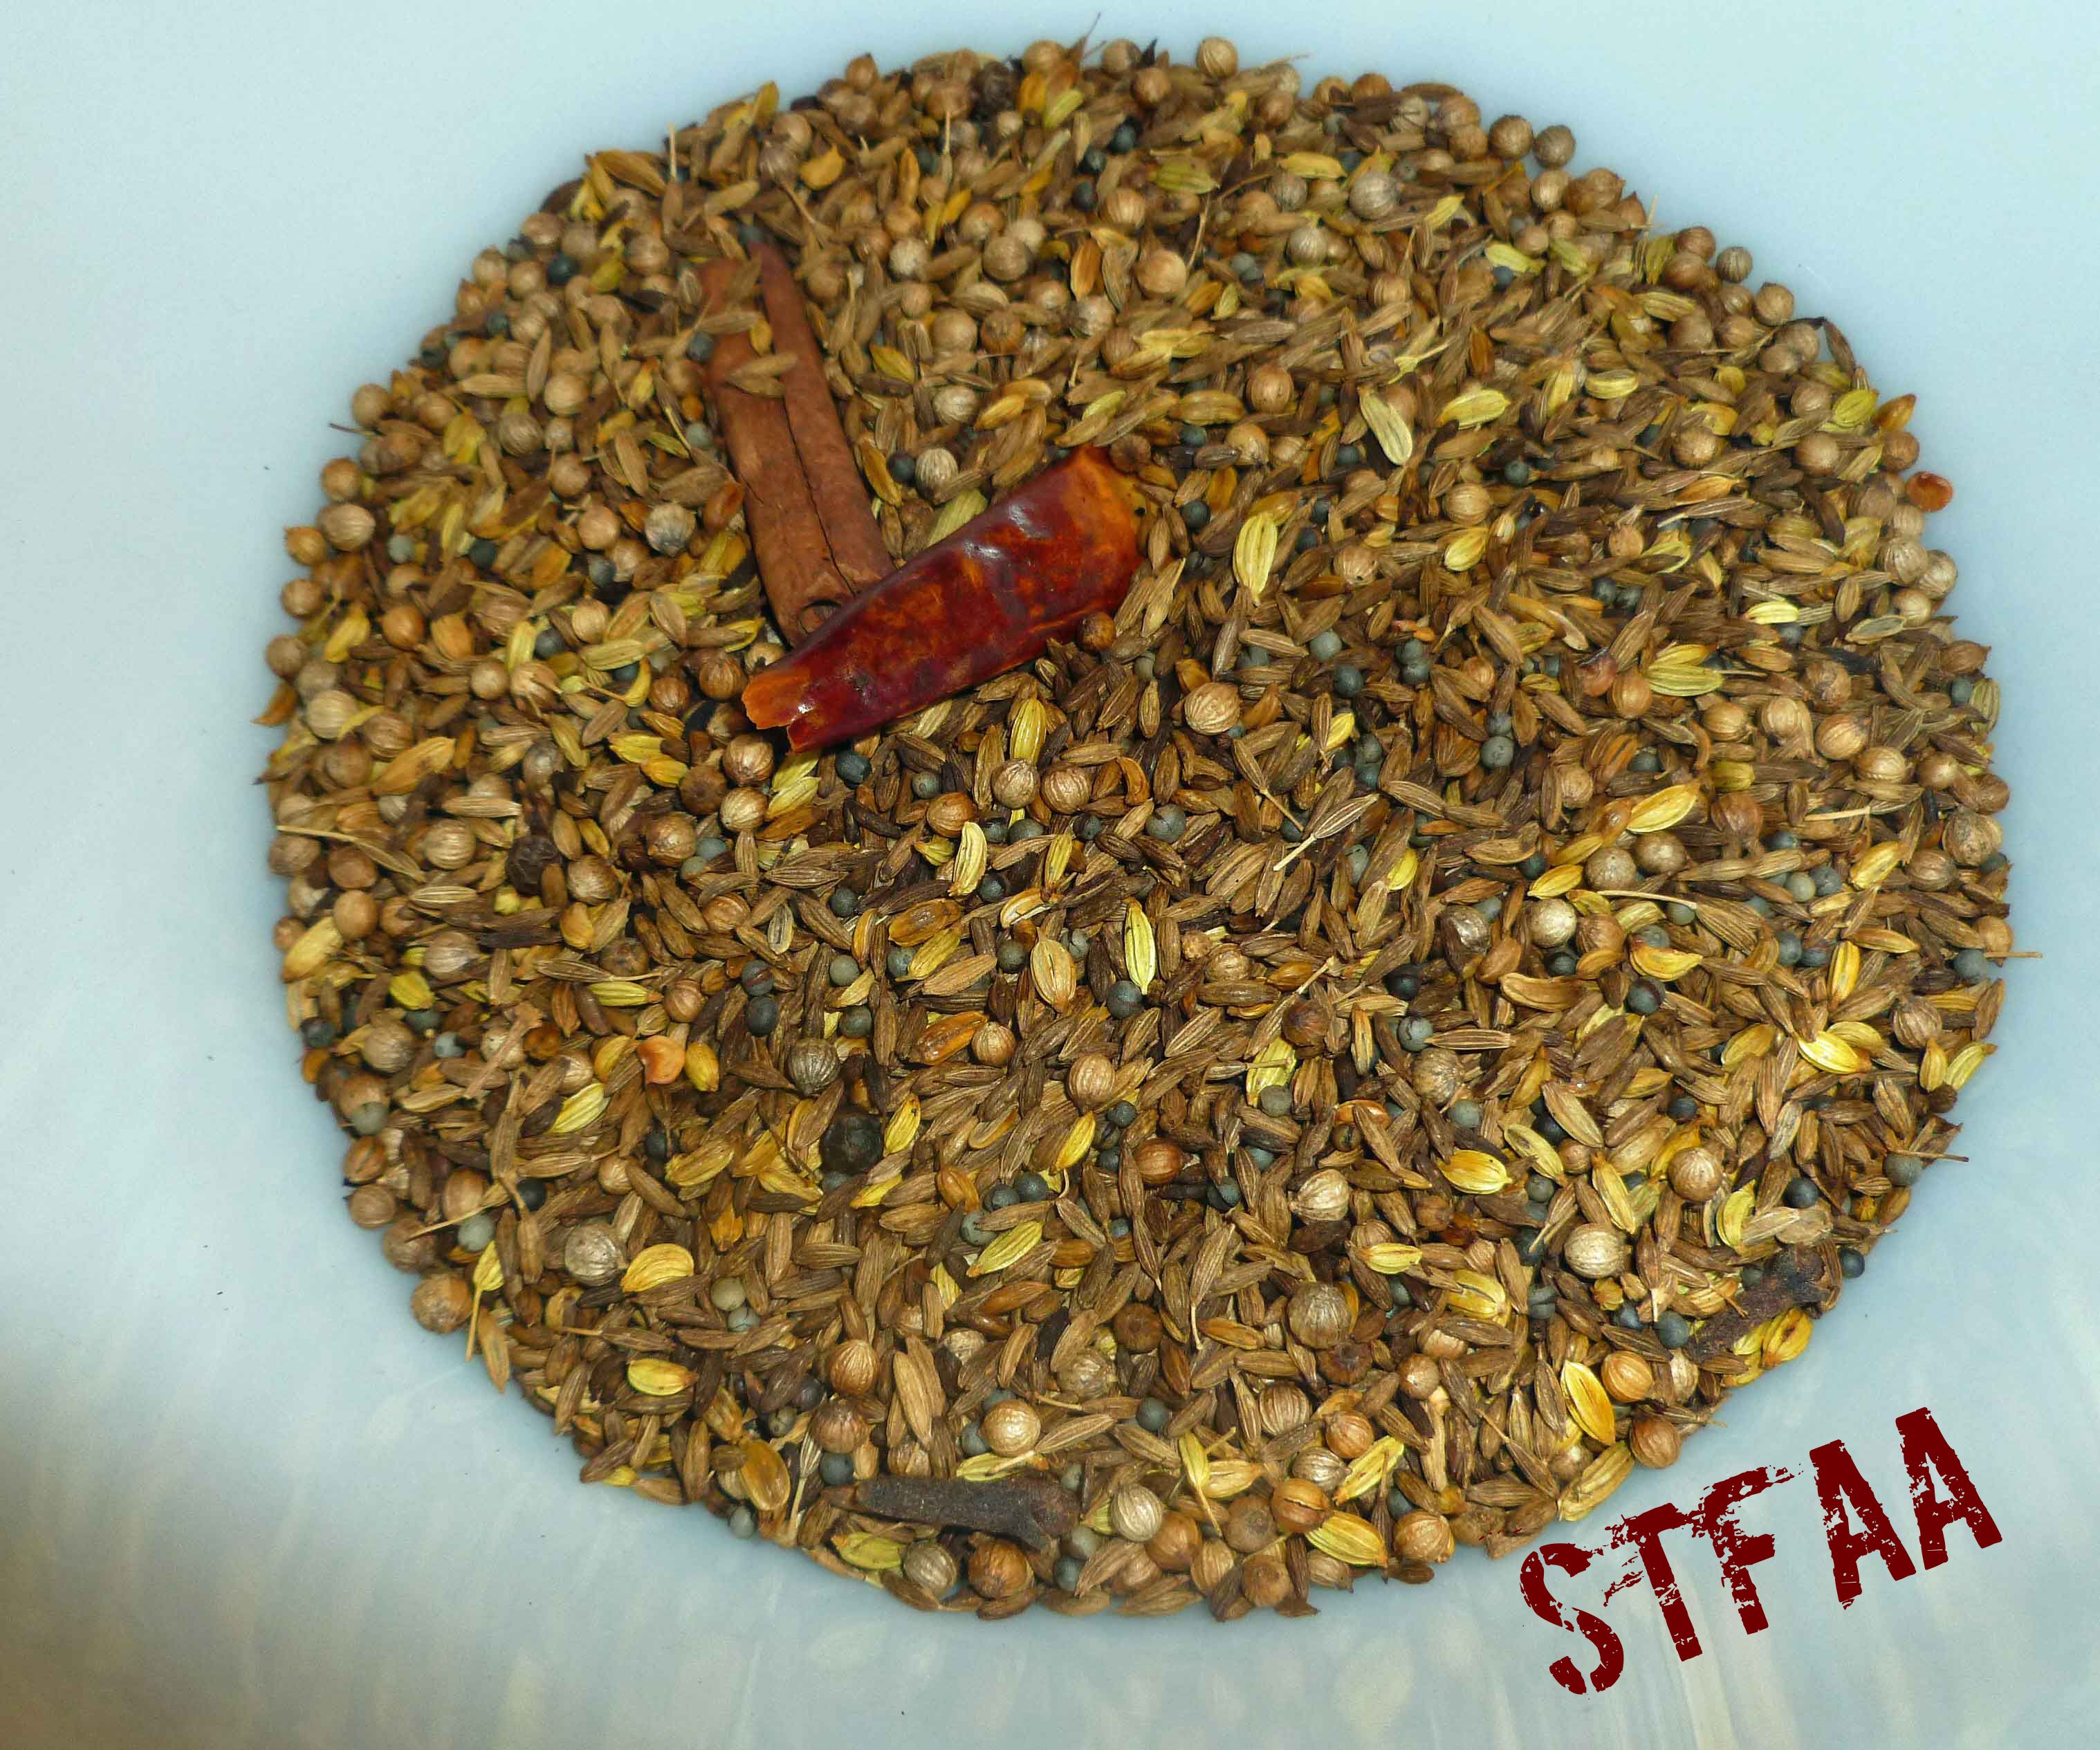
Seeds, spices, and chiles in bowl after toasting
Remove the spices, seeds, and chiles from the skillet, and allow them to cool completely.
Once cool, place the spices, seeds, and chiles from the skillet and the ground turmeric, ginger, fenugreek, and nutmeg into a blender, and blend until you have a fine powder. Before opening the blender, let the powder settle for a few minutes so that you don’t gas yourself.
If you are using a coffee/spice grinder, place the ground turmeric, ginger, fenugreek, and nutmeg into a bowl. Grind the spices, seeds, and chiles from the skillet in coffee/spice grinder in batches, adding the batches to the bowl until you have ground all of the spices, seeds, and chiles. Using a wire whisk, mix well so that the ground turmeric, ginger, fenugreek, and nutmeg are fully incorporated into the newly ground spices, seeds, and chiles from the skillet.
Store in an air-tight container and use where you would use curry powder. Stay tuned for some recipes using it in the coming weeks.
Being allergic to foods that are staples of the Standard American Diet can mean that road trips are, well, a little sad. But not going on a road trip would be more sad. So thinking about road trips like setting out for the western frontier (or, in this case, Vermont, which is to the west) means that with a plan and a cooler (and a hotel chosen partly for the microwaves and mini-fridges in each room), means “yay! Road trip!” I admit that I really miss finding awesome, off-beat restaurants in new cities. Now, if I plan to eat out, I check ahead and carefully read menus. That’s hard to do when you don’t know where you’ll be for lunch. So, again, the cooler and the meal plan.
Hummus is a great road trip food. I’m a little bored of chickpea hummus, the standard, and I had time (and a plan) to make my own. I was going to make a black bean hummus I’d forgotten about — but in planning the grand meal plan, I forgot to see if I had black beans in the house. Oops.
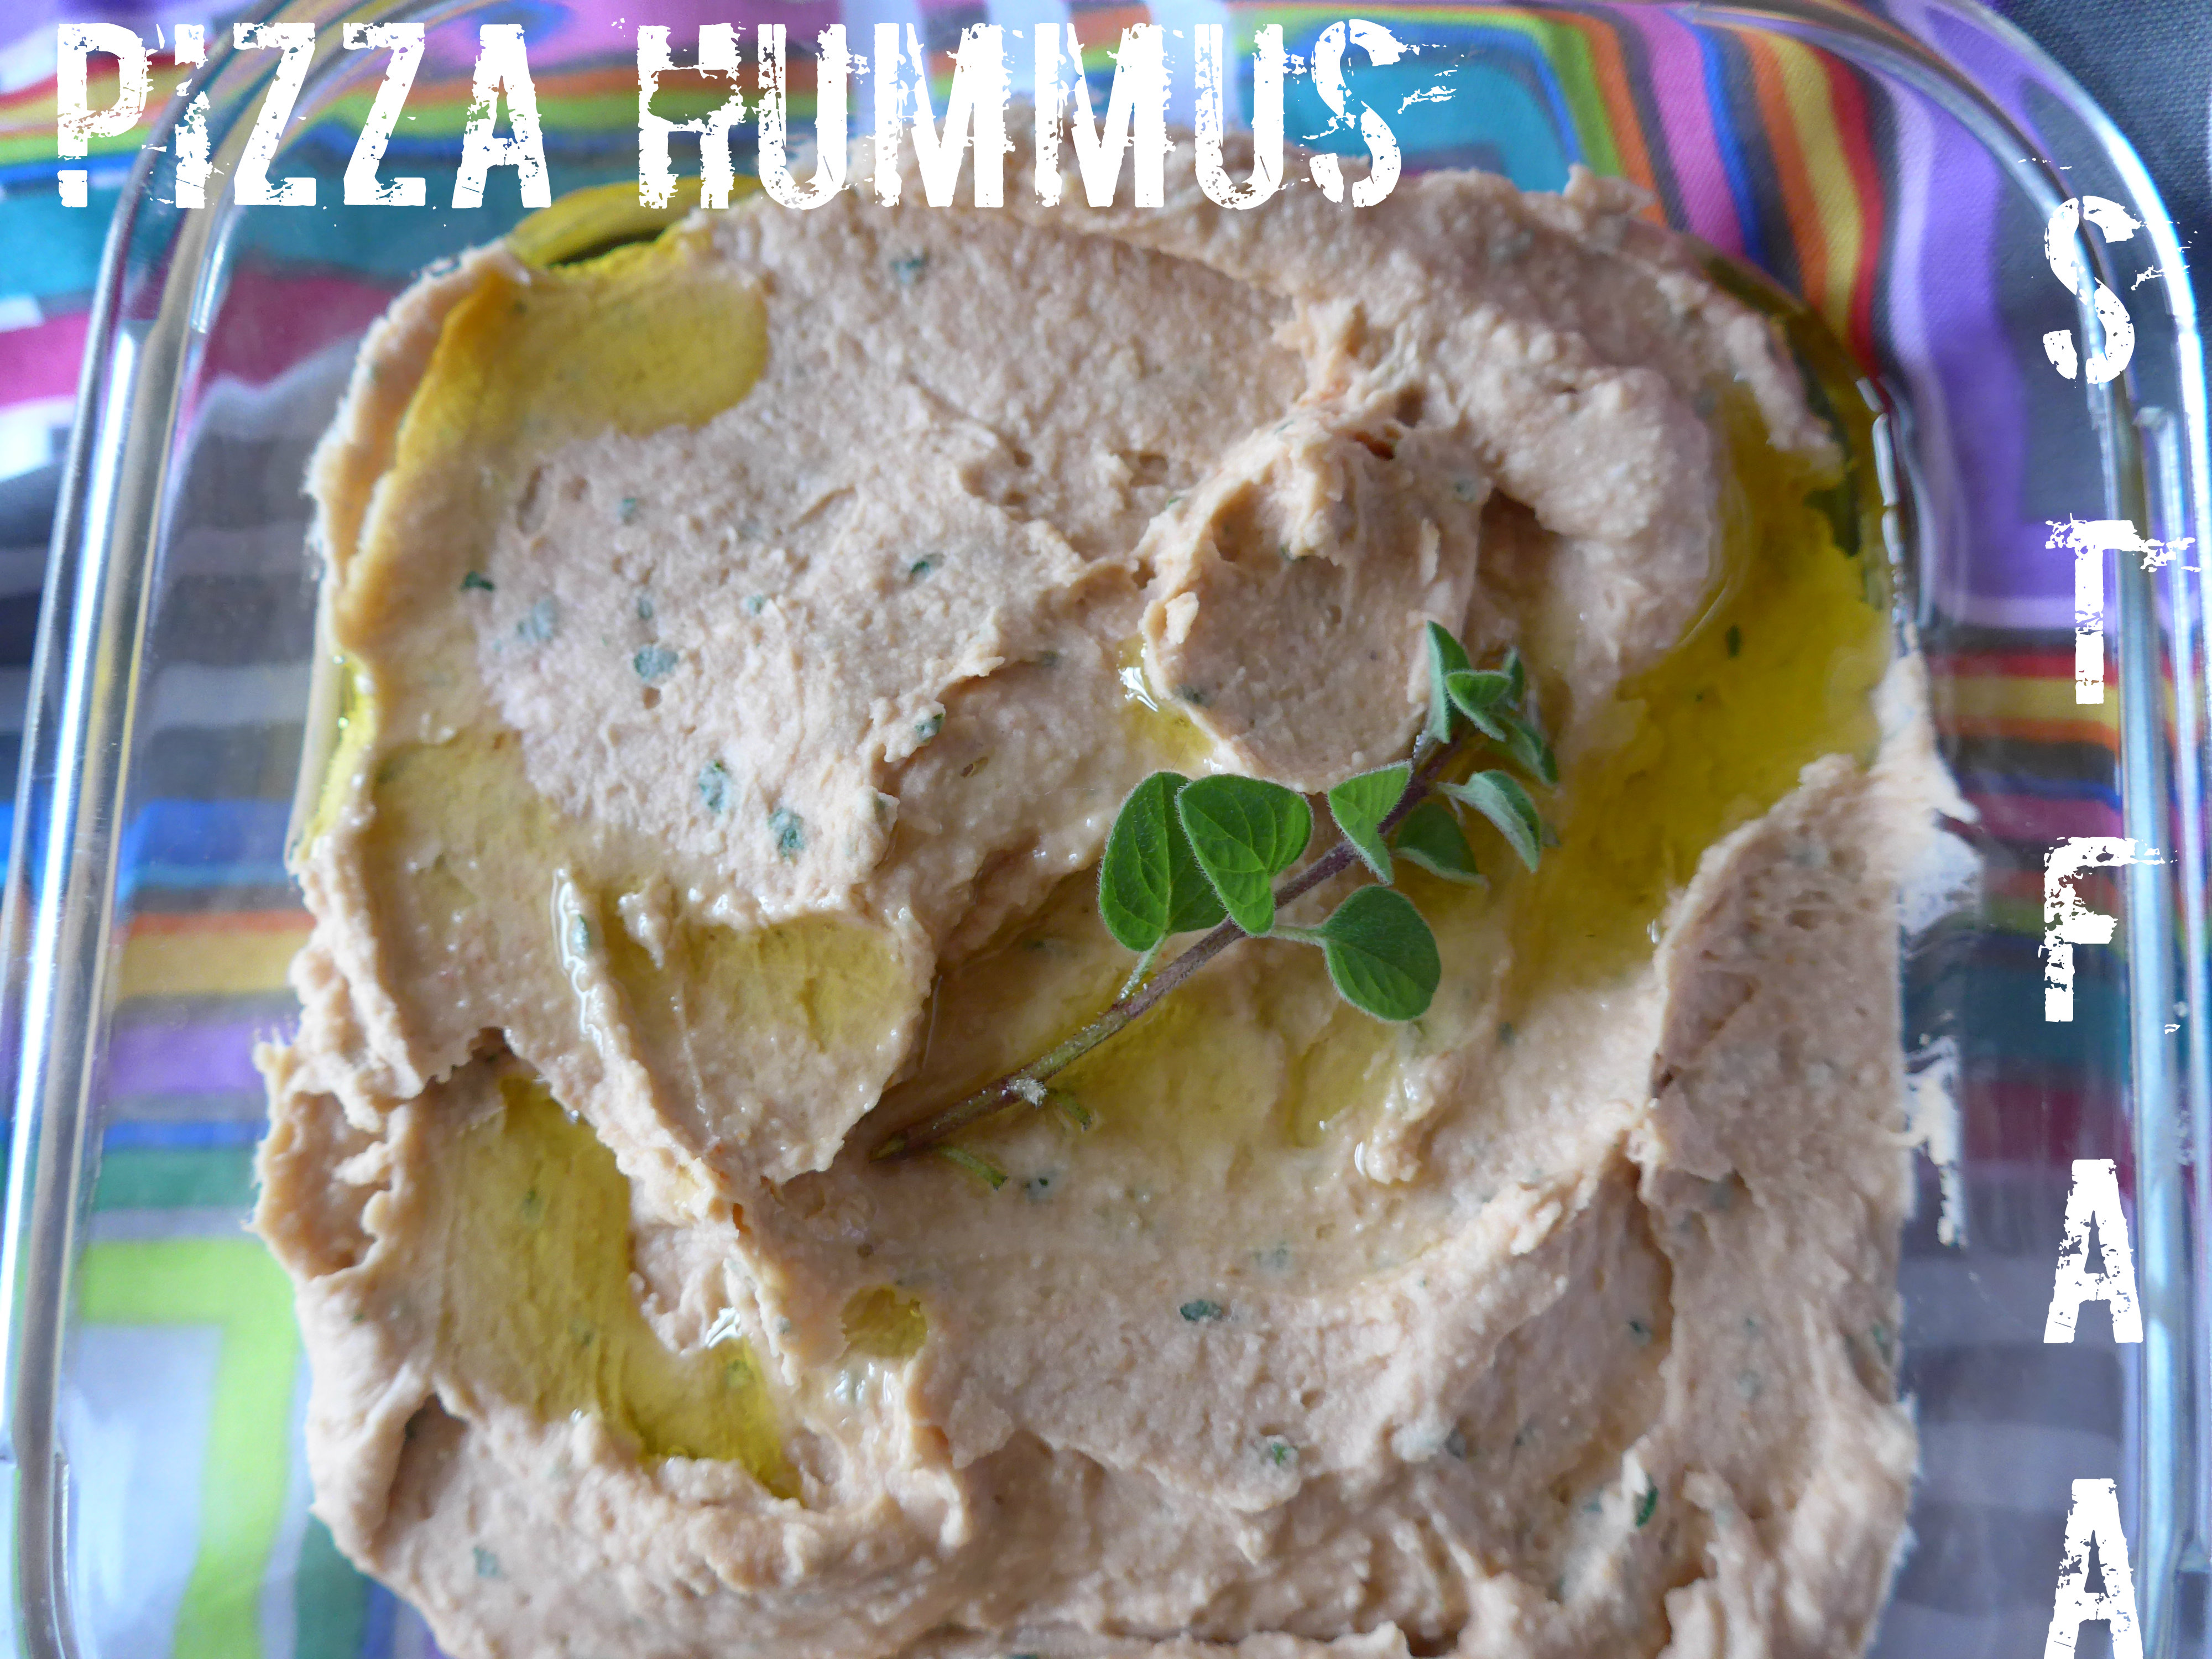
I did have cannellini beans. And I have not yet killed my fresh herbs on the deck — I have chocolate mint, thyme, and oregano, and my neighbor is growing basil. Oregano and basil made me think of pizza, so I went that direction. Instead of tahini, I’ve used cashews, as I thought their more neutral flavor would be good with this combination. I think tahini would likely be okay (and make it nut-free), so if you make it that way, let us know in the comments how it turned out.
White Bean Pizza Hummus
White Bean Pizza Hummus
1/4 cup raw cashew pieces (yes, you can use whole. The pieces are usually cheaper, though.)
1/2 teaspoon chopped garlic (more, up to 1 teaspoon, if you want a prominent garlic flavor. Roasted garlic would also be excellent here, but I’m currently out.)
1 Tablespoon tomato paste
1 can (15 oz.) cannellini beans, drained and rinsed (Save the liquid!)
5 large fresh basil leaves, rinsed
about 1 Tablespoon of fresh oregano leaves, rinsed
pinch of fennel seeds, crushed
2 Tablespoons good quality olive oil, plus more to drizzle on top
In a food processor fitted with the S-blade, add the cashews and puree. They will not quite turn into nut butter (you’d need a little oil), but let them go until they are almost there.
Add the garlic and tomato paste and pulse it in.
Add the beans and puree the mix.
Add the basil, oregano, fennel seed, and olive oil and run until everything is smooth, scraping down the sides of the bowl as needed.
Transfer to a serving bowl or storage container and drizzle olive oil over the top — just a bit will help keep the hummus from drying out. Unlike in the photos, swirl it around so that it coats the top — I just wanted better photos, so I didn’t do that until I was done.
Serve with crackers, chips, or veggies of your choice.
So with the corn allergy all of the vegan mayonnaise products are a big no-no for me, as canola is notoriously cross-contaminated with corn, and I started to react to my favorite product. I haven’t had a safe mayonnaise in over a year. When I saw the aquafaba experiments with mayo, it rang a bell as a lot of the vegan products have pea protein, so I thought I’d give it a go. Only problem was, in order to get some aquafaba, I had to find time to pressure can some garbanzo beans at home, as I don’t really have a safe commercial garbanzo bean product I can buy. A few weeks ago I canned some garbanzo beans, but I just managed to find time to do the experiment recently. I used this recipe to start, but I modified it a bit because I was looking for a flavor that was more like Miracle Whip, as that was my mayo/salad dressing product of choice when I could still eat eggs, milk, and corn (I have more allergies, but those are the problem children for commercial mayo products). When I think of all the things I can make again, I seriously want to cry. Many thanks to Peanut Butter & Vegan for the post on using aquafaba for mayo to get me started. As suggested by the original post, I used an immersion (stick) blender, but if you try it in a regular blender, let me know how that goes.
Aquafaba Vegan Salad Dressing
Makes about 1 cup.
about 1/4 cup of aquafaba (the liquid from a can of garbanzo beans)
1/2 Tablespoon of lime or lemon juice (I used lime because I had limes in the house, but no lemons)
1/2 Tablespoon and 1/2 teaspoon of apple cider vinegar (I used Bragg’s as it is generally safest for people with corn allergies)
3/4 teaspoon of salt
1/2 teaspoon of ground mustard
1/4 teaspoon of sugar
dash of paprika
3/4 cup of safe for you, neutral tasting oil (I used grapeseed oil)
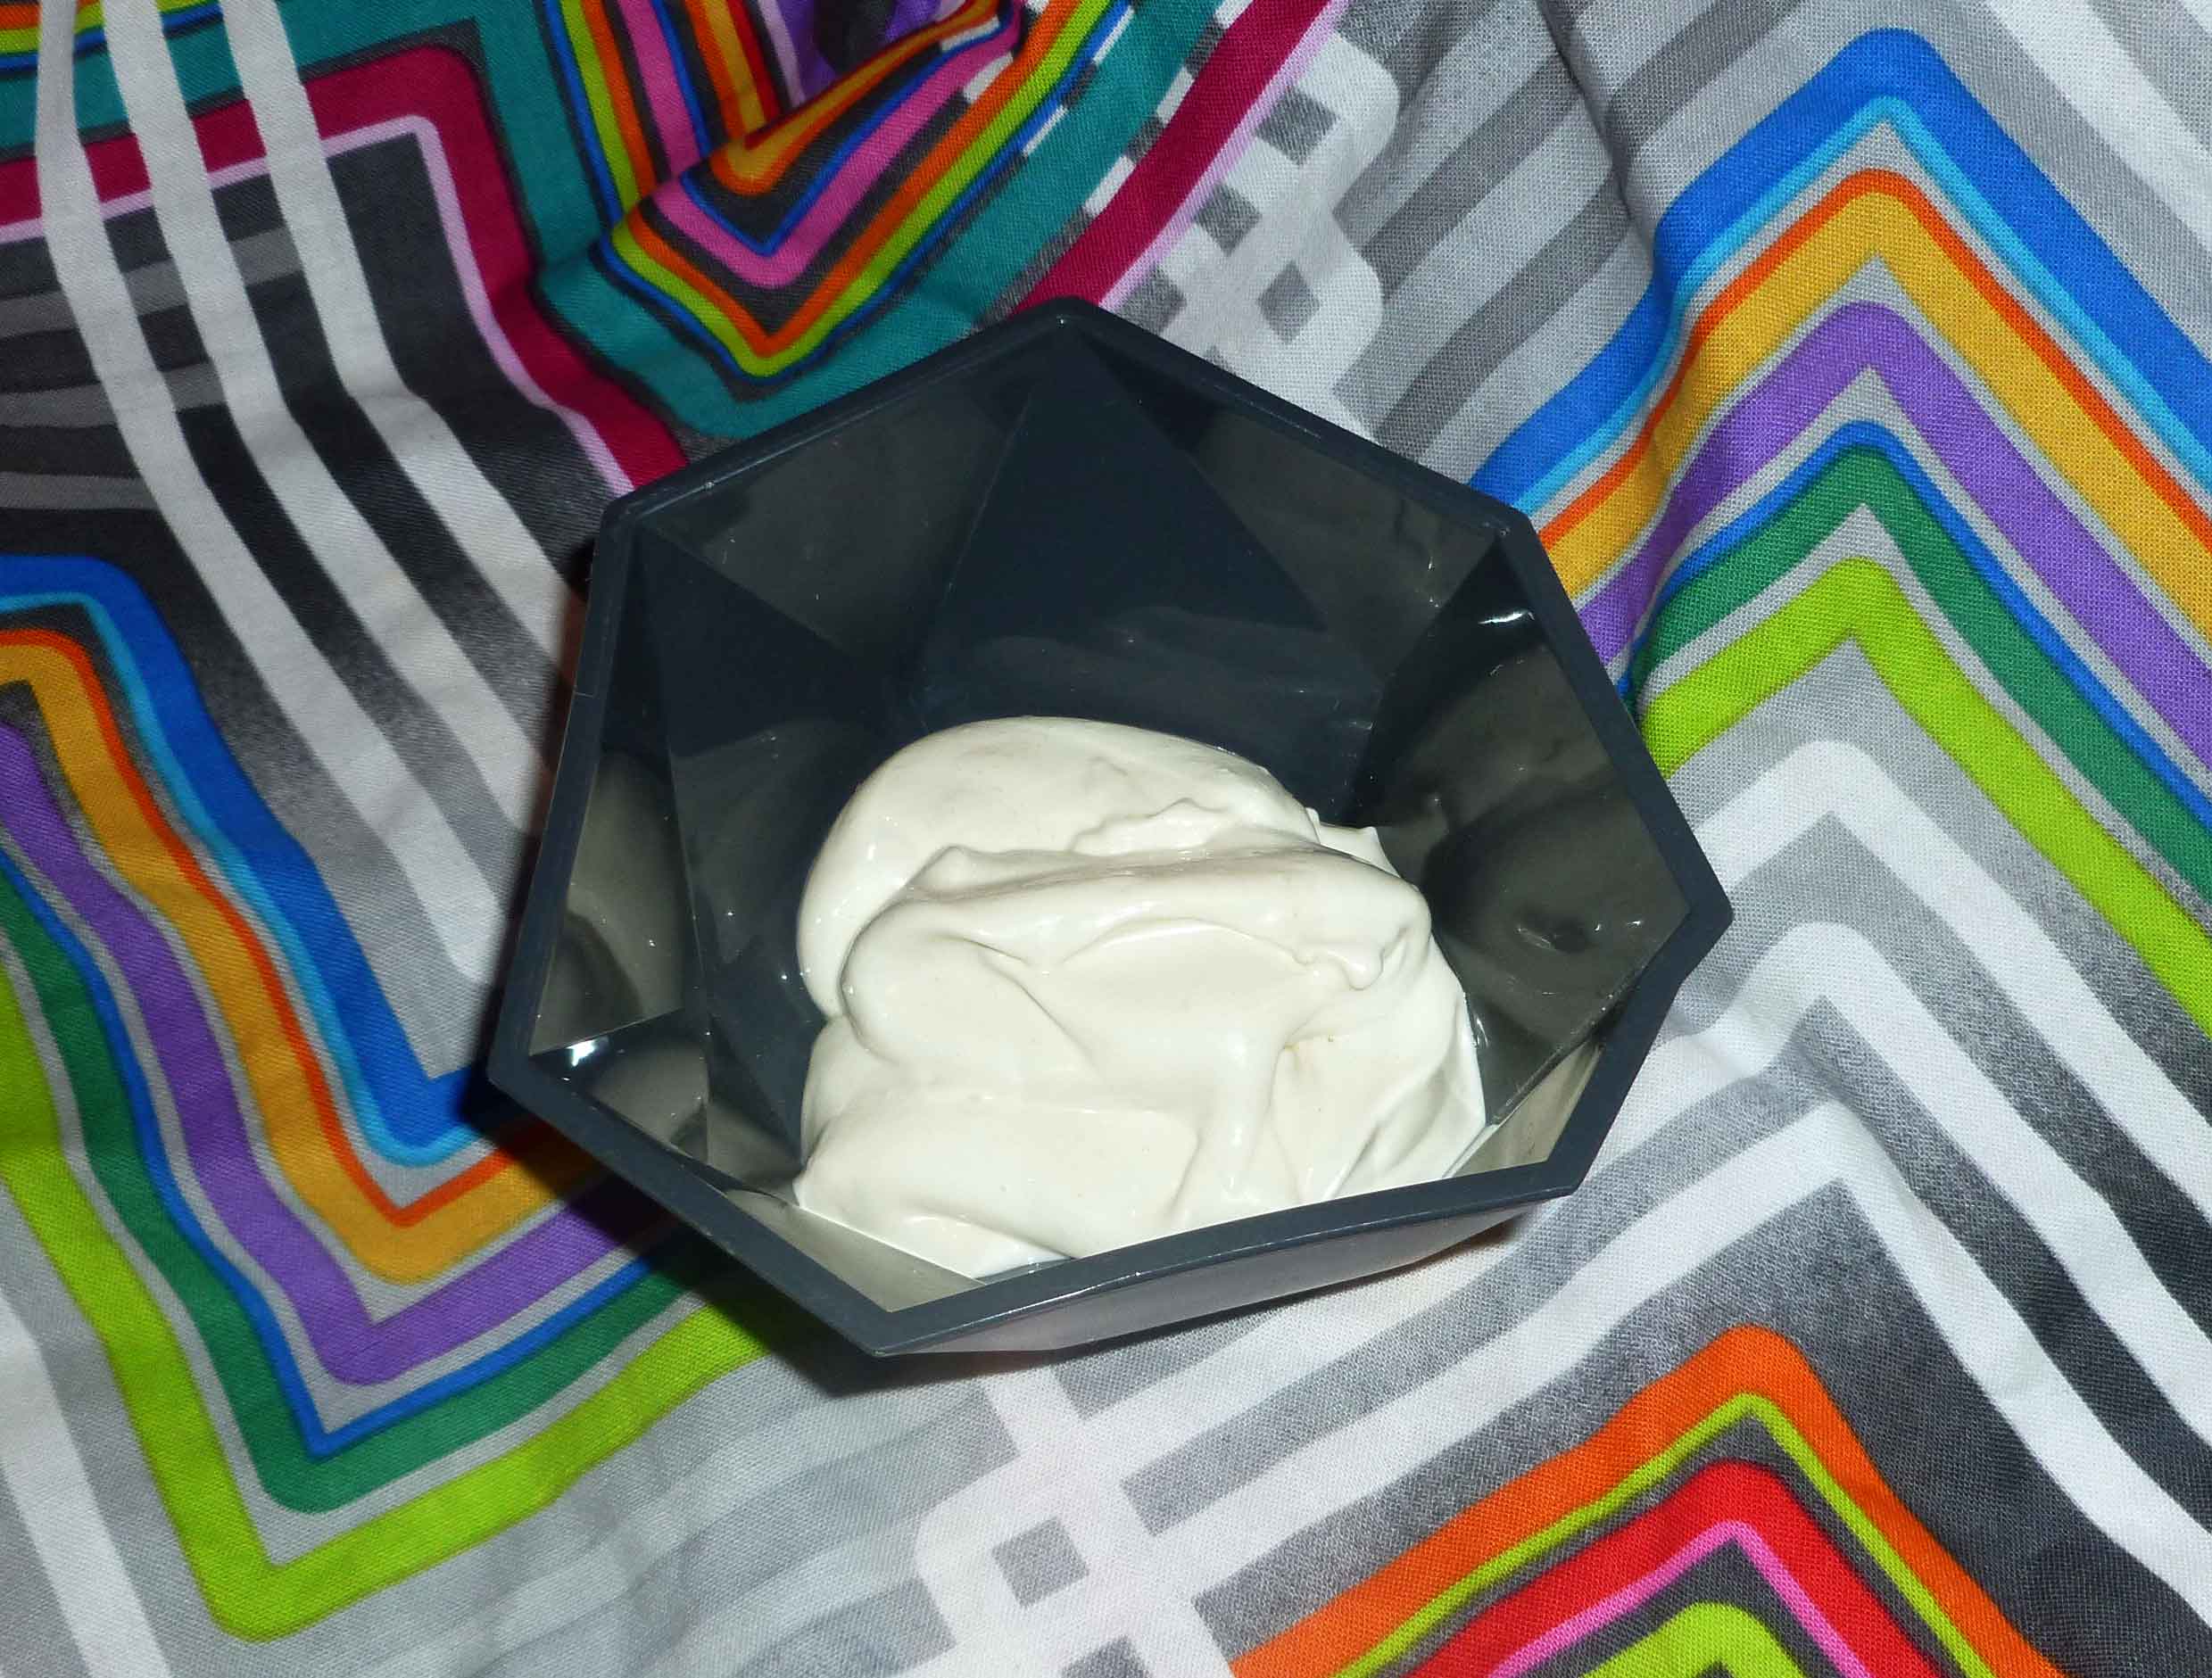
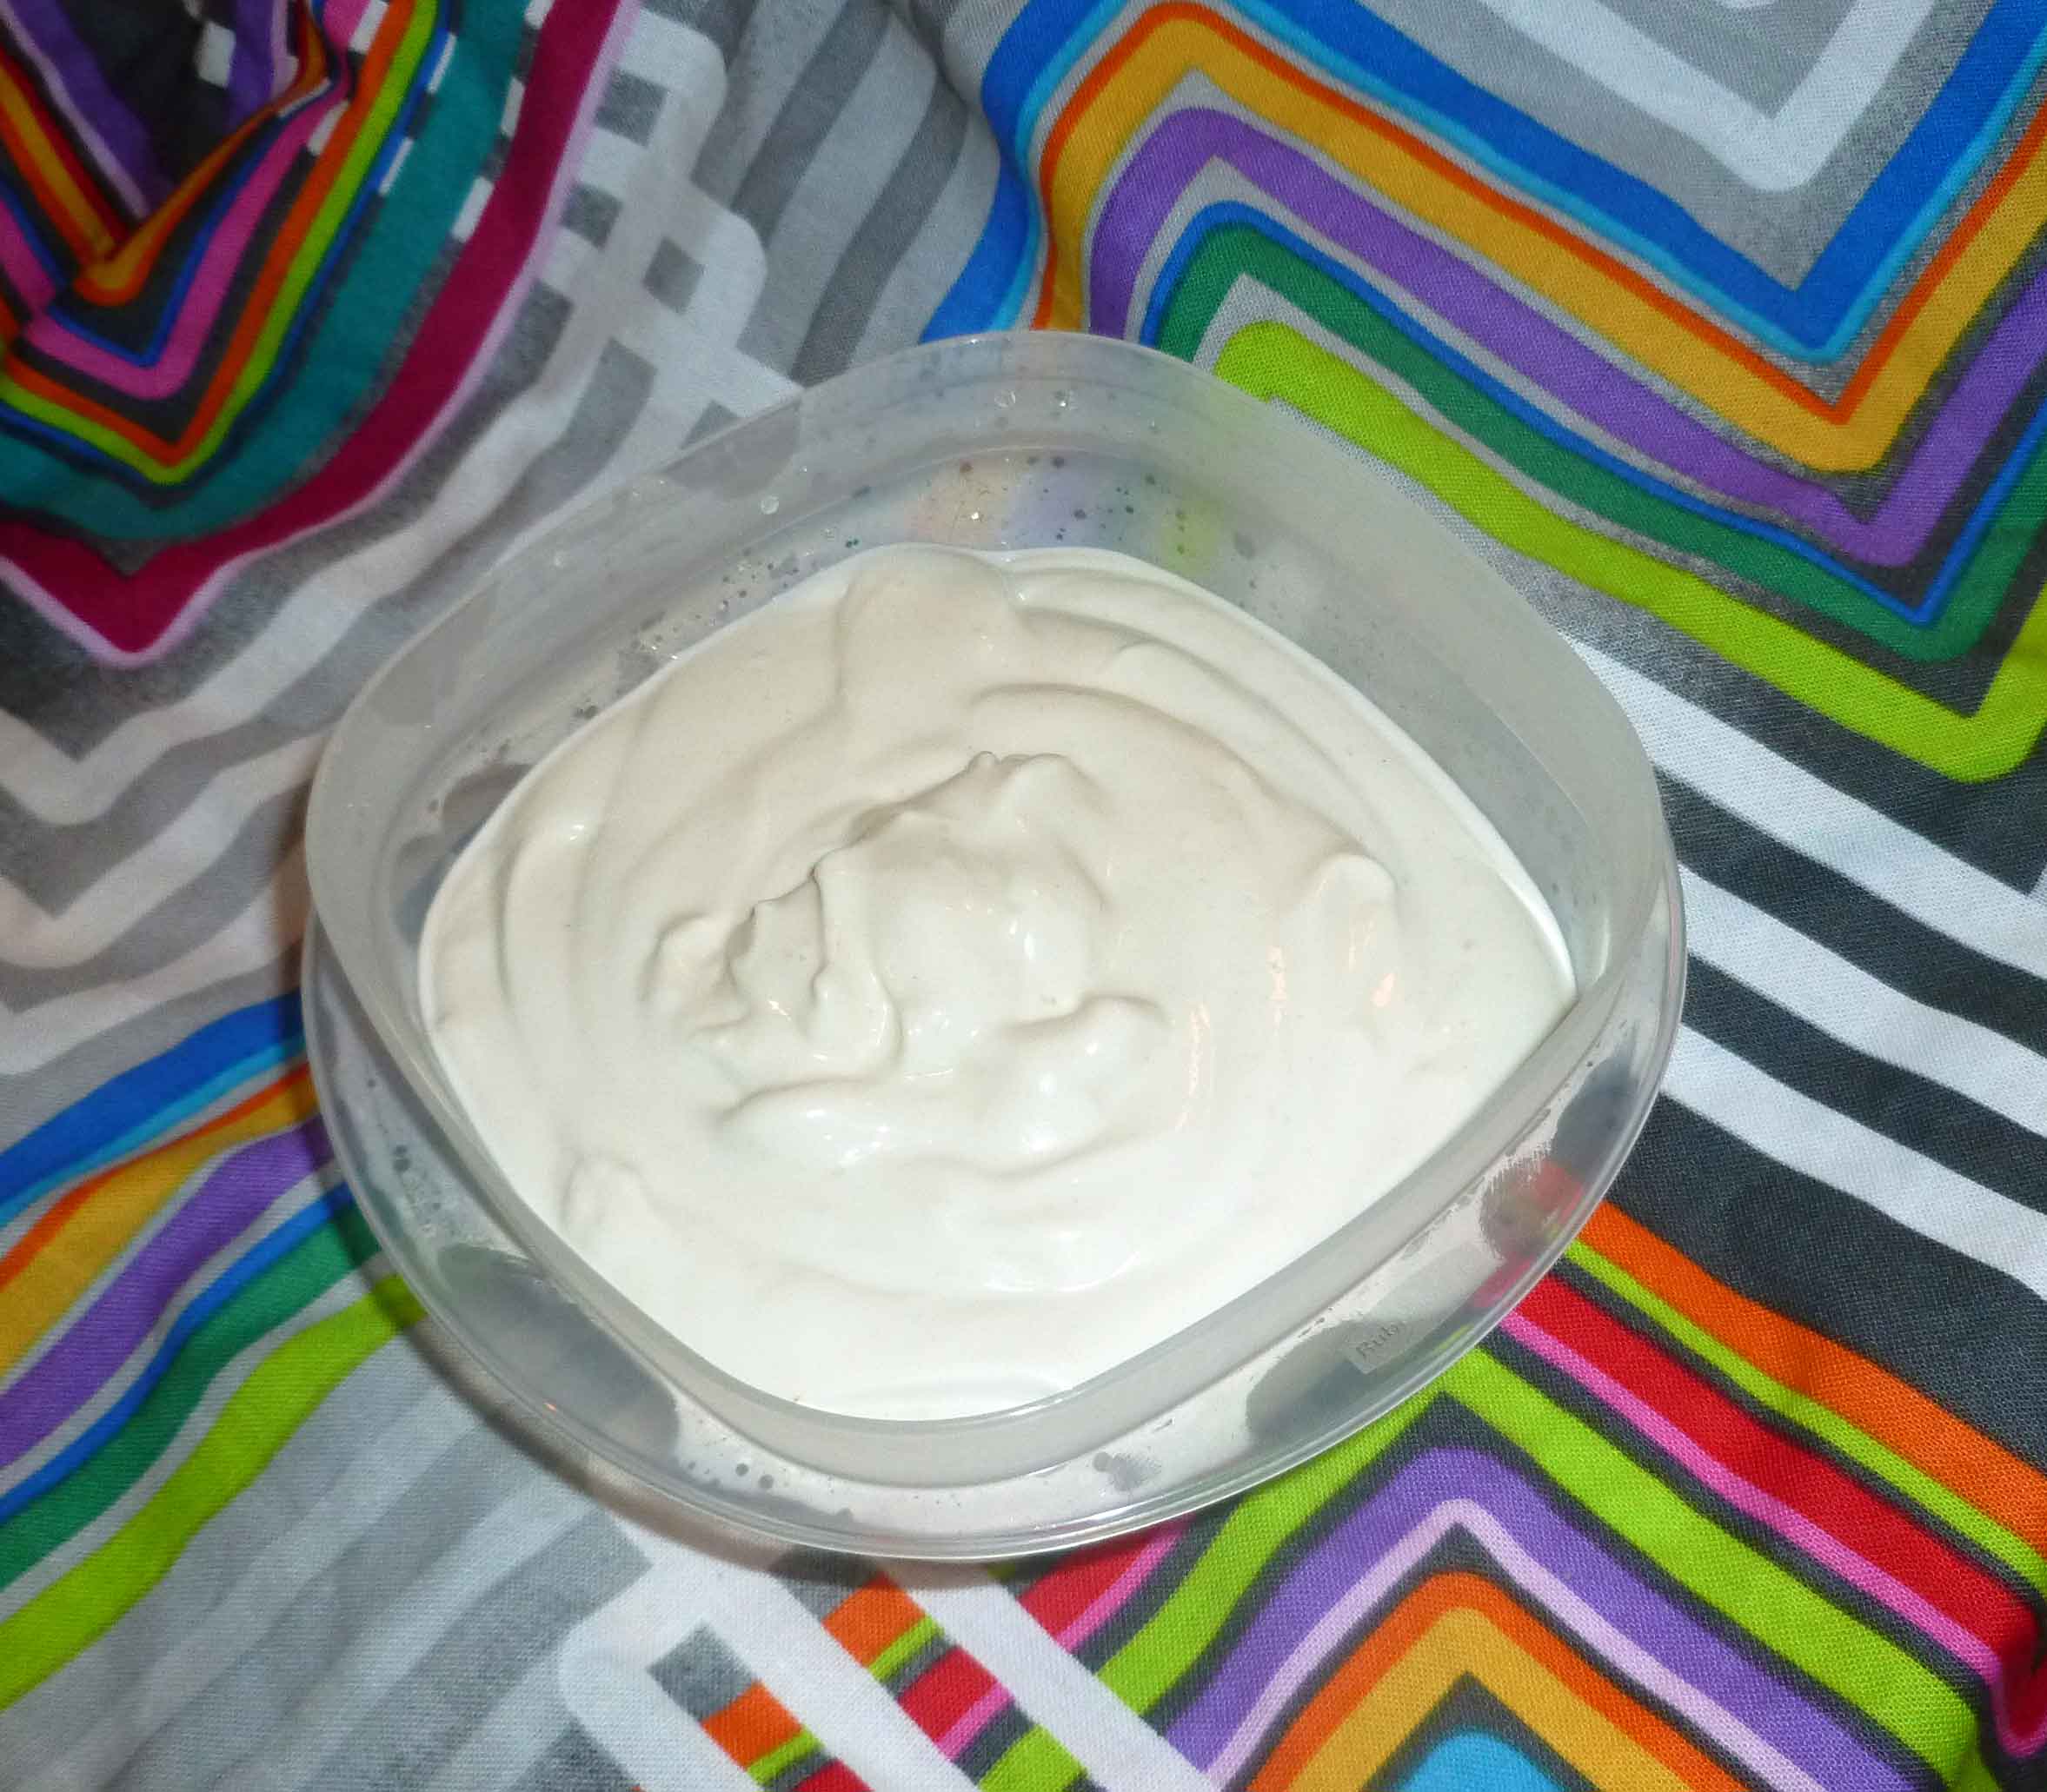
In a small bowl or measuring cup that isn’t much bigger in circumference than your immersion blender, add the aquafaba, lime juice, apple cider vinegar, salt, mustard, sugar and paprika. Mix with the immersion blender for a few seconds so that the ingredients are all combined. Slowly drizzle in the oil, while the immersion blender is running, moving the immersion blender around when the mixture becomes thick to make sure all the oil gets incorporated. Once the mixture is nice and thick, place the salad dressing in a container and place it in the fridge, where it will continue to thicken.
Aquafaba Vegan Salad Dressing
Yay!! You have salad dressing! Go forth and make yummy dishes that require mayo/salad dressing like substances!
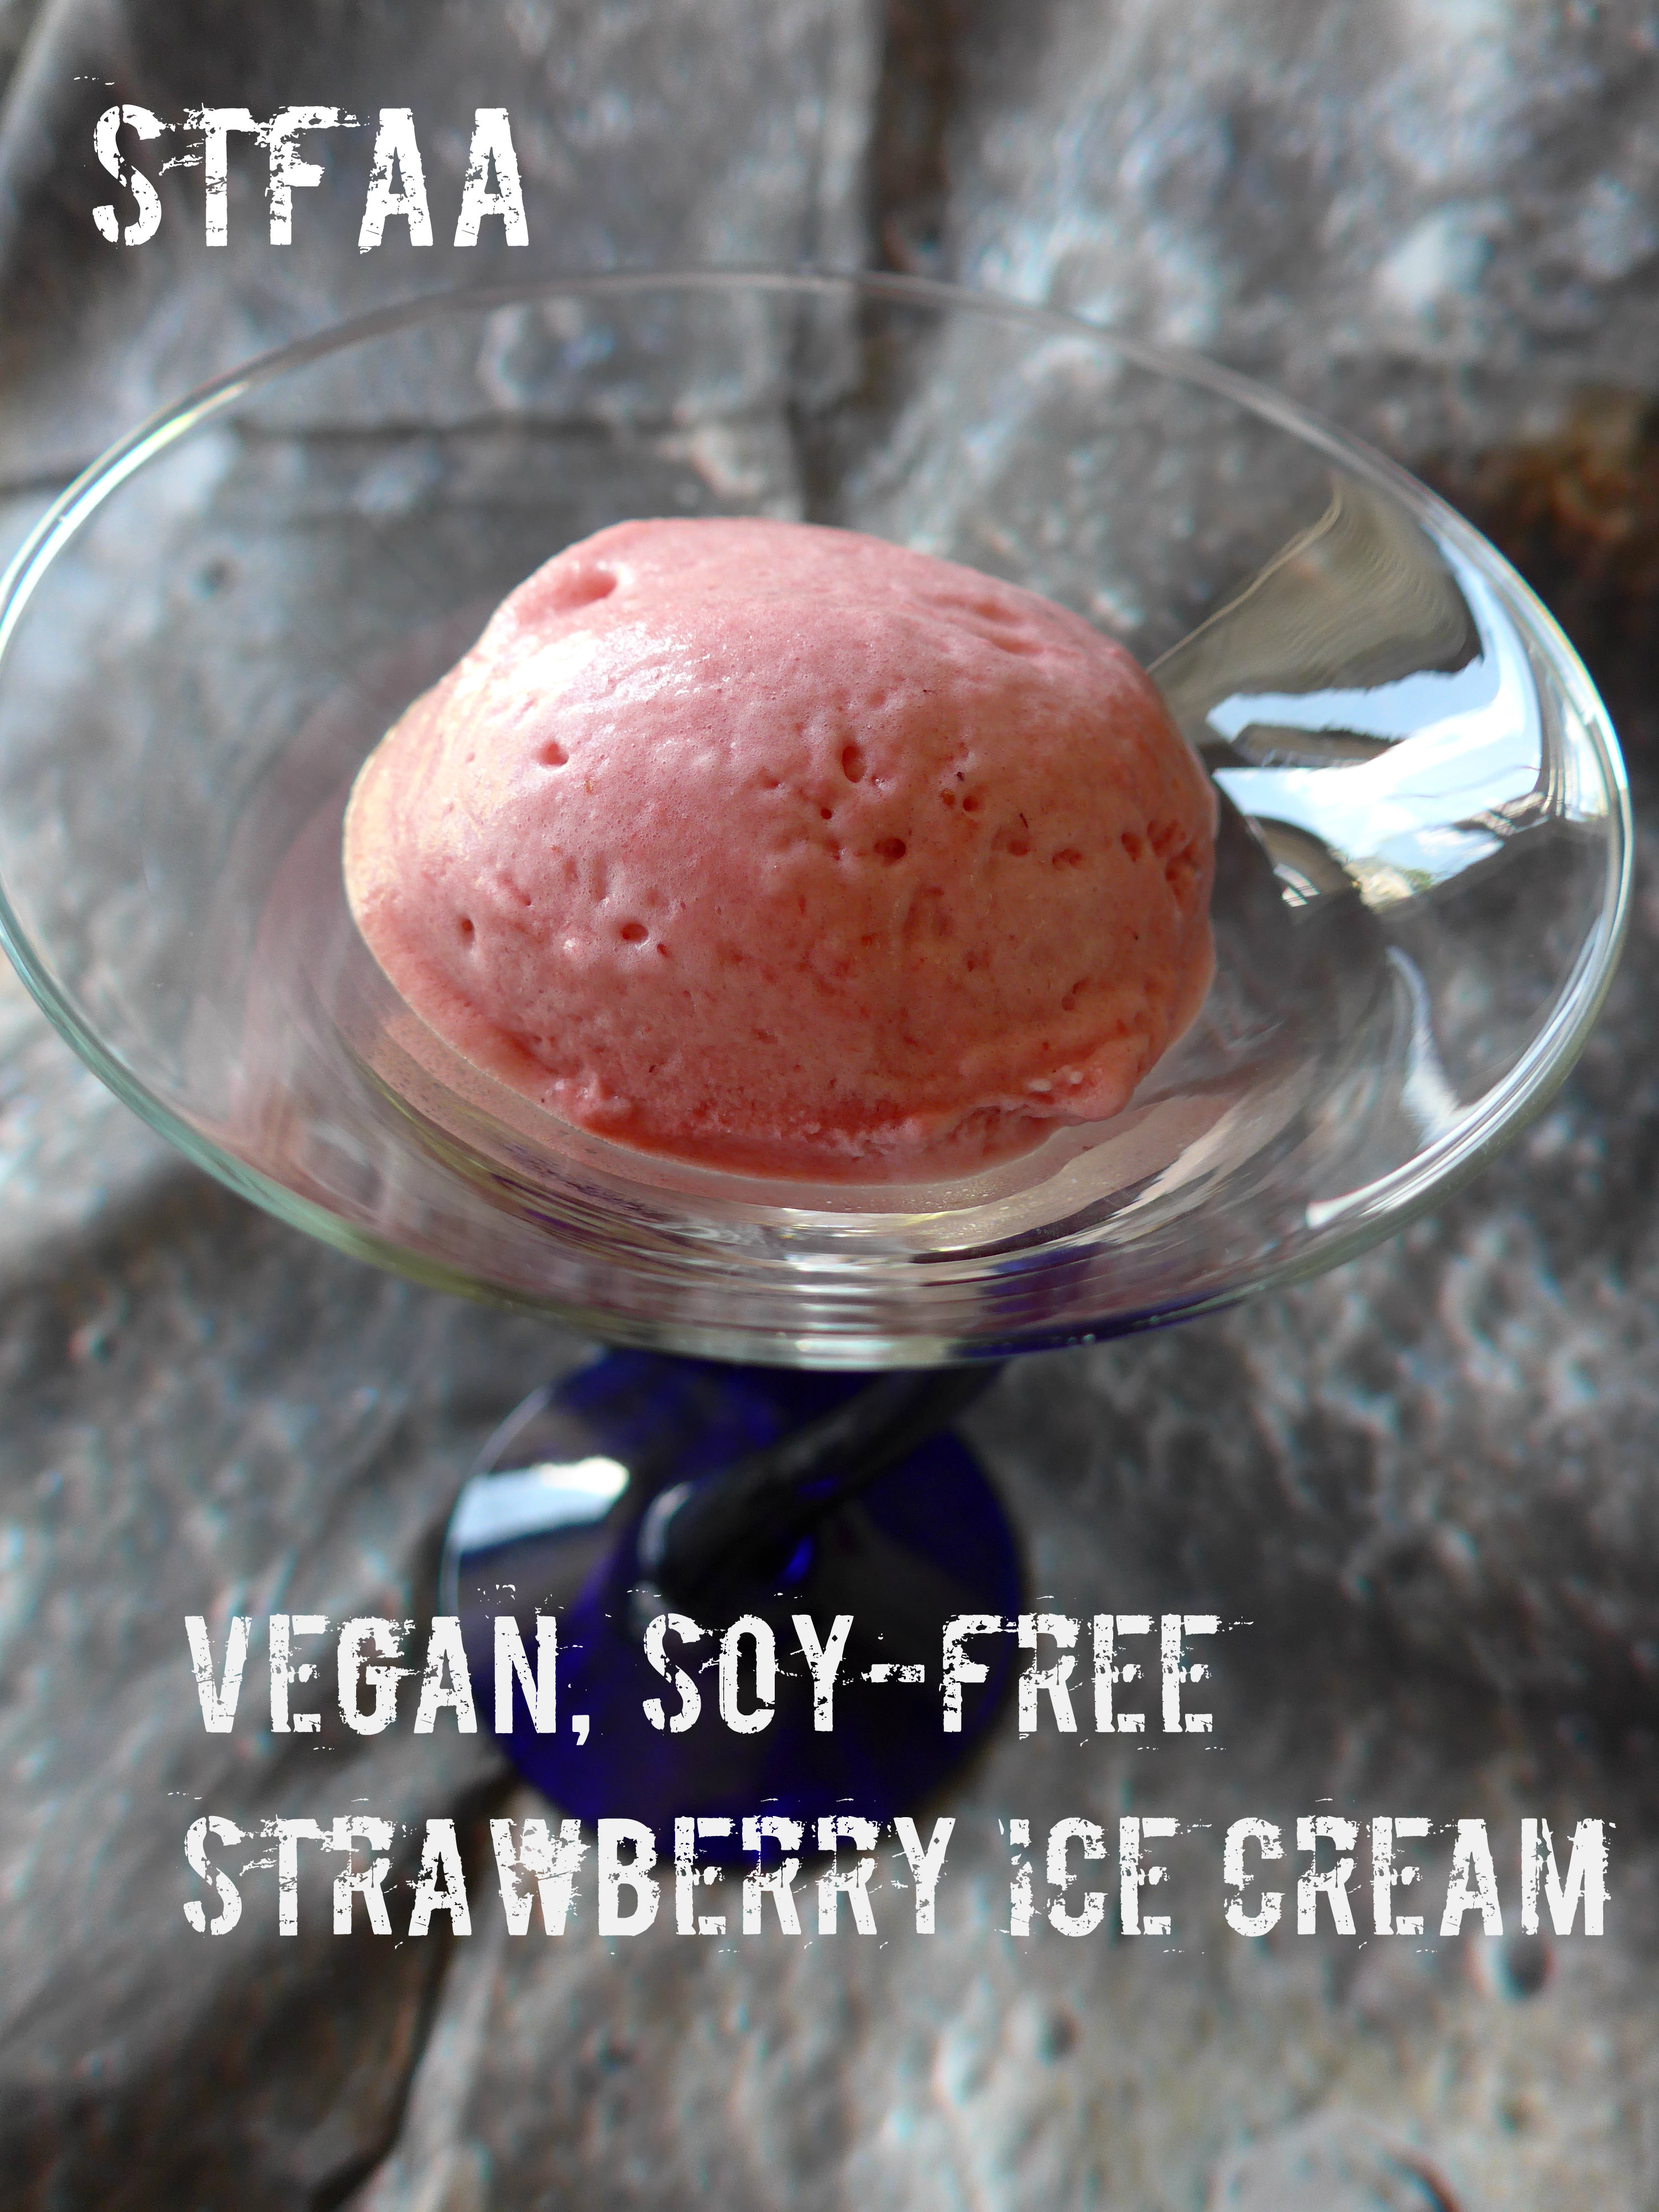
Okay, full disclosure: This isn’t really ice cream. There’s no cream. There’s no eggs. That’s what makes it vegan. And it’s a little lighter and less creamy and heavy than ice cream. So I should really call it “strawberry frozen dessert.” But frankly, that’s awkward, and if you’re playing in the cooking realms of “vegan” and “allergy-friendly,” you’re used to substitutes, so you know what I mean.
YOU DON’T NEED AN ICE CREAM MAKER! I have one. It’s great. But this is a quicker and easier and doesn’t require as much planning ahead. This is much easier with a stand mixer, but if you’re patient (or have someone who will spell you with the hand mixer), you can do this without one. I would not try it without any mixer at all, though. Electricity is your friend, here.
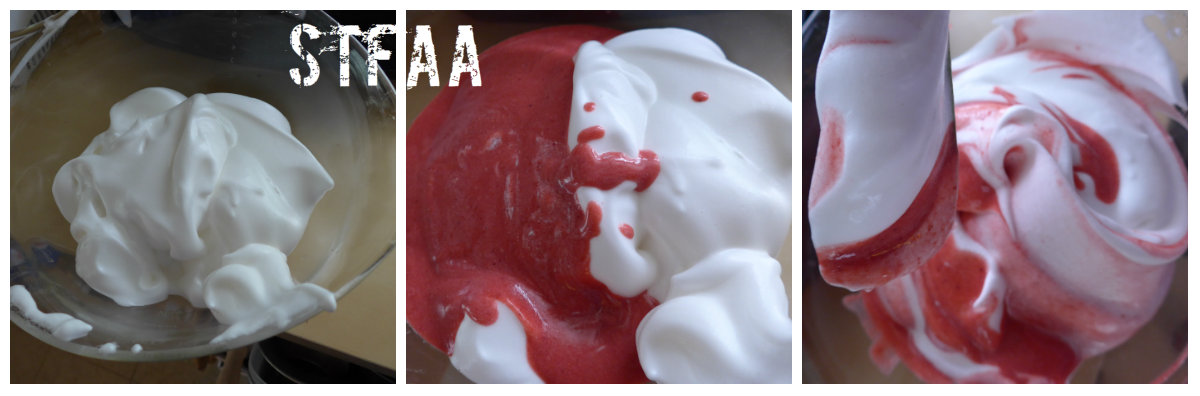
The key “secret” ingredient in this dish is aquafaba or “bean juice.” It’s the stuff you drain out of the can of beans before using them, and I’ve raved about it before on the blog. If you cannot eat canned beans, or would just prefer to make your own, try this recipe posted by noted cookbook author Bryanna Clark Grogan on the Vegan Meringues FB page. You need half a cup here, but I’m sure you can find 100 other uses for it (I have). Aquafaba acts as an egg replacer, specifically egg whites, and can be whipped into an incredible meringue, which is what you start with here. You’ll make the whipped base and the flavor base, and then fold them together and freeze. That’s it!
In order to get the fat content up and add a little tang and creaminess, I have used vegan cream cheese. I know this can be a problematic ingredient for those with multiple food allergies — I use Daiya brand, as I have no issues with it. I was perfectly happy with Tofutti when I could still eat soy, and I assume that would work here, too. The Daiya contains coconut oil, so it’s not entirely nut-free. I believe Tofutti is. Choose what works for you. If you make a homemade version of cream cheese that works for you, share it with us in the comments.
Stiff whipped aquafaba foam, foam and strawberry blend, ice cream in the making
Vegan, Soy-free Strawberry Ice Cream
1/2 cup aquafaba (liquid drained from a can of beans. Any beans! I used cannellini beans here)
4 Tablespoons sugar, divided in half
1 teaspoon cream of tartar
1/2 cup strawberry puree
2 1/2 Tablespoons vegan cream cheese (check the ingredients!)
1 teaspoon vanilla extract
Into a very clean bowl (any traces of fat will interfere with the whipping, I understand, just like with egg whites), add the aquafaba. Beat until you achieve stiff peaks. This can take up to 10 minutes, so be patient.
Slowly add 2 Tablespoons of sugar, while you continue beating, and then the cream of tartar.
If you’re using a stand mixer and have only one bowl, empty the foam into another bowl and reuse the mixer bowl. If you’re using a hand mixer, just get another bowl. Beat the cream cheese, strawberries, and vanilla until smooth.
Fold the strawberry mixture into the aquafaba foam using a large spoon or spatula. Don’t stir. Fold. You will lose some of the air you’ve just whipped into the foam, but that’s okay. You just don’t want to lose all of it. When the mixture is fully incorporated, pour into a freezer-safe container and freeze at least 2 hours, maybe more depending on the size and shape of your container(s). This will never be as dense as “normal” ice cream, but it will take on a nice texture, distinct from the original unfrozen mousse.