Notice: Function _load_textdomain_just_in_time was called incorrectly. Translation loading for the wp-ultimate-recipe domain was triggered too early. This is usually an indicator for some code in the plugin or theme running too early. Translations should be loaded at the init action or later. Please see Debugging in WordPress for more information. (This message was added in version 6.7.0.) in /home/maryzahc/public_html/adultfoodallergies.com/wp-includes/functions.php on line 6131 Meatless/Veg*n – Page 7 – surviving the food allergy apocalypse (archive)
Meatless/Veg*n – Savory recipes which do not contain any meat or which may fall into either the vegetarian (no meat or fish) or vegan (no animal products of any kind) categories. Dishes generally feature beans or vegetables as the central ingredients. We will not be putting baked goods and desserts in this category, although most of our baking will be vegan (and will be tagged as such). These recipes will not contain dairy, eggs, gluten, wheat or hazelnuts. If we use a top 8 allergen, we will use a tag warning of its use.
So we’re heading into picnic and cookout weather, and we have some holidays coming up that might result in you getting invited to some cookouts. Mary Kate and I thought it’d be a good idea to have some burgers that are safe for those of us allergies that we can prep ahead of time and bring with us to throw on a grill. Now you may be saying, Denise and Mary Kate, why wouldn’t ground beef be safe? Well, it is–unless someone decides to season it with ranch dressing. And unless you’ve seen the package for the hot dogs, they might have milk in them. And I know people who soak their chicken in buttermilk before grilling or frying it. It’s a lot easier to bring your own food and be sure you can eat something, than to sit at a cookout all afternoon looking at food you can’t eat. So with that in mind, we’ve come up with some great recipes that you’re going to be seeing pop up here and there over the next few months. Because it’s going to be summer, and we need to cook stuff outside with fire!
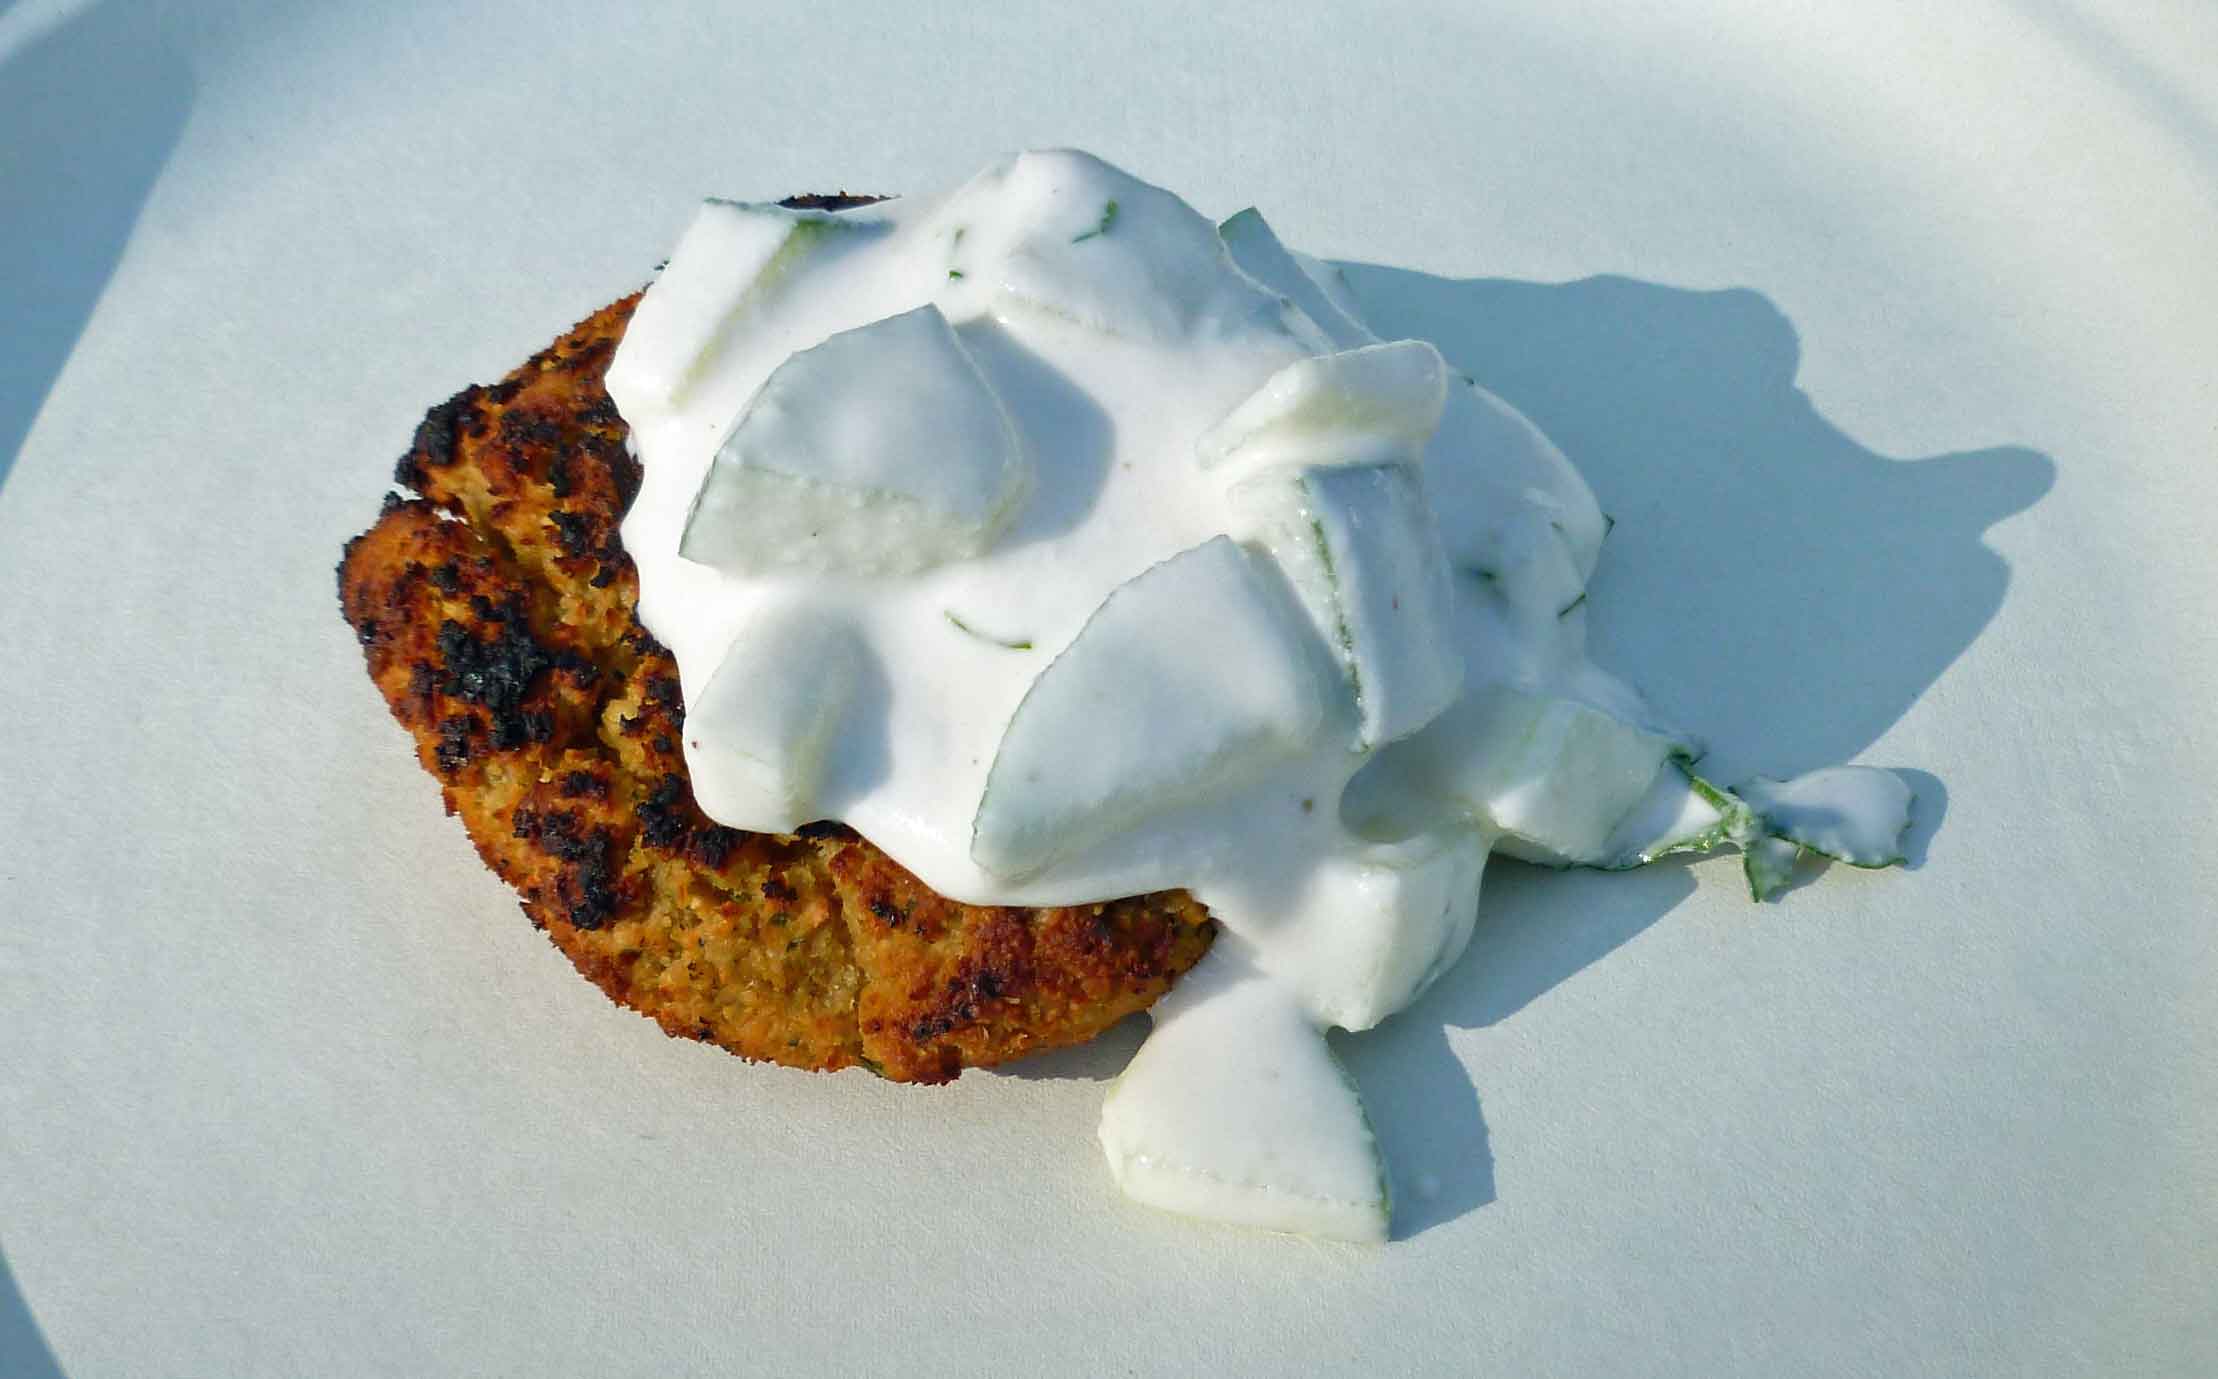
Falafel Burgers
l lb bag of garbanzo beans/chick peas (soaked overnight, see below)
1 medium onion, chopped
6-8 cloves of garlic
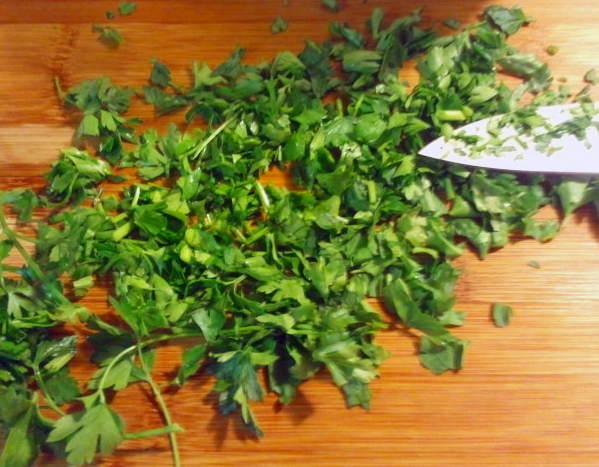
1/2 cup of parsley, chopped
2 teaspoons of salt
1 teaspoon of coriander
1/2 teaspoon of black pepper
2 teaspoons of cumin
1 teaspoon of paprika
1/4 to 1/2 teaspoon of cayenne pepper (depending on your spice tolerance)
2 Tablespoons of garbanzo bean/chick pea flour
A food processor (you really can’t do this in a blender)
Place the garbanzo beans in a large bowl and cover them by 3-4 inches of water. Let them soak overnight. They should double in size.
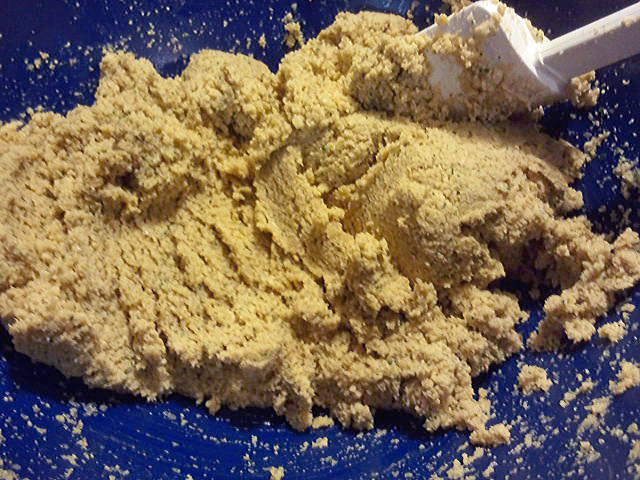
Drain and rinse the garbanzo beans thoroughly. Unless your food processor is a heck of a lot bigger than mine, you’re going to have to do the following in batches. Place the garbanzo beans, onion, garlic, parsley, salt, coriander, black pepper, cumin, paprika, cayenne pepper, and flour in the food processor and process until a rough coarse meal forms, so that it’s somewhere between a paste and the size of millet or quinoa. To do this, I had to process garbanzo beans in three batches, leaving them a bit rough, dumping the processed garbanzo beans into an appropriately sized holding bowl. Then I put about half a cup of the processed garbanzo beans back in the food processor along with the onion, garlic, parsley, salt, coriander, black pepper, cumin, paprika, cayenne pepper, and flour, and processed it. Then I dumped the completed mix back into the bowl and stirred it with the plain garbanzo beans and then ran the whole mixture back from the food processor to ensure that the spice mixture was evenly mixed with all the garbanzo beans.
Garbanzo bean mixture after processing
You can make the garbanzo bean mixture the day before you intend to serve the burgers to make the day of cooking easier. If you do, cover the mixture with plastic wrap and put it in the refrigerator until you need it.
If you’re cooking these on a grill (yes, it is possible), make your burgers slightly smaller, more like sliders because they’ll hold together easier. Spray down your grill with grilling spray, checking to make sure it’s safe for your allergies. Depending on the heat of your grill, cook each side 2-3 minutes at least each side. Only turn them once otherwise you make make a mess. To get them golden brown, we cooked them on a hotter grill that we thought appropriate at first.
Grilled Falafel Burgers
If you don’t have a grill, you can cook them in a skillet with some vegetable oil. Fill a skillet with about a inch of vegetable oil and heat the oil at medium heat. Cook them for 2-3 minutes per side until they are golden brown. Remove them from the oil with a slotted spoon and drain them on paper towels.
Serve your falafel in a wrap with Tzatziki Sauce, some lettuce, and other veggies or put it on a burger bun with the Tzatziki Sauce.
Since we can’t have falafel without Tzatziki Sauce (well, you can, but it’s better with), I had to get together a recipe. I started with a recipe at The Vedge, and added some additional things I like to it.
Tzatziki Sauce (Using a Cashew Base)
1 cup cashew pieces (raw, unsalted) and soaked overnight in water (covering cashews by 2-3 inches)
1 cup water
1 lemon, juiced
1 garlic clove
1 teaspoon of salt
1 teaspoon of dill weed (optional)
4 Tablespoons of fresh parsley, chopped
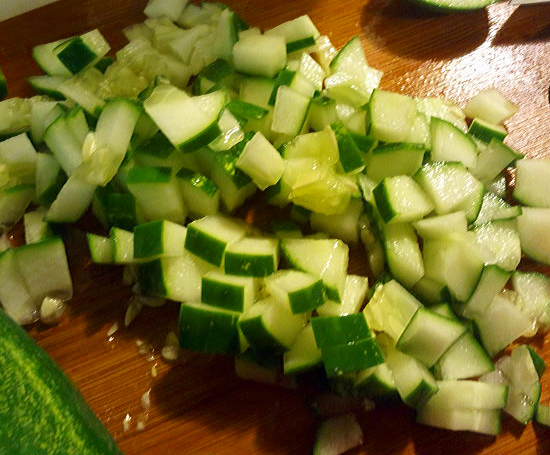
1 medium cucumber (peeled if waxed) and diced (I used two pickling cukes, and left the skin on)
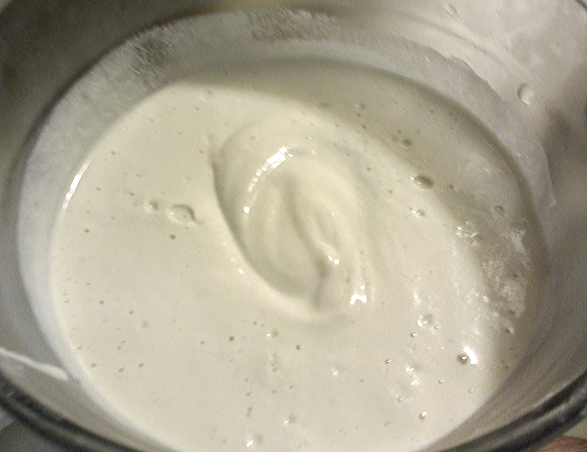
Drain the cashews and place in a blender. Add water, lemon juice, garlic, and salt to blender. Blend until completely pureed, better to over blend than to not blend enough. You want it as smooth as you can get it.
Cashew Mixture After Blending
Pour cashew mixture into a bowl that will hold it, the dill, the parsley and the cucumber. Add dill, parsley, and cucumber to the cashew mixture and stir to mix well.
Fresh parsley, choppedCucumbers diced
You can do all this in the blender if you want, but I like chunky cucumbers in this sauce. Refrigerate for at least an hour, and use on falafel, gyros, wraps, salads, as a dip and so on. Or you could use large slices or chunks for a salad or side dish, and do a much smaller dice or in the blender for a sandwich slather.
You know, if you have a good list of allergies, as Denise and I both do, breakfast can be one of the worst meals. If you eat meat, bacon is usually safe, though sausage might or might not be. Take out eggs, gluten for pancakes and waffles… well, you get the picture. I miss going out for breakfast. And as much as I love them, I’m actually getting bored of cereal and hash browns for breakfast.
So why not polenta? I have eaten leftover corn polenta for breakfast (the kind that comes in a nice tube at the grocery store), and it’s great as a savory breakfast, but I started thinking of the millet polenta in Vegan with a Vengeance — that was the first polenta I ever made and the first time I’d eaten millet. We used to buy it for the parakeets we had growing up, and I still sort of think of it as bird food. But it’s really tasty!
This recipe easily doubles into a 9×11 pan, but for one breakfast or one person who doesn’t want to eat it for 9 days, do this in an 8×8 pan. My favorite part is that all the work is done ahead of time, with maybe 10 minutes of work in the morning — and most of those are what some recipes call “inactive” time. I am not a morning person.
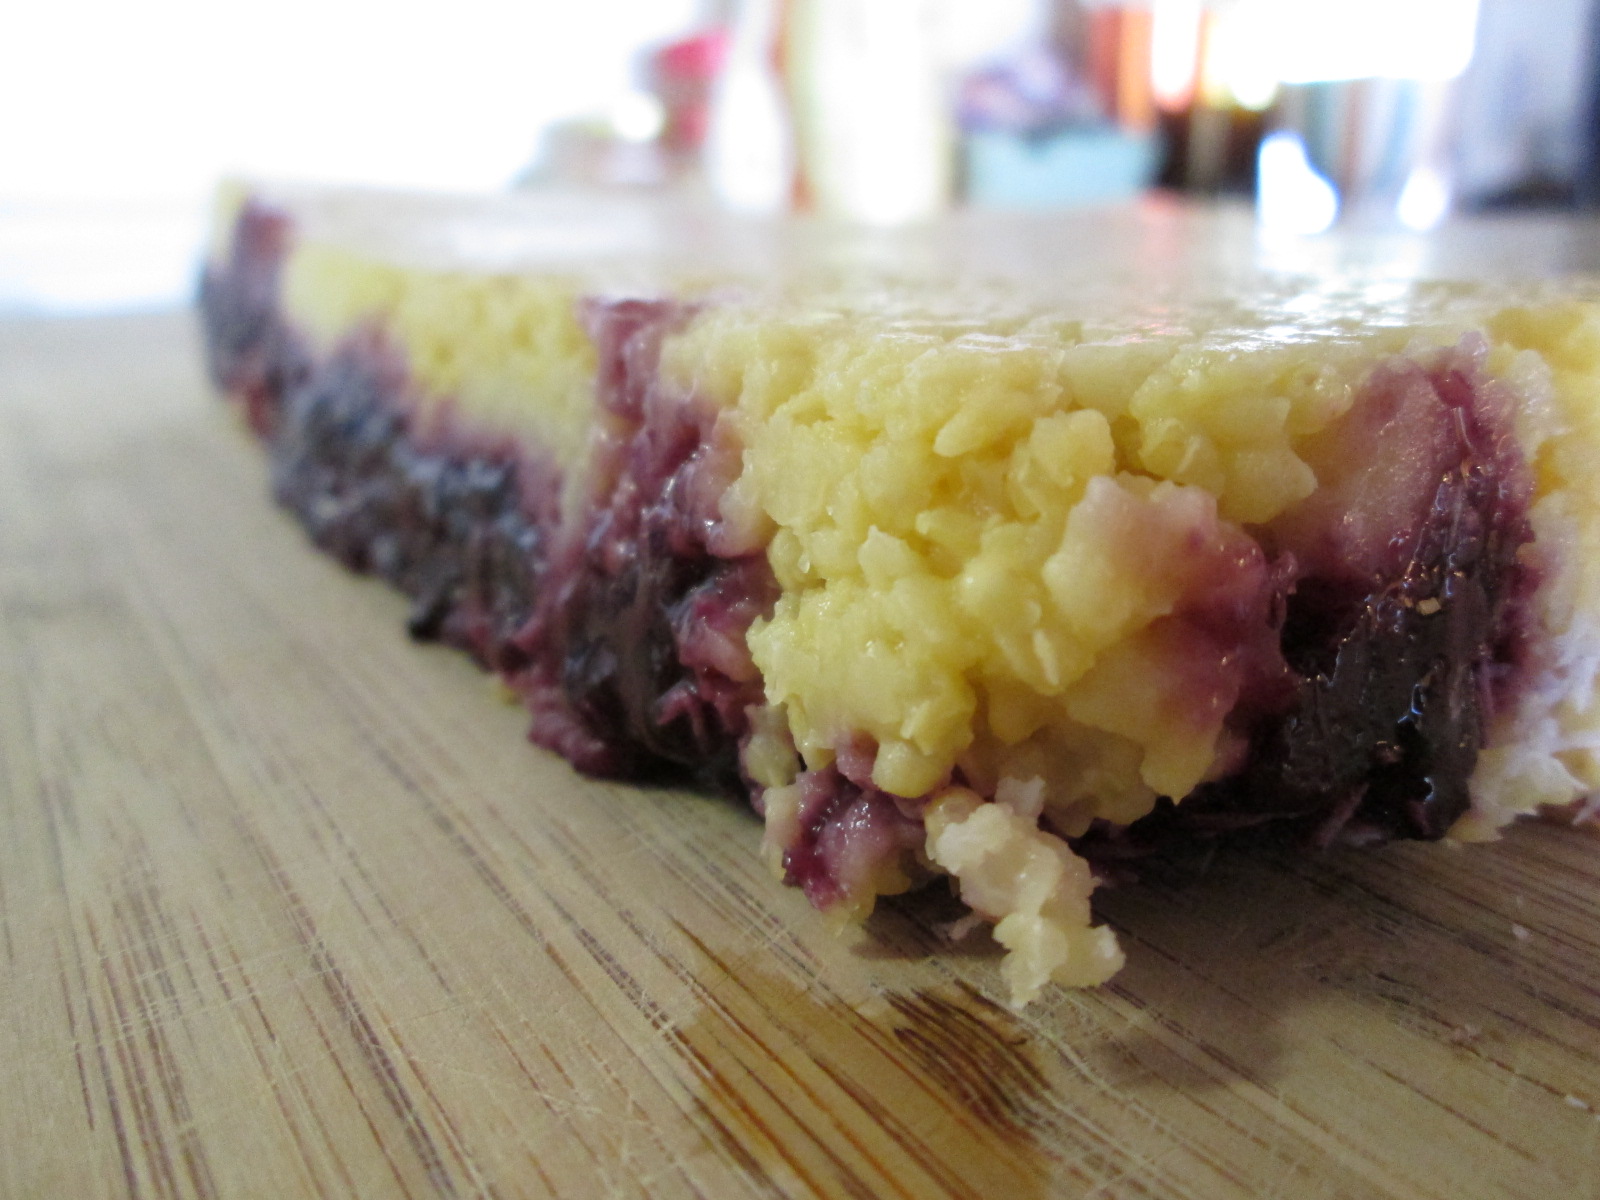
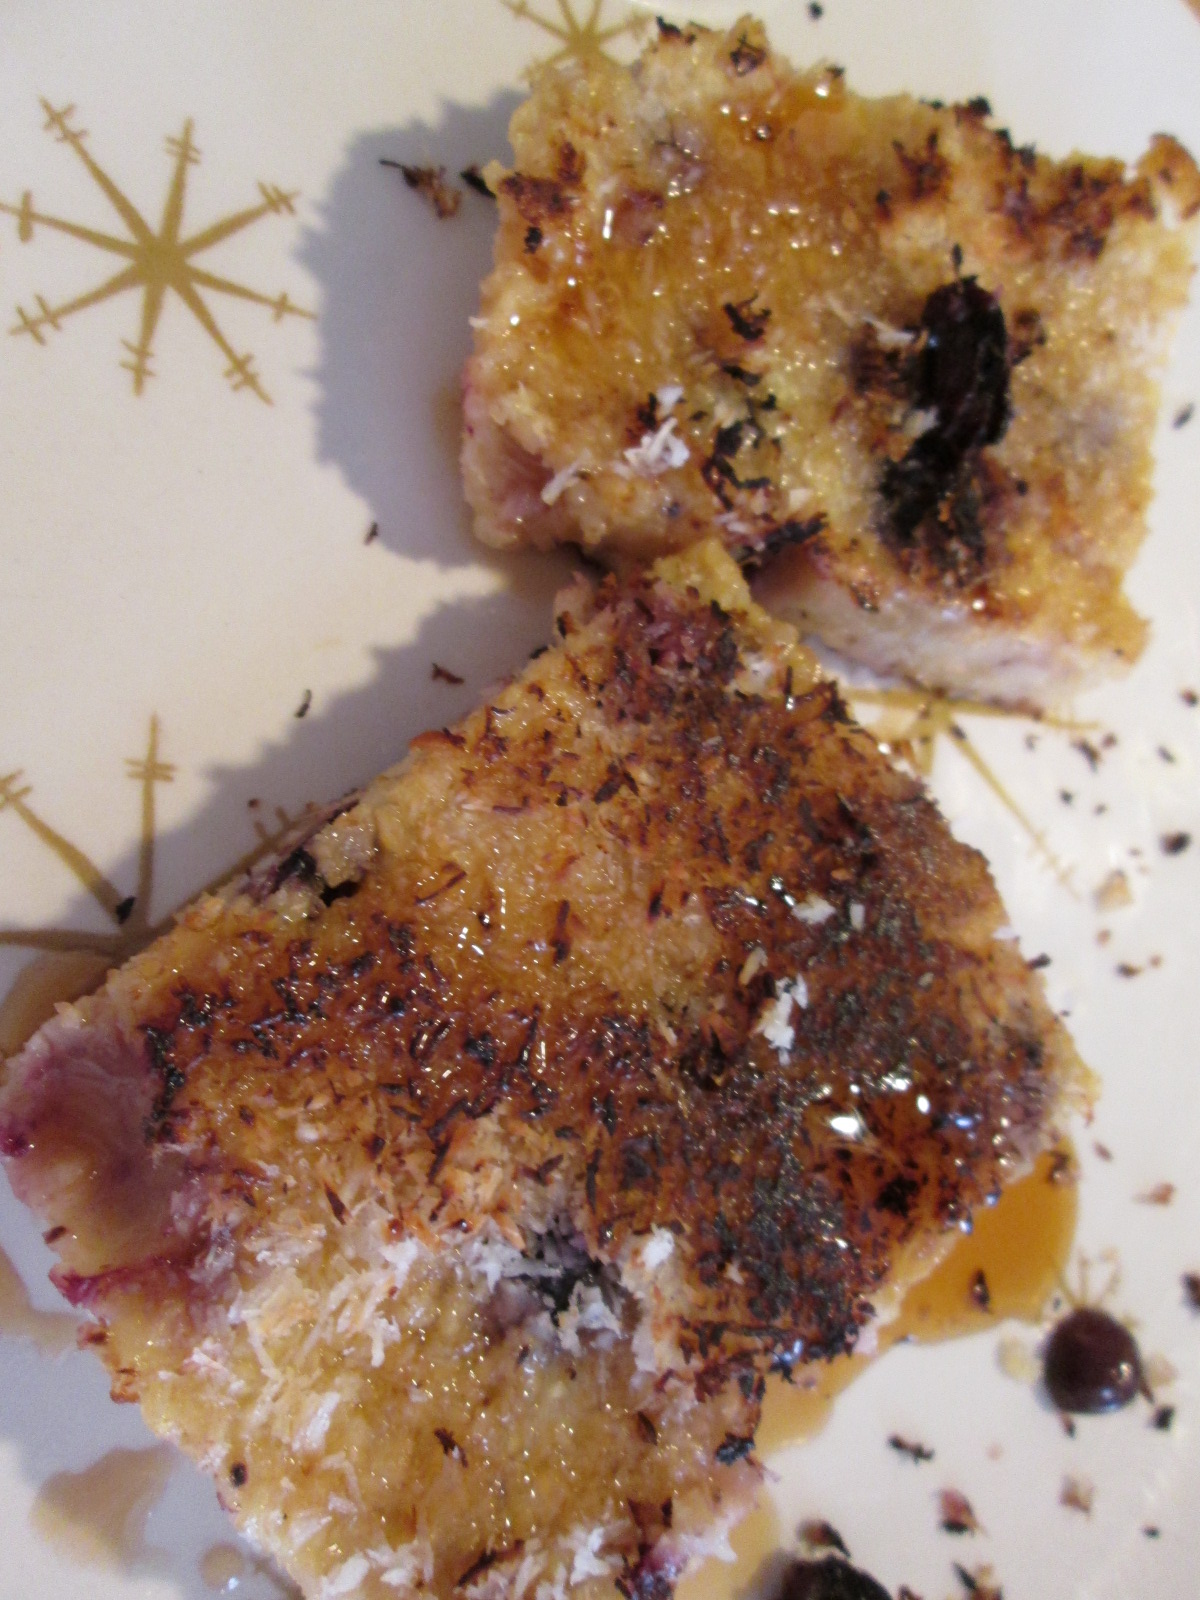
Millet polenta with blueberries and maple syrup
Breakfast Polenta
Make-ahead preparation:
In a sauce pan, mix
1 cup millet, rinsed
1 1/2 cups orange juice
1 1/2 cups water
1 Tablespoon oil, shortening, or Earth Balance (use coconut oil if you can)
1 or 2 cinnamon sticks
Bring this mixture to a boil, turn it down, and let it simmer for 30-35 minutes.
In a separate small pan, heat
1/2 cup frozen blueberries
1 Tablespoon orange juice
1/4 cup unsweetened shredded coconut (optional)
When the blueberries are soft, mash them with a fork or potato masher, just until you have a rough jelly.
Into a greased 8×8 pan, put half the millet mixture in the pan, smooth down, spread the blueberry mix on top, and then add the second half of millet mix and smooth it out.
Allow it to cool at room temperature and then refrigerate.
Morning preparation:
You will need
1 teaspoon to 1 Tablespoon of coconut oil, Earth Balance, or other oil of your choosing (just enough to coat the bottom of your skillet)
In the morning, heat a skillet over medium heat. Add your oil — this isn’t absolutely necessary, but it will promote a good browning, which really makes the polenta to me. Pan fry on both sides, 5-7 minutes per side.
Plate and drizzle with maple syrup. Pour it on slowly to allow it to soak in. Oh, and get the real stuff — you’re worth it.
What do you eat for breakfast? Do you rely on the same standards, over and over, or do you mix it up?
Disclaimer: This is not an original recipe. But it’s the best curry I’ve ever made at home, and as such, I want to share it with all of you today. With full credit to the author and cookbook, of course.
The Chickpea and Spinach Curry comes from one of my all-time favorite cookbooks, Isa Chandra Moskowitz’s Vegan with a Vengeance. This is the first cookbook I purchased after my first intolerance-related diagnosis — lactose intolerance. While I ate a strictly vegan diet for a while, and don’t at the moment, I still love vegan cookbooks. They correlate with my preferred way of eating — heavy on the vegetables — and a good vegan cookbook relies mostly on whole foods, not processed foods. In a completely non-compensated way, I can highly and heartily endorse this whole cookbook (though, honestly, if you’re brand new to vegan cooking, consider starting with Veganomicon, as it’s got more basic information in it and a broader range of recipes). Most vegan cookbook authors are very aware of ingredients and a great place to learn to cook without — no matter what you’re cooking without.
And it’s a big hit at potlucks — with vegans and omnivores alike. The recipe below is kind of huge. If it’s just for me, I made a half-recipe.
So, without further ado:
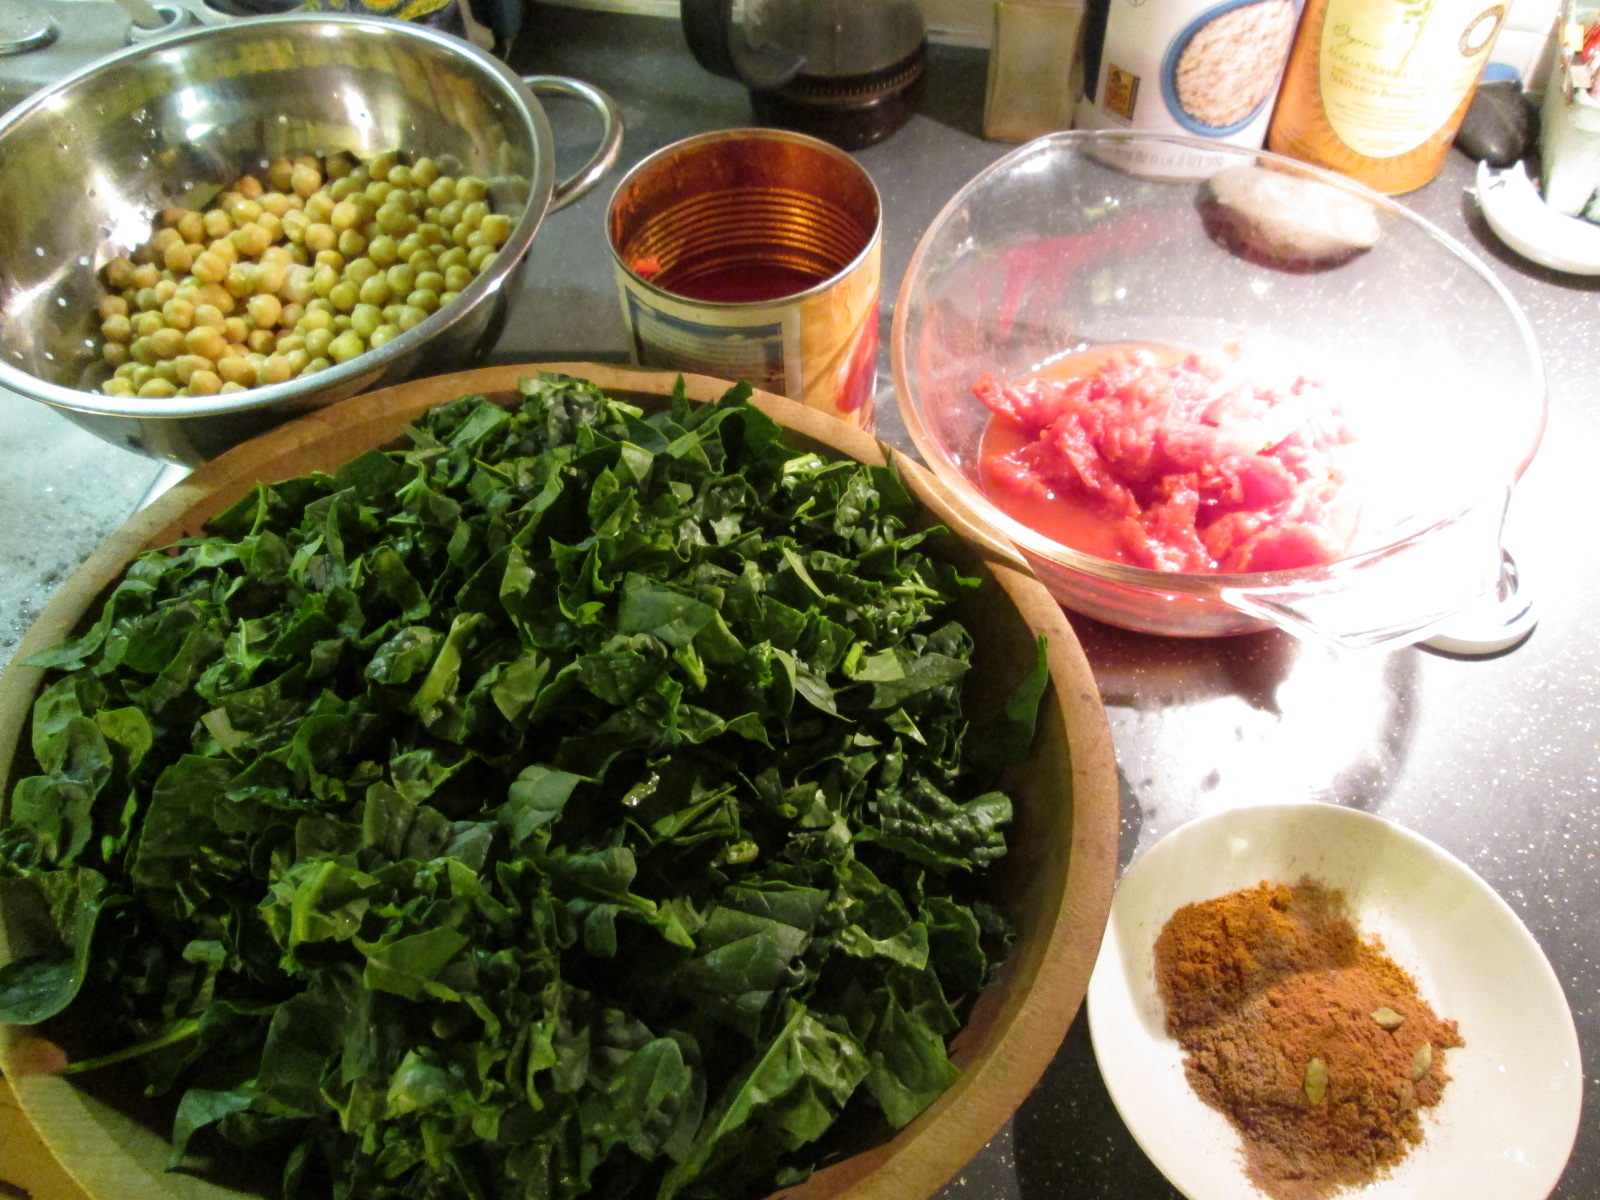
Mise en place
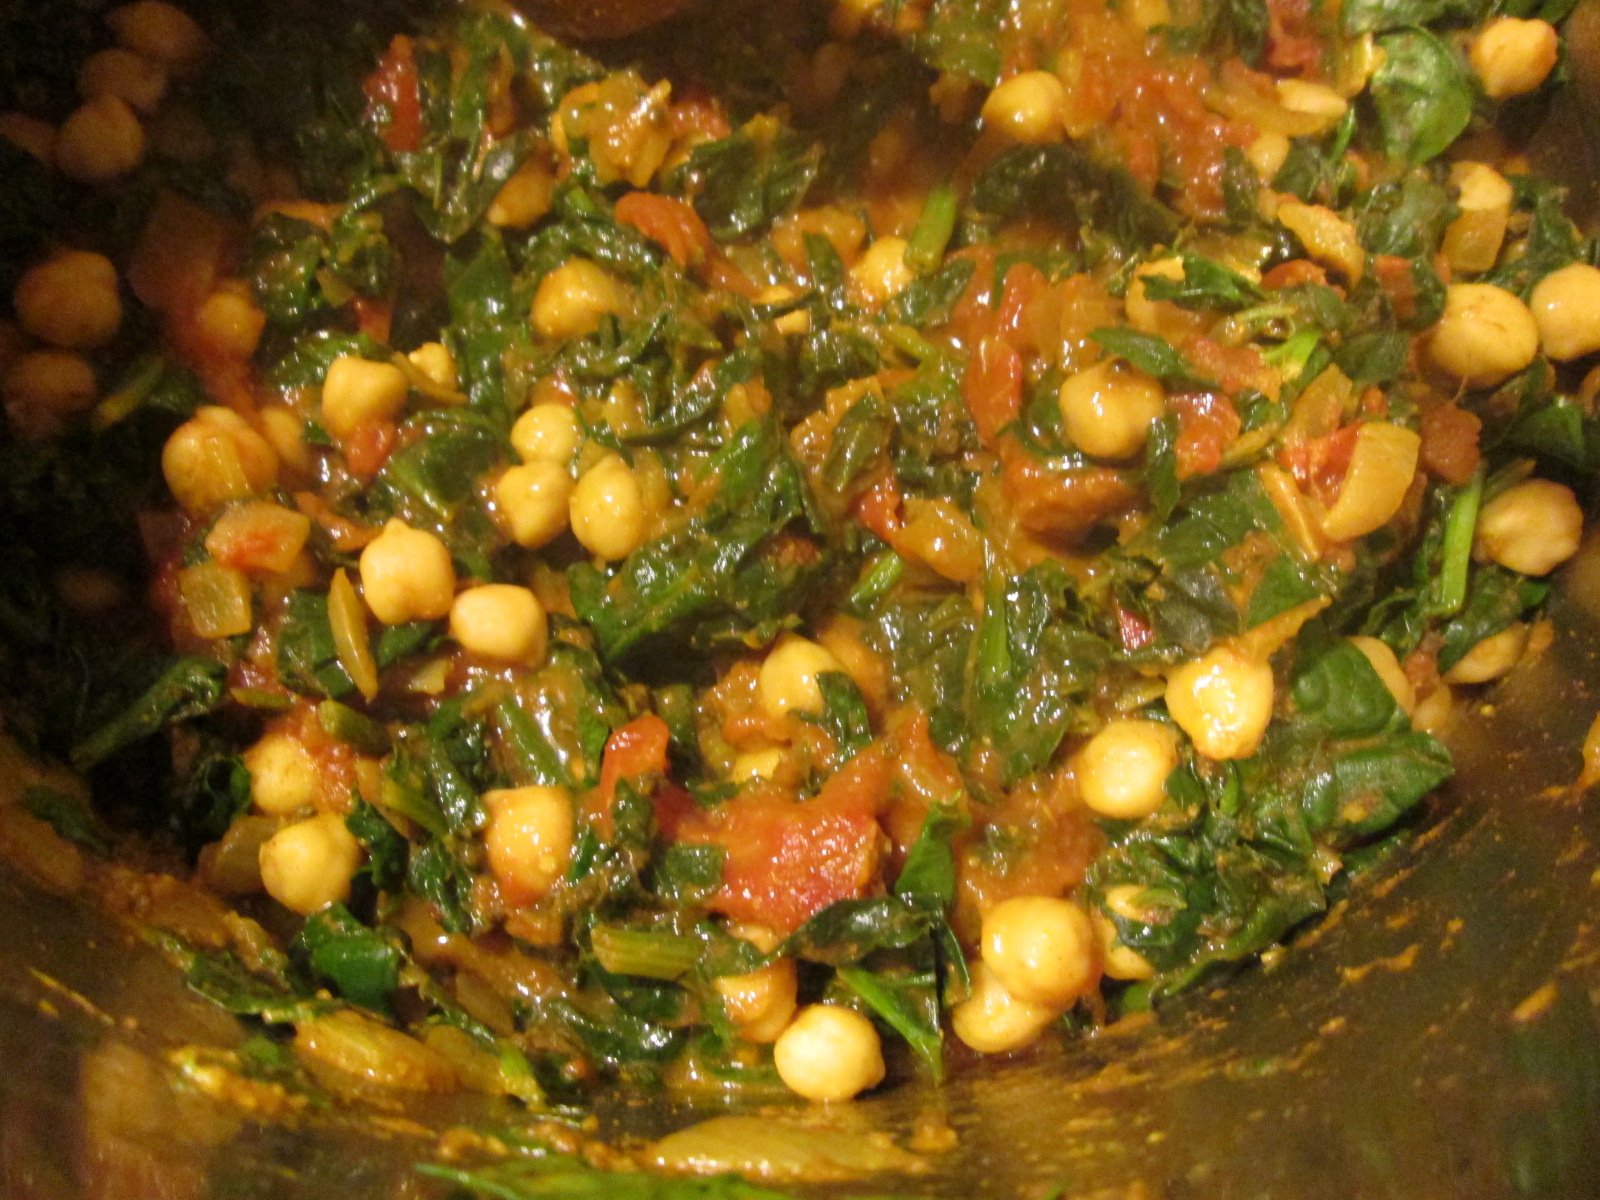
Chickpea and Spinach Curry, from Vegan with Vengeance by Isa Chandra Moskowitz
Preheat a pot over medium heat. A good Dutch oven would work, if you have one, or a large sauce pan, but to minimize the mess I generally make with cooking (and because I don’t have a Dutch oven), I use my stock pot. When the pot is hot, add
3 Tablespoons oil (not olive, vegetable, as this is kind of hot for olive oil)
2 teaspoons mustard seeds
Cover the pot and let the seeds pop for about a minute. They do pop, like popcorn. It’s cool.
Turn the heat up to medium-high. Add the following:
1 large onion, chopped (about 2 cups)
Sautee until it starts to brown — 5-10 minutes, depending on your heat level.
1/4 cup of juice drained from can of diced tomatoes
14 oz can of diced tomatoes, with juice drained and reserved*
Rinse and drain, then chop
10 cups of spinach, chopped. Yes this seems like a TON, but it really will all incorporate perfectly. Add this in handsful, stirring each addition until wilted.
When all the spinach is wilted, add:
2 cans of chickpeas (15 oz. each), rinsed and drained (4 cups if you cook your own)
Stir, cover and turn heat to low. If you’re planning to make rice, start it now. Let the stew simmer for 10 minutes.
Uncover, stir, taste. Adjust the seasonings if necessary (I’ve only ever needed a tiny pinch of salt), and let simmer for another 10 minutes, until its all thickened and wonderous. Enjoy it over rice.
*The single asterisk represents minor alterations I’ve made to the original recipe.
**Curry powder is amazing, but it’s a blend of ground spice, so quality can vary widely. To get a good curry, the spices must be fresh when they’re combined and reasonably fresh when you use it. And your curry dish will only be as good as your curry spice is. As you might already know, both of us believe the post-apocalypse relies heavily on Penzey’s Spices, based in Wisconsin. They have a variety of curries; if you’re new to curry, try the sweet curry. Curry is NOT inherently spicy hot, so don’t be scared if you don’t like spicy. If you do like spicy, try the hot curry.
So that’s the best curry I know how to make. Let us know what you think.
Is there anything better than good solid comfort food? In this dreary mid-winter, I’m drawn again to this casserole that my friend Corianne gave me back when I needed just to go dairy-free. The recipe is her mother’s, but it seems like food is a family affair — Corianne and her sister now run the vegan Treehouse Bakery in Phoenix (ask nicely — they do gluten-free! And if you’re in Phoenix or just a glutton for punishment, like them on Facebook to hear the list of flavors every day. Can I highly recommend the spicy chocolate cupcakes?).
Anyway, I’ve tweaked very few things over the years I’ve had this recipe, as it’s pretty much perfect. It was easy to make gluten-free with quinoa pasta.
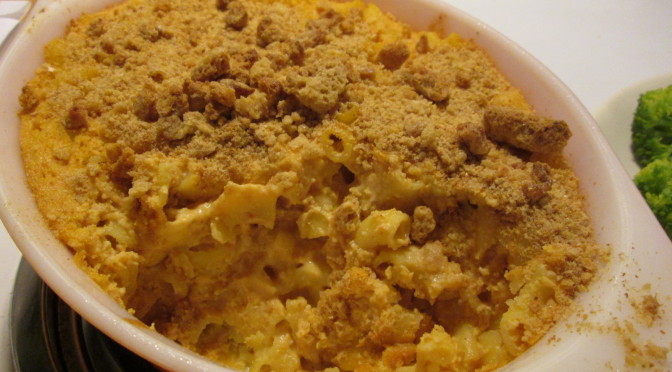
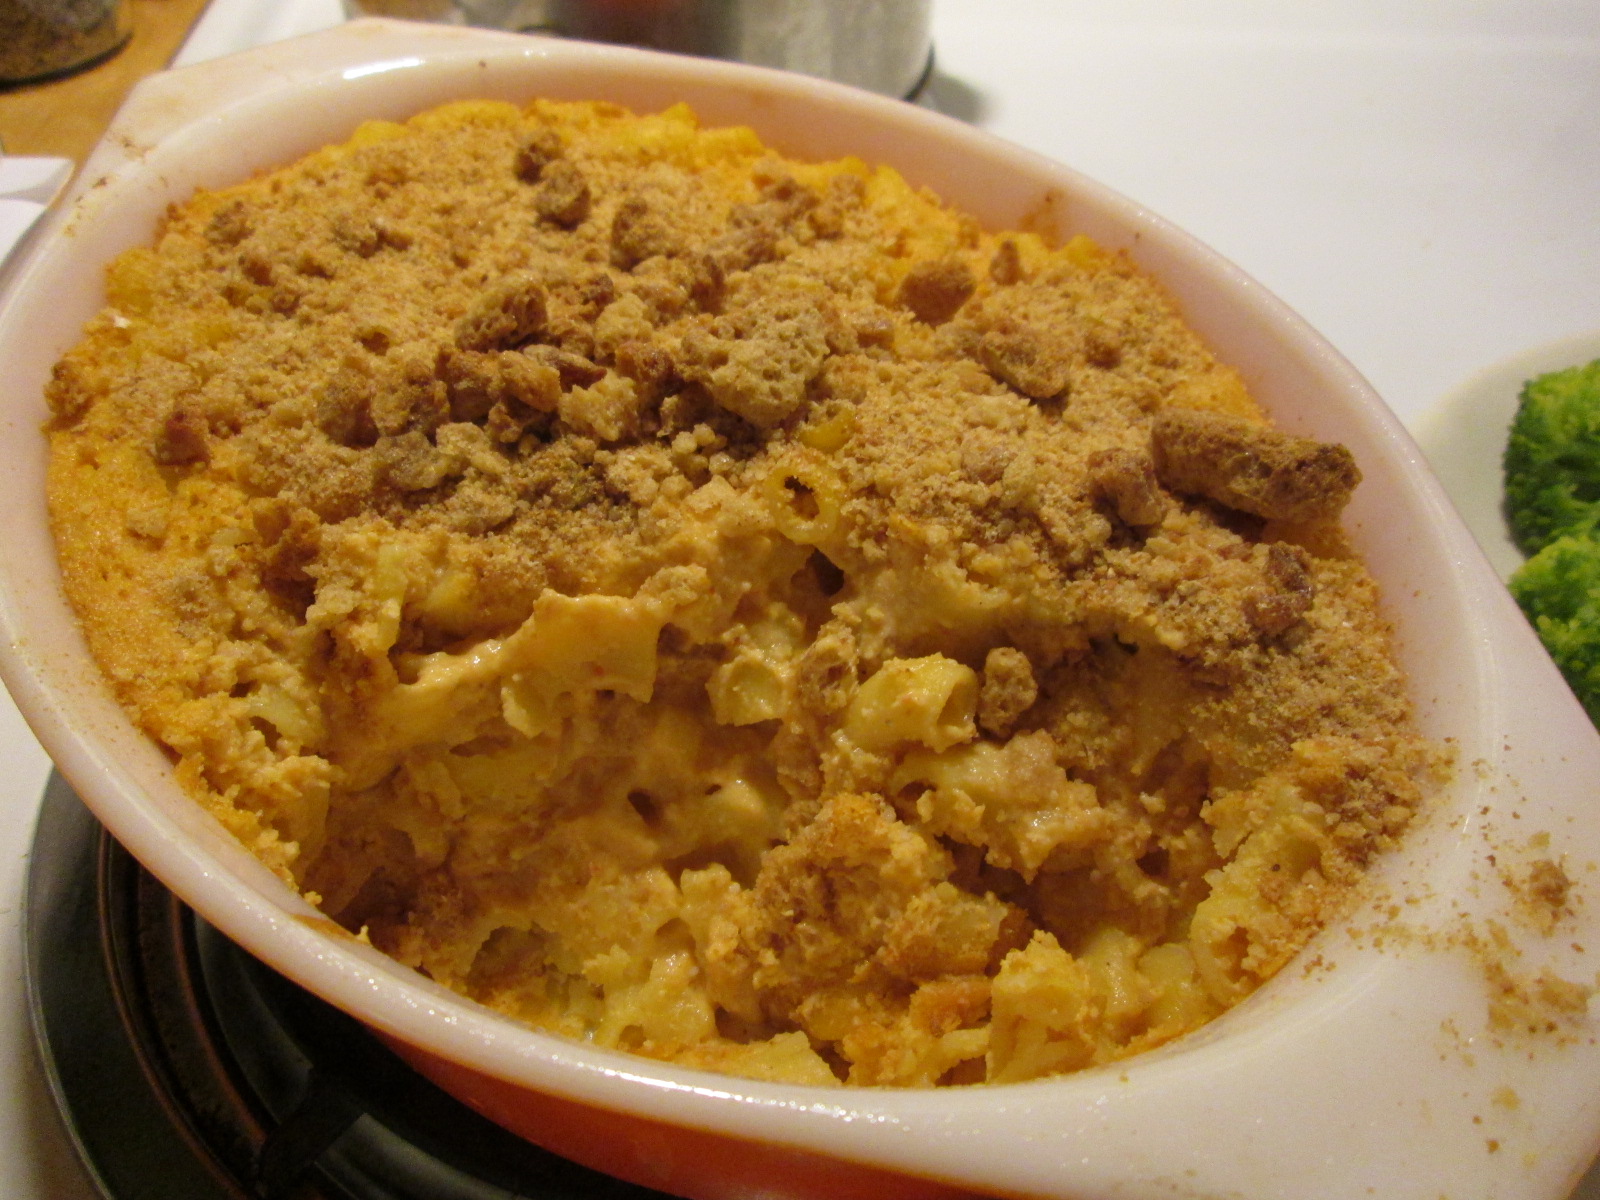
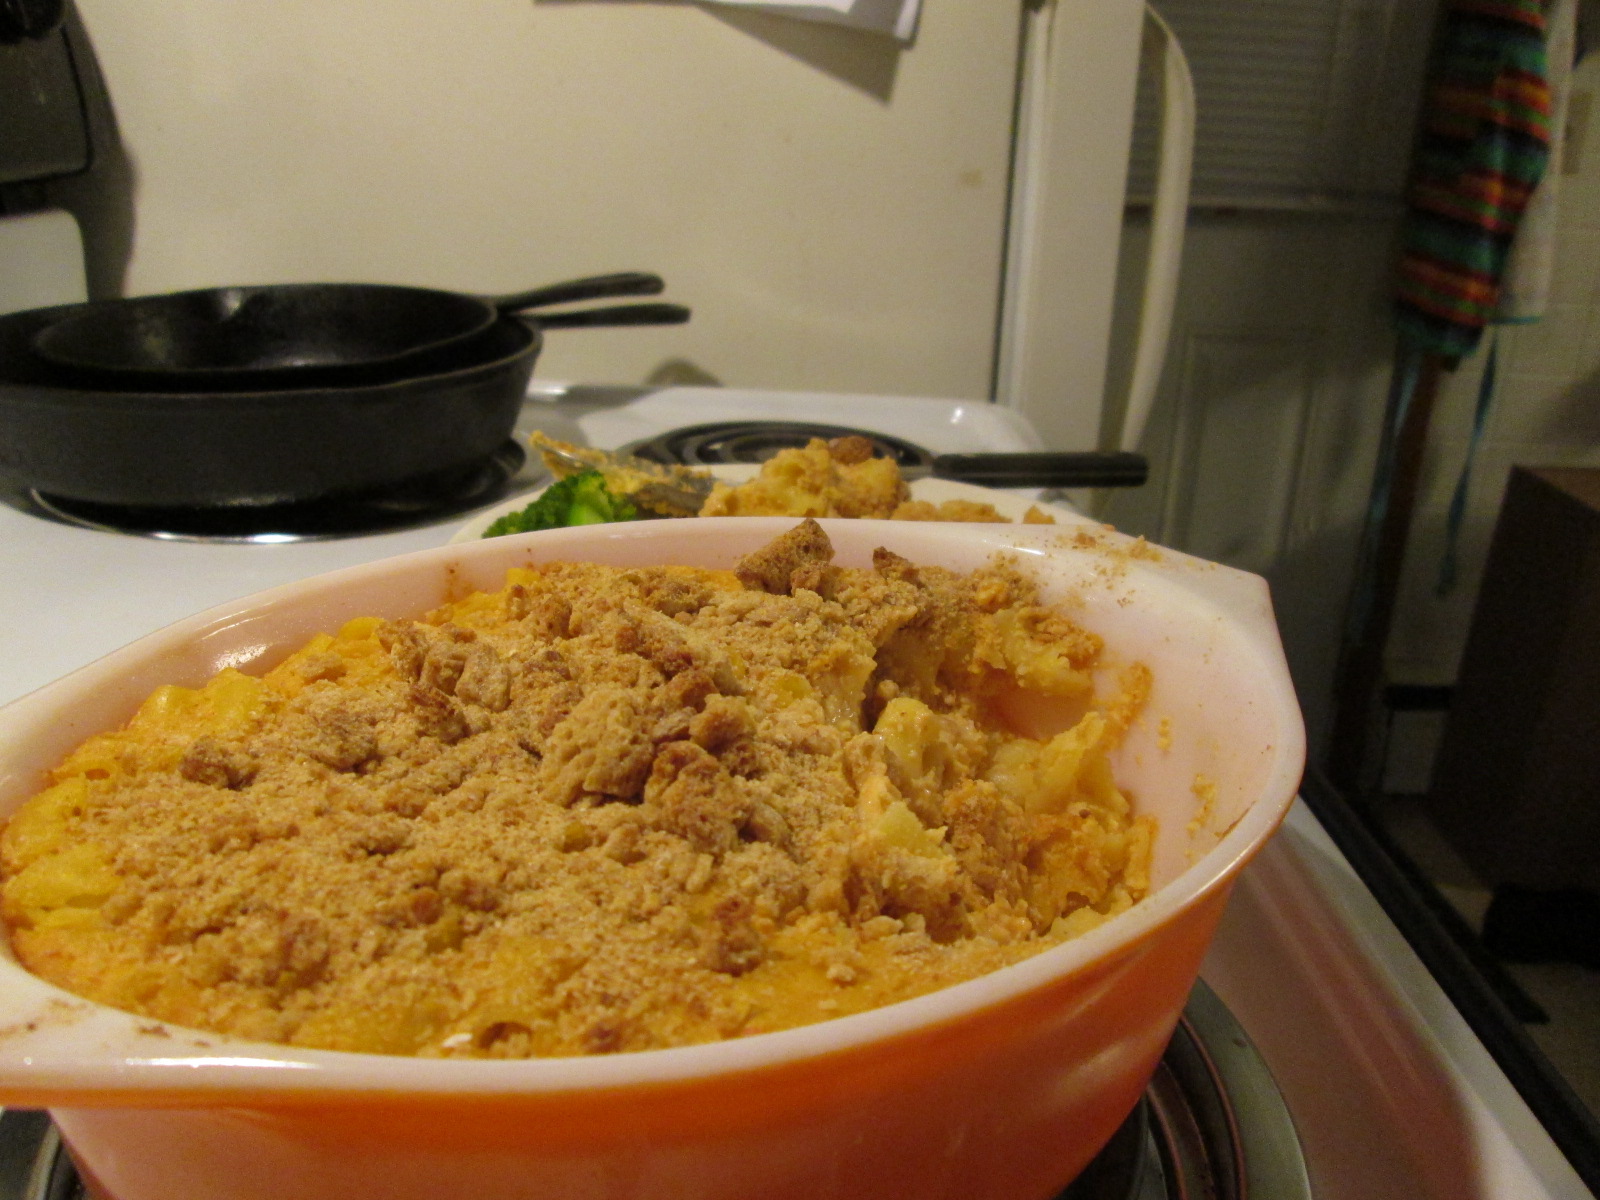
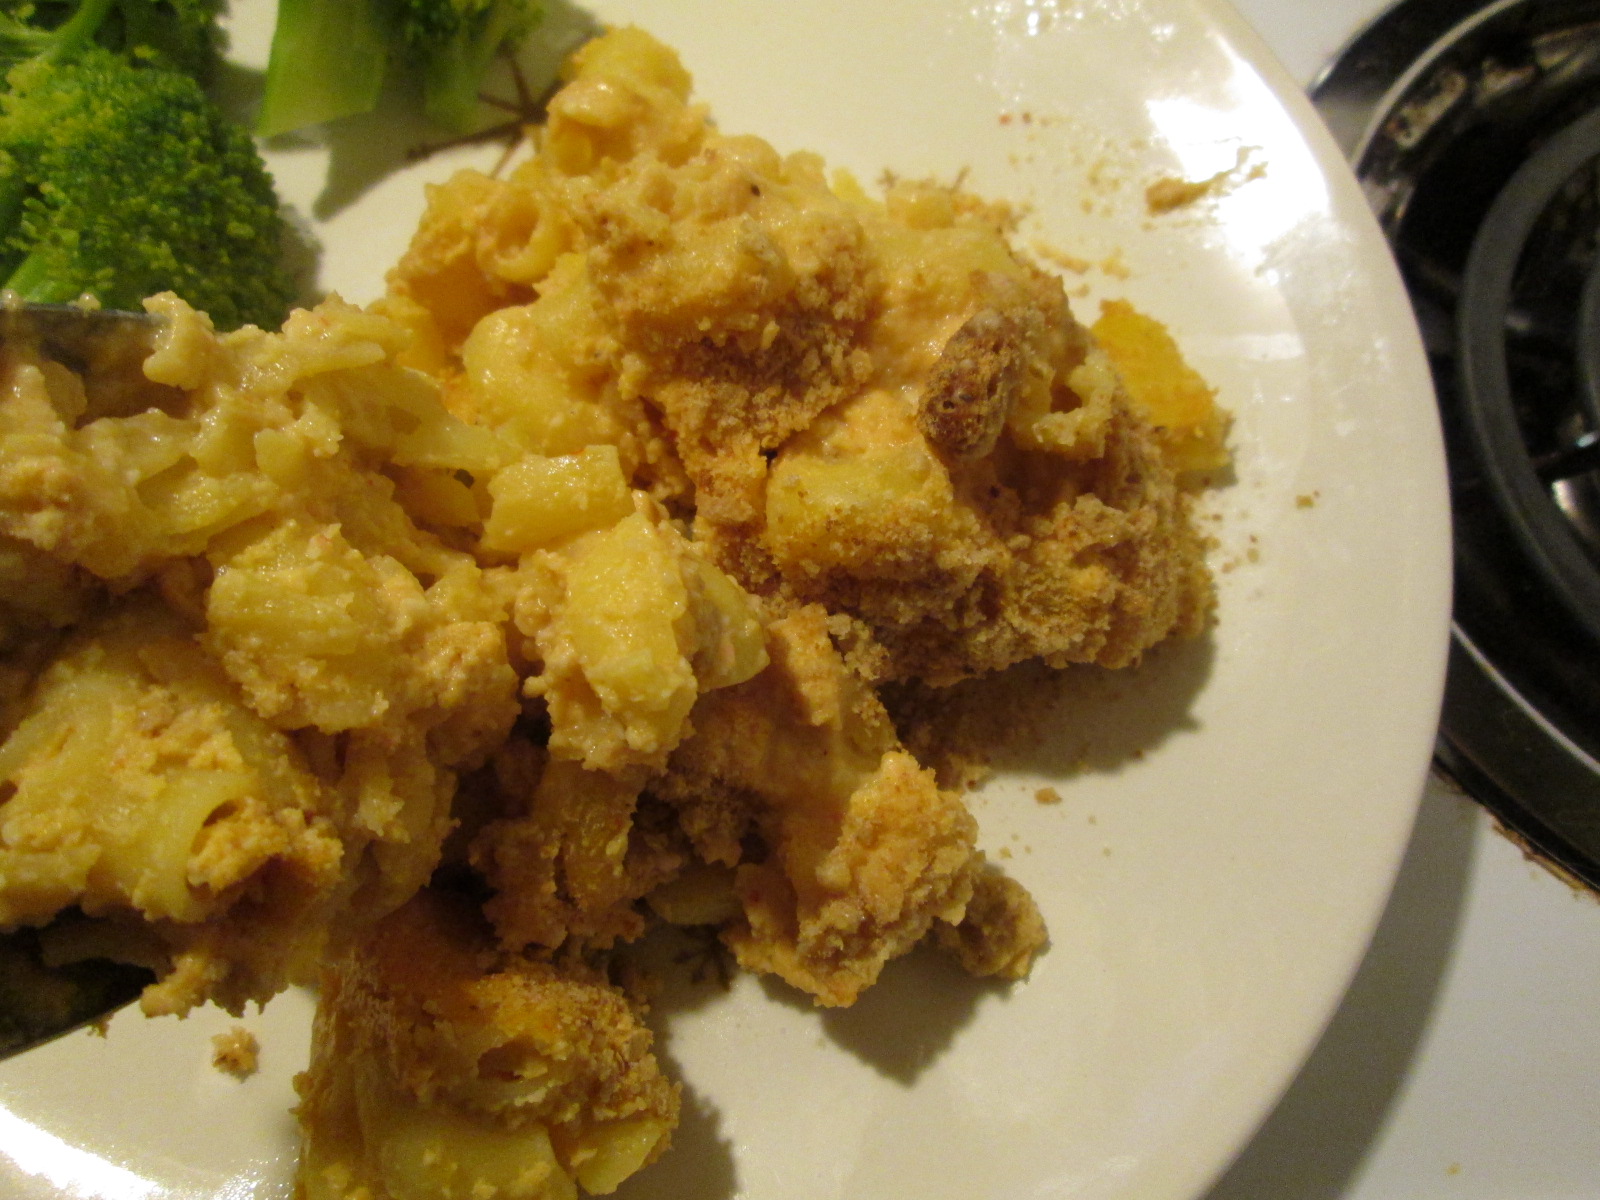
Casserole of Awesome
Gluten-free, Soy-free, Vegan Cashew Mac and Cheese, courtesy of the Sizemore family
2 quarts water
1 teaspoon salt
2 cups gluten-free macaroni (I recommend quinoa pasta)
Cook mac according to package directions, to the shorter end of the cooking time. Do not overcook! Drain. Pour into greased casserole dish.
1 cup raw cashew pieces
2 cups water
Add to food processor and process until smooth.
2 oz jar of pimentos
2 Tablespoons lemon juice
2 teaspoons onion powder
2 teaspoons salt
1 teaspoon garlic powder
1/2 teaspoon dry mustard (optional — adds a tiny bit of kick)
Add these to the cashews, and process until smooth.
Pour sauce over mac.
Cover and bake for 30 minutes at 350F.
Uncover. Top with gluten-free bread crumbs, if desired (I prefer it without, personally) and bake another 15 minutes uncovered.
Close up Mmmmmm
Enjoy. I think this is best served cold, in the morning, for breakfast, with coffee. But your mileage may vary. I think plenty of people like their mac n’ cheez hot.
Notice: Trying to access array offset on value of type bool in /home/maryzahc/public_html/adultfoodallergies.com/wp-content/plugins/wp-ultimate-recipe/helpers/models/recipe.php on line 254
Oh, oatmeal, you’re not pretty, but you are oh so good.
Breakfast is, as people love to say, the most important meal of the day. It also takes place before I’m fully awake. Basically, I feel way more awesome each day if I eat breakfast. But if breakfast isn’t stupid easy — I’m talking pretty much fireproof — I put it off, start work, and wonder why I’m falling asleep cranky at 10 am.
So oatmeal is a great breakfast. But making it from scratch is more than I’m capable of in the mornings. And instant oatmeal is good in a pinch, but rather lacking overall. The solution is overnight oatmeal.
This is more of a concept than a recipe, but I’ll give you my favorite options and some other ideas.
Basic Overnight Oatmeal
Mix equal parts regular (not instant) oats and non-dairy milk in saucepan or spill-proof, microwave-safe travel container. Then add another 1-2 Tablespoons of non-dairy milk — more if you like thin oatmeal, less if you like it thick. Put in fridge overnight. In morning, heat up. Eat.
It may take you a little testing to figure out how much oatmeal you need for a good breakfast. For me, 1/3 cup oatmeal works pretty well, so long as I add some nuts and fruit. Here are a few of my favorite recipes:
Perfect Oatmeal
1/3 cup steel-cut oats
1/2 cup almond milk
1/4 teaspoon good cinnamon*
1 teaspoon maple sugar or maple syrup
1 Tablespoon almond flour or ground almonds
2 Tablespoons dried cherries (you could chop these, but I leave them whole)
Mix all ingredients in a leak-proof container, throw in bag on the way out the door, and microwave at work. 2-3 minutes on high works for most microwaves. Perfect.
*A note on cinnamon — there are actually a ton of varieties of cinnamon. If you’ve never experimented with them, oatmeal is a PERFECT canvas. My personal favorite for this is China Tung Hing cinnamon.
Pumpkin Spice Oatmeal
1/2 cup oats, not instant
1 1/2 Tablespoons canned pumpkin
2 teaspoons rice protein powder or ground nuts
1 Tablespoon dried cranberries
2 teaspoons cinnamon
1 Tablespoon mini allergen-free chocolate chips (optional)
1 teaspoon ground flax (optional)
1 teaspoon unsweetened coconut
1/2 cup + 2 Tablespoons non-dairy milk
To this one, I add a palmful of walnuts right before heating.
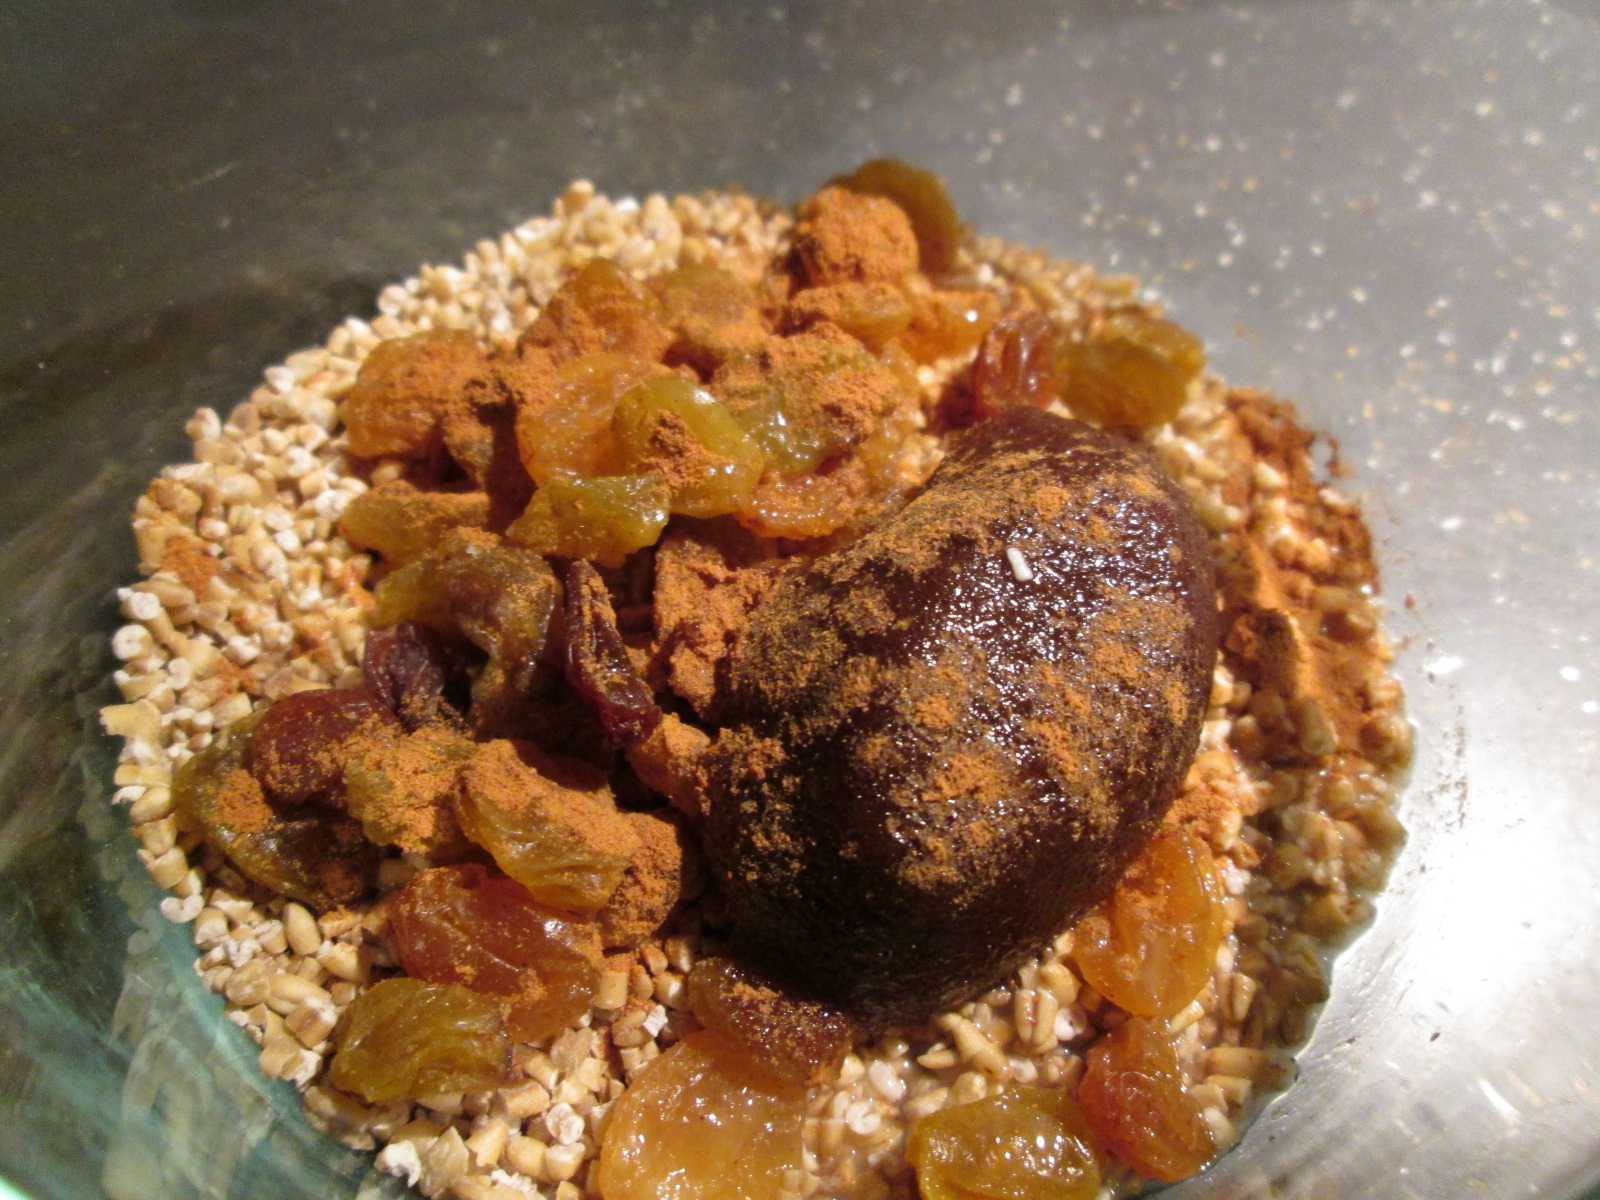
Oatmeal Raisin Cookie Oatmeal
Oatmeal Raisin Cookie Oatmeal
1/3 cup steel cut oatmeal
1 Tablespoon dark brown sugar
1/4 teaspoon cinnamon
2 Tablespoons golden raisins
2/3 cup rice milk
This one takes a little longer to cook in the morning, because of the steel-cut oats, but the texture is great.
The possibilities are endless, honestly. Let us know what you come up with.
When Denise and I sat down to discuss things we needed to learn to make, things we could not longer eat “normal” versions of, one of the things that popped to the top of the list was what my college roommate called “bar food” — fried foods that tasted great and had little or no nutritional value. I can still have french fries, which are my favorite of the genre, but Denise missed mozzarella sticks (to the point that I had dreams about them – D).
As anyone who is vegan, allergic to milk, lactose-intolerant knows, cheese is one of the harder flavors to replicate without actual dairy products. Many have tried, but the majority of “non-dairy” cheeses on the market actually contain some dairy, and therefore aren’t suitable for anyone vegan or with allergies. There is nothing on the market that really would work for a fried cheese product.
But we do have the wonder of Joanne Stepaniak’s The Uncheese Cookbook, which has an amazing variety of cheesy flavors (including the basis for the nacho cheese used in the Happy Layers Nacho Dip). We figured that if we made the mozzarella recipe, made sure it was structurally sound enough to batter and fry, and then figured out a breading, we’d be set. Easy, right?
Not exactly. We had no problems with the cheez, though we made three or four recipes before determining which worked best, and tried several different “egg wash” and breading options, too, before determining which worked best. But even our less perfect attempts were edible, and we’ve shared these with regular omnivorous eaters, and while they wouldn’t mistake them for mozzarella sticks, they did enjoy them. This recipe was our first resounding success, and it’s kept us going for a while.
This is NOT an every day recipe! And frankly, given that it’s fried “cheez,” it really shouldn’t be anyway. There is preparation involved, and then deep frying, but they taste good at room temperature and could easily be re-warmed or kept warm in a low oven.
Before we get started, you will need the proper equipment. You decide how much you can fudge this stuff, but remember you’ll be playing with oil.
For making cheez:
2 qt. saucepan
whisk
silicone ice cube trays or molds with a capacity of about 1 Tablespoon each (cubes are approximately 1 inch square)
plastic wrap
freezer space so they can set
For the frying:
pot deep enough to accommodate about 3 inches of oil and the frying thermometer, a thick stainless steel or a enameled dutch oven would be best. You also want a pot that’s tall enough that the edge is 2 or more inches above the oil level. It’s safer and there’s less splatter all around. The pot we used was 5 inches tall and about 8 inches across. We do not recommend using anything with Teflon or nonstick coatings. Of course, if you have an actual deep fryer appliance, use that.
For recapturing the oil for re-use (with proper care, you can use this oil at least 6 times)
Mason jars
coffee filters
funnel
Ingredients, all in one list:
2 cups rice milk
½ cup nutritional yeast flakes
7 Tablespoons oat flour (if you can’t get gluten free certified oat flour, grind gluten free certified rolled oats in a blender, food processor or coffee grinder until you have flour)
¼ cup tahini
¼ cup cornstarch
4 Tablespoons lemon juice
1 Tablespoon onion powder
1 teaspoon kosher salt
2 Tablespoons Ener-G egg replacer powder
1/2 cup warm rice milk
one loaf of white rice bread, turned into bread crumbs, or about 1 1/2 cups of bread crumbs
a large jug of canola oil, for frying
marinara or tomato sauce for dipping (optional)
Miraculous Cheez Nuggets
There are two things you need to do in advance — make the cheez and make the bread crumbs. You could buy bread crumbs, but it may be easier to make your own and control the bread. For gluten-free bread crumbs, we suggest either Ener-G White Rice Bread or Food for Life White Rice Bread. In my opinion (MK), neither one is a fantastic sandwich bread, but the white rice breads do make excellent bread crumbs for frying.
For either one, lay the slices out on the oven rack and bake for about 2 hours at 200°F. Let cool completely, and then put through the food processor. You won’t use the whole loaf’s worth of crumbs, but why not keep the rest on hand? They keep well in a plastic bag or other sealed container.
Make cheez:
Place the following ingredients in the saucepan:
2 cups rice milk
½ cup nutritional yeast flakes
7 Tablespoons oat flour (if you can’t get gluten free certified oat flour, grind gluten free certified rolled oats in a blender, food processor or coffee grinder until you have flour)
¼ cup tahini
¼ cup cornstarch
4 Tablespoons lemon juice
1 Tablespoon onion powder
1 teaspoon kosher salt
Whisk all ingredients together until well combined.
Cheez Ingredients mixed before heating
Cook over medium-low heat, whisking occasionally until mixture starts to thicken. Turn heat to low, whisk constantly until mixture starts to pull together and away from sides of pan.
Cheez after cooking
Spoon into silicone molds or ice cube trays, approximately 1 tablespoon per cube. Try your best to smooth out the tops.
Cheez in Silicone Ice Cube Trays
Cool in fridge. Then cover with plastic wrap and freeze the cheez over night. The cheez must be frozen to hold up to frying without becoming a really nasty mess. The last batch we made we had intended to fry the the next day but couldn’t, so the cheez was in the freezer for a week or so with no ill effect. To save time, you could keep some cheez made ahead of time in the freezer and then just bread and fry when you want some.
Frying Fun!
Fill the frying pot (described above) with about 3 inches of canola oil, and put your frying thermometer in place. Start heat over medium-low and aim for 360ºF.
Frying Set Up
While waiting for your oil to heat, you will bread your cheez. Make an “egg” mix by mixing the following:
2 Tablespoons Ener-G egg replacer powder
1/2 cup warm rice milk
Place egg mix in a deep enough container or bowl that you can dip the cheez nuggets in it and coat them easily. Place bread crumbs in a low flat container so that you can easily roll the nuggets to coat them in the bread crumbs.
Remove cheez nuggets from silicone molds. One at a time, dip nuggets in egg mix, then in bread crumbs. Place on a tray to until you are ready to fry them.
Coating Cheez in Bread CrumbsCheez Nugget Coated in Bread CrumbsTray of Breaded Cheez Nuggets
Fry them! Drop nuggets (gently!) in the hot oil and then cover the pot with the splatter screen.
Putting Cheez Nuggets into OilCheez Nuggets FryingUsing Splatter Screen
Our pot was about 8 inches in diameter, with 3 inches of oil, and we could fry 5 nuggets at a time. Each batch took approximately 5 minutes with the starting oil temperature at 360-370ºF. We were able to test the interior temperature (remember, these will still be frozen when you drop them in the oil) with the probe thermometer — anything over 70ºF is good (take a nugget out of the oil and test it on a plate. DO NOT TRY TO PROBE A NUGGET WHILE FRYING). You can also just cut one open and feel it.
Blurry Photo of using Probe Thermometer
If you put too many nuggets in the oil at once, you will drop the temperature too far down (don’t go below 330ºF), and you won’t get a golden brown outside with a warm cheezy center. If your oil drops more than 15 degrees, put fewer nuggets in the next time around. You can also adjust your stove temperature to try to keep the oil temperature consistent.
When the nuggets are done, lay them on the cookie sheet that you’ve prepared — cover the cookie sheet with paper towels and lay your cooling rack upside down on the paper towels. The fried nuggets will be kept up off the paper towels, and the towels will draw the oil down. These nuggets are NOT greasy if you’re doing all this right, and they are wonderful.
Taking out Cheeze Nuggets to Put on RackCheez Nuggets on Rack
Serve while still warm, with marinara if you so wish.
You can freeze any leftovers, but reheat them low and slow — 250ºF for about 30 minutes seems to work. We only tested reheating them once, though, so if you do it, let us know how it goes!
If I’m completely honest, that mayo or sour cream based French onion dip (one package of dip mix plus a carton of sour cream, I think?) wasn’t something I made all that often or bought all that often in my pre-allergen days. But I liked it at parties, and maybe that was enough for me back then? I don’t know.
But last year, I wanted onion dip. With potato chips — salty, greasy, oniony madness. I tried a few things, and when I still ate soy, tofu-based sour cream with a packet of stuff wasn’t too bad. Some of the mixes are free of some allergens, but reading the ingredients so carefully is a real turn off, honestly. So. Onion dip. Now that soy is out and I really don’t want to use a packaged mix, it was time to come up with a good substitute based as much as possible on real foods.
Earth Balance, refugeof the dairy-free for decent, actually dairy-free margarine, has come out with a vegan AND soy-free mayonnaise! You can read our review of this miracle HERE. I am going to assume that this recipe will more-or-less work with regular mayo, or any of the vegan versions that contain soy. It’s been tested only with Earth Balance mindful mayo because neither of us eat those others.
As wonderful as the mayo substitute is, a dip based on mayo alone, to be eaten with thick, ridged greasy and salty potato chips seemed overkill, so the base of this is actually pureed canned cannellini beans, with mayo-sub added for creaminess. The onion flavor comes from scallions and caramelized onions. This is onion dip to revel in. Even if it doesn’t photograph like anything other than a dip.
Kiss Me if You Dare Onion Dip
First, get on caramelizing your onions. You want a softball-sized onion or two smaller ones, and if you can get a sweet onion (Maui, Vidalia, Walla Walla), it will be even better. Cut it in quarters and slice it thinly.
Heat about a tablespoon of olive oil in a large skillet over medium heat. I always use my cast iron, which is 12 inches, and I need to do two rounds of this. You want a good sloppy coat of oil over the bottom of the pan, heated until shimmering, and add only enough onions for a single layer. Add a good sprinkle of salt, 1/2 teaspoon or so for my pan size.
If you’ve never caramelized onions, it takes some time to do it right. I could tell you all about it, but I’m going to kick you over to Slate, as Tom Socca’s already covered it.
Set the onions aside to cool. I do not drain the oil off, as this dip is supposed to be rich.
Into your food processor (or blender, if you have a high powered one), add:
1 can of cannellini beans, rinsed and drained
1 scant cup of Earth Balance Mindful Mayo, original
3-4 cloves of roasted garlic
1-2 Tablespoons of lemon juice, fresh-squeezed if you can
Spin it through the food processor until all smooth and well combined. IF you are using a blender, I’d suggest doing the beans first, and then adding the mayo as a second step.
Add the onions and pulse until they are chopped up and well mixed in to your dip.
Dump dip into a serving bowl, and mix in about 1/4 cup of chopped scallions, green and light green parts only, reserving some for garnish if you wish. Refrigerate for a few hours before serving with lots of salty potato chips. Ruffles are my choice.
a bit of onion dip left after the party
Kiss Me if You Dare Onion Dip
1 softball-sized sweet onion, quartered and sliced thin
2 Tablespoons (+) olive oil (not extra-virgin) or canola oil
about 1 teaspoon kosher salt
1 can of cannellini beans, rinsed and drained
1 cup Earth Balance Mindful Mayo, original
3-4 cloves of roasted garlic
1-2 Tablespoons of freshly-squeezed lemon juice
1 bunch of scallions, sliced thin, green and light green parts only
Caramelize onions, then mix everything else in a food processor or high-speed blender, adding onions last, and garnishing with some of the green scallions if you remember.