Notice: Function _load_textdomain_just_in_time was called incorrectly. Translation loading for the wp-ultimate-recipe domain was triggered too early. This is usually an indicator for some code in the plugin or theme running too early. Translations should be loaded at the init action or later. Please see Debugging in WordPress for more information. (This message was added in version 6.7.0.) in /home/maryzahc/public_html/adultfoodallergies.com/wp-includes/functions.php on line 6121
Meatless/Veg*n – Page 5 – surviving the food allergy apocalypse (archive)

Category: Meatless/Veg*n

Meatless/Veg*n – Savory recipes which do not contain any meat or which may fall into either the vegetarian (no meat or fish) or vegan (no animal products of any kind) categories. Dishes generally feature beans or vegetables as the central ingredients. We will not be putting baked goods and desserts in this category, although most of our baking will be vegan (and will be tagged as such). These recipes will not contain dairy, eggs, gluten, wheat or hazelnuts. If we use a top 8 allergen, we will use a tag warning of its use.

  • Vegan Black Bean Pumpkin Taco Salad

    Vegan Black Bean Pumpkin Taco Salad
    Vegan Black Bean Pumpkin Taco Salad

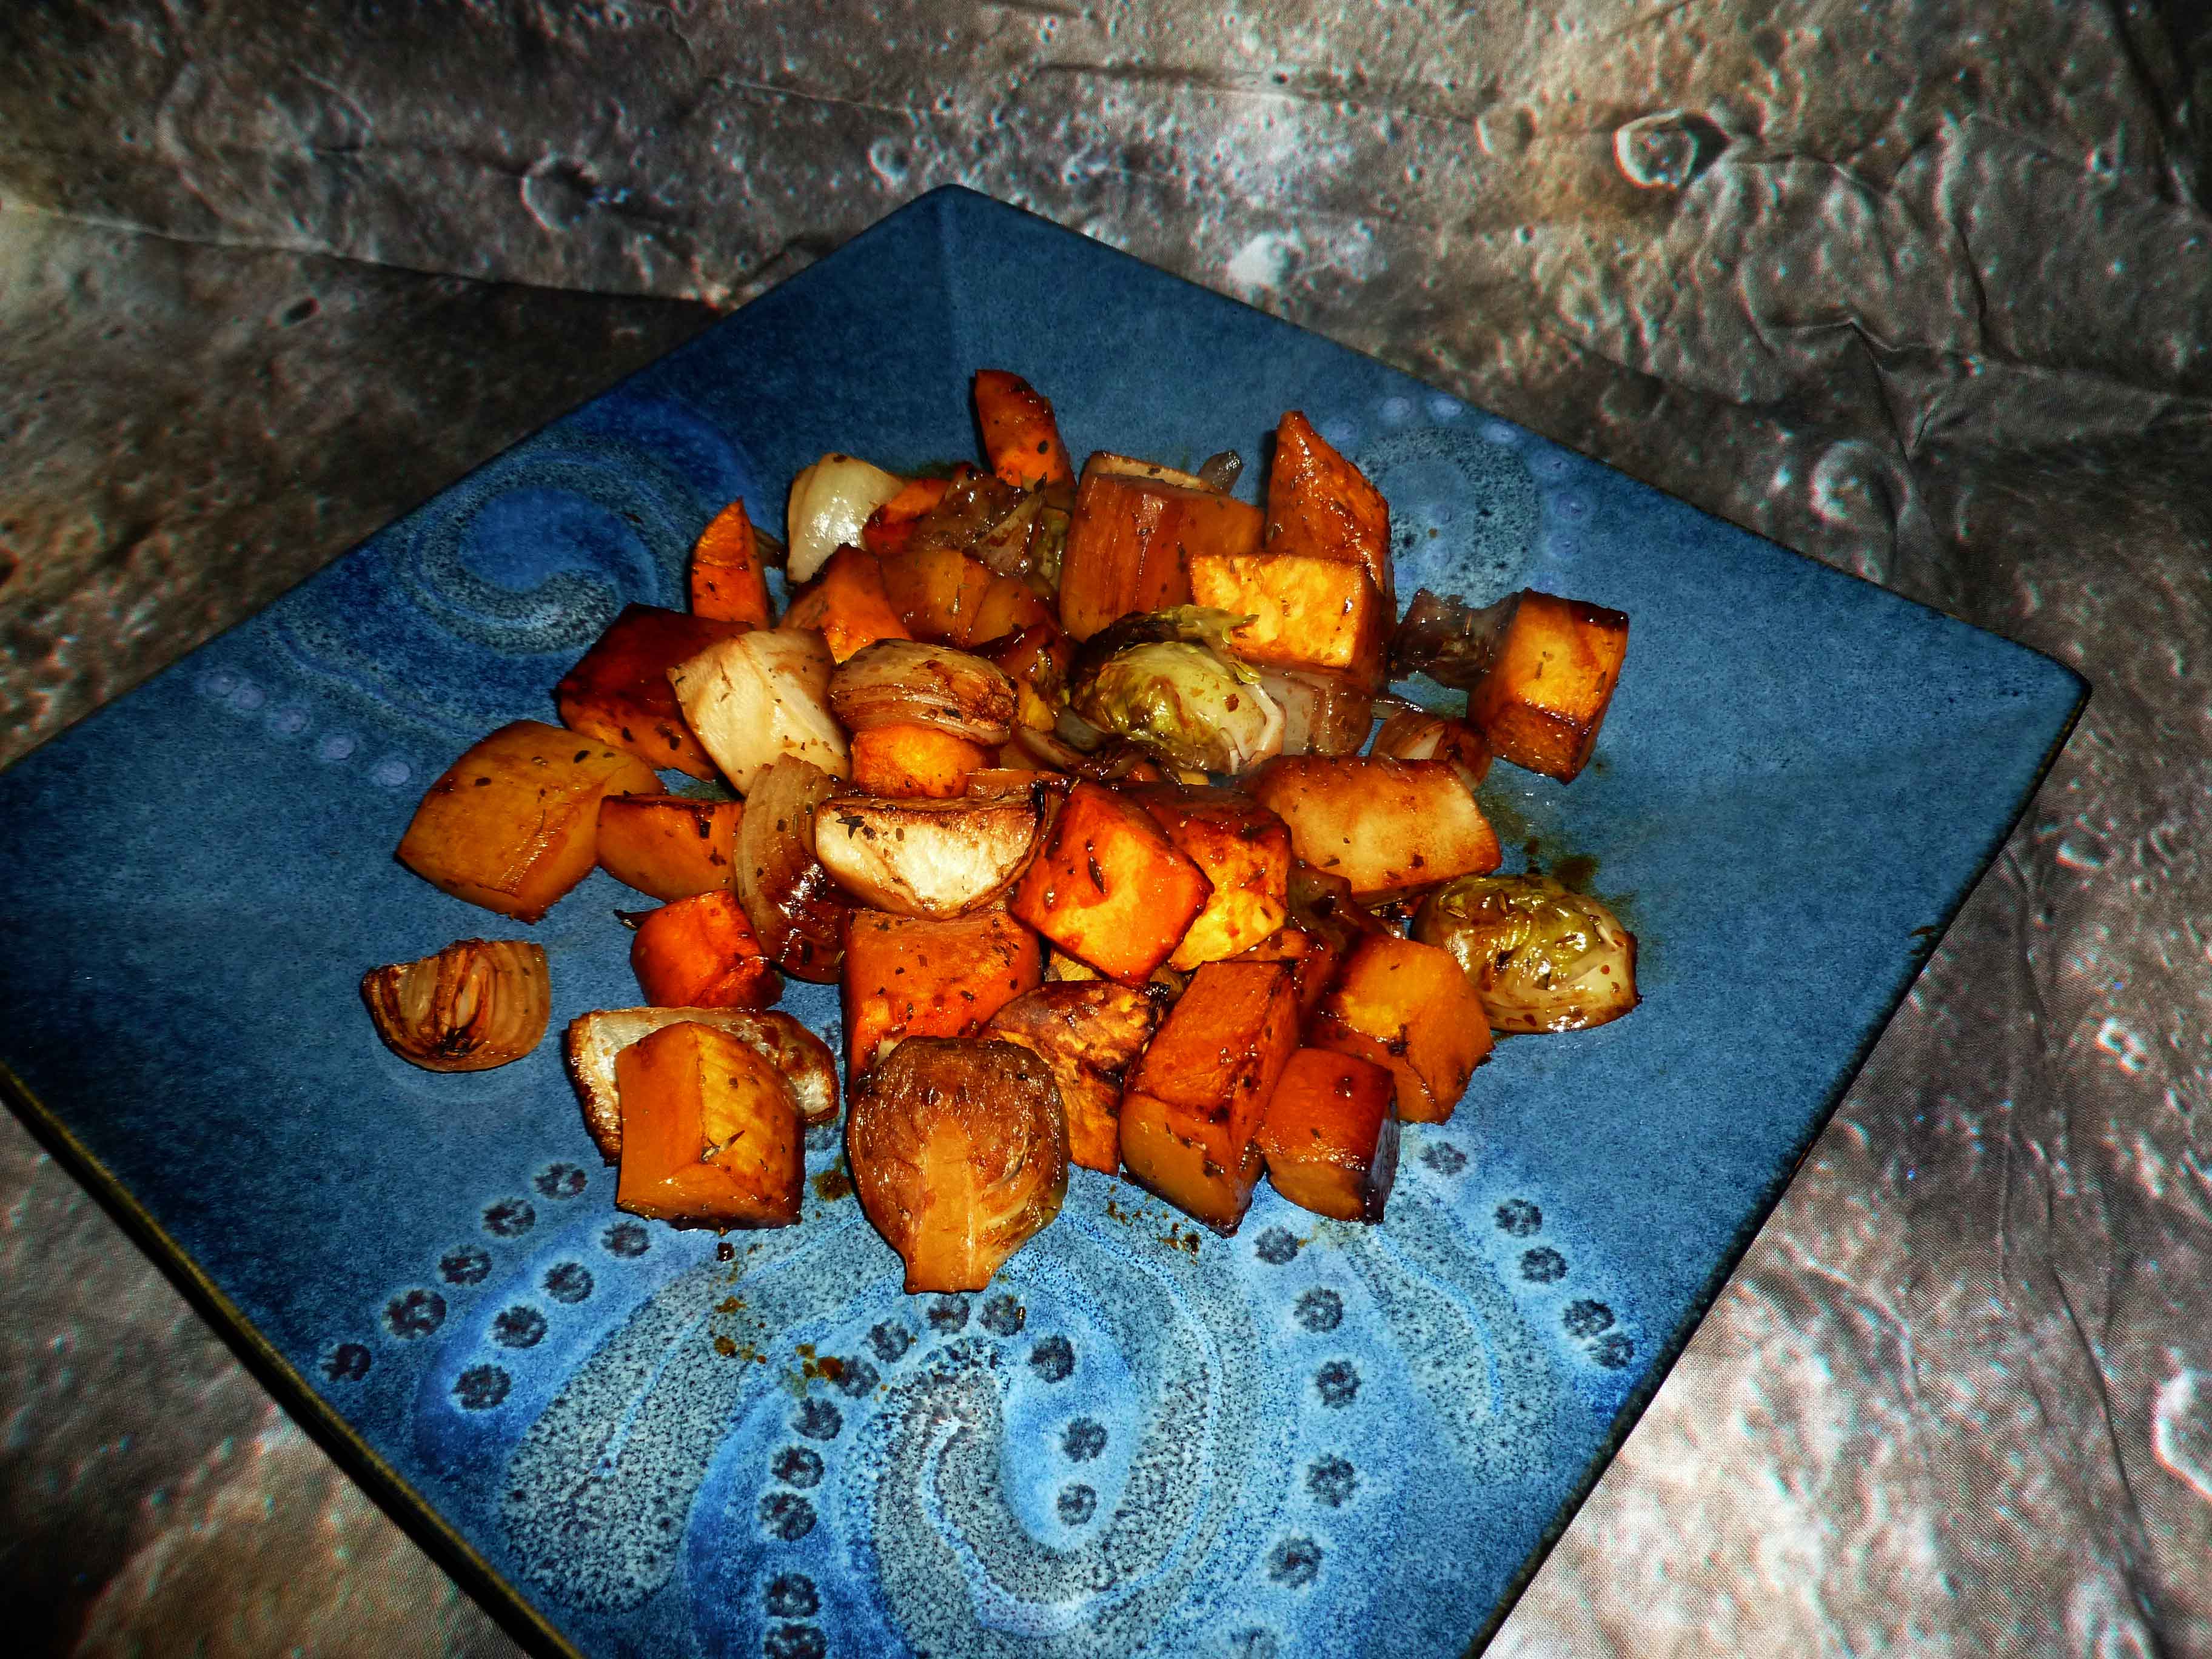
    During the holidays, I fully explored that cookie obsession that was in evidence in all of our Friday posts. Overall? They weren’t too bad, though the results were a little mixed. Turns out that parchment paper is an amazing invention that no gluten-free baker should be without, and keeping the dough cold is important. Also, I’m pretty bad at rolling out dough. Luckily, I had help.

    But because gluten-free baked goods don’t last as long as other baked goods (they dry out and/or mold rather quickly), I ate. And ate, and ate, and ate. Mmmmm, cookies. ALL the cookies. Thing is that sugar, when consumed in great quantities for a week or so, makes me crave vegetables, and this time around, particularly spinach. Mostly, I eat a little spinach salad here and there, or I saute it with garlic, and I’m frankly bored with both. I was planning to make tacos, but since I had the spinach, taco salad seemed the thing to do. The hot topping balances out the cold salad part, giving a great balance between wanting the raw spinach and needing hot food for dinner when it’s cold out.

    This recipe is perfect for a quick weeknight meal, as it comes together in a matter of maybe 10 minutes. Honestly, it takes as long to assemble the salad as it does to cook the topping, and the salad can incorporate whatever you have around. I’ve written it up as I’ve made it and like it, but you know we’re all about tinkering around here.

    Vegan Black Bean Pumpkin Taco Salad
    Vegan Black Bean Pumpkin Taco Salad

    Vegan Black Bean Pumpkin Taco Salad 

    Makes 2 large, meal-sized salads

    For the cooked taco topping:

    • 1 Tablespoon oil (I’ve been using safflower)
    • 1/2 cup chopped onion (this is where having extra chopped onion in the freezer is really a time-saver)
    • 1 Tablespoon of taco, Mexican, or southwest-style seasoning mix (I used Arizona Dreaming)
    • 1/2 can (8 oz.) canned pumpkin (I am pretty sure that mashed butternut squash or sweet potatoes would also work well here — let me know if you try it)
    • 1 can (15 oz) black beans, drained and rinsed well

    Heat a saucepan over medium heat. When hot, add the onion and cook, stirring occasionally, until translucent. Add the seasoning, and stir well into the oil and onions. Add the pumpkin, stirring well, and then the black beans. Lower the heat to medium-low, and cook, stirring occasionally, for 5-10 minutes, or until everything is heated through.

    Then, make your salad.

    • 2 large handfuls of baby spinach, roughly chopped (or salad greens of your choice)
    • 1/4 cup of shredded vegan cheddar (optional)
    • 1/2 of a Hass avocado, sliced (optional)
    • sprouts, if you’ve got them and like them (I do, but optional)
    • any other fun salad toppings you might dream up
    • 1/4 cup of red salsa (recipes from us here and here, if you want to make your own)

    Lay out your spinach, lettuce, or greens on two plates or in large bowls. Top each with half the taco mixture, in several dollops to spread it out over the salad. Add the cheese (if using) and other vegetables or toppings, and pour the salsa on top as a dressing. If you’re using the avocado, I suggest a sprinkle of salt on just that.

  • Butternut Squash Soup

    Butternut Squash Soup
    Butternut Squash Soup

    If I’m completely honest, I have some mixed feelings about butternut squash. In some preparations, its earthy and fruity and warming. In others, I don’t know, but I don’t like it. For our holiday potluck, though, one of my coworkers made an apple and squash soup that was quite lovely and tasty. She share the recipe, but I ended up not really following it, tweaking the flavors to my own liking. This is a pureed soup, so a stick blender is really helpful. Though it has other uses, the stick blender shines when pureeing hot soups — and it is way easier to clean than the regular blender.

    The apples bring out the fruity quality of the squash, and I really like the flavor of butternut with some spice, so the cayenne provides a bit of heat. The use of celery leaves adds flavor and uses a typically wasted part of the vegetable. If you want to make this easy, buy peeled and cubed squash.

    Happy Squash
    Happy Squash

    Butternut Squash Soup

    • 1 Tablespoon oil (I’ve been using safflower)
    • 1 sweet white onion, quartered and sliced
    • 1 teaspoon salt
    • 20 oz butternut squash, cubed (about one medium squash, but I frequently buy it chopped)
    • 2 tart apples, peeled, cored, and quartered
    • 1 3/4 cup vegetable stock
    • 1/4 cup celery leaves, chopped
    • 1 teaspoon cardamom
    • 1/8-1/2 teaspoon cayenne

    In a large hot sauce pan, add oil and then onion and salt. Cook, stirring occasionally, until the onion begins to brown.

    Add the squash and then the apples, and cover, without stirring, cooking about 10 minutes with the lid on (steaming the squash and apples).

    Add stock and stir well. Cover, bring to a boil, and reduce the heat to low. Simmer until squash is soft and tender, 15-30 minutes, depending on the size of the squash cubes.

    Add celery leaves, cardamom, and cayenne (adjust to suit your tastes), stir, and cover again. Remove from heat and let the soup cool a bit. Using a stick blender, puree the soup — or do it in a blender or food processor, in smaller batches, being careful with the steam build-up.

    Reheat to serving temperature, or cool completely and reheat to serve the next day. The latter really allows the flavors to meld, so I’d recommend making it ahead if possible.

  • Roasted Autumn Vegetables with a Balsamic Glaze

    Roasted Autumn Vegetables with Balsamic Glaze
    Roasted Autumn Vegetables with Balsamic Glaze

    It’s fall (I’m not discussing the “winter” word yet, although it snowed here yesterday) with all those yummy, carbohydrate-filled veggies available. This dish is pretty easy but seems complicated to those who aren’t in the know.  Also, although this may seem like a lot, it’s great as leftovers.  I even love it cold over a tossed salad a day or two later. Try it as a new side dish for Thanksgiving, or for other potlucks this winter.

    Roasted Autumn Vegetables with a Balsamic Glaze

    Serves at least 4 in generous portions.

    Balsamic Glaze:

    • I cup of balsamic vinegar (be careful, get one without caramel color, which could be dairy, wheat or corn.)
    • 1 1/2 Tablespoons of Italian Seasoning (or a bit of oregano, basil, marjoram, sage, rosemary, and thyme to add up to 1 1/2 Tablespoons)
    • 2 Tablespoons of brown sugar
    • 2 Tablespoons of olive oil

    Vegetables:

    • 2 carrots, peeled and chopped into 1 inch chunks
    • 2 small onions, peeled, cut in half and then each half cut into quarters
    • 1 sweet potato, peeled and chopped into 1 inch chunks
    • 1 small turnip (about the size of a large tomato), peeled and chopped into 1 inch chunks
    • 1/2 of a butternut squash (or 1 20 oz bag of fresh peeled butternut squash), peeled and chopped into 1 inch chunks
    • 2-3 cups of brussel sprouts, outer leaves removed if necessary and stems trimmed, and cut in half

    Preheat your oven to 400°F.  Using an oil mister, or a bit of oil and a paper towel, grease a sheet pan.

    Prepare all your vegetables as discussed above and put them in a large heat safe bowl.  You’re going to be tossing them with the glaze, so make sure you have room to stir and work. Put the bowl aside.

    Veggies in Bowl
    Veggies in Bowl

    Using a small non-reactive saucepan, add your balsamic vinegar, Italian seasoning or spices, and the brown sugar.  Over medium high heat, simmer the glaze at a low boil until the vinegar has reduced down to a slightly thicker syrupy consistency, as shown:

    Balsamic Glaze after reducing
    Balsamic Glaze after reducing

    Once the glaze has reduced down, remove it from the heat and add the olive oil.  Stir thoroughly.

    Pour the glaze over the vegetables, scraping down the sauce pan so that all the glaze ends up in the bowl.  Mix the vegetables and glaze thoroughly so that all the vegetables are coated.

    Mixing Veggies and Glaze to coat
    Mixing Veggies and Glaze to coat

    Pour the coated vegetables on the sheet pan and distribute them evenly.

    Veggies spread evenly on pan
    Veggies spread evenly on pan

    Place them in the oven and cook until the vegetables are tender, about 45 minutes to an hour depending on how large your pieces are. You might want to test them with a fork.

    Veggies after roasting
    Veggies after roasting

    Enjoy!

  • Maple Dill Carrots

    Maple Dill Carrots, close up. Photo by J. Andrews
    Maple Dill Carrots, close up. Photo by J. Andrews

    I made this recipe one day when I needed comfort food and then made it about 10 more times in the next month. Carrots and dill are just a great combination, and carrots lend themselves to sweetness. The maple is well-balanced by the garlic, and I find the combination rather addictive. I’ve tweaked the fine details of this recipe, but it’s really very forgiving, overall. It would make a good, crowd-pleasing side dish for Thanksgiving, and I have to think it might appeal to picky kids (but it has not been field tested on children, because generally people don’t offer their kids up for experimentation).

    Maple Dill Carrots

    Recipe makes ~3 servings if this is the only vegetable side dish.

    • 1 lb. carrots, peeled and sliced (go organic here if you can — they are noticeable sweeter and more carrot-y, which makes a difference in this recipe)
    • 1 teaspoon dill
    • 1/4 to 1/2 teaspoon garlic powder (adjust according to your audience)
    • 1 Tablespoon Earth Balance (or butter or margarine of your choice)
    • 1 Tablespoon real maple syrup

    Place sliced carrots in a saucepan, with water enough to boil (should basically reach the bottom of the top layer of carrots, but not completely cover them). Add dill and garlic. Bring to a boil and then simmer until carrots are soft, 5-10 minutes.

    Carrots and Spice
    Carrots and Spice

    Drain the carrots — lots of the dill and garlic drain off, but the flavor is boiled in. Add the Earth Balance and maple syrup, and purée. I use a stick blender and do a bit of a half-assed job of it (Denise calls it “rustic”) so that there are some whole carrots and some chunks in the purée. That’s just how I like it. Feel free to purée more or less, as suits your tastes.

    Serve hot. Serve often.

    Maple Dill Carrots
    Maple Dill Carrots
  • Homemade Cranberry Sauce – 4 Variations

    Homemade Cranberry Sauce - starting from upper left going clockwise, whole, jelled, orange, and apple
    Homemade Cranberry Sauce – starting from upper left going clockwise, whole, jelled, orange, and apple

    So, as some of you may remember from last year’s Turkey, Turkey Stock, and Turkey Rice Soup with Kale – Denise’s Annual Insanity, or if you know me in real life, I tend to be a lunatic about Thanksgiving. I make food in quantities and amounts that bear no rational relation to the number of people coming, and I go overboard about everything. One of those things is cranberry sauce. When I was growing up, my grandmother owned (still owns, actually) a farm which had a small lake and there were some cranberries growing in one end of it. She always made several kinds of cranberry sauce at Thanksgiving. Now the cranberry bog has been taken over by brush, but I still make multiple cranberry sauces every year. Also, it’s one of those things that looks really hard, but is a piece o’cake (if you’re not a crazed lunatic who is making 40 million other side dishes as well). I usually do the cranberry sauce a couple of days ahead, because you can, and because it needs to cool. If you want some cranberries on hand year round, buy a few bags and throw them in the freezer as is, and just use them frozen, i.e. don’t thaw them out first.

    Whole Berry Cranberry Sauce

    Whole Berry Cranberry Sauce
    Whole Berry Cranberry Sauce
    • 1 cup of water
    • 1 cup of sugar
    • 1 – 12 ounce bag of cranberries

    Wash the cranberries and pick out the soft, crushed and/or bad ones. Put the water and sugar in an nonreactive sauce pan and bring it to a boil over high heat.

    Cranberries in Sugar and Water
    Cranberries in Sugar and Water

    Once the water and sugar is boiling, add the cranberries and let it come back to a boil.  Reduce to the heat to medium and boil gently for 10 minutes.  Pour into a heat safe bowl and let cool in the fridge.

    Jelled Cranberry Sauce

    Jelled Cranberry Sauce
    Jelled Cranberry Sauce
    • 1 cup of water
    • 1 cup of sugar
    • 1 – 12 ounce bag of cranberries

    Do everything for the Whole Berry Cranberry Sauce above, except when you’ve finished boiling it gently for the 10 minutes, place a wire mesh strainer over a bowl, pour the sauce into the strainer, and use a spatula to press the sauce through it into the bowl, leaving the seeds and skin behind in the strainer.

    Using Strainer to remove seeds and skin
    Using Strainer to remove seeds and skin

    Make sure you get as much of the sauce as you can through the strainer until there’s nothing left but seeds and skin. Frankly, I almost never make this because I don’t care, and not eating the skins and seeds seems like a colossal waste, but to each their own. 

    Apple Cranberry Sauce

    Apple Cranberry Sauce
    Apple Cranberry Sauce
    • 1 cup of water
    • 1 cup of sugar
    • 1 – 12 ounce bag of cranberries
    • 1 peeled, cored and chopped apple

    Follow the directions for the Whole Berry Cranberry Sauce above, but just adding the apple at the same time as the cranberries.

    Orange Cranberry Sauce 

    Orange Cranberry Sauce
    Orange Cranberry Sauce
    • 1 cup of water
    • 1 cup of sugar
    • 1 – 12 ounce bag of cranberries
    • 1 orange, zested, and then peeled and sectioned

    Wash and scrub your orange. Zest your orange, either with a micro-planer or use a vegetable peeler to take off very, very thin strips.  Make sure there is NO white pith at all, as it will cause the sauce to be bitter.  Peel your orange and then remove the outer skin from each of the sections.

    Zest and Sectioned Orange Pieces
    Zest and Sectioned Orange Pieces

    Follow the directions for the Whole Berry Cranberry Sauce above, but just adding the orange at the same time as the cranberries. 

    Enjoy!

  • Baked Eggplant and Zucchini Fries with Spicy Mayo Dipping Sauce

    Baked Eggplant and Zucchini Fries with Spicy Mayo Dipping Sauce
    Baked Eggplant and Zucchini Fries with Spicy Mayo Dipping Sauce

    So my friend Mary, the kale whisper, managed to procure about 5 pounds of eggplants for me, or, in other words, a crap ton of eggplants, from her neighbor’s garden. Because she’s just that awesome and cool.  So I made and canned 5 pints of Eggplant Caponata and 6 quarts of a version of Ratatouille, but I still had some eggplant and zucchini left. So I decided to try this recipe from the Gourmande in the Kitchen, but make it dairy, egg, and almond free too, since I’m allergic to all those things, and use up the zucchini.

    Baked Eggplant and Zucchini Fries with Spicy Mayo Dipping Sauce
    • 1 small eggplant about 7 inches long, sliced into pieces about 3 inches long and about 1/3 of an inch thick
    • 1 small zucchini about 7 inches long, sliced into pieces about 3 inches long and about 1/3 of an inch thick

    First dry dredge:

    • 1/2 cup of arrowroot starch (you could also use tapioca or corn starch, but corn is out for me, since I’m allergic to it)

    Second wet dredge:

    • 2 Tablespoons of safe Adobo seasoning (If you don’t have Adobo seasoning, mix 1/8 cup of paprika, 1 1/2 Tablespoons of ground black pepper, 1 Tablespoon of onion powder, 1 Tablespoon of dried oregano, 1 Tablespoon of ground cumin, 1/2 Tablespoon of ground chipotle, and 1/2 Tablespoon of garlic powder, this makes half a cup of seasoning).
    • 2 teaspoons of salt
    • 1/3 of a cup of arrowroot starch
    • 1/3 of a cup of olive oil
    • 2/3 of a cup of water

    Third dry dredge:

    • 2 cups of gluten free bread crumbs

    Spicy Mayo Dipping Sauce:

    • 1/2 cup of Earth Balance Mindful Mayo (or other mayo that’s safe for you)
    • 1 Tablespoon of Sriracha, or your other favorite hot sauce

    Preheat your oven to 425°F.  Place a piece of parchment paper on a baking sheet and use an oil mister to spray the parchment paper.  You can skip the parchment paper, and just spray oil on the baking sheet, but it will be easier to clean up.

    Wash, trim and slice your zucchini and eggplant into pieces about 3 inches long and about a 1/3 of an inch thick.

    Sliced Zucchini
    Sliced Zucchini
    Sliced Eggplants
    Sliced Eggplants

    Place the arrowroot starch for the first dry dredge in a flat bottomed container with enough room to move the pieces around to coat.

    Arrowroot Starch - first dry dredge
    Arrowroot Starch – first dry dredge

    Place the ingredients for the second wet dredge in a shallow bottomed bowl and whisk them together.  Make sure the bowl has enough room to move the pieces around to coat them.

    Wet mixture - second dredge
    Wet mixture – second dredge

    Place the bread crumbs for the third dry dredge in a container with enough room to move the pieces around to coat.

    Dip each piece of zucchini or eggplant in the first dry dredge (arrowroot starch), then in the second wet dredge (arrowroot, water, oil and spices mix), then in the third dry dredge (the bread crumbs) and place them on the baking sheet.

    First Dredge
    First Dredge
    Second Dredge
    Second Dredge
    Third Dredge
    Third Dredge

    Once all the pieces are coated, place baking sheet in the oven and bake for 30-40 minutes until crispy.

    Fries after baking
    Fries after baking

    While your fries are baking, mix Earth Balance Mindful Mayo and your favorite hot sauce in a dipping bowl.

    Baked Eggplant and Zucchini Fries with Spicy Mayo Dipping Sauce
    Baked Eggplant and Zucchini Fries with Spicy Mayo Dipping Sauce

    Enjoy!

  • Squash and Sprout Rice Platter

    Squash and Sprout Rice Platter. Photo by J. Andrews
    Squash and Sprout Rice Platter. Photo by J. Andrews

    I started working on this particular dish about a year ago when I discovered this branch of Brussels sprouts at a Trader Joe’s and had to buy it. How do you not buy that?

    Sprouts!
    Sprouts!

    I made a lot of different Brussels sprouts recipes to use them all up, but most of them involved roasting the sprouts. There is no better way. Roasting is also really the only way to cook butternut squash, and I thought maybe these things would go together well, maybe with some rice and a sauce. I made a dressing using a magical mustard I’d brought back from Paris that was curried apricot mustard, and I’ve been trying to reproduce that flavor since. It took more than a few tries, but it was still cheaper than going back to Paris (where, I need to tell you, there is a whole store that just sells mustard. They have mustard on tap. That was absolutely a highlight of my trip.)

    I wanted to call this a pilaf, but apparently a pilaf requires the rice to be cooked in a flavored broth. This dish calls for brown rice cooked in very exciting water, but the dressing you toss everything with at the end adds plenty of flavor, and the vegetables have their own flavors — plus carmelization (i.e. oxidization of the sugars) because of the roasting. Tasty.

    Squash and Sprout Rice Platter

    Preheat oven to 450F.

    • 3/4 cup brown rice
    • 1/4 cup wild rice
    • 2 1/4 cups water

    OR

    • 1 cup brown rice
    • 2 1/4 cups water

    Cook rice however you normally cook rice. I throw it in my rice cooker. This takes about 40 minutes, and so will your vegetables, so start the rice first and then move on.

    • 1/2 lb. butternut squash, peeled* and cut into 1/2 inch cubes — about the size of playing dice
    • 1/2 lb. Brussels sprouts, ends trimmed off and any weird outer leaves removed, halved or quartered depending on your preference — make them bite-sized
    • 1 cup raw walnut halves or pieces (optional)
    • 2 Tablespoons to 1/4 cup oil of your choice (I use olive oil or safflower oil)
    • 1 teaspoon seasoned salt (I use a spicy seasoned salt, but you can use regular — whatever is your favorite)
    • 1/2 teaspoon salt

    Line three separate baking sheets with parchment paper (or don’t, but this makes clean up easier).

    Toss the squash with 1-2 Tablespoons of oil, lay out in a single layer on a baking sheet, and sprinkle with either salt, seasoned salt, or spicy seasoned salt. I prefer the latter. Throw them in the oven and set the time for 25 minutes.

    Toss the sprouts with another 1 Tablespoon of oil, lay out on the second sheet, and sprinkle with about 1/2 teaspoon salt. When the time goes off for the squash, throw the sprouts in (don’t remove the squash!) and reset the timer for 10 minutes.

    Spread the walnuts out on the third sheet. When the time goes off again, add the walnut pan to the oven and check the sprouts — remove if necessary. Set the timer for 5 minutes.

    A note for the nut allergic: The walnuts are optional in this dish!  If you aren’t allergic but just don’t like whole walnuts, chop them up some, as they do add a great flavor to this dish.

    Your total cooking time is 45 minutes. The squash gets the full amount, the sprouts about 15, and the walnuts 5. This works out perfectly in my oven, but keep an eye out, especially for the nuts.

    For the sauce:Bottles

    • 4 Tablespoons balsamic vinegar
    • 1 1/2 teaspoon molasses
    • 2 teaspoons apricot jam
    • 1/2 teaspoon curry powder (again, if you like the spice, get the spicy one)
    • 3 1/2 teaspoons Dijon mustard — grainy if you wish, but smooth works best here
    • 1 1/2 Tablespoons high-quality olive oil

    Whisk all ingredients together.

    Plate the rice, add the veggies, drizzle on the sauce, and sprinkle walnuts over the top. Dig in and enjoy.

    Squash and Sprout Rice Platter. Photo by J. Andrews
    Squash and Sprout Rice Platter. Photo by J. Andrews
  • End-of-Summer Garbanzo Chili

    End of Summer Chili
    End of Summer Chili

    Yes, I know, it’s about a week late for the end of summer, but then, the zucchini is still around, isn’t it? The zucchini lasts through the end of summer, garbanzo beans always remind me of summer salads and hummus, and the adobo seasoning and fire-roasted tomatoes taste of grilling season. This quick hot meal has some of the great flavors of summer, but is warm and filling (and made indoors).

    Adobo seasoning is one of my recent favorites, as there is a ton of flavor in it, but it’s not really spicy. There are varieties of adobo, but the one I’m referring to appears to be Puerto Rican in origin — a dry spice mix, often used to rub on meats, that consists of onion, garlic, Tellicherry black pepper, Mexican oregano, cumin, and cayenne pepper. My version is from Penzey’s Spices, but I have seen it at the grocery store, so I’m assuming it’s not too hard to find in the US. It makes almost everything better.

    End-of-Summer Garbanzo Chili

    Makes 3-4 servings, depending on how hungry you are.

    • 2 teaspoons oil
    • 3 Tablespoons chopped onion
    • 2 small zucchini, grated (“small” being about 6 inches long, 1 inch diameter — the most common size found in your average US grocery store. Honestly, a little more or less won’t hurt here.)
    • 2 oz. (1/2 half a small can) of diced jalapeños OR one fresh, diced jalapeño pepper OR a small can of green chiles (or if you’re Denise, all of the above, possibly)
    • 1 can (15 oz.) garbanzo beans, drained and rinsed
    • 1 can (15 oz.) diced tomatoes, fire-roasted if you wish
    • 1 Tablespoon adobo seasoning
    • 1/4 cup + 2 Tablespoons millet
    • 3 Tablespoons water
    • salt to taste
    Zucchini and Beans
    Zucchini and Beans

    In a pan heated over medium-low heat, add your oil to the warmed pan. When it shimmers, add the onions. I always chop whole onions, even when I need only half for a recipe, and the rest goes into a bag in the freezer just for meals like this. Add it straight from the freezer to the hot oil, but be careful of the splatters.

    Cook onion until translucent, then add the zucchini and stir until fully coated with oil and integrated with onions, a minute or two. Then add the beans, tomatoes, and adobo, stirring each into the dish. Bring to a low boil, then reduce heat and simmer 5 minutes uncovered.

    Add the millet and water, and cover, simmering another 20 minutes, covered. Check the millet to see if it’s done, and if needed, add a bit more water (go 1 Tablespoon at a time) and time (say, 5 minutes at a go). Millet should be firm, but not crunchy, when done.

    This is also good with a sprinkle of shredded Daiya mozarella on top, if you have it, but you don’t need it.

    End of Summer Chili
    End of Summer Chili