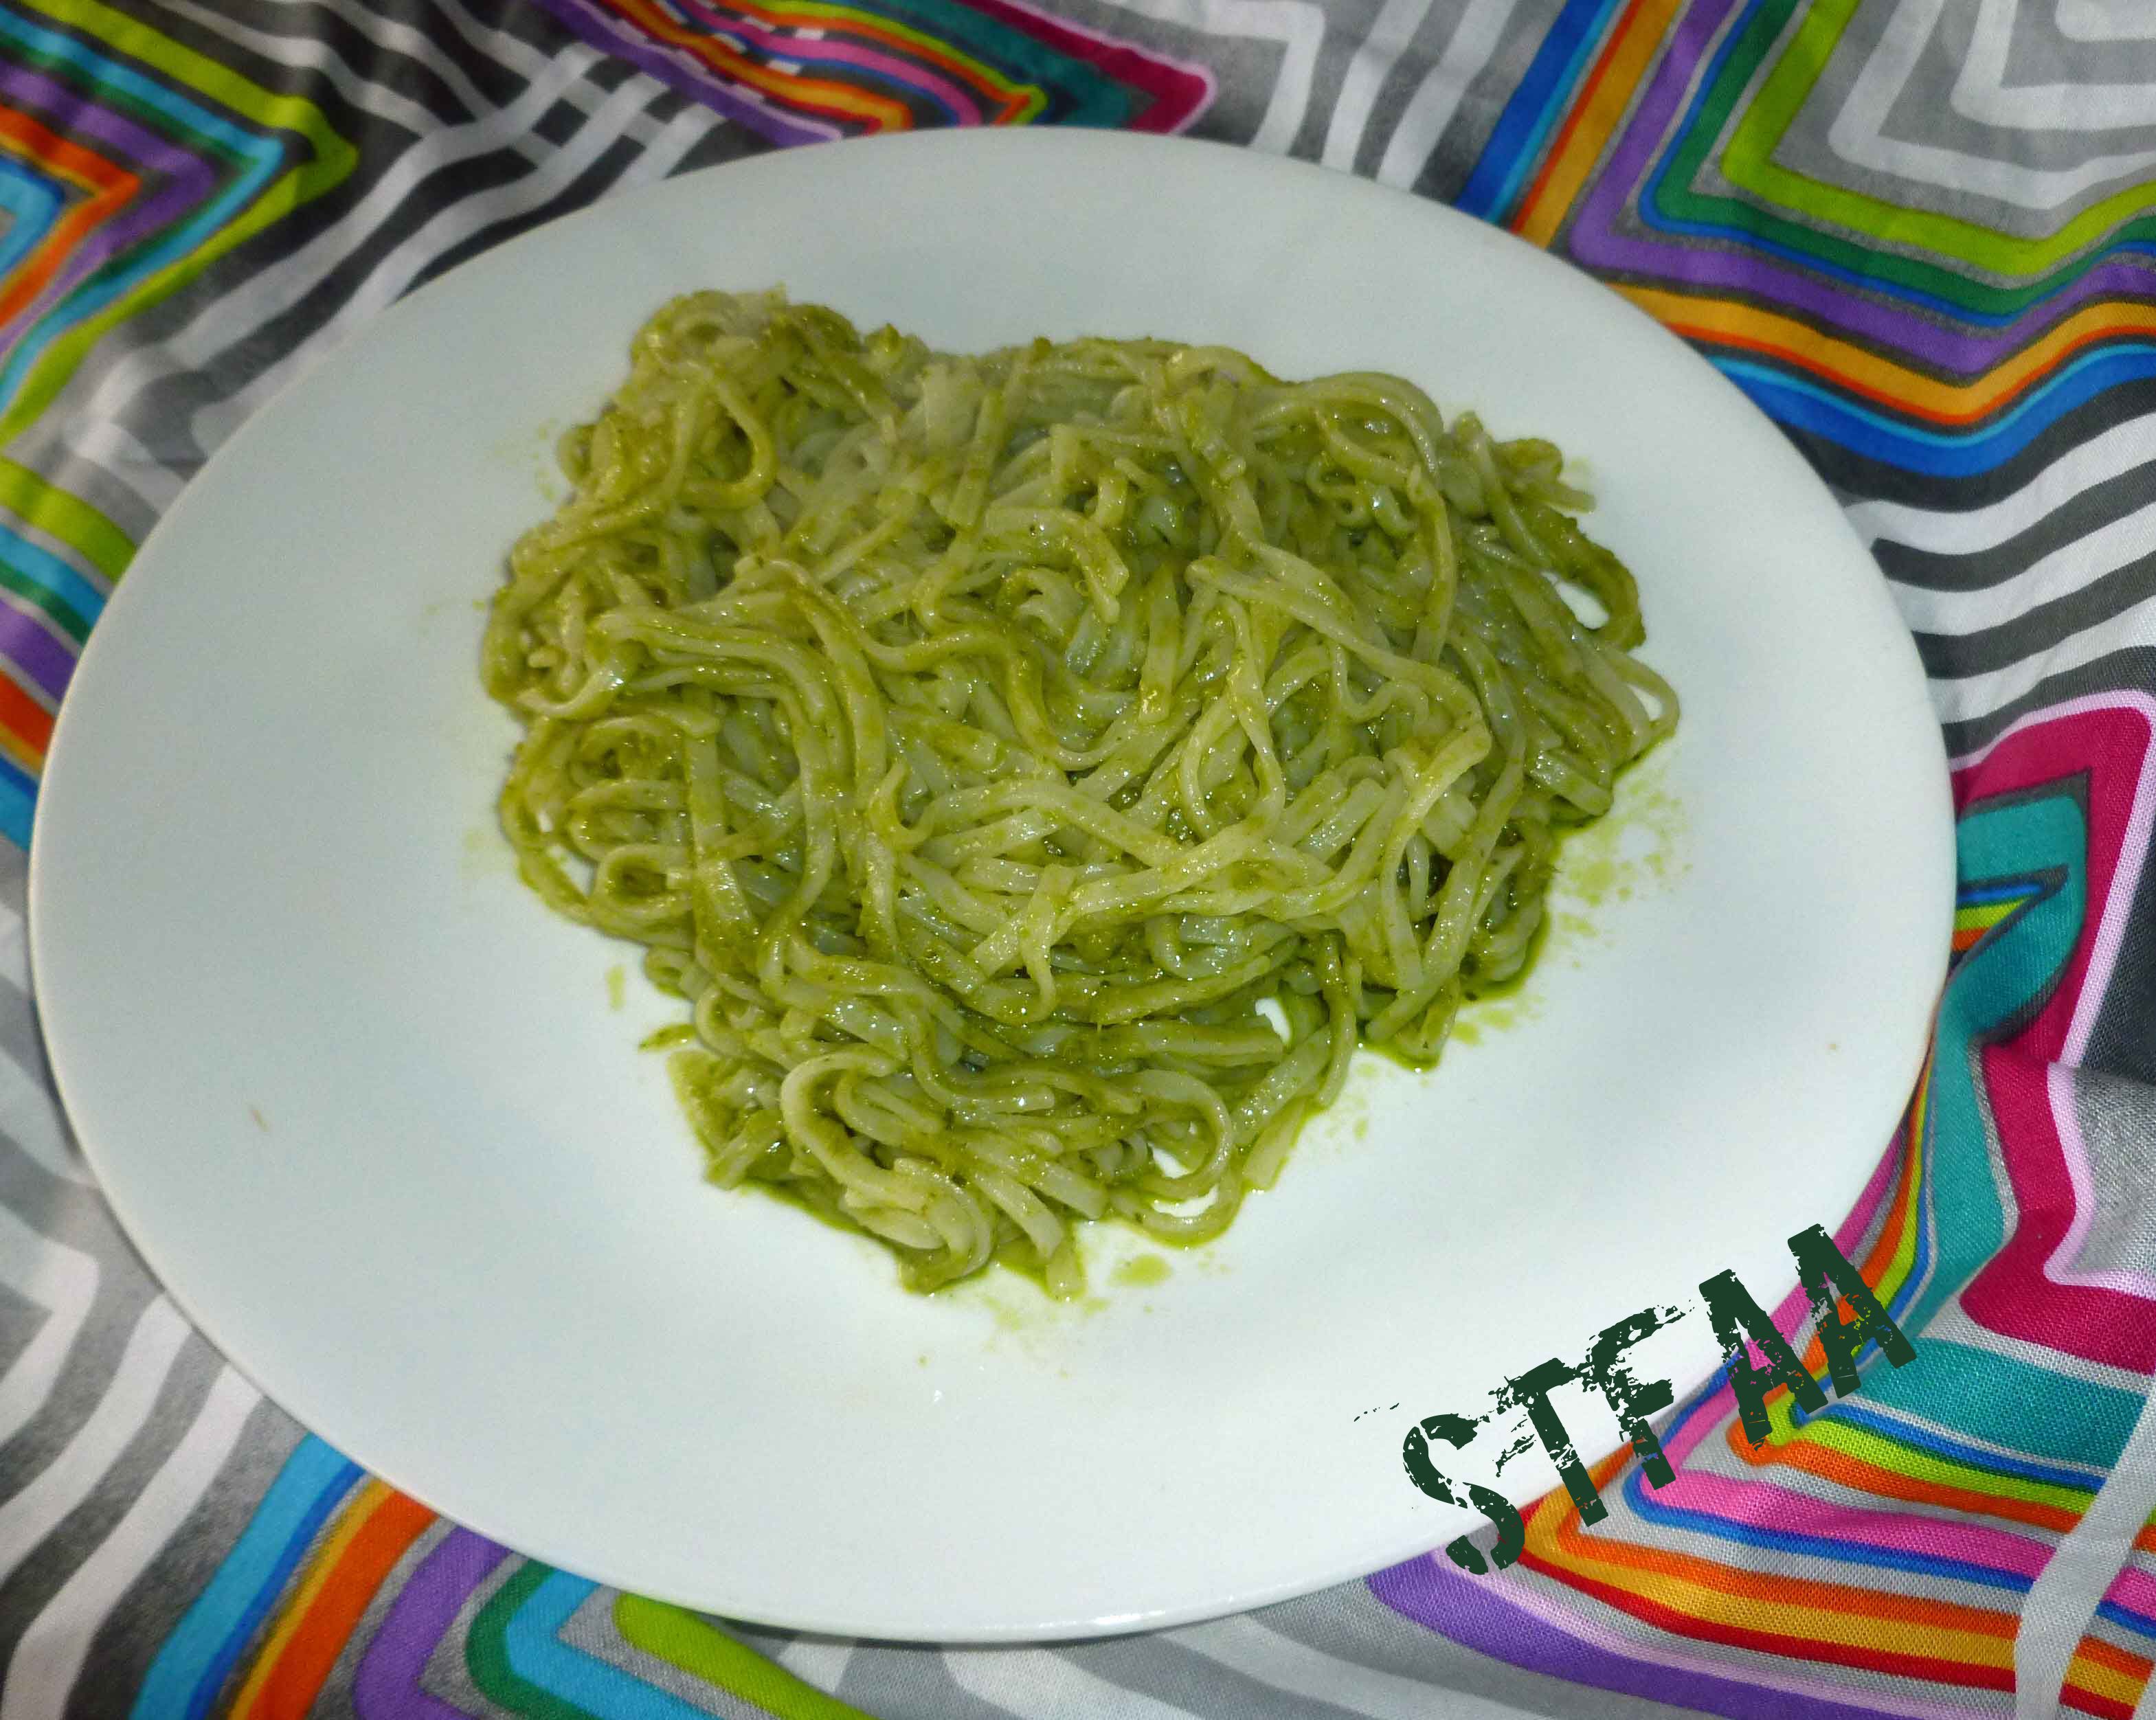


Homemade Pasta, Gluten-Free, Vegan & Gum-Free
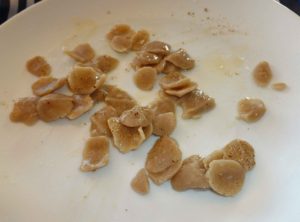
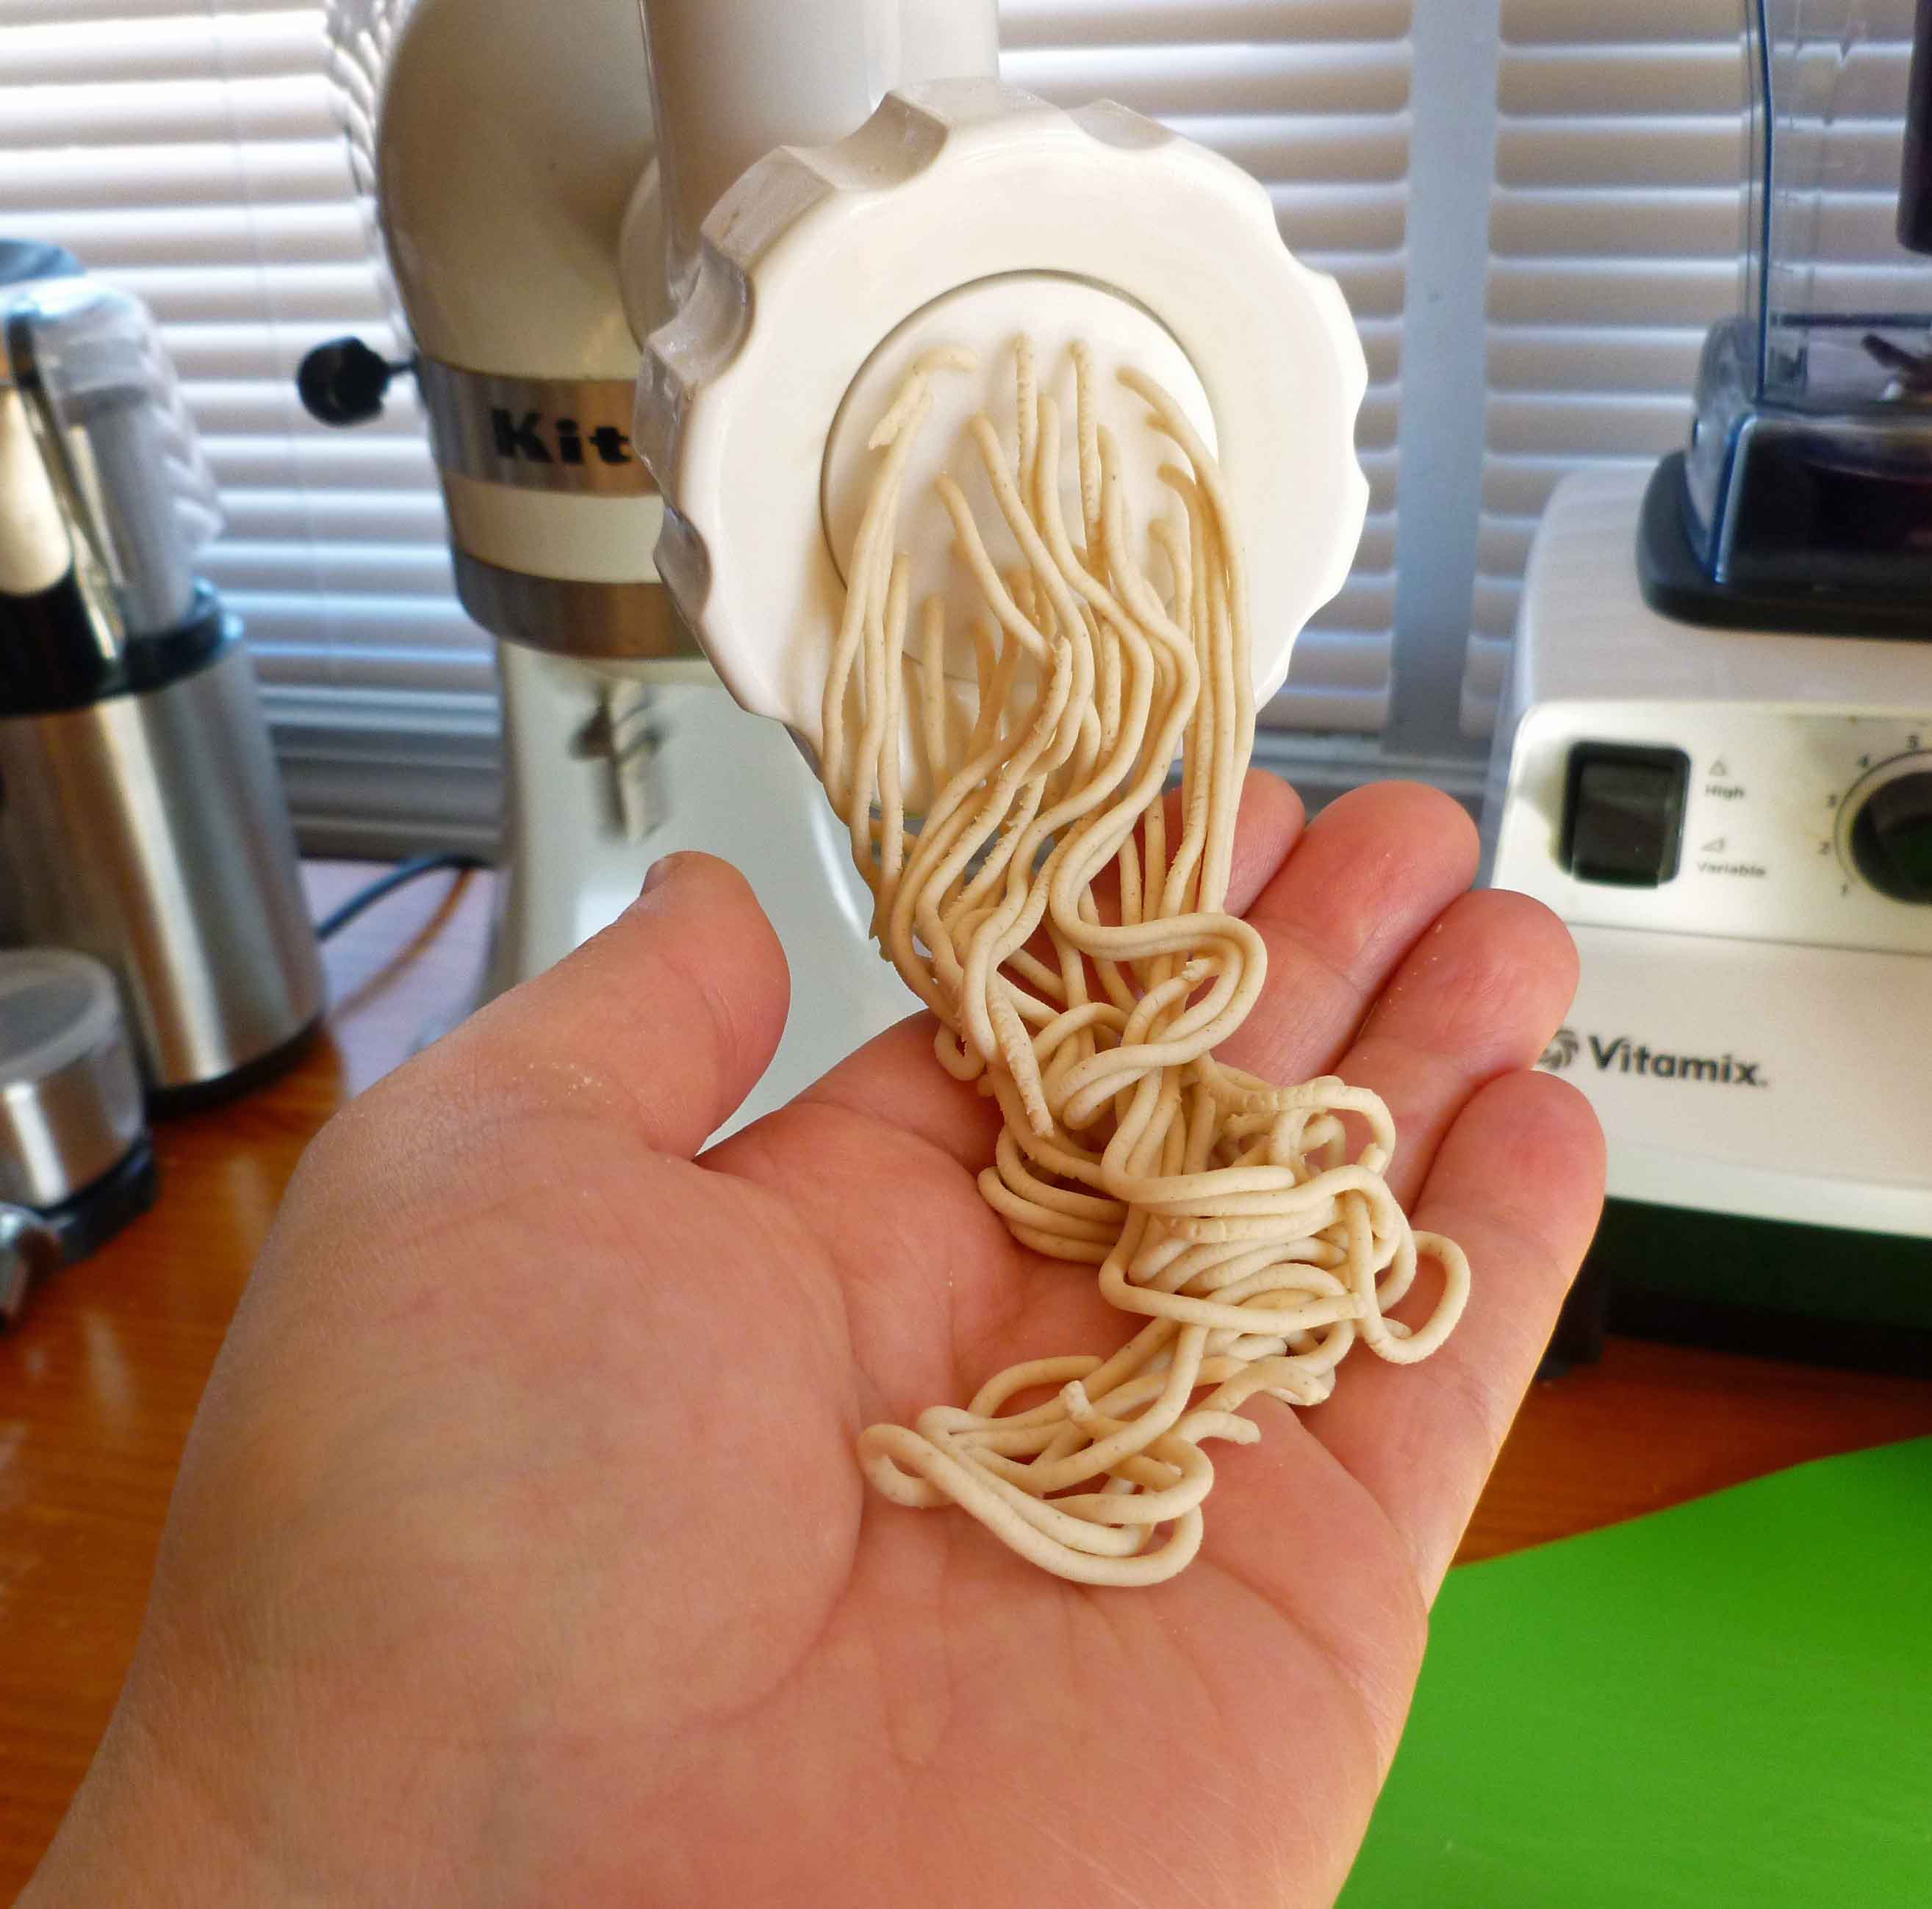
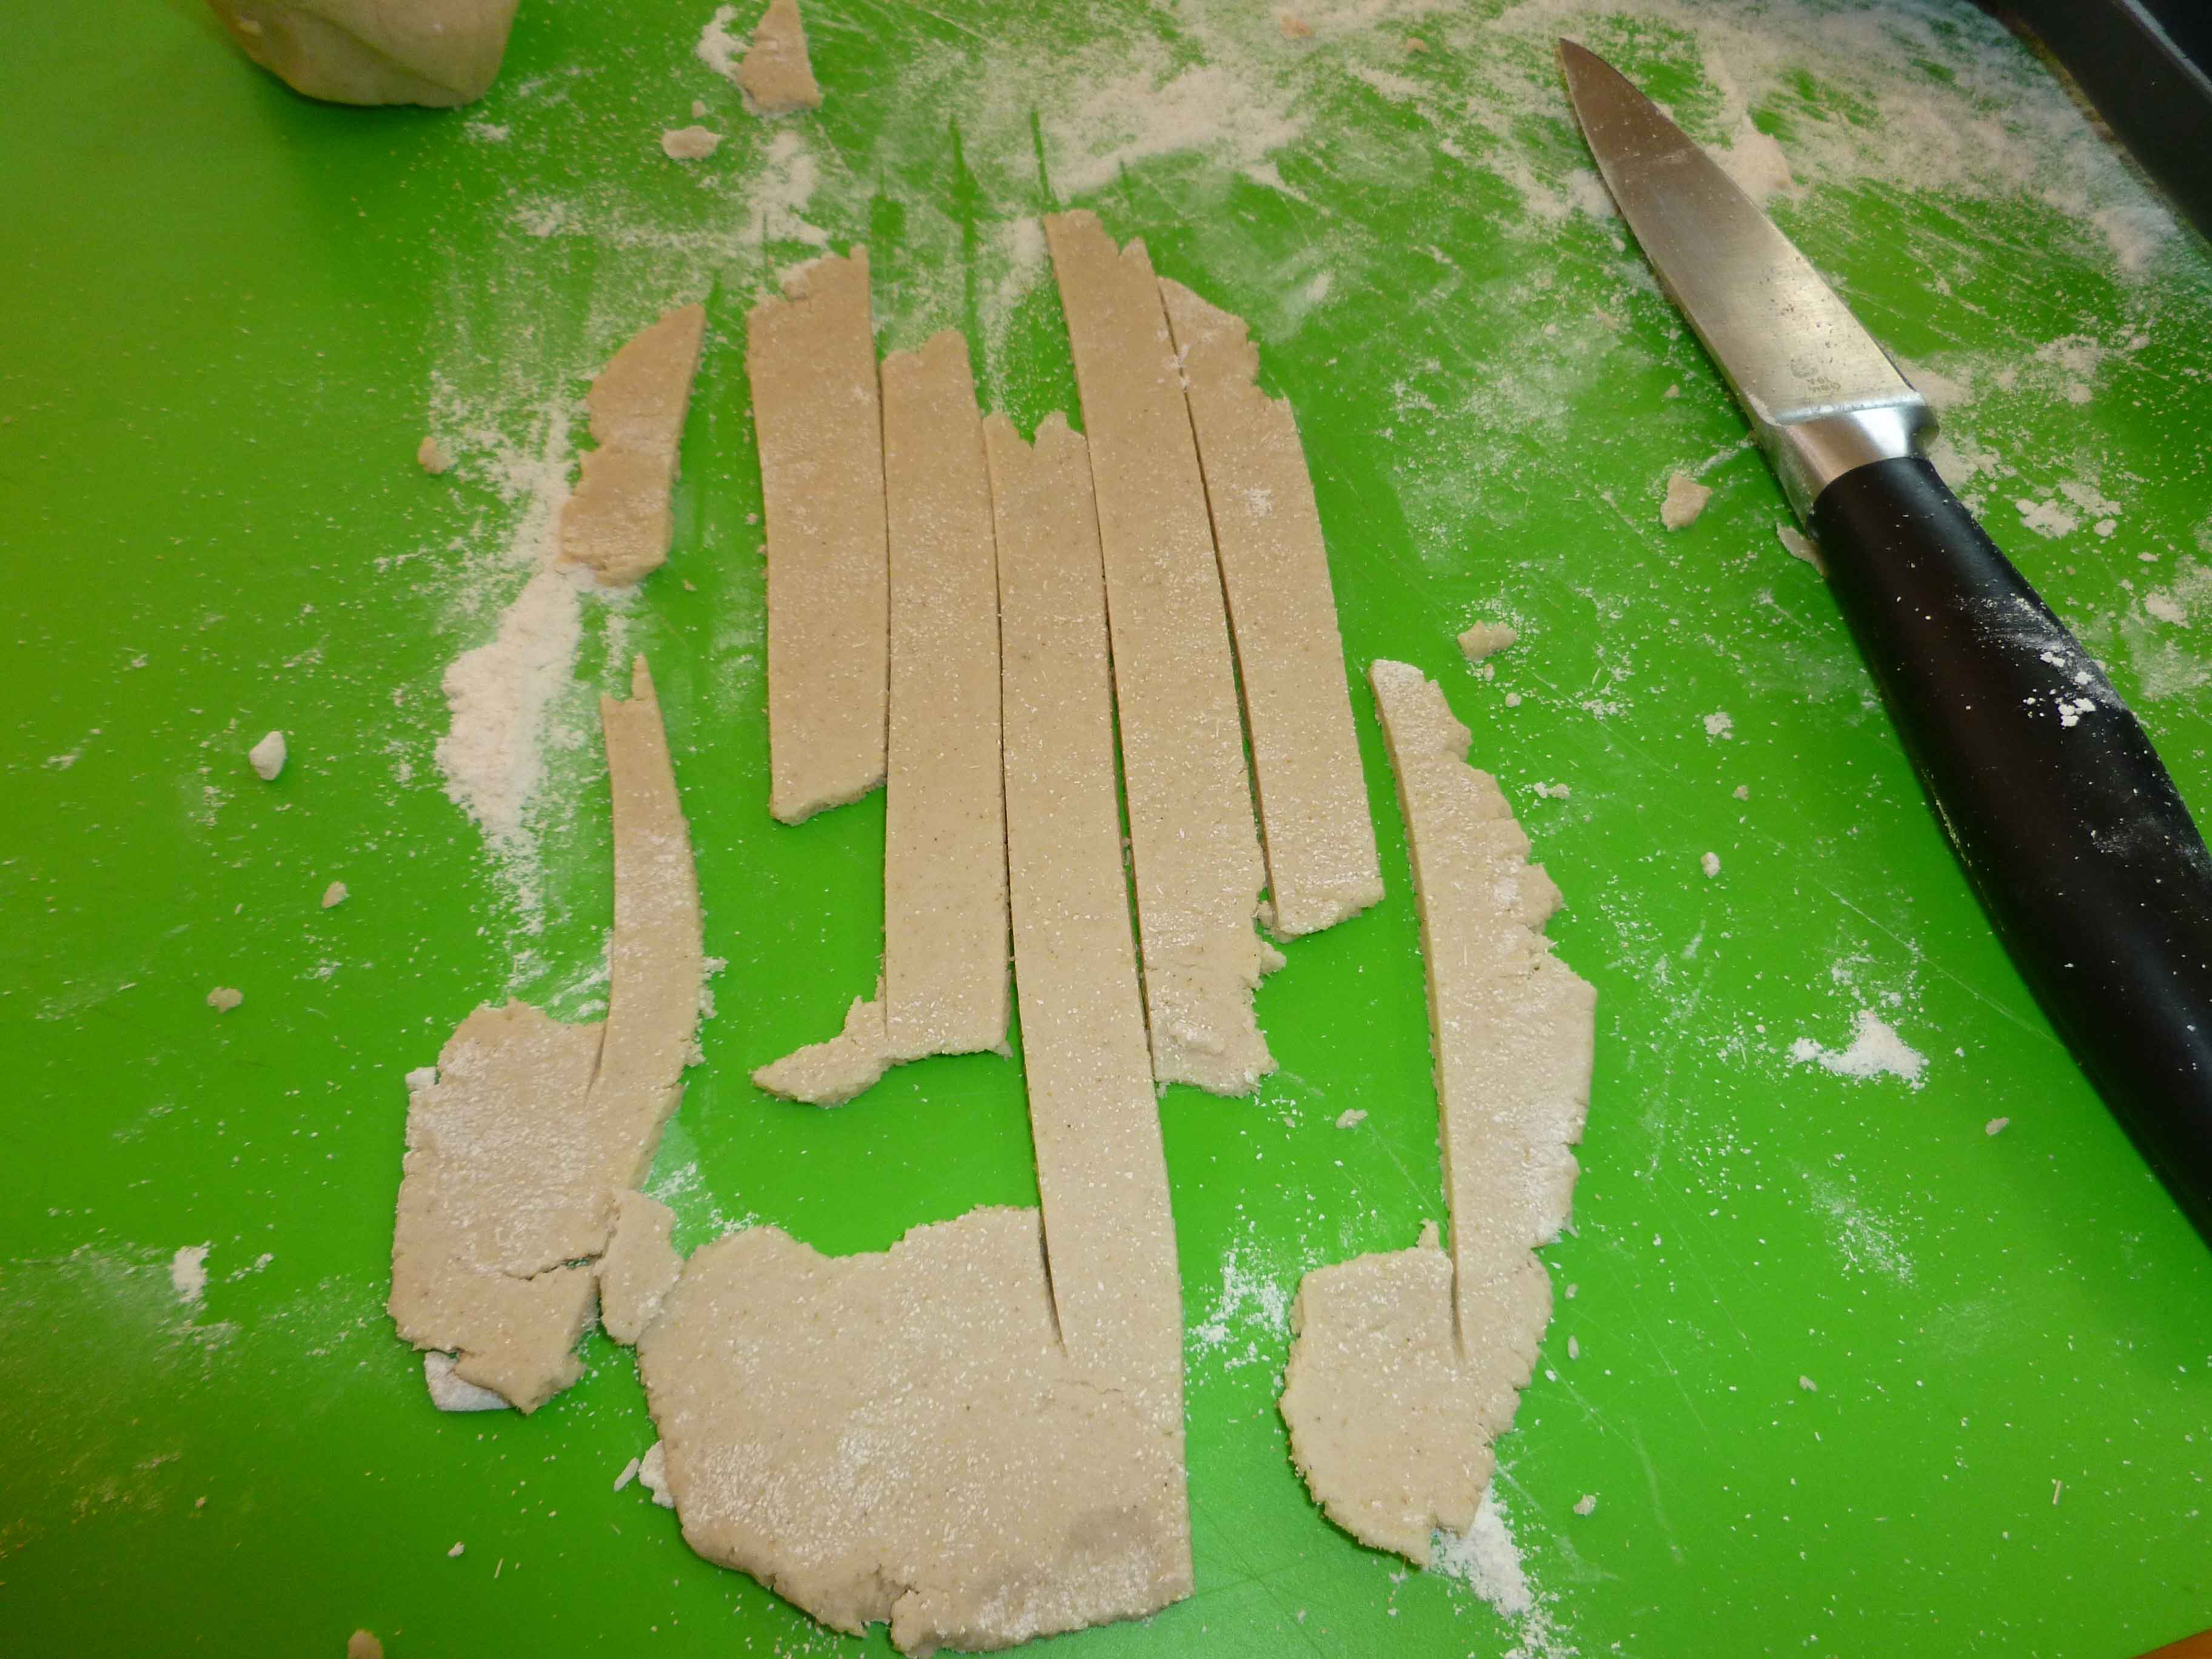
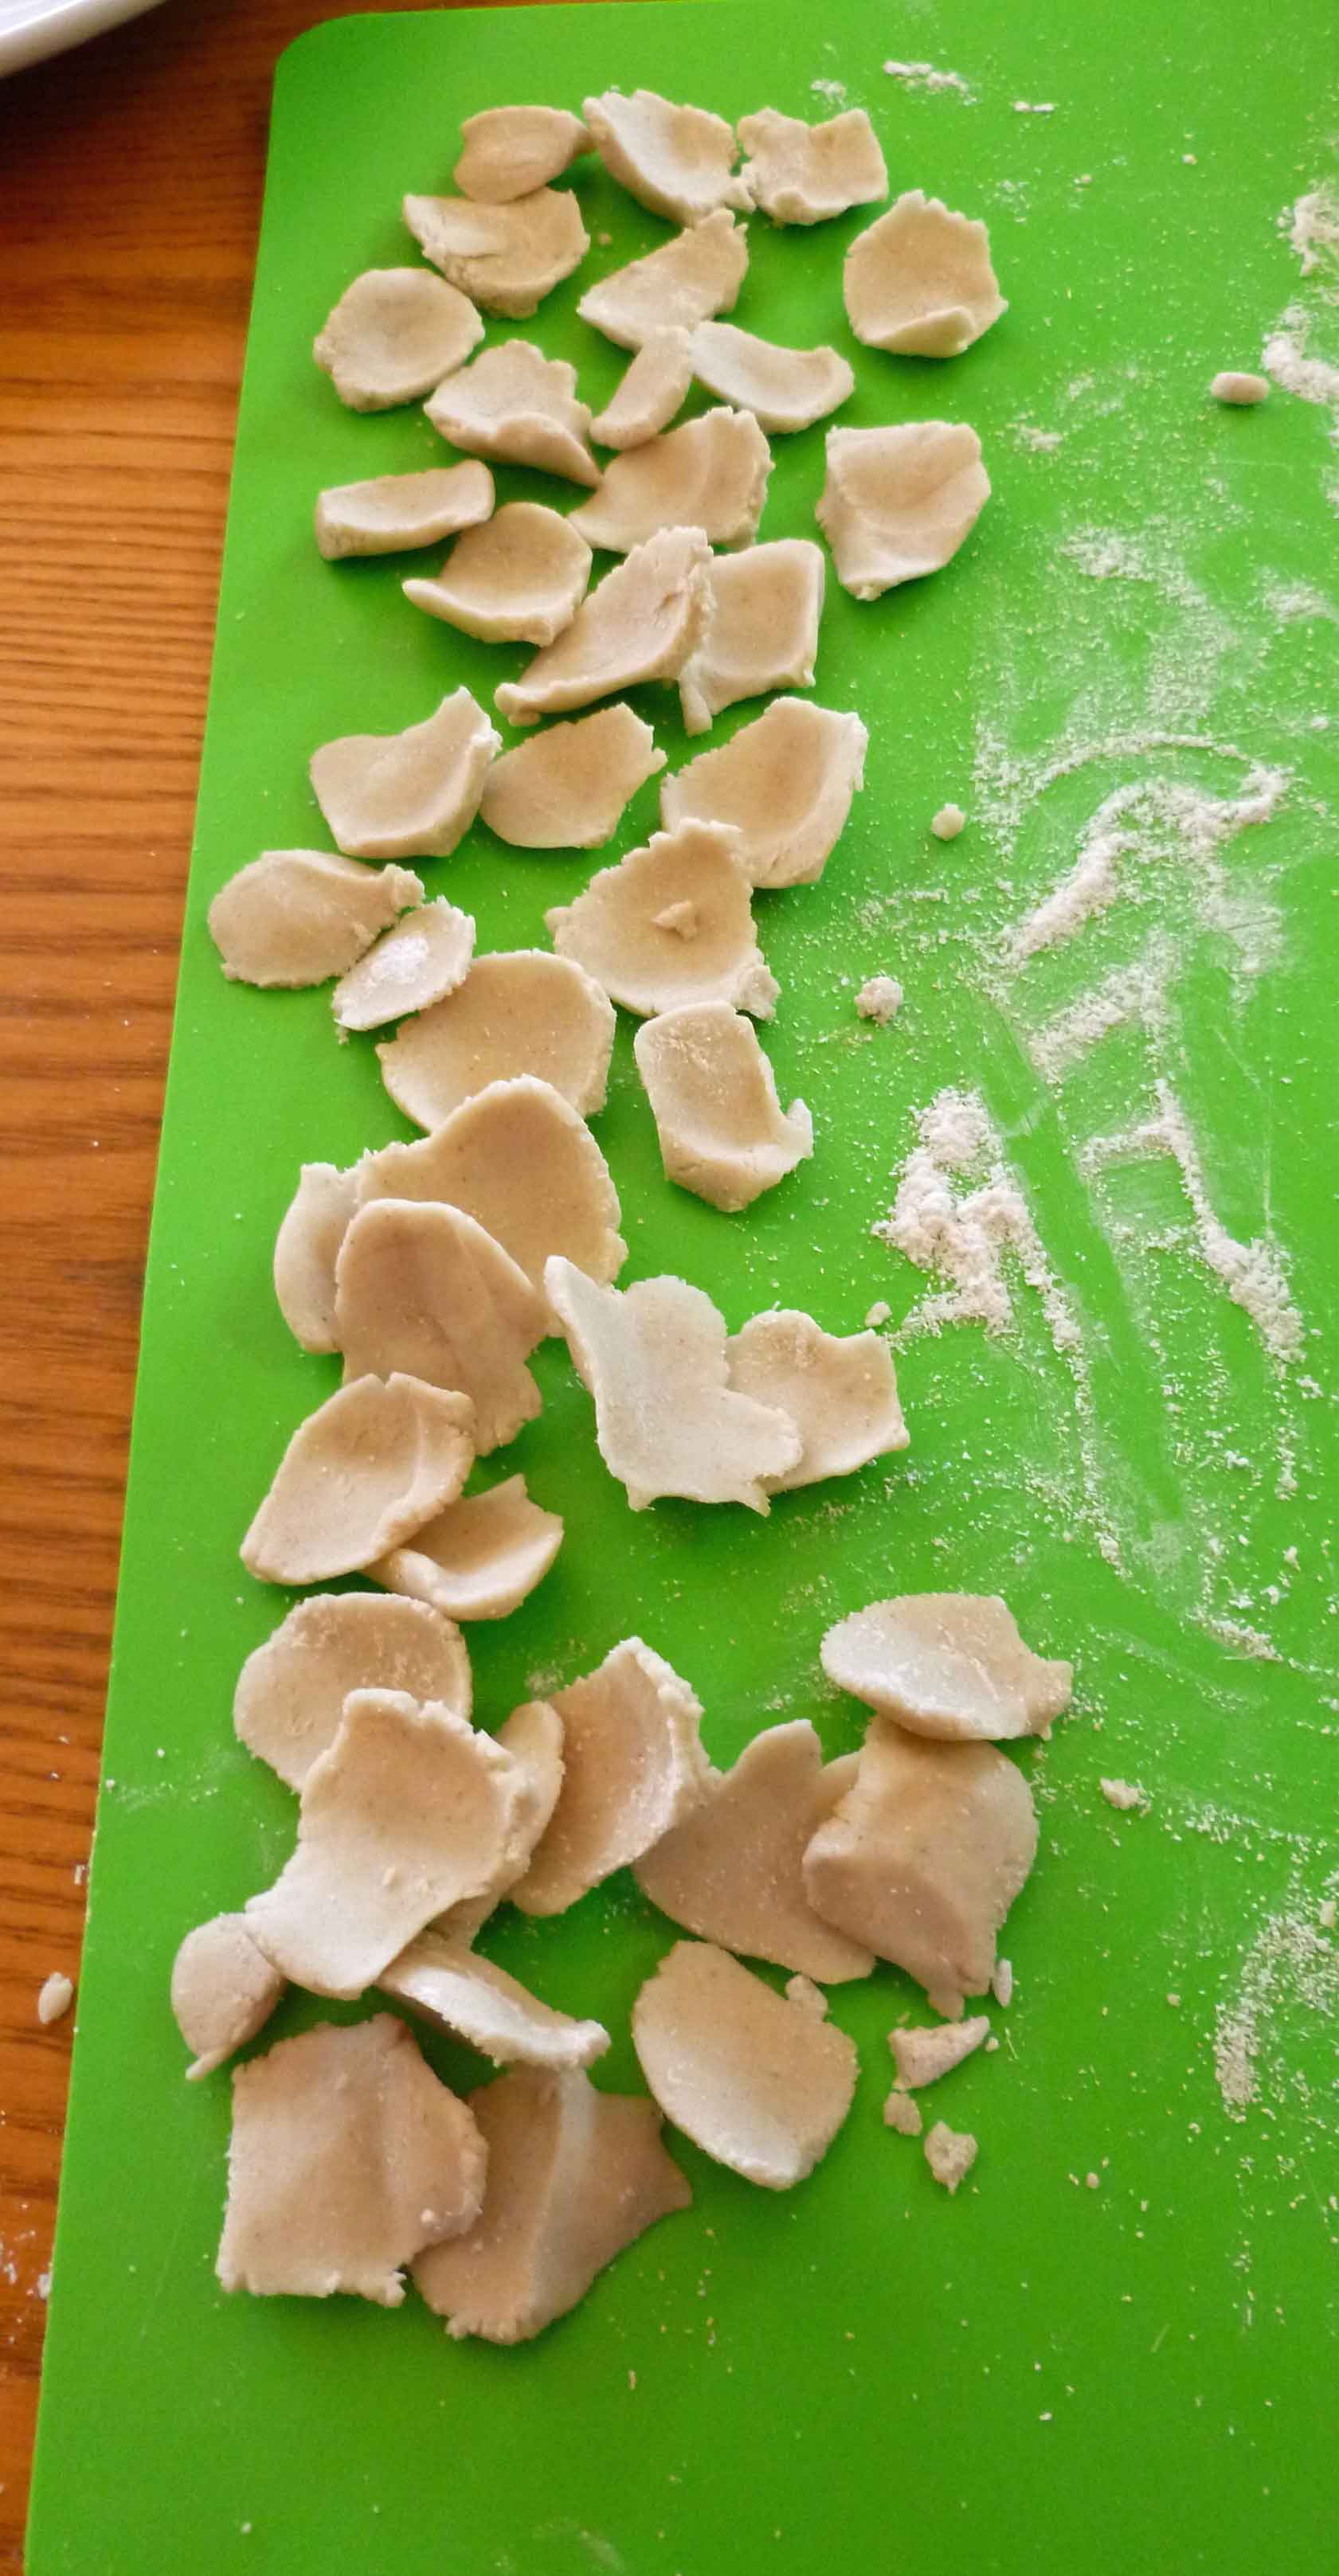
This was not an easy one, dear readers. It took nine (NINE!) attempts to get one I thought was blog worthy, and that could be done hand rolling or hand shaping the dough for those of you that aren’t crazy enough to buy every little kitchen gadget available. We made spaghetti with the KitchenAid SNPA Pasta Maker Plates for Food Grinder Attachment kit (no affiliation with Amazon) that I bought literally 20+ years ago. I’m pretty sure it isn’t being made anymore, and those that are available second hand seem to be ridiculously exorbitantly priced. We made the fettuccine by rolling the dough out with a rolling pin and cutting it with a knife, and the little shell like things, vaguely reminiscent of Orecchiette, by forming them over my thumb. But if you’re looking for new kitchen toys, the new KitchenAid Pasta Press looks cool.
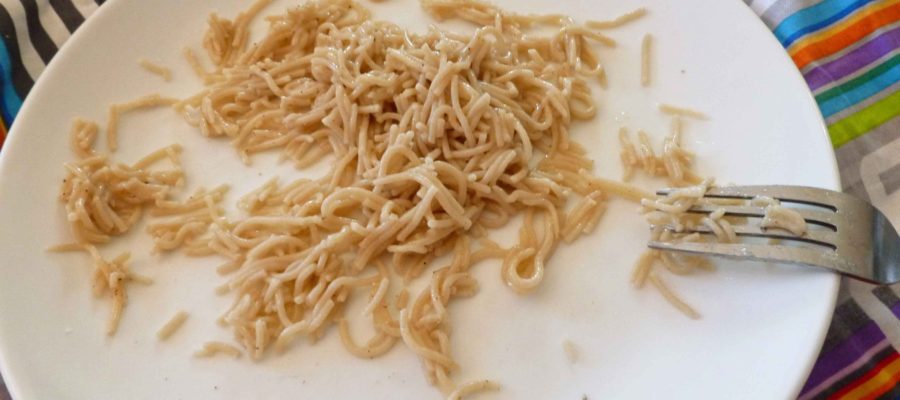
I used a kitchen scale to weigh out the flours, as I found it easier to get a consistent result. I make my husband Shawn taste stuff because he still eats regular, non-allergy food so he has a more recent recollection of how stuff actually tastes, whereas I haven’t had wheat pasta in several years. As we taste tested the attempts, we tasted it cooked plain, and then dressed it with a little olive, white pepper, and salt, as we didn’t want a sauce to interfere with the taste of the pasta. And lo, the version I am about to give you is good. I may want to try making a couple of batches and dehydrating it to see if I can get a shelf stable pasta to have in a pinch. If I do, and it works, I’ll let you all know.


Notice: Trying to access array offset on value of type bool in /home/maryzahc/public_html/adultfoodallergies.com/wp-content/plugins/wp-ultimate-recipe/helpers/models/recipe.php on line 254
- 50 grams sorghum flour
- 50 grams superfine brown rice flour
- 25 grams Otto’s Cassava flour
- 1 tbsp grape seed or olive oil (or other safe for you oil)
- 3 tbsp water
- 3 tbsp aquafaba (see http://aquafaba.com/)
- 1 tsp oil (for cooking water)
- 1 tsp salt (for cooking water)
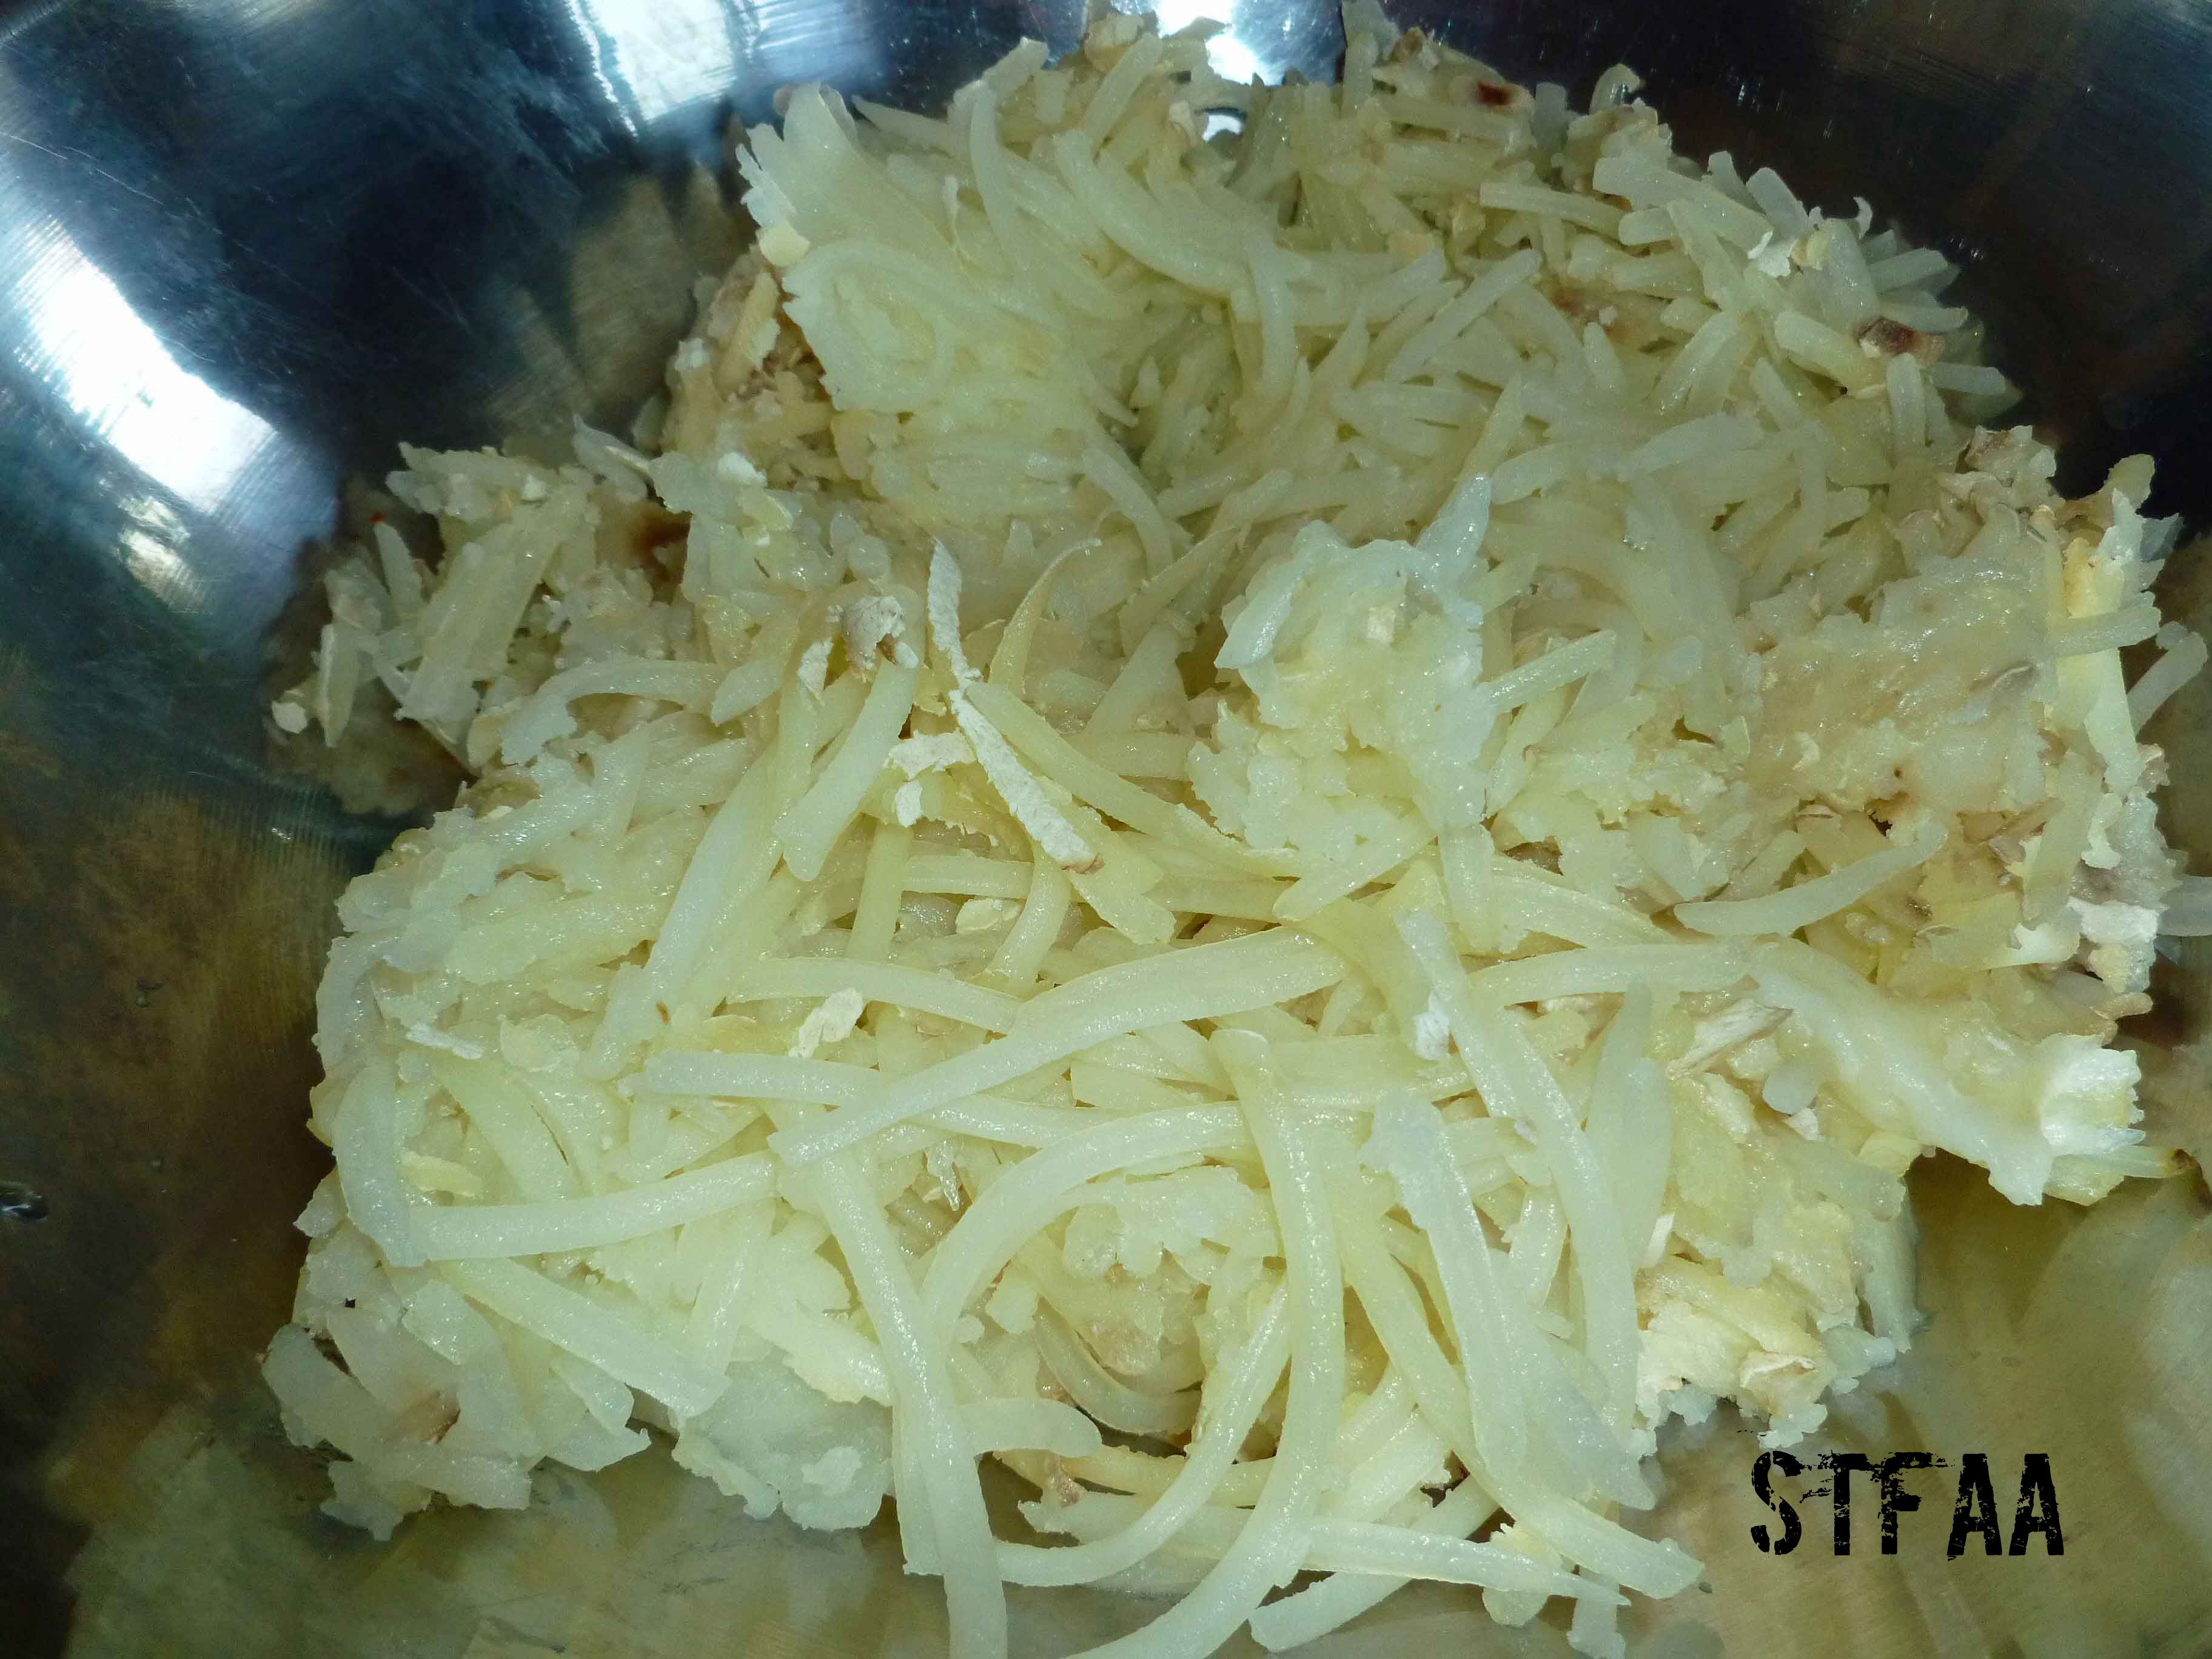
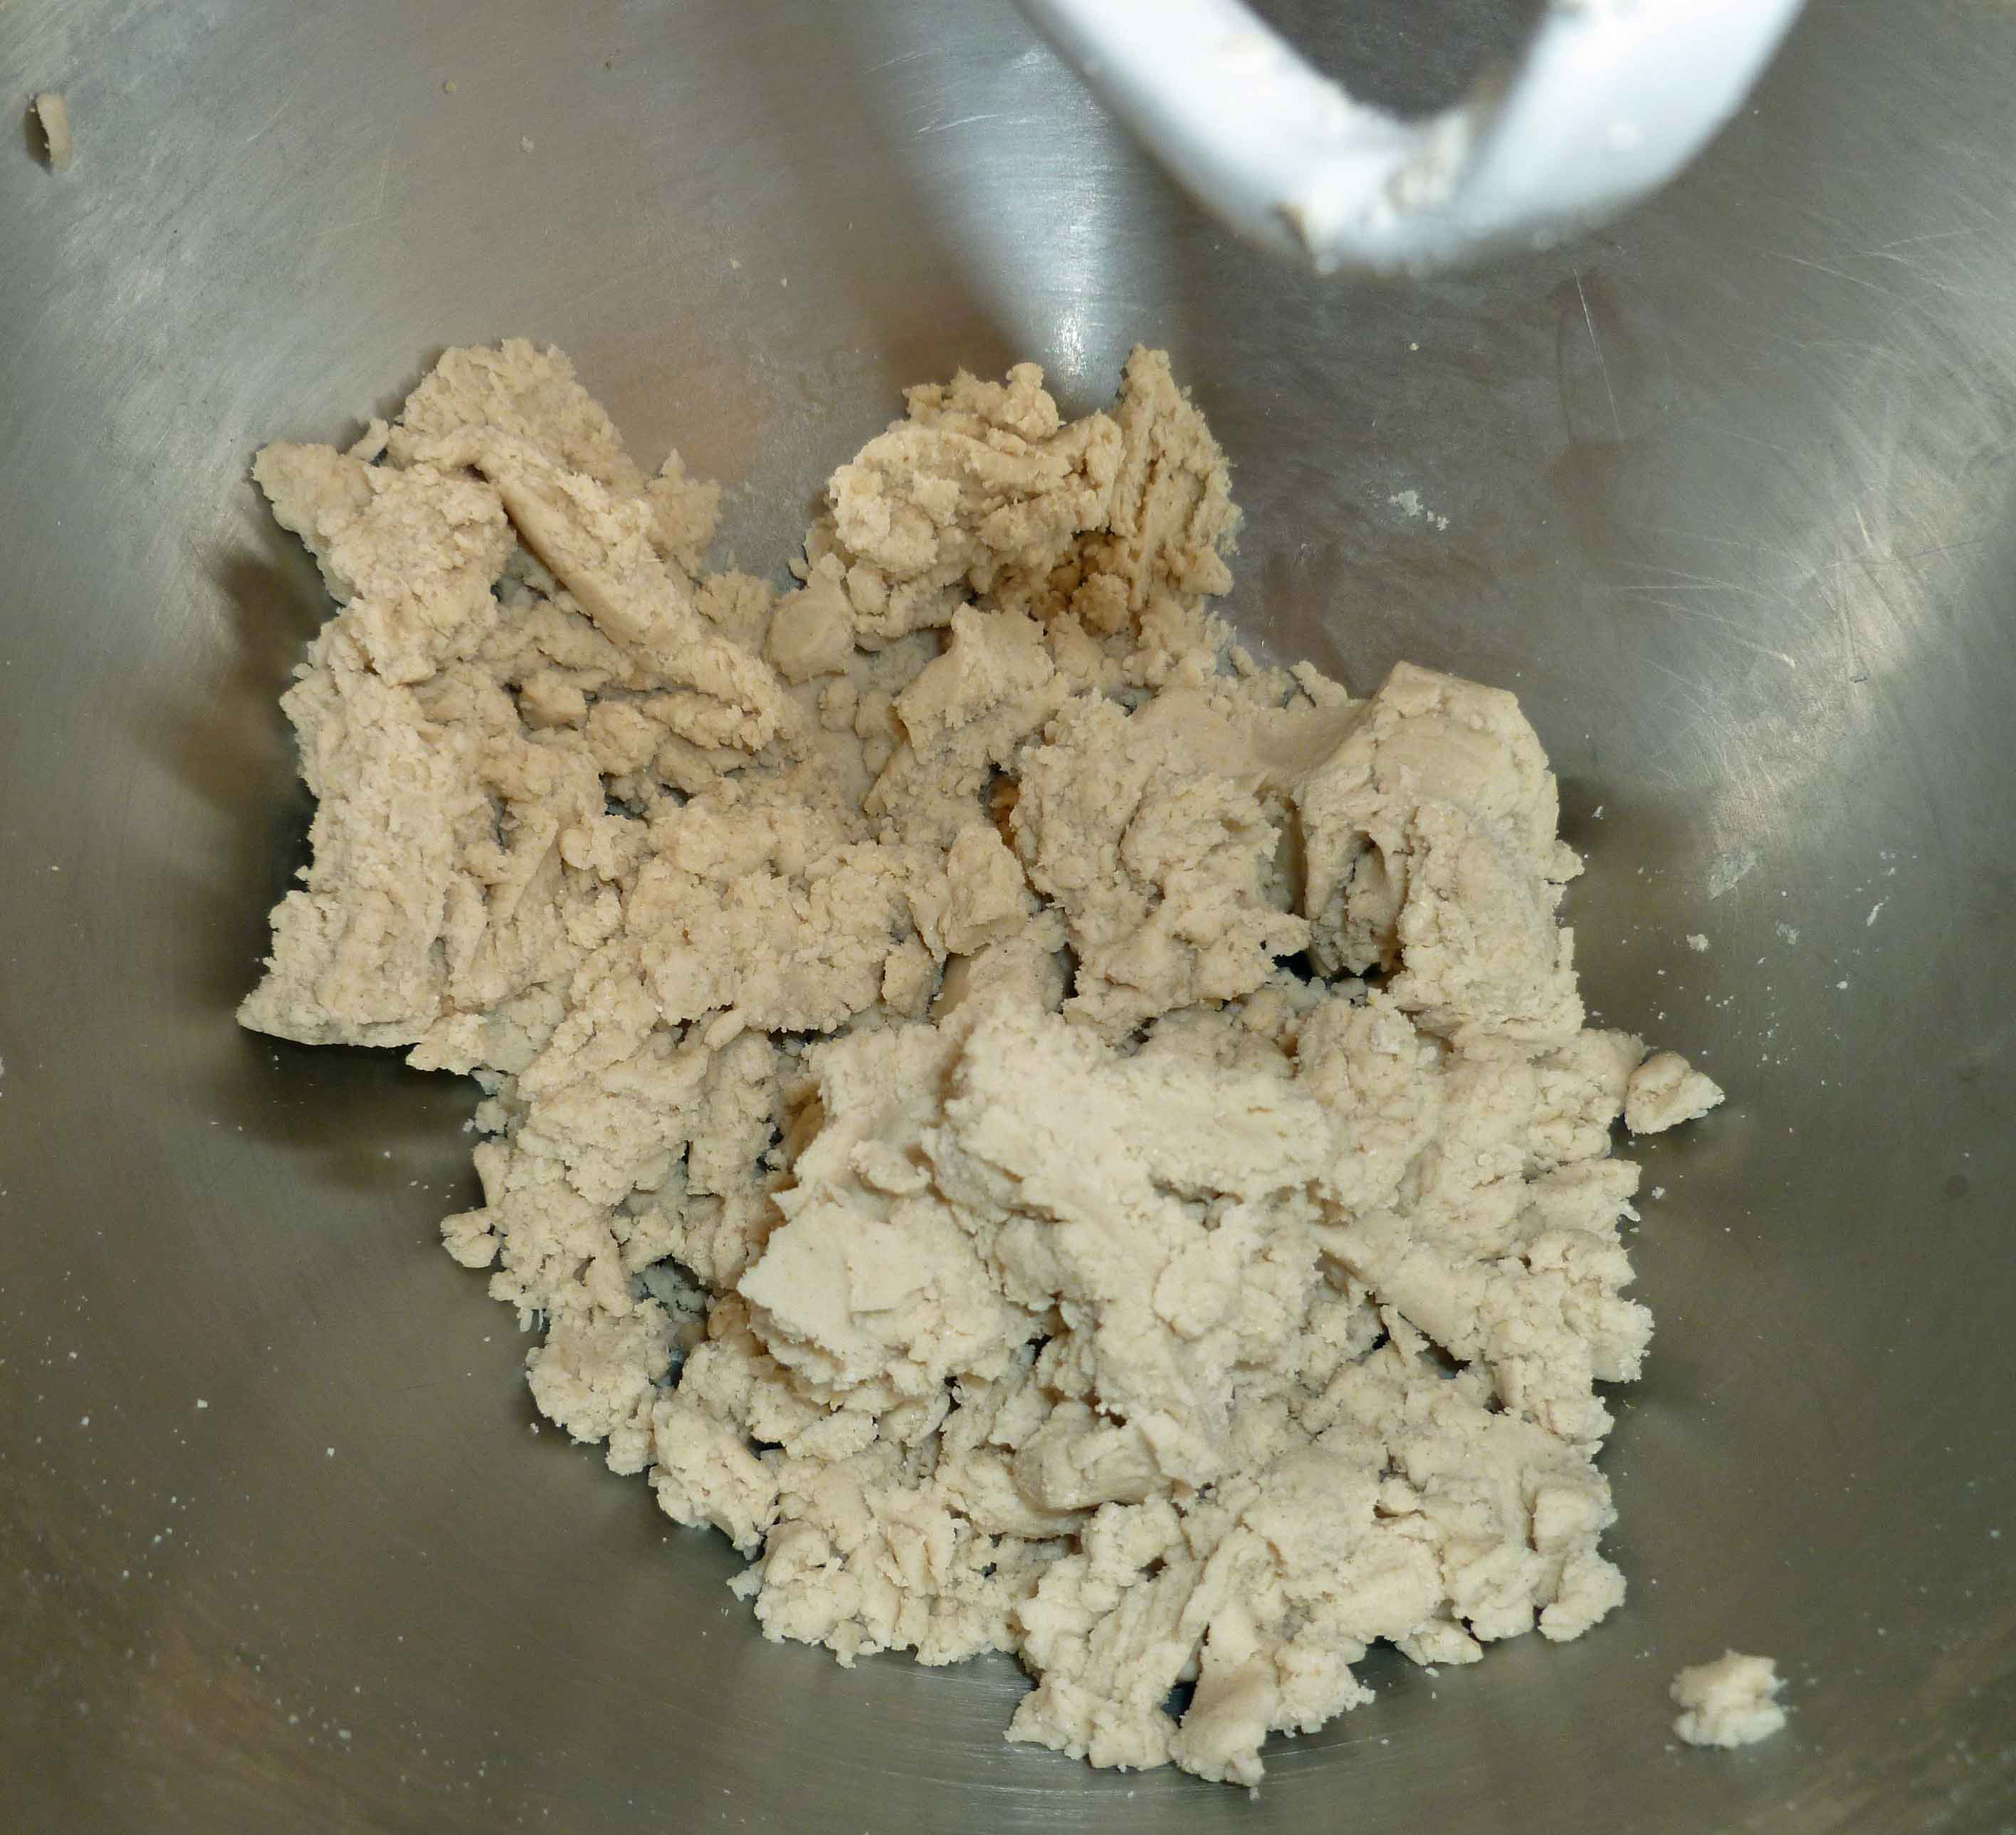
- Mix sorghum, brown rice flour, and cassava flour in a bowl until well combined. Make a well in the center of the flour and add the oil, water, and aquafaba. Using a stand mixer with a paddle or a fork, mix well until the dough will hold together when kneaded.
- Use the dough in your pasta machine or extruder. If you don’t have any pasta machine or extruder, just roll out the dough with a rolling pin on a floured surface and cut your own noodles, or hand shape pieces of dough into various shapes. Here’s a neat site for hand shaping pasta -http://www.recipetips.com/kitchen-tips/t–793/cutting-and-shaping-pasta-by-hand.asp (Not all of them will work without gluten, but there’s some neat things to try.)
- Bring a pot of water to a hard rolling boil. Add salt and oil to the pot, and add the noodles. Boil for 1-3 minutes, and drain quickly. Fresh pasta cooks very quickly. Spaghetti cooked in a minute, and the hand rolled fettucine and hand shaped shell pieces took 3 minutes.