Notice: Function _load_textdomain_just_in_time was called incorrectly. Translation loading for the wp-ultimate-recipe domain was triggered too early. This is usually an indicator for some code in the plugin or theme running too early. Translations should be loaded at the init action or later. Please see Debugging in WordPress for more information. (This message was added in version 6.7.0.) in /home/maryzahc/public_html/adultfoodallergies.com/wp-includes/functions.php on line 6131 Main Dishes/Entrées – Page 2 – surviving the food allergy apocalypse (archive)
Main Dishes/Entrée [ahn-trey] noun: a dish served as the main course of a meal. These recipes will not contain dairy, eggs, gluten, wheat or hazelnuts. If we use a top 8 allergen, we will use a tag warning of its use.
Welcome to BREAKFAST MONTH here at Surviving the Food Allergy Apocalypse. While Denise is generally up way before I am (and not just because she’s in a time zone that is three hours earlier), neither of us is big on cooking first thing in the morning. How do you cook before coffee? But we’re both big on eating first thing in the morning. Denise’s go-to is oatmeal. Mine is hash brown patties from the freezer, although when I find the time to make them, I love these Eat Your Veggies for Breakfast Patties). Most of the time, that’s fine, but I do occasionally get bored.
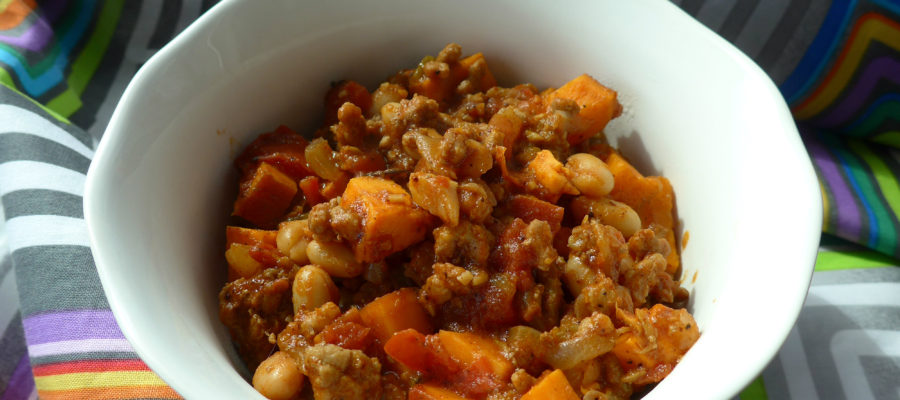
This recipe was for Eliza, not from Eliza. One morning at work, while waiting for the coffee, she was considering whether or not to eat chili for breakfast, and we wondered why there wasn’t a thing that actually was breakfast chili. I spent the next three weeks thinking about it, and then I had to make breakfast chili. And it was good.
This recipe uses ground pork, seasoned with molasses, garlic, onion, and fennel for a sausage-esque flavor. The chili part comes from ancho chili powder, tomatoes, and beans — though you could skip the beans if they aren’t your thing. I do highly suggest that you find plain chili powder. I guess that most people don’t know that “chili powder” is actually a blend of spices that usually includes onion, garlic, and oregano — ancho chili powder is just the chilis, which gives you more latitude on other seasonings. You can order if from Penzey’s if you can’t get it locally.
I highly suggest serving this with hash browns if you’re like me. Toast would also work if you have some. Toppings could include the typical chili things — I think avocado would be particularly nice, though I haven’t tried it. It doesn’t NEED anything else, but feel free.
Notice: Trying to access array offset on value of type bool in /home/maryzahc/public_html/adultfoodallergies.com/wp-content/plugins/wp-ultimate-recipe/helpers/models/recipe.php on line 254
2teaspoonsancho chili powderNOT regular chili powder!
1teaspooncinnamon
1/4teaspoon fennel seeds,crushed with mortar and pestle or flat side of large knive
1Tablespoonmolasses
15ozcan of diced tomatoes
1.5-2lbsweet potatoes,cubed
1/4cupwater
1canwhite beansif desired
1handfulspinach per servingif desired
Servings: servings
Instructions
Over medium heat, add onions to a large pan. If the pan is non-stick, don’t add any oil. If it isn’t non-stick, either add a bit of the pork or a bit of oil. Stir well and sautee for 2-3 minutes to get the onions started cooking.
Add pork and stir frequently to break up the meat.
When the pork is mostly cooked (there is little to no pink left, add the rest of the ingredients in the order listed, from garlic through the beans, if you’re using them. Don’t add the spinach. Stir well after each addition, and the cover until the pot begins to simmer.
When your chili is simmering, turn the heat down to low and cook, covered but stirring regularly, until the sweet potato cubes are cooked. Depending on the size of your cubes, you’re looking at 20-45 minutes.
For serving, I originally conceptualized this to be served with hashbrown patties, but I threw it over spinach to add more vegetables to the dish. Avocado on top would also be great. It’s your breakfast — top it up your way.
Recipe Notes
Peel the sweet potatoes if you want — I didn’t, as I like the texture of the peel.
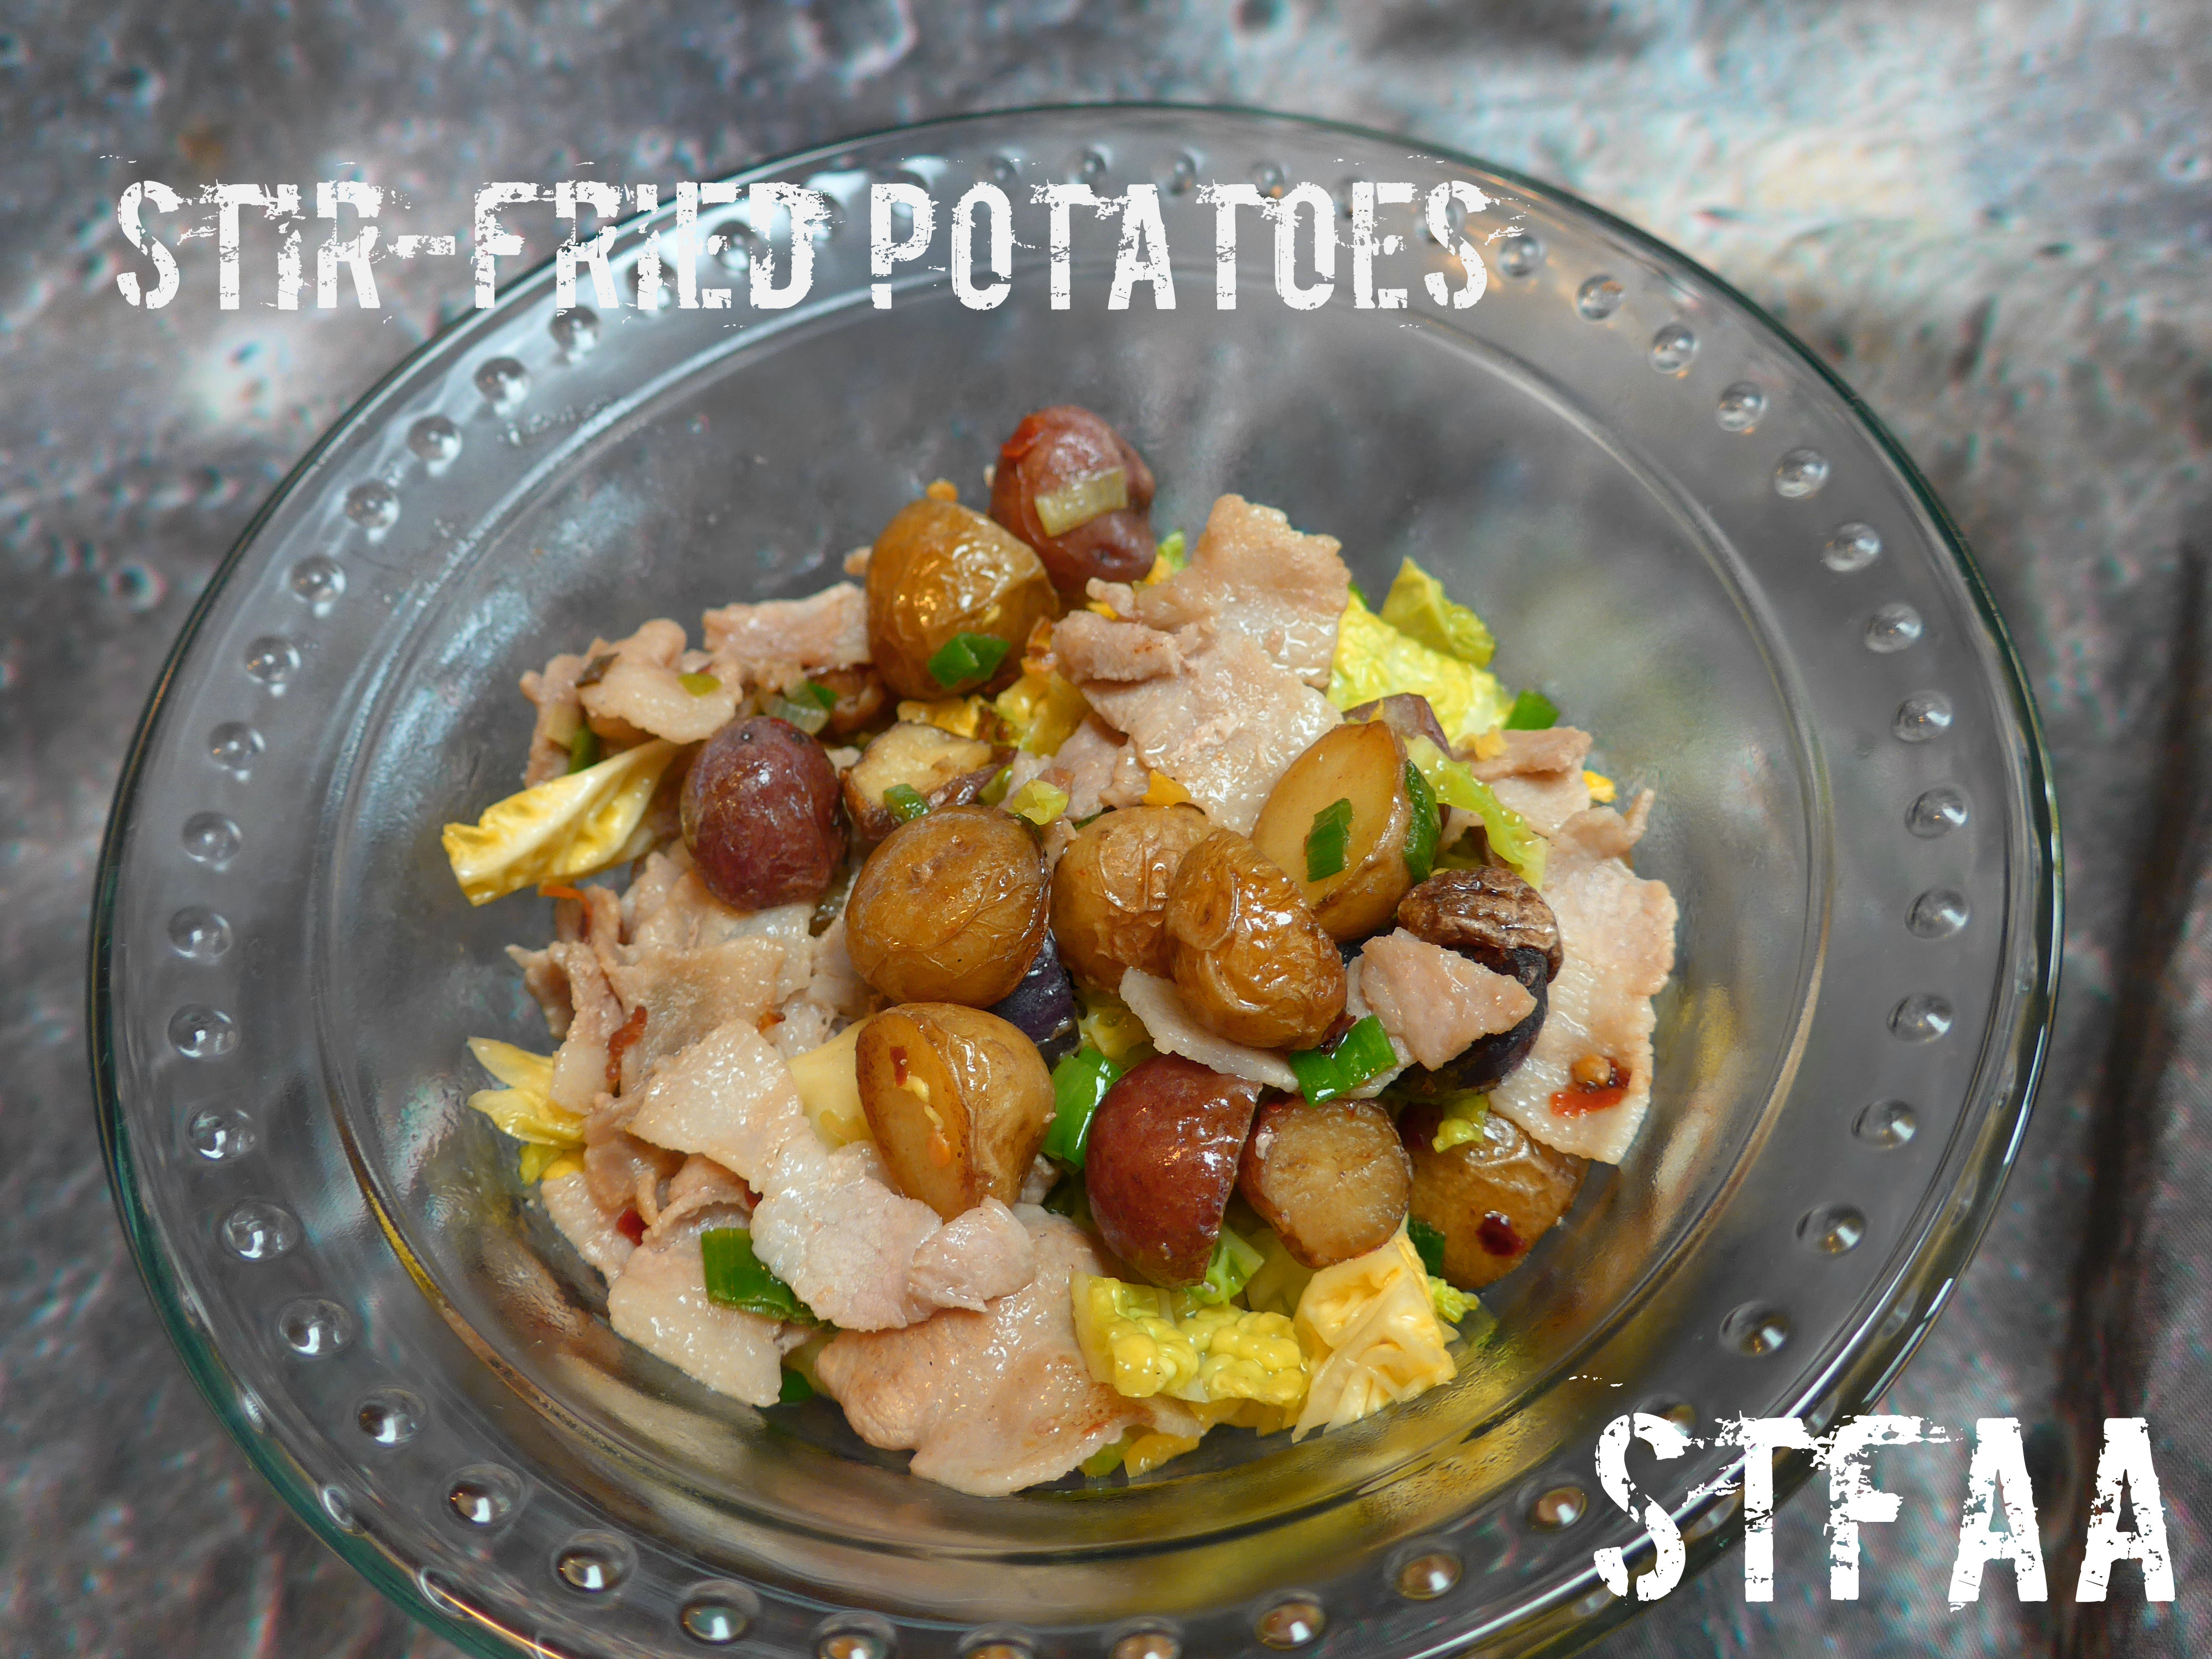
This recipe is very loosely inspired by northern Chinese Hunan province recipes for spicy potatoes. I think it was end of winter, but I just wanted hot potatoes and cabbage with pork, and this dish definitely fit the bill.
Finding the right meat was harder than I thought it would be — pork was the proper meat for the taste I was going for, but it does need to be a fatty cut. At one of our local grocers, I can get what I call “not bacon” because it looks just like bacon but isn’t. Side pork is the right cut for bacon, but this is unprocessed. It’s just the meat before it is seasoned and brined and aged or smoked or whatever you do for bacon (This. This is how you make bacon.) This cut is fatty, chewy, and with the added saltiness from tamari (the naturally gluten-free soy sauce) or amino acids, it is the perfect contrast to crunchy cabbage and creamy potatoes. Adjust the amount of pepper to suit your tastes, but go as spicy as you’ll eat it, as that’s kind of the point of the dishes that inspired this one. 1 teaspoon is about right for us.
Notice: Trying to access array offset on value of type bool in /home/maryzahc/public_html/adultfoodallergies.com/wp-content/plugins/wp-ultimate-recipe/helpers/models/recipe.php on line 254
1lb.marble potatoesor larger potatoes cut into 1/4 inch dice
3cupschopped napa or Chinese cabbage
1bunch scallionschopped, white and greens separated
1teaspoontamarior amino acids
1teaspoonred pepper flakes(or less if you would like it to be not spicy)
1Tablespoonoilmay not need this
Servings: people
Instructions
The meat in this dish is not-bacon. What I mean is that it’s side pork, and where I buy it, it comes sliced like bacon, but it hasn’t been processed into bacon. It’s just thin fatty pork, and that’s what you want for this dish. You’ll use the rendered fat, but the remaining pork is a bit chewy and wonderful.
Pre-cook your potatoes. I did this in the microwave, cooking them on high until they were fork-tender, about 8 minutes. You can also boil and drain them. Be cautious and undercook them slightly if you’re using larger cubed potatoes, as you don’t want them to fall apart as you fry them.
Chop your meat into small bite-sized pieces and cook over medium heat in a skillet or wok. When it is almost done, add the tamari and pepper flakes and stir well.
Remove cooked meat from pan to a paper towel-lined plate to drain. Leave the fat in the pan. If needed, add up to another tablespoon of oil to make about 2 Tablespoons total of oil.
Add potatoes to oil — be careful, as they are wet and will splatter a bit if you’re not careful. Stir well and then cook until they brown, 10-15 minutes.
Add cabbage and scallion whites and cook until cabbage starts to wilt.
Add the pork back, along with the scallion tops, and stir until everything is good and hot.
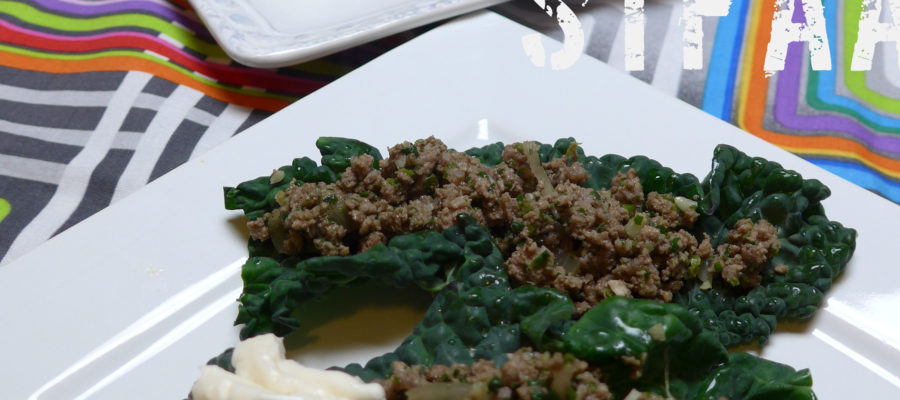
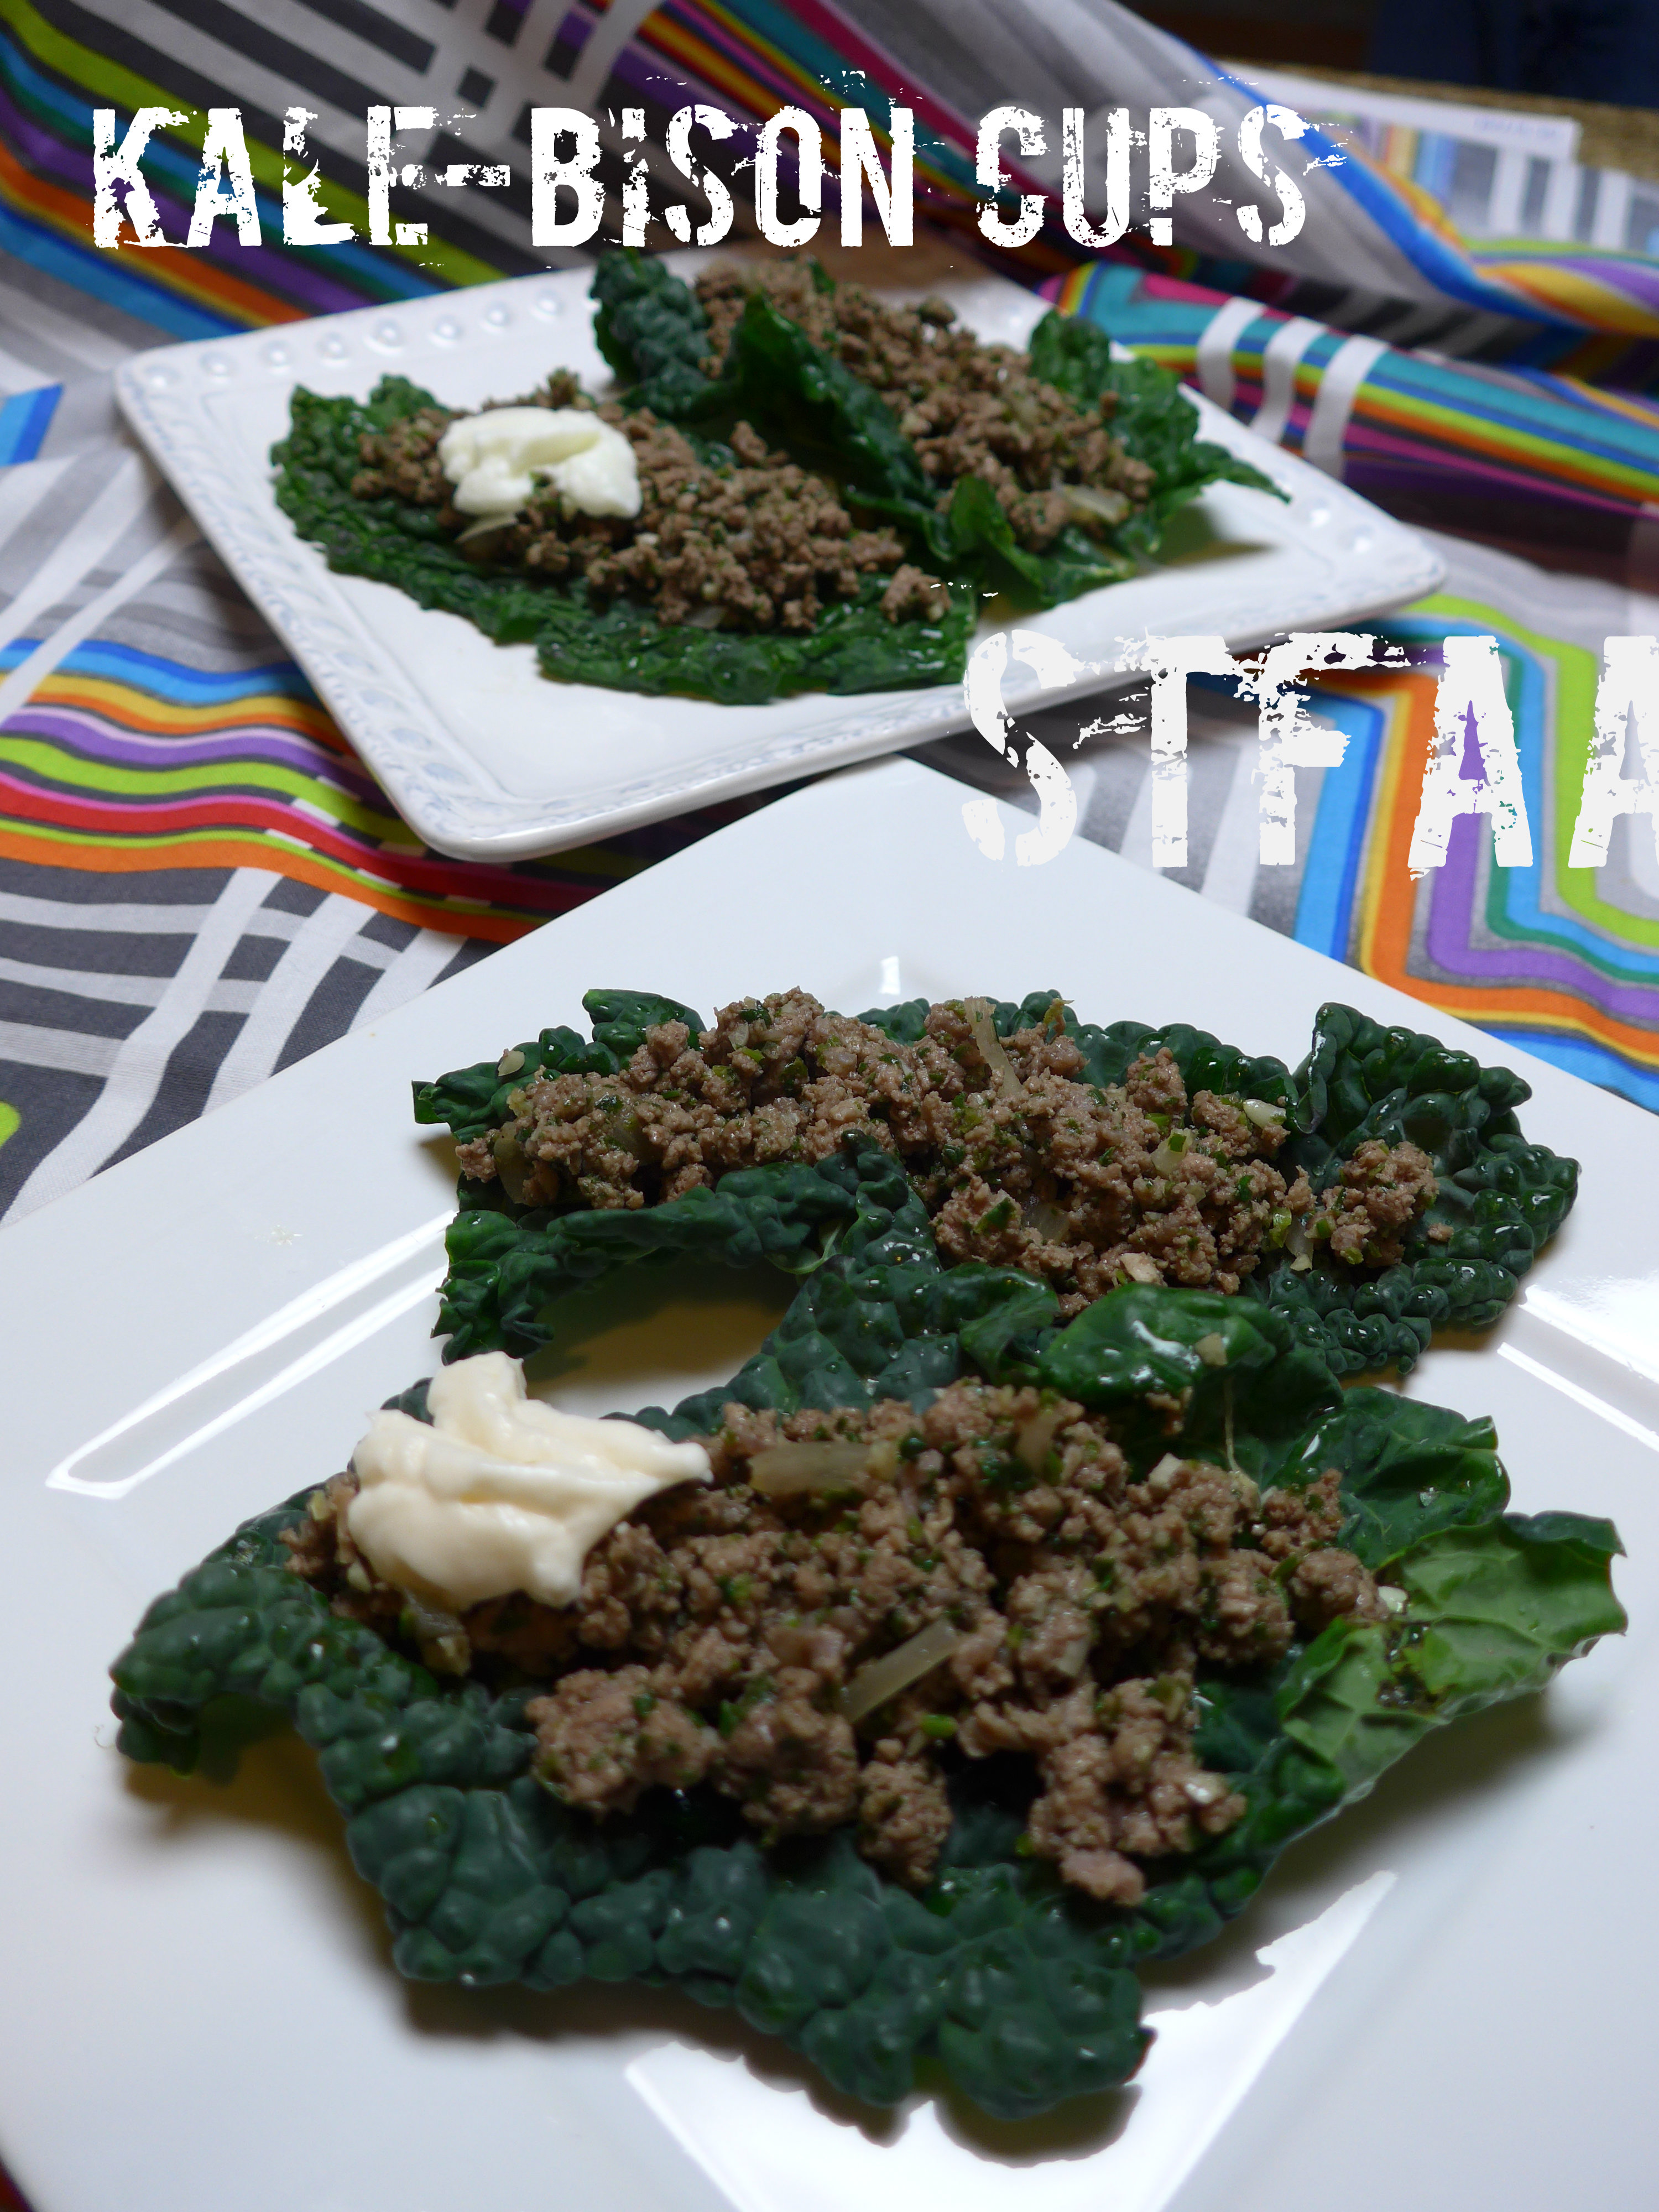
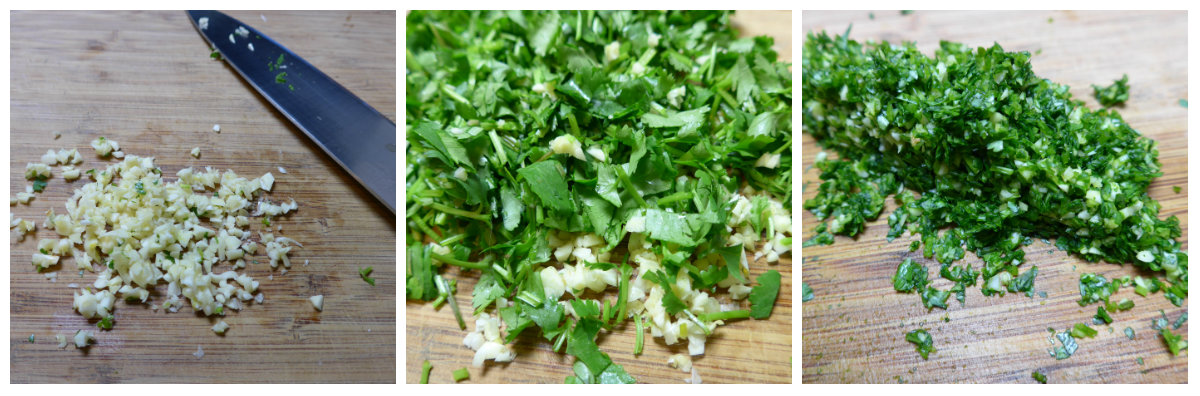
In this dish, I’ve taken a technique we got out of a Thai cookbook, where this was one of many ingredients and didn’t really shine, and made it the main flavor star of a completely different dish. What you do is chop garlic and cilantro together until it makes almost a paste, or alternately, you can grind them together in a mortar and pestle. The paste is then cooked into a dish. I’ve been messing with different iterations of this for about a month, trying to find the perfect way to feature it. I know this is a kind of odd way to feature garlic, but it is SO GOOD.
Here, the garlic and cilantro, along with a bit of onion, flavor ground bison, which is then served in a take on the lettuce cup. I don’t like lettuce, but also, I think the earthiness of bison and kale suit each other. A little dab of something creamy — yogurt, if you can find a not-sweet one, mayo or mayo substitute, even a sour cream, if you have a safe one — brings the flavors out just a little more. This recipe is simple and straightforward, and if you’re anything like me, you might find all your recipes featuring cilantro and garlic for a while.
cilantro garlic blending stages Notice: Trying to access array offset on value of type bool in /home/maryzahc/public_html/adultfoodallergies.com/wp-content/plugins/wp-ultimate-recipe/helpers/models/recipe.php on line 254
Wash kale and shake leaves mostly dry. Microwave for 10 seconds, twice, moving the leaves around between cooking. You just want to soften and barely cook the kale leaves. Chop off the leaves where the leave starts to narrow towards the bottom, leaving the top 4 or so inches for the “cup.”
Over medium heat, heat the oil, adding the onion and salt when it is hot. Stir well.
Chop the garlic roughly. Add the cilantro. Keep chopping until you have a finely chopped mess where you can barely pick the garlic out of the cilantro. Alternately, you can grind these together in a mortar and pestle, but I like the chopping.
Add the cilantro-garlic mess to your onion after the onion is translucent and beginning to brown. Stir well and cook for about 1 minute.
Add the bison and chop/stir well, breaking up the meat. Cook until just not pink, but don’t overdo it. Drain on a paper towel lined plate. Season lightly with pepper.
To serve, add the meat mixture and condiment to each kale “cup” and enjoy like a taco. For this recipe, we tried Earth Balance mayo and a Greek yogurt as condiments, and both worked well. Use whatever you like that is safe for you, or enjoy without the condiment.
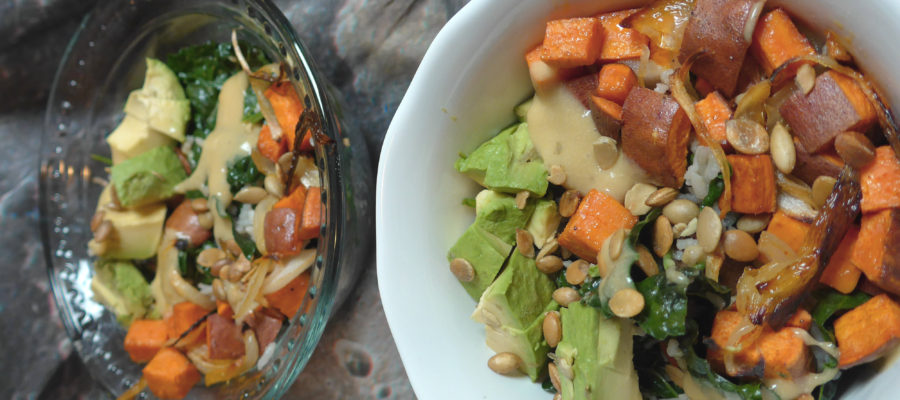
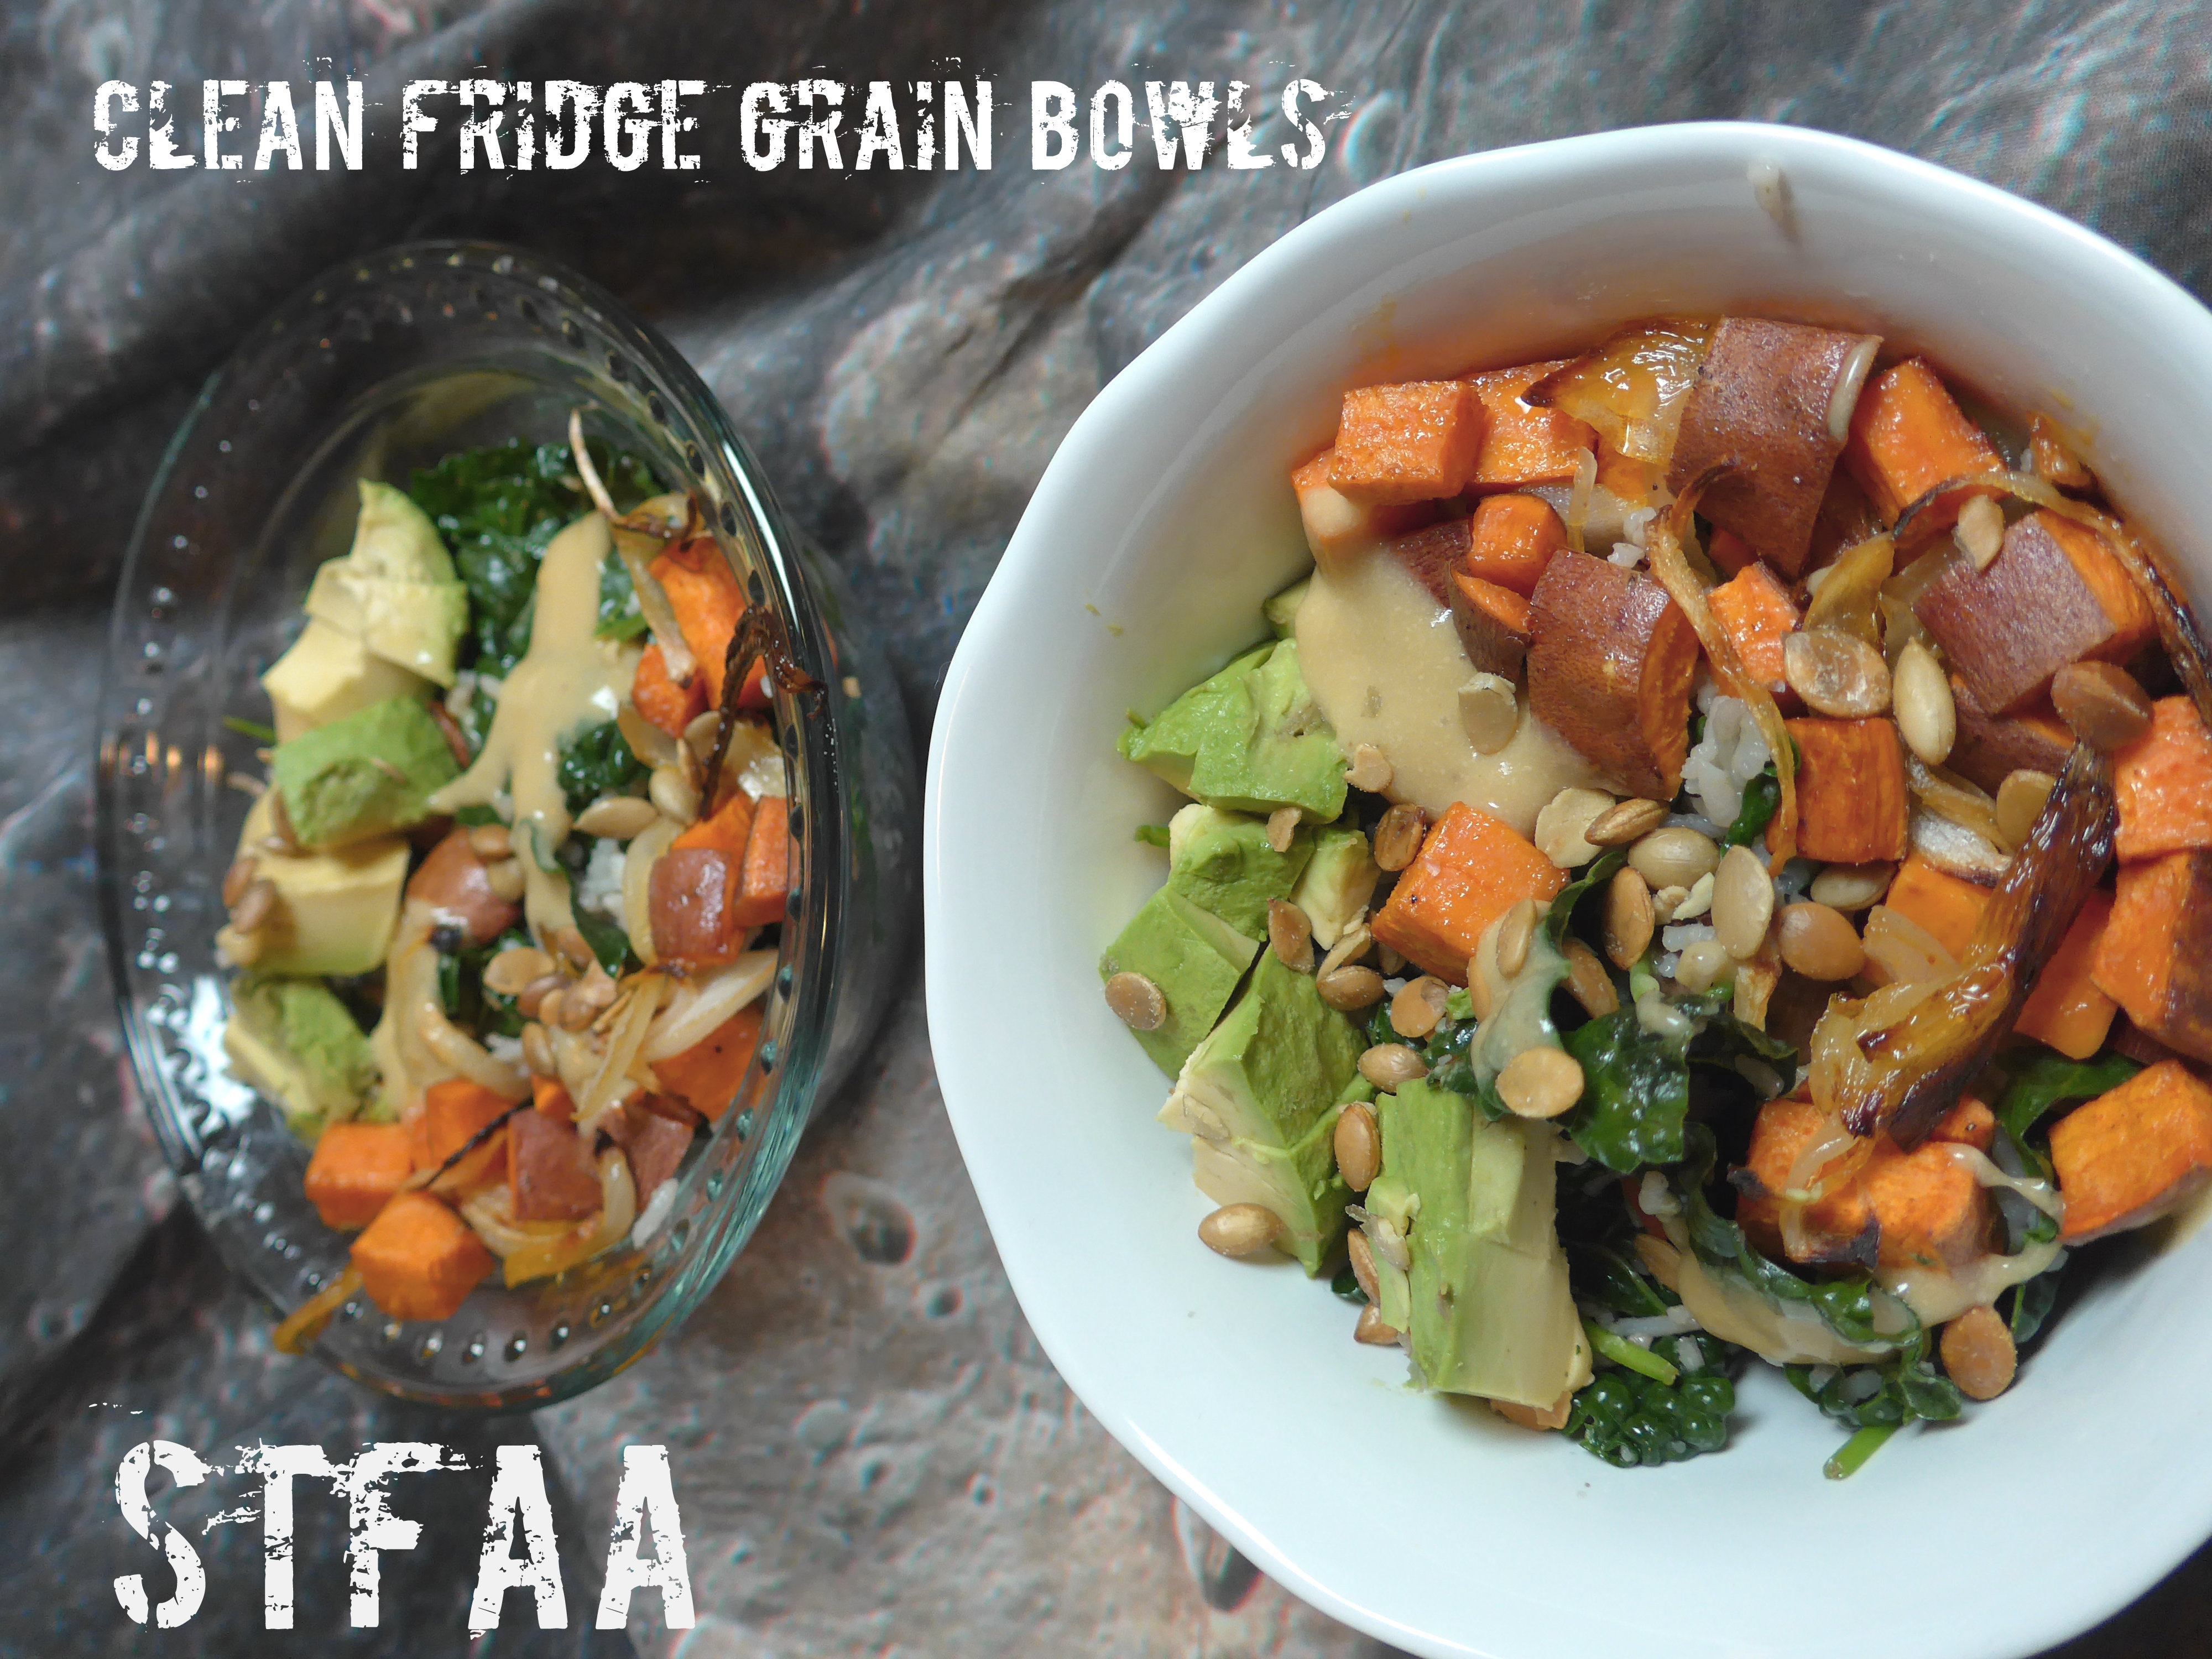
To a cleaner fridge and several healthy meals. I realize this might be a stretch in the “treat” category, but hear me out. I really LIKE vegetables, and I feel really good, both mentally and physically, when I eat a bunch of them. I’m not a fruit person, really. I love veg. But I’m also extremely lazy and sometimes don’t feel like cooking. I have the best of intentions when I make a meal plan and go grocery shopping. At least once a week, I fail to execute the plan because: life. So when I go to make next week’s plan, there are a bunch of random leftovers to deal with.
HERE’S HOW: grain bowls. I know these have been popular forever. Jack and I loved going to Life Alive, a Massachusetts-based, 1970s-style vegetarian restaurant that managed to stay current and super tasty, and that’s one of their specialties. Grain bowls let you use up everything in your fridge — extra rice included — so you get to feel virtuous about not wasting food AND eating your vegetables, and that is a treat for me. Your mileage may vary, but you should still try this out.
The key to a good grain bowl is to vary your textures and add just the right amount of a good sauce. The sauce in this dish is a variation on the “Say Cheez” gravy from Jo Stepaniak’s “The Ultimate Uncheese Cookbook.” For a crunchy topper, I’ve used roasted salted pepitas. The grain is rice, the green is mostly kale, but also leftover spinach, and I’ve specifically added “1 cup of chopped vegetables” to use up anything you have on hand. If you don’t like something in this recipe? Don’t add it. Otherwise, go wild. Turn your fridge into a satisfying meal.
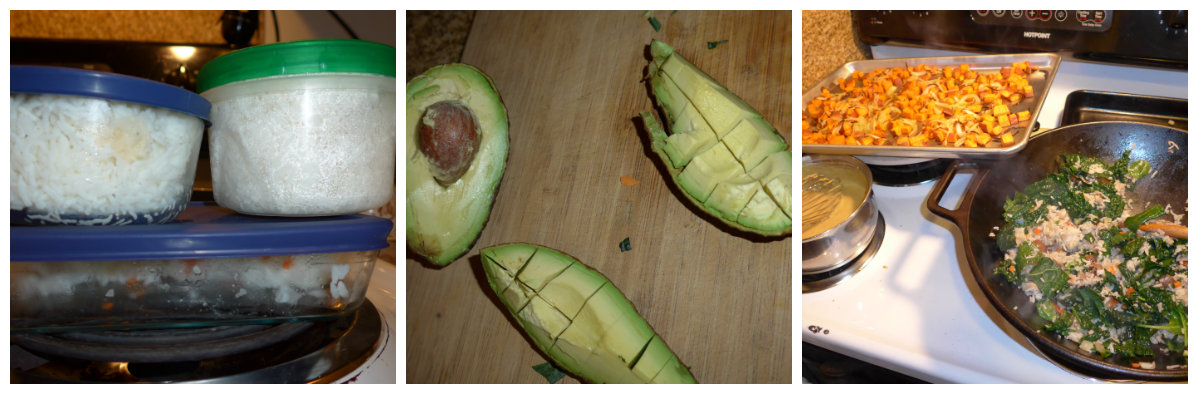
All of this becomes dinner Notice: Trying to access array offset on value of type bool in /home/maryzahc/public_html/adultfoodallergies.com/wp-content/plugins/wp-ultimate-recipe/helpers/models/recipe.php on line 254
1/2teaspoonberbere seasoningor hot spice of your choice
Sauce
1/4cupgluten-free flour(glutinous rice flour or chickpea/gram flour recommended)
1/4cup nutritional yeast
3/4cupnon-dairy milk(I use almond most of the time)
1/2cup broth or water
1Tablespoonbalsamic vinegar(apple cider would be another good choice)
1/2cupwhite wine
1/2teaspoongarlic powder
1/2teaspoonmustard
Sauteed Vegetables
1boxmushroomsde-stemmed and broken into pieces
1teaspoongarlicminced
1cupdiced random veg
2cups cooked grains(used rice here)
1bunchkalechopped (plus any leftover greens)
Toppings
1wholeavocadocut into chunks
4Tablespoons pepitasor other seed or nut of your choice
Servings: servings
Instructions
Preheat oven to 425ºF.
Toss chopped sweet potato and onion with olive oil and spicy seasoning — add more or less than I’ve called for depending on your tastes. Spread out on a baking sheet and cook for about 30 minutes.
Prepare the sauce by whisking all the ingredients together. Cook over medium heat until boiling and thickened. Add more liquid if you need it to get the right consistency.
With a little spritz of oil in a sautee pan, add mushrooms and cook until they release their liquid. Add the garlic and stir. Add the random vegetables, and do the same. Then add the leftover cooked grains (I used rice) to soak up that liquid as they reheat.
When the rice or grain is hot, add the greens and stir until wilted.
In a bowl, add the rice and veg, the roasted veg, the avocado, sauce, and nuts or seeds, if using. Stir and enjoy.
Everything about winter here in Seattle screams “eat hot food with warming spices.” I thought I knew what I was getting into, weather-wise, as I lived in Oregon for three years. You know what Seattle has that Eugene, OR does not? WATER. Puget Sound and multiple lakes. From the hill we live on, we can see the mist rising off the water (and blowing up the hill at us). It is chilly in a very wet way.
Chicken thighs are cheaper and easier to cook without drying out than chicken breasts. But they can be greasy. So to get around that, these are cooked, cooled, and warmed again to allow for straining off most of the fat. This is either a good make ahead recipe (the night before) or make it in the morning and reheat it for dinner.
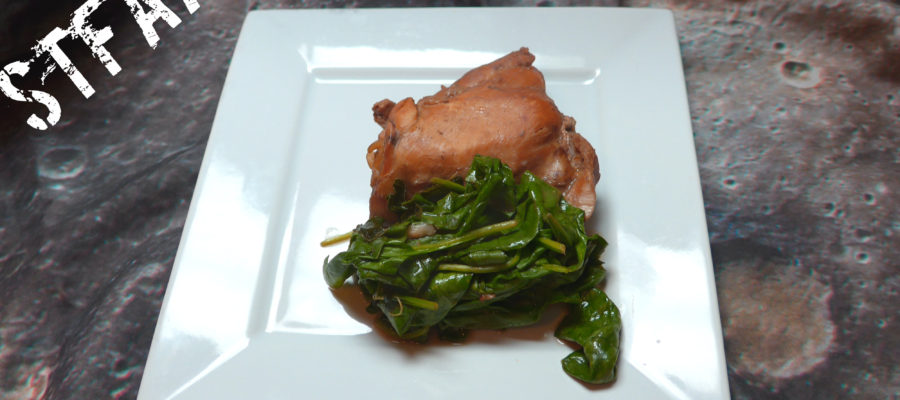
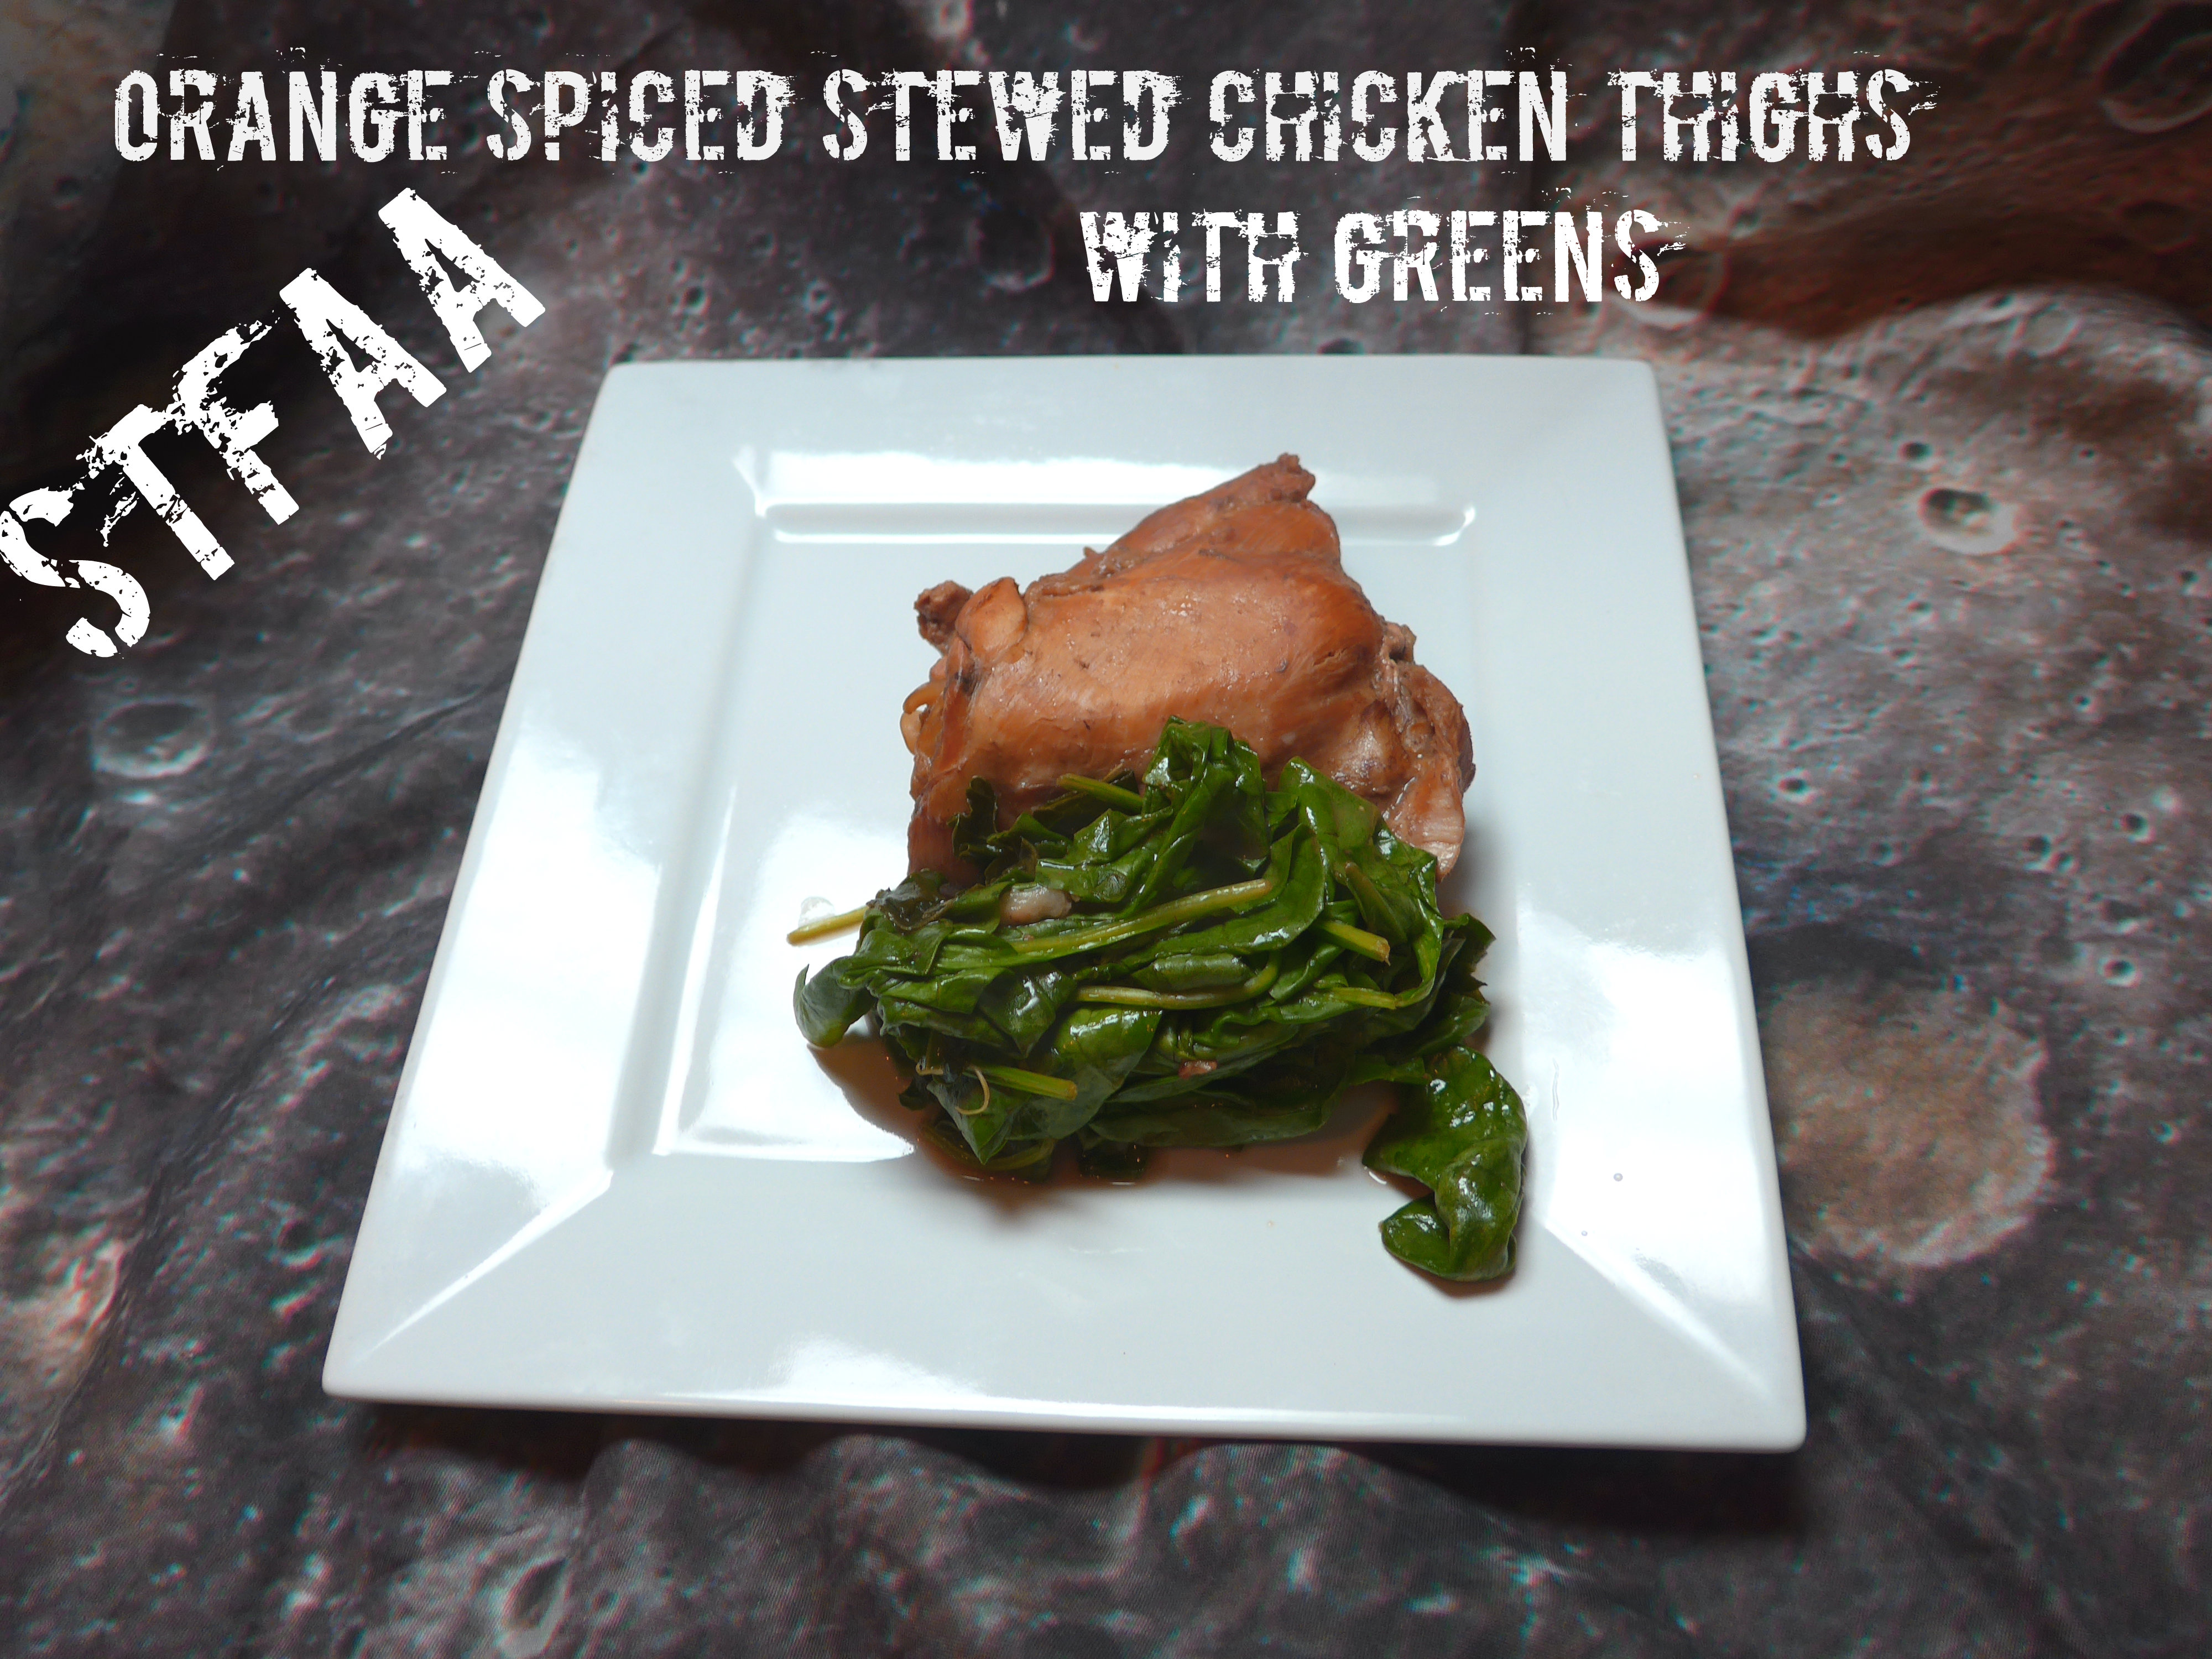
This chicken is based on wanting spice flavors and winter — and I totally understand why citrus is such a good winter flavor, as it’s great and sunny. I mixed these two up to stew chicken thighs, adding greens right at the end to absorb the flavor. I served this with a bit of dressing I’m working on, and I think mashed parsnips would also be a great side. It made for an easy Sunday dinner to start the week off warmly.
Notice: Trying to access array offset on value of type bool in /home/maryzahc/public_html/adultfoodallergies.com/wp-content/plugins/wp-ultimate-recipe/helpers/models/recipe.php on line 254
Orange Spiced Stewed Chicken Thighs
Print Recipe
This stewed chicken recipe does call for cooking, cooling, and then reheating the meat and sauce after straining or skimming off the fat. Plan accordingly.
This stewed chicken recipe does call for cooking, cooling, and then reheating the meat and sauce after straining or skimming off the fat. Plan accordingly.
1wholestar anise(or enough pieces to approximate 1)
1teaspoonwhole peppercorns
3wholecloves
3whole cardamom pods
2bagsblack tea
1cuporange juice
2poundschicken thighsbone in, skin off
freshly ground pepperto taste
2cupsmixed cooking greensroughly chopped
Servings: people
Instructions
Add water and whole spices to a large pot. Bring to a boil, then add tea bags, turn off heat, and cover. Steep 15 minutes.
Remove tea bags and whole spices. Add orange juice, bring to a boil.
Add chicken thighs, and bring again to a boil. Reduce heat to a simmer. If liquid covers the chicken only part way (likely), cook 15 minutes, covered, then flip chicken and cook for another 15 minutes, covered. Cook a final 15 minutes, uncovered.
Now remove the chicken from the juice and cool all of it for at least a few hours or overnight. This will allow you to remove the excess fat from the cooking liquid. Skim or strain it out.
Bring the cooking liquid back to a boil and then add the chicken thighs. Turning the heat down, simmer for about 15 minutes.
Add the greens (I used spinach and kale here) and cook until the greens are wilted — this will depend on your greens, but 5-15 minutes is a good guess for anything short of collard greens (don’t use collards — they require a different cooking method). Spinach, kale, and chard are all good options.
Okay, so remember when I made a bunch of ham on the outside, but roast pork on the inside, roasts in an attempt to make ham? And I gave up and made Cure Your Own Ham Steaks? I found this post on Pelletsmoking.com that has a Ham Brining 101 post that finally helped me wet cure a whole ham that’s ham all the way through. I can make a whole ham for the holidays again!
Pelletsmoking.com uses commercial curing salt in its recipe, but all commercial curing salt is dyed pink for safety and contains dextrose which is generally derived from corn. As I discussed in my Cure Your Own Pastrami post, I ended up having to make my own. If you’re not allergic to corn, use the commercial stuff. If you are allergic to corn, make your own below, but be aware you’re messing with dangerous stuff and do it exactly as I describe below, so you don’t poison yourself.
Making Curing Salt:
To make Curing Salt #1, or Prague Mix #1, or Instacure #1, you need a scale, with a digital readout going out two places. You need to be absolutely precise. The mixture must be 6.25% sodium nitrite (I got mine on Amazon, make sure it’s food grade) and 93.75% salt. To make 4 ounces of Curing Salt #1, you need to weigh out 0.25 ounces of sodium nitrite making sure you tare out or zero out your container, and 3.68 ounces of salt (I used Diamond Crystal Fine All Natural Sea Salt, again no affiliation with Amazon). Mix these together well, and store in a container that’s very clearly marked so that there is no confusion as to what it is. Do not ask me for cups or teaspoon equivalents because I will not do it. This needs to be mixed as exactly as described, you cannot wing it or approximate. I cannot emphasize this enough, the proportions must be exactly as described here to be safe.
Curing Salt #1
Once you’ve made your Curing Salt #1, it’s time to make the ham!
Cure Your Own Whole Ham
Brining the Ham:
Fresh Picnic Pork Shoulder or Bston Butt, 8-10 pounds
1 1/2 gallons of distilled or filtered water
1 cup and 2 Tablespoons of kosher salt or sea salt
2 cups of brown sugar, packed firmly
3 tablespoons Curing Salt #1
marinade injector
Rub Ingredients:
4 tablespoons brown sugar, packed firmly
1/4 teaspoon of ground nutmeg
20 or so whole cloves
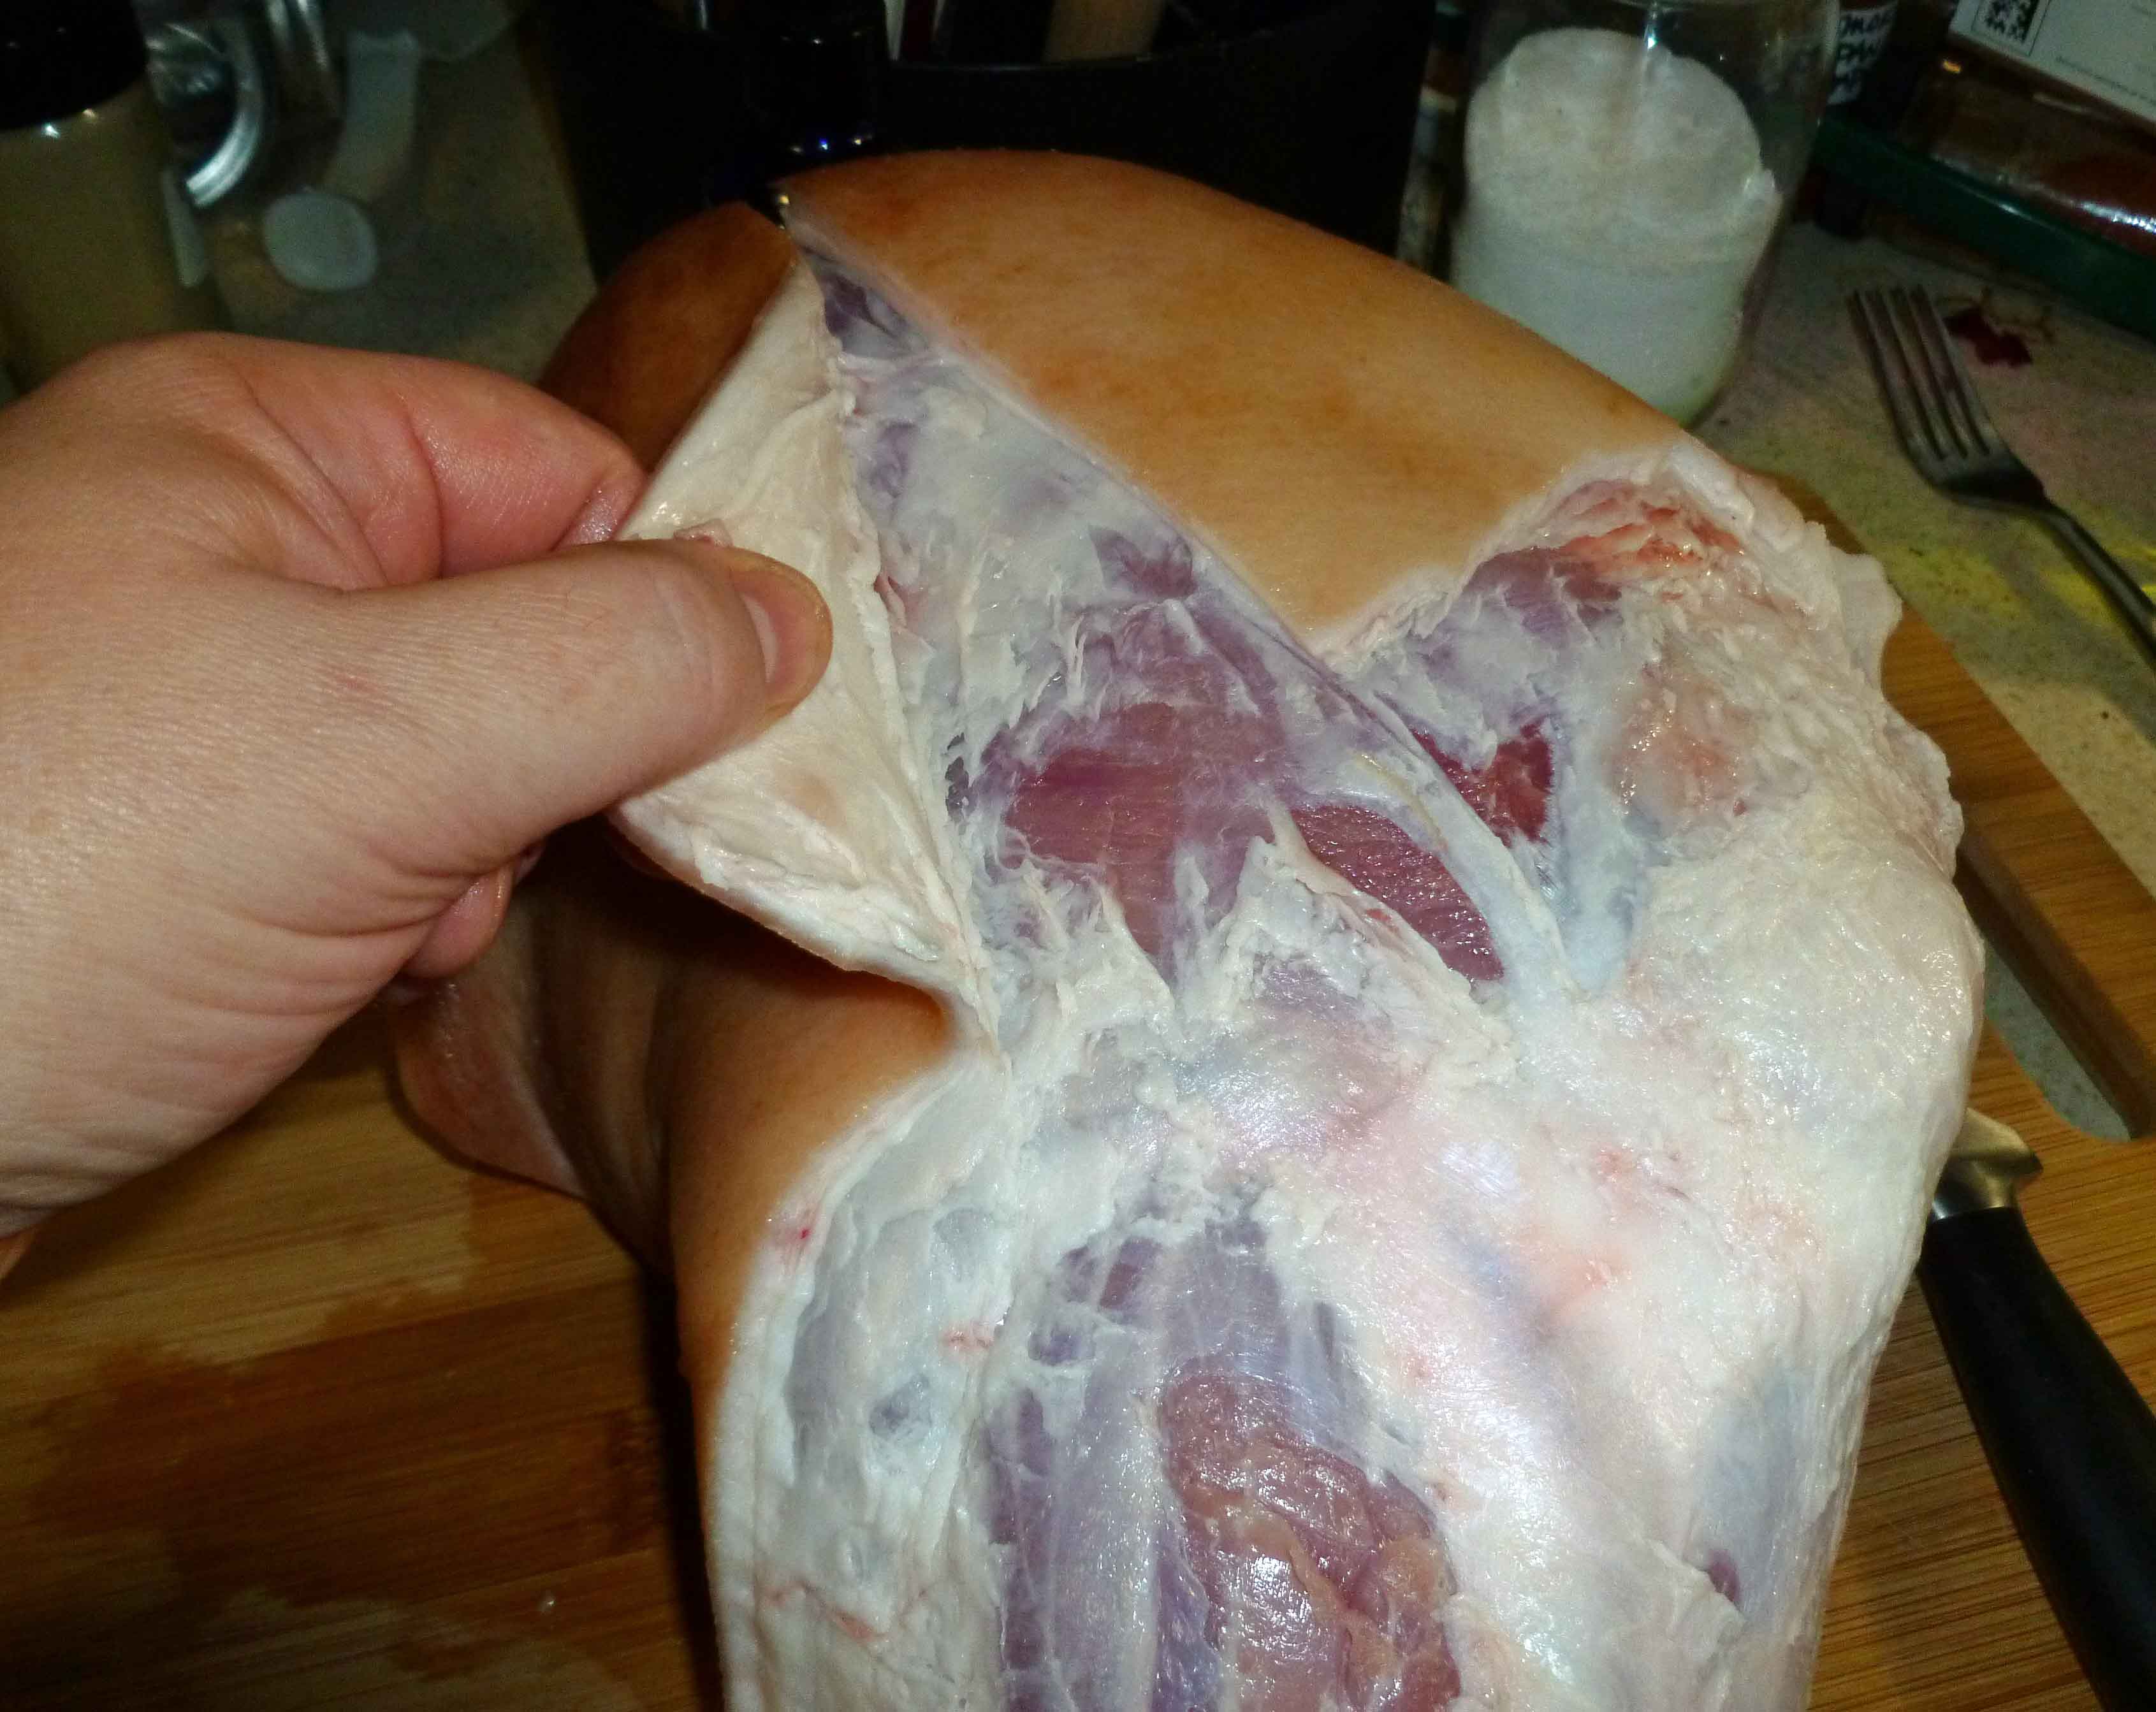
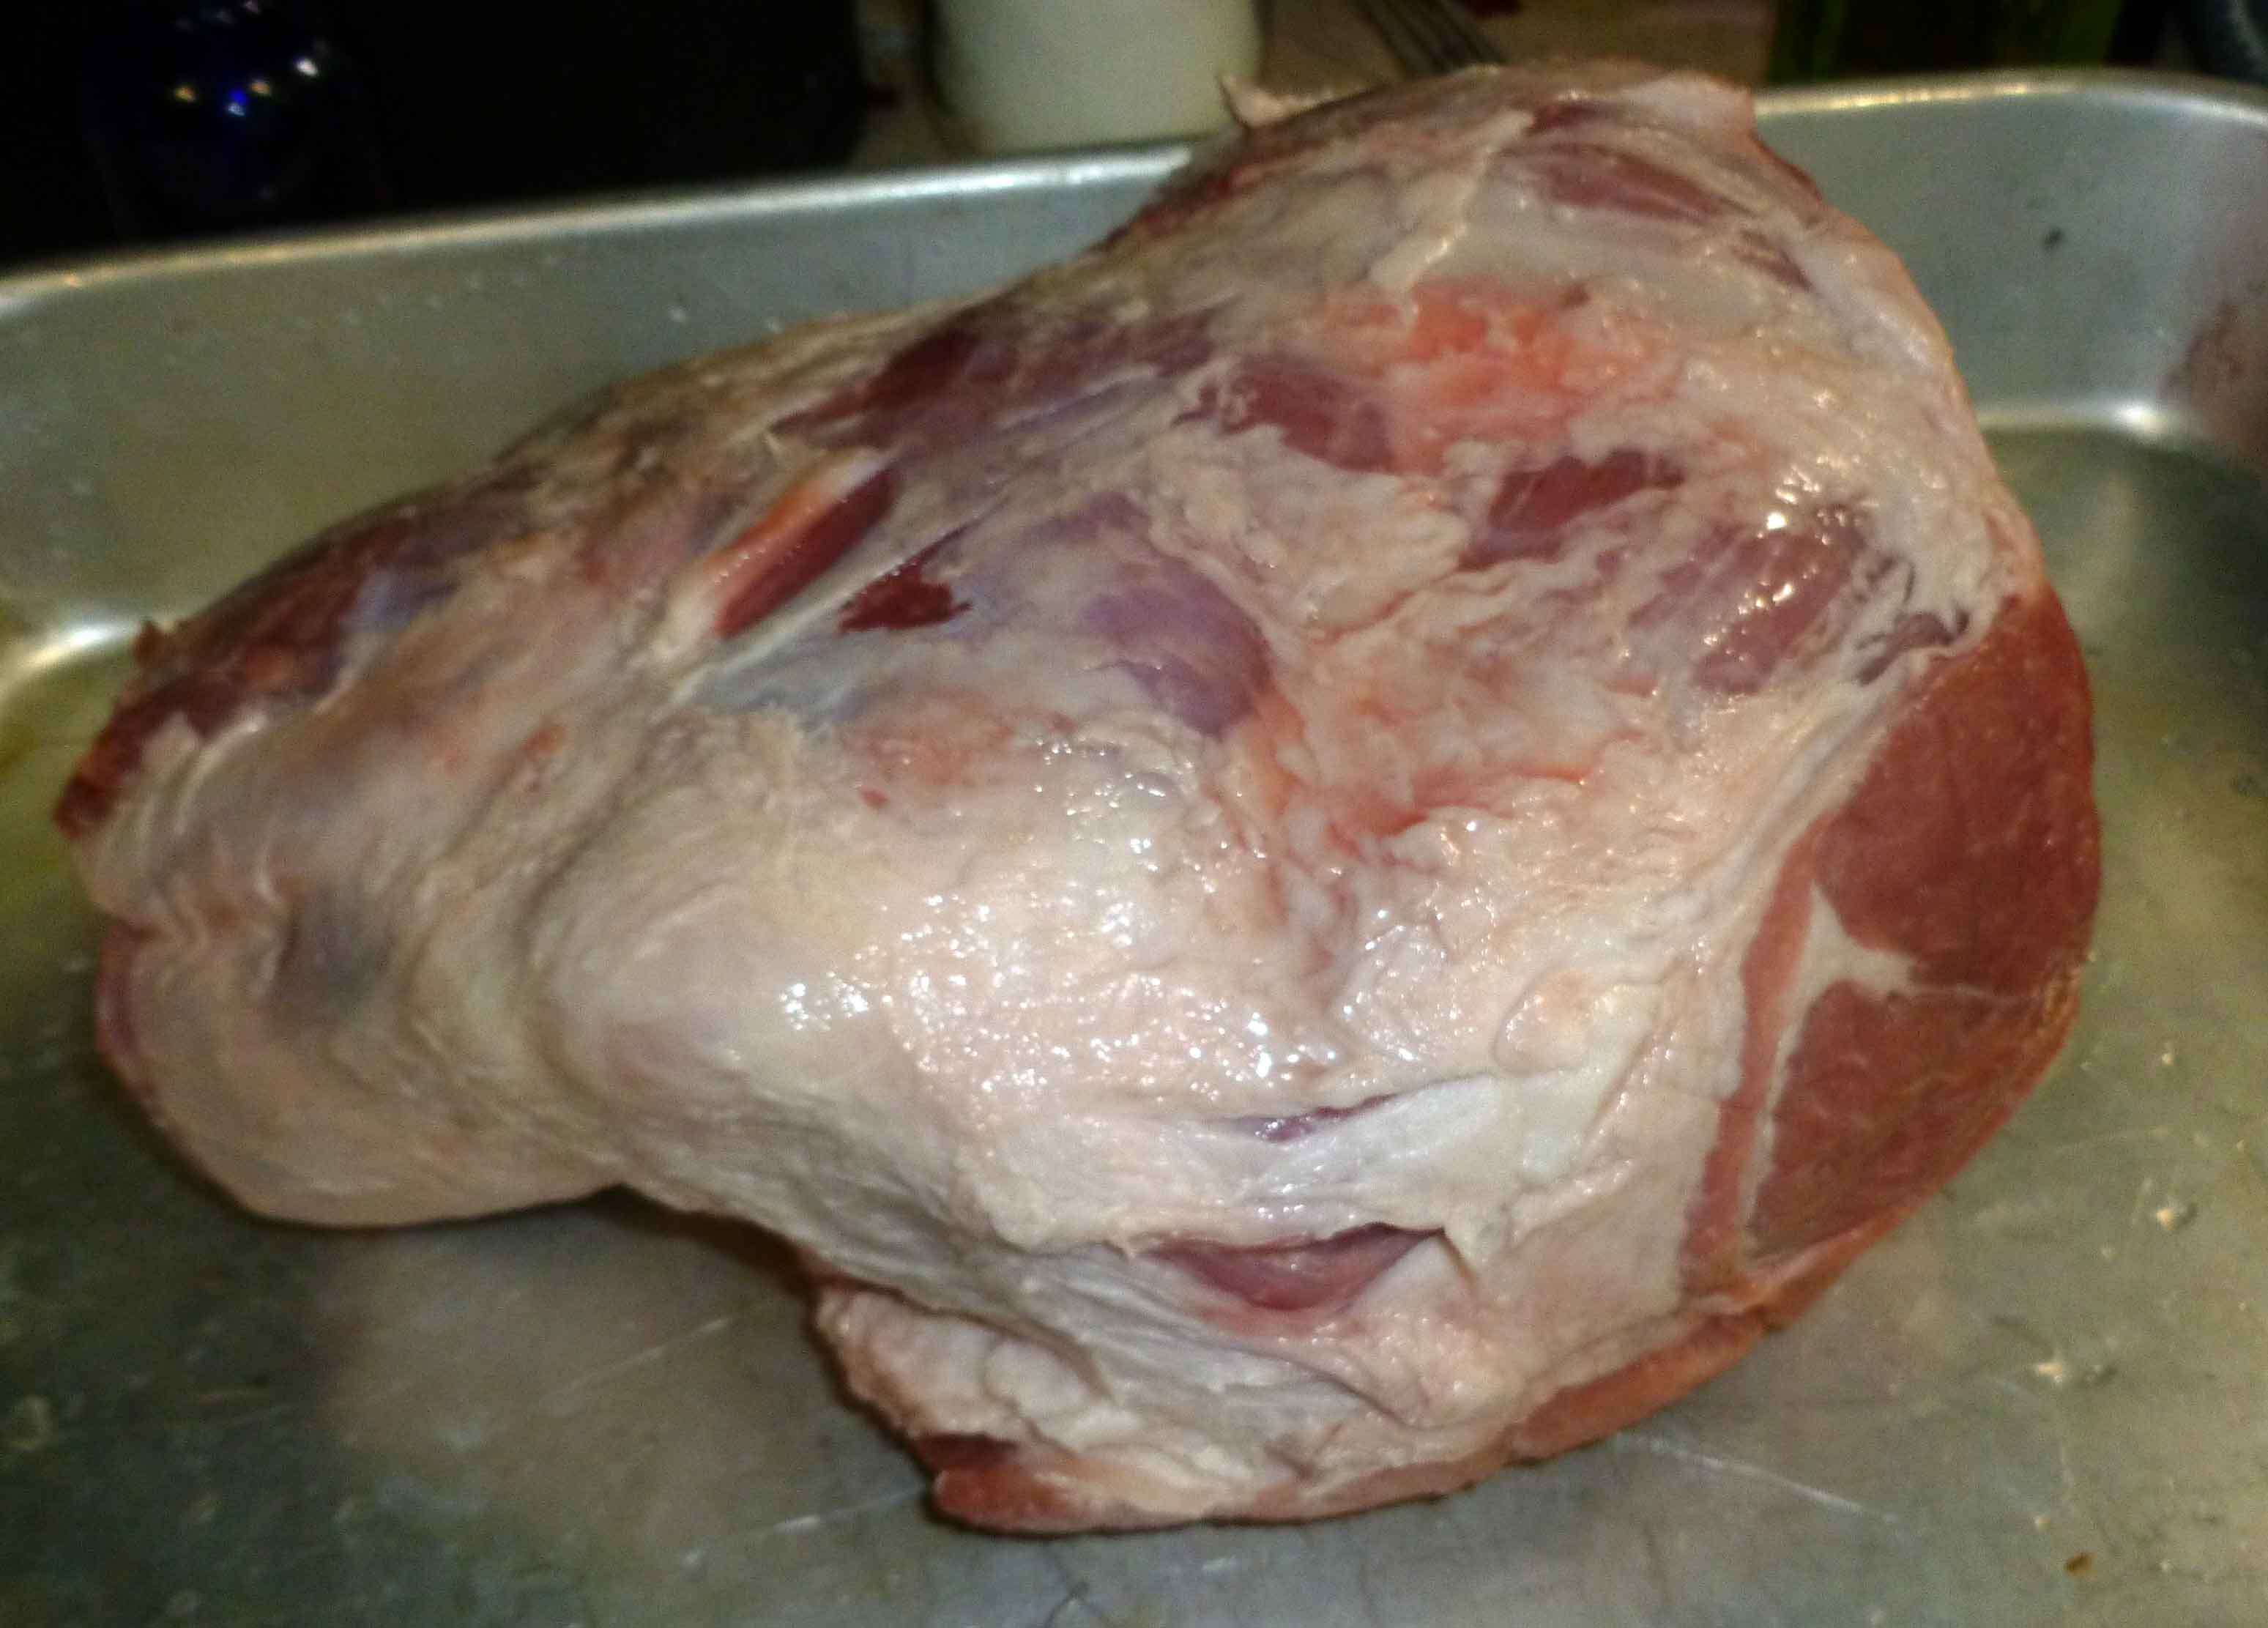
To prepare the pork shoulder for brining, the skin and some of the fat should be removed. Use a boning knife to trim the skin from the shoulder.
Trimming the skin and fat from the pork shoulderPork shoulder after skin and fat has been trimmed
Mix your water, salt, brown sugar and curing salt together in a container large enough to submerge your pork shoulder completely under the surface. I frequent restaurant supply stores and use 12 quart Cambro food storage containers (again, no affiliation with Amazon). Mix all ingredients until they have dissolved completely to form your brine.
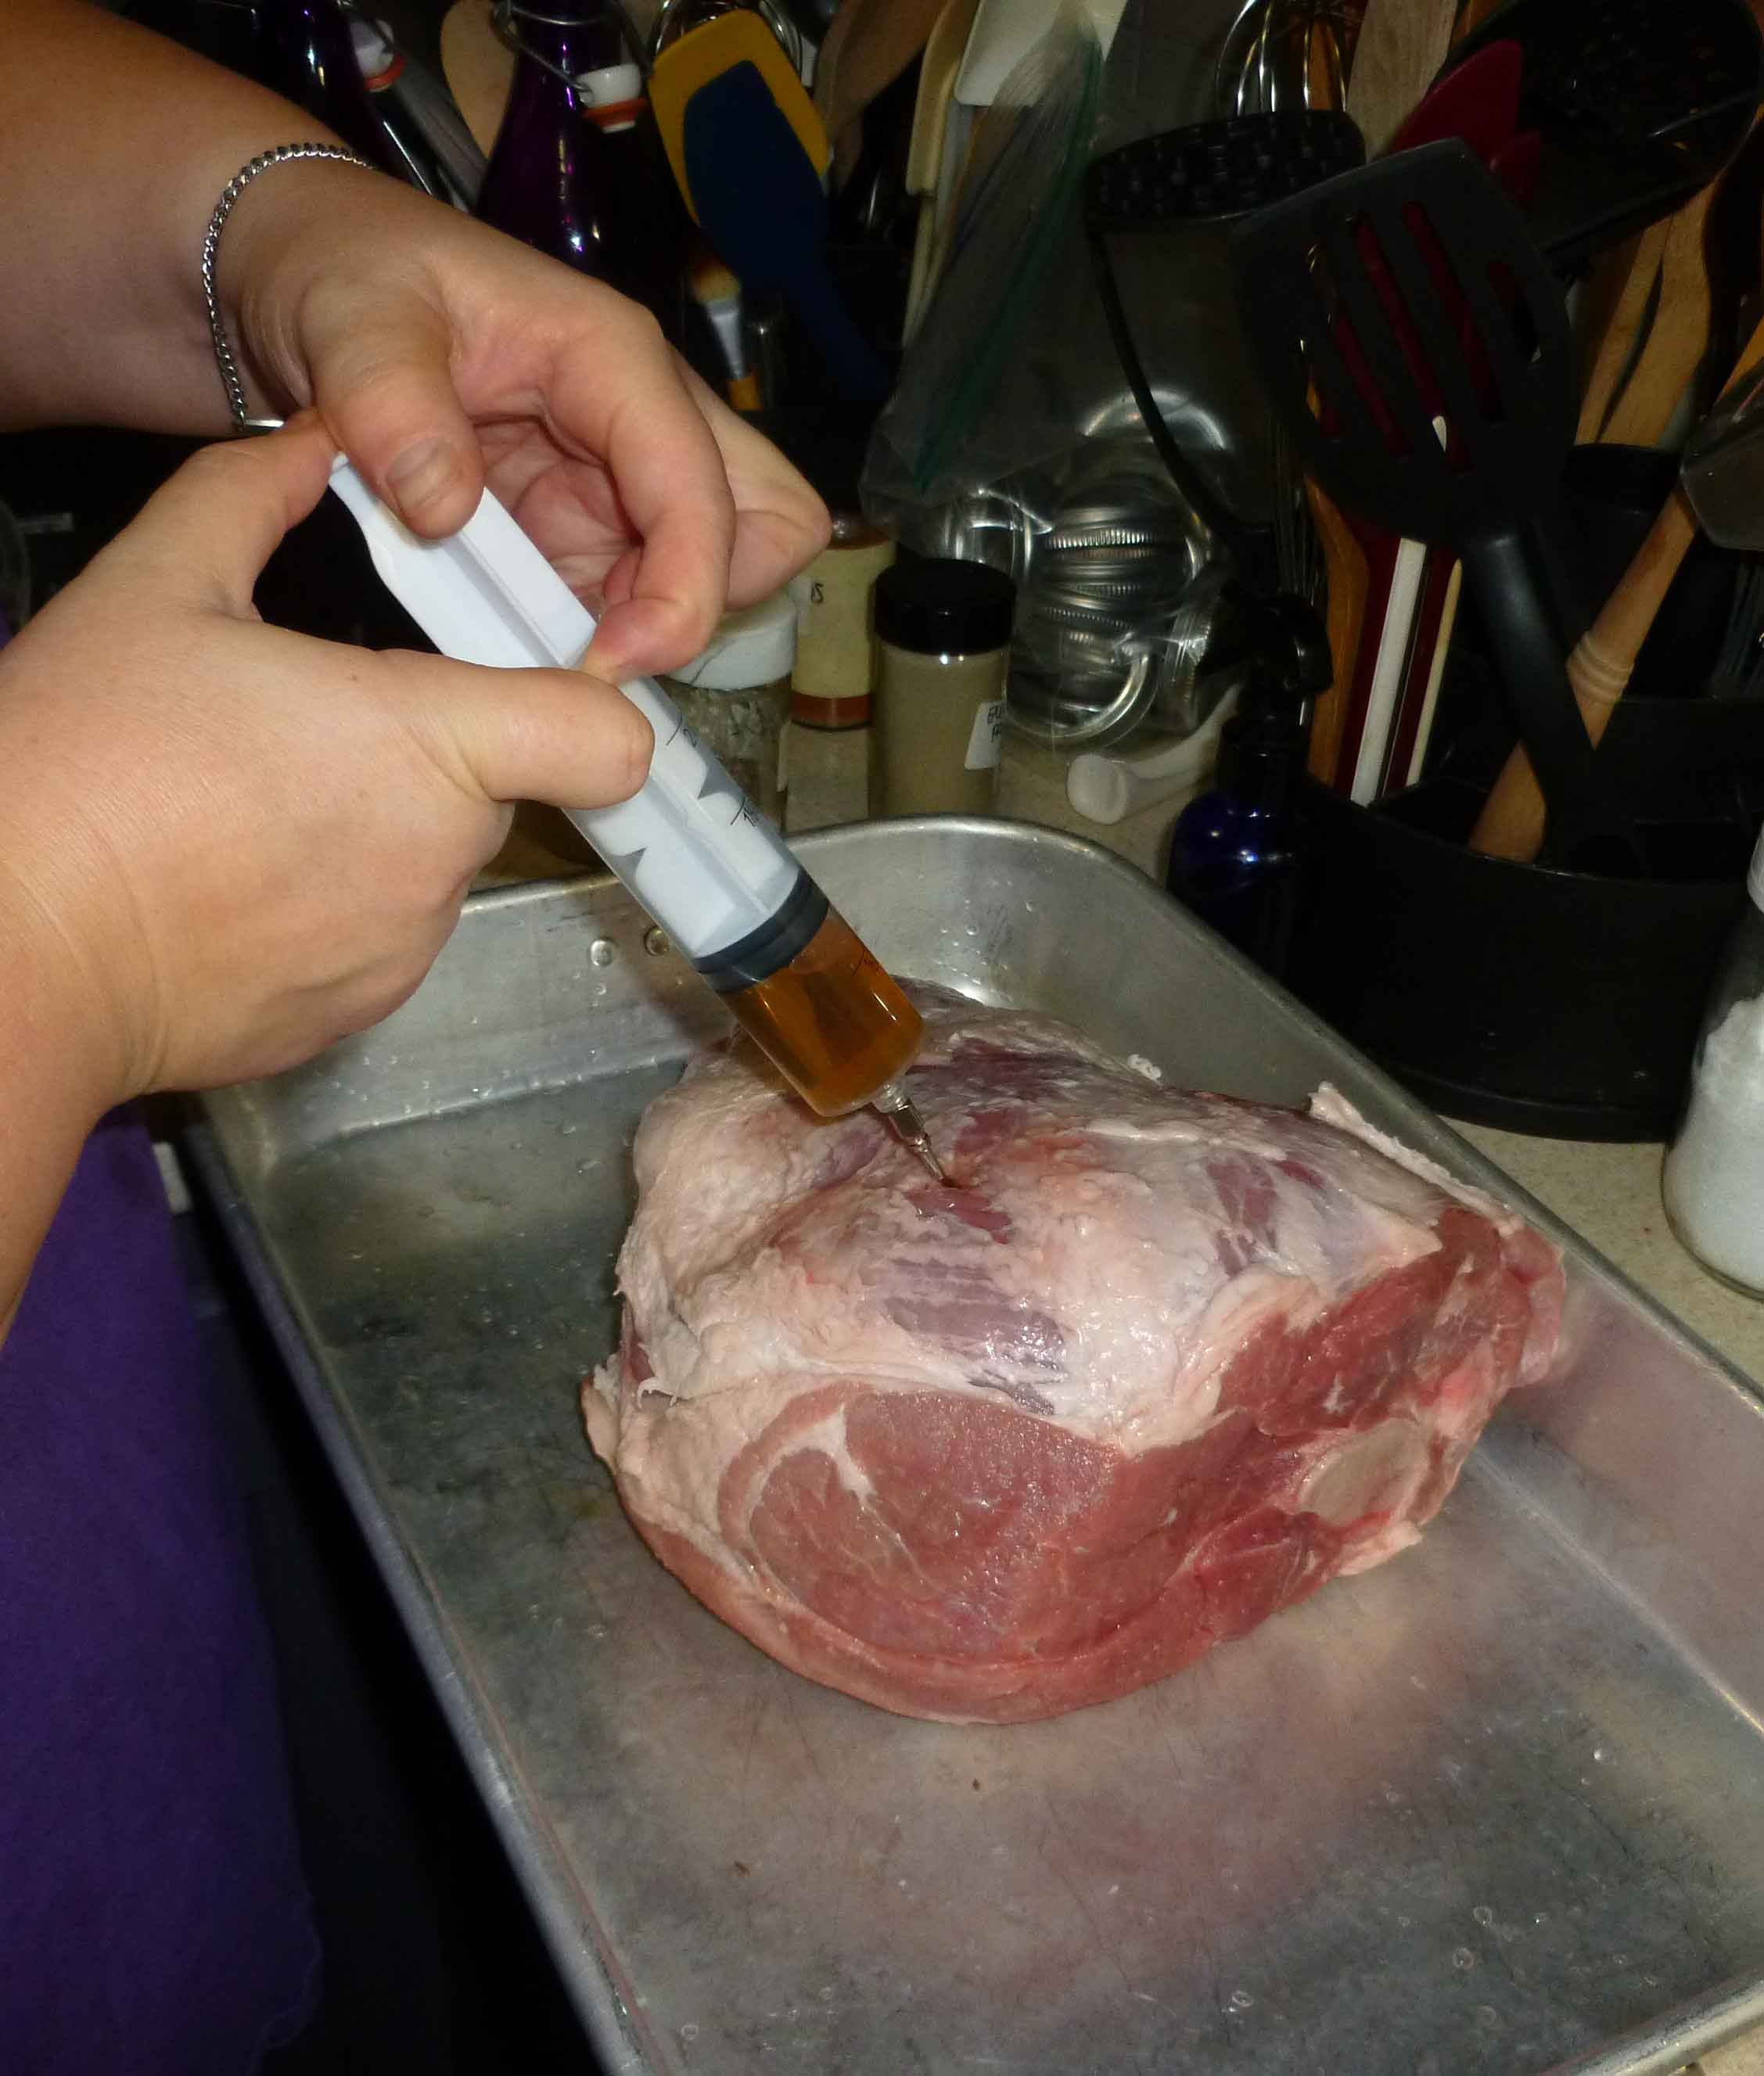
Measure out 32 ounces of the brine into a separate container. This is going to be injected into the pork. Place your pork into a container or roasting pan that will hold any brine run off. Use your marinade injector to inject the entire 32 ounces of brine into the pork, injecting evenly across and on both sides. Make sure that you inject thoroughly around the bones if you have them, to prevent bone souring. Also, if a some of the brine seeps out, that’s okay, but if it’s a lot, collect it and re-inject it.
Brine being injected into the pork
After injecting the pork with your brine, submerge the pork in your large container with the brine, using a heavy plate to weigh it down if necessary. Cover the container and place in a 37°- 40°F refrigerator to cure for 4-7 days. Turn the ham over halfway through the curing process.
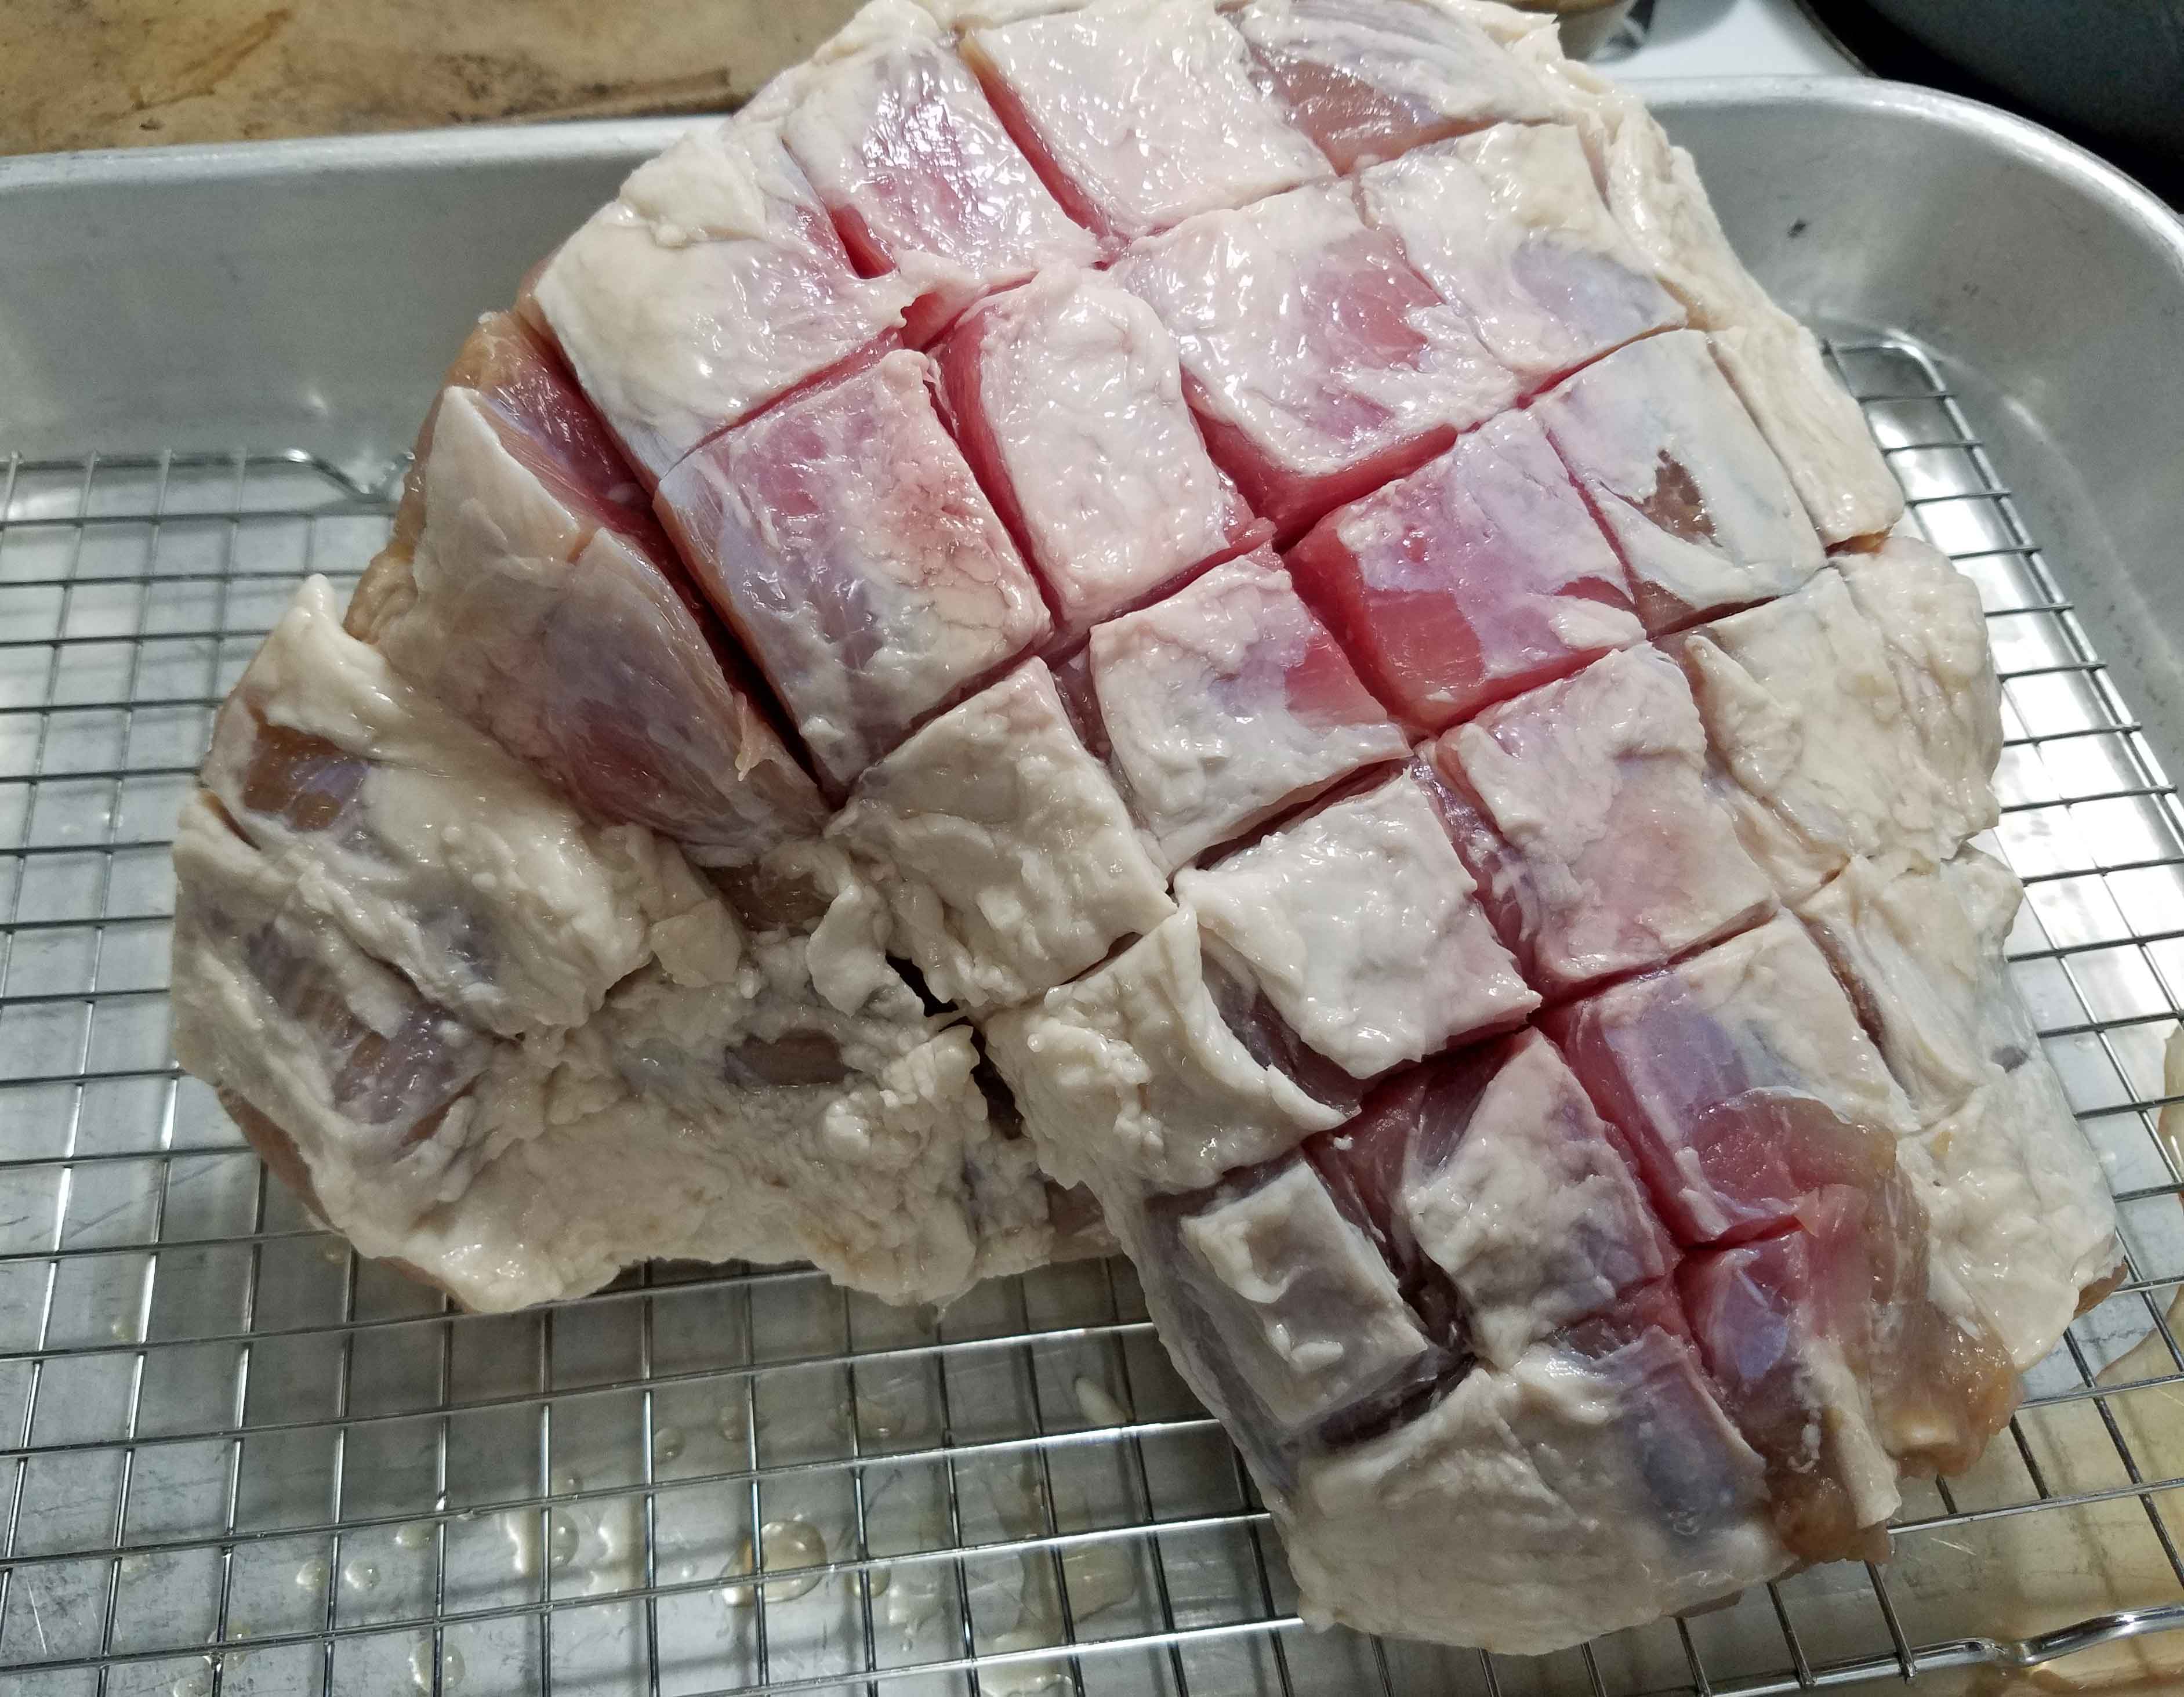
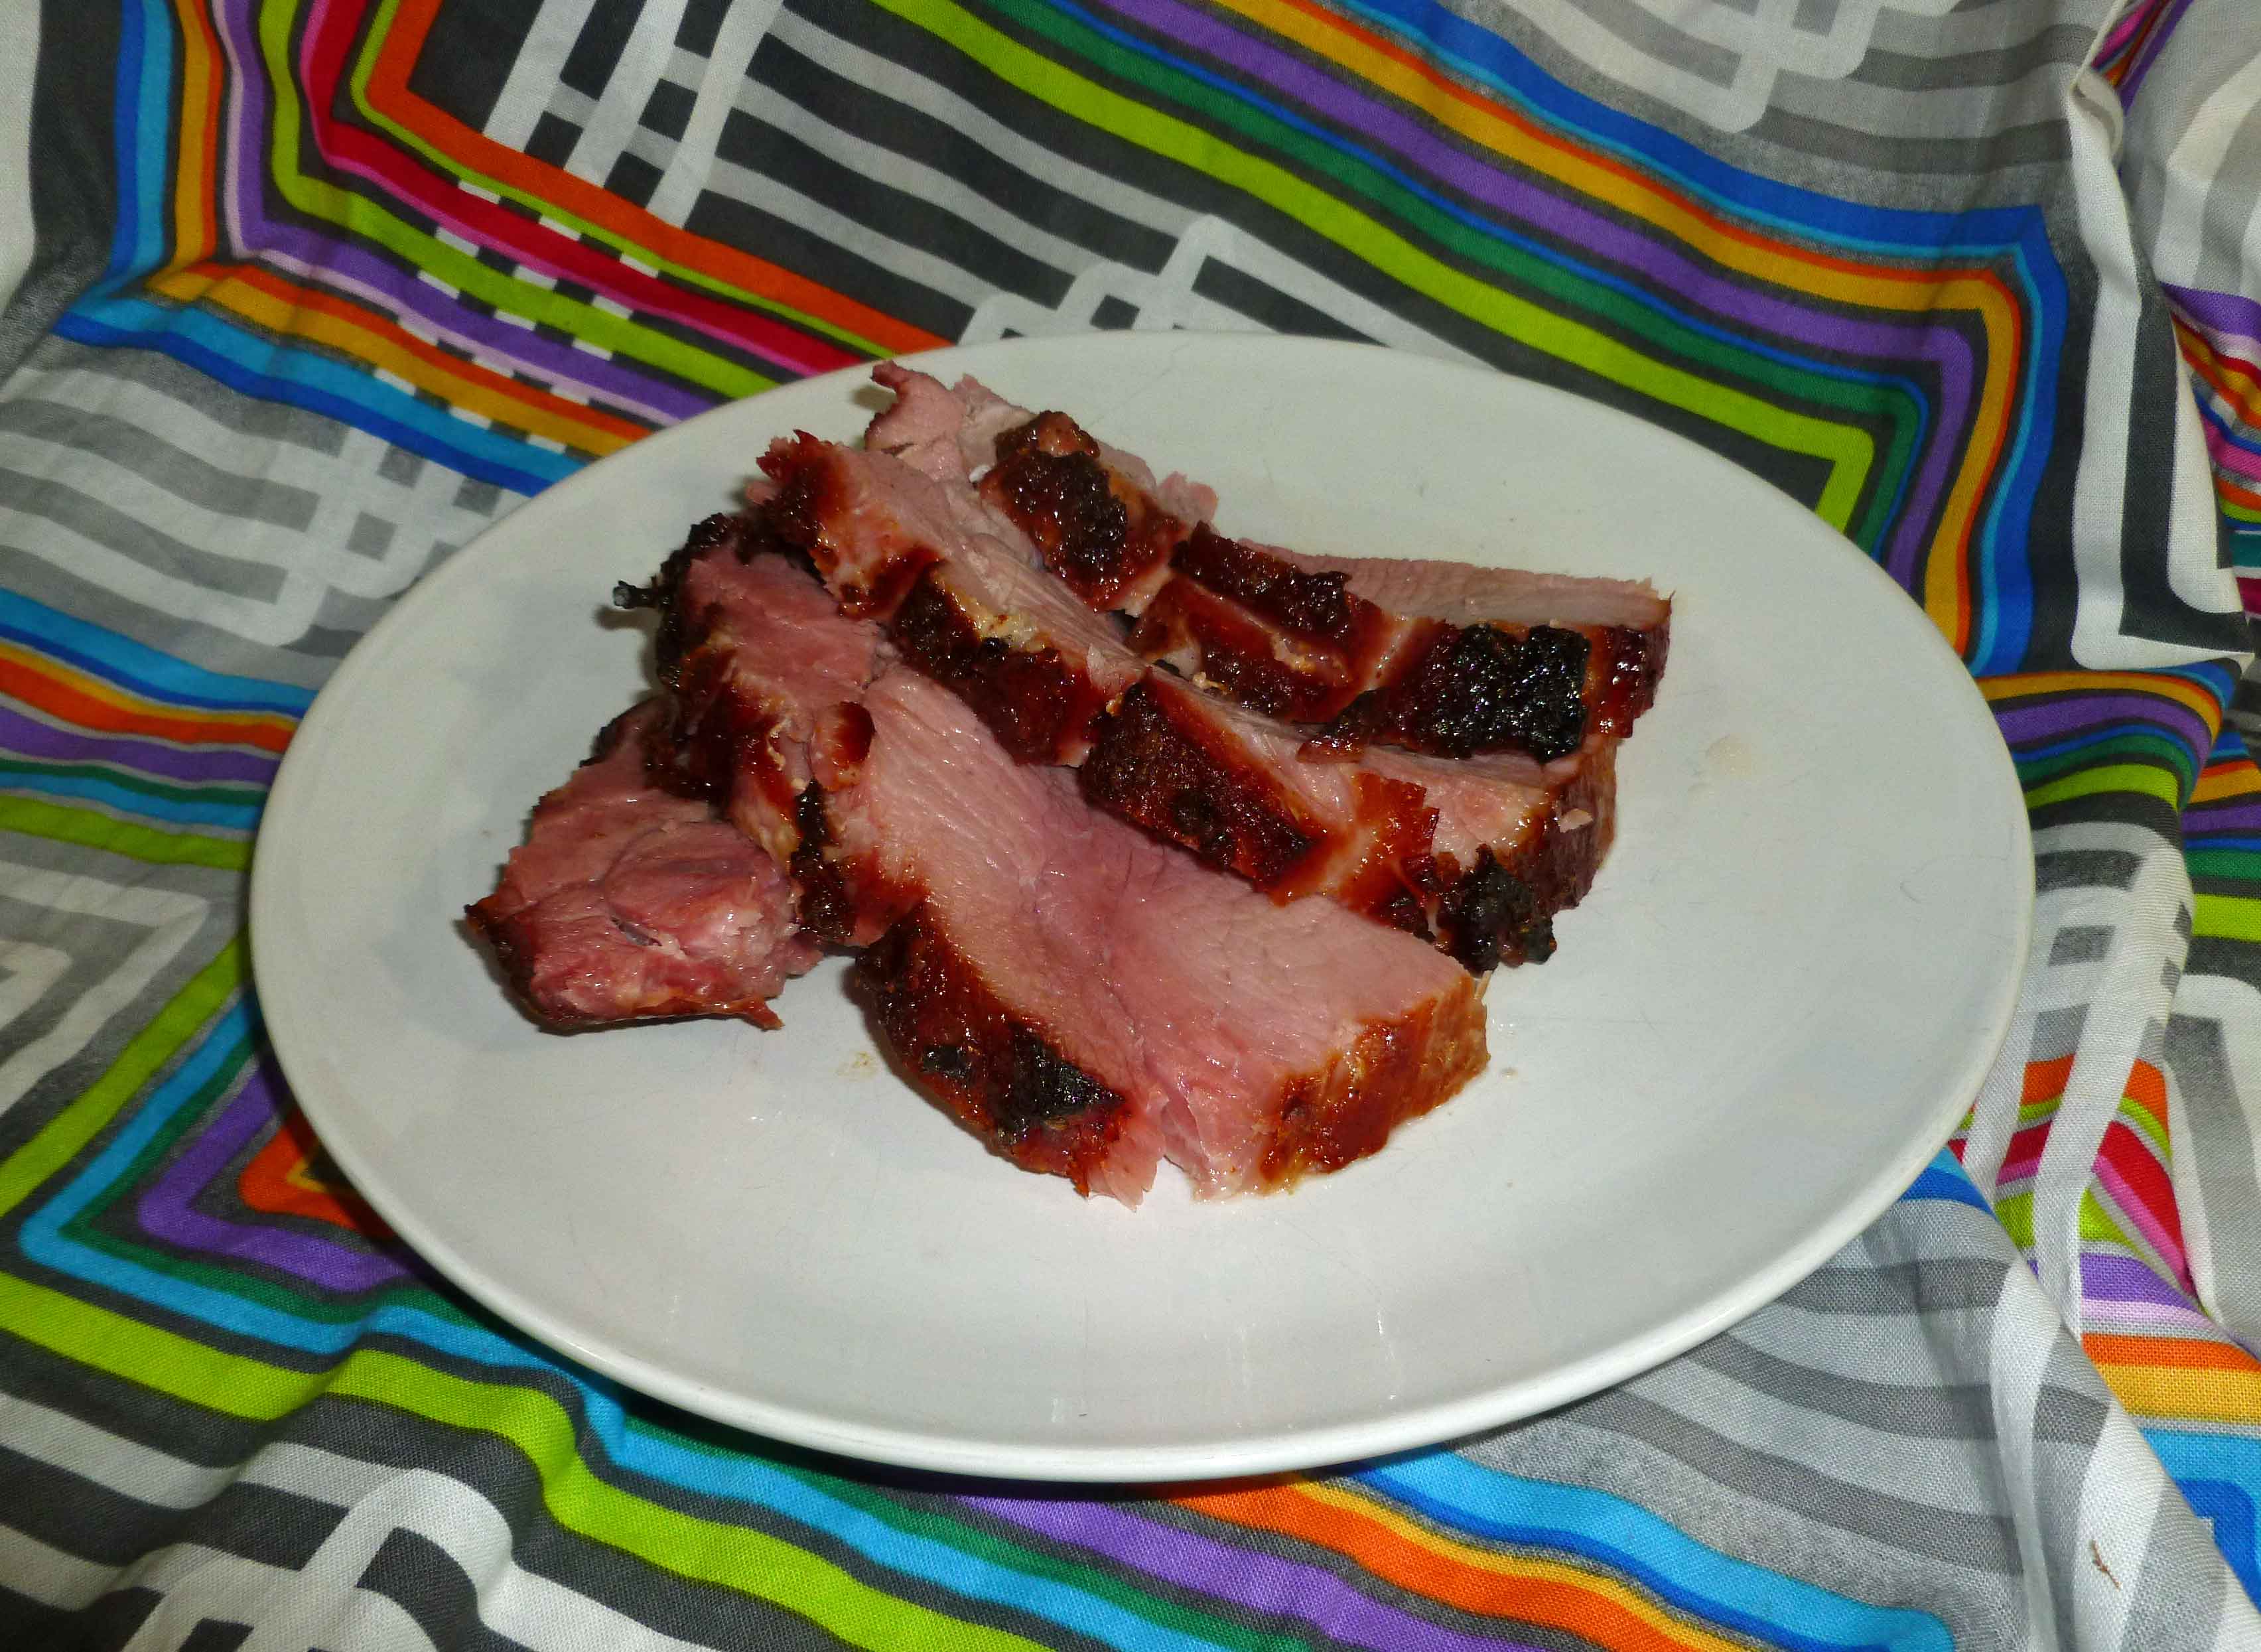
After you’ve completed brining the pork, take the ham out of the brine and place it in a roasting pan. Score the shoulder in a grid pattern with your knife. This is decorative but it gives a good outline for where to place your cloves.
Ham scored
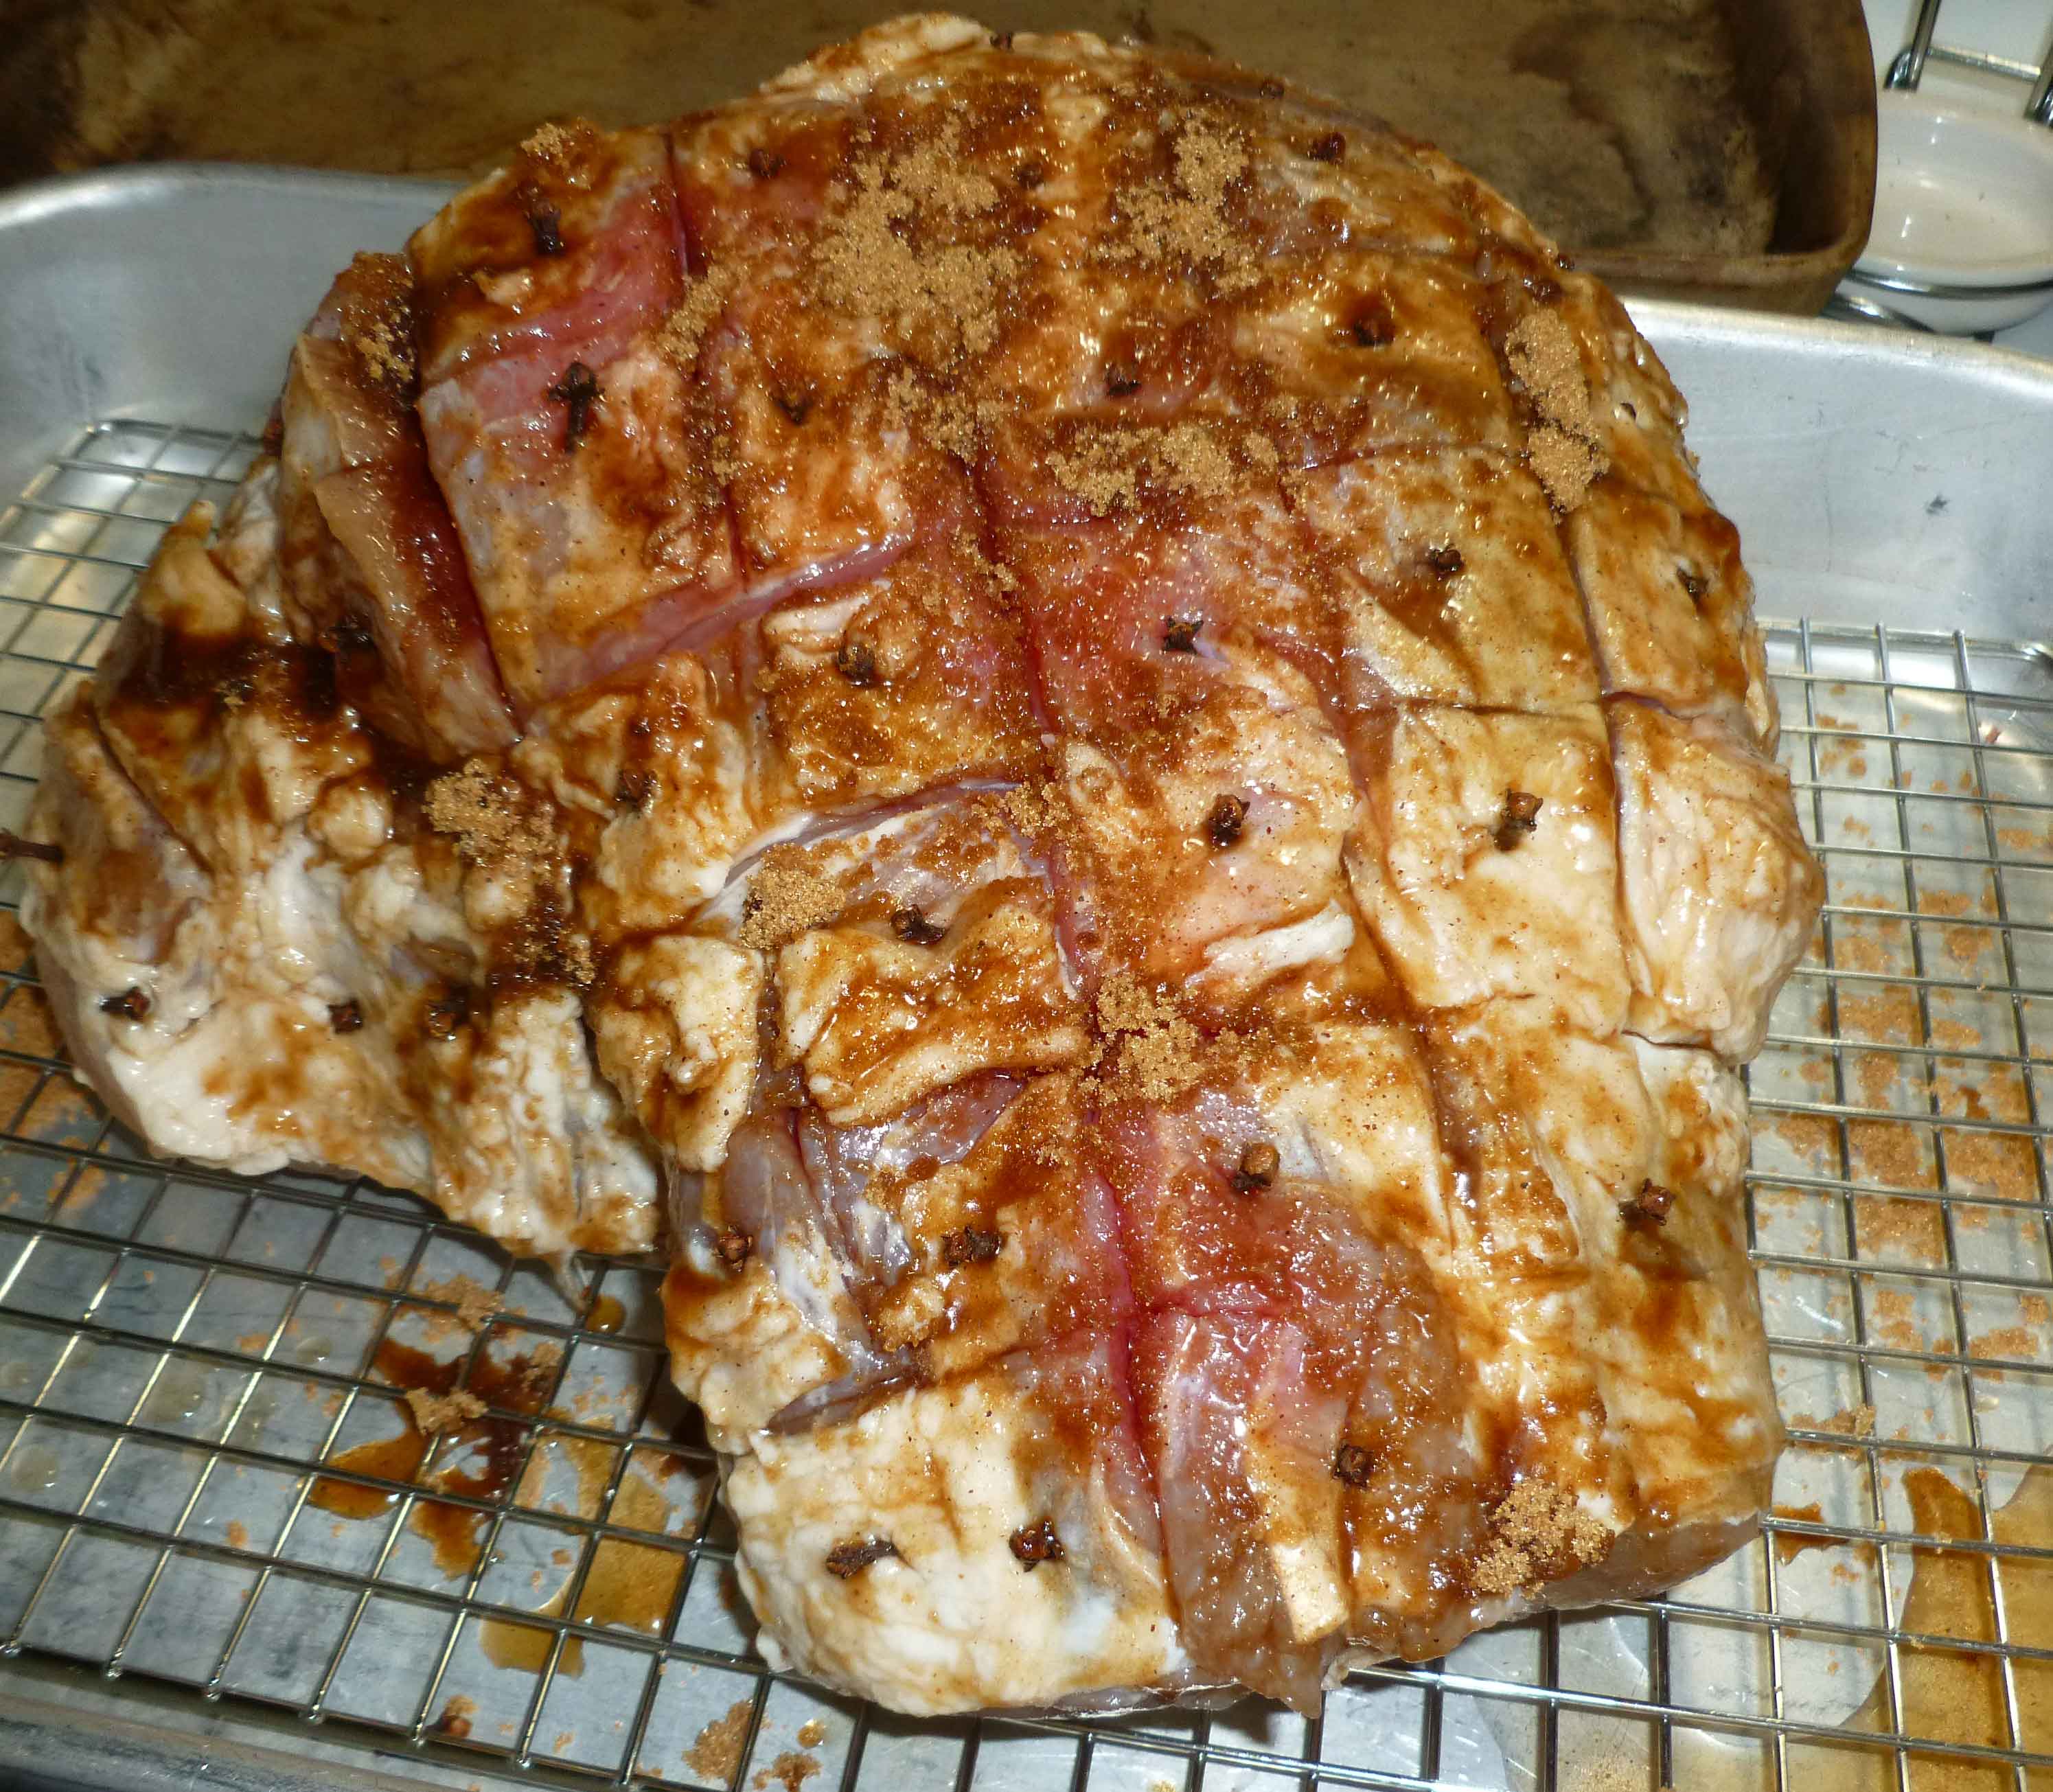
Mix the brown sugar and nutmeg listed in your rub ingredients together in a small bowl. Cover the surface of the ham with your rub. Then insert a clove in each scored square in the ham.
Ham after rub and cloves inserted before cooking
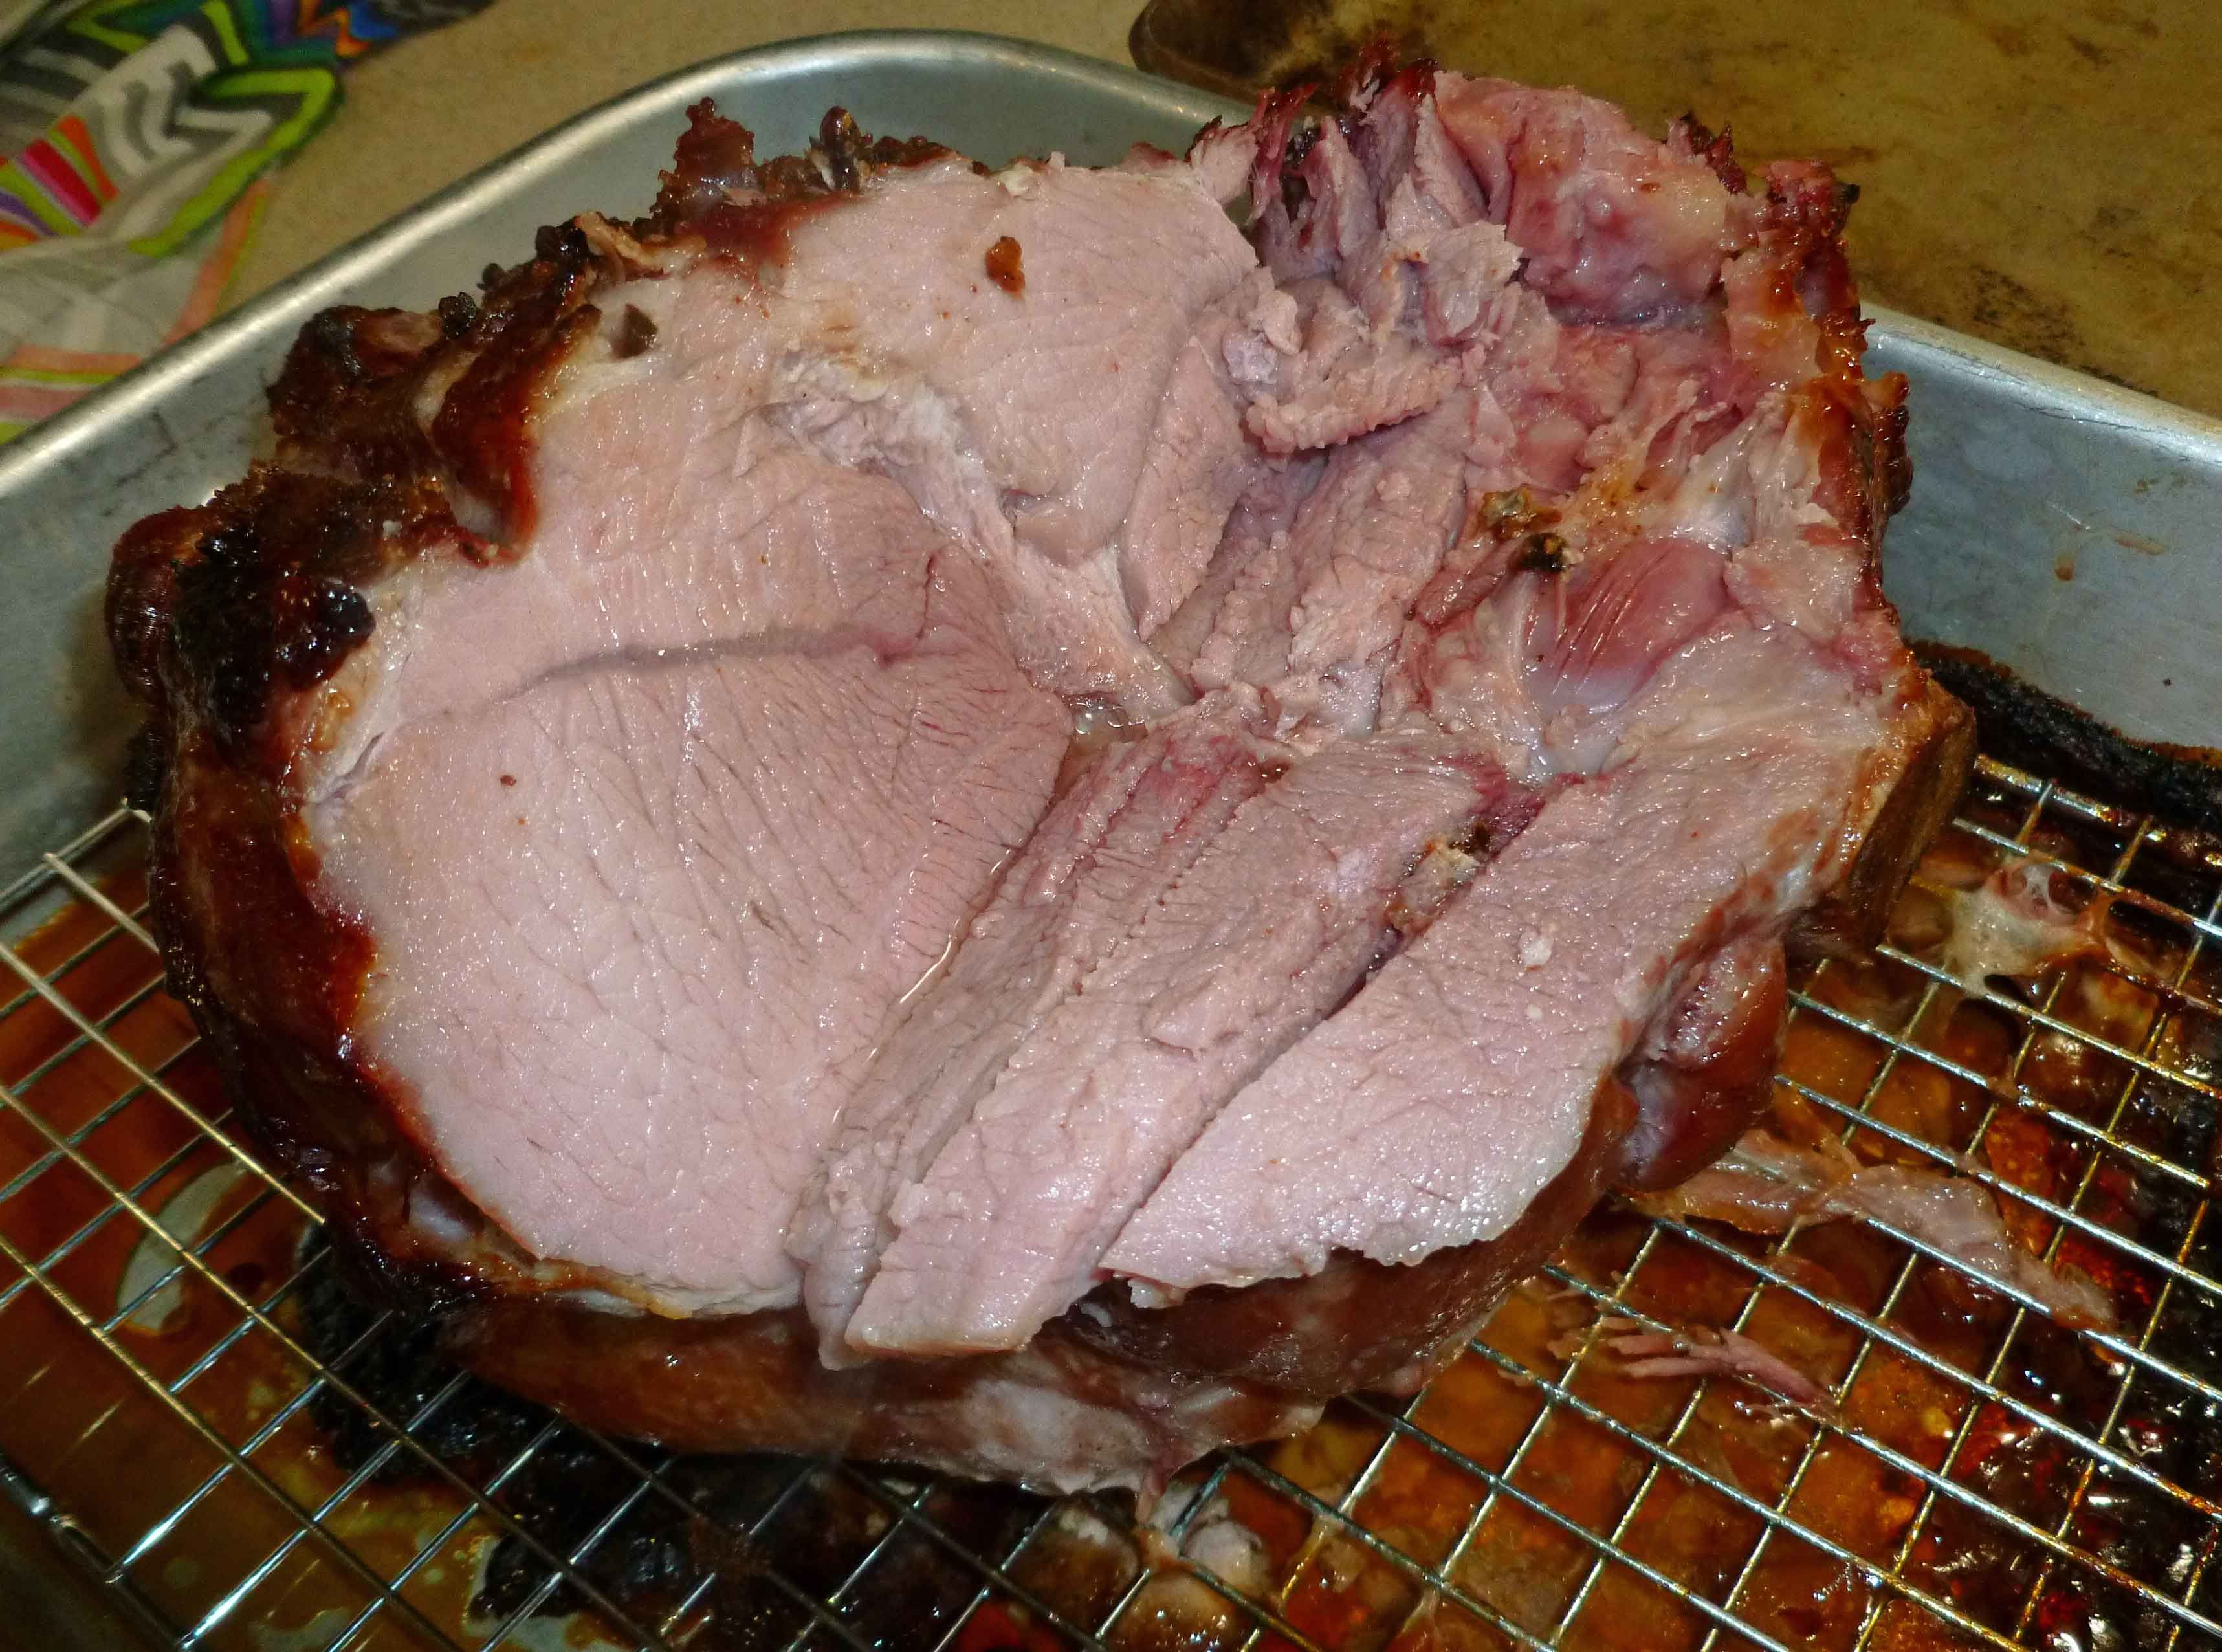
Bake at 325°F for 35-40 minutes a pound until the internal temperature is 165°F.
Cure Your Own Whole HamCure Your Own Whole Ham
Enjoy!
Notice: Trying to access array offset on value of type bool in /home/maryzahc/public_html/adultfoodallergies.com/wp-content/plugins/wp-ultimate-recipe/helpers/models/recipe.php on line 254
DIY Curing Salt #1
Print Recipe
Make Curing Salt #1, or Prague Mix #1, or Instacure #1, without dextrose which is corn derived, so that you can cure your own safe meat.
To make Curing Salt #1, or Prague Mix #1, or Instacure #1, you need a scale, with a digital readout going out two places. You need to be absolutely precise. To make 4 ounces of Curing Salt #1, you need to weigh out 0.25 ounces of sodium nitrite making sure you tare out or zero out your container, and 3.68 ounces of fine sea salt. Mix these together well, and store in a container that’s very clearly marked so that there is no confusion as to what it is. Do not ask for cups or teaspoon equivalents because I will not do it. This needs to be mixed as exactly as described, you cannot wing it or approximate. I cannot emphasize this enough, the proportions must be exactly as described here to be safe.
Notice: Trying to access array offset on value of type bool in /home/maryzahc/public_html/adultfoodallergies.com/wp-content/plugins/wp-ultimate-recipe/helpers/models/recipe.php on line 254
1 1/8cupskosher or sea salt(1/8 cup is 2 Tablespoons)
2 cupsbrown sugarpacked firmly
3tbspCuring Salt #1
1Marinade Injector
Rub Ingredients
4tbspbrown sugar
1/4tsp ground nutmeg
20 whole cloves
Servings: people
Instructions
Use a boning knife to trim the skin from the shoulder.
Mix water, salt, brown sugar and curing salt together in a container large enough to submerge your pork shoulder completely under the surface. Measure out 32 ounces of the brine into a separate container. Use your marinade injector to inject the entire 32 ounces of brine into the pork, injecting evenly across and on both sides. Make sure that you inject thoroughly around the bones if you have them, to prevent bone souring.
Submerge the pork in your large container with the brine, using a heavy plate to weigh it down if necessary. Cover the container and place in a 37°- 40°F refrigerator to cure for 4-7 days. Turn the ham over halfway through the curing process.
To cook the ham after brining, score the shoulder in a grid pattern with your knife. Mix the brown sugar and nutmeg listed in your rub ingredients together in a small bowl. Cover the surface of the ham with your rub. Then insert a clove in each scored square in the ham.
Bake at 325°F for 35-40 minutes a pound until the internal temperature is 165°F.
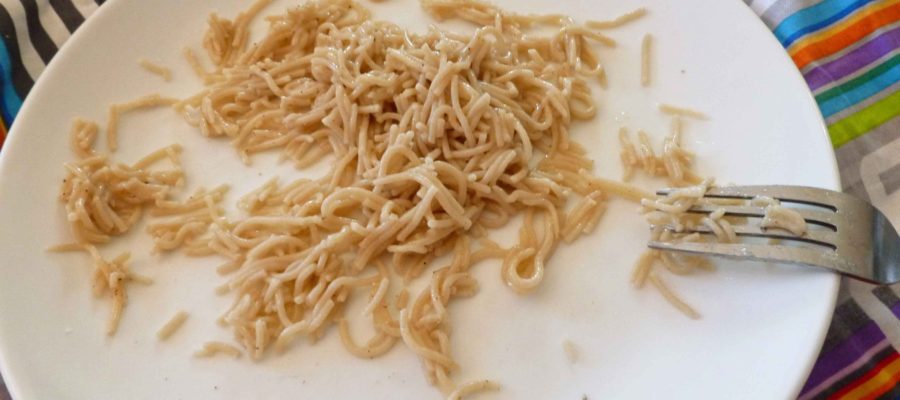
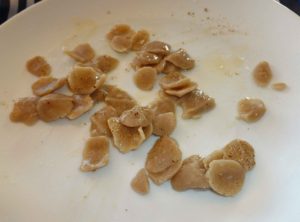
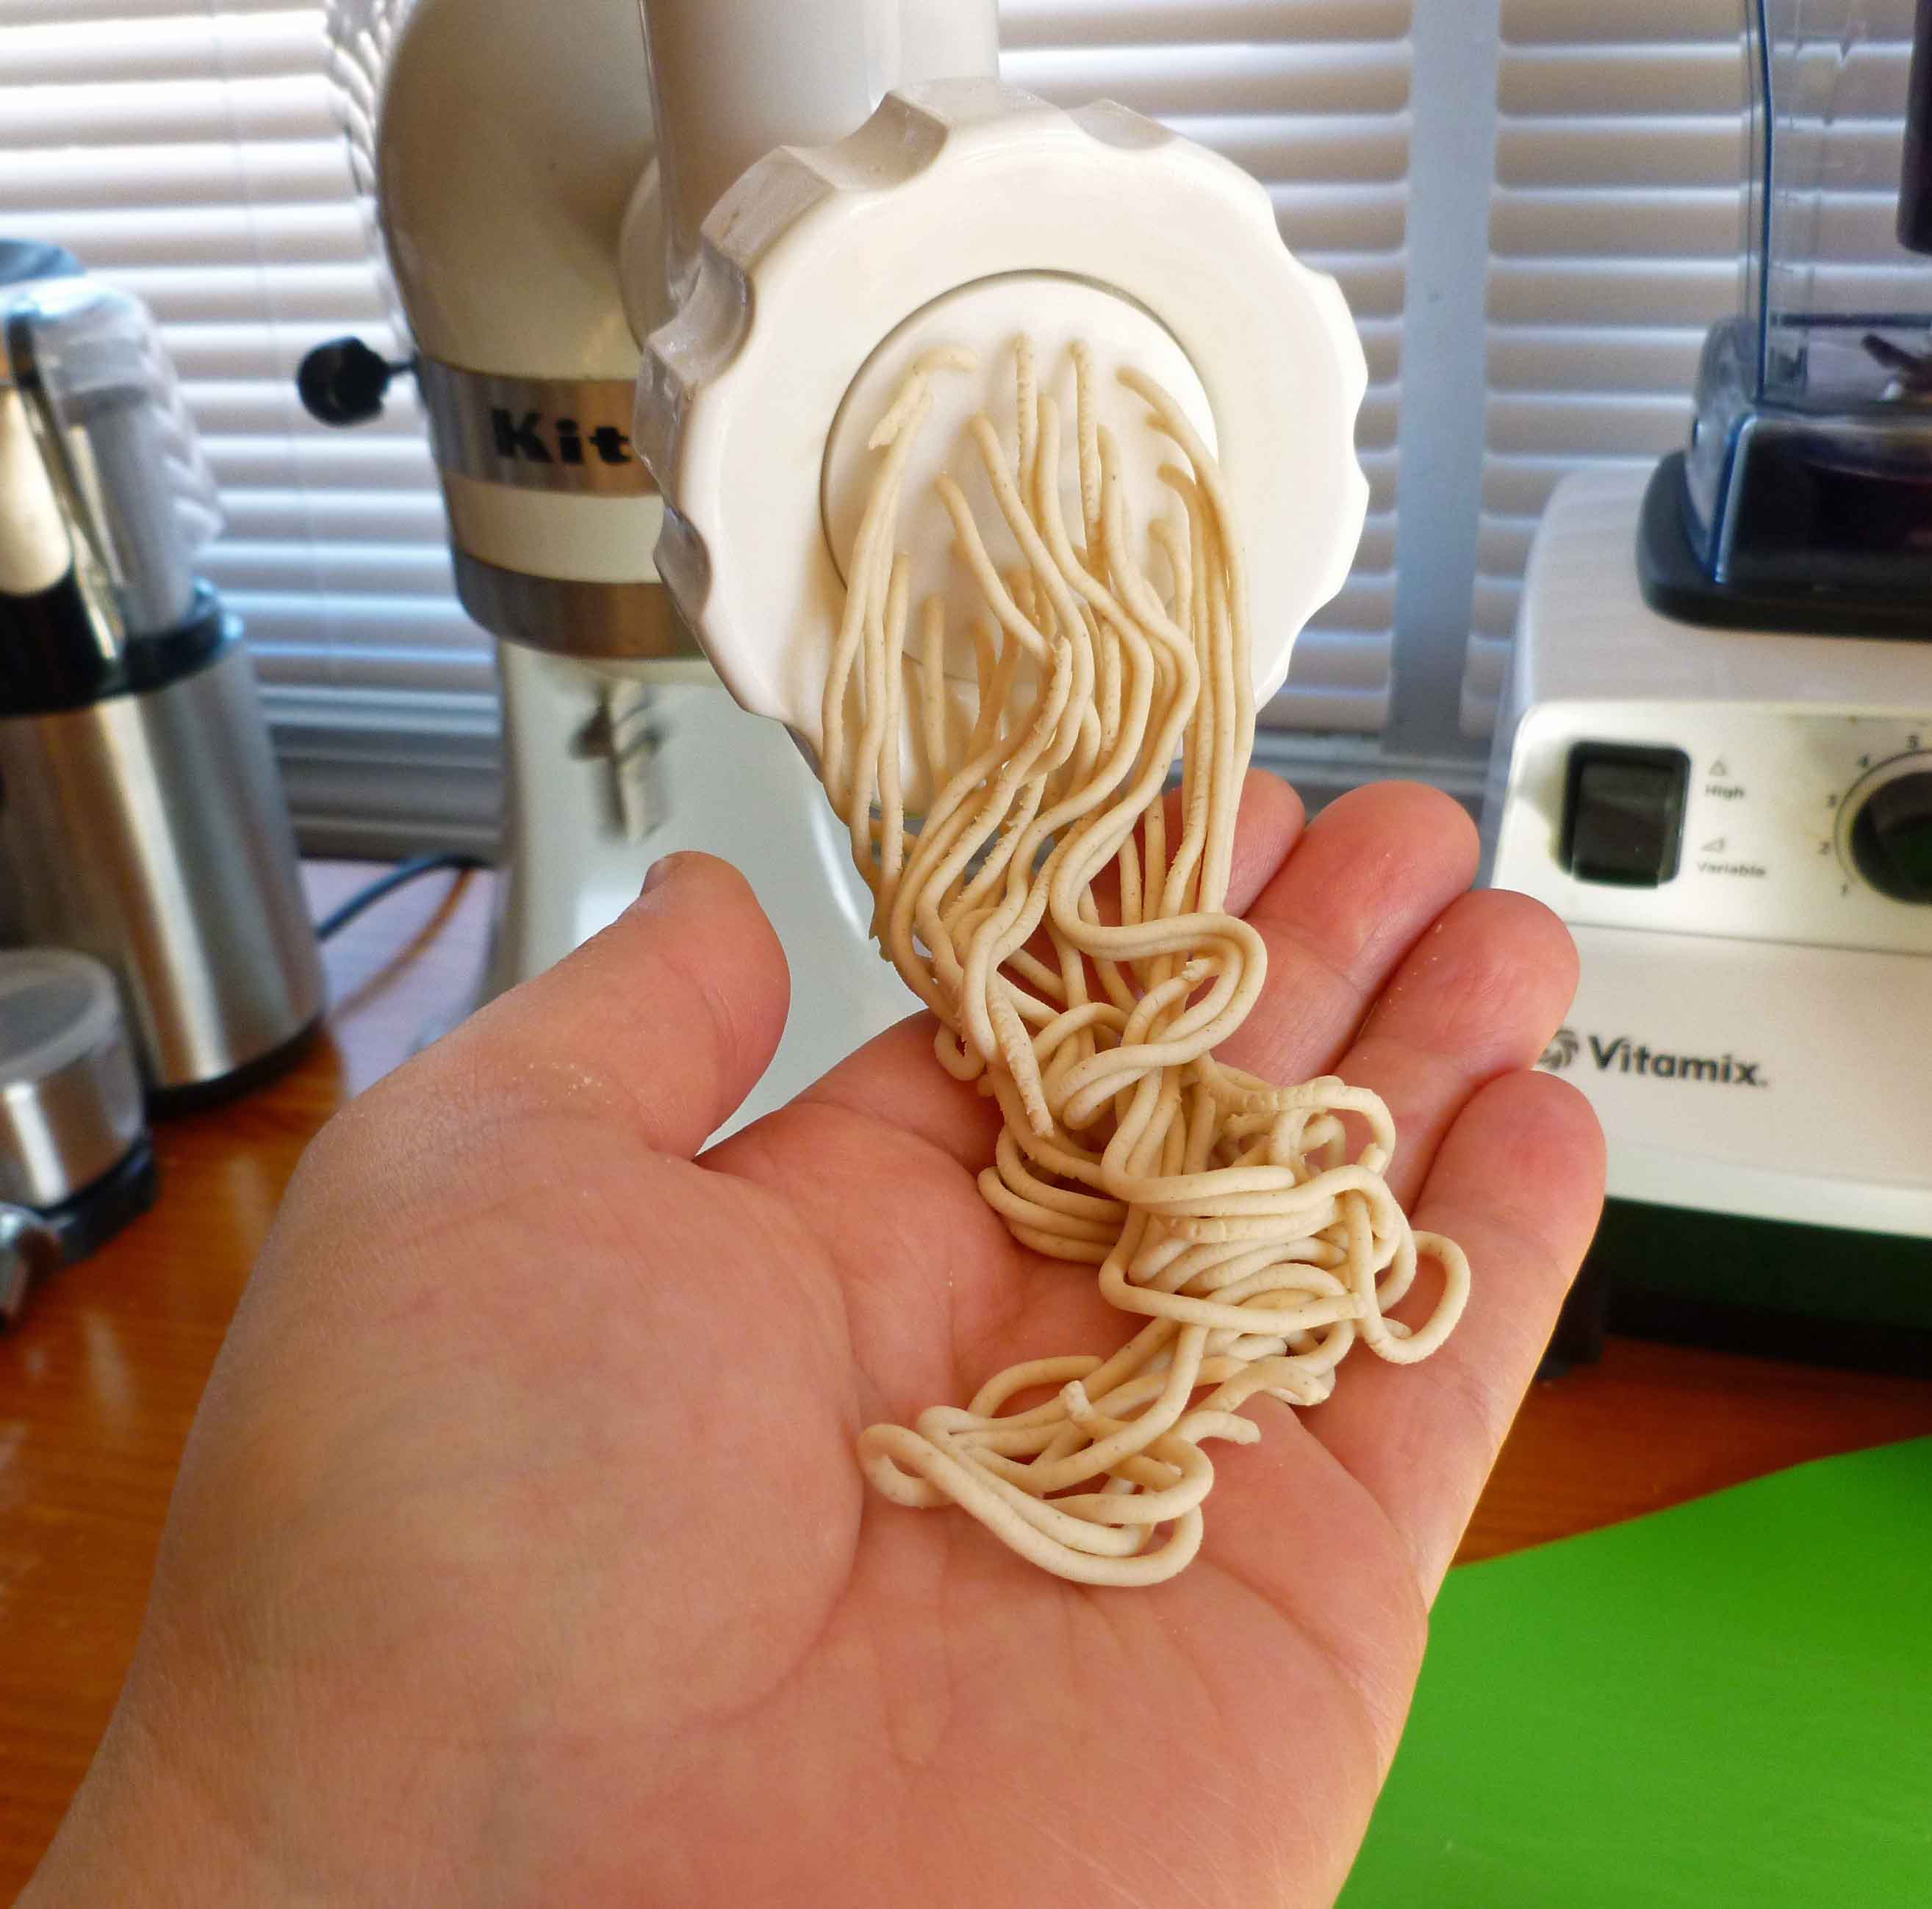
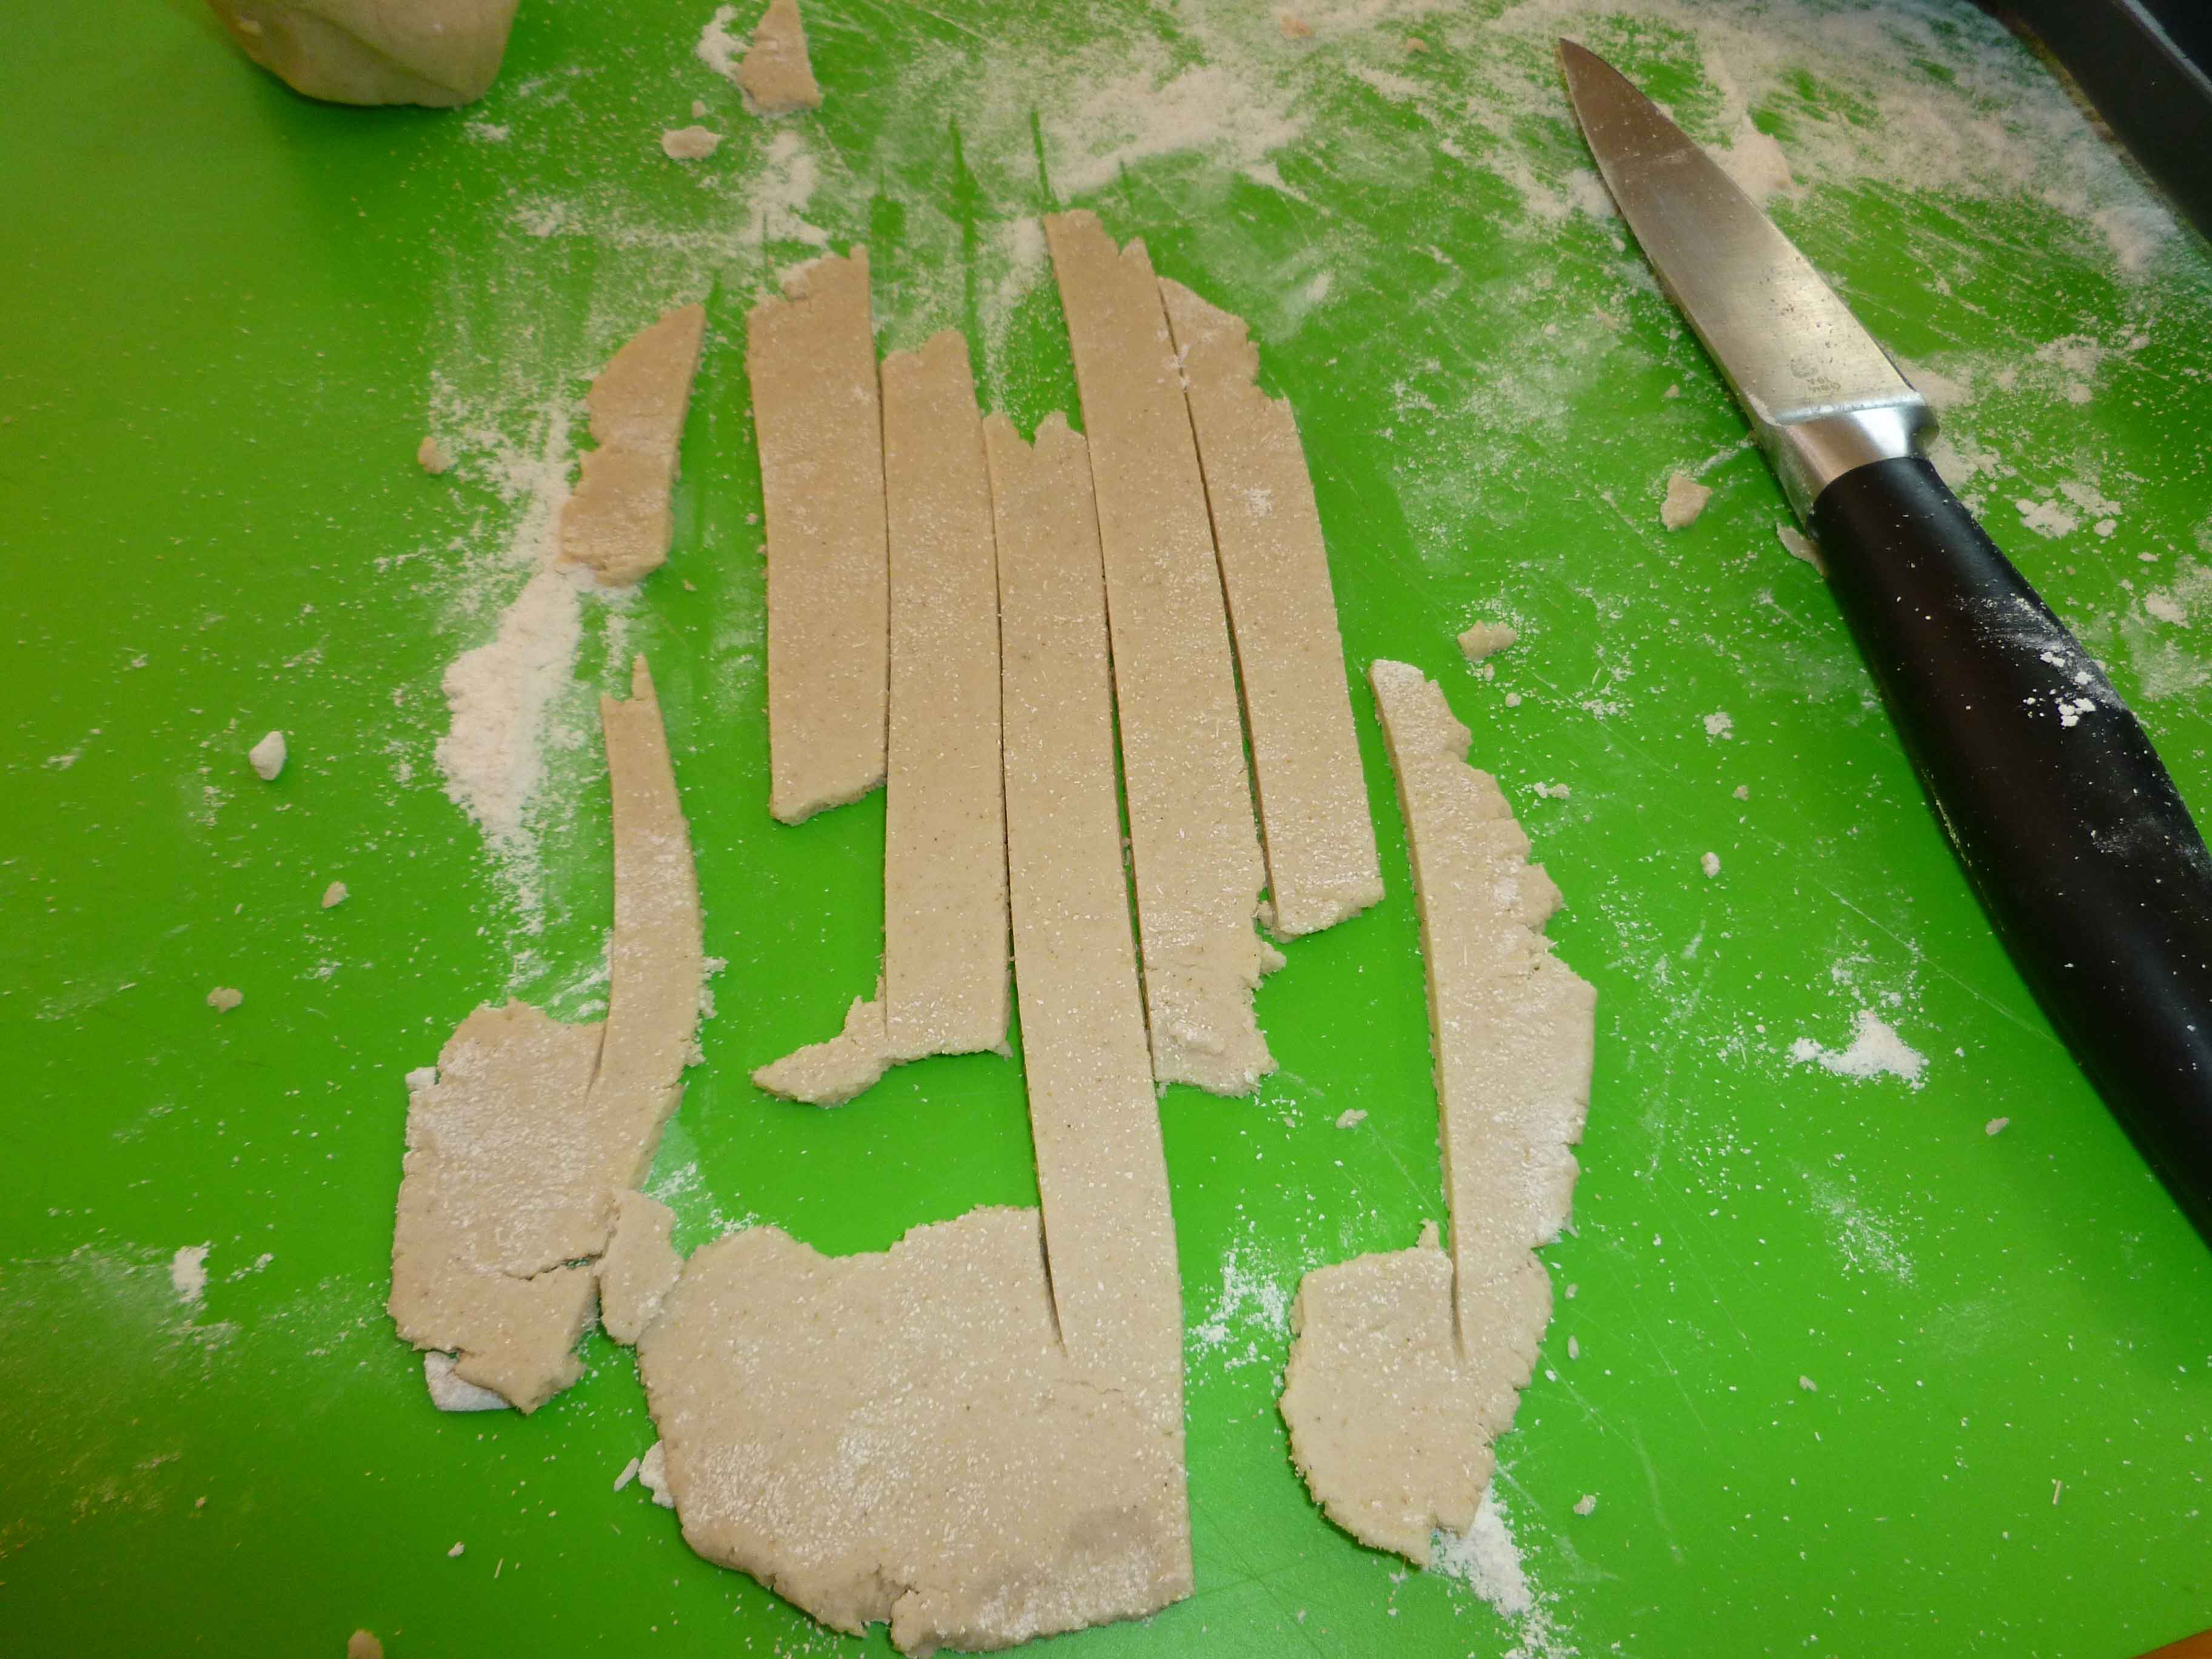
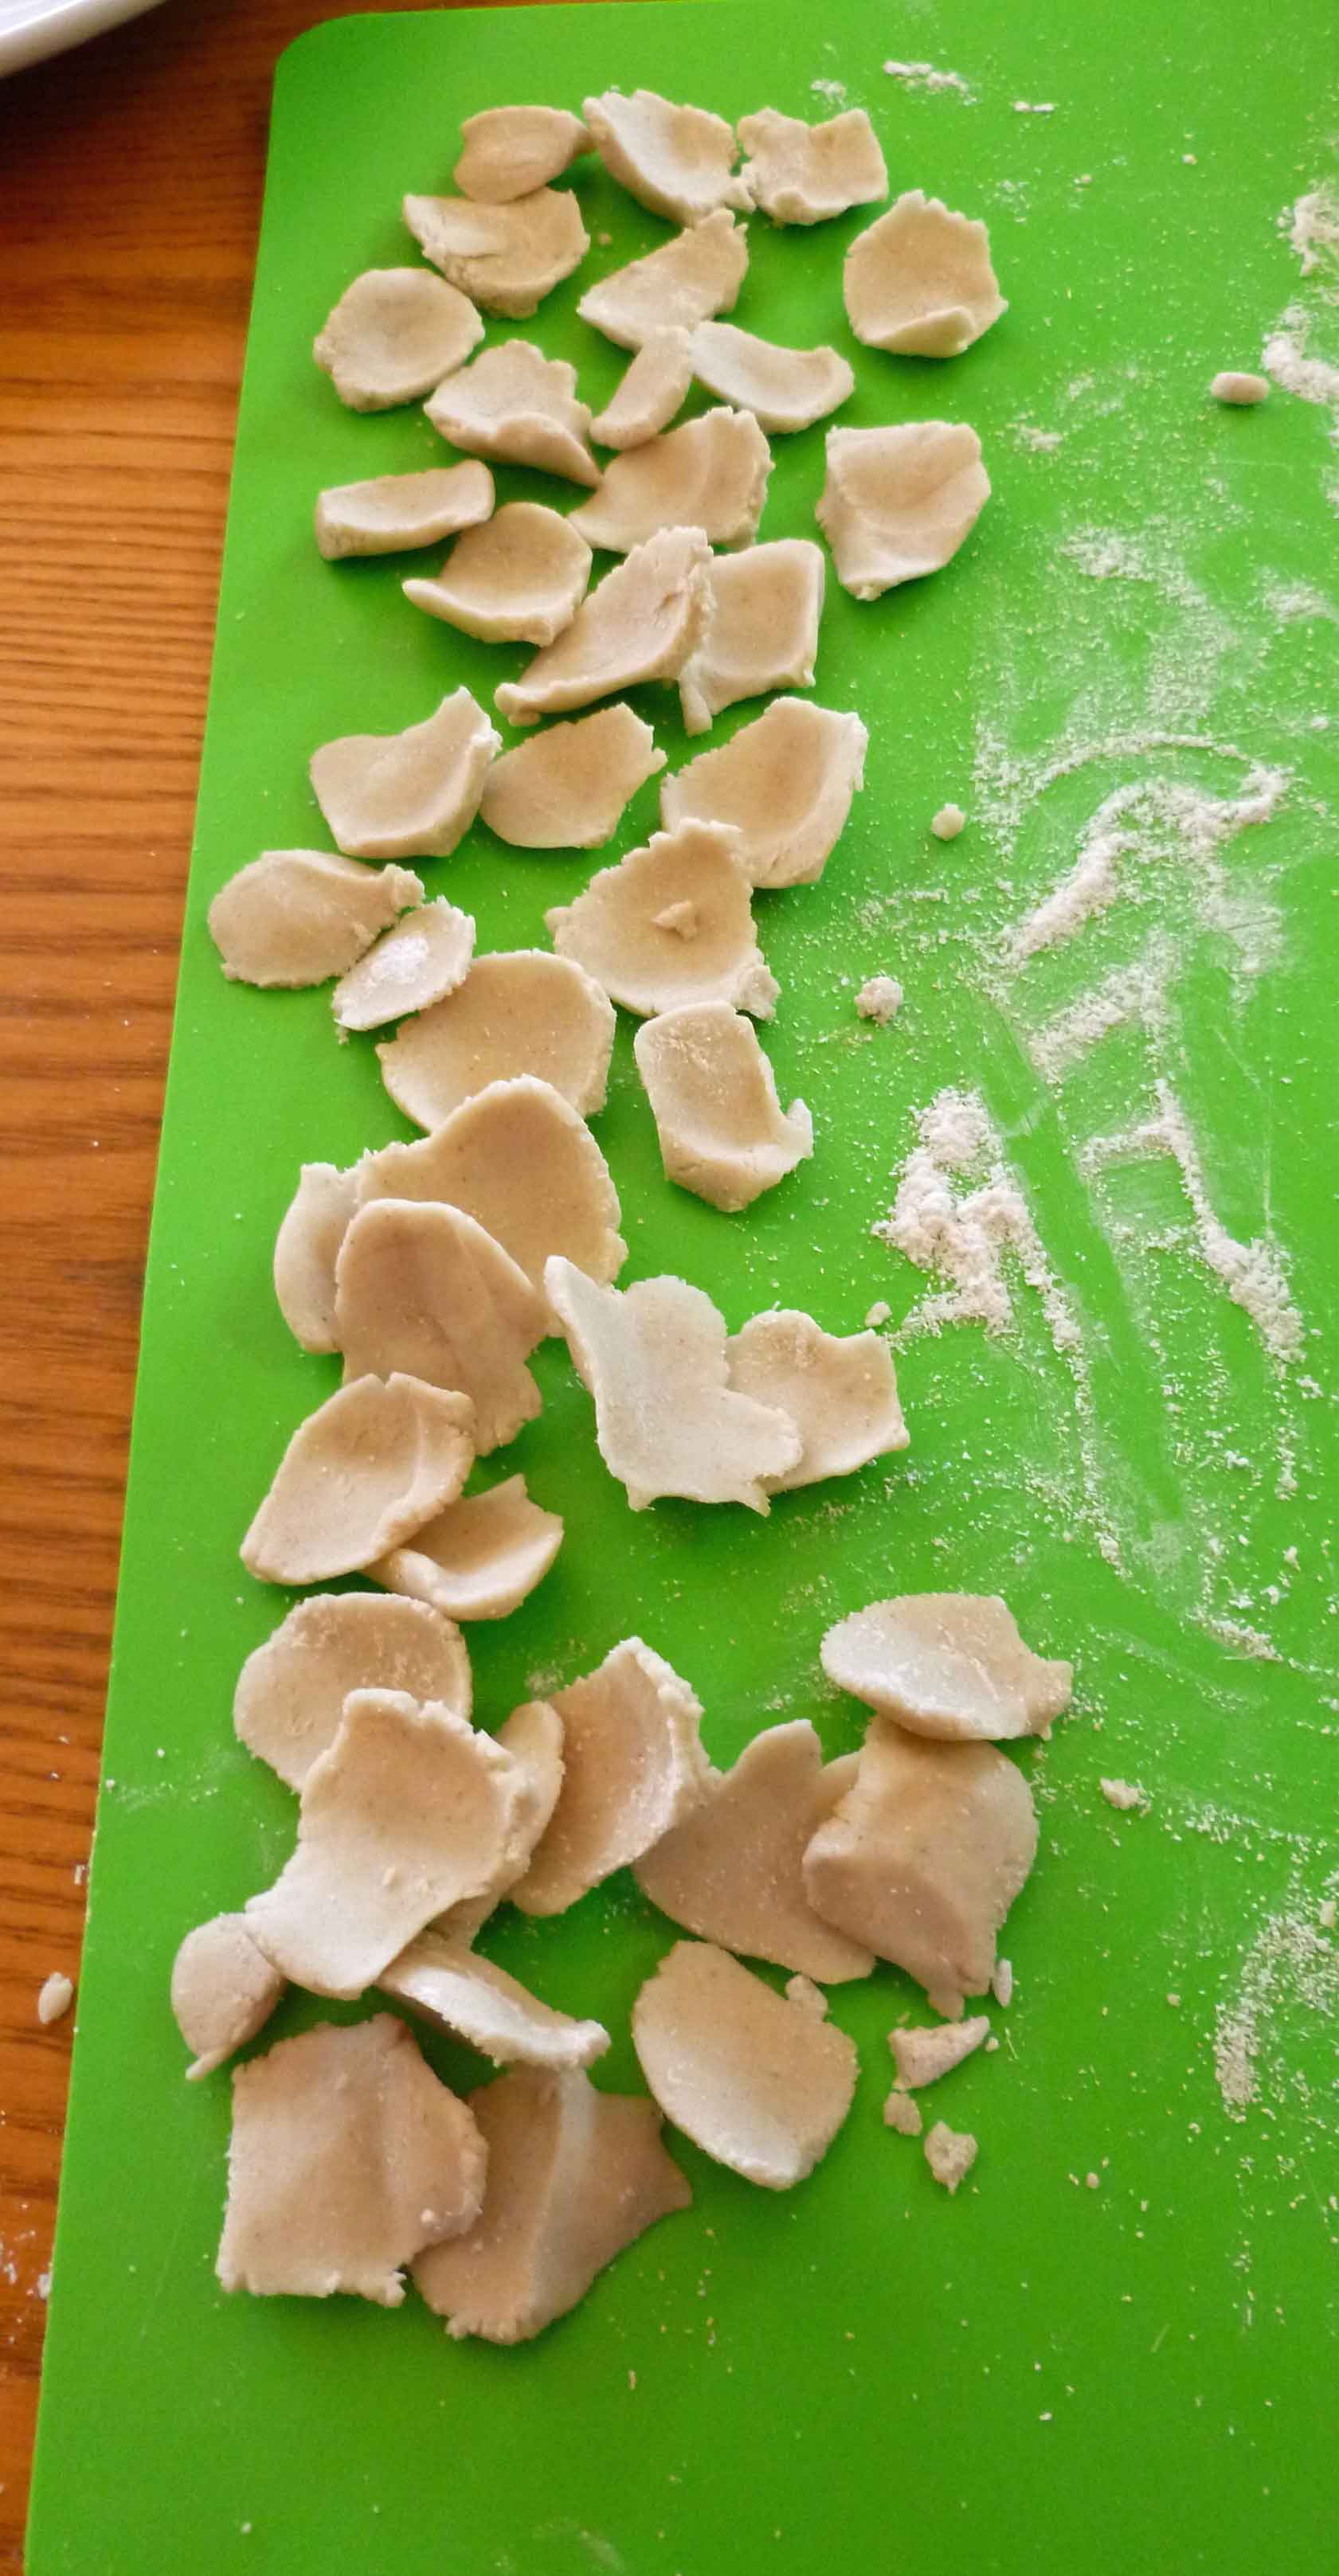
This was not an easy one, dear readers. It took nine (NINE!) attempts to get one I thought was blog worthy, and that could be done hand rolling or hand shaping the dough for those of you that aren’t crazy enough to buy every little kitchen gadget available. We made spaghetti with the KitchenAid SNPA Pasta Maker Plates for Food Grinder Attachment kit (no affiliation with Amazon) that I bought literally 20+ years ago. I’m pretty sure it isn’t being made anymore, and those that are available second hand seem to be ridiculously exorbitantly priced. We made the fettuccine by rolling the dough out with a rolling pin and cutting it with a knife, and the little shell like things, vaguely reminiscent of Orecchiette, by forming them over my thumb. But if you’re looking for new kitchen toys, the new KitchenAid Pasta Press looks cool.
I used a kitchen scale to weigh out the flours, as I found it easier to get a consistent result. I make my husband Shawn taste stuff because he still eats regular, non-allergy food so he has a more recent recollection of how stuff actually tastes, whereas I haven’t had wheat pasta in several years. As we taste tested the attempts, we tasted it cooked plain, and then dressed it with a little olive, white pepper, and salt, as we didn’t want a sauce to interfere with the taste of the pasta. And lo, the version I am about to give you is good. I may want to try making a couple of batches and dehydrating it to see if I can get a shelf stable pasta to have in a pinch. If I do, and it works, I’ll let you all know.
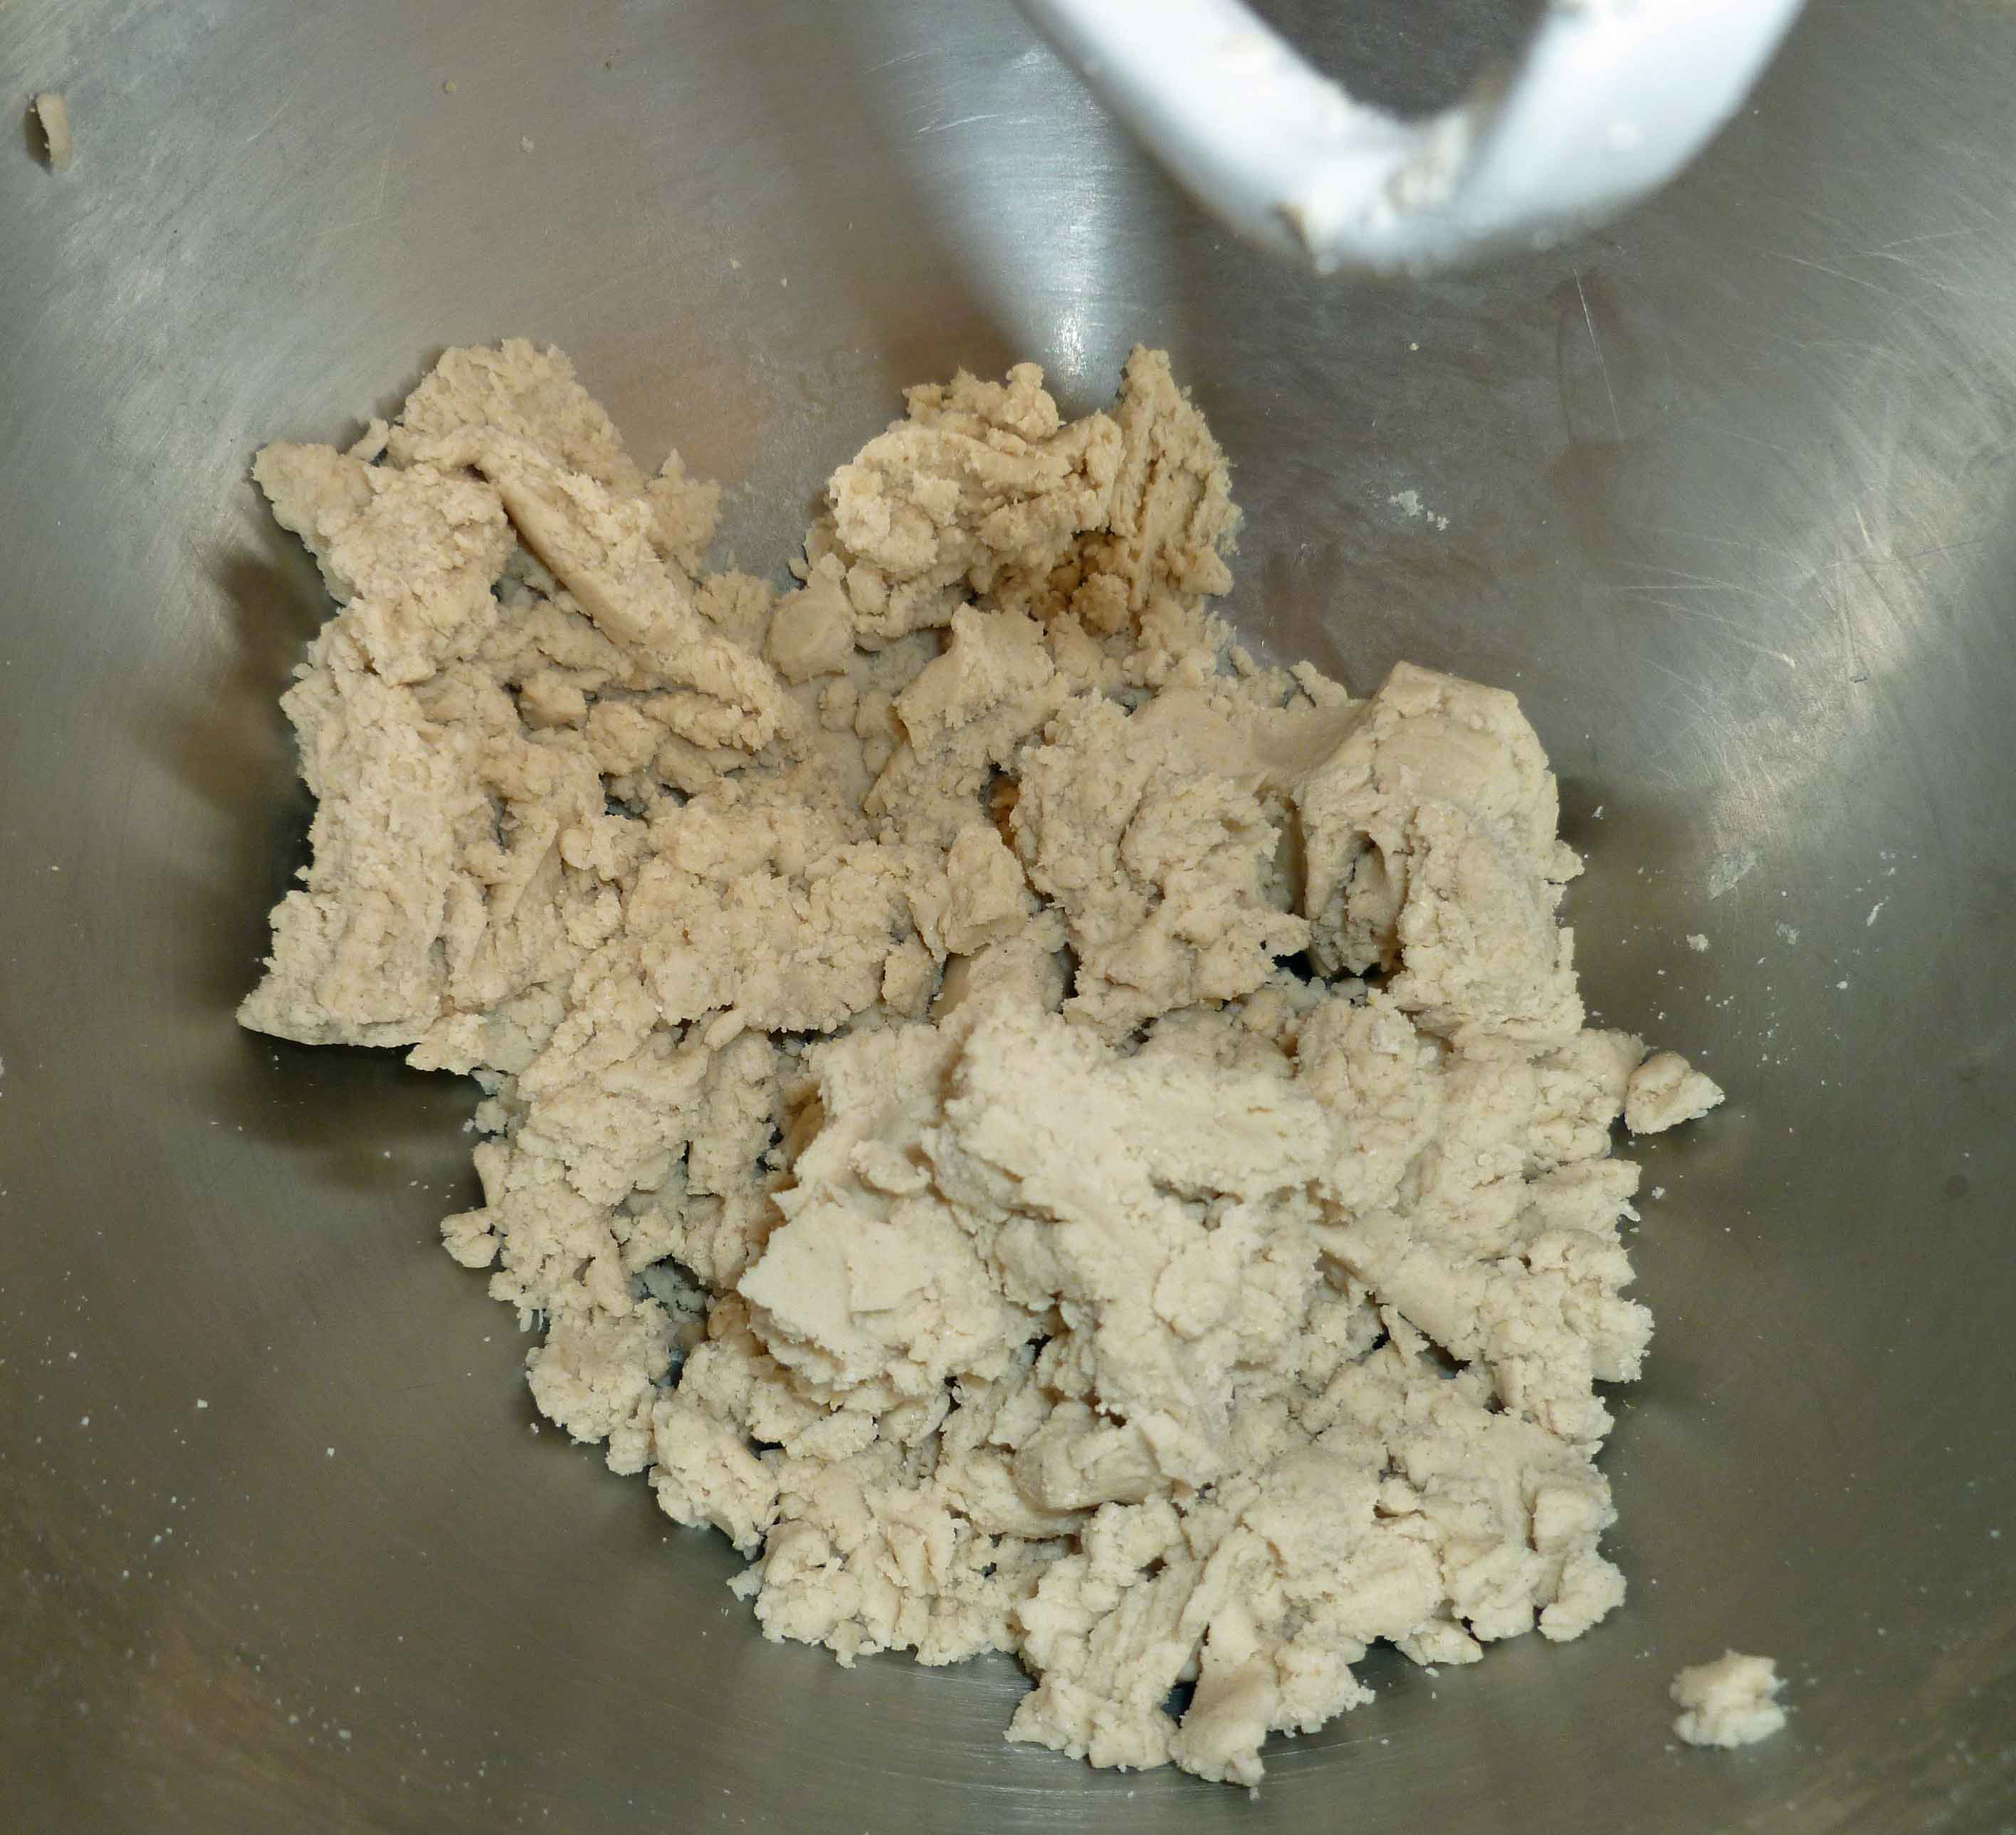
Dough when it is the right consistency to form into a ballSpaghetti being extruded from the KitchenAidSpaghetti before cookingSpaghetti after cookingHand rolling and cutting fettuccine noodlesFettuccine after cookingOrecchiette-esque pasta before cookingOrecchiette-esque pasta after cooking Notice: Trying to access array offset on value of type bool in /home/maryzahc/public_html/adultfoodallergies.com/wp-content/plugins/wp-ultimate-recipe/helpers/models/recipe.php on line 254
1tbspgrape seed or olive oil(or other safe for you oil)
3tbspwater
3tbspaquafaba(see http://aquafaba.com/)
1tspoil(for cooking water)
1tsp salt(for cooking water)
Servings: people
Instructions
Mix sorghum, brown rice flour, and cassava flour in a bowl until well combined. Make a well in the center of the flour and add the oil, water, and aquafaba. Using a stand mixer with a paddle or a fork, mix well until the dough will hold together when kneaded.
Use the dough in your pasta machine or extruder. If you don’t have any pasta machine or extruder, just roll out the dough with a rolling pin on a floured surface and cut your own noodles, or hand shape pieces of dough into various shapes. Here’s a neat site for hand shaping pasta -http://www.recipetips.com/kitchen-tips/t–793/cutting-and-shaping-pasta-by-hand.asp (Not all of them will work without gluten, but there’s some neat things to try.)
Bring a pot of water to a hard rolling boil. Add salt and oil to the pot, and add the noodles. Boil for 1-3 minutes, and drain quickly. Fresh pasta cooks very quickly. Spaghetti cooked in a minute, and the hand rolled fettucine and hand shaped shell pieces took 3 minutes.
Fish. It’s what’s for dinner. And it’s before I found my backdrops.
This is the first official recipe from the West Coast Office of Surviving the Food Allergy Apocalypse, also known as “MaryKate’s kitchen in Seattle.” Also, Jack’s kitchen, and because we’re still unpacking and he gets home from work first, he’s actually done a lot more cooking in this kitchen than I have. But we’ve unpacked most things now, and I feel like I can finally make space to work. It’s a completely different layout with way less cabinet space (less than ideal), but with a large closet that helps some with storage. We still have more stuff than space.
Seattle has been great so far. We’ve got all new grocery stores to explore, lots of seafood options, new produce (and a shocking lack of hash brown patties without wheat in them. I had no idea I was so spoiled in New Hampshire on that front). And new places to eat — more on that later.
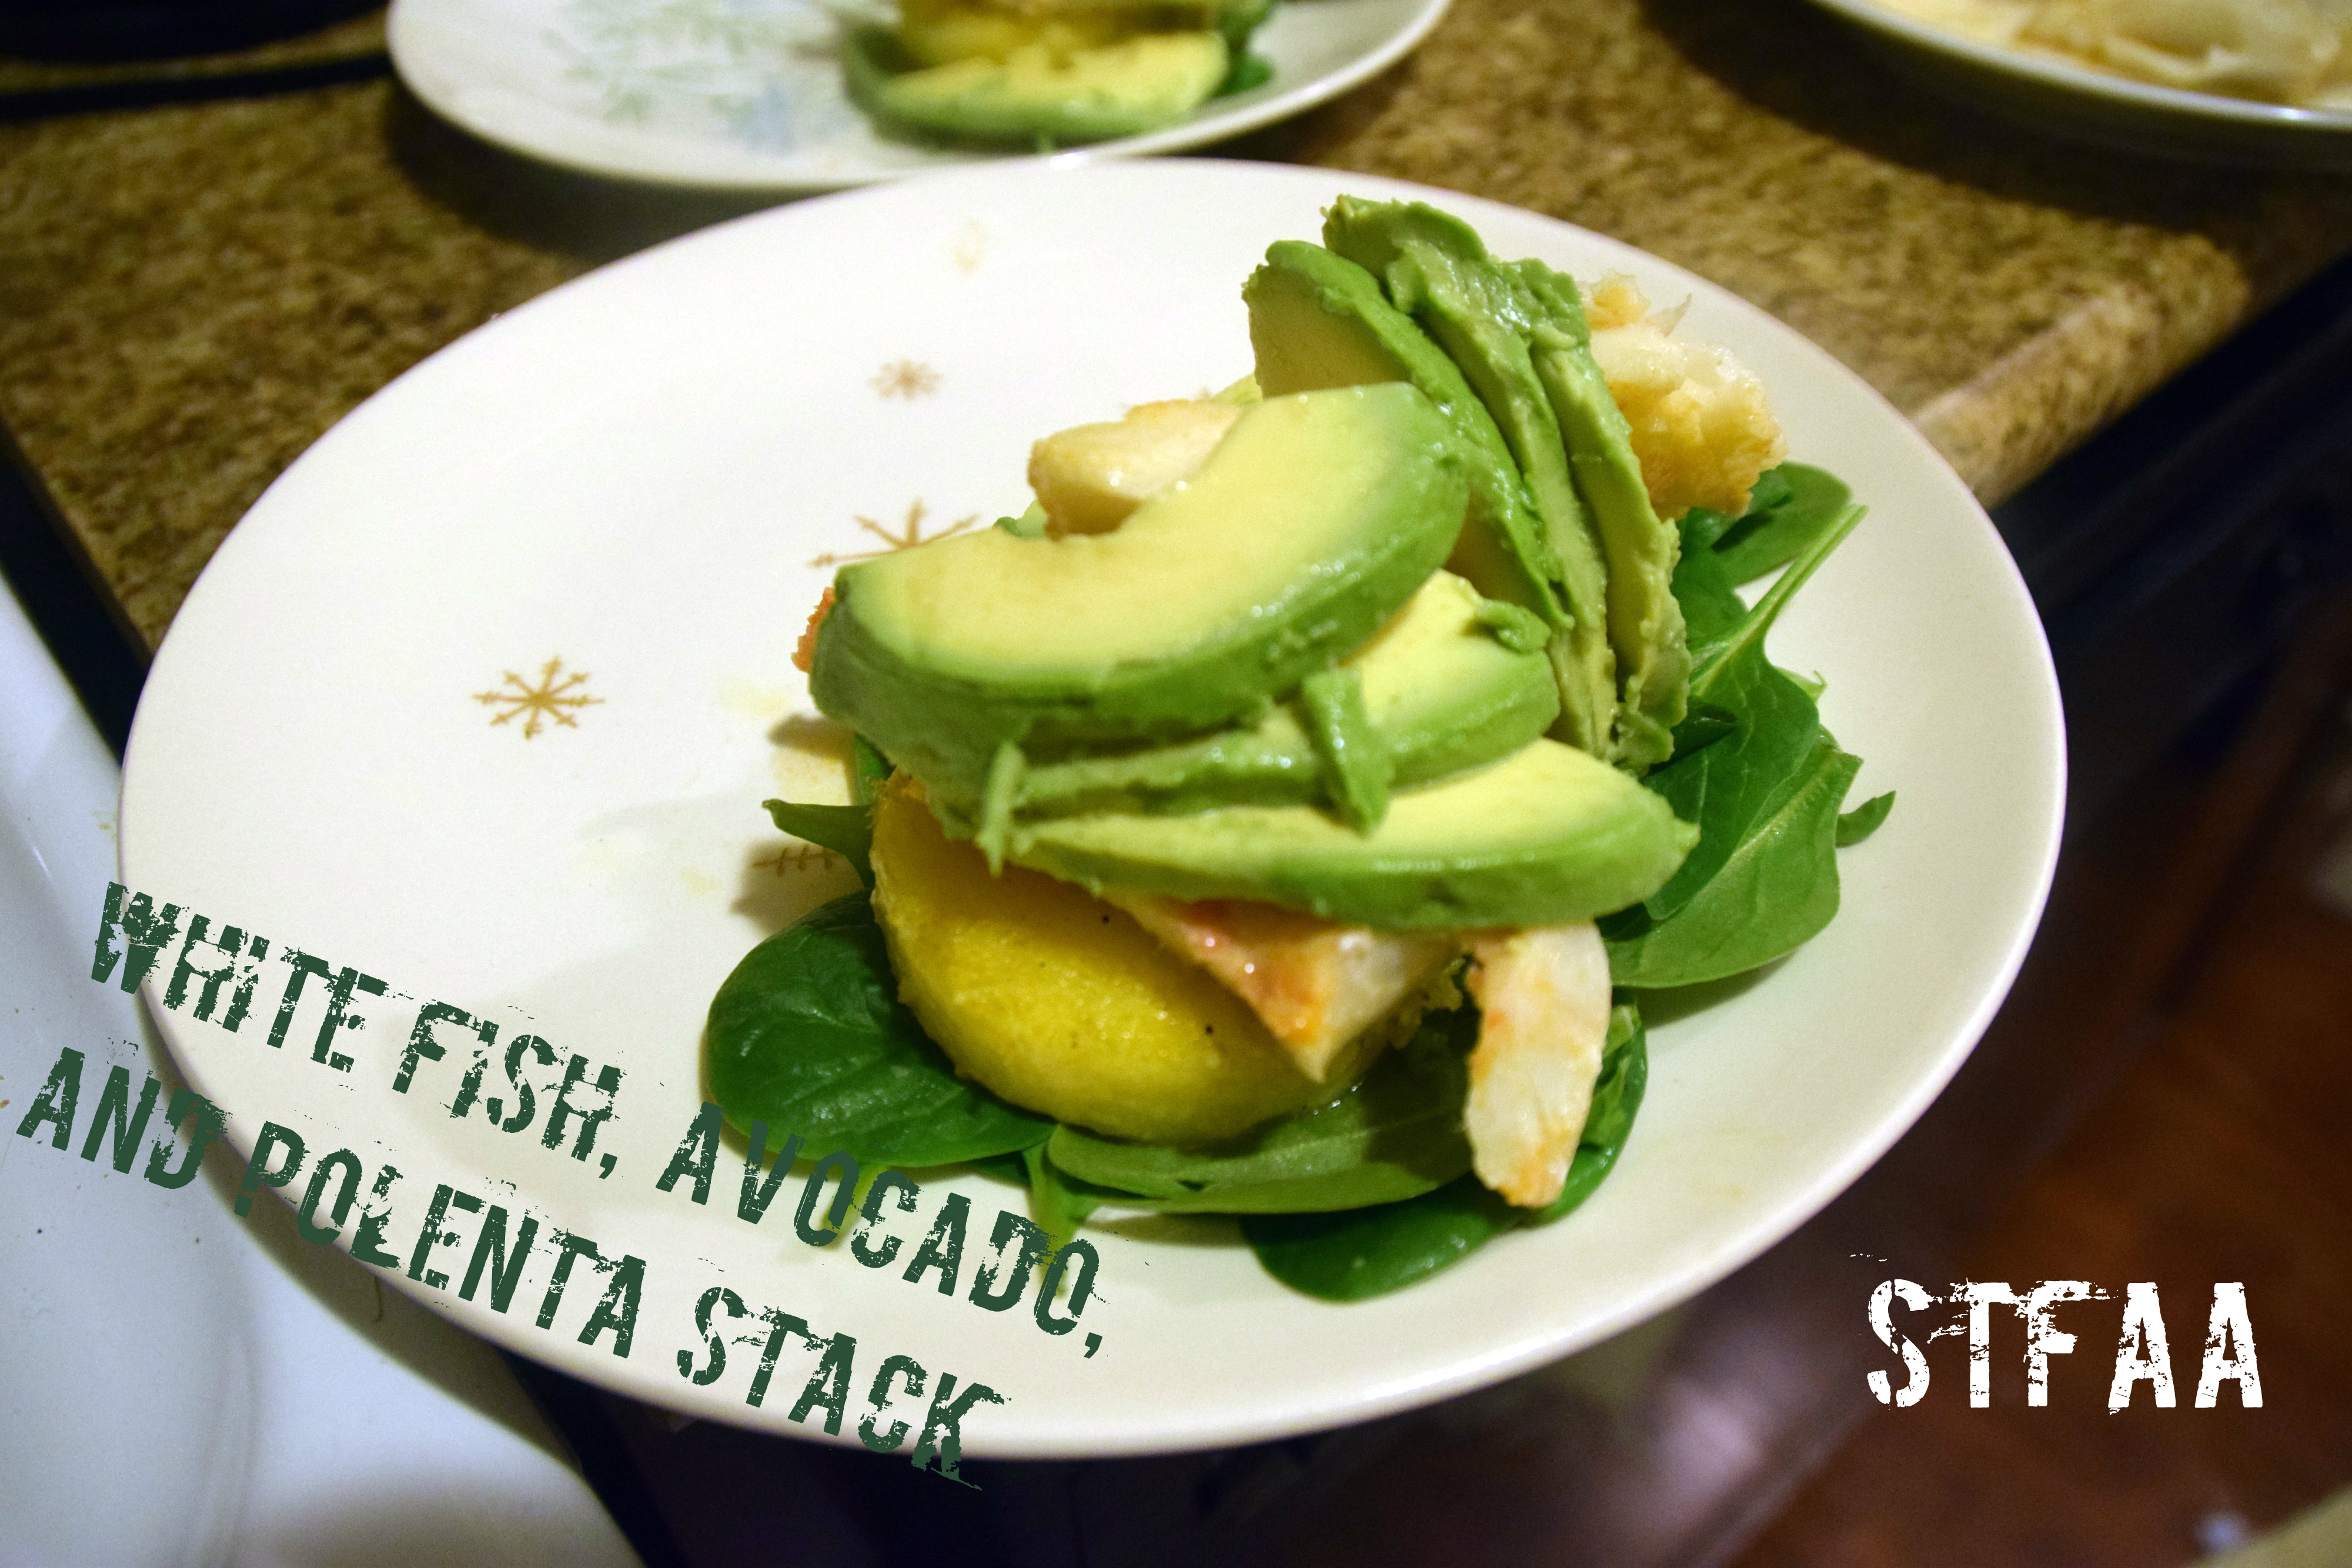
So we’re in a new city, in new jobs, with new commute patterns. My days are actually longer, as my commute has increased four-fold — and I still can’t complain. In NH, I drove about 7 minutes across town. Now I take a bus about 30 minutes, with about a mile of walking total to and from bus stops. The hill TO the bus stop is… challenging. And an hour is a lot more time commuting. So quick dinners are an absolute necessity, but I’m not eating boring food. For this dinner, I’ve paired spicy poached fish with crispy polenta and creamy avocado for an utterly satisfying meal.
Okay, I’ve called this a “stack,” but as you can see, it was really more of a pile. I envisioned a stack, but my plating skills, despite years of Top Chef watching, leave much to be desired. This is a really quick but impressive dinner that can take advantage of whatever fish and hot sauce you might have on hand. Poaching fish allows me to add a lot of subtle flavor with less danger of overcooking the fish than when I bake it — it’s right there, and I can watch it.
If you’re allergic to fish: I’m sorry! This is not your recipe. Neither Denise nor I are allergic to fish, so we do eat it. It’s one of the things I’m enjoying most about west coast living so far.
If you’re allergic to corn: This we can work with! But, as you know, being corn-allergic, it won’t be as convenient. Make a millet polenta (which is the basis for my Millet and Blueberry Breakfast polenta) and then crispy up cakes of this just as you would the tube of corn polenta. Sorry for the extra steps, but I know you’re used to it. Alternatively, consider serving the fish over a salad.
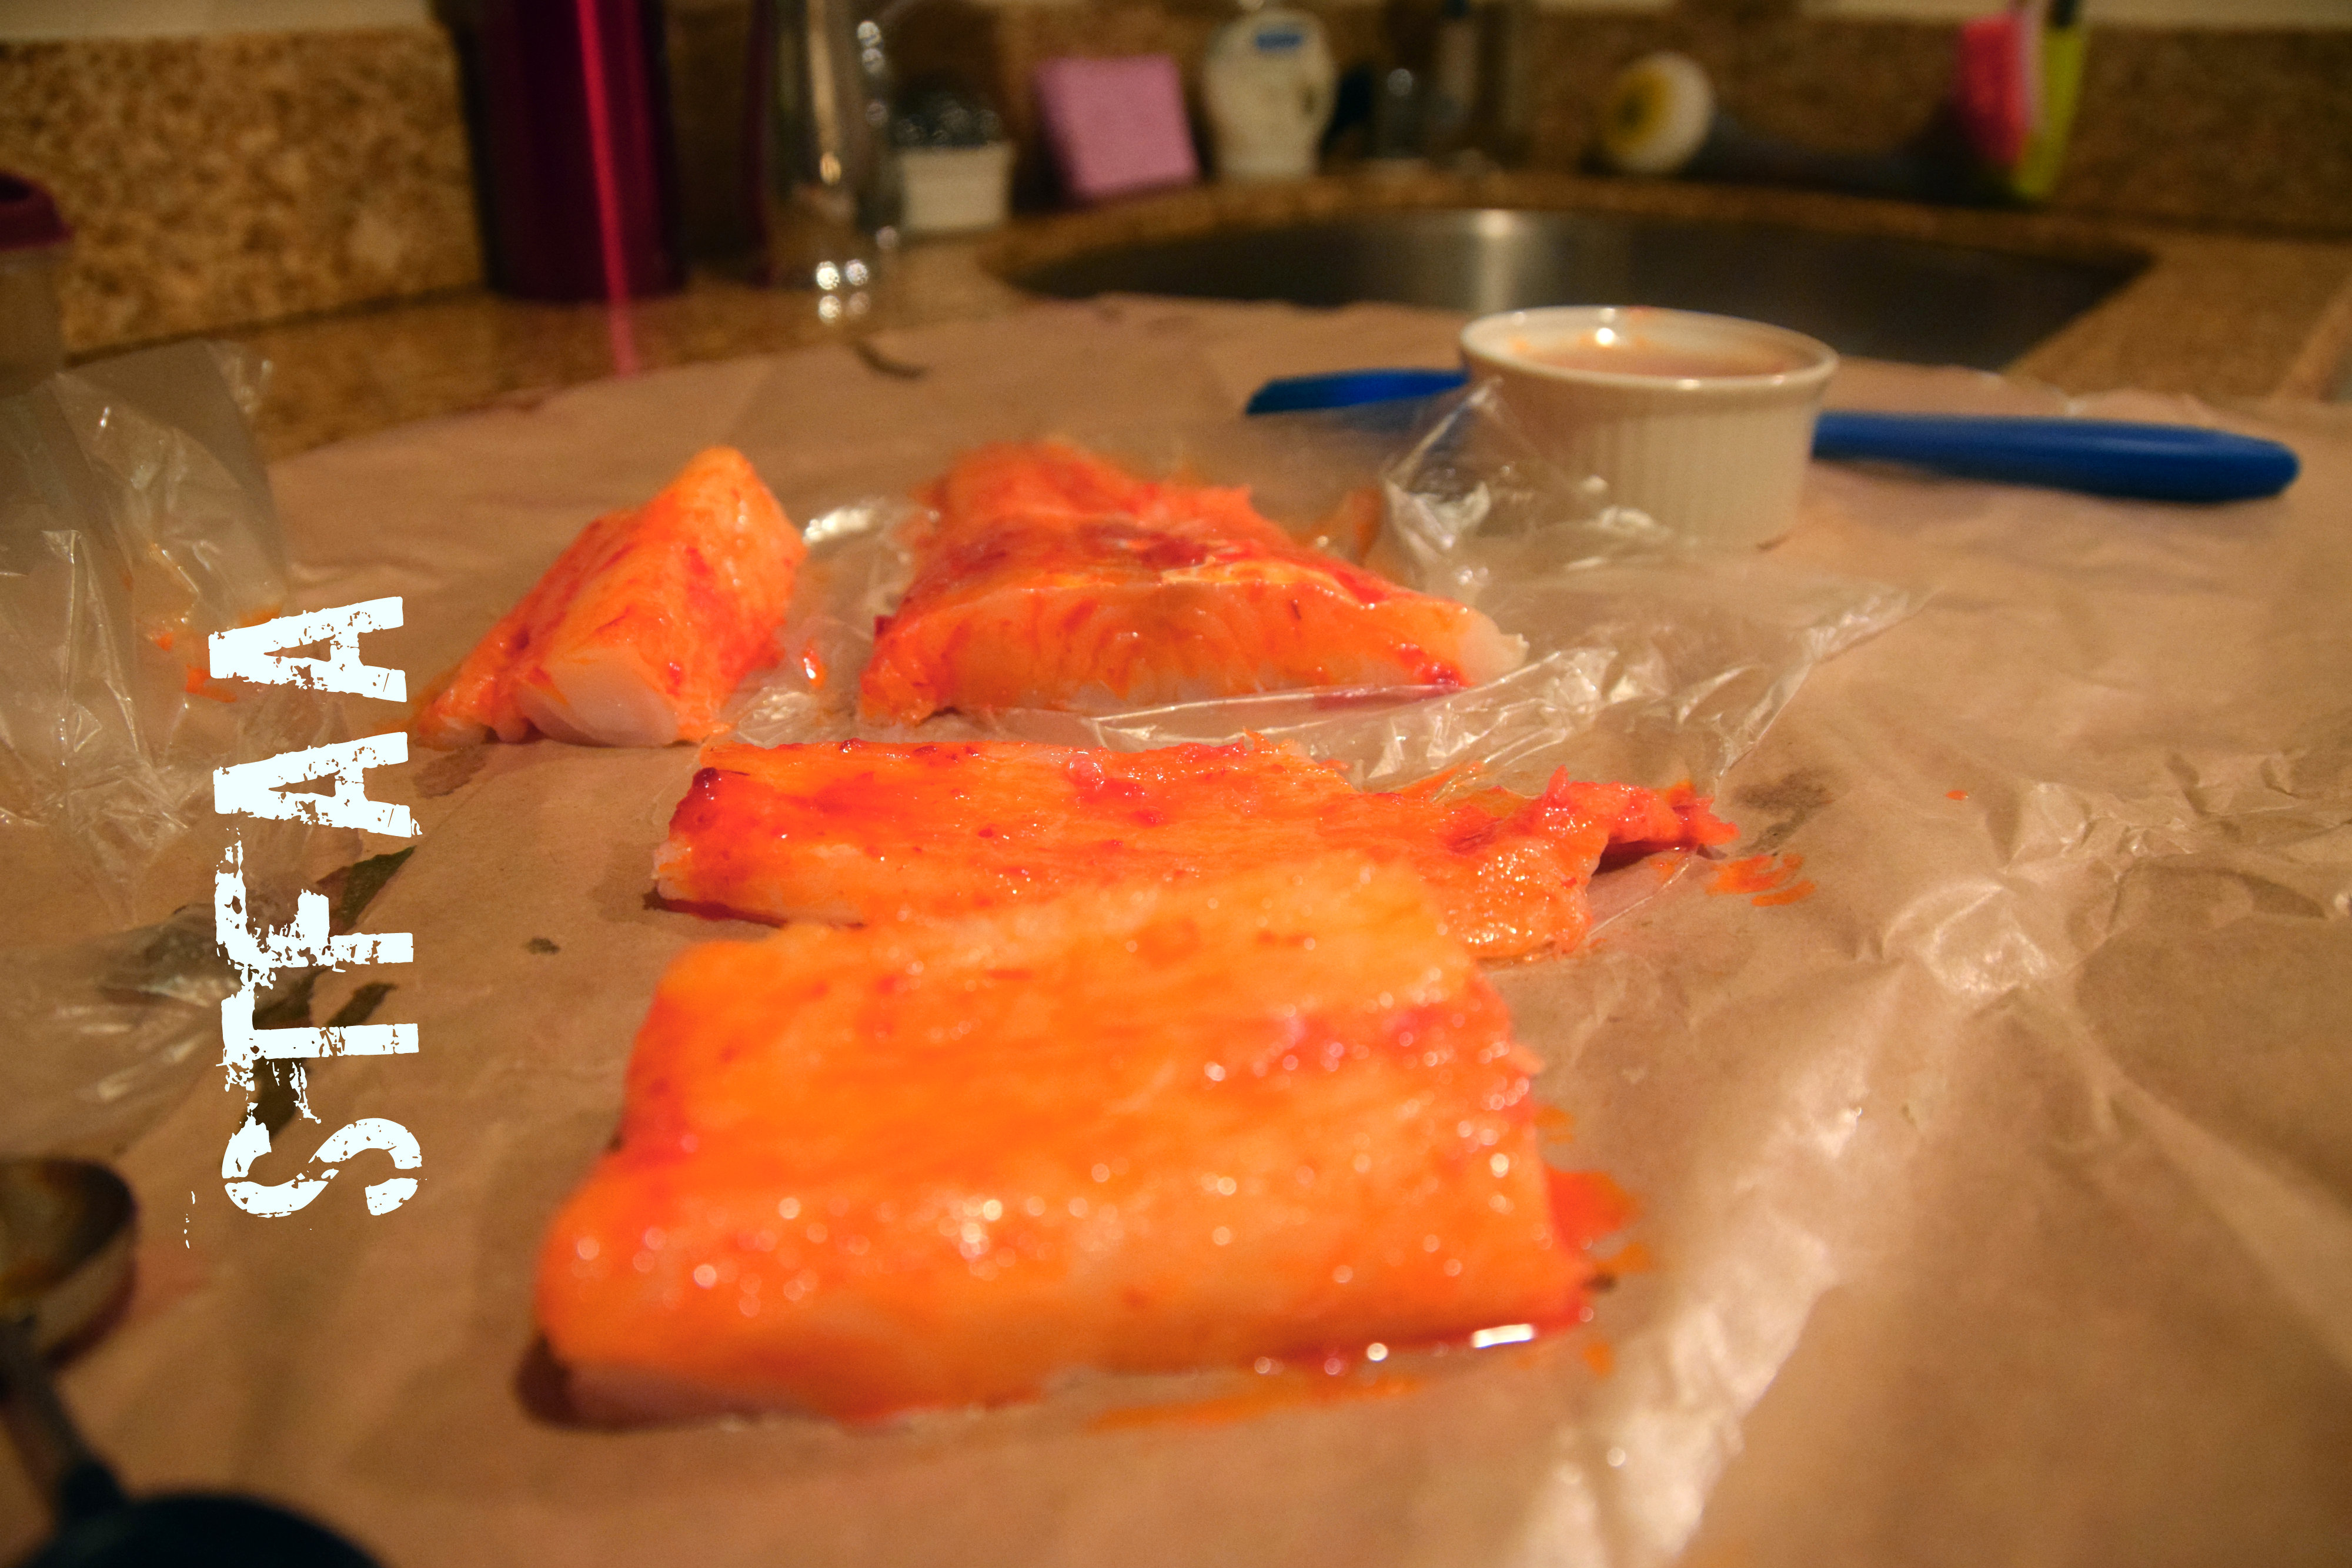
Also feel free to adjust the ratios of hot sauce to olive oil on the fish, and the wine to stock in the poaching liquid. Use all hot sauce if you’re Denise! Use no wine if you don’t like it or don’t want to buy it. It will be fine. I’ve used a harissa in this version, because I think harissa is flavorful along with being spicy.
Cod brushed with harissa Notice: Trying to access array offset on value of type bool in /home/maryzahc/public_html/adultfoodallergies.com/wp-content/plugins/wp-ultimate-recipe/helpers/models/recipe.php on line 254
White Fish, Avocado, and Polenta Stacks
Print Recipe
A quick and relatively easy but quite tasty weeknight dinner
1/2cupstock or brothveggie or chicken, your choice
3/4cupwhite wine
1poundwhite fishI used cod
2teaspoonshot sauce or chili pasteI used harissa
1-2teaspoonsolive oil(no, this is a separate 2 t)
2wholeavocados
1fresh lemon
1pinch salt, for each avocado half
4handsfulsalad greens of your choicebut argula and spinach would be my top choices
Servings: people
Instructions
In a heavy skillet, heat about 2 teaspoons of olive oil over medium to medium-high heat. You want to crisp the polenta, not burn it, and you know your stove (and attention span) better than I do. If you really don’t like using fat, you can just use the barest amount necessary to coat the pan, but polenta crisps up better with a little extra oil.
Slice the polenta, and when the oil is hot, place the slices in a single layer in the skillet.
Meanwhile, prepare the fish poaching liquid by adding the celery salt, cilantro, wine, and stock to another skillet, over medium heat.
Cut the fish into serving-sized portions (so more or less match your polenta size).
Mix your hot sauce and olive oil and brush on the fish. If you like it hot, use less olive oil. If you like it mild, I wouldn’t go less than a 1:1 ratio of oli to sauce or you lose the flavor entirely. I think you likely don’t want an actual thin hot sauce like Tabasco here, but anything as thick as ketchup should work.
When the poaching liquid is boiling, add the fish. Watch it. When it starts to turn opaque, flip it. This is my favorite way to cook fish because it is easier to watch what I’m doing and see when the fish is done.
Flip the polenta cakes and crisp on the other side.
Halve and slice the avocados. Squeeze lemon over each set of slices, and give each a pinch of salt. Save some lemon wedges for serving.
Plate up. I stacked the polenta on top of the greens, with the fish and then the avocado on top. And it was good.
Recipe Notes
Again, feel free to adjust your ratios:
To make it spicier, use more chili paste/hot sauce and less olive oil. And vice versa. If you don’t want to use wine, use all broth.