Notice: Function _load_textdomain_just_in_time was called incorrectly. Translation loading for the wp-ultimate-recipe domain was triggered too early. This is usually an indicator for some code in the plugin or theme running too early. Translations should be loaded at the init action or later. Please see Debugging in WordPress for more information. (This message was added in version 6.7.0.) in /home/maryzahc/public_html/adultfoodallergies.com/wp-includes/functions.php on line 6121
Desserts – Page 3 – surviving the food allergy apocalypse (archive)

Category: Desserts

Dessert /dɪˈzɜːt/, noun: the sweet, usually last course of a meal. These recipes will not contain dairy, eggs, gluten, wheat or hazelnuts. If we use a top 8 allergen, we will use a tag warning of its use.

  • Mary Kate’s Perfect Gluten-Free Vegan Chocolate Chip Cookies

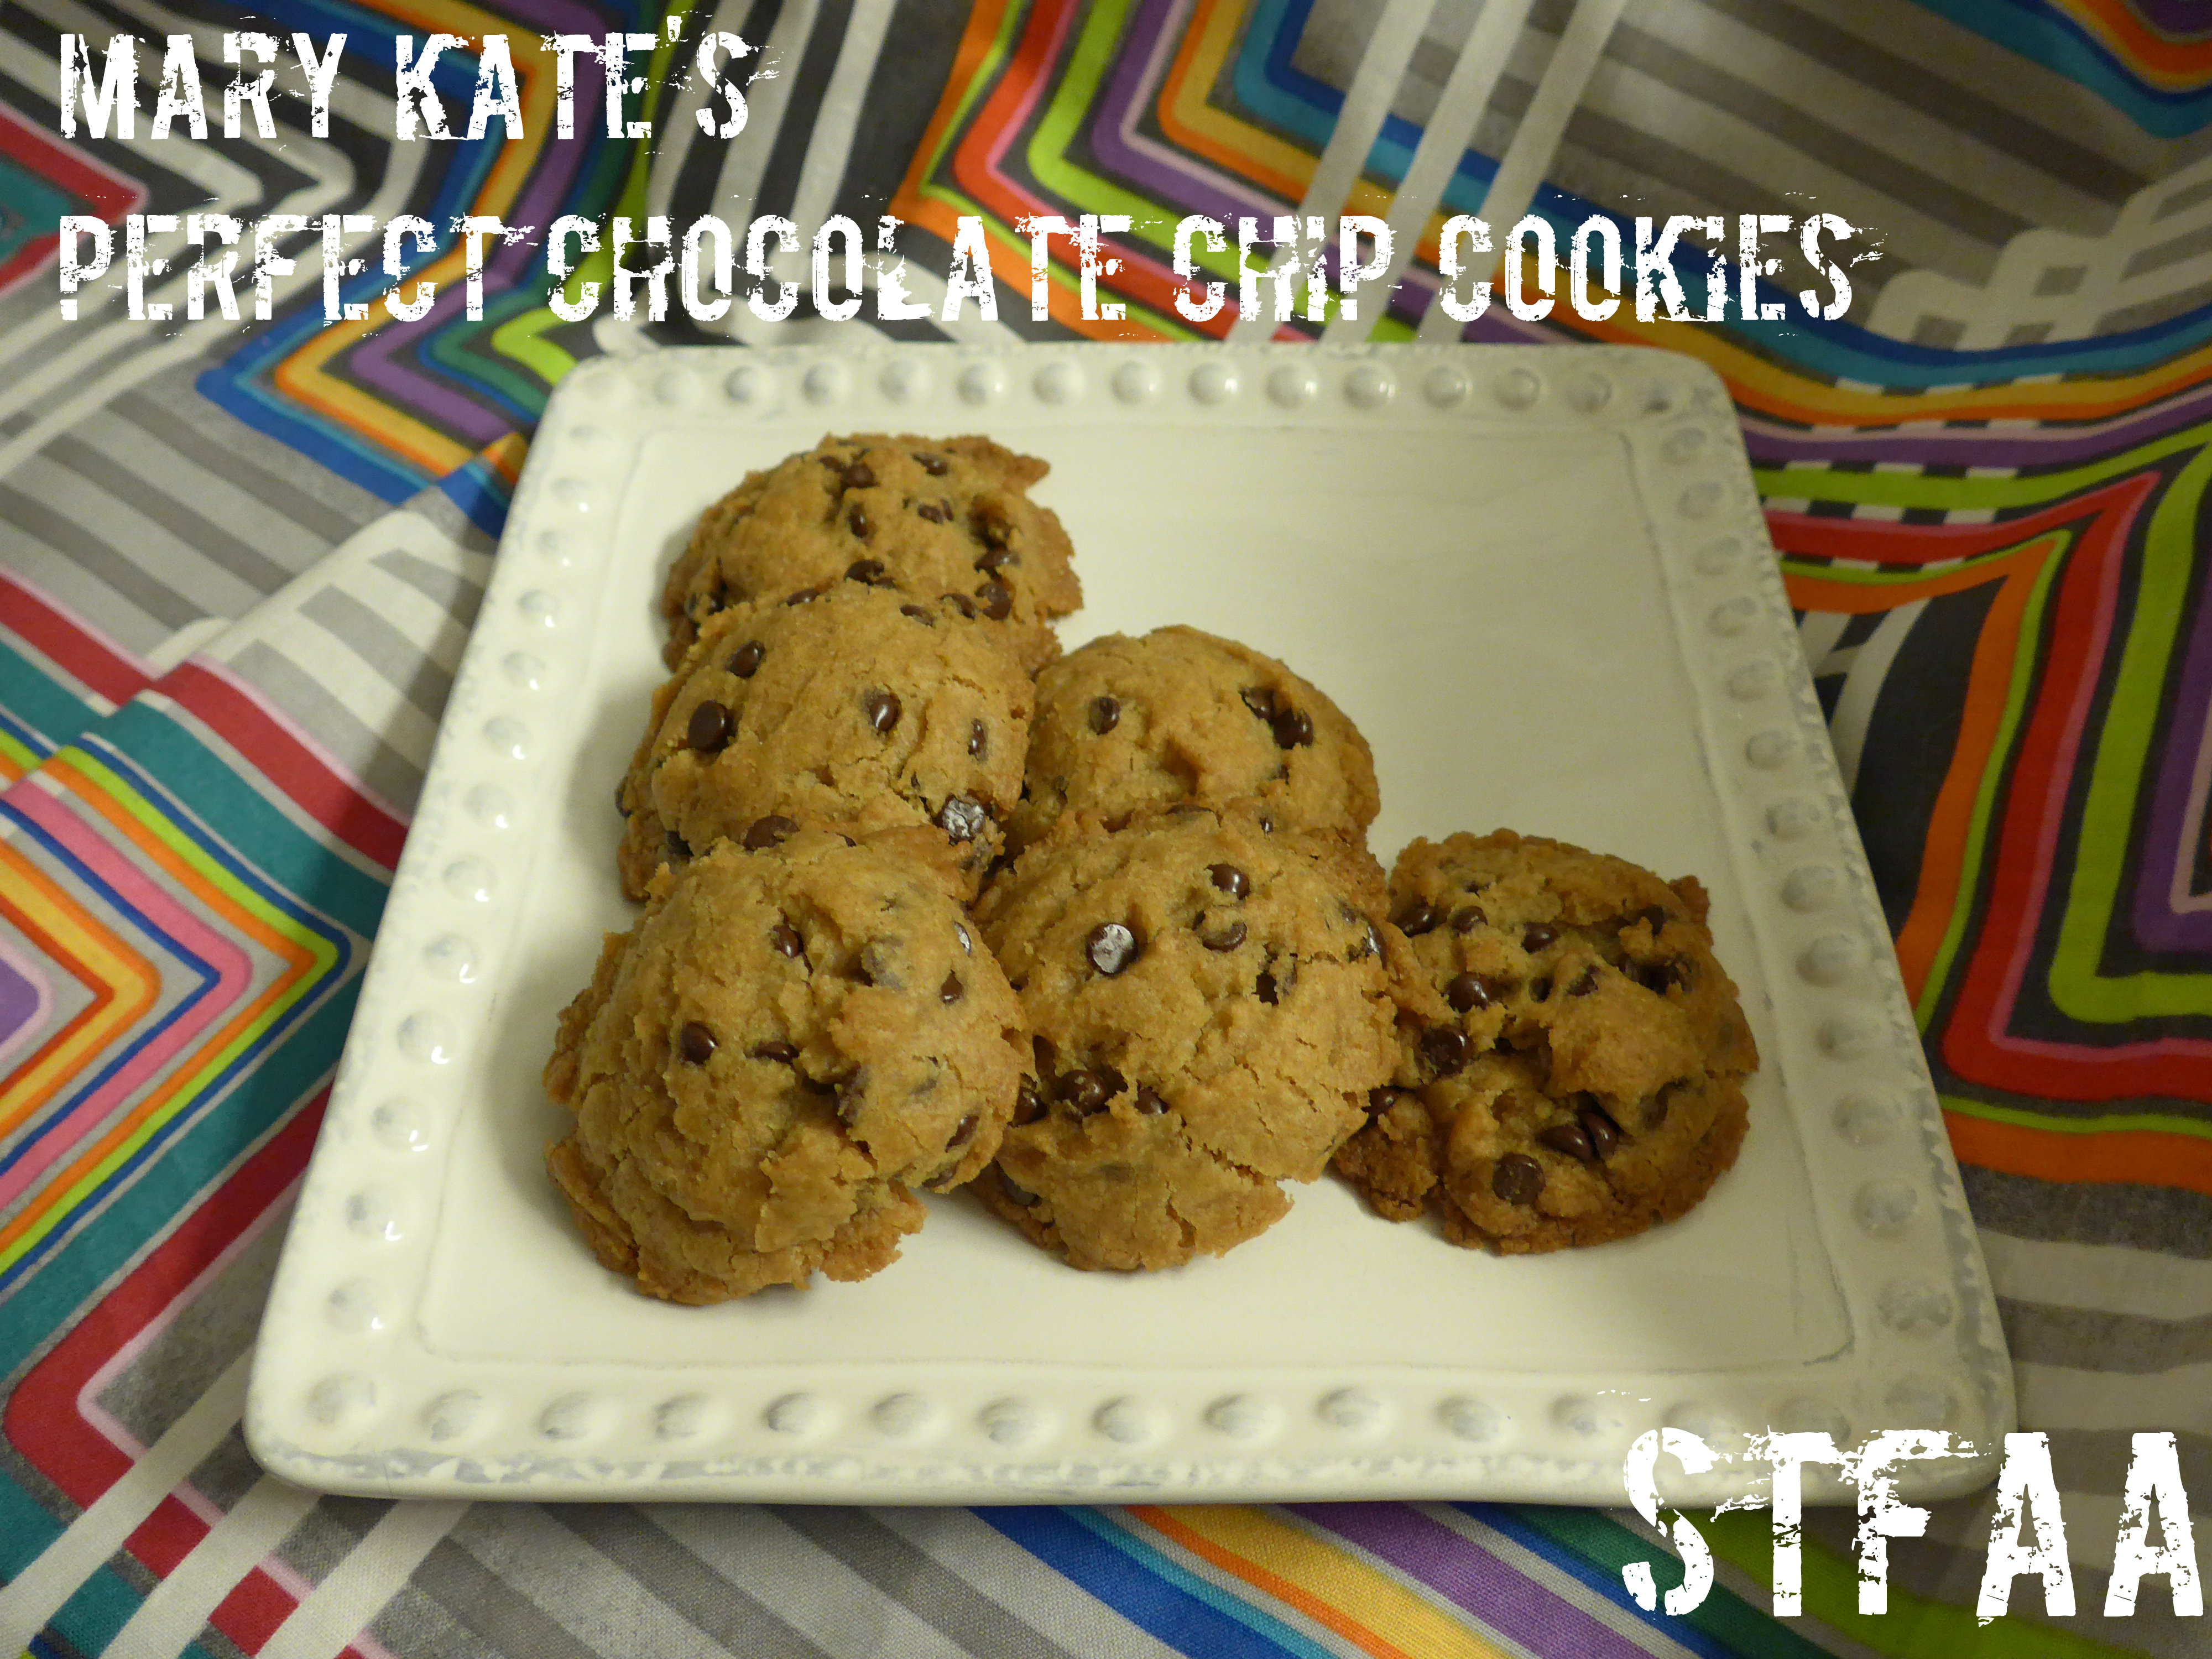
    Mary Kate's Perfect Chocolate Chip Cookies
    Mary Kate’s Perfect Chocolate Chip Cookies

    The problem with chocolate chip cookies? Everyone likes them differently. Some people like them soft, others chewy, some crunchy. This is why there are a billion recipes out there. And when your recipe no longer works for you, you might try 5 recipes and still be disappointed. Because “just like Mom made” may not be YOUR mom’s recipe.  Or YOUR perfect recipe.

    So I’ll tell you what I was aiming for in this recipe and you can decide if that’s what you’re looking for before you start measuring.

    The Ryan perfect chocolate chip cookie should be crunchy on the edges, softer and puffier in the middle, but not underdone or actually soft. SoftER, but still with a good crumb. I believe my mother’s cookie recipe was an altered version of the classic Tollhouse recipe, tweaked until it was perfect for our family — or, rather, perfect for my dad. The man used to eat about a dozen cookies as they came out of the oven, usually burning his mouth at least a few times.  These cookies are great for dunking, and another thing I learned from my dad (after “don’t eat hot cookies if you don’t want to burn yourself”) is that cookies dunked in coffee are an excellent morning treat. These don’t spread out as much as my mother’s did, but they do get the texture right.

    Key to getting this texture is a trick I learned from my friend Corianne who runs a vegan bakery in Phoenix, Arizona: Treehouse. If you’re in Phoenix, check it out. Anyway, the trick is to freeze the cookie balls before baking. It adds another 30-45 minutes to the process but it is so worth it in terms of payoff.

    Dough, Prep for Freezing, Prep for Baking.
    Dough, Prep for Freezing, Prep for Baking.

    NOTES ON INGREDIENTS:

    Since I’ve fussed with this recipe more than almost any other recipe on this blog, I have some very specific notes on what has worked and what hasn’t.

    The two major ingredients are measured by weight — I hope you have a kitchen scale if you’re trying to do gluten-free baking. It really is necessary, and you can get a decent one for under $20.

    For ALL of your ingredients, I hope it goes without saying that you need to source what’s safe for you.

    For “shortening,” I’ve used Spectrum shortening. Feel free to use a vegan shortening, vegan butter, or, if you aren’t vegan, another fat or shortening of your choice. I’ve done these with soy-free Earth Balance, but because if it’s really low melting point (it’s really soft at room temperature), the cookies are flatter and crispier, so reduce the baking time by a few minutes. Actually, if you mess with anything, watch your baking time. If you really like a buttery flavor, I’d suggest half margarine and half shortening as a compromise.

    For the flour mix, I’m using Cara’s Gluten-Free Flour Mix. Still. Nothing else I’ve tried has worked as well. Sorghum flour is great — I am particular about sourcing, and I buy Authentic Foods sorghum flour and super-fine brown rice flour.

    Sugar. I know my mom’s recipe used both white and brown sugars. I ran out of brown sugar while trying this recipe and subbed in the molasses  and white sugar and I liked the flavor better, so I kept it.

    Last, but not least, chocolate chips. I’ve used Enjoy Life chocolate chips for a while now, but I can never find regular-sized chips and don’t always want mini chips. I did use the mini-chips here, and I use a scant measurement of the mini chips so that they spread out better. I also recently discovered Equal Exchange chocolate chips and I’m a fan. I used this in a lot of the test versions of this recipe, but I’m out at the moment. As far as I know, neither of these brands is corn-safe, as corn is used the processing of the chips and generally isn’t on the label. If you have corn allergies and have a safe chocolate brand, tell us in the comments?
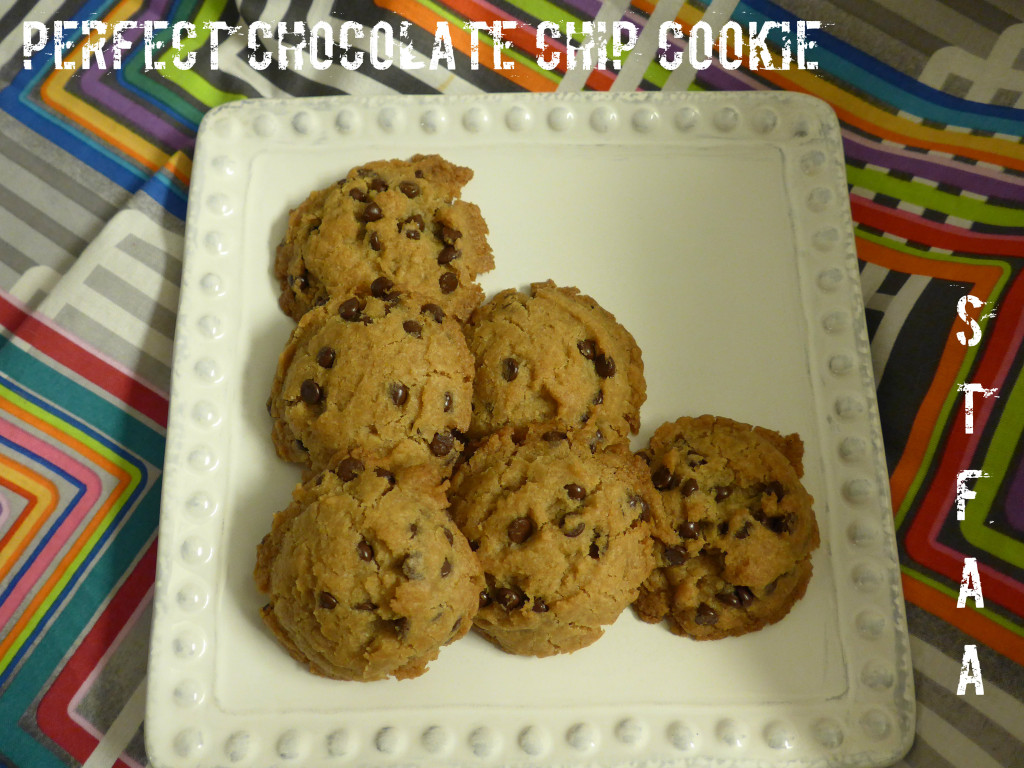
    Mary Kate's Perfect Chocolate Chip Cookies
    Mary Kate’s Perfect Chocolate Chip Cookies

    Mary Kate’s Perfect Chocolate Chip Cookies

    • 107 grams shortening
    • 3/4 cup sugar
    • 2 teaspoons molasses
    • 2 teaspoons vanilla
    • 3 Tablespoons aquafaba
    • 200 grams gluten-free flour mix
    • 1/2 teaspoon salt
    • 1/4 teaspoon baking soda
    • 1/4 teaspoon baking powder
    • 1 cup (or just under, if mini chips) chocolate chips

    With a mixer, cream the shortening, sugar, and molasses. When it’s nice and creamy, add the aquafaba and the vanilla and mix well.

    Separately, mix the flour, salt, soda, powder.

    Add the flour mix to the shortening mix slowly, and mix well. The dough will be pretty stiff, pulling together and way from the sides of the bowl.

    Mix in the chocolate chips by hand. I find a rubber or silicone spatula works best for this.

    Now portion out the cookies on a tray lined with parchment or a silicone baking sheet and pop it in the freezer. Since I don’t have room in my freezer for two trays, I just put the cookie balls close together to freeze, and then space them out onto two trays for baking.

    Pre-heat the oven to 375ºF.

    When the cookies are frozen (30-45 minutes in my freezer), space them out to give about 2 inches of space around each cookie ball, on the lined baking sheet, and bake 15-20 minutes, until golden brown. Cool completely — I tend to just drag the liner from the tray to the rack and leave it. This is me being lazy, but it’s also a good way to deal with the fragility of gluten-free, vegan baked goods.
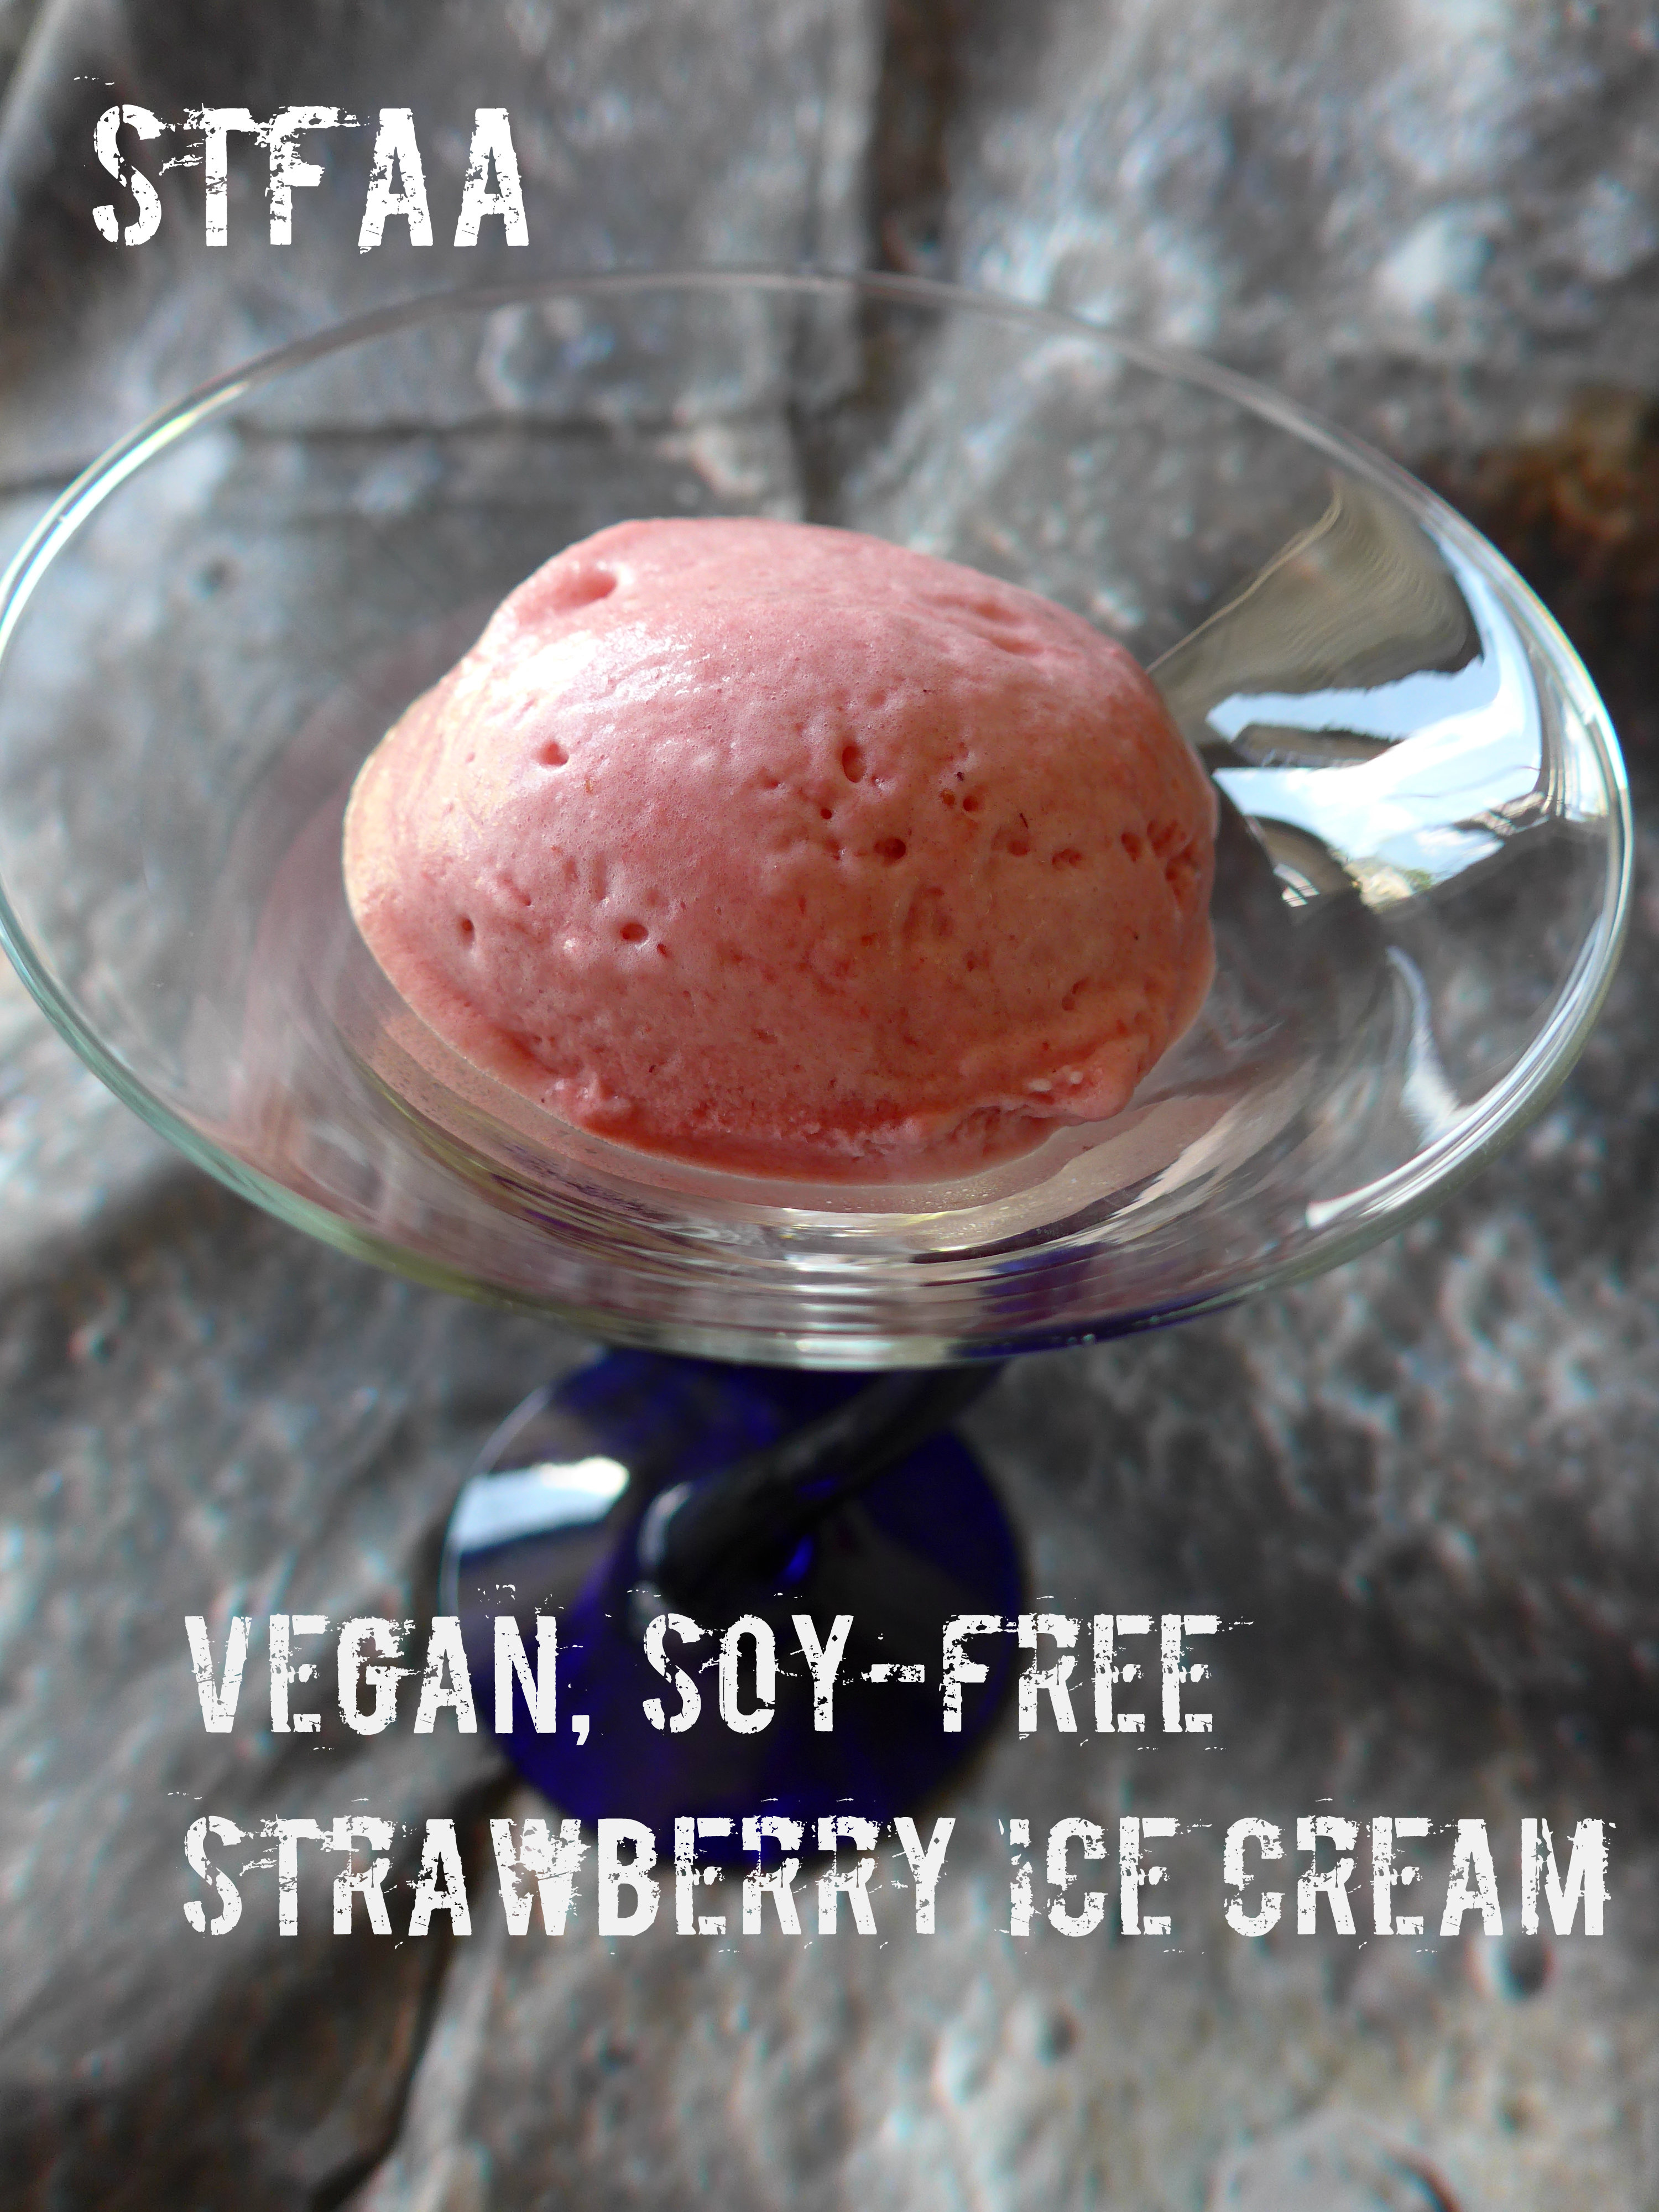
  • Vegan, soy-free Strawberry Ice Cream (using aquafaba)

    Vegan, Soy-free Strawberry Ice Cream
    Vegan, Soy-free Strawberry Ice Cream

    Okay, full disclosure: This isn’t really ice cream. There’s no cream. There’s no eggs. That’s what makes it vegan. And it’s a little lighter and less creamy and heavy than ice cream. So I should really call it “strawberry frozen dessert.” But frankly, that’s awkward, and if you’re playing in the cooking realms of “vegan” and “allergy-friendly,” you’re used to substitutes, so you know what I mean.

    YOU DON’T NEED AN ICE CREAM MAKER! I have one. It’s great. But this is a quicker and easier and doesn’t require as much planning ahead. This is much easier with a stand mixer, but if you’re patient (or have someone who will spell you with the hand mixer), you can do this without one. I would not try it without any mixer at all, though. Electricity is your friend, here.

    The key “secret” ingredient in this dish is aquafaba or “bean juice.” It’s the stuff you drain out of the can of beans before using them, and I’ve raved about it before on the blog. If you cannot eat canned beans, or would just prefer to make your own, try this recipe posted by noted cookbook author Bryanna Clark Grogan on the Vegan Meringues FB page. You need half a cup here, but I’m sure you can find 100 other uses for it (I have). Aquafaba acts as an egg replacer, specifically egg whites, and can be whipped into an incredible meringue, which is what you start with here. You’ll make the whipped base and the flavor base, and then fold them together and freeze. That’s it!

    In order to get the fat content up and add a little tang and creaminess, I have used vegan cream cheese. I know this can be a problematic ingredient for those with multiple food allergies — I use Daiya brand, as I have no issues with it. I was perfectly happy with Tofutti when I could still eat soy, and I assume that would work here, too. The Daiya contains coconut oil, so it’s not entirely nut-free. I believe Tofutti is. Choose what works for you. If you make a homemade version of cream cheese that works for you, share it with us in the comments.

    Stiff whipped aquafaba foam, foam and strawberry blend, ice cream in the making
    Stiff whipped aquafaba foam, foam and strawberry blend, ice cream in the making

    Vegan, Soy-free Strawberry Ice Cream

    • 1/2 cup aquafaba (liquid drained from a can of beans. Any beans! I used cannellini beans here)
    • 4 Tablespoons sugar, divided in half
    • 1 teaspoon cream of tartar
    • 1/2 cup strawberry puree
    • 2 1/2 Tablespoons vegan cream cheese (check the ingredients!)
    • 1 teaspoon vanilla extract

    Into a very clean bowl (any traces of fat will interfere with the whipping, I understand, just like with egg whites), add the aquafaba. Beat until you achieve stiff peaks. This can take up to 10 minutes, so be patient.

    Slowly add 2 Tablespoons of sugar, while you continue beating, and then the cream of tartar.

    If you’re using a stand mixer and have only one bowl, empty the foam into another bowl and reuse the mixer bowl. If you’re using a hand mixer, just get another bowl. Beat the cream cheese, strawberries, and vanilla until smooth.

    Fold the strawberry mixture into the aquafaba foam using a large spoon or spatula. Don’t stir. Fold. You will lose some of the air you’ve just whipped into the foam, but that’s okay. You just don’t want to lose all of it. When the mixture is fully incorporated, pour into a freezer-safe container and freeze at least 2 hours, maybe more depending on the size and shape of your container(s). This will never be as dense as “normal” ice cream, but it will take on a nice texture, distinct from the original unfrozen mousse.

  • Chocolate Cinnamon Hard Candy

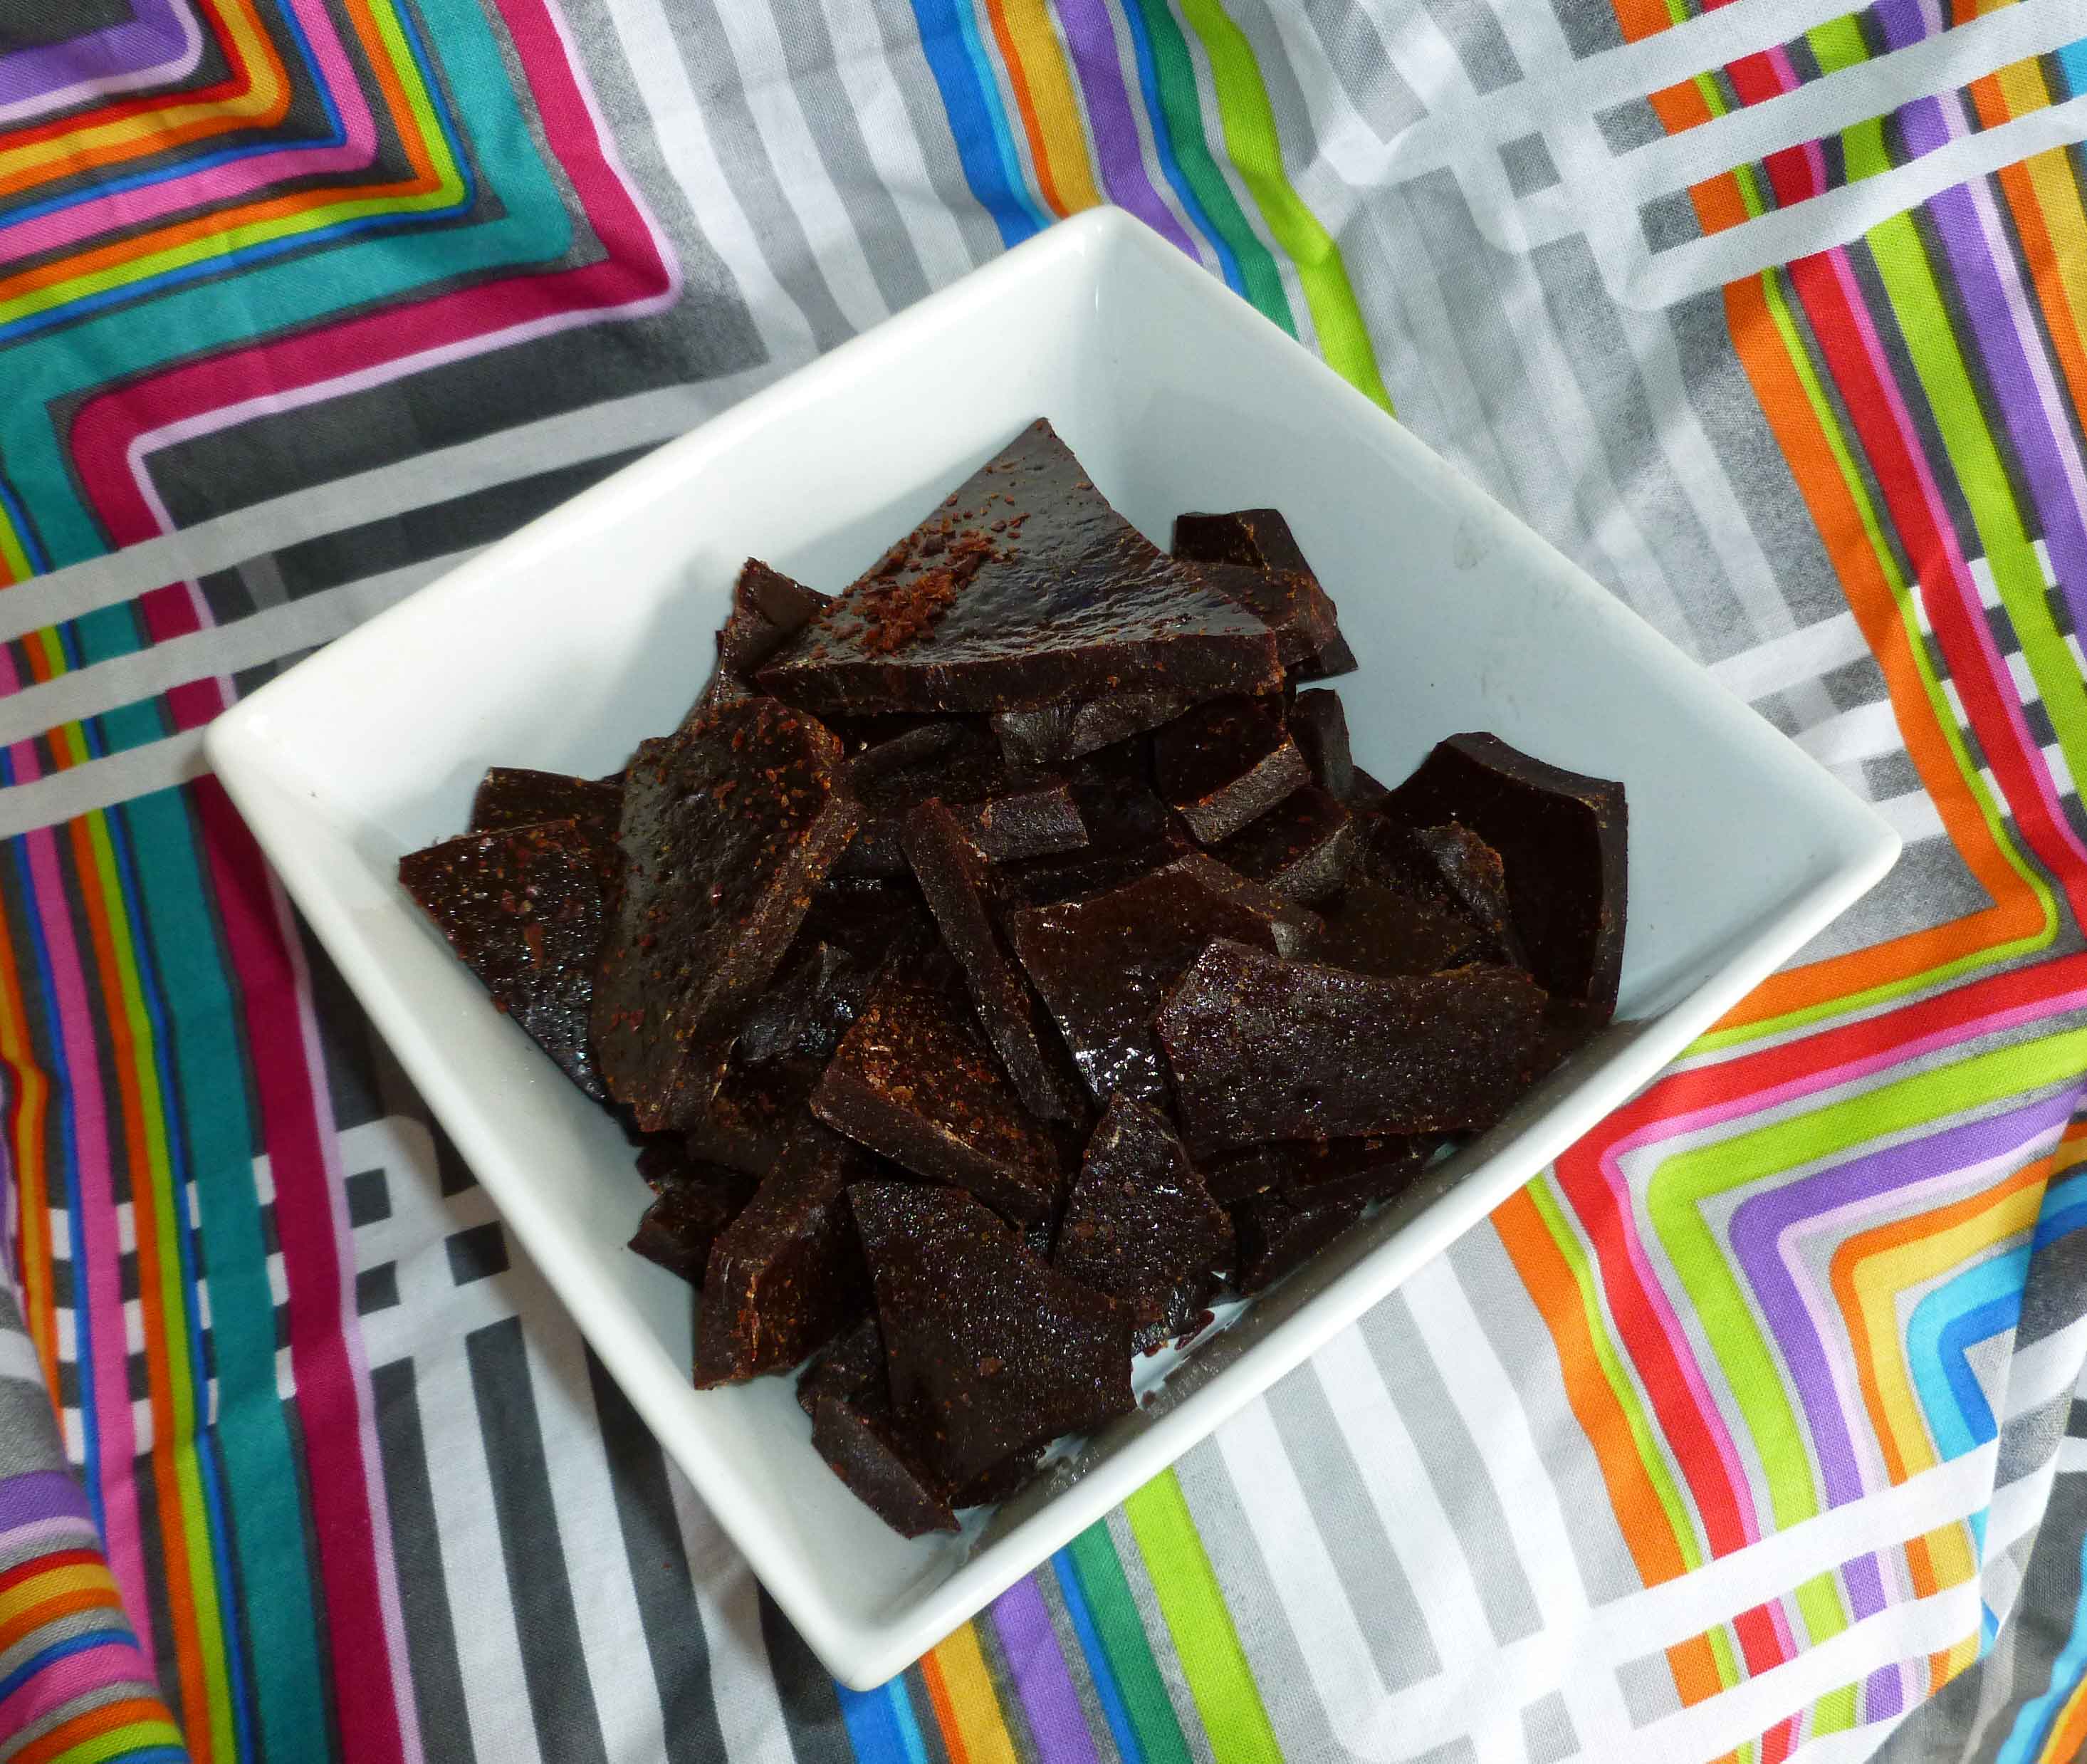
    Chocolate Cinnamon Hard Candy
    Chocolate Cinnamon Hard Candy

    Because I like transparency, you should know that this recipe was the result of a mistake. Yay serendipity!

    I wanted to make crunchy granola bars like the Nature Valley ones I liked before the food allergy apocalypse hit. But I wanted to make them not so breakfast-y and more of a treat or a snack. So I found a recipe for a crunchy granola bar and decided to add cocoa powder to the sticky mixture sticking it together. The recipe called for honey, but I don’t have a safe honey or maple syrup, so I made a cane sugar syrup used that instead.

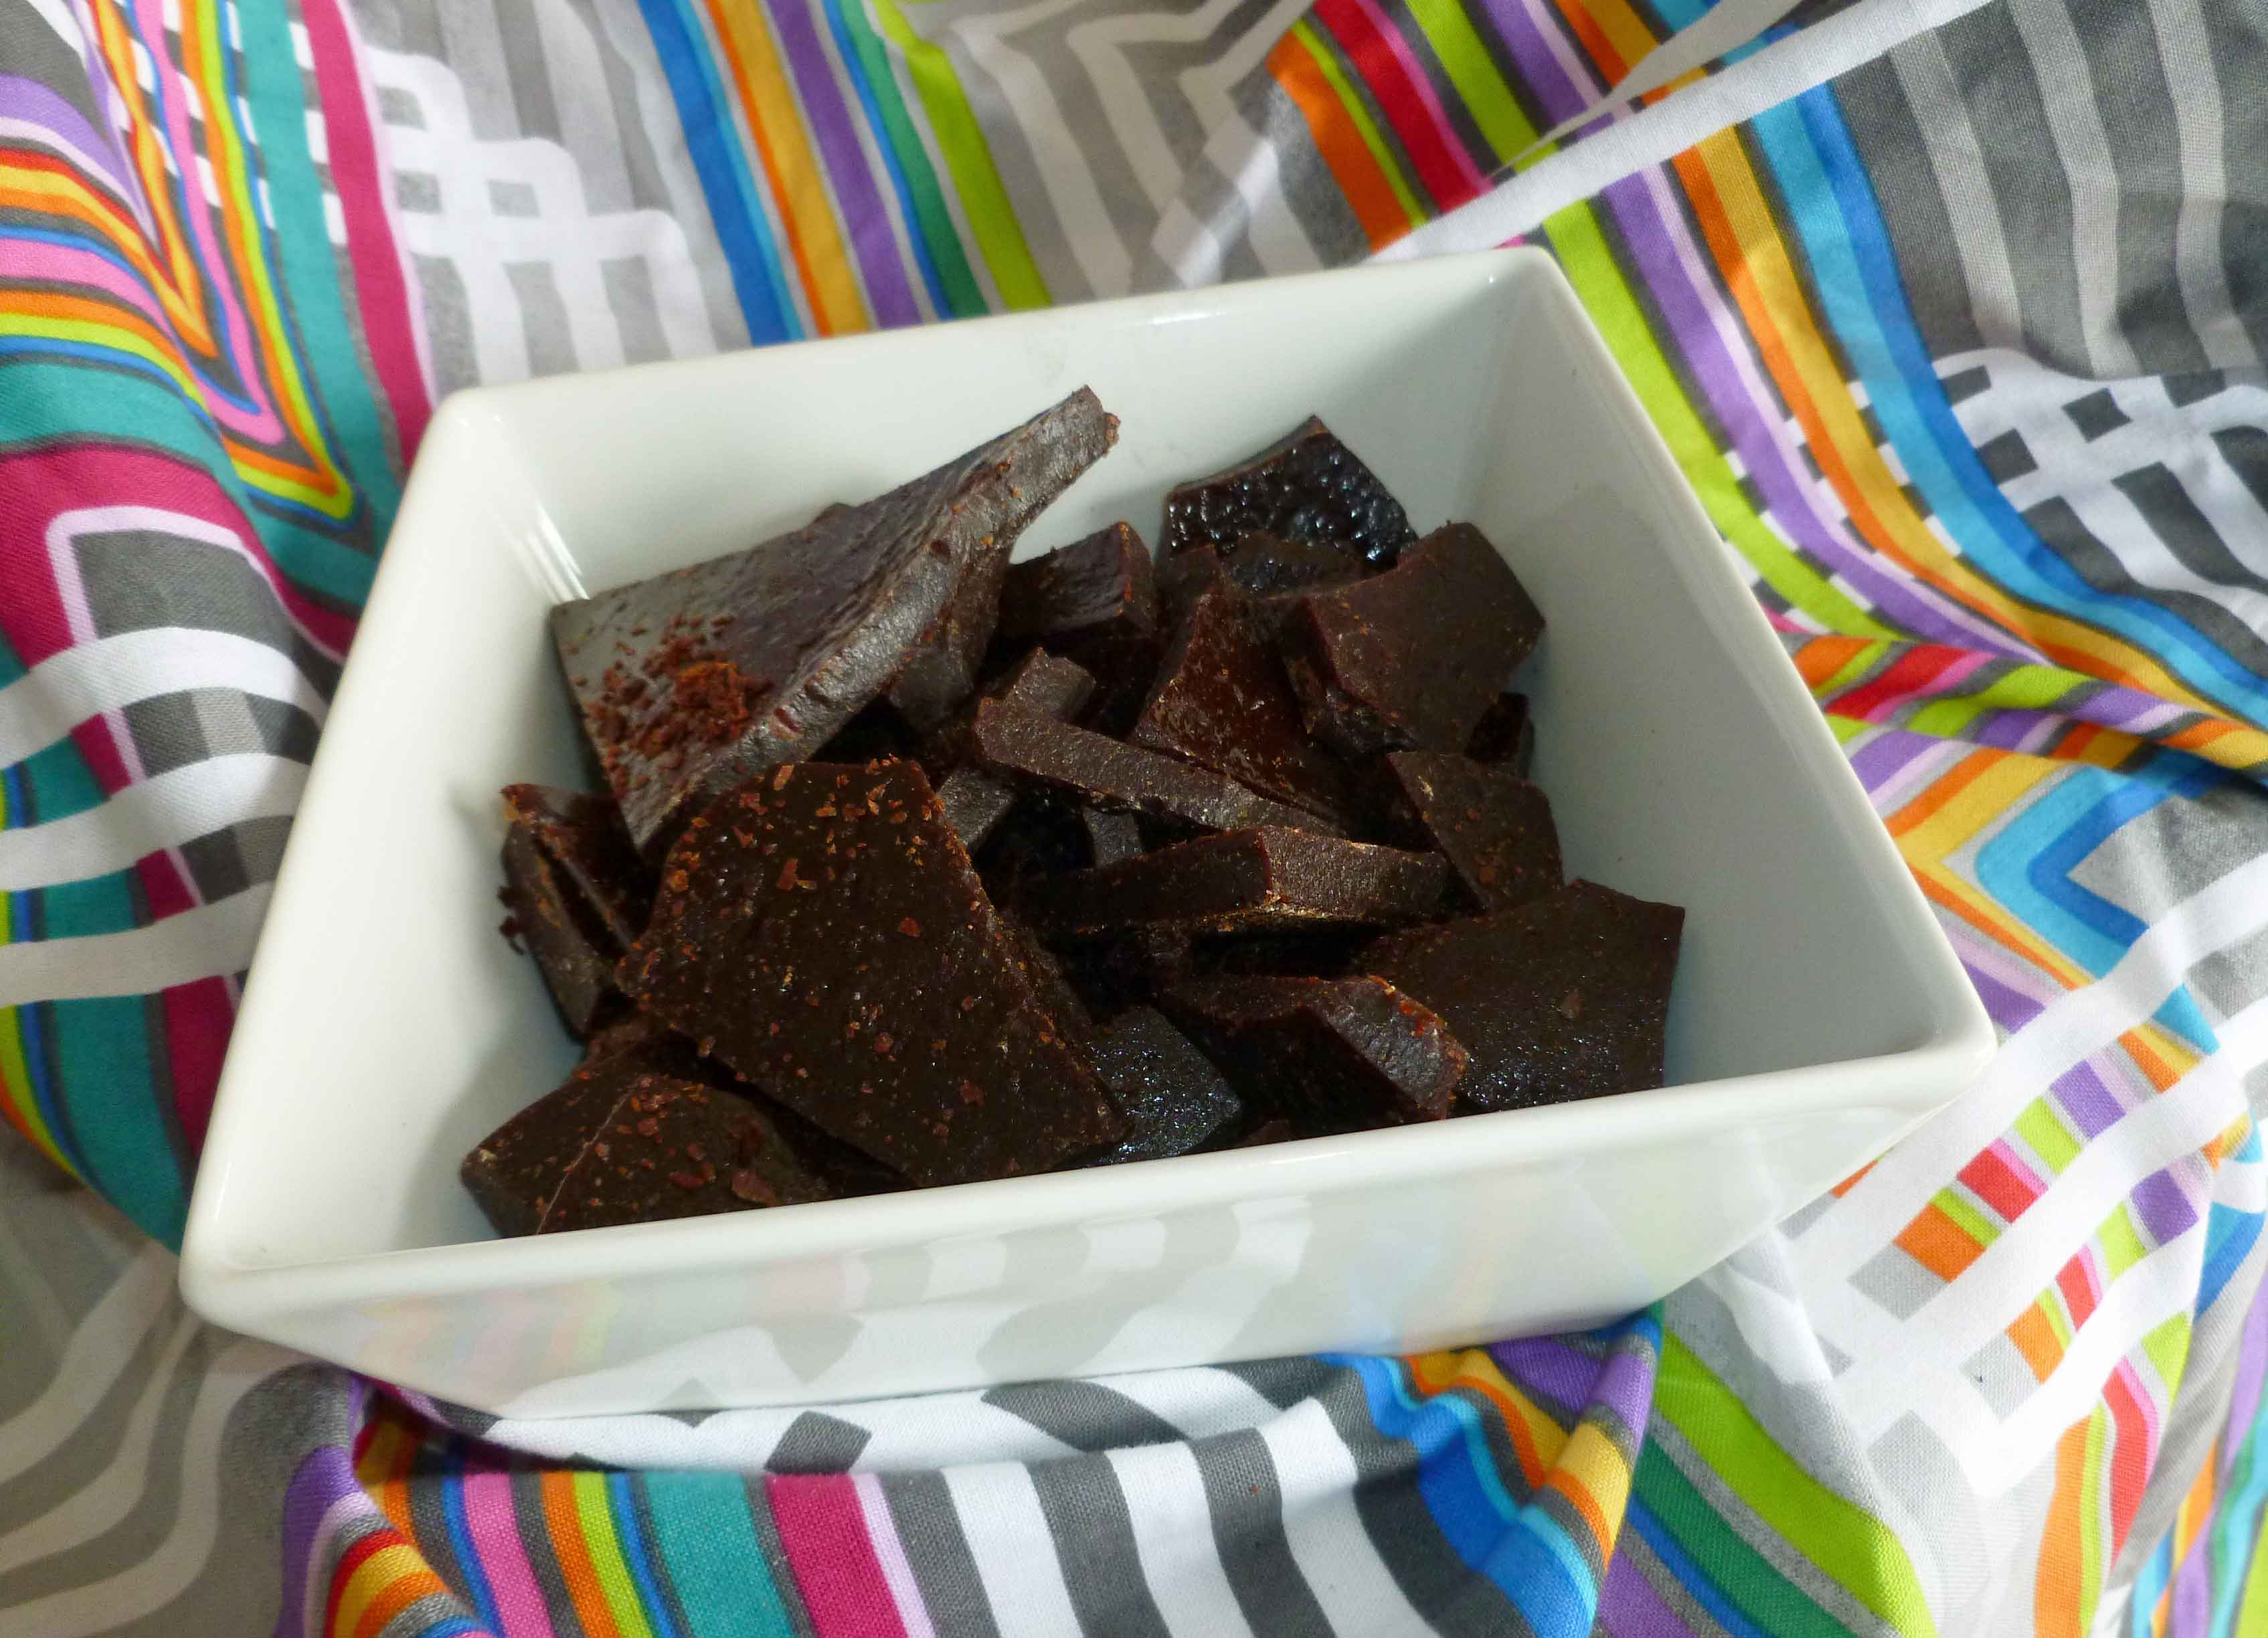
    Well, I threw all the ingredients for the sticky stuff, i.e., the cane sugar syrup, brown sugar, cocoa powder, vanilla and cinnamon, all the saucepan and began heating it. But then it didn’t want to melt. So I thought that maybe the cocoa powder was too dry and I added a bit of grape seed oil. And the mixture still looked sugary, and I began to worry that the cocoa powder would burn. It was at this point that I read the actual directions for the mixture from the recipe I was trying to modify. It said to cook the sugar and sugar syrup first and then add the vanilla and cinnamon after. Oops. So I decided that I had enough sugar syrup to do it over, but I decided to see if I could get it to melt, and as I did that, I realized that it wouldn’t be accurate if I wrote it up without the do-over and I didn’t want anyone else to risk burning chocolate. So I quickly greased a small baking sheet and dumped the mixture on it so I could start over again with the sticky stuff for the granola bars. I thought it might end up like tootsie rolls, but when I came back to it after finishing the granola bar attempt (which also didn’t really work as it didn’t set up into bars, but might make a great cereal if I had a safe non-dairy milk, sigh), it was hard as a rock. I pried it off the cookie sheet and then put it in a zip top bag in the freezer for bit and then dropped the bag on the floor a couple of times to break it up into pieces. If you were smarter than me, which you are, you’d use a metal spatula or turner to divide the candy into smaller pieces when it’s cooled a bit but is still warm and pliable. Or put them into silicone candy molds.

    Chocolate Cinnamon Hard Candy

    • 3/4 cup of cane sugar syrup (You will need to make it ahead of time – there are two good recipes and I’ve used both before. The one from thekitchn.com makes about a quart, and the one from justapinch.com makes about two cups.) 
    • 3/4 cup of brown sugar (make sure it’s safe for you)
    • 4 Tablespoons of cocoa powder (make sure it’s safe for you)
    • 2 teaspoons of ground cinnamon
    • 1 Tablespoon of vanilla extract  (Here’s a bunch of recipes for vanilla extract, make sure to use safe alcohol if corn or wheat are an issue for you. I use either Vikingfjord  or Luksusowa Vodka because they are made only from potatoes, where some vodkas may also use grain or corn.)
    • 1/2 teaspoon of grape seed oil (or other safe oil for you)
    • enough grape seed oil to grease cookie sheet

    Grease small to medium cookie sheet with grape seed oil. I used a mister.

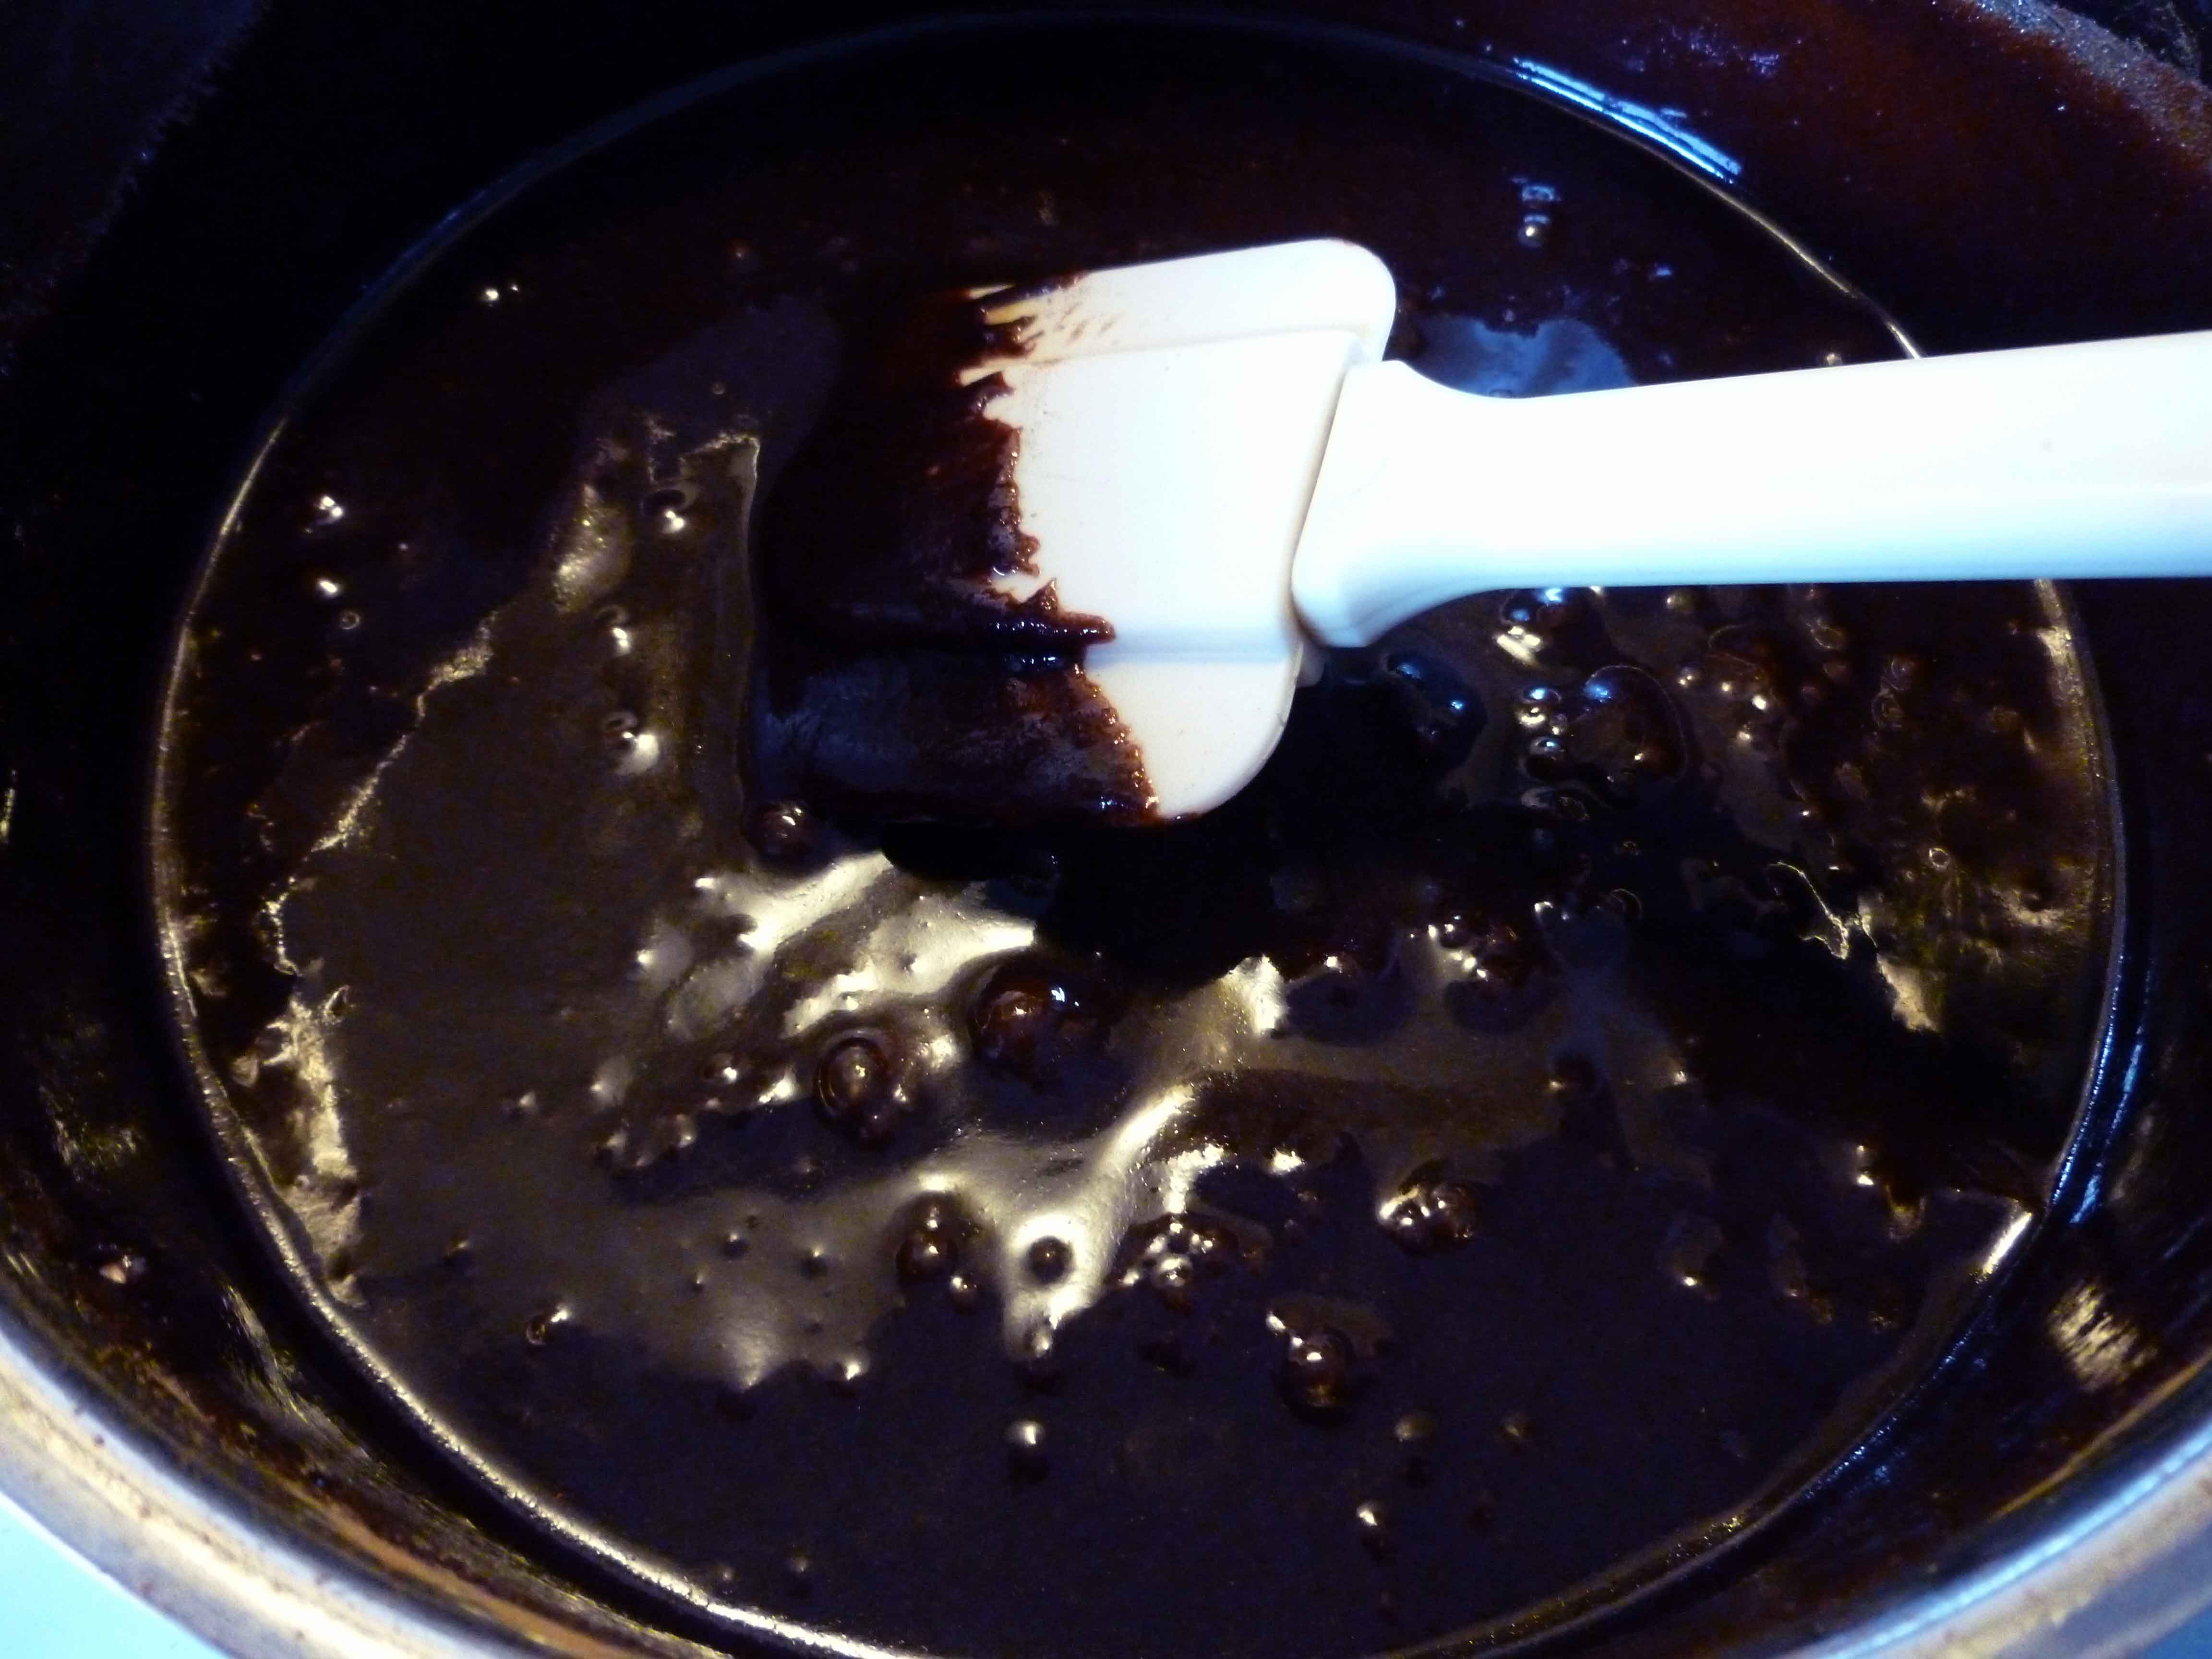
    Place all the ingredients in a saucepan over medium heat and stir constantly with a silicone spatula, so that you can scrape the bottom of the saucepan really well. Make sure that all ingredients get combined really well.

    Candy mixture well combined in saucepan
    Candy mixture well combined in saucepan

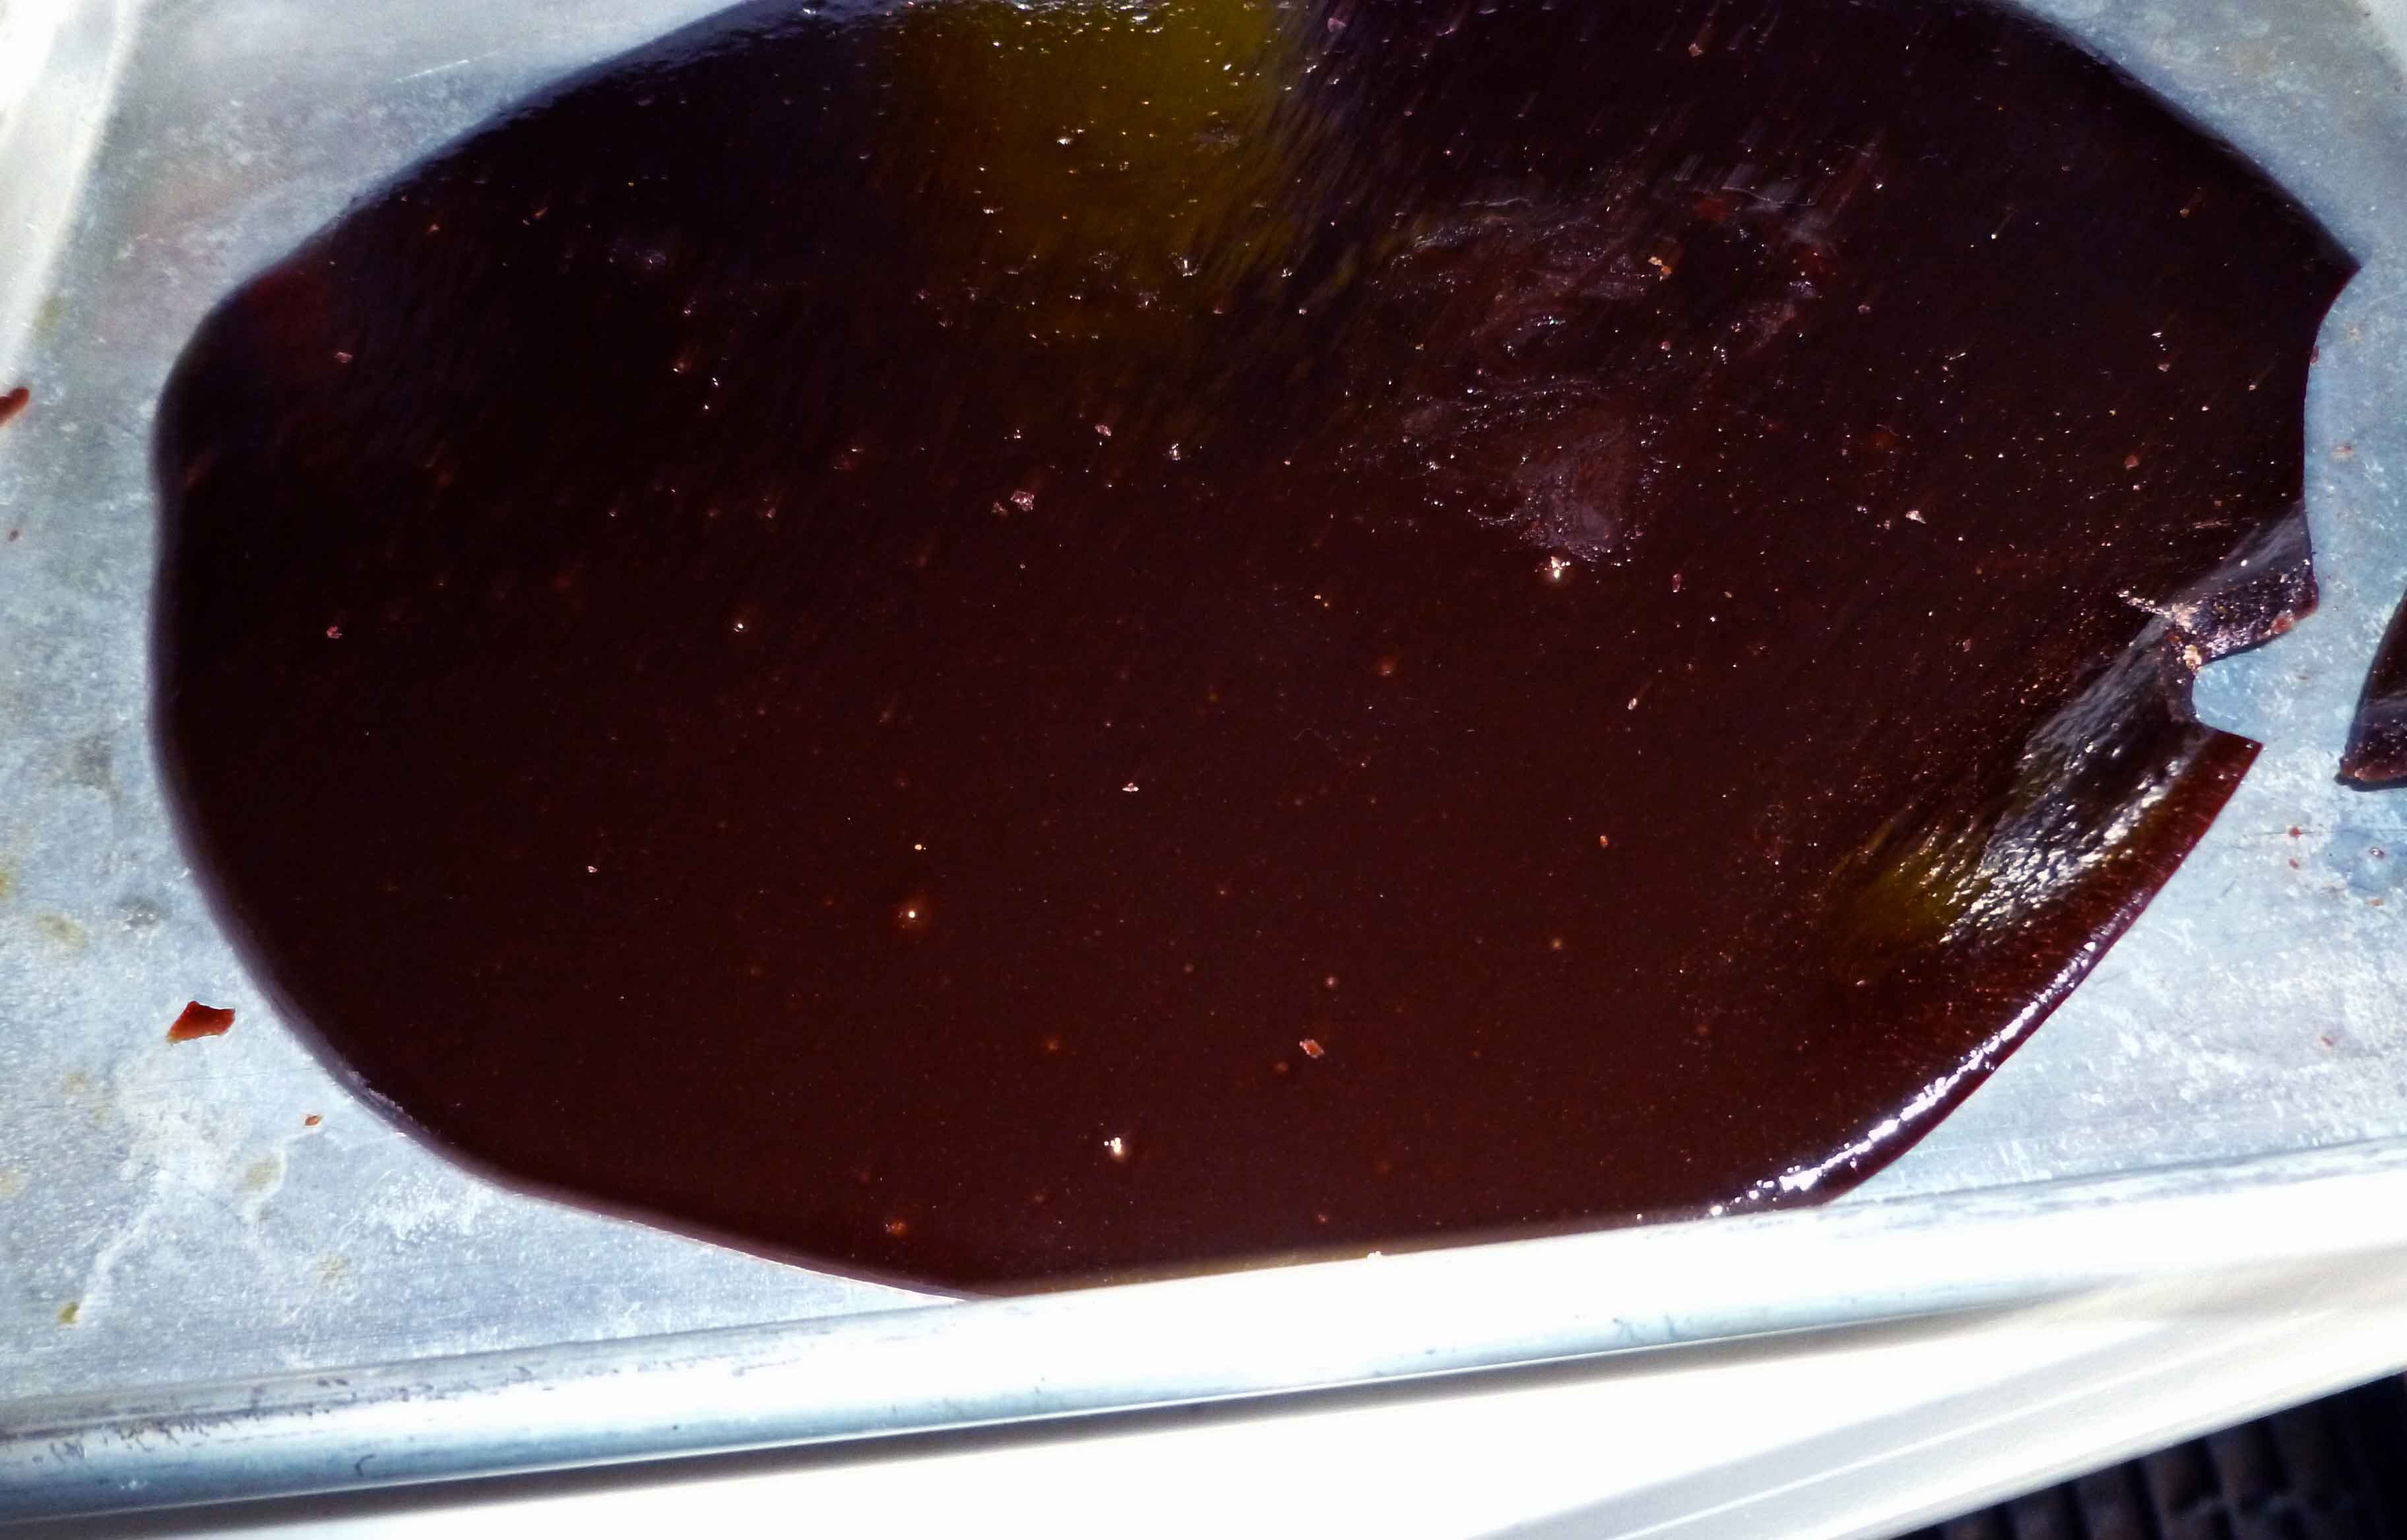
    Cook over medium heat until the brown sugar begins melting into the cane sugar syrup. I didn’t measure the temperatures, but if you’re using a candy thermometer, you’re probably aiming for somewhere between 250°F and 300°F.  Once the brown sugar is melting into the sugar syrup, pour the mixture onto your cookie sheet or into silicone candy molds.

    Chocolate Cinnamon Hard Candy cooling on cookie sheet
    Chocolate Cinnamon Hard Candy cooling on cookie sheet

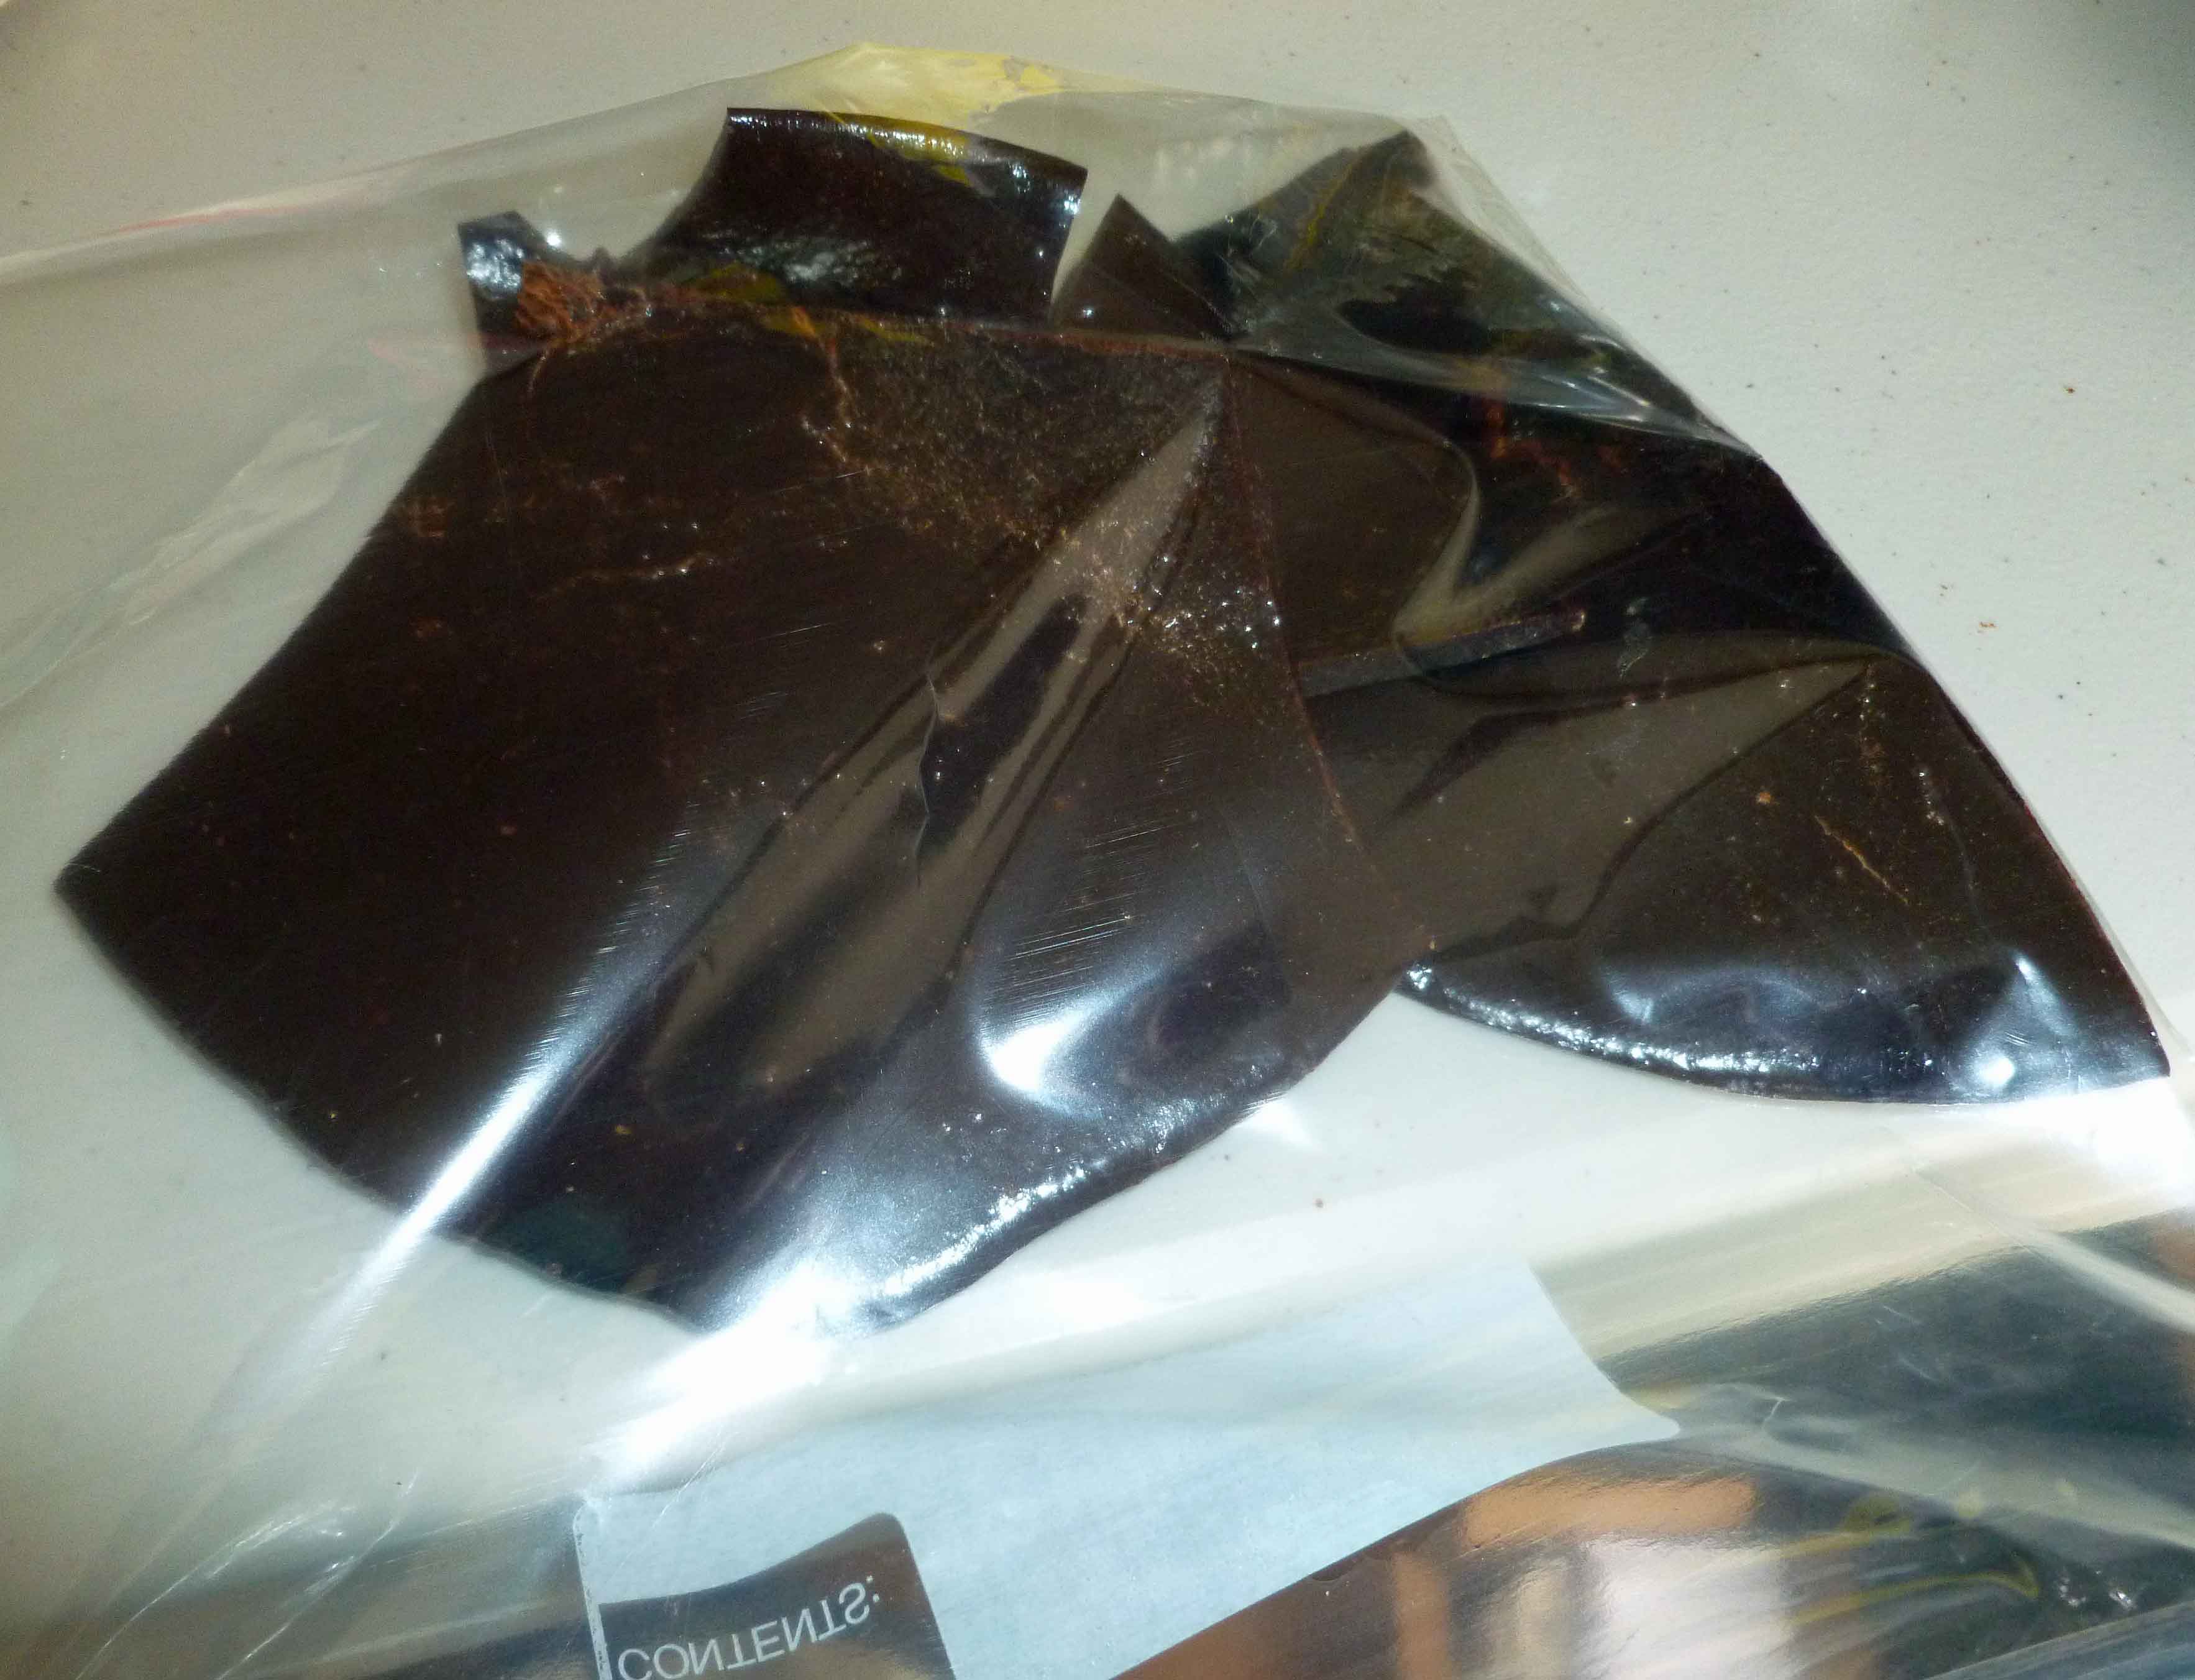
    Once it is cooler, but still somewhat pliable, use a metal spatula or turner to cut the candy into pieces and let it cool. Or resort to the zip top bag method as described above.

    Large pieces of Chocolate Cinnamon Hard Candy about to be broken into smaller pieces
    Large pieces of Chocolate Cinnamon Hard Candy about to be broken into smaller pieces

    Enjoy! Also, it’s great with coffee.

    Chocolate Cinnamon Hard Candy
    Chocolate Cinnamon Hard Candy
  • Crispy Cereal Bars (gluten-free, vegan, contains tree nuts)

    Crispy Cereal Bars
    Crispy Cereal Bars

    THIS IS NOT HEALTH FOOD.

    I know that most of you know that granola bars have an unearned reputation as magically healthy. Like most things, they have some benefits, some downsides, and it all depends on a) what goes in them and b) how you define “healthy.” I’m not focused on healthy here, though, so if that’s why you want a granola bar, move on. It also has tree nuts and almonds, so apologies to the nut allergic people out there.

    What I wanted was something like the granola bars of my later childhood — something that’s basically a candy bar, but with a certain crunch and an airy mouthfeel — plus, dipped in chocolate. Just because. I’m not going to try to explain random cravings; I just cook them. We occasionally had these instead of cookies in our packed lunches, and for some reason, they remind me of this time of year — summer isn’t here, but you know it’s coming.

    I started this recipe off to use up a box of Environkidz Chocolate Koala Crisp. (Link informational, not affiliate). I am not a big cereal eater, but I go through phases where I like to eat it as a snack — this wasn’t the right texture or size for that, so it had been sitting on my shelf for a bit. But it was perfect for the main filler in this snack bar — it’s crunchy, airy, and just a bit chocolatey. Any crunchy cereal in small bits will work, so whatever is safe for you, buy that. I would consider using the Erewhon Crispy Brown Rice Cereal, (again, not an affiliate link) as that’s what I generally buy when I want actual cold cereal. But I’ve only made this with Koala Crisp, as I wanted to use that up, and I’d consider buying it again to make these bars.

    To the cereal, I added a bunch of trail mix staples — coconut, almonds, and dried cherries. (Note: dried cranberries or raisins work better, as they are smaller and don’t mess up the overall texture. But I just like dried cherries better.) As an adult, I wanted a little more variety of taste and texture than the kiddy granola bar I remember (but still with chocolate on). Make a sticky sauce (this is messy, I know. Sorry. It works.) and then add chocolate. Ka-blam. Childhood snack. Maybe healthier, maybe not, but it’s safe for me.

    Crispy Cereal Bars -- first without chocolate, then with, then sliced
    Crispy Cereal Bars — first without chocolate, then with, then sliced

    Cereal Snack Bars

    NOTE: dried shredded coconut appears on the ingredients list TWICE. This is not a mistake. I just find it less confusing to list it twice than tell you you need x amount, divided. This is not the sweetened coconut flakes — you could try that, but I think it would be too sweet. This is just pure dried/dessicated shredded coconut, which is wonderful.

    • 1 cup crispy cereal
    • 1/4 cup shredded coconut
    • 1/4 cup smallish dried fruit (I used cherries)
    • 1/4 cup thinly-sliced almonds (could also use chopped, but not whole — they won’t blend in)
    • 3 dates, pitted (about 50g)
    • 2 Tablespoons shredded coconut
    • 2 Tablespoons coconut oil
    • 4 Tablespoons brown rice syrup
    • 1 cup chocolate chips (brand that’s safe for you)

    Prepare an 8×8 inch baking pan by cutting a sheet of parchment that will fit in it. Don’t worry about being exact — just make sure you have enough to cover the bottom and sides when it’s filled.

    Mix the dry ingredients (cereal, coconut, dried fruit, almonds) in a bowl.

    In a food processor, add the dates, 2T shredded coconut, coconut oil (this can be solid, it’s fine), and brown rice syrup. They are in that order because you can use the same tablespoon if you do them in this order (the coconut oil will help the brown rice syrup not stick). Pulse it until the dates are chopped up well, then just blend. You will likely need to scrape the sides a few times, as this is really sticky. I’d suggest a silicone spatula, if you have one, and be careful not to cut it on the blades (I’ve lost a few this way).

    Add the wet ingredients to the dry. It will take a little work to get this out of the food processor. Again, the silicone spatula is the least sticky thing I’ve tried. Using the spatula, mix the wet and dry ingredients. Mostly, this is like kneading bread — bring up a scoop of the dry ingredients and sort of press them into the mass stuck into your sticky goo from the food processor. I am assuming that if you keep working at it, this will eventually incorporate everything. I’ve never managed to do that — I just grease up my hands with a bit of coconut oil and mix with my hands after a bit. It works fine.

    When you have a mostly solid mass of sticky bar ingredients, dump it into your prepared pan and press it down. I don’t worry too much about making it exactly fill the corners — the rustic edges make it look handmade! But always feel free to be more precise than I am.

    Put this in the fridge to set, maybe 15 minutes or so.

    Melt the chocolate. The microwave is easiest (20 second intervals, stirring), but I don’t own one, so I use my double boiler. Originally I had planned to dip each bar in the chocolate, but I realized that the easiest way would be to pour a layer of chocolate onto the whole pan, let it set, and then cut the bars. So do this — it is WAY less messy than dipping and it wastes less chocolate.

    Let the chocolate set, then cut into bars. These keep best in an airtight container in the fridge.

    Enjoy!

  • Making Vegan Gluten-free Thin Mints

    Vegan Gluten-free Thin Mints
    Vegan Gluten-free Thin Mints

    My friend Corinne, of sparecake, decided to move out to Wyoming for a job. So I went down to spend a day hanging out with her before she left. We’ve cooked together a few times — Corinne isn’t gluten-free, but her mom is, so we’ve tried out some recipes. For this final attempt, we did a Frankensteined faux Thin Mint, using the cookie from one cookbook and the chocolate “frosting” or glaze from another because that’s what we had all the ingredients to do.

    The cookies were not exactly like the originals, but were still crisp and chocolatey and minty, so overall, I’ll call this a success. We did reduce the amount of mint extract in the chocolate coating by a lot, as it was almost dental cleaning strong the first time around. Interestingly, there is no mint in the cookie part of a thin mint. Who knew? It’s just in the chocolate glaze.

    The dough for these cookies was super dry, and we had doubts it would hold together for rolling or cutting, but it did both admirably.

    This dough is pretty dry. But it ends up tasting good.
    This dough is pretty dry. But it ends up tasting good.
    Cut out cookies.
    Cut out cookies.


    So this dough involves cutting in the shortening, “kneading” the very dry dough until it sort of holds together, and then rolling and cutting. After the cookies are baked and cooled, add chocolate mint coating. It is a few more steps than “regular” cookies, but, hey, this is re-creation. Miss Girl Scout cookies? This is the recipe for you.

    For the full recipe, I’m going to shoot you over to Corinne’s site, sparecake. For the allergic, you will need a non-dairy milk, a safe-for-you shortening, and a meltable safe chocolate.

  • Chocolate Covered Peppermint Marshmallows

    Chocolate Covered Peppermint Marshmallows

    Chocolate Covered Peppermint Marshmallows - Photo by J. Andrews
    Chocolate Covered Peppermint Marshmallows – Photo by J. Andrews

    Because we needed candy for the holidays, we decided to experiment with the marshmallow recipe we’d already posted, to add peppermint flavoring and cover them in chocolate. These would also be a great Valentine’s Day treat. Normally I’d list out the ingredients in the order that you’re going to use them, but since you’re going to have to make some ingredients ahead of time, I’ve listed those first. These marshmallows are a bit sturdy because they needed to hold up to being dipped in chocolate, but if you want them to be lighter with a little less structure, knock back the amount of gelatin by a tablespoon.

    Marshmallows:

    Ingredients:

    • 1 1/4 cup of cane sugar syrup (You will need to make it ahead of time – there are two good recipes and I’ve used both before. The one from thekitchn.com makes about a quart, and the one from justapinch.com makes about two cups.) 
    • 1 1/2 cups of powdered sugar (You will need to make it ahead of time – here’s a recipe from glutenfreegigi.com on how to do it. I used tapioca starch, or Trader Joe’s has a powdered sugar that uses tapioca starch instead of corn starch, but check the labels every time.) 
    • 1-2 Tablespoons of homemade peppermint extract or 4-5 drops of peppermint essential oil (To make my extract, I used dried peppermint and spearmint leaves in place of fresh, as described here. I use either Vikingfjord  or Luksusowa Vodka because they are made only from potatoes, where some vodkas may also use grain or corn.)
    • 4 Tablespoons of unflavored gelatin powder (Knox or Great Lakes are generally regarded as being okay if you’re not super sensitive to corn, again no affiliation with Amazon, just linking for reference)
    • 1 1/4 cups of cold water, divided
    • 1 1/2 cups of cane sugar (make sure you use a safe-for-you brand)
    • 1/8 teaspoon of salt
    • 1/2 cup tapioca starch (You could also use potato or arrowroot starch, whatever’s safe for you)
    • safe-for-you-oil for greasing the pan or you can use the oil in an oil mister as well
    • safe for you chocolate for melting – We used Dancing Lion’s Dark Chocolate for Baking, a product that is no longer available

    Kitchen Stuff you will need:

    • Stand mixer with the whisk beater attached
    • candy thermometer that will clip on the side a saucepan
    • 3 or 4 quart saucepan
    • 9 x 13 baking pan or another flat container to spread out your marshmallows
    • a pizza cutter or a sharp knife
    • the normal assortment of bowls, measuring cups, spatulas, forks or whisks and so on

    Grease or spray your baking pan with the oil. Use a paper towel to wipe the pan and make sure that every surface is coated in a thin layer of oil. Put the baking pan and a spatula next to your stand mixer, which should already have the whisk beater on it and your splatter guard ready to go.

    Mix a 1/2 cup of cold water in a measuring cup along with the peppermint extract or peppermint oil. Put the gelatin into the bowl of the stand mixer, and pour the water and vanilla mixture over it while whisking it with a fork or a small whisk. Mix until there are no lumps. Put the bowl back into your stand mixer and attach it.

    Gelatin, water, and vanilla extract well mixed
    Gelatin, water, and vanilla extract well mixed

    Place your saucepan on the burner and clip your candy thermometer to the side of the saucepan. Add the rest of the water (3/4 of a cup), and add the cane sugar, cane sugar syrup and salt. Don’t stir it up.

    water, sugar, cane sugar, syrup and salt with candy thermometer
    water, sugar, cane sugar, syrup and salt with candy thermometer

    Place the saucepan over high head and bring it to a rapid boil. Boil until the sugar mixture measures some where between 245ºF and 250ºF. Don’t let it go any higher than 250ºF. Take the saucepan off the burner and remove the candy thermometer.

    Sugar mixture at a boil
    Sugar mixture at a boil

    Turn on the stand mixer to medium and CAREFULLY pour the sugar mixture down the side of the stand mixer bowl. There will be some bubbling, so go slowly. Also it will freaking burn and hurt if you spill it on yourself, so please don’t.

    When all the sugar mixture is in the mixing bowl and is mixed to together, make sure your splatter guard is down and increase the mixing speed to high.  Continue to mix on high for 10 minutes. Make sure you do the full 10 minutes.

    Whipping marshmallow mixture
    Whipping marshmallow mixture

    Once the ten minutes is up, do not dally, get the marshmallow mixture into the baking pan as fast as you can as it will start to cool really fast, and you want to be able to spread it out in the pan. Use a spatula to scrap out the bowl, but it’s really think and sticky, so you won’t get every bit out. Once it’s in the pan, spray or coat your hands with your oil and spread out the marshmallow evenly.

    Marshmallows spread evenly in baking pan
    Marshmallows spread evenly in baking pan

    Let the marshmallows sit uncovered and at room temperature for 6 or more hours. Don’t let it go any longer than 24 hours though. Once they have cooled, mix your powdered sugar and tapioca starch in a bowl.

    Powder sugar and tapioca starch mixture
    Powder sugar and tapioca starch mixture

    Take a large cutting board or cookie sheet and sprinkle some of the powdered sugar mix on it.  Then sprinkle the top of the marshmallow in the pan with the mixture and smooth it out over the surface. Flip the pan over onto your cutting board. Once you’ve got them out of the pan, sprinkle more of the mixture over the top of the marshmallow layer that was previously on the bottom of the pan.

    Marshmallows powered before cutting
    Marshmallows powered before cutting

    Cut your marshmallows using a sharp knife or a pizza cutter into small squares.

    Marshmallow pieces cut by pizza cutter
    Marshmallow pieces cut by pizza cutter

    Put each square in the bowl with the powdered sugar and tapioca and toss it until coated thoroughly. (If you have extra marshmallow coating afterwards, put it in a jar and use it the next time.)

    Marshmallow being tossed in marshmallow coating
    Marshmallow being tossed in marshmallow coating

    Once you’re done with your marshmallows, it’s time to dip them in chocolate. You can melt in a double boiler, but our resident Master Chocolatier, Rich Tango-Lowy, at the Dancing Lion in Manchester, New Hampshire, recommends the use of the microwave because you don’t want to get any water in the chocolate which would ruin the crystalline structure. There’s all kinds of science on chocolate tempering that Rich explained at a lecture Mary Kate and I attended, but for our purposes, being lowly food bloggers, putting the chocolate in a microwave safe Pyrex or Corning ware container, and nuking it for ten seconds, checking it and repeating that until it’s melted (make sure you don’t burn it) works for us.

    We used a cookie sheet covered with parchment paper to place our dipped marshmallows while they cooled. Dip your marshmallows in the chocolate, or simply drizzle the chocolate over the top.  We ended up mostly drizzling because we were making too big a mess with the dipping process.

    Chocolate Covered Peppermint Marshmallows - Photo by J. Andrews
    Chocolate Covered Peppermint Marshmallows – Photo by J. Andrews

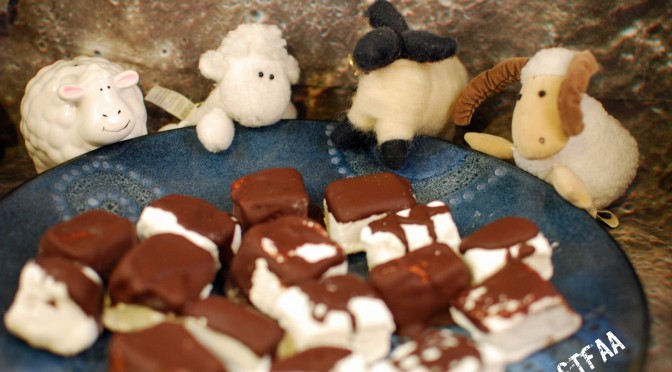
    Bonus picture because Mary Kate and Jack decided to play with my stuffed sheep collection when I left Mary Kate and Jack unattended in my apartment for a short period of time:

    Chocolate Covered Peppermint Marshmallows with Sheep - Photo by J. Andrews
    Chocolate Covered Peppermint Marshmallows with Sheep – Photo by J. Andrews

    Enjoy!

  • Microwave Individual-ish Chocolate Wacky Cake

    Microwave Individual-ish Chocolate Wacky Cake
    Microwave Individual-ish Chocolate Wacky Cake

    You know how there are those brownie in a mug recipes out there? And how none of them work for those of us with food allergies who need a really quick cake fix and (1) can’t wait 35-40 minutes for a cake to bake, or (2) can’t eat a whole cake before it goes stale?  Well, now you can have a nice smallish cake that cooks in the microwave in between 7-8 minutes, which is good, or really bad, depending on your perspective. I’ve eaten a lot of cake in the last week getting this recipe right, and I think the psyllium really rocks. It gives the cake a consistency and body similar to that of a regular cake with regular flour.  I give you almost instant cake. You’re welcome!

    Microwave Individual-ish Chocolate Wacky Cake

    Makes 8 inch round cake.

    • a bit of olive oil, or another mild oil that’s safe for you, to grease the pan
    • 3/4 cup of all purpose gluten-free flour mix (I used Cara Reed’s mix from her blog, Fork and Beans)
    • 2 Tablespoons of cocoa powder that’s safe for you (I used Penzey’s Dutch Process although some that are allergic to corn cannot tolerate it)
    • 1/2 cup of sugar
    • 1/2 teaspoon of baking soda
    • 1/4 teaspoon of salt
    • 1/2 teaspoon of rice wine vinegar, or other mild vinegar that’s safe for you
    • 1/2 teaspoon of vanilla extract  (Here’s a bunch of recipes for vanilla extract, make sure to use safe alcohol if corn or wheat are an issue for you. I use either Vikingfjord  or Luksusowa Vodka because they are made only from potatoes, where some vodkas may also use grain or corn.)
    • 4 Tablespoons olive oil, or another mild oil that’s safe for you
    • 1  Tablespoon of whole husk psyllium (no affiliation with Amazon, just linking so you can see the product)
    • 1/2 cup of water (water amounts are provided separately because they are used at different points in the recipe)
    • 1/4 cup of water and 3 Tablespoons of water

    Grease a microwave safe 8 inch piece of stoneware, Corning ware or Pyrex, with your safe oil. Set aside.

    In a large mixing bowl, add the AP gluten-free flour mix, cocoa powder, sugar, baking soda, and salt, and use a whisk to combine the dry ingredients thoroughly.

    In a small bowl, whisk the psyllium and 1/2 cup of water together thoroughly. It will jell up fairly quickly.

    Make three little depressions or wells in the dry mix, add the vanilla to one, the oil to another and the vinegar to the third. Add the psyllium mixture and the remaining water water to the bowl, and mix with the whisk until the mixture is mostly smooth. The psyllium is going to make things a bit lumpy, so don’t worry about that.

    Pour the cake batter into your greased pan, and microwave on high for 7-8 minutes (my microwave is 1100 watts, times may vary with different microwaves) or until the cake pulls away from the edge of the pan.

    Microwave Individual-ish Chocolate Wacky Cake
    Microwave Individual-ish Chocolate Wacky Cake

    Let the cake cool, and then cut and serve, or just eat it out of the pan.

    Microwave Individual-ish Chocolate Wacky Cake
    Microwave Individual-ish Chocolate Wacky Cake

    Enjoy!

  • Gingerbread Modern Haus

    Modern gingerbread masterpieces. Photo by J. Andrews
    Modern gingerbread masterpieces. Photo by J. Andrews

    One of my favorite things when I was about 12 was making this gingerbread village for the holidays. It was from the Southern Living cookbook, had two houses and a little church, and I’d make walls and a skating pond and generally took me a full day to construct. Gingerbread houses are generally not the tastiest cookies — in order to be structurally sound, they need to be rather hard and dry, and then you leave them out for a while, so they get stale. But they look so cool! I don’t know if we ever ate the village, given that I wouldn’t let anyone touch it.

    Unadorned and decorating. Photos by J. Andrews
    Unadorned and decorating. Photos by J. Andrews

    Last year, I made gingerbread cookies for the first time in years — gluten-free. They were good, but softer than houses. This year, I was more ambitious, so I tried a few different recipes until I got one that seemed like it might be structurally sound. THIS IS NOT MY RECIPE. I just slightly altered one from Fork and Beans, and then I overbaked the cookies slightly. But I did design the houses, made a “safe” frosting for Denise, and decorate them. Denise made the gumdrops, and we made the marshmallows together. It was an incredible labor of great artistic merit, and we destroyed it all within two days. As an adult, yeah, it’s awesome to build houses out of cookies and candy, but they then need to be enjoyed. Who wastes all that good sugar?

    The blizzard-bound A-frame. Photo by J. Andrews
    The blizzard-bound A-frame. Photo by J. Andrews

    First up, make the candy and stuff you want for decorating. See the posts linked above.

    Second, make the cookies. HERE are your designs, or design your own. Or check out Pinterest, as I am willing to bet there are tons.

    Vegan, Gluten-free Gingerbread Cookies, altered from Fork and Beans

    • 1/2 cup vegan shortening (I used Spectrum)
    • 2 1/2 cups gluten-free all-purpose flour (again, I point you back to Fork and Beans)
    • 1/2 cup granulated sugar (choose corn-free if you need to)
    • 1/2 cup molasses
    • 1 chia egg (1 Tablespoon ground chia seeds mixed with 3 Tablespoons water, set aside to gel)
    • 1 teaspoon baking soda (again, choose corn-free if you need to)
    • 2 teaspoons ground ginger
    • 1 teaspoon cinnamon
    • 1/2 teaspoon ground cloves

    Pre-heat the oven to 375ºF

    Beat the shortening until soft and fluffy. Add half the flour.

    Add the sugar, molasses, chia egg, baking soda, and spices and beat until combined.

    Add the rest of the flour and beat well.

    Divide the dough in two, cover tightly with plastic wrap, and refrigerate until cold. I just did it overnight.

    Roll out the dough between two sheets of parchment paper until about 1/8-inch thick (or until it looks “thin enough” and you are sick of rolling. I am not patient). Put the rolled out dough on a cookie sheet and re-chill it in the fridge while you roll out the other ball. Then trade them out for cutting.

    Using the patterns linked — or using your own — cut out the right number of pieces. Believe me, double-check your count! Try to space these out so that you don’t need to move them again. Peel the excess dough from around them — ball this up and re-chill it. (This is my favorite thing about gluten-free dough — you can’t really overwork it, as there is no gluten to get tough!)

    Leaving the cookies on the parchment (and I’d suggest you use the parchment, not silicone sheets, as I don’t really advise cutting on those), on the baking sheet, bake for 15 minutes, or until pretty firm. Remember, these are now architectural building blocks you’re making. Drag the parchment to a wire rack and cool the cookies completely.

    Mortar Frosting

    • 1/4 cup shortening (butter, lard, Crisco, whatever you want. We used lard that Denise rendered, as that is safe for her)
    • 1 teaspoon vanilla extract
    • 2-4 cups powdered sugar (again, be safe — Trader Joe’s powdered sugar uses tapioca starch, not corn, so I used that)

    Beat shortening until creamy and fluffy. Add the vanilla and beat more. Gradually add the powdered sugar. Depending on the temperature and your choice of shortening, you may need more or less powdered sugar. Remember, this is mortar. You want this to be stiff frosting. So I’d suggest more, not less, powdered sugar. (Tip: If you’re using Earth Balance soy-free, add a large pinch of xanthan gum or you will not have a room-temp stable mortar.)

    Load this into a pastry bag or frosting gun and assemble your houses.

    ASSEMBLE!

    Tips for assembly — the A-frame is kind of hard to put together! Lay one roof piece down and frost both triangular walls onto it. Then add the other (put the frosting on the wall pieces), and then flip it upright. That seems to work okay.

    With the modern shed roof, lay the tall wall flat. Add both end walls to that, then add the shorter “front” wall. Stand up your roofless house, and then add frosting all along the roofline before putting the roof on.

    Now? Decorate with whatever you want. Use more frosting.

    House On a Slant. Photo by J. Andrews
    House On a Slant. Photo by J. Andrews

    Share your masterpieces with people you like. And hey, if you make these, share a photo or two with us, too. We’d love to see what you come up with.