Notice: Function _load_textdomain_just_in_time was called incorrectly. Translation loading for the wp-ultimate-recipe domain was triggered too early. This is usually an indicator for some code in the plugin or theme running too early. Translations should be loaded at the init action or later. Please see Debugging in WordPress for more information. (This message was added in version 6.7.0.) in /home/maryzahc/public_html/adultfoodallergies.com/wp-includes/functions.php on line 6121
Condiments – surviving the food allergy apocalypse (archive)

Category: Condiments

Condiment [kon-duh-muh nt] noun: early 15c., from Old French condiment (13c.), from Latin condimentum “spice, seasoning, sauce,” from condire “to preserve, pickle, season,” variant of condere “to put away, store,” from com- “together” (see com- ) + -dere comb. form meaning “to put, place,” from dare “to give”. These recipes will not contain dairy, eggs, gluten, wheat or hazelnuts. If we use a top 8 allergen, we will use a tag warning of its use.

  • Curry Spiced Hot Sauce

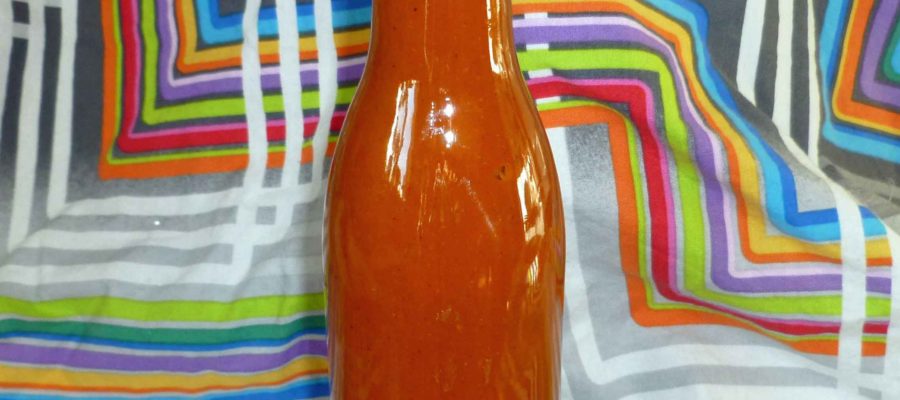
    Curry Spiced Hot Sauce

    Curry Spiced Hot Sauce
    Curry Spiced Hot Sauce

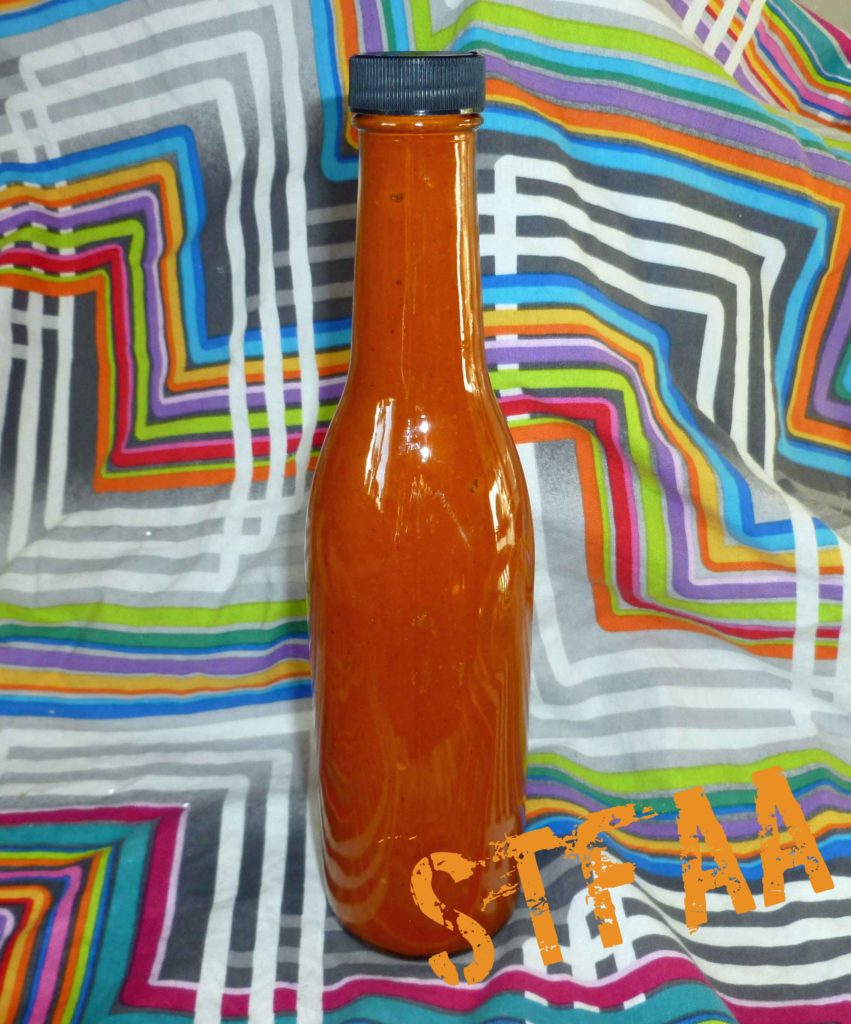
    Okay, I know I’m going to be sorry because this is my last “get out of jail free post” I had saved up in case I was in a bind, but I’m kind of in a bind.  So here we go with another hot sauce.  Plus, you can’t have too many hot sauces anyway. This is made from the Indian Jwala finger peppers that MaryKate sent me from Seattle in the fall.  I wanted to find an authentic Indian style hot sauce for these peppers, but didn’t really find much out there. So instead I made a curry inspired hot sauce. This is great for bumping up homemade curries, kormas, or dals. I used my DIY Curry Powder for this recipe, but any safe curry powder you have would be fine. If you can’t get your hands on fresh Indian Jwala finger peppers, any red chili pepper would be fine, such as red cayenne peppers or Fresno peppers.
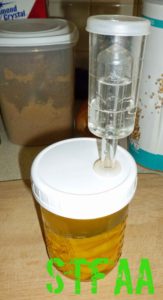
    Hot peppers at the beginning of the fermenting process
    Hot peppers at the beginning of the fermenting process
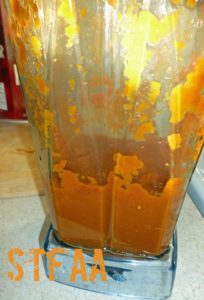
    Peppers, garlic and apple cider vinegar in blender
    Peppers, garlic and apple cider vinegar in blender
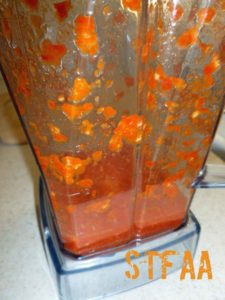
    Peppers after blending
    Peppers after blending
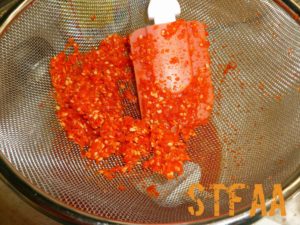
    Pushing pulp through strainer to strain out skin and seeds
    Pushing pulp through strainer to strain out skin and seeds
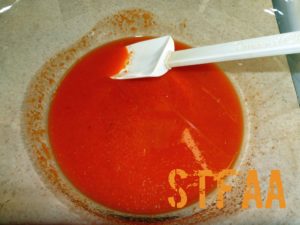
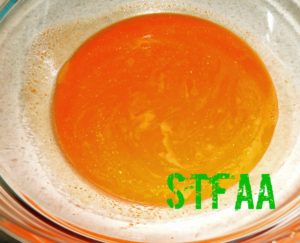
    Strained peppers, garlic and apple cider vinegar
    Strained peppers, garlic and apple cider vinegar
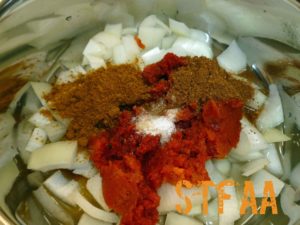
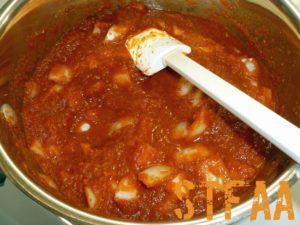
    Remaining ingredients in sauce pan
    Remaining ingredients in sauce pan
    Remaining ingredients and strained pepper mix in sauce pan
    Remaining ingredients and strained pepper mix in sauce pan
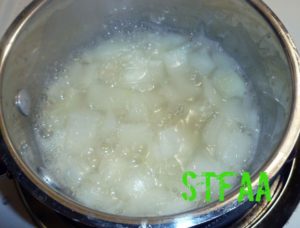
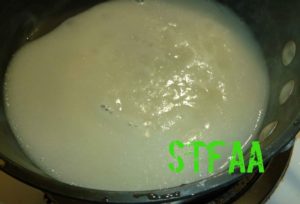
    Sauce pureed after onions softened
    Sauce pureed after onions softened
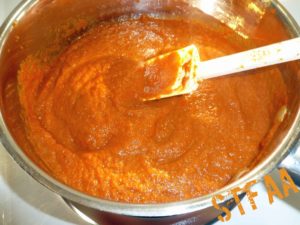
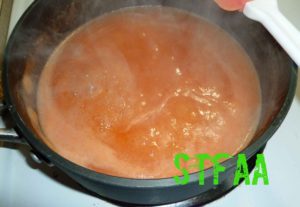
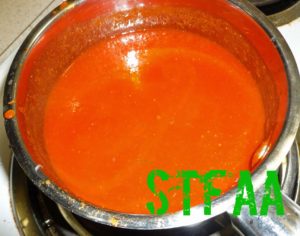
    Sauce returned to sauce pan to simmer
    Sauce returned to sauce pan to simmer
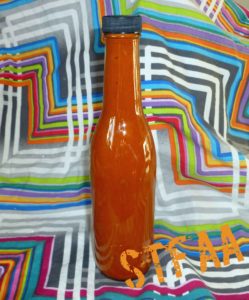
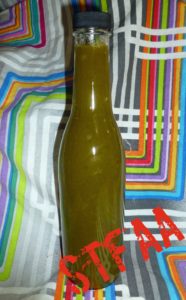
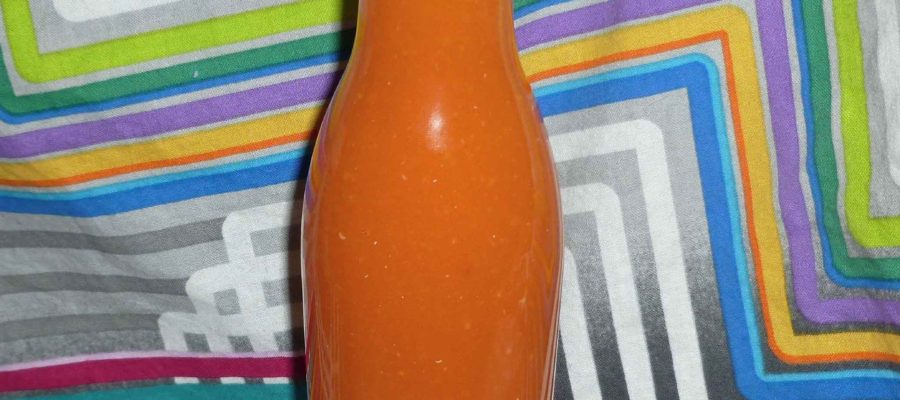
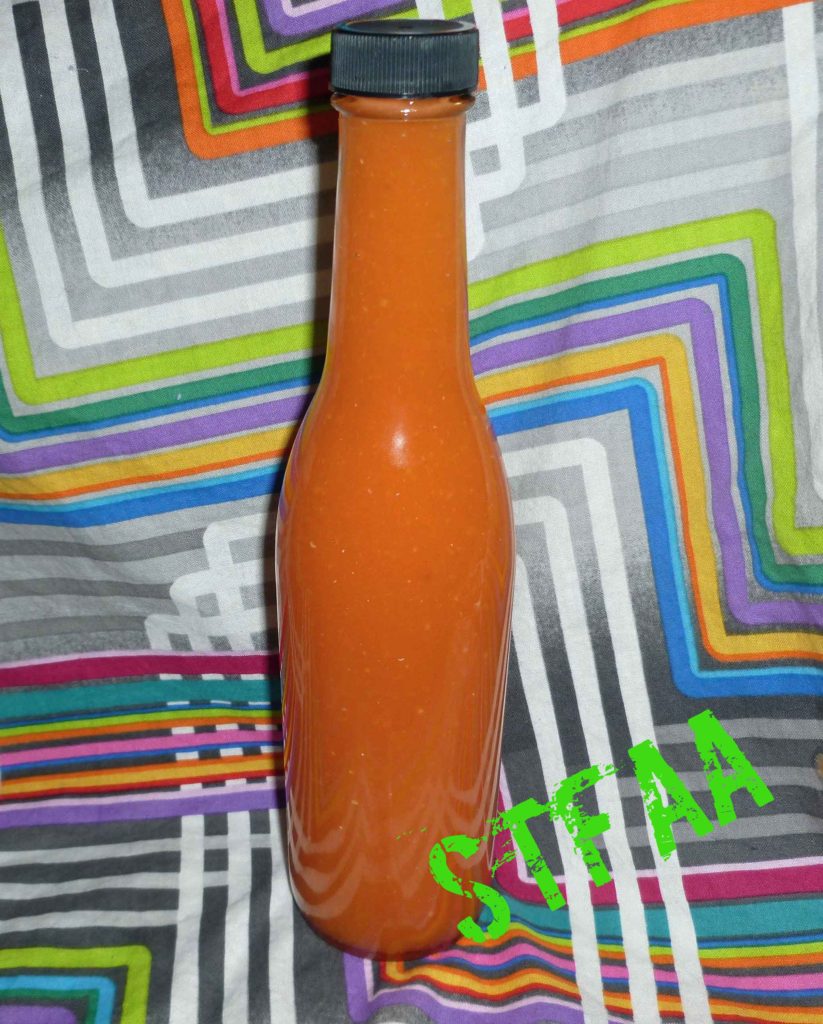
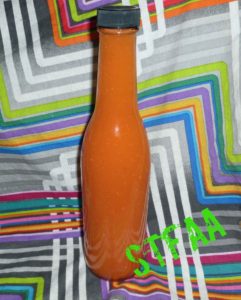
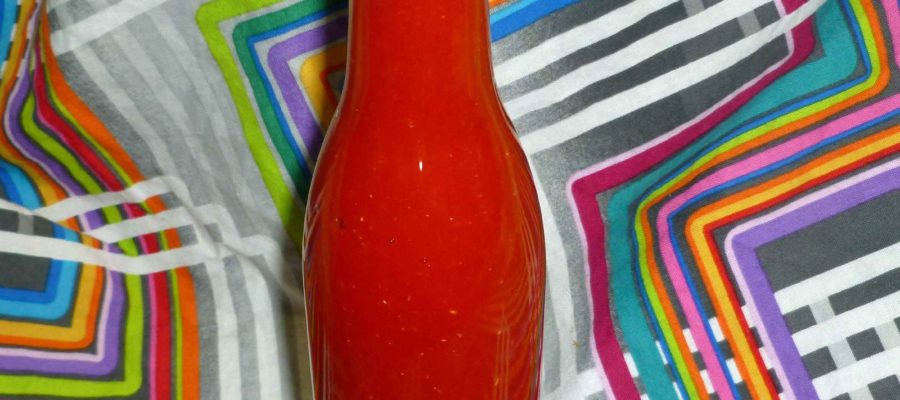
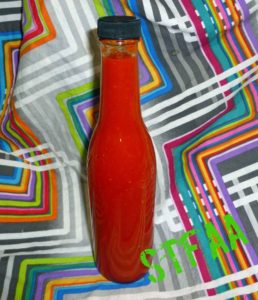
    Curry Spiced Hot Sauce
    Curry Spiced Hot Sauce

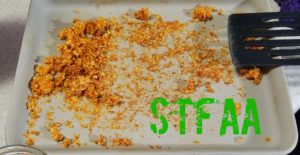
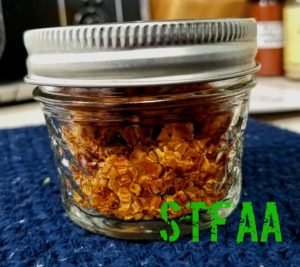
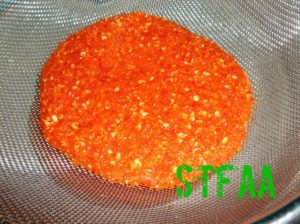
    The other nice thing about making hot sauce is that you get two products for one.  When you strain out the skins and seeds during the process, you can dry them in the oven or the dehydrator and get a nice crushed pepper mix to use in other spice mixes, rubs, or other recipes. No waste!
    Strained out pepper skin and seeds before drying in the oven
    Strained out pepper skin and seeds before drying in the oven
    Indian Jwala finger pepper flakesIndian Jwala finger pepper flakes
    Indian Jwala finger pepper flakes
    Curry Spiced Hot Sauce
    Curry Spiced Hot Sauce
    Print Recipe
    Great sauce to use to bump up the spice on curries, kormas and dals.
    Servings Prep Time
    12 ounces 15 minutes
    Cook Time Passive Time
    10 minutes 2-4 weeks
    Servings Prep Time
    12 ounces 15 minutes
    Cook Time Passive Time
    10 minutes 2-4 weeks
    Curry Spiced Hot Sauce
    Curry Spiced Hot Sauce
    Print Recipe
    Great sauce to use to bump up the spice on curries, kormas and dals.
    Servings Prep Time
    12 ounces 15 minutes
    Cook Time Passive Time
    10 minutes 2-4 weeks
    Servings Prep Time
    12 ounces 15 minutes
    Cook Time Passive Time
    10 minutes 2-4 weeks
    Ingredients
    Equipment
    • 1 wide mouth pint jar
    • 1 glass fermenting weight or 4 ounce canning jar
    • 1 airlock lid for mason jar
    • 1 blender
    • 1 small sauce pan
    • 1 kitchen scale measuring ounces
    Brine for Fermenting
    • 1 quart spring water (not tap water, it will interfere with fermentation)
    • 1.8 ounces sea salt
    Hot Sauce Ingredients
    • 1 cup Indian jwala finger peppers washed and destemmed
    • 1 clove garlic peeled
    • 3/4 cup apple cider vinegar divided (Bragg’s is most tolerated for those with corn allergies)
    • 4 ounces tomato paste (I used my homemade tomato paste)
    • 1 cup onions, chopped
    • 1 Tablespoon curry powder
    • 1 teaspoon garam masala, ground
    • 1/4 teaspoon salt
    • 1 Tablespoon brown sugar
    Servings: ounces
    Instructions
    Fermenting the peppers
    1. Make brine by mixing spring water and salt in a container until salt is dissolved.
    2. lace peppers in pint jar and add glass weight or 4 ounce jar. Add brine until the weight is covered with brine by at least half an inch, or cover with brine and add 4 ounce jar full of brine to weight down peppers making sure that all peppers are submerged in brine. Place airlock on jar and add brine to airlock to seal.
    3. Let ferment for 2 to 4 weeks at room temperature, checking daily to make sure the brine levels are okay. You may need to add brine as time goes on as the peppers must stay submerged at all times. If the peppers do not stay submerged, they could develop mold and you’ll need to throw it out and start all over.
    Making the Hot Sauce
    1. Once your peppers are fermented, remove the airlock and and glass weight or glass jar. Drain brine. Place the peppers in a blender with the garlic clove and a 1/4 cup of the apple cider vinegar in the blender.
    2. Blend until the peppers are pureed, but not until the seeds have disappeared if you have a high performance blender. You want to leave the seeds whole enough to strain out.
    3. Once you have pureed your peppers, place the puree in a fine mesh strainer over a bowl and use a spatula or the back of a spoon to press the liquid in your puree into the bowl, leaving the seeds and skins of the peppers behind. (Hint: dehydrate the seeds and skins remaining in the oven at the lowest temperature you can or in a dehydrator to make pepper flakes to use in other recipes).
    4. Place the remaining ingredients (onions, tomato paste, 1/2 cup of apple cider vinegar, curry powder, garam masala, salt, brown sugar) and the strained pepper mixture into a sauce pan and simmer until the onions are soft.
    5. Rinse out your blender container, and place the contents of the sauce pan into the blender and blend until completely pureed. Once pureed, return the mixture to the sauce pan and bring to a gentle boil for 2 to 3 minutes.
    6. Remove the sauce from heat and let cool before placing it a container to store in the refrigerator. Use it on everything.
    Share this Recipe
    Powered byWP Ultimate Recipe
  • Cilantro Lime Green Cayenne Hot Sauce

    Cilantro Lime Green Cayenne Hot Sauce

    Cilantro Lime Green Cayenne Hot Sauce
    Cilantro Lime Green Cayenne Hot Sauce

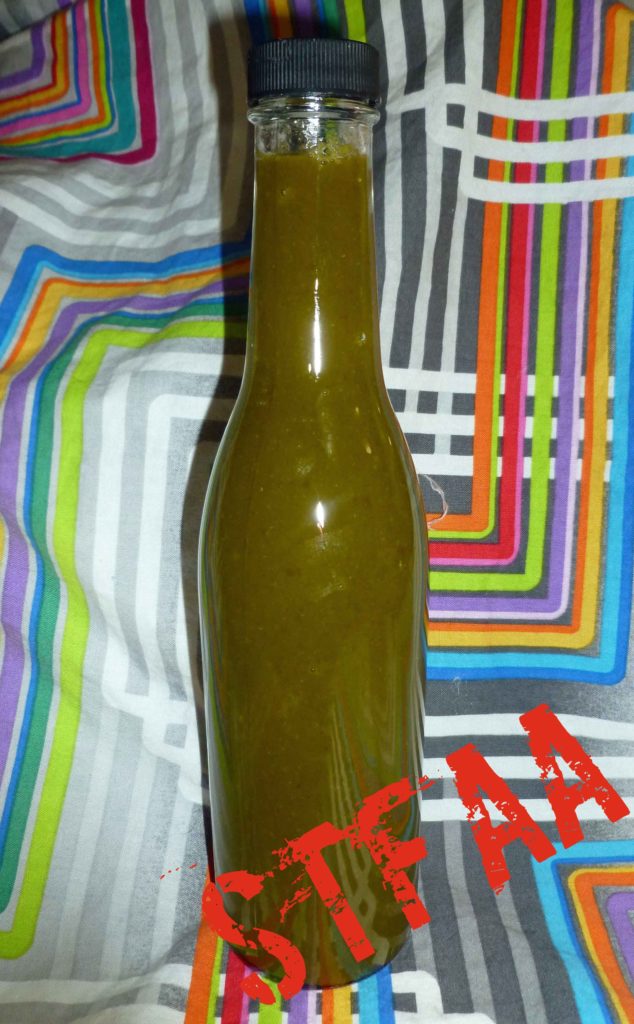
    Here’s the thing: It’s been crazed here, and I’ve been flaking a bit on blog-related recipe development. So I’m giving you another hot sauce recipe I developed in the fall. These peppers came from a mix of peppers that Mary S and I grew this summer, green cayennes (they hadn’t ripened to red before being picked to avoid the frost) and poblanos. This one is a bit milder than my normal hot sauces as the poblanos are fairly mild, but it’s really flavorful and great on all kinds of things, whether as a dipping sauce for pork chops, Mexican inspired dishes, or Thai inspired dishes.

    Peppers after fermenting
    Peppers after fermenting
    Peppers, garlic, and juice of 2 limes in blender
    Peppers, garlic, and juice of 2 limes in blender
    Pushing pulp through strainer to strain out skin and seeds
    Pushing pulp through strainer to strain out skin and seeds
    Strained peppers, garlic, and lime juice
    Strained peppers, garlic, and lime juice
    Onions, salt and juice of 3 limes in small sauce pan
    Onions, salt and juice of 3 limes in small sauce pan
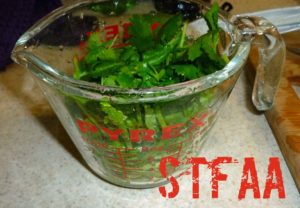
    Cilantro, chopped and tightly packed
    Cilantro, chopped and tightly packed
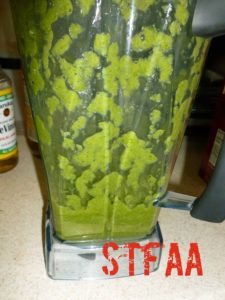
    Cilantro and onion mixture after blending
    Cilantro and onion mixture after blending
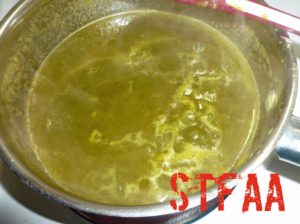
    Cilantro and onion mixture and strained pepper mixture with sugar simmering
    Cilantro and onion mixture and strained pepper mixture with sugar simmering
    Cilantro Lime Green Cayenne Hot Sauce
    Cilantro Lime Green Cayenne Hot Sauce

    The other nice thing about making hot sauce is that you get two products for one.  When you strain out the skins and seeds during the process, you can dry them in the oven or the dehydrator and get a nice crushed pepper mix to use in other spice mixes, rubs, or other recipes. No waste!

    Strained out pepper skin and seeds before drying in the oven
    Strained out pepper skin and seeds before drying in the oven
    Pepper skins and seeds after drying
    Pepper skins and seeds after drying
    Green Cayenne and Poblano Pepper Flakes
    Green Cayenne and Poblano Pepper Flakes
    Cilantro Lime Green Cayenne Hot Sauce
    Cilantro Lime Green Cayenne Hot Sauce
    Print Recipe
    A milder hot sauce with a lot of flavor you can use in a lot cuisines and dishes.
    Servings Prep Time
    14 ounces 15 minutes
    Cook Time Passive Time
    10 minutes 2-4 weeks
    Servings Prep Time
    14 ounces 15 minutes
    Cook Time Passive Time
    10 minutes 2-4 weeks
    Cilantro Lime Green Cayenne Hot Sauce
    Cilantro Lime Green Cayenne Hot Sauce
    Print Recipe
    A milder hot sauce with a lot of flavor you can use in a lot cuisines and dishes.
    Servings Prep Time
    14 ounces 15 minutes
    Cook Time Passive Time
    10 minutes 2-4 weeks
    Servings Prep Time
    14 ounces 15 minutes
    Cook Time Passive Time
    10 minutes 2-4 weeks
    Ingredients
    Equipment
    • 1 wide mouth pint jar
    • 1 glass fermenting weight or 4 ounce canning jar
    • 1 airlock lid for mason jar
    • 1 blender
    • 1 small sauce pan
    • 1 kitchen scale measuring ounces
    Brine for fermenting
    • 1 quart spring water (not tap water, it will interfere with fermentation)
    • 1.8 ounces sea salt
    Hot Sauce Ingredients
    • 1 cup green cayennes washed, destemmed and sliced into half inch pieces
    • 1 cup poblanos washed, destemmed, de-seeded, and chopped
    • 1 clove garlic peeled
    • 5 limes juiced (divided)
    • 1 cup onions, chopped
    • 1/4 teaspoon sea salt
    • 1 cup cilantro washed, chopped, and tightly packed
    • 2 Tablespoons brown sugar
    Servings: ounces
    Instructions
    Fermenting the peppers
    1. Make brine by mixing spring water and salt in a container until salt is dissolved.
    2. Place peppers in pint jar and add glass weight or 4 ounce jar. Add brine until the weight is covered with brine by at least half an inch, or cover with brine and add 4 ounce jar full of brine to weight down peppers making sure that all peppers are submerged in brine. Place airlock on jar and add brine to airlock to seal.
    3. Let ferment for 2 to 4 weeks at room temperature, checking daily to make sure the brine levels are okay. You may need to add brine as time goes on as the peppers must stay submerged at all times. If the peppers do not stay submerged, they could develop mold and you’ll need to throw it out and start all over.
    Making the Hot Sauce
    1. Once your peppers are fermented, remove the airlock and and glass weight or glass jar. Drain brine. Place the peppers in a blender with the garlic clove and the juice of two of the limes.
    2. Blend until the peppers are pureed, but not until the seeds have disappeared if you have a high performance blender. You want to leave the seeds whole enough to strain out.
    3. Once you have pureed your peppers, place the puree in a fine mesh strainer over a bowl and use a spatula or the back of a spoon to press the liquid in your puree into the bowl, leaving the seeds and skins of the peppers behind. (Hint: dehydrate the seeds and skins remaining in the oven at the lowest temperature you can or in a dehydrator to make pepper flakes to use in other recipes).
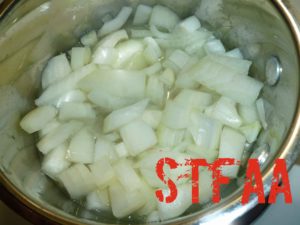
    4. Place the onions, juice of 3 limes, and 1/4 teaspoon of salt in a small sauce pan and cook over medium heat until the onions are soft. Once the onions are soft, place the contents of the sauce pan into the blender with the chopped cilantro and blend until smooth.
    5. Place the onion puree mixture back into a sauce pan, and add the strained pepper mixture and bring to a gentle boil for 2-3 minutes.
    6. Remove the sauce from heat and let cool before placing it a container to store in the refrigerator. Use it on everything.
    Share this Recipe
    Powered byWP Ultimate Recipe
  • Pink Grapefruit Sarit Gat Hot Sauce

    Pink Grapefruit Sarit Gat Hot Sauce

    Pink Grapefruit Sarit Gat Hot Sauce
    Pink Grapefruit Sarit Gat Hot Sauce

    Pink Grapefruit Sarit Gat Hot Sauce

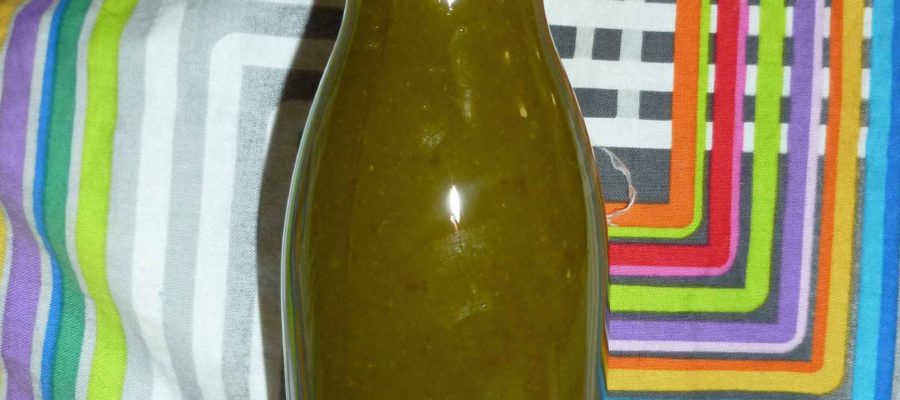
    It’s cold here. We had that ridiculous storm, there’s a ton of snow (literally and figuratively) outside. So hot sauce might make it all better, so I’m sharing one of the hot sauces I made from the peppers MaryKate sent me from Seattle in the fall. She sent me some Sarit Gat peppers, which according to a seed catalog, is a native to Kosovo. Sarit Gat peppers are apparently known and available in Europe but they don’t have much a presence in North America. The peppers are uniform, canary-yellow, and have the approximate heat and shape of a cayenne. I ended up pickling some, dehydrating some as whole chilies, and I set up some to ferment. (Because they also seem pretty rare, I also saved a bunch of seeds, we’ll see how it goes in the spring.) When it came time to make a hot sauce, I thought about yellow hot sauces I had seen in the past, but didn’t feel like making a mango or pineapple based sauce. And then I remembered the Marie Sharps Habanero Grapefruit Pulp Hot Sauce that I used to buy in the time before the corn allergy and decided to try to make something similar. It was a great flavor profile. The citrus in it was great on almost anything.

    So I gave it a whirl. The grapefruits I had in the house were pink grapefruits so that’s what I used, but if you want a more “yellow” and a less sweet sauce, you could use white grapefruits.

    Hot peppers at the beginning of the fermenting process
    Hot peppers at the beginning of the fermenting process
    Peppers after fermenting
    Peppers after fermenting
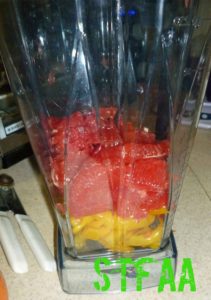
    Peppers, grapefruit pulp, and garlic in blender
    Peppers, grapefruit pulp, and garlic in blender
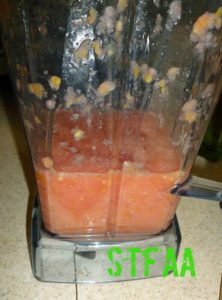
    Peppers, grapefruit pulp, and garlic after blending
    Peppers, grapefruit pulp, and garlic after blending

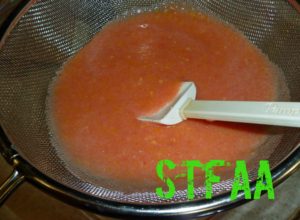
    Peppers, grapefruit pulp, and garlic in strainer

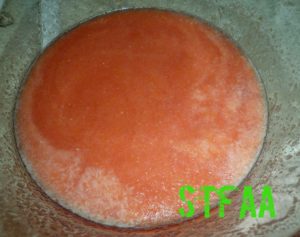
    Strained peppers, grapefruit pulp, and garlic
    Strained peppers, grapefruit pulp, and garlic
    Onion mixture after cooking until soft
    Onion mixture after cooking until soft
    Onion mixture after being pureed in blender
    Onion mixture after being pureed in blender
    Onion and pepper mixtures combined and brought to a gentle boil
    Onion and pepper mixtures combined and brought to a gentle boil
    Pink Grapefruit Sarit Gat Hot Sauce
    Pink Grapefruit Sarit Gat Hot Sauce

    The other nice thing about making hot sauce is that you get two products for one.  When you strain out the skins and seeds during the process, you can dry them in the oven or the dehydrator and get a nice crushed pepper mix to use in other spice mixes, rubs, or other recipes. No waste!

    Pepper skins and seeds after drying
    Pepper skins and seeds after drying
    Sarit Gat Pepper Flakes
    Sarit Gat Pepper Flakes
    Pink Grapefruit Sarit Gat Hot Sauce
    Pink Grapefruit Sarit Gat Hot Sauce
    Print Recipe
    Another hot sauce reminiscent of one of Denise’s commercial favorites in the time before corn.
    Servings Prep Time
    12 ounces 15 minutes
    Cook Time Passive Time
    10 minutes 2-4 weeks
    Servings Prep Time
    12 ounces 15 minutes
    Cook Time Passive Time
    10 minutes 2-4 weeks
    Pink Grapefruit Sarit Gat Hot Sauce
    Pink Grapefruit Sarit Gat Hot Sauce
    Print Recipe
    Another hot sauce reminiscent of one of Denise’s commercial favorites in the time before corn.
    Servings Prep Time
    12 ounces 15 minutes
    Cook Time Passive Time
    10 minutes 2-4 weeks
    Servings Prep Time
    12 ounces 15 minutes
    Cook Time Passive Time
    10 minutes 2-4 weeks
    Ingredients
    Equipment
    • 1 wide mouthed pint jar
    • 1 glass fermenting weight or 4 ounce canning jar
    • 1 airlock lid for mason jar
    • 1 blender
    • 1 small sauce pan
    • 1 kitchen scale measuring ounces
    Brine for fermenting
    • 1 quart spring water (not tap water, it will interfere with fermentation)
    • 1.8 ounces sea salt
    Hot Sauce Ingredients
    • 1 cup hot yellow chili peppers (I used Sarit Gat eppers, but you can use habaneros or another yellow chili)
    • 1 clove garlic
    • 1 grapefruit Peeled and the pulp removed from the section membranes
    • 1 lime, juiced
    • 1/4 cup apple cider vinegar (Bragg’s is the safest for those with corn allergies)
    • 1 cup chopped onions
    • 1/4 teaspoon sea salt
    Servings: ounces
    Instructions
    Fermenting the Peppers
    1. Make brine by mixing spring water and salt in a container until salt is dissolved.
    2. Wash peppers and cut the stems off so that the seed cavity is visible. Placed washed peppers in pint jar and add glass weight or 4 ounce jar. Add brine until the weight is covered with brine by at least half an inch, or cover with brine and add 4 ounce jar full of brine to weight down peppers making sure that all peppers are submerged in brine. Place airlock on jar and add brine to airlock to seal.
    3. Let ferment for 2 to 4 weeks at room temperature, checking daily to make sure the brine levels are okay. You may need to add brine as time goes on as the peppers must stay submerged at all times. If the peppers do not stay submerged, they could develop mold and you’ll need to throw it out and start all over.
    Making the Hot Sauce
    1. Once your peppers are fermented, remove the airlock and and glass weight or glass jar. Drain brine. Place the peppers in a blender with the garlic clove and the grapefruit pulp.
    2. Blend until the peppers are pureed, but not until the seeds have disappeared if you have a high performance blender. You want to leave the seeds whole enough to strain out.
    3. Once you have pureed your peppers, place the puree in a fine mesh strainer over a bowl and use a spatula or the back of a spoon to press the liquid in your puree into the bowl, leaving the seeds and skins of the peppers behind. (Hint: dehydrate the seeds and skins remaining in the oven at the lowest temperature you can or in a dehydrator to make pepper flakes to use in other recipes).
    4. Place the onions, lime juice, apple cider vinegar, and 1/4 teaspoon of salt in a small sauce pan and cook over medium heat until the onions are soft. Once the onions are soft, place the contents of the sauce pan into the blender and blend until smooth.
    5. Place the onion puree mixture back into a sauce pan, and add the strained pepper and grapefruit mixture and bring to a gentle boil for 2-3 minutes.
    6. Remove the sauce from heat and let cool before placing it a container to store in the refrigerator. Use it on everything.
    Share this Recipe
    Powered byWP Ultimate Recipe
  • Chili Lime Hot Sauce

    Chili Lime Hot Sauce

    Chili Lime Hot Sauce
    Chili Lime Hot Sauce

    Chili Lime Hot Sauce

    So, it’s still the Elements theme month. (Yes, I know, what were we thinking?!) We decided that I would do Fire for obvious reasons. I am to spicy food as MaryKate is to potatoes. I have a dried chili collection. Before the corn allergy hit, I had a commercial hot sauce collection, with about 20 or so bottles in the fridge. Now my collection is all homemade! Fire was always going to be my baby when we came up with this wacky theme month.

    One of the hot sauces in my late, dearly lamented commercial hot sauce collection was Cholula Chili Lime hot sauce. It was lovely. It was great on anything, fried foods, grilled meats, tacos, in salsa, etc.  So since MaryKate very generously shipped me three different kinds of chili peppers from a farmers market in Seattle at the end of September and I had set some of them up to ferment, I decided that this would be one of hot sauces I’d try to replicate. I used the Targu Mures peppers, which is a rare small hot Paprika type pepper from Transylvania, and is about the size of an Serrano pepper, close to a Cayenne pepper in heat, and bright red. But you could use any red chili that strikes your fancy or heat tolerance.

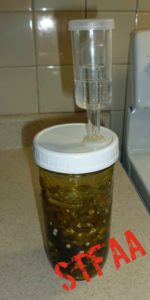
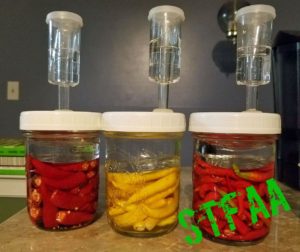
    I had to learn to ferment when I lost corn because I wasn’t sure how I could manage without hot sauce. You can make hot sauce without fermenting, but if you want a Tabasco or Sriracha style sauce, fermenting is necessary. Fermenting is easier than it looks. You don’t really need airlock lids for your mason jars but it makes your life a lot easier because you don’t have to babysit the ferments. The airlock allows the carbon dioxide that builds up from the fermenting processing to be expelled, without allowing fresh air that could have yeast or mold spores to get in. Releasing the carbon dioxide is important because if you have the lid of a mason jar tightly sealed, the glass can crack under pressure and let pepper juice leak all over your counter. Ask me how I know. You can get the lids online, if you do a search a bunch of options will pop up, or you can commit to “burping” your ferments every day.  Some people use a non-latex nitrile medical glove over the top of the jar and put a pin prick in a finger, but I’m not so sure about doing that in the context of a corn allergy, therefore I use the airlock lids as showing in the pictures below.  You do need to make sure that the peppers stay under the brine, so I use either glass fermentation weights or smaller 4 ounce jars that I can fill with brine and weigh down the peppers in my wide mouth pint or quart jars. If the peppers rise above the brine, you are risking mold and spoilage.


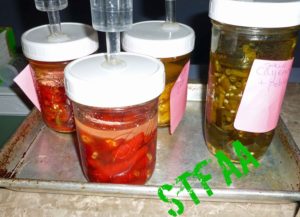
    Hot peppers at the beginning of the fermenting process
    Hot peppers at the beginning of the fermenting process
    Hot peppers at the end of the fermenting process, about 4 weeks
    Hot peppers at the end of the fermenting process, about 4 weeks
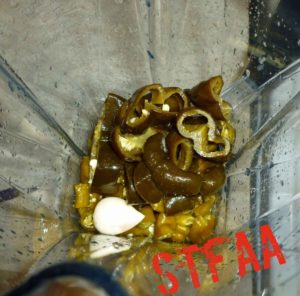
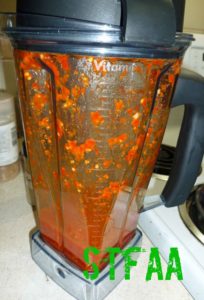
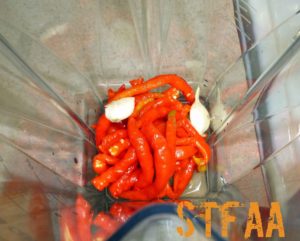
    Peppers after blending
    Peppers after blending
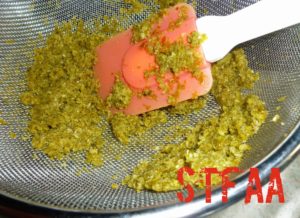
    Peppers being strained
    Peppers being strained
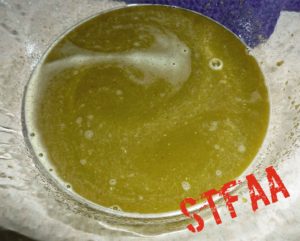
    Peppers after seeds and skins strained
    Peppers after seeds and skins strained
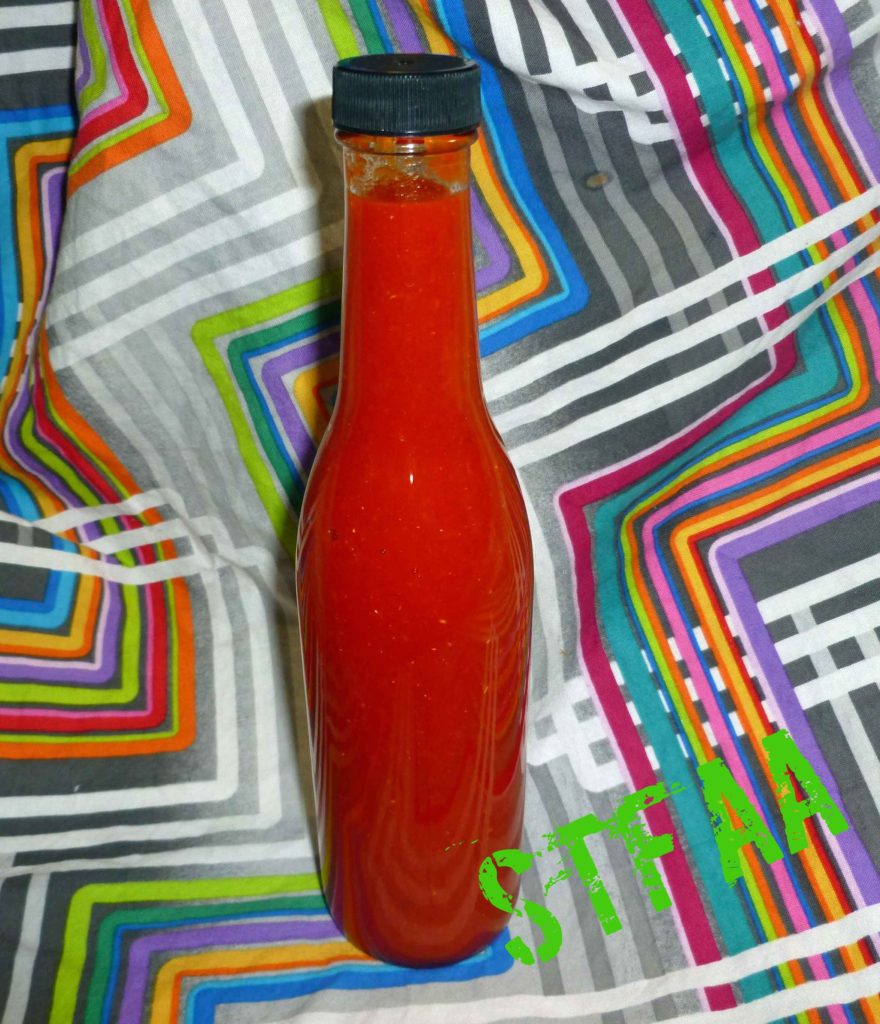
    Completed Chili Lime Hot Sauce
    Completed Chili Lime Hot Sauce
    Chili Lime Hot Sauce
    Chili Lime Hot Sauce

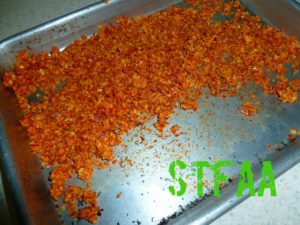
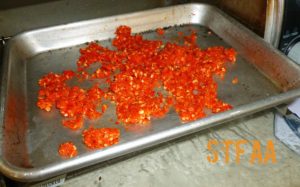
    The other nice thing about making hot sauce is that you get two products for one.  When you strain out the skins and seeds during the process, you can dry them in the oven or the dehydrator and get a nice crushed pepper mix to use in other spice mixes, rubs, or other recipes. No waste!

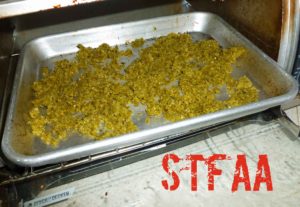
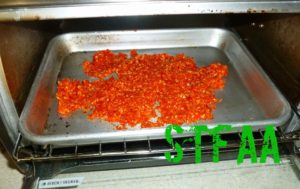
    Wet chili skin and seeds going into a toaster oven
    Wet chili skin and seeds going into a toaster oven
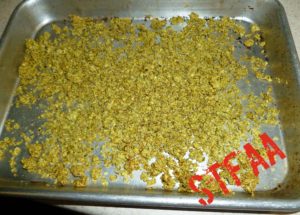
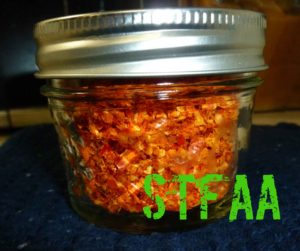
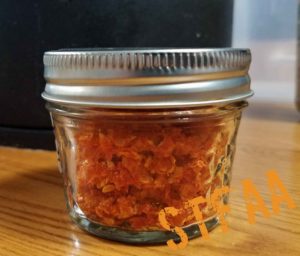
    Chili flakes (skins and seeds after drying)
    Chili flakes (skins and seeds after drying)
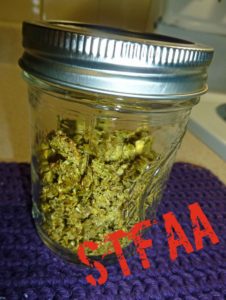
    Crushed red pepper
    Crushed red pepper
    Chili Lime Hot Sauce
    Chili Lime Hot Sauce
    Print Recipe
    A hot sauce reminiscent of one of Denise’s commercial favorites in the time before corn.
    Servings Prep Time
    12 ounces 15 minutes
    Cook Time Passive Time
    10 minutes 2-4 weeks
    Servings Prep Time
    12 ounces 15 minutes
    Cook Time Passive Time
    10 minutes 2-4 weeks
    Chili Lime Hot Sauce
    Chili Lime Hot Sauce
    Print Recipe
    A hot sauce reminiscent of one of Denise’s commercial favorites in the time before corn.
    Servings Prep Time
    12 ounces 15 minutes
    Cook Time Passive Time
    10 minutes 2-4 weeks
    Servings Prep Time
    12 ounces 15 minutes
    Cook Time Passive Time
    10 minutes 2-4 weeks
    Ingredients
    Equipment
    • 1 wide mouthed pint jar
    • 1 glass fermenting weight or 4 ounce canning jar
    • 1 airlock lid for mason jar
    • 1 blender
    • 1 small sauce pan
    • 1 kitchen scale measuring ounces
    Brine for fermenting
    • 1 quart spring water (not tap water, it will interfere with fermentation)
    • 1.8 ounces sea salt
    Hot Sauce Ingredients
    • 1 cup hot red chili peppers (I used Targu Mures, but you can use Fresno, Red Jalapenos, etc.)
    • 4 ounces tomato paste (I used my homemade tomato paste)
    • 1 clove garlic
    • 3 limes, juiced and divided
    • 1 Tablespoon brown sugar
    • 1 teaspoon brown sugar
    • 1/4 teaspoon salt
    Servings: ounces
    Instructions
    Fermenting the Peppers
    1. Make brine by mixing spring water and salt in a container until salt is dissolved.
    2. Wash peppers and cut the stems off so that the seed cavity is visible. Placed washed peppers in pint jar and add glass weight or 4 ounce jar. Add brine until the weight is covered with brine by at least half an inch, or cover with brine and add 4 ounce jar full of brine to weight down peppers making sure that all peppers are submerged in brine. Place airlock on jar and add brine to airlock to seal.
    3. Let ferment for 2 to 4 weeks at room temperature, checking daily to make sure the brine levels are okay. You may need to add brine as time goes on as the peppers must stay submerged at all times. If the peppers do not stay submerged, they could develop mold and you’ll need to throw it out and start all over.
    Making the Hot Sauce
    1. Once your peppers are fermented, remove the airlock and and glass weight or glass jar. Drain brine. Place the peppers in a blender with the garlic clove and the juice of 1 lime.
    2. Blend until the peppers are pureed, but not until the seeds have disappeared if you have a high performance blender. You want to leave the seeds whole enough to strain out.
    3. Once you have pureed your peppers, place the puree in a fine mesh strainer over a bowl and use a spatula or the back of a spoon to press the liquid in your puree into the bowl, leaving the seeds and skins of the peppers behind. (Hint: dehydrate the seeds and skins remaining in the oven at the lowest temperature you can or in a dehydrator to make crushed red pepper to use in other recipes).
    4. Place the strained puree in a sauce pan, with the juice of the remaining two limes, the tomato paste, the brown sugar, and the salt. Mix well and bring to a gentle boil over medium heat, and continue to gently boil stirring occasionally for 2 to 3 minutes. You can add additional sugar or salt to taste, if necessary.
    5. Remove the sauce from heat and let cool before placing it a container to store in the refrigerator. Use it on everything.
    Share this Recipe
    Powered byWP Ultimate Recipe
  • Basil Plum Sauce

    Basil Plum Sauce

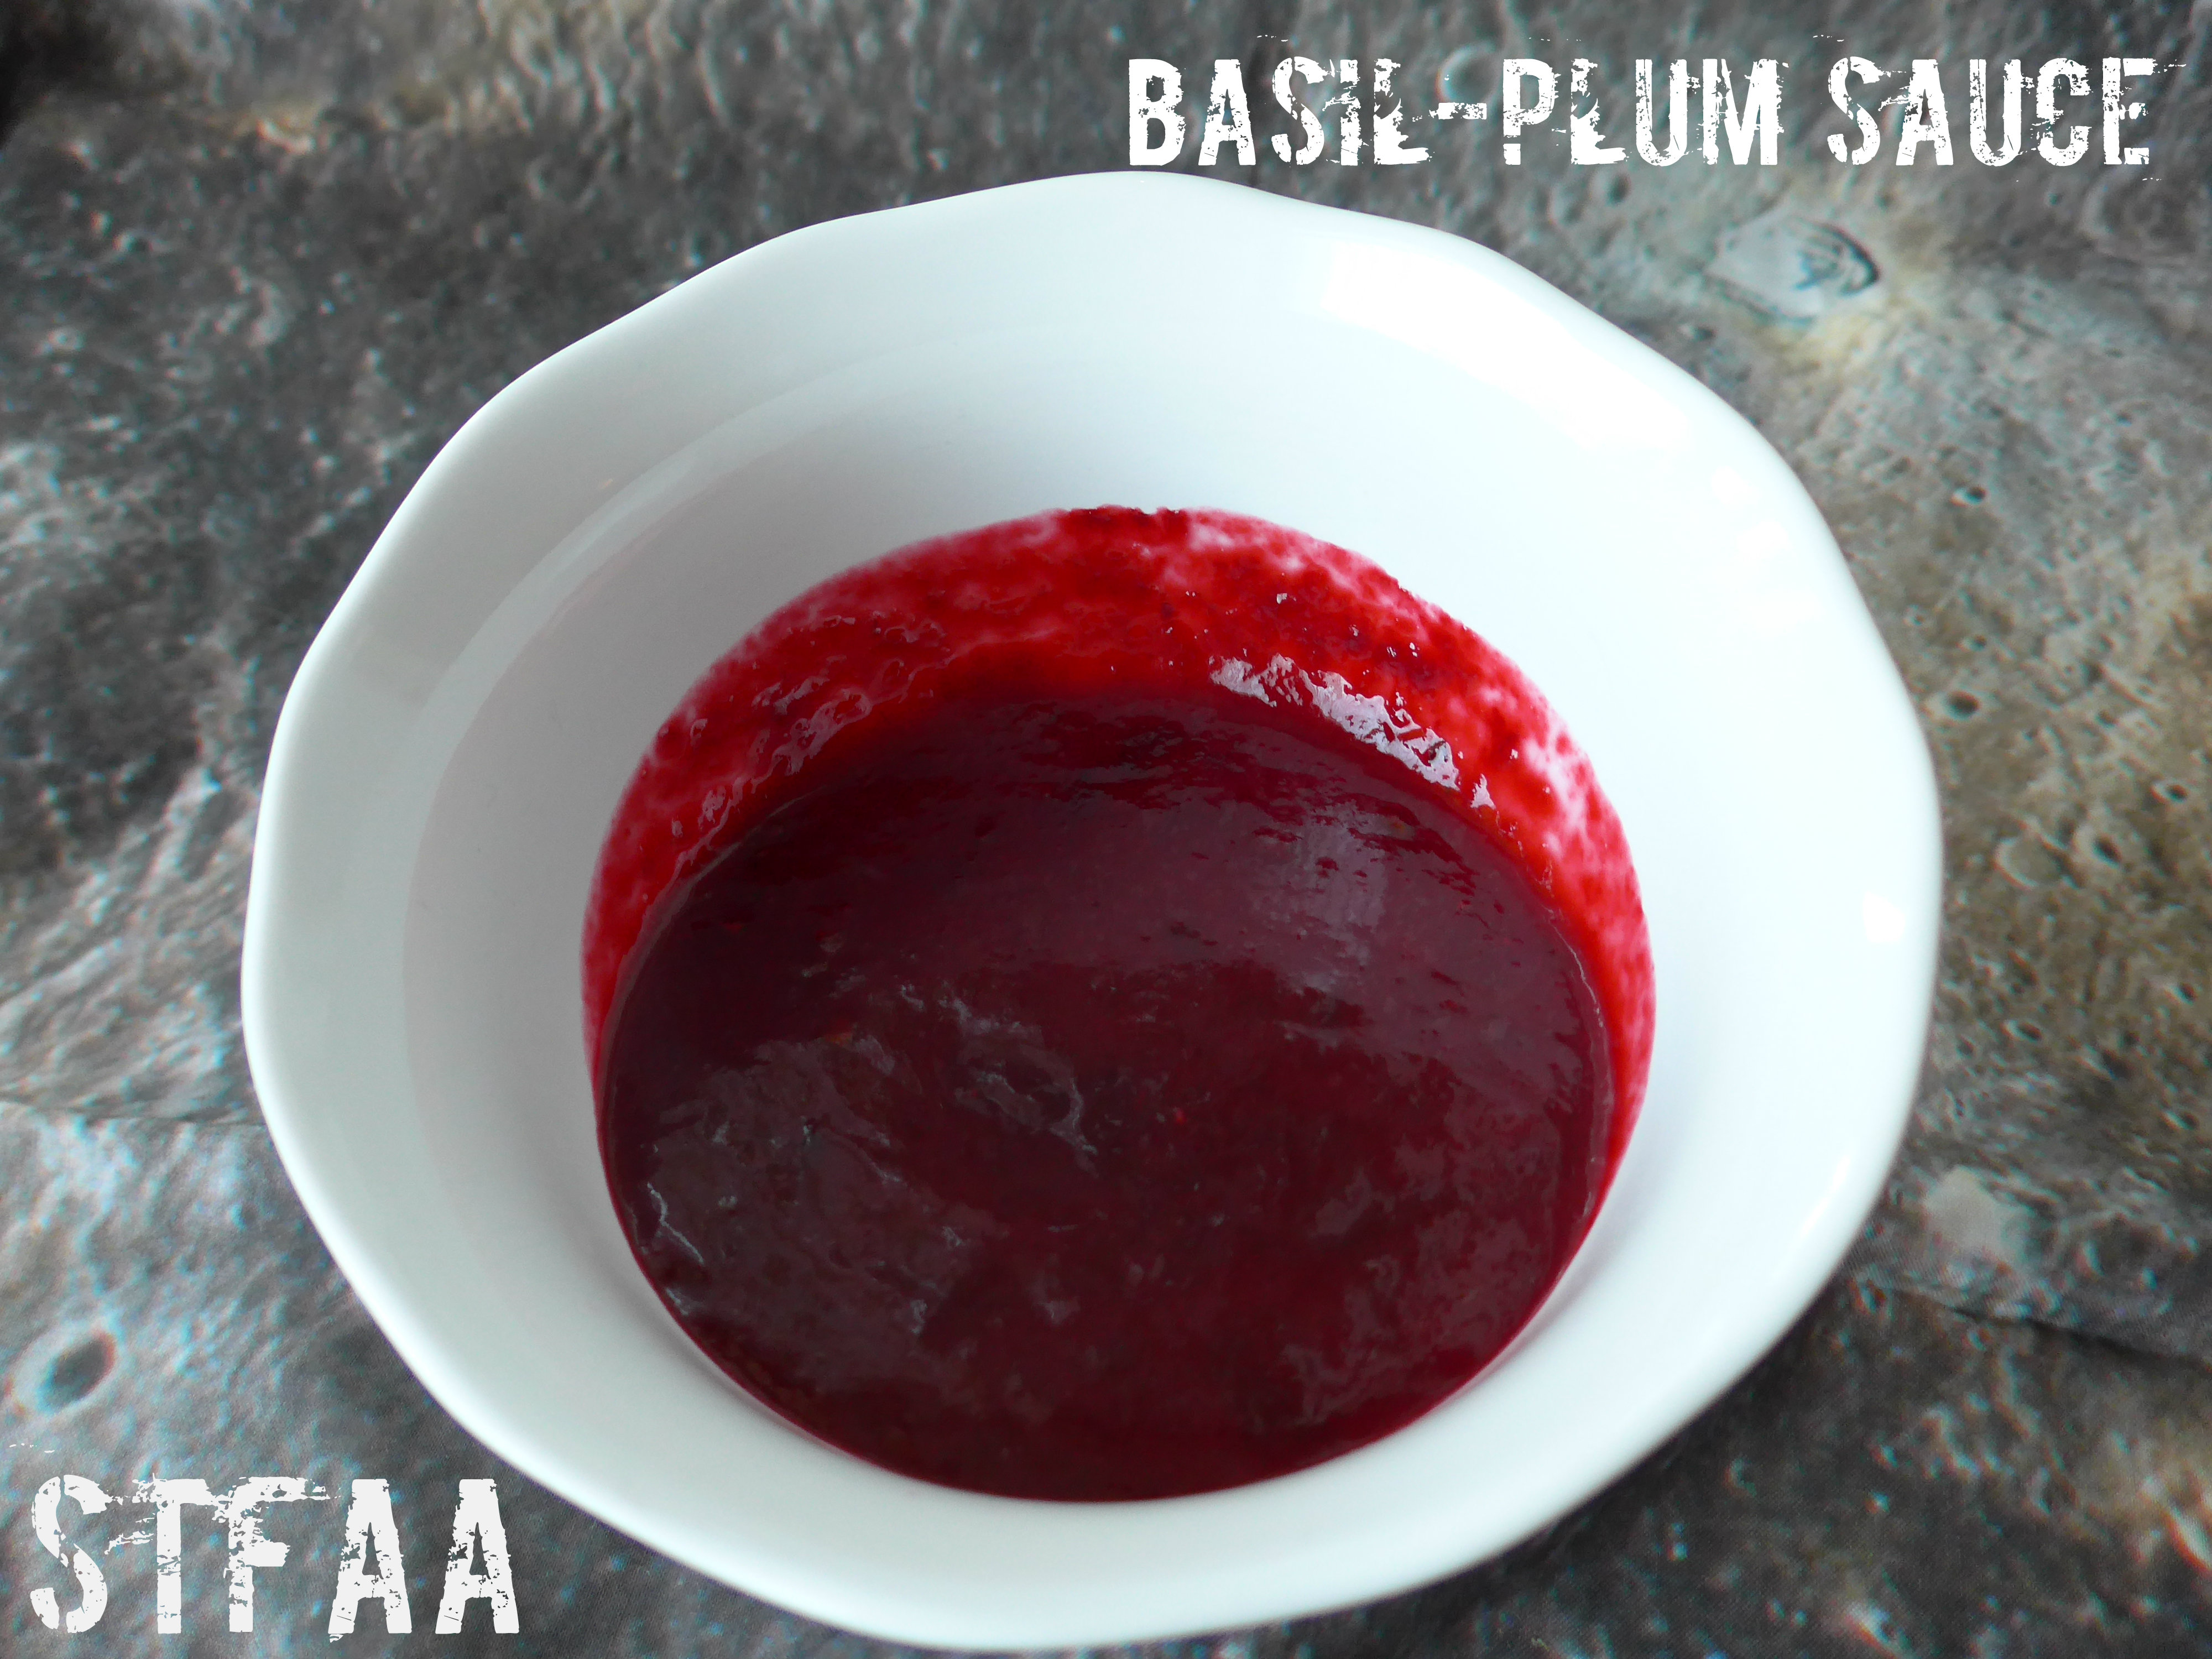
    Basil-Plum Sauce
    Basil_Plum Sauce

    This month, we were aiming to be inspired by what’s growing where we live. For Denise, this means what her garden is producing. For me, it means actually making time to go to the farmer’s market. I love the farmer’s market, but I’m rather lousy at managing to go shopping at a specific time every week. I’ve managed to make it about once a month so far this summer.
    At the end of August, we have everything up here. The first thing that drew me in was basil, which I love, but most often ends up in pesto, which I don’t like much. Since we also have amazing stone fruits, I decided to pair basil with late summer plums and make a sauce. This sauce tastes like summer to me, and while it’s not a flavor that would pair with most vegetables perfectly, it seems to pair perfectly with pork and chicken, if you eat meat, and would likely be great on tofu and tempeh as well, if you eat soy products. It might also be good on sweet potatoes, but I haven’t tried it. I appreciate how fabulously easy it is to make dinner more interesting with a good sauce.

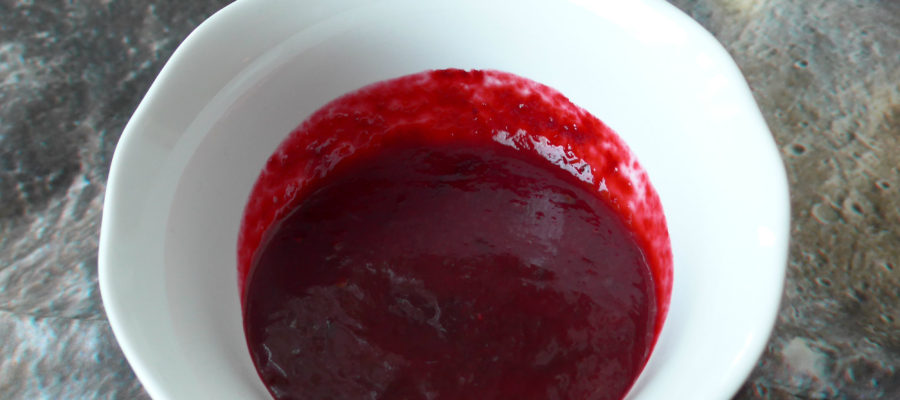
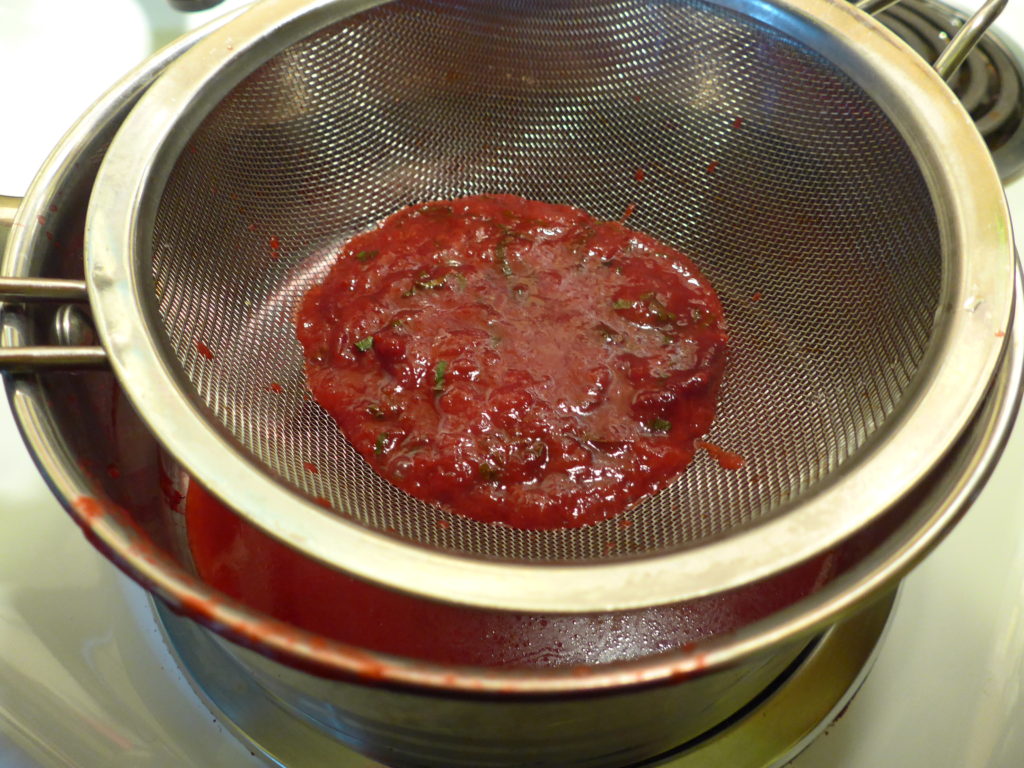
    Straining the basil-plum sauce
    Straining the basil-plum sauce

    The sauce takes about 40 minutes to make, but most of that is just cooking over low heat. You’ll end up with something of a consistency of a thin ketchup, a fruity acidity and very lightly floral (basil) flavor.


    Notice: Trying to access array offset on value of type bool in /home/maryzahc/public_html/adultfoodallergies.com/wp-content/plugins/wp-ultimate-recipe/helpers/models/recipe.php on line 254
    Basil Plum Sauce
    Print Recipe
    Servings Prep Time
    5 servings 50 minutes
    Cook Time
    40 minutes
    Servings Prep Time
    5 servings 50 minutes
    Cook Time
    40 minutes
    Basil Plum Sauce
    Print Recipe
    Servings Prep Time
    5 servings 50 minutes
    Cook Time
    40 minutes
    Servings Prep Time
    5 servings 50 minutes
    Cook Time
    40 minutes
    Ingredients
    • 10 ounces plums pitted and cut into 8ths
    • 1 Tablespoon water
    • 1 teaspoon oil
    • 2 Tablespoons fresh basil chopped, separated
    • 1 pinch salt (less than 1/4 teaspoon)
    • 1 Tablespoon honey or agave syrup
    Servings: servings
    Instructions
    1. Mix plums, water, and oil in a saucepan, cover and heat over low heat for 10 minutes.
    2. Stir well, and cover and cook for 10 more minutes.
    3. Partially cover (leave the saucepan lid ajar) and cook for 5 more minutes.
    4. Add 1 Tablespoon of basil, stir well, and cook uncovered for 5 more minutes, smashing the plum flesh down a bit if it’s still not saucy enough.
    5. Remove the sauce from the pan to a large measuring cup or heat-safe bowl, and then strain it back into the sauce pan. This will remove the basil you just added, though it’s infused flavor, but it will also remove the plum skins and a bit of the fiber.
    6. Add in the last 1T of basil, the pinch of salt, and the liquid sweetener. Stir well.
    7. On the lowest setting, reduce the sauce by about 1/3 of the volume, letting it thicken up a bit. Now’s the time to taste it and see if the salt level is right — if you need to add more, cook it just long enough to dissolve the salt.
    8. Should keep for about a week in the fridge, longer in the freezer (but I’m not sure how long).
    Share this Recipe
     
    Powered byWP Ultimate Recipe
  • Yellow Hot Dog Mustard

    Yellow Hot Dog Mustard

    Yellow Hot Dog Mustard
    Yellow Hot Dog Mustard

    Yellow Hot Dog Mustard

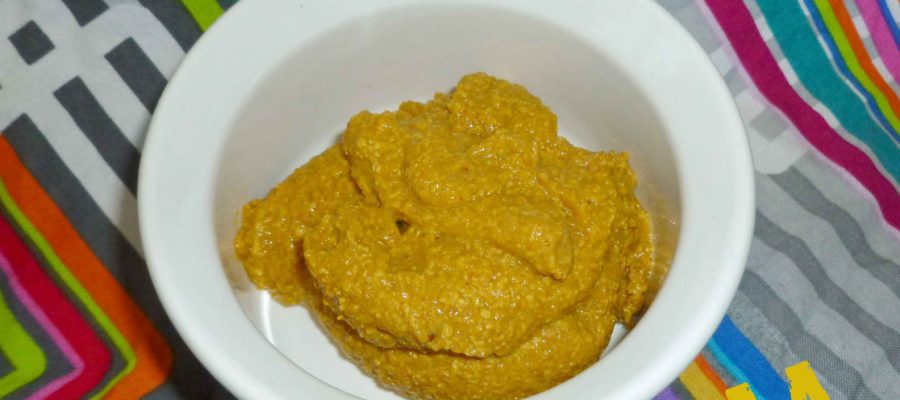
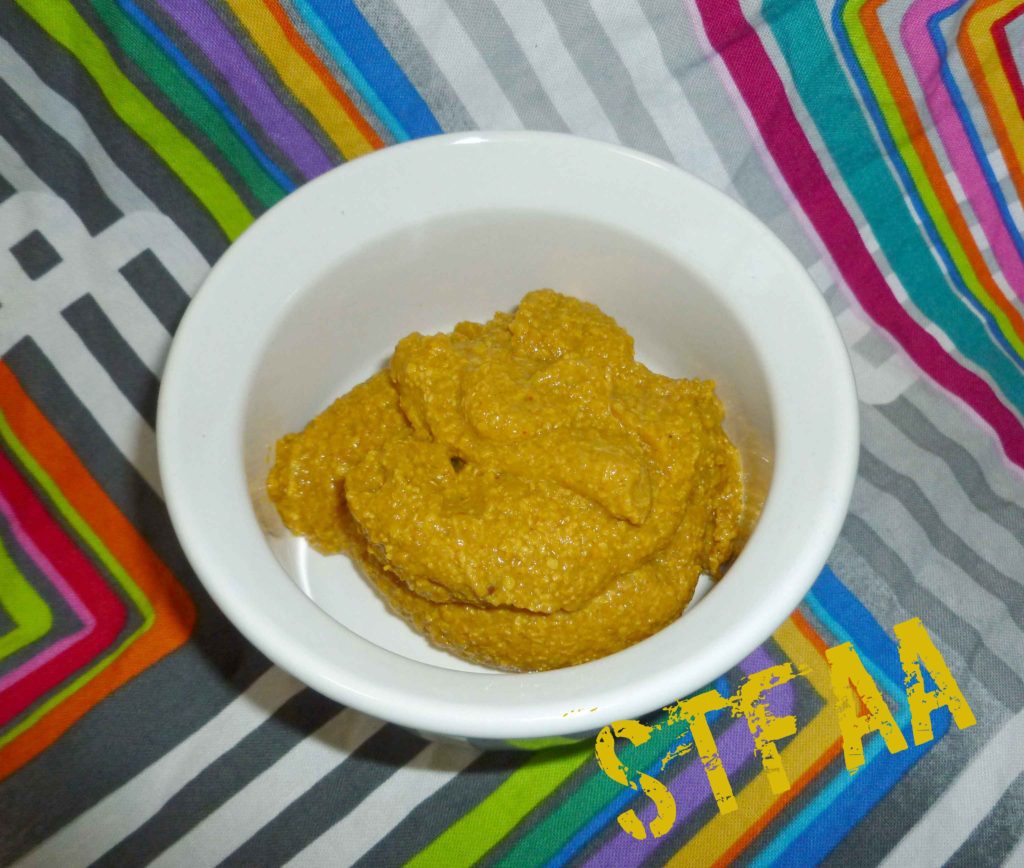
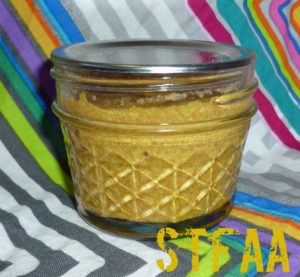
    It’s summer. It’s grilling season finally in New Hampshire – Shawn hauled the grill out of the garage and the patio furniture out of the shed yesterday. We need condiments. This is a pretty basic and easy mustard recipe. I’ve modified it from a canning recipe and made it allergy safe for me, but it’s small enough that you can just throw it in a jar and put it in your fridge to use as you wish.  However, you need to make this recipe 24 to 48 hours in advance, as freshly made mustard is awful and bitter, you have to wait for the flavors to mellow out.  If you take out the turmeric, which is mostly there for coloring, you can also play around with the recipe to make more flavors.  Try adding other spices like wasabi or chipotle peppers, some cranberries or raspberries, sundried tomatoes or roasted garlic, or hot sauces. Let us know what fabulousness you come up with.

    You’ll need to sterilize your jar and keep it warm so that the glass doesn’t break when you put the hot mustard into it. Here are directions from the National Center for Home Food Preservation. If you don’t have a canning pot with a rack, use a large enough pot that you can place the jar in it with enough water to cover it by an inch, and place a folded tea towel in the bottom of the pot. The tea towel will prevent the direct heat from the bottom of the pot from weakening or breaking the jar while you sterilize it. The picture shows a 4 ounce jar because I canned a bunch of it, but if you use 4 ounce jars you’ll need two.

    Enjoy!


    Yellow Hot Dog Mustard
    Yellow Hot Dog Mustard
    Print Recipe
    A standard condiment to have for summer
    Servings Prep Time
    8 ounces 5 minutes
    Cook Time Passive Time
    8 minutes 24 hours
    Servings Prep Time
    8 ounces 5 minutes
    Cook Time Passive Time
    8 minutes 24 hours
    Yellow Hot Dog Mustard
    Yellow Hot Dog Mustard
    Print Recipe
    A standard condiment to have for summer
    Servings Prep Time
    8 ounces 5 minutes
    Cook Time Passive Time
    8 minutes 24 hours
    Servings Prep Time
    8 ounces 5 minutes
    Cook Time Passive Time
    8 minutes 24 hours
    Ingredients
    • 1/2 cup ground yellow mustard seed (I grind my own to prevent issues with anti-caking agents)
    • 1/2 cup water
    • 1/2 cup apple cider vinegar (Bragg’s is safest for those with a corn allergy)
    • 3/4 teaspoon sea salt
    • 1/4 teaspoon ground turmeric
    • 1/8 teaspoon garlic powder
    • 1/8 teaspoon ground paprika
    • 8 ounce jar
    Servings: ounces
    Instructions
    1. Sterilize your jar and keep it warm.
    2. Place all the ingredients in a small sauce pan, and whisk together until smooth. The mustard mixture will be very watery at this point.
    3. Bring the mustard mixture to boil over medium-high heat. Boil for 7-8 minutes, stirring occasionally.
    4. Remove the saucepan from the heat and let the mustard cool for 5 minutes. The mustard will thicken slightly during this time, but will probably not be as thick as you want it to be. It will continue to thicken over the the next 24 hours, so don’t worry.
    5. Place the mustard in the sterilized jar. Place the lid on the jar and let it cool to room temperature before storing your mustard in the refrigerator.
    Share this Recipe
    Powered byWP Ultimate Recipe

    Yellow Hot Dog Mustard
    Yellow Hot Dog Mustard
  • Onion Barbecue Sauce

    Onion Barbecue Sauce

    For condiment month, I really wanted to make a barbecue sauce. I’ve tried a handful out here on the west coast, but nothing I’ve loved. In fact, I’m not sure I’ve had a favorite in years, except for the family secret sauce of my old neighbor. And since he isn’t giving it up, I was thinking maybe I don’t need one favorite. Maybe I need that six pack of possibilities you get at a BBQ restaurant. This is one of that six pack.

    I’d set out to make a mustard-y sauce, though I ended up at a different destination. That’s how sauce works! I made a crock pot of caramelized onions (if you like onions and you’re not doing this, you really should!), and before I could freeze the extras, I realized that they would be an excellent base for a sauce. We used this on pulled pork (also done in the crockpot) and it was an excellent match. I think this sauce would also be good on chicken, though I haven’t yet tried it. I would personally want a more tomato-based and acidic sauce for beef.

    Basically you puree this sauce and then thin it down to your desired consistency. My onions had only olive oil and salt in them. I did use prepared mustard and ketchup — Maille Dijon is my go-to mustard (mainly because I visited one of their stores in Paris in 2010, where they have mustard on tap and it was amazing. I find mine at most grocery stores, both here in Seattle and back in New Hampshire.) For ketchup, we just buy one of the organic lines that uses sugar rather than corn syrup. If corn is one of your allergens, likely you haven’t found safe ketchup or mustard, but you likely have learned to make them. As with all recipes, make sure your ingredients are safe-for-you.
    The only other interesting ingredient in here is the michiu, a Chinese cooking wine that’s close to 20% alcohol, but more importantly, about 15% salt. You can replace this with any rice wine, or even a rice vinegar, but then taste it and add salt to your taste. This is the primary salt in of this sauce.

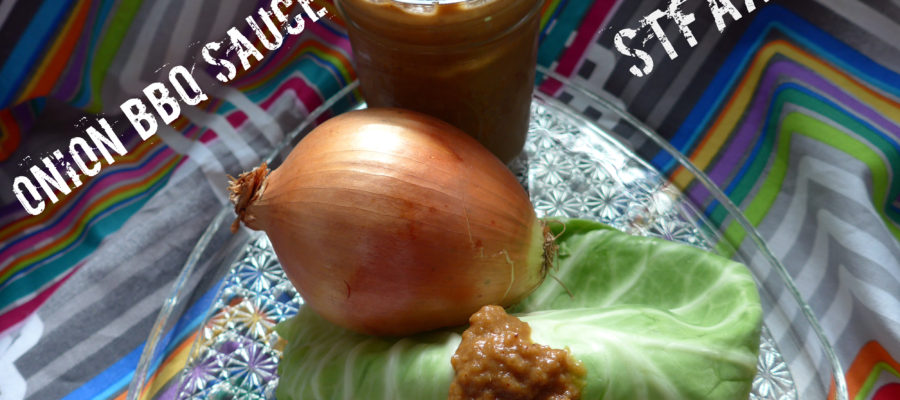
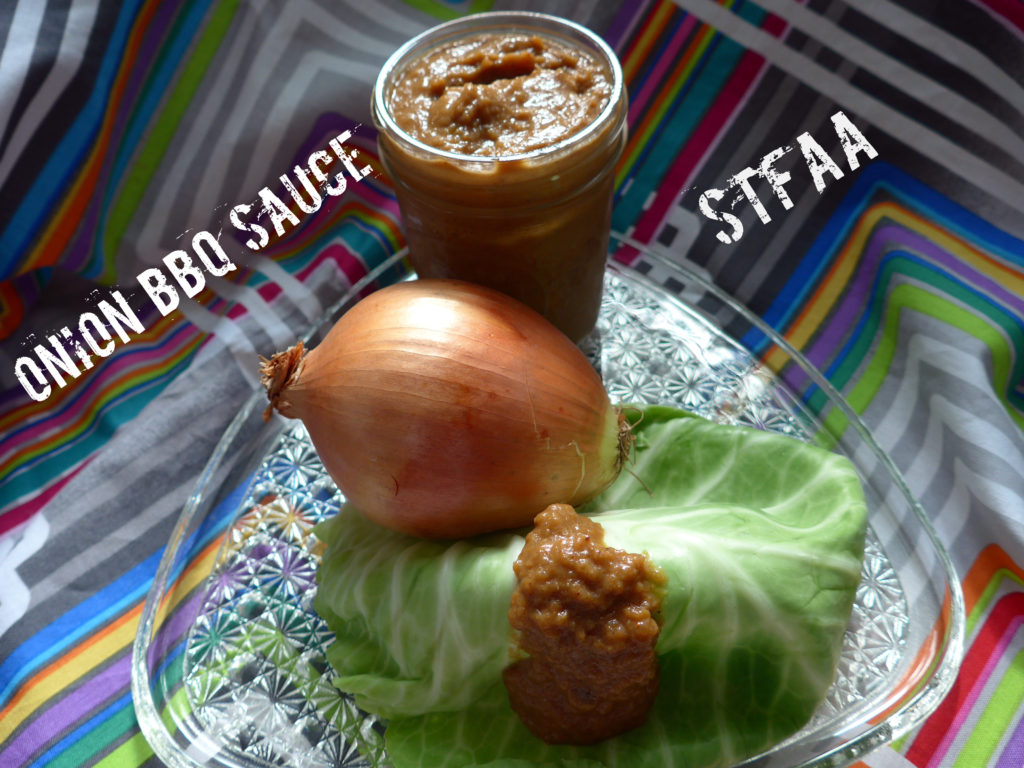
    Jam jar of onion bbq sauce with a dollop of sauce on a cabbage leaf anchored by a whole yellow onion.
    Onion Barbecue Sauce

    Notice: Trying to access array offset on value of type bool in /home/maryzahc/public_html/adultfoodallergies.com/wp-content/plugins/wp-ultimate-recipe/helpers/models/recipe.php on line 254
    Onion Barbecue Sauce
    Print Recipe
    Prep Time
    10 minutes
    Prep Time
    10 minutes
    Onion Barbecue Sauce
    Print Recipe
    Prep Time
    10 minutes
    Prep Time
    10 minutes
    Ingredients
    • 1 cup caramelized onions
    • 2 Tablespoons balsamic vinegar make sure this is gluten-free if that’s important for you
    • 2 Tablespoons michiu
    • 2 Tablespoons mustard Dijon preferred
    • 2 Tablespoons molasses
    • 3 Tablespoons olive oil
    • 3 Tablespoons ketchup
    • 1 Tablespoon vegetable broth
    • 1/4 teaspoon ancho chili powder
    Servings:
    Instructions
    1. Puree onions and mix all ingredients in a food processor. Process until smooth. Taste, and add more broth if you want a thinner sauce. Adjust salt and chili powder if needed.
    Share this Recipe
     
    Powered byWP Ultimate Recipe
  • Vanilla Pear Caramel Butter

    Vanilla Pear Caramel Butter

    Vanilla Pear Caramel Butter
    Vanilla Pear Caramel Butter

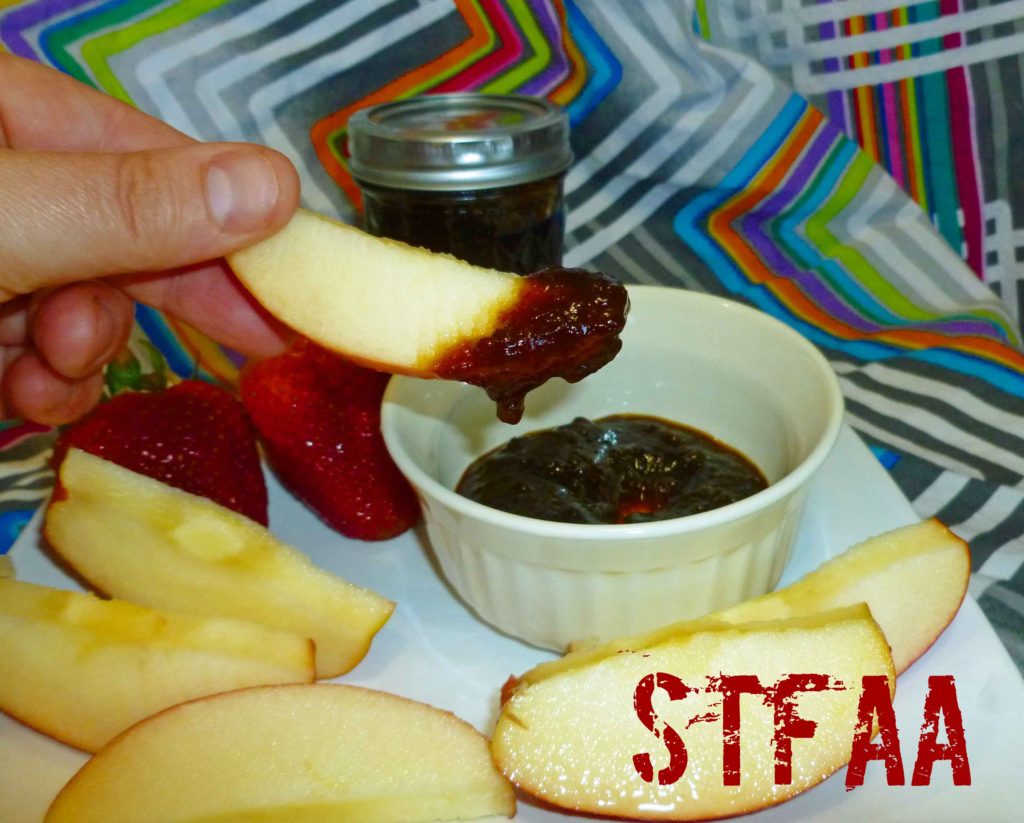
    So, I’m still working on a corn-free, dairy-free, and coconut-free safe-for-me caramel that doesn’t have dates in it because (a) sourcing wheat-free dates can be hard, and (b) I freaking hate dates (I know, that’s weird). In the meantime, I’ve been making do with this Vanilla Pear Caramel Butter that I canned up in the fall. It’s amazingly amazing. However, for those of you who aren’t into canning, making 7 eight ounce jars of something that you need to store in your freezer may not be the way to go. So I’m cutting back the recipe for you, so that you can store it more easily, if you can keep from eating it that long. If I weren’t canning it, I’d freeze it up into some of those large silicone ice cube trays (no affiliation with Amazon) which hold about half a cup.  That way, once they’ve frozen, you can pop them out into a safe-for-you zip top freezer bag and you can grab a cube to defrost whenever you need it.
    It’s unbelievable on chocolate cake, or any other dessert that just needs a bit of caramel sauce. I may or may not have just eaten a couple of spoonfuls when I needed a treat, since candy is nonexistent for me unless I make it. I suppose I could make some claim about it being “healthier” because it’s fruit, but it’s still got a fair bit of sugar in it, so that negates that idea. Also, it’s for dessert. Live a little.

    Vanilla Pear Caramel Butter
    Vanilla Pear Caramel Butter
    Print Recipe
    Great caramel sauce desserts
    Servings Prep Time
    1.5 pints 20 minutes
    Cook Time Passive Time
    20 minutes 6-8 hours
    Servings Prep Time
    1.5 pints 20 minutes
    Cook Time Passive Time
    20 minutes 6-8 hours
    Vanilla Pear Caramel Butter
    Vanilla Pear Caramel Butter
    Print Recipe
    Great caramel sauce desserts
    Servings Prep Time
    1.5 pints 20 minutes
    Cook Time Passive Time
    20 minutes 6-8 hours
    Servings Prep Time
    1.5 pints 20 minutes
    Cook Time Passive Time
    20 minutes 6-8 hours
    Ingredients
    • 3 1/2 pounds pears peeled, cored, and chopped
    • 1/4 cup water
    • zest of half a lemon
    • juice of half a lemon
    • 1 1/2 cups brown sugar
    • 1 teaspoon vanilla extract (I make my own with vanilla beans and vodka made from potatoes, as most commercial extract contains corn)
    • crock pot
    Servings: pints
    Instructions
    1. Place pears, water, lemon zest, and lemon juice in a nonreactive stock pot. Bring to a boil over medium-high heat. Once you’ve reached a boil, reduce the heat and and simmer gently, stirring occasionally, until the pears are soft (about 20 minutes).
    2. Using an immersion blender, blend until you have a texture like apple sauce. Don’t complete liquefy the pears.
    3. Place the pear mixture into a slow cooker. Add the brown sugar, and mix until the sugar is dissolved. Prop the lid of the slow cooker open with a wooden spoon, and let the mixture reduce on low. Depending on the size of the slow cooker this will go faster or slower, it make take as long as 8 hours. Check it every two hours to see how it’s doing and stir it. The finished pear butter will be thick and hold its shape on a spoon. Stir in vanilla extract.
    Share this Recipe
    Powered byWP Ultimate Recipe